Greetings fellow Modelers,
I sure hope you don’t mind this long update, but tackling as much as possible on page 5 just made sense to post so you weren’t left hanging.
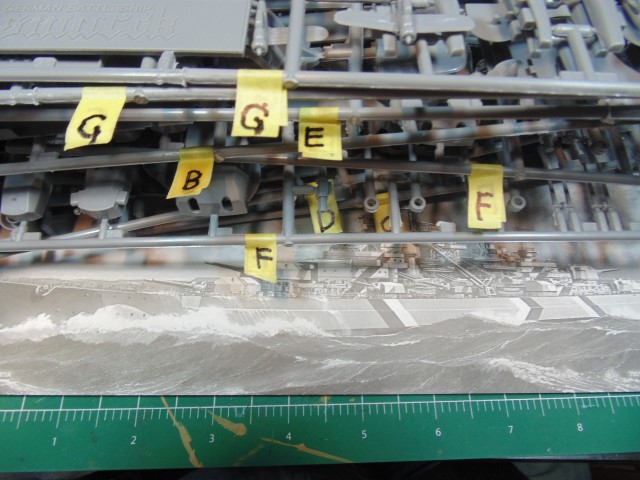
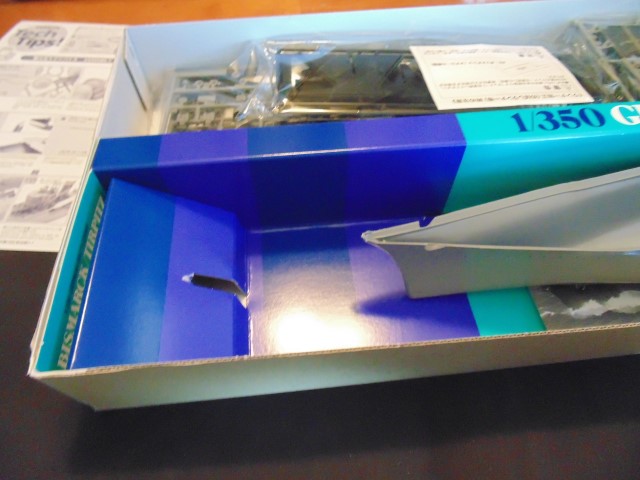
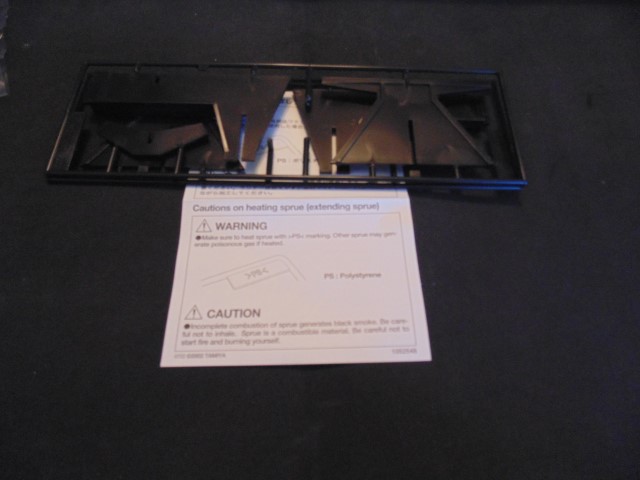
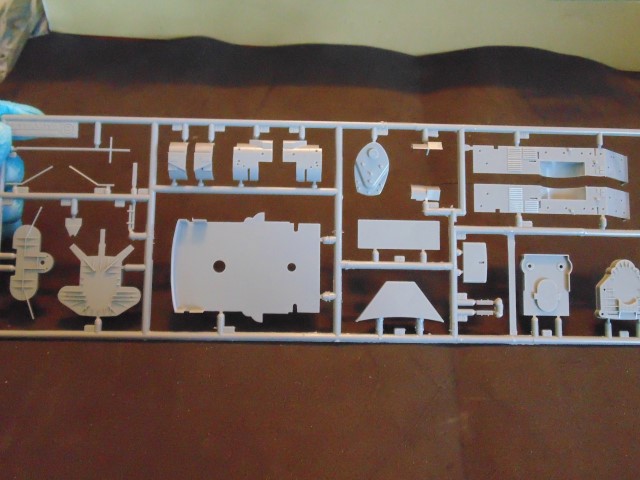
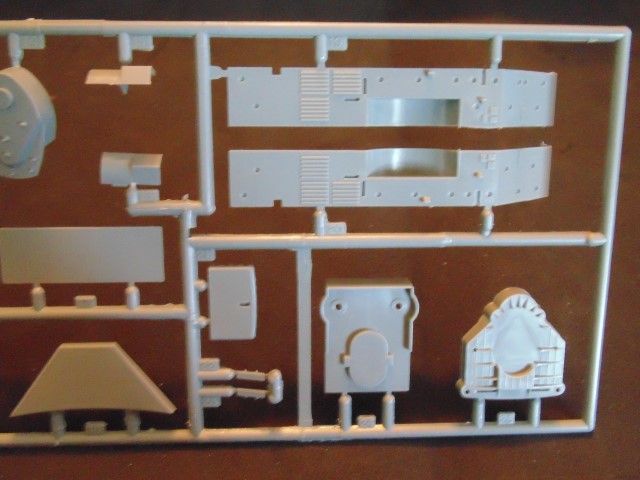
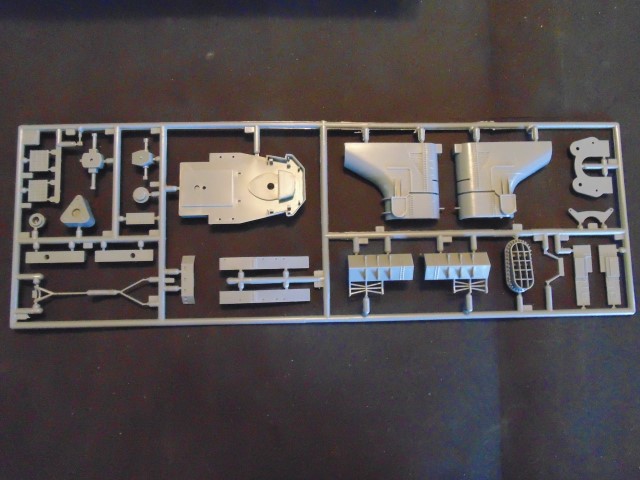
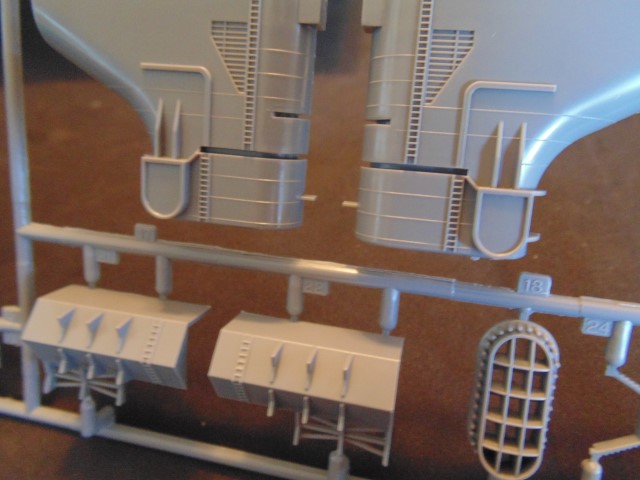
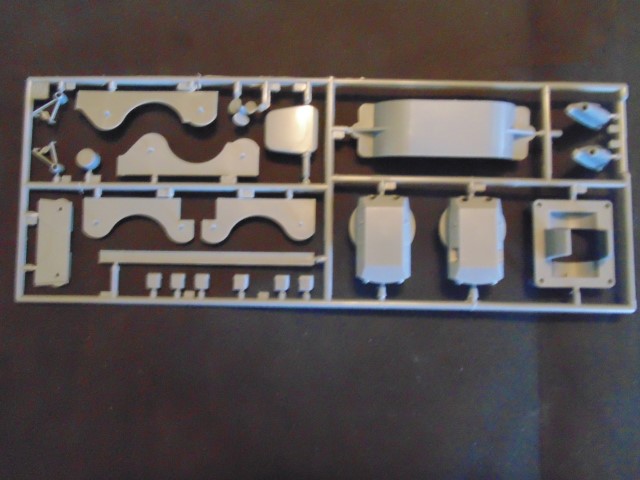
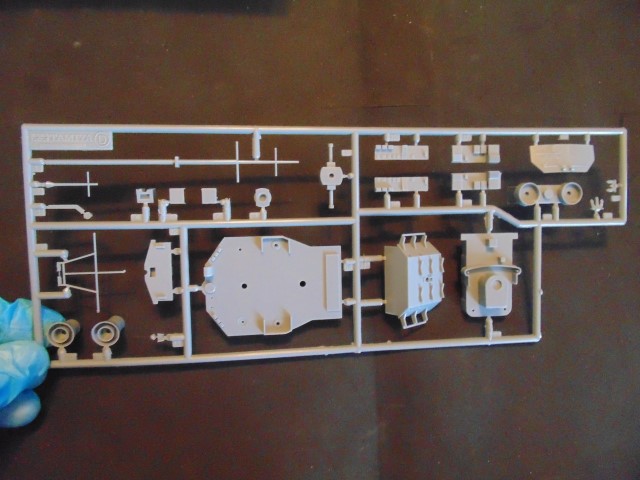
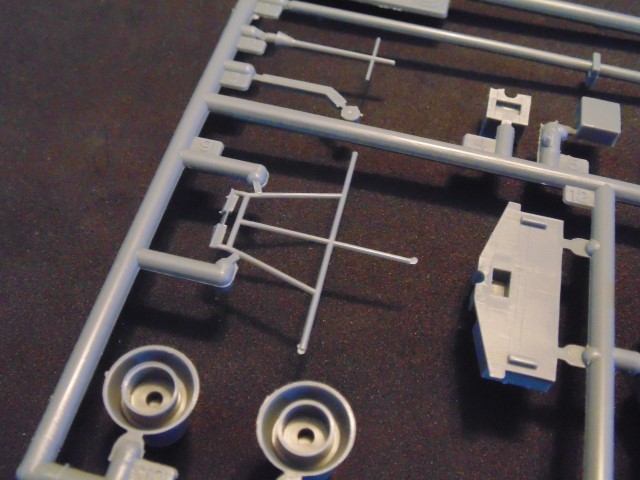
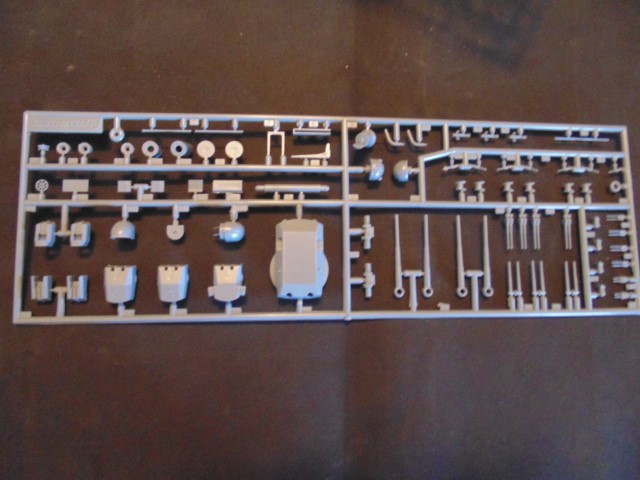
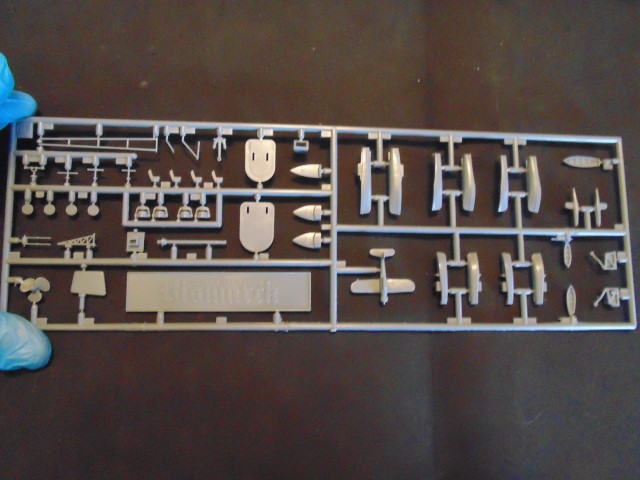
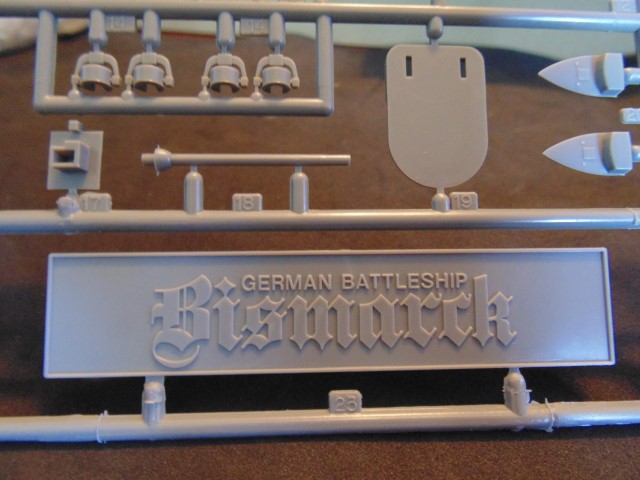
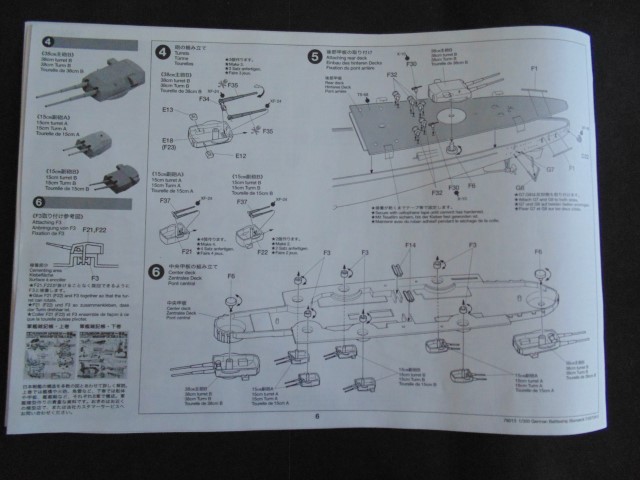
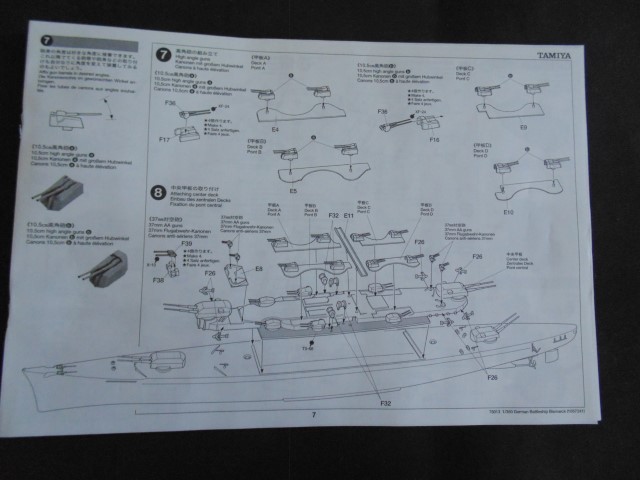
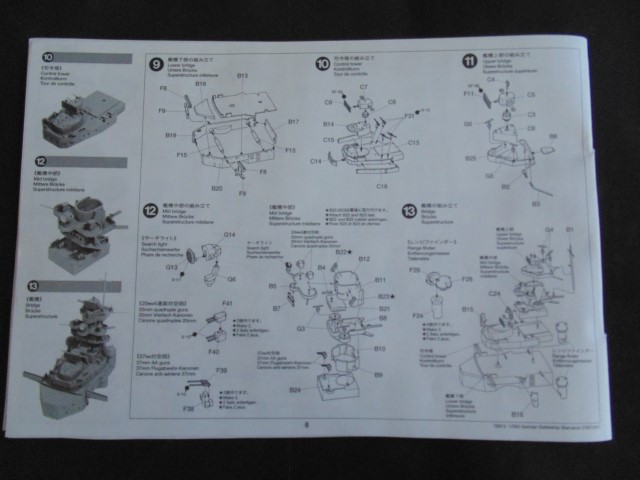
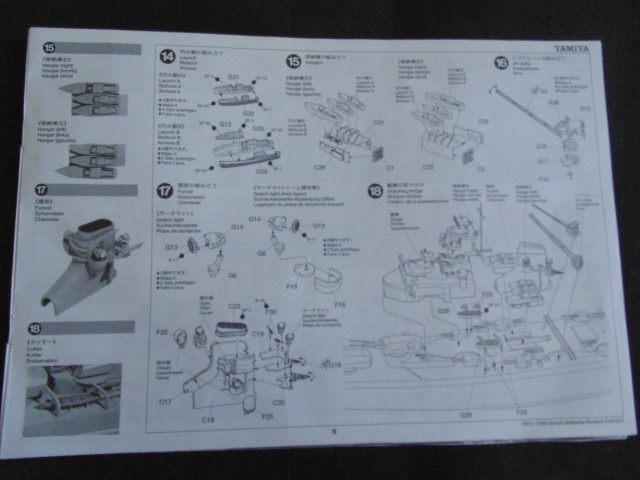
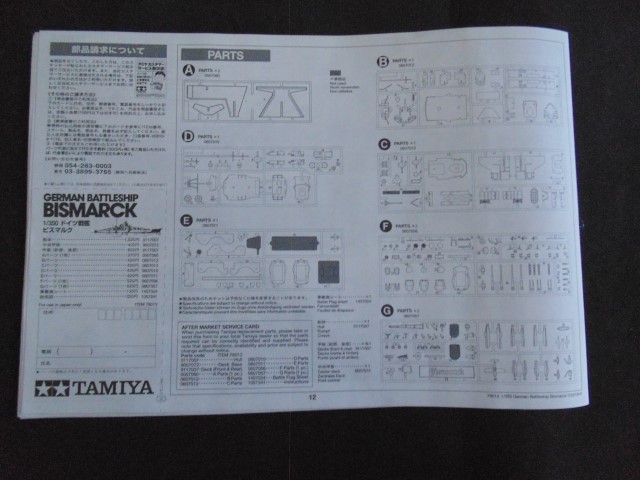
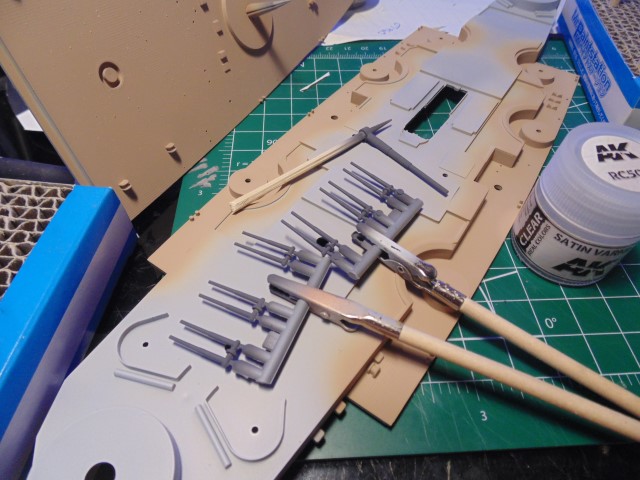
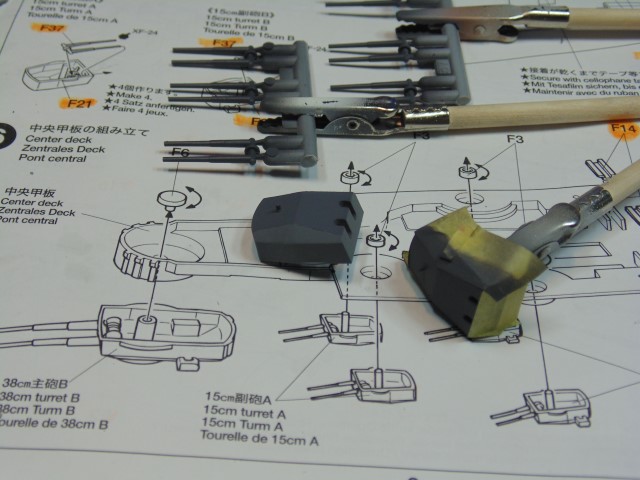
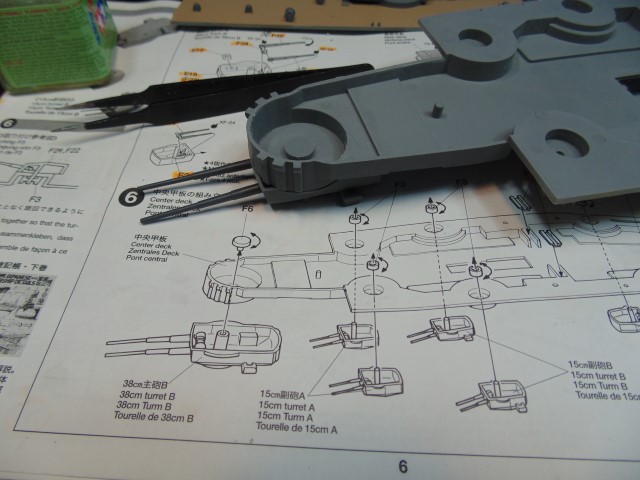
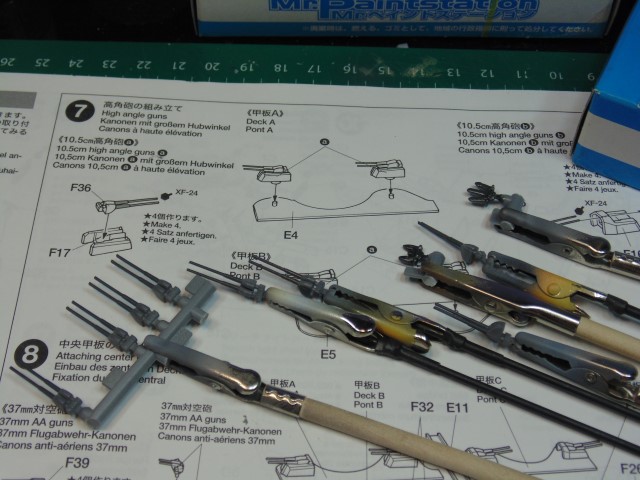
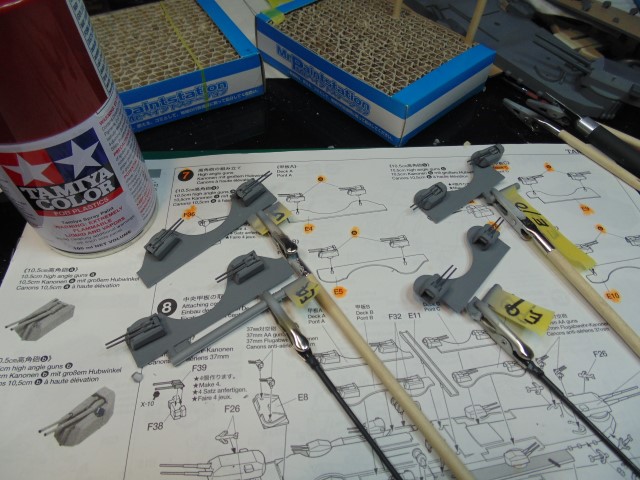
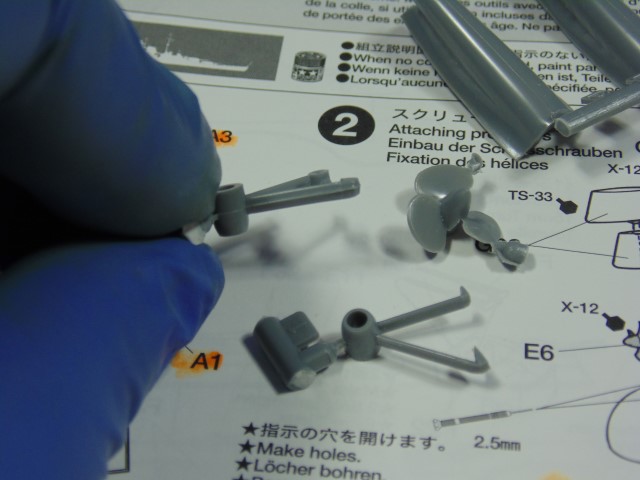
As mentioned the sprue trees are labeled for ease of access.
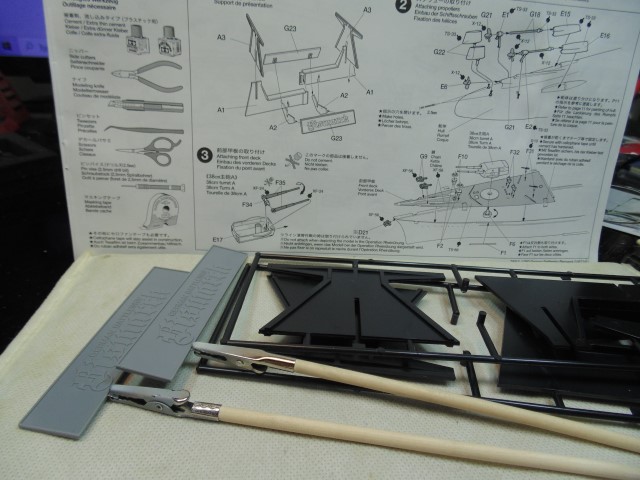
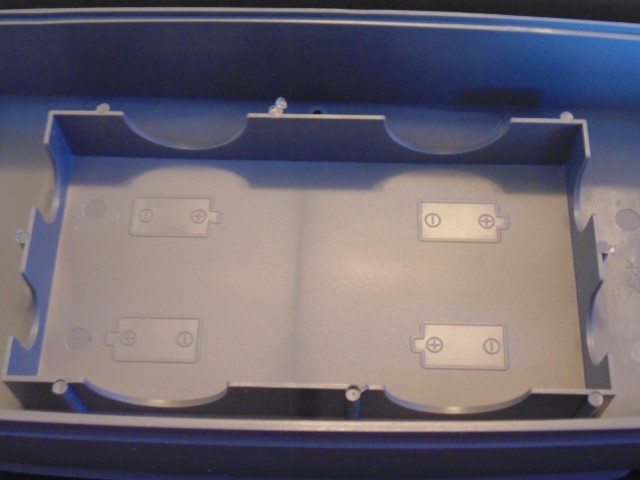
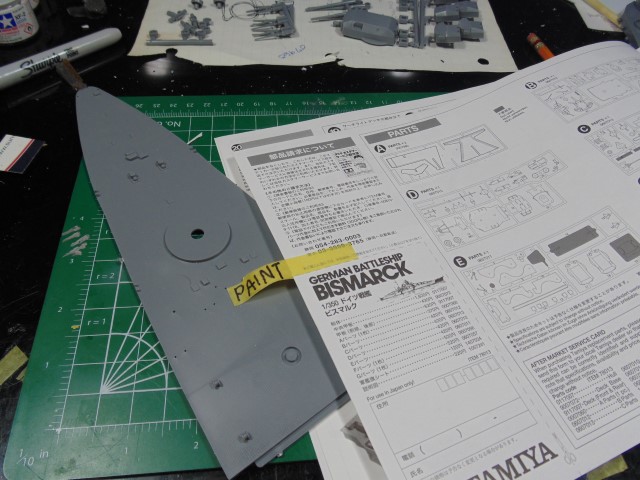
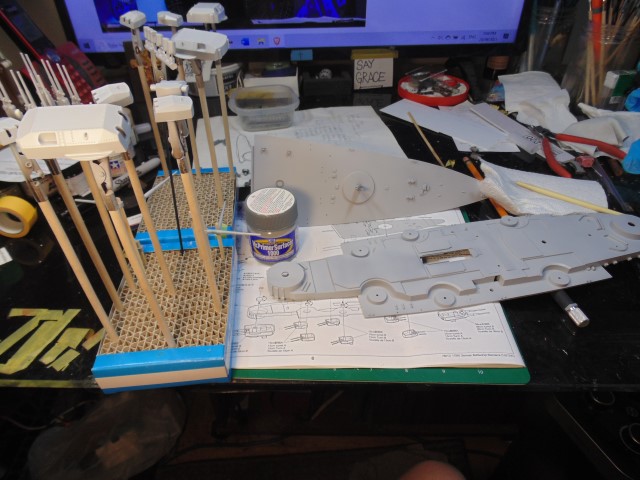
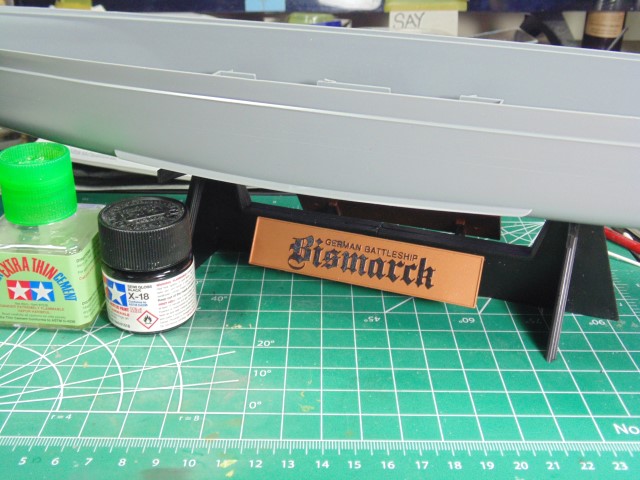
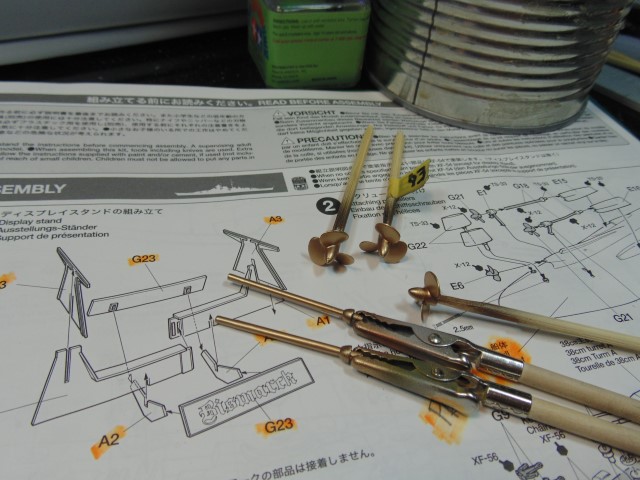
The stand is needed to protect the propulsion parts.
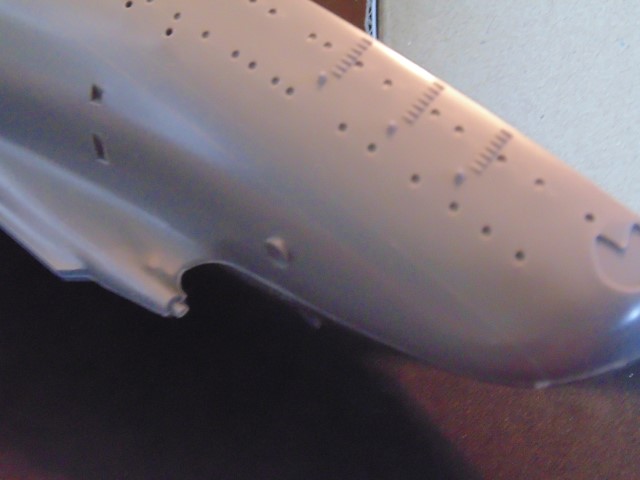
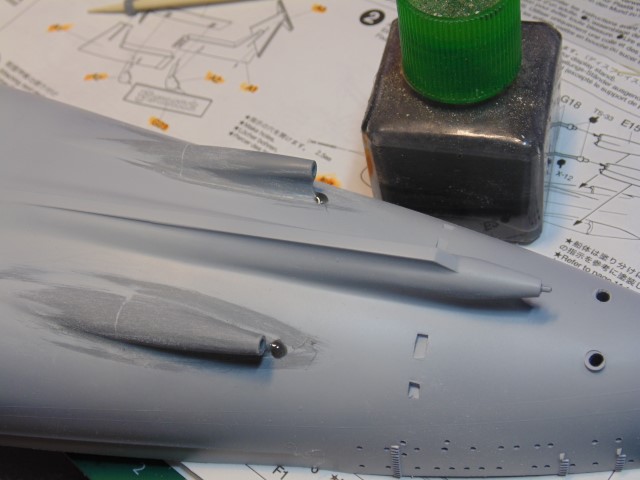
The ejector pin marks should be removed.
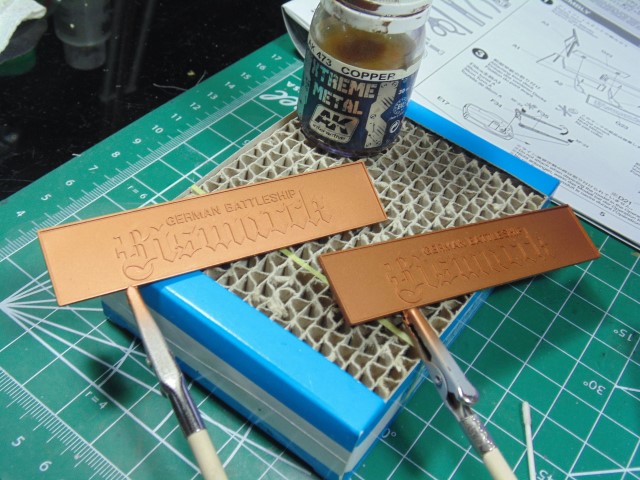
I went with copper because of the matt finish.
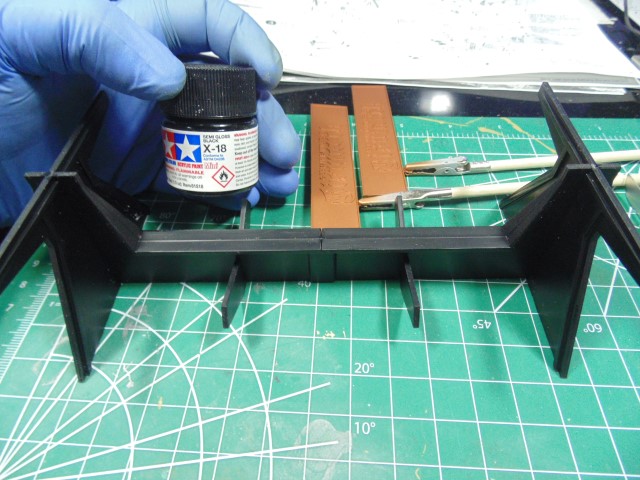
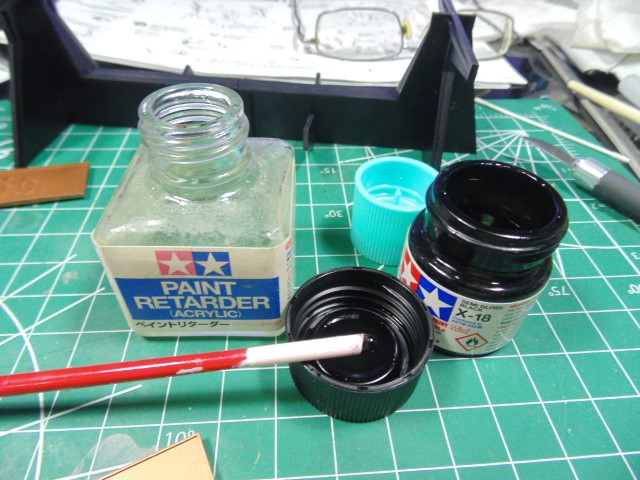
Semi gloss will not reflect light as much as gloss, so more attention goes to the replica. Yes, the seem line remains for a bit more interest.
To hand paint the letters I reduce the black.
Any mishaps can be gently removed with a tooth/cocktail stick because the base color is enamel.
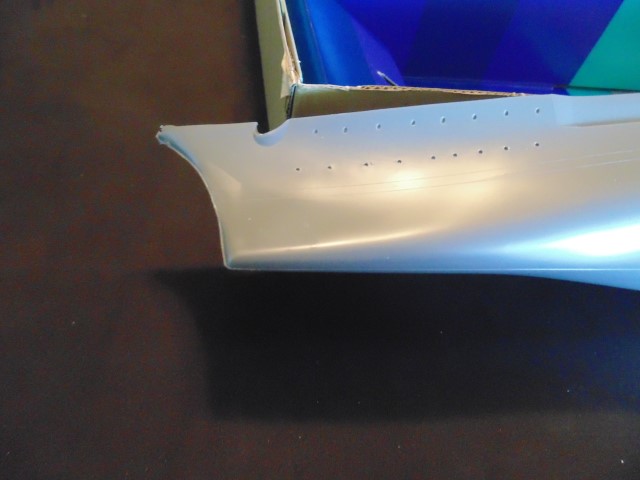
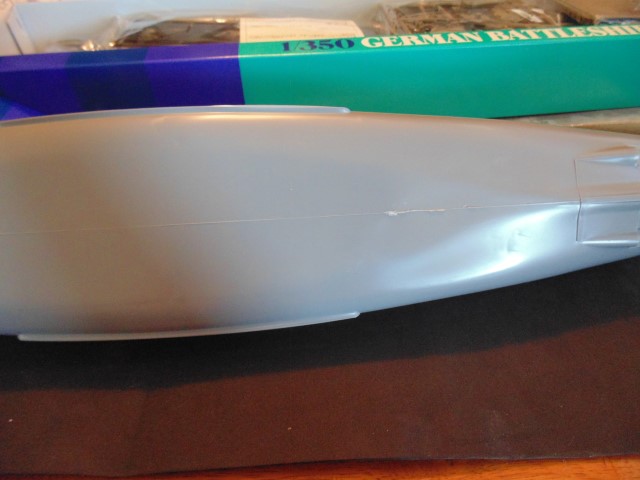
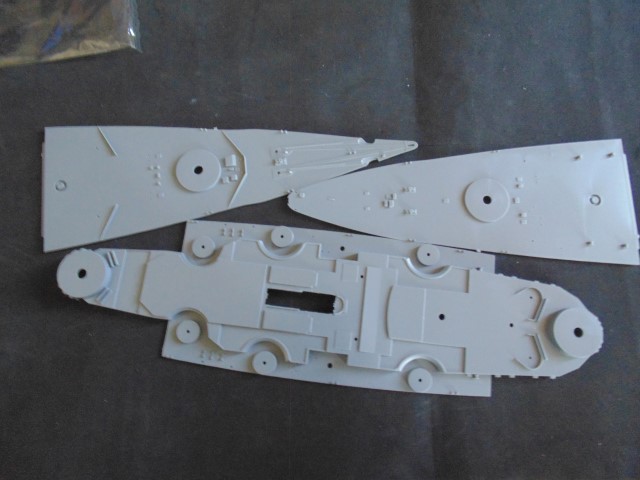
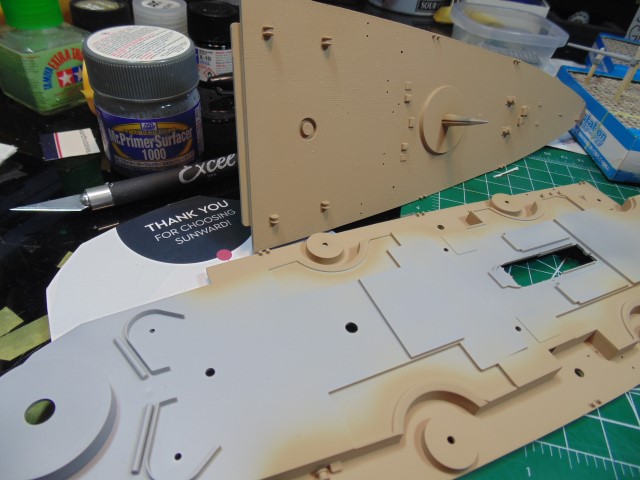
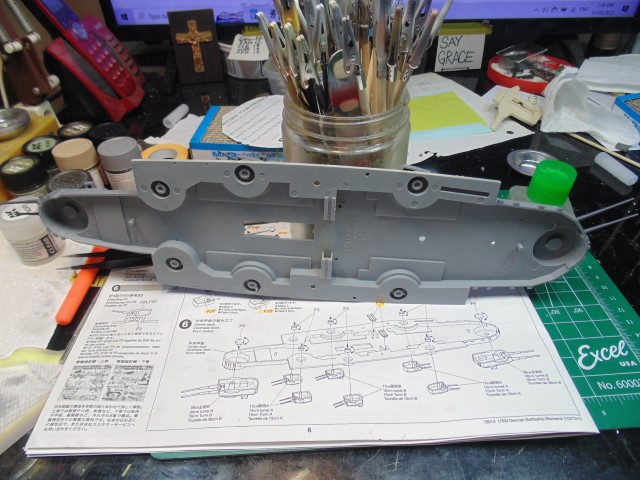
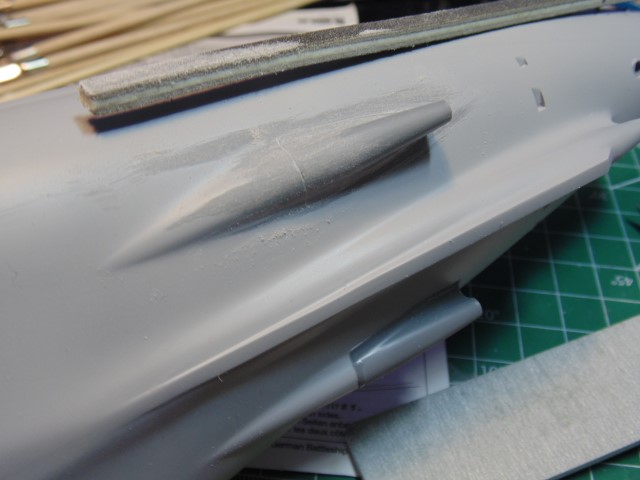
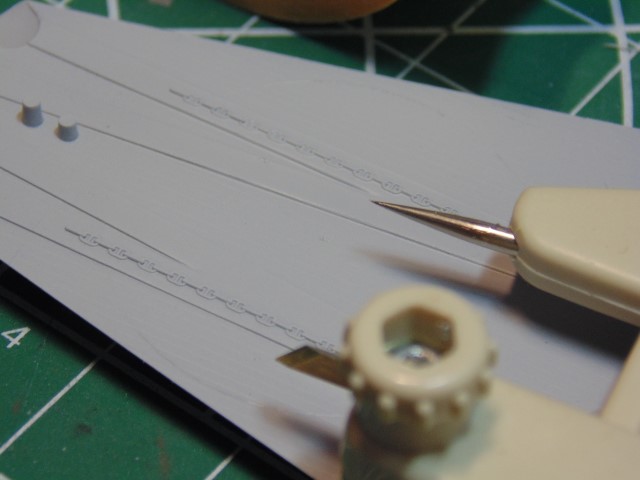
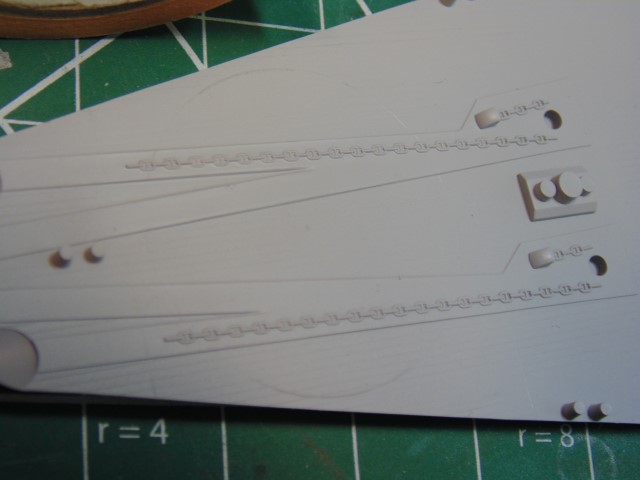
Next, remove mold lines.
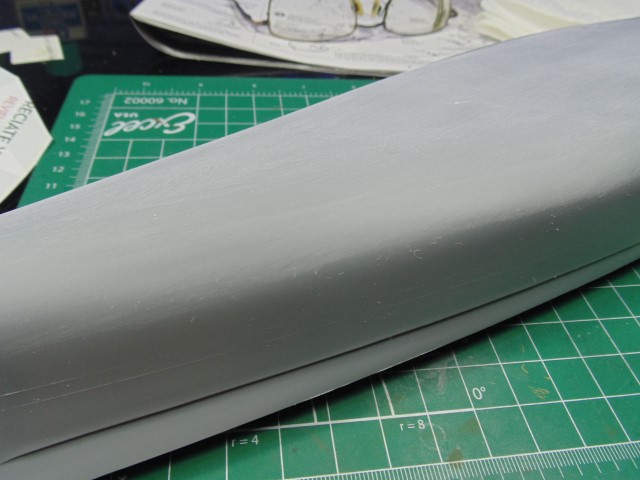
The line runs the entire length of the hull.
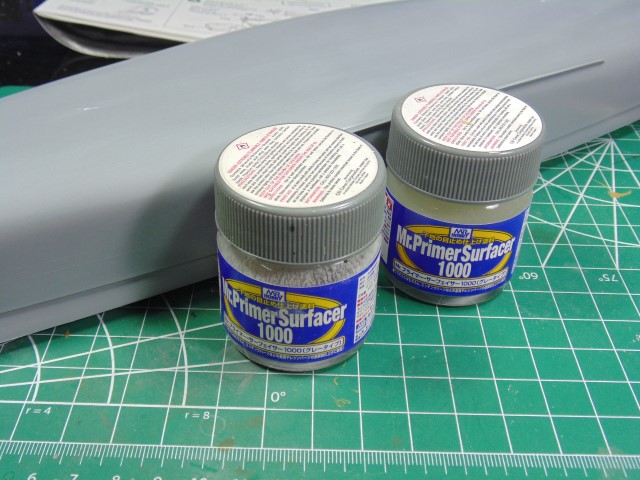
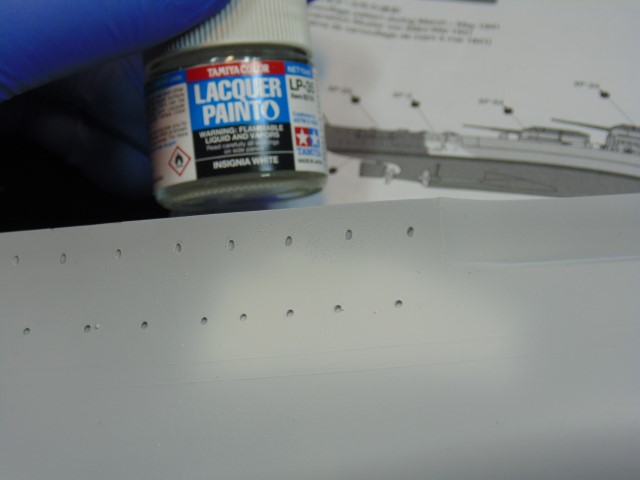
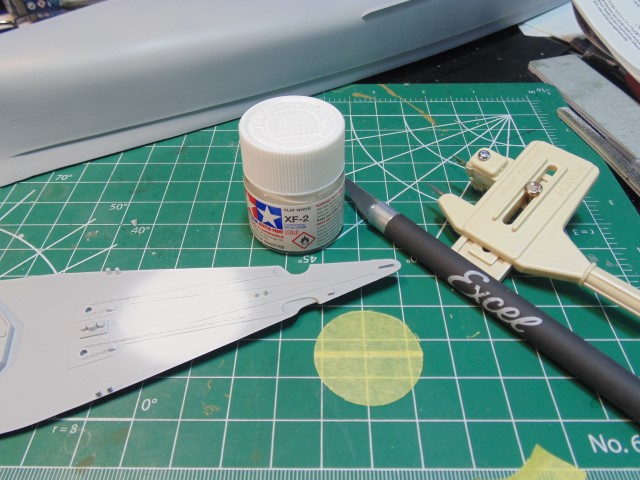
Time to prime.
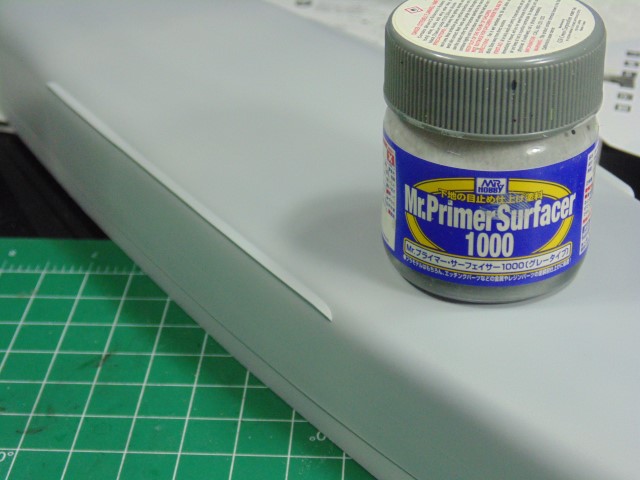
Good thing there’s plenty in the jar. I cut my primer 50/50 with lacquer thinner.
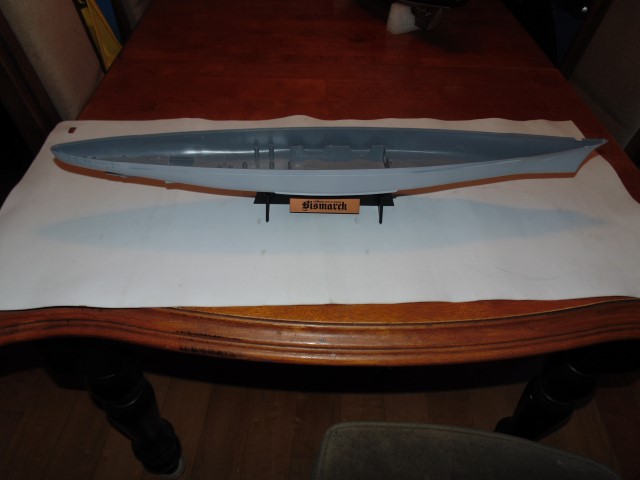
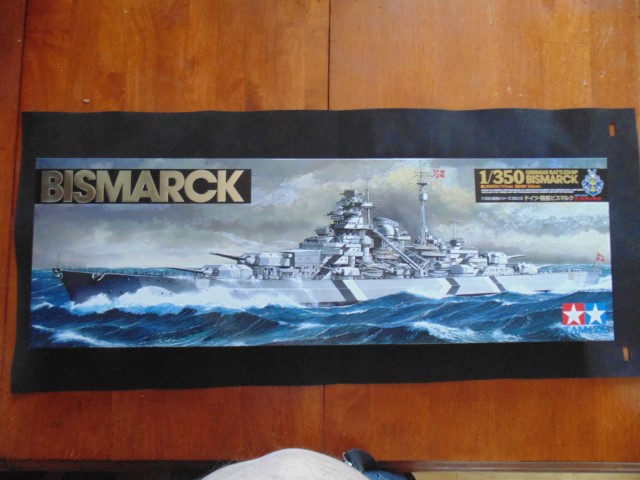
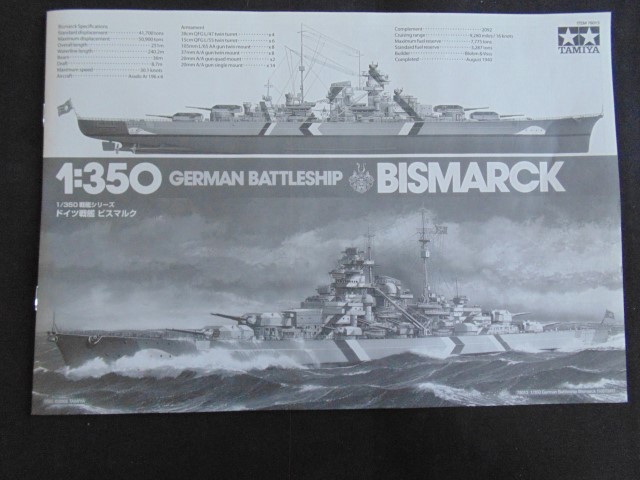
This is a big model and well worth the price.
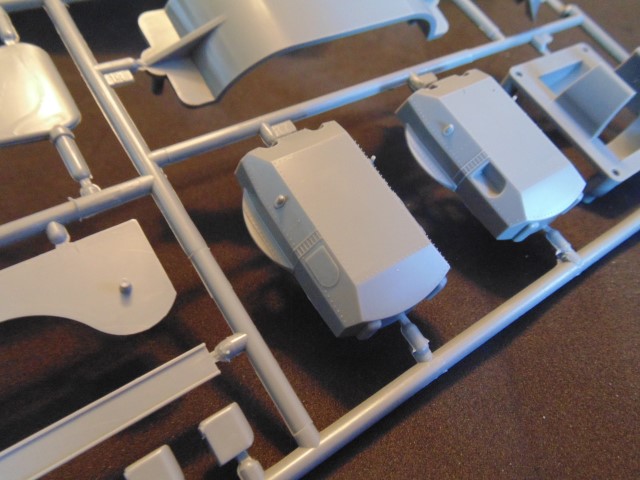
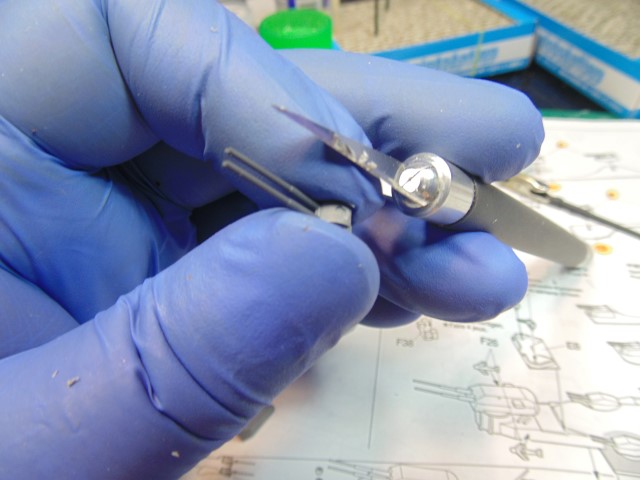
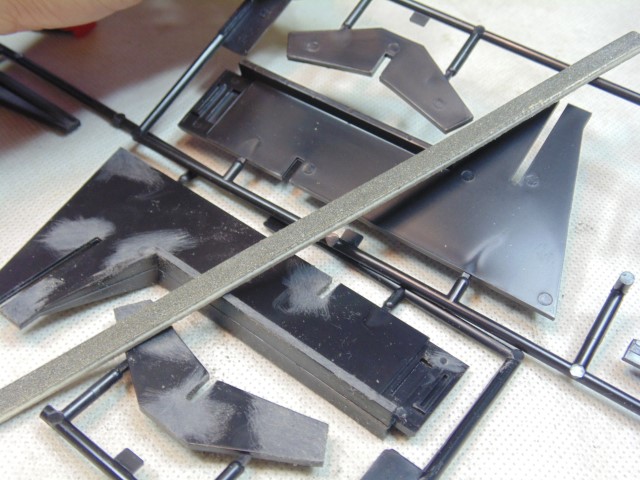
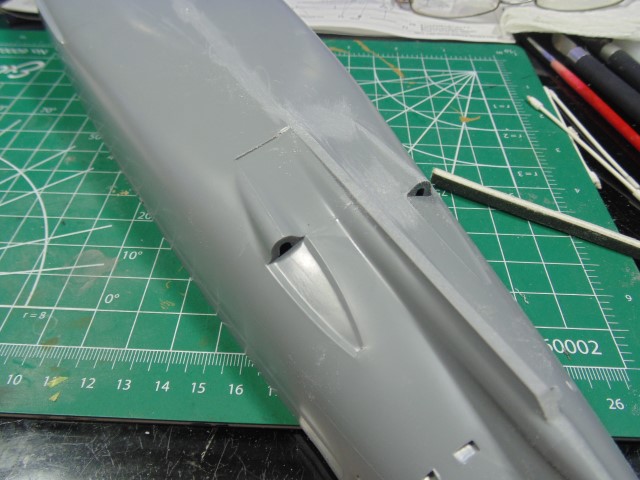
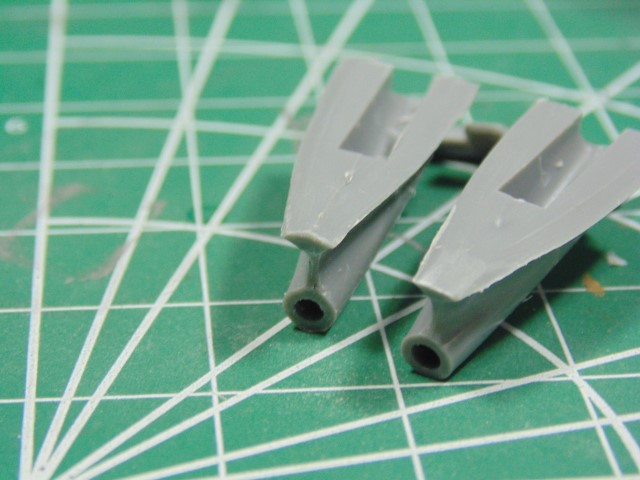
There’s a goodly amount of flash to remove.
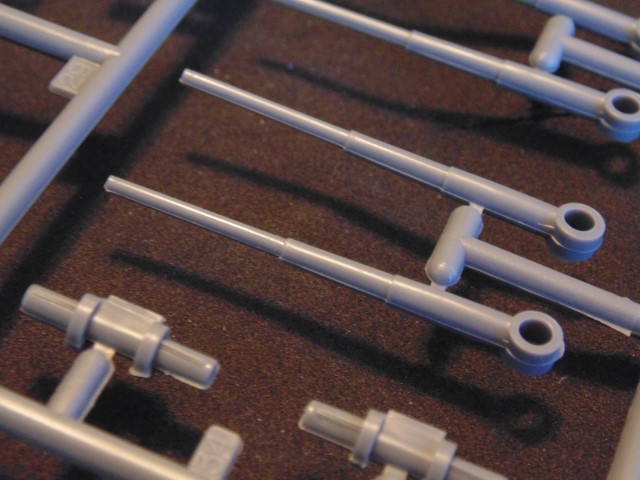
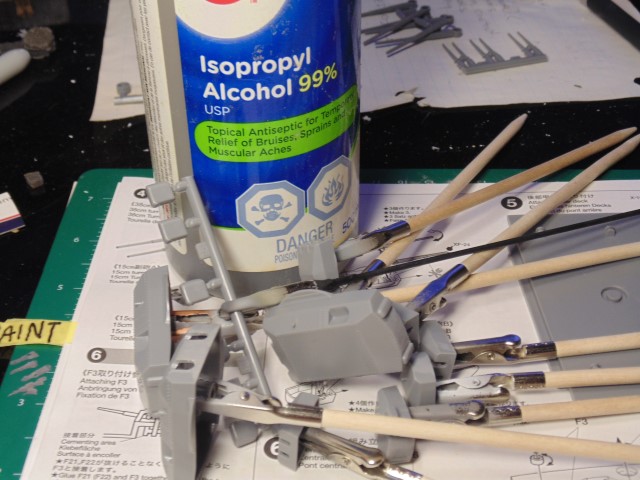
The shaft extensions need some help to fit.
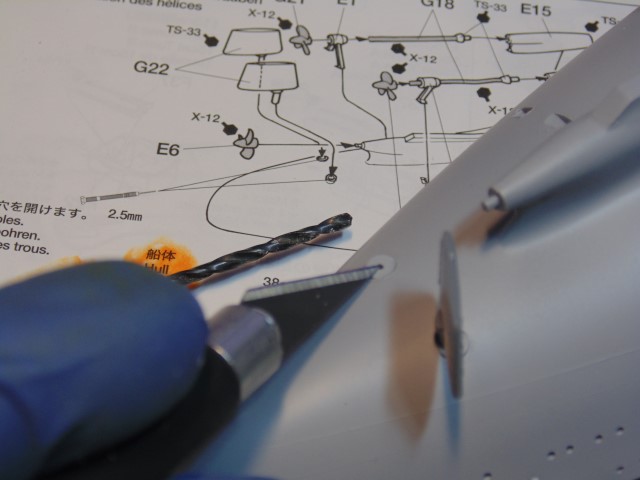
The rudder posts have to be drilled out.
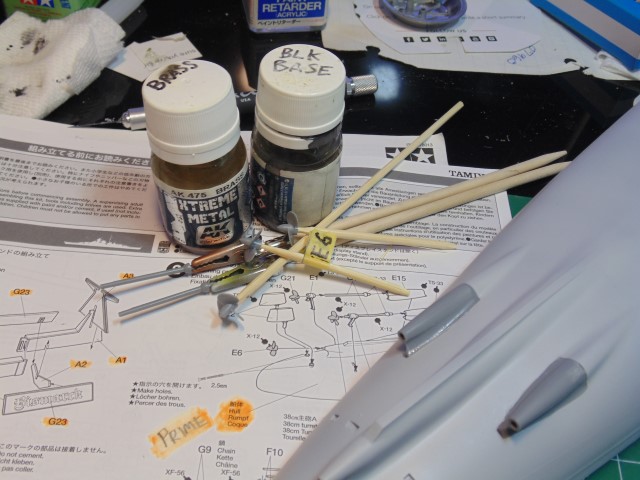
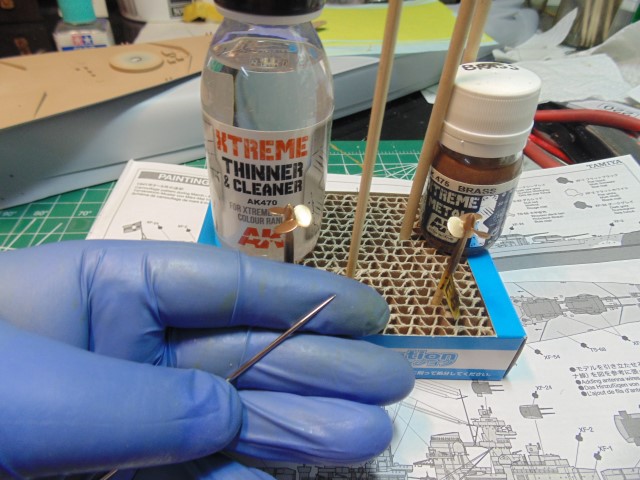
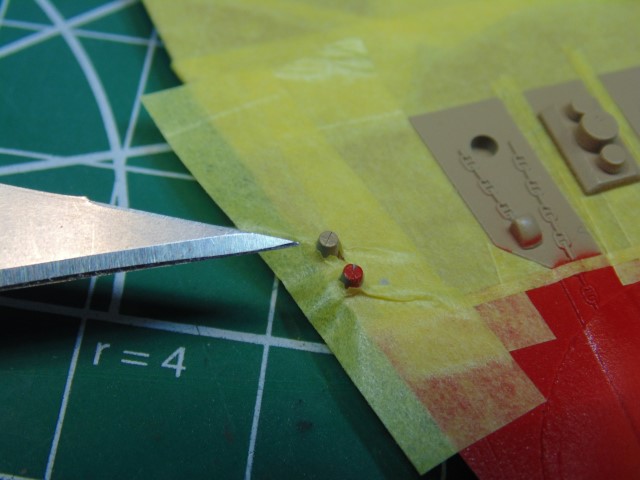
I polished the shafts and prop parts prior to spraying the black base.
You’ll need to hog away plastic to make these parts look right.
A slight gap at the ends needs to be filled.
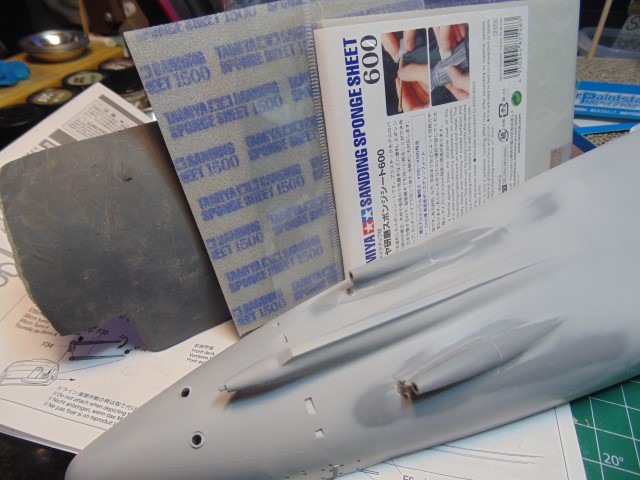
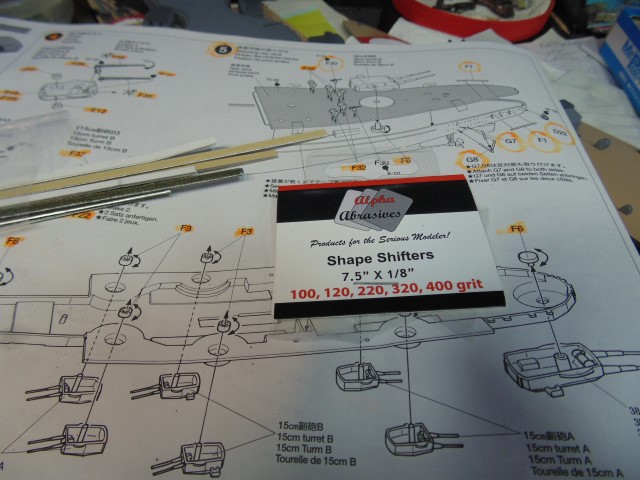
Sponge sanders of different grits will give a smooth finish.
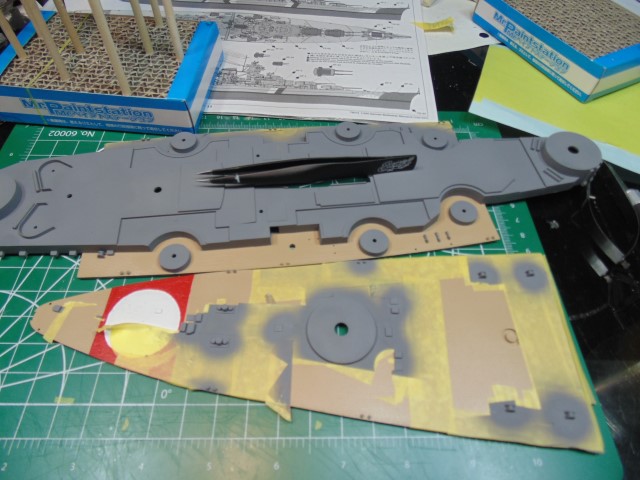
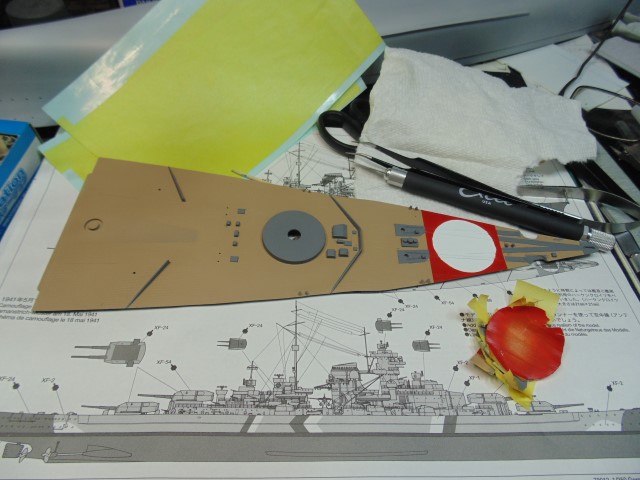
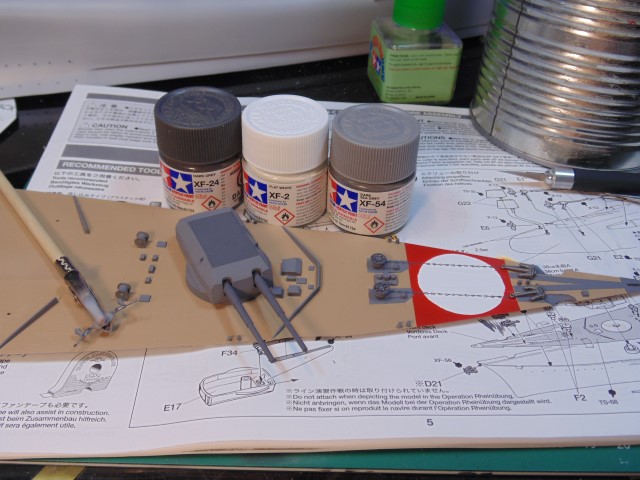
using a circle cutter to make the white roundel.
This gets clear coated to avoid lifting.
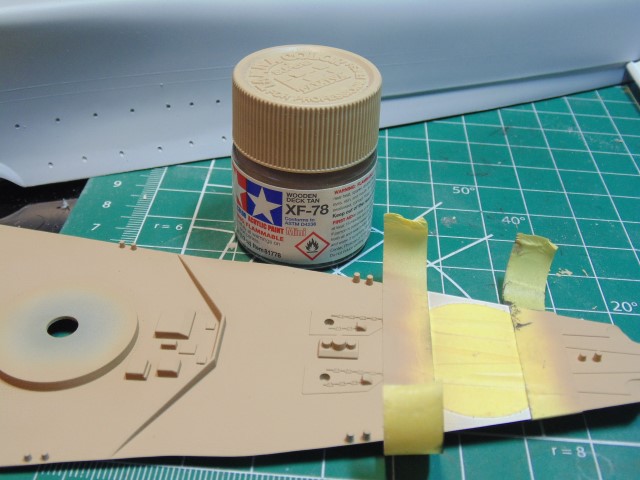
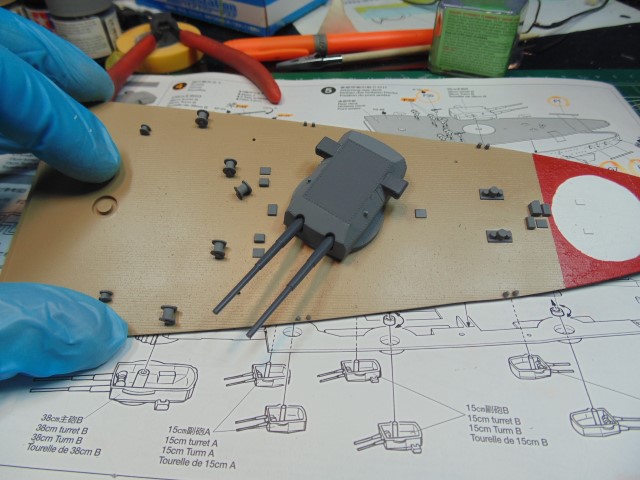
Now for the deck color.
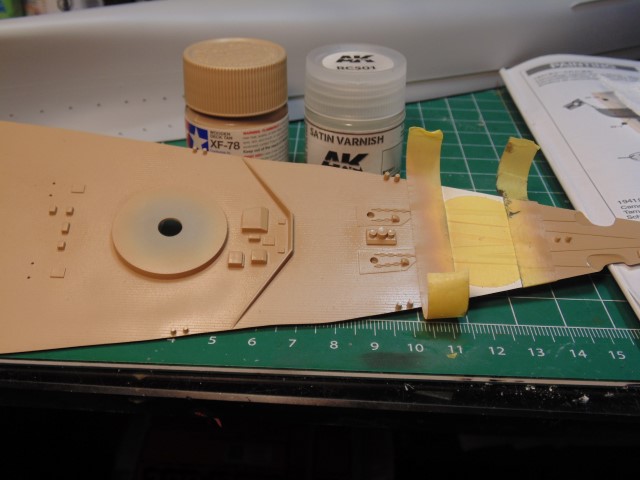
This, as well, gets a protective clear coat.
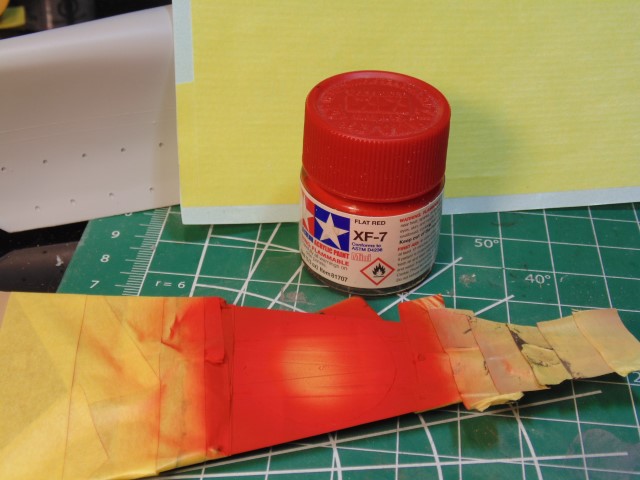
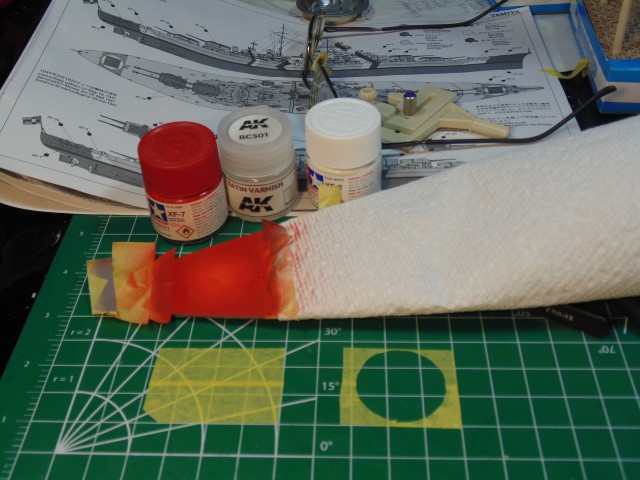
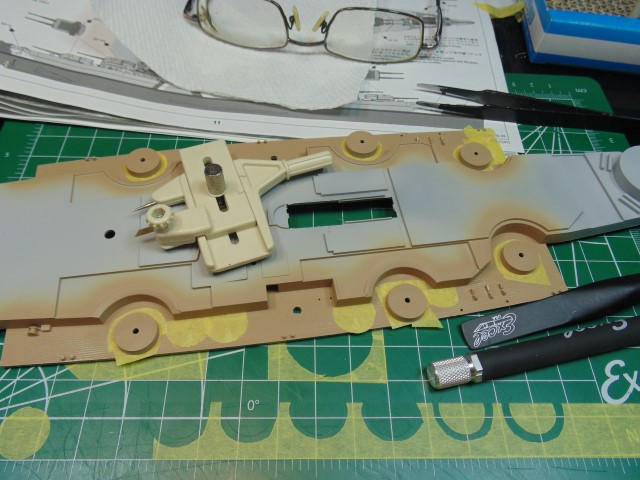
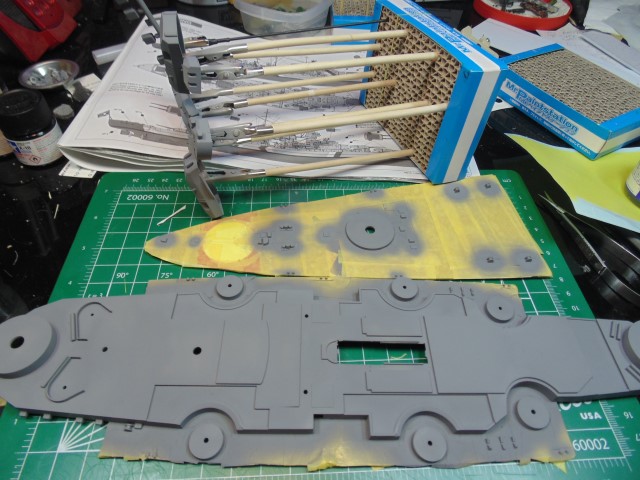
I over mask the area because red shows up like a flood light on lighter colors.
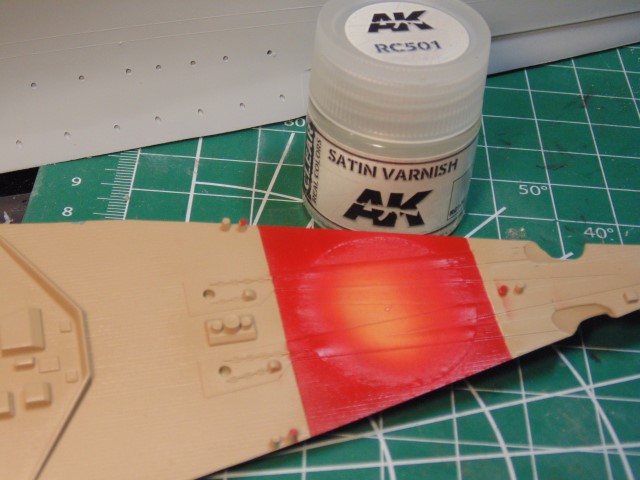
Still some overspray, but easily fixed up.
Clean your airbrush right away with enamel cleaner. If it fully hardens it’s a nightmare to remove later. Also, I let the black base harden for 24 hours.

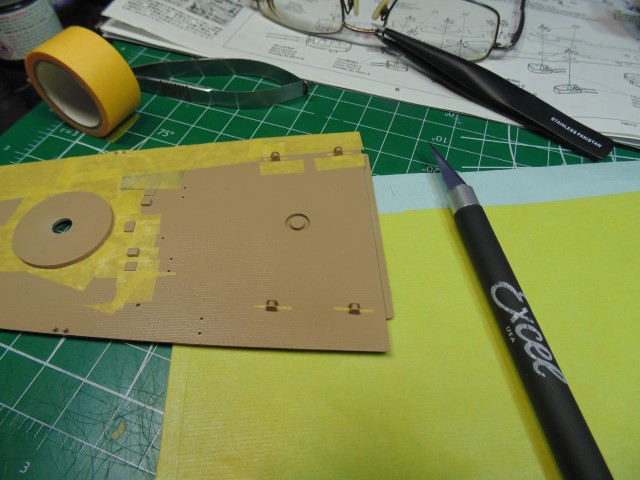
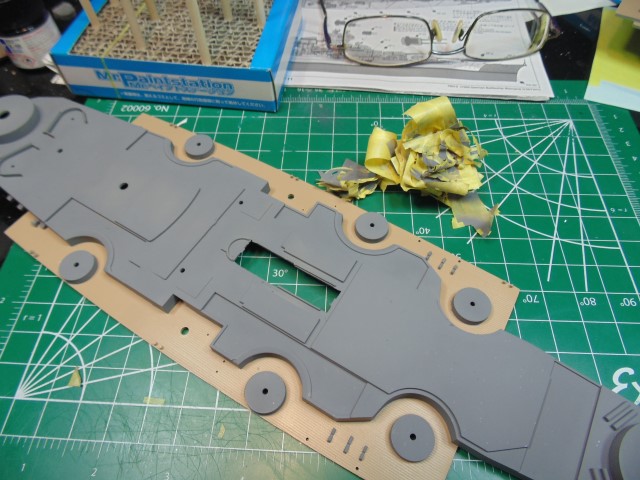
Use a circle cutter to make the masking curves.
At complex points, simply slice a cross then force the tape over.
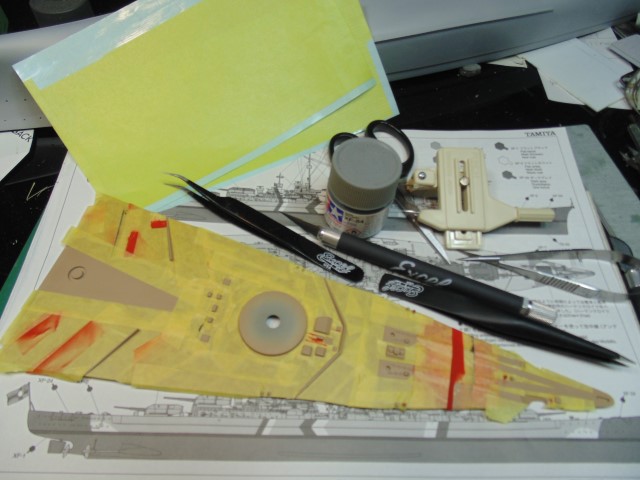
All masked and ready for a spray.
Lots of hours of fun equal a decent looking result.
You’ll still have to do some fine hand painting… par for the course.
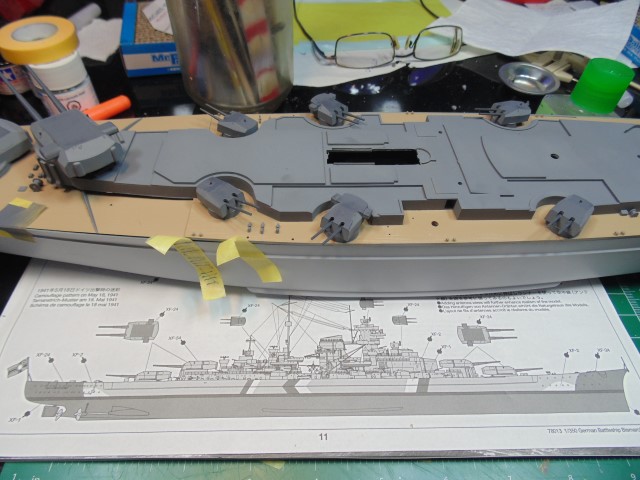
Propulsion parts are ready to be installed on the painted hull.
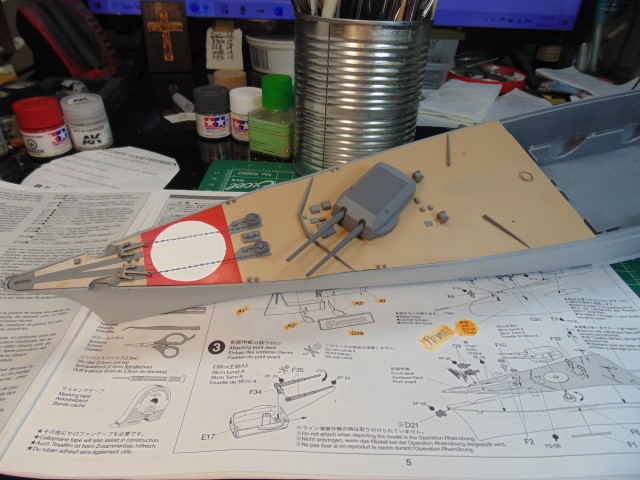
I’m not attaching the forward deck until the other two sections are complete. For a full written explanation of these pictures you can read it at the Sunward Hobbies blog Tamiya Bismarck Battleship Build Part 2 • Canada's largest selection of model paints, kits, hobby tools, airbrushing, and crafts with online shipping and up to date inventory.
God Bless.