Hi all
between two visits by the grandchildren, I managed to start this airborne IFV. Trumpeter also released the BMD-3 which I’ve already built. Both vehicles share the same hull. They differ by the turret, a BMP-2 one for the BMD-3, a BMP-3 look alike one for the BMD-4.
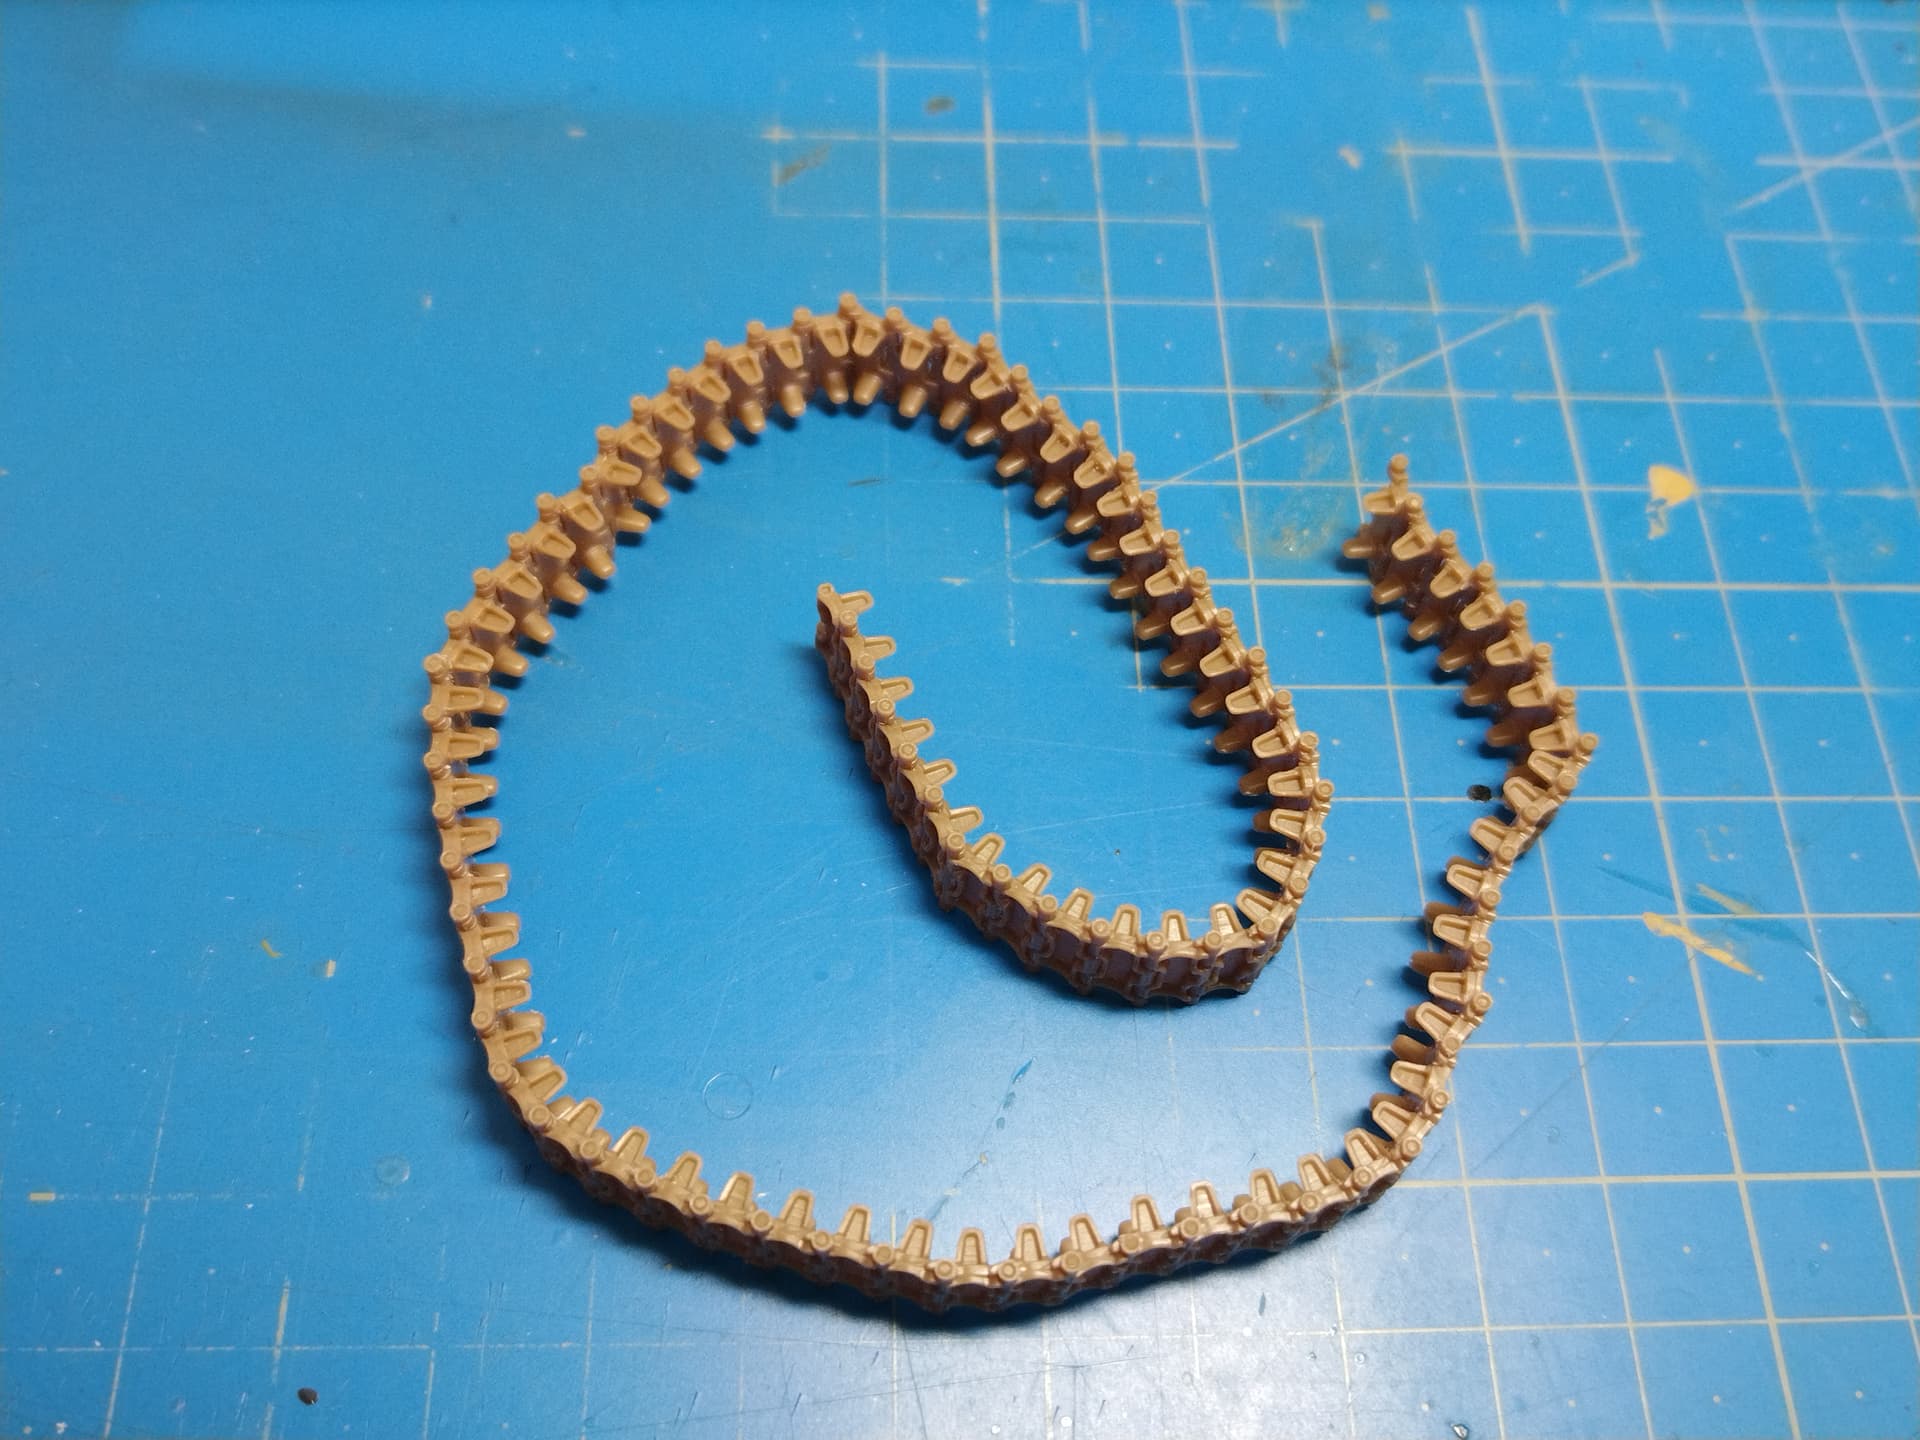
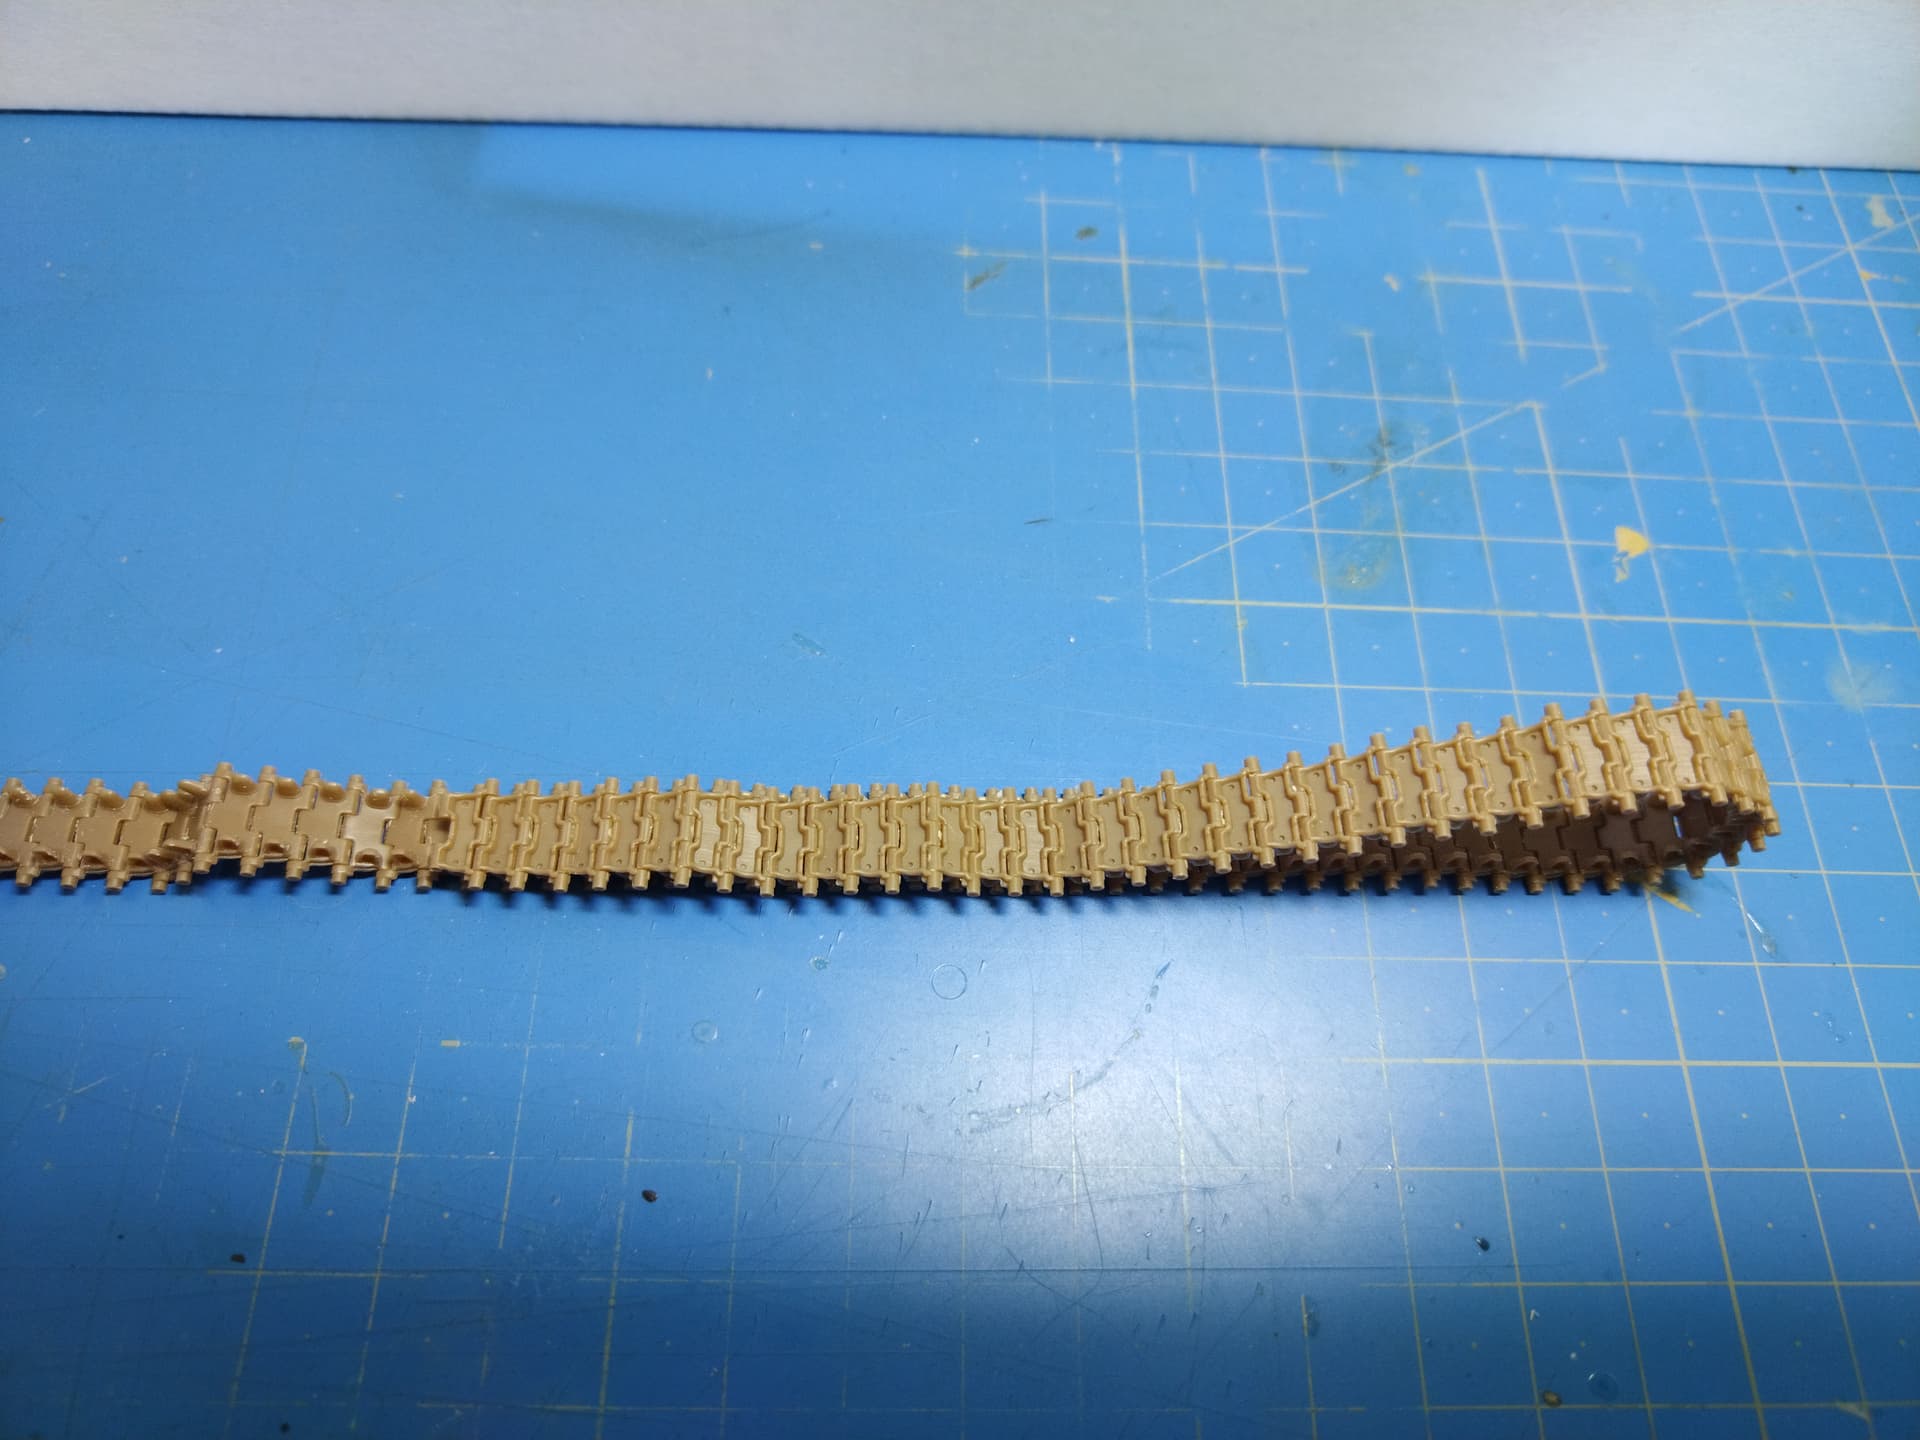
Trumpeter has included all the hull sprues of the BMD-3 model and added a new turret sprue as well as a different PE plate. The tracks are workable.
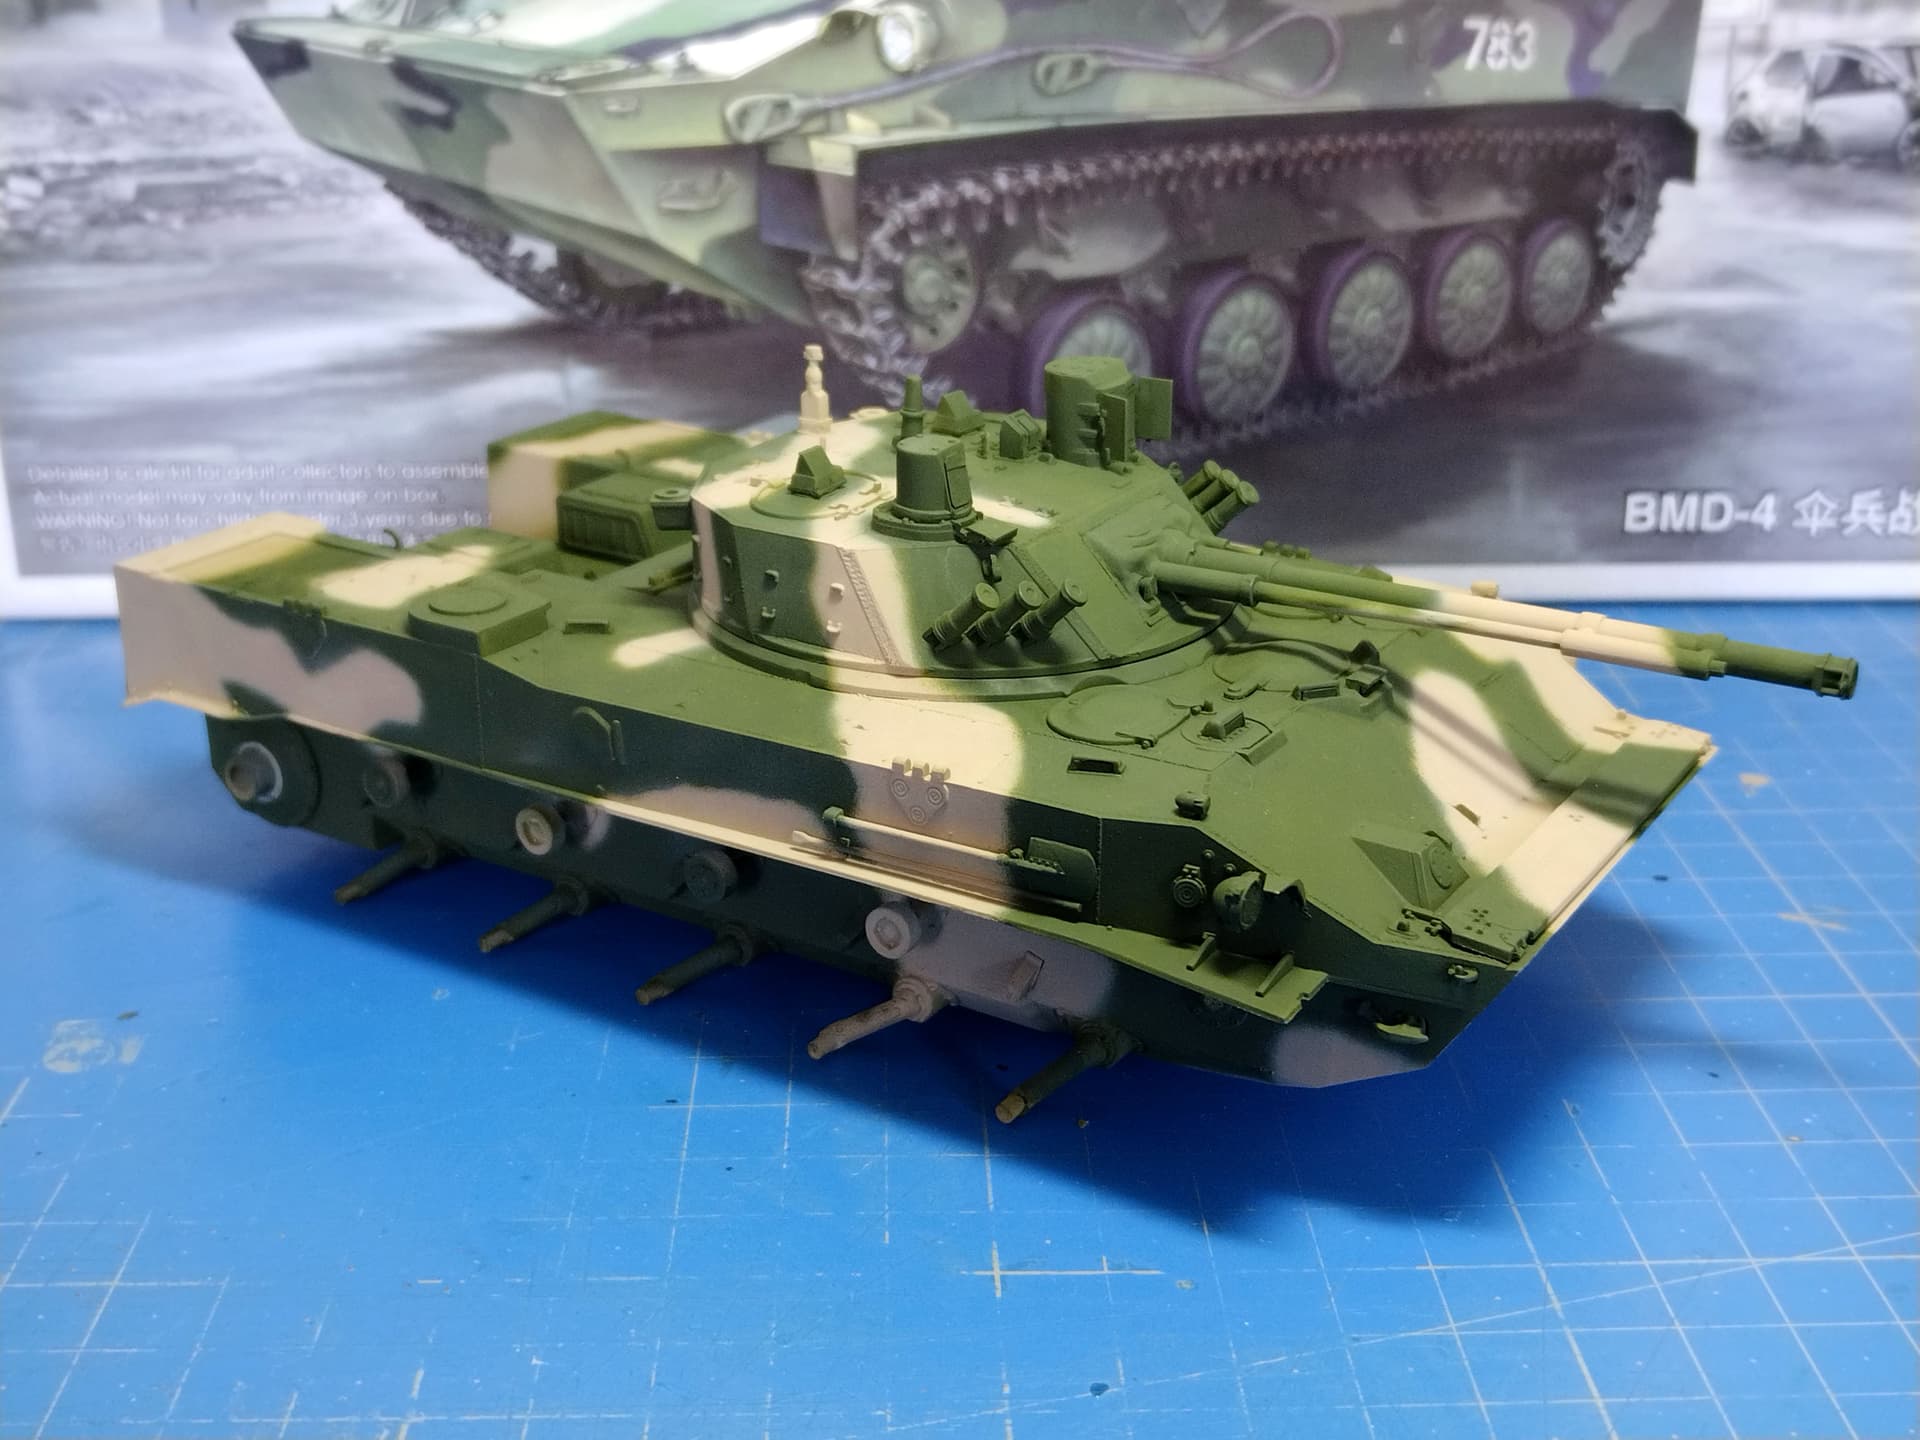
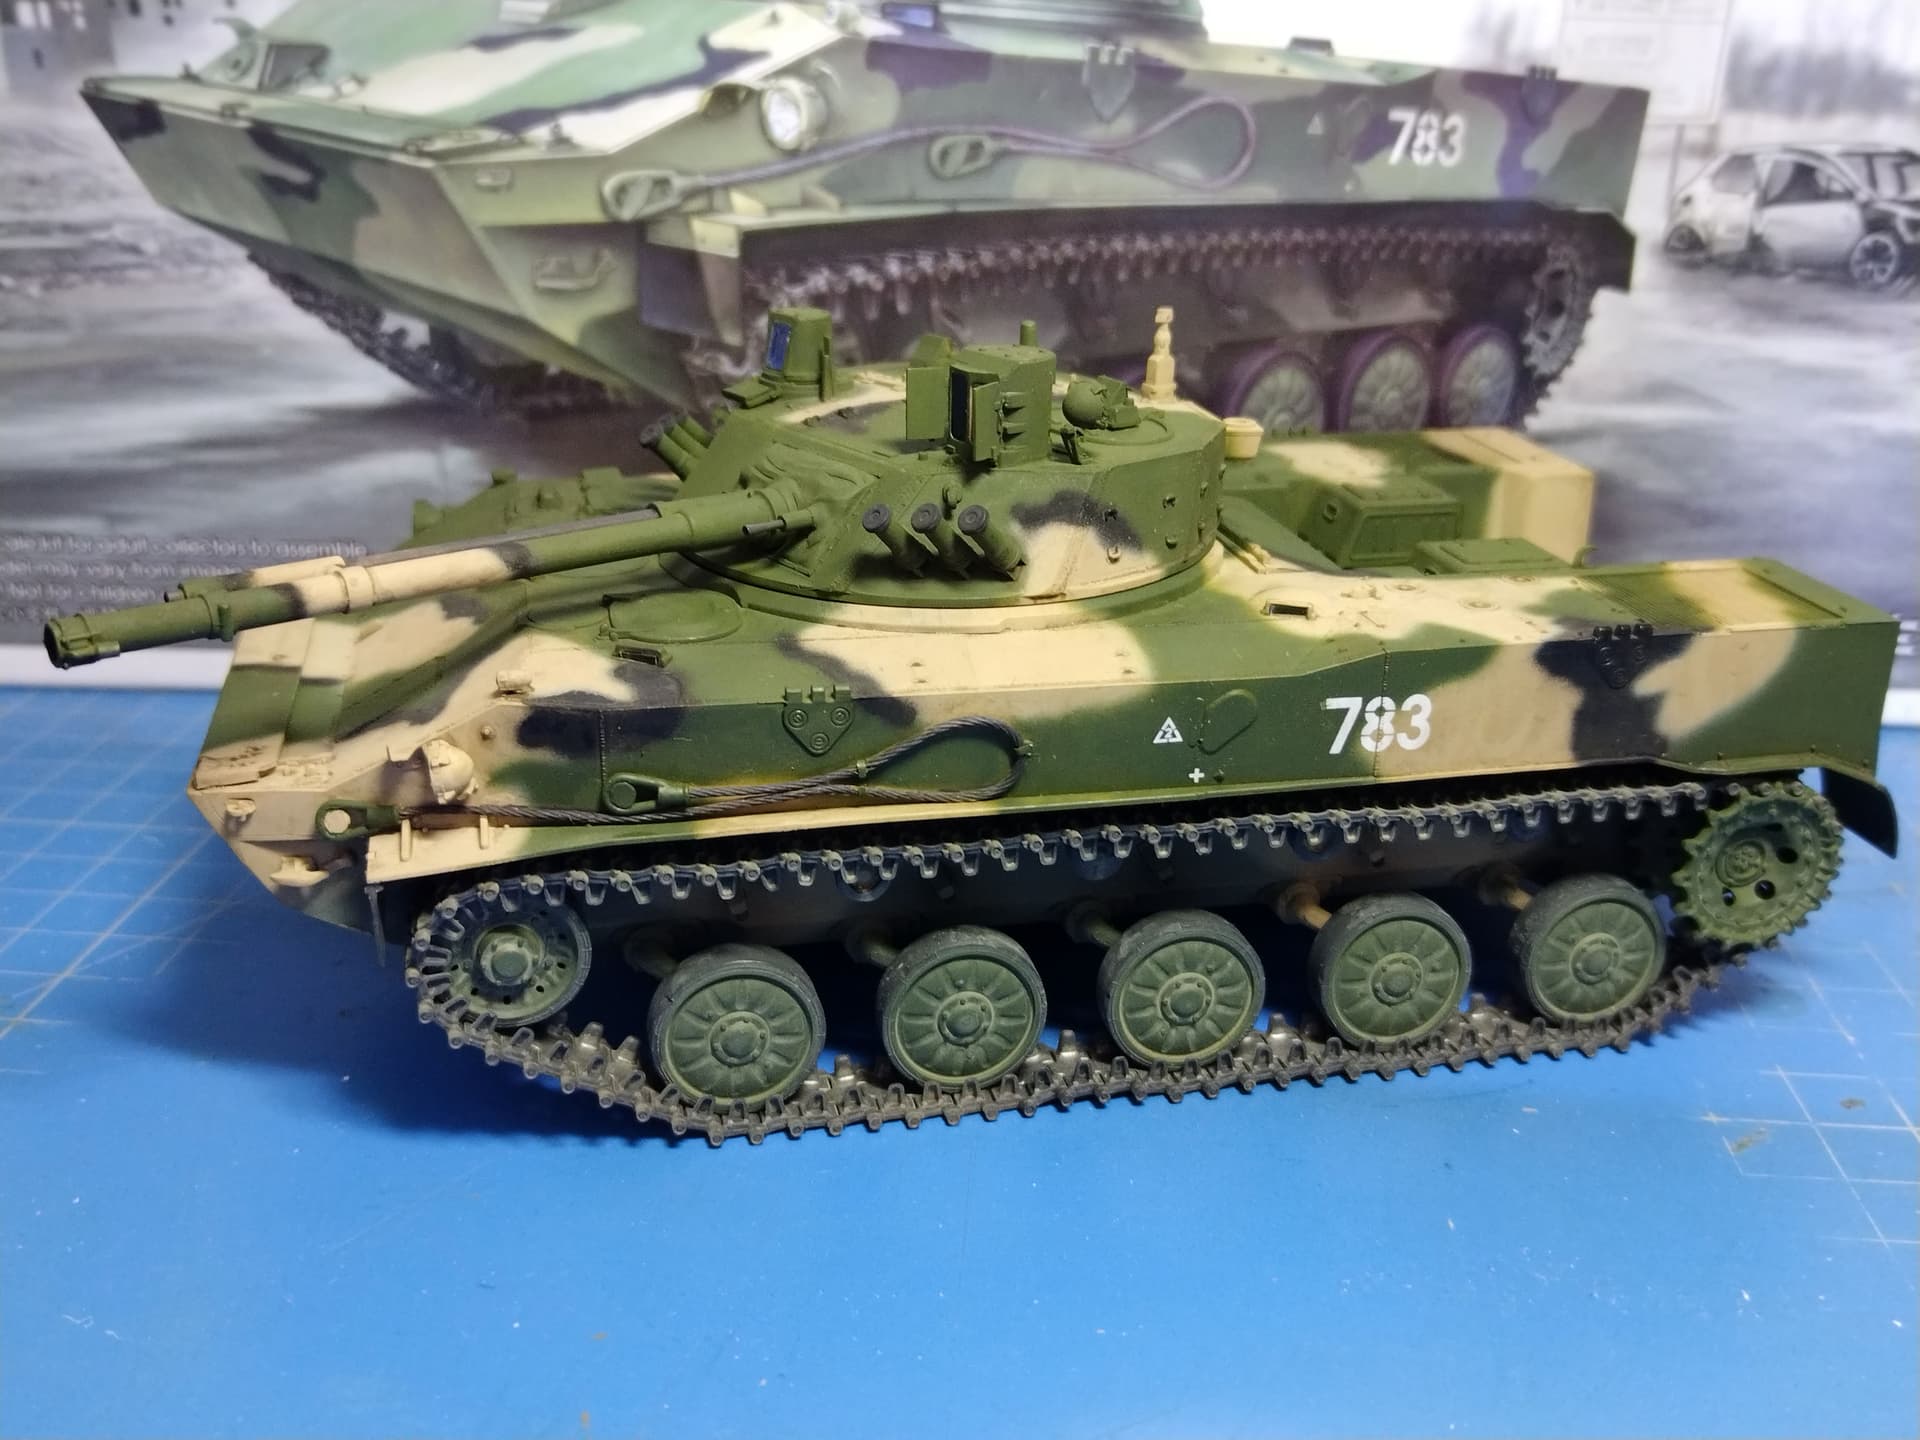
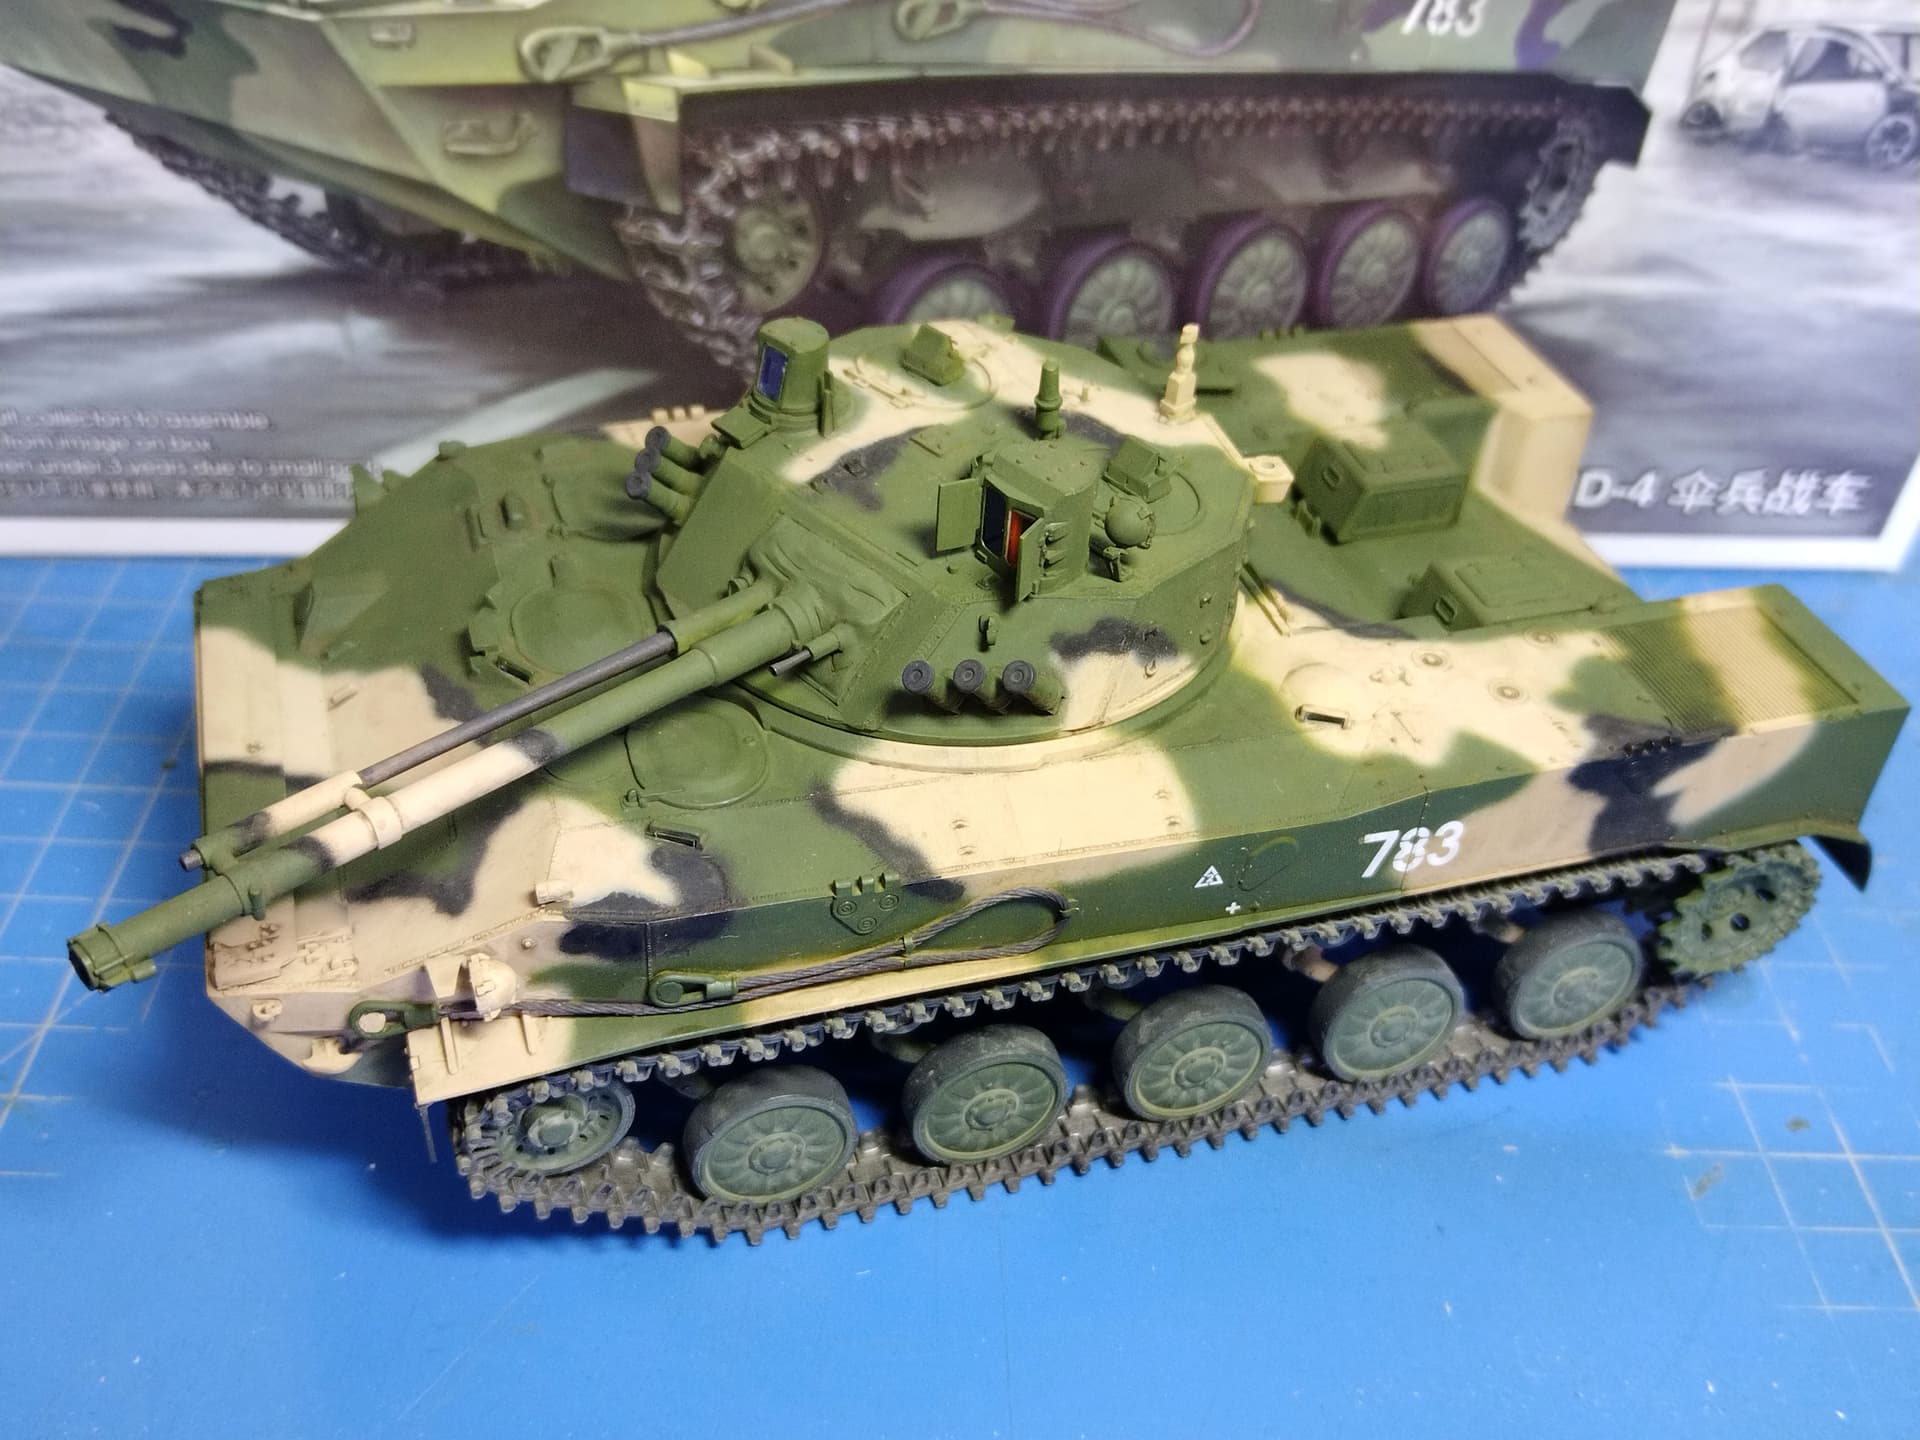
Two decorations are proposed: the plain green and the usual 3 tone camo which I’ve opted for.
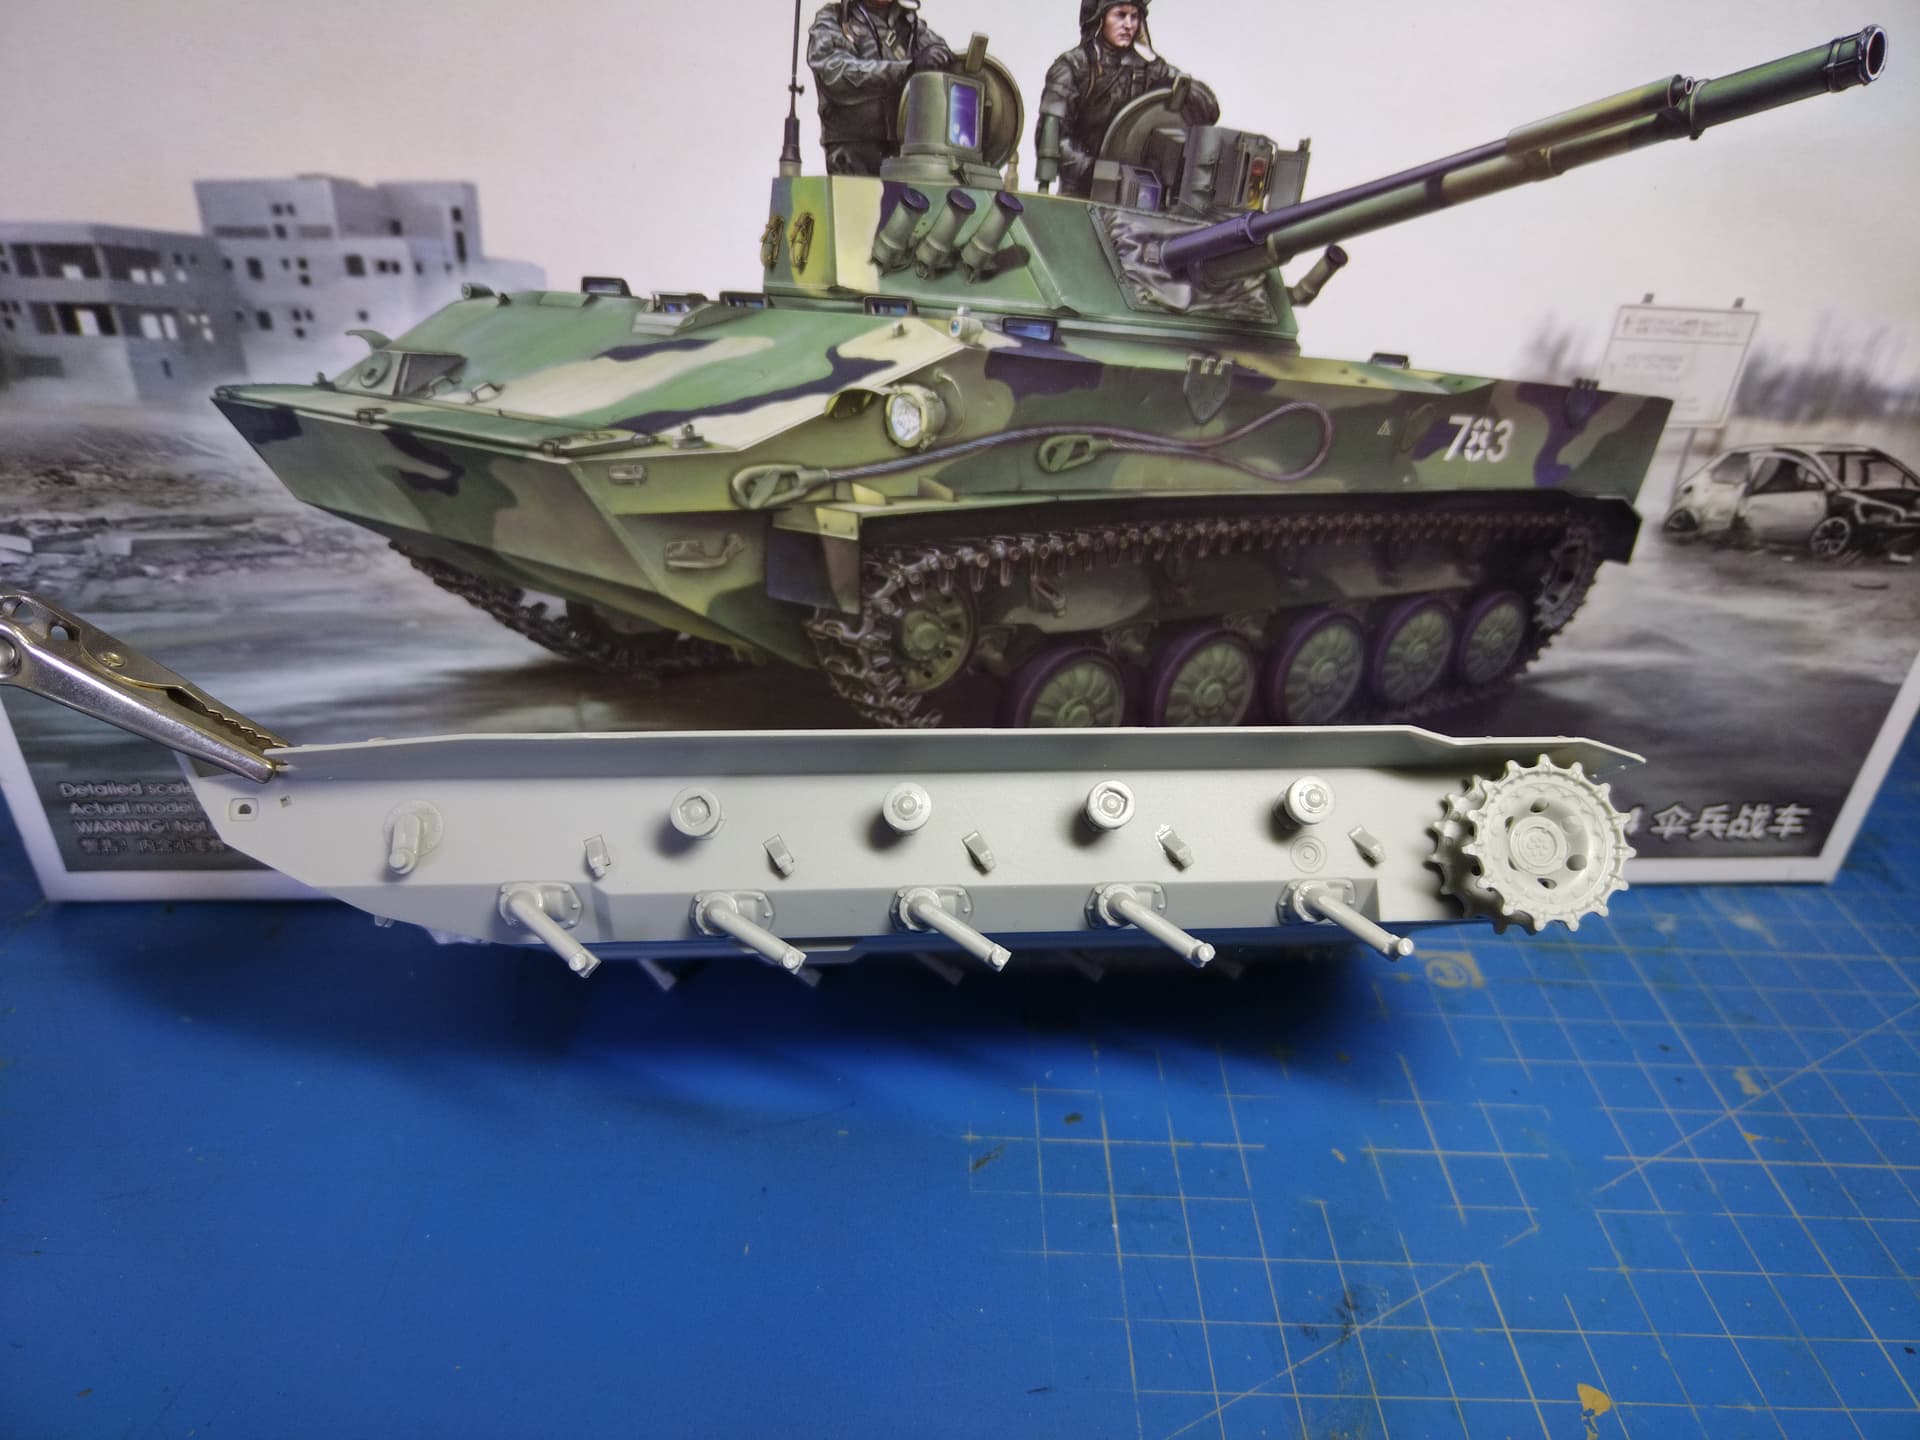
So far I managed to build the suspension, one track and clean up the links of the second track.
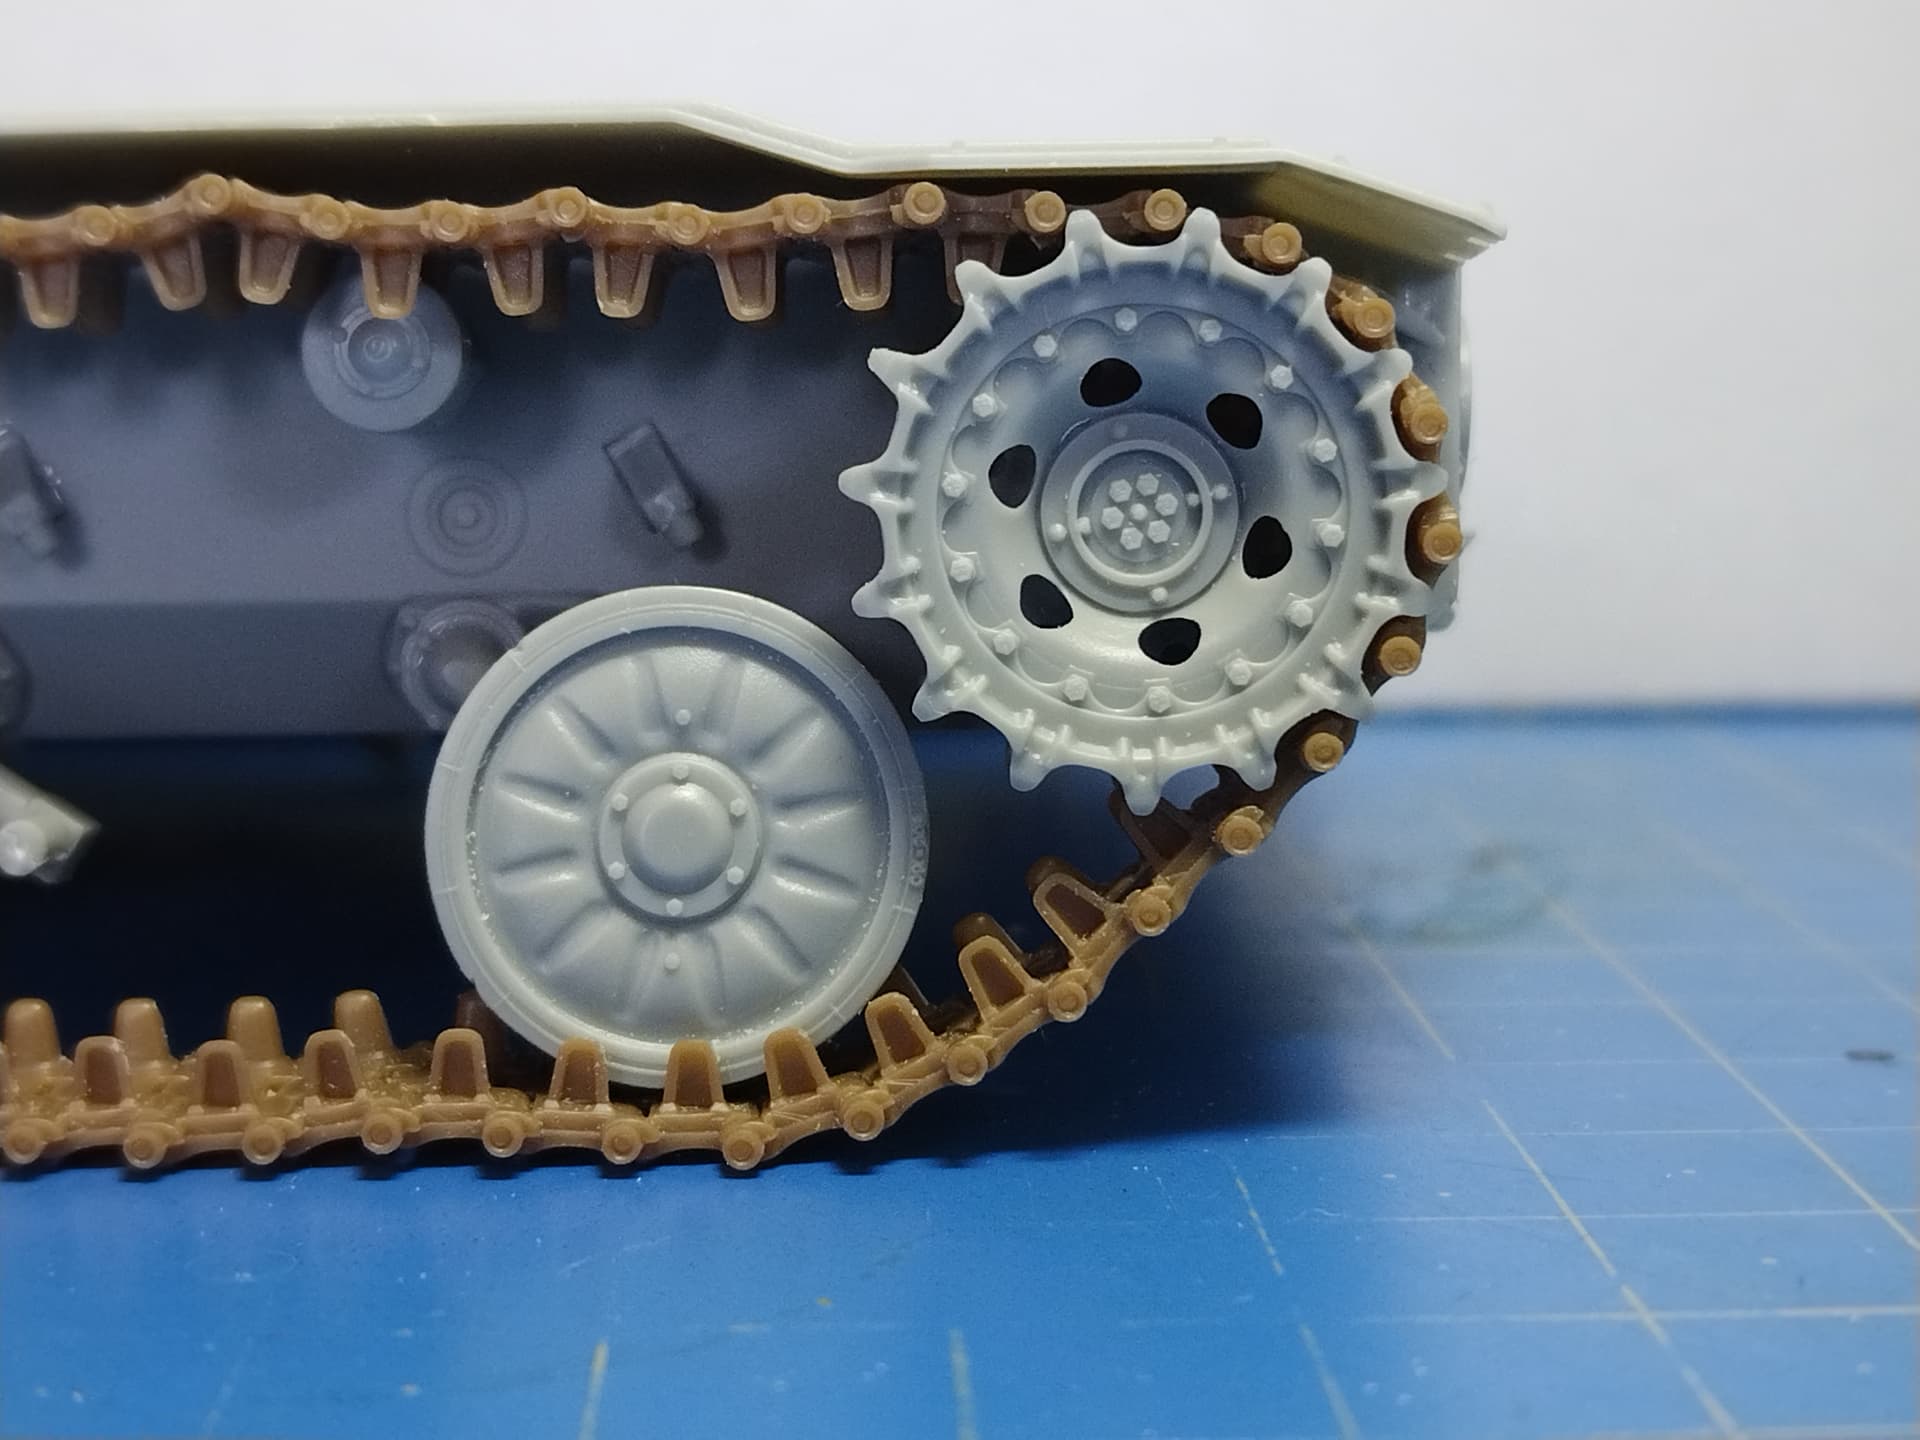
The alignment of the suspension arms needs some care. It’s better to test fit them before gluing the arms. The rods to insert into the roadwheels are larger than the diameter of the hole. You’d better enlarge the hole to avoid damaging the rods.
To facilitate the installation of the tracks I advise not to glue neither the sprockets nor the hooks above them. The fit of the track around the sprocket is perfect when there is some tension. 84 alinks are required by Trumpeter however 82 should fit the bill.
In spite of what the boxart designer suggests I don’t think that the BMD-4 has seen action. In the topic dedicated to the war in Ukraine, I only found pictures of BMD-2 and 4M which is quite a different vehicle.
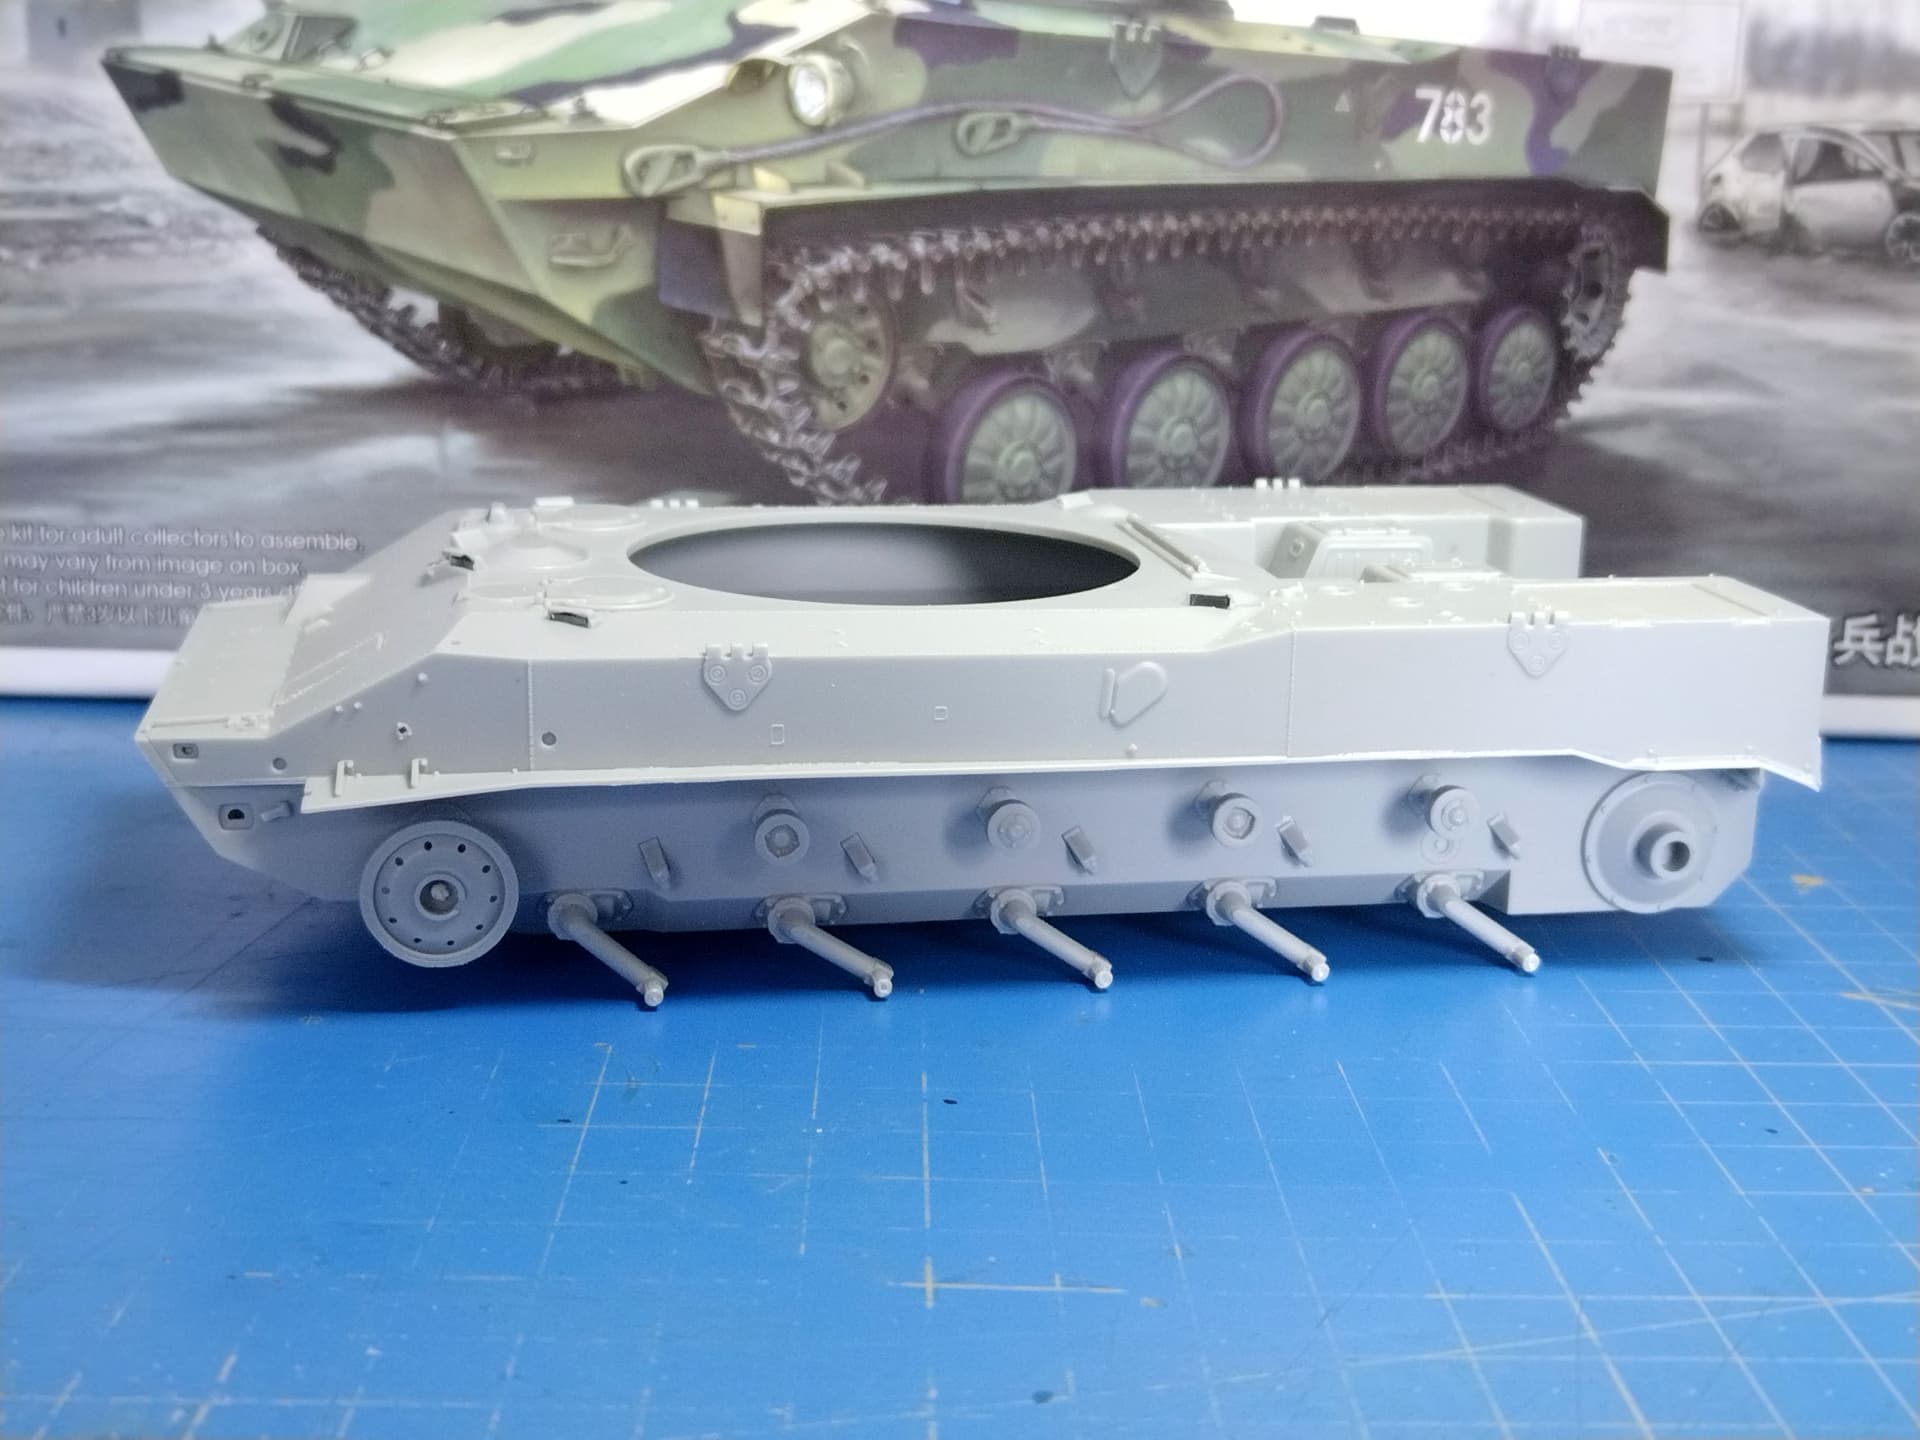
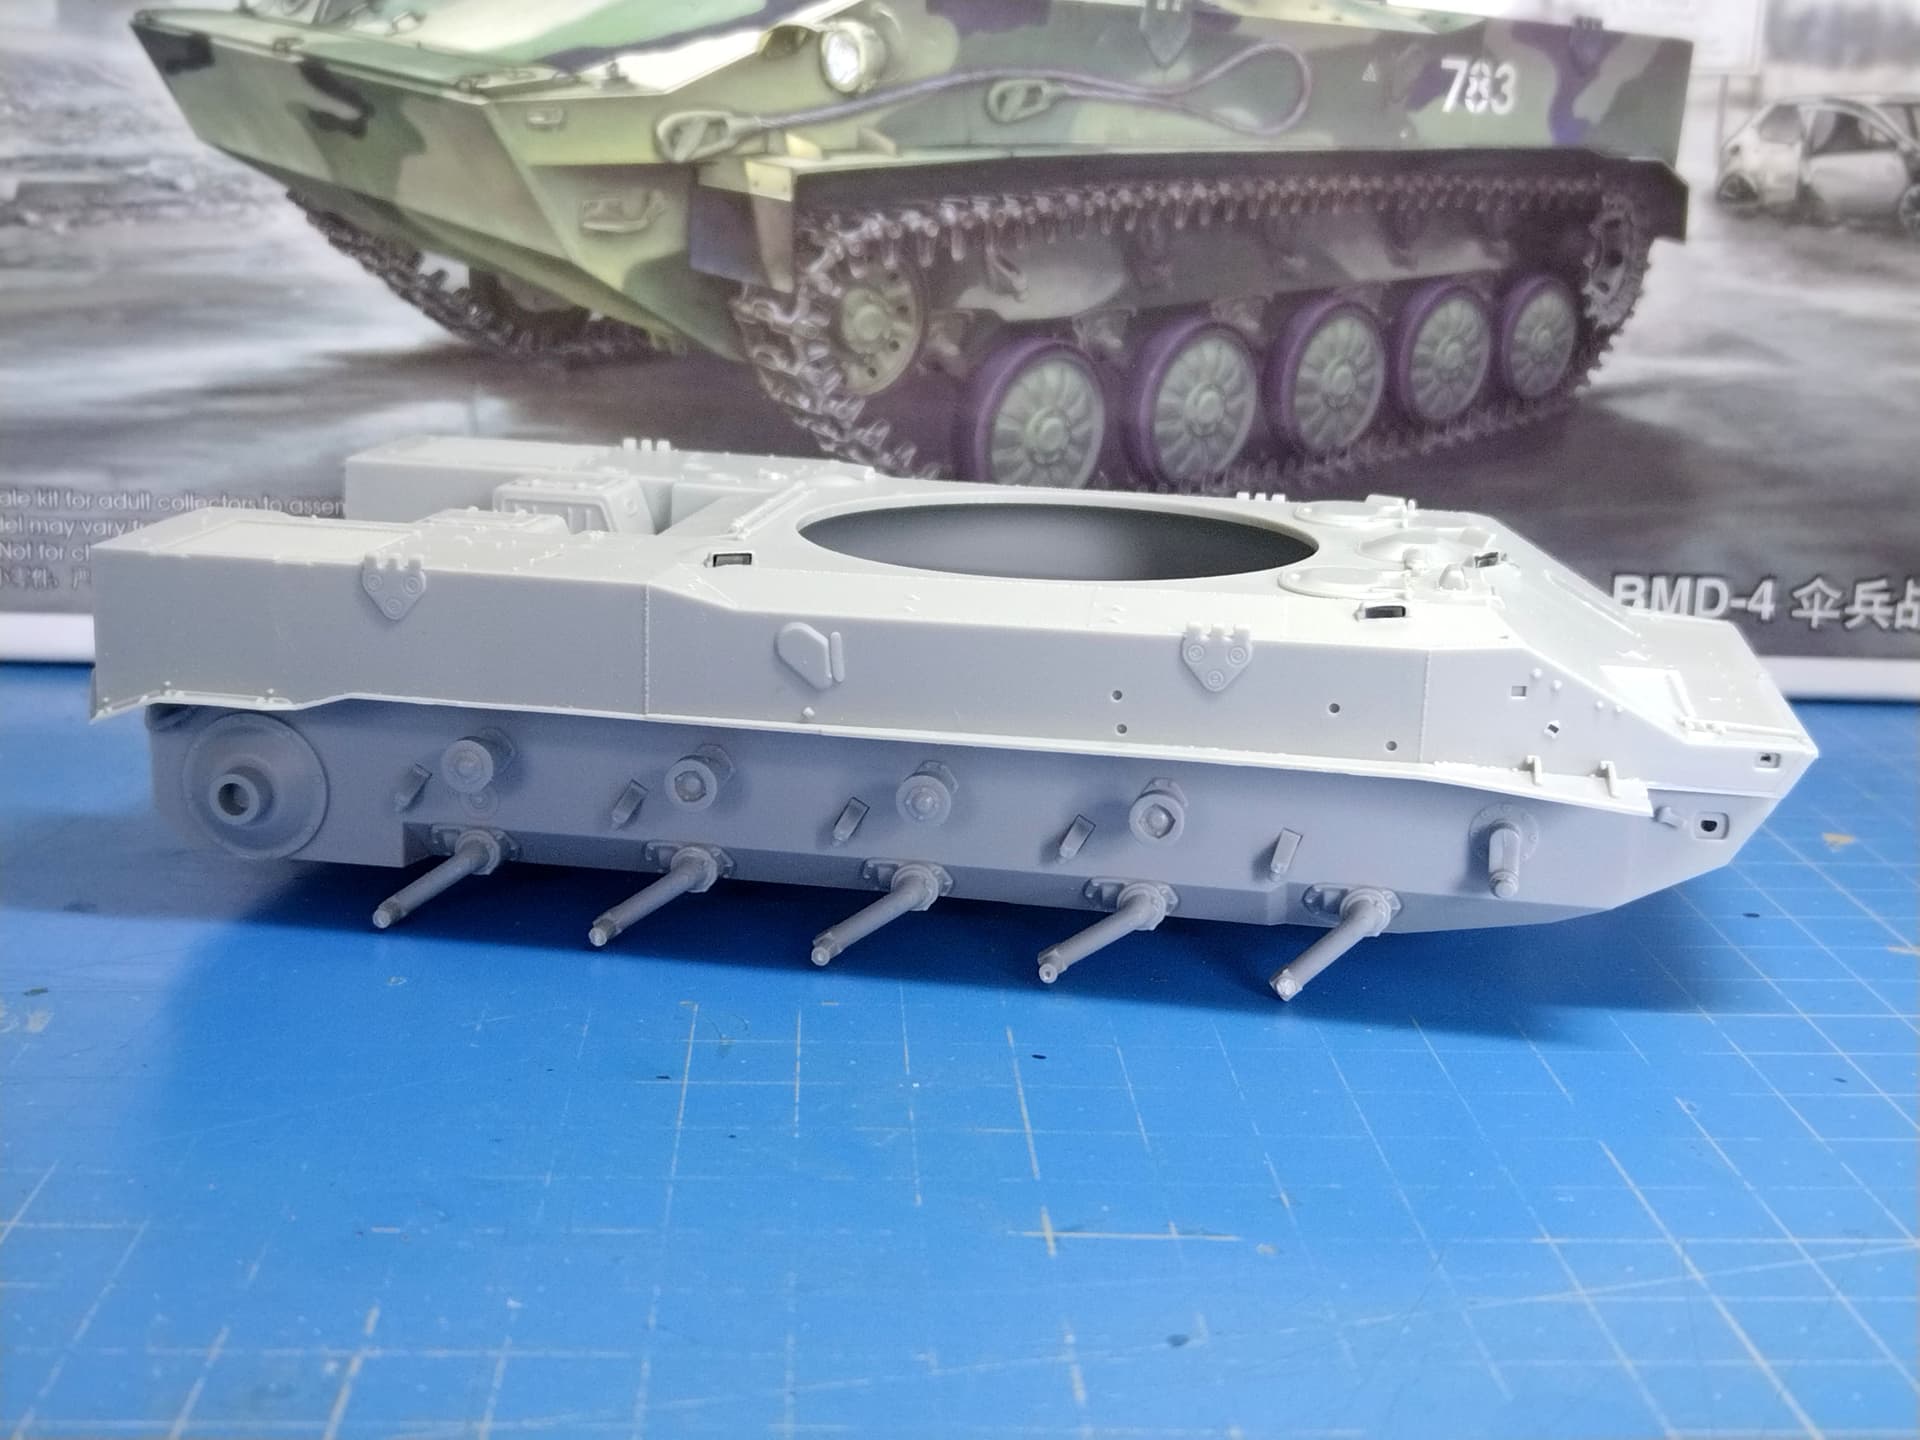
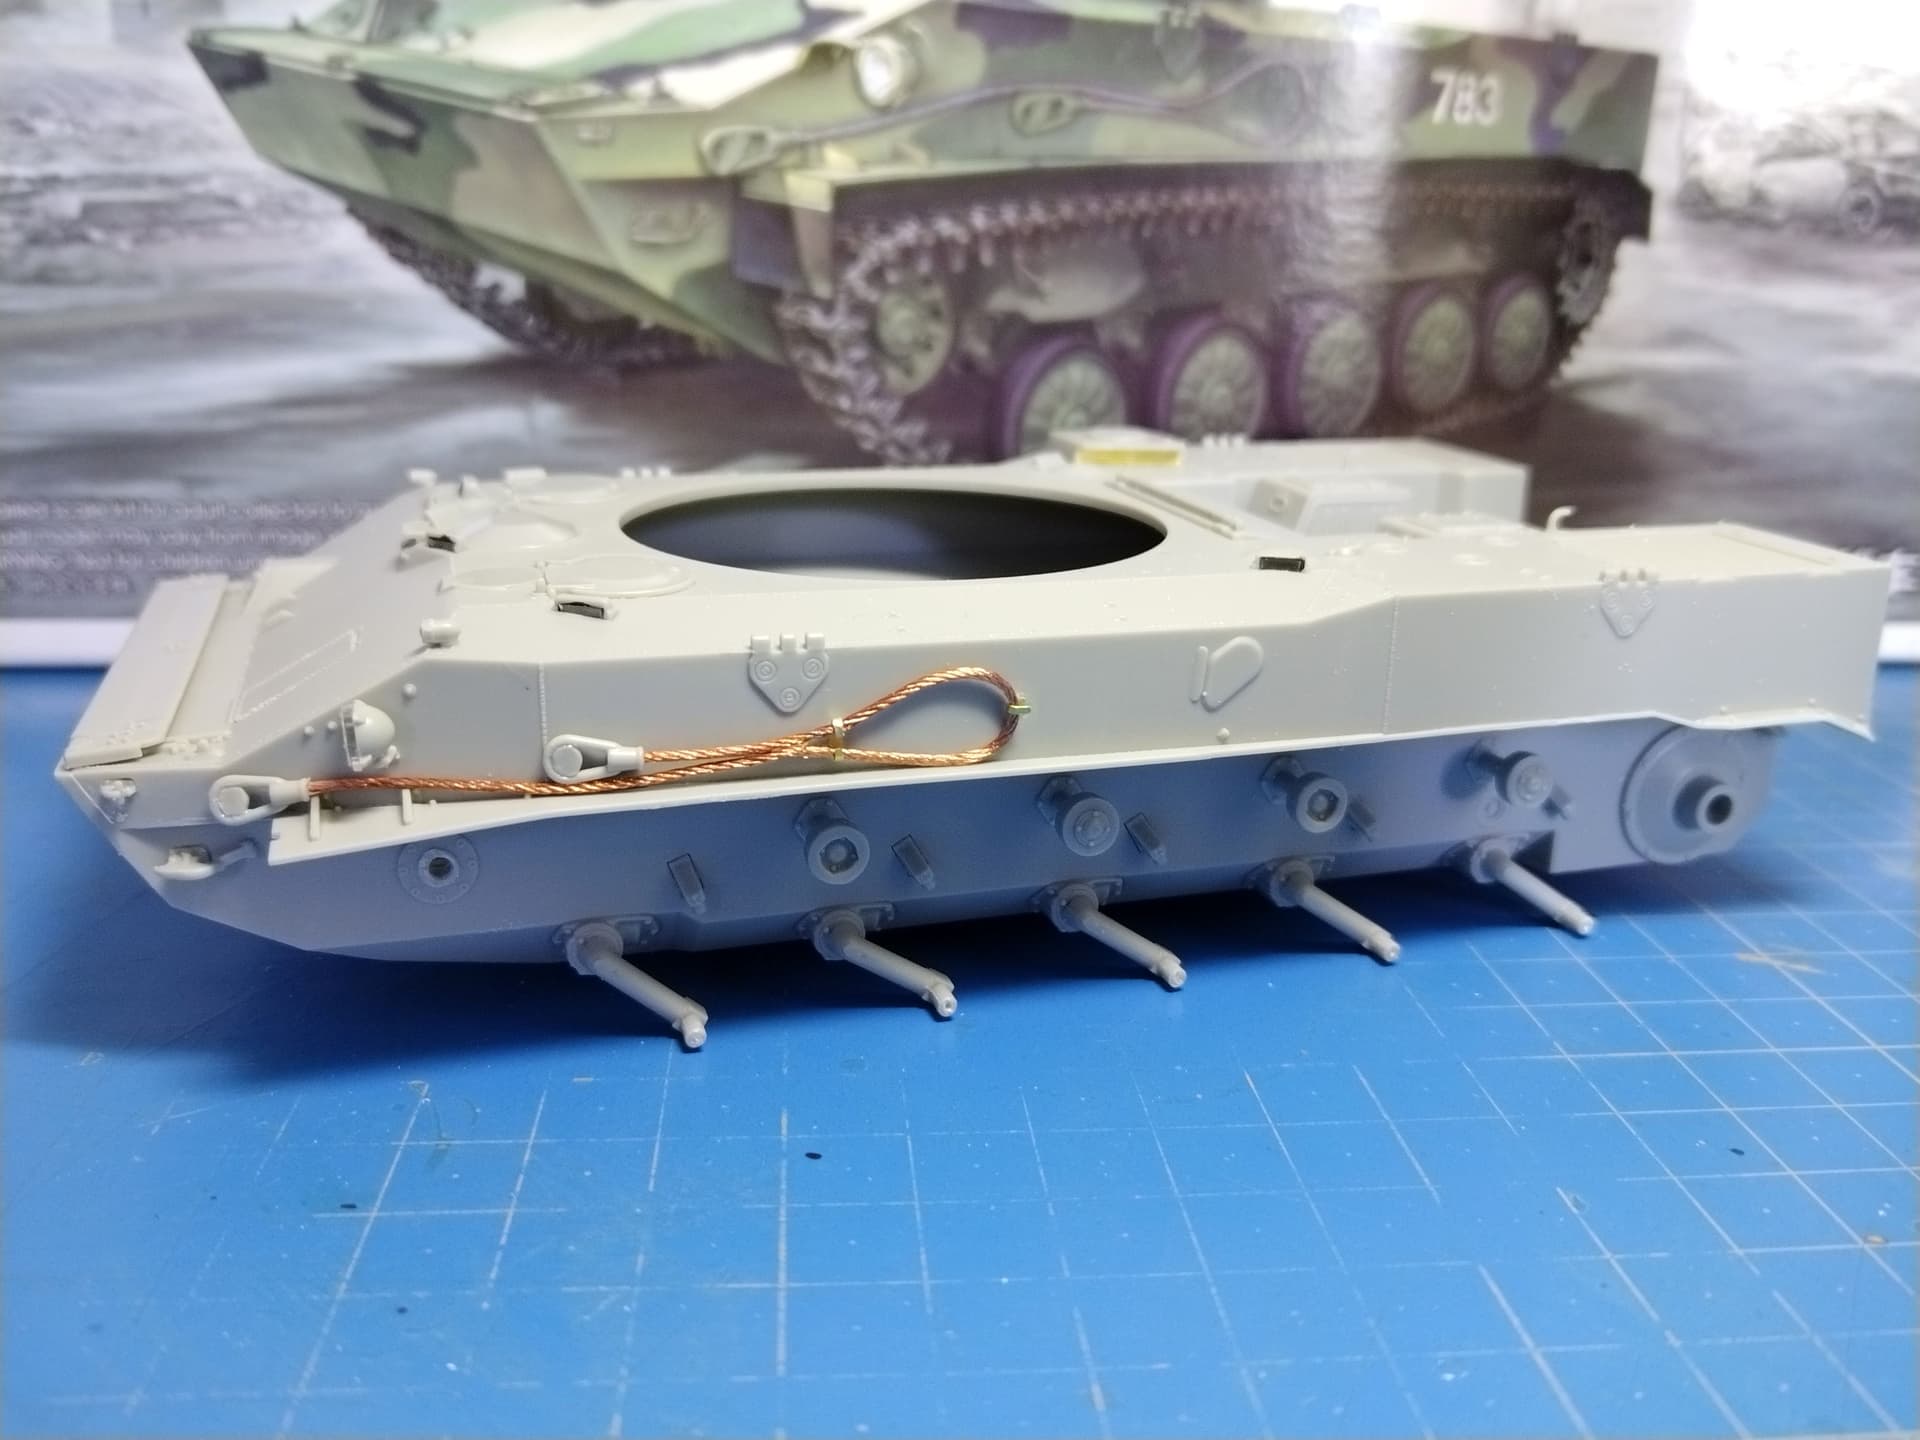
The hull is nearly complete. I had to remove some plastic of the inner side of a groove in the lower hull where the front narrows so the upper hull can sit properly. The rest of the build was pretty smooth.
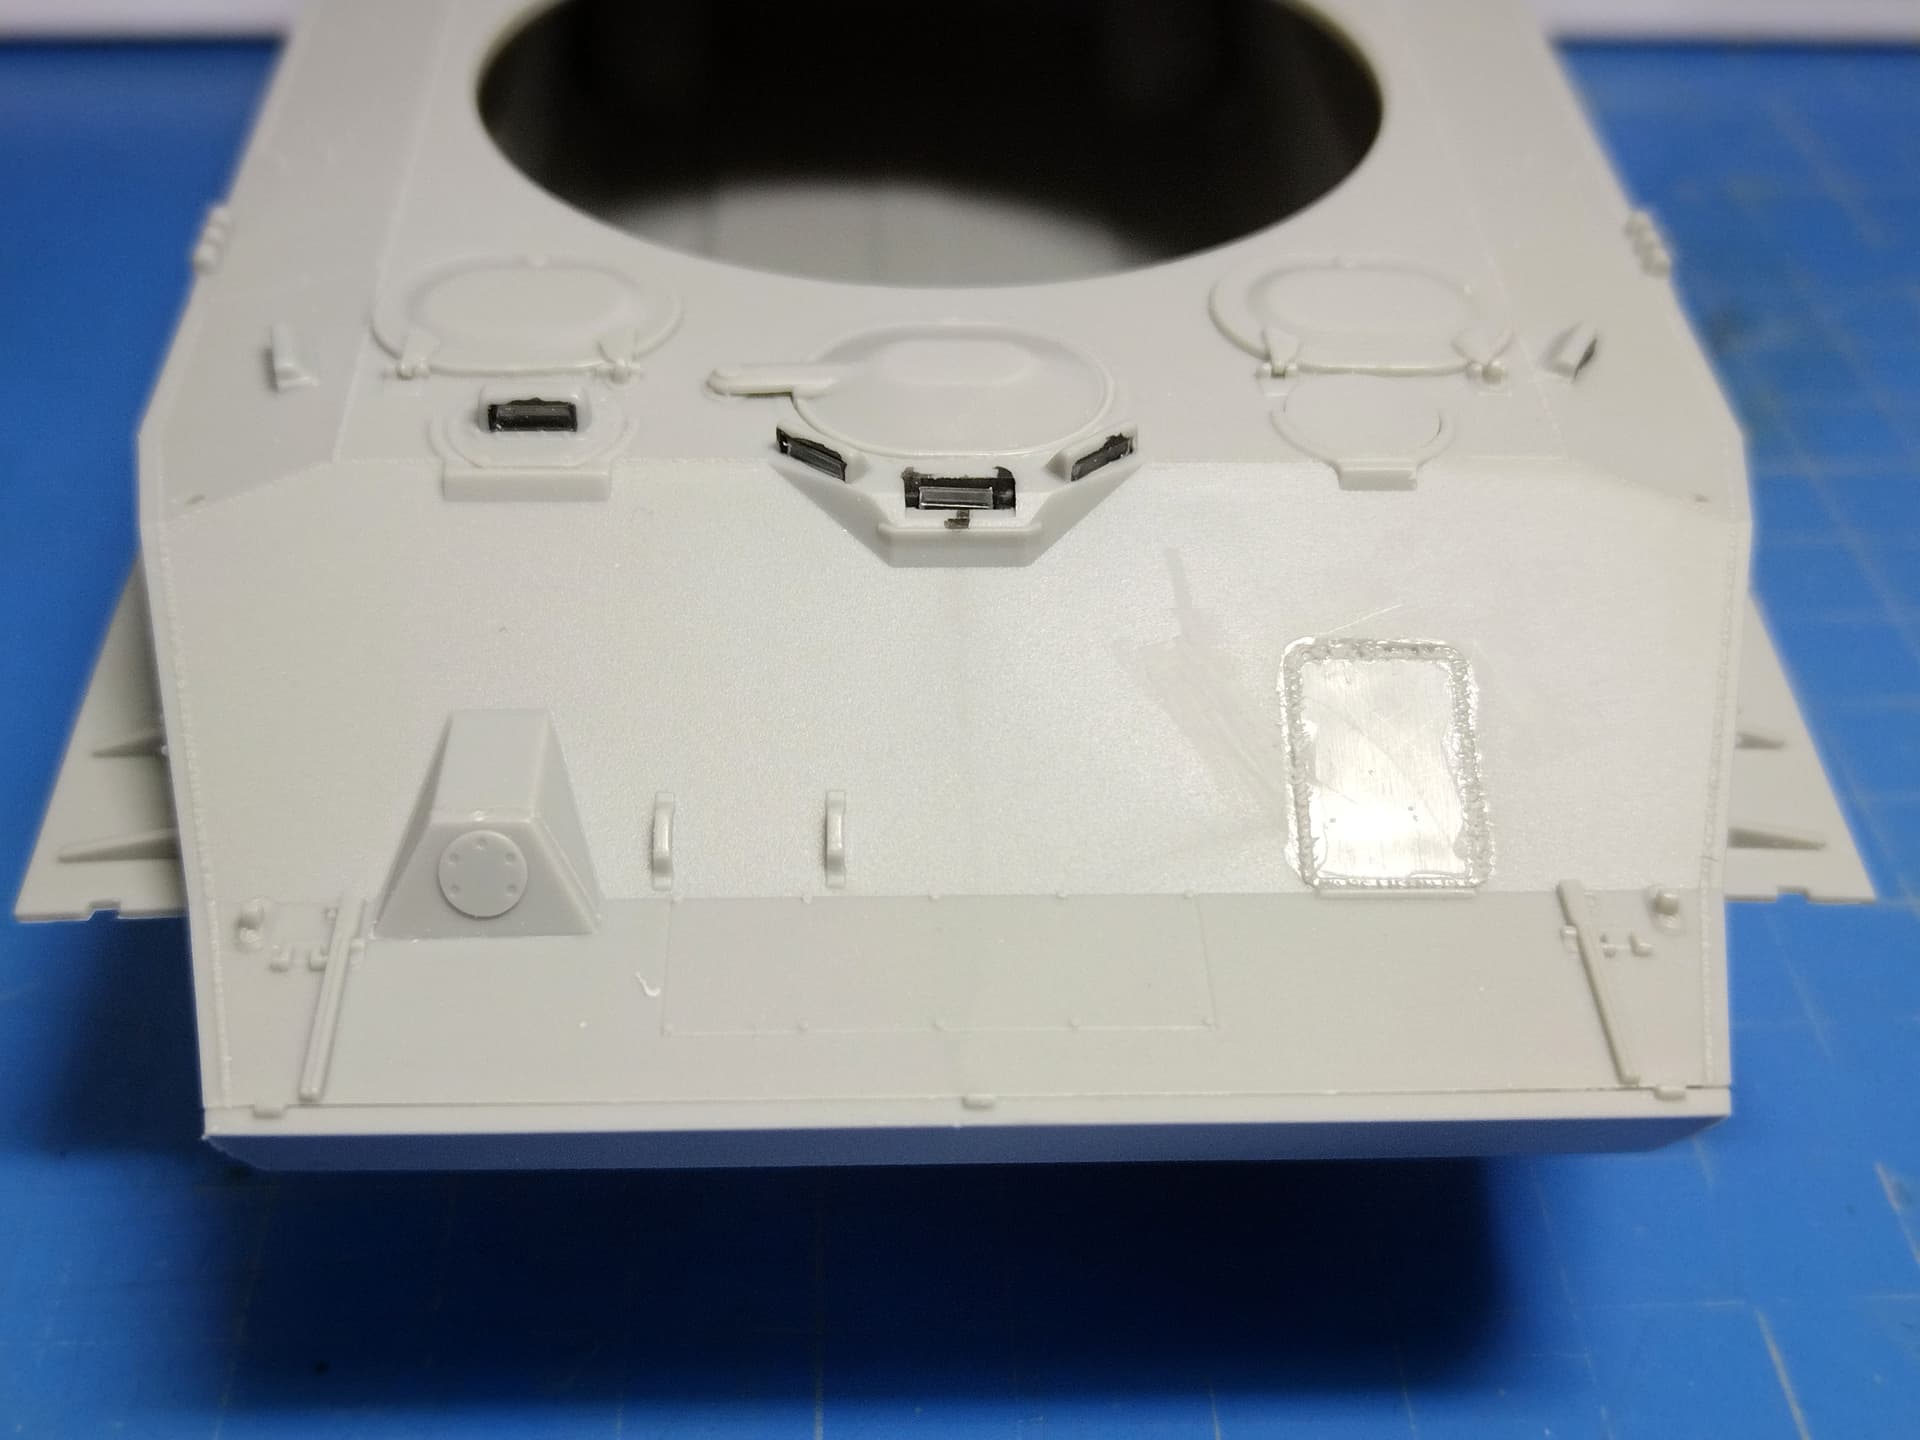
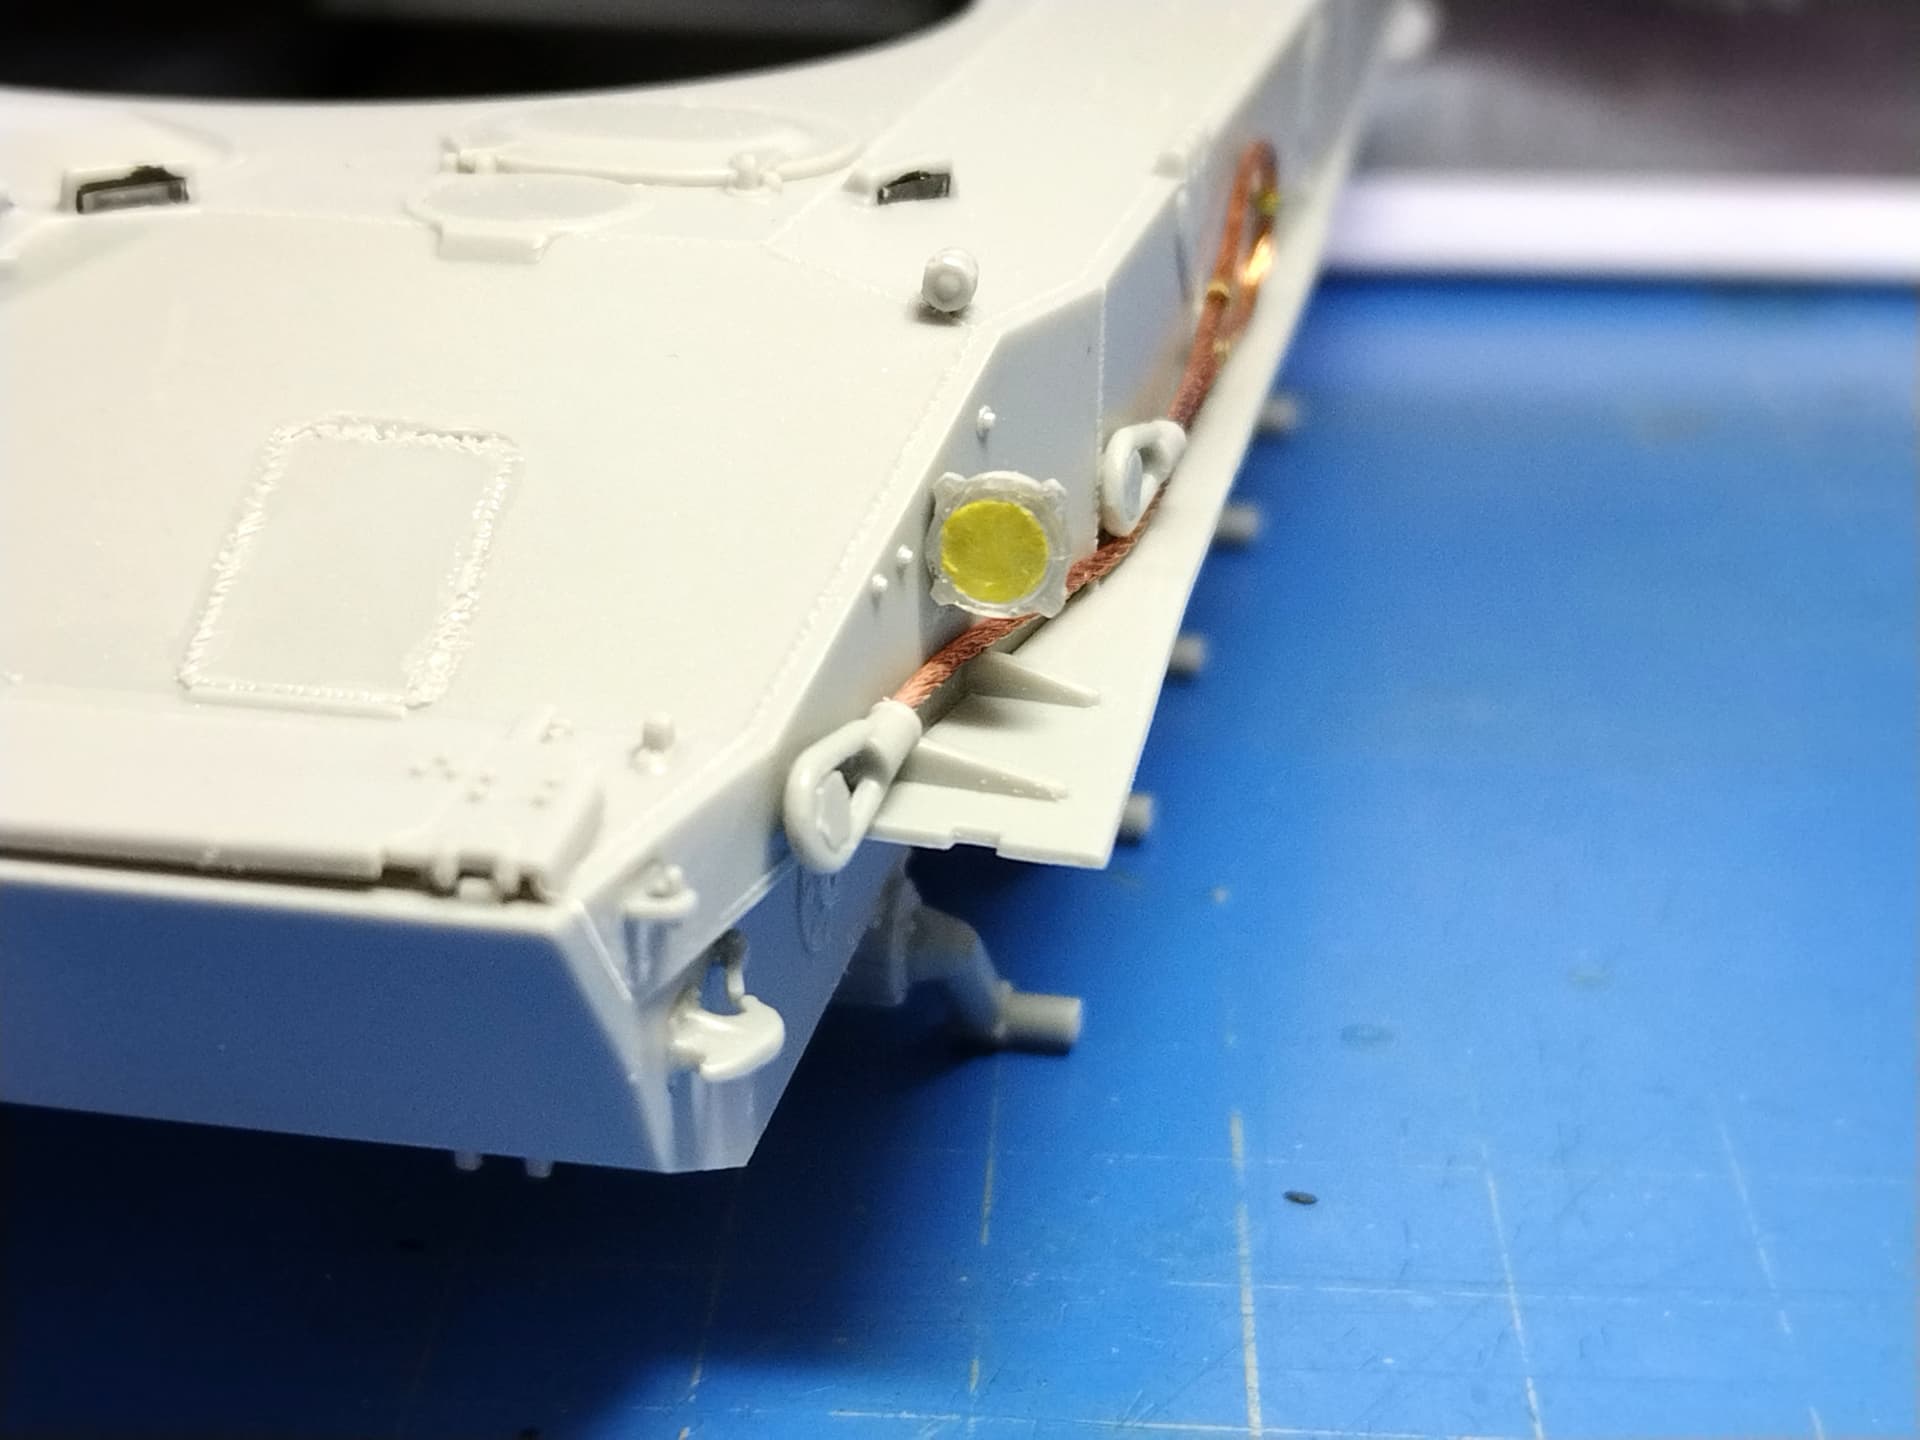
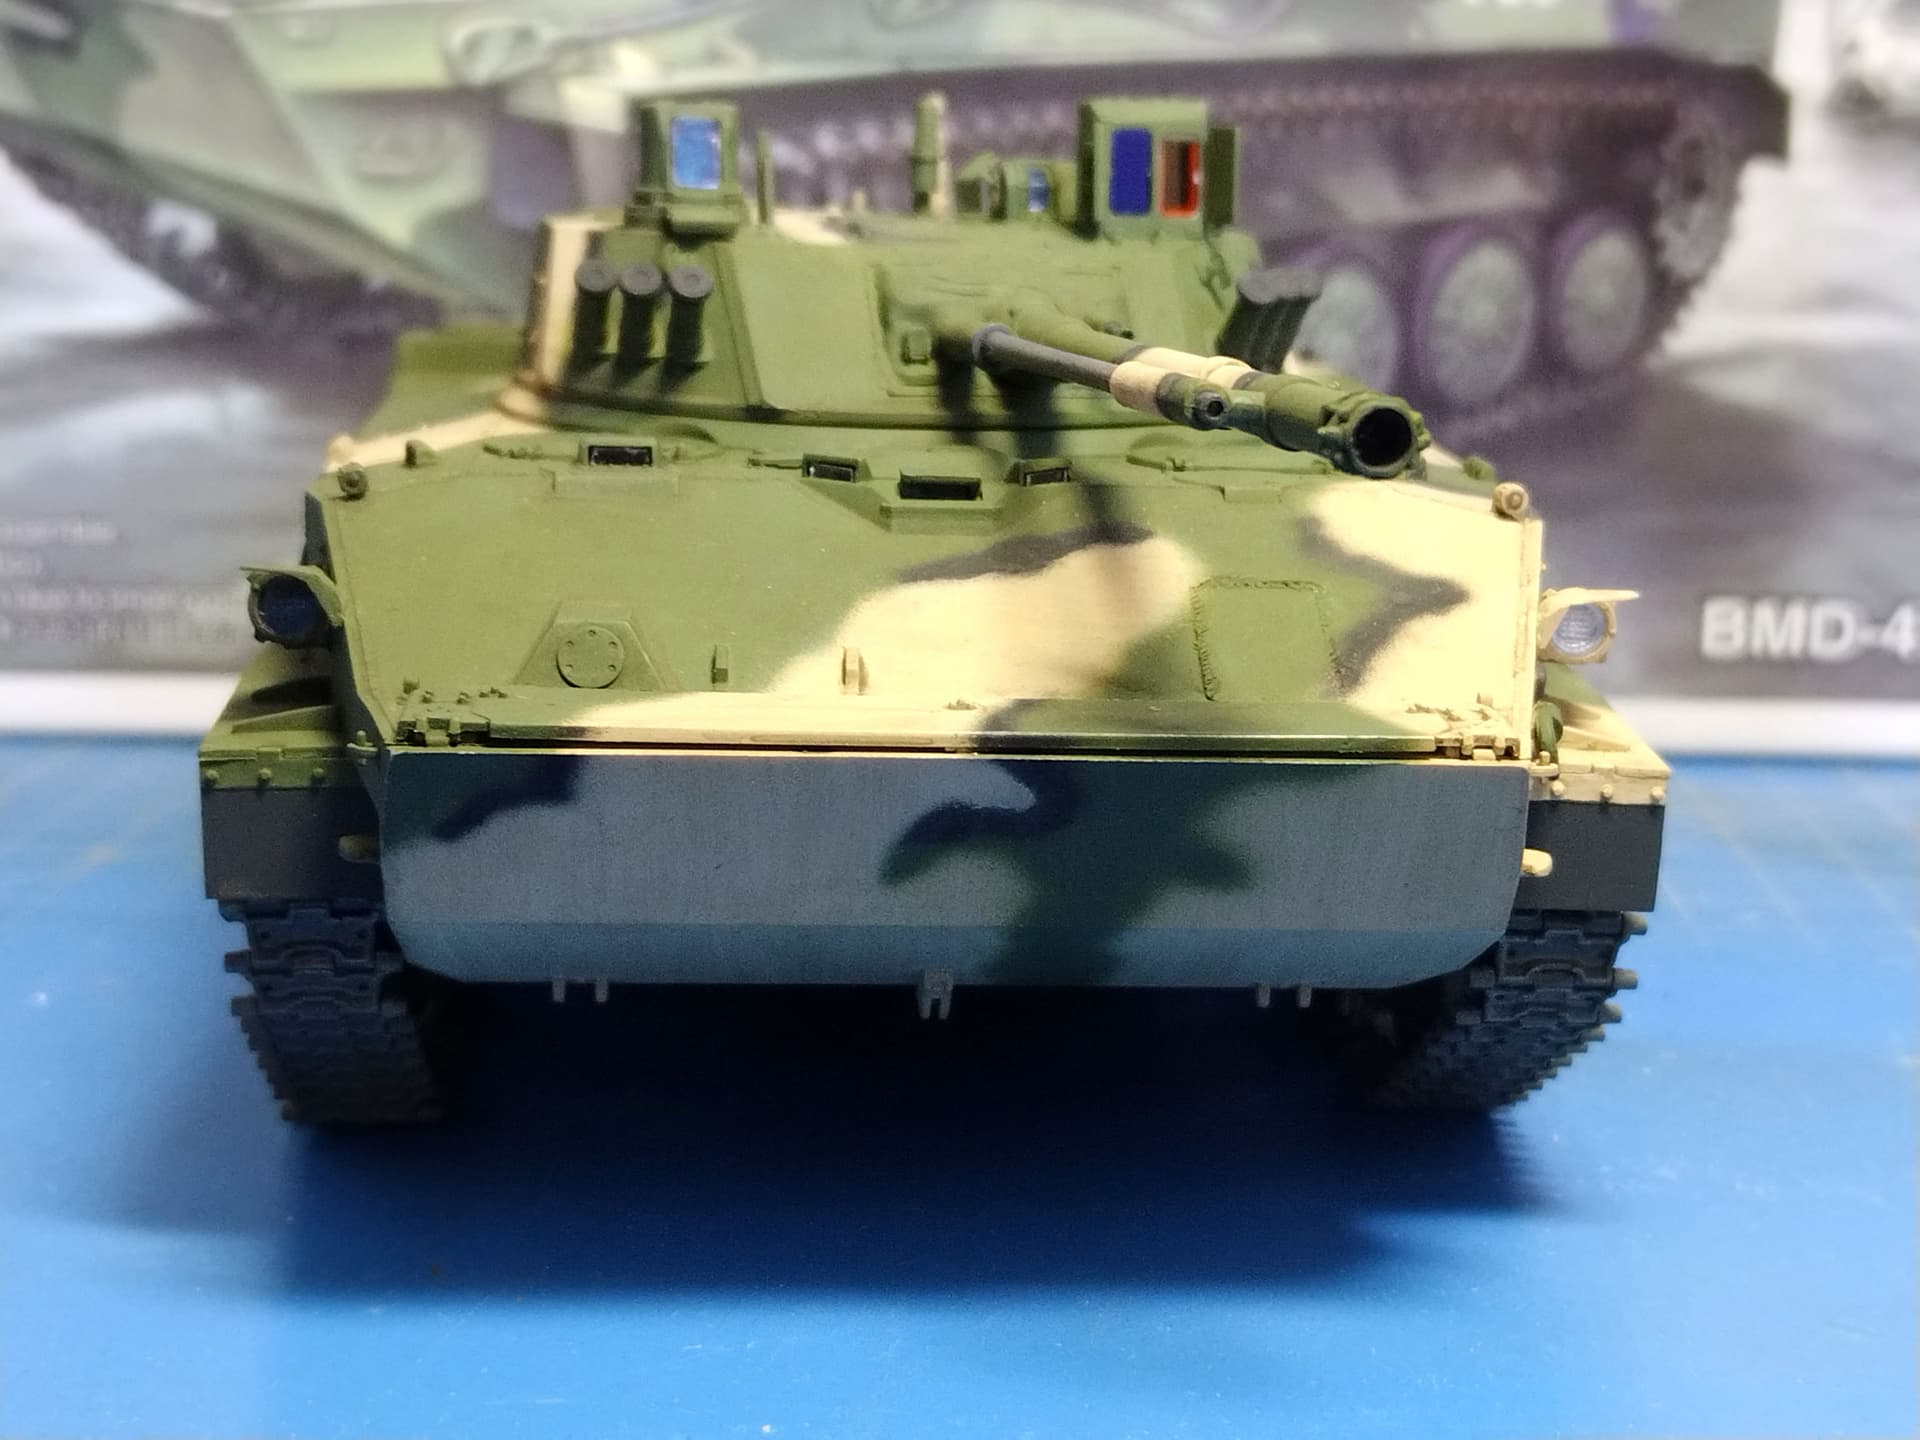
The clear vision blocks have been a bit trimmed to fit inside their protection. The weld seam around the blanked off AGS firing port has been represented. Trumpeter just gives a plate with a raised edge.
I didn’t manage to complete the hull today. I still have the headlights protections to shape and glue.
The headlights interior has been painted prior to gluing the glasses and masking them.
The cable is made from the brass thread provided in the box. It measures 11 cm however 10 cm are enough. The oval plate which secures the cable eye is molded solid with the eye so I carved its outline.
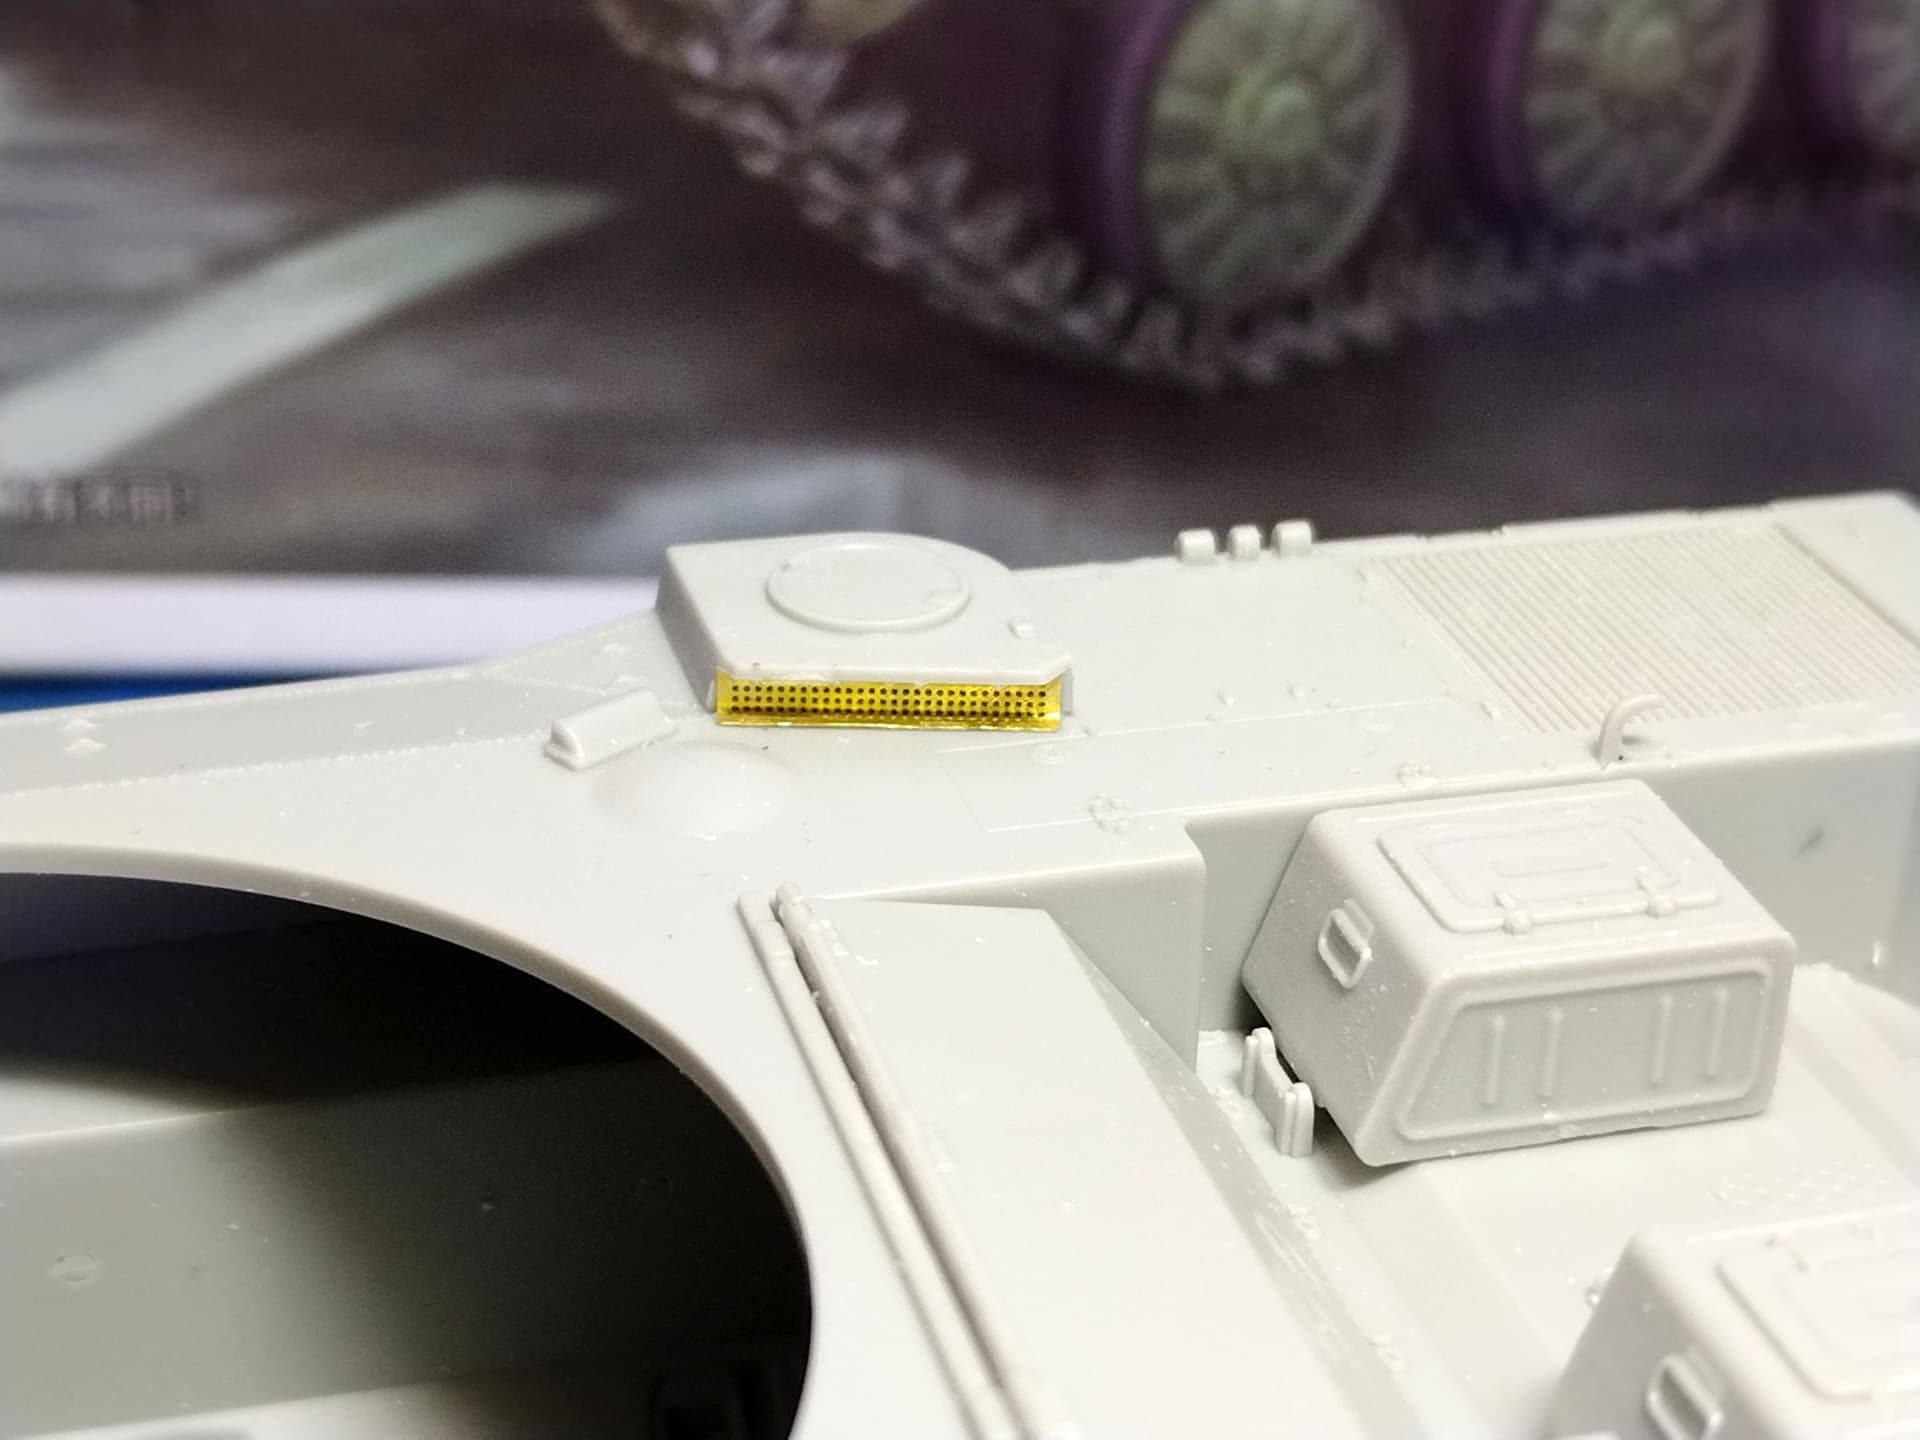
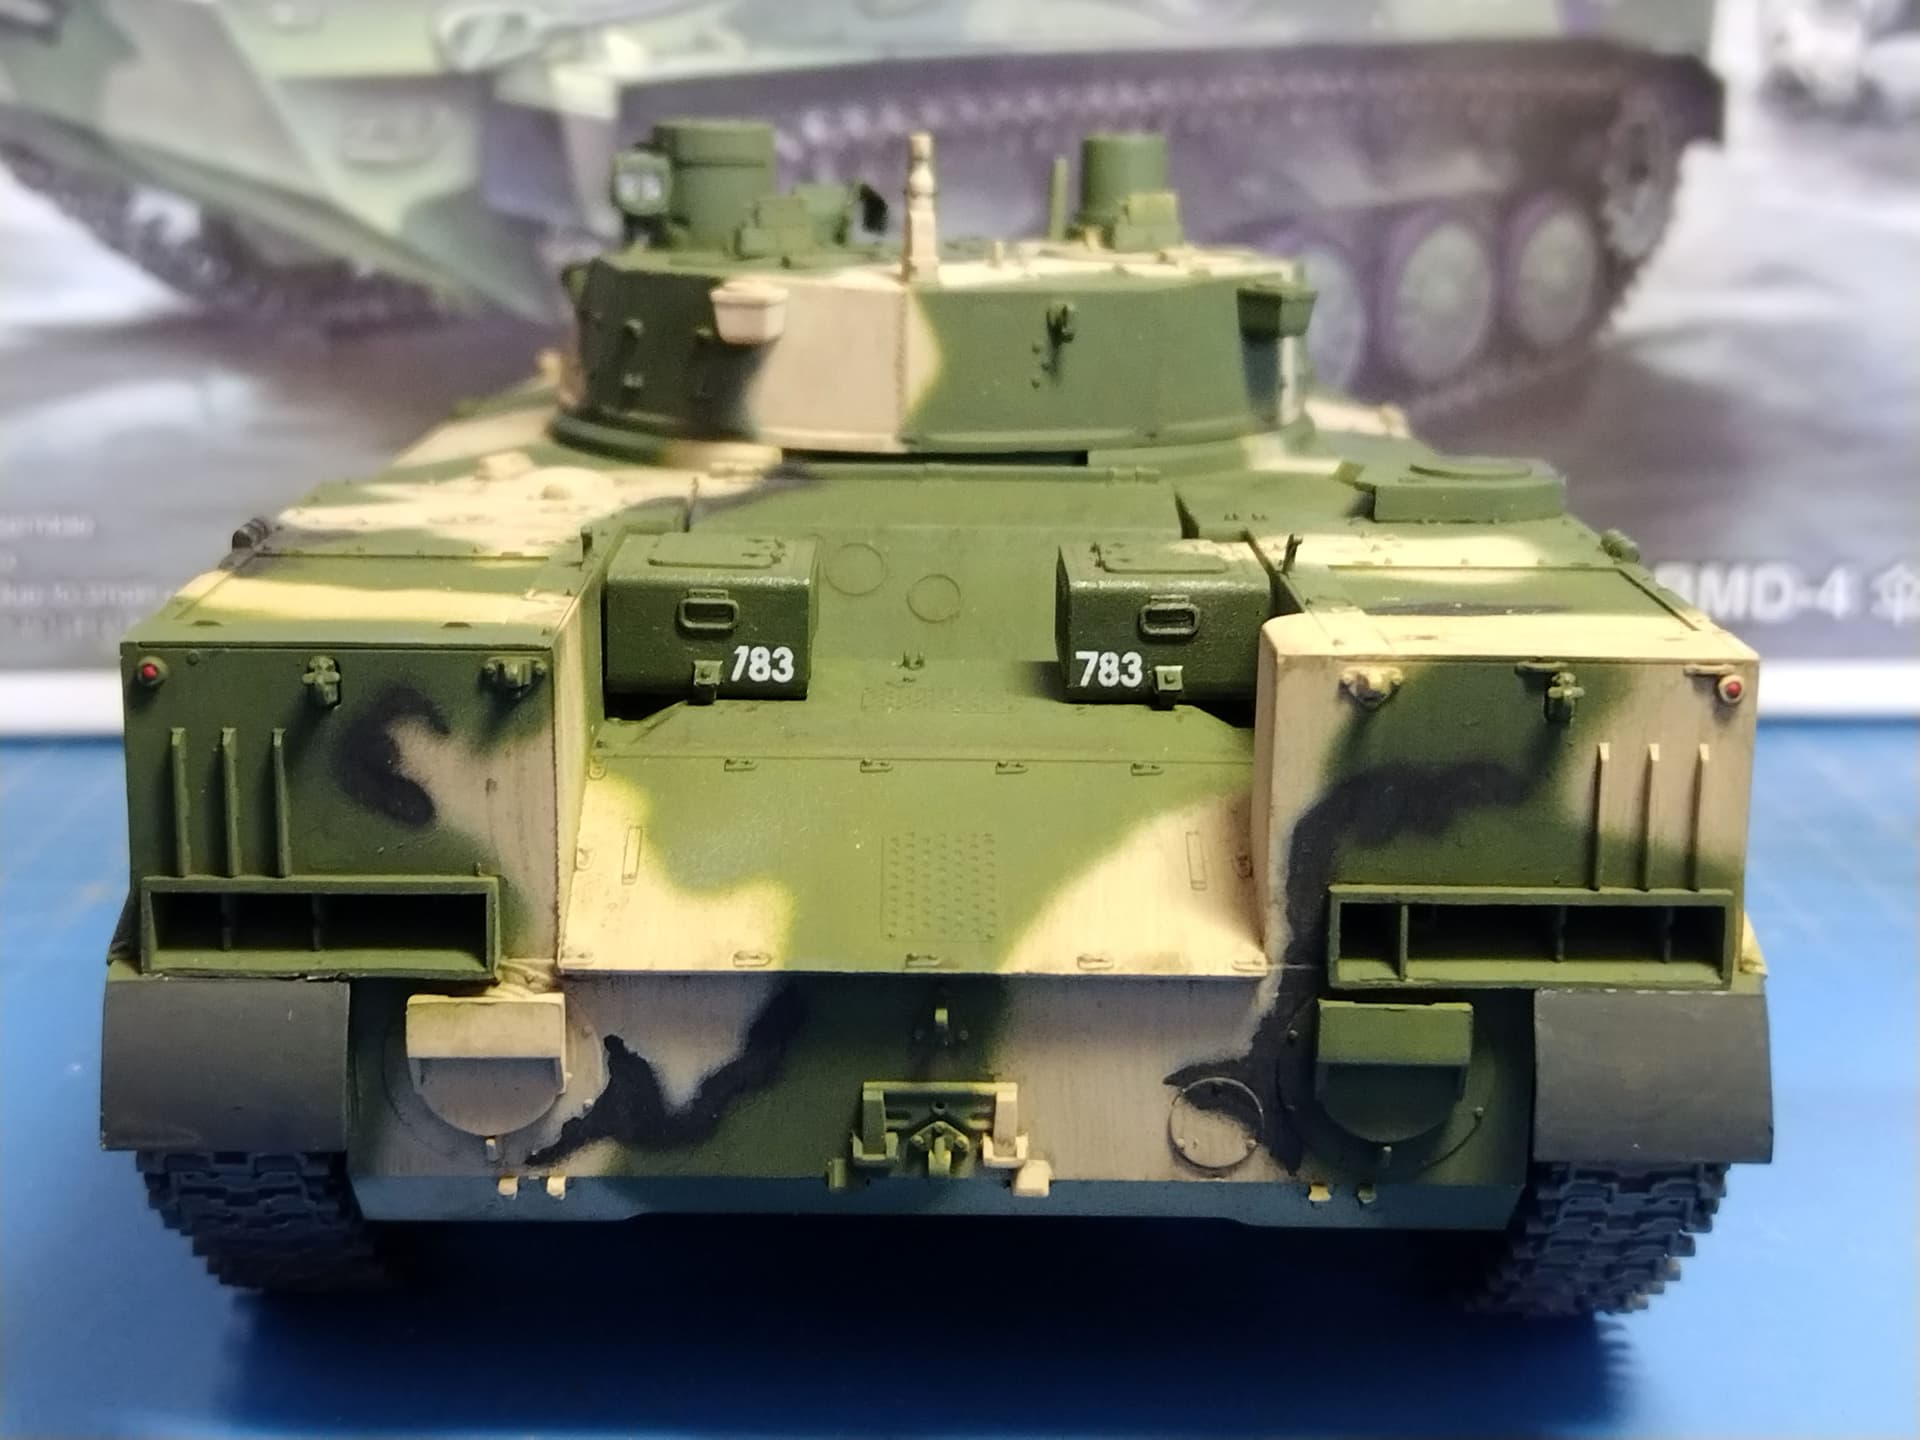
The small grille on the hull is hard to bend. There is no bending line so it’s a guess game. Under the top lip of the plastic part there are 4 bolts which align with notches on the PE part. There is only one way to align them are they are offset with the edges. If you glue the PE part with the bolts and the notches aligned, you can’t have the bolts carved at the bottom of the PE part appear. This is not a big deal but it’s annoying.
I also decide to have the idlers arms mobile to adjust the tracks like on the actual thing. I sawed off the arms, drilled 2 mm diameter holes in the hull and at the back of the arms before gluing 2 mm diameter axes into the arms.
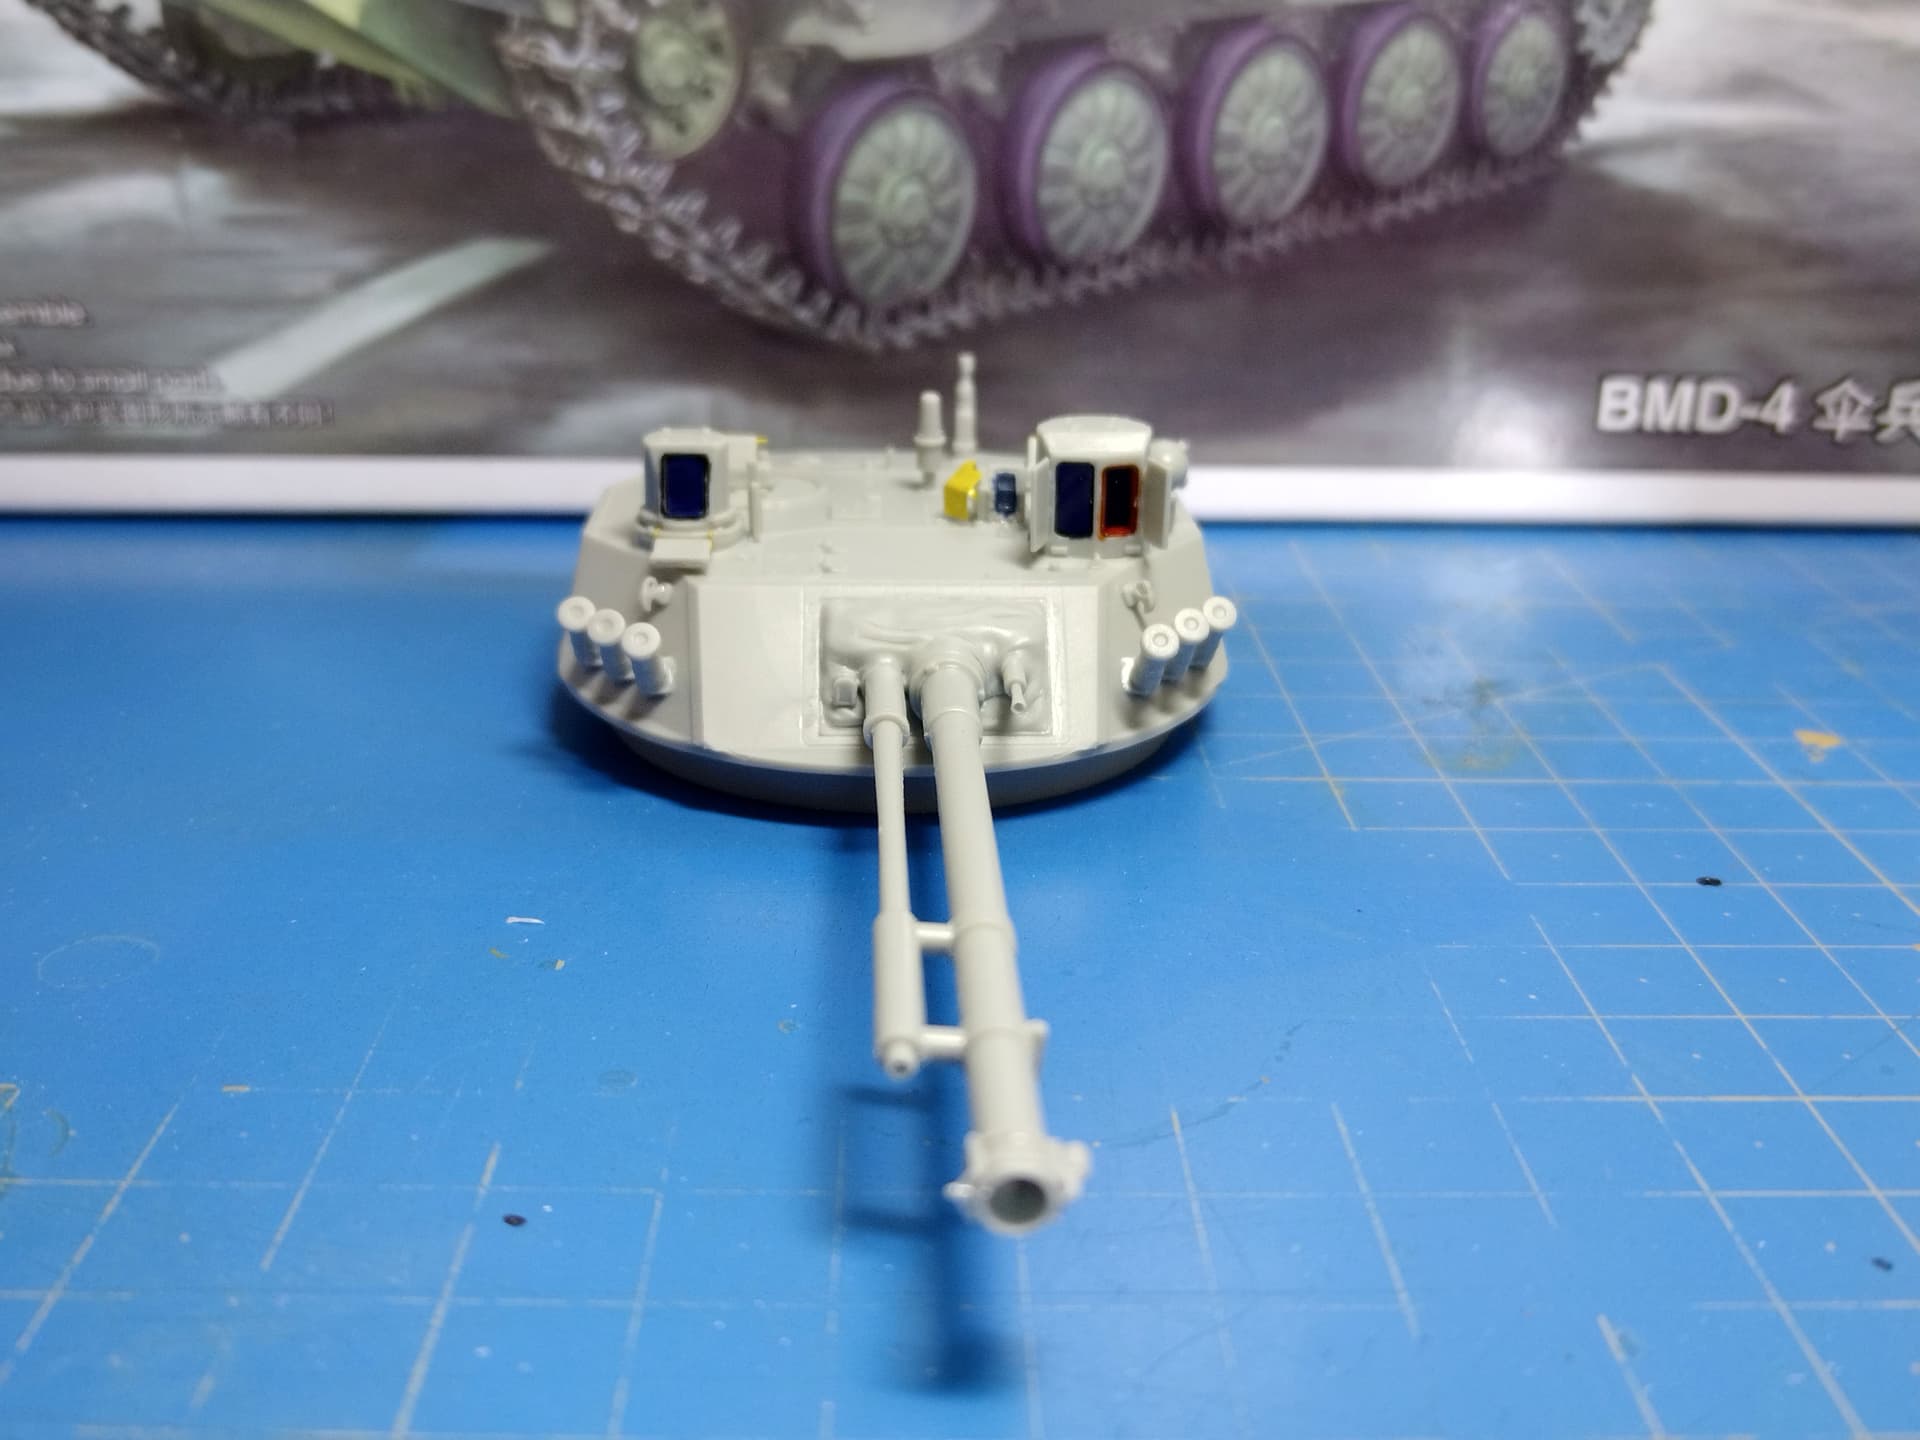
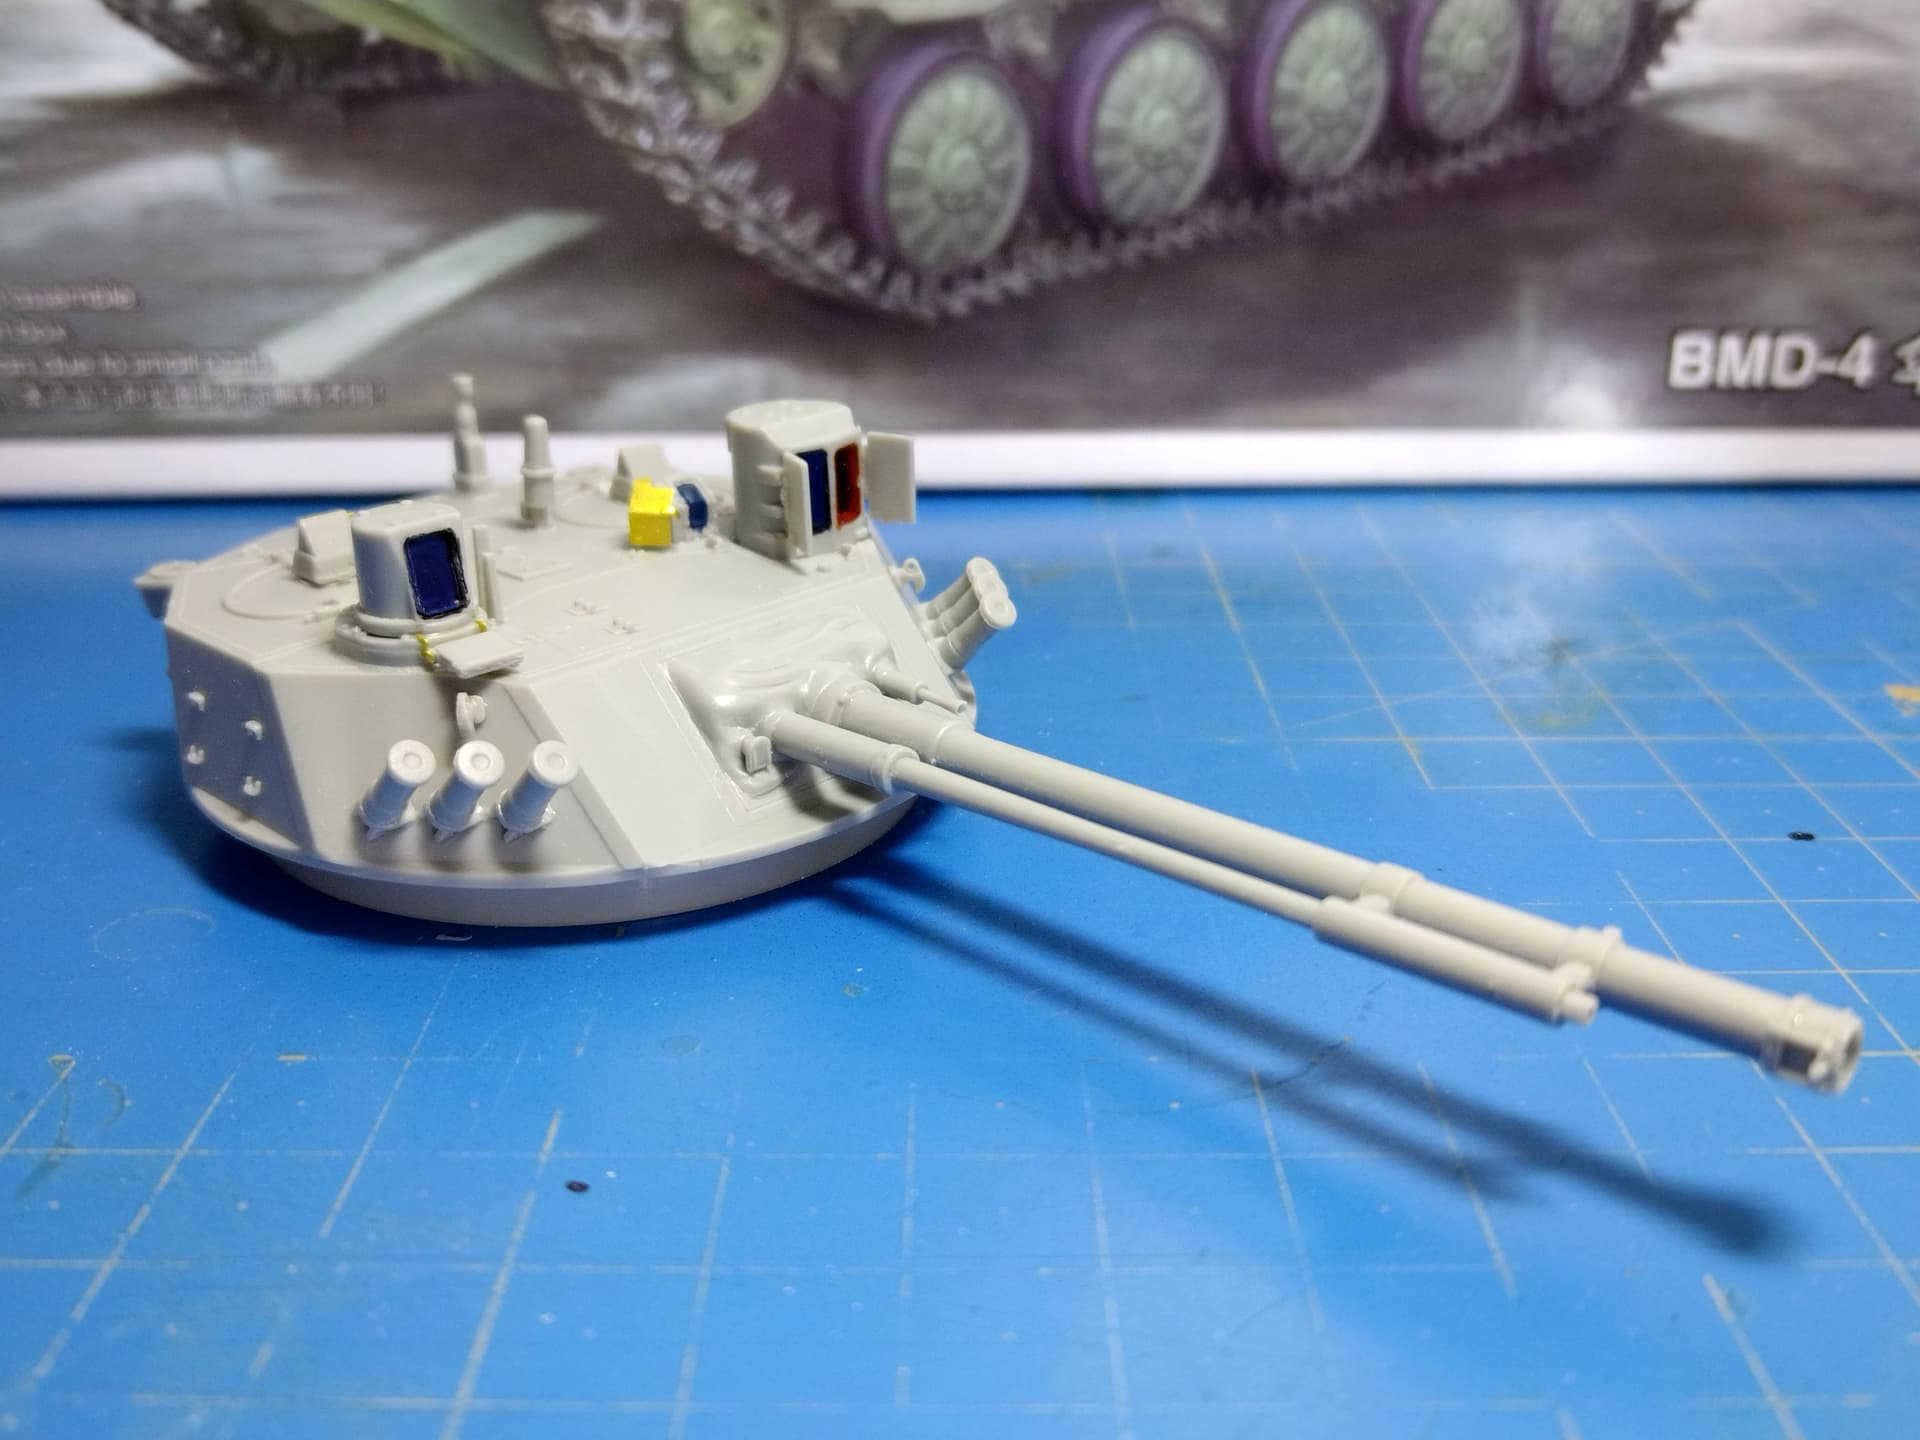
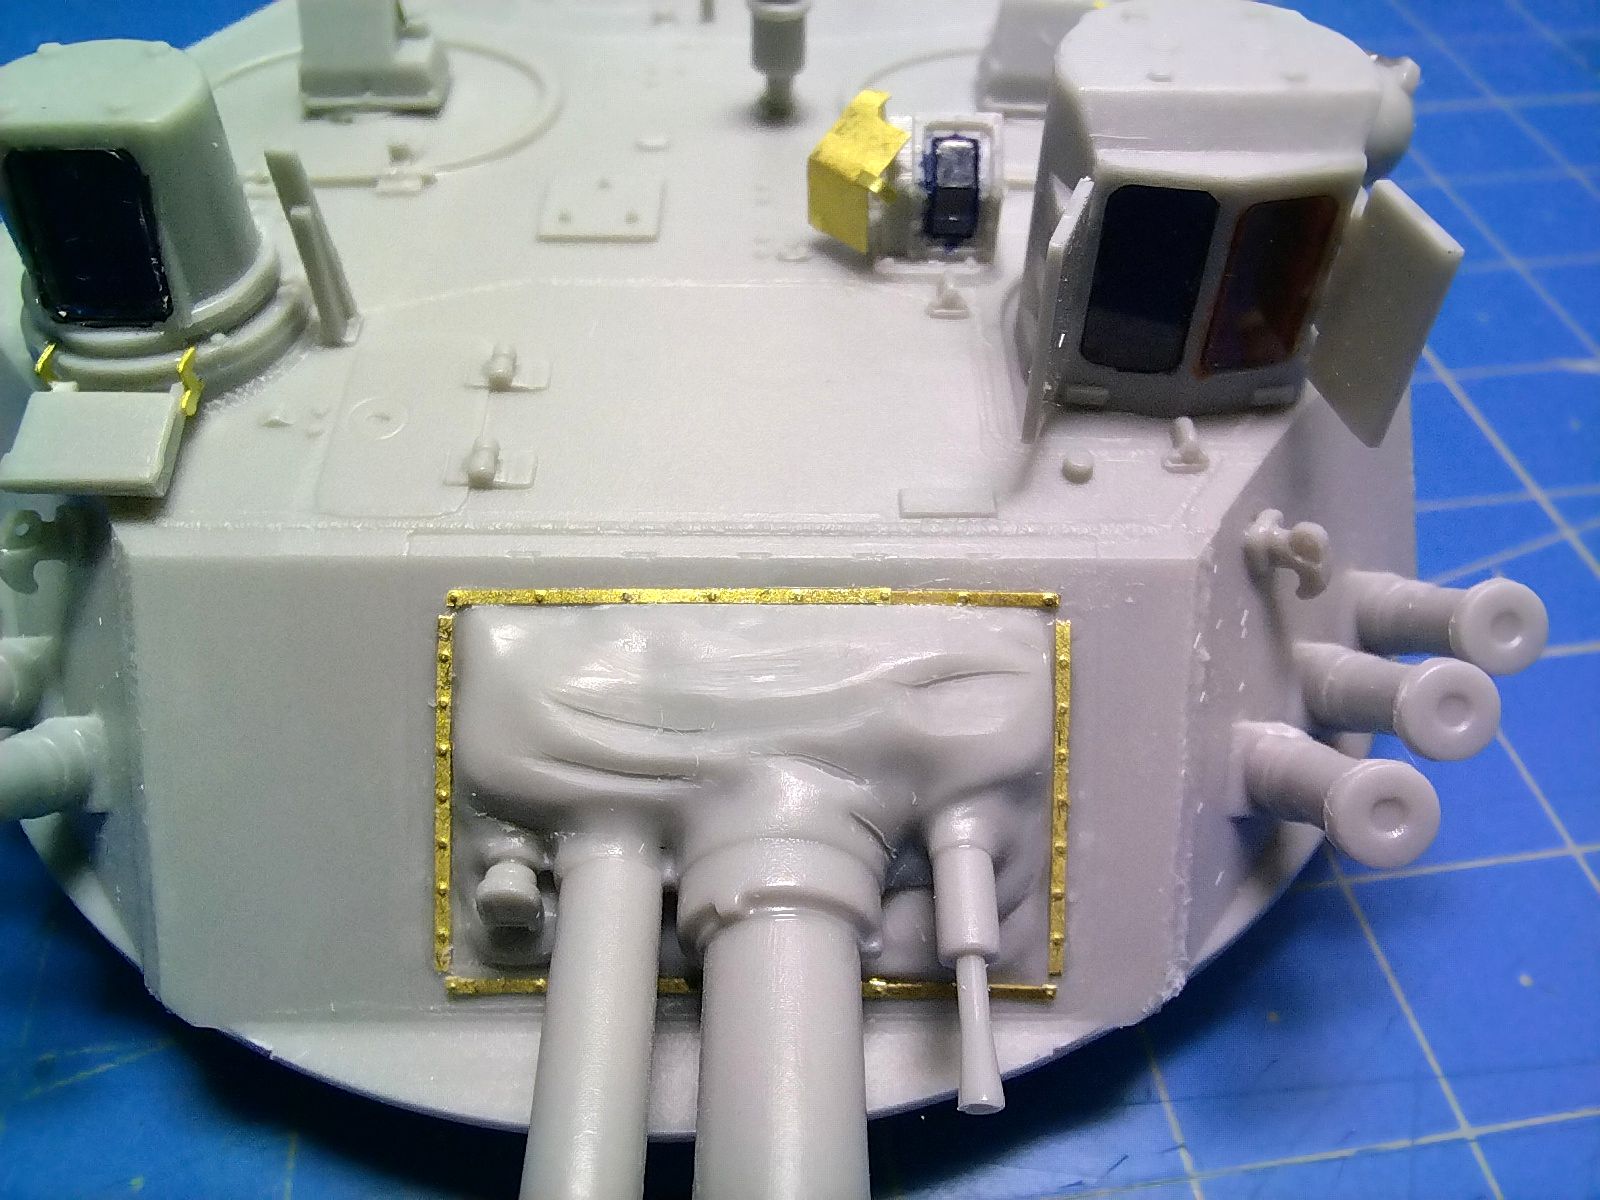
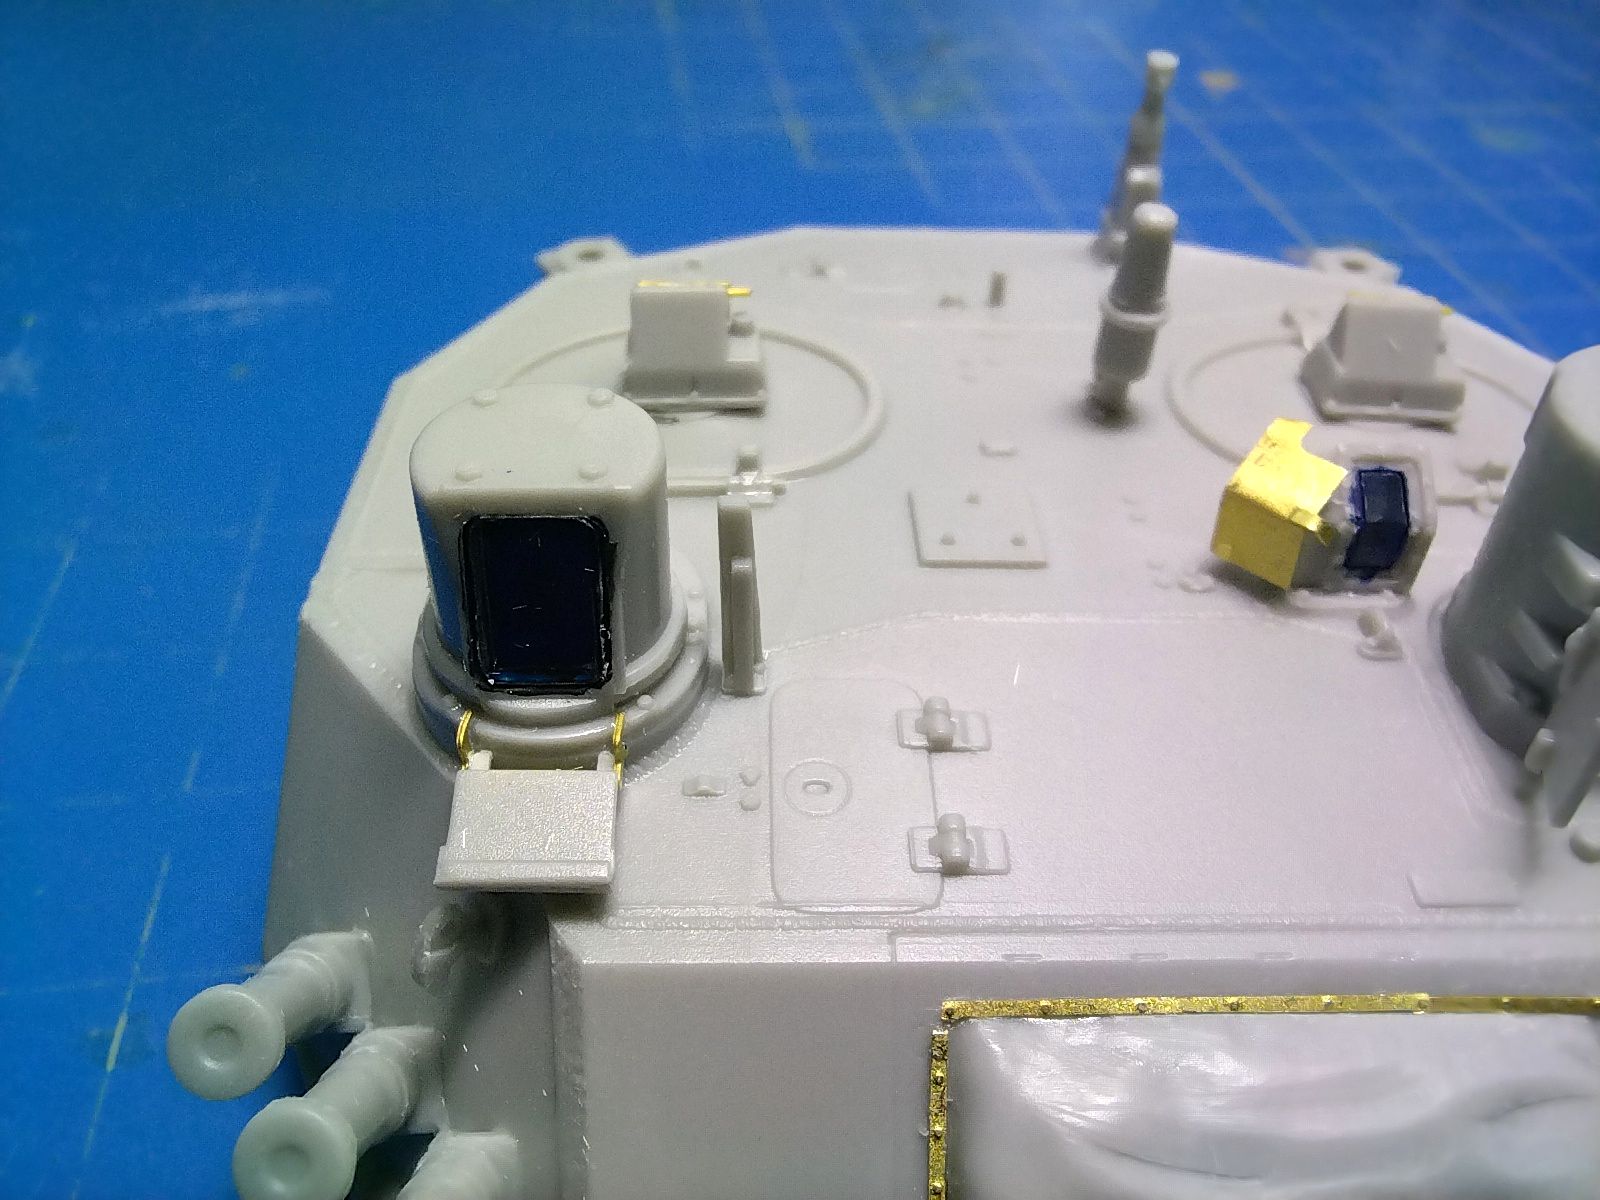
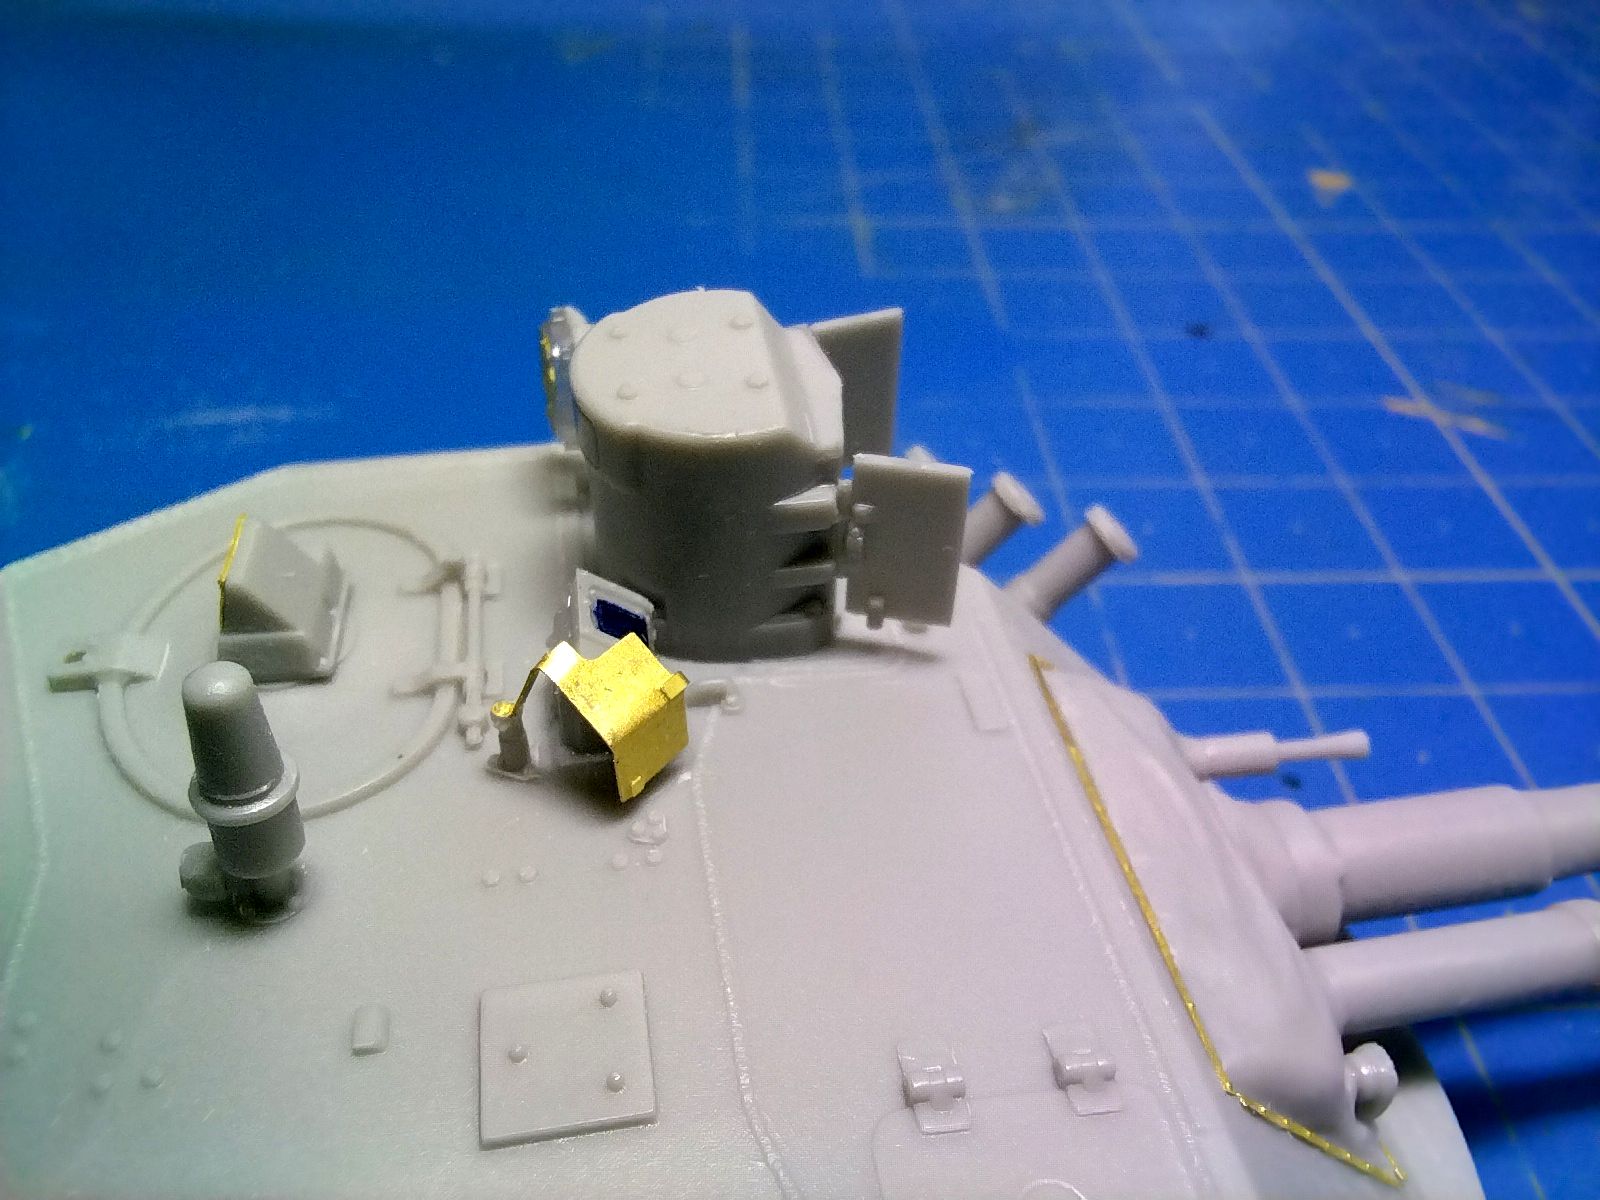
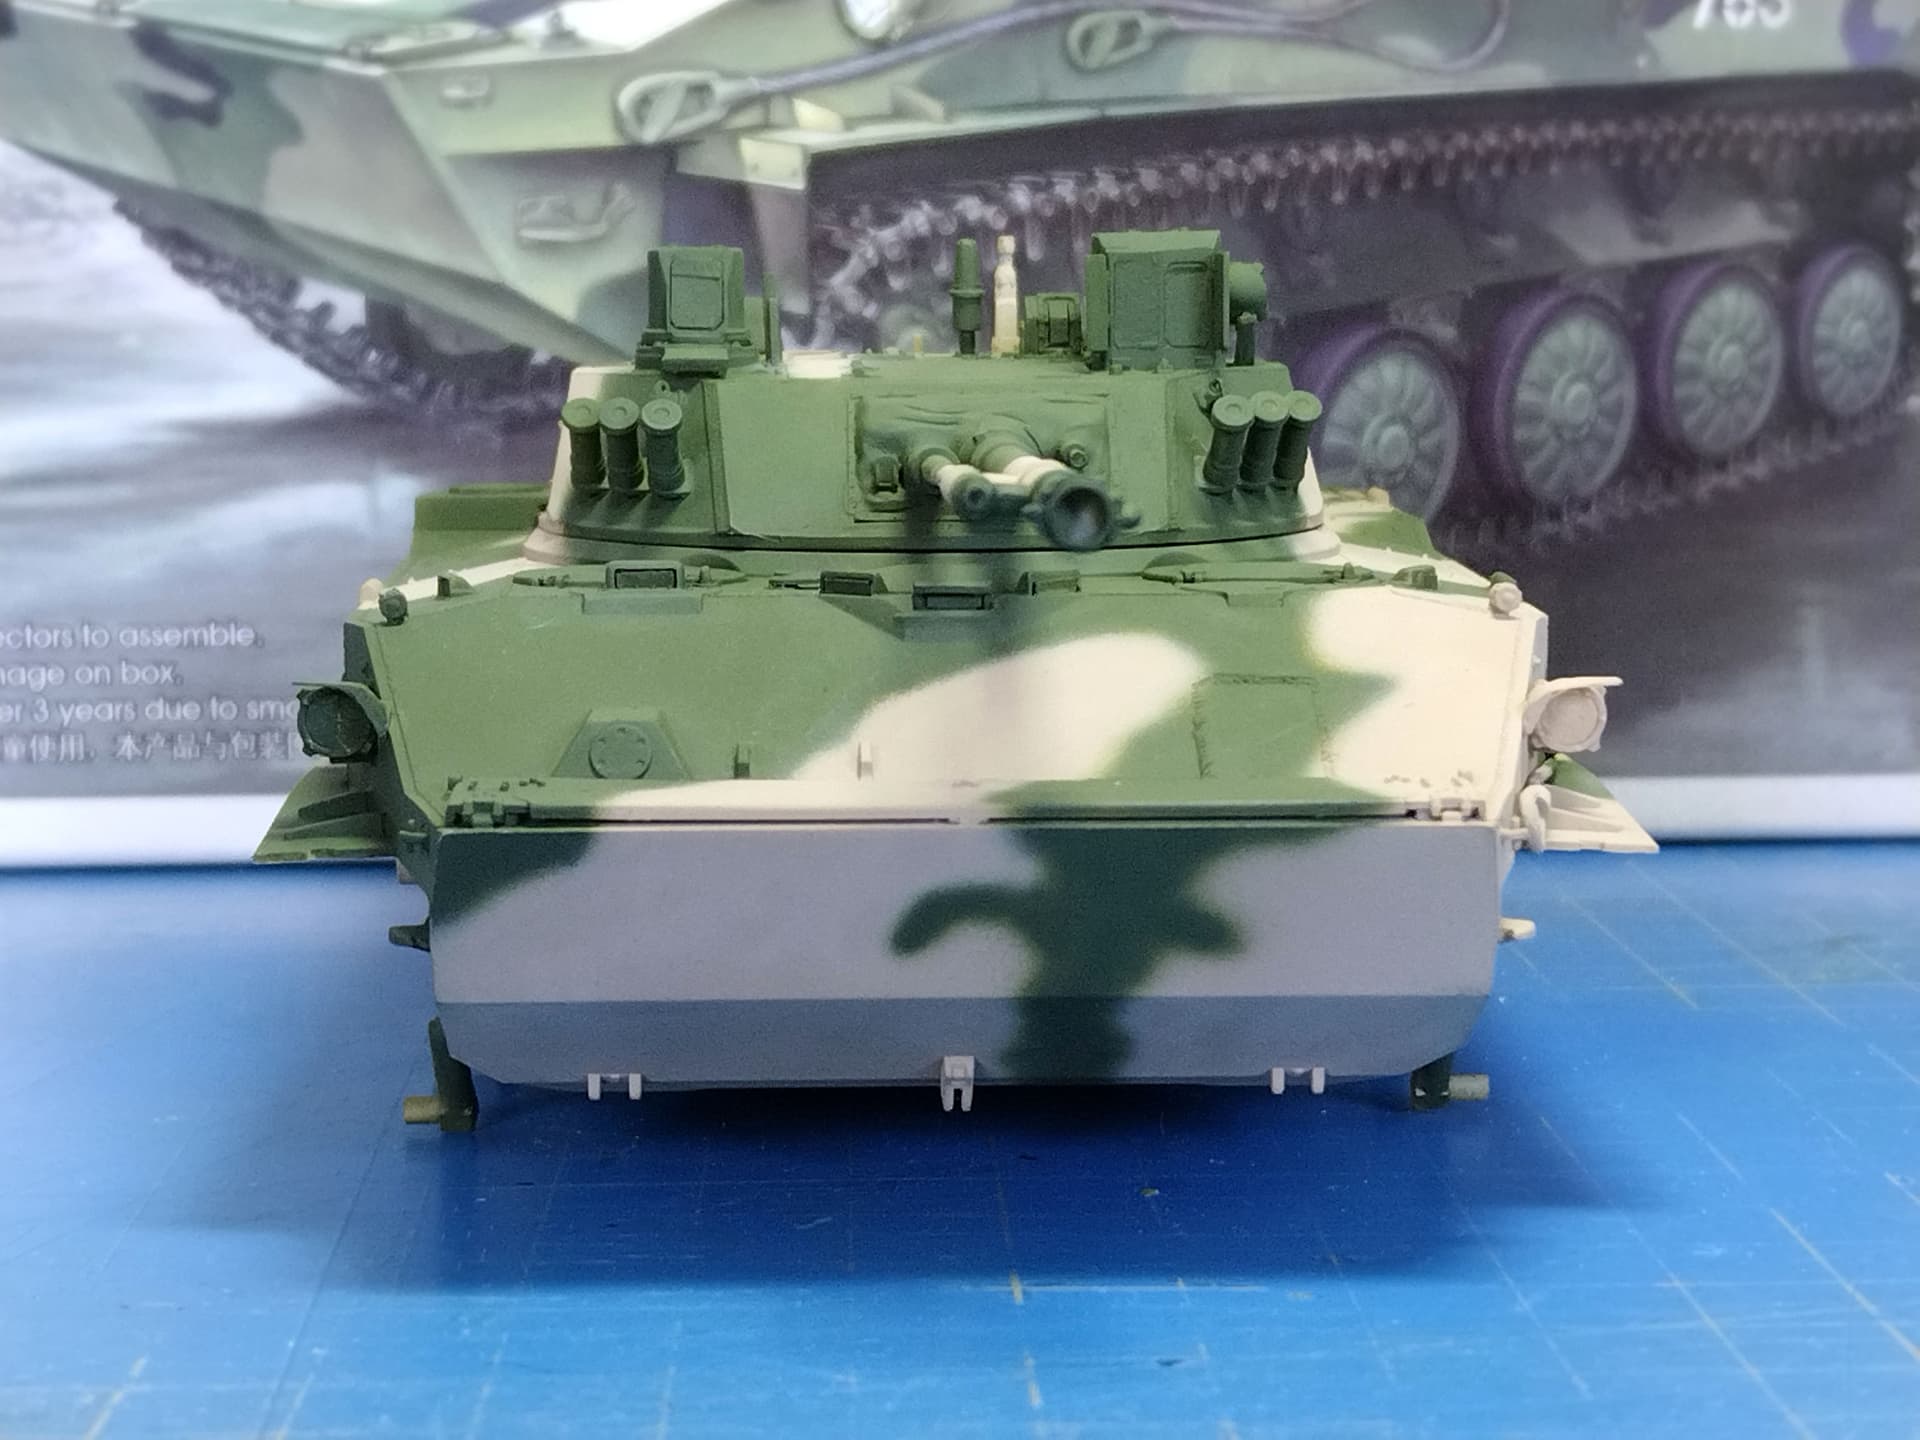
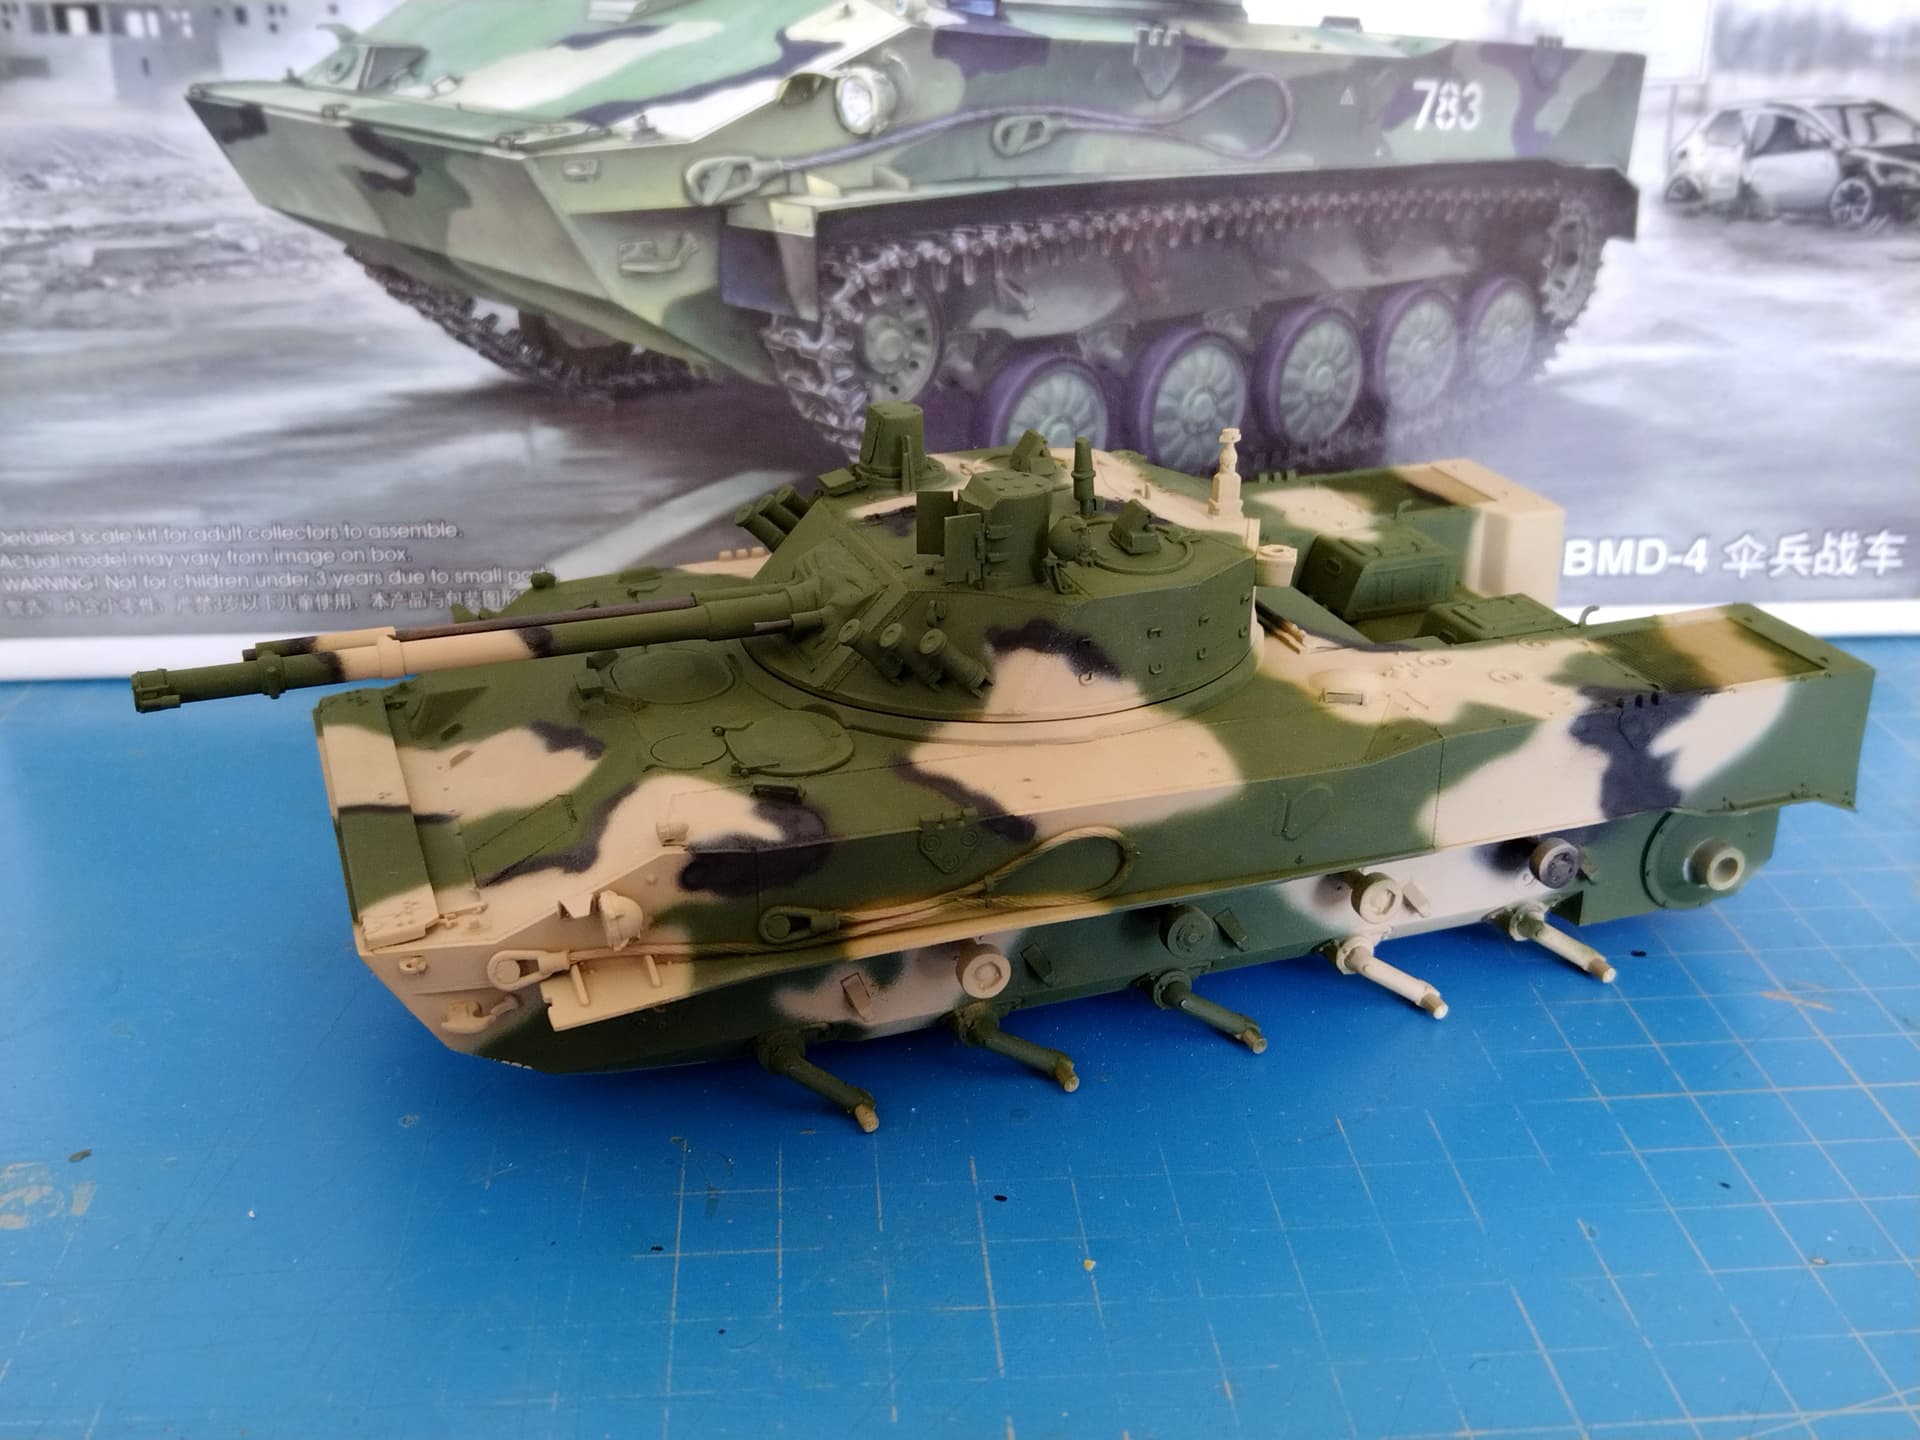
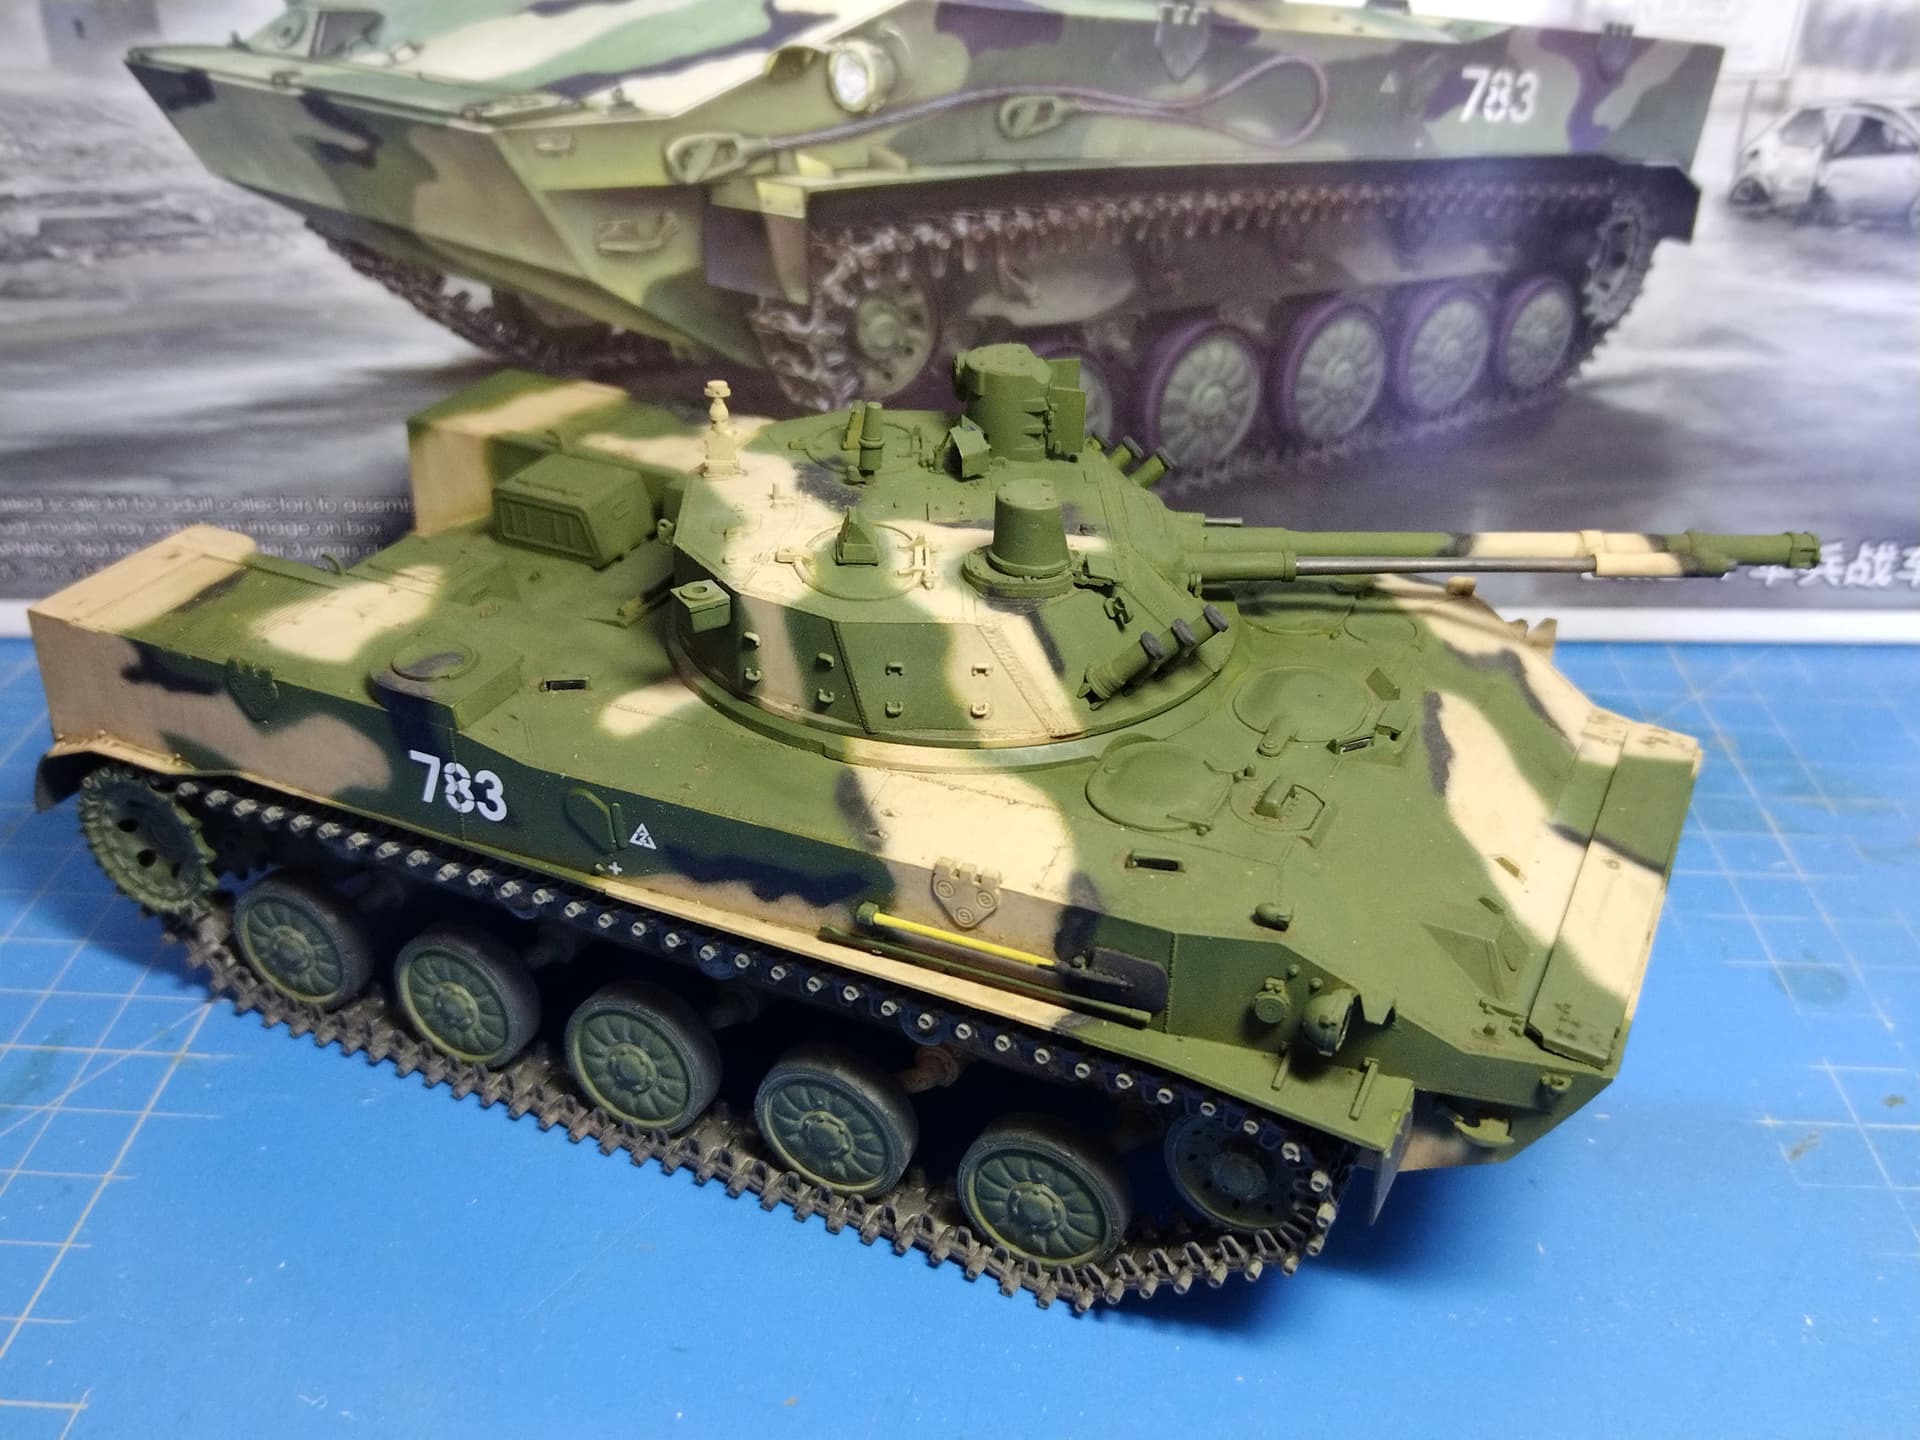
The turret is done. I had to make some changes to have all the sights flaps and covers open. Trumpeter gives you clear parts for the windows so it would be a shame to hide them.
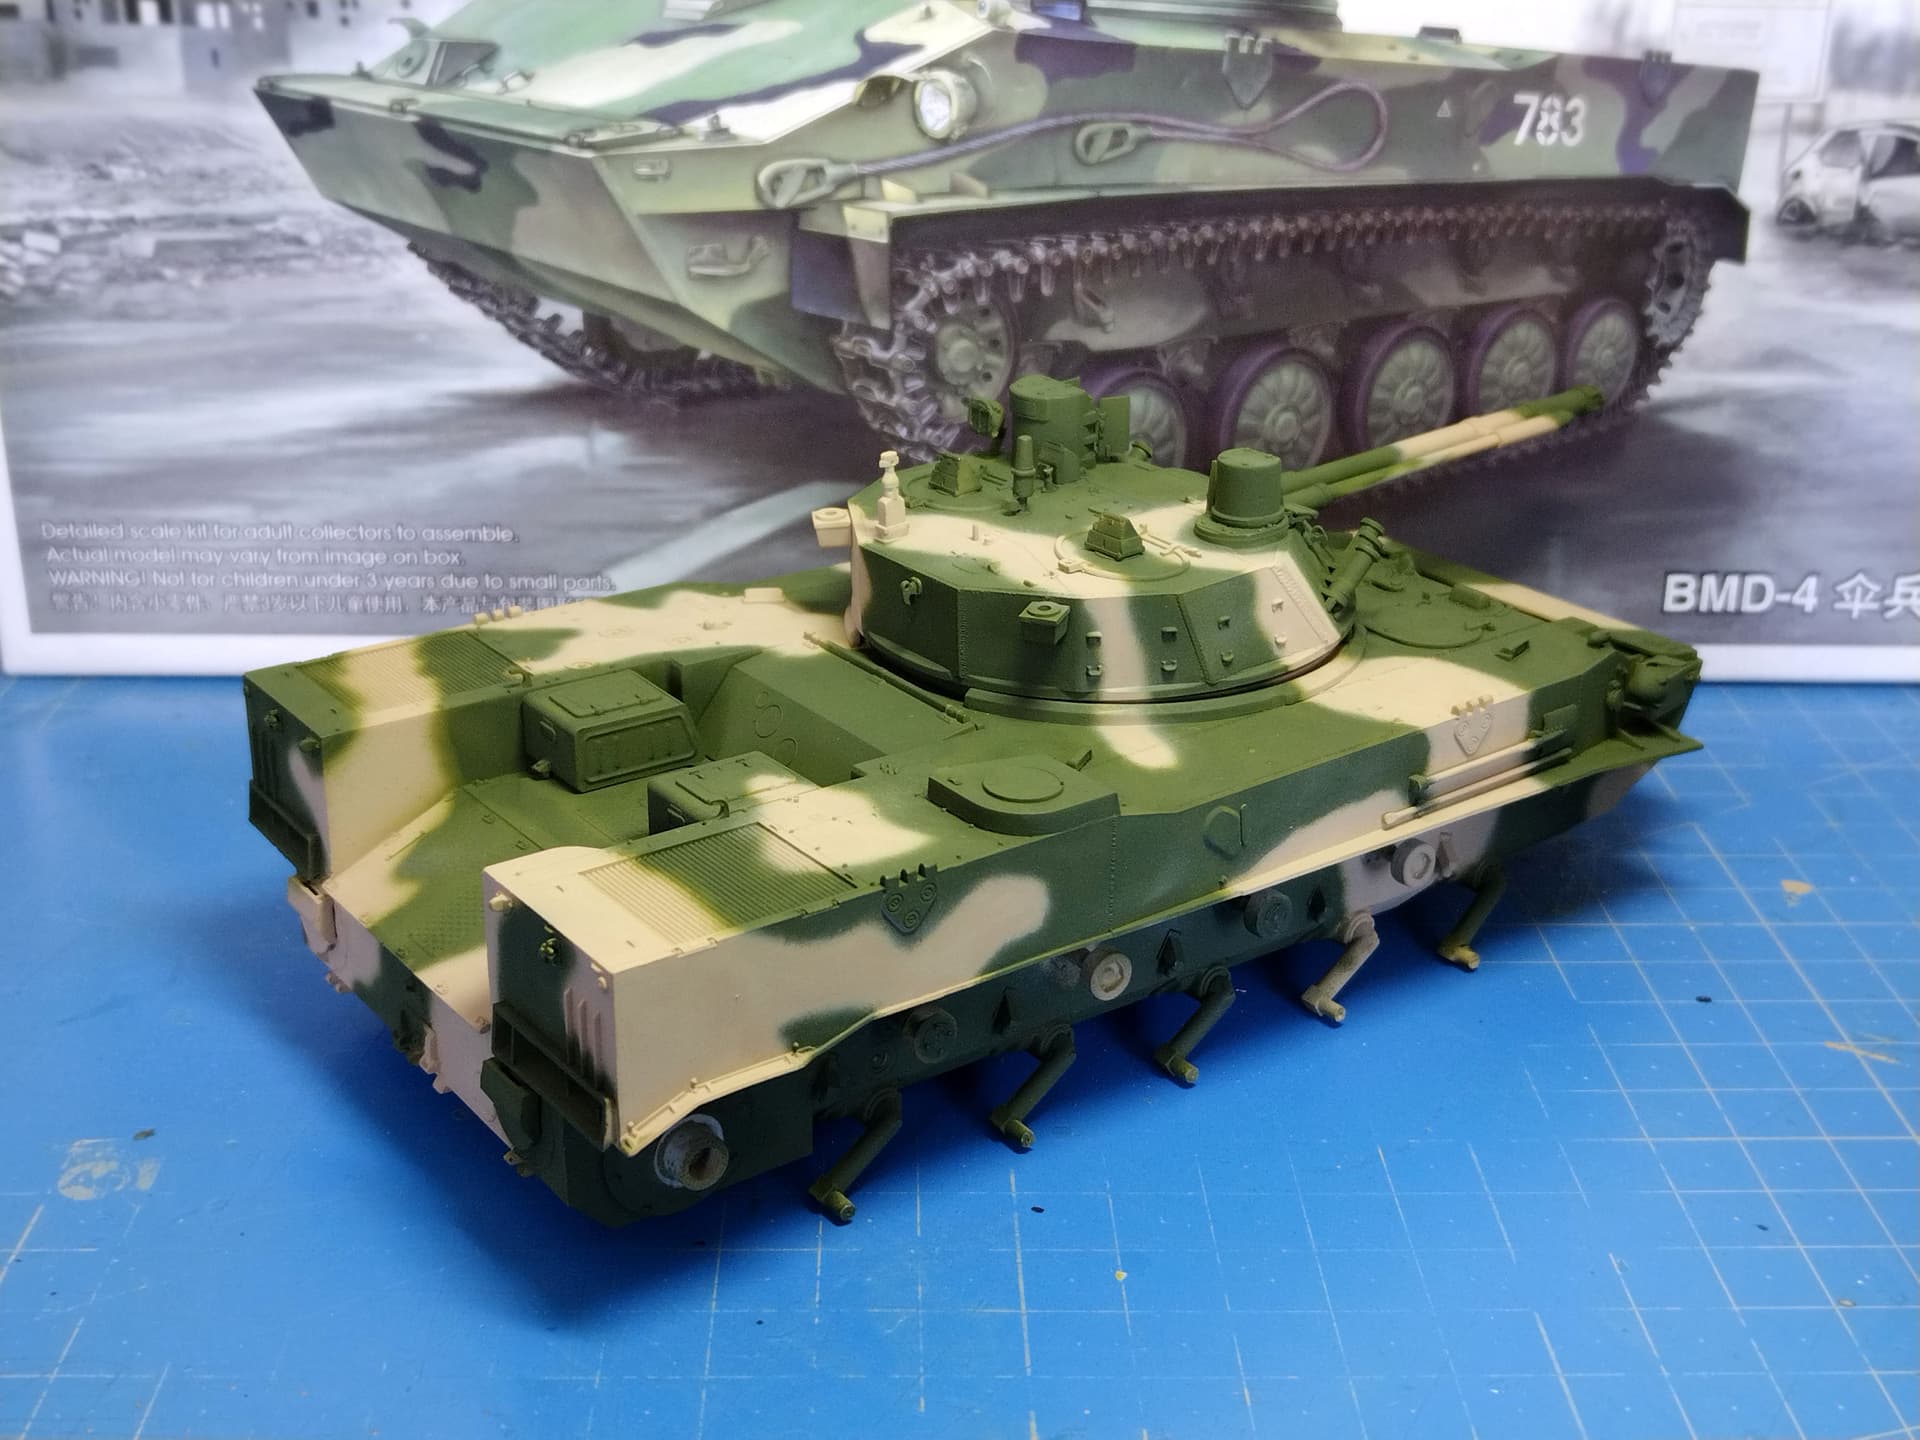
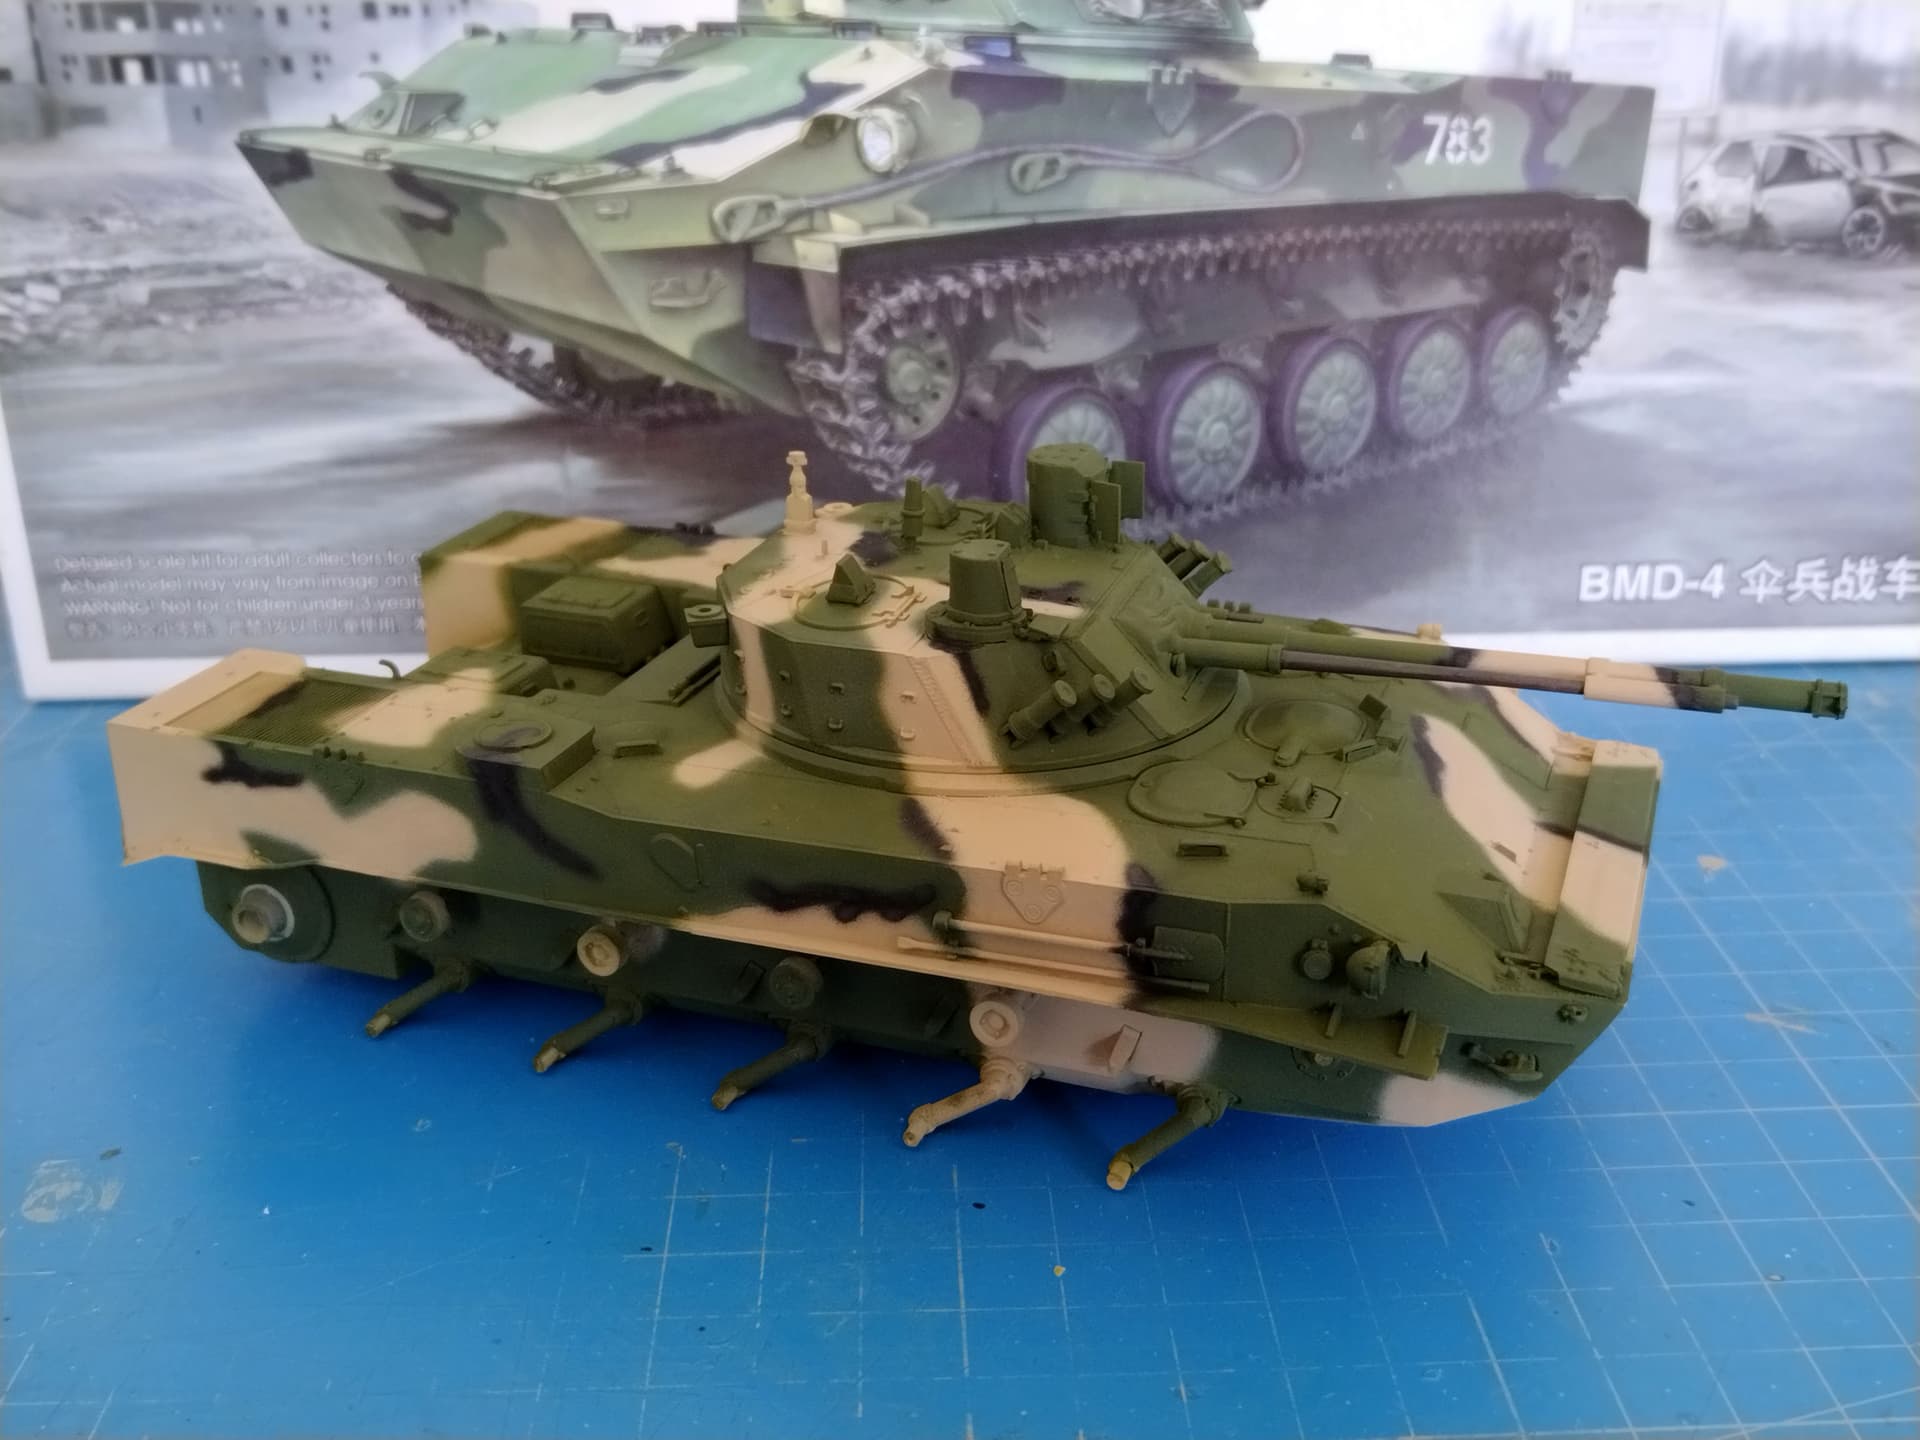
I also have created the weld seams on the large armor plates. Those are really visible on the actual vehicle. On the pictures of the model they do not show up as I would like.
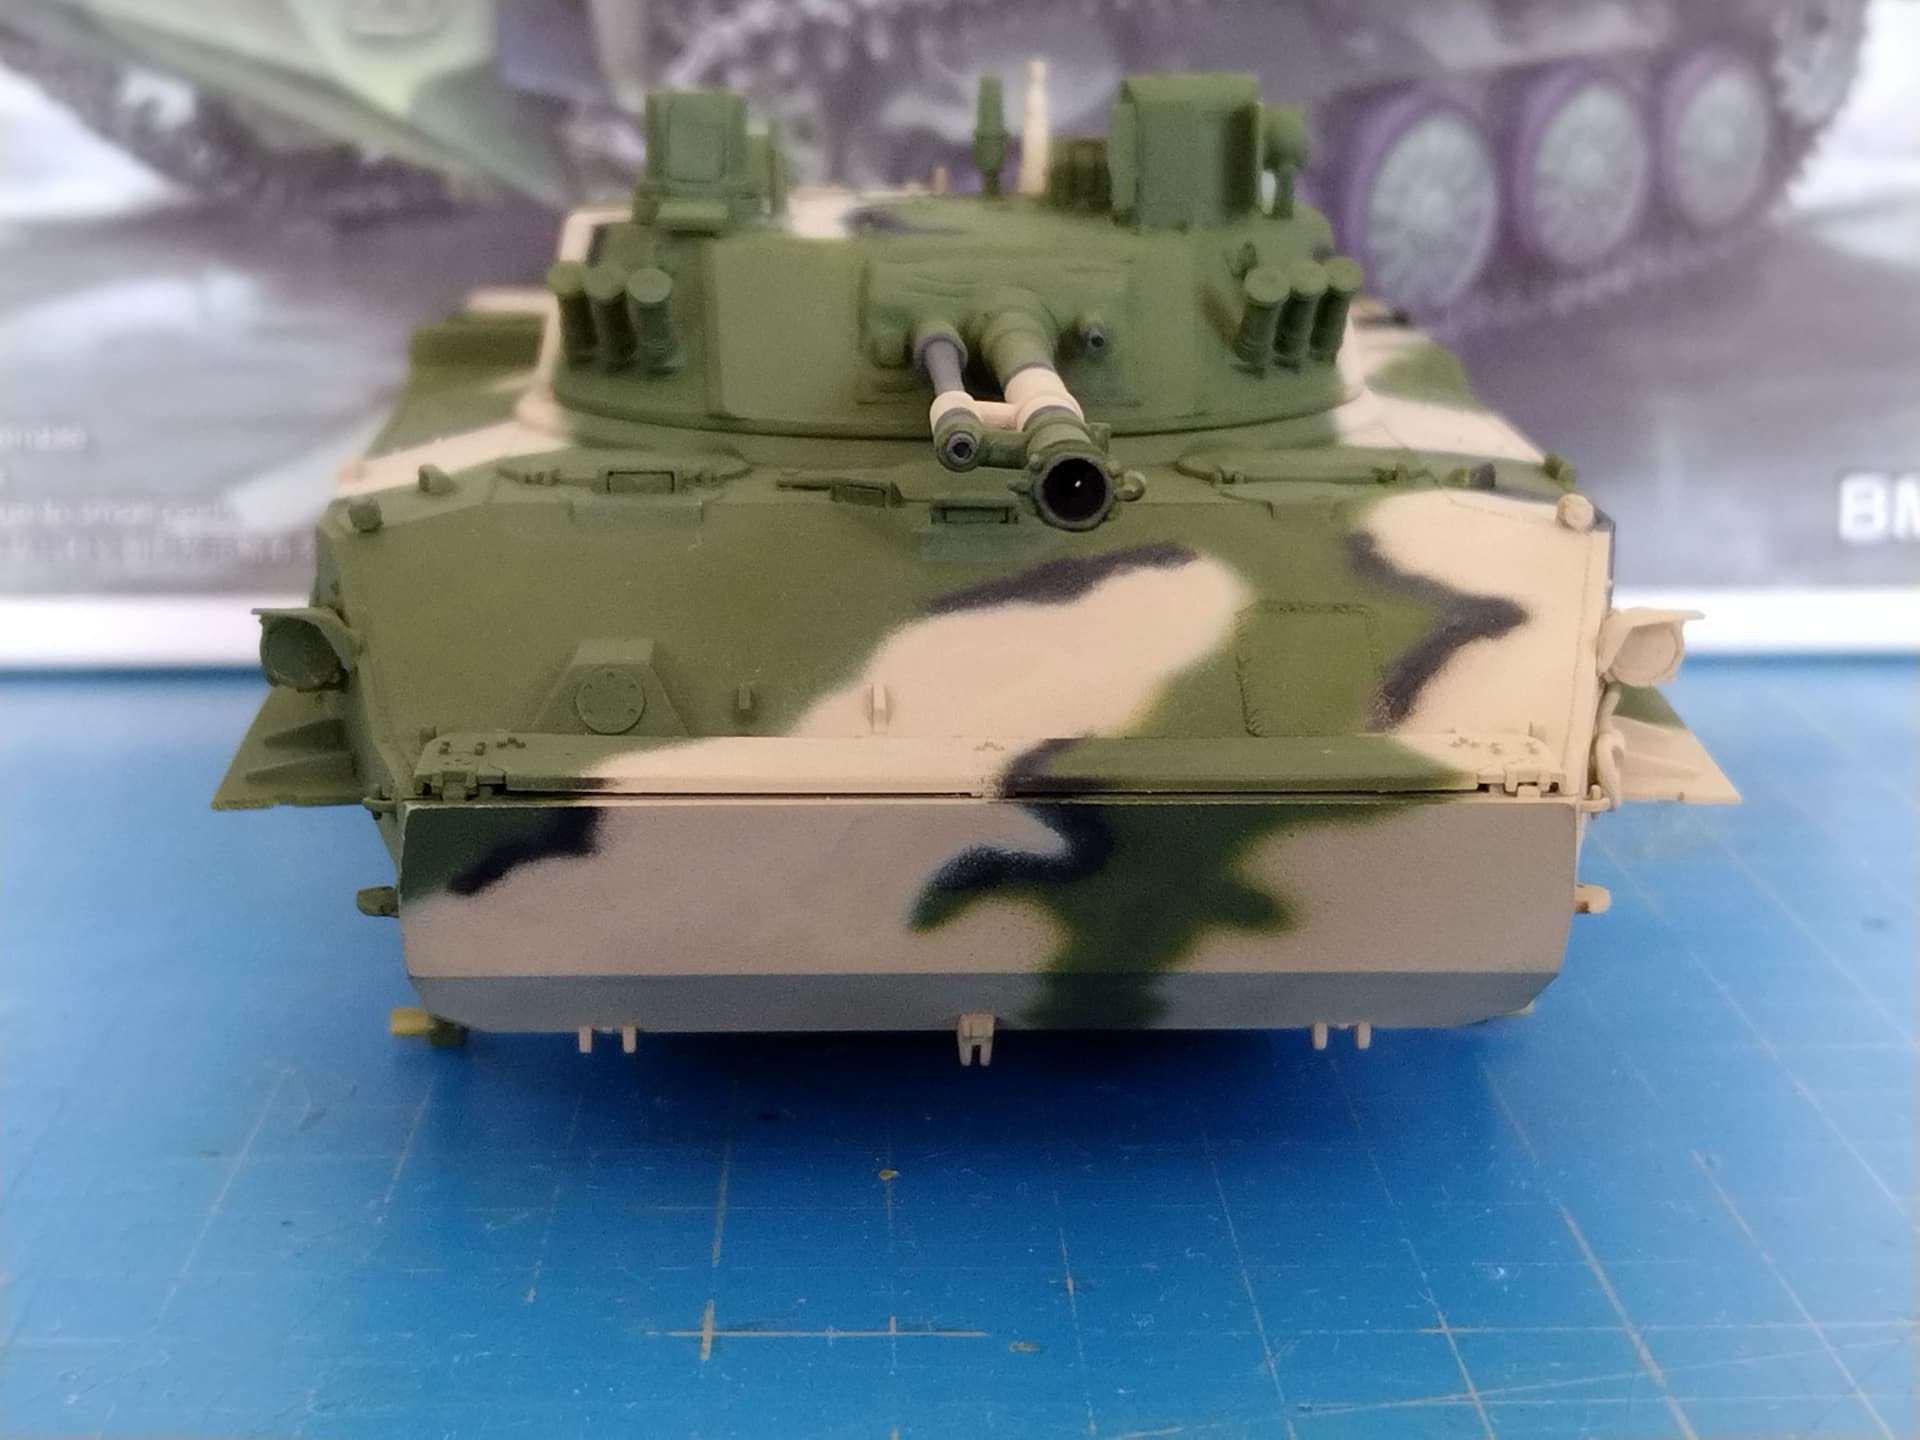
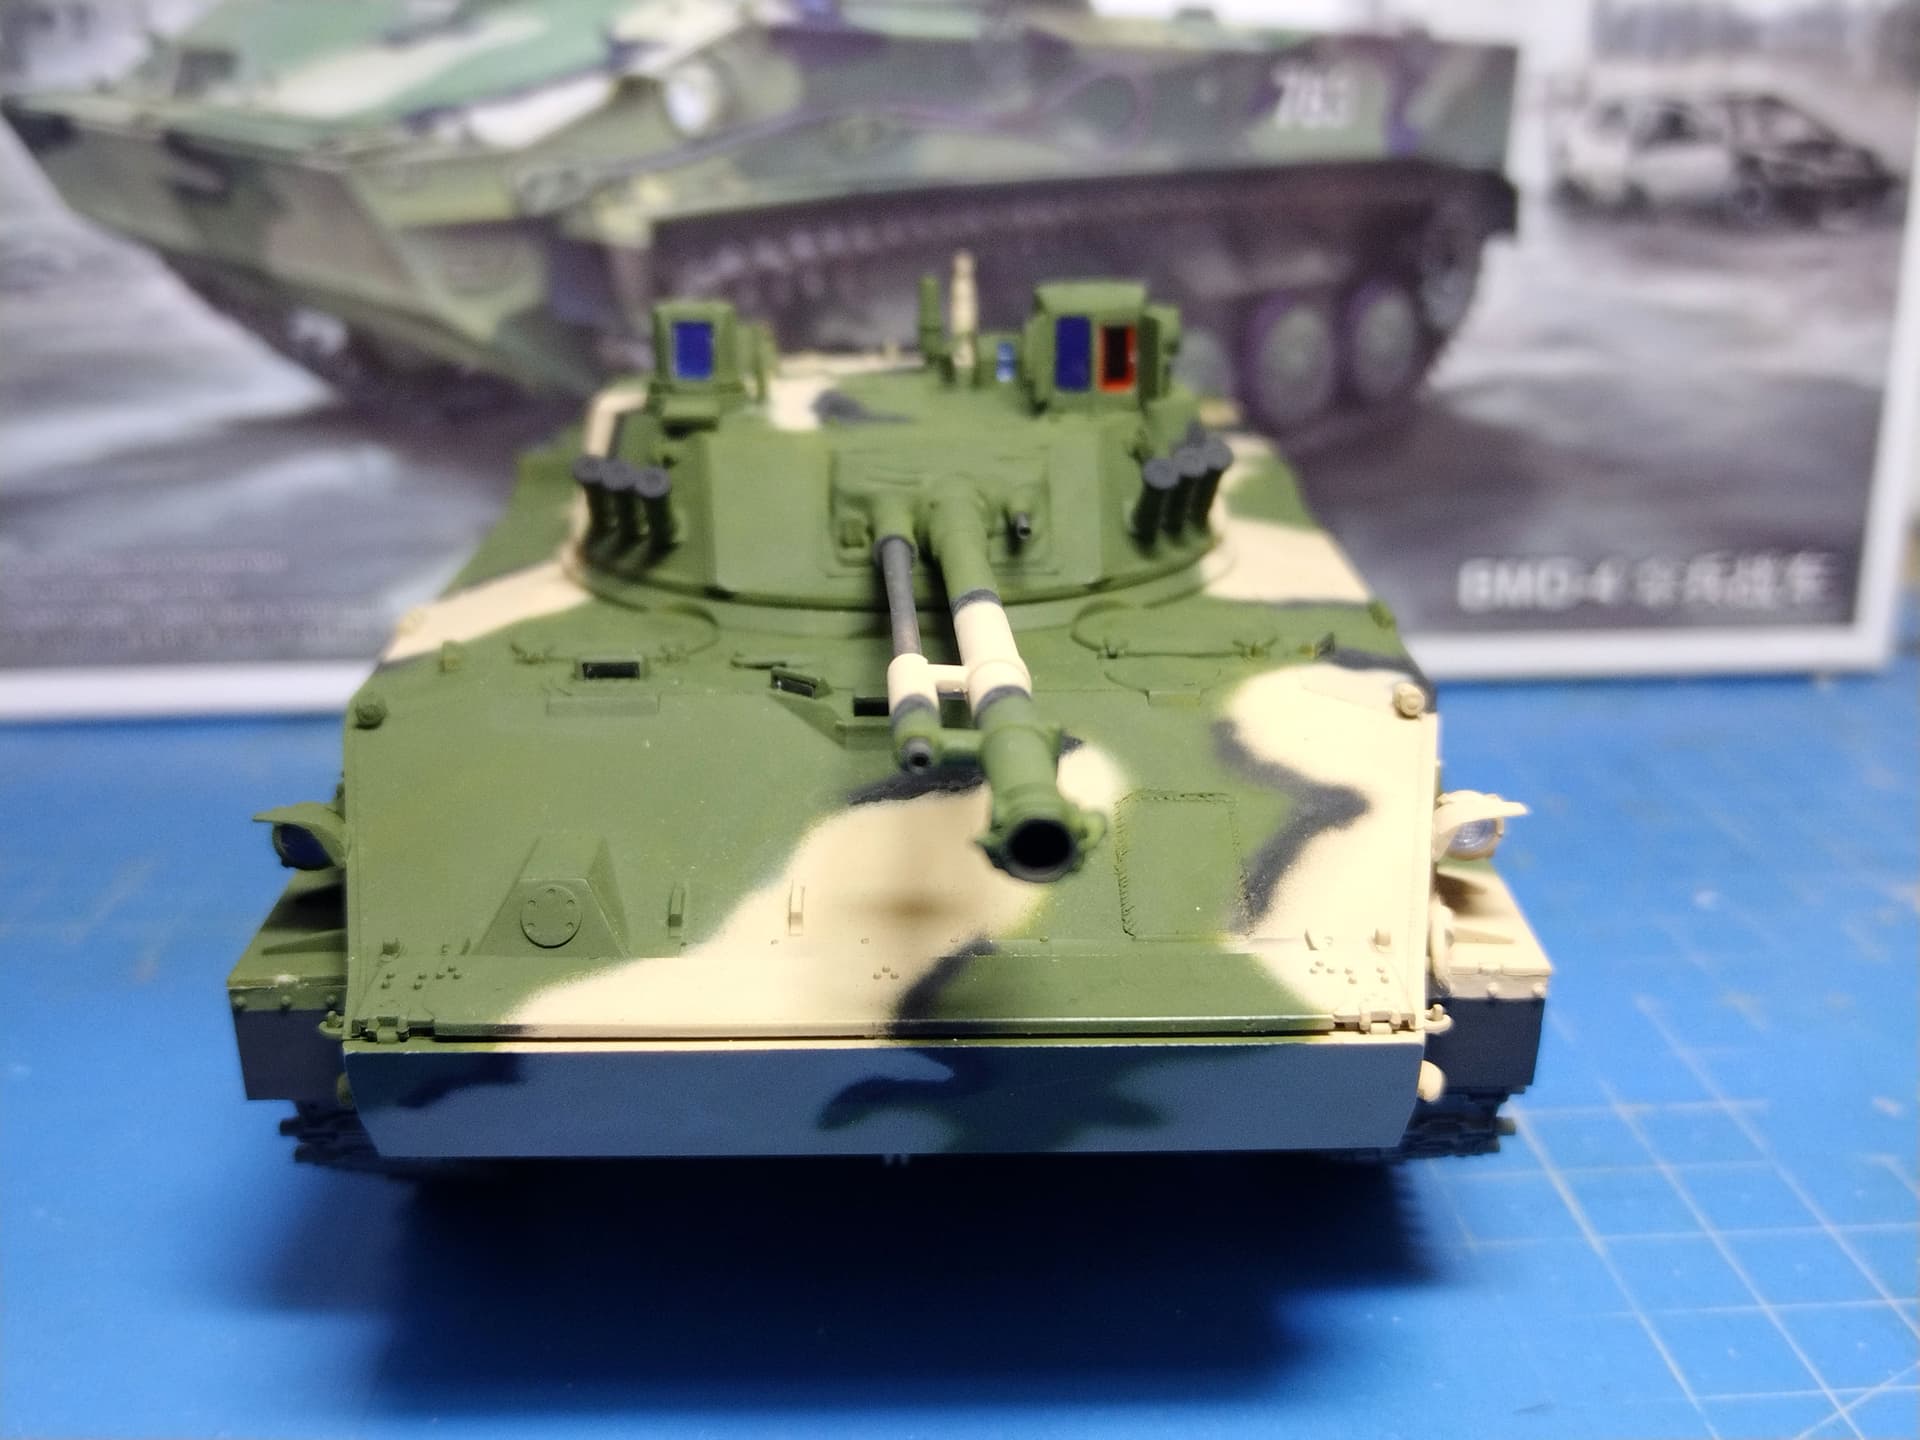
The 100 mm and 30 mm gun muzzles have been drilled out deeper than represented by Trumpeter. The coax muzzle has been drilled out as well. The protection of the latter is awful but I don’t know what I could have done to it.
The straps around the dust cover are made from PE left overs as Trumpeter omitted them in the PE plate.
Thank you for the comments.
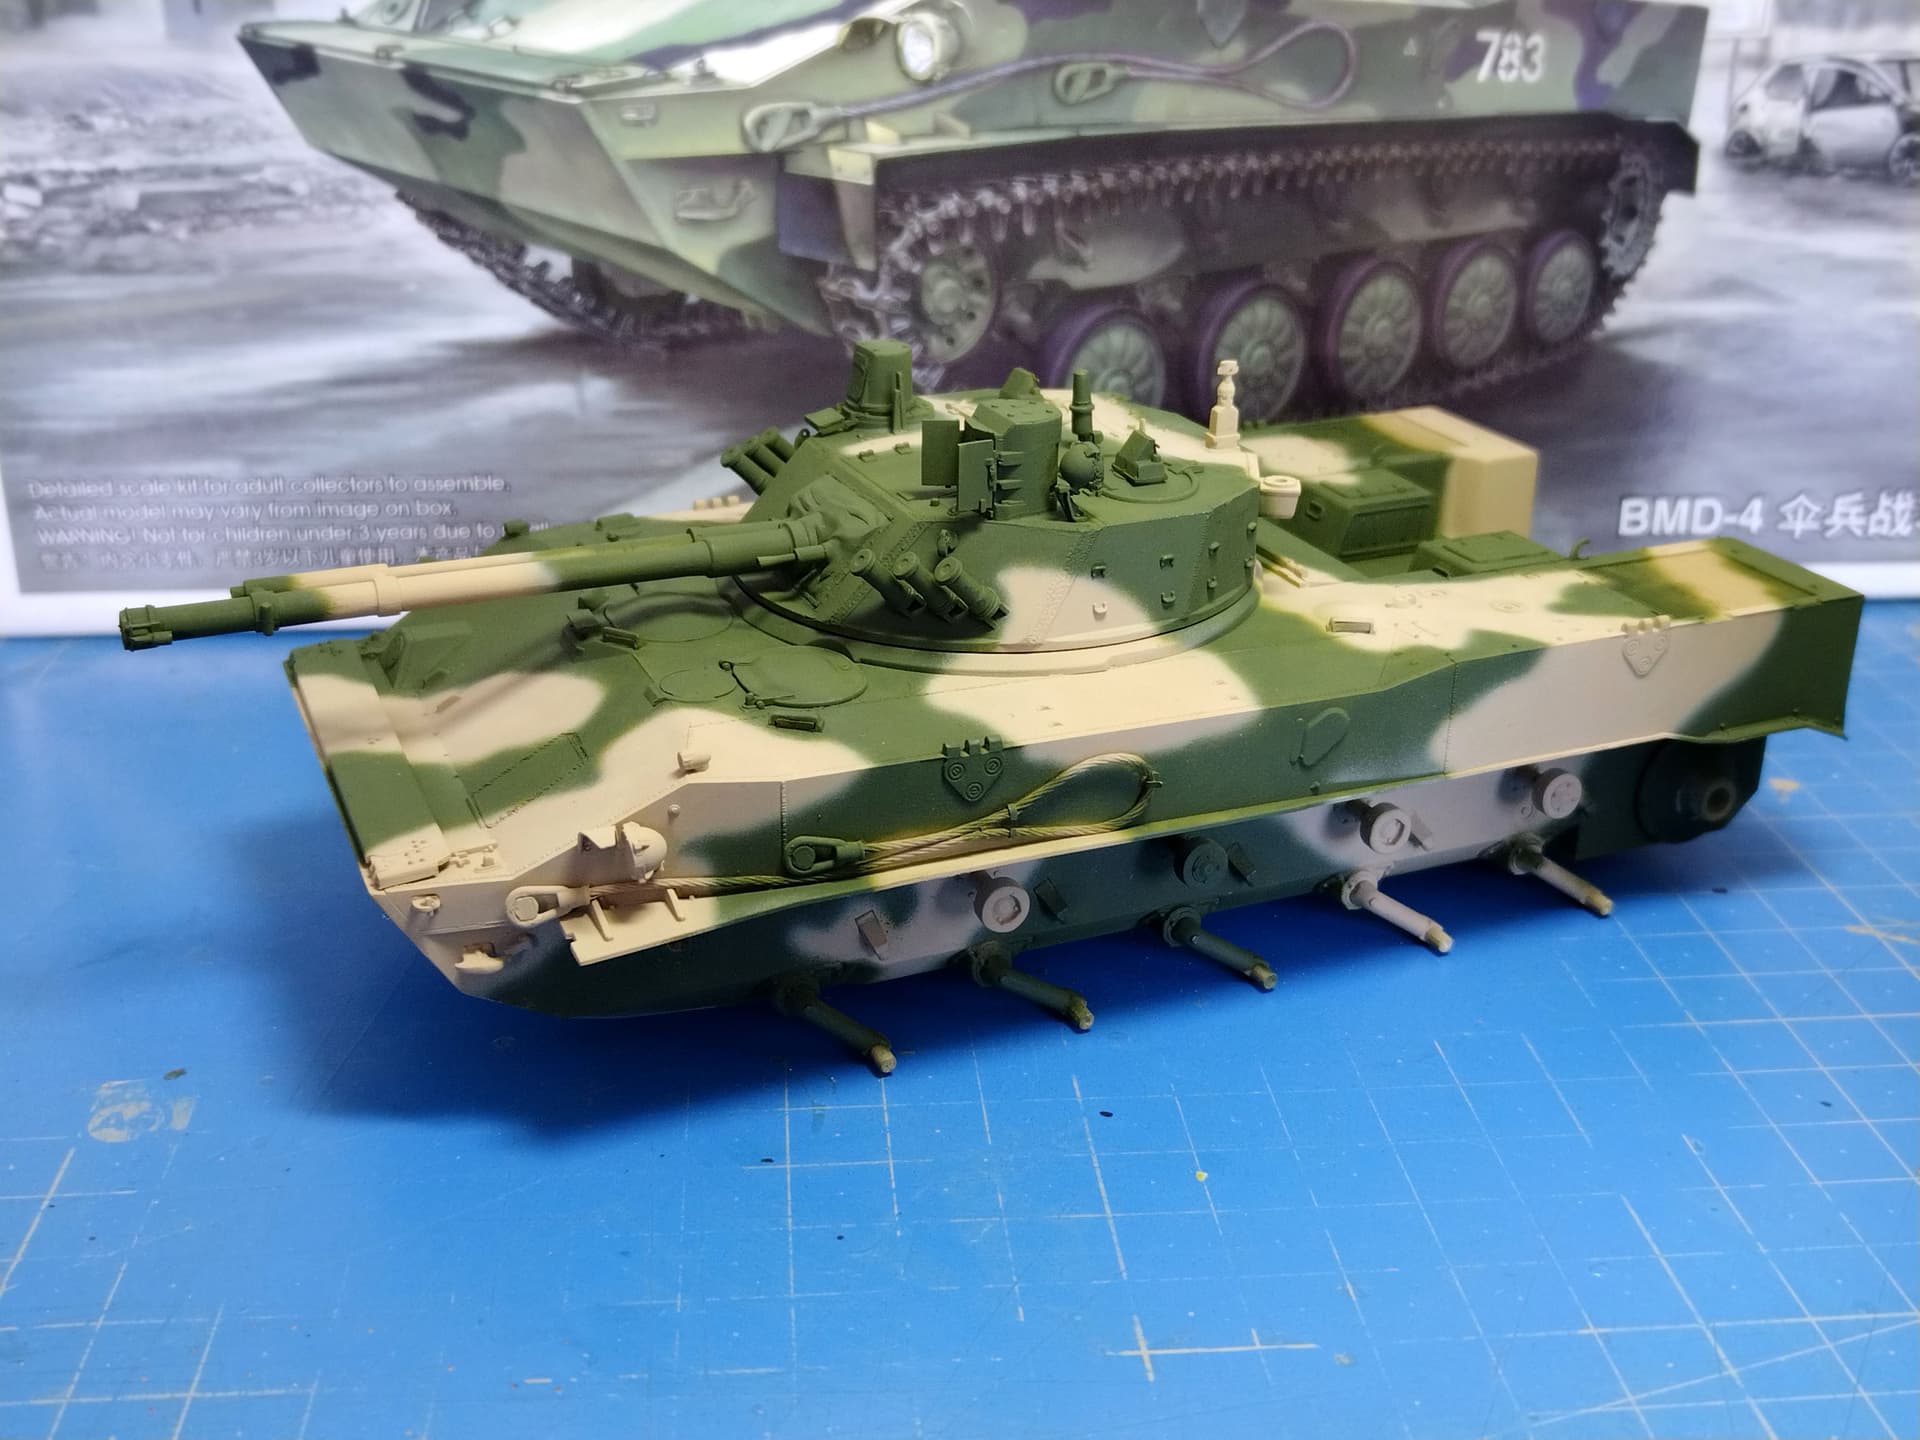
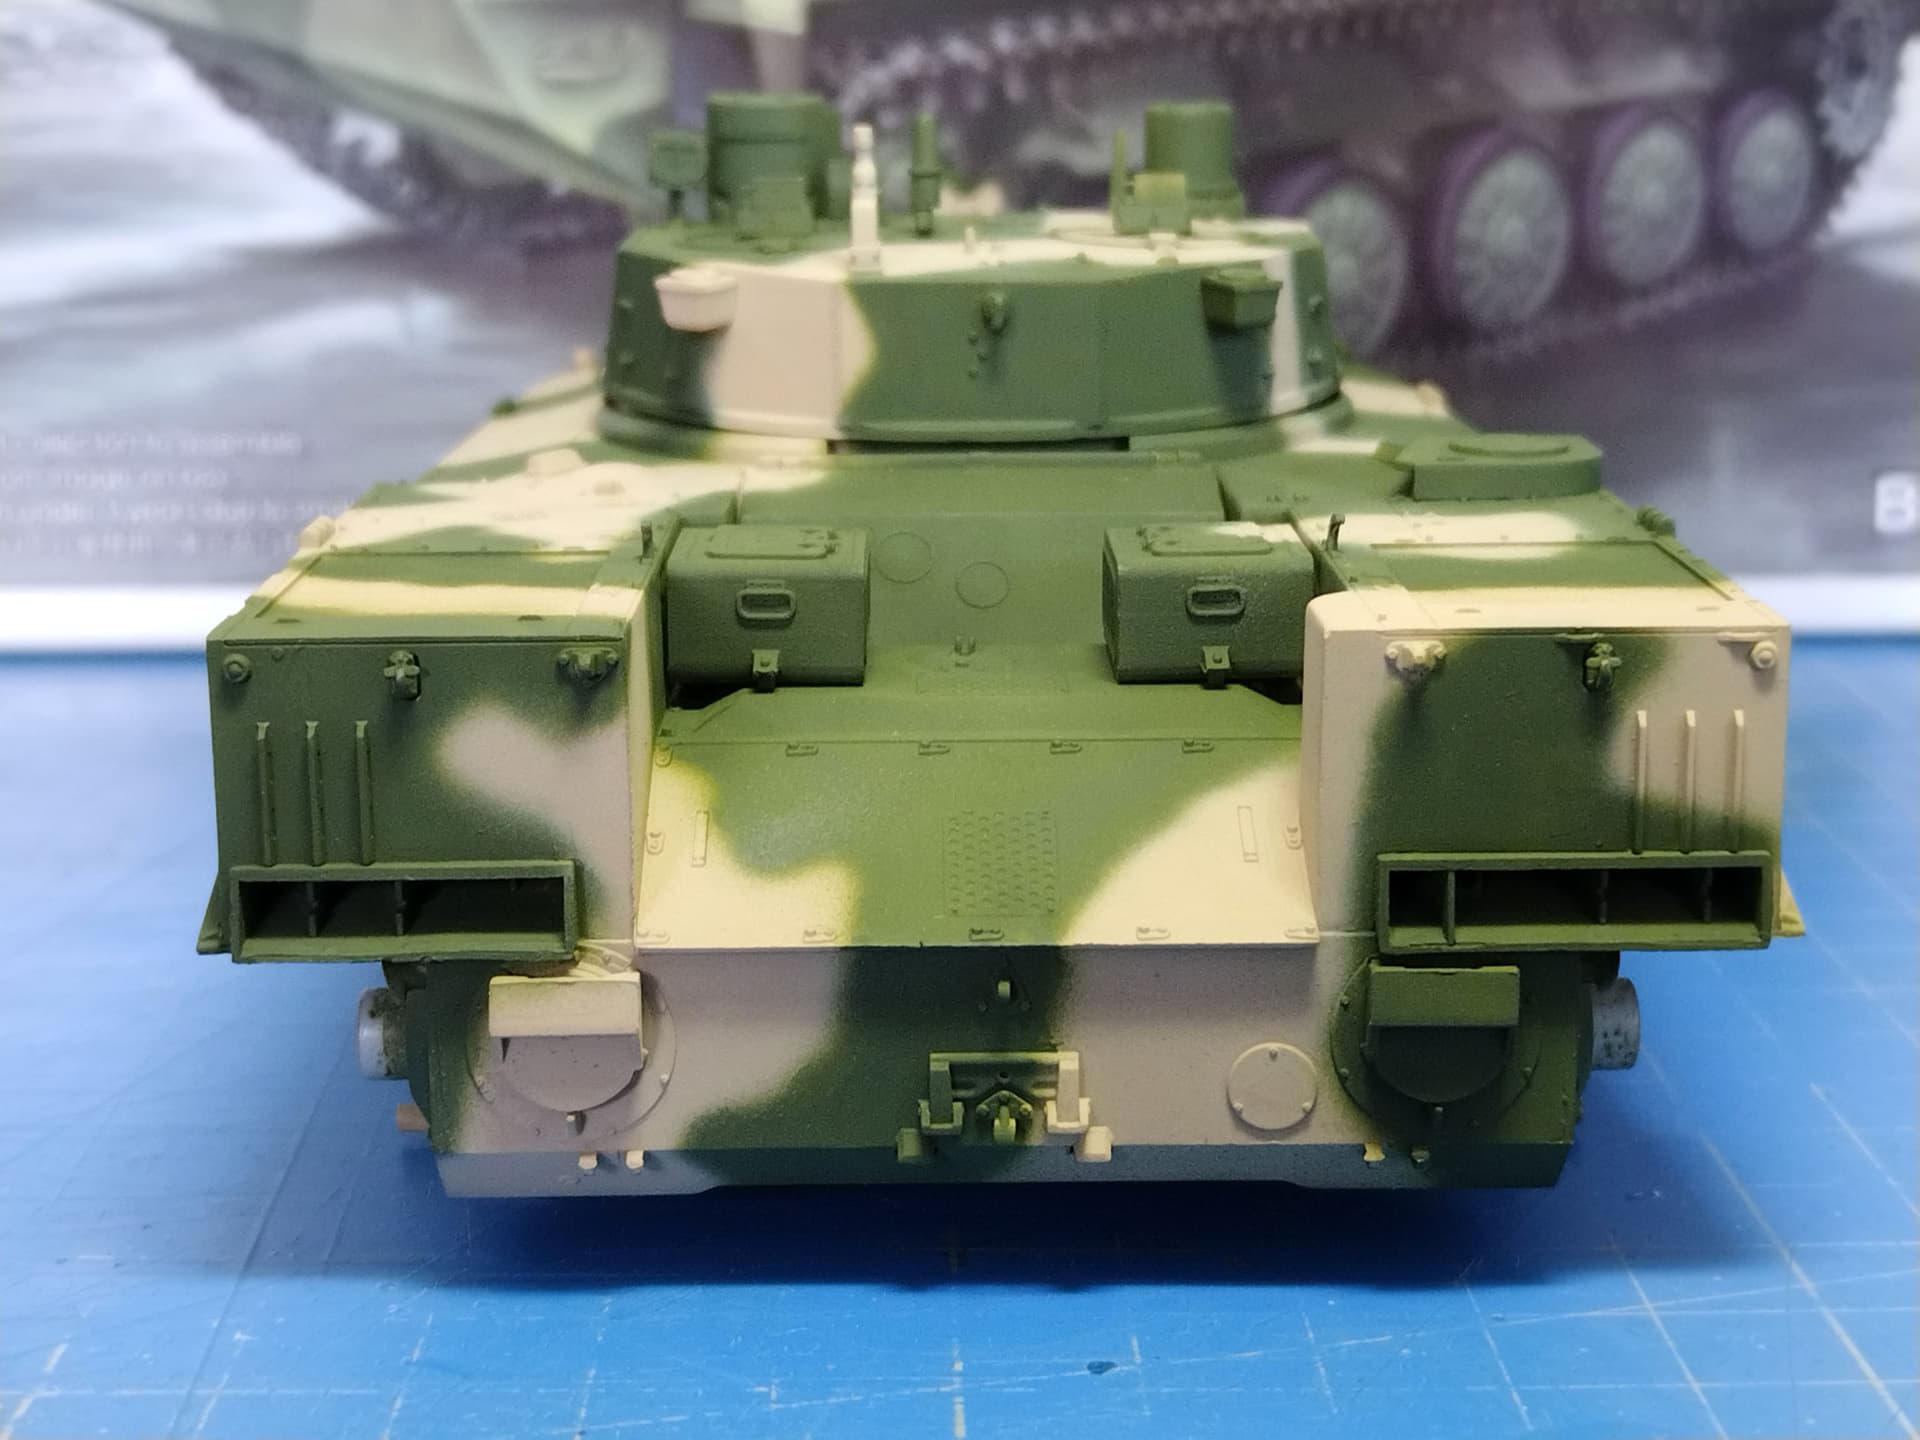
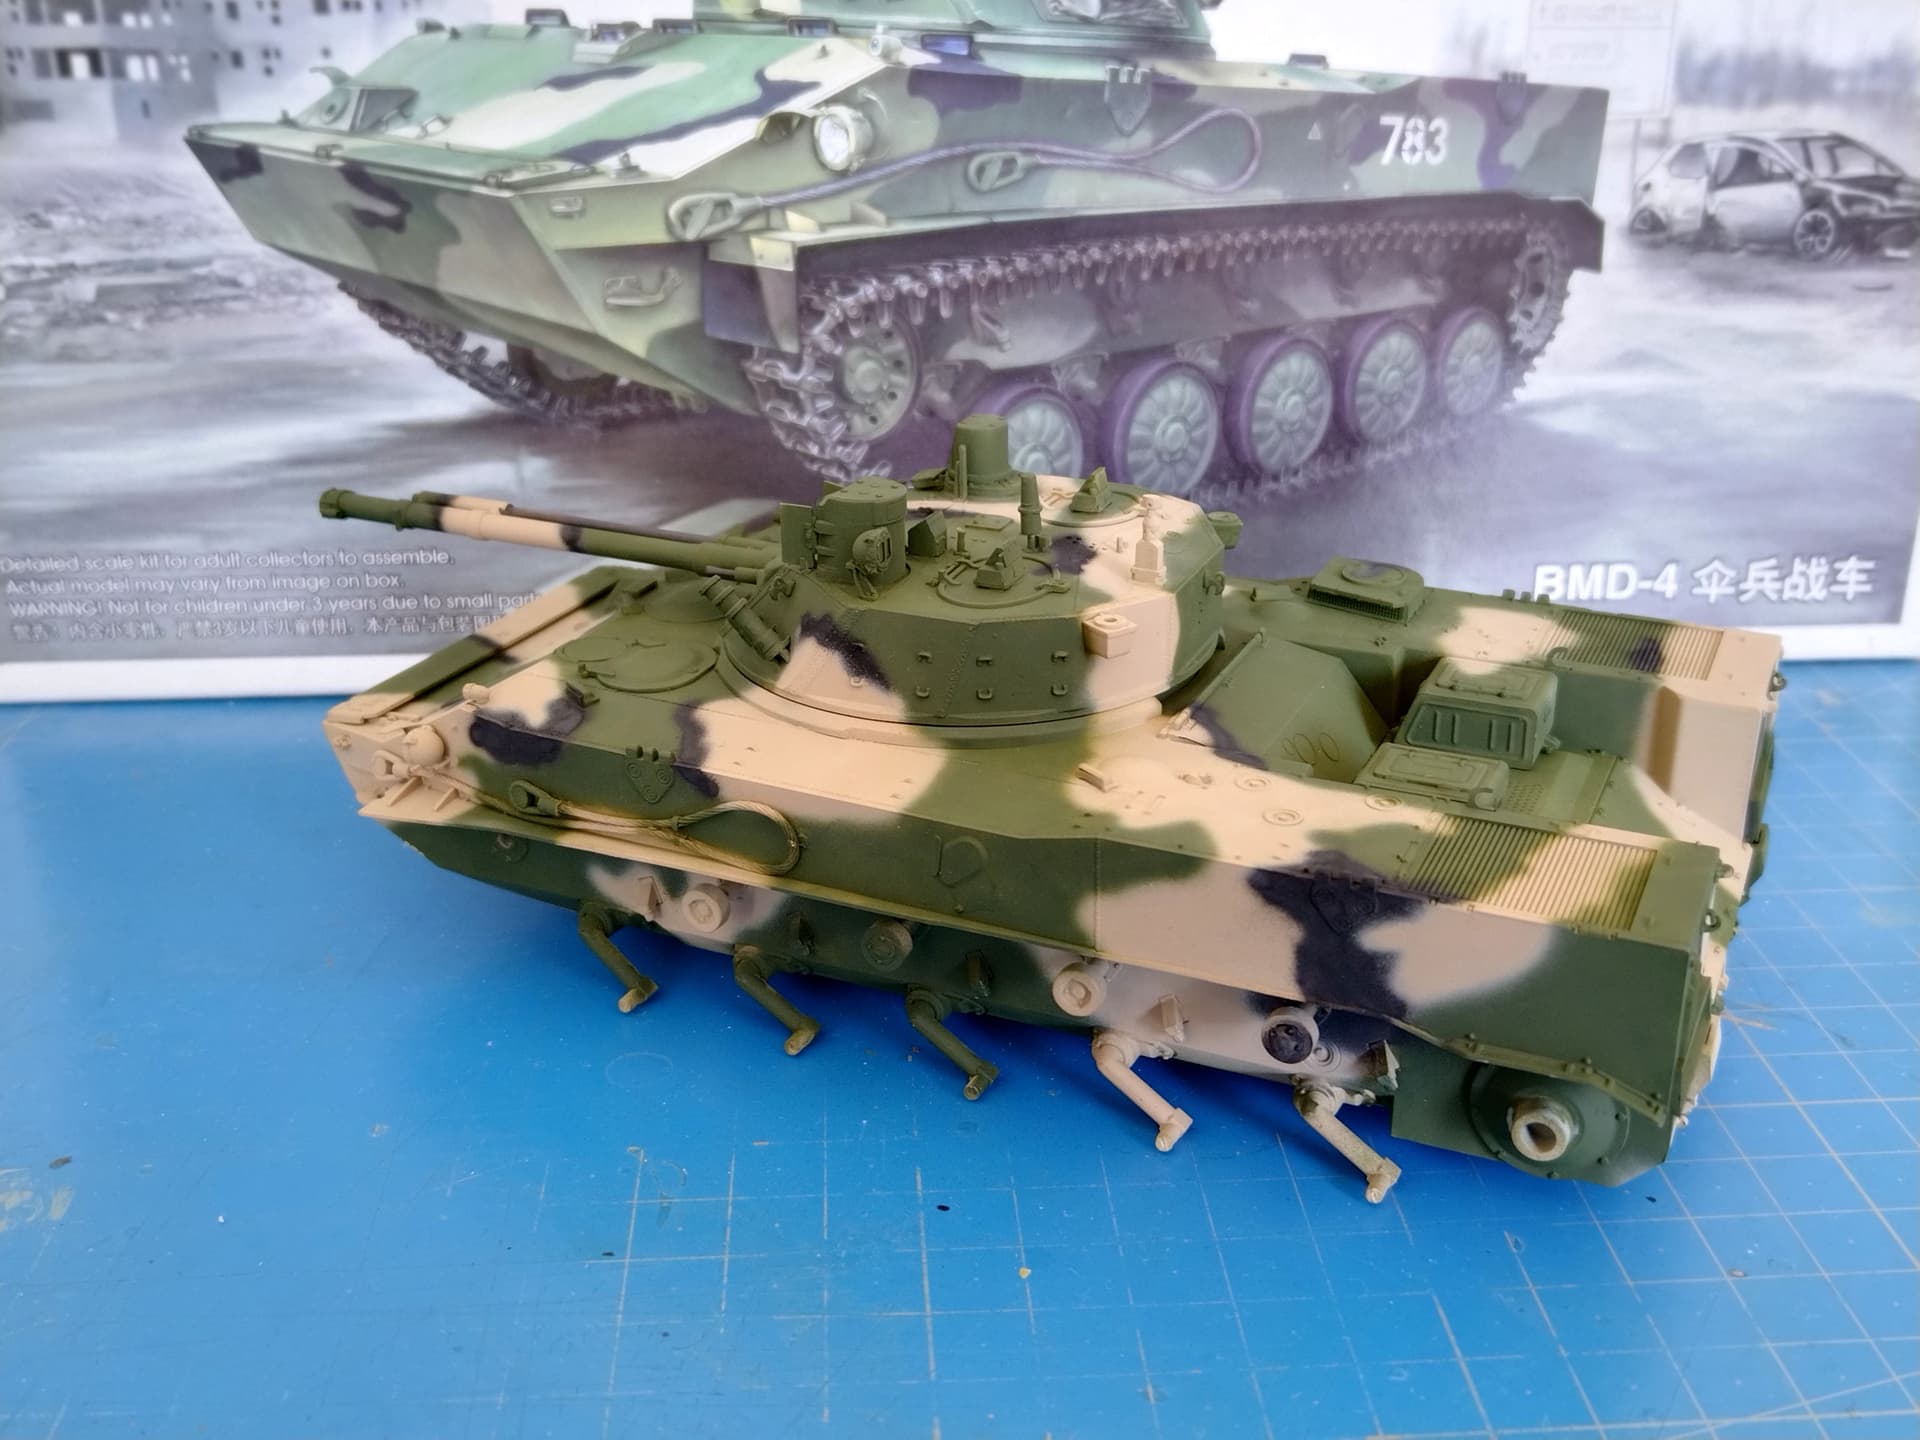
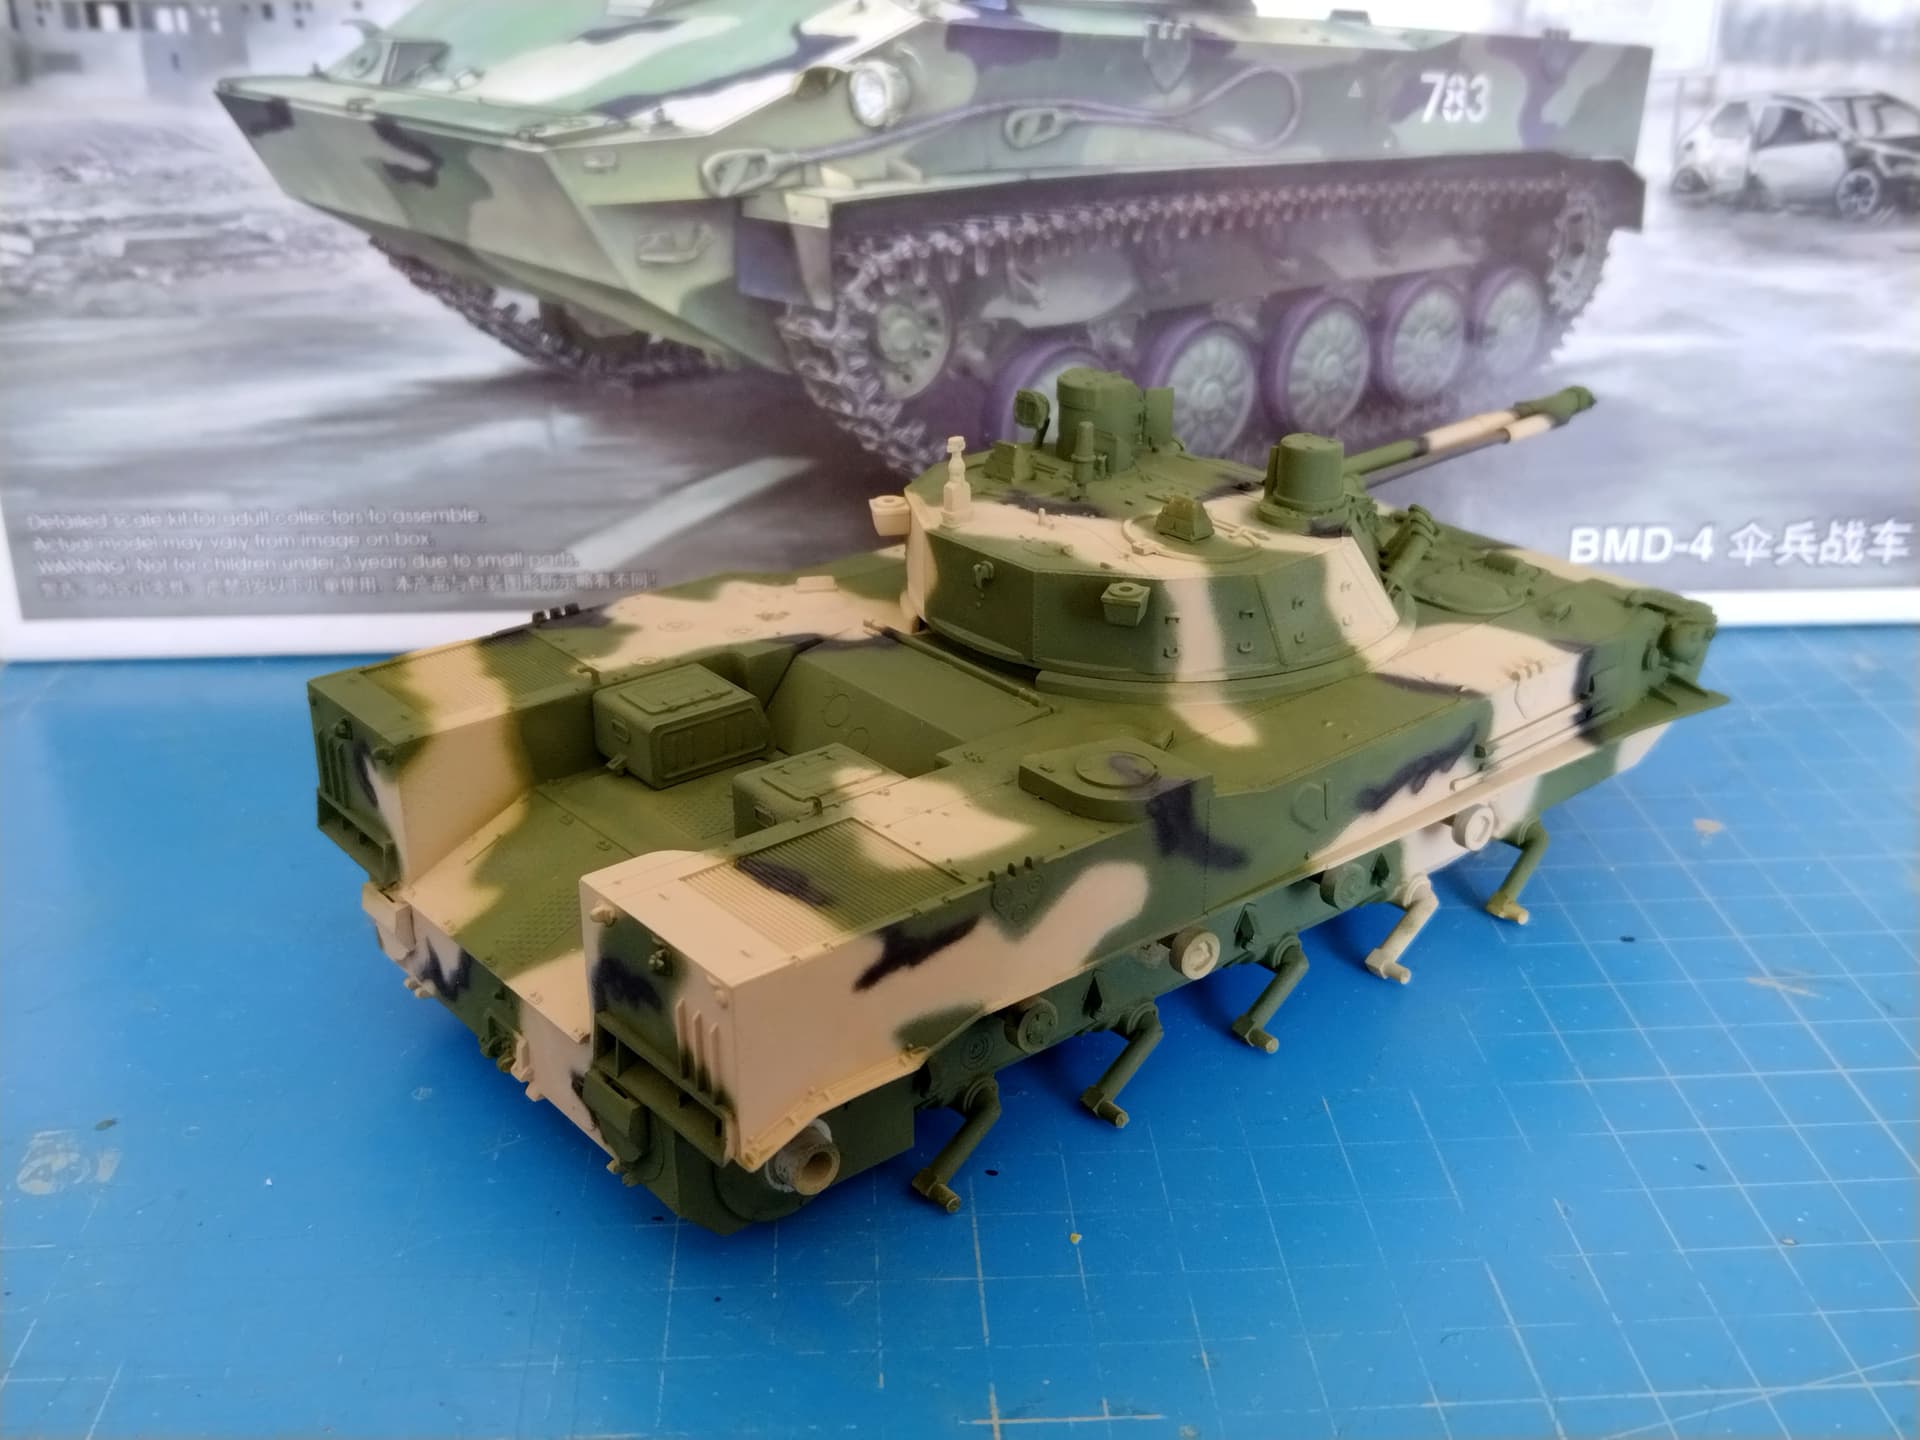
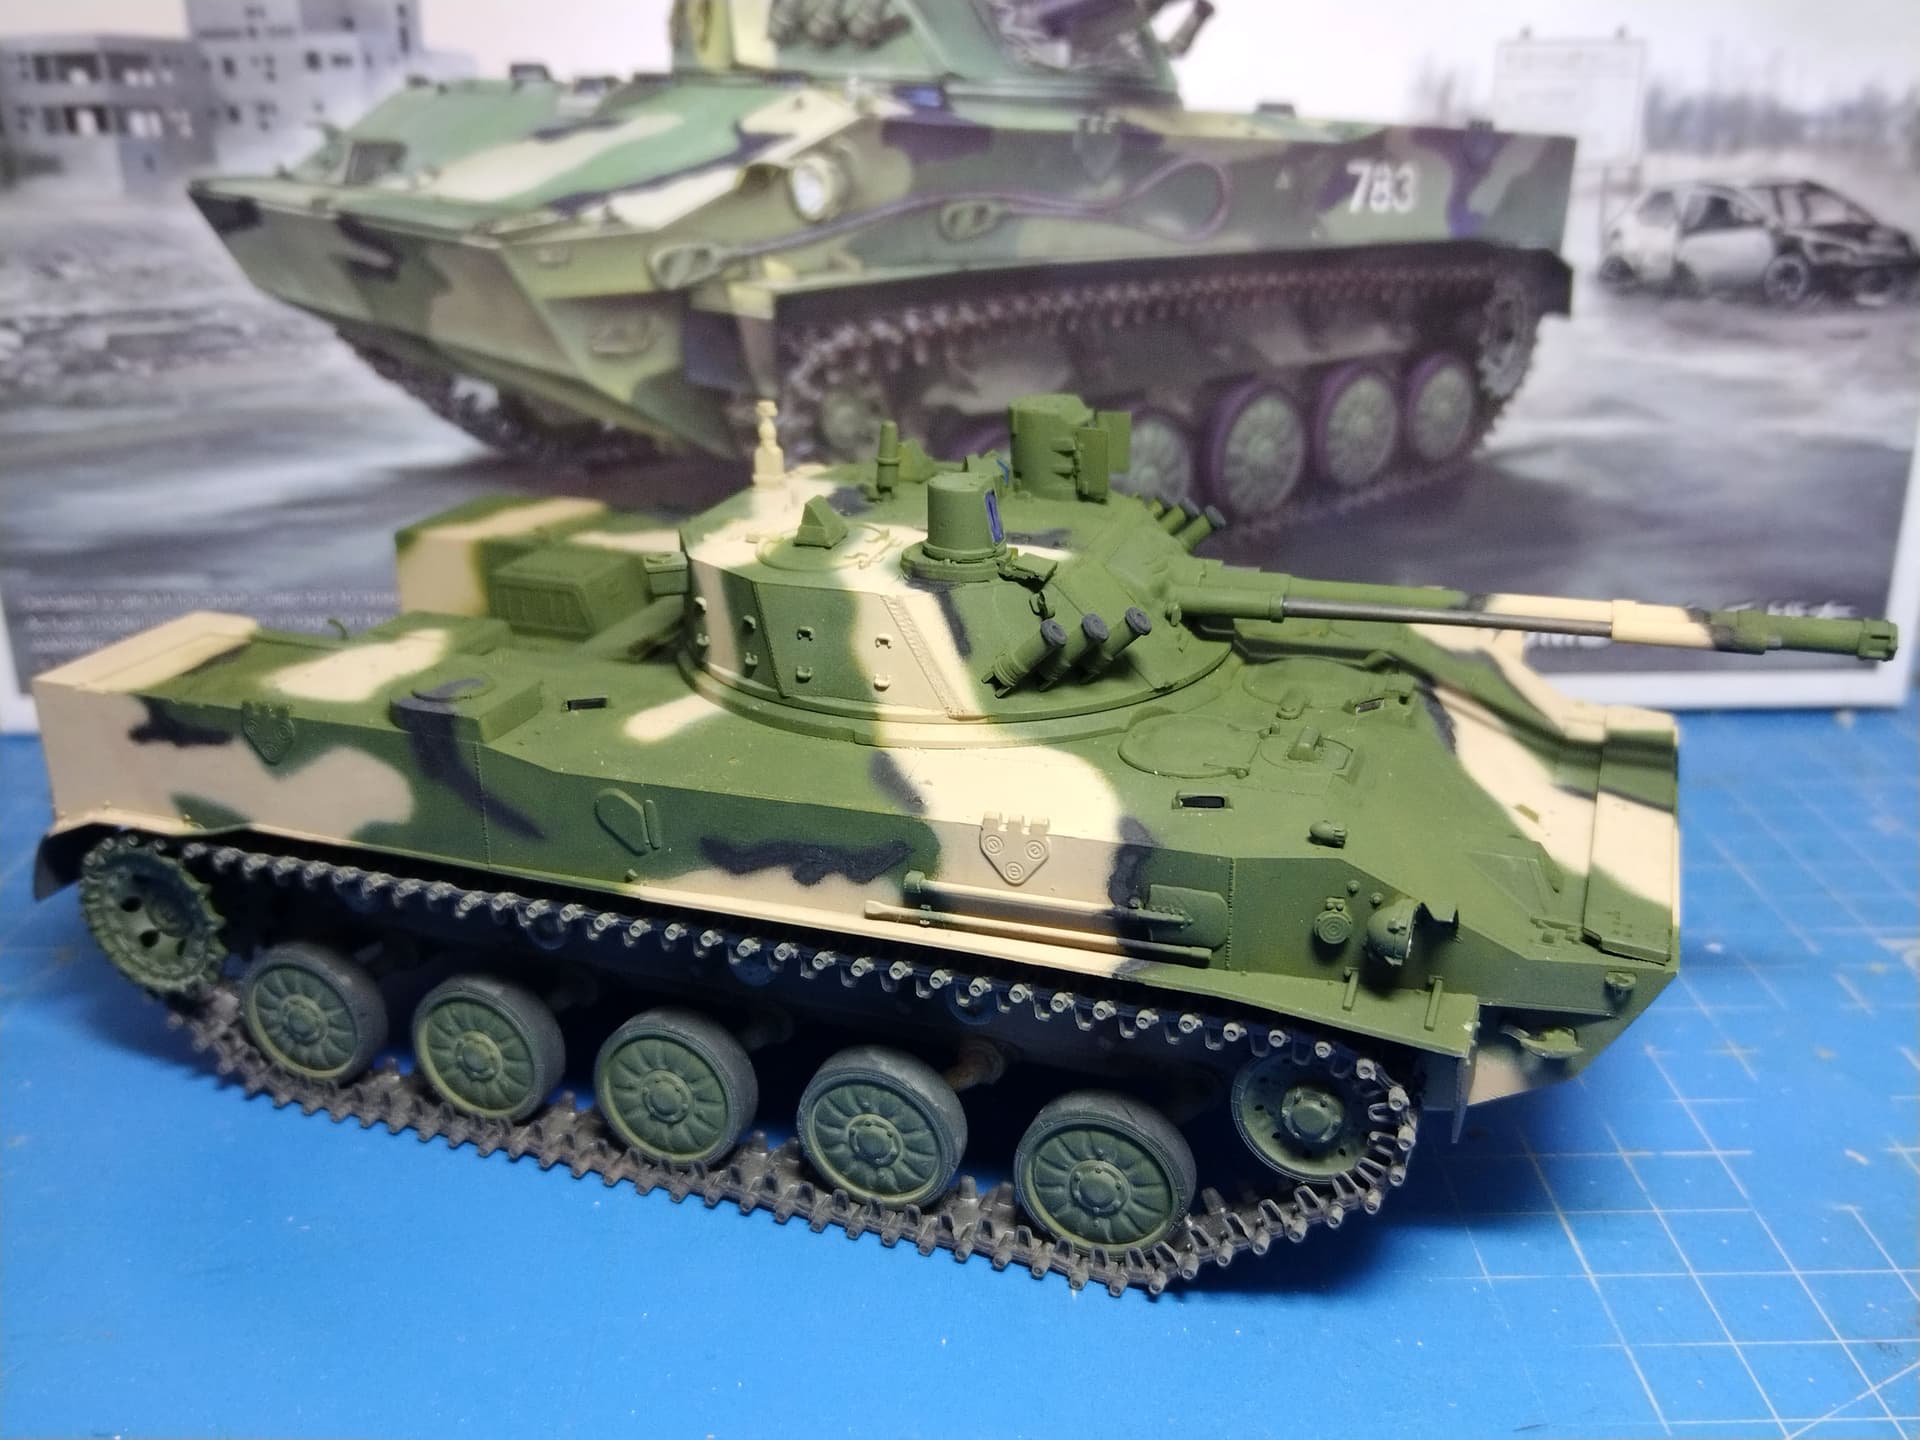
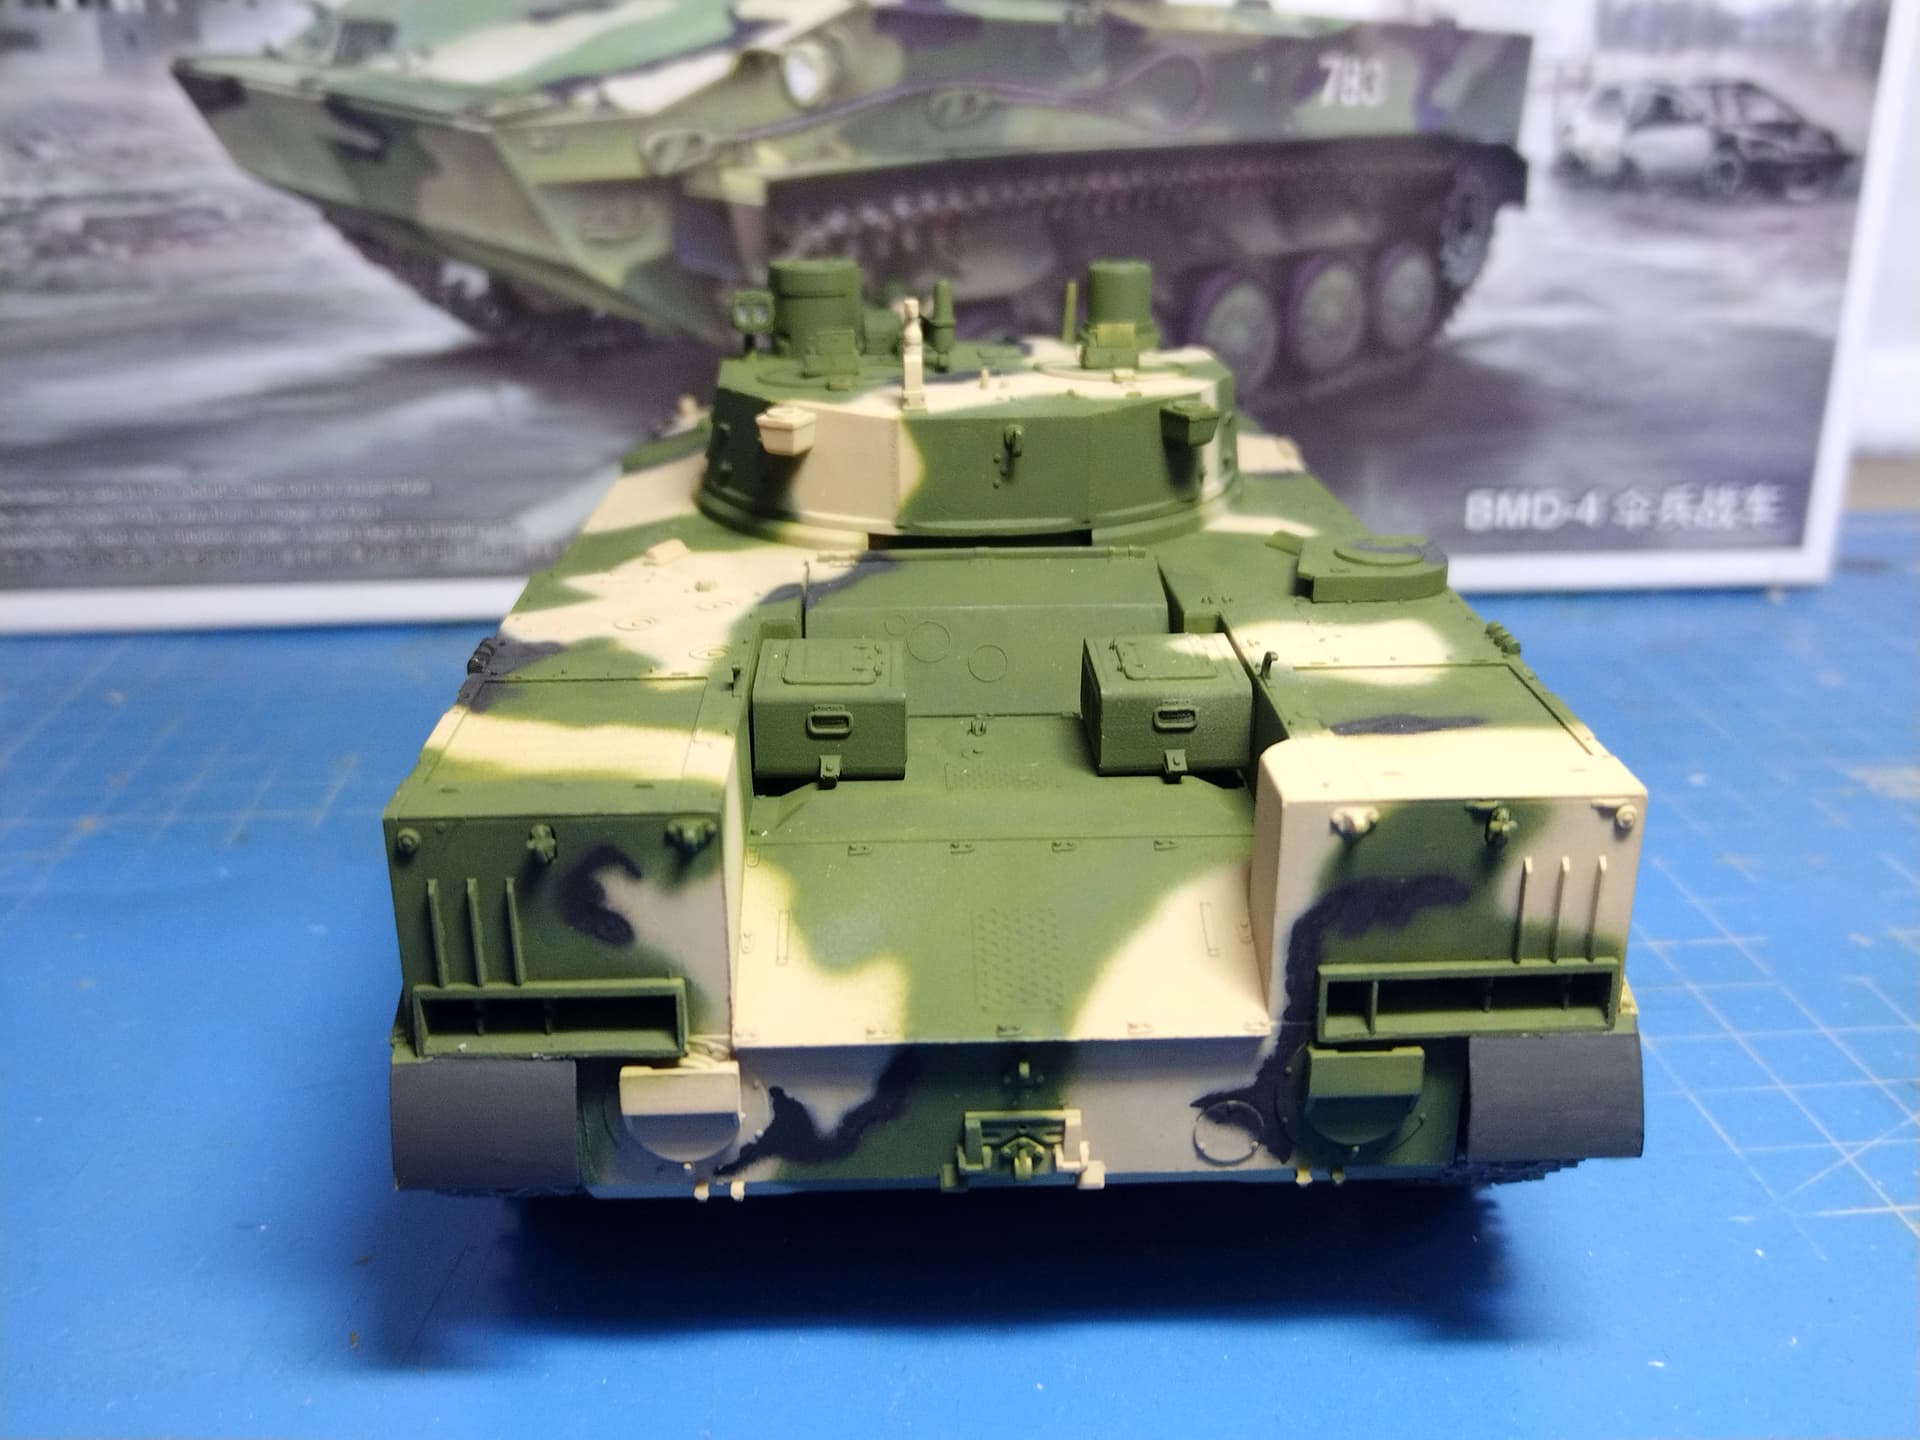
I have applied the basic paint. I started with the sand-grey and my usual XF-78 choice then I freehand airbrushed the green zones.
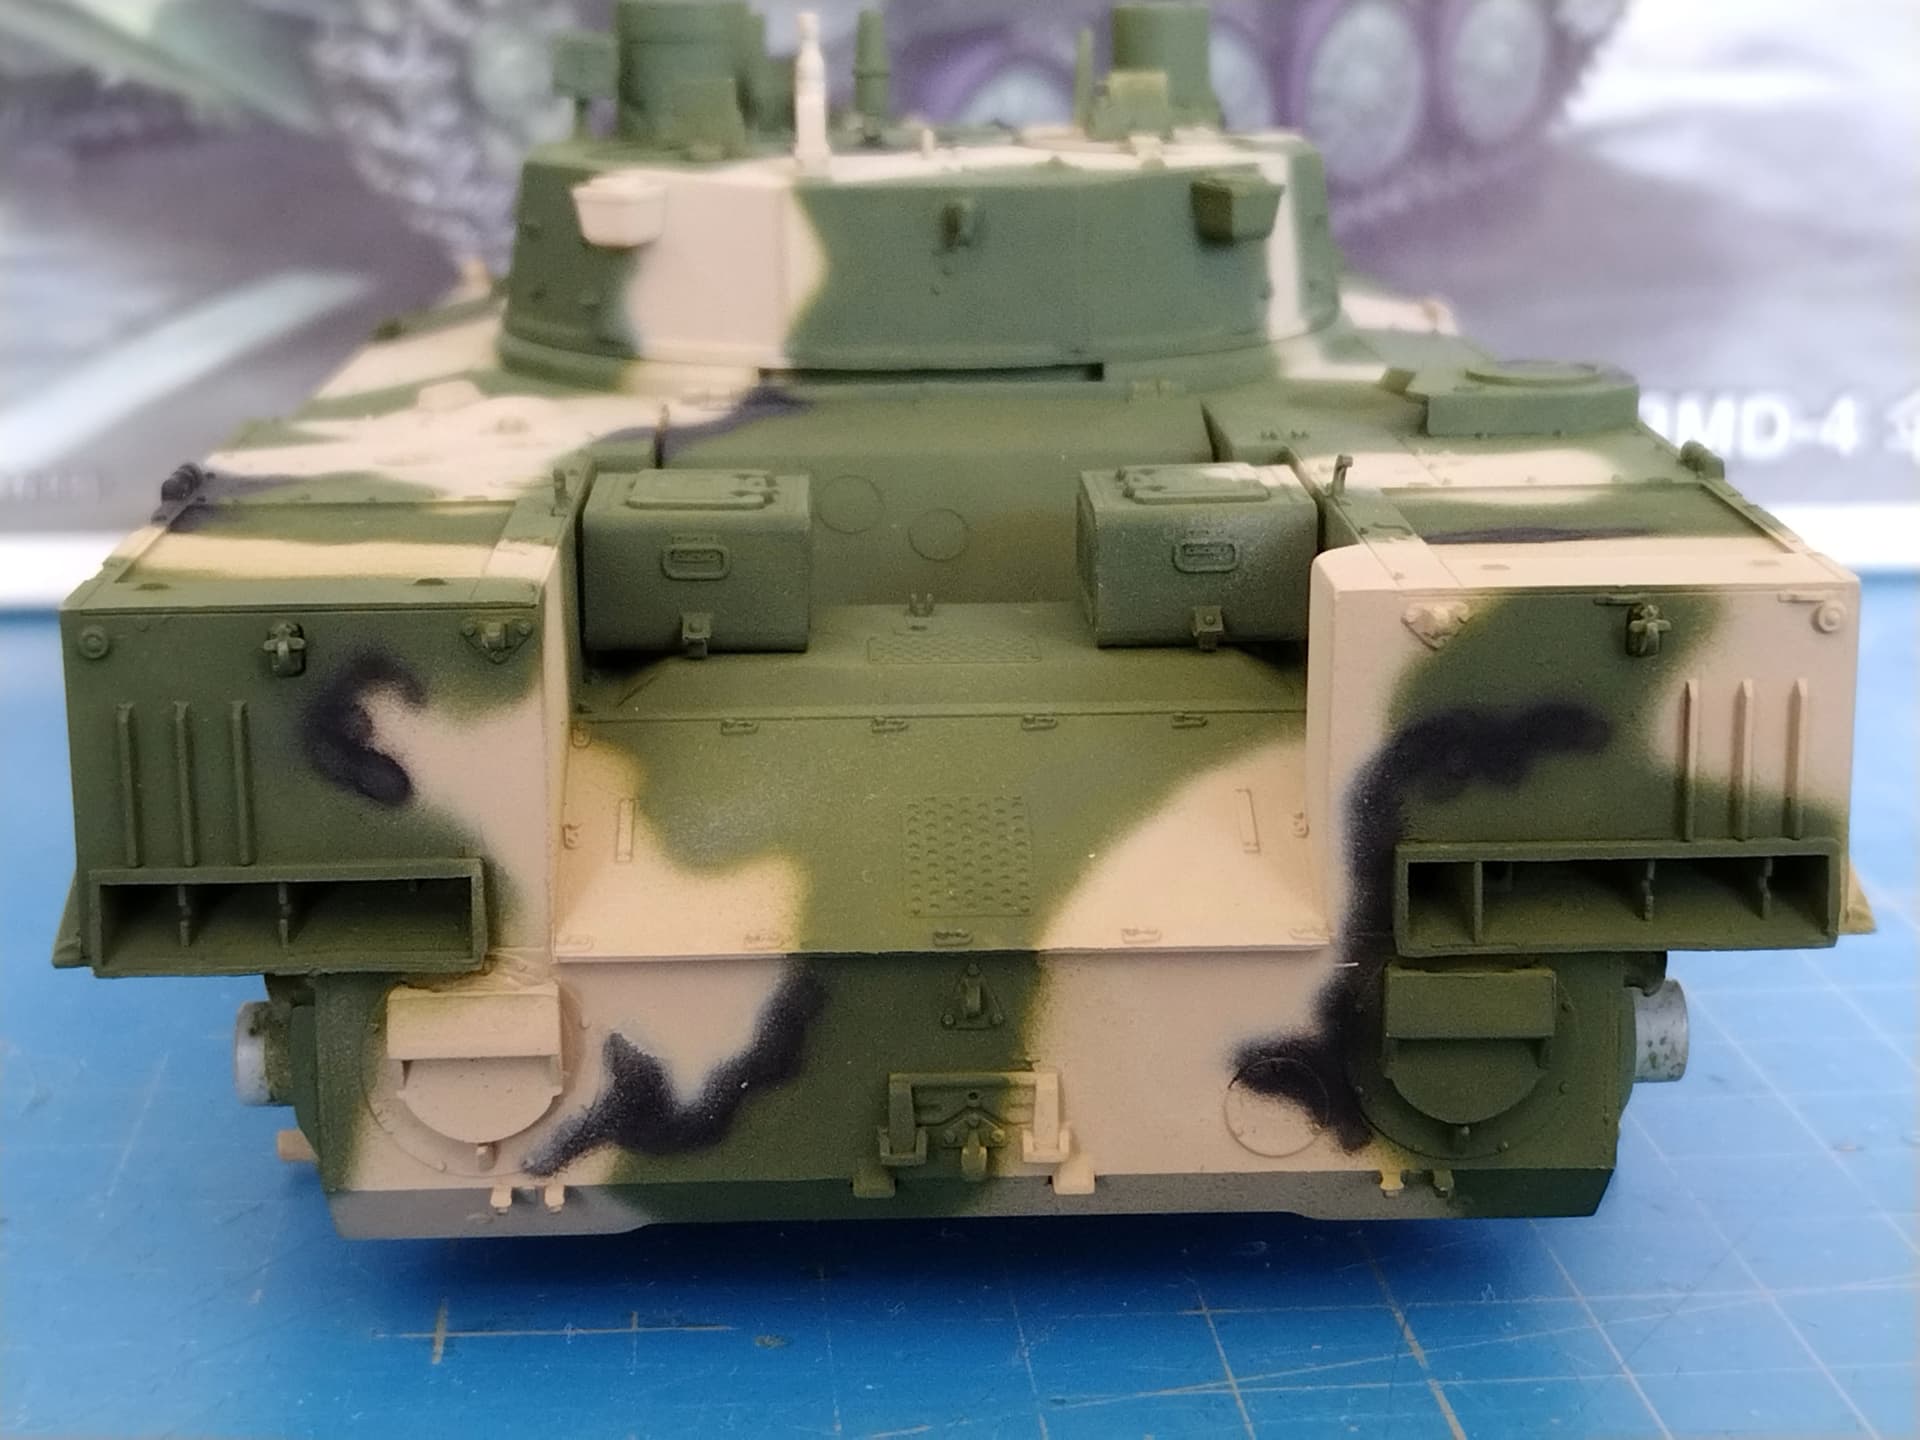
After correcting some overspray here and there I applied the black patches.
Thanks for the appreciations.
Johnny, as usual for this camo scheme the green is XF-67 NATO green.
[quote="Karl187]you always do very fine and accurate paint-work on your builds!
[/quote]
Thank you but to be honest I’m not fully satisfied with this one accuracy wise. I guess I’ve reached the limits of both my skills and my airbrush. The black patches should be finer for most of them.
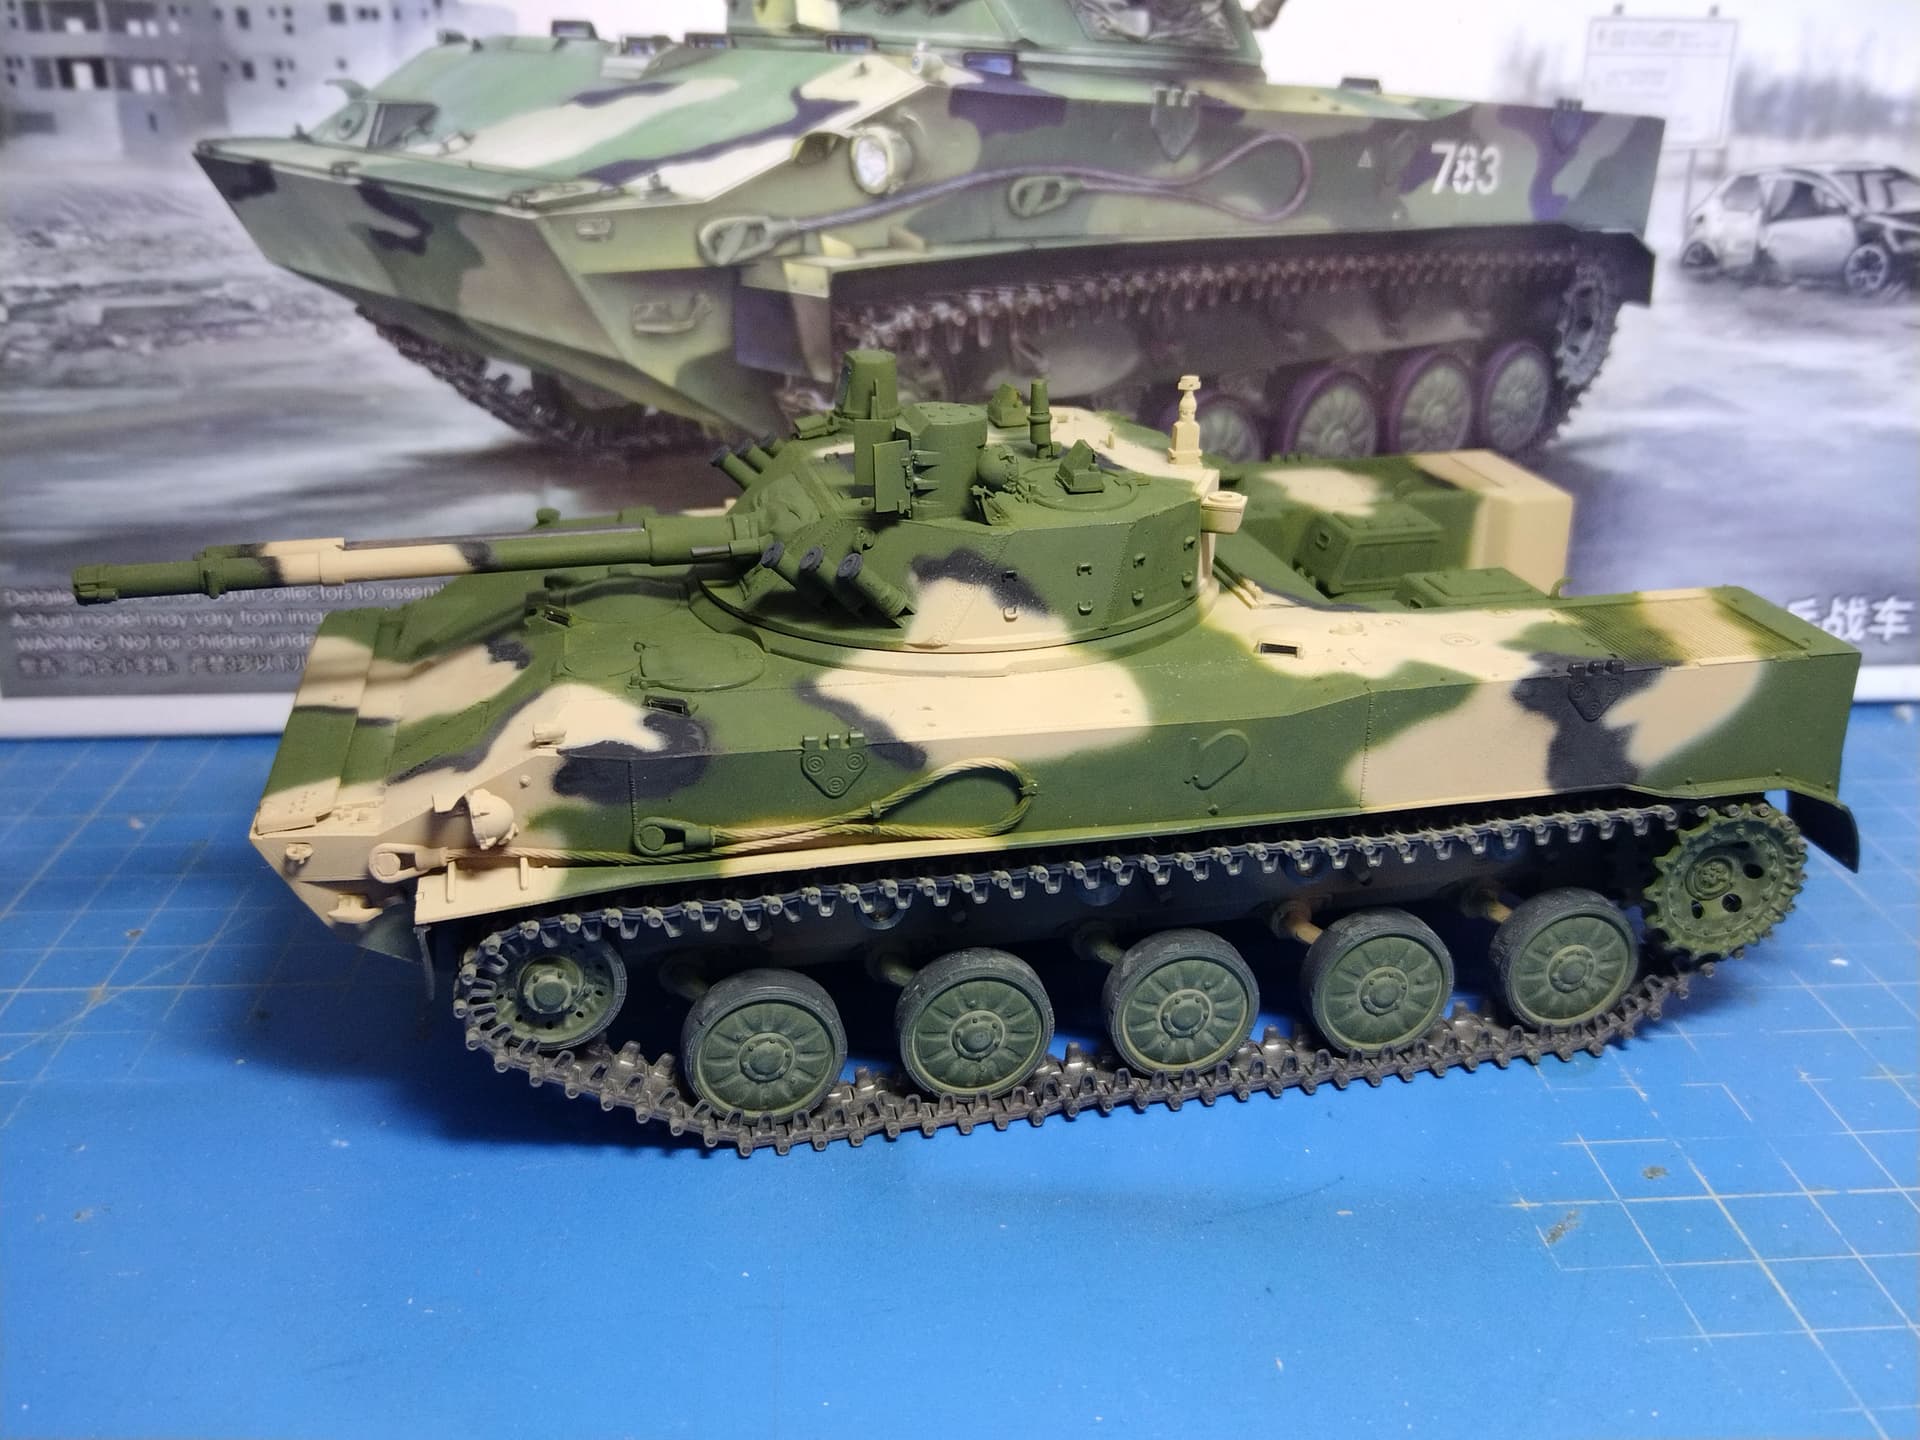
Before having a short break I intended to assemble the running gear. So I painted the various elements and sprayed a number of layers of dust with some earth tone. Having the idlers mobile helped a lot while building the tracks.