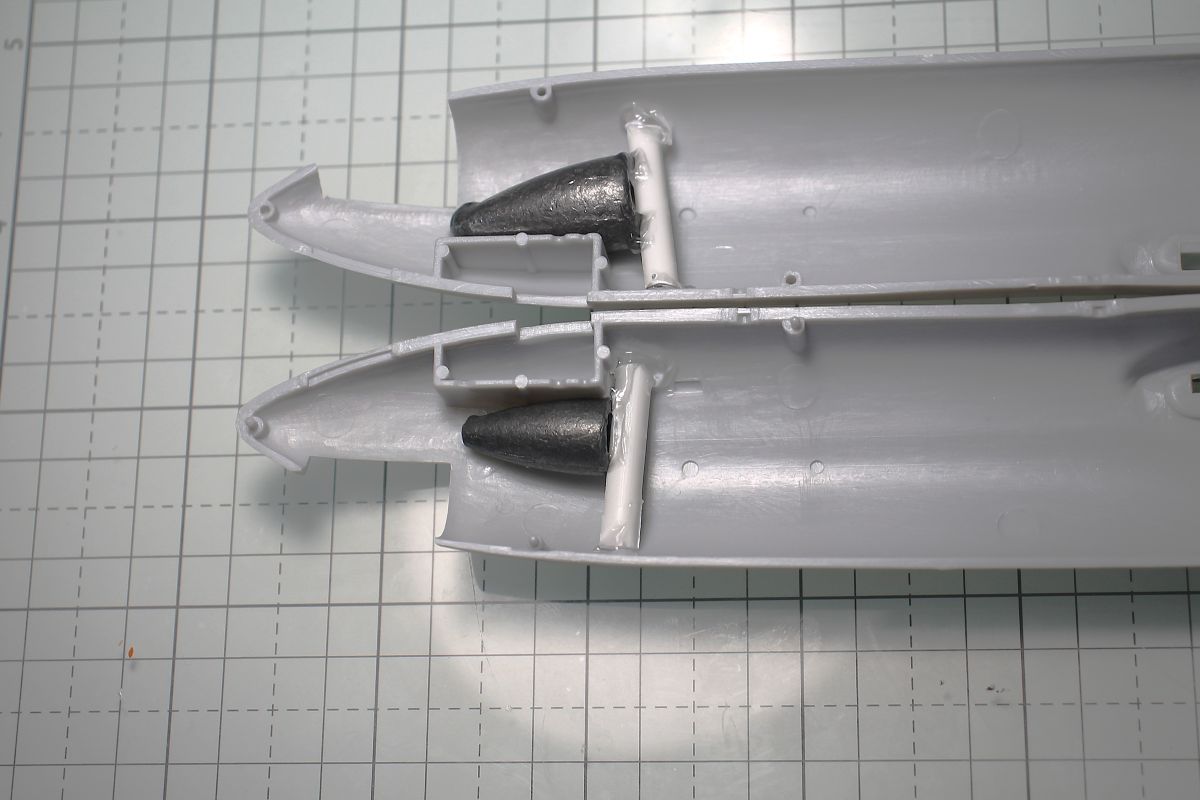
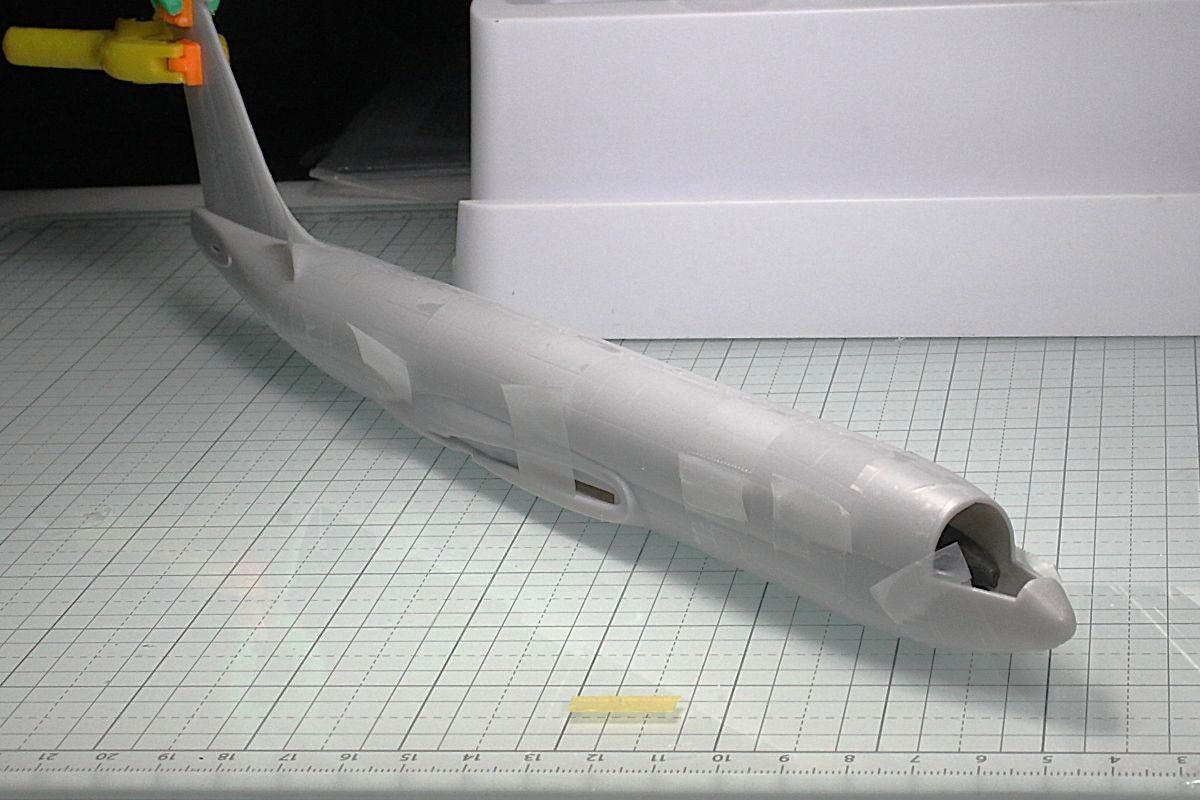
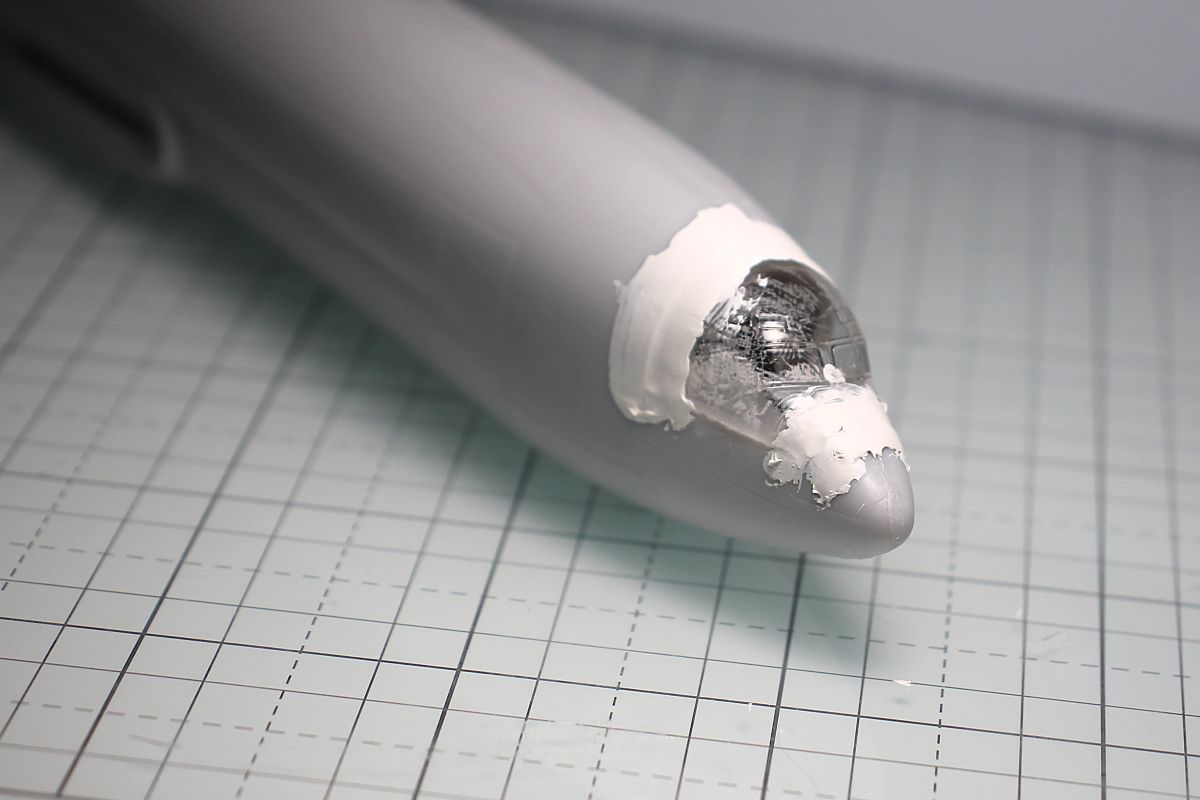
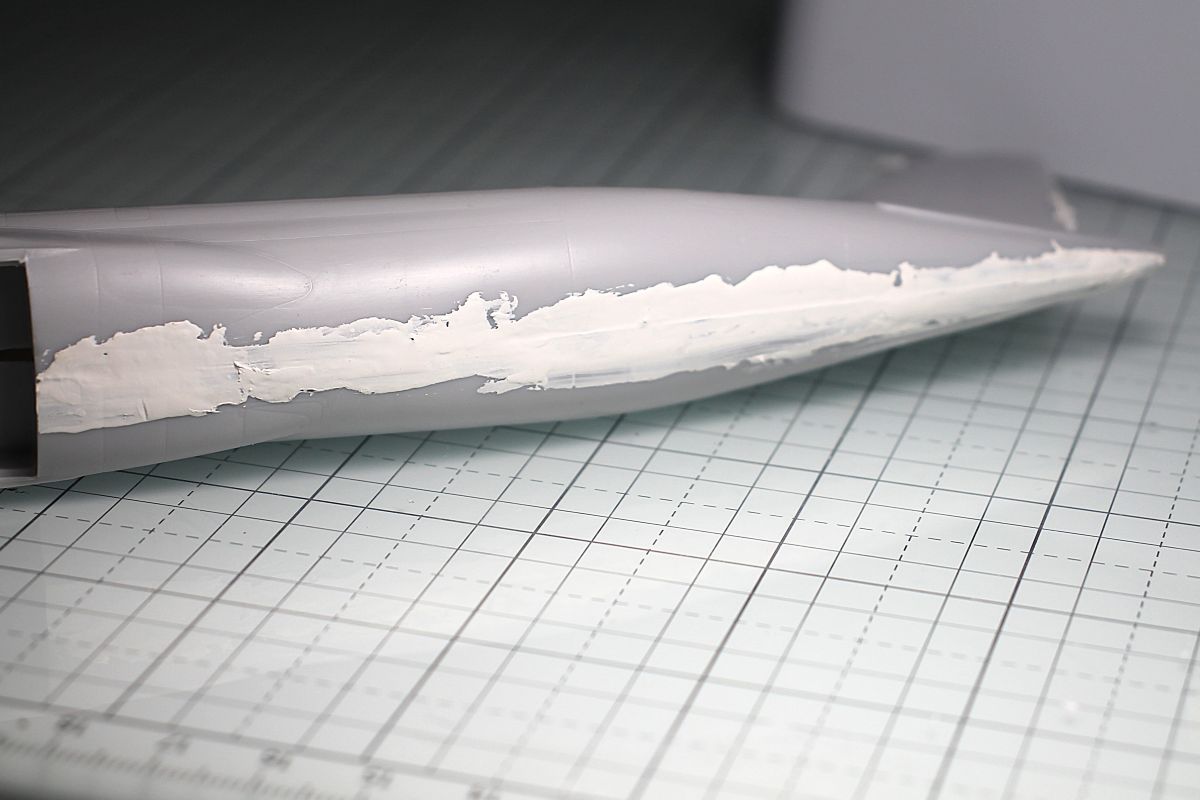
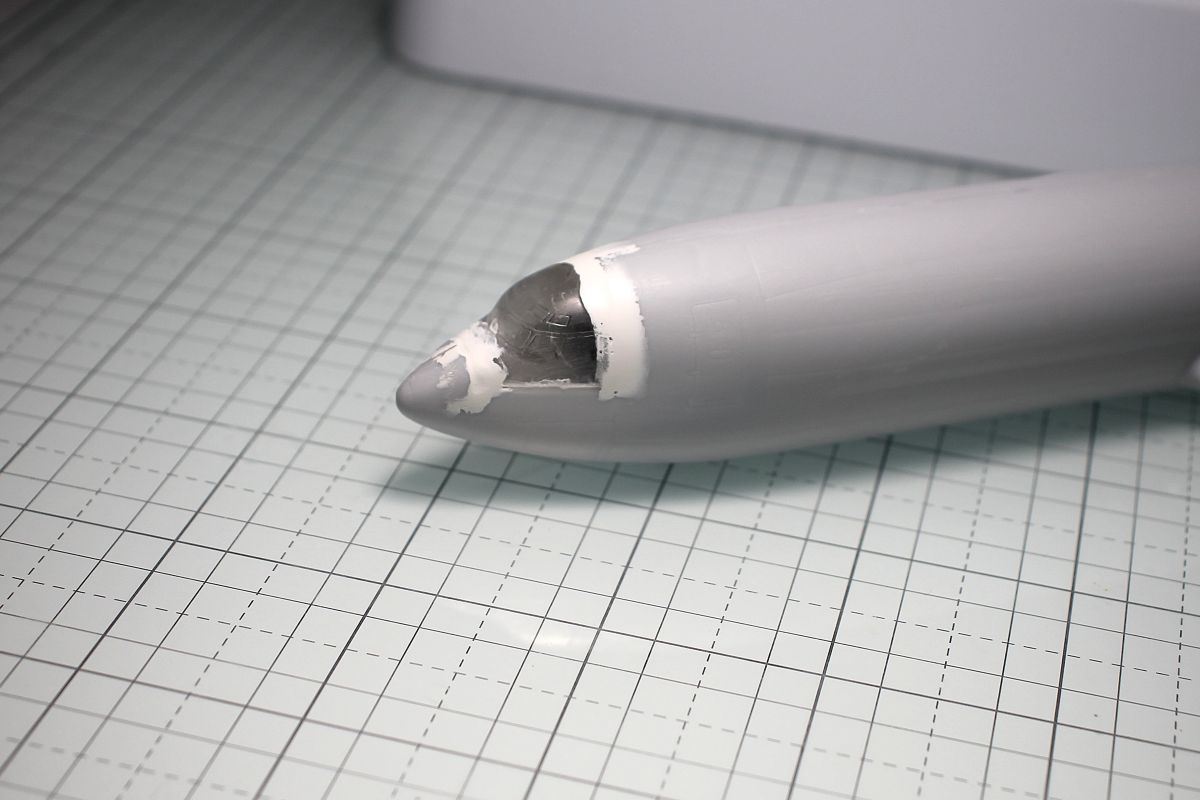
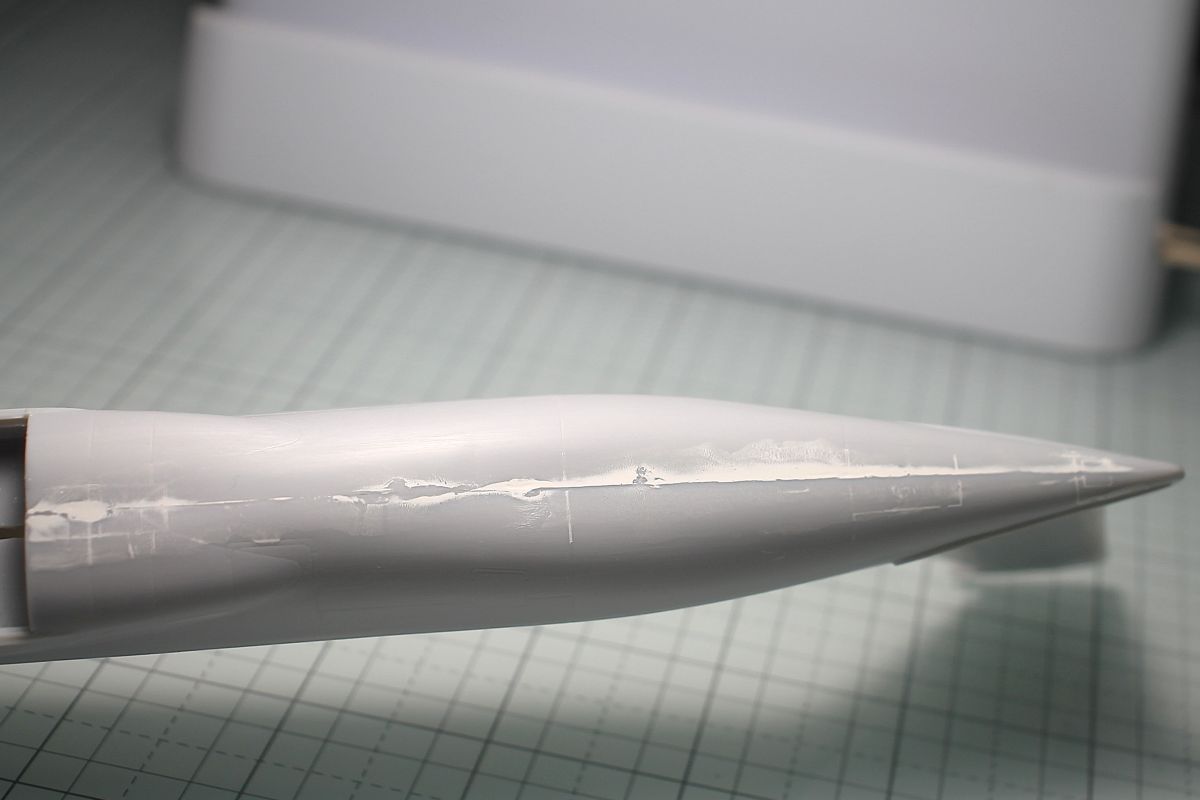
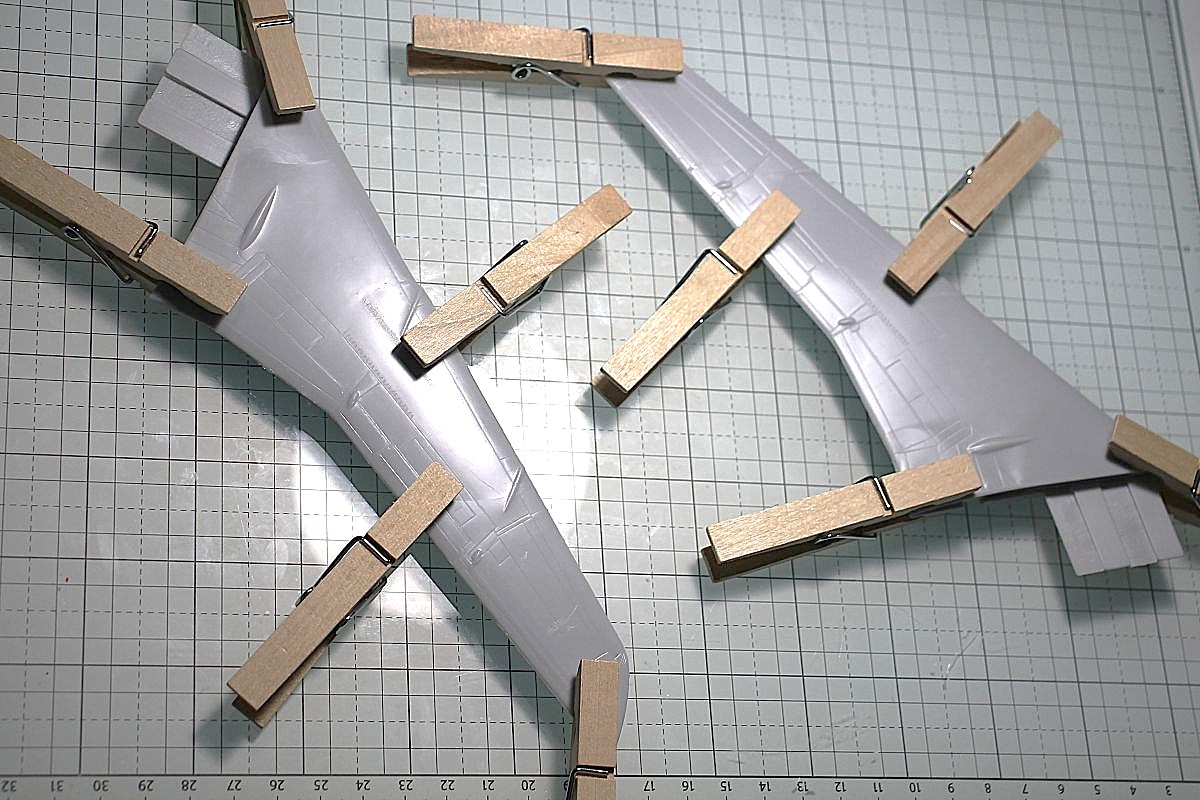
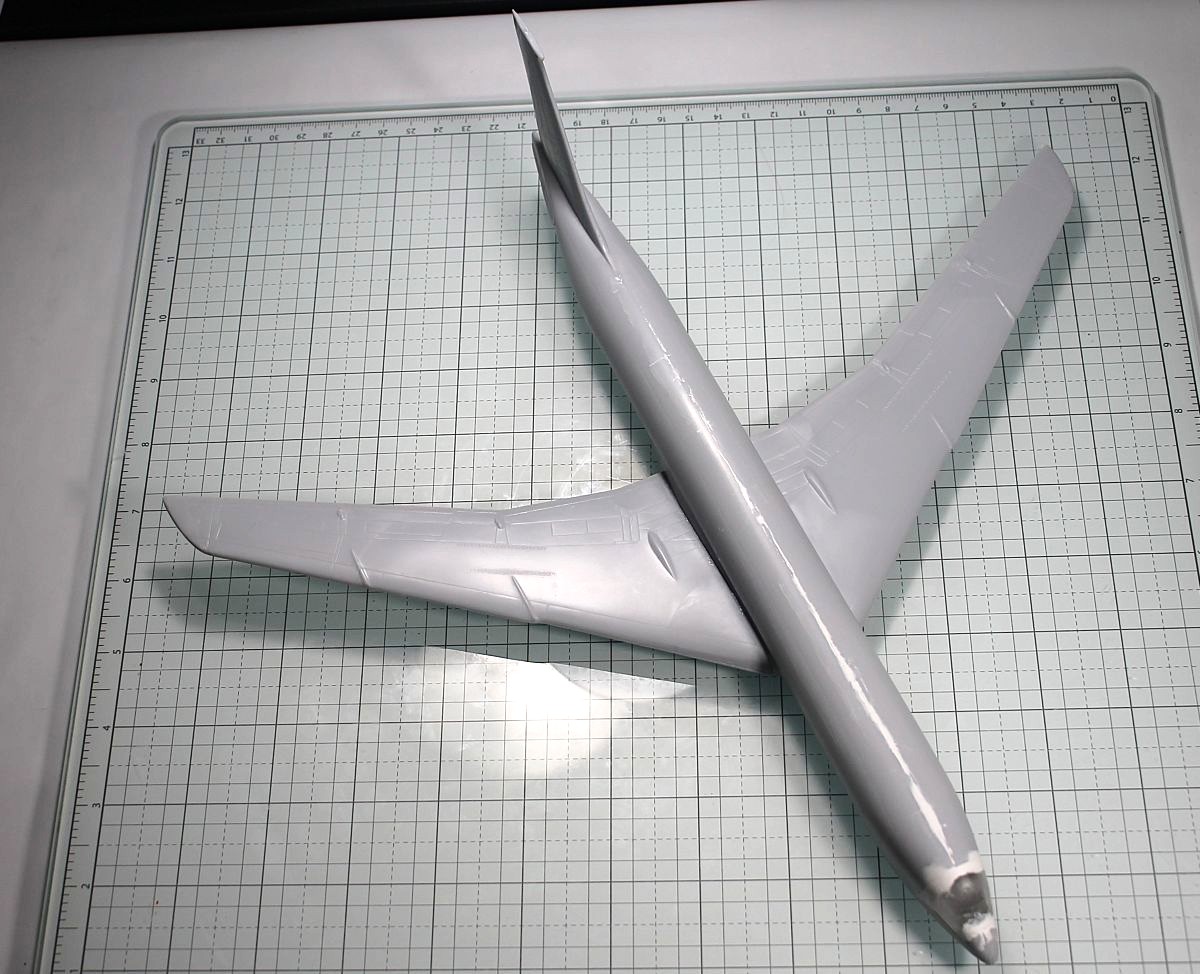
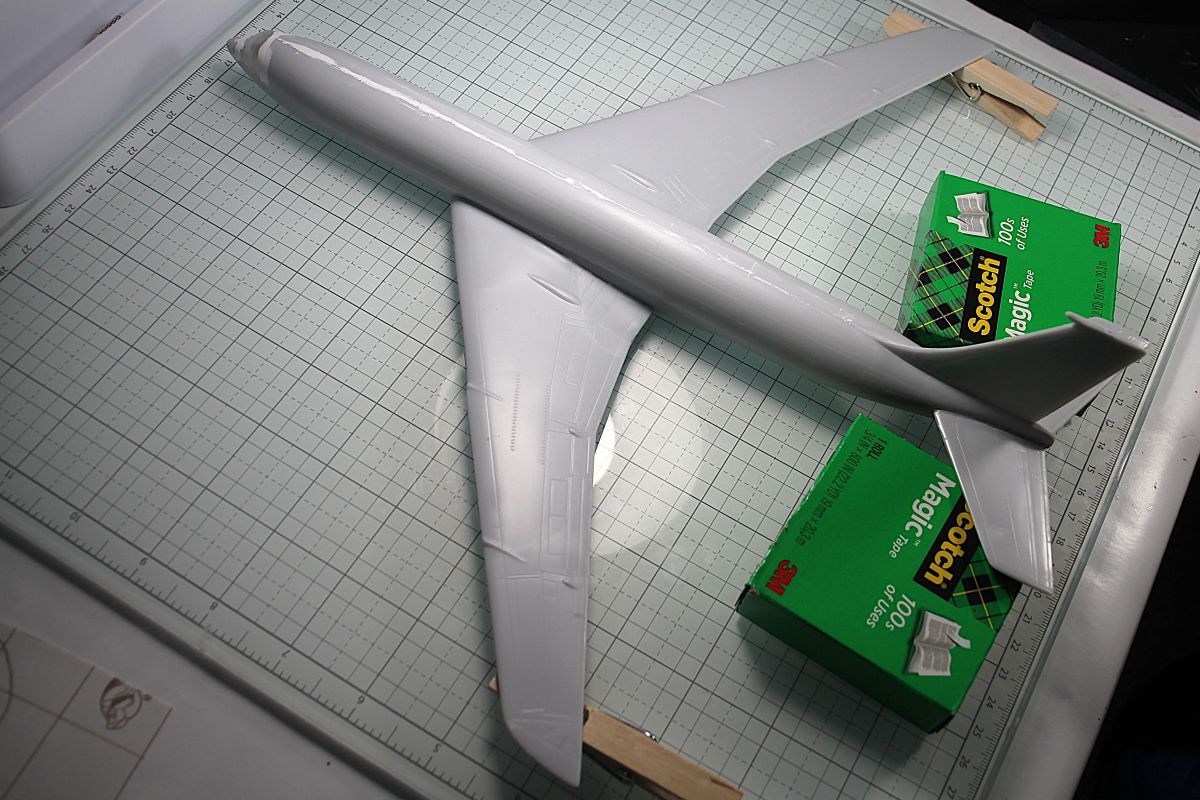
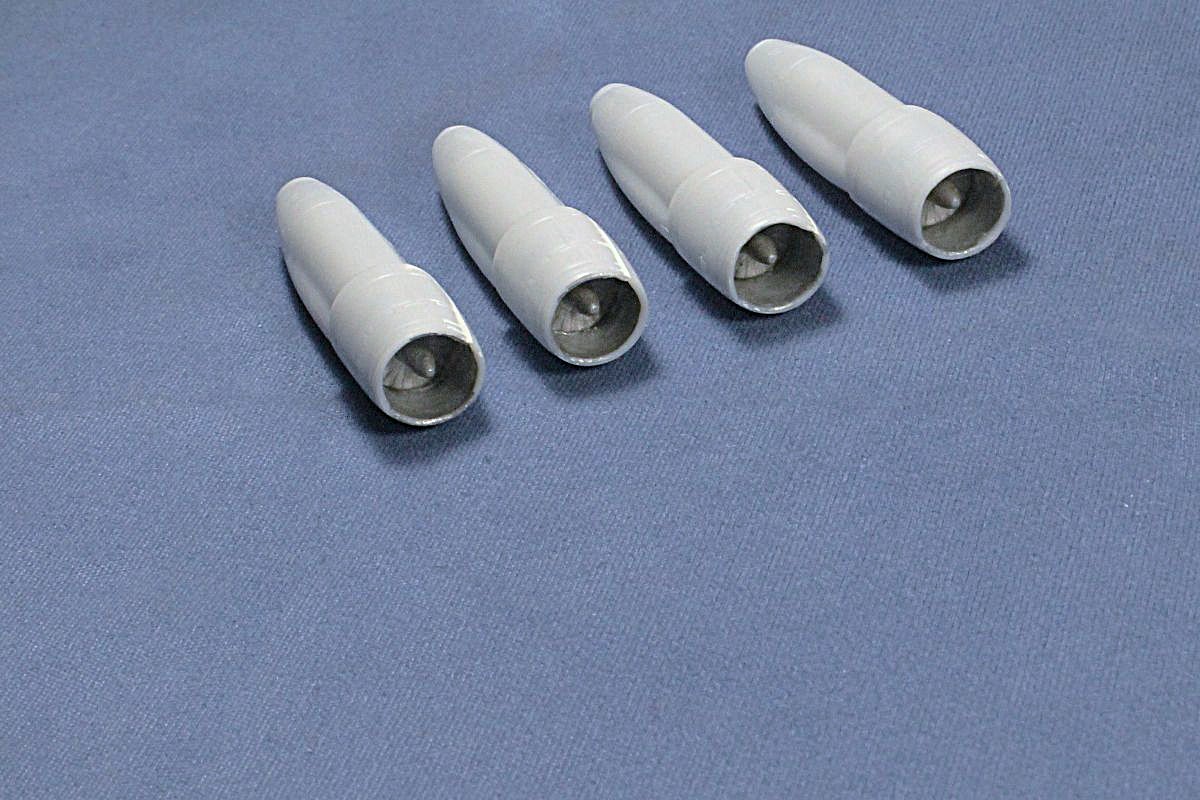
Here is my 707-321B build using the 1/144 Minicraft Freedom One kit. I am using 8A Decals. Heres my start.
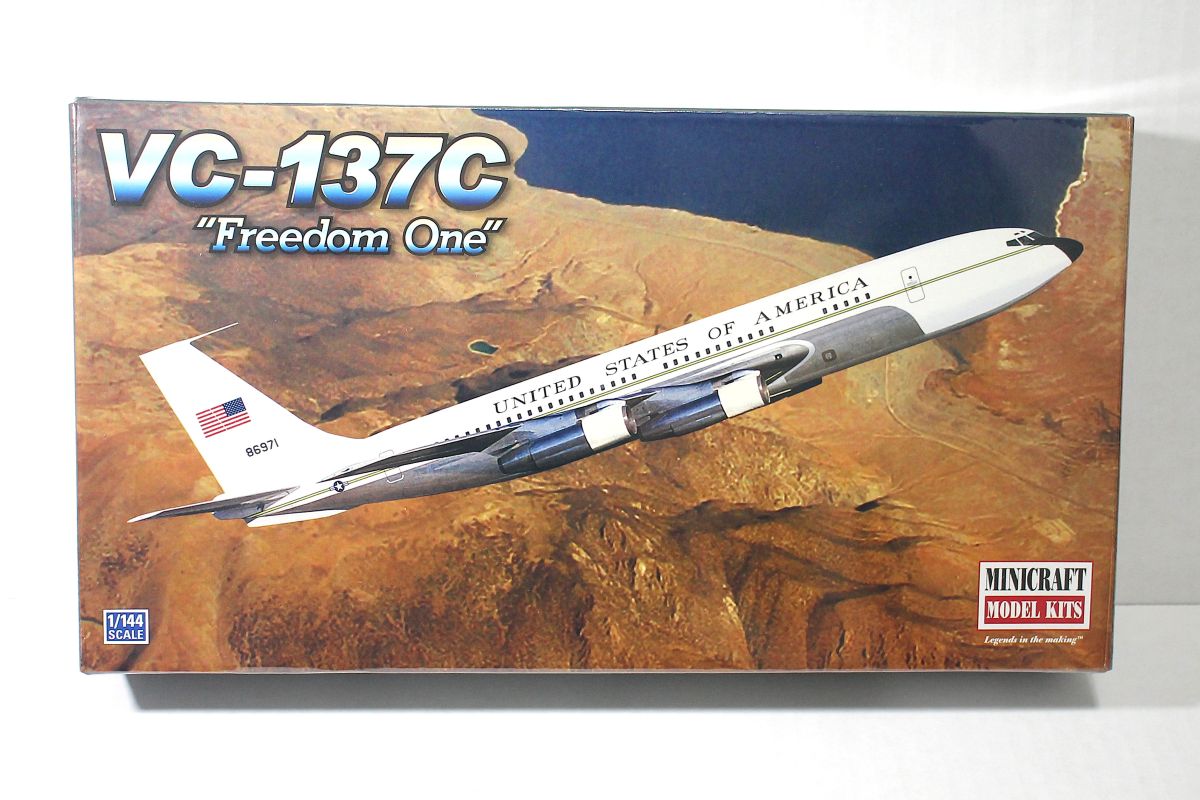
Here is my 707-321B build using the 1/144 Minicraft Freedom One kit. I am using 8A Decals. Heres my start.
I take it you’ll be using the decals for the windshield?
Yes, there’s absolutely nothing to see inside the cockpit. All that’s there is 5/8 ounce of weight.
I added the engine pylons.
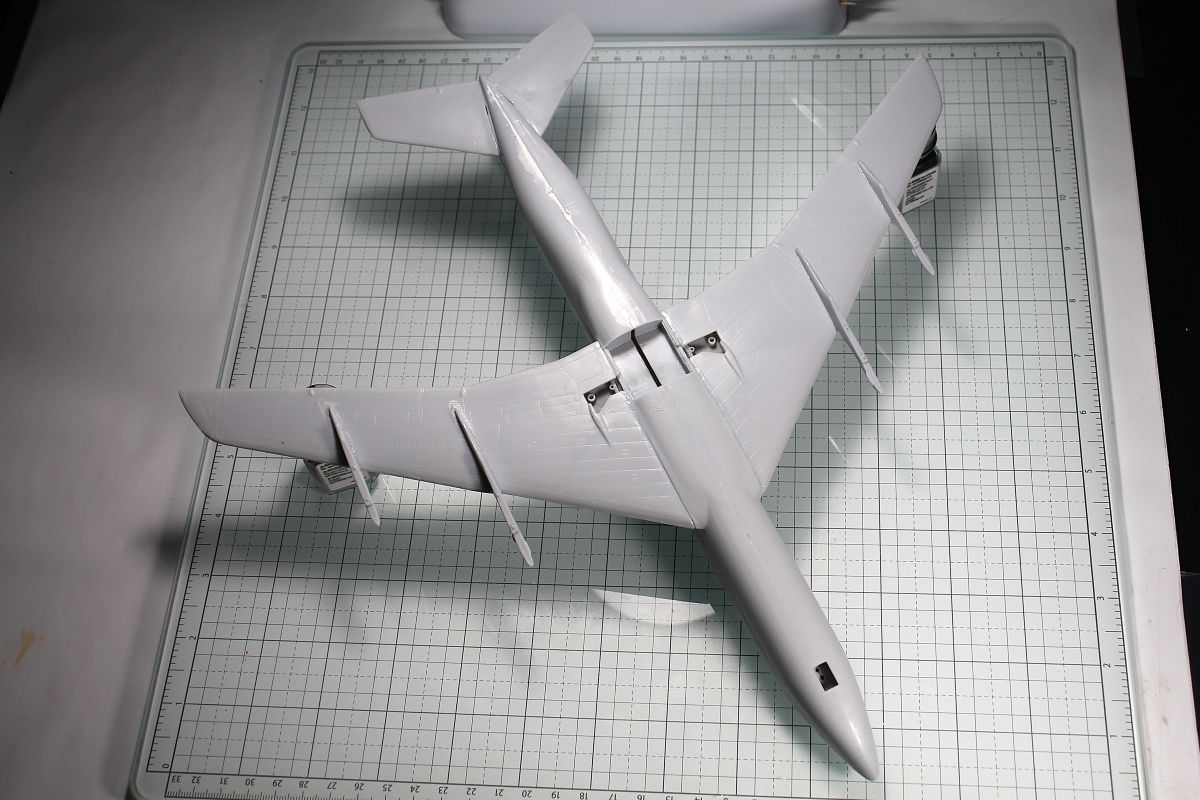
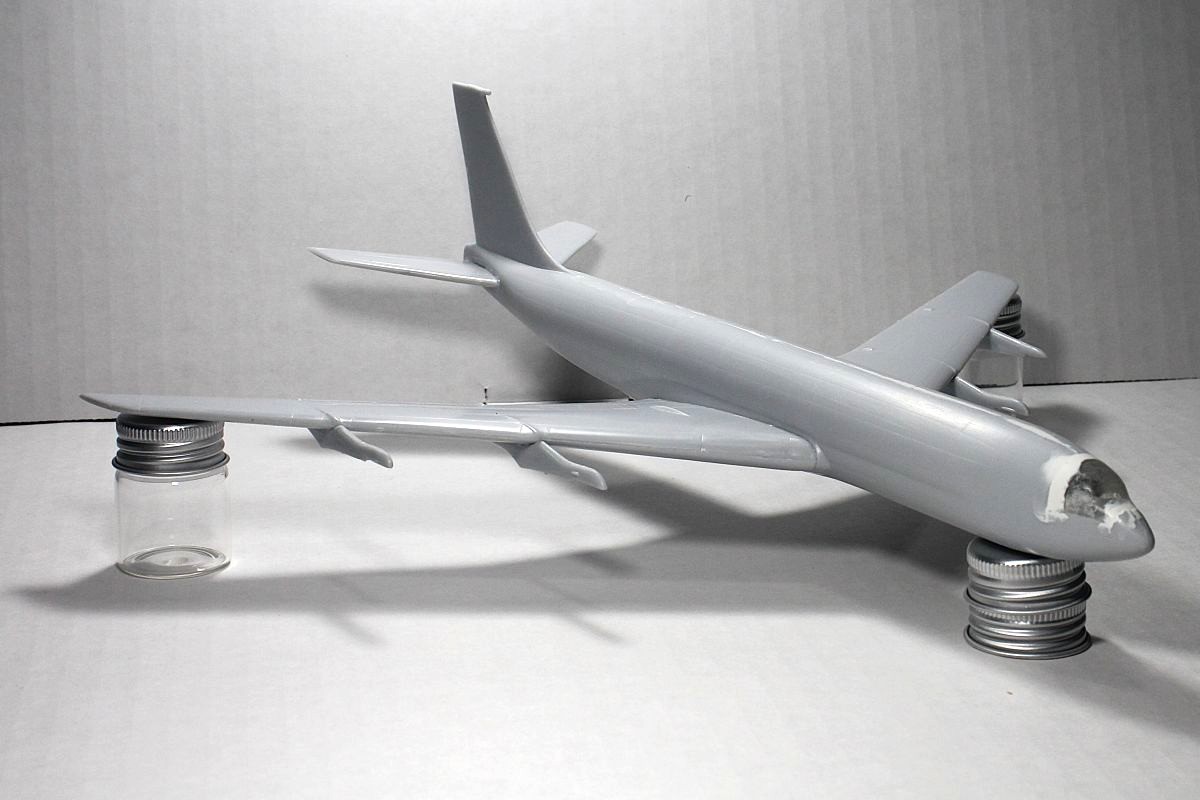
Nice. Fitting that you tagged it with Cold War since it was the only US carrier allowed into West Berlin.
I thought about it and I remember it as a kid in the early 60s and it didn’t last much more than the 70s, Cold War years here in the US.
Your memory of it is perfect. Pan Am retired it in '81, but it ended its non stop Berlin to JFK service in the late 70’s. The B model could make the whole trip to JFK without refueling in Gander, Newfoundland, or Ireland in the event of strong headwinds.
I thought I remembered flying out of Berlin on a 747, but my research has shown me my memory is probably off- it was almost certainly an Airbus 310. I’ll have to ask my friend what he flew - as I have great video from the cockpit flying around the Fernseh Turm in East Berlin. I just need to find an old VCR…
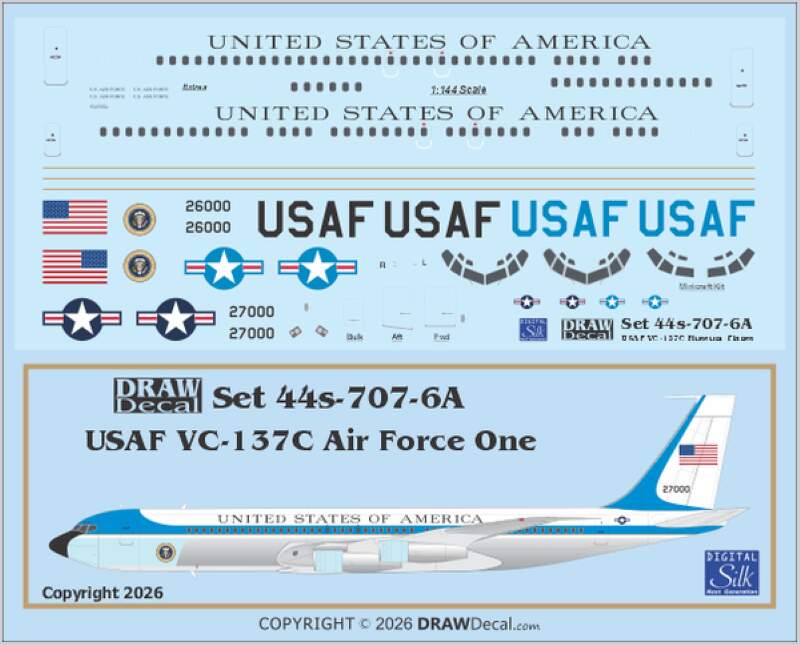
This livery is on hold. I found out Draw Decals made VC-137C decals for Air Force one and have purchased them. I will use this build for AF1 26000 and will use the Roden new 1/144 707-321 boxing in Pan Am livery when I purchase it later this year.
I notice that you glued the wings on at an early stage. I am building the TWA version of this aircraft and built the wings complete but did not glue them on yet. I thought that it would simplify the painting & decaling to keep them off for now. Did you see an advantage to attaching them early on?
I tried to use the kit decals but they broke up hopelessly and the more I worked with them, the worse it got. I removed them with Micro Set and ordered a much better set for an outfit in the Ukraine. They arrived today and look good.
Looking at the Minicraft kit, I wonder if the windshield might to too upright? The photos show a very steeply raked windscreen that almost blends in with the sweep of the fuselage . . .
Paul
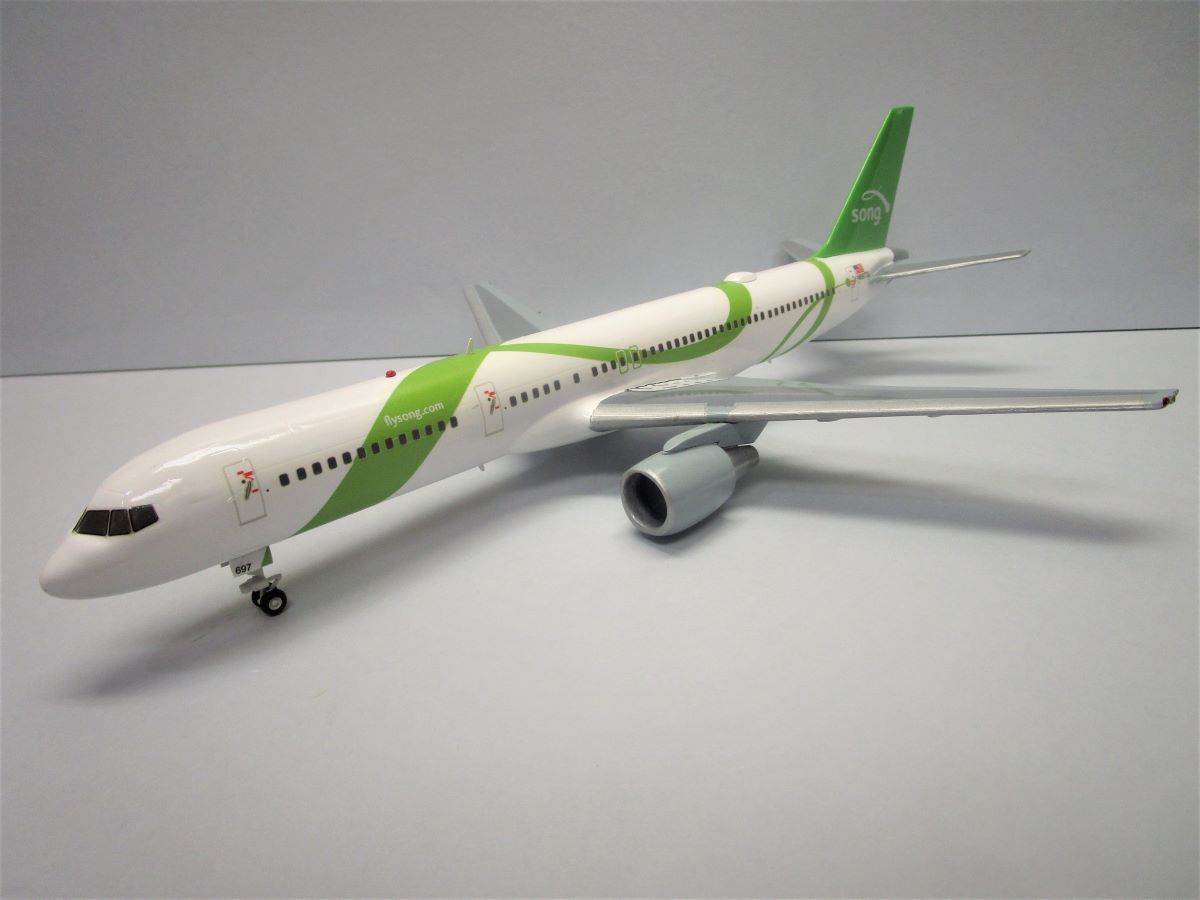
Been doing it that way since 1964. I find that wings to wing roots sometimes need a little tweaking and or putty, not always but at times. The wings on this Minicraft 757 needed A LOT of tweaking!
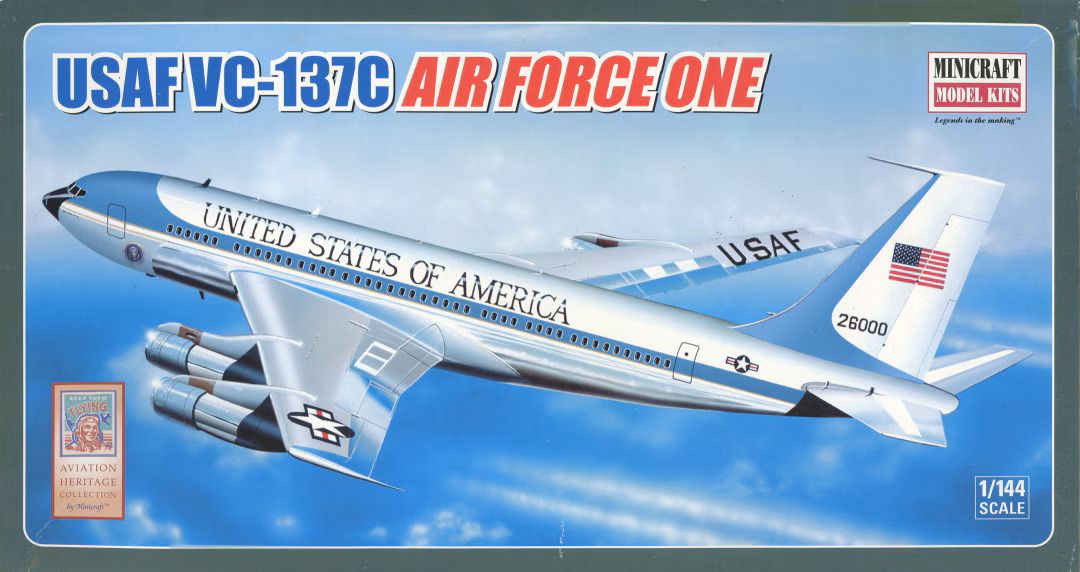
Here is the original boxing with the same plastic I am currently using. The only difference is Minicraft used new decals for Freedom One on the boxing I have.
Yes, that makes sense. On most builds I do just as you have done. On this one with three colors and a lot of masking I thought I would try it without the wings to get in the way. We’ll see how it comes out.
What do you do about decals that transition between glossy & flat surfaces? I ran across this with DC-3 builds and on this TWA 707 with the wing TWA decals that bridge the two different surfaces. I know some builders paint them on and that is a whole new skill set to learn.
Paul
Paul-I don’t do anything,as a general rule I gloss coat then decal, if something needs flat I usually don’t bother. I stopped worrying about the “little things”. Not into museum grade models, this is my retirement hobby. Keeps me off the street.