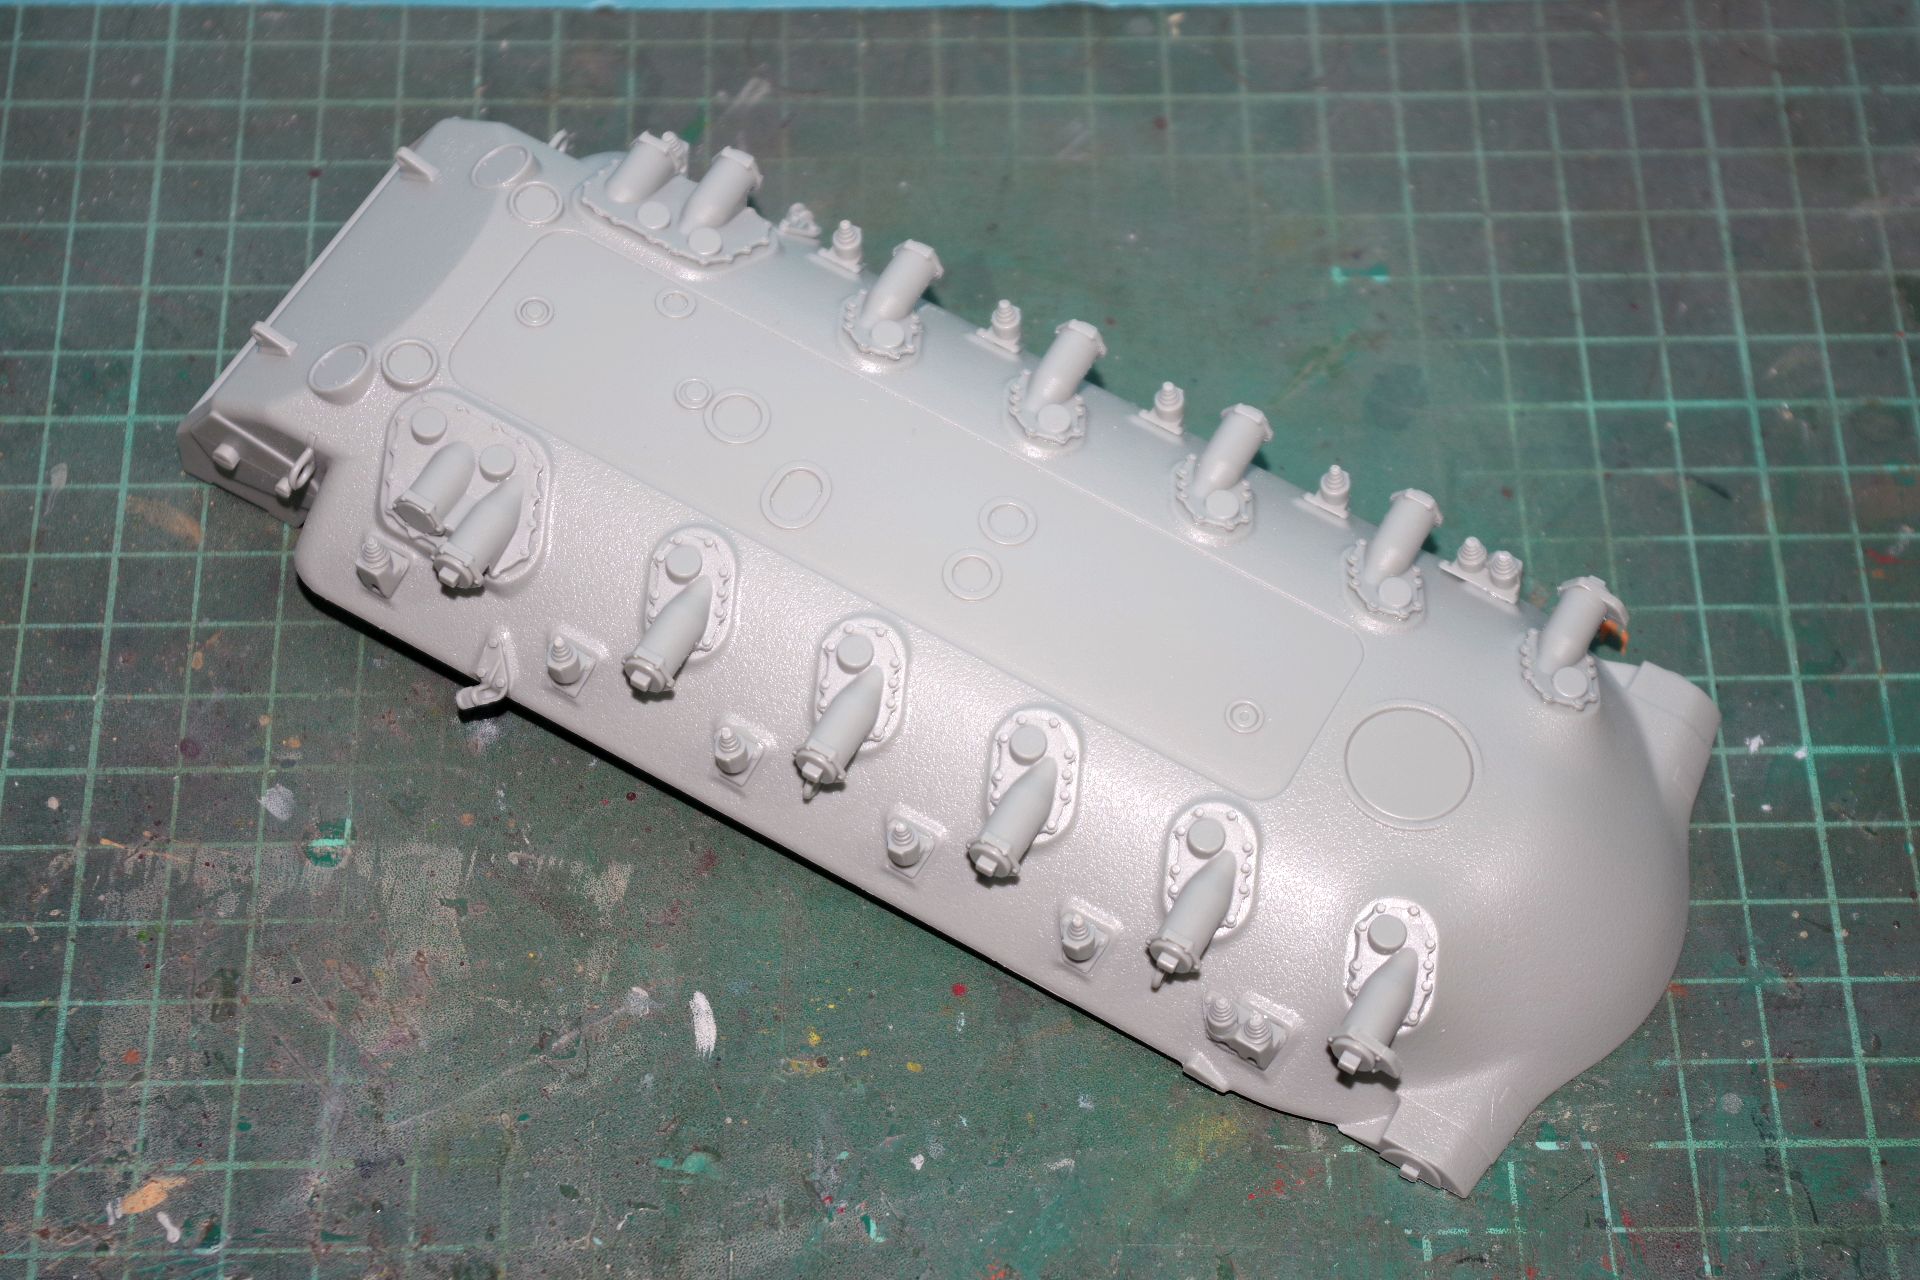
Well, if you are playing World of Tanks you are aware of something called the T110E3. The “T110 Tank” was a cancelled heavy tank project which began in June 1954. The proposed tank(s) were due to replace the M103 heavy tank. Restrictions were placed on the vehicle sizing as the tank was supposed to pass through the narrow tunnels of the Bernese Alps, none of which actually met the restrictions. There were 5 different proposals before the T110 program was canceled, all fitted with the 120mm T123E1 rifled anti-tank gun. The gun was developed into the 120mm M58 after the T110 program ended. The first proposal of the T110 would have been equipped with the gun in a casemate hull. It was known as the TS5 - the T110E3 nomination is just a fictional one. (source: Wikipedia).
There is somewhere at Armorama a skillfully scratchbuild T110E3. My model is made from a conversion kit by Bolddivision from Germany. The conversion kit is nice. Well cast, no bubbles, no warping (well, the upper hull is just a massive solid piece!) and usable instructions. The real challenge is to locate a DML/Dragon M48A1 kit. These are OOP and hard to get; at least if don’t want to sell a body part. But Bolddivision has a habit to use odd kit versions as the base/donor kit for theyr conversions… You have to accept this - and to dig for the right donor kit.
Long OOP, but by good luck I found at Ebay an online vendor who had got a dozen or so from elsewhere and sold them for the same price as back then. Nice! My original plan was to butcher a DML M67 Zippo kit, and to call it maybe a “T110E3M” (M for “modernized”), but now I have the right donor kit. Much better!
First things first: Building the suspension. As usual…
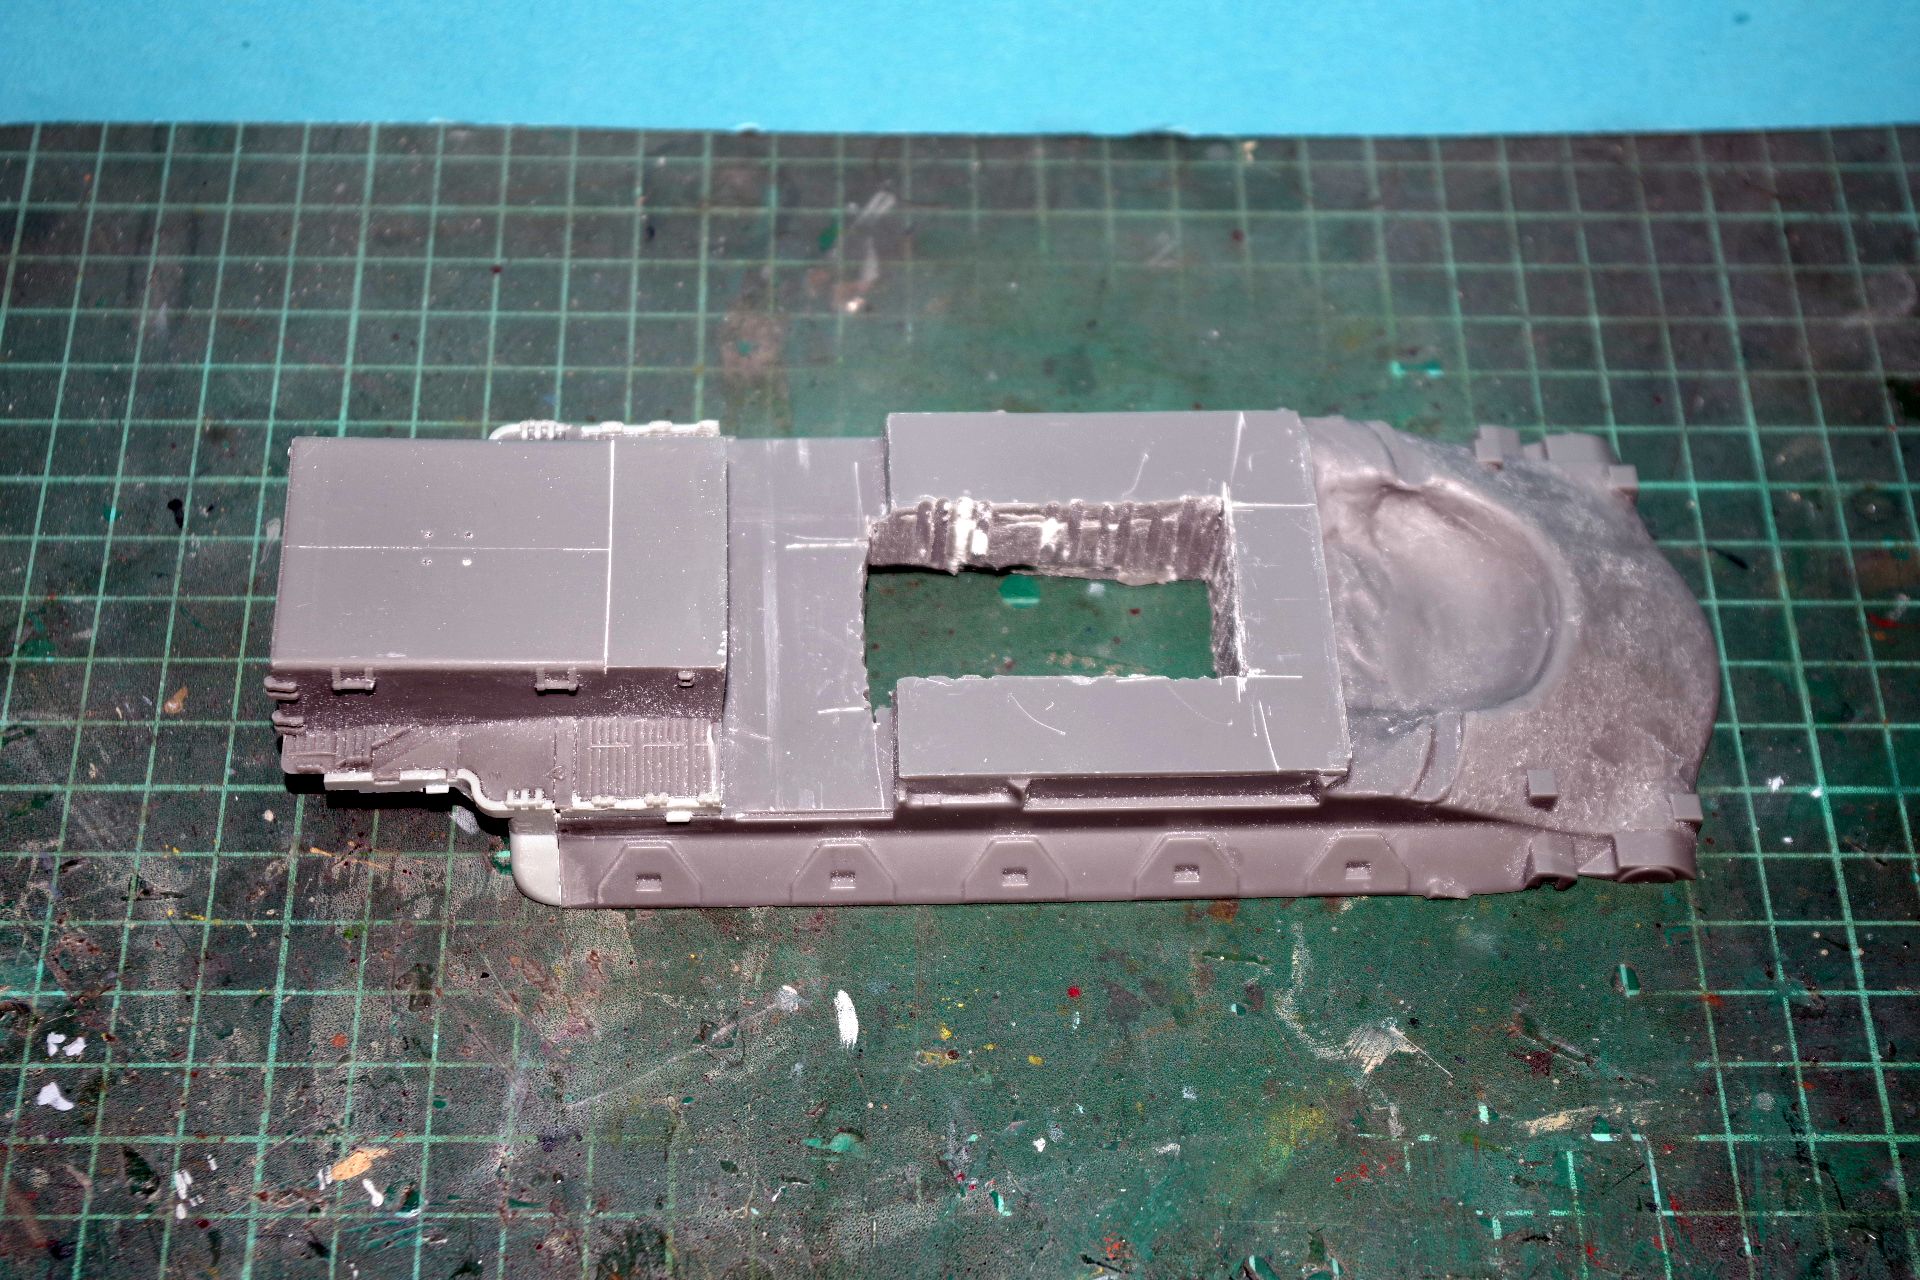
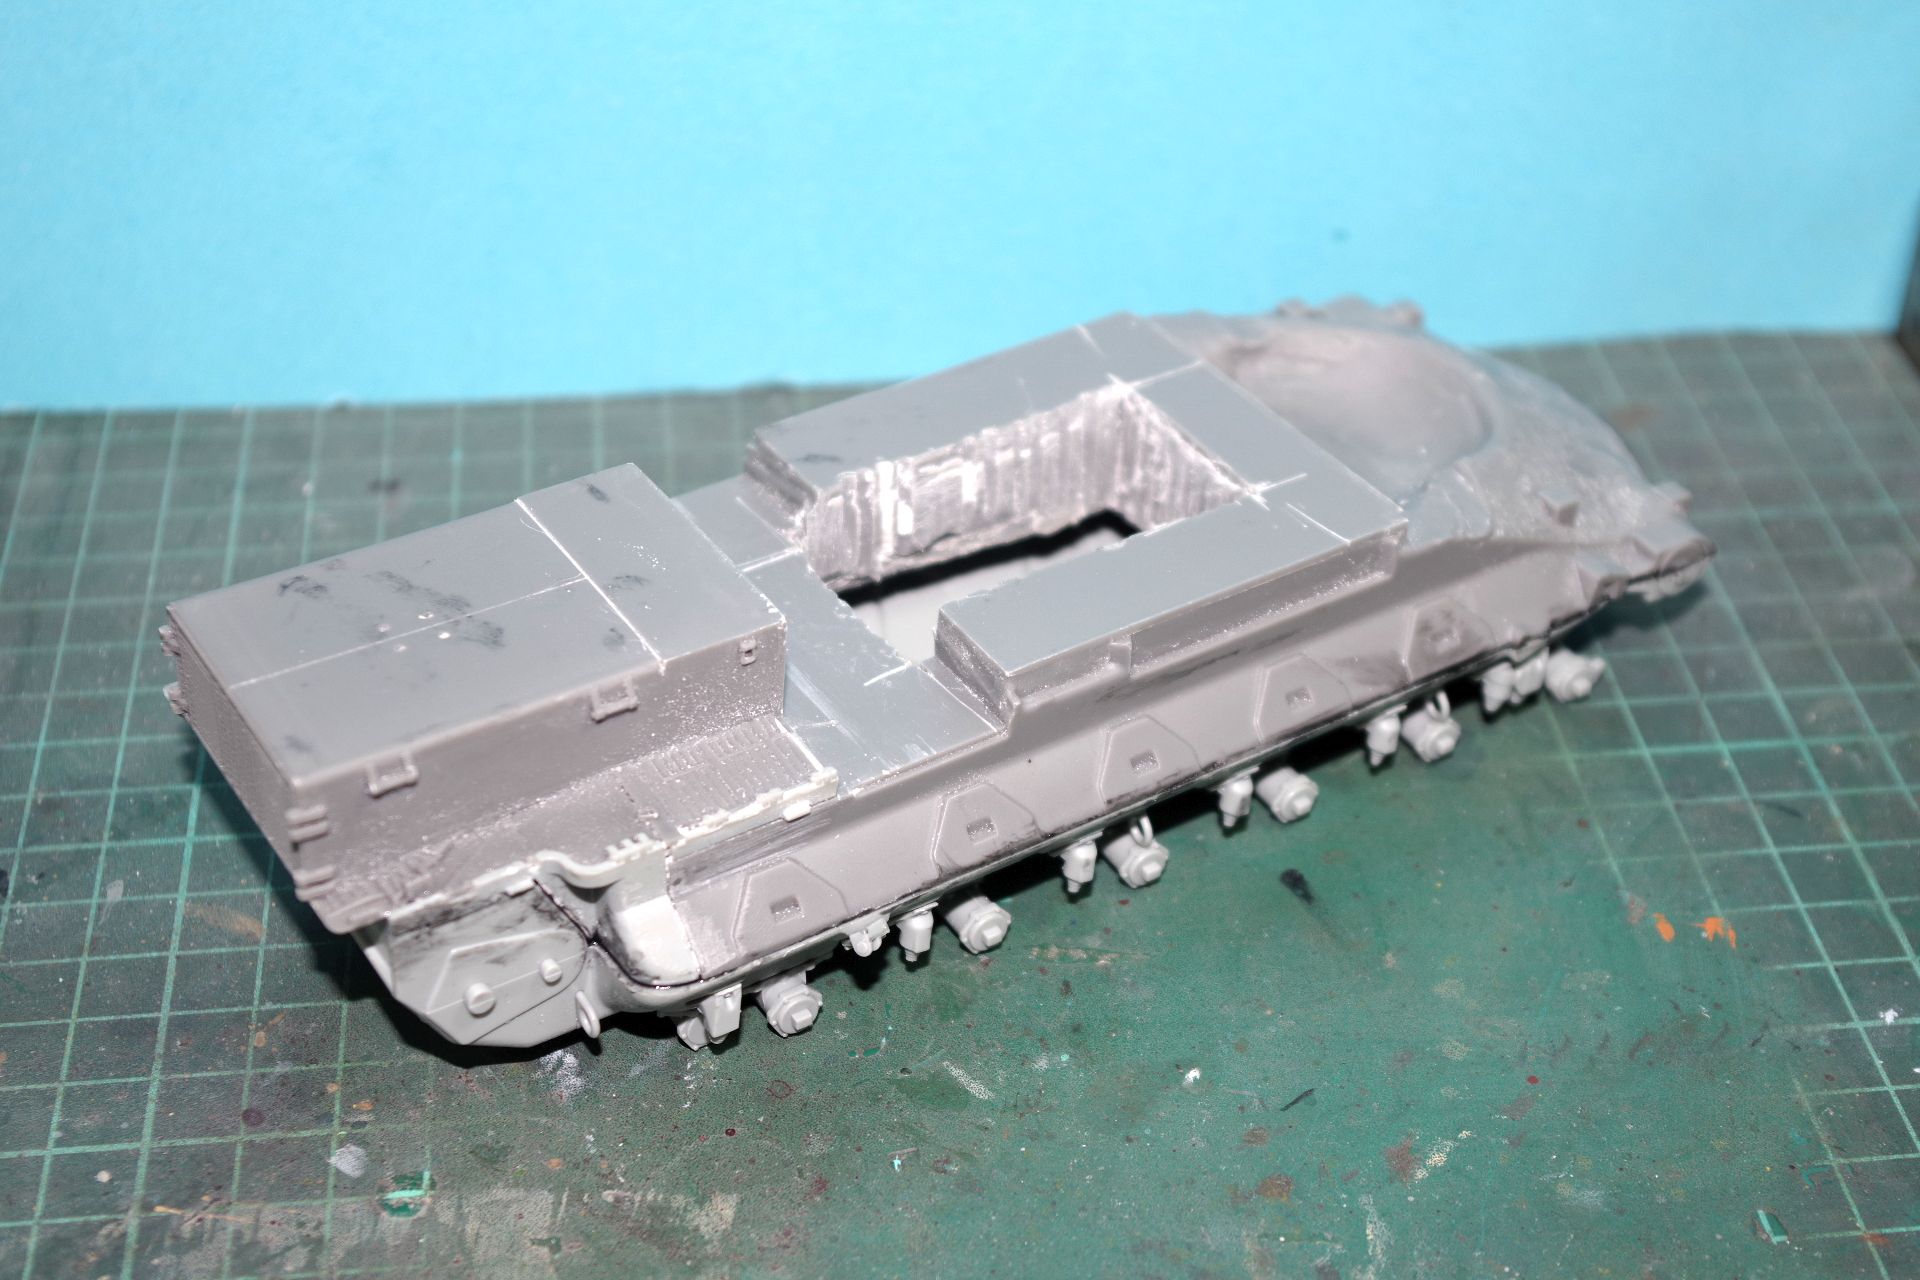
I removed a chunk of resin from the center just to keep the weight and the strain on the runnig gear down. It is still heavy! Added the rear sides from kit parts as per instructions. The resin upper hull is a bit too short. Maybe caused by shrinking. Dryfit and add strip styrene as neccessary.
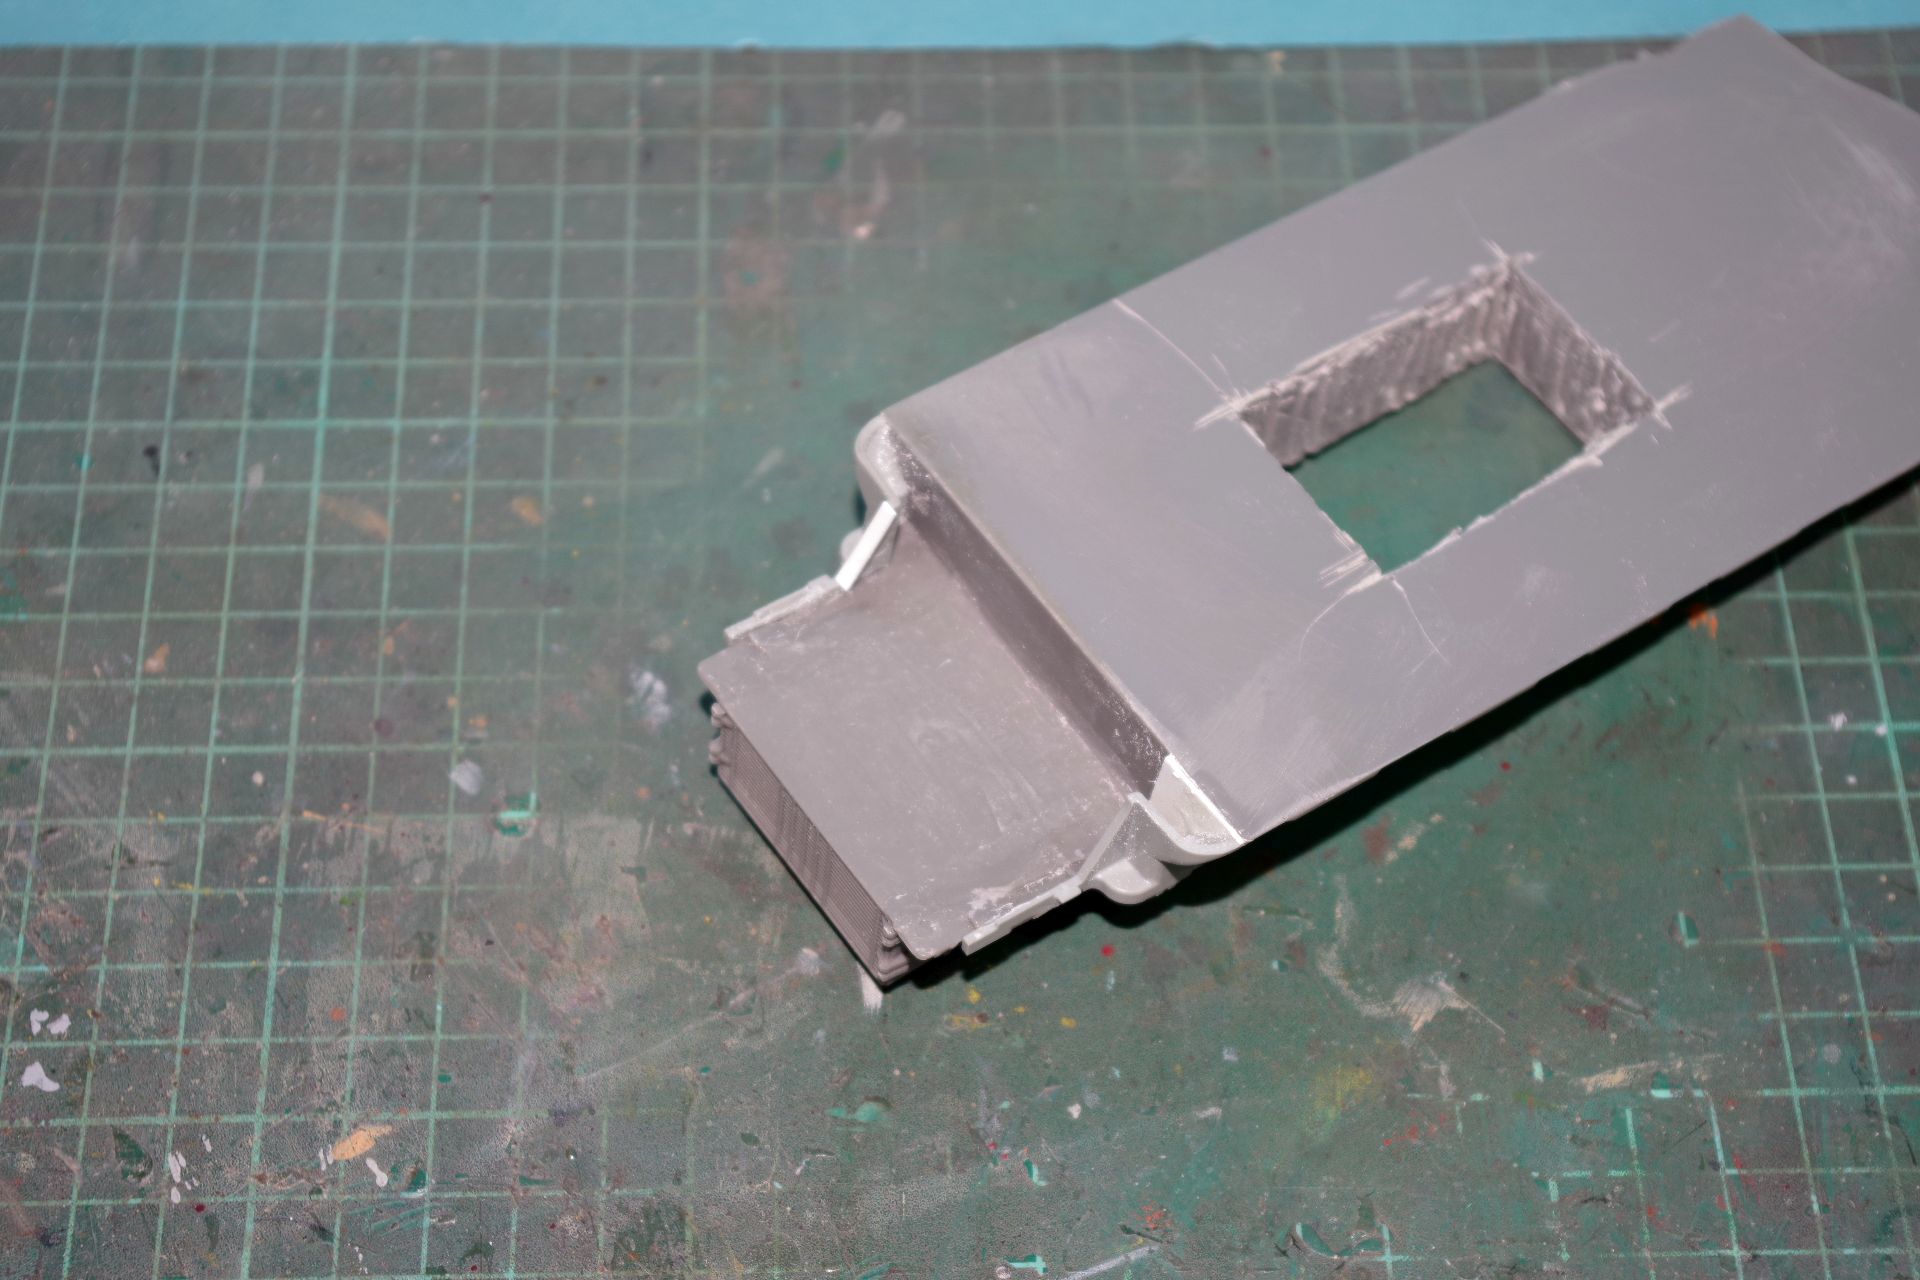
The better way is to add the strip styrene between the resin hull and the IM kit part (lower corner) instead of onto the IM part (upper corner), but that was my second thought only. So you know now about the best way to handle this. The instructions are not very clear about where and how much to cut off of the IM rear hull/side part. It is just the lower front bulge. Keep the upper straight run (with the hinges)! This is required to fit the sides of the engine vents of the resin part. I missed this (well, the instructions are not very helpful at this point) and discarded the full front halves of the styrene parts. So I had to empty out my dust bin and to look for these parts again to save the line of hinges. At least I had the garbage still in my dustbin and not already disposed…
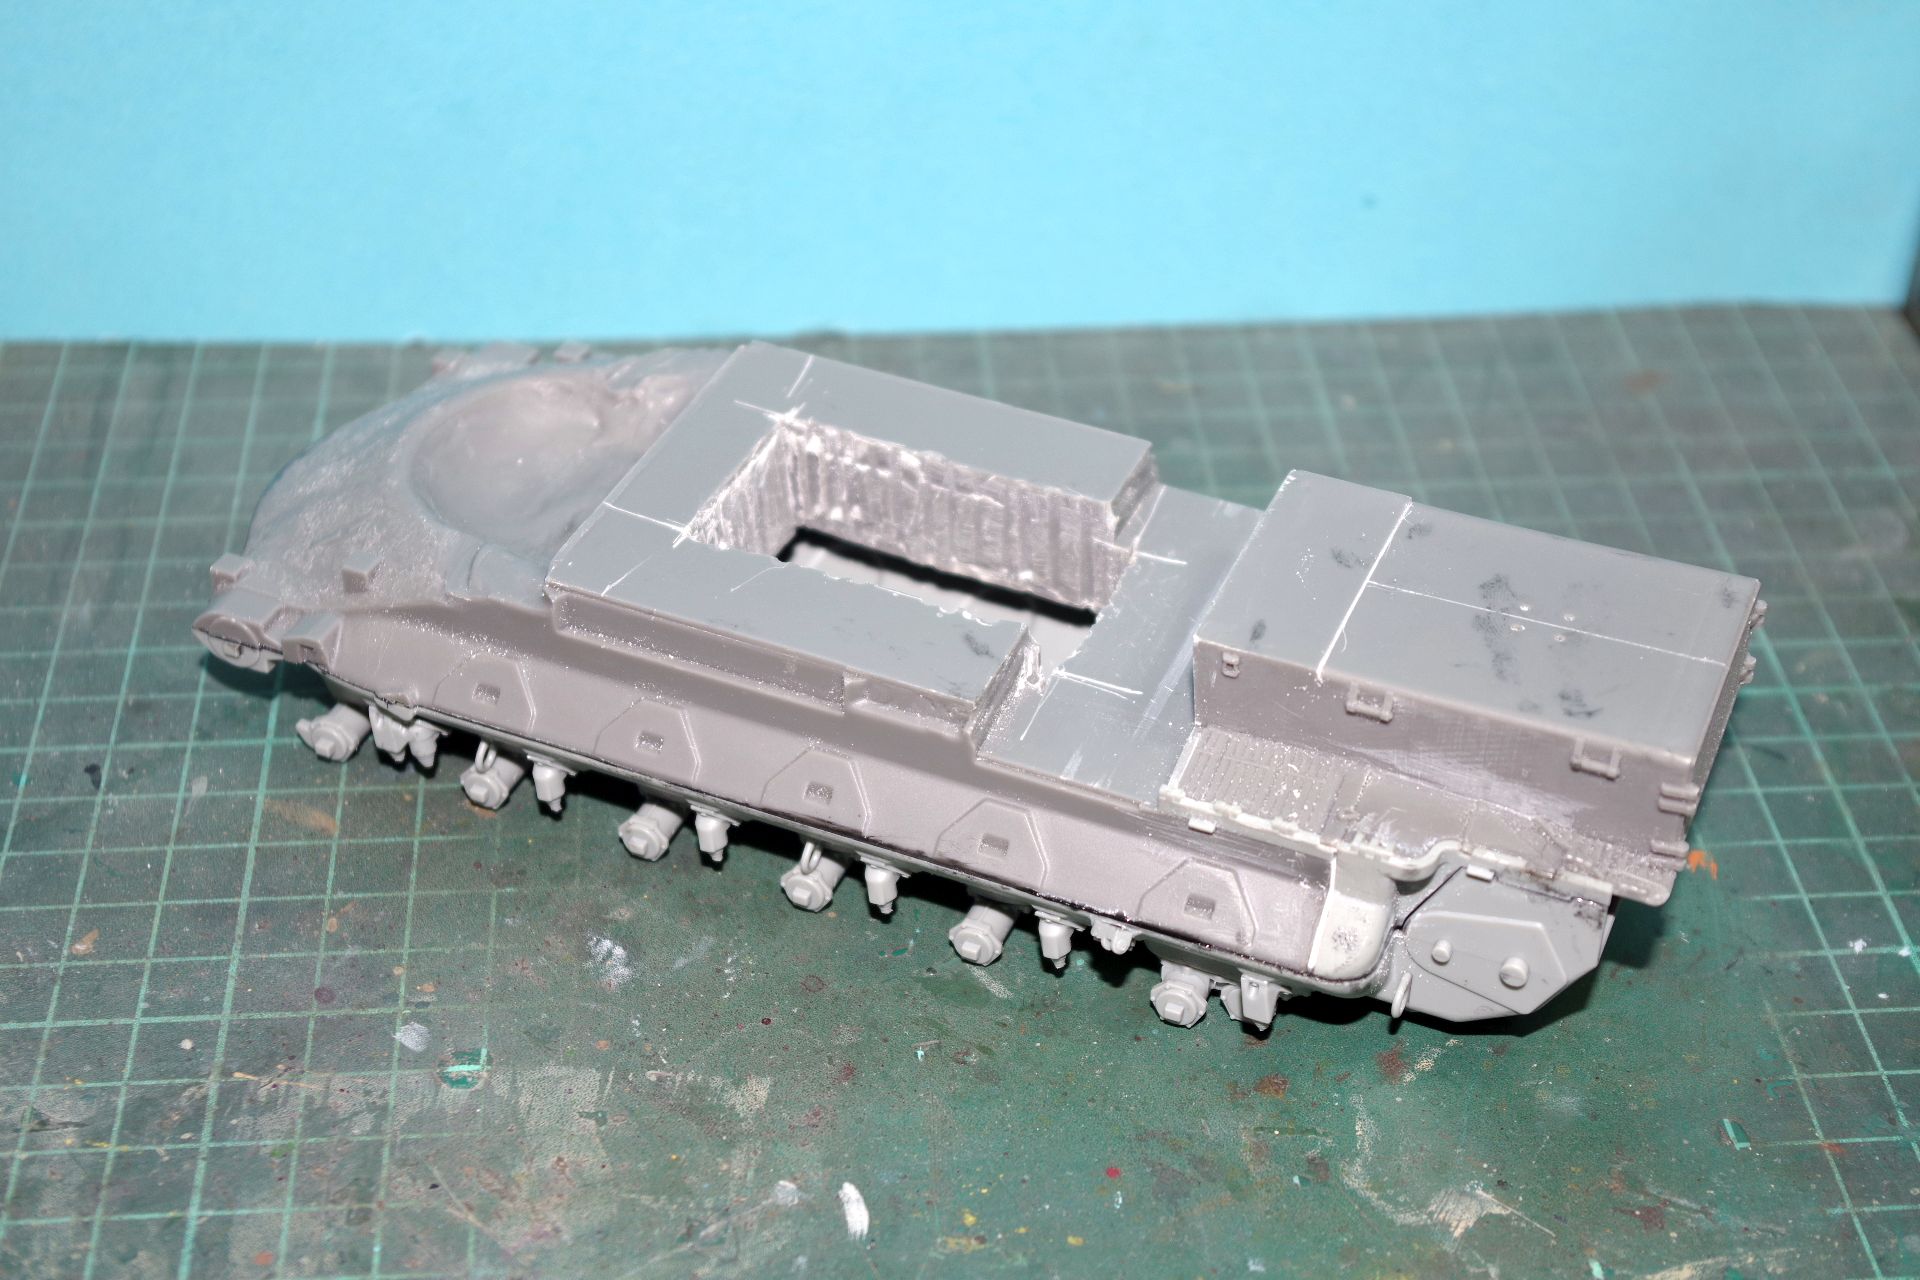
Mated upper and lower hull after some dryfitting. It took just a bit of sanding in two places. Nothing to write home about. I had IM kits that were much, much worser regarding the fit. So: Thumbs up for Bolddivision!
The nice side where I added the spacer between upper hull and rear corner styrene part. Really good fit here:
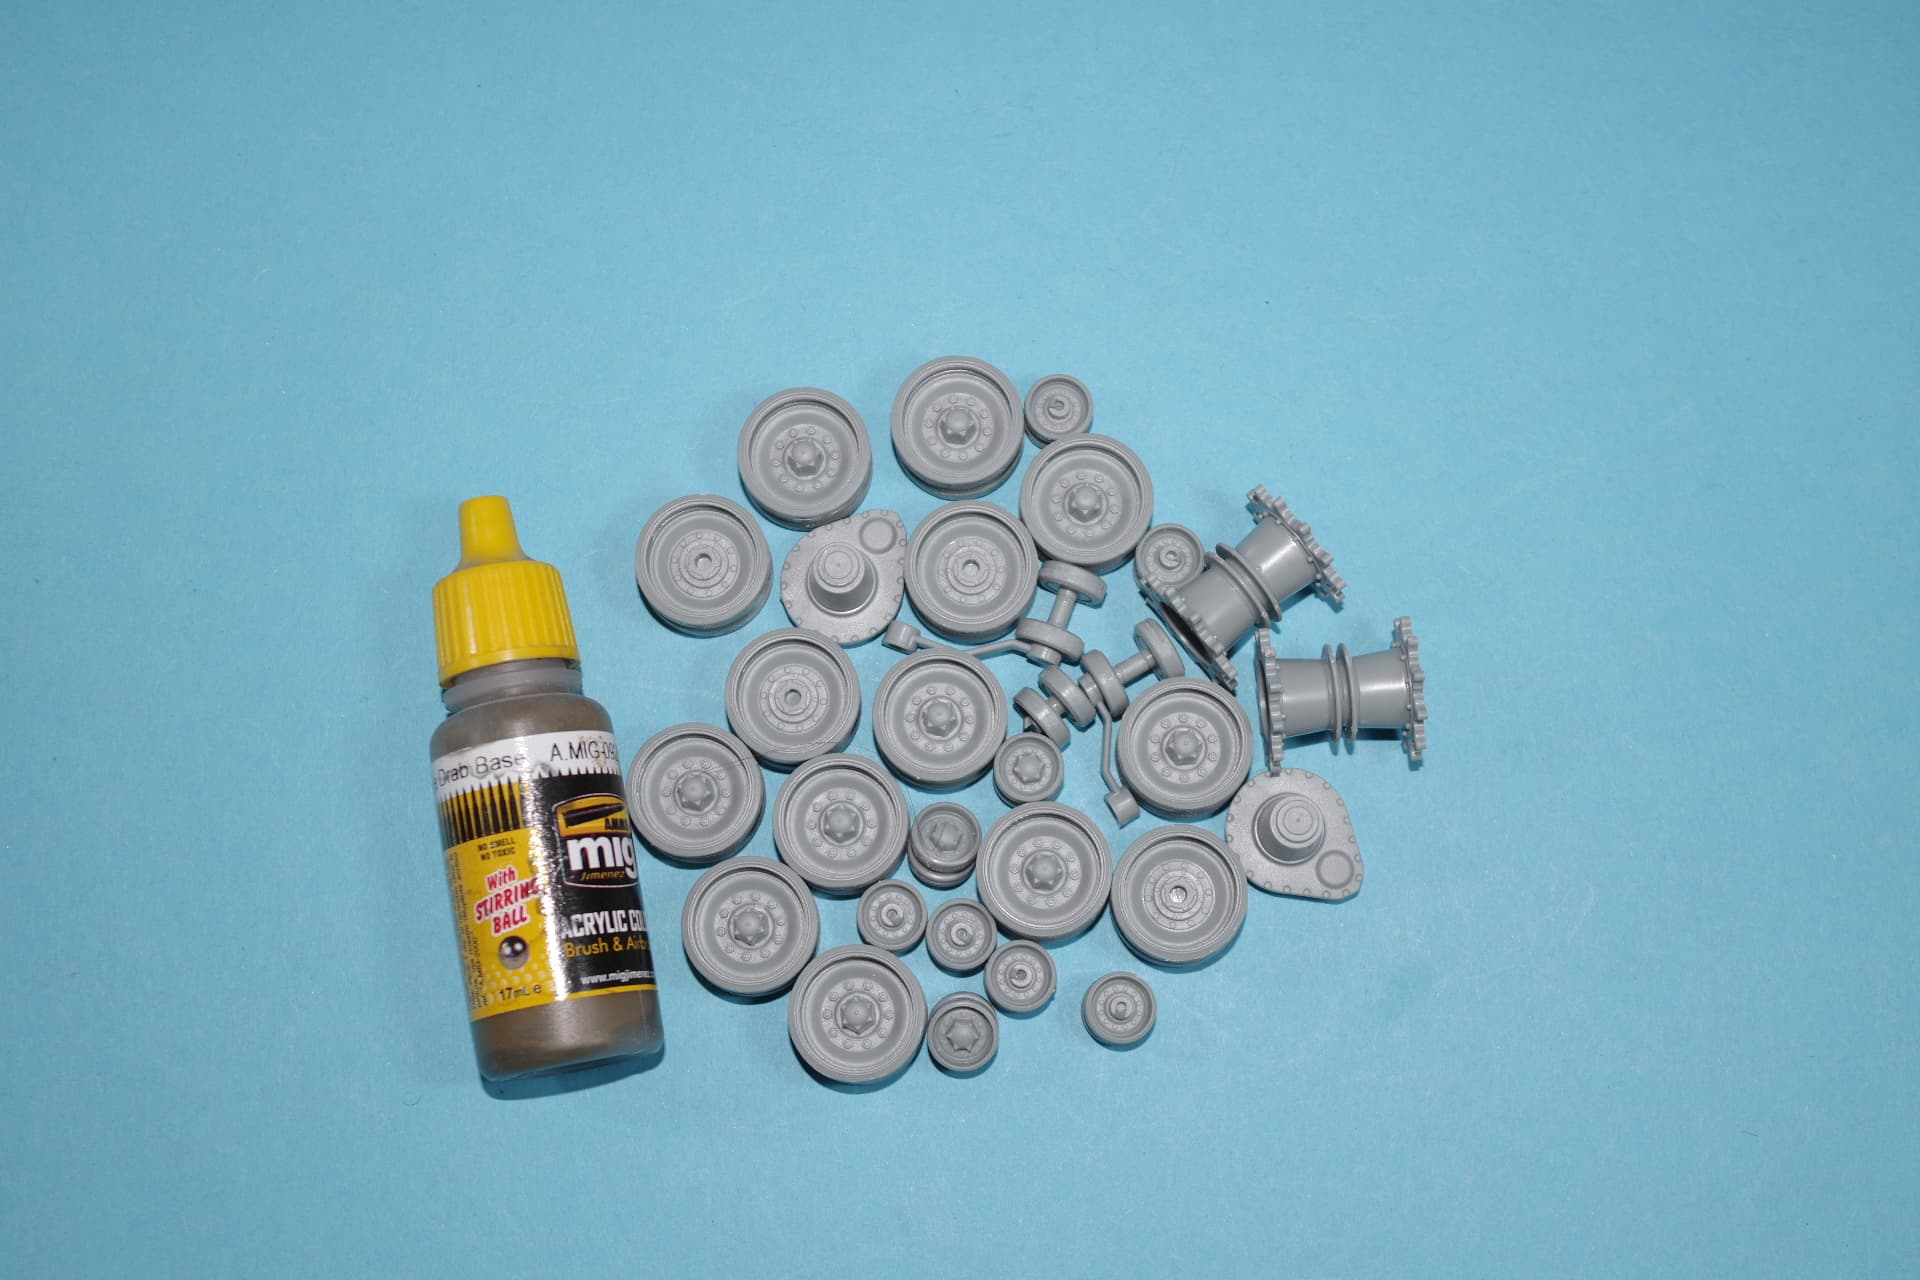
Doesn’t look impressive, but these are 94 parts cleaned up and glued together. Also added 12 more parts to the lower hull. There is still a nice pile of suspension parts in the box, not counting the aftermarket single link track. As always a lot of work with these old type tank suspensions, but it has to be done
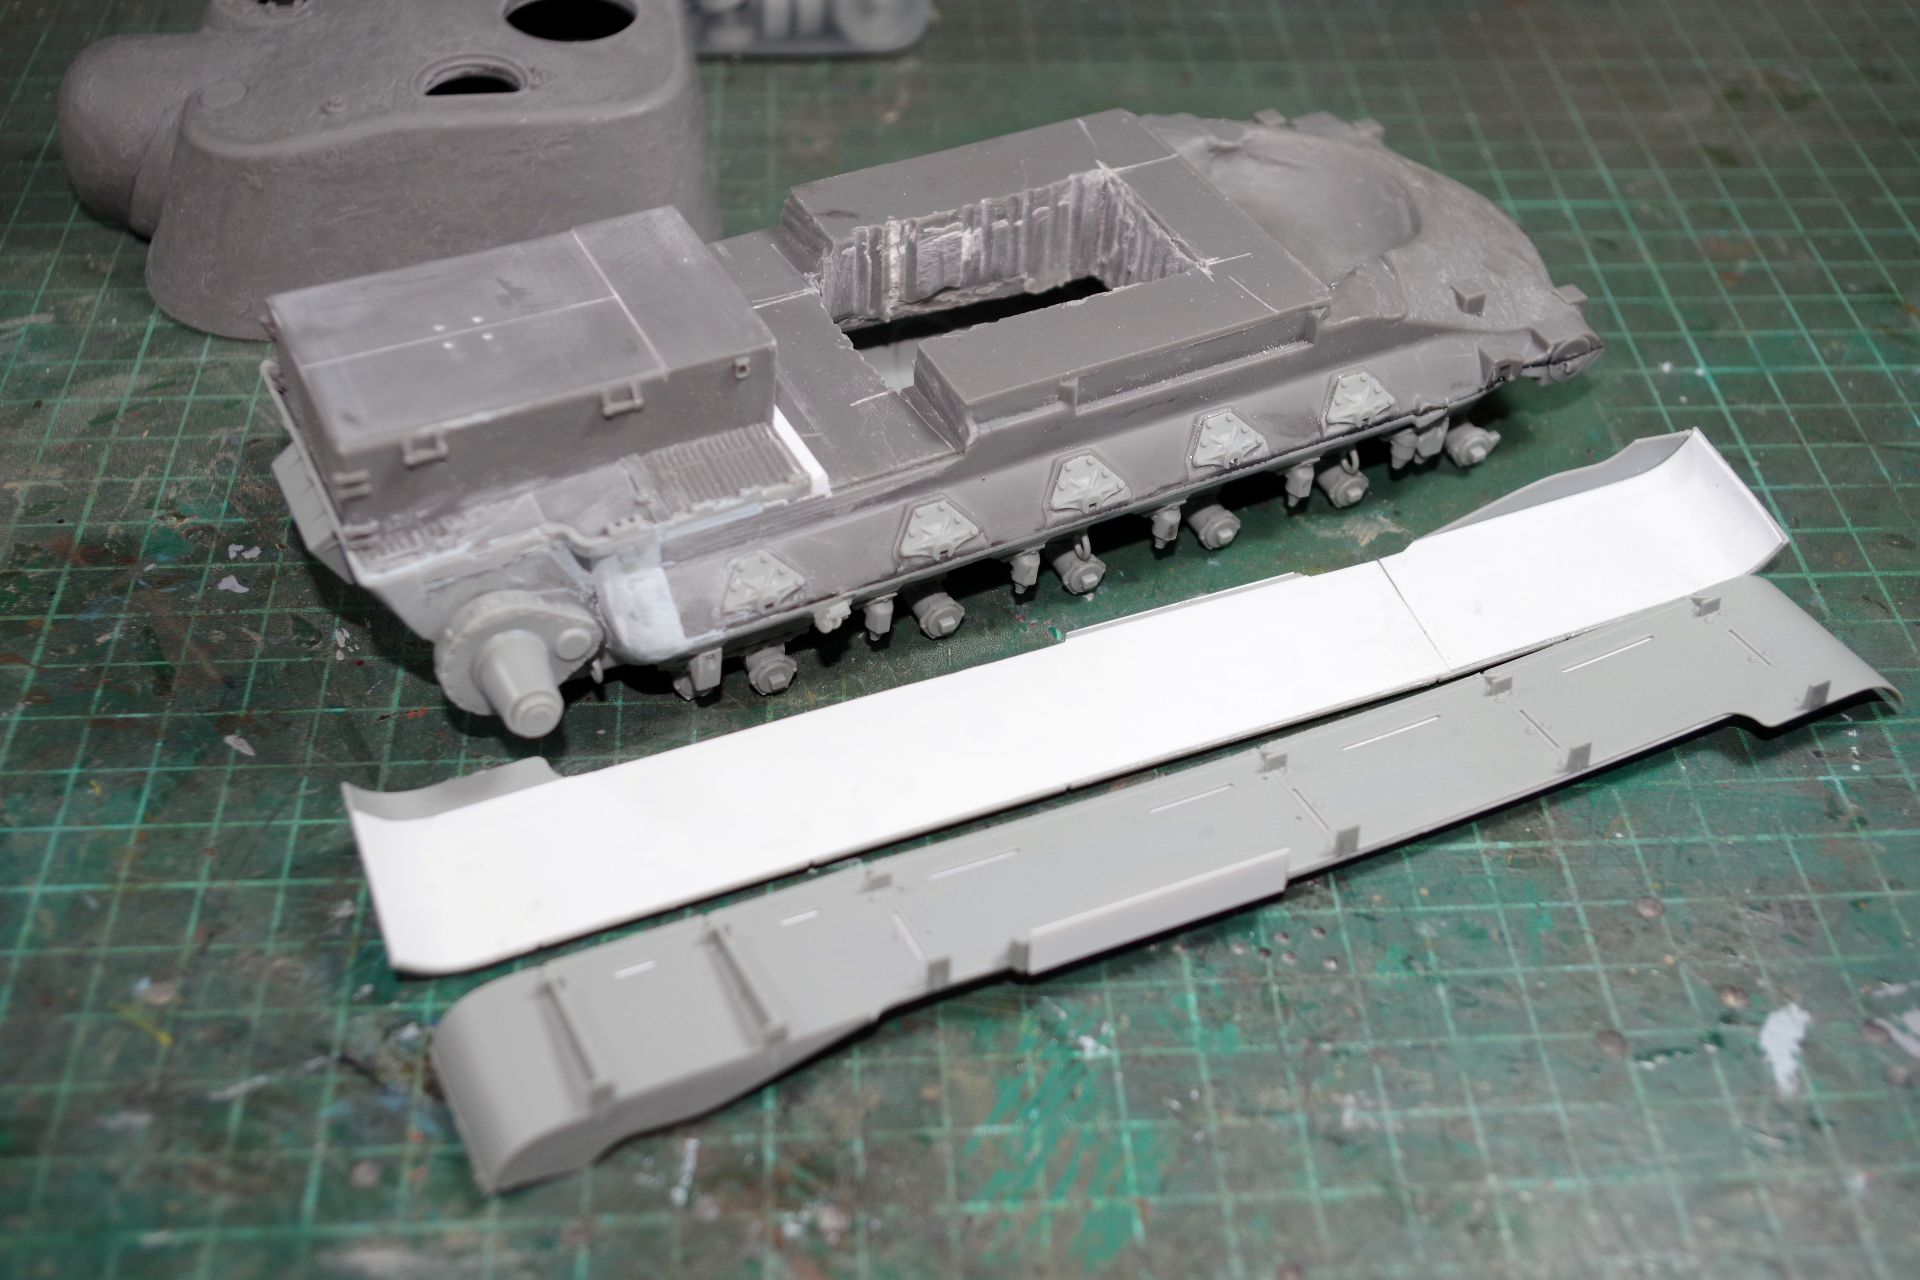
Got the rear corners filled and sanded. Added some thin sheet styrene below the fenders to hide the openings for the fender supports which would be still visible after adding the supports. Also glued a 2,5mm thick strip styrene at the rear of the upper hull to support the turret (or casemate). Otherwise it would not align horizontal to the hull. Guess you have to keep the IM parts at the edge at full lenght and cut off only a piece at the lower side of these parts, but as we know - I’ve cut off too much here. So the styrene strip will do the trich and add also much more area to glue the turret (or casemate) onto than just the thin kit parts. Photo: