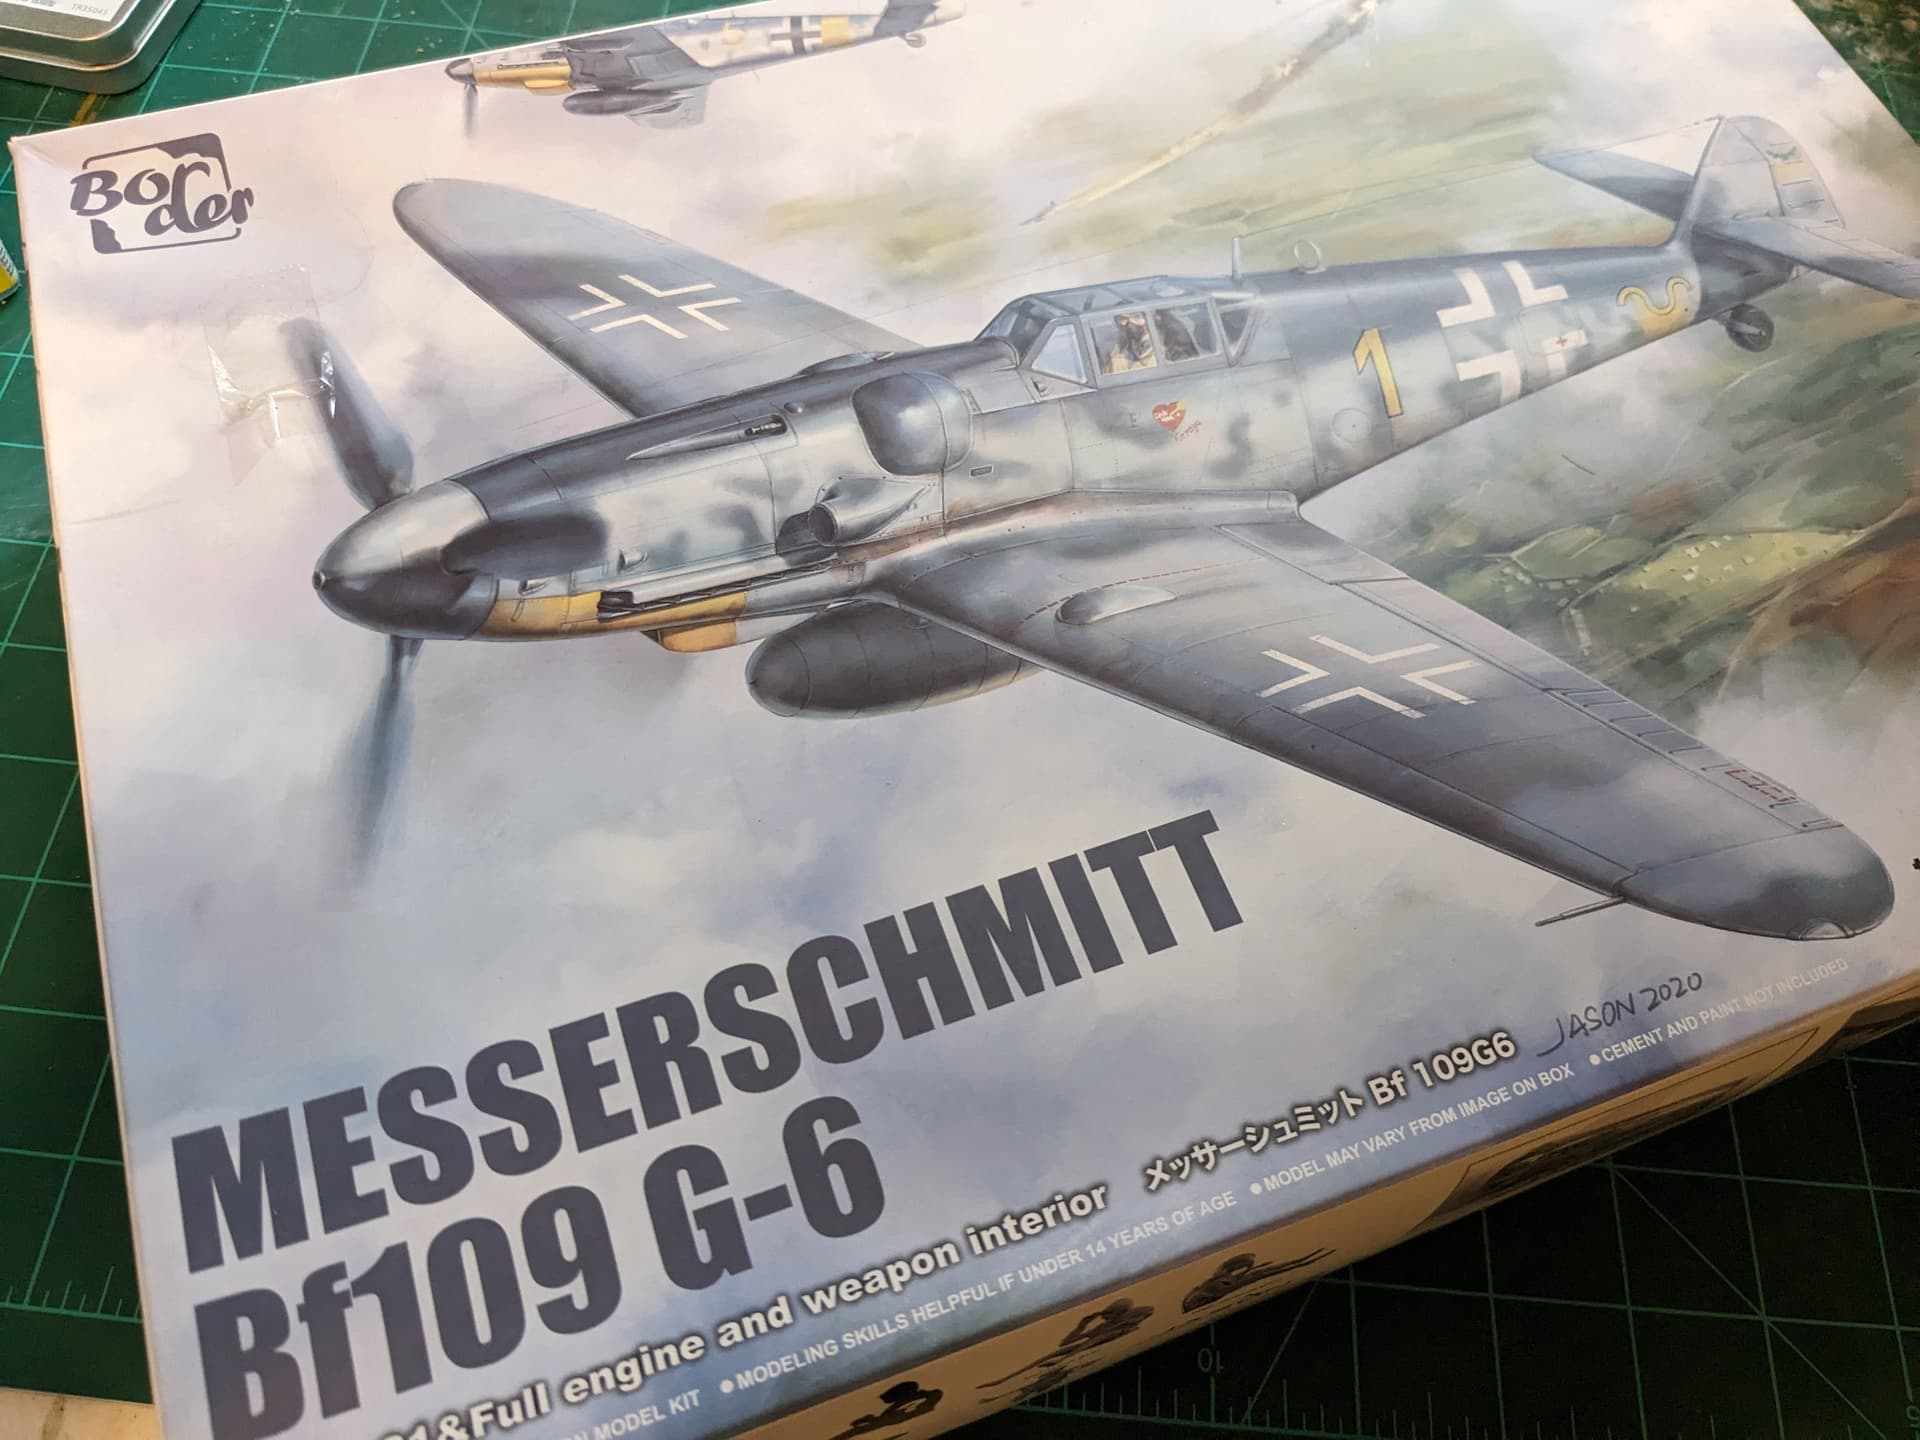
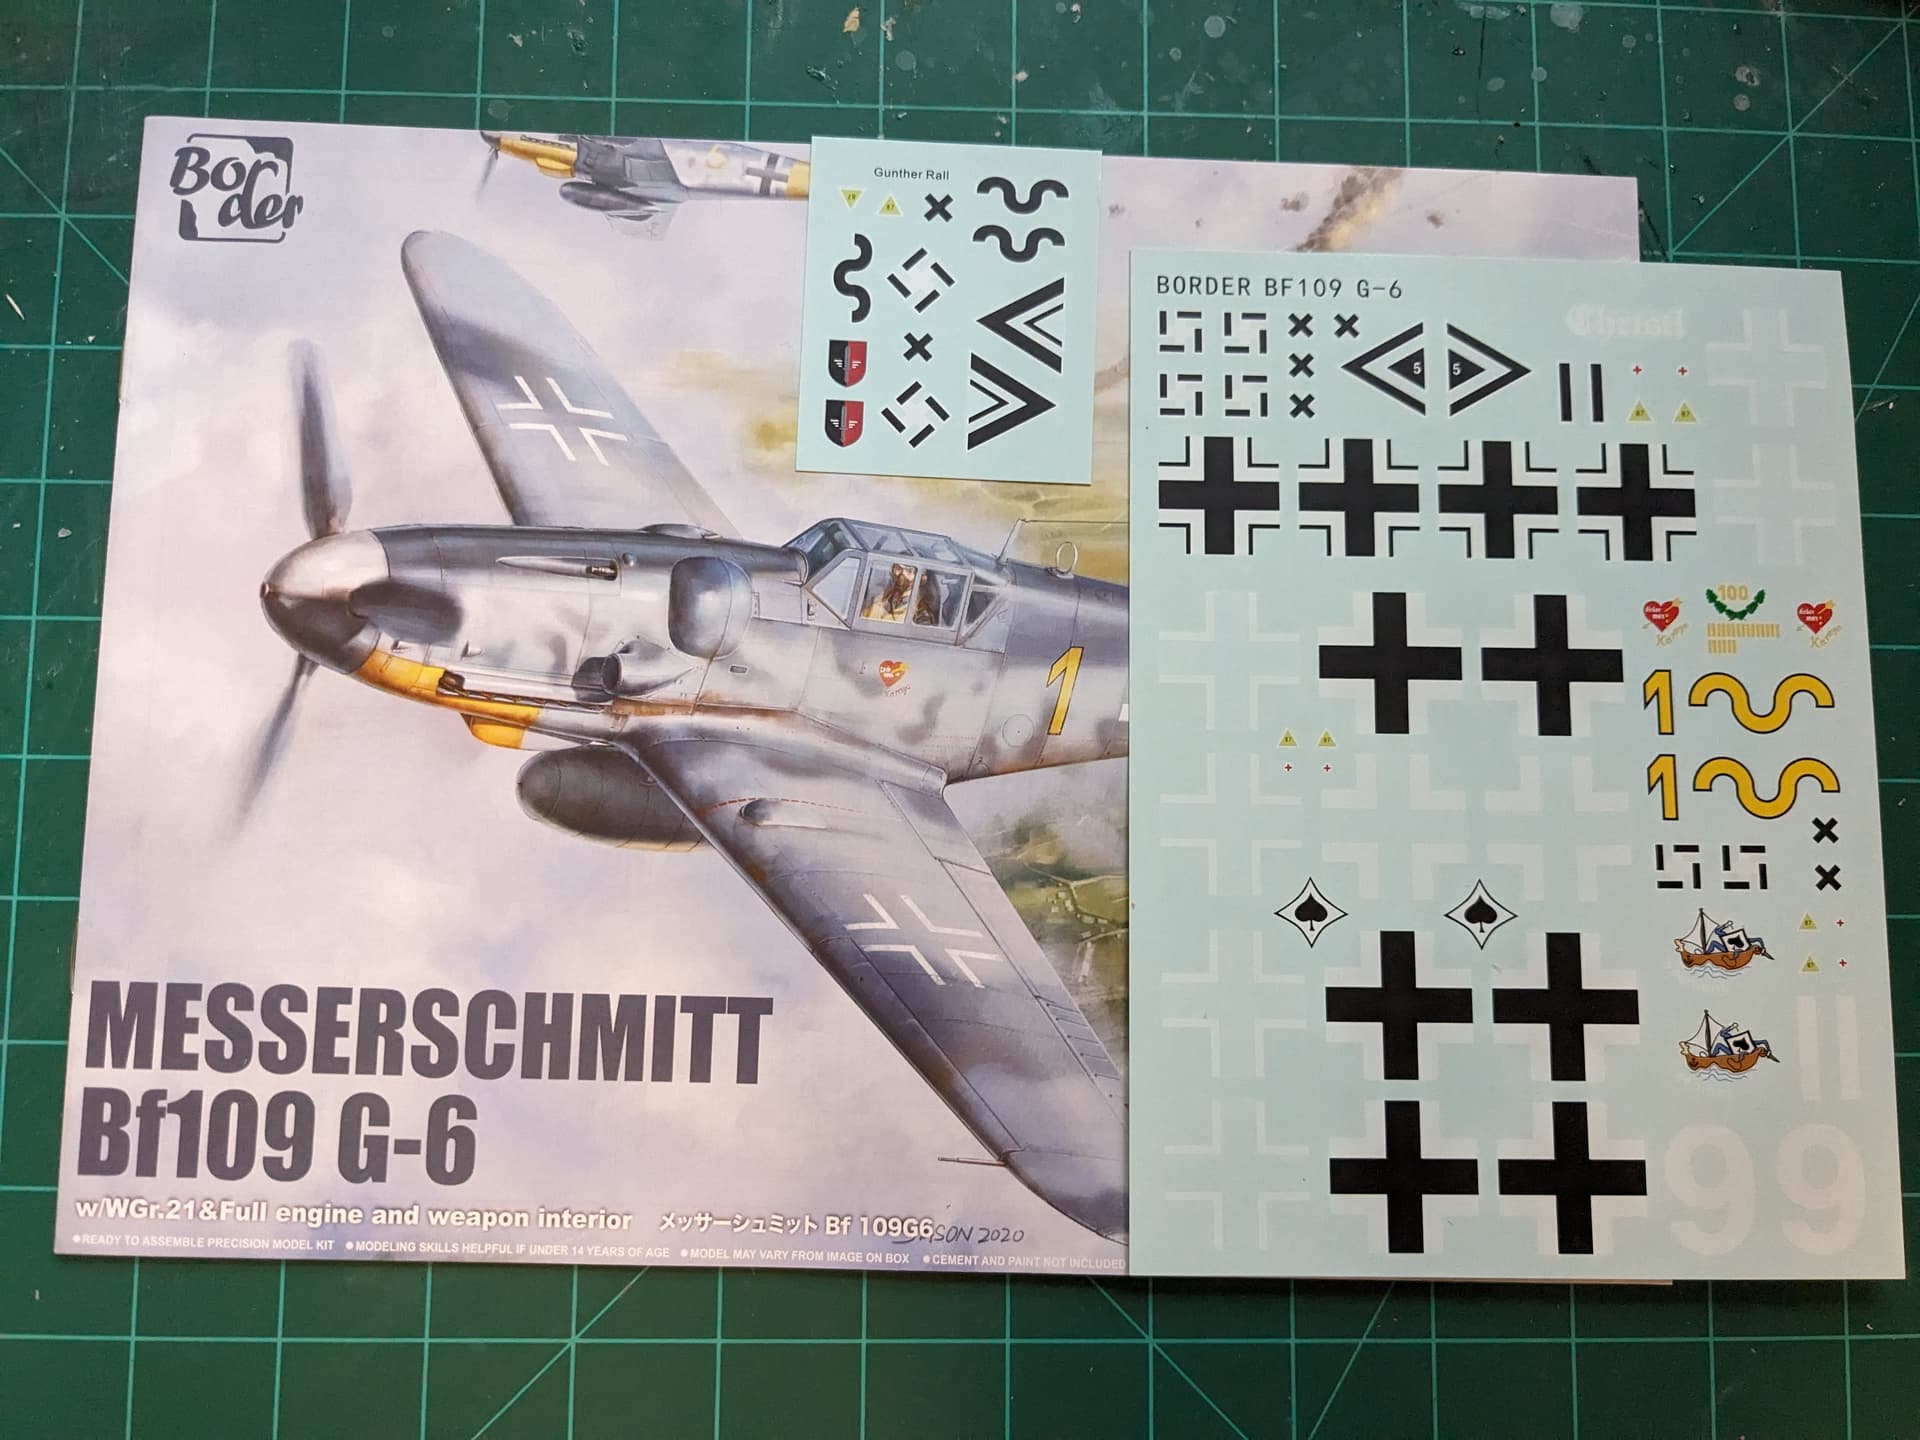
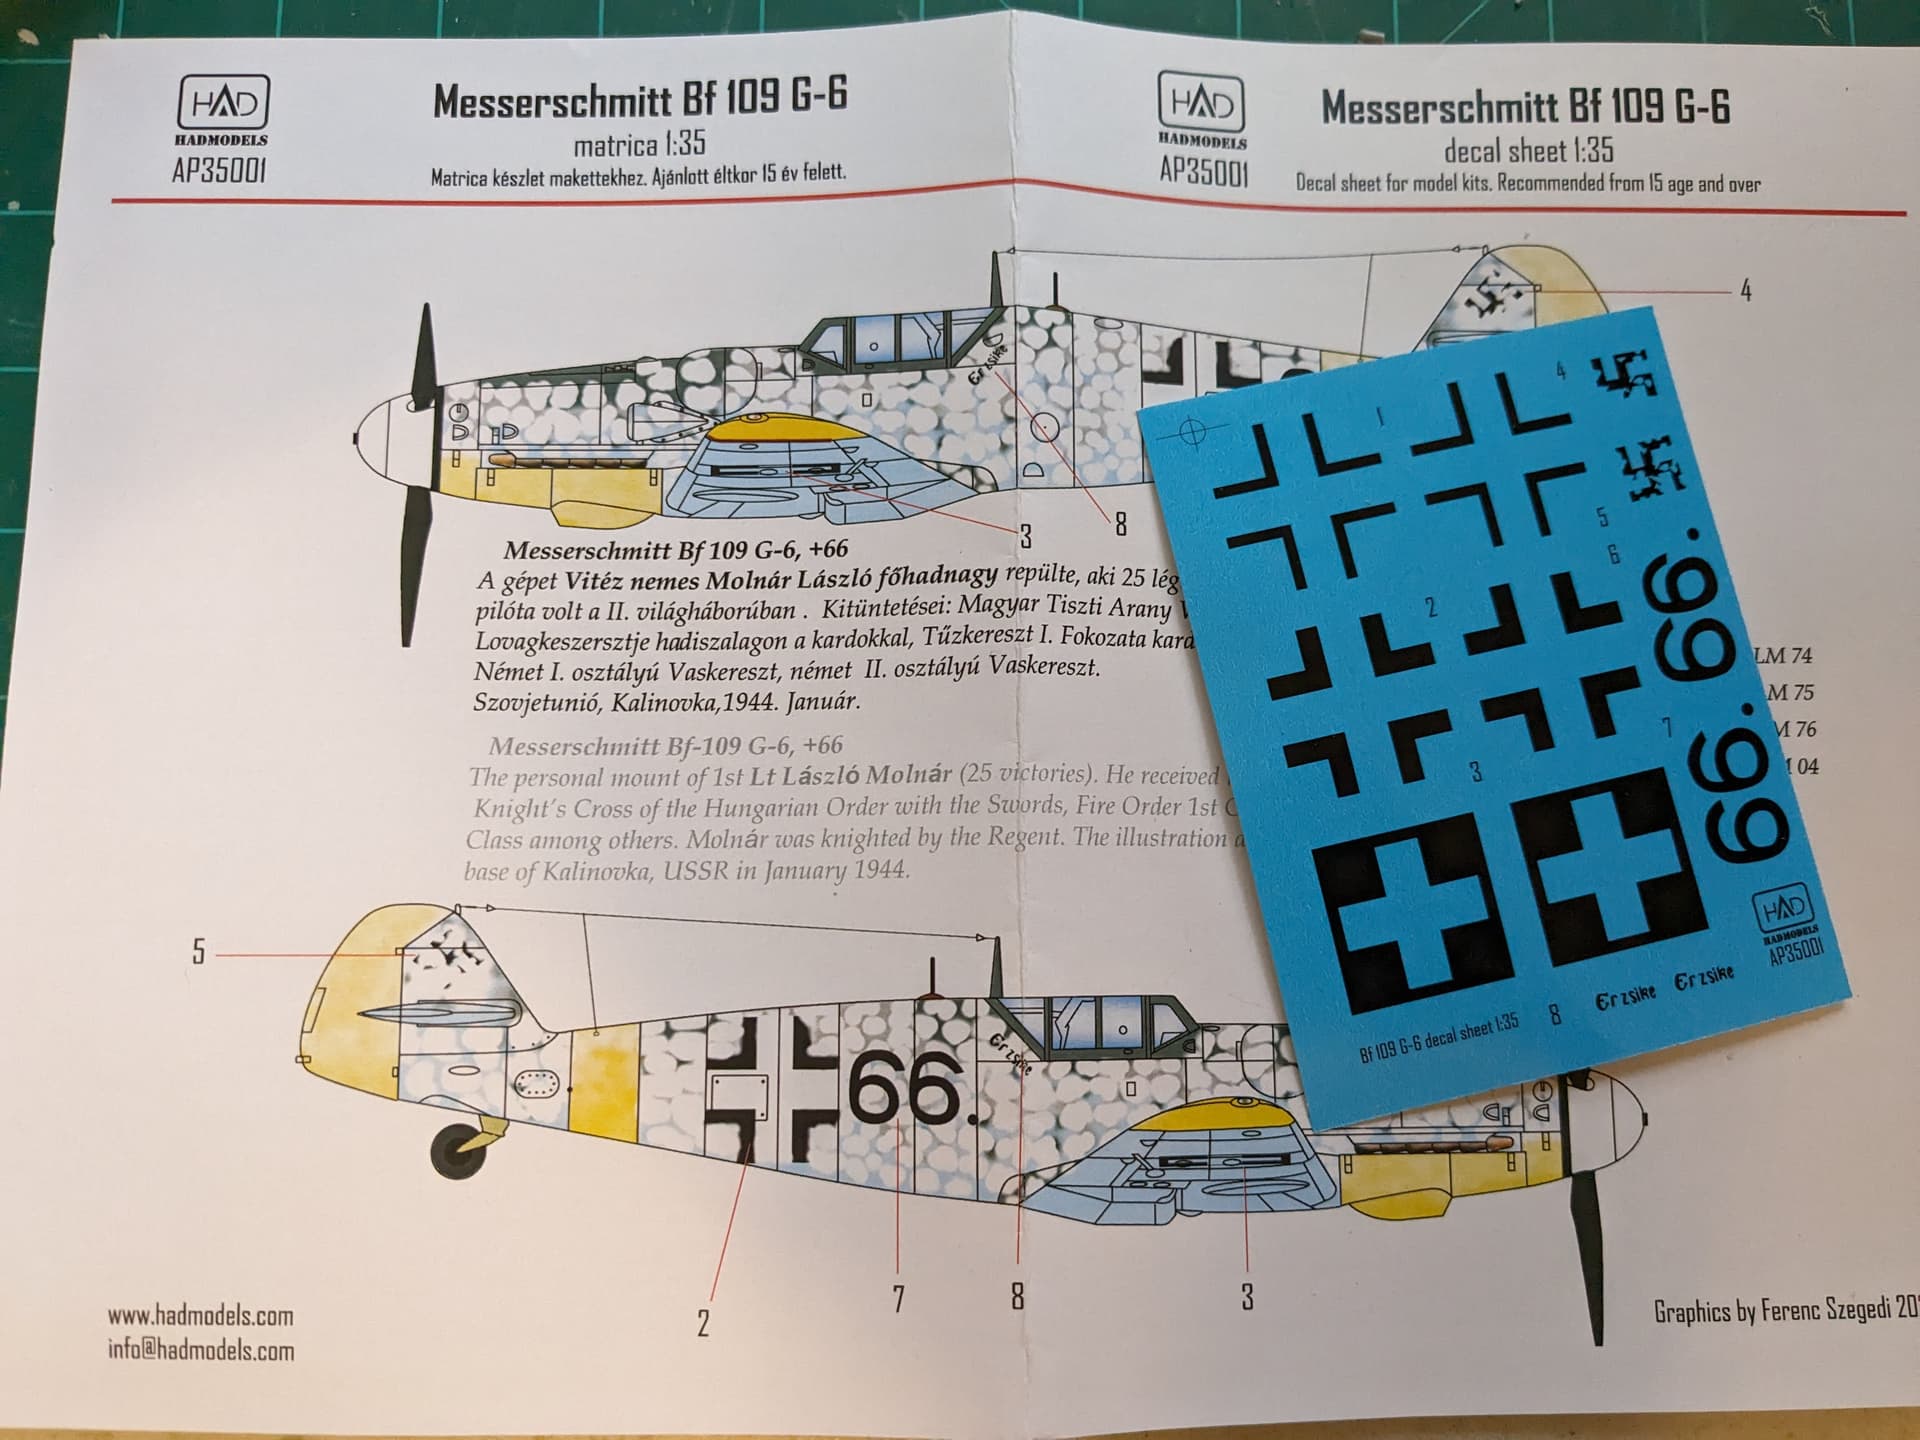
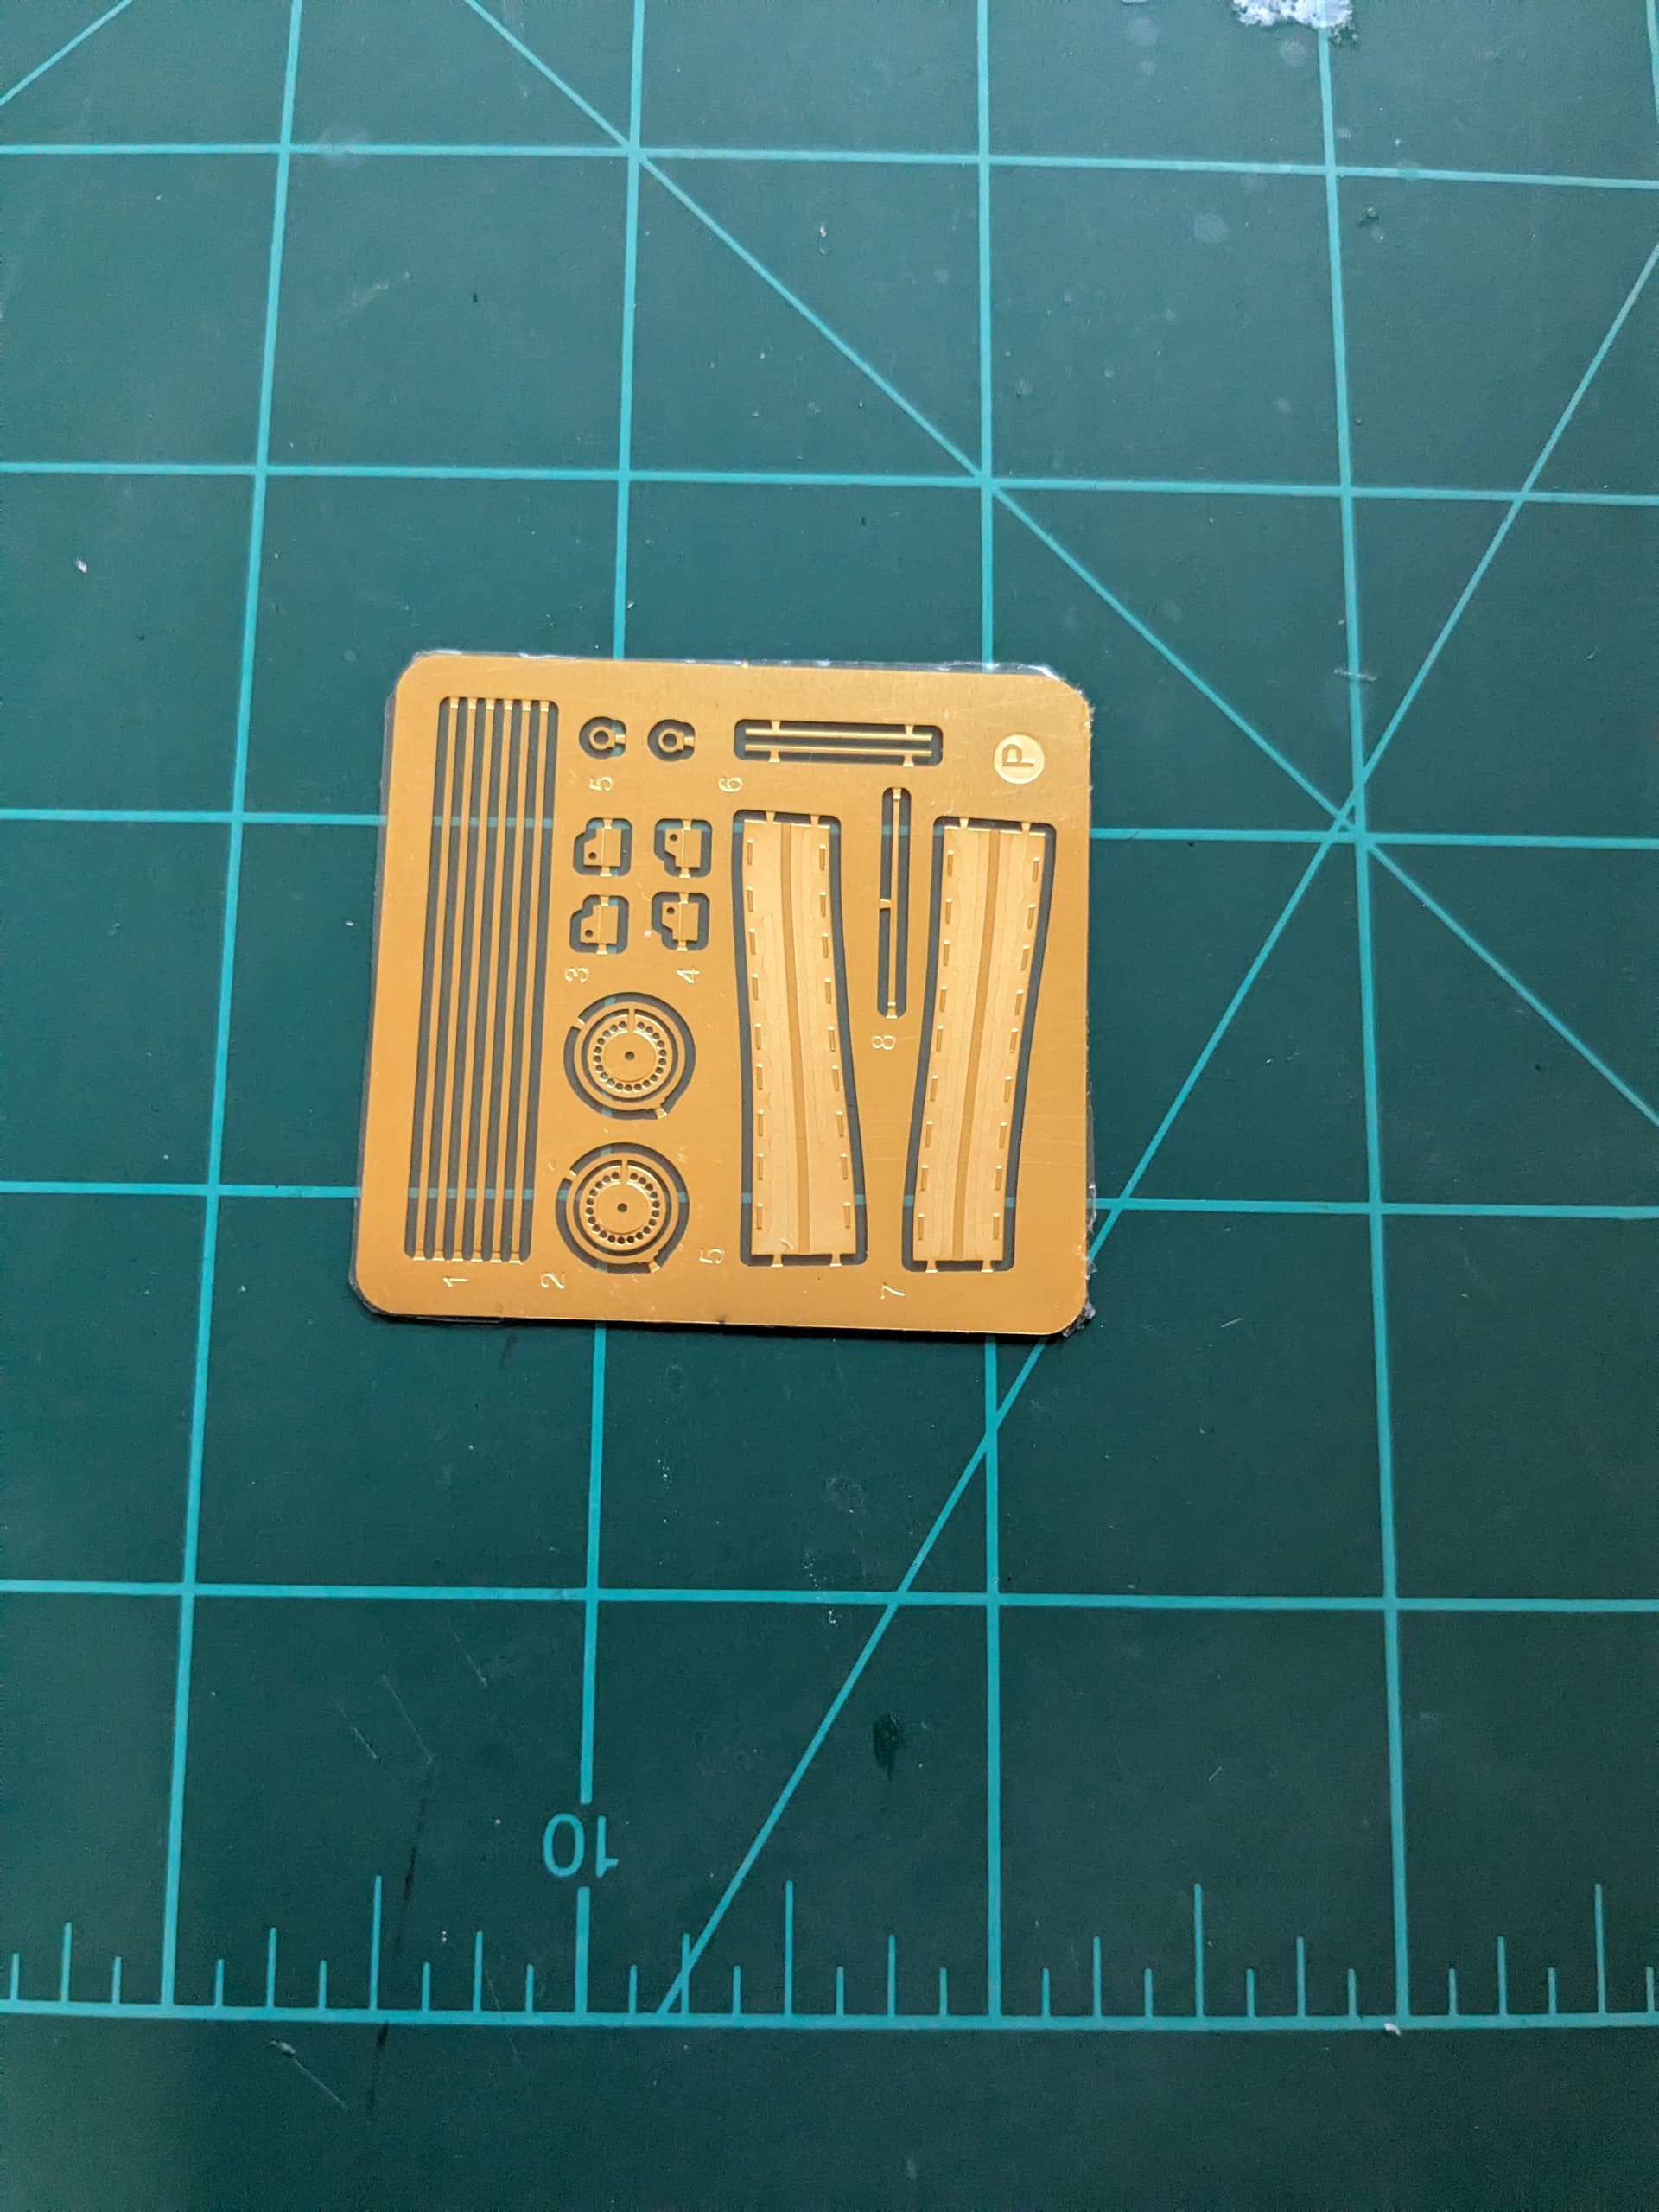
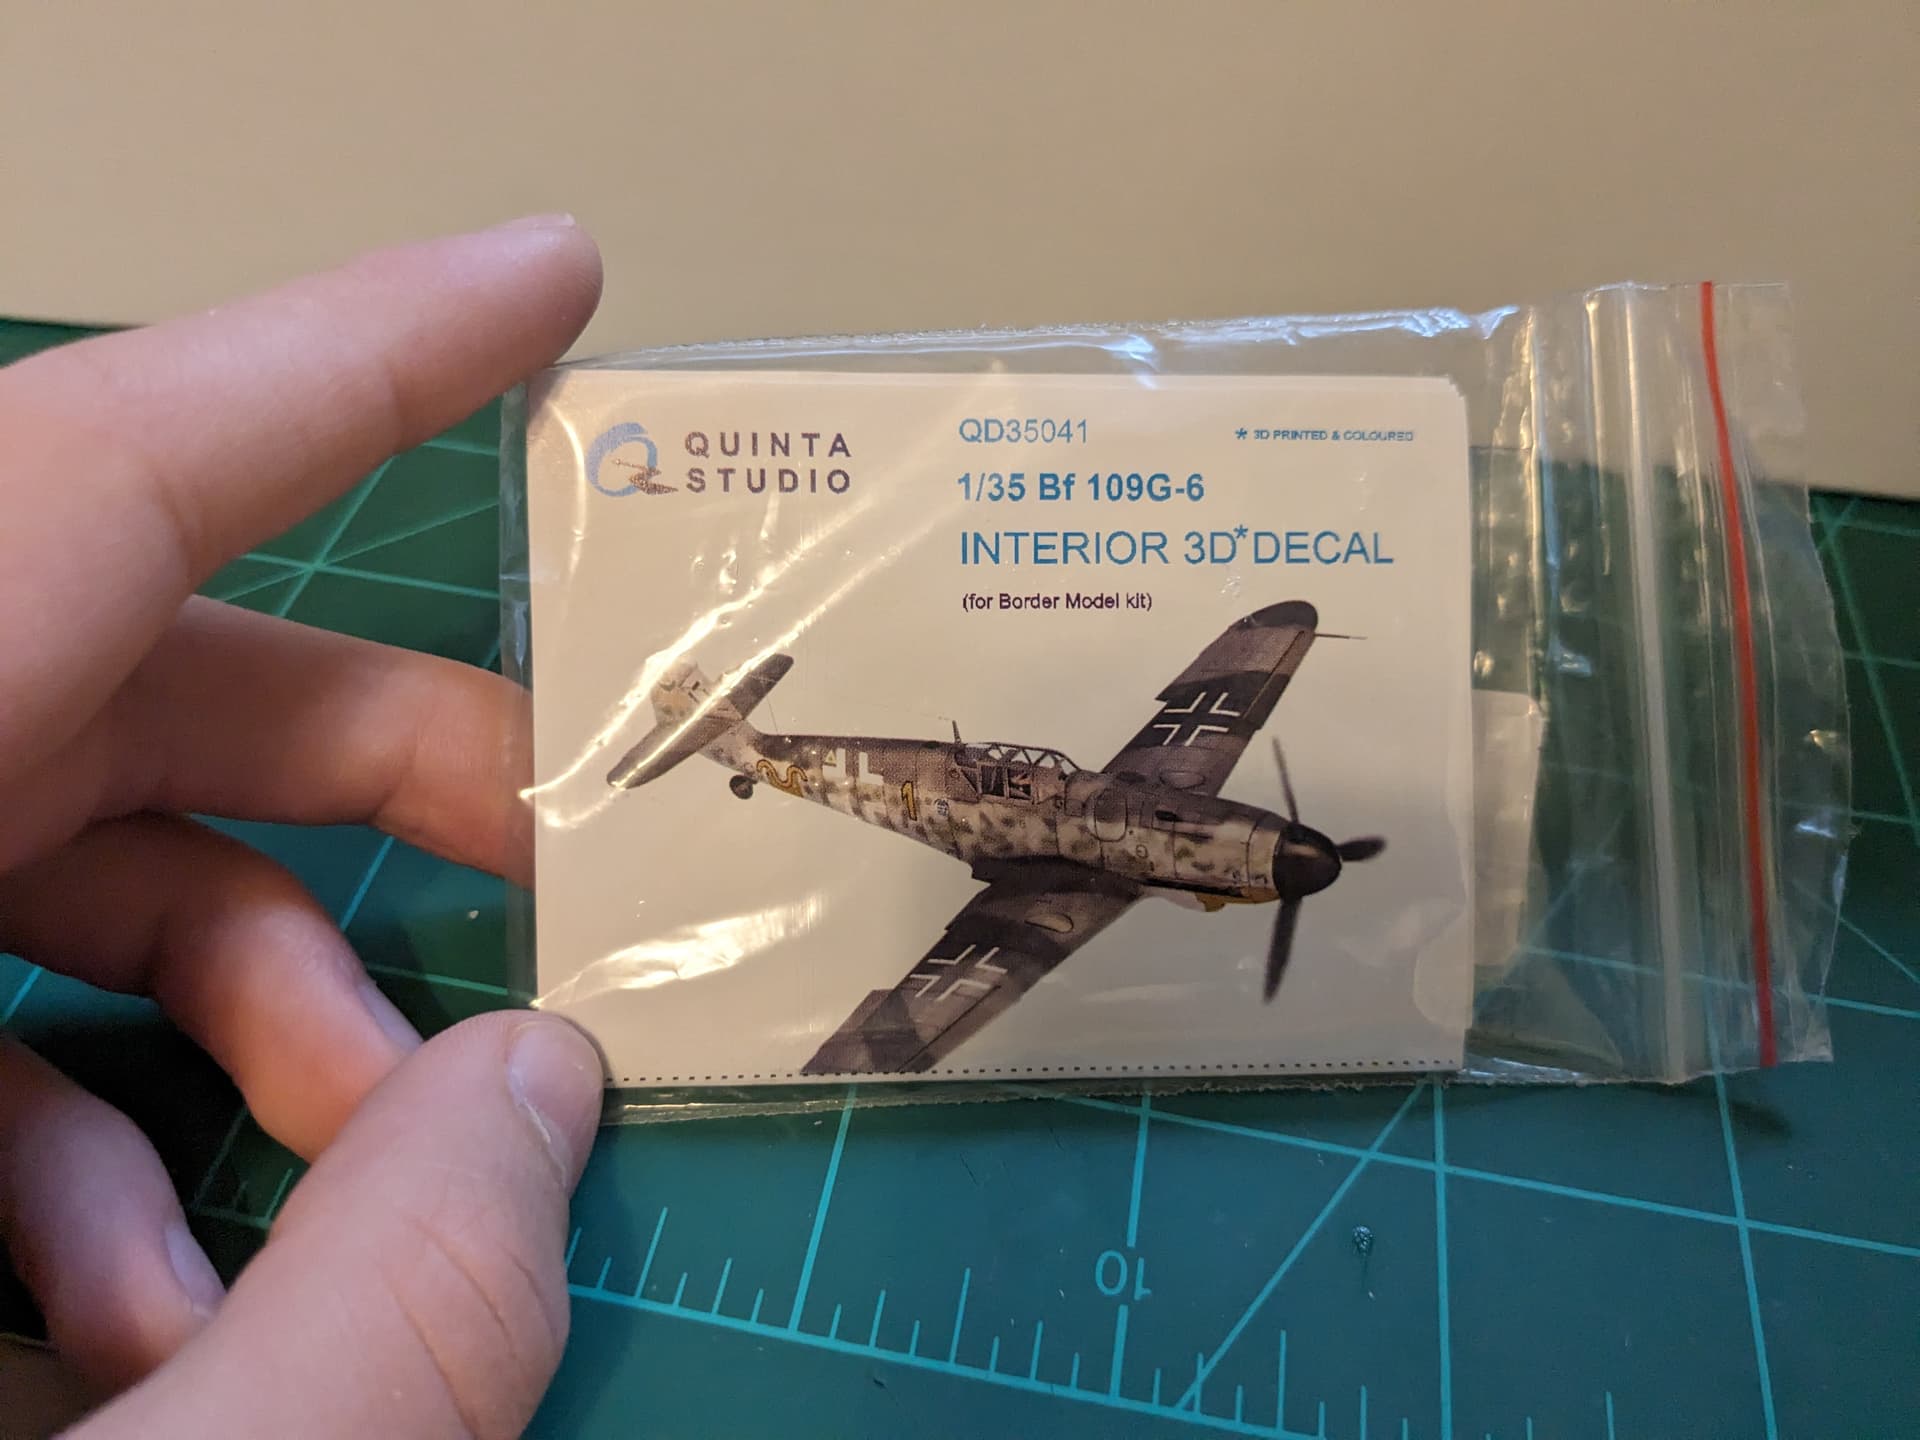
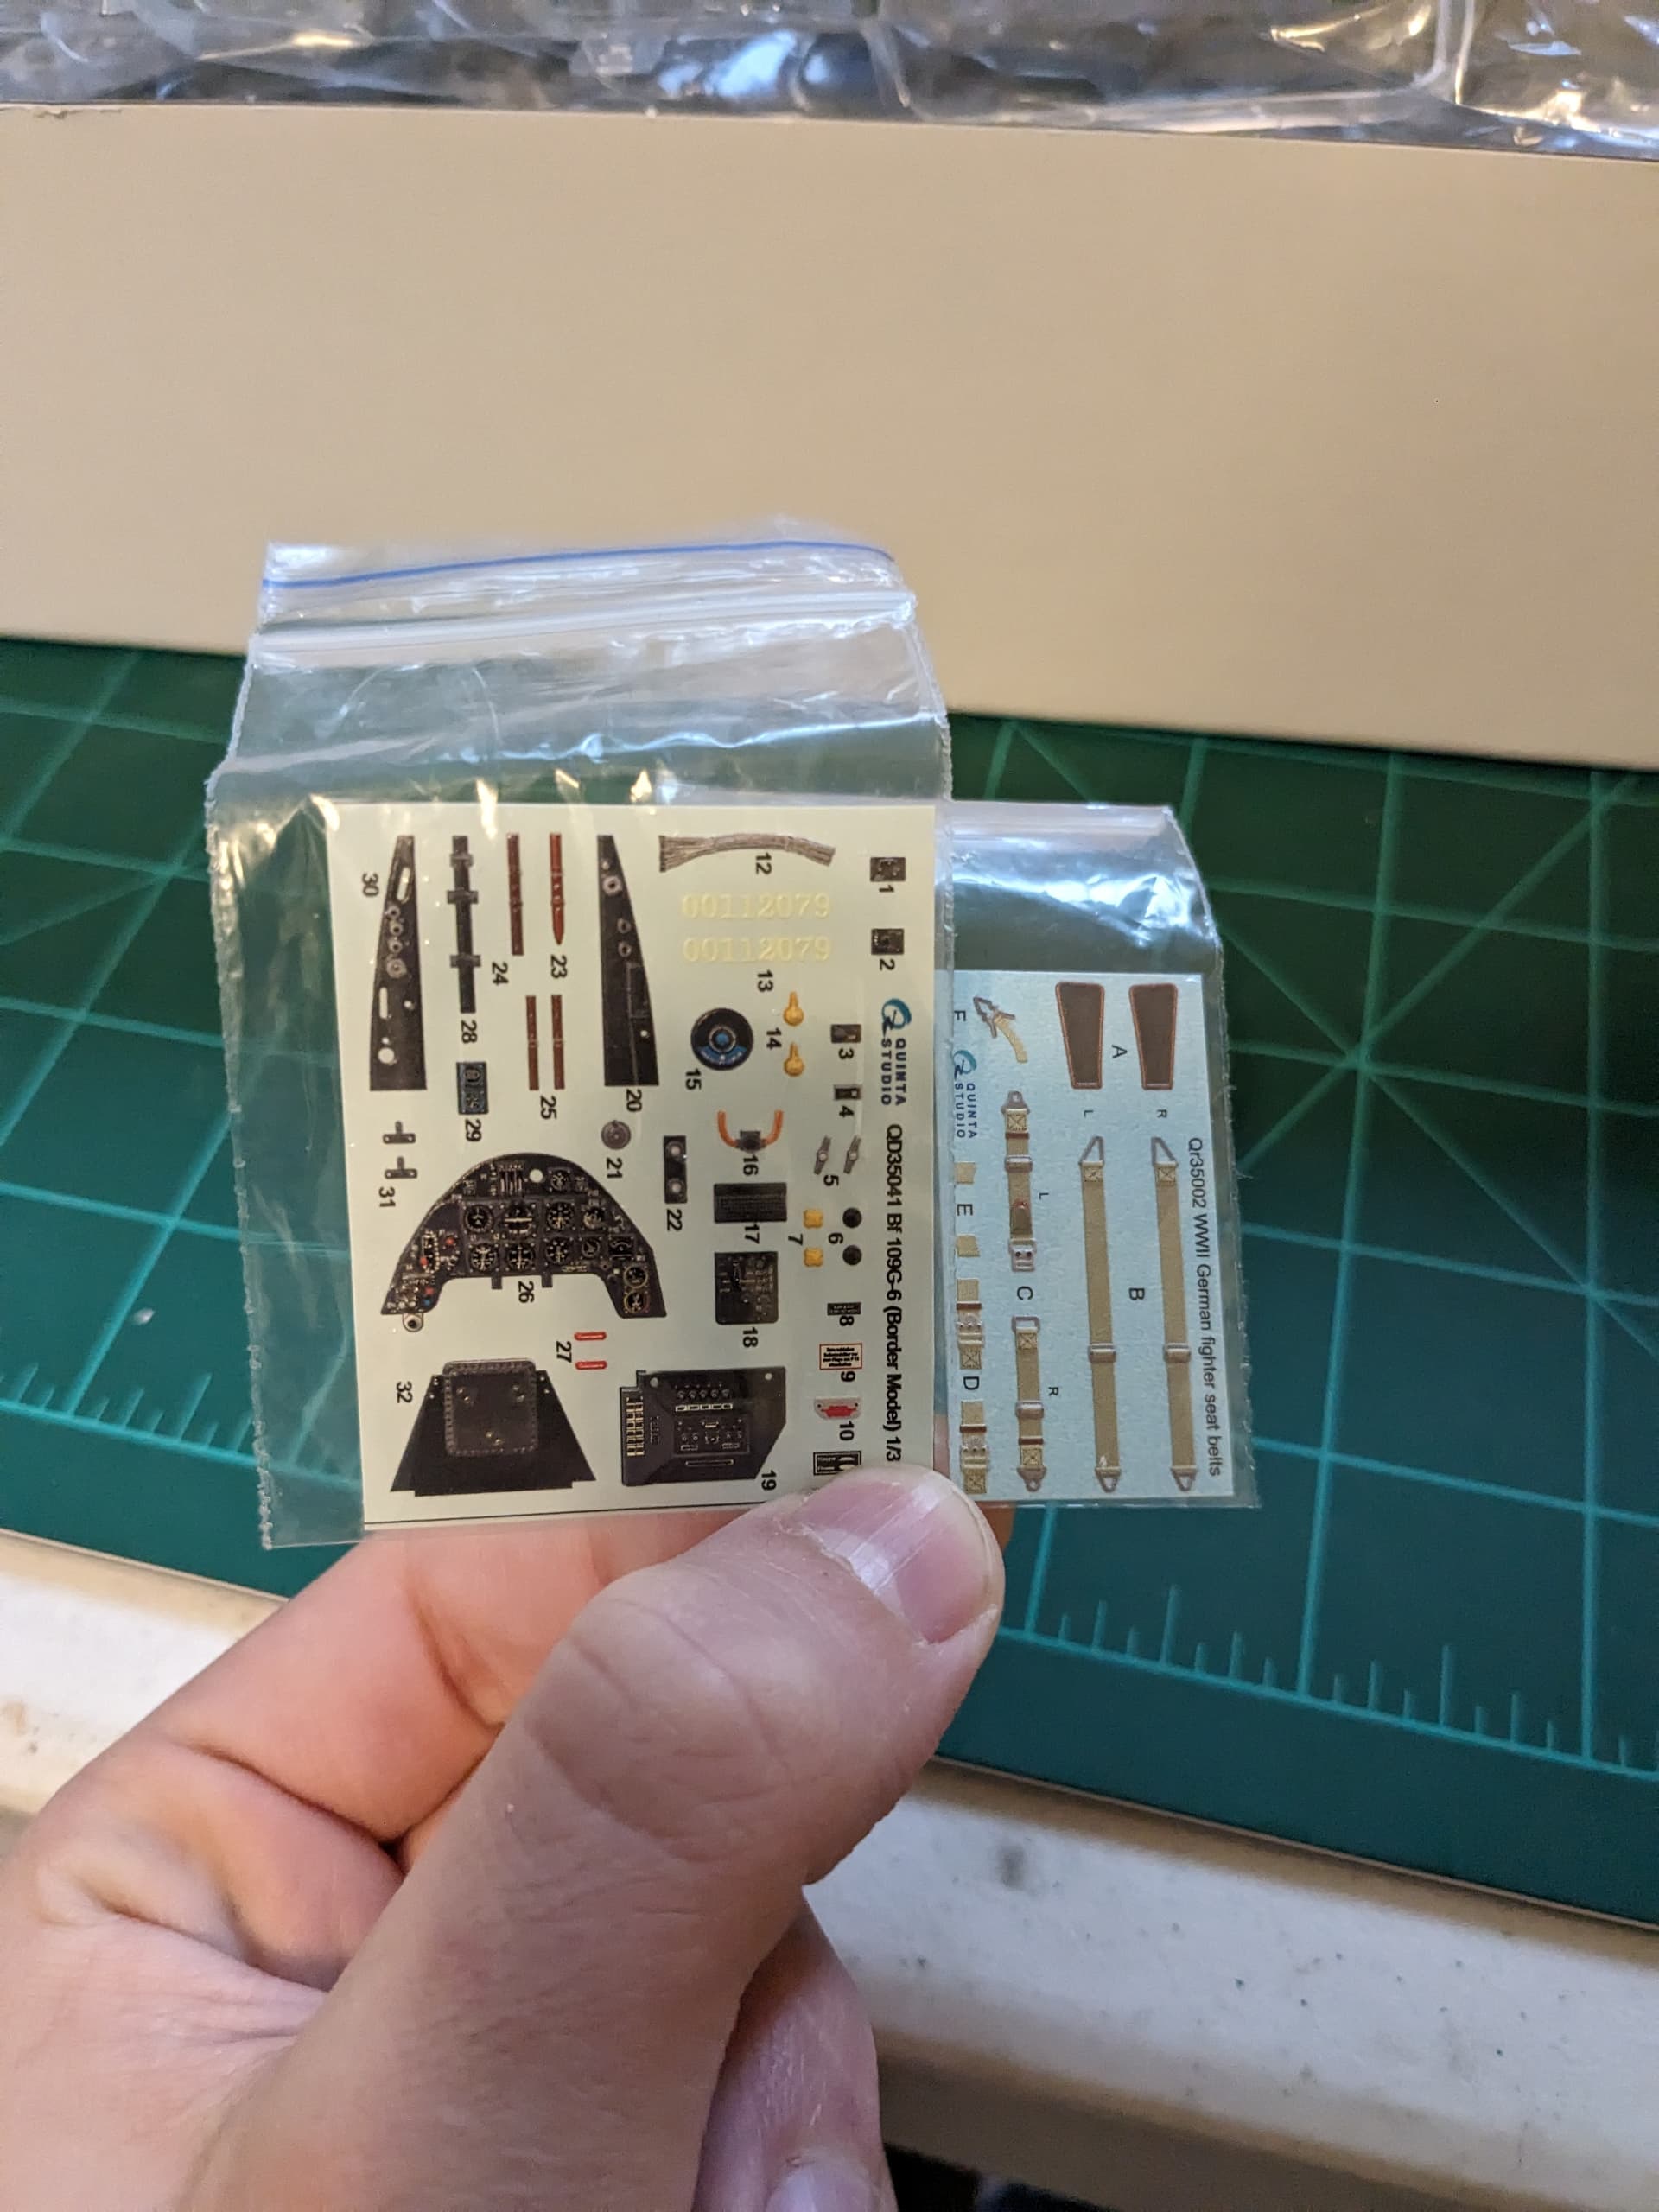
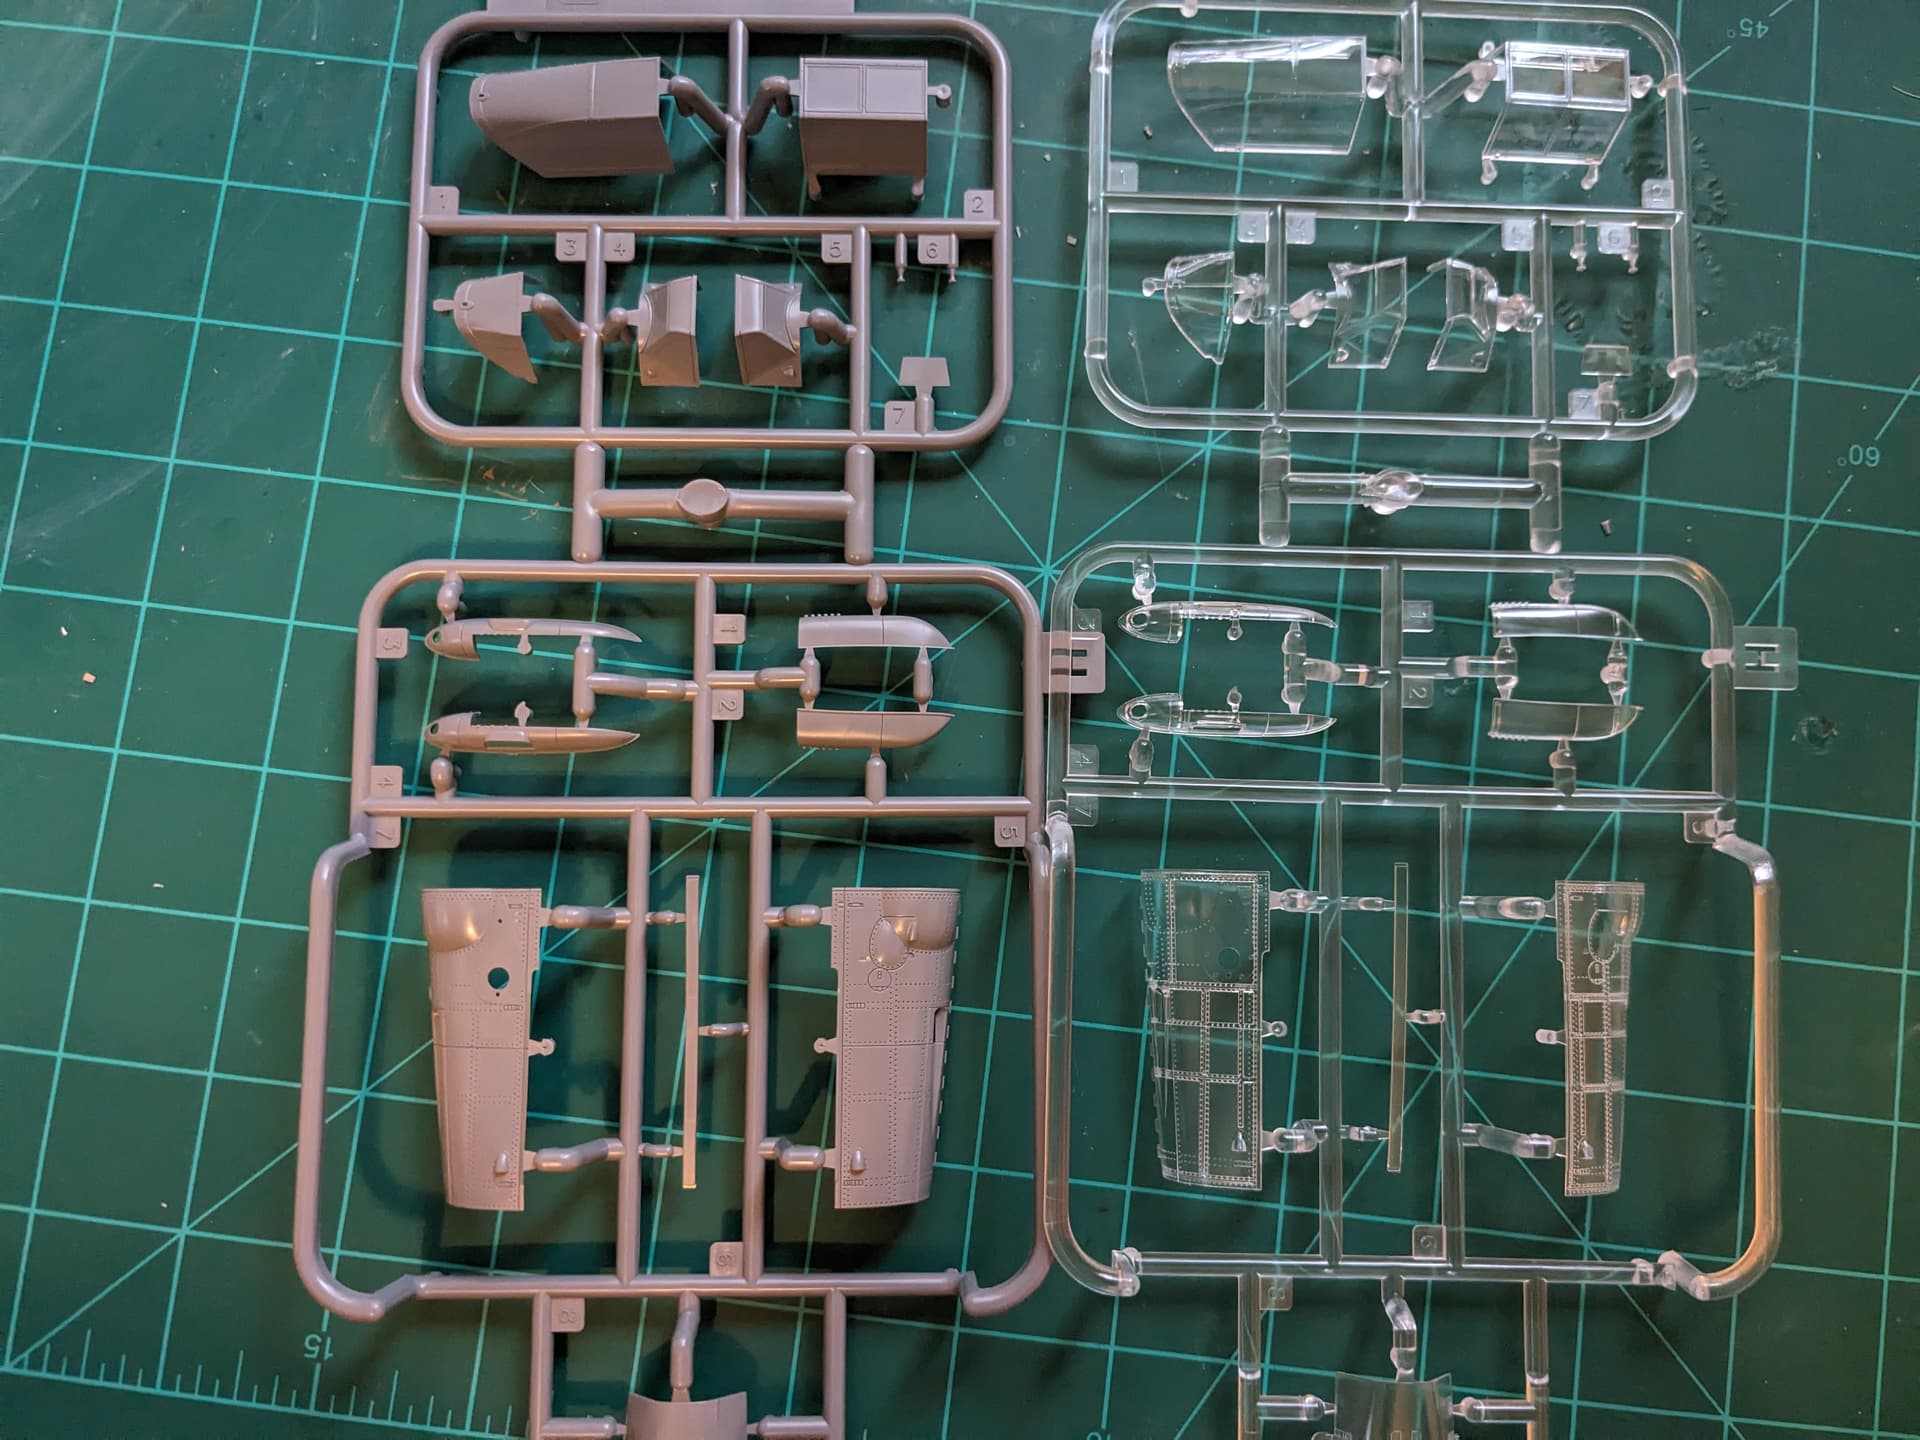
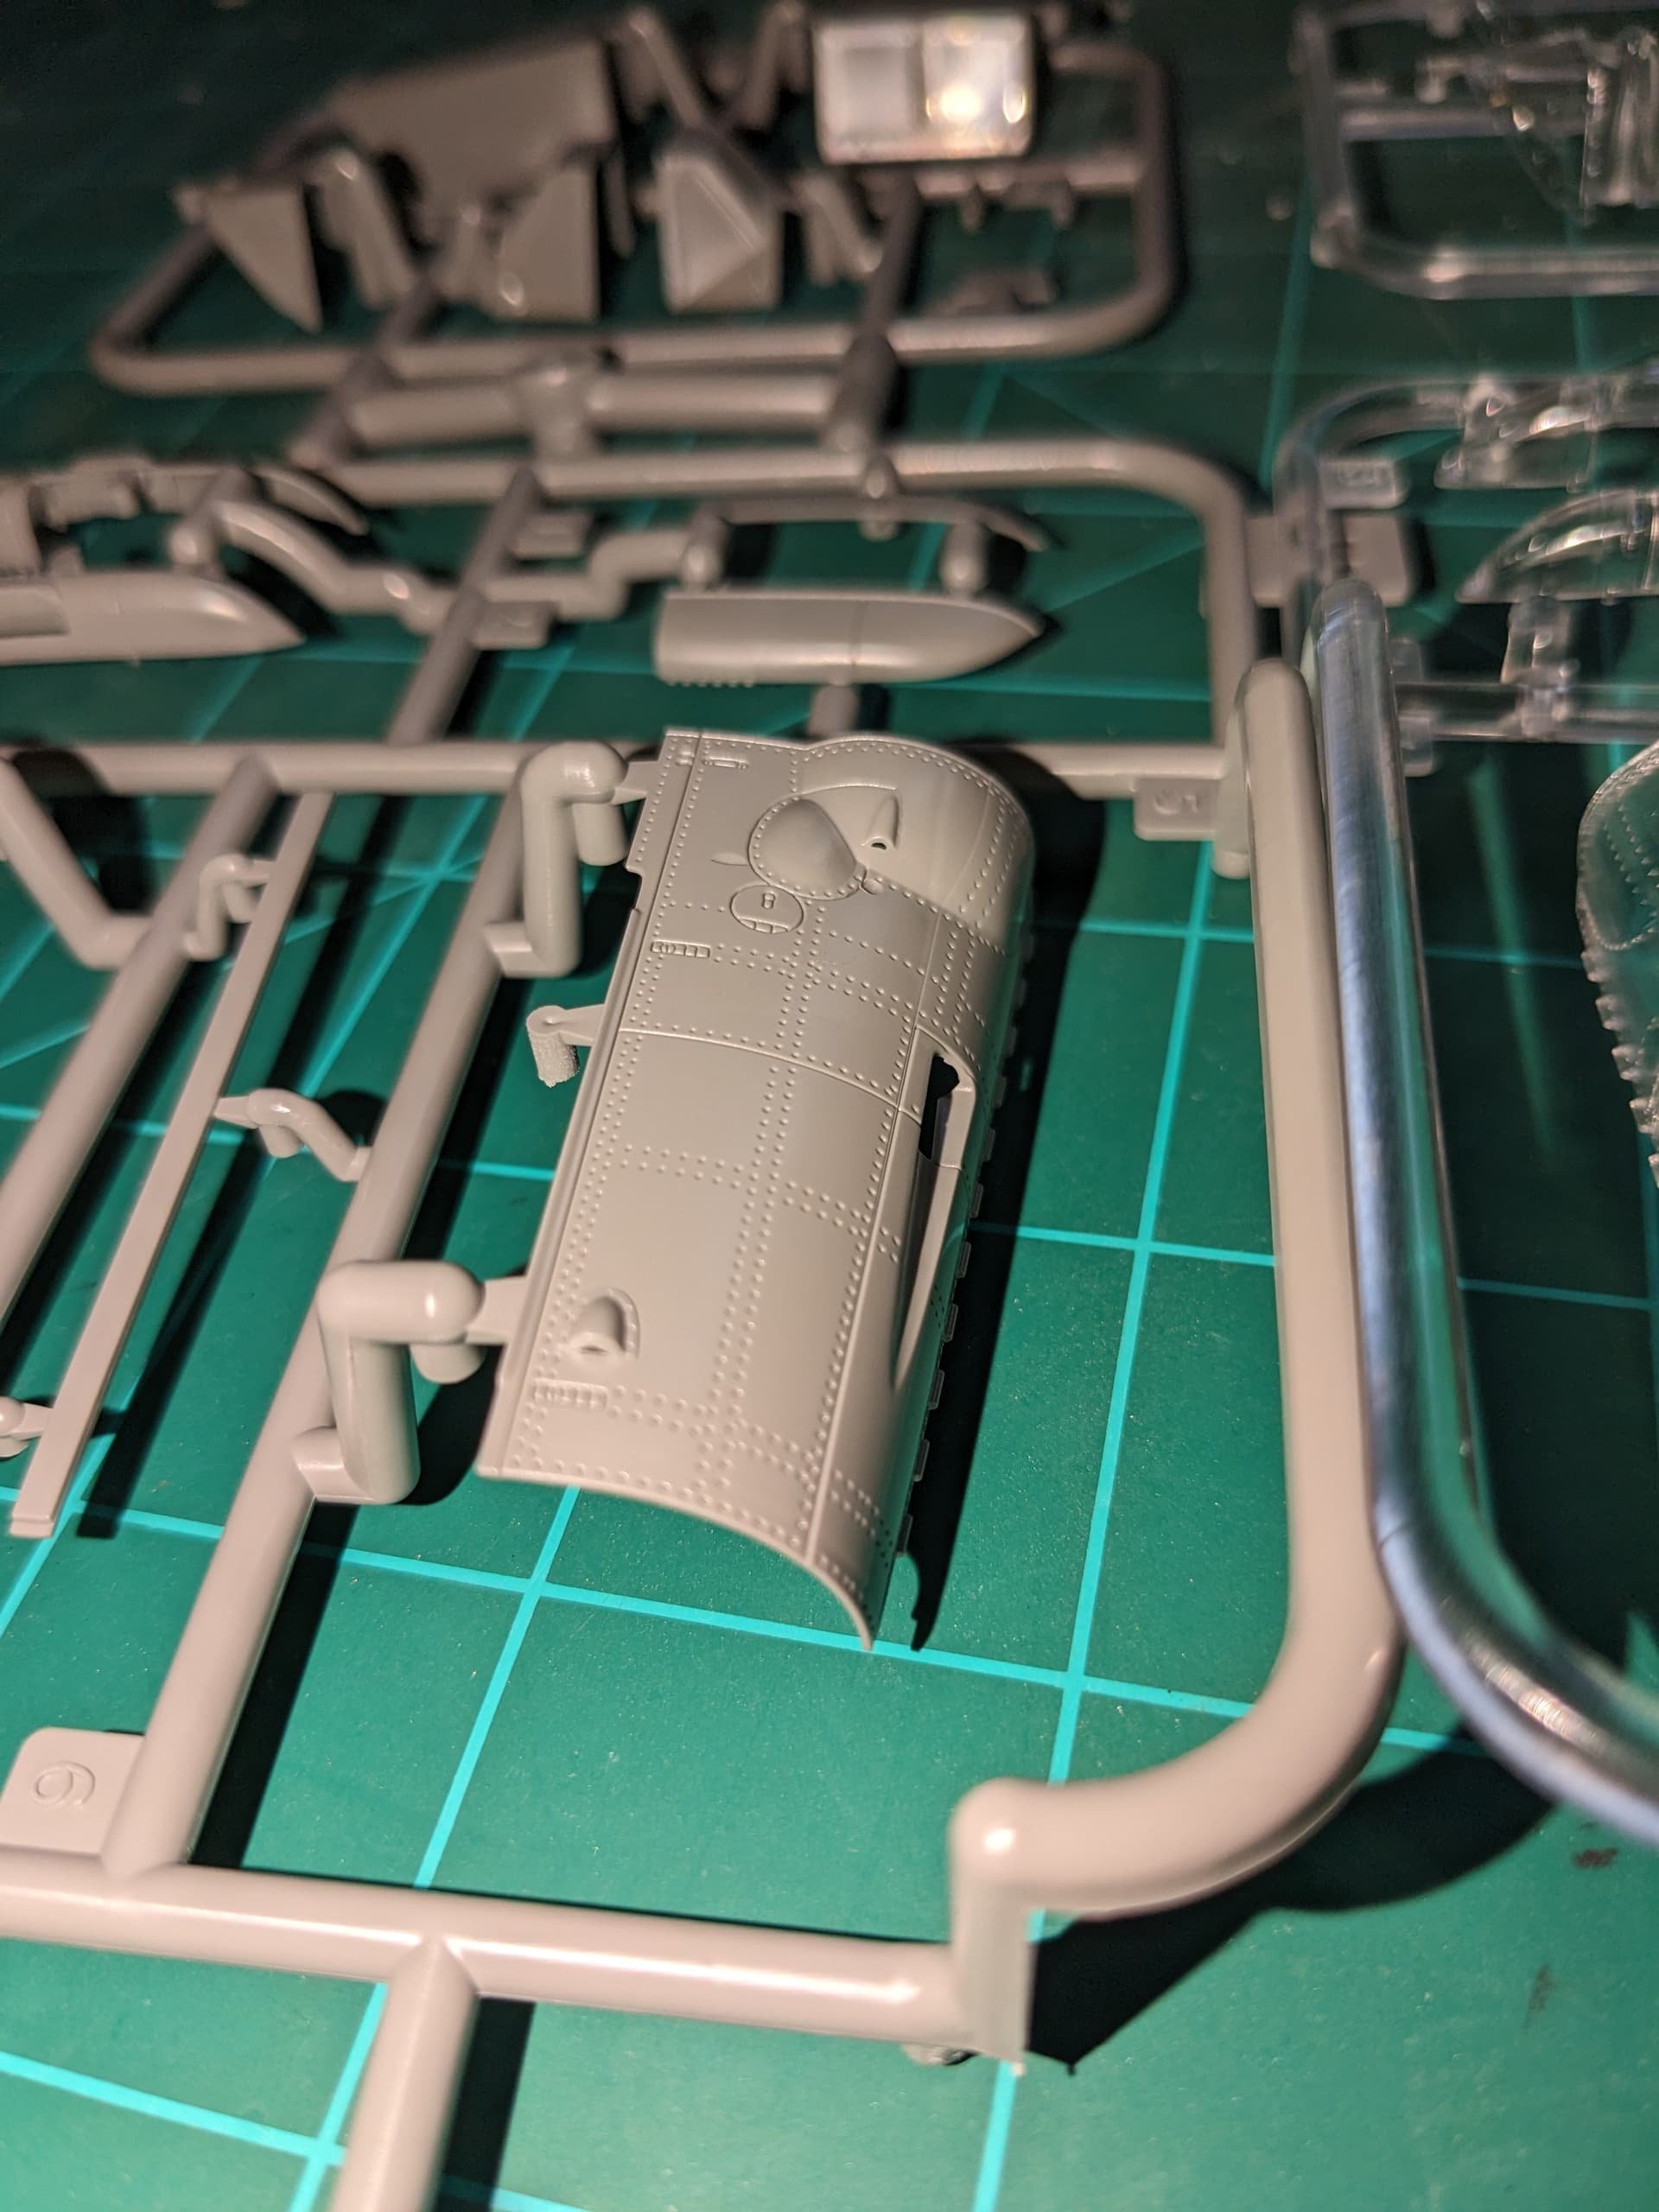
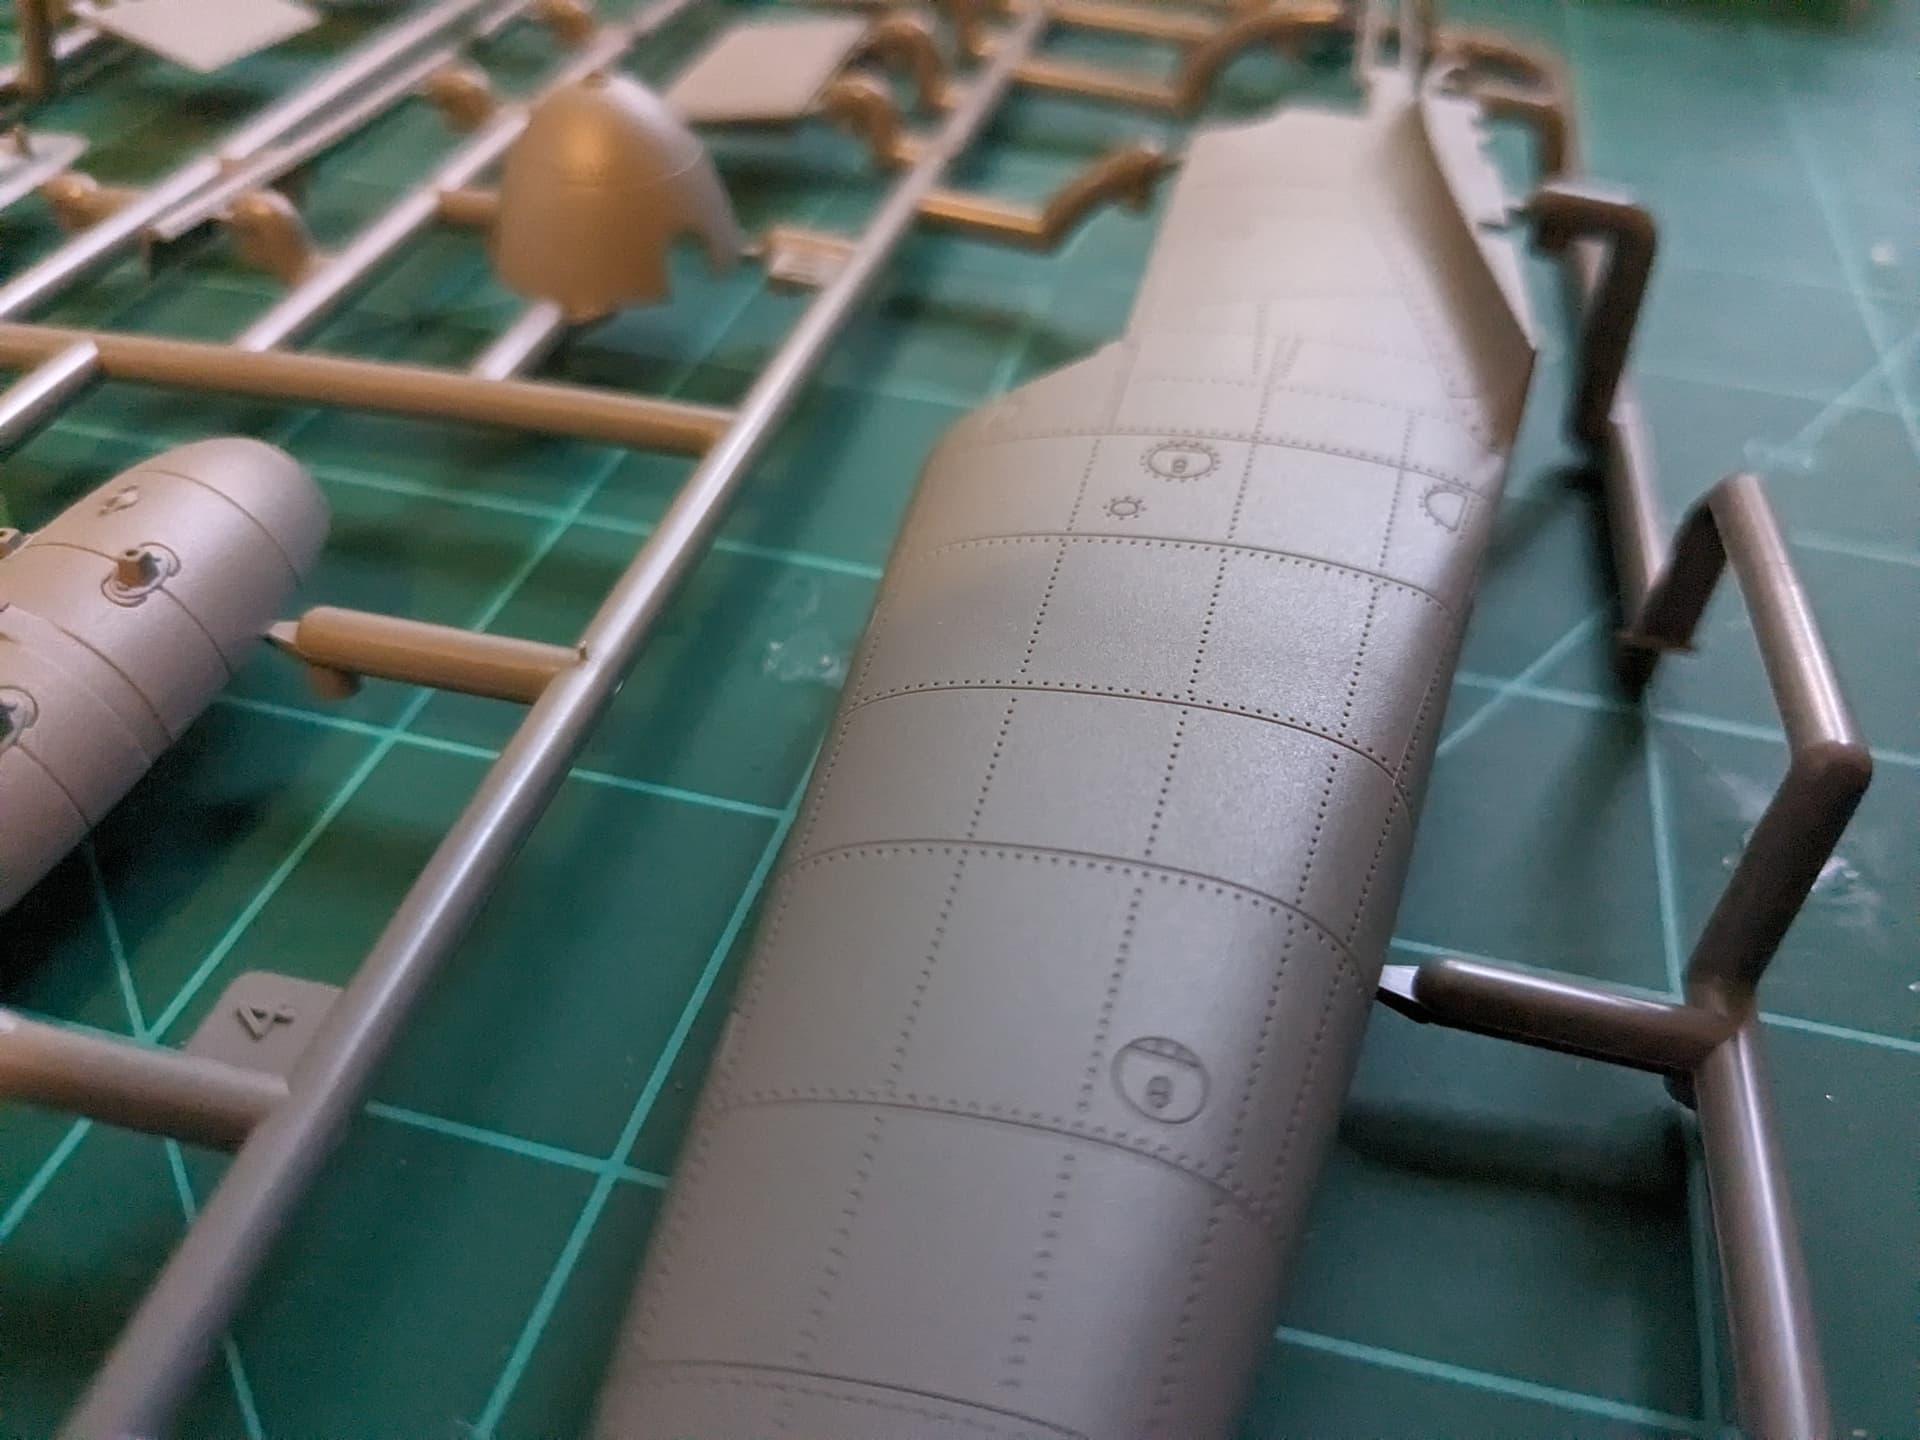
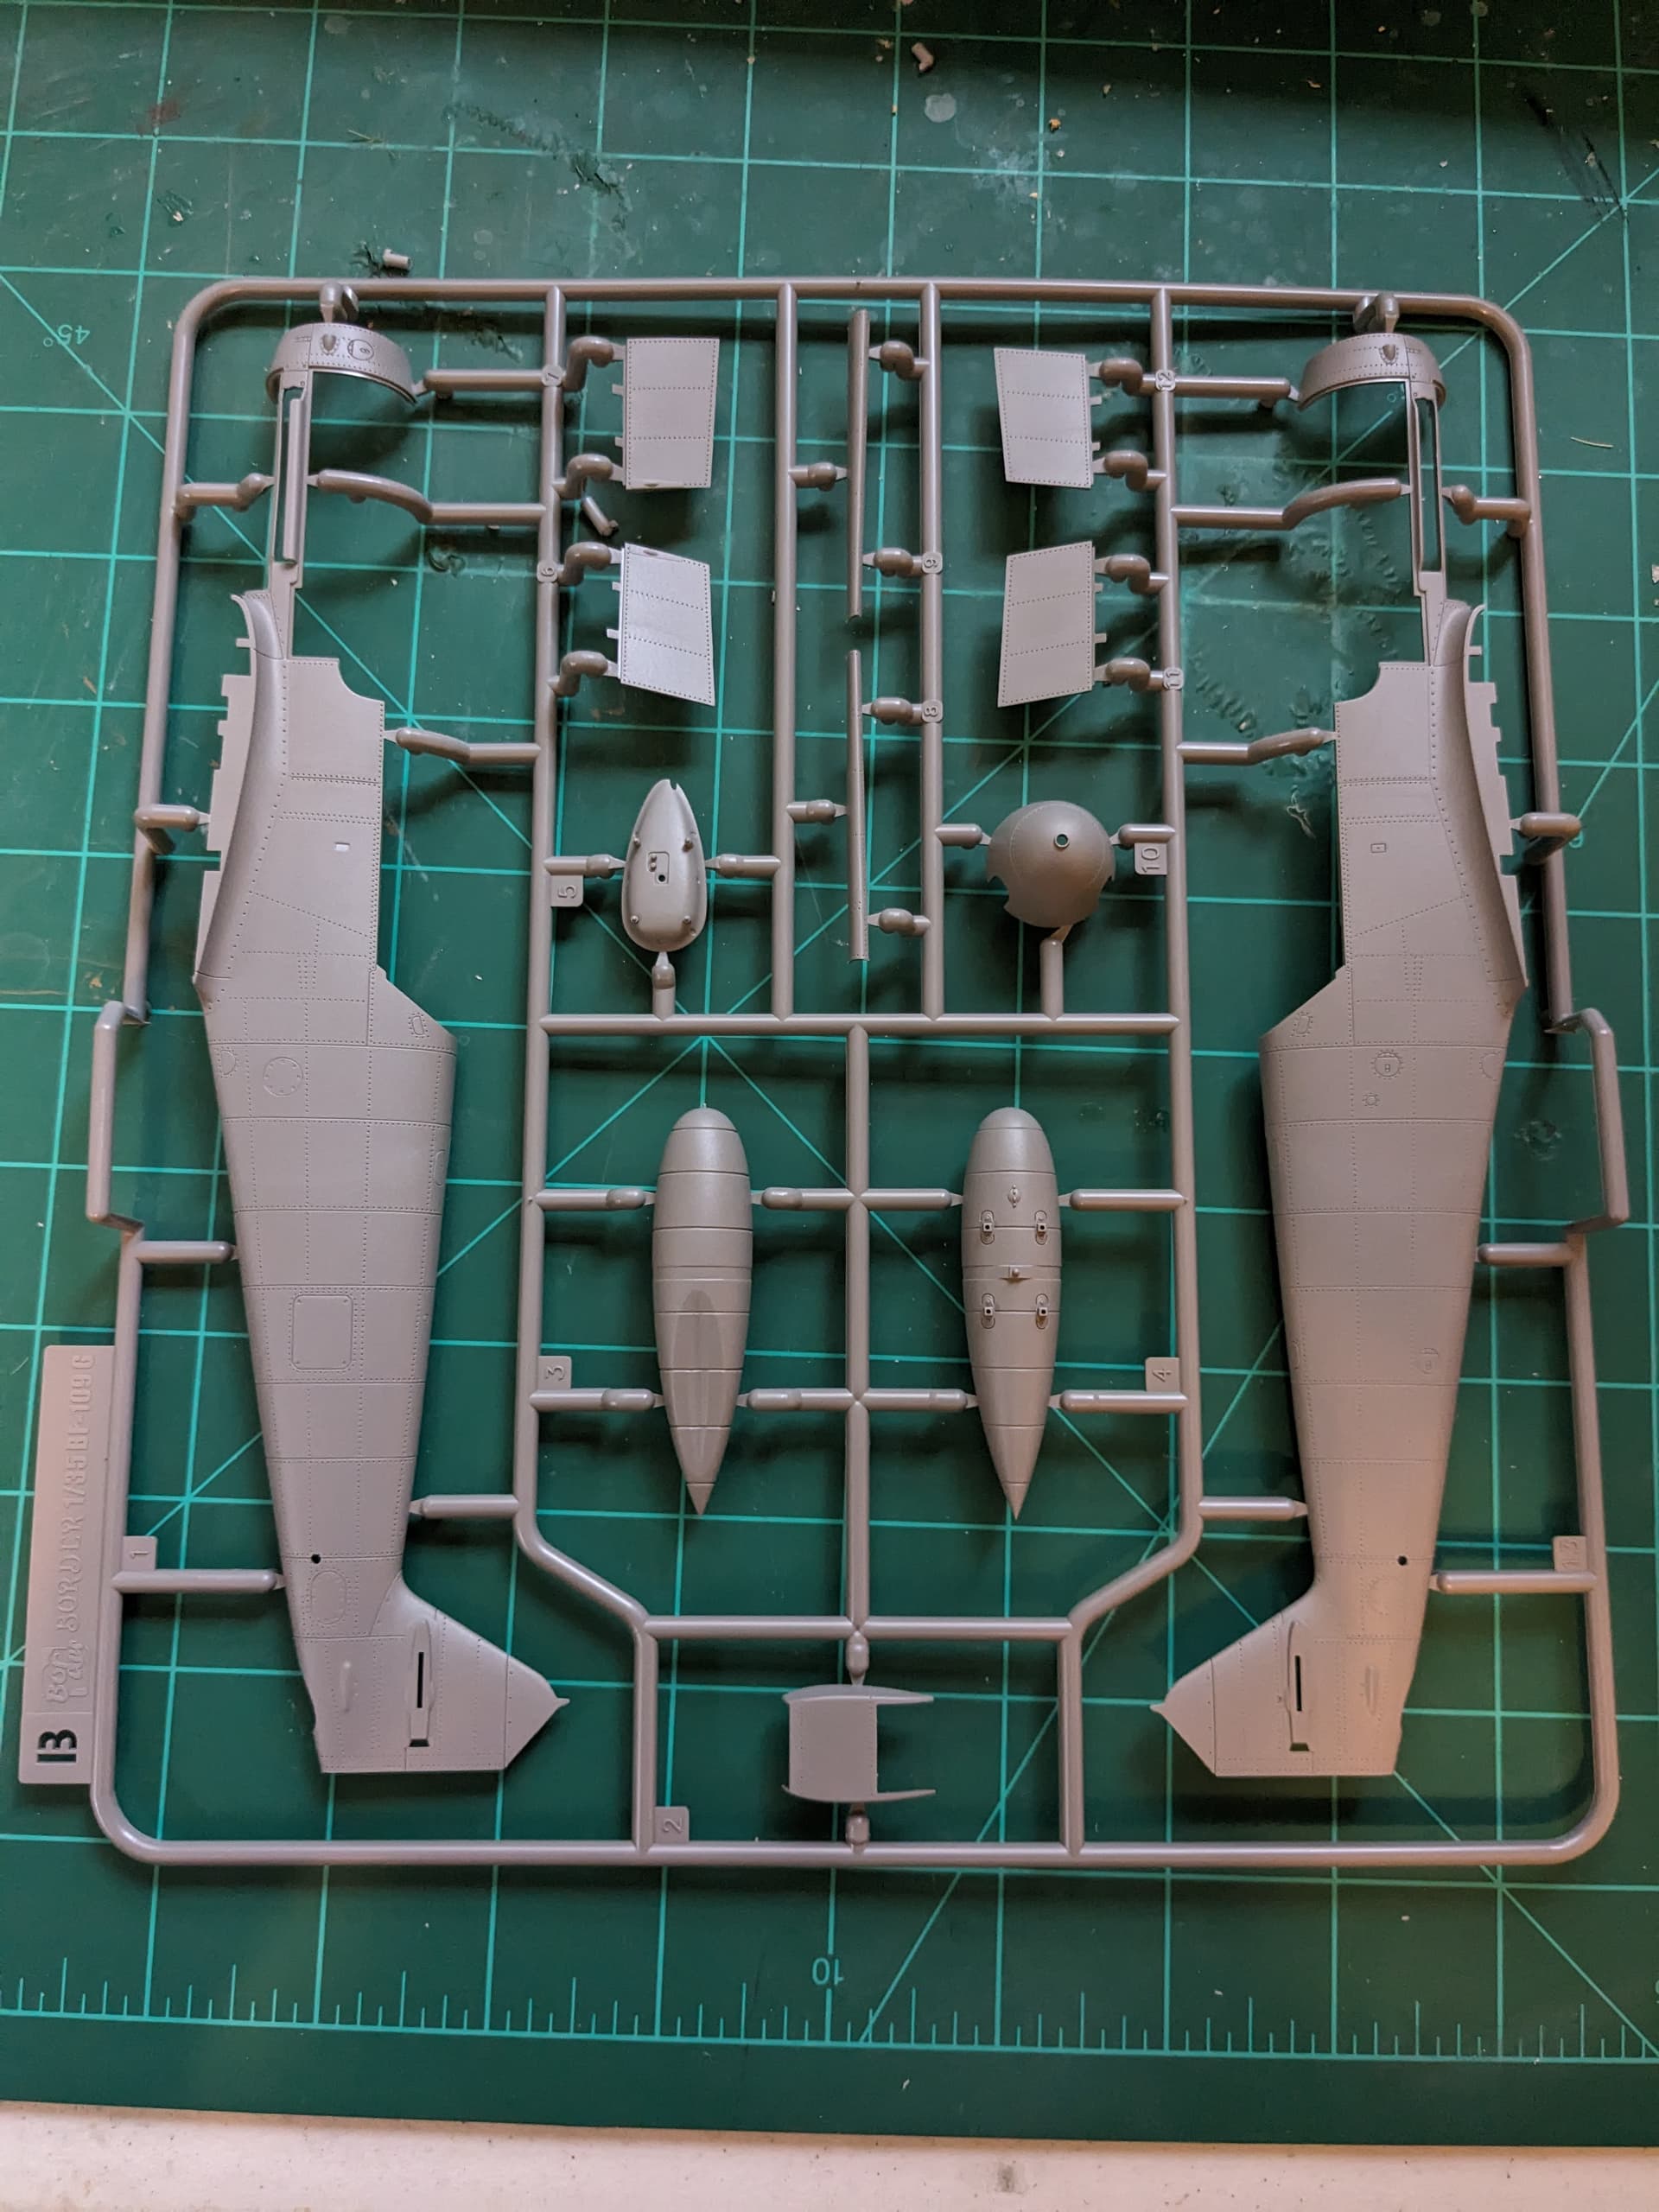
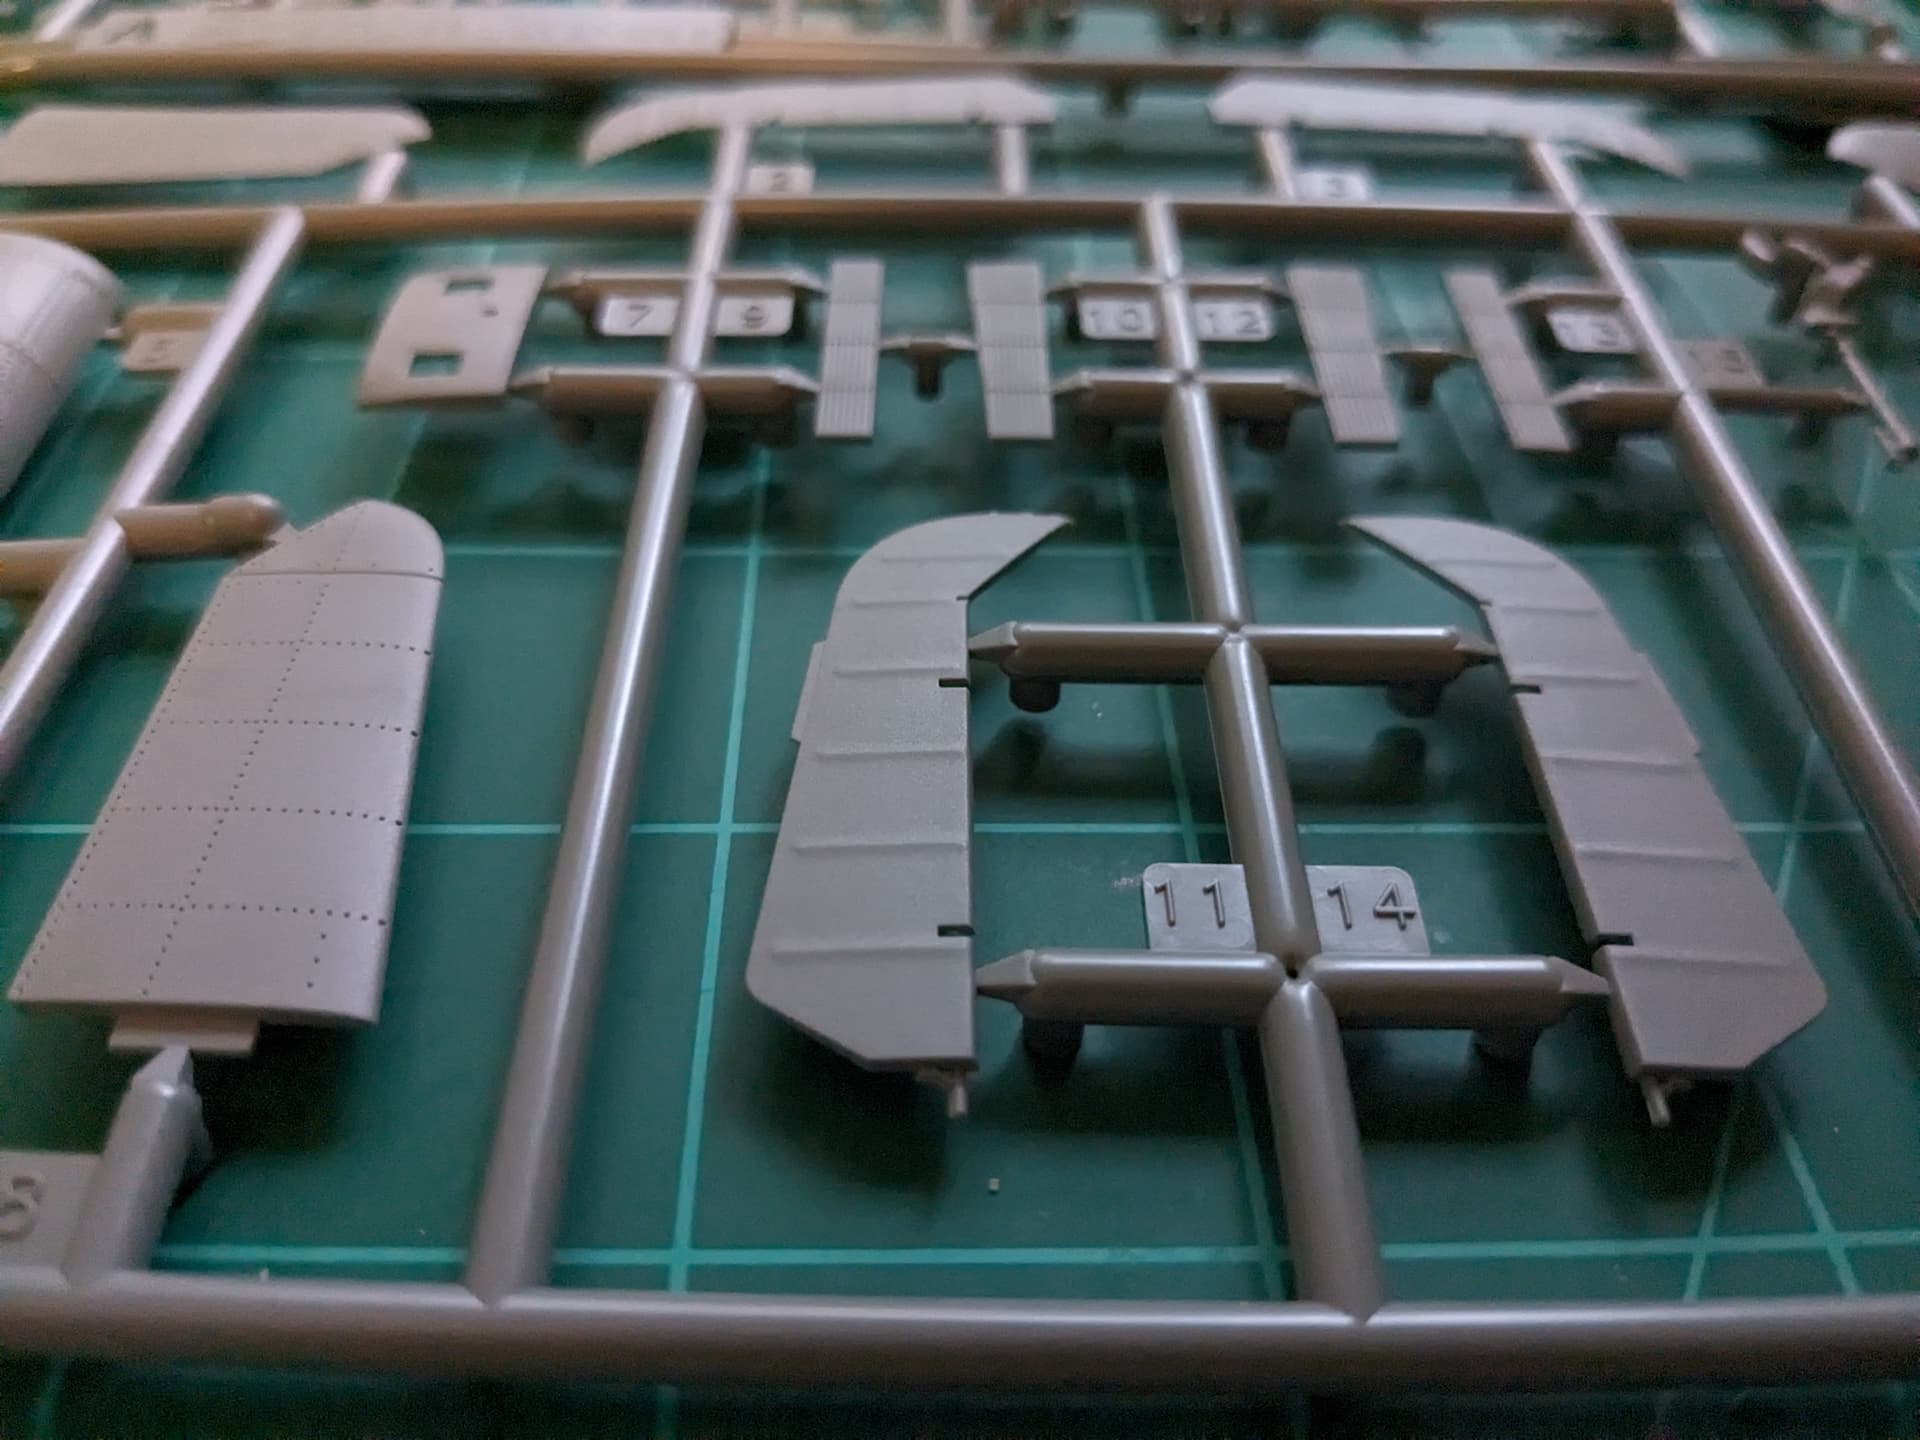
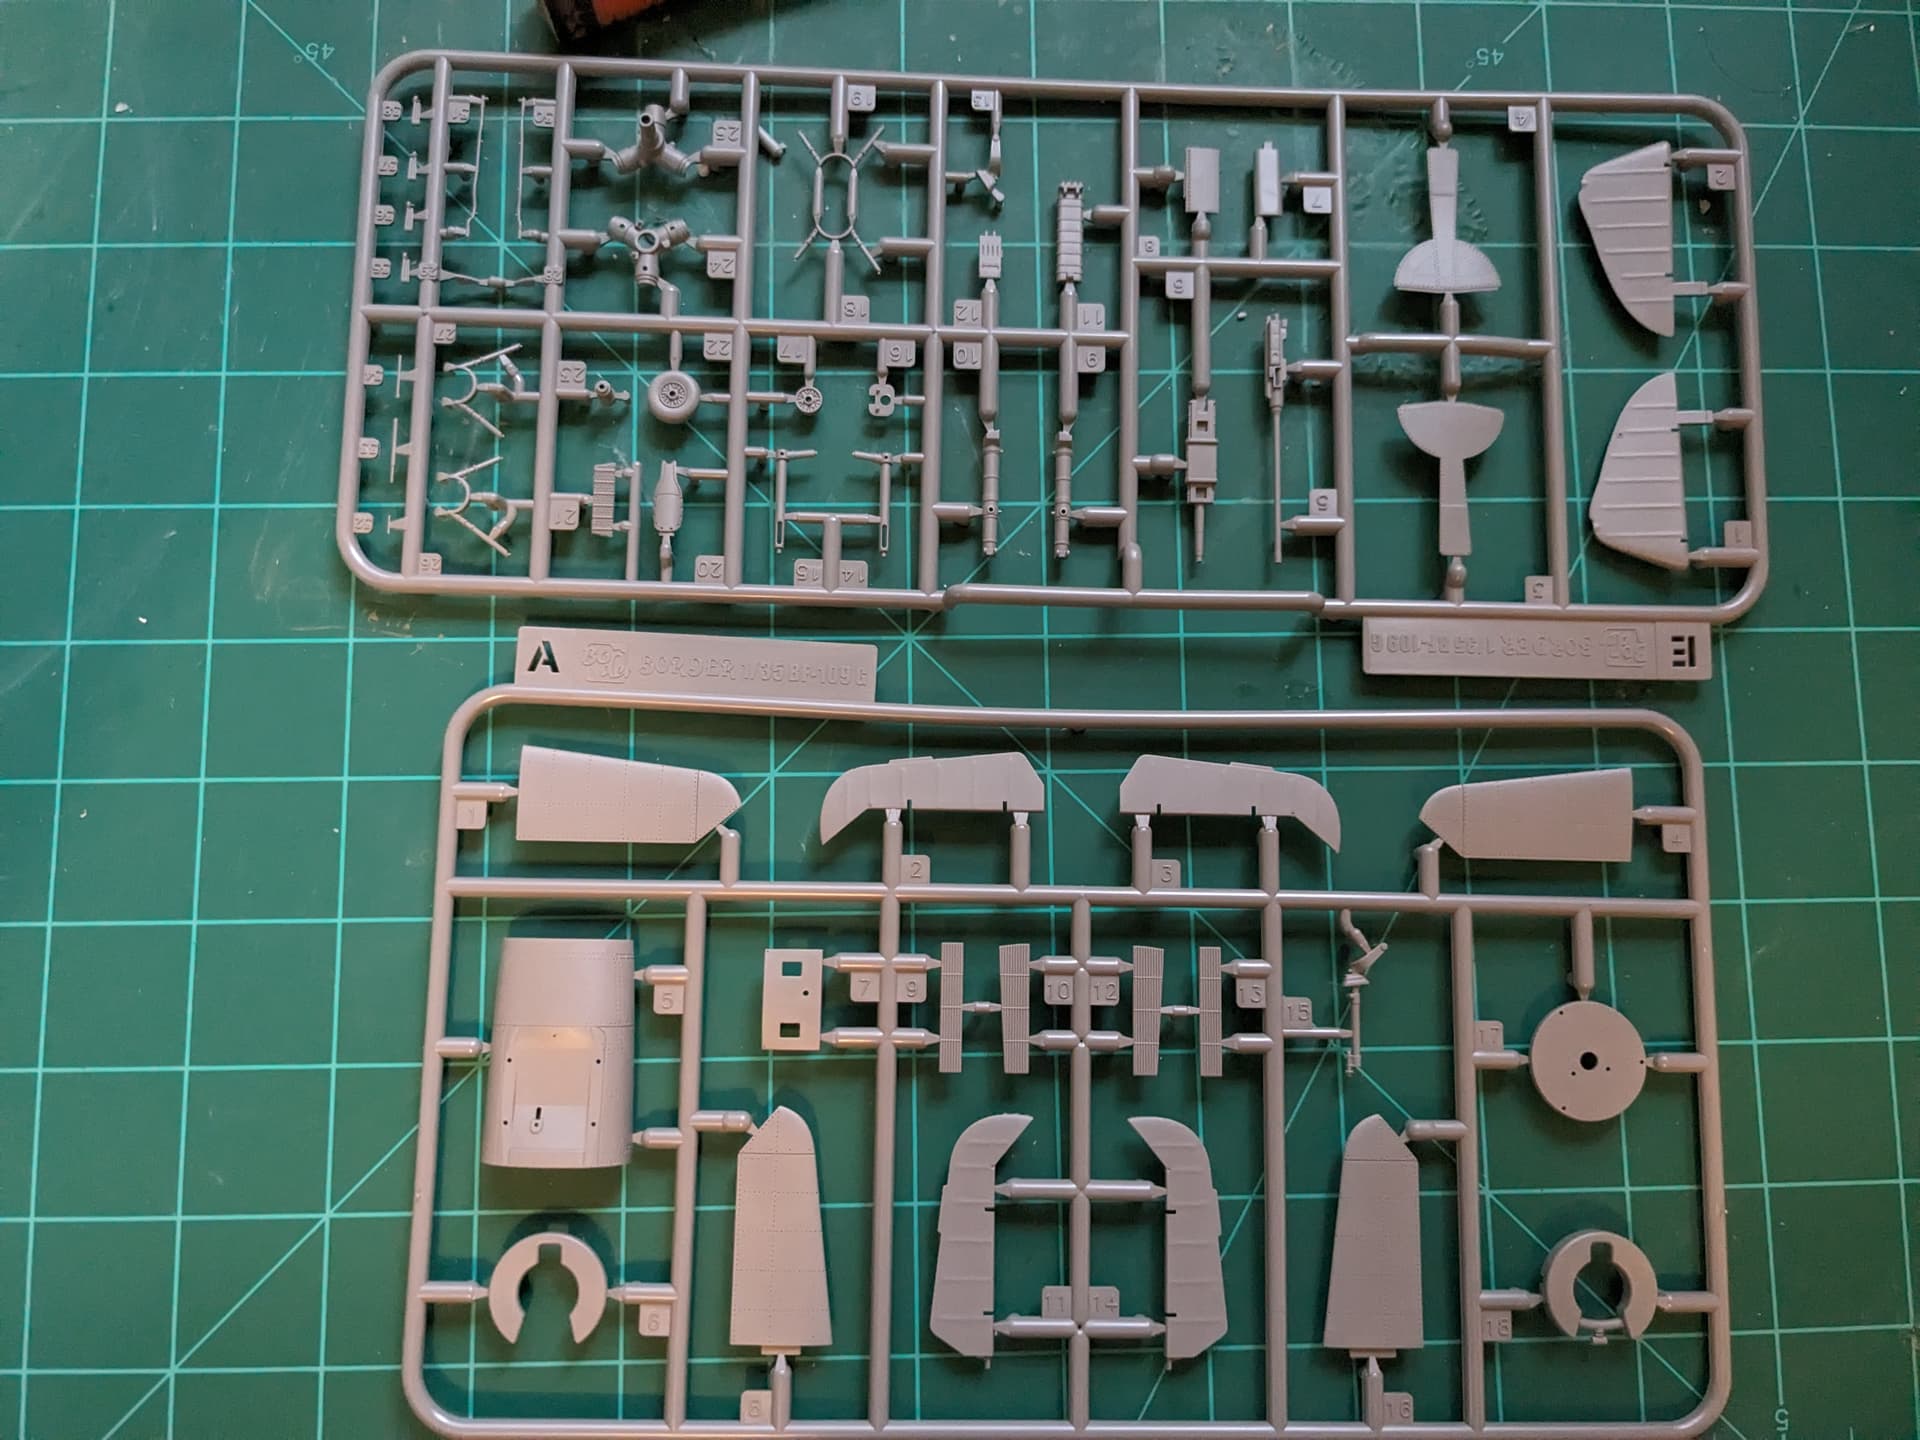
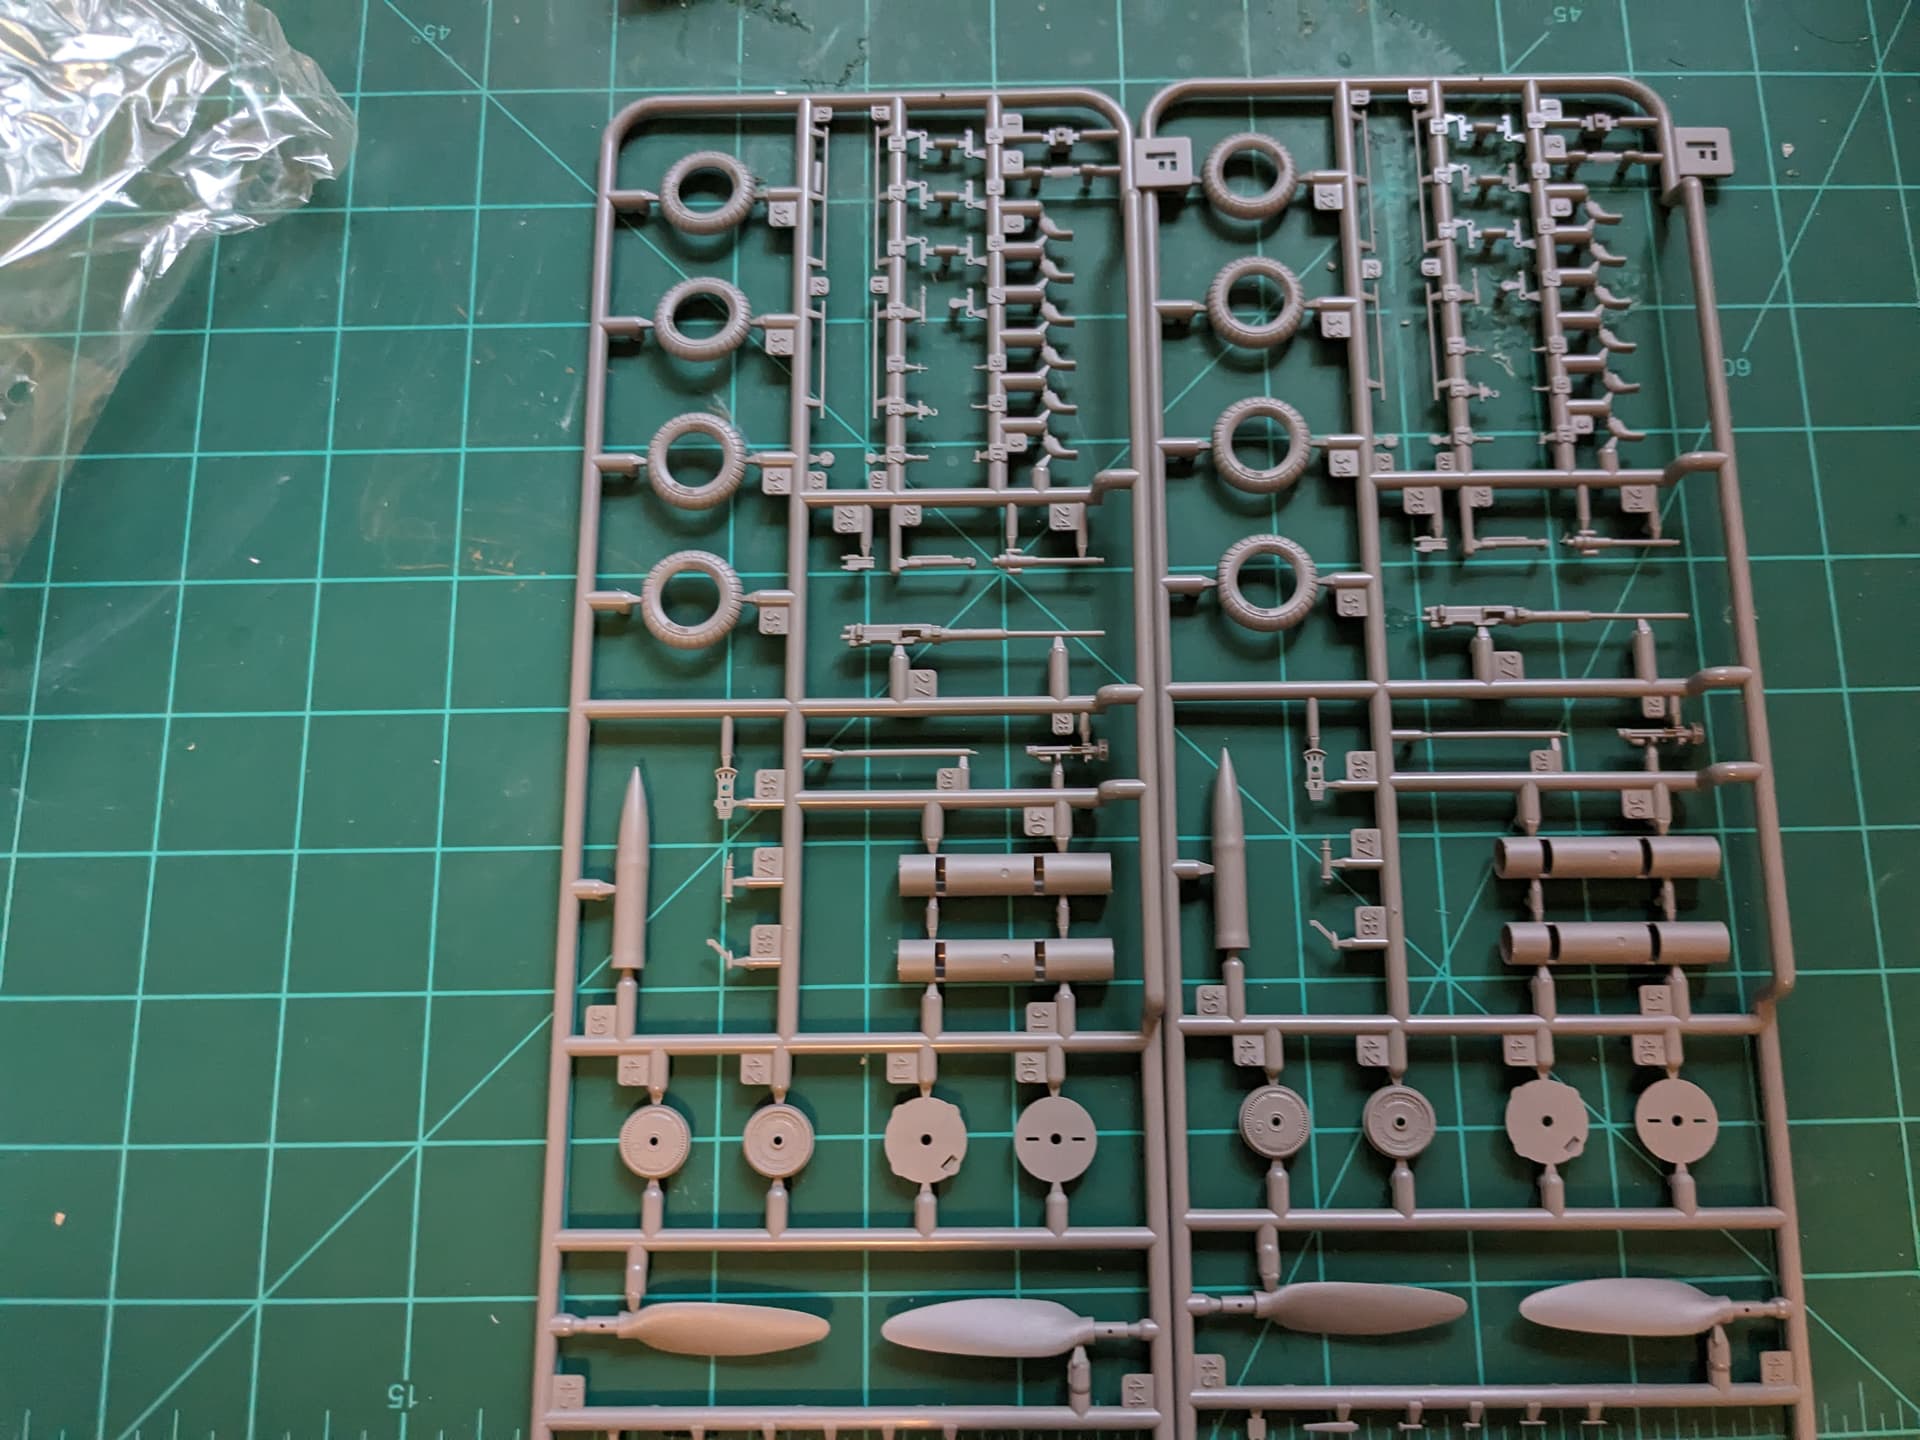
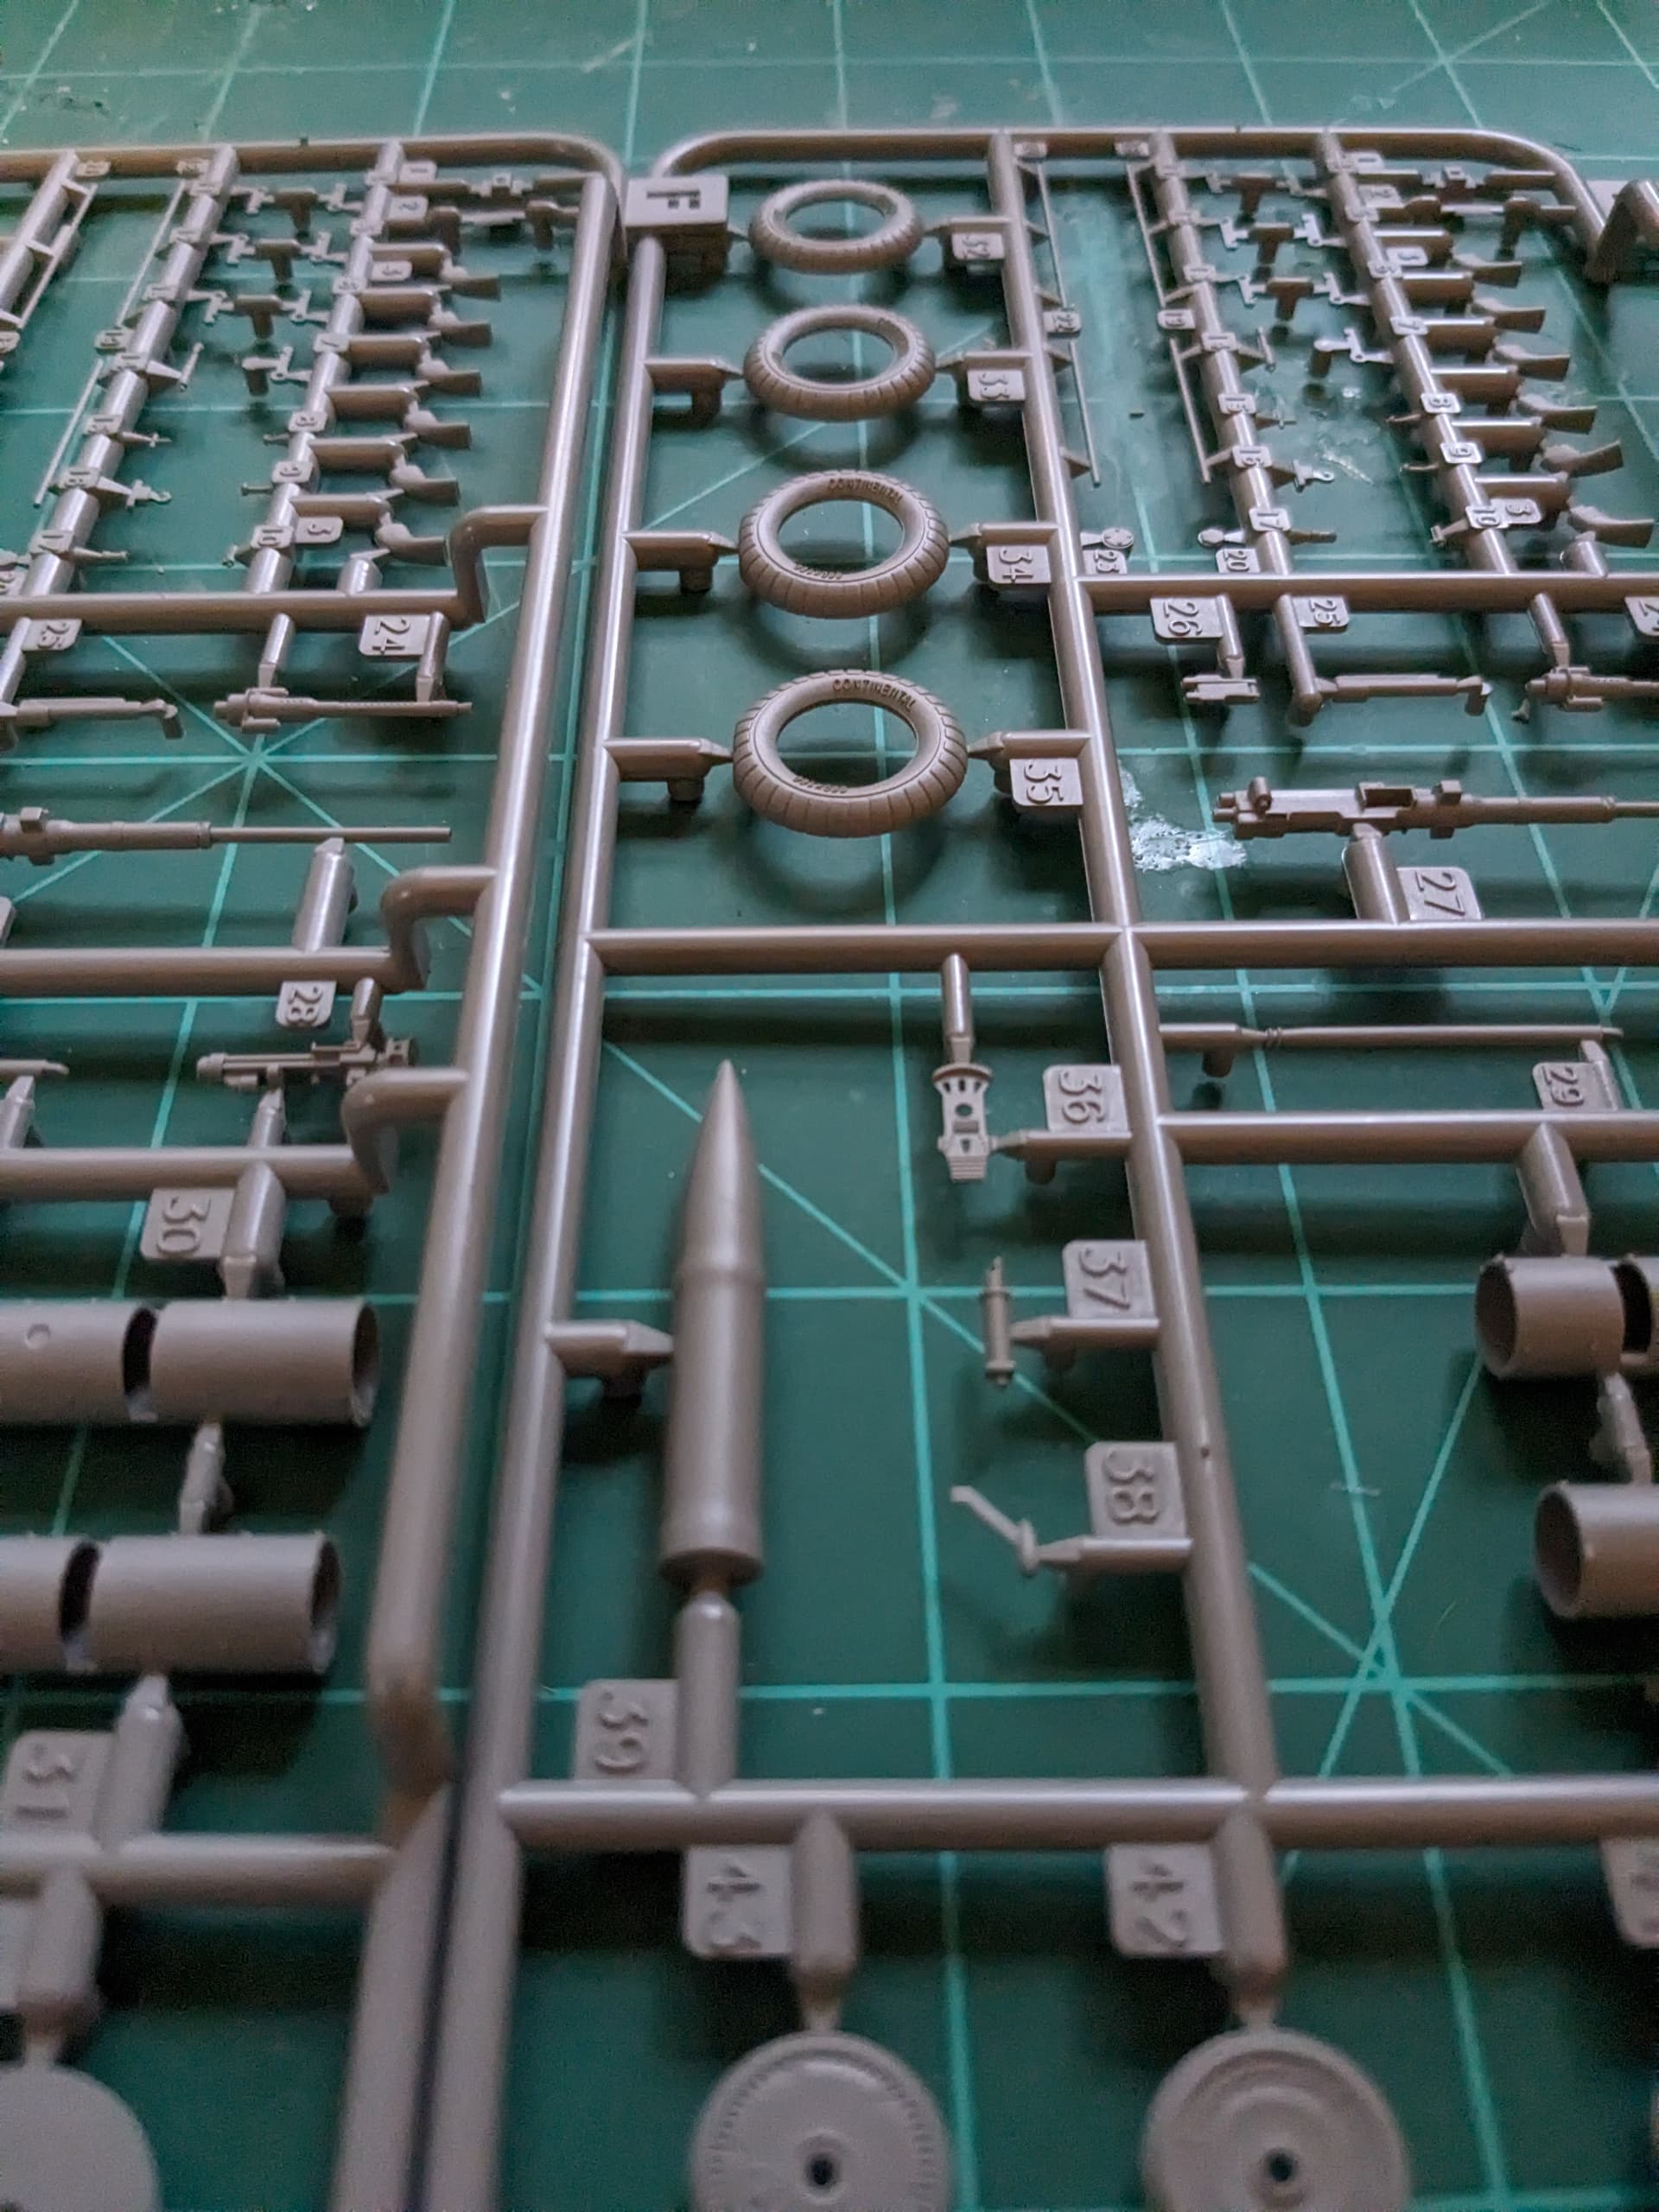
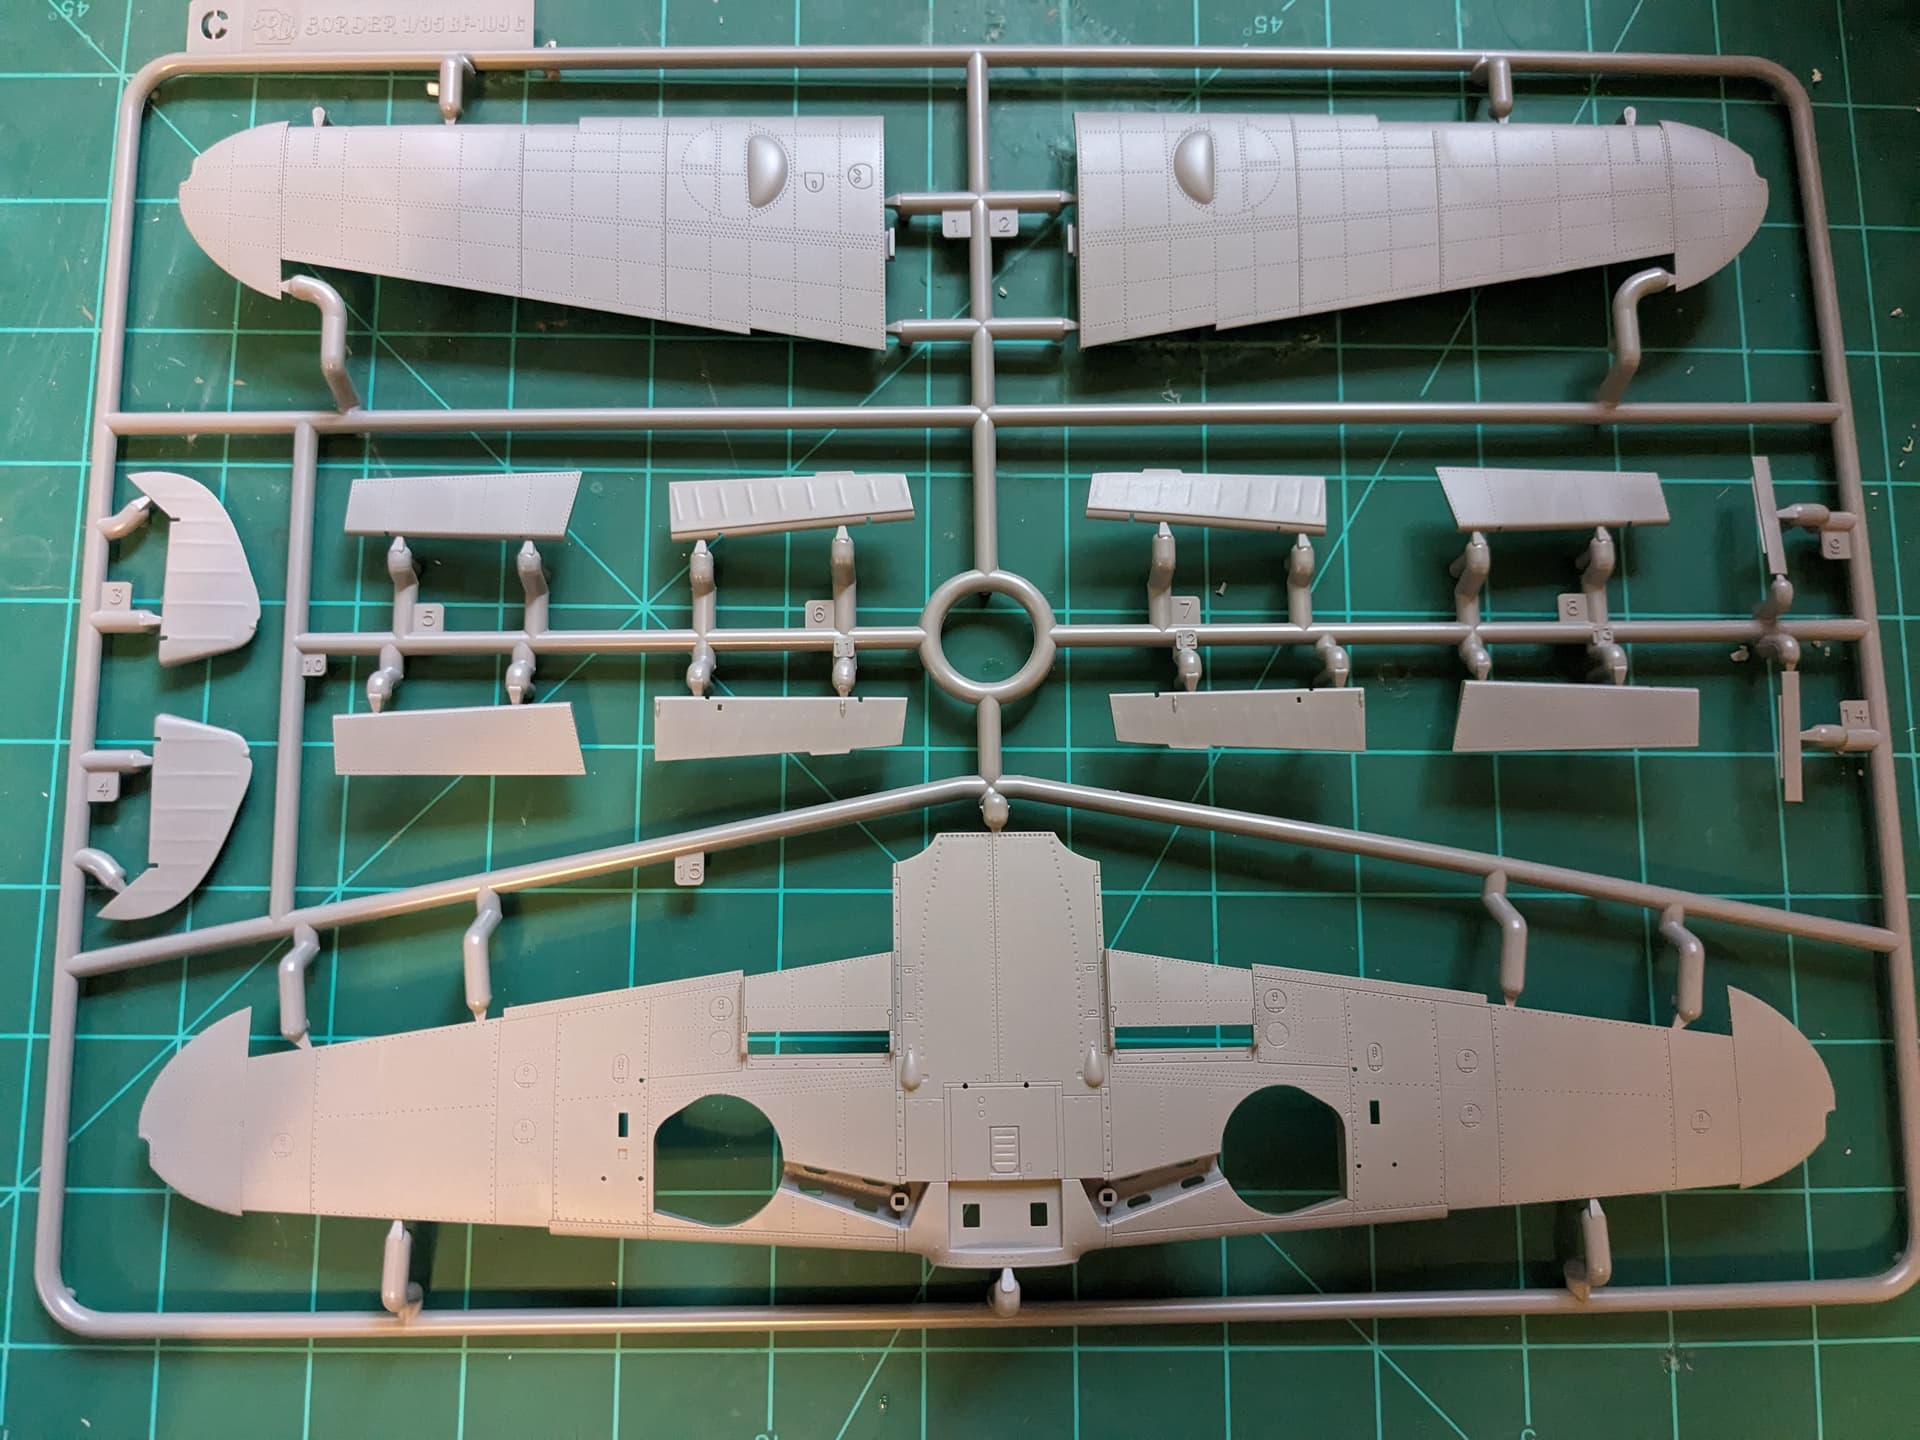
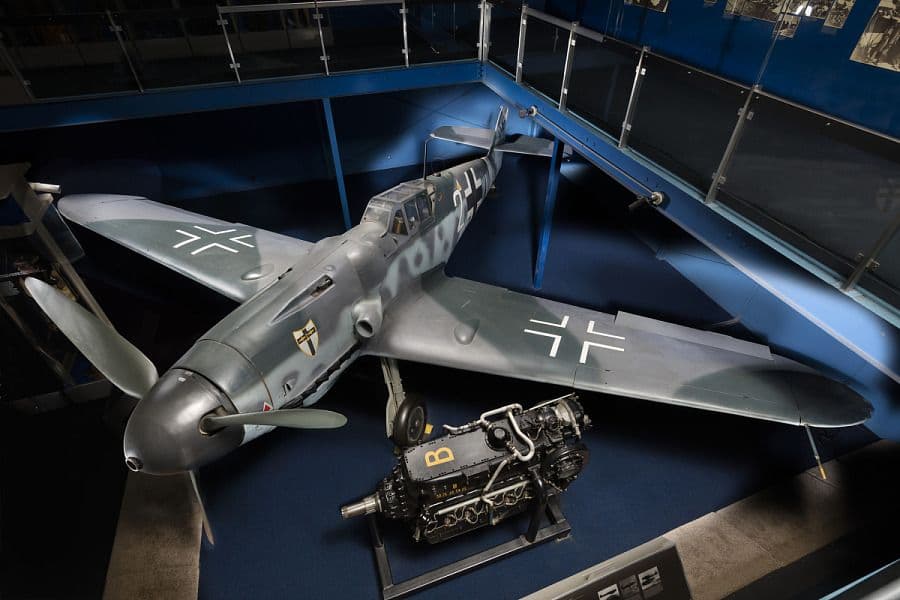
So at a show in October I picked up this kit at a great price. I got some nice extras to go with it, i.e. a decal sheet and 3d interior decals from Quinta Studios. This will be my first plane model (sort of) and I’m open to any references, feedback, recommendations, etc. I’m really excited about this kit. Here’s some shots of the extras and the normal box contents.
The trickiest part of aircraft modeling is in glueing the fuselage halves together and making the joint disappear. Putty is messy, and might give you more work than necessary. I think the best way is to use a tube glue and squeeze a generous bead of glue along the mating surfaces. As usual, be careful not to get glue on the fuselage surface. Wait a few minutes (tube glue takes longer to set up than Tamiya Xtra thin), then press the two halves together so that a fine bead of glue and soft plastic squeezes out of the joint. Secure the two halves together overnight with clips, or rubber bands, so there are no hairline gaps showing. Next day, CAREFULLY trim off the solidified bead along the joint line with a sharp blade, and finish off with polishing sandpapers. When done right, any trace of a joint line will have totally disappeared. Another basic trick is after clipping the canopy and clean-up, is to immerse the clear piece in Future, let excess run/drip off, then place in a protected/covered spot until the future dries. The result will be a crystal-clear canopy that will look like glass. Protect in a small zip-lock baggie until ready to apply. A mask will be really necessary to paint the canopy frame.
Thanks for doing this build log! I’m an armor builder normally but I too found this kit at a great price and it’s destined for some sort of diorama.
Biggles50, thanks for the fuselage tip!! I do this on 2 part barrels but never thought about an airplane.
You’re very welcome! As soon as I saw this kit come out I knew I had to build it. If you decide to build it soon, I wouldn’t mind hearing your ideas and things you notice about the kit.
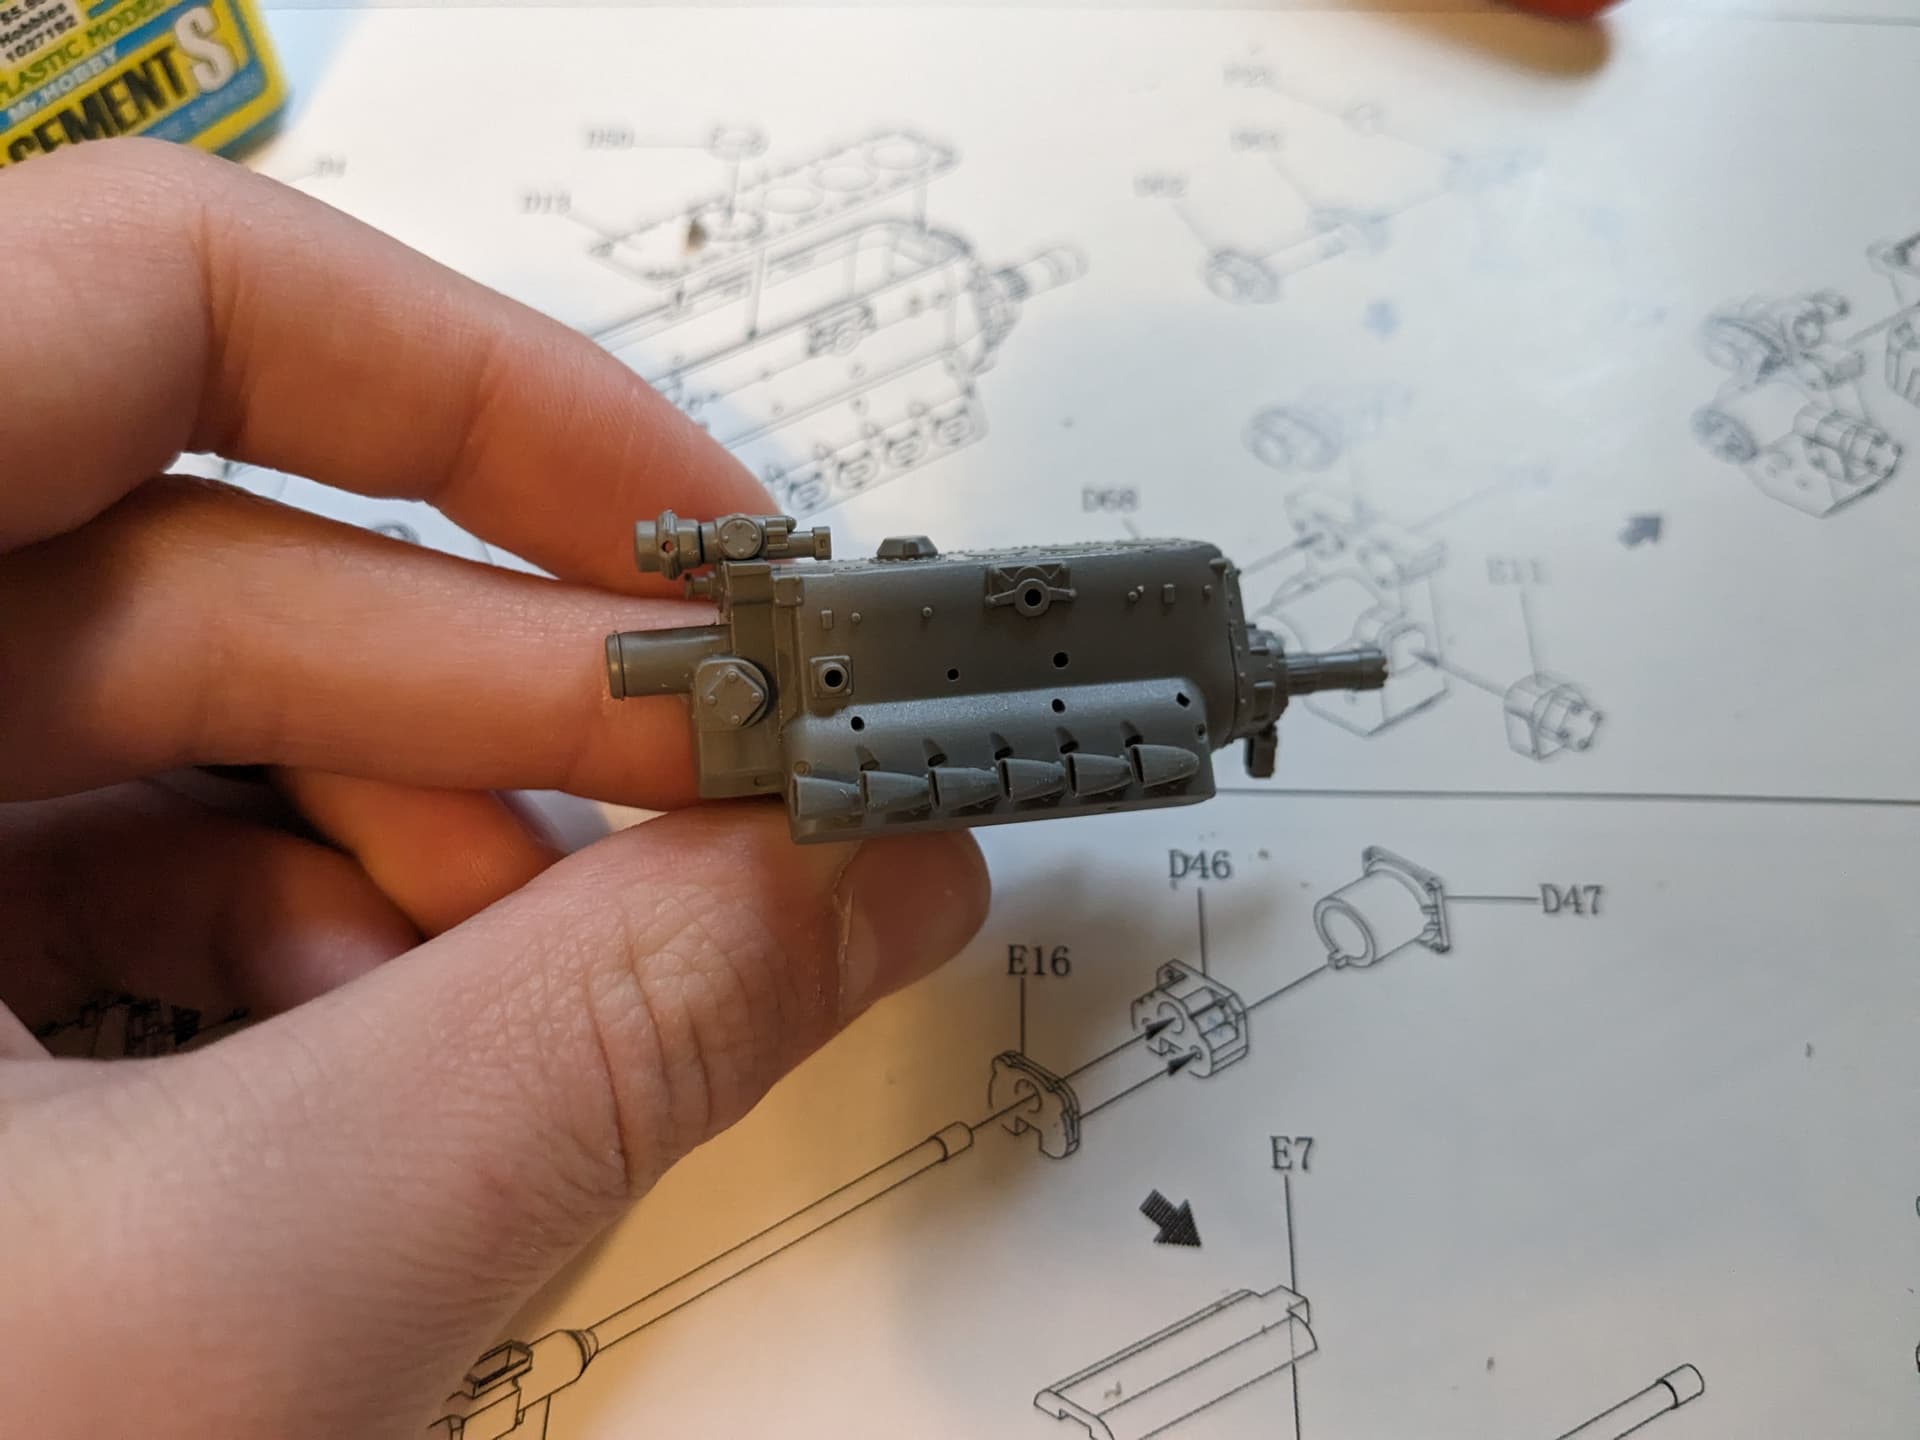
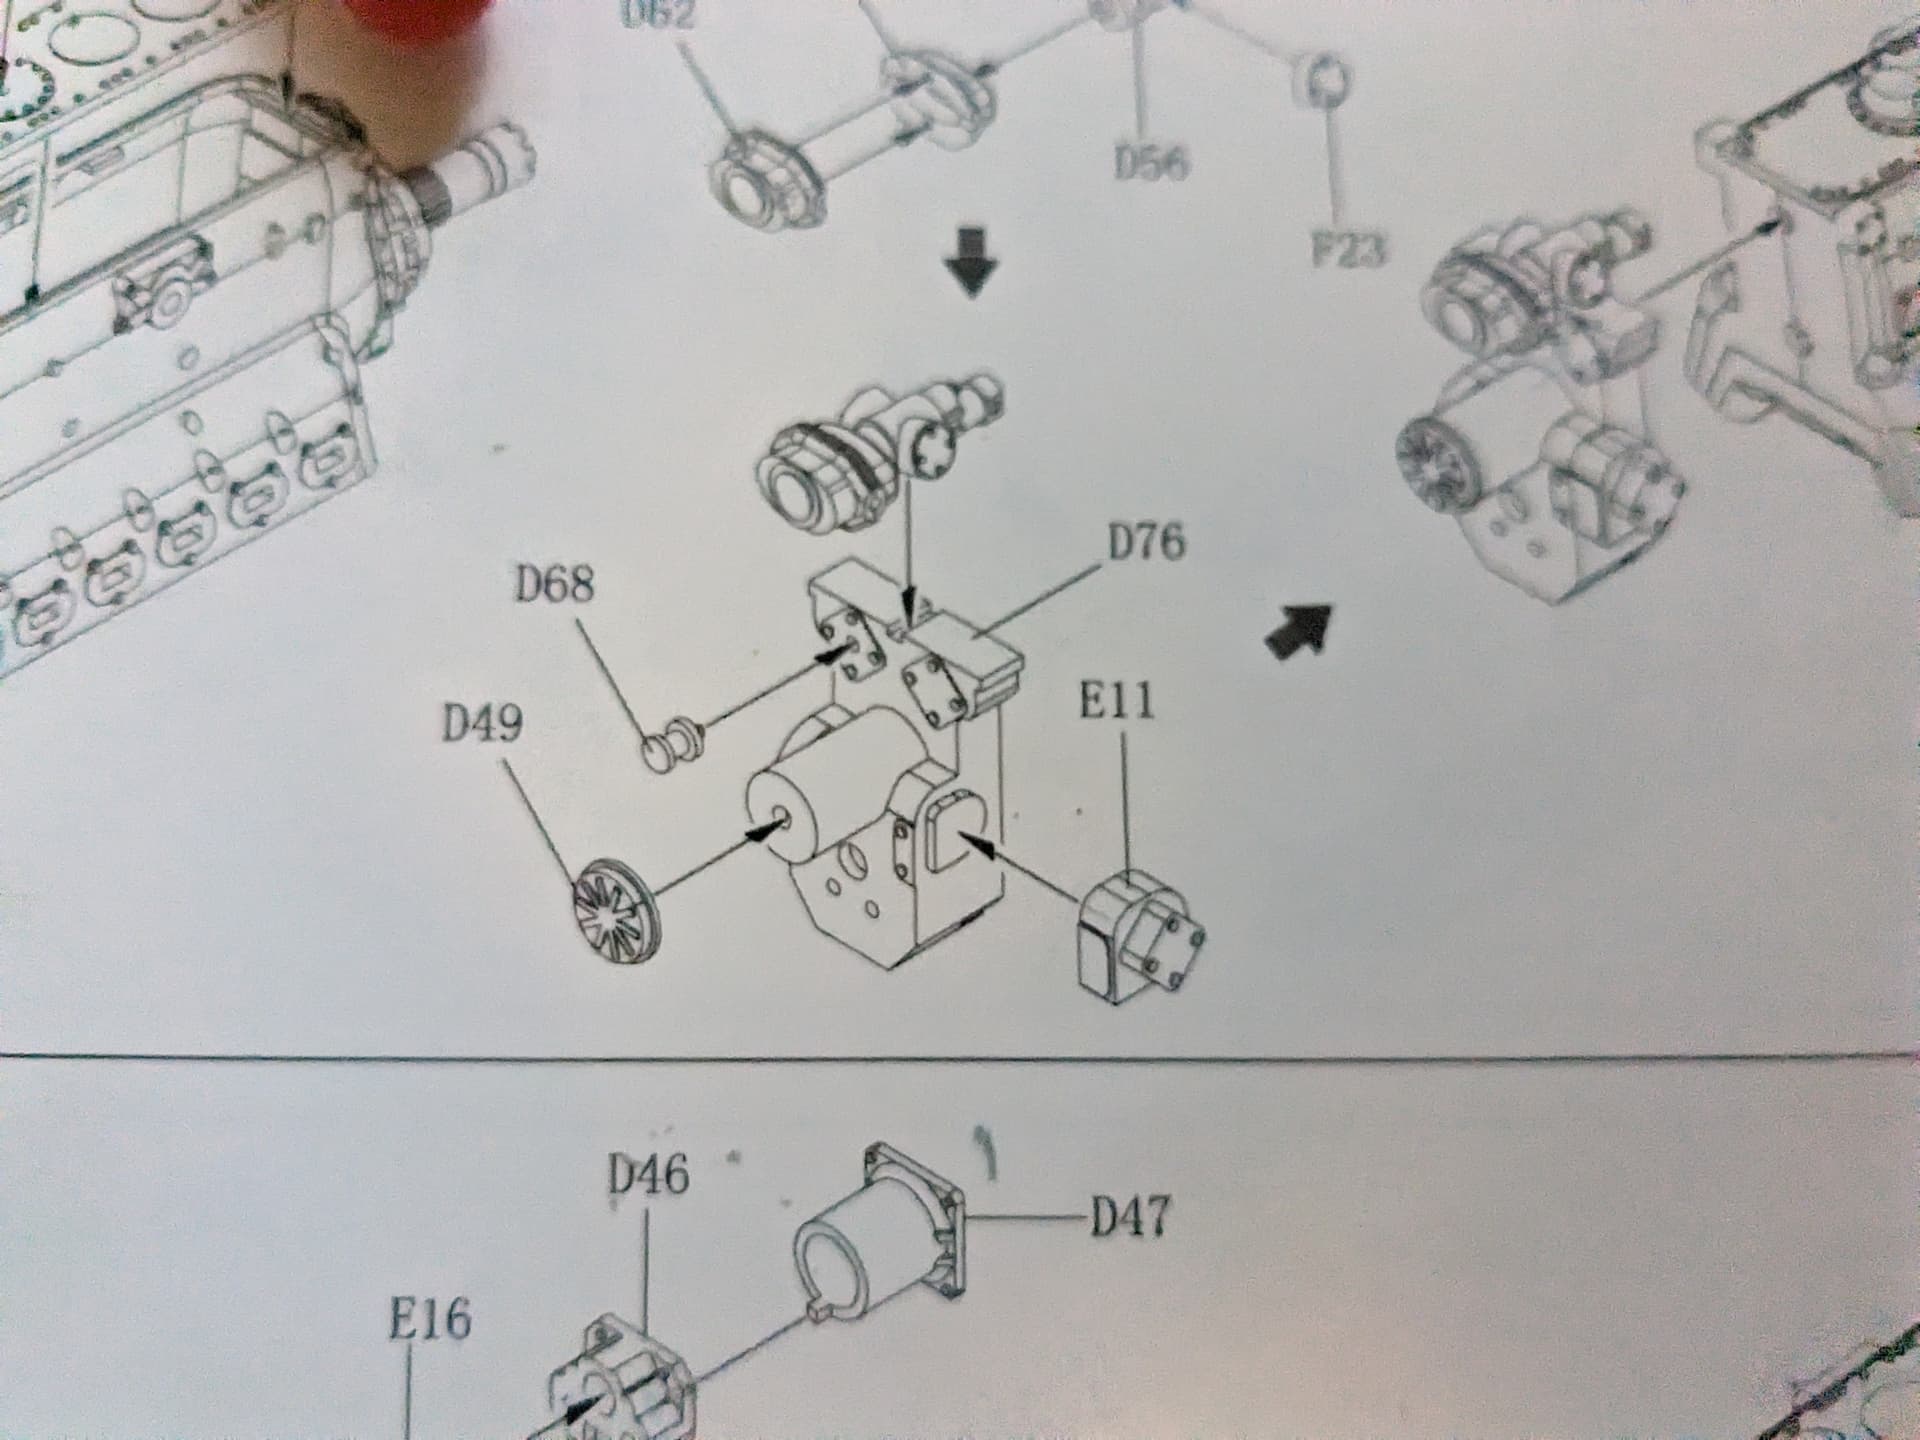
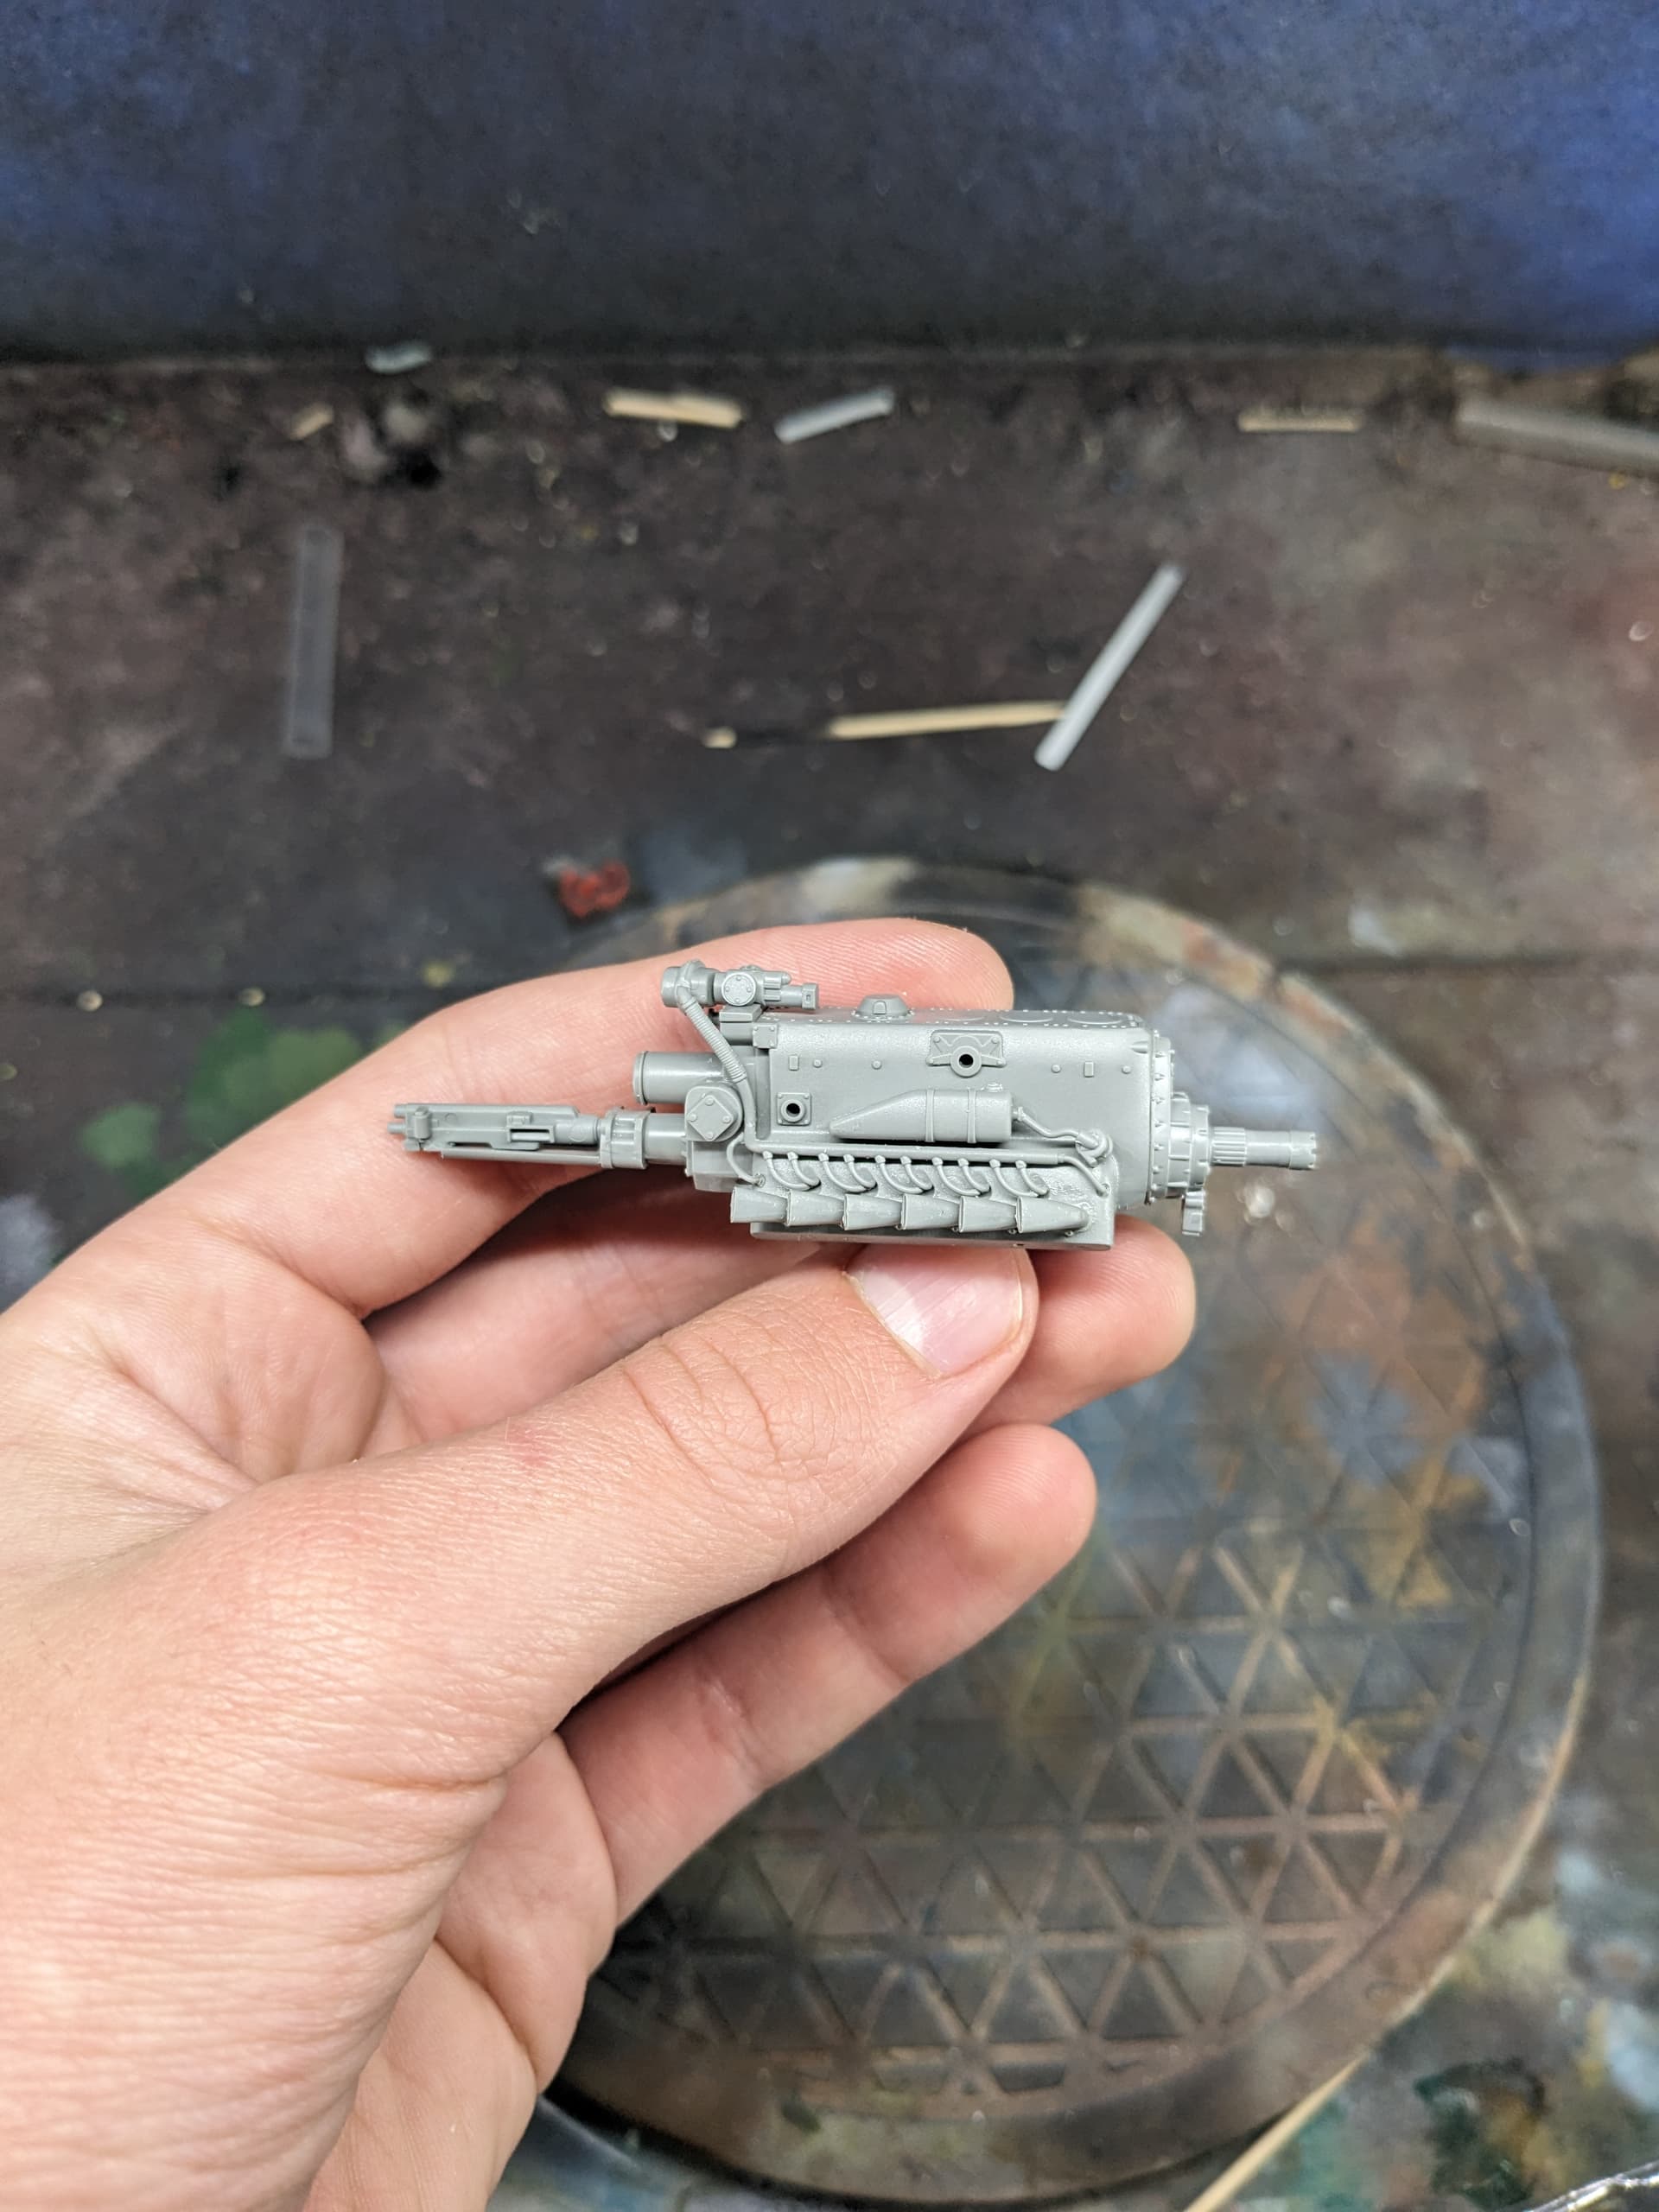
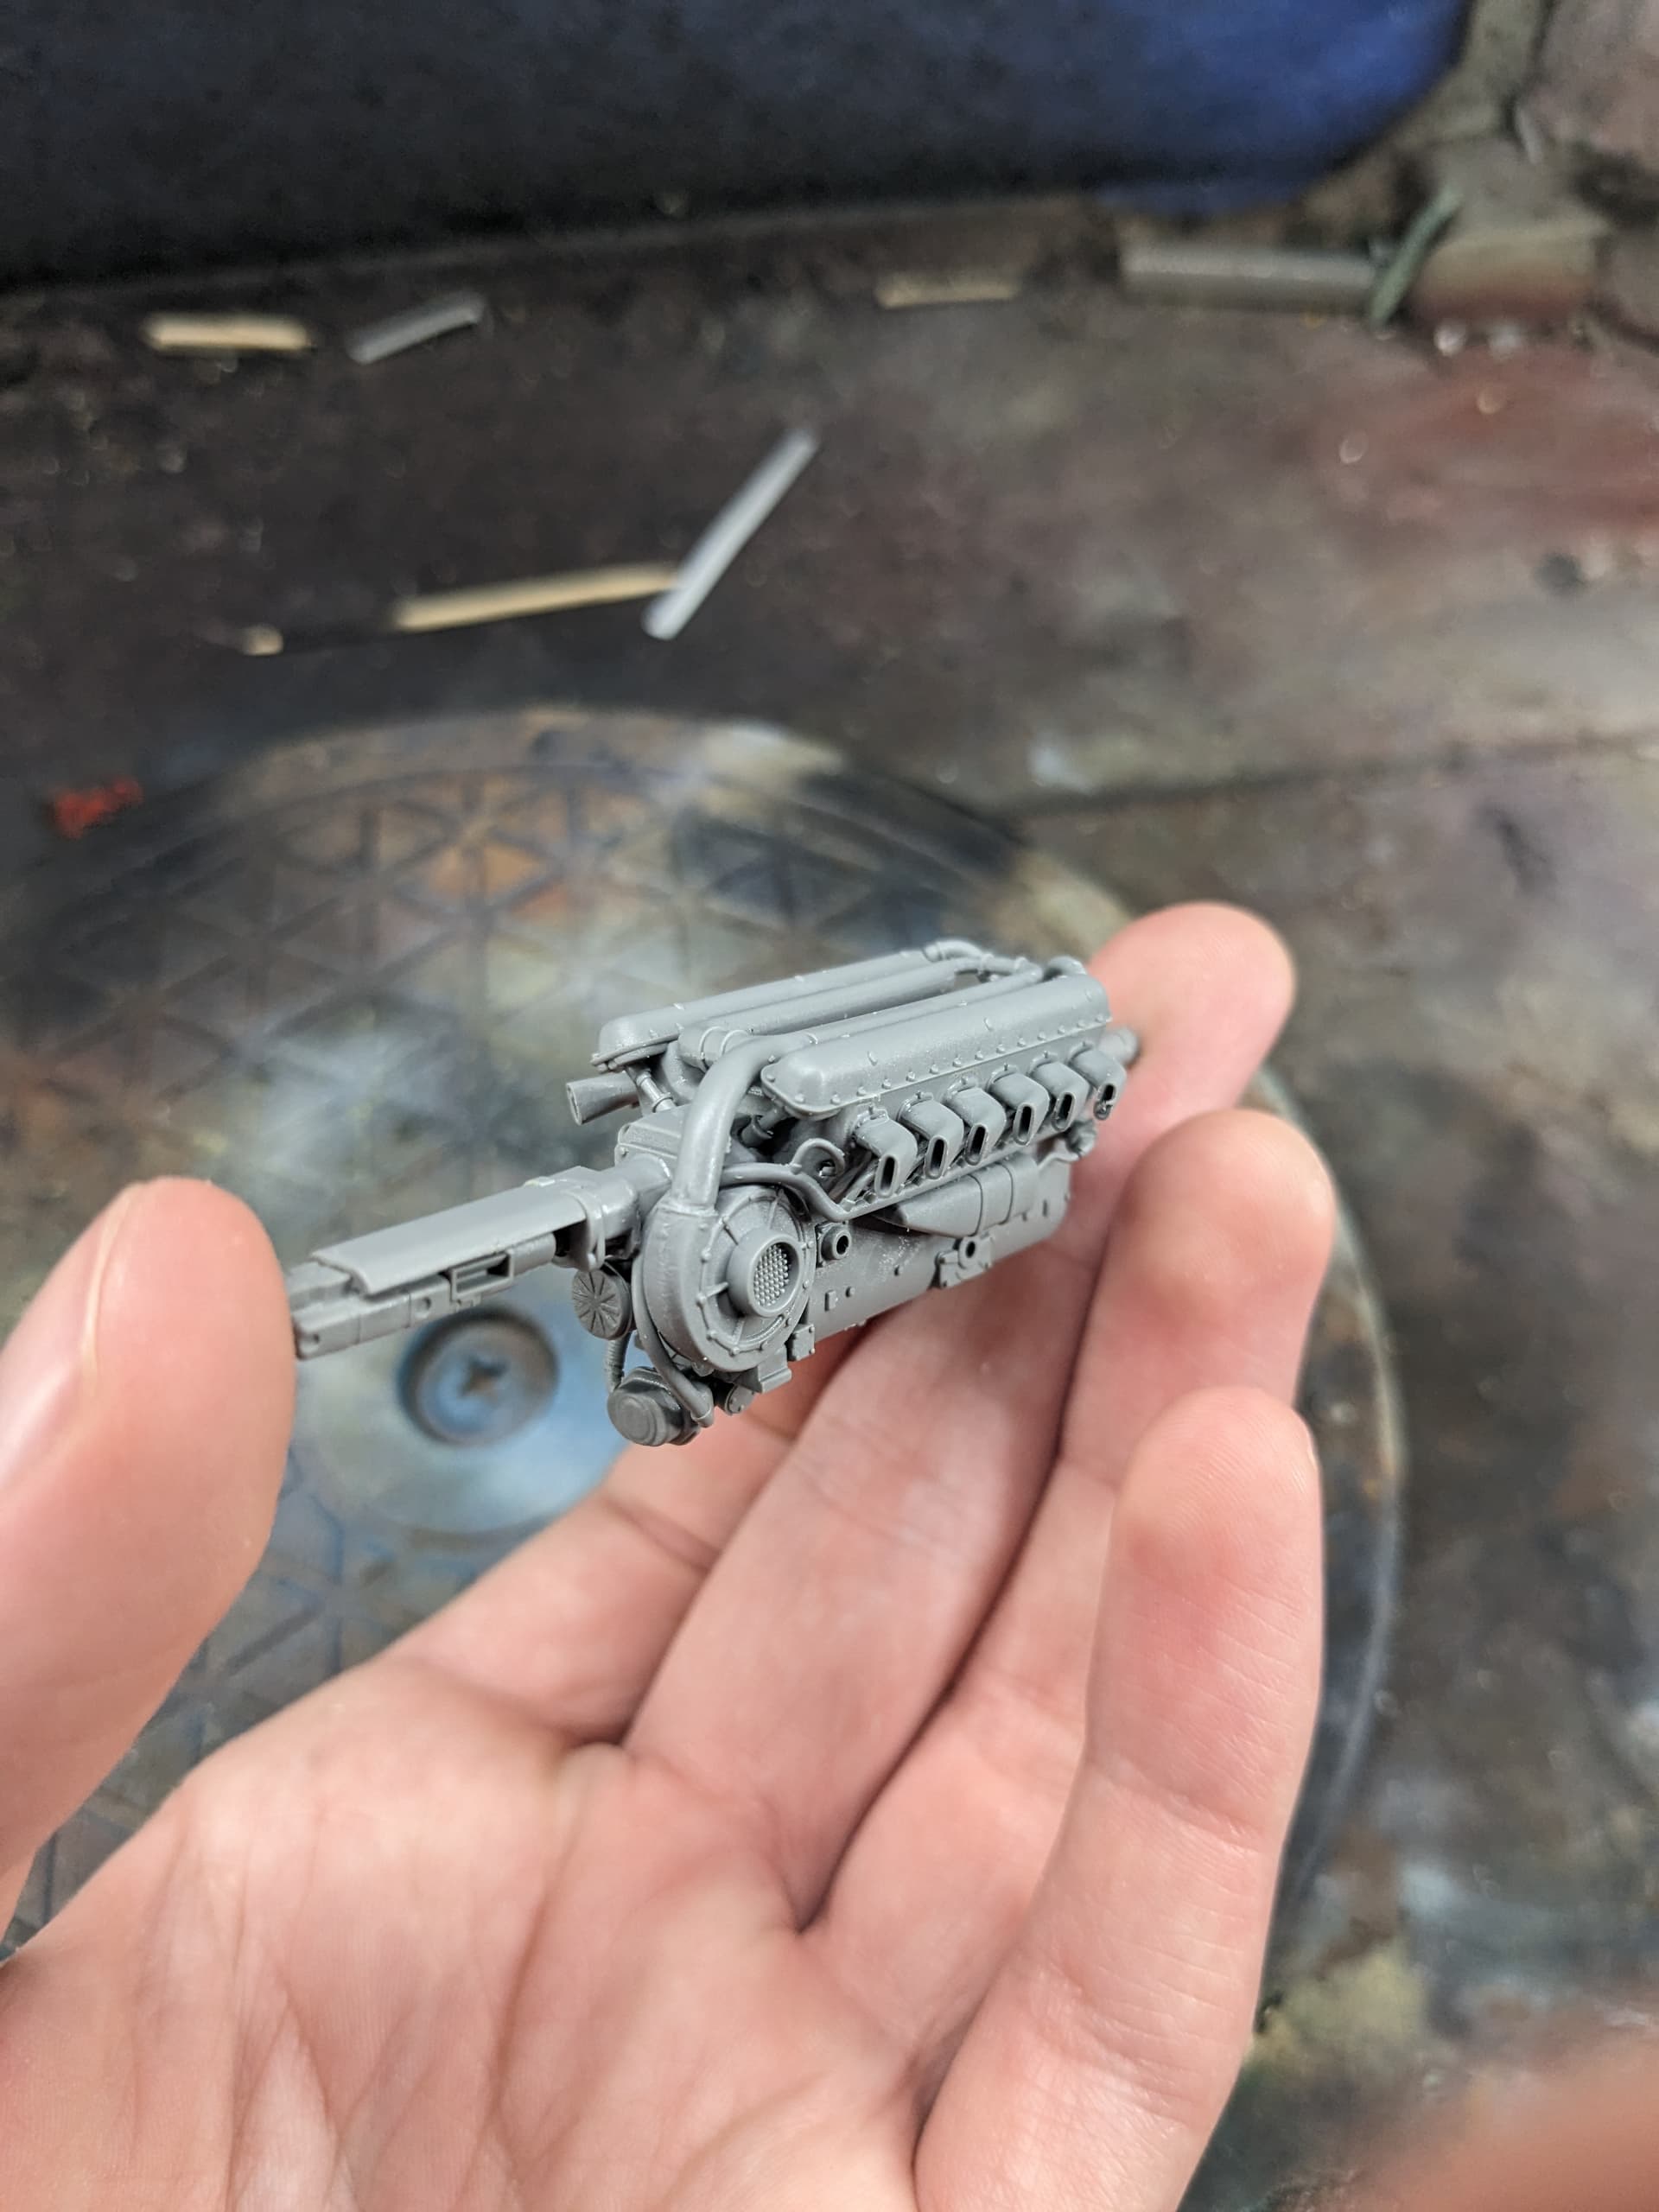
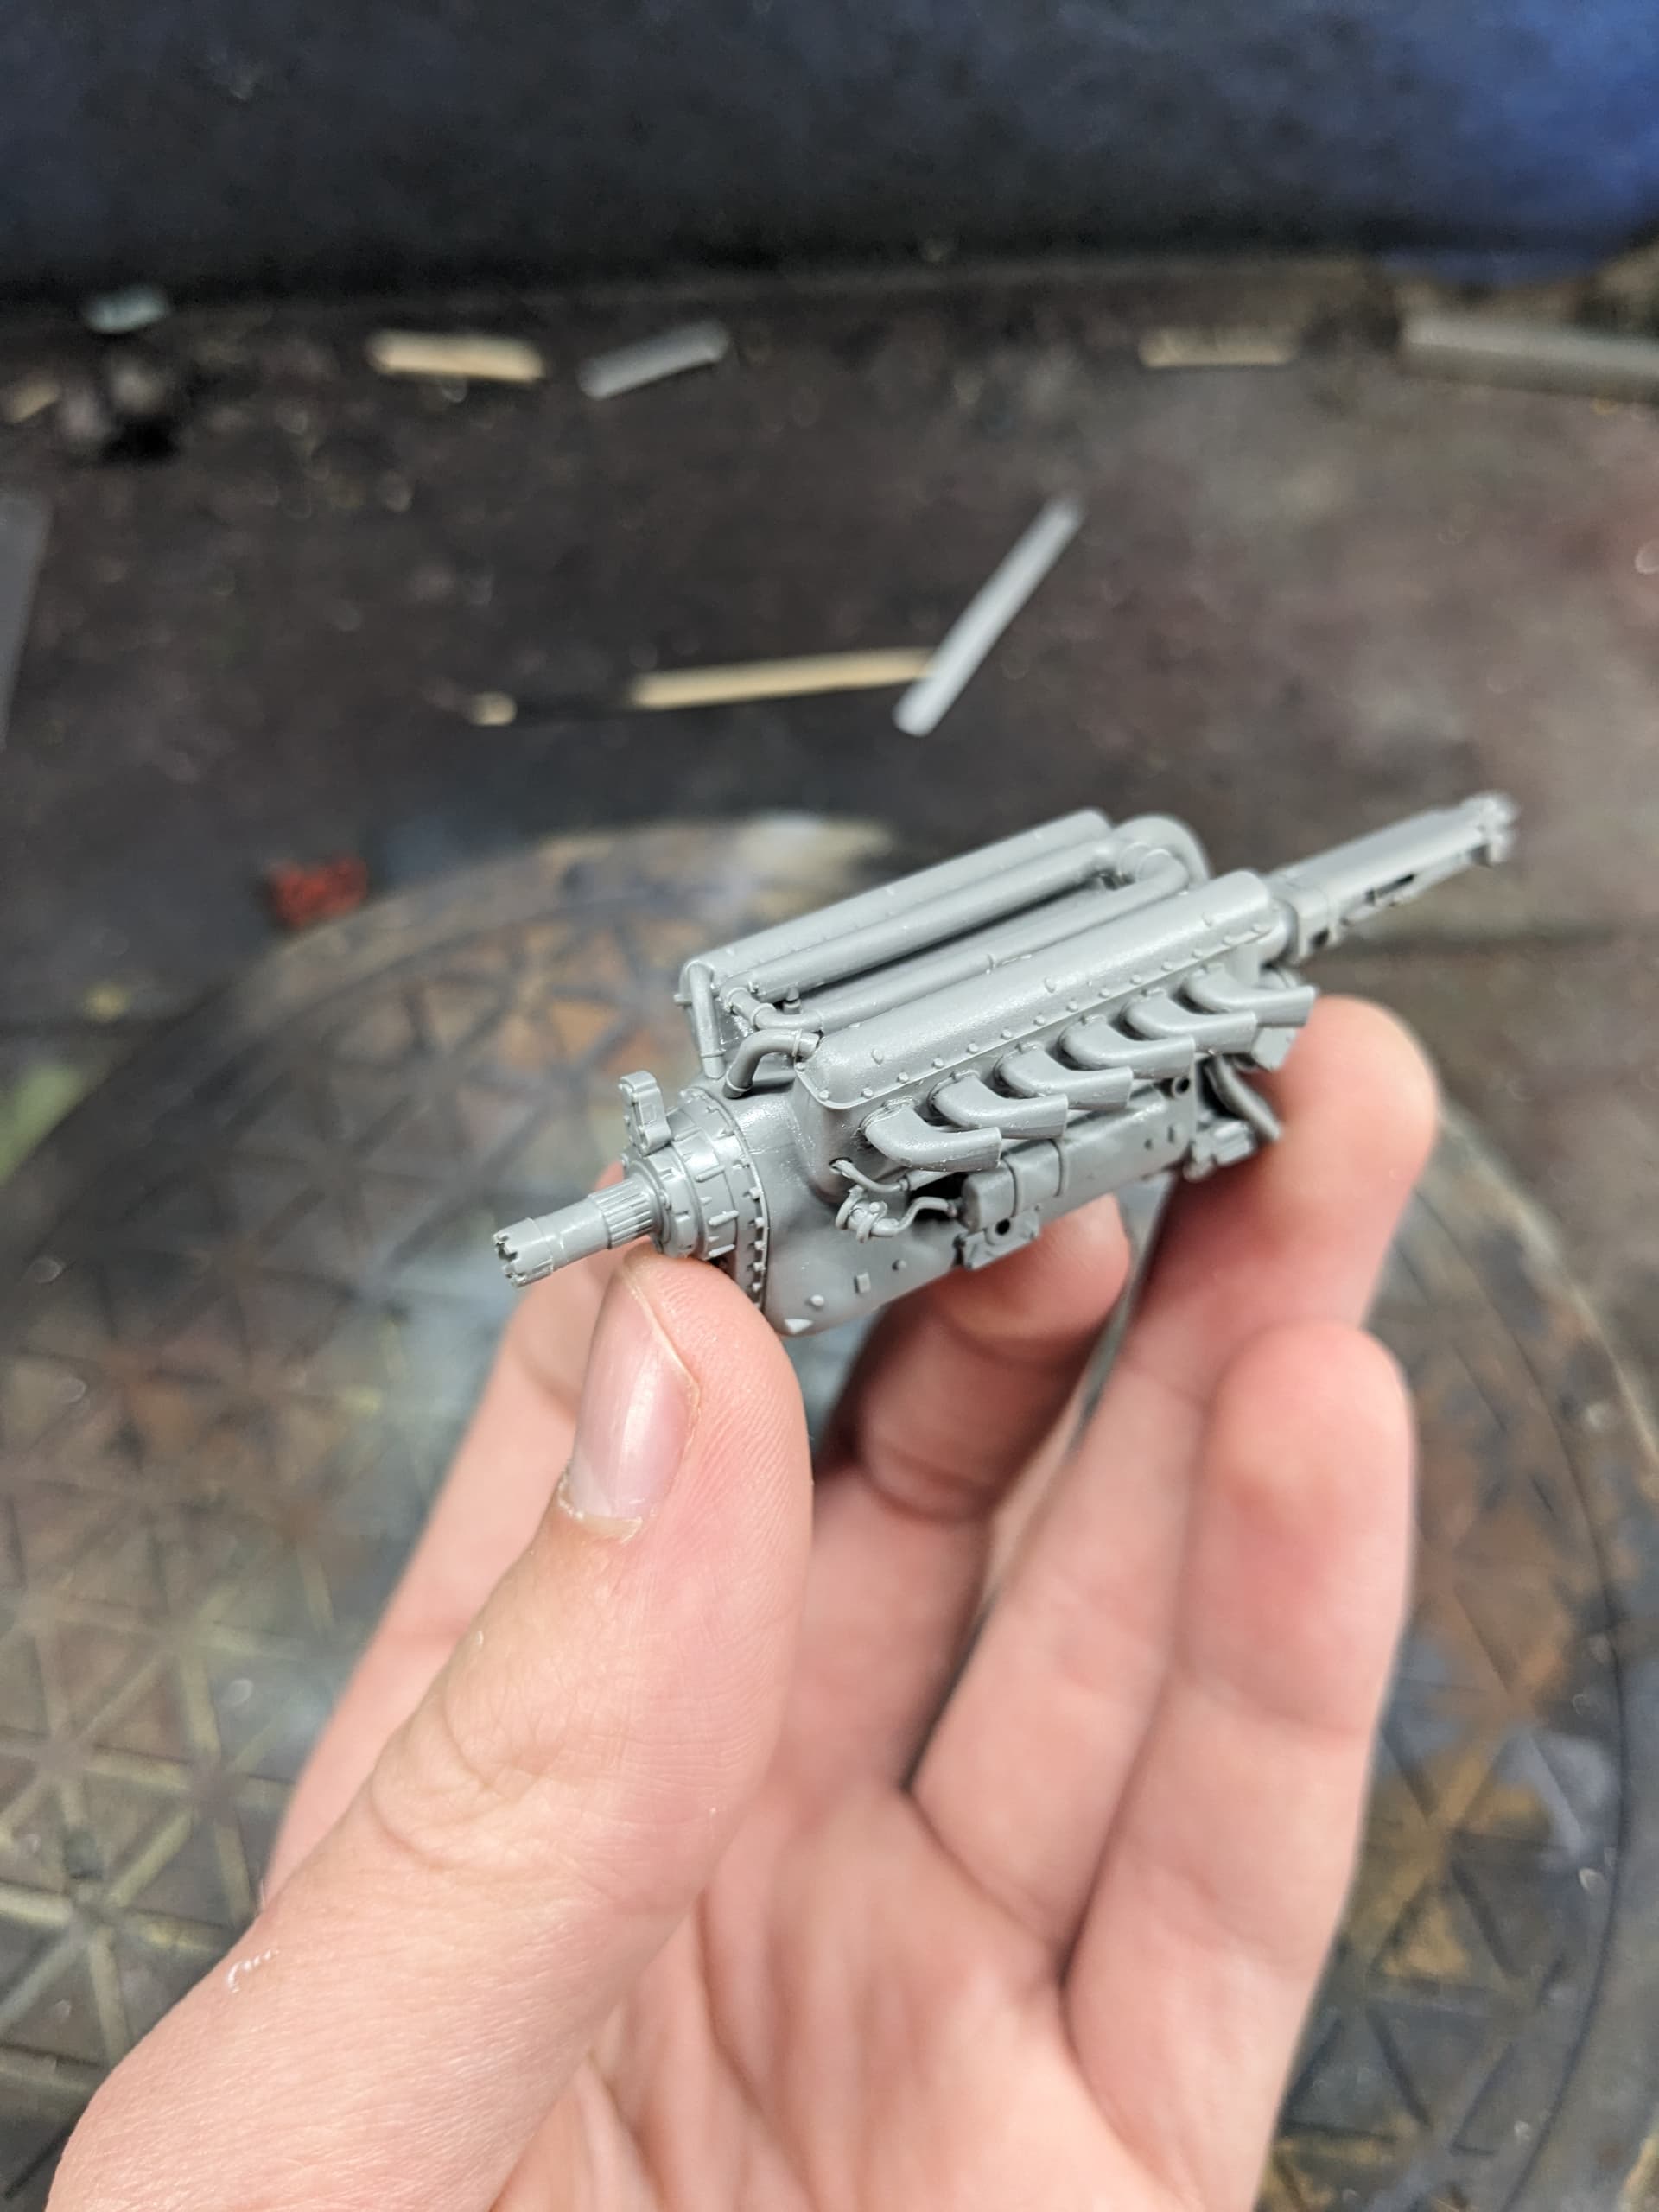
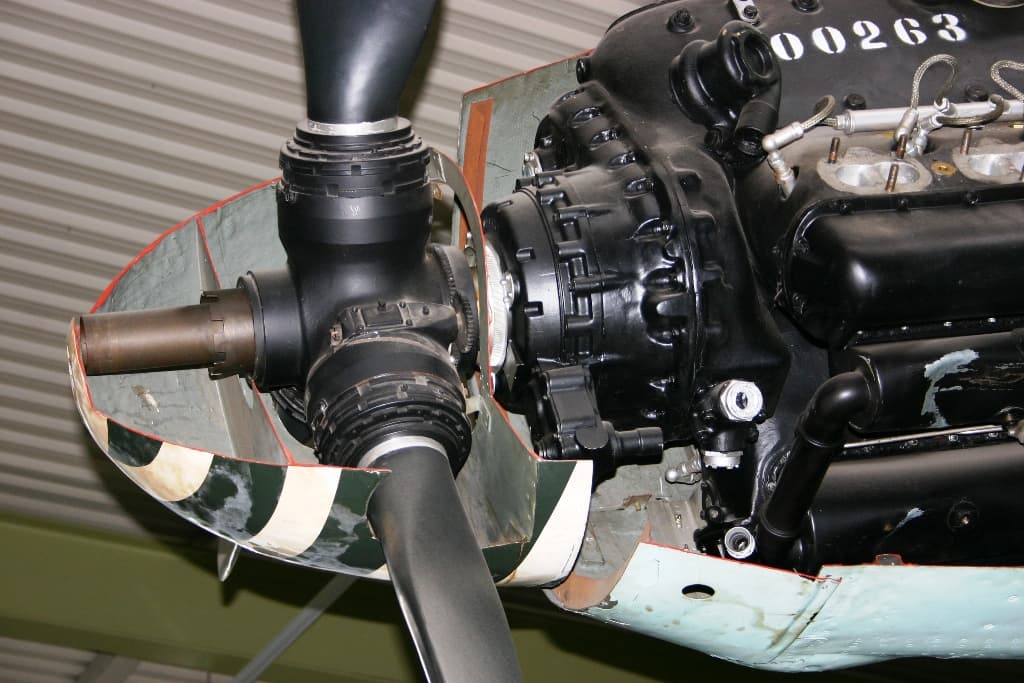
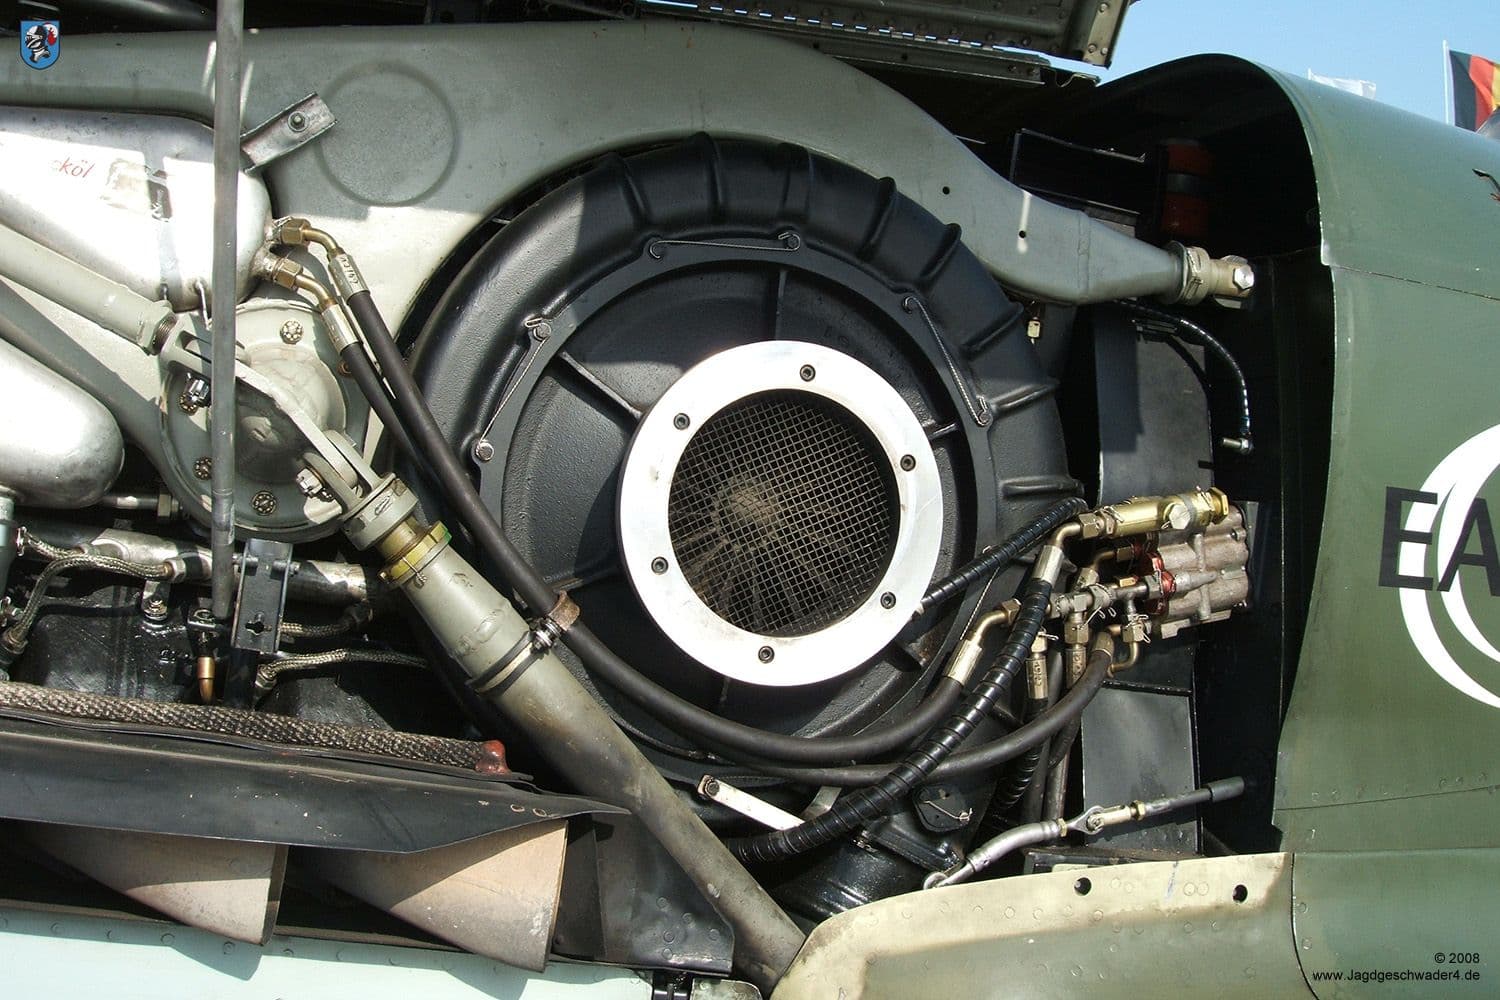
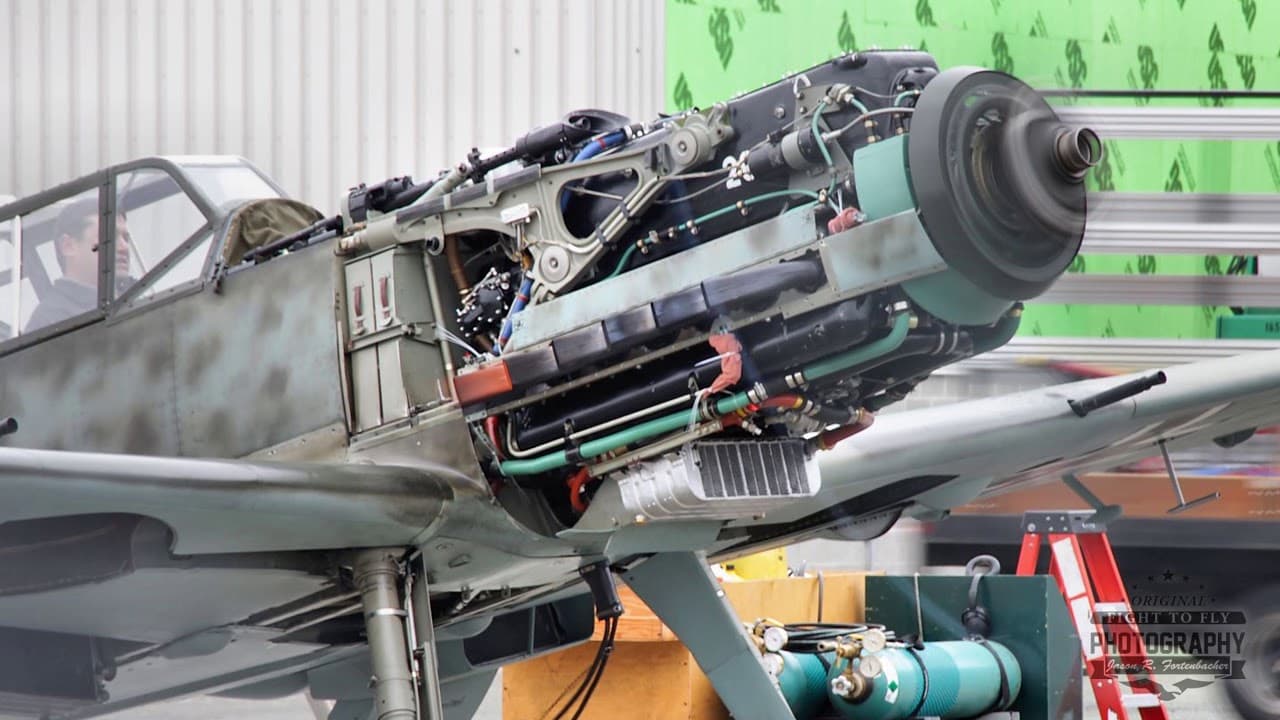
At all the aircraft modelers, how should I go about painting the engine? I know I need to leave it separate from the fuselage, but what about the frame it fits into? Should I attach that to the engine or leave it separate?
Do you have any reference pictures for this and other parts of the plane? Like the cockpit, the engine, etc? I’d be extremely grateful for anything you can provide. This applies to anyone and everyone btw.
Hi Colin,
I almost totally build armor. But if I ever get tired of making indy track links, cleaning up road wheels and other PITA things that make up an armored vehicle kit I will start the Messerschmitt. I also have a desire to get Border’s Stuka. Man, when I was young did I ever build Monagram Stukas!
Good luck on your build and I will check in from time to time on your progress!
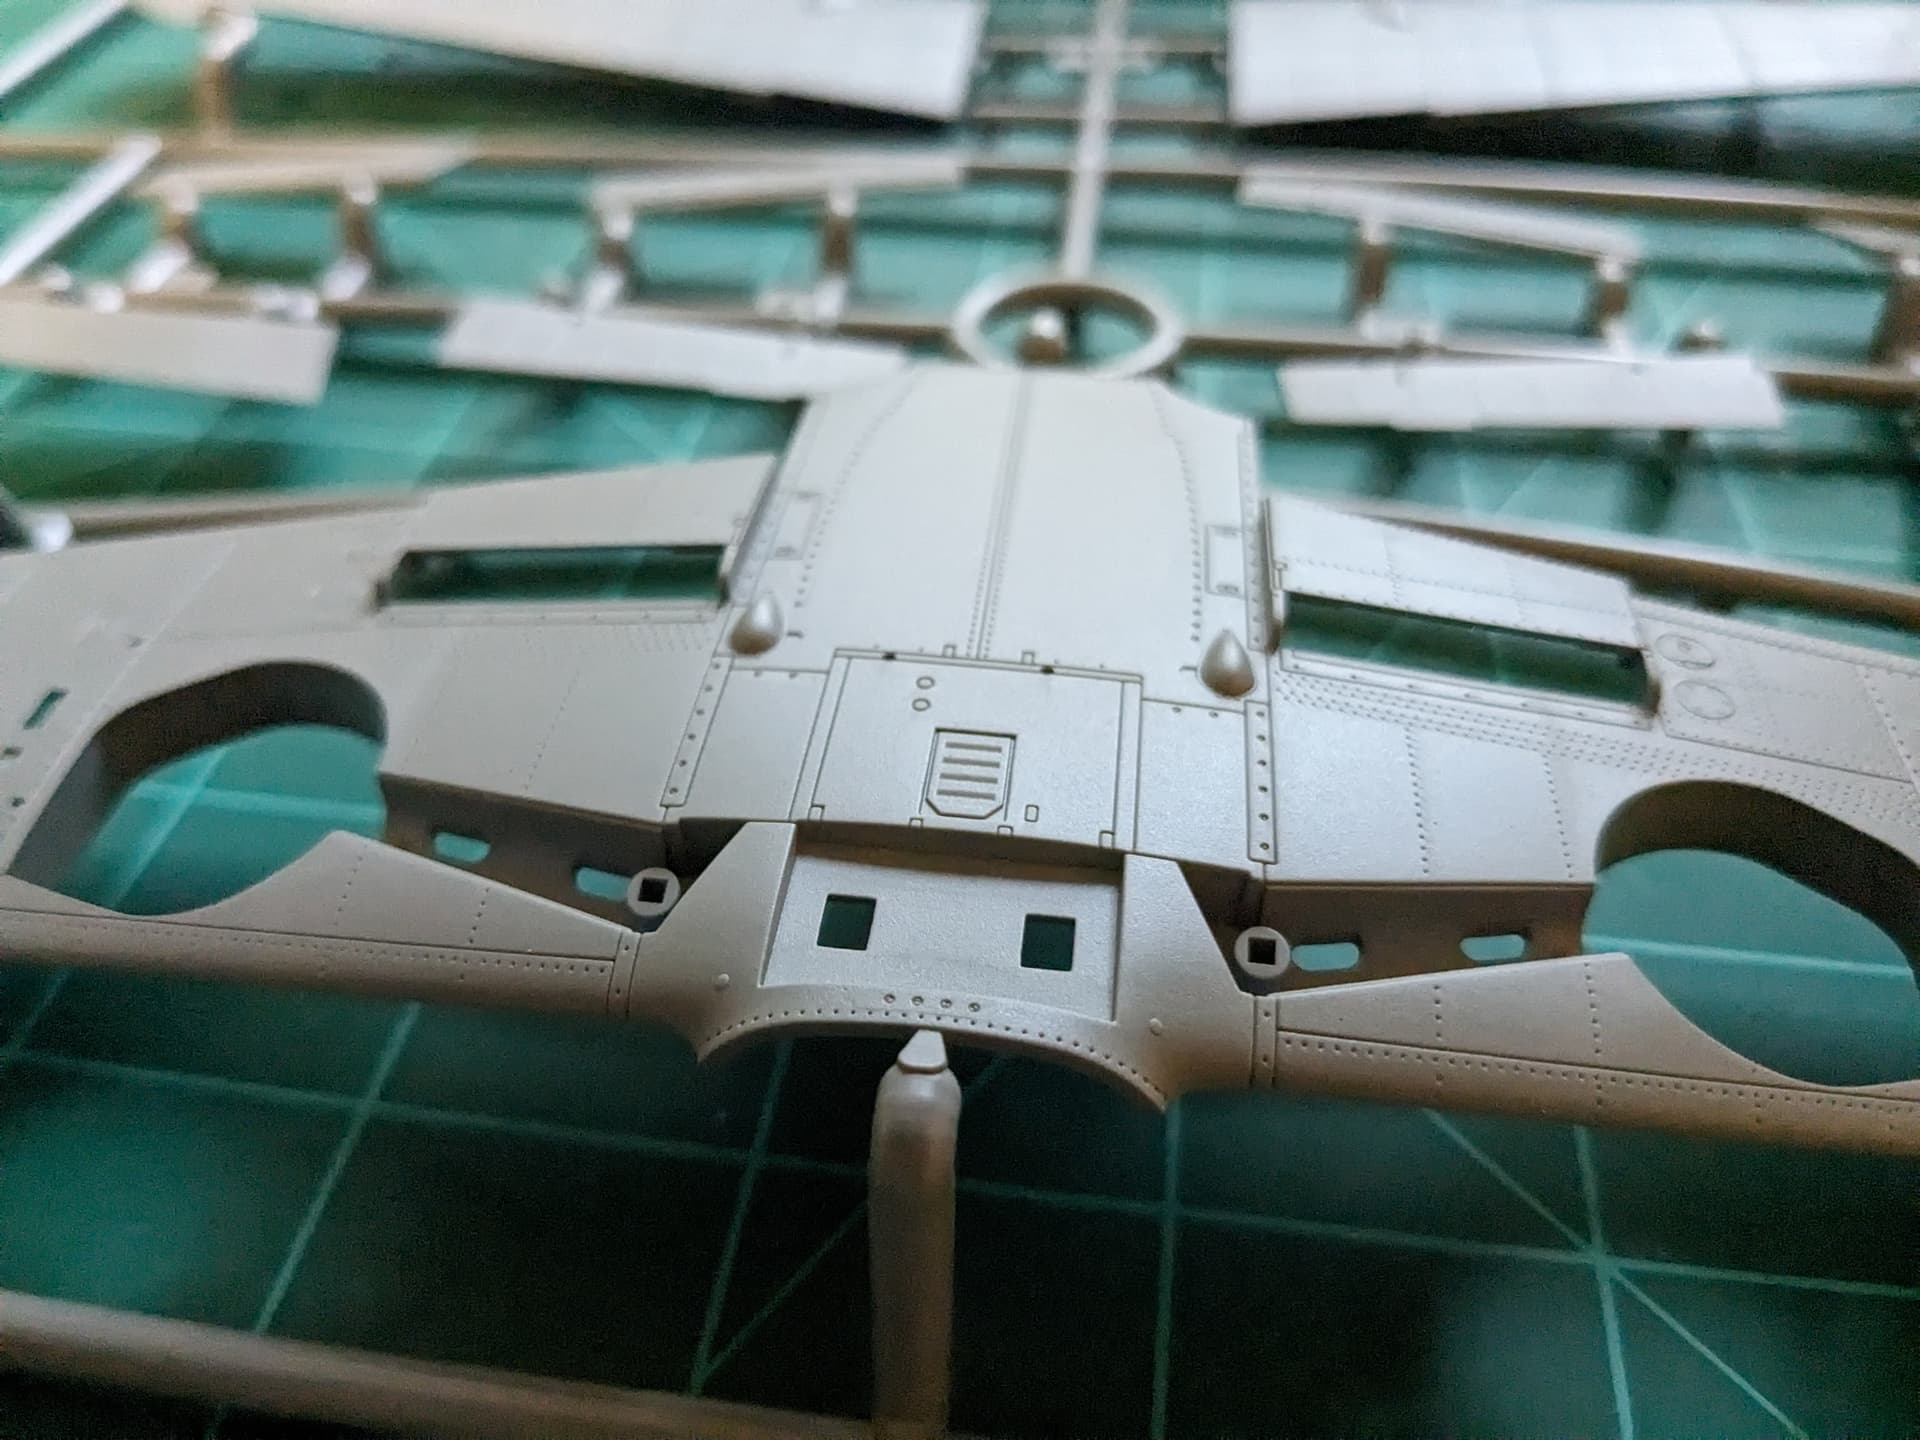
I finished step two, which encompassed adding some wires and other things on one side. Step three is next, which is basically just step two for the other side.
So far I’m liking the kit, nice details and I’m happy that Border provided nice wire details. I’ll have to check my references though to see if there’s any other wires I need to add. My only nitpick is that the exhaust pipes are hard to line up and I’m not sure if they’re lined up the way they should be… I’ll have to hope for the best!
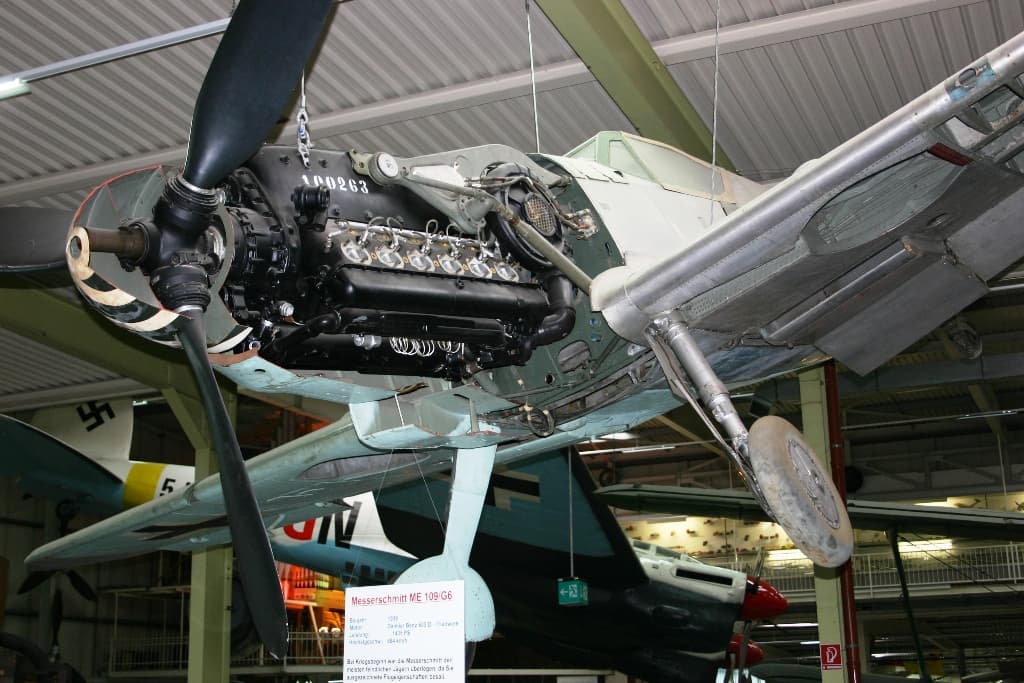
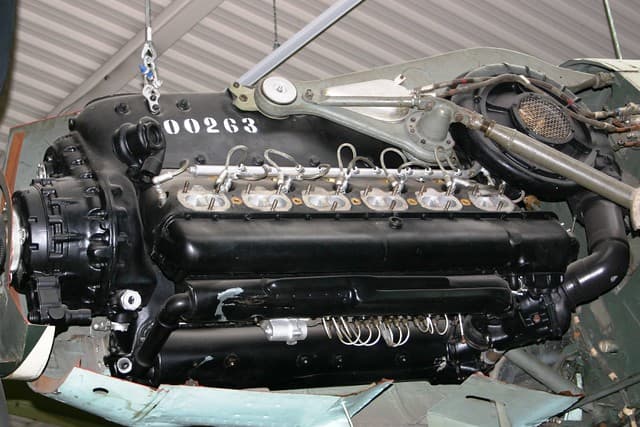
Any up close photos of the engine would be very appreciated.
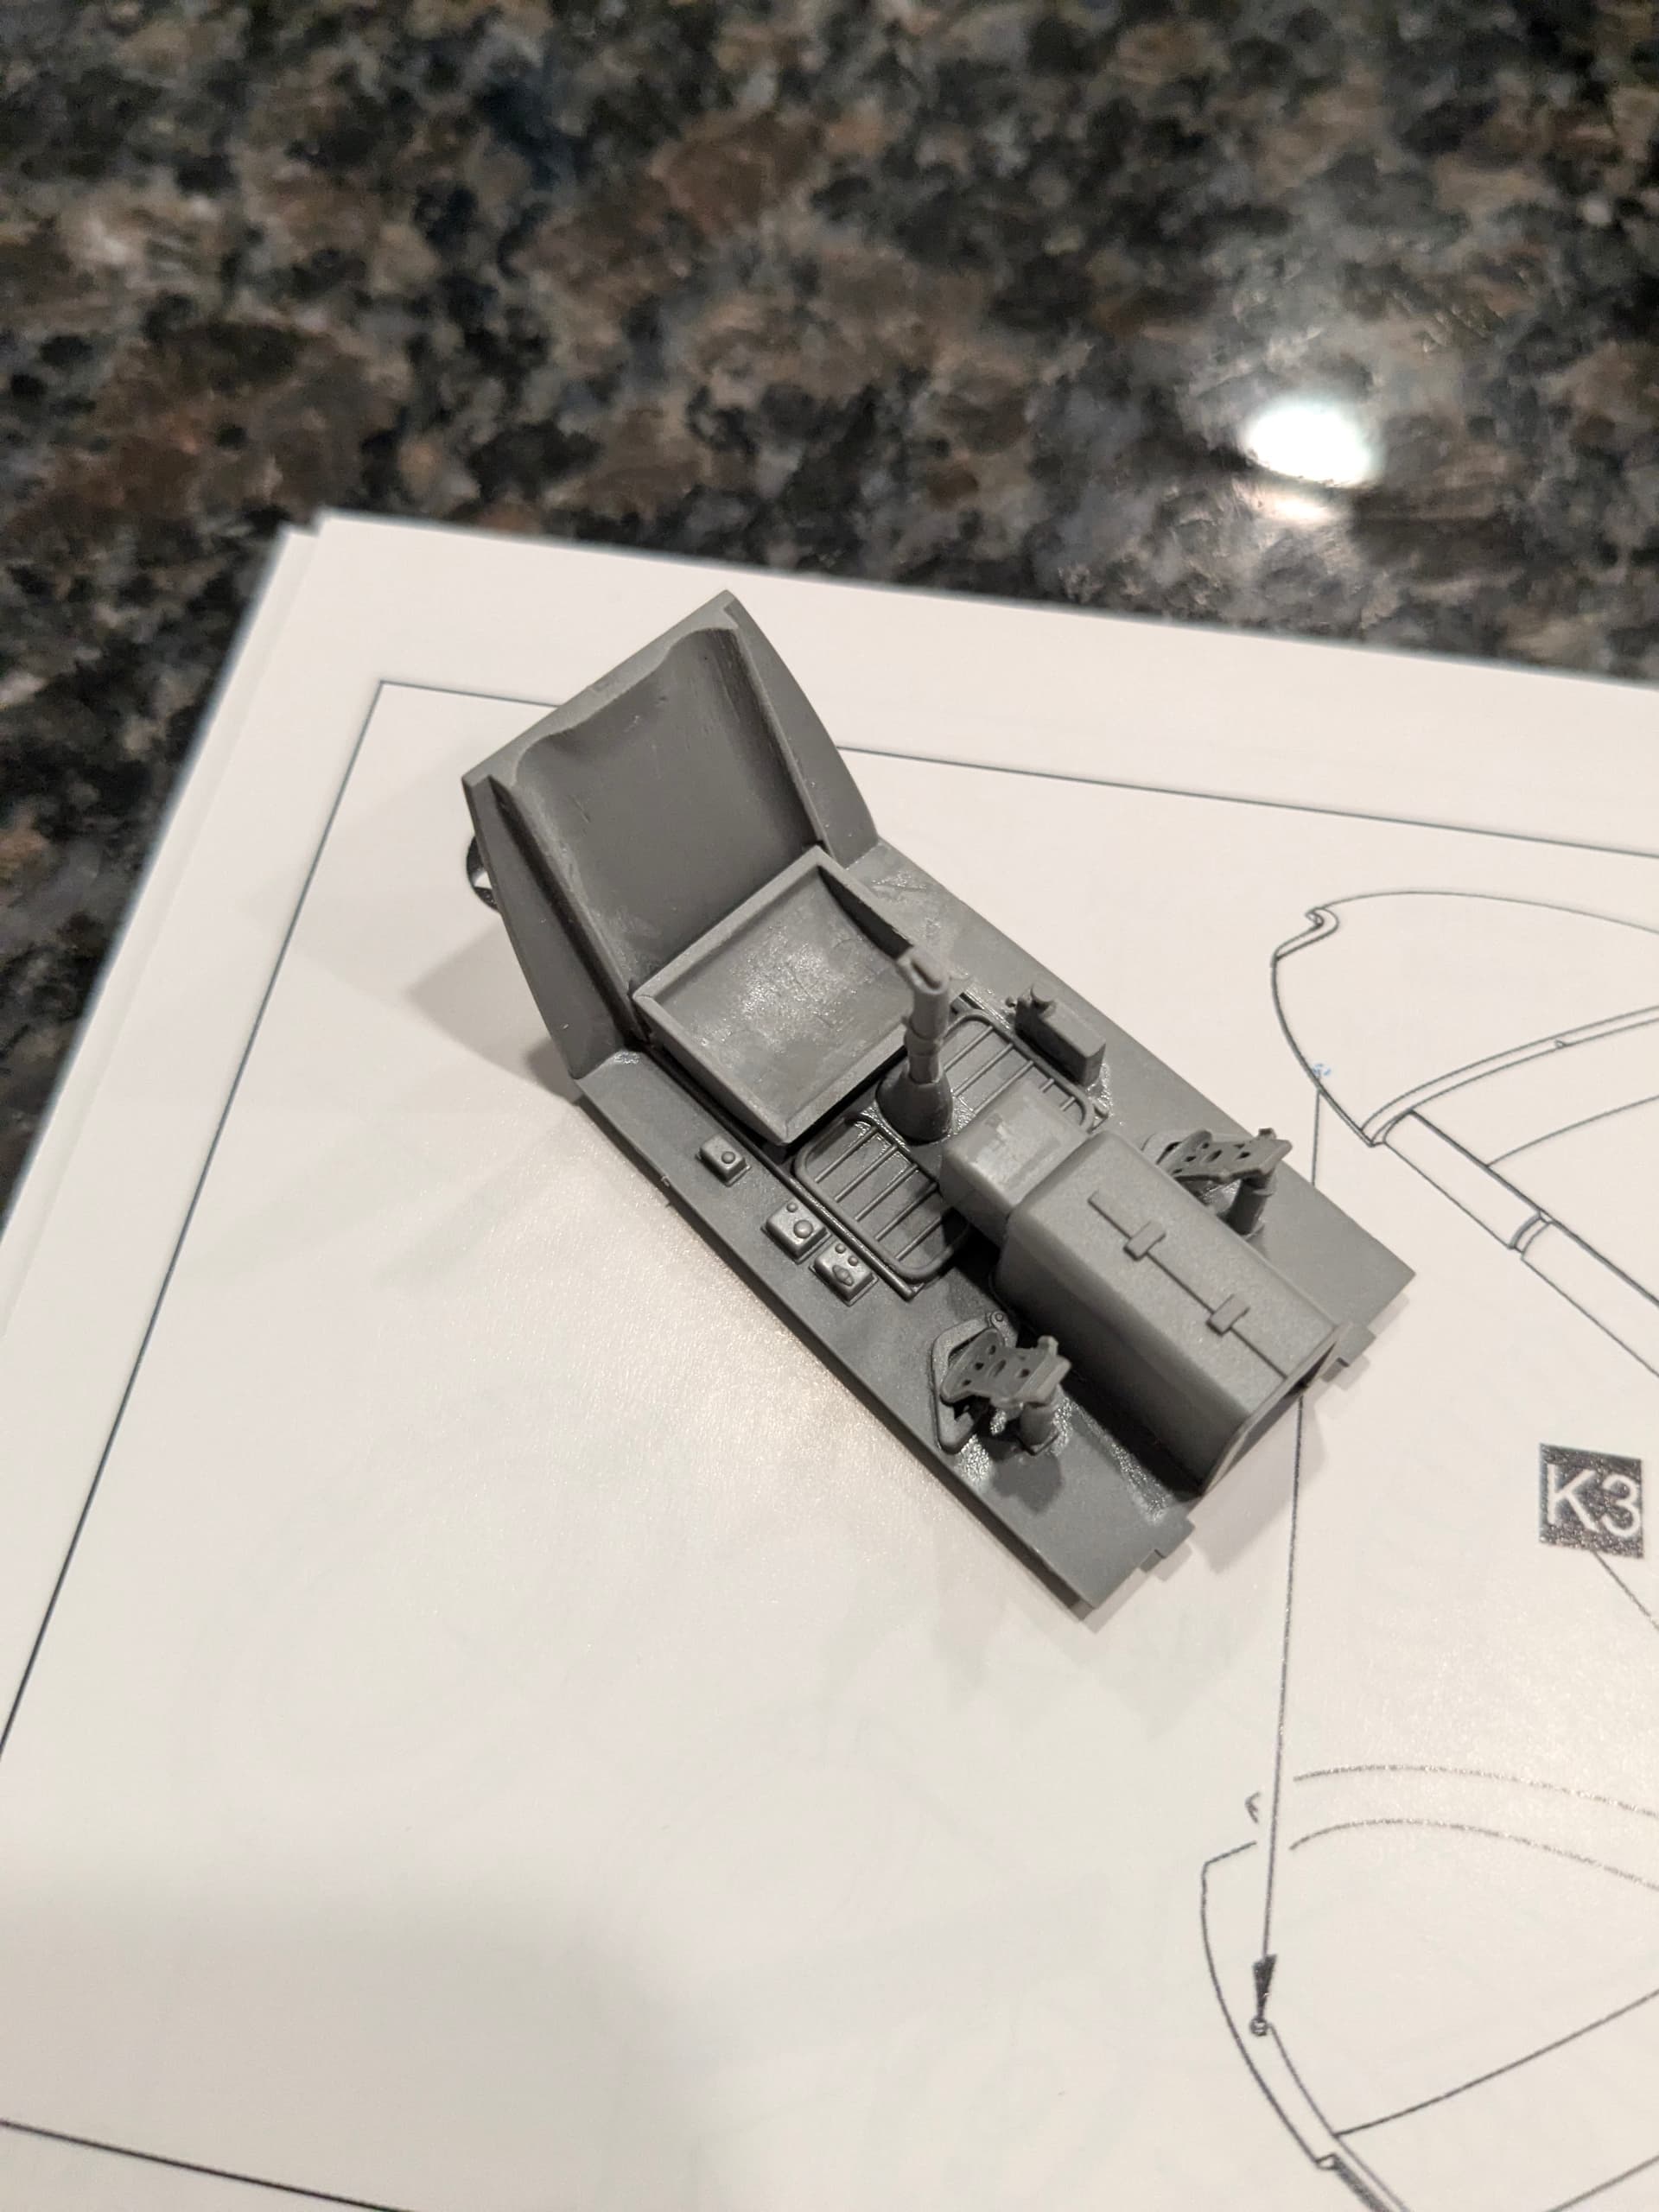
So I’m doing some cleaning and then I’m going to pull this off the shelf; do y’all think it would be reasonable to sculpt a small pillow to set in the pilot’s seat?