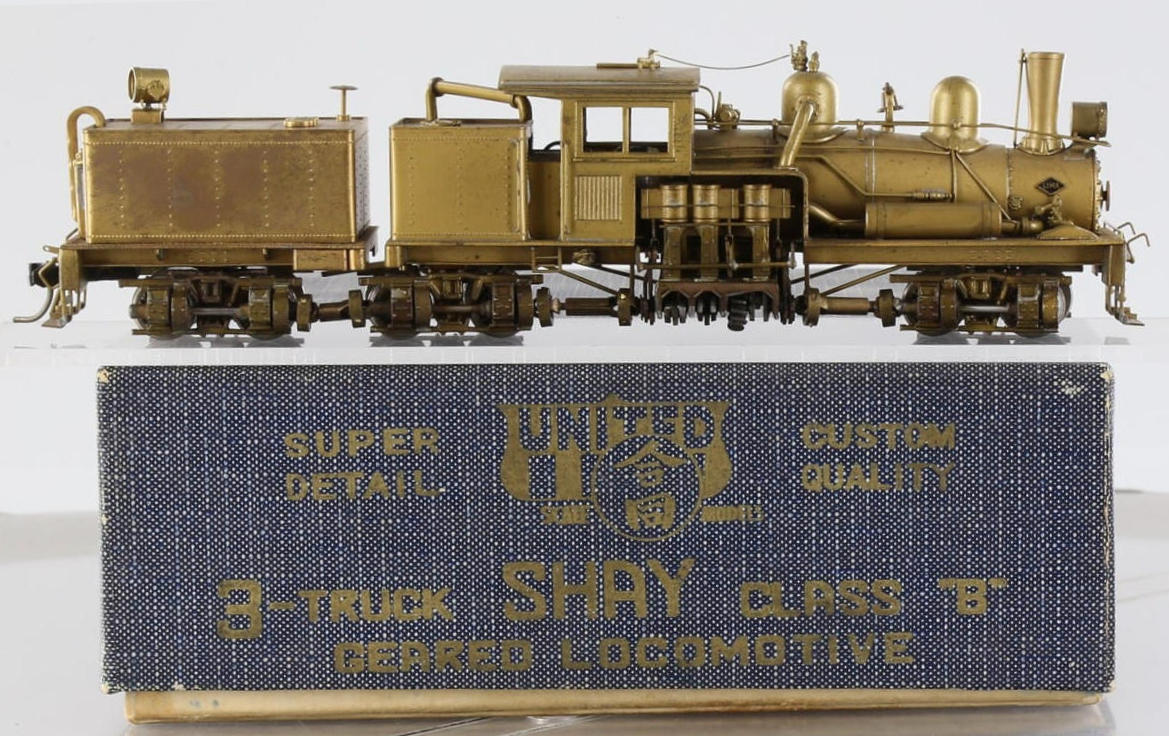
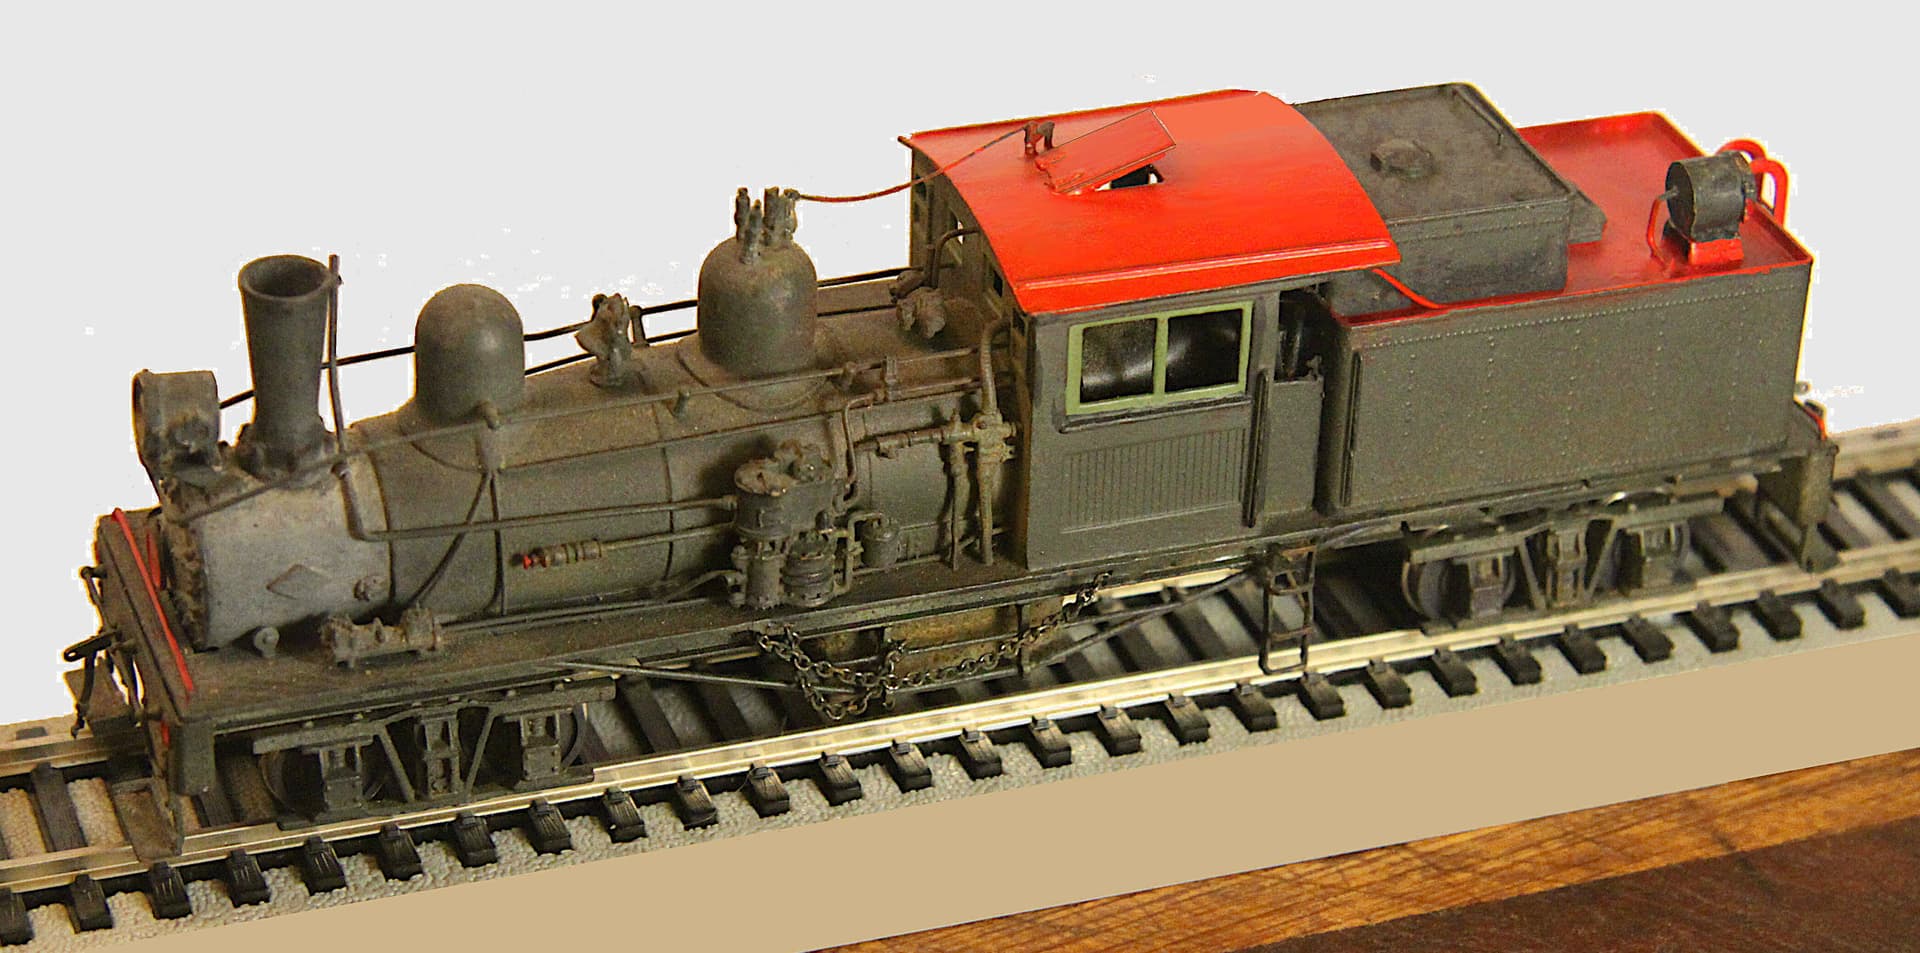
This most likely will be considered a sacrilege in HO brass but I just never cared for the rather short fuel tank on the United B-3 Shay in comparison to the much larger water tank carried on the third truck.
In my mind I hungered for a really heavy 2 truck Shay and that thought got my mental gears turning.
(In my mind, even I thought I was crazy to attempt this and that only ruination could follow)
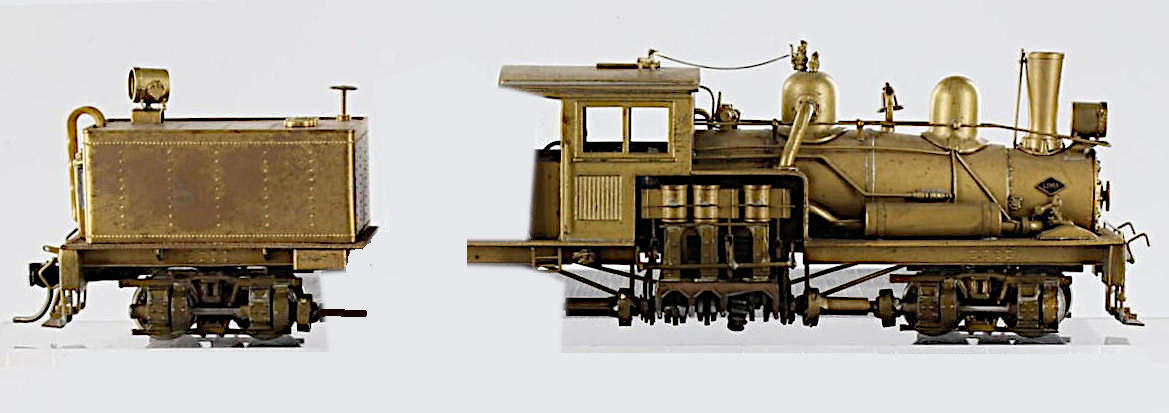
I then shortened the existing earlier fuel tank and turned it 90 degrees.
Both the filler lids on the water tank and the oil tank had to be relocated but a brief touch with the propane torch from the hardware store loosened these two small bits well before any other harm could be done to the other solder joints.
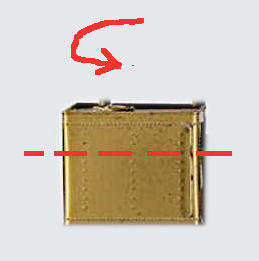
The only thing left was to create the longer rear drive shaft for the locomotive.
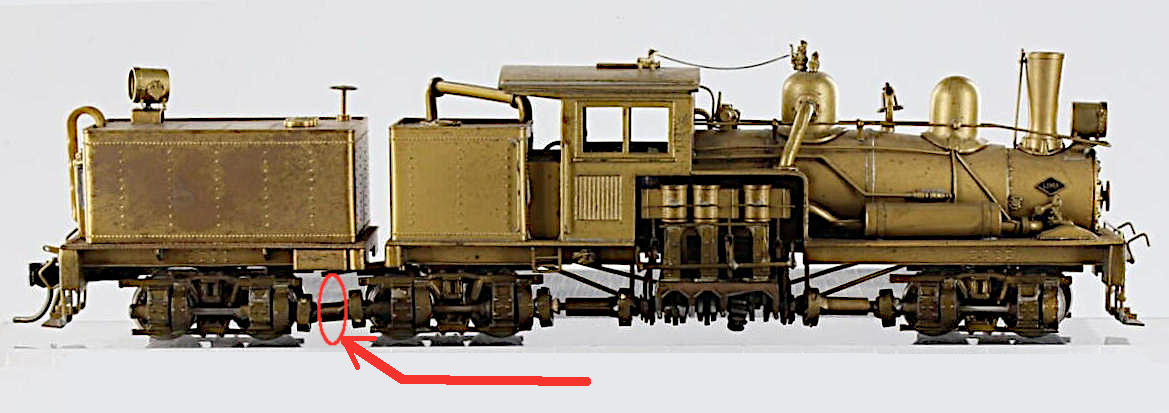
For this you need to carefully cut this small piece off the original #2 truck. (Shown in Photo Below)
Use caution when making this cut as there is either a paper or plastic insulator inside the square shaft to electrically insulate the front from the rear drive truck!
Myself I use a hand held jeweler’s saw with a very fine blade for making all the cuts for building this model.
For this I took two pieces of thin brass “L” channel, cut them each to the proper equal length and used this to bridge the gap by forming a square tube surrounding and connecting the original two shorter pieces. For this work I used a every carefully applied bit of Super Glue to form this connection. For this work I did not dare use any soldering as that might have burned out or melted that very thin insulator inside that drive shaft end.
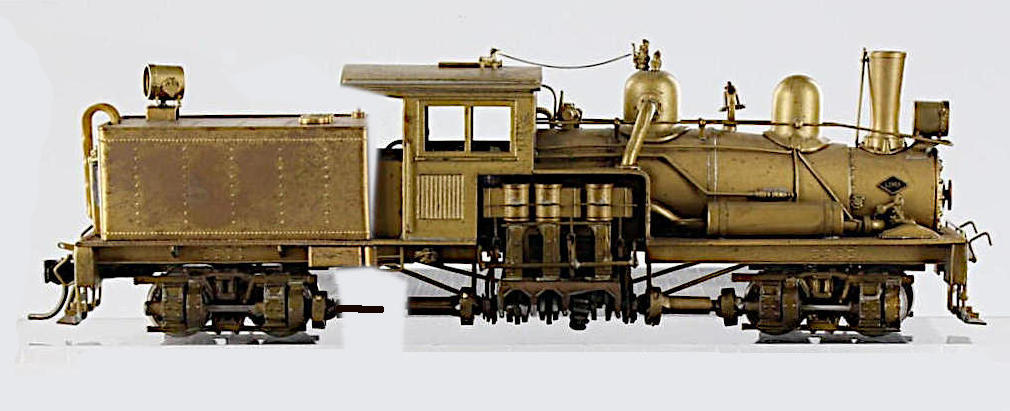
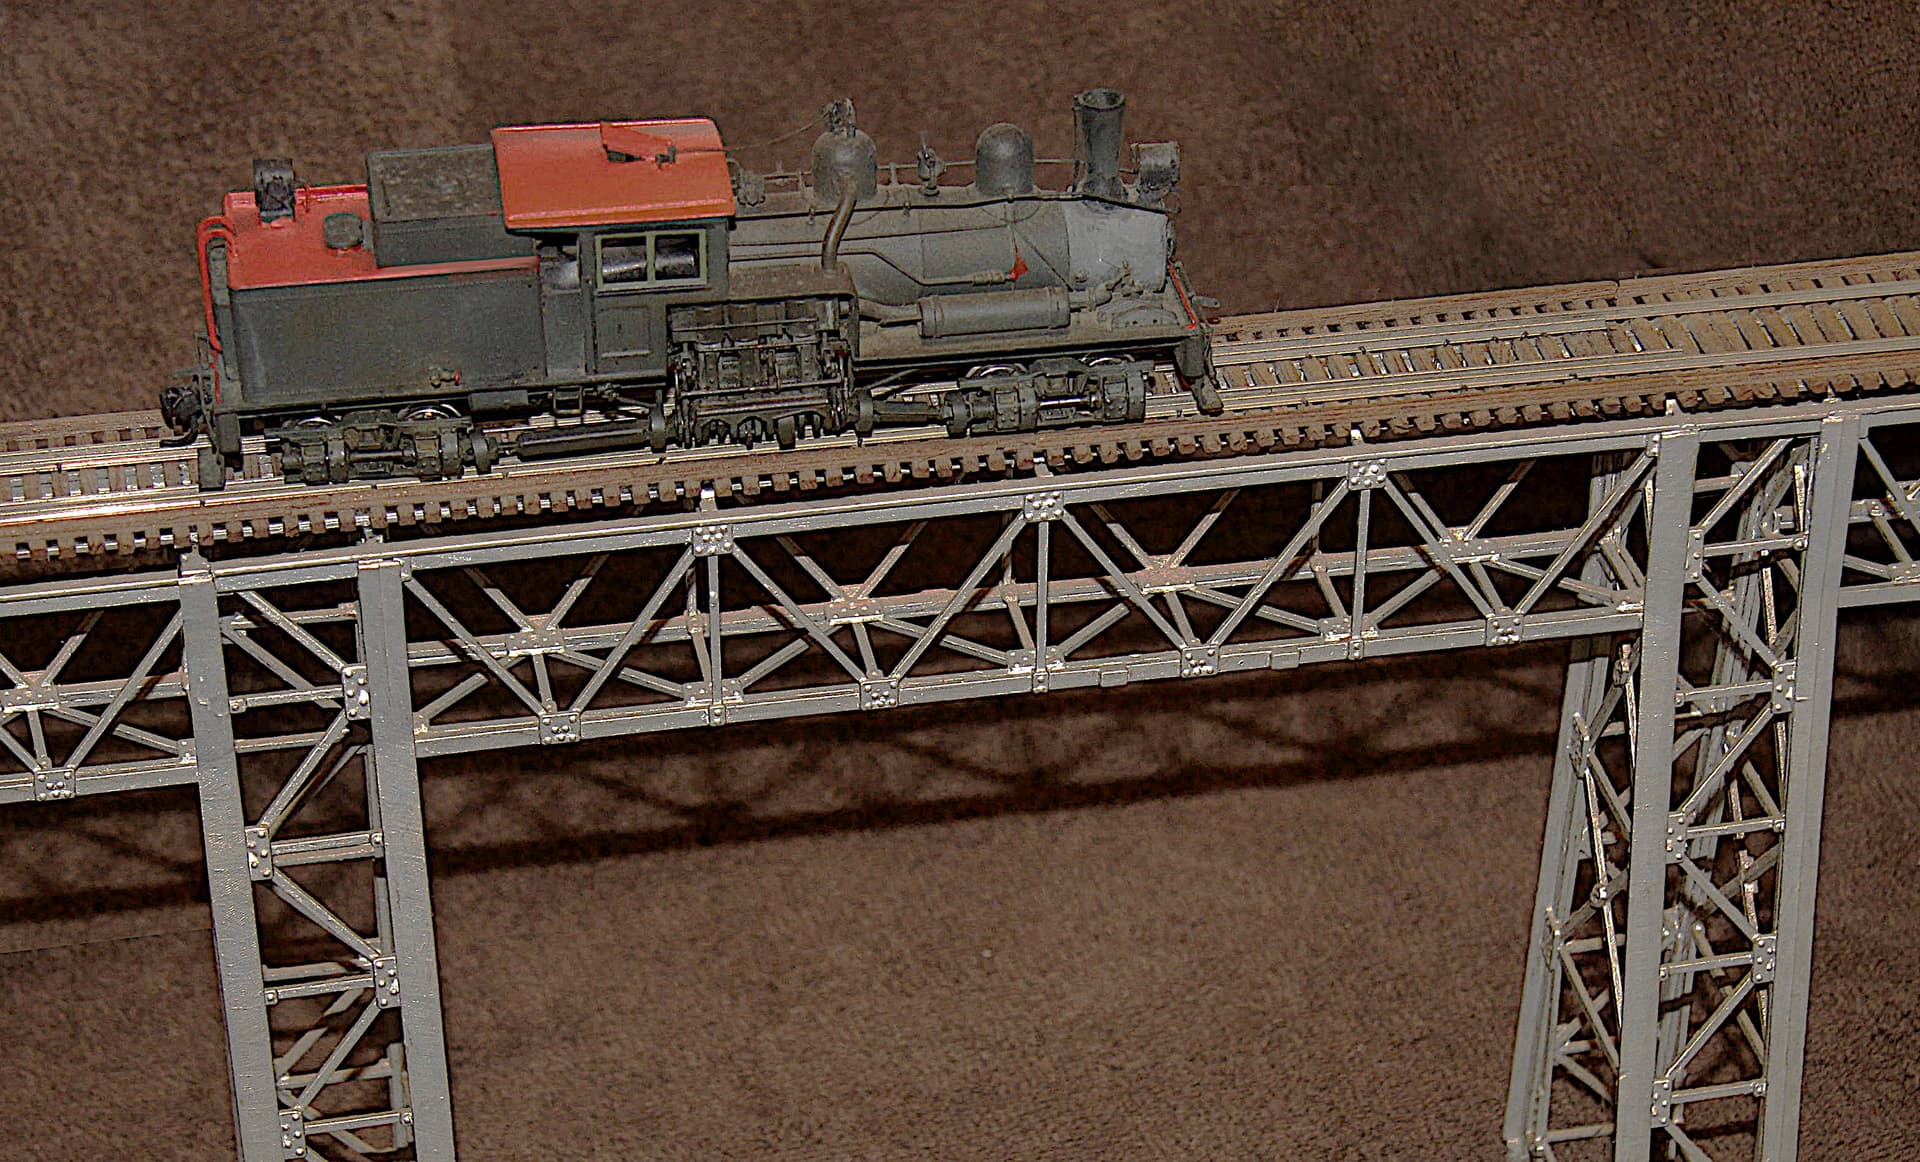
Seen here below running light over the high steel bridge back to the sawmill.
(You might notice that this HO steel bridge is actually built from many Plasticville O/S scale two-track signal bridges. It used to stand on carved stone piers 5-6 inches tall bridging a scenic rough valley floor,)
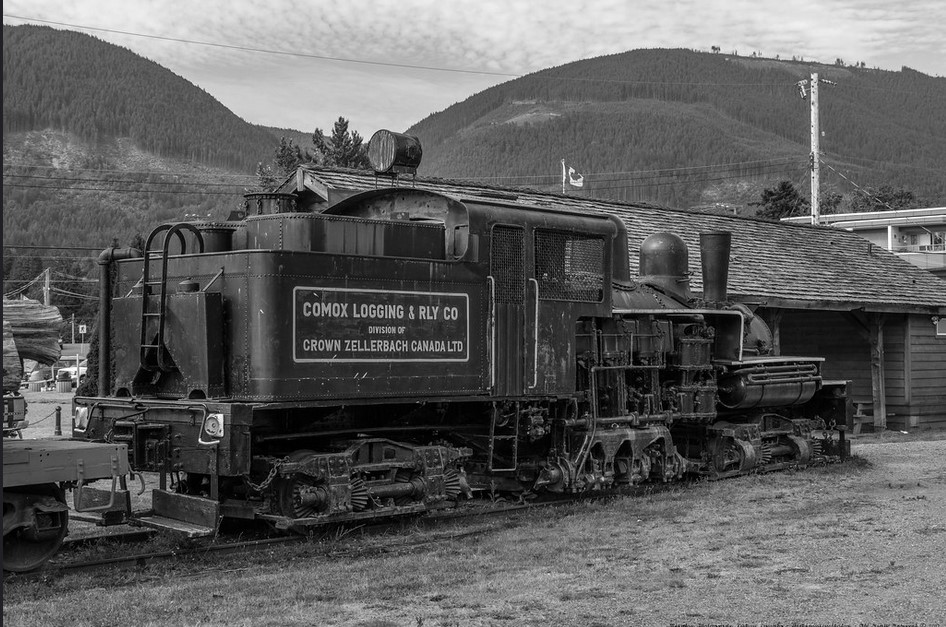
Nicely done. You are much braver than I and your results look great. I’ve always been fascinated with shays and your kit bash looks about the size of Comox Logging & Railway #12 (Lima 3311, 50 Ton).
Mike, Sterling work. She does look a lot better without that little bunker between the engine and the rear tender. Genius making a square tube to connect the drive shafts. I was initially wondering if super glue would hold it but then started thinking that super glue does have a high torque strength, but a low shear strength. (I think those are the terms?)
When you painted it, what did you do about the electric pickup wheels? I’ve seen people mask them and I’ve seen people just paint over them and then clean them off with thinner. How do you handle it??
I think in closing the rear of the cab would look great, especially if you let the crew Jazz it up and use one of those rounded top doors.
Well in this case, once again I brush painted this loco so no wheel masking was required.
Then both the weathering and the smokebox colors were achieved using soft oil pastels.