Would the breech block ever be painted primer ? On any tank for that matter ?
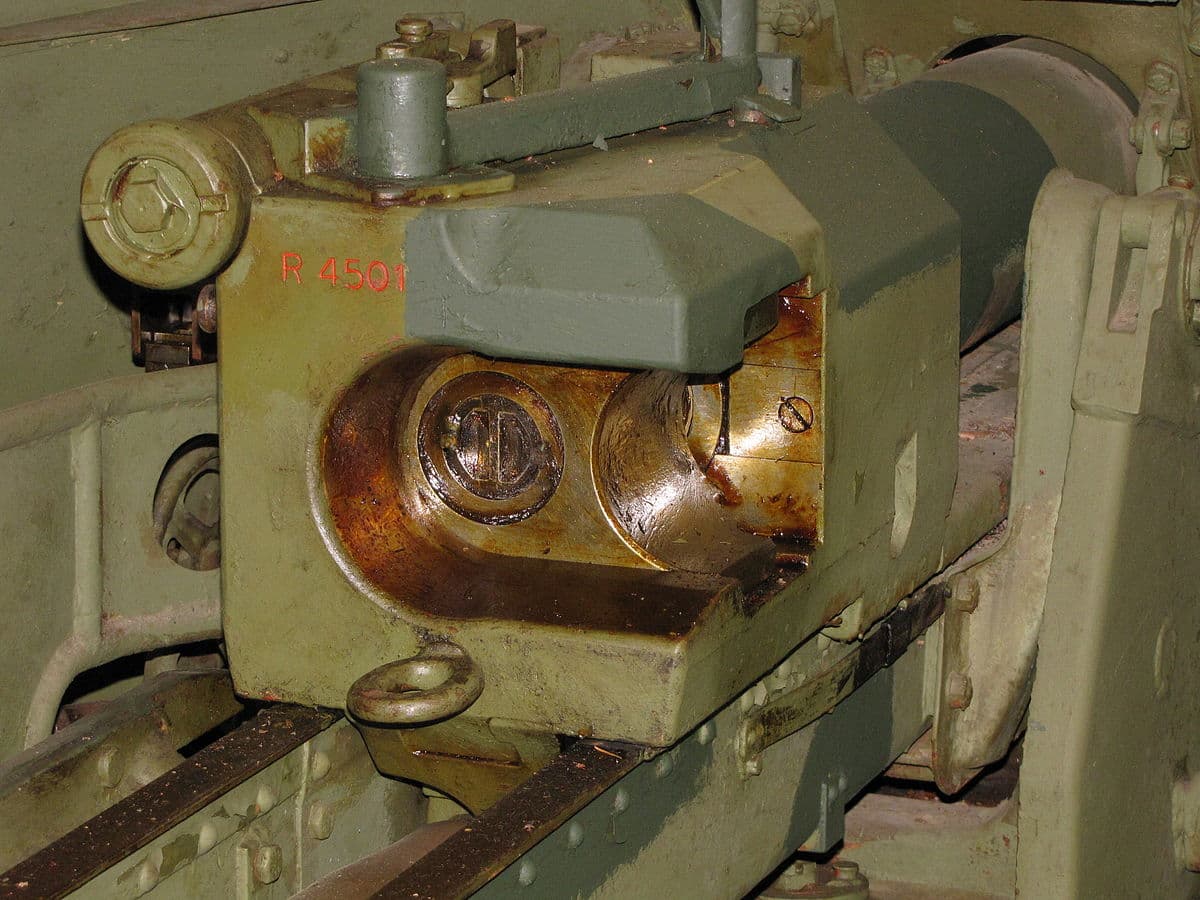
PAK 40 breech
No paint, only grease. Paint could chip off, fouling the breech block and possibly jamming it.
2 Likes
That’s what I thought . Just checking. Never seen it or heard of it but you never know sometimes.
Hello !
But here grease is used as a protection against rust. Breech is shiny steel. Grease would stick dust.
1 Like
It cannot be painted (my opinion) beceause it slides (up\down or right/left in the breach housing (which will be painted). So a shunt metal will do in our models
At least it looks like that in the various photo’s i see.
Good luck
On a firing gun everything you see covered in grease will be clean and shiny. The sides where the breech block goes up and down in the locating guides are will be lightly oiled.
Thanks for your responses. I saw a model of a panzer IV recently that had the breech are painted in a red primer and as I said in my initial post, I’ve never seen that before.
Another question with regards to WW 2 German armor interiors: would the final drives be painted the cream color ( forgot the German name for it) or dark gray? I’ve seen transmissions painted both.
gearboxes were painted in grey
Keith
most correct! A light coat of oil is all that’s needed.
gary
+1 for grey. The transmissions were supplied, like the engines, by Maybach (the same unit was fitted to some Panzer IIIs) an outside supplier, so would come as painted, not repainted in cremeweiss. There is some dispute over what colour engines were painted, not helped by restoration and museum examples in pretty colours. Generally Maybachs were painted black, but the gearbox does seem to have been painted a different colour. The steering brakes were also painted grey, or later left in red primer.
As regards the breech of the gun, the closest we can get is probably the Bovingdon Tiger, the restoration of which was carried out after exhaustive research. None moving parts are painted the cremeweiss internal colour, the block itself and areas likely to be subject to wear (e.g. the “throat” of the breech where the rounds were loaded) are very highly polished. This is reflected in photos from wartime German manuals.
2 Likes
Thank you for your reply Hohenstaufen. I figured as much. I’ve seen some drawings of the interiors and there is some variation but it seems that Germans were consistent with these components.
I suppose it is just possible that some Ausf Js may have had the breech in primer during the short period in late 1944 when there was the instruction, quickly revoked, to leave the interior of panzers in red/brown primer rather than overpainting in cream, but they would be the only ones. Of course the weapons were supplied by Krupps, so may have been painted before leaving their factory. Some of your information is/will be topical for me, as I am currently putting the Ryefield PZIV Ausf G/H with interior together. The instructions show a lot of fittings painted in grey, which I think should be black. It also shows pieces that were left in primer that on a G would probably been painted grey. I’m assembling it as an H, but there were only a few early Hs that didn’t have Zimmerit, so I’m using some left over hull parts from the Dragon H. The instructions also show the interior painted white, which is clearly wrong. I’m using a home made mix of 4 parts Humbrol 74 Linen to 1 part Gloss white to get the correct colour as per David Bryden on a website I can’t get to any more. Fortunately I’d down loaded the information to an analogue source (paper&pencil.com!).
In the first half of the war, a lot of items in the “ivory area” of a Panzer were painted black. Anything that was a working piece of machinery, or the housing of some machinery.
About mid 1943 they cut back on the black paint and made most items Ivory.
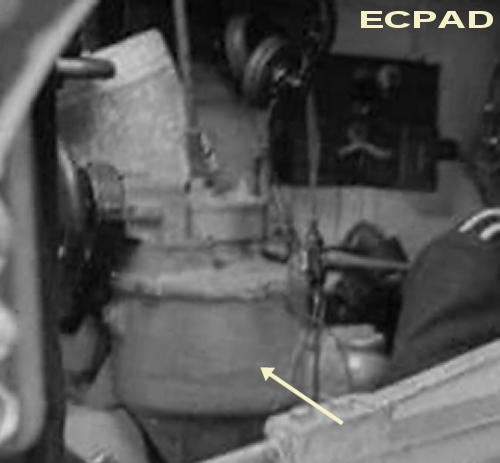
Photo: a Tiger’s traverse housing, built in September 1943. Formerly these were black.
David
Very interesting Brian, did not know that.
Hohenstaufen please show pics of your pzIV , especially the interior when you get a chance. I’d be very interested to see it. How is the kit going so far ?
Hi Richard,
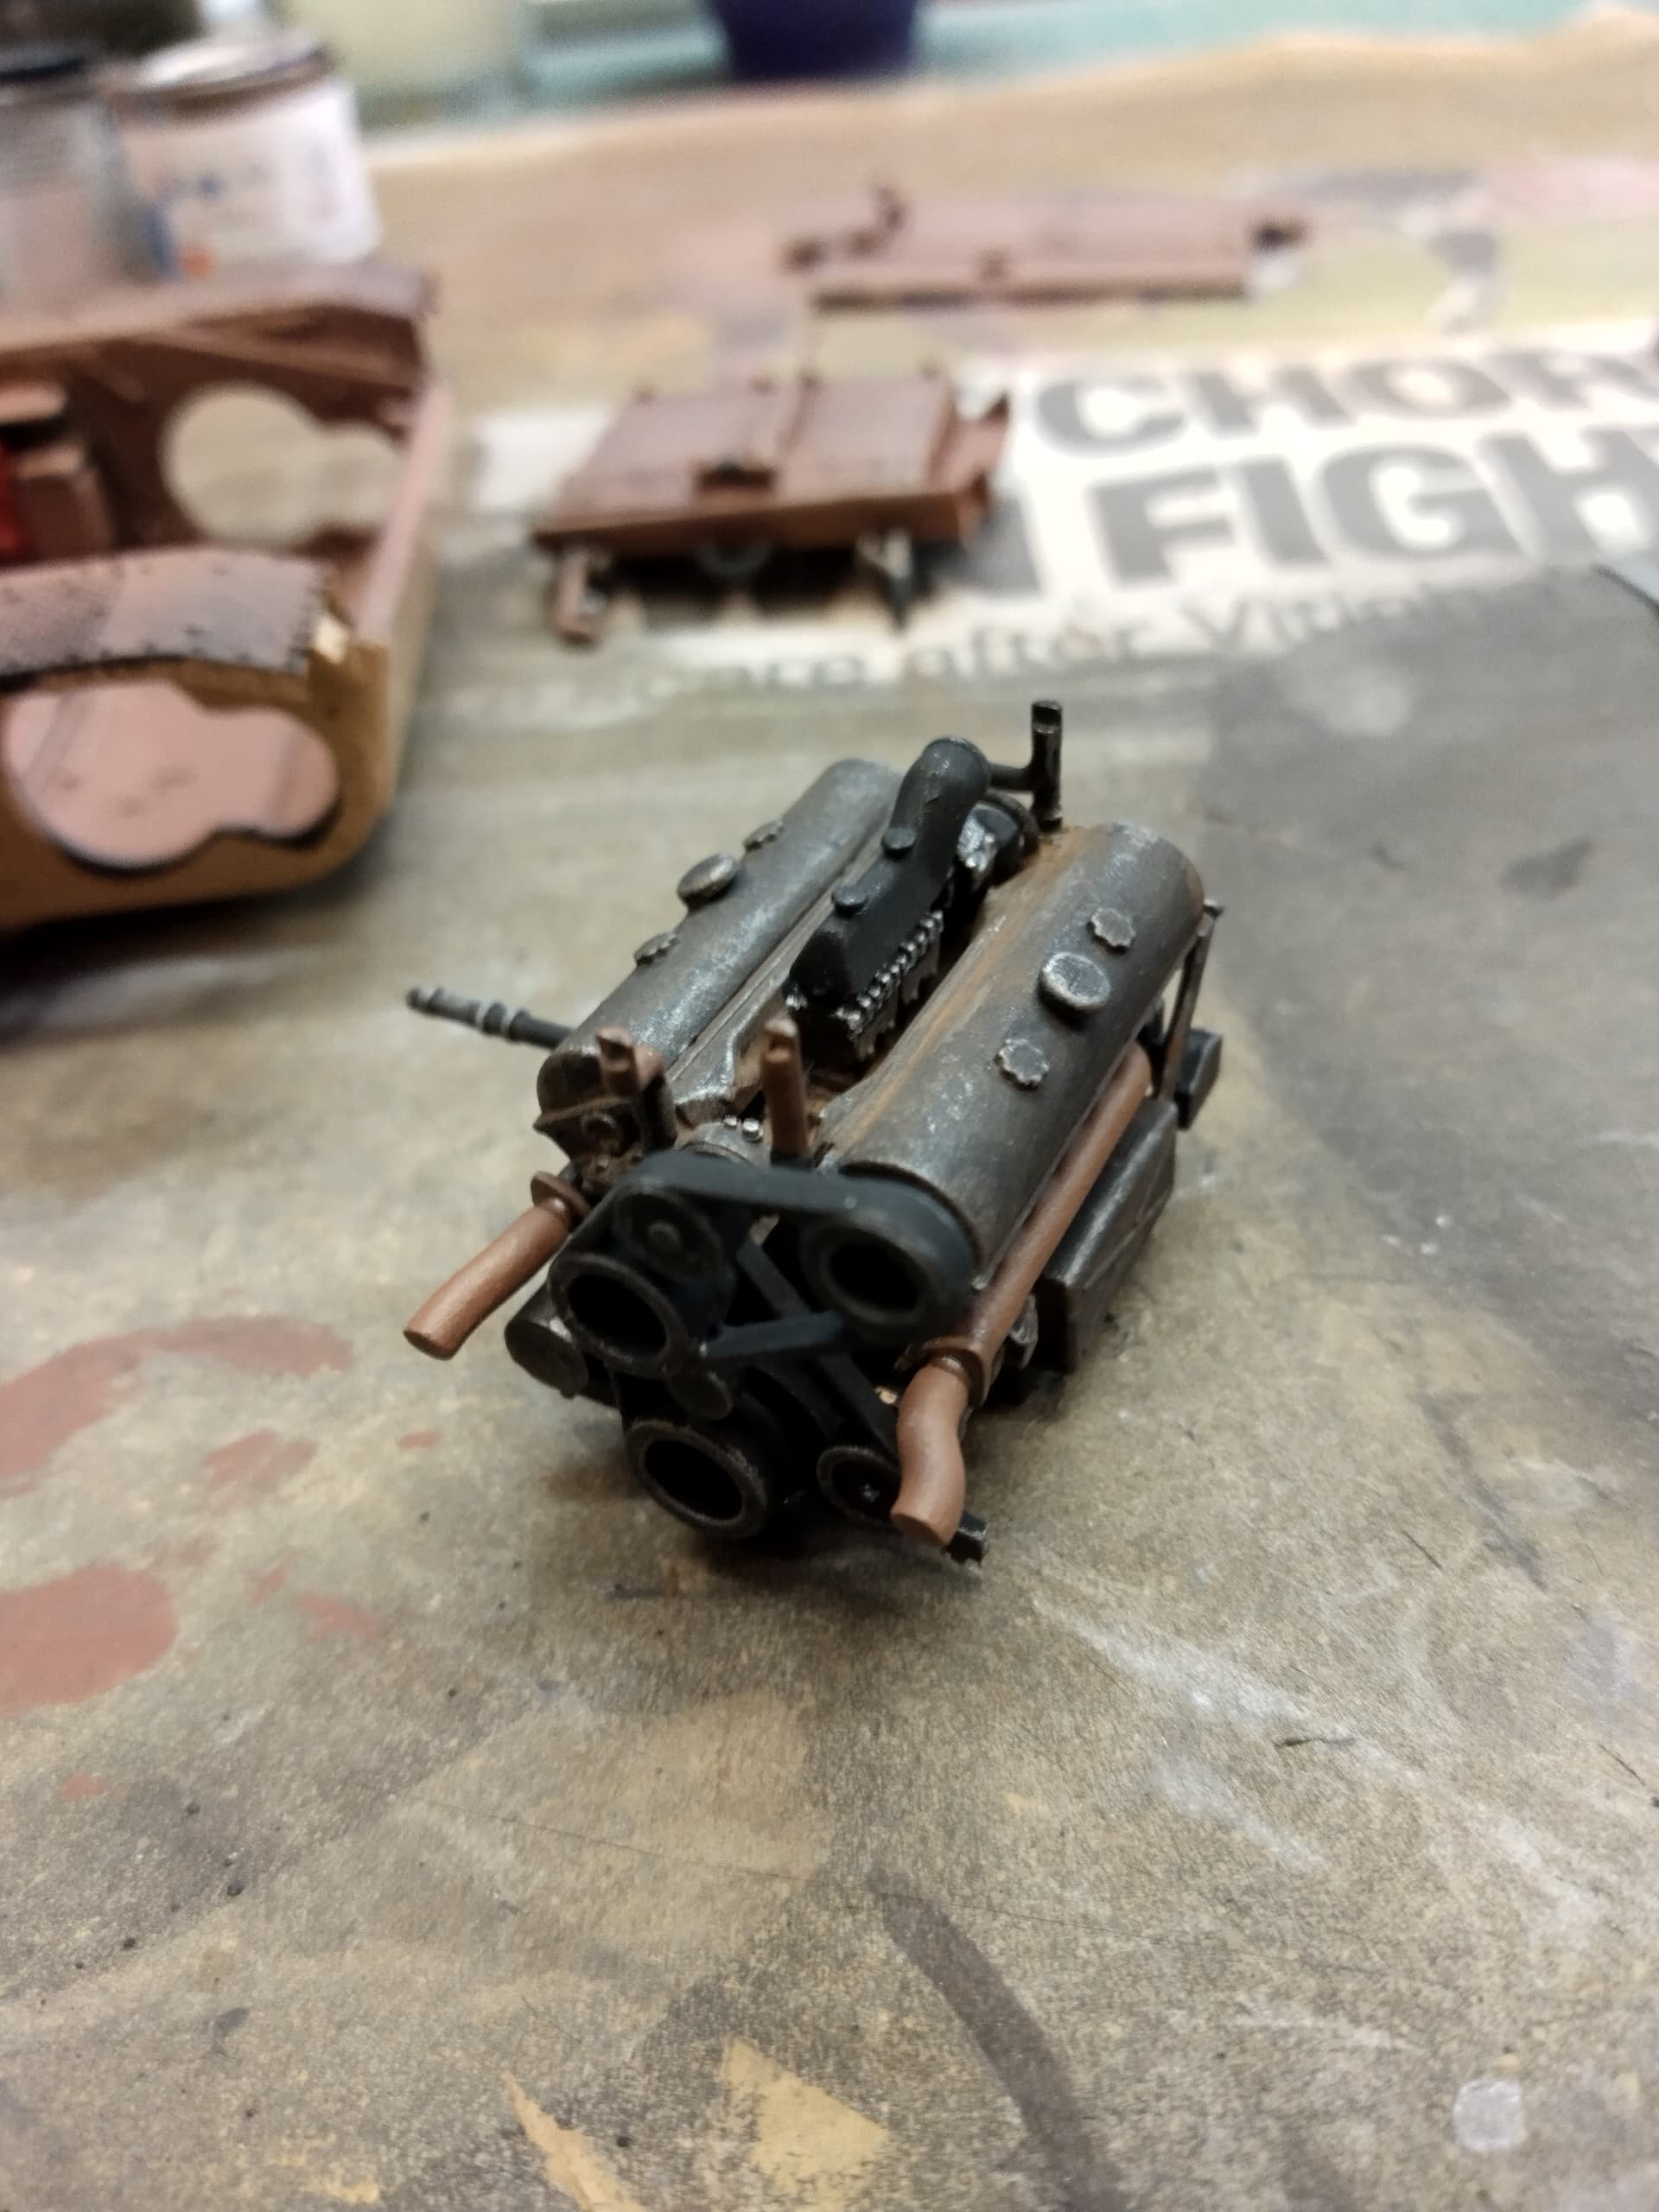
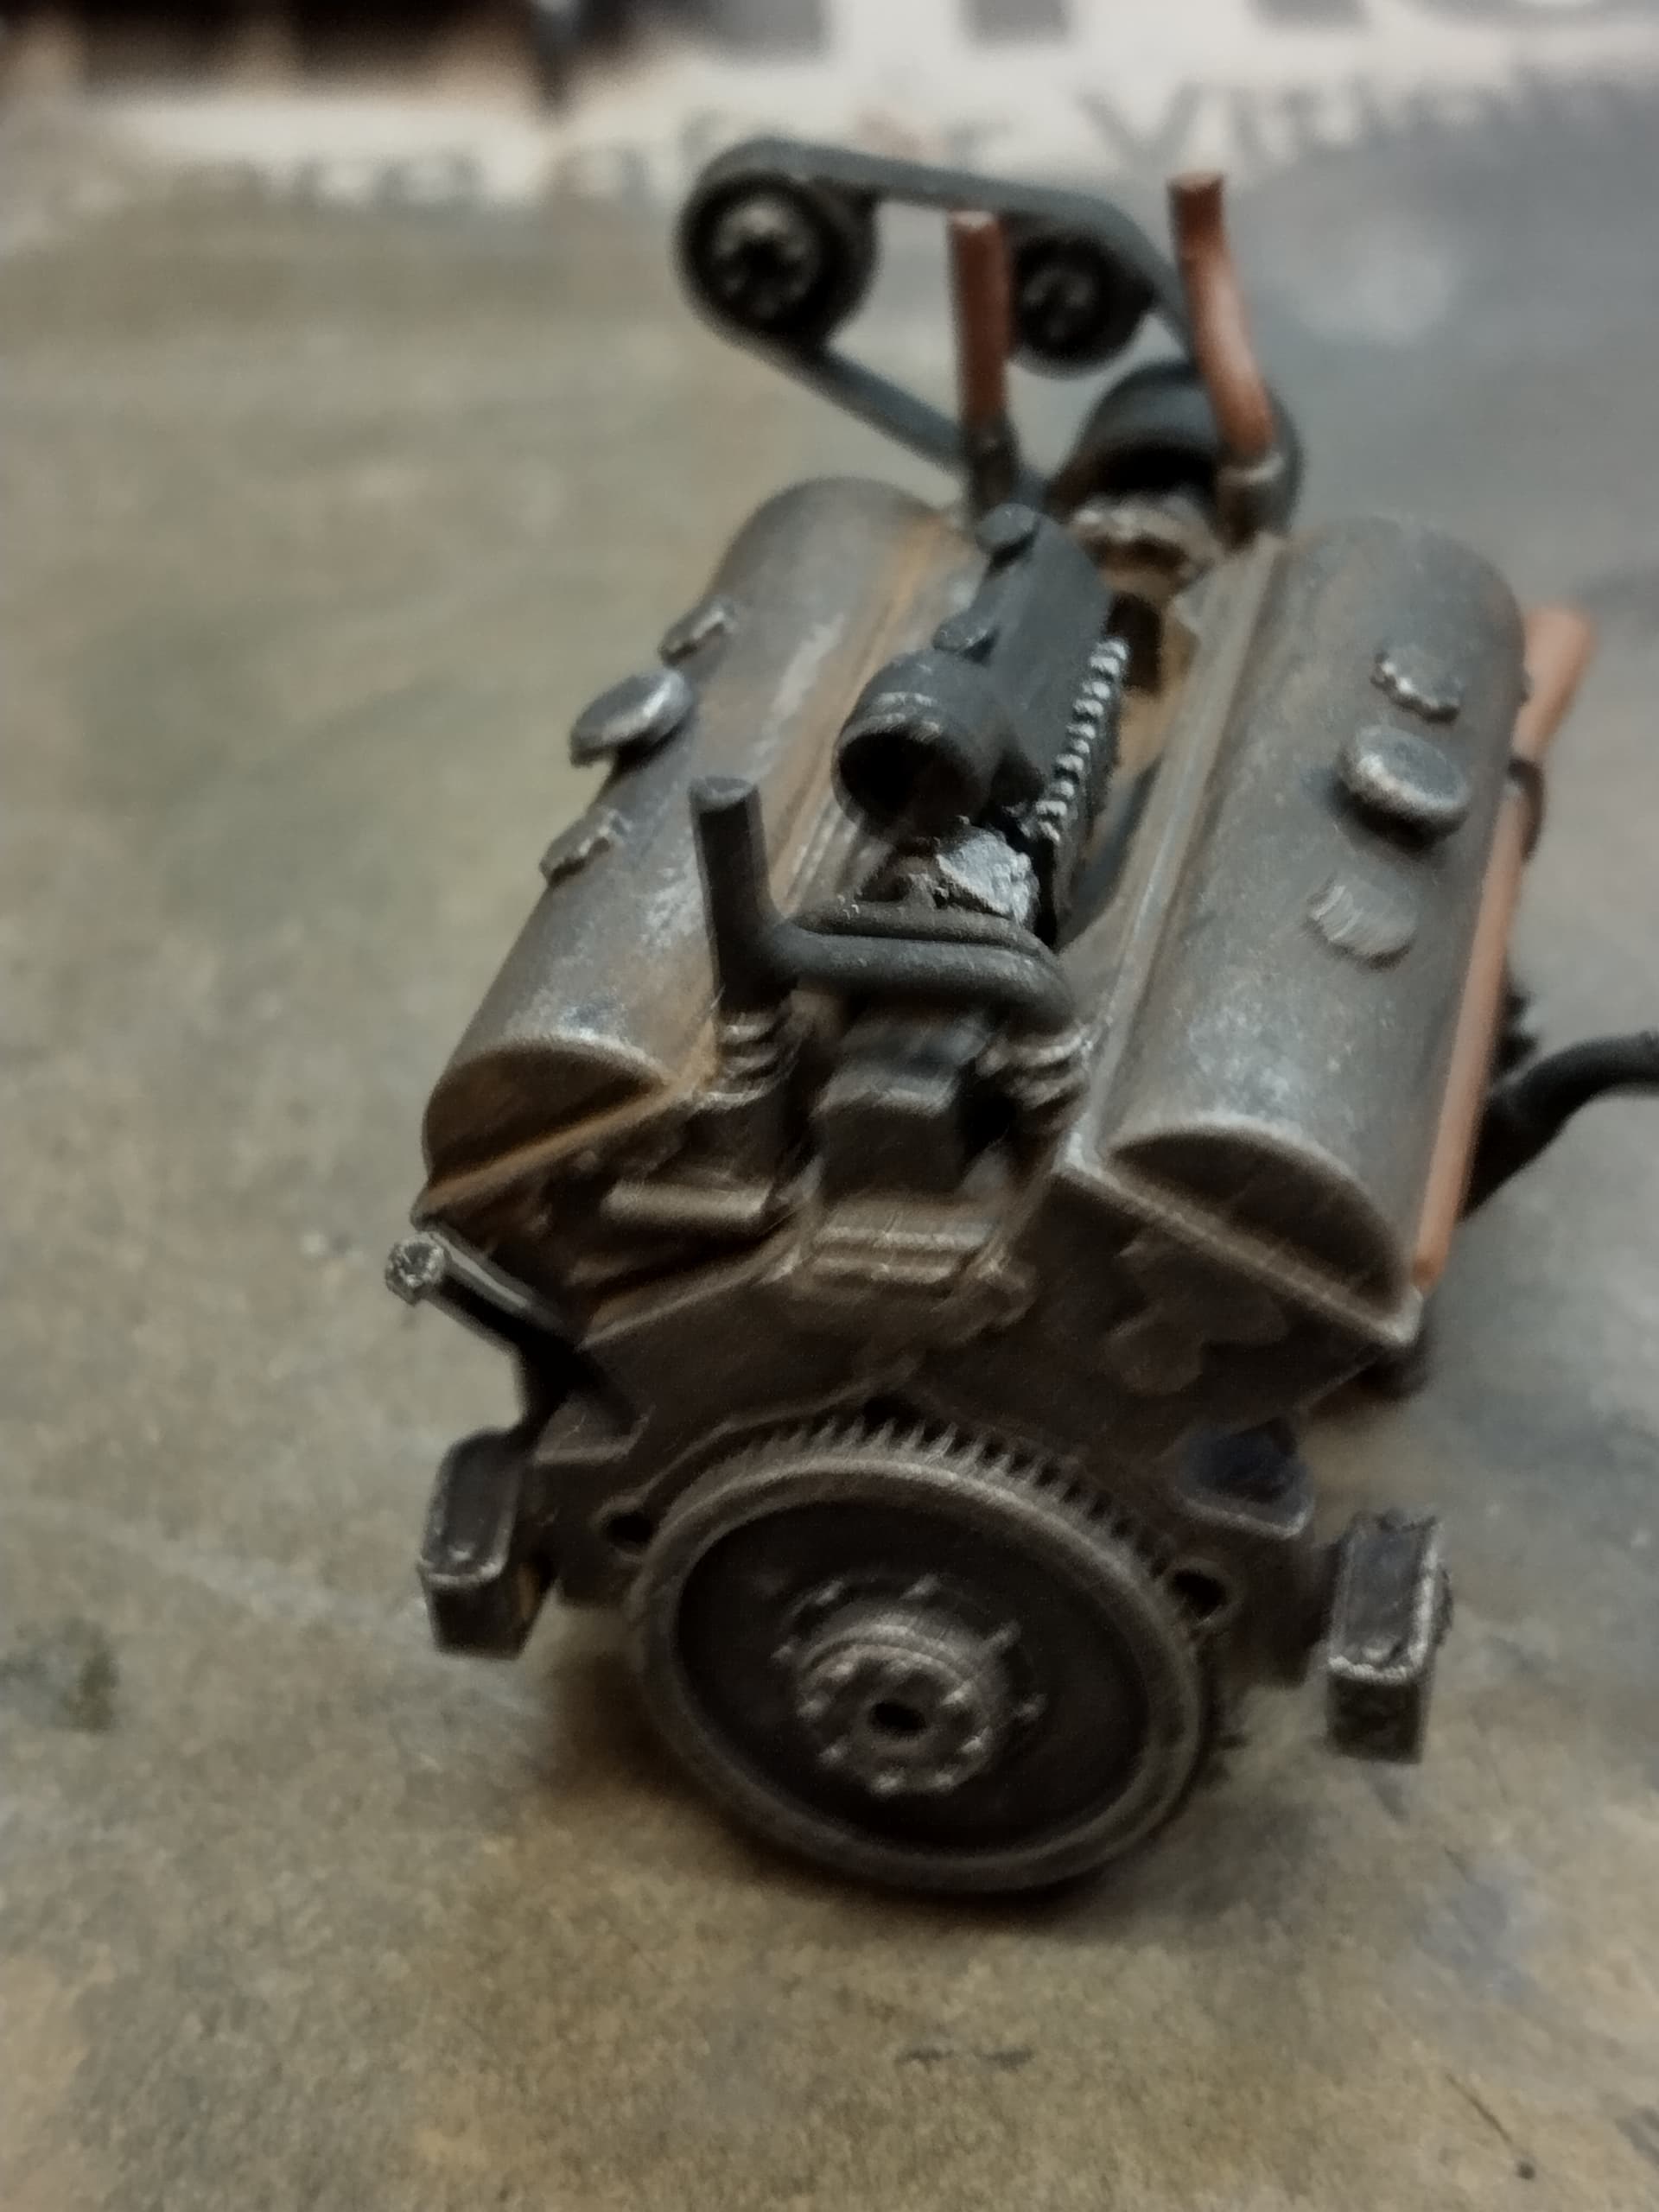
OK here’s a few. I’m actually further on than this, but I haven’t taken any photos since these. They were mainly so I had a record of what the engine looked like after completion, before it was buried inside for good! I’m finding parts of the kit easy, but there are a lot of small pieces to deal with and I’m struggling with some - mainly due to age. Fit generally appears to be good, but is very “tight”; a coat of paint makes it difficult to locate parts, the difference between go and no go! I’ve lost two parts off the back plate, I’m not sure what they are, some sort of filler I think. They pinged off into the garage somewhere while I was trying to clean them up. On the whole I think the kit is slightly “over-engineered”. The lost parts could easily have been moulded onto the backplate (as in fact they are on Tamiya Pz IVs).
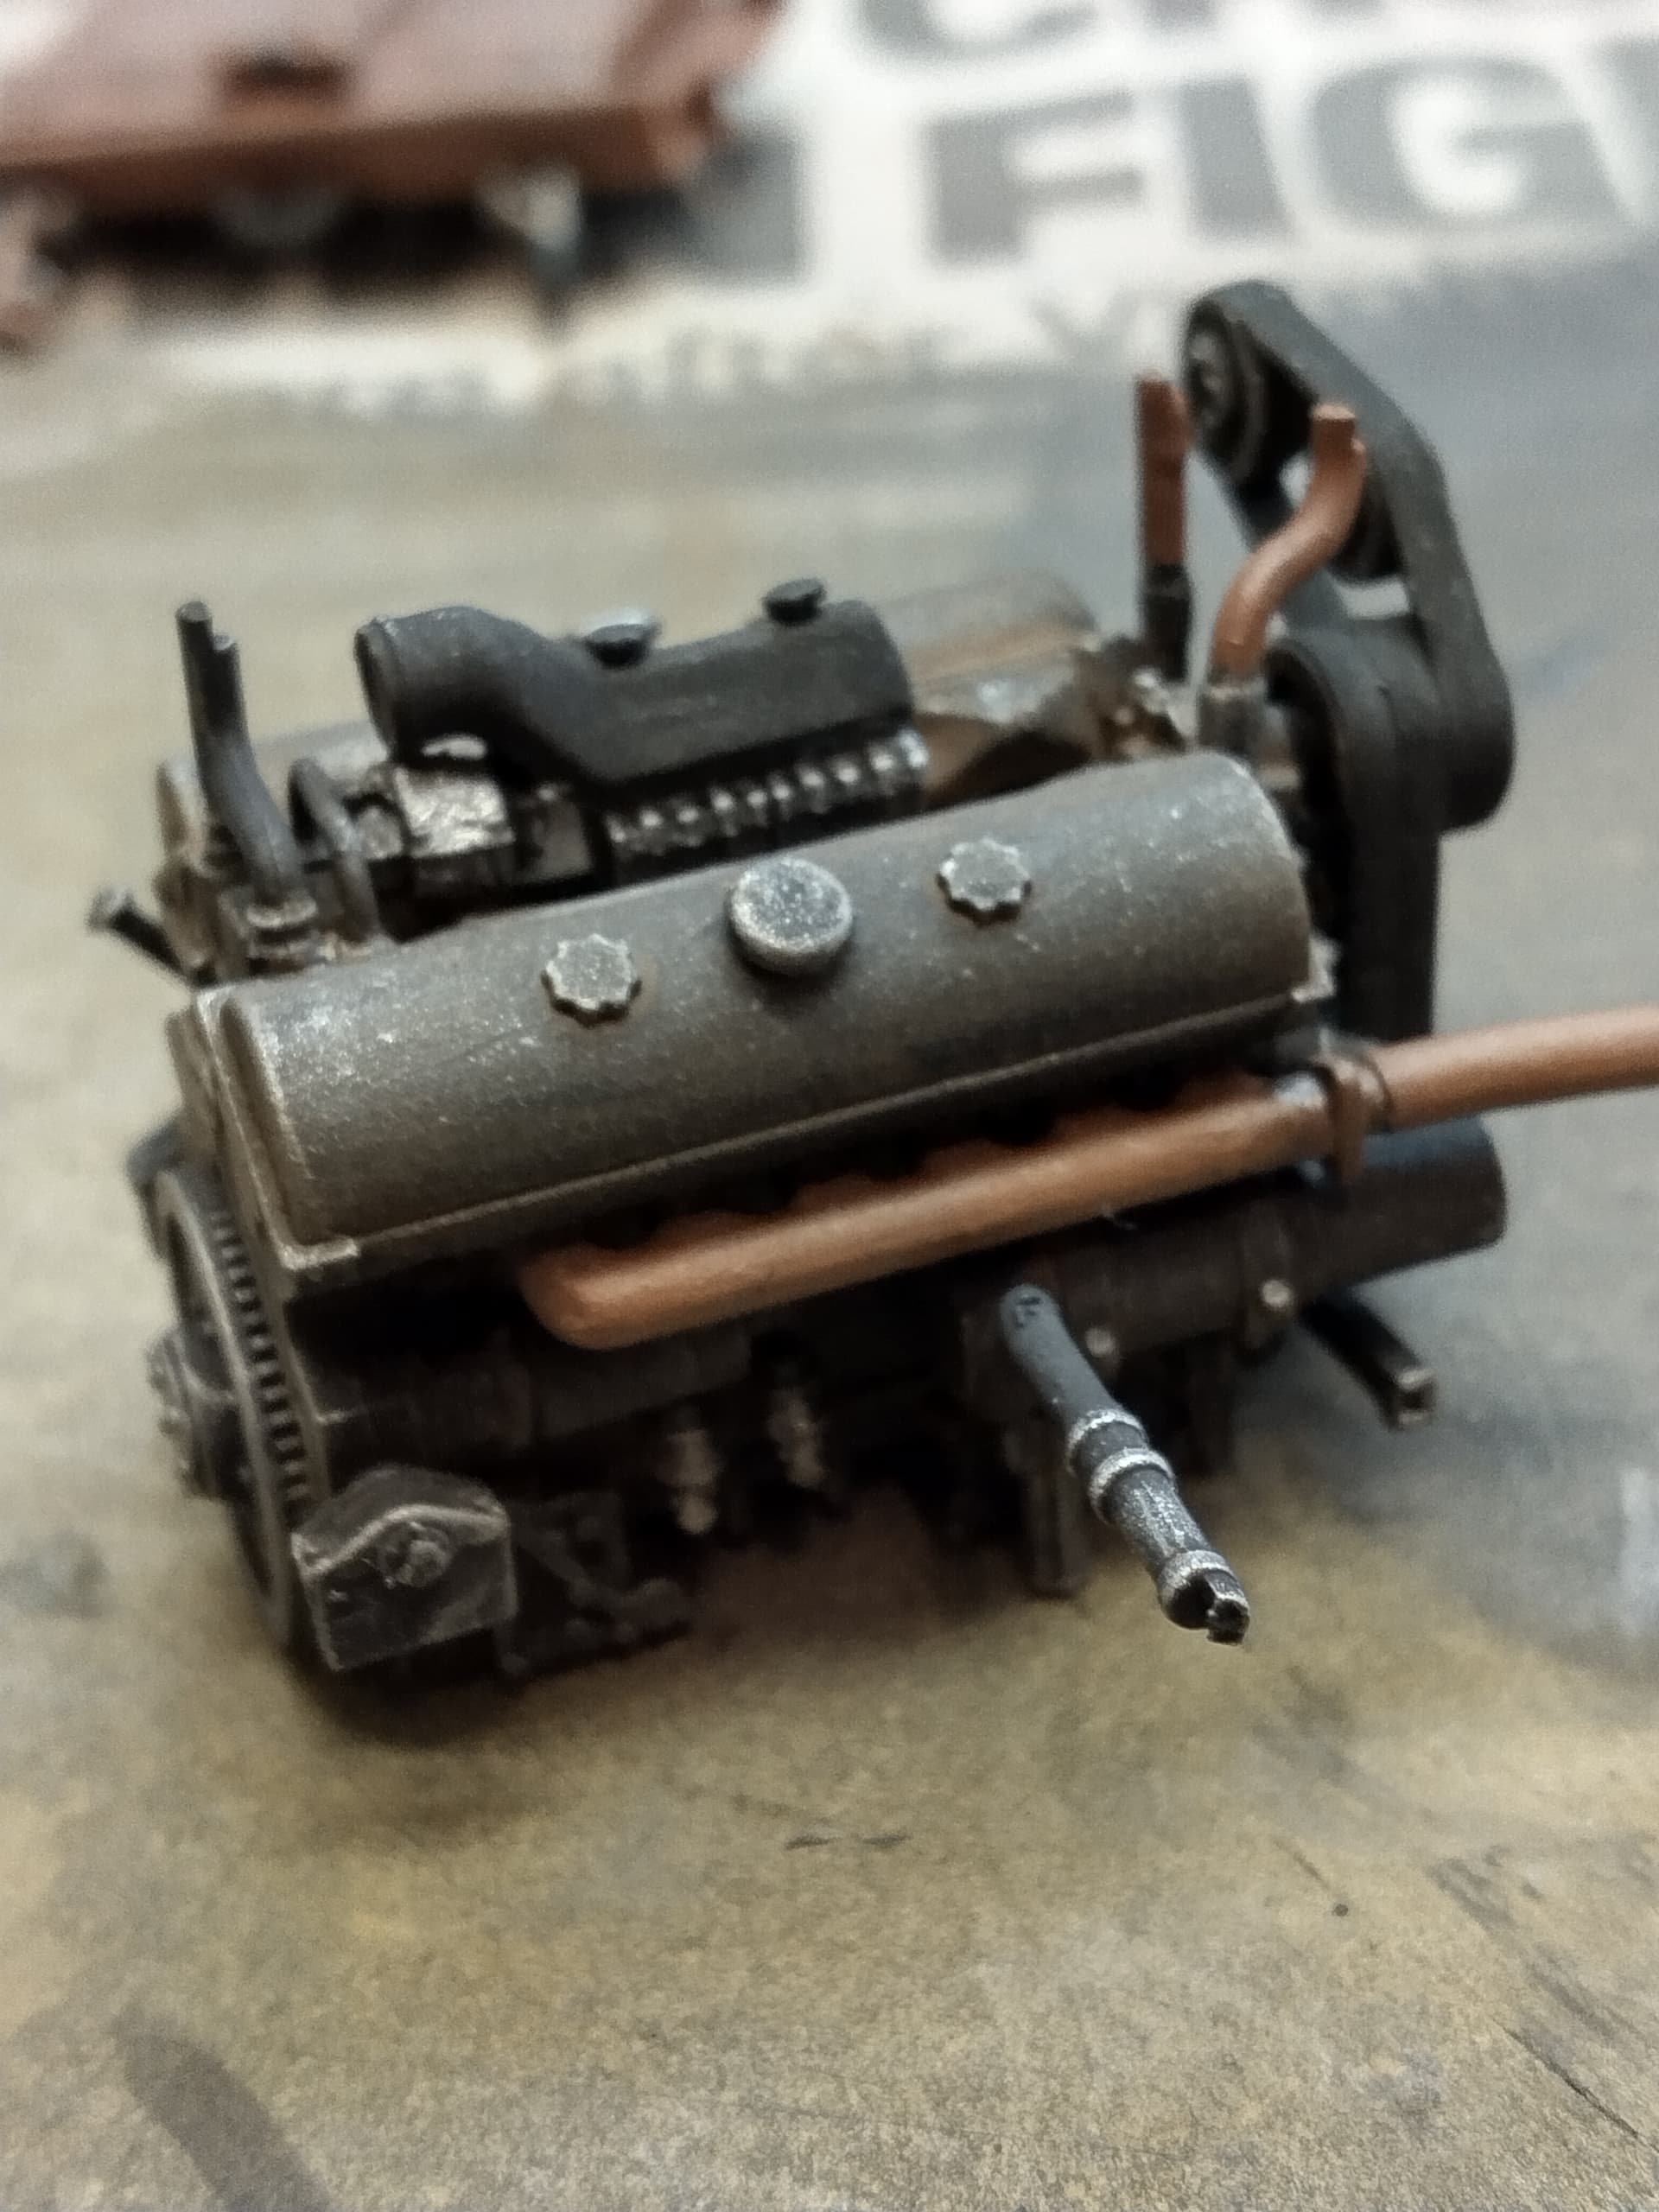

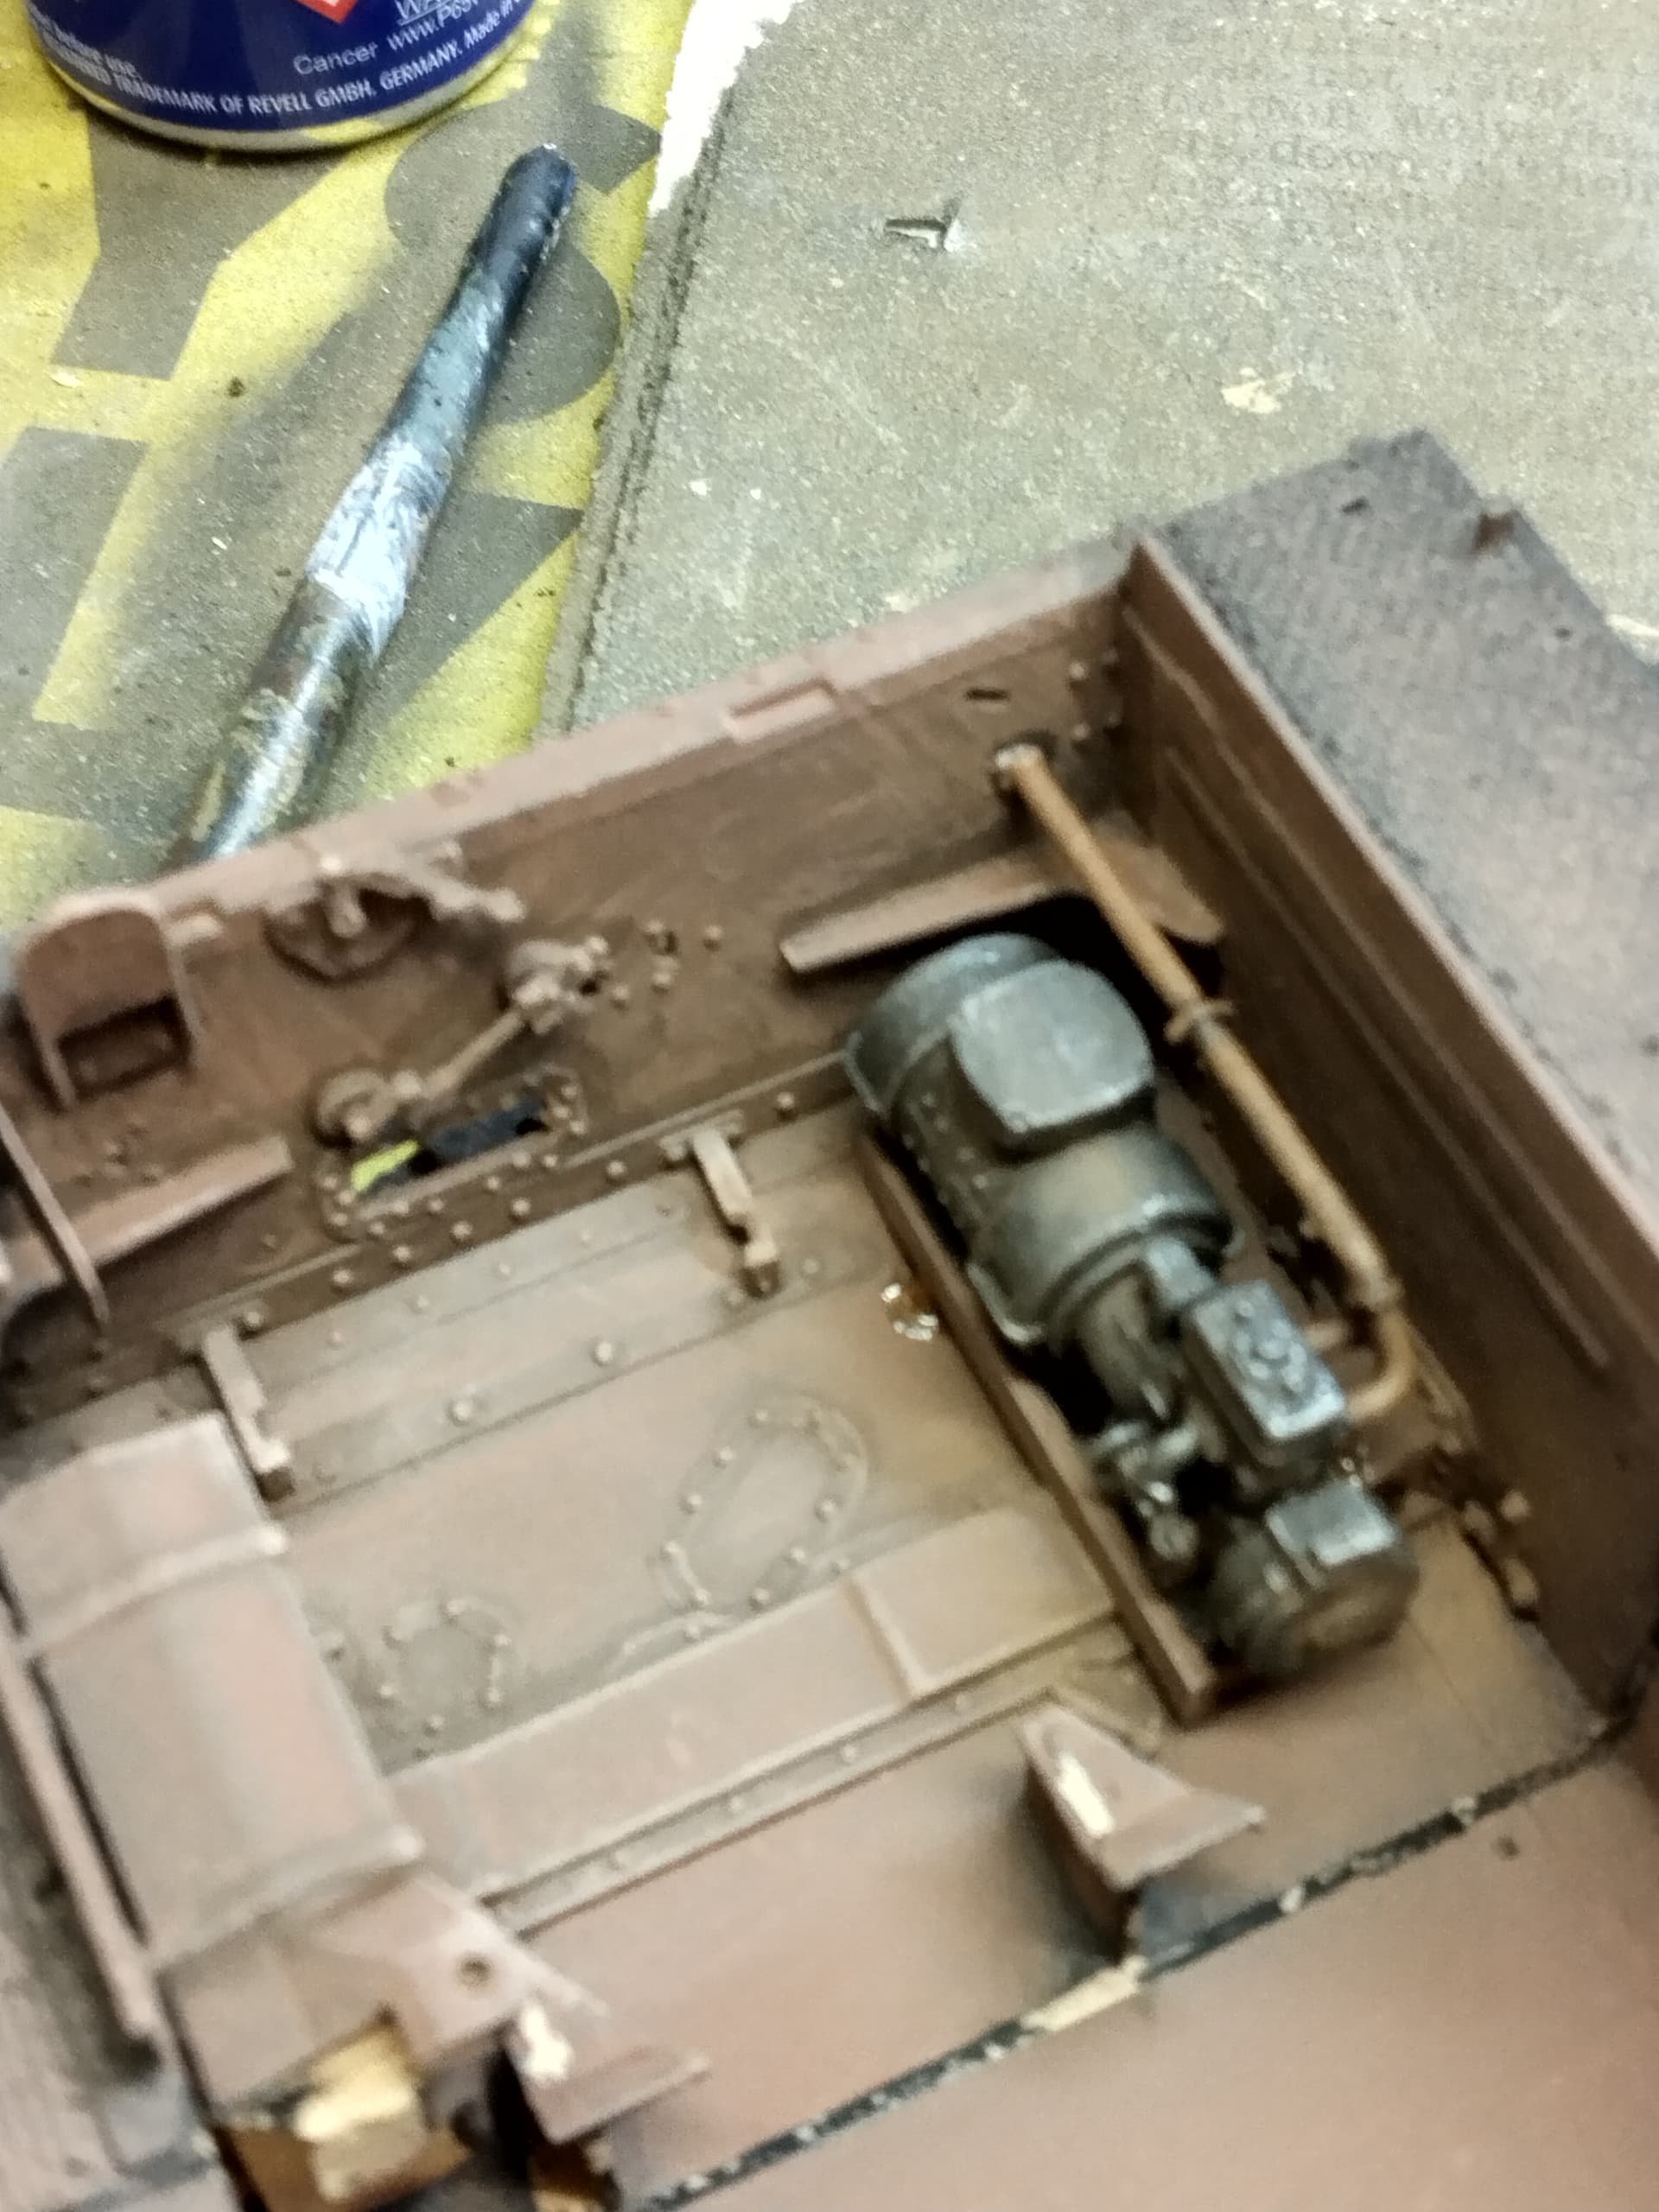

That engine and compartment look excellent!
I have a few pz iv in my stash and should start one…… dragon and Tristar ……I need to finish other projects first.