@Armournovice …Gil, looking forward to seeing that. I had a look round the El Alamein allied cemetery and laid a wreath while we over there on Ex Bright Star in 97, quite a sombre place, but very moving thinking of all the blokes that fought there.
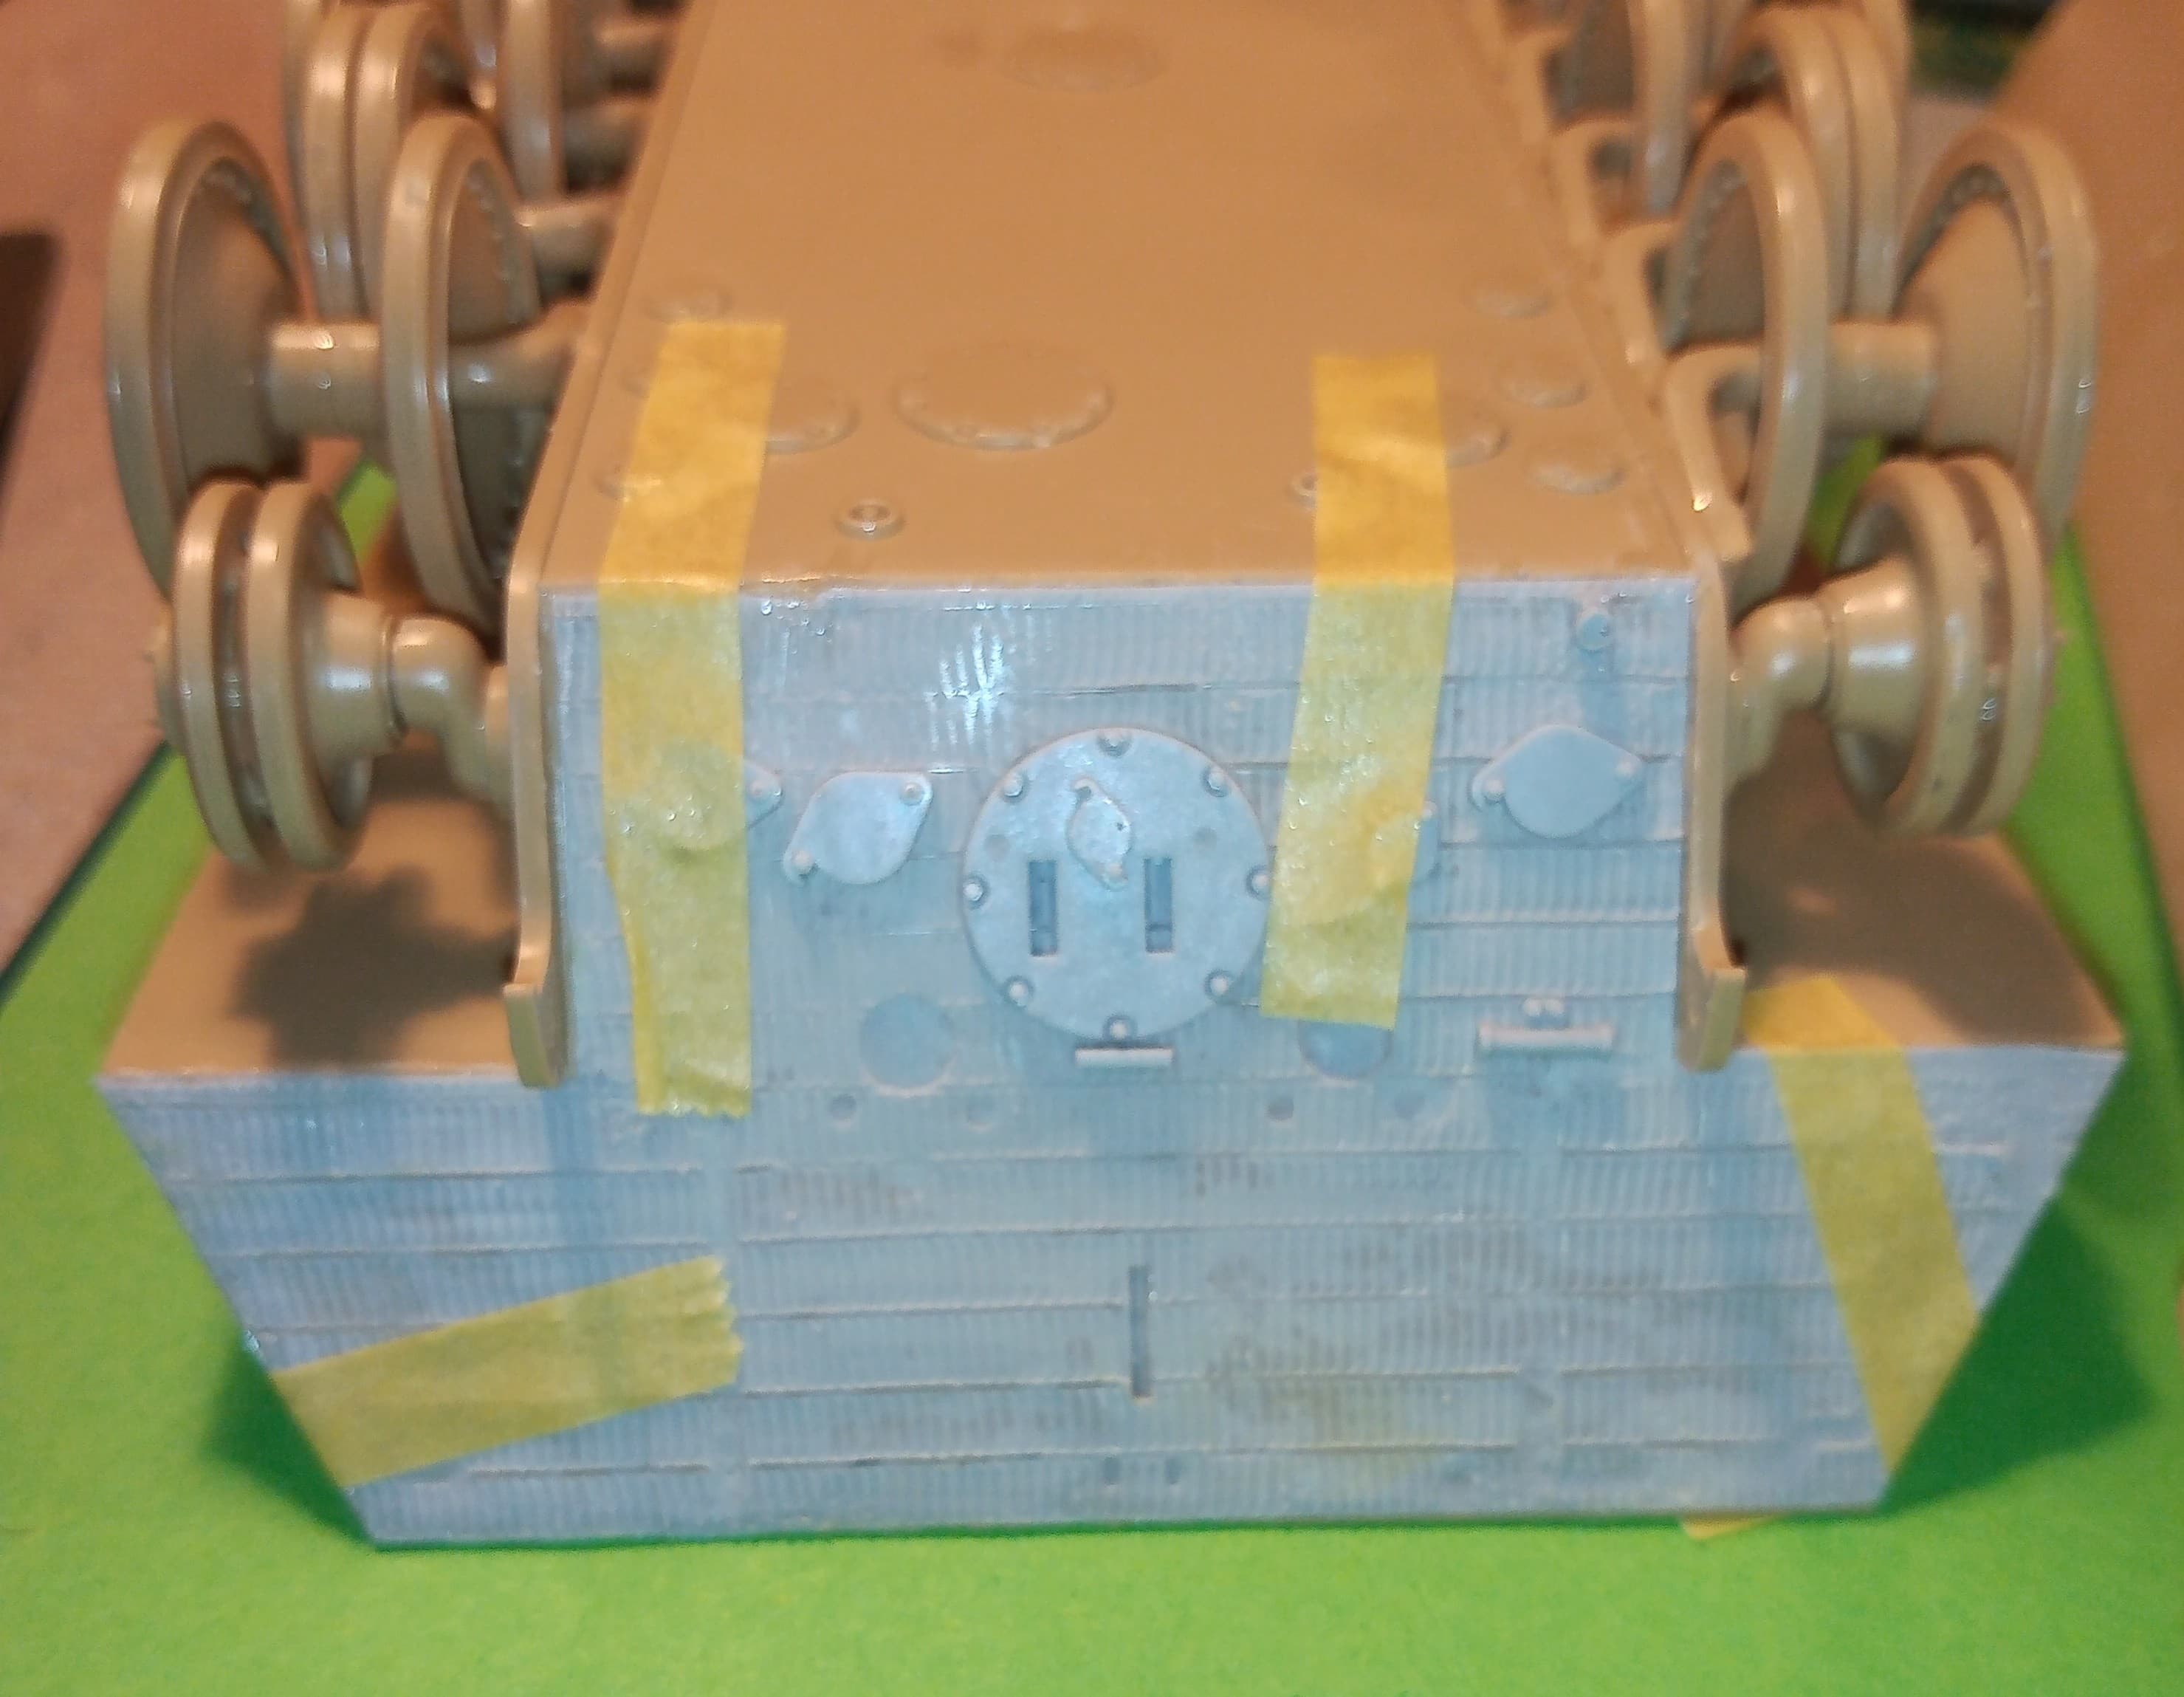
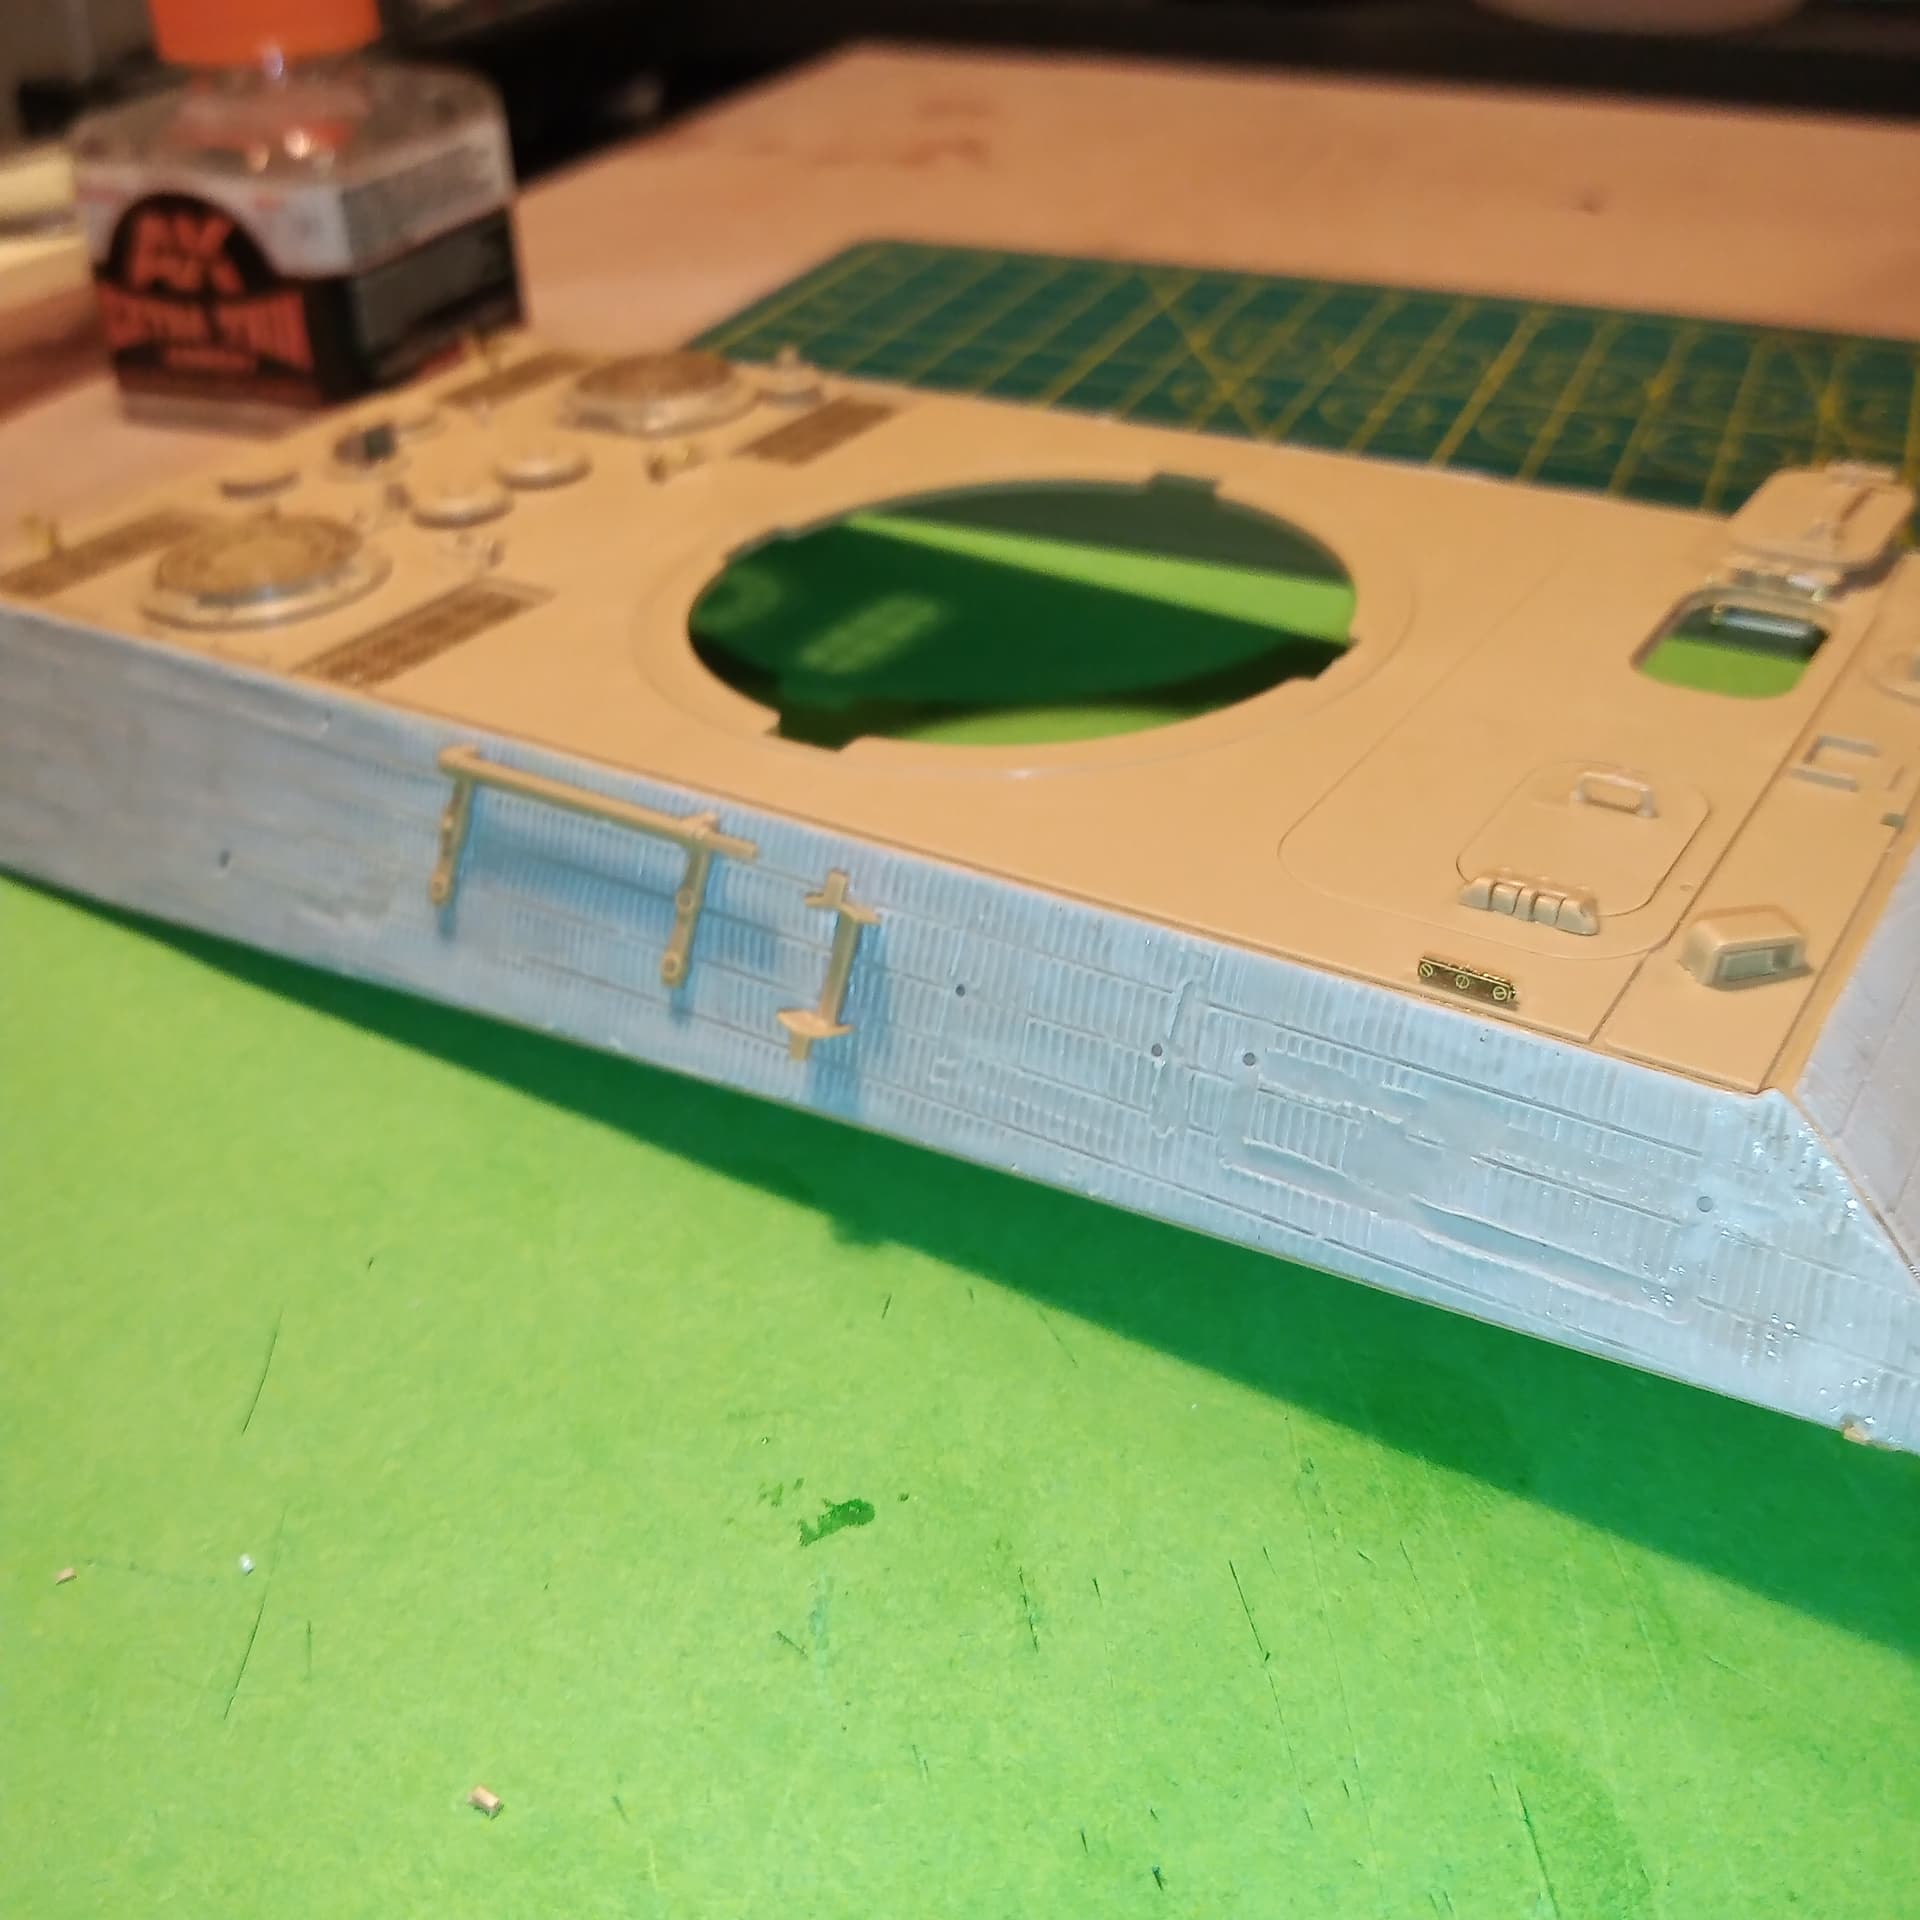
Have also done the sections on both lower hull sides behind the wheels but forgot to grab a pic of that.
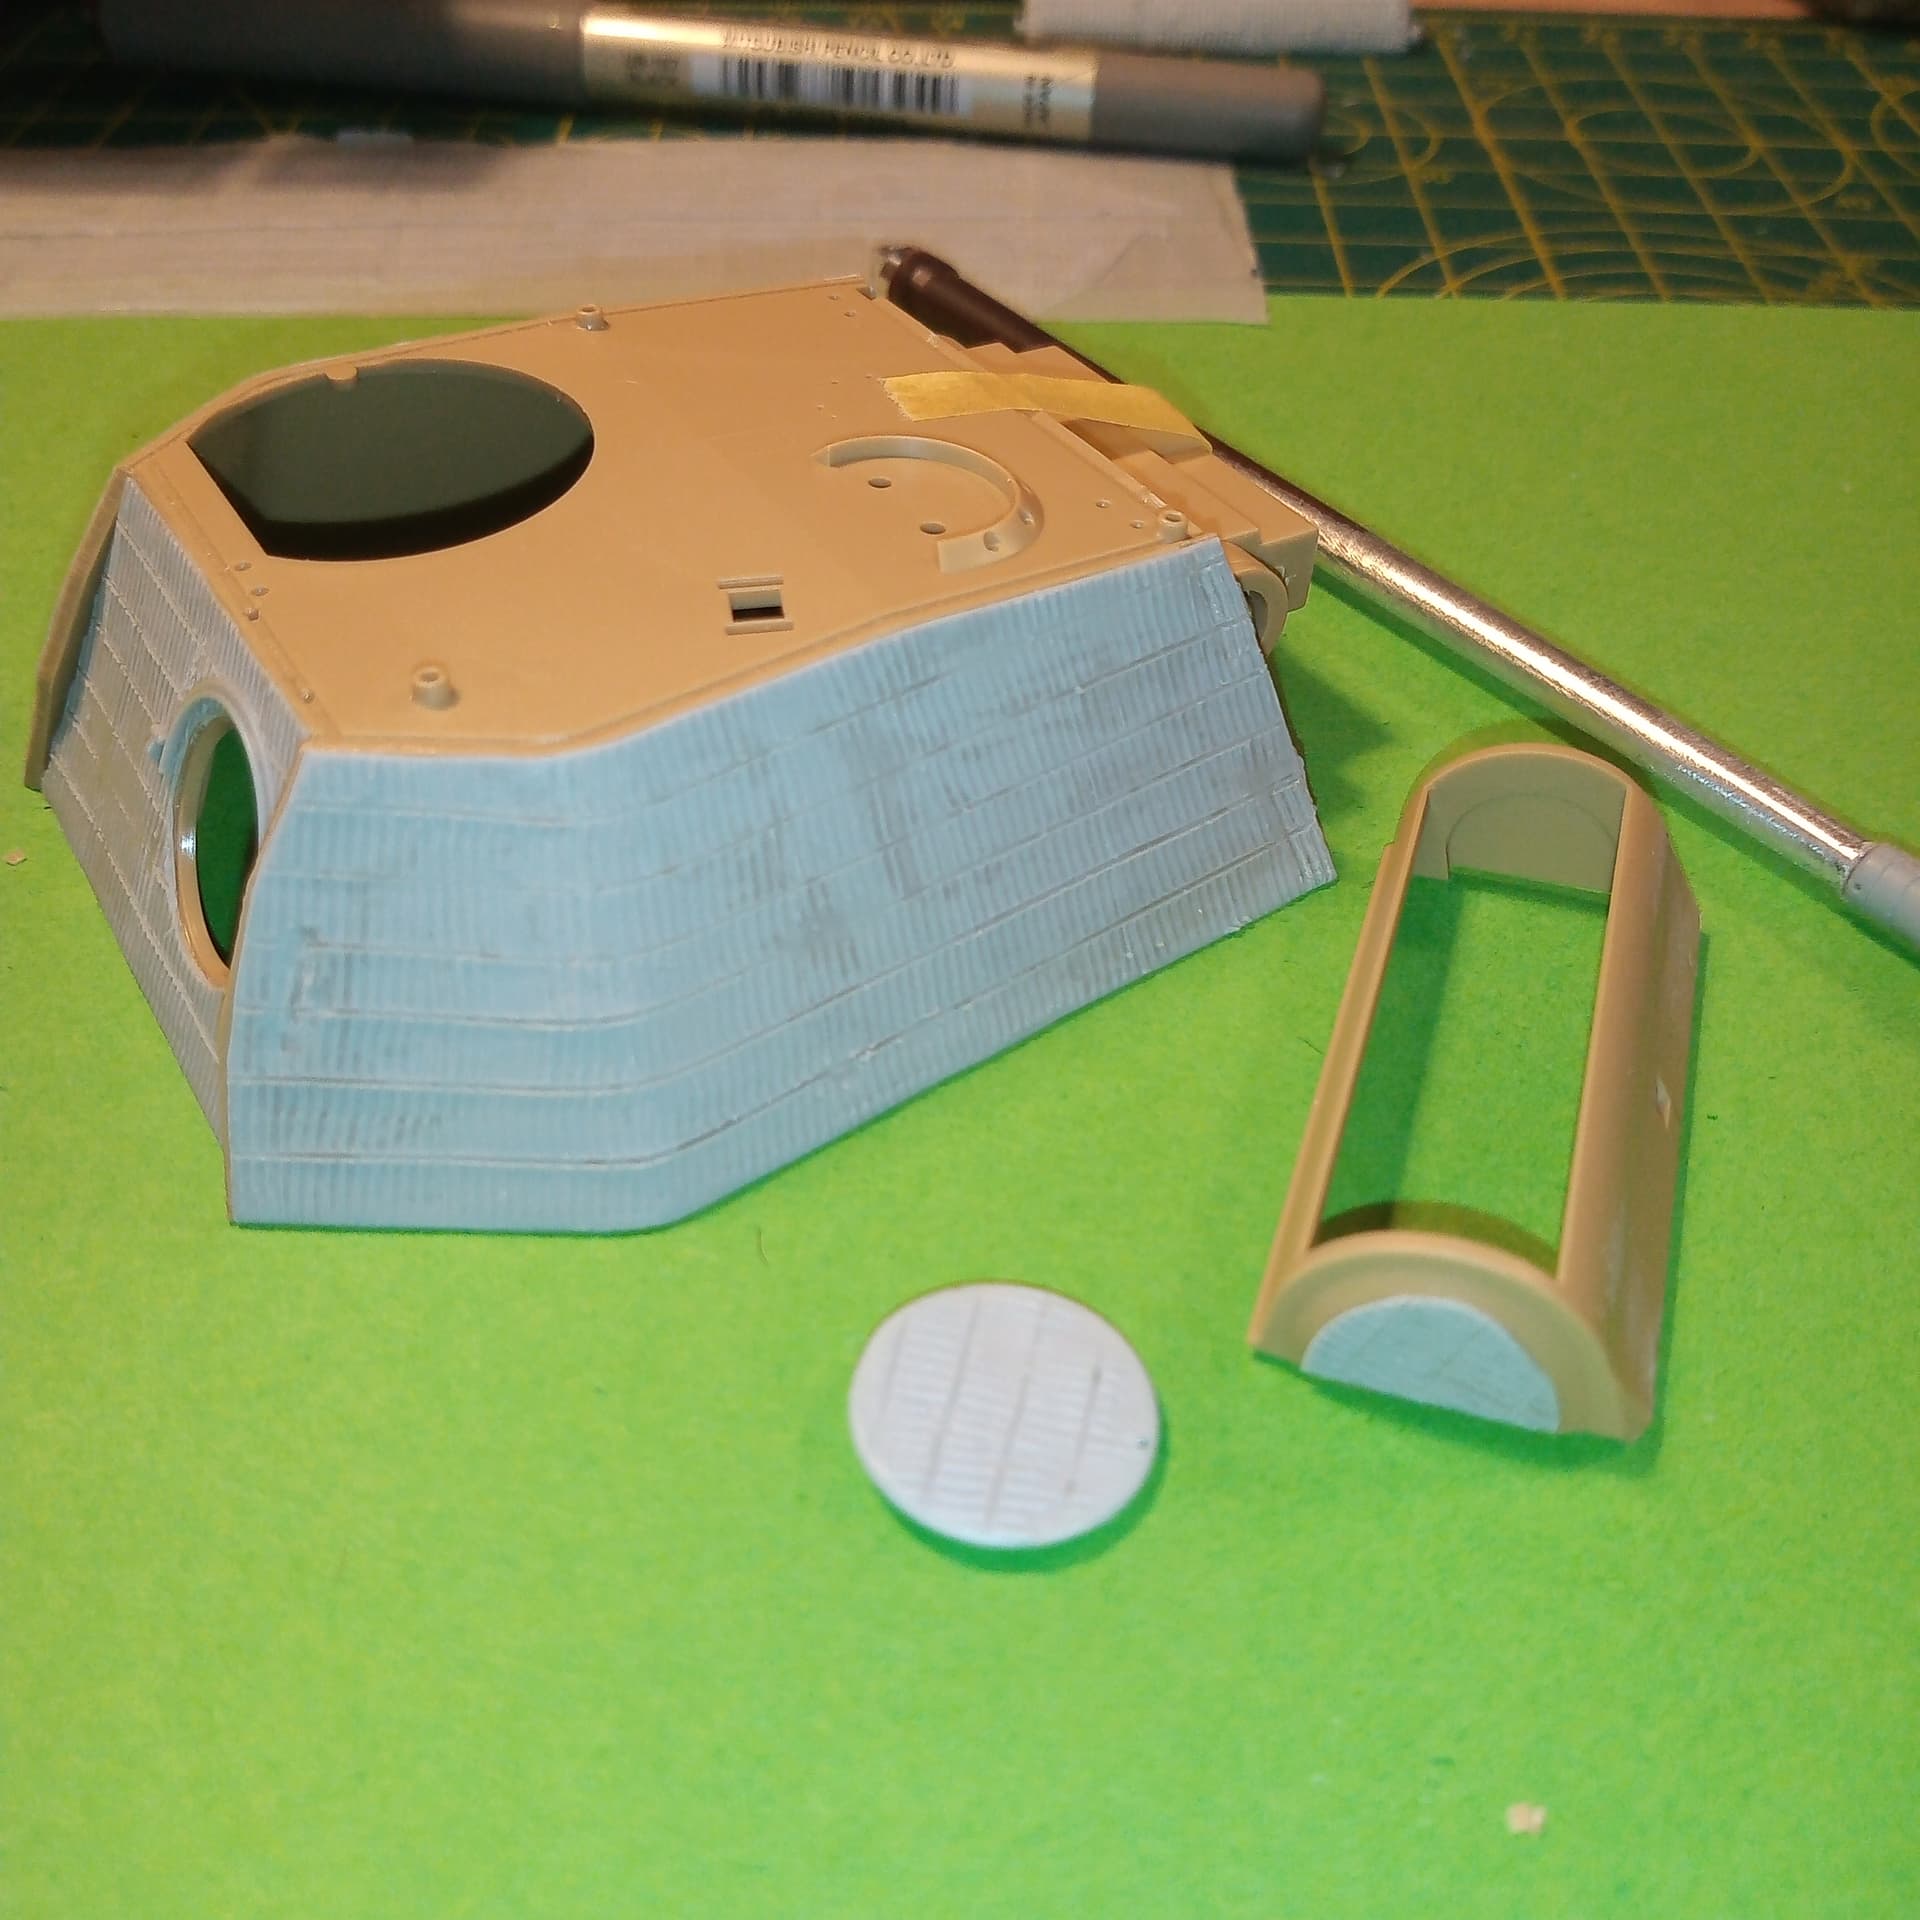
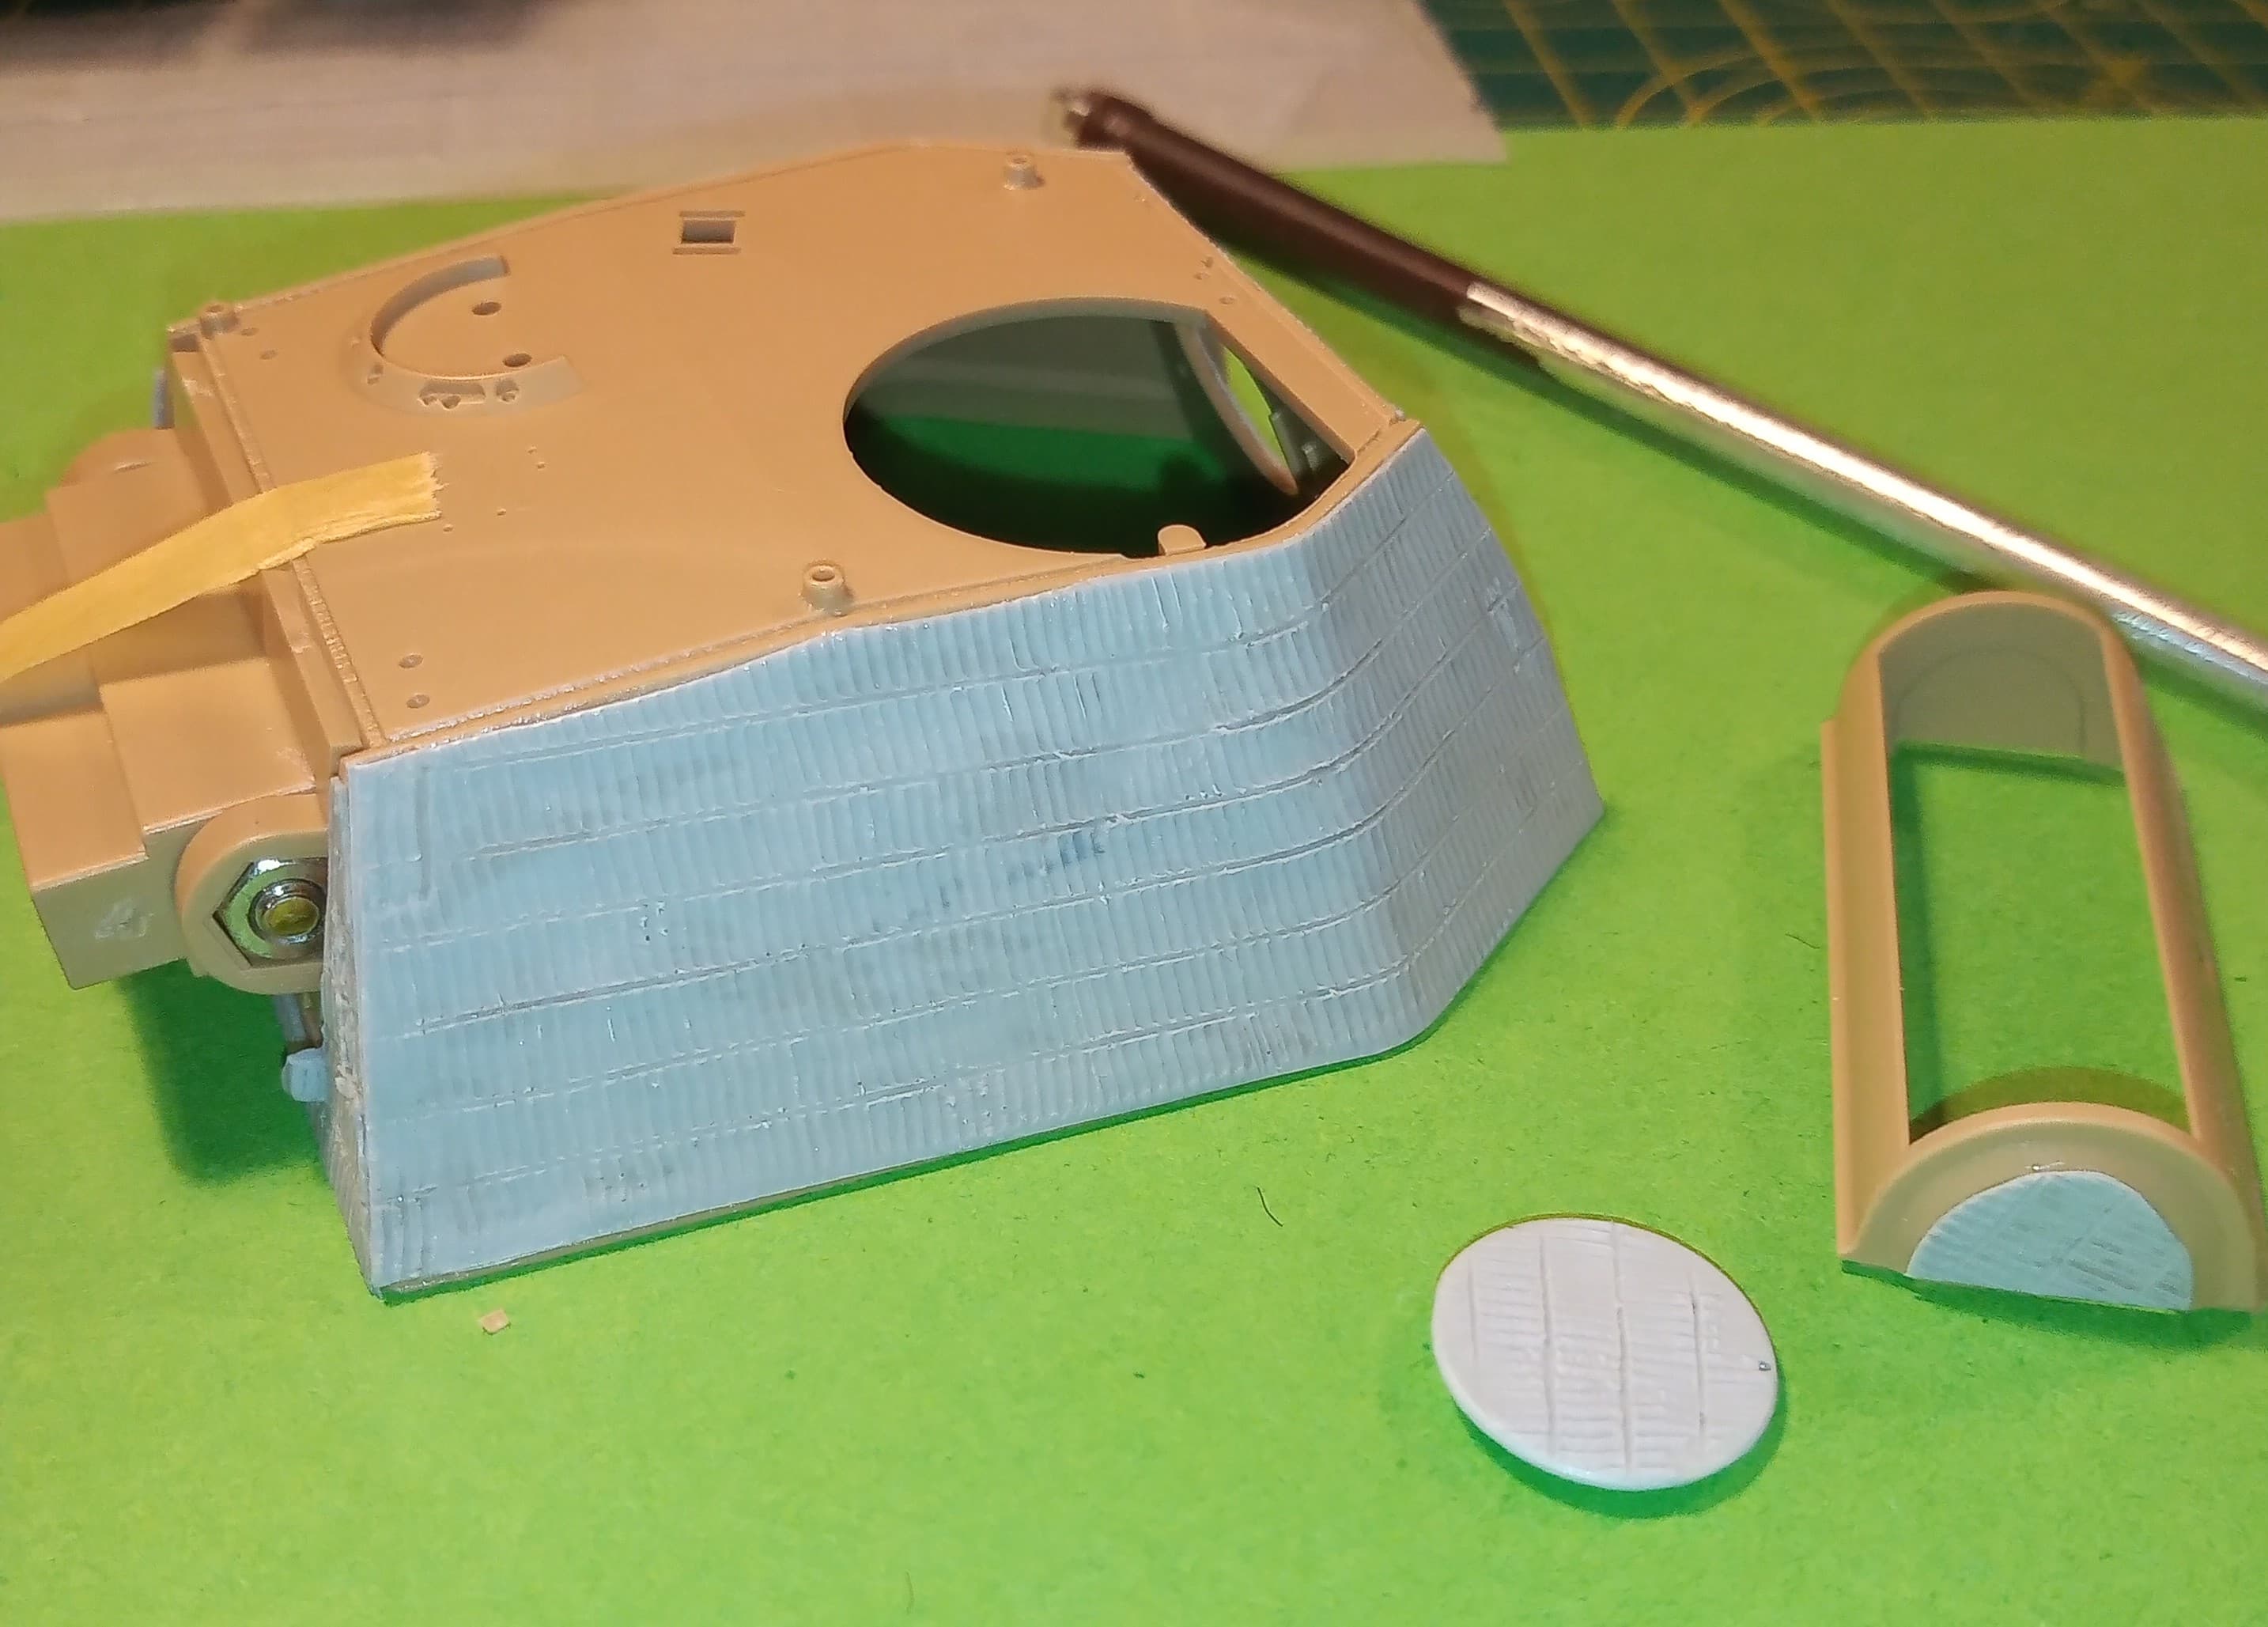
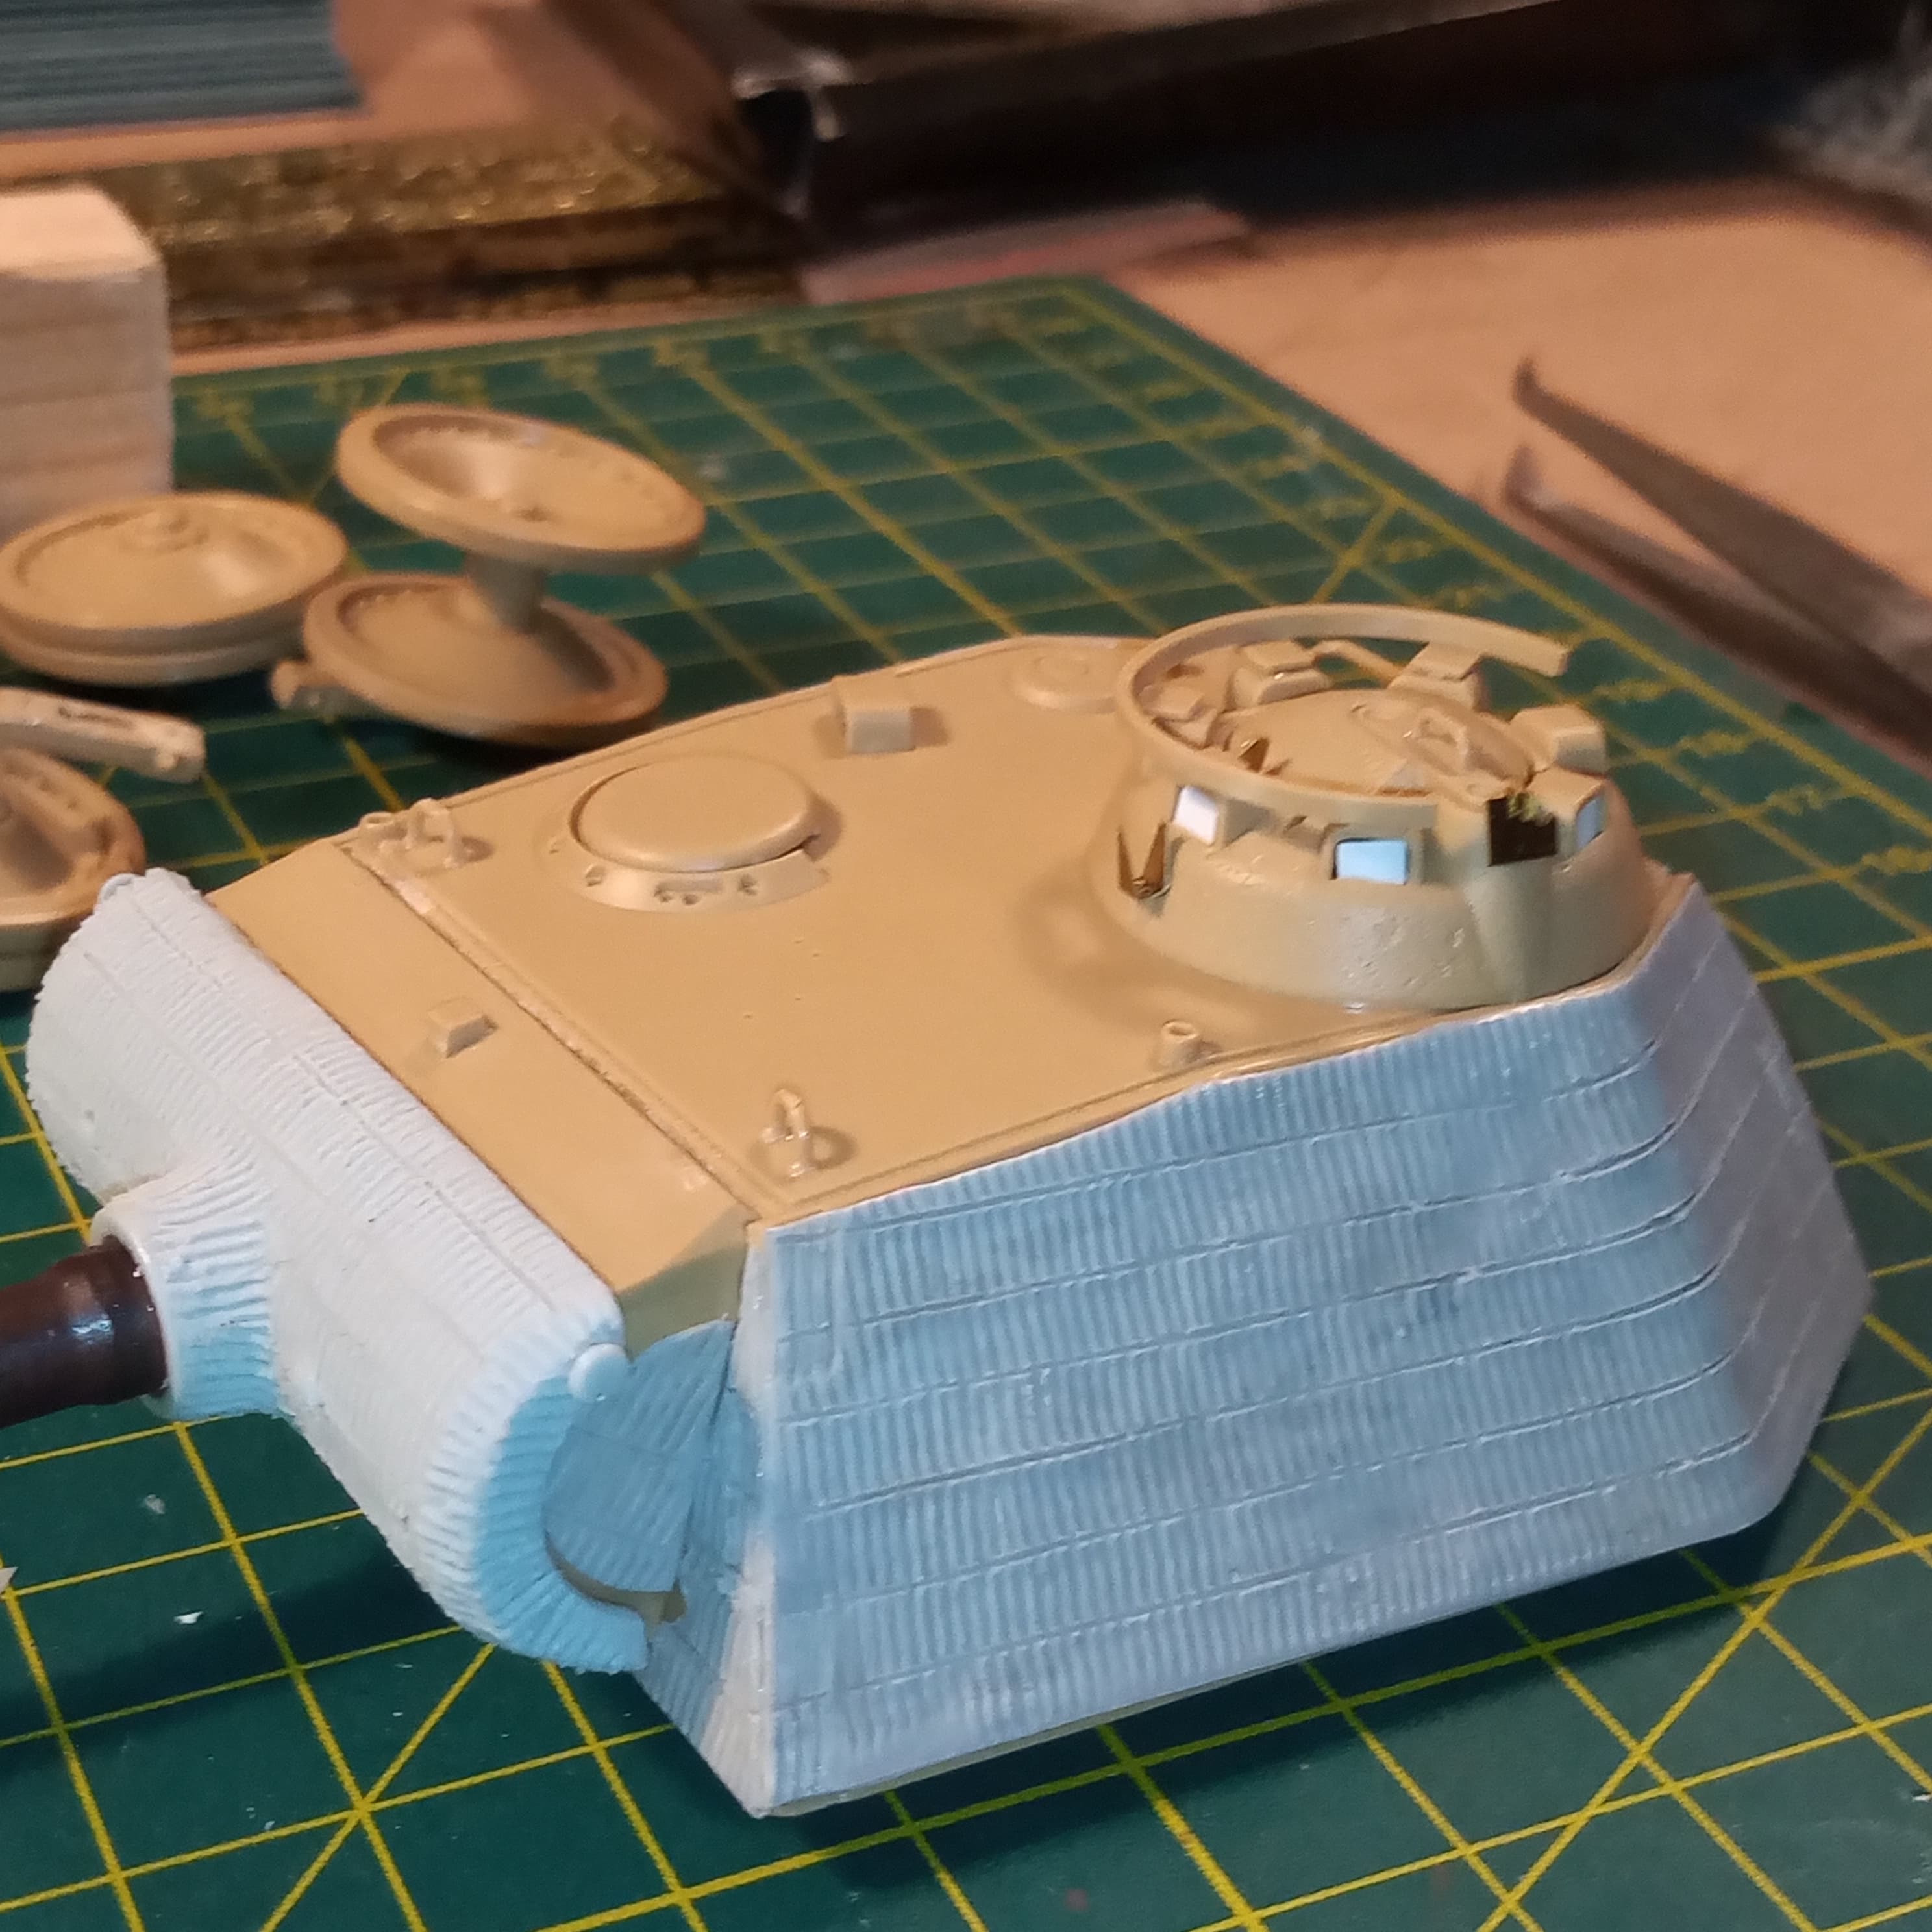
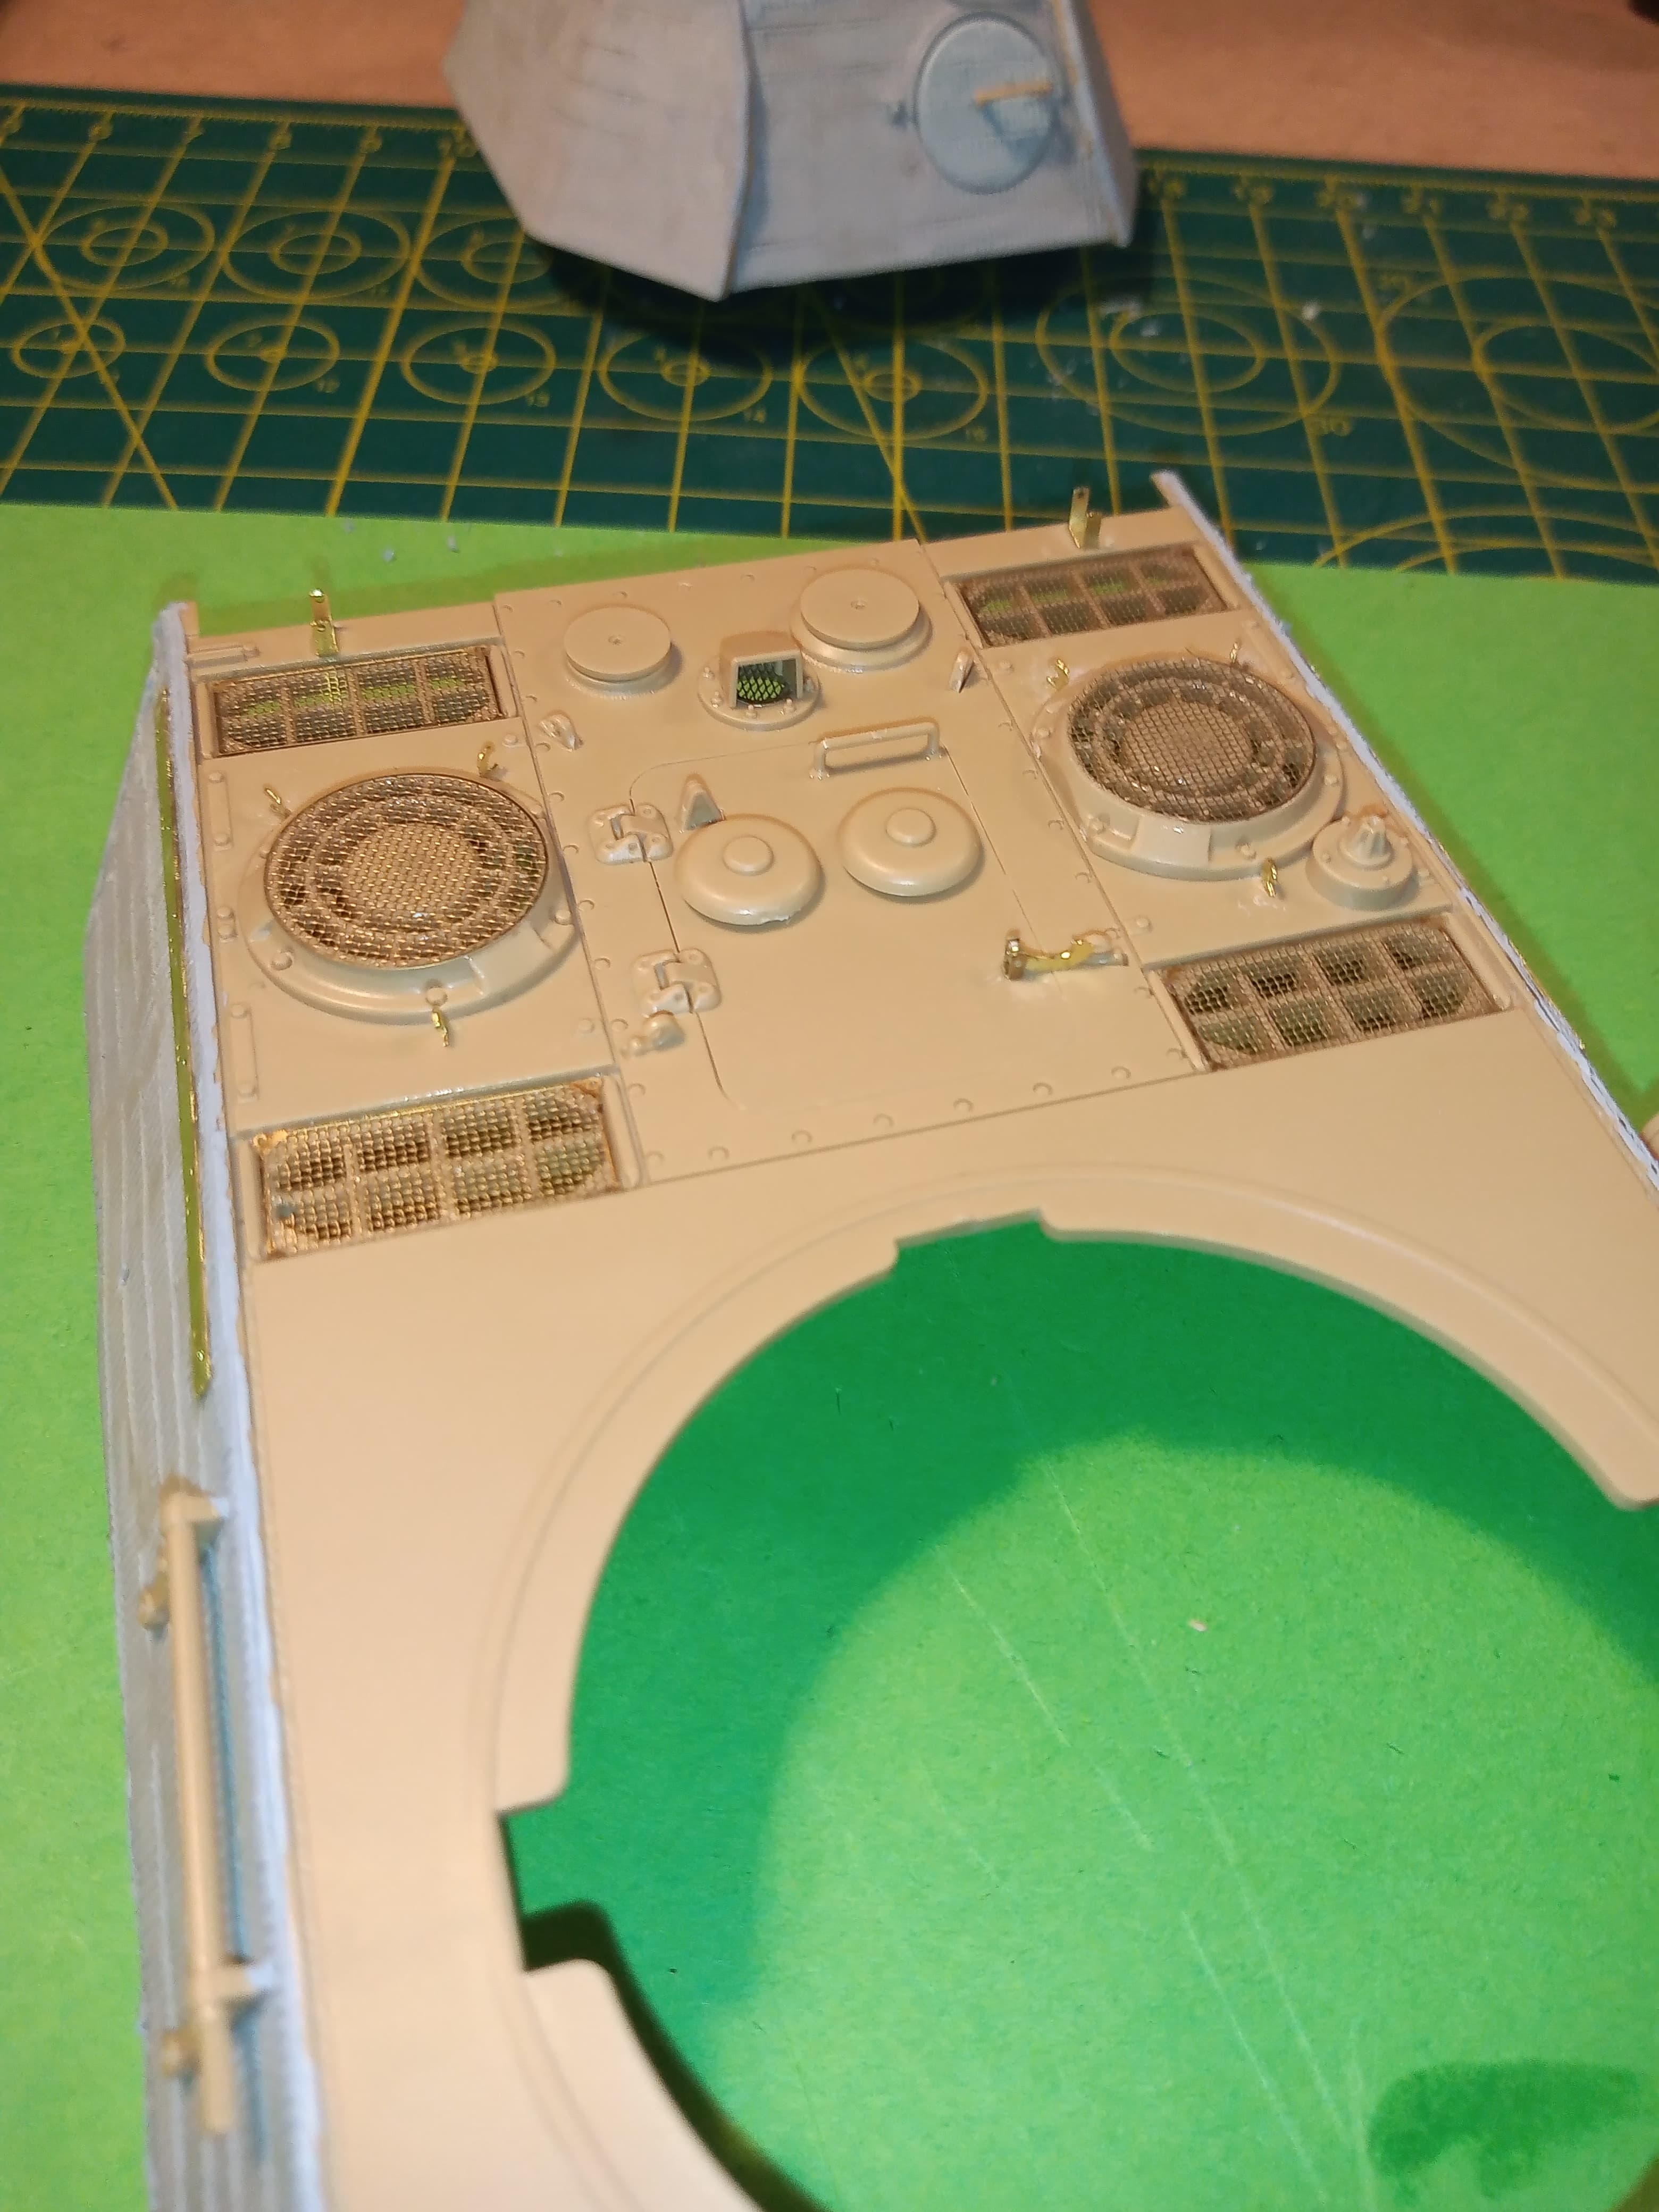
Once it’s all dry I will fill the edges with Mr Surfacer 500 and trim a few little areas where the Zimm over lapped.
Will do the upper hull sides next then start the remainder of the build and resetting the LH wheel stations.
Thanks Matt. The Cavalier Zimm is really nice to work with and all in all a very good fit without much extra work needed. I have used it quite a bit in the past but I am down to my last set now and it seems hard to find these days … not sure if the firm is still running ??
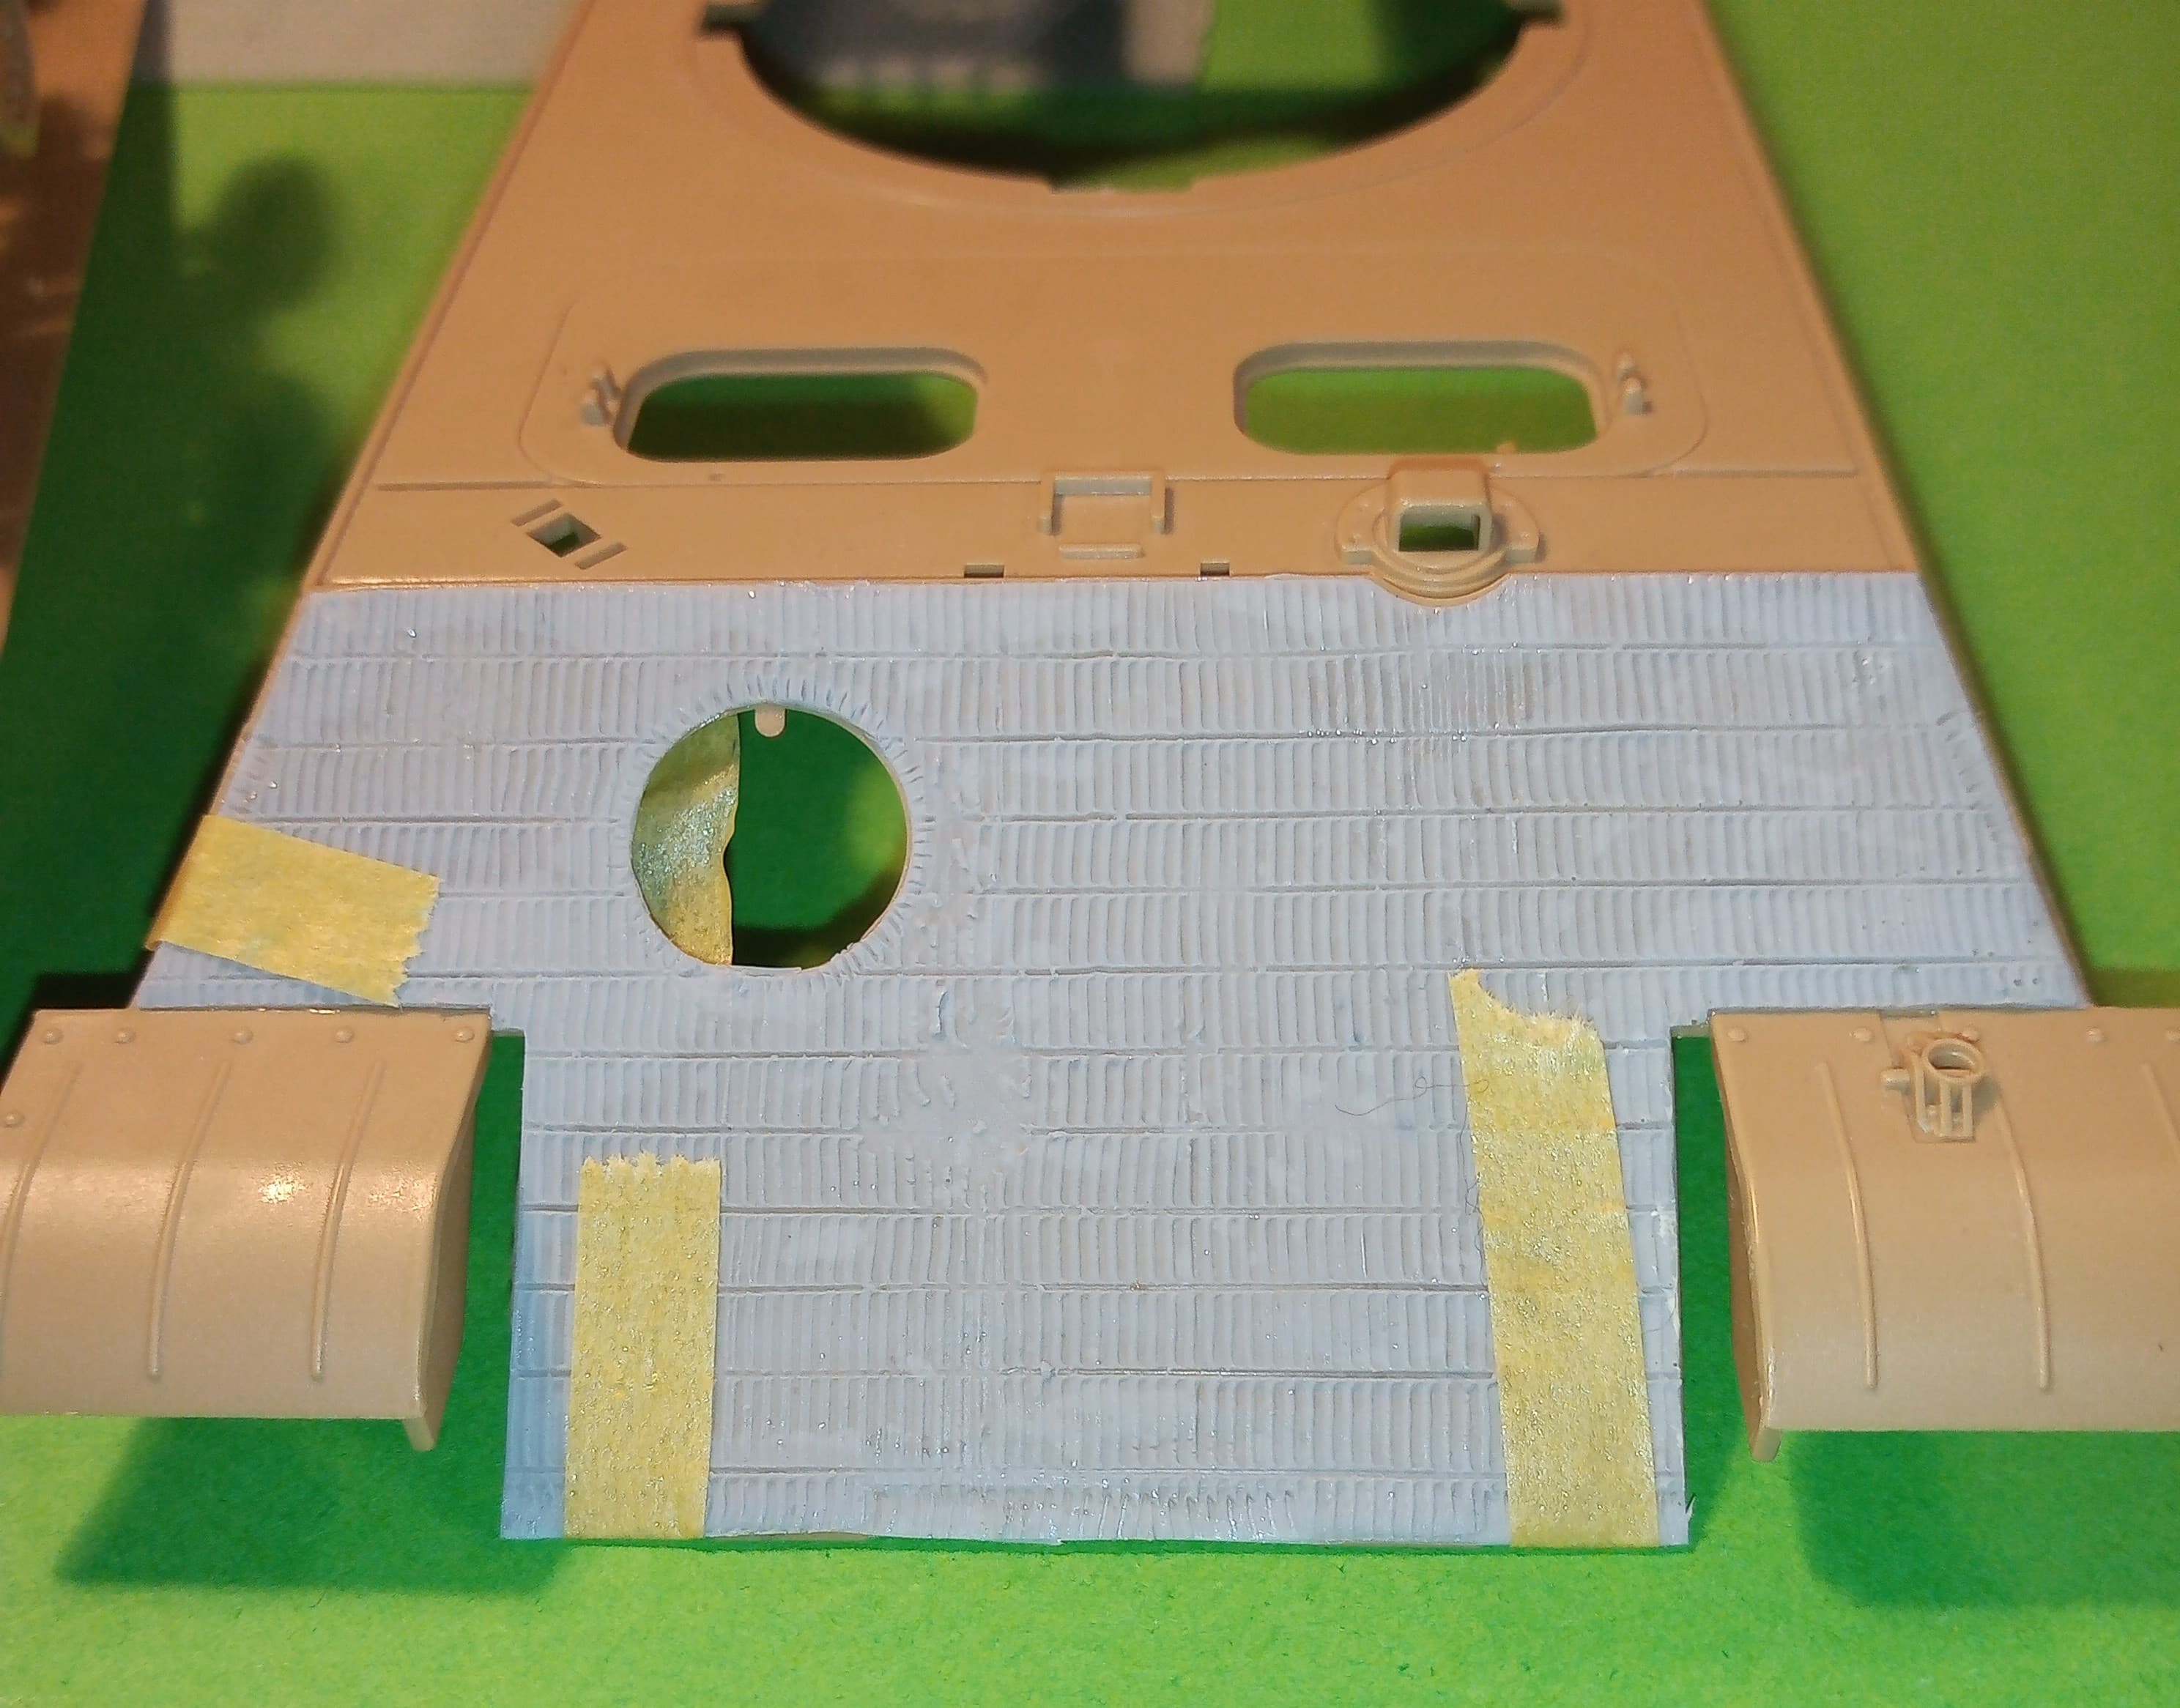
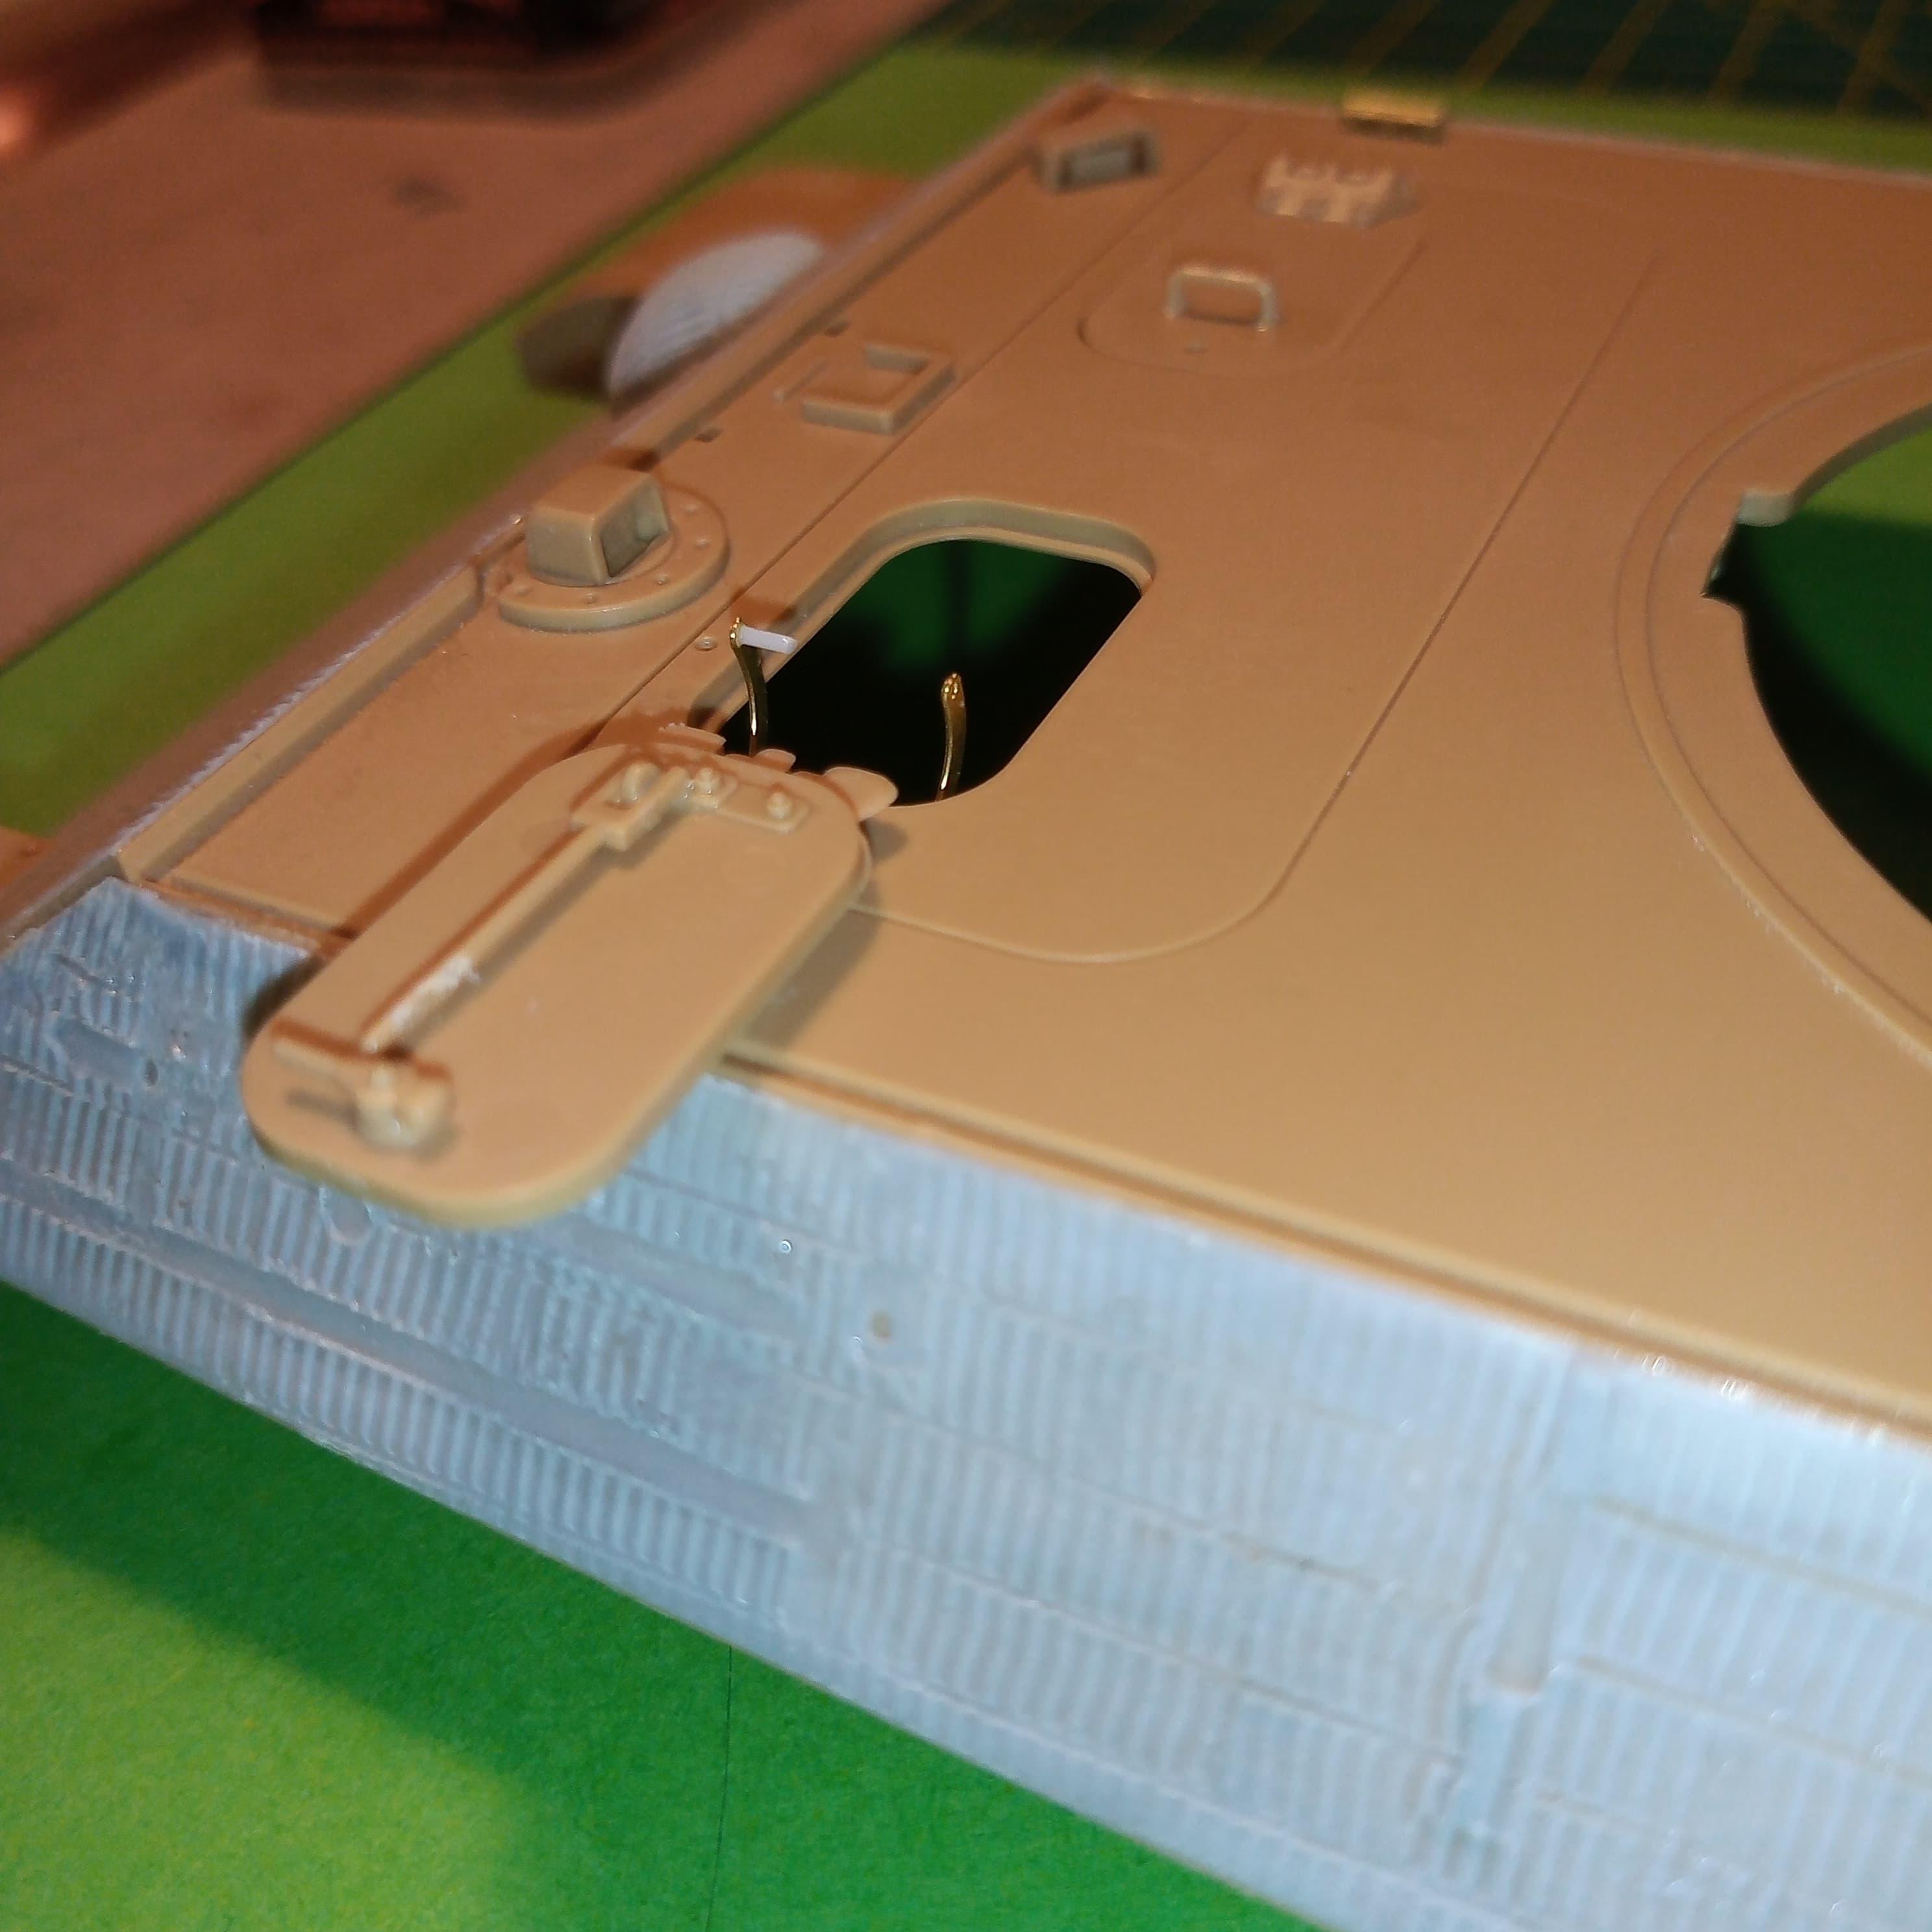
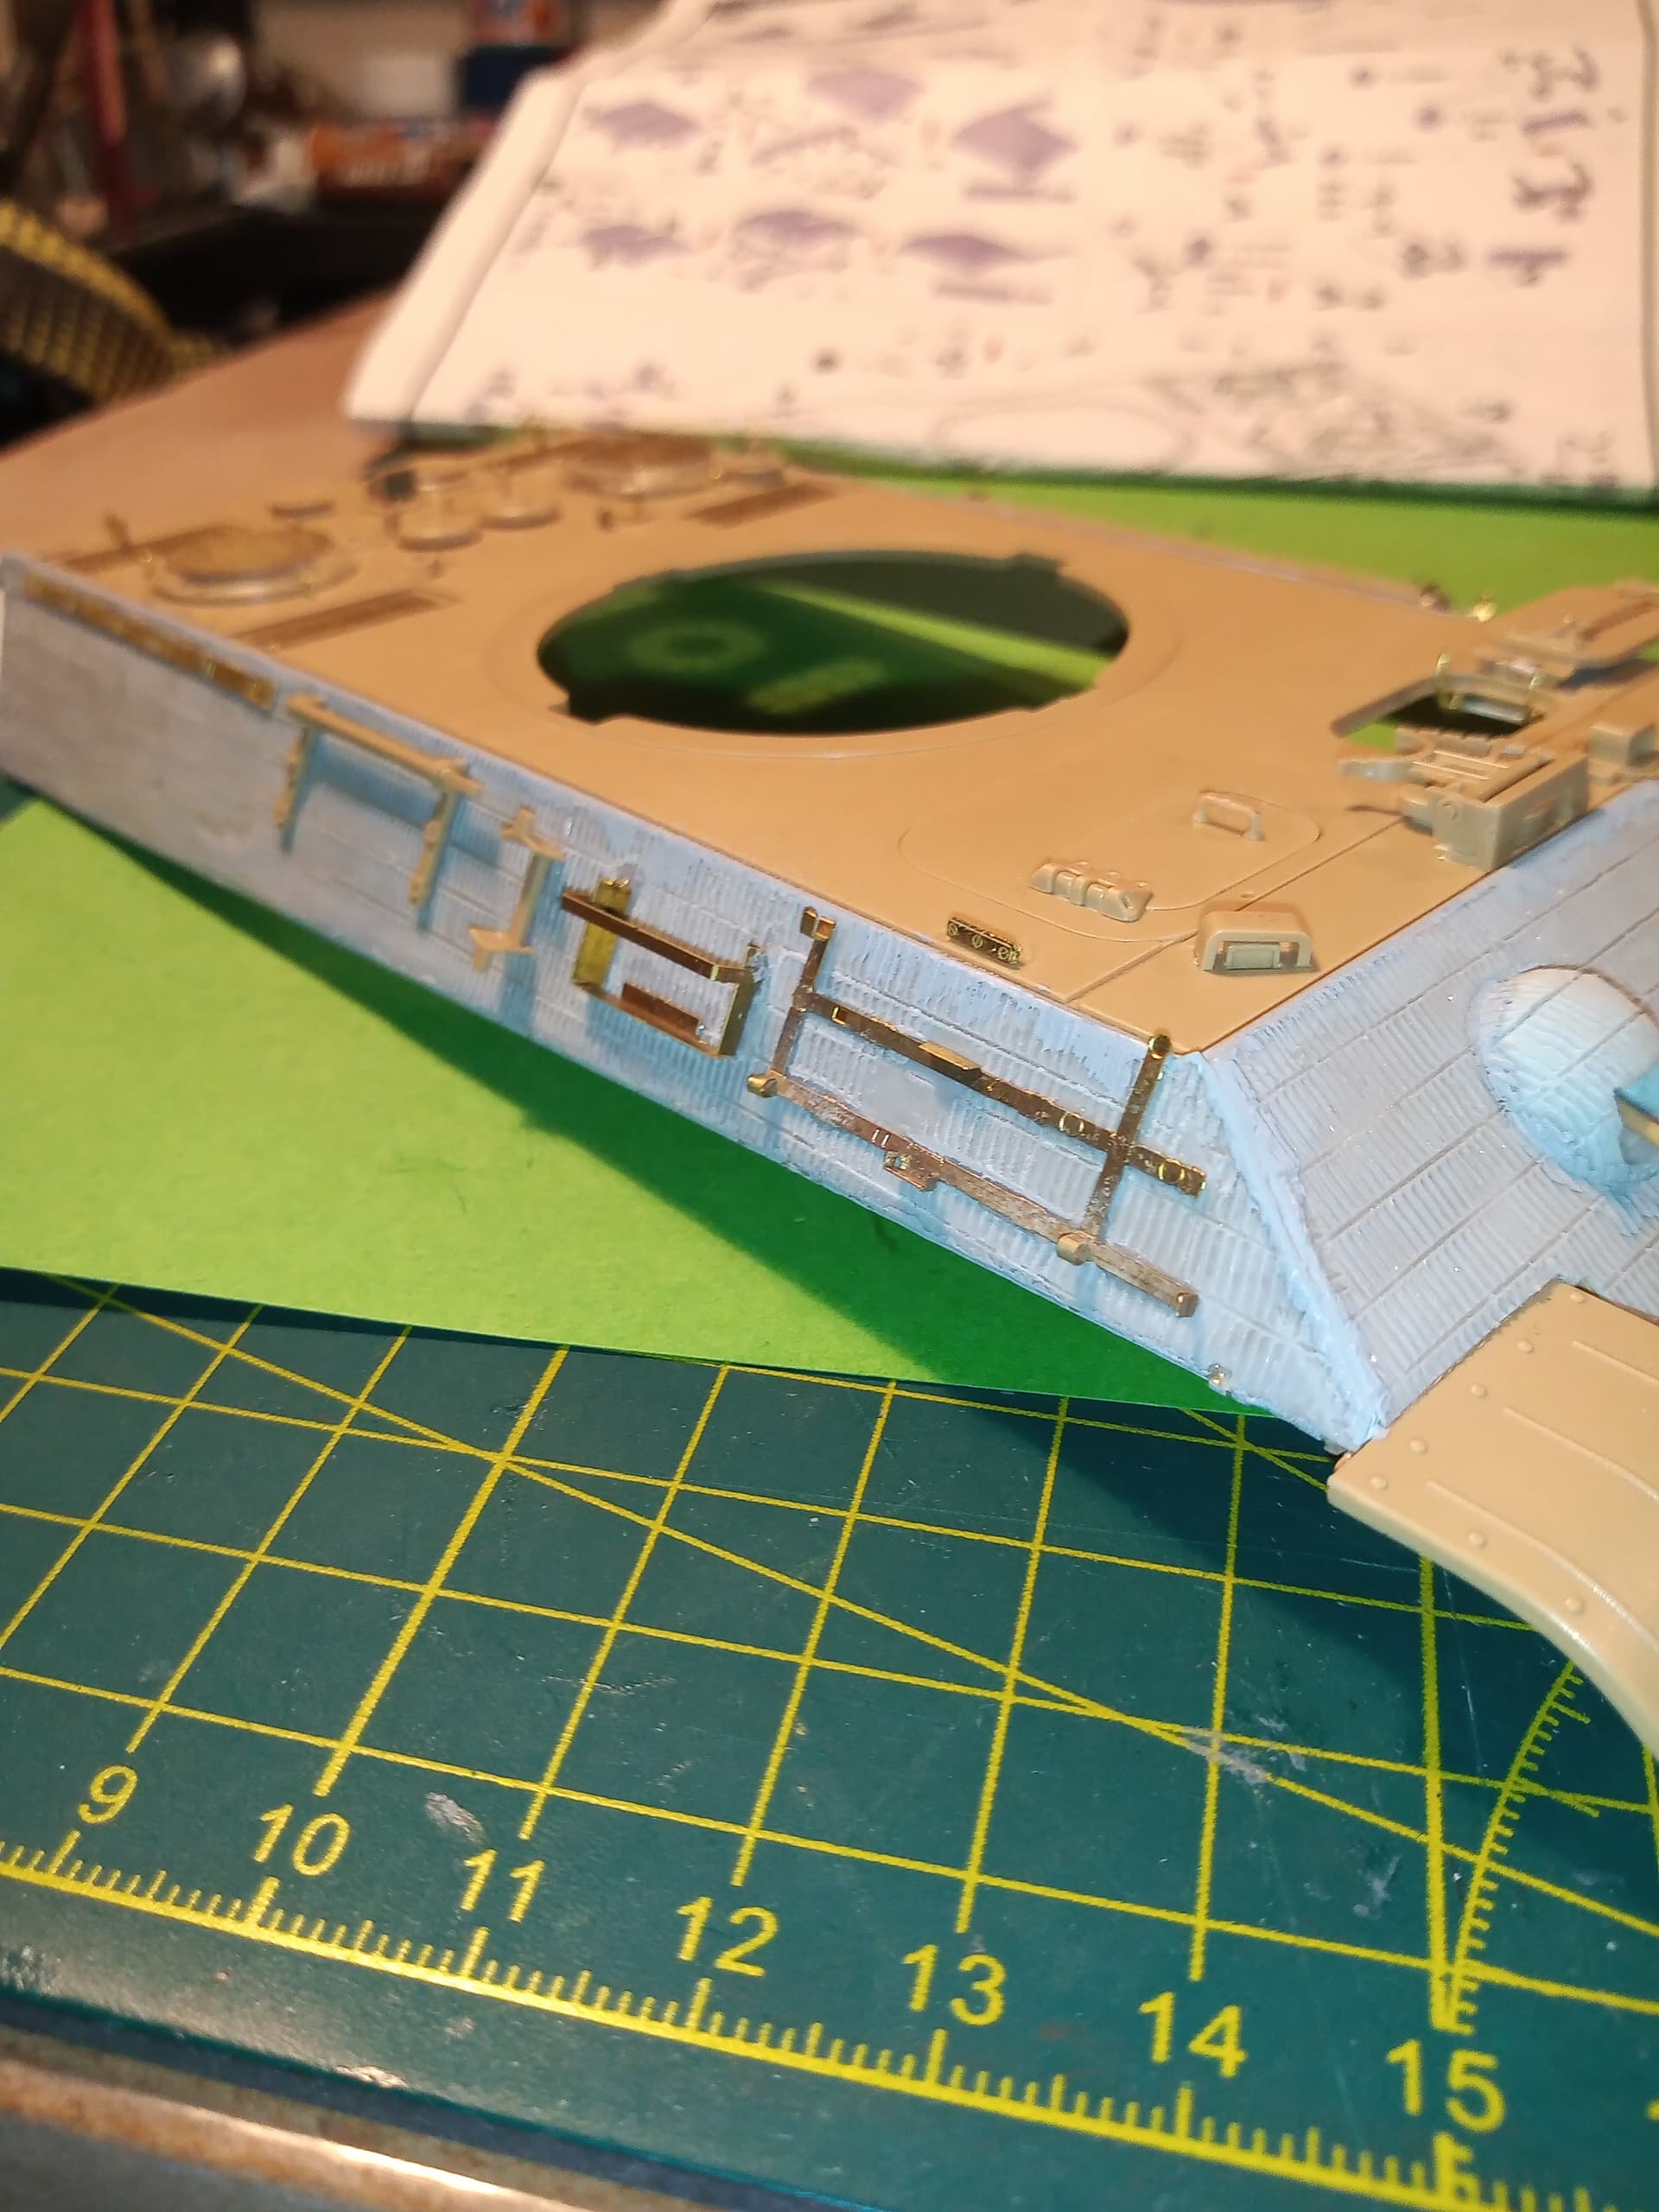
Nicely done John. If you haven’t already, make sure the edges of the zim are flush with the hull. When I have used Cavalier resin, I found that no matter how thin the glue I applied there was a slight gap which was the thickness of the glue between the parts. It showed up after a wash was applied the first time I used it. A little thin cyano added to the edge using an old blade fixed it on later builds.
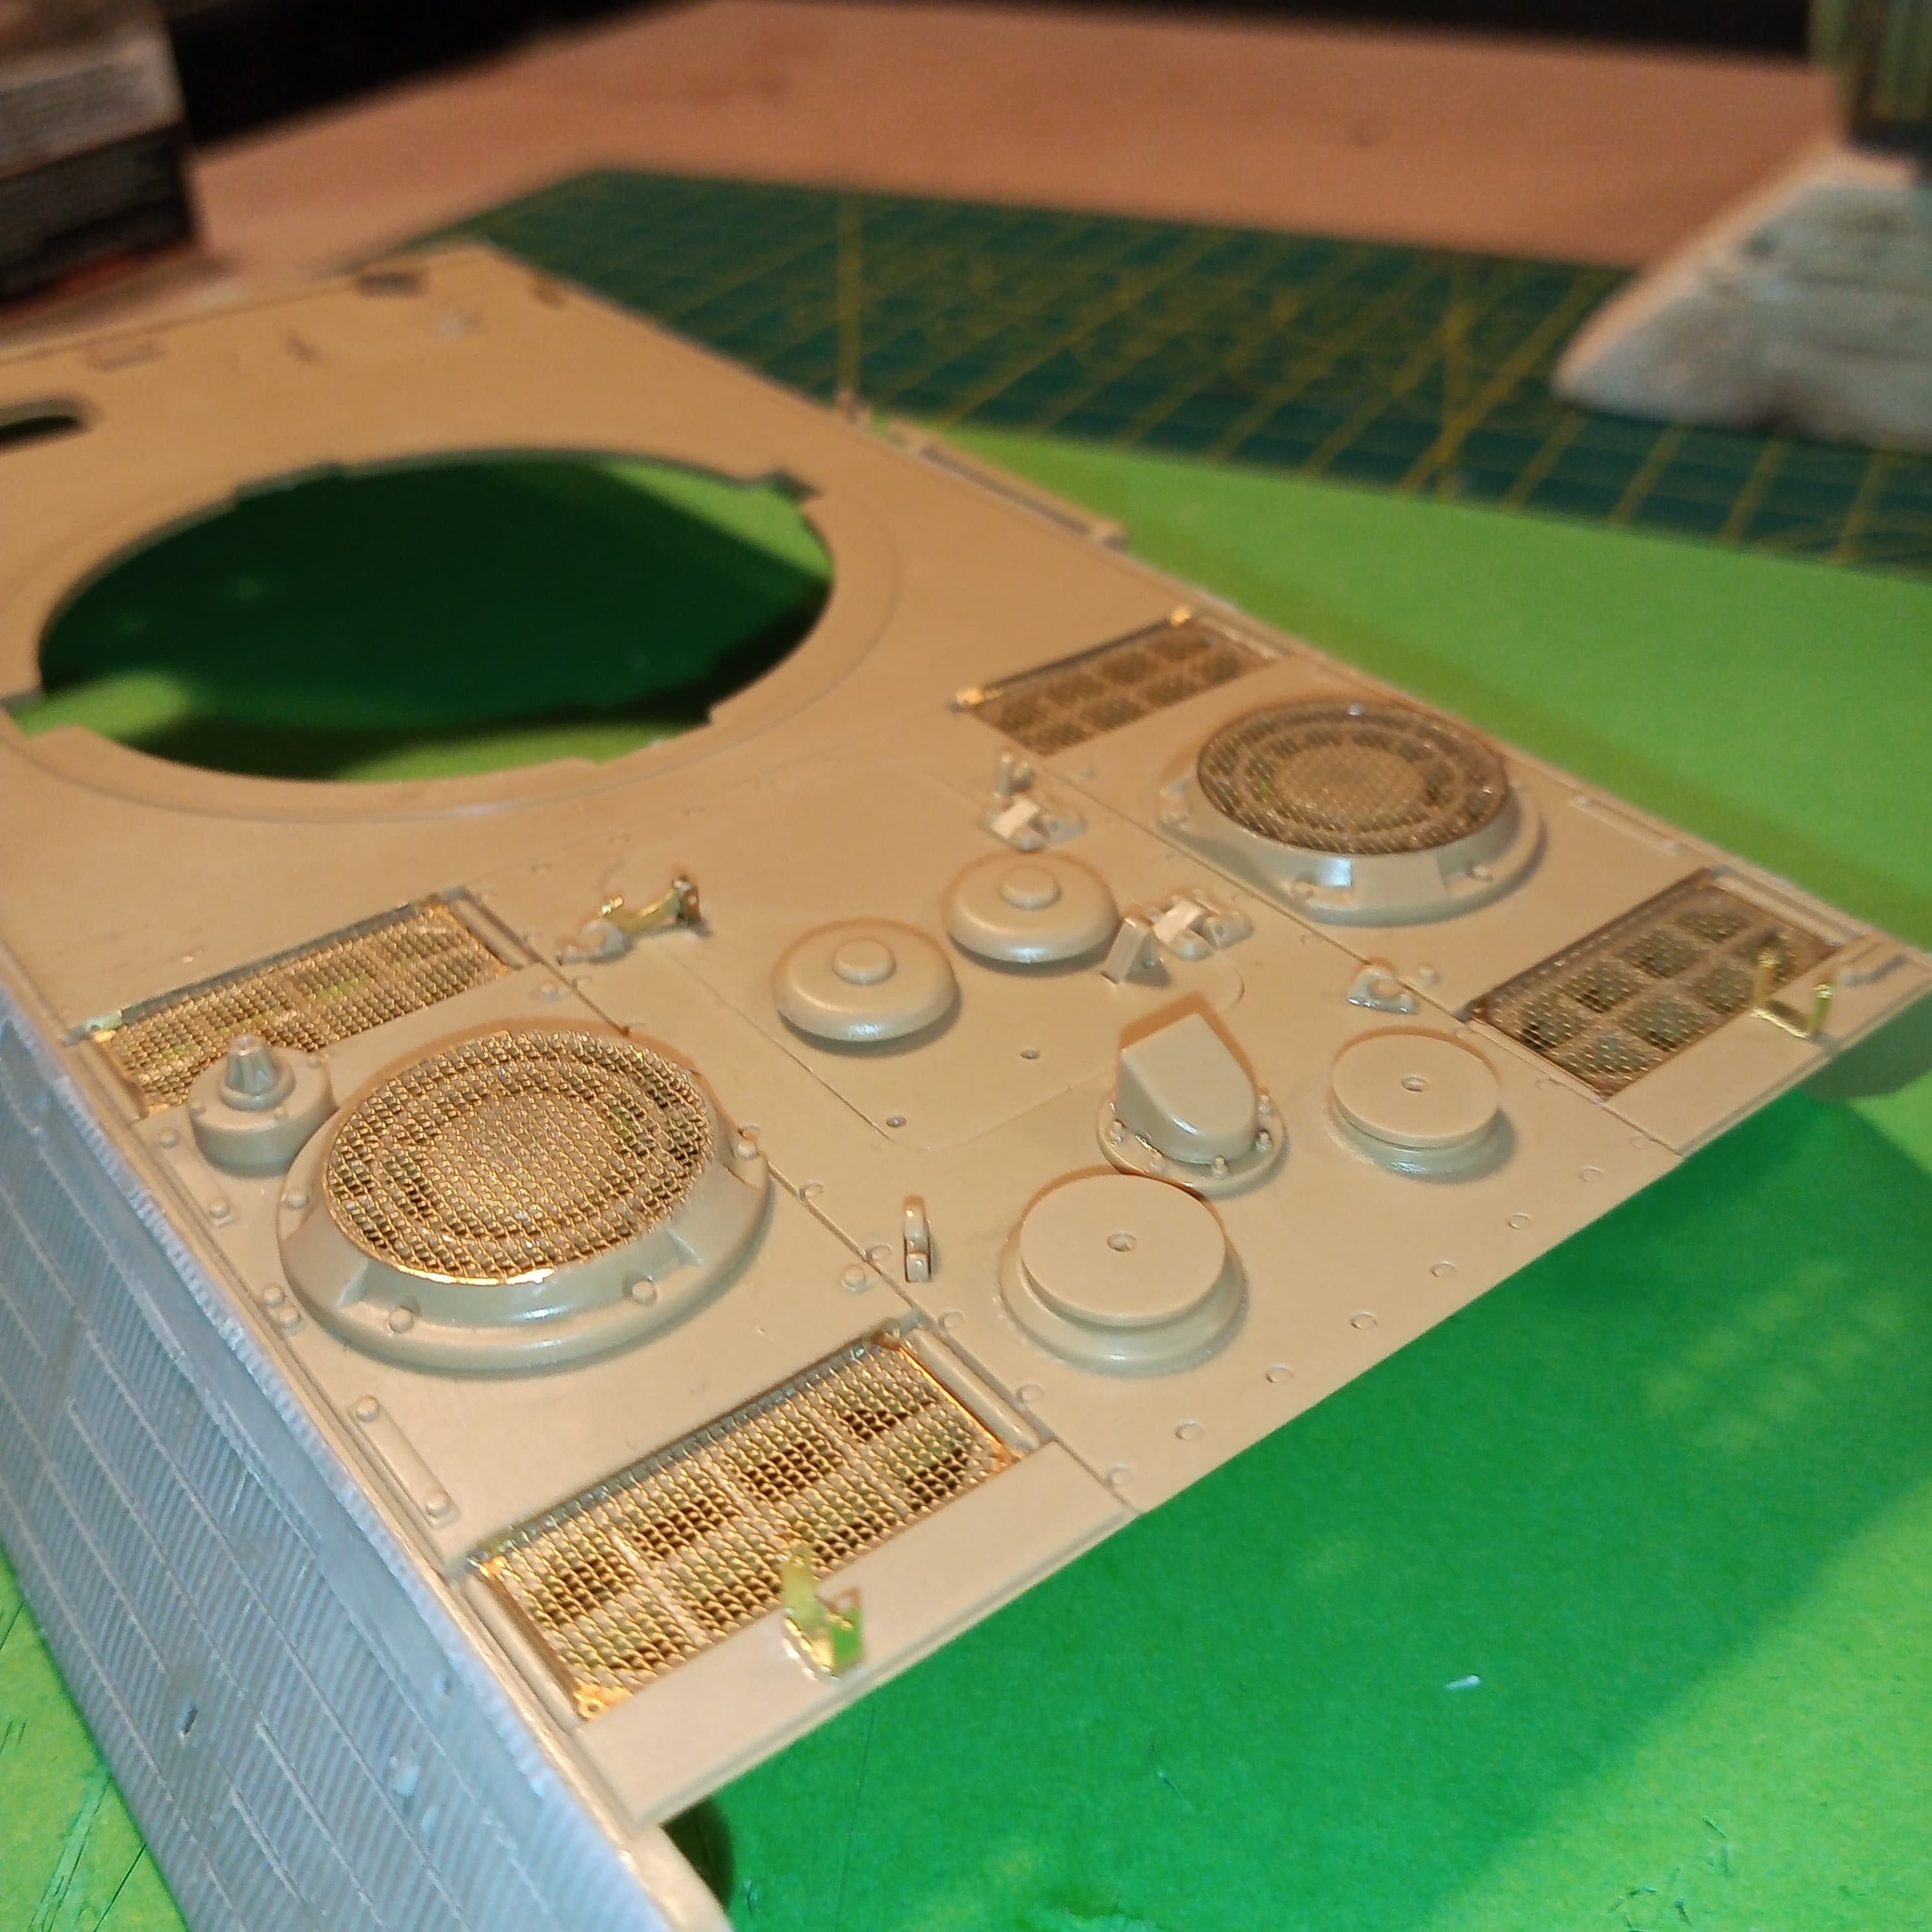
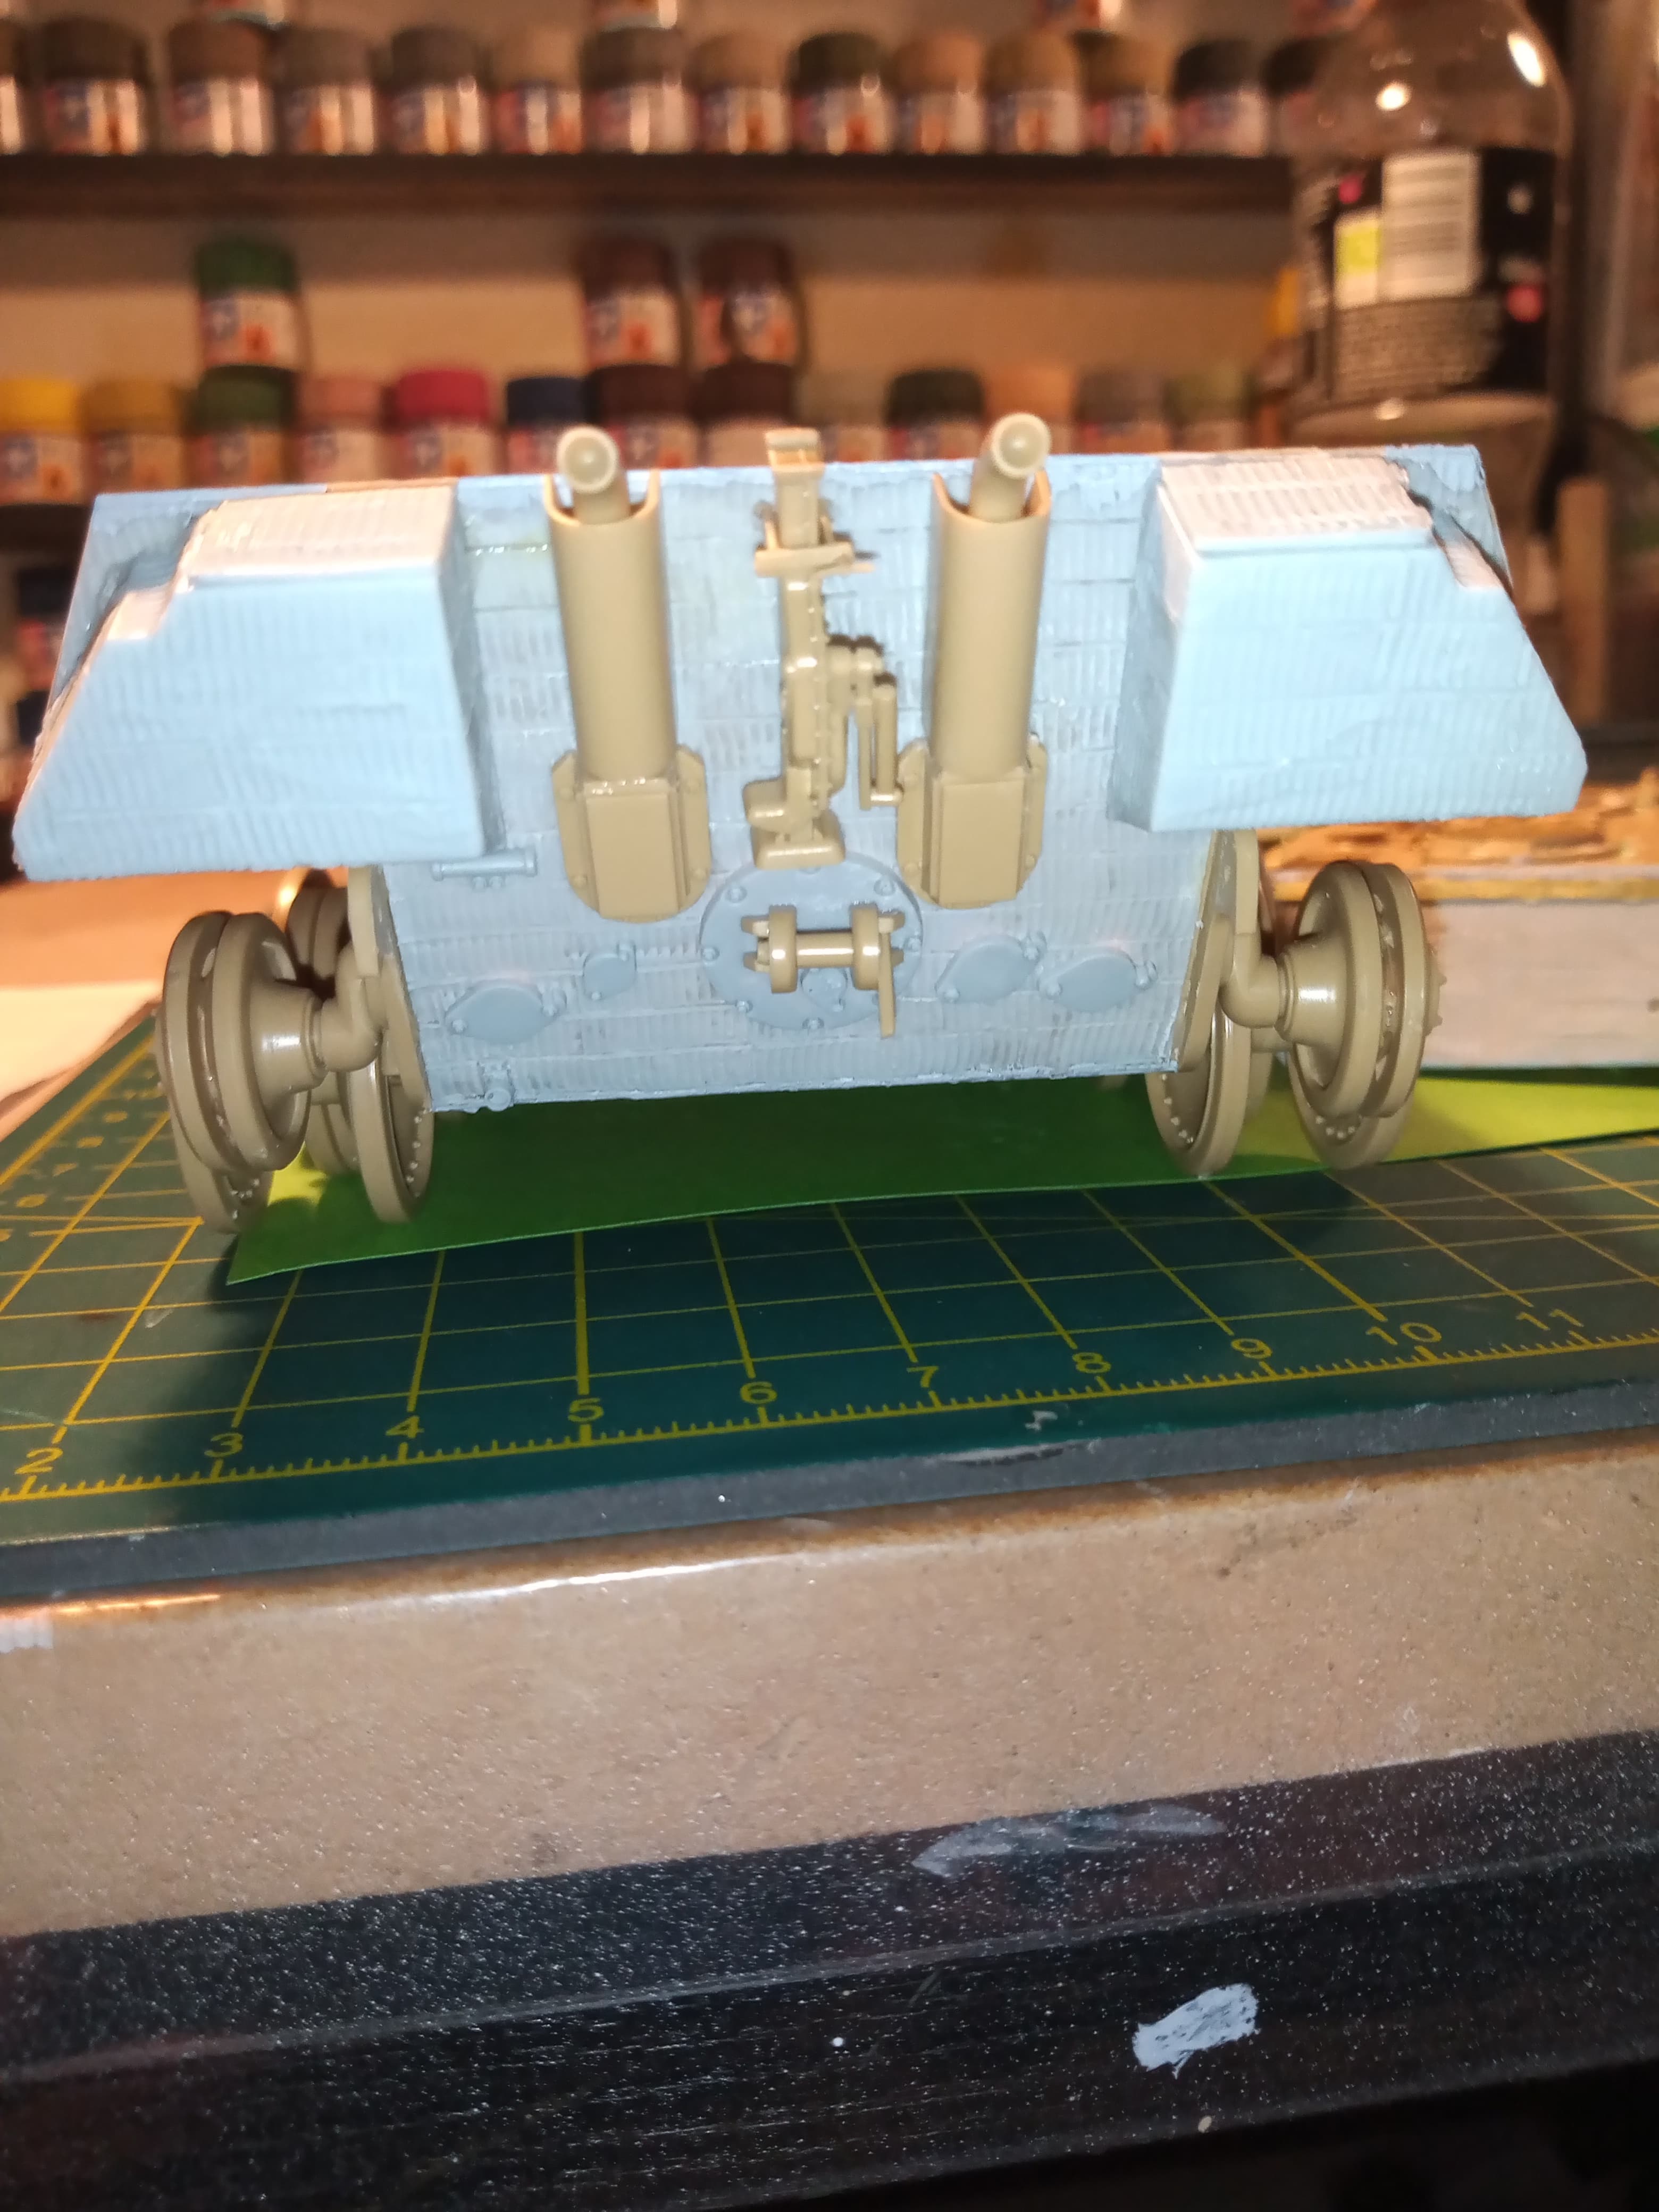
Not going to spend to much time with extra detailing the rear as when it’s finished, it going to be semi buried with hardly any of it visible.
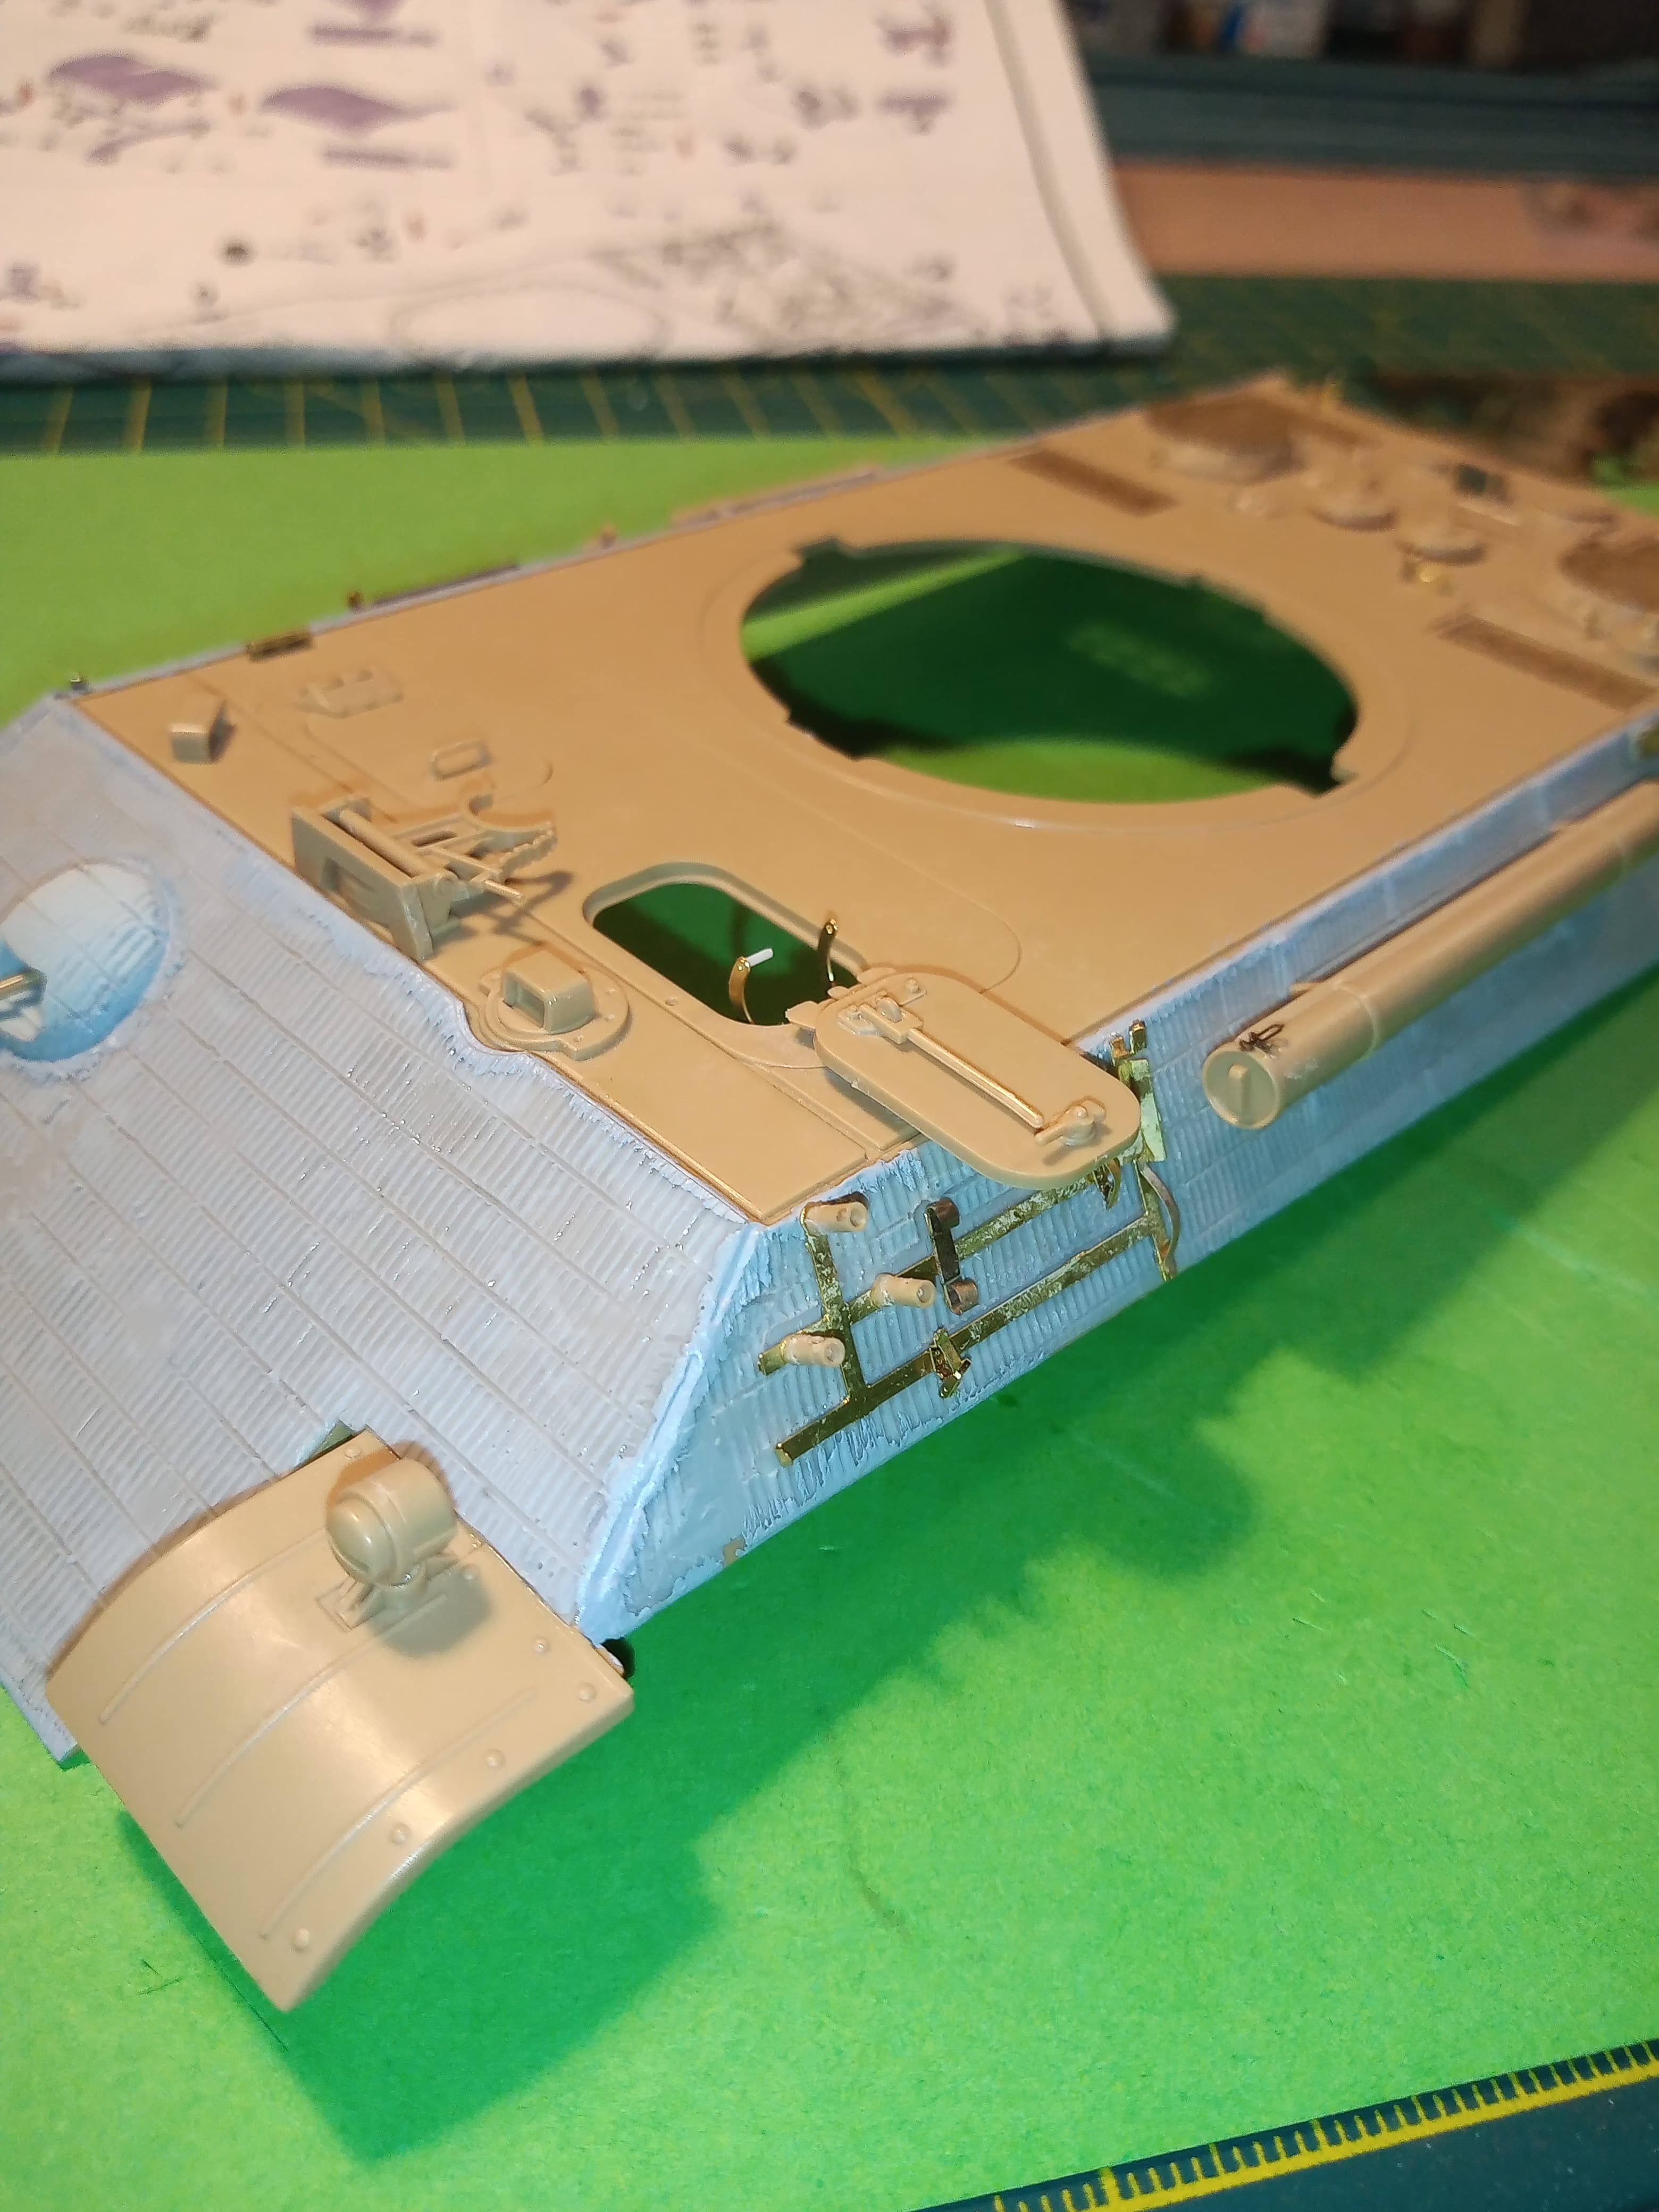
Have done a mix and match of the kit parts and PE for hull stowage as from the pics the LH side is free of tools, so will replicate that for the RH side and just have them laying about on the ground.
Thanks matt. The vehicle build is the easy part of this. The fun will begin when I try to align it all up height wise and get the front wheels at the correct position on the collapsed bridge and building all that.
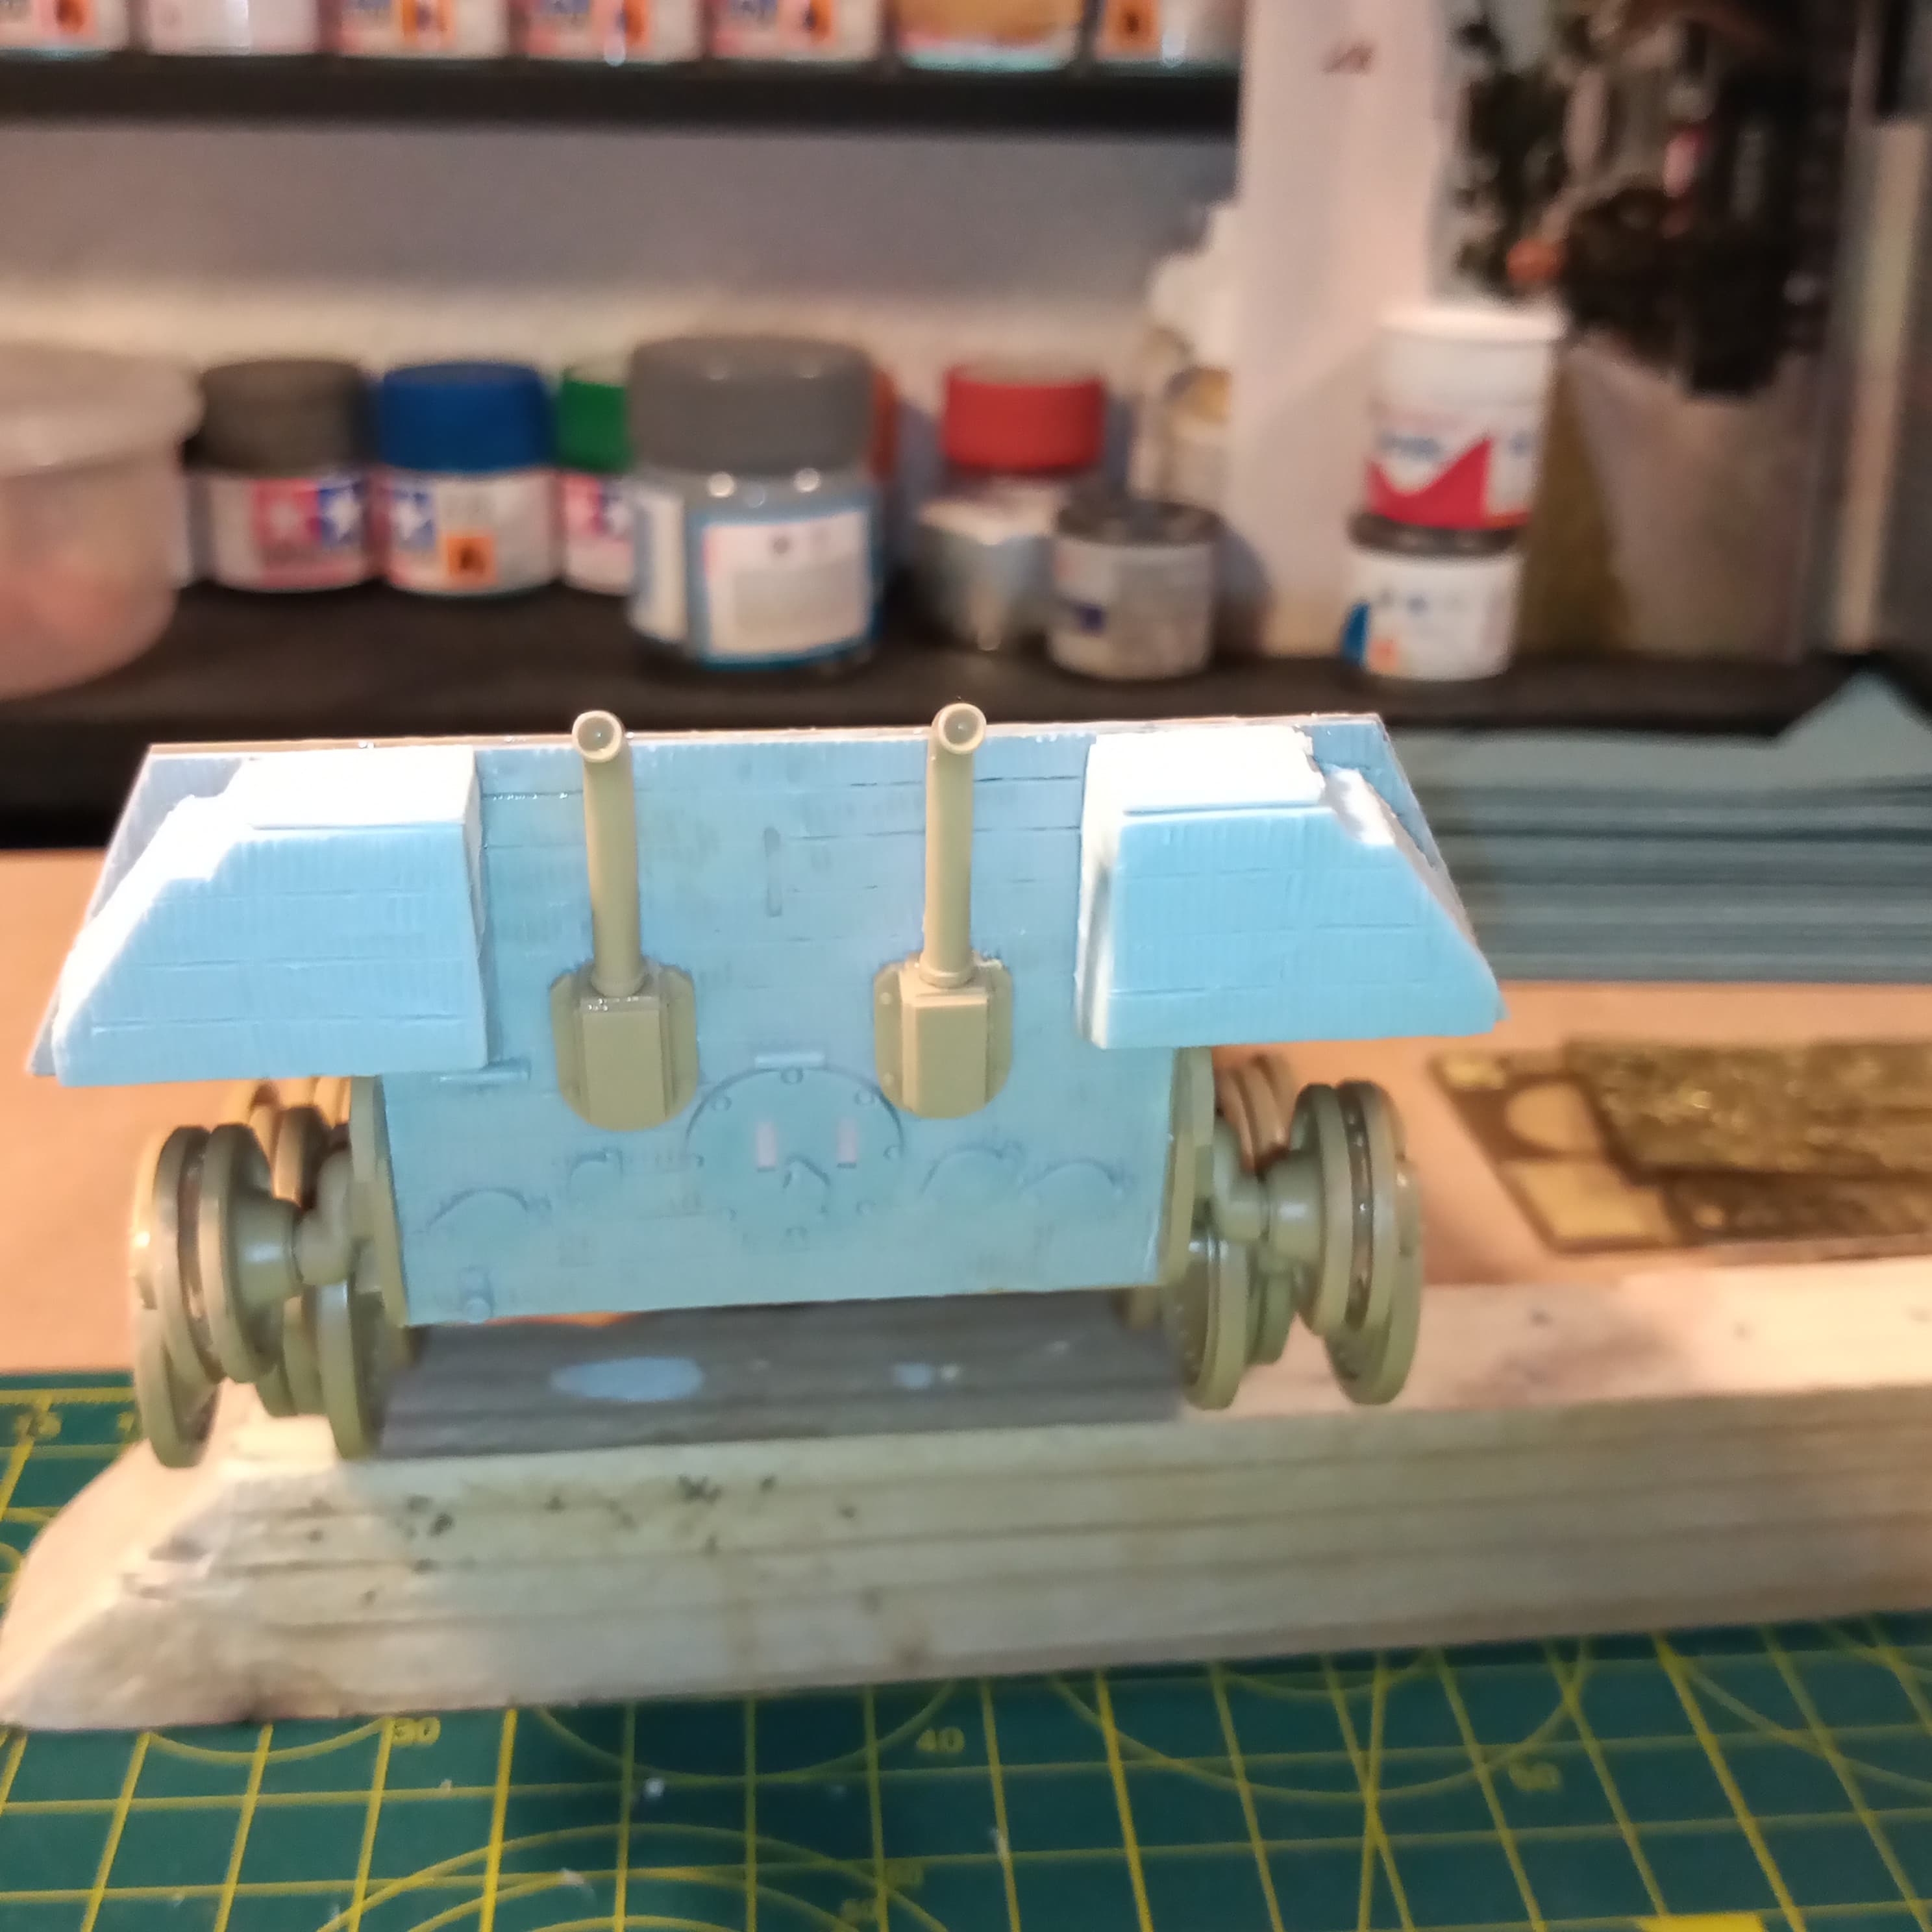
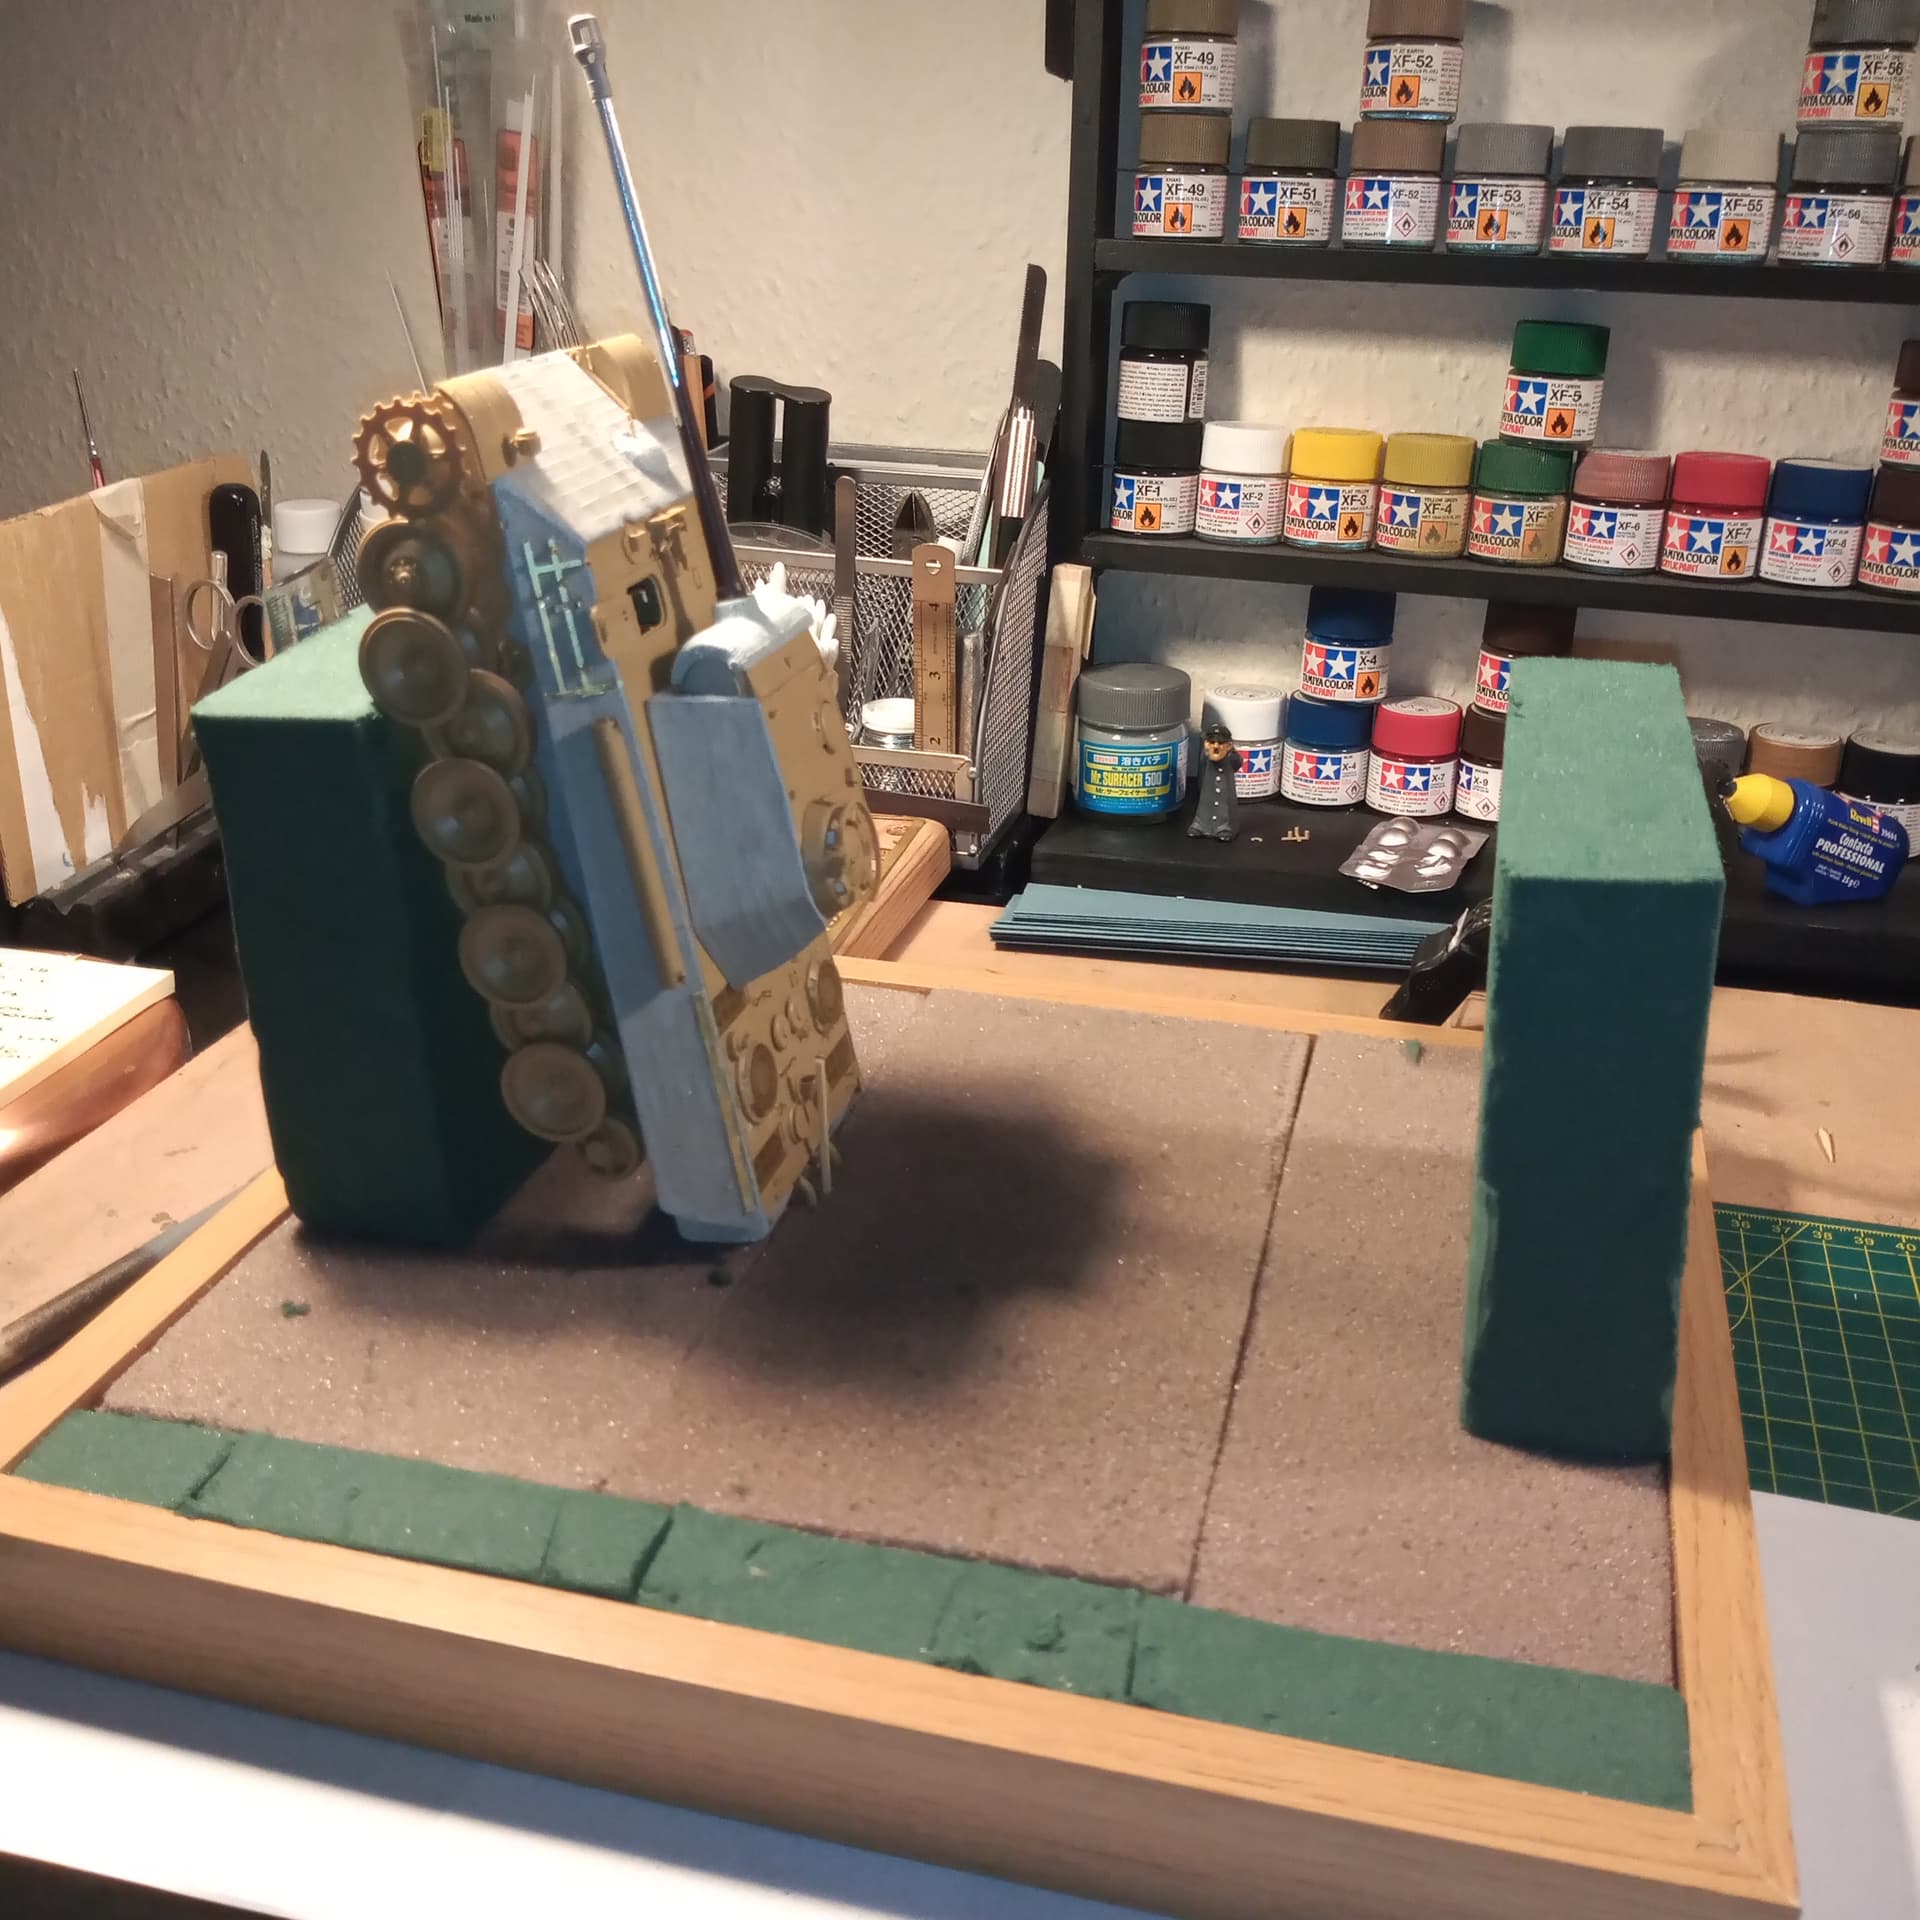
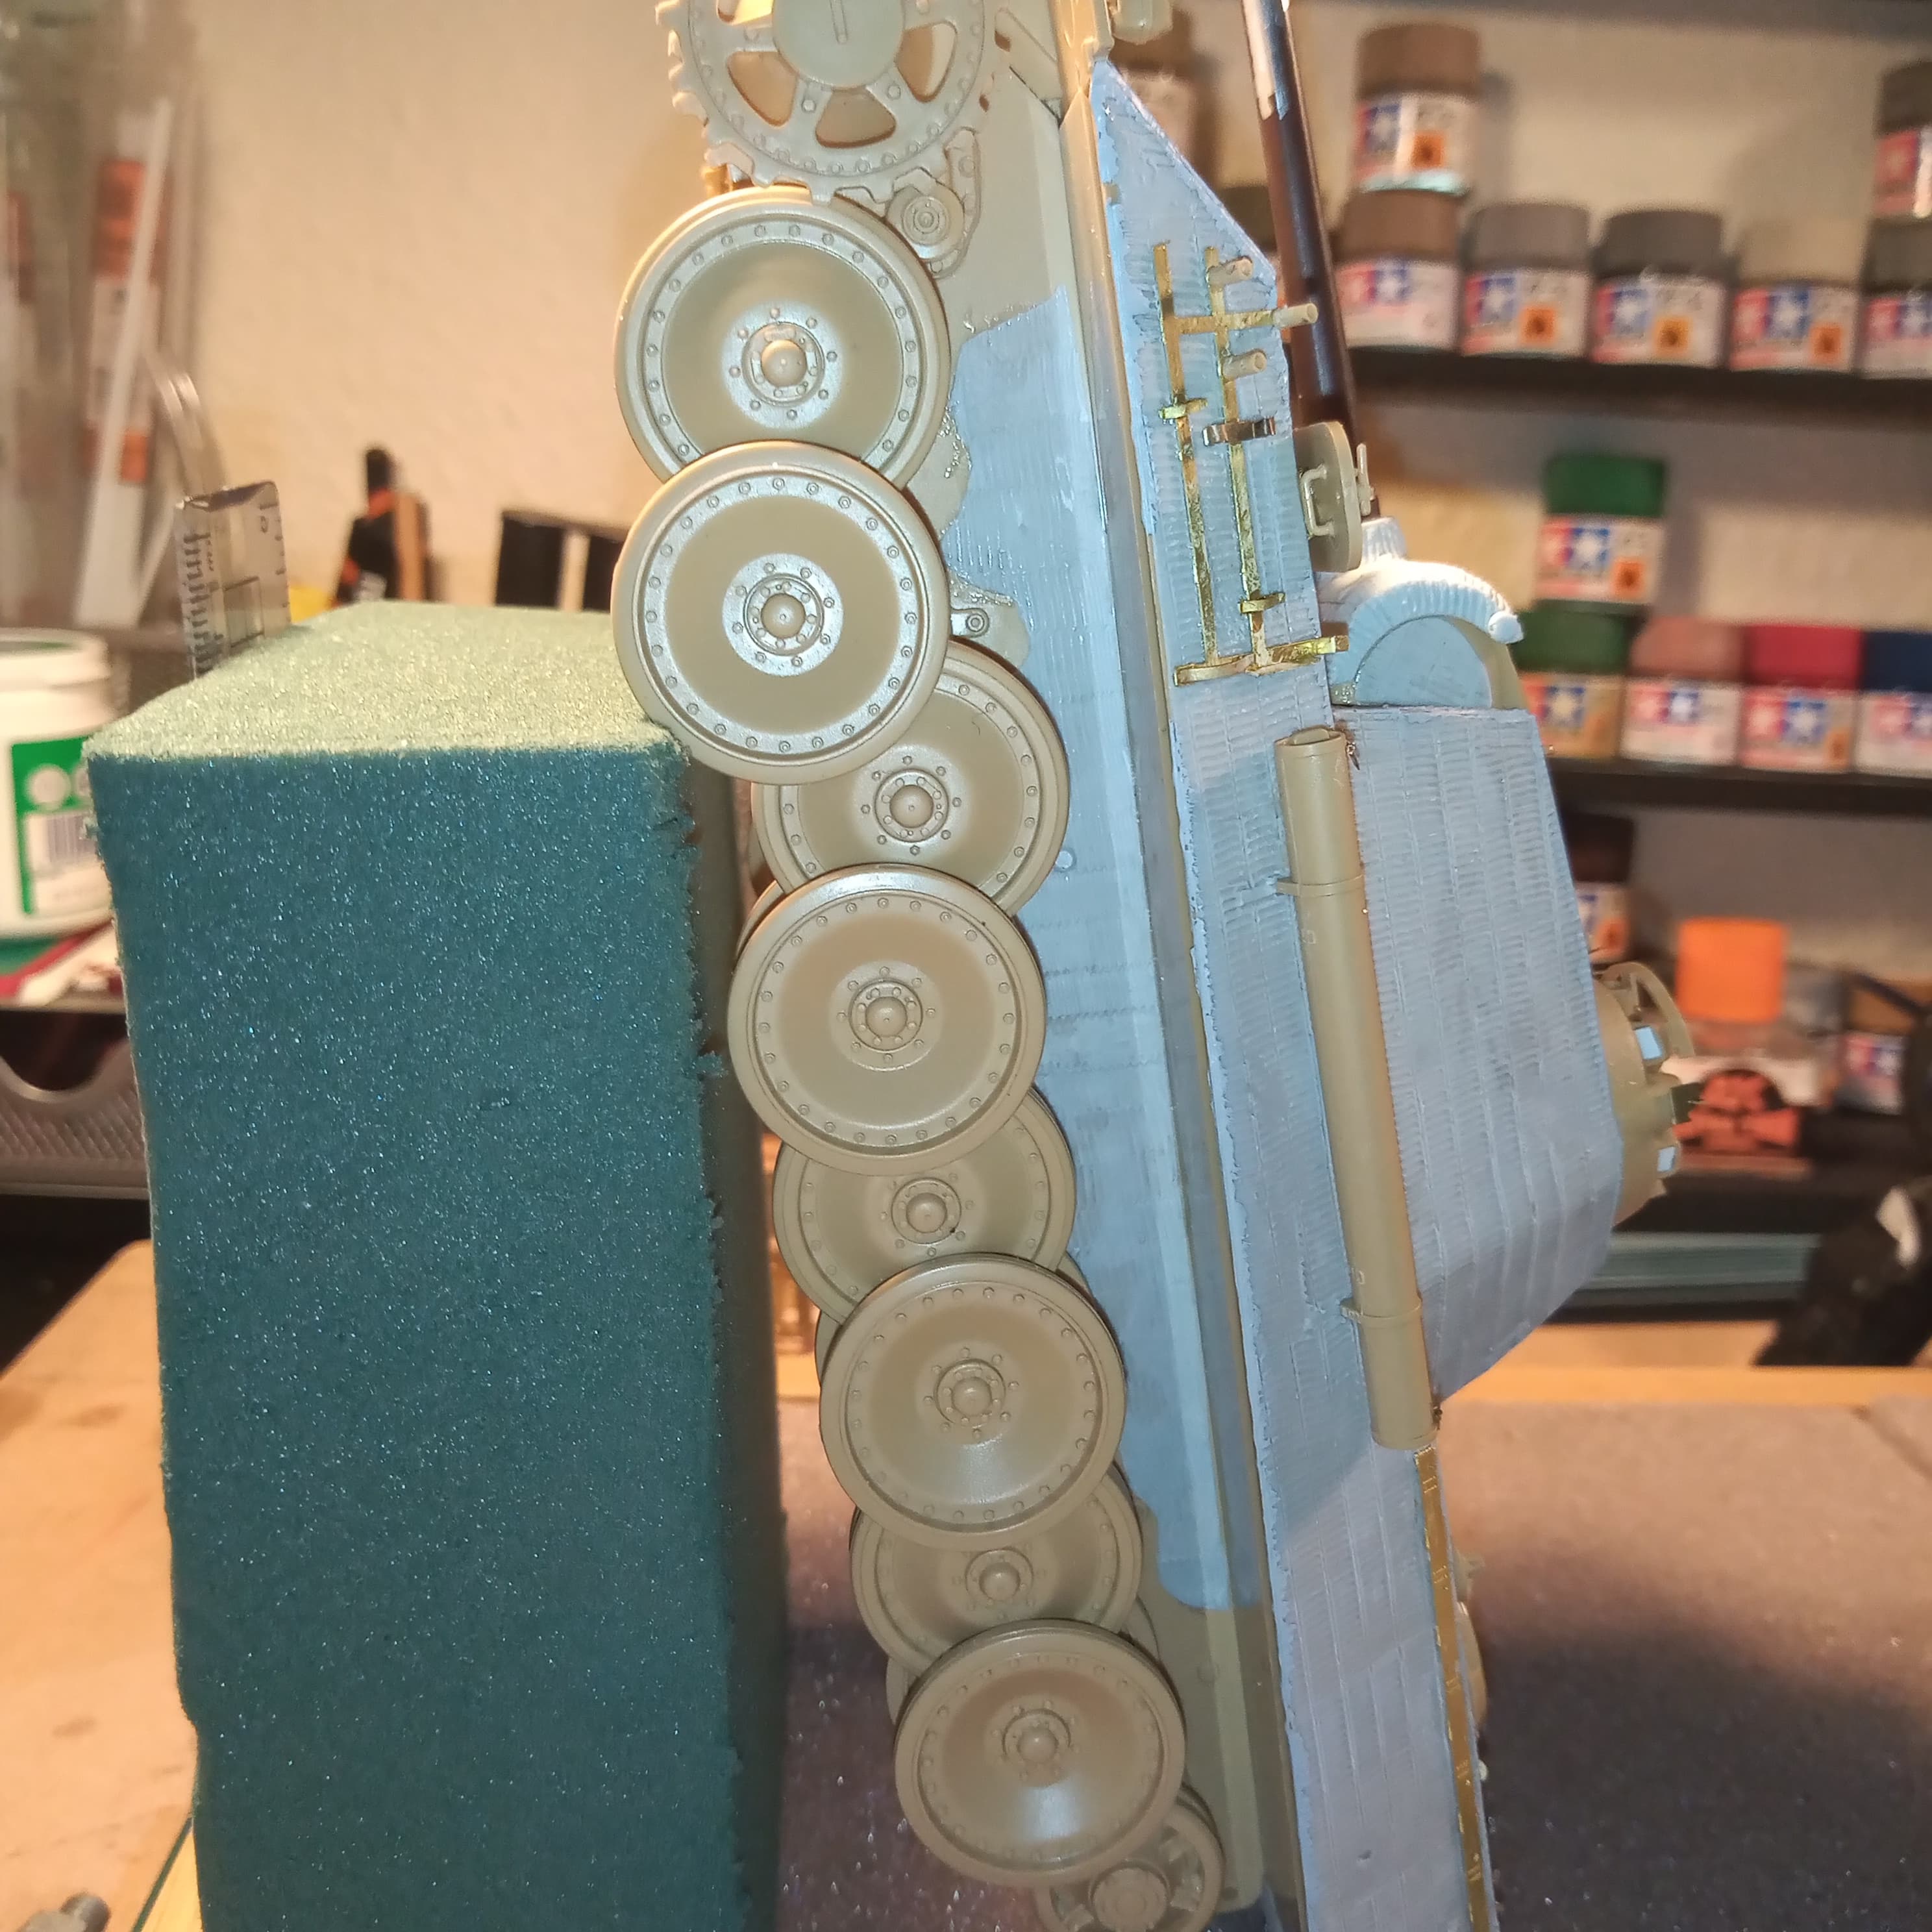
No pictures yet, but after a break away working on the Mk 10 Stillbrew I am going to be back on this now finishing off the Panther with the few bits of PE and the correct fitting off the tracks. I have re-positioned the 3 front wheel stations to as near as I can do using the photos of it. Will paint the lower hull first as it will be easier to get to all the wheels etc like that.
Will start on the ground work and the 2 ends of the broken bridge later tonight after I get off duty.
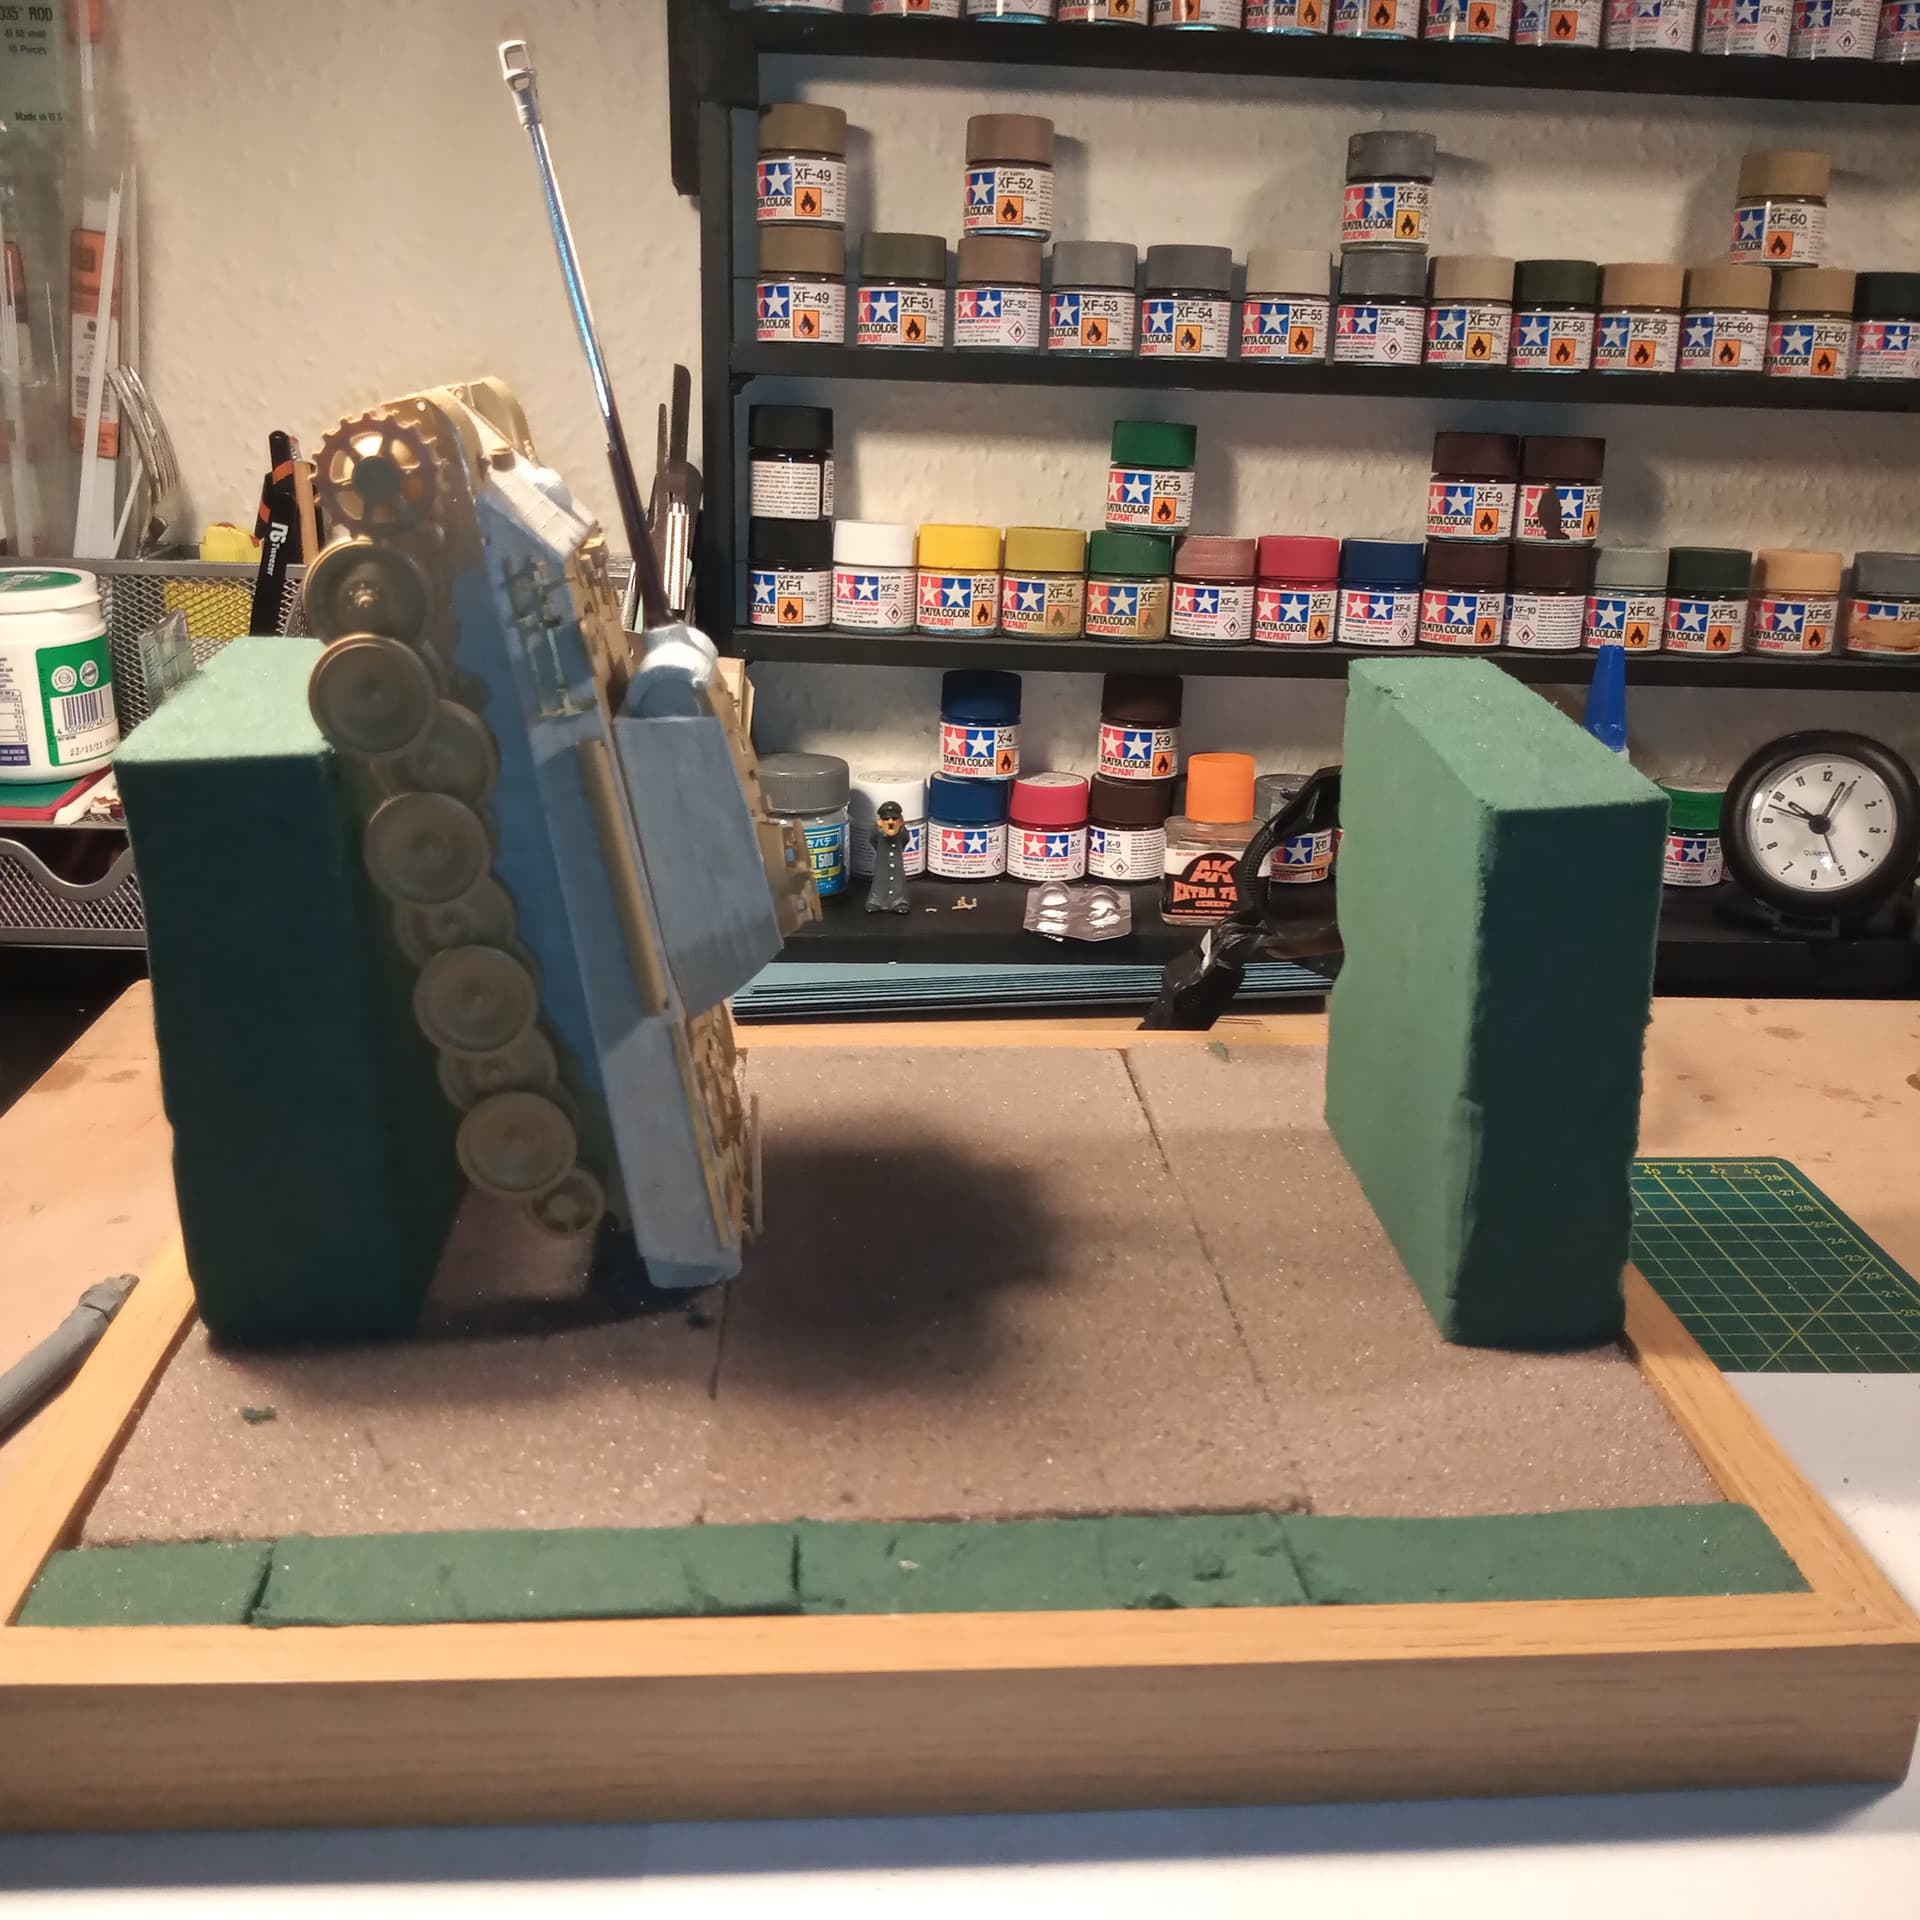
So, I did a quick mock up after I cut out the oasis sections for the lay of the ground and the ends of the bridges.
Nothing is glued yet, just wanted to give people an idea of how it’s going.
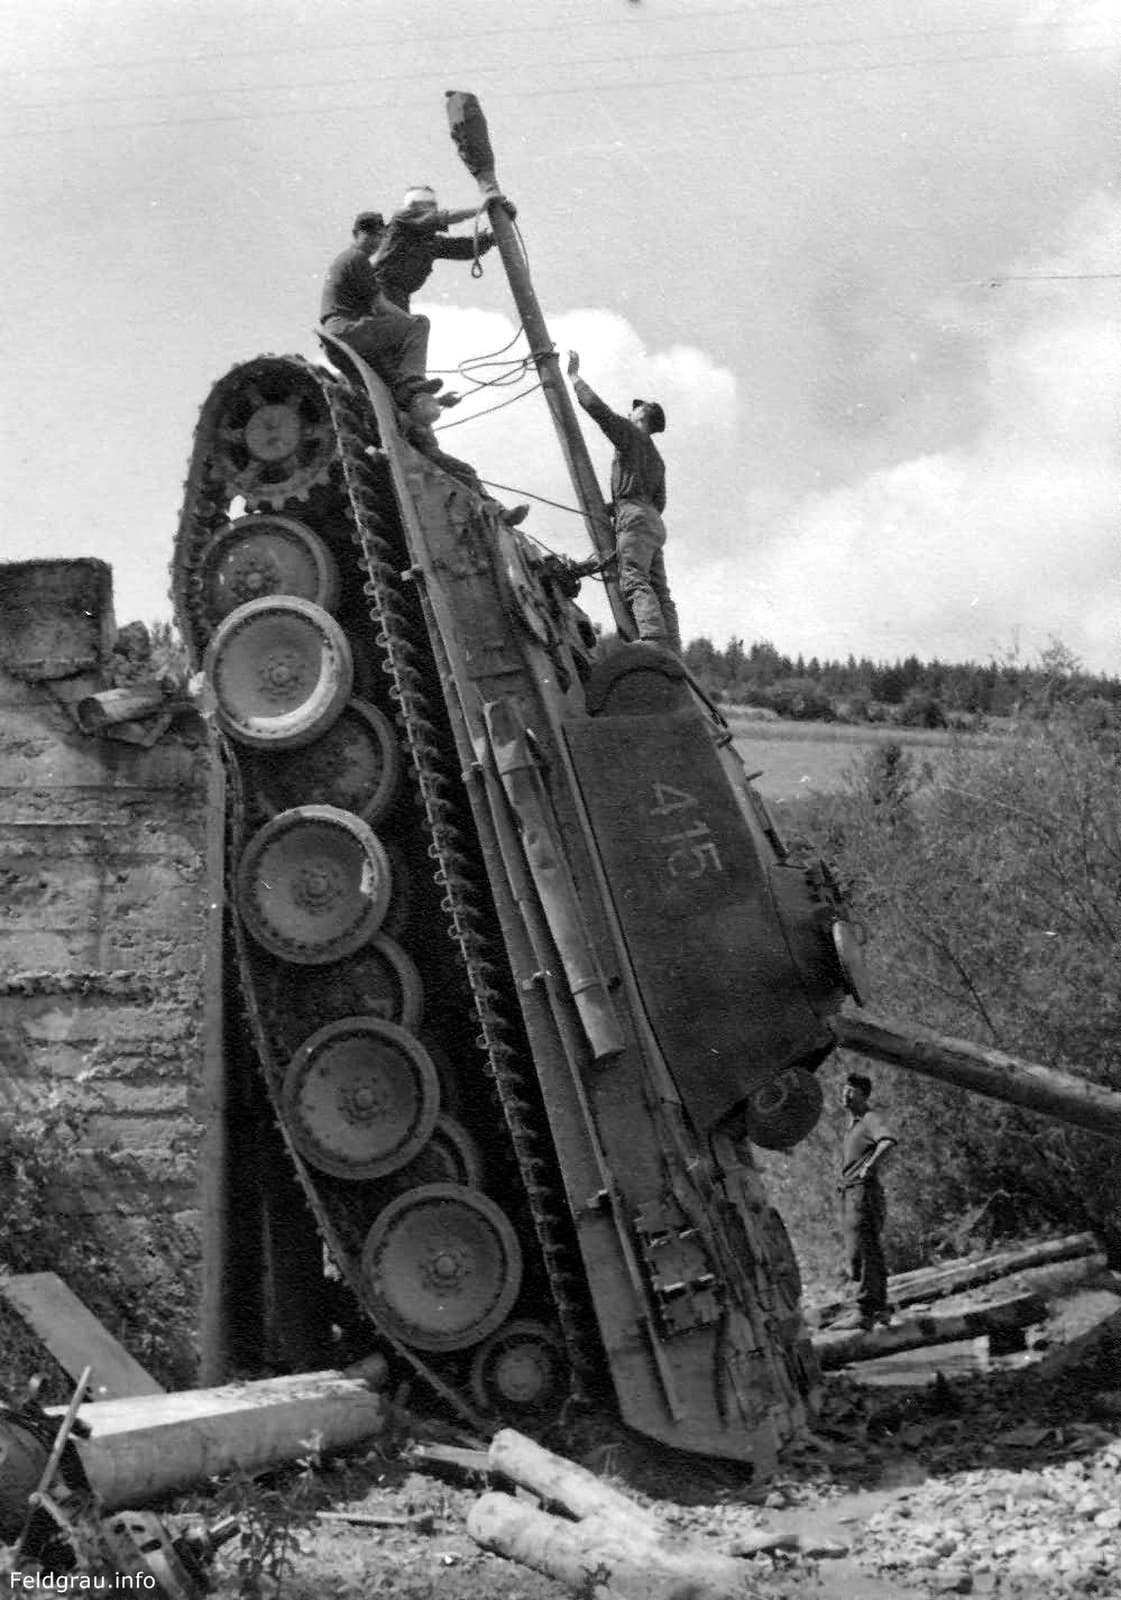
That’s obviously the Panther after it came a cropper… The question though.
You can see the very long thick wooden beams, one of which is still in situ on the RH side. But would those beams have been the only thing used to span it ? I can’t see any framework or location points on the RH end of the bridge in the stonework that would act to support them ?
Also, would there have been any planking running over the long beams ?
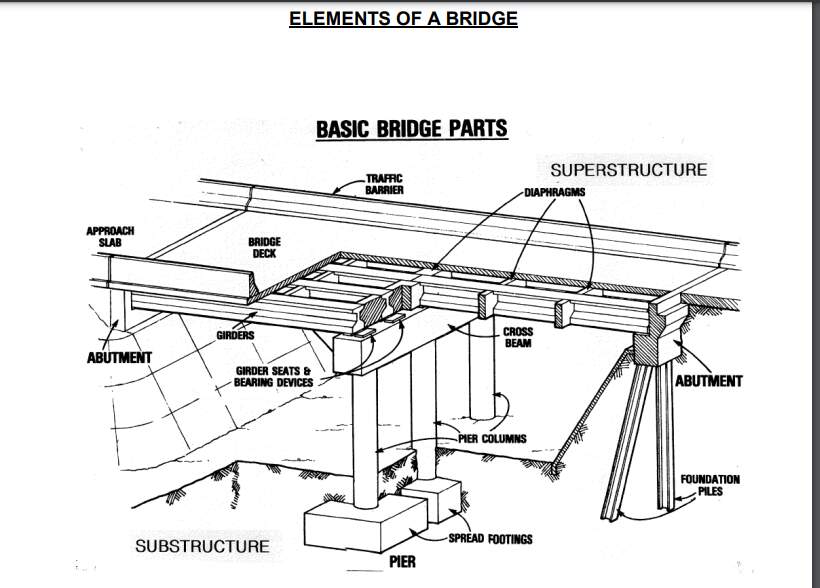
Hi John. The girders would defiantly have been braced together Look at the pic and you can see bracing on the one of the dislodged girders (or possibly a central column, though I doubt that) and what looks like a diaphragm/cross member on the remaining beam, which may have joined one of the fallen ones.
Hard to tell exactly what the bridge would have looked like, but given you are building a wrecked one, I would base your expectations around this image. At a guess, I doubt this one had a central pier or column (as per my comment above), hence the inability to hold the panther’s weight.
Thanks Peter, I did wonder about those pieces and that makes sense now tied in to what you said. And as you say, due to it being broken, I can allow for a bit of artistic expression