Build: Takom 1/35 PLA ZTZ-100 WIP - correct camo colours?

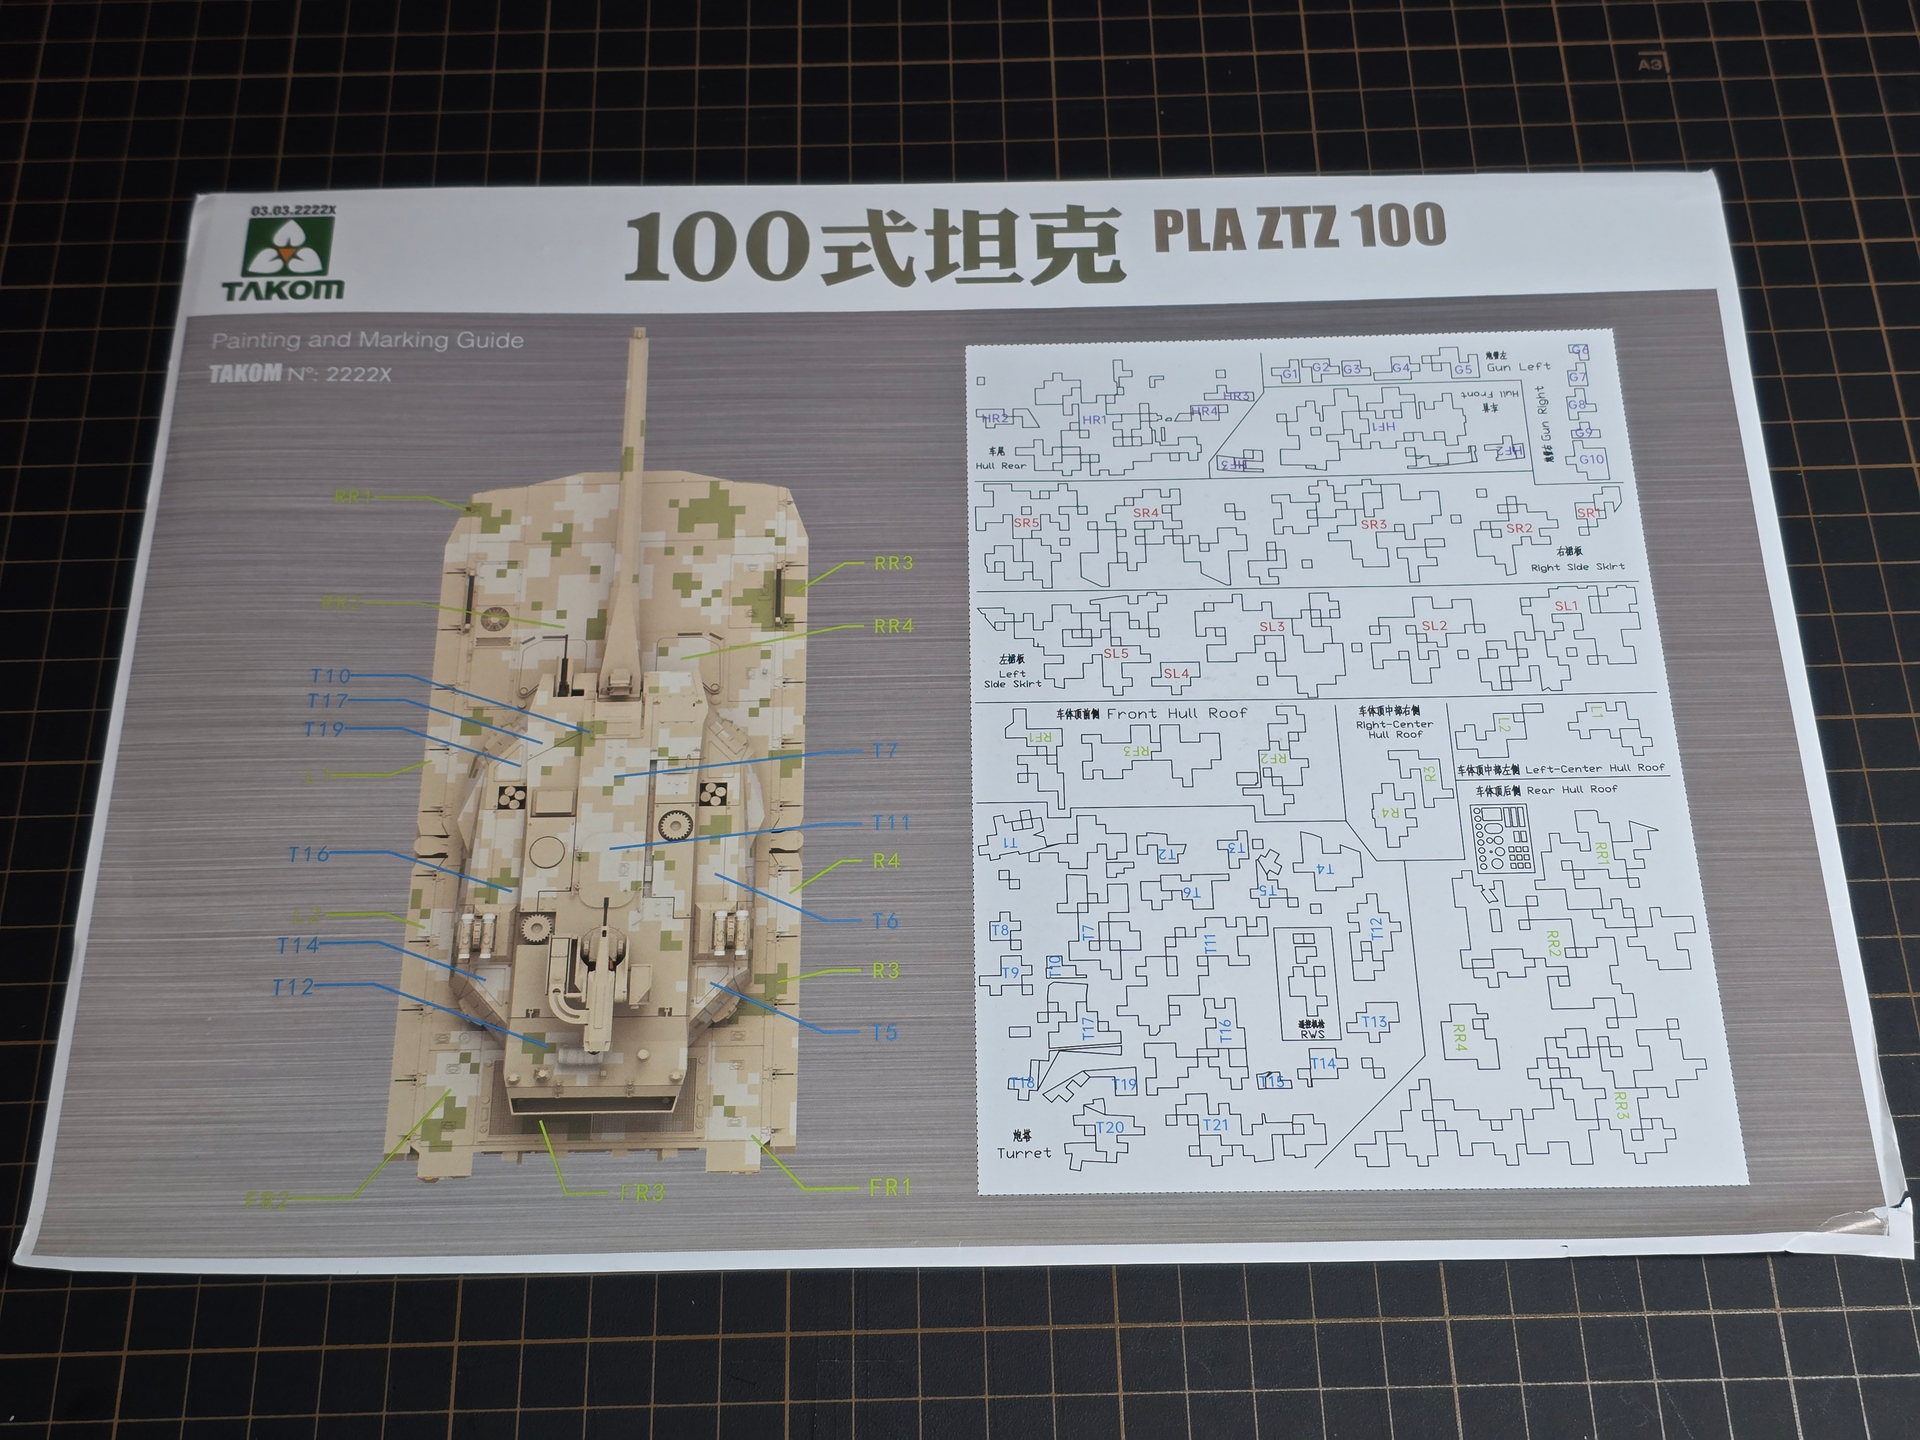
I’ve started work on the Takom 1/35 PLA ZTZ-100, my third project since I restarted the hobby a few years ago after a very long break. Those projects (a Leopard 2A6 & M10 Booker) are paused until I complete this one. Originally, I had hoped to have something ready for HeritageCon 18 in Hamilton, Ontario, Canada, at the end of March. However, I know that’s not going to be possible now, given the time I have left.

My progress on the build has also been slowed by my efforts to film the process for a potential YouTube video. However, I’d prefer to take my time and capture quality footage, as there’s always the option to enter it into another show later in the year.

I’ve decided to be as meticulous and methodical as possible when removing parts from the sprues and cleaning them up, aiming to prevent any frustration during assembly. I am also grouping tasks that use similar tools together from different steps in the instructions. My workspace is quite limited, a small table in my apartment, and I cannot leave anything out between build sessions (cats!), so I need to work efficiently and smartly.

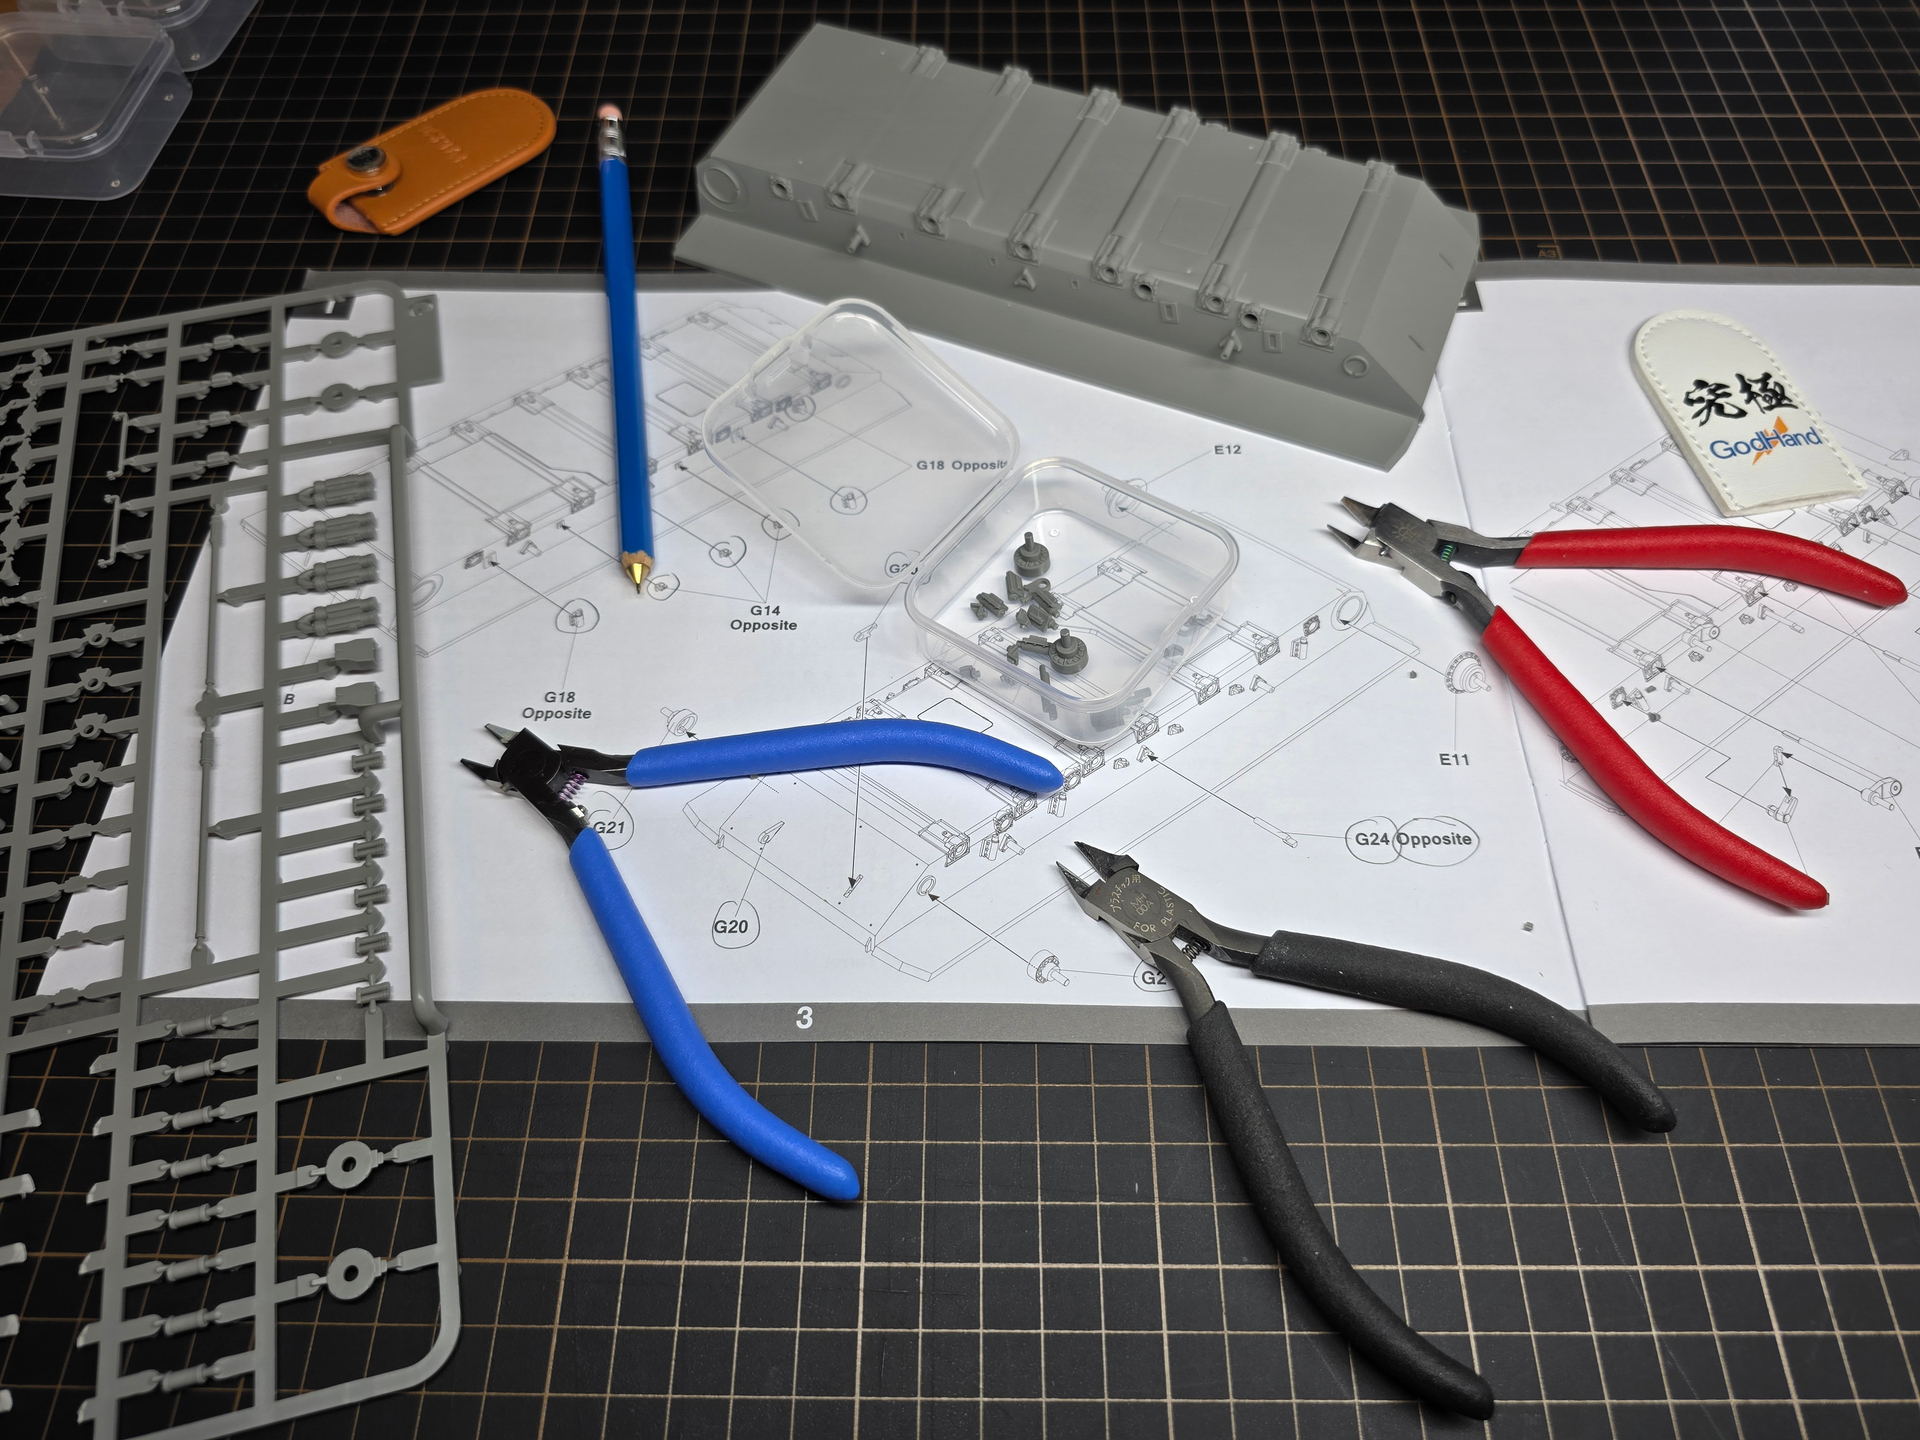
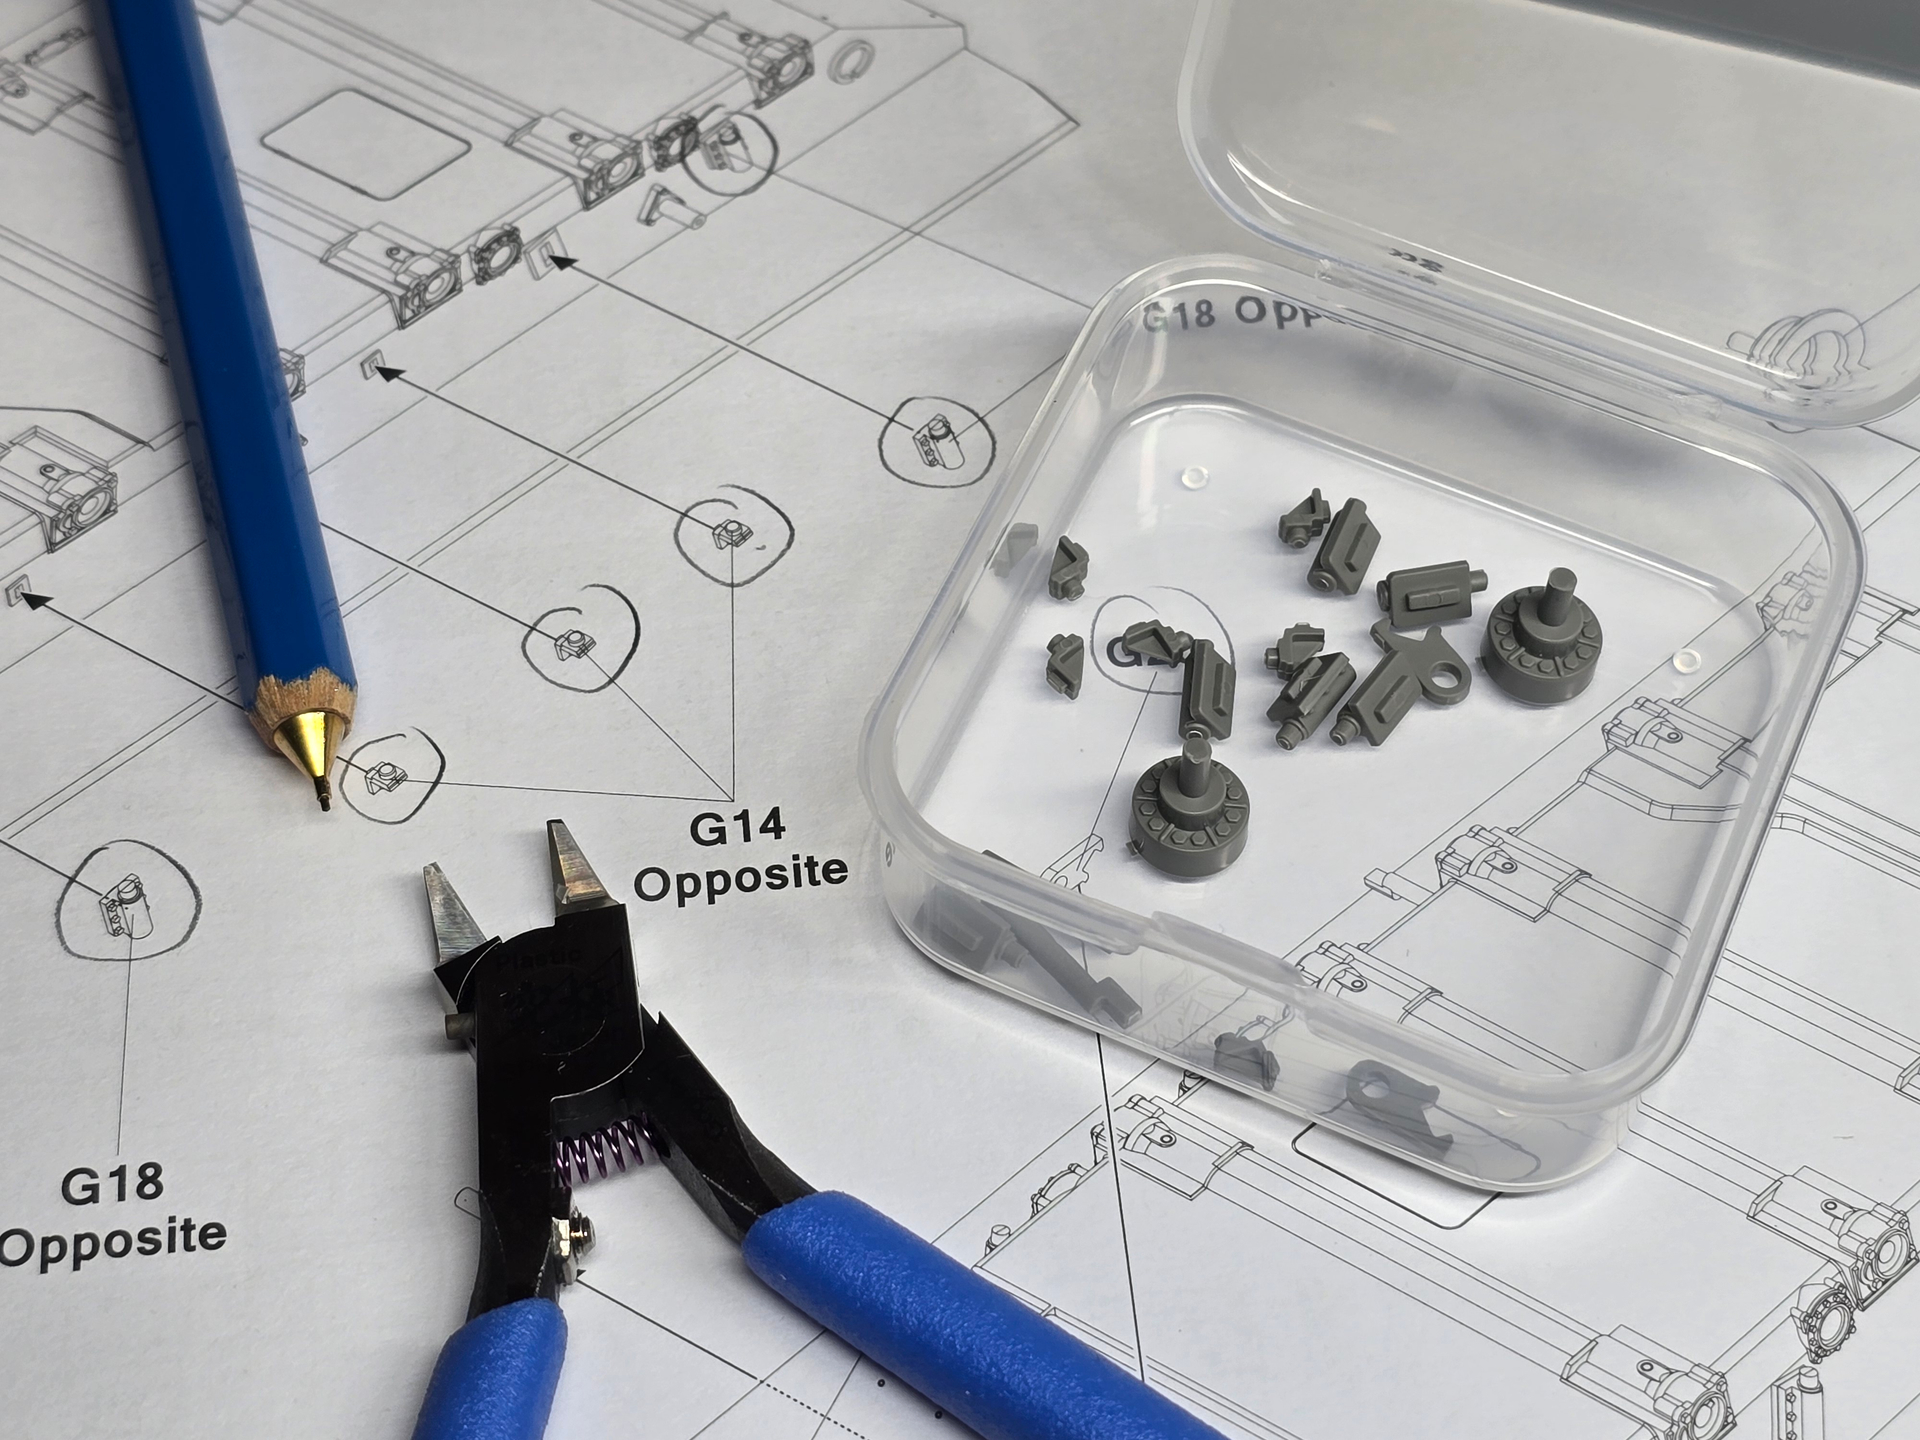
The initial steps in the instructions focus on assembling the lower hull, suspension, and running gear. I begin by removing all the parts needed for the first three steps from the runners, following a 3-stage process before completing the final clean-up. First, I use my Tamiya nippers to cut each part away, making rough cuts well clear of the sprue gates. Then, I switch to single-blade nippers to carefully trim away the remaining material.

Single-blade nippers are quite delicate and should only be used for cutting thin parts. This is especially true for high-end tools like the GodHand GH-SPN-120. I begin with my Dspiae ST-A 3.0 to make an initial cut, then switch to the GodHands for a precise trim as close to the part as possible. This method leaves minimal excess sprue for the final clean-up stage.

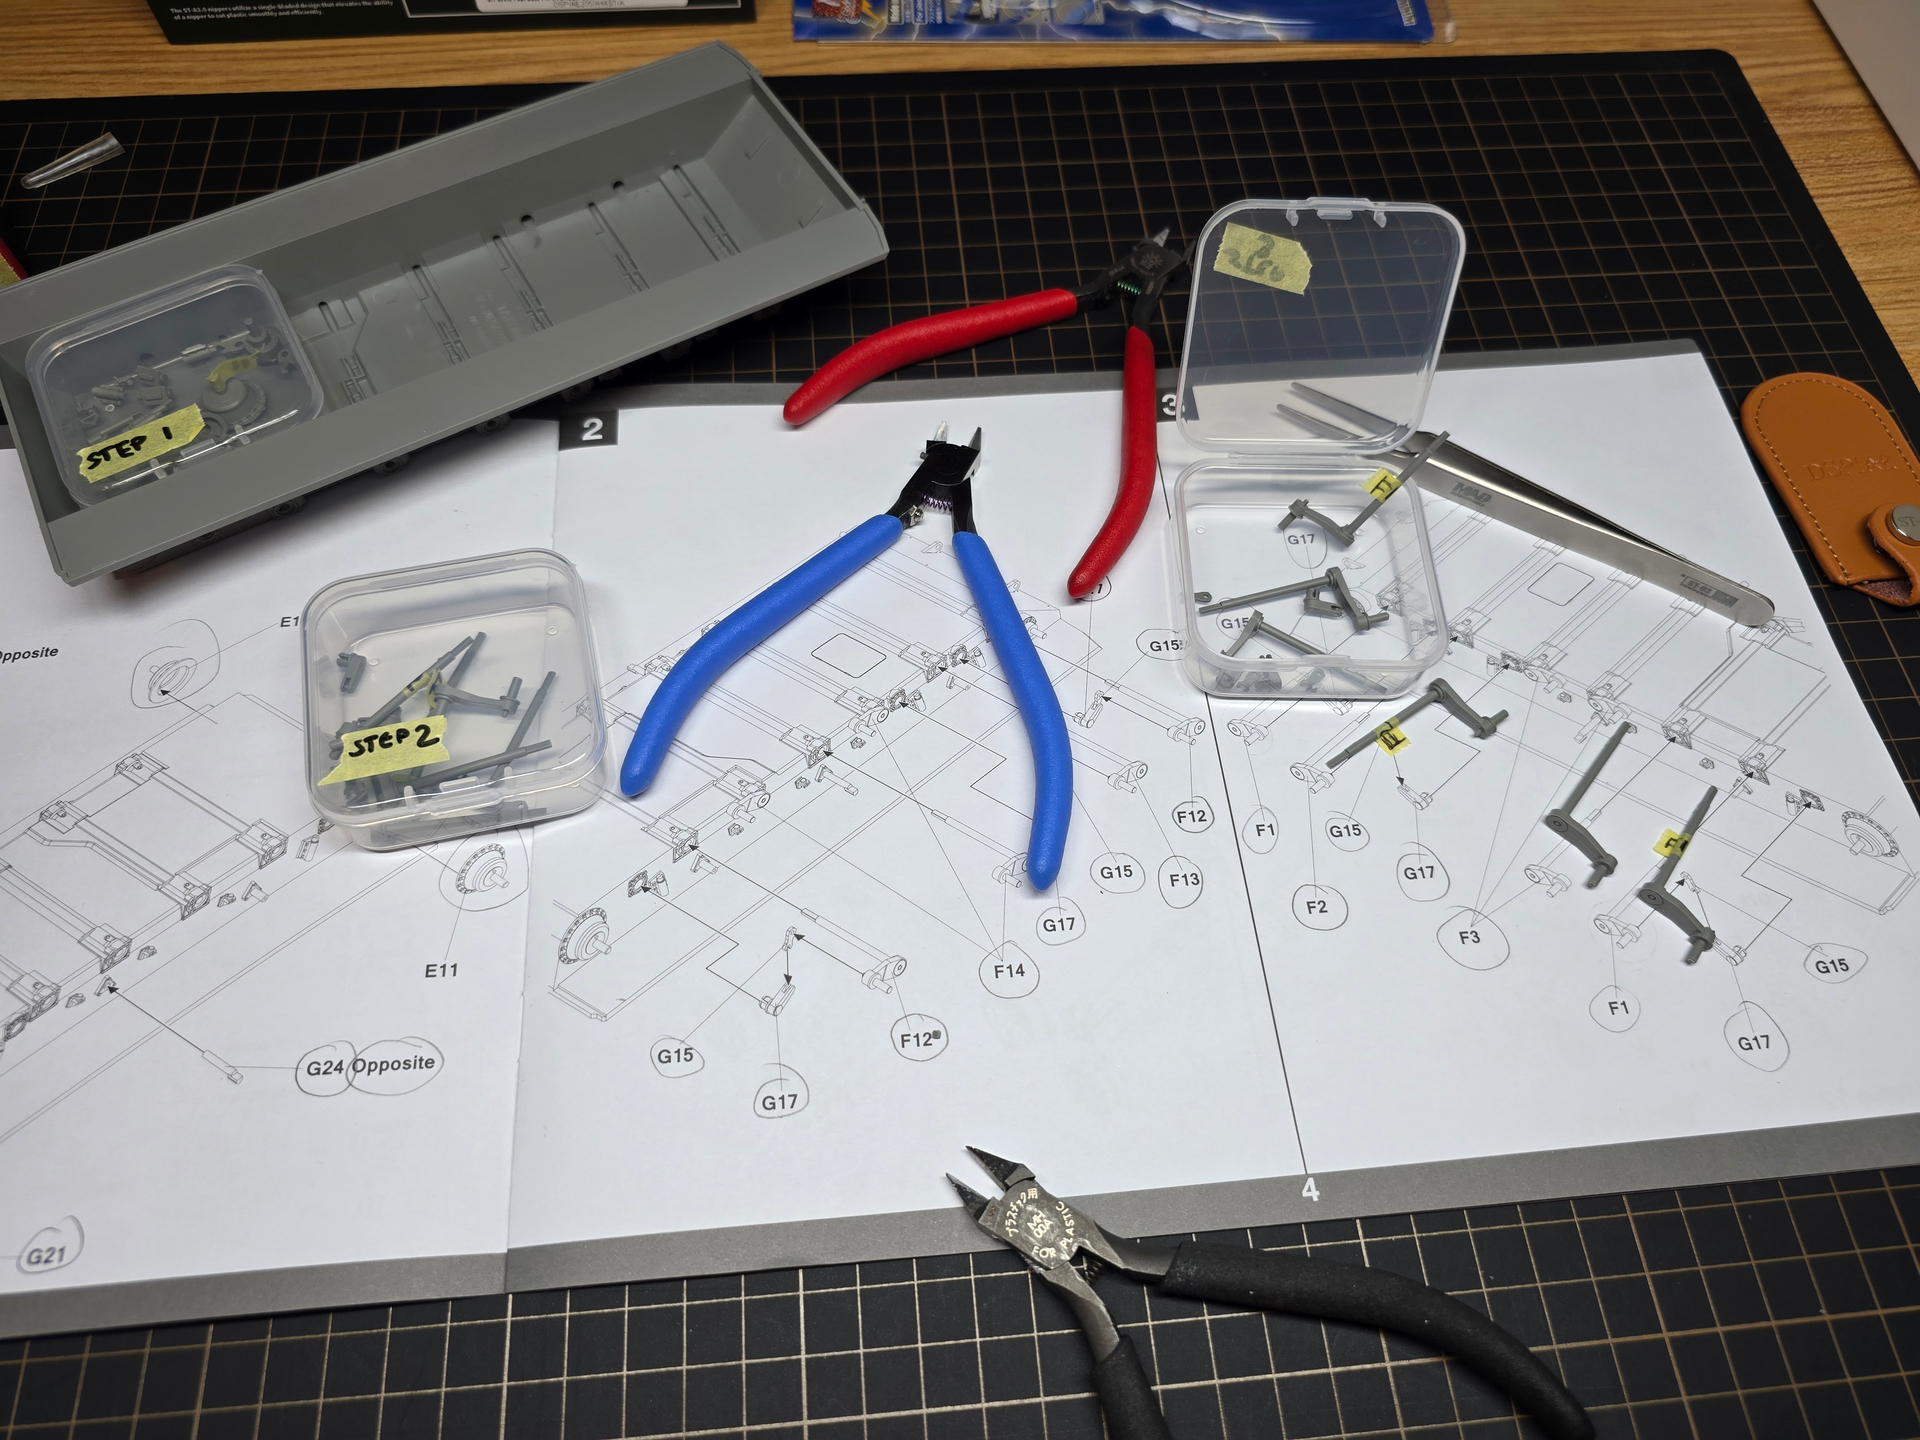
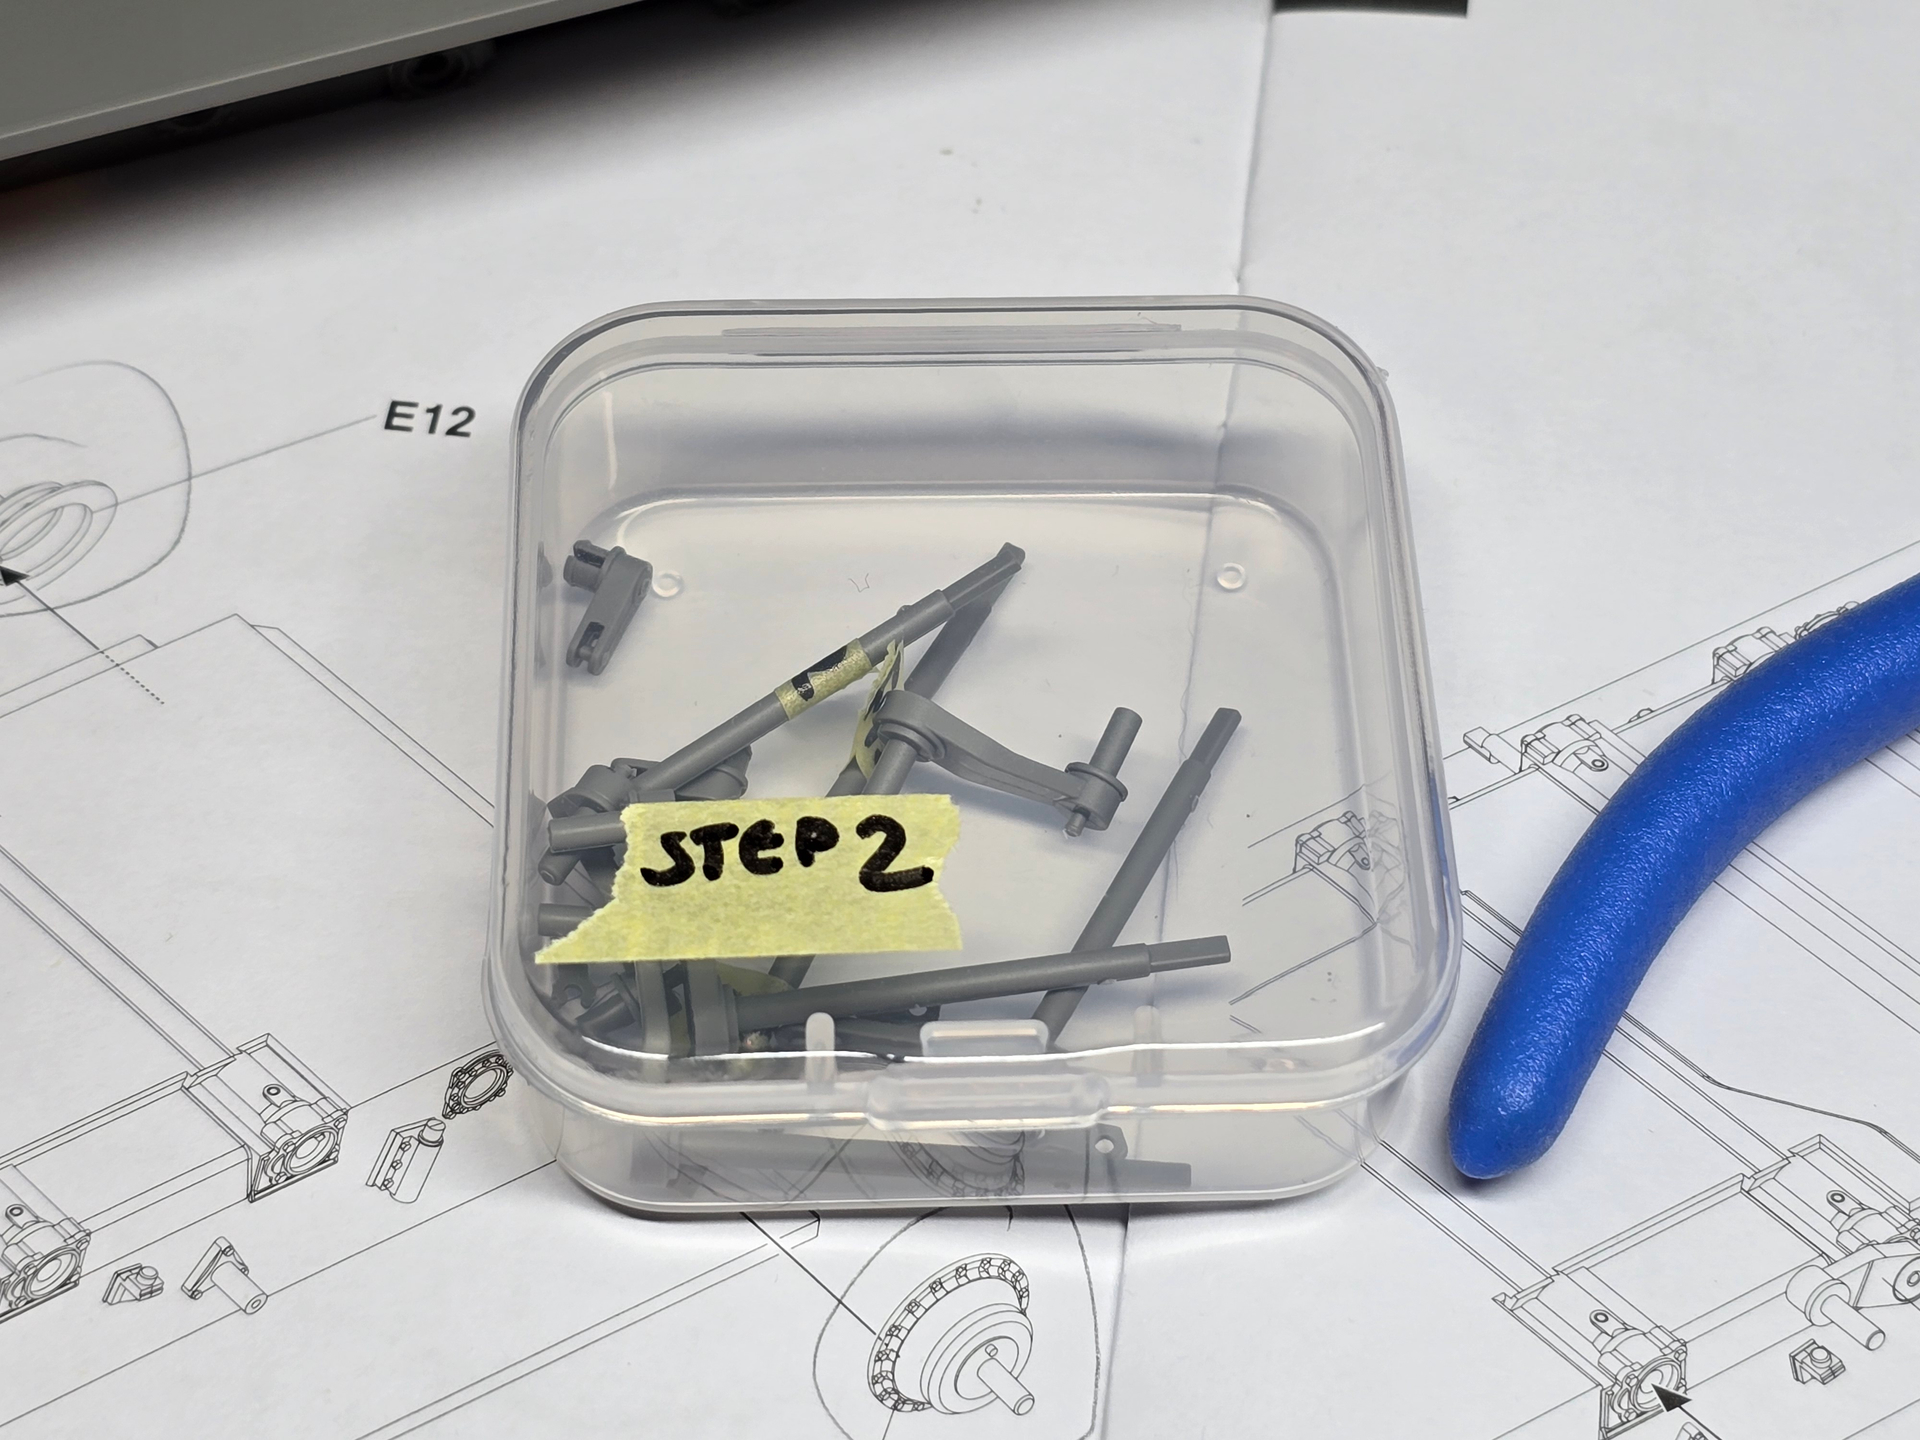
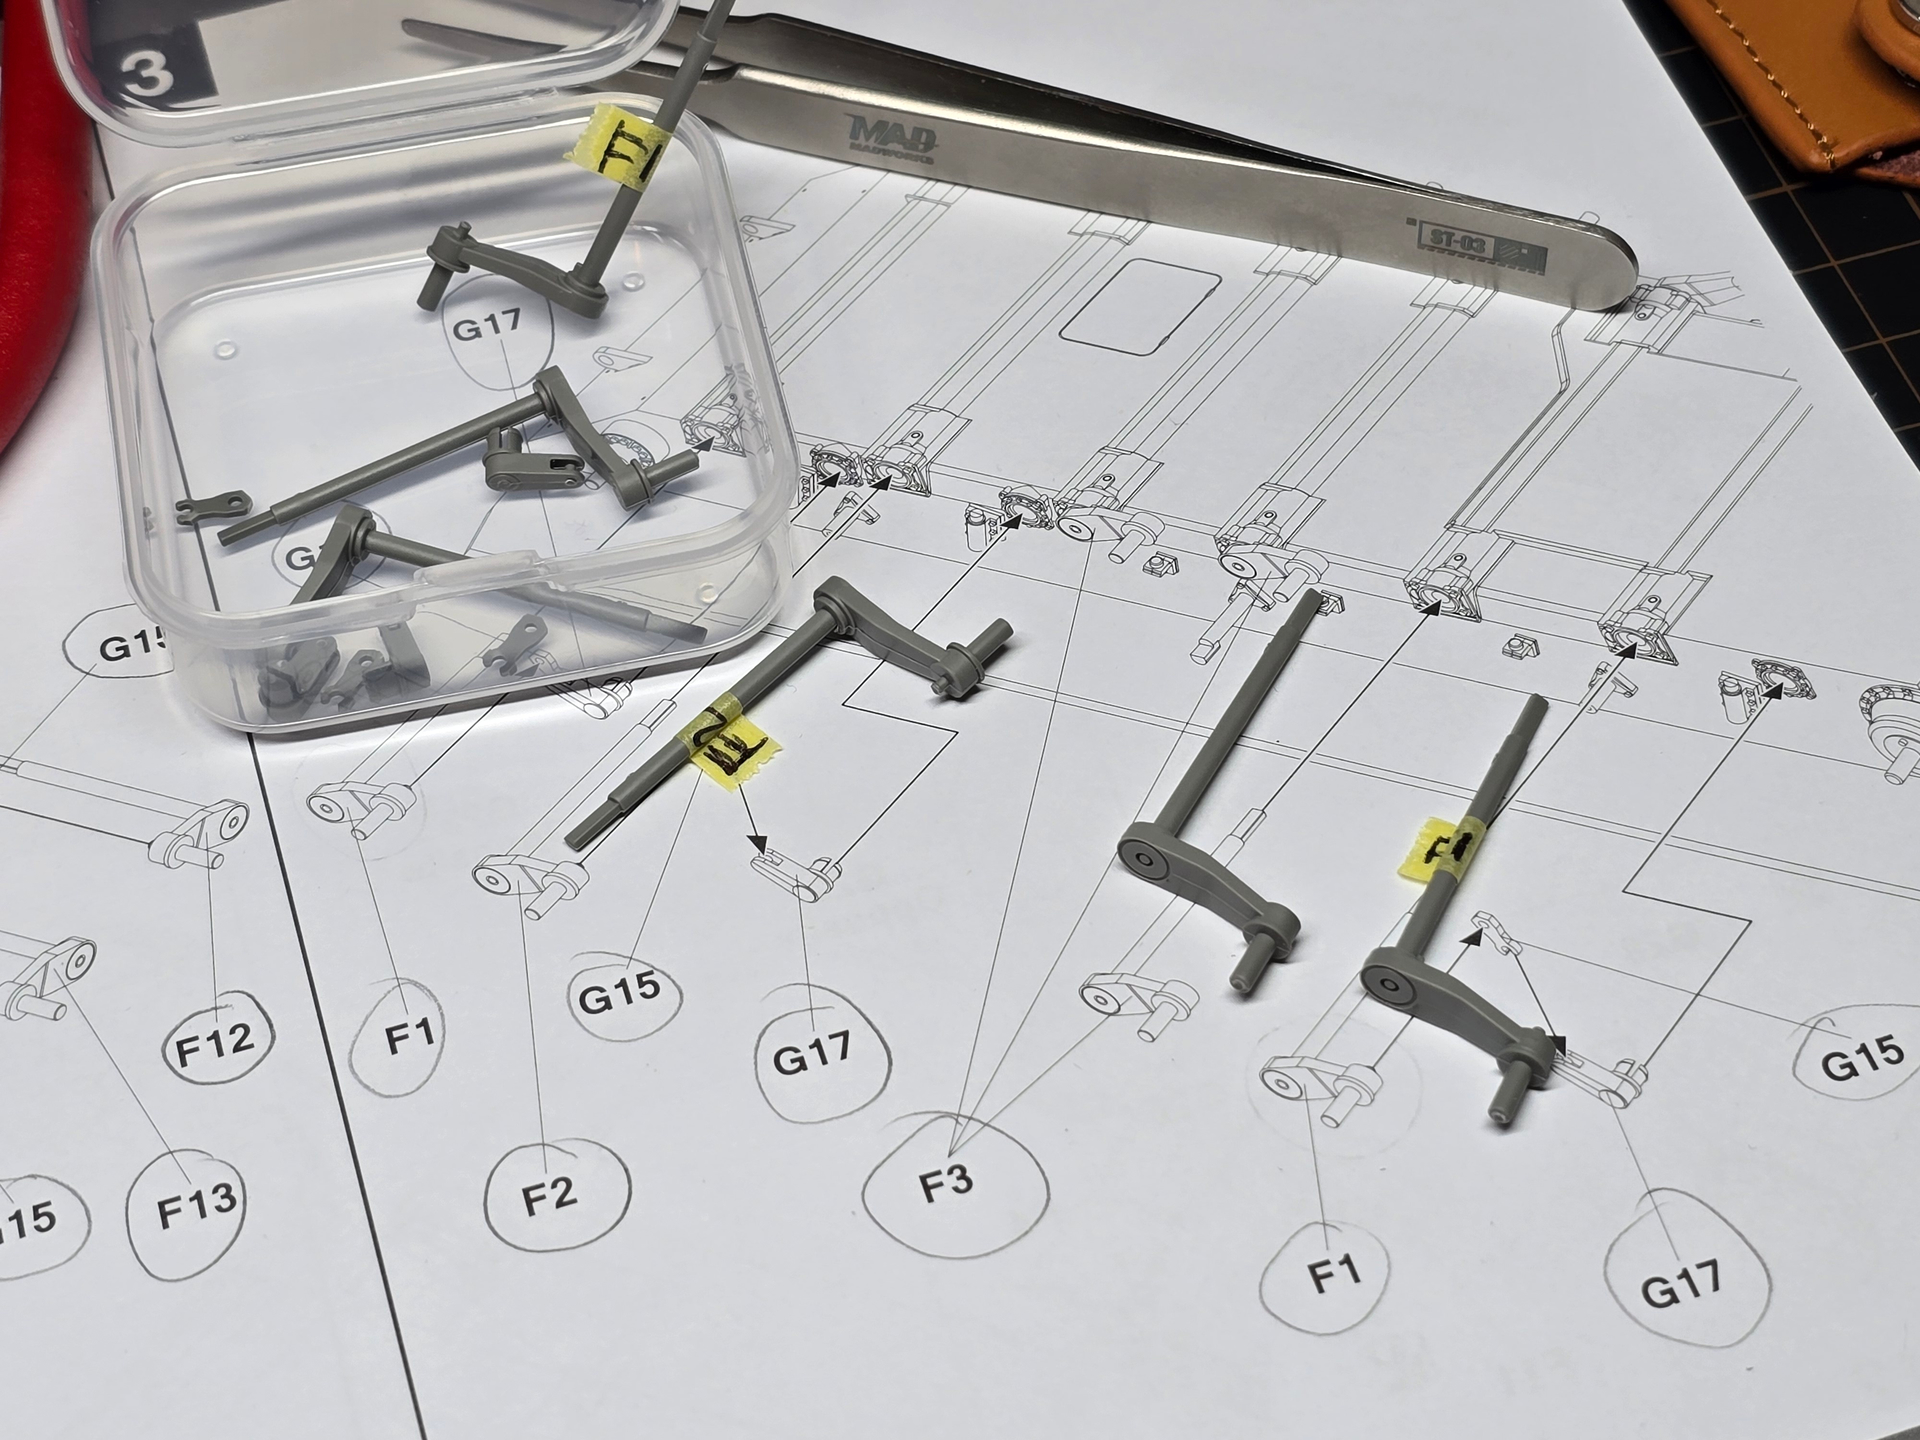
To stay organized between build sessions, I’m sorting the removed parts for each instruction step into separate containers. To prevent mixing up similar-looking components, like all the suspension arms, I’ve labelled each part using some Tamiya tape. Since the arms are also handed, I’ve kept the LH and RH parts for steps 2 and 3 separated in their own containers.

3 Likes

Before I proceed with removing the mould lines and finishing the cleanup of the sprue attachment points on these parts, and start the initial assembly, I’d like to ask for some advice on the correct paint colours for the PLA digital camouflage pattern on the ZTZ-100.

Because, as I’ve heard is common with Takom kits, there are NO COLOUR CALL OUTS in the instructions :exploding_head:.

This is the scheme on the real tank:

My primary concern right now is selecting an accurate shade for the dark base tan, since several hull components will need to be pre-painted during assembly. With my small hobby workspace and health in mind, I only use water-based acrylics, so I would appreciate paint suggestions for those types of paint.

After some research, checking the colour recommendations from the Meng ZTQ-15 and Border ZTZ-99A kits, I found that Meng suggests their MC-236 “Light Earth” (made by AK) or Mr. Hobby Acrysion N79 “Dark Yellow”, while Border recommends MIG AMMO 0029 “Desert Sand”.

Ideally, I’d prefer to use my current go-to paint, MIG ATOM acrylics, and according to MIG’s conversion, the equivalent for AMMO 0029 is ATOM 20007 “Desert Sand.” However, this shade appears noticeably different from the Meng paint suggestion, and I’m having trouble finding a direct conversion, especially since Meng paints are hard to source and use an older AK formula.

What do you guys recommend? Has anyone tried using Mr. Hobby Acrysion paints, which I understand are fully water-based? I’m considering testing the ATOM and Acrysion shades on some scrap plastic and comparing them to my reference photos.

3 Likes

One, your not likely to find a direct conversion as different manufacturers use different paint formulas for even the same color. The conversion charts in model kits get you the closest out of bottle color to the one suggested per manufacturer. This is neither good nor bad but what it is. Your choice is to either accept the color as is or start mixing colors to get closer to what you want. This is where knowing the color wheel or finding a paint app is super helpful.

Two, have not used either brand so I can’t help but your going in the right direction with testing on scrap plastic and not your model.

Best of luck.

1 Like

Id look at another companies kit that has desert digital camo and see if it matches the colors used on the -100.

2 Likes

A gray version- https://www.reddit.com/r/TankPorn/comments/1nacpzw/gray_type_100_tank/#LightBox

1 Like