Hi fellow modelers!
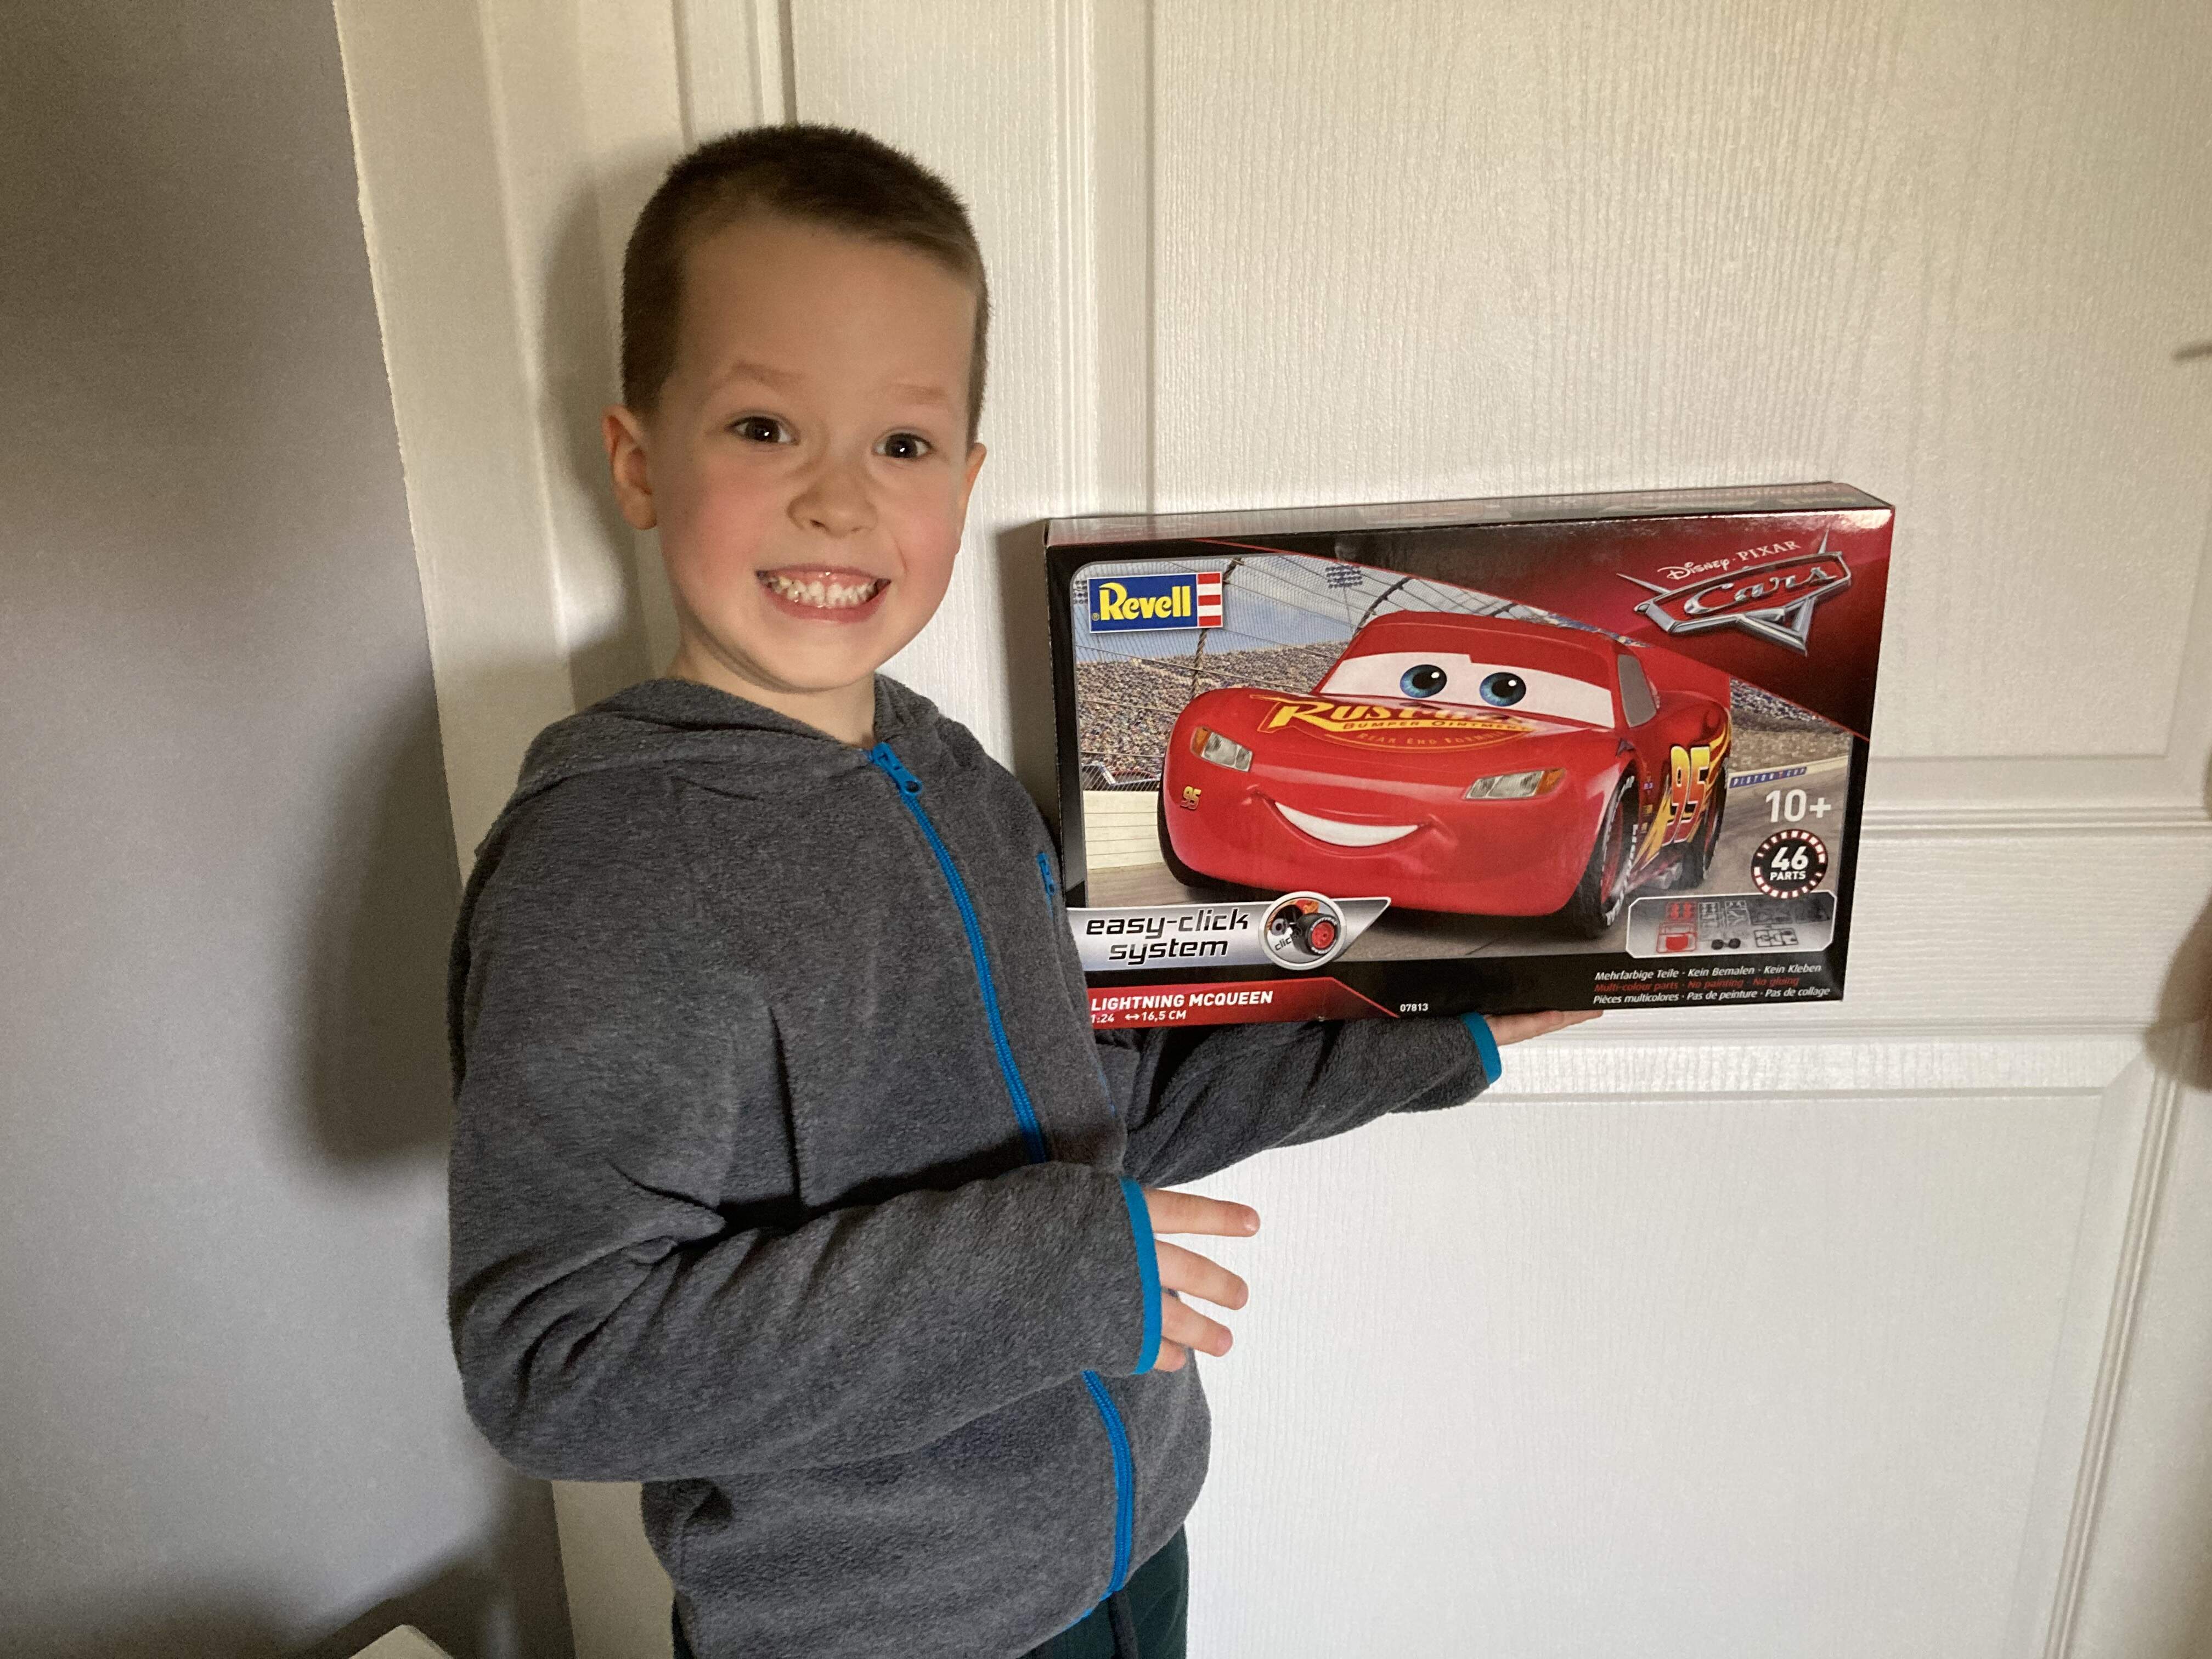
It is a fast build that I wanted to document over here. The reason is that my 5 years old (young) grandson Little Patrick (Lil’P) asked me to buy a scale model, of course it was Lightning McQueen. I remembered that Revell has released such easy click snap-tite kit so we visited some toy shops here in Budapest but the item was not on stock. Finally I ordered it from a local model shop and the kit arrived just on Lil’P name-day (which is always celebrated in Hungary - one more occasion to eat chocolate and get toys).
In normal business I am tank modeler but sometimes I take a road to cars, ships or airplanes, too. This is an occasion like that.
I decided to make photos about the build so you can consider it as a build log with three rules in mind:
- shall be done with a 5yrs old (he shall actively participate)
- can be full OOB
- painting steps are not required
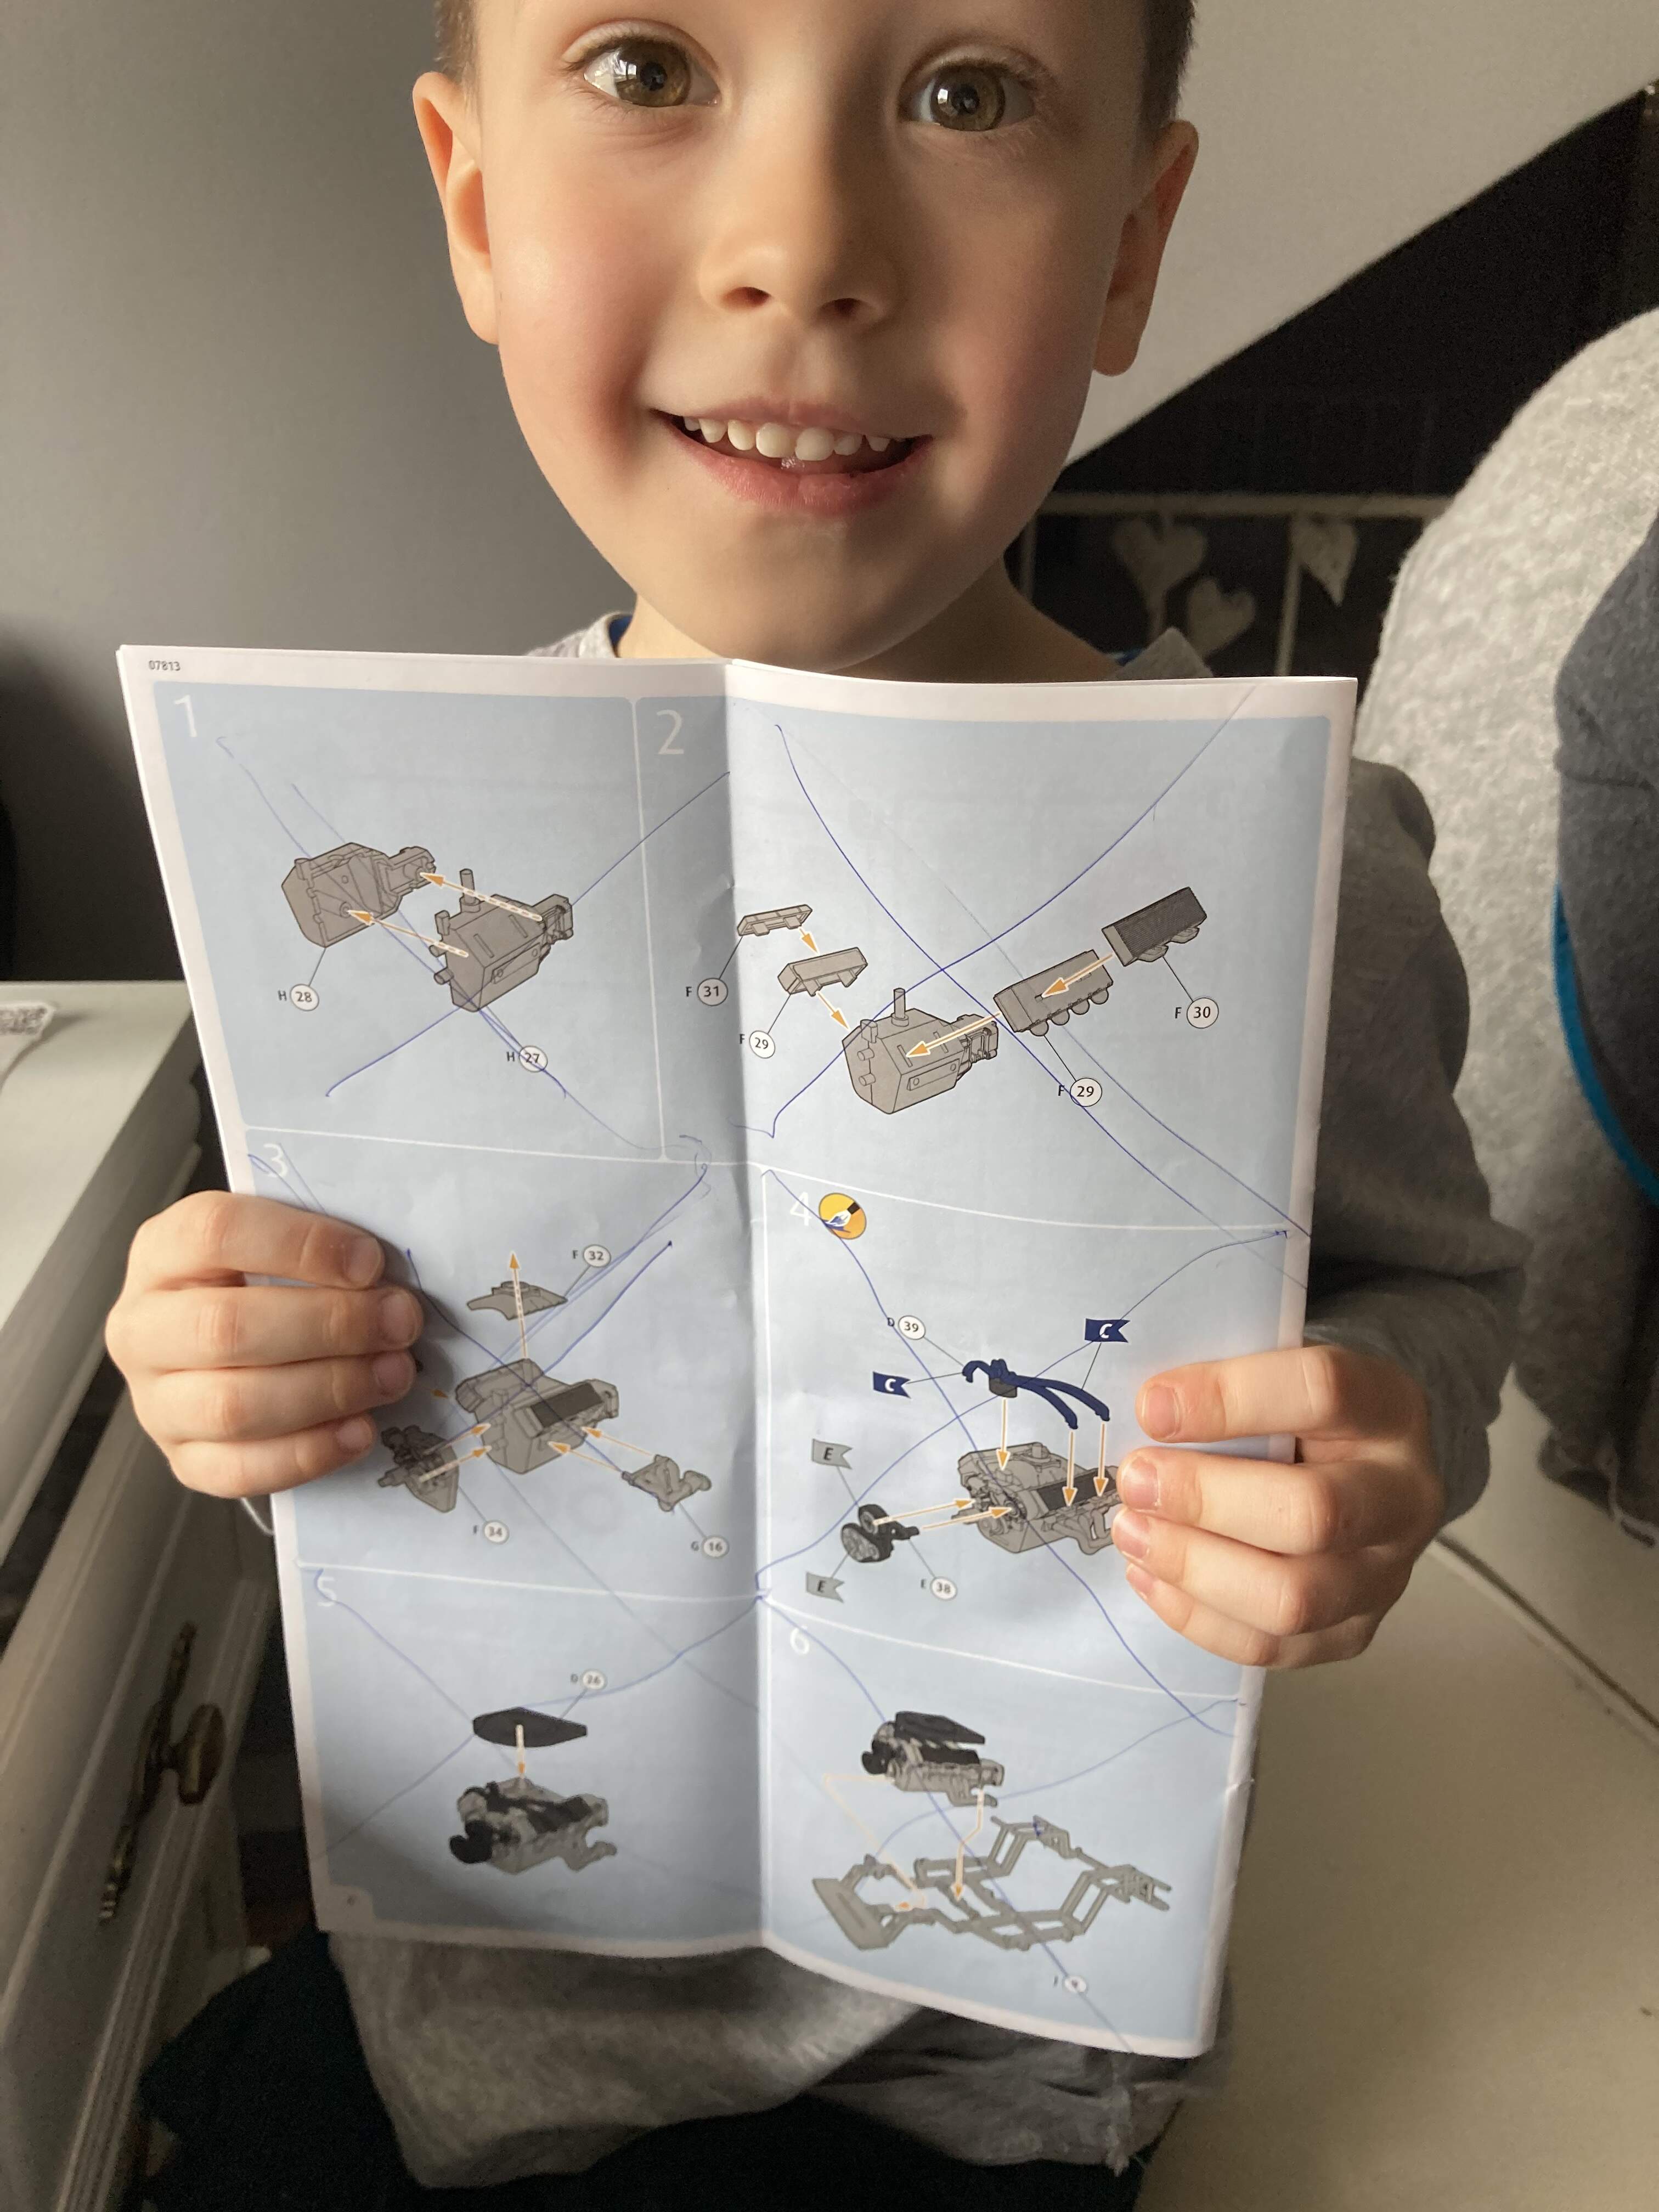
The last rule came from the fact that Lil’P has no long time patience (which is probably typical for a perpetuum mobile boy like him). So we started with the regular steps: some pictures about the kit itself and the happy owner.
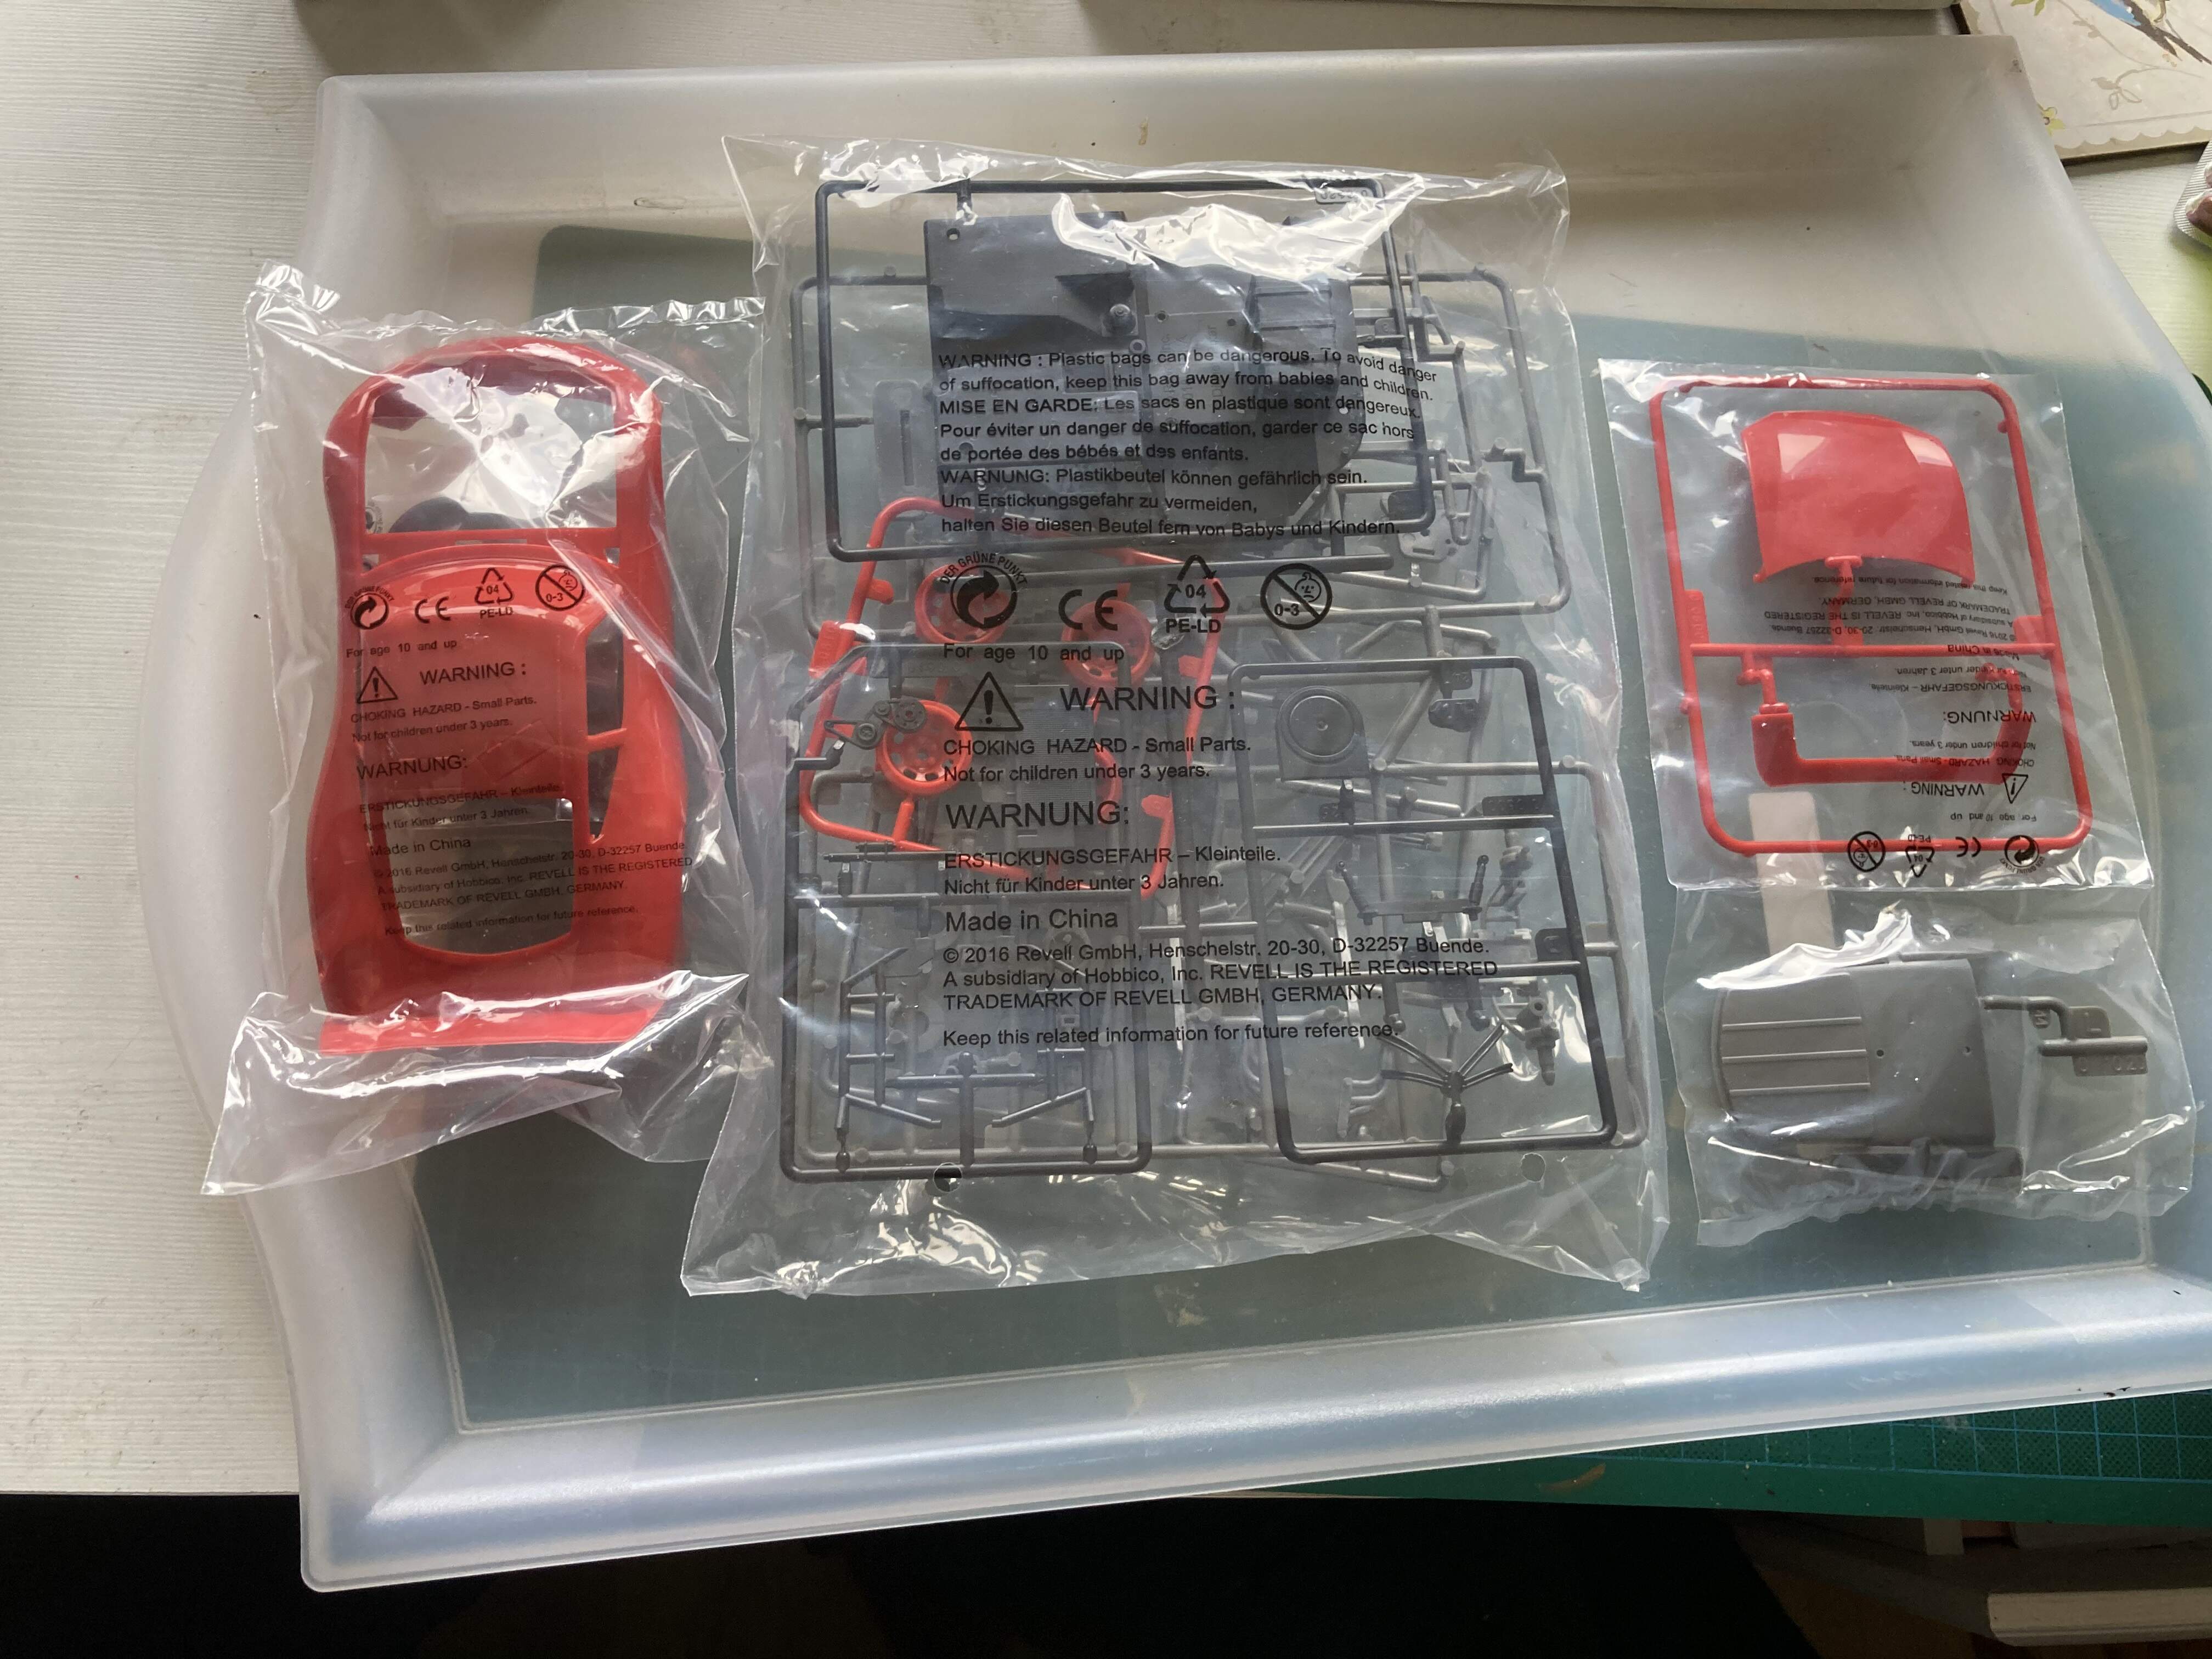
Lil’P had a very important task to open the plastic bags (he always opens all boxes or bags regardless who that belongs to ![]() )
)
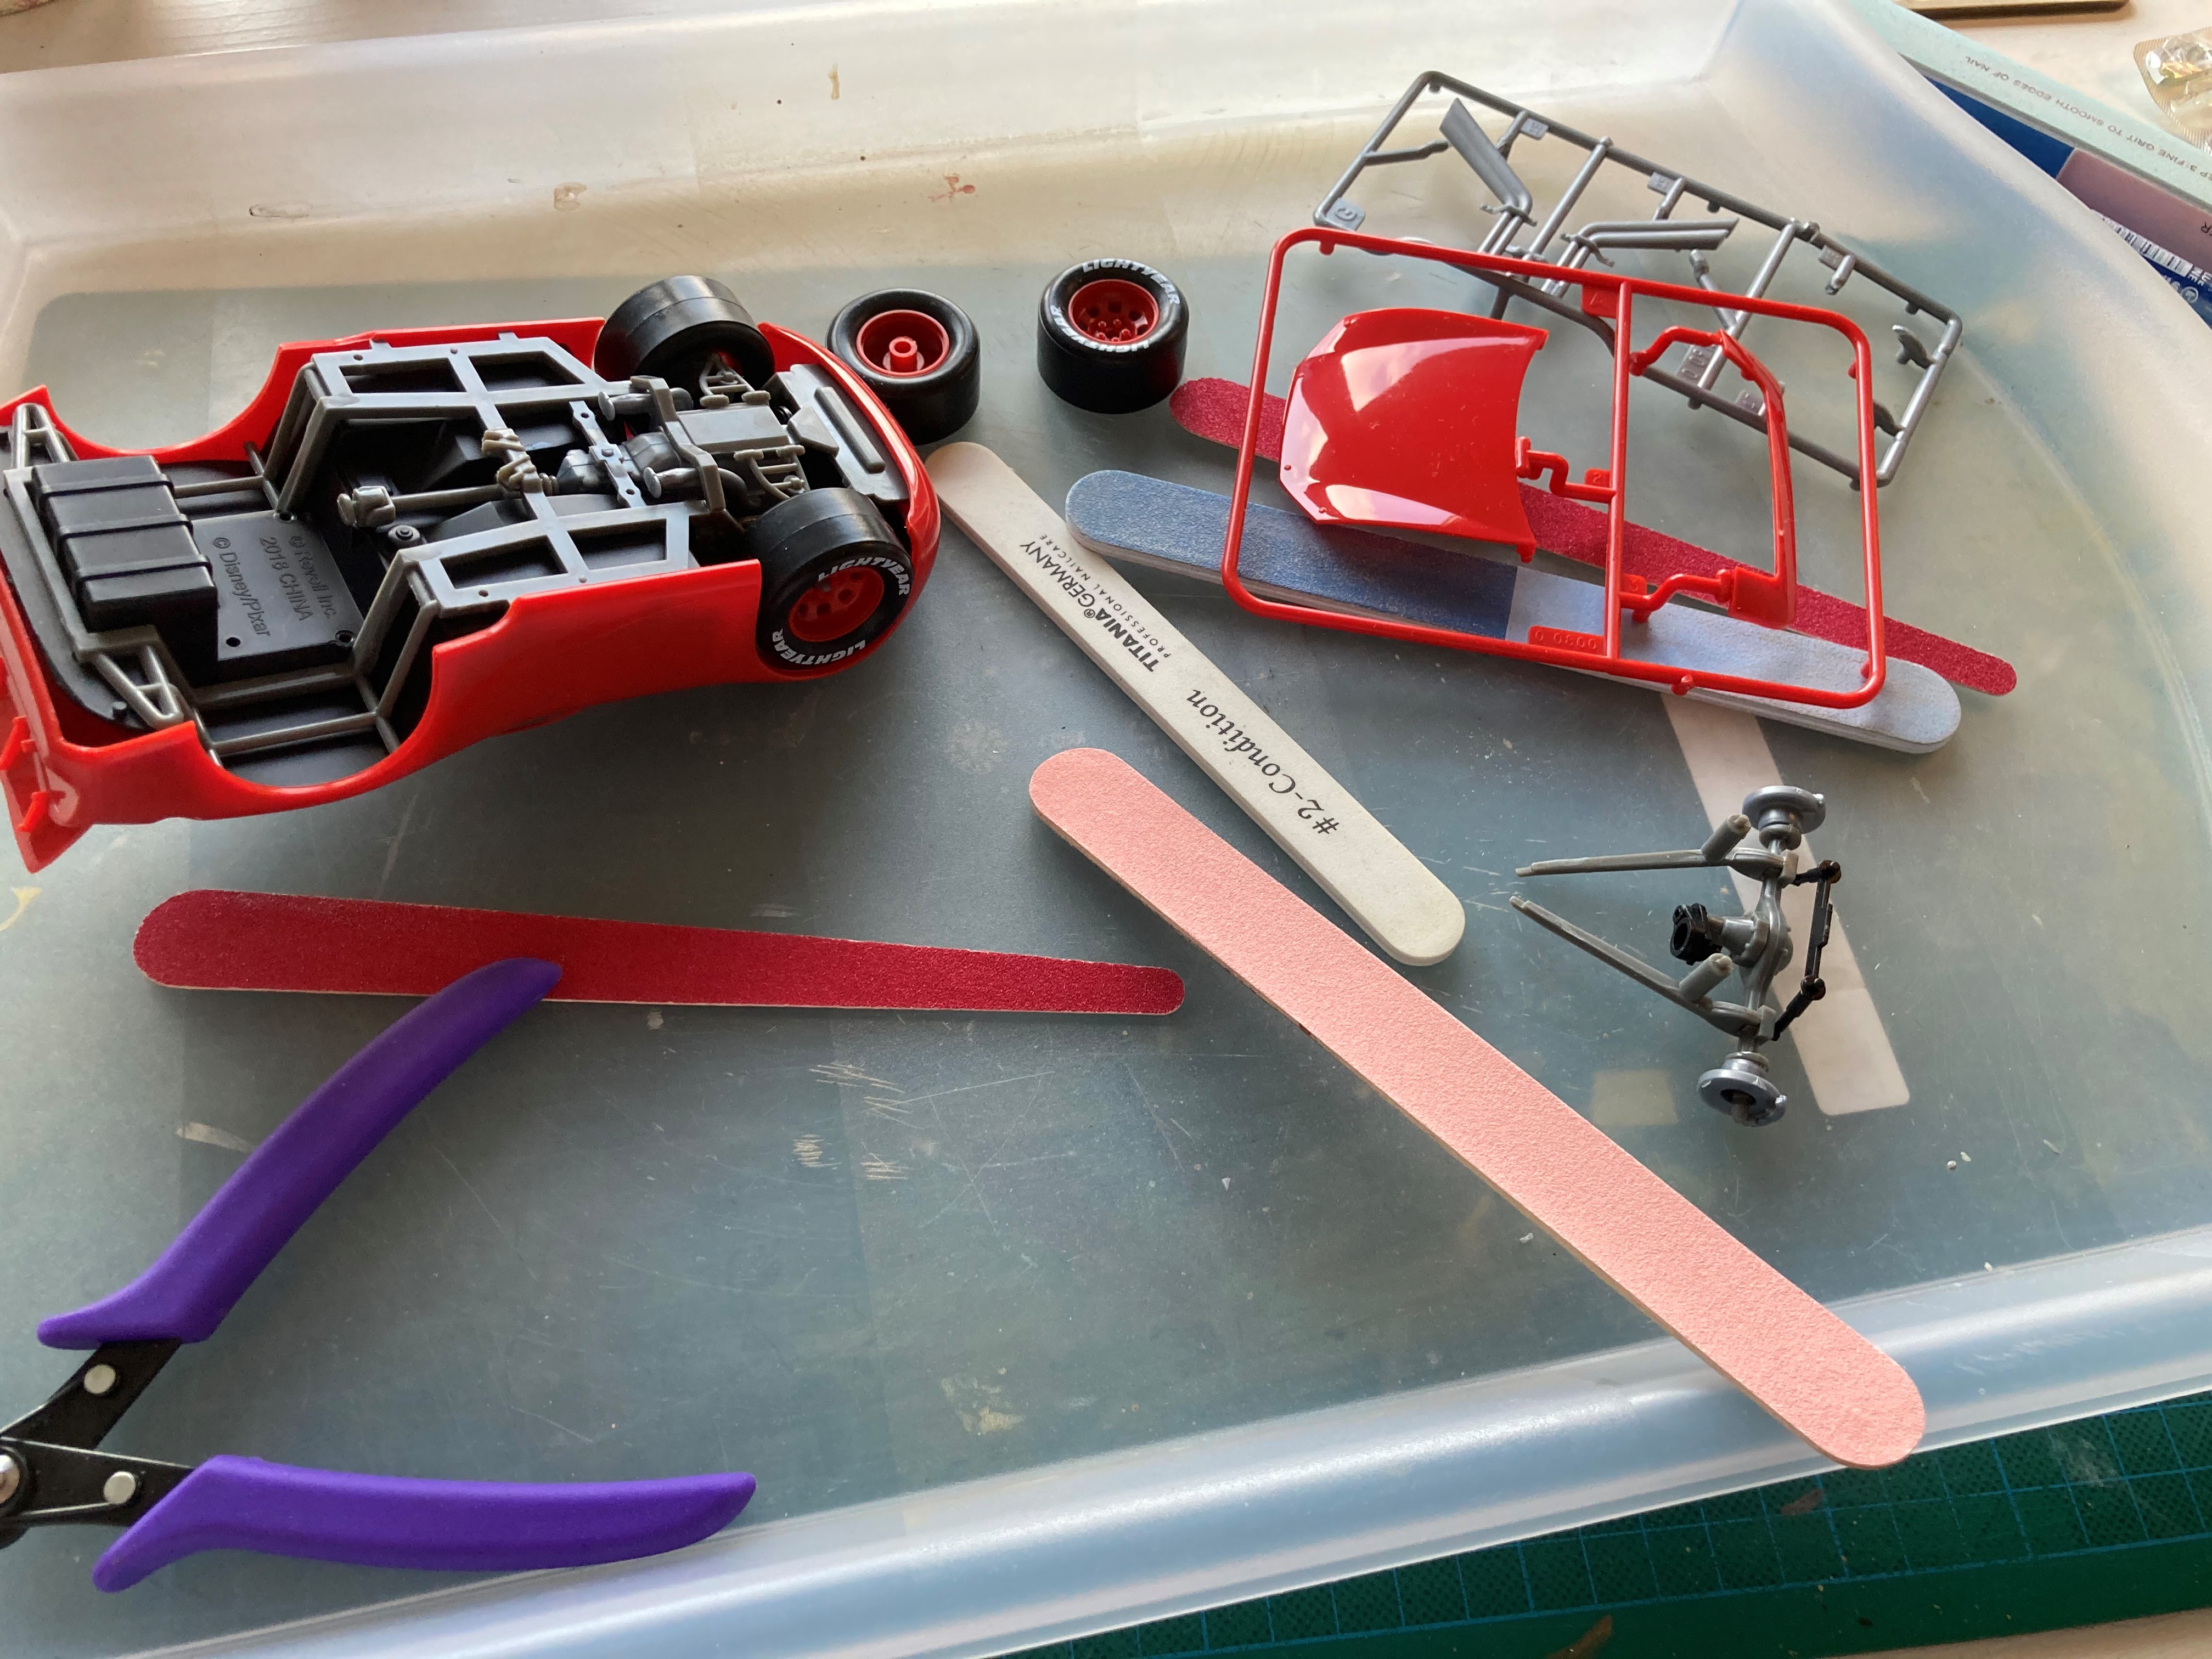
As you see, there are no too many parts in the box - one can count up to 46, which is far enough for a young boy. I lied to Lil’P that this kit is for 5yrs child, the box shows 10+. That is valid if a boy want to build the kit with minimum parental support, in our case grandpa’s help was more than occasional.
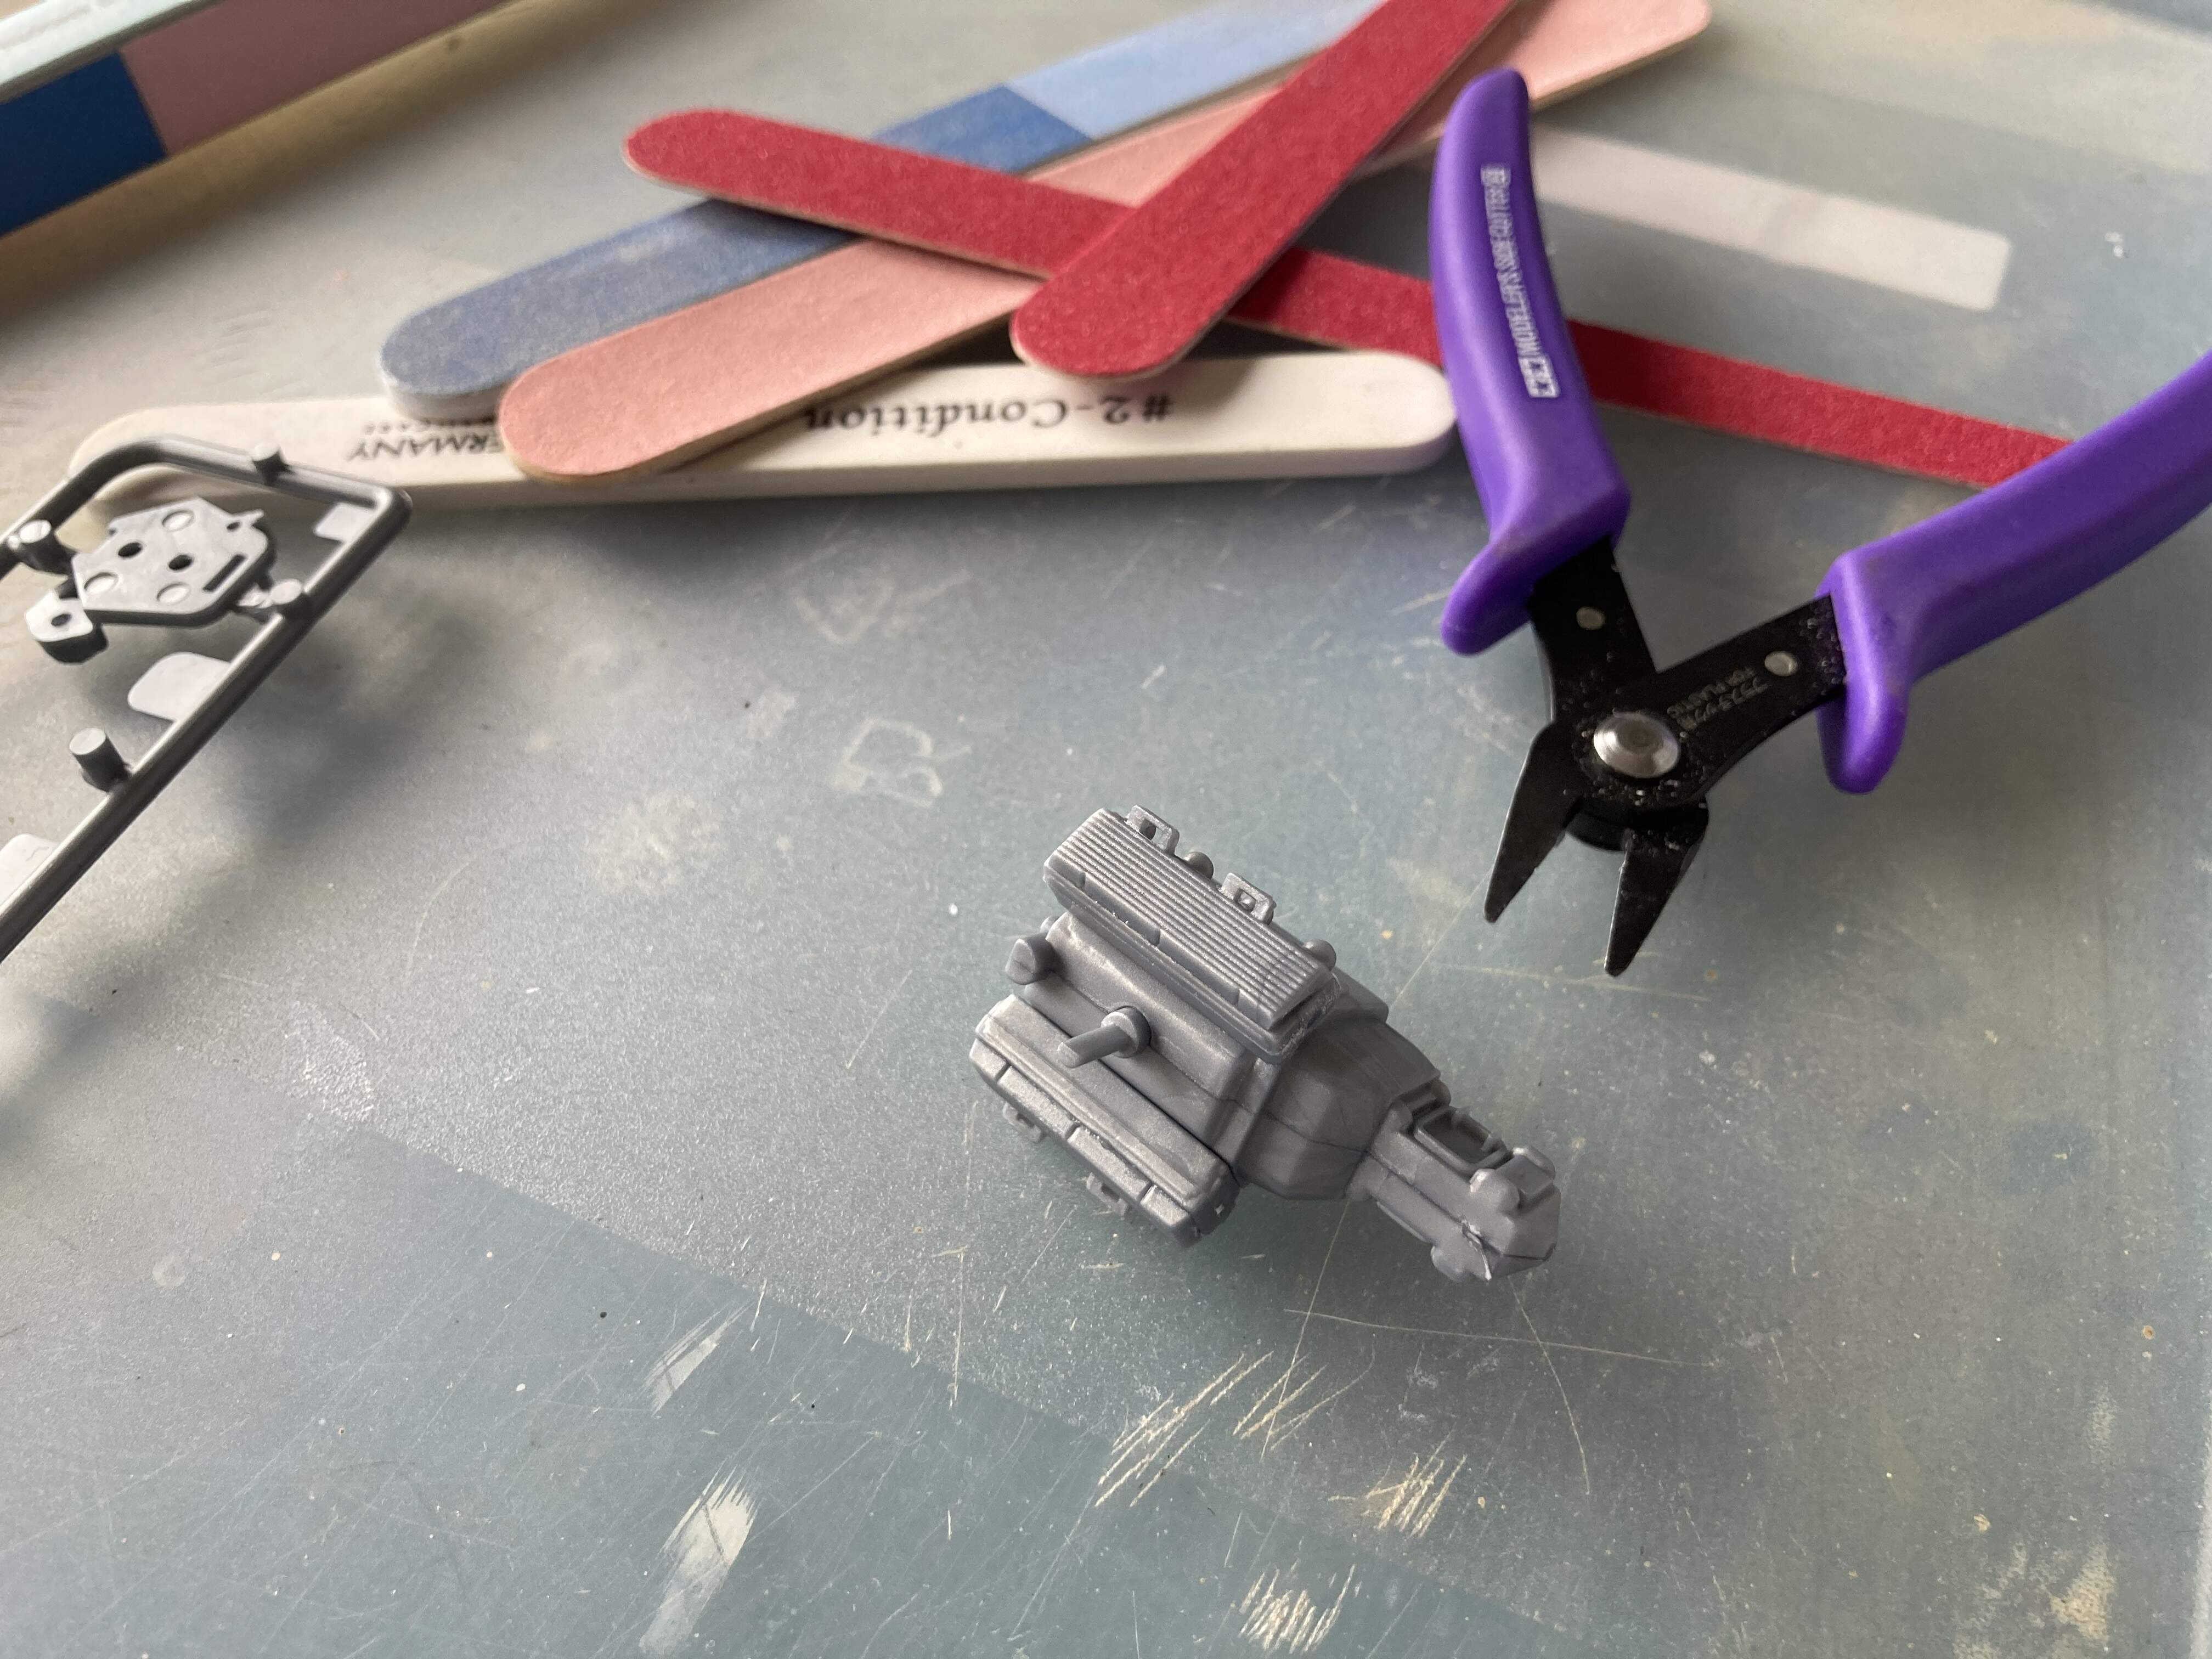
We strictly followed the manual, starting with the engine. The easy-click-system is not perfect, I had to use normal modeler glue some places to avoid parts falling-off. Although I am keen on clean build, this was not the time to properly remove the molding lines. I have to tell also that there are only some, mostly not visible for the final result. And I kept in mind that the kit will be a fully functional toy for my 5yrs old, so removing those lines would just unnecessarily extend the building time.
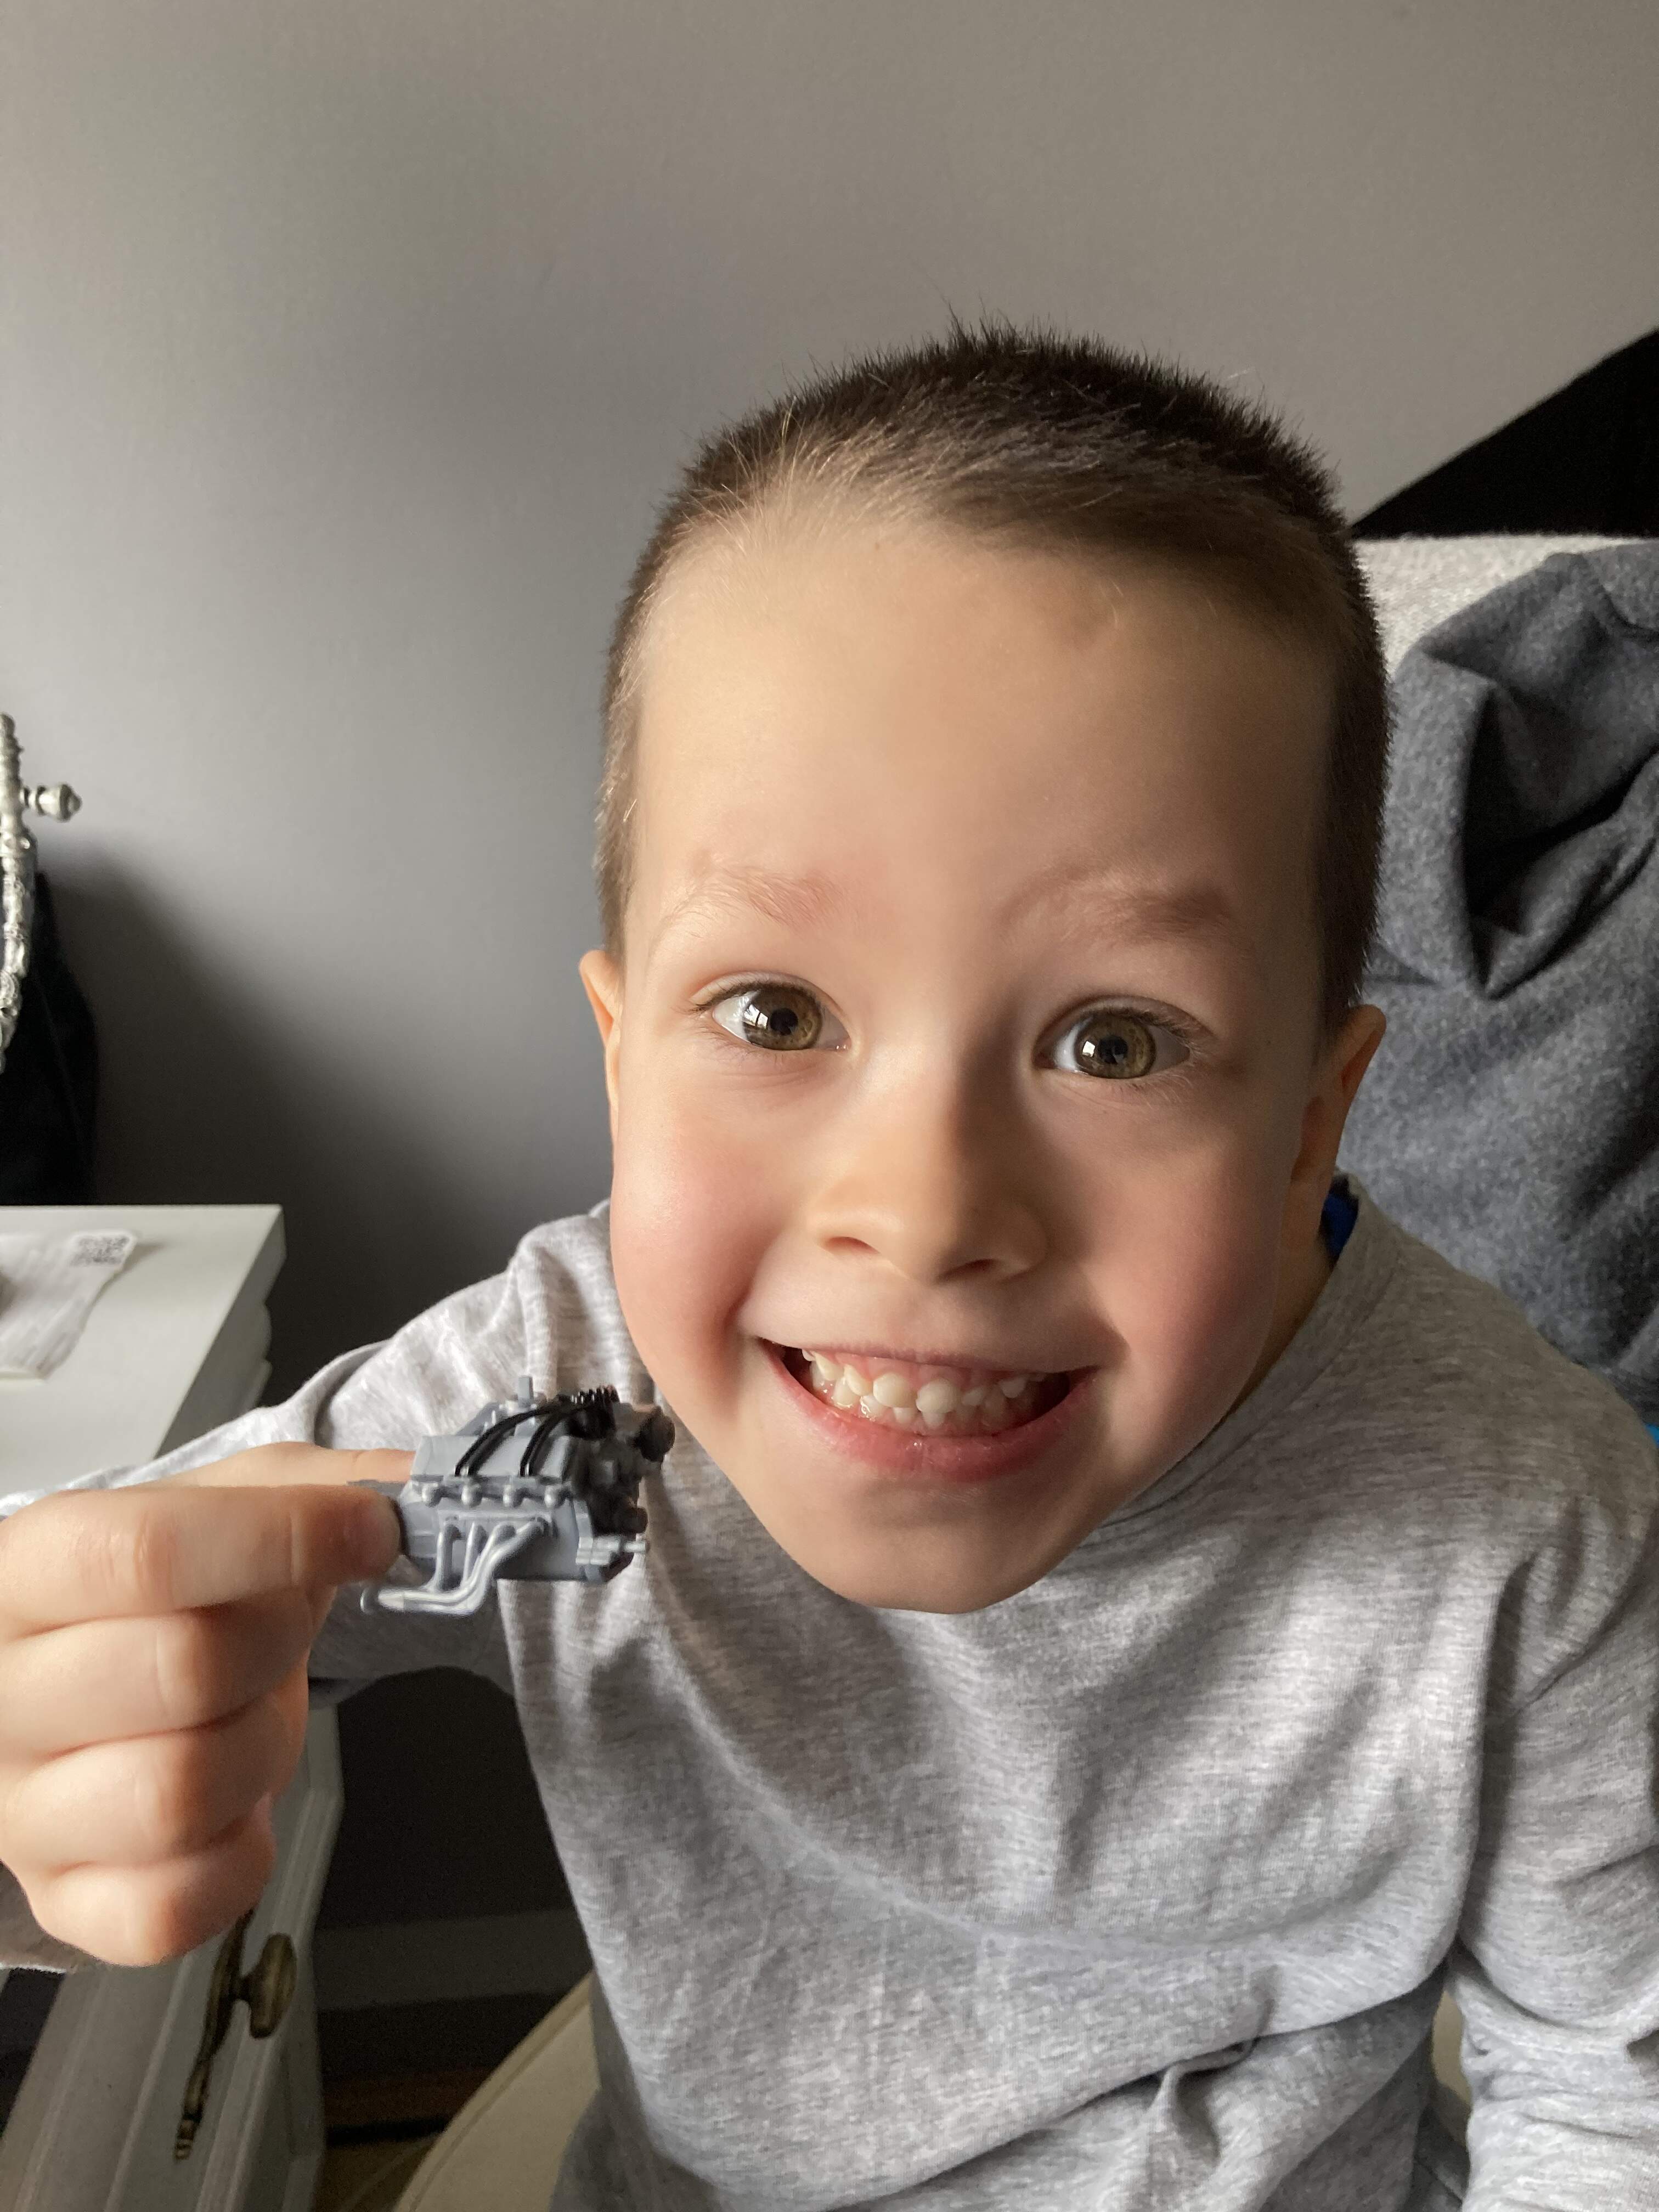
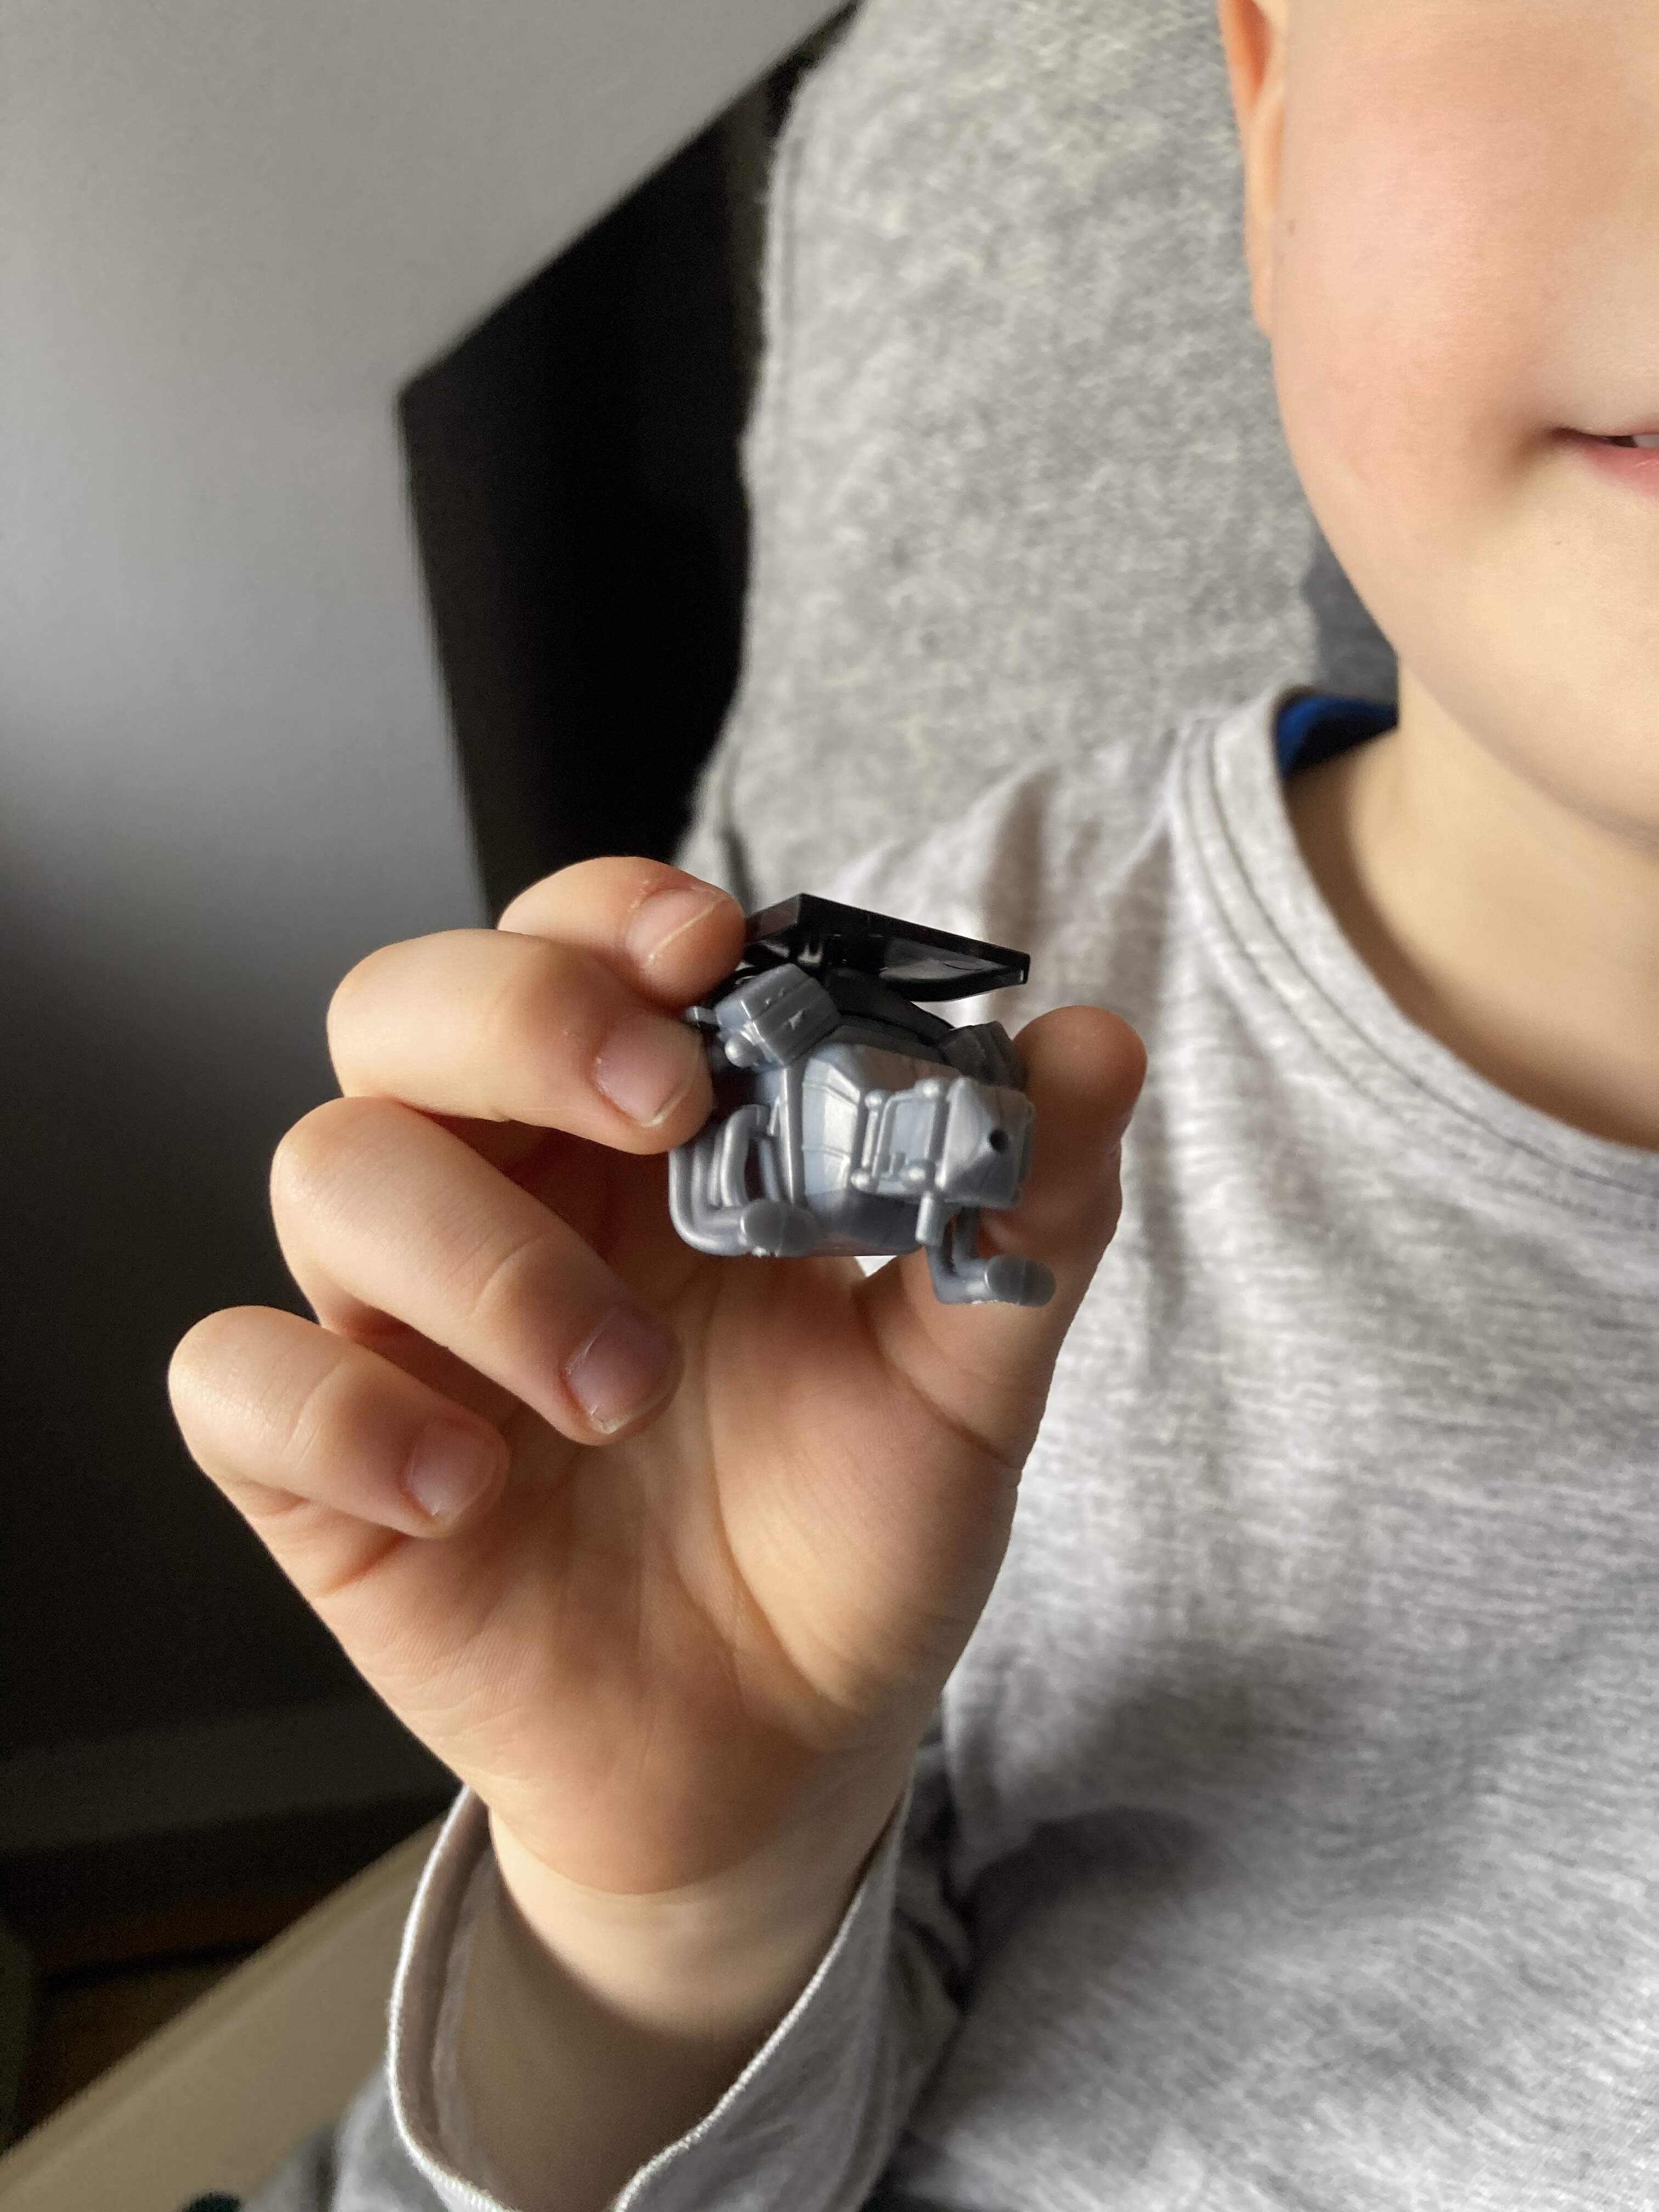
I was pleased that Revell also provides the sparking cables in black and this part is mold very nicely and fine so it was easy to glue them into the required holes. The result is really engine-like.

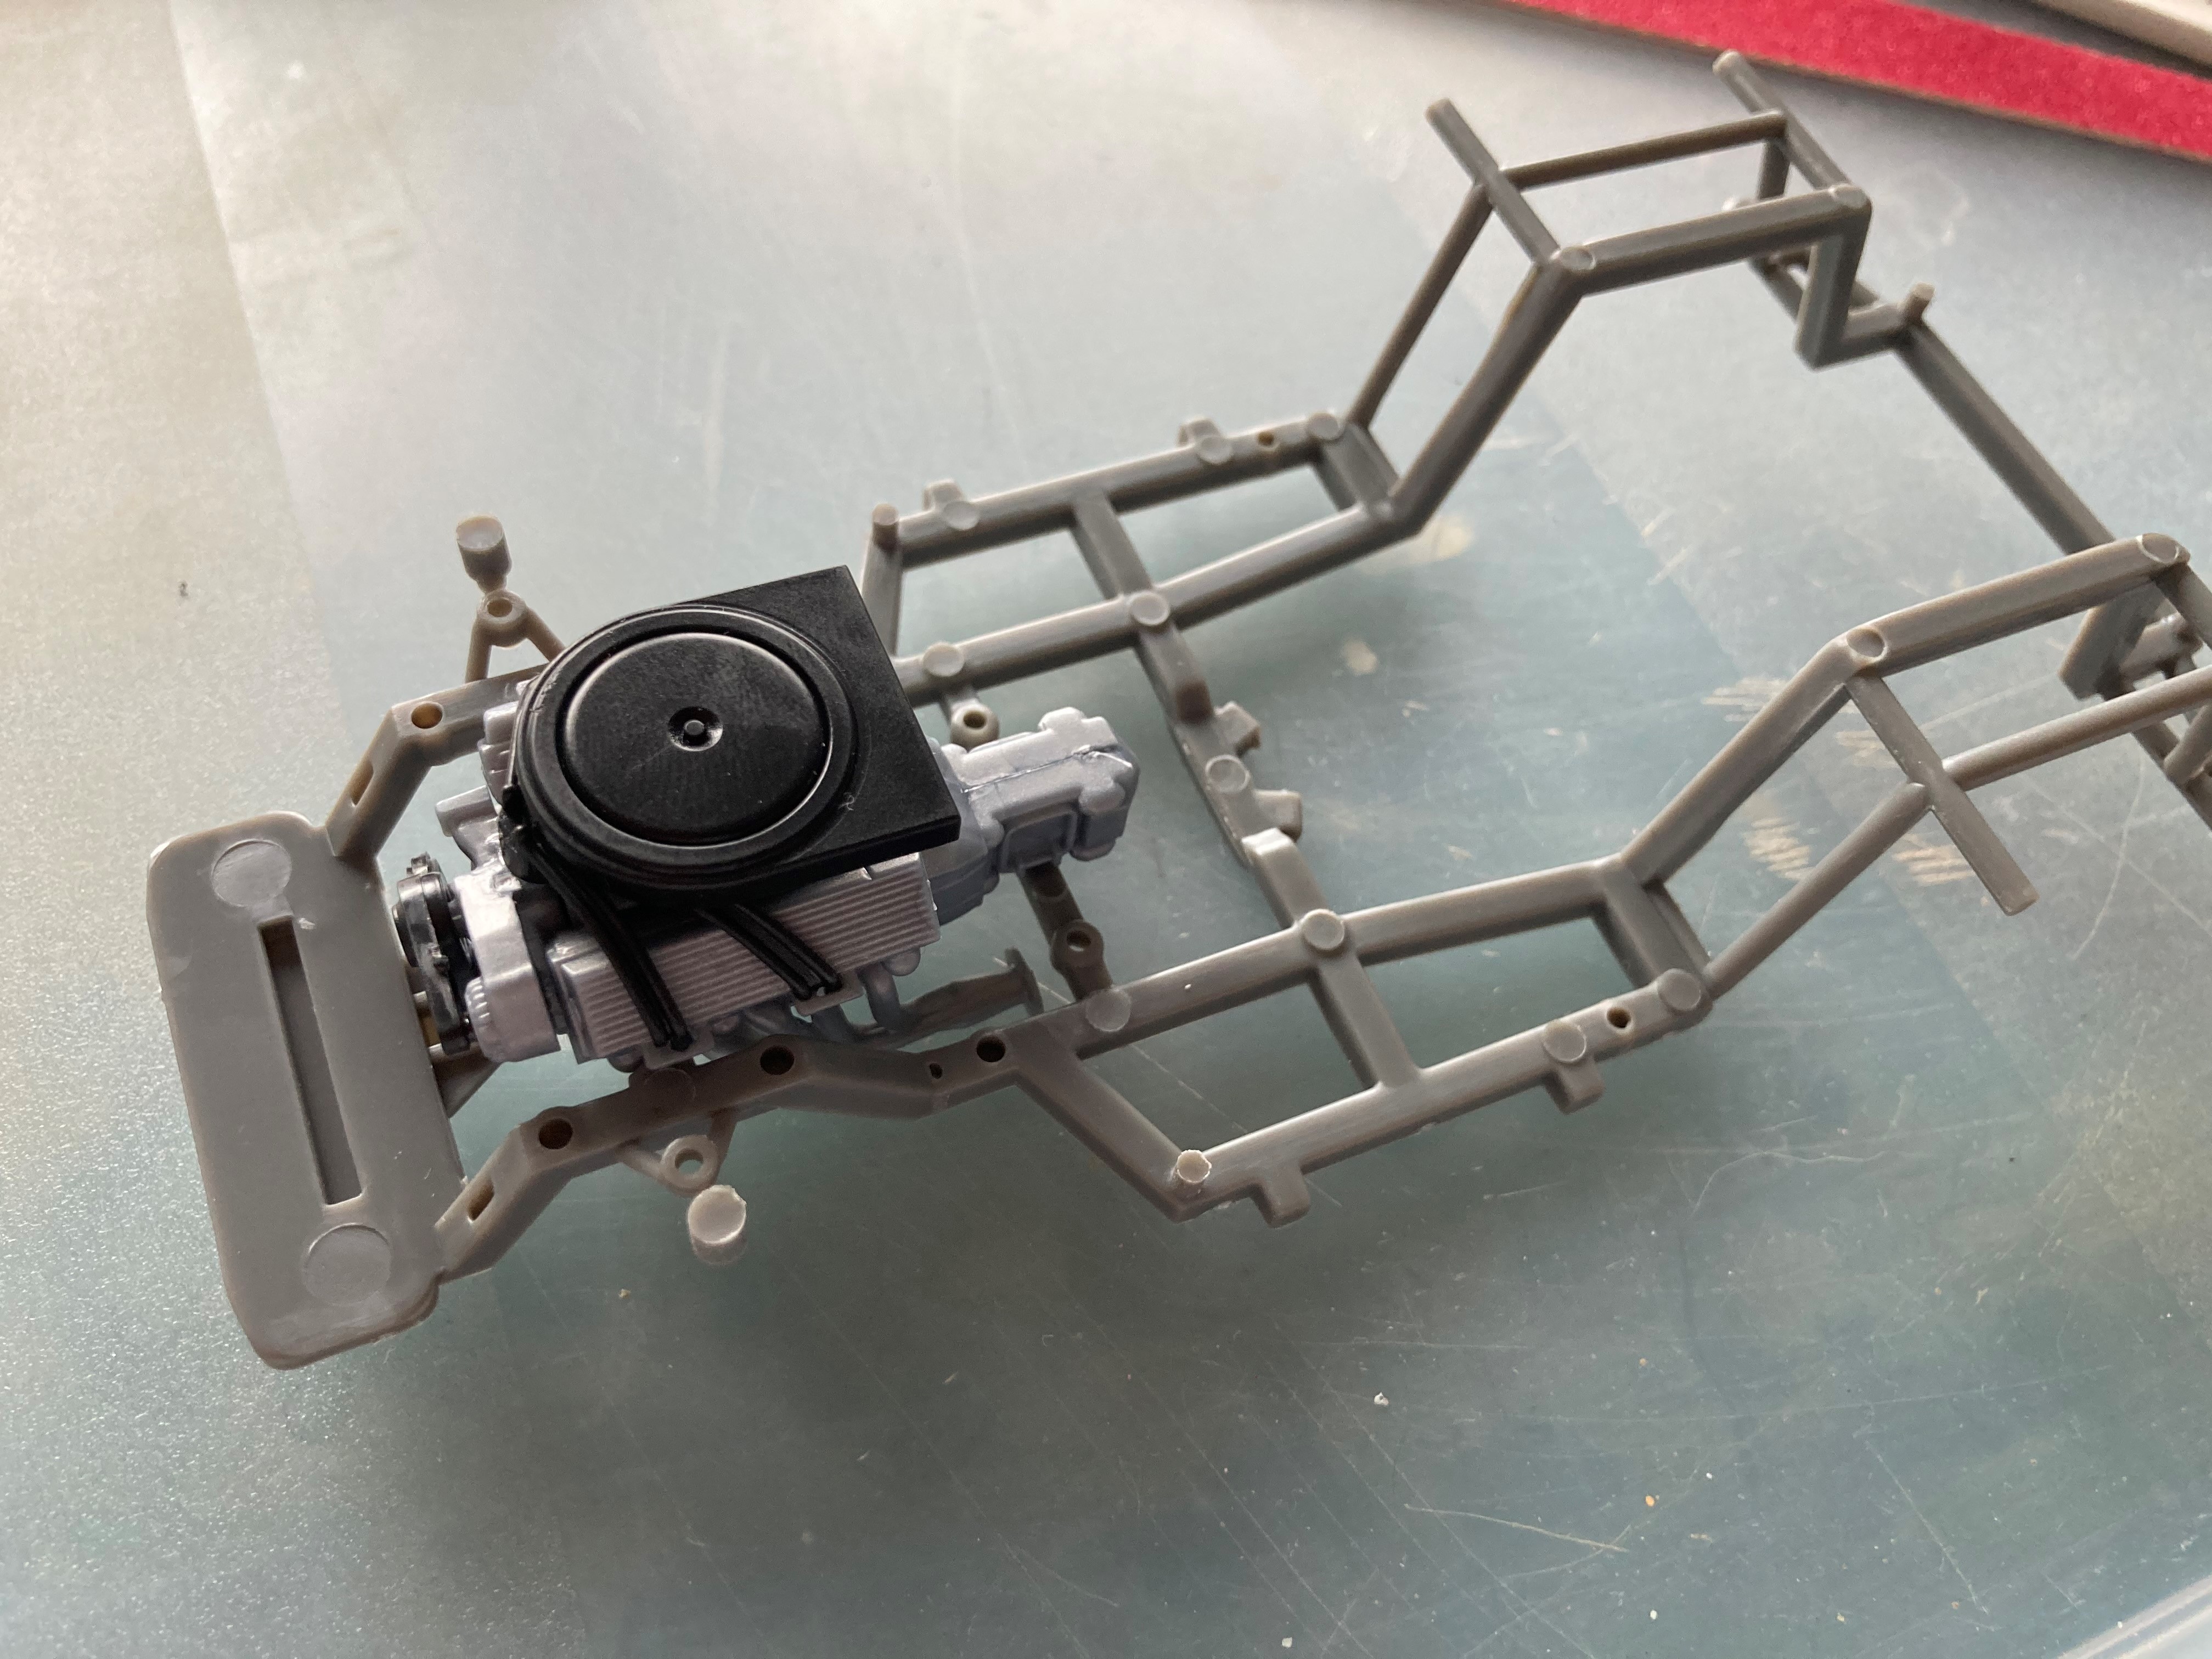
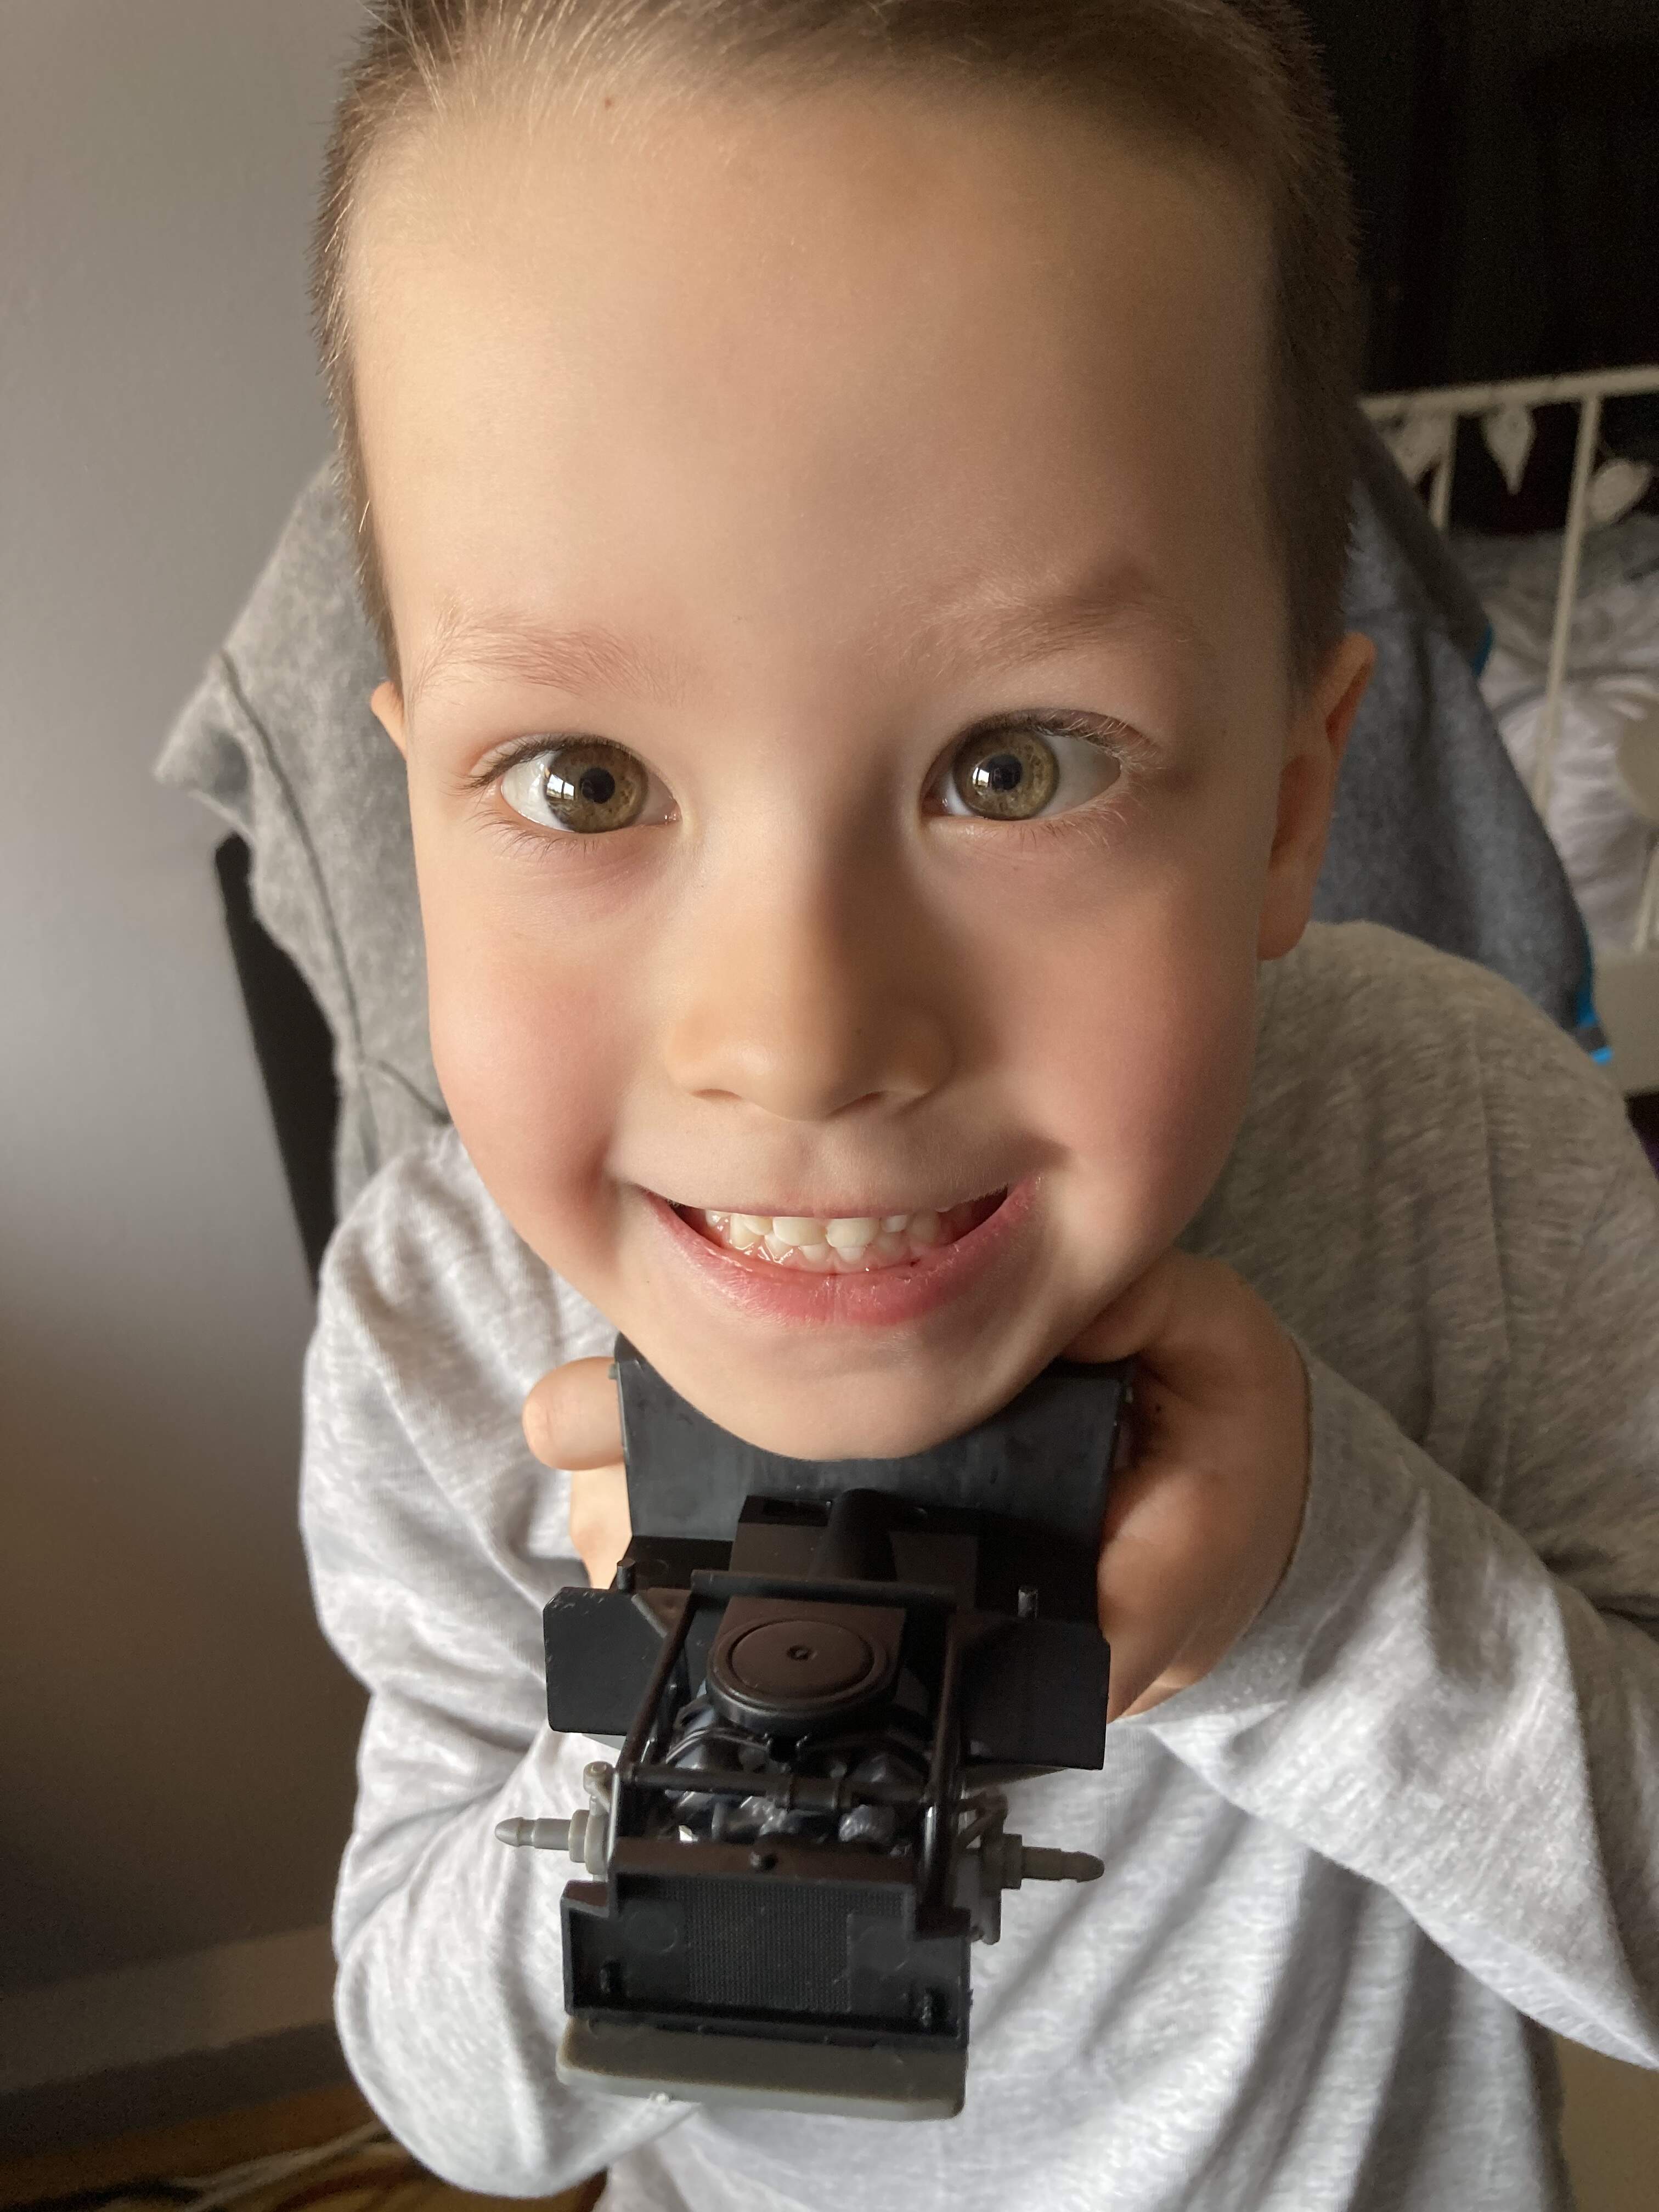
Next part was the chassis which is one big and many small pieces. The engine shall be inserted and then the front suspension is added. To be on the safe side I glued all parts this time. There is also a cooler (black) in front of the engine which will be hardly seen even when the engine hood will be opened but Revell decided to make a copy exact kit of Lightning McQueen. I did not see the cartoon but can imagine that L-M-C was taken to a garage for some repair or pimp, wasn’t him?
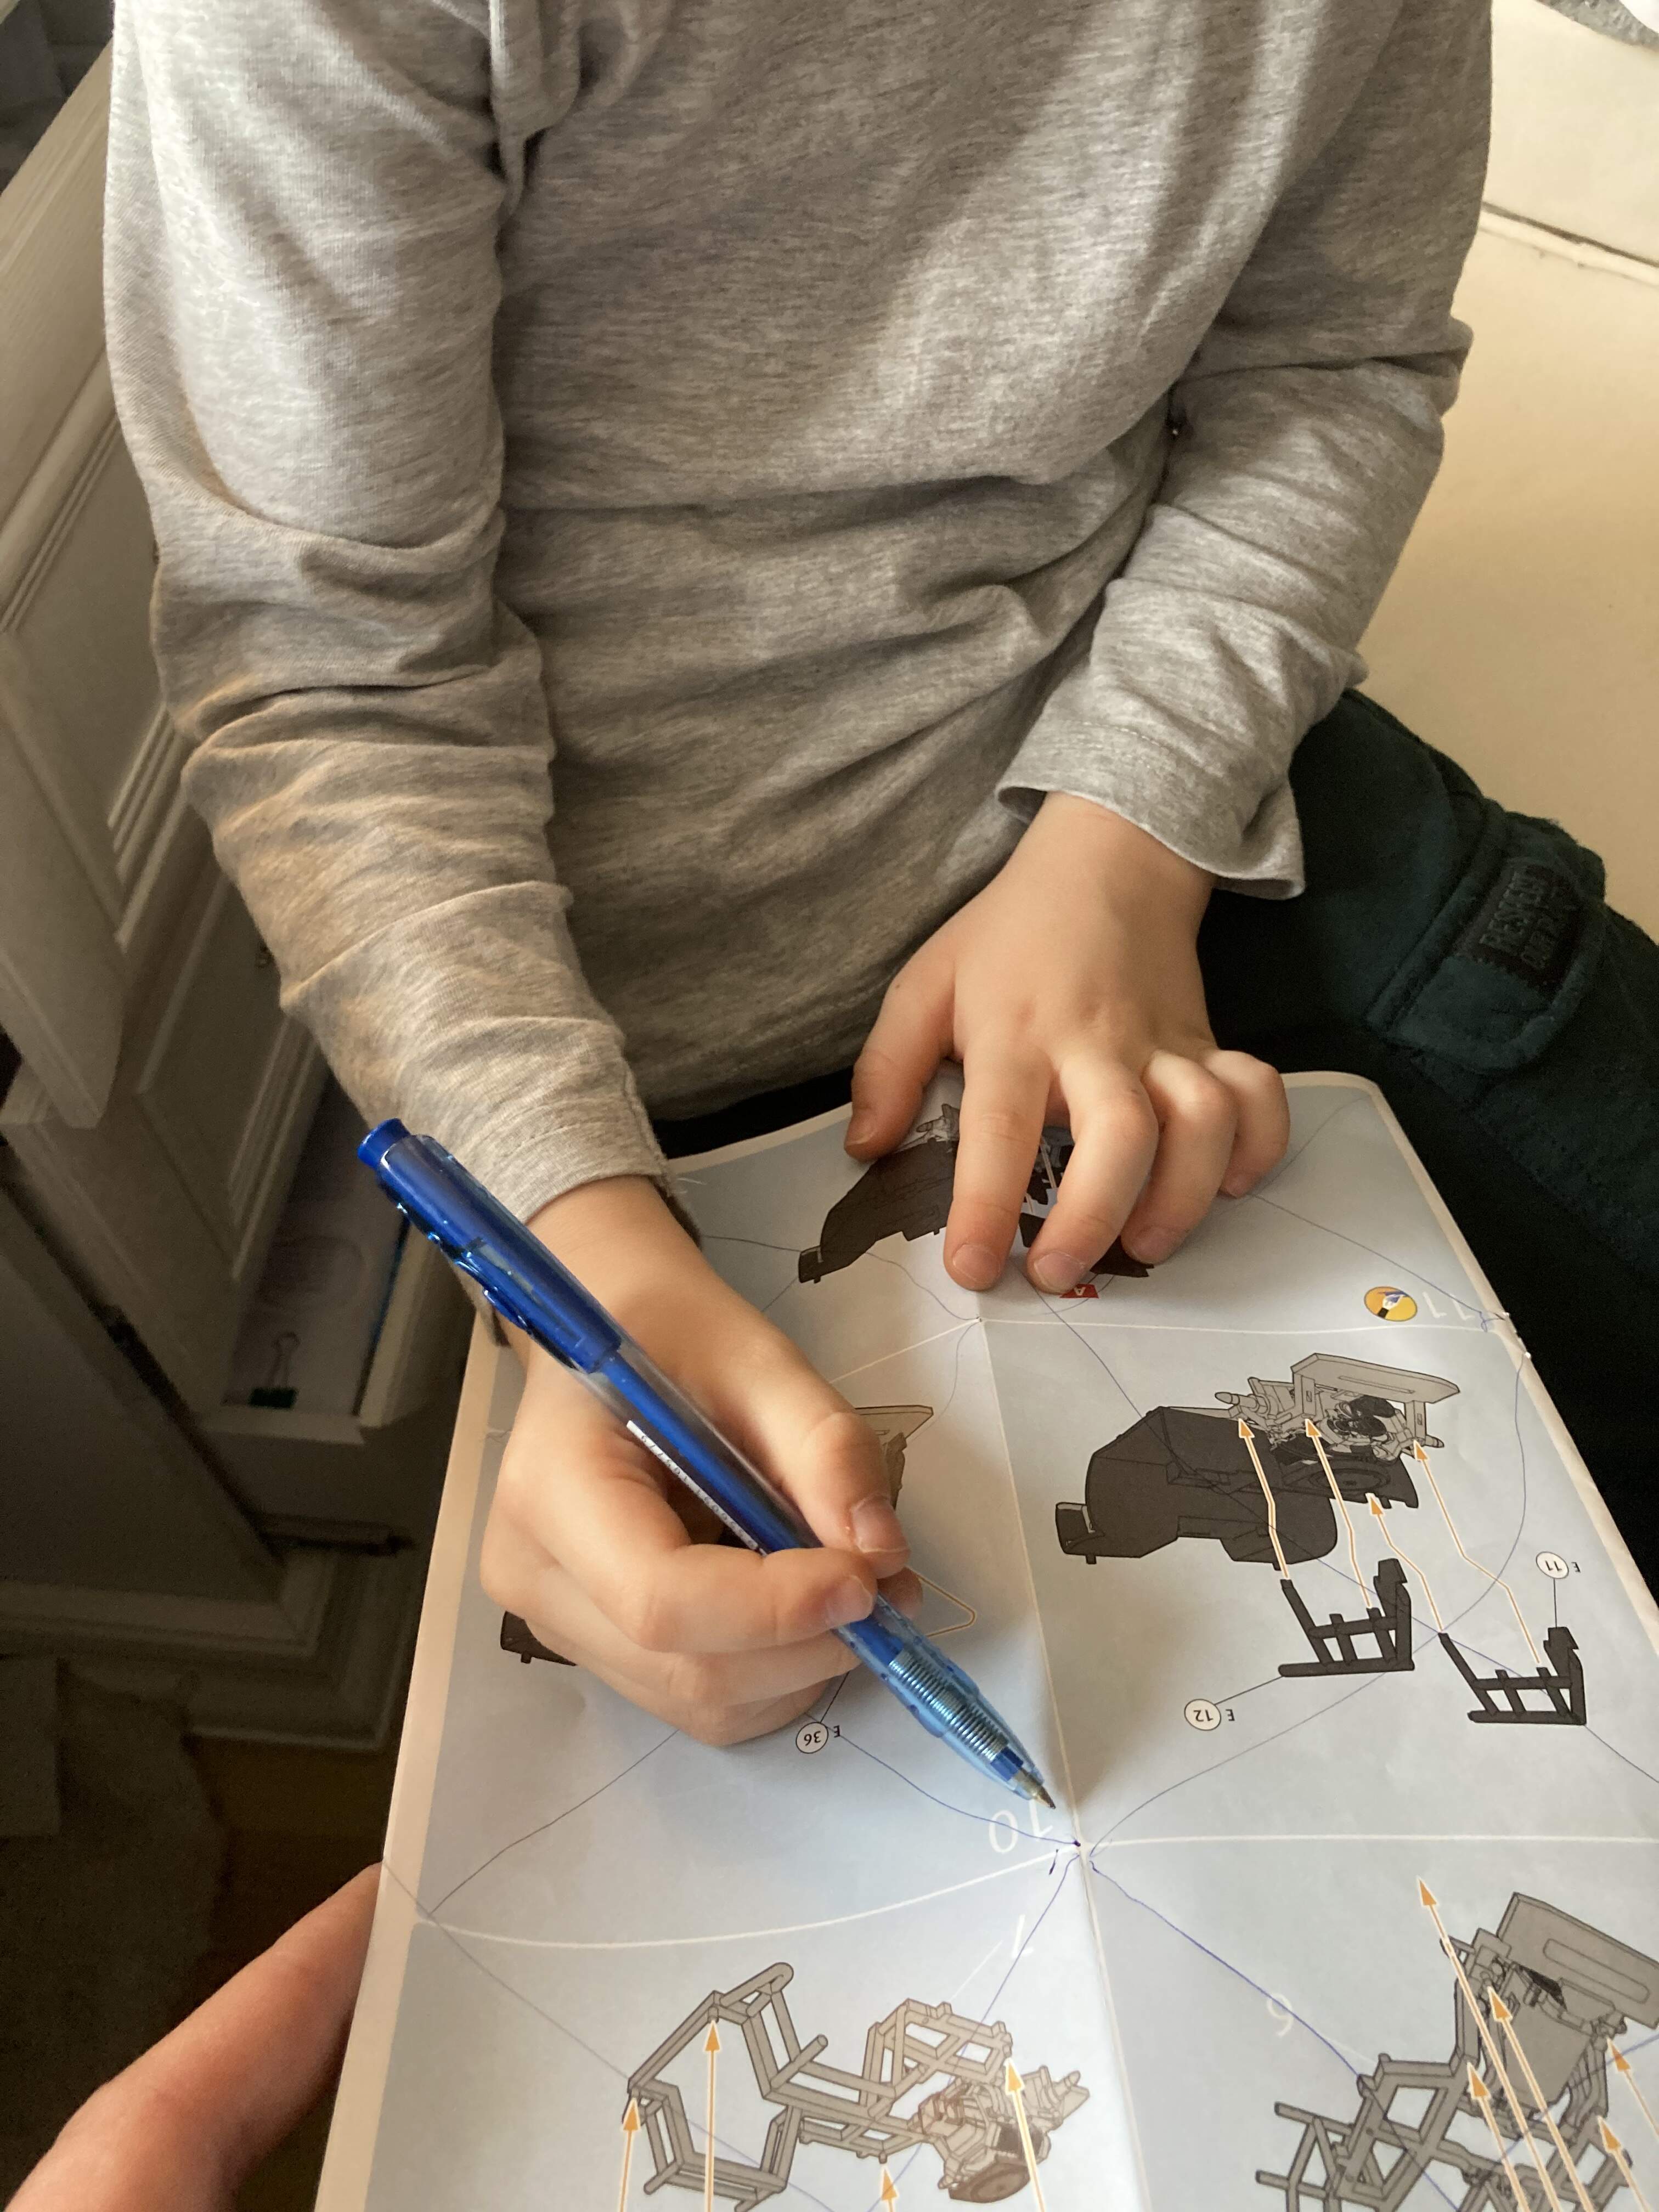
Once the chassis was ready I asked Lil’P to X all steps done in the booklet. He was sooo happy to draw!
So we continued with the cockpit. It is one big black part. I cannot recall now if there was any instruction before this to paint some areas (probably yes) but I ignored all, including here (the backseat, I think). Anyway, as the windows are mold in grey, non-transparent plastic, there was no reason to paint.
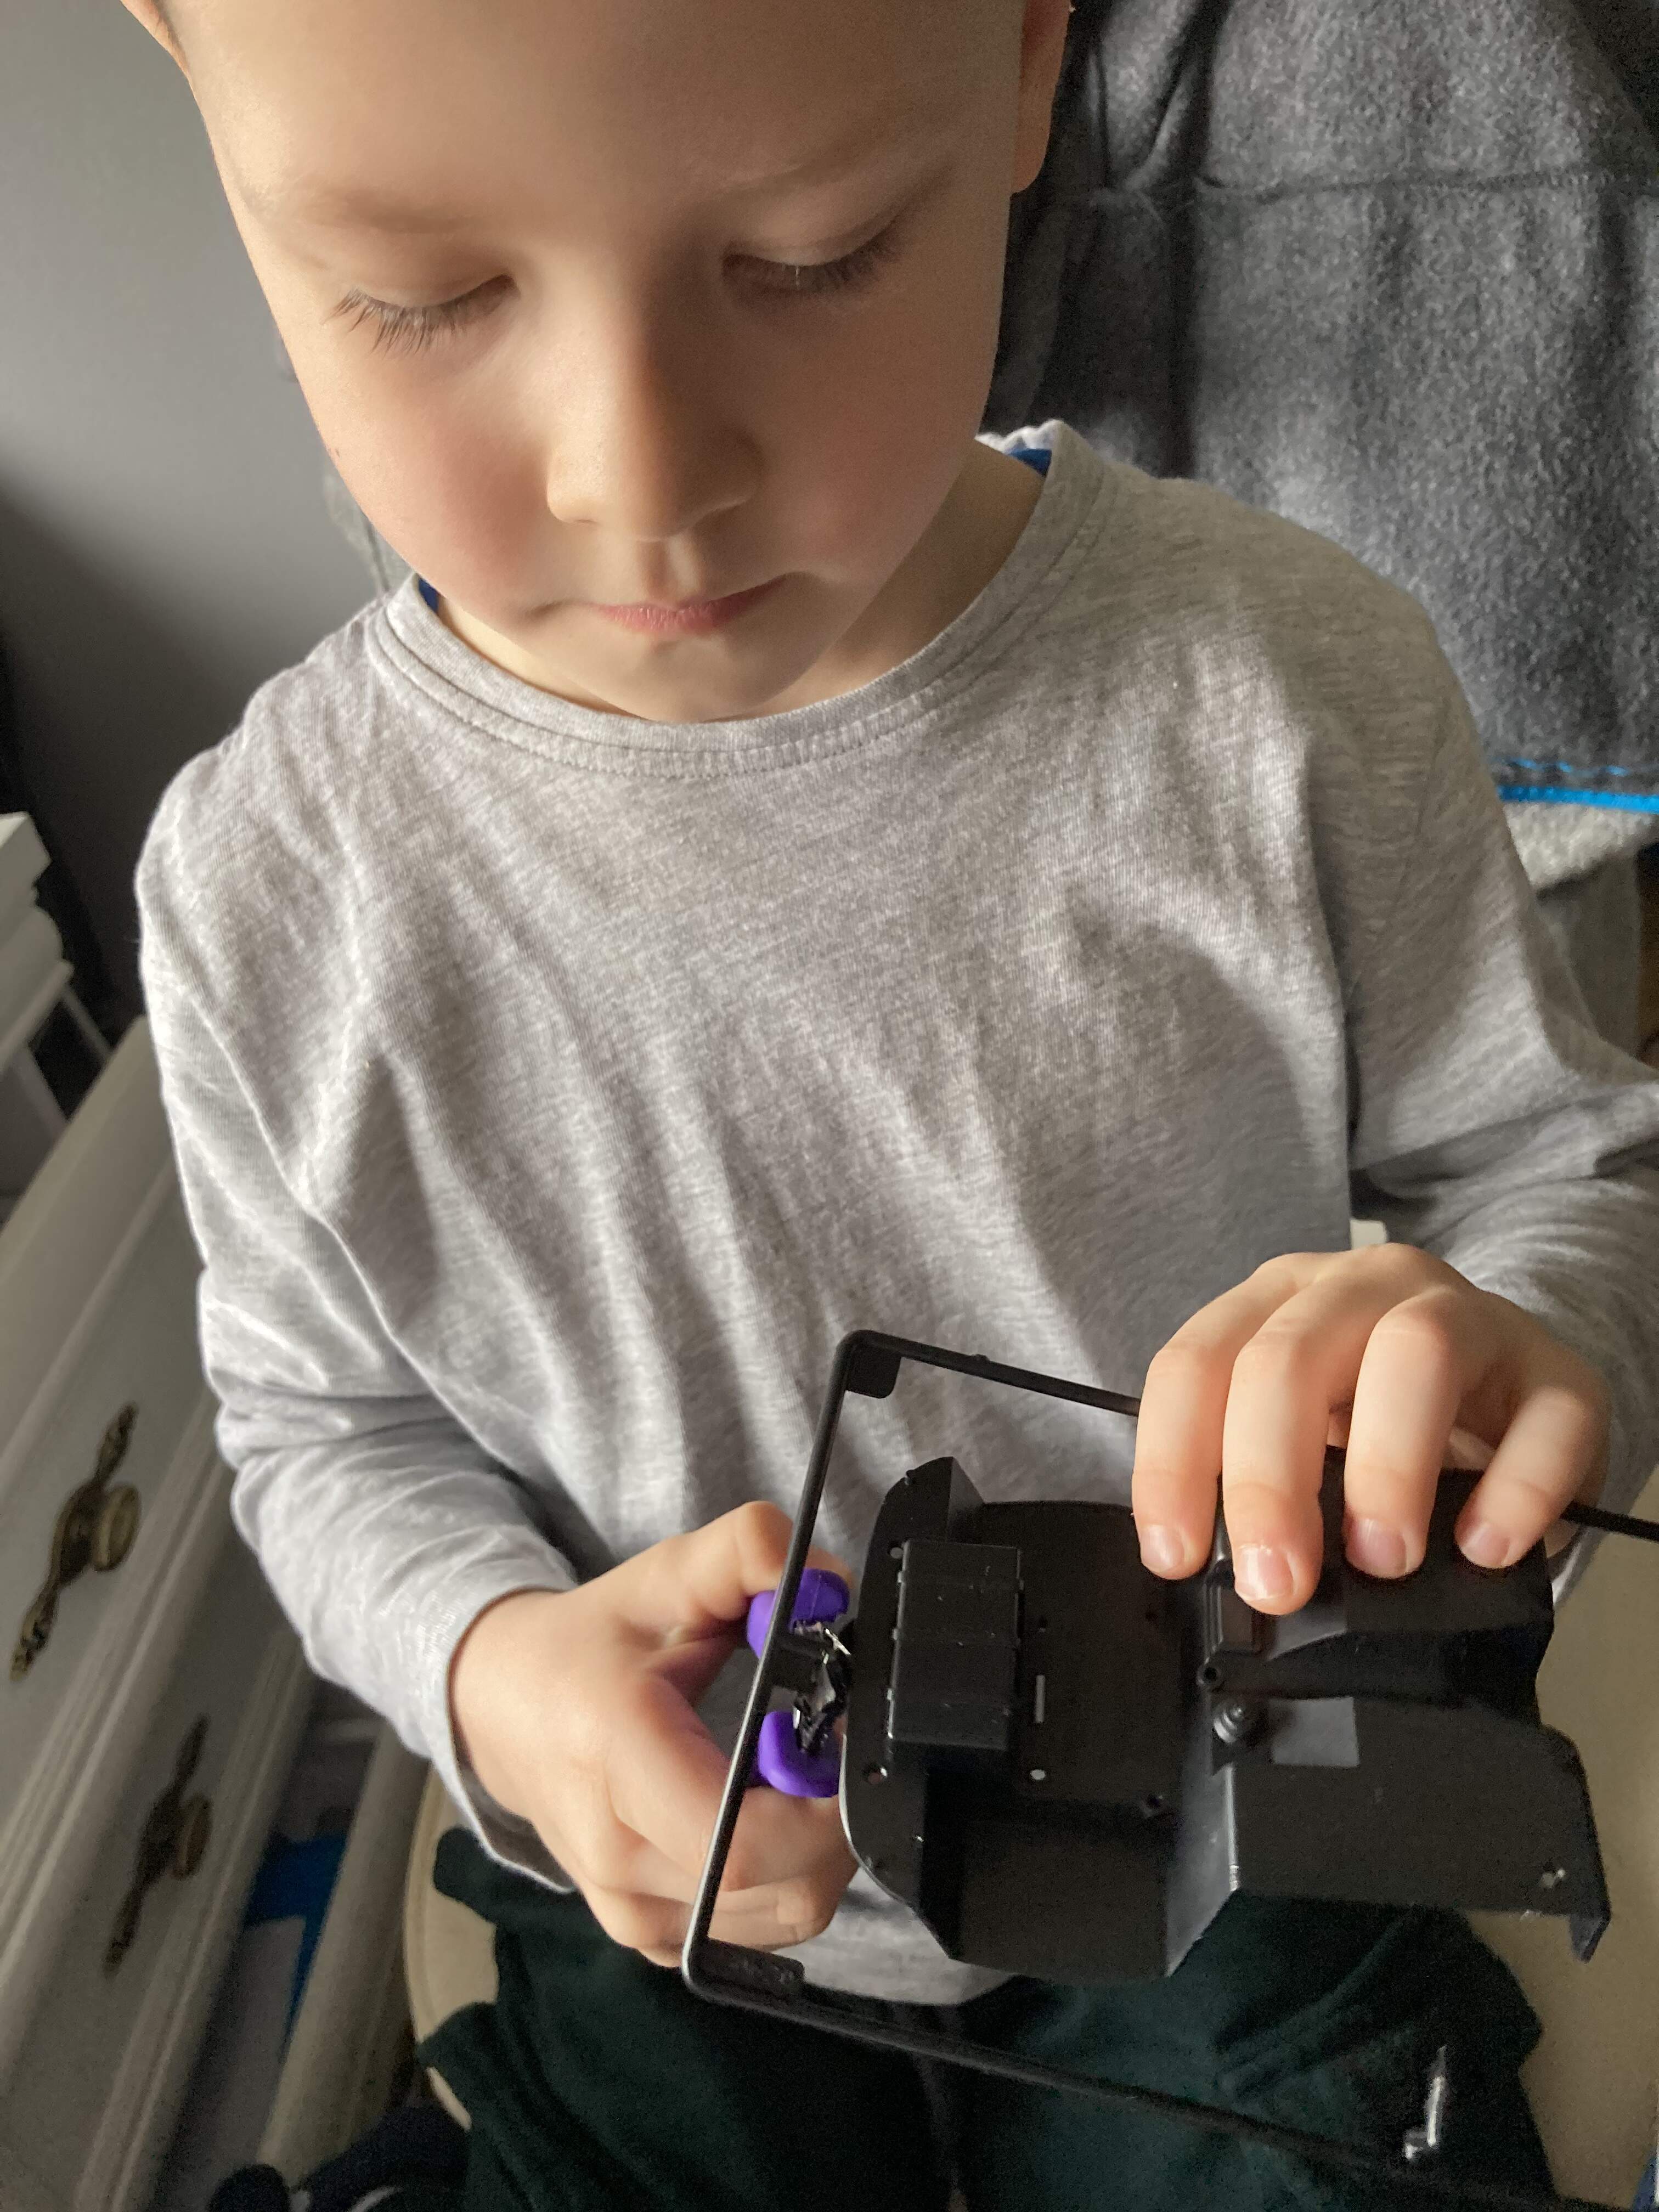
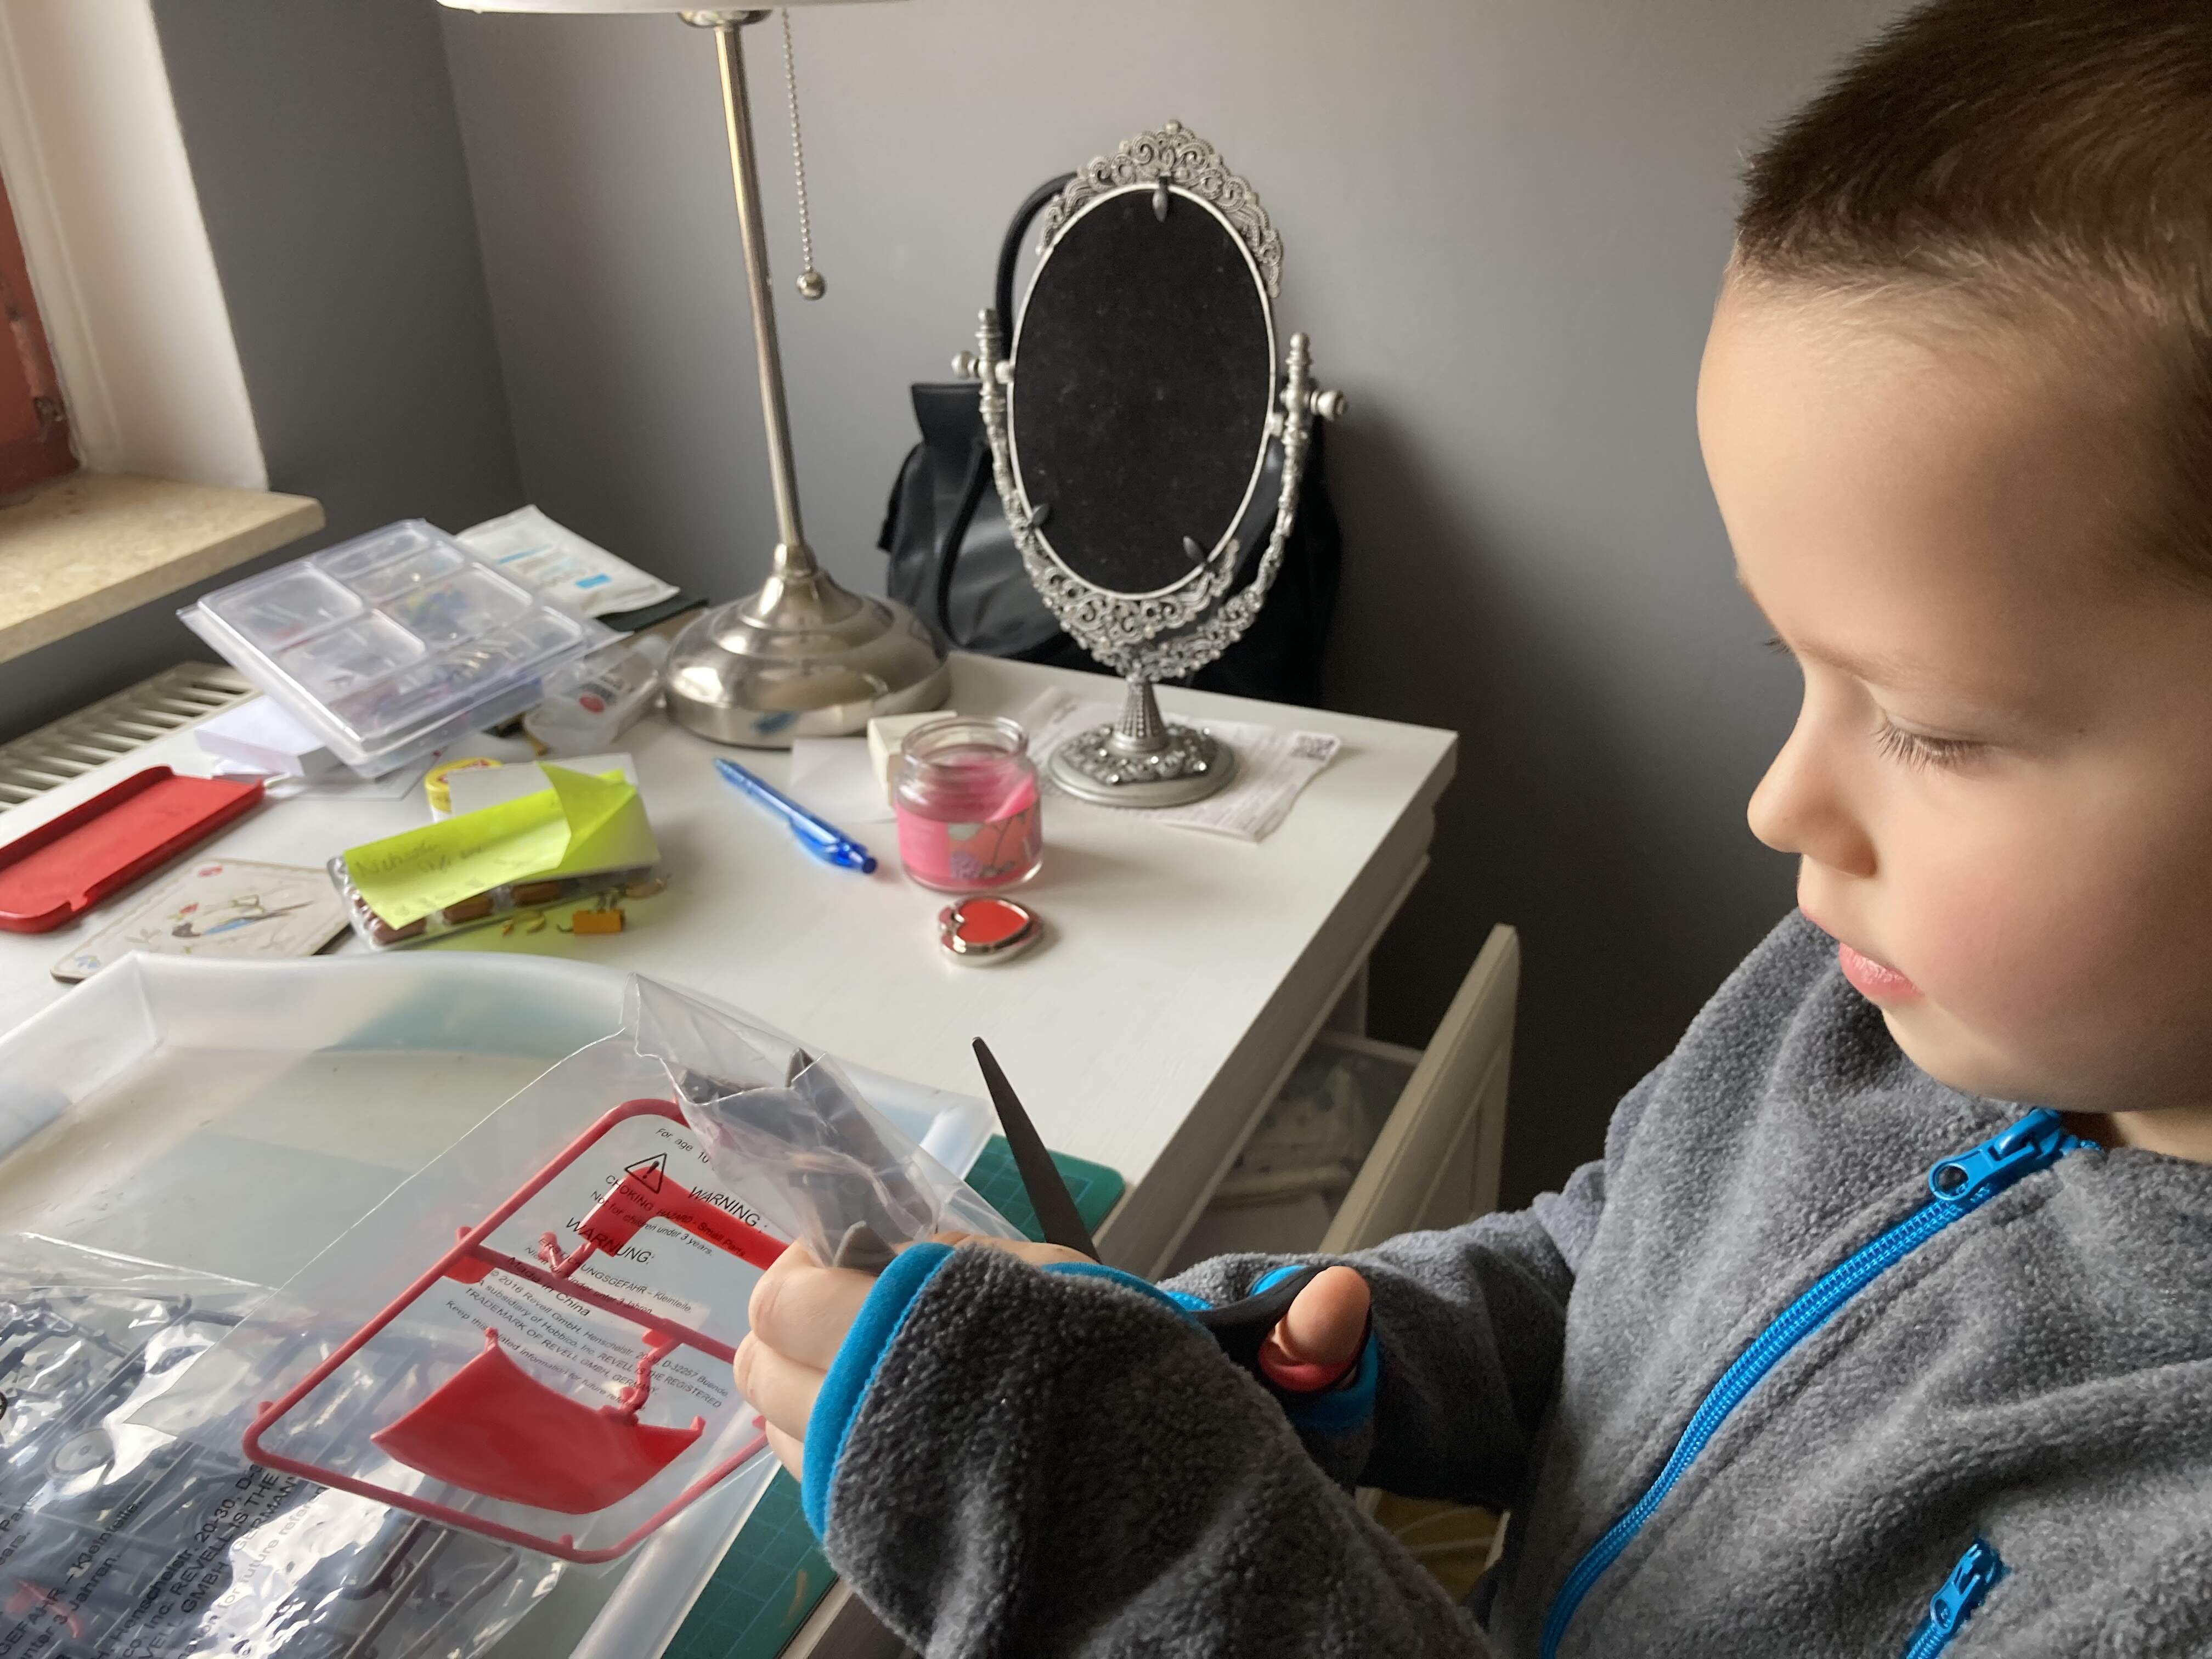
Lil’P was promoted to use the sprue-cutter and he did it perfectly (to my biggest surprise he did not suffer any accident - or I am a bit overreacting when I see him with any edgy item?).
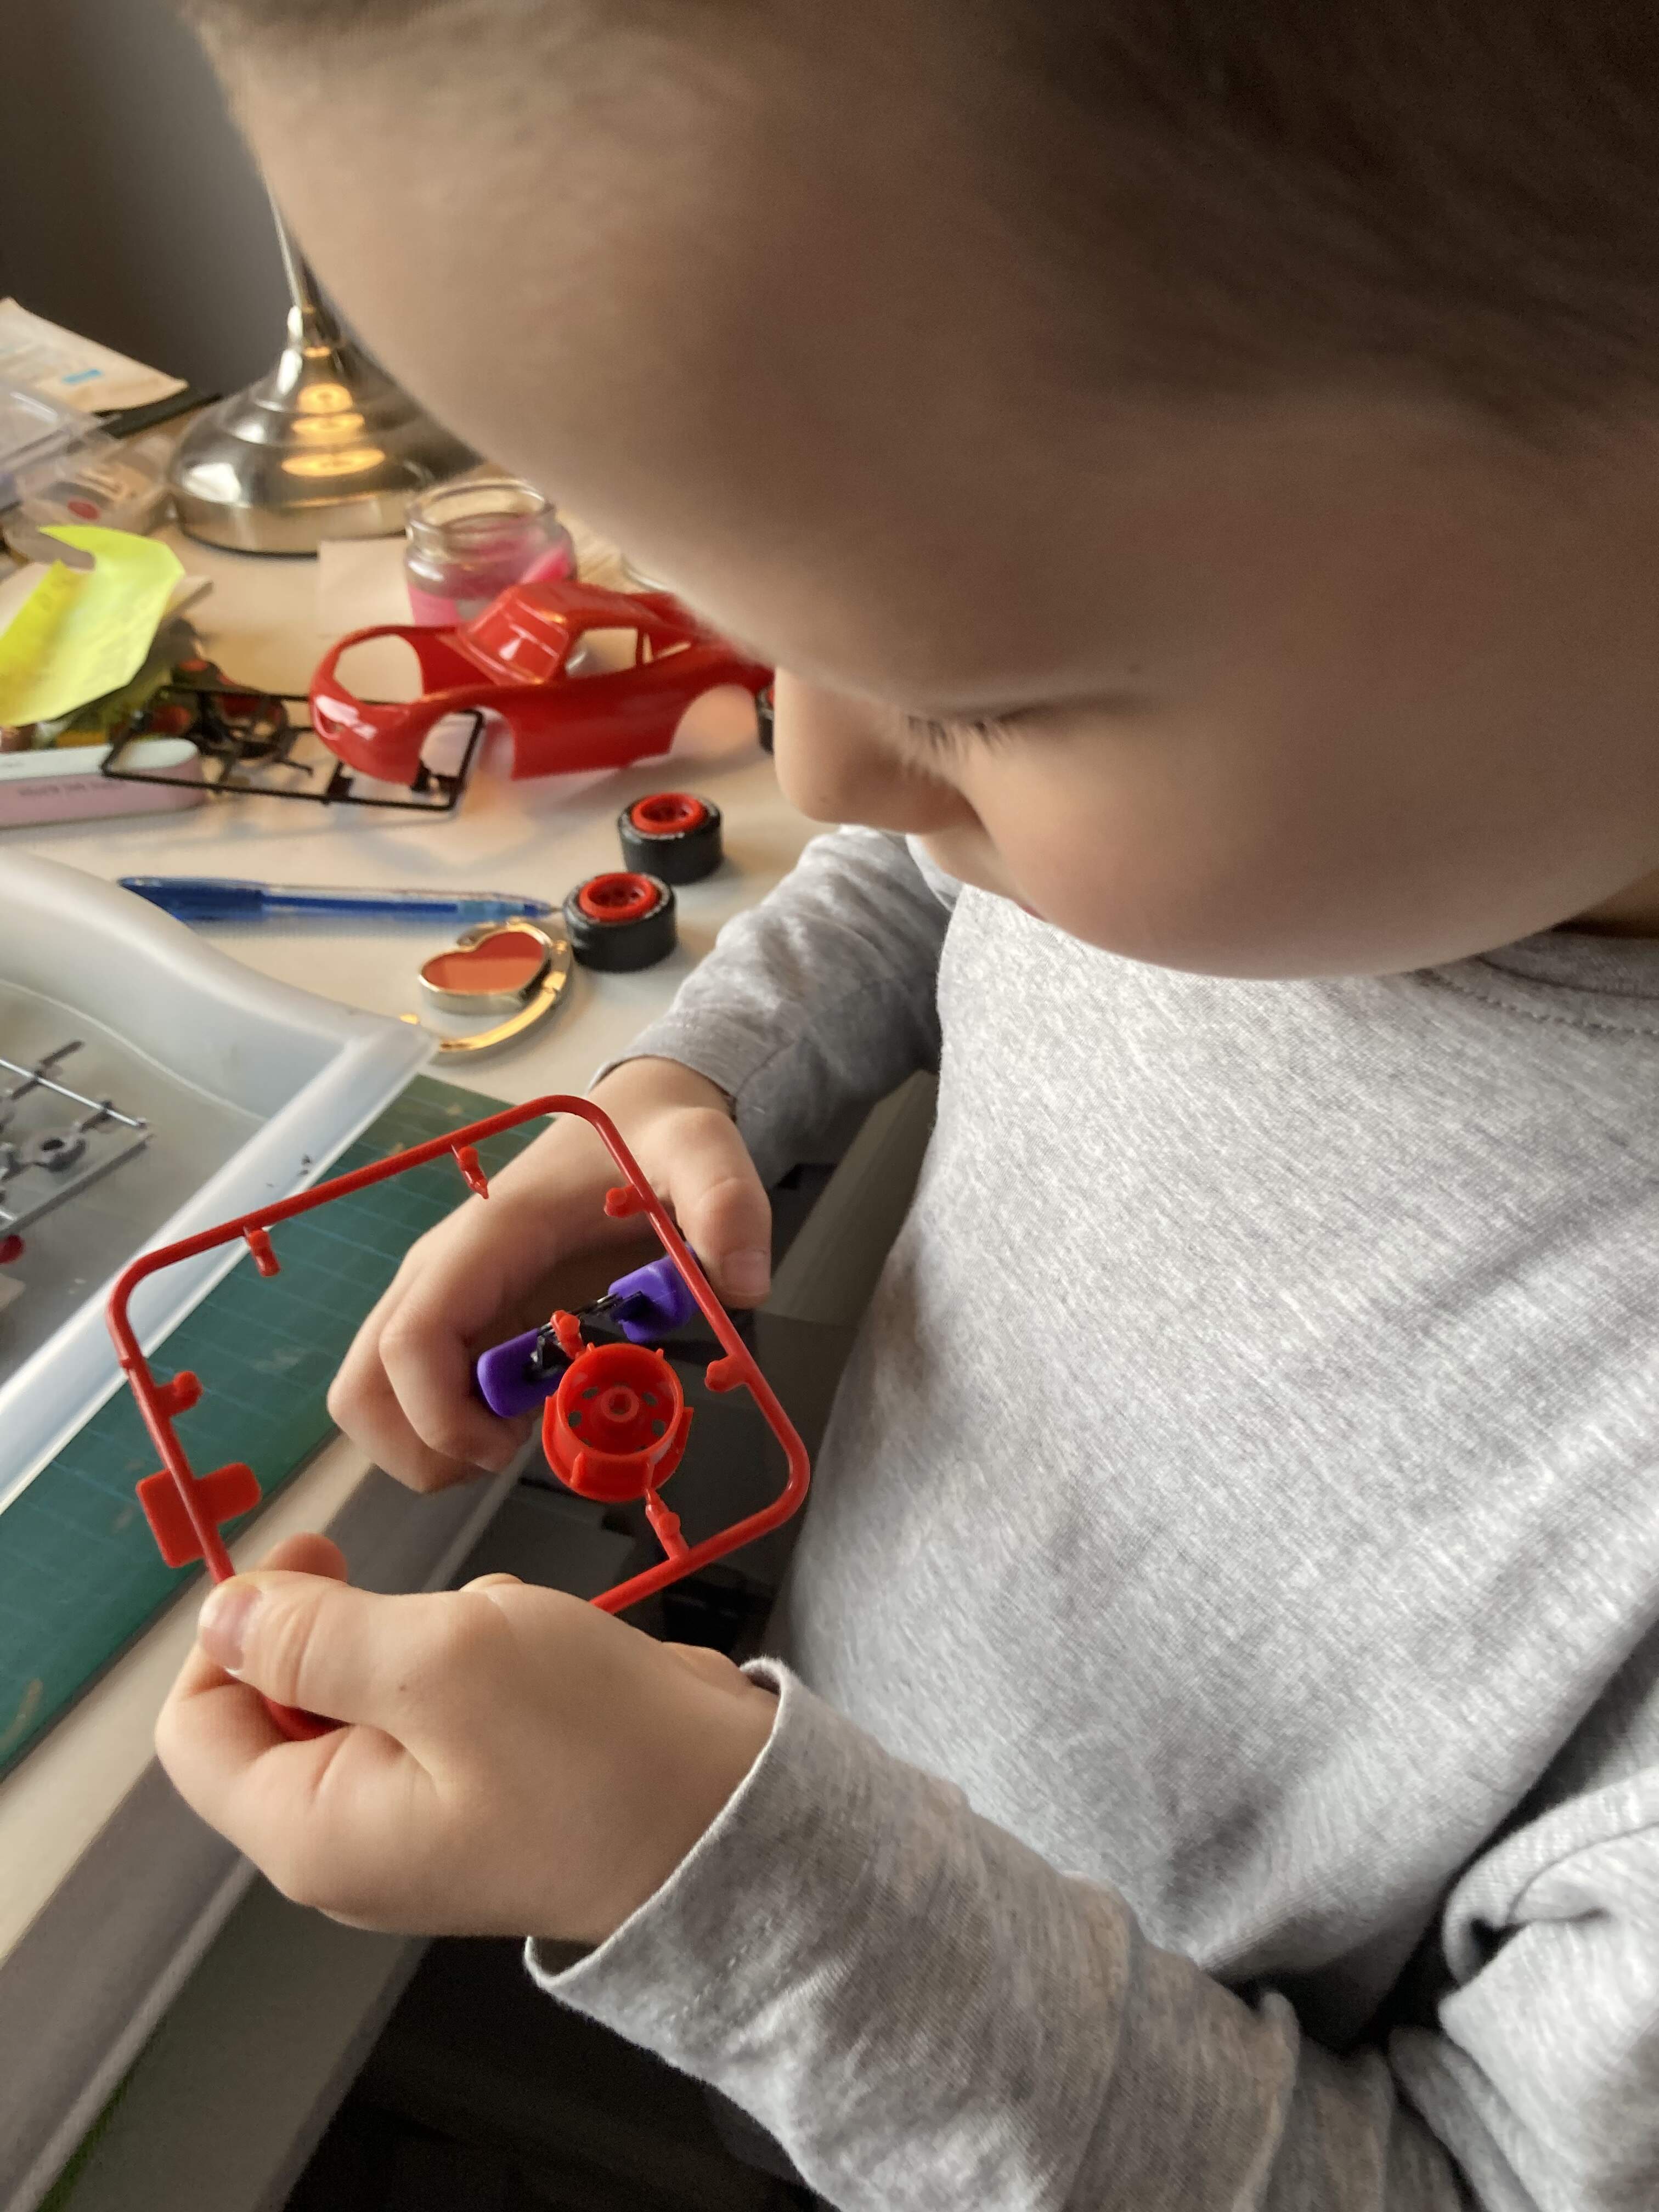
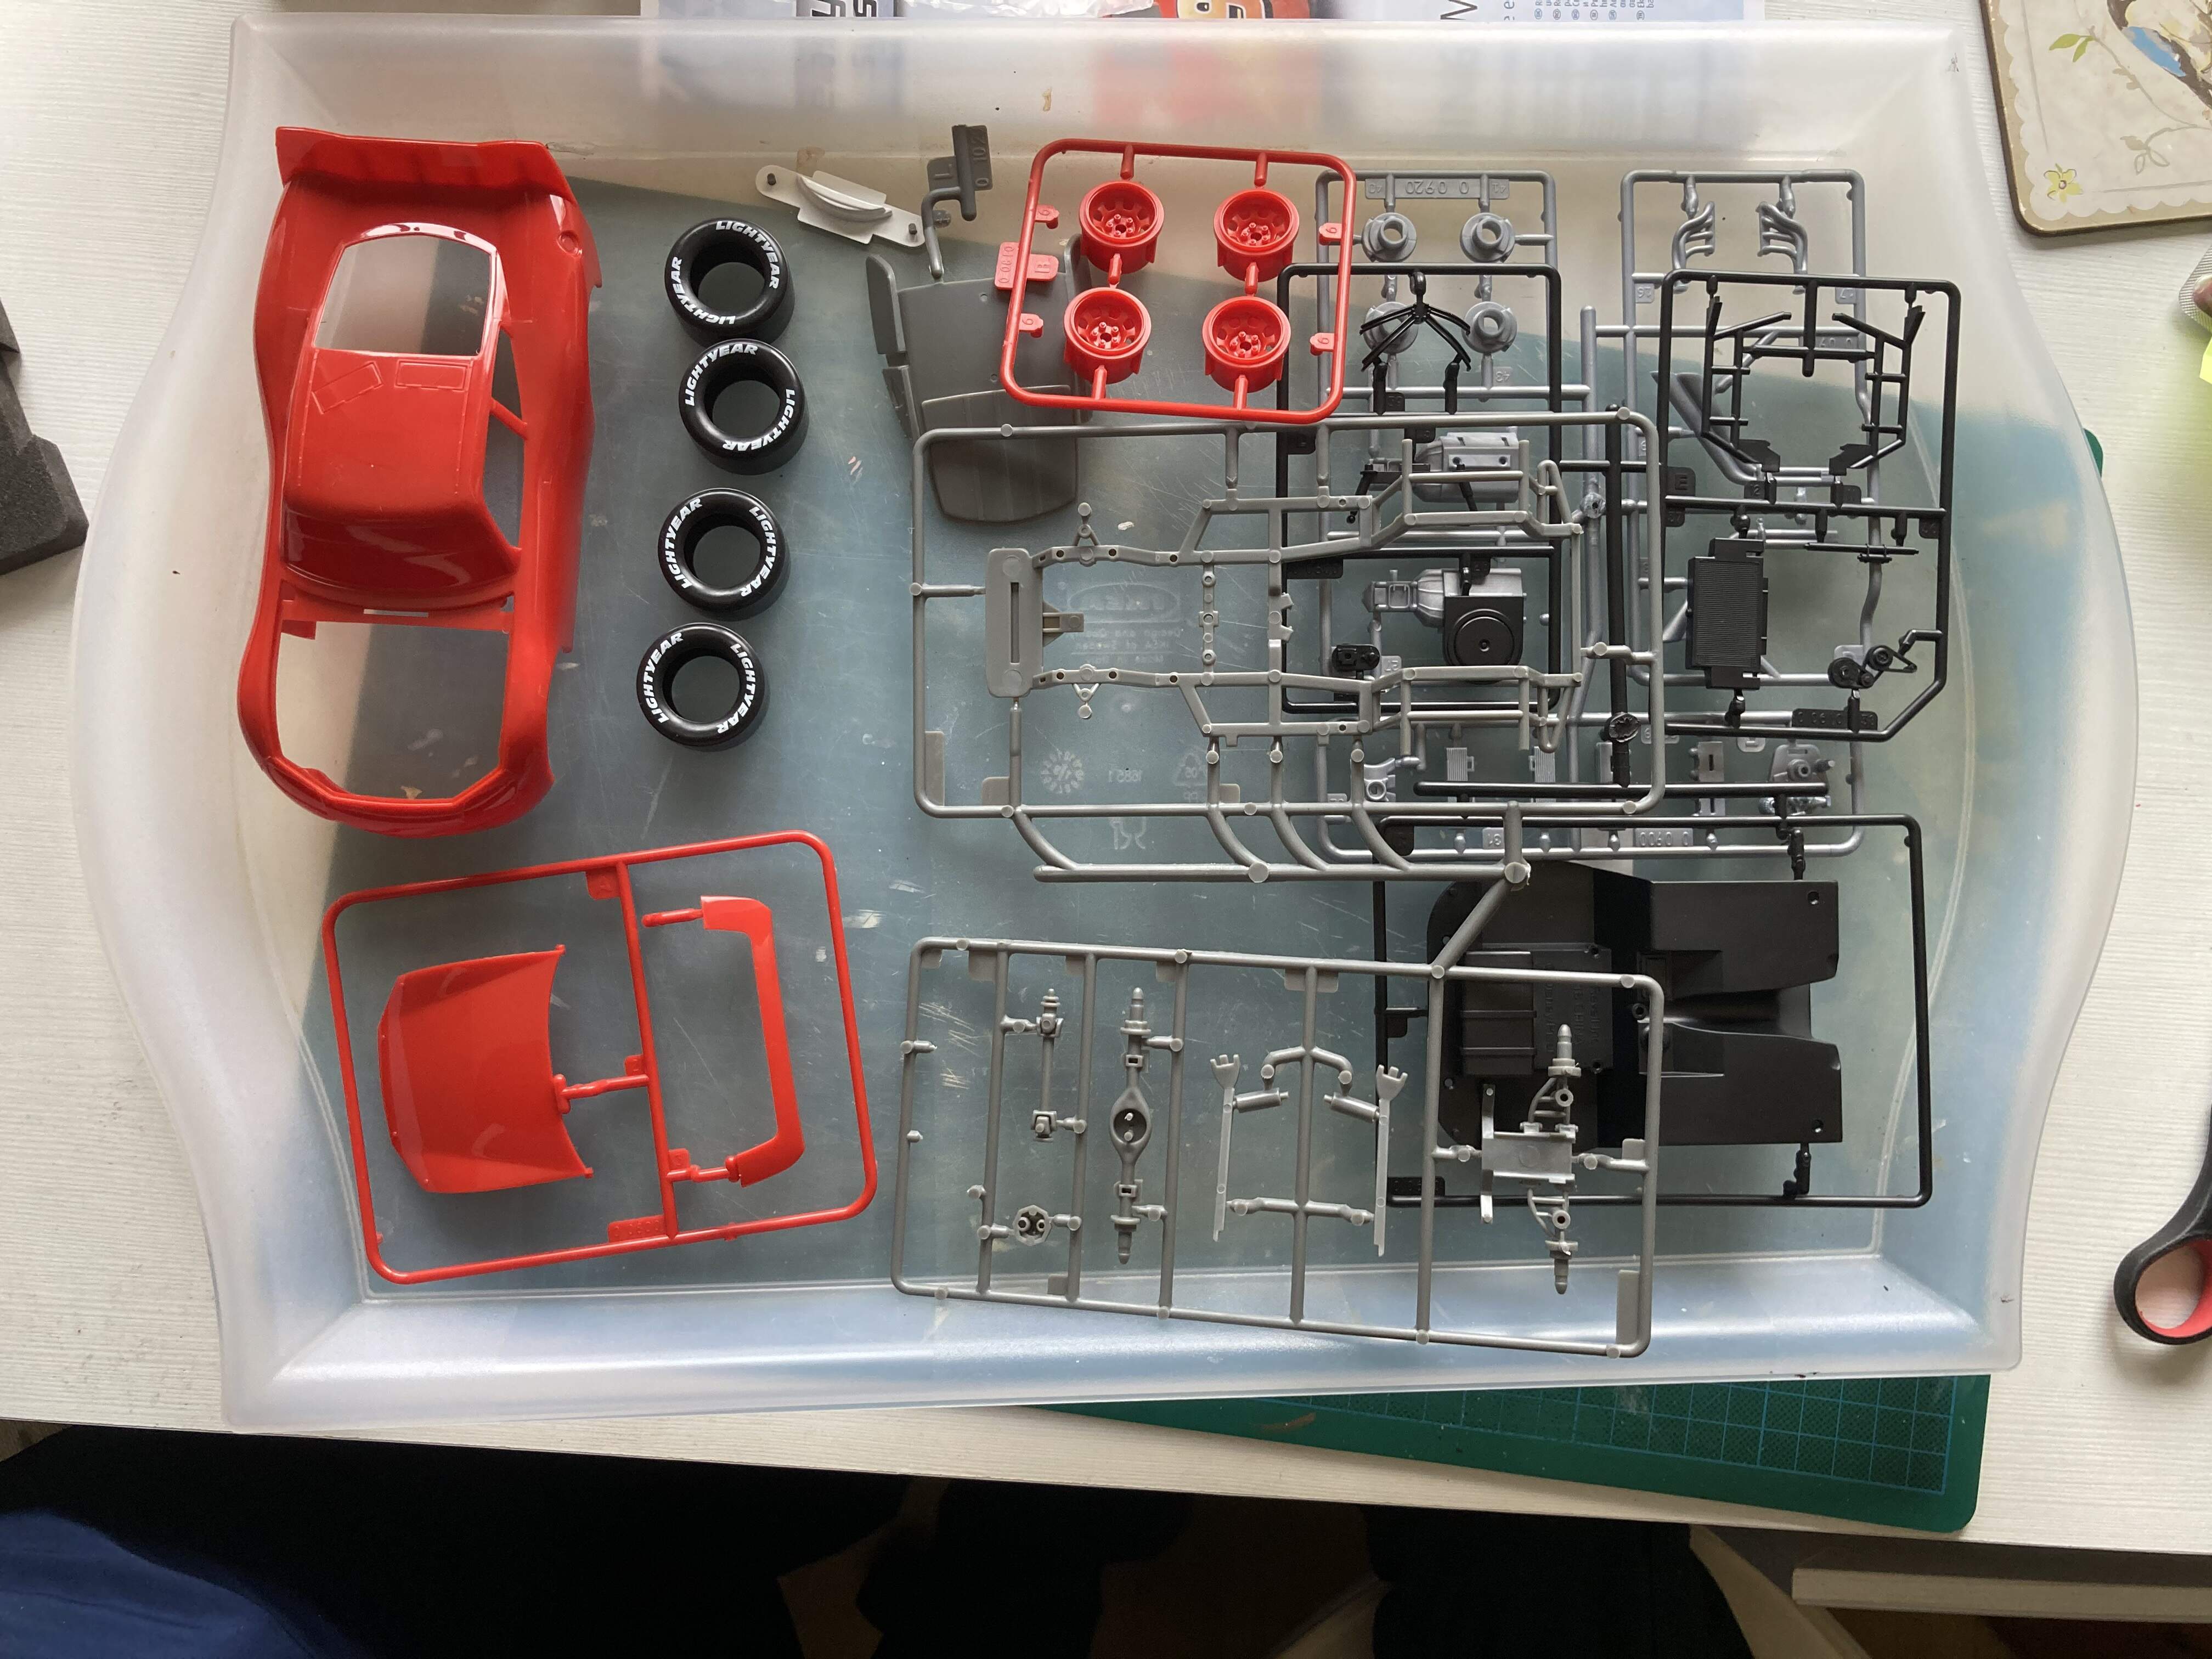
During the time I spent with the glue again, he set up in business and cut all wheels from the sprue and combined them with the tires. BTW, the tires are a soft material (not gum) and pre-painted with “Lightyear” text. A “Good” slogan, isn’t it?
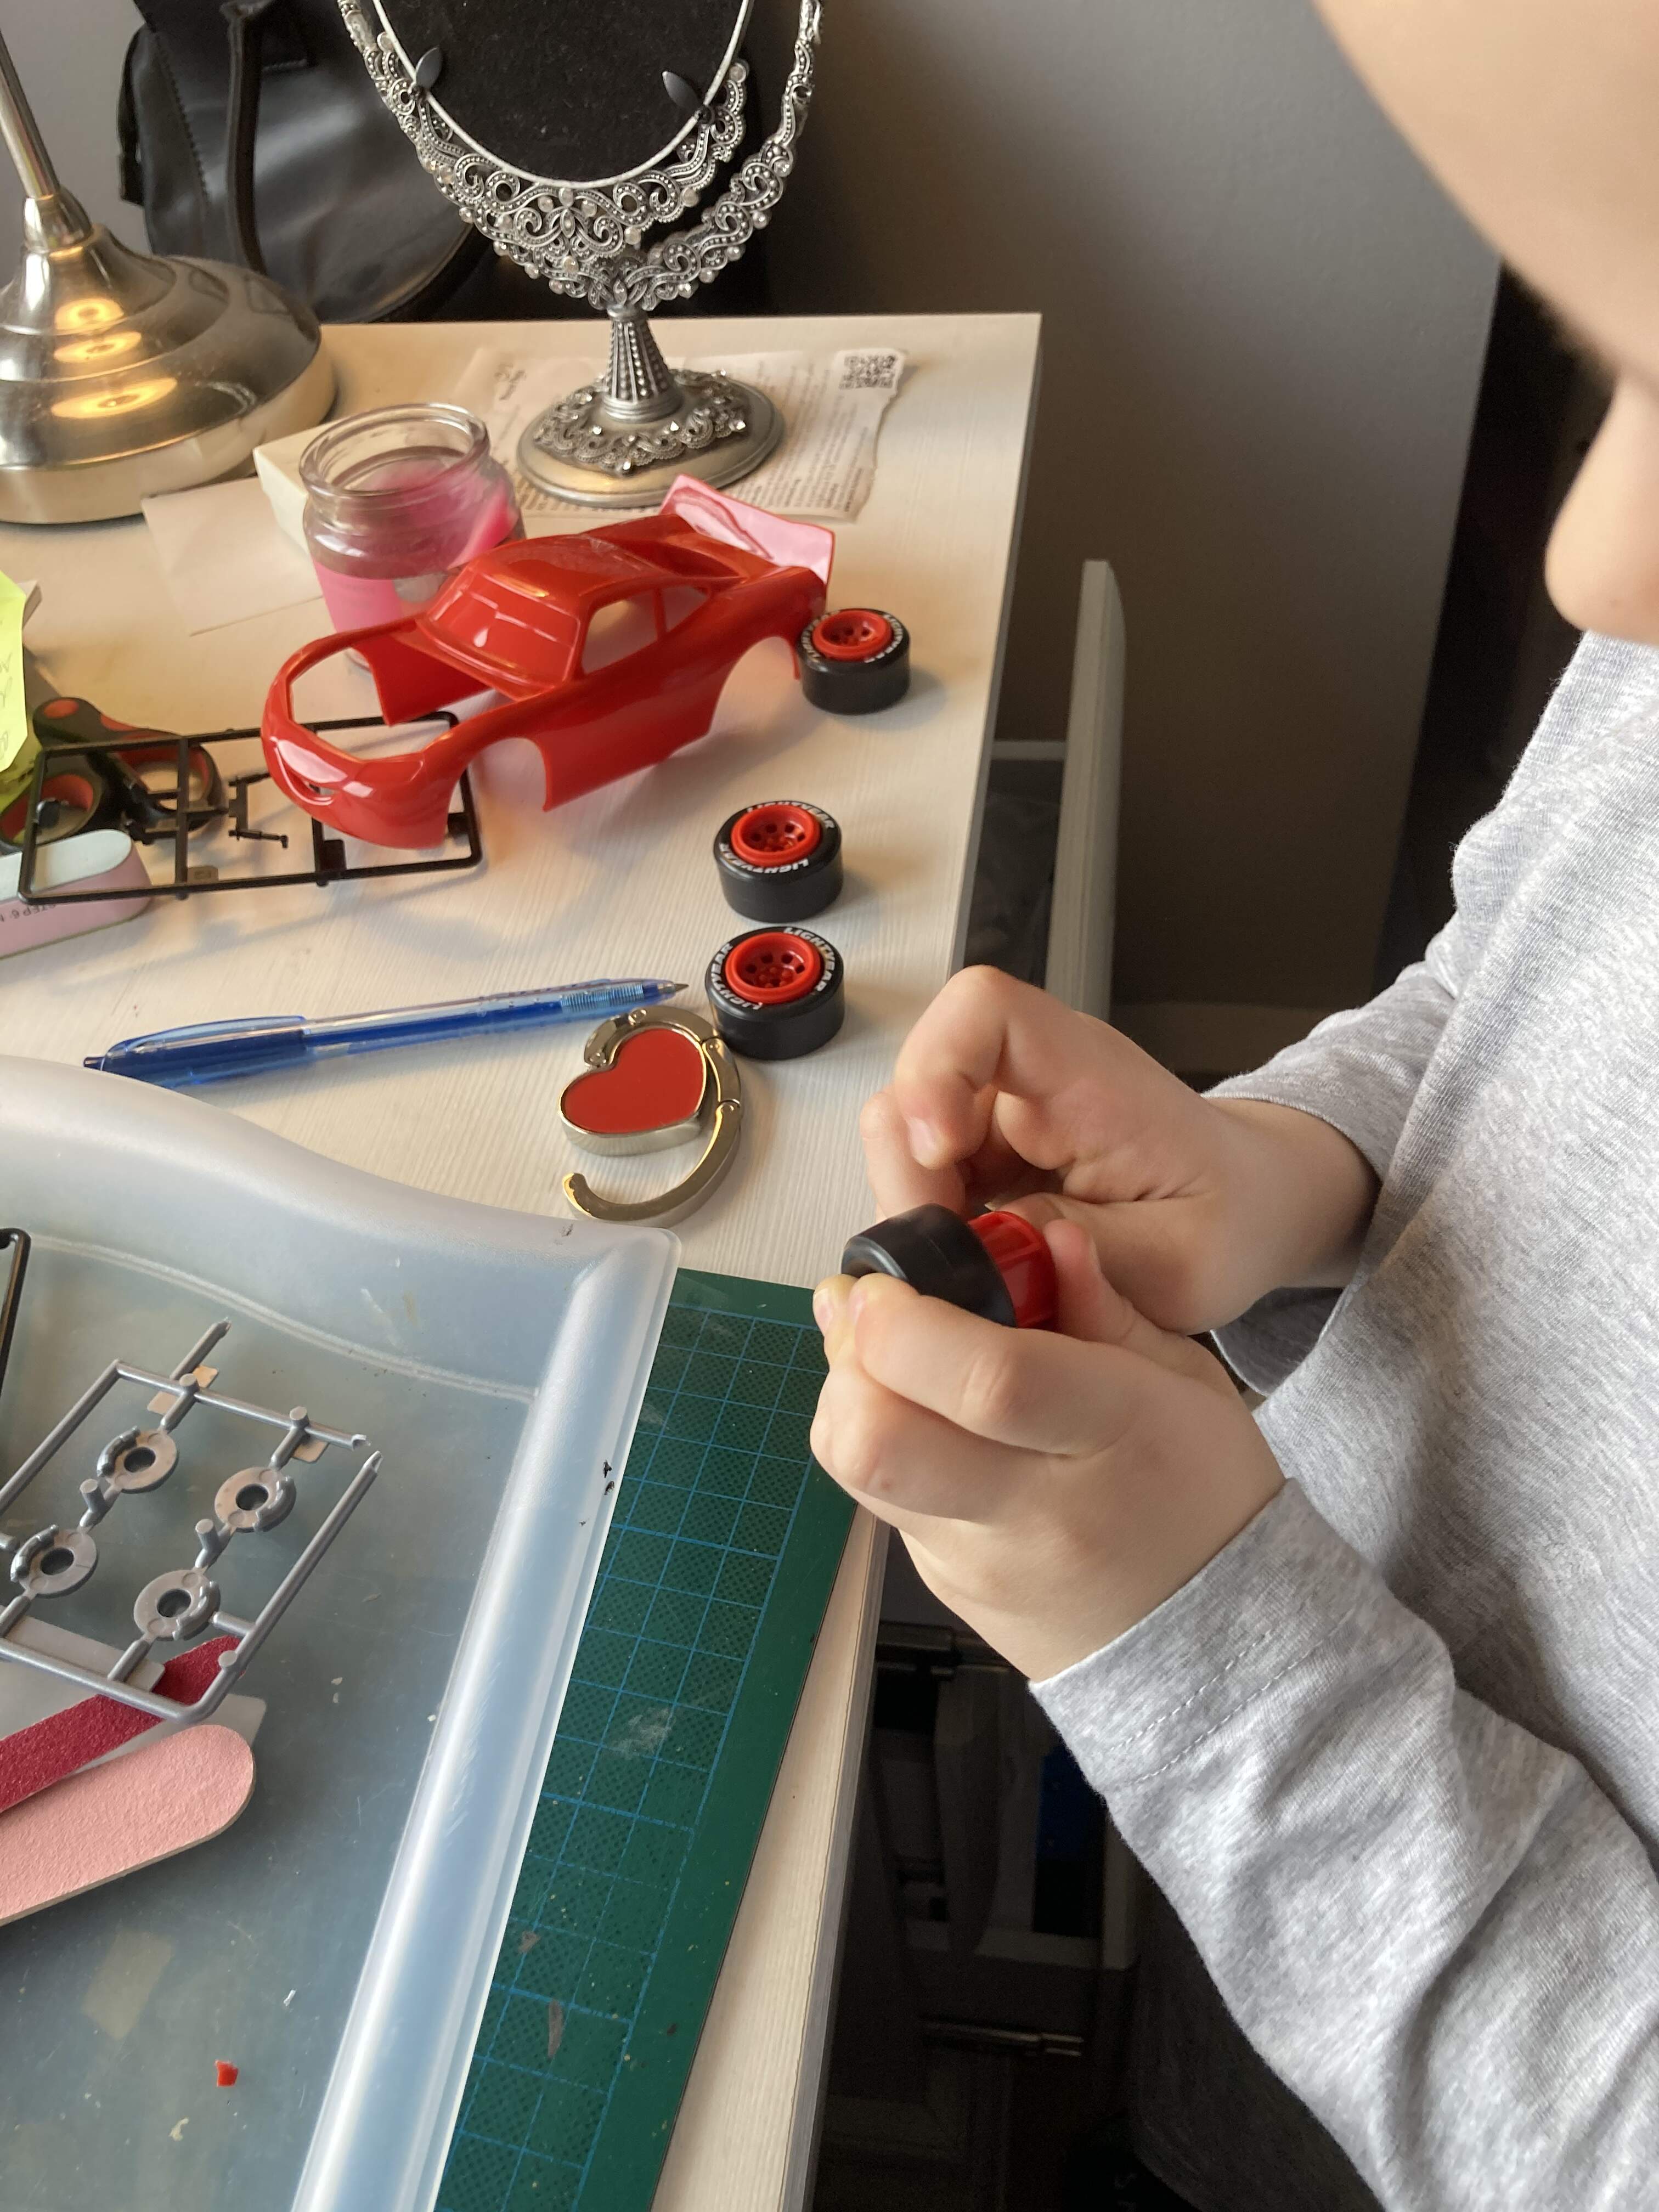
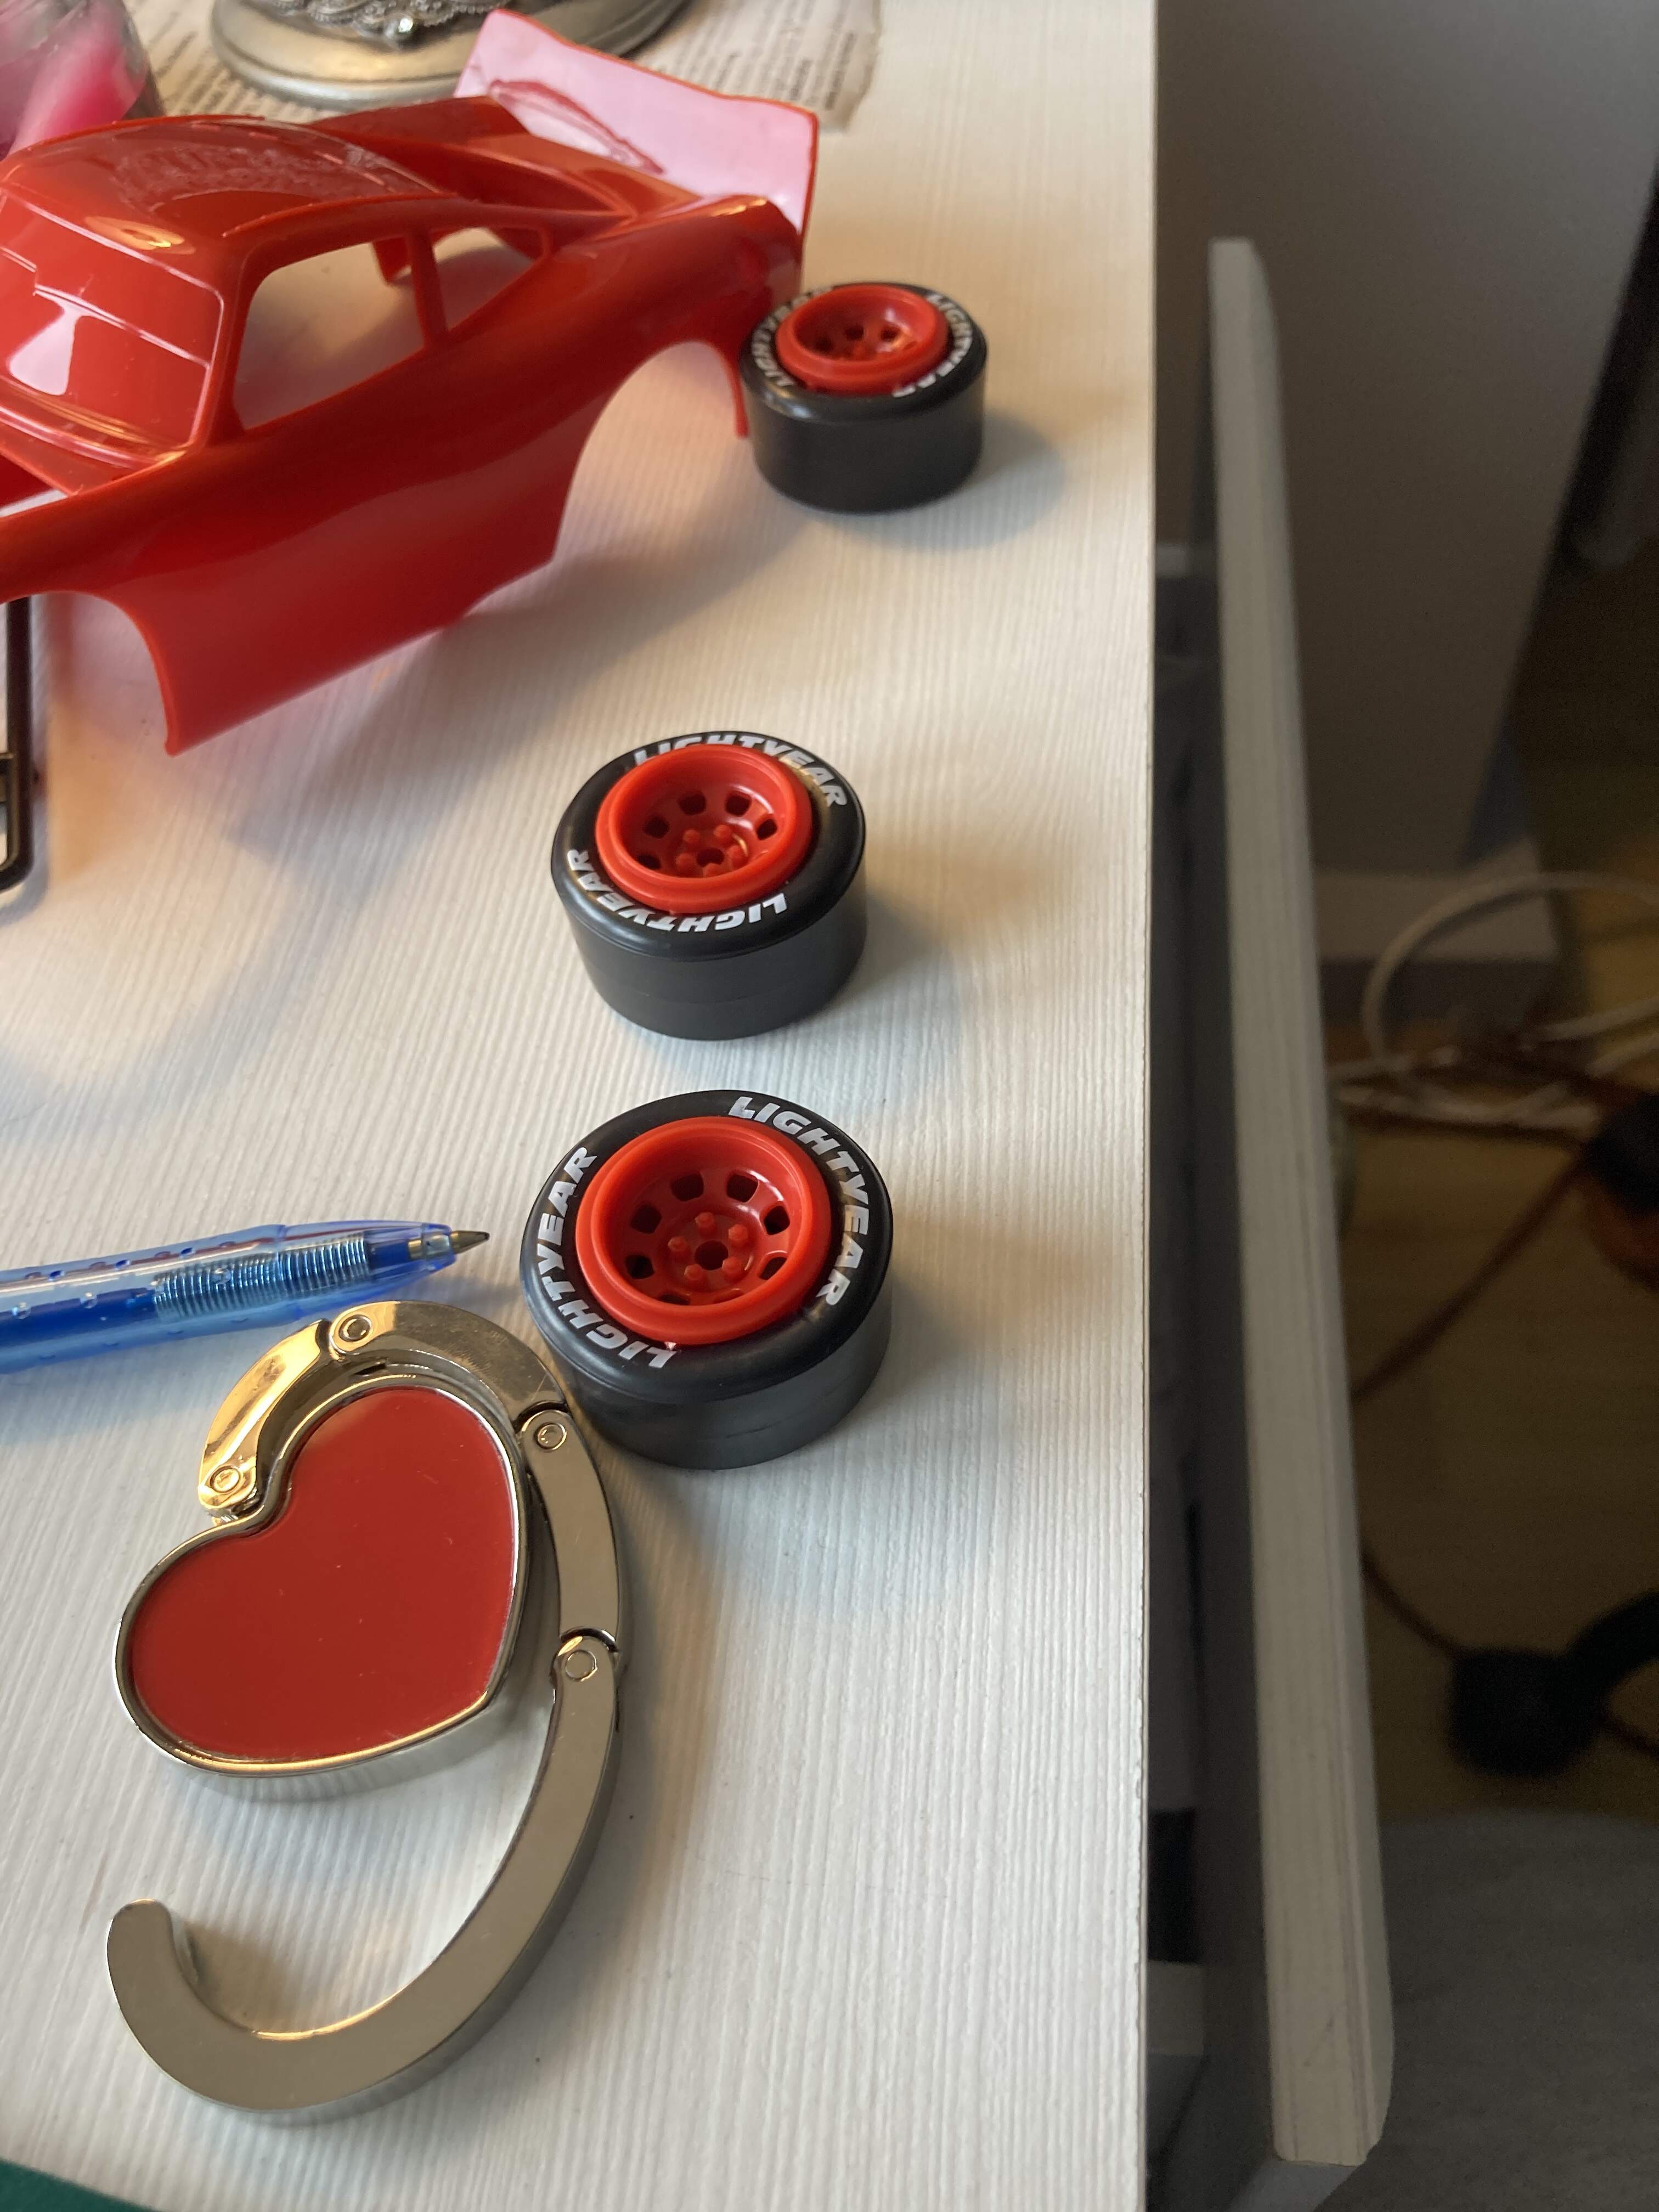
If I did not mention yet, all the actions were done in my daughter’s room meanwhile she was at her boyfriend, that is why you can see the red heart, a girl’s mirror and other feminine stuff on the table. The nail polish things are excluded, those are mine, used for modeling, of course.
We continued the build, X-ed some more steps and finally the car body was inserted onto the chassis. Easy build in a short time.
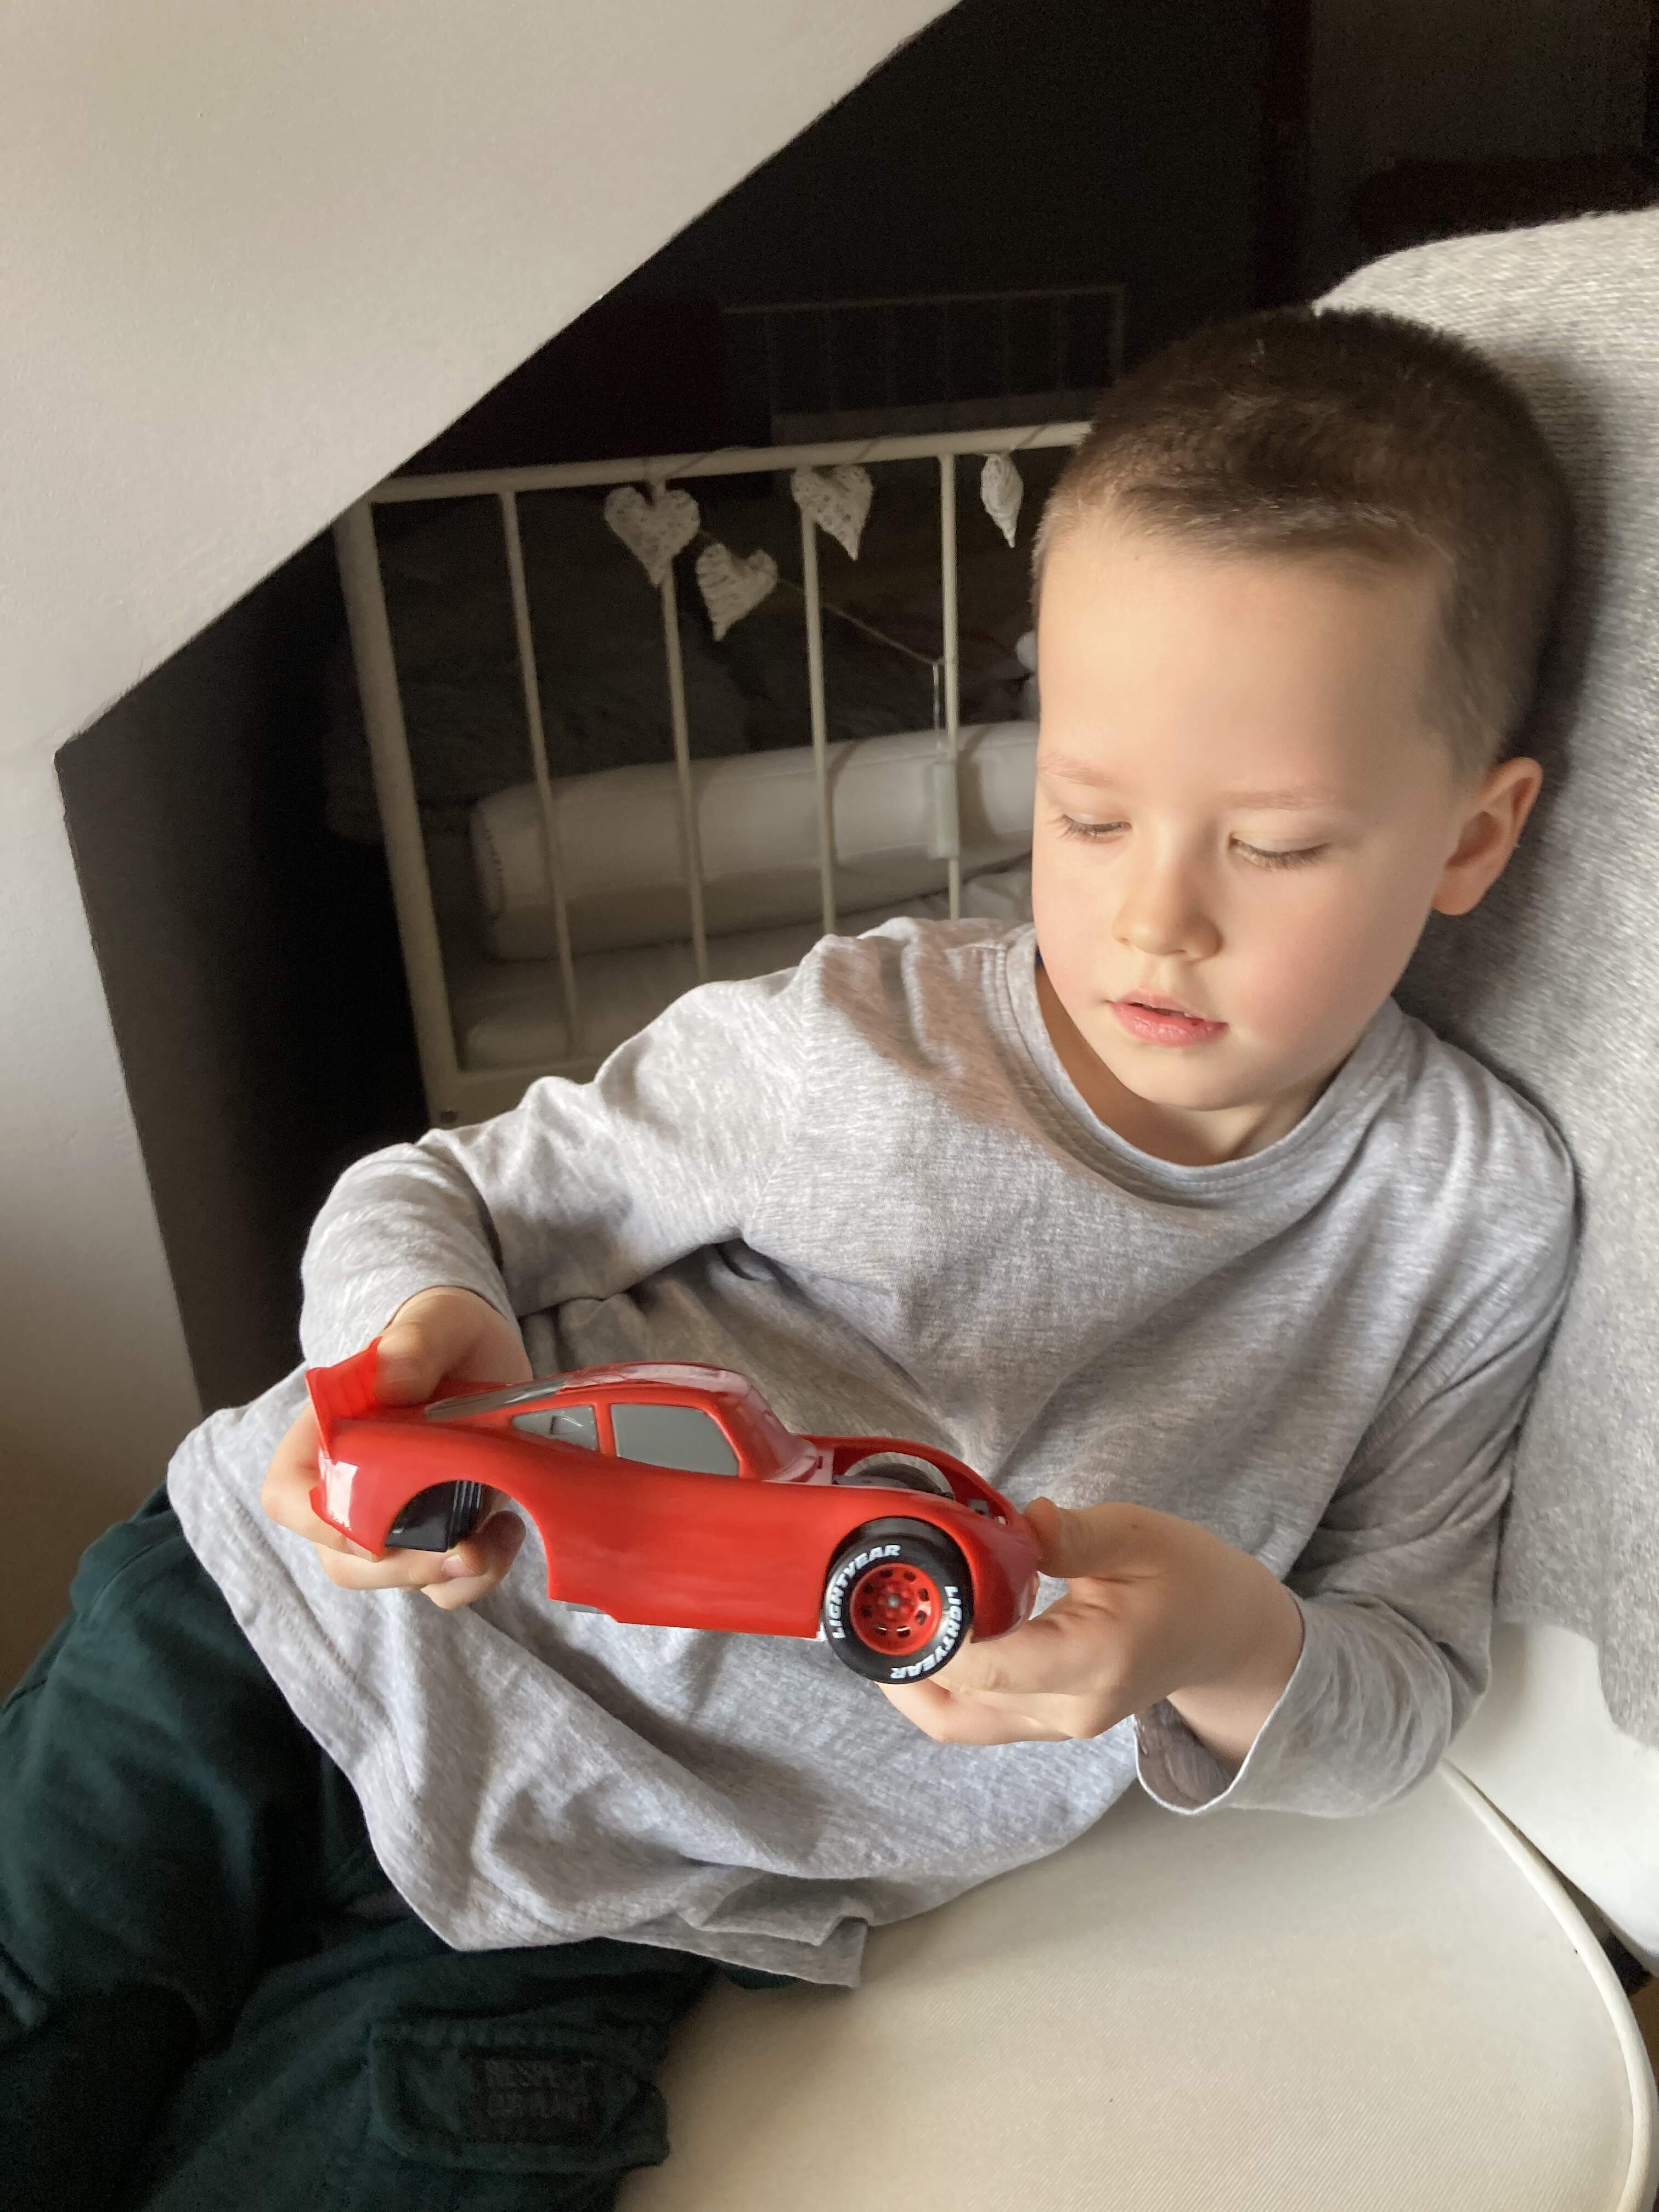
Lil’P passed the next skill - he started to use the Tamiya extra thin cement by this time. He did it quite well - grandpa pushed the parts together and the 5yrs old applied the glue. Having there hands the build got to “Lightyear” speed, indeed!

Interesting point: the wheels had to be forced onto the axis until I felt a final click. That was the time when the wheel was secured.
The engine hood was forced to its place, too so the racing car was ready for decoration.
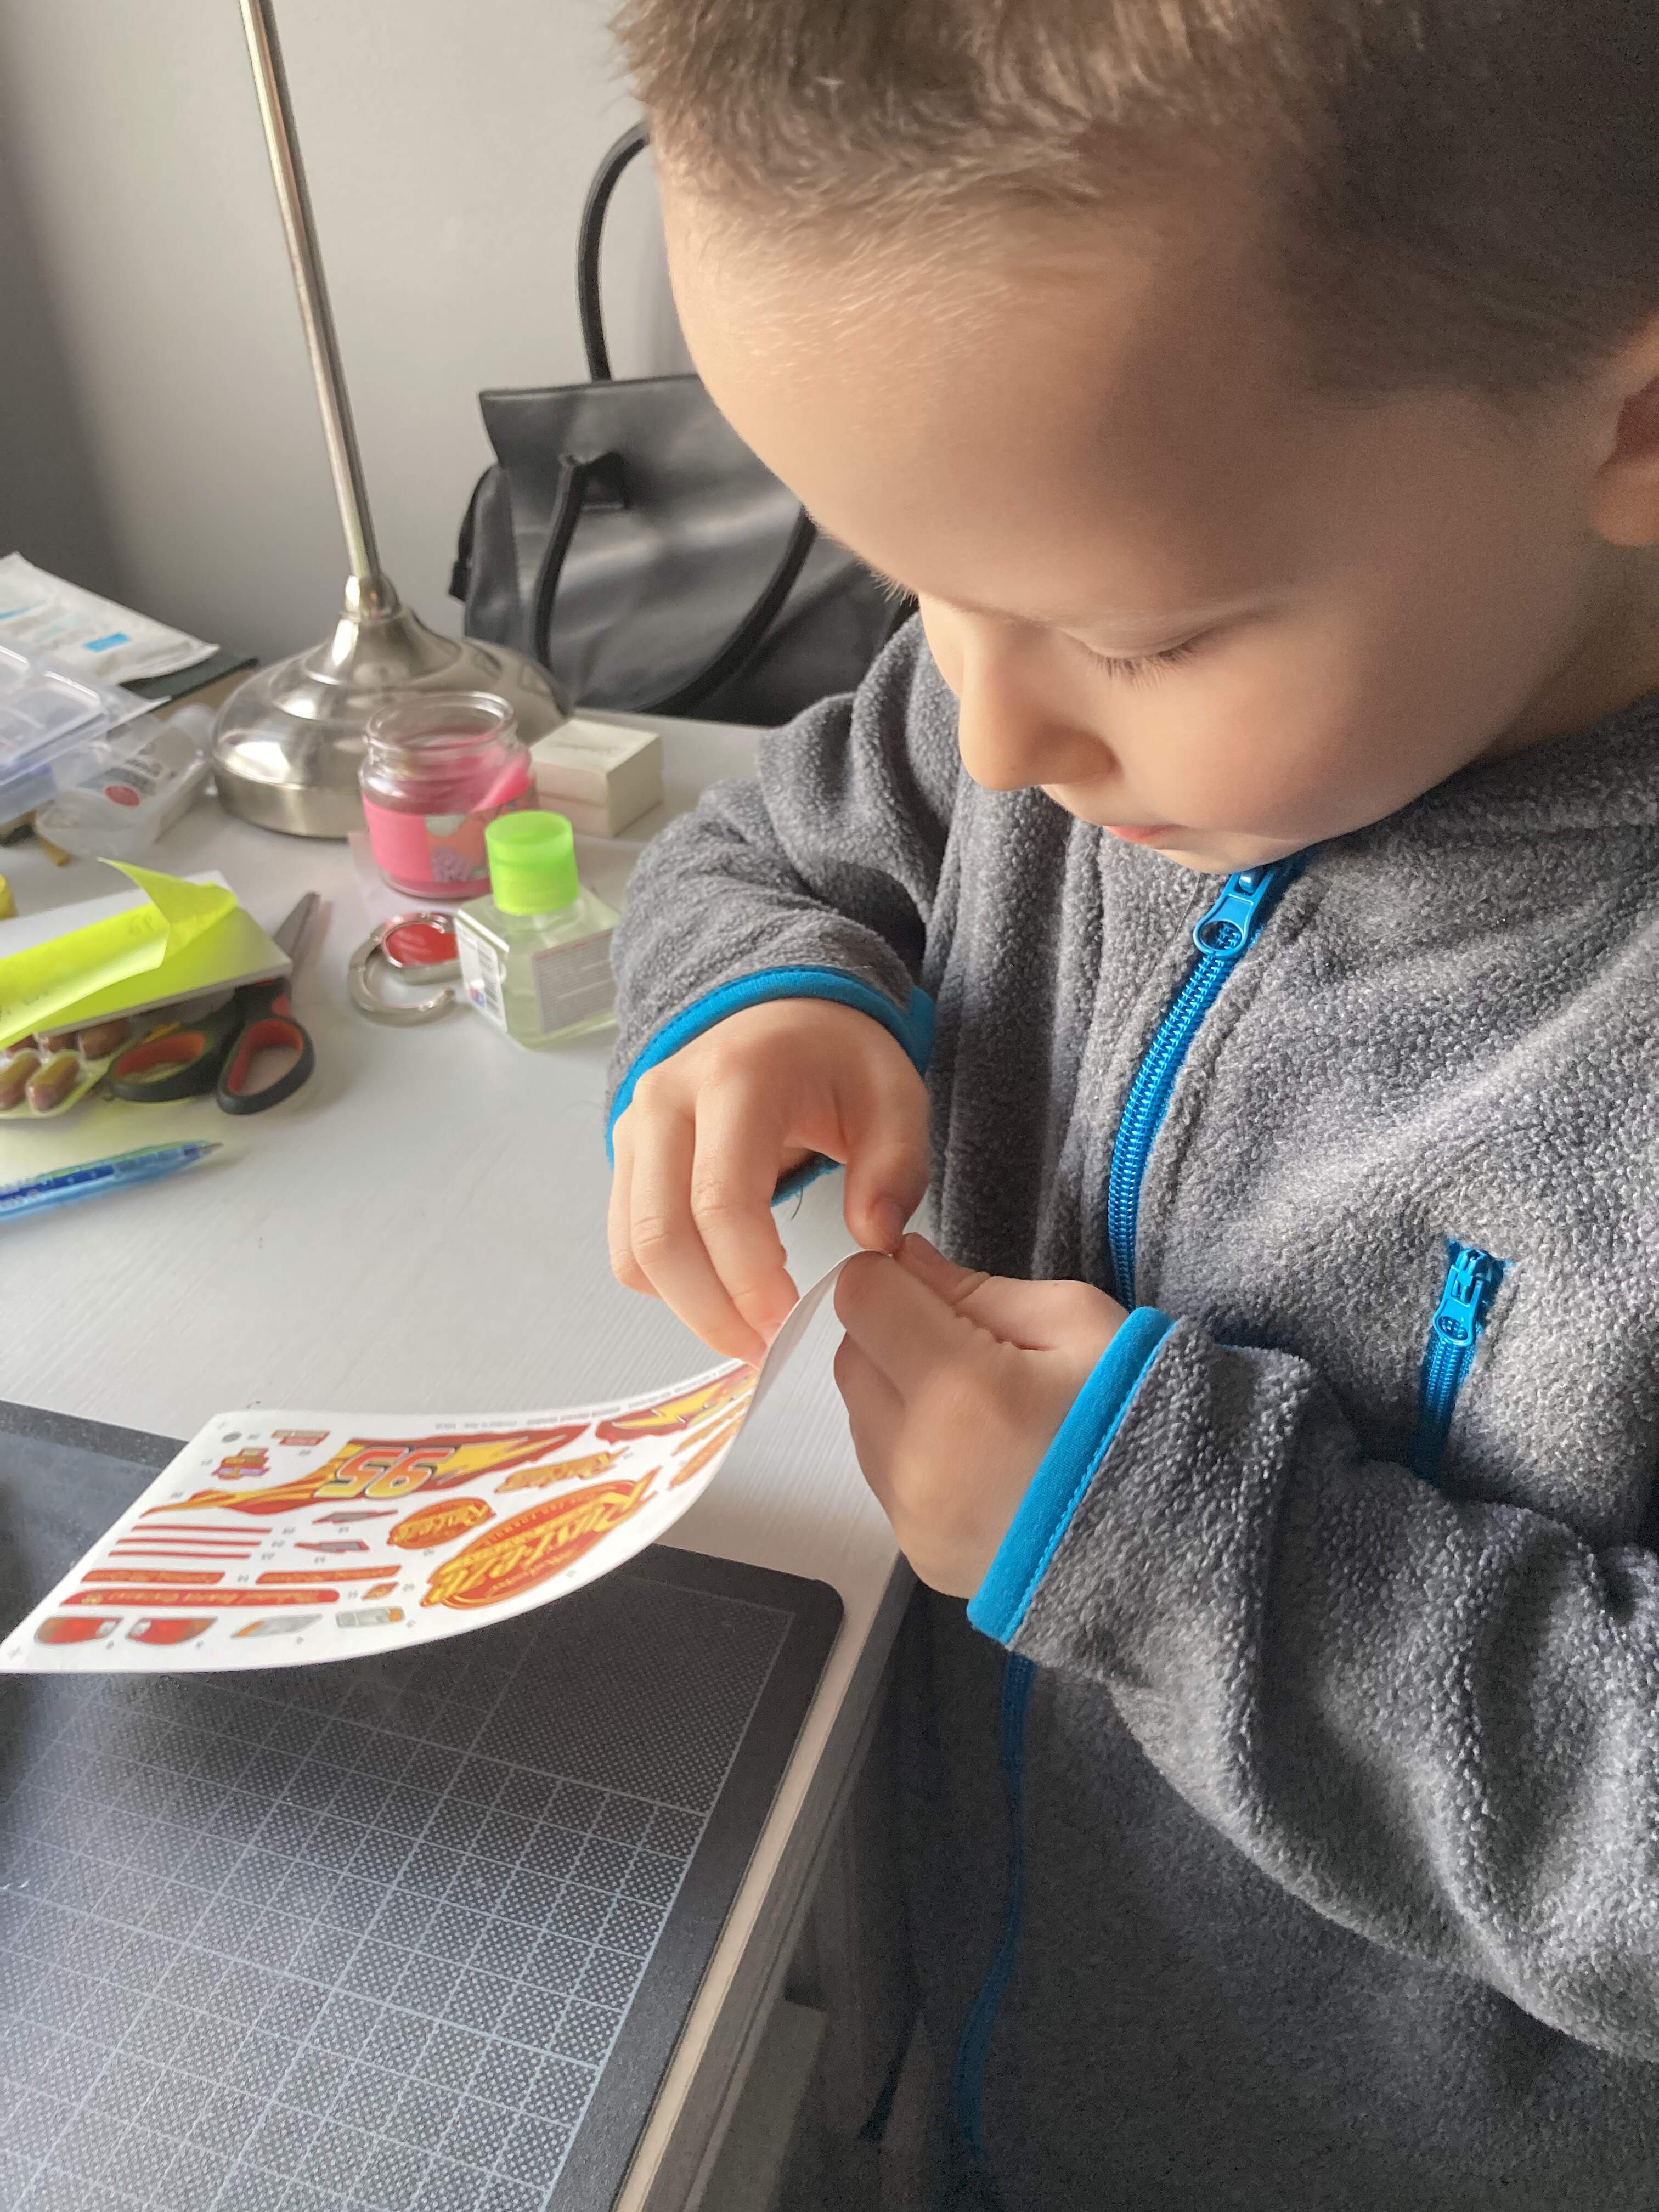
There are two decal sheets in the box: an easy fold-able one (this is what we used) and a proper water slide version (I put aside for a future build). Lil’P has much smaller fingers than I have and also he wanted to remove all. I took the hard job and placed the decals in place. Well, Lil’P did not follow the logical sequence so some overlapping decals were re-applied but I was very happy with the progress and the patience he showed.
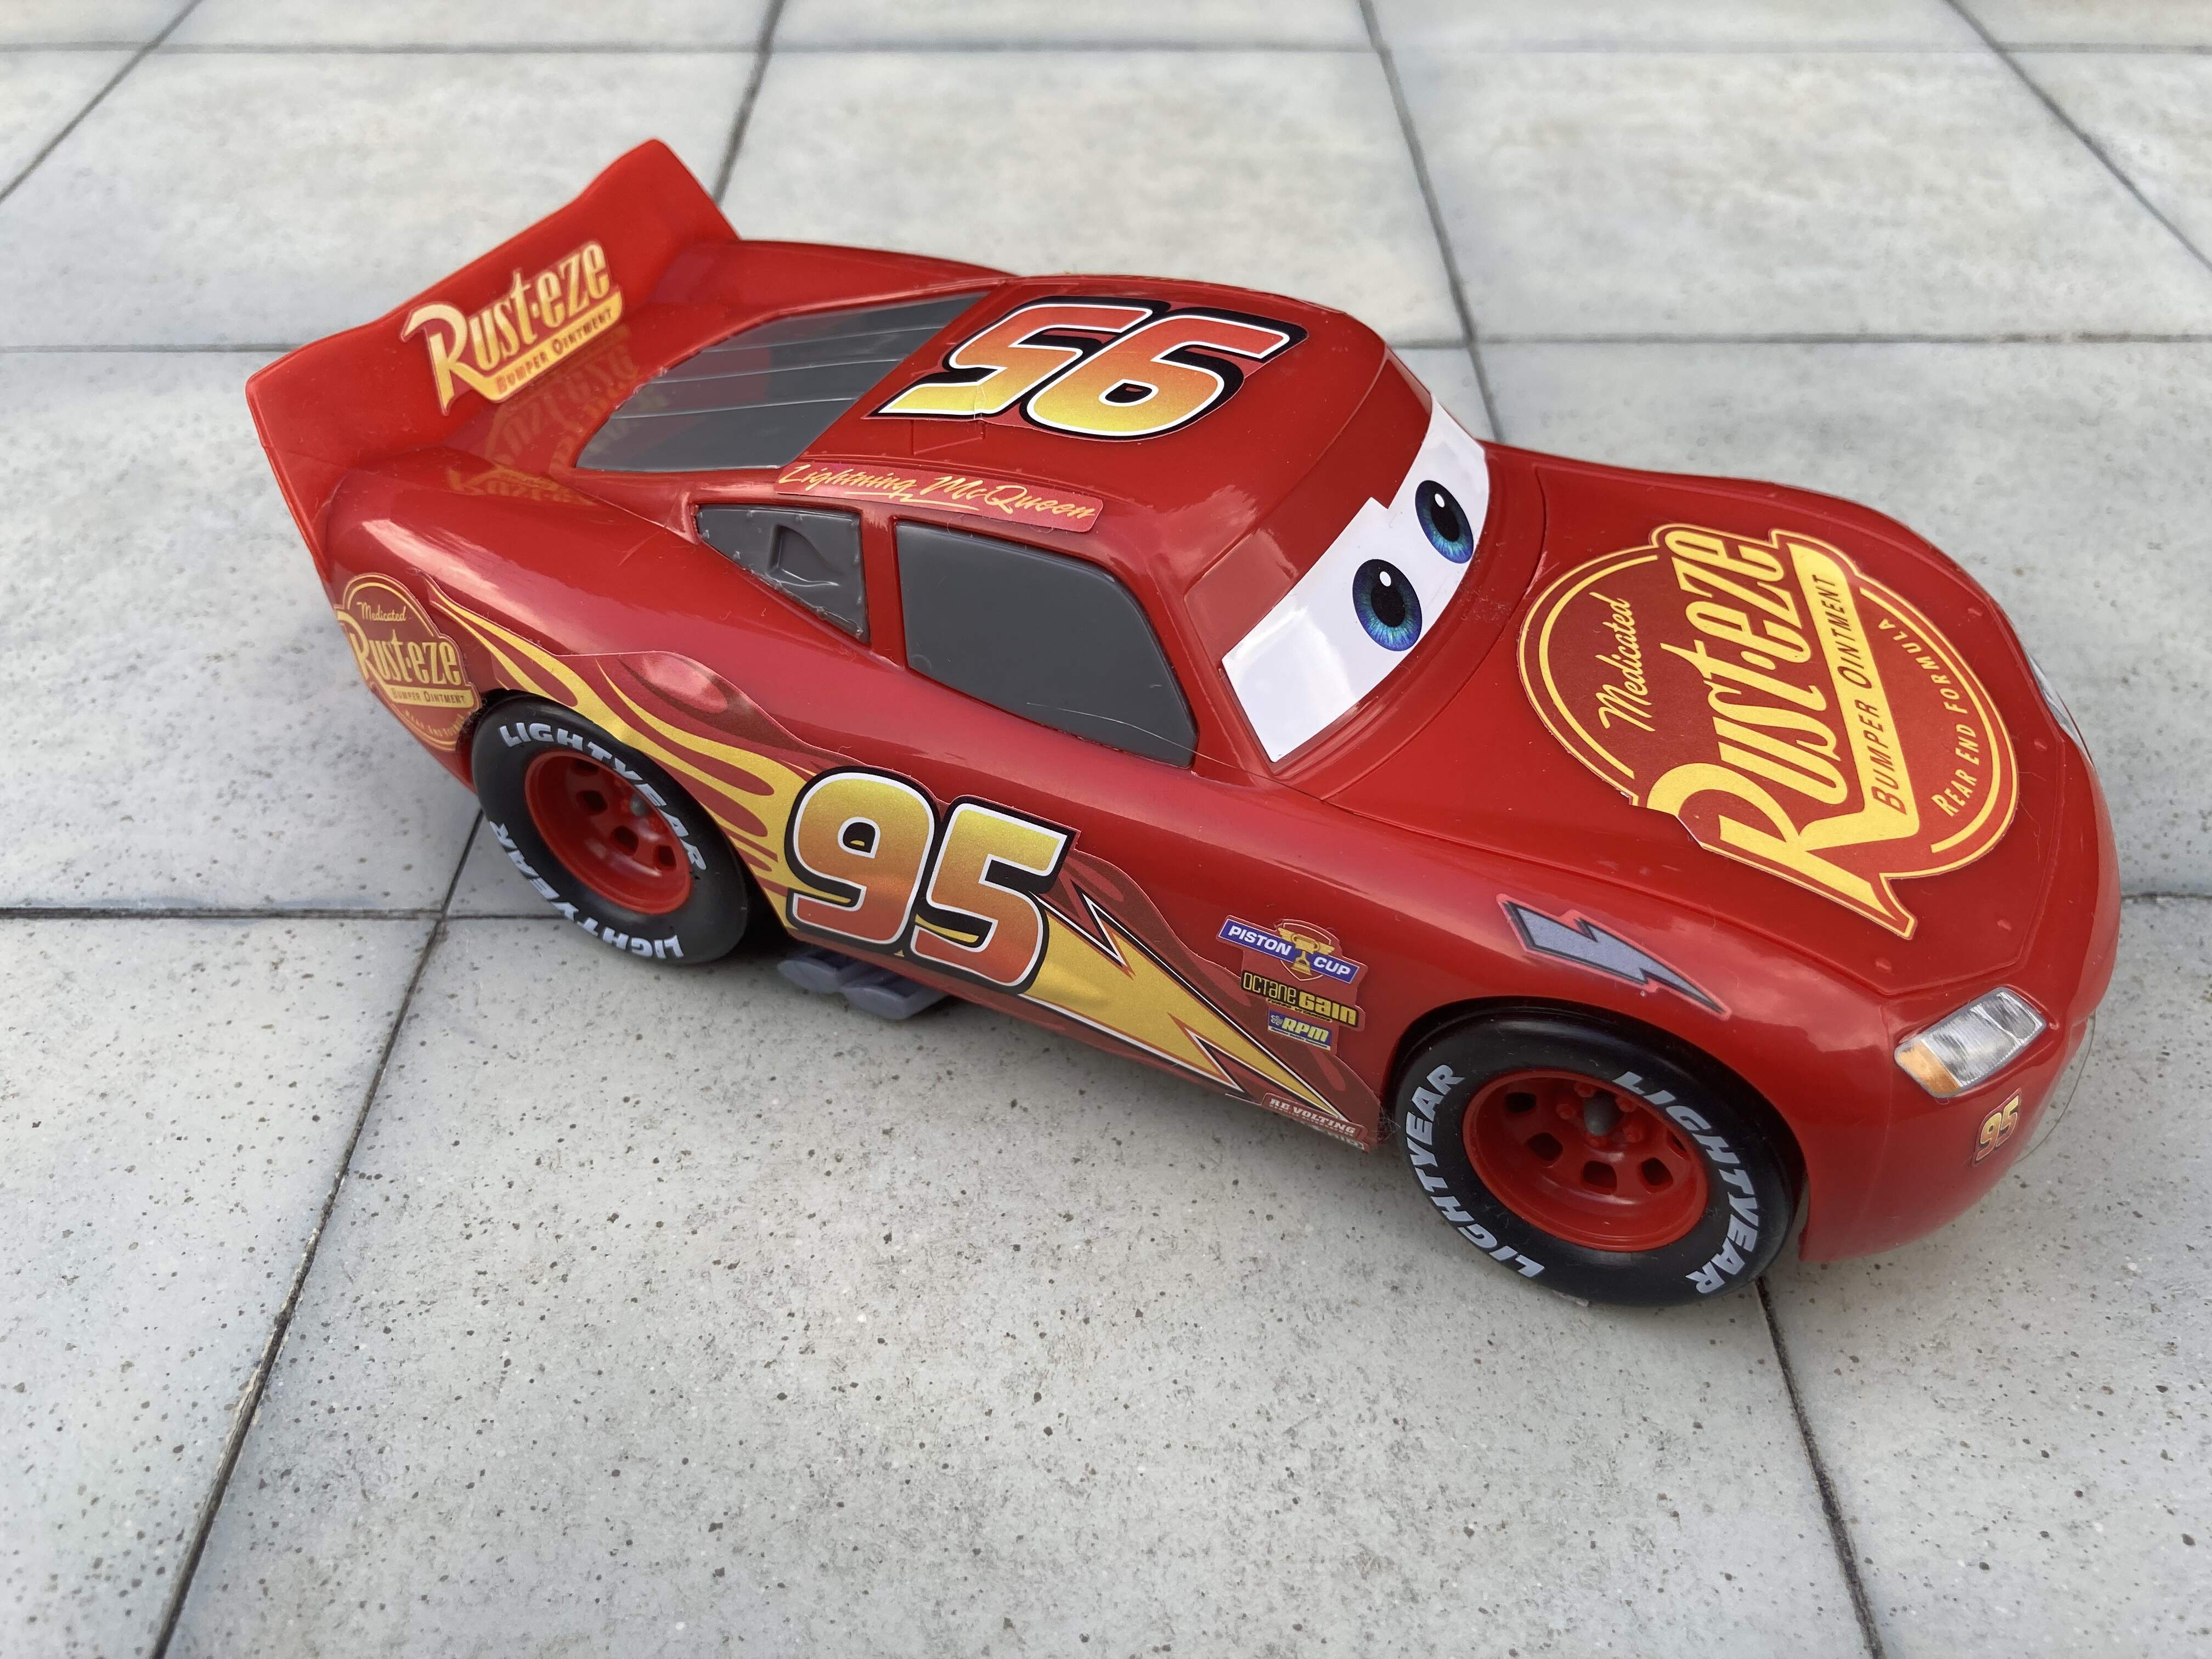
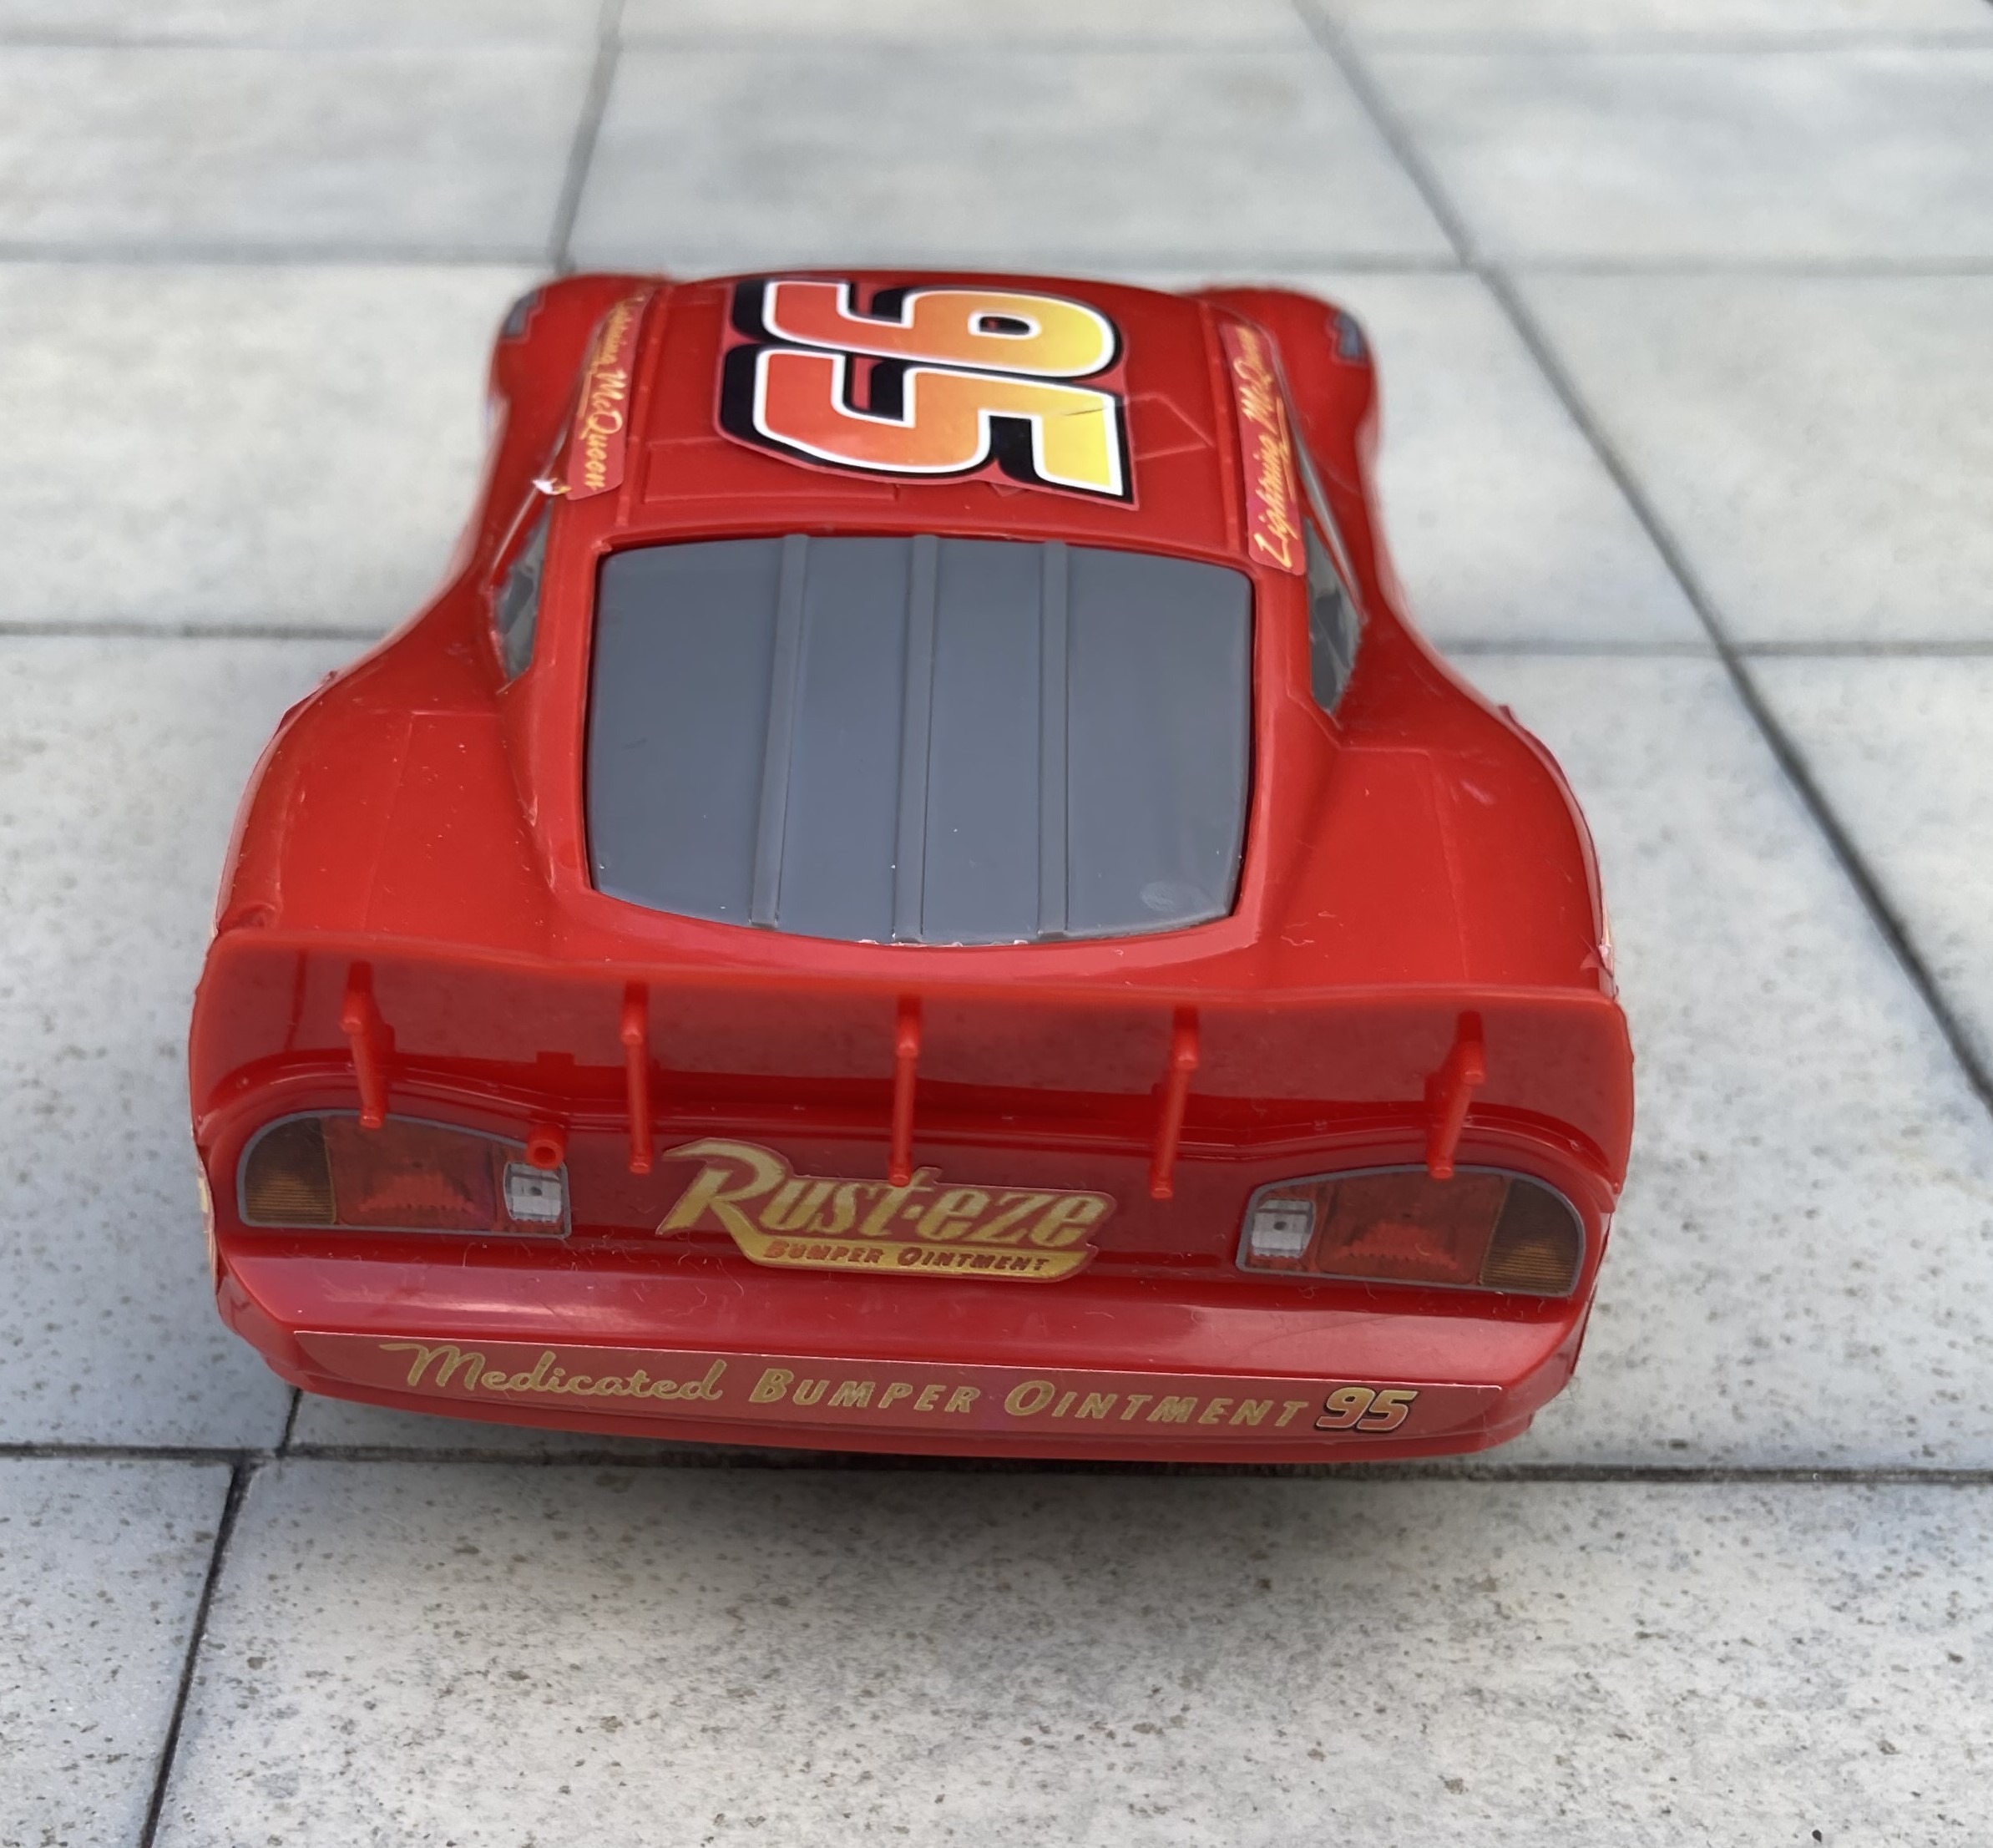
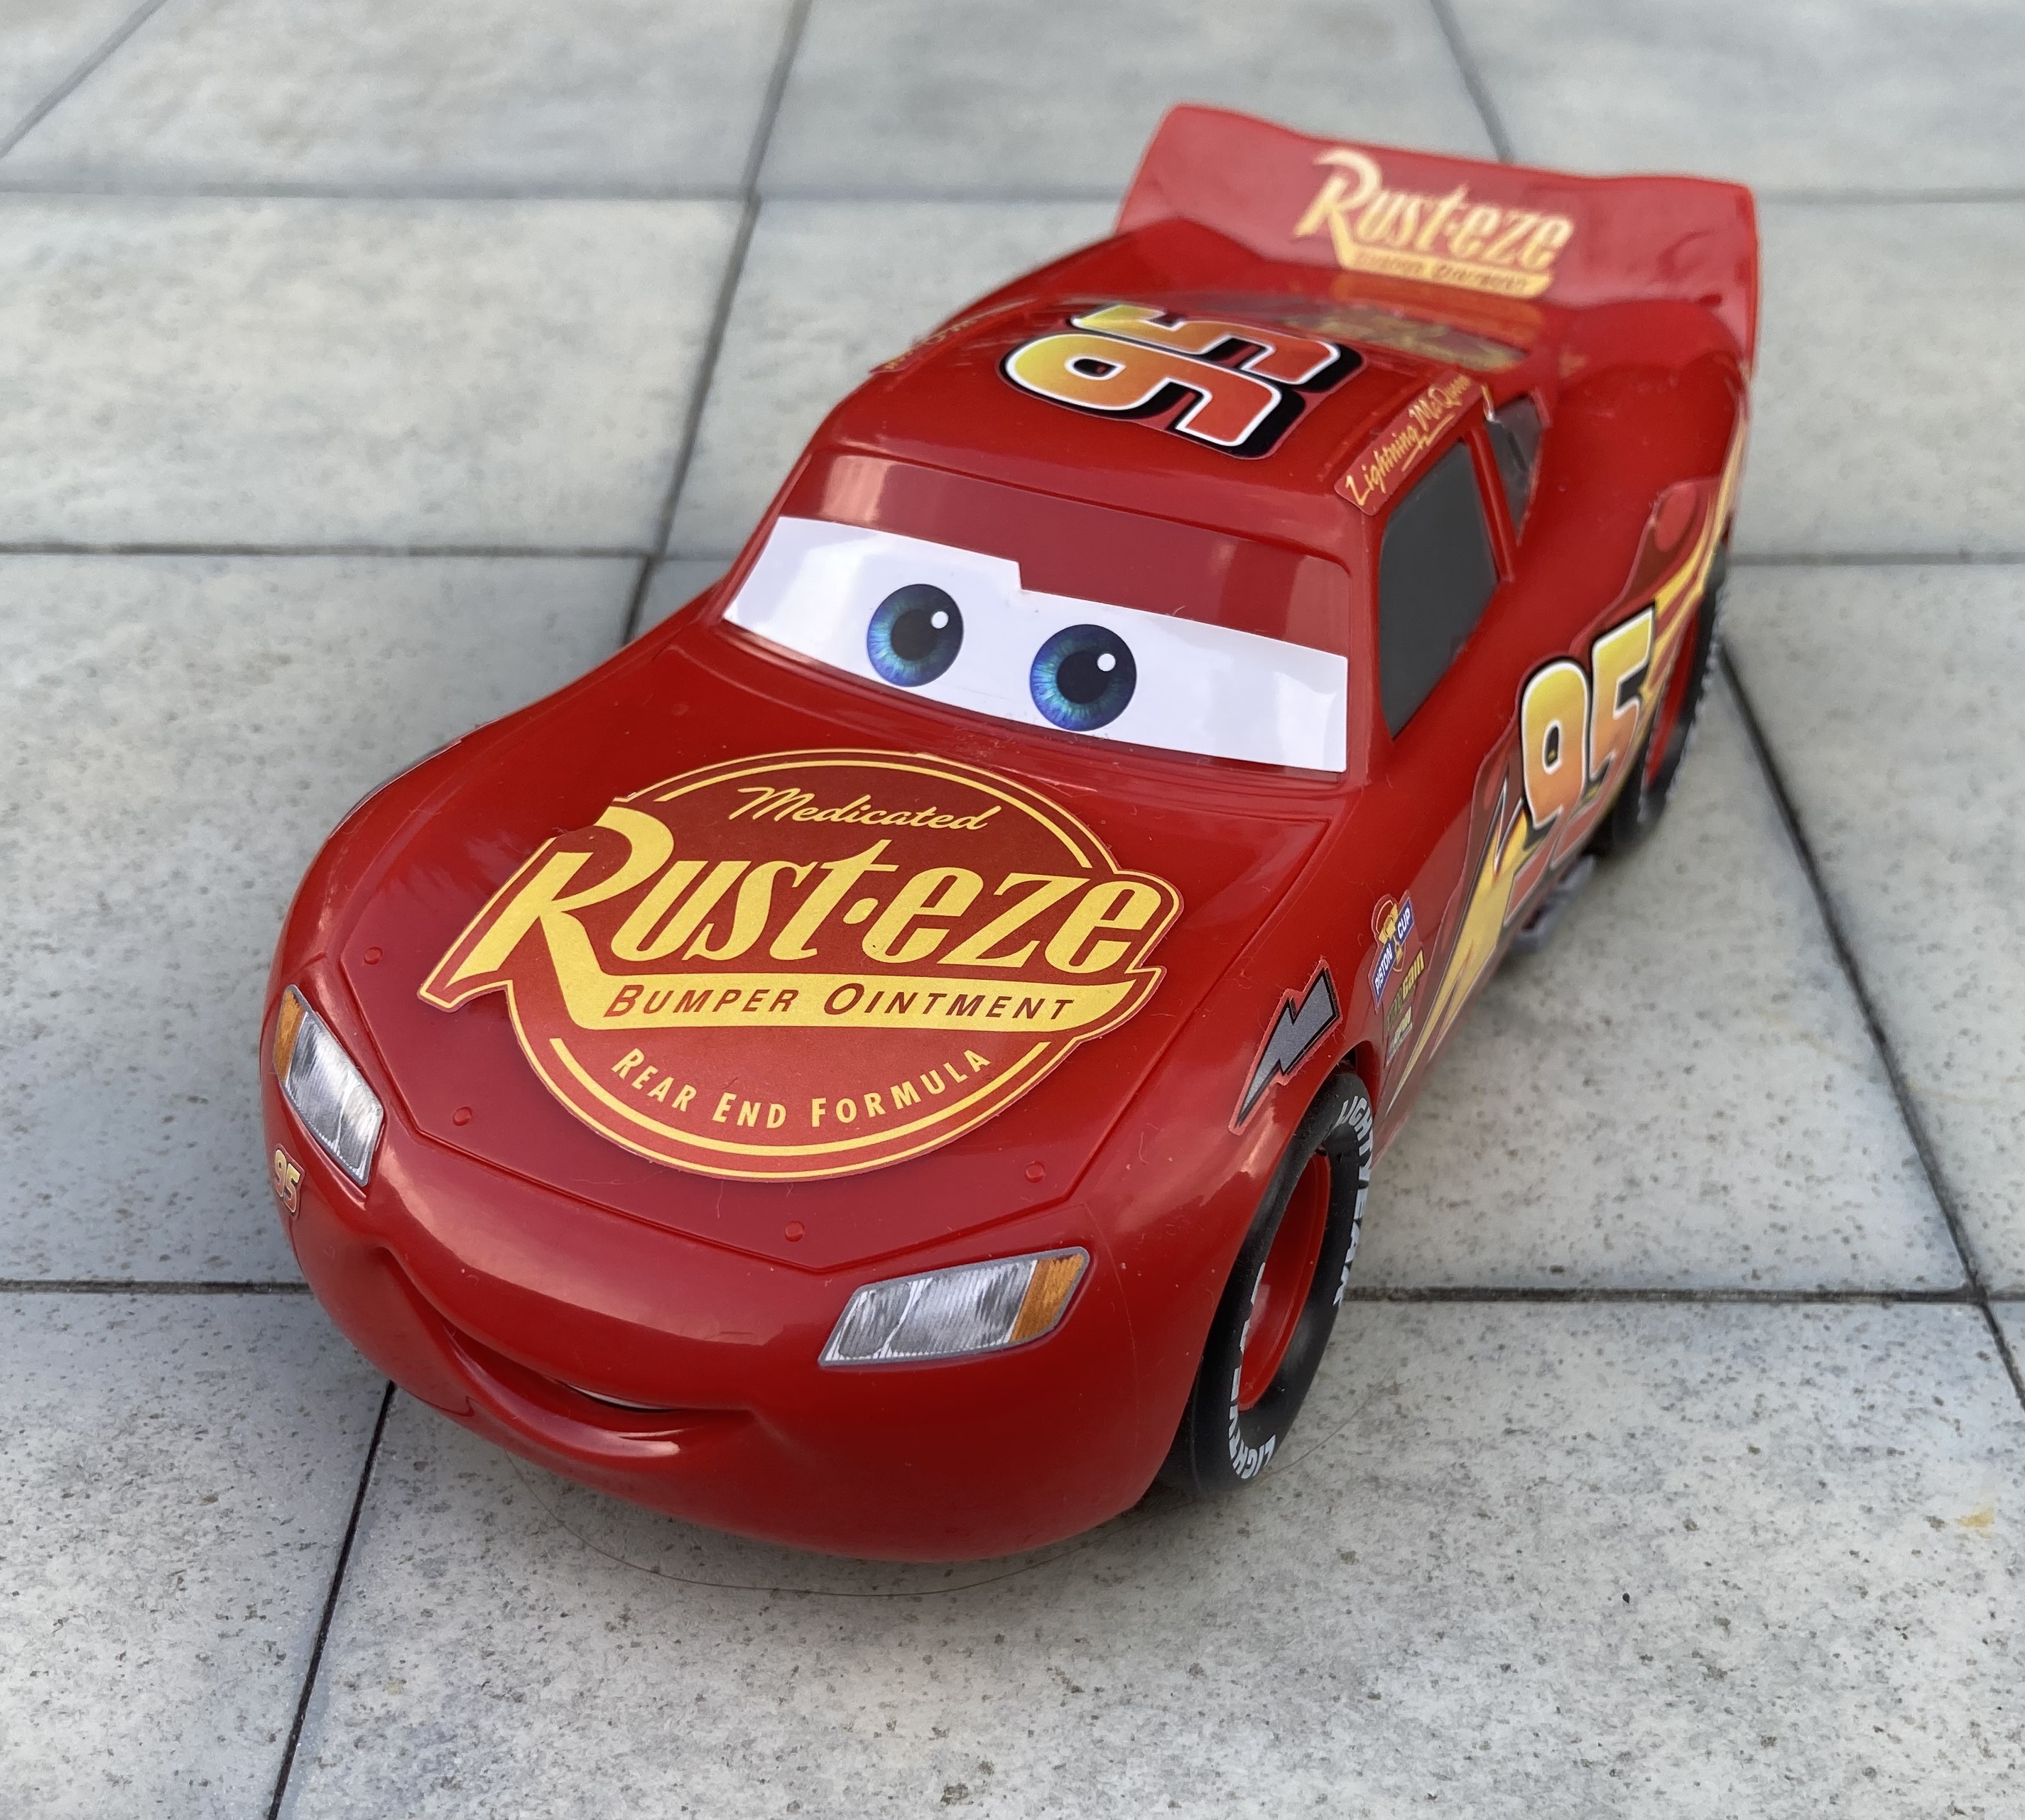
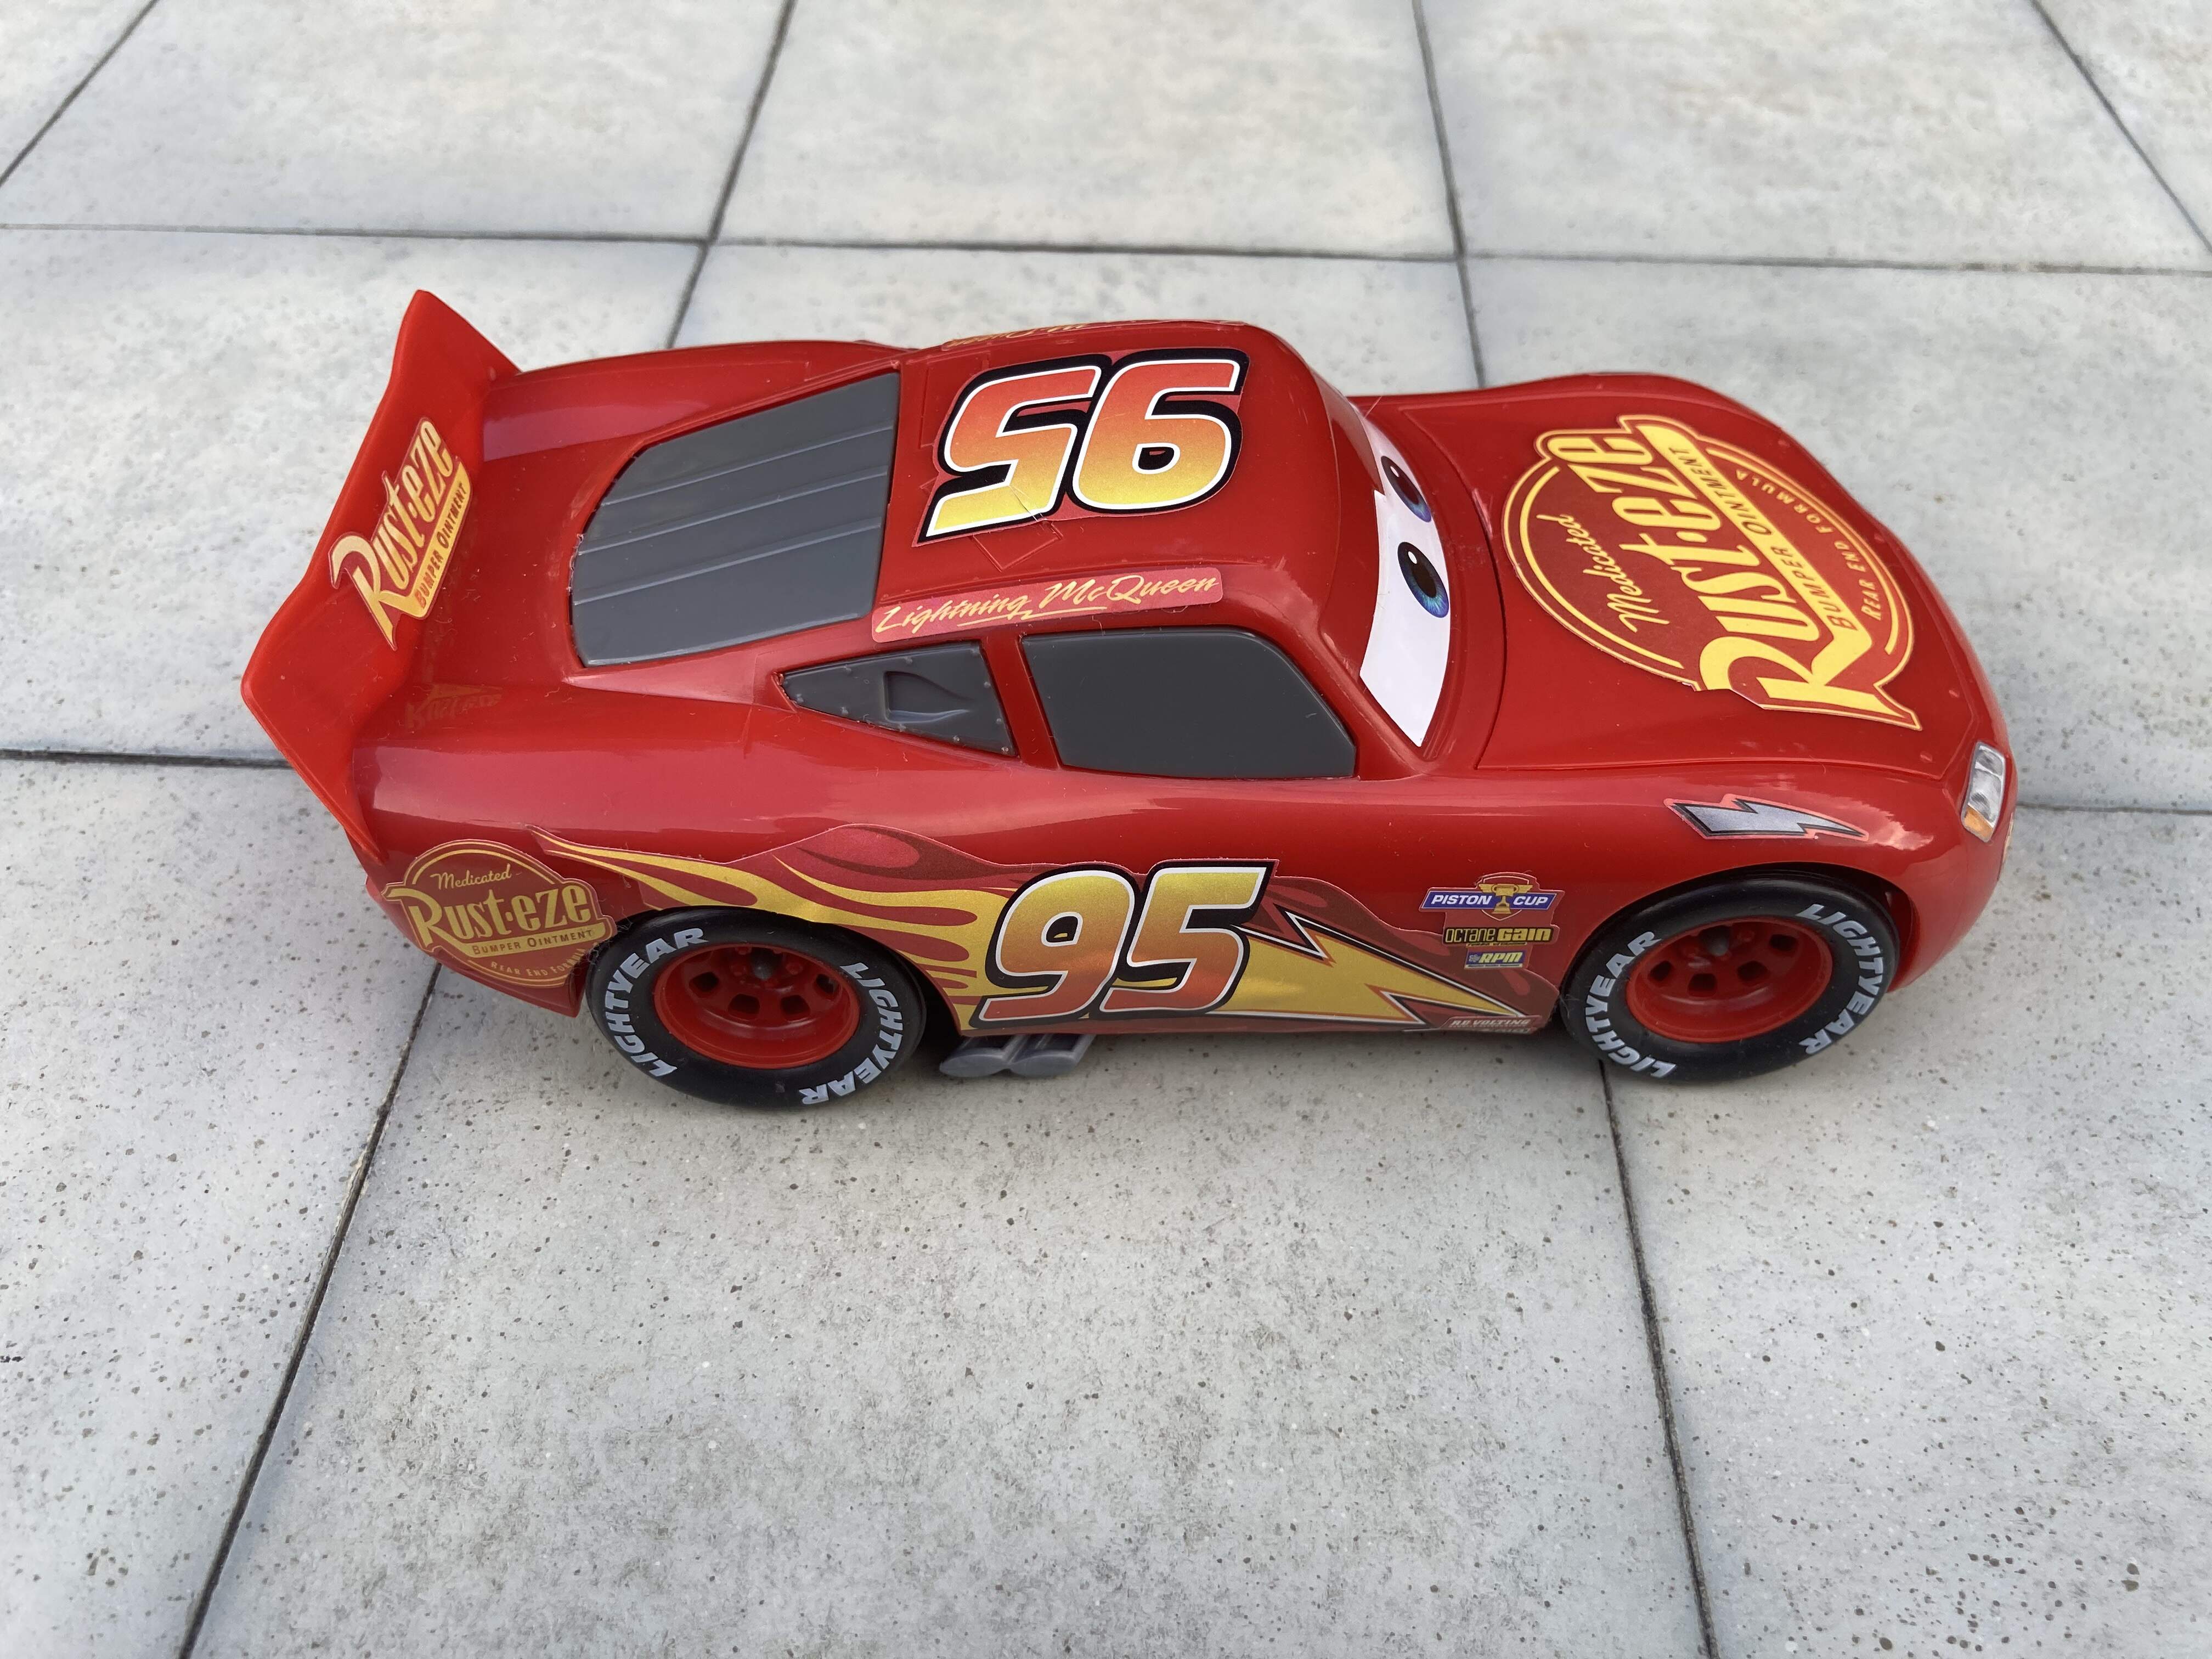
The final result was taken to my proven photo-plate which is made for 1/24 - 1/48 scale objects. It looks like an area covered with concrete squares and provides some realistic base. I opted out weathering and any other effect like that - I am sure that Lil’P will do his best to weather Lightning McQueen in his bedroom.

Take care!
Tamas