Today I have the Front Axle installed.
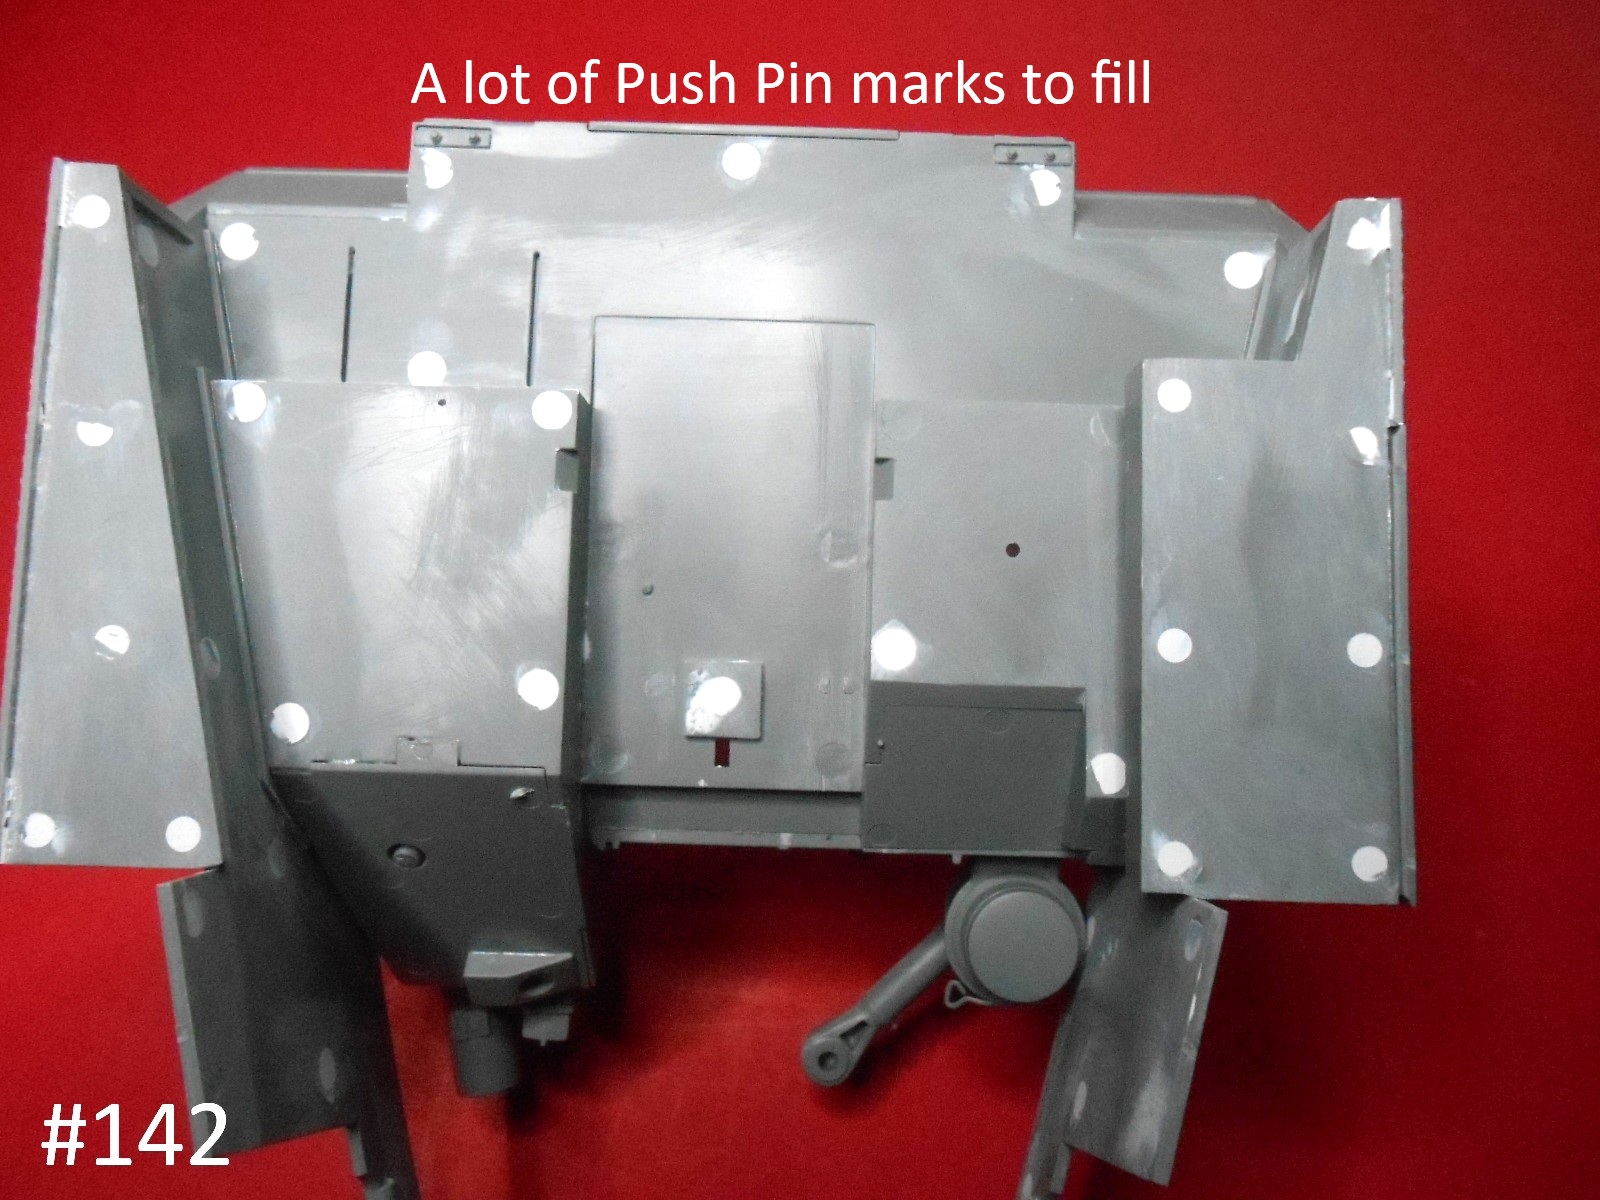
It is very tricky with a lot of small Pins.
It can be made workable, but I don’t play with the finished Builds so I just glued everything together.


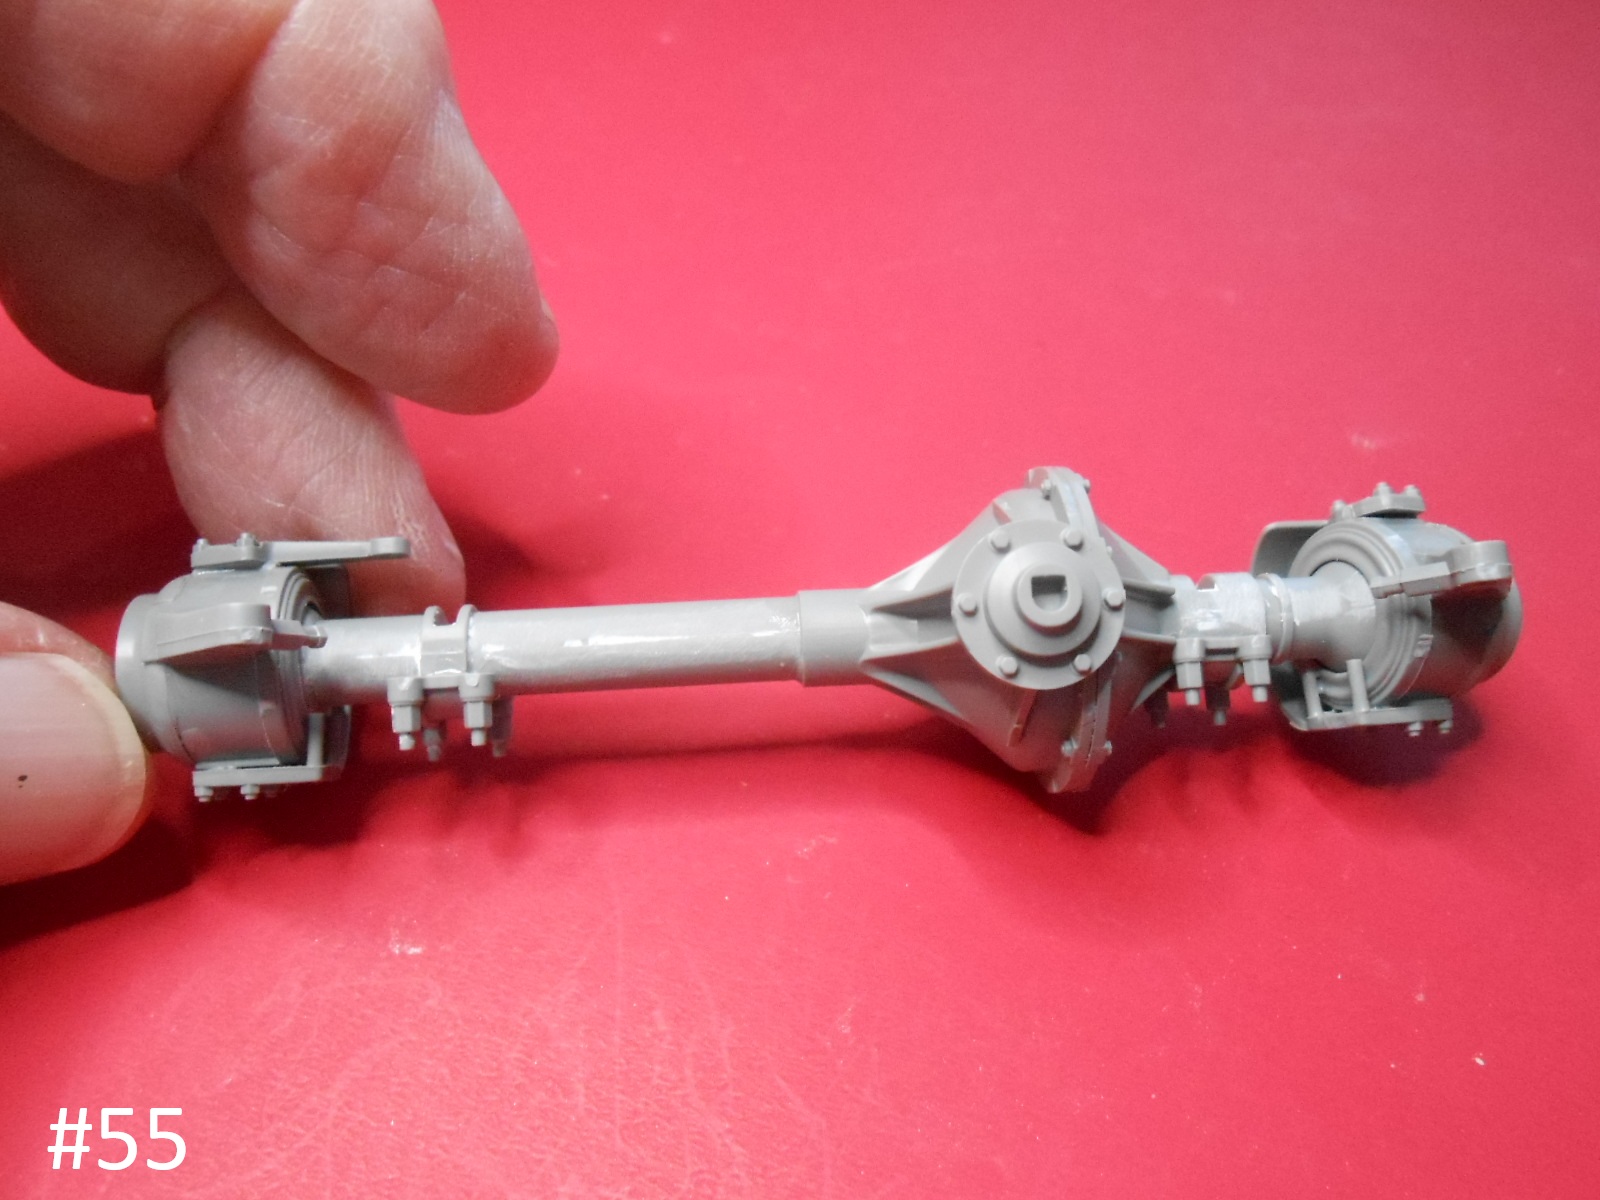


Finished for now
Donald
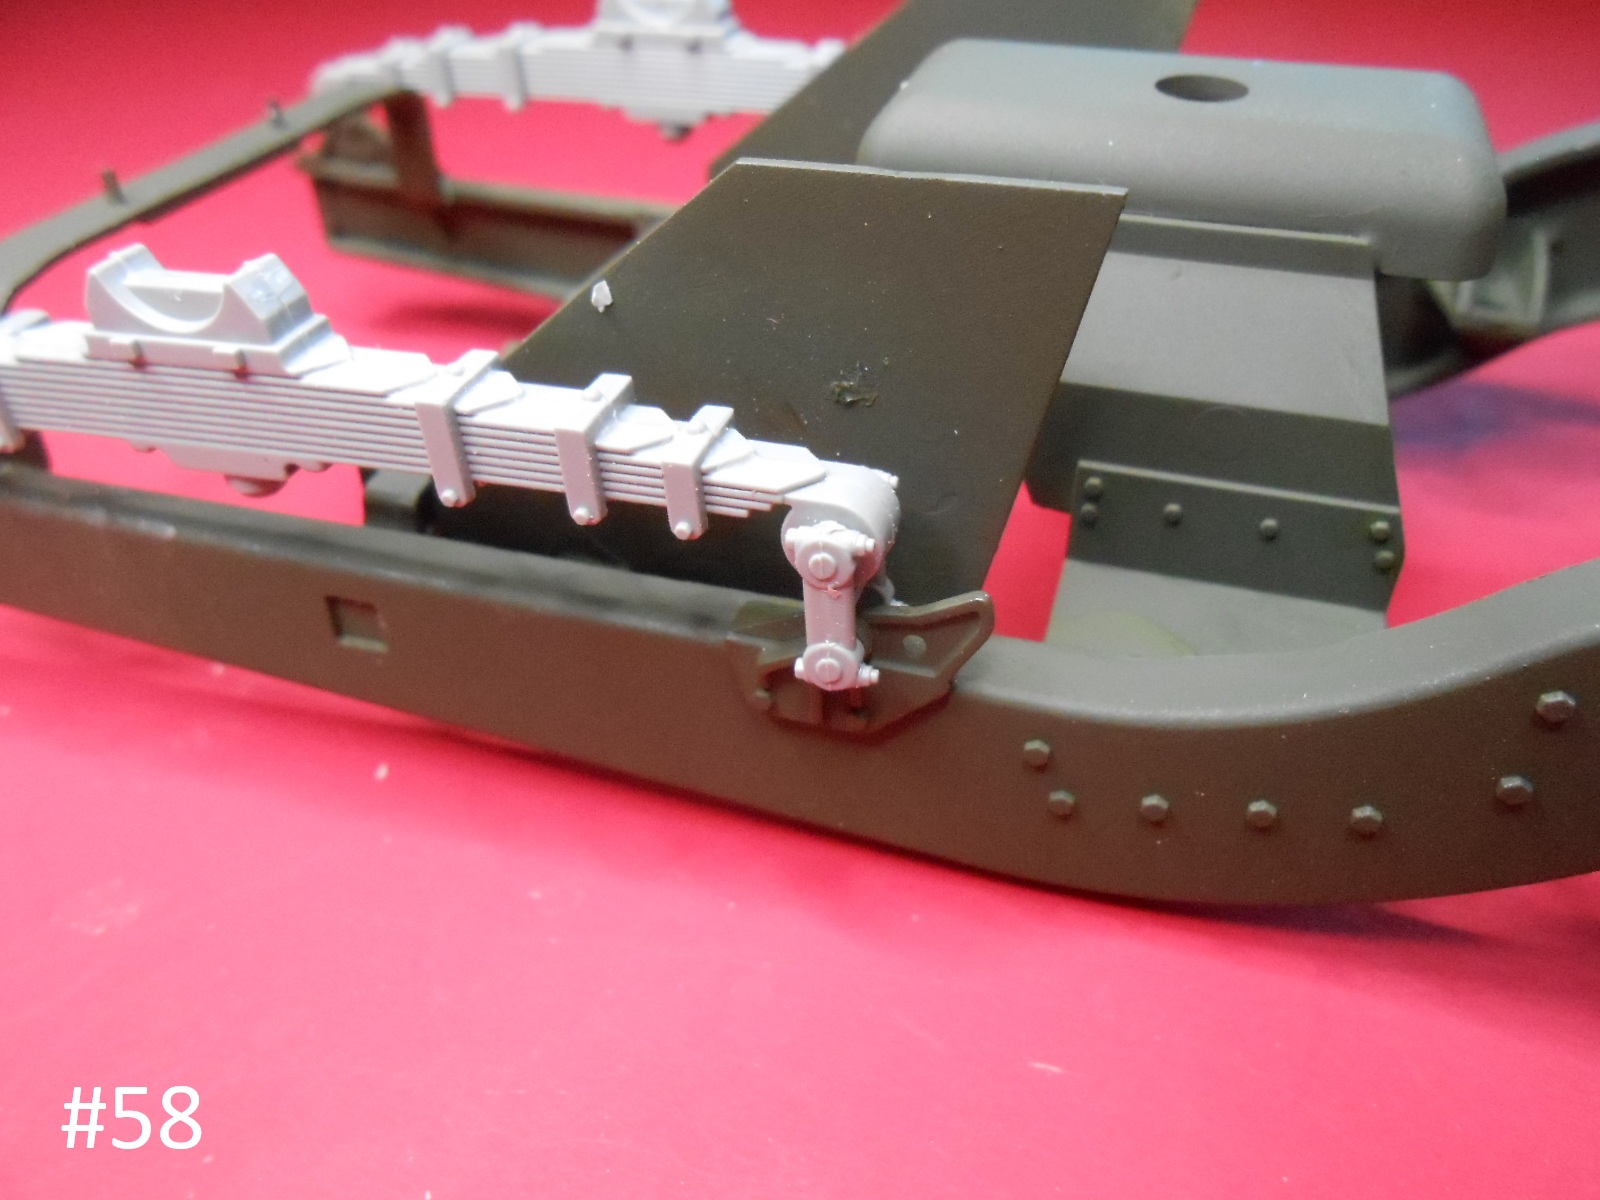
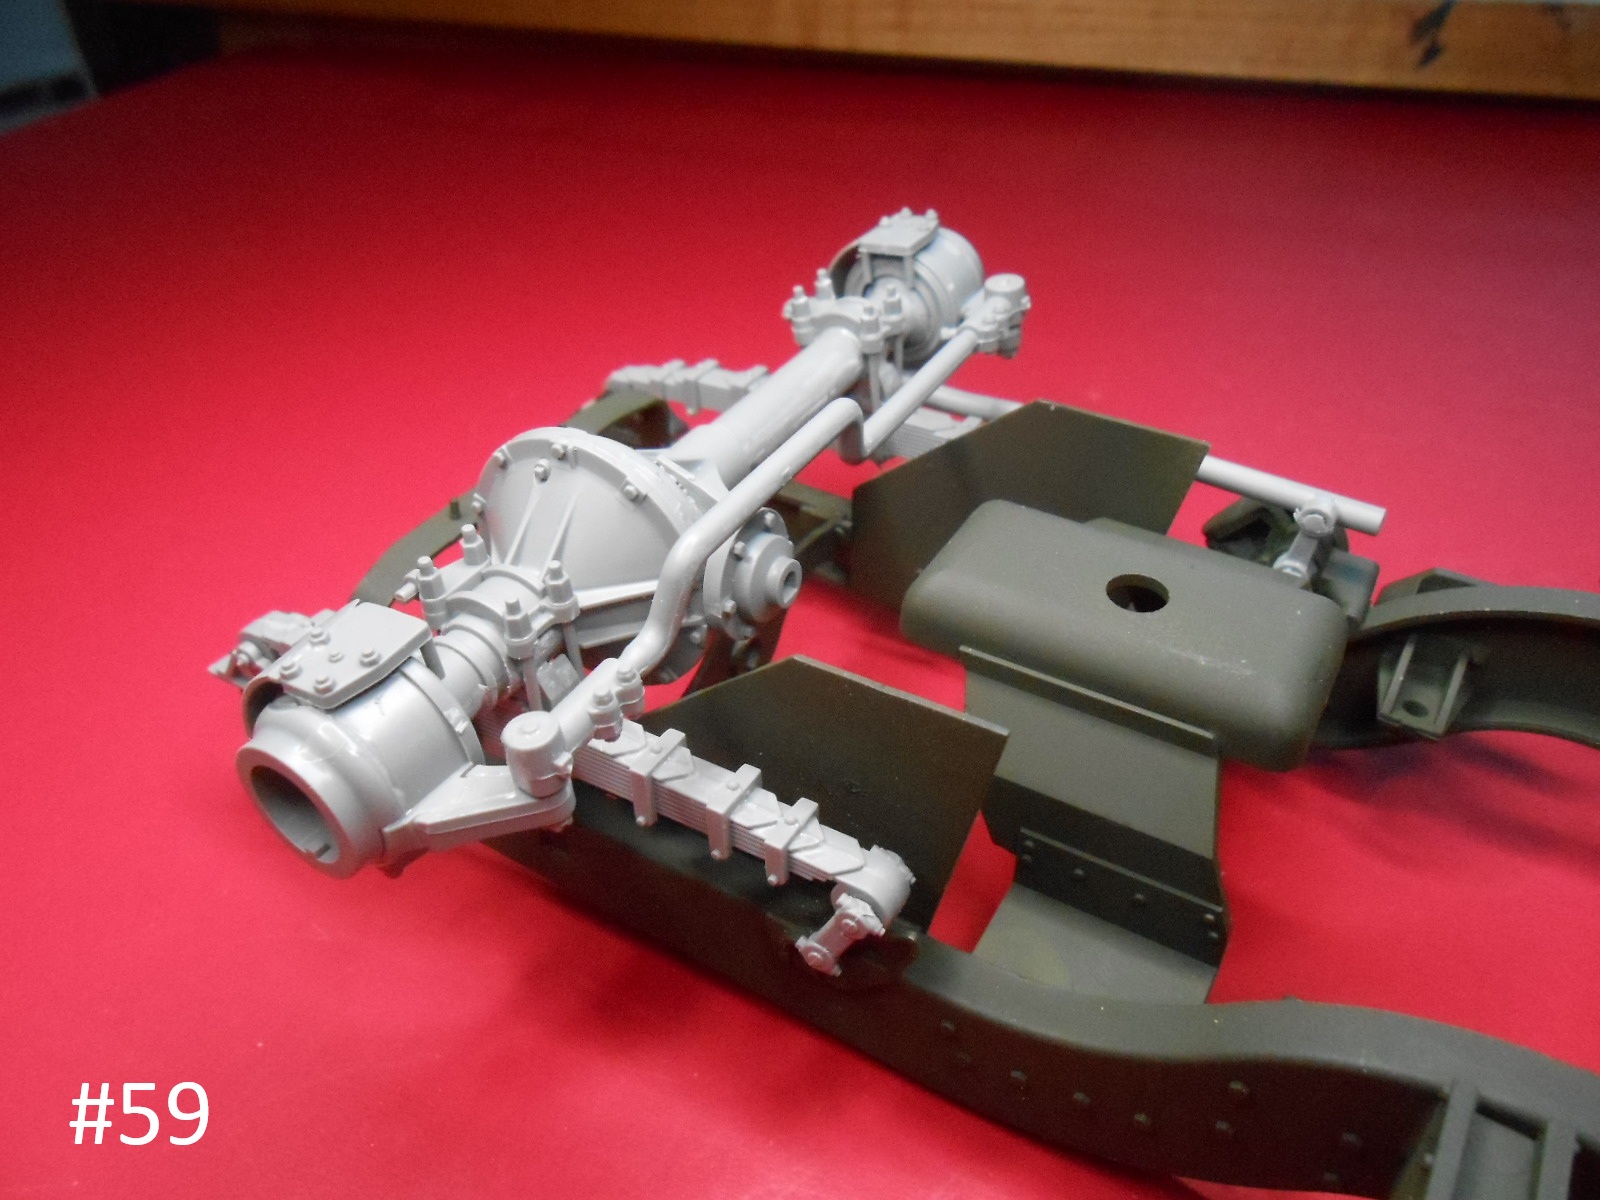
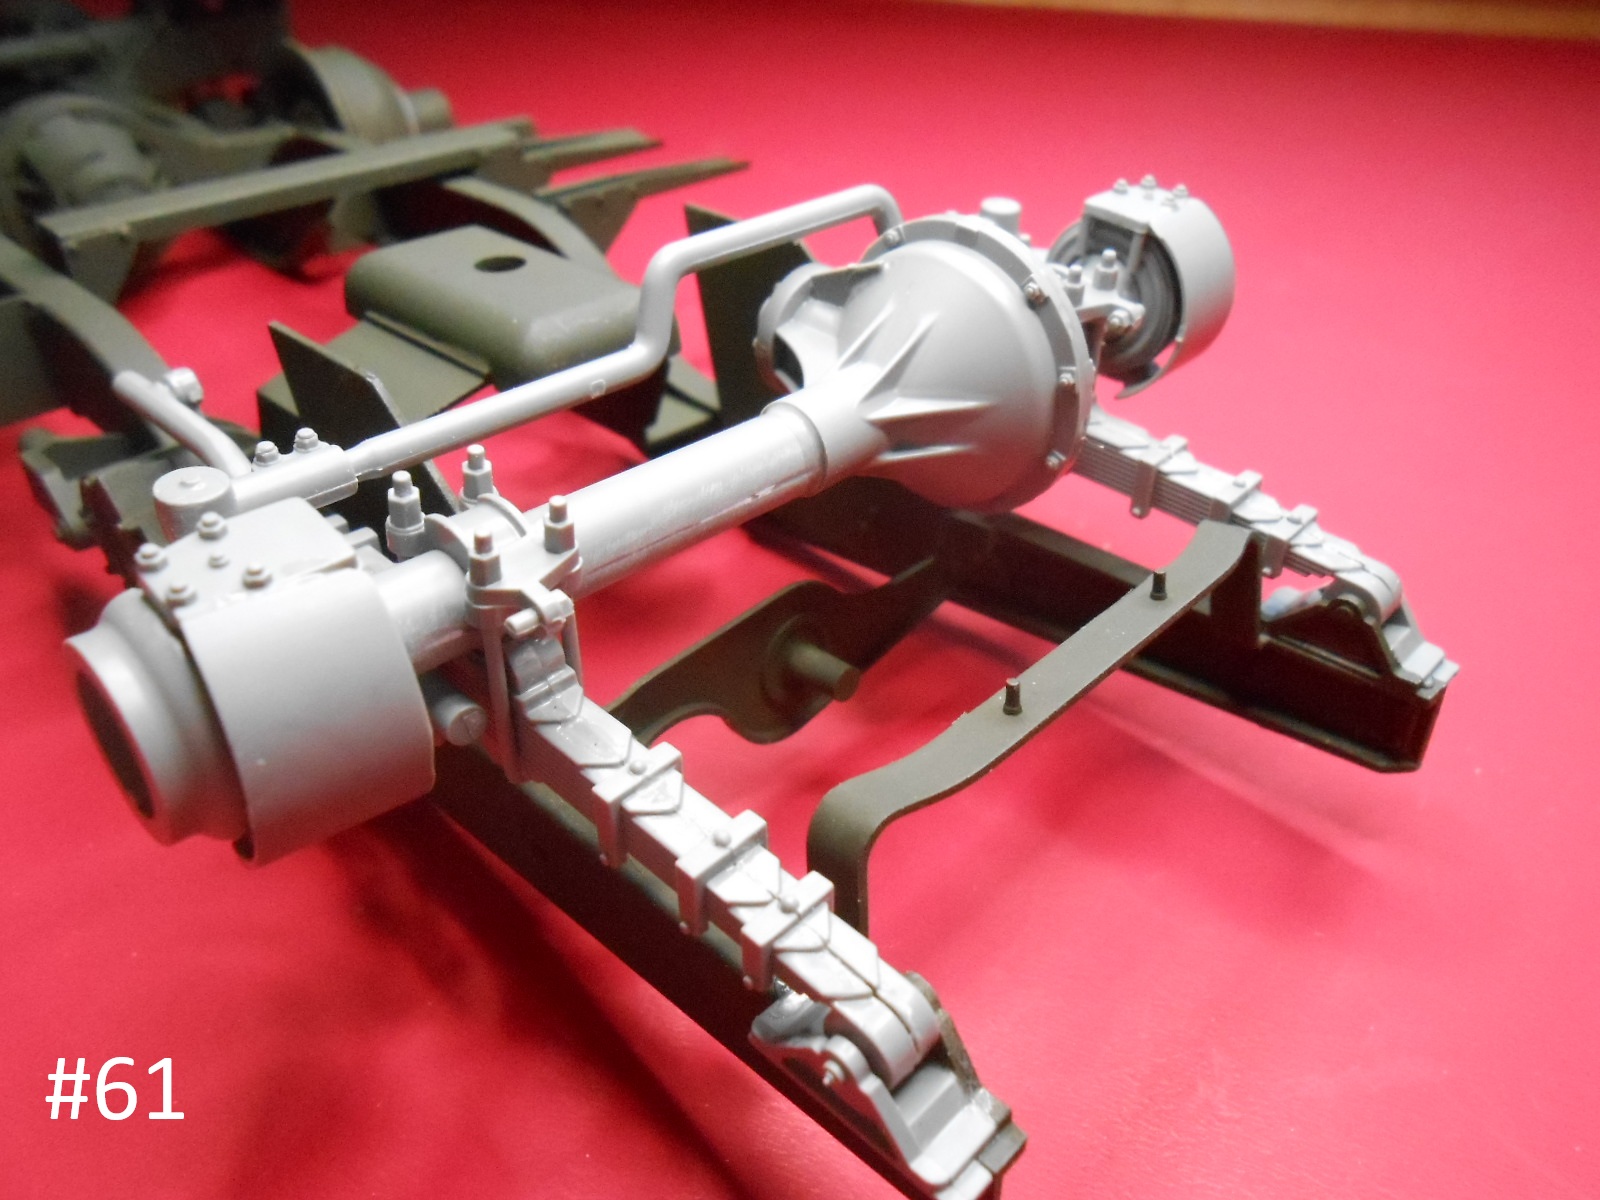
Today I have the Front Axle installed.
It is very tricky with a lot of small Pins.
It can be made workable, but I don’t play with the finished Builds so I just glued everything together.
Finished for now
Donald
Hat’s off to you Donald, your builds are very impressive.
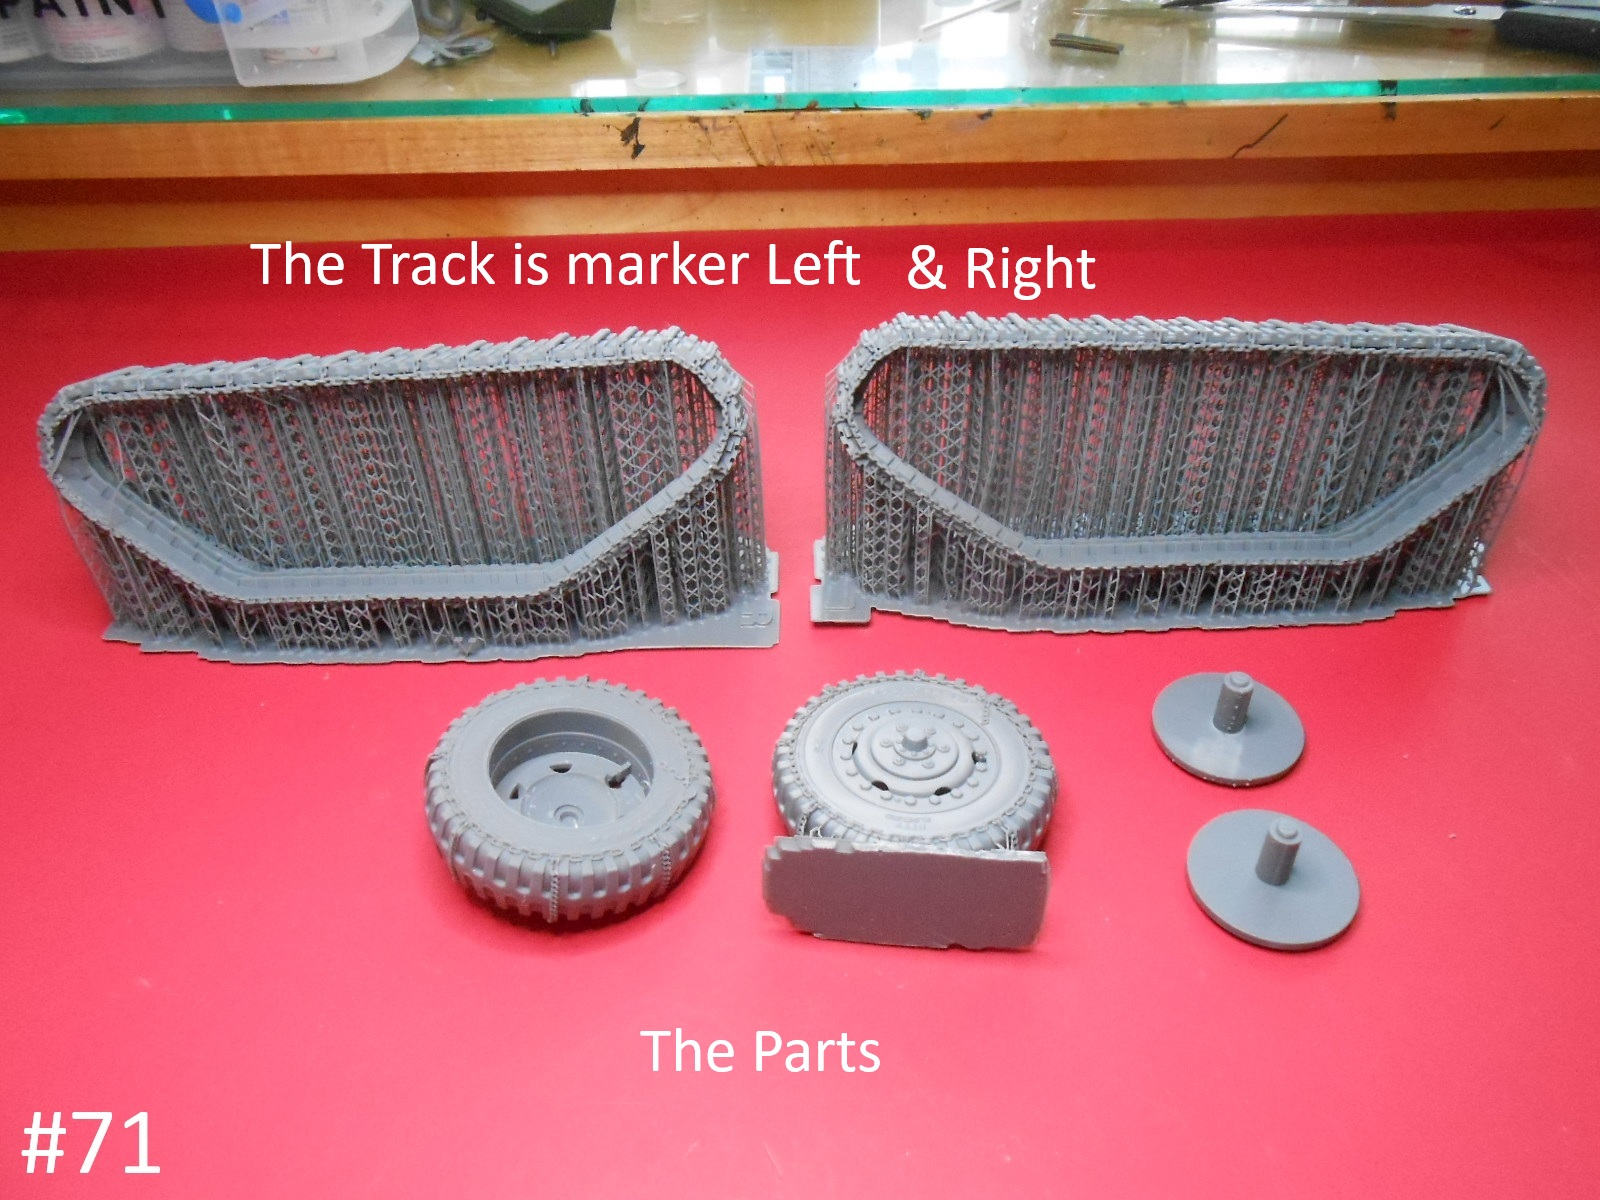
Thank You, Now here is a little more.
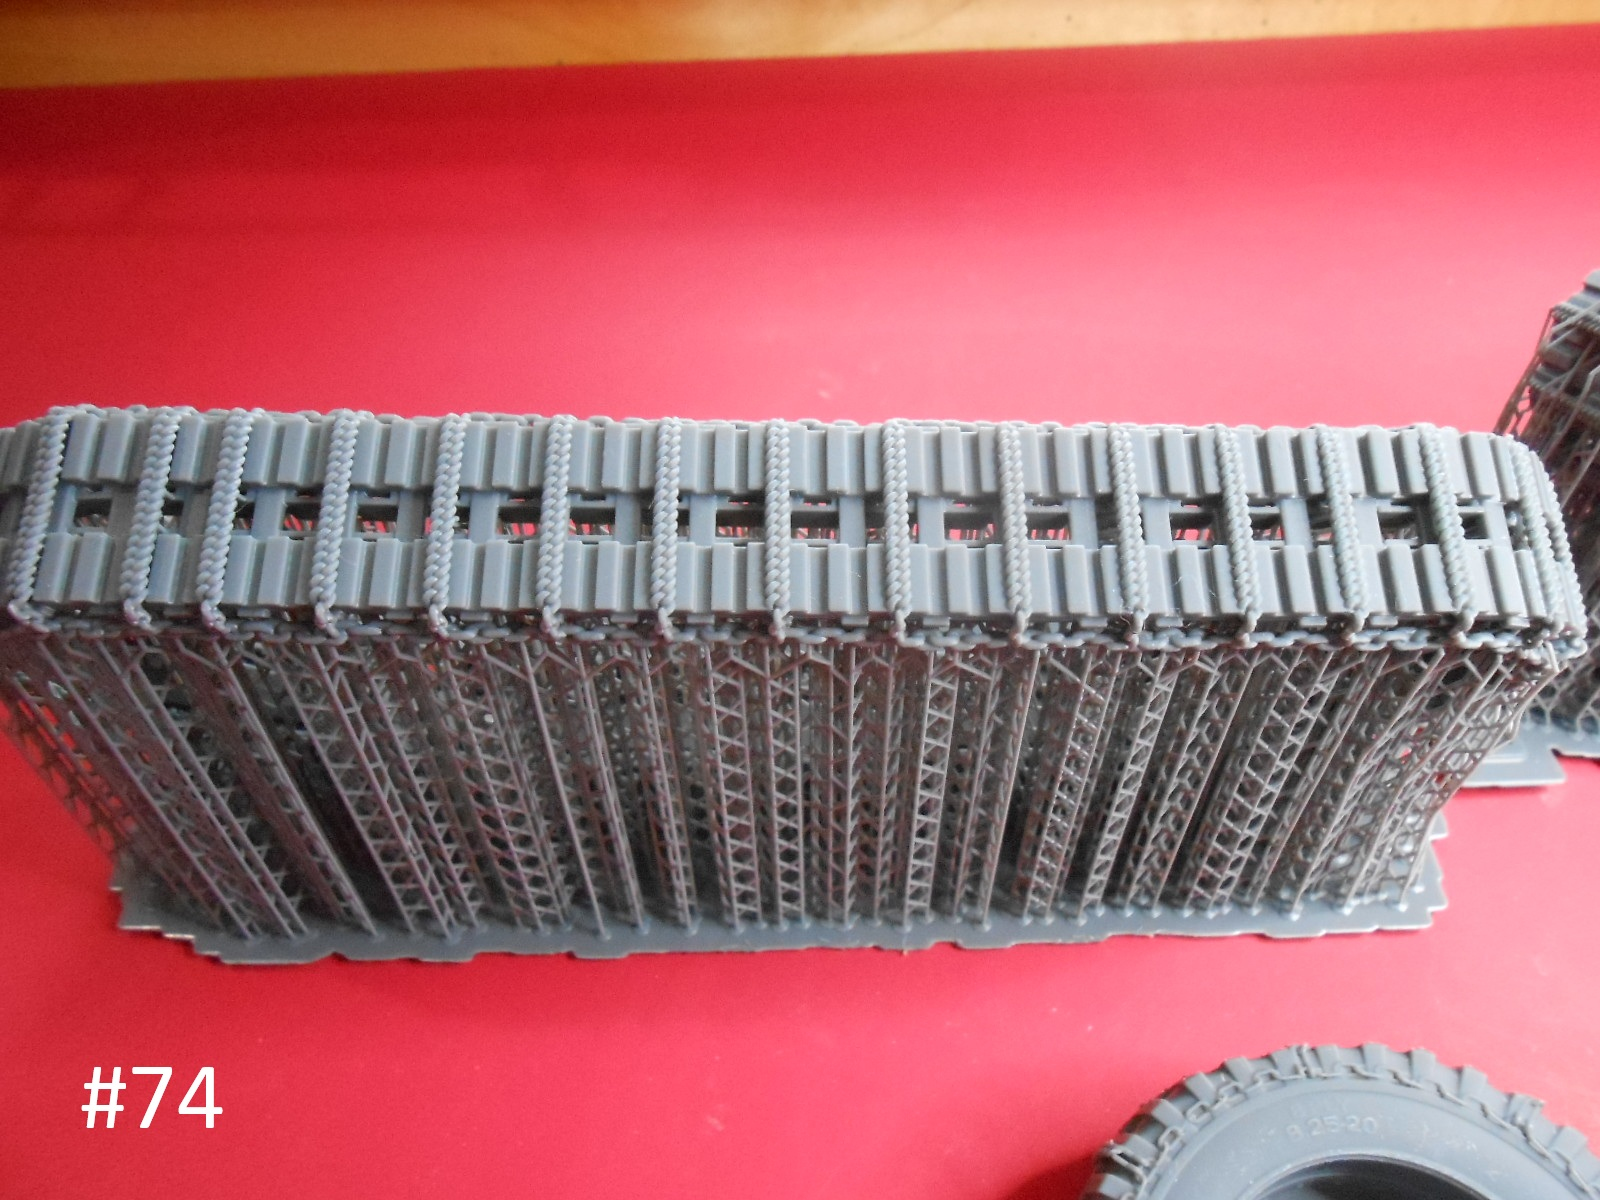
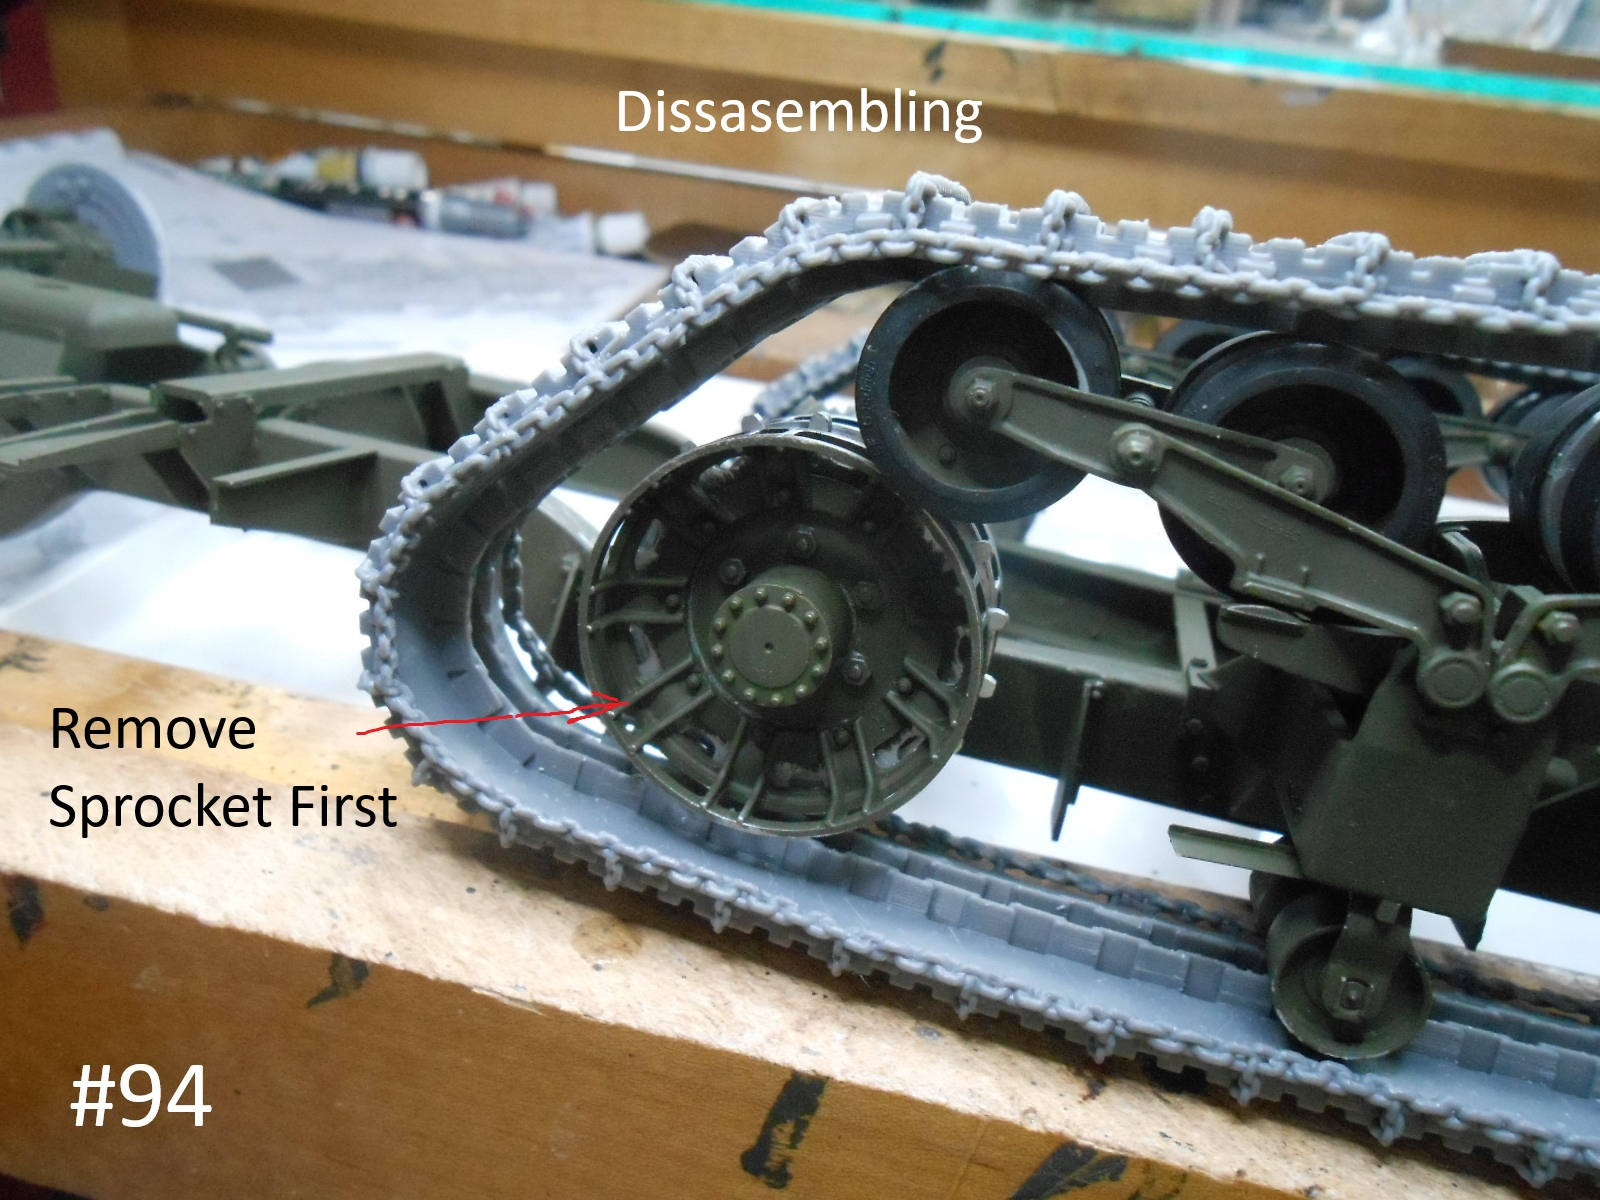
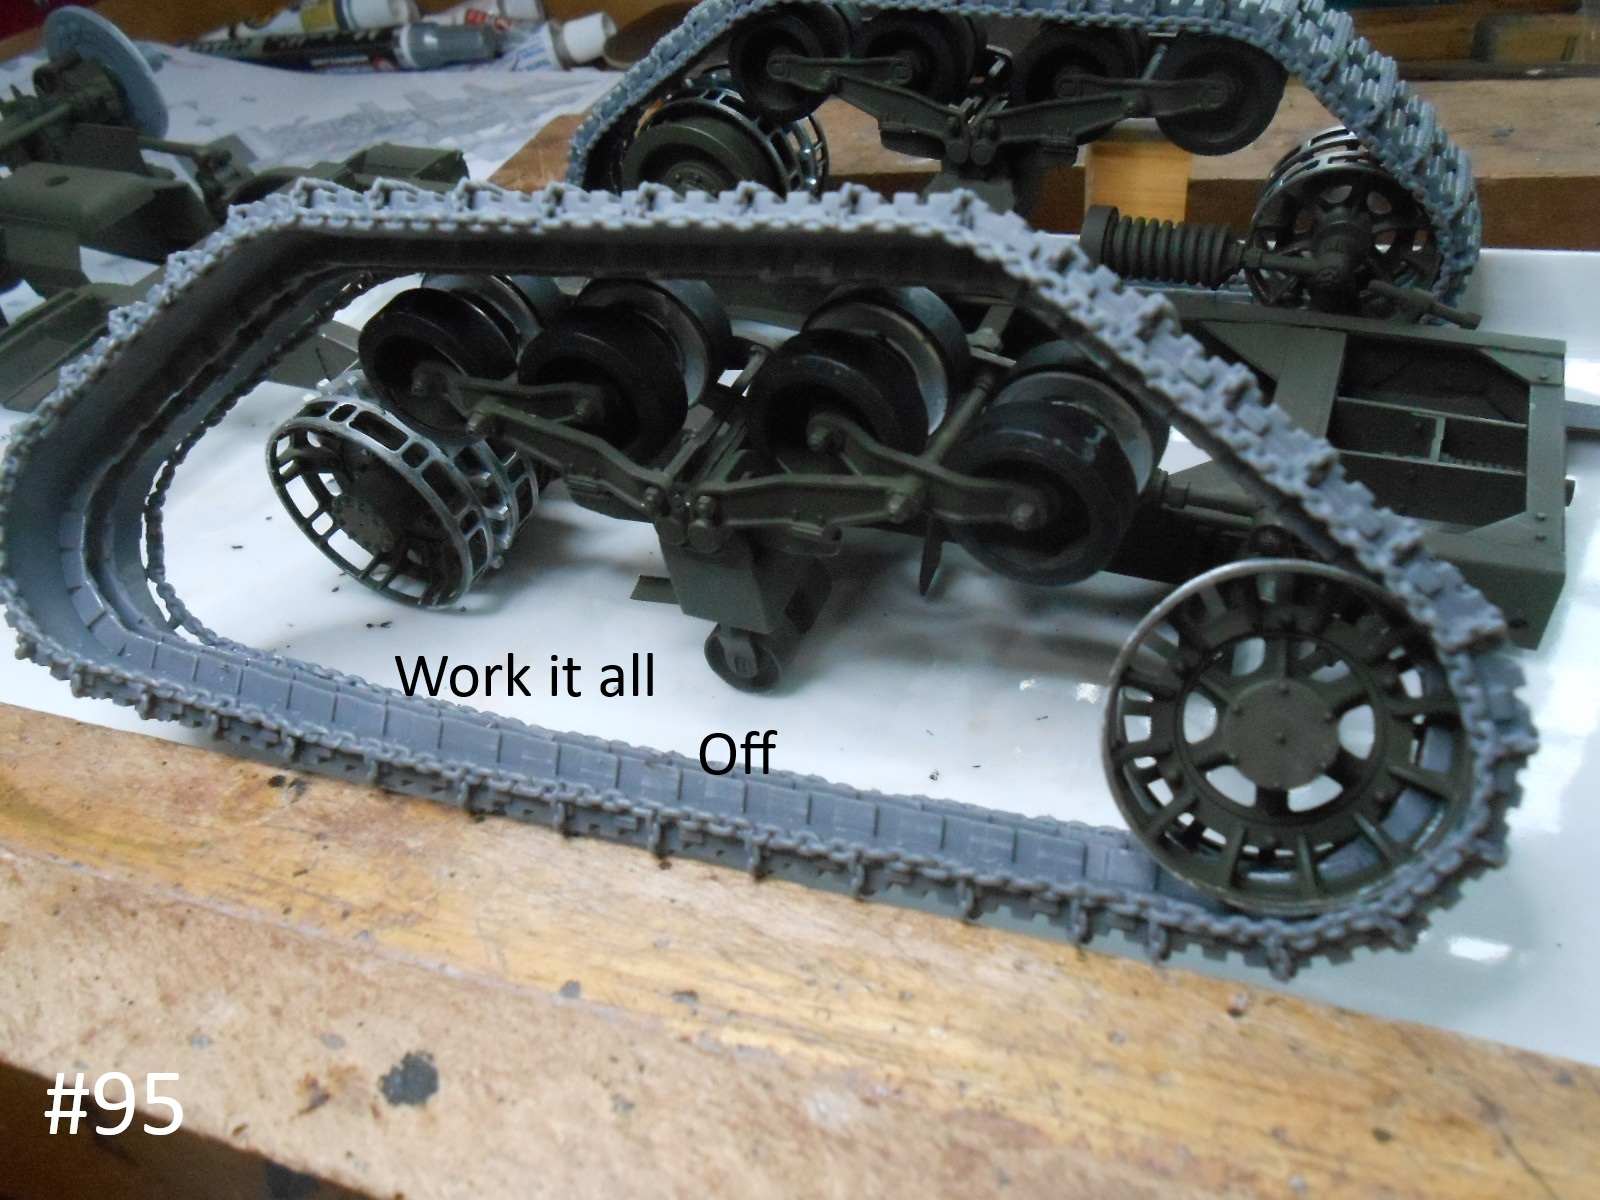
I’ll start on the Track next, I expect a lot of clean up there.
Regards
Donald
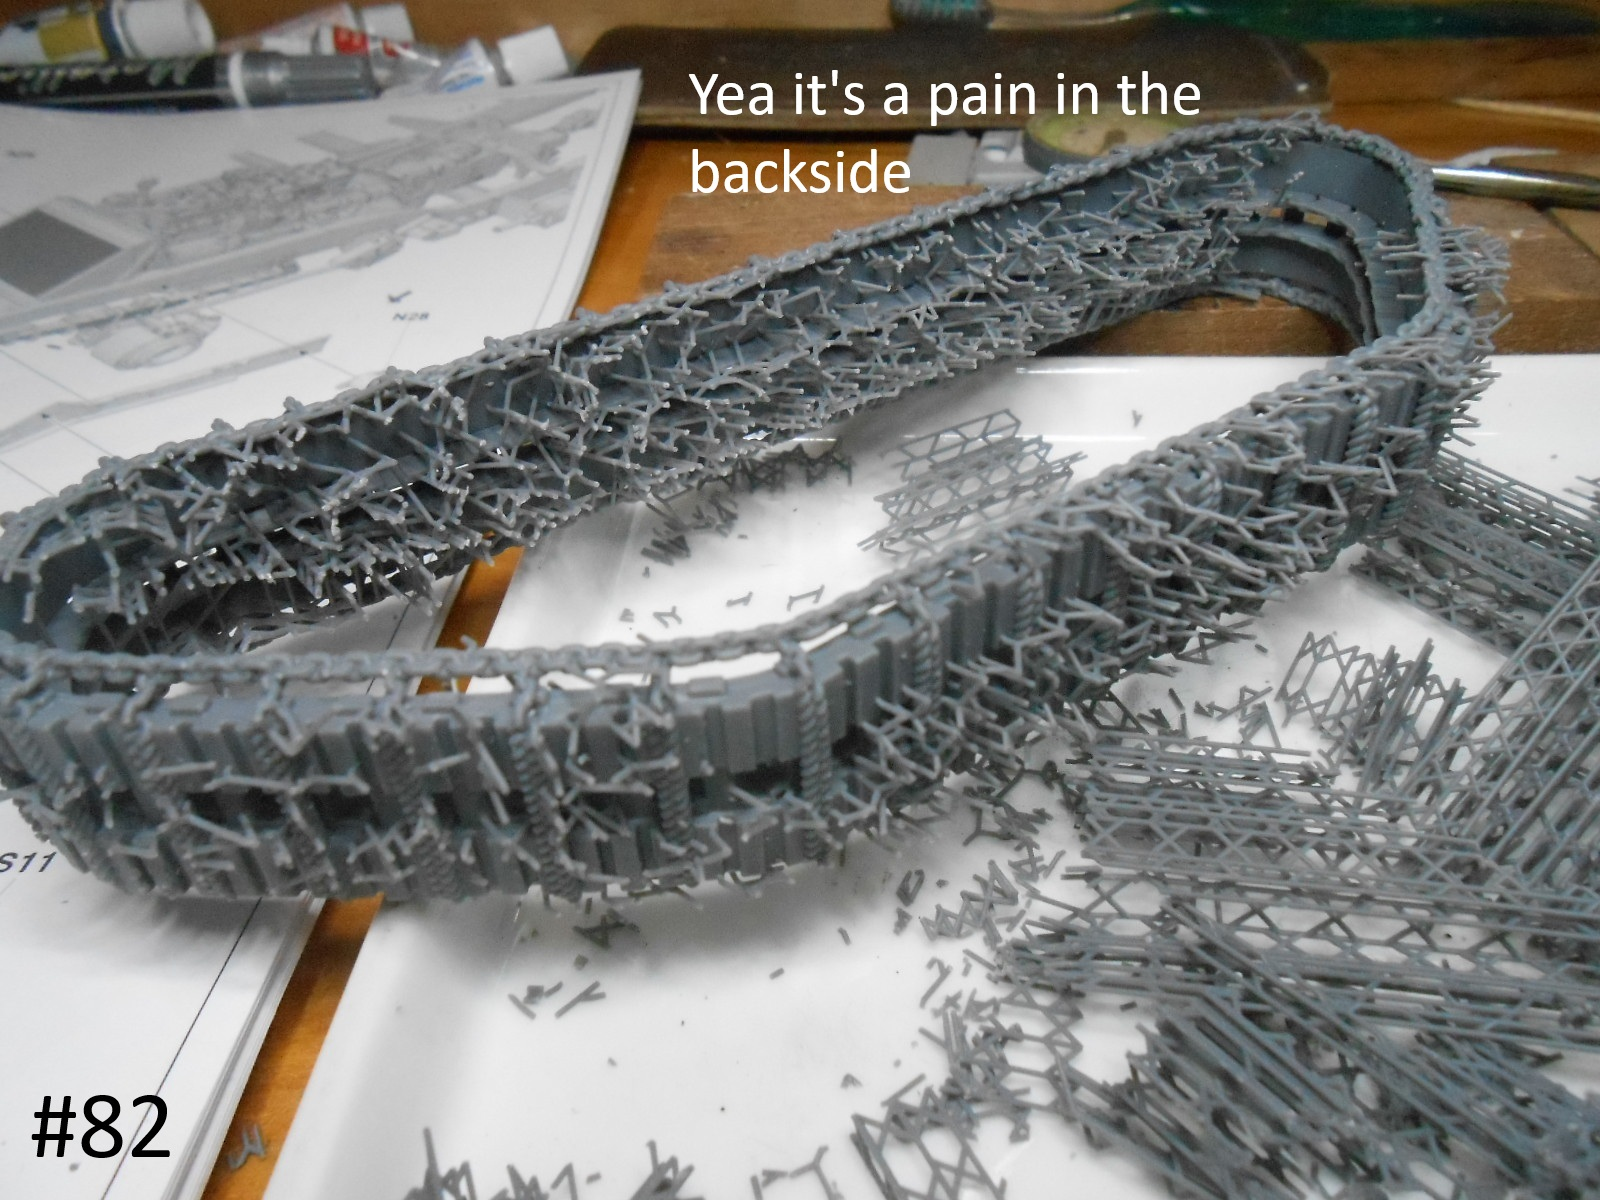
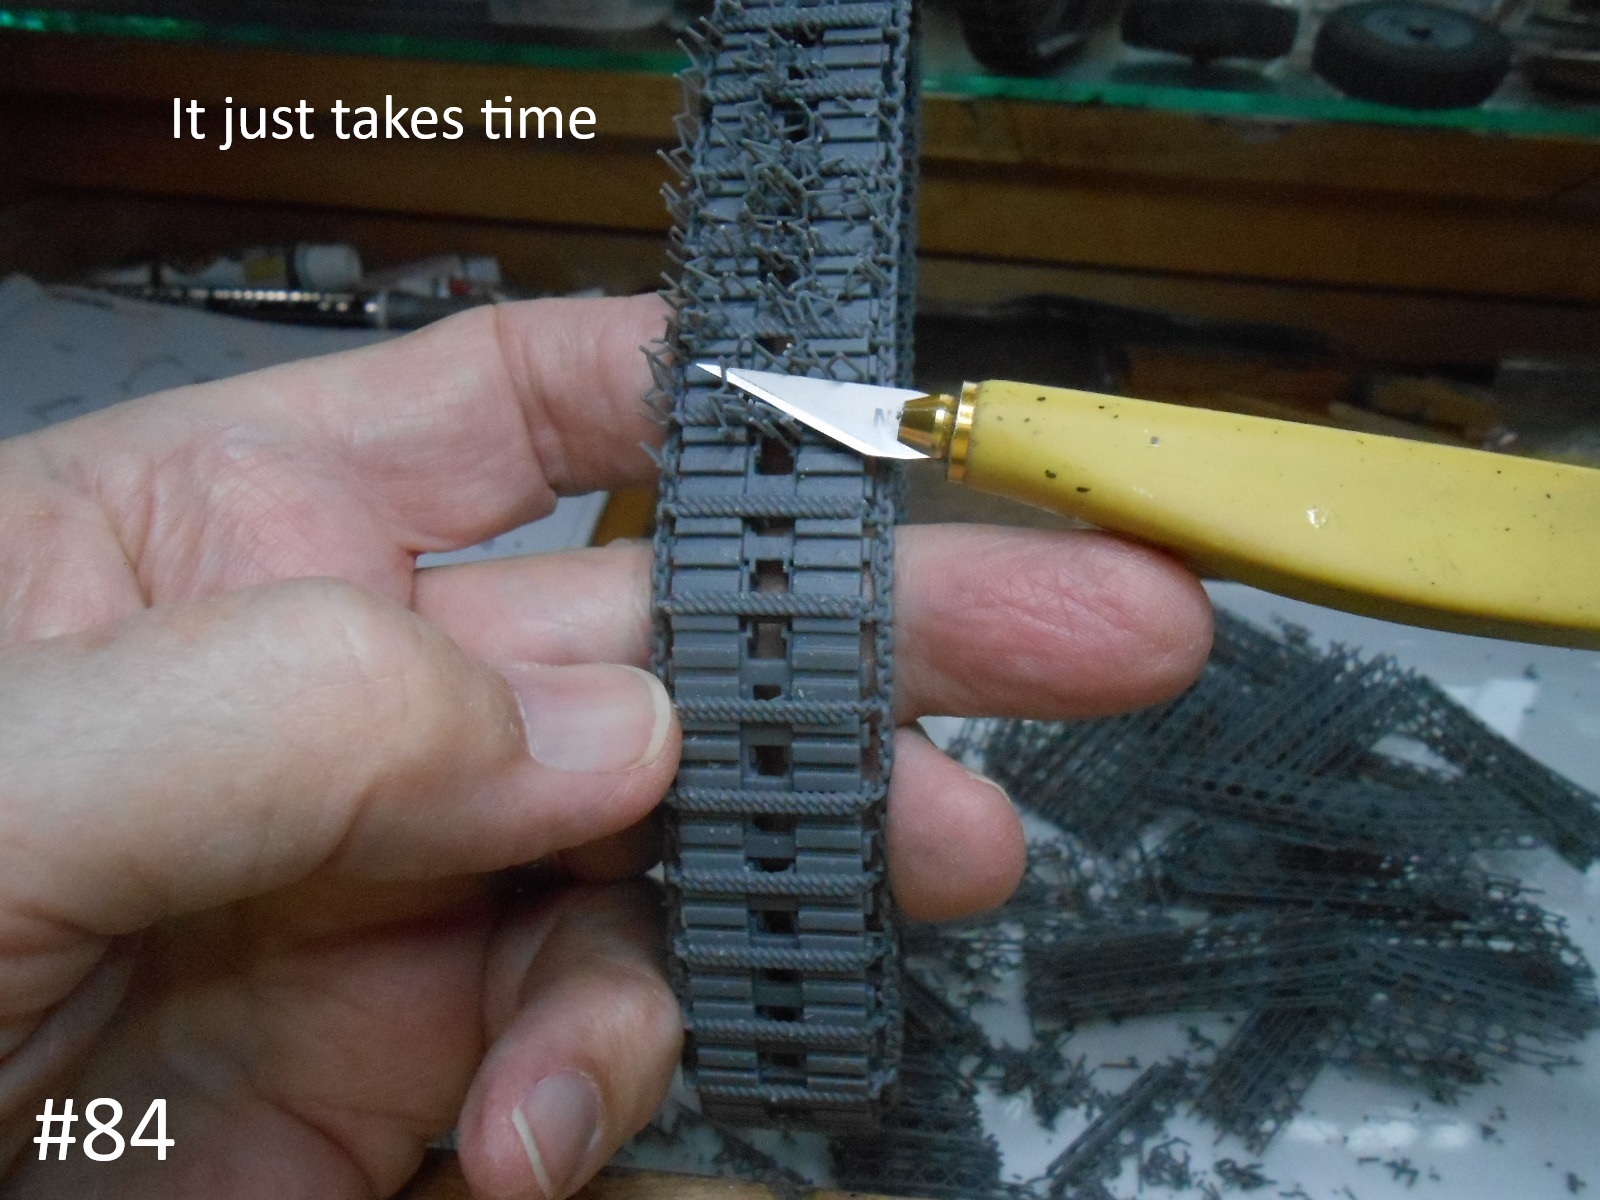
That was a heck of a lot to clean up Donald. Mind you the chained track and wheel do look very nice indeed, some paint and weathering will make them pop I’m sure
Keith
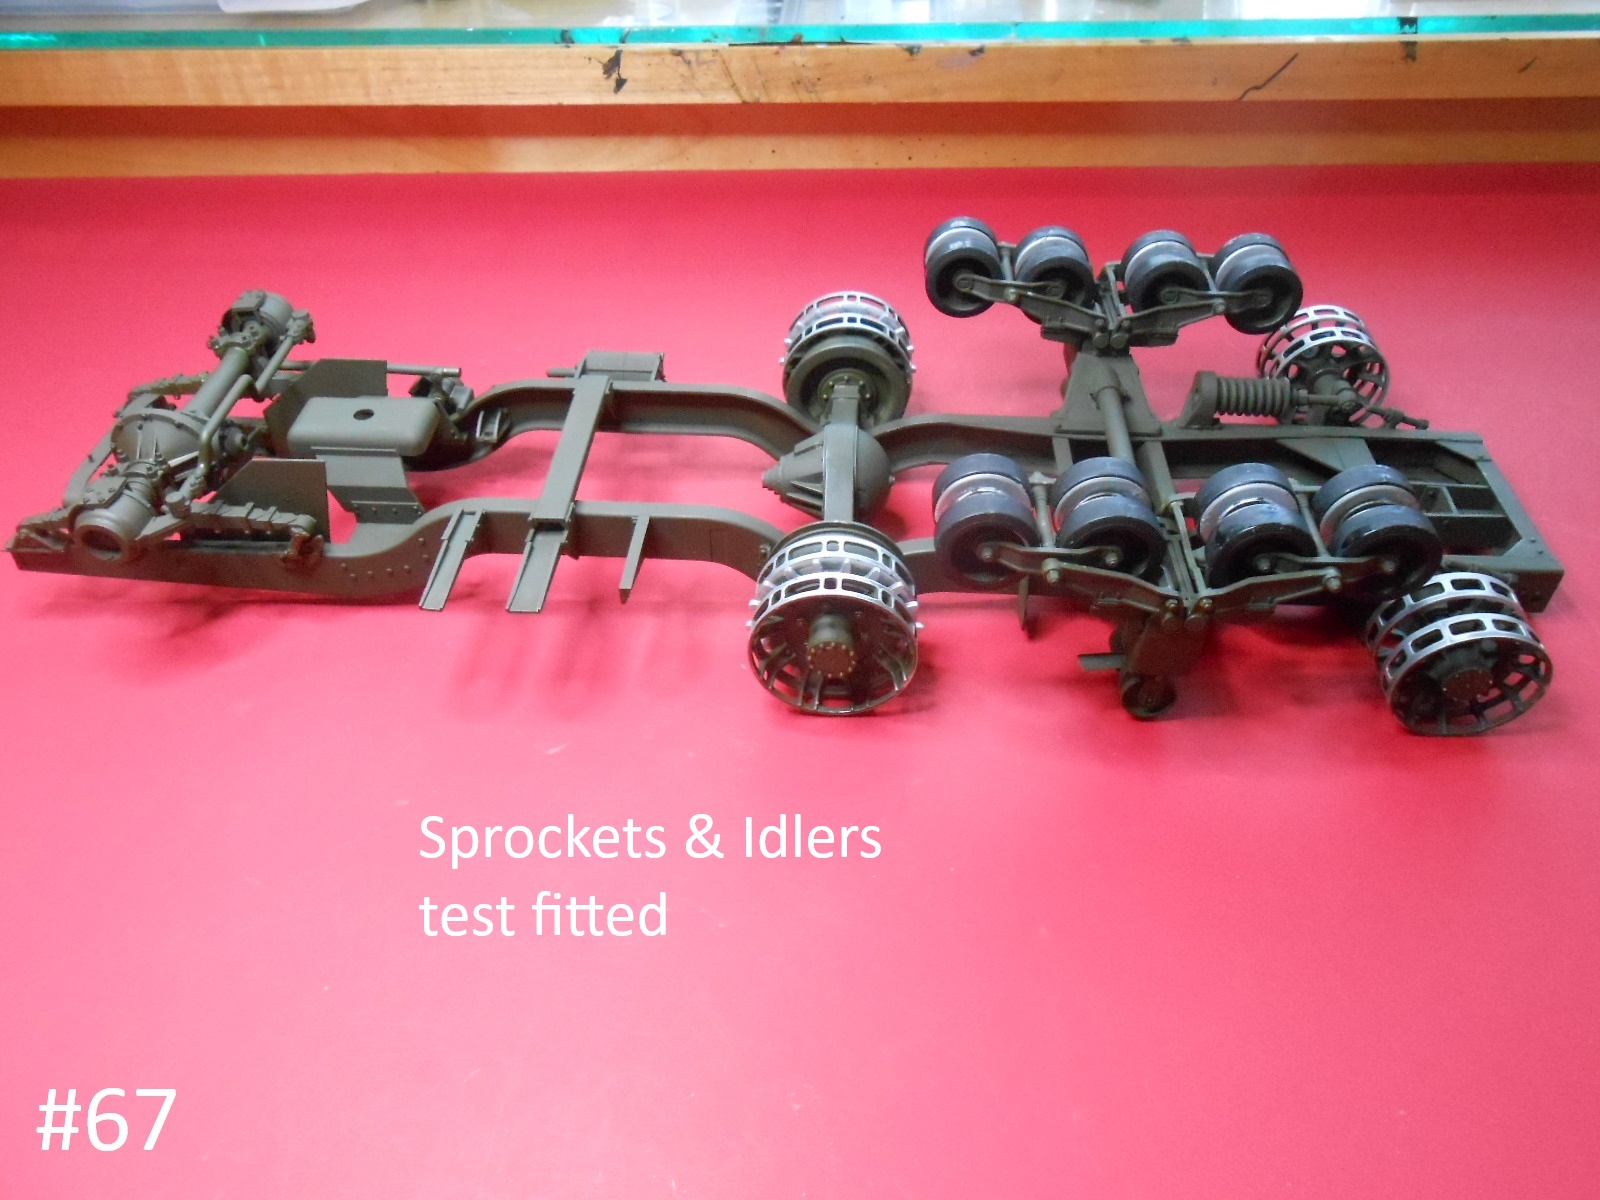
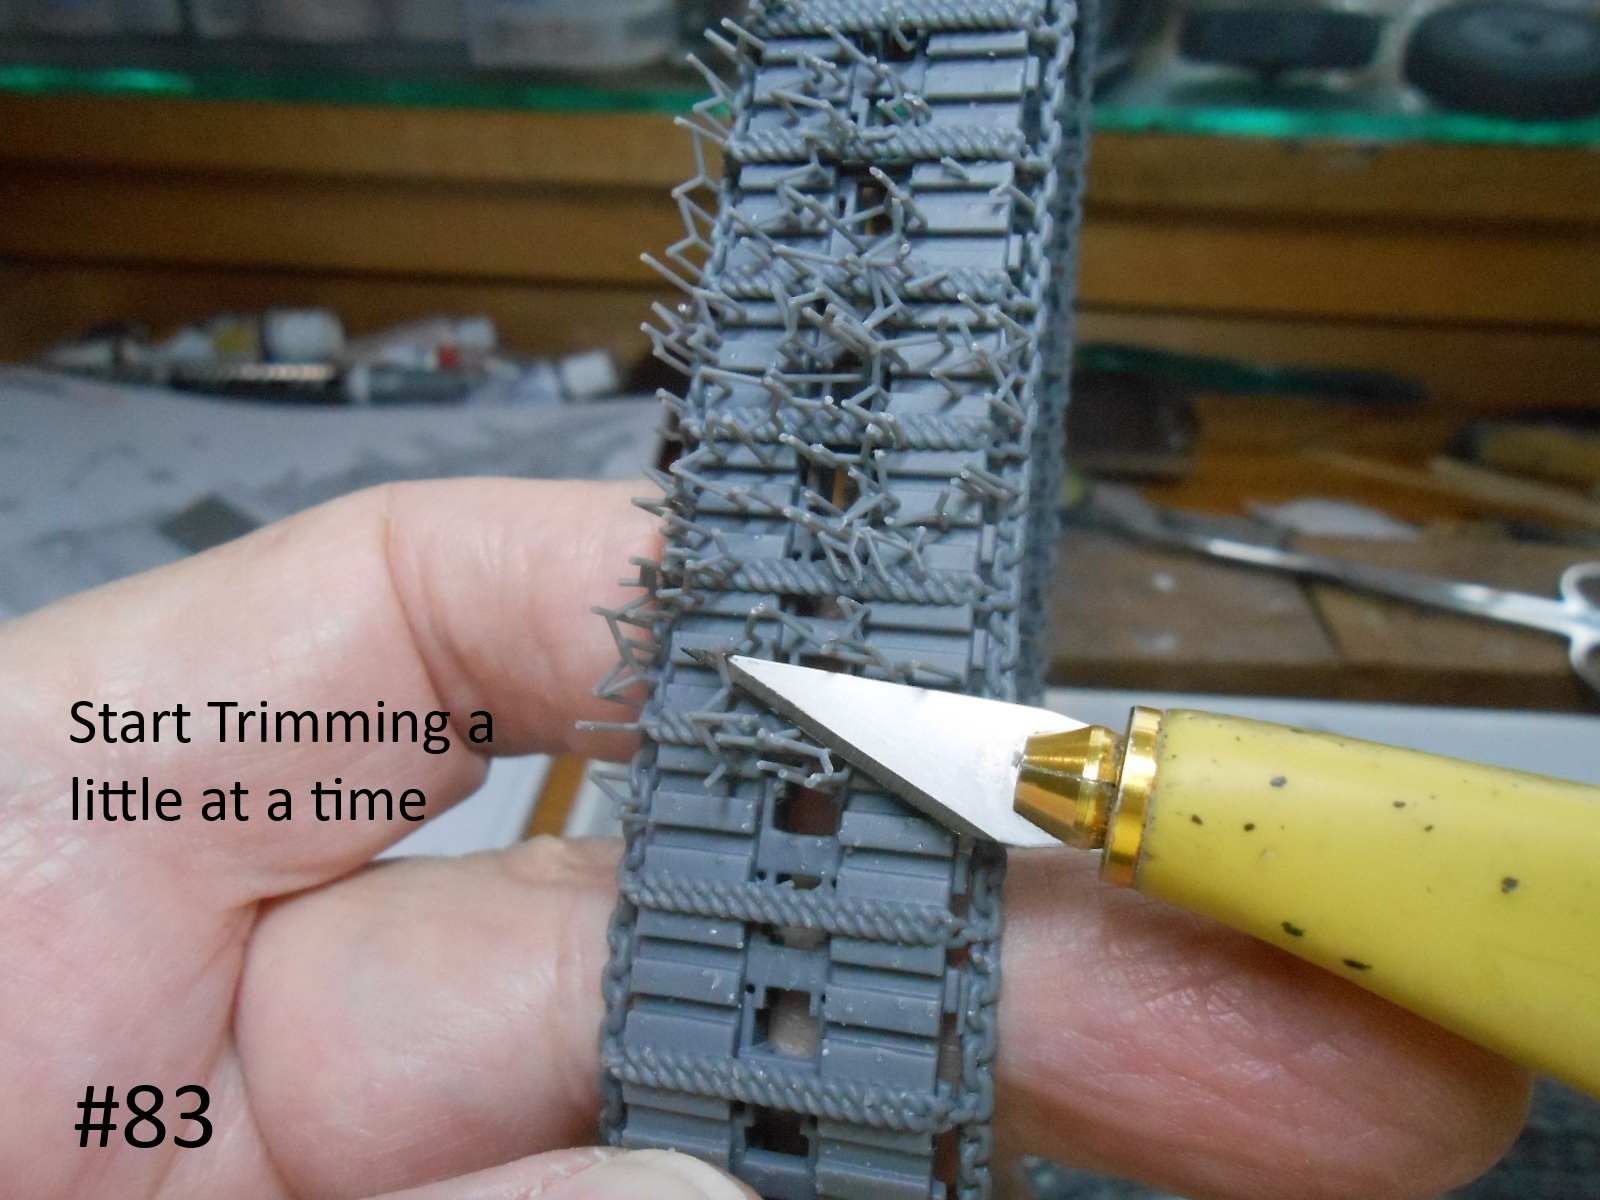
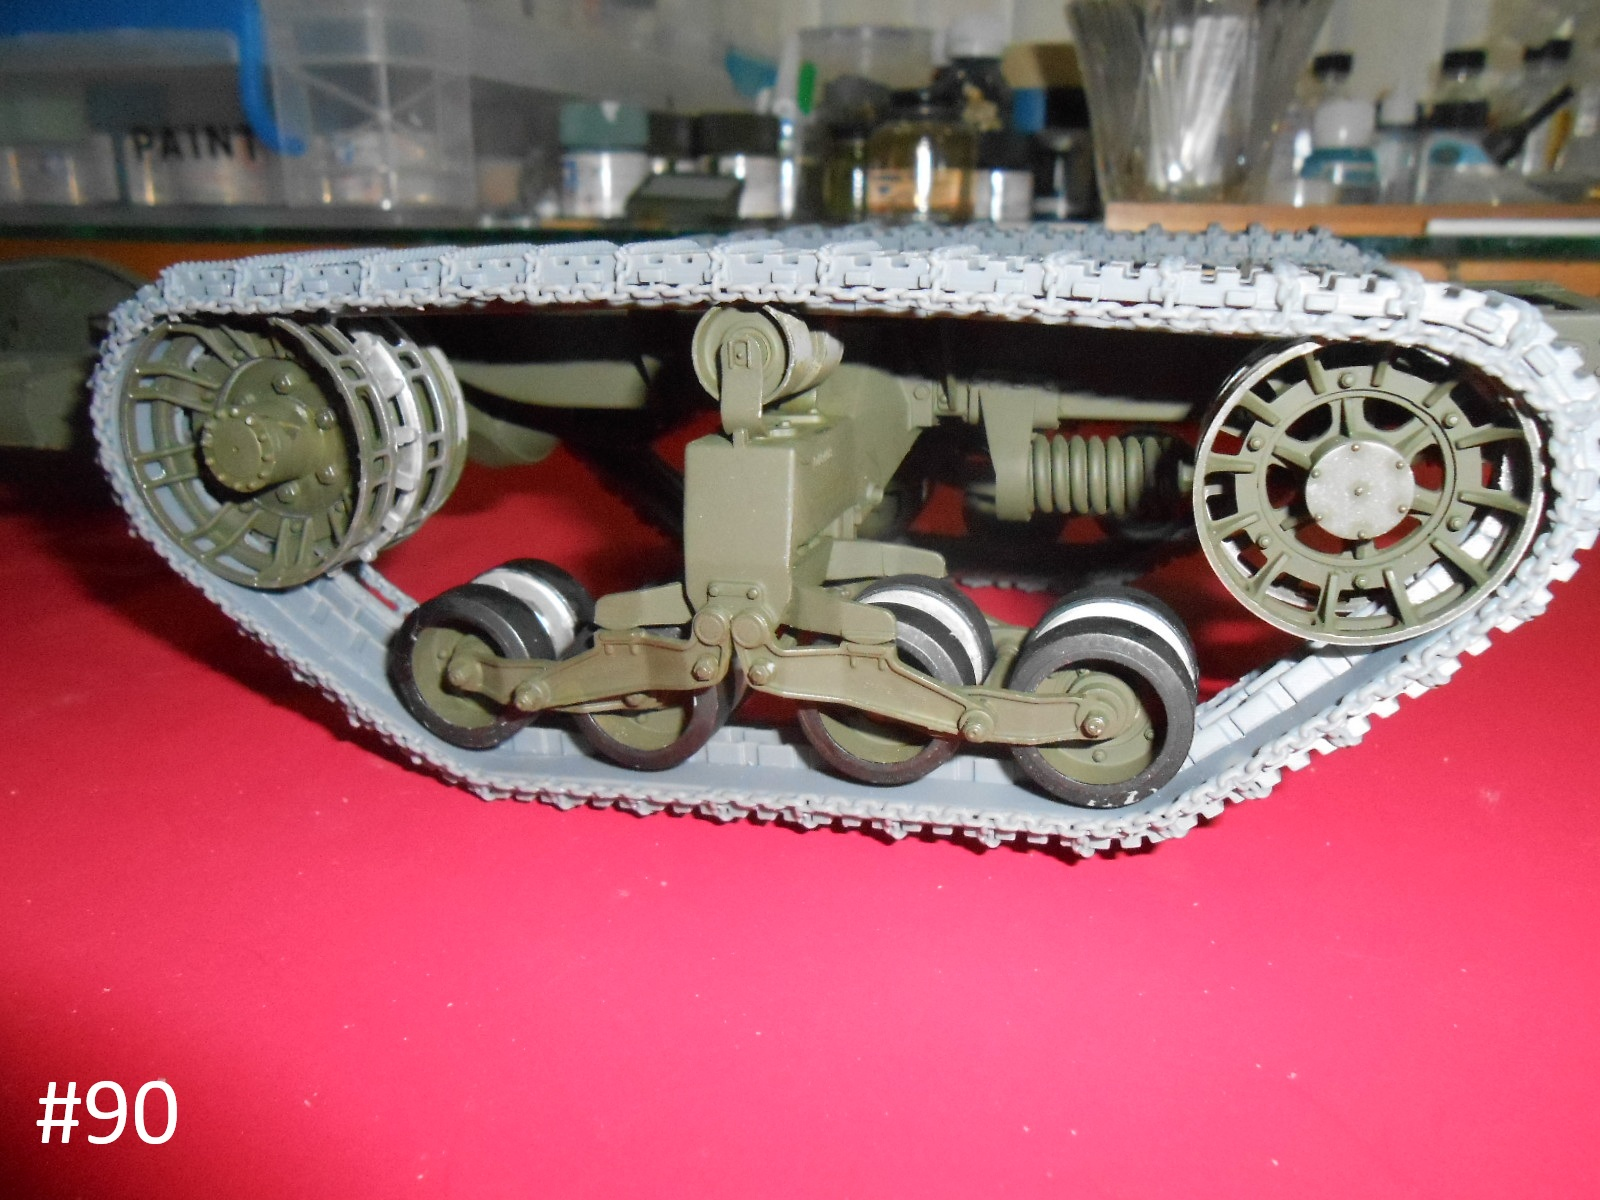
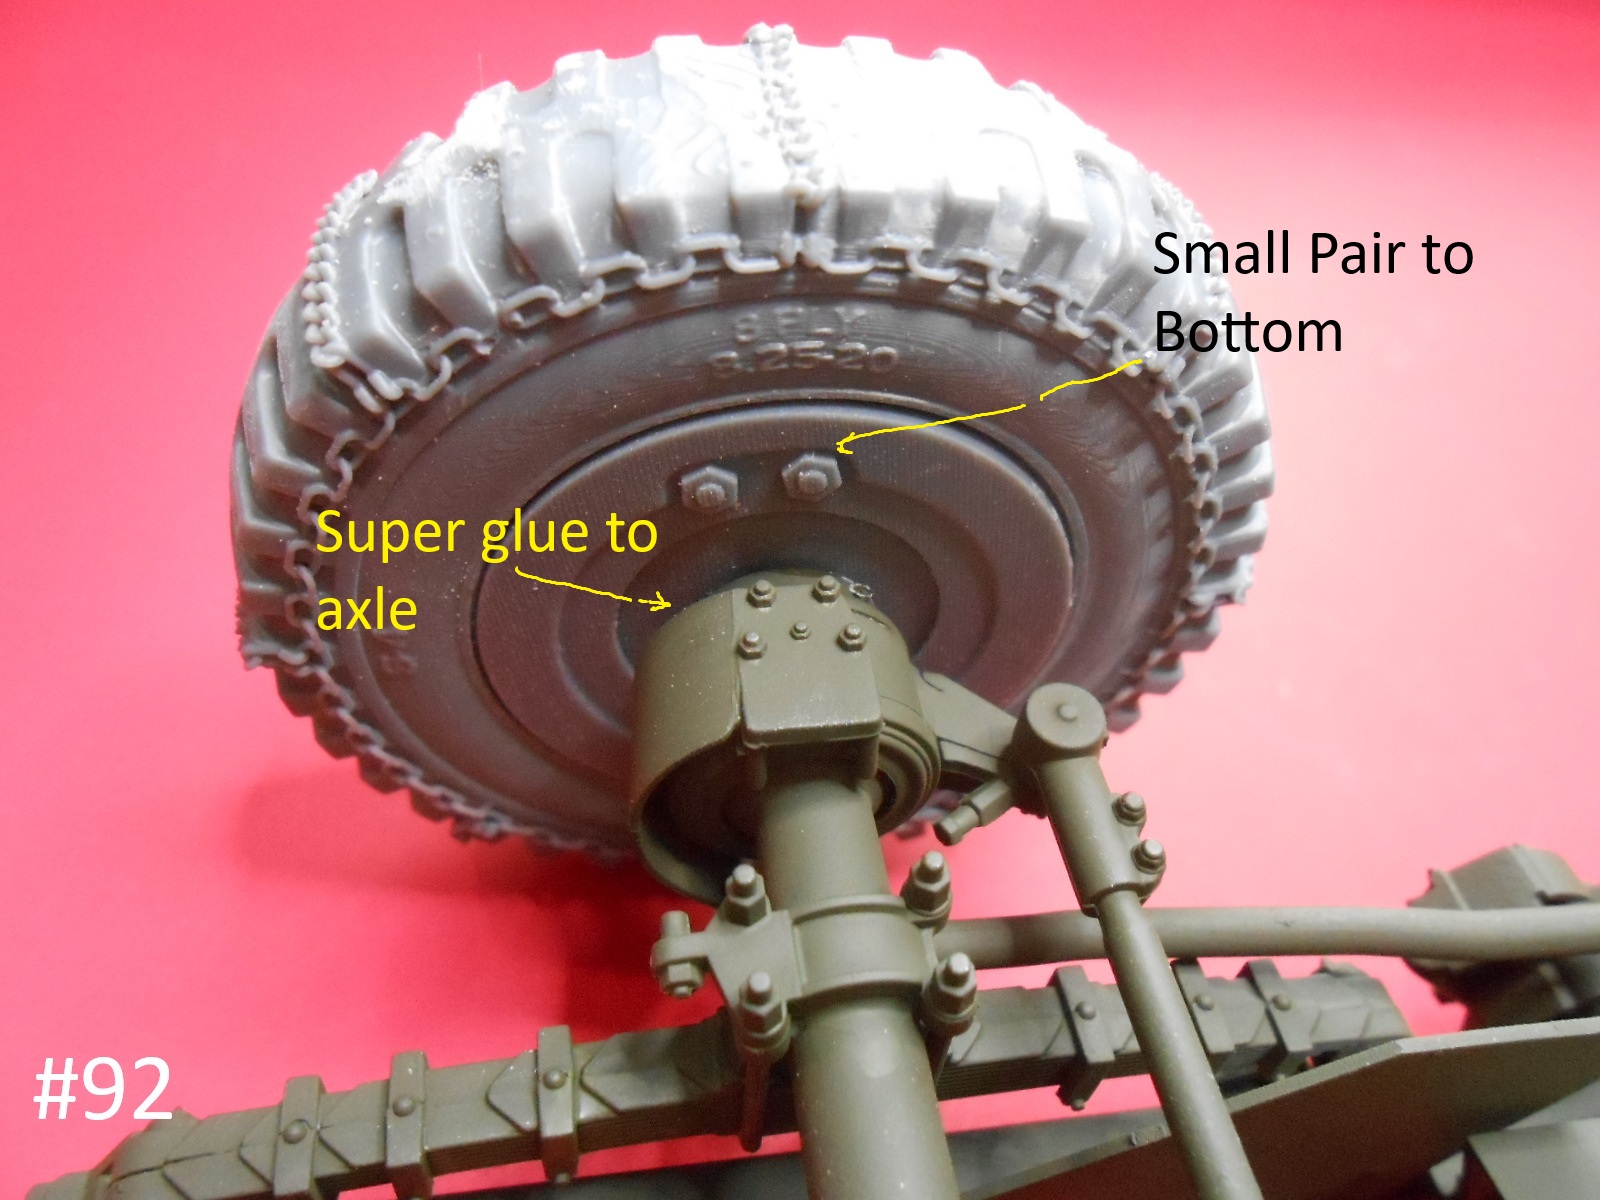
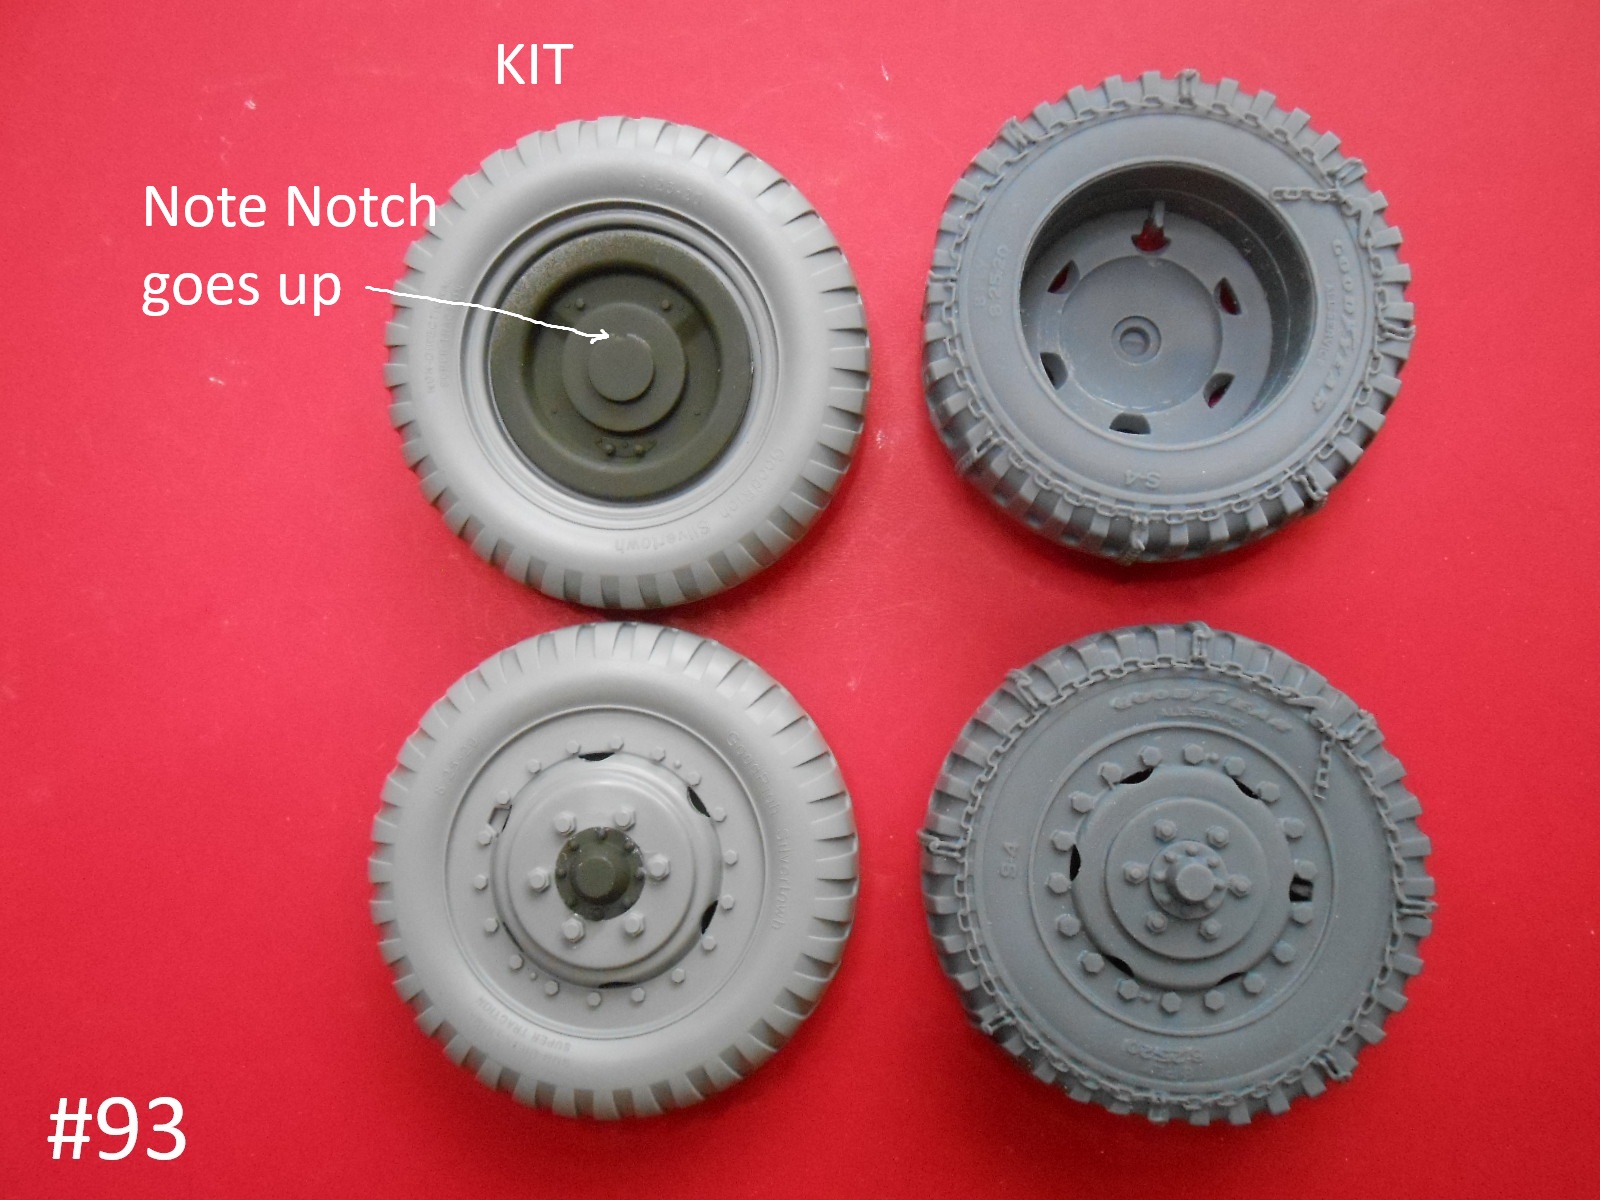
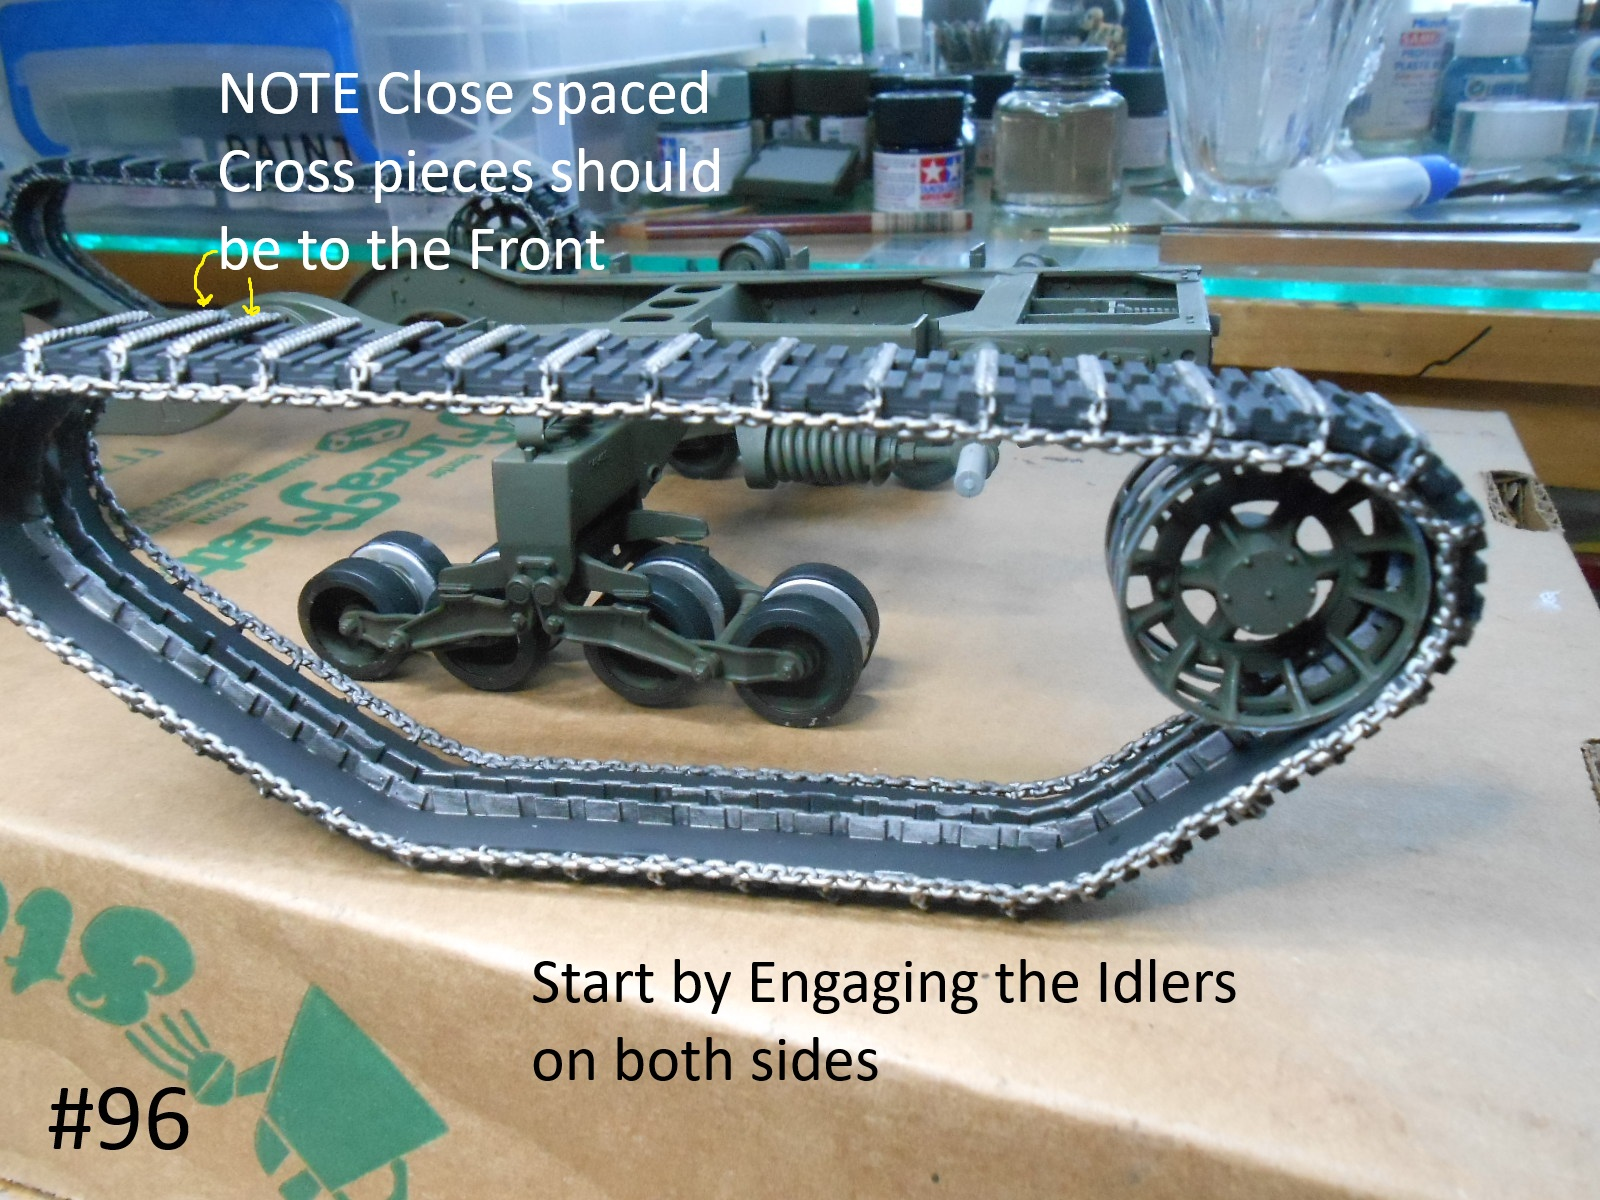
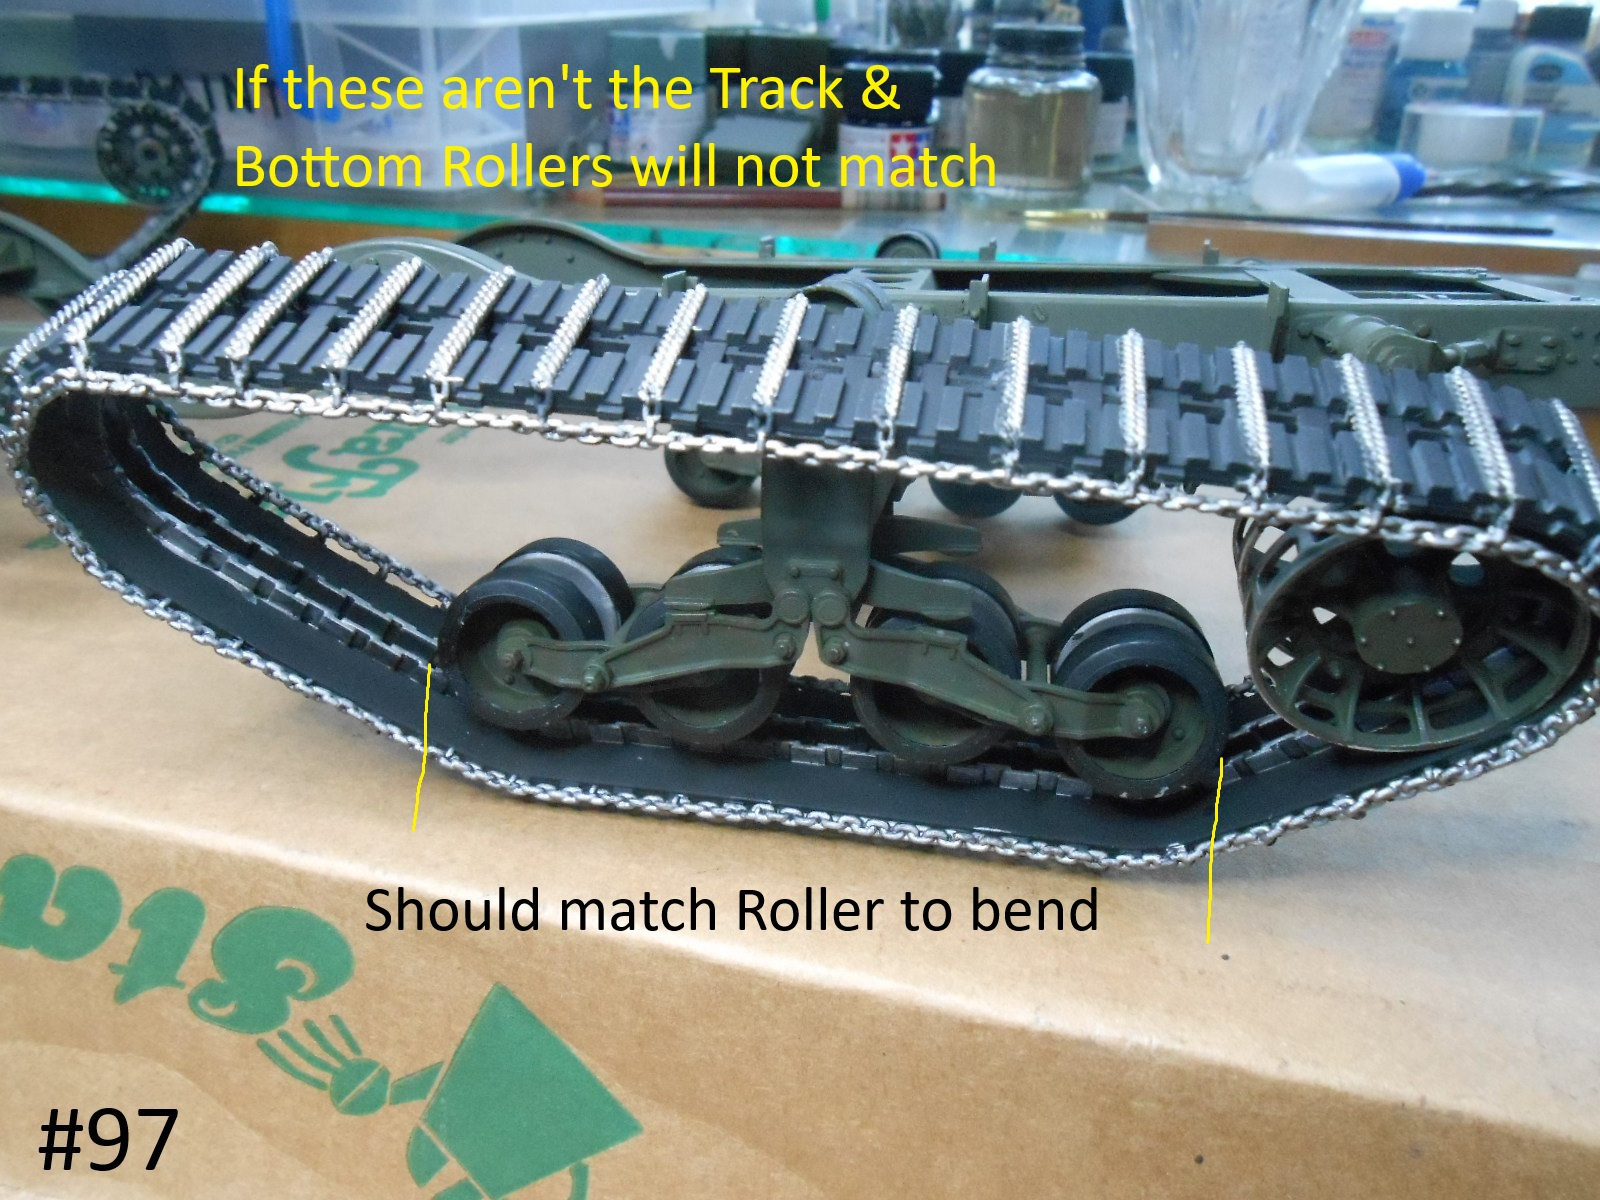
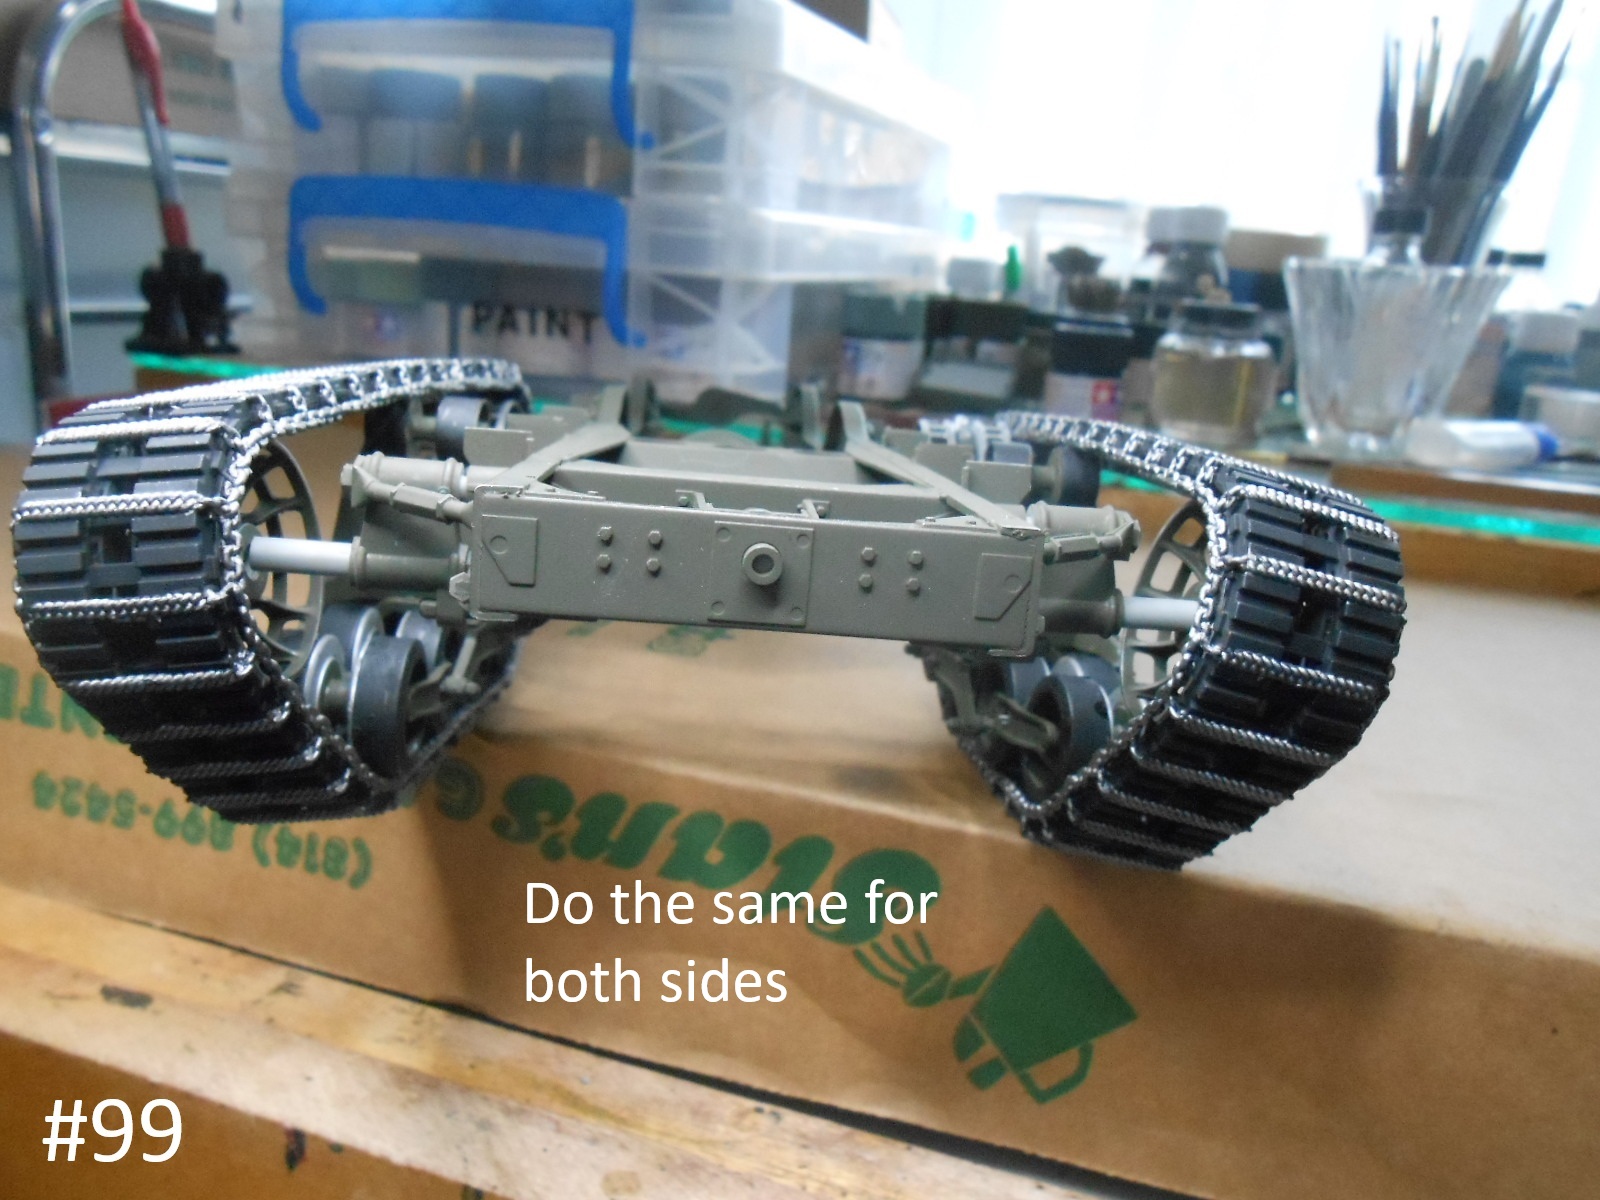
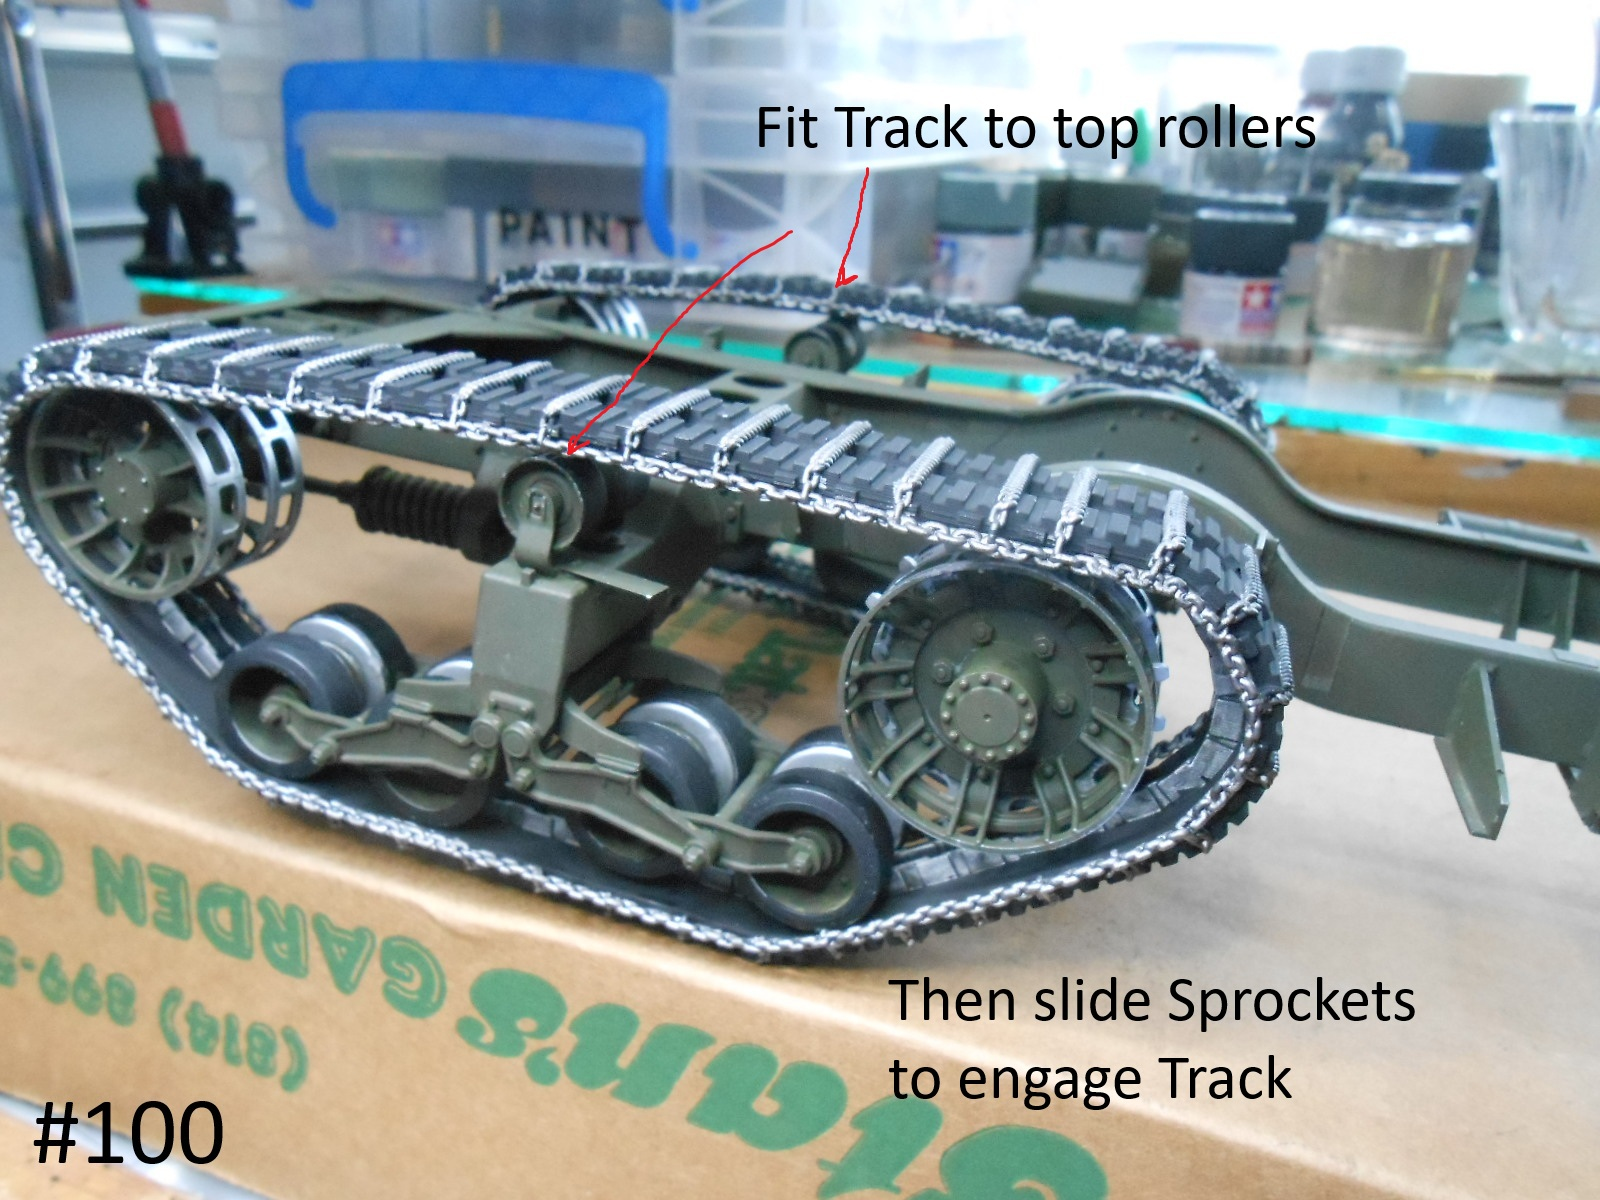
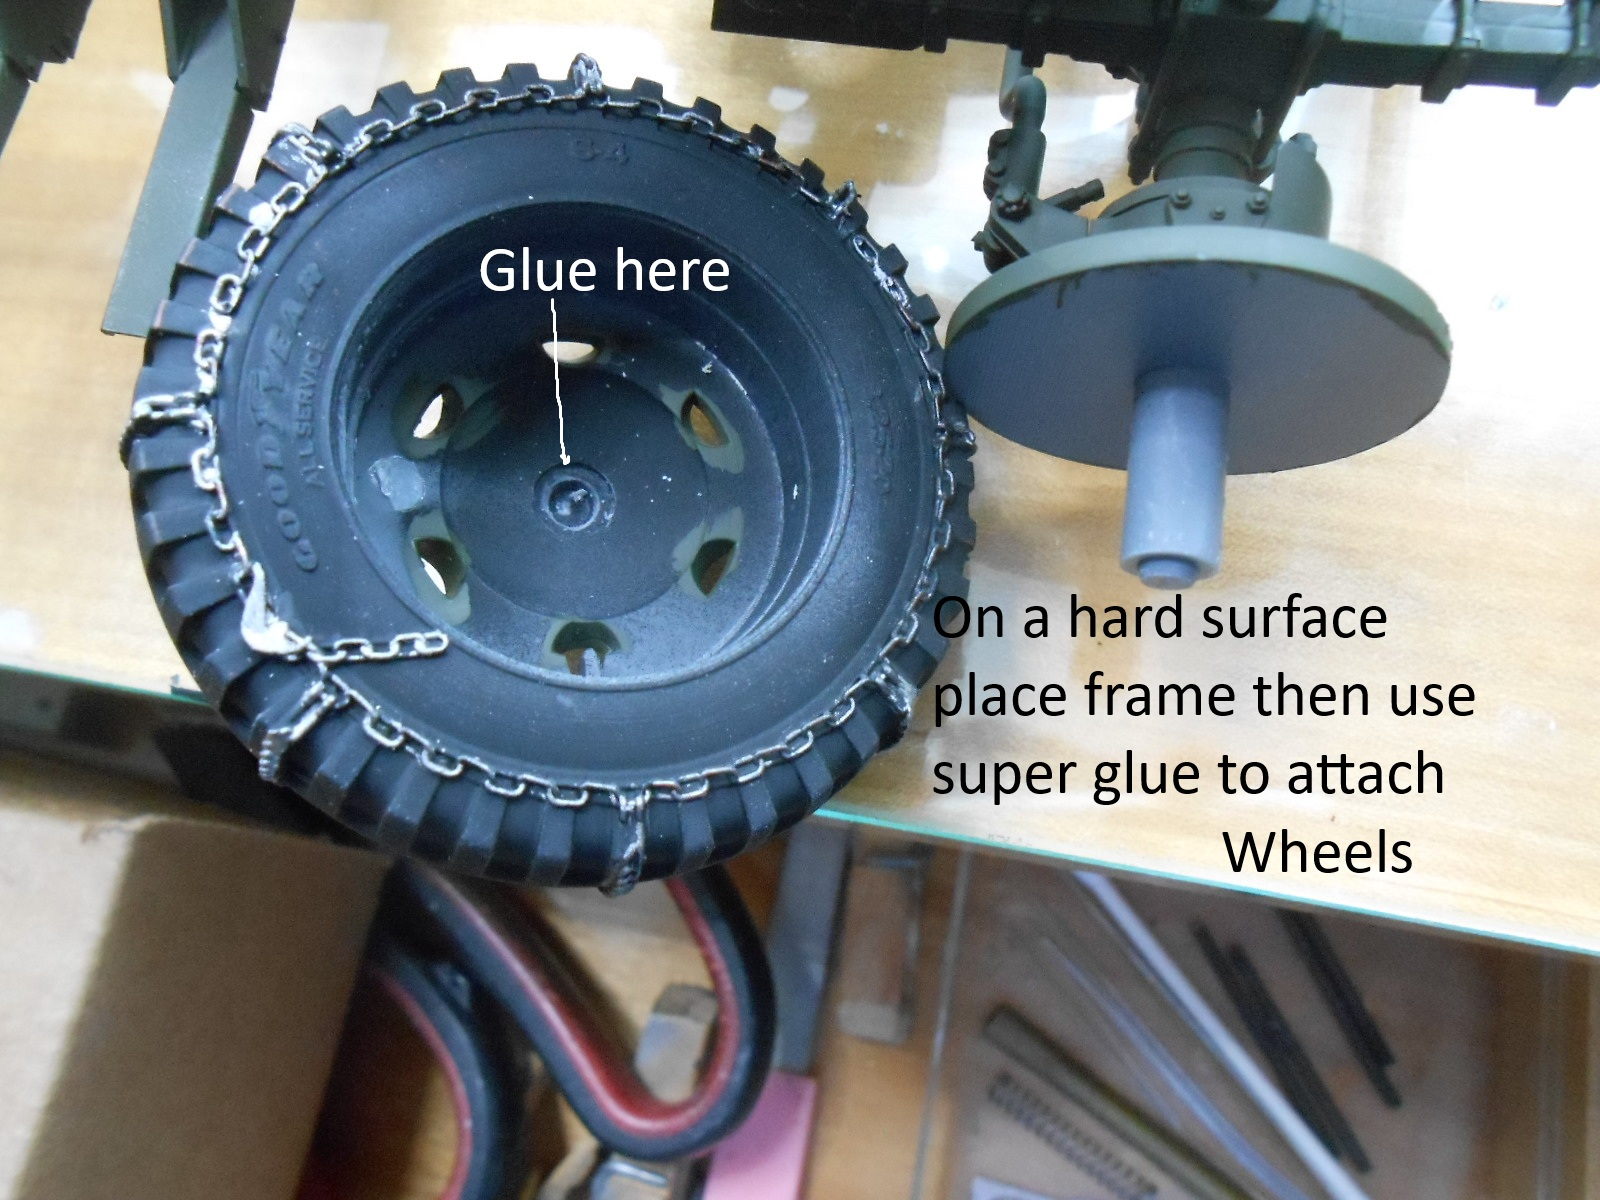
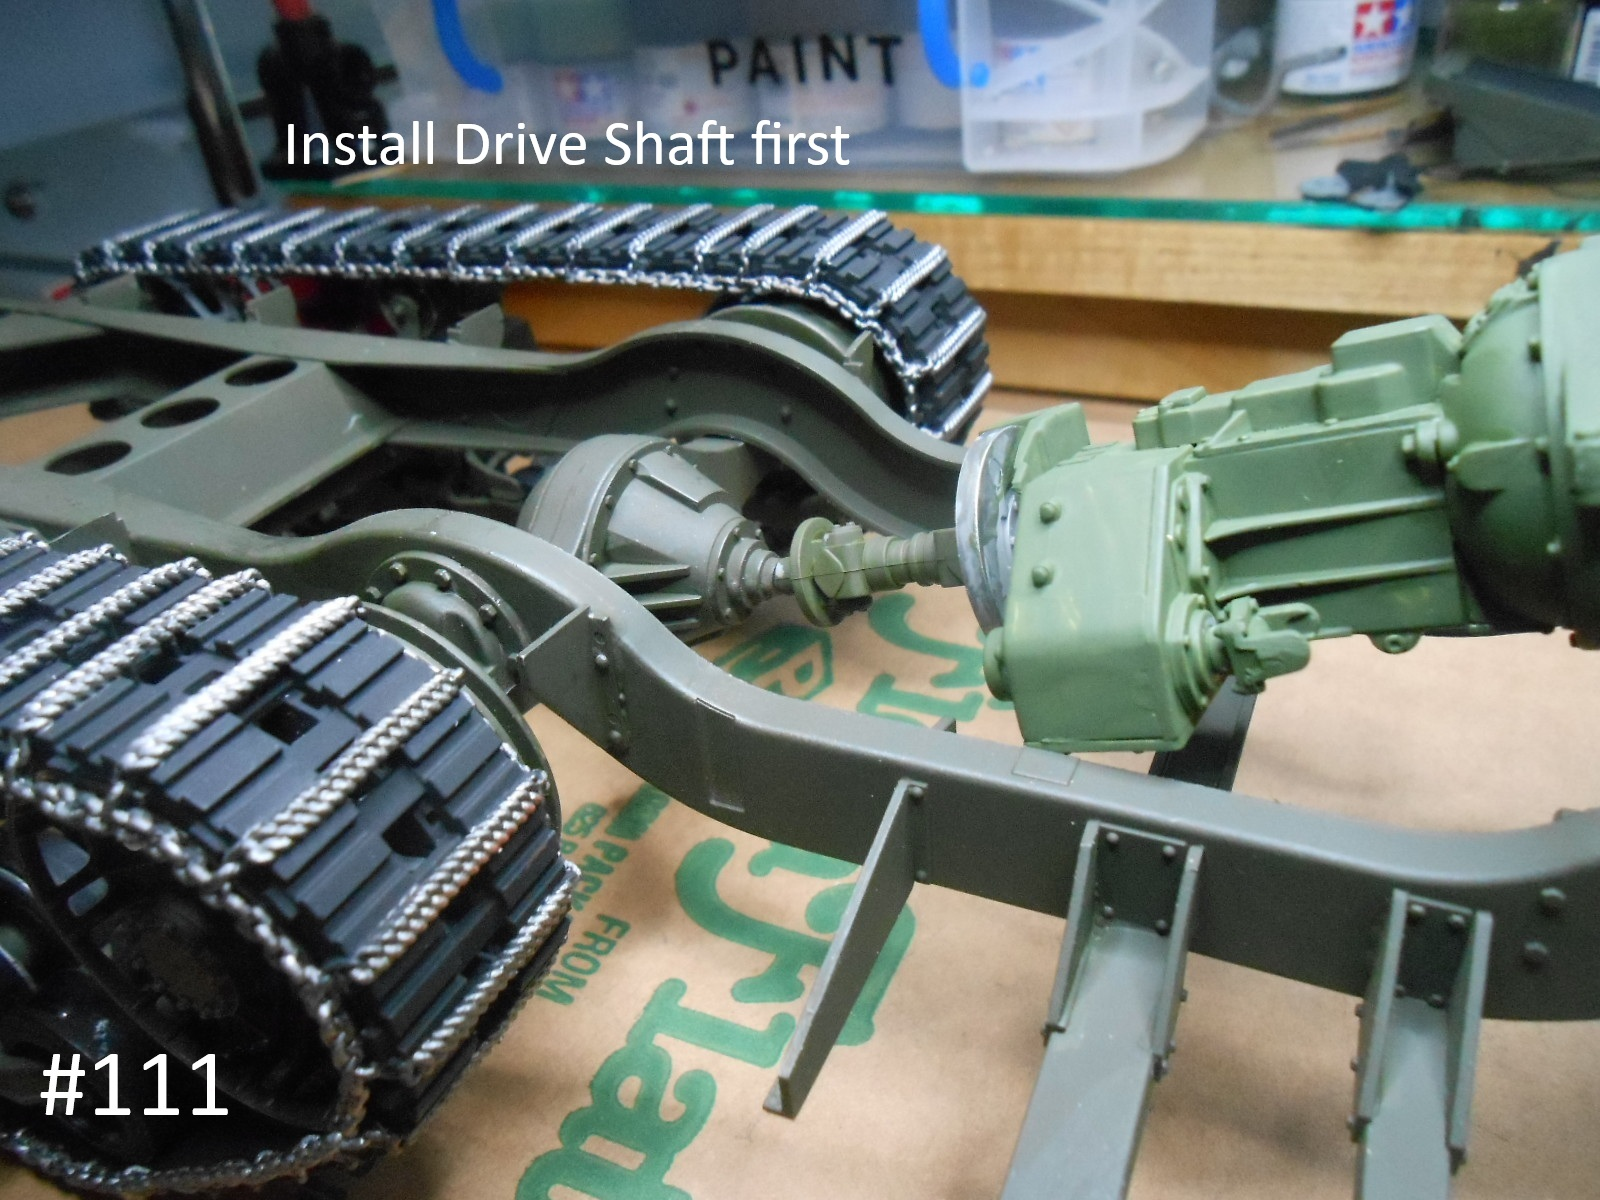
Well I finally have the Tracks and Wheels Installed, it was a very tight fit but it can be done.
I 'm finished for a while.
Regards
Donald
Wow, looking good. A friend is finishing up his and has been sending me photos. Tempted to buy one. Especially after seeing this thread.
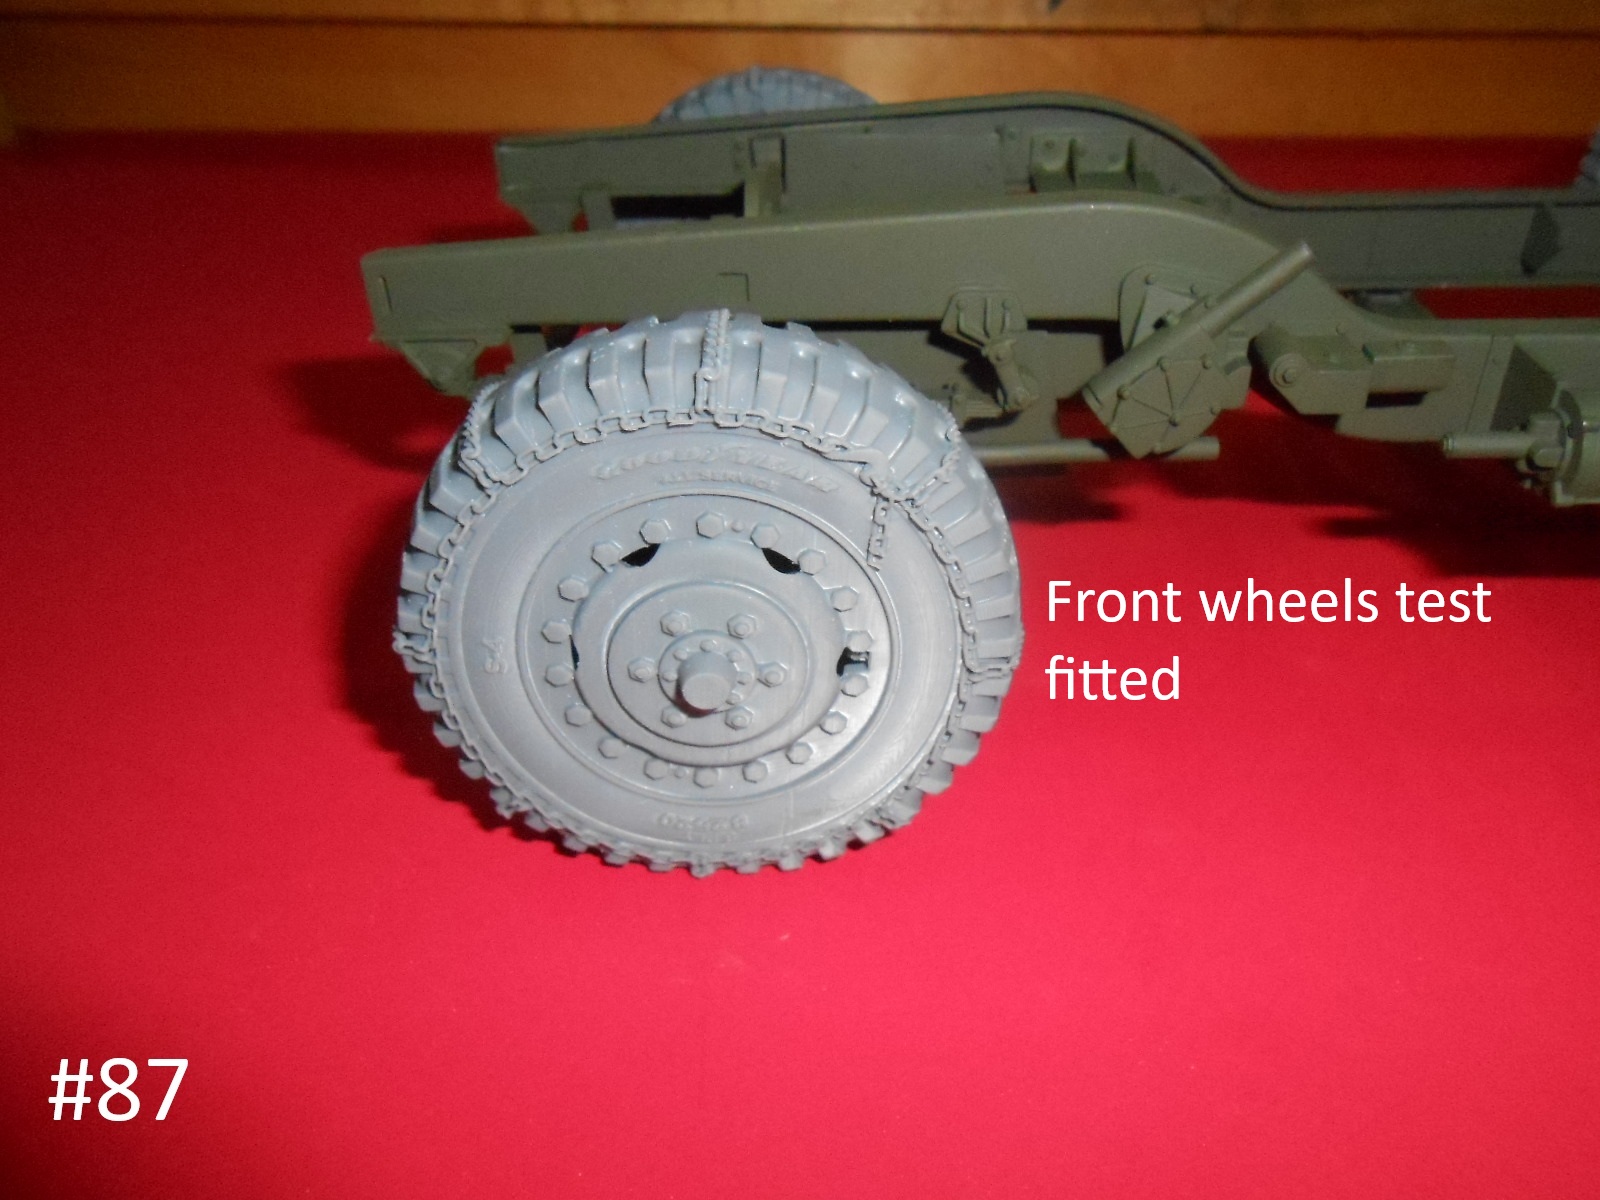
You have to remember, that the Track and Front Wheels are after market products and not part of the Kit.
Regards
Donald
Wow! Nice job on the chain paint, it looks fantastic! …![]()
—mike ![]()
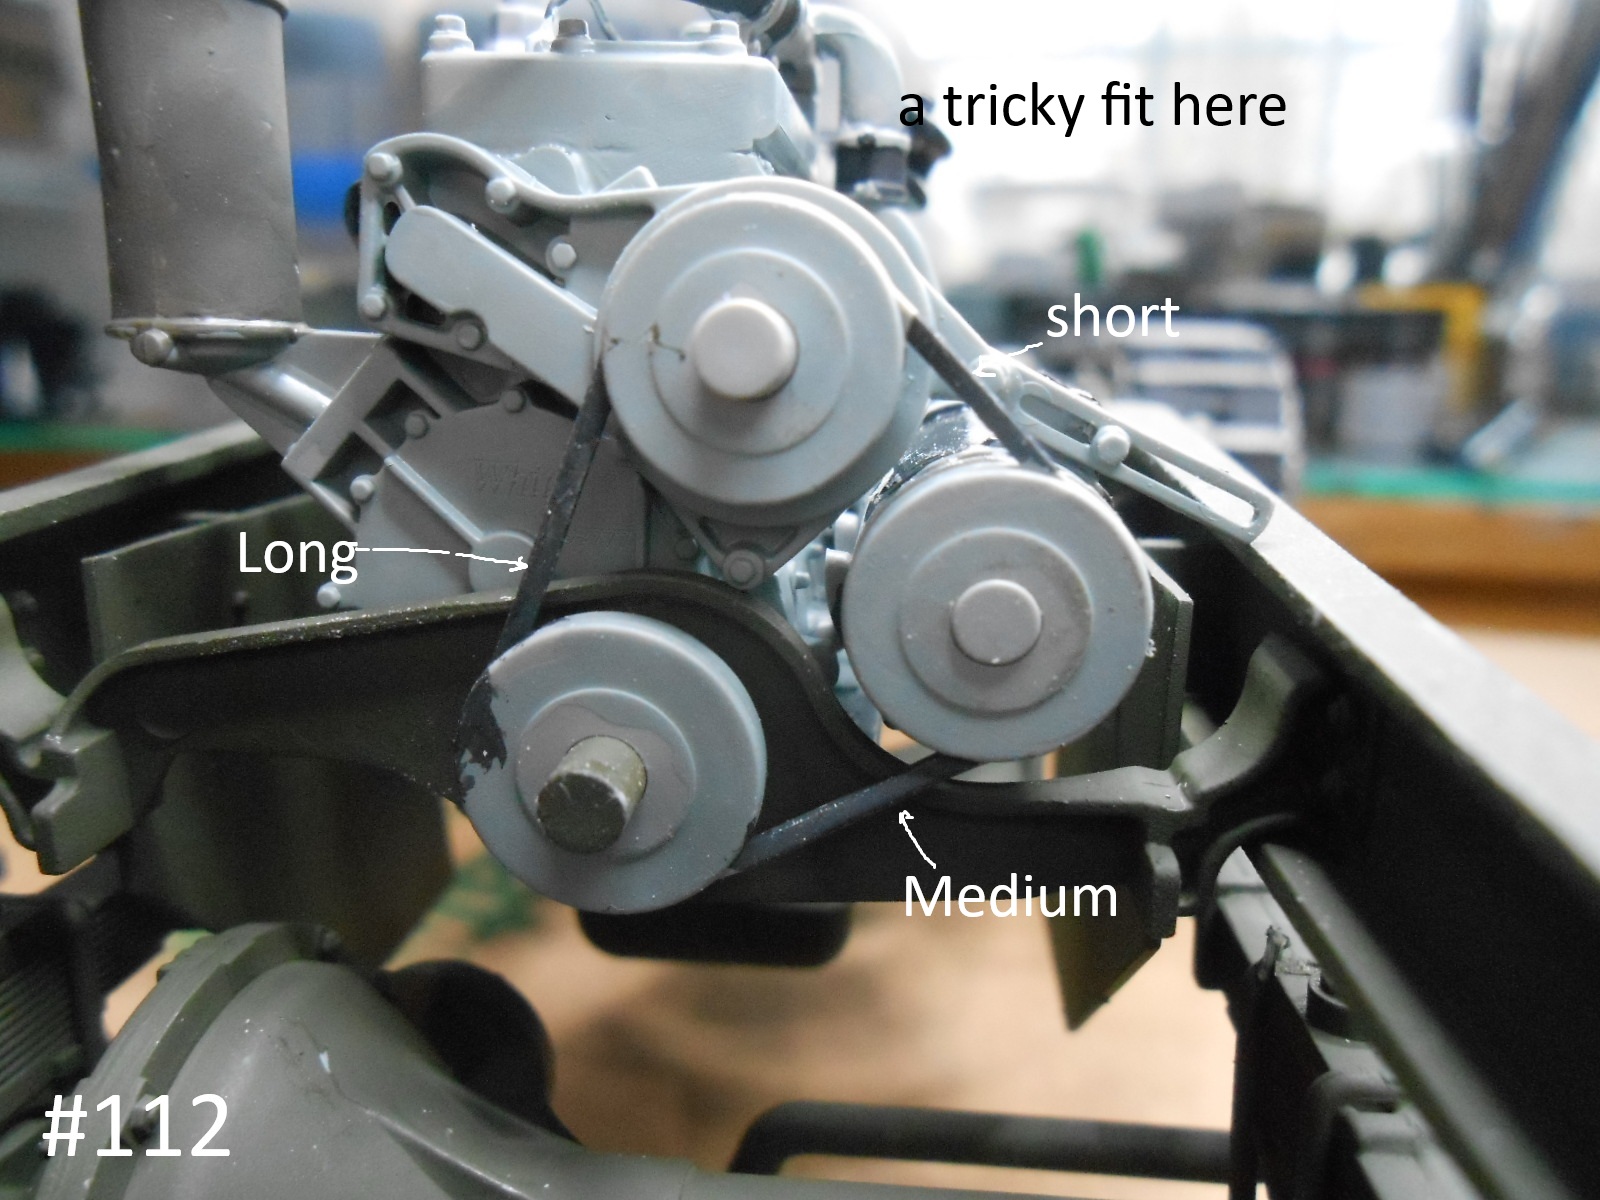
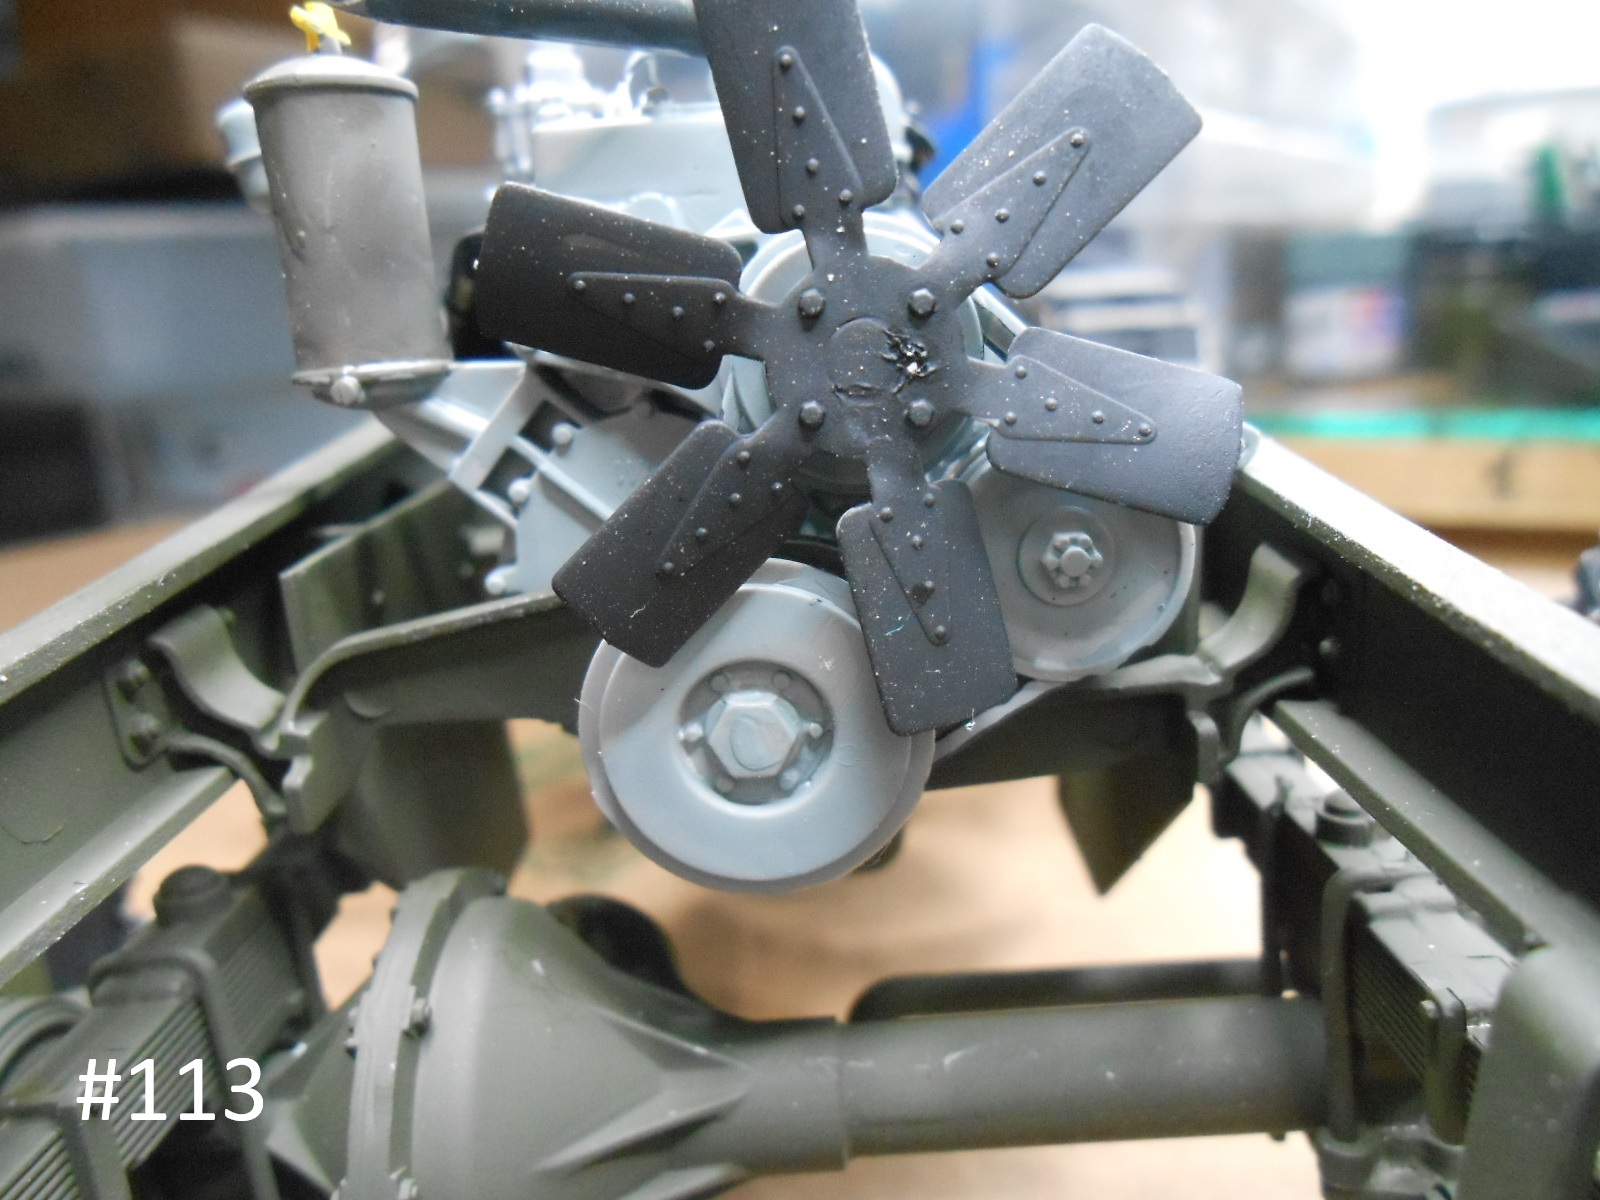
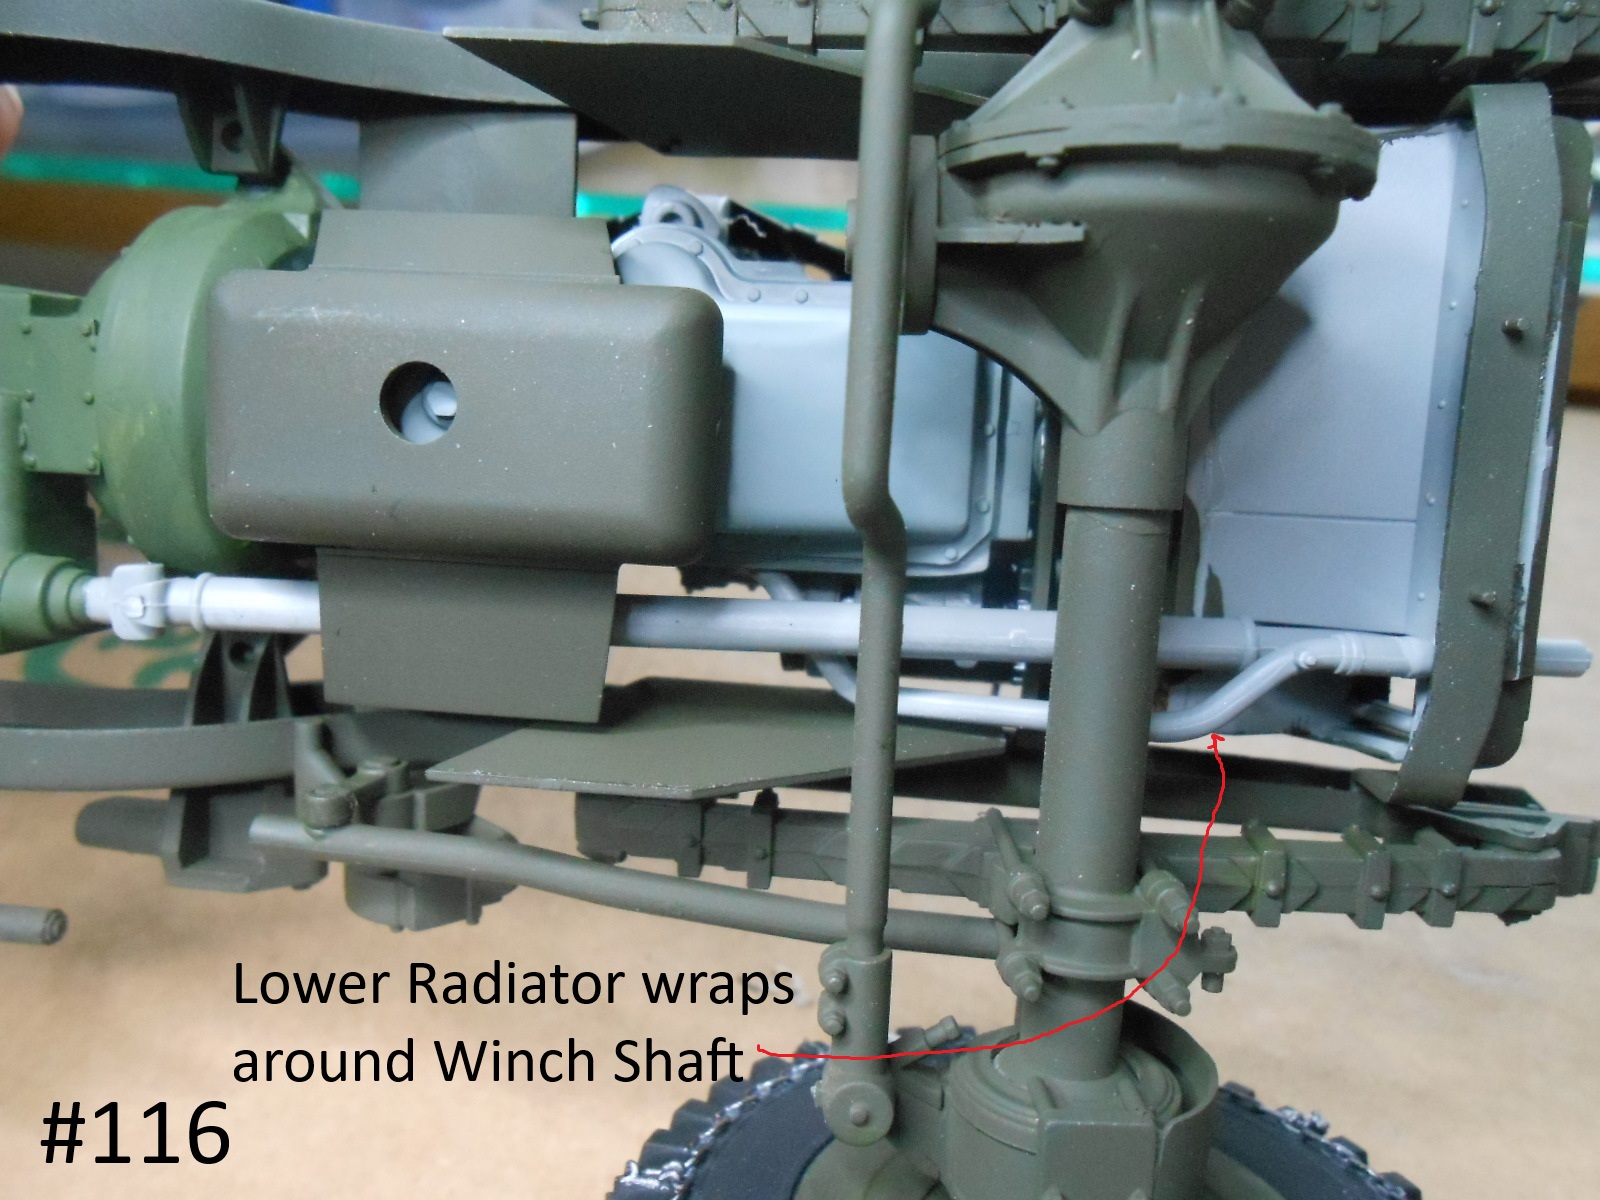
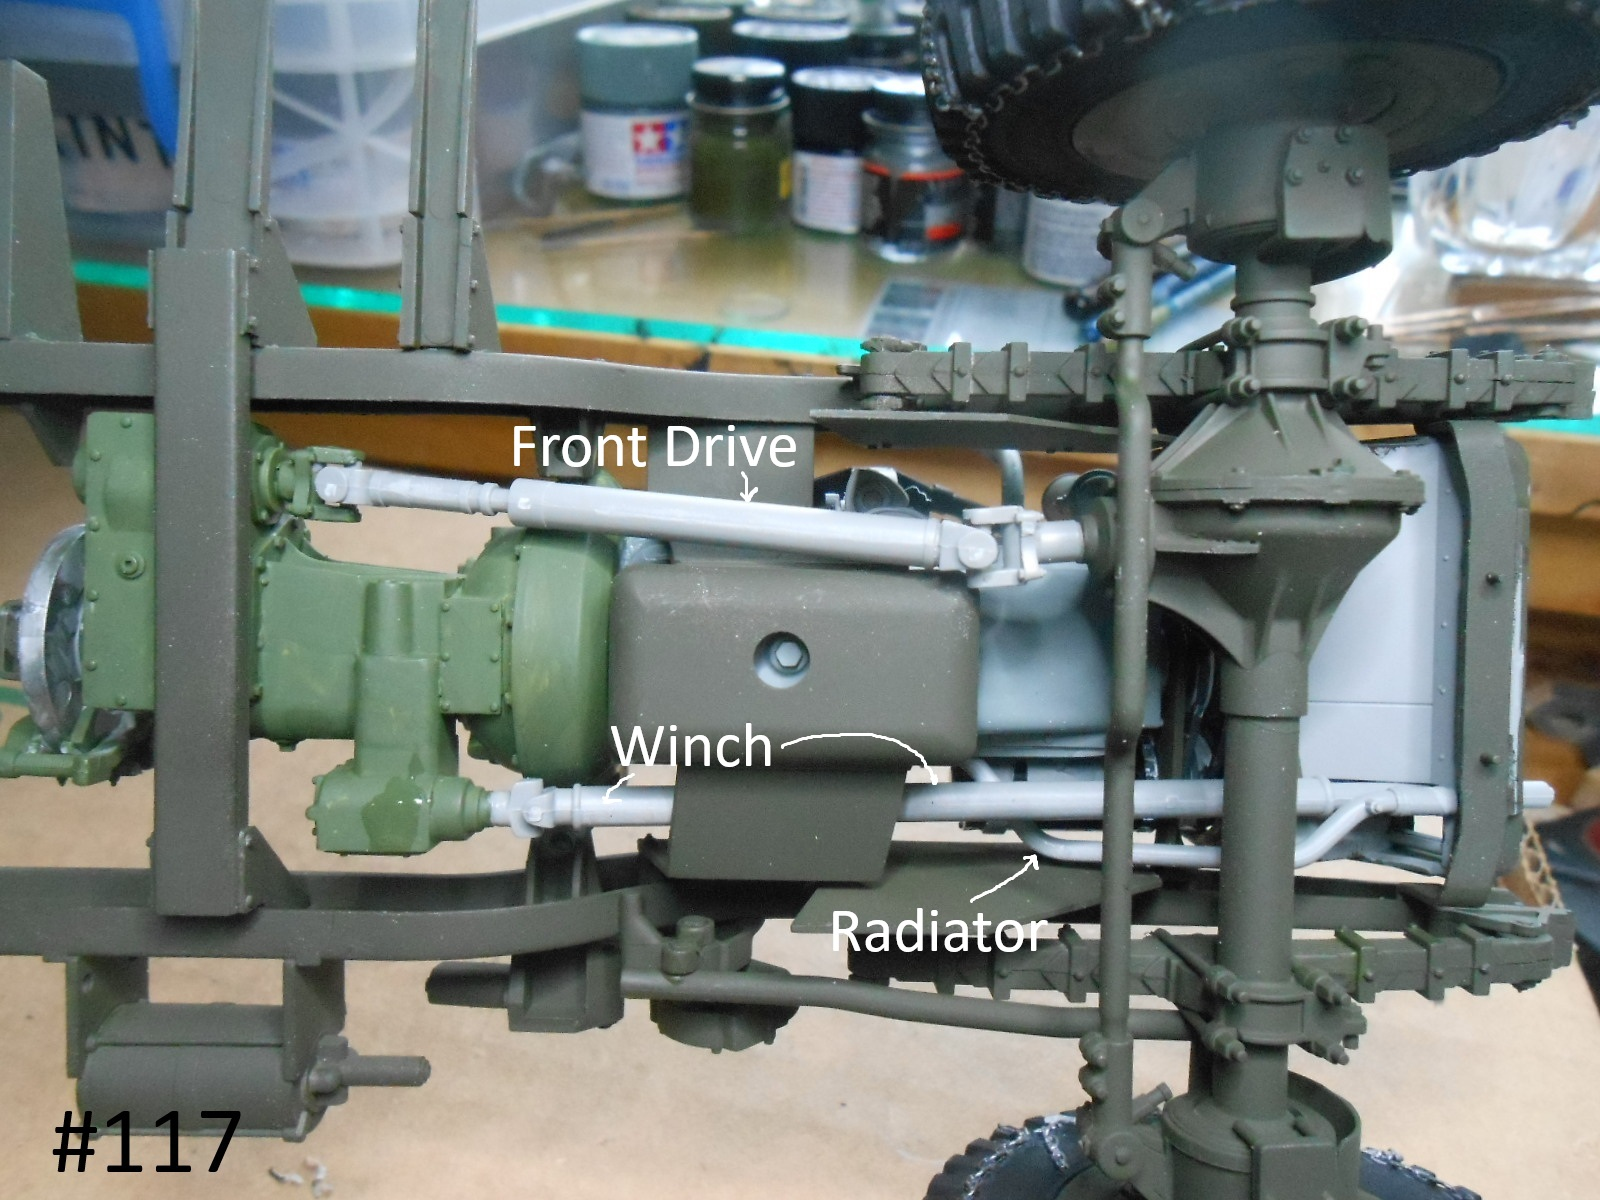
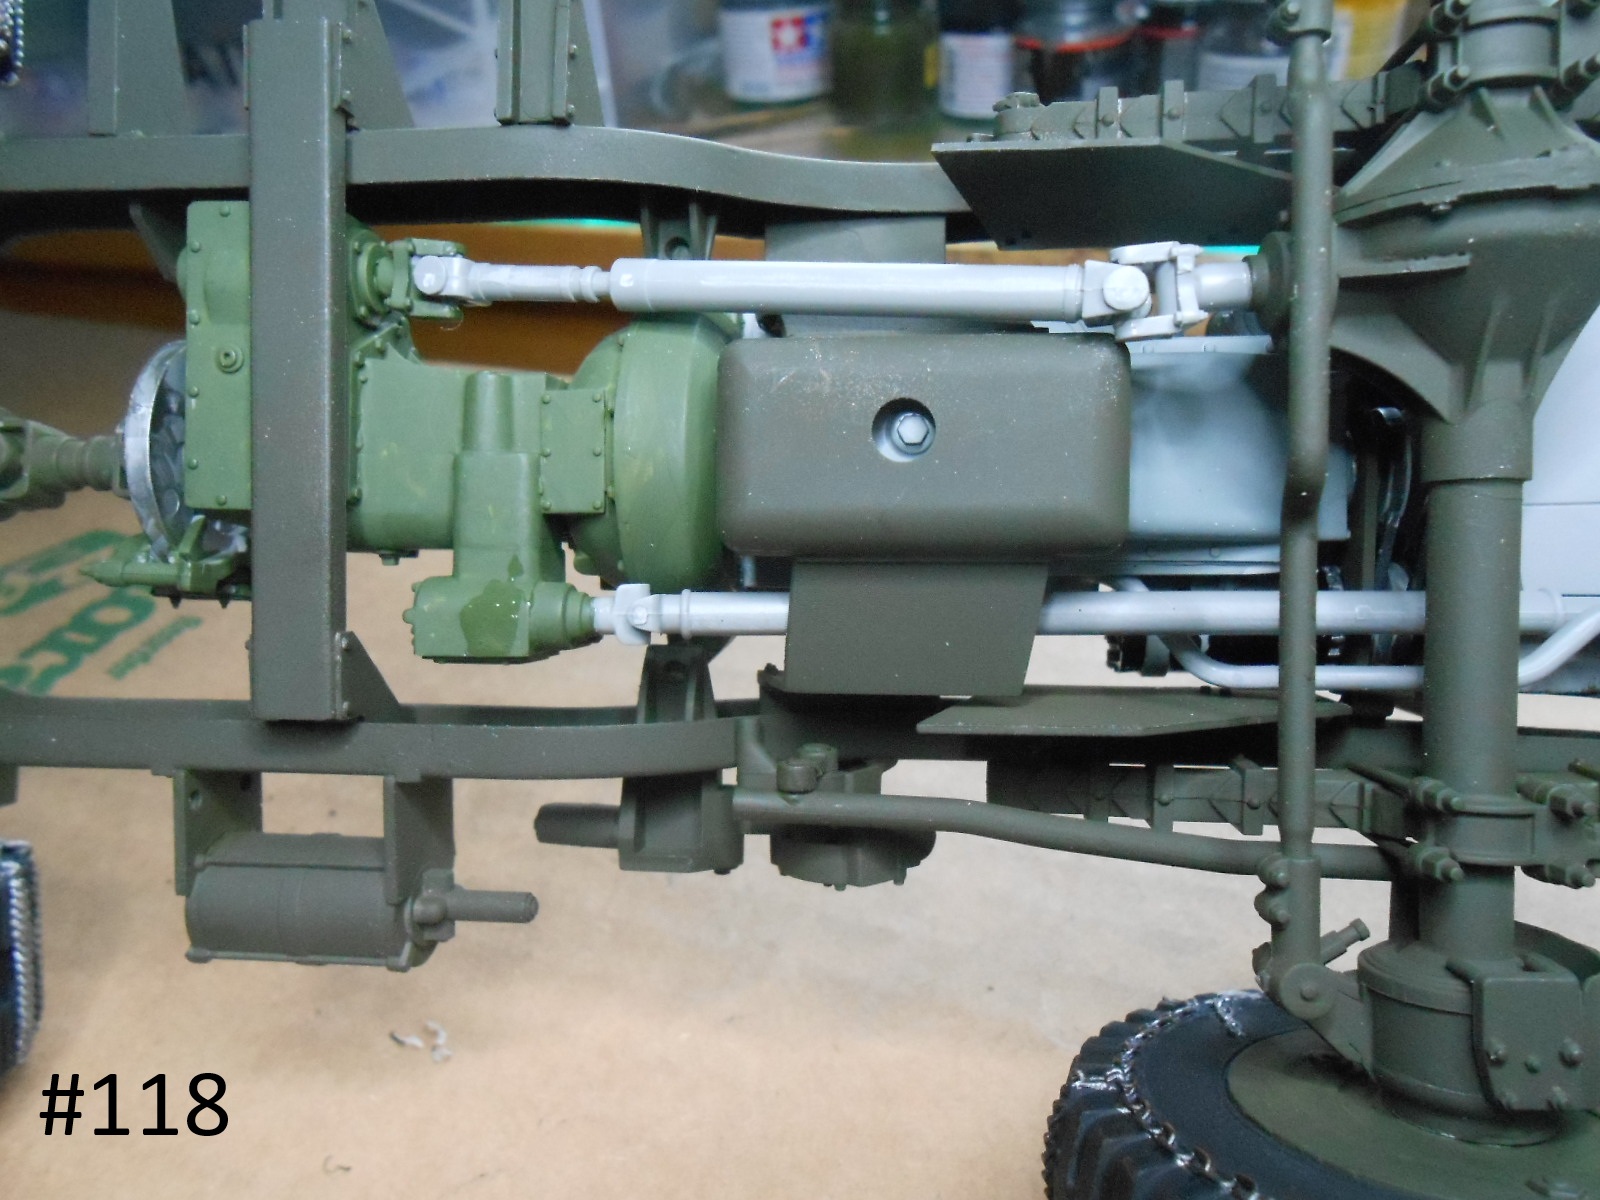
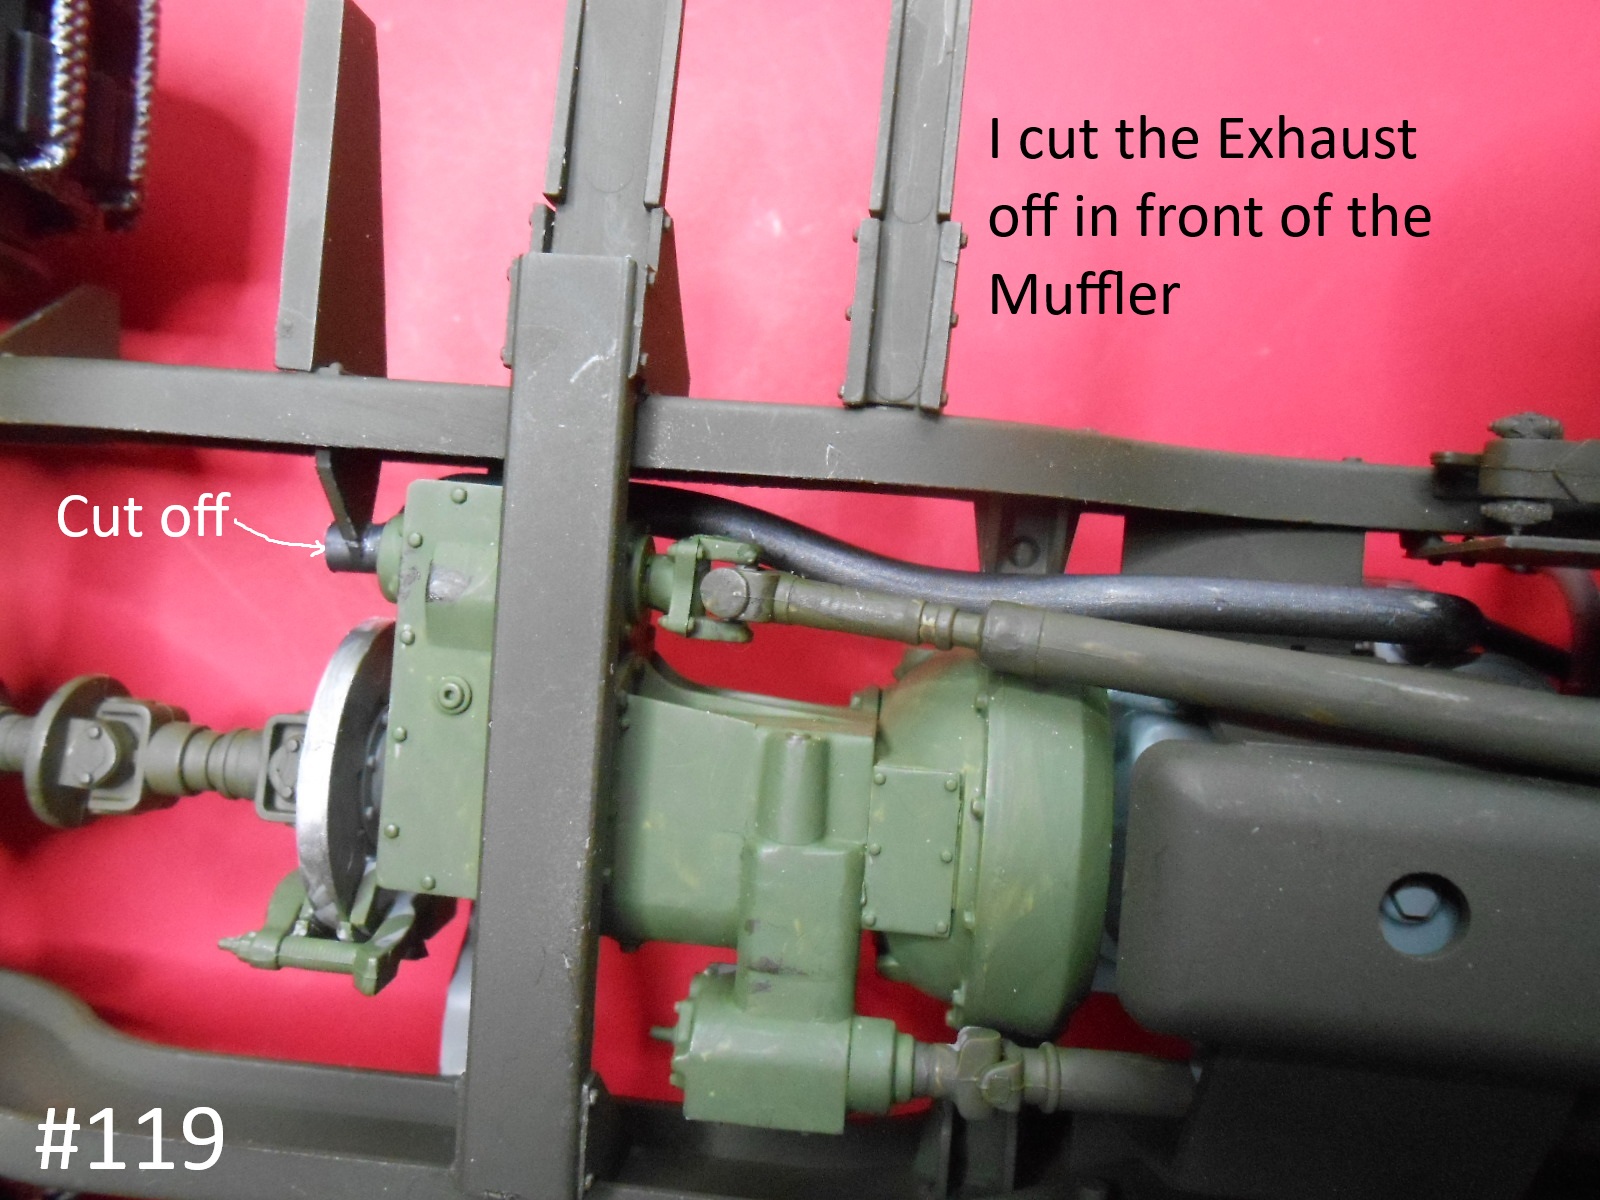
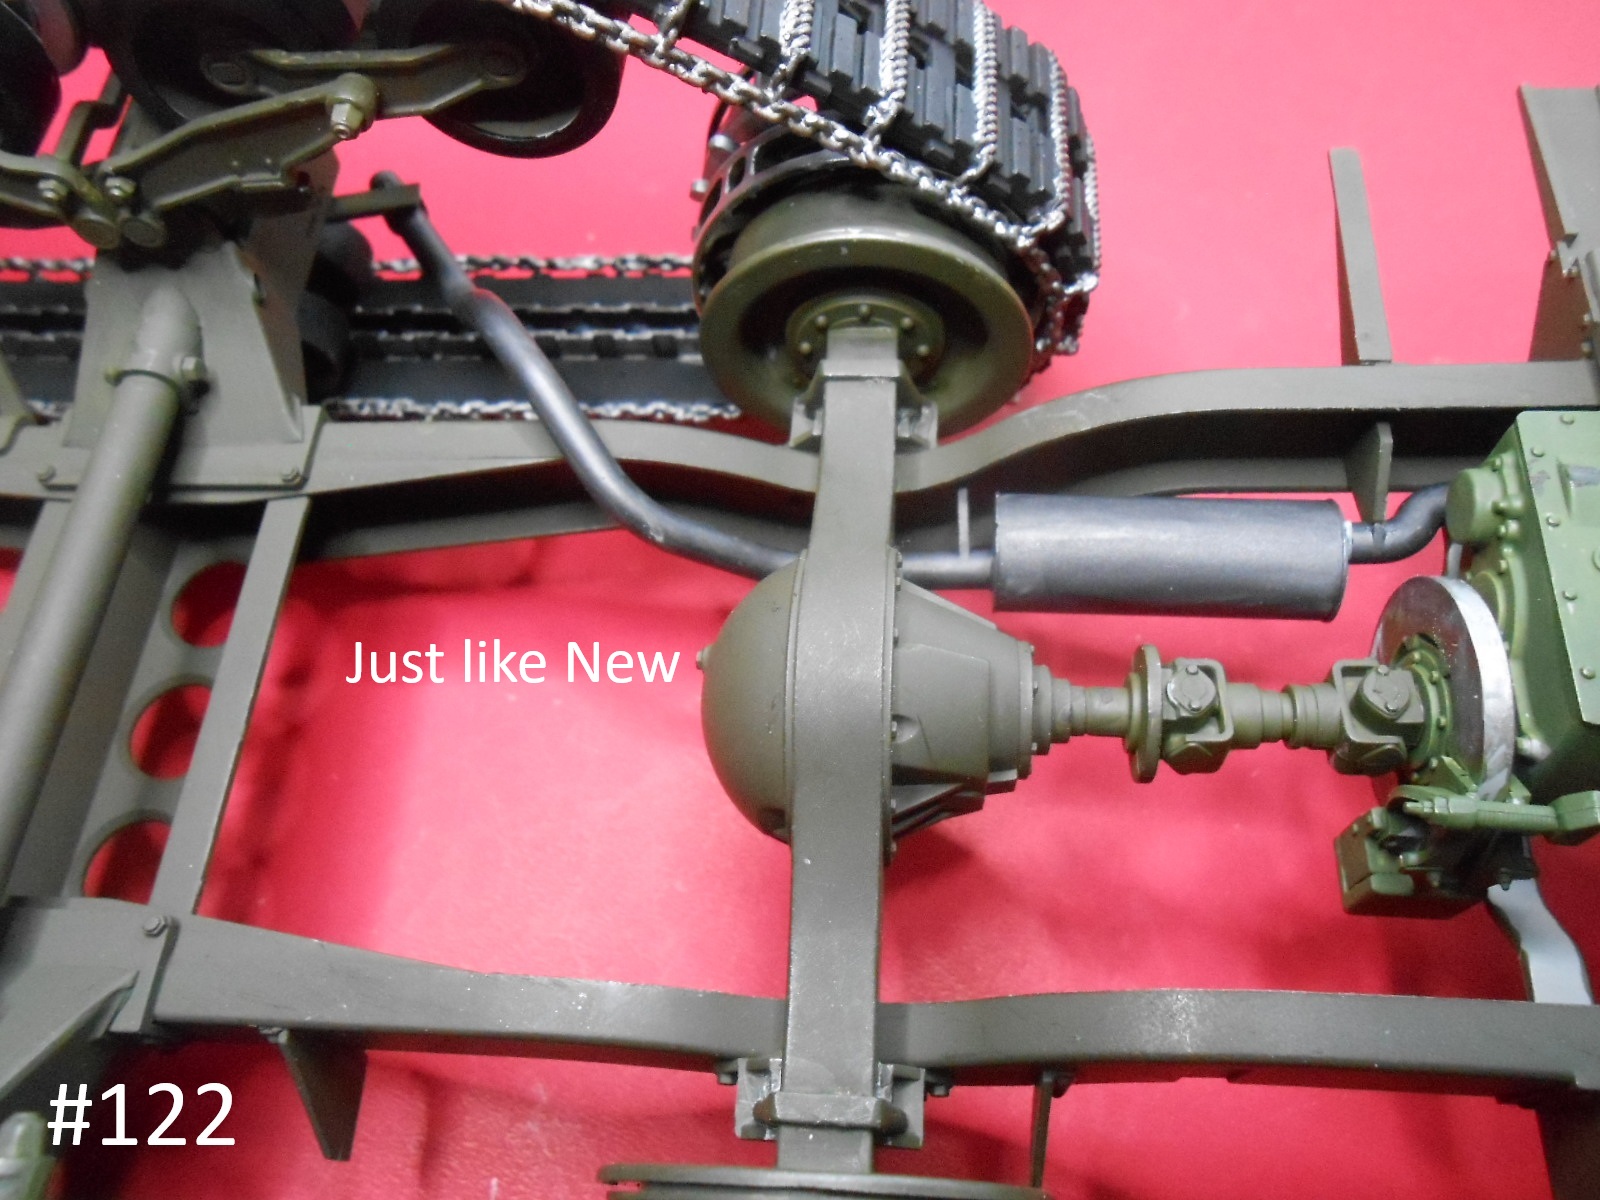
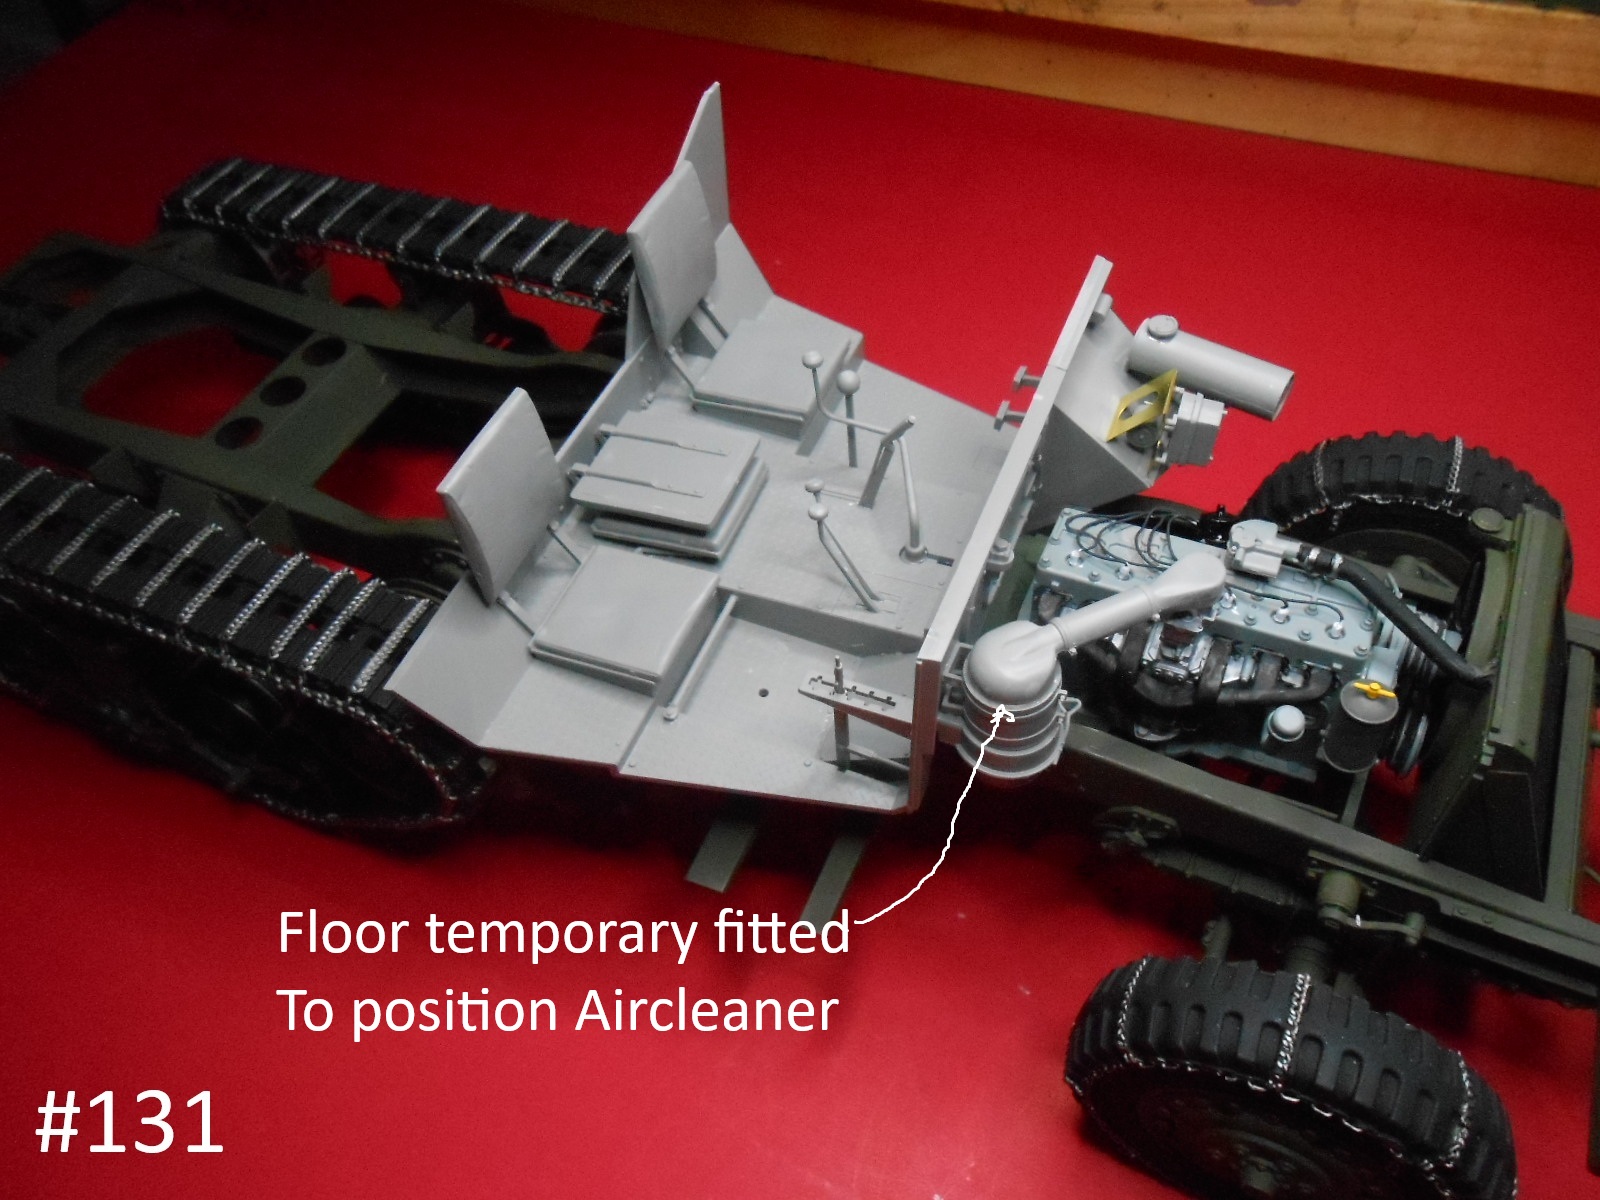
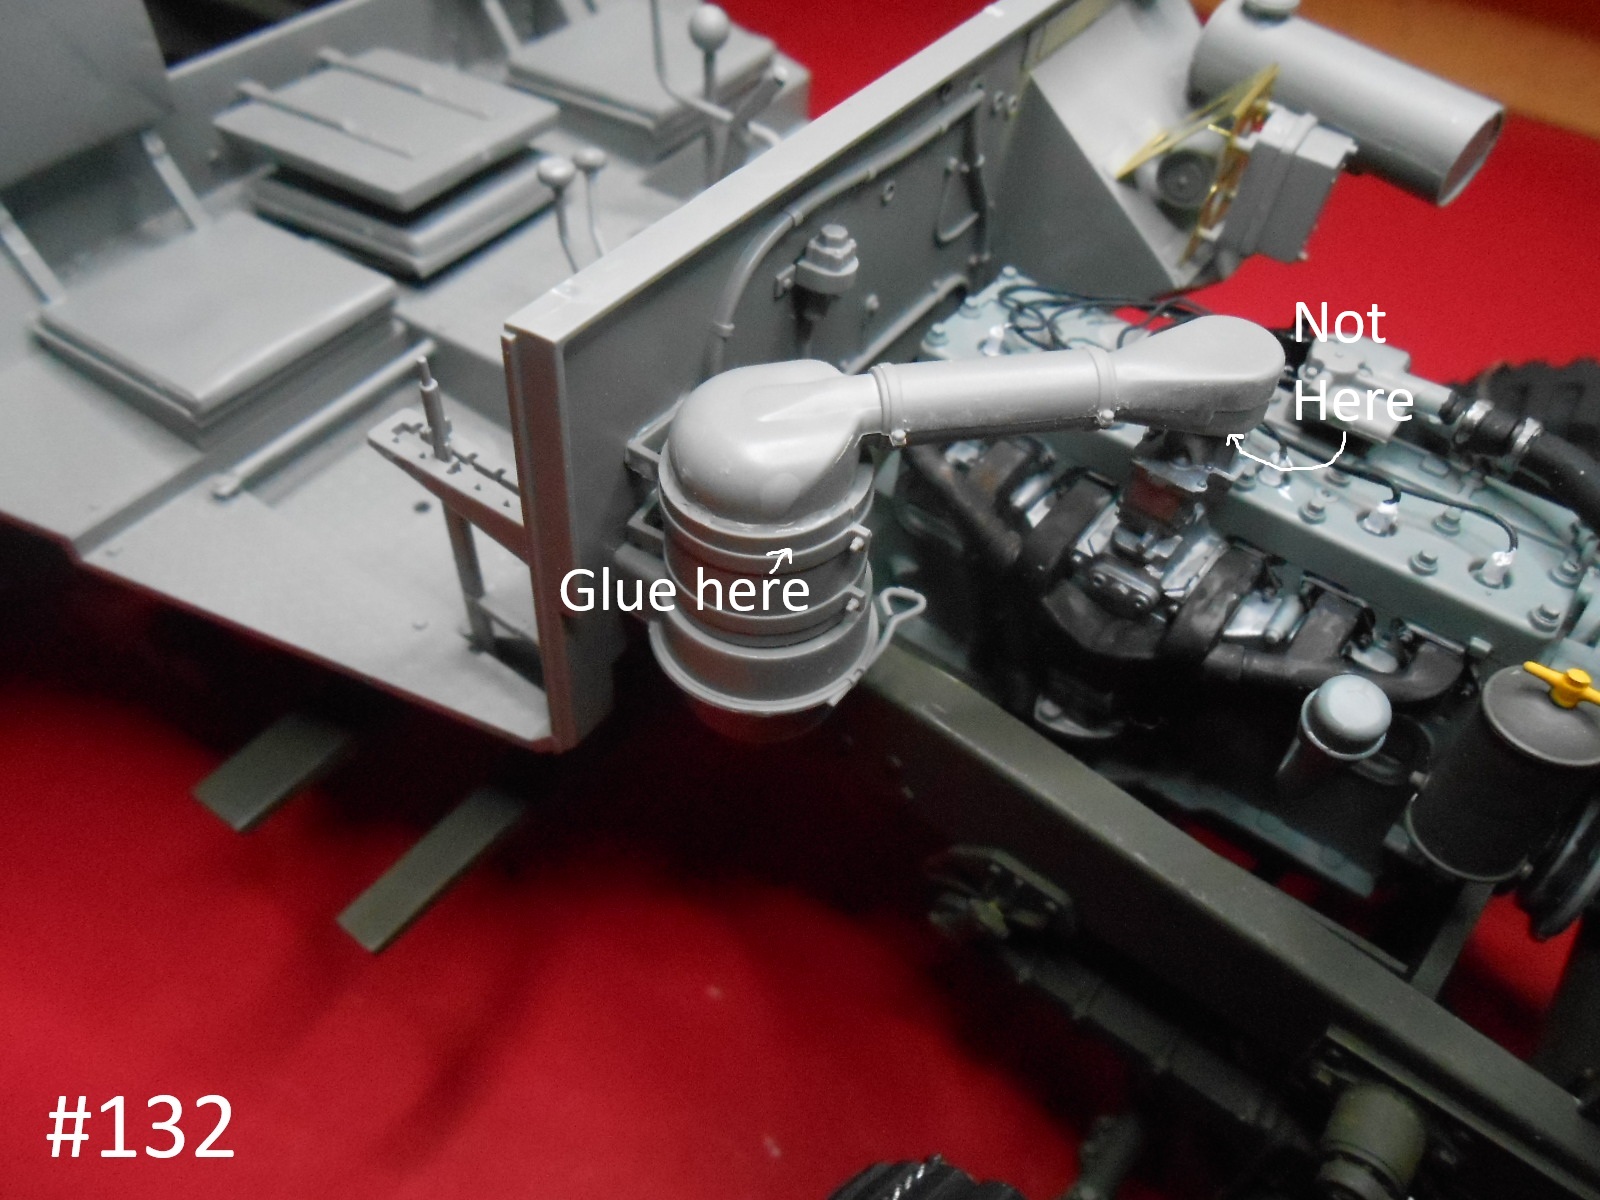
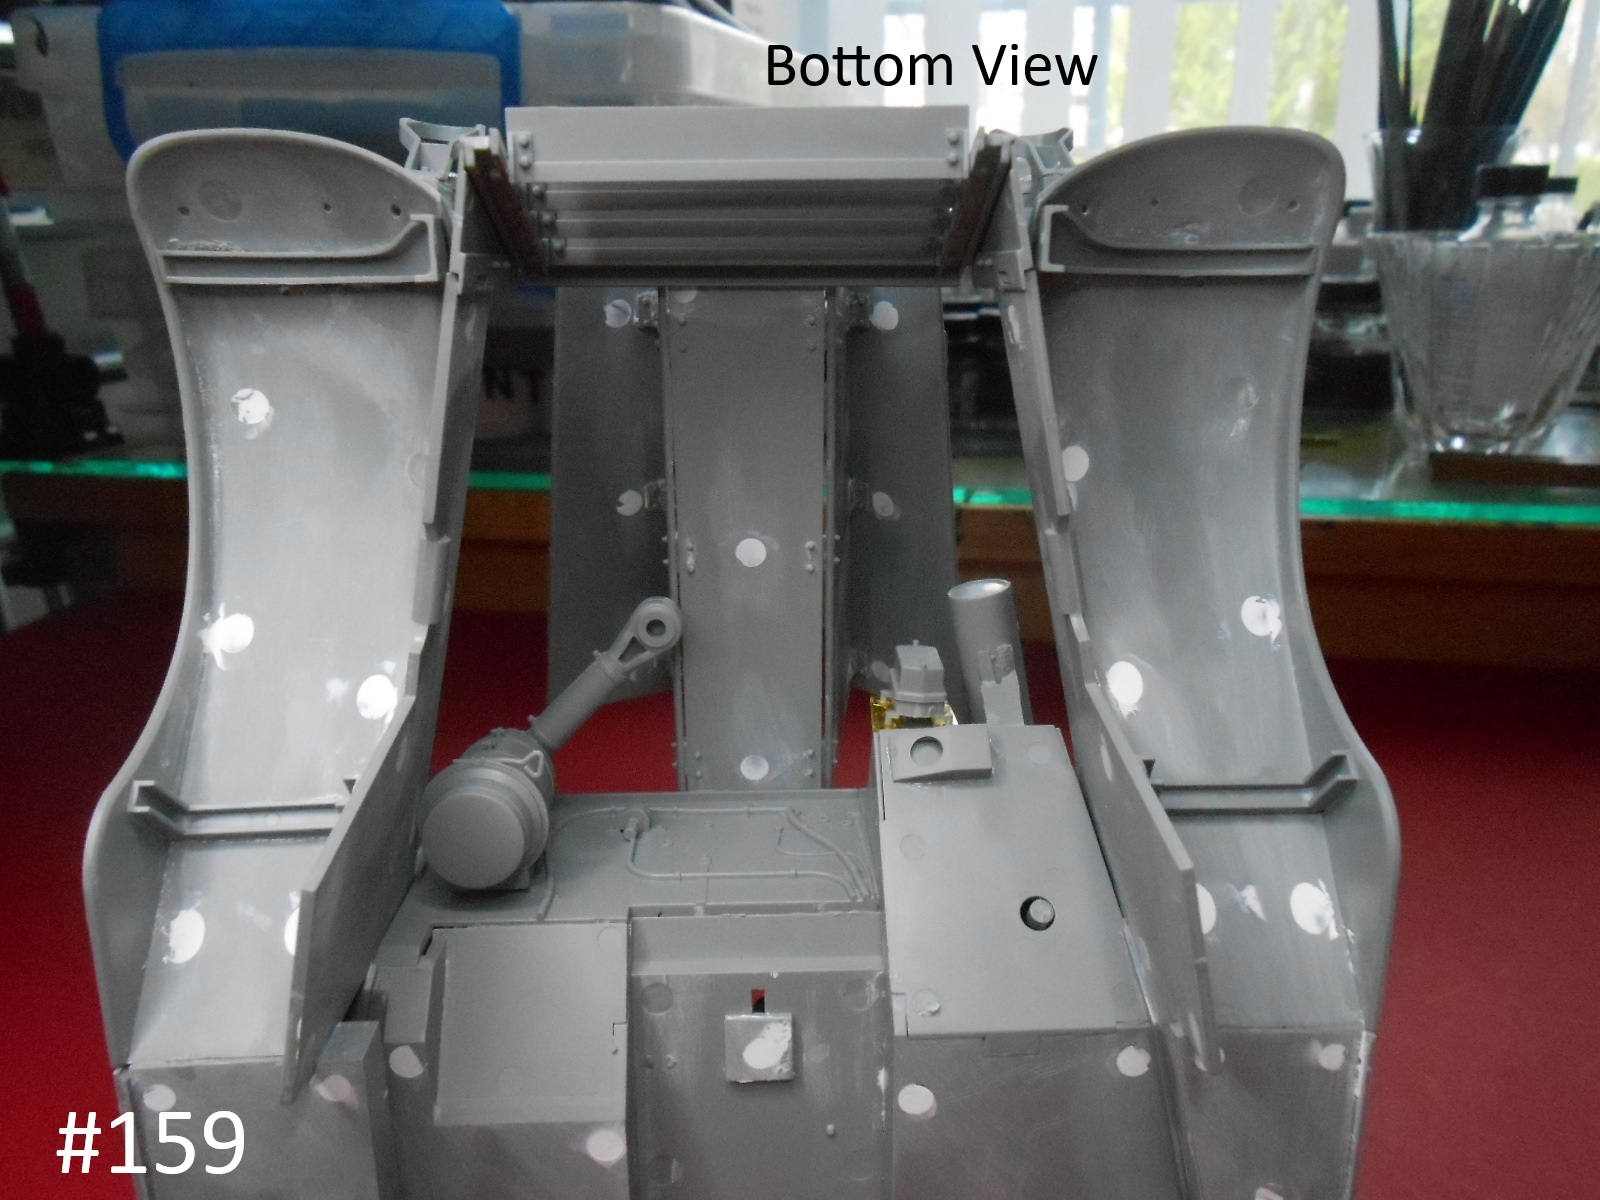
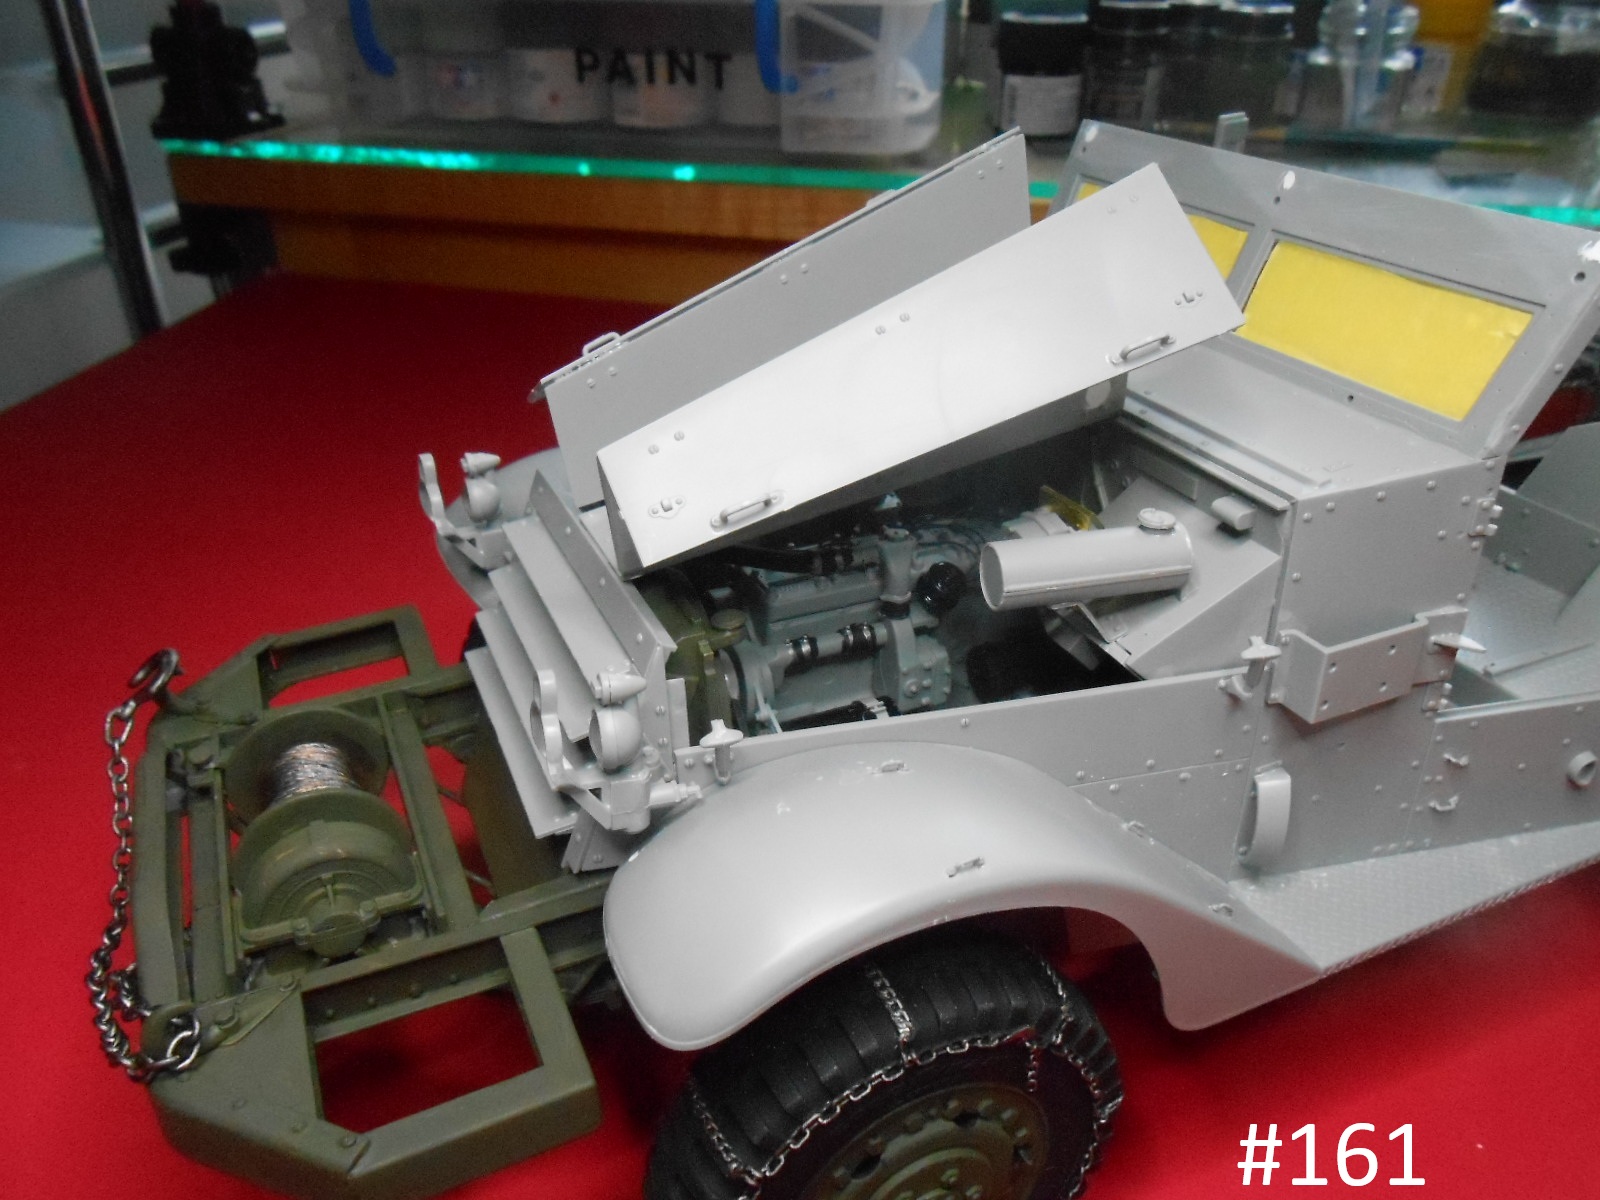
I have the Engine and Transmission installed along with the Drive Shafts.
That’s all for now.
Donald
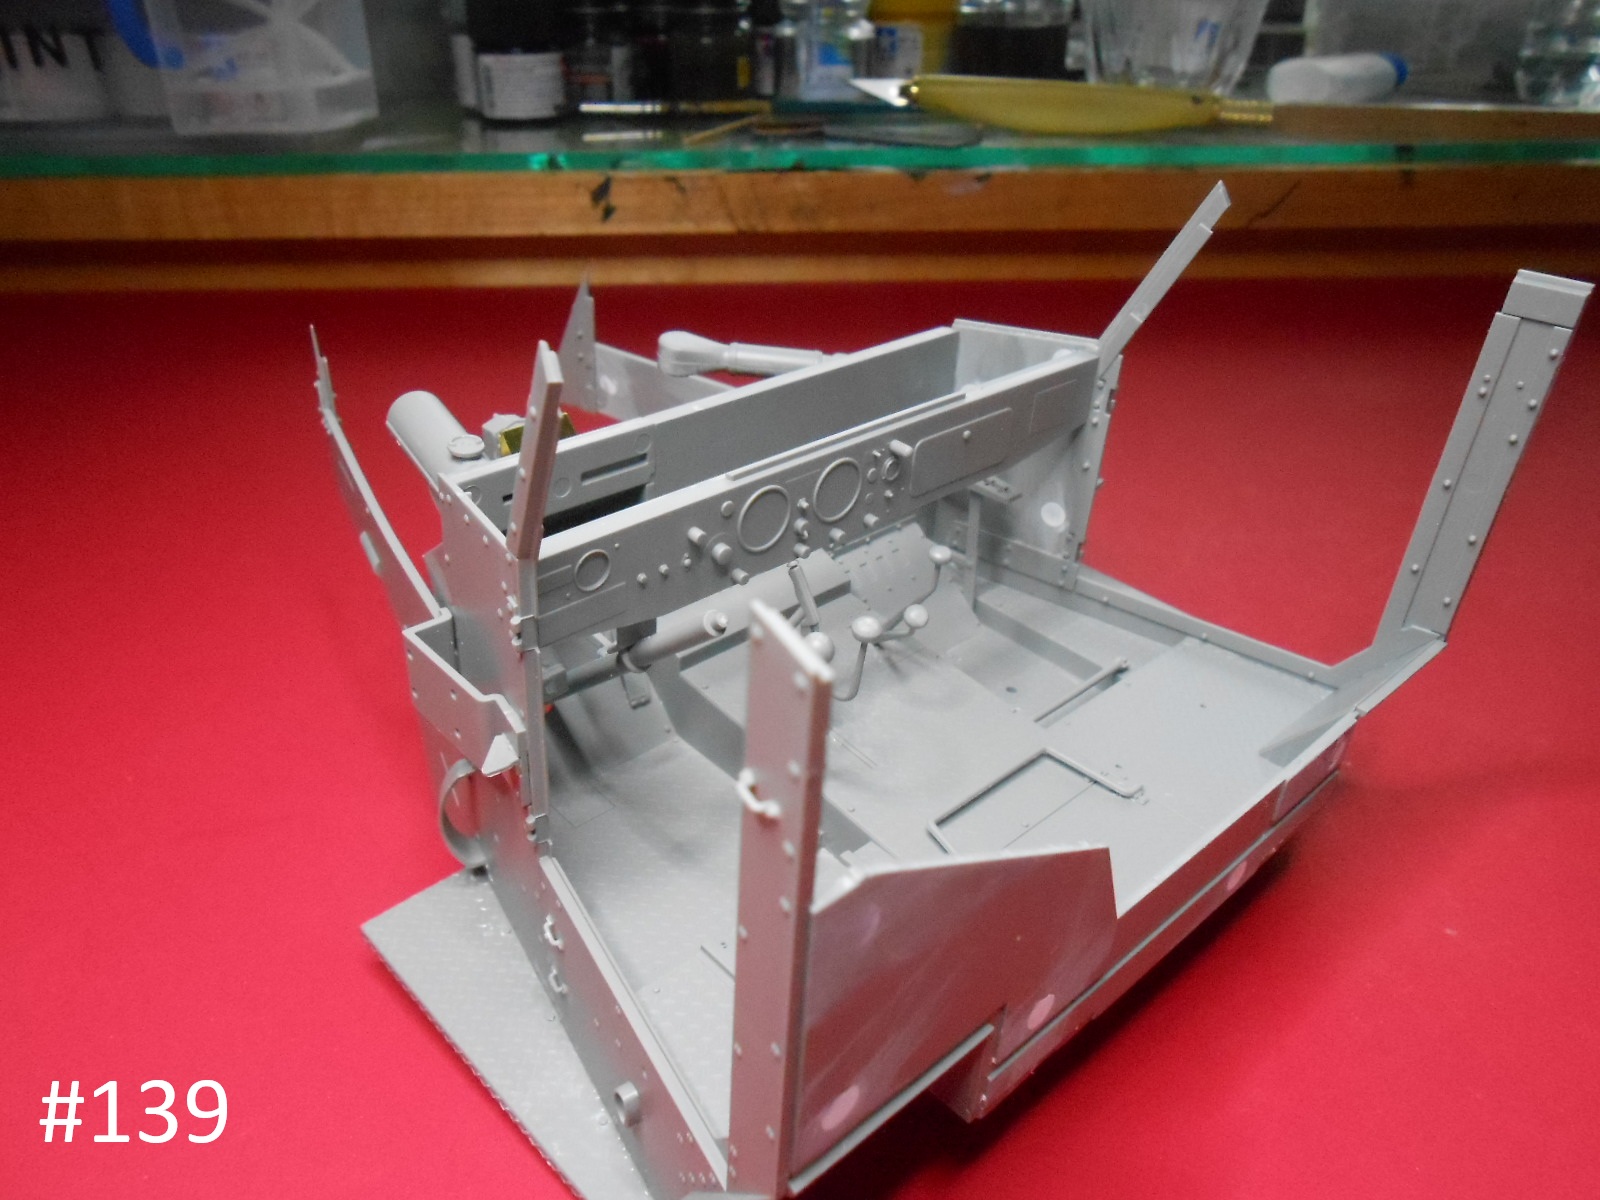
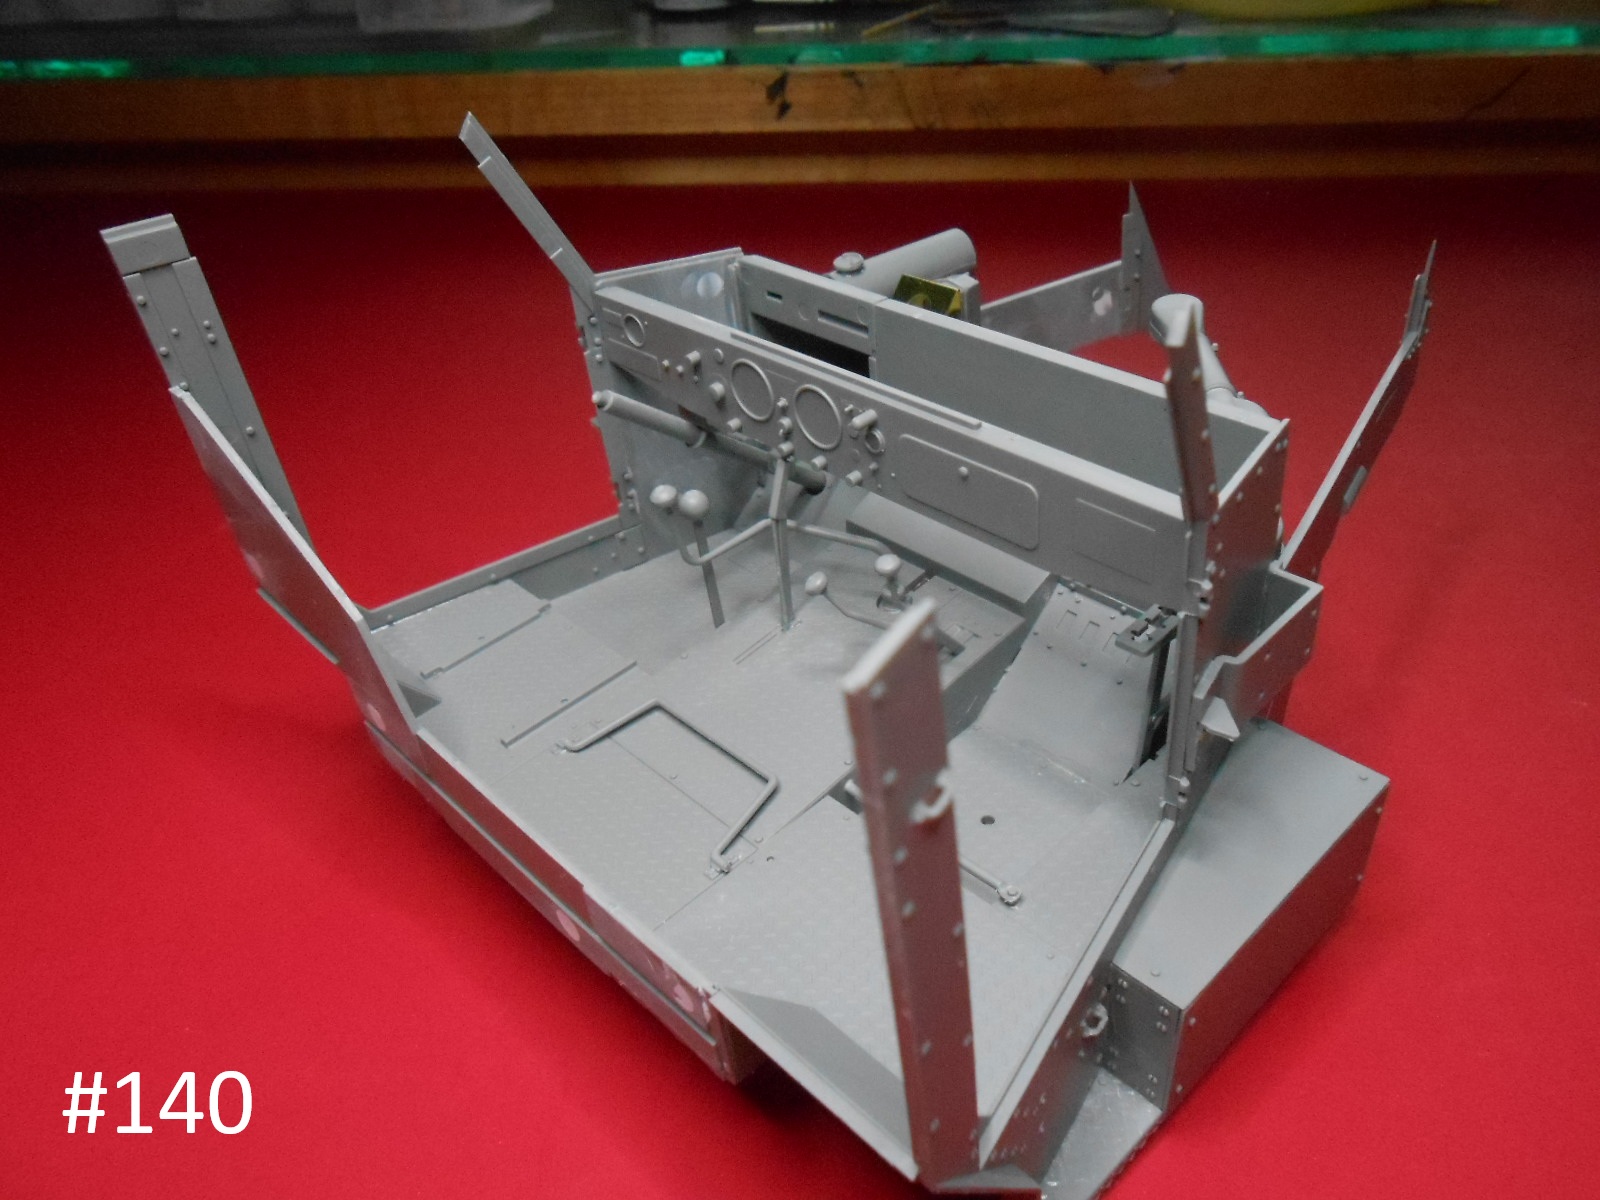
Coming on well Donald. I was surprised doing mine at how over thick the cab floor and bulkhead is on the kit but it does make it an incredibly rigid base to work from. A point to watch is the upper doors they are way overscale thick hot noticable if you are building with them up but down they have a wedge cut out of them to make them fit in the up position and its glaringly obvious I have no idea what Andy was thinking there or it slipped through QC. As I’m doing mine with the upper doors down I filled the recess with a fillet of plasticard and flat sanded the outer side of the panel to a more scale thickness. You cant see the outside at all anyway when folded down.
Keith
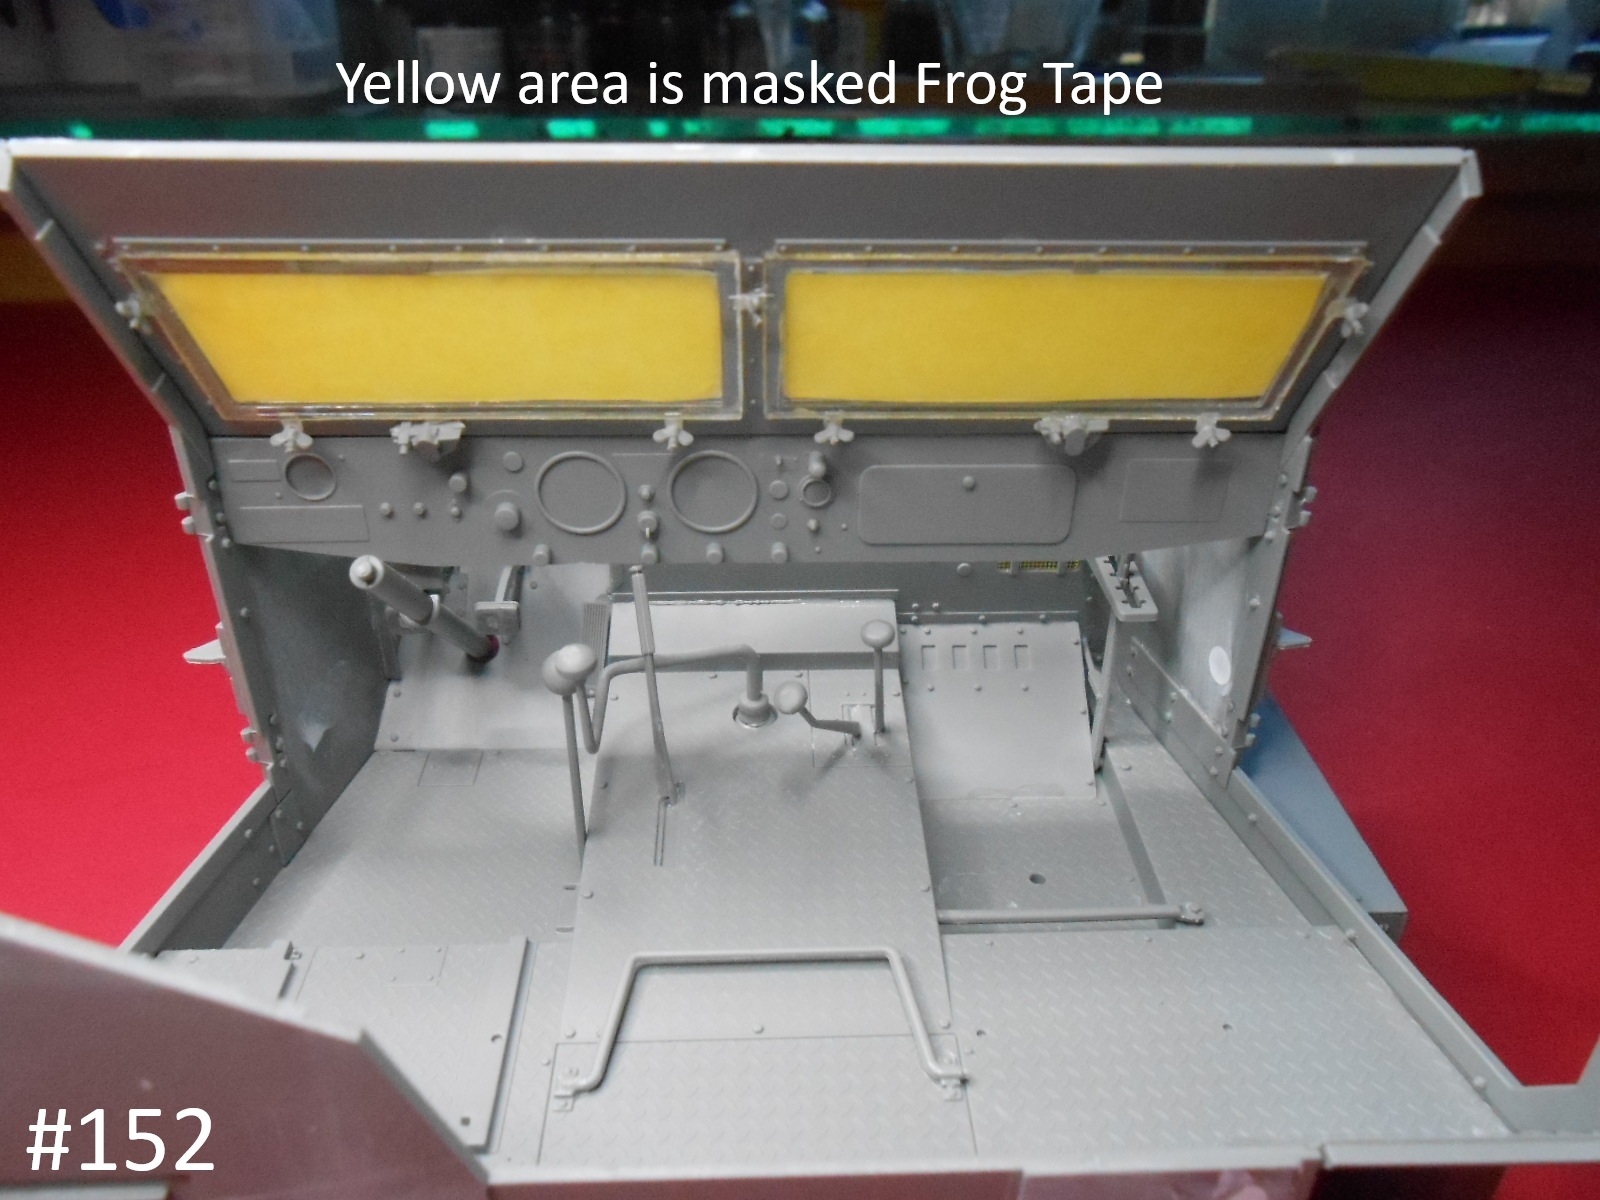
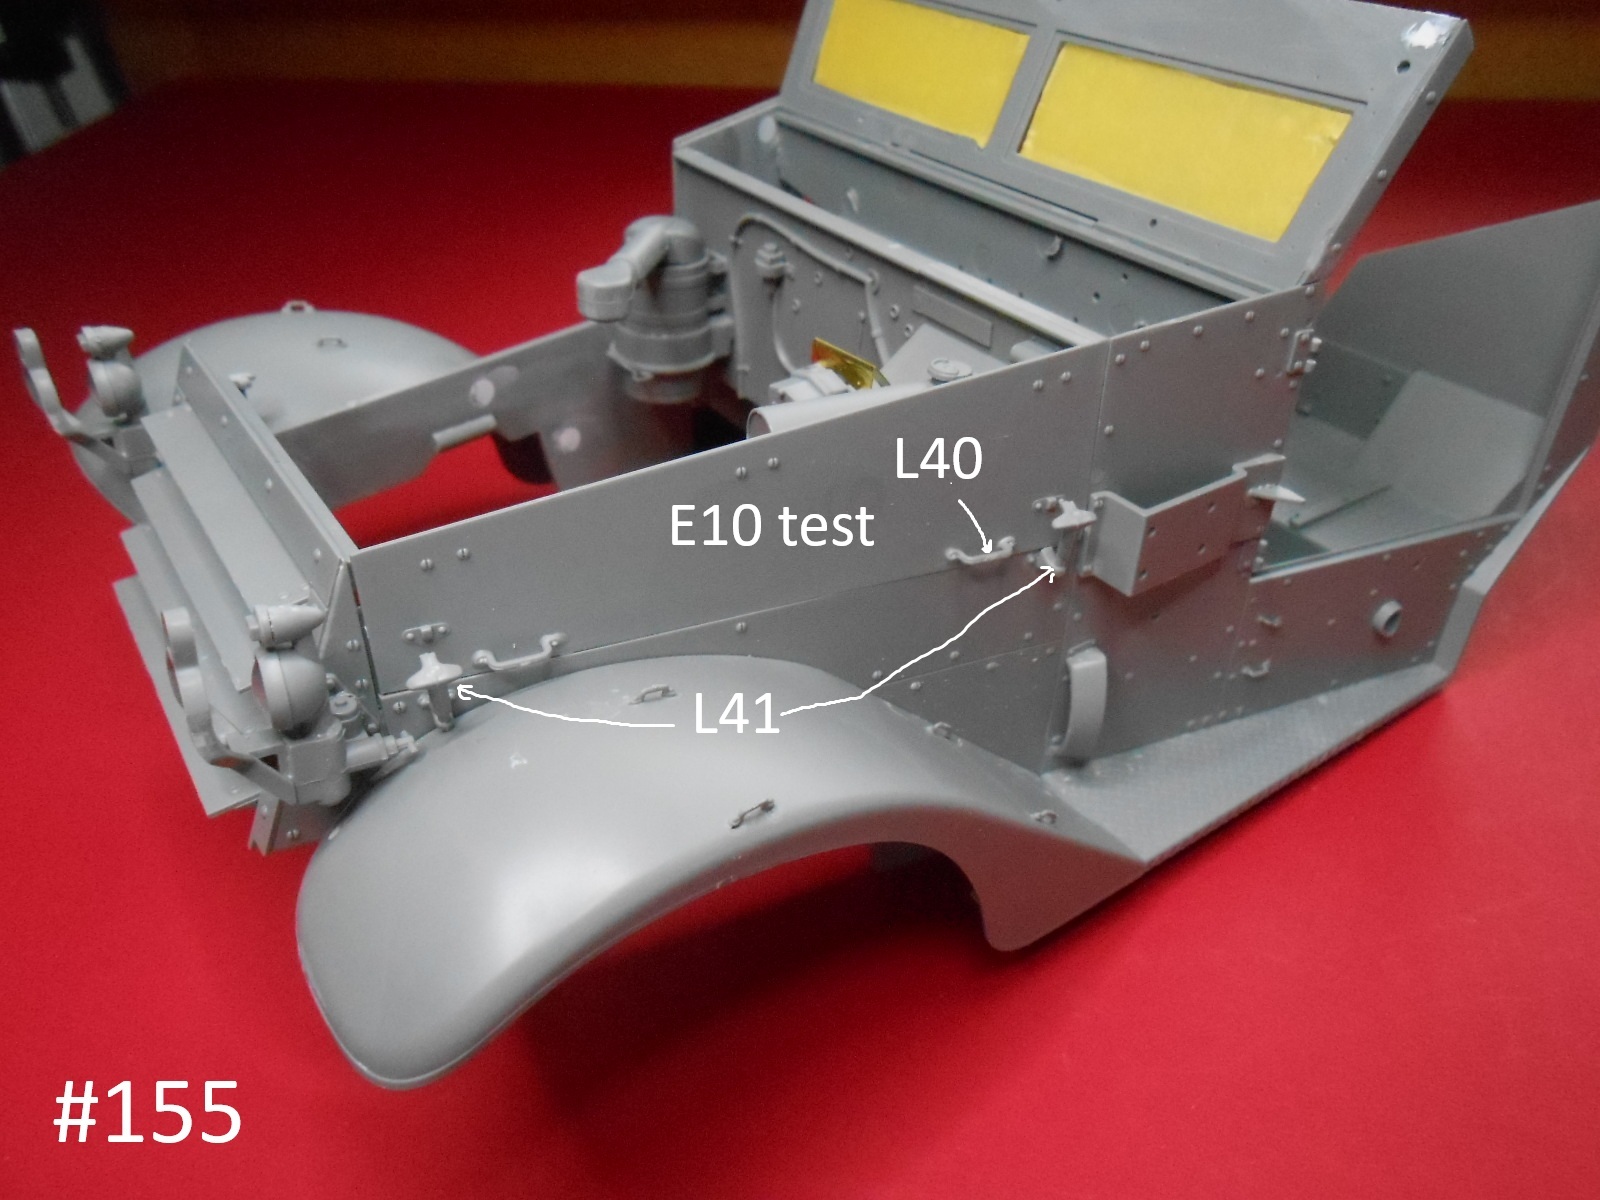
I love yellow “Delicate Surface” Frog Tape. I buy it in bulk at Home Depot for cheap. It is just like Tamiya tape, only much less expensive. It is easy to cut, makes a sharp line, doesn’t bleed, and doesn’t lift prior paint layers.
I’m trying the Tape here for the first time, it cuts good.
Ok now back to the build.
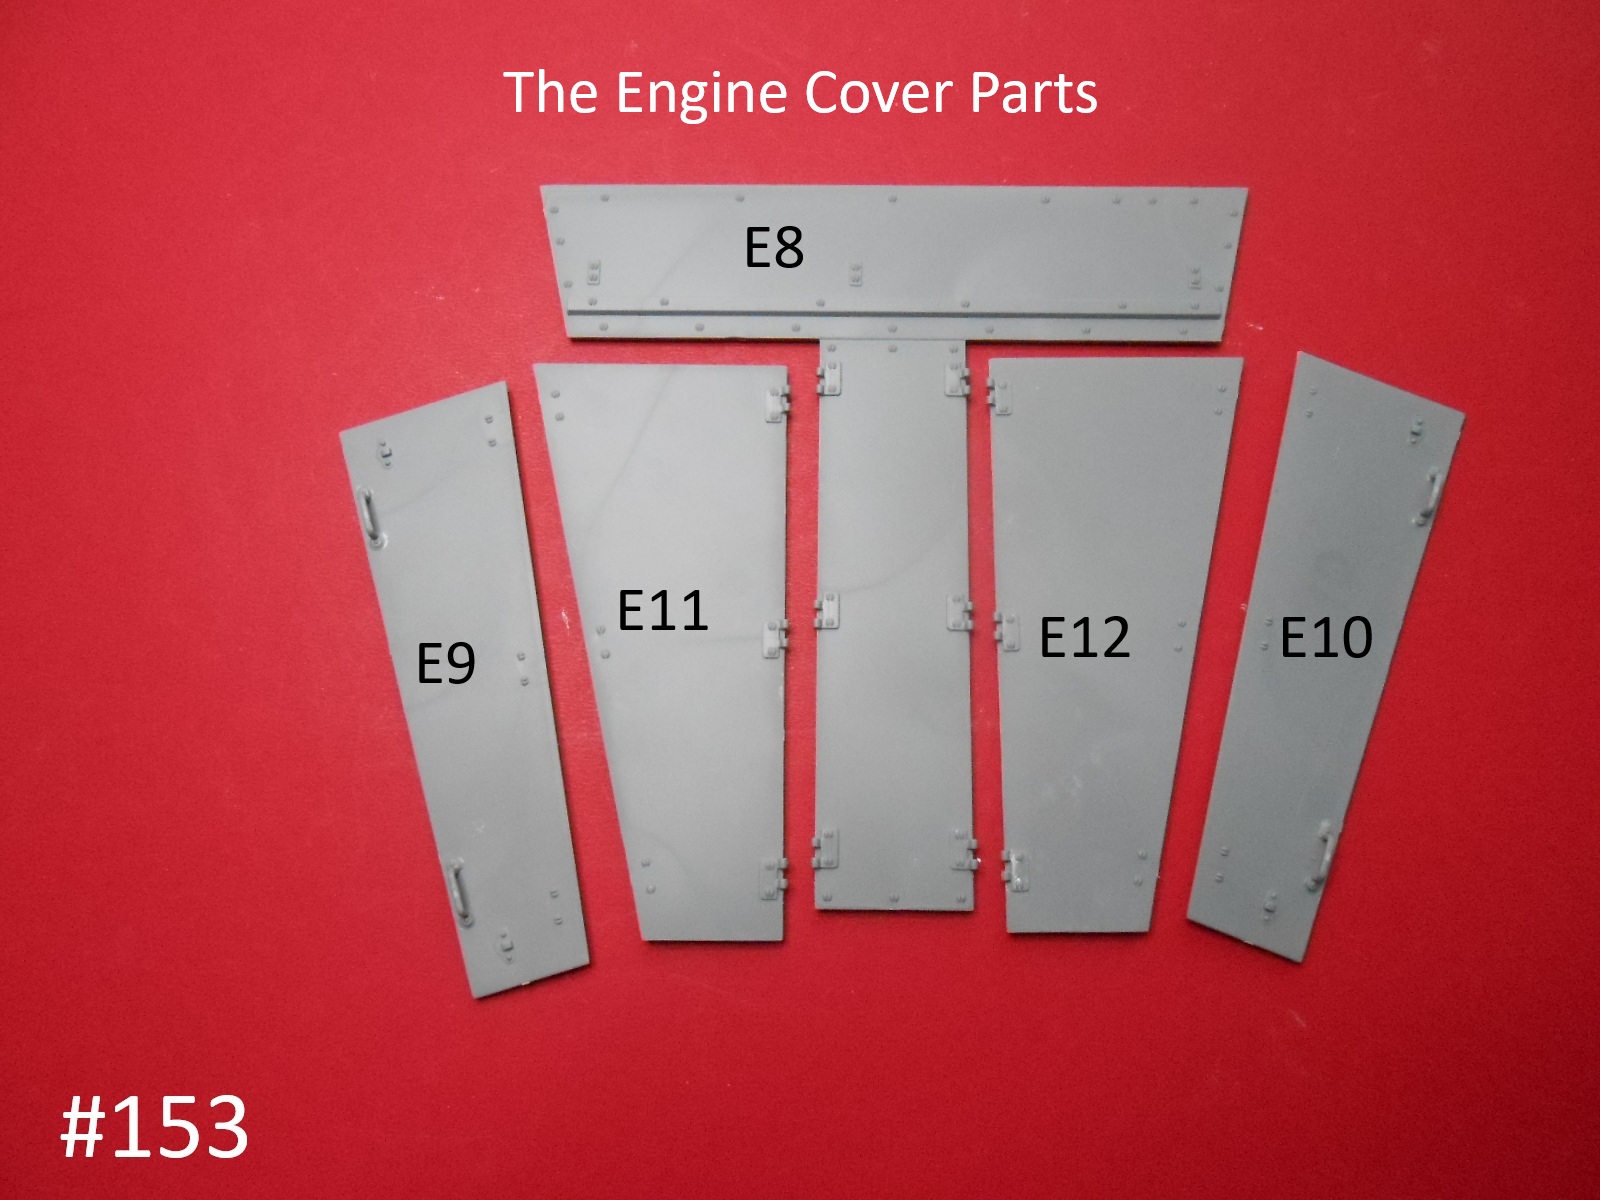
First off The Instructions have some of the Engine Cover fittings Numbers mixed up.
#1 The Hold down Latches are really #L41 not L40
#2 The Side Lift Handles are really #L40 not M30
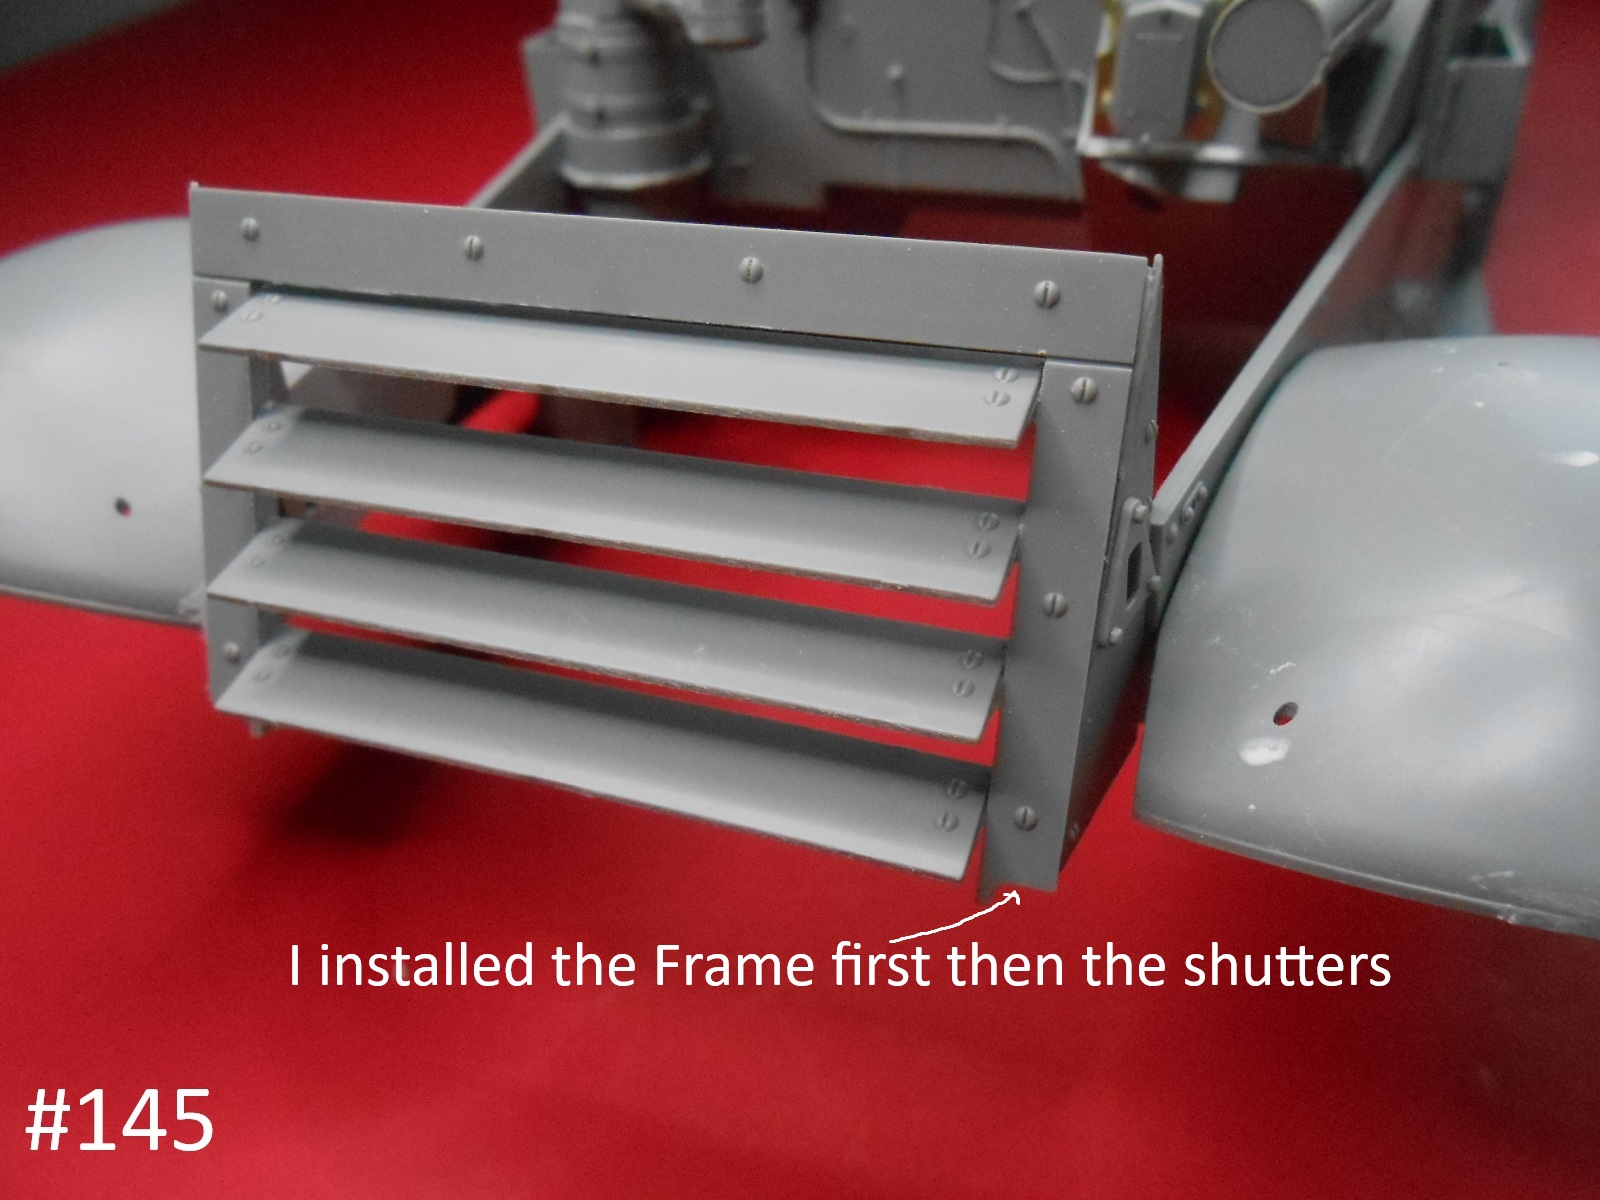
Now the Pics.
OK I’m finished for today
Donald