Donald, remove the pins from the links on the sprocket and glue the links to the sprocket like you would with link and length tracks.
1 Like
Right now I have the Kit re-boxed up, and I’m about to start a new Build.
I’ll try this when the new build is finished.
Sincerely
Donald
1 Like
That’s not going to work. Either the sprocket is off or the track pitch is off. Even without track pins there still won’t be enough room to fit the tracks on the sprocket. The pitch (width of track from hole to hole) is off (too wide) and needs to be molded smaller to fit the sprocket.
That’s what I thought.
I have seen a set of resin Printed track, but there’s no guarantee that they would fit.
They cost $138 that’s more than I paid for the kit, so that’s not happening.
It’ll sit in the box and maby someday i’ll salvage it for parts.
Regards
Donald
1 Like
It’s a shame you don’t have a 3d printer. A file for these tracks in 1/35 can be had for $7 and then it’s a bit tweaking in the slicer to adjust the scale and fit to your sprockets.
True, but I can’t afford a printer, I would probably just screw it up so I am going to just let it go, and not purchase anything from that company .
Regards
Donald
I built one of these. I had no problem with the tracks though.
I did draw-up and 3D print grills and screens for the air intake and exhausts, plus a few other parts. The kit looks great when finished, it just takes a bit of tweaking,
but then is this not why we build anyway?
Honestly, I do not get the negativity.
I may have filed the sprockets a bit, now that I think about it. NO BIG DEAL.
I’m Back Ahhhh
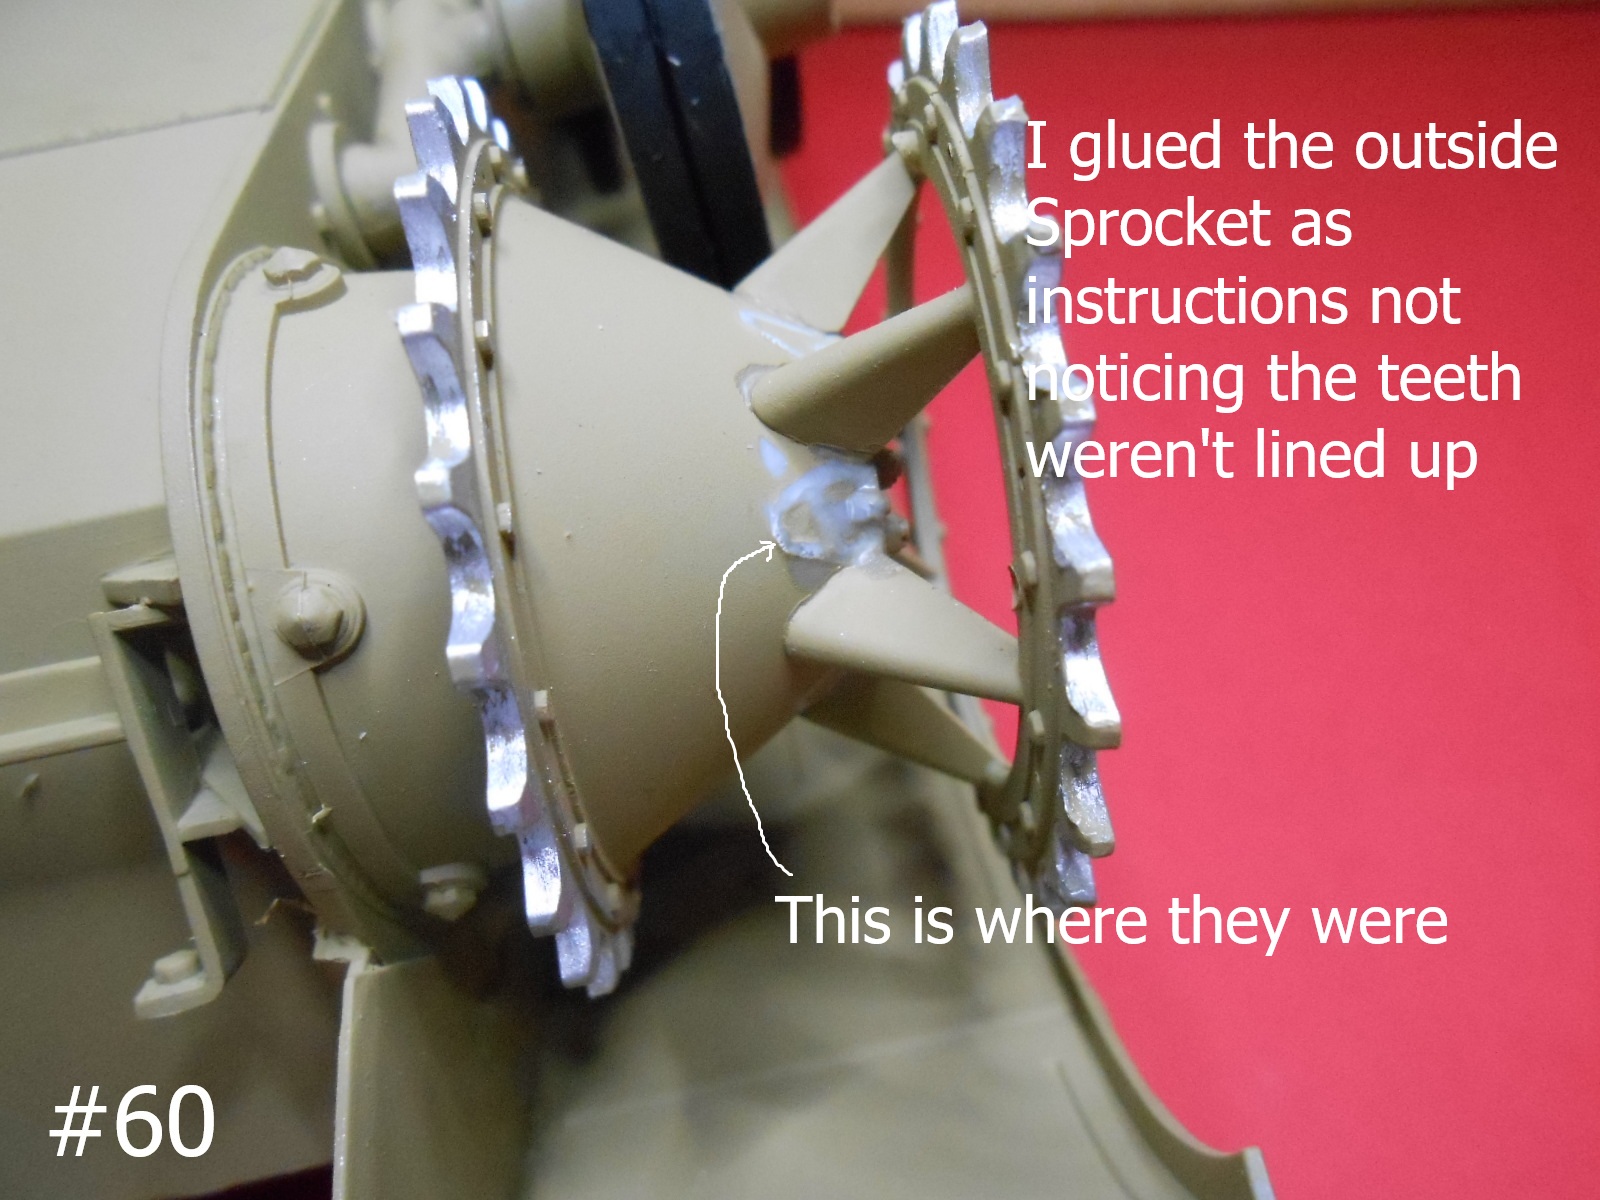
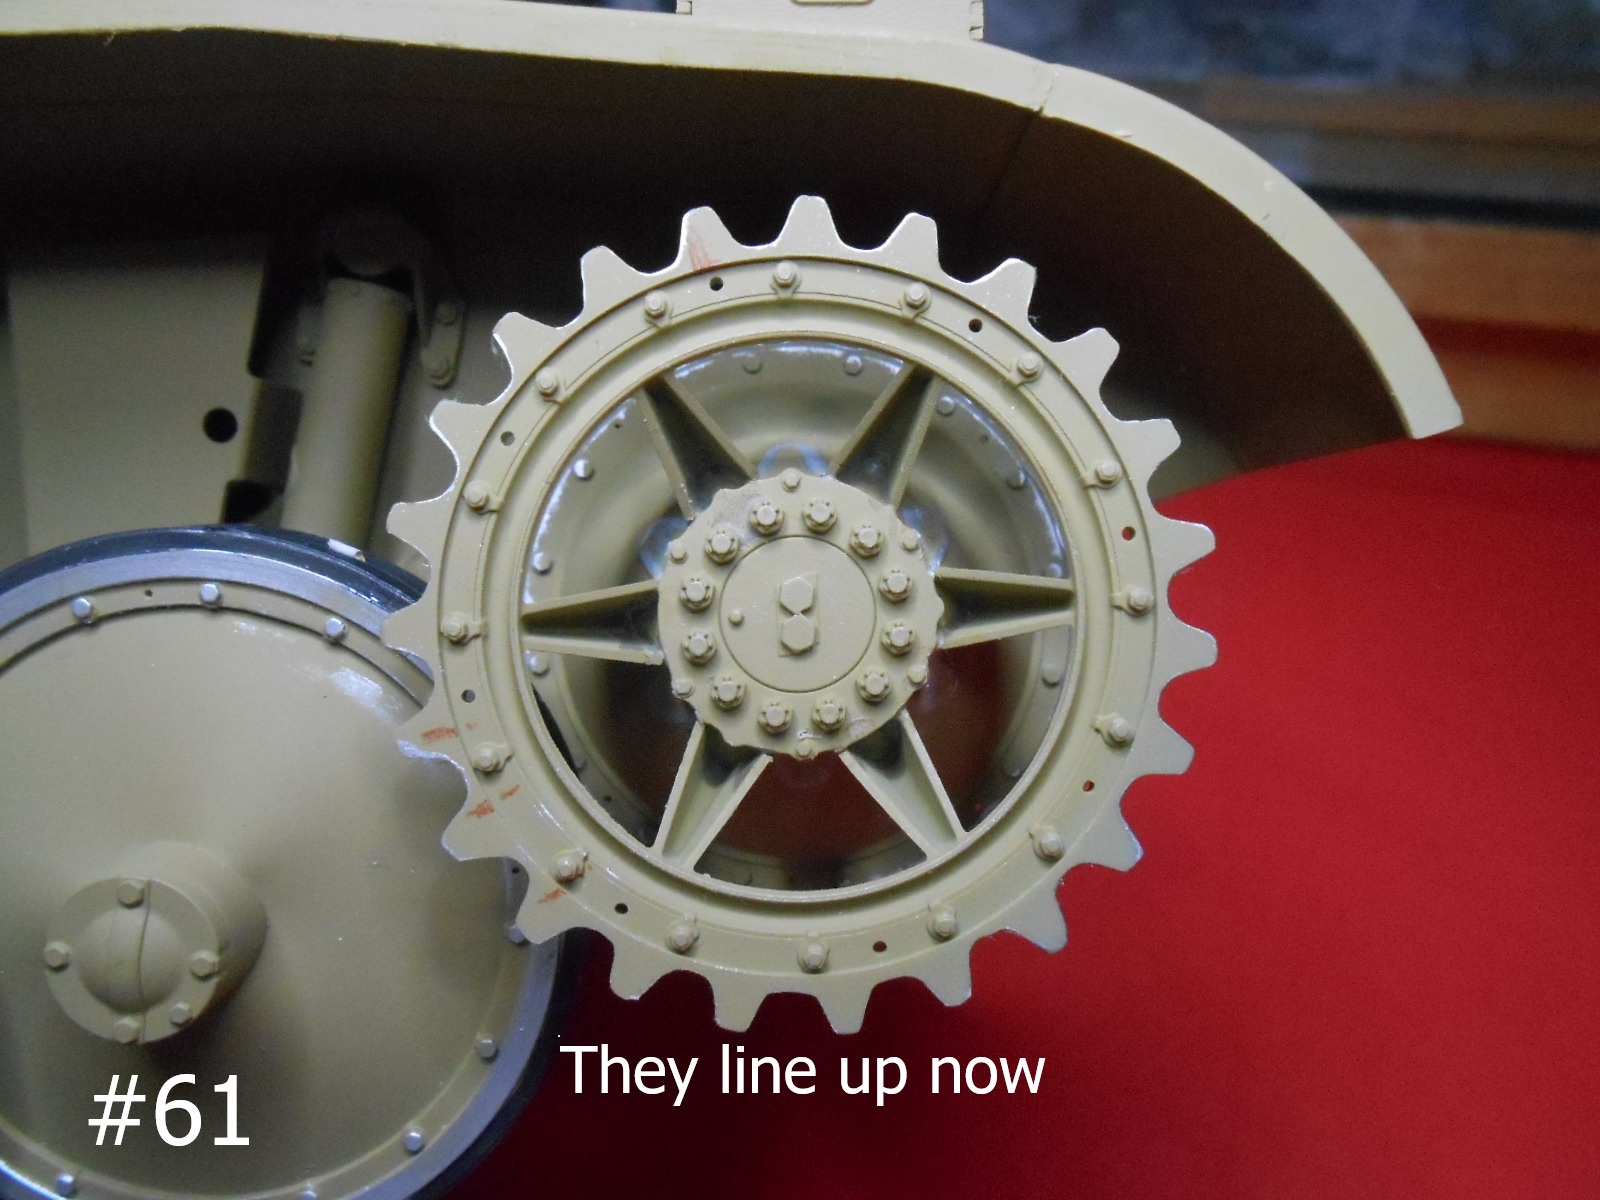
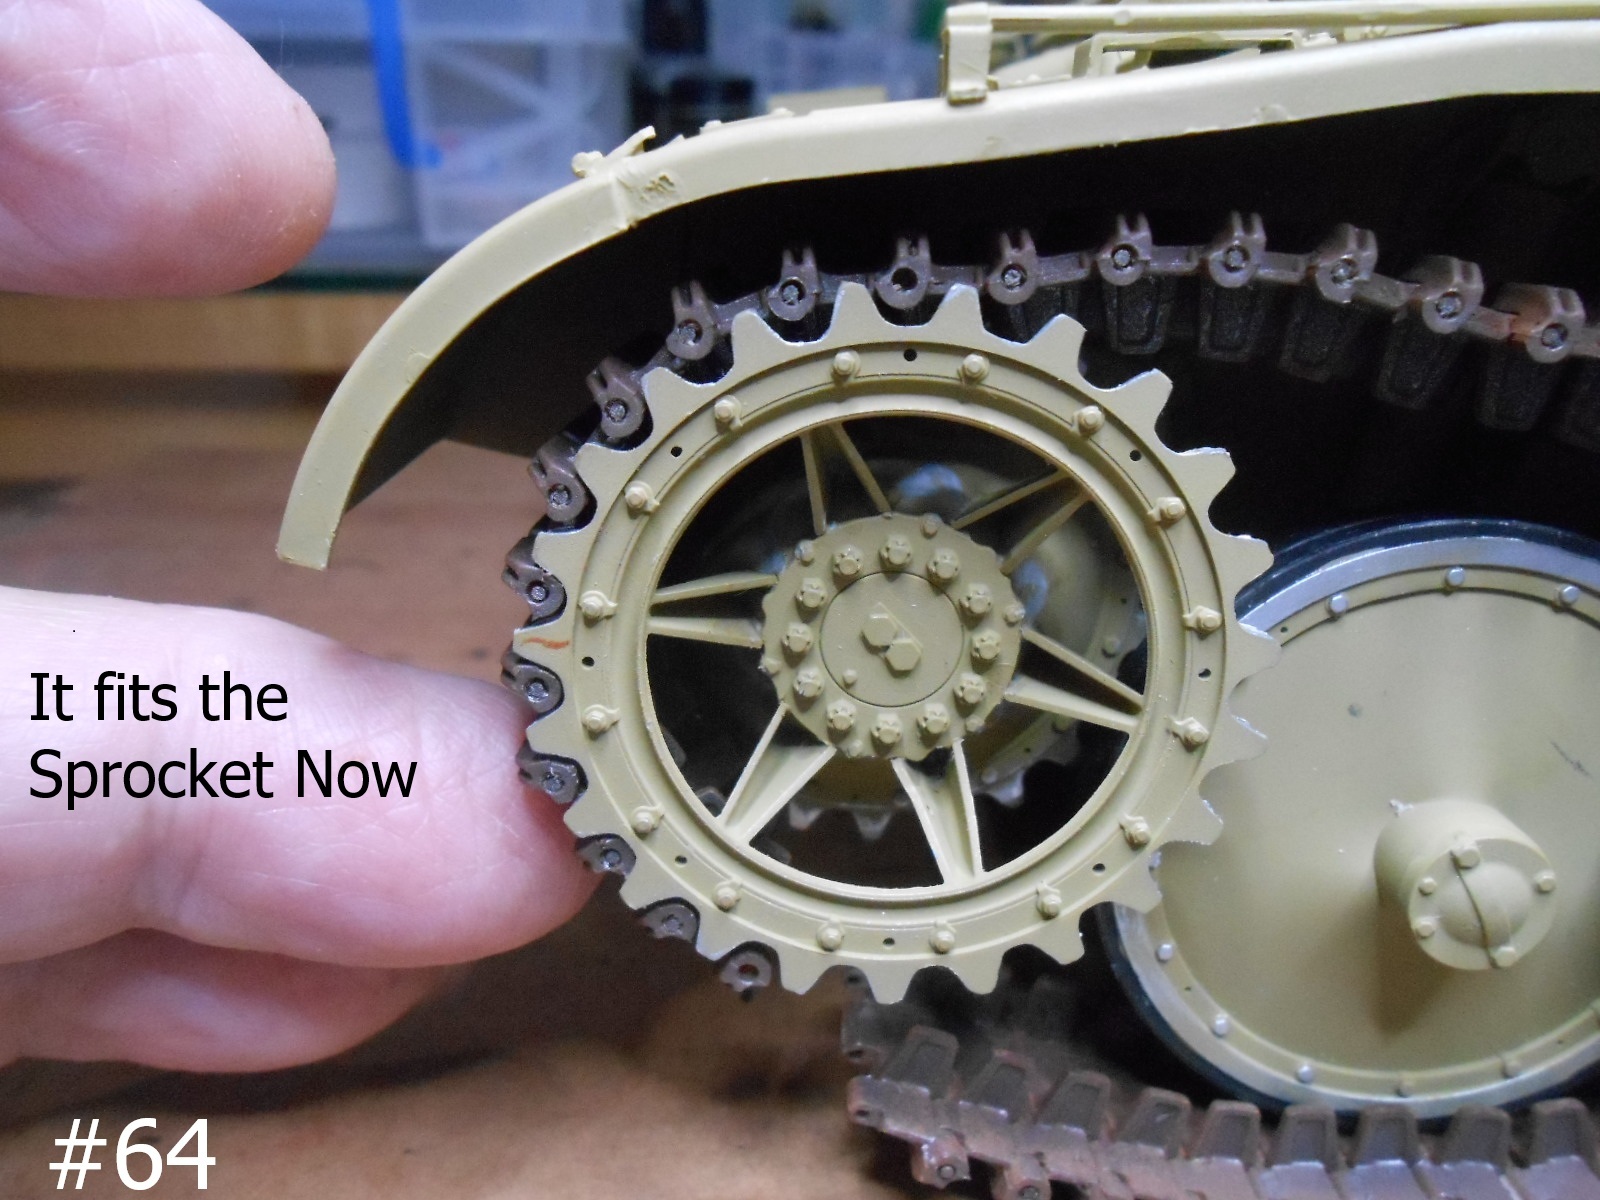
I finally figured out where it went wrong, I installed the outer Sprocket according to the instructions on the marks provided not noticing that the Sprocket teeth wern’t lined up.
I broke them free and corrected the mistake. Everything fits now so on with the Build.
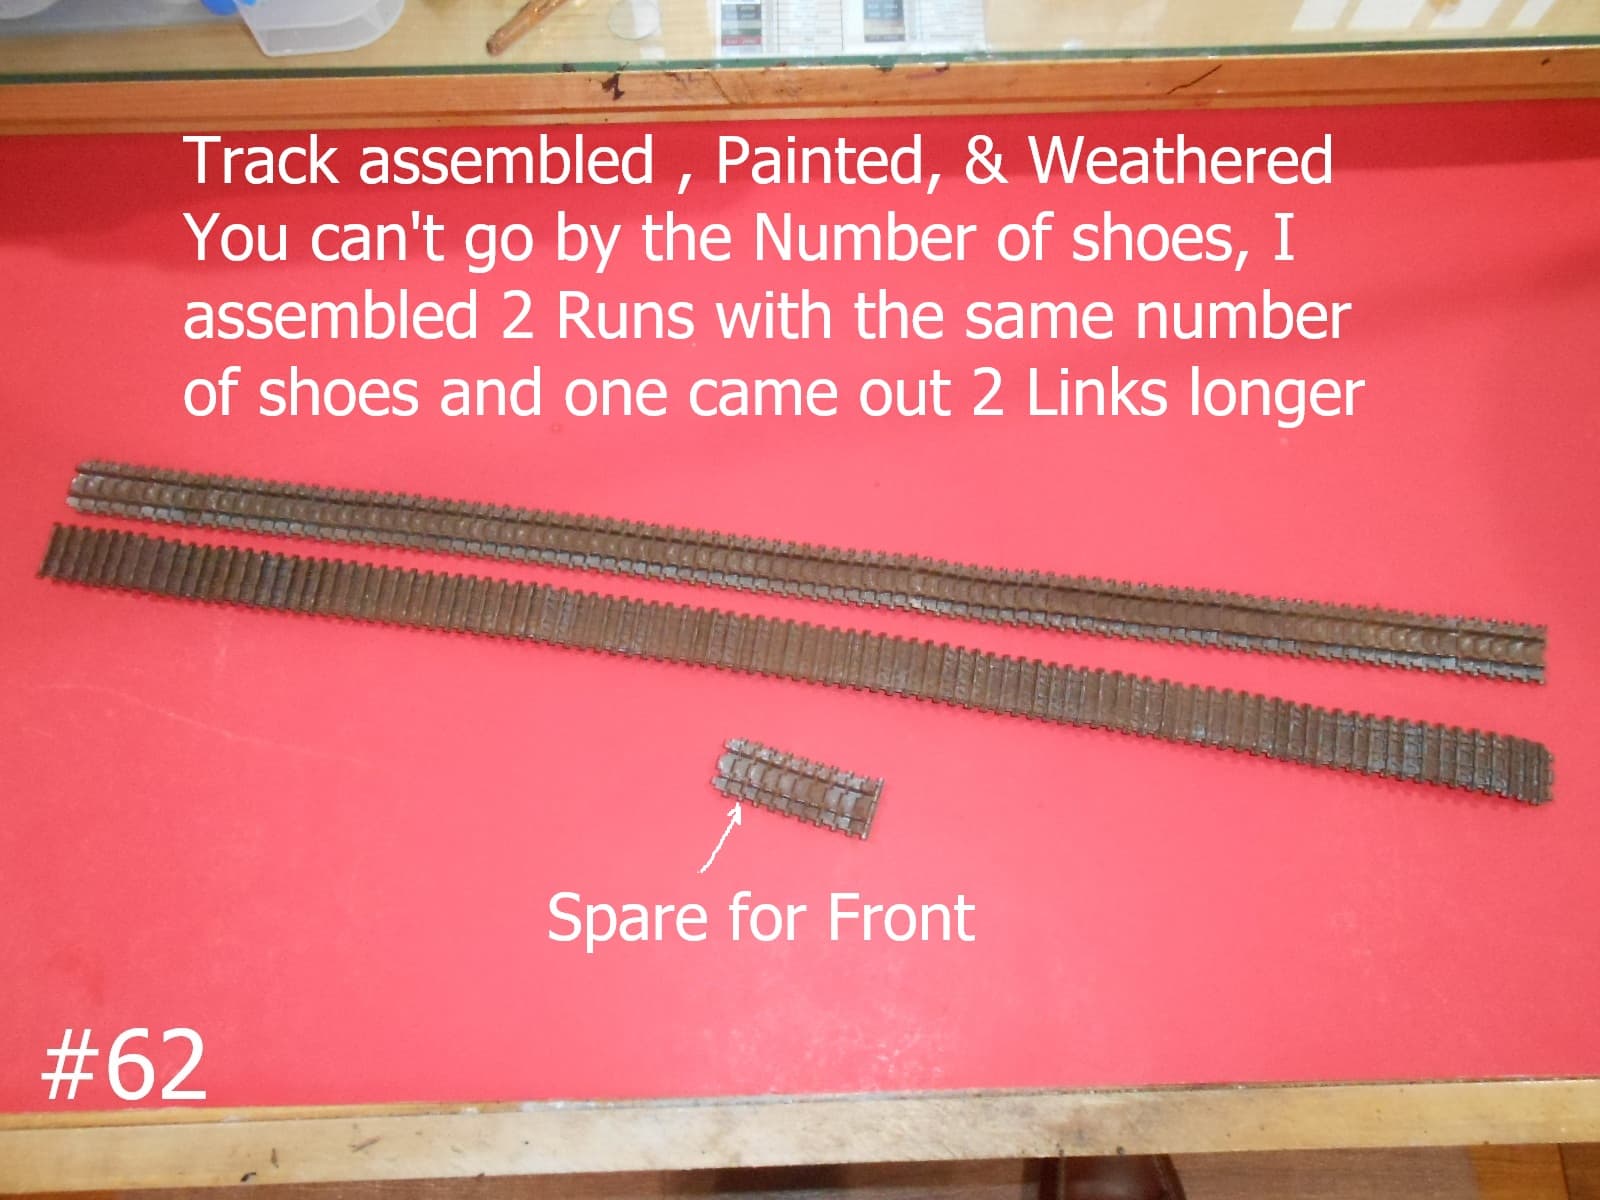
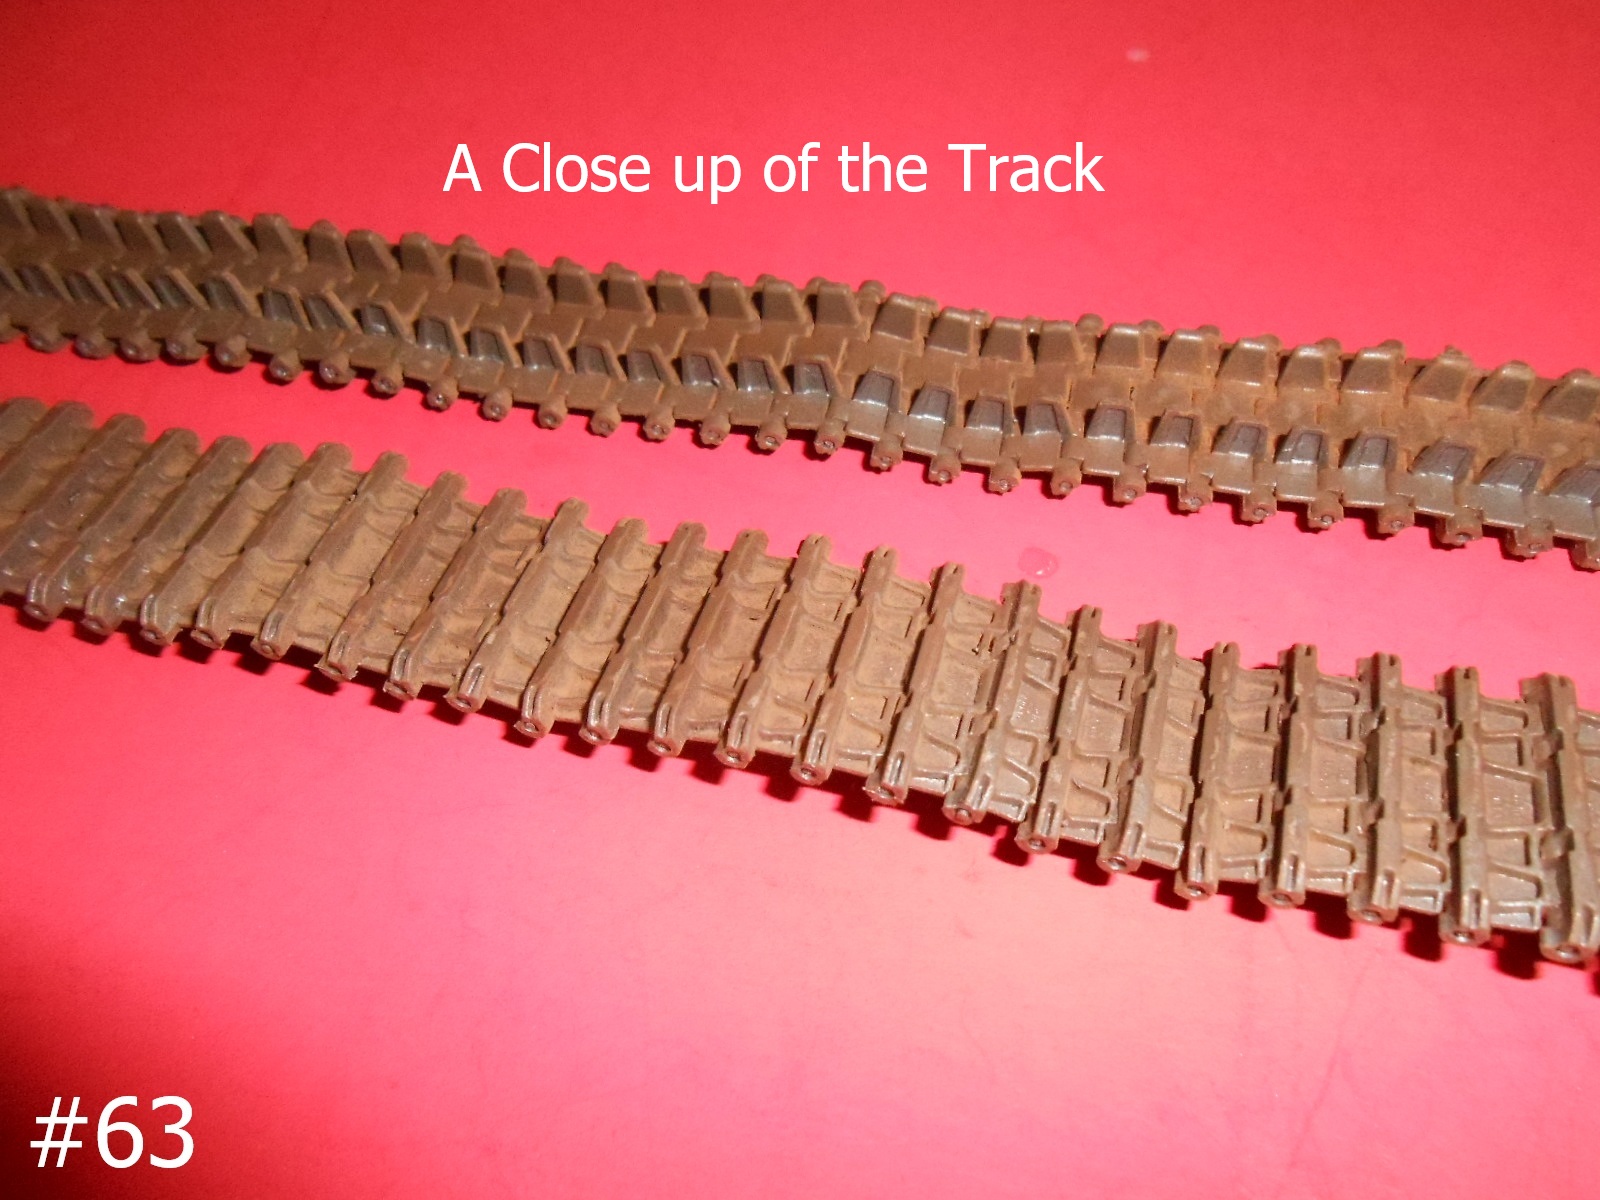
The Track was funny, I made two runs each with the same number of shoes and one came out about two links longer. I just removed the two links so they were the same Length.
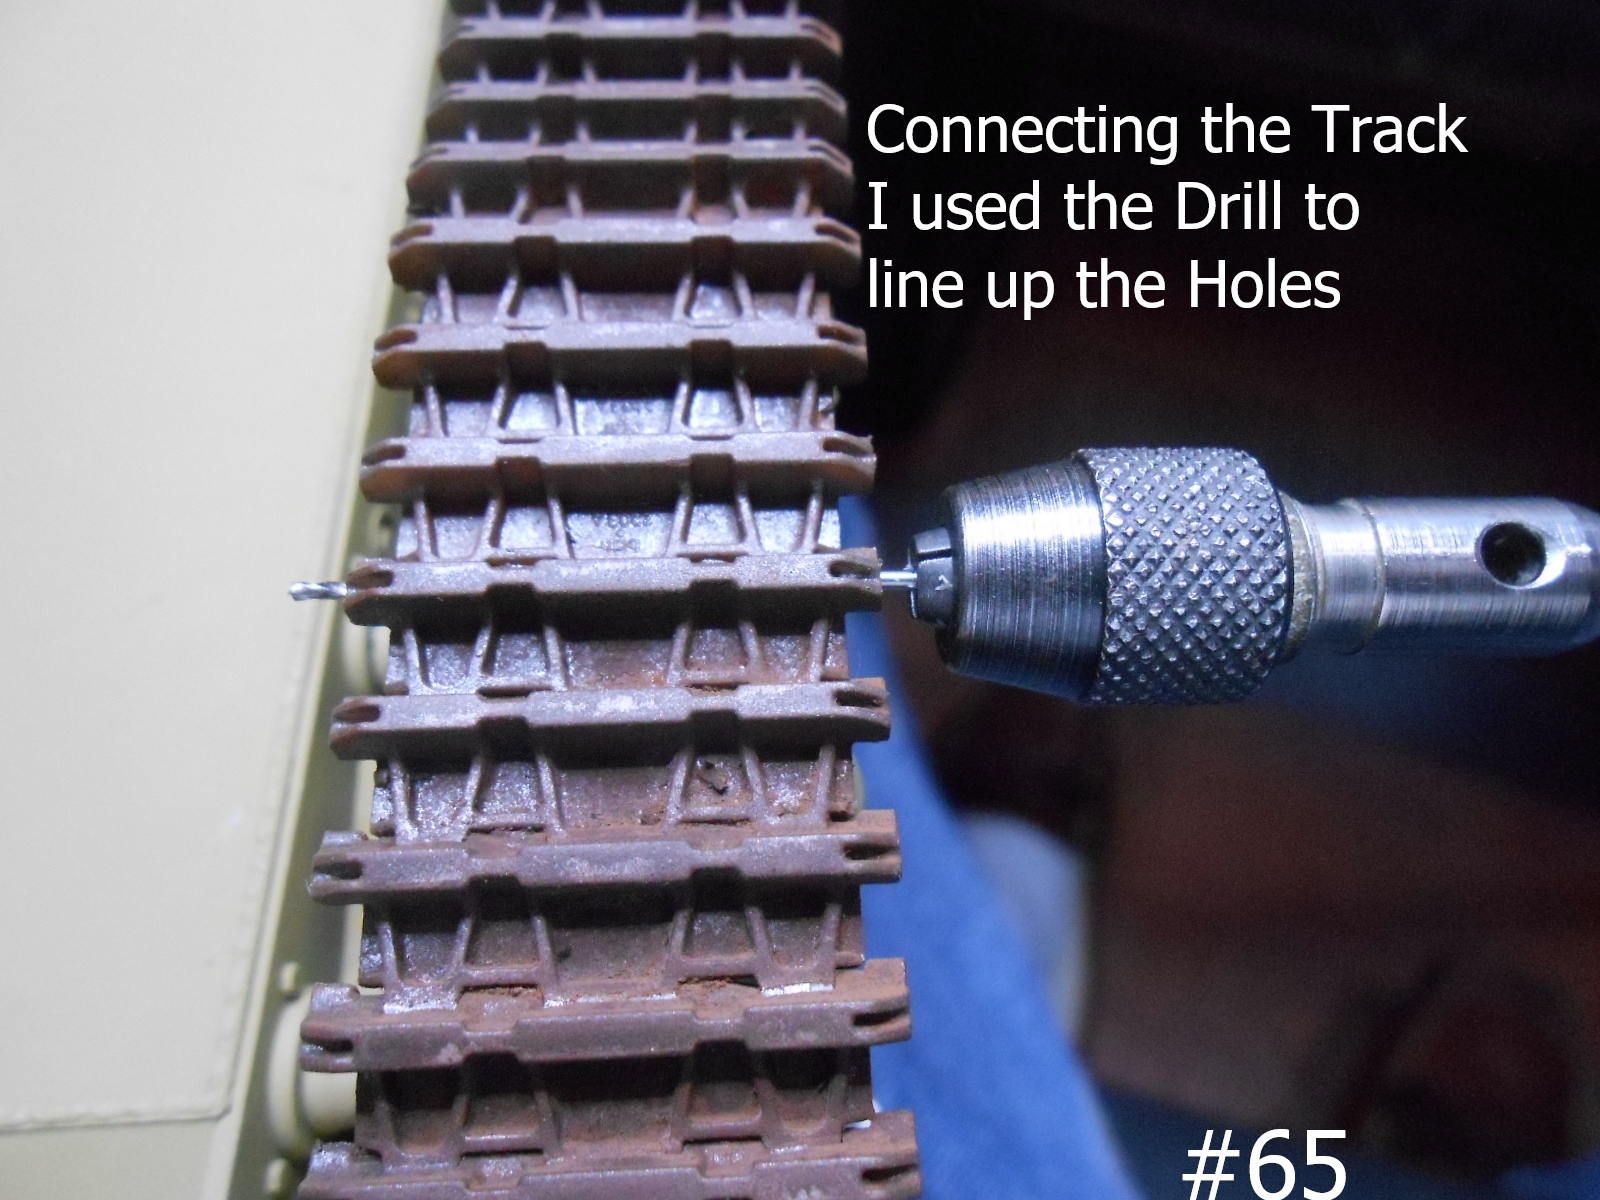

NOTE If you file the ends of the pins they will go in easier.


To Be continued.
Regards
Donald
5 Likes
Well it is finished, the Camo. and Markings aren’t meant to represent any exact Vehicle.

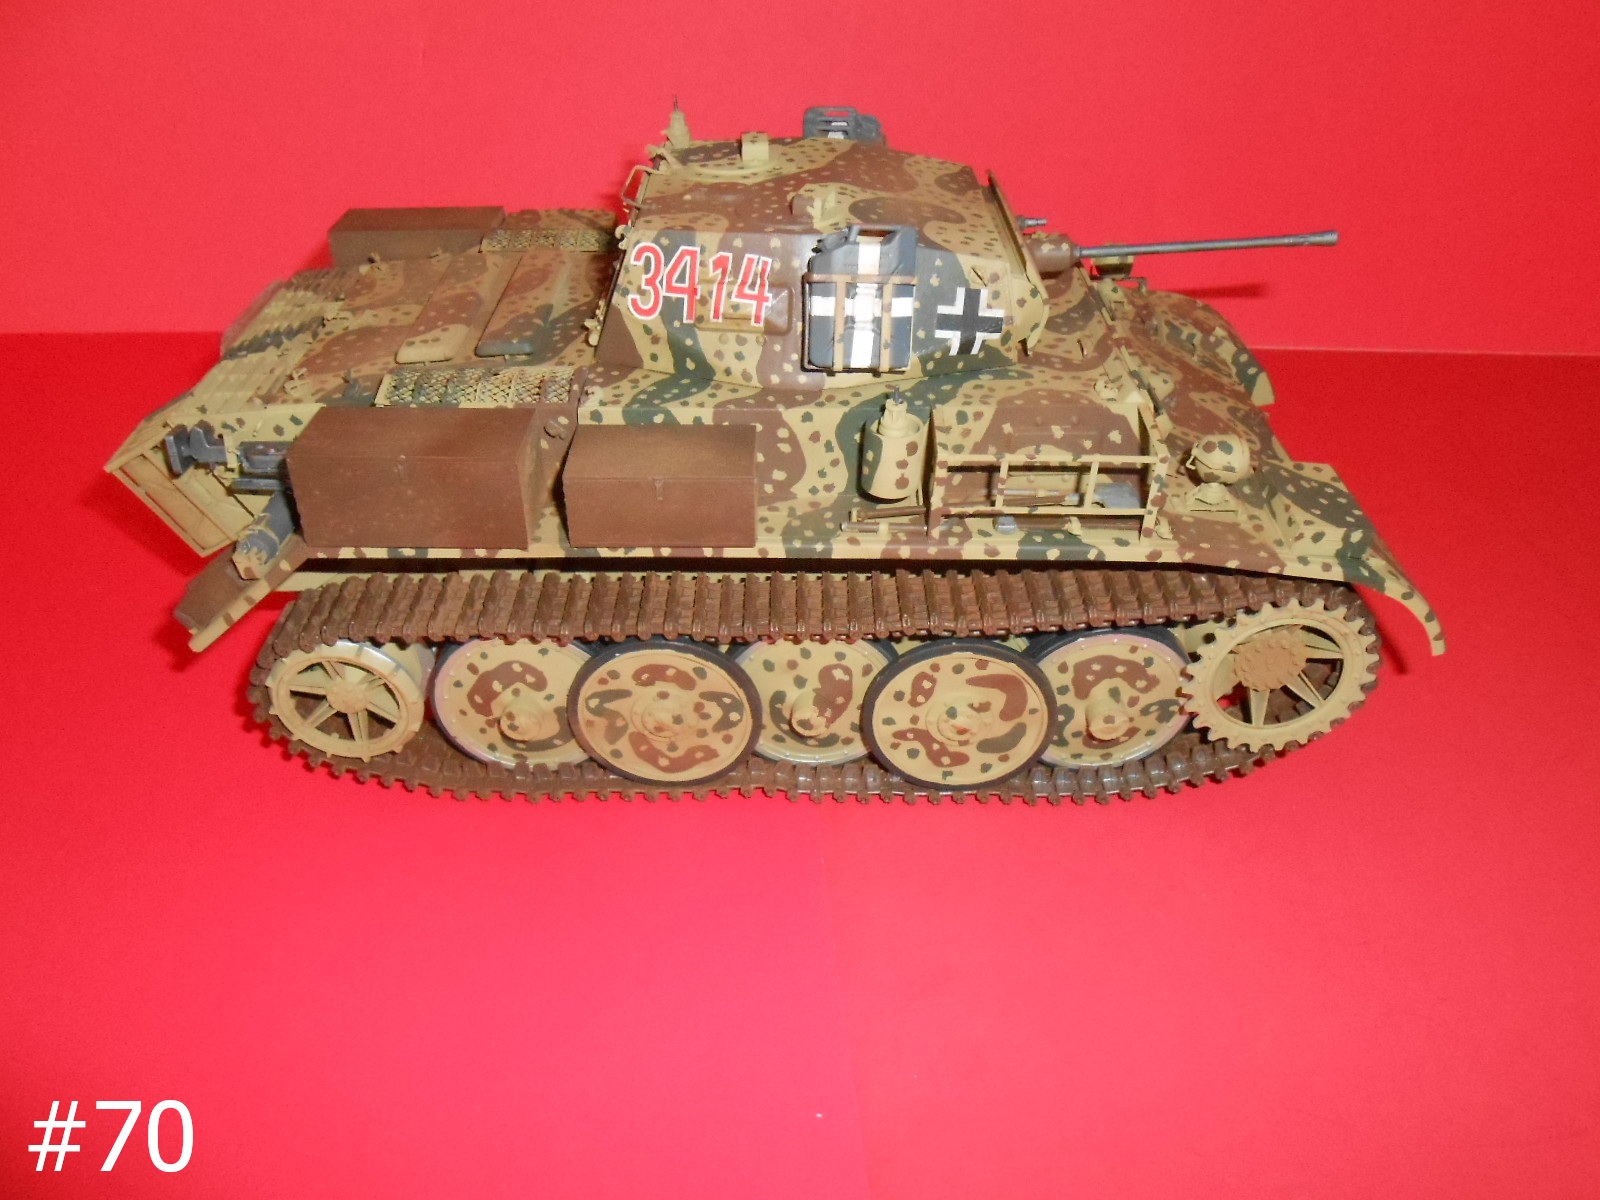
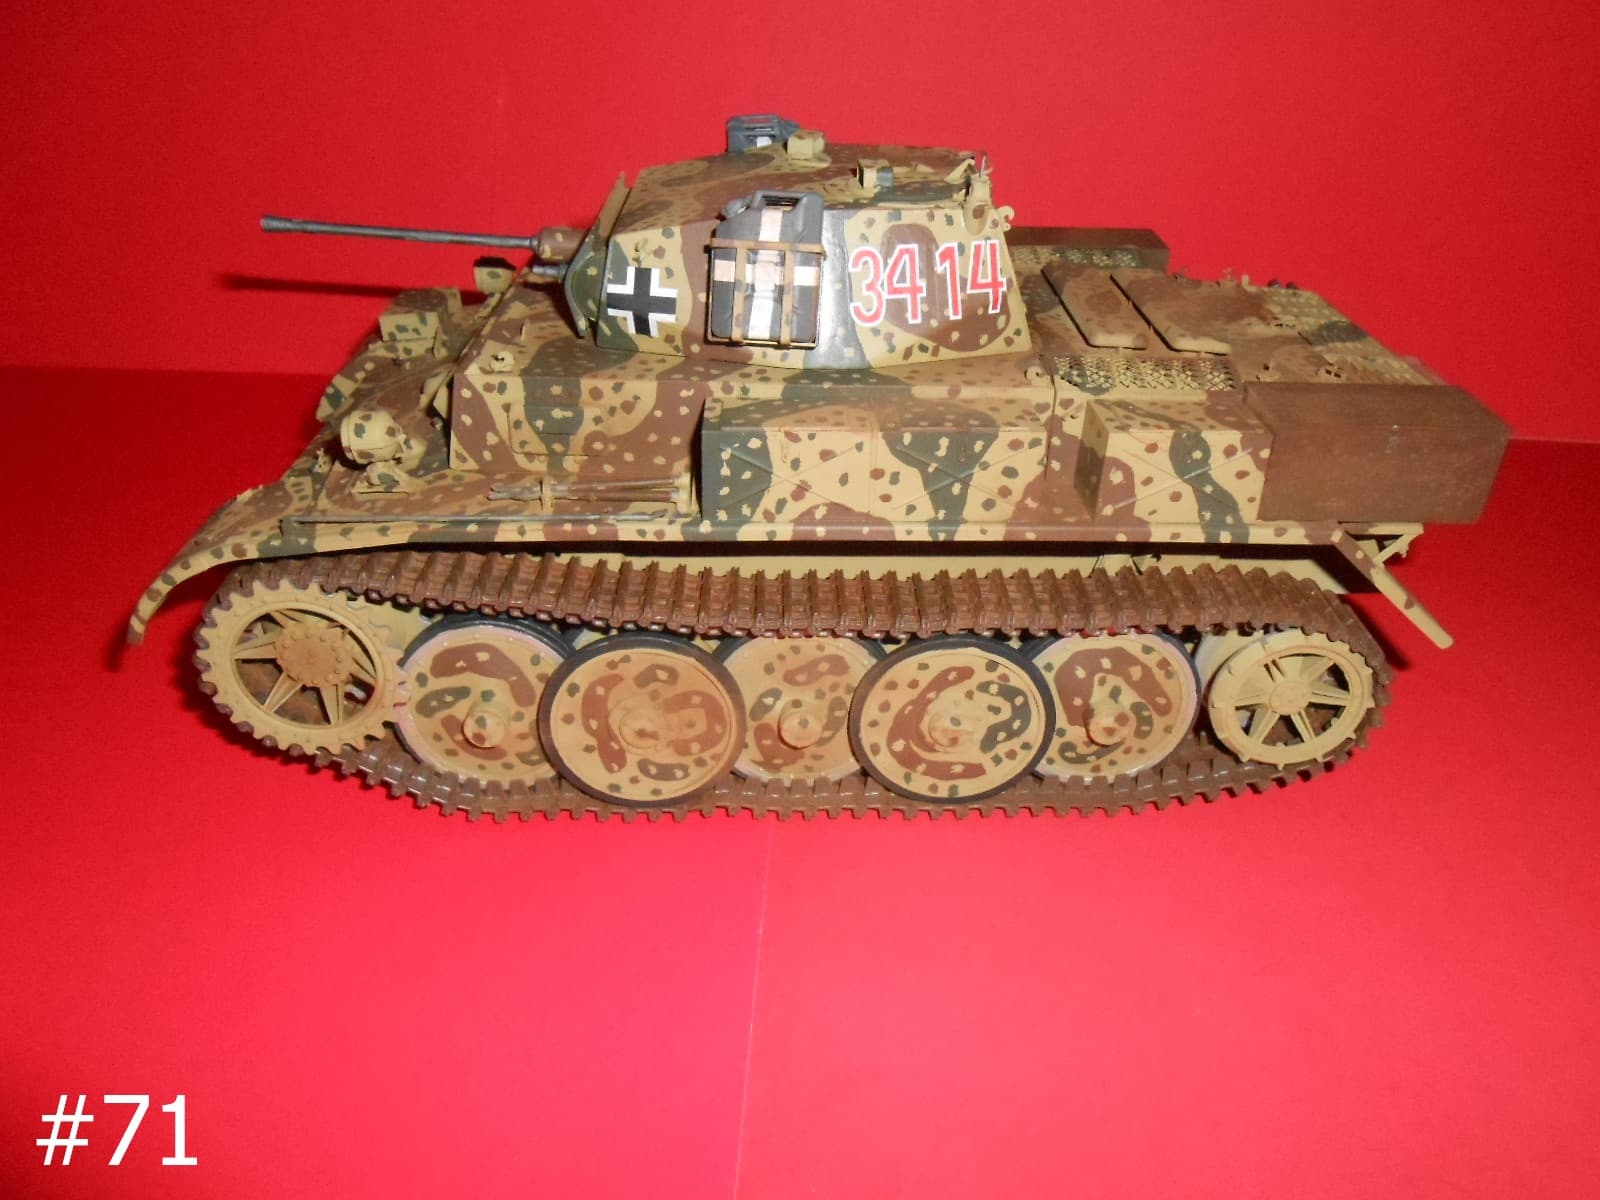
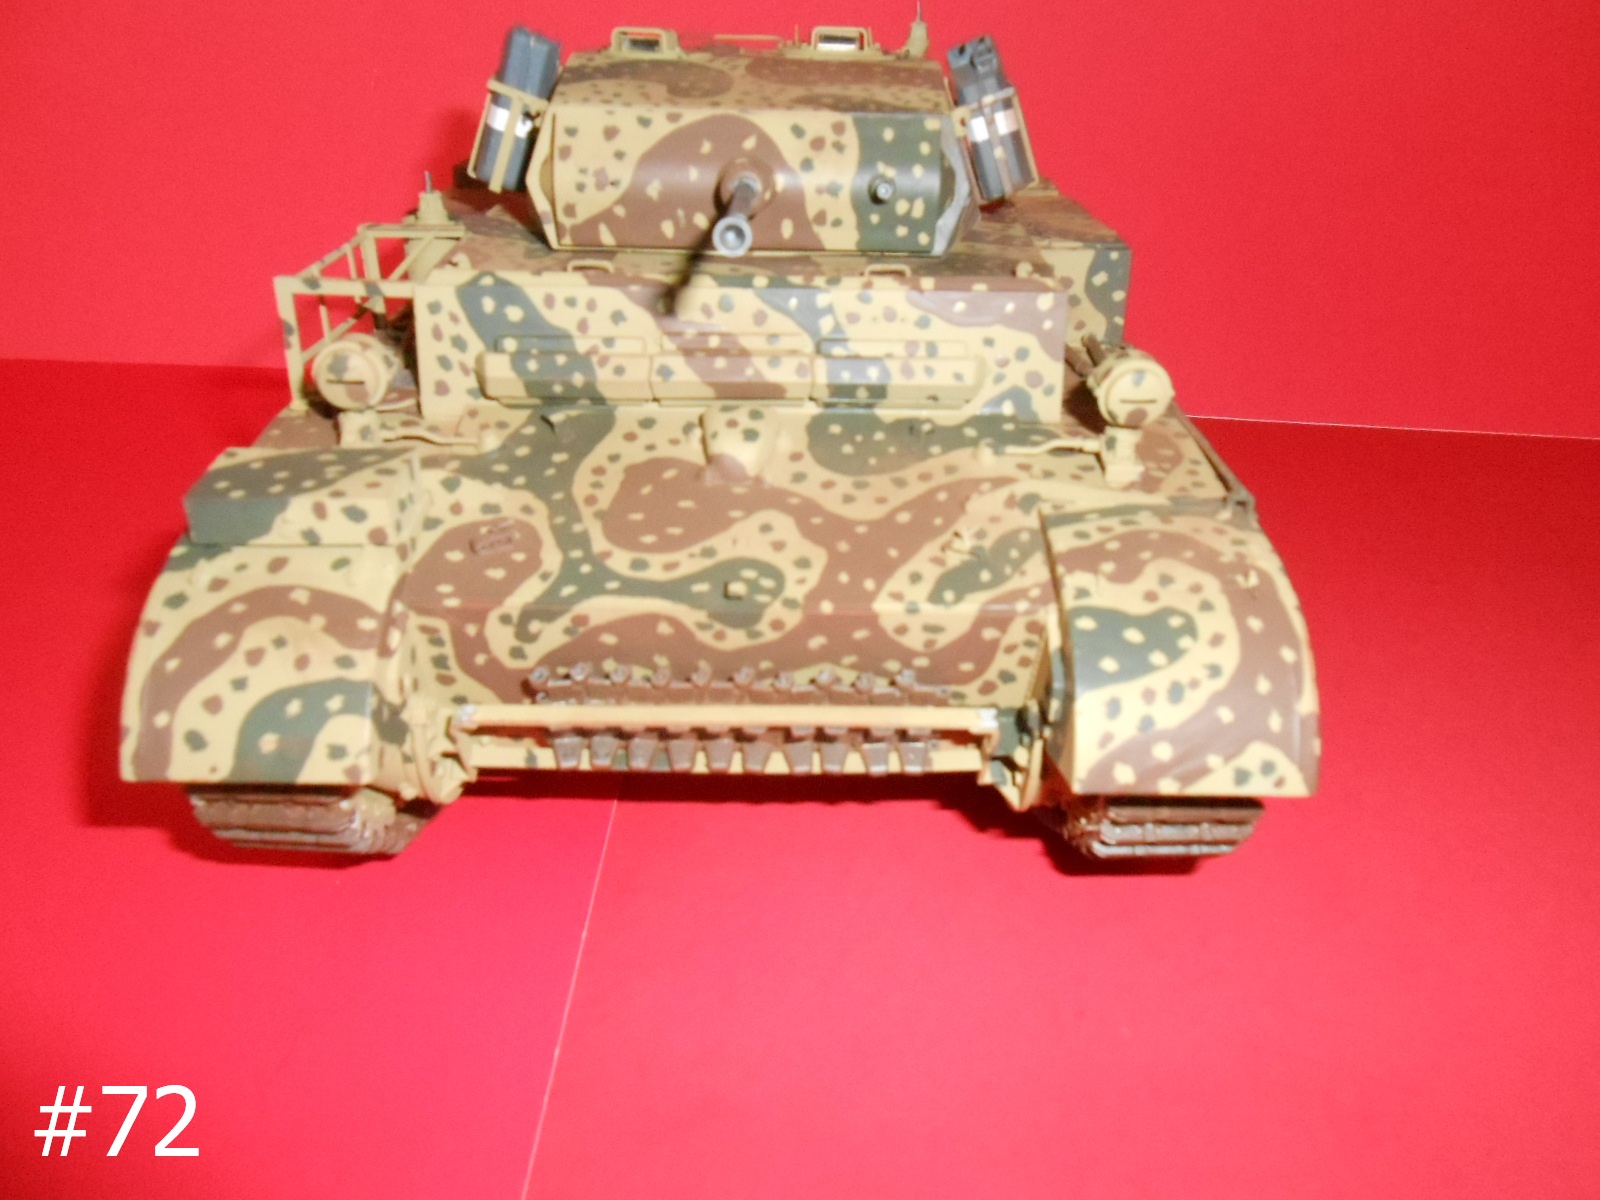
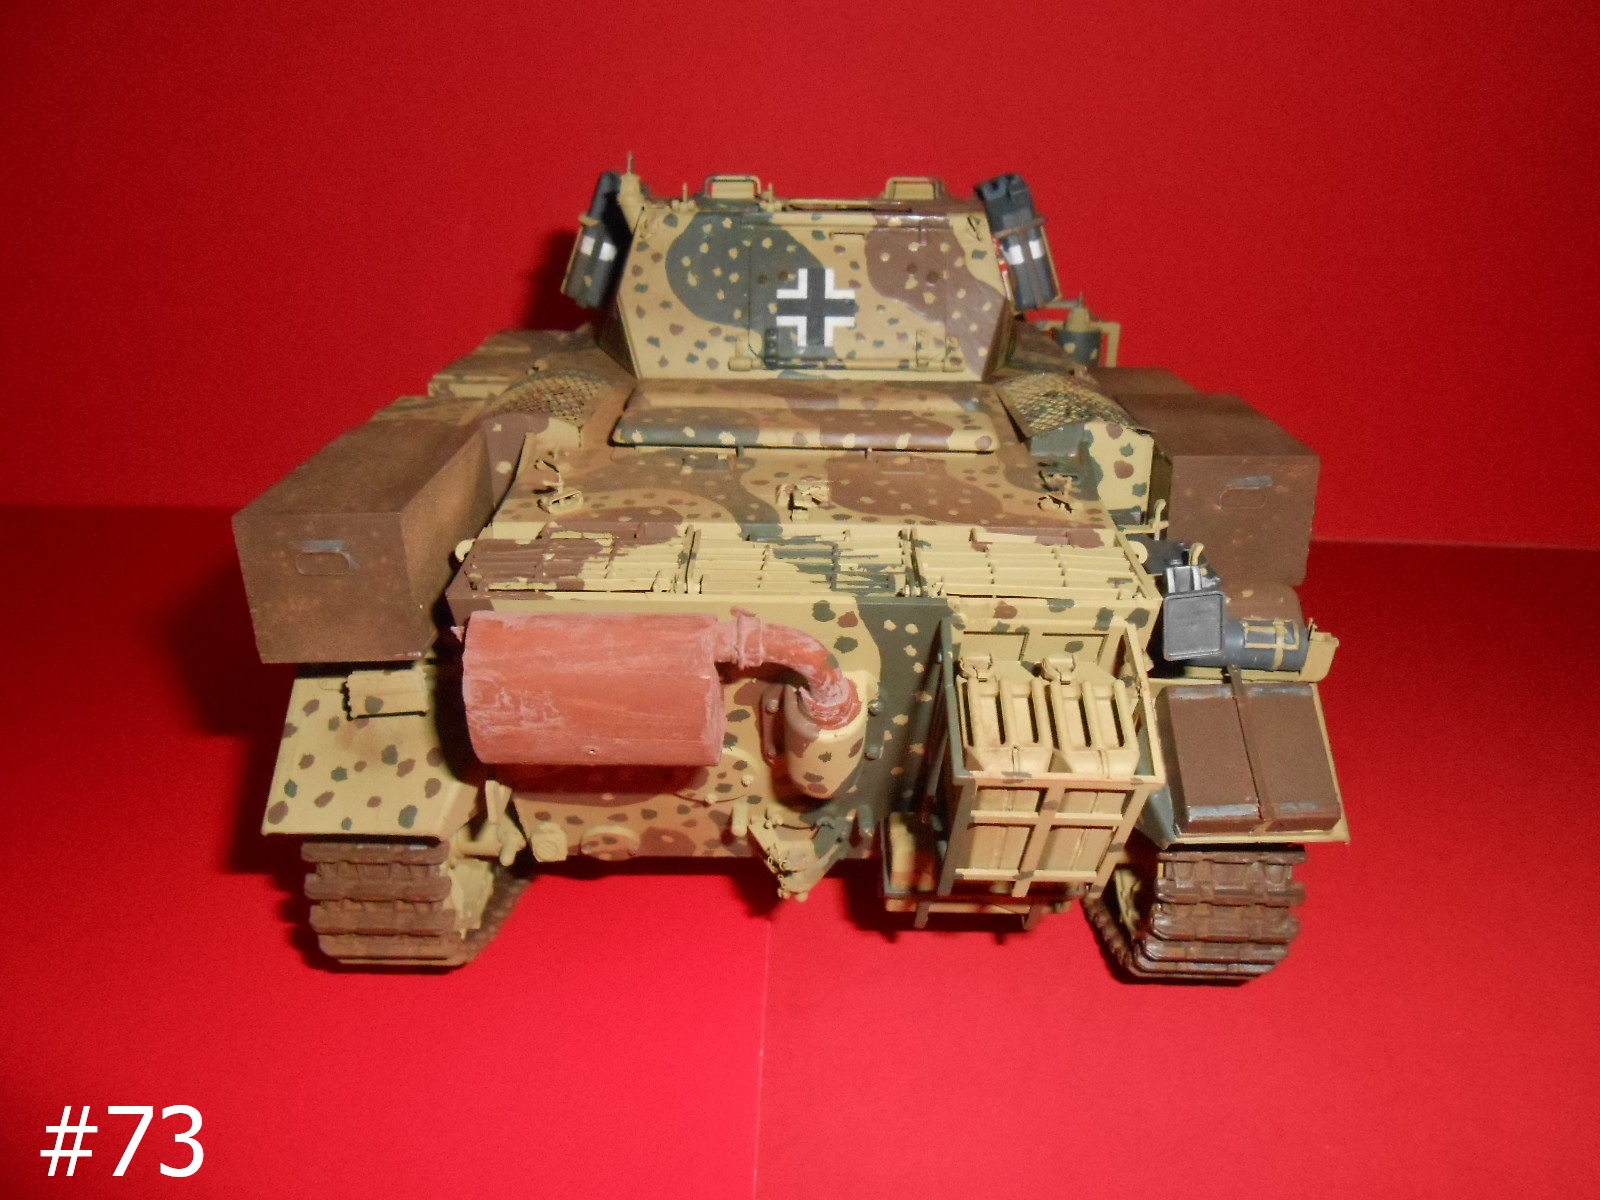
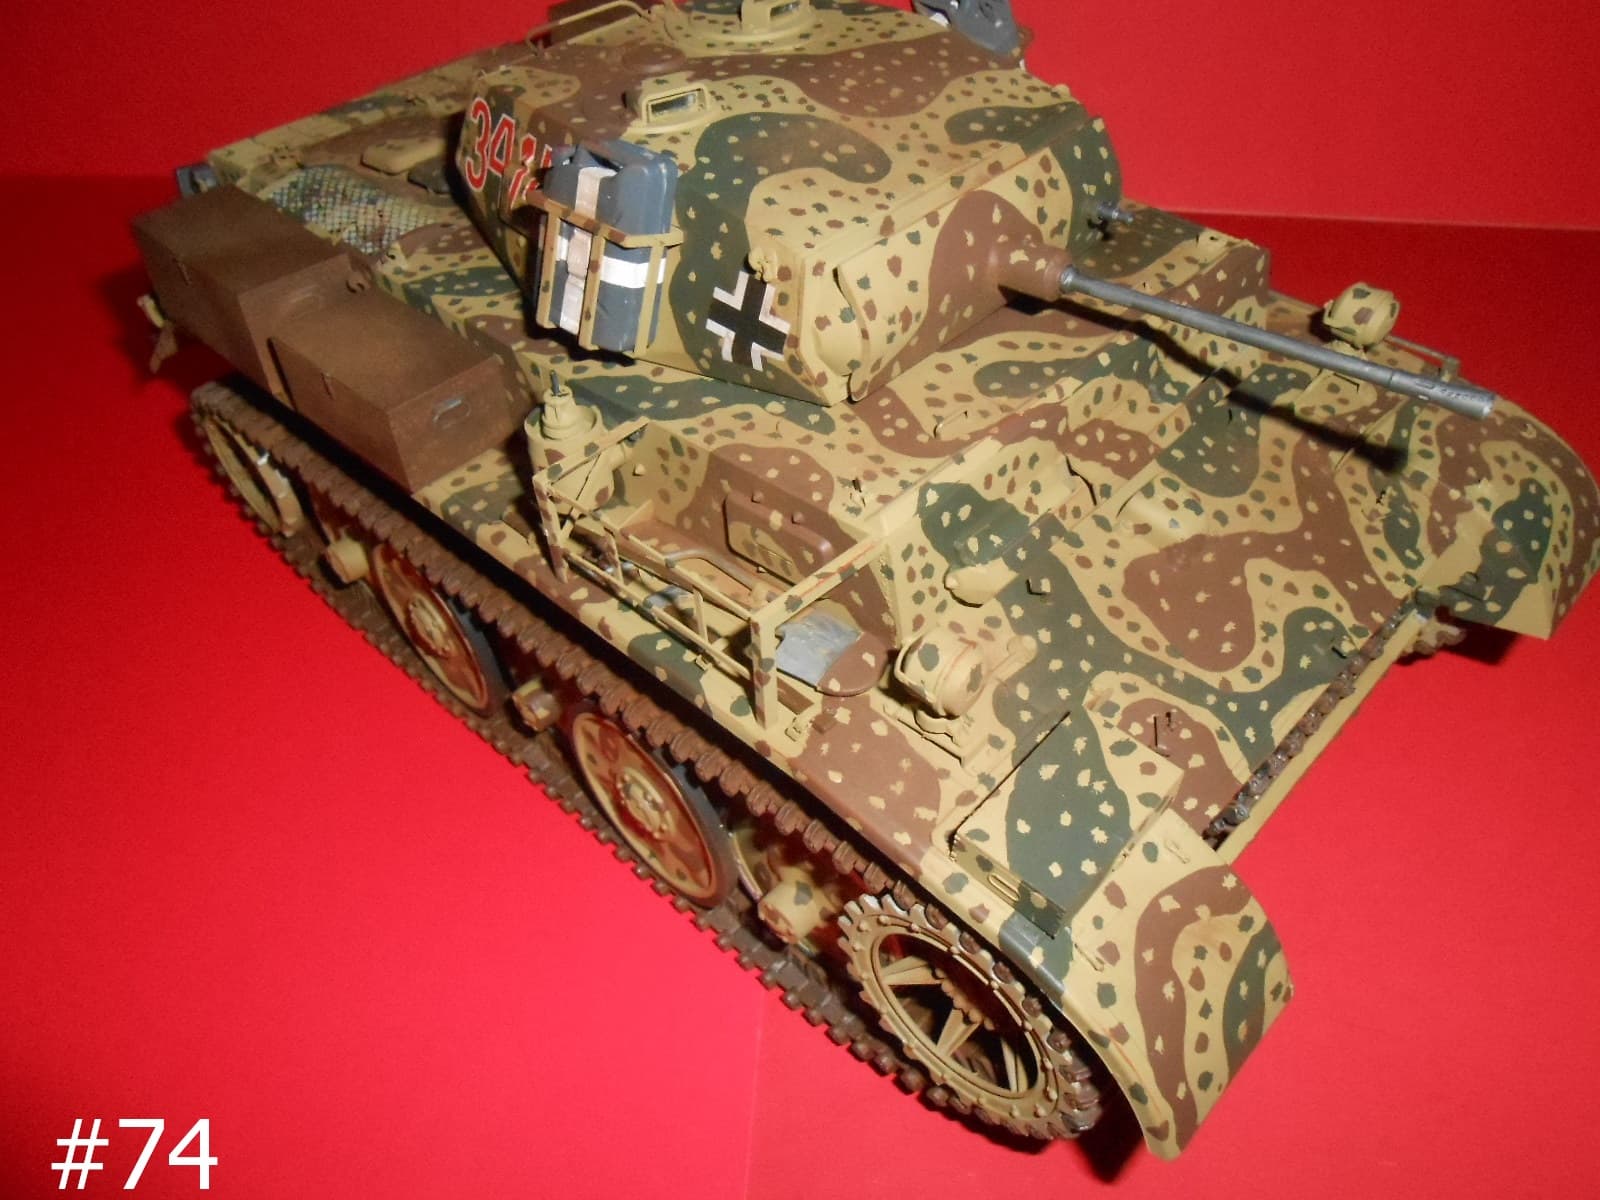
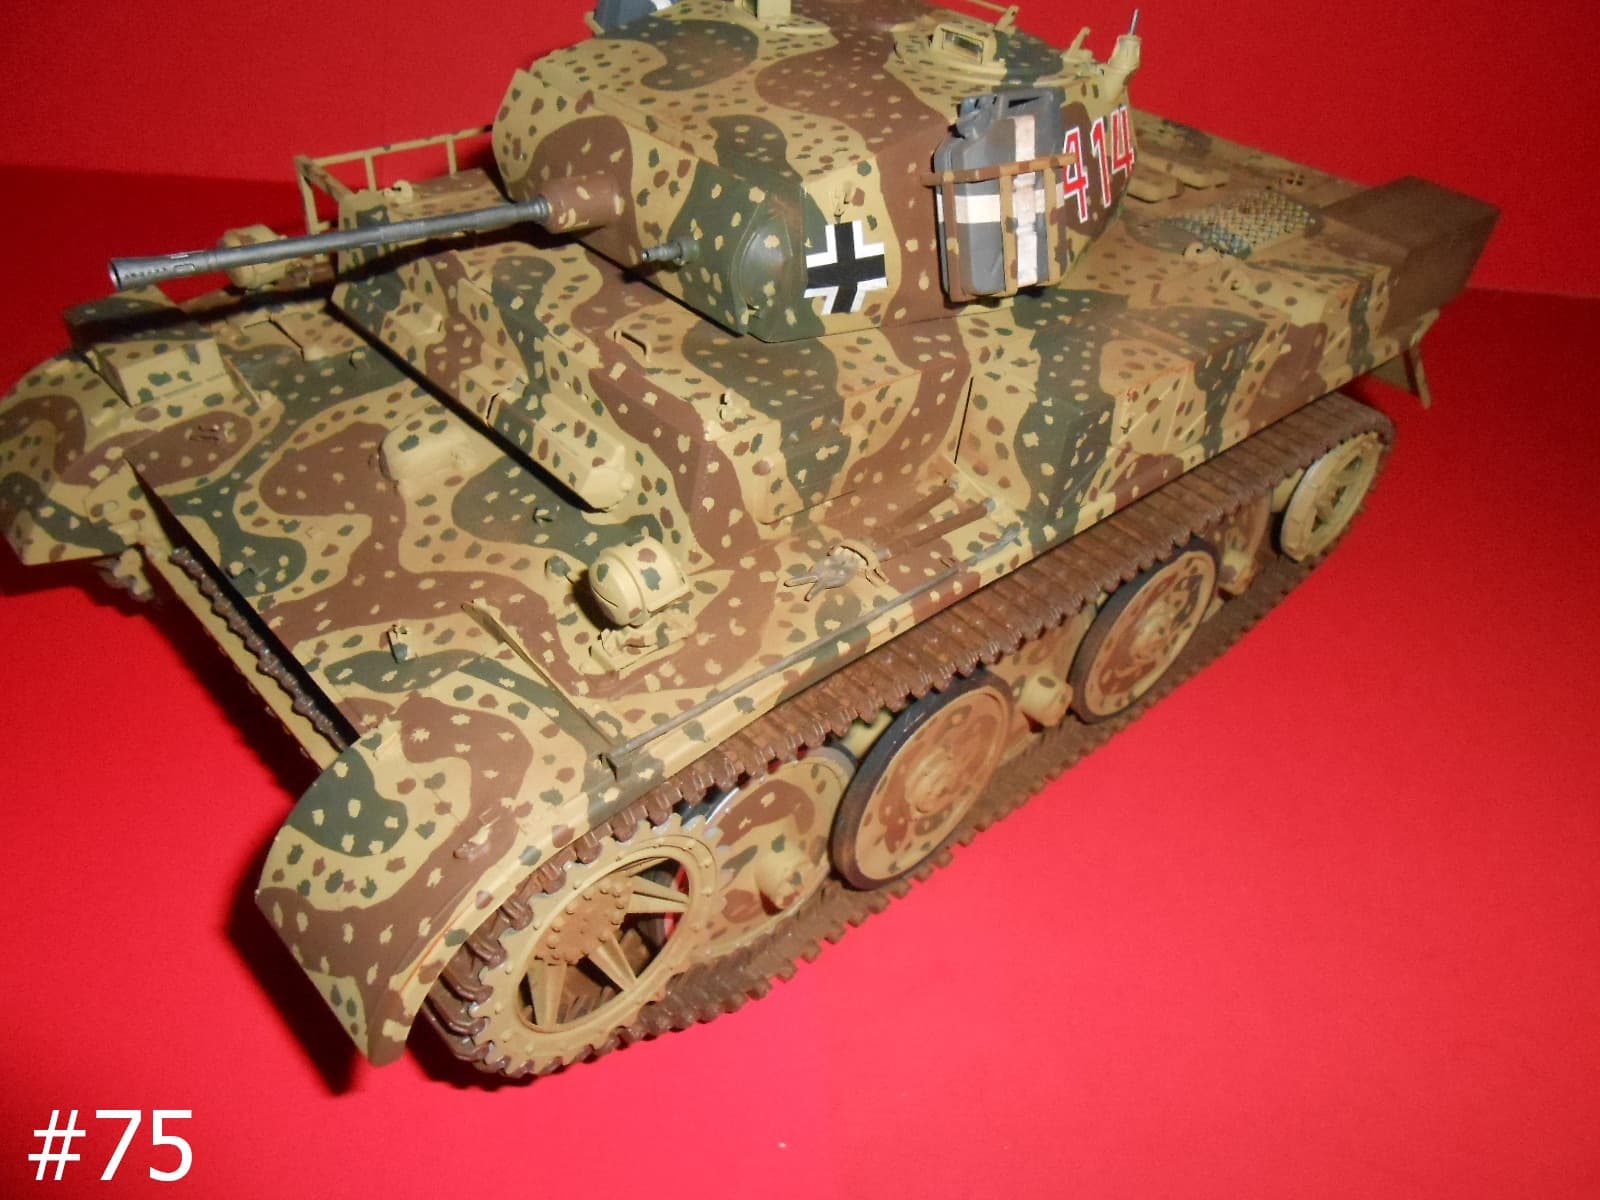
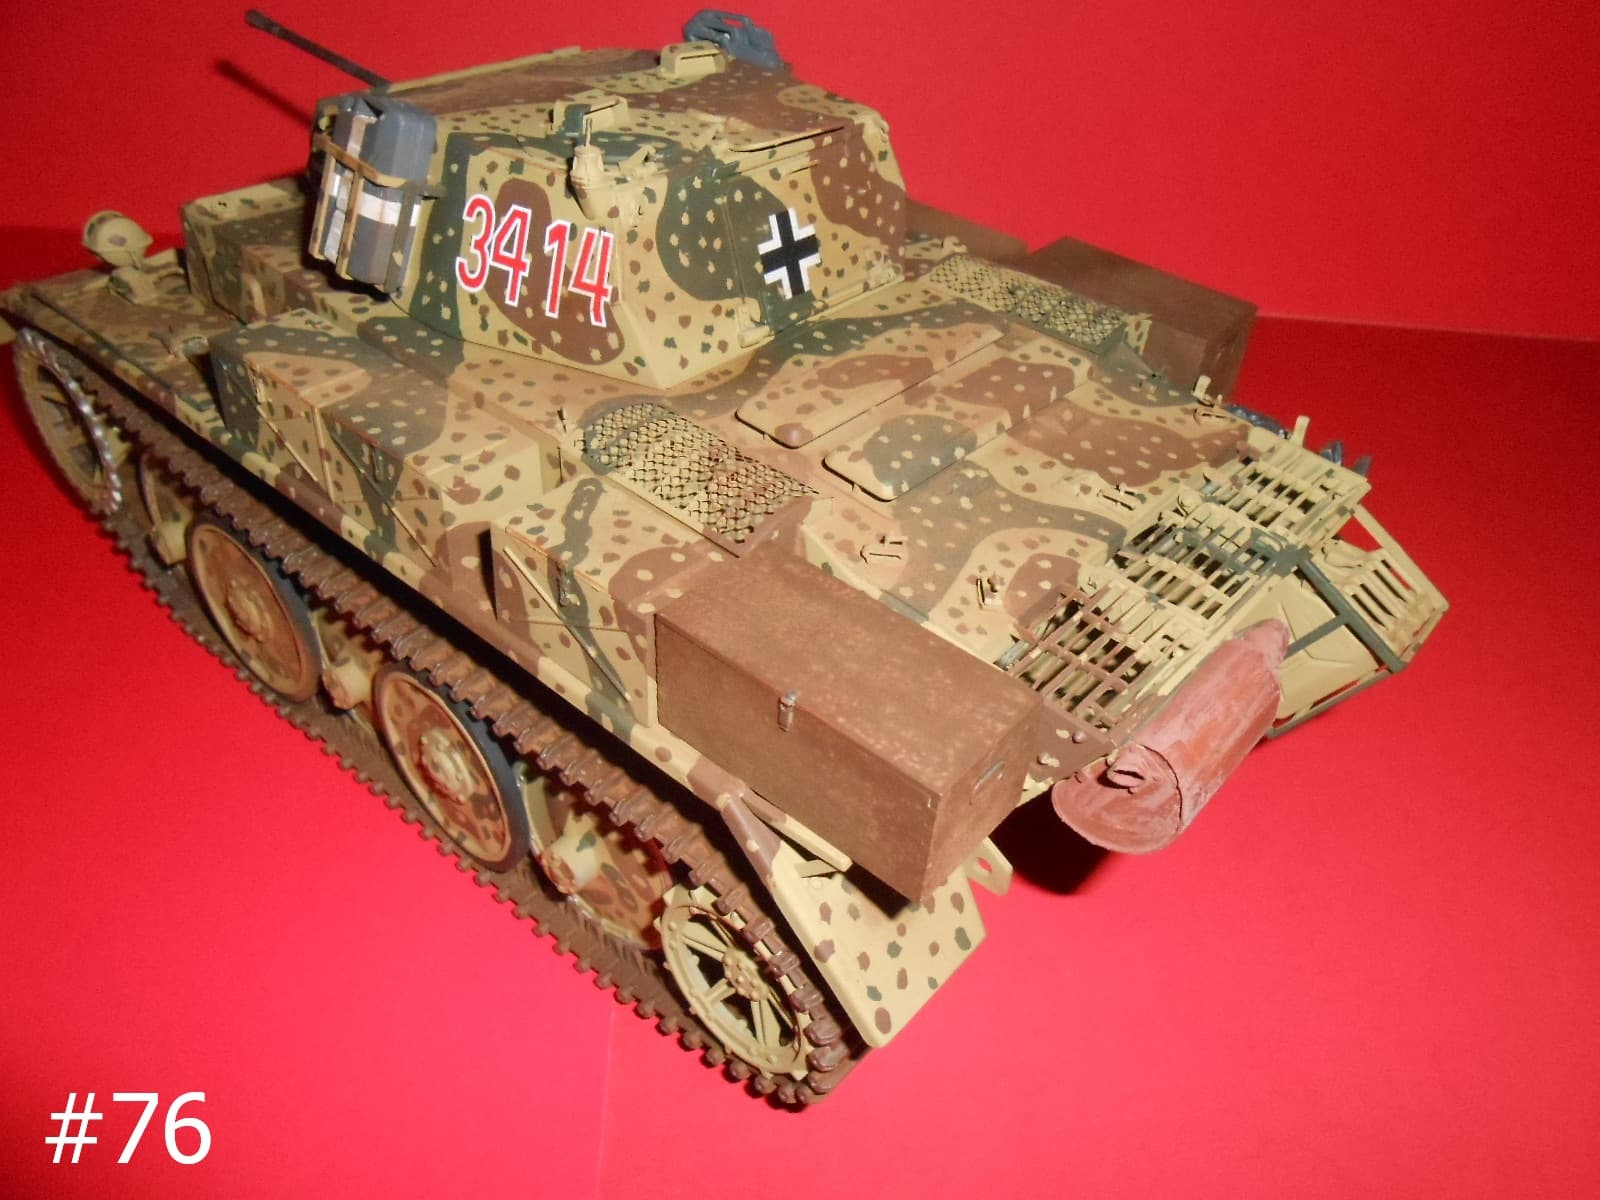

Finished Finally.
Donald
4 Likes
Looks good Donald!
1 Like
Good to see this finished, glad you persevered with this
1 Like
I have a thought of a way to get the Sprockets lined up.
#1 Assemble a section of Track about 23 links. Enough to wrap around the sprocket.
#2 Wrap track around the inner Sprocket leaving the final Pin protruding.
#3 place outer Sprocket o top to engage the Teeth.
#4 after positioning the Outer sprocket, glue it to the inner Sprocket.
#5 After the Glue has set, pull the protruding pin and remove the Track part.
#6 Repeat for the other side.
I wish that I would have thought of this earlier, it would have saved me a lot of headaches.
Regards
Donald
2 Likes