I’m starting a new build This is Trumpeters Static version of a RC Kit.
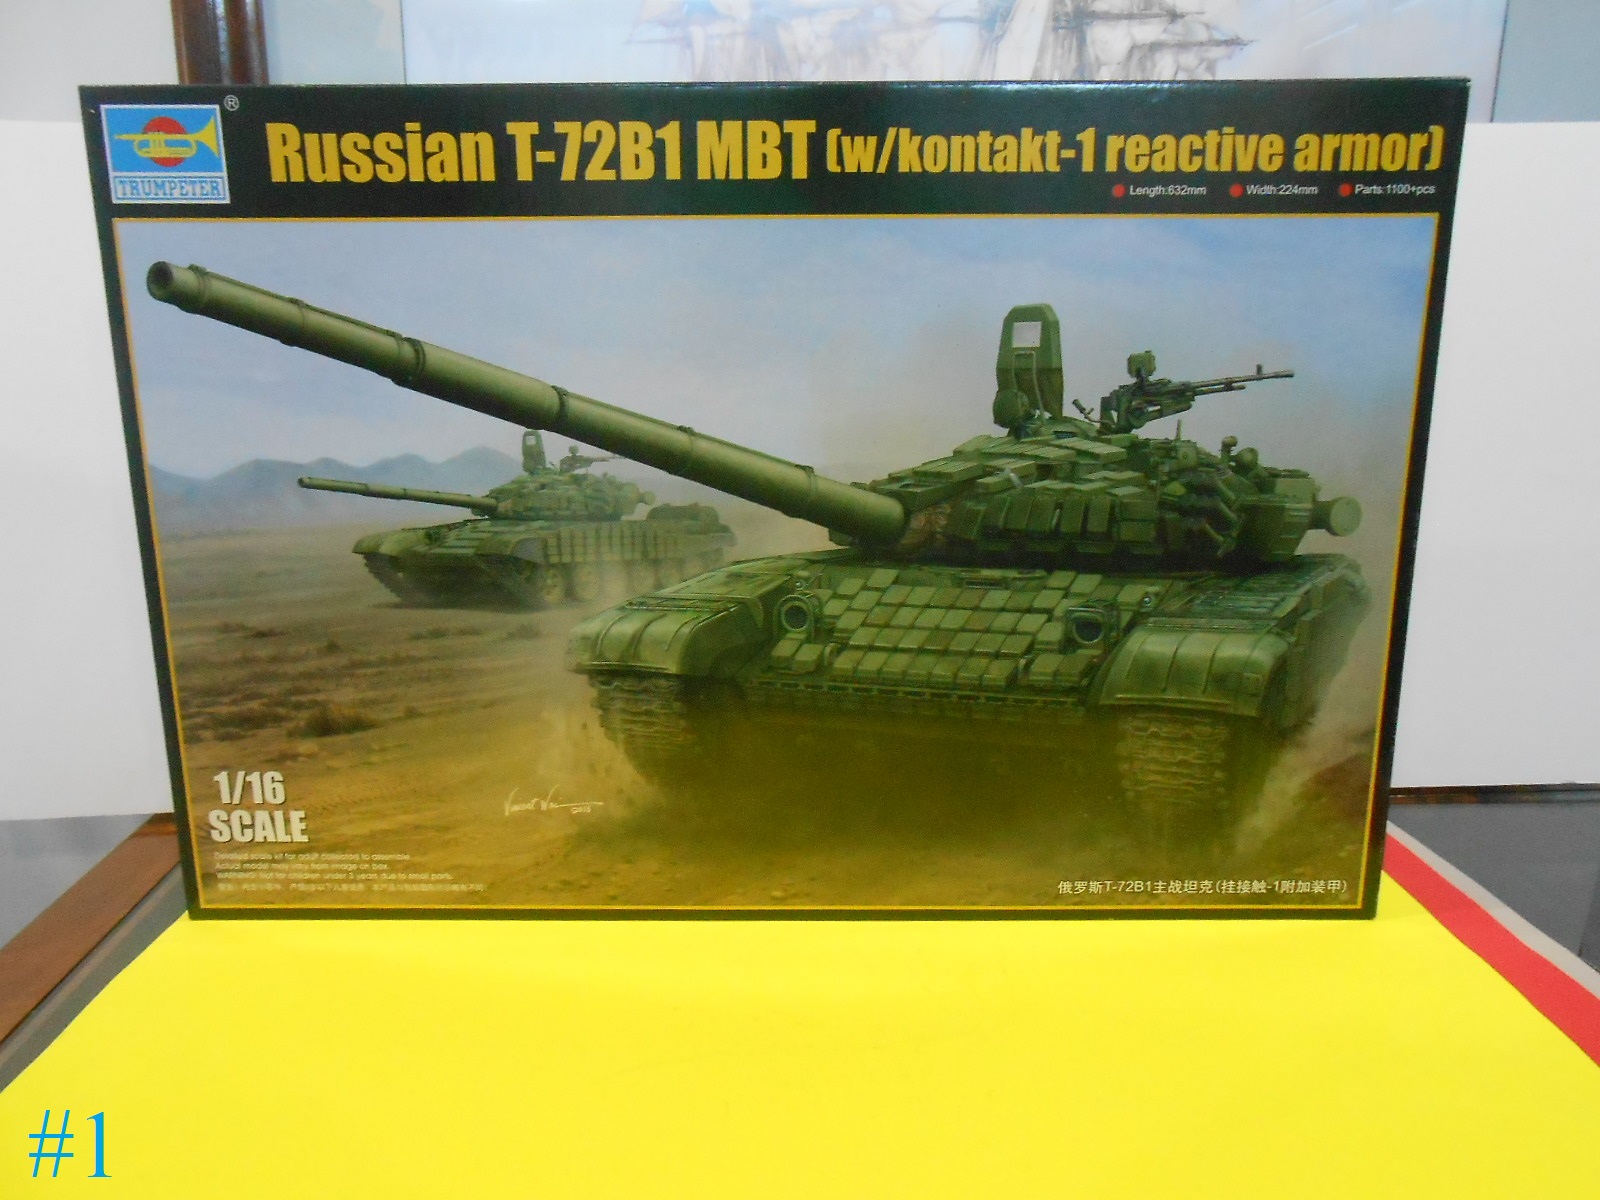
Ooops I forgot to process the Pics.
I’ll be right back
Donald
I’m starting a new build This is Trumpeters Static version of a RC Kit.
Ooops I forgot to process the Pics.
I’ll be right back
Donald
To understand the scale, put a bottle of beer, a pack of cigarettes or another global product next to the box, please.
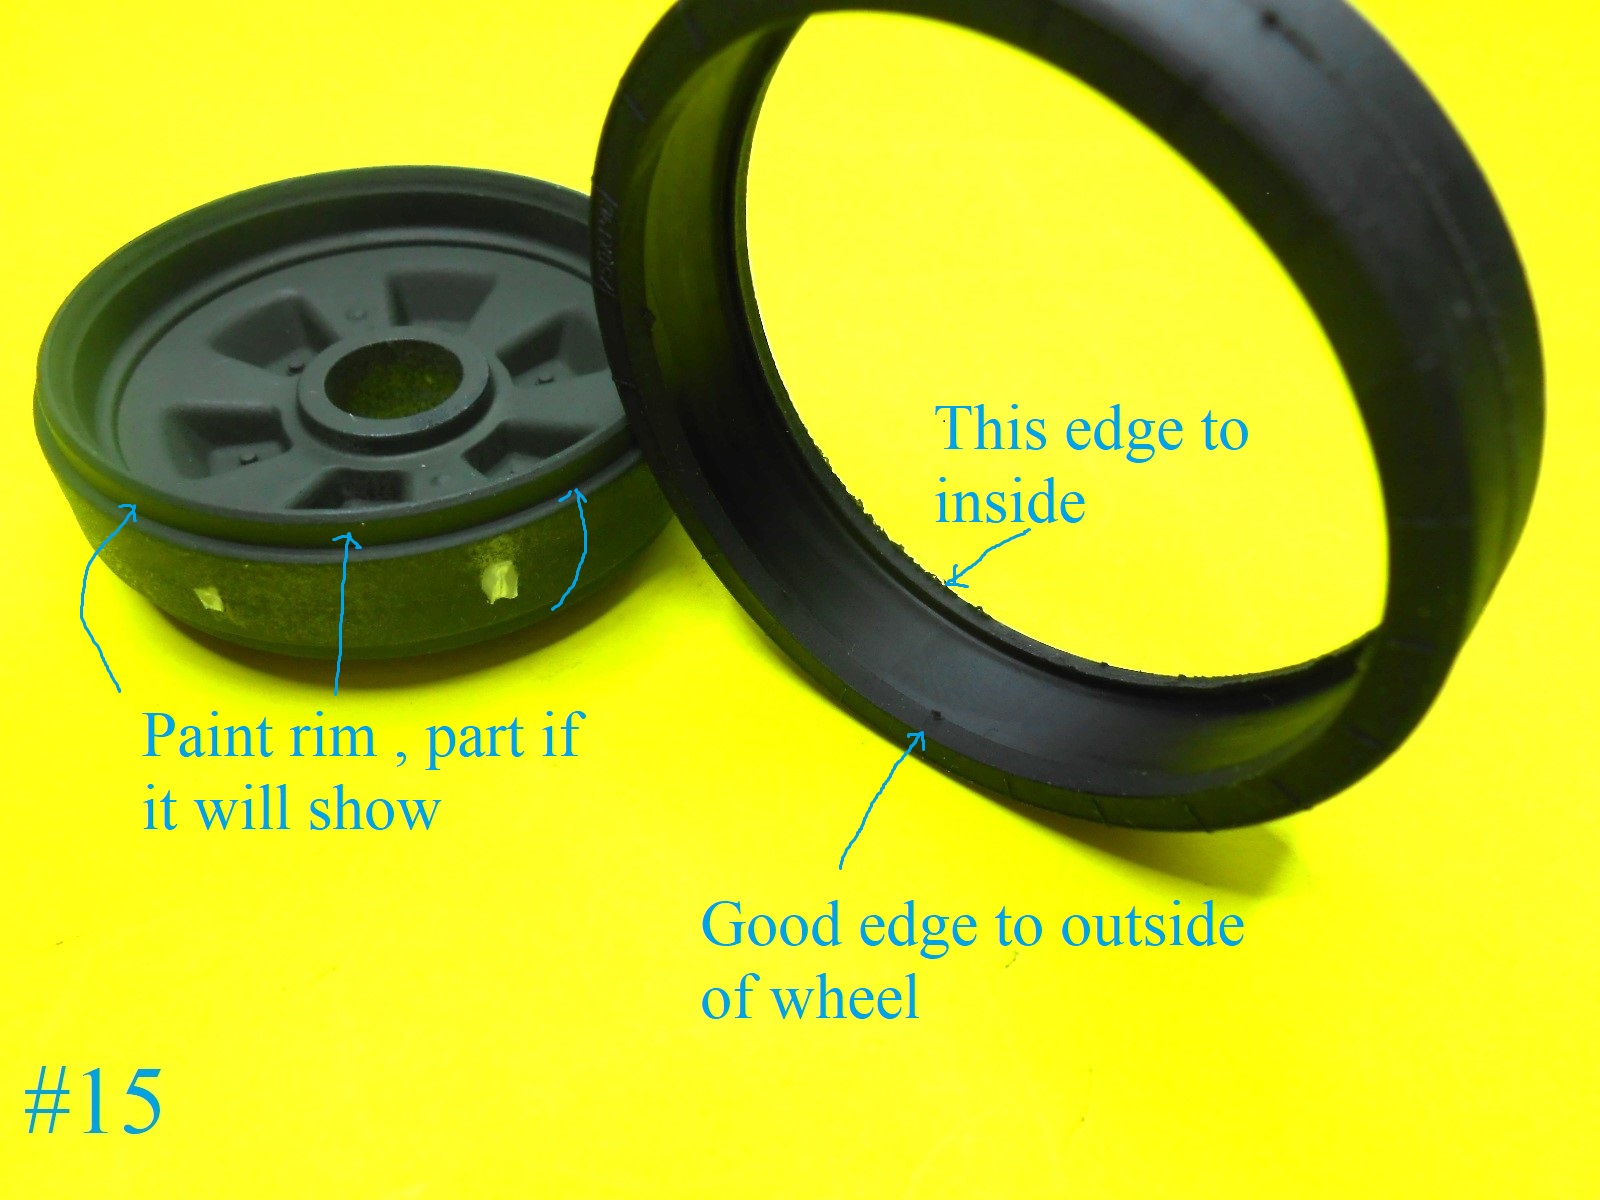
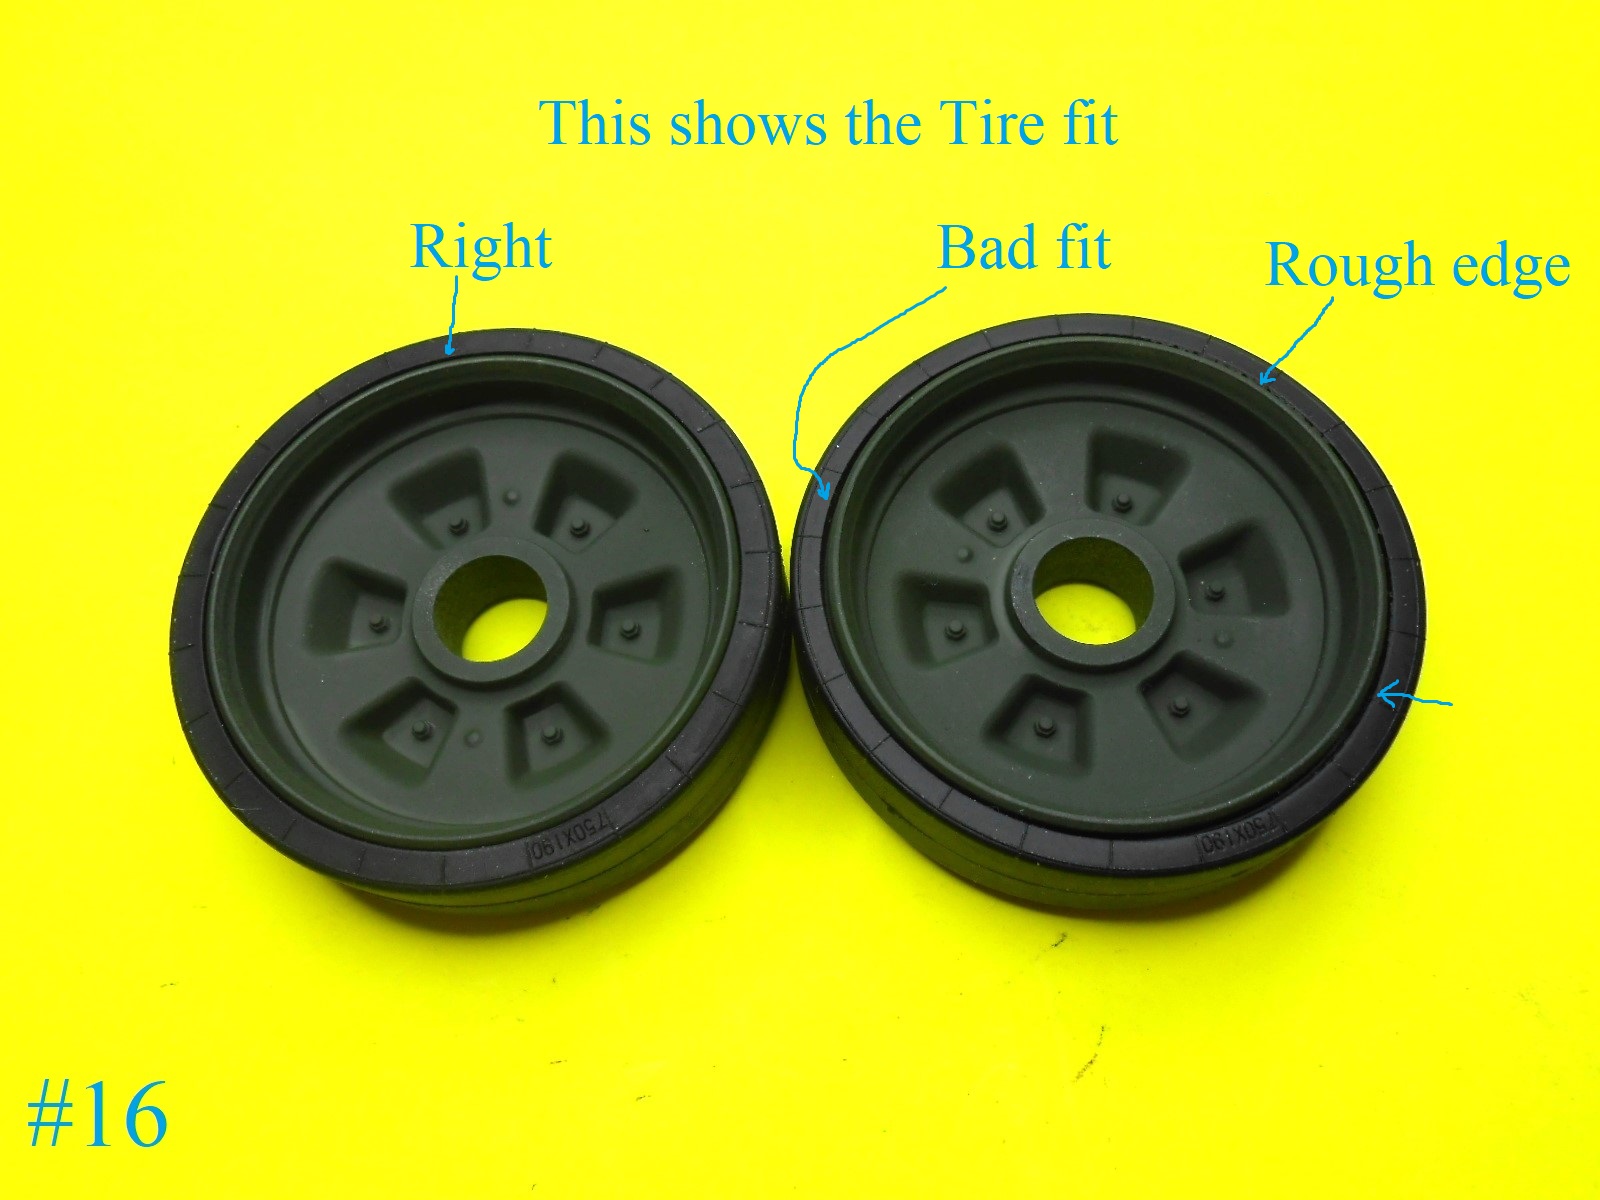
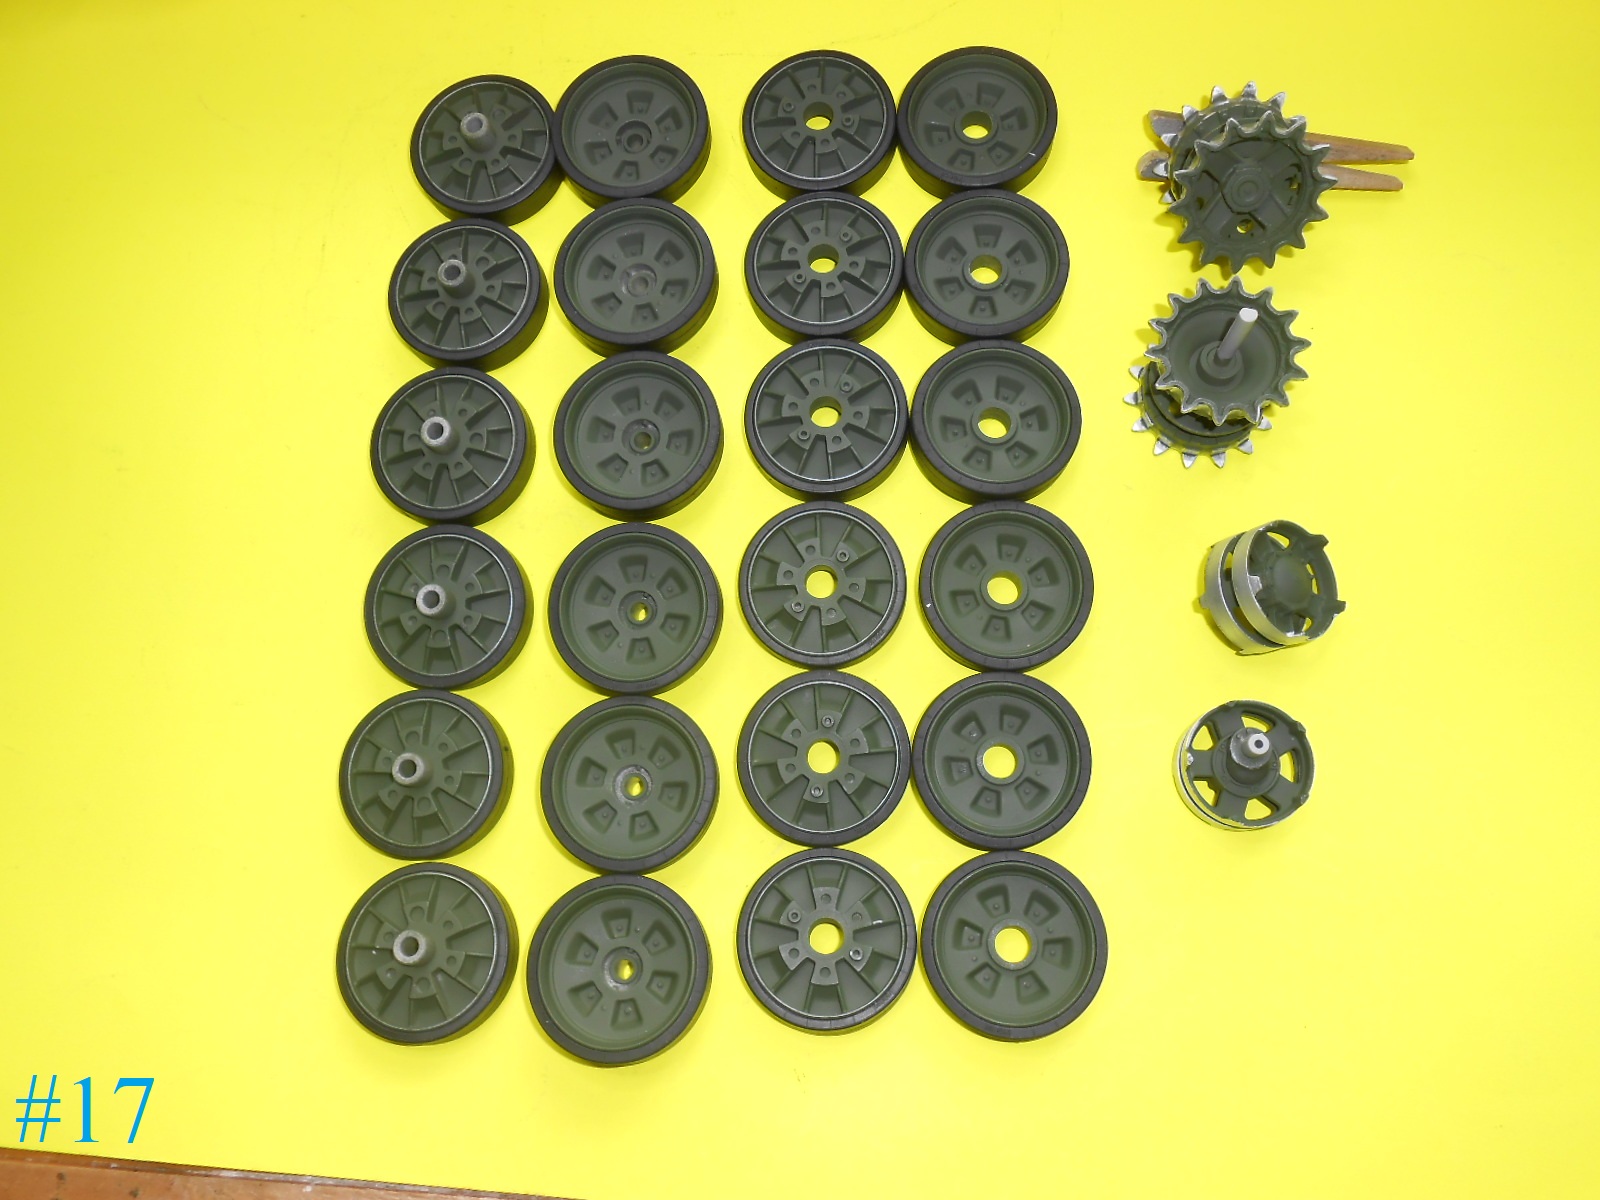
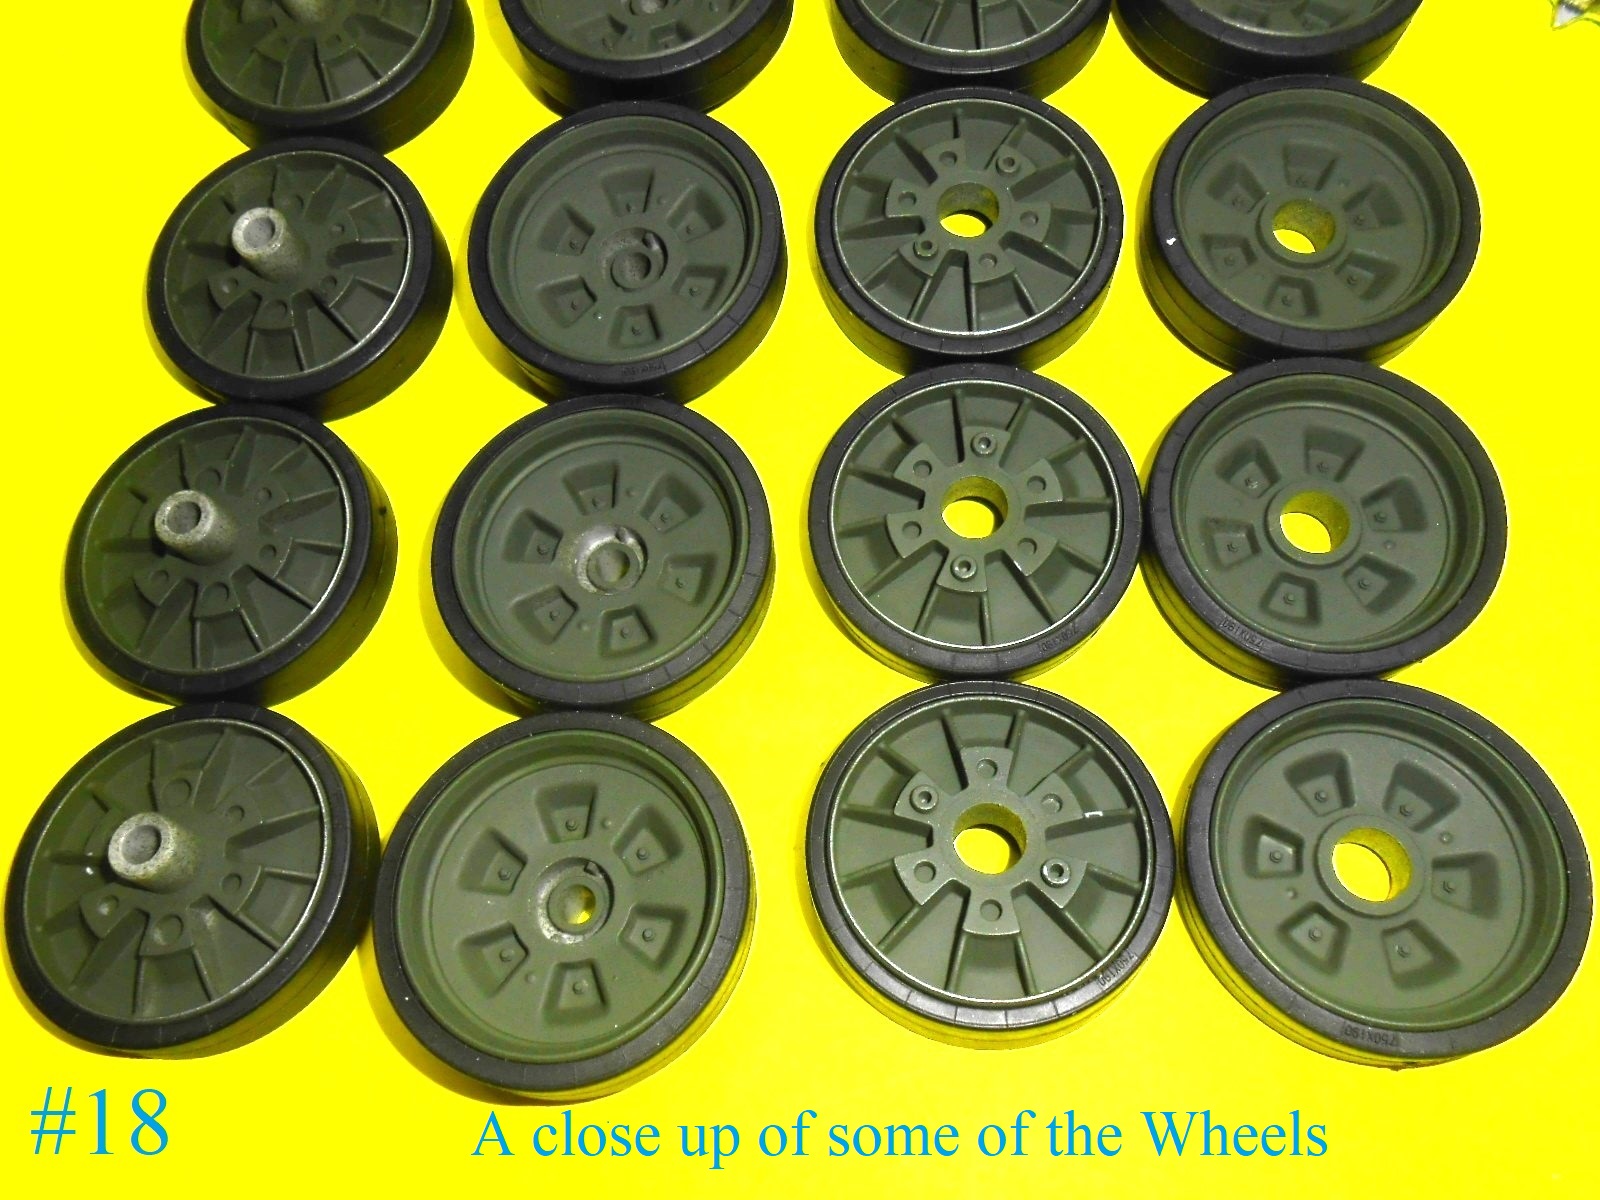
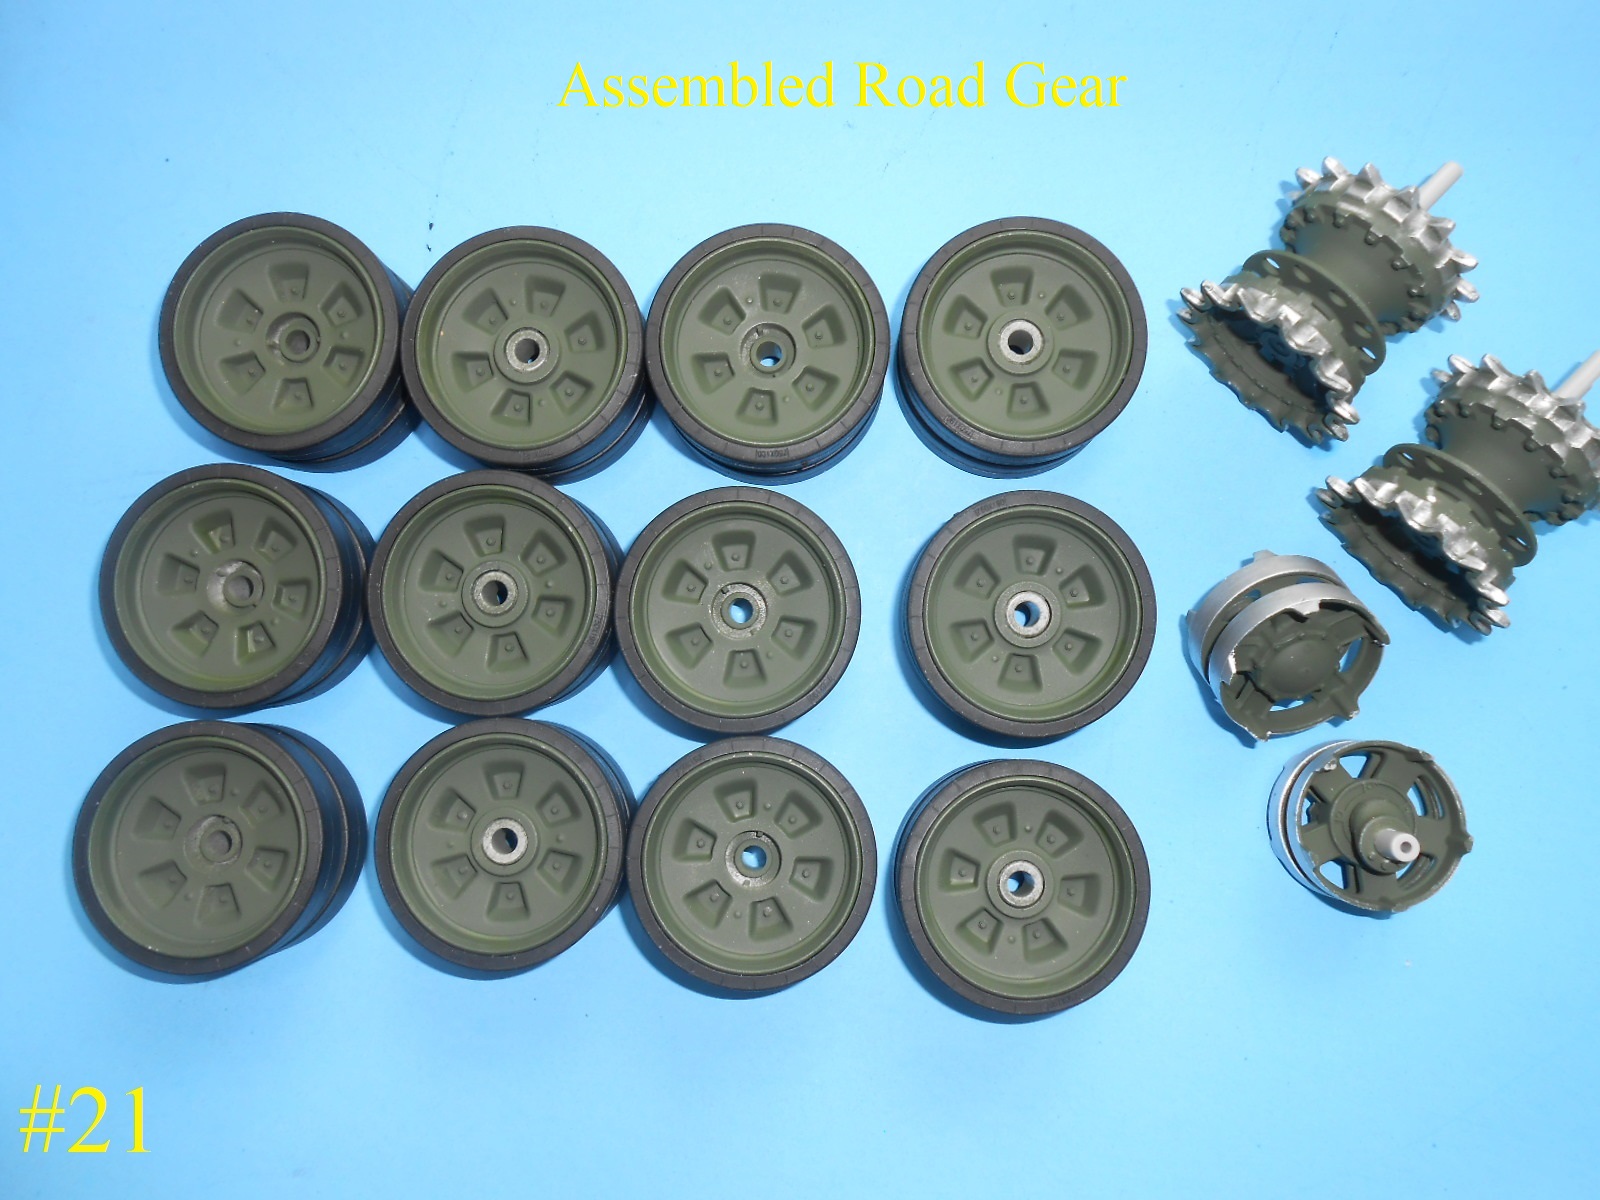
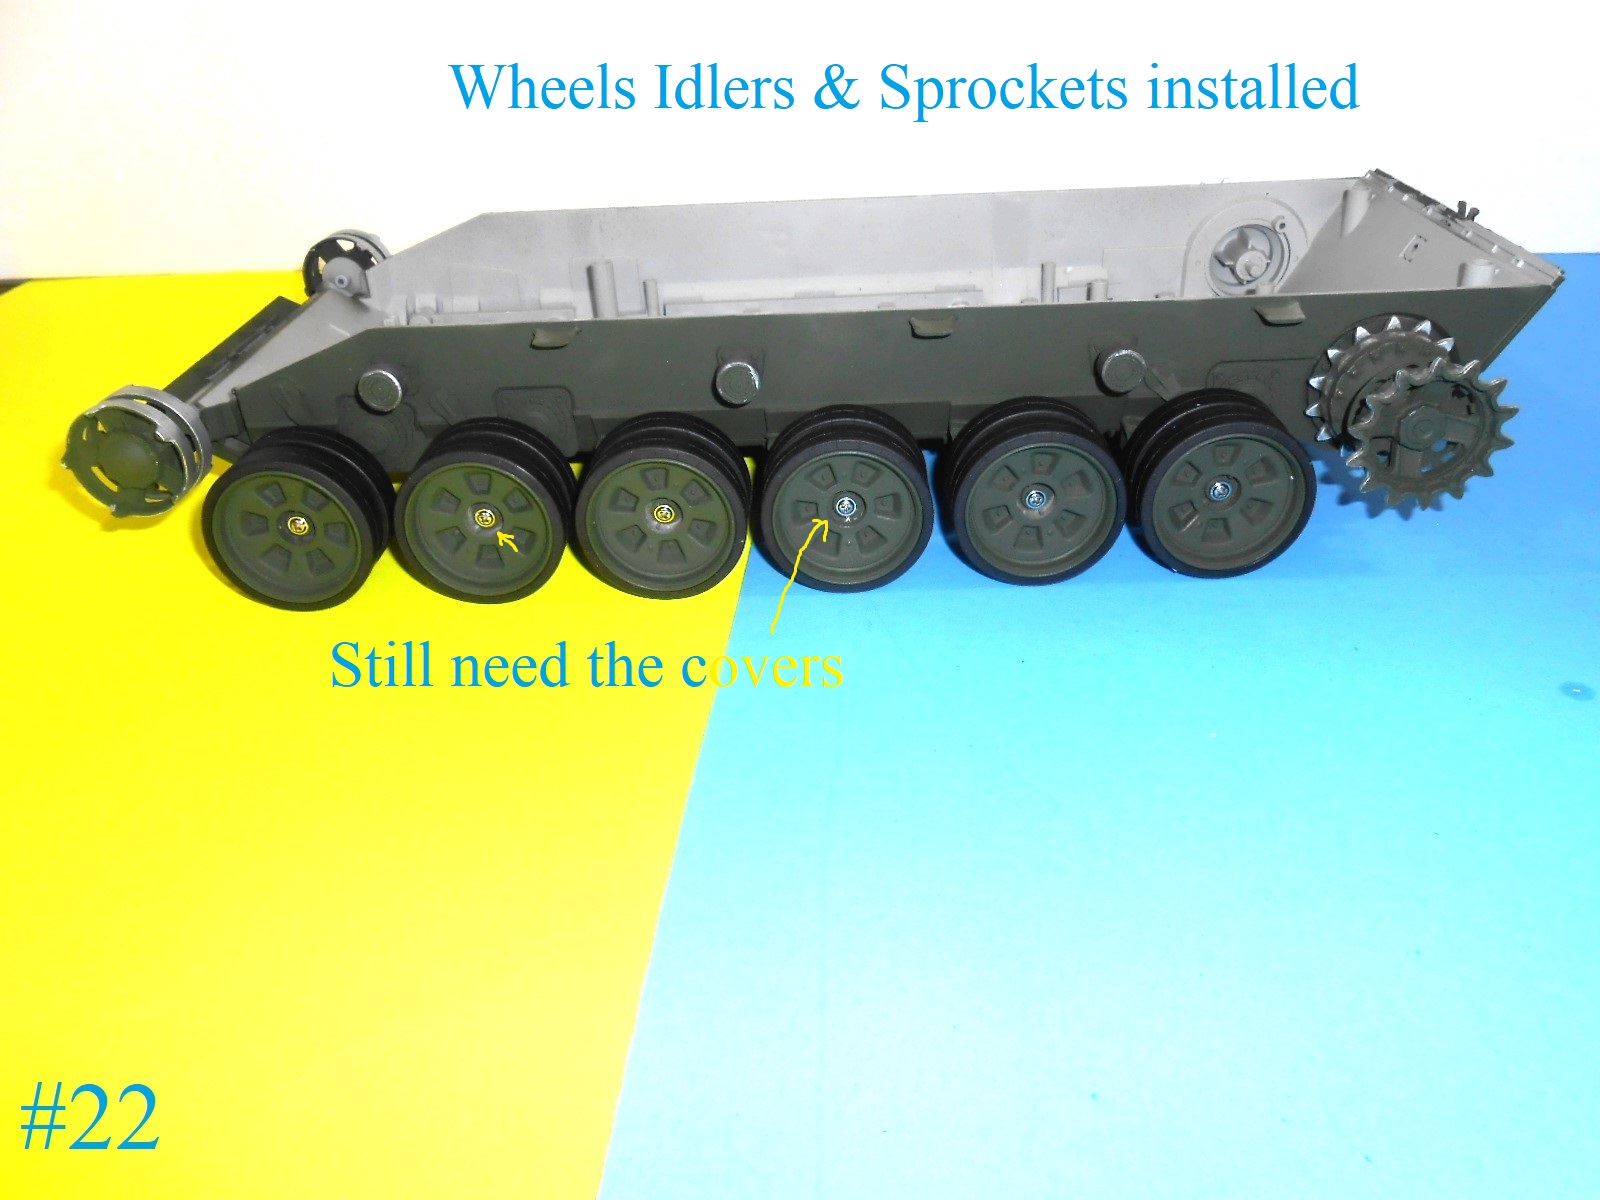
The Wheels are finished and installed.
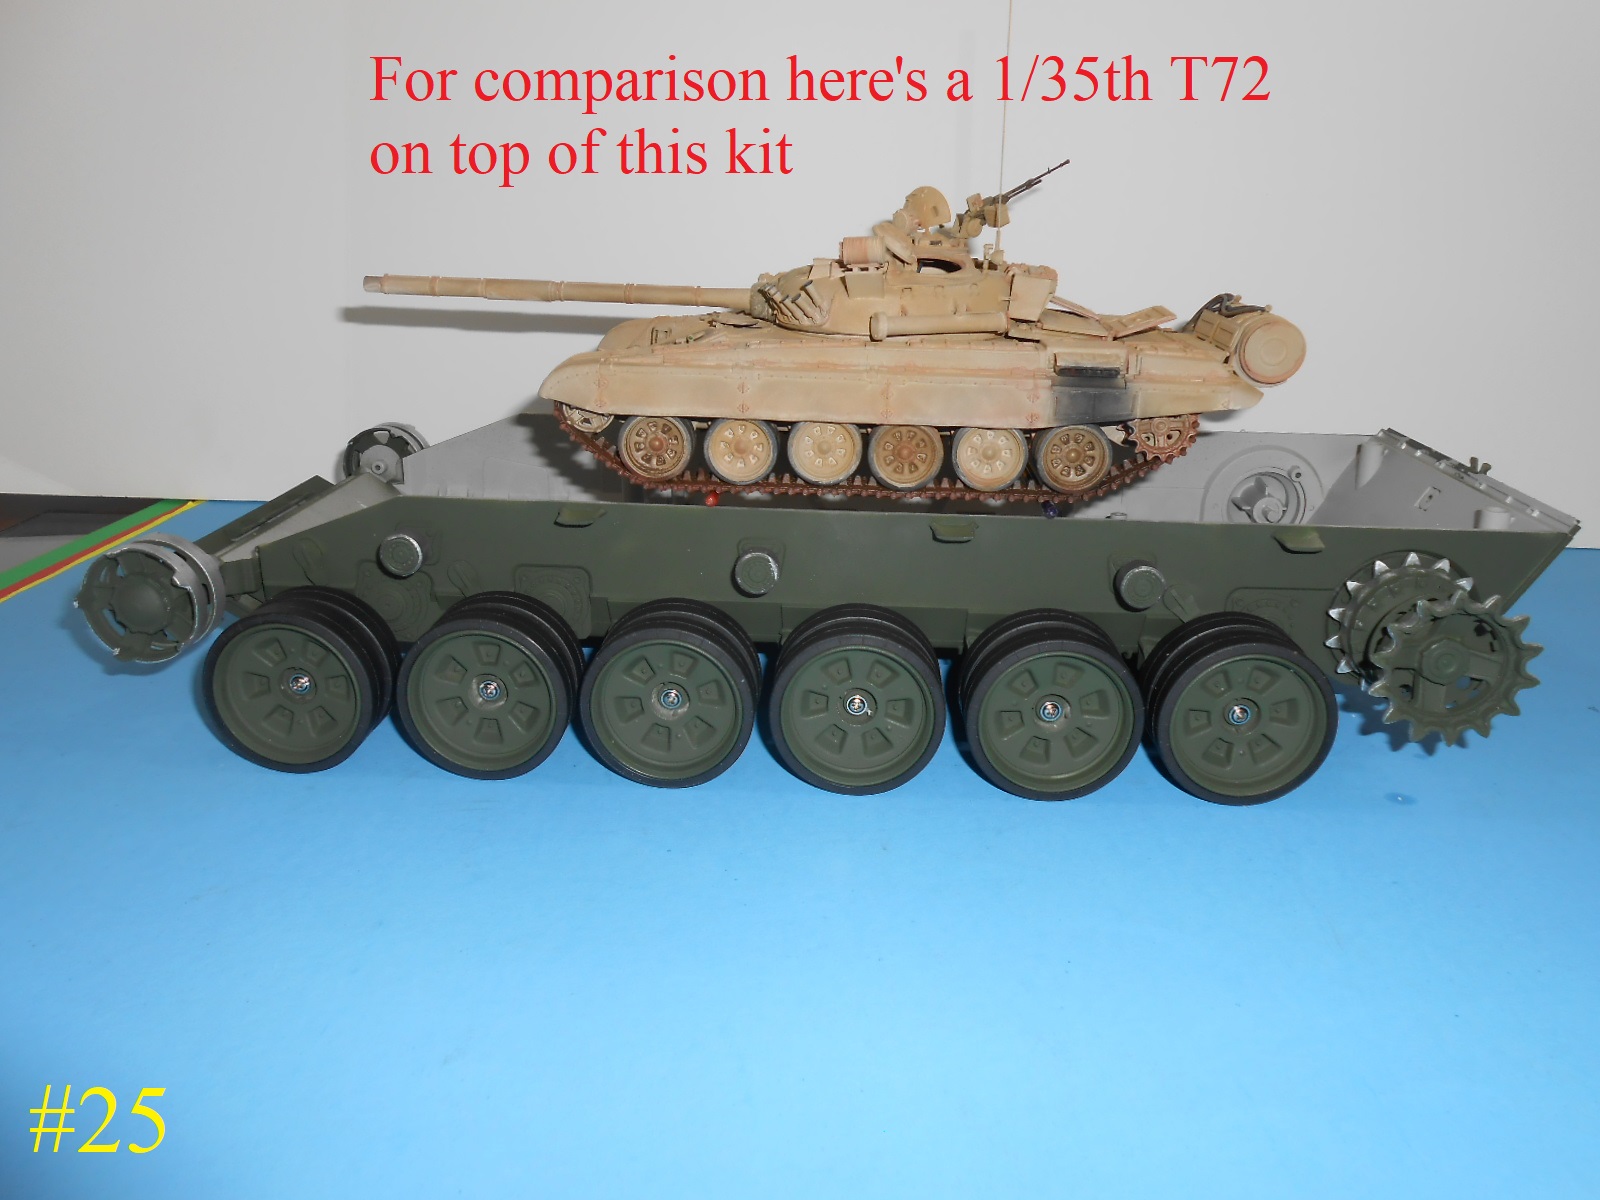
And for size comparison here are a couple of Pics. of a 1/35th T72 on the lower hull.
I hope this helps.
Regards
Donald
Nice one Donald. I have been thinking about this monster but need to do my homework on it. So, thanks for your help ![]()
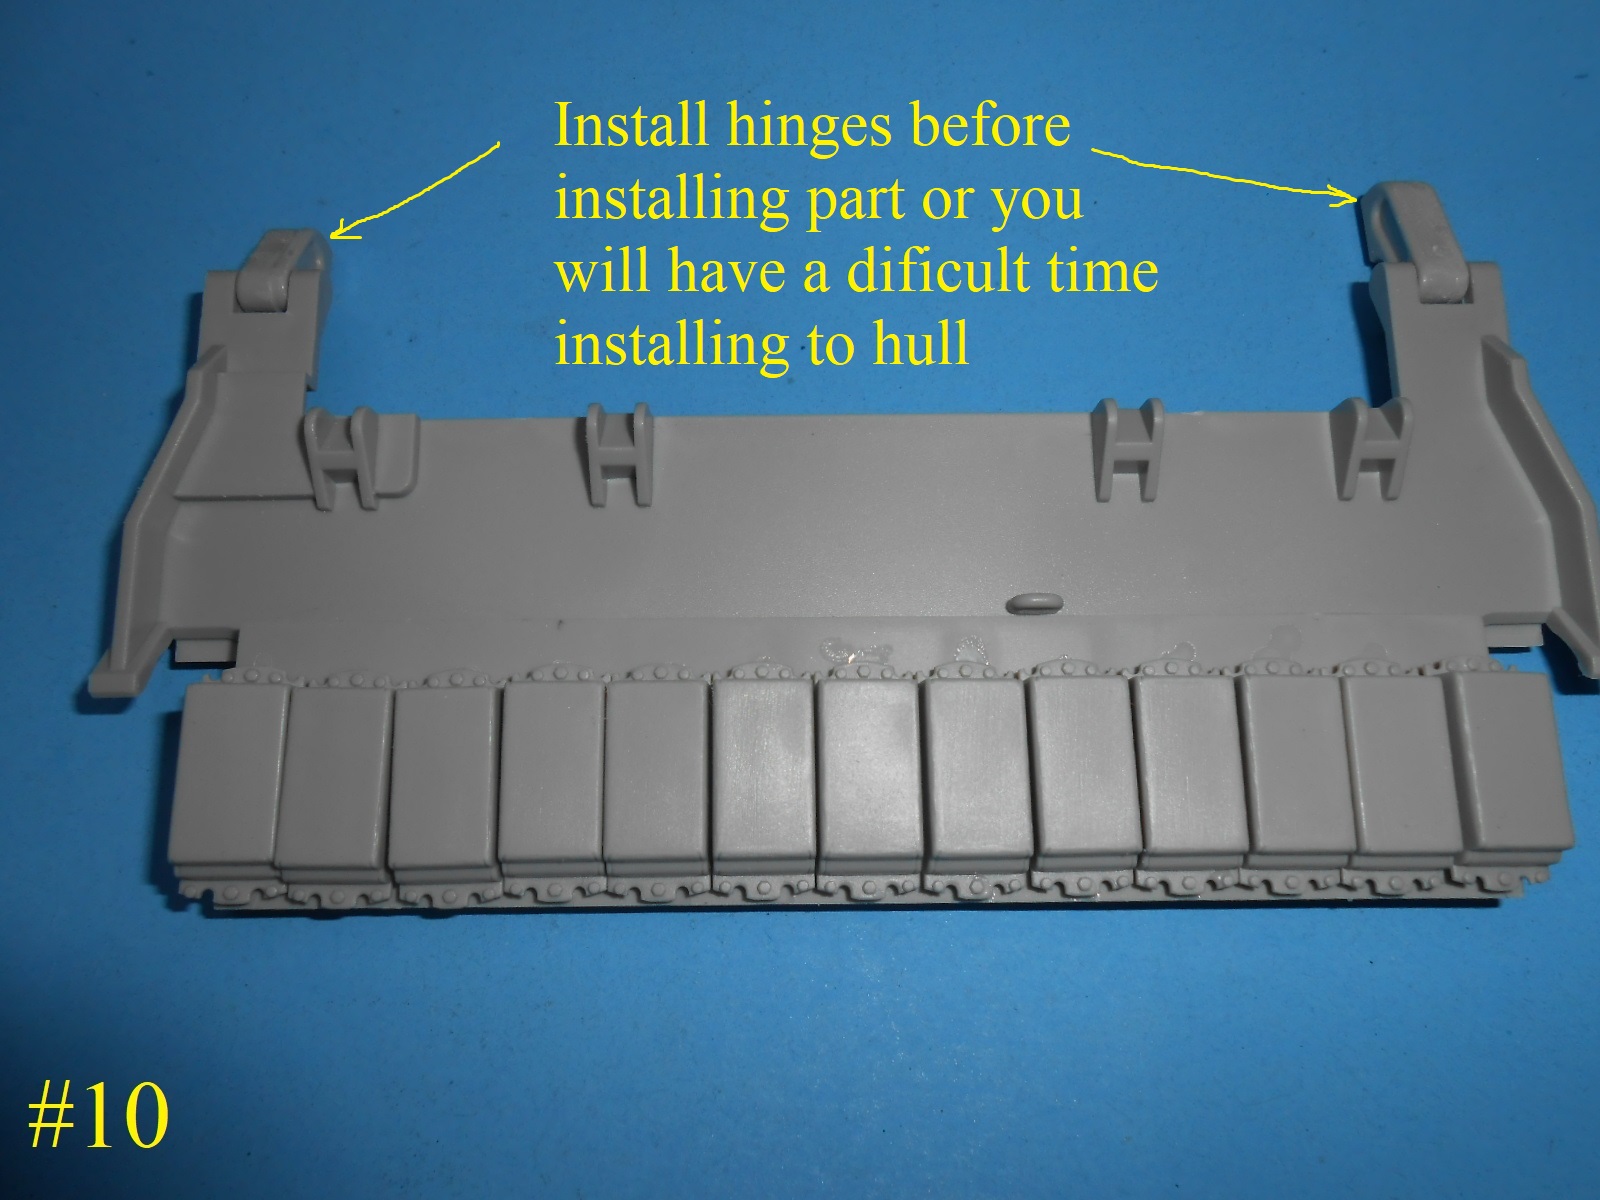
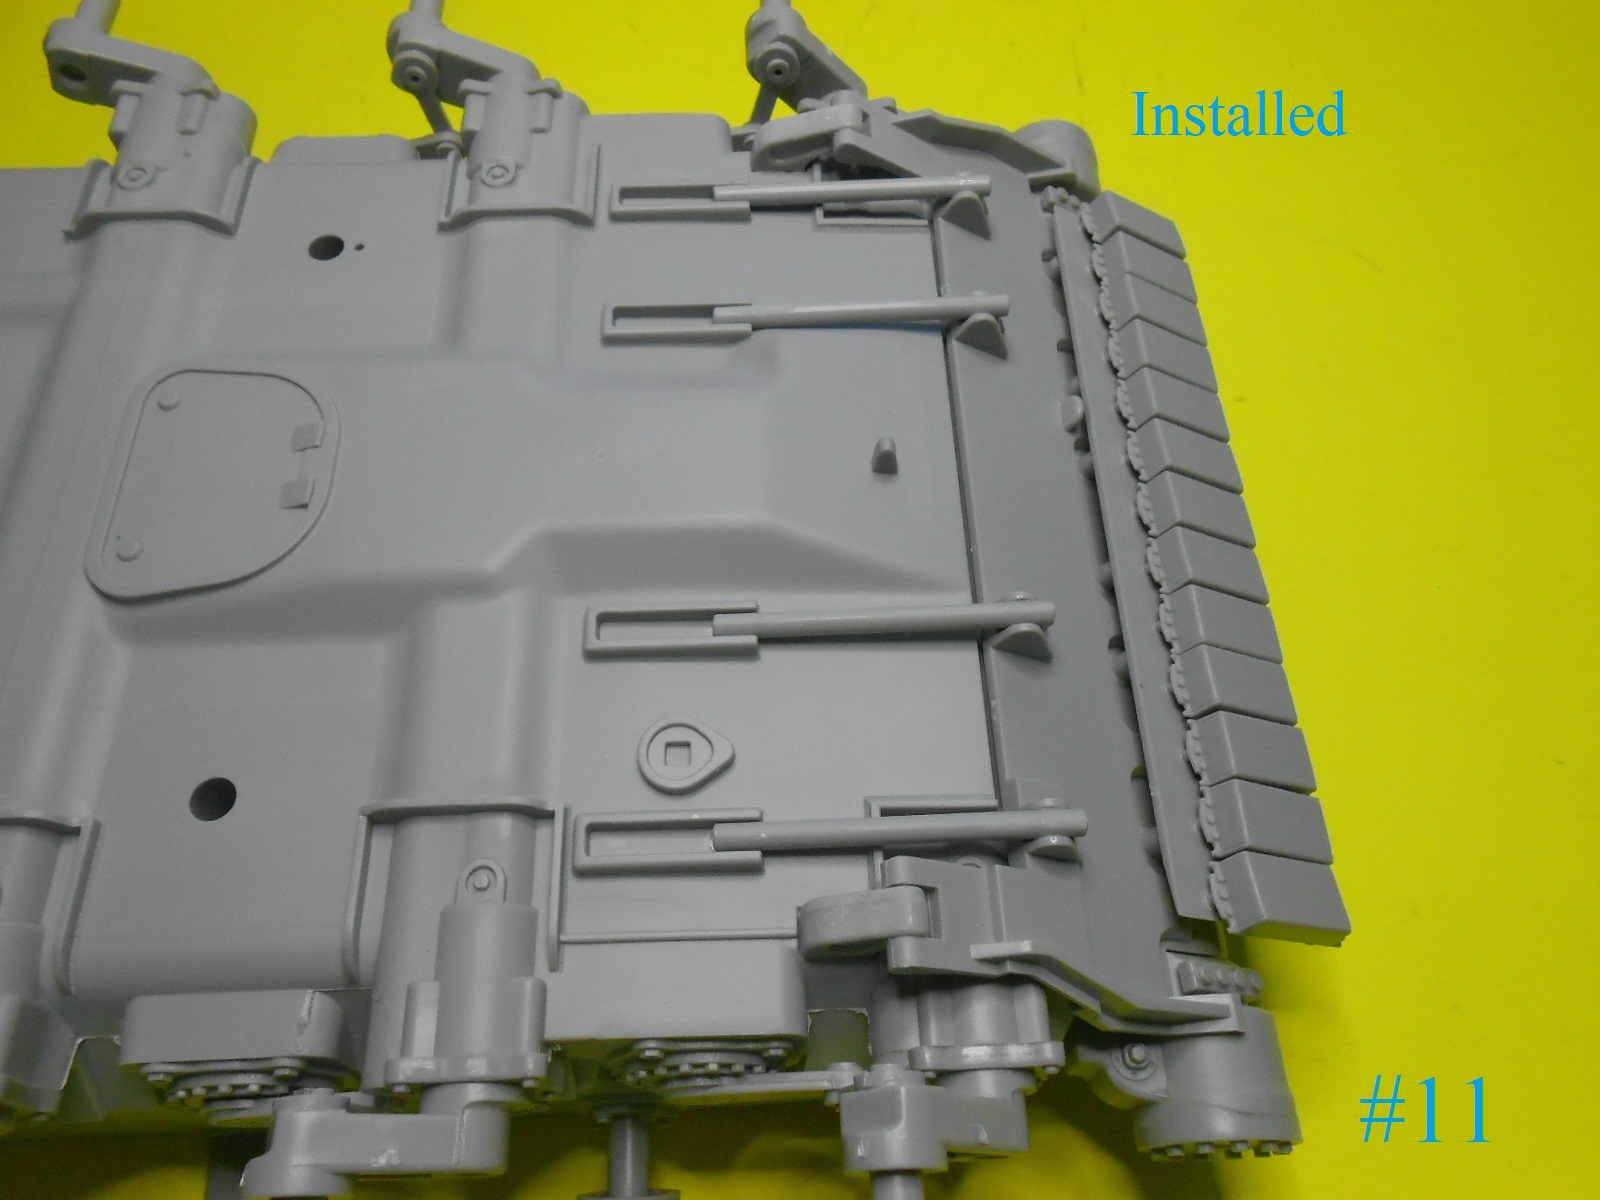
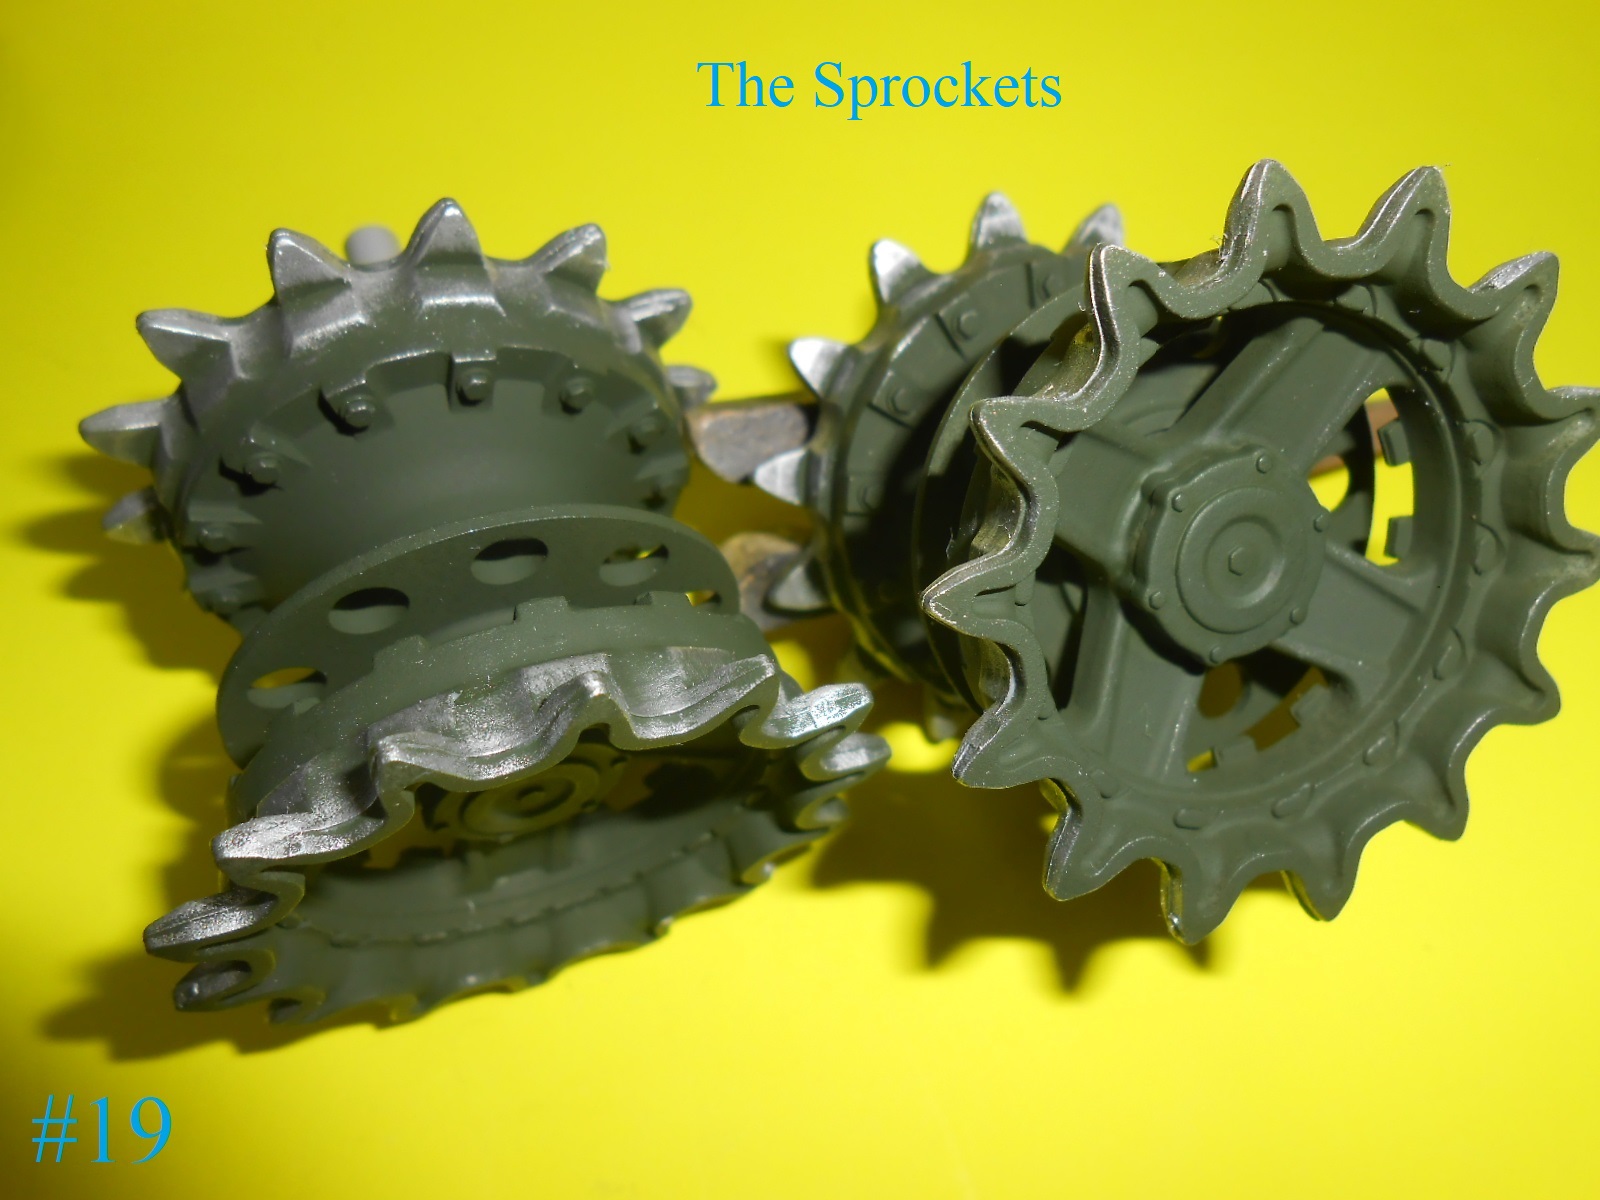
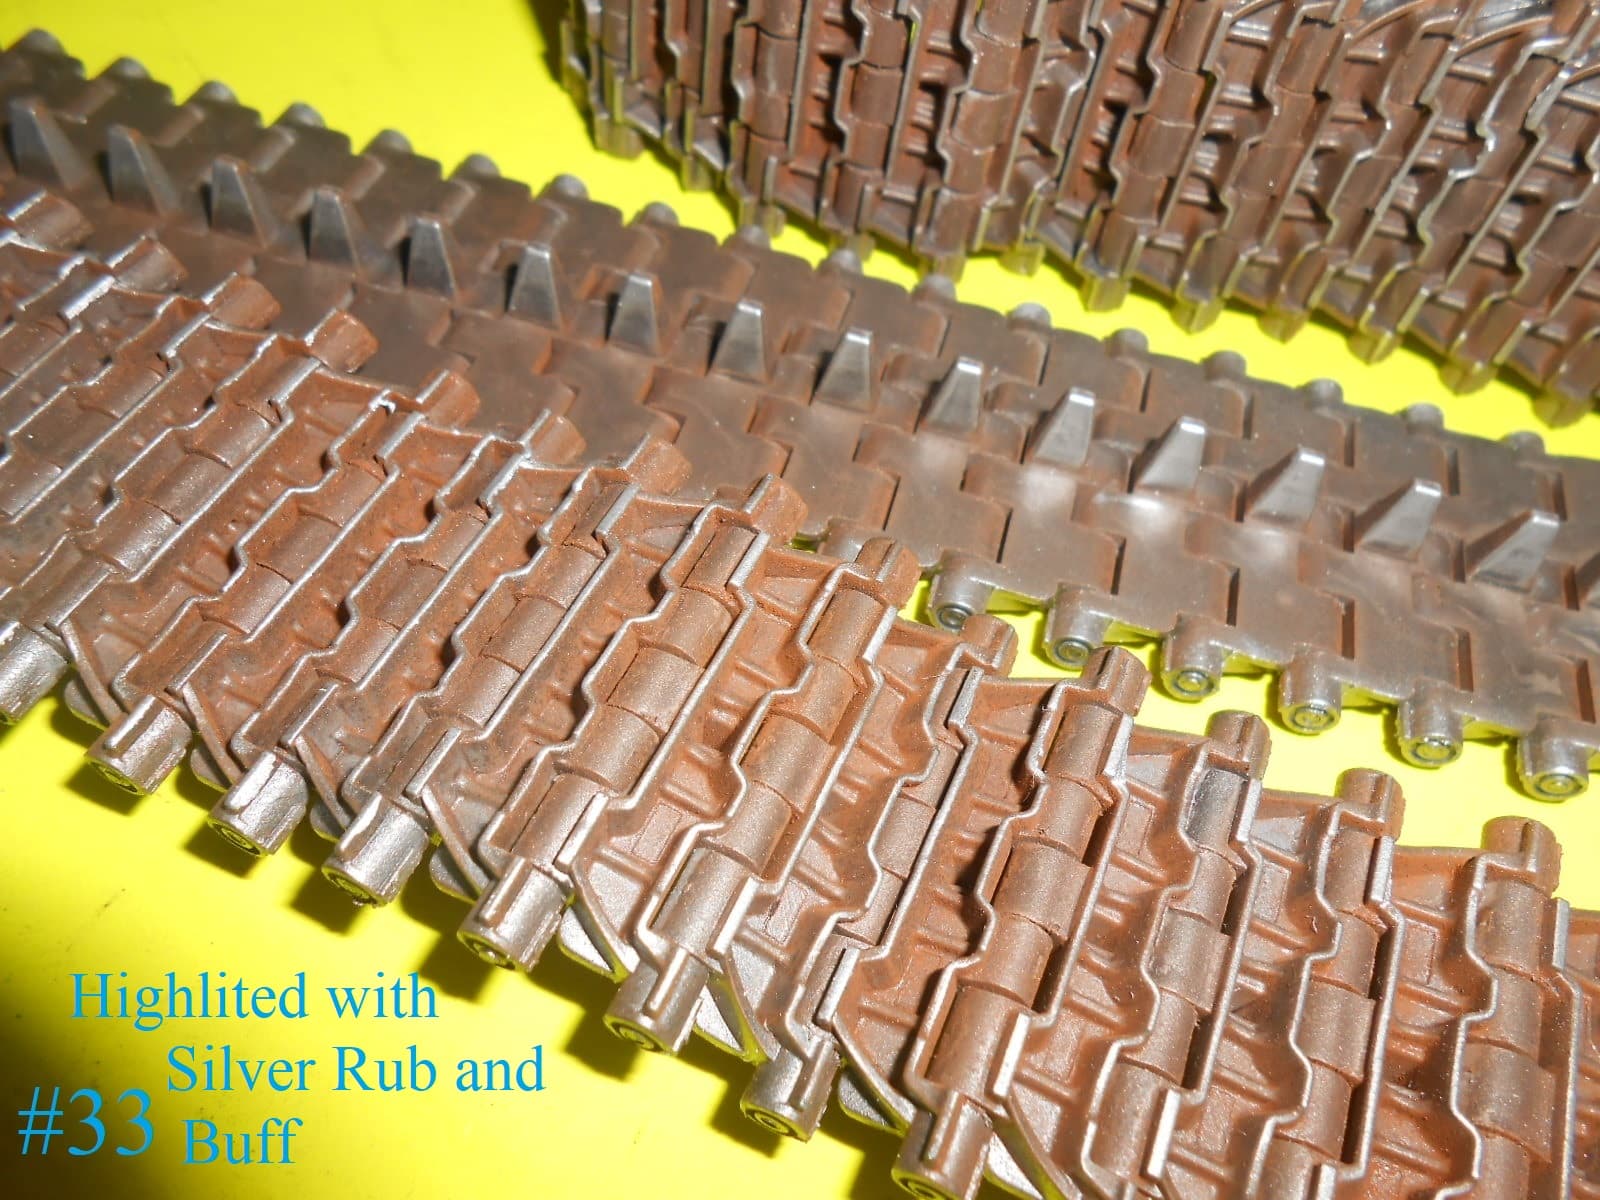
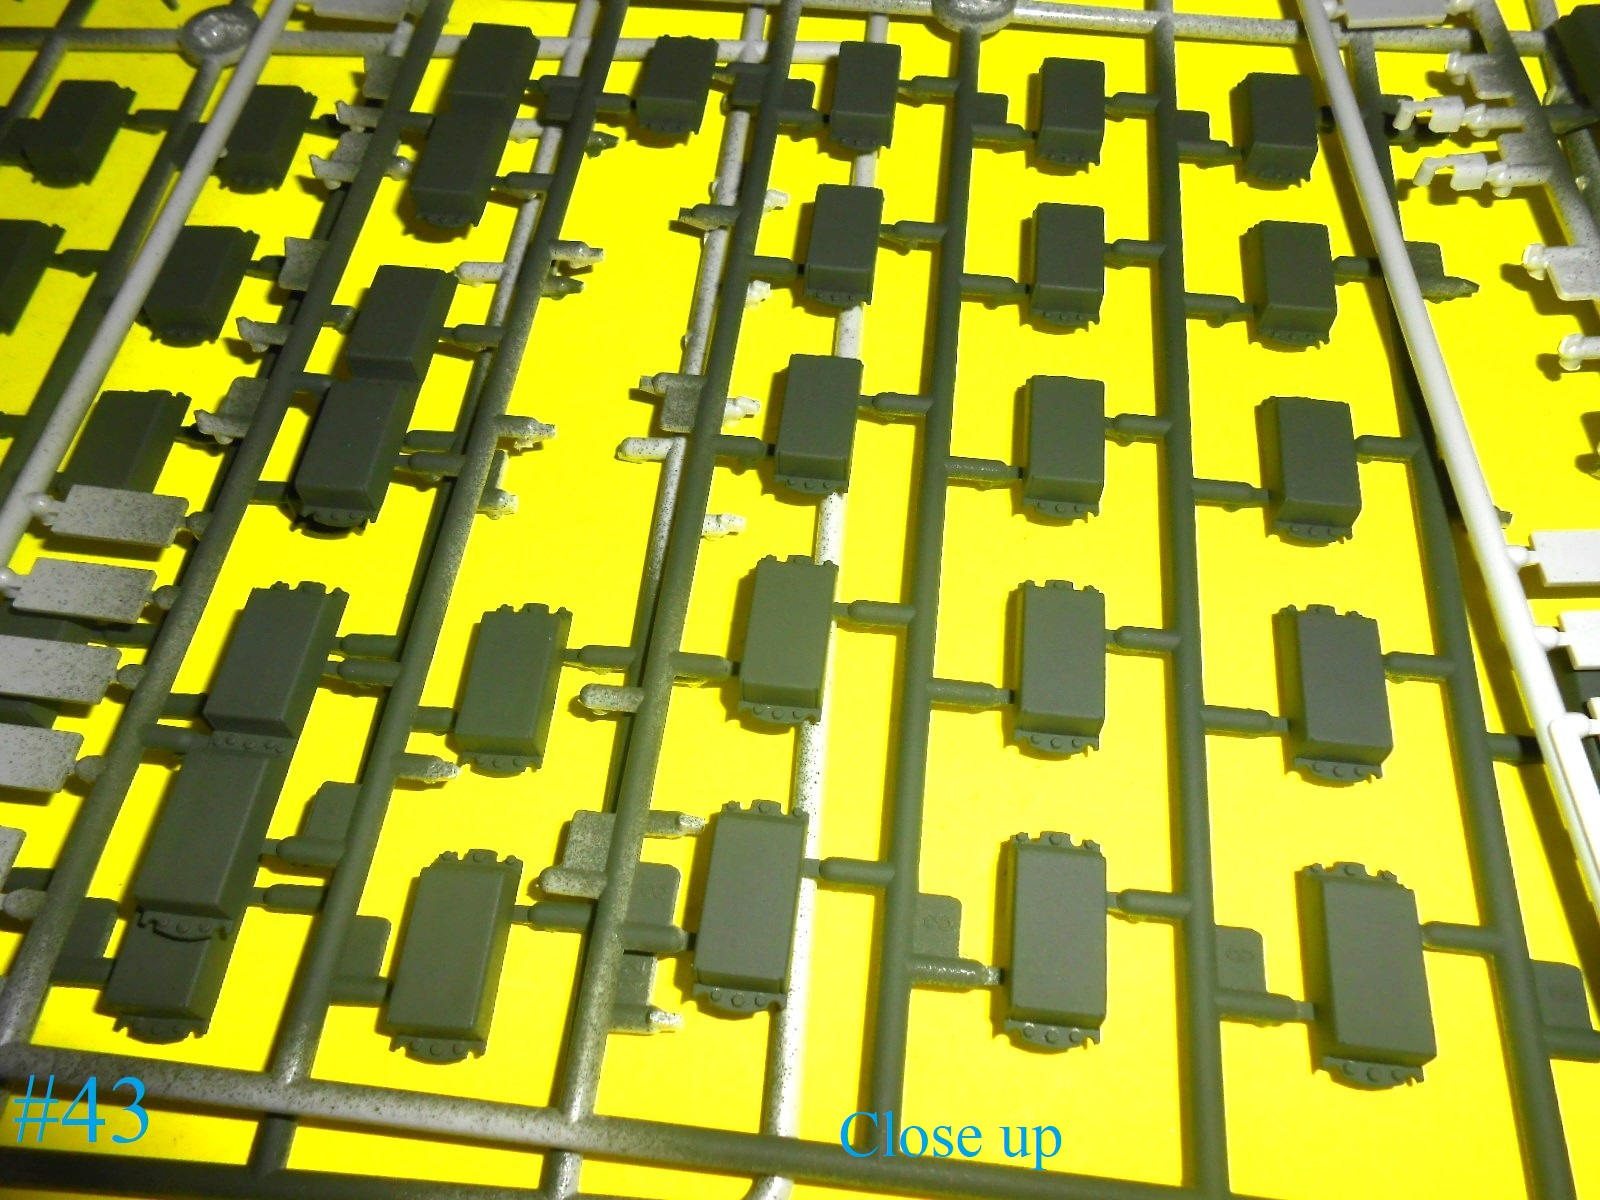
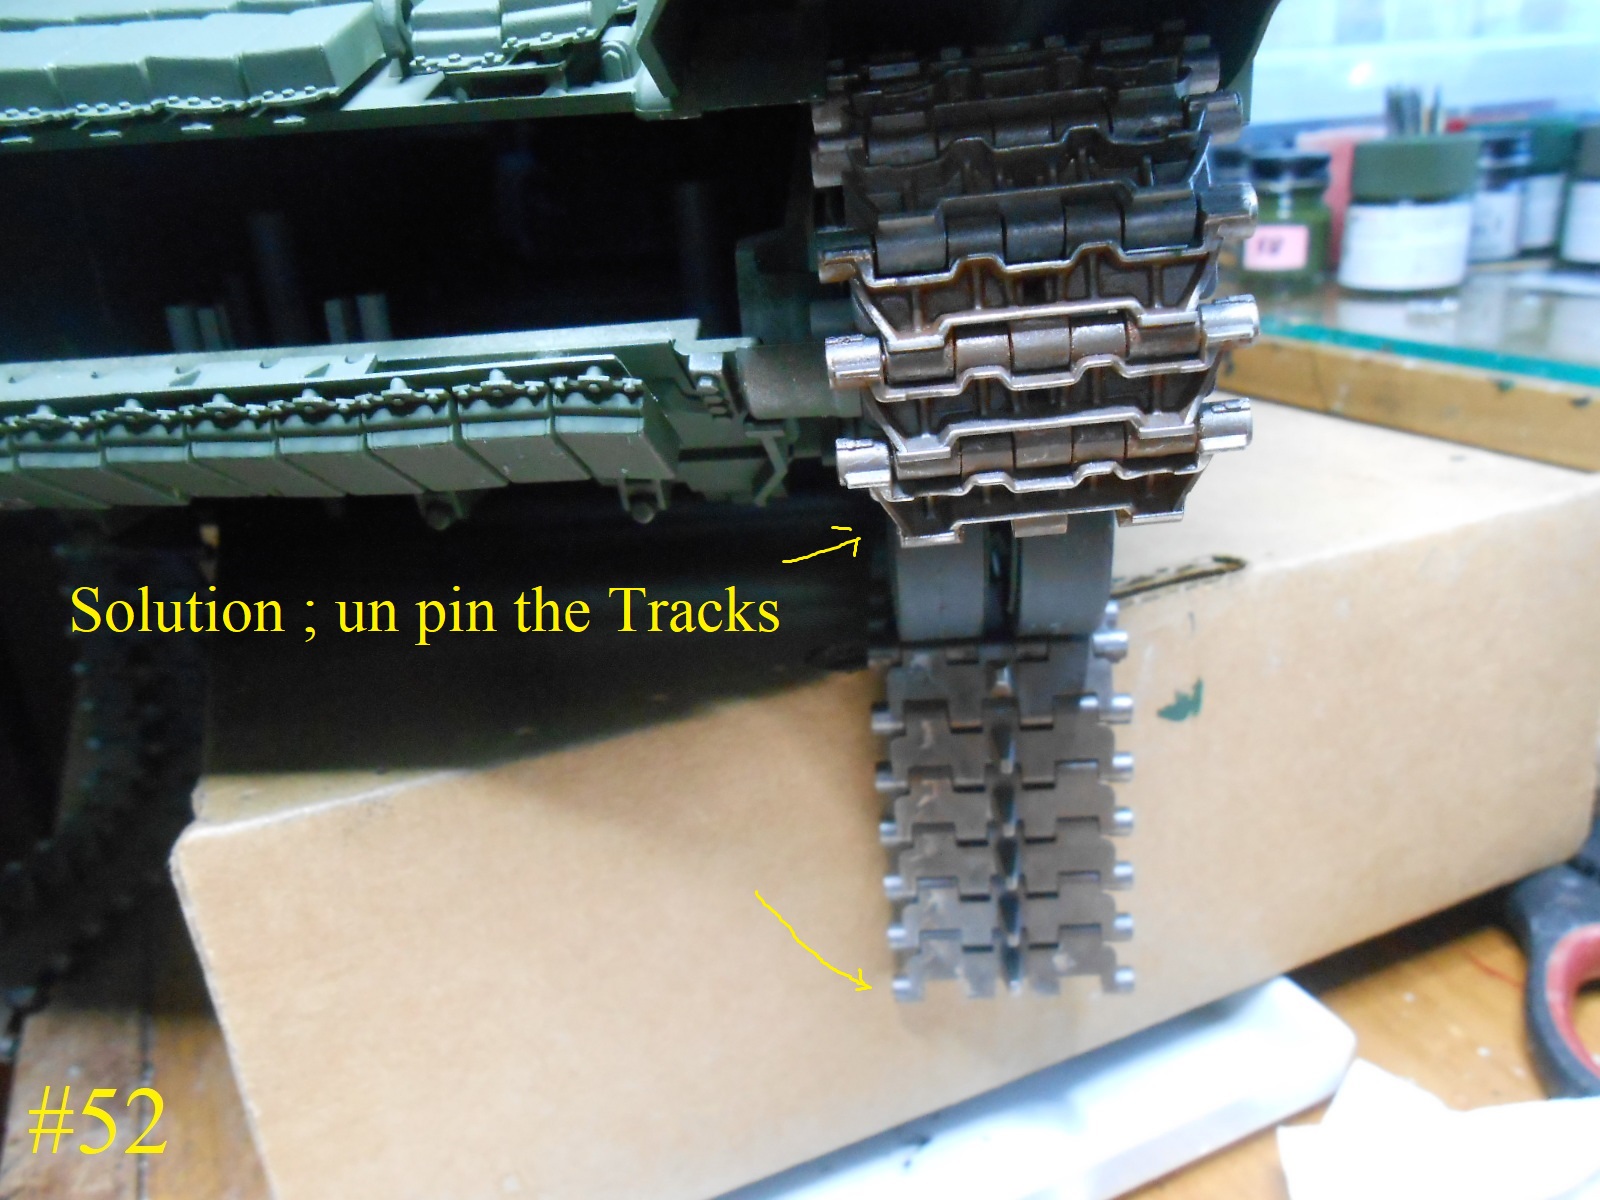
I’m working on the Track now , it’s very slow going and I thought I would give you an update.
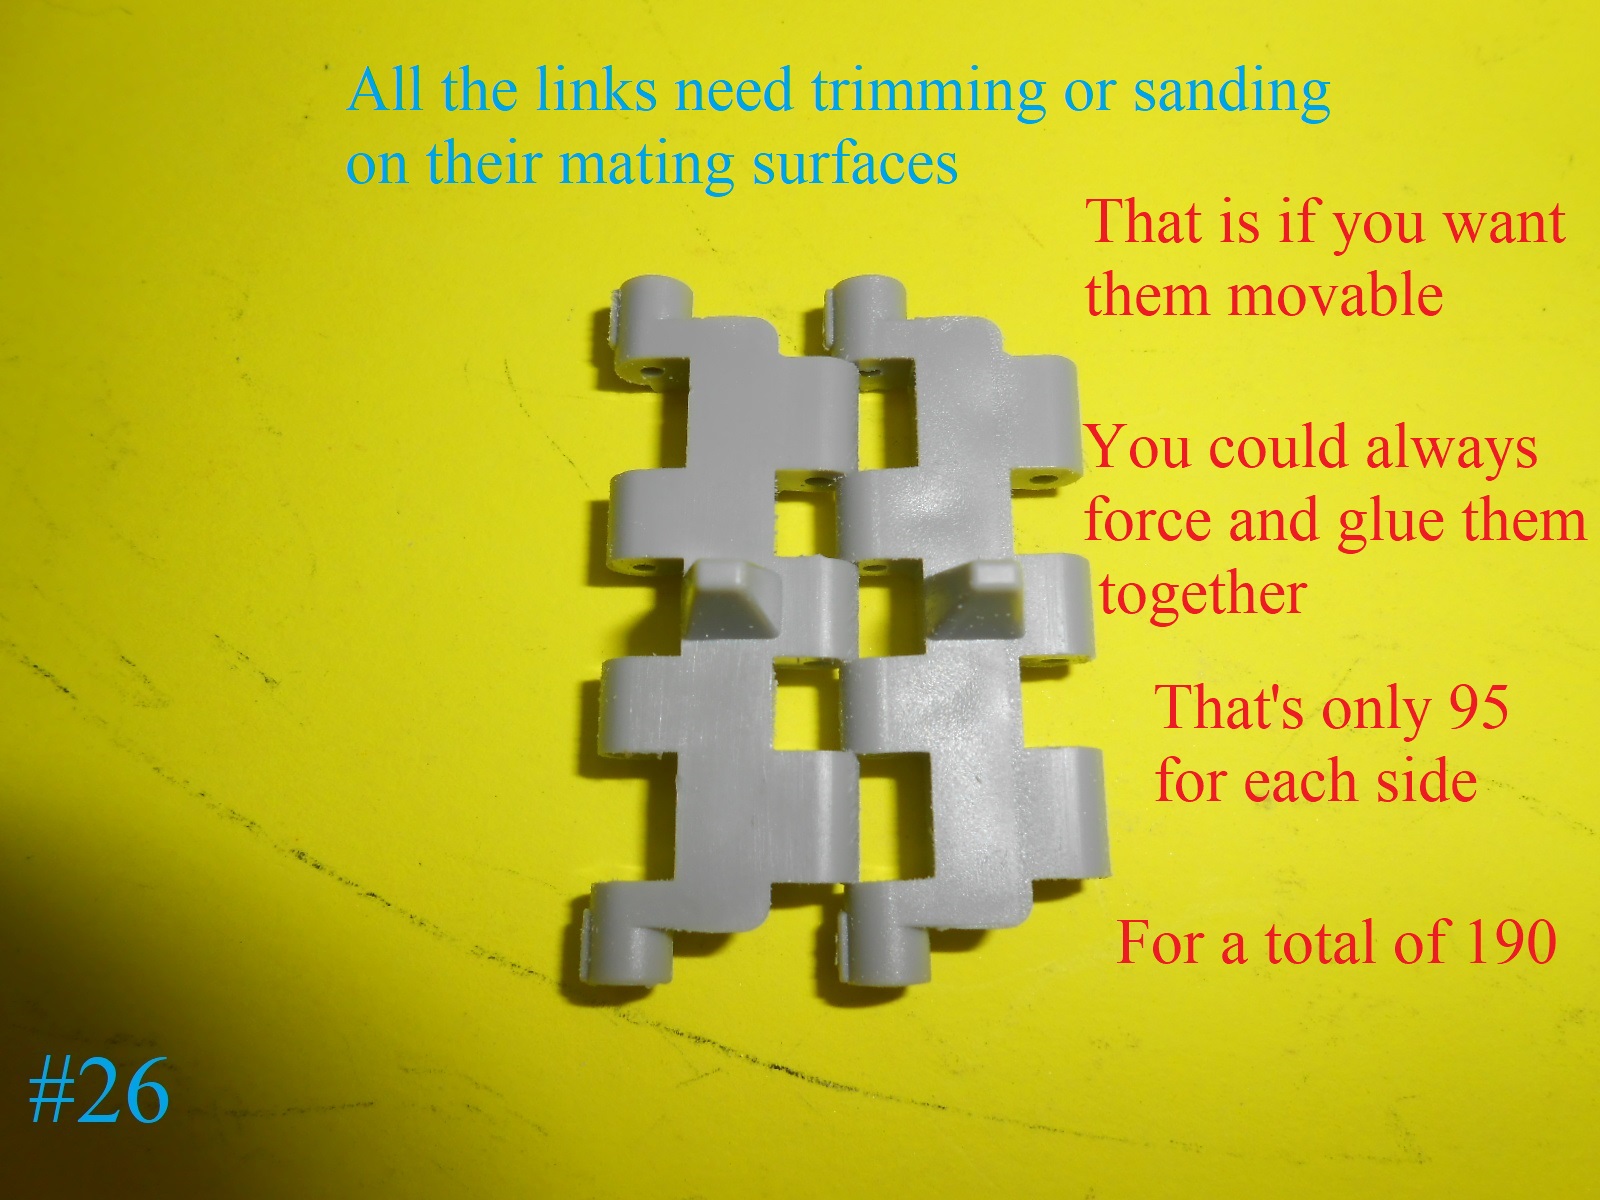
All the Track links are molded too thick in their mating surfaces and will need trimming or sanding to make them movable.
I am using some of my Wifes disposable Fingernail sanding sticks.
They work really good and are cheap.
Here’s the pics. that show what I mean.
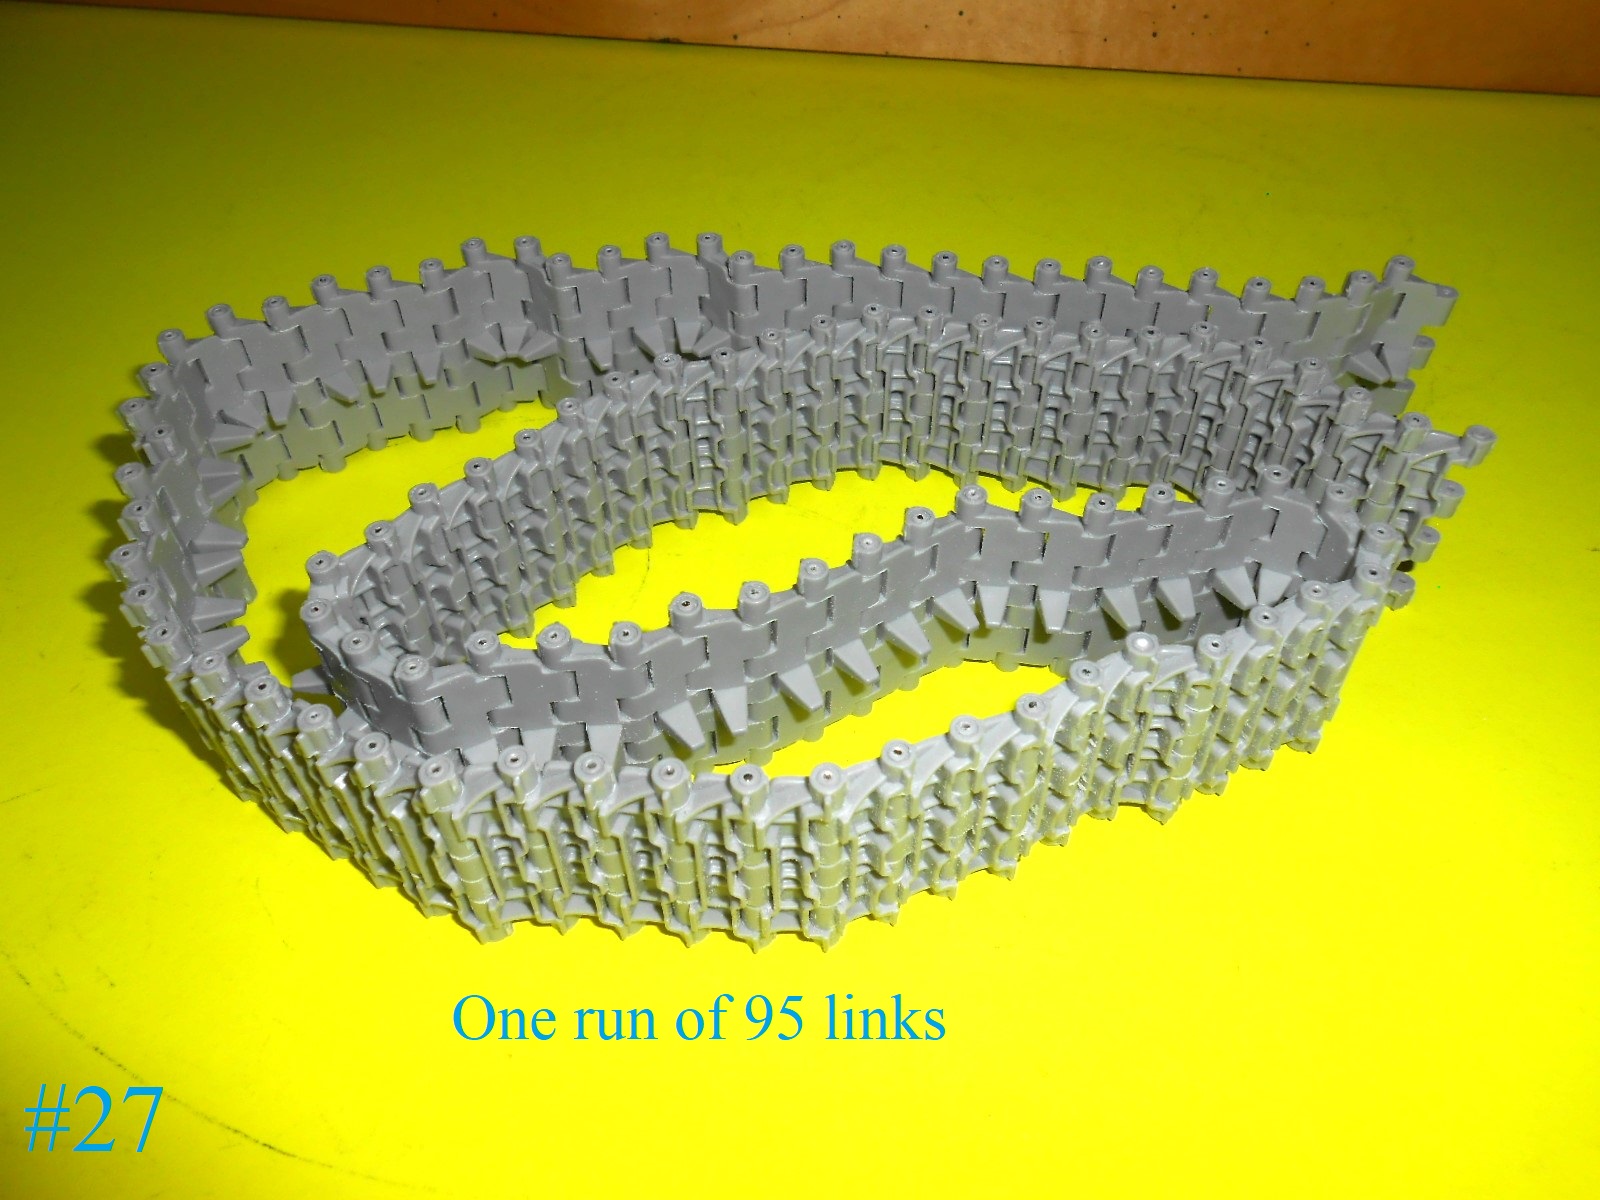
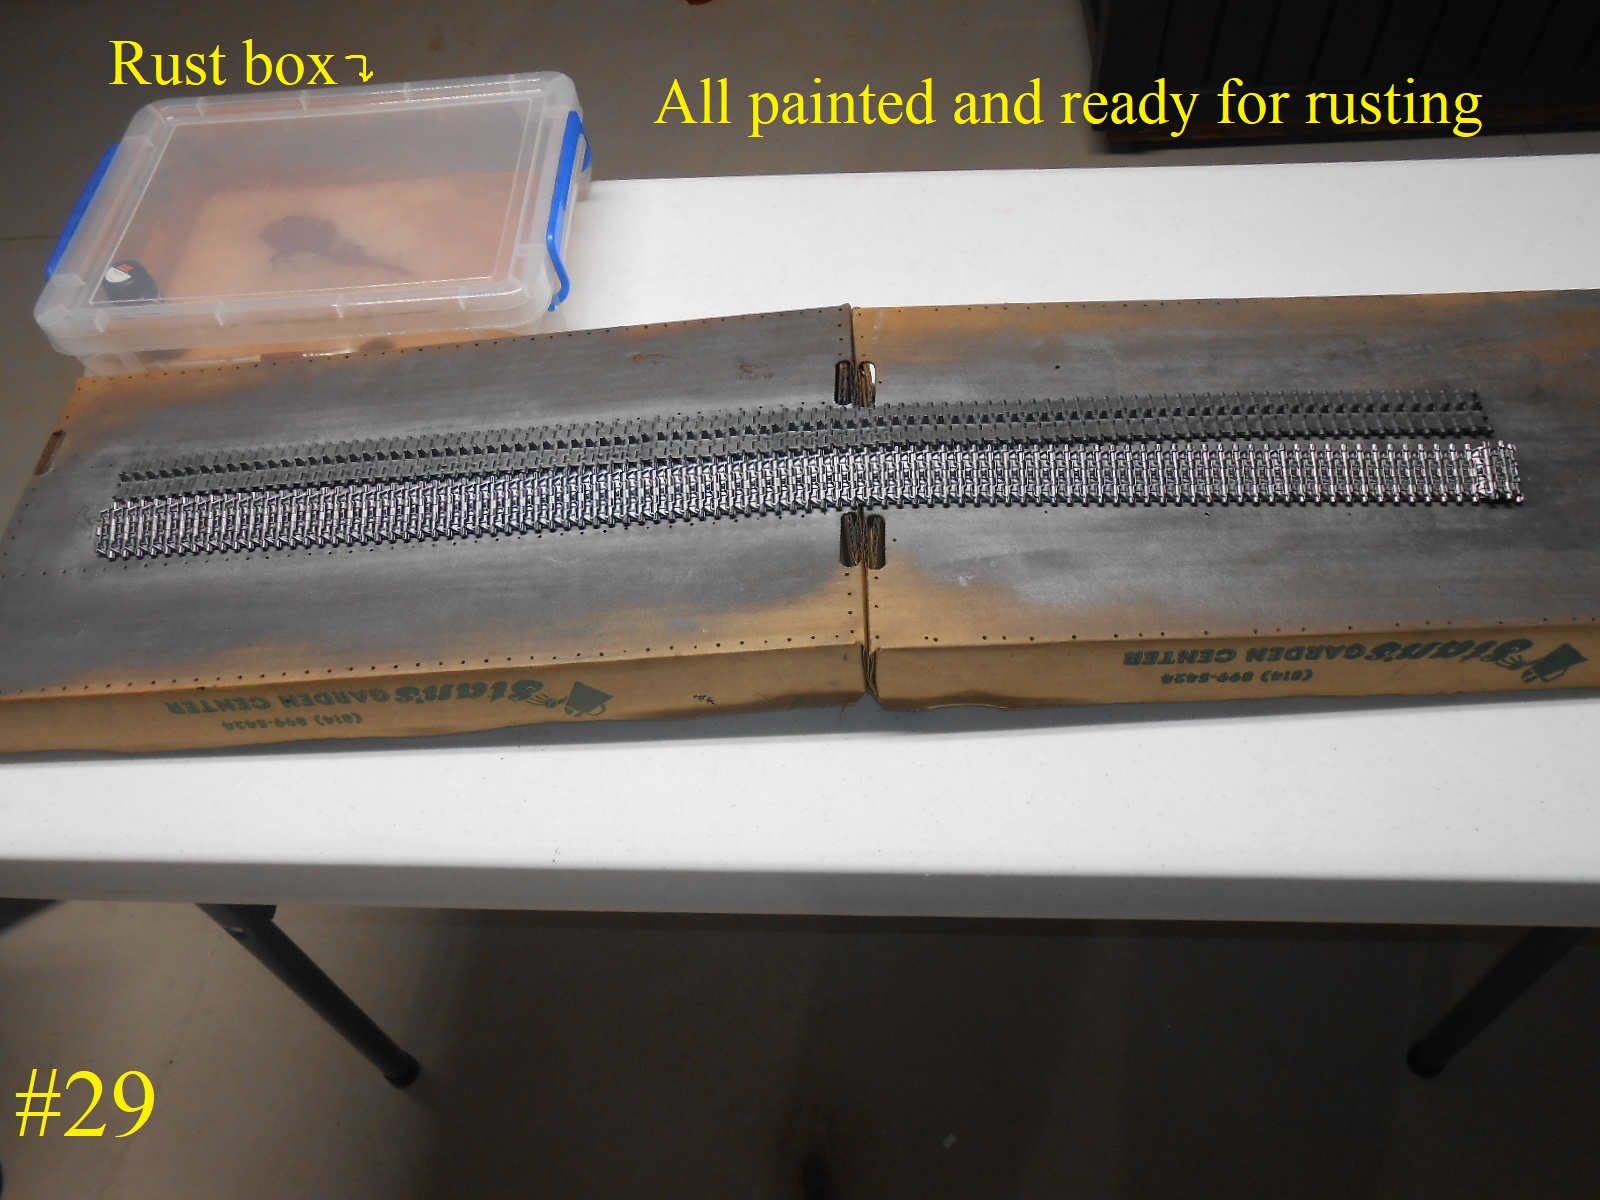
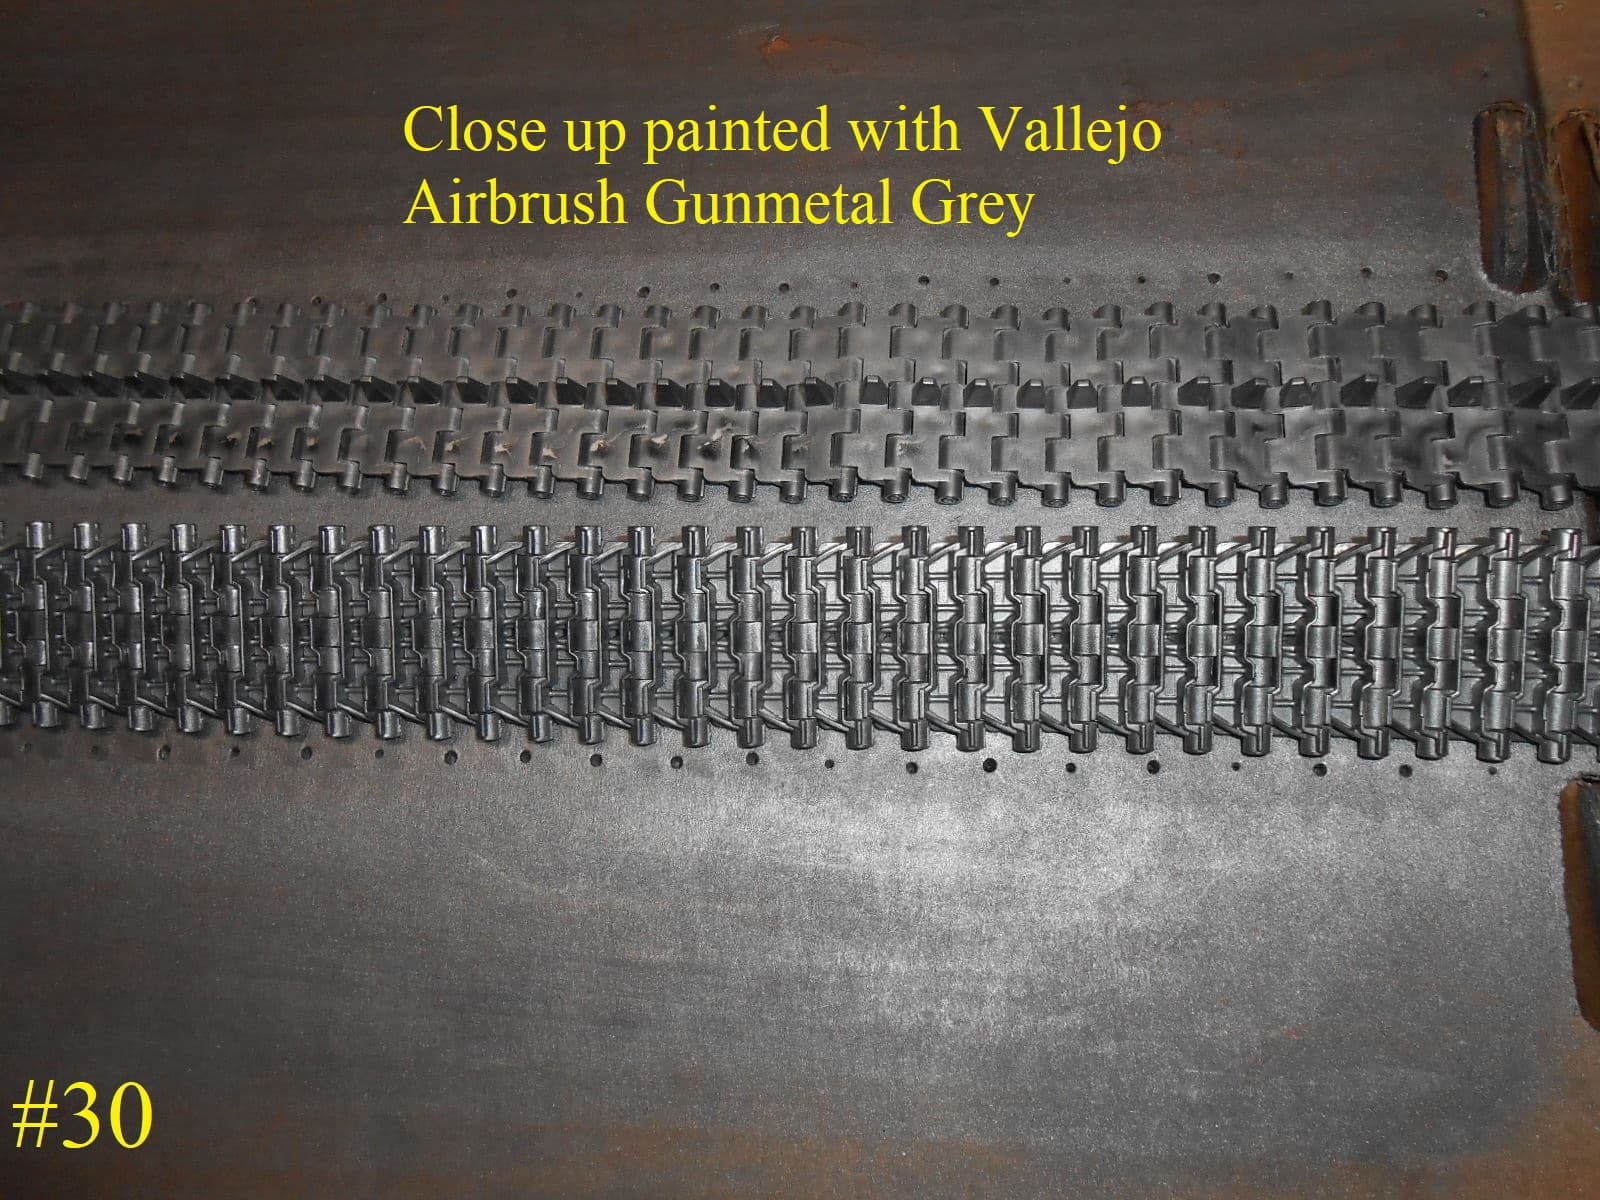
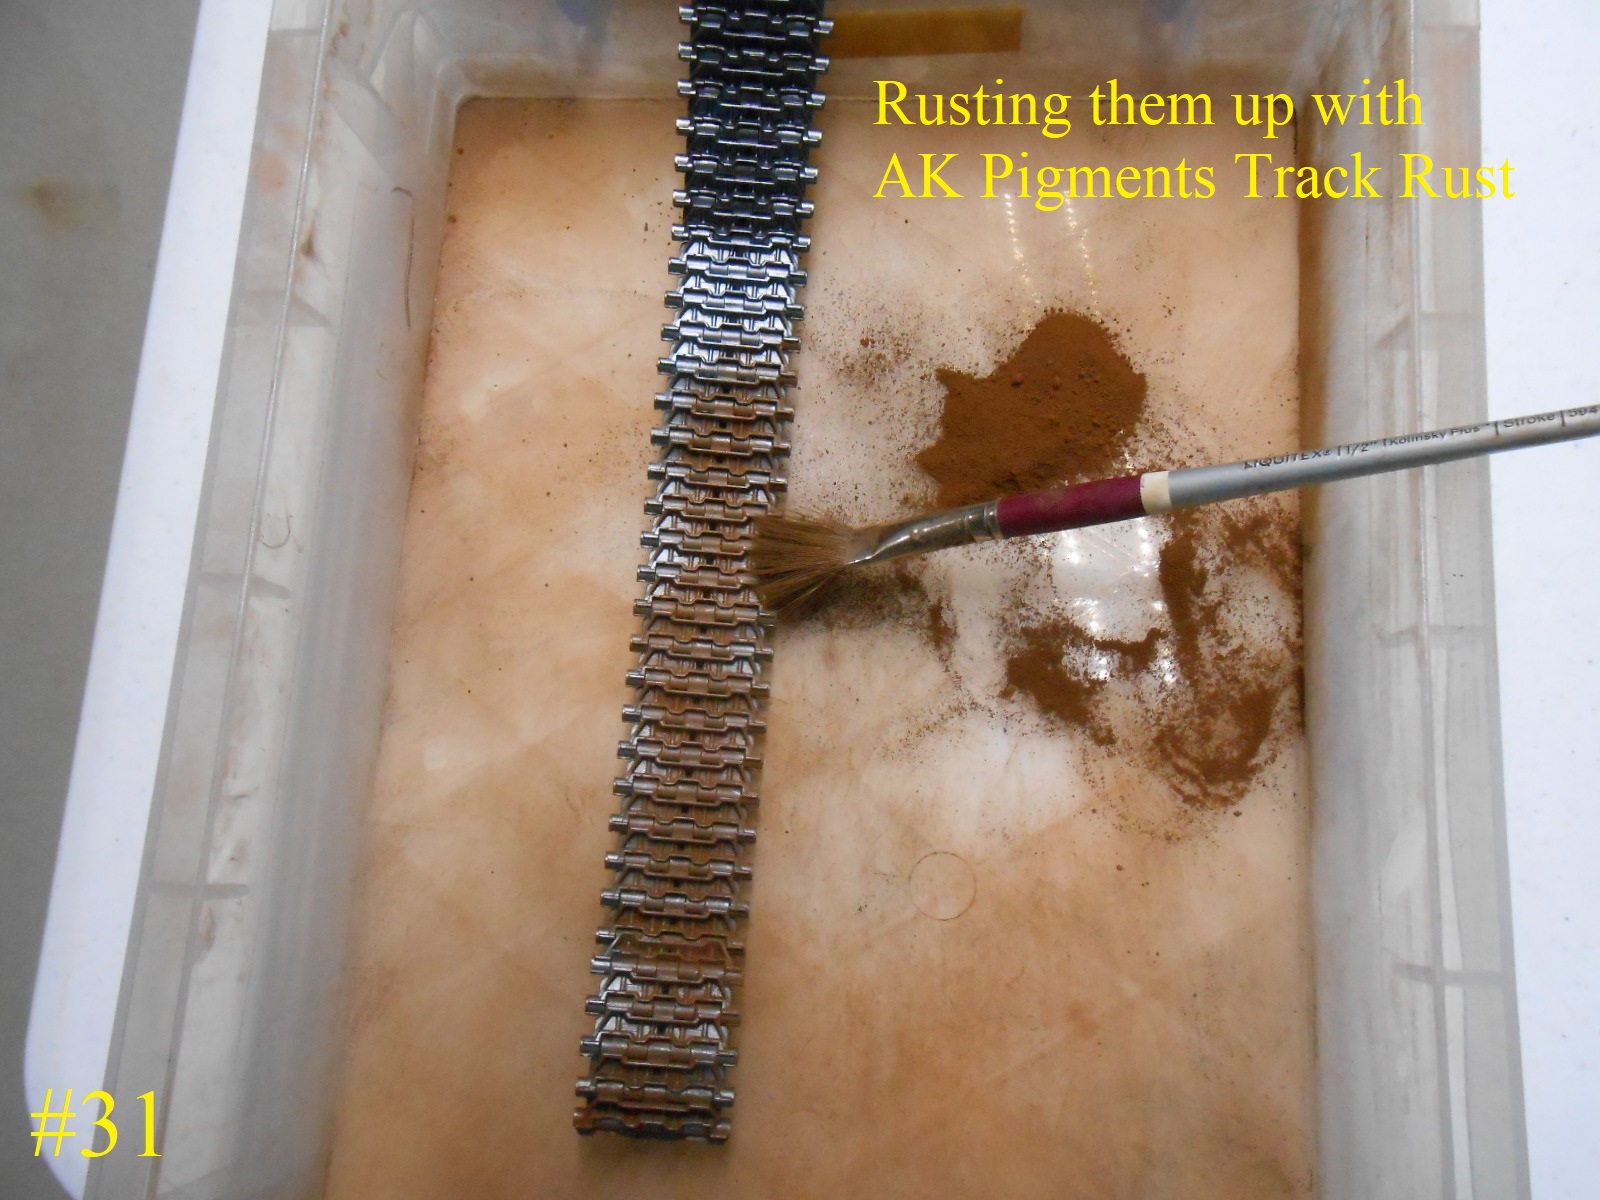
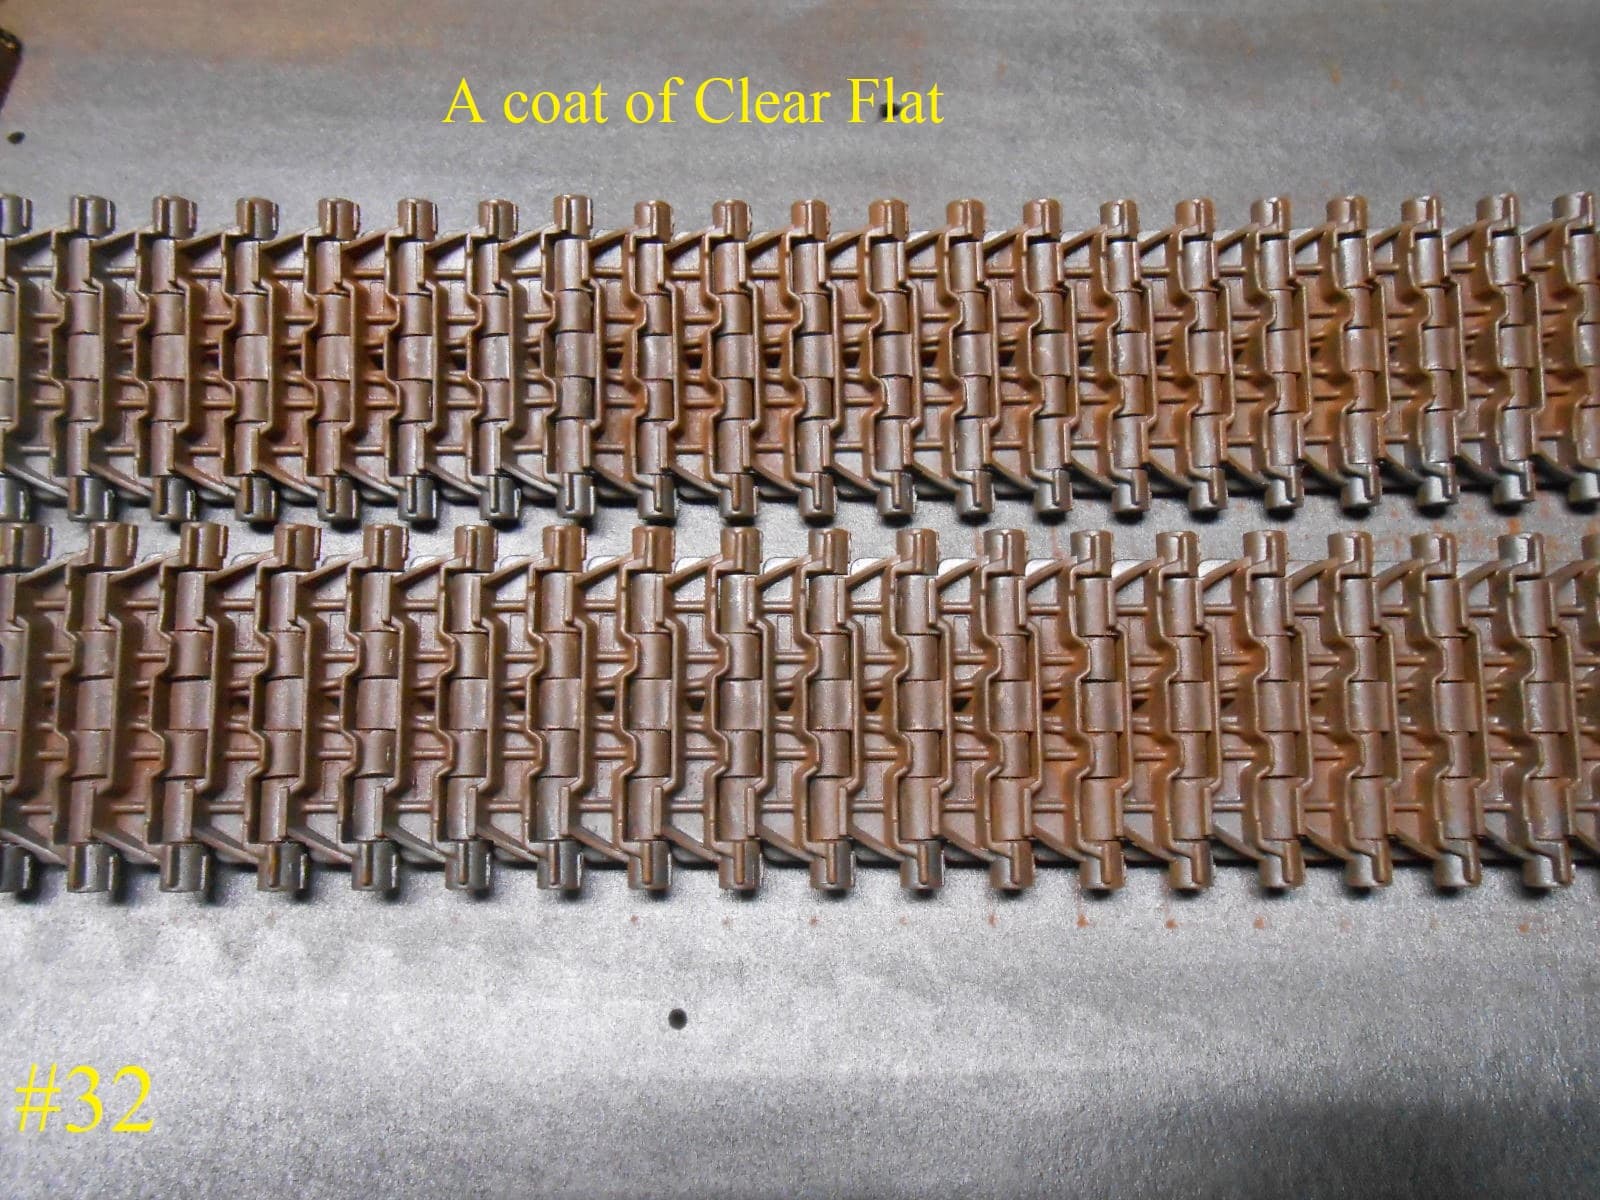
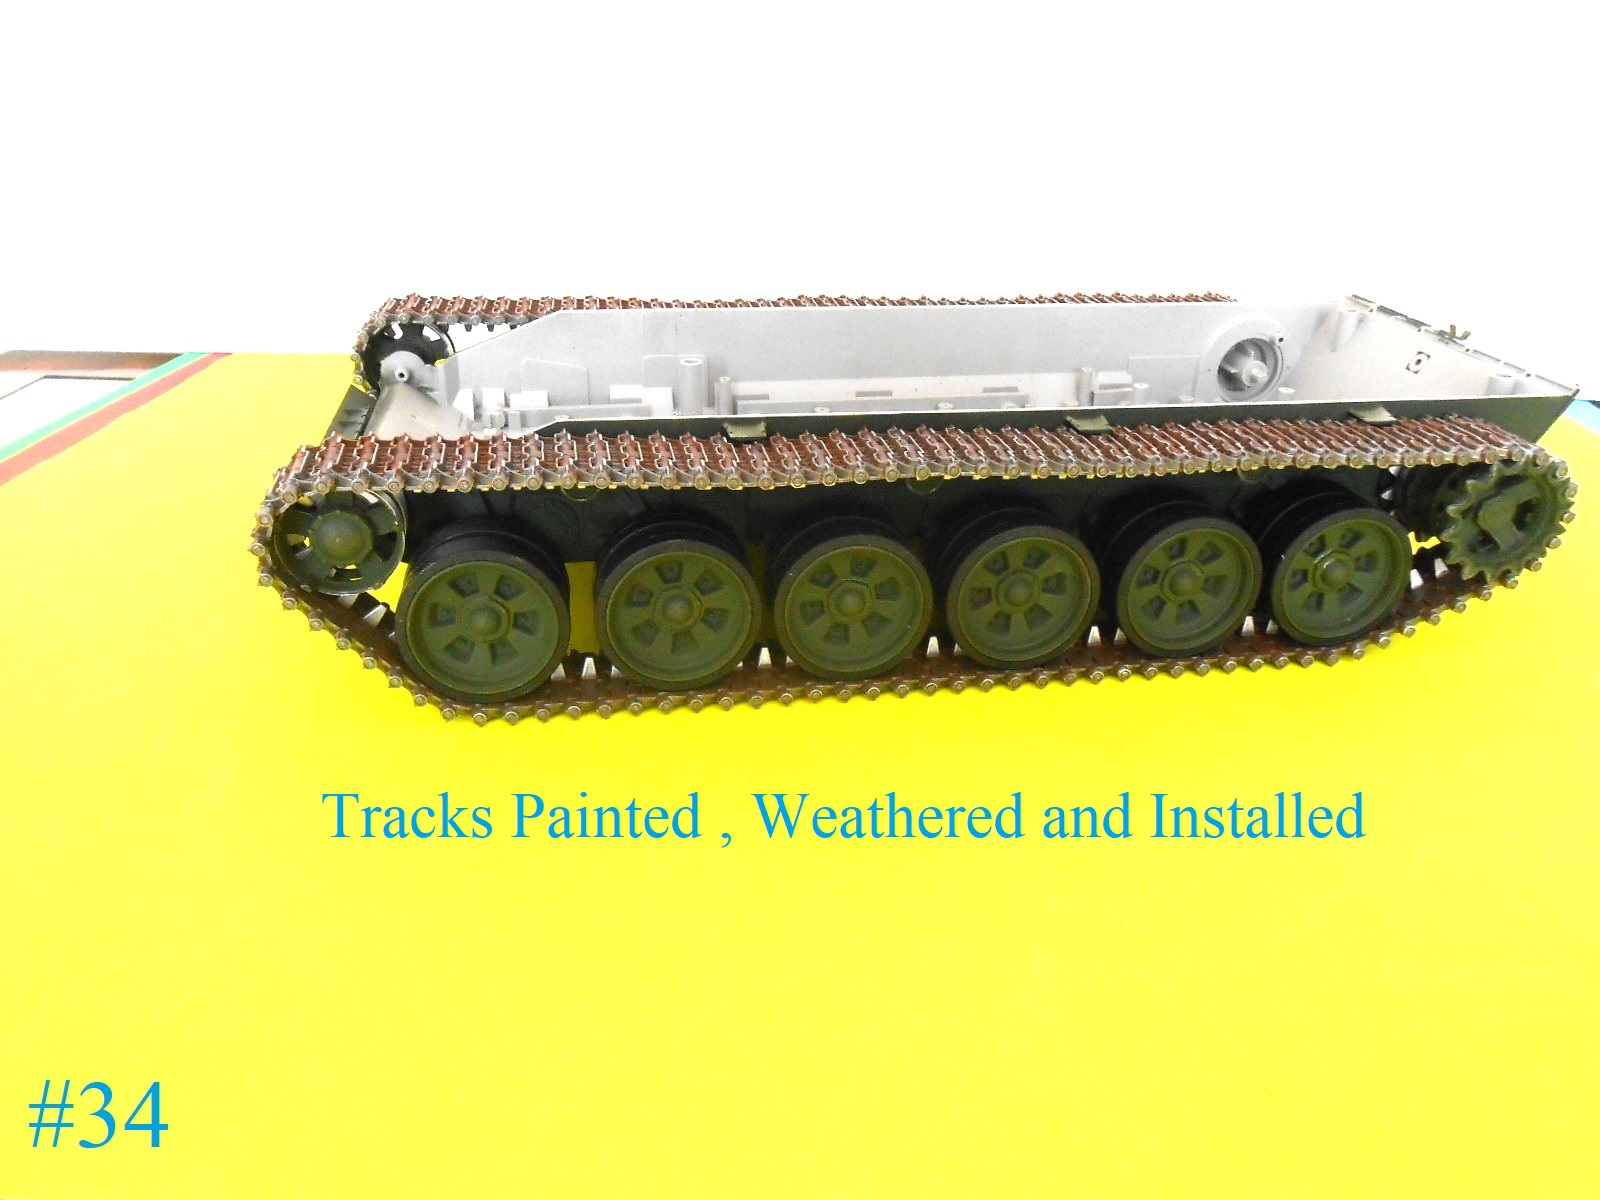
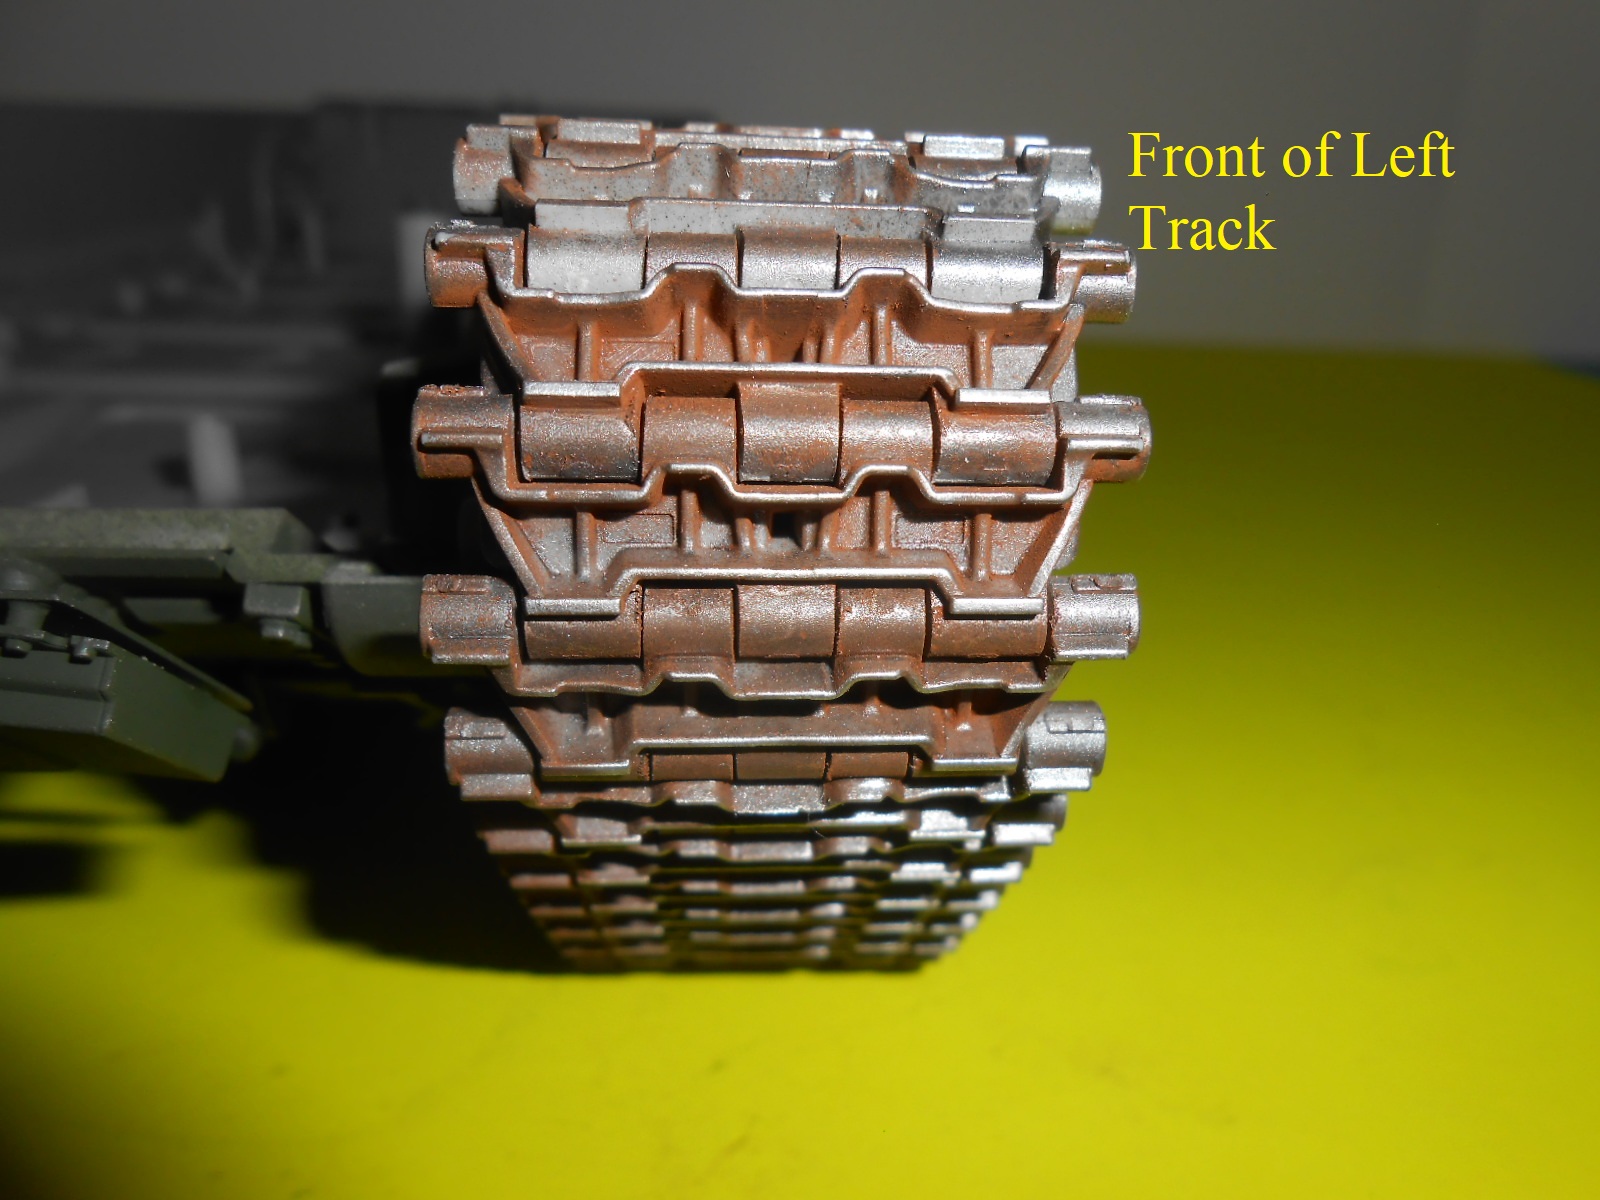
I finally have the Track Cleaned , Painted , and Weathered (NOT FUN)
Here’s a short on how I did it.
I’ve just started building this kit and as always am grateful for your guidance.
You’r going to have fun with the Track.
A lot of clean up but mostly fitting the links together.
Hang in there for when the track is finished it’s well worth it.
Regards
Donald
Just finished those earlier. As you said, plenty of clean up as well as “surgical” adjustments to make the links flexible.
But indeed worth the time and effort once they’re fitted
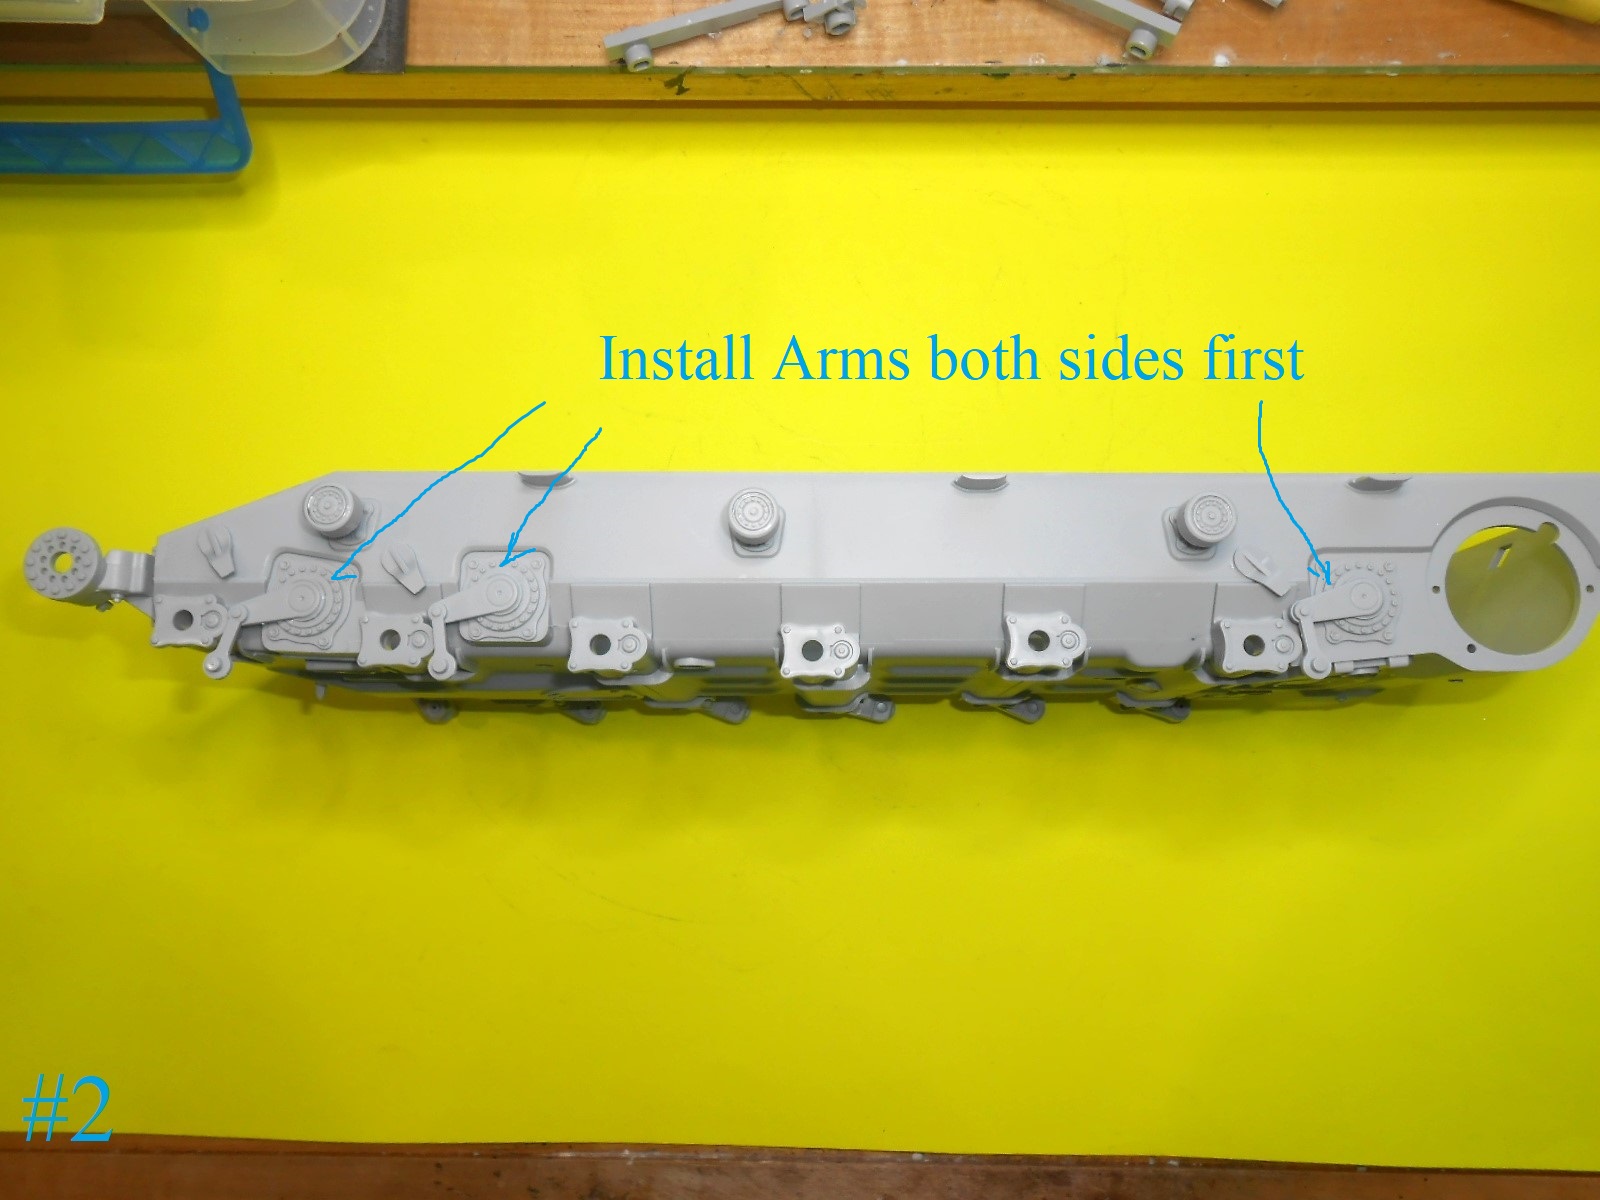
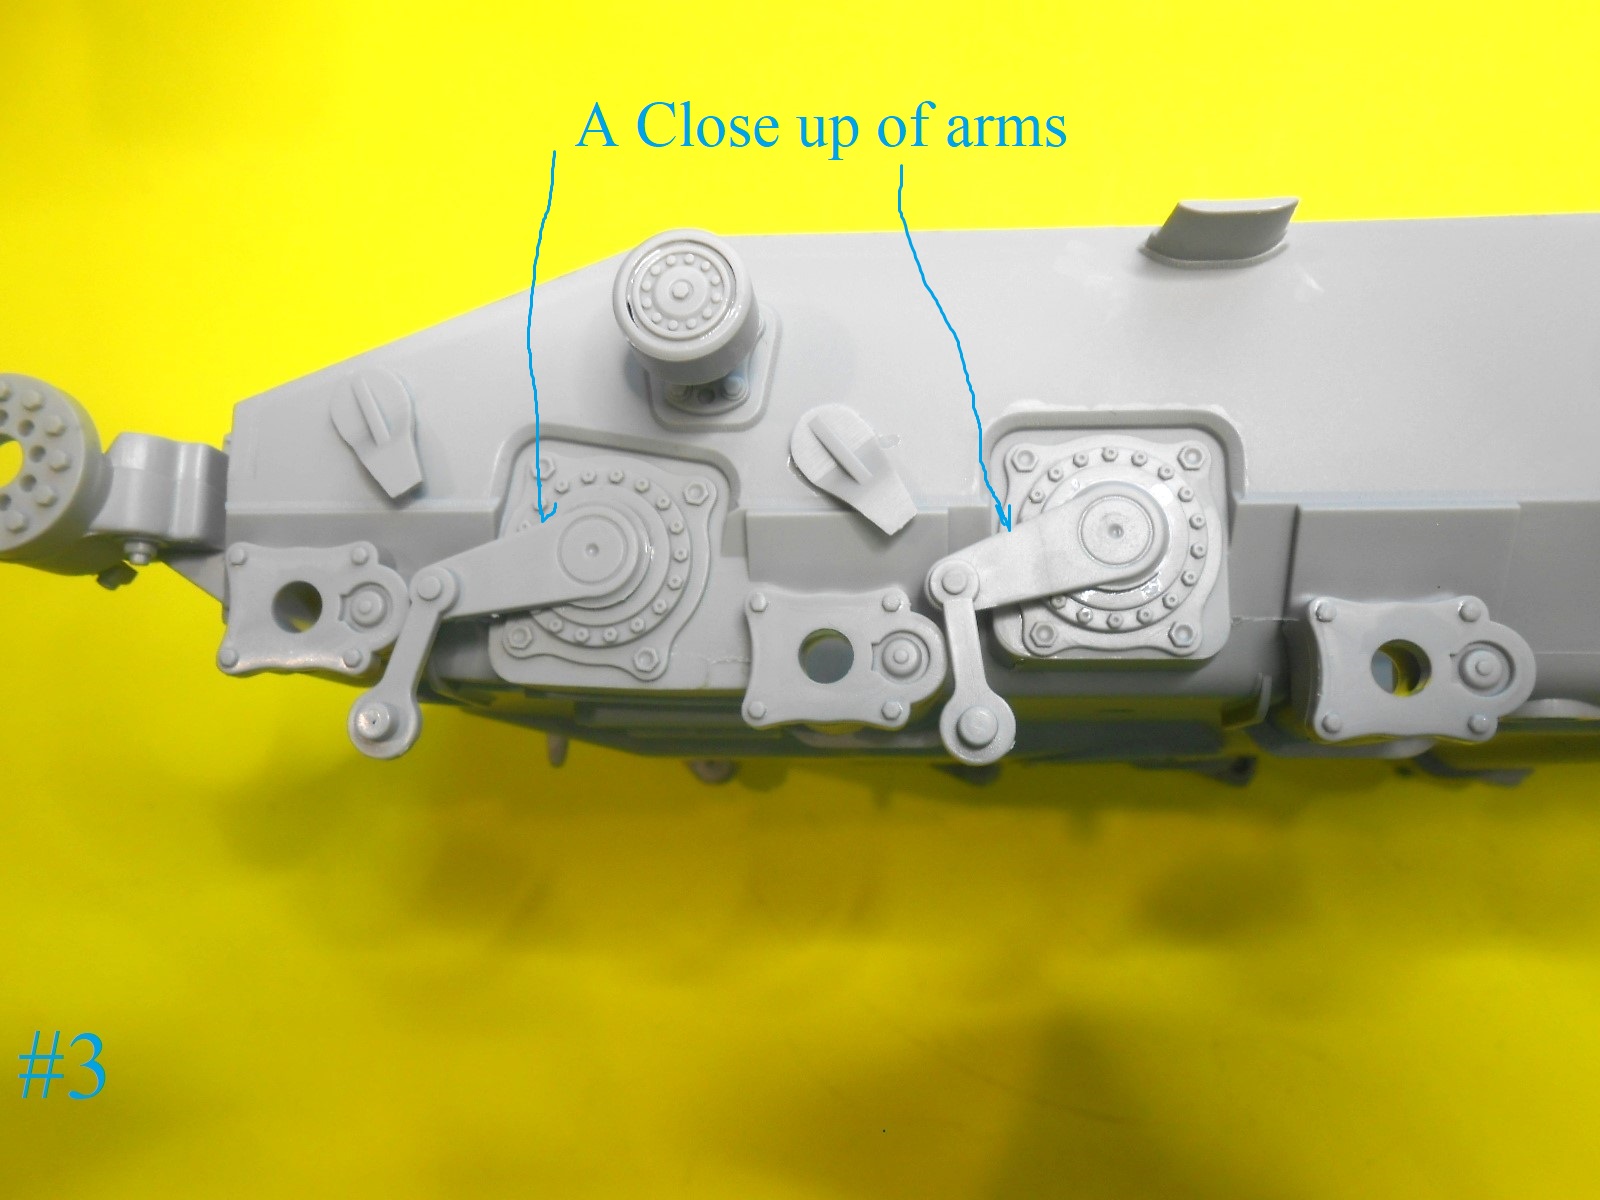
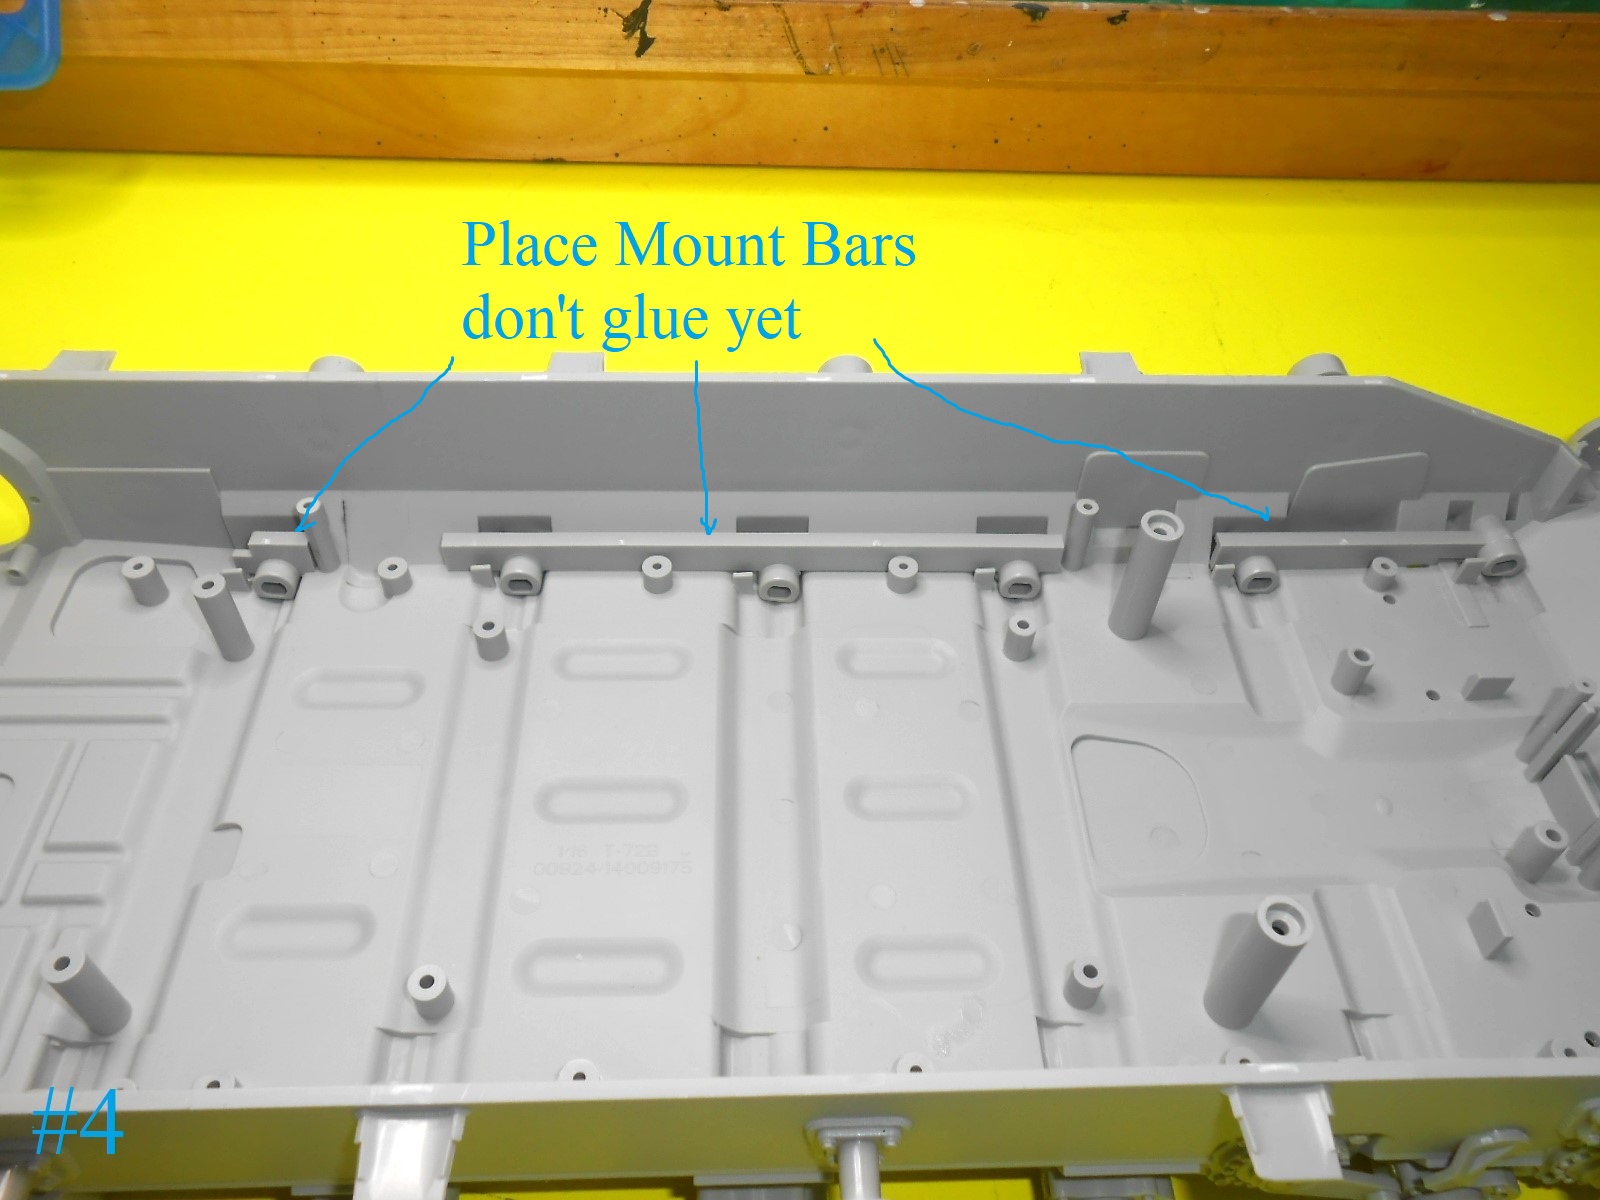
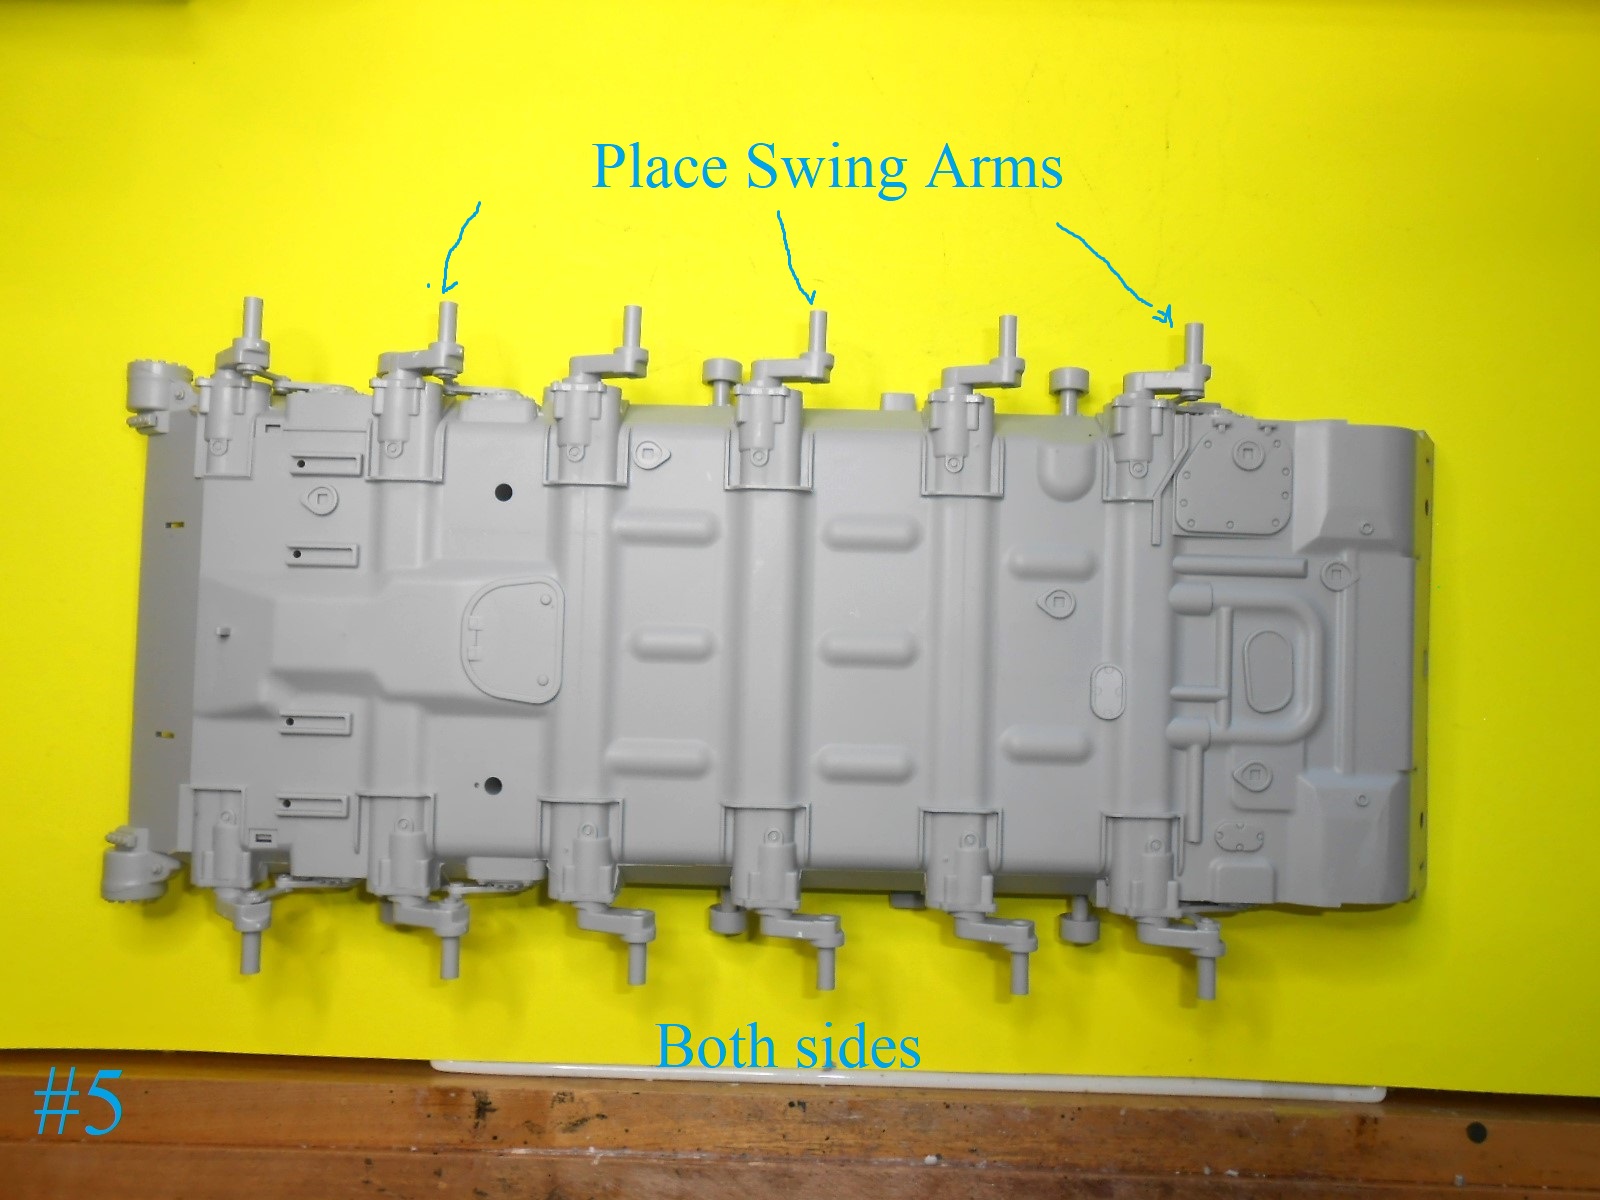
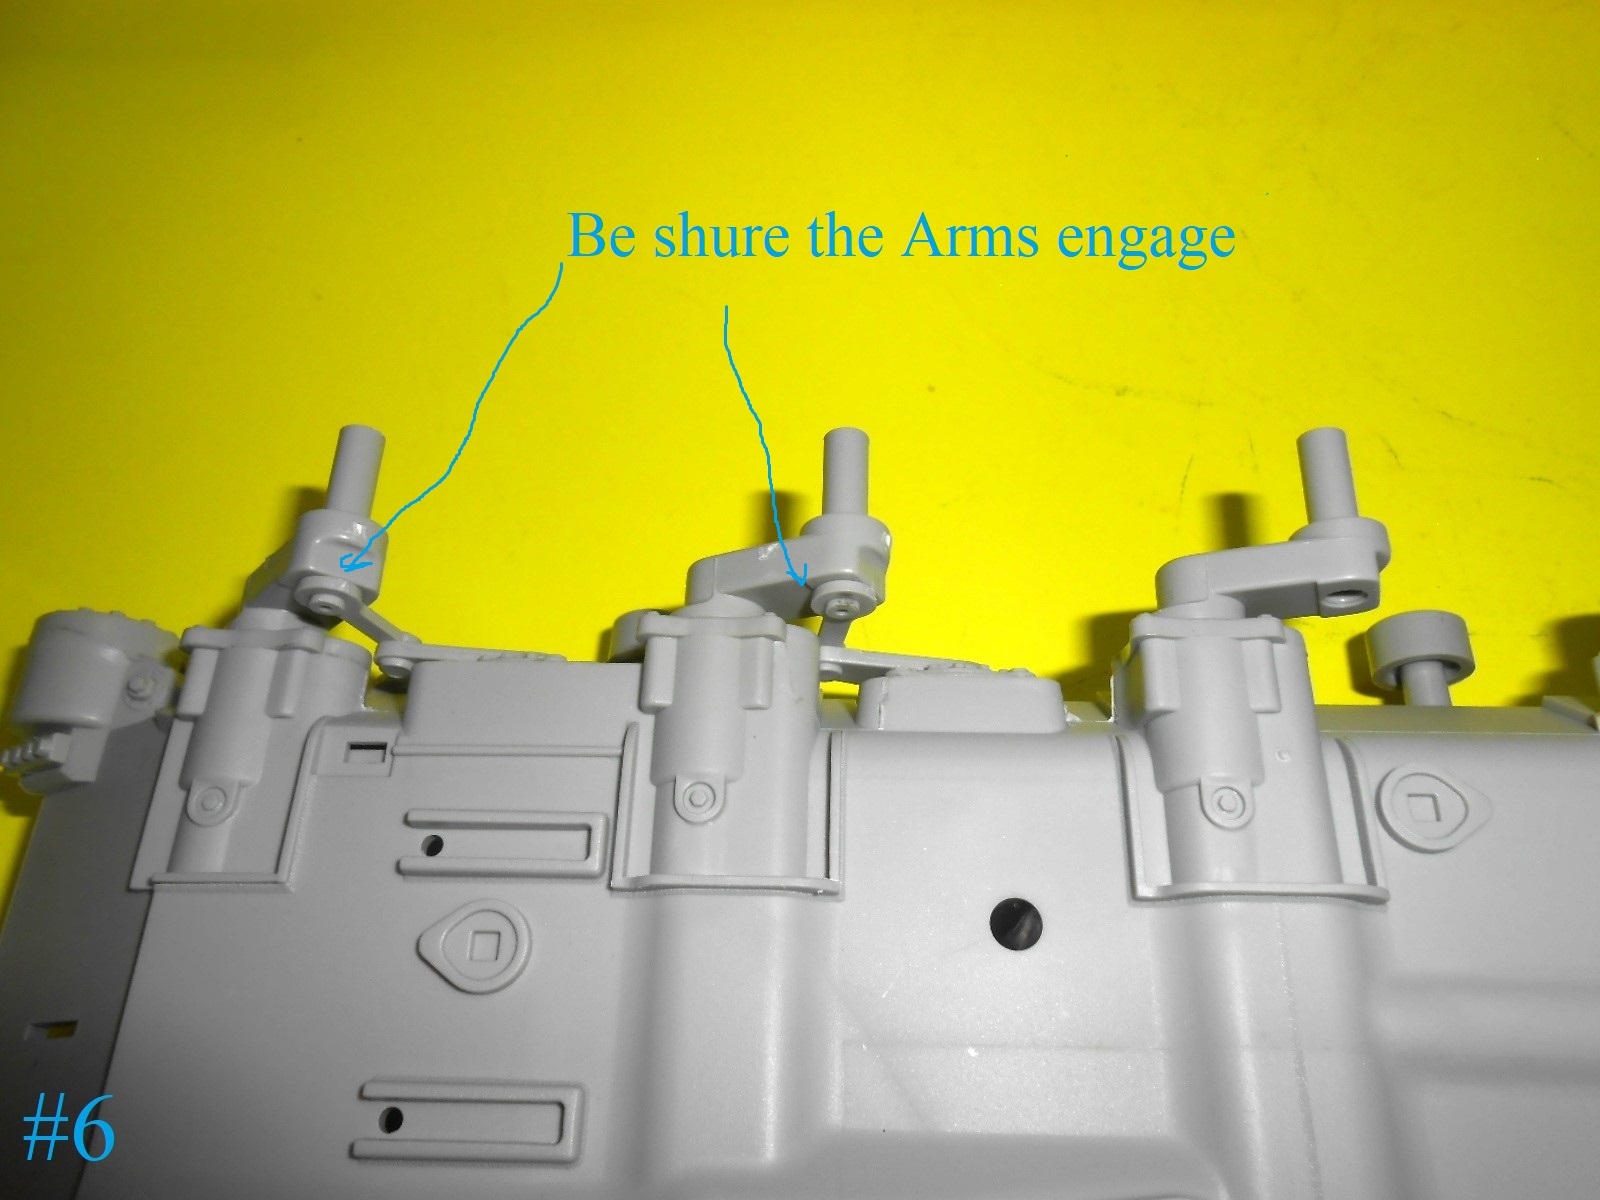
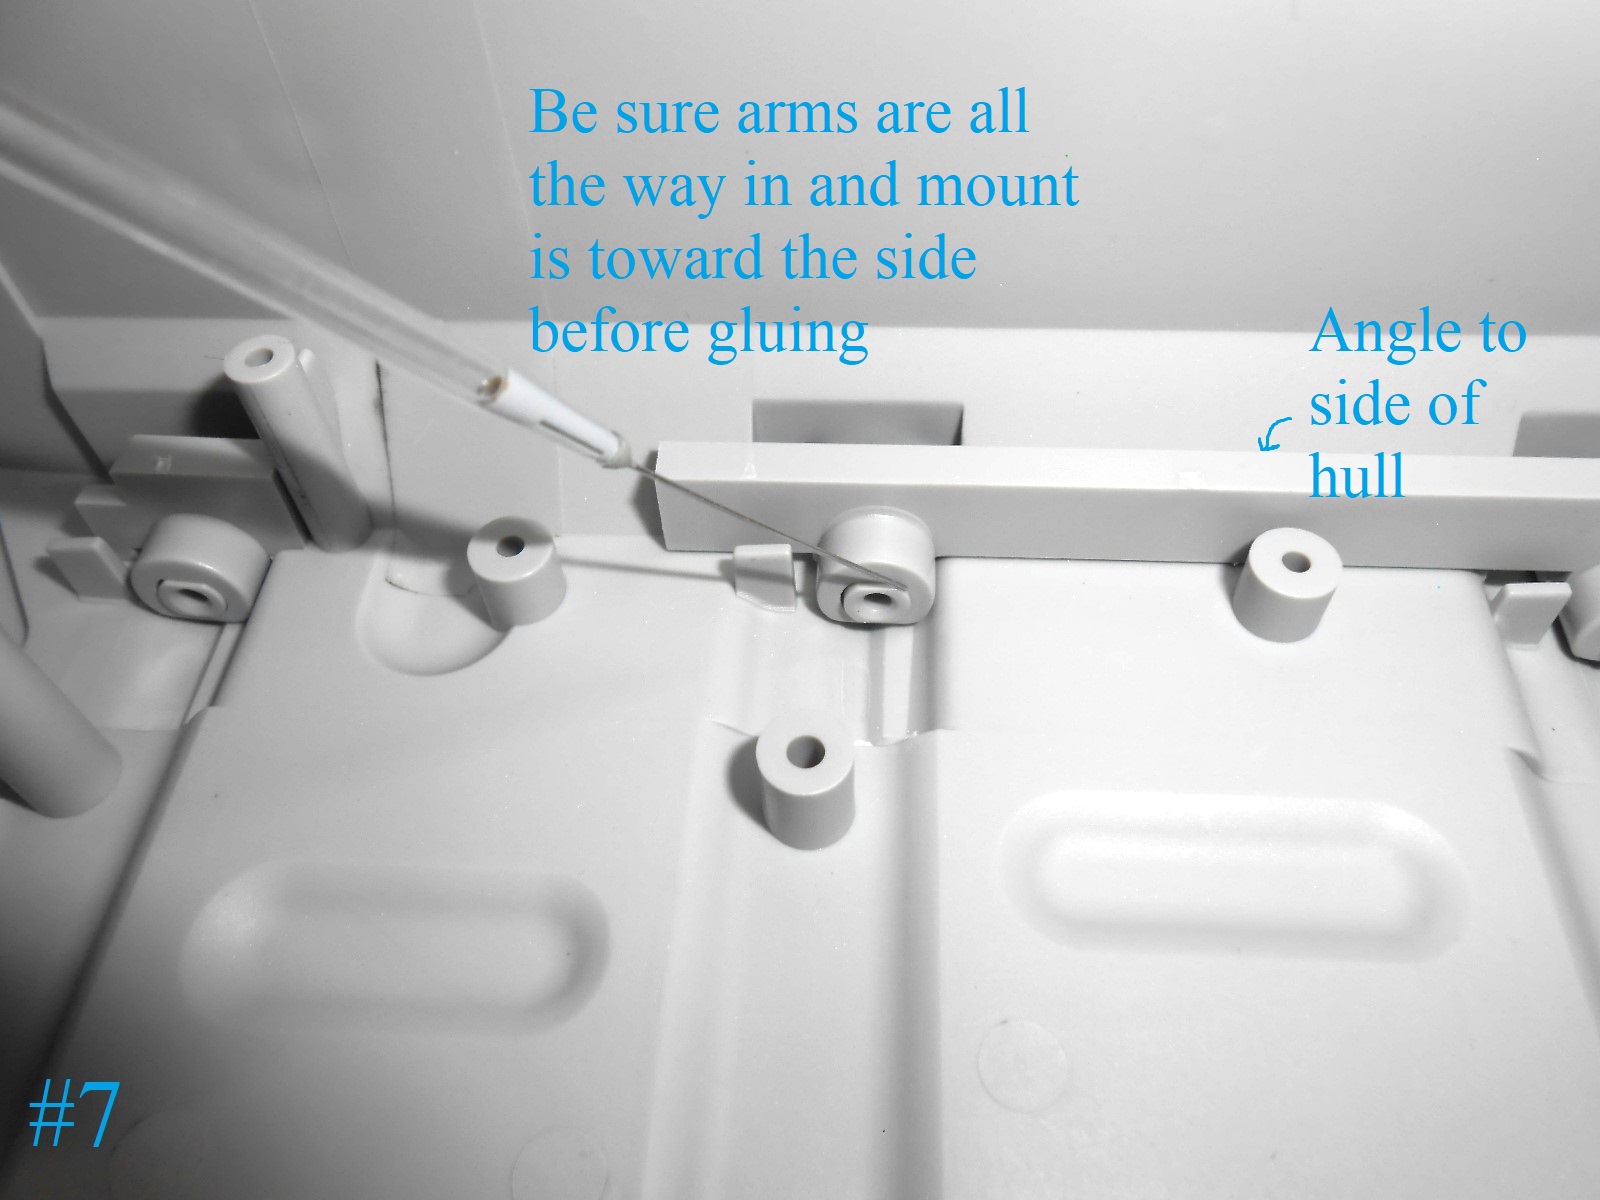
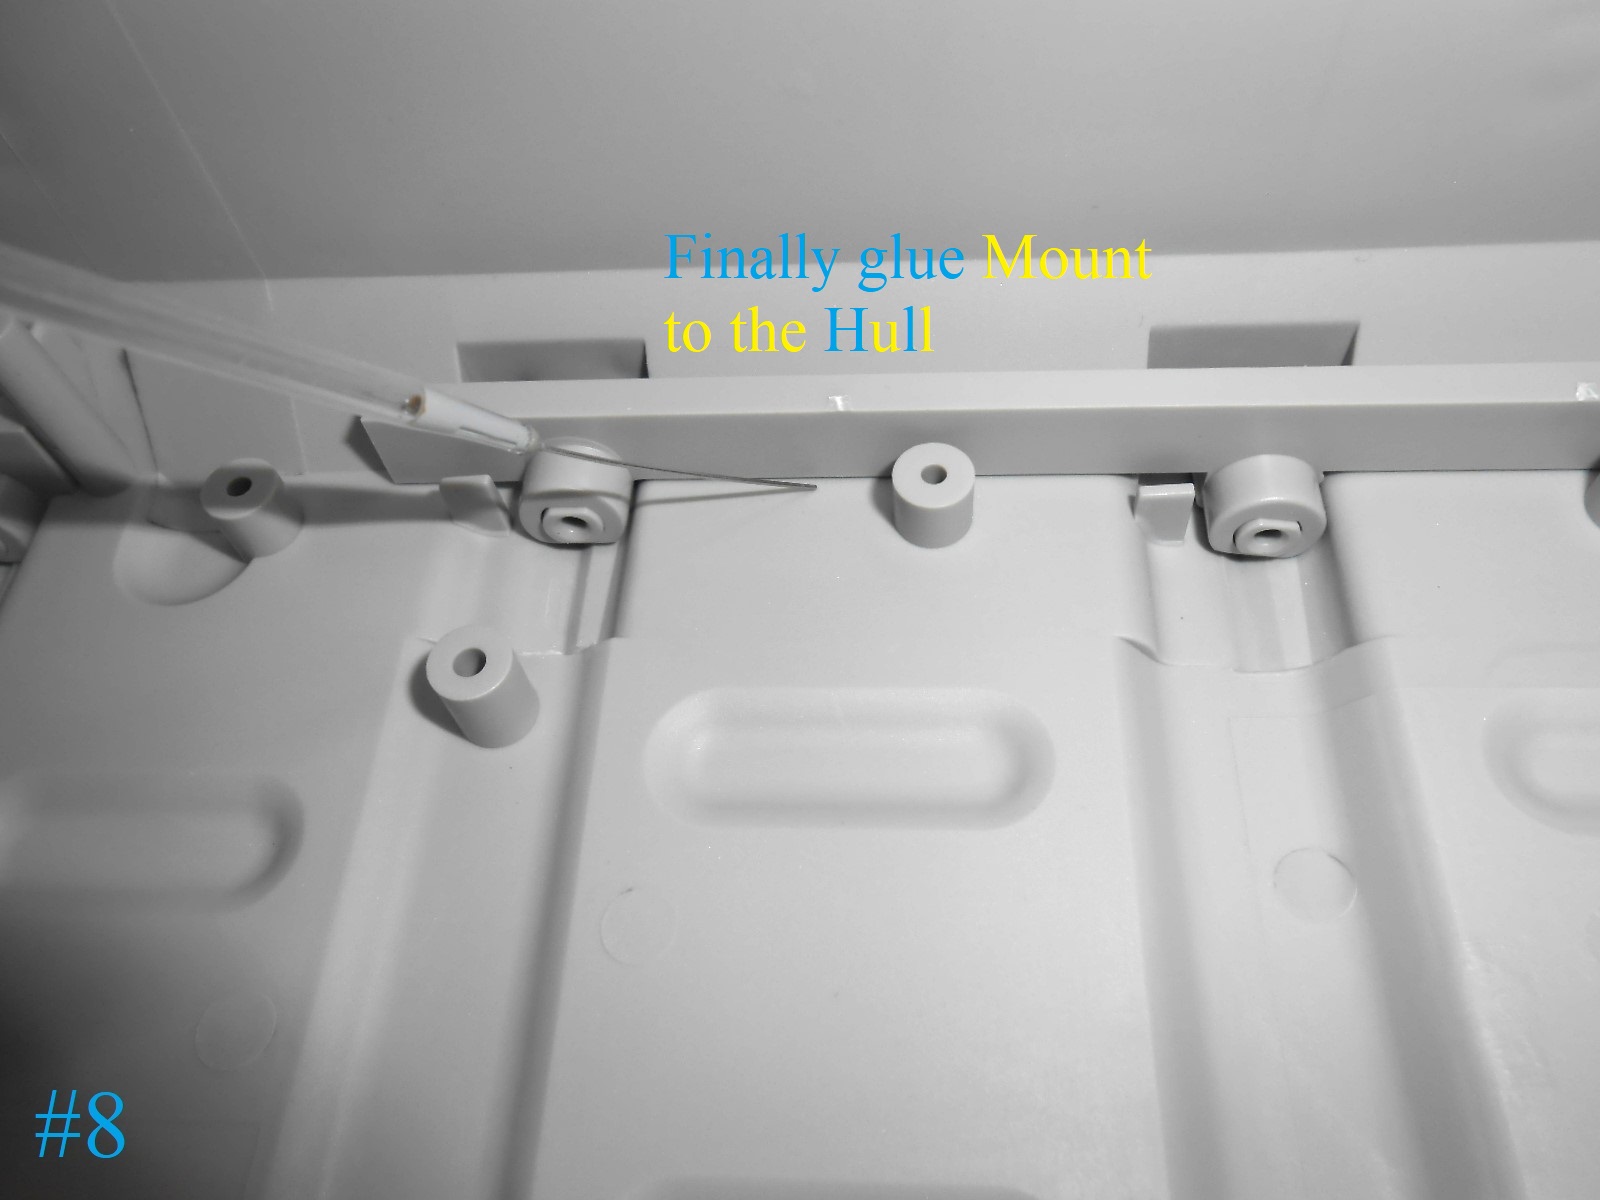
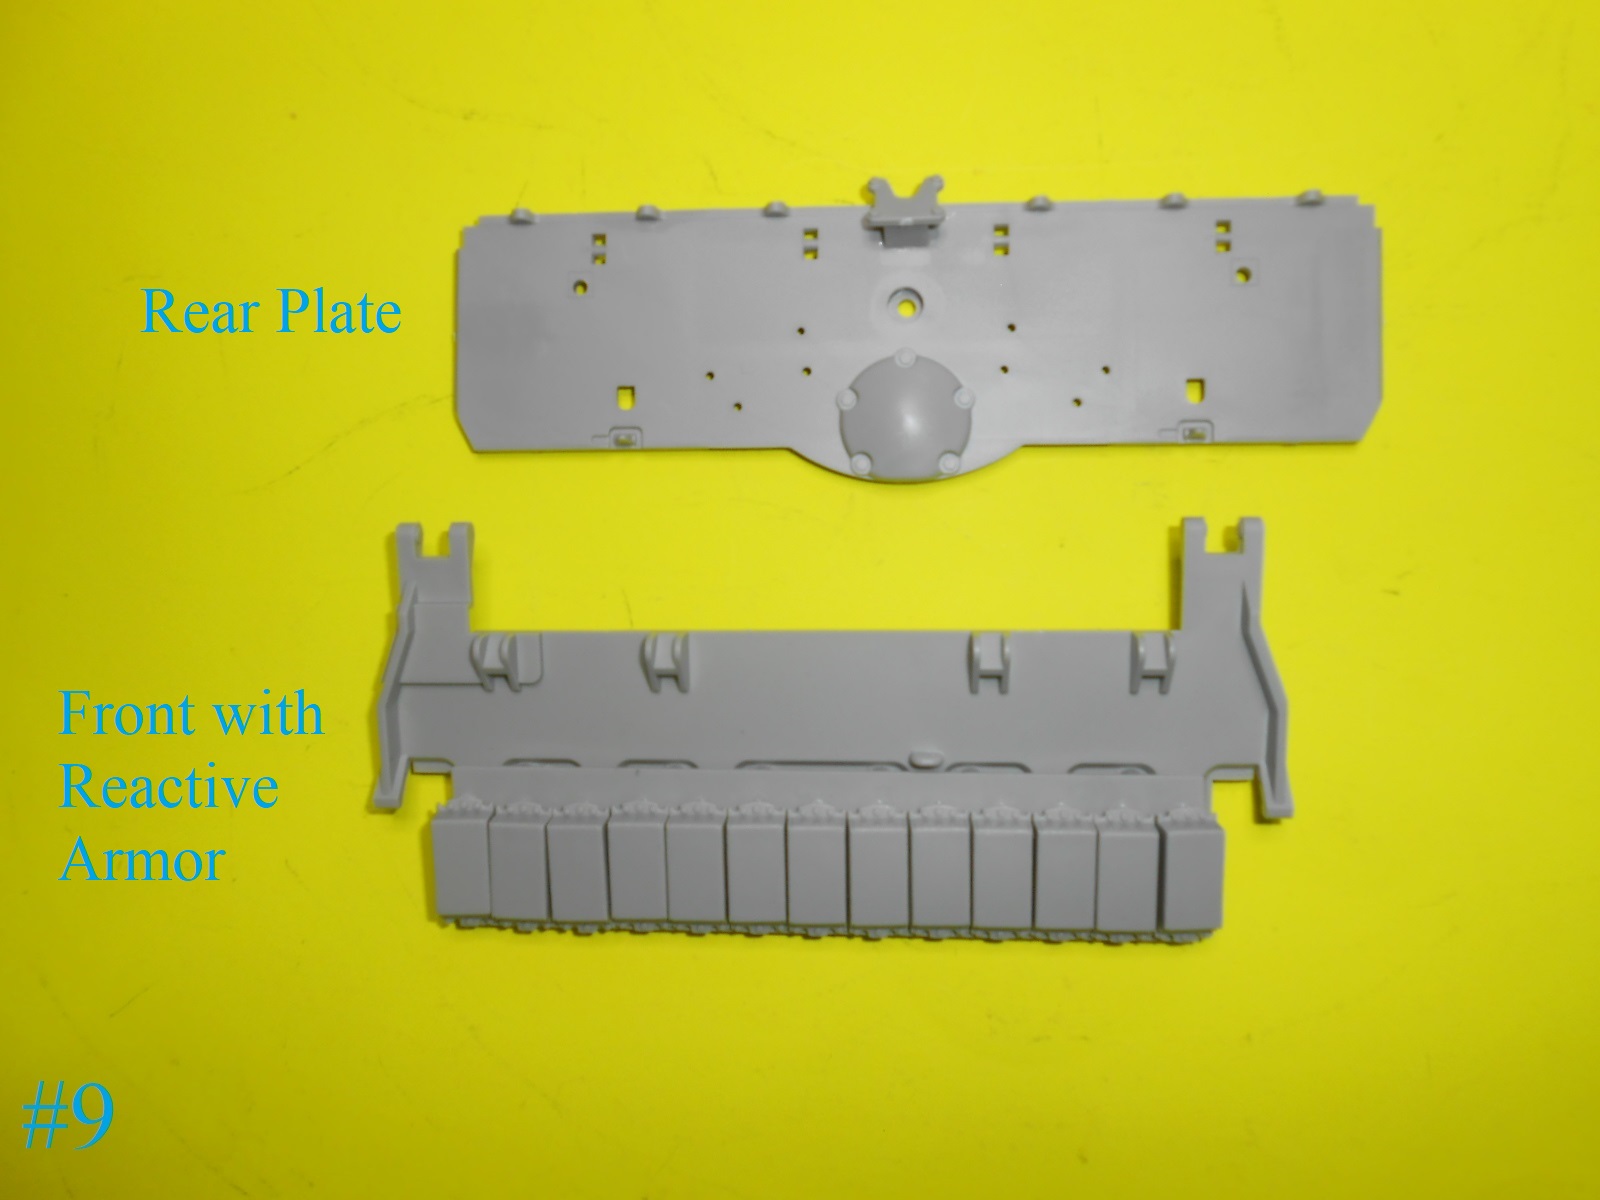
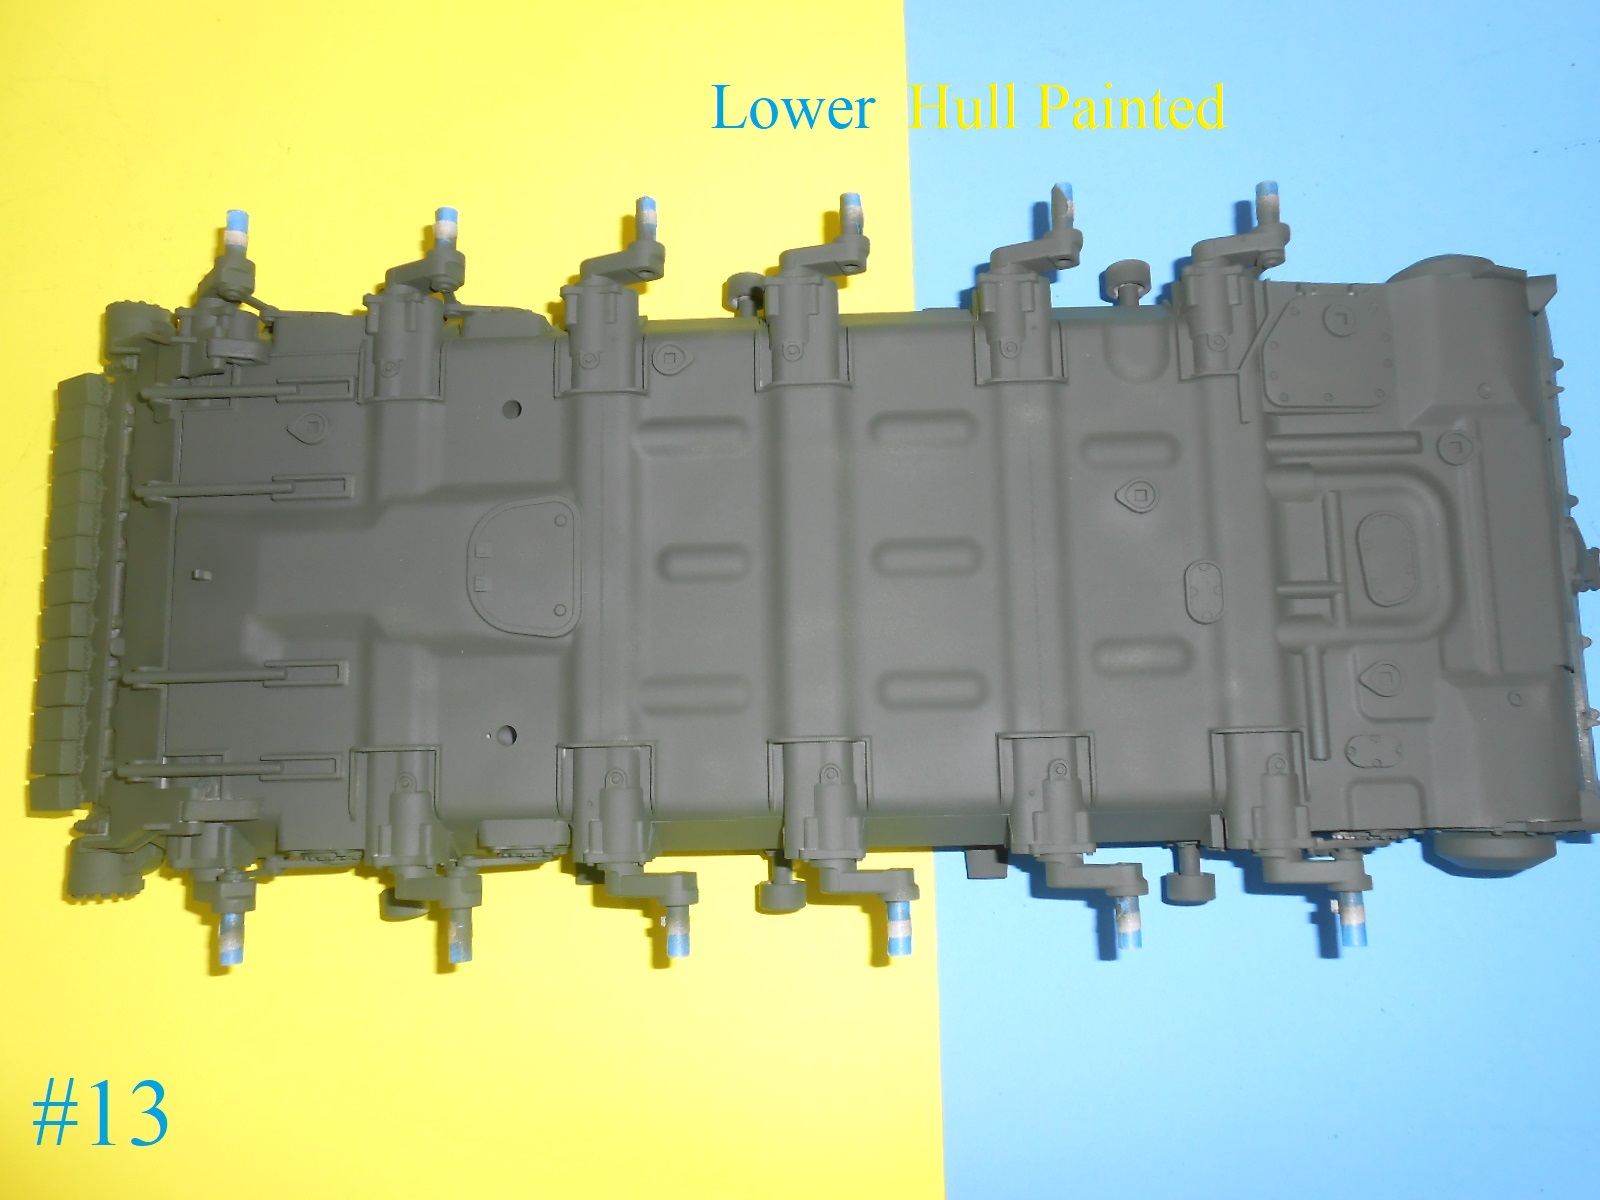
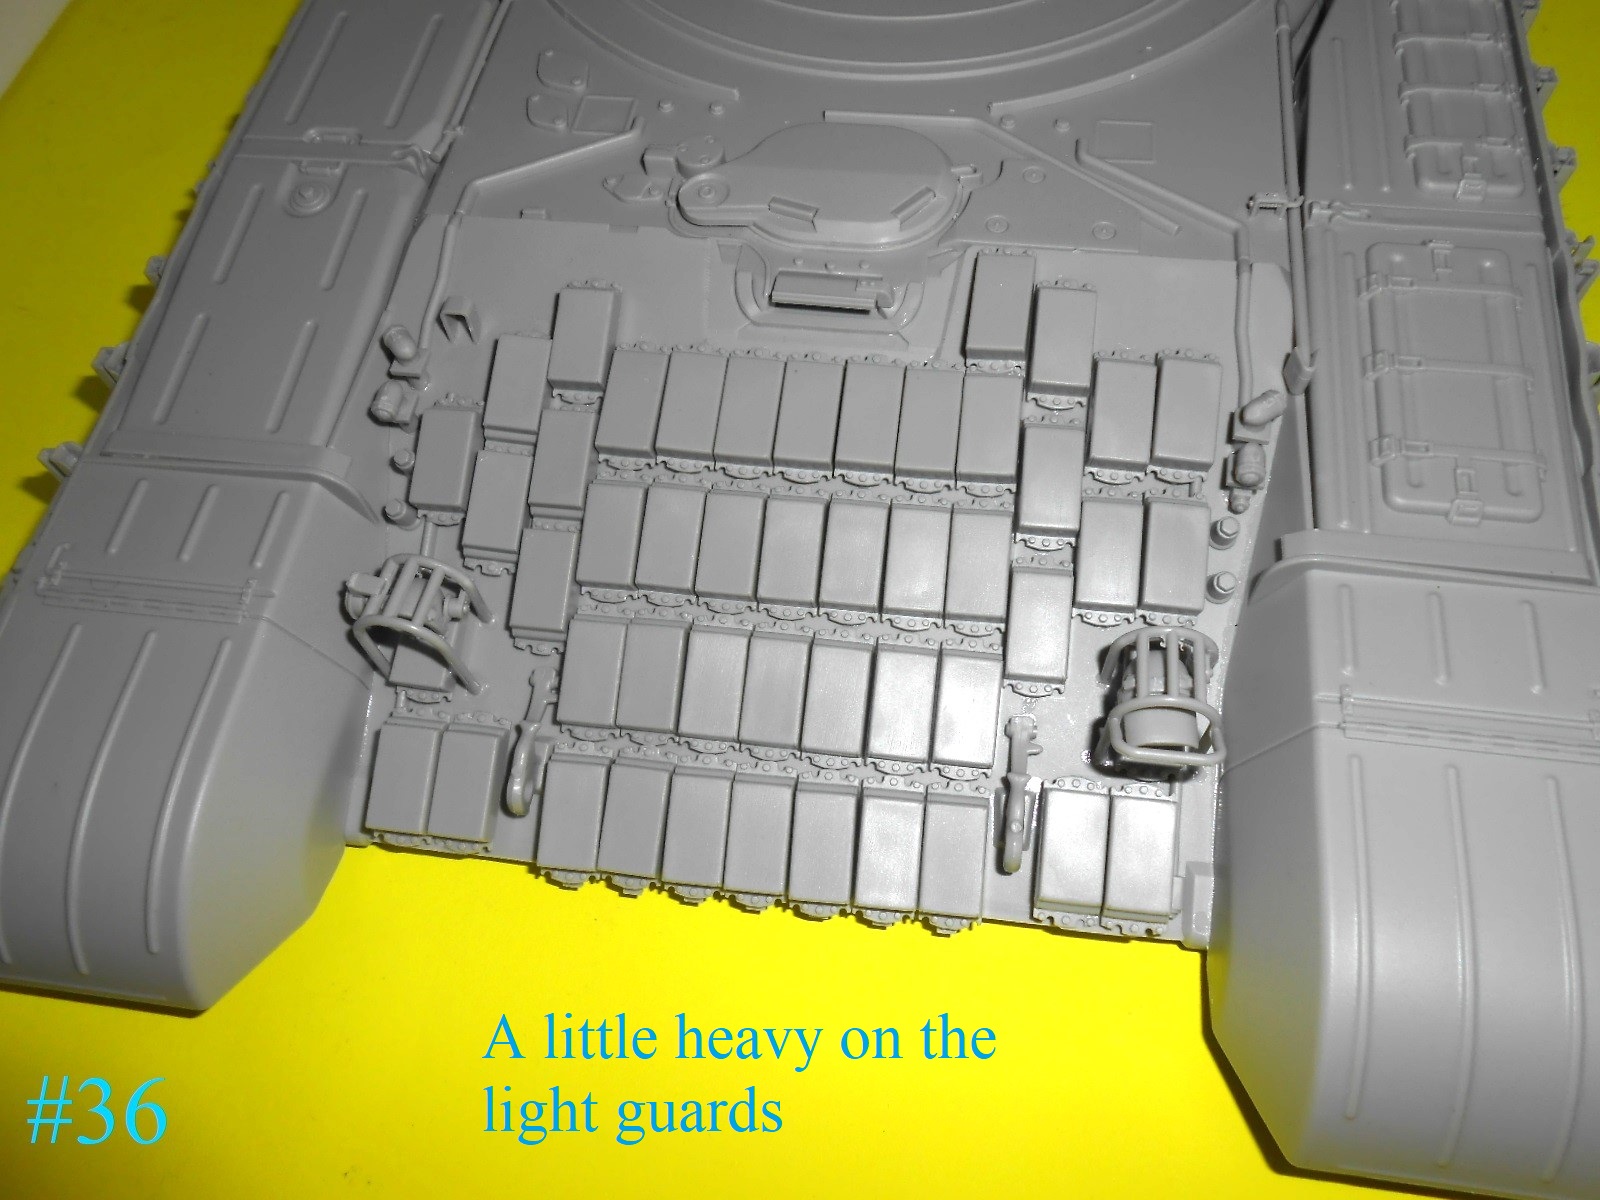
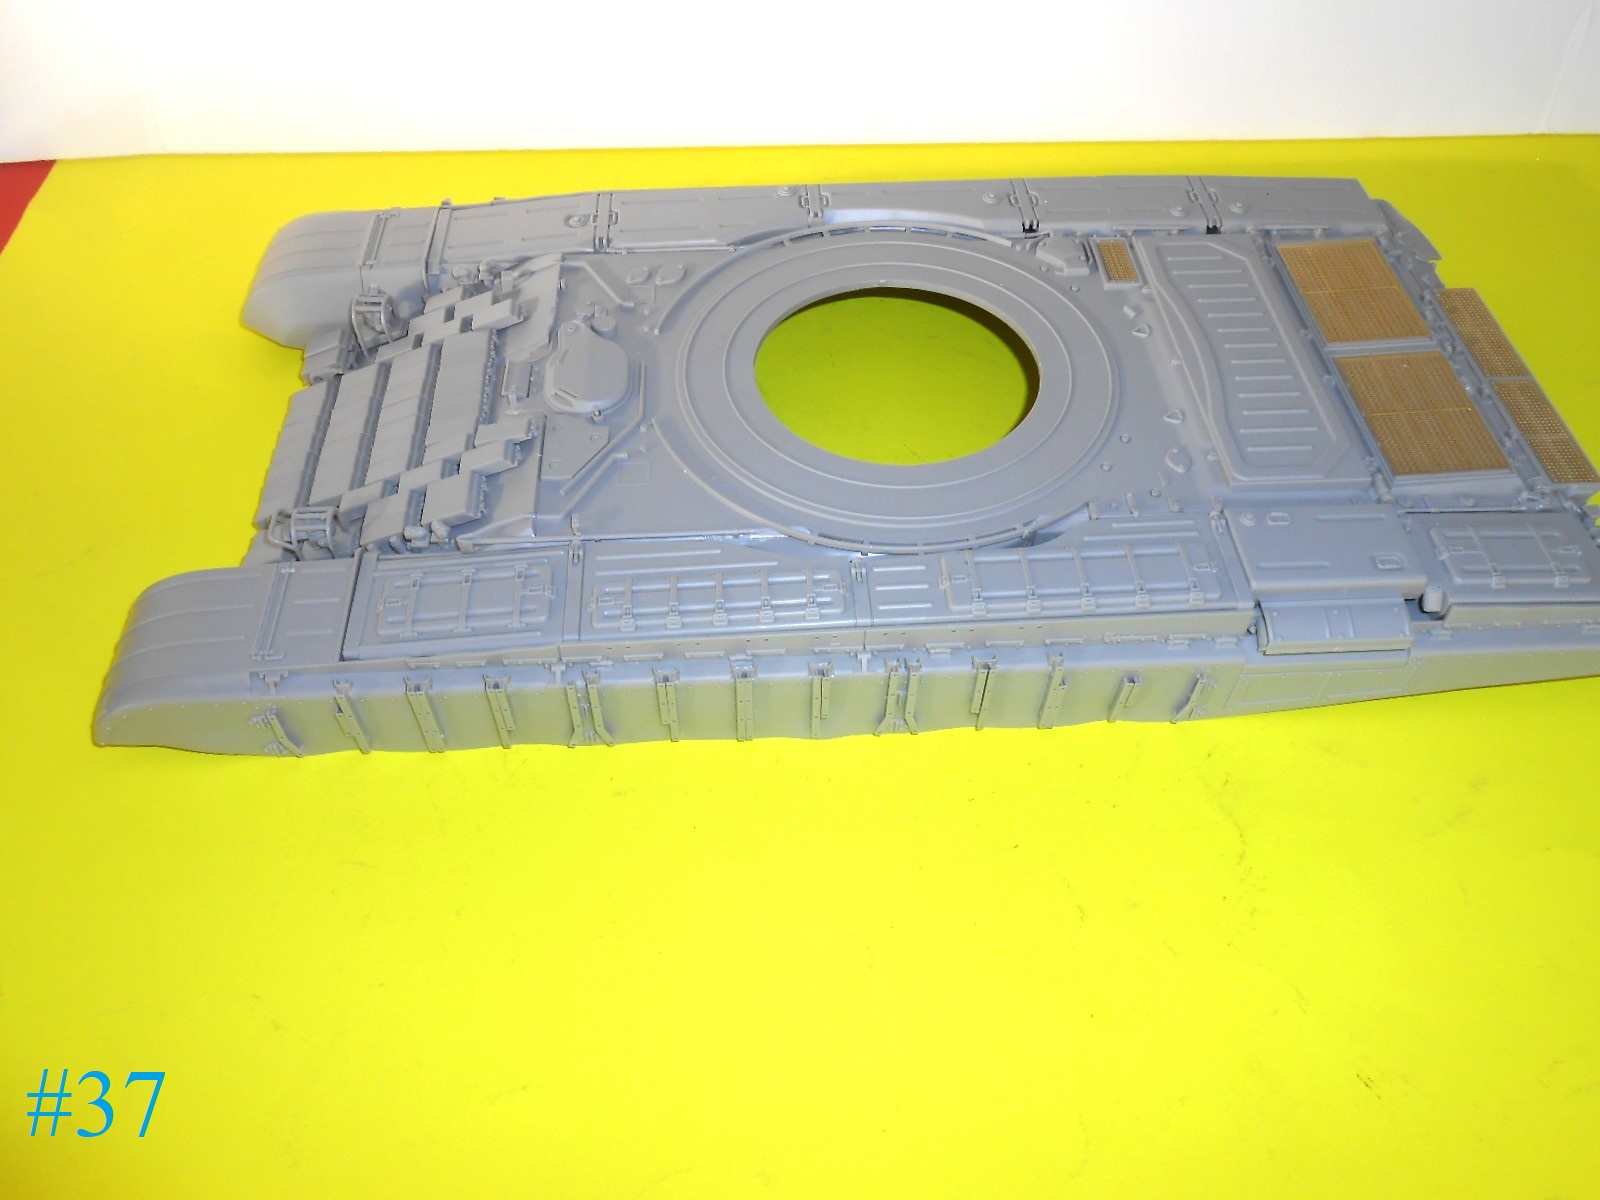
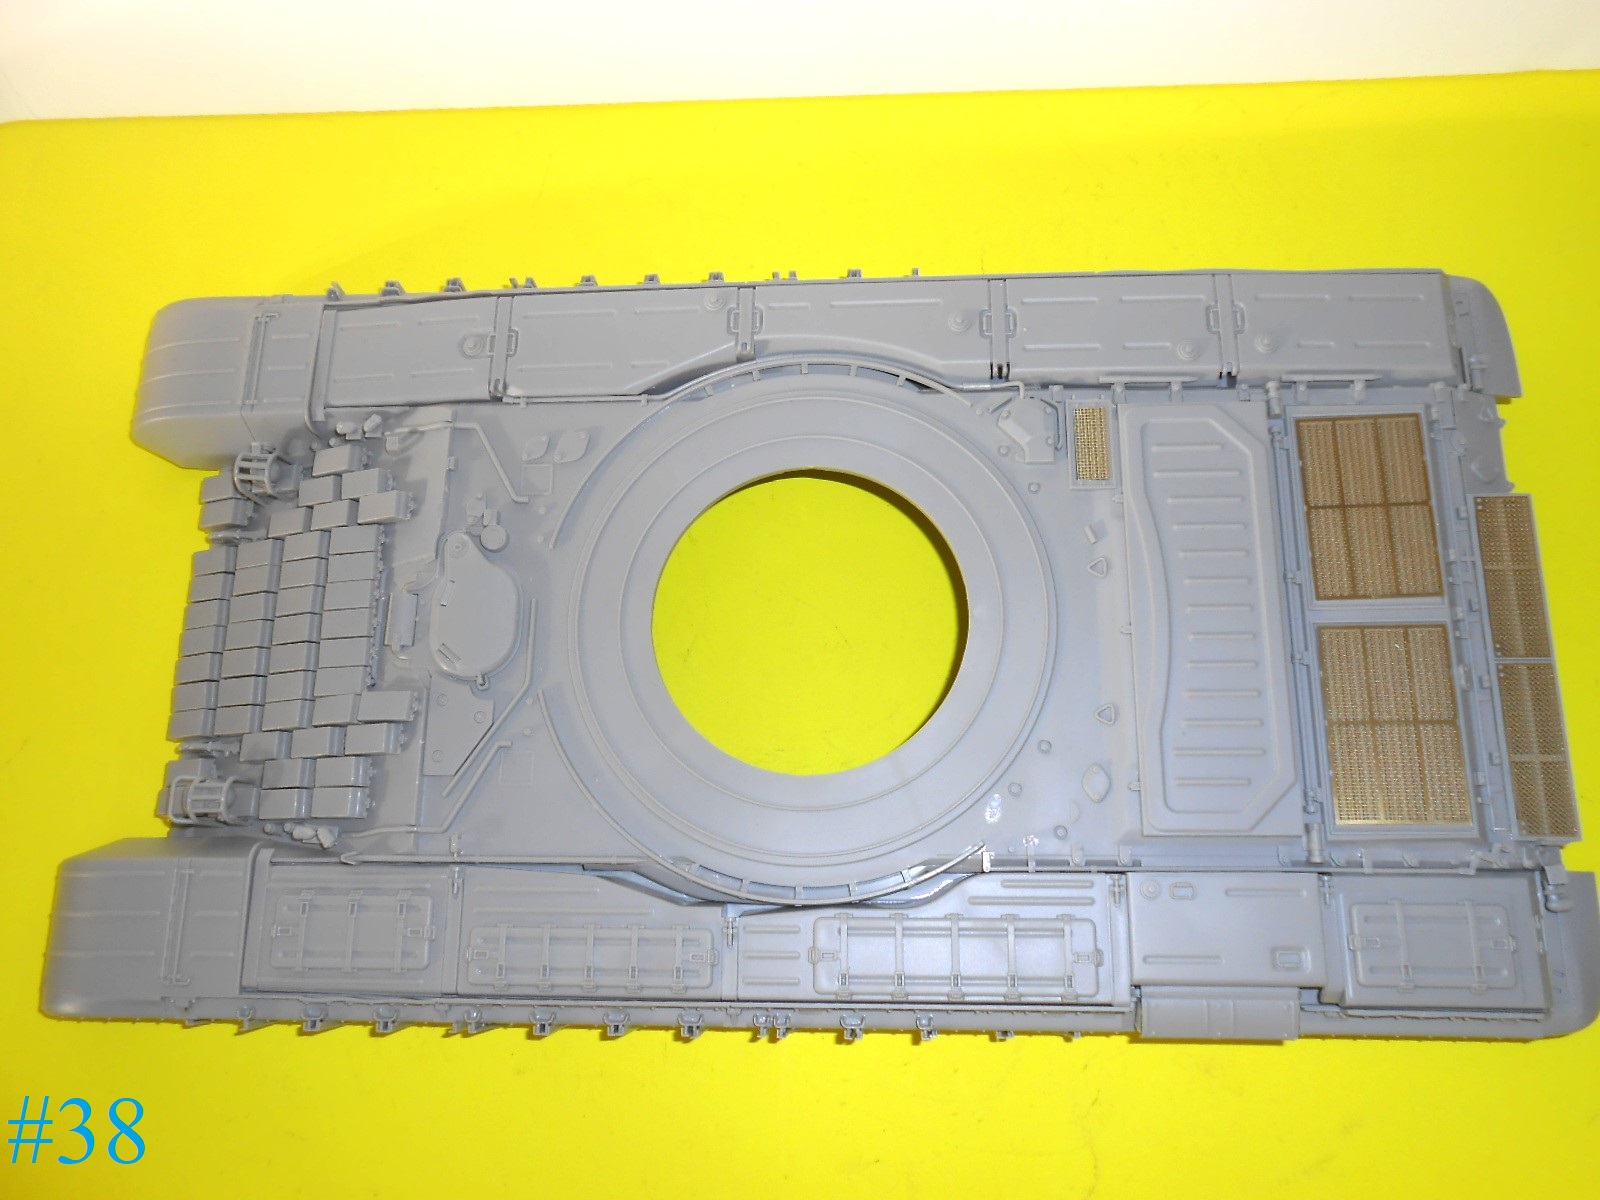
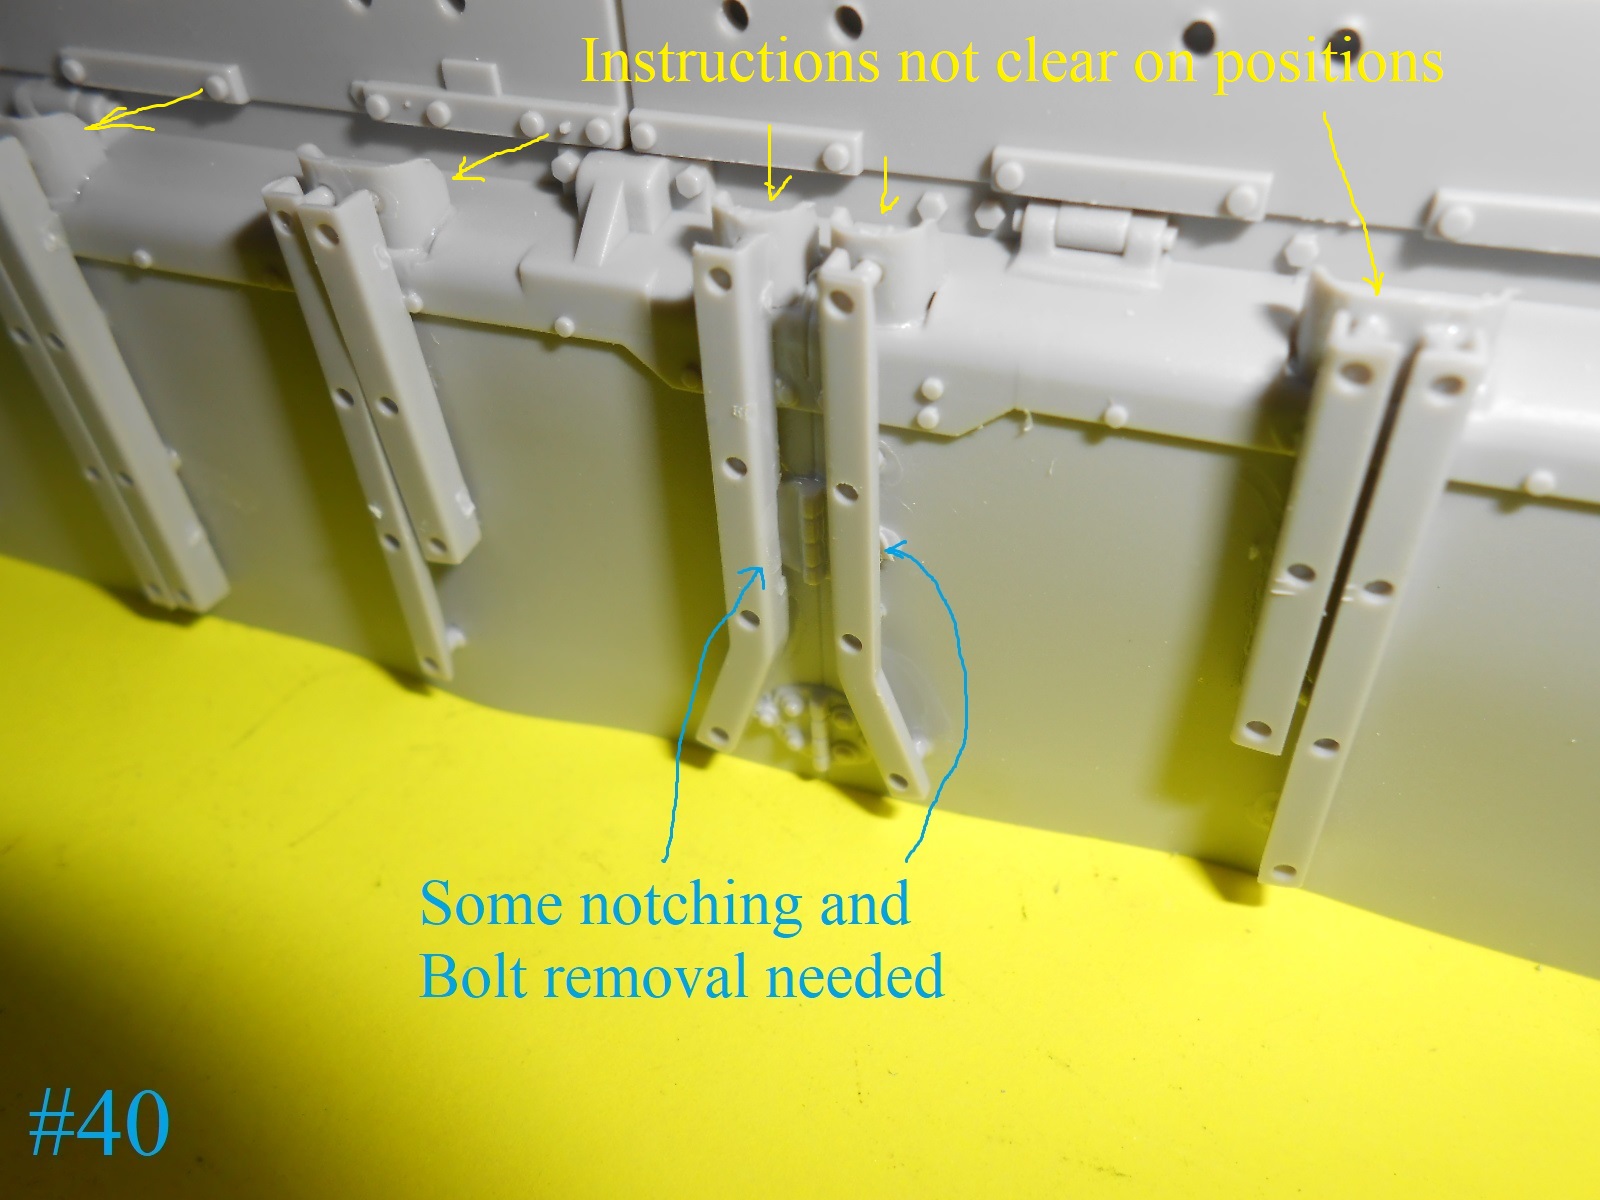
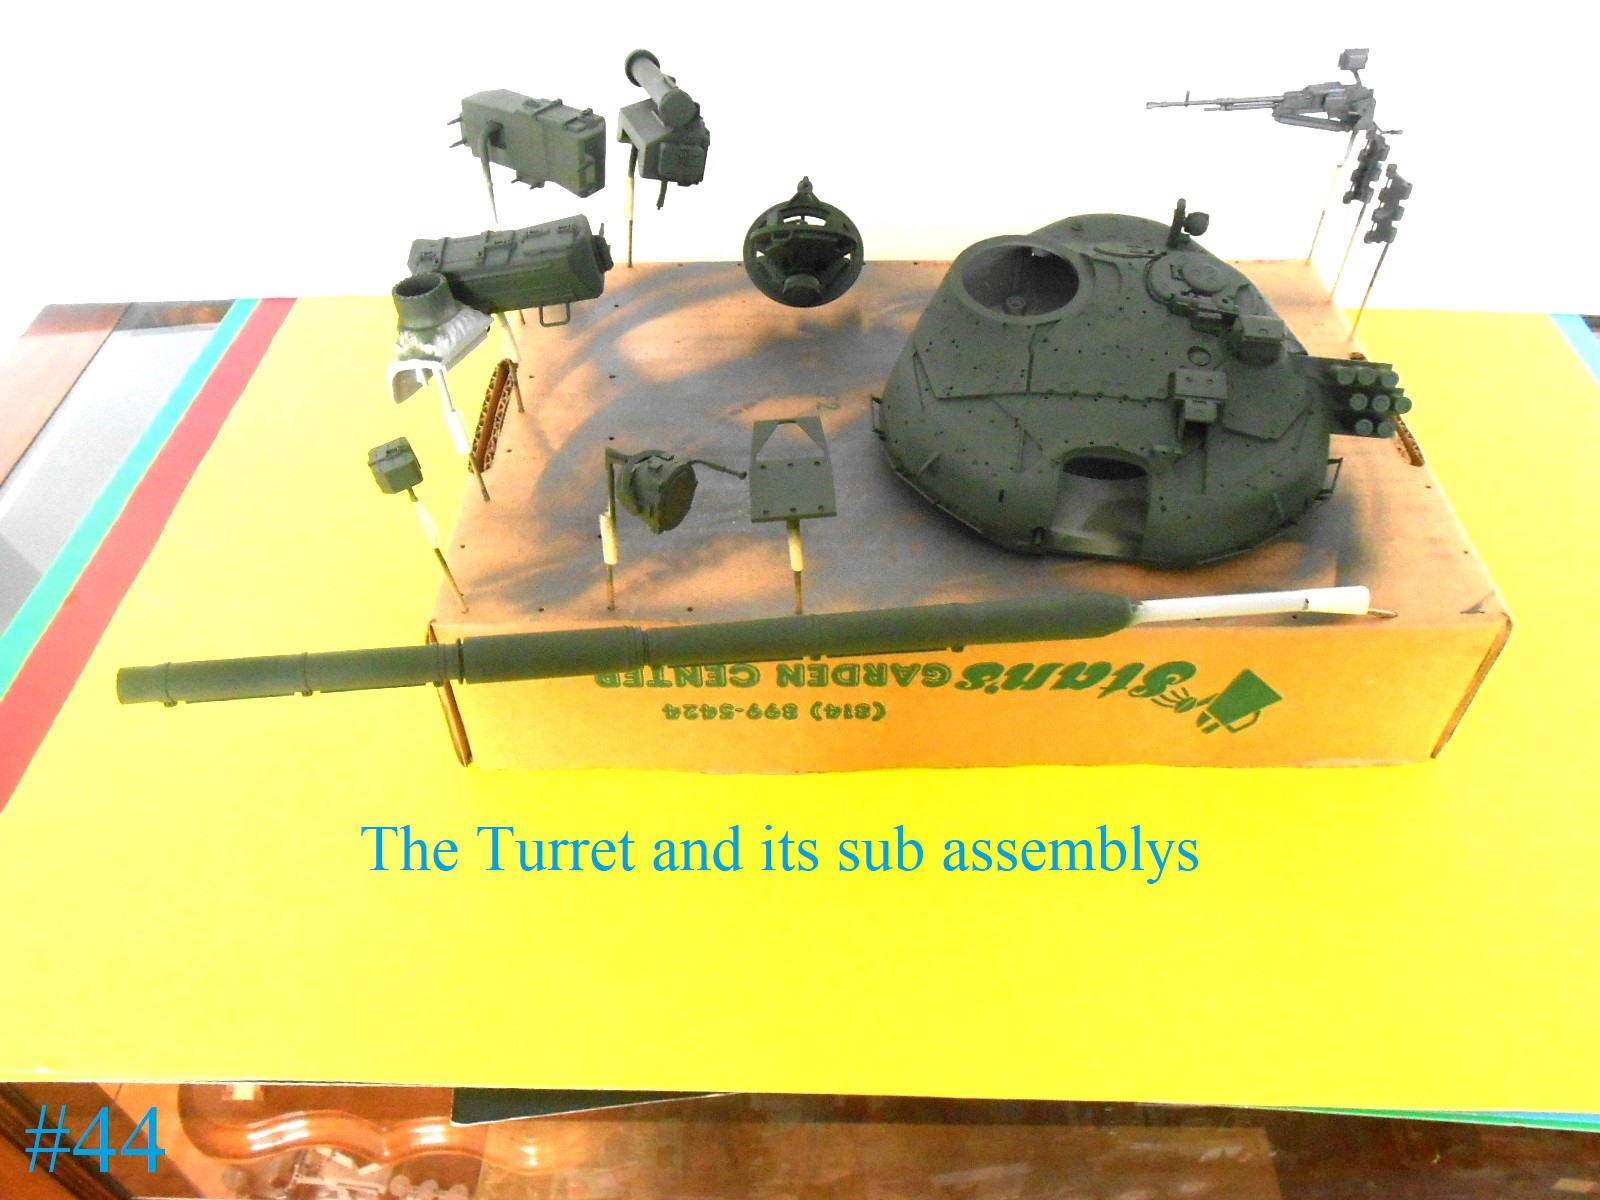
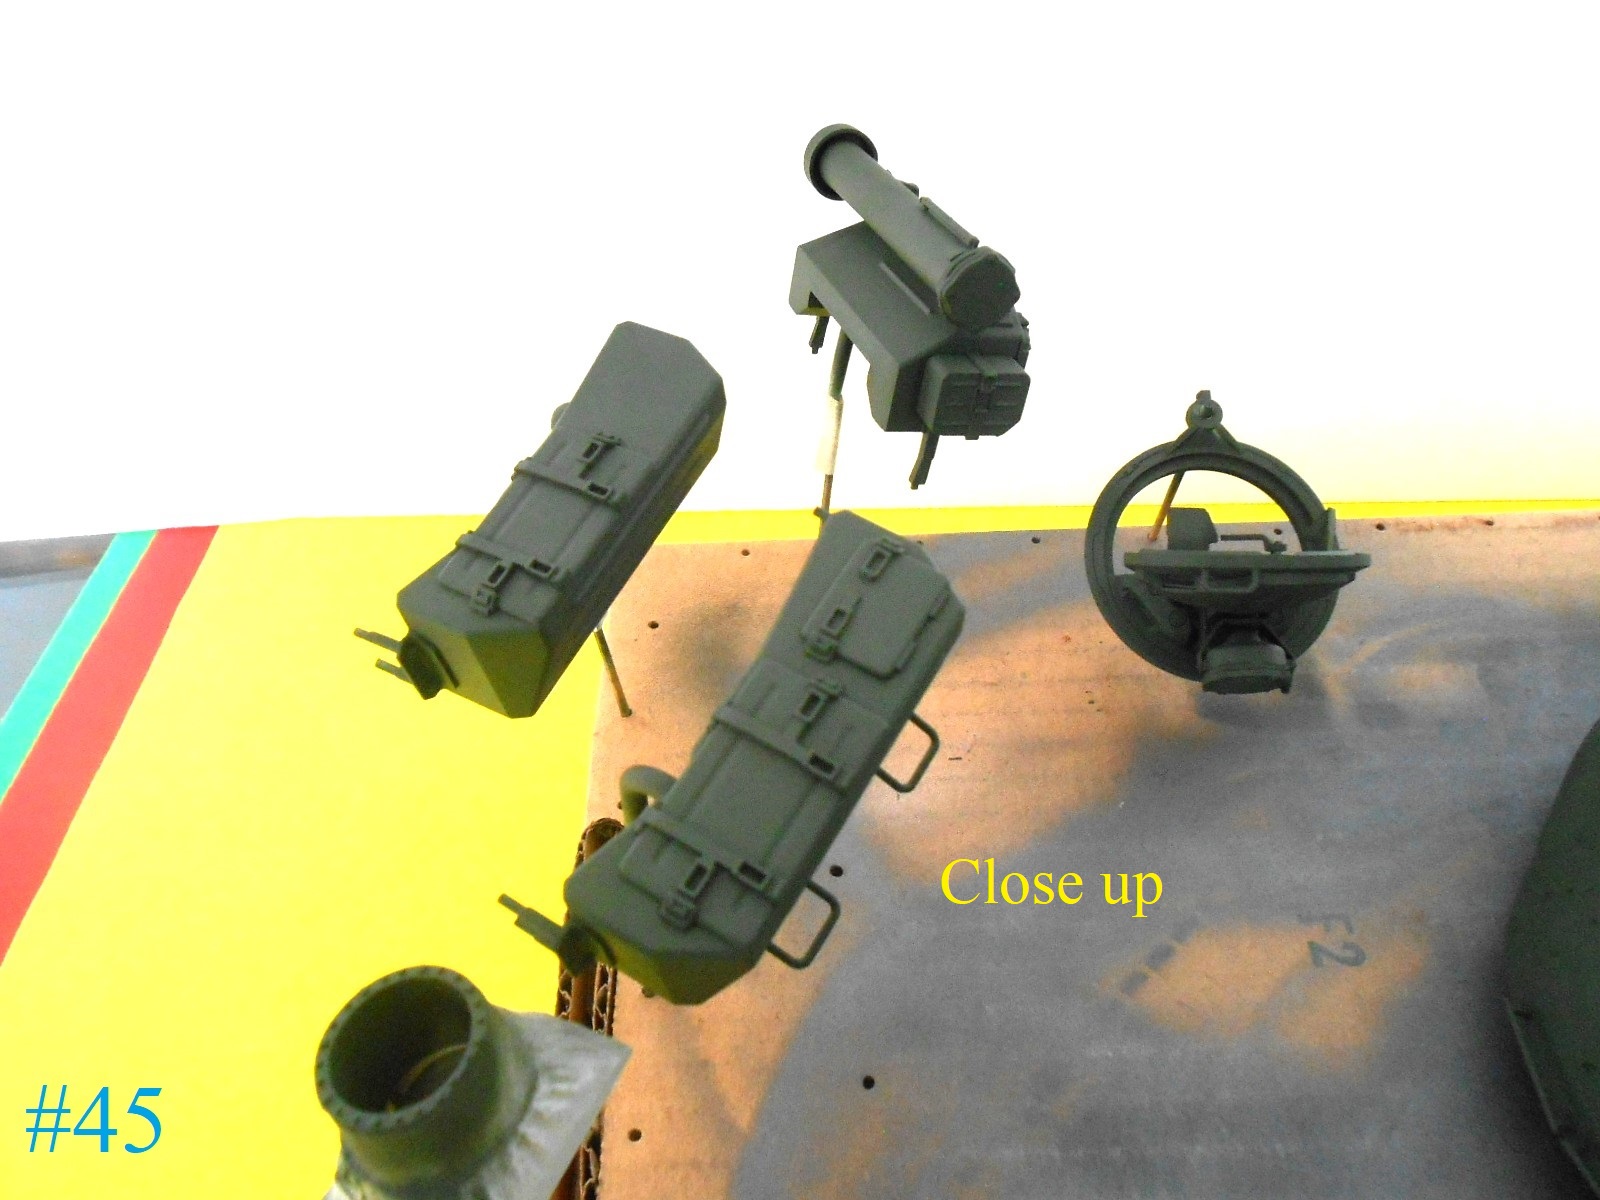
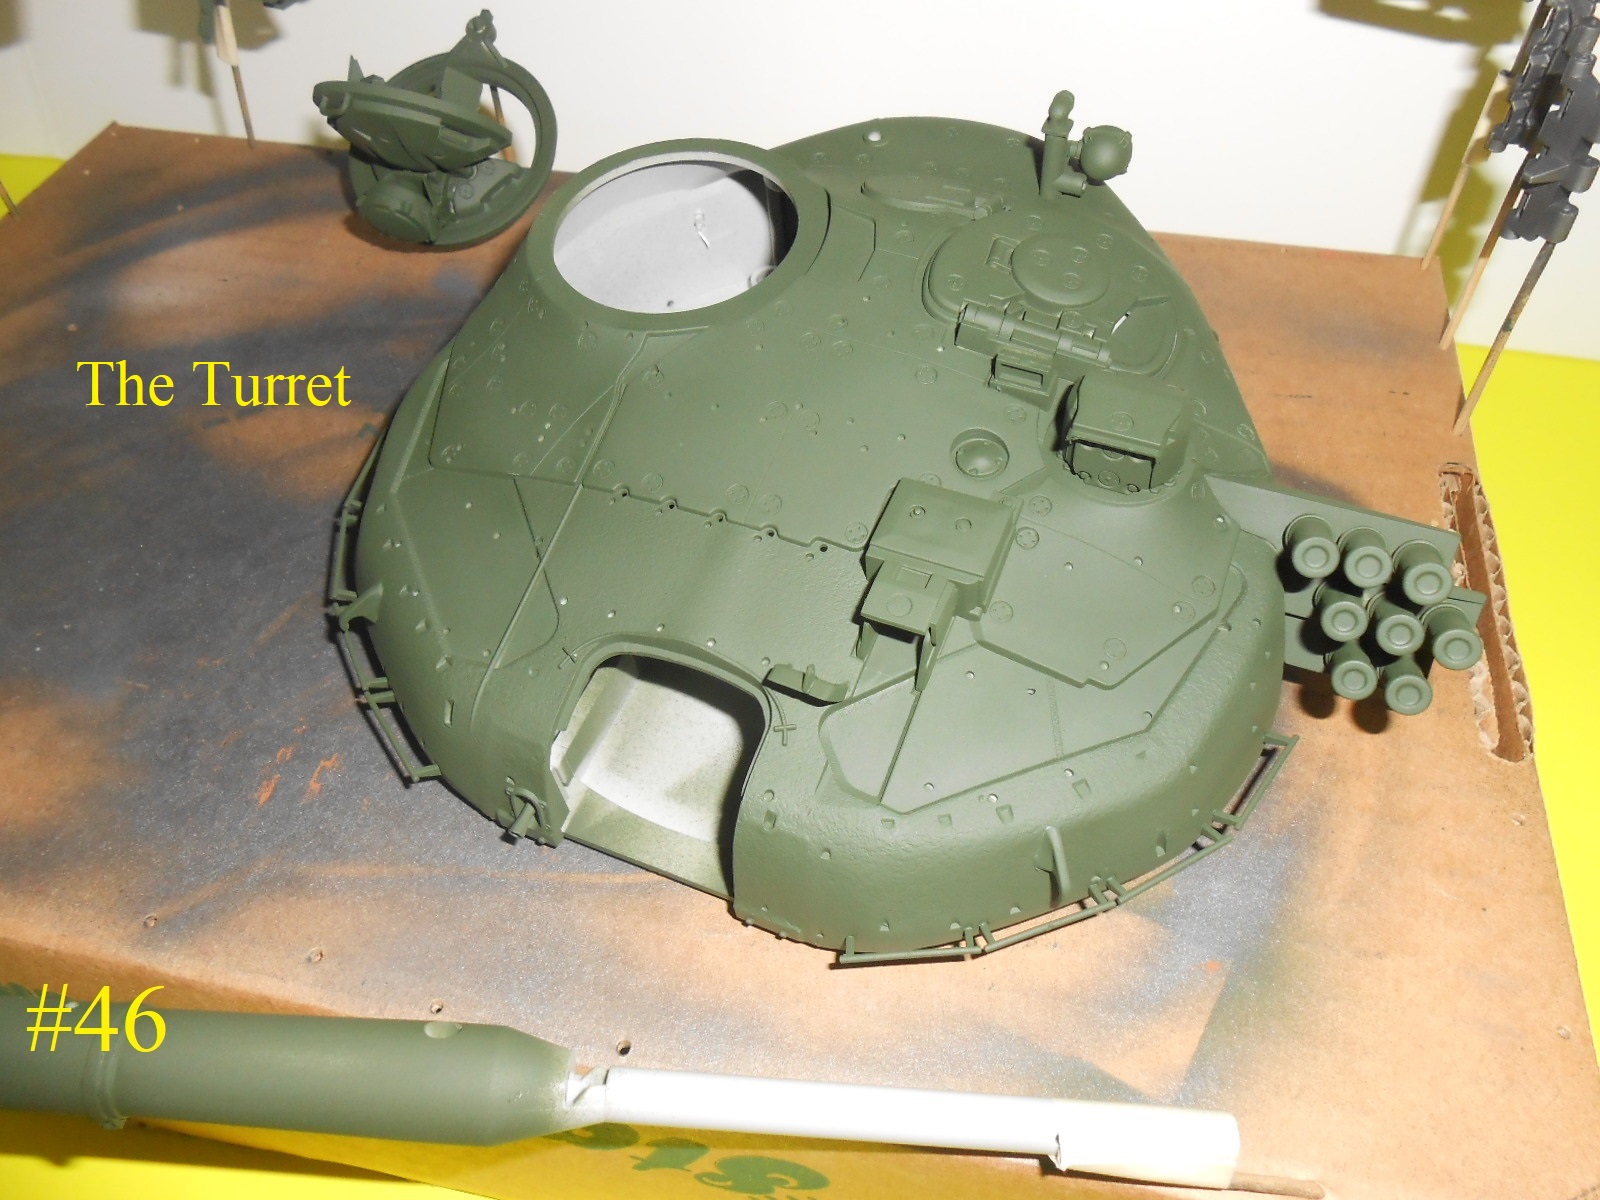
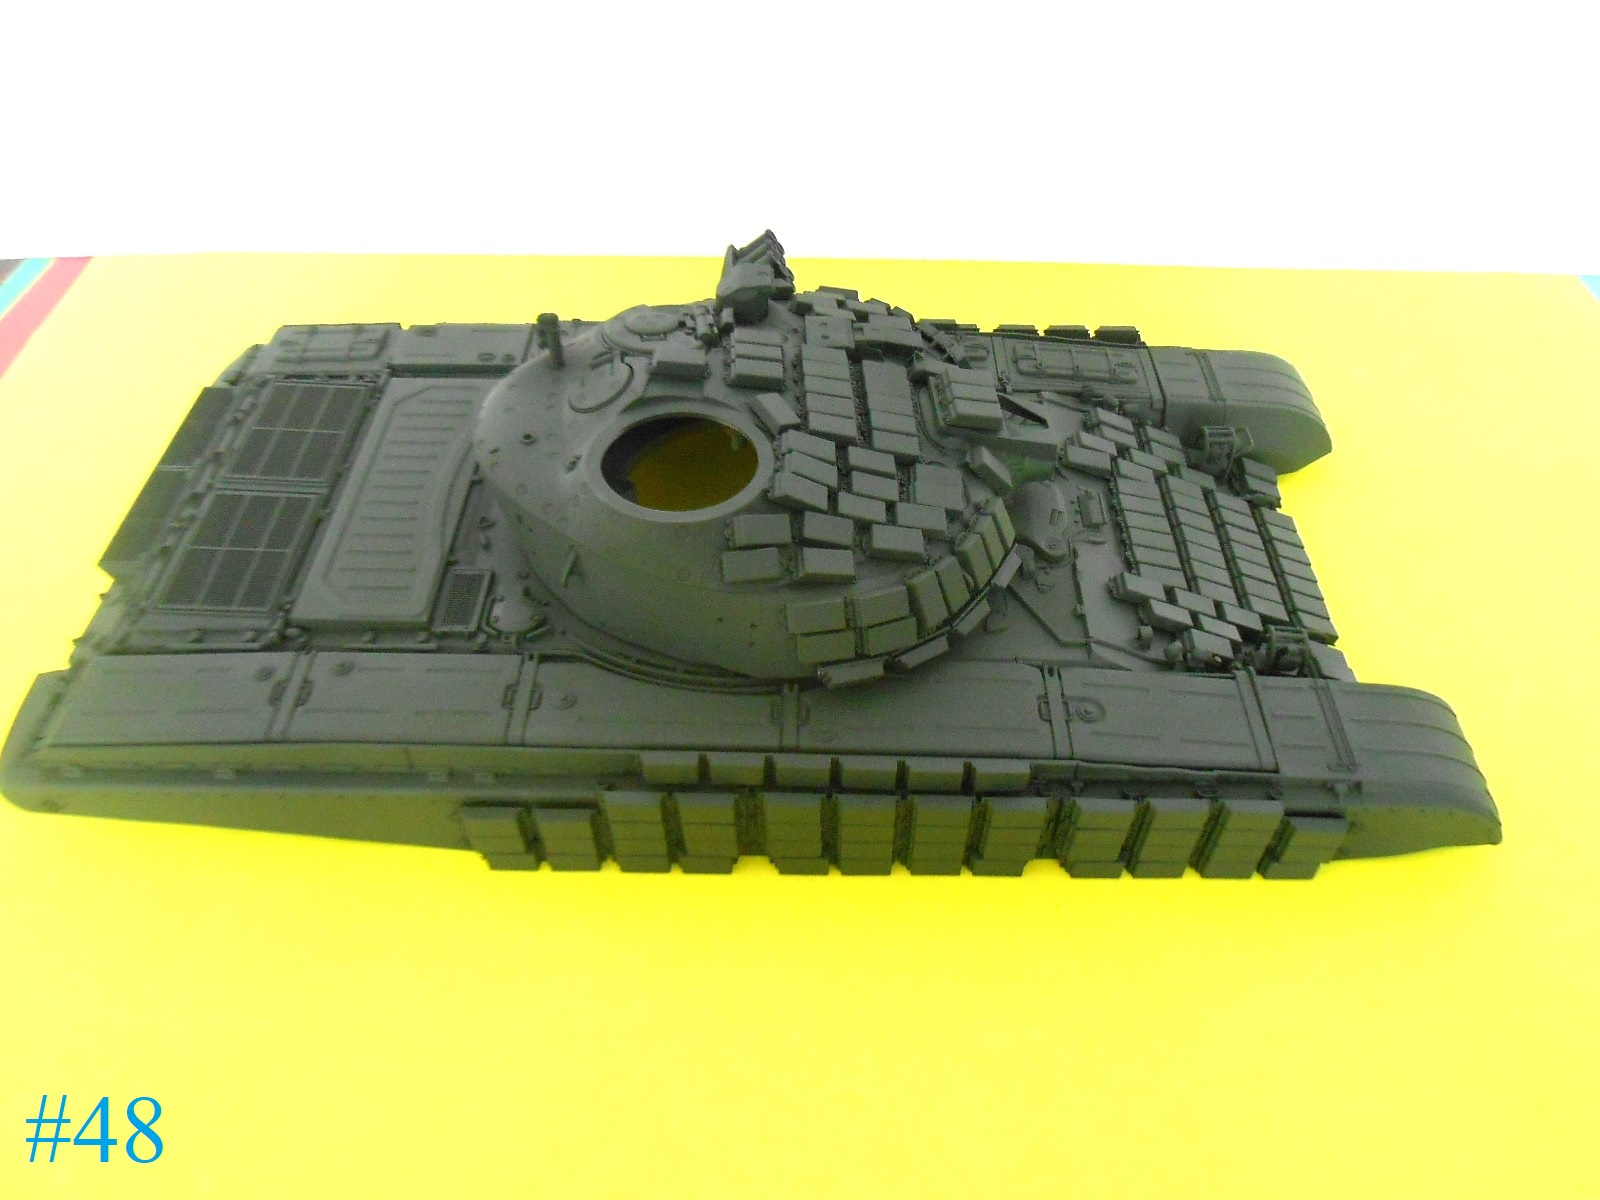
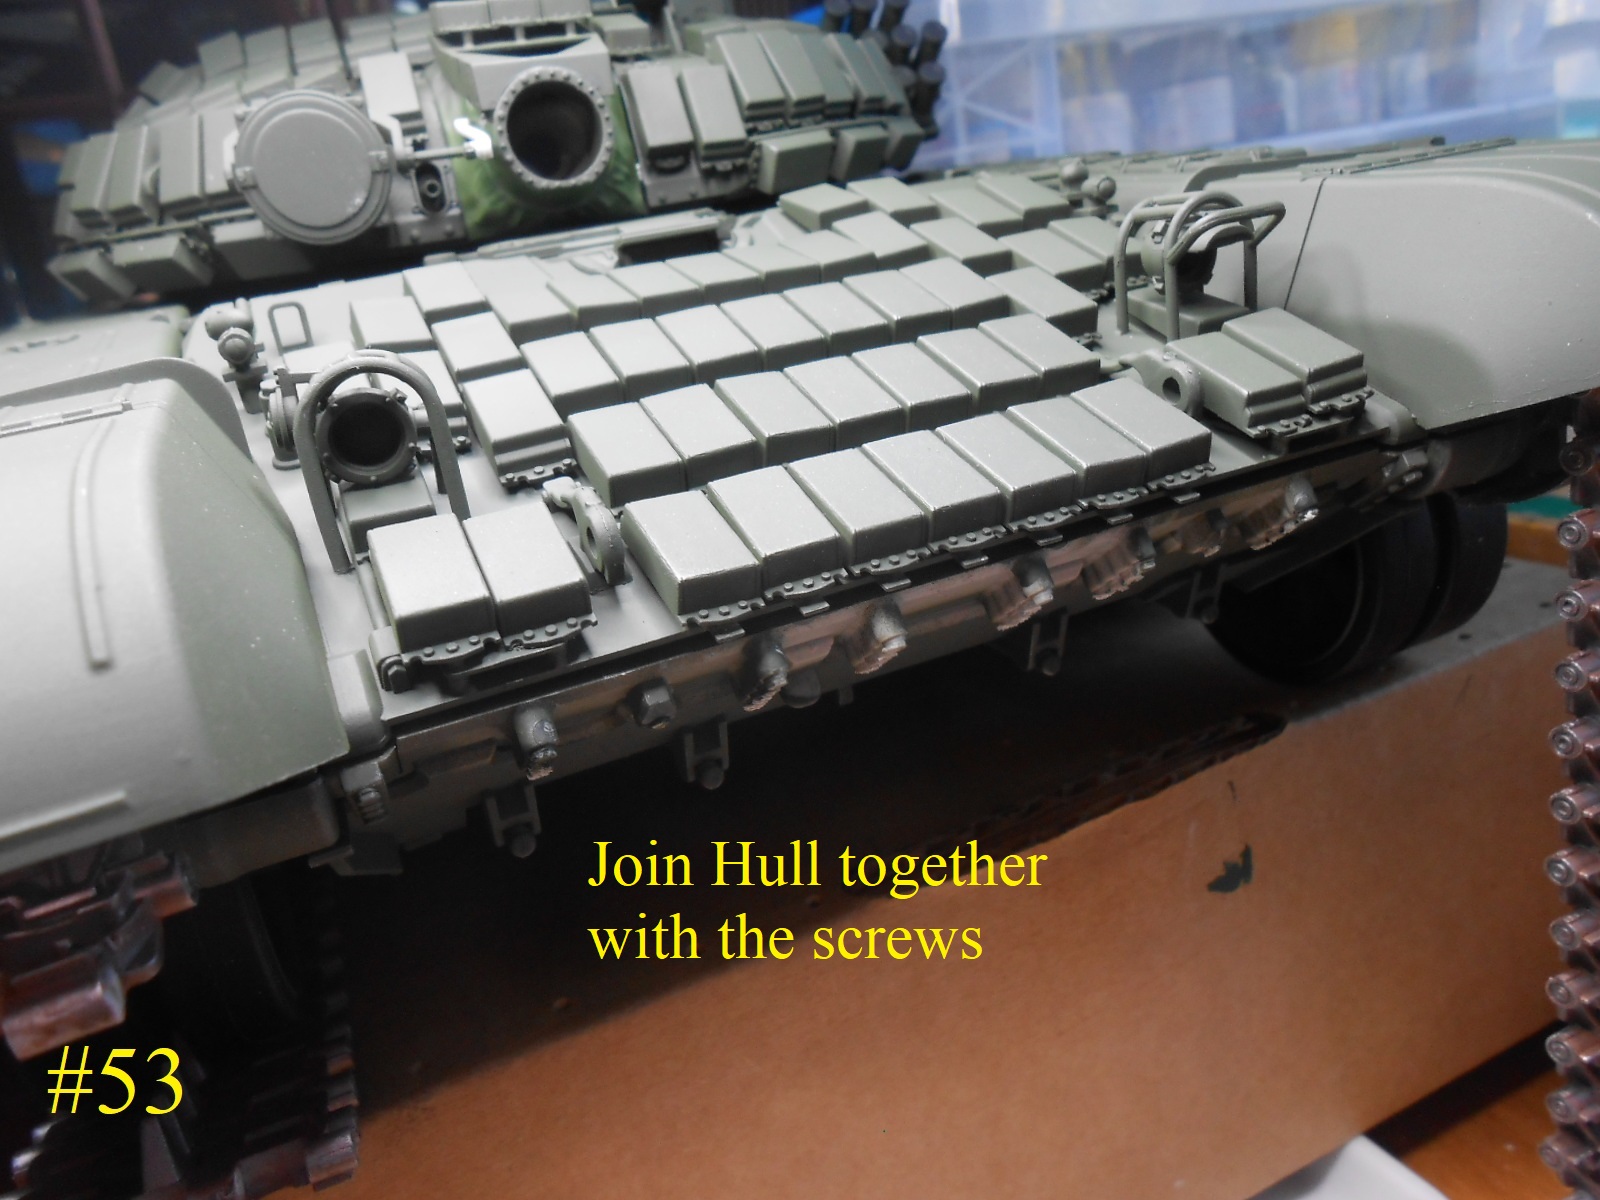
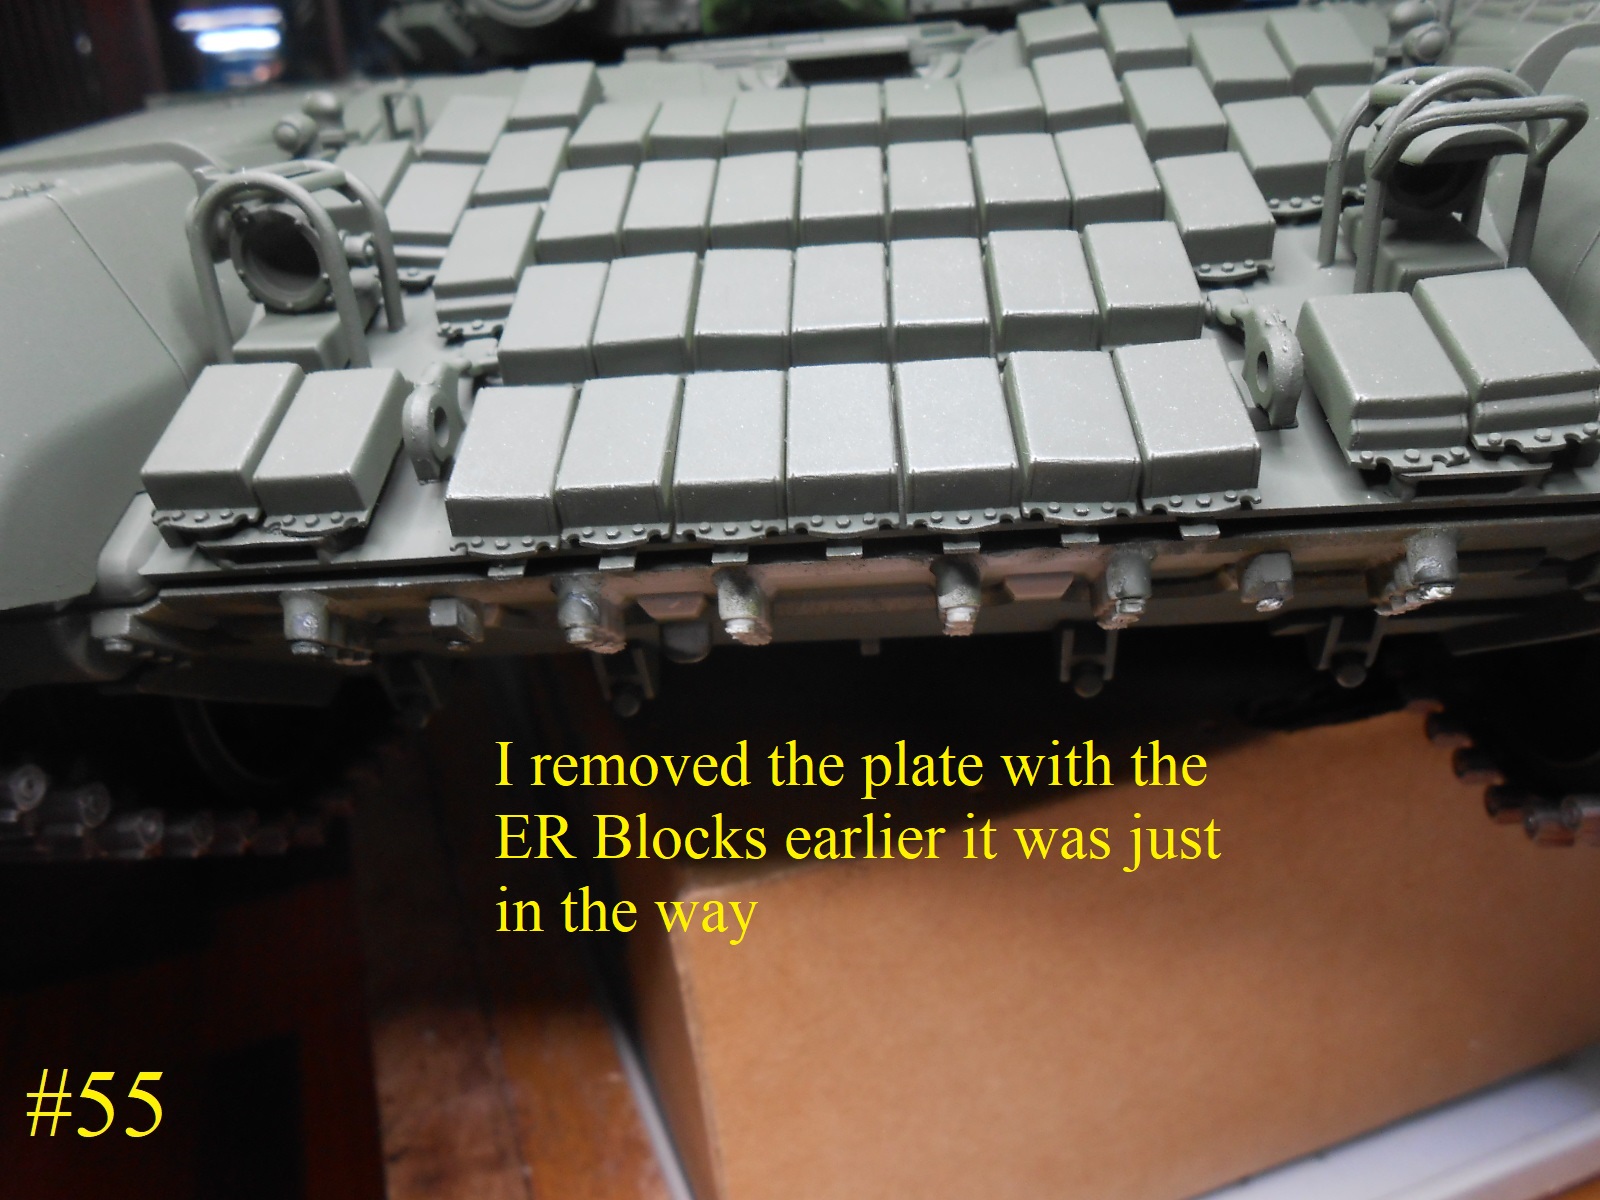
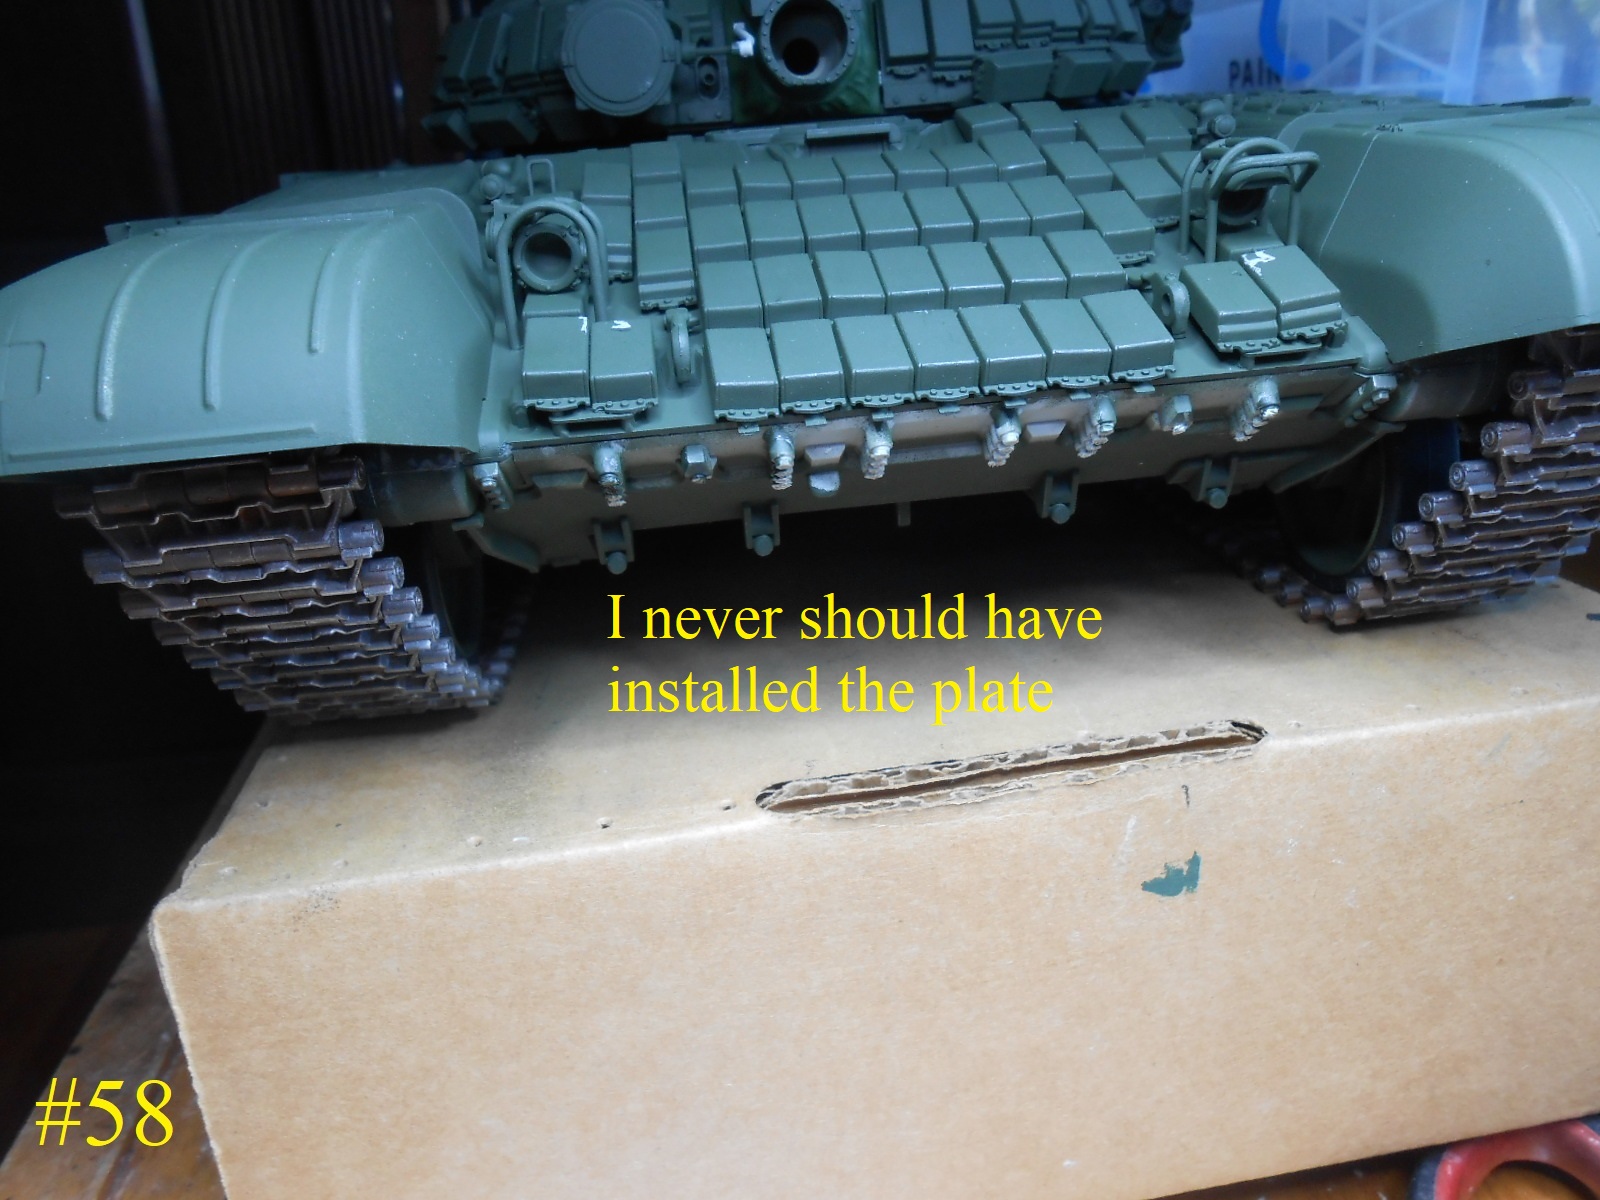
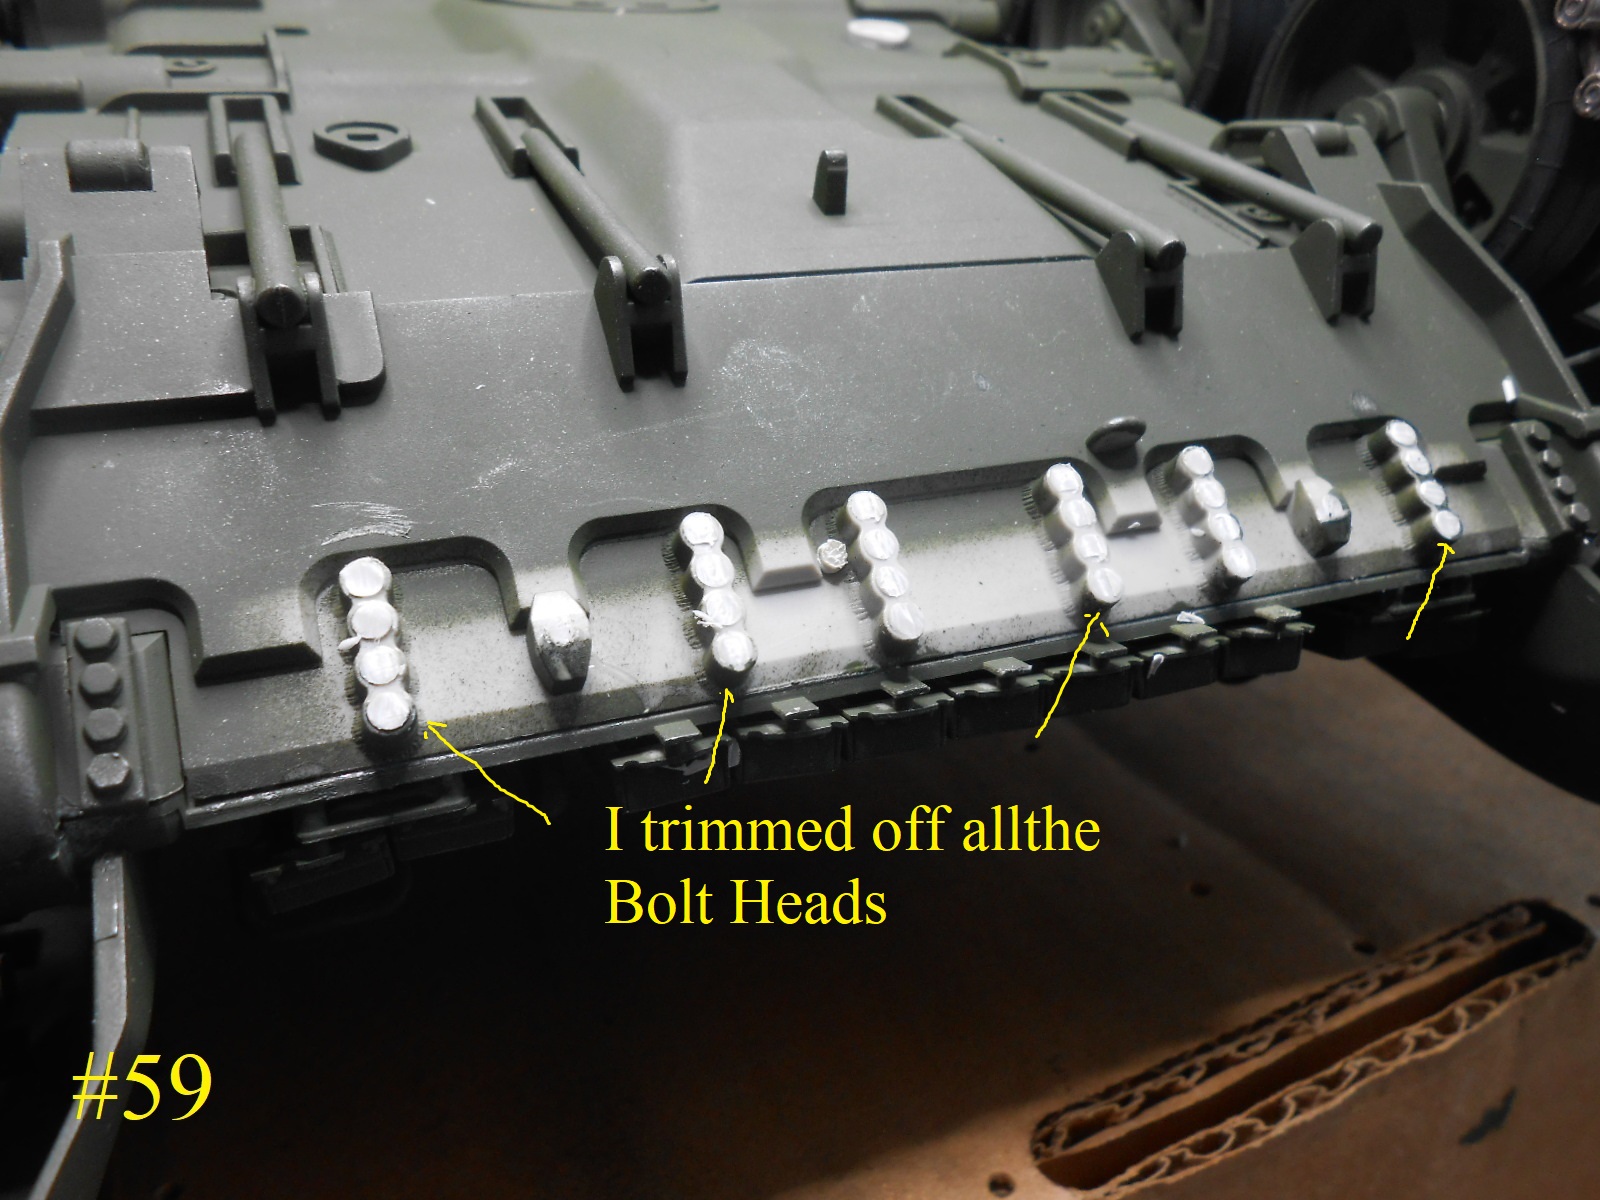
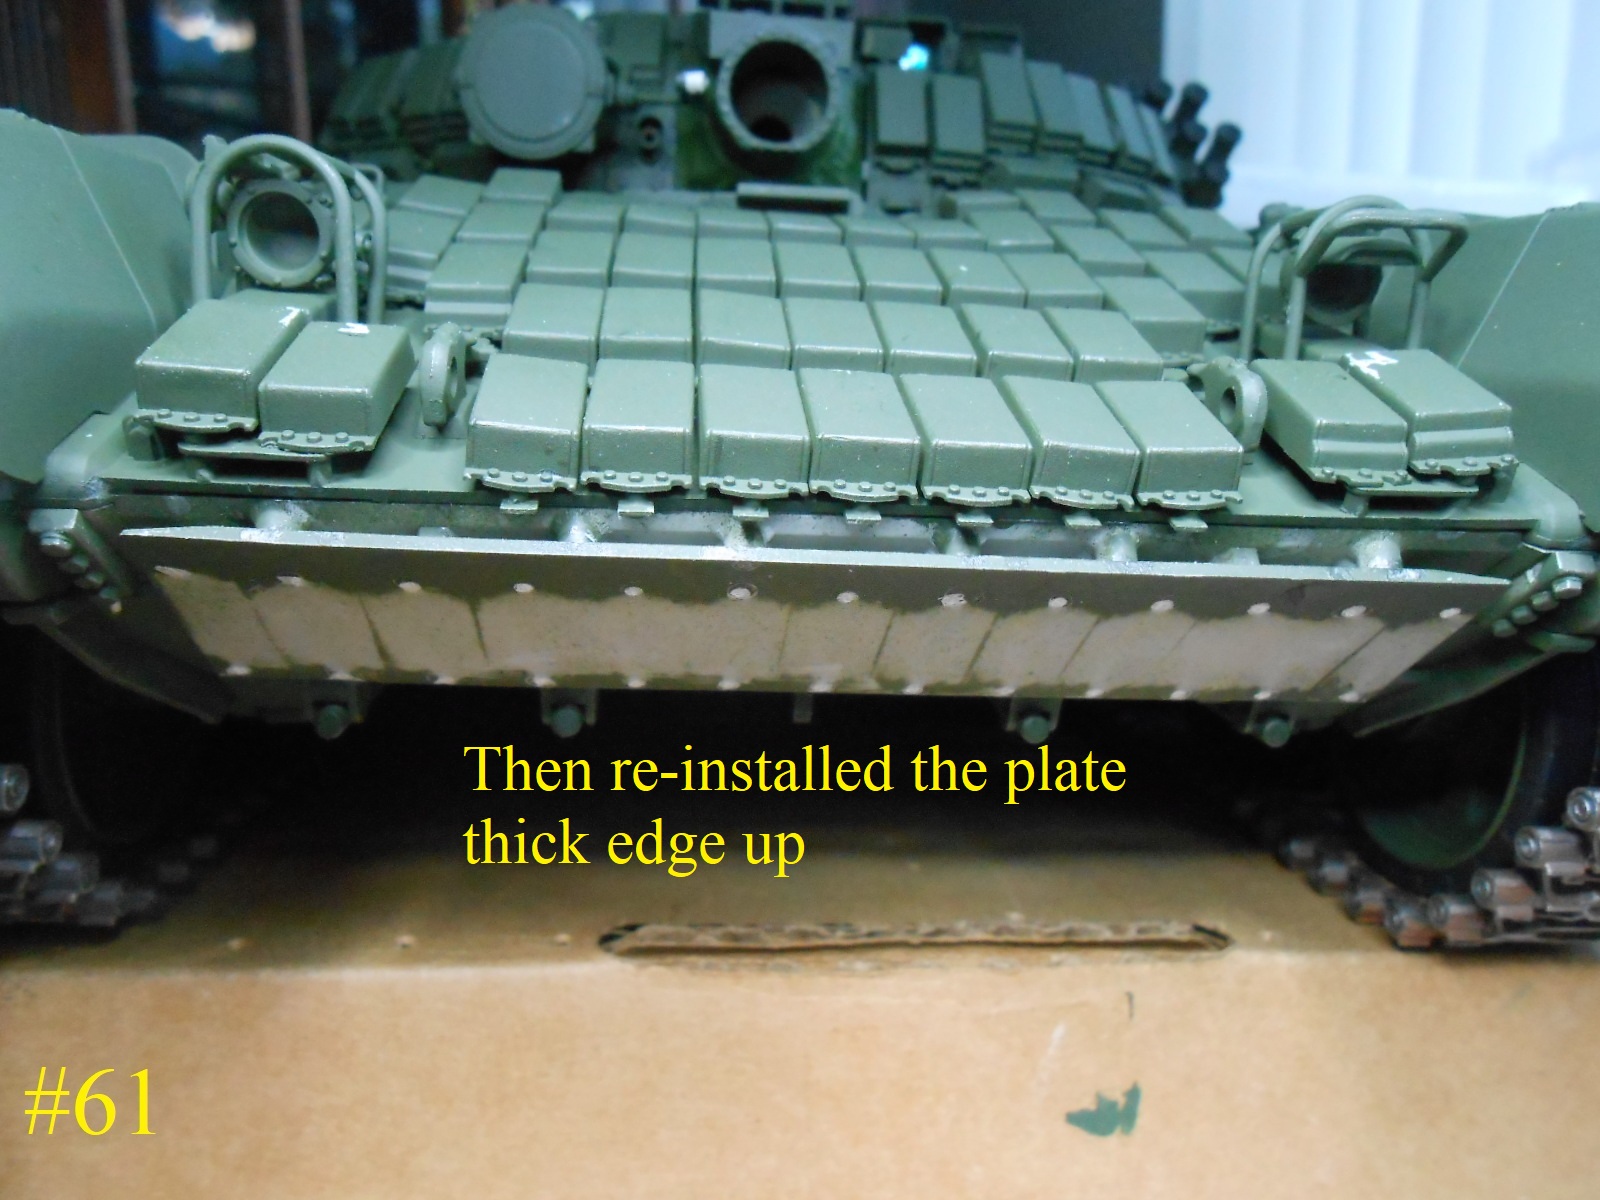
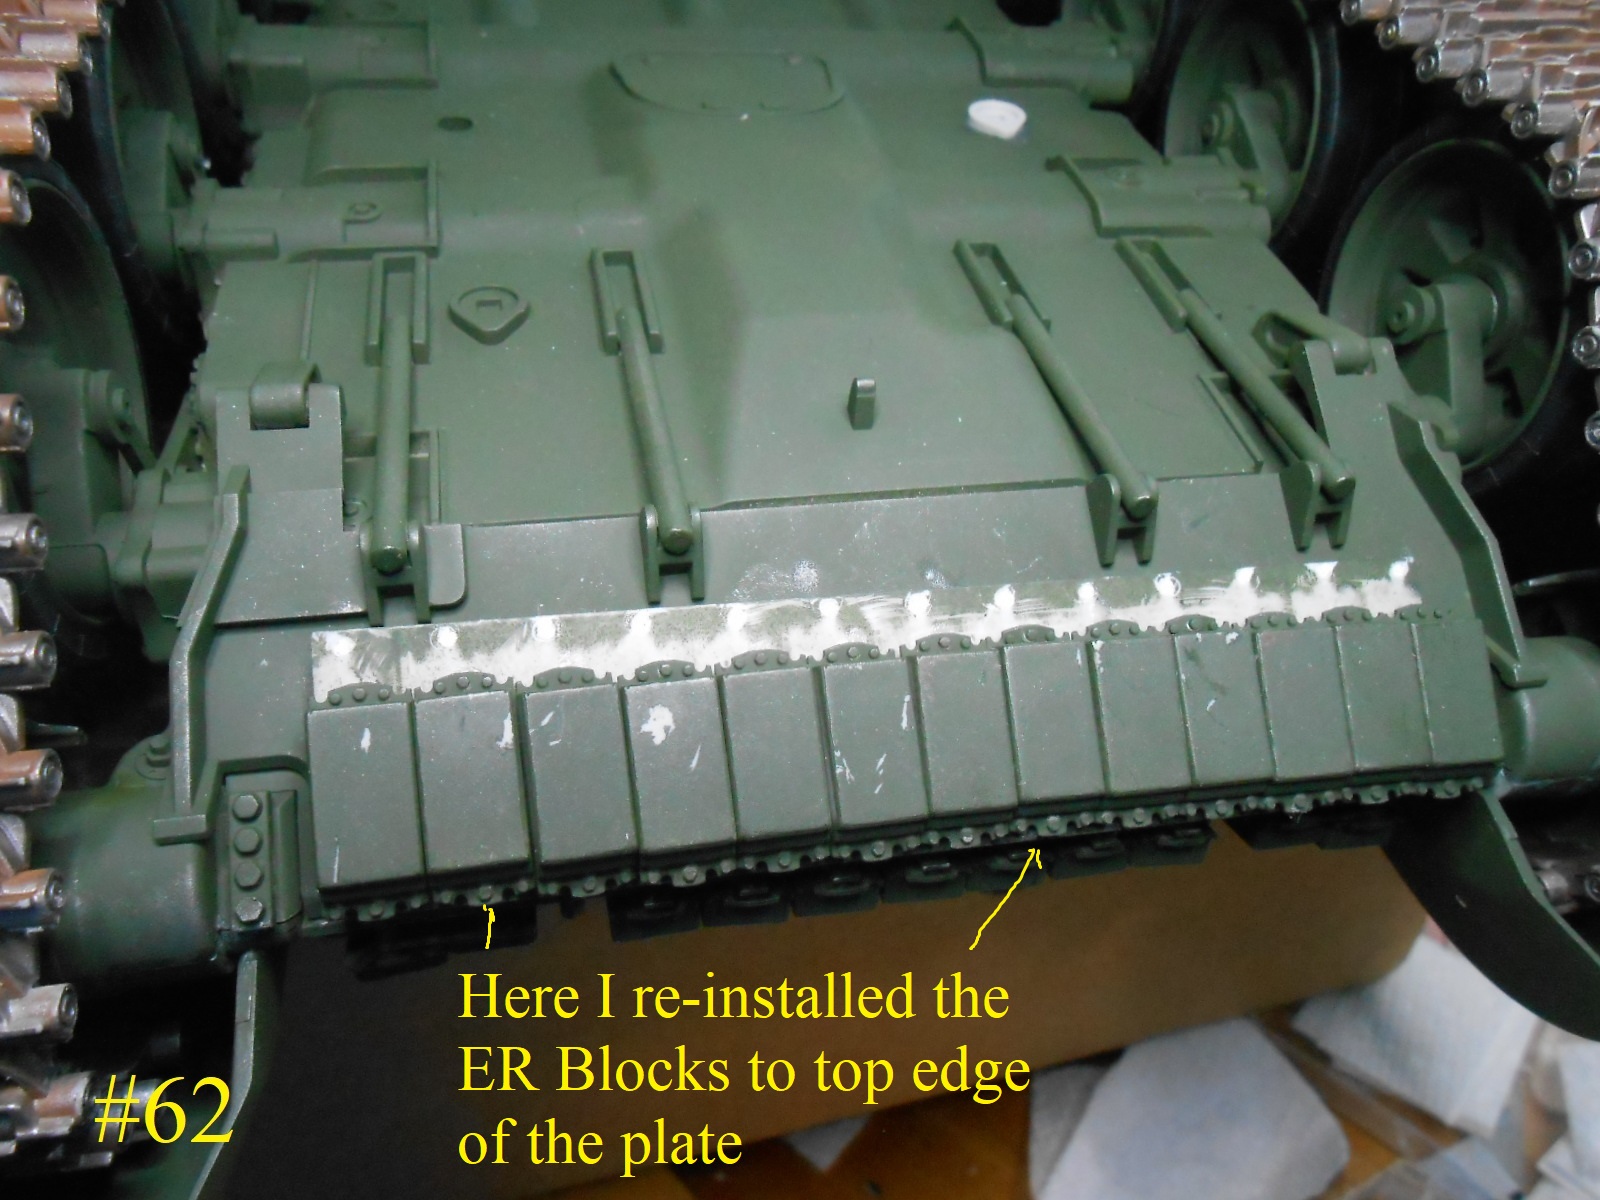
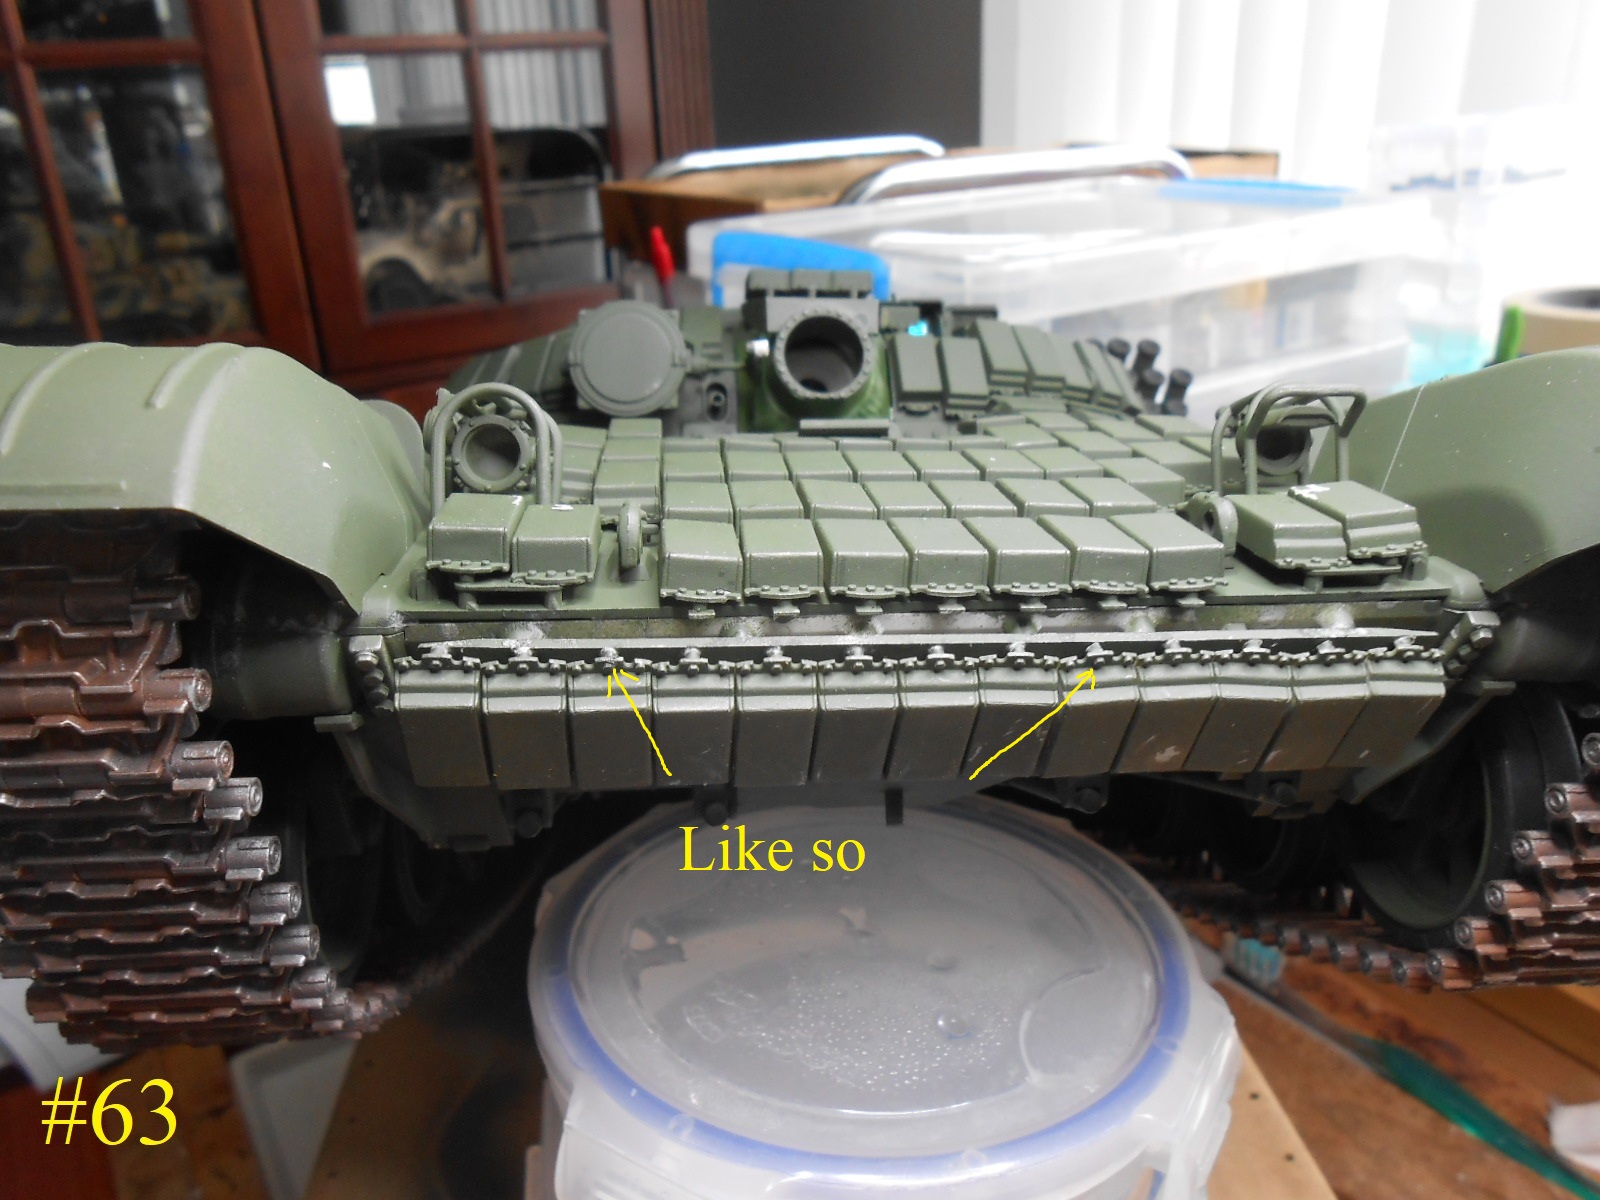
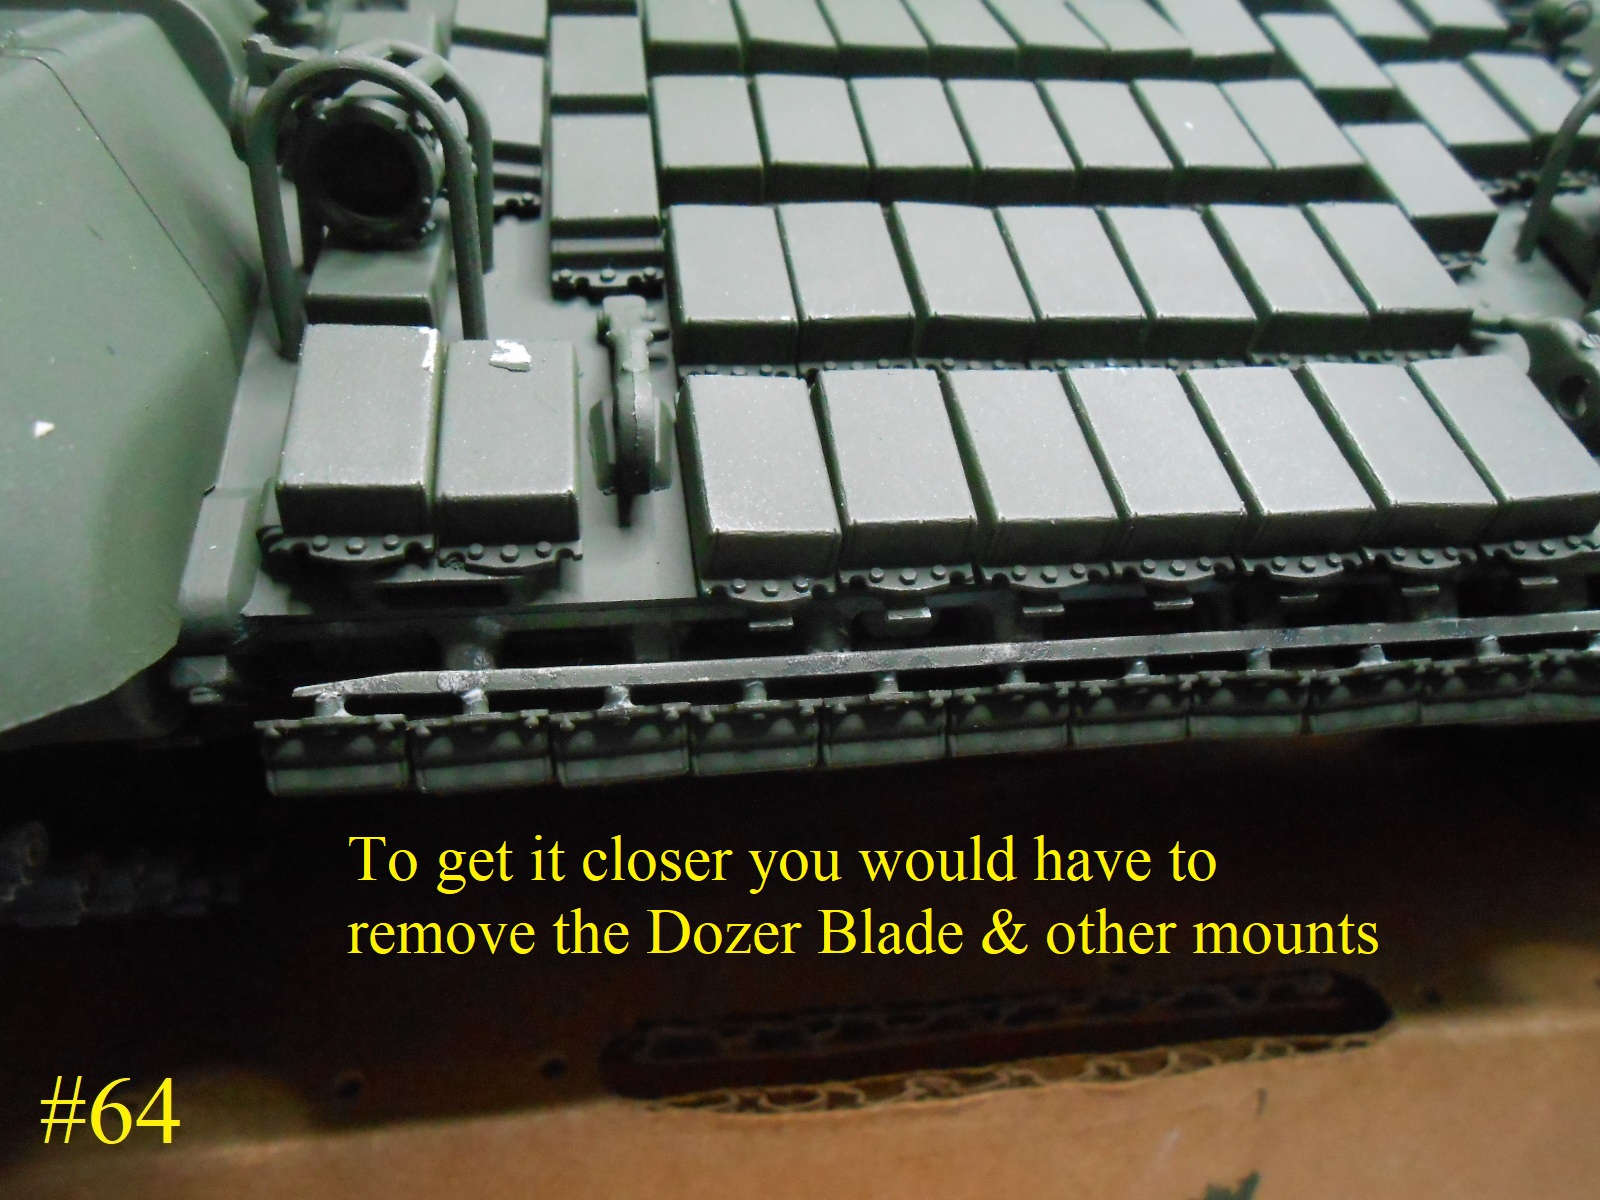
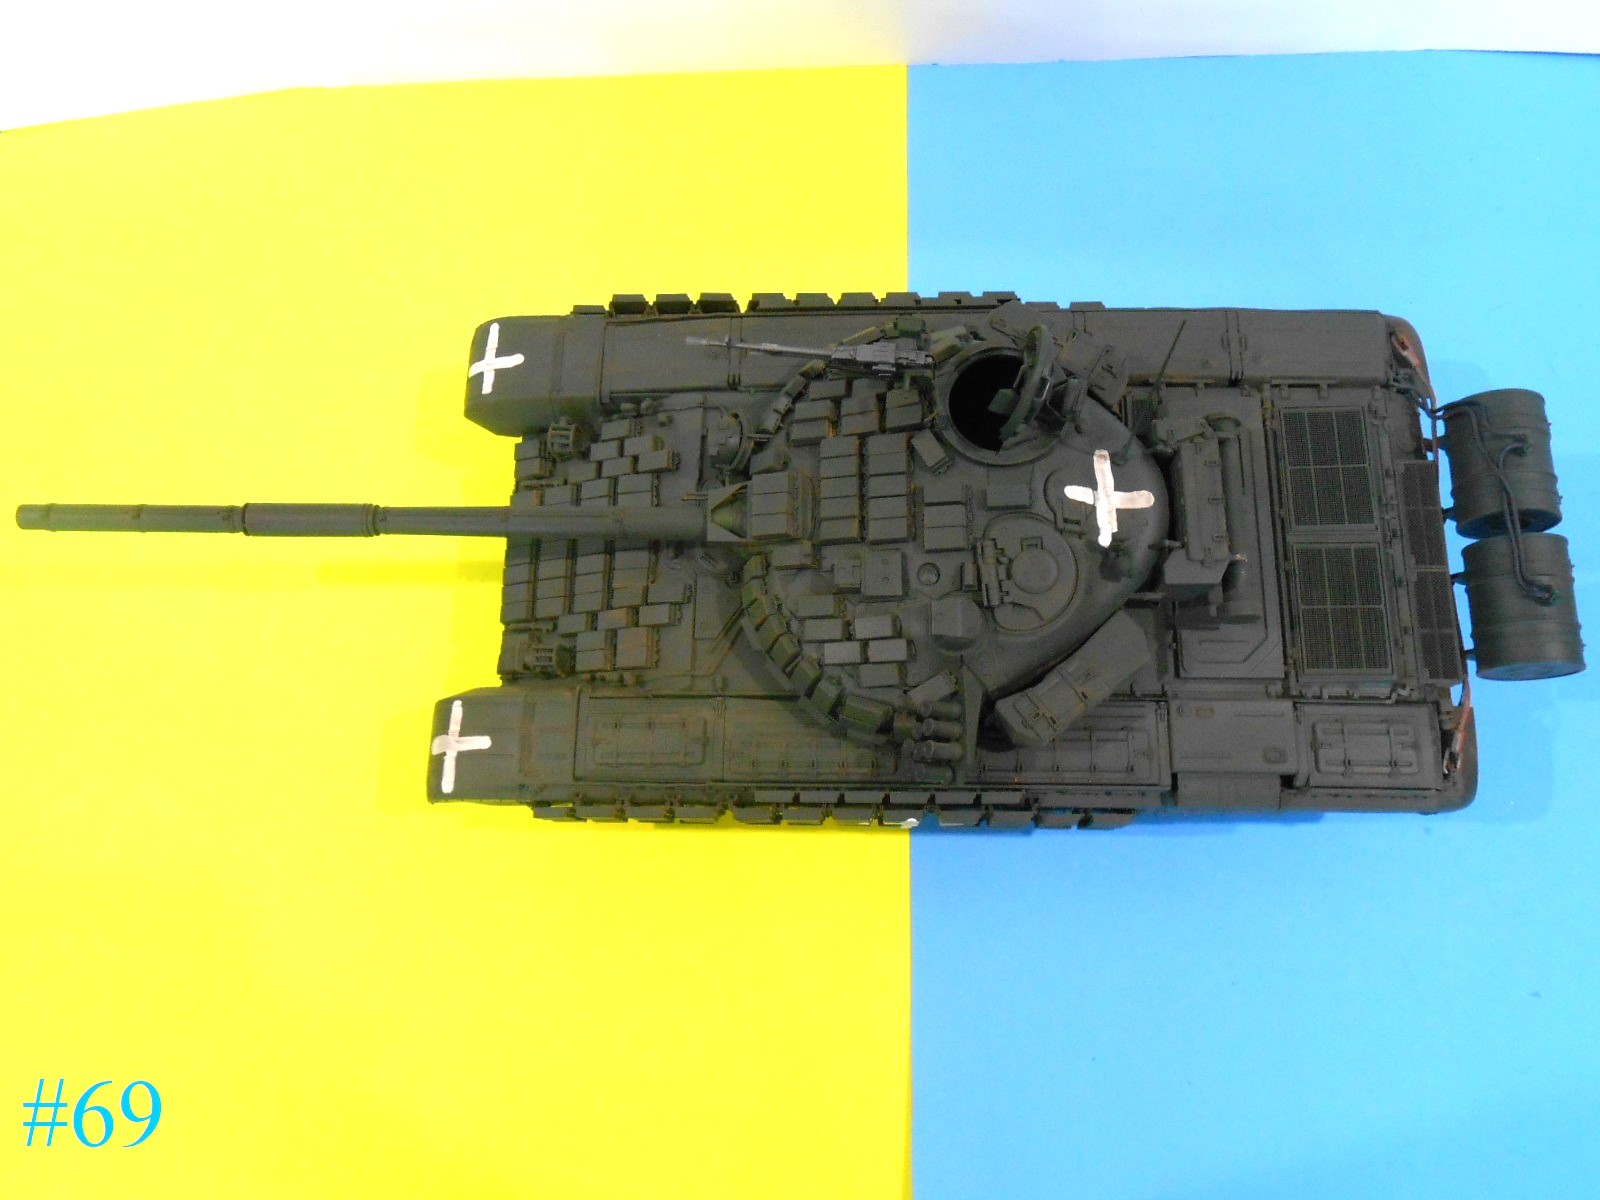
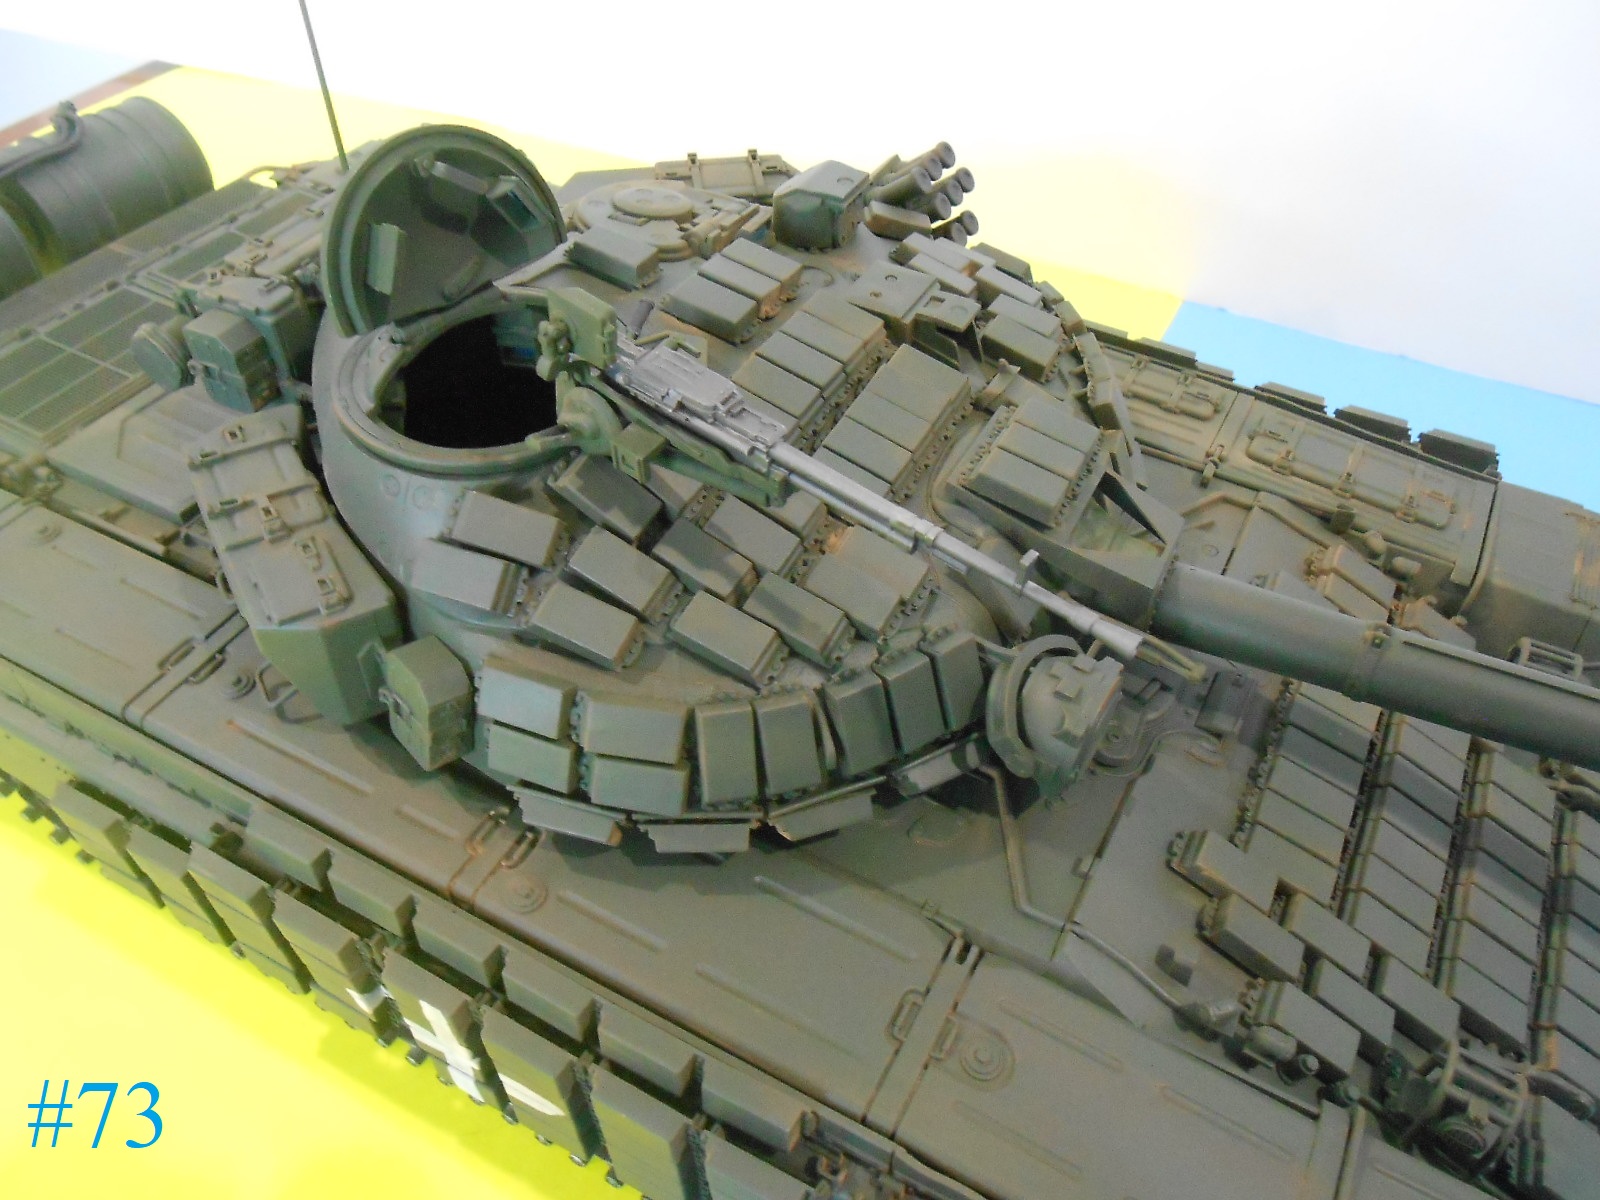
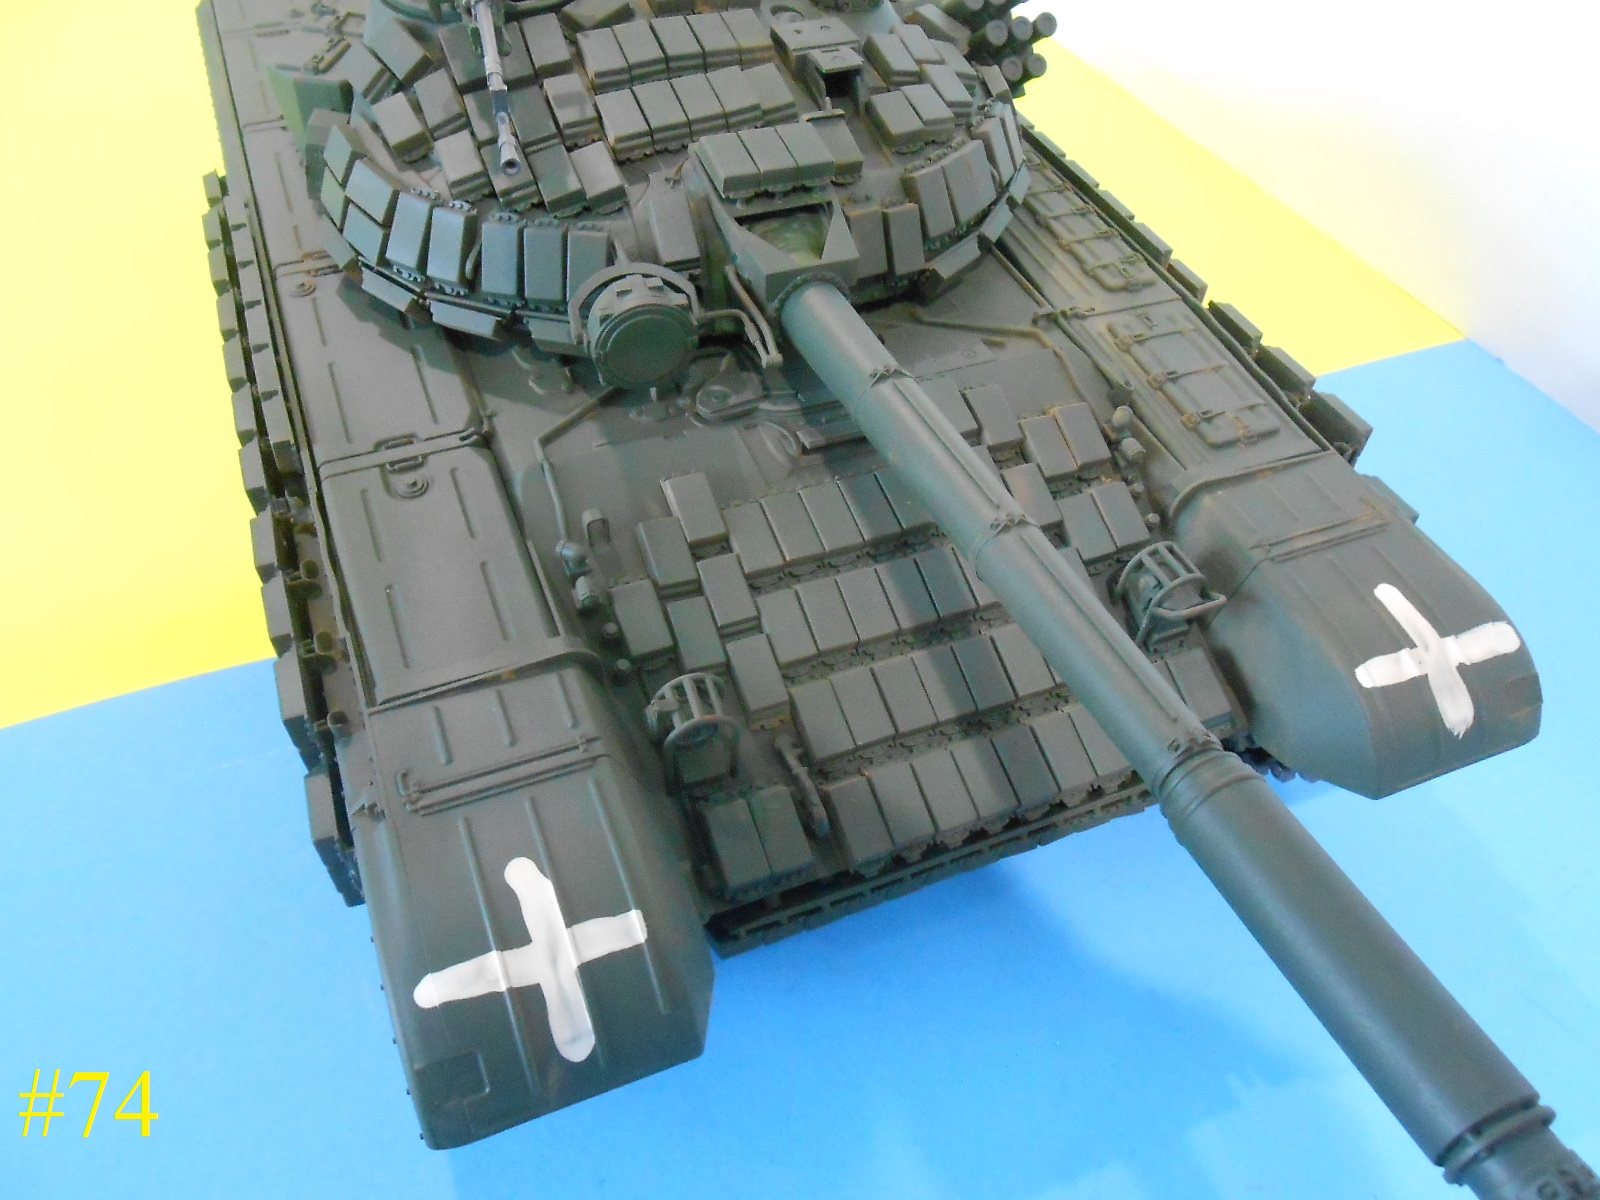
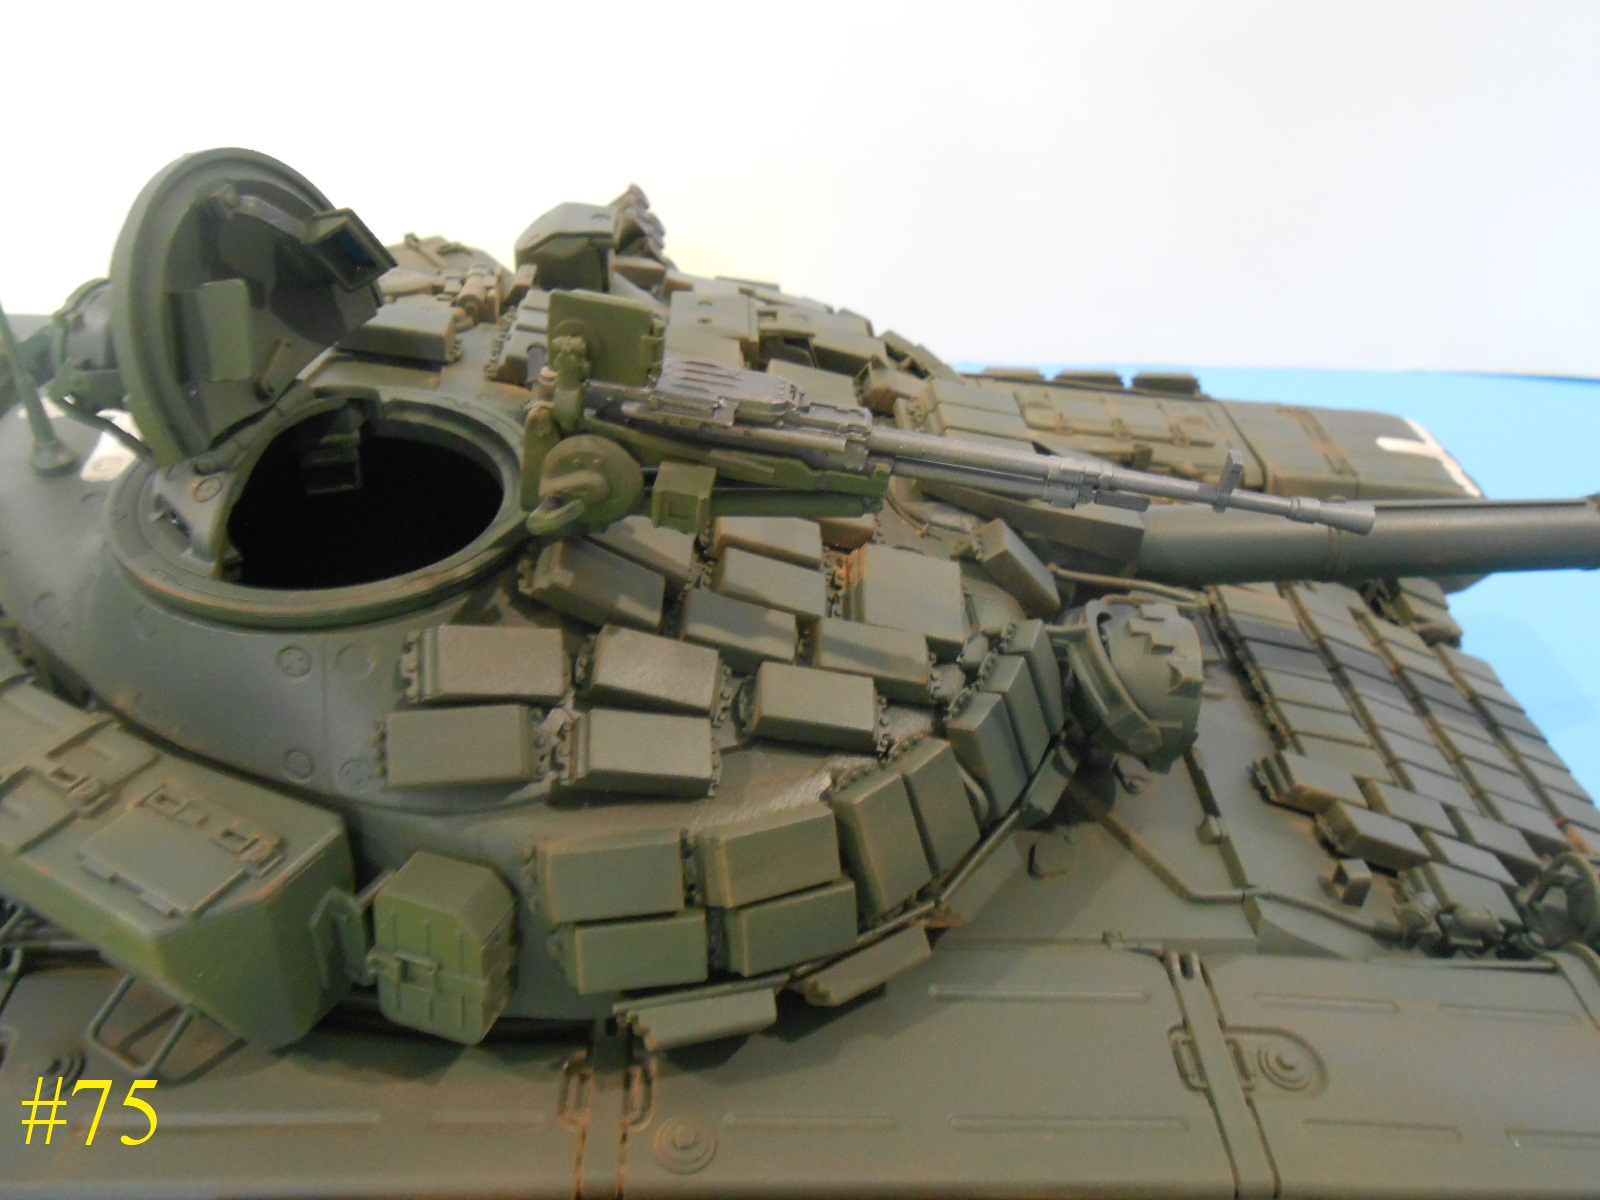
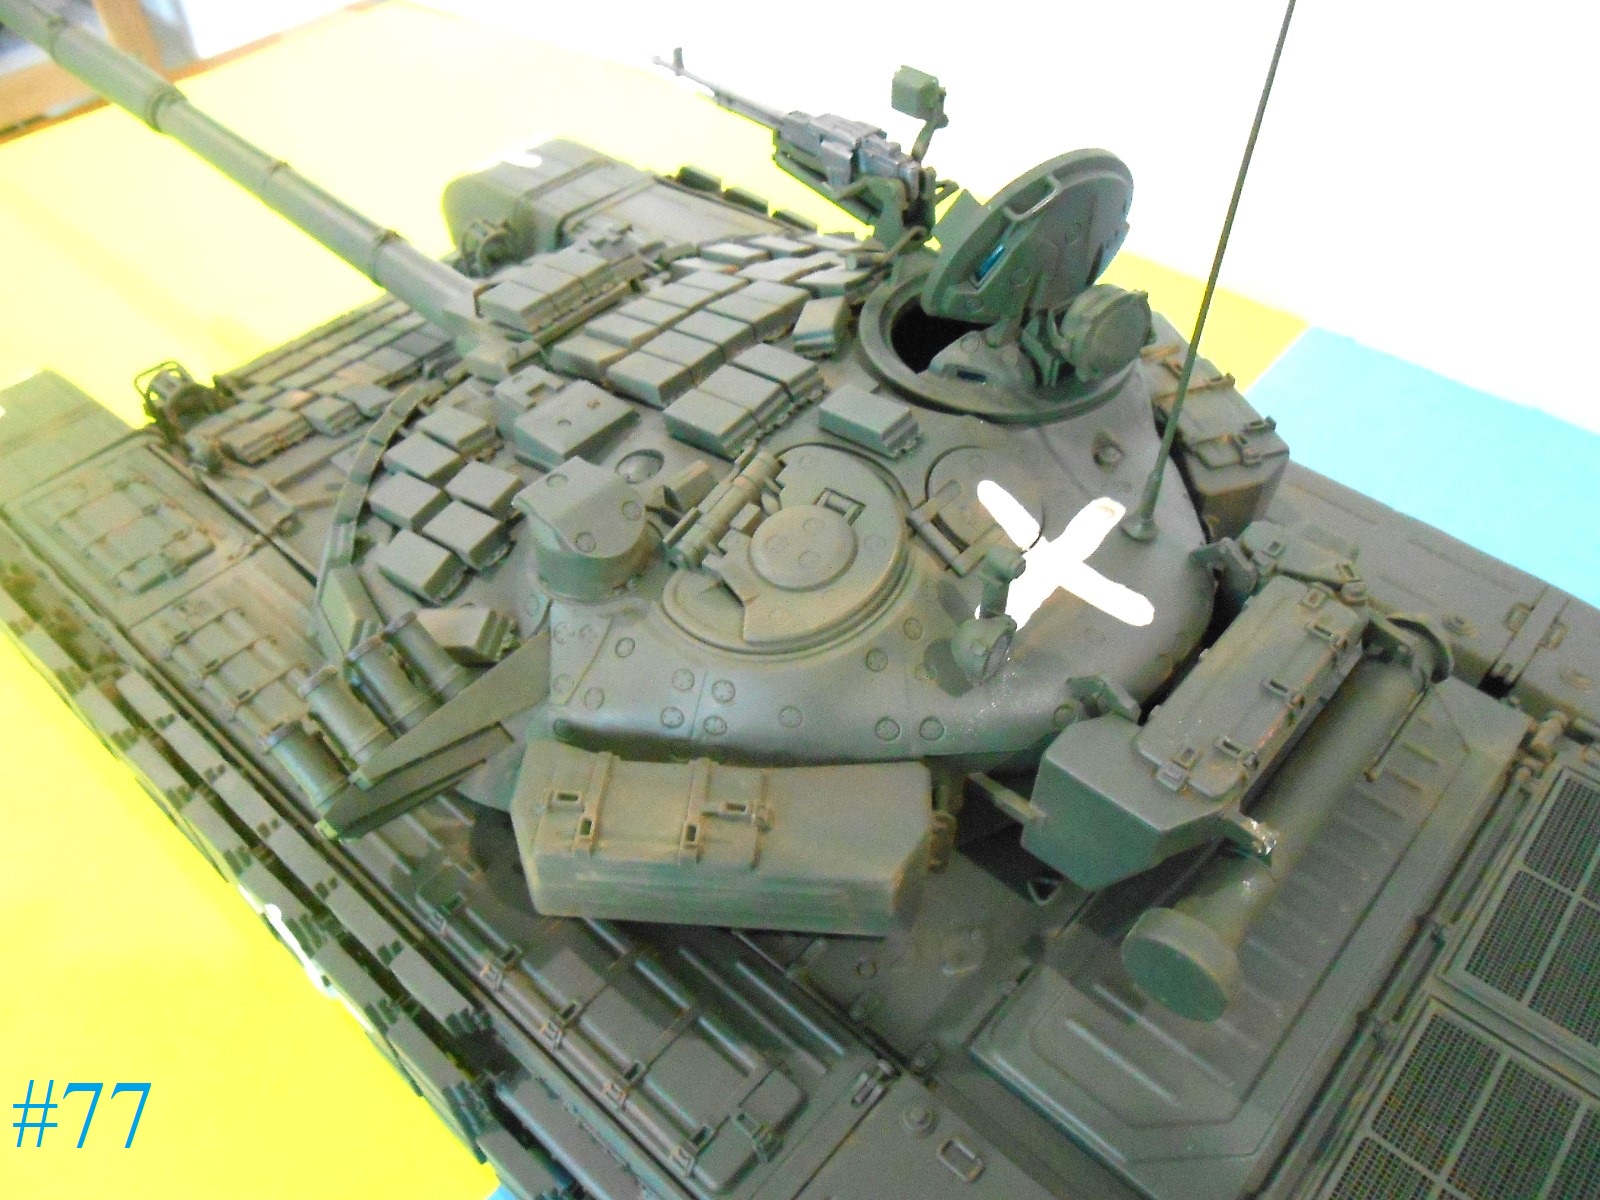
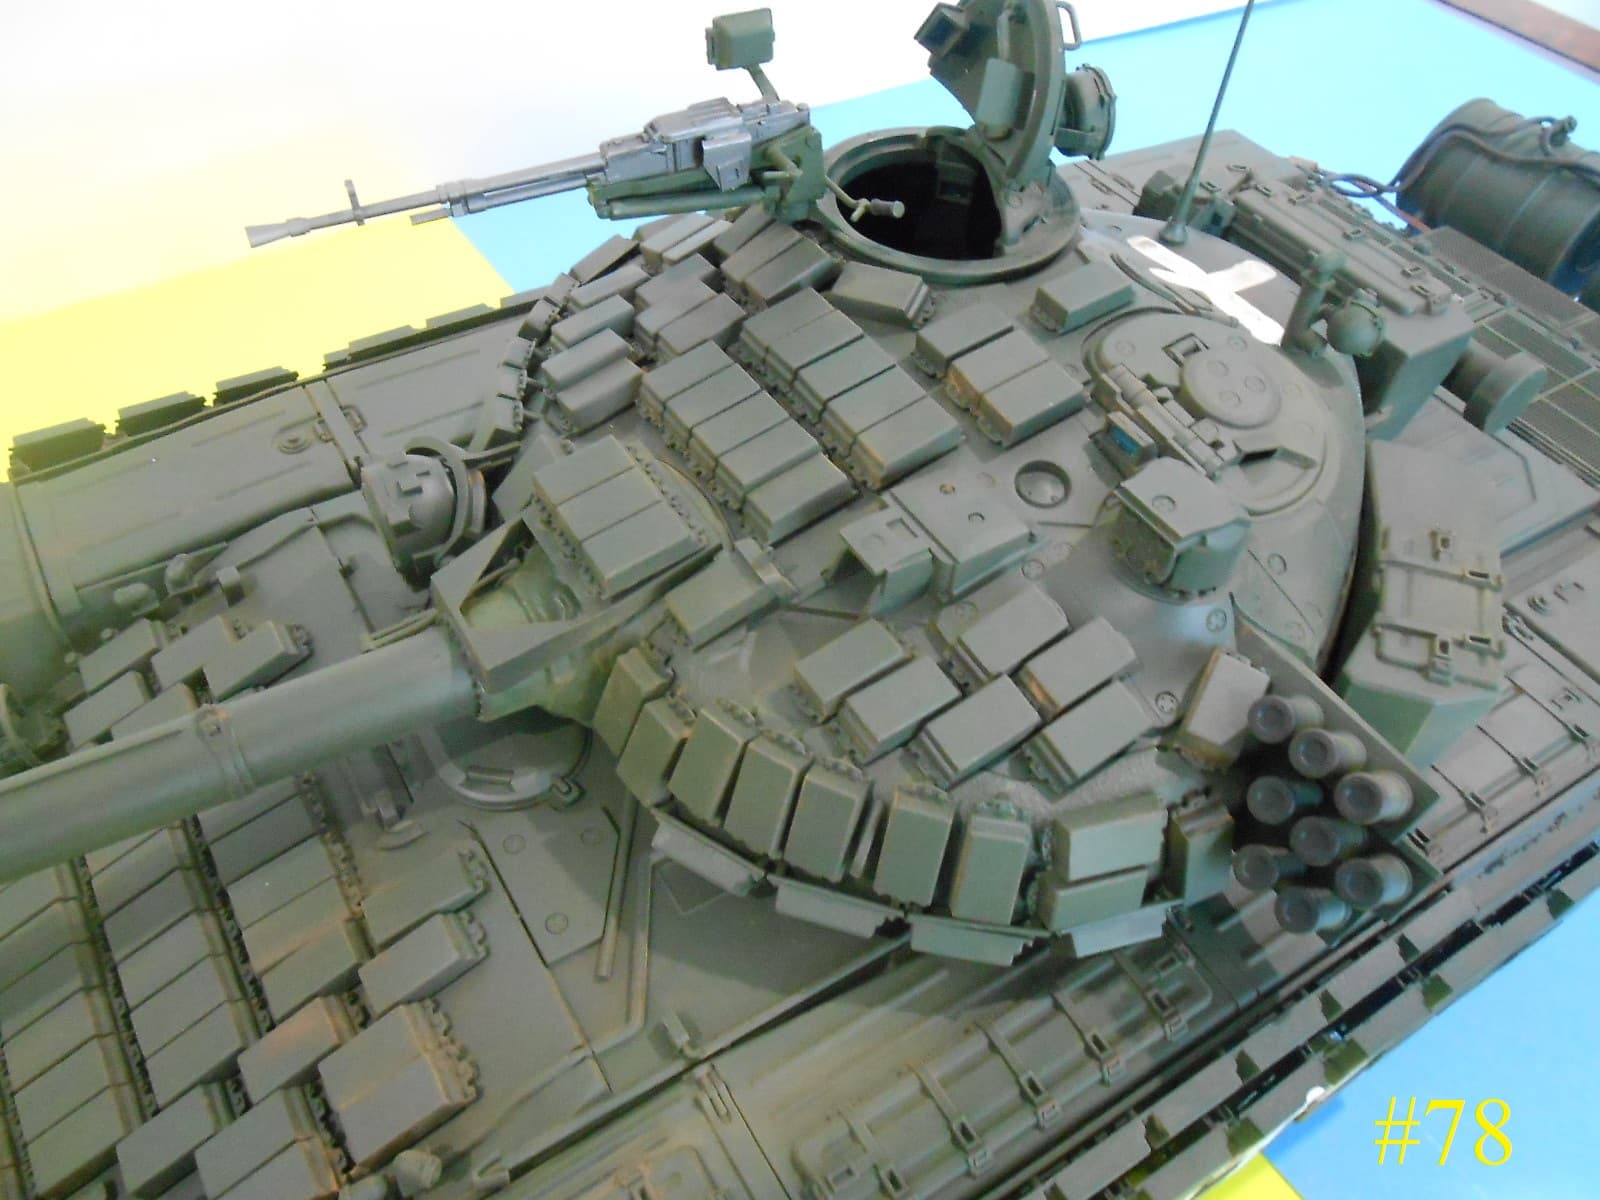
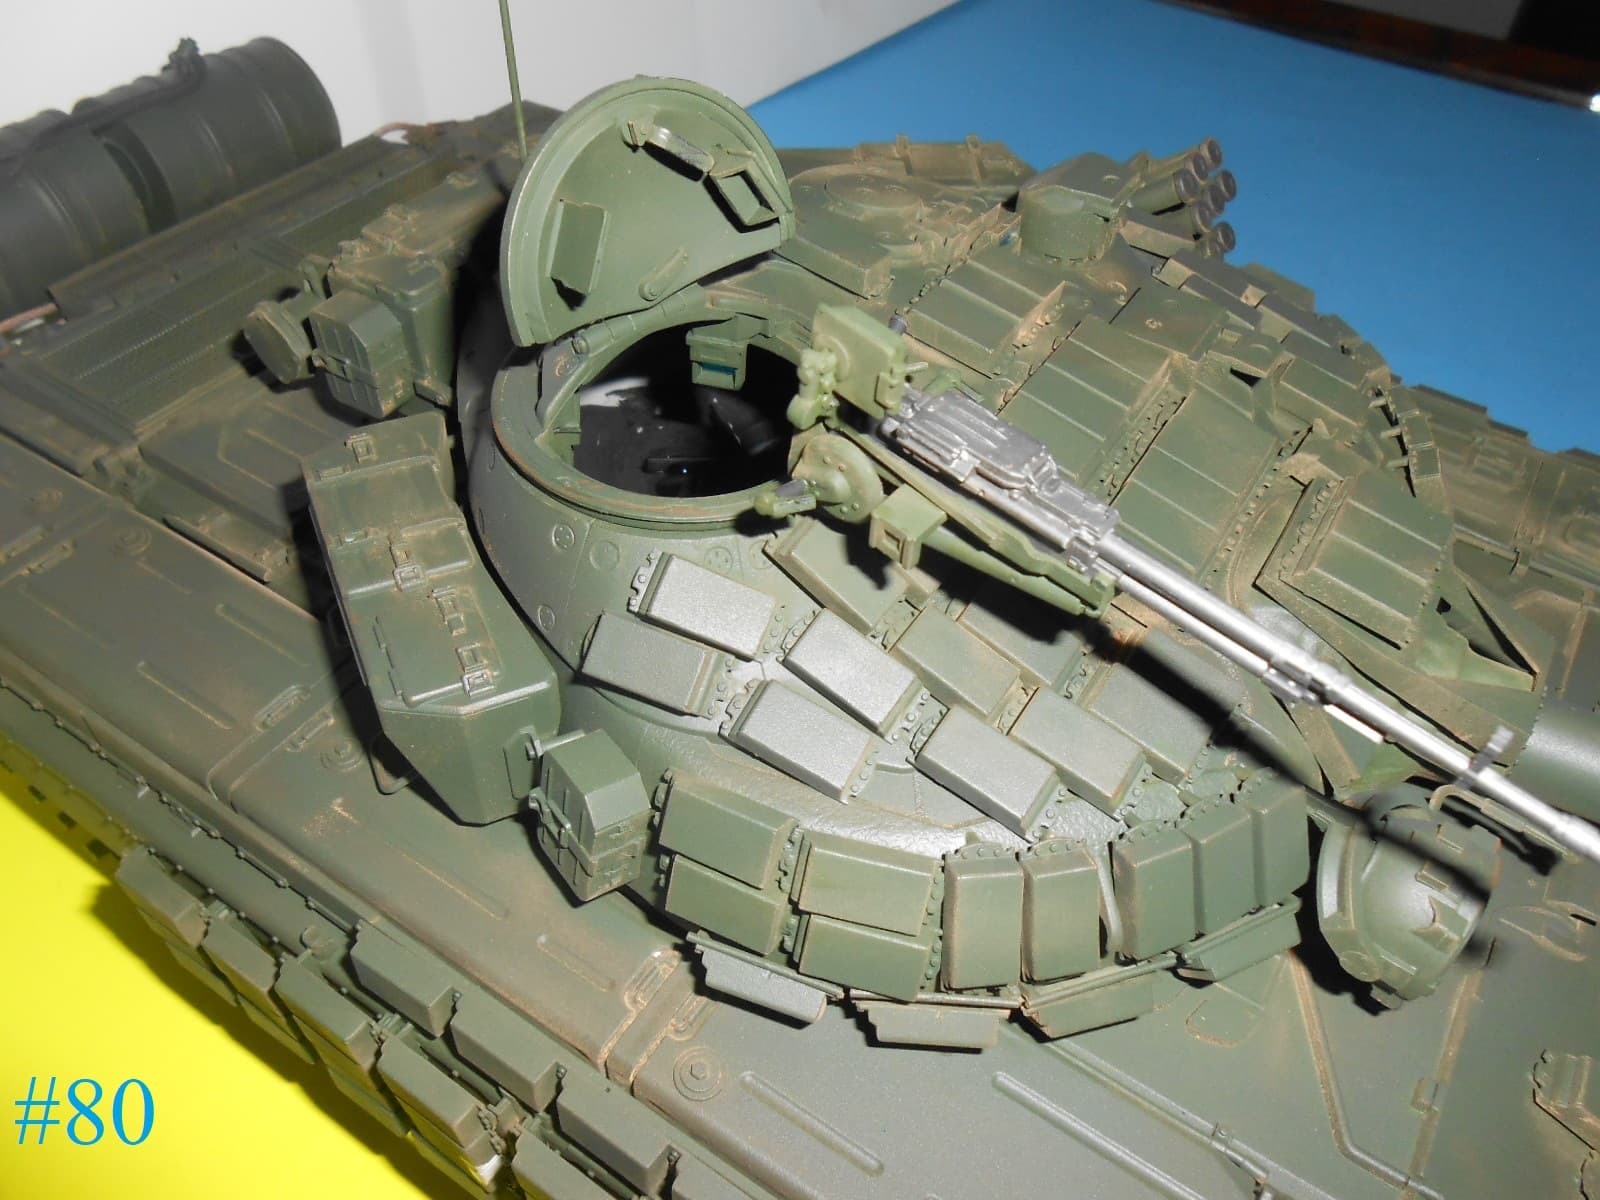
A little upper hull work finished.
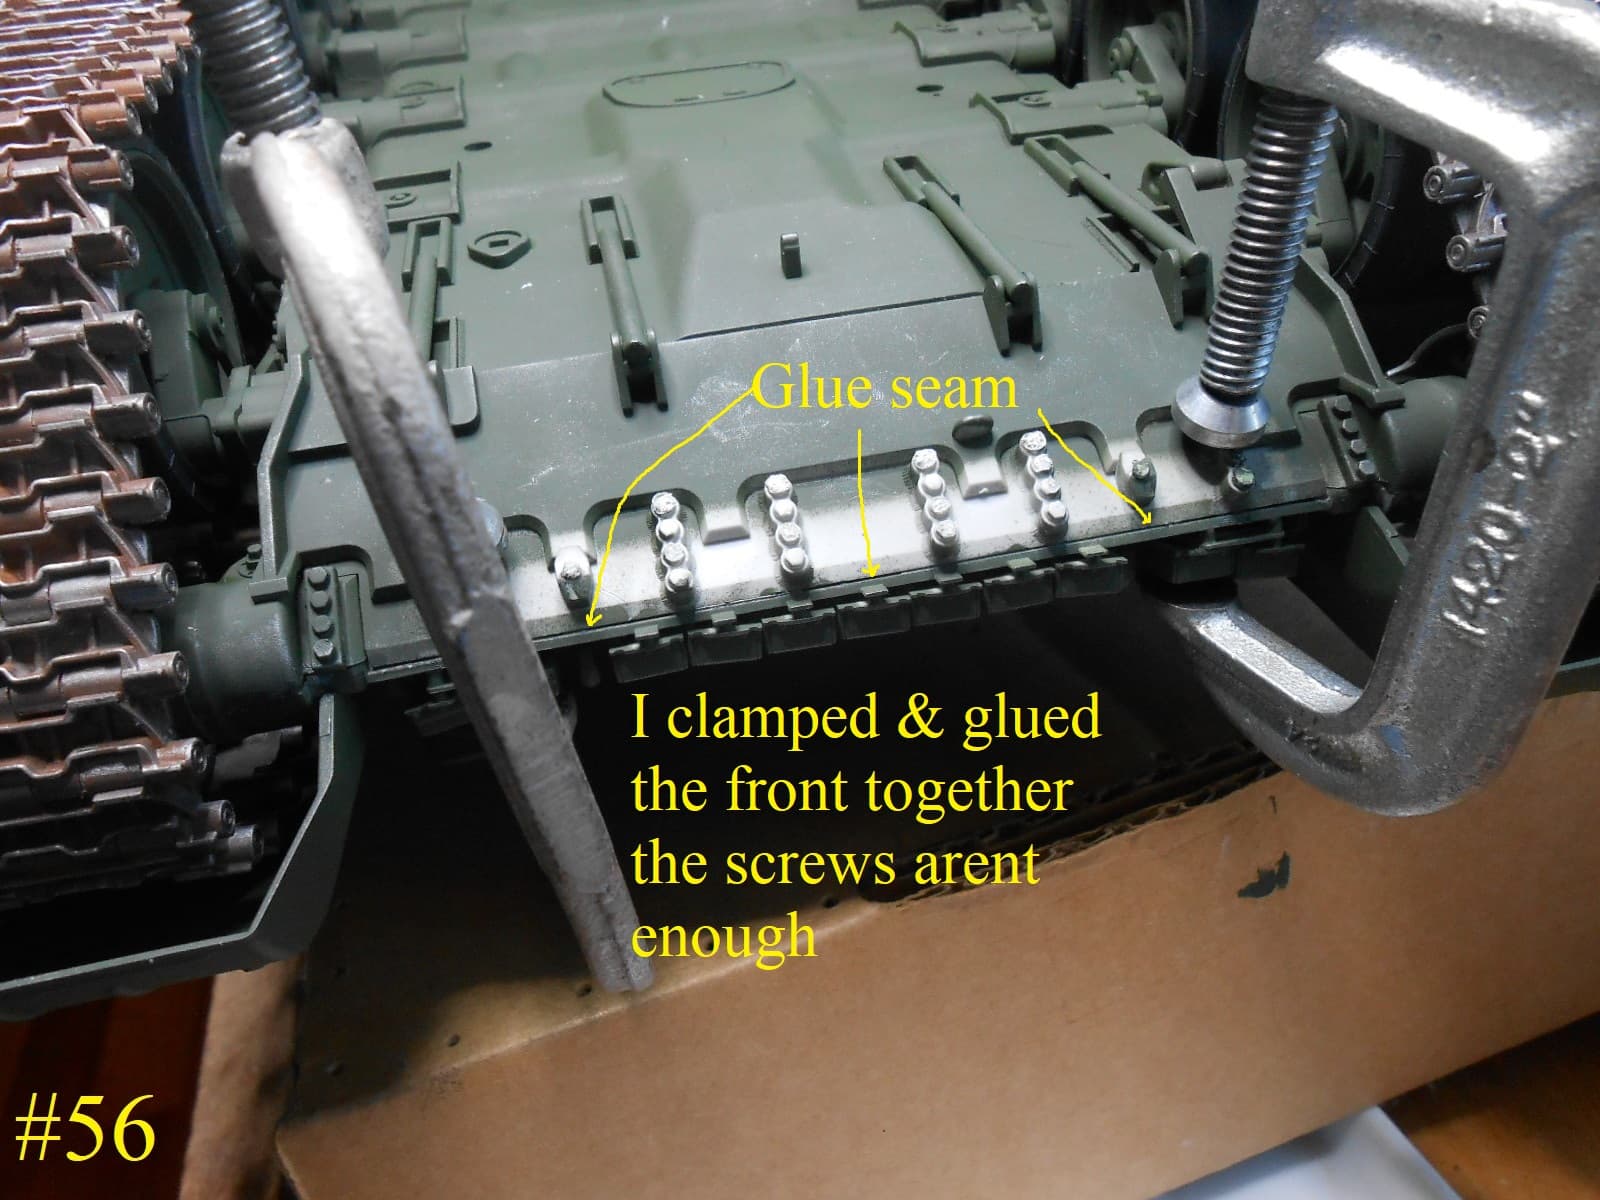
I have some major work finished.
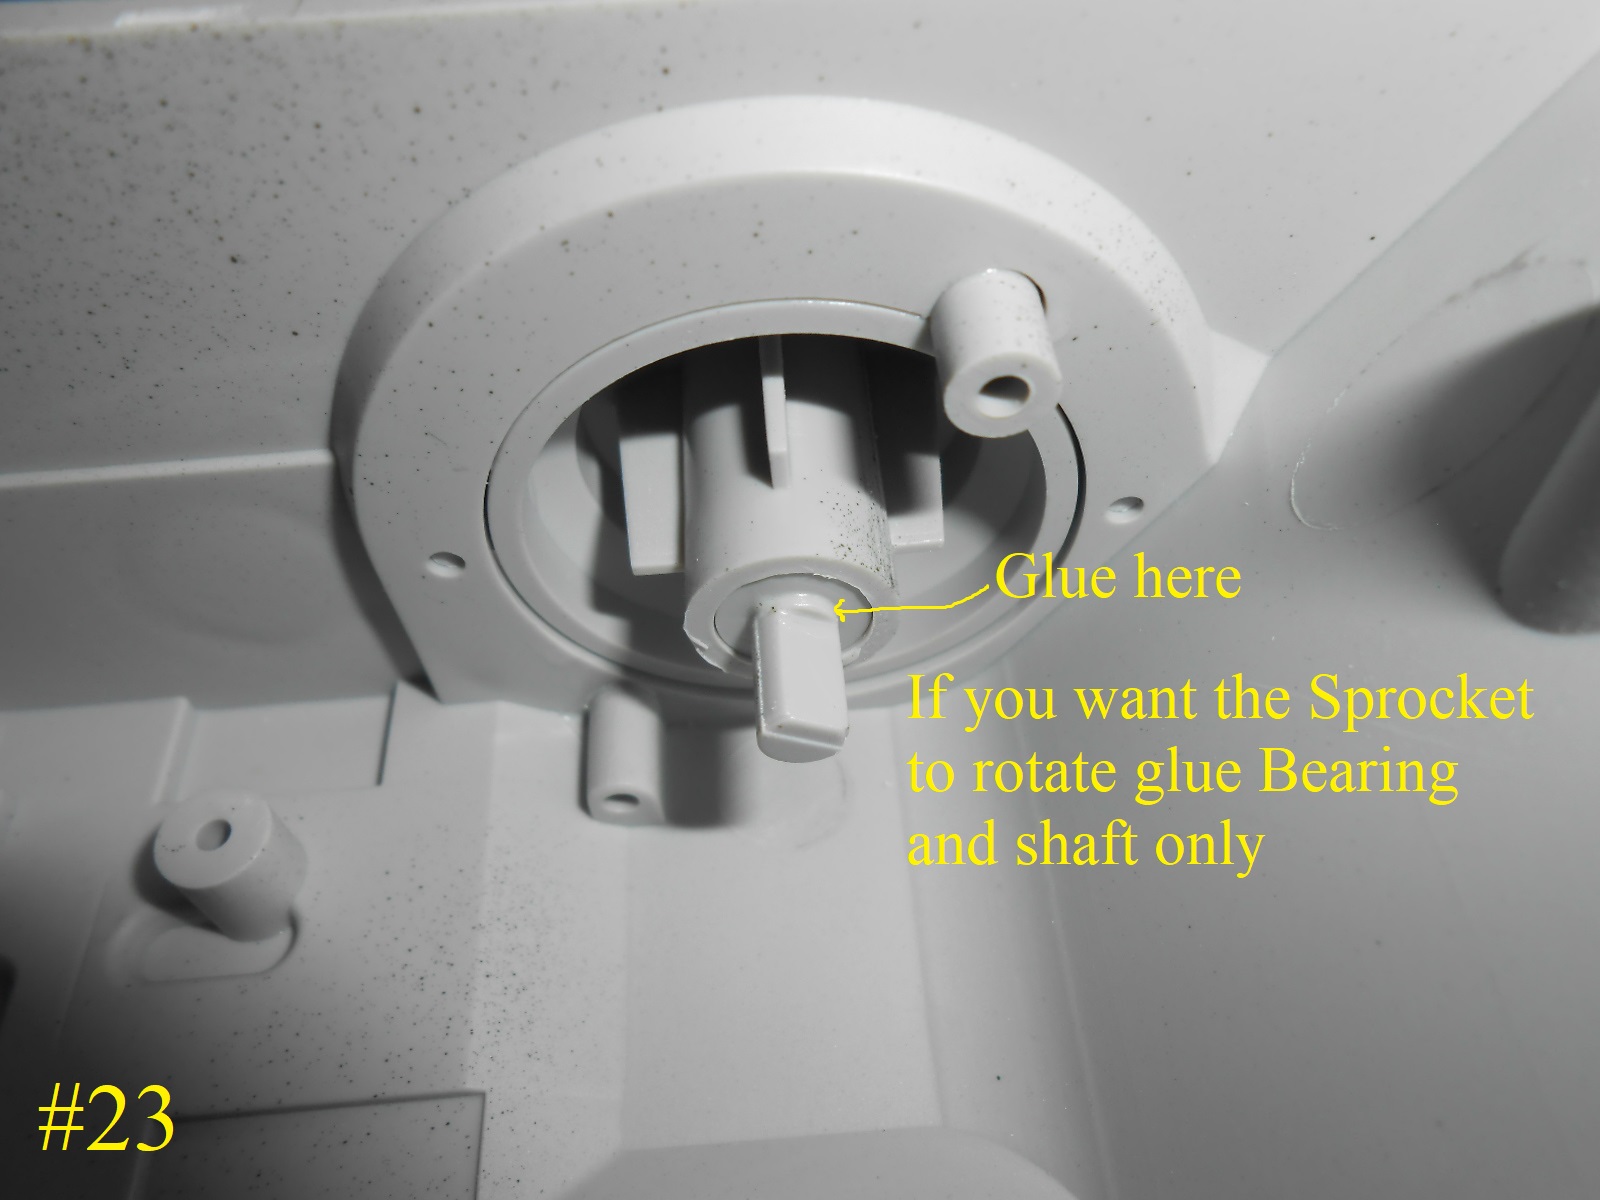
You probably noticed that I have been posting the Info on the Pics.
This is to give you all the information with the Pics. if you are saving
the Pics.
Now to work
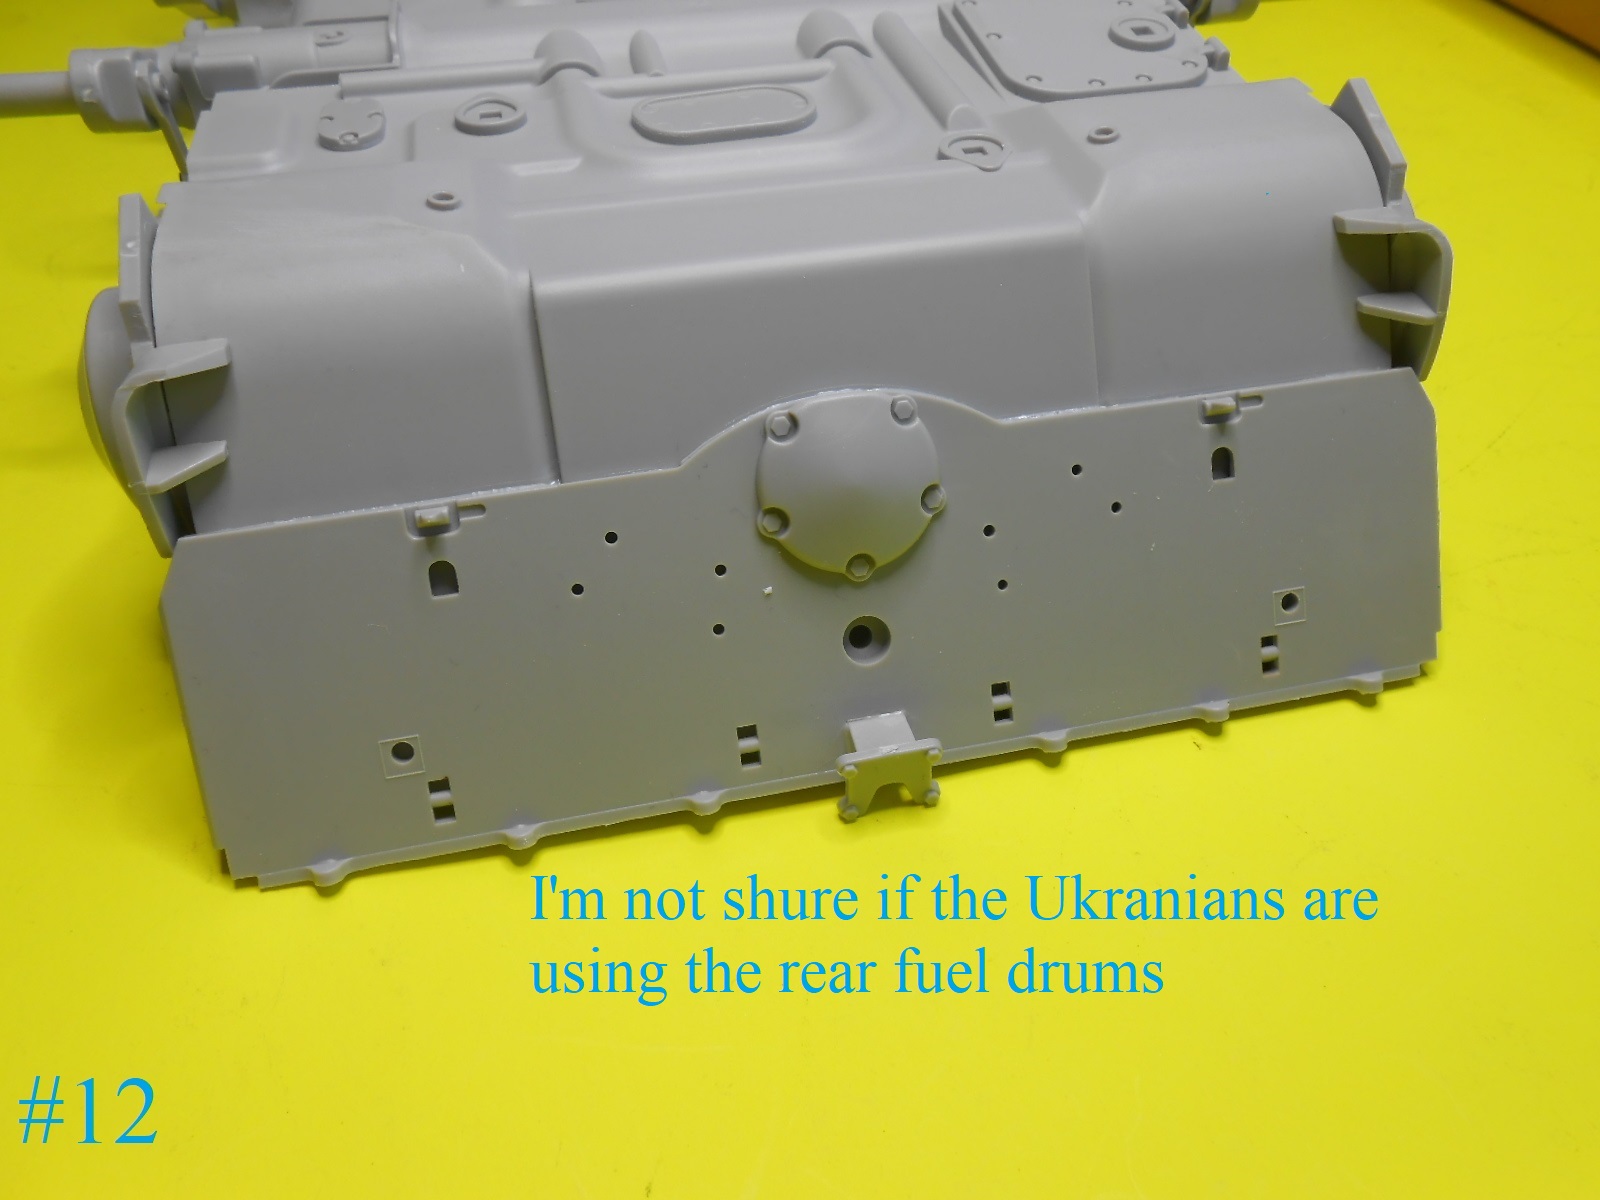
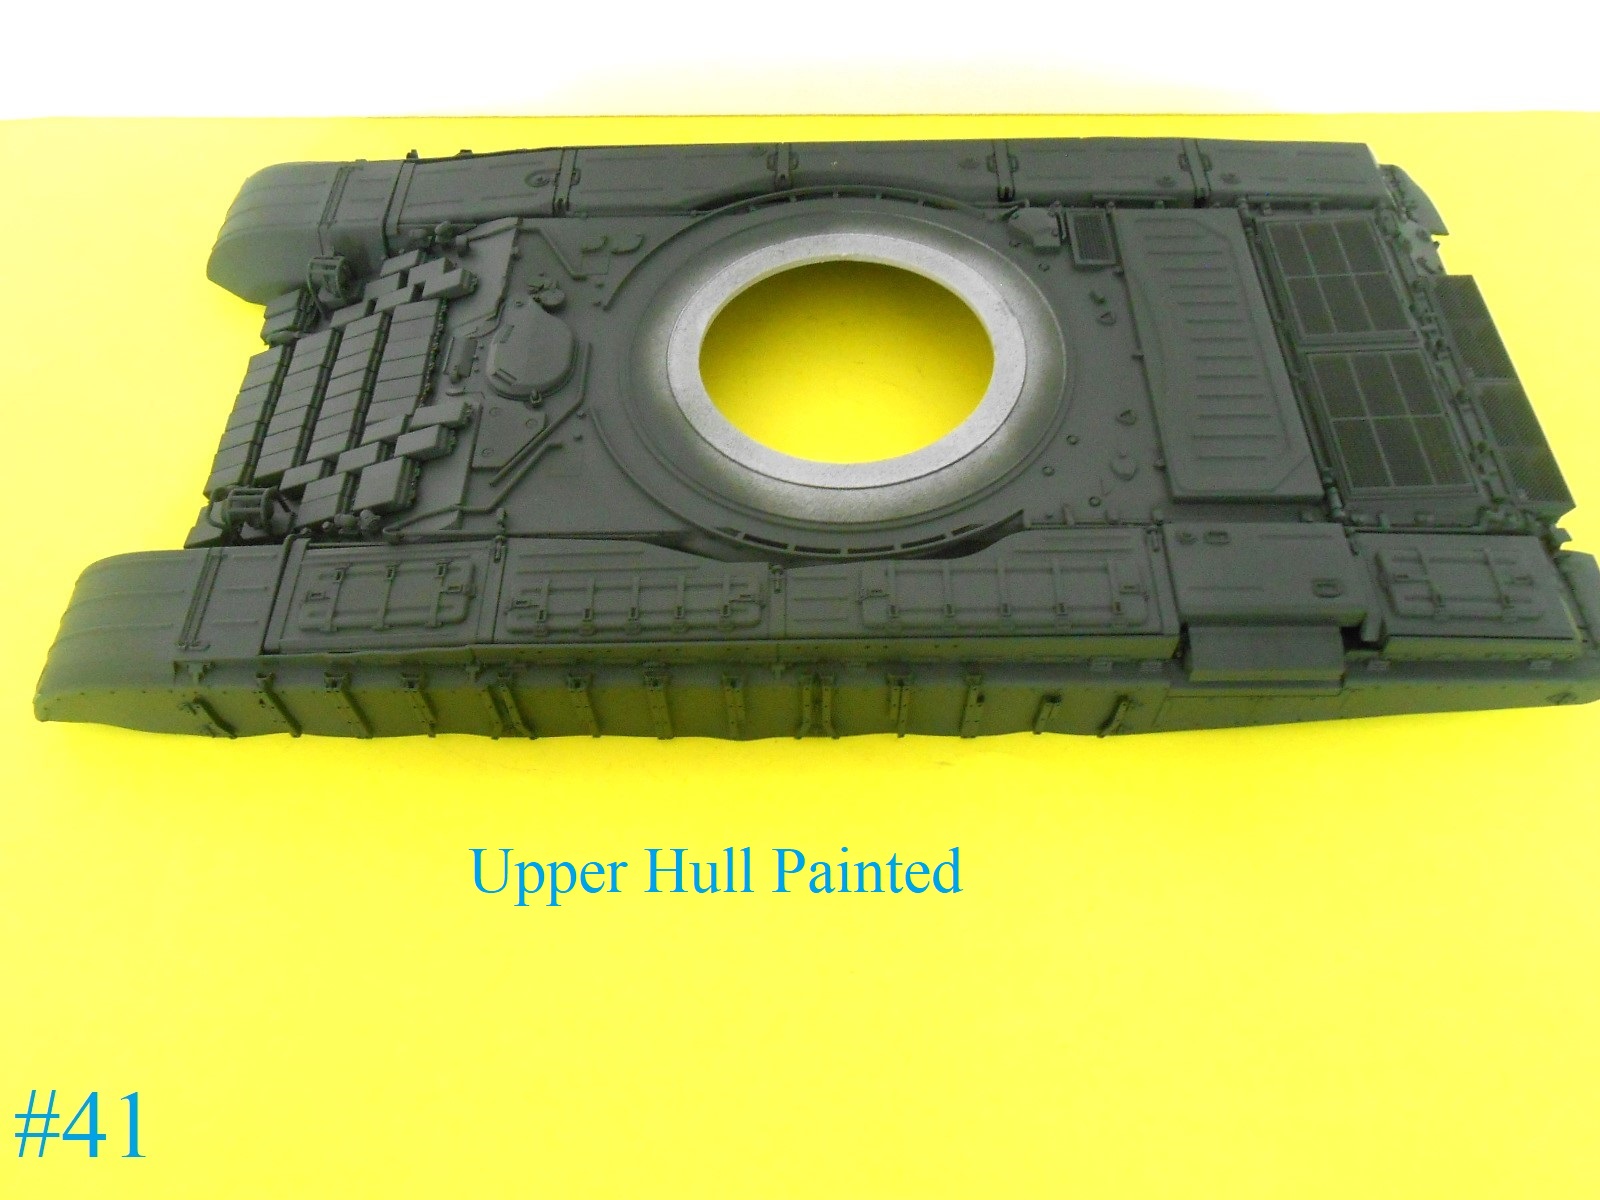
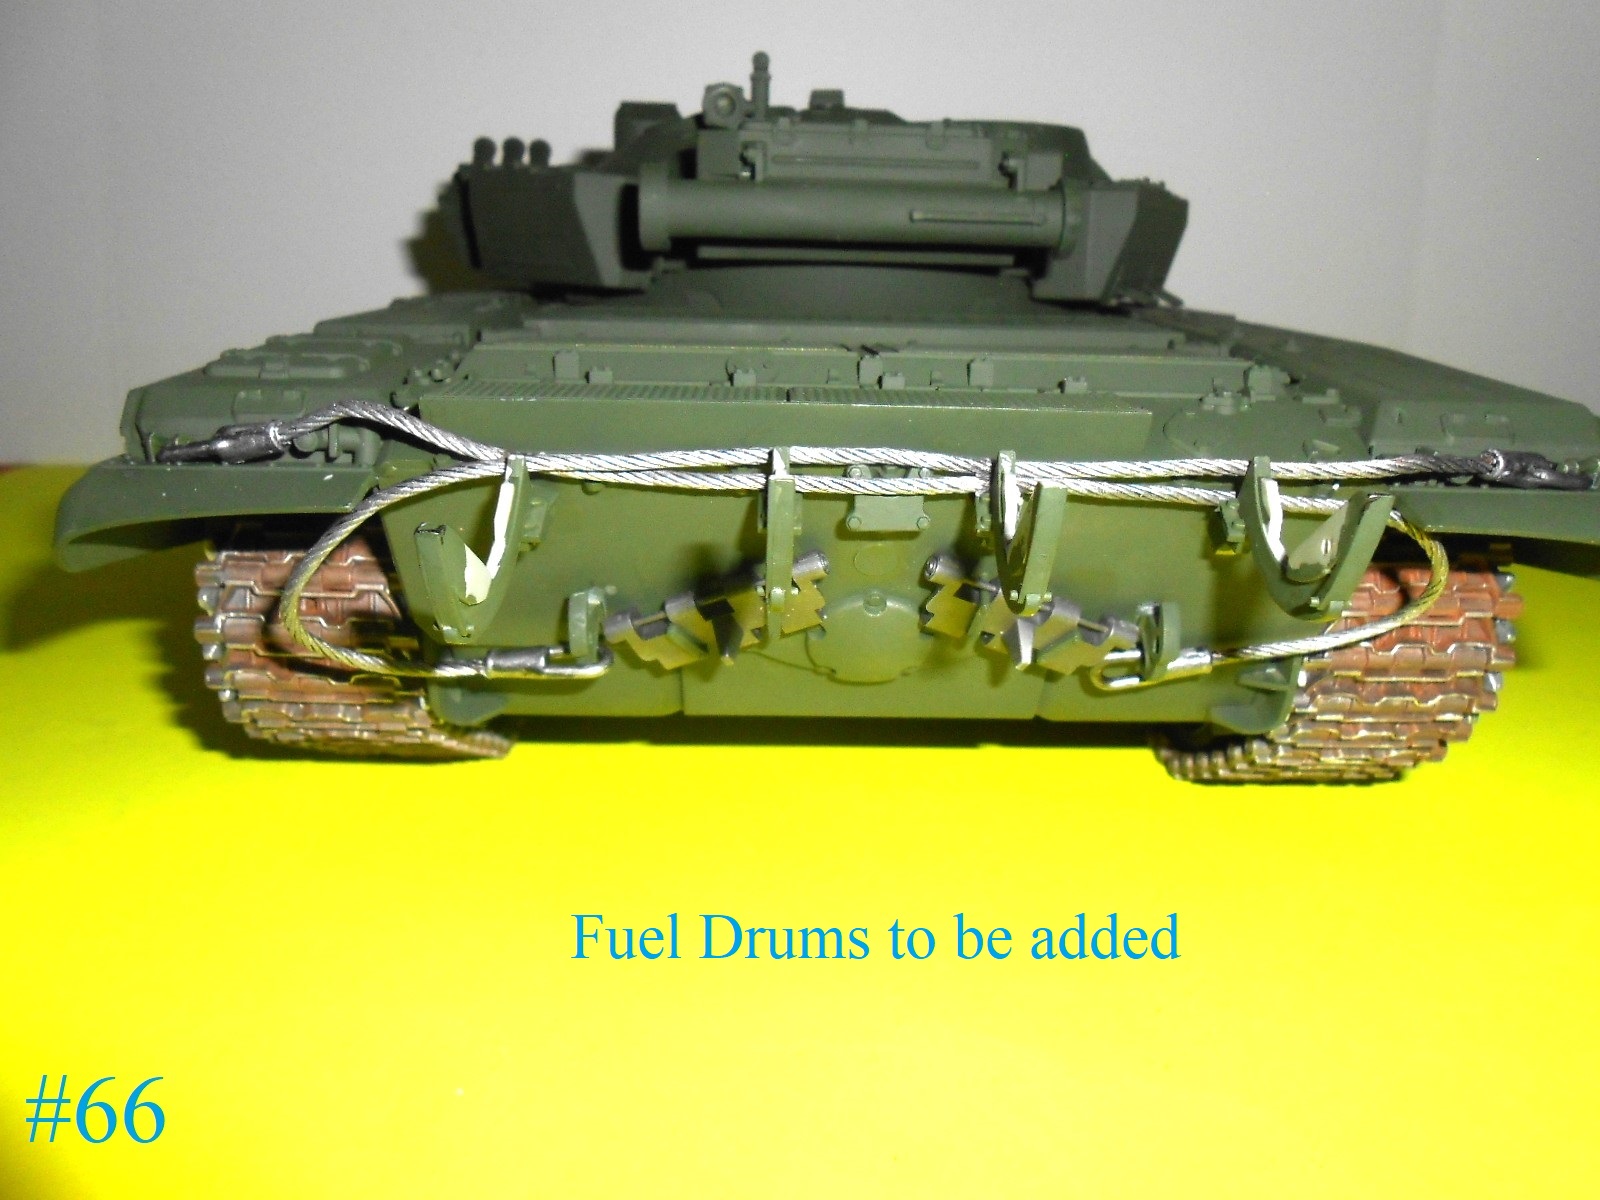
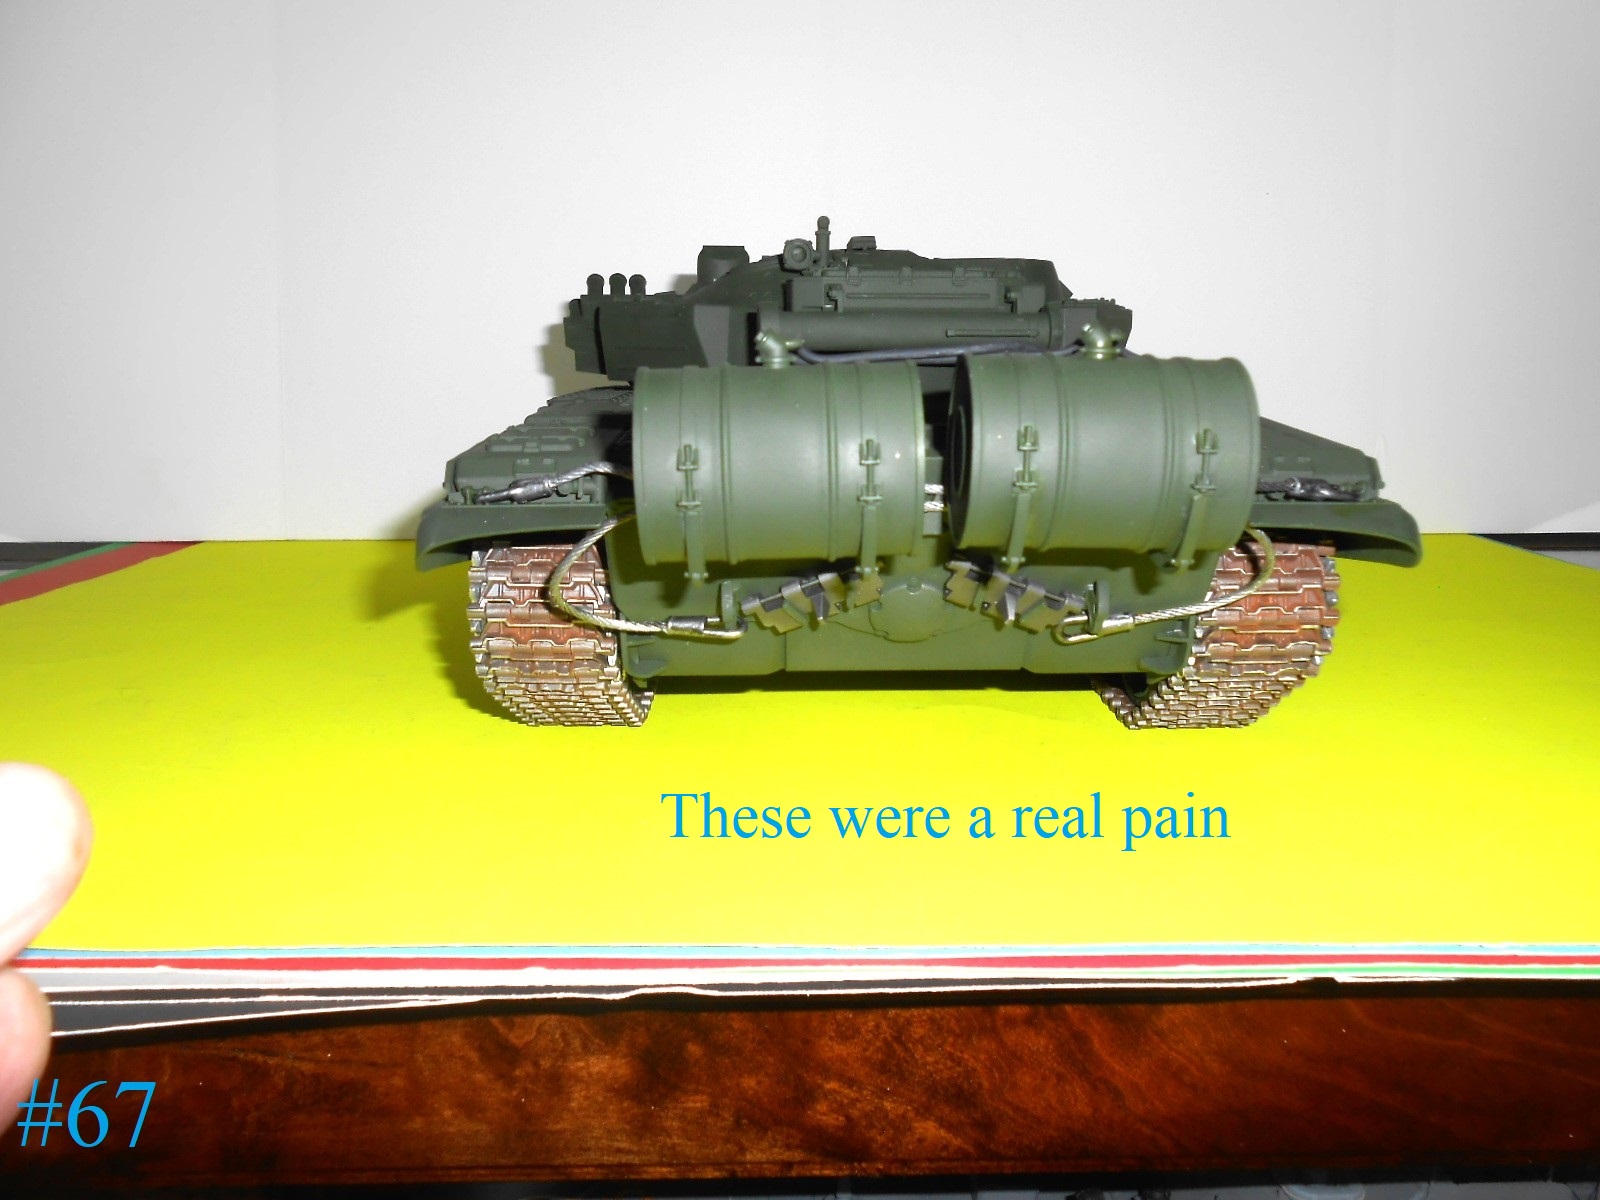
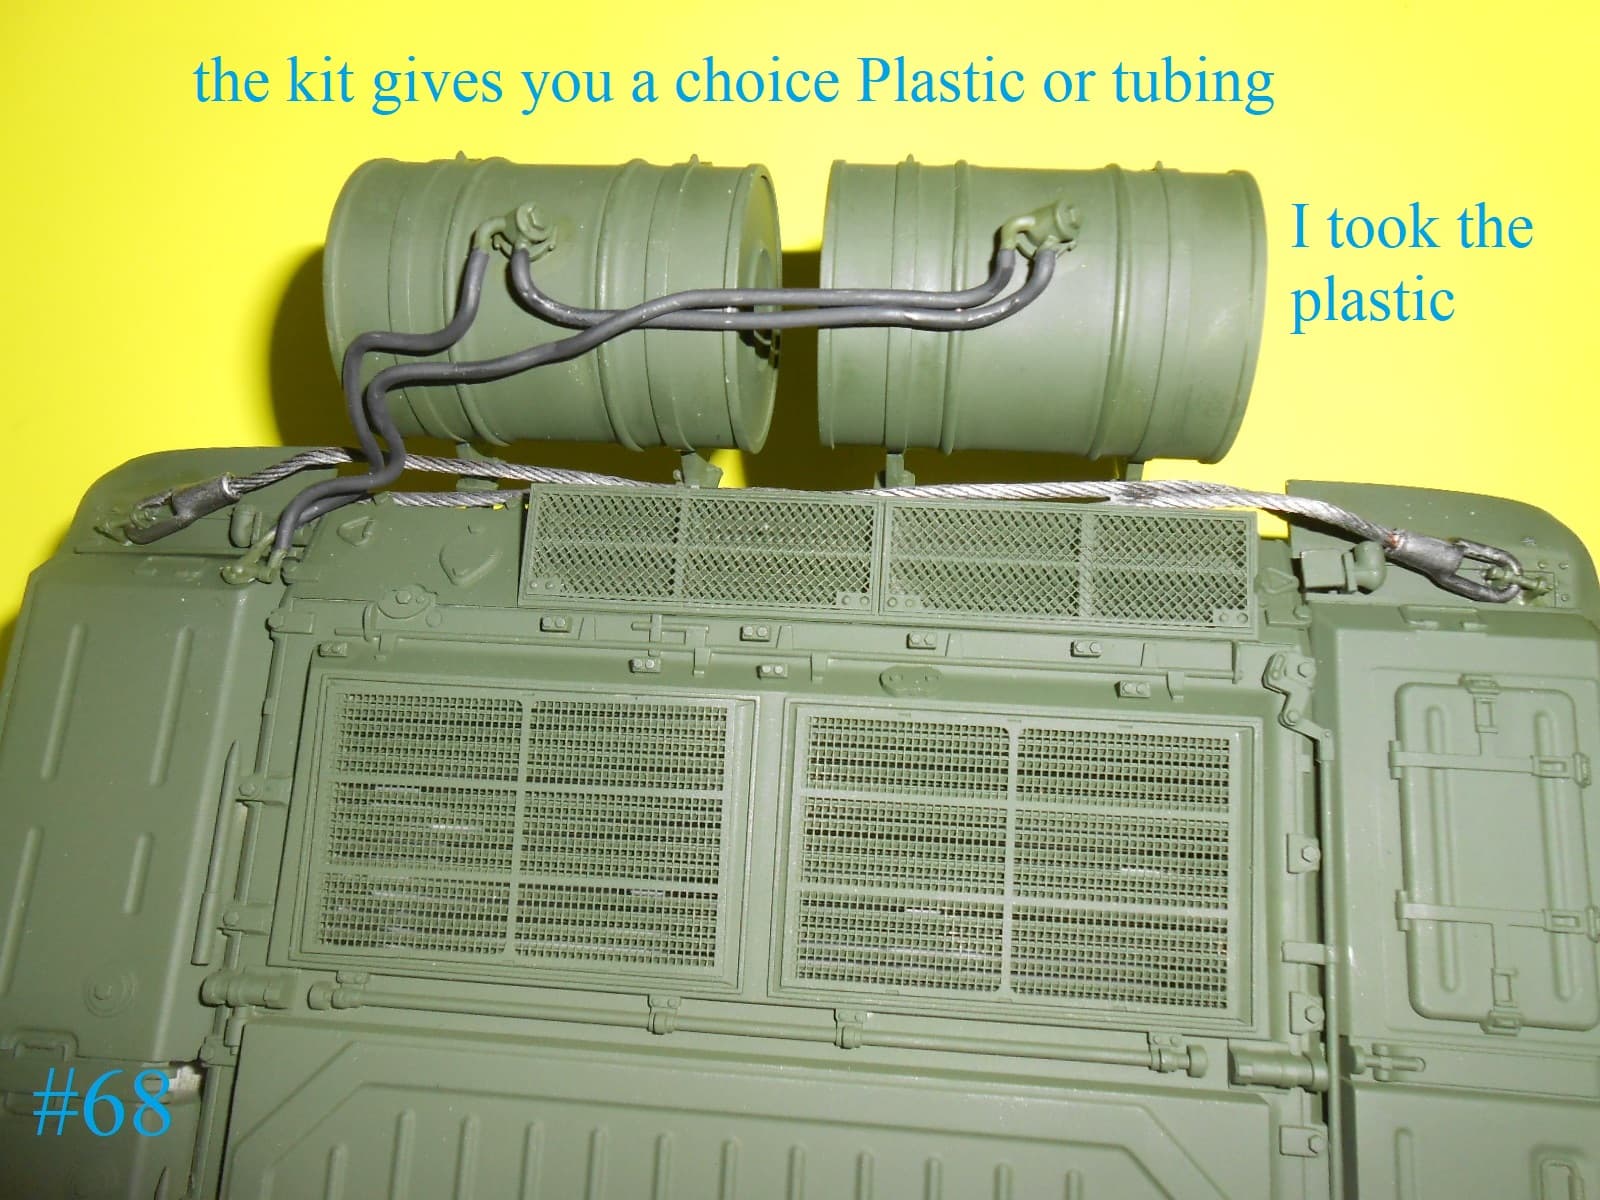
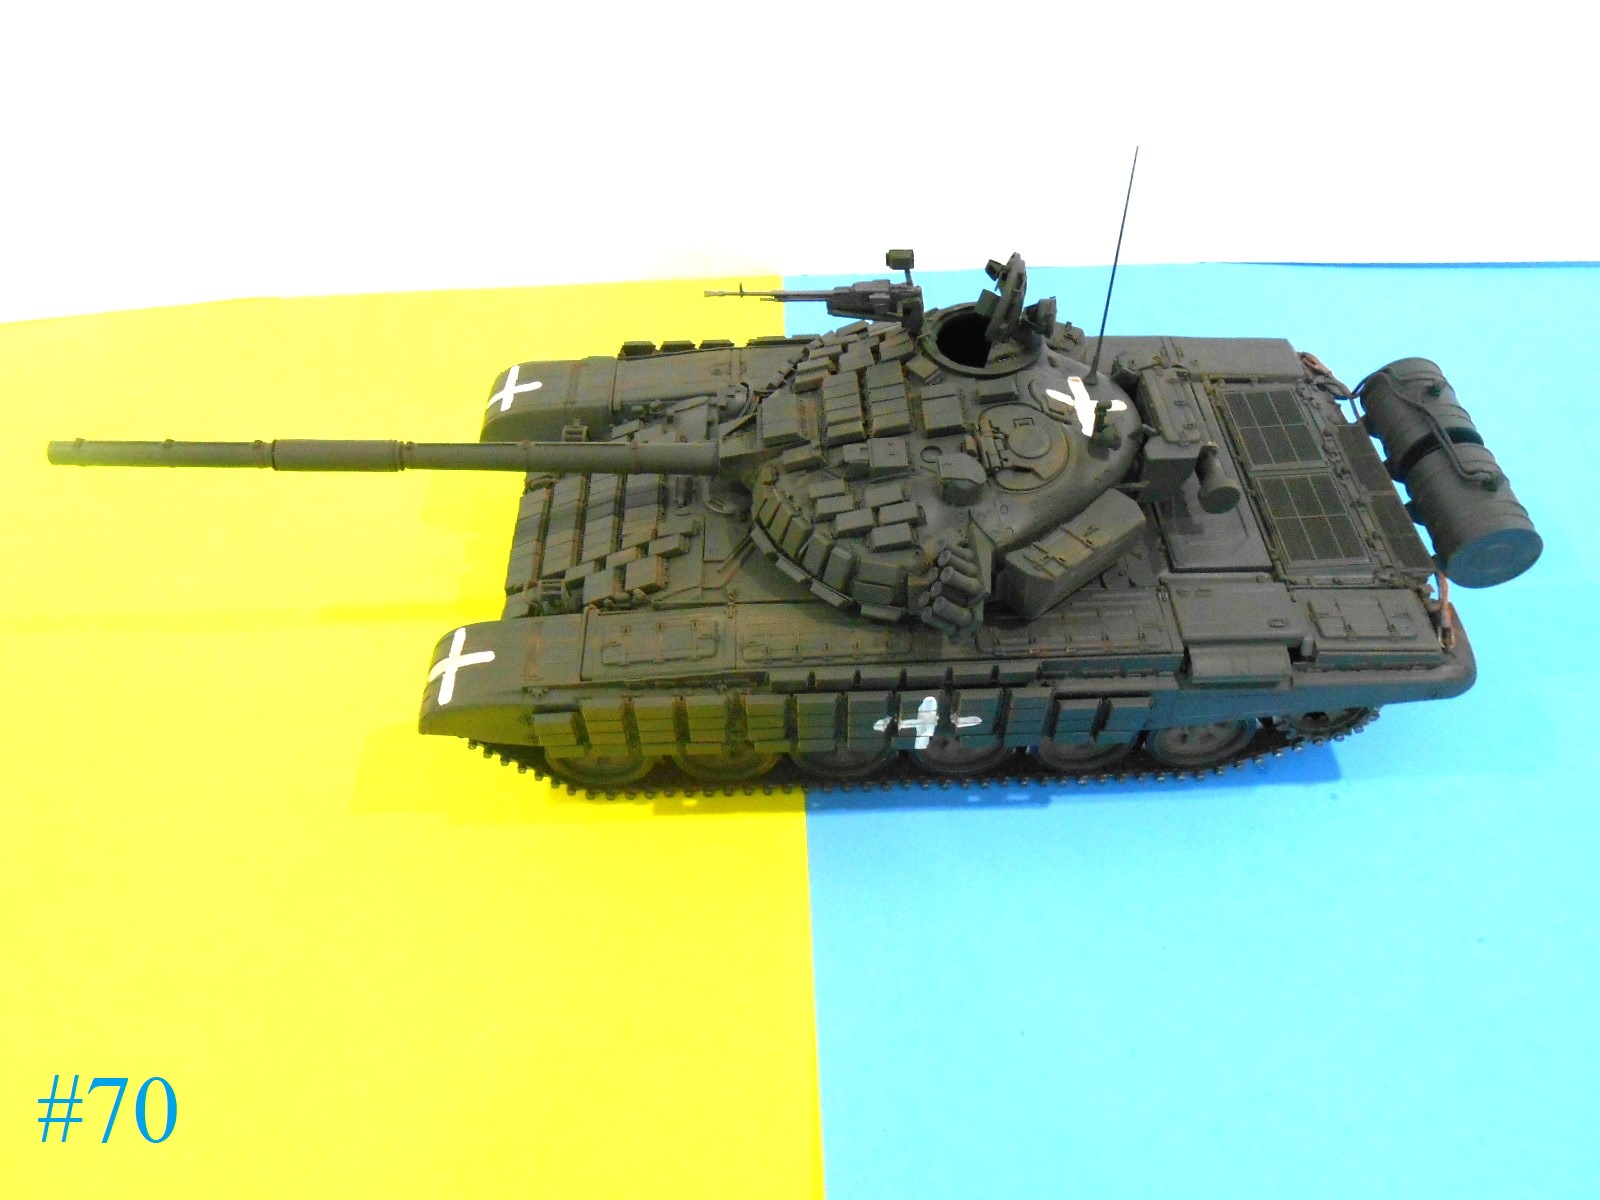
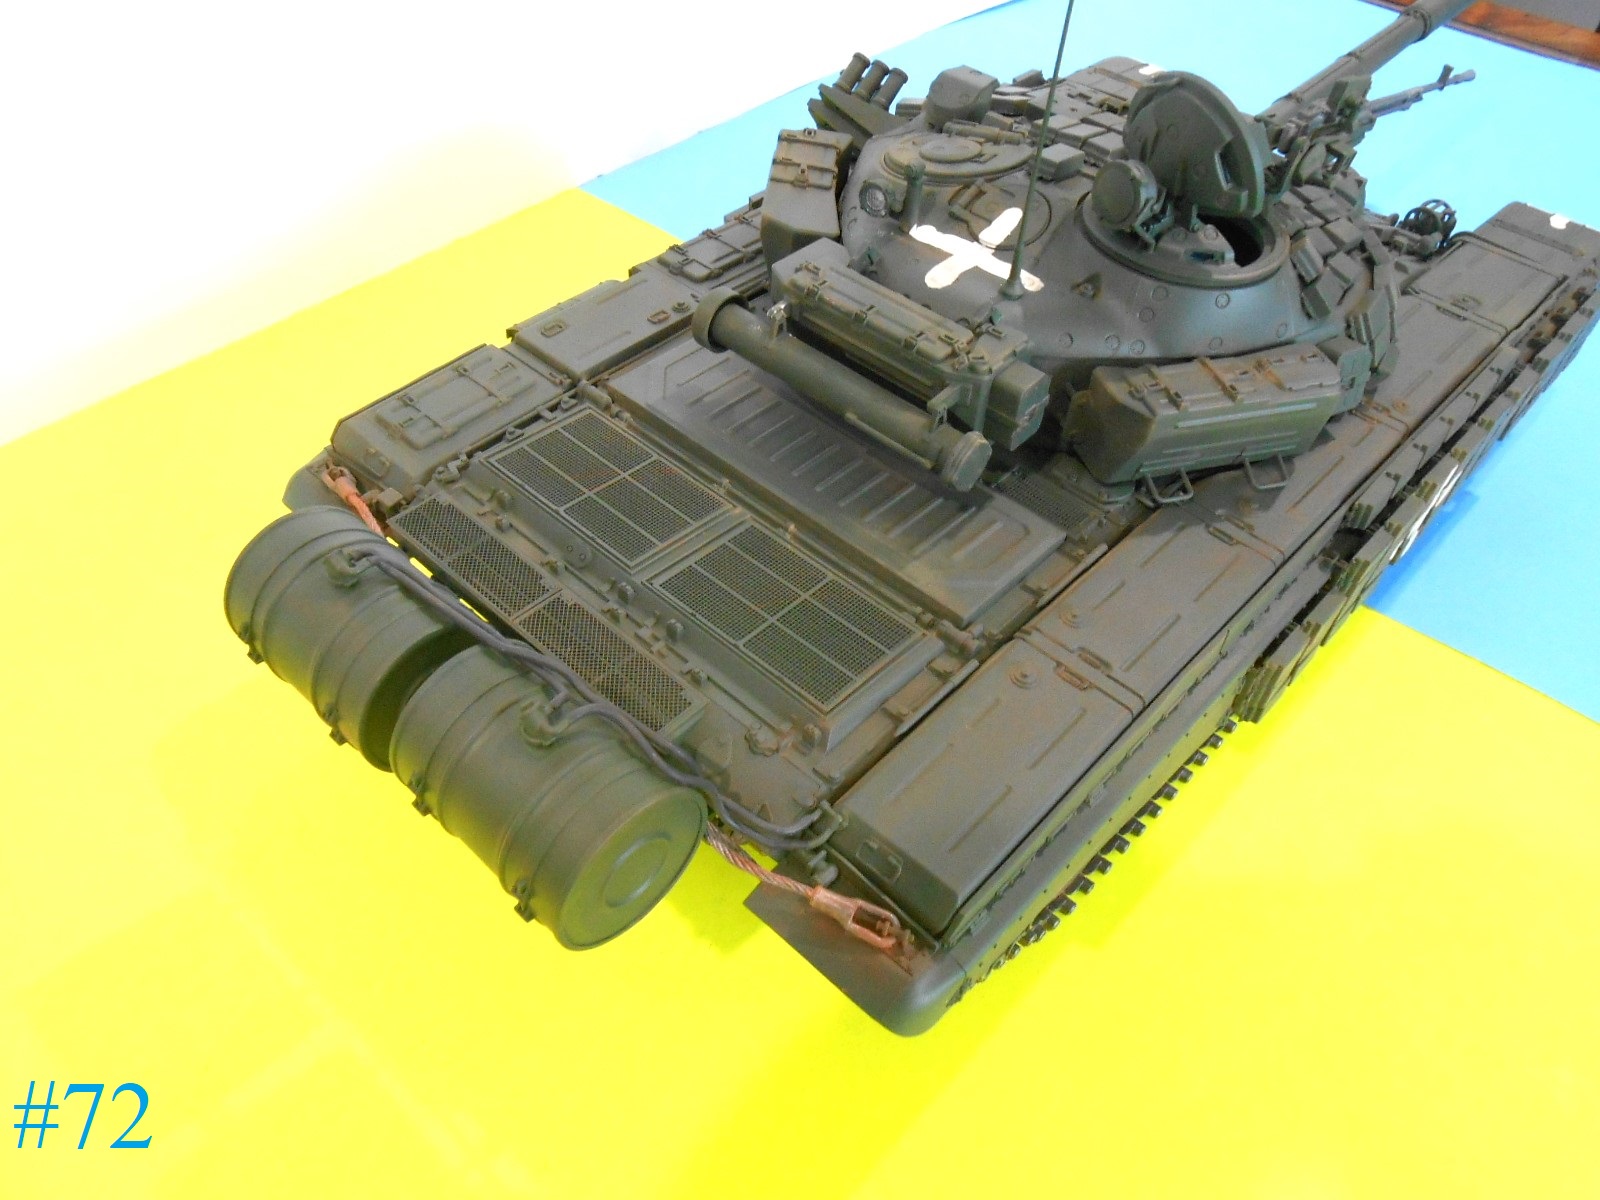
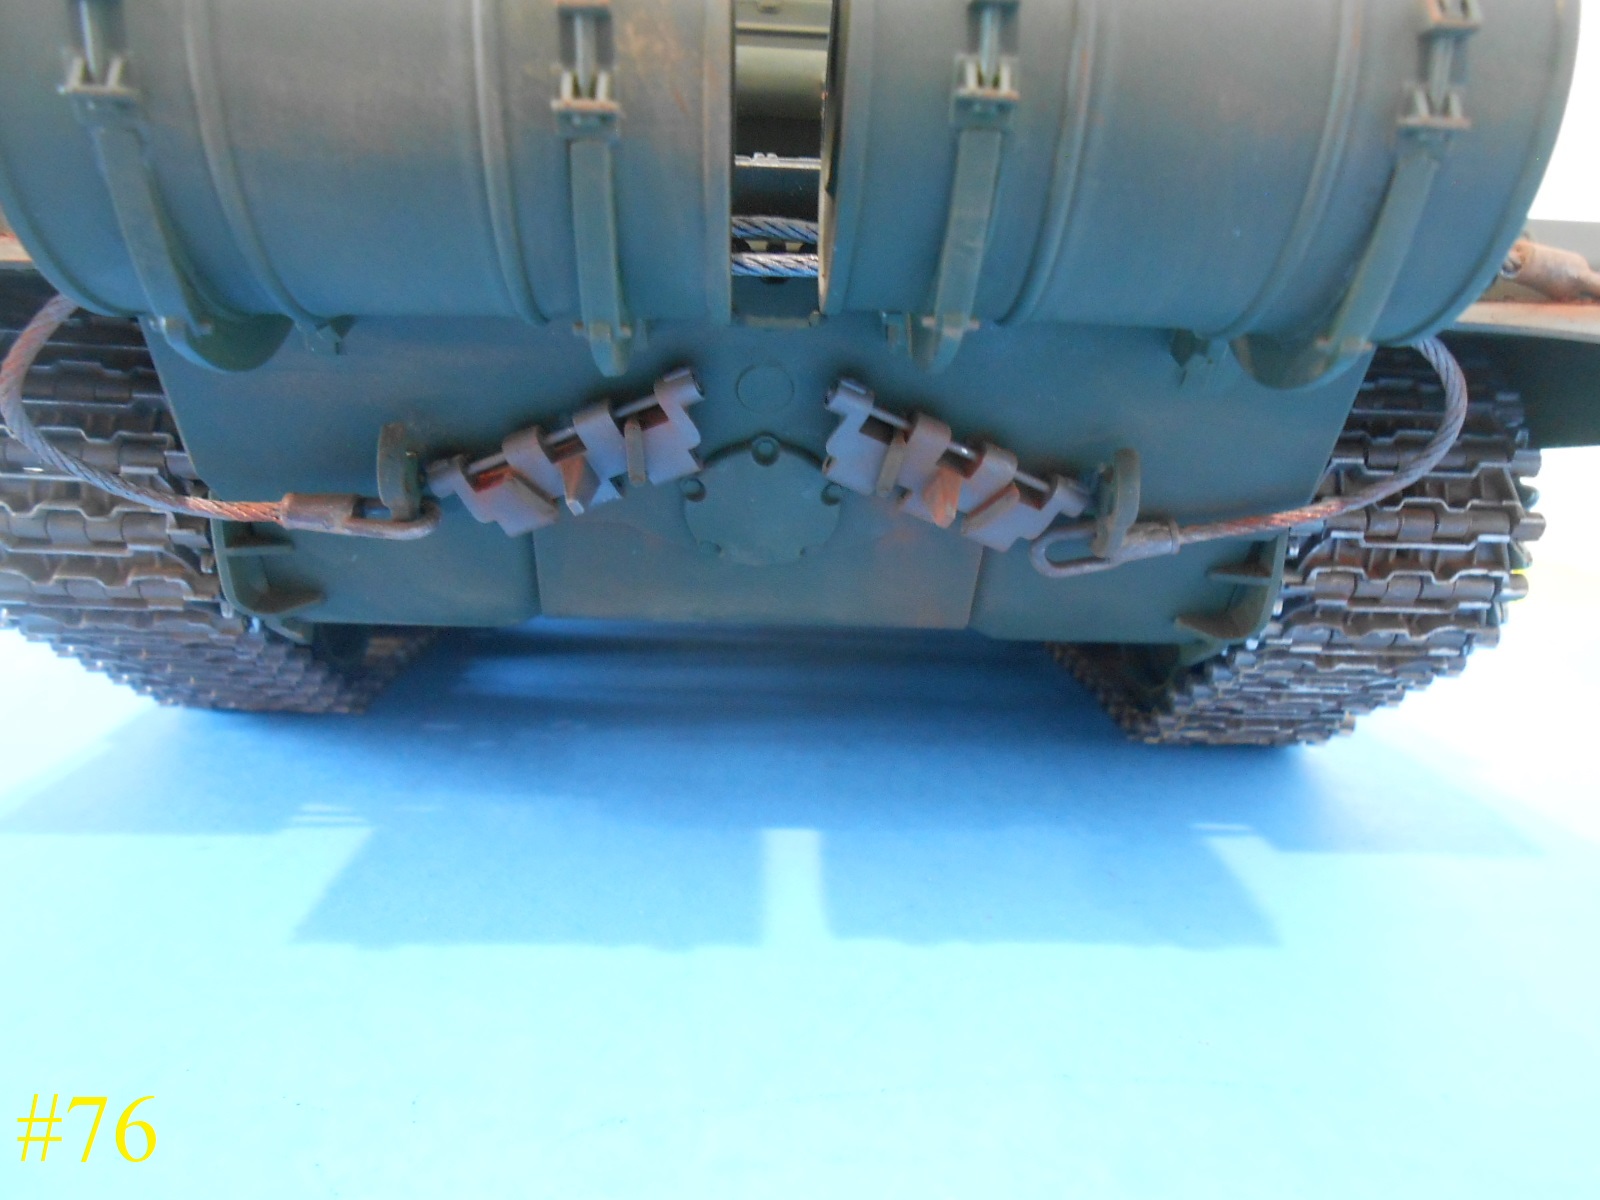
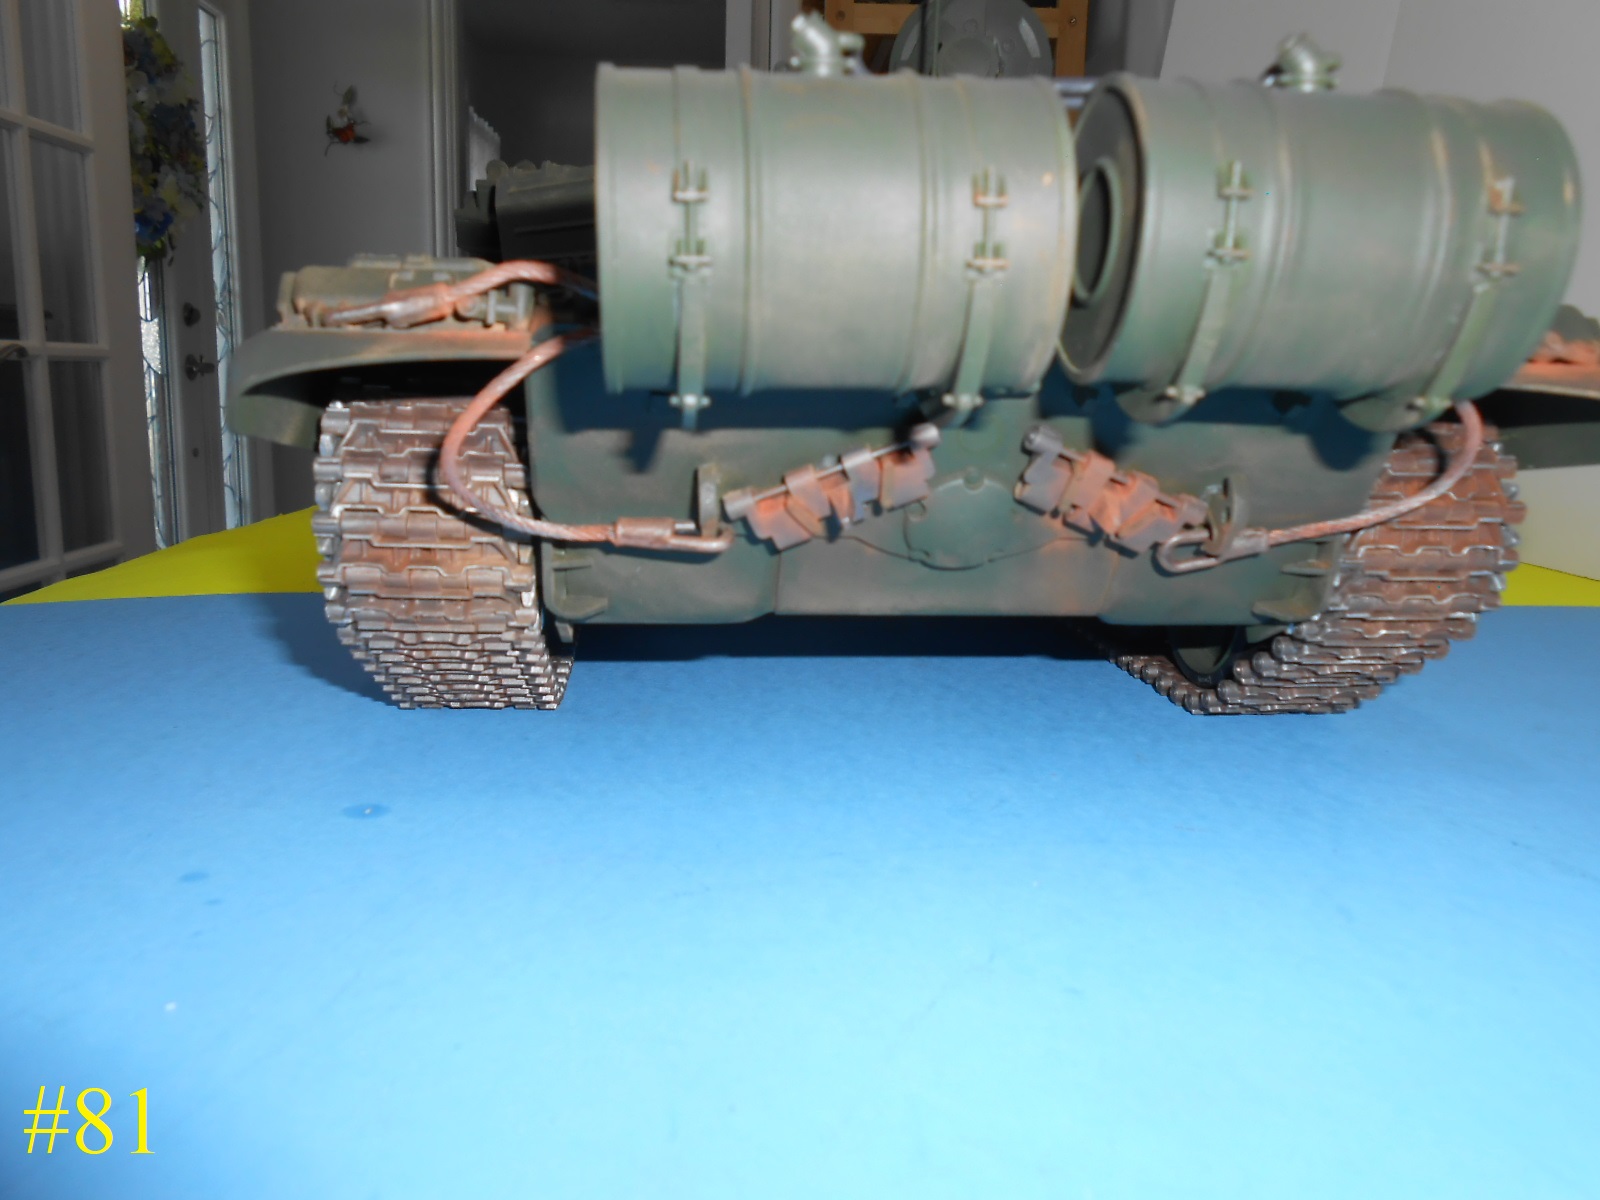
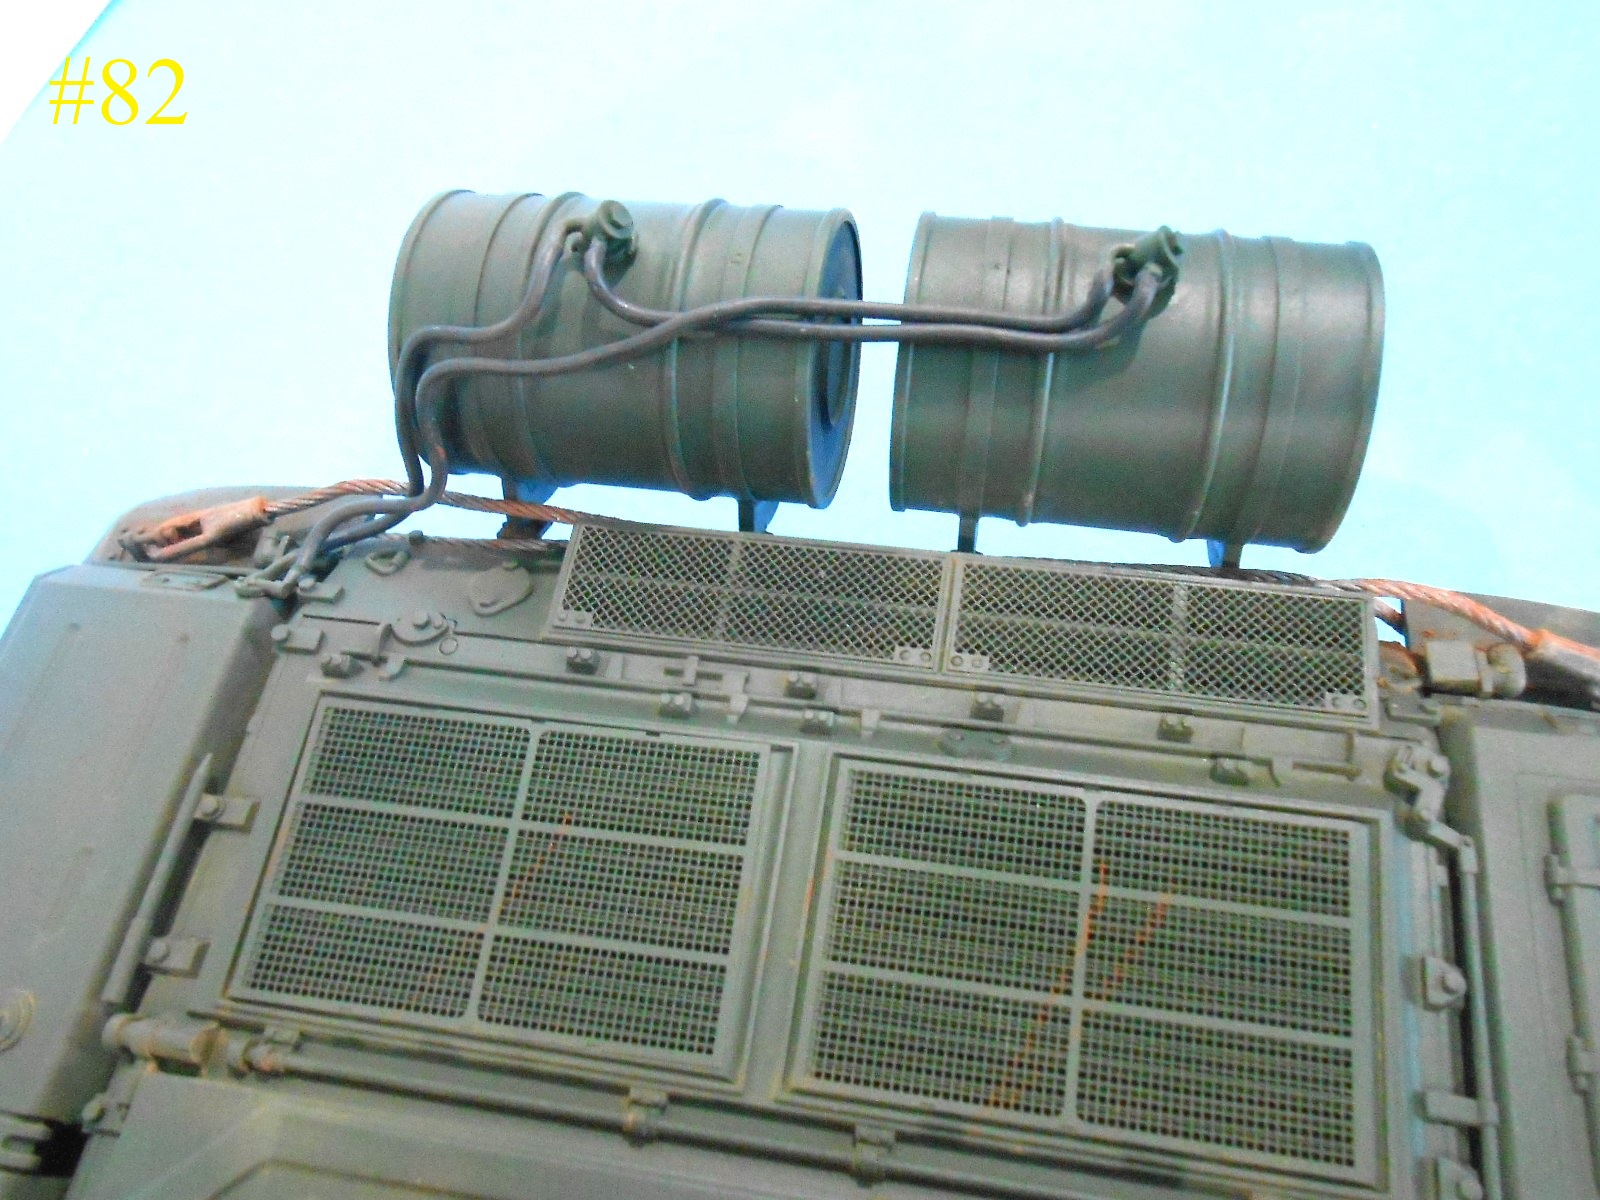
The Tow Cables and rear fuel drums are installed.
Here are the finish Pics.
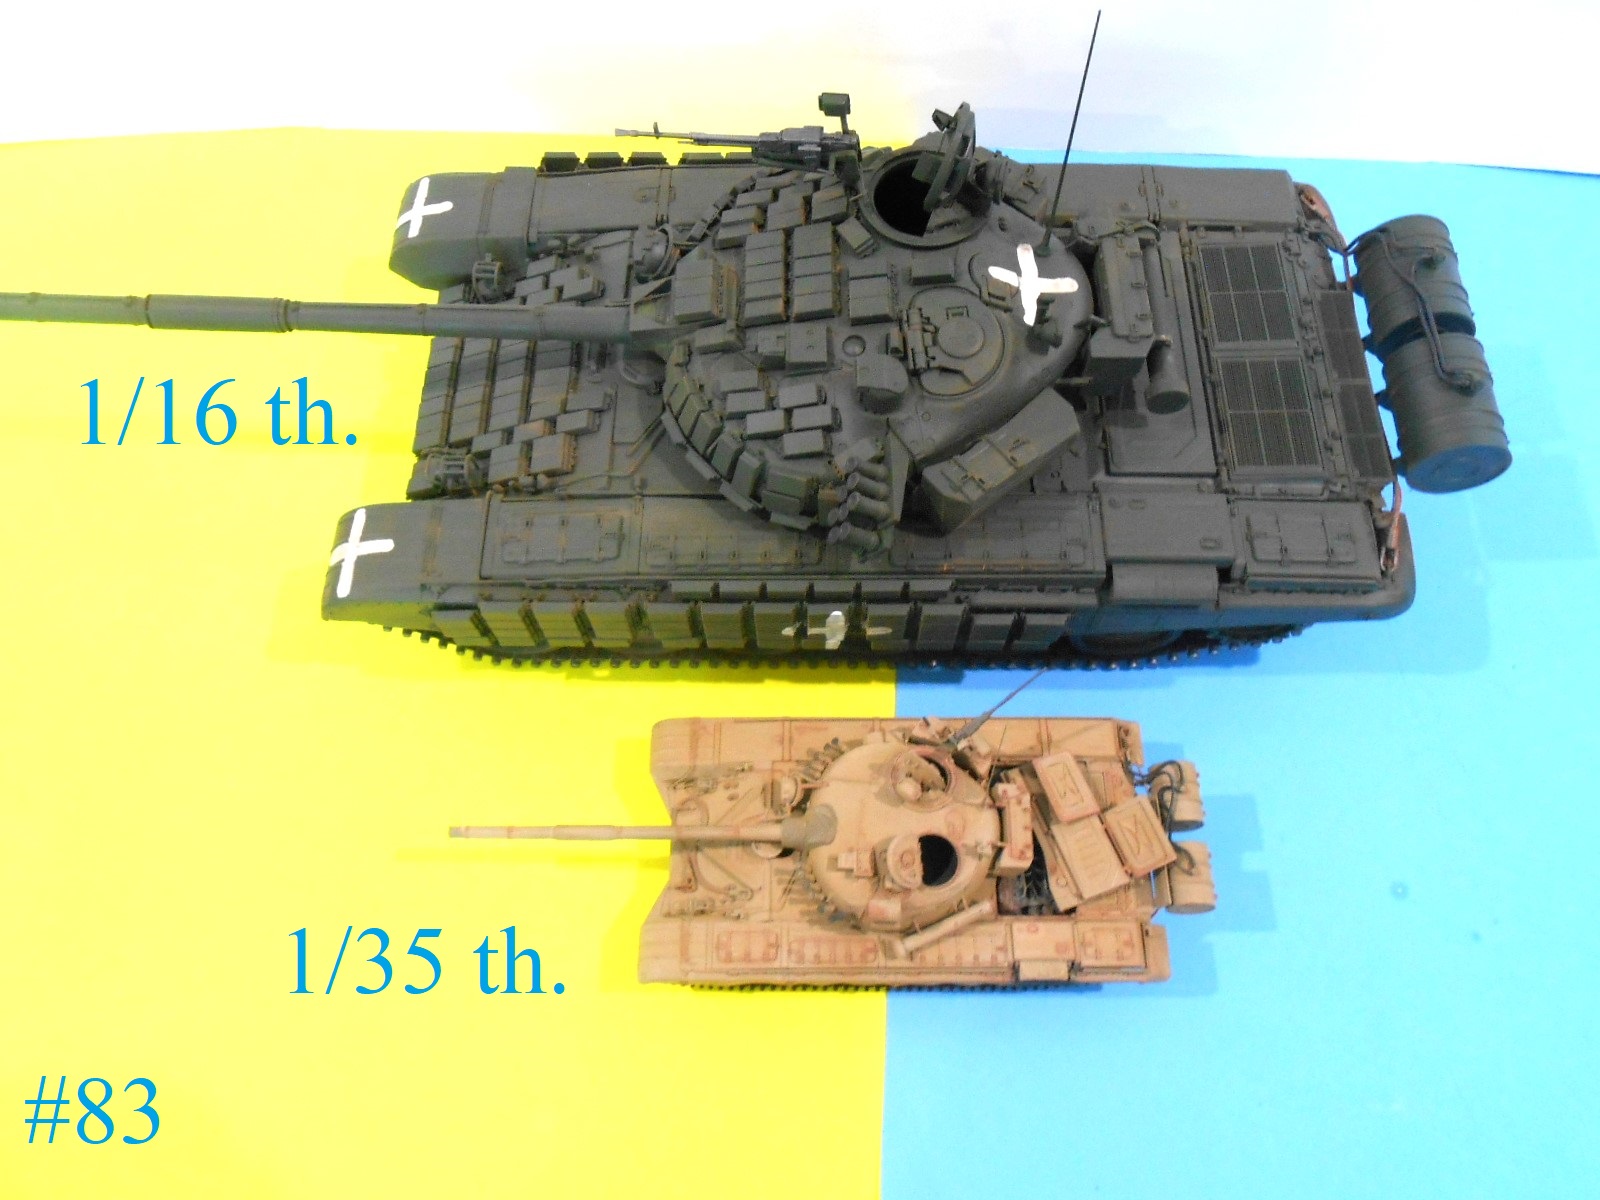
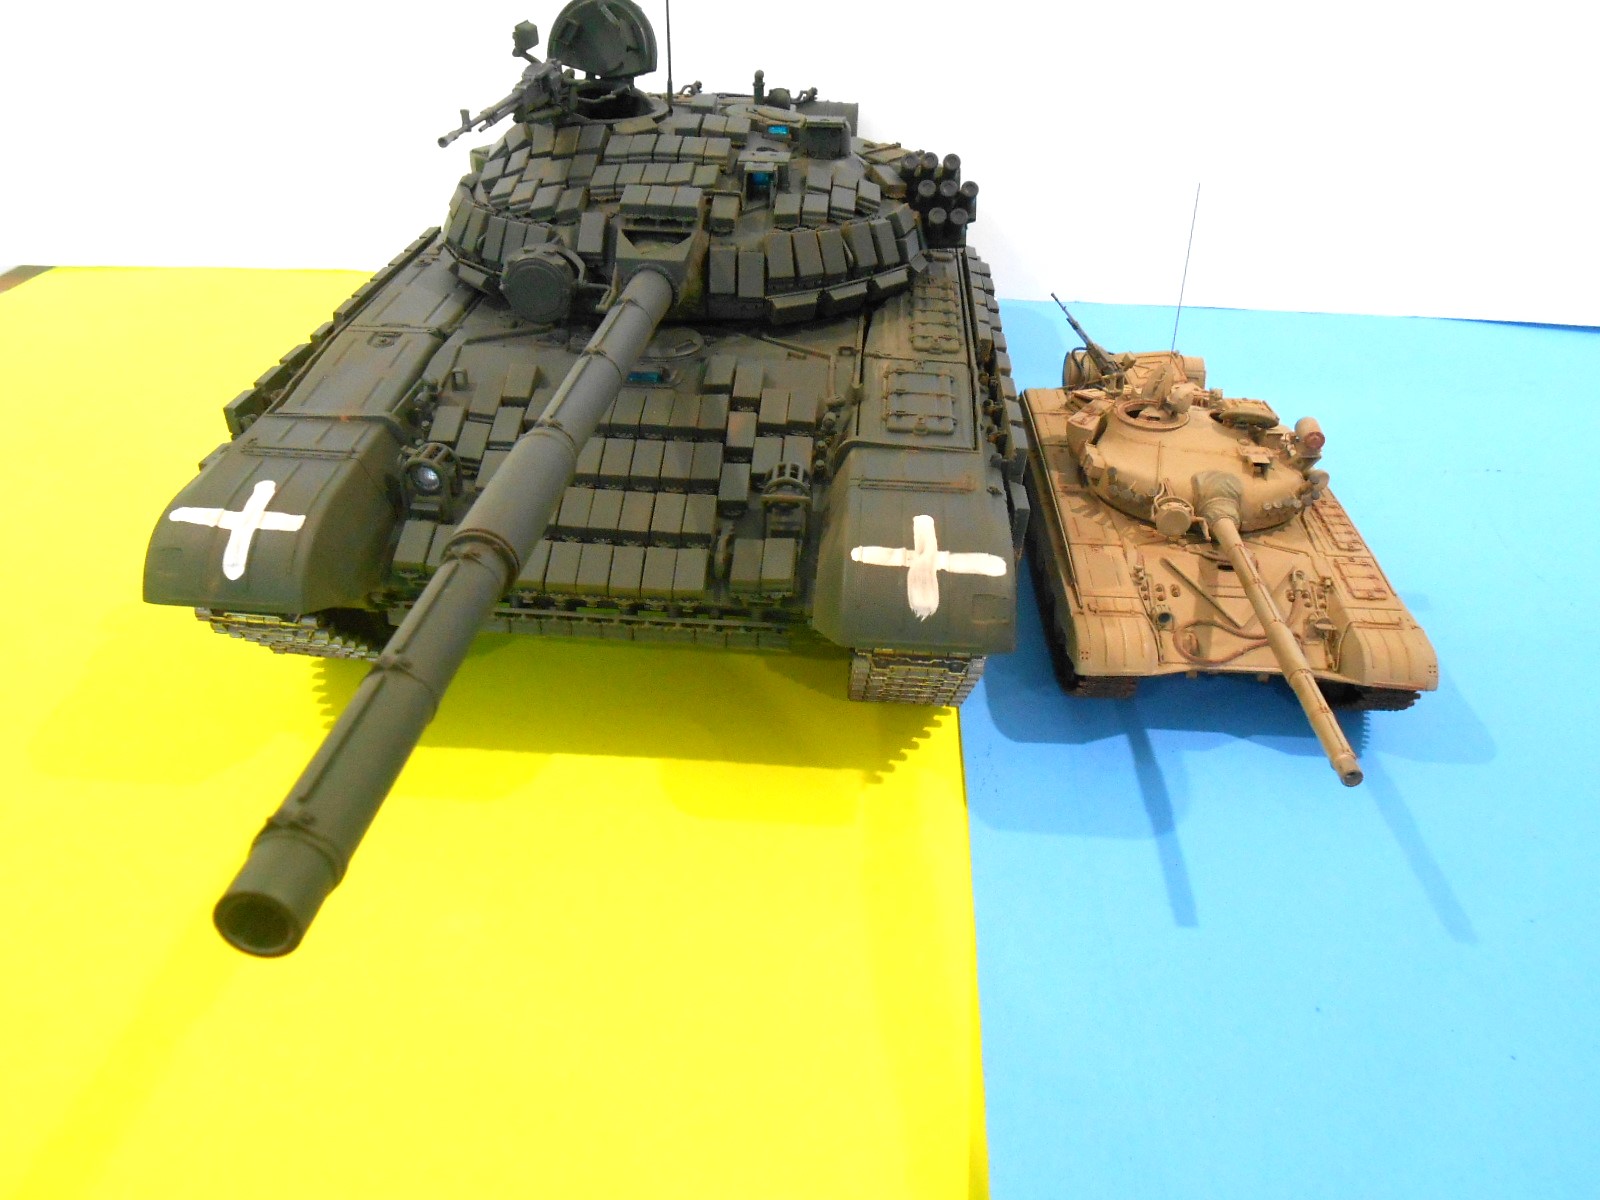
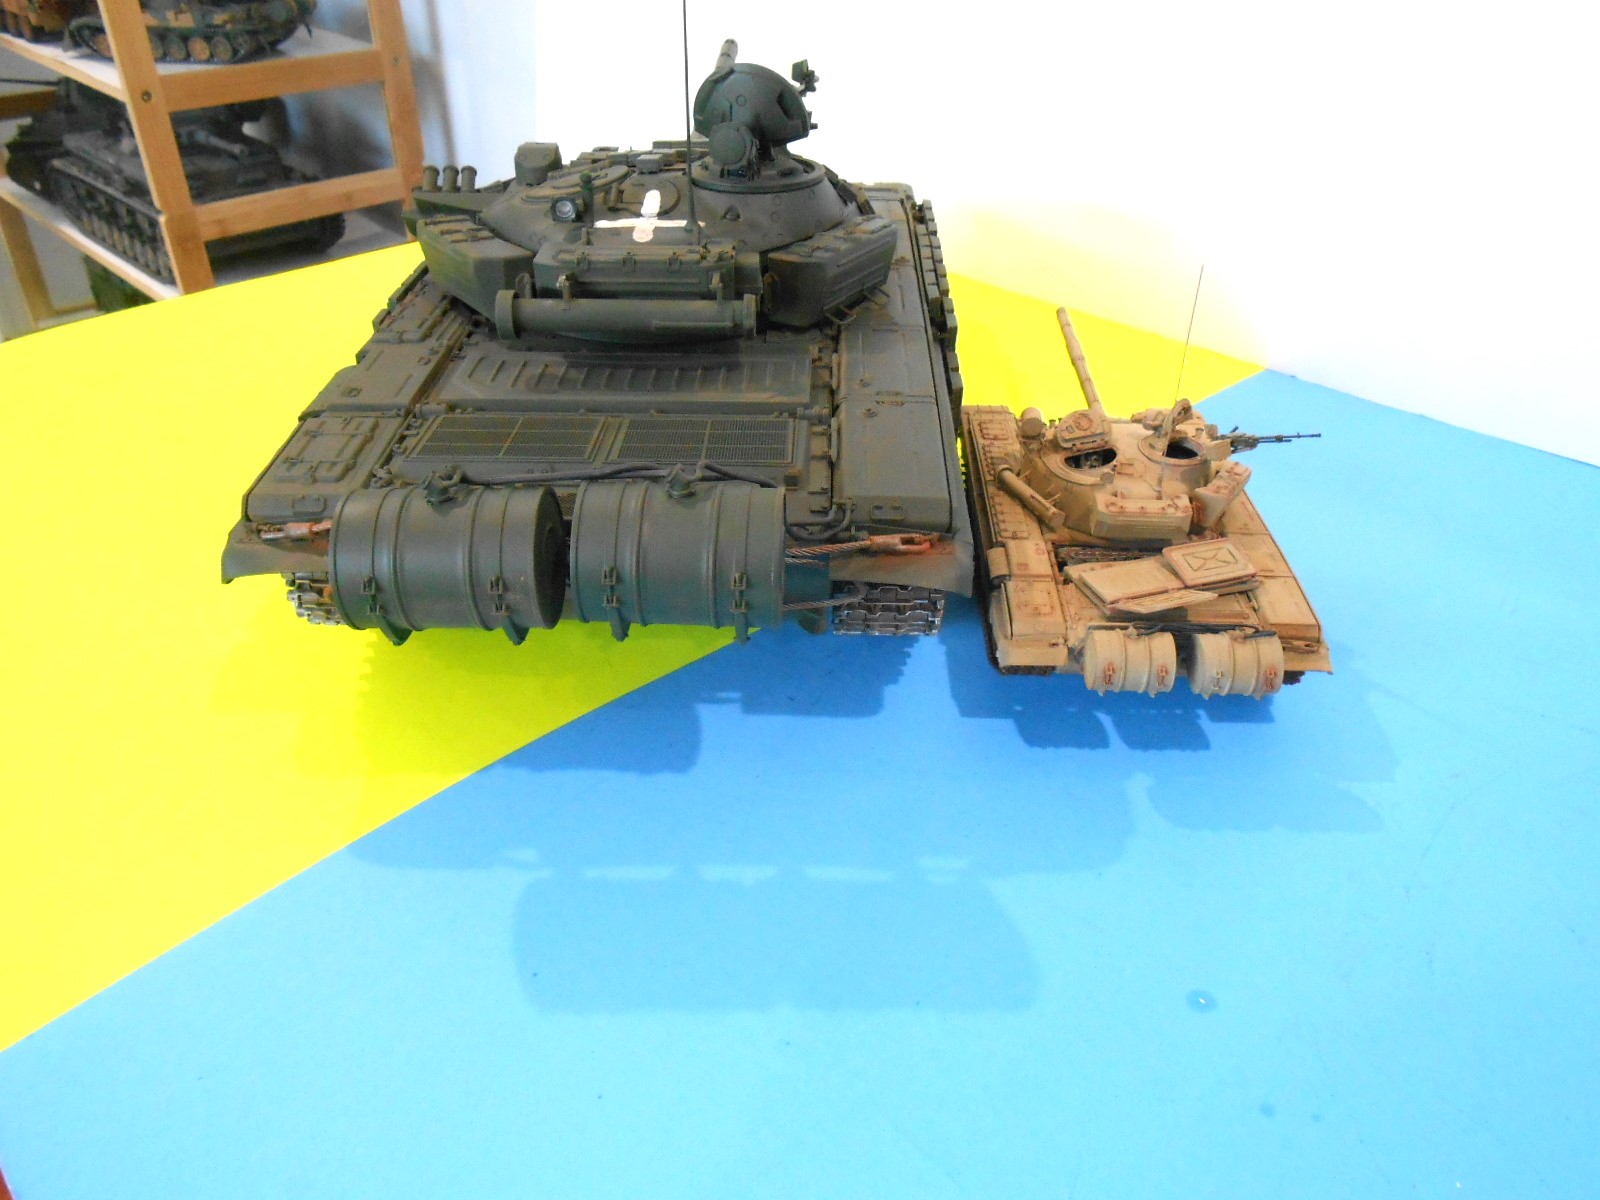
Here are some comparison Pics. 1/16th. compared to 1/35th.
Now the problem What to build next , I’ll have to think on that.
Regards
Donald
Simply amazing. Are you retired? That’s the only way you can be knocking out this amount of plastic in such short time.
I’ve been retired since 1993 Heart Condition thanks to my service in the Vietnam War. I survive.
Donald
First of all, thank you for your service and glad you made it. My father also served in Vietnam for 18 months. He was a radio operator and was all over that part of the country because he was good at intercepting and interpreting signals. Even worked for UN for a while while in Cambodia and Laos.
Well, I wish you the best and keep on trucking through your model stash!