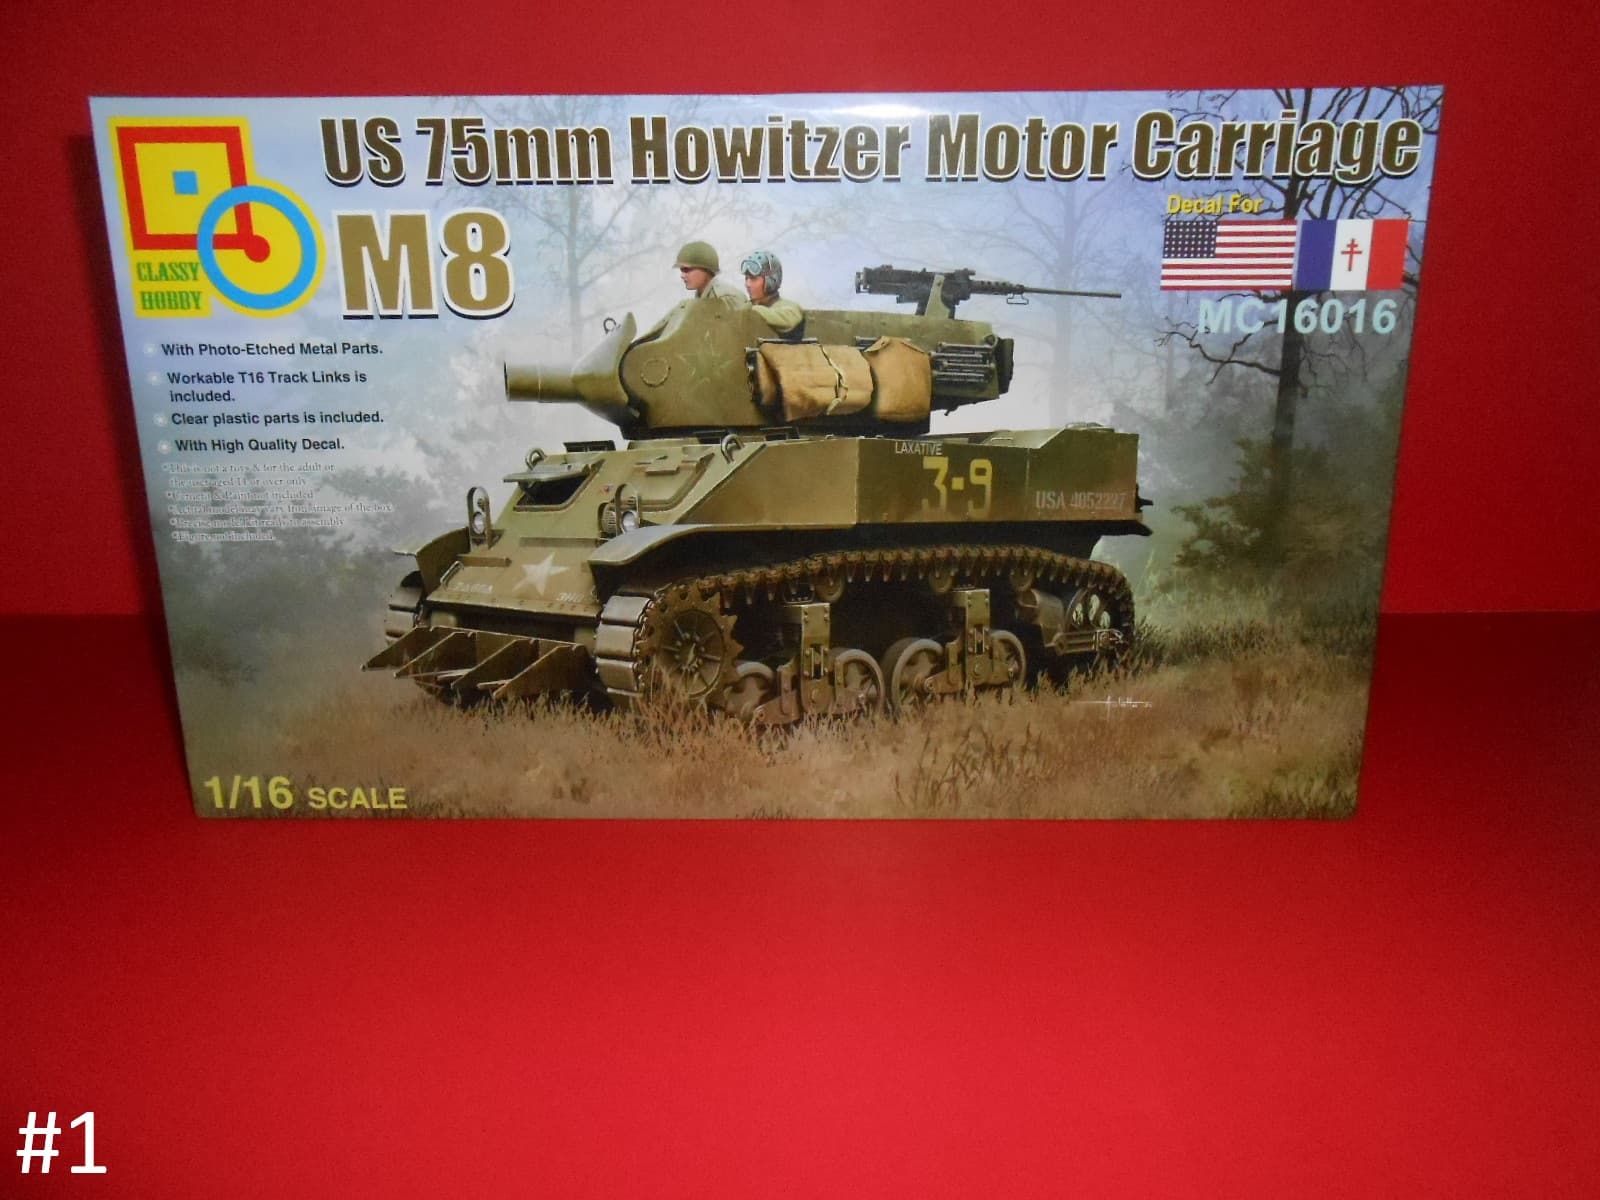
Well Here I go again, I don’t expect much trouble with this one as I already have this companies M5 Stuart built and posted here, so here goes.
I have this company’s 1/16th. M5A1 built and posted here, If any want additional Info do a search here. I checked and it is available here.
Regards
Donald
12 Likes
This is one kit thats on my “Should I should’nt I?” list as I too have built the early M5a1 kit and found it a good build though for some reason the suspension likes to part company from the hull now and again. So I hope it goes better than the Pzr II for you Donald.
Keith
1 Like
Yea I hope so too, I expect it will although there seems to be a lot more tiny parts in this one.
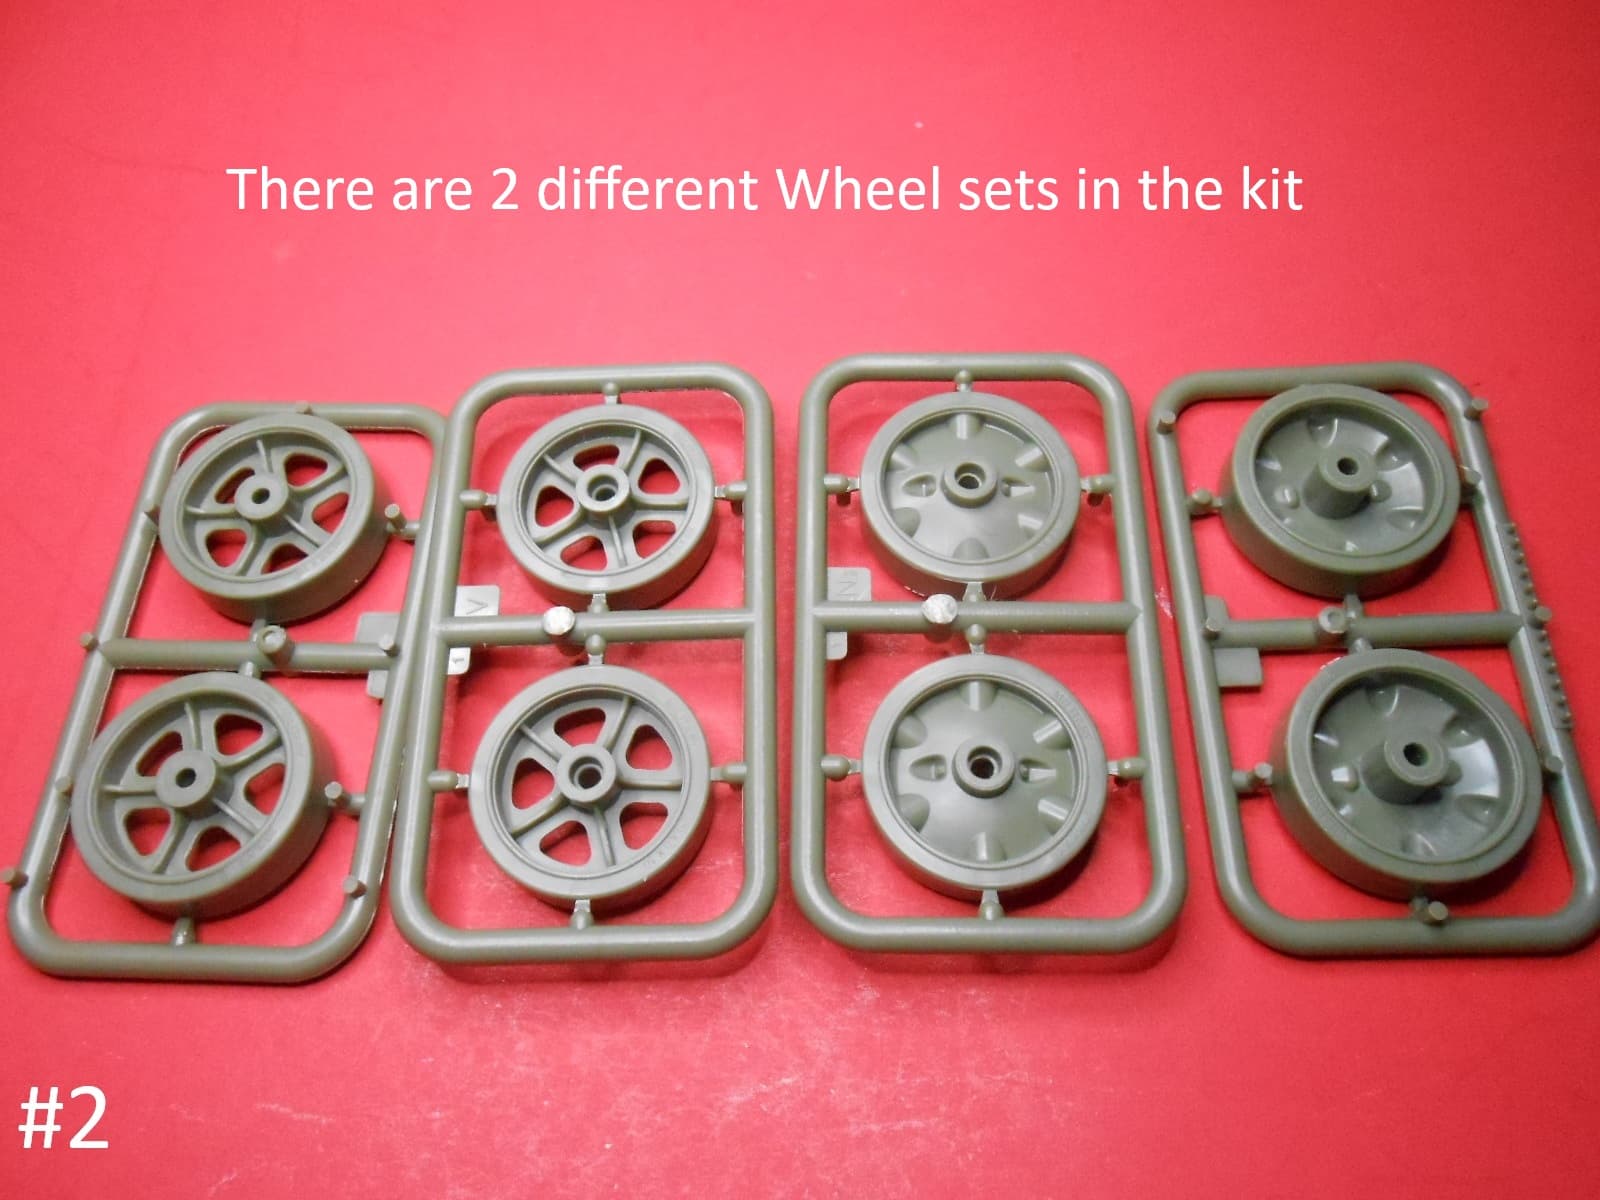
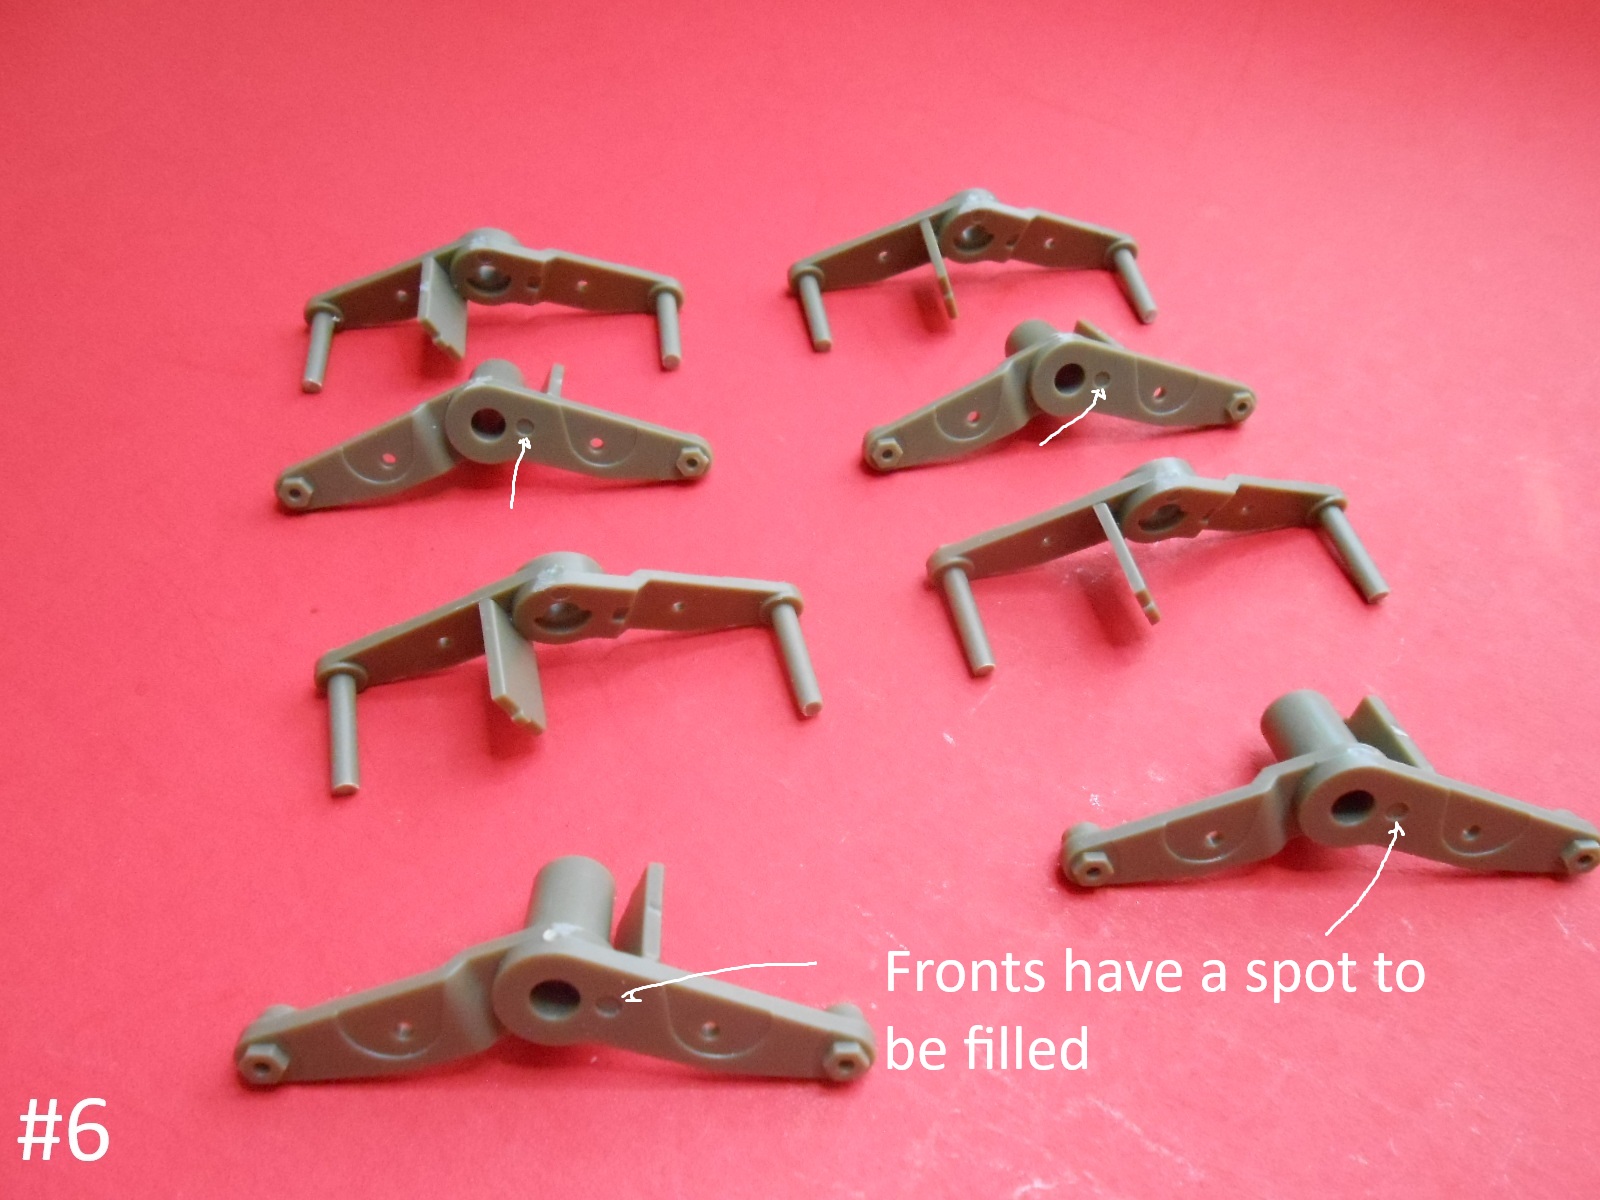
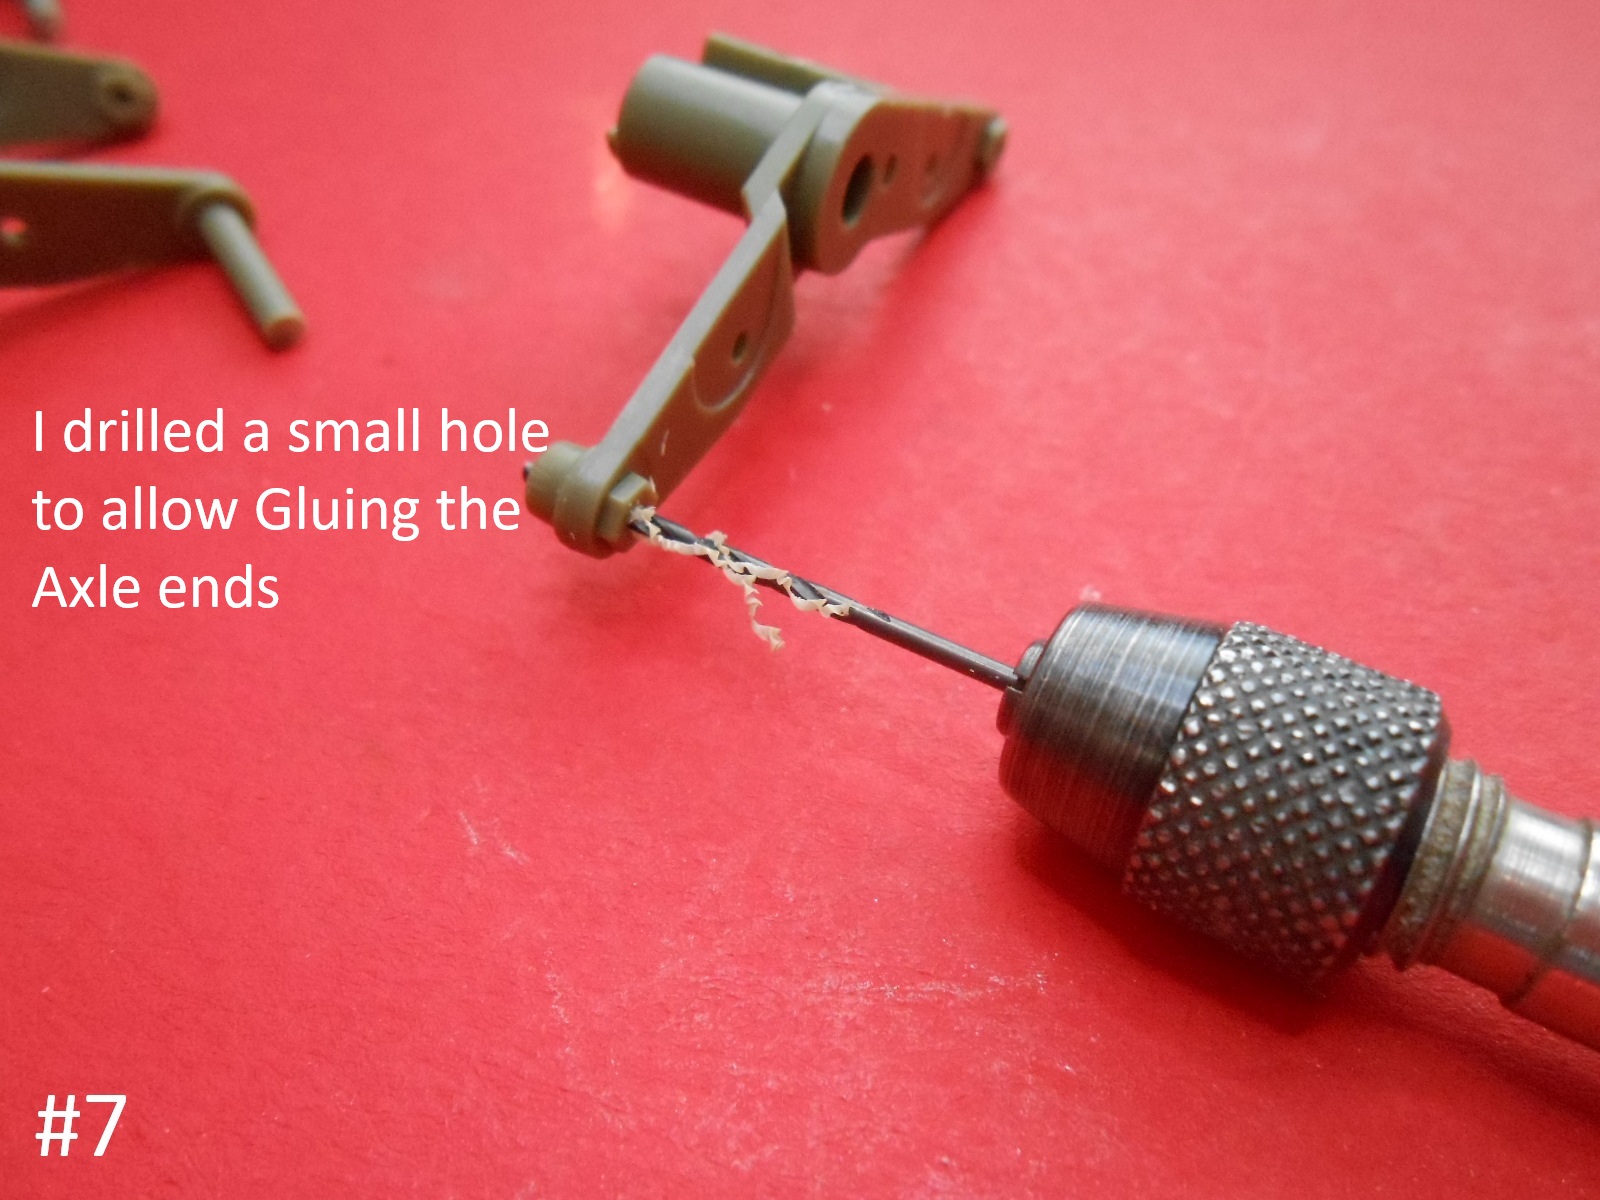
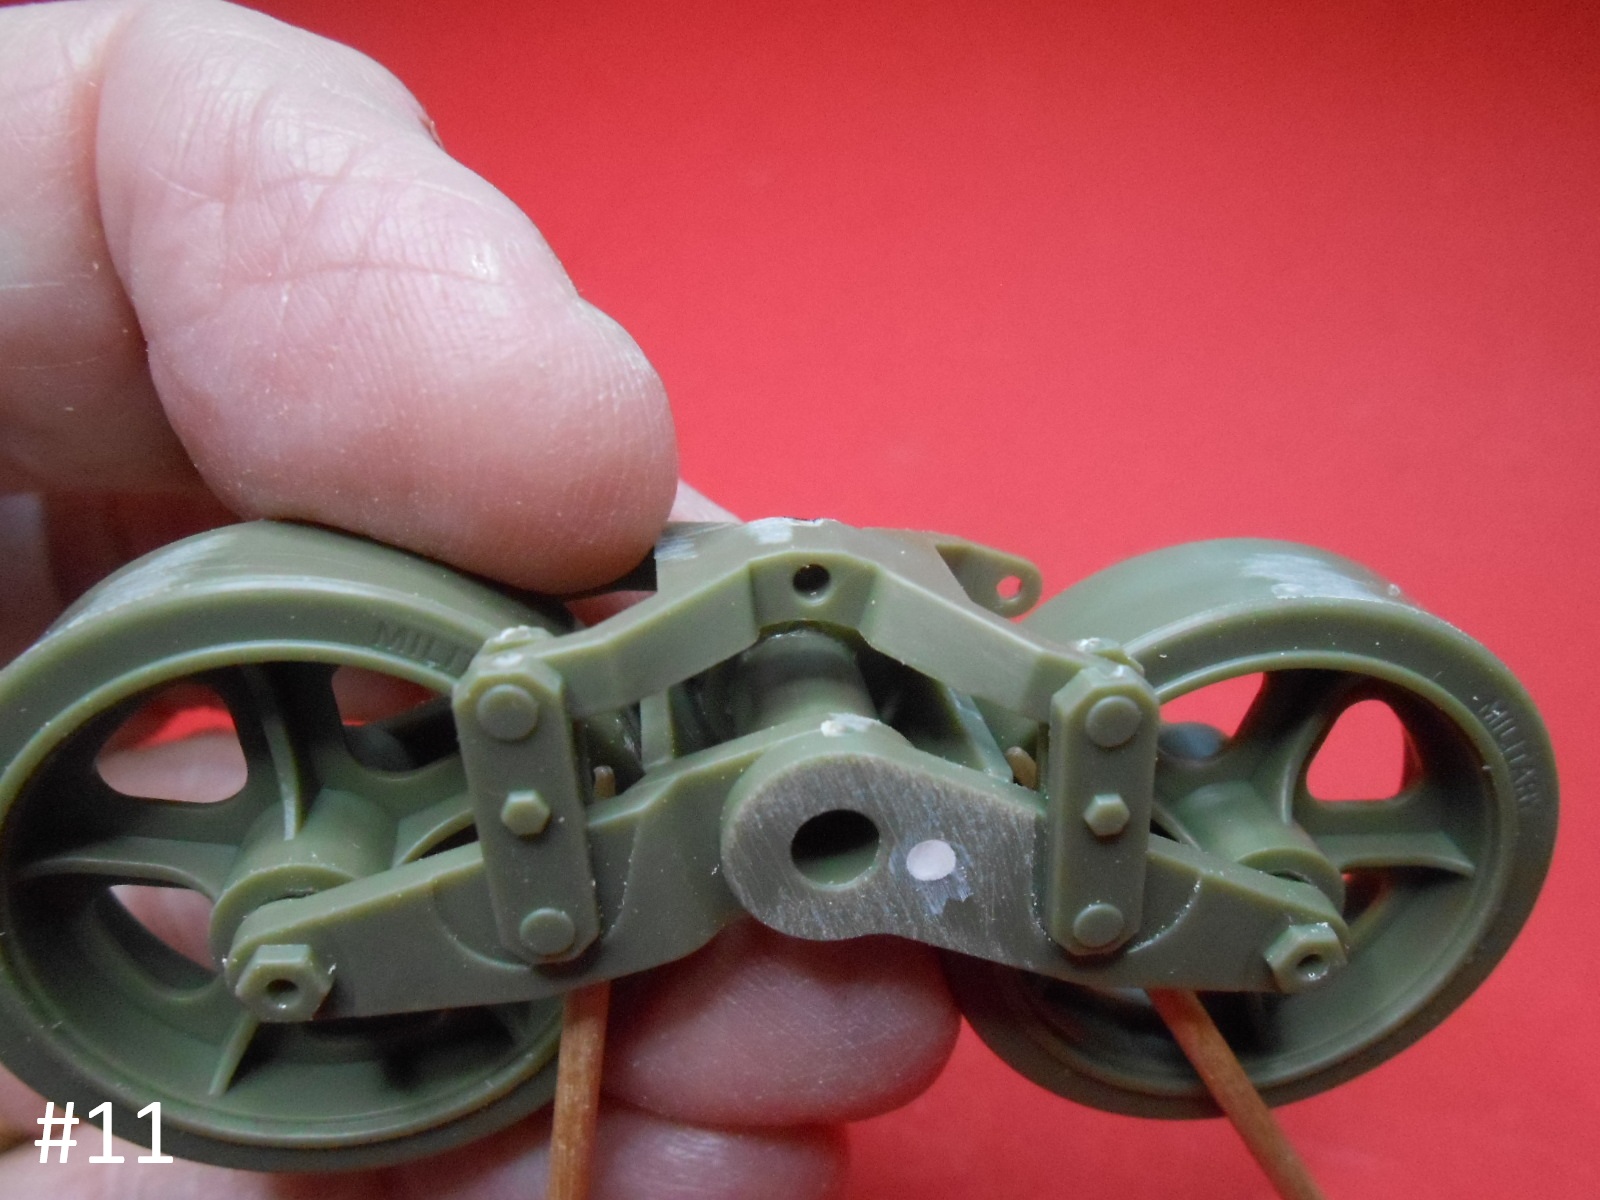
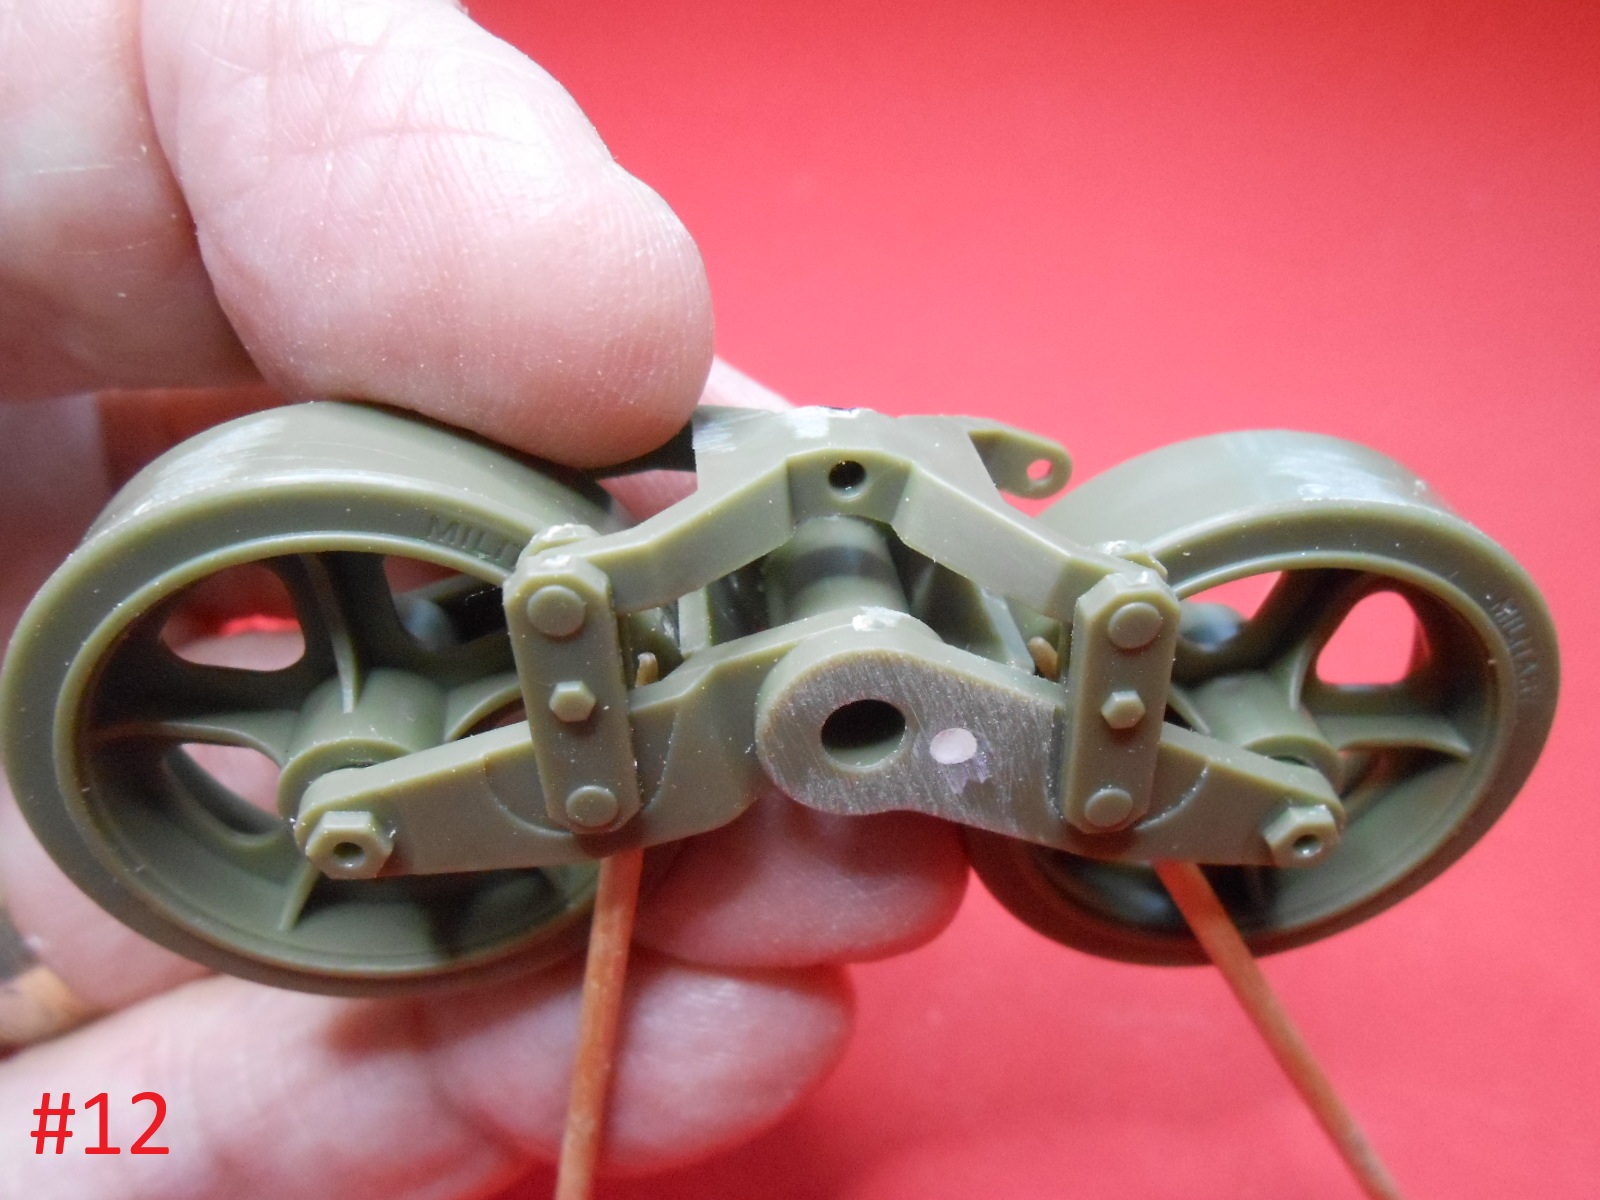
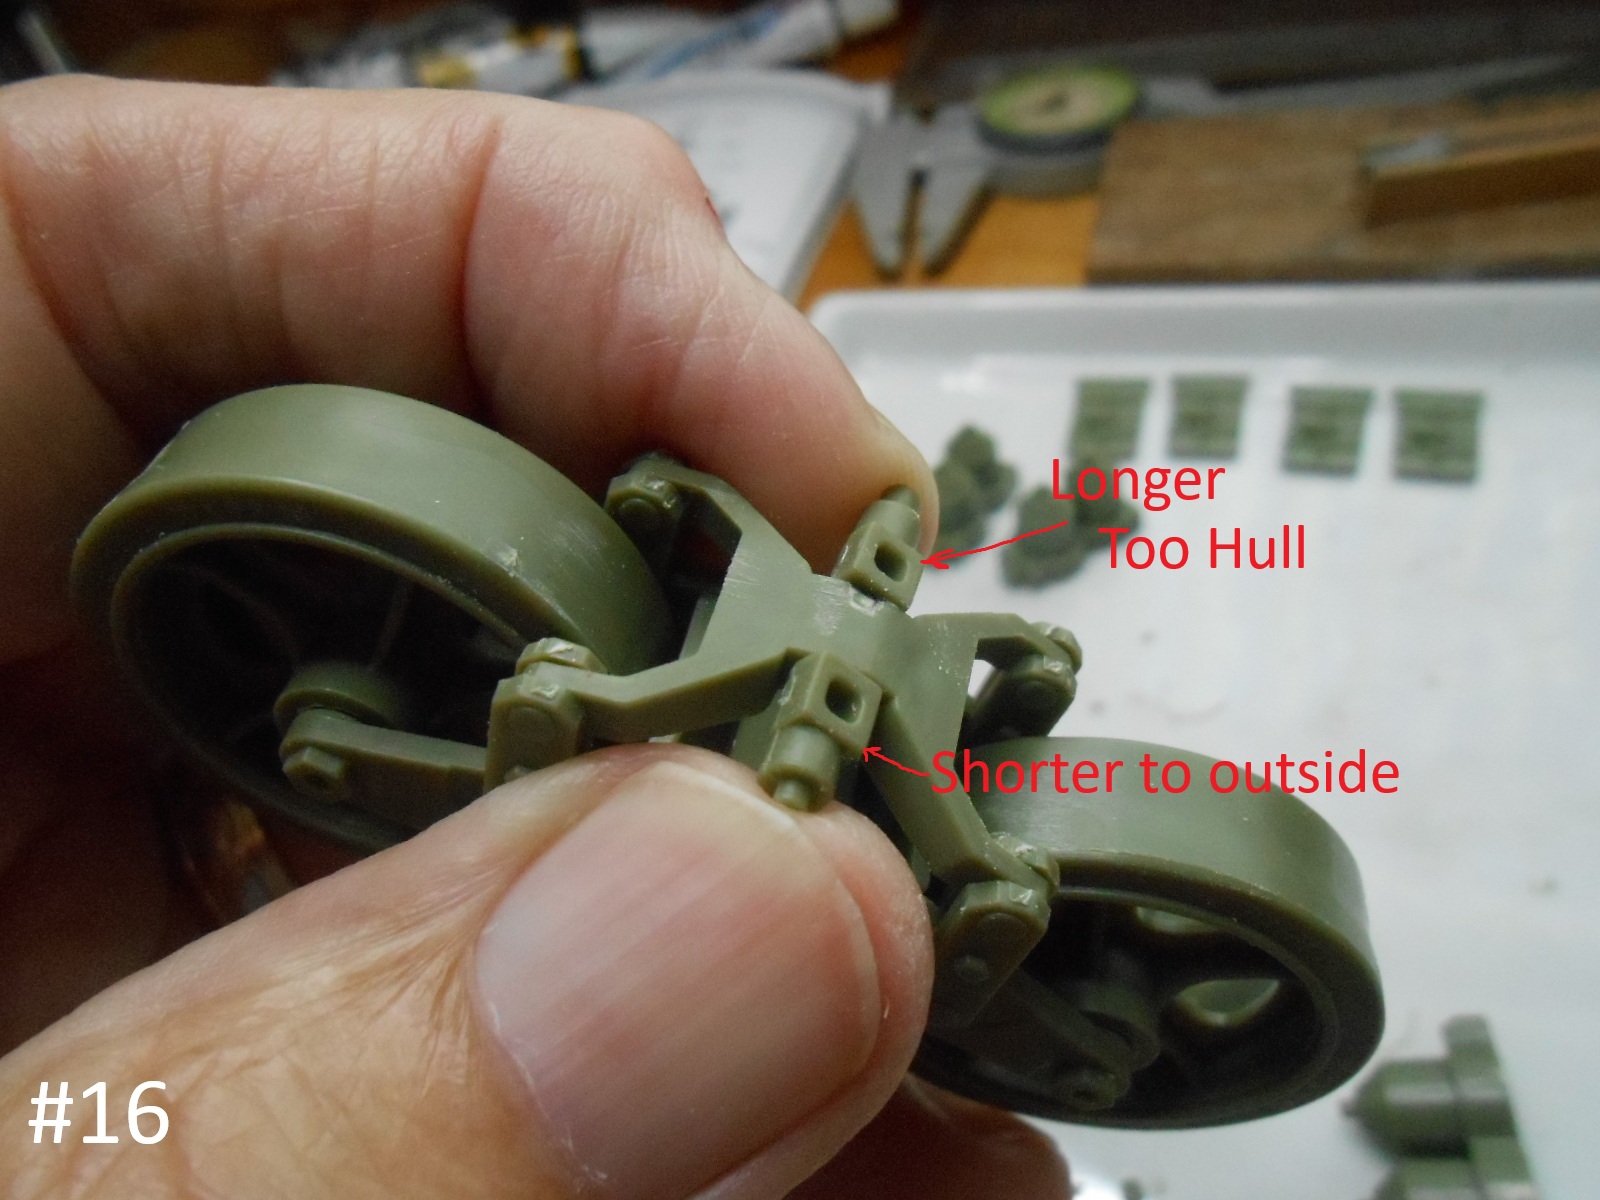
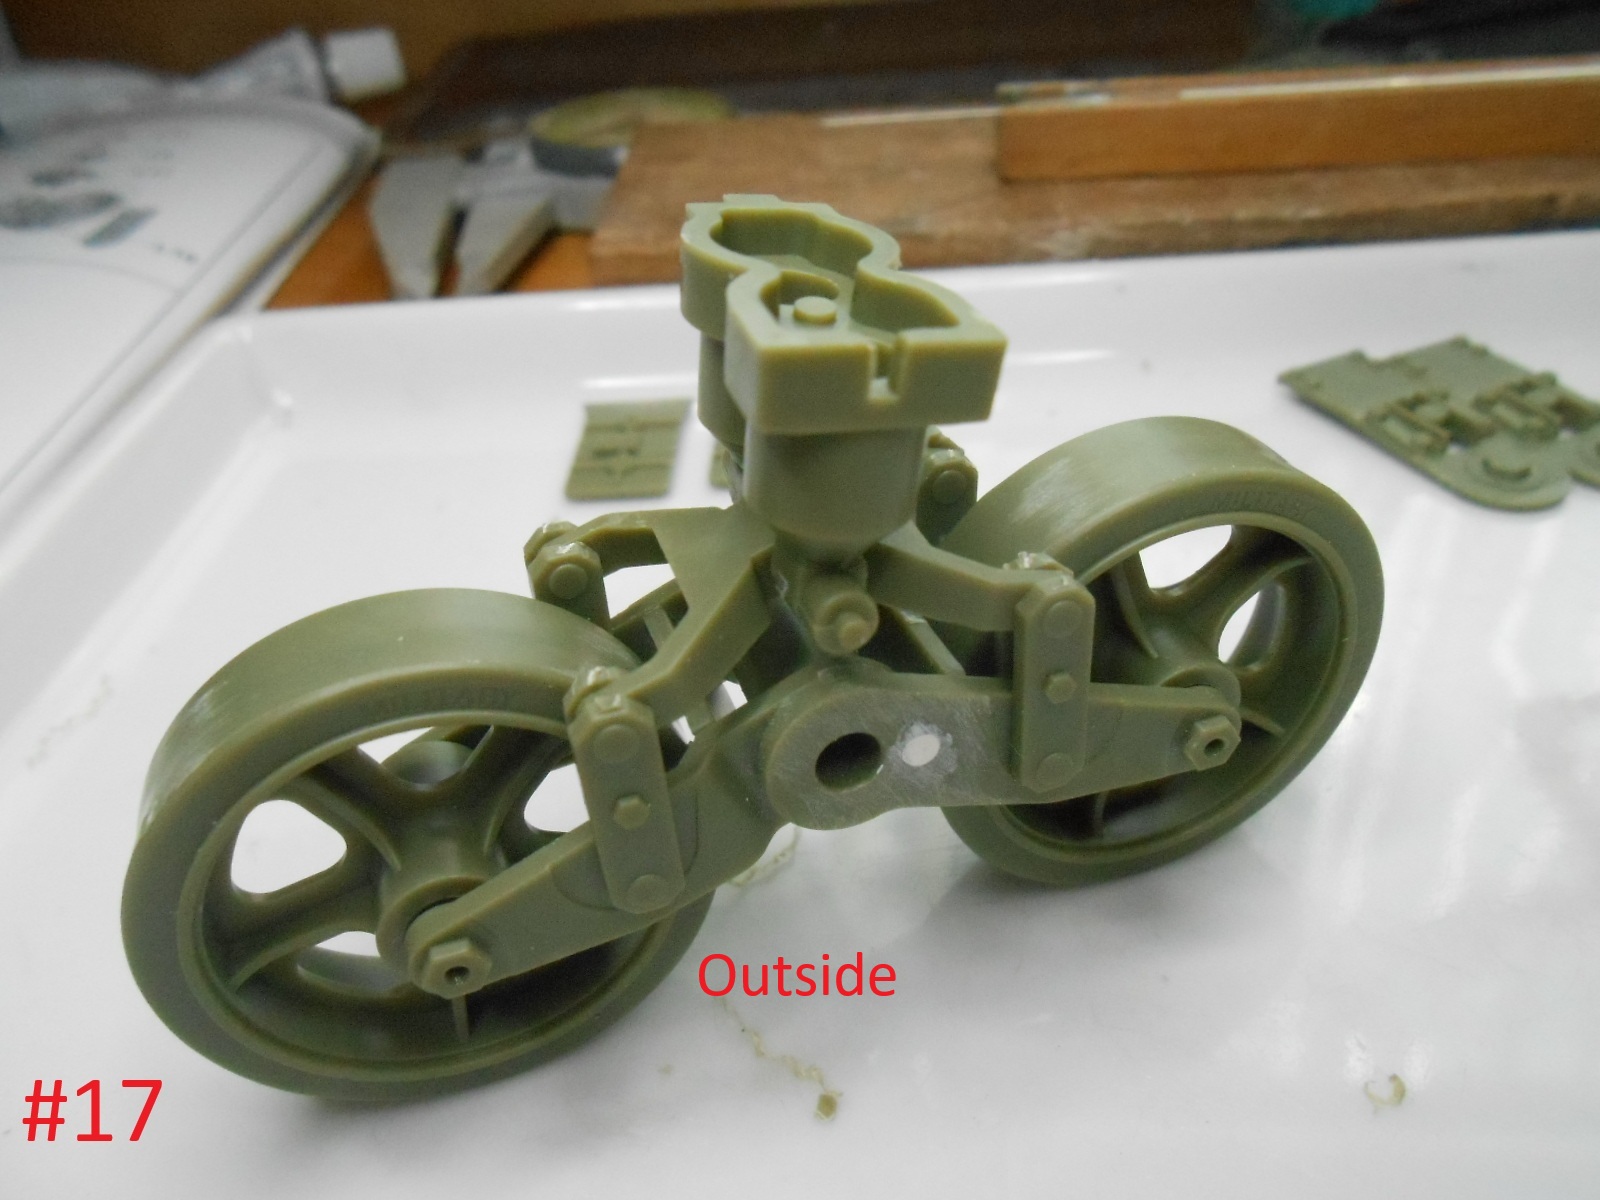
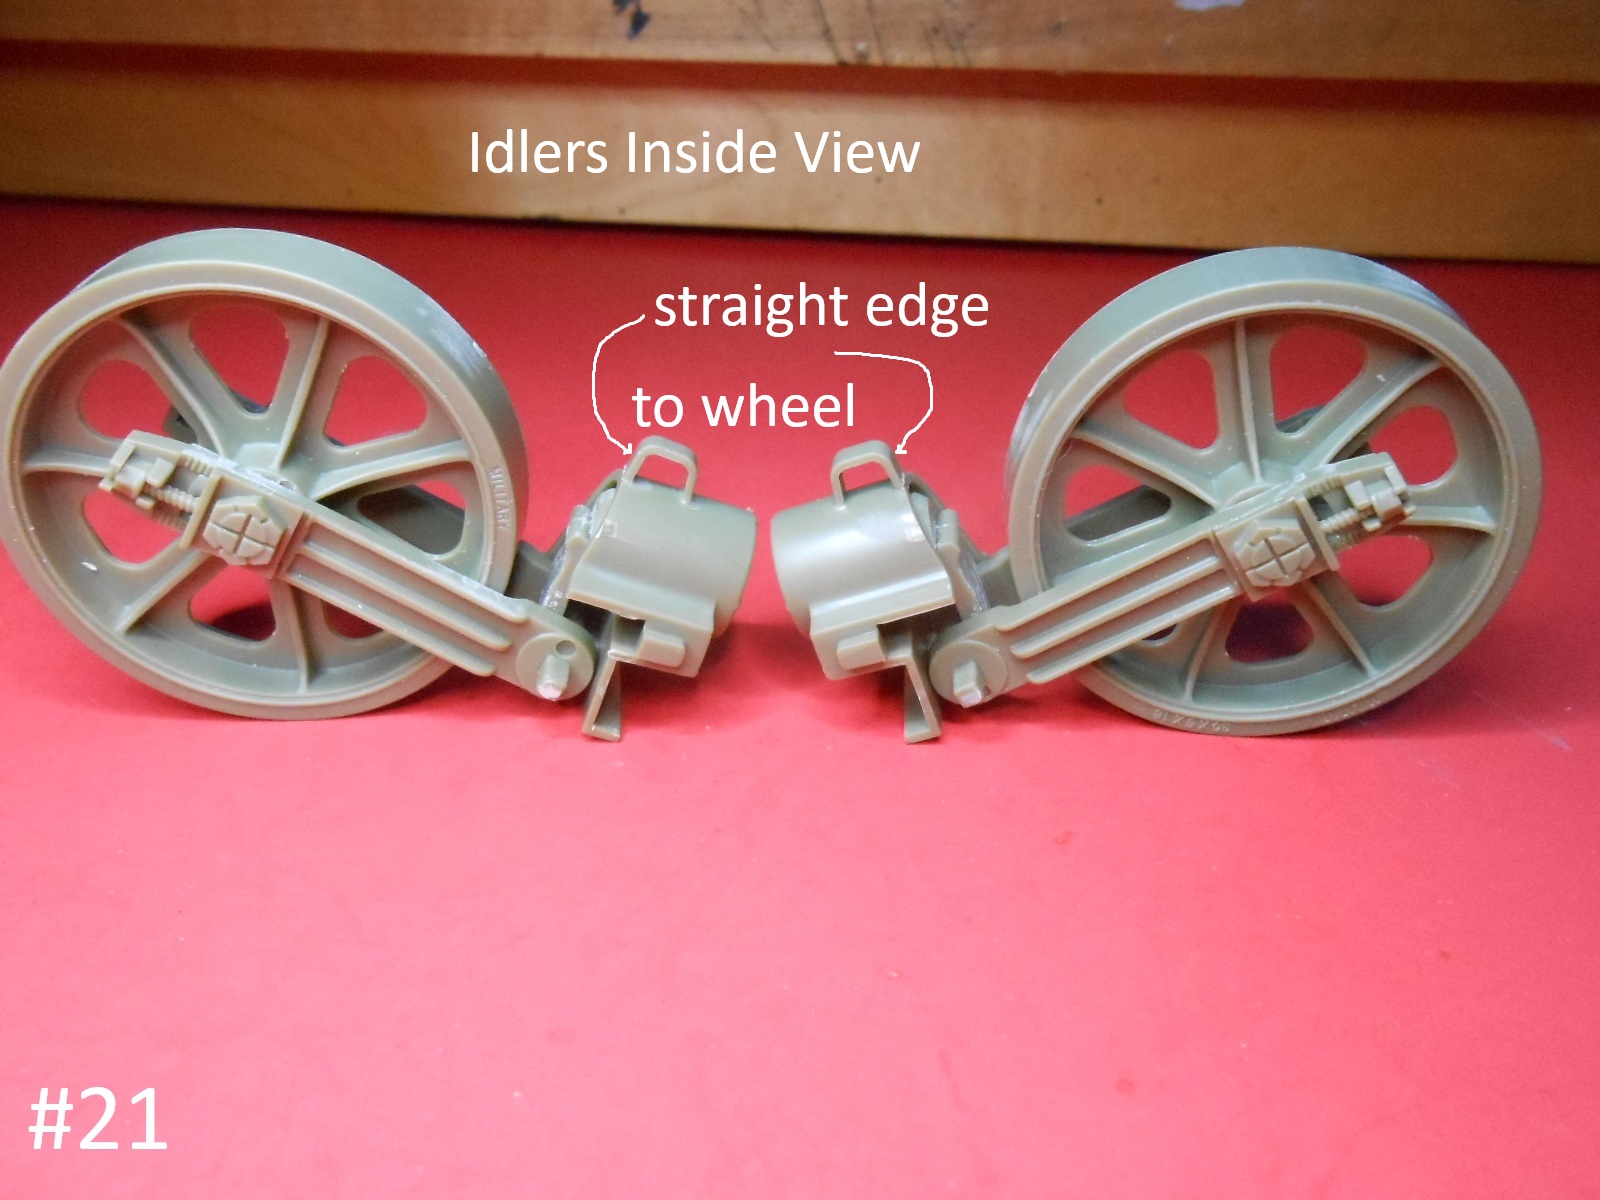
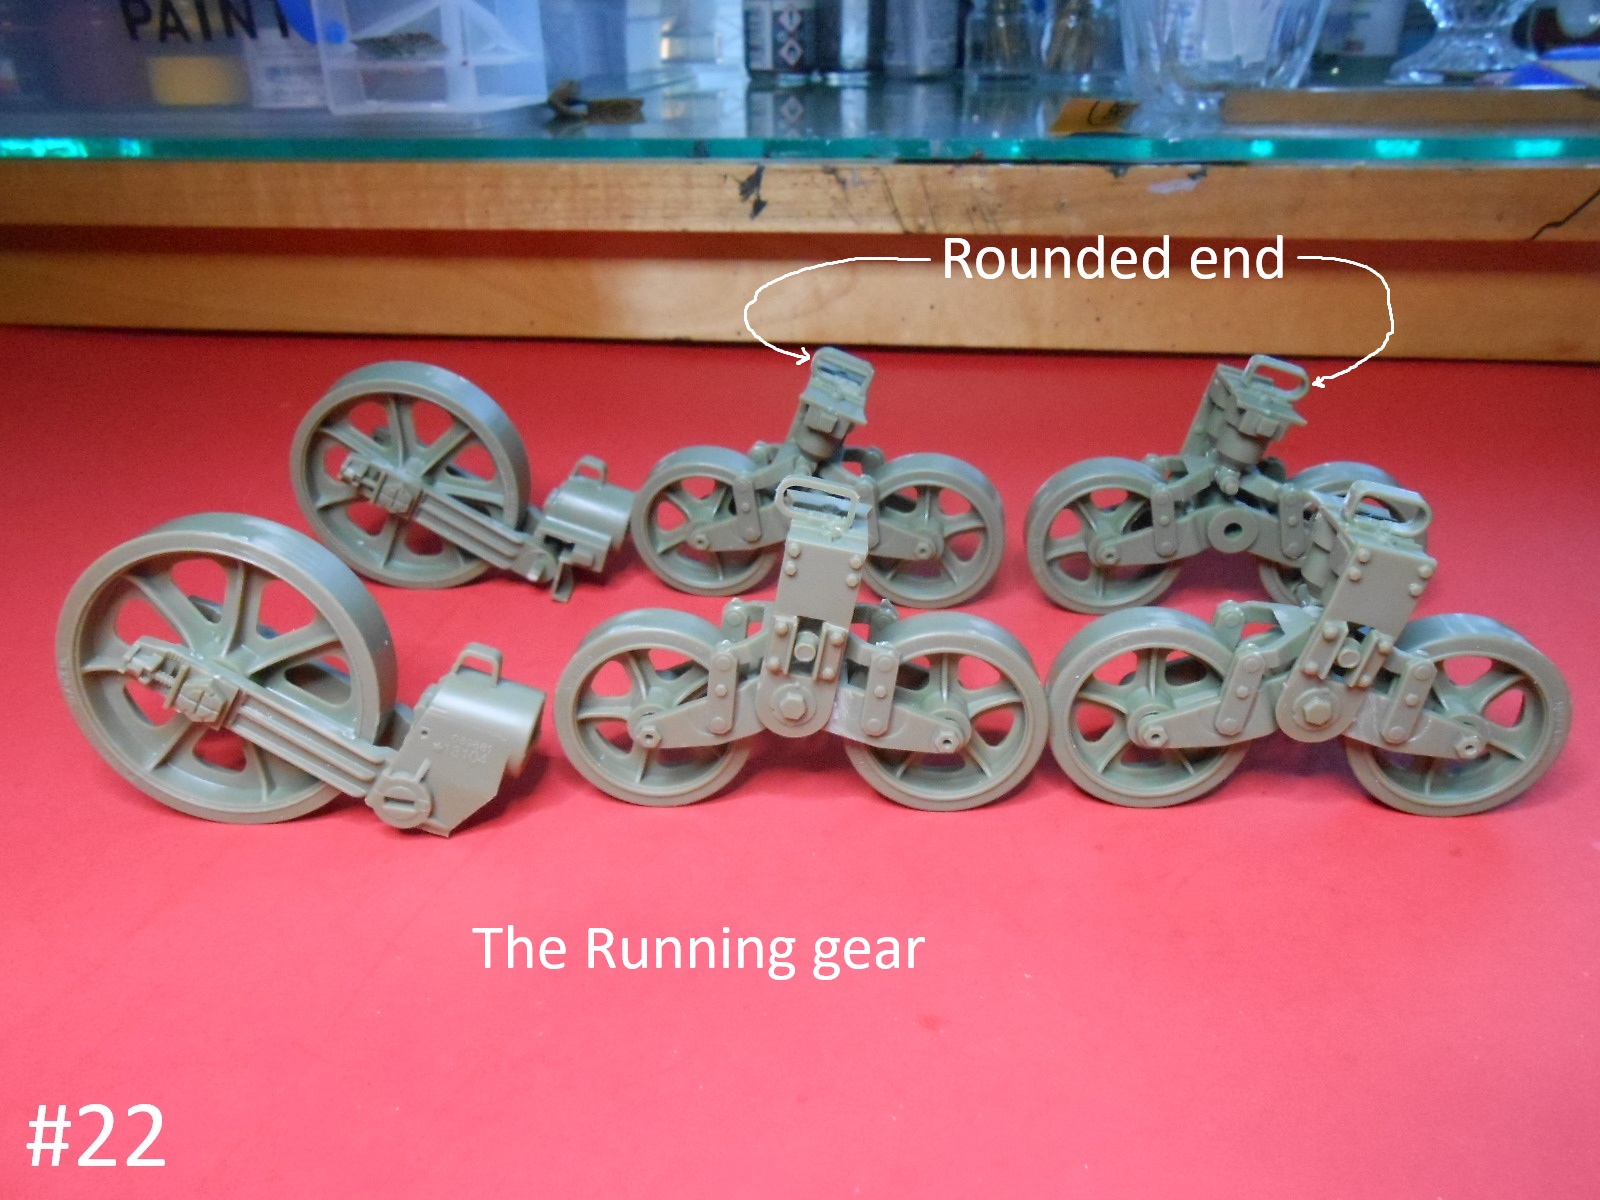
it seems that the suspension is pretty similar to the M5A1. They do give you two different road and Idler wheels. I just finished an enormous amount of tiny Bolt heads on the inside of the Hull and I’m waiting for my eyes to get back to normal.
Regards
Donald
3 Likes
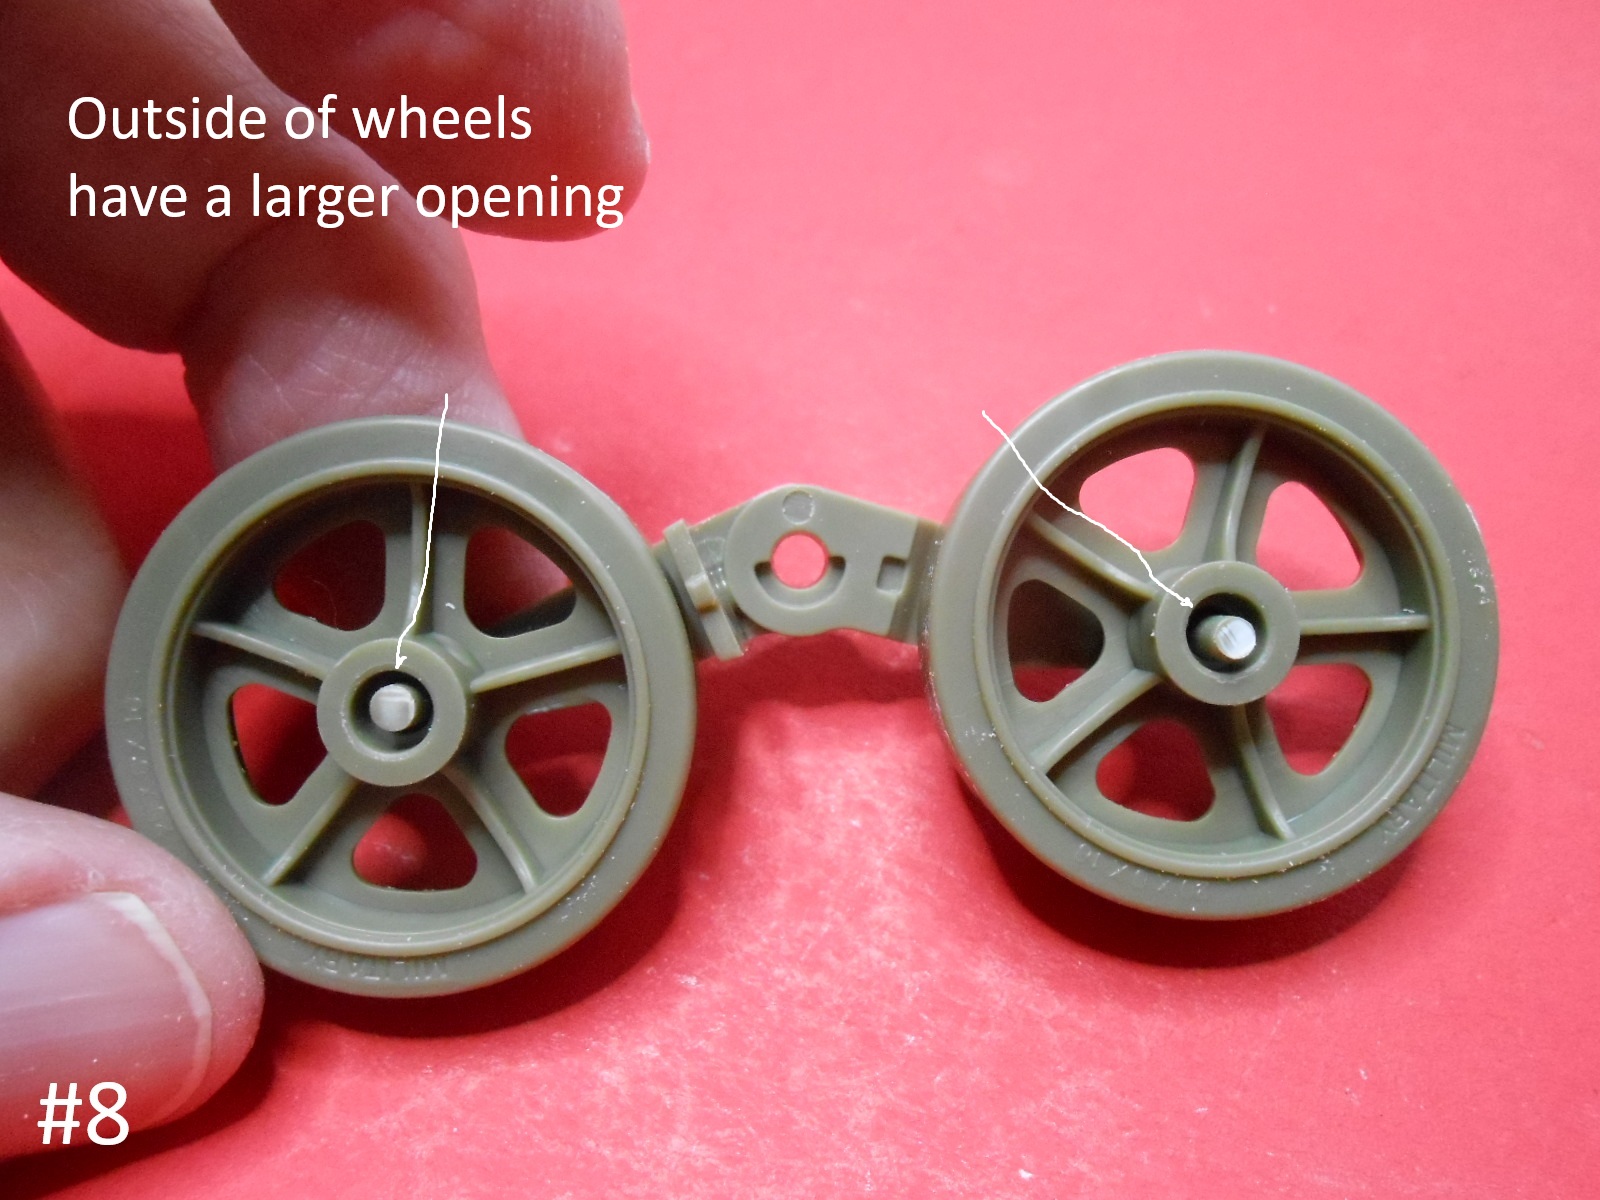
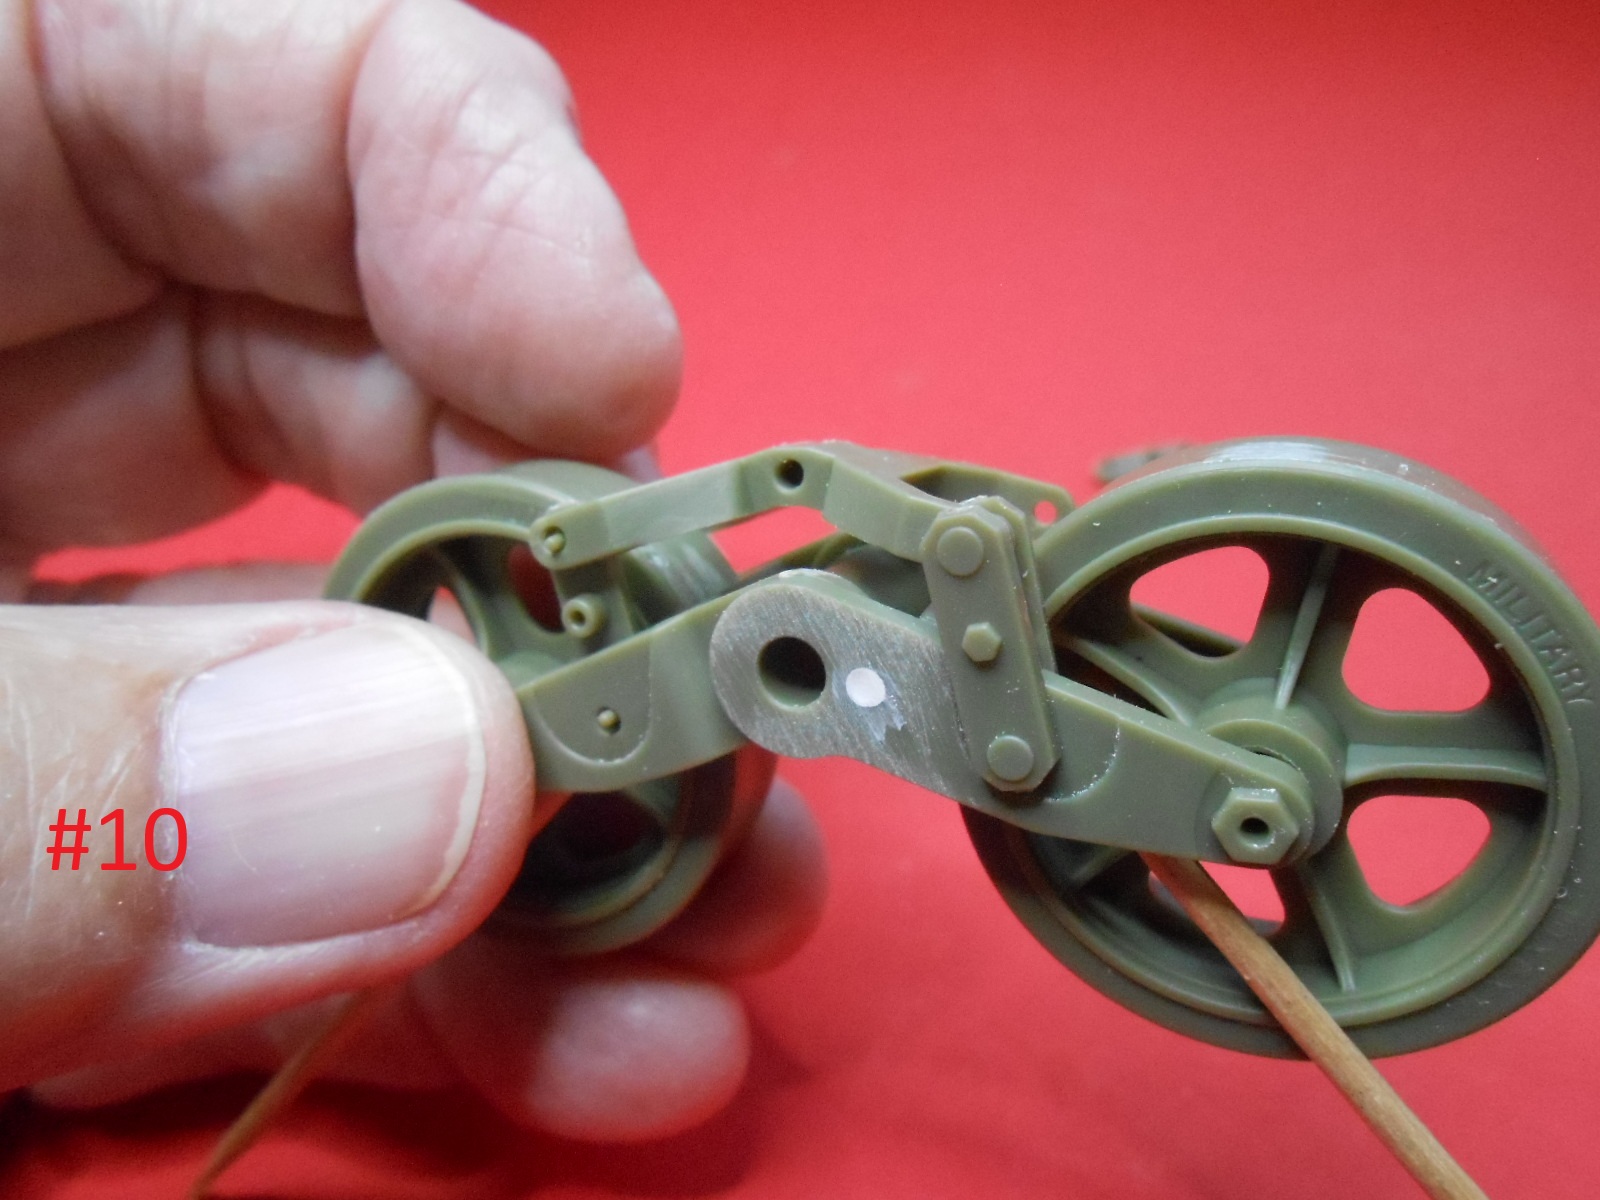
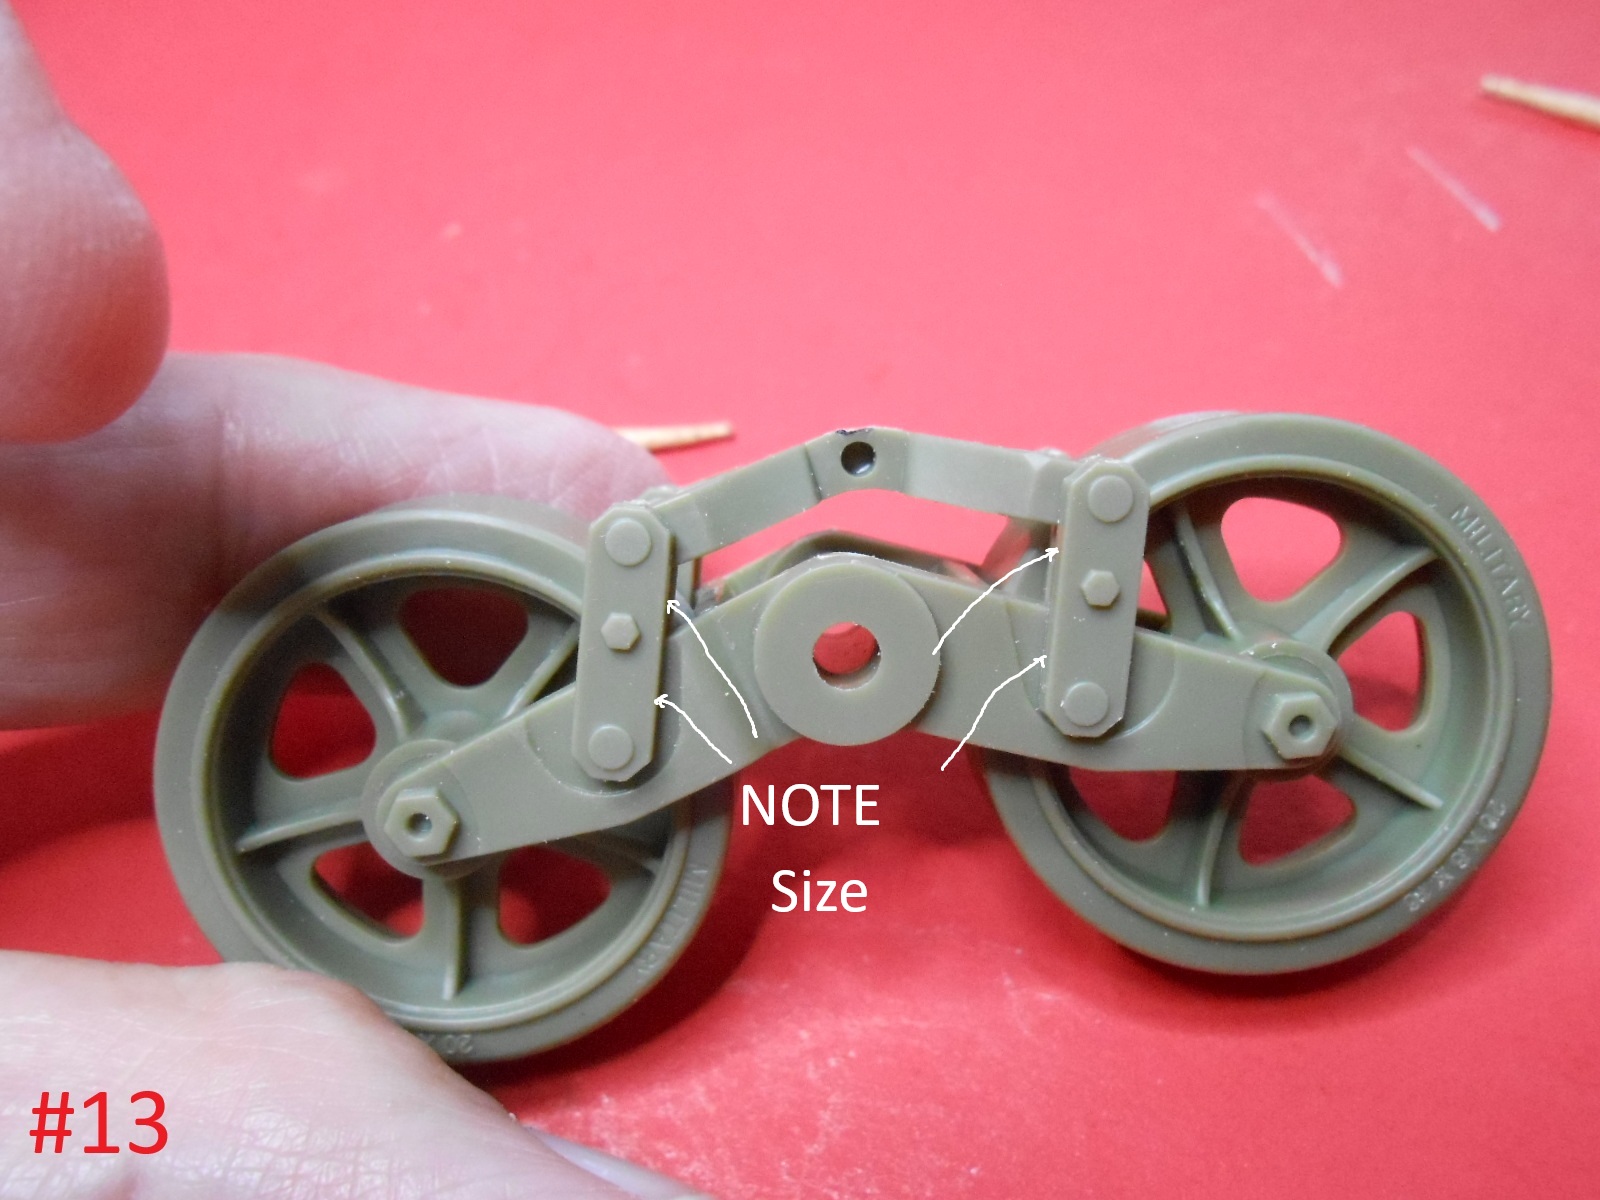
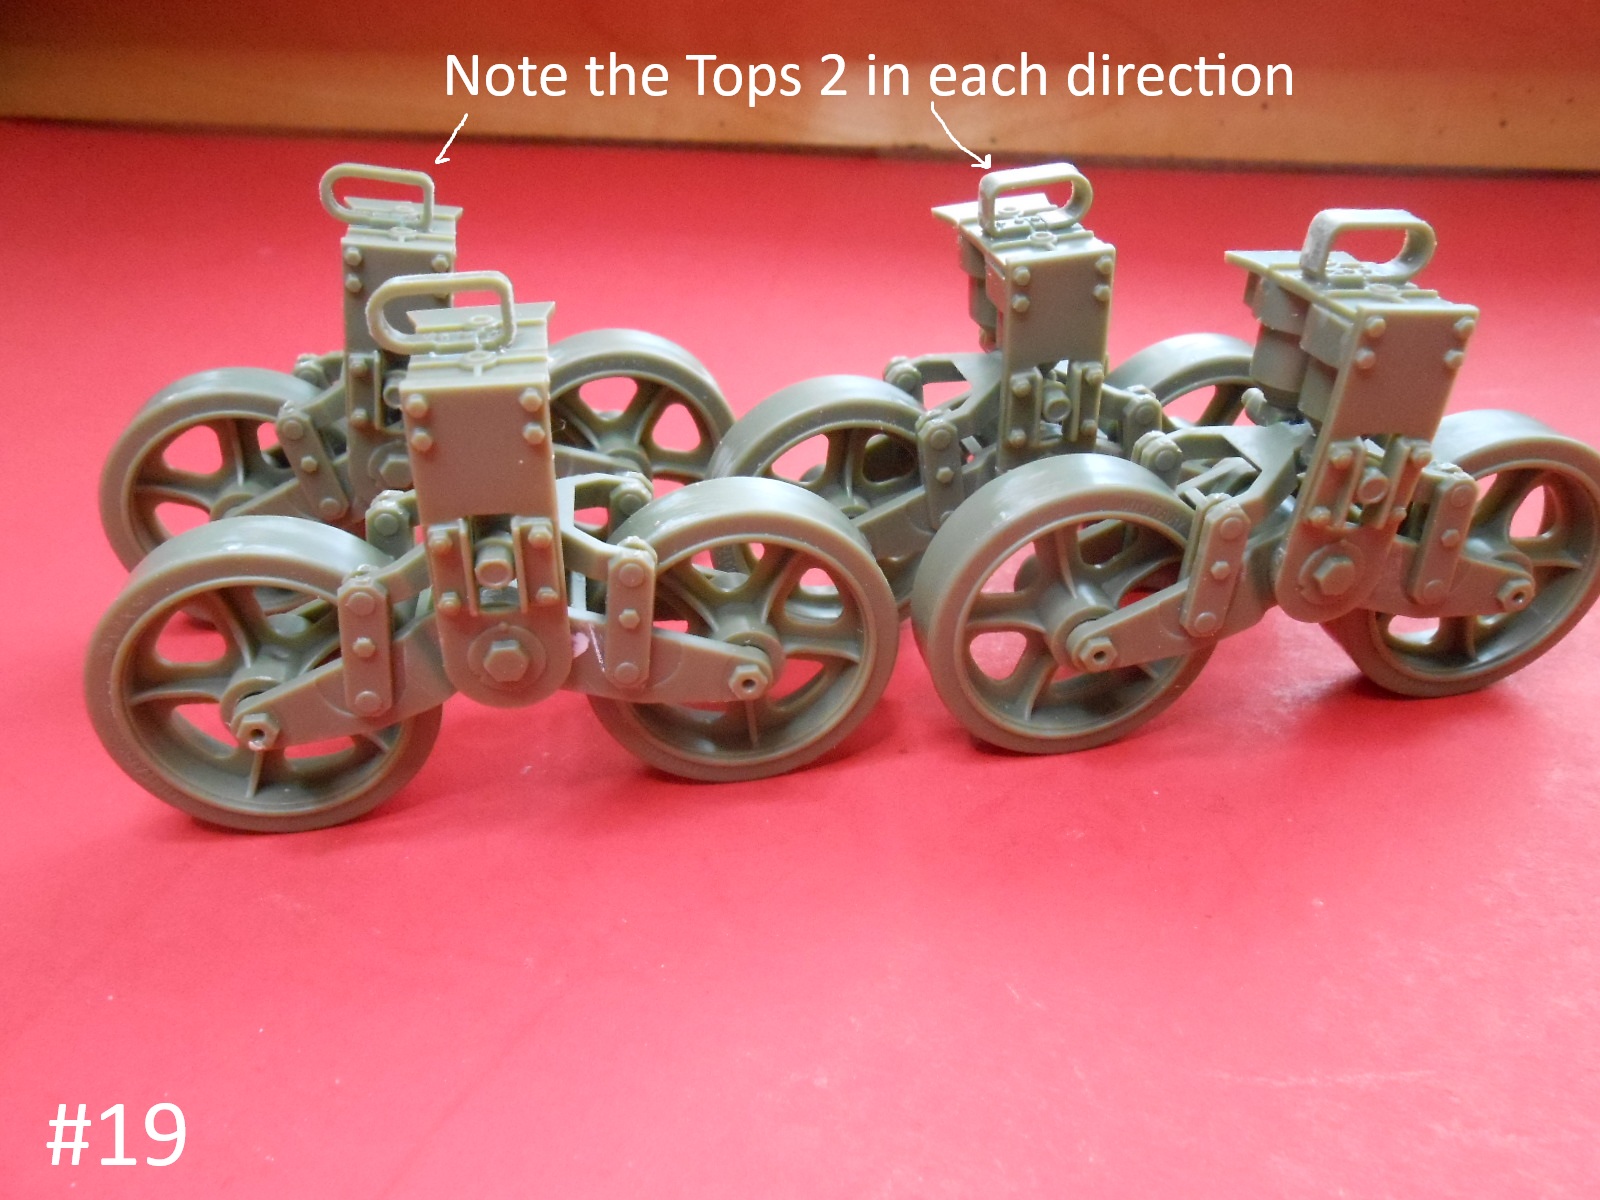
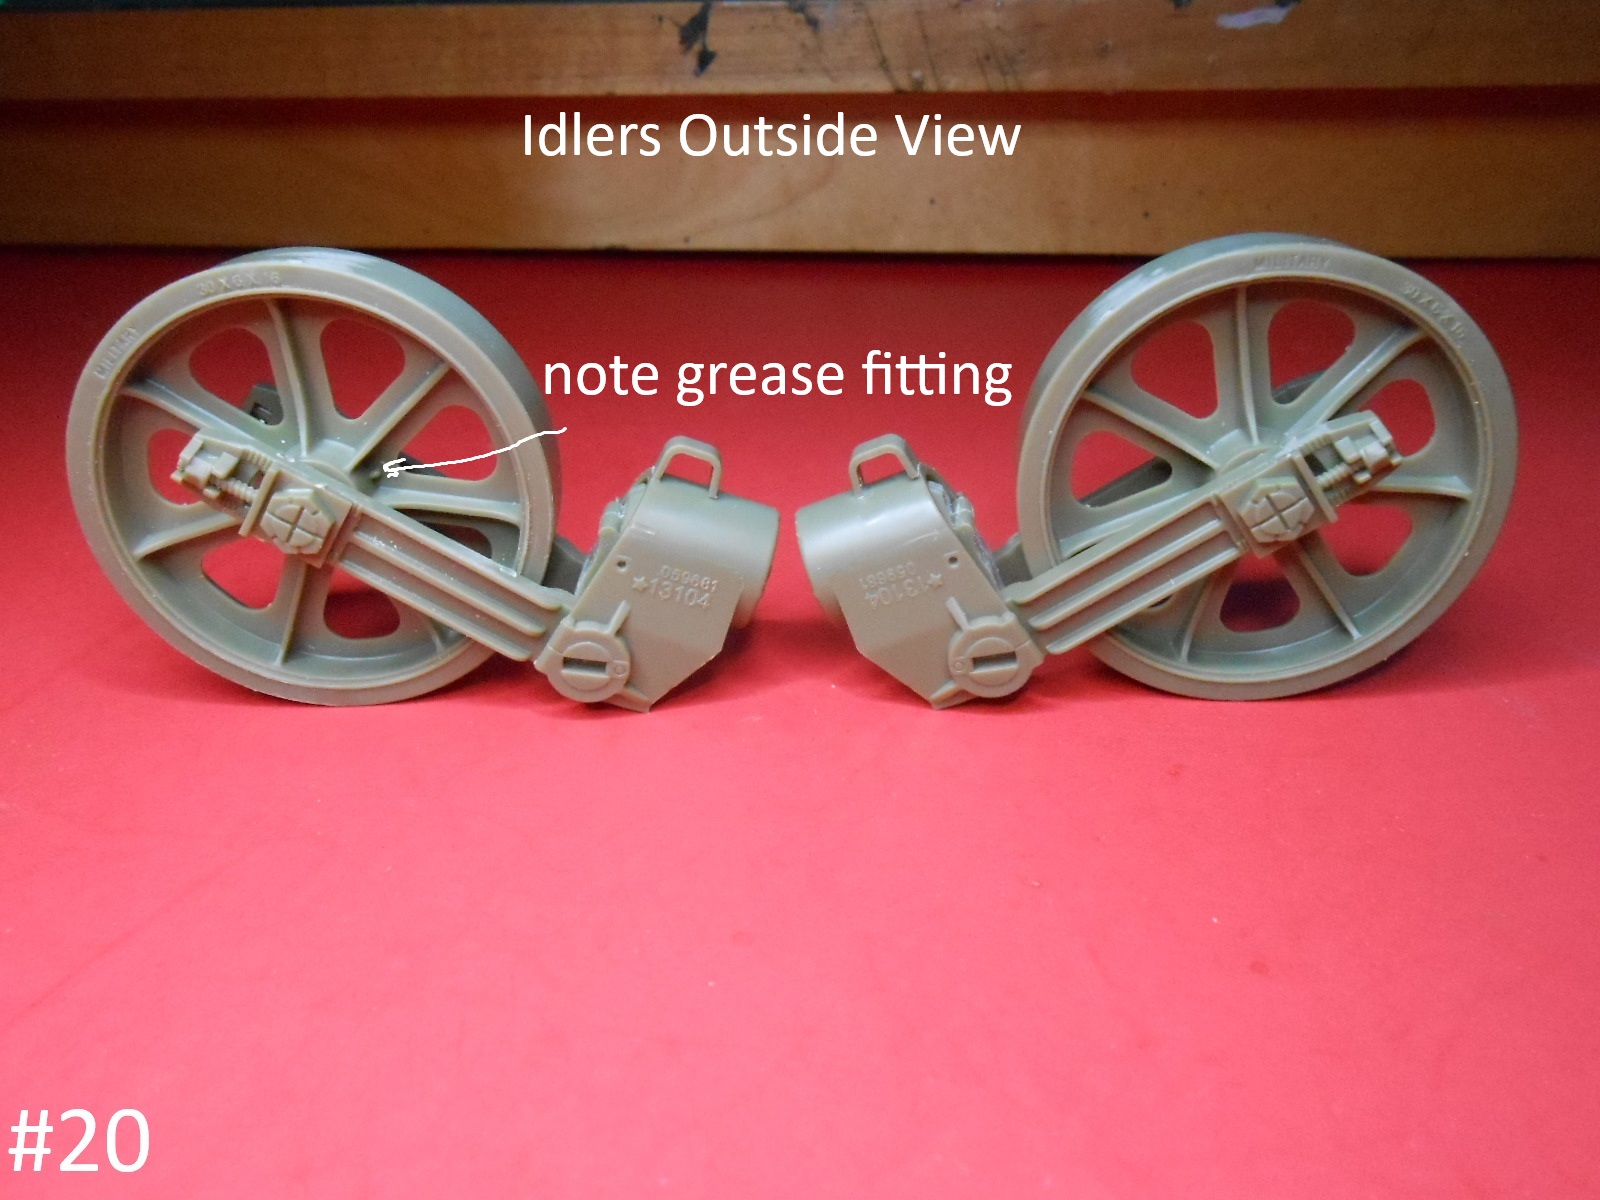
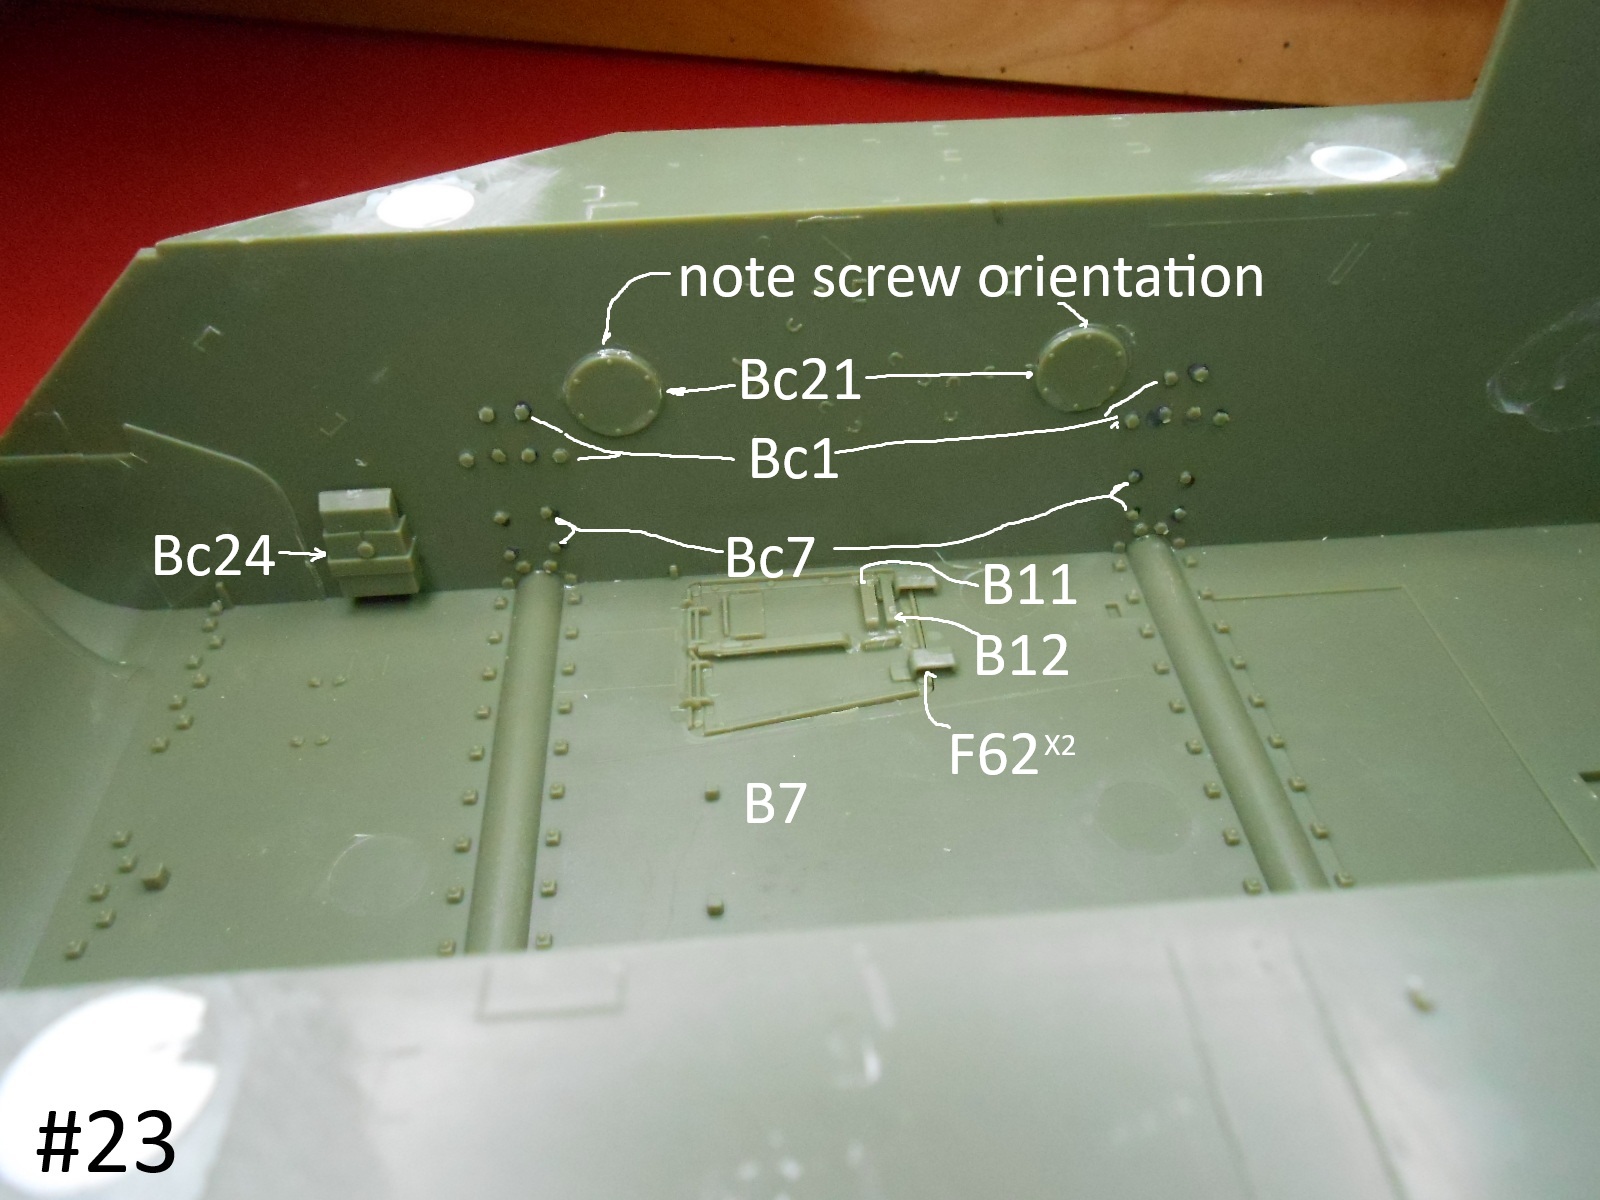
I finished the Idlers and applied the Bolt heads to the inner Hull.
I trimmed off the Bolt heads, then picked them up using the pointy end of an exacto Blade. Just stab them very lightly, apply glue where you want them and place them
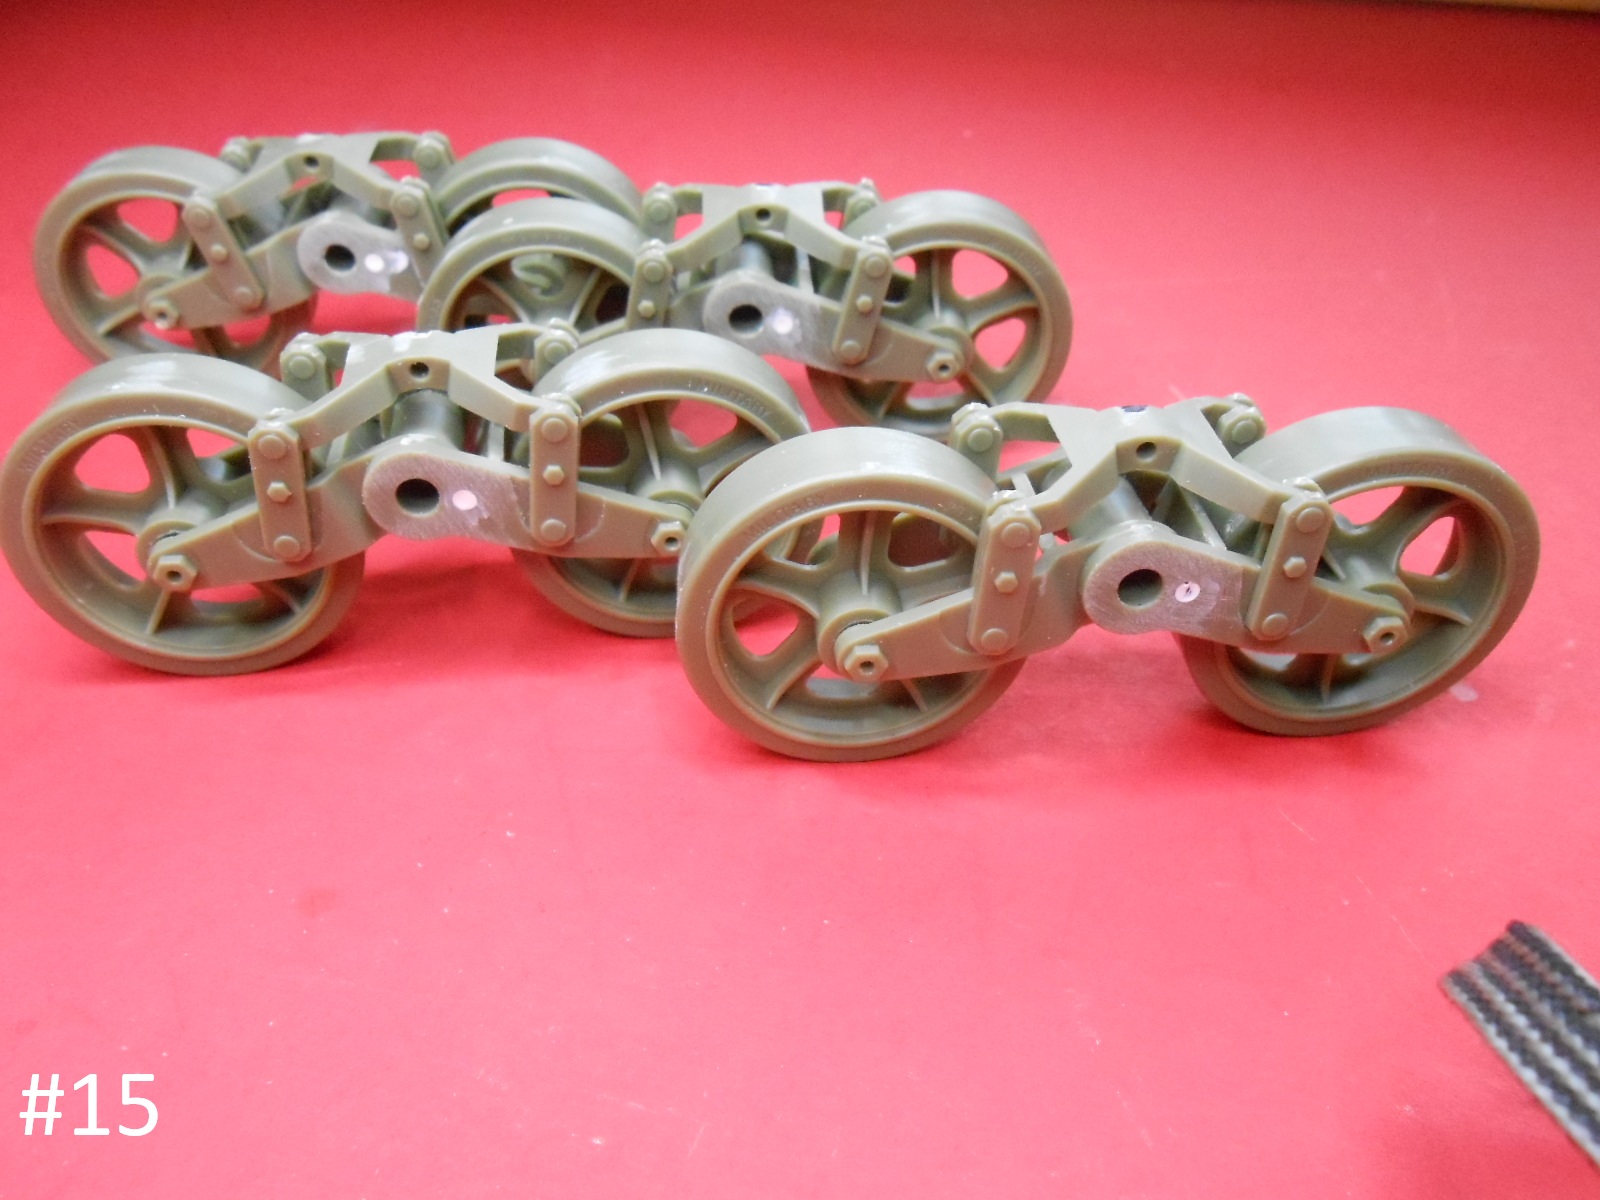
Man my eyes are still buggy from placing all of them tiny Bolts.
Well Finished for now.
Donald
10 Likes
continuing on.
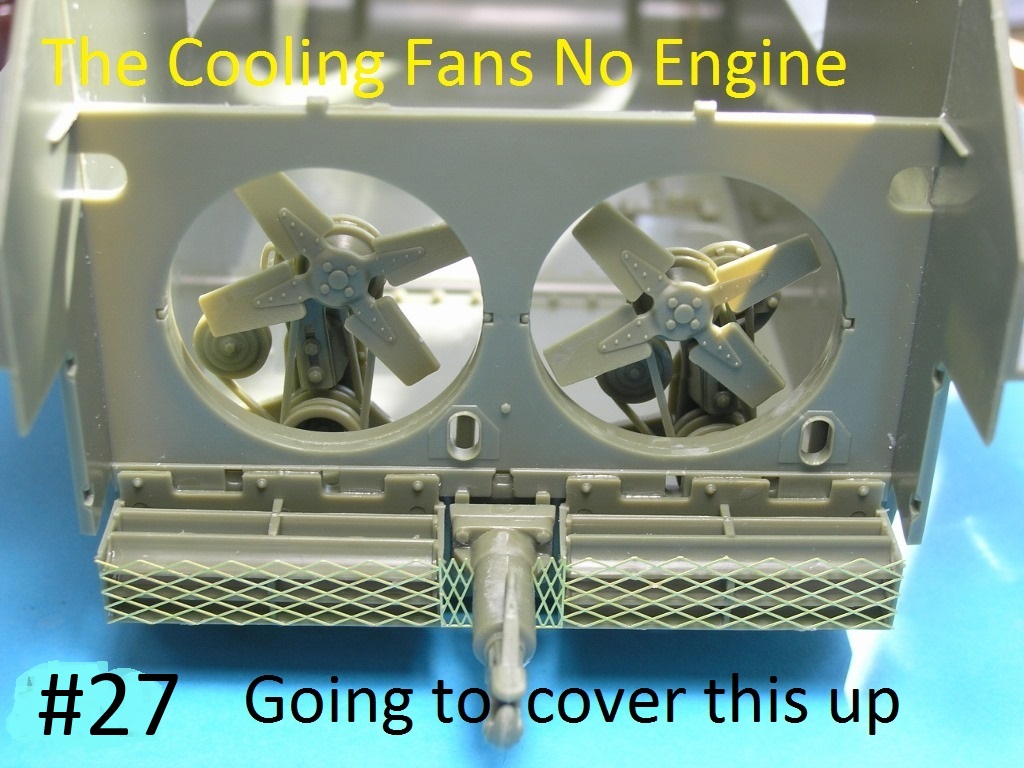
Except for an engine , it looks like this kit has most of a complete interior.
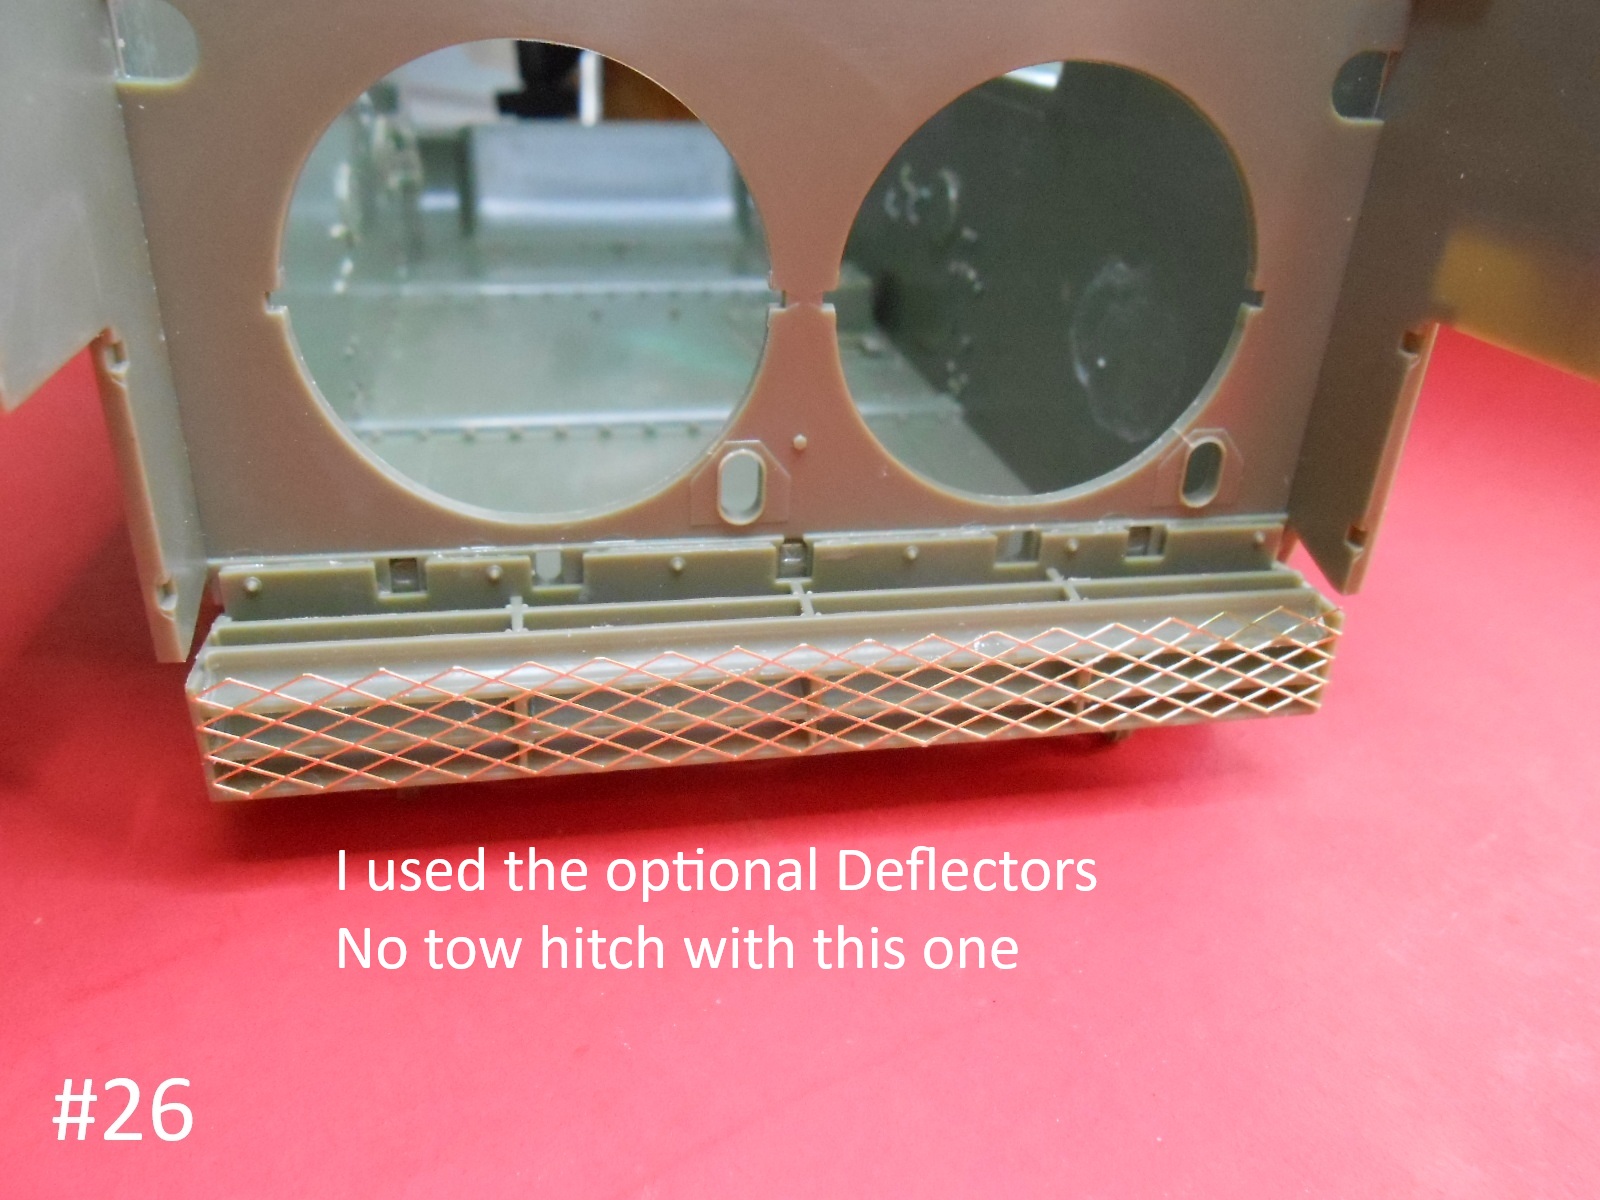
I used the Optional Deflector, no trailer Hitch.
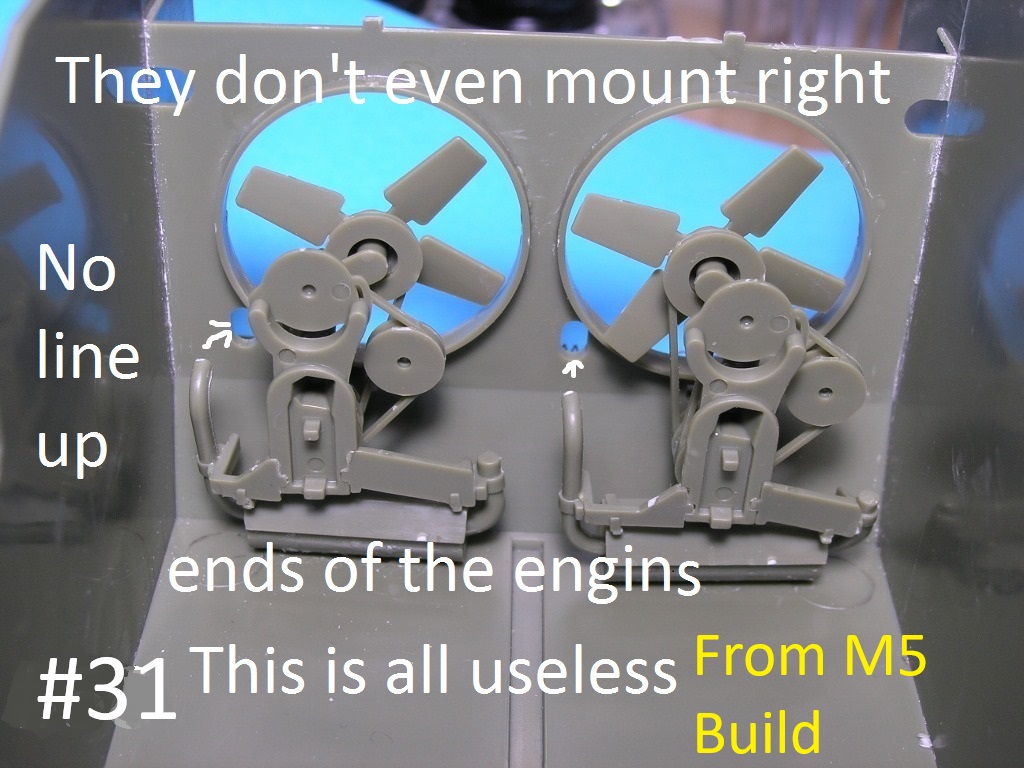
This next Pic. is from My M5 Build, it shows the parts of an engine that can’t be seen at all when everything is finished. No reason to waste time on this.
This next Pic. is also from my M5 Build showing a view from the inside.
Defiantly a waste of time.
Well I’m finished for today
Donald
8 Likes
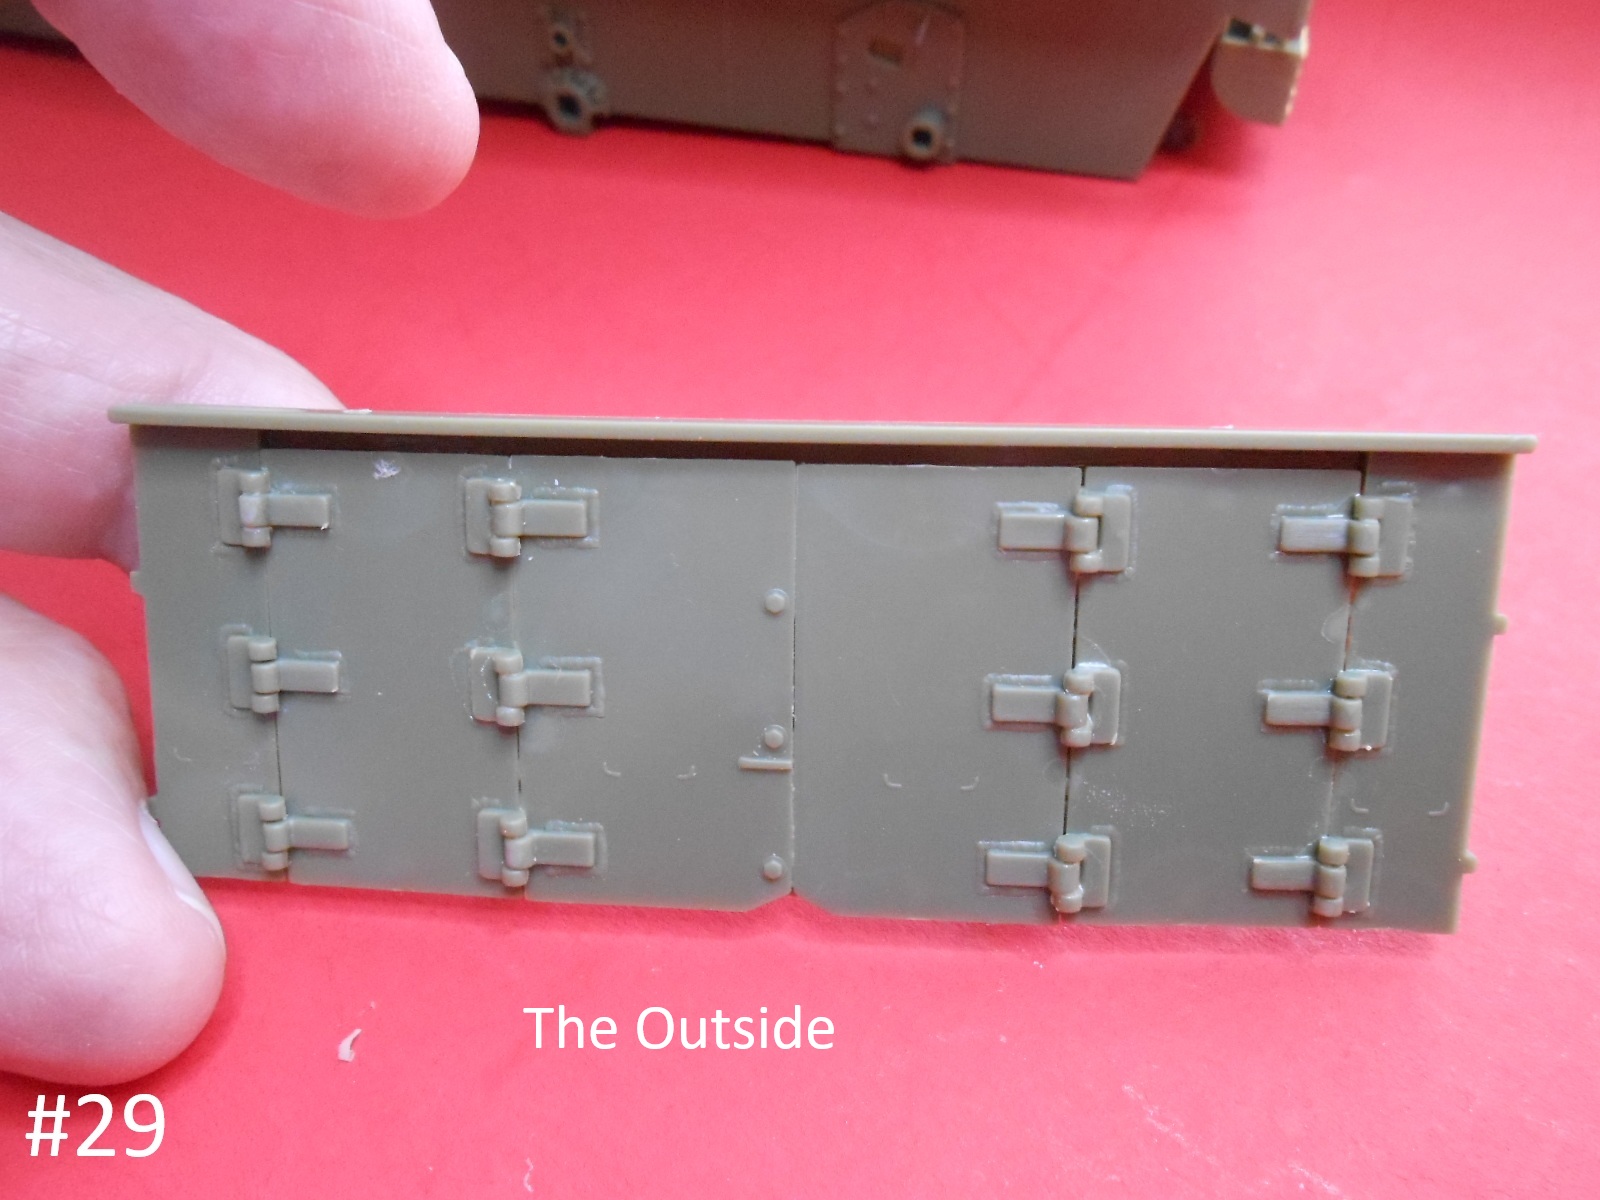
Not to be too nit-picky (ok, I am being a rivet counter…bolt counter?) but aren’t those footman’s loops the modern style? I’m asking because I thought they still used the “screw-on” style but welded on until they developed the modern welding process’?
Does anyone know for sure concerning the M8?
1 Like
That is what they give you in the kit , a little paint and nobody will notice.
Donald
1 Like
No problem (not criticizing your work, it looks like the same footman loop in the 1/16 M113A1 kit…)
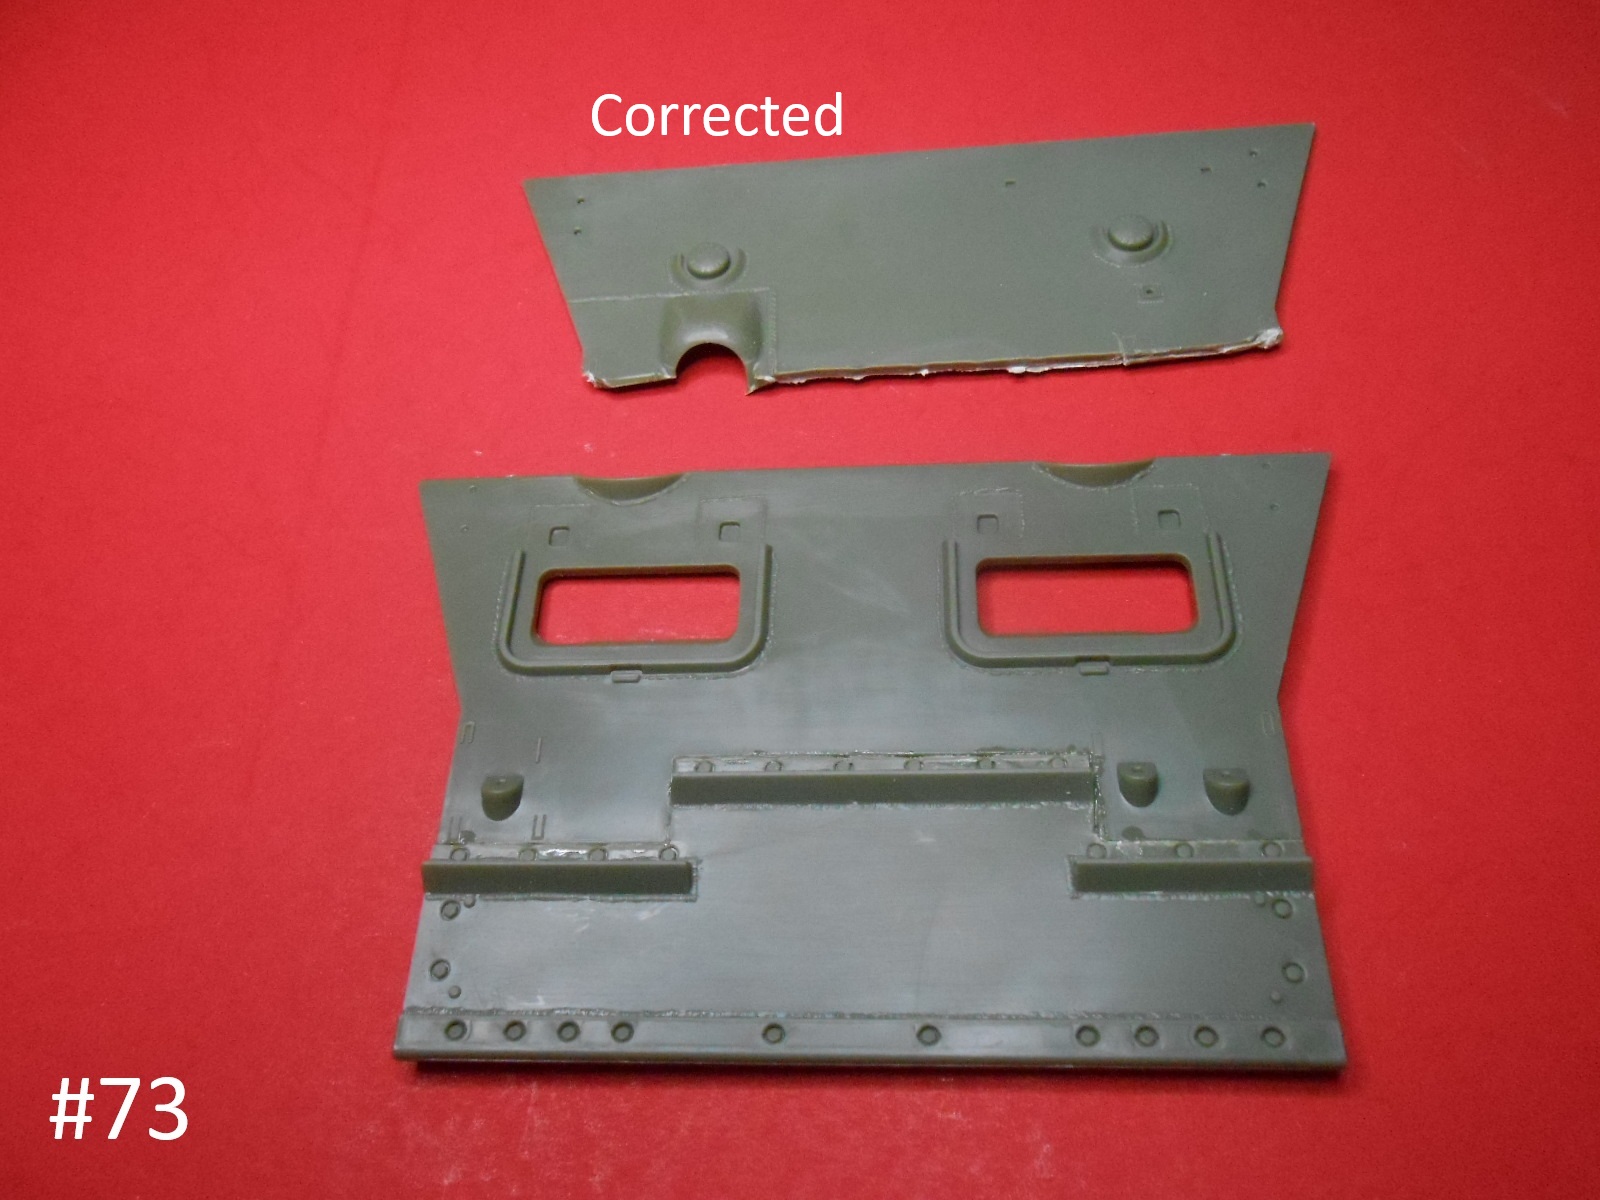
Well, if anyone cares, I made some corrected tie downs for a friend of mine who is building the OLD verlinden 120mm M3A1 Stuart kit. He was picky. 
2 Likes
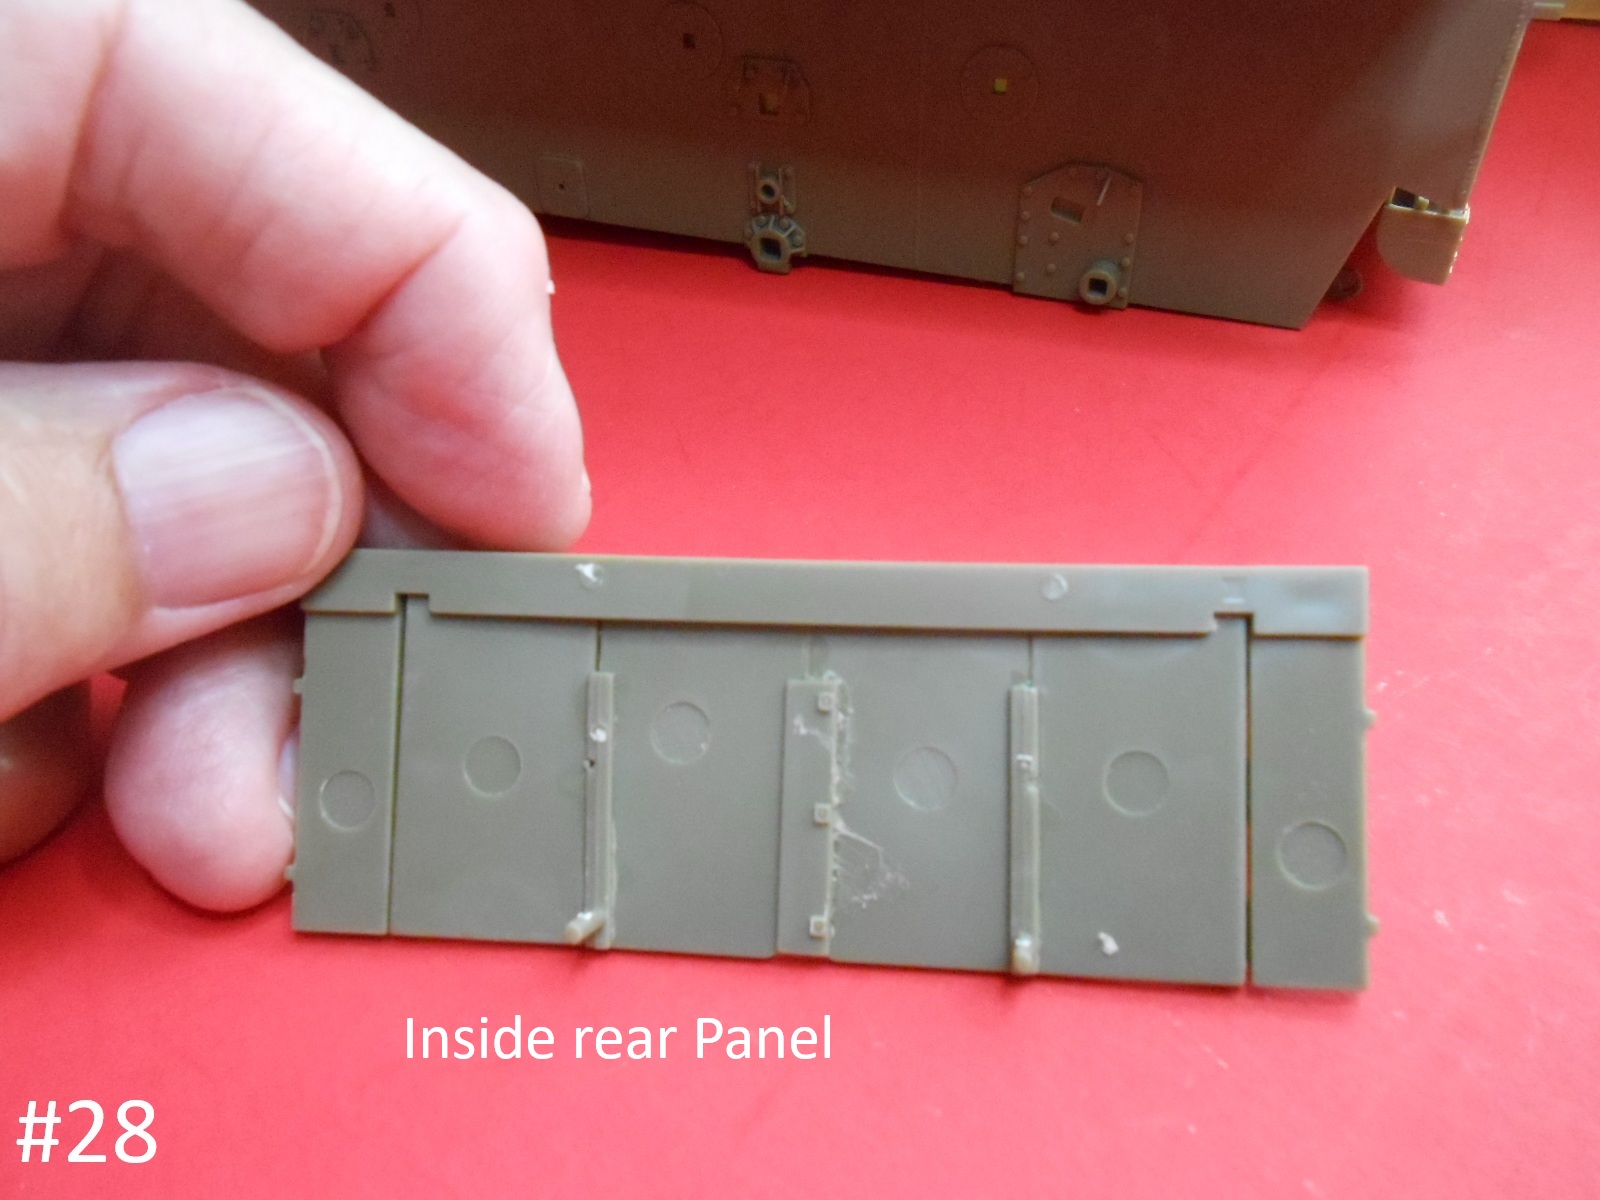
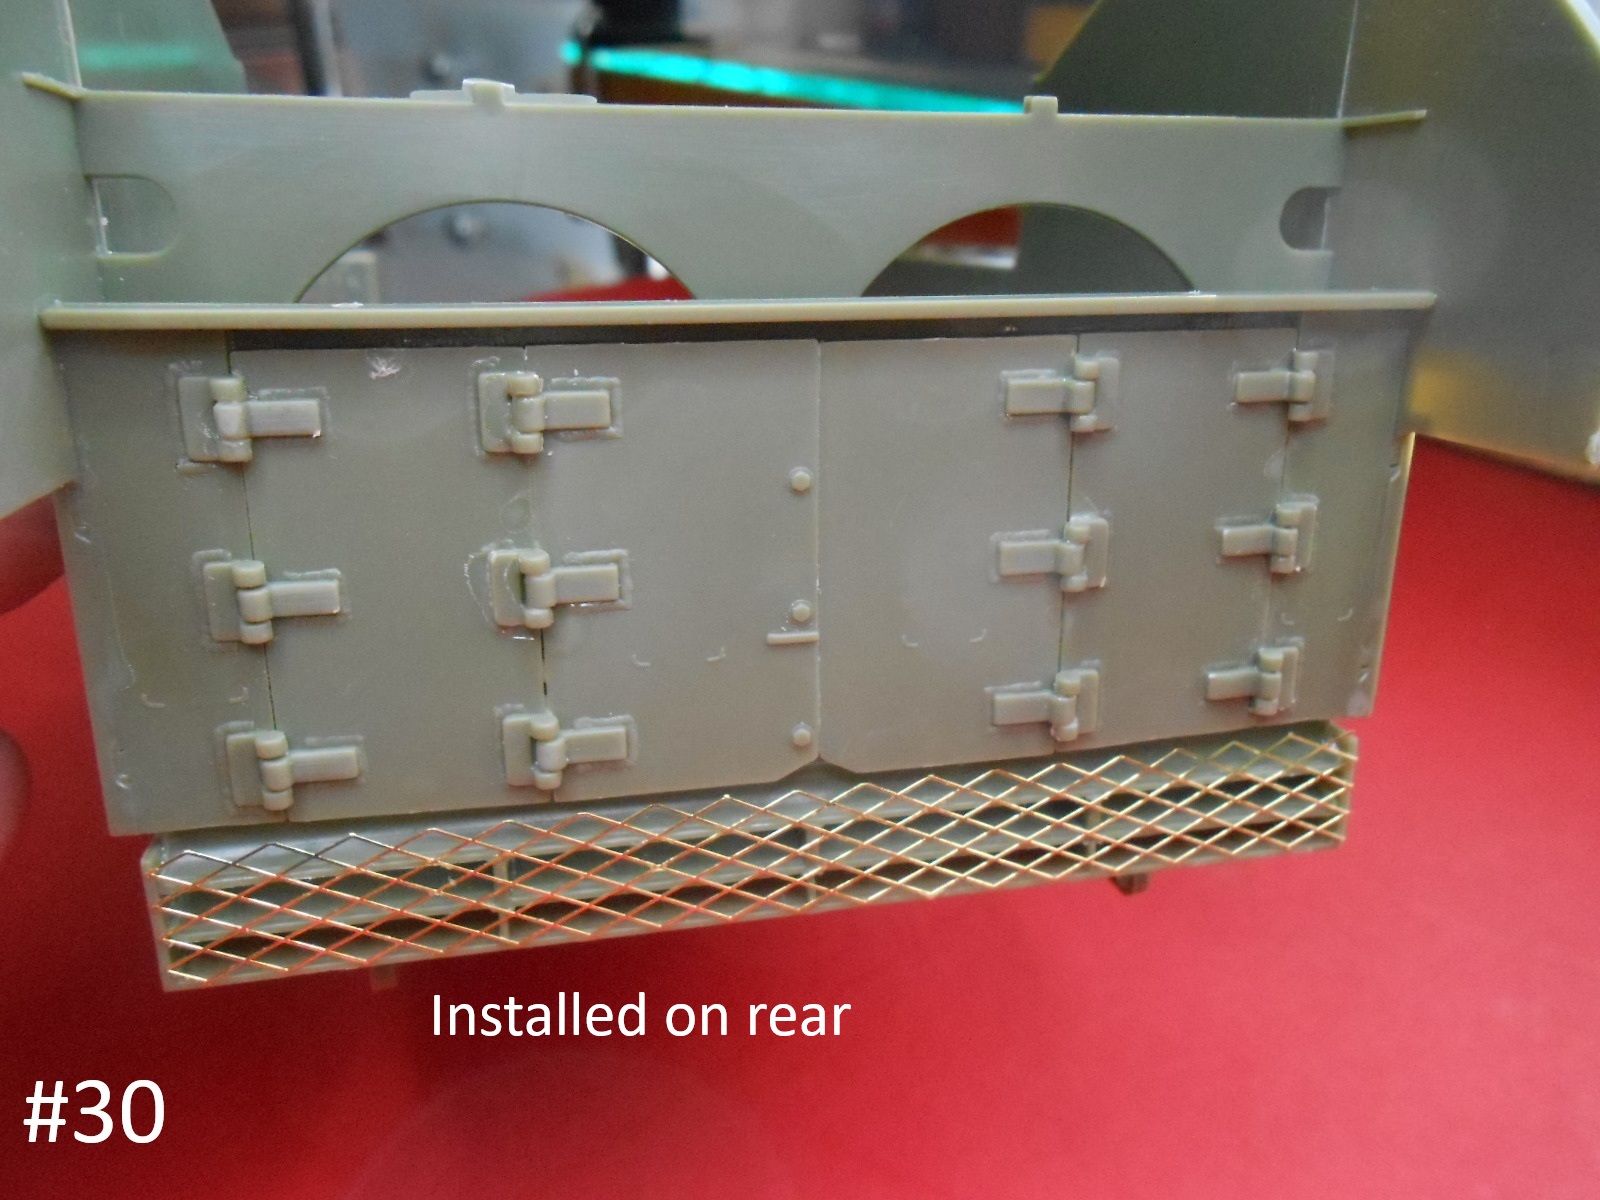
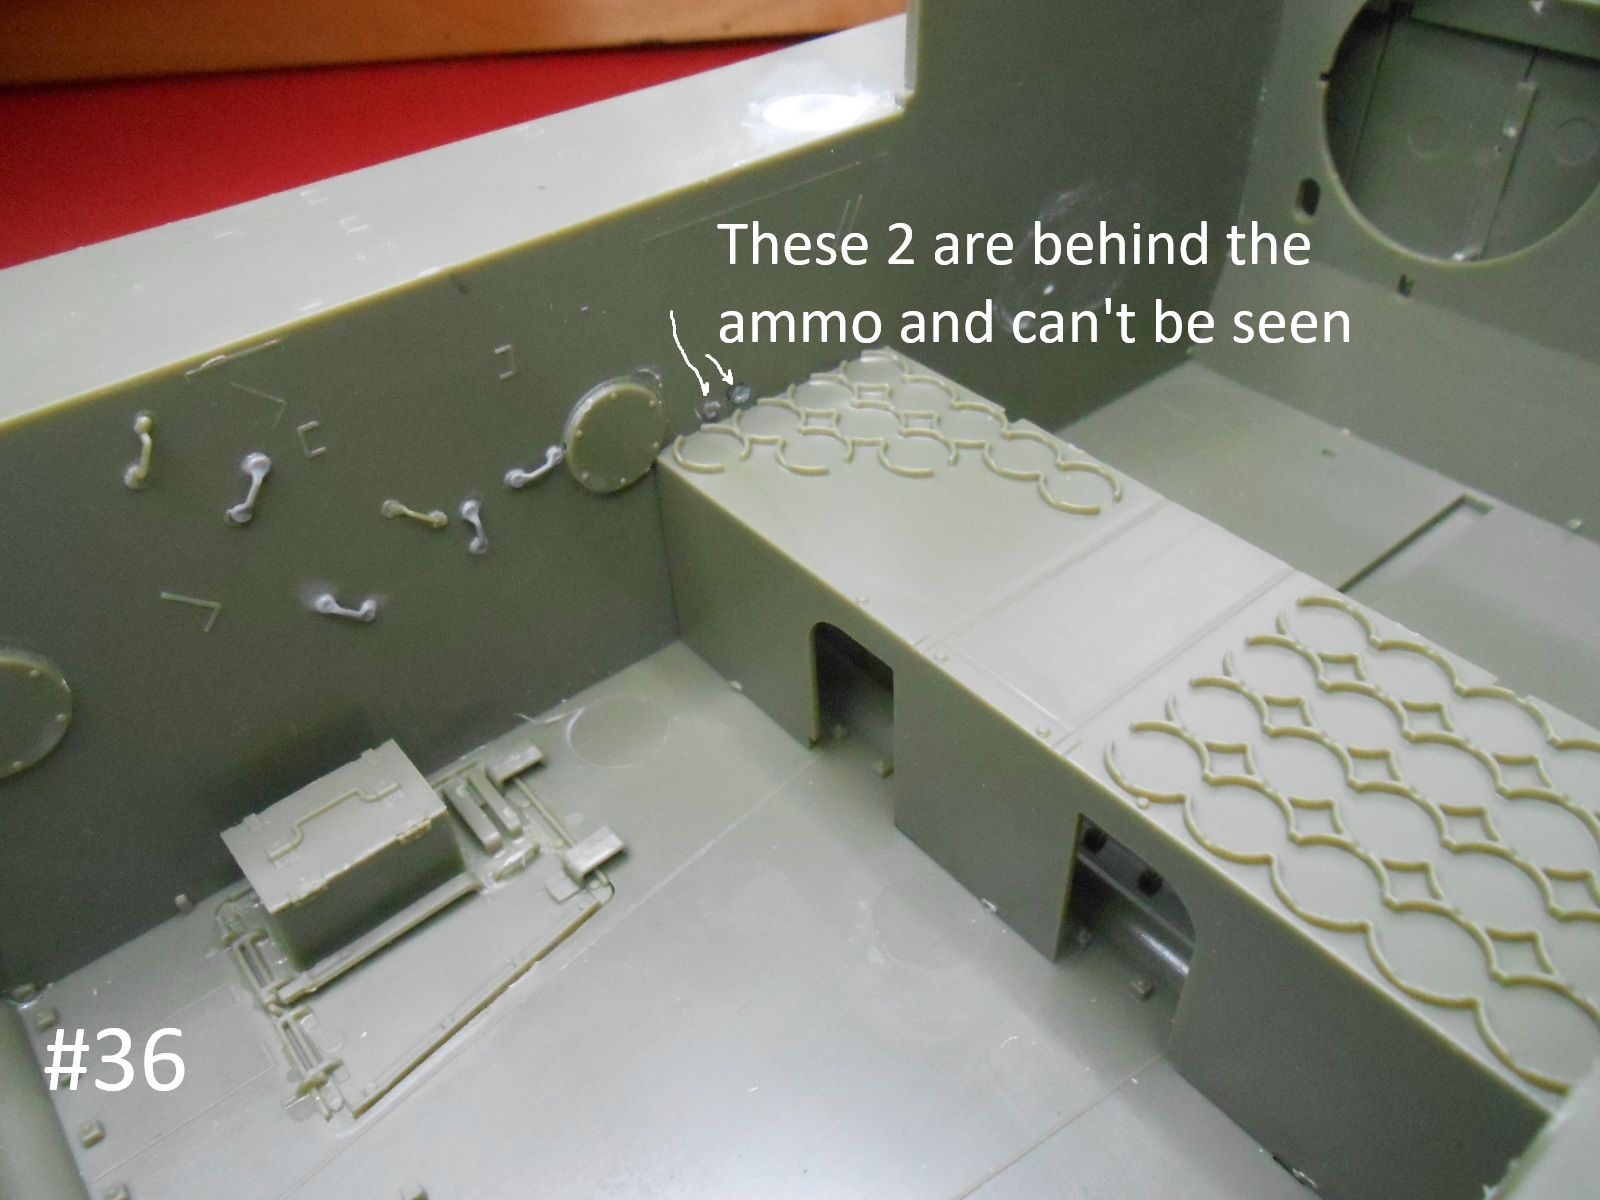
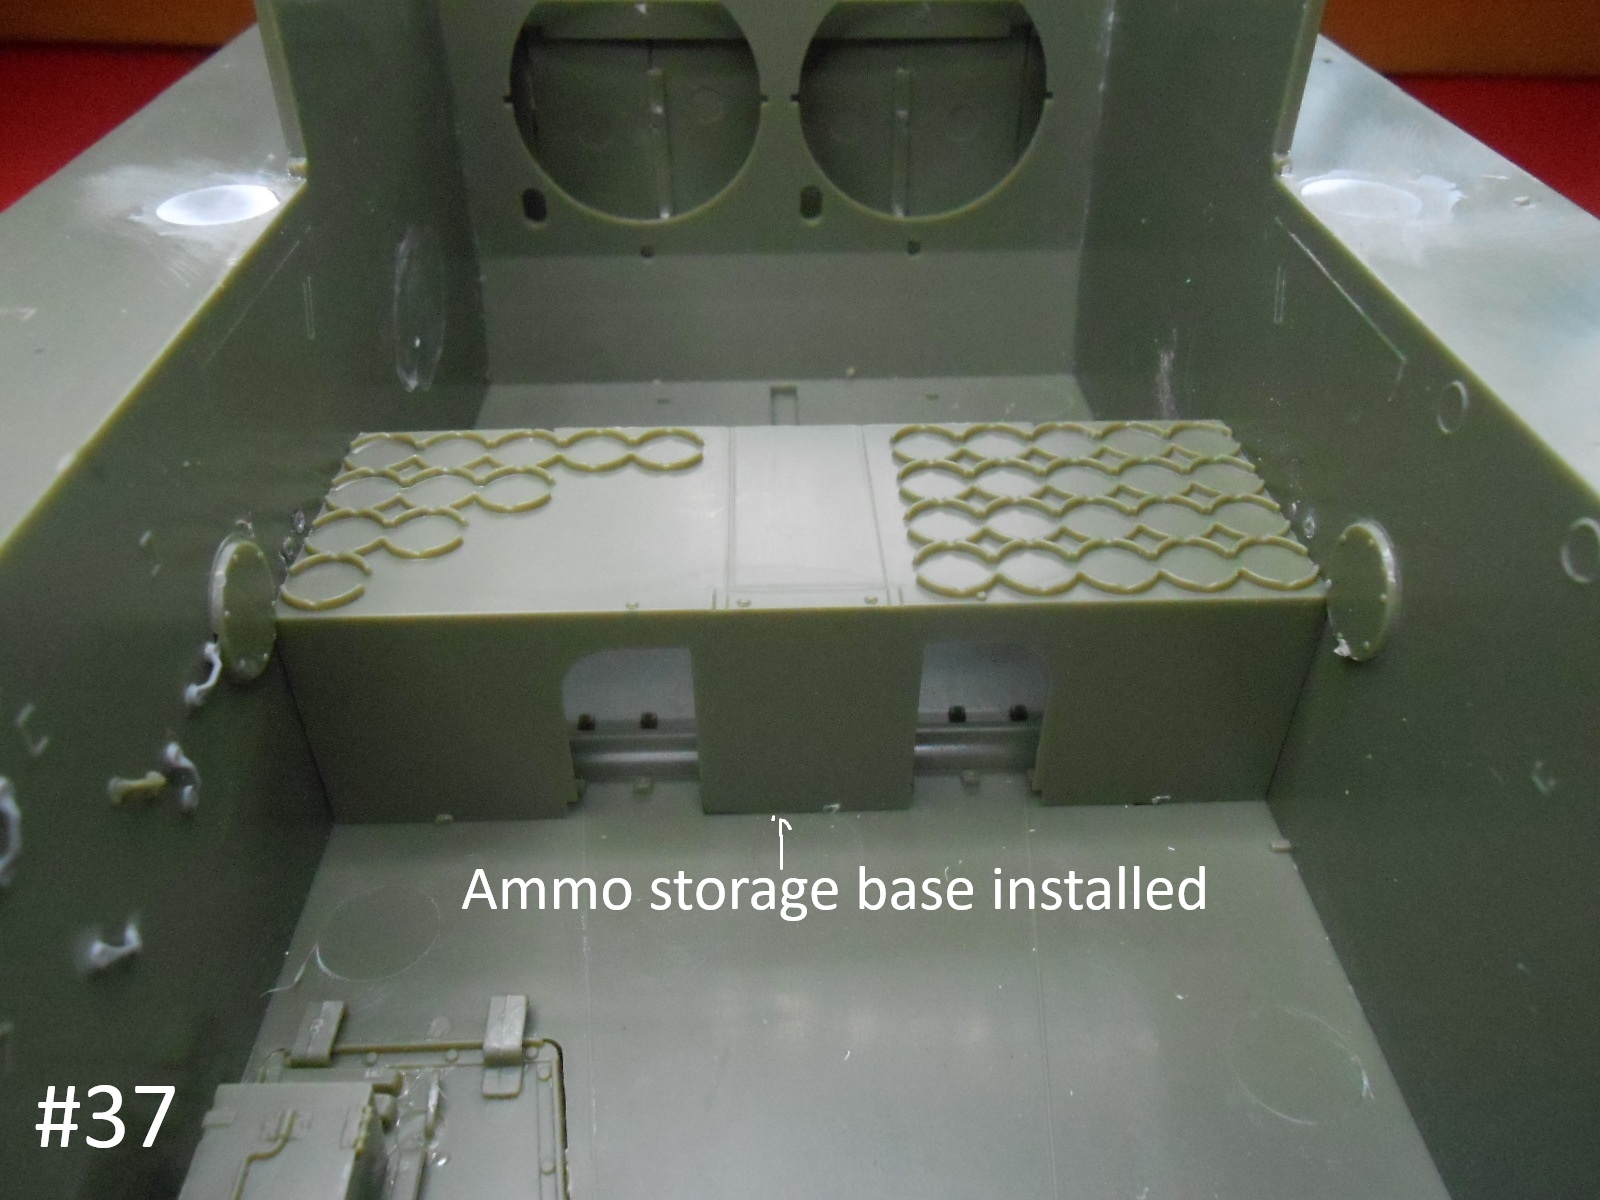
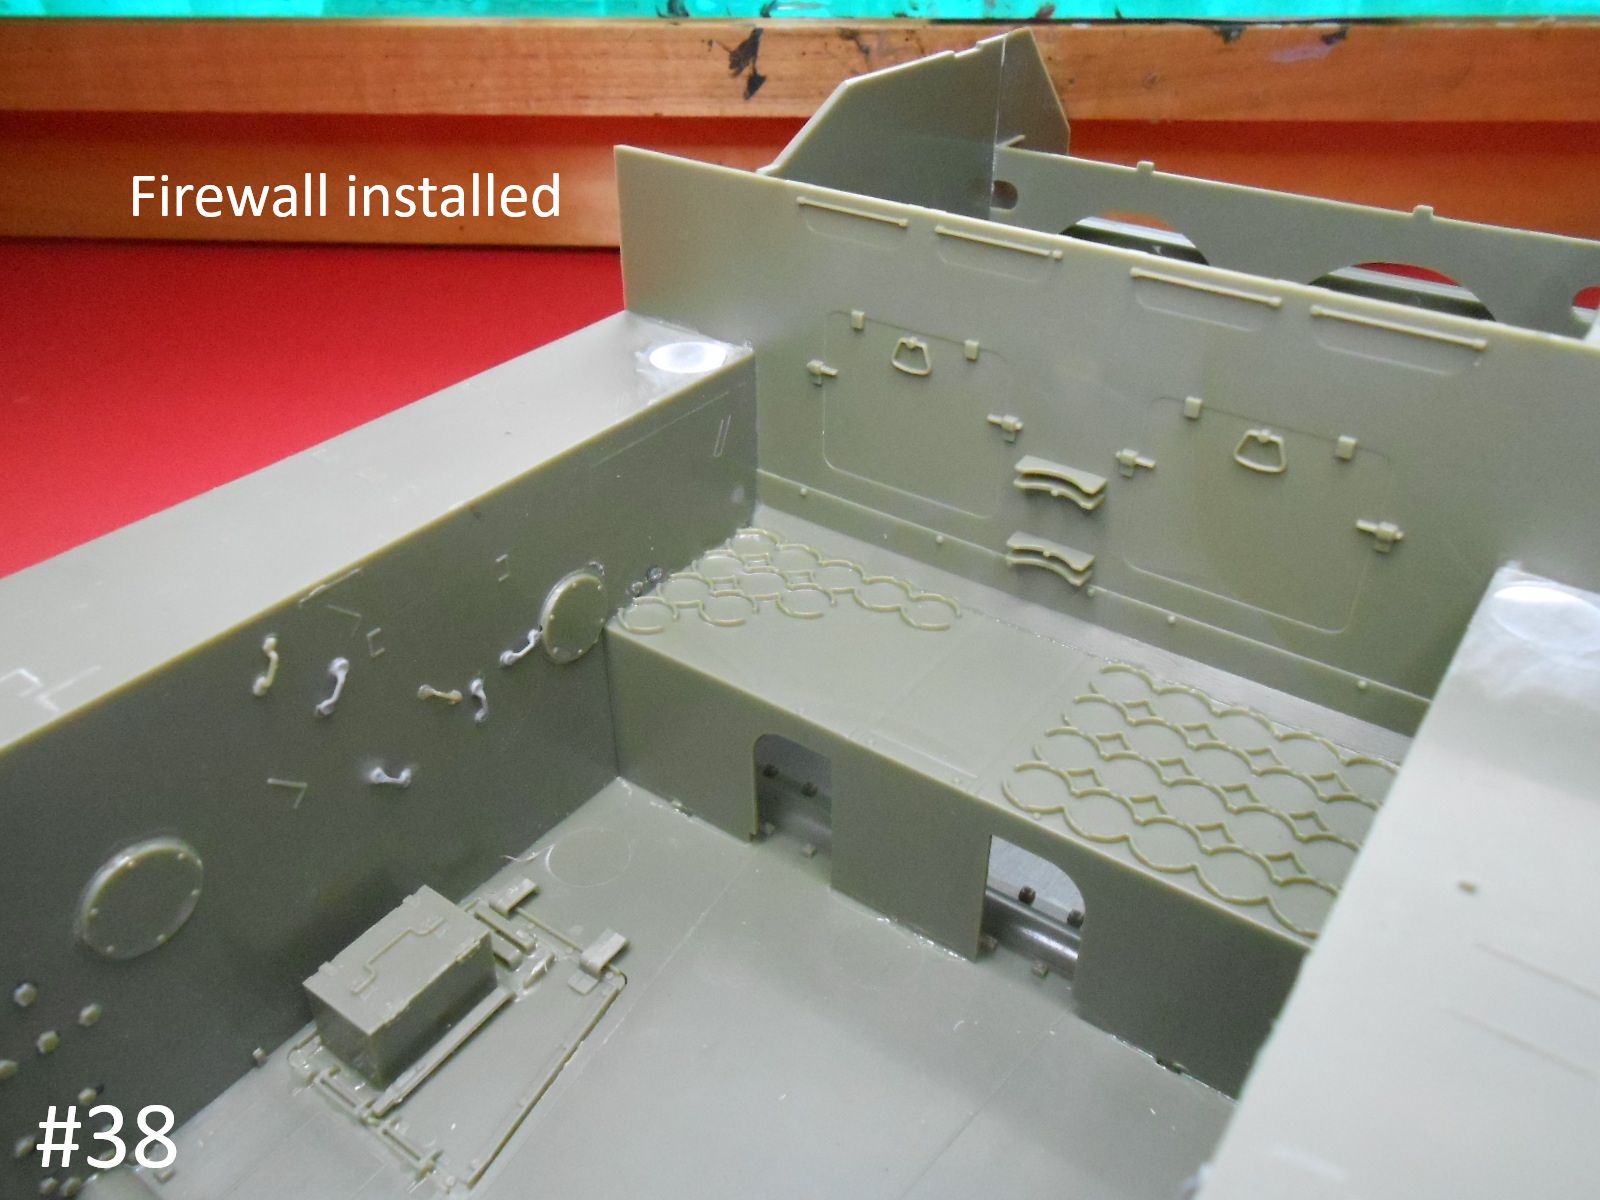
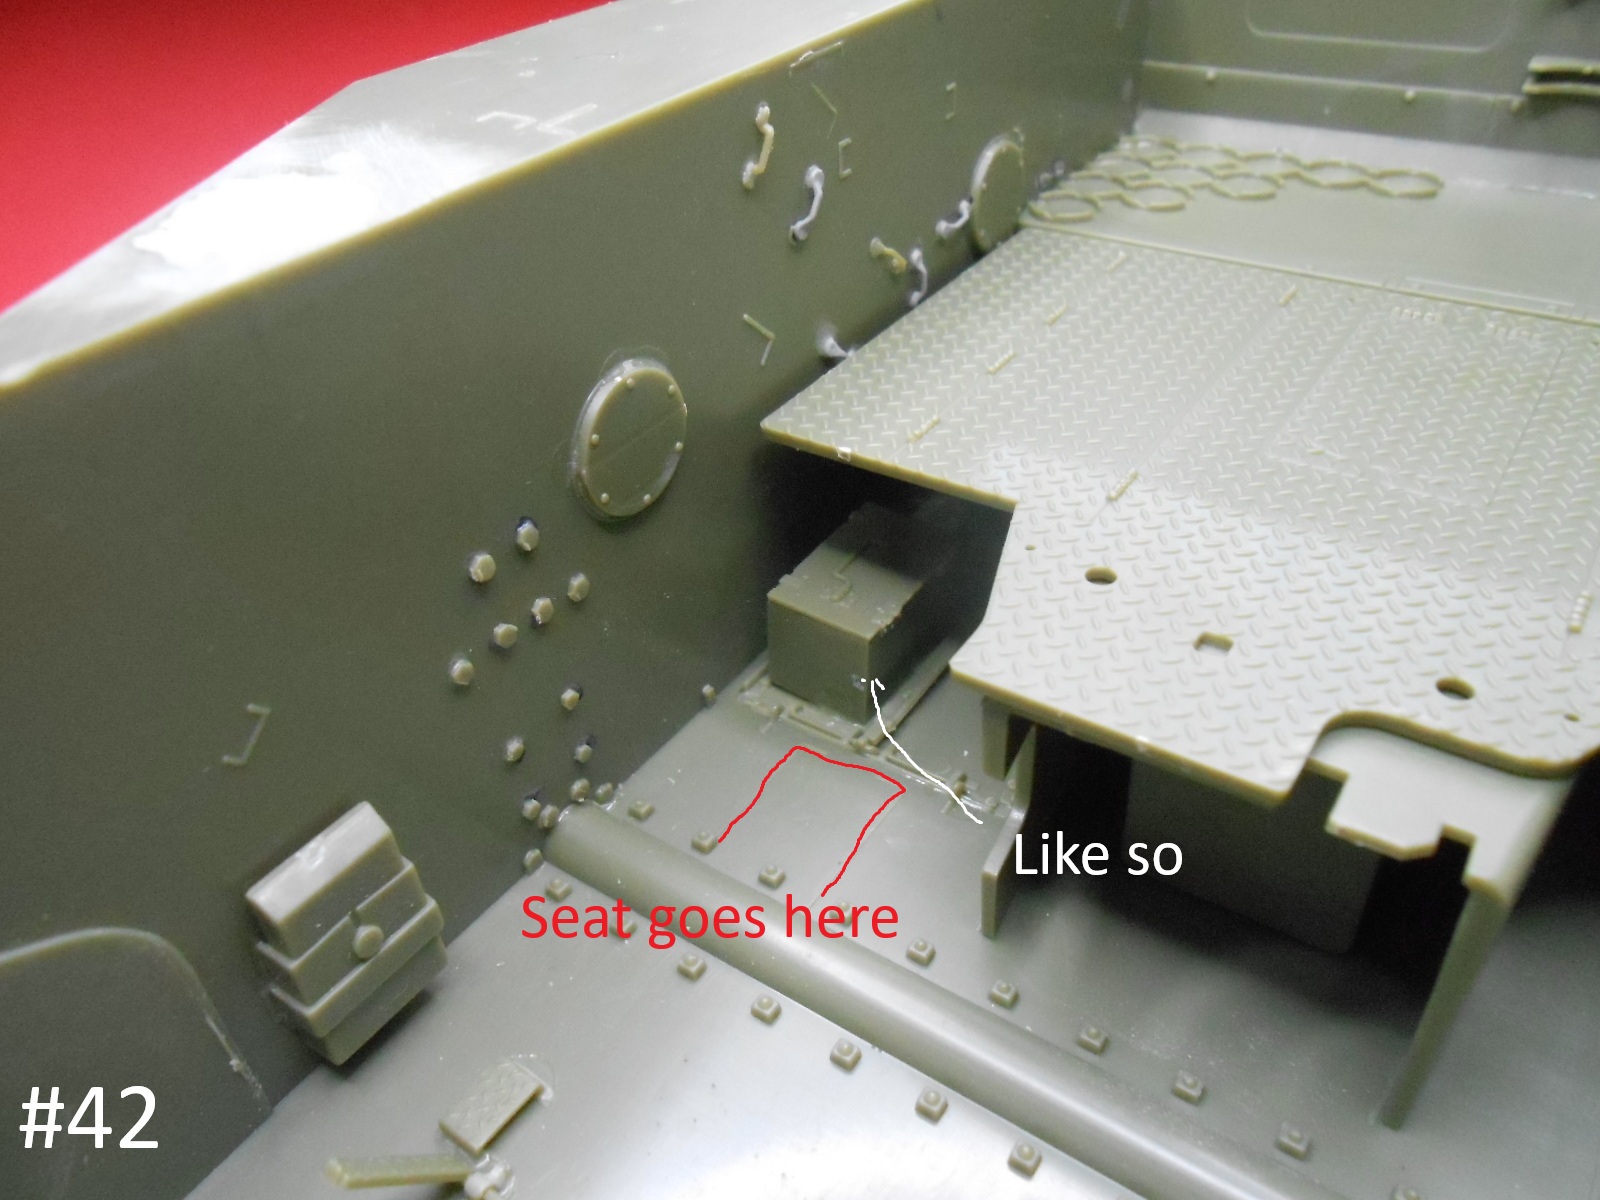
Continuing on.
Do not install the Bolt heads on the rear area, they interfere with the Ammp Storage shelf.
Finished for a while
Donald
10 Likes
It’s coming along nicely Donald.
1 Like
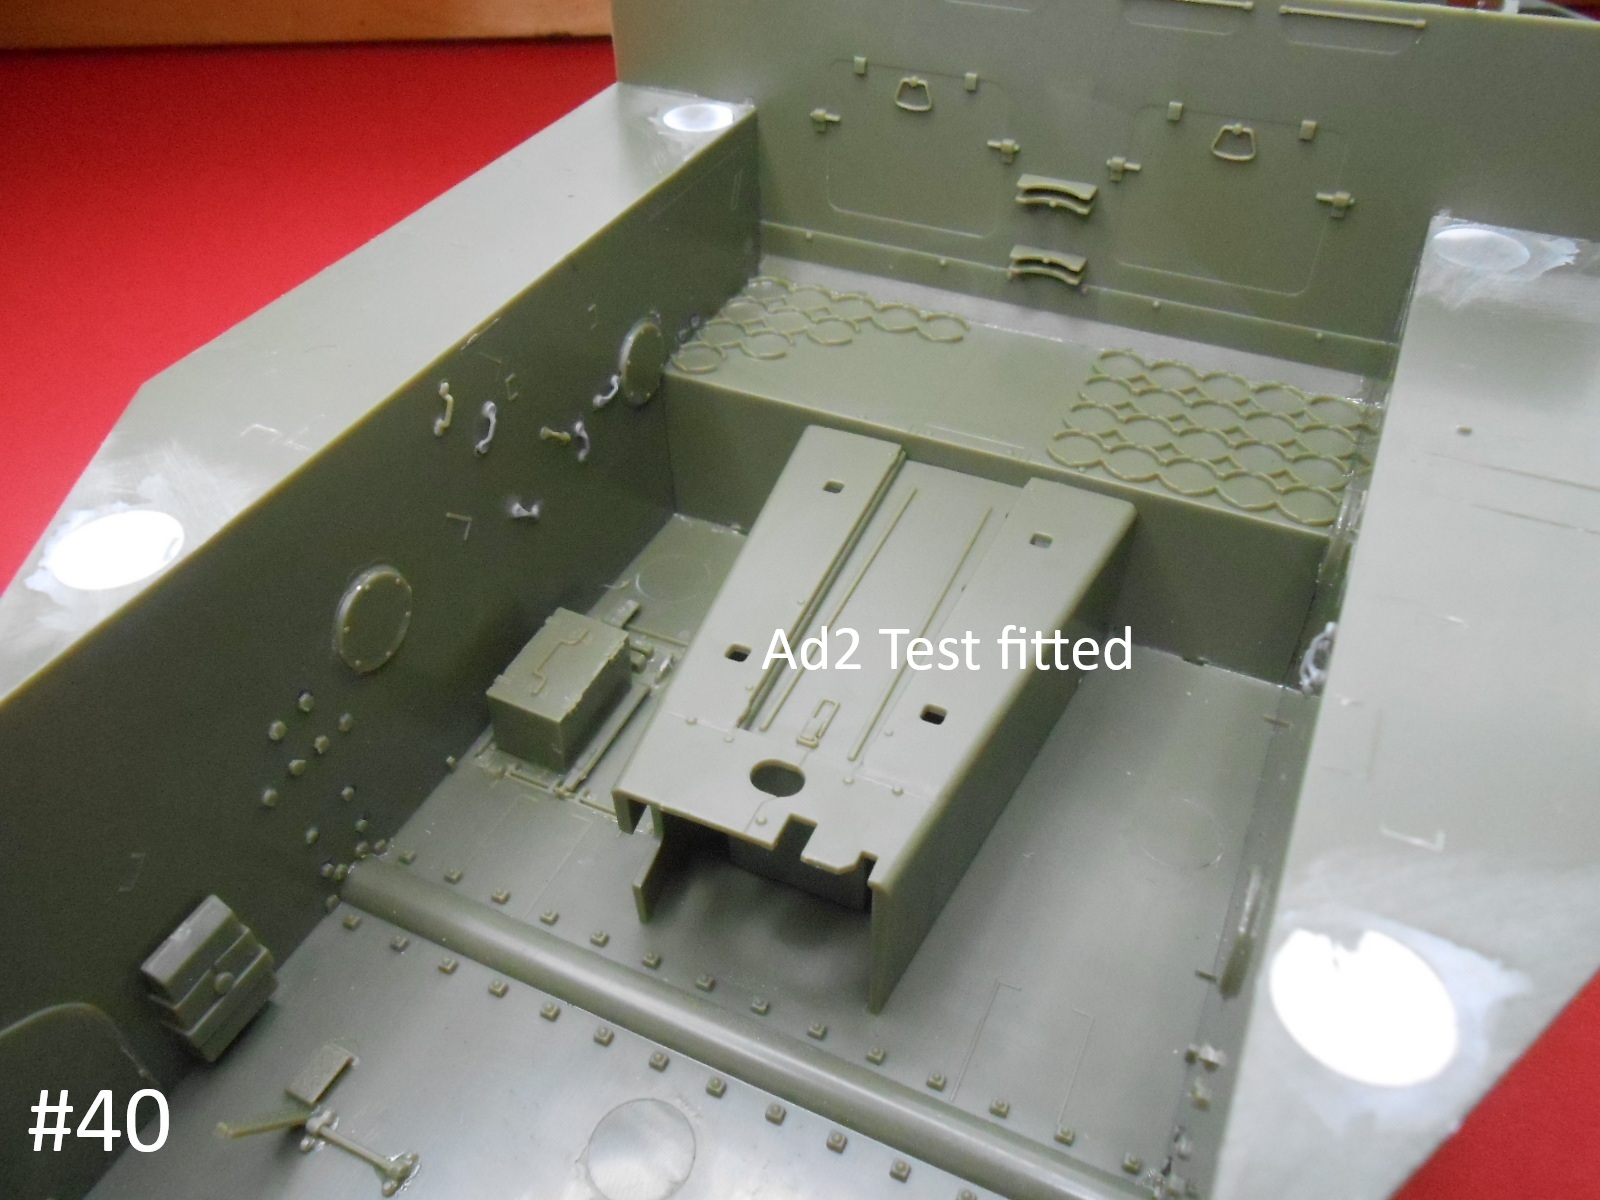
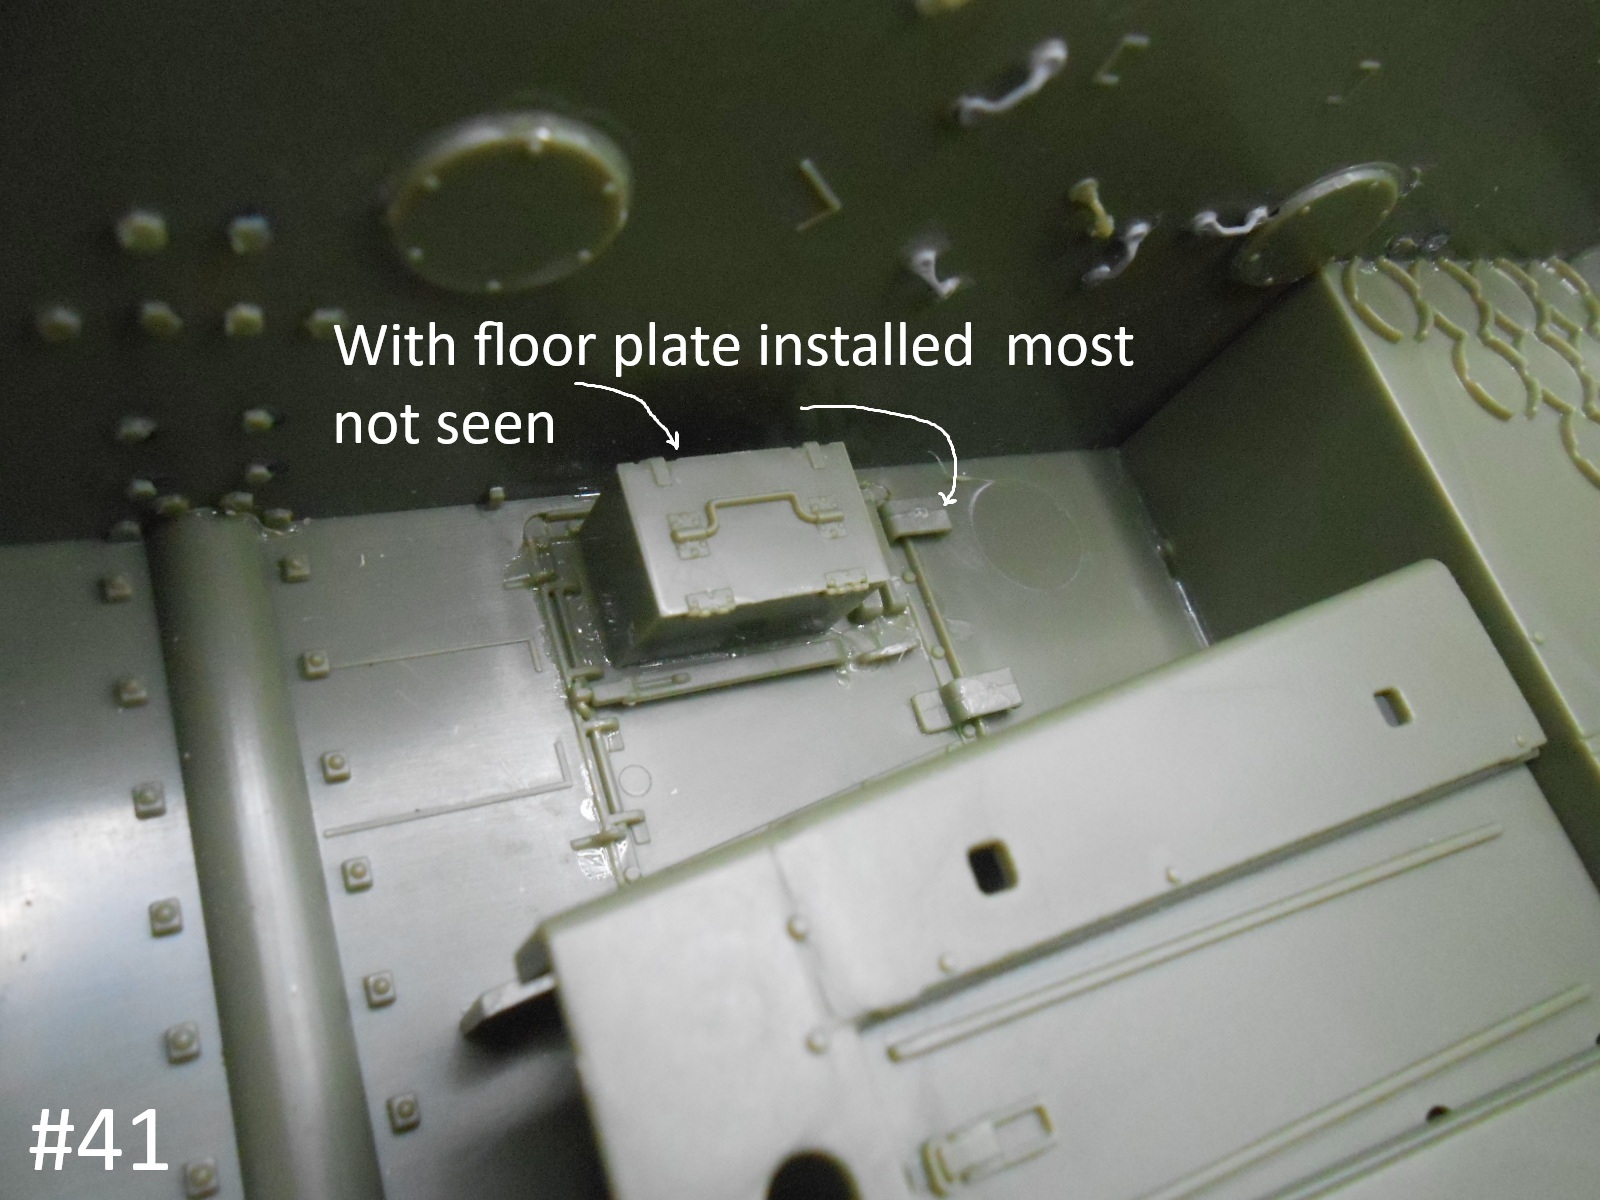
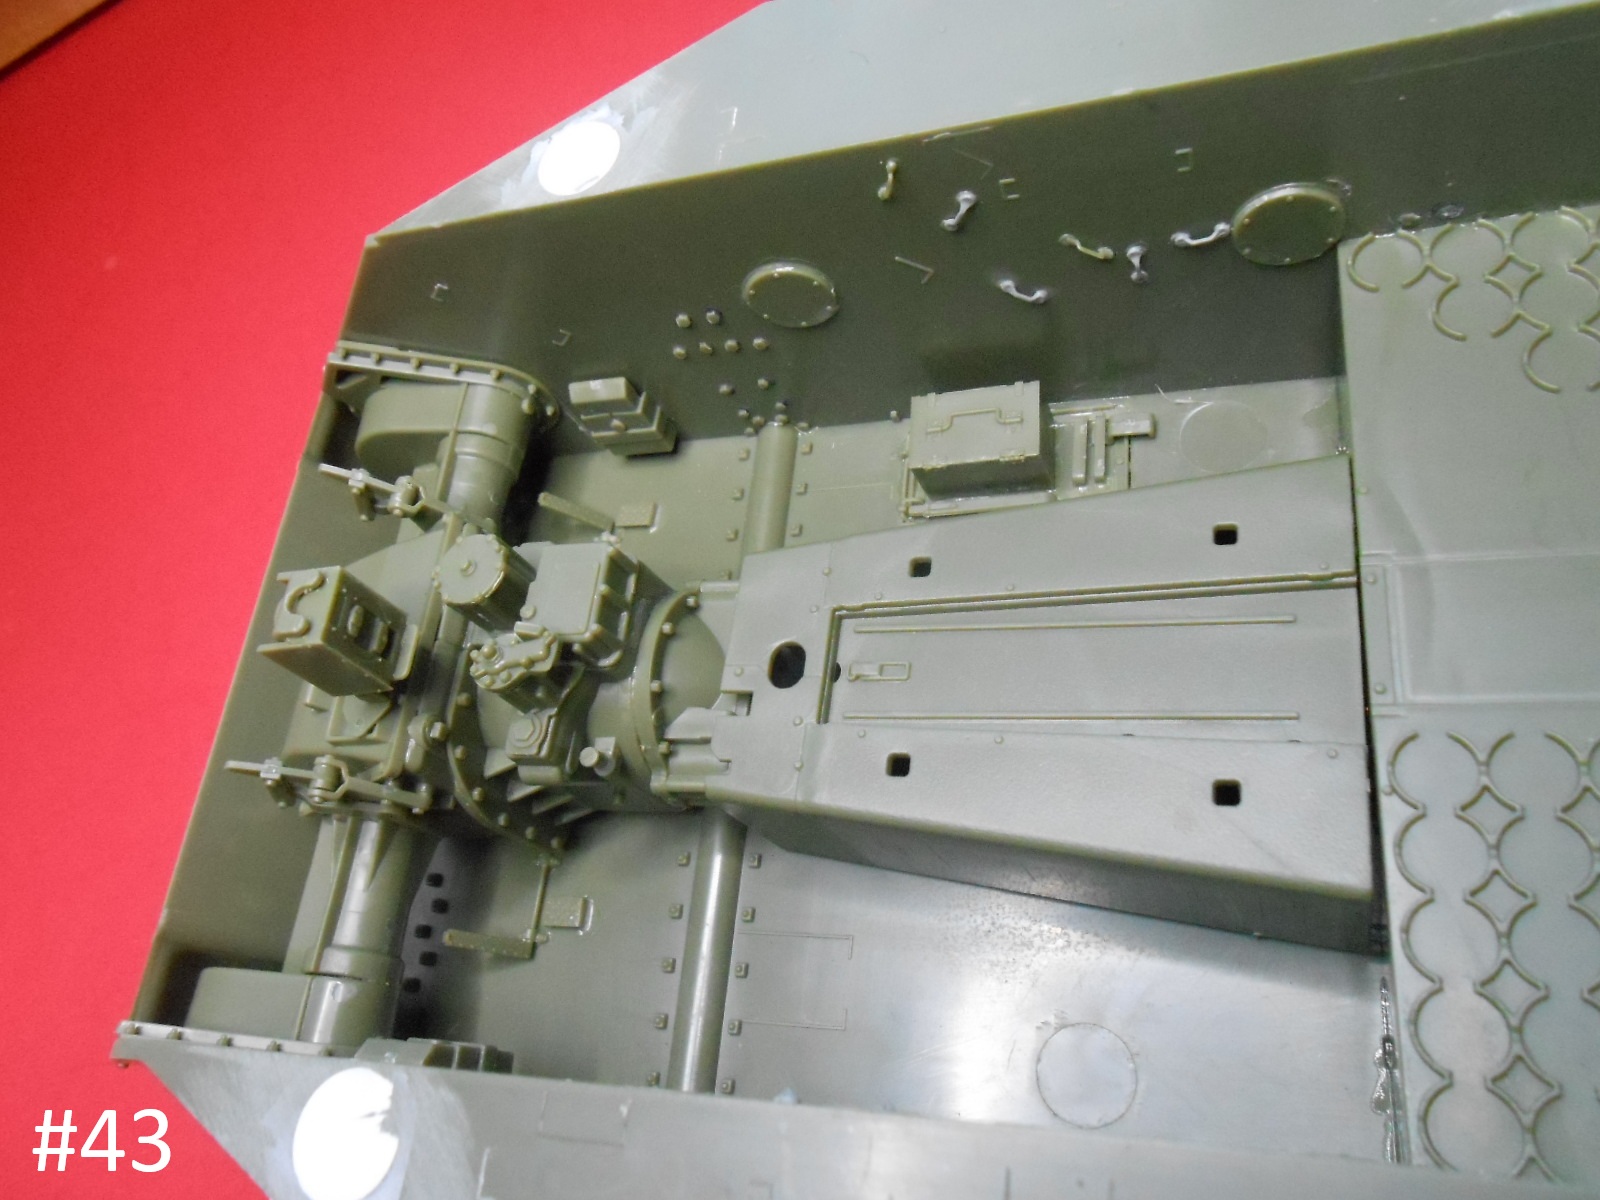
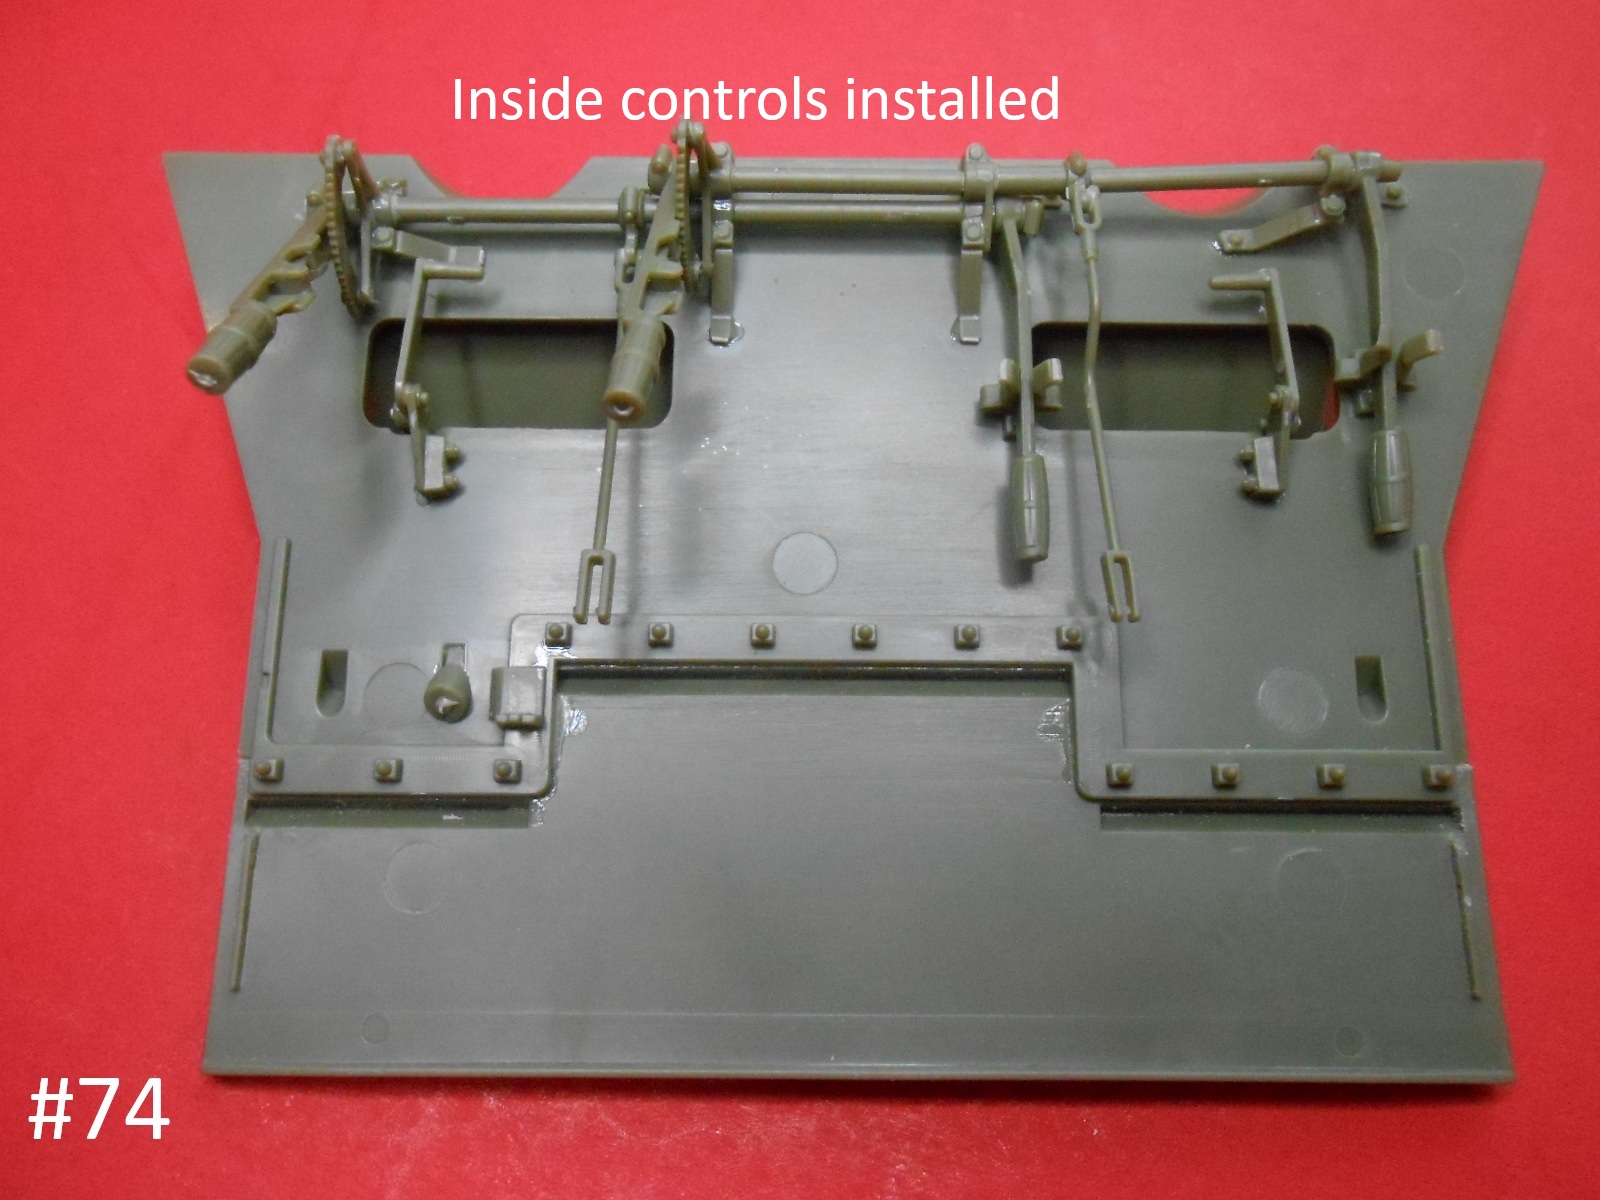
Thanks, this is a very complicated kit. I’m working on the hull interior, and everything has ti be installed in a certain order or it’s impossible.
This will all work out in the end.
Regards
Donald
1 Like
Great build Donald. The detailing is really excellent.
1 Like
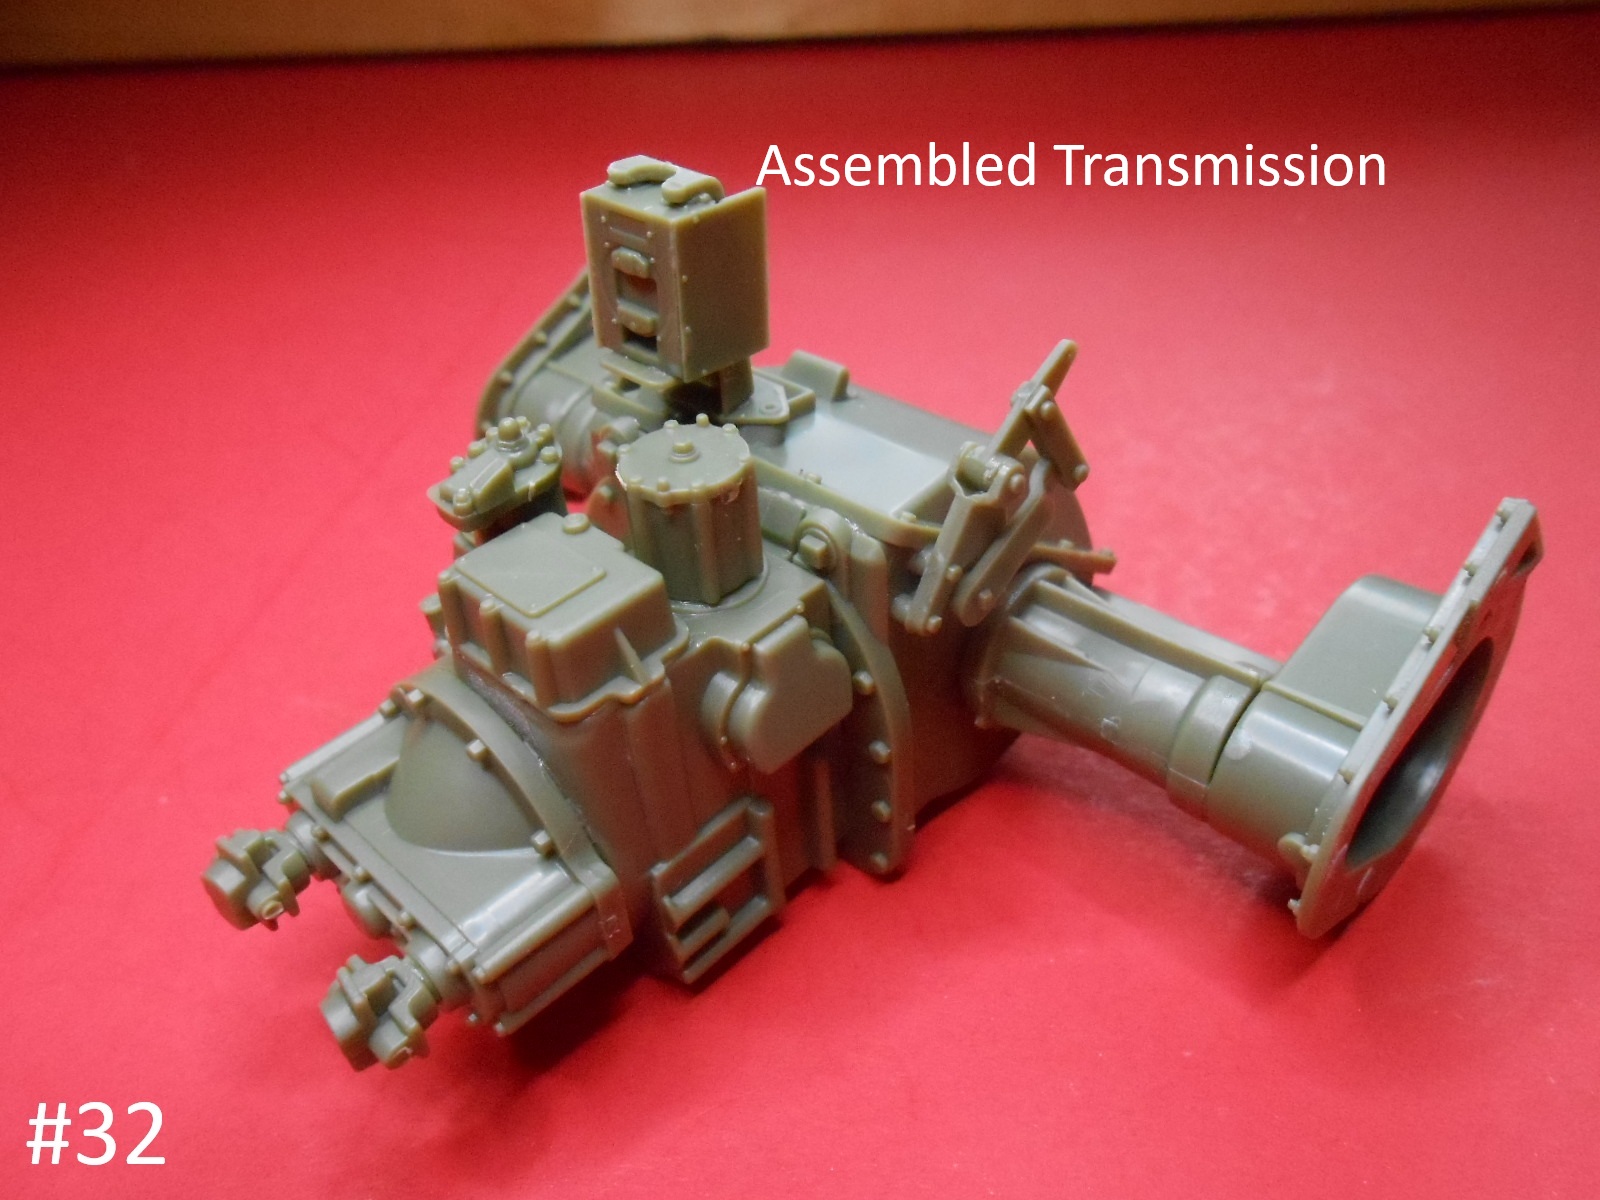
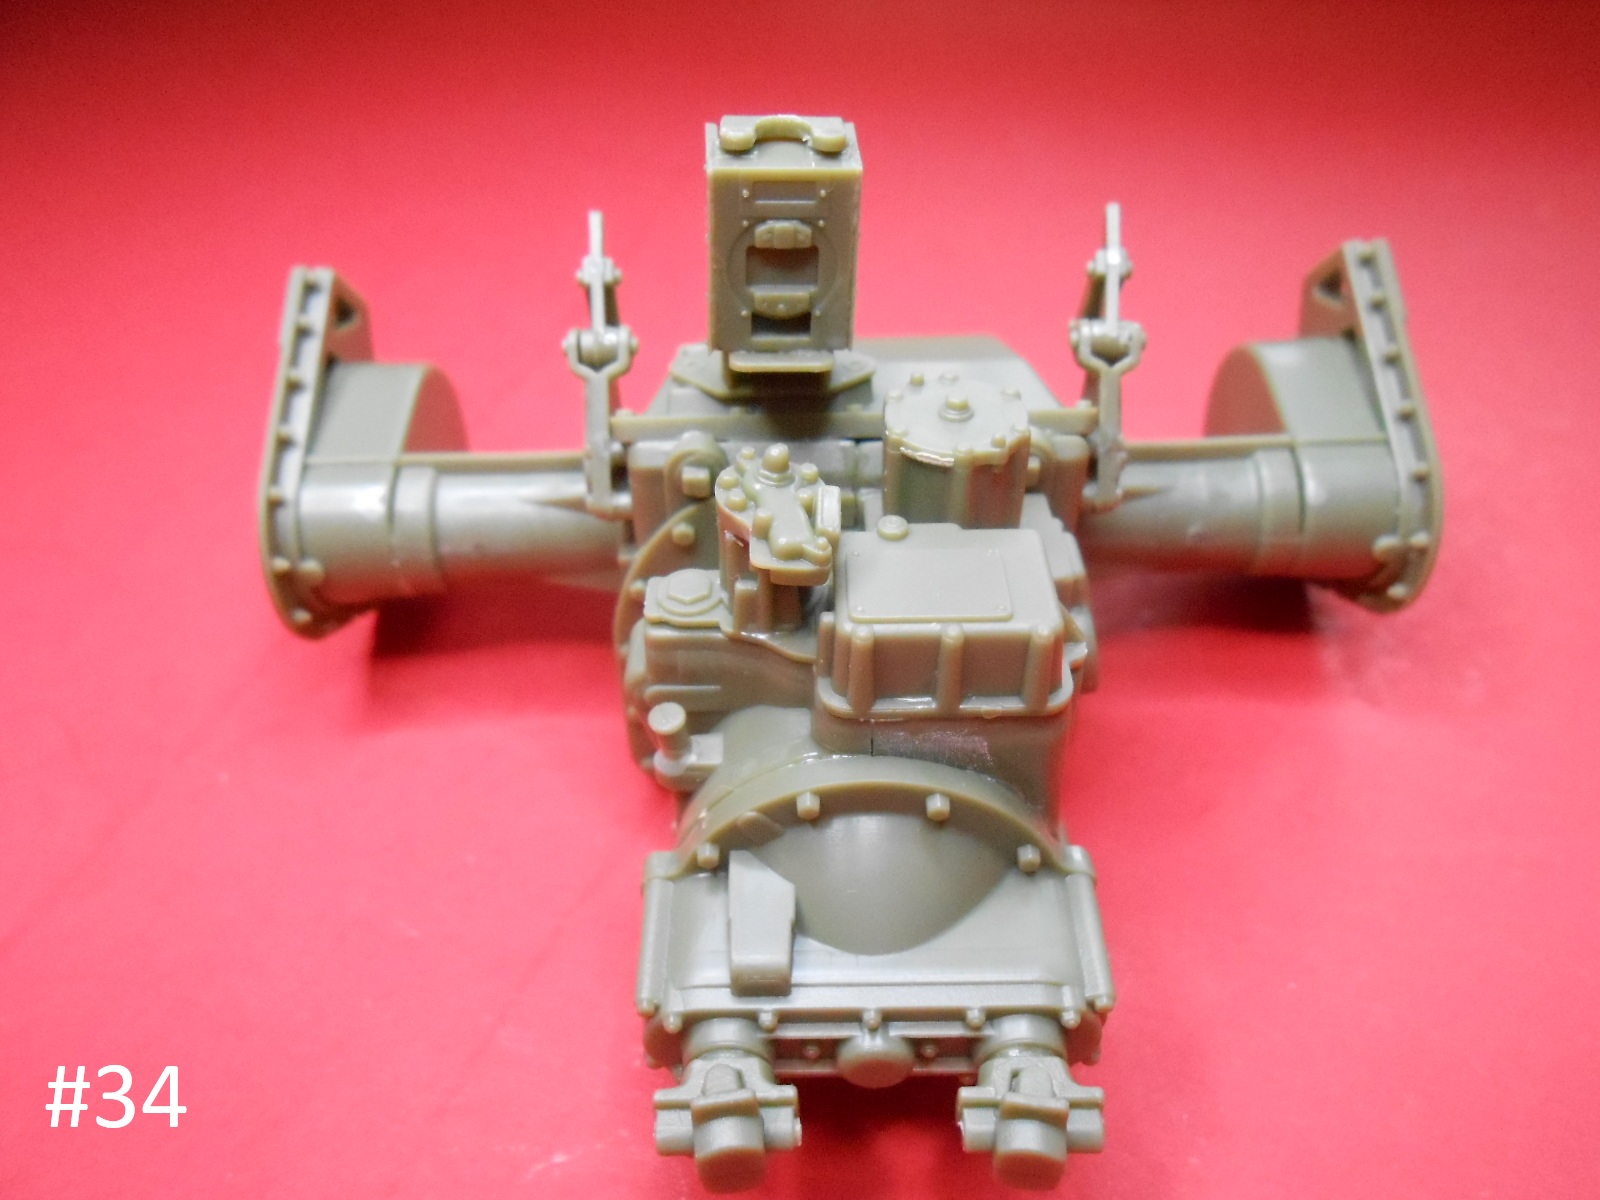
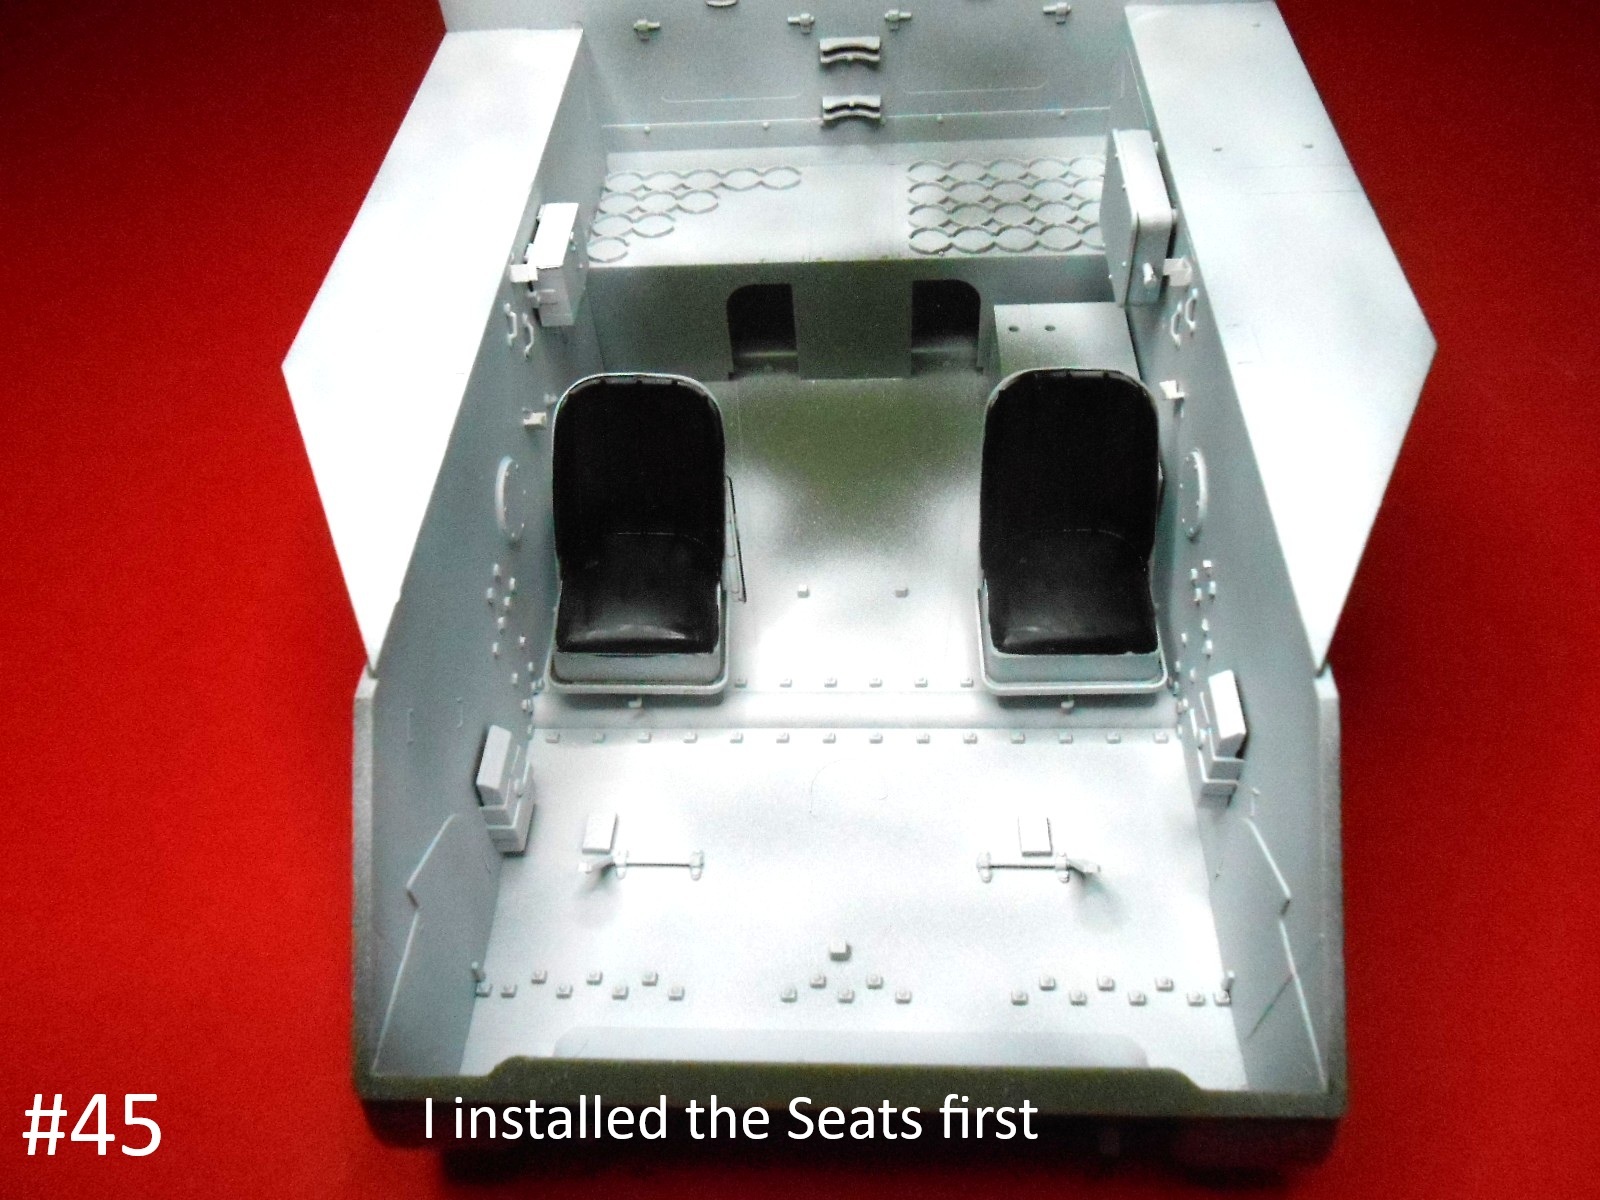
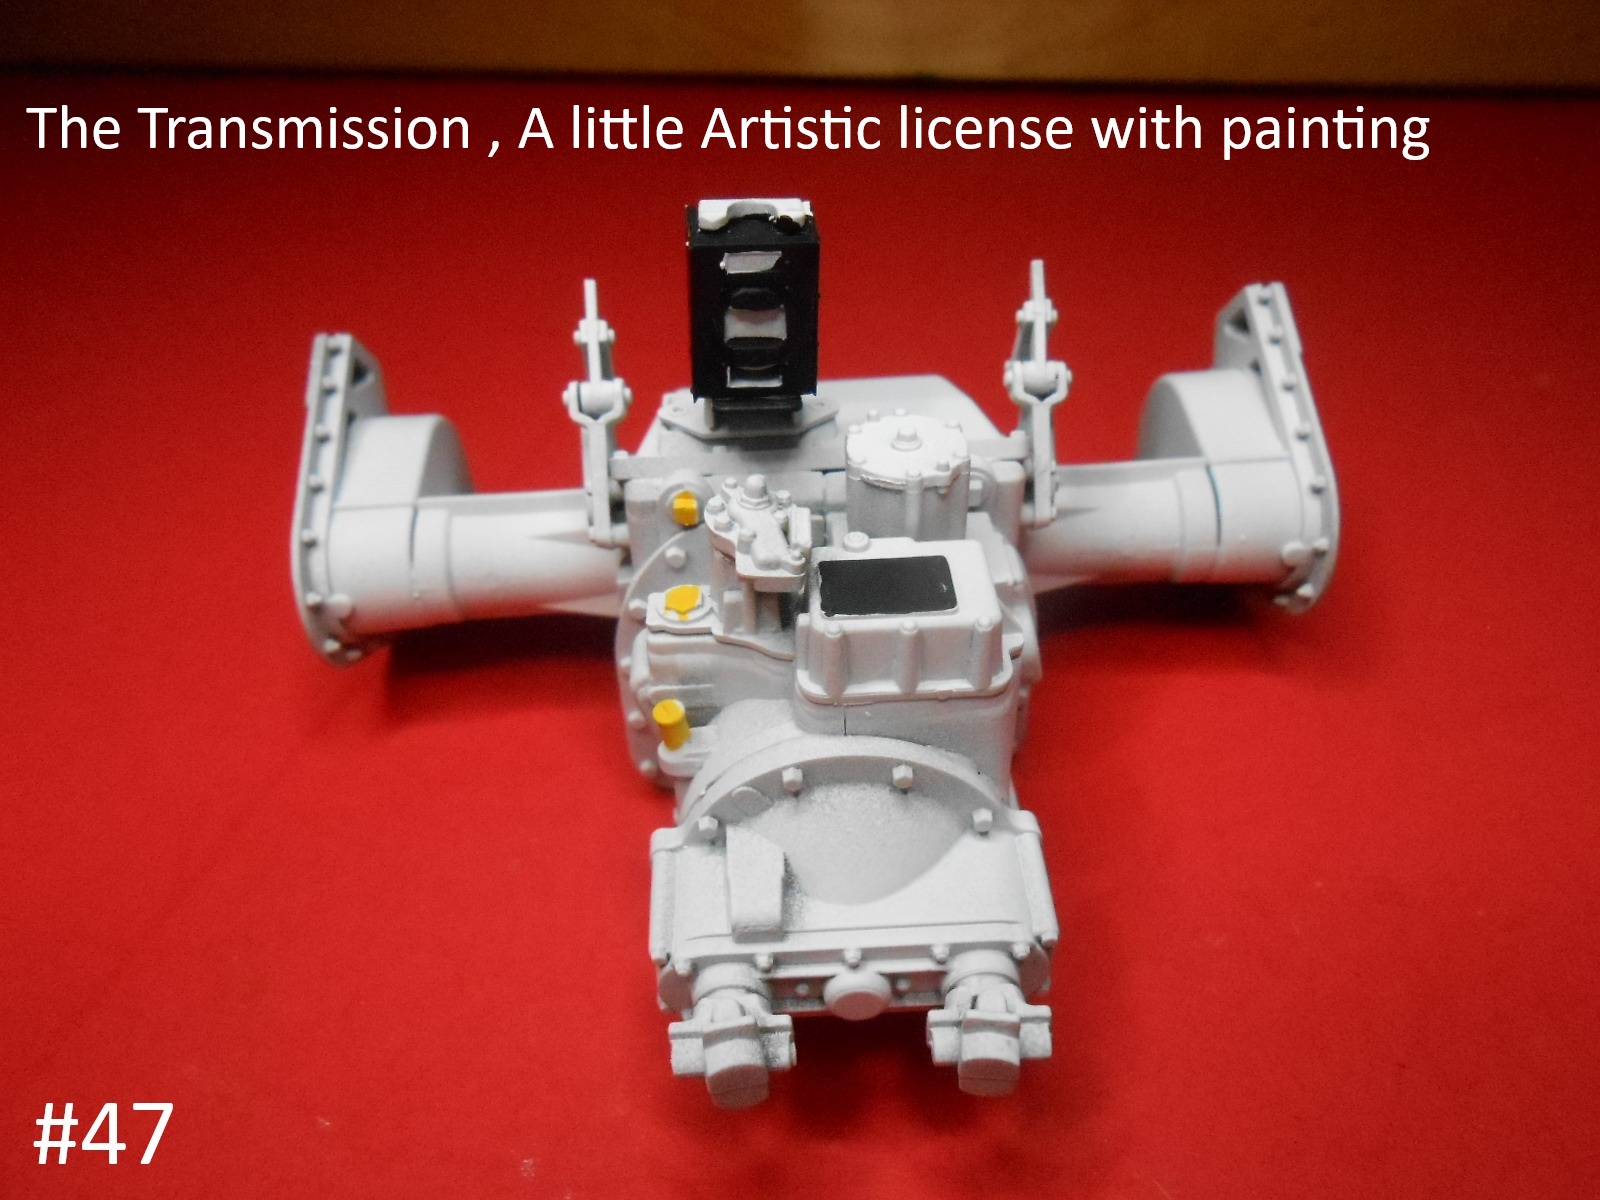
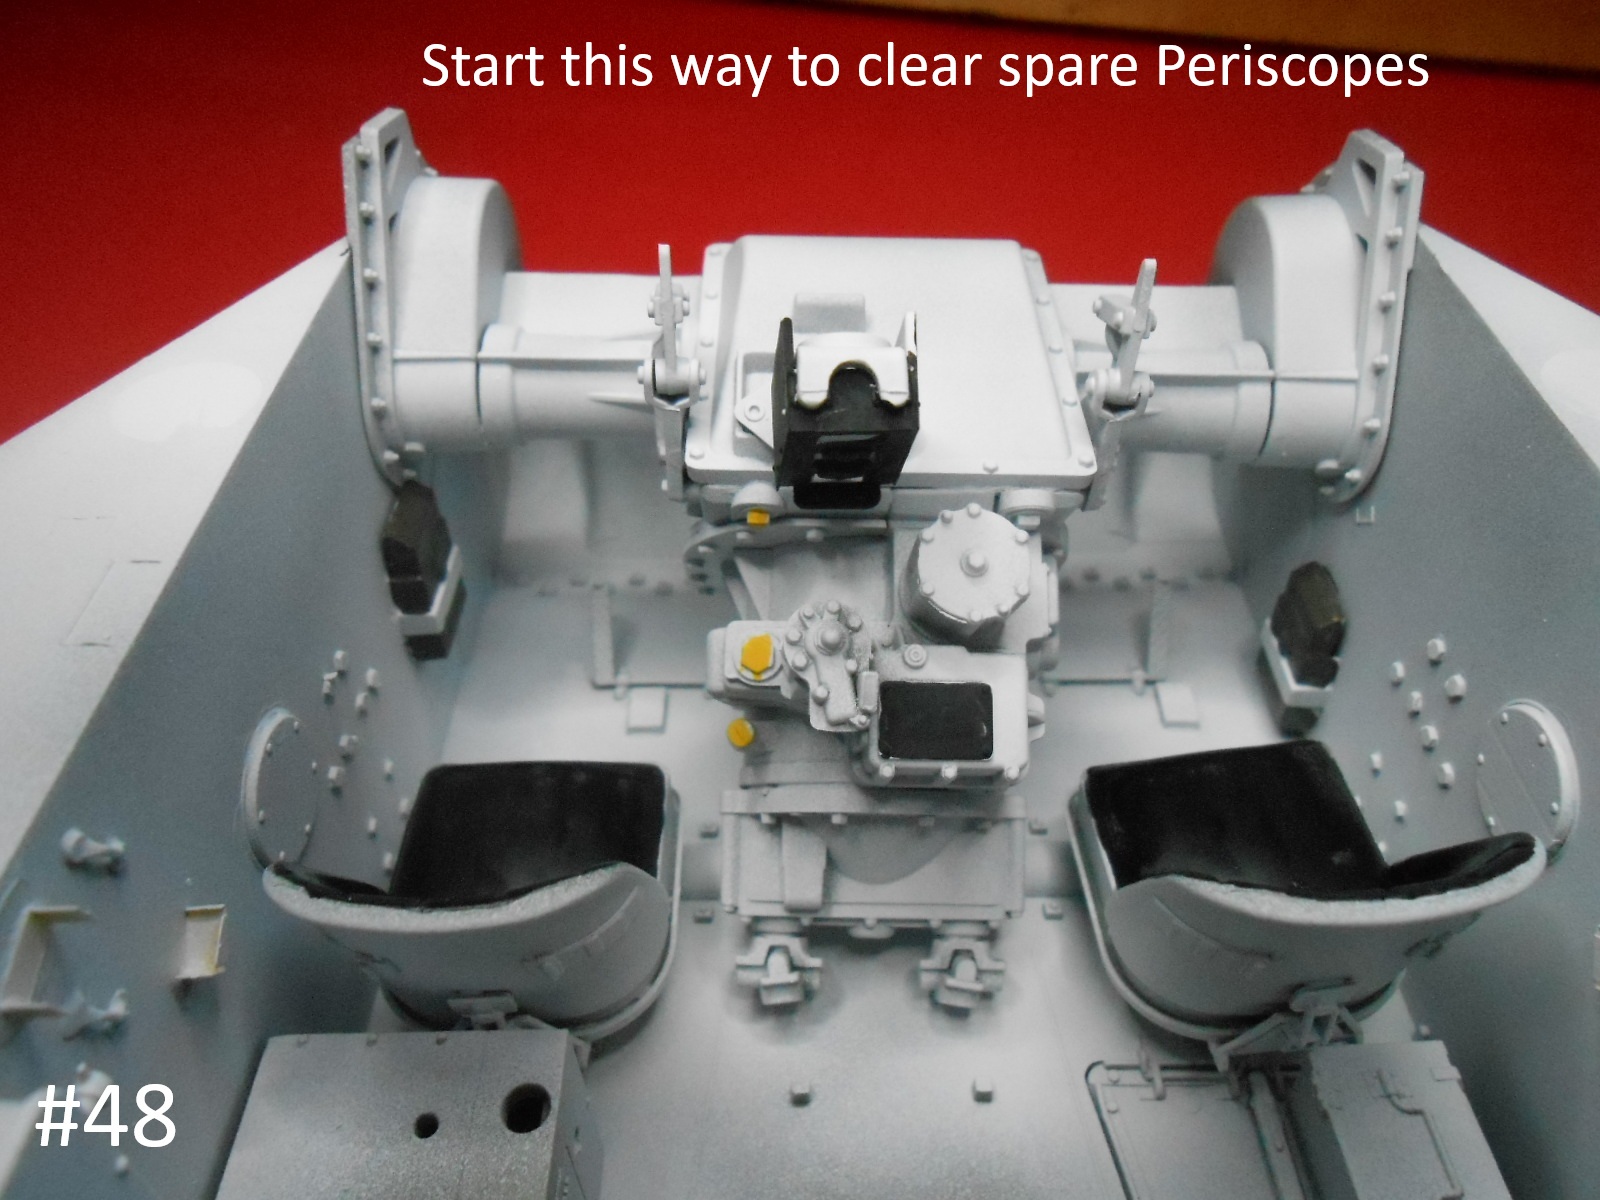
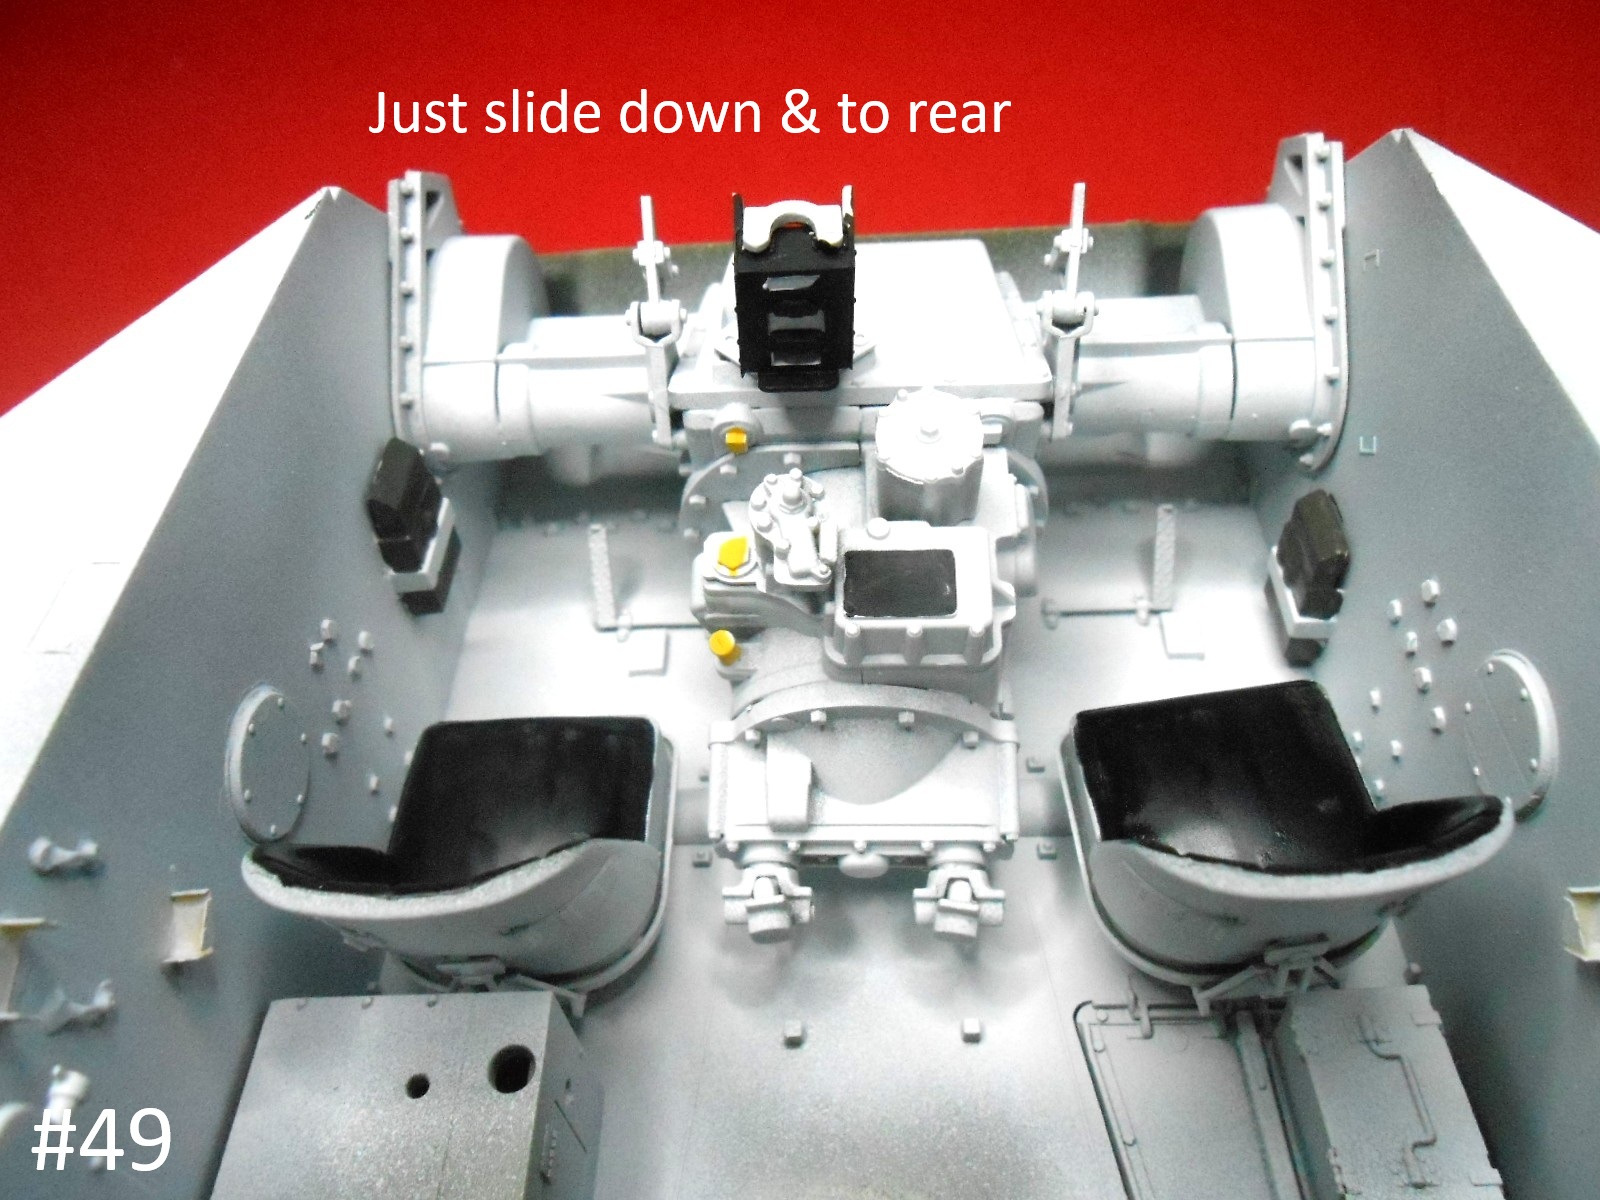
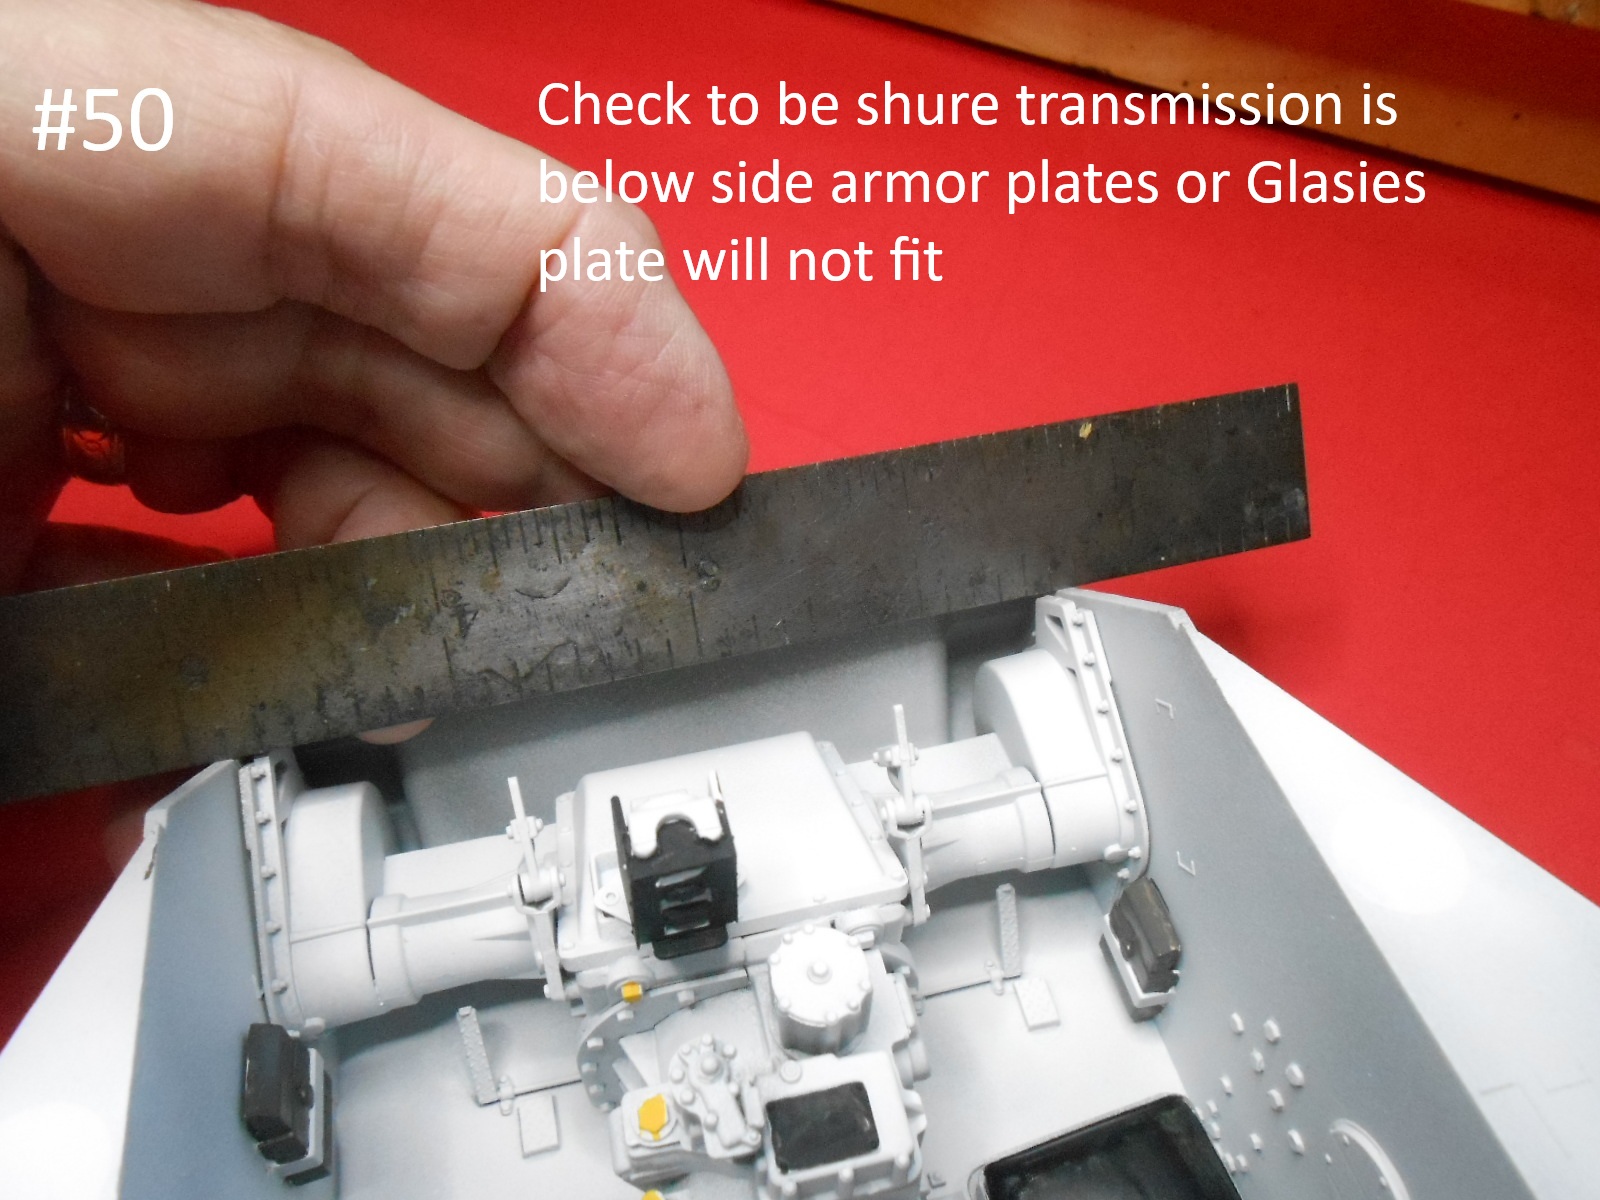
I’m Installing the Seats Transmission and decking today, I’ll have picks. later showing in what order I installed them
Regards
Donald
2 Likes
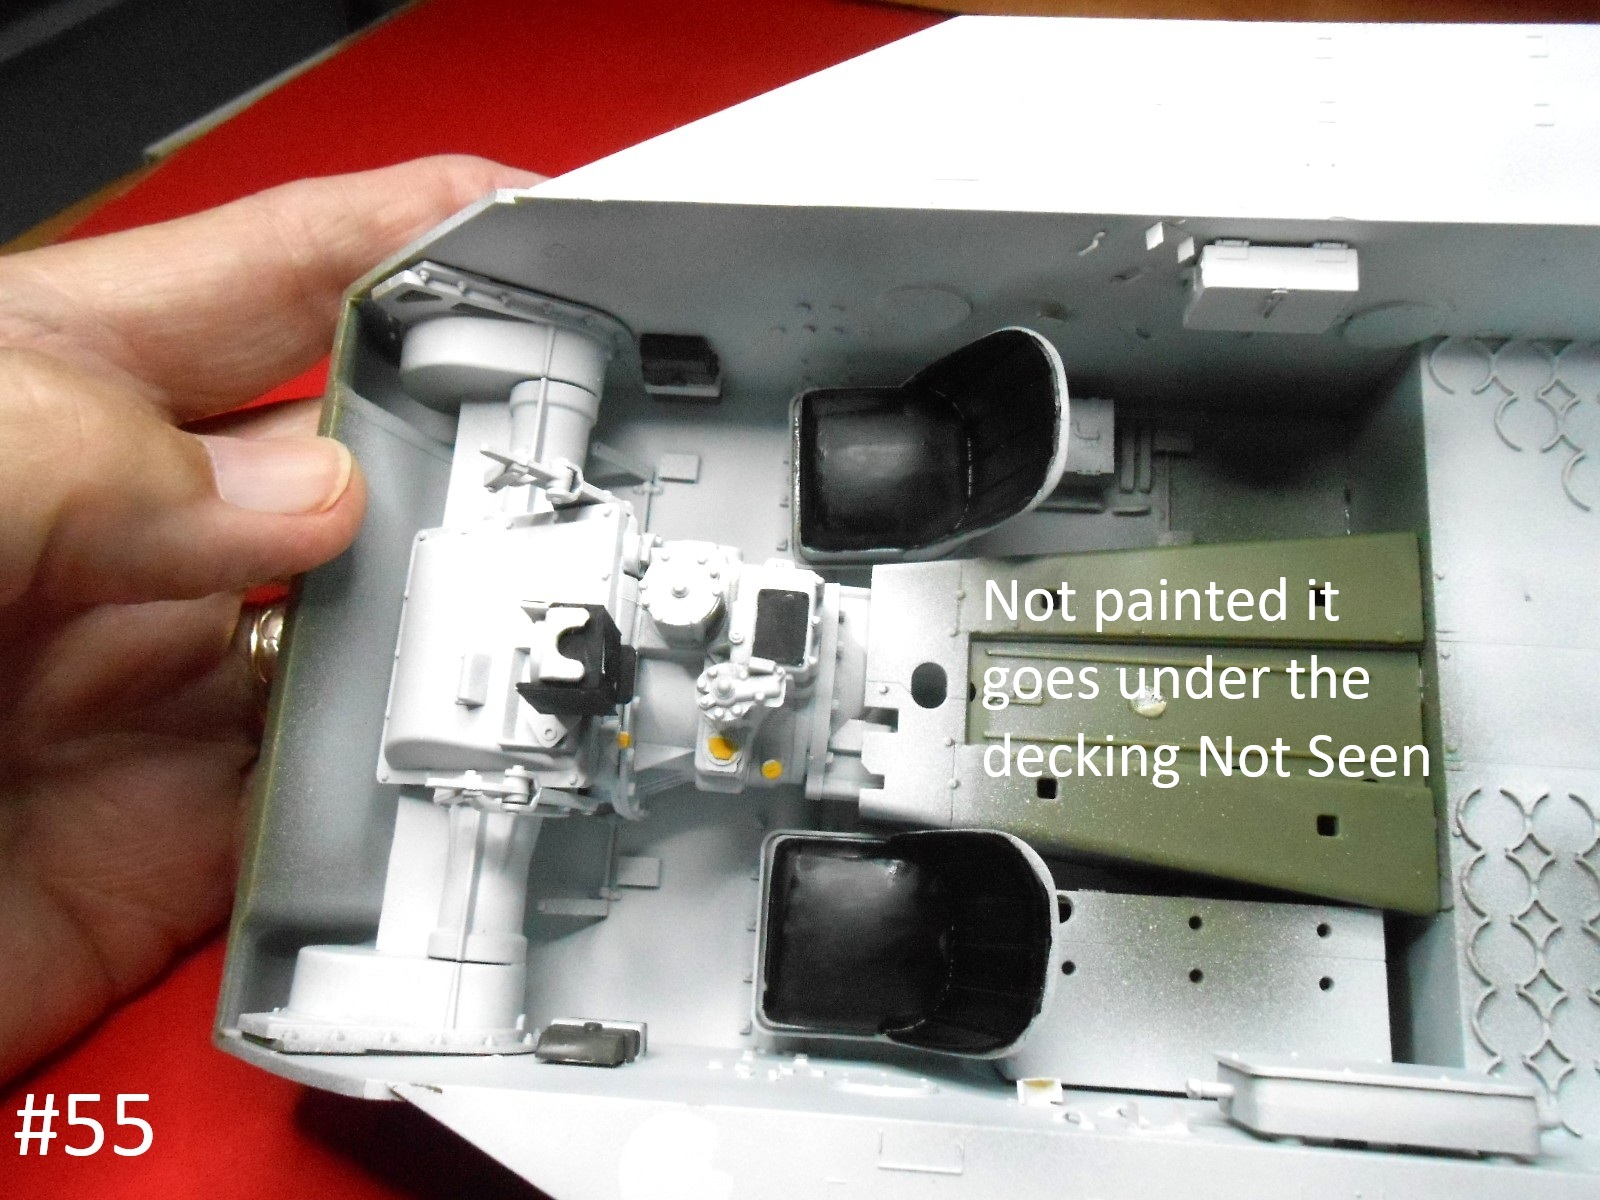
I got finished a little faster than I expected.
I’m Finished for Today.
Donald
10 Likes
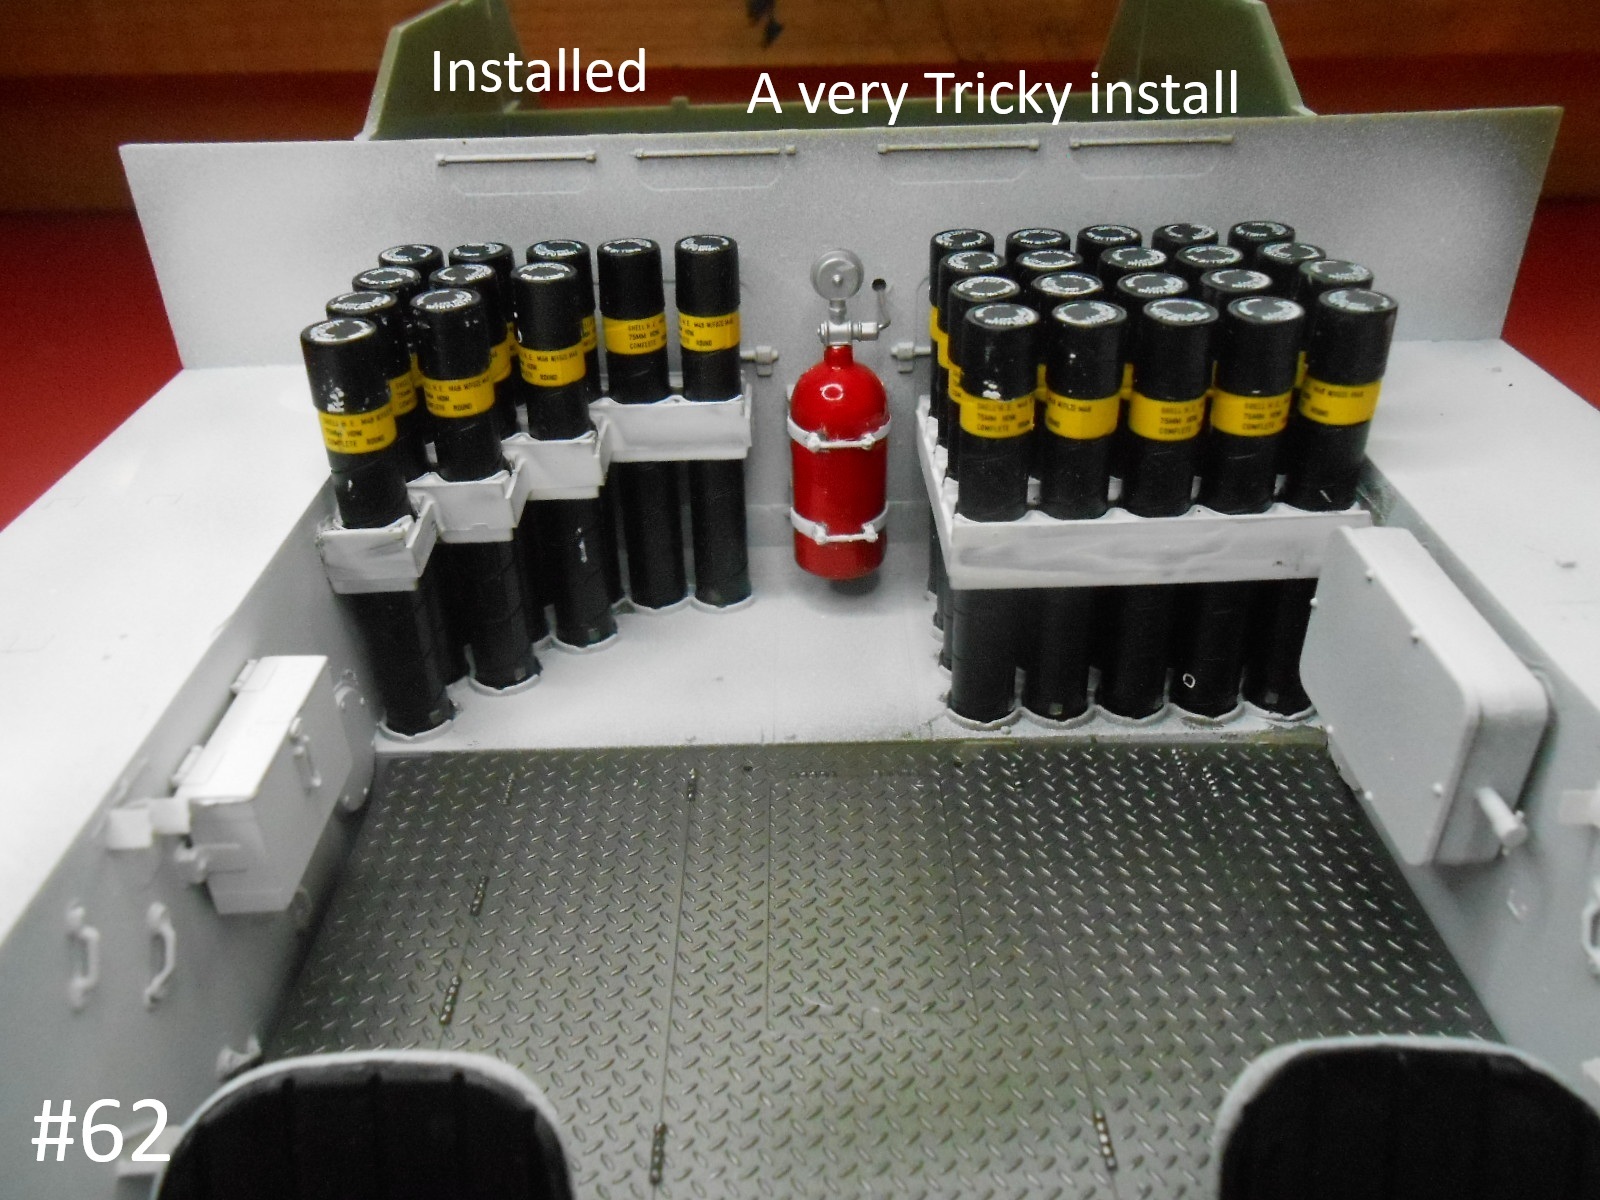
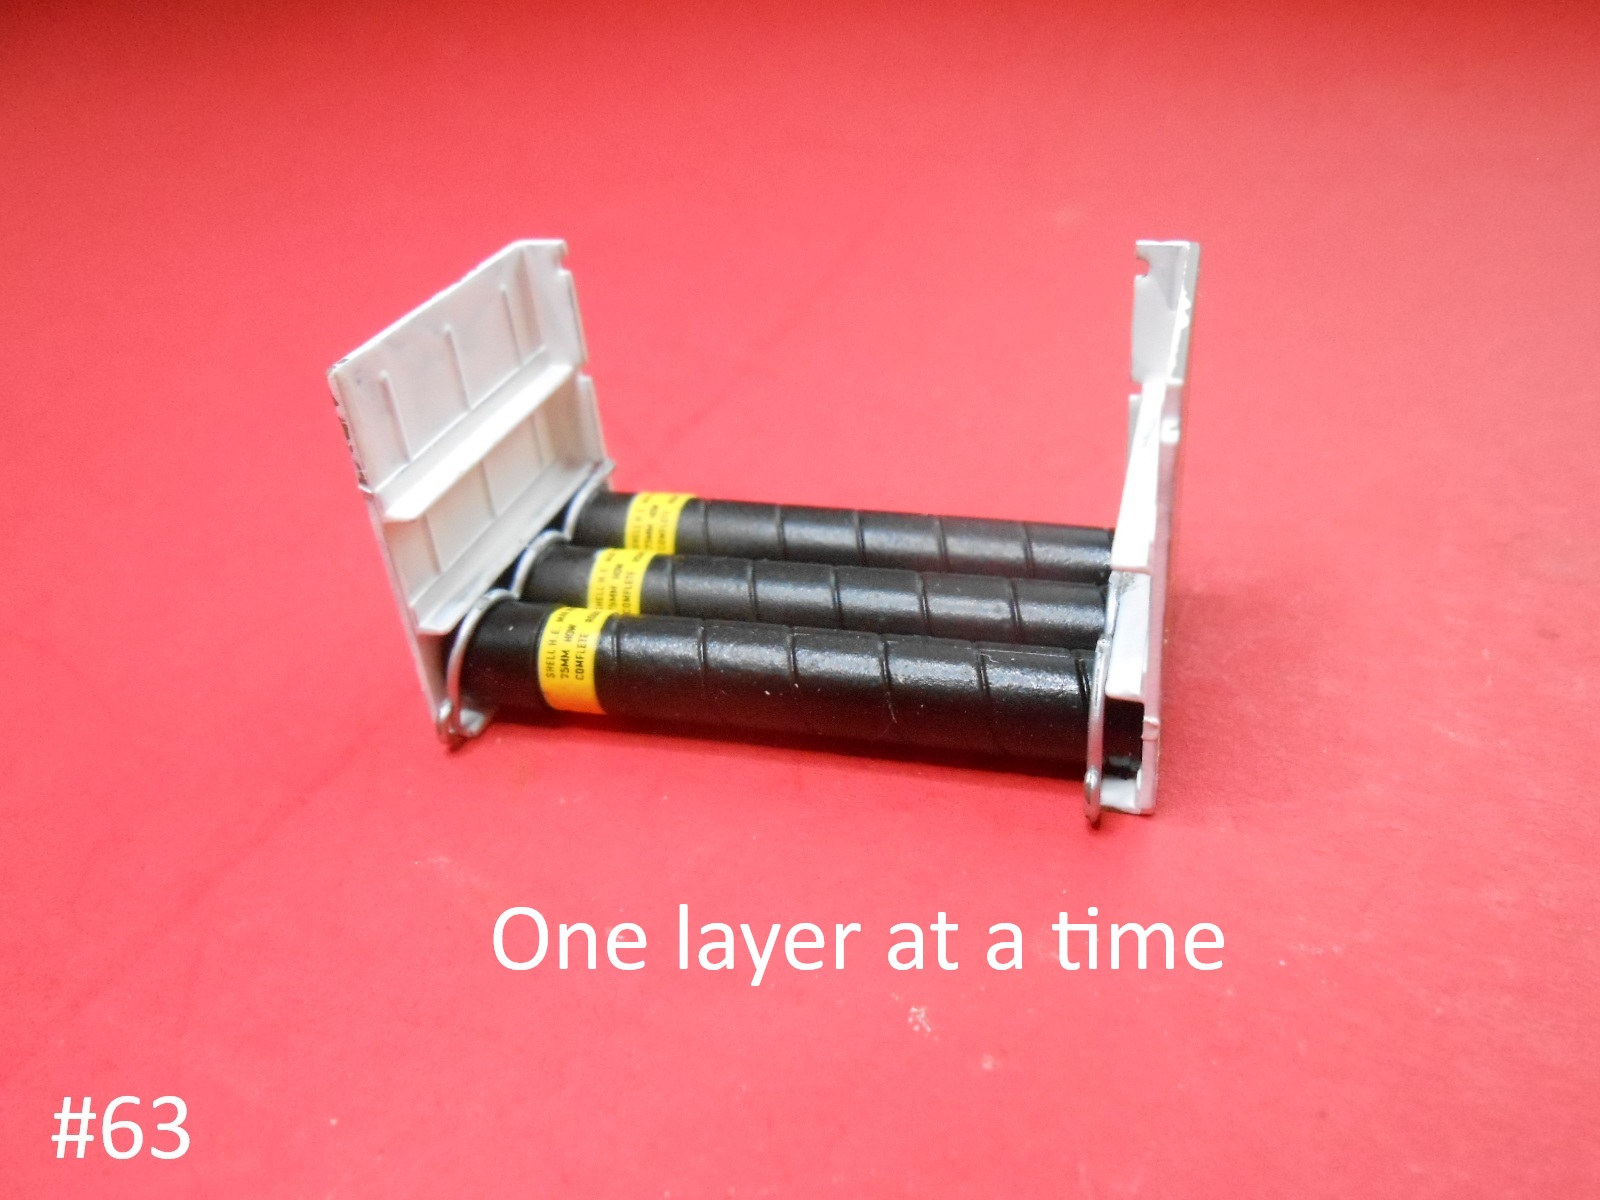
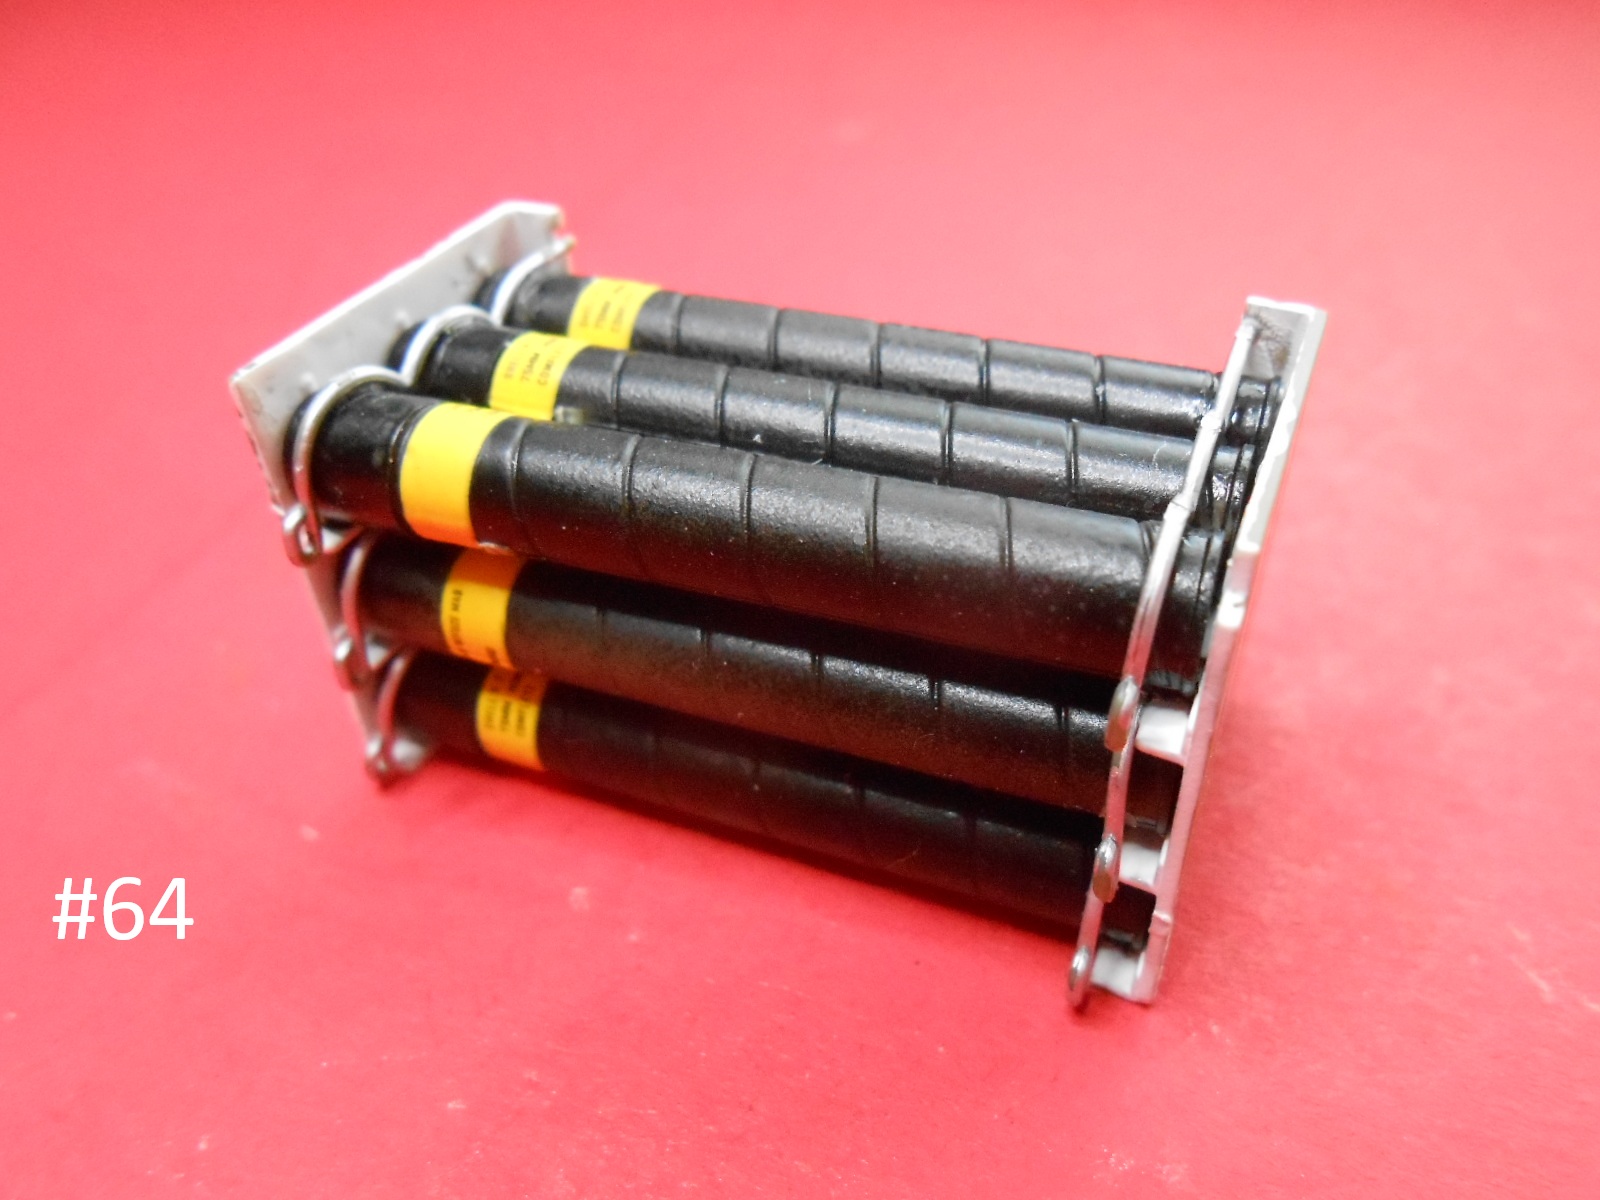
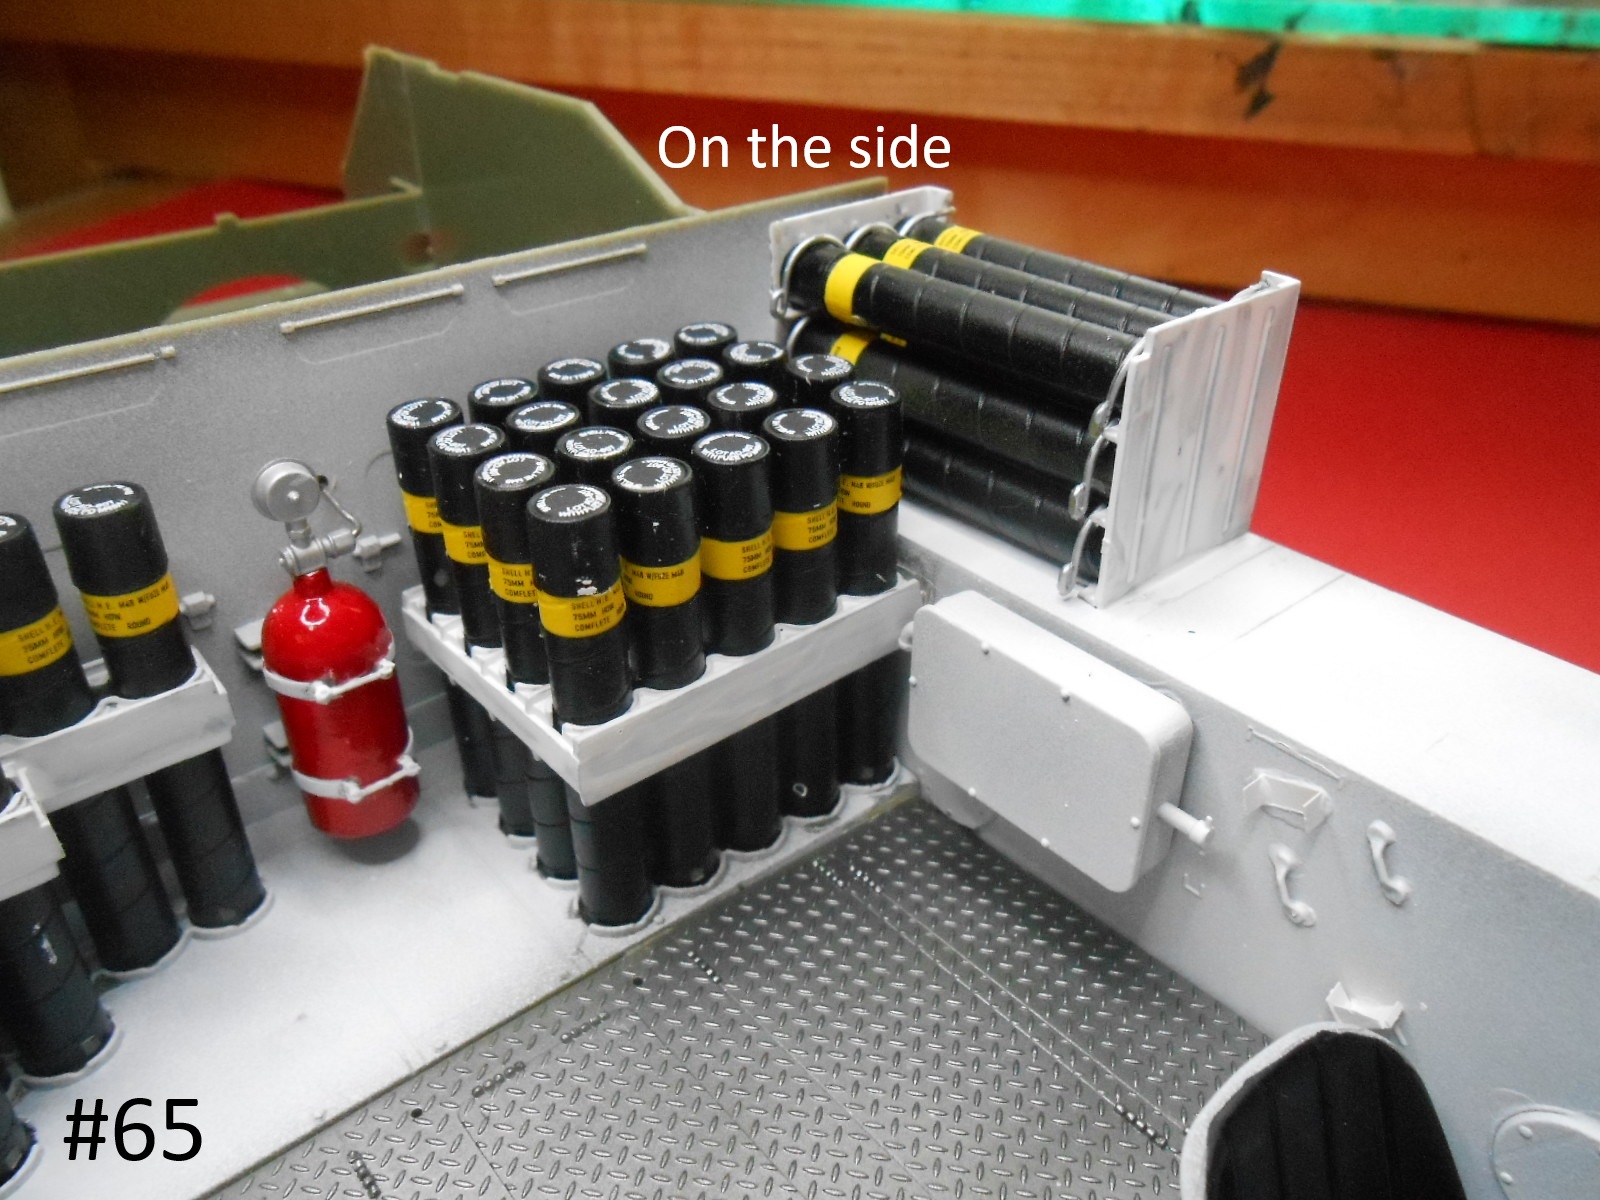
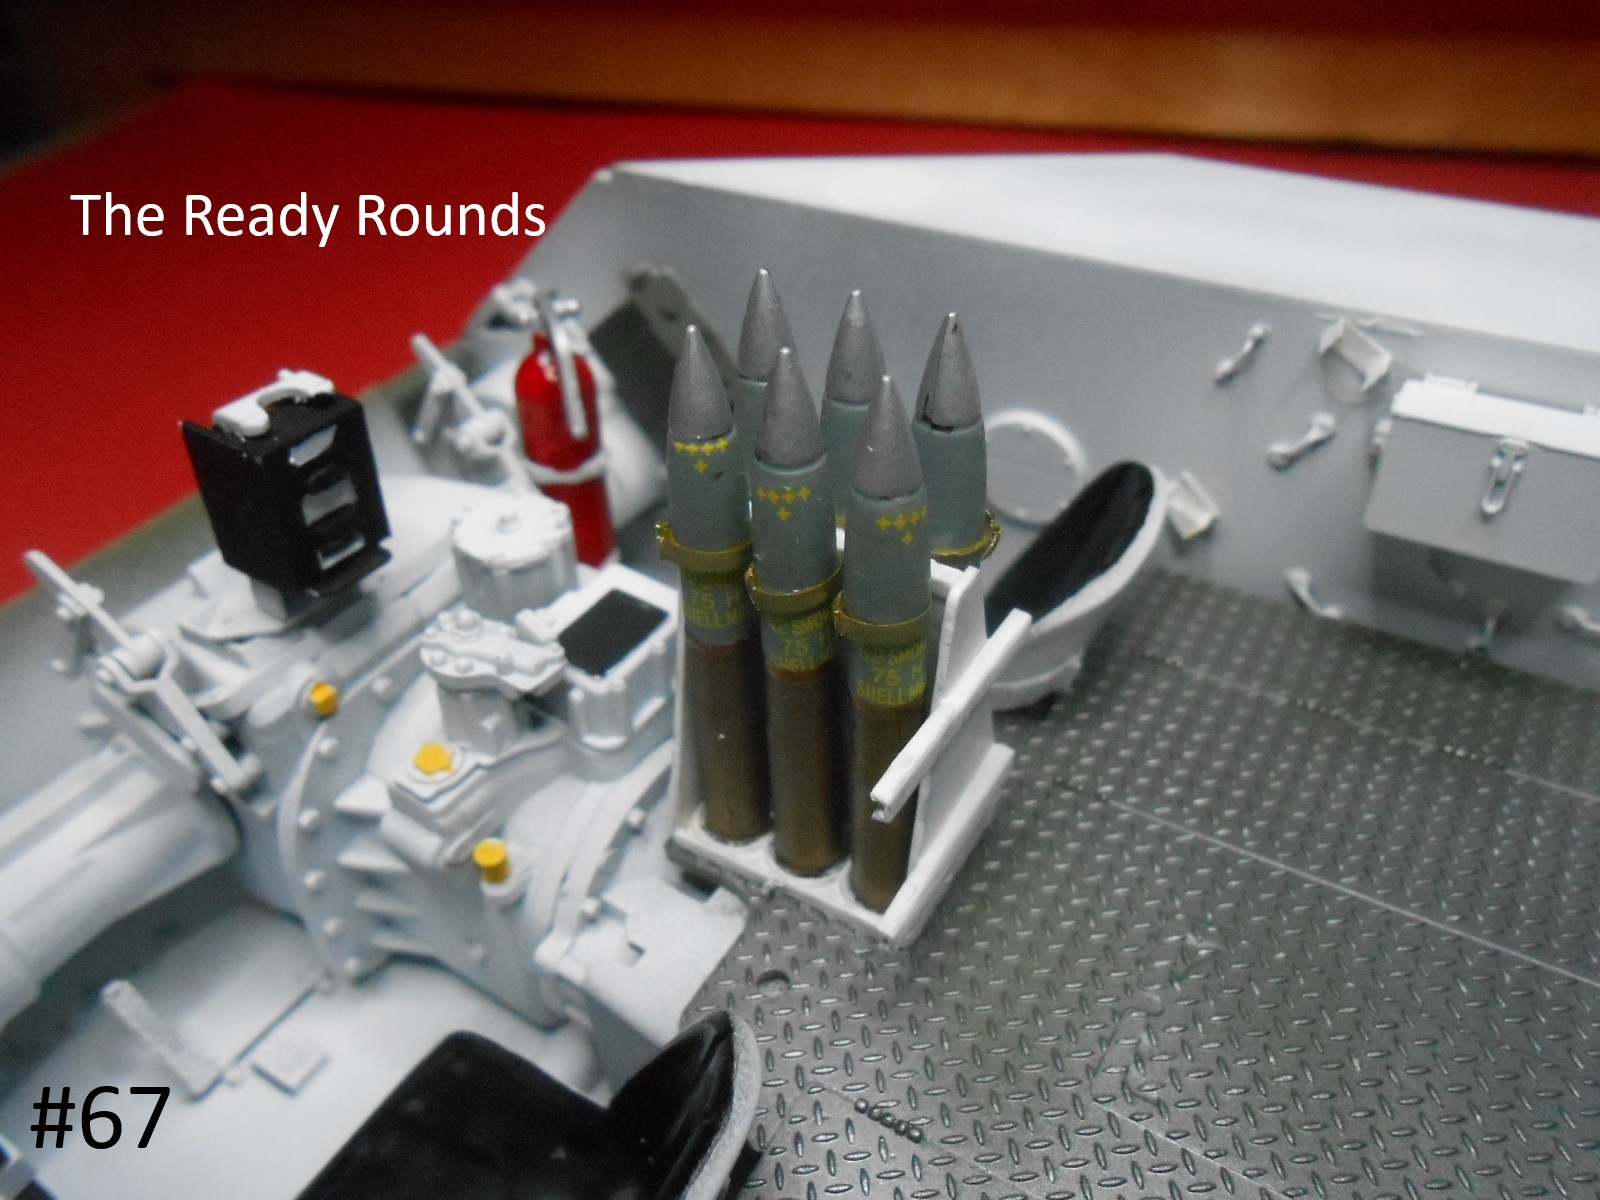
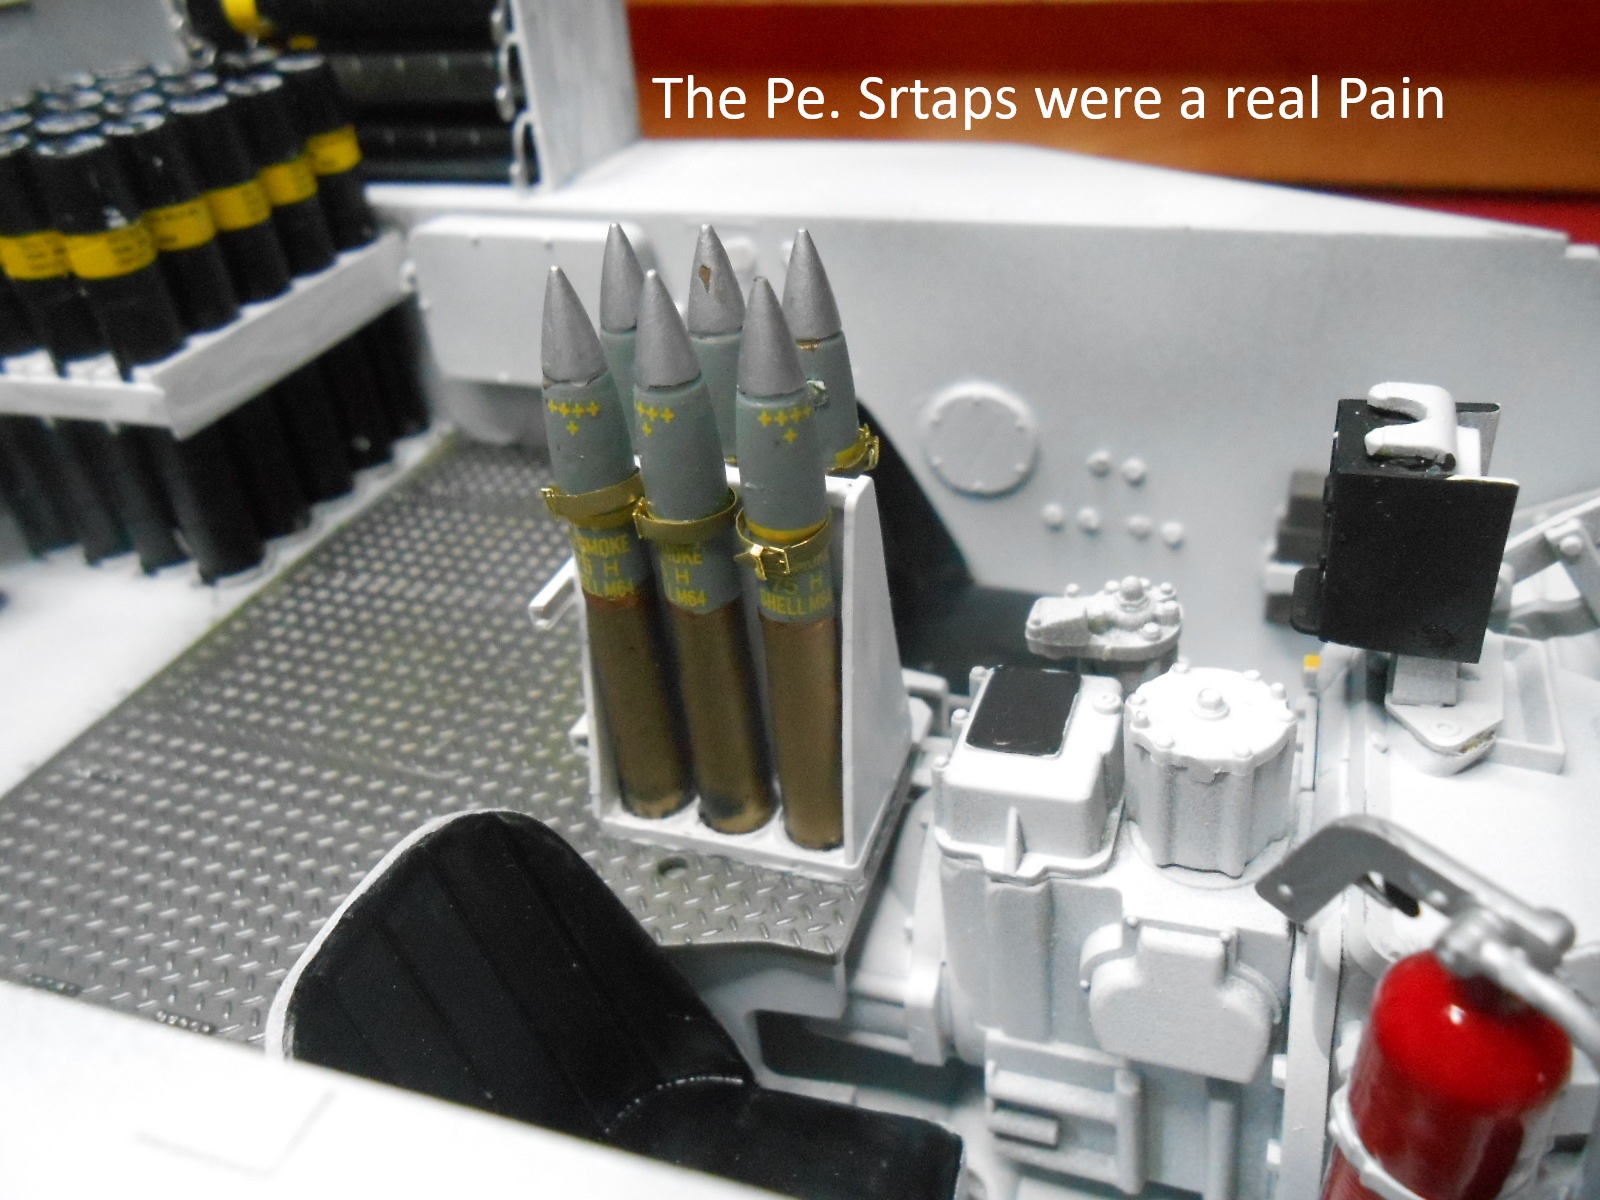
I have the major part of the Munitions installed.
The instructions have you install the rounds from the top, This can’t be done as the bottom of the rounds are larger than the Casings, even they are a tight fit.
good night.
Donald
10 Likes
The decals certainly add something to the overall look of things. Looking forwards to seeing how she goes. Keep at it Donald.
2 Likes
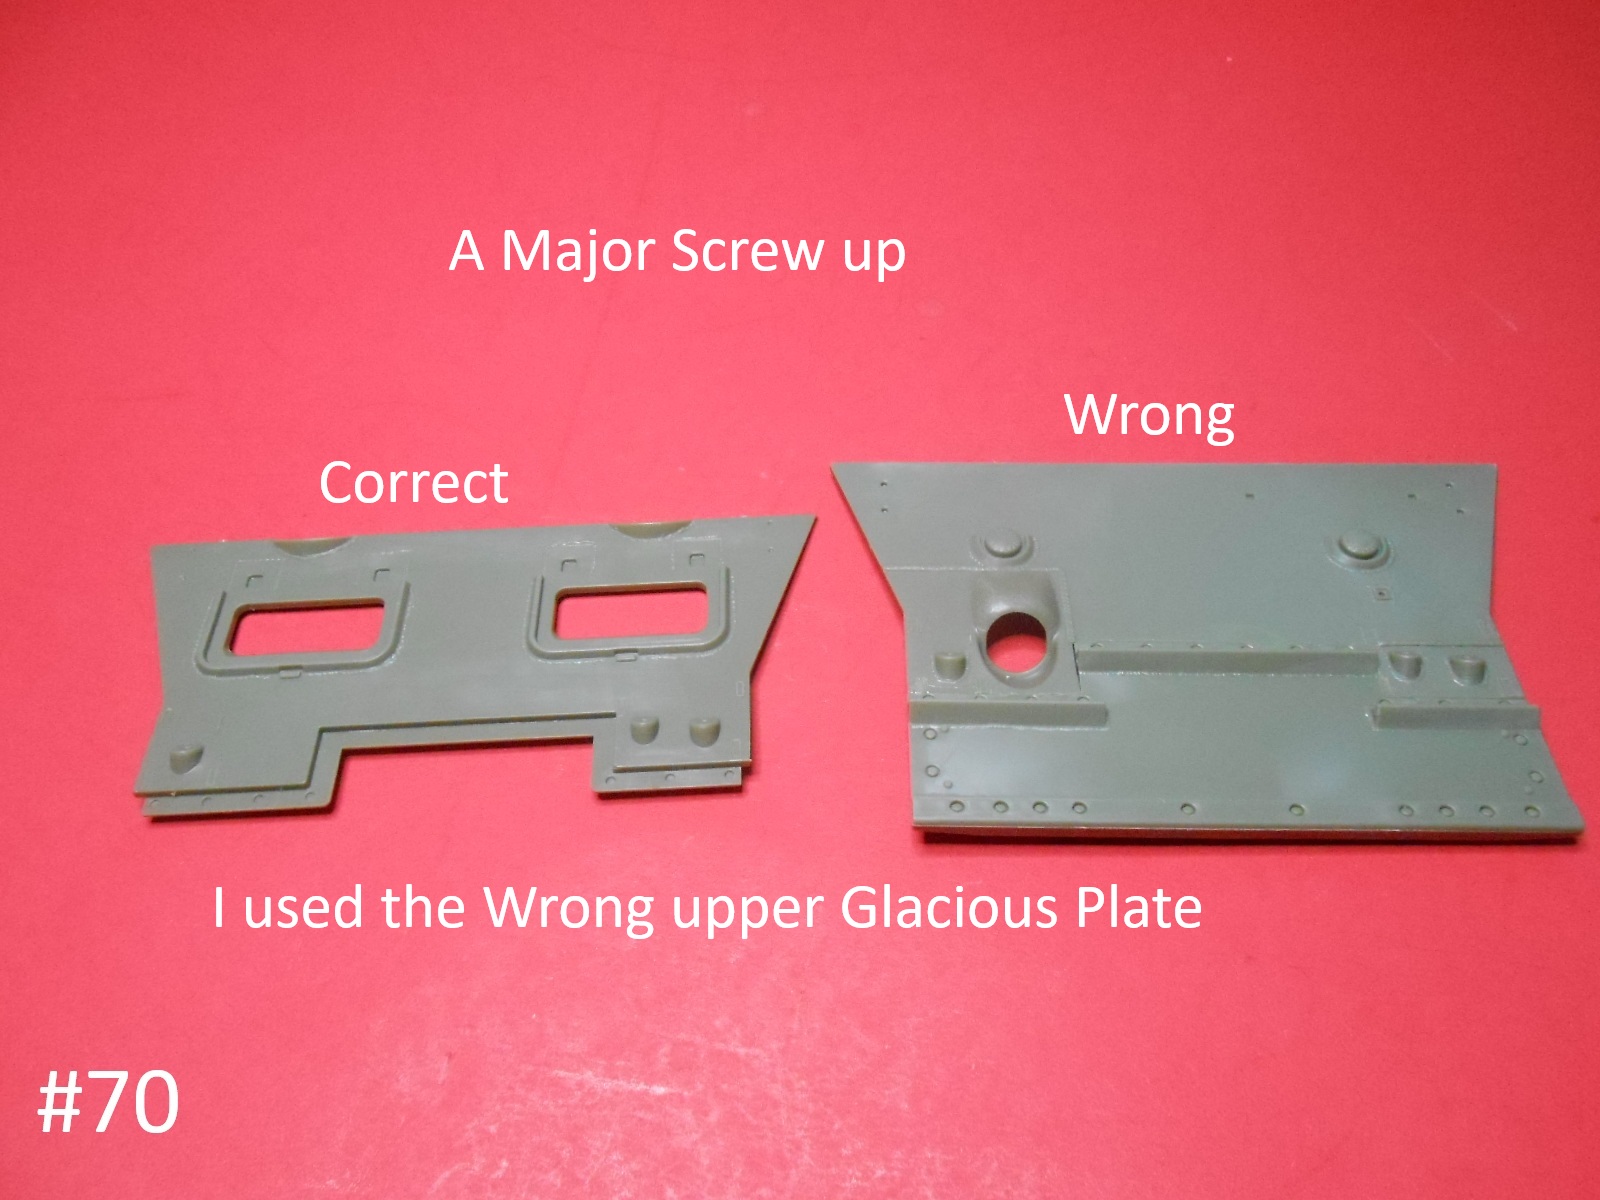
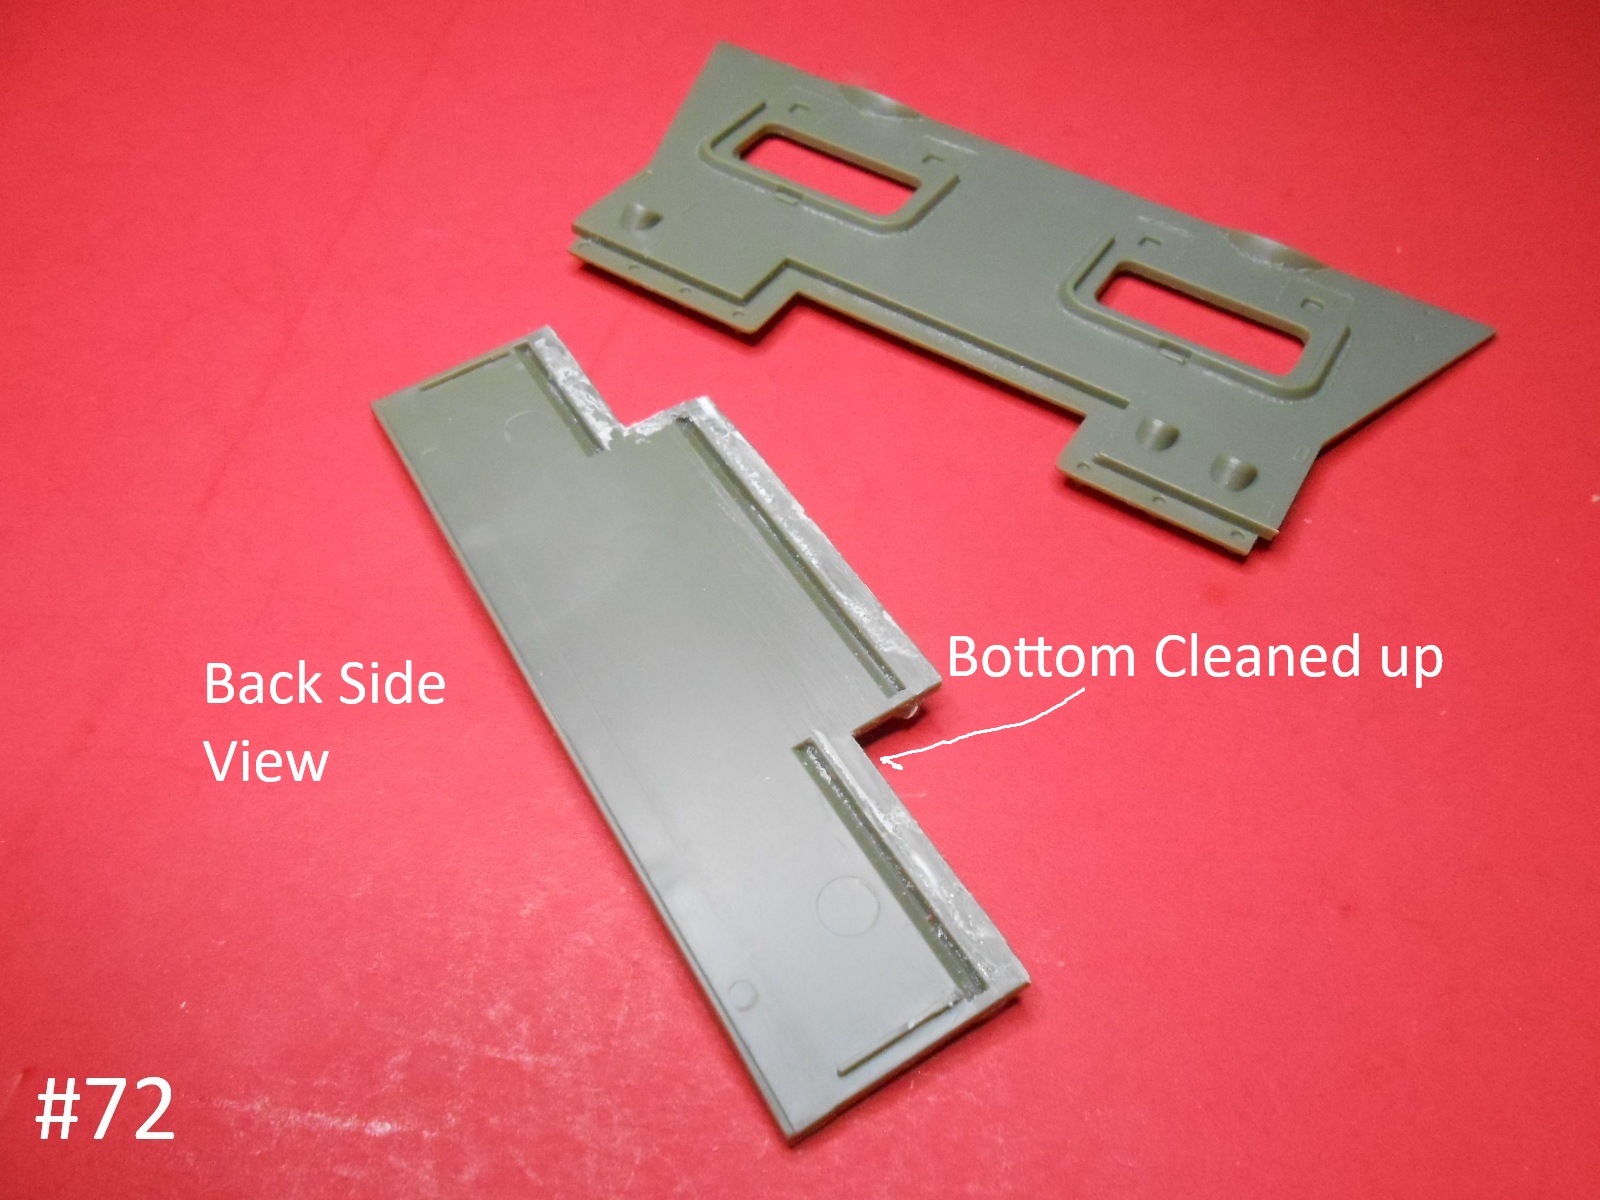
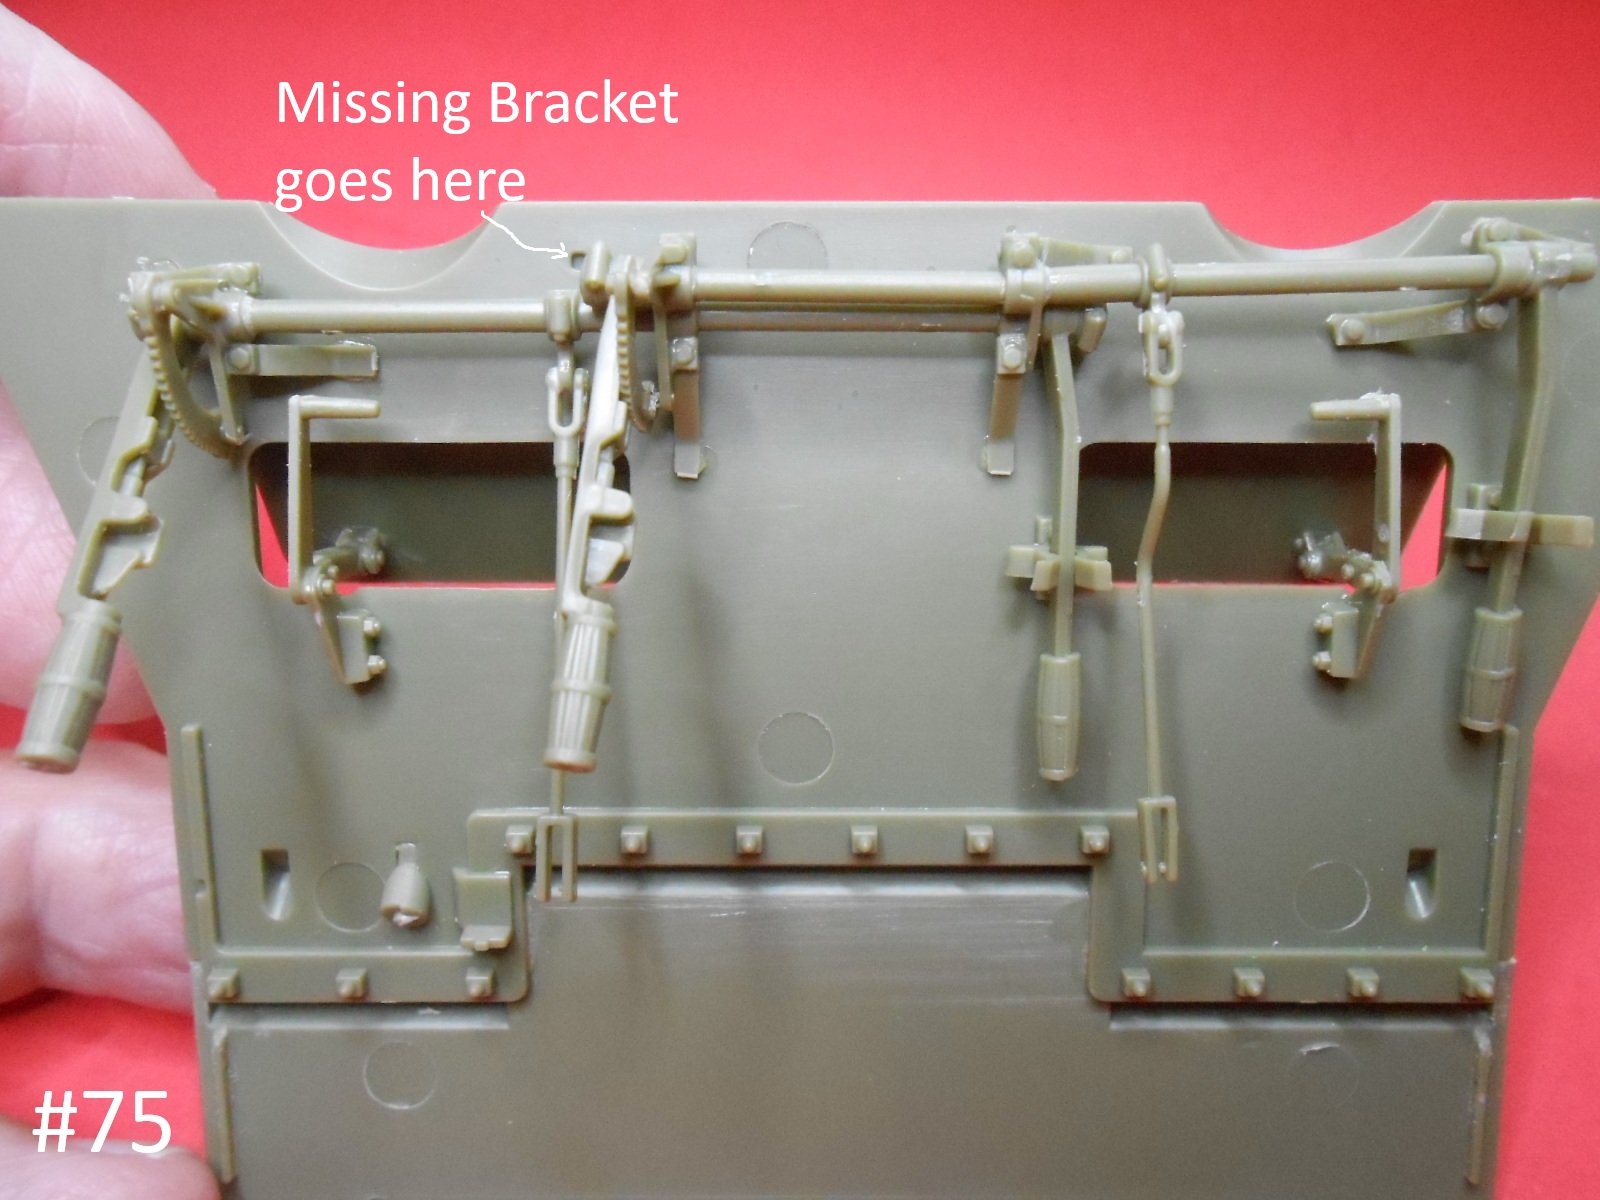
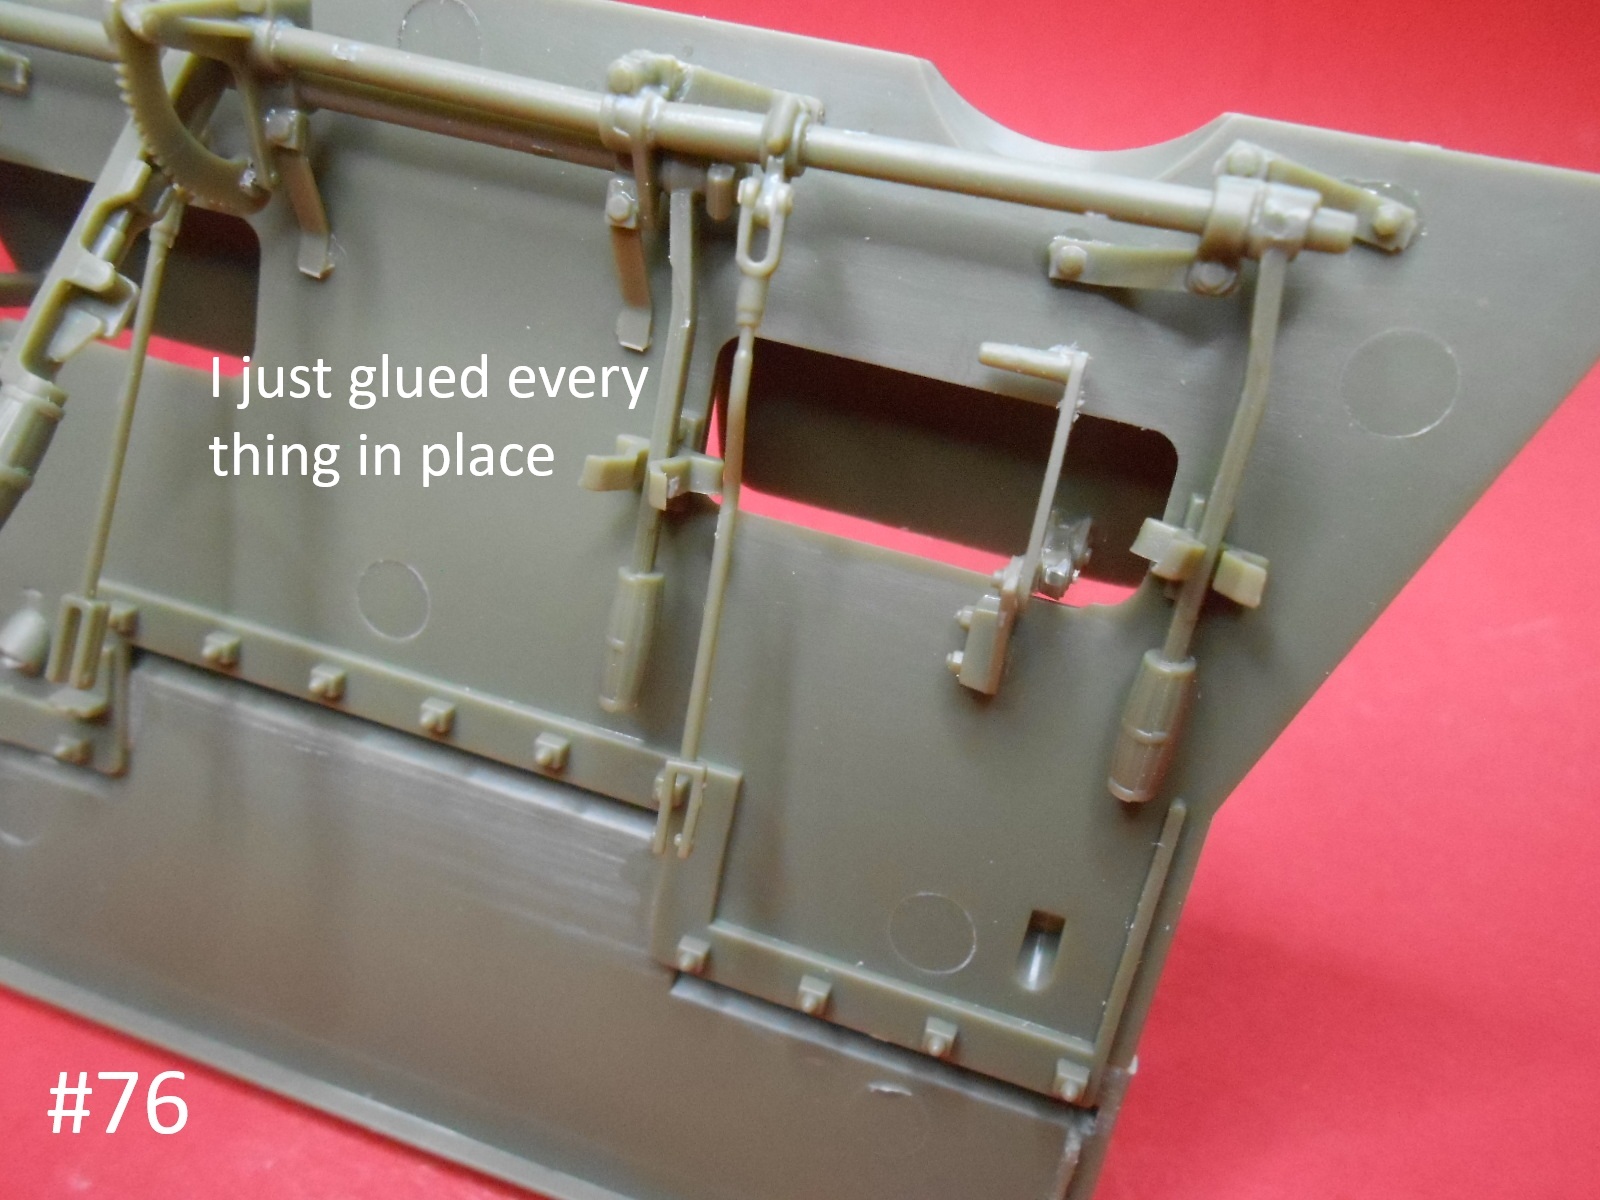
Continuing on after a major screw up.
I think that I need more rest, I’m getting to old for this.
Regards
Donald
9 Likes
You are doing great Donald! Keep building!
Rick
1 Like
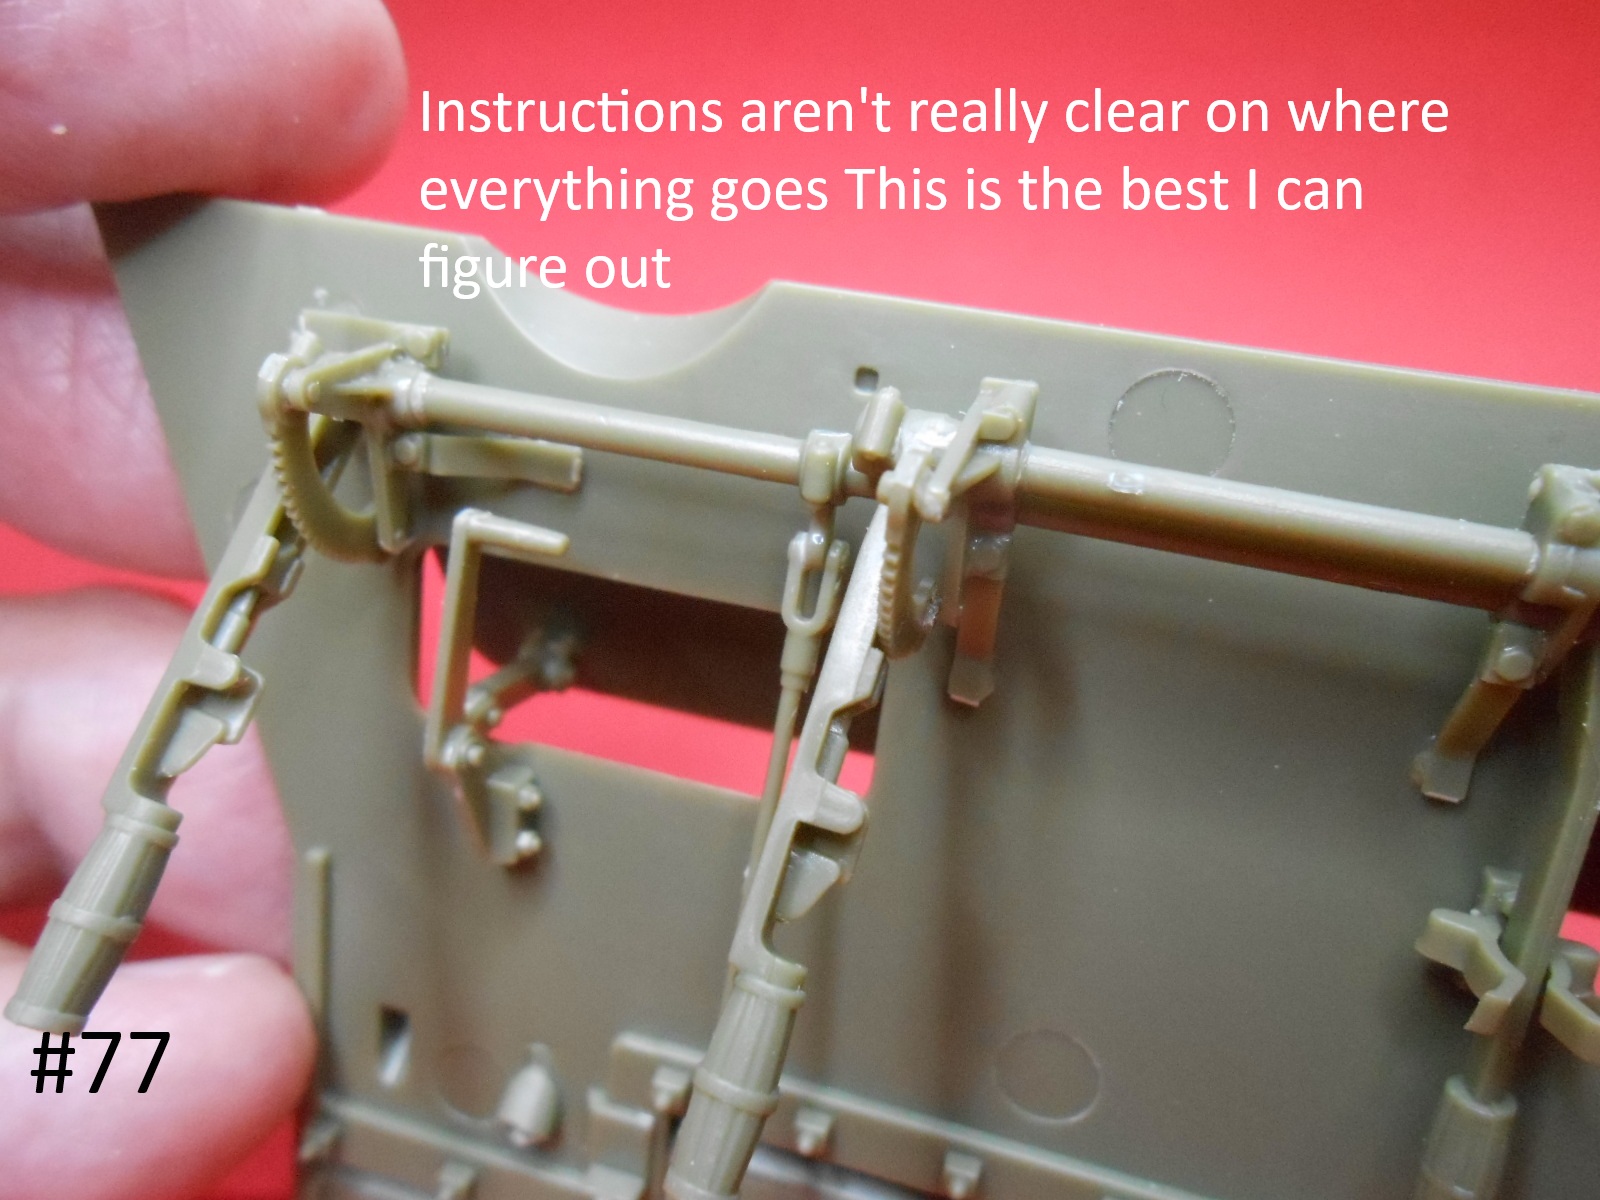
Unclear instructions seem to be very common these days with a few manufacturers, that and avoiding colour call outs to save a little time effort and cost. I have to say though the level of detail in what they have done seems pretty nice, oh and I think we have all made plenty of those cockups over the years it was nicely fixed though.
1 Like