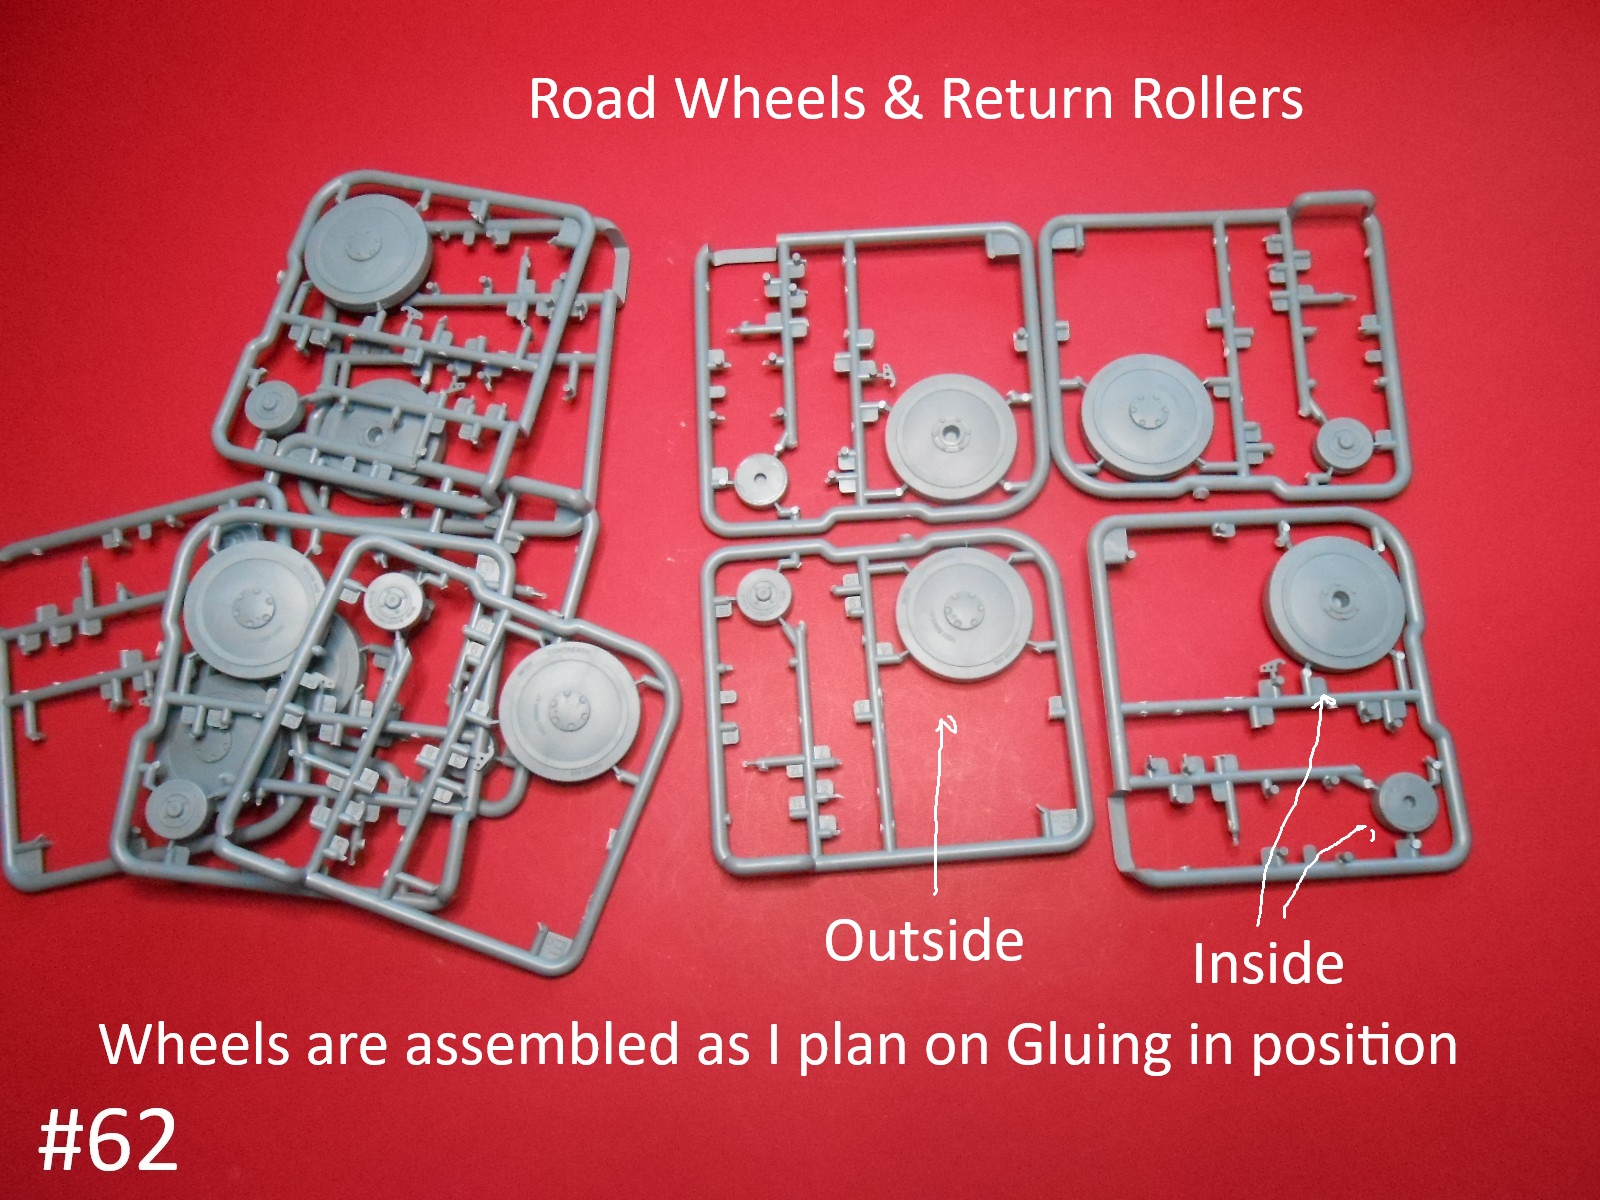
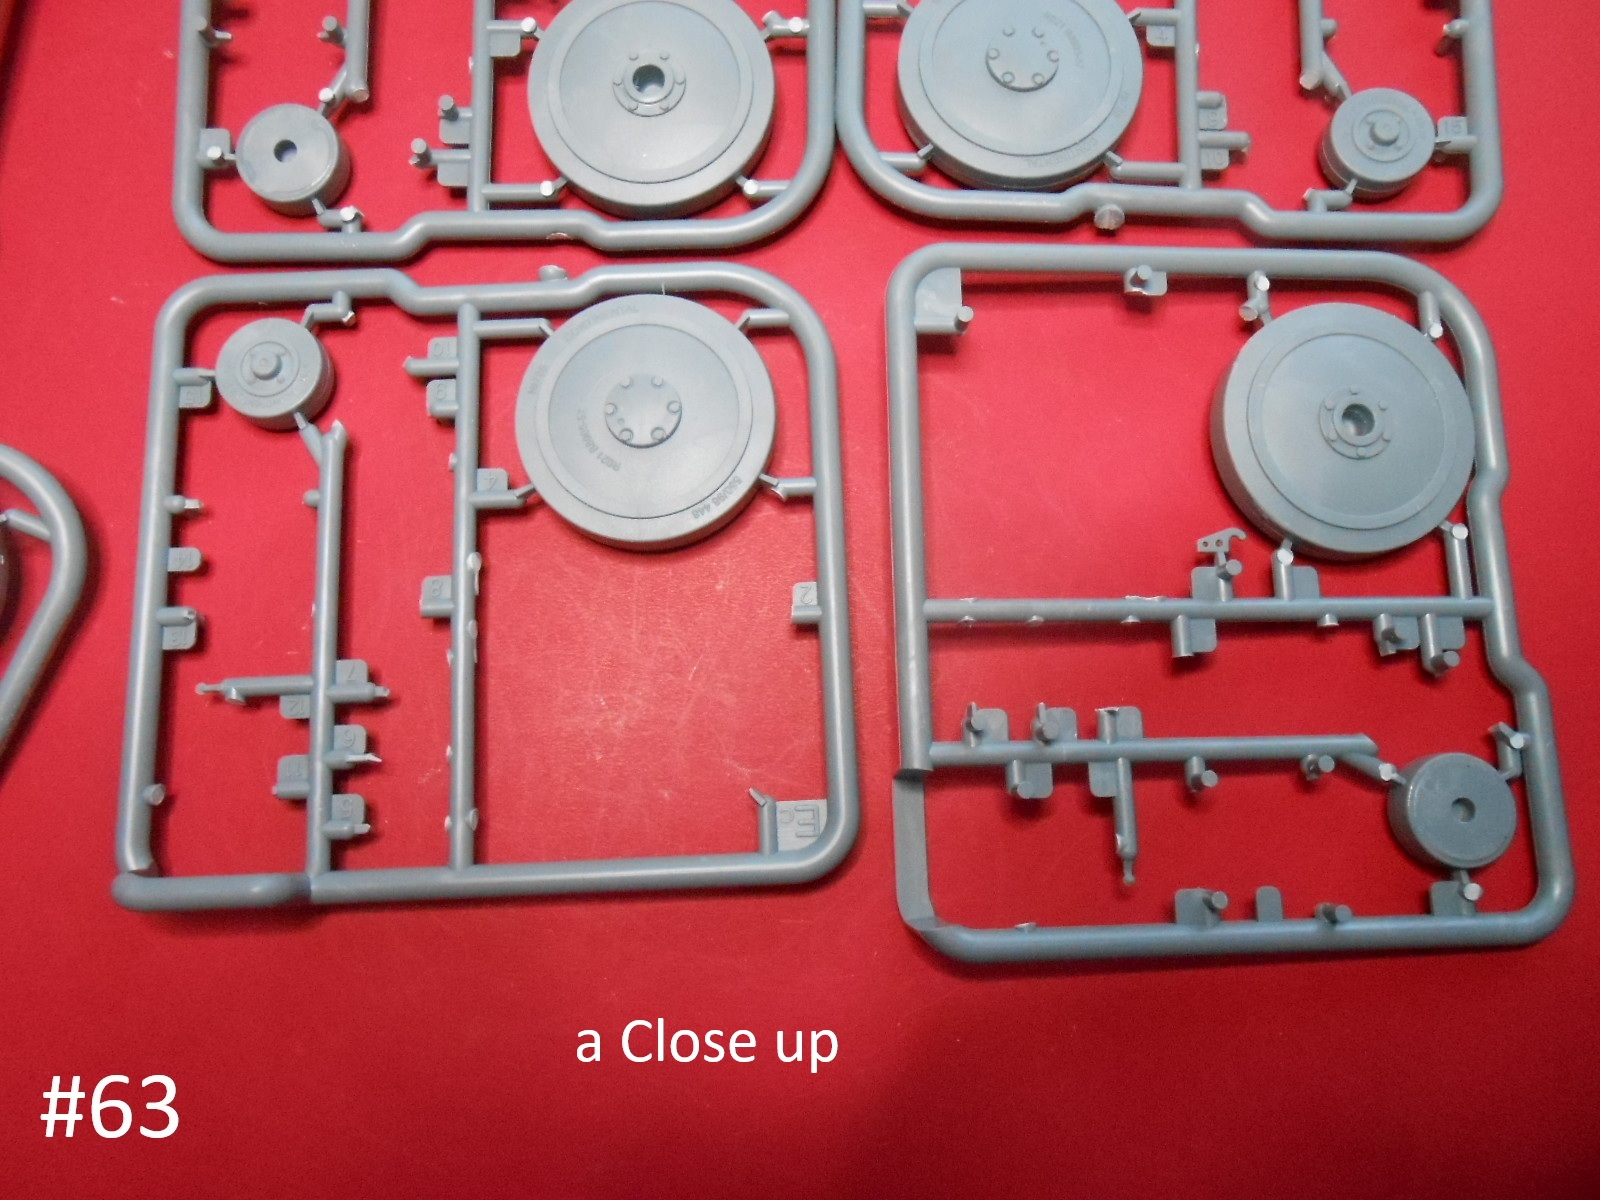
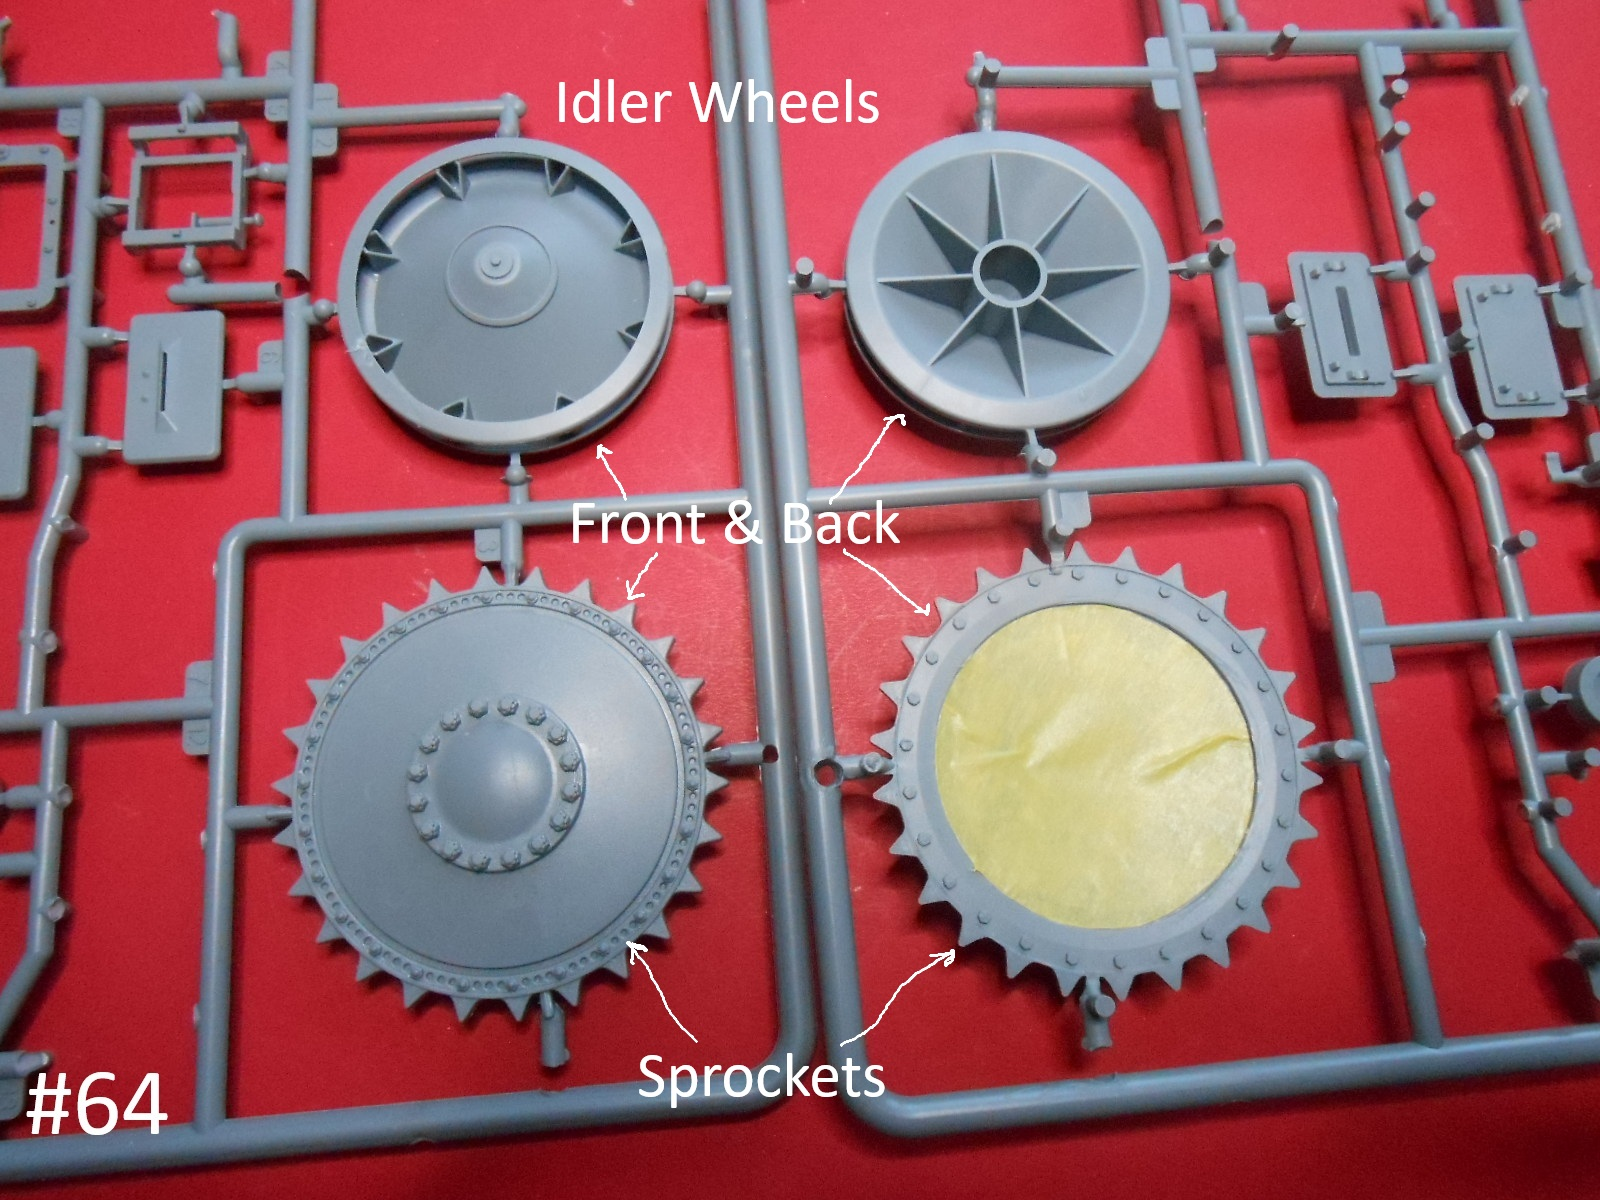
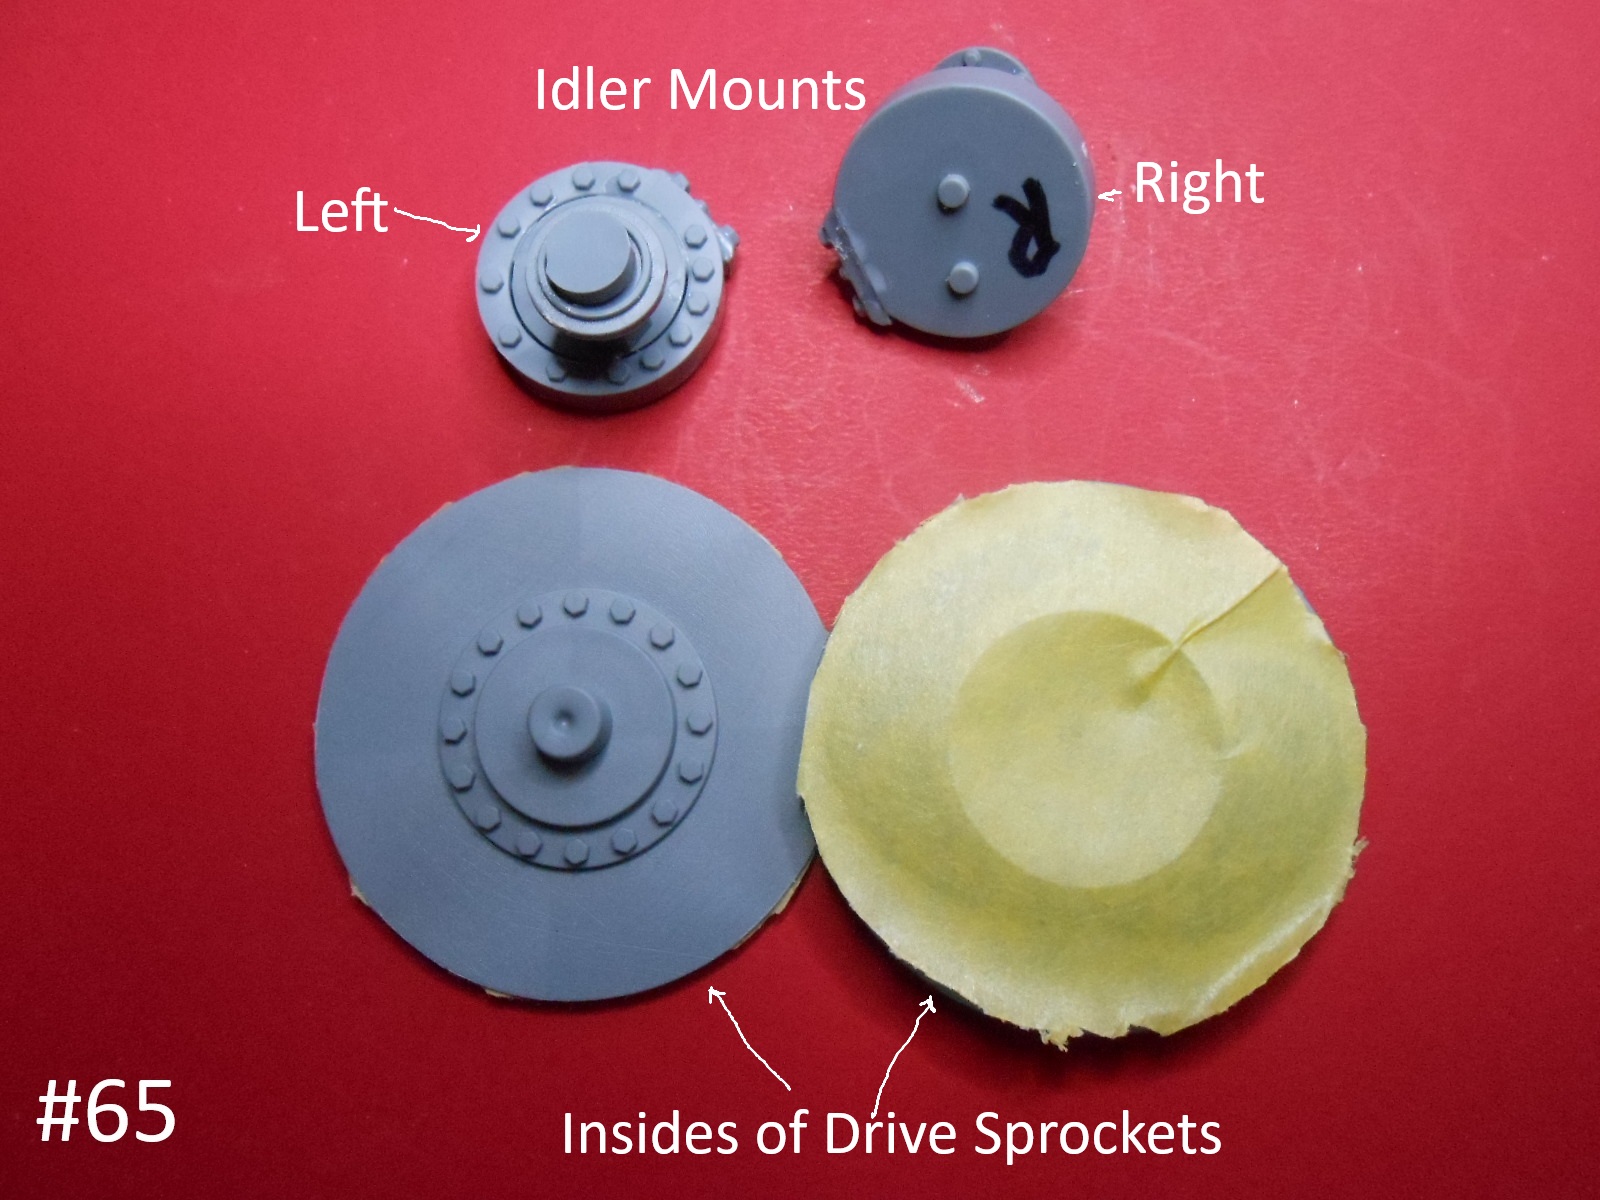
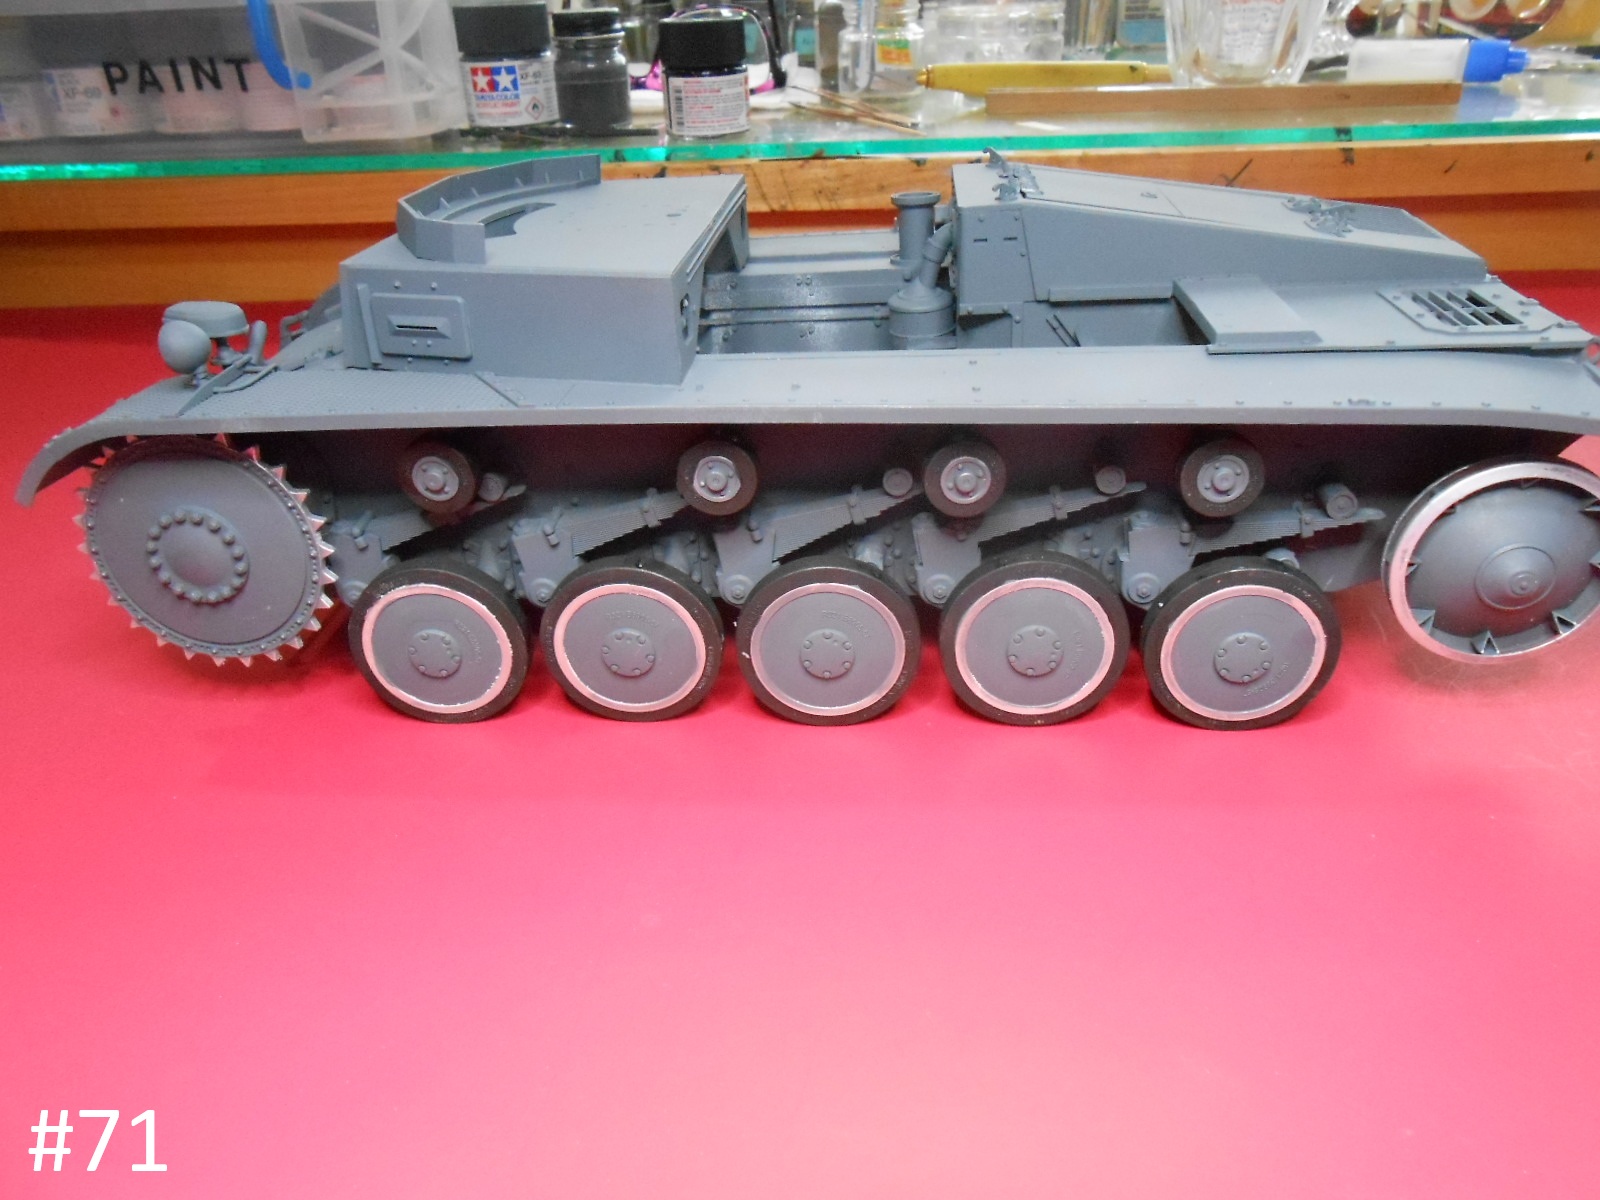
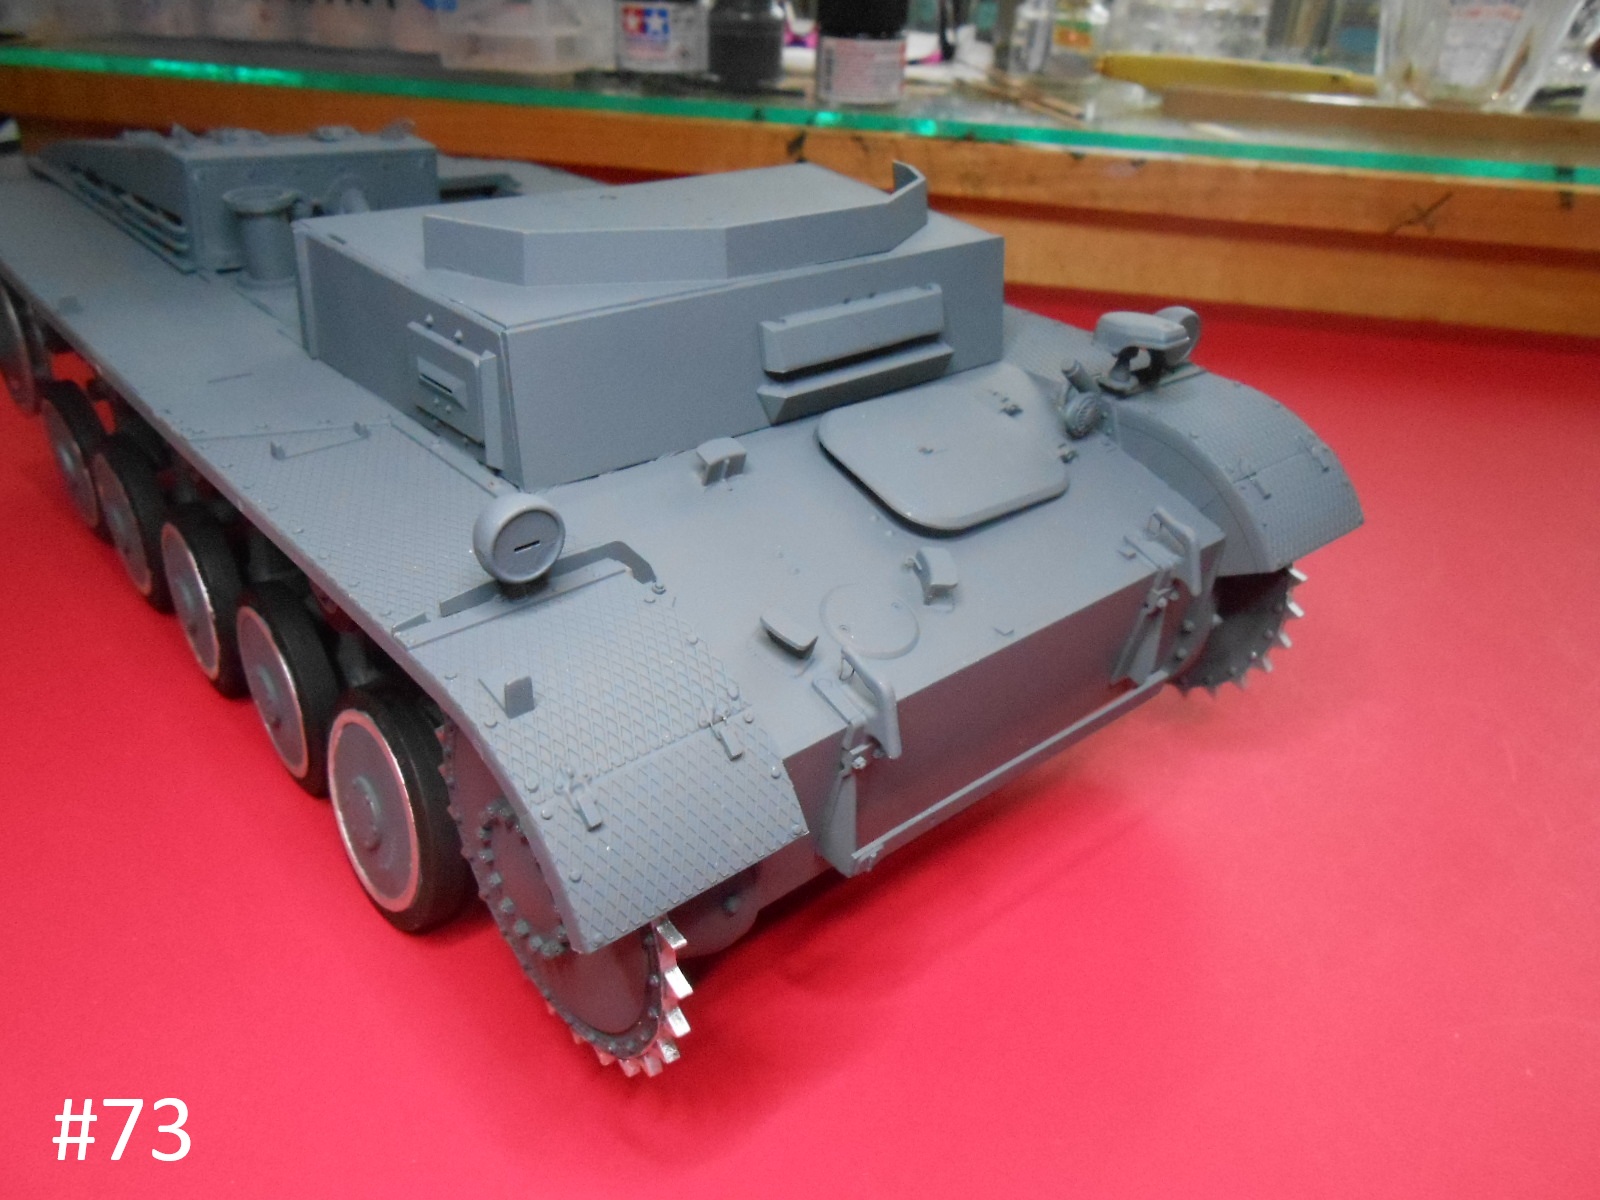
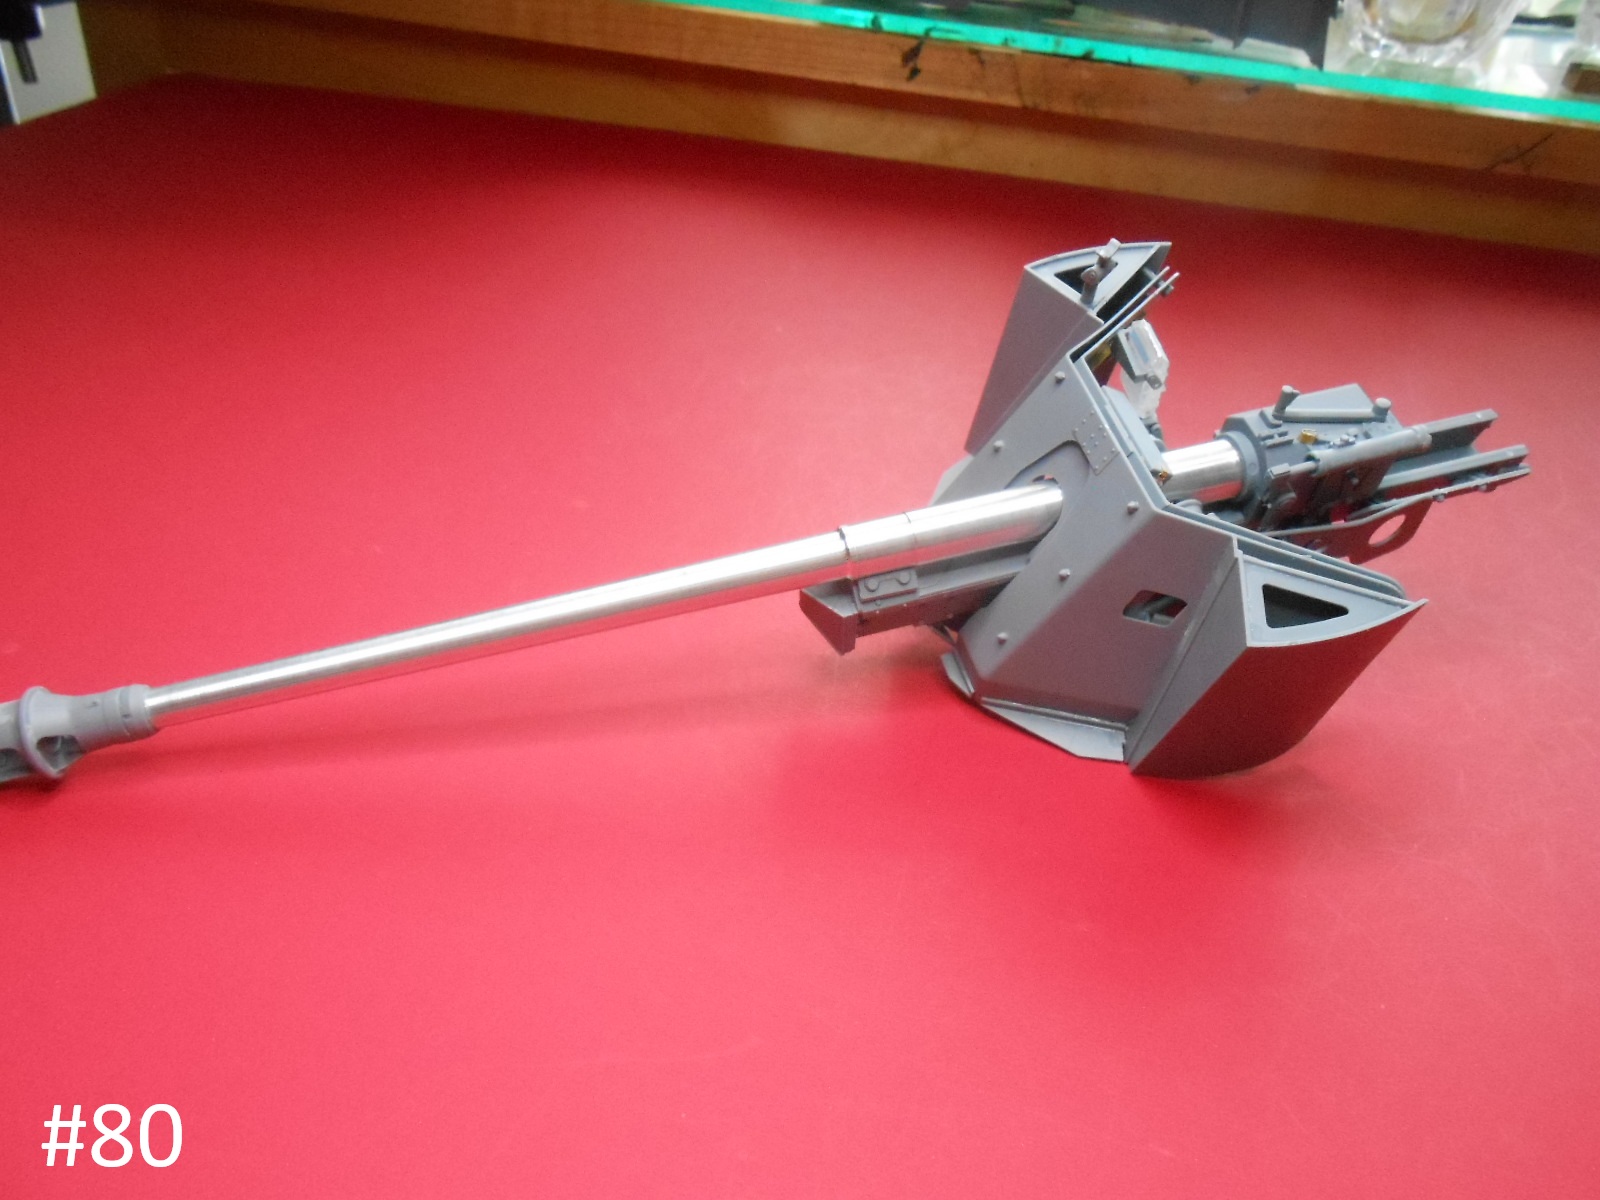
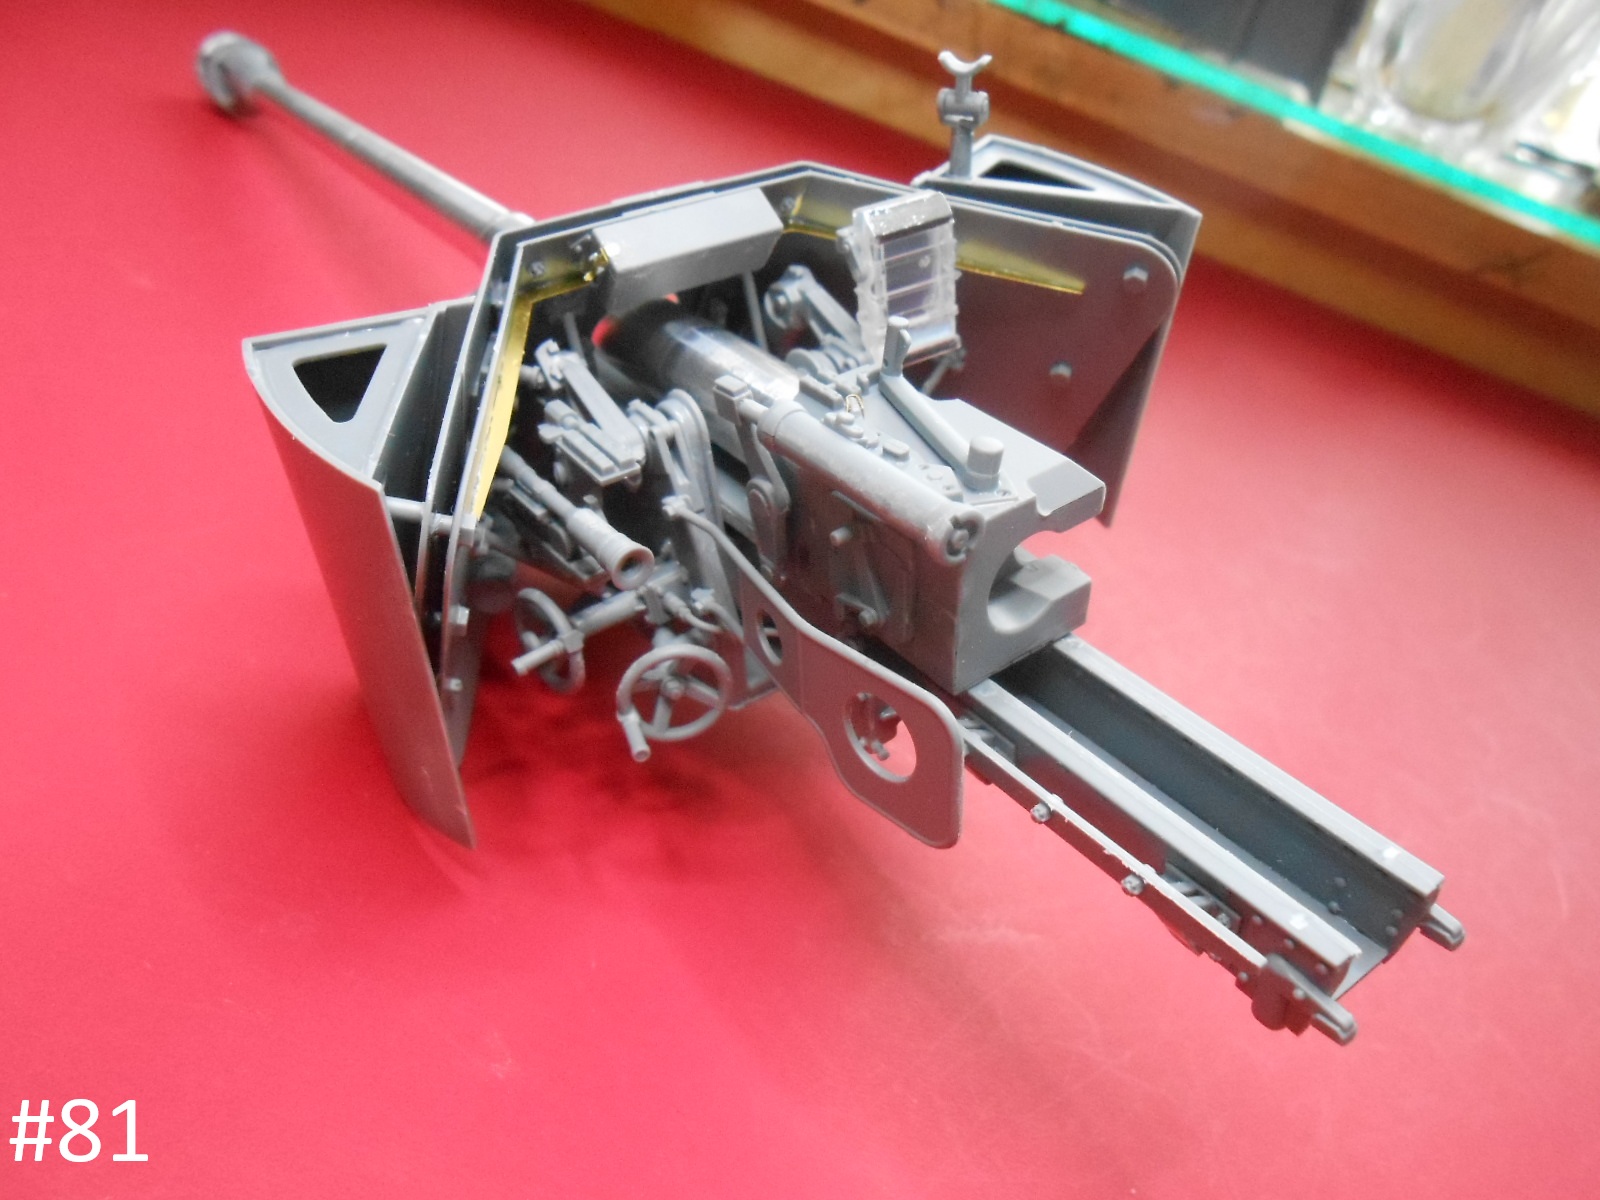
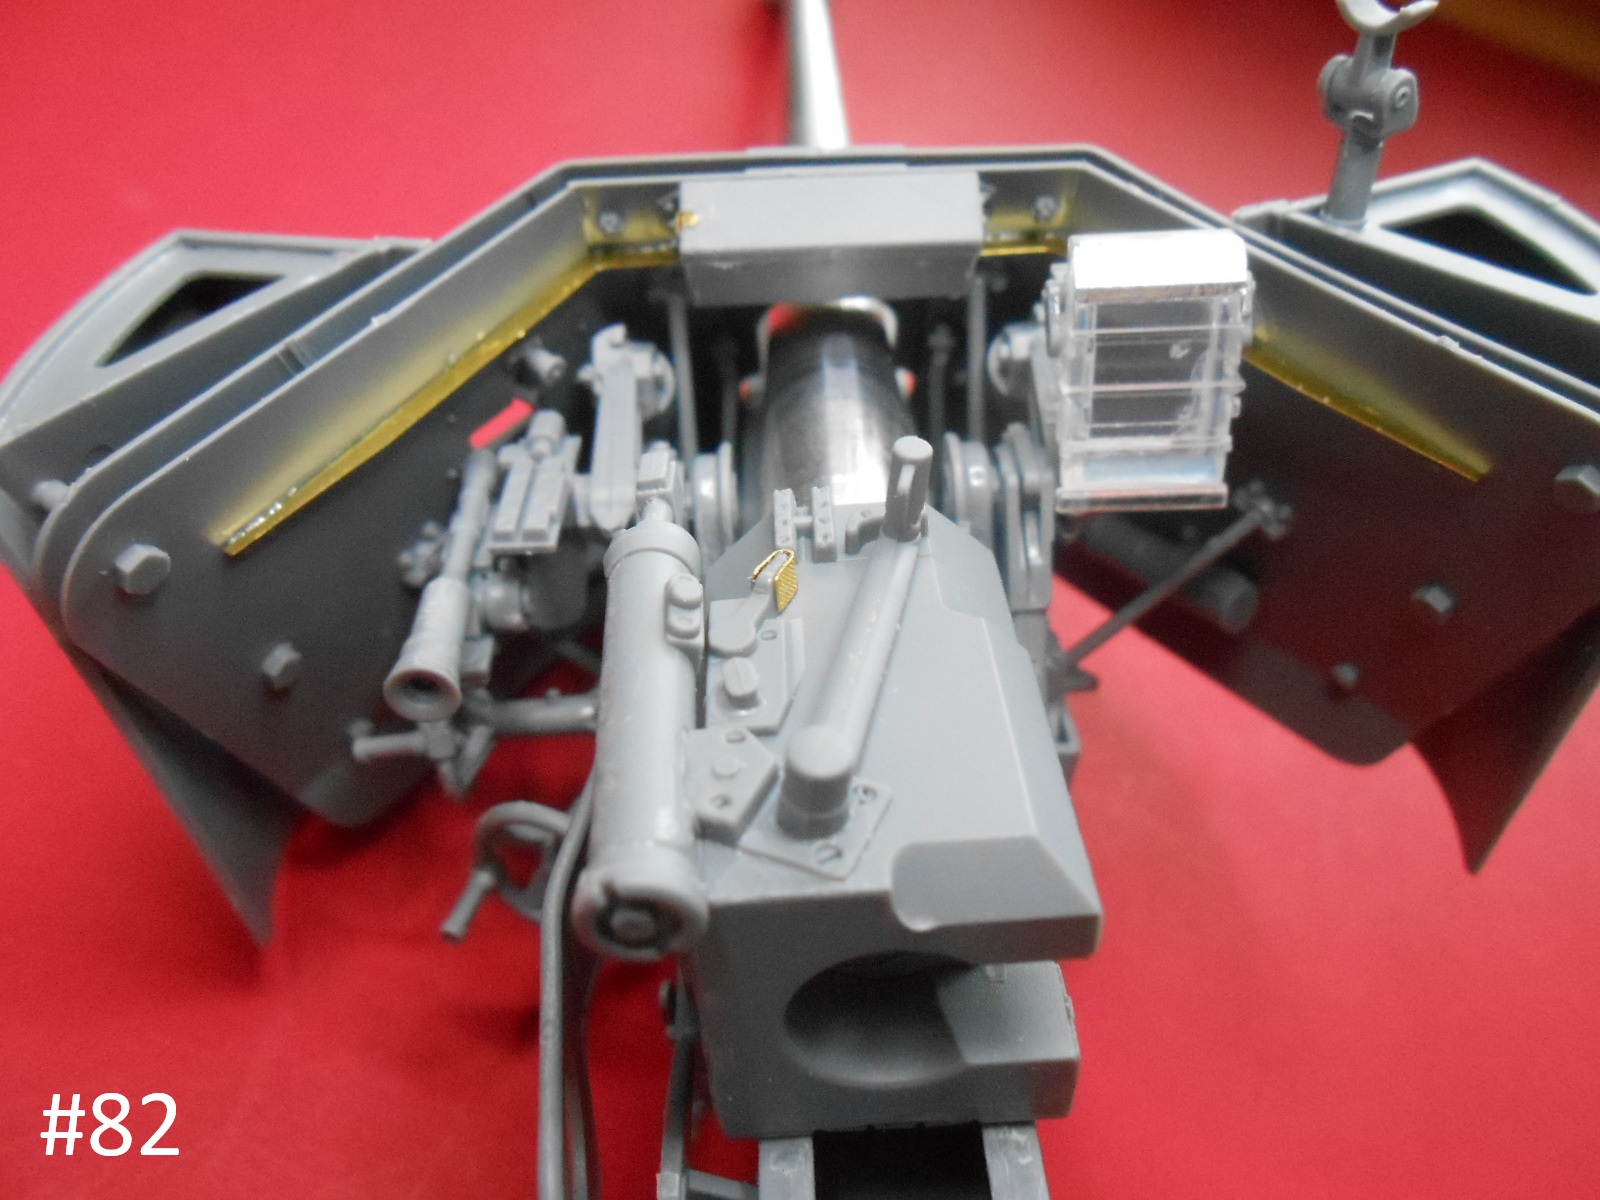
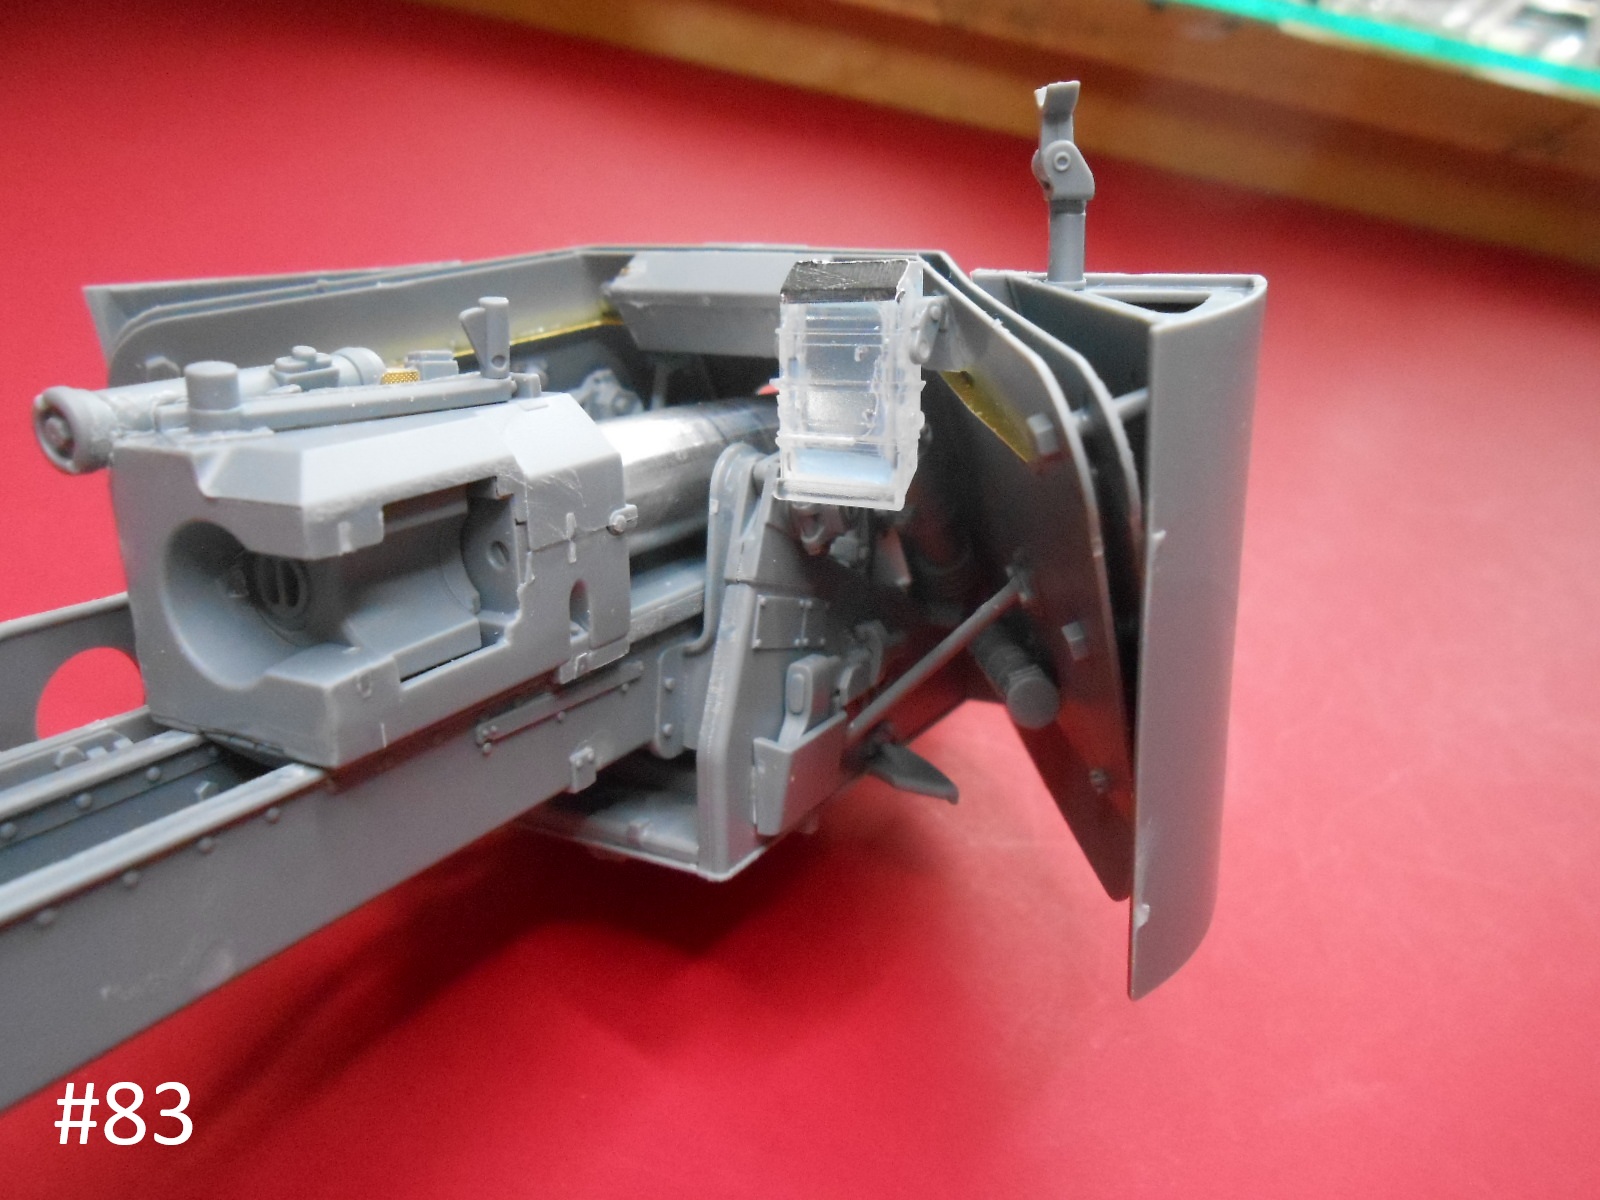
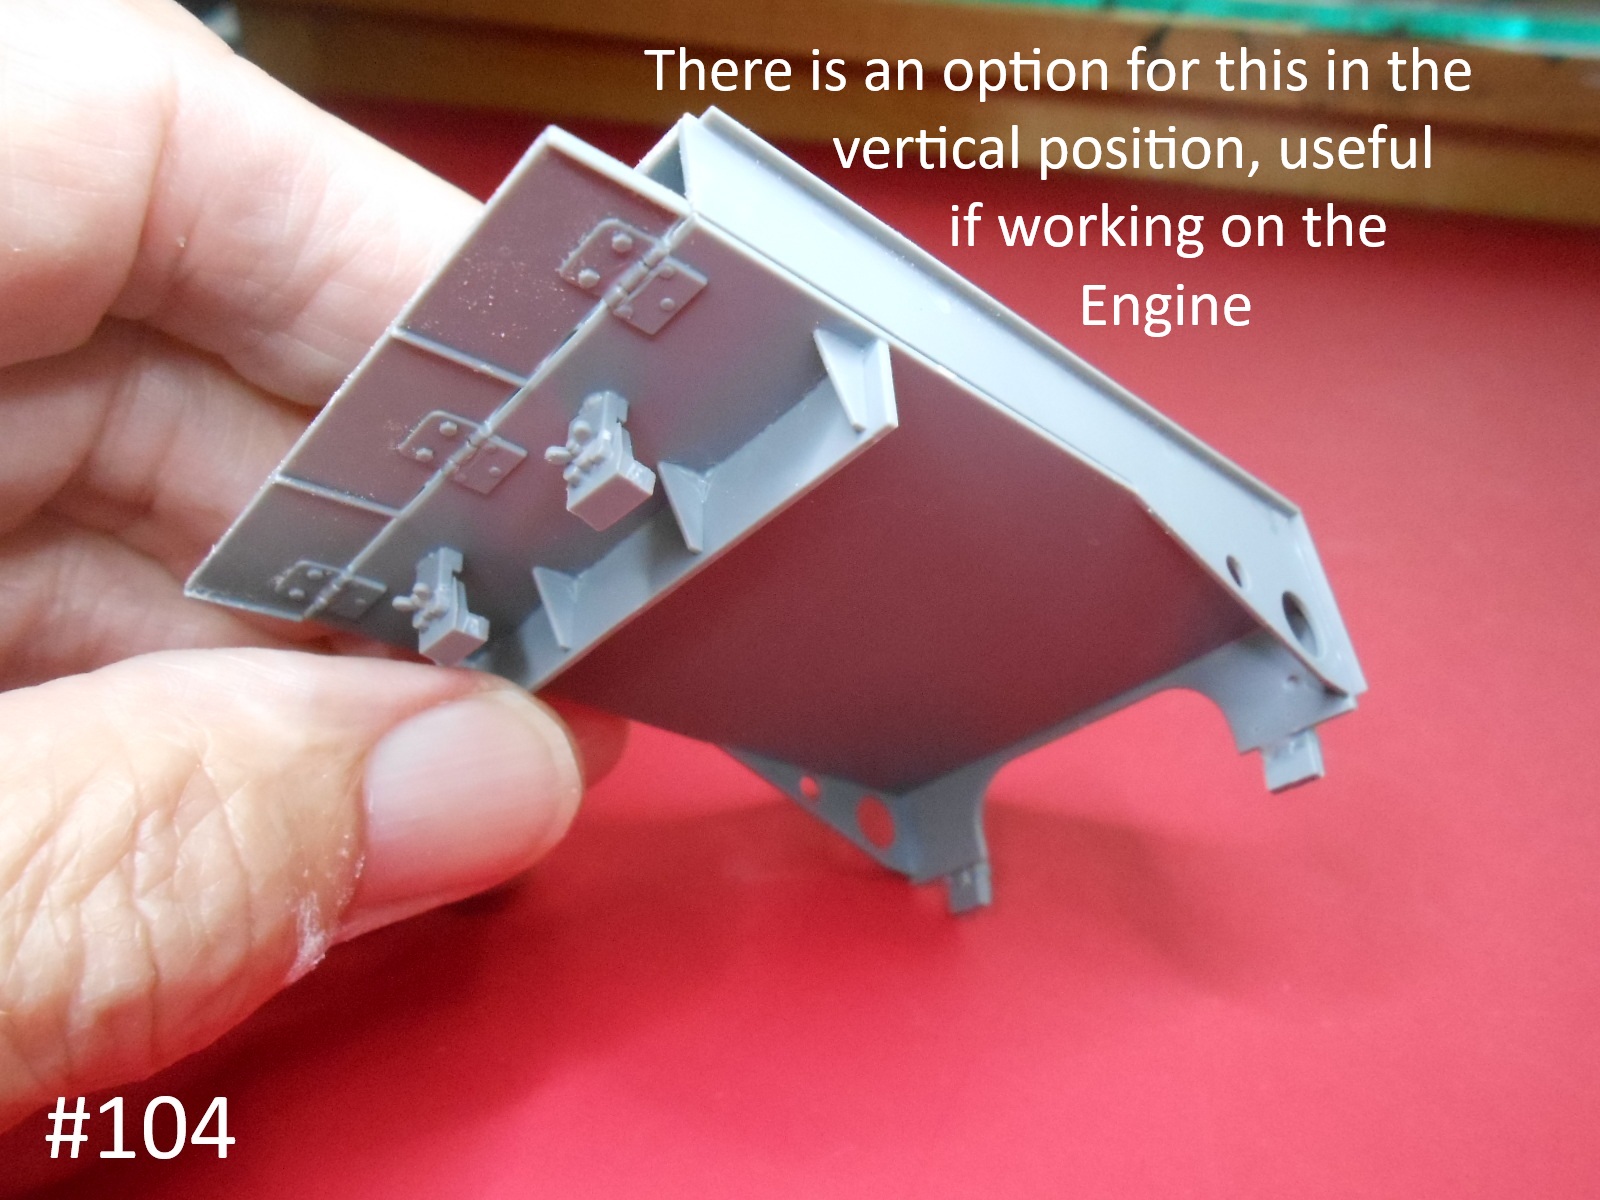
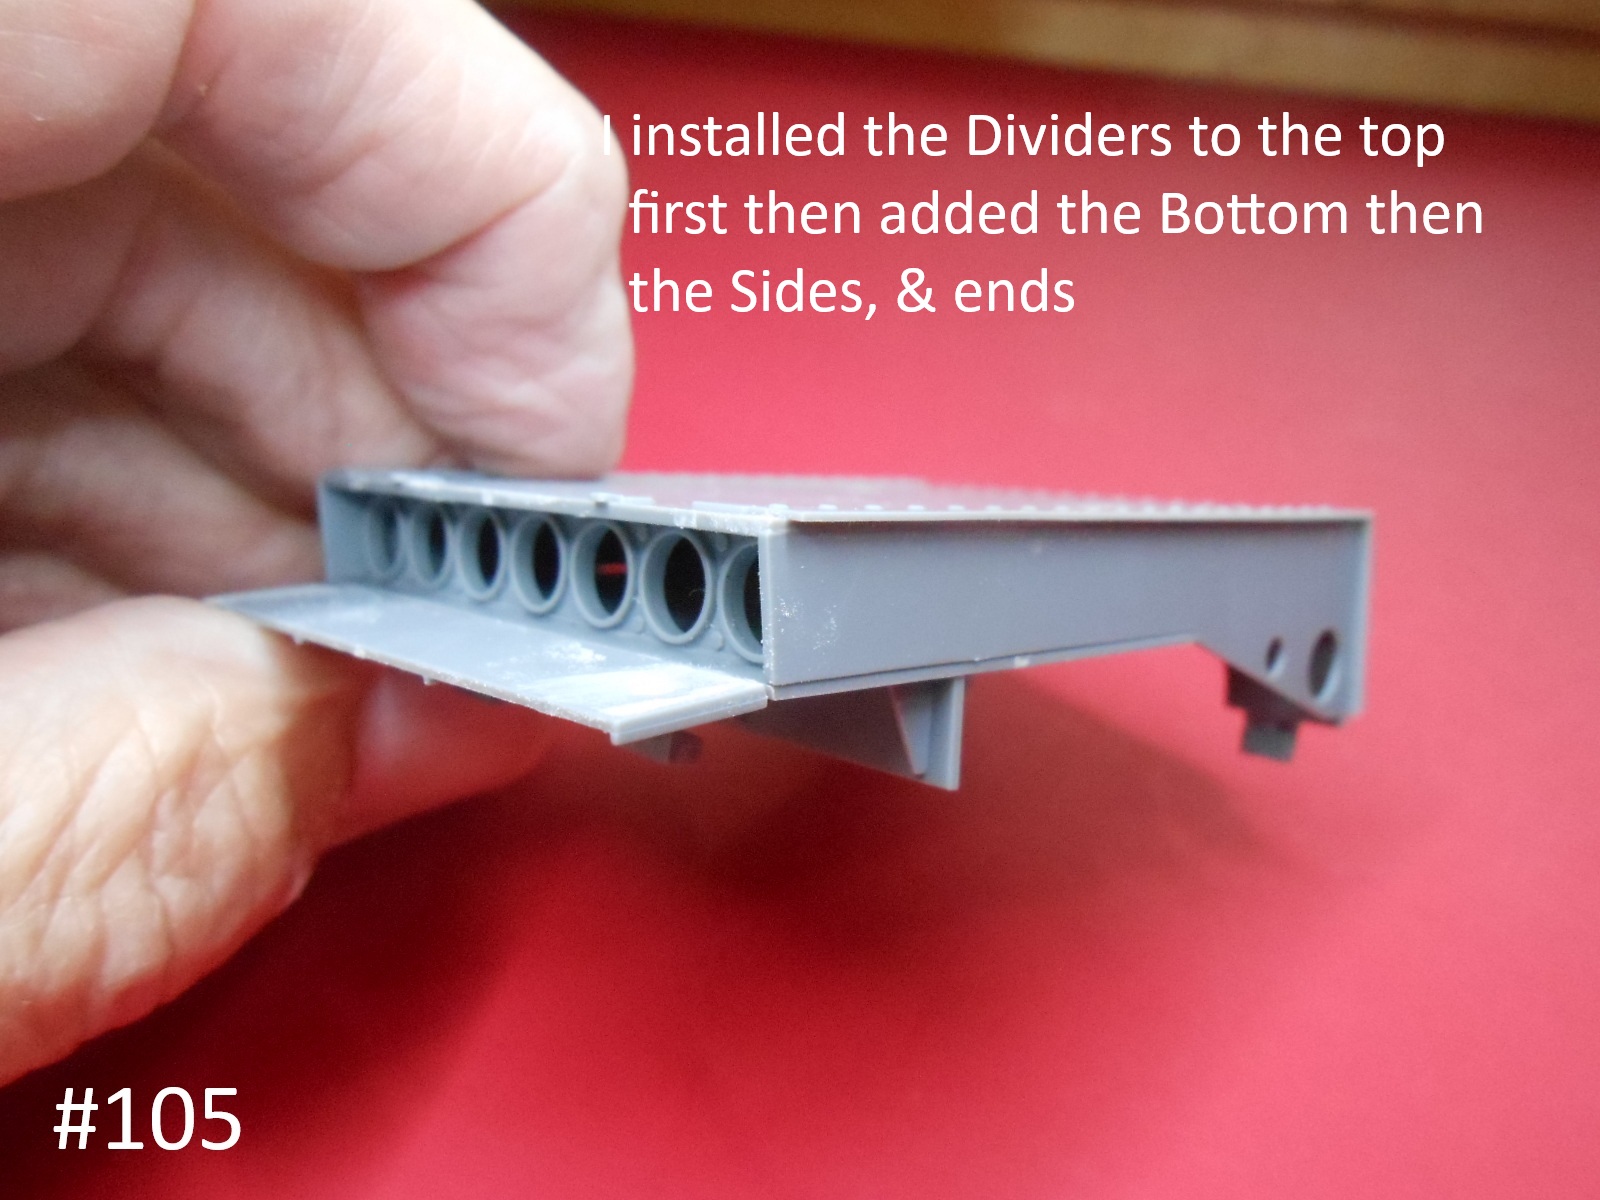
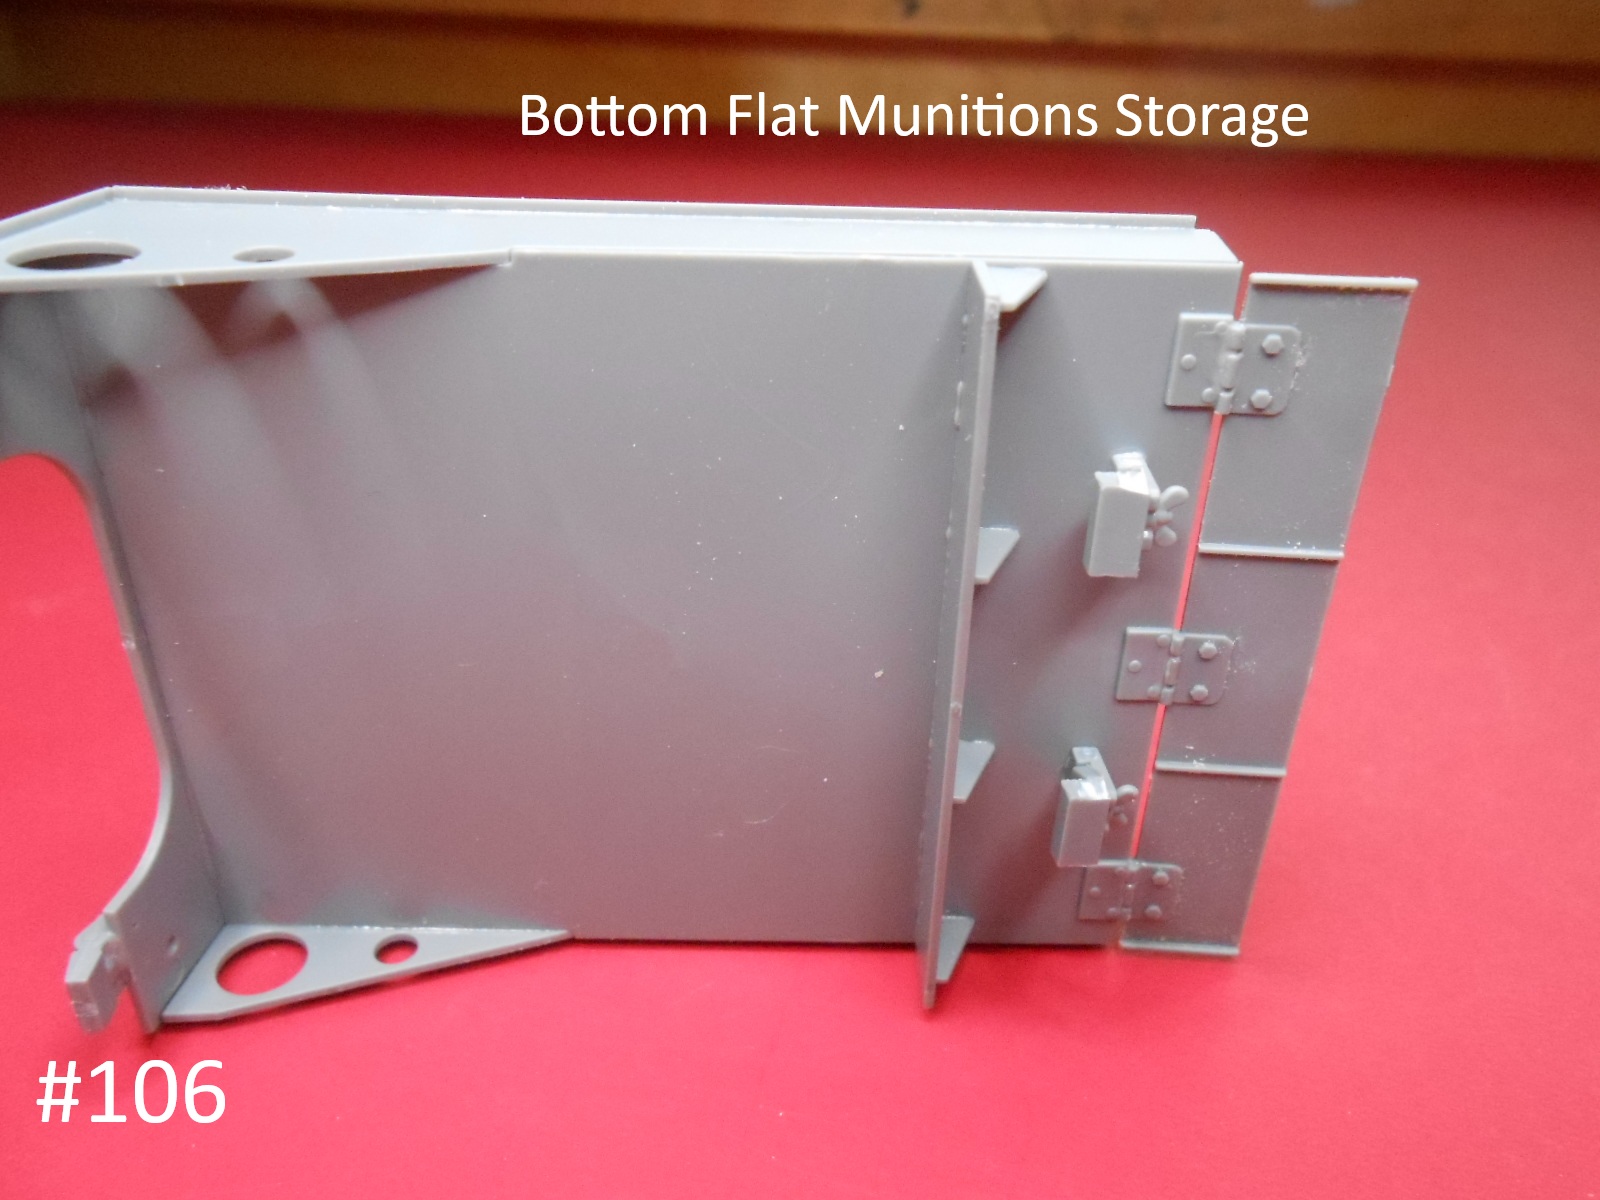
Yes pretty Fair, just a lot of tiny parts and not very helpful instructions.
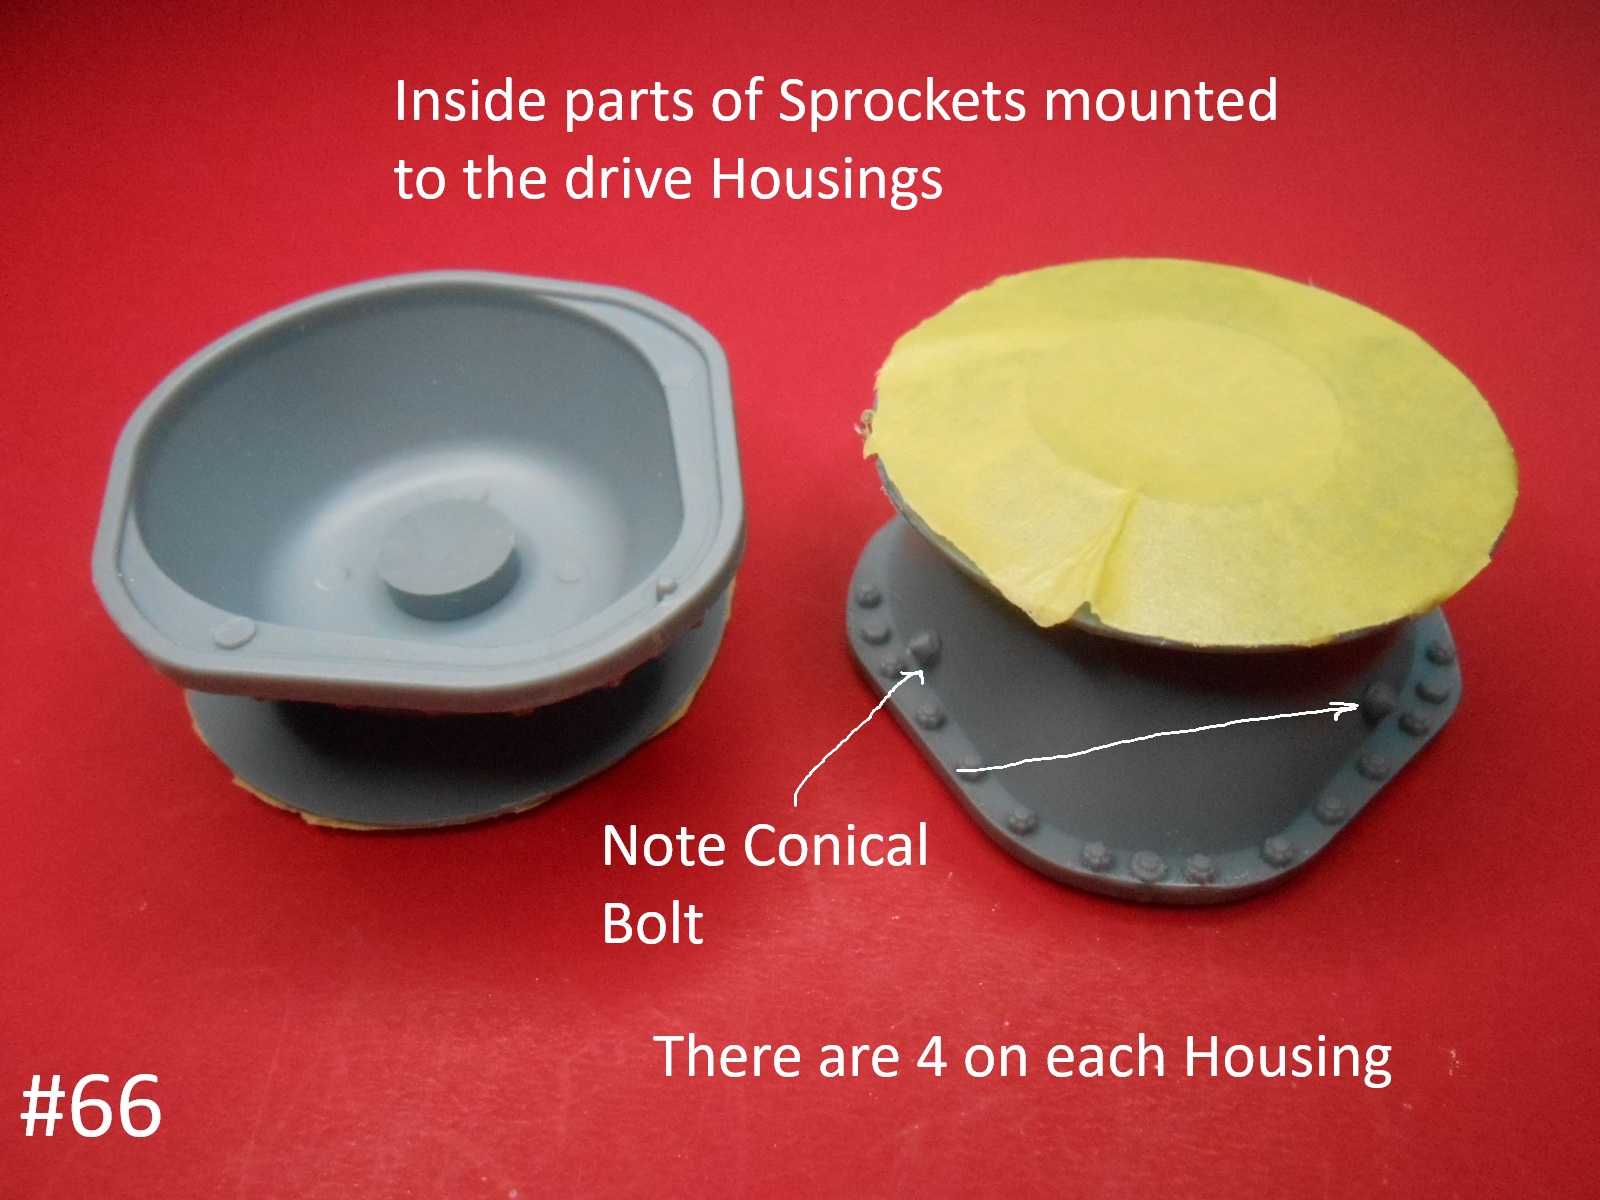
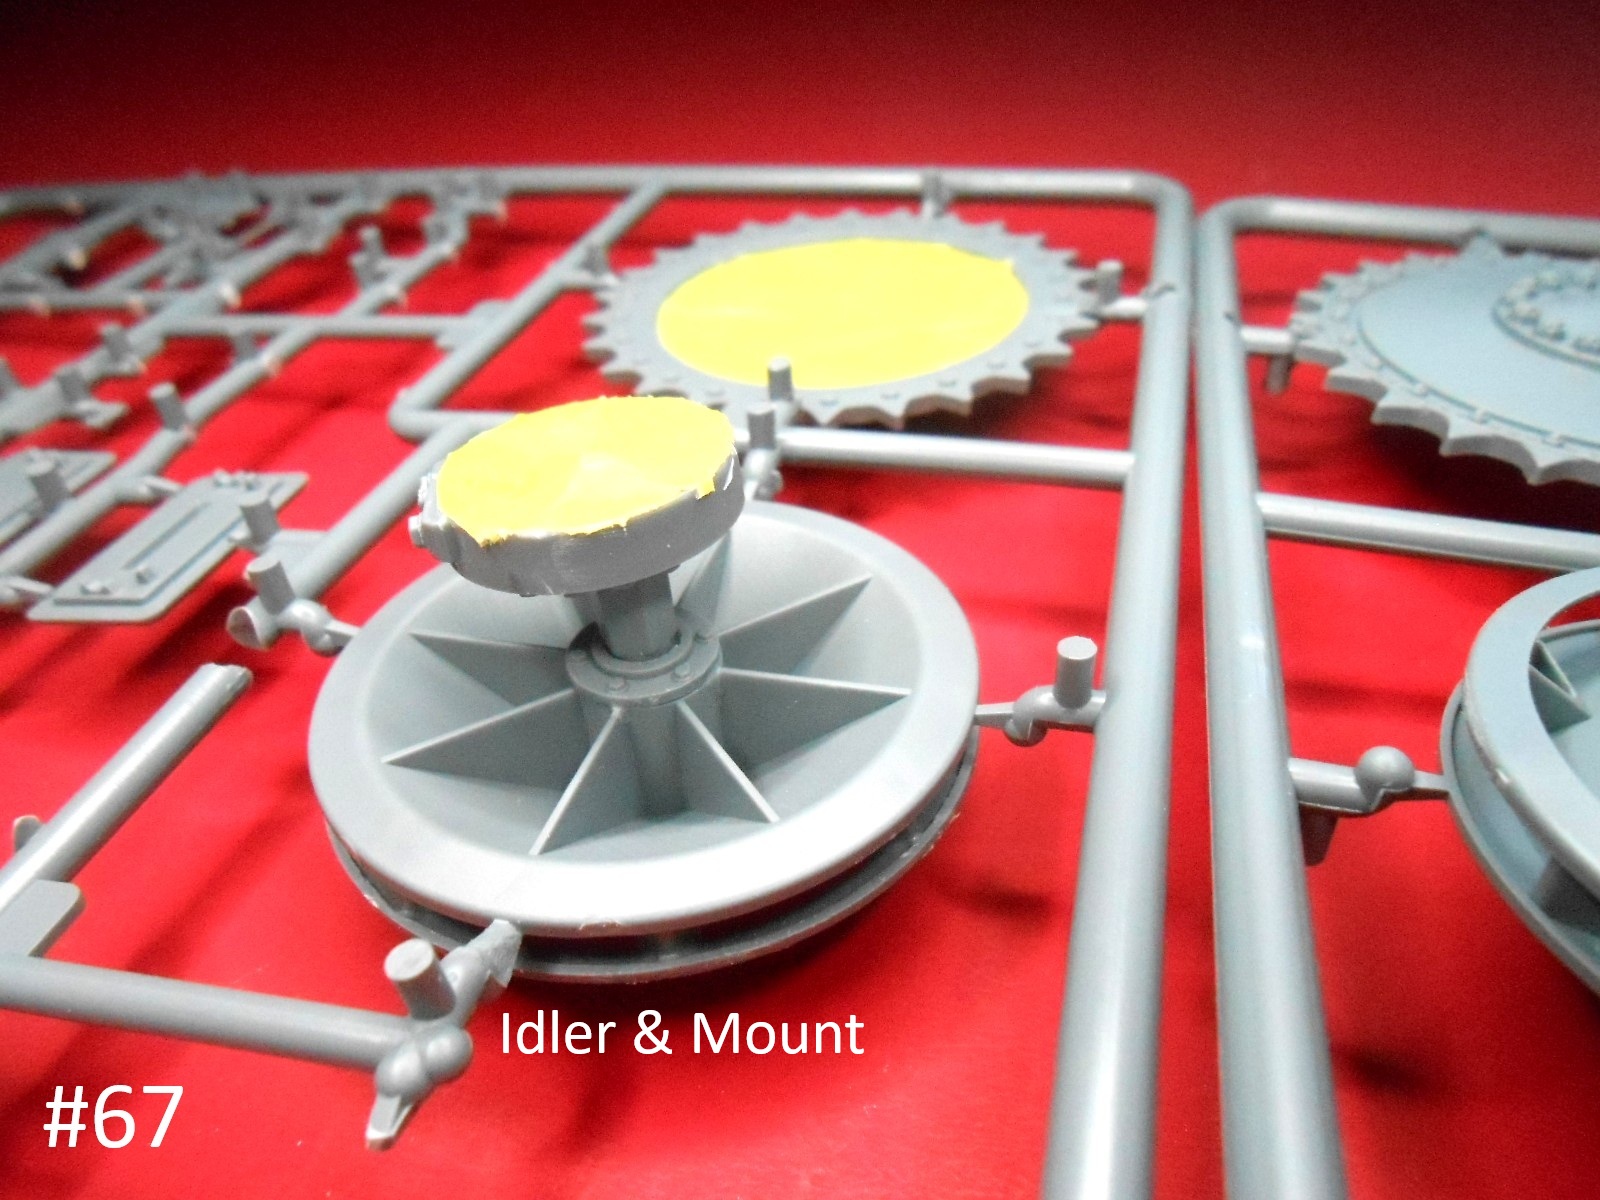
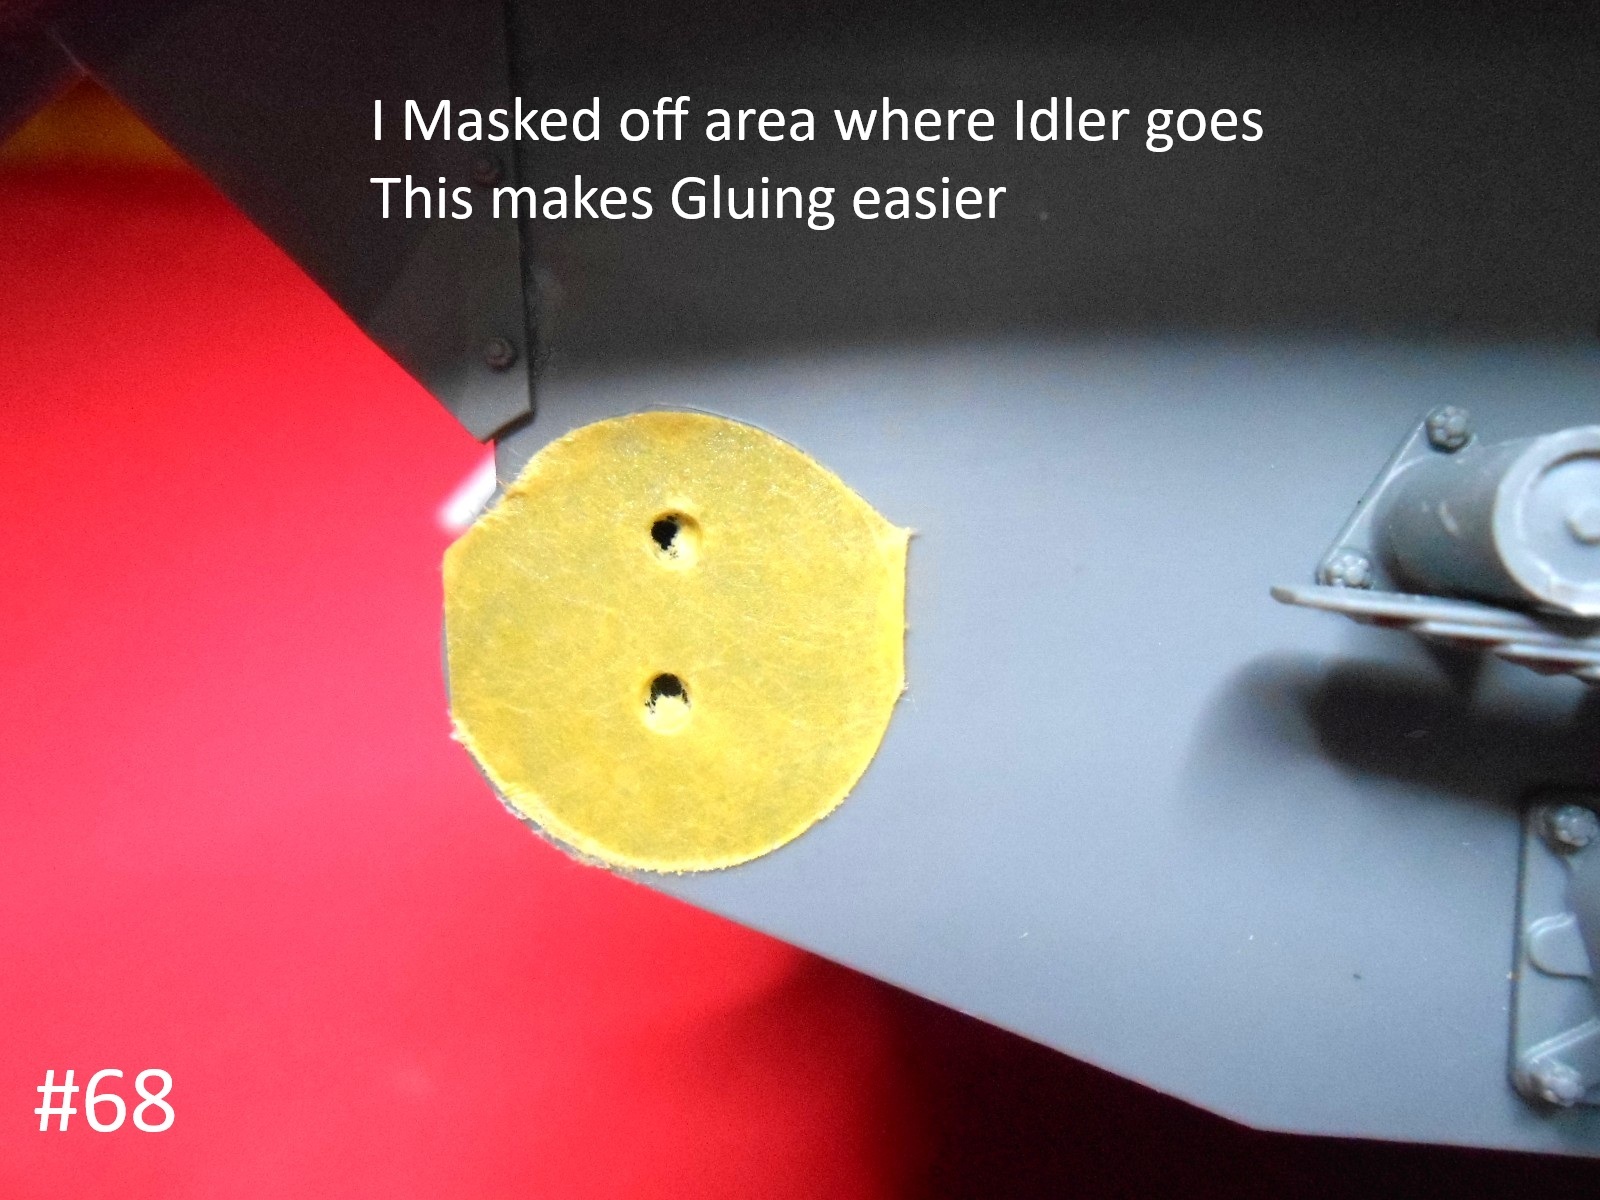
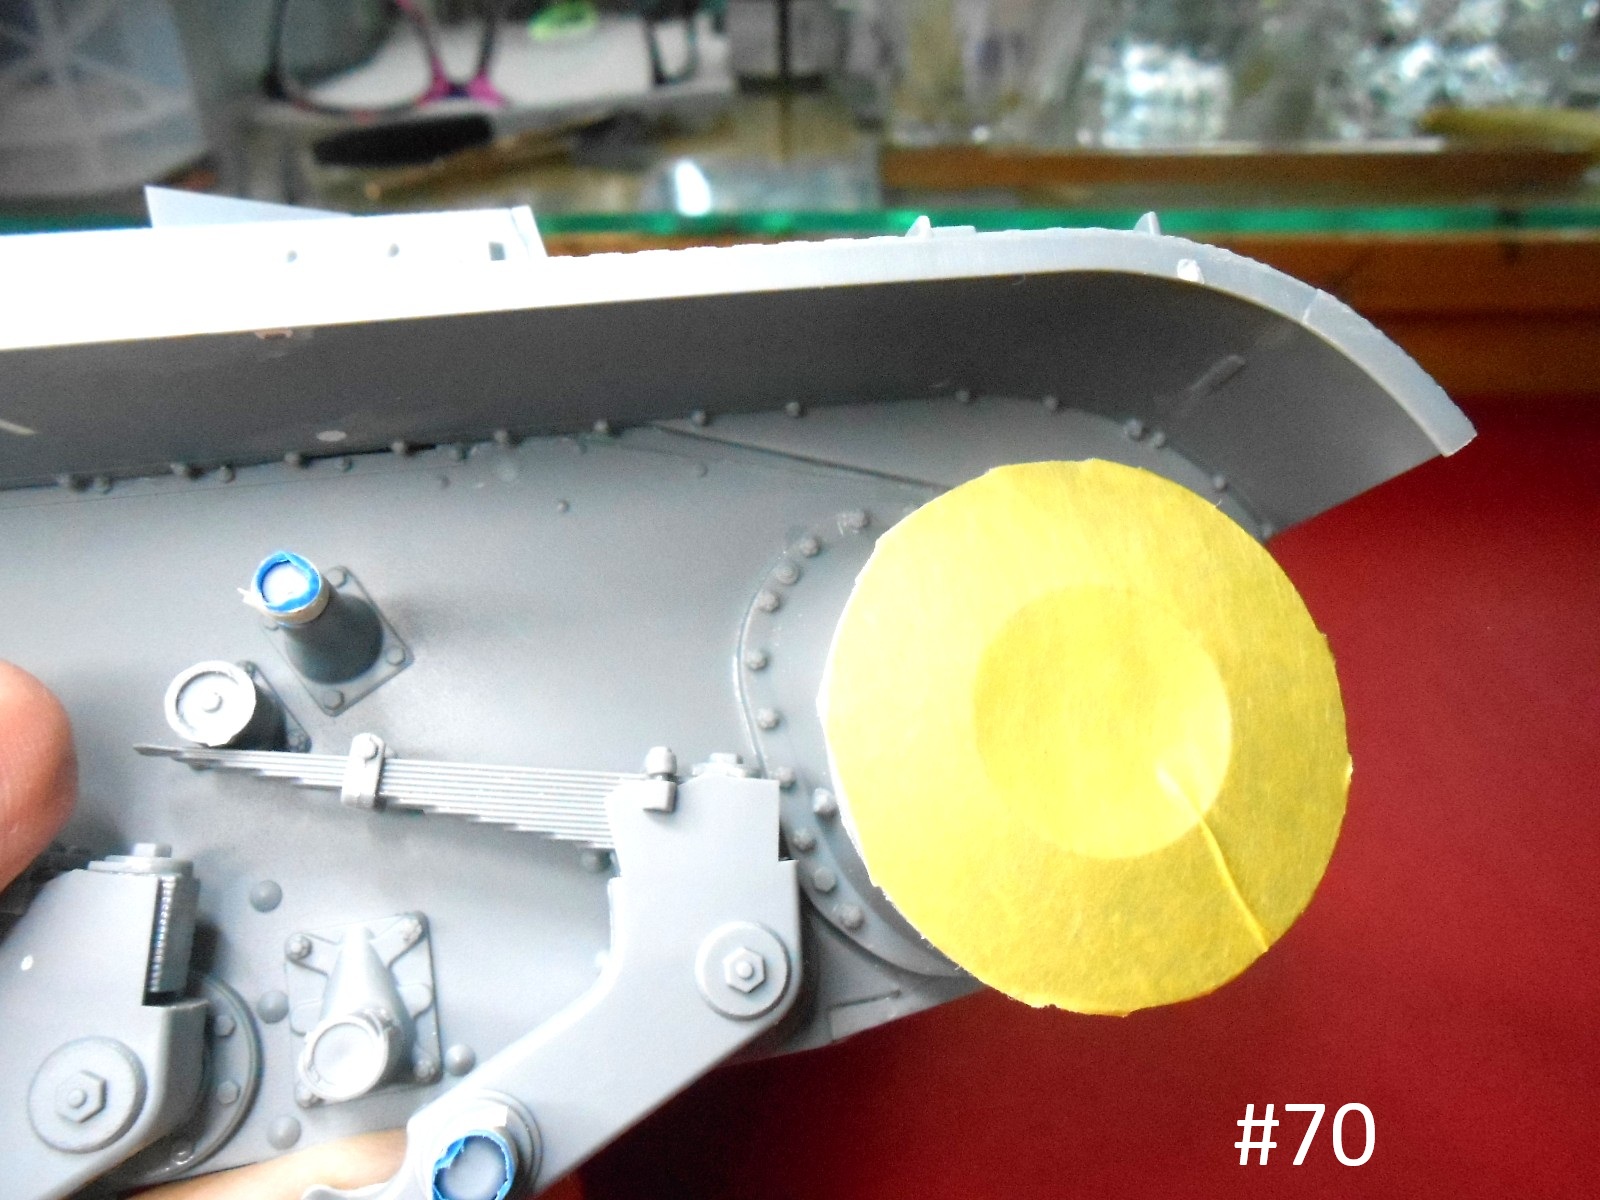
Now I have the Wheels and Sprockets, The Wheels , well I am going to be gluing in position as their Mounts are rather flimsy. The sprockets will be made movable to ease the Track Install/
Ok here are the latest Pics.
Next I think I’ll add the remaining small parts before painting.
Regards
Donald
3 Likes
The Wheels and Drive Sprockets are installed.
I think I’ll work on the Track next.
Donald
5 Likes
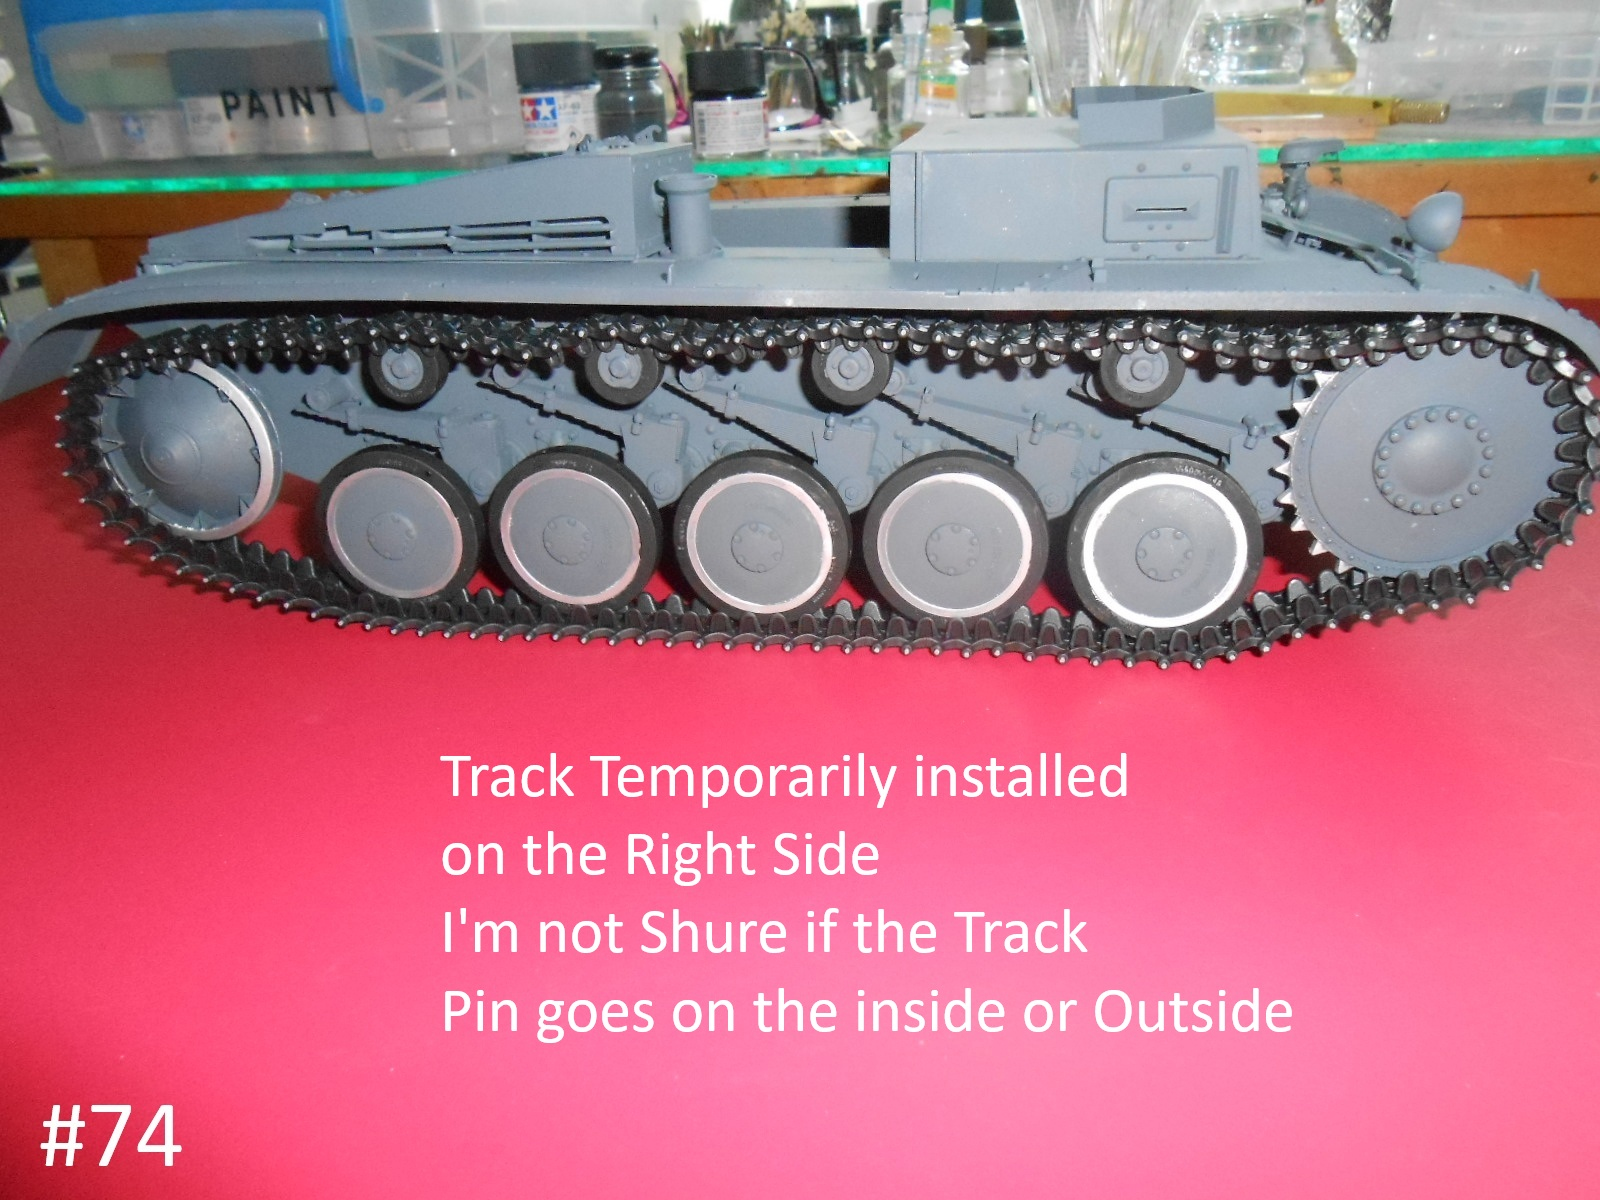
I have the Track assembled and temporarily installed
I used the 107 Track number in the instructions.
It just needs Painting and detailing.
I’m not shure if the Track Pin Head goes inside or outside, Any Ideas ?
Regards
Donald
6 Likes
Pins were inserted from the inside according to google AI if you can trust it so heads pins in.
1 Like
That’s what I thought, Thank You.
Donald
2 Likes
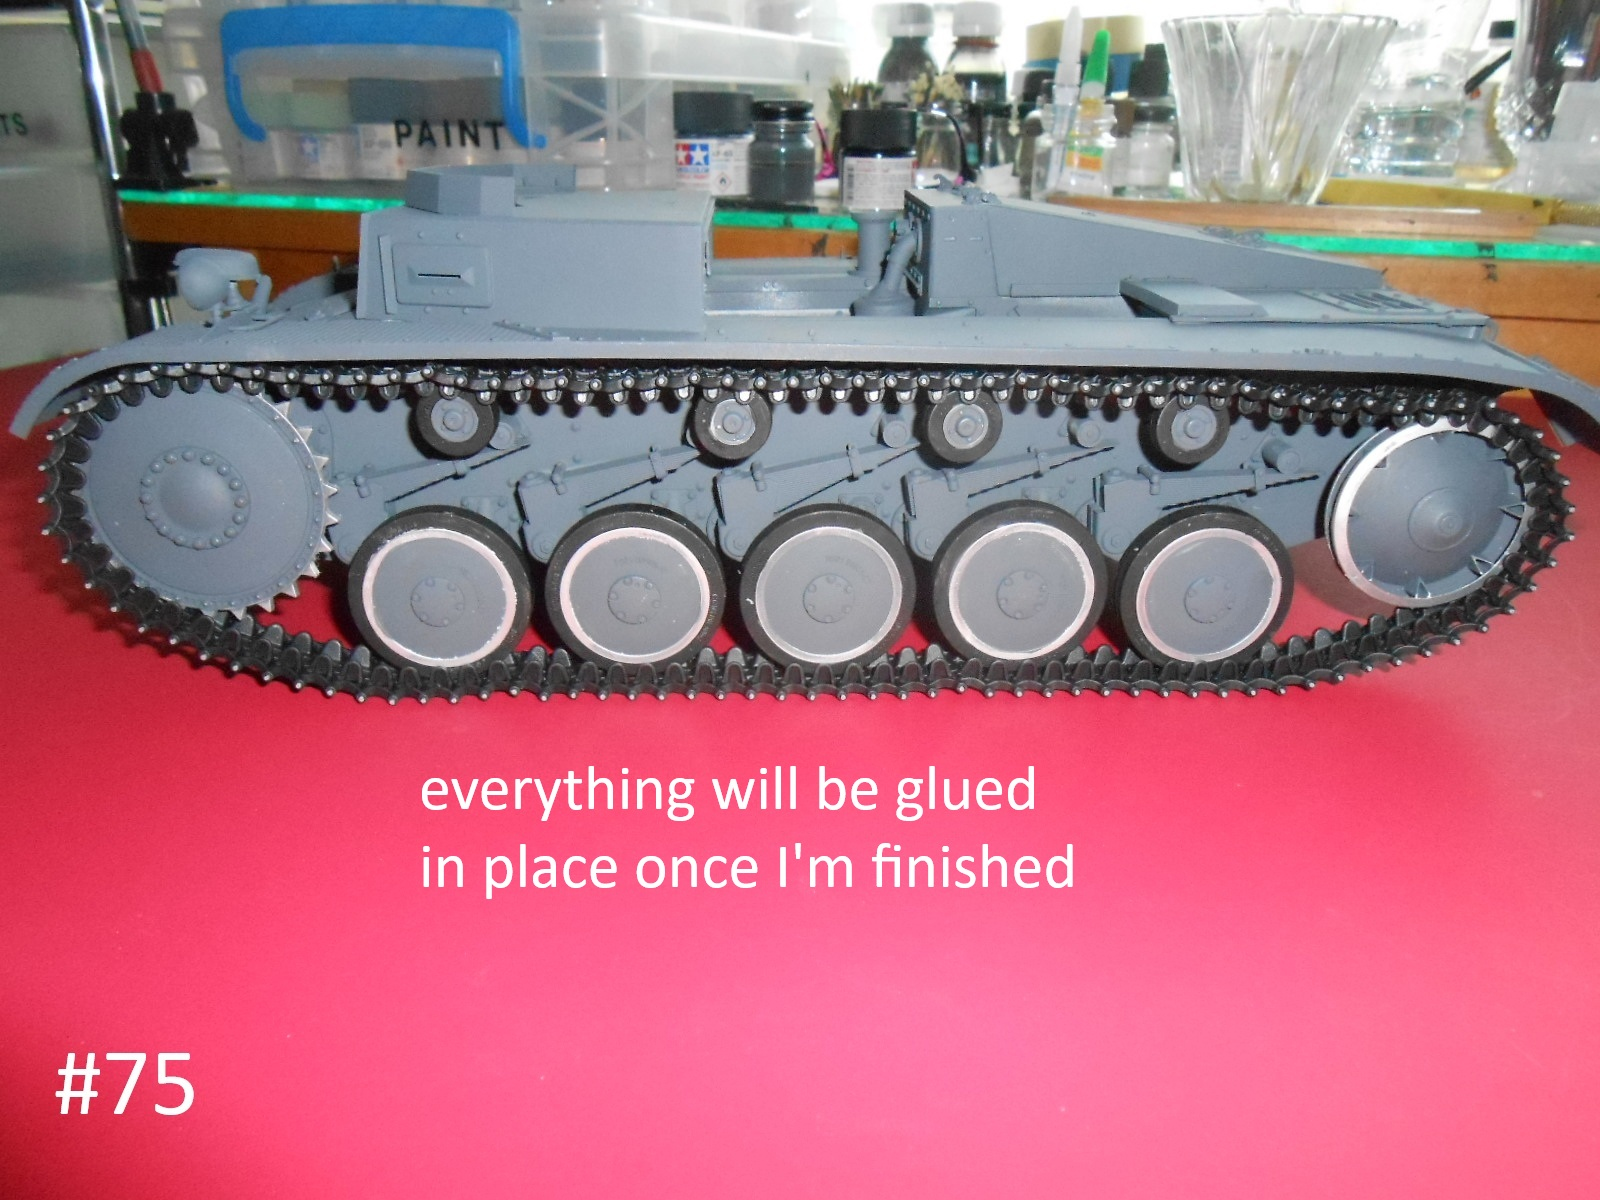
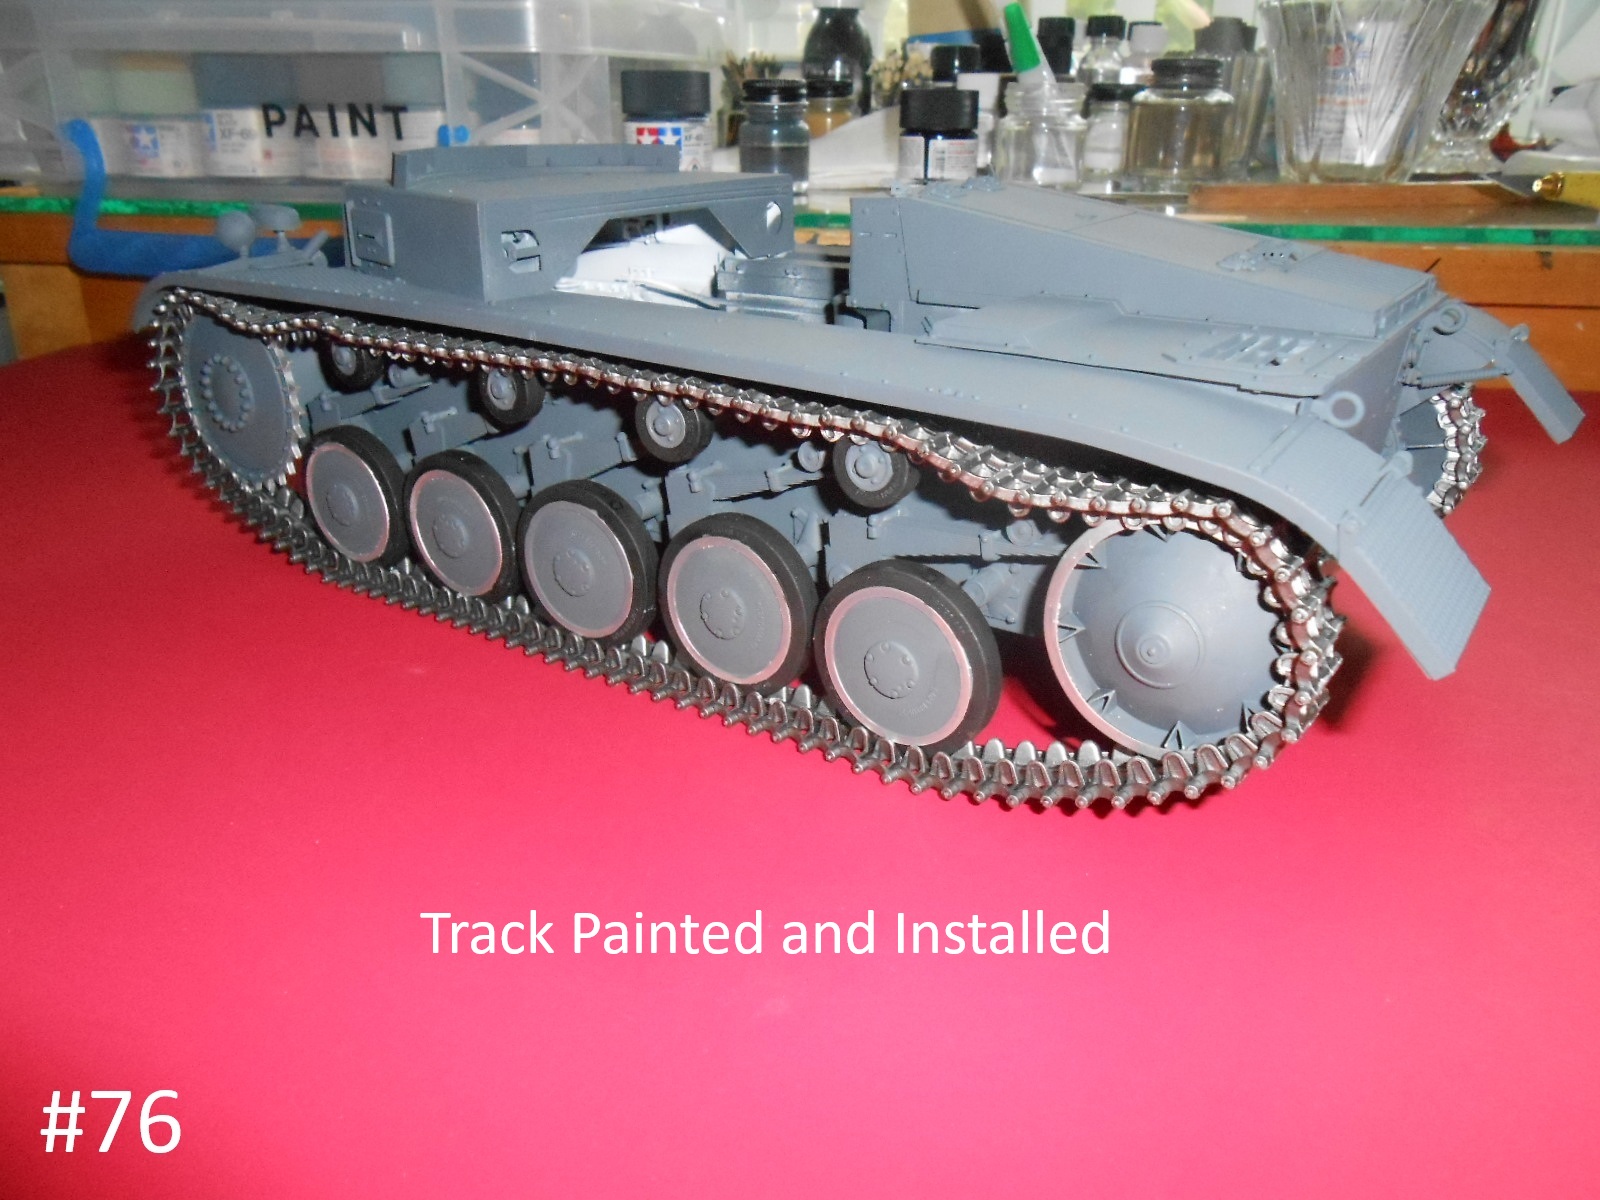
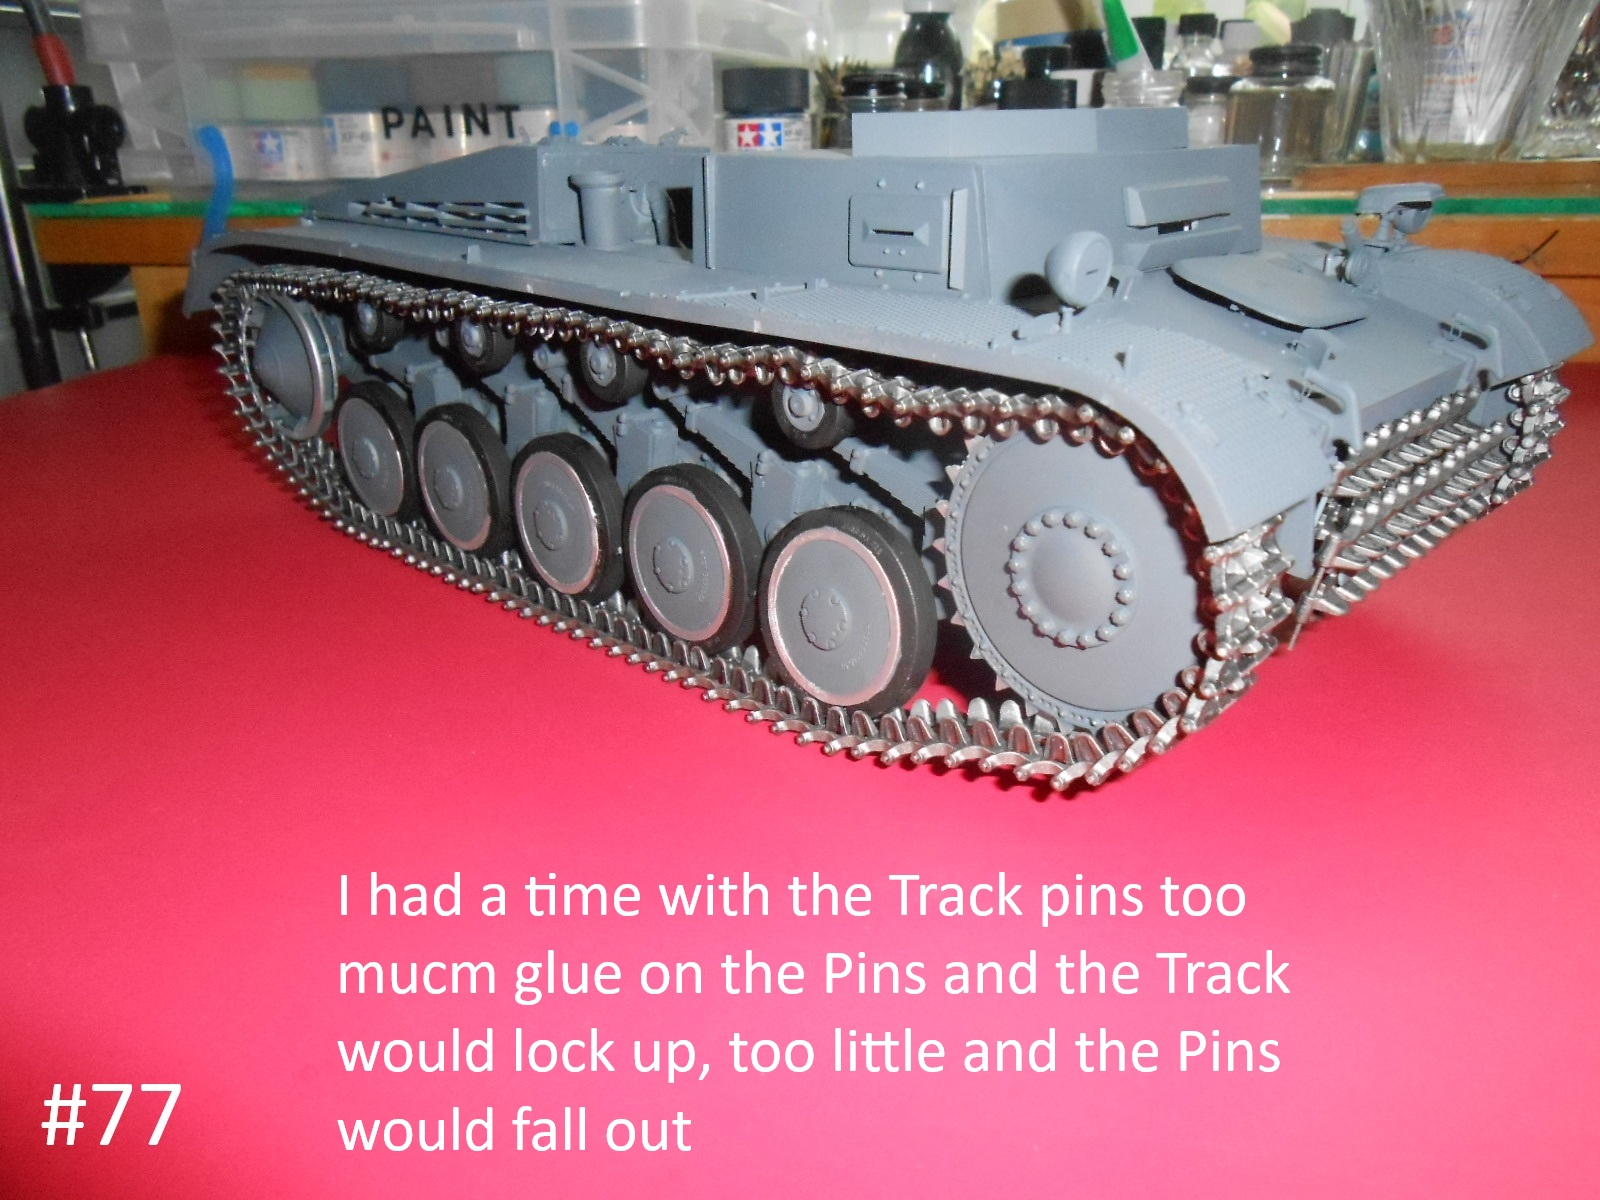
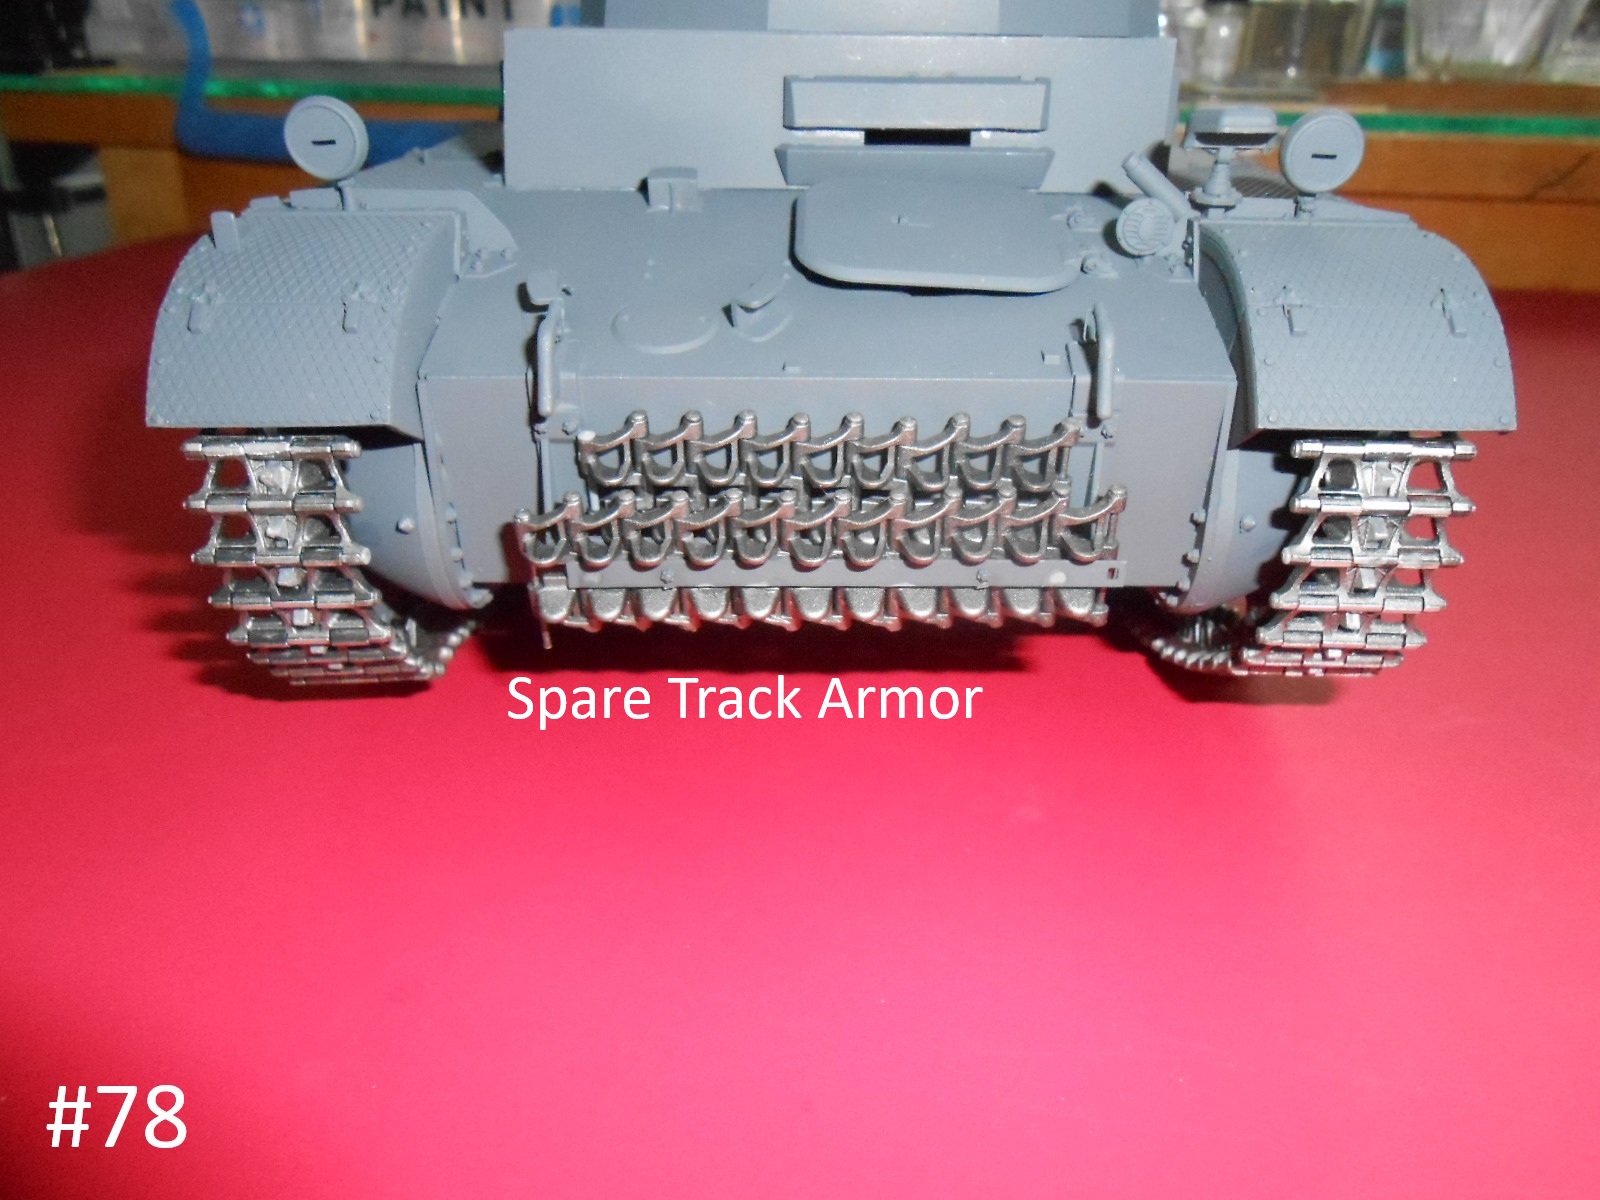
Well I have the Track Painted and Installed.
It wasn’t easy, I had to glue Everything down and in place.
Arms to the Hull, Wheels to the Arms, Track to the Wheels and other Drive parts
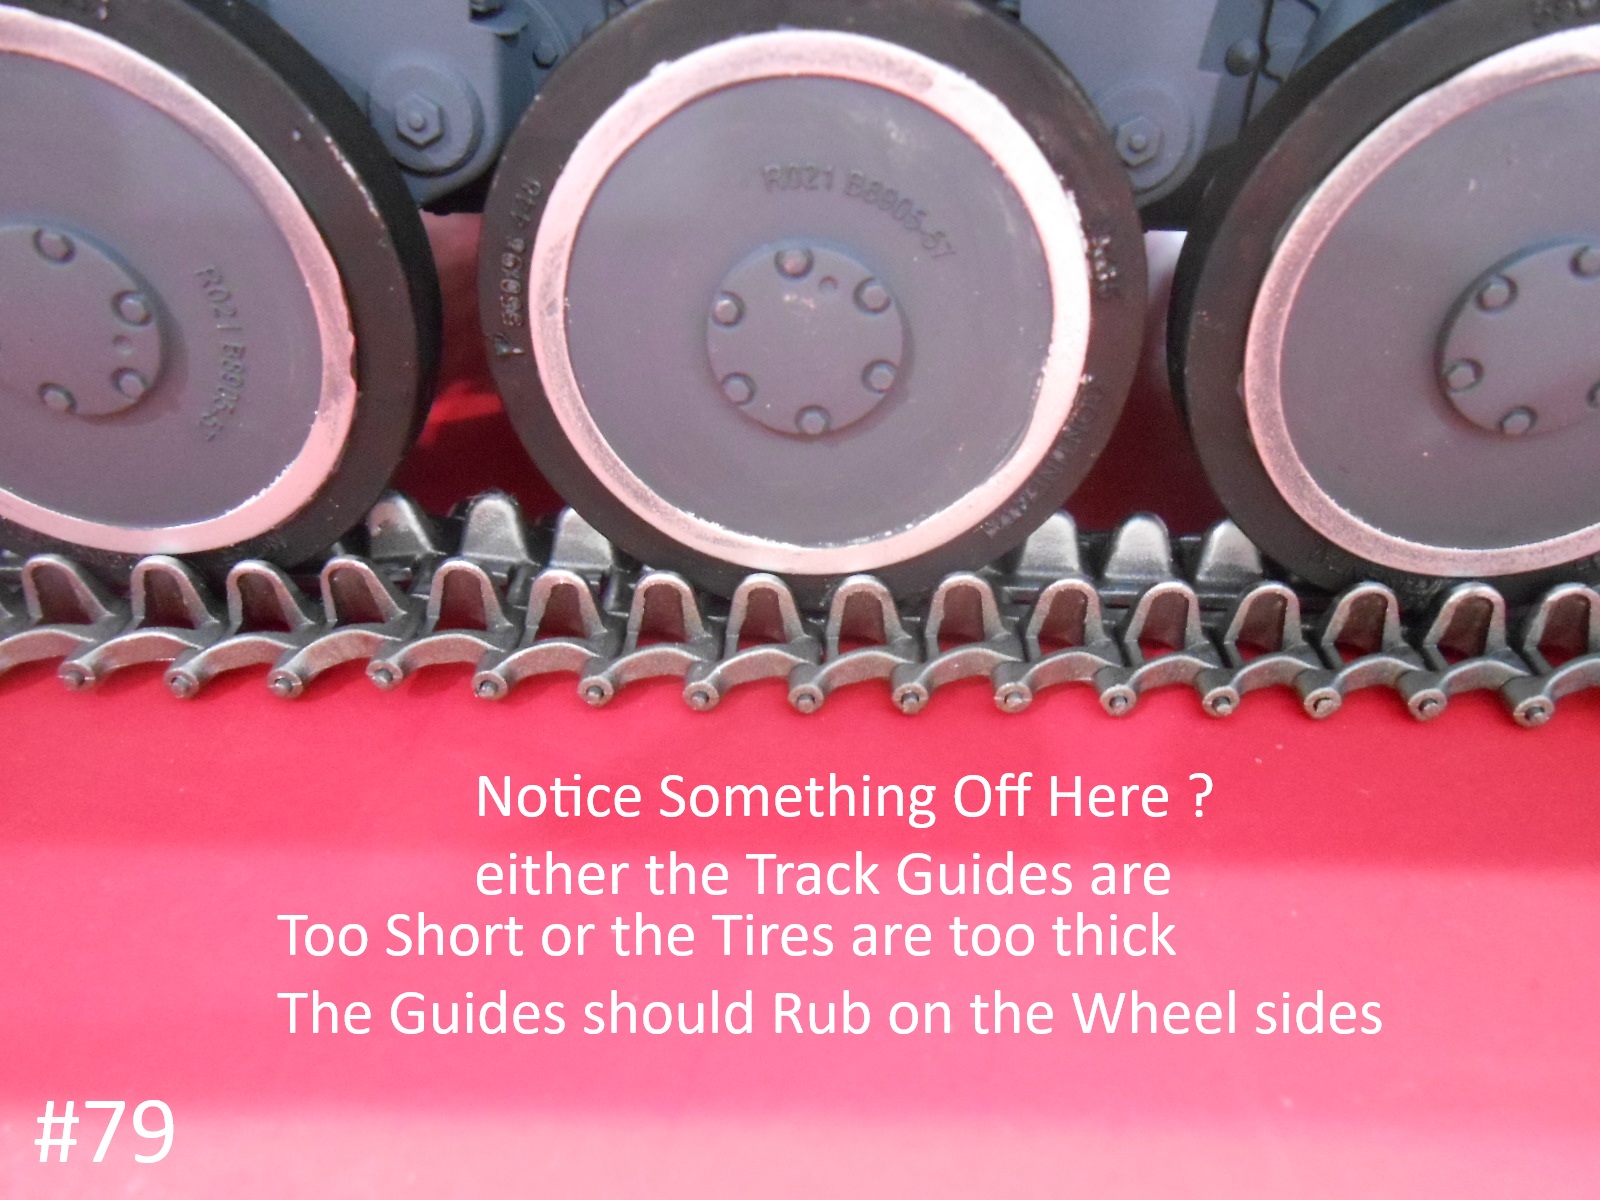
Nothing is Movable. Note the Track Guides, well either they are too short or the Tires on the wheels are too thick. The Guide parts should touch the sides of the Wheels and not the Tires.
Finished for now.
Donald
6 Likes
Nice build 1/16 kits are another rabbit hole to fall into.
2 Likes
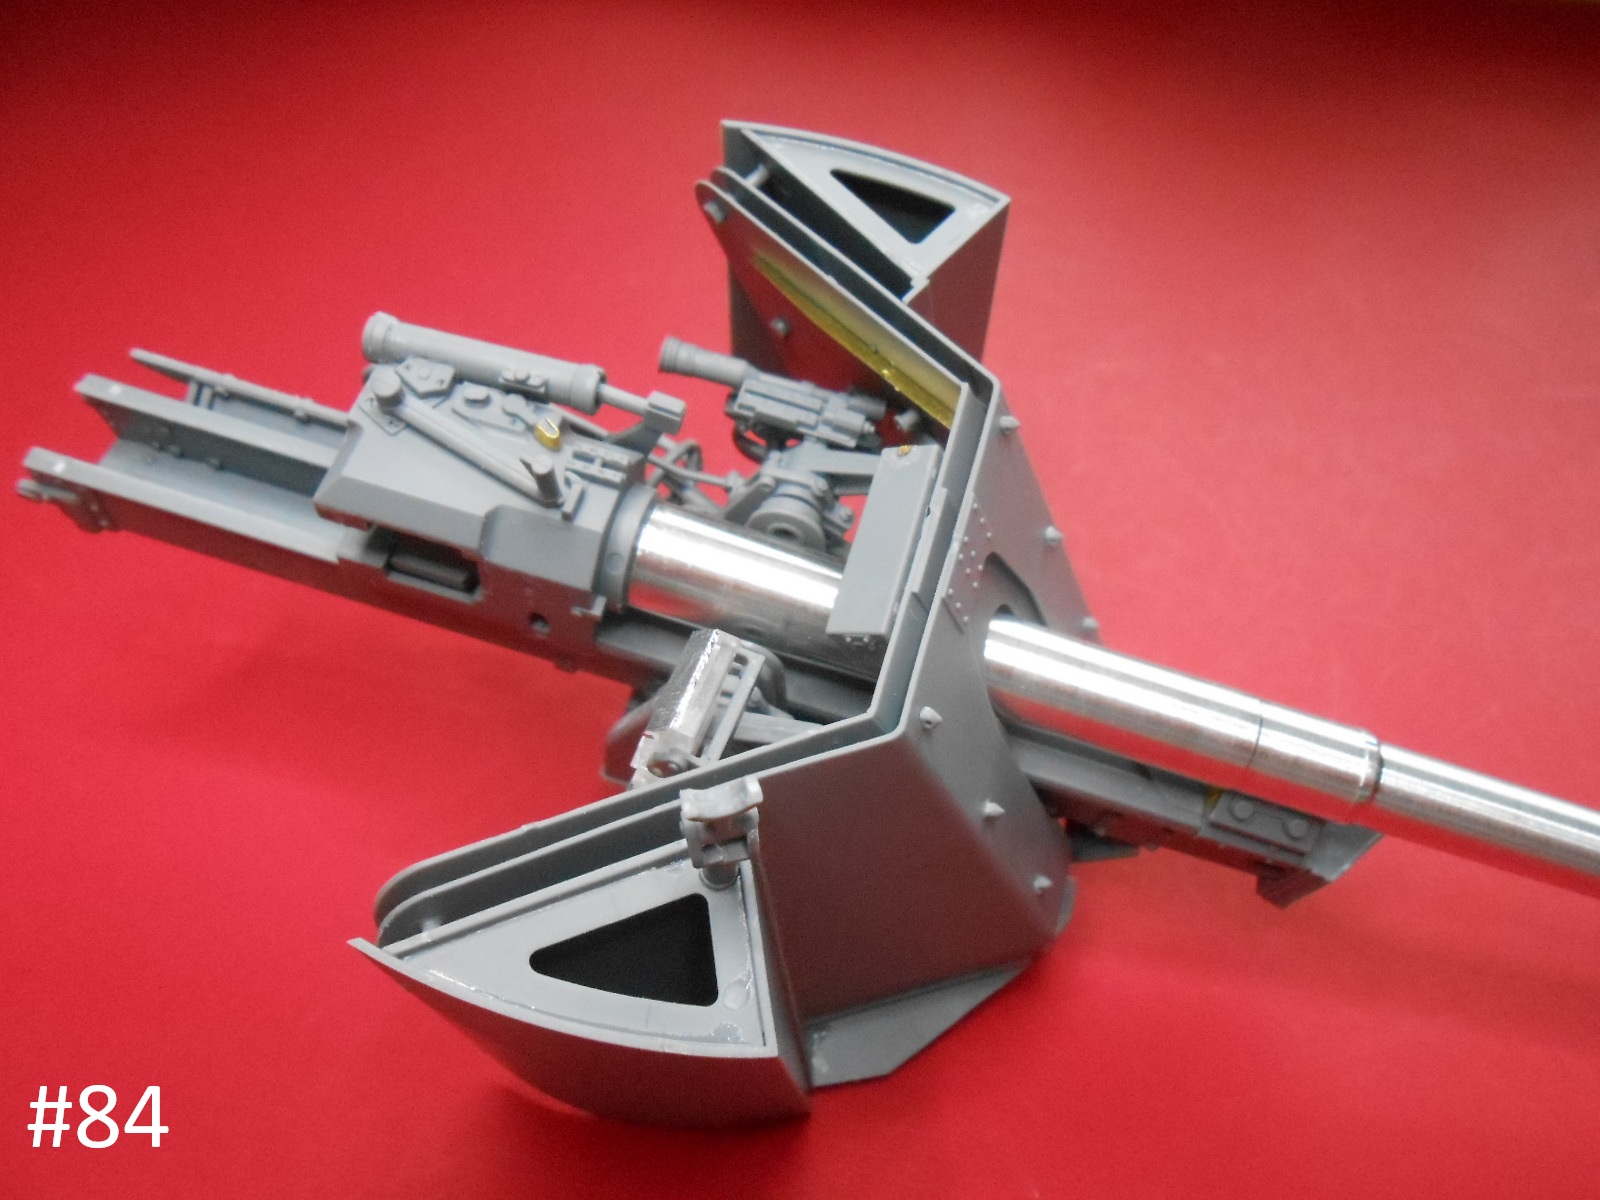
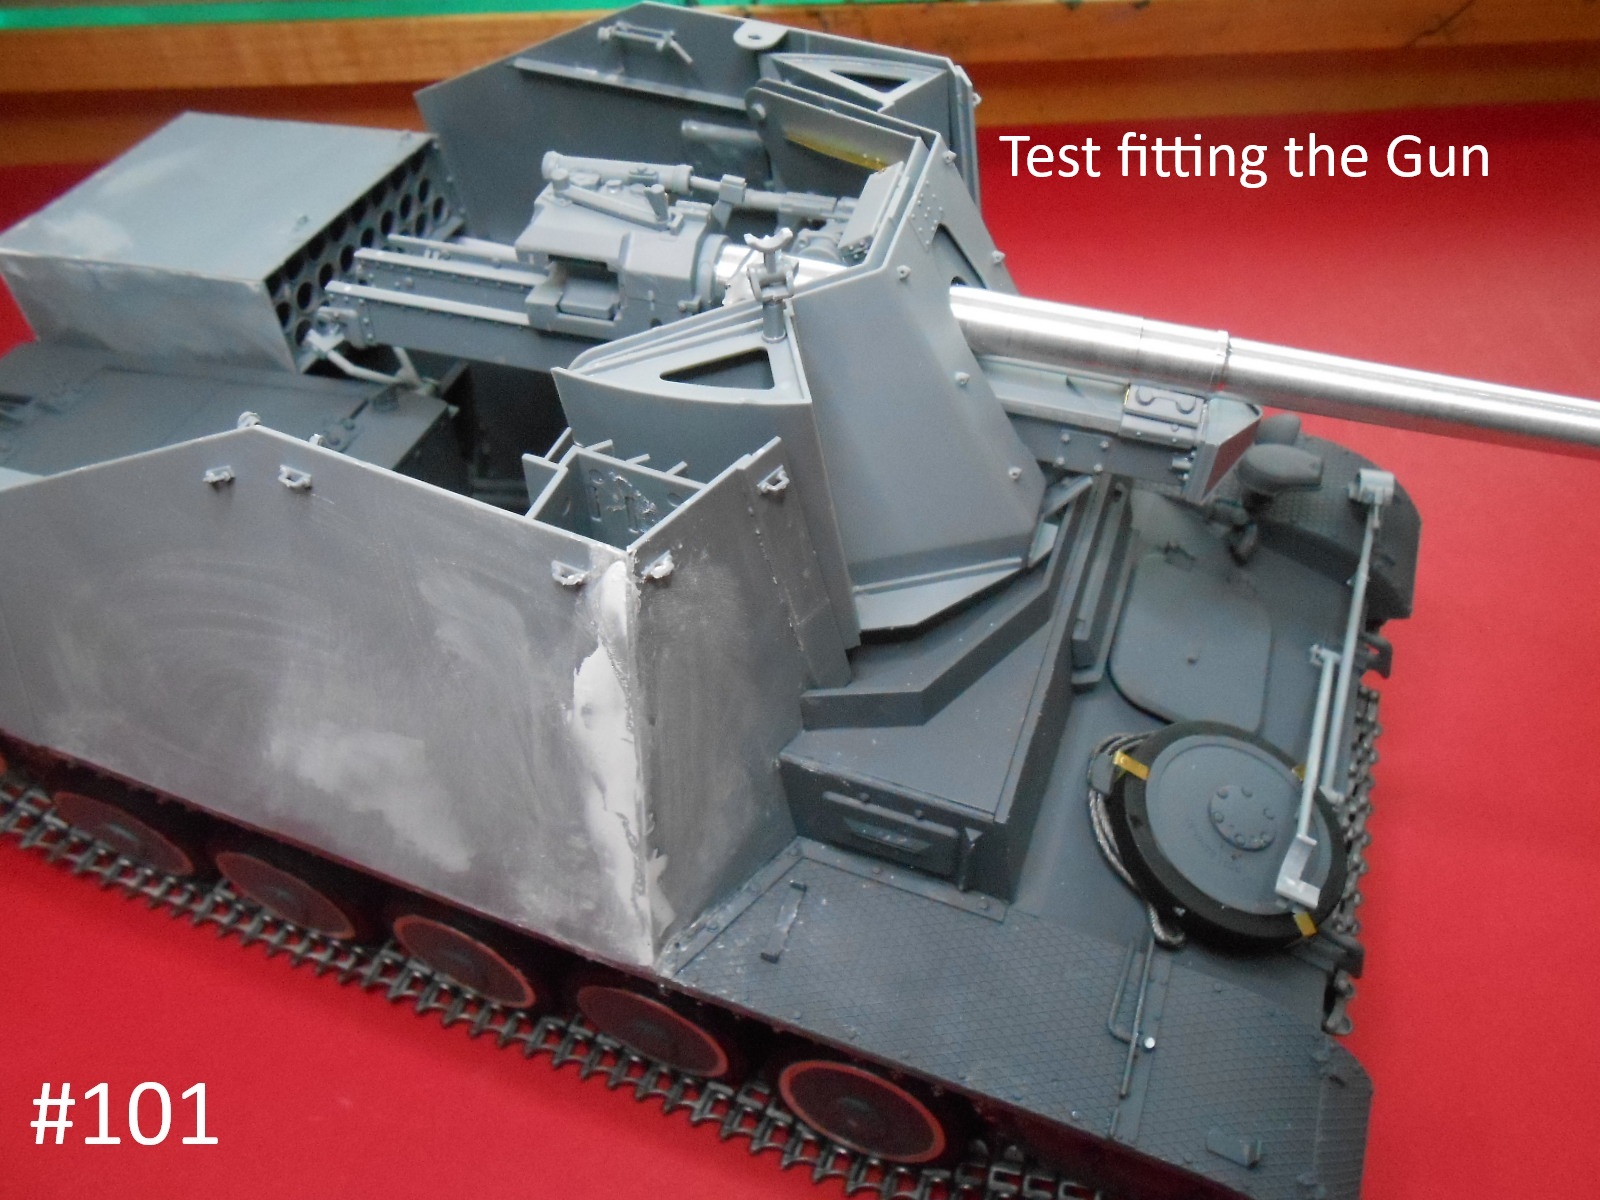
Well The Gun worked out really Nice.
I started on the fighting Compatrment.
Finished for now.
Donald
7 Likes
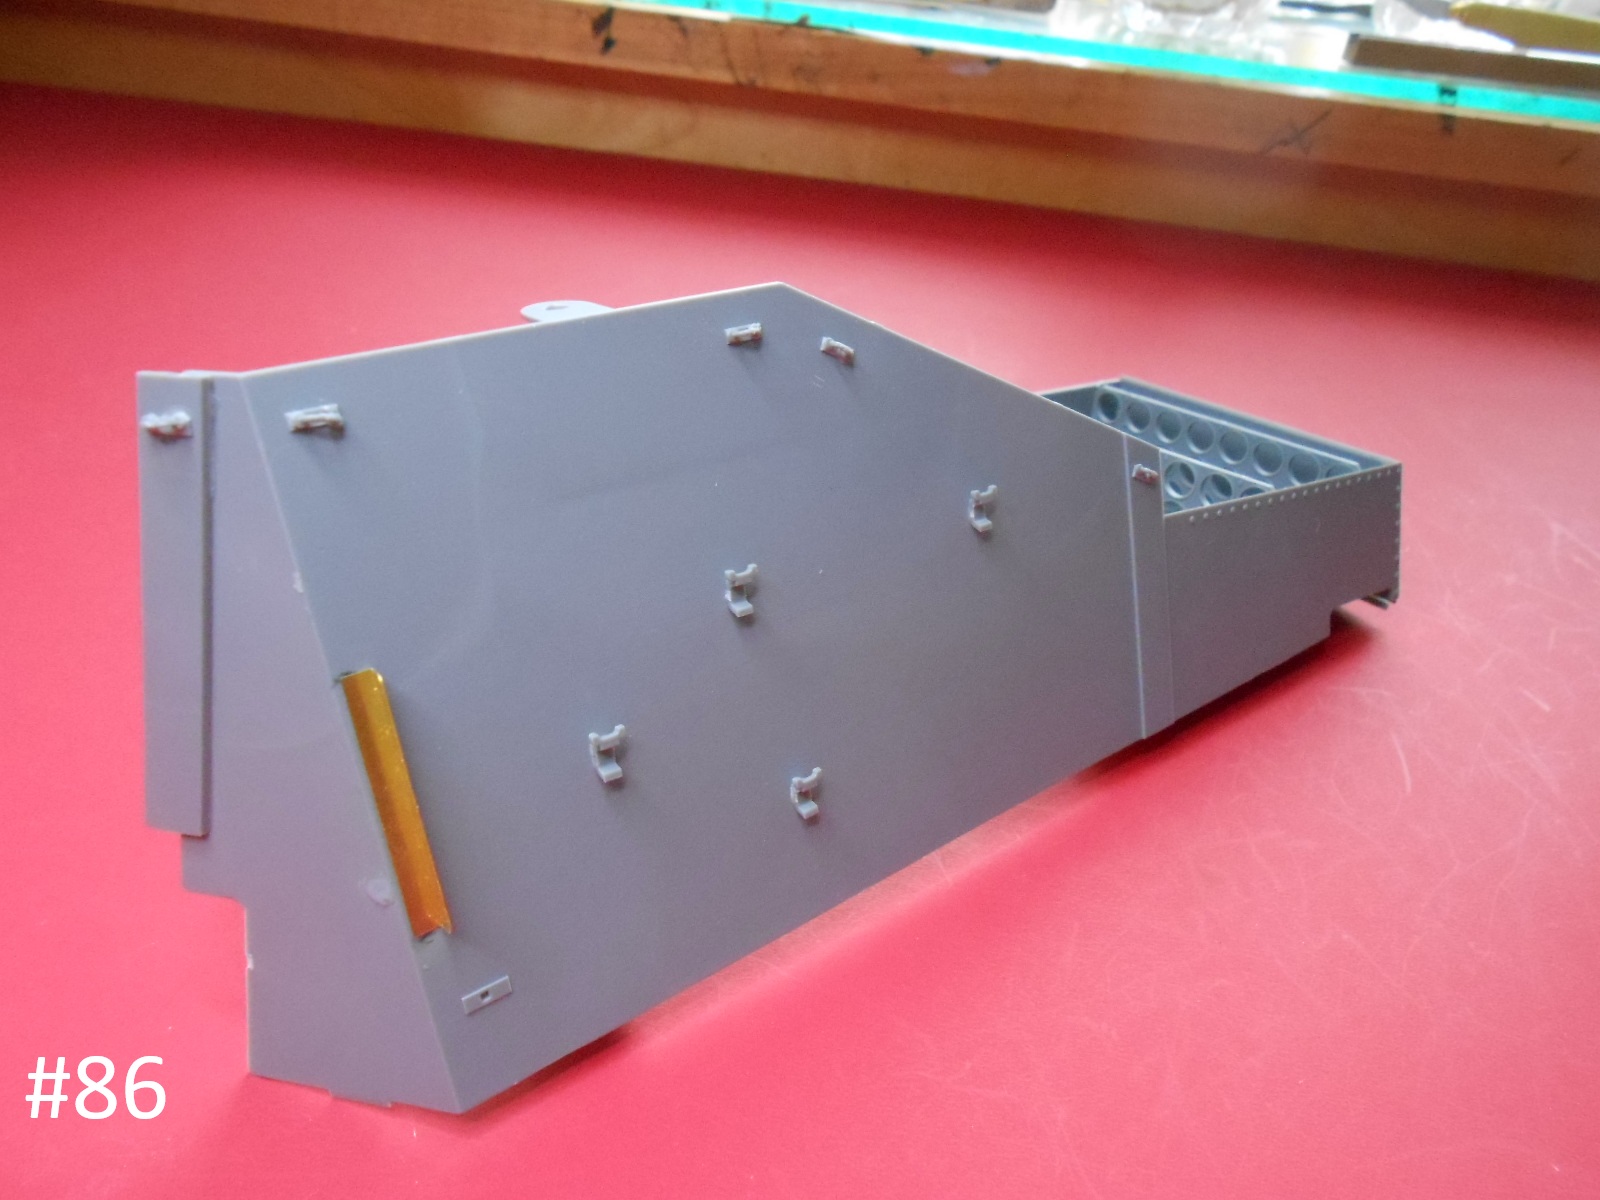
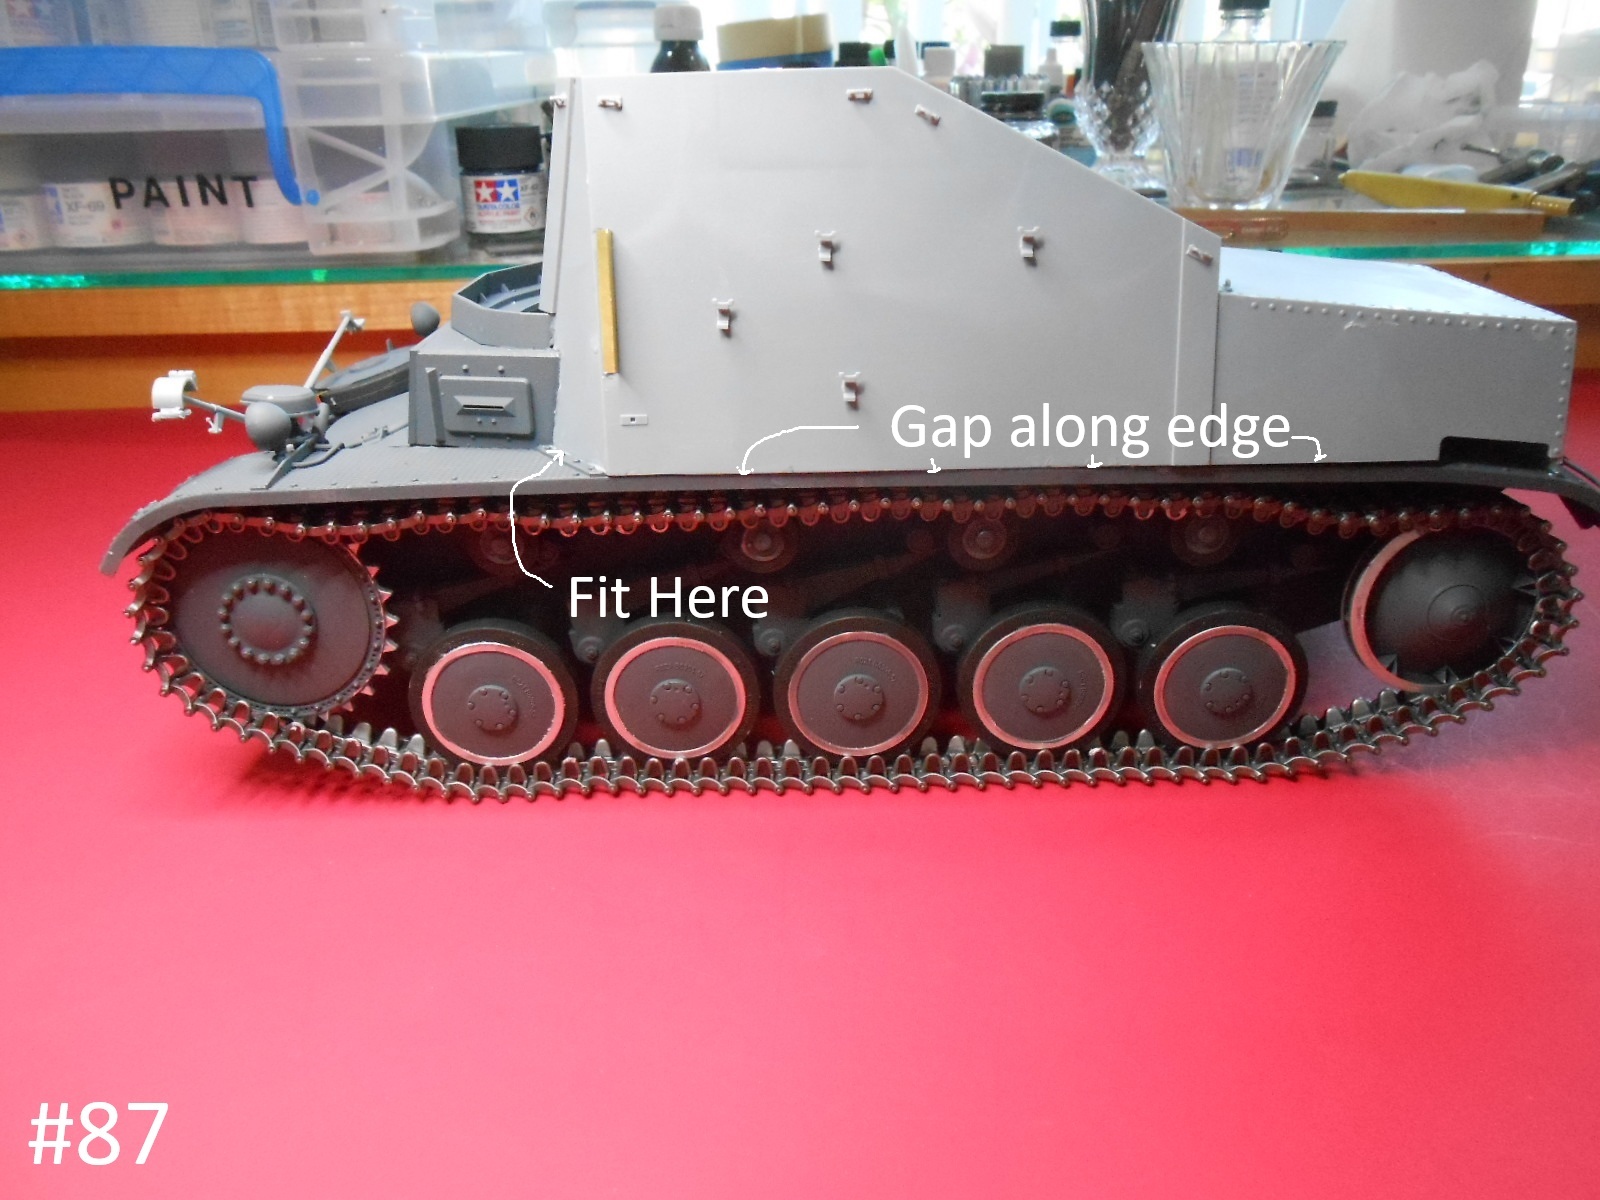
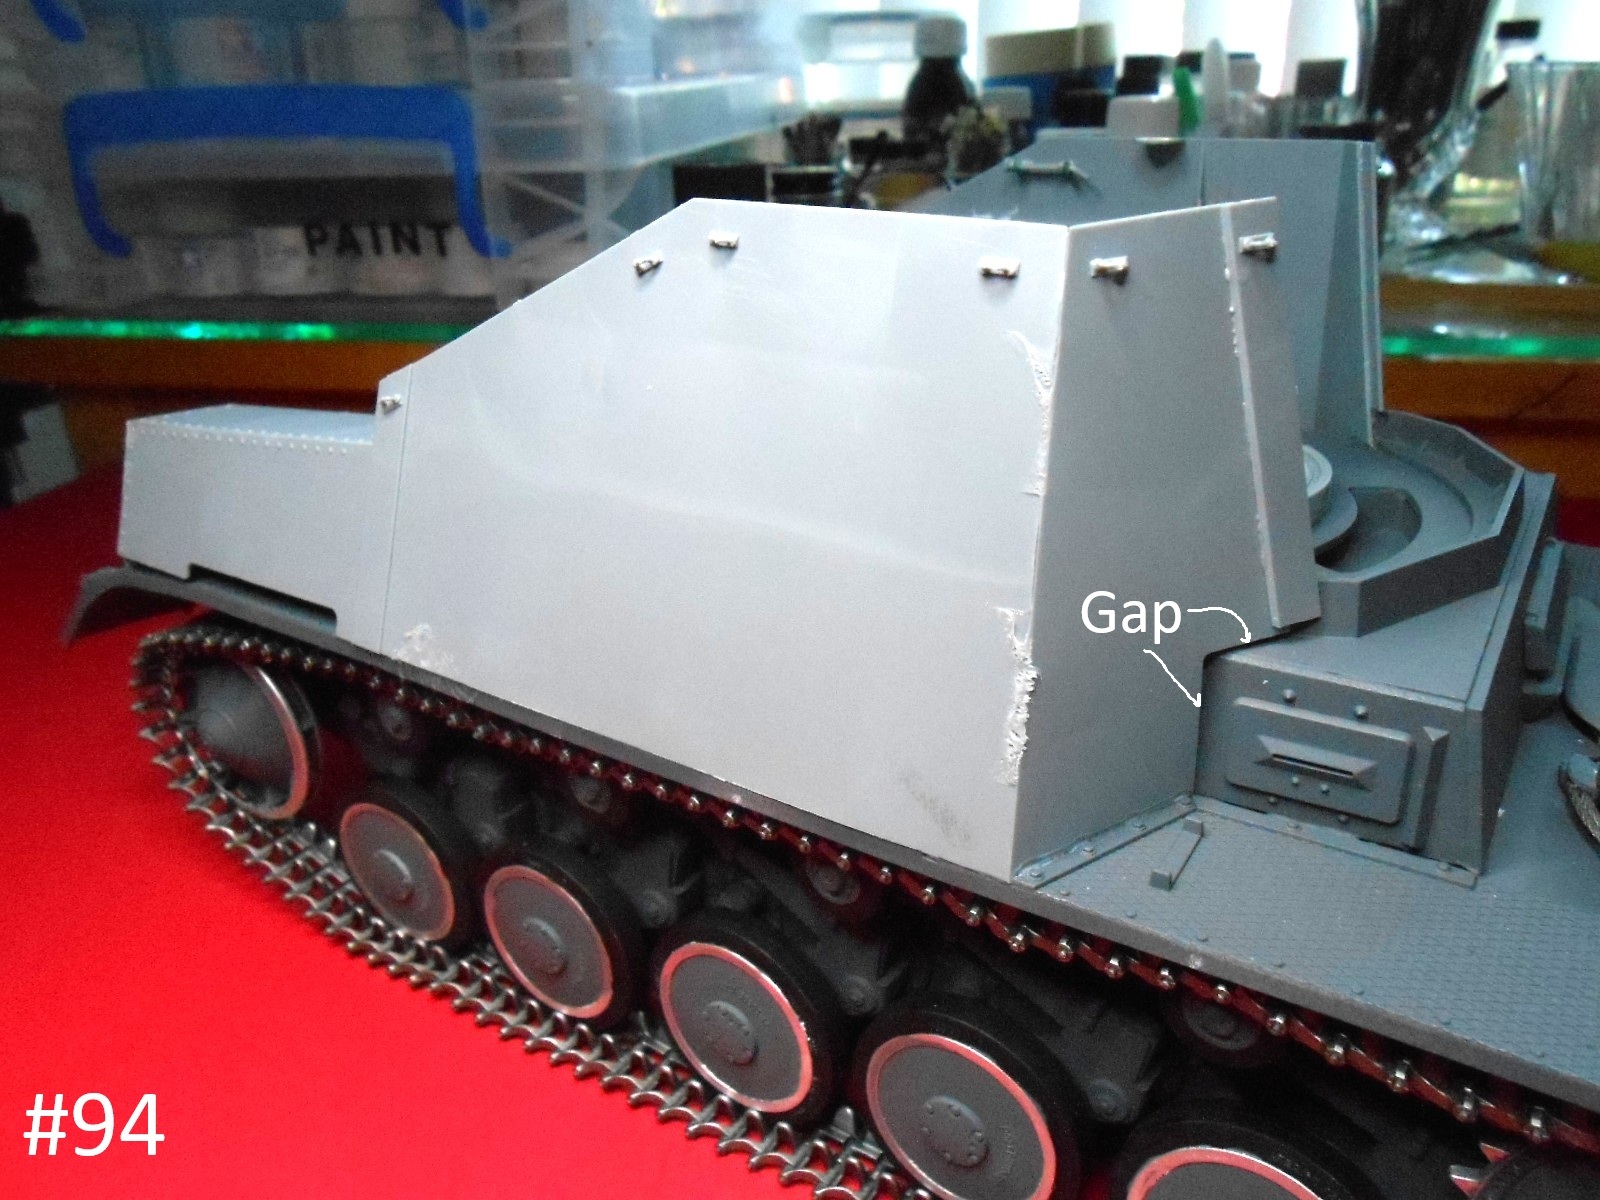
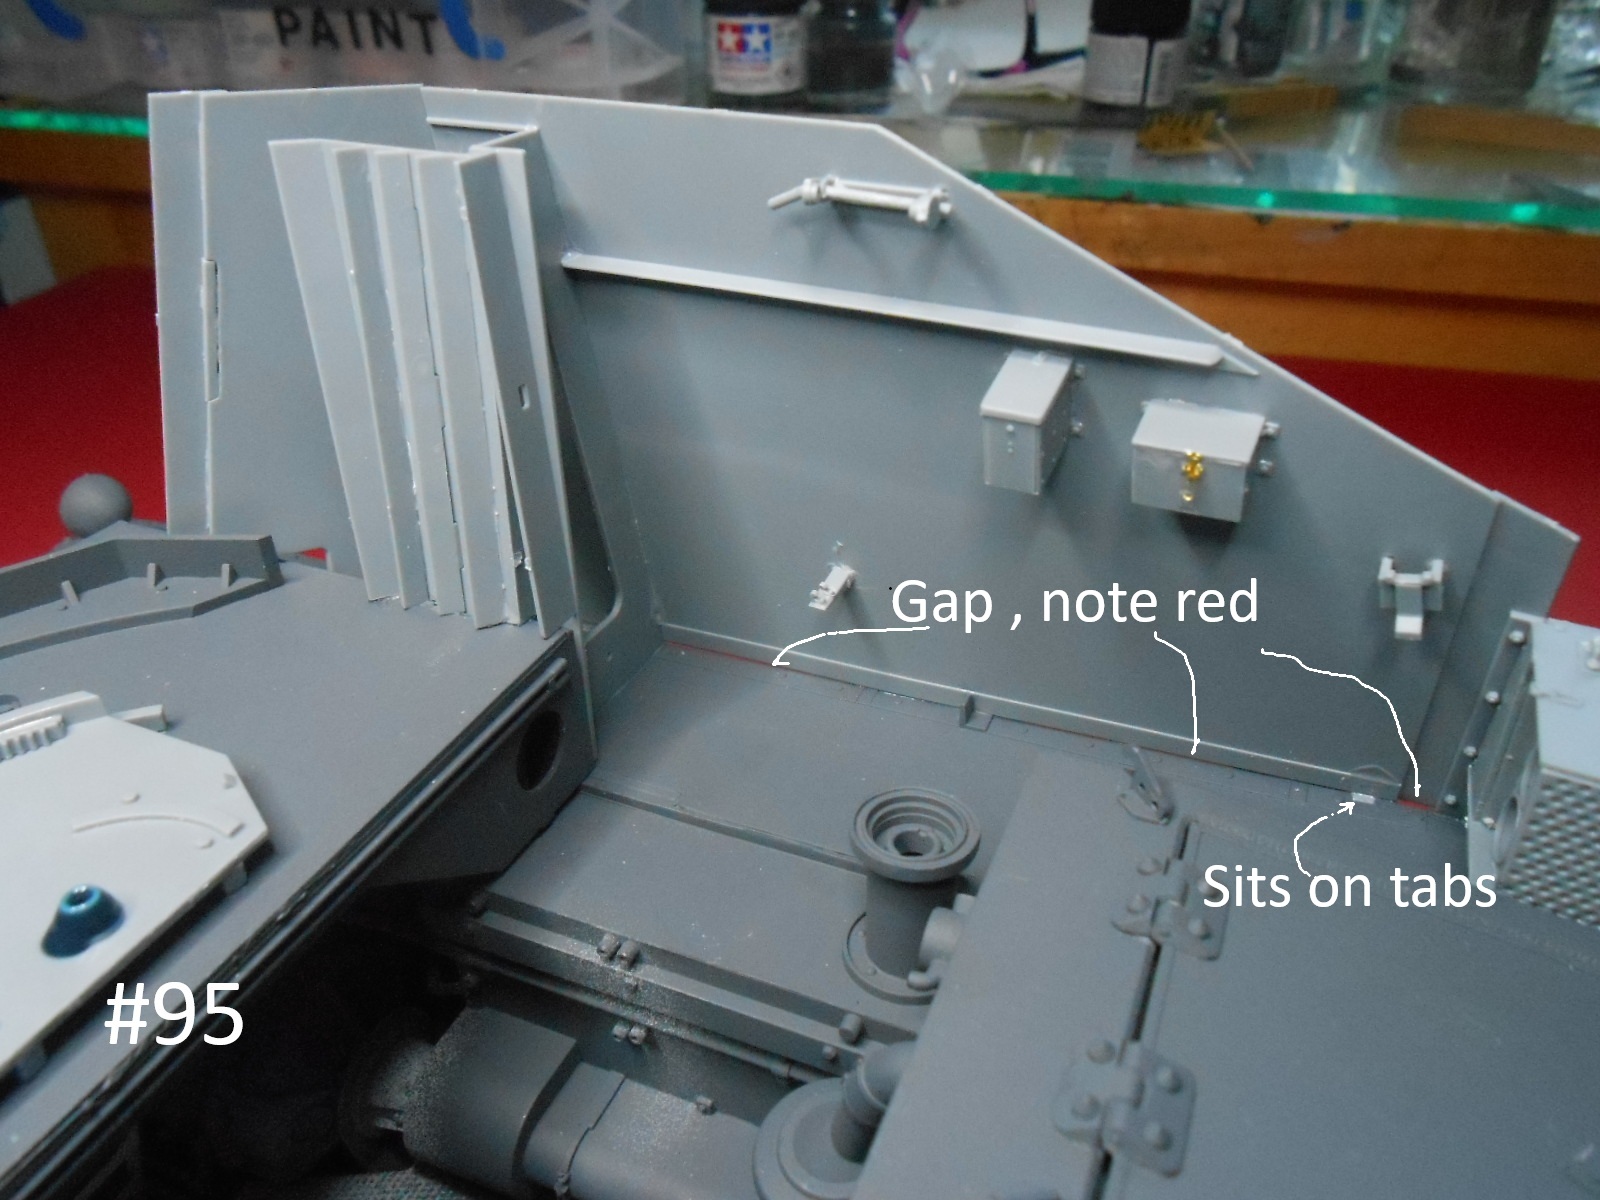
Well this came close to going into the Garbage, I am working in the Fighting Compartment and the fit is lousy,
I hope the other side goes easier.
Donald
4 Likes
The latest video from OzArmor shows them having similar problems attaching the side plates to the fighting compartment on the Wespe they’re restoring – but they have the excuse of it being 80+ years old and having been subjected to someone else’s misguided restoration attempt(s); you would expect that someone at Gecko would have built a test shot from the molds to make sure everything fit right before they put them up for sale. That sort of misalignment is something I’d expect from a 1960s-era kit that had spent decades in an unmanaged environment, not from a current one.
1 Like
I have the other side finished, it is even worse.
Still trying to finish this POS
Regards
Donald
3 Likes
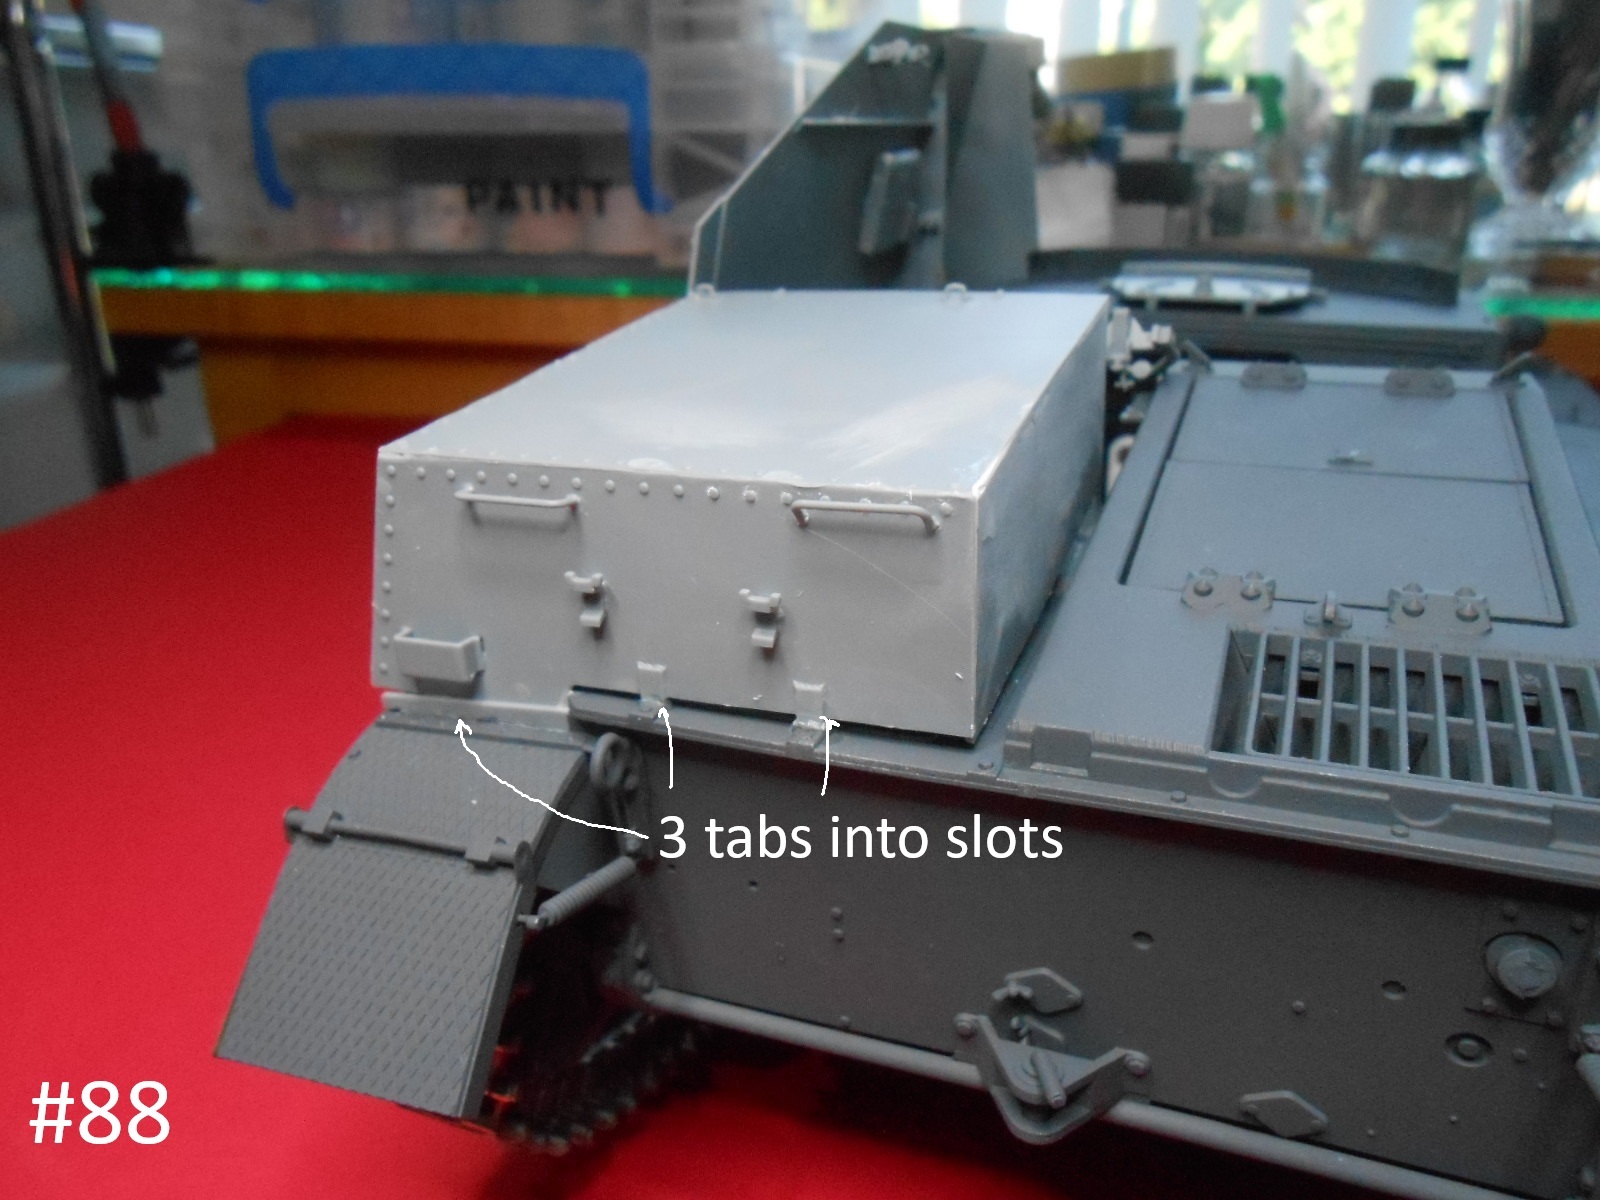
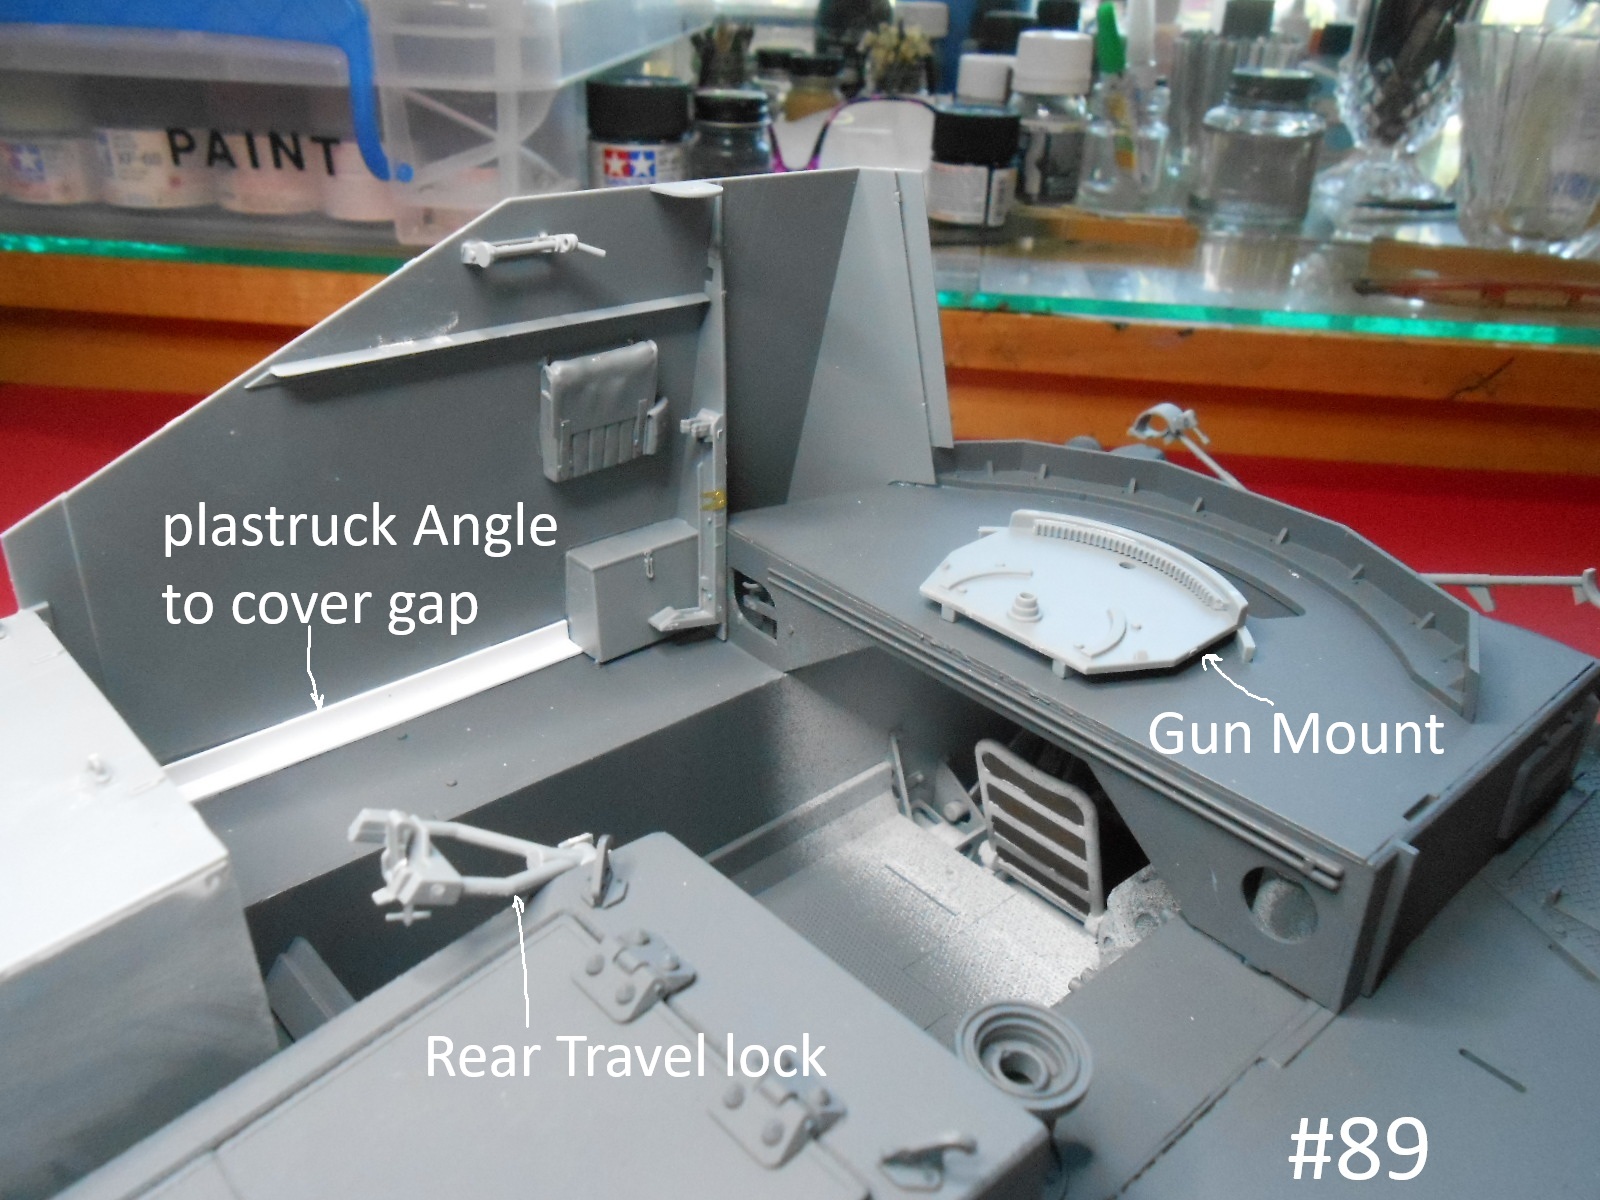
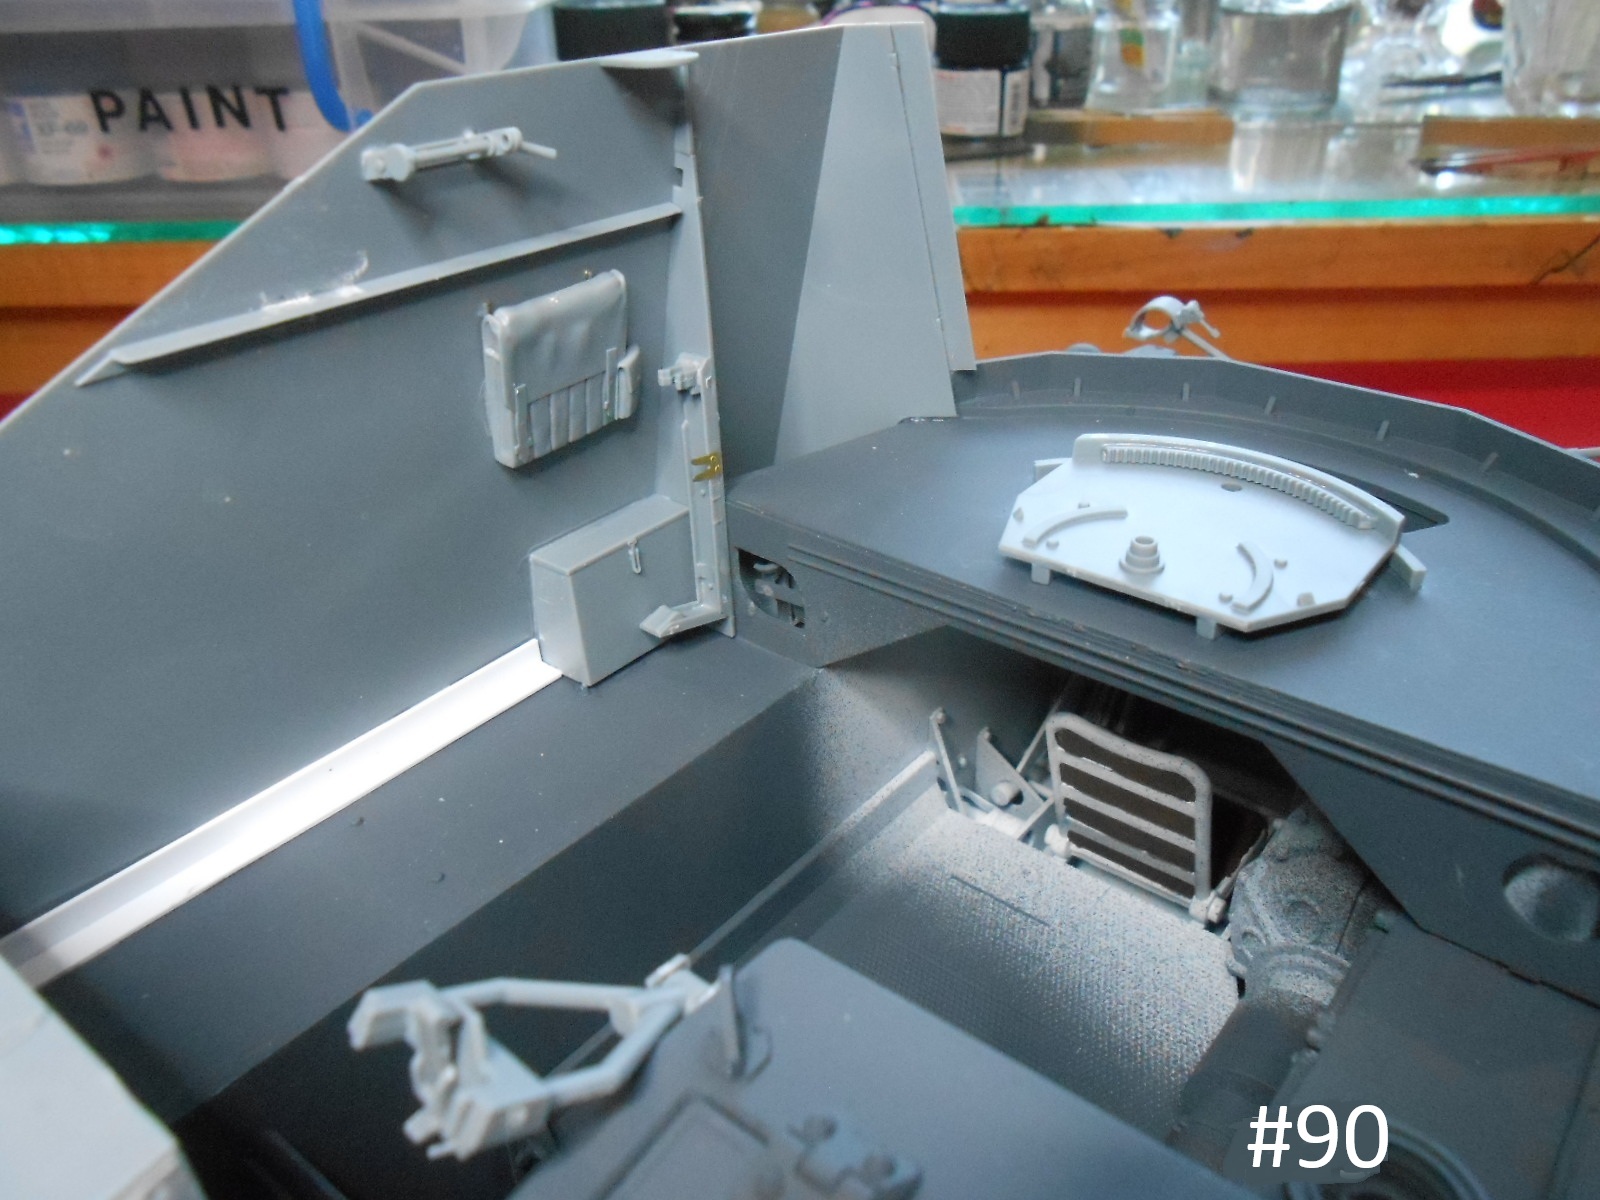
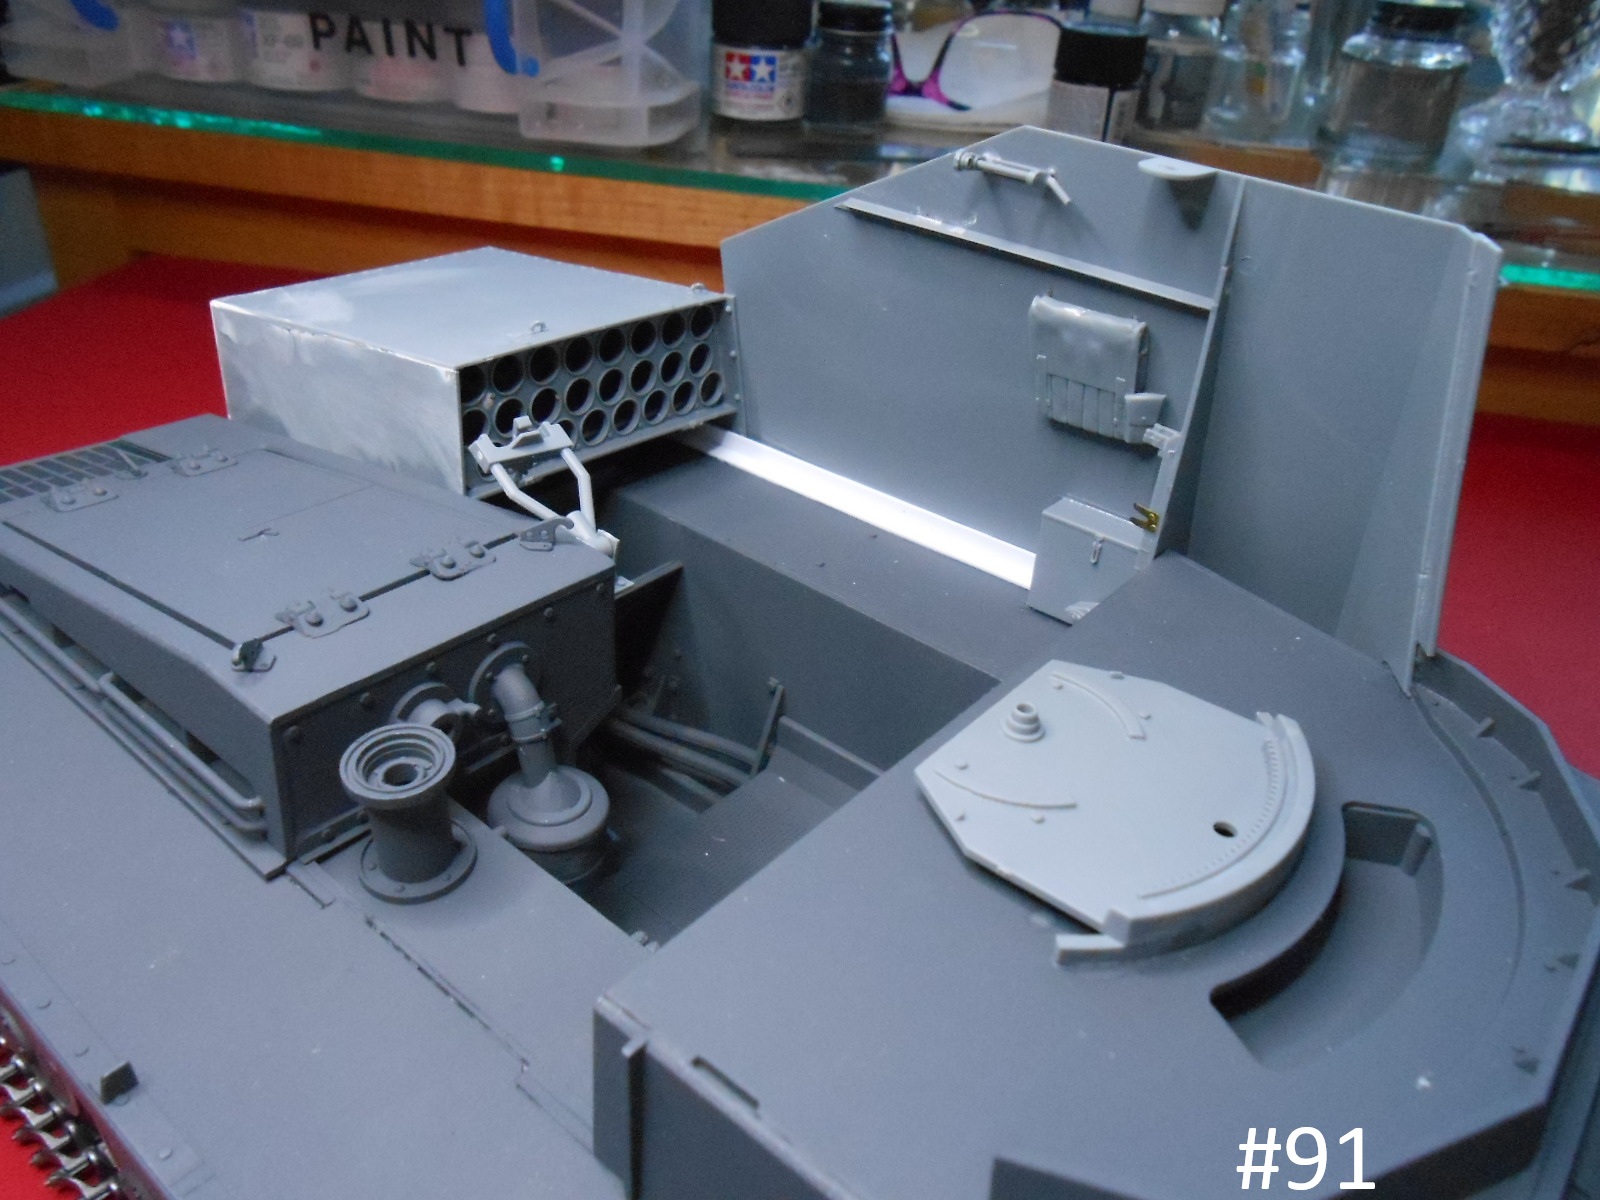
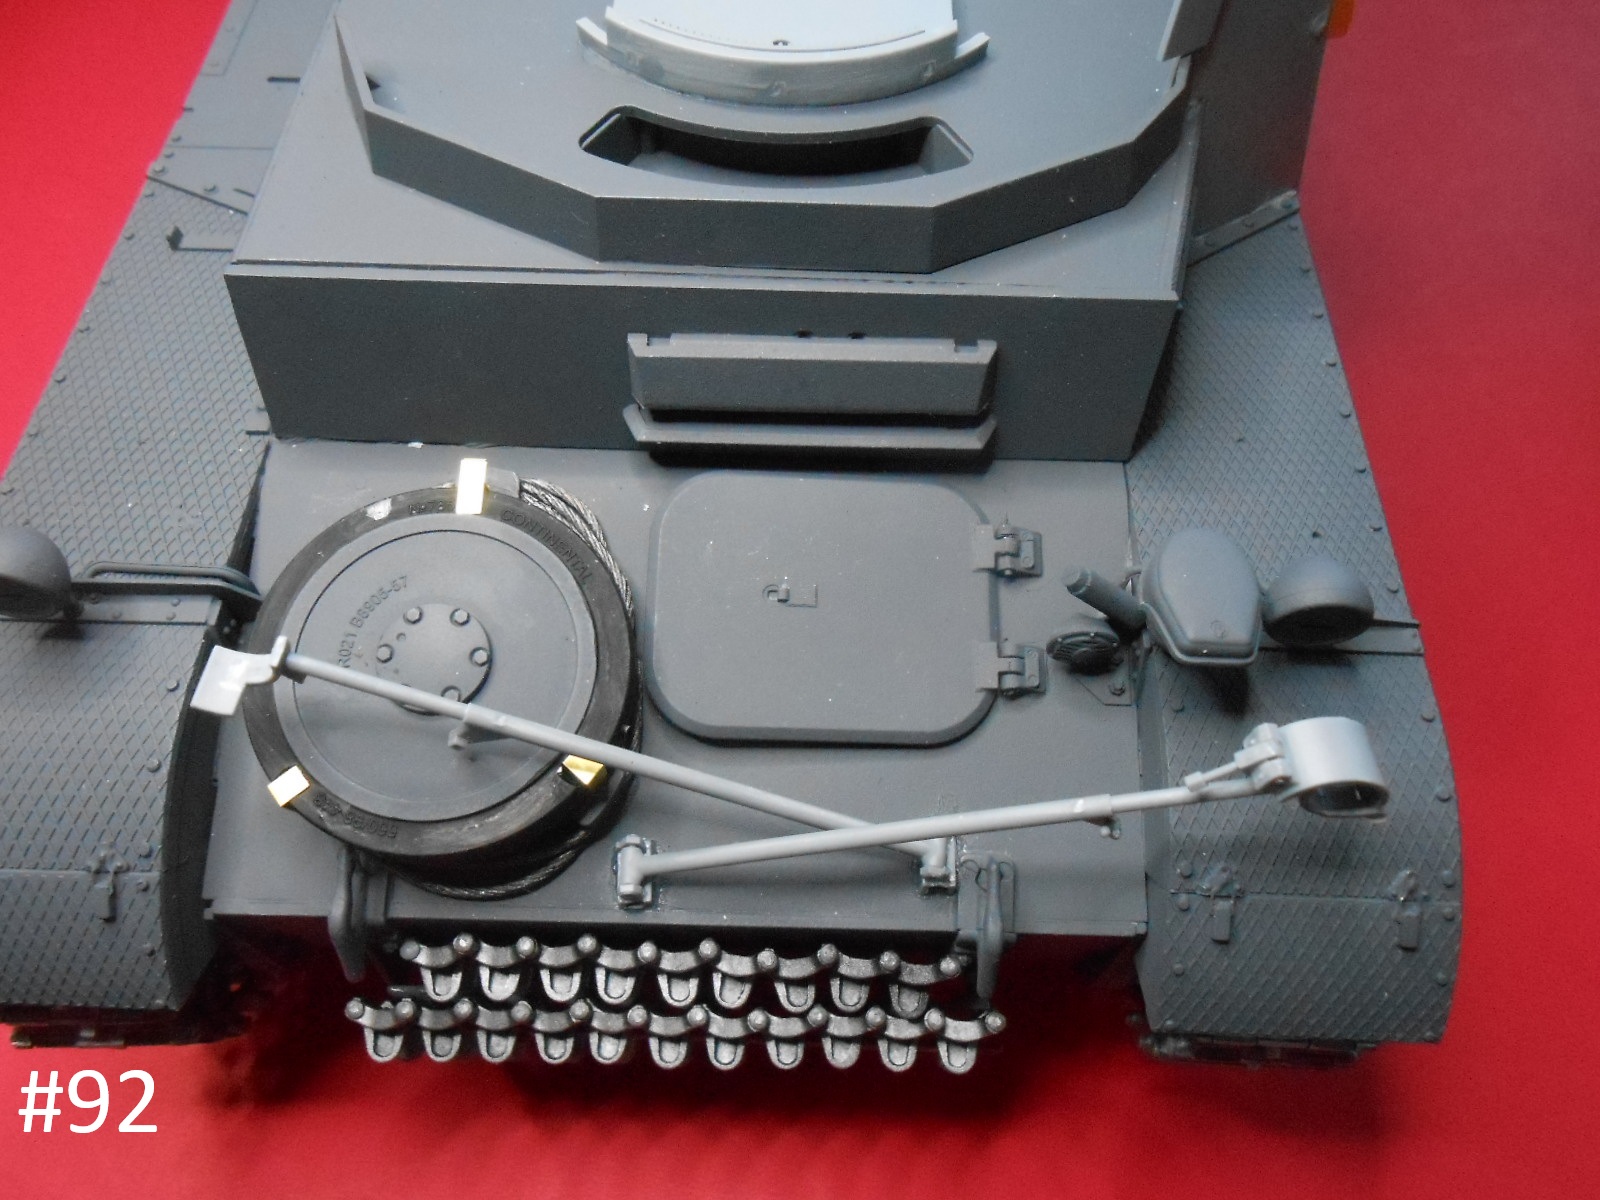
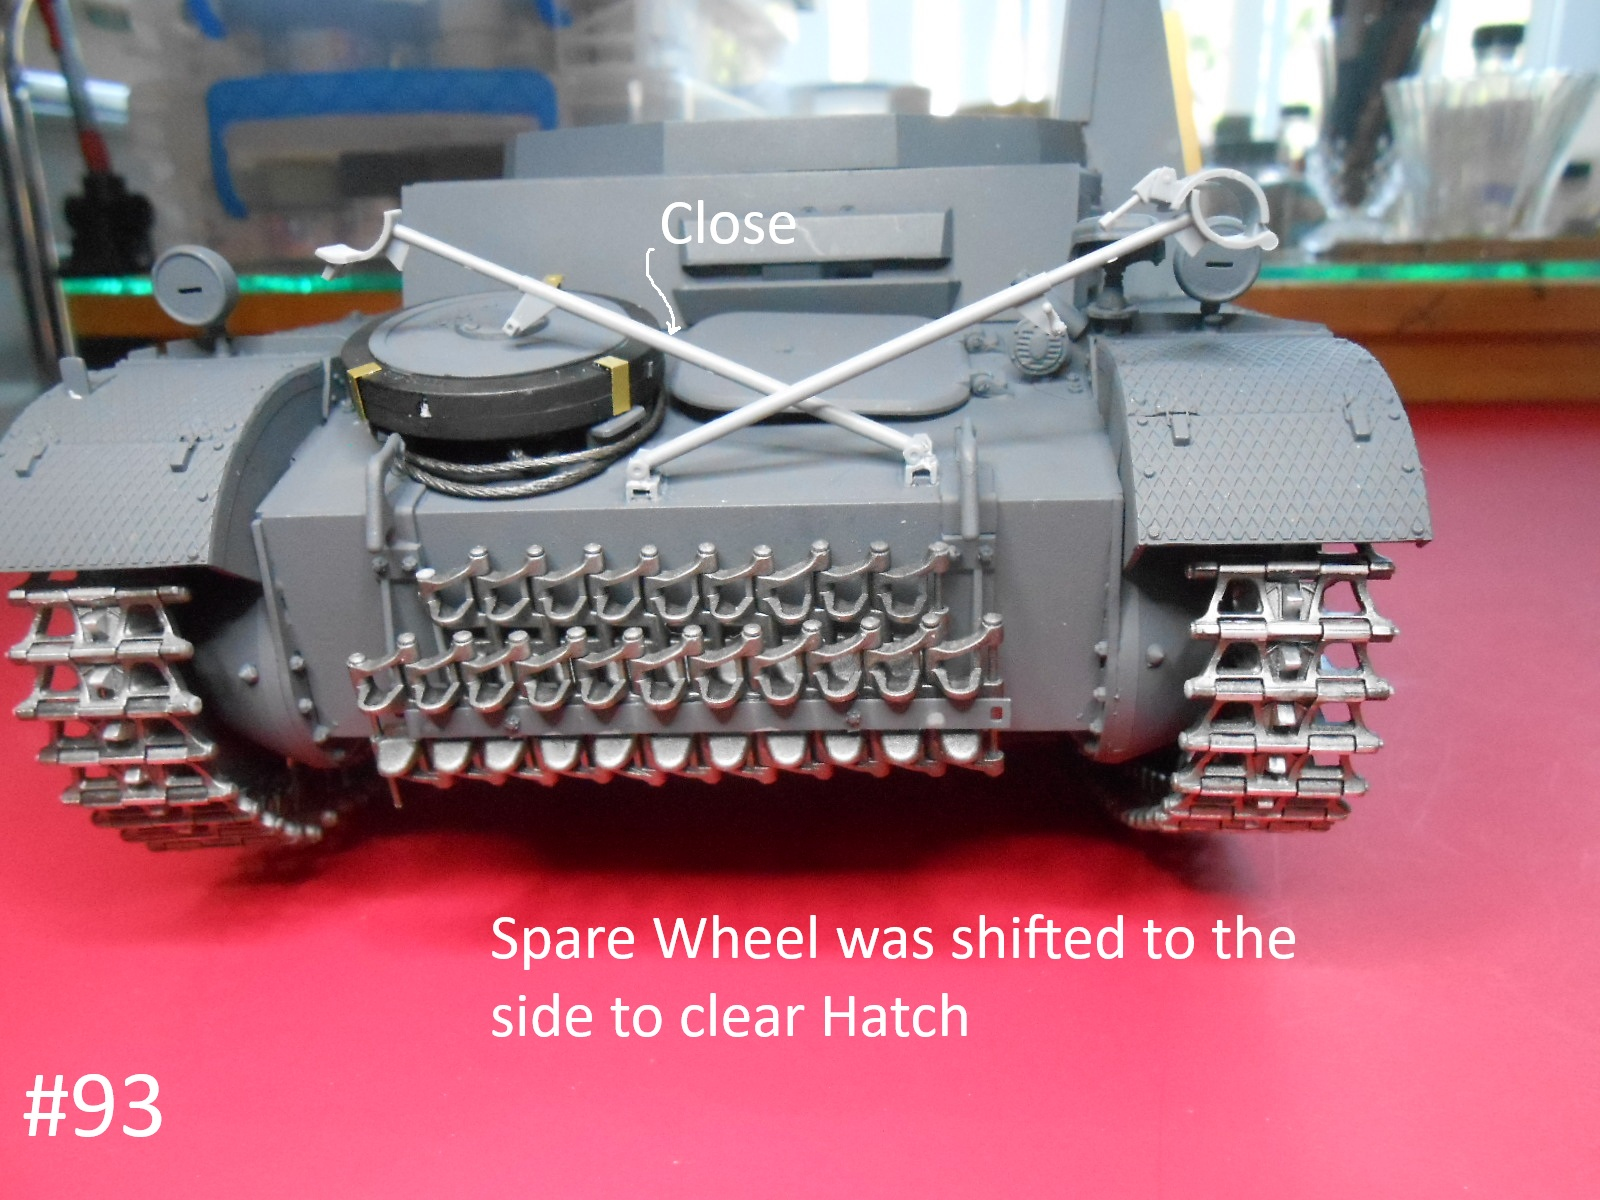
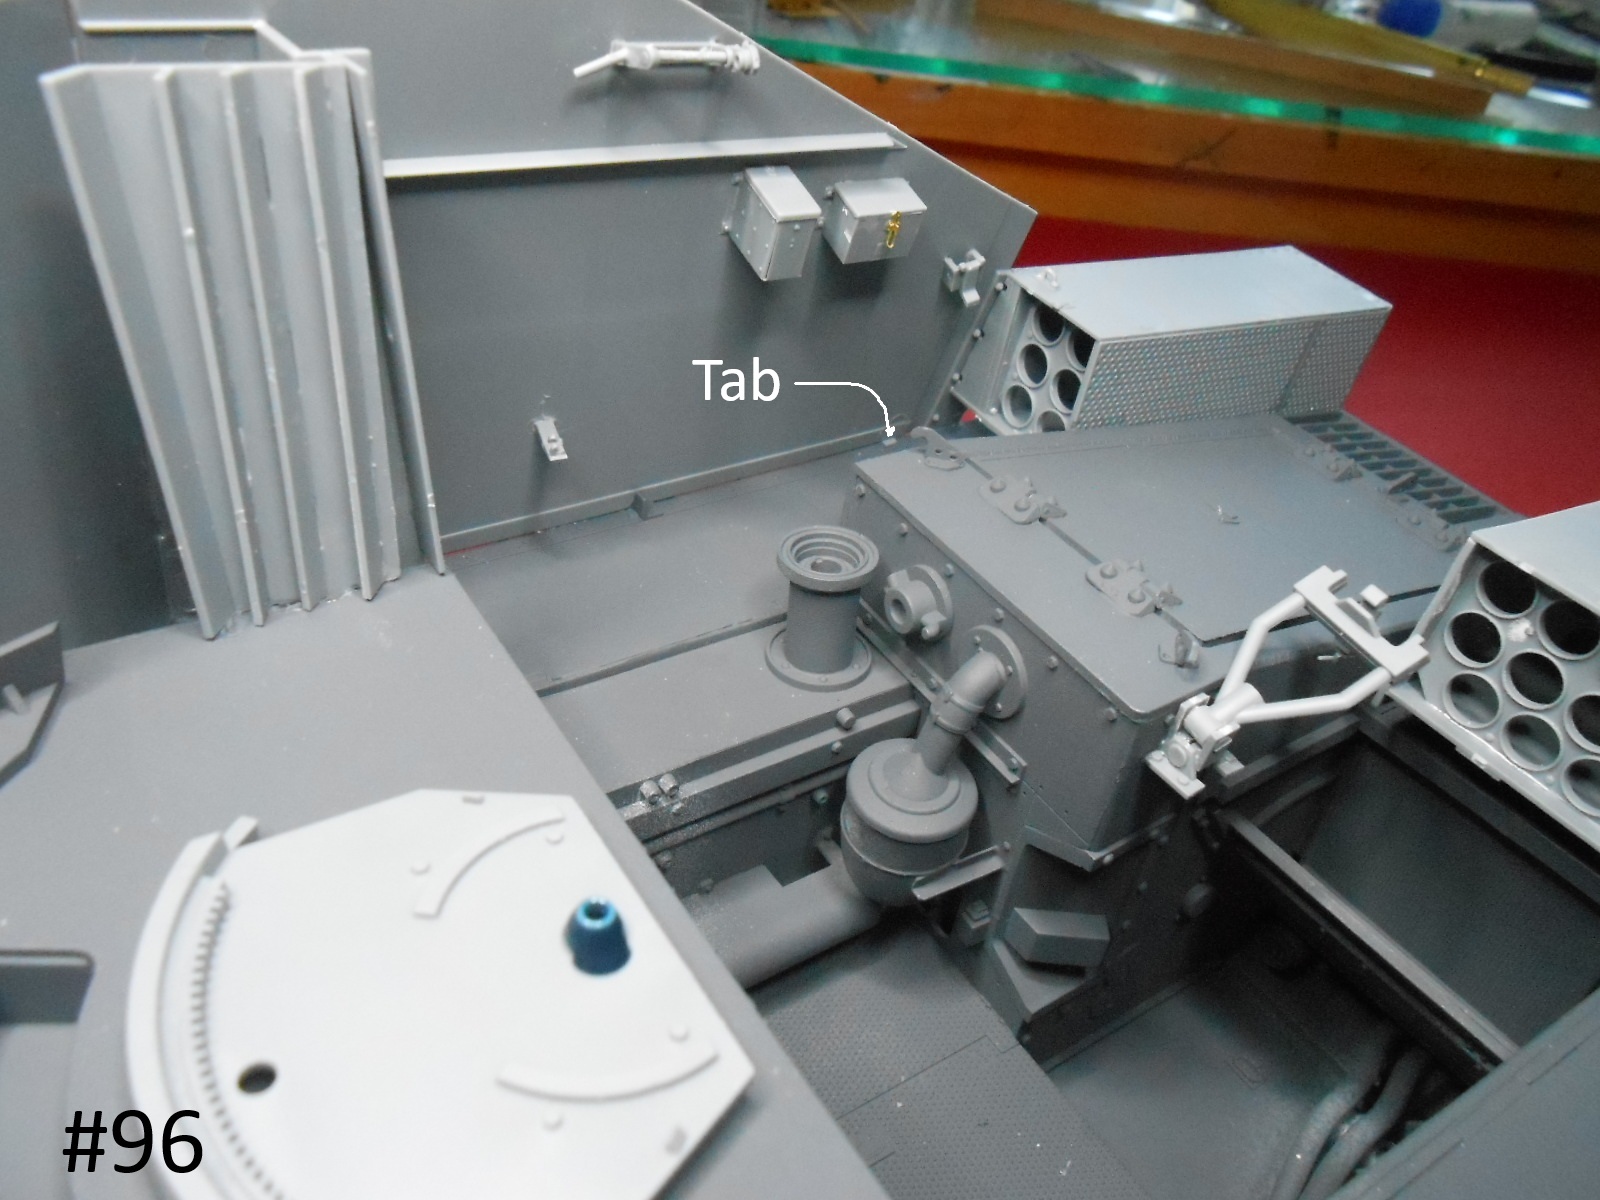
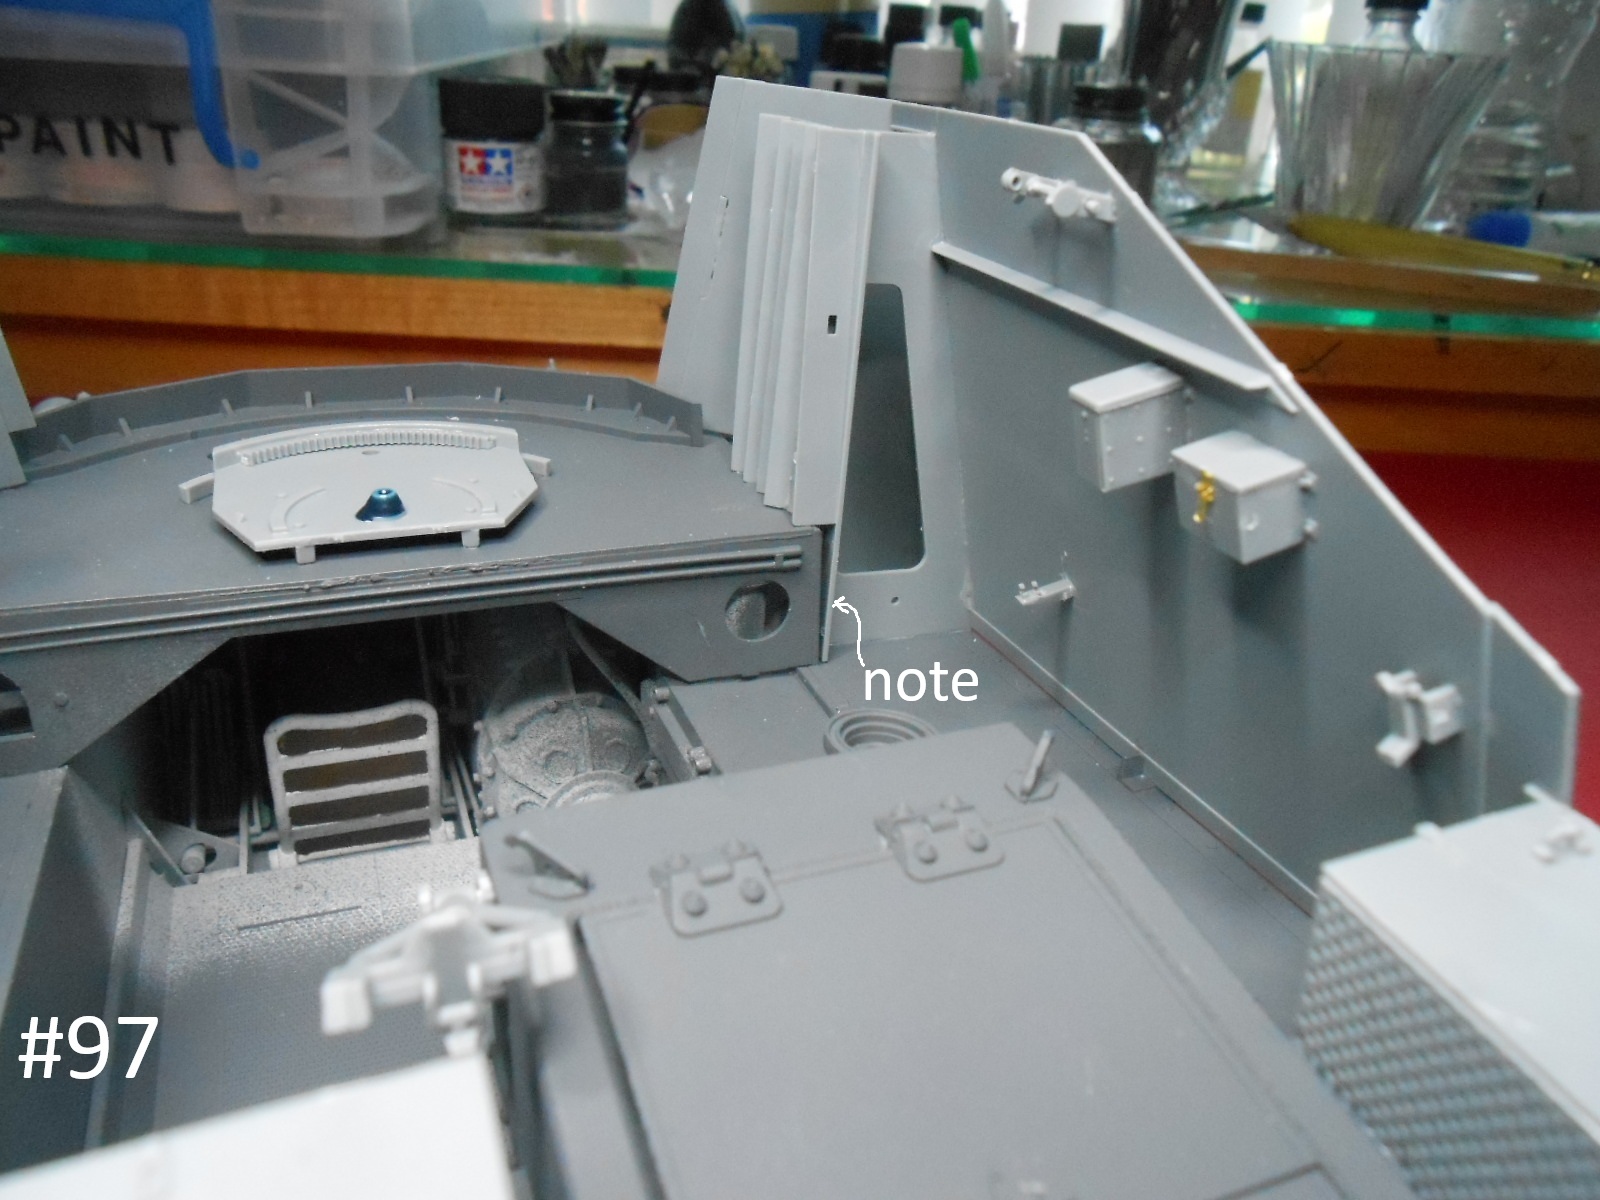
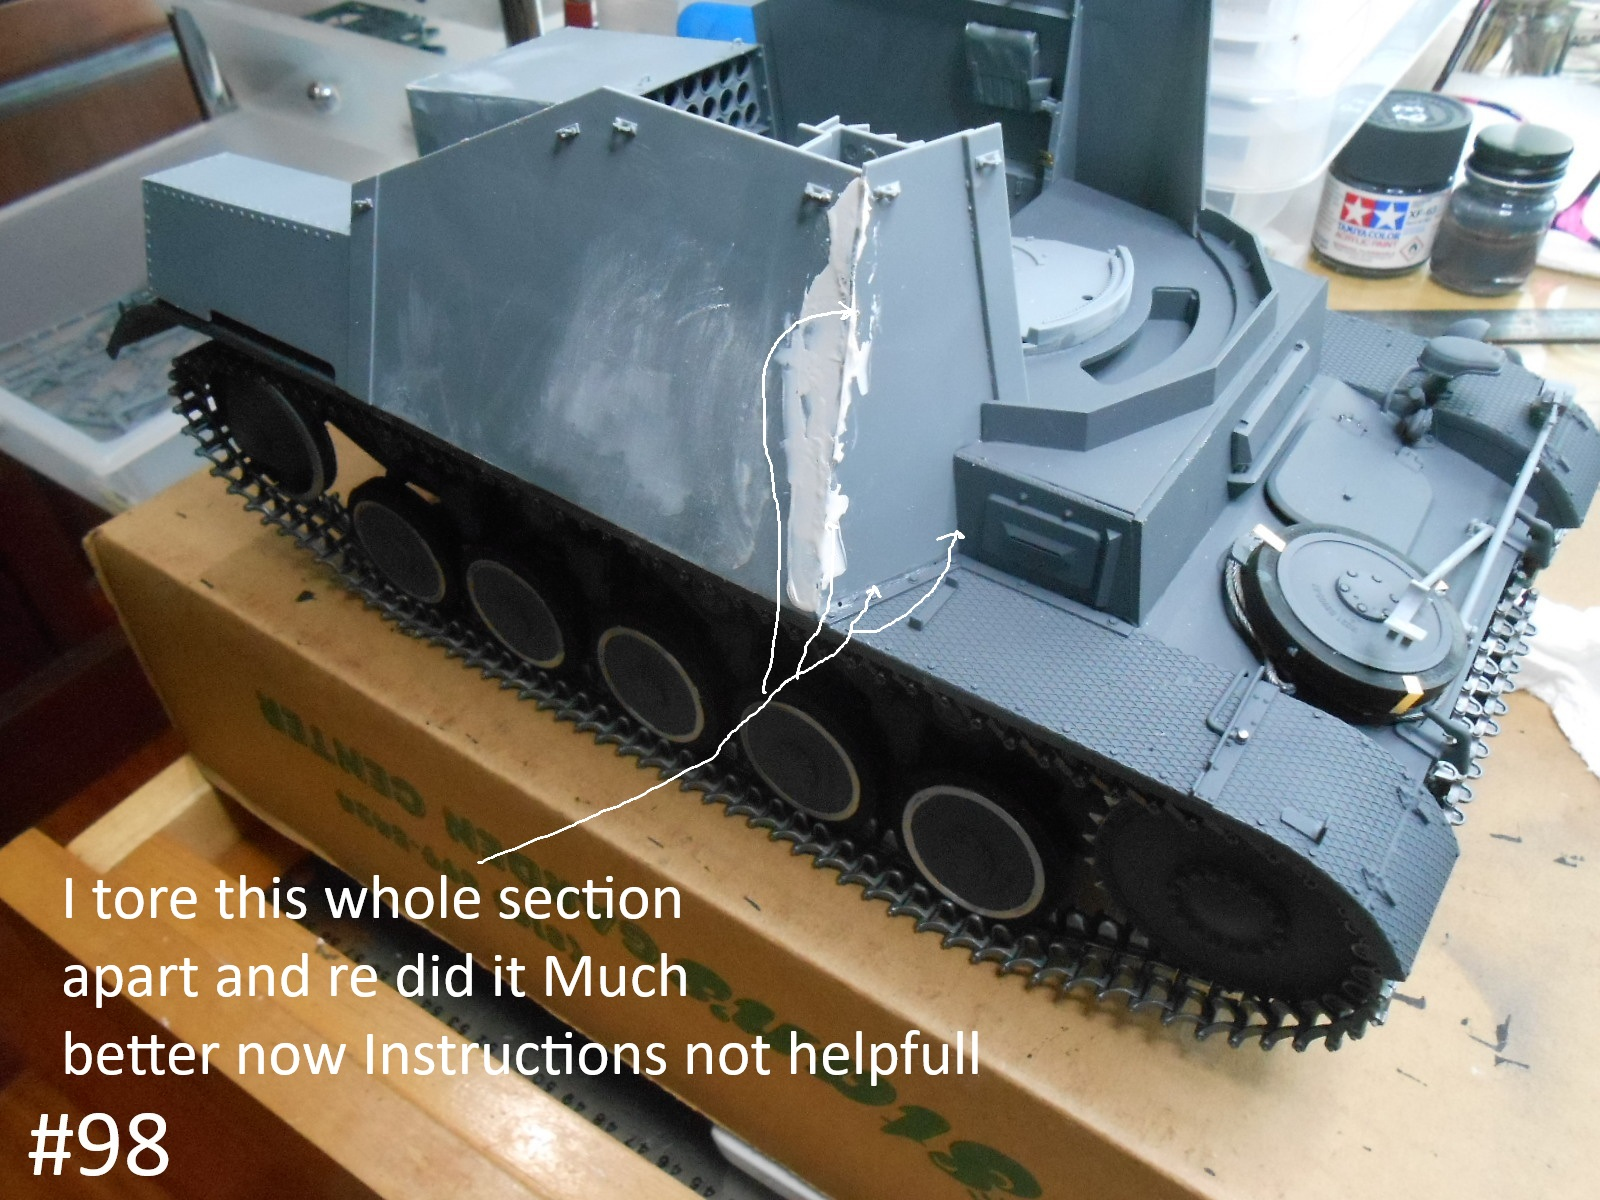
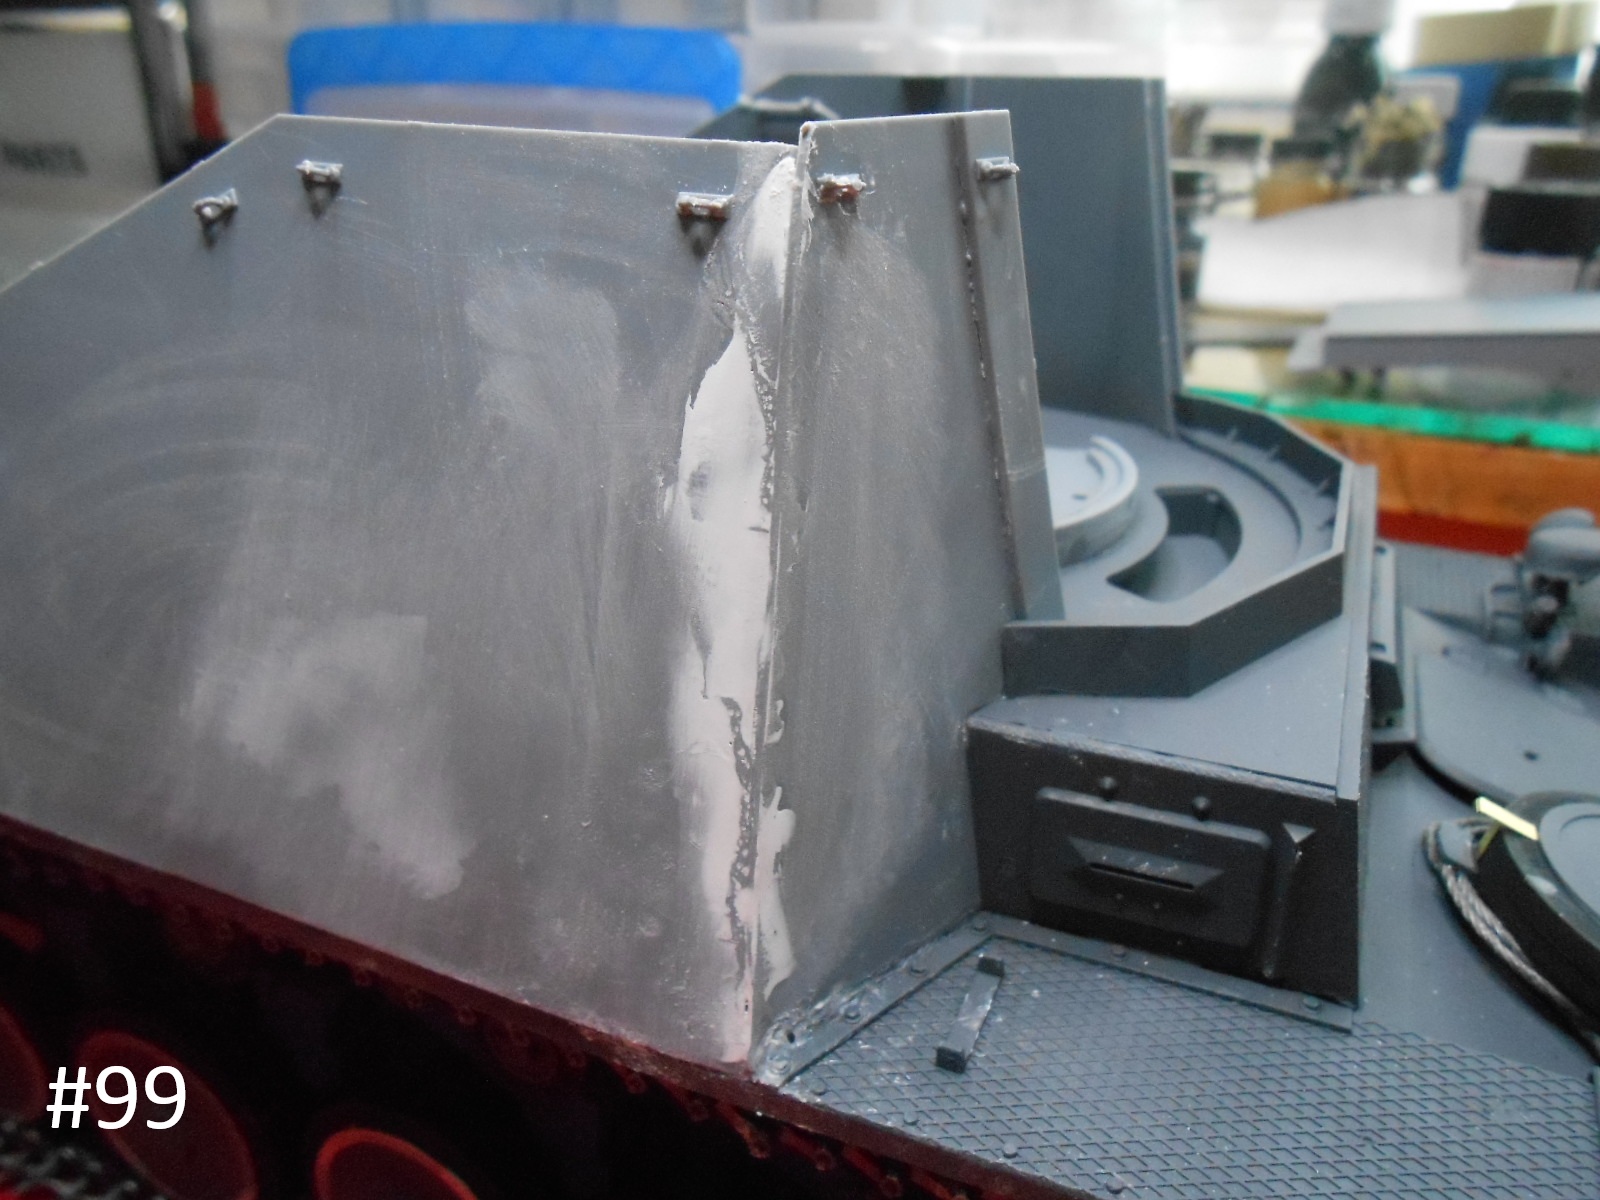
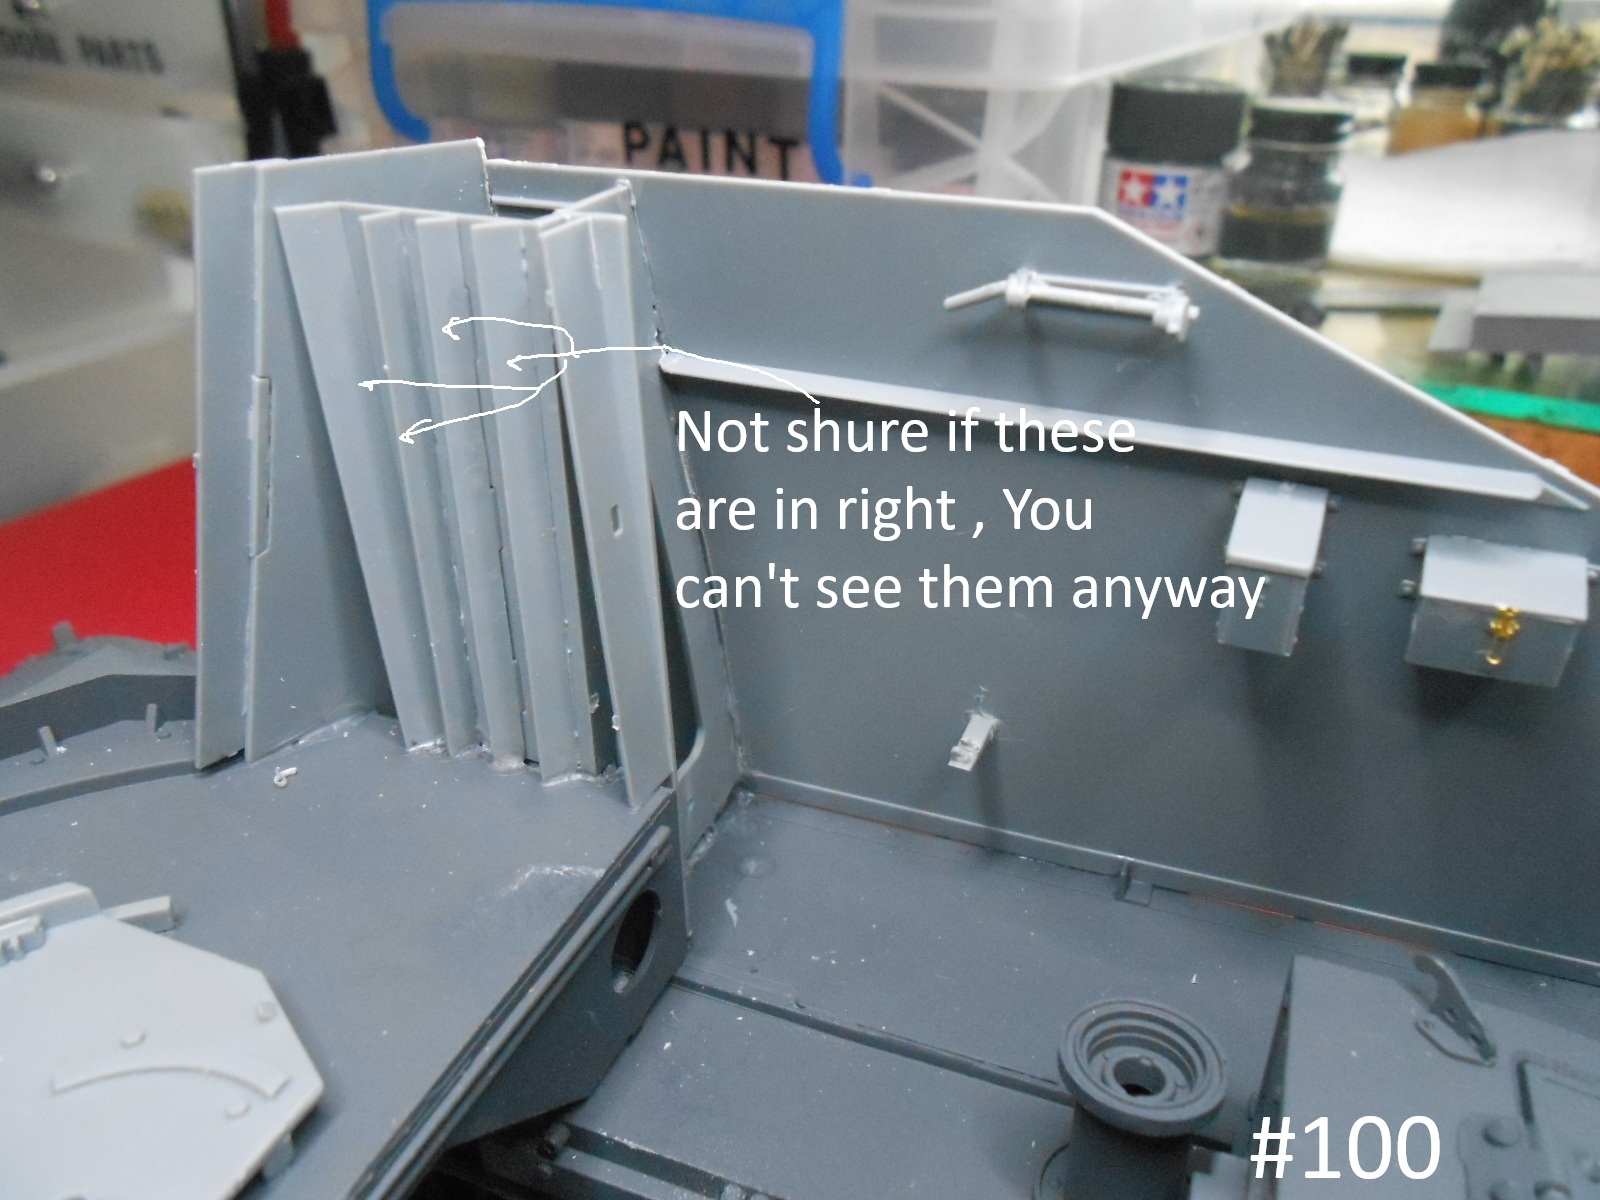
I had to do some destruction and re building, but I Have it fixed,
The instructions aren’t very helpful an getting this together, but I did it.
Here are the Pics.
Finished for today.
Donald
5 Likes
Coming along nicely Donald! Was it a mistake/omission in the instructions that caused the initial poor fitting of the shield?
The instructions aren’t very clear on how the parts go, I think that I may have installed some parts backwards. Oh well they can’t be seen anyway, I’ll just have to Fudge it somewhere, or throw the Crap against the wall and see what sticks.
The Gun went together well, it’s just the surrounding armor plates that have given me problems.
I just finished the rest of the basic painting and will start the detailing.
regards
Donald