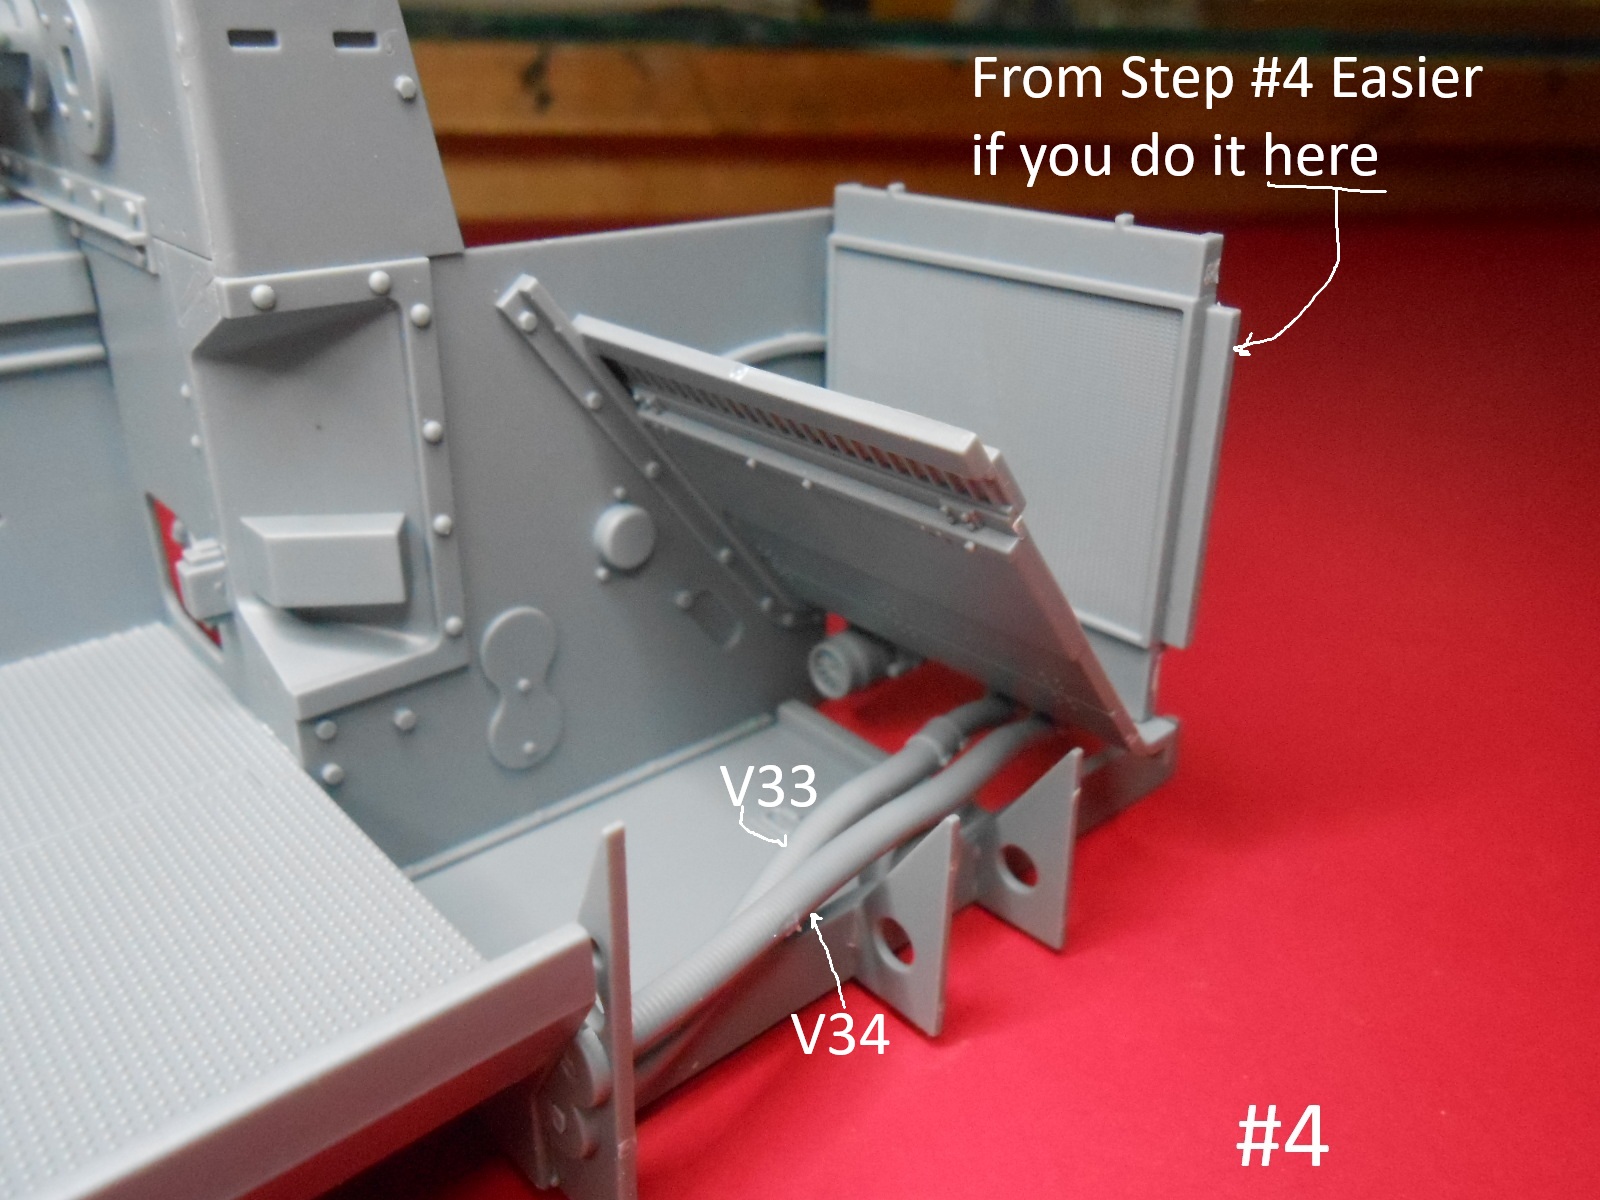
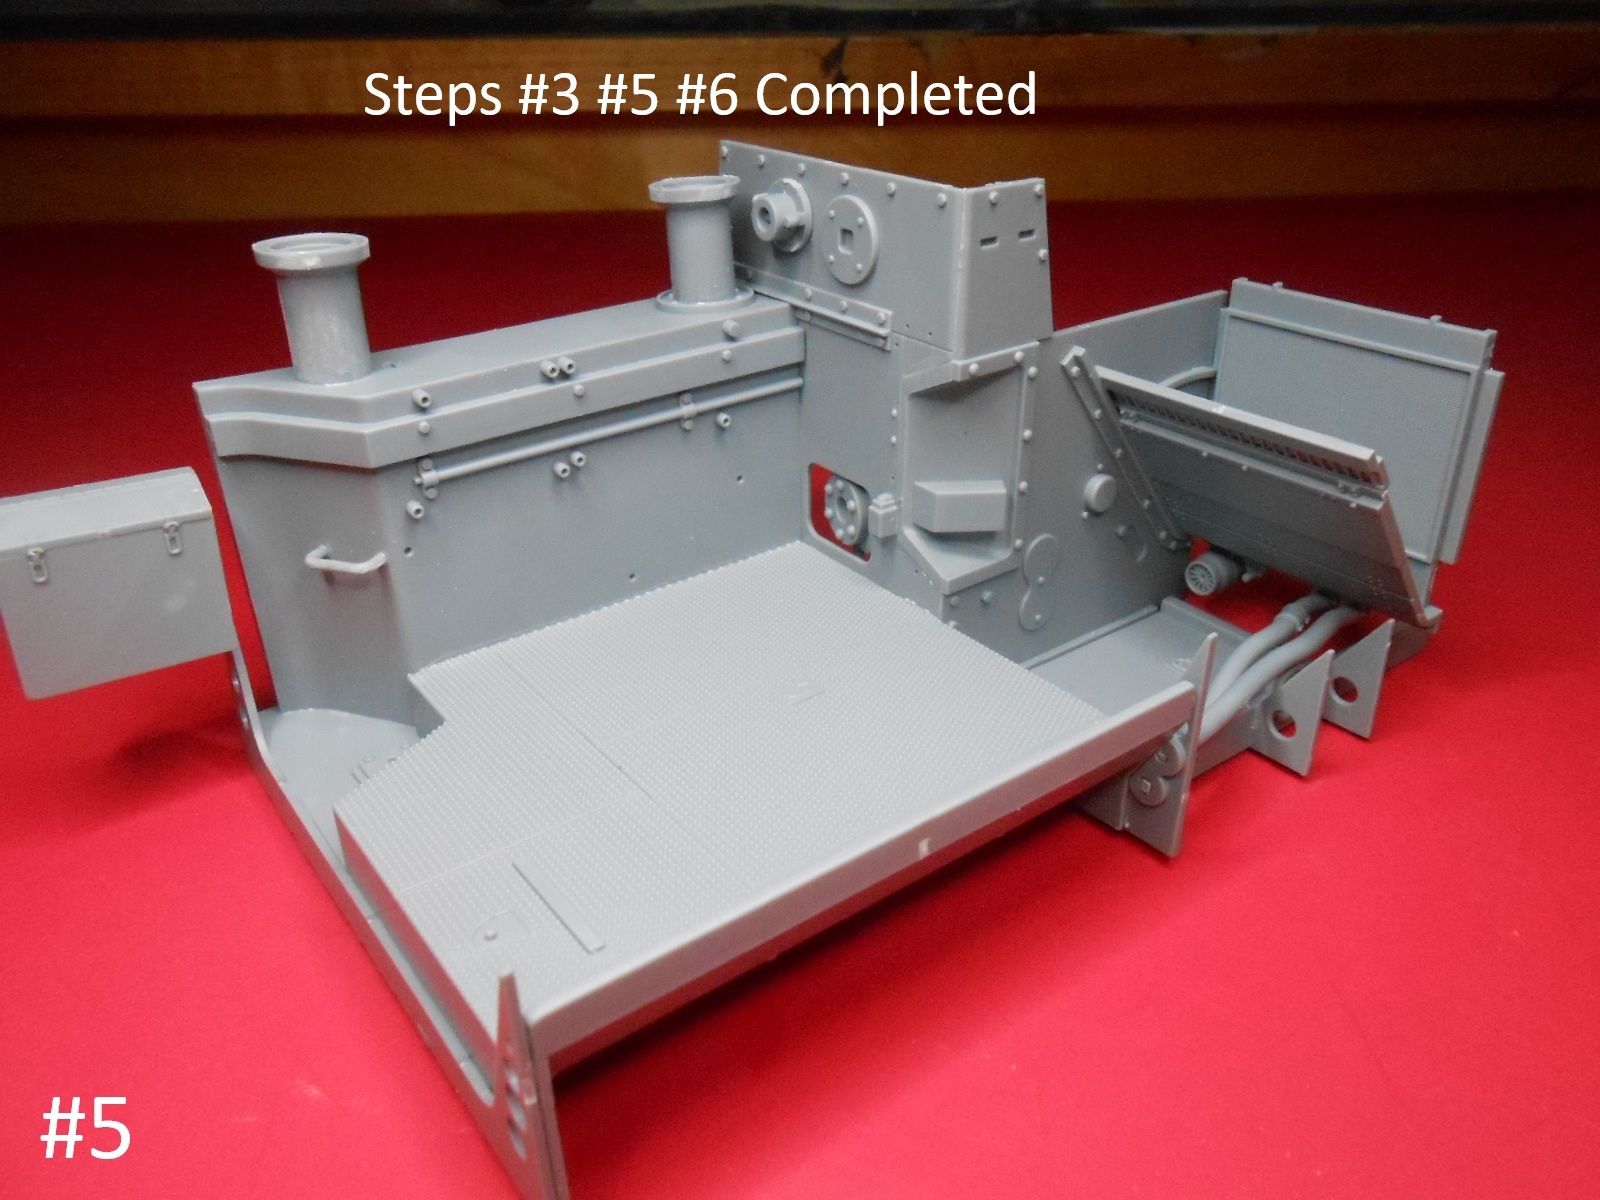
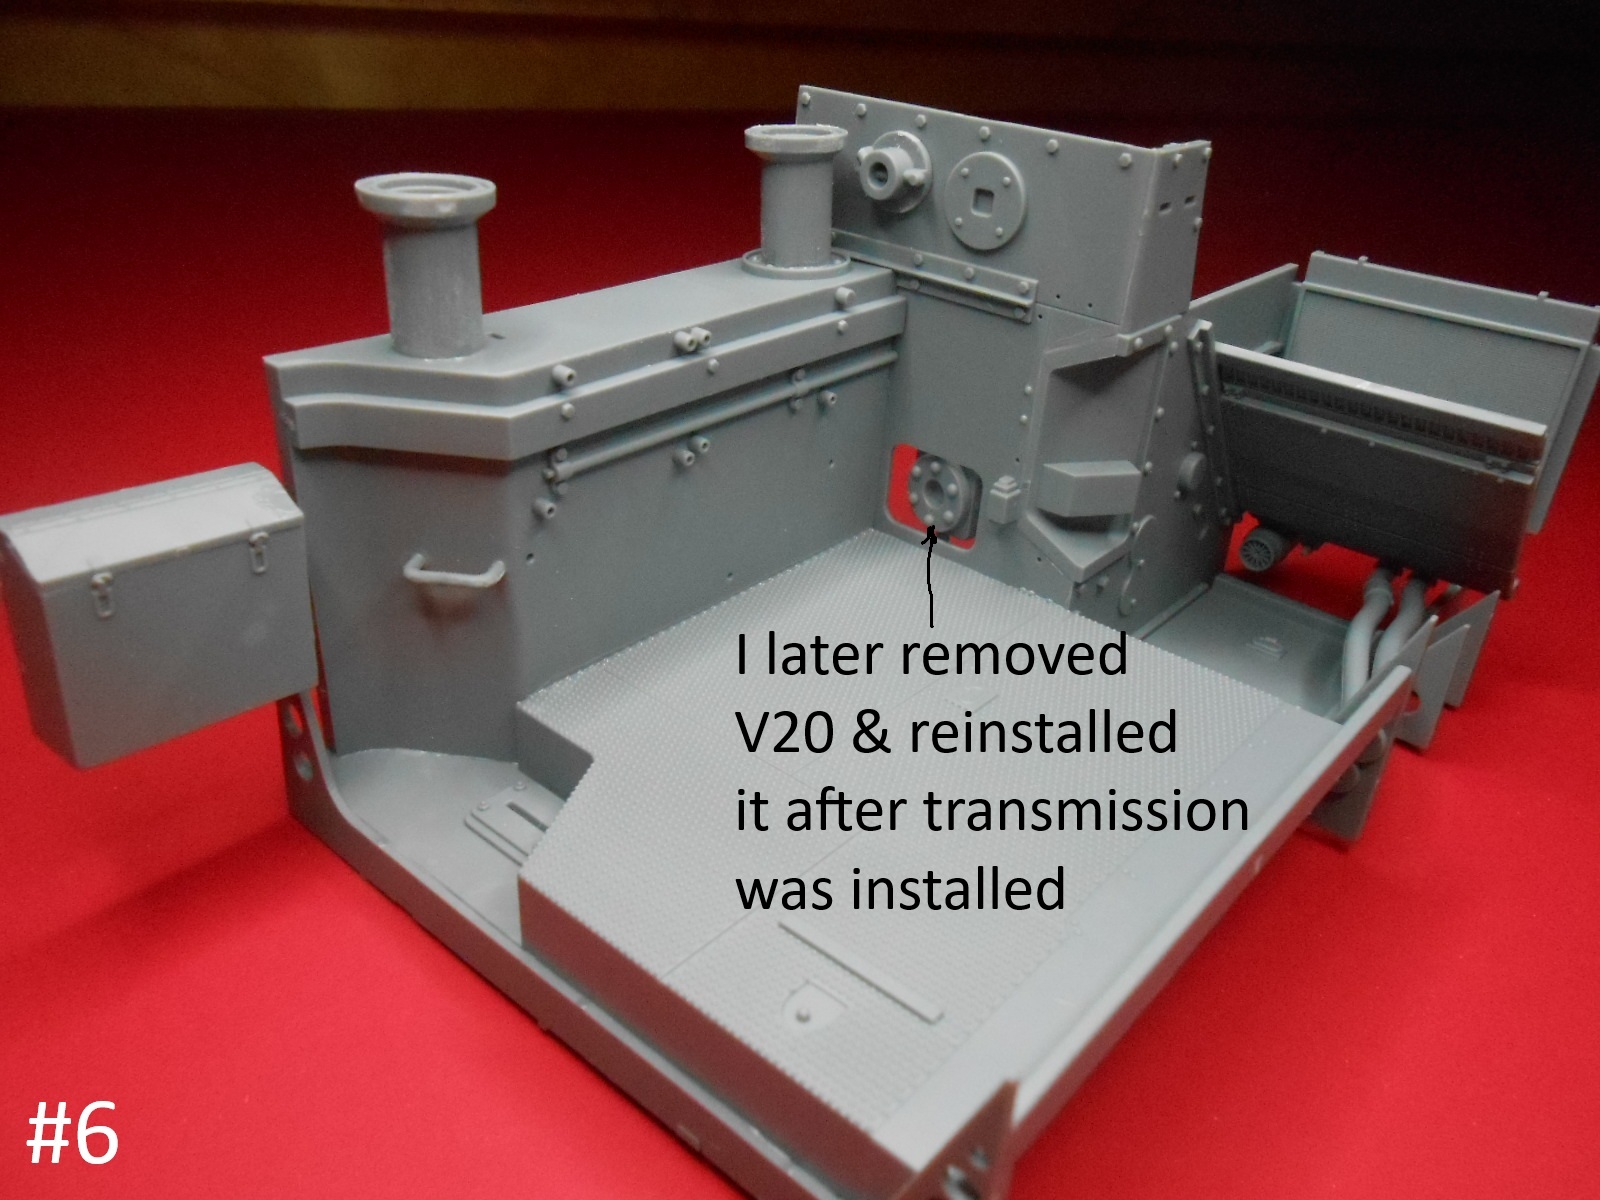
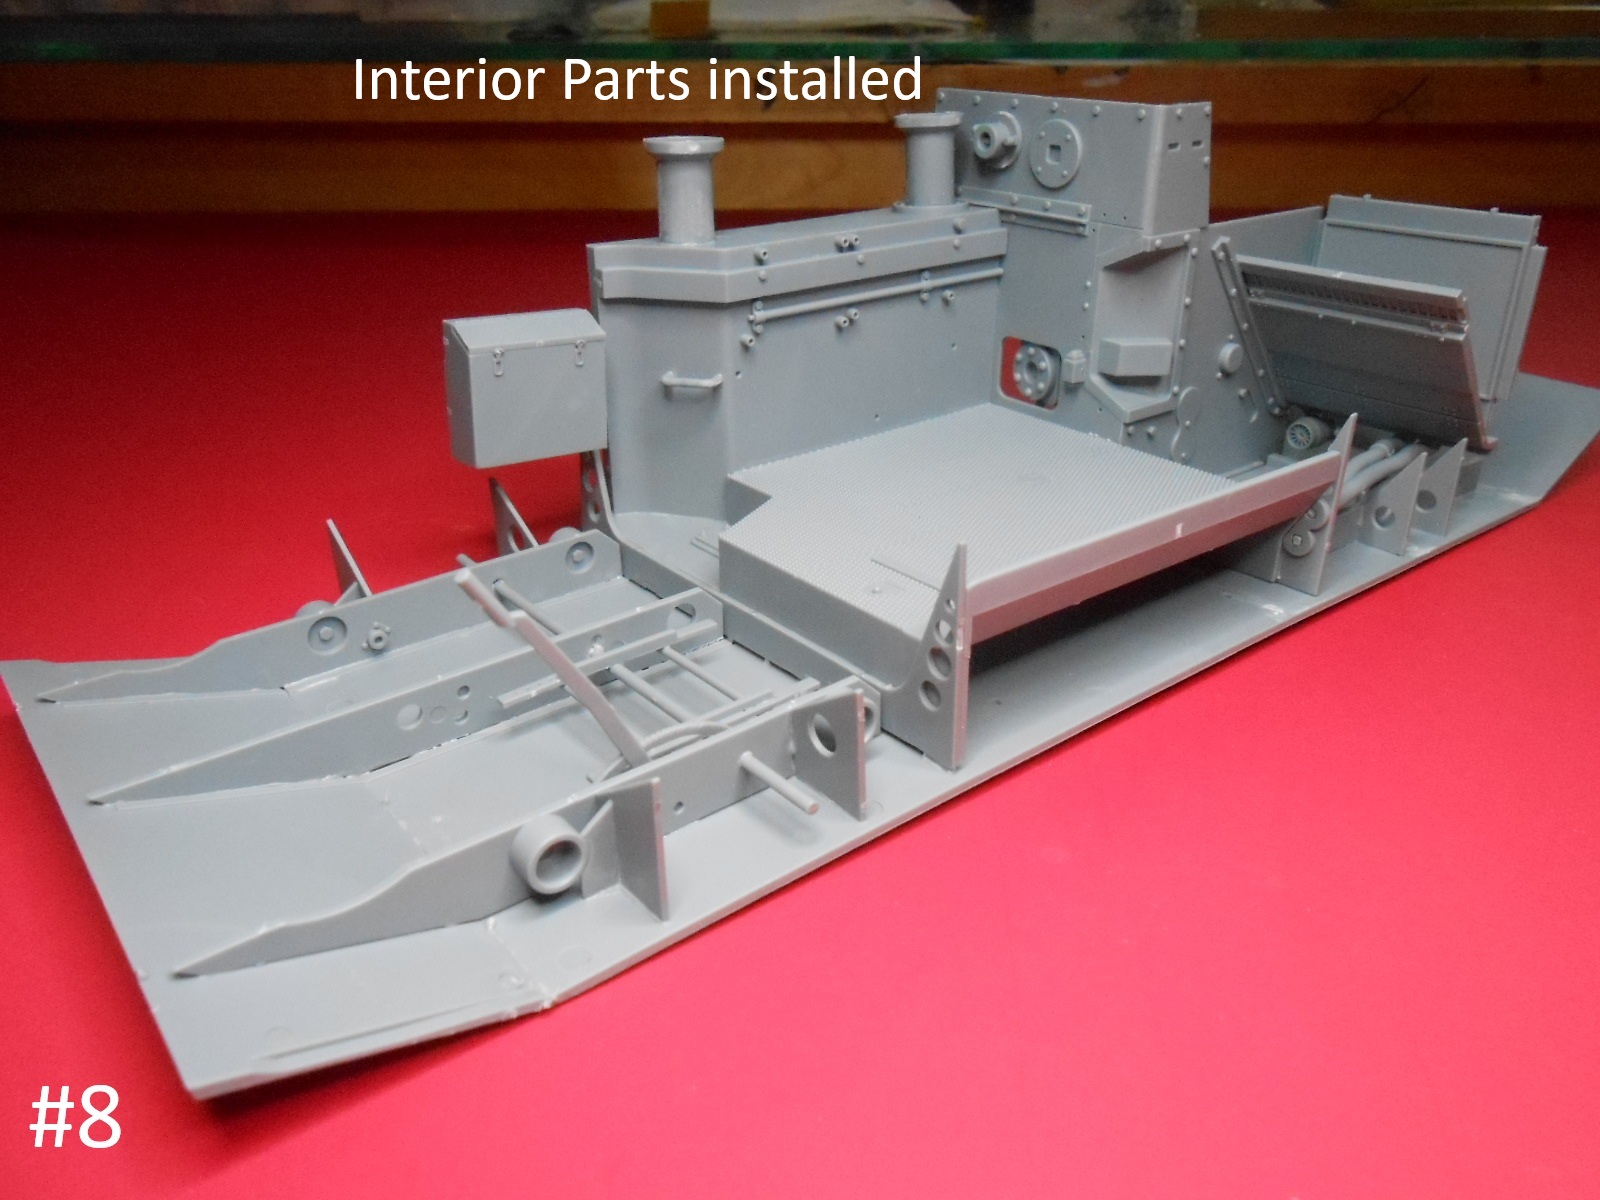
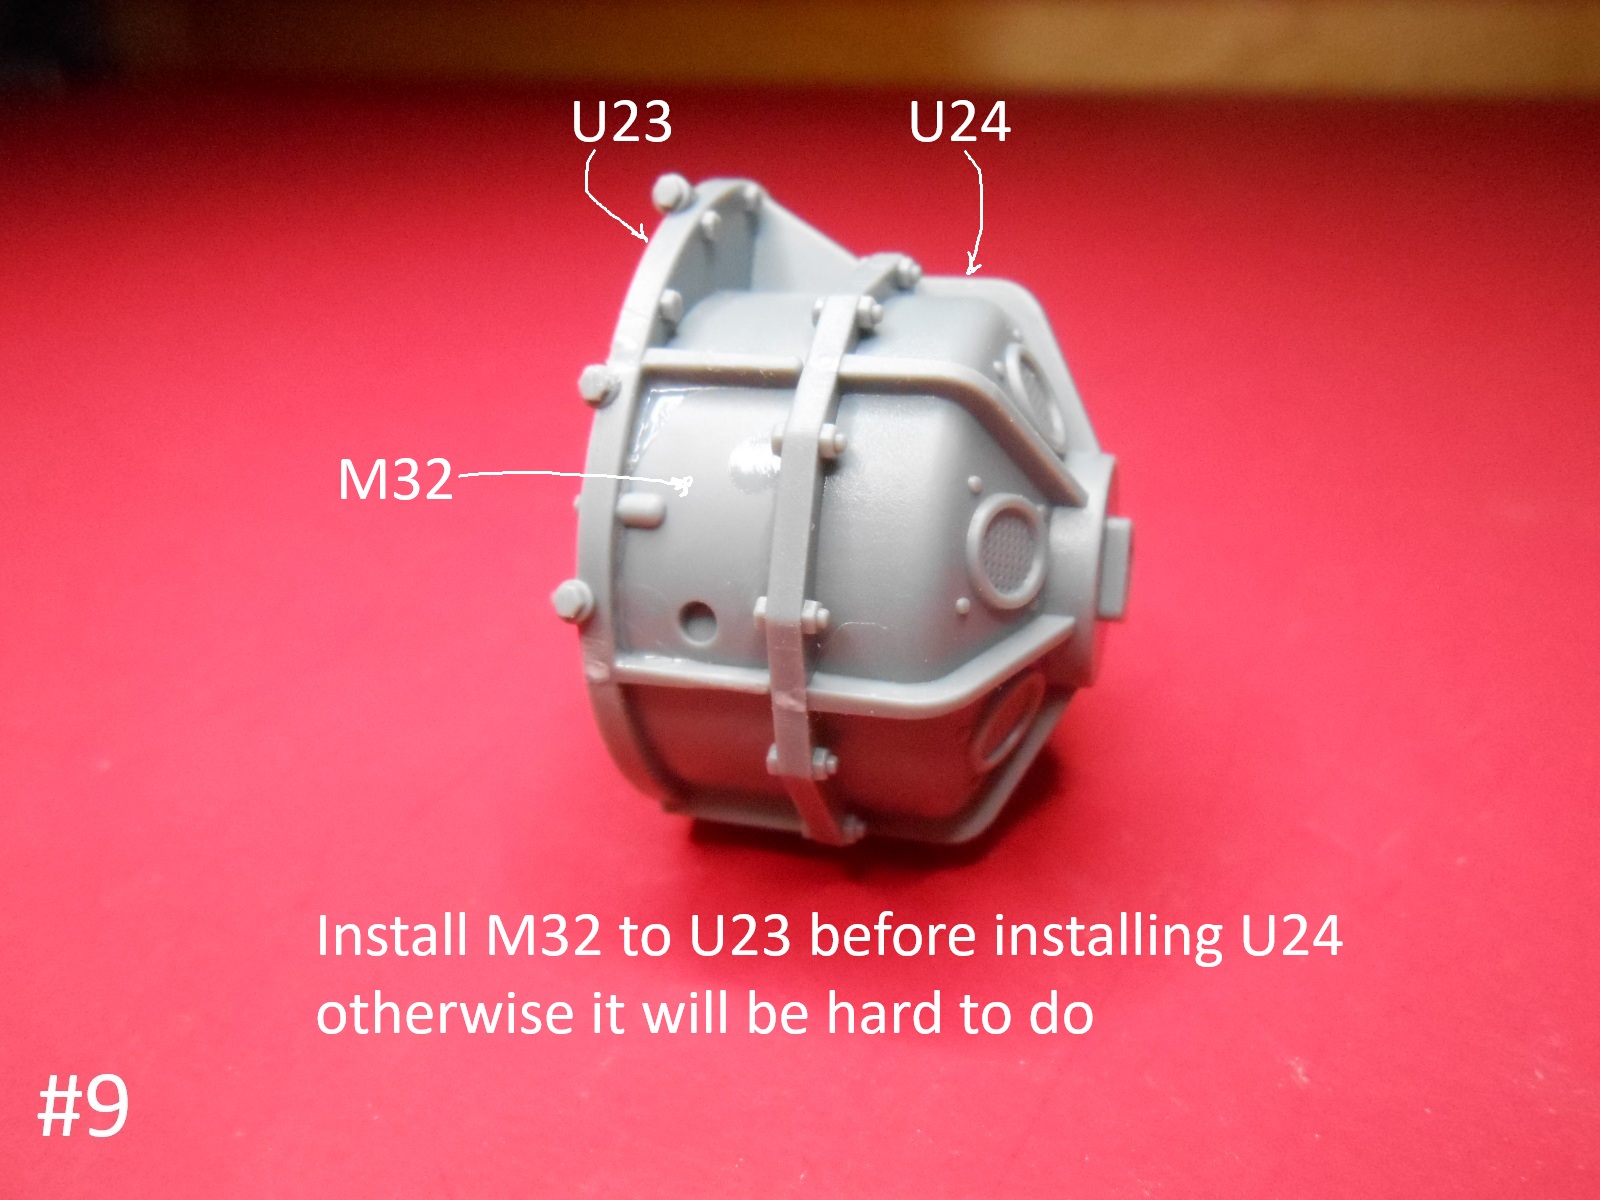
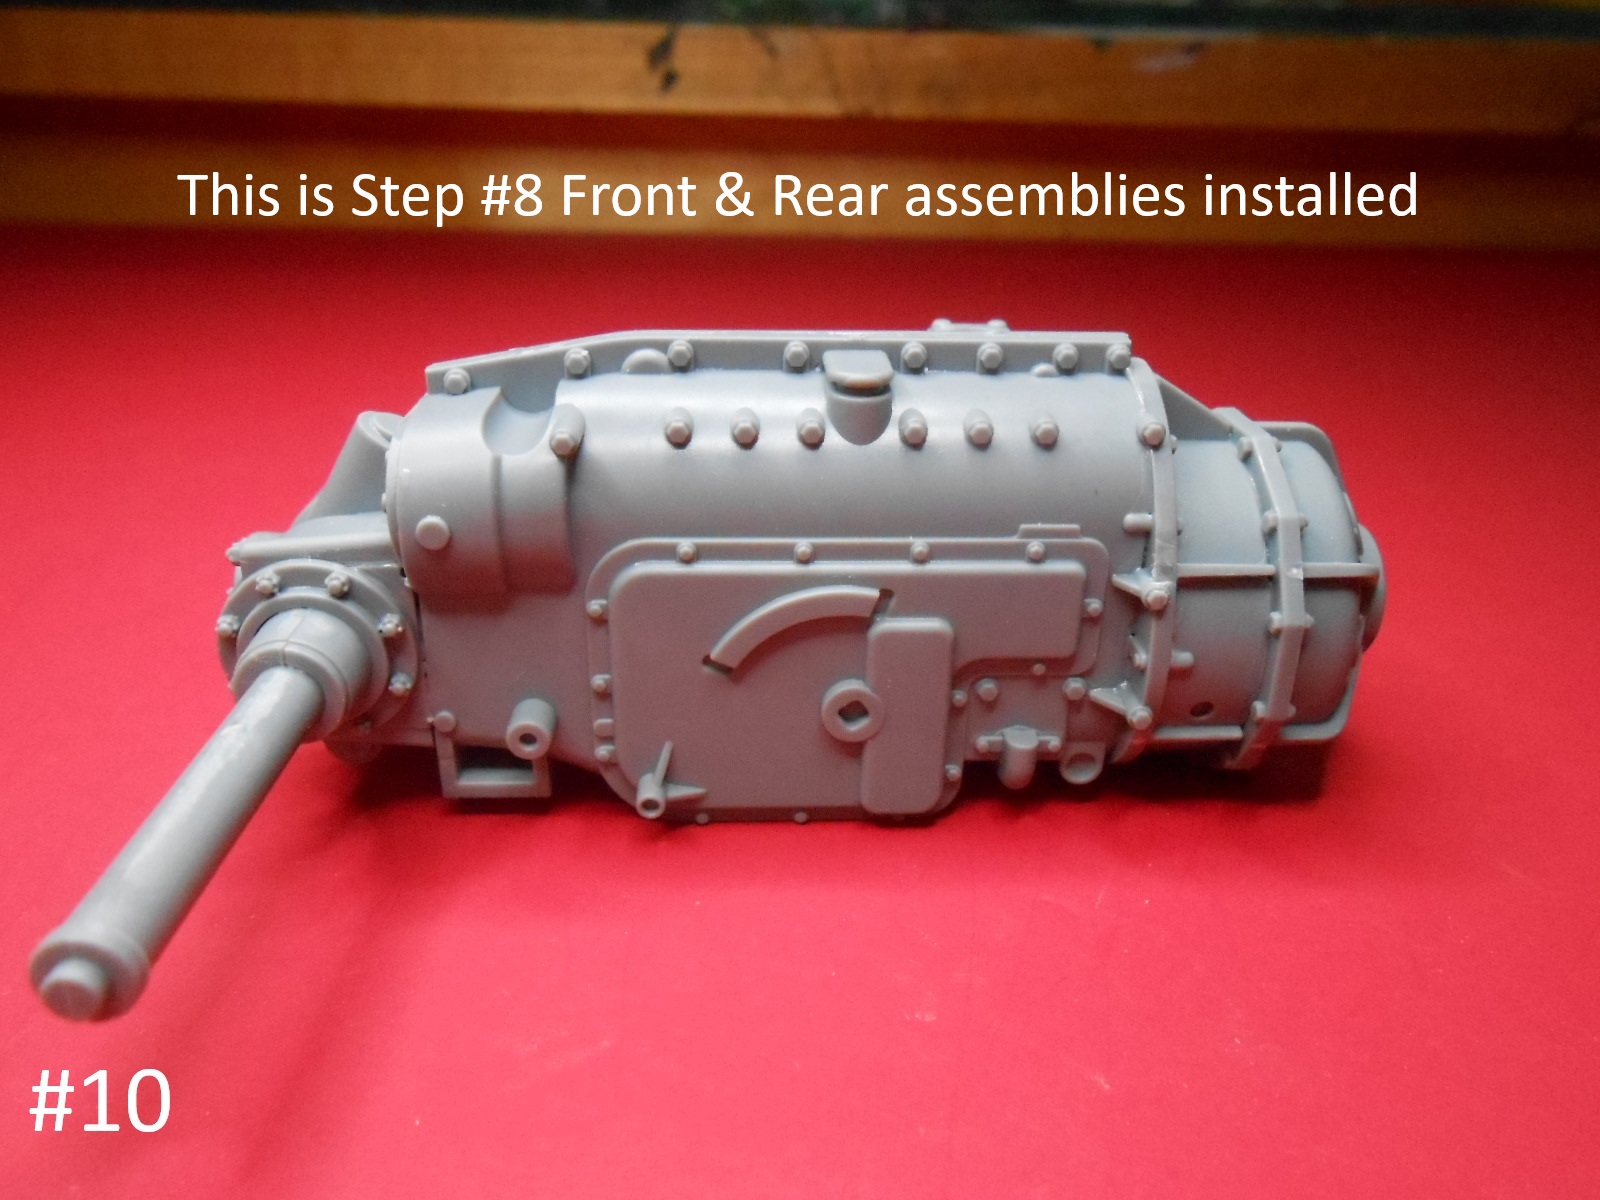
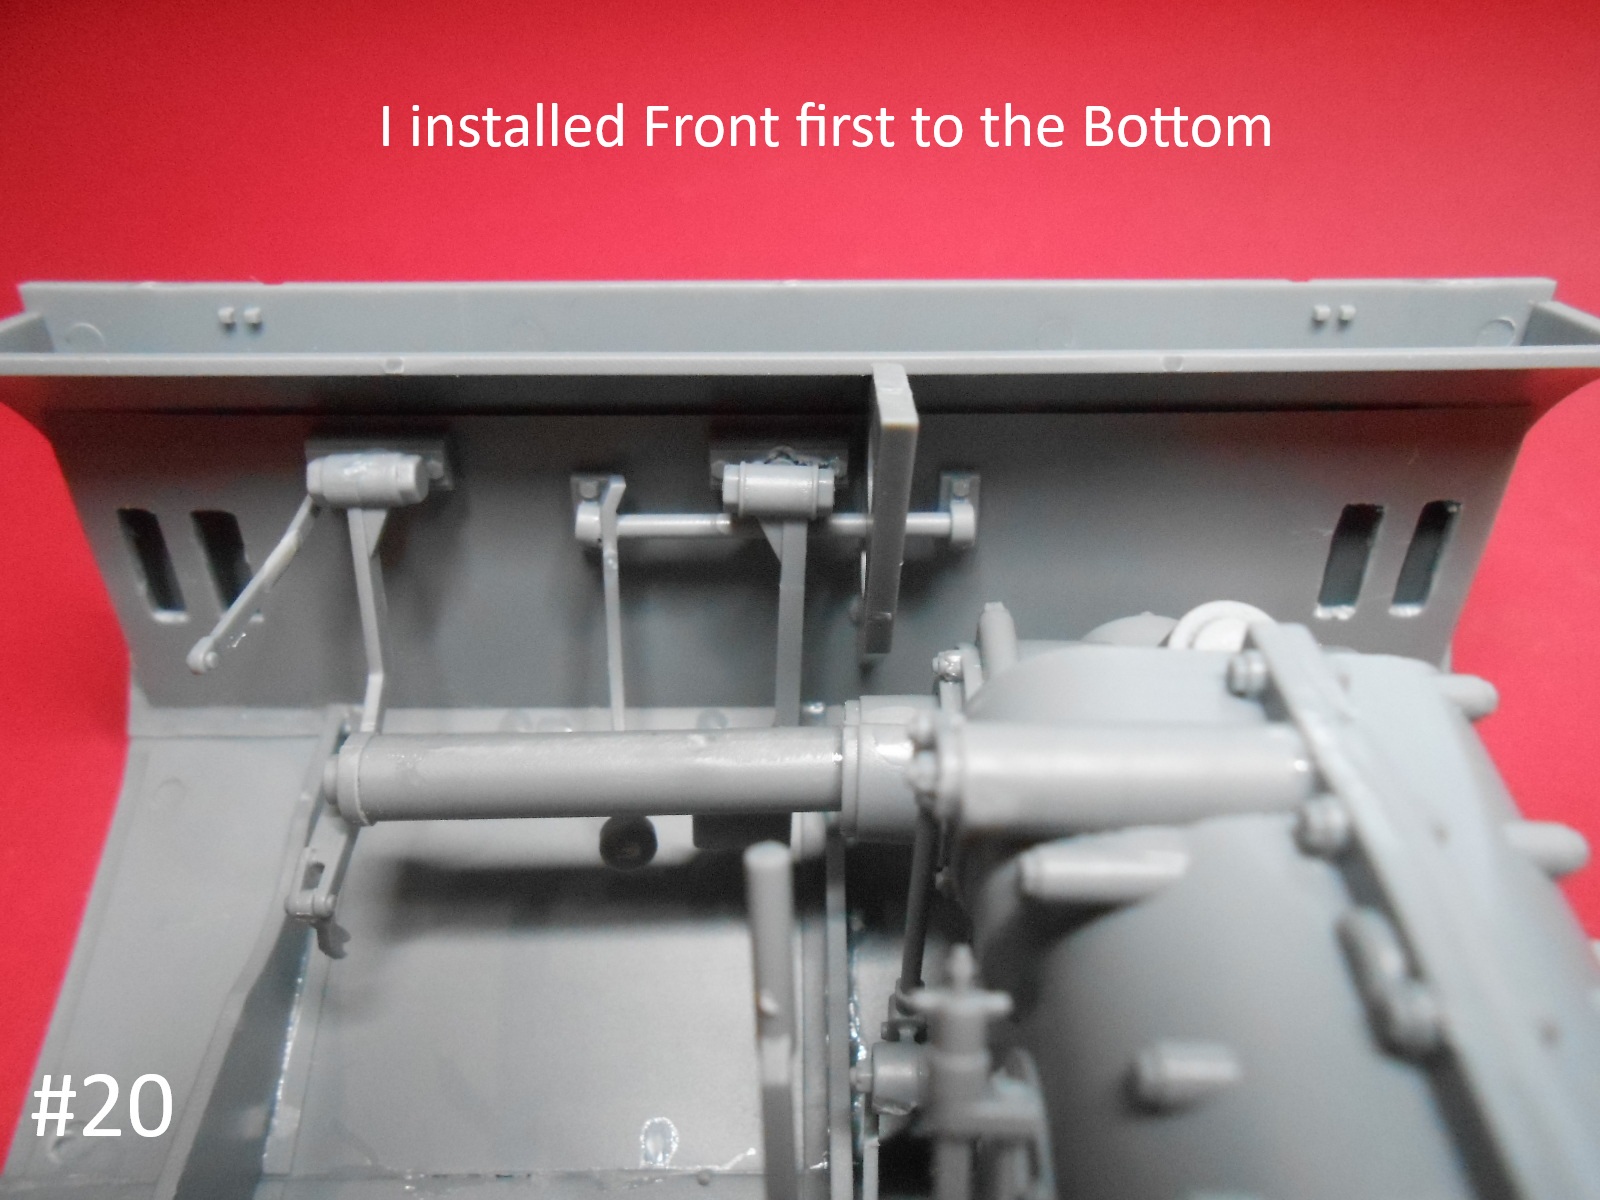
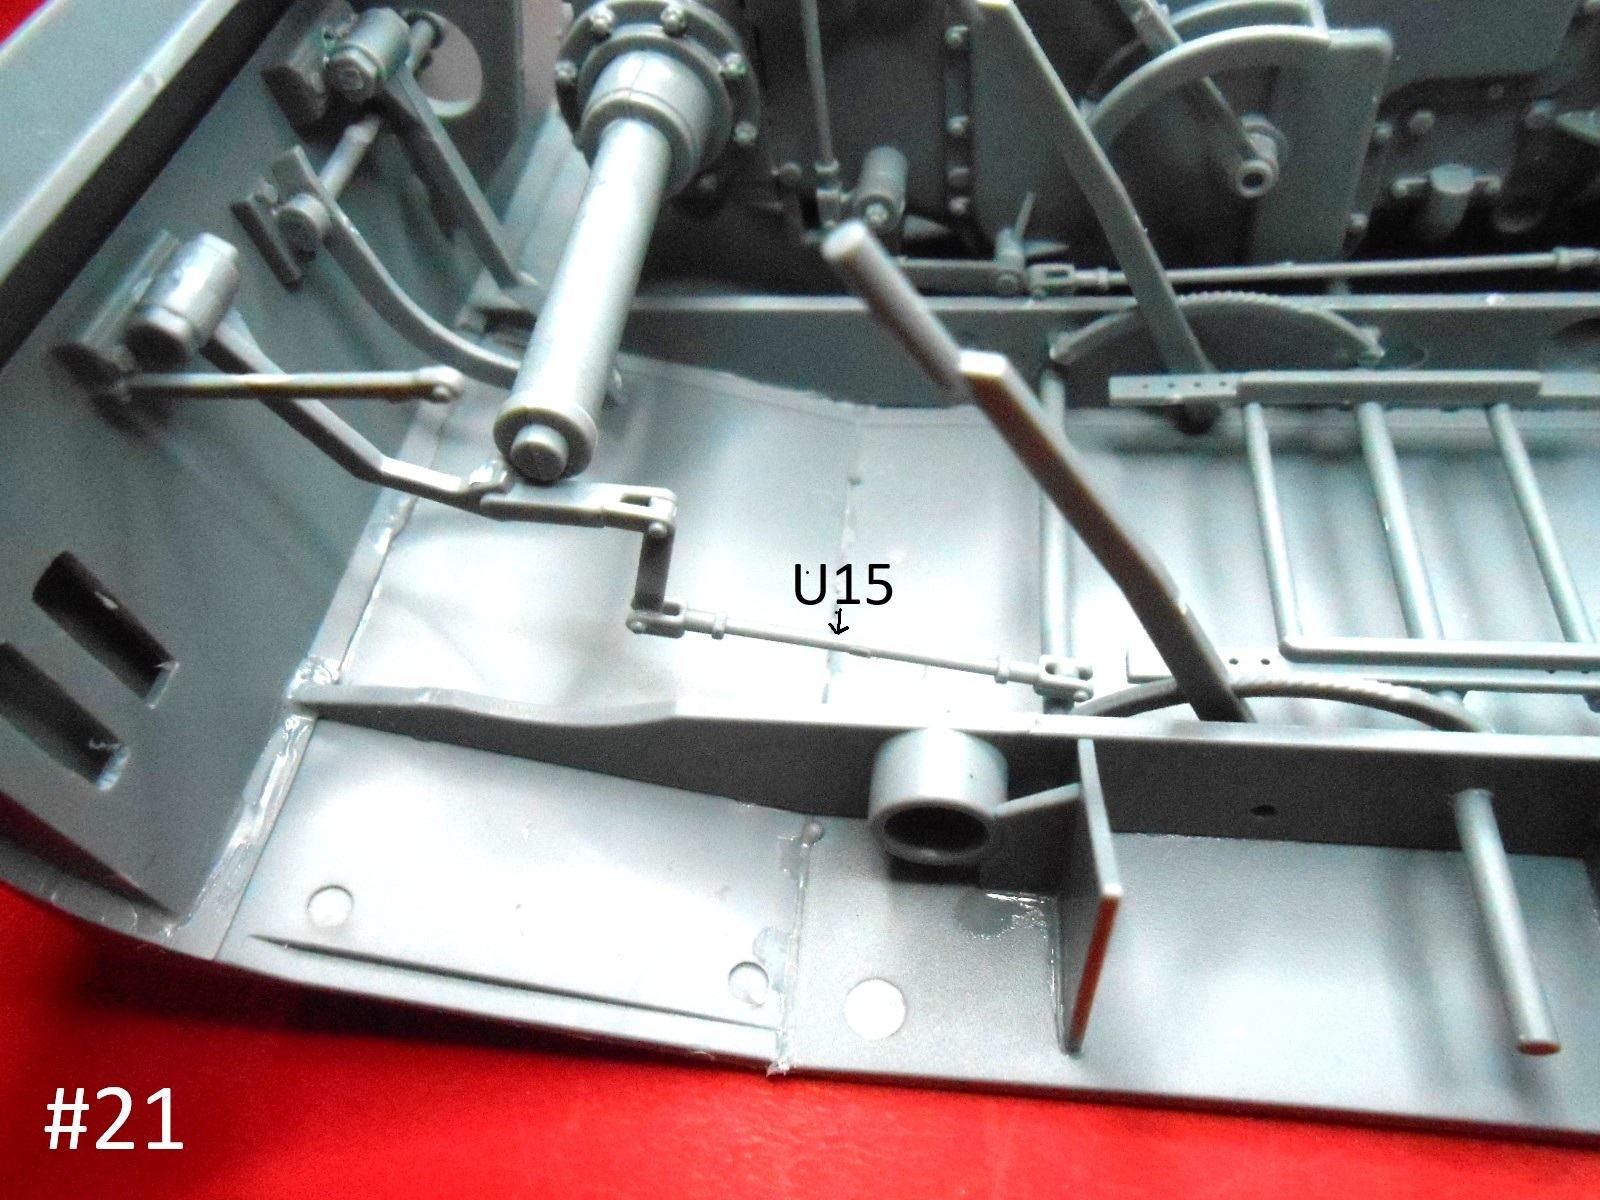
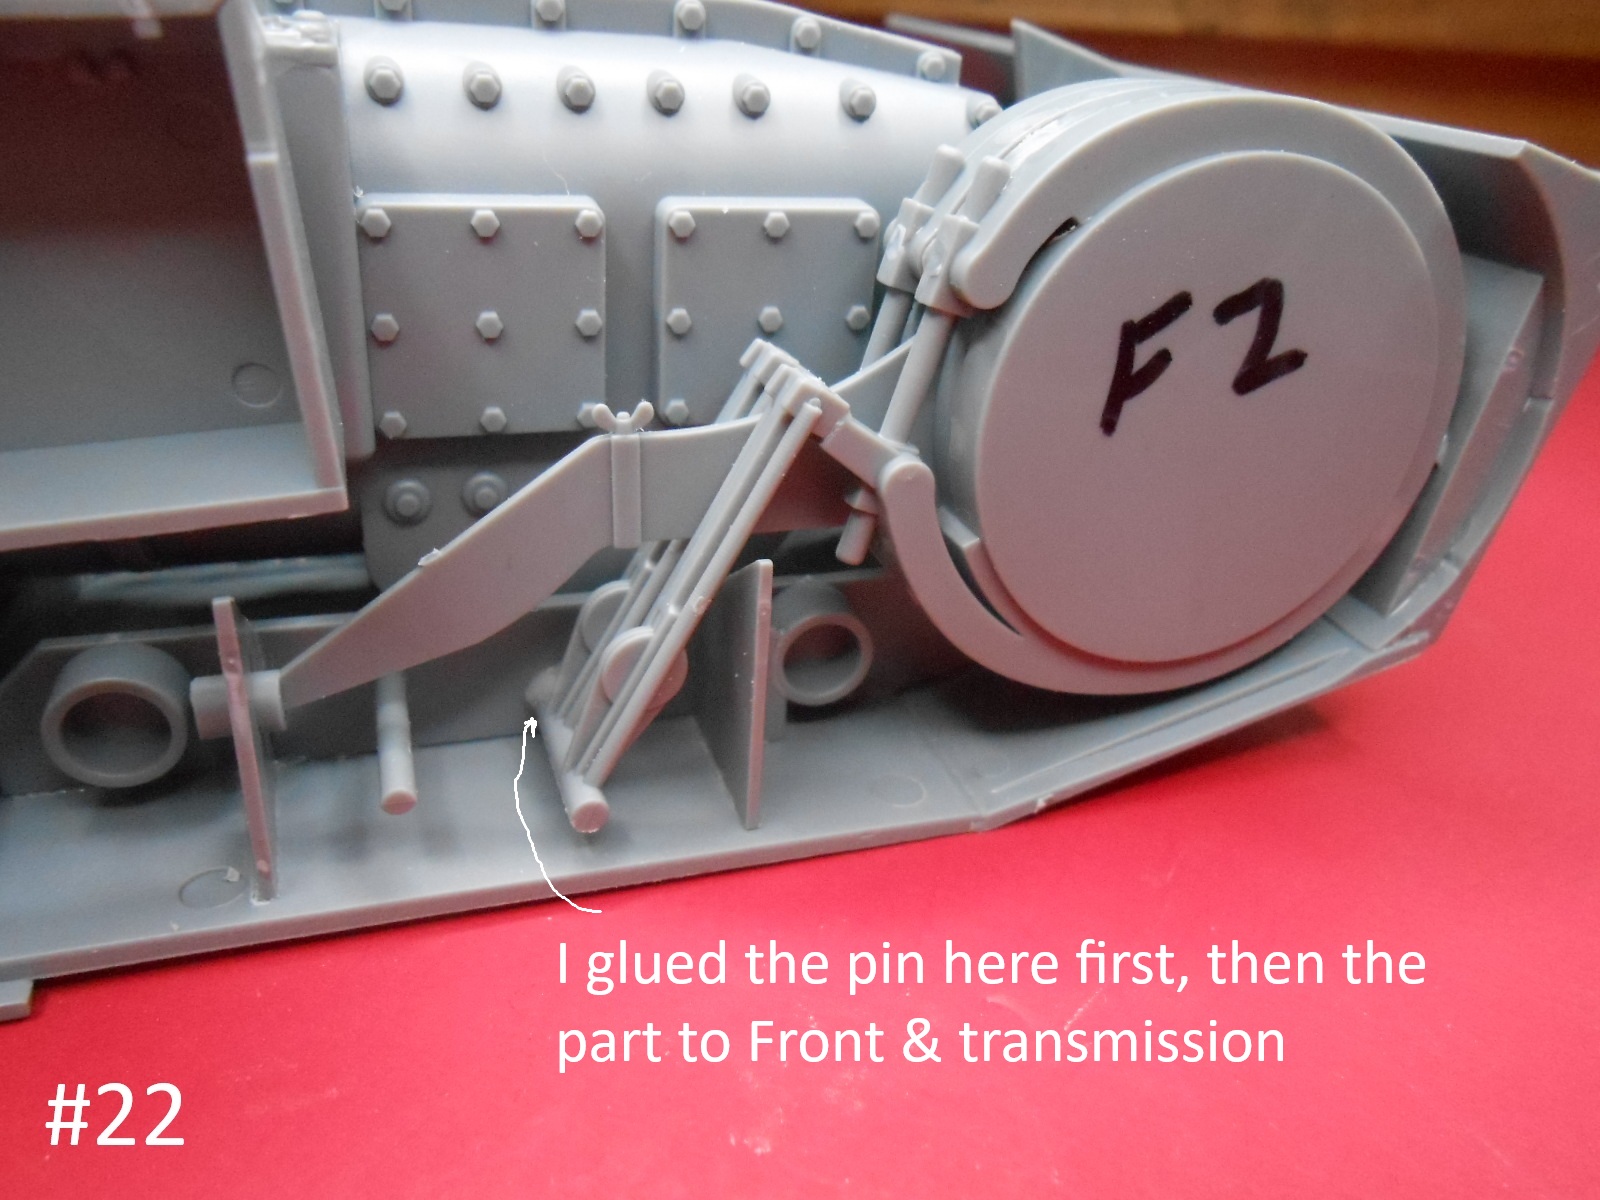
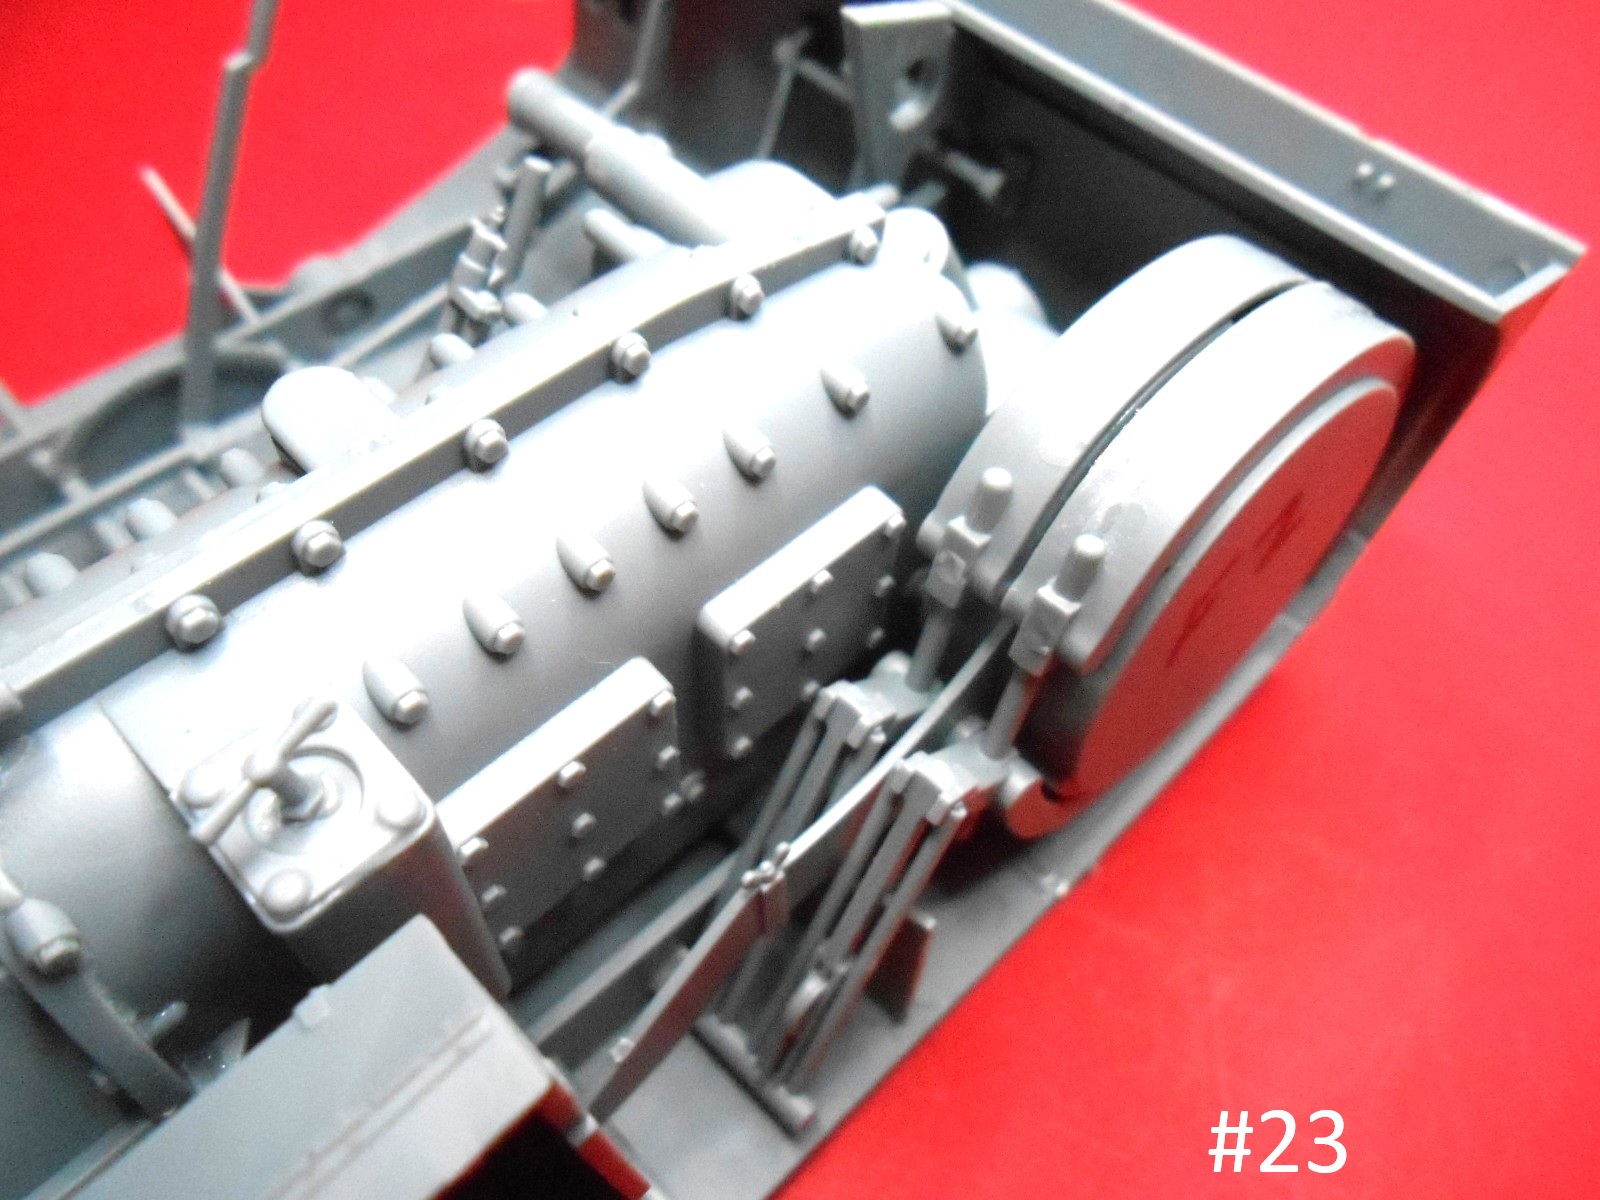
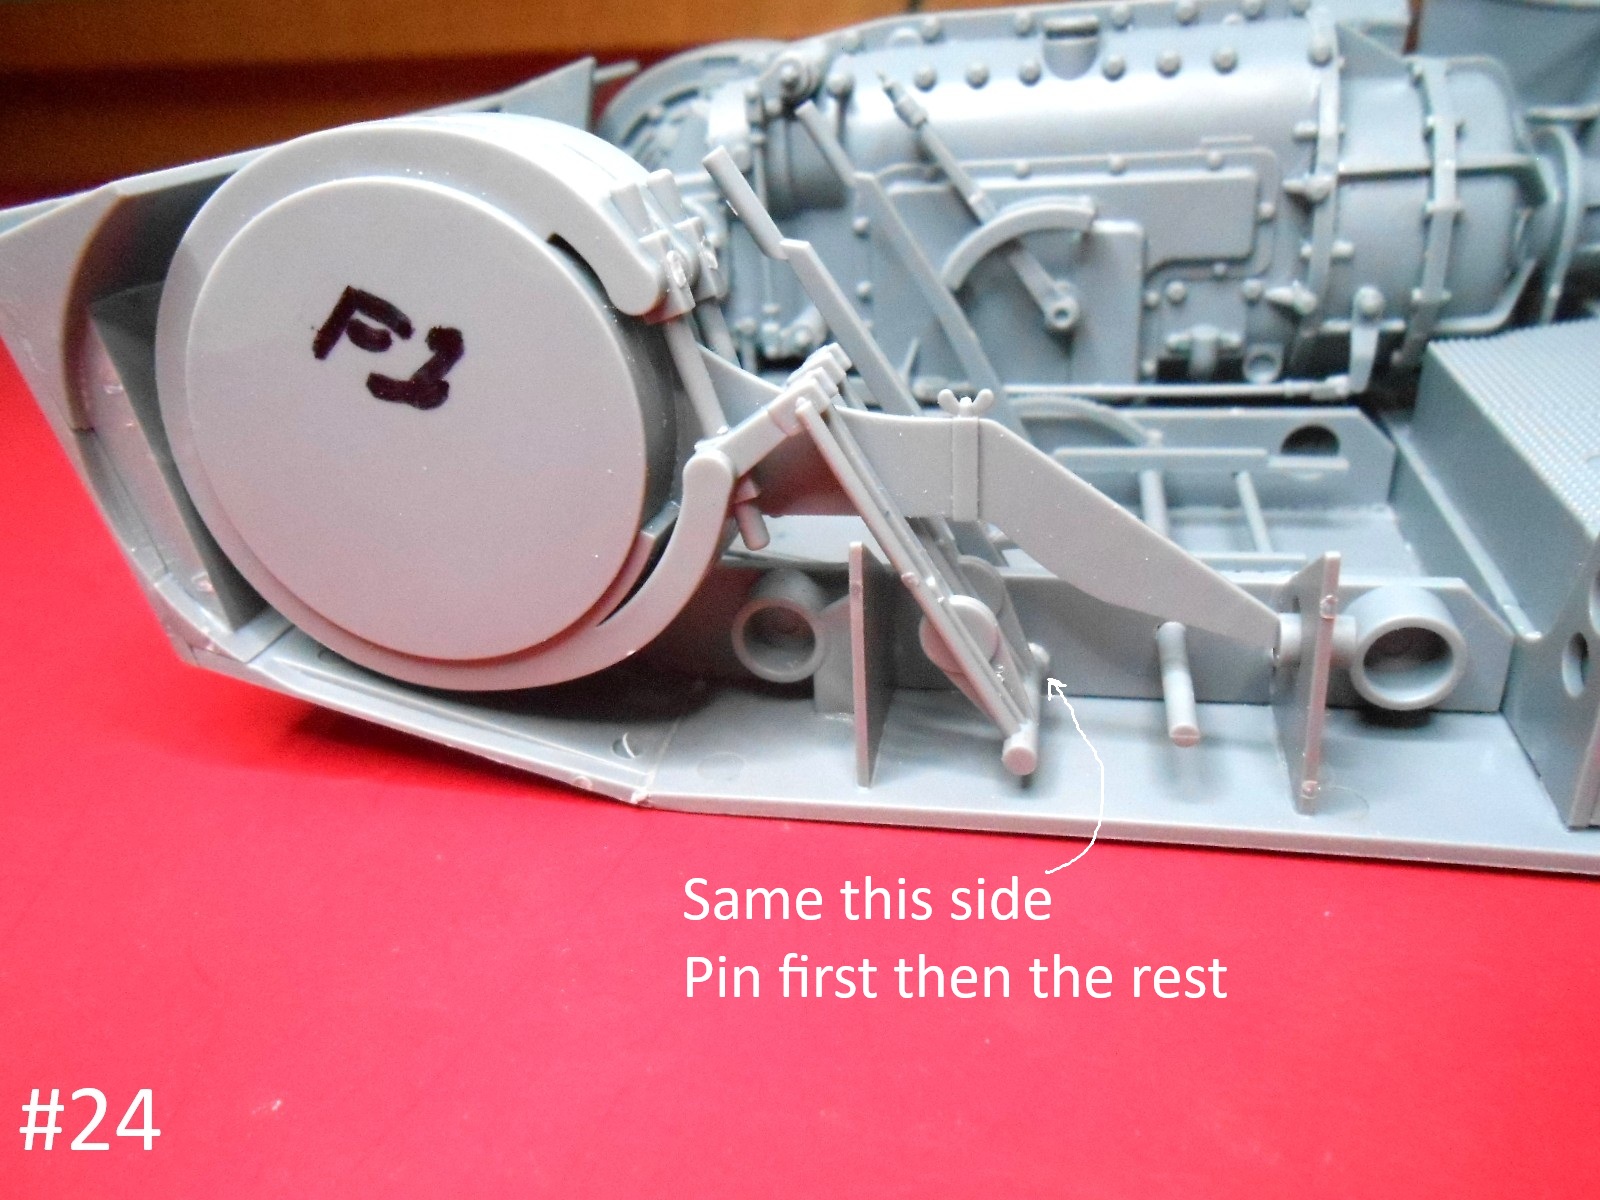
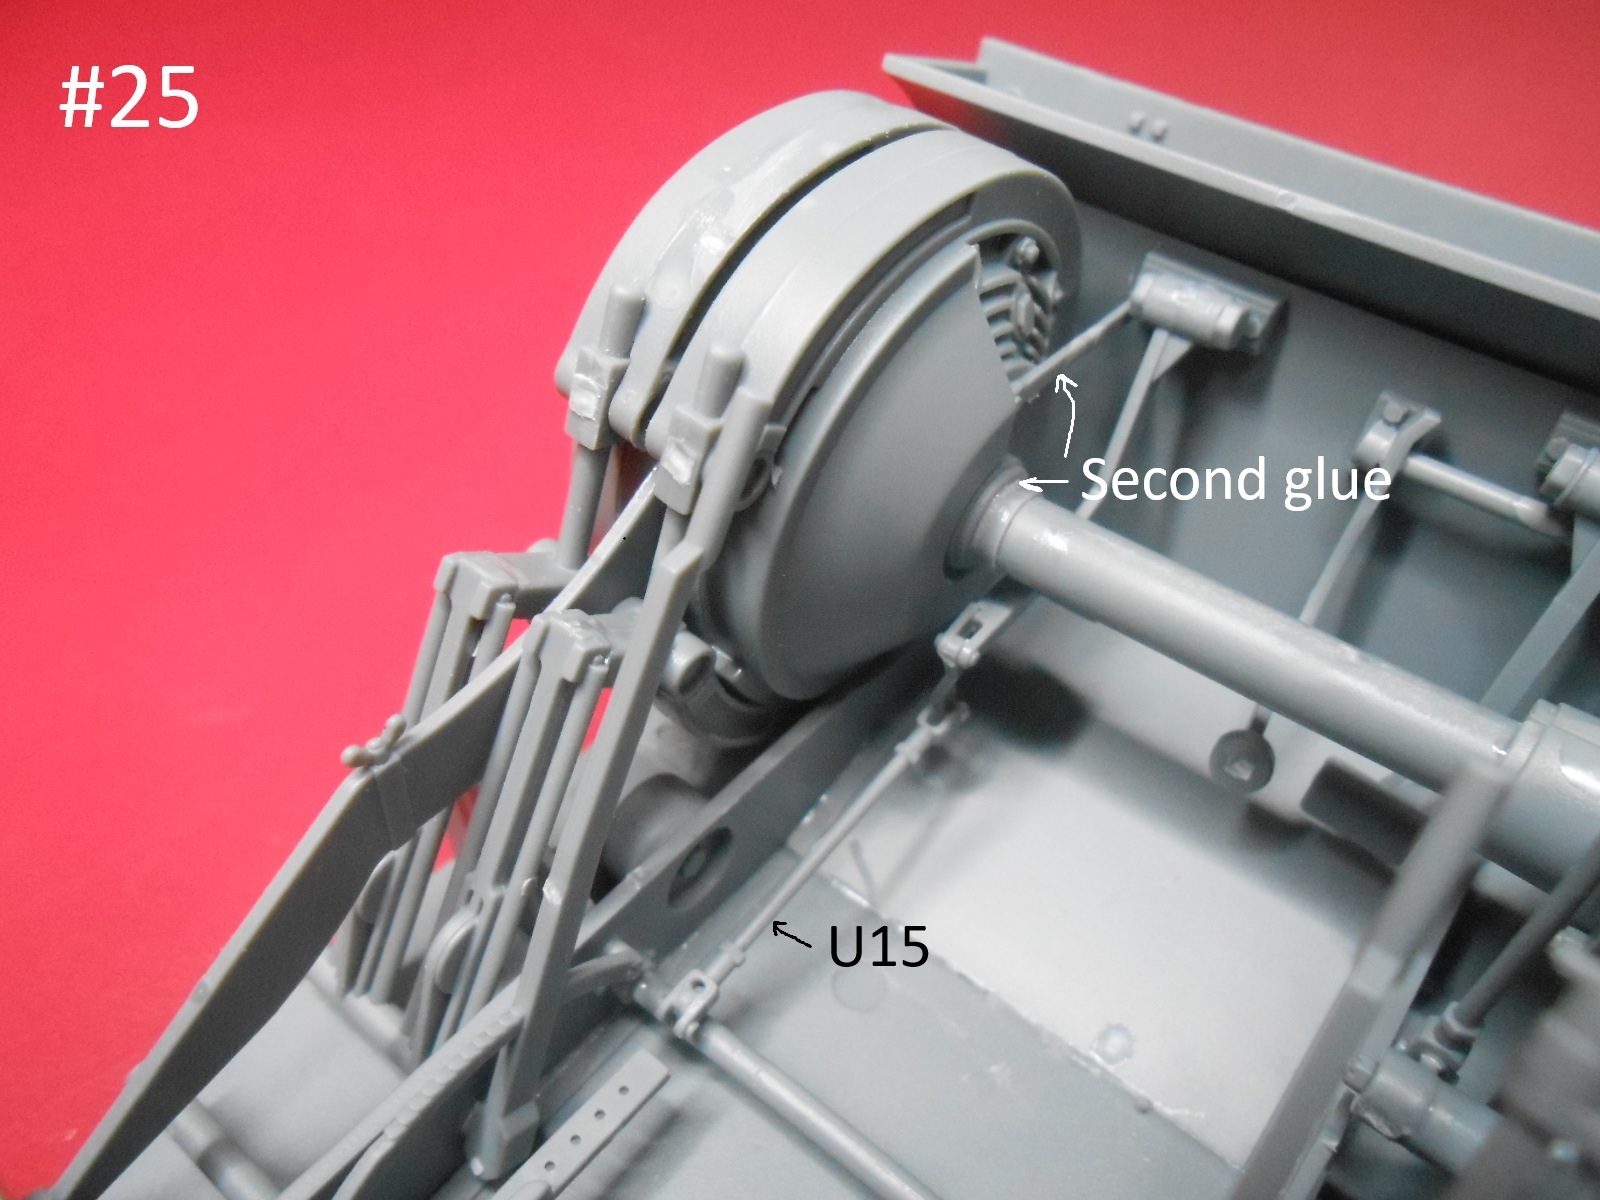
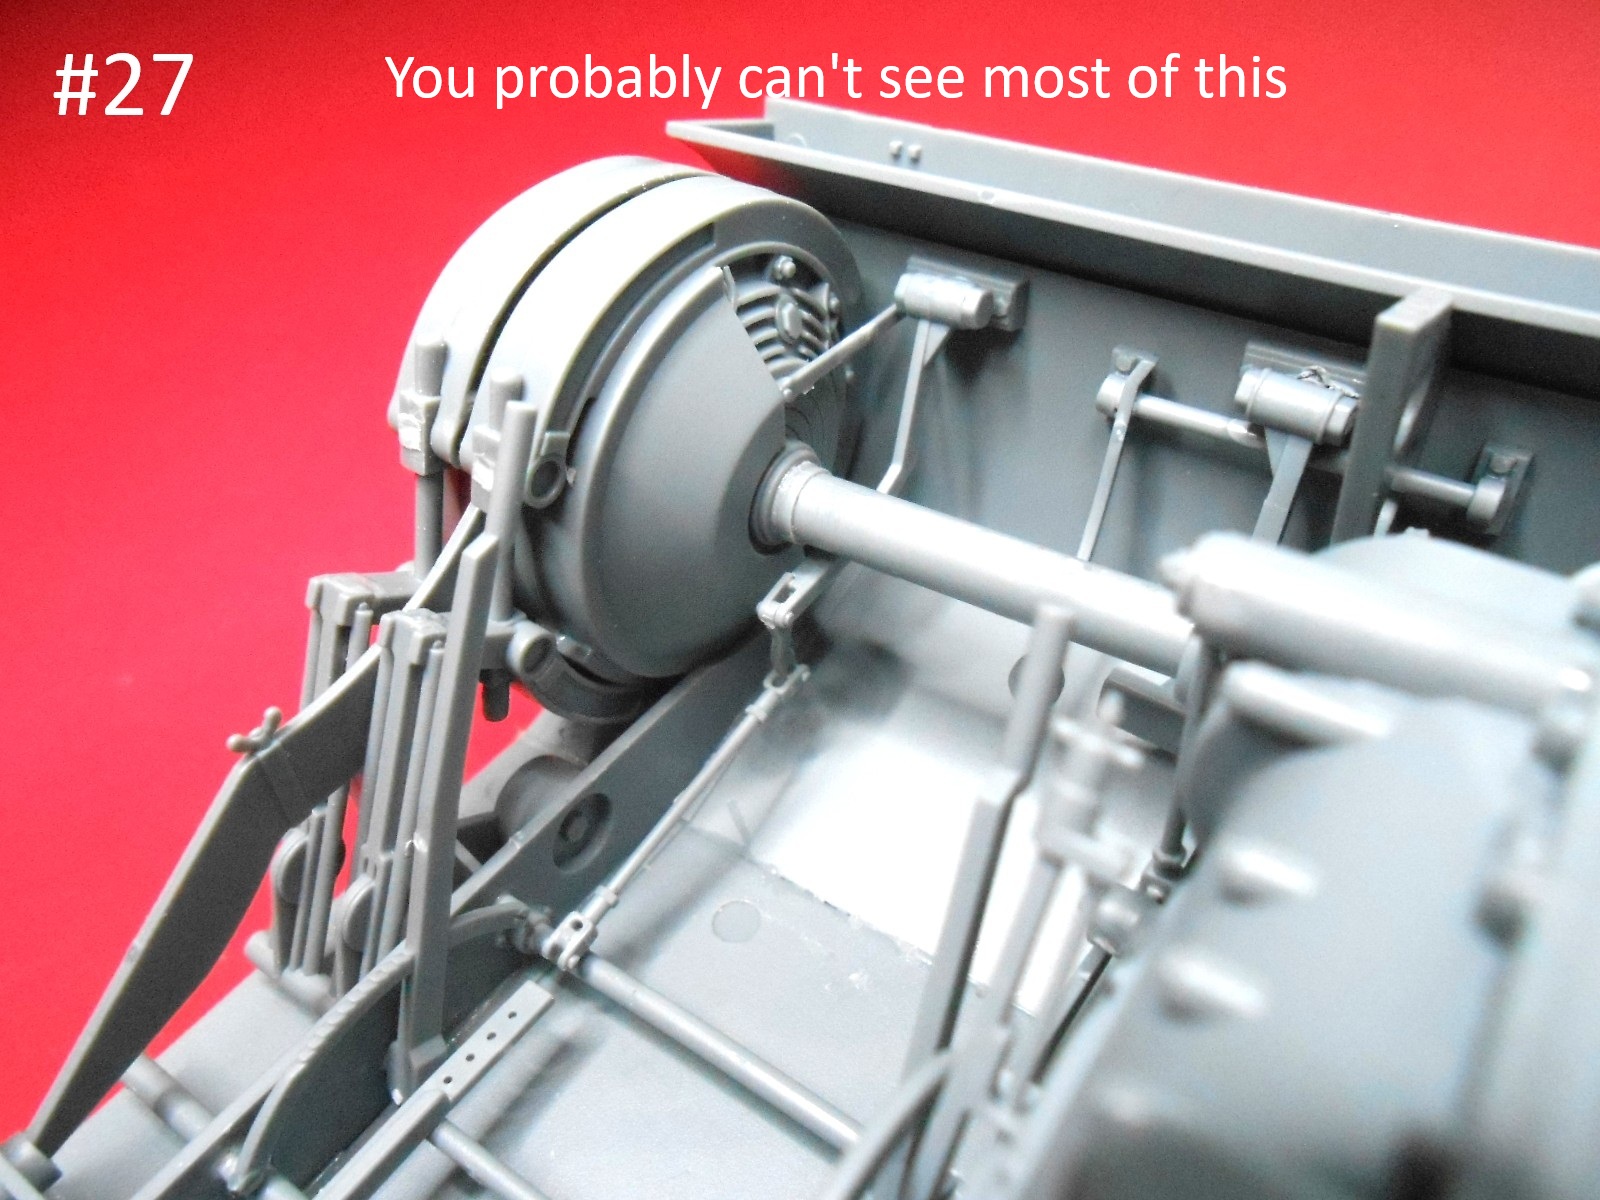
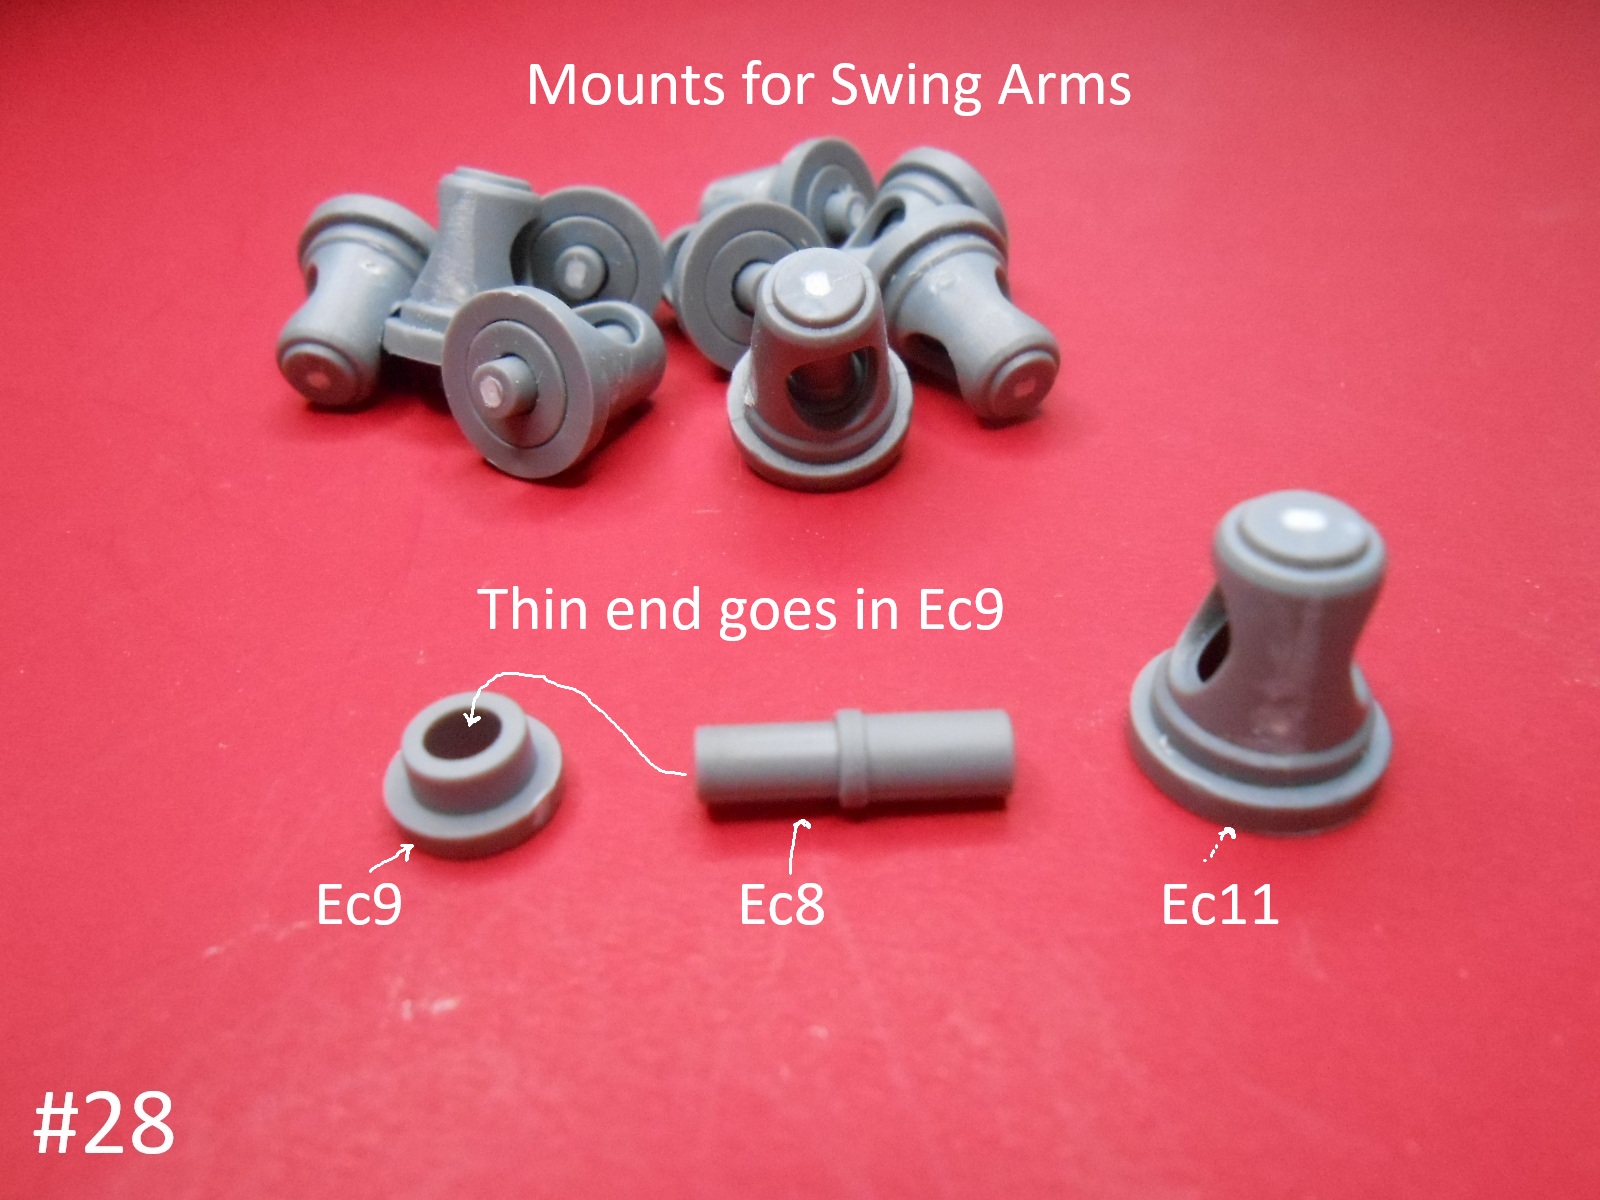
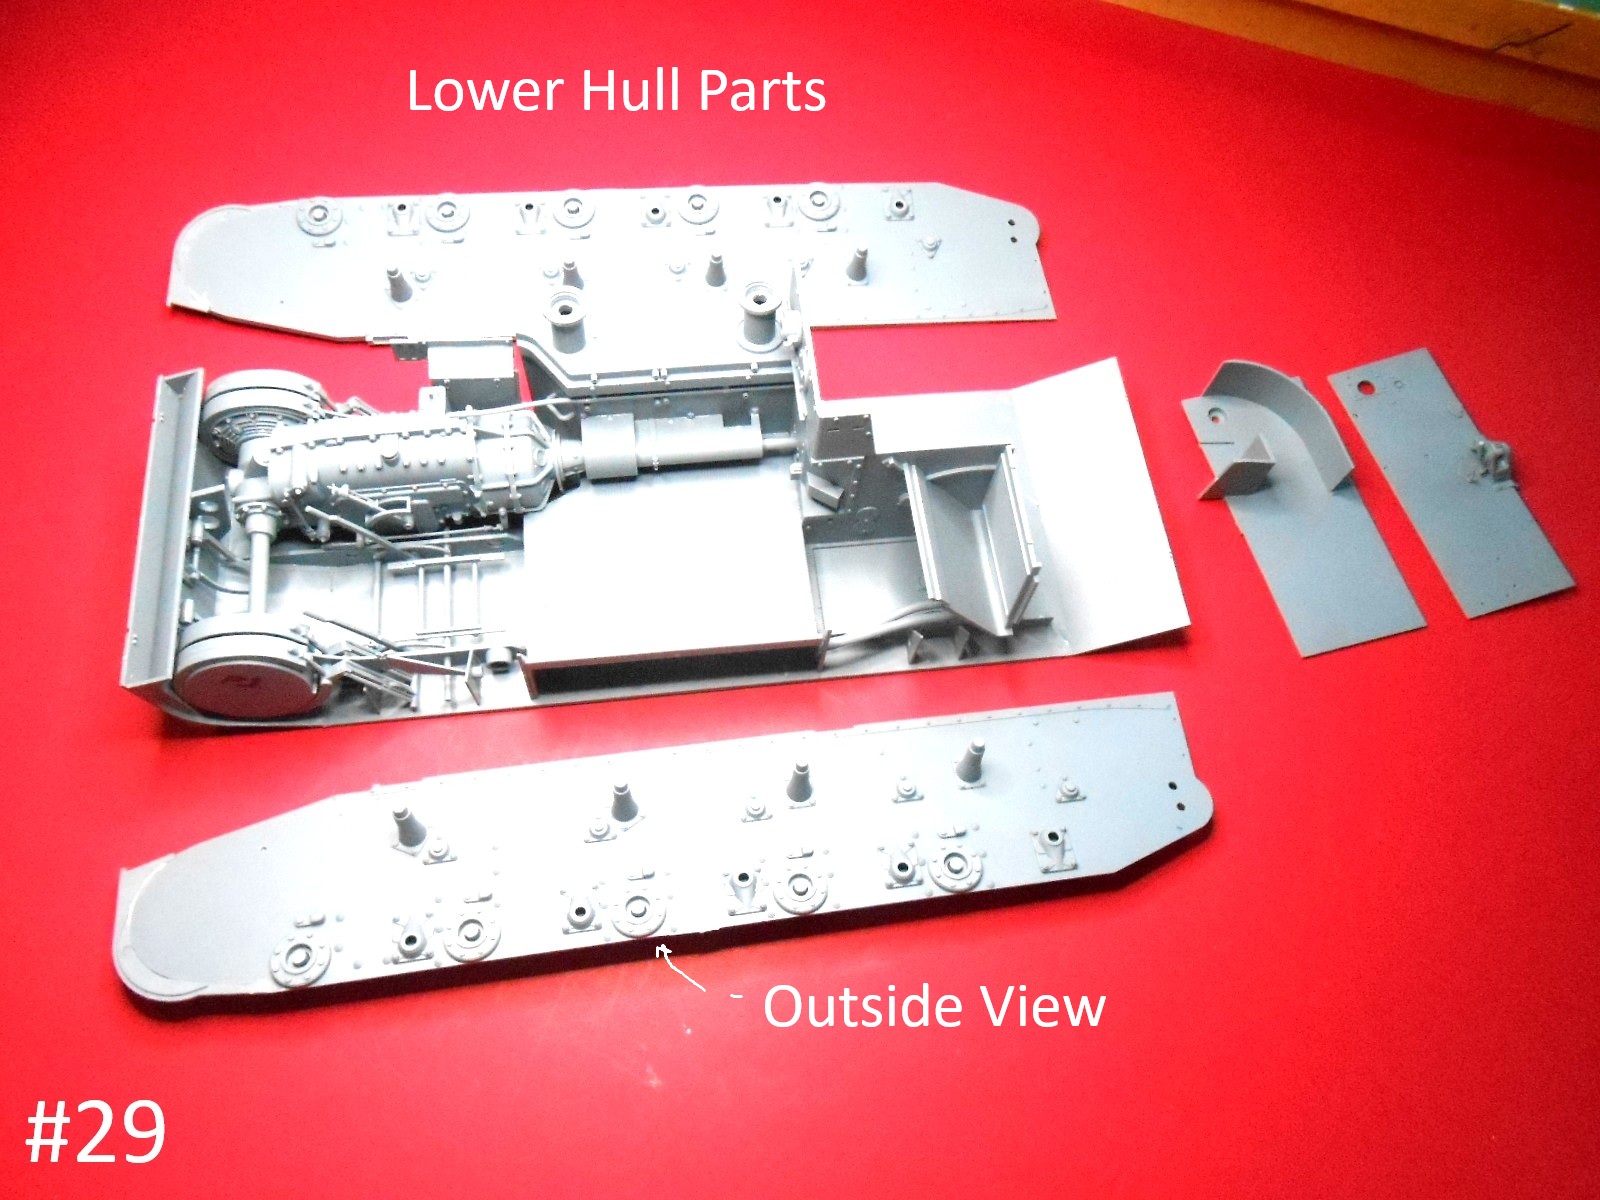
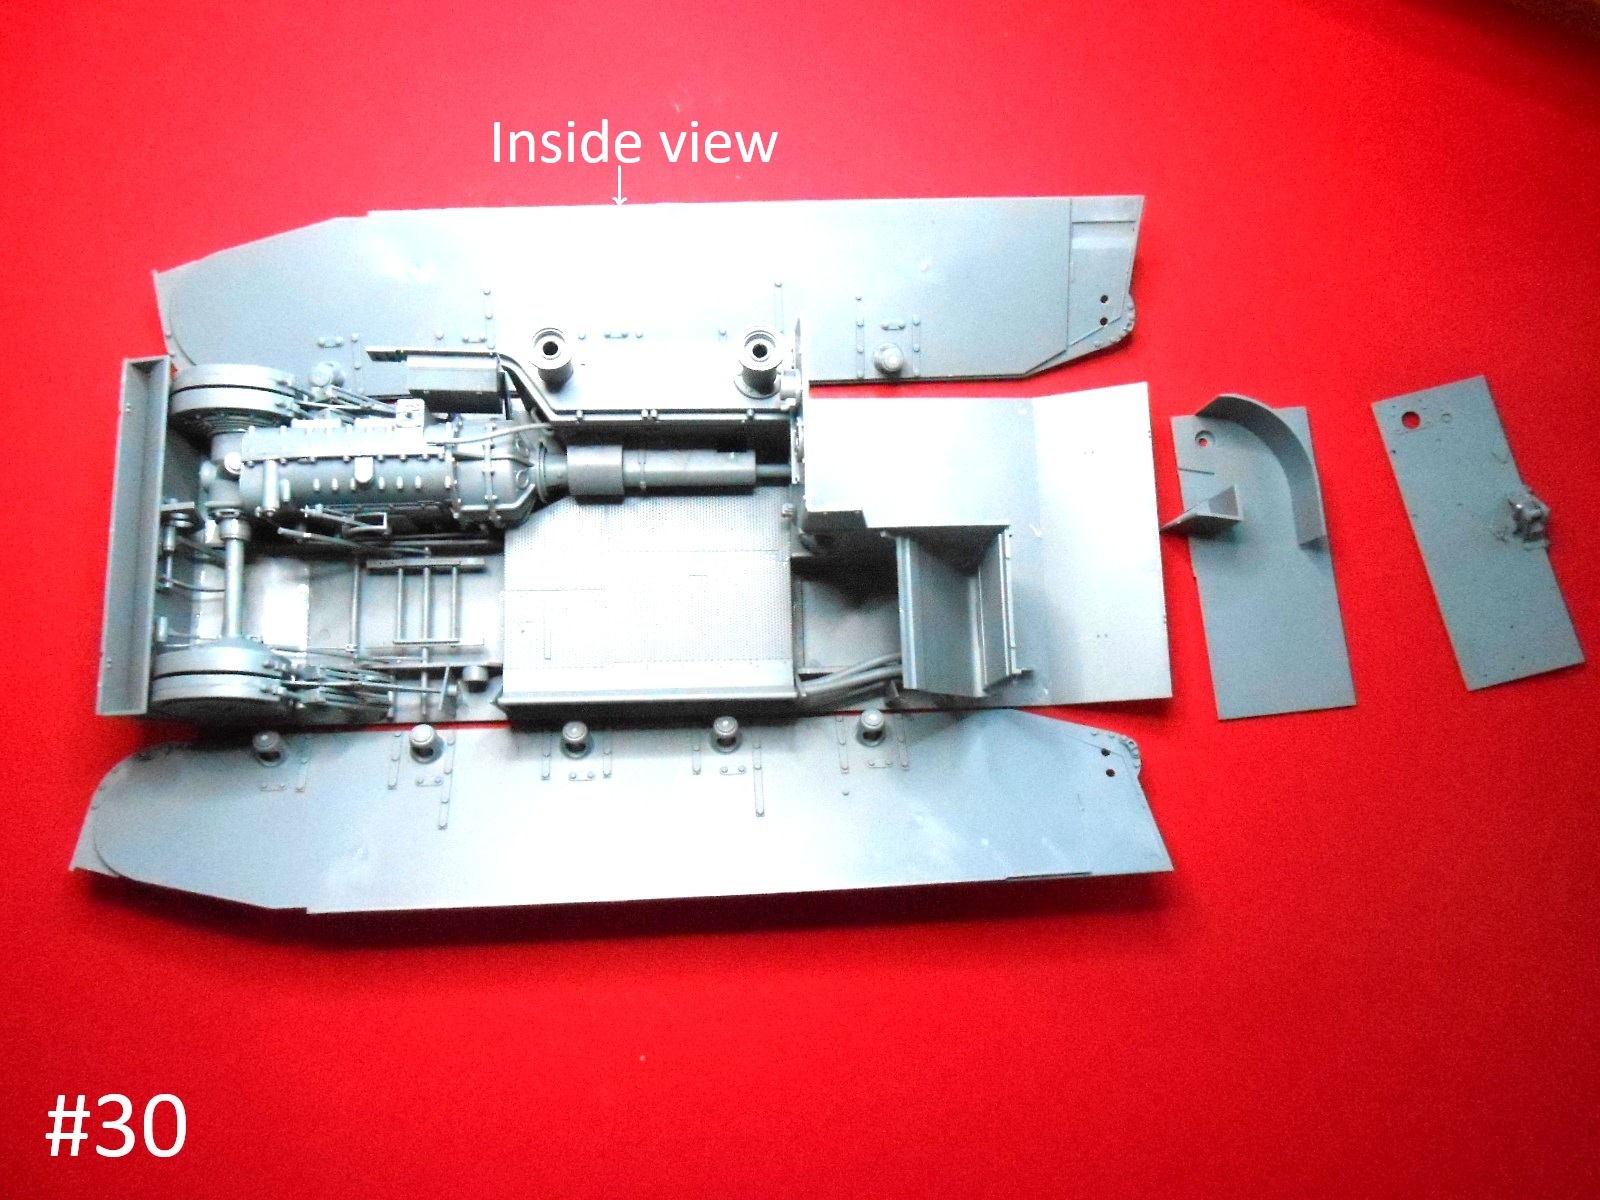
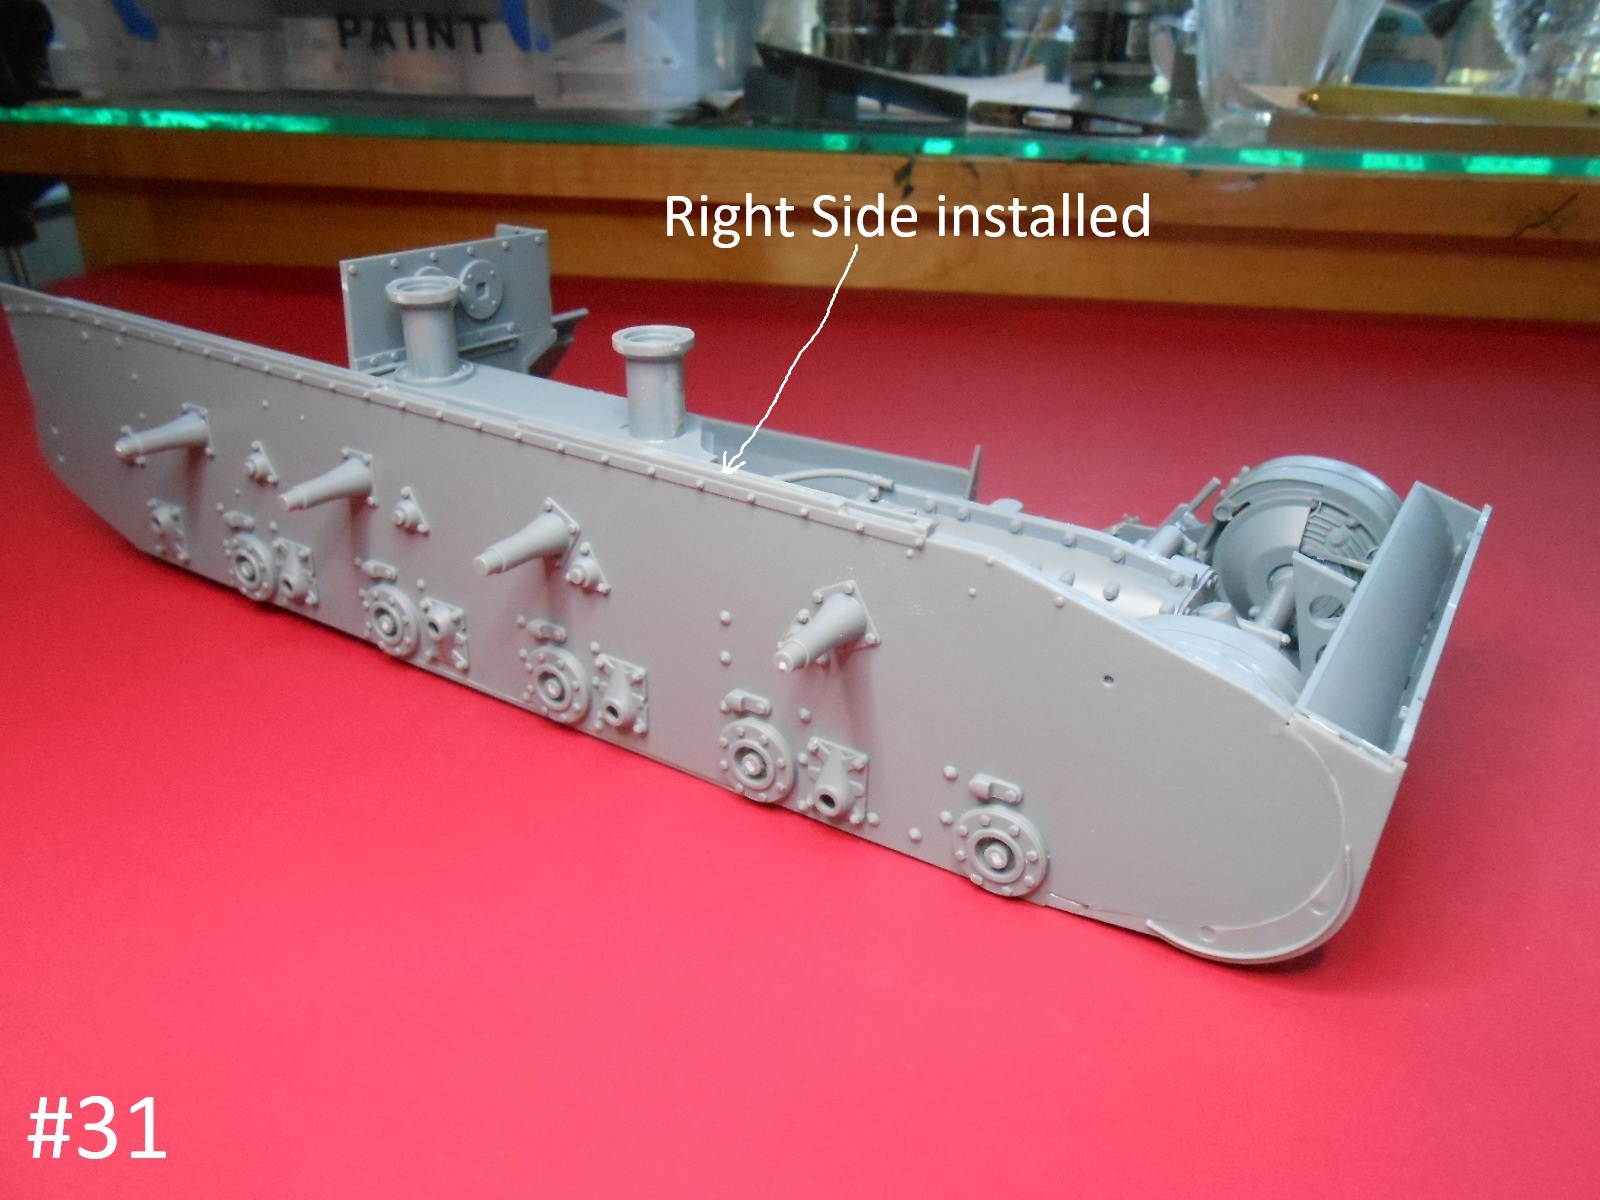
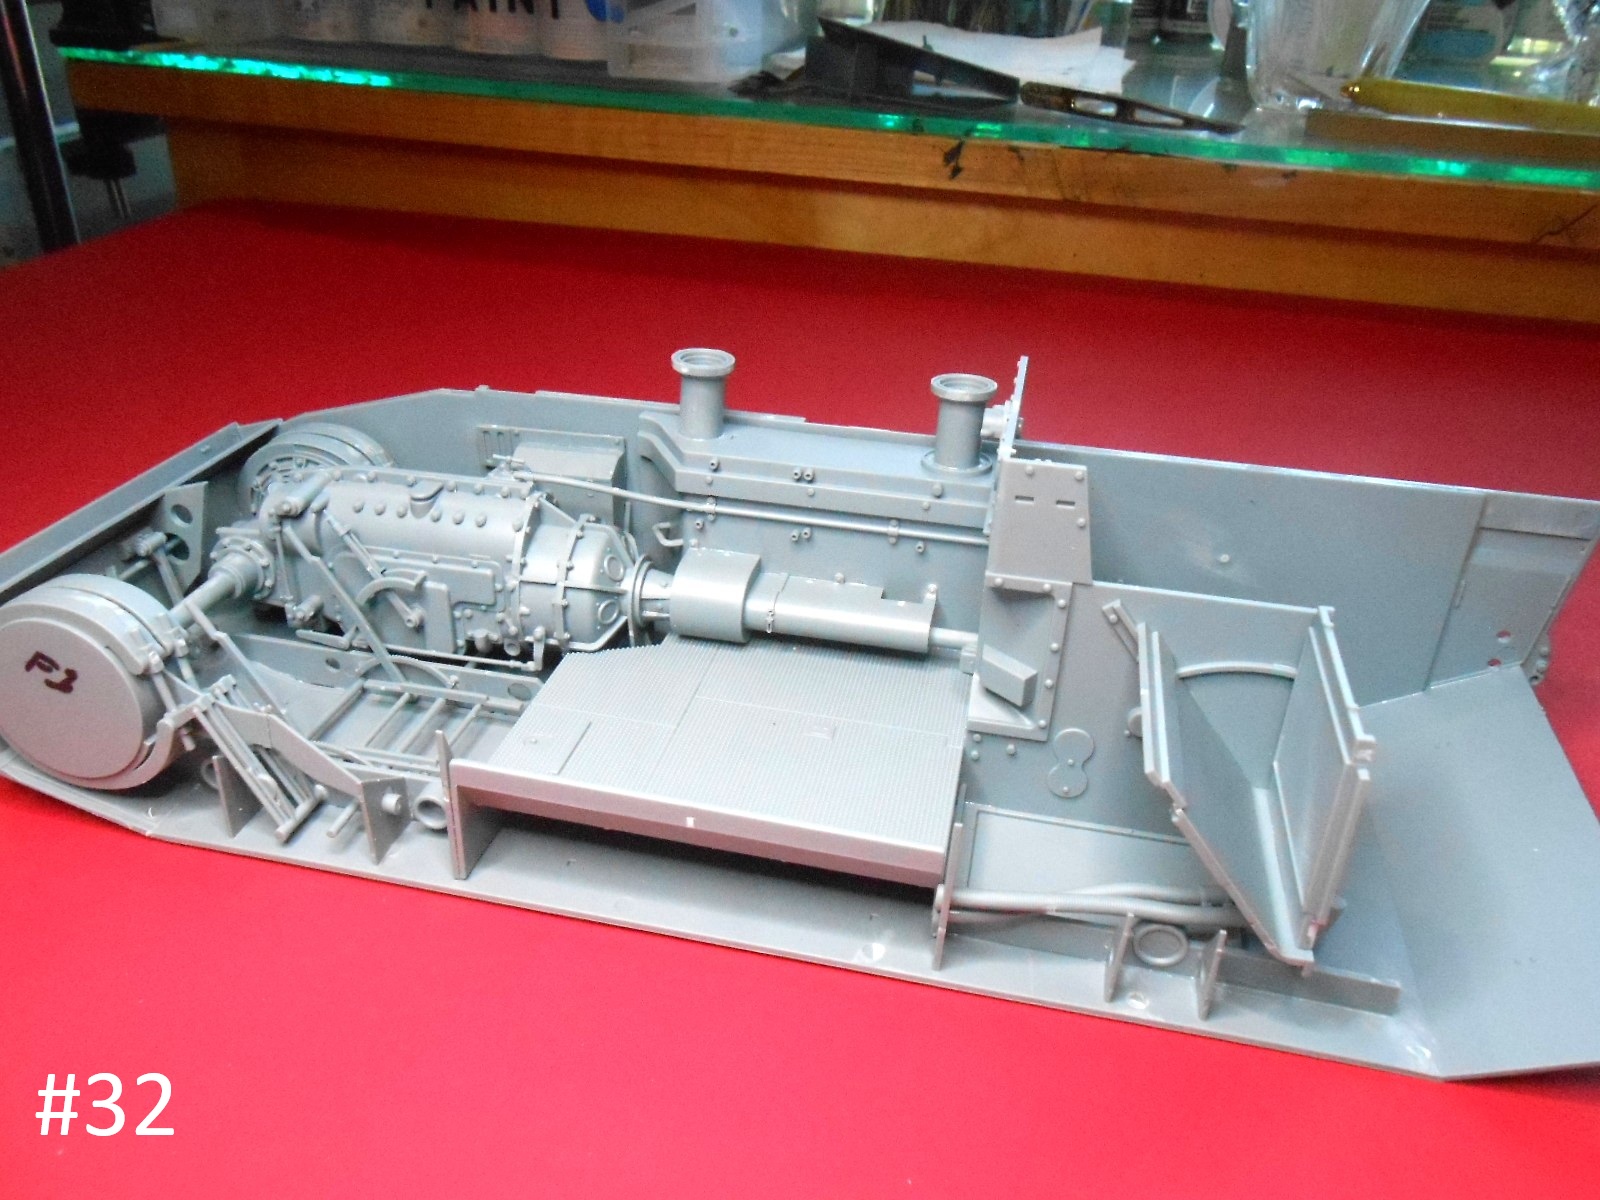
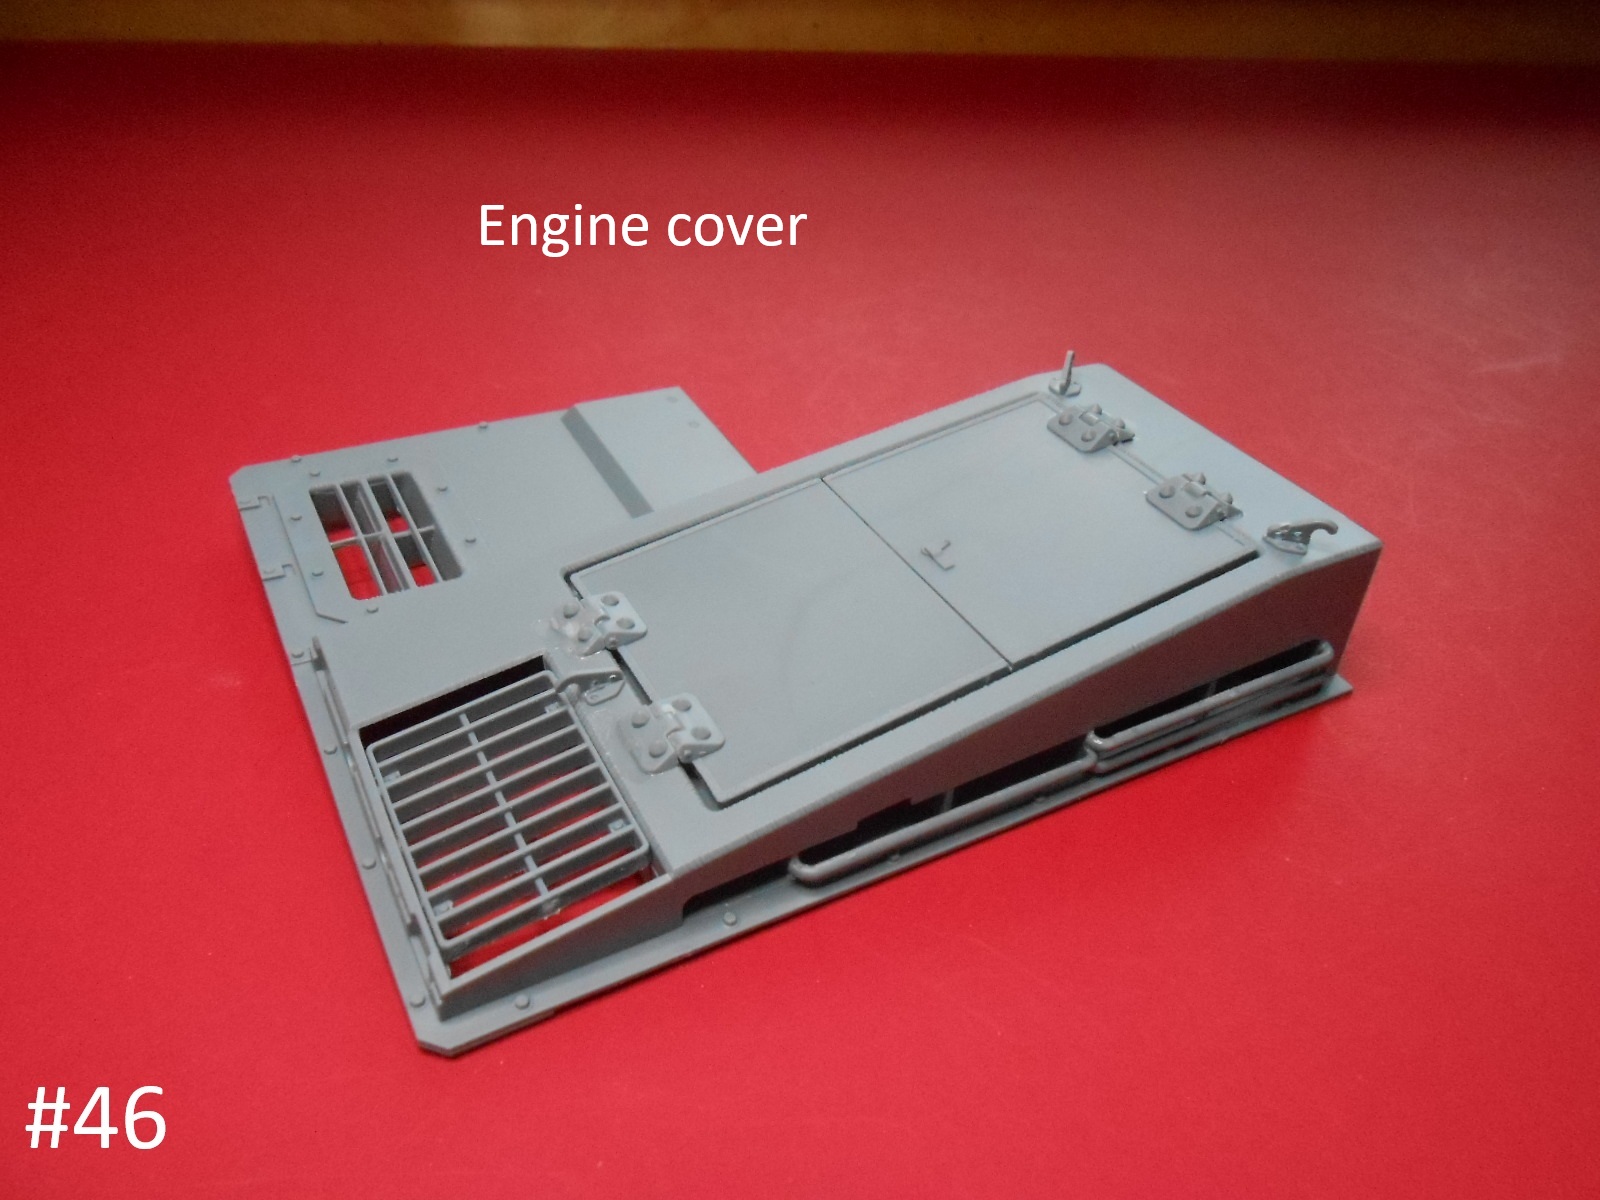
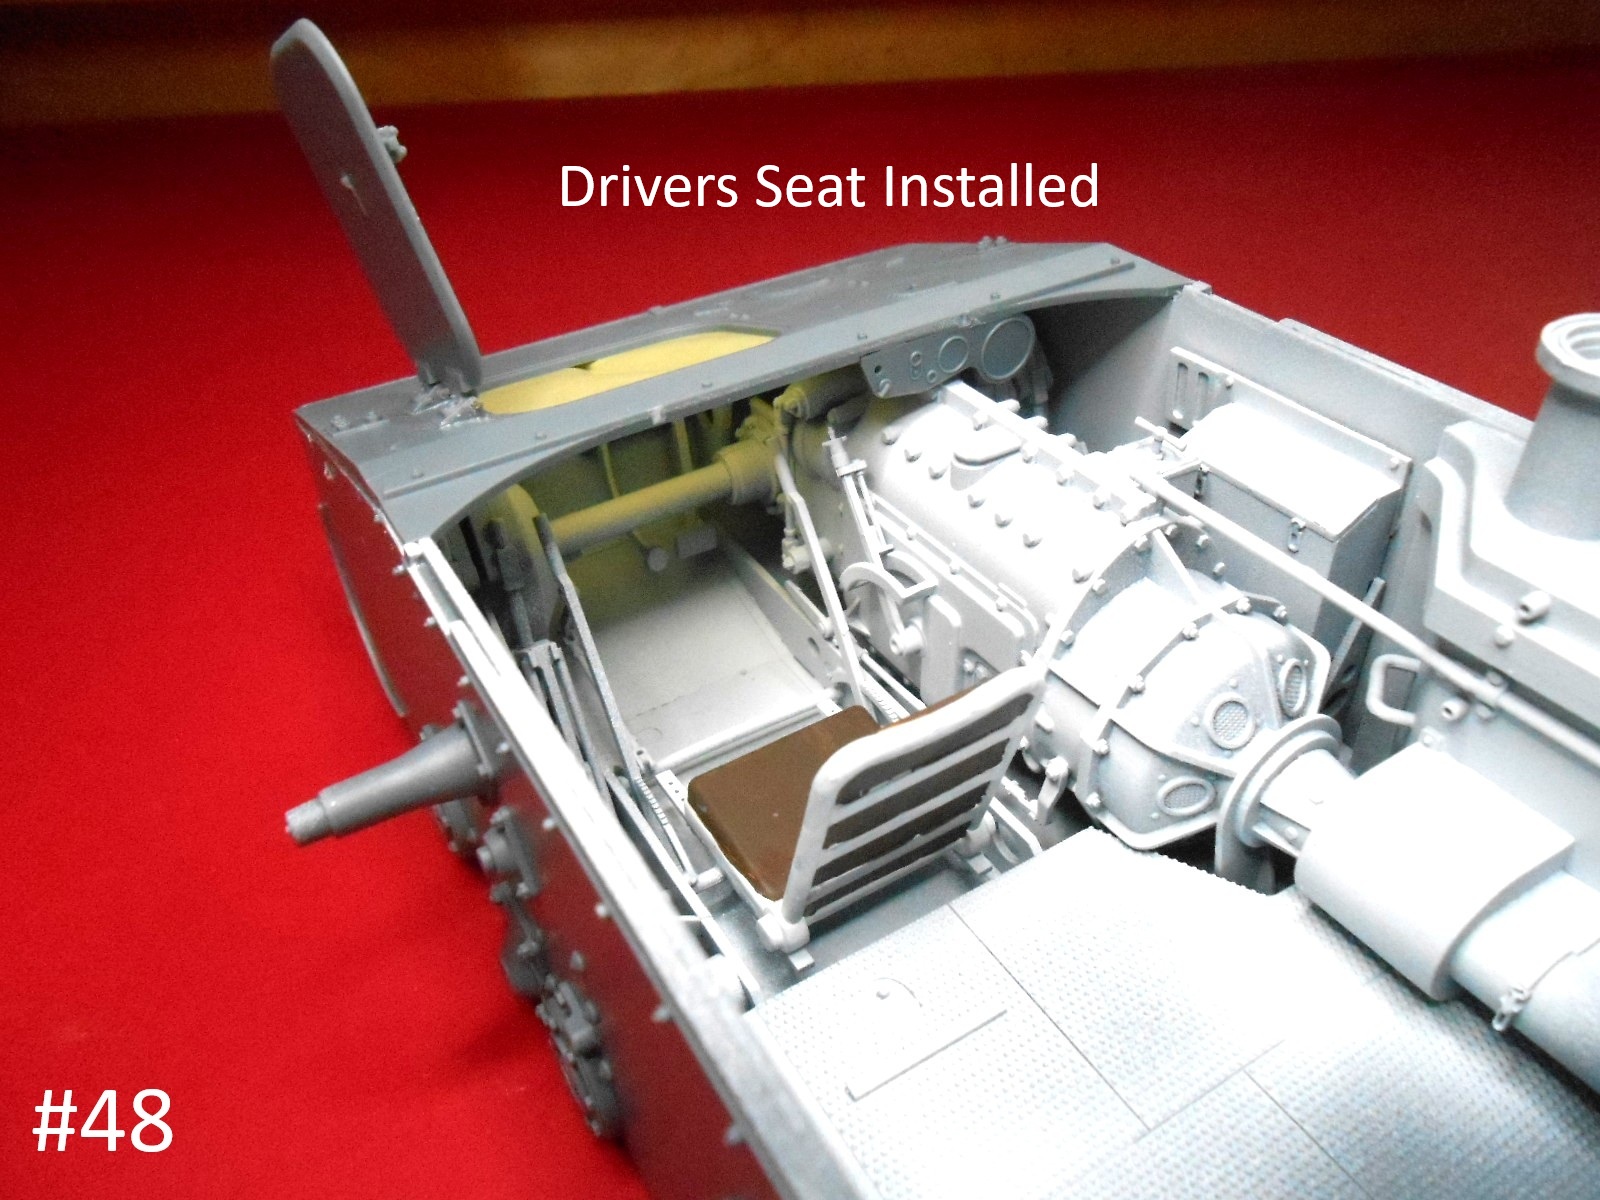
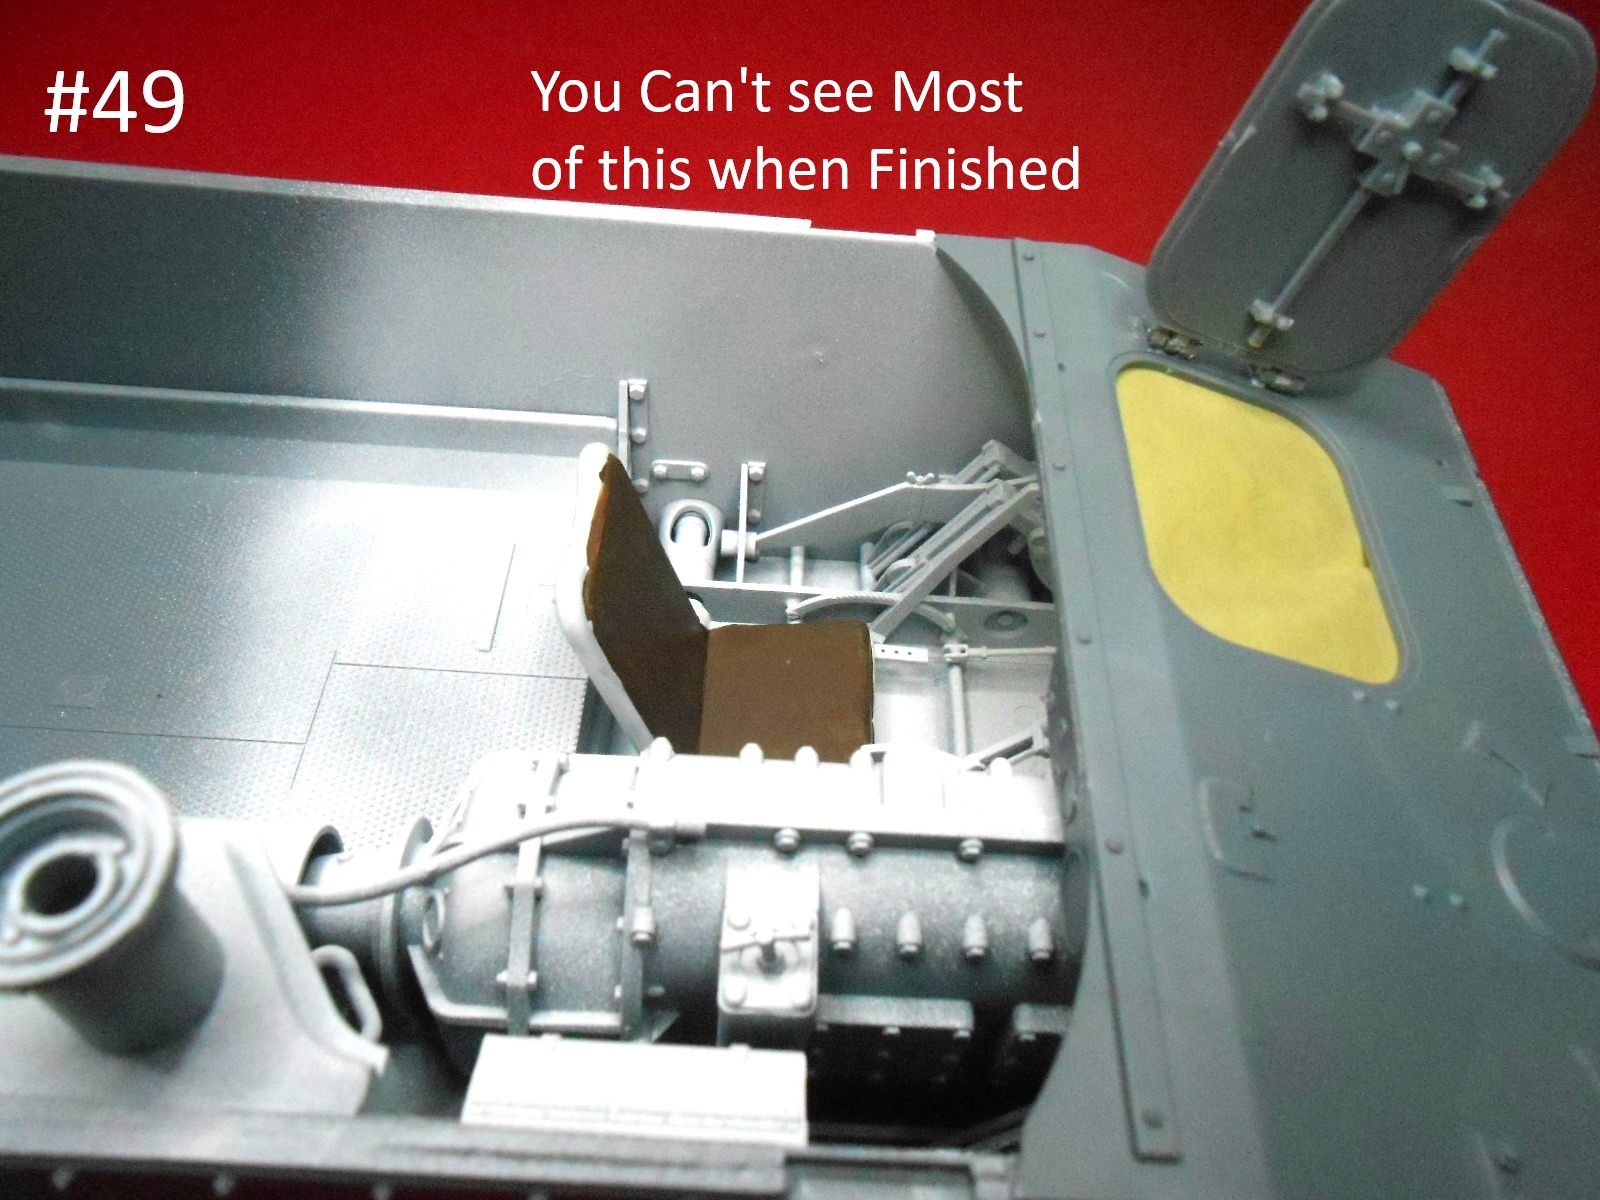
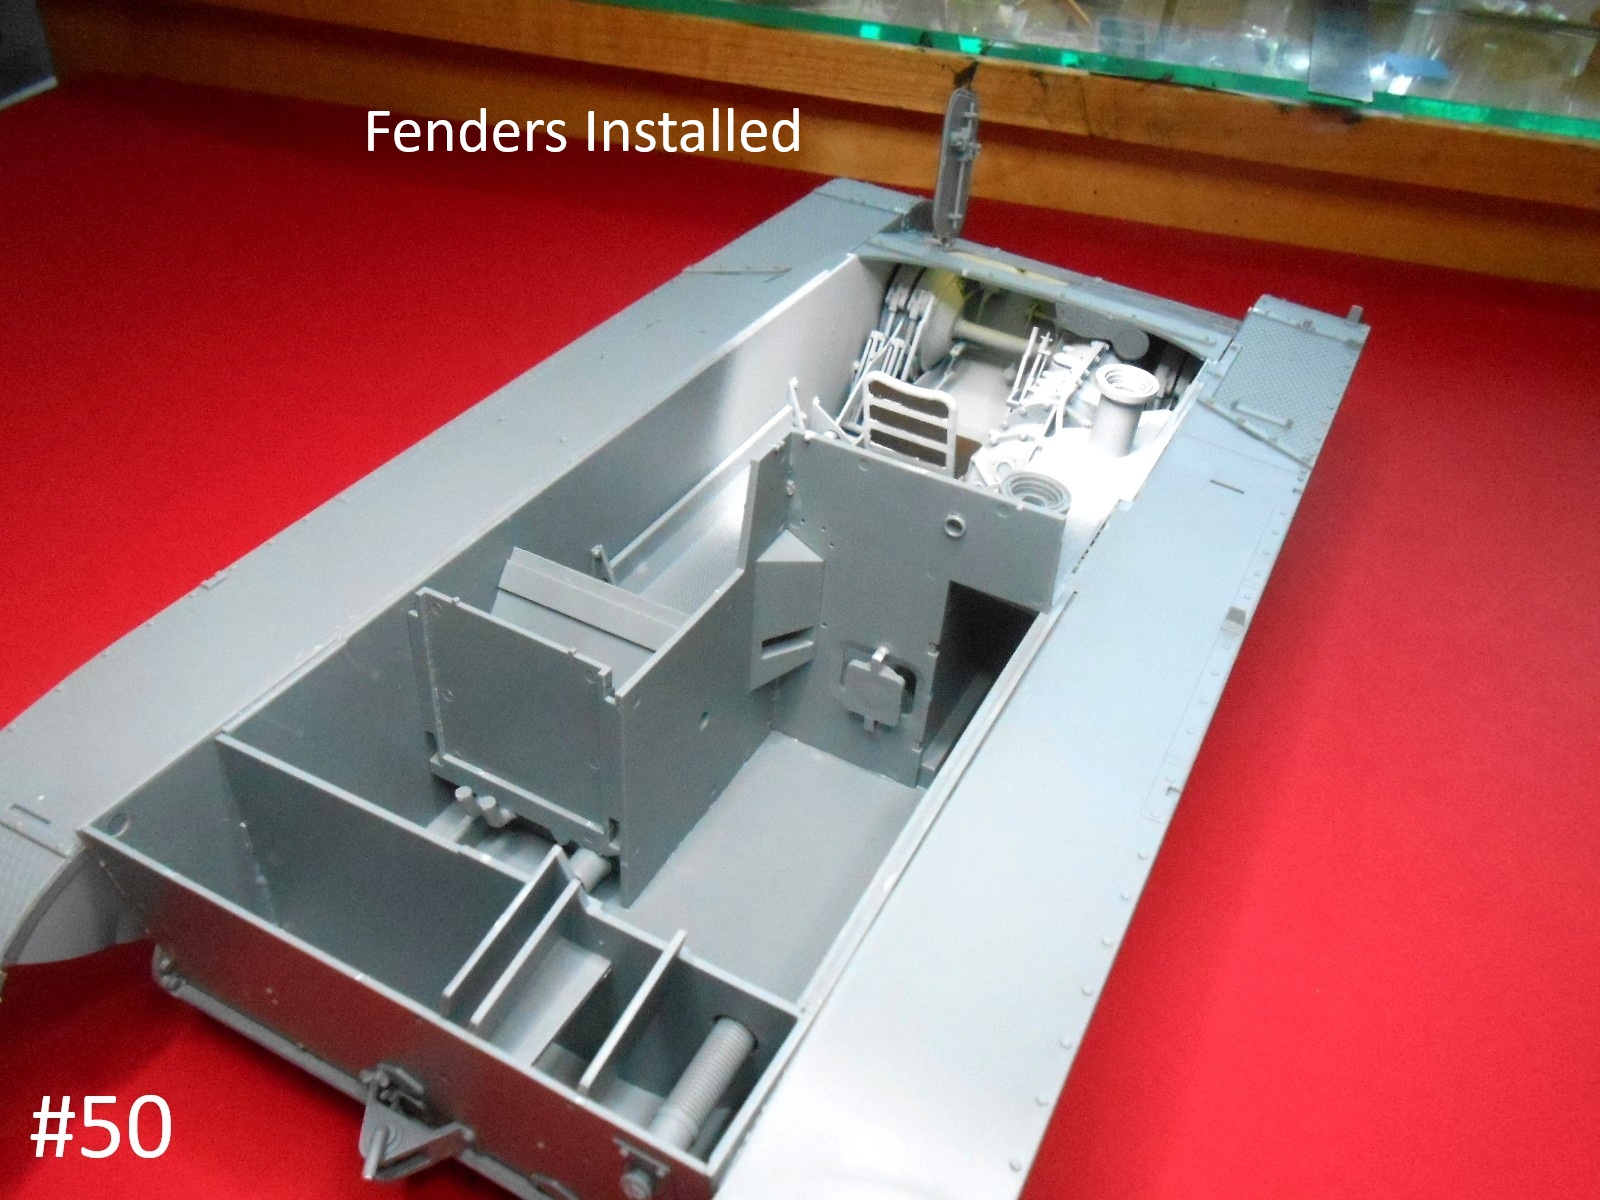
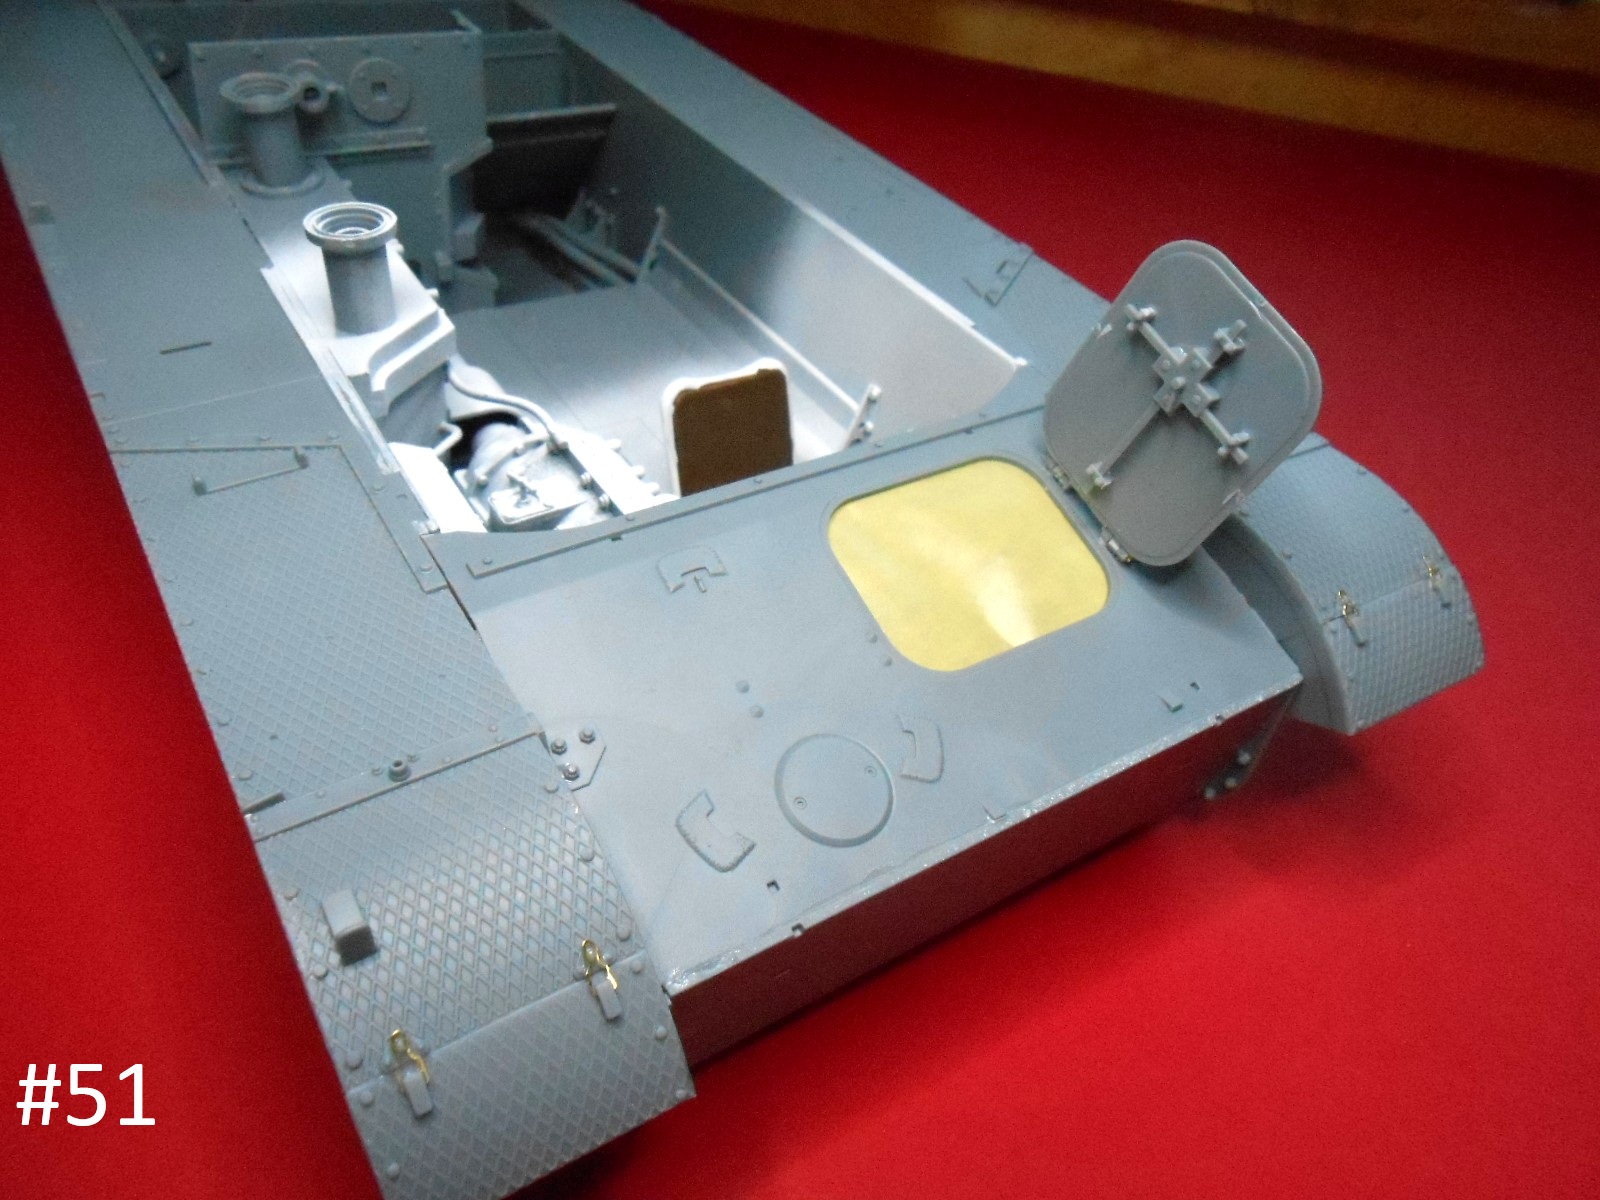
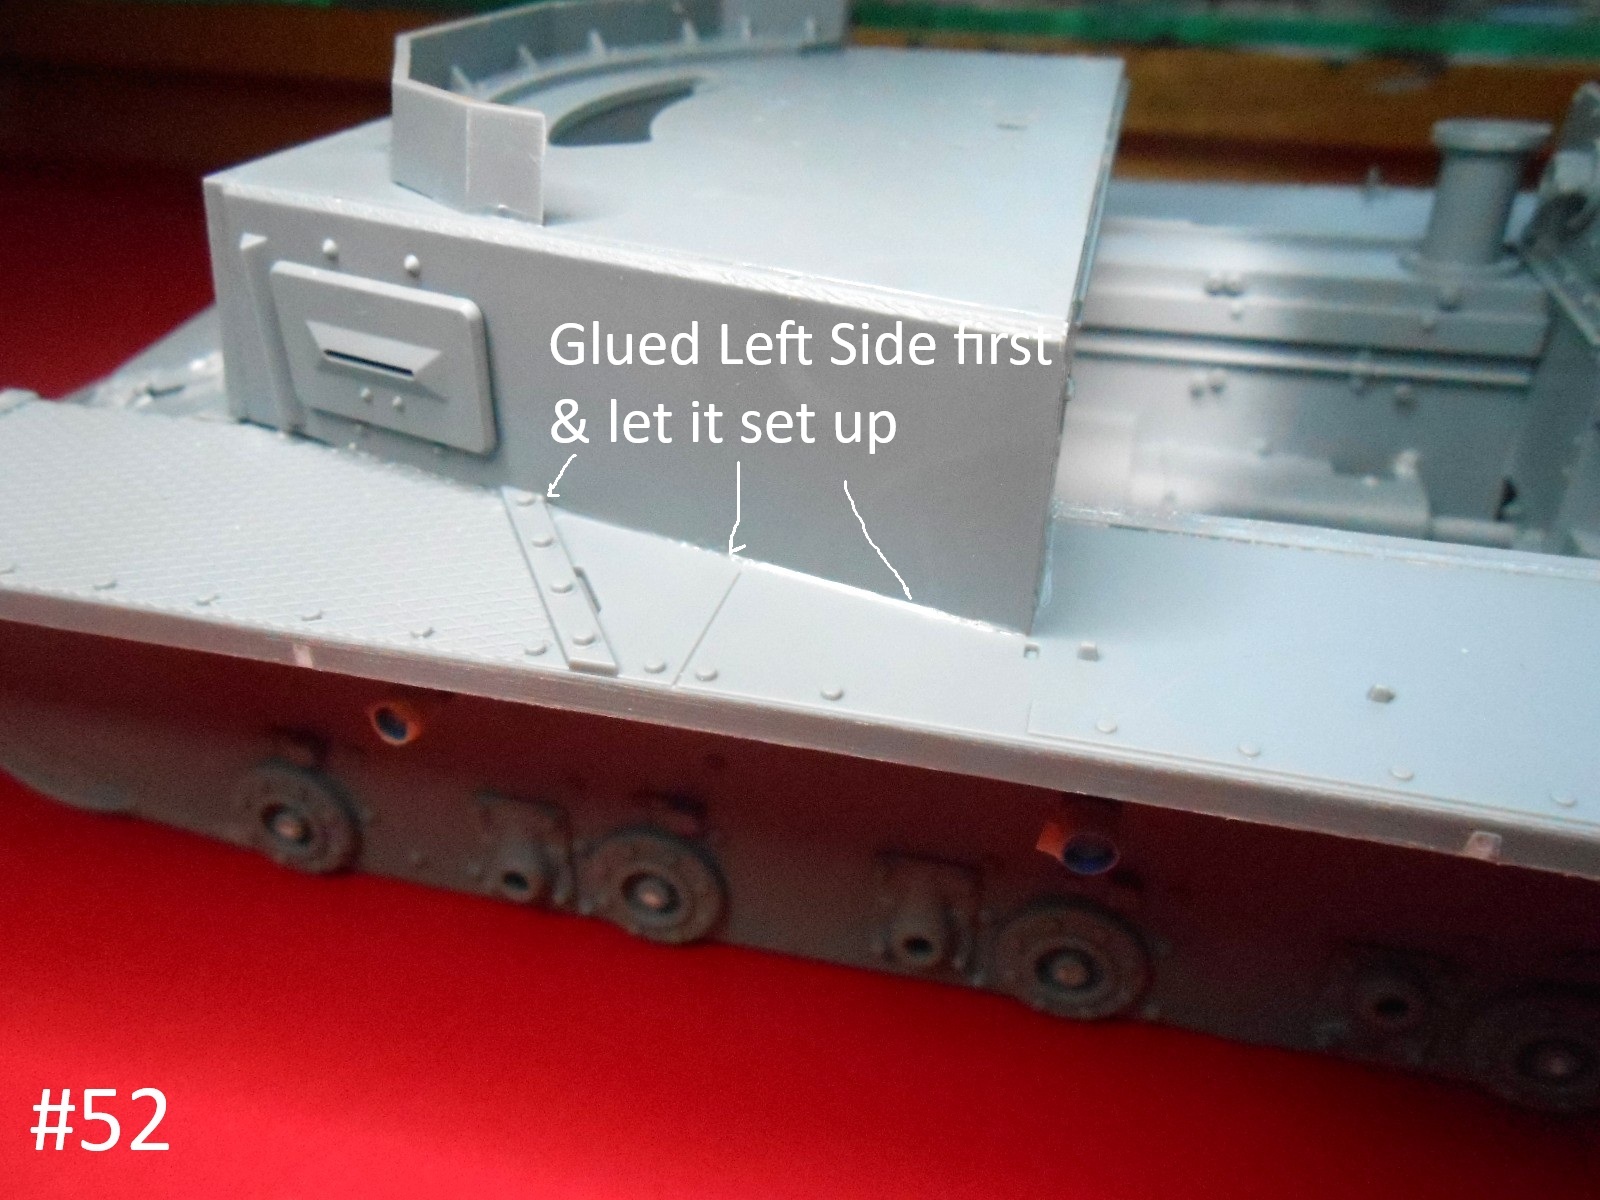
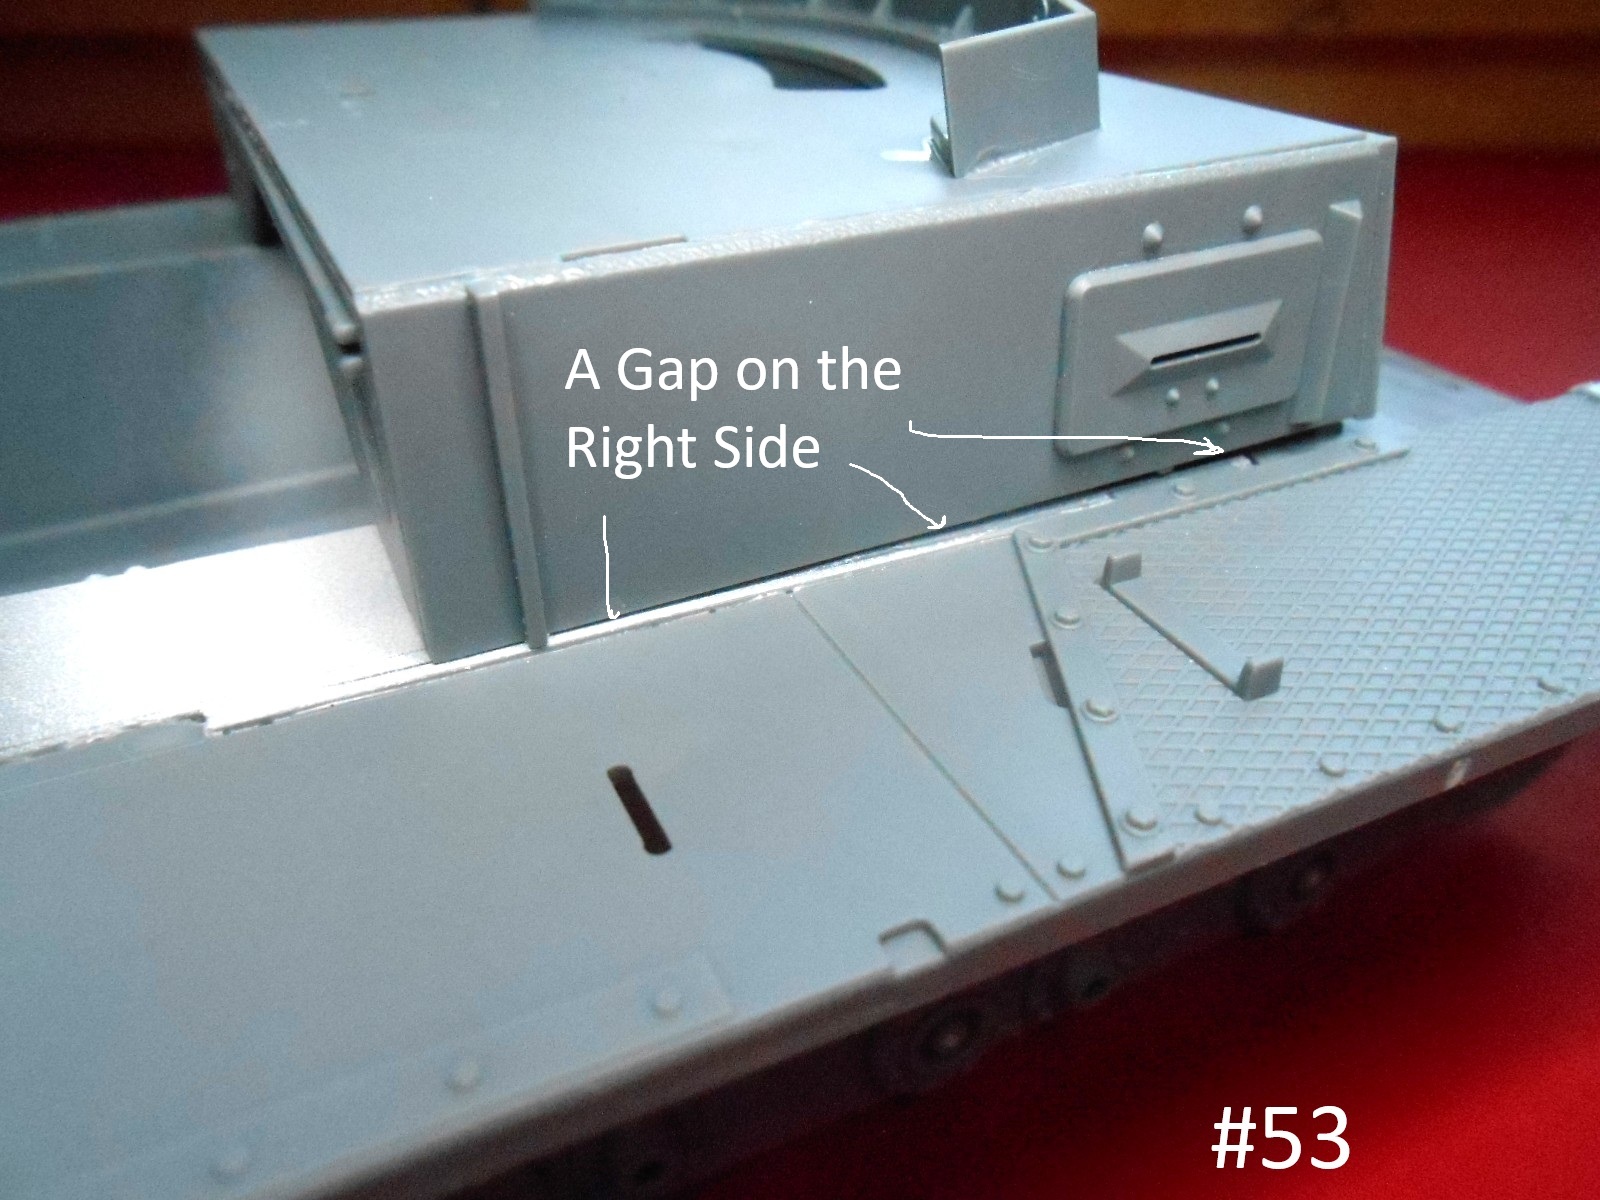
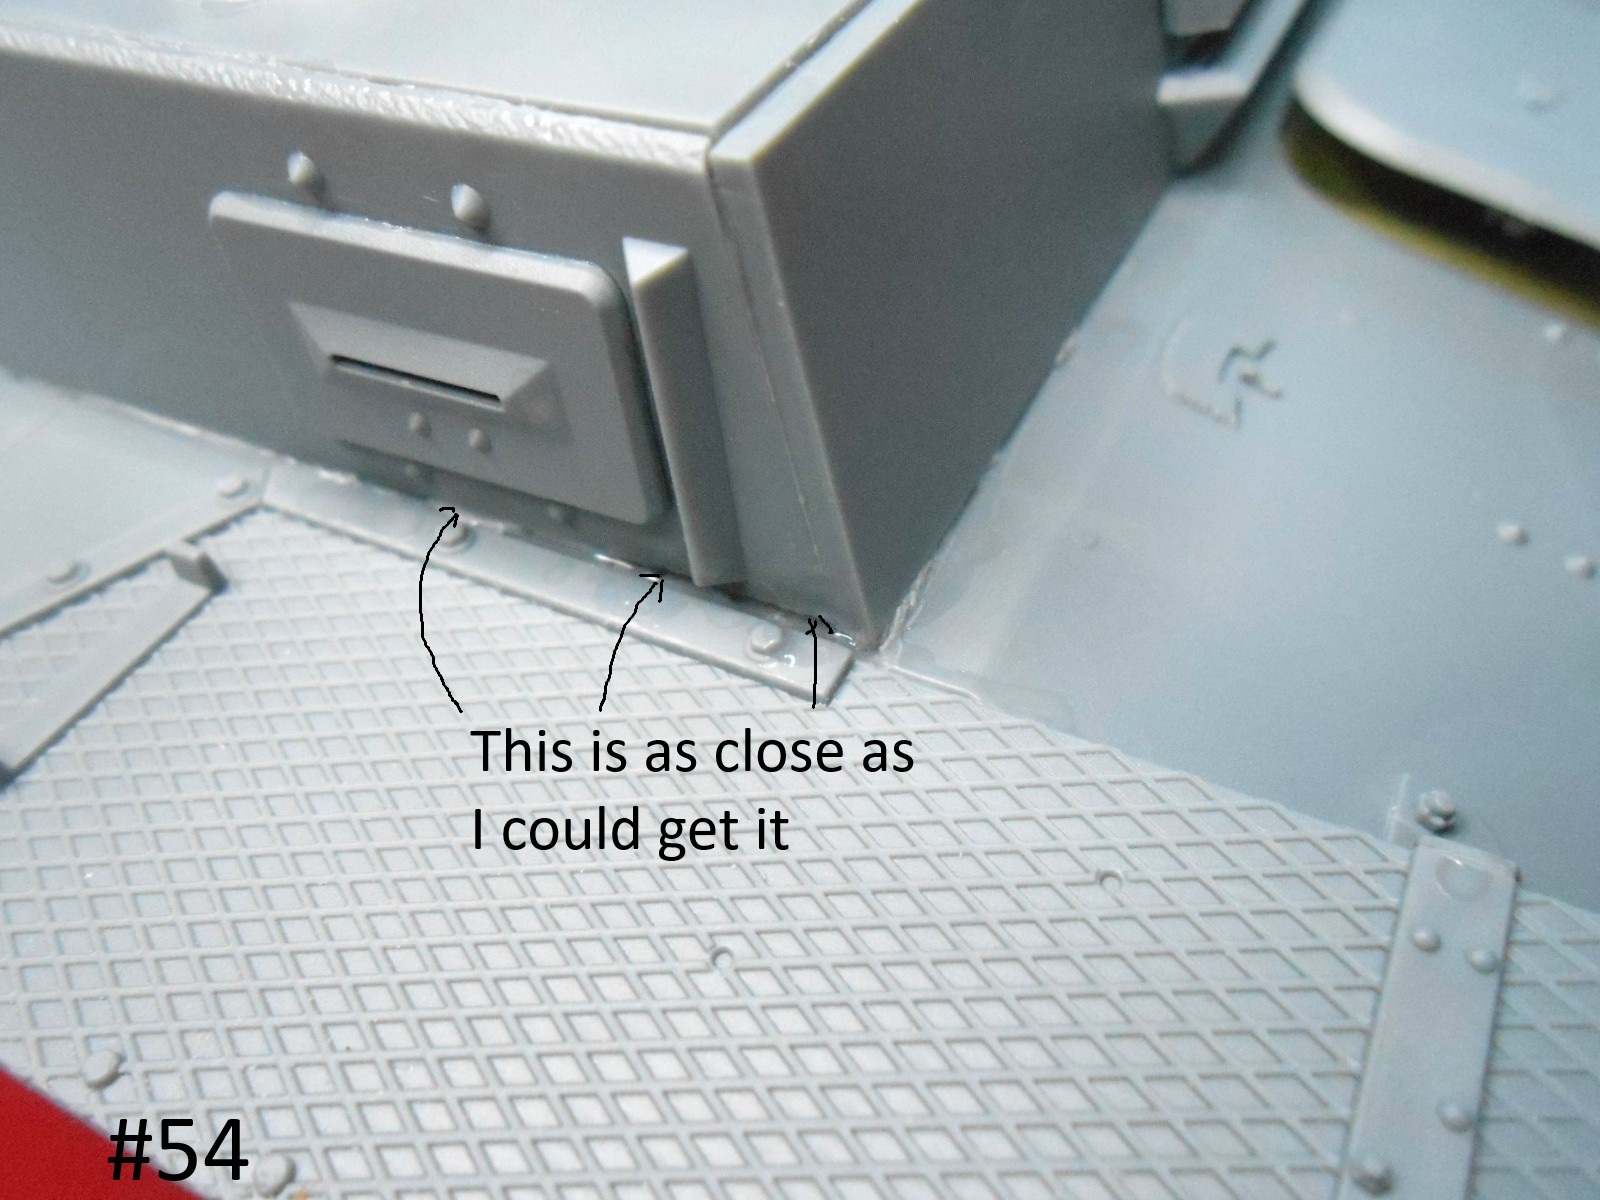
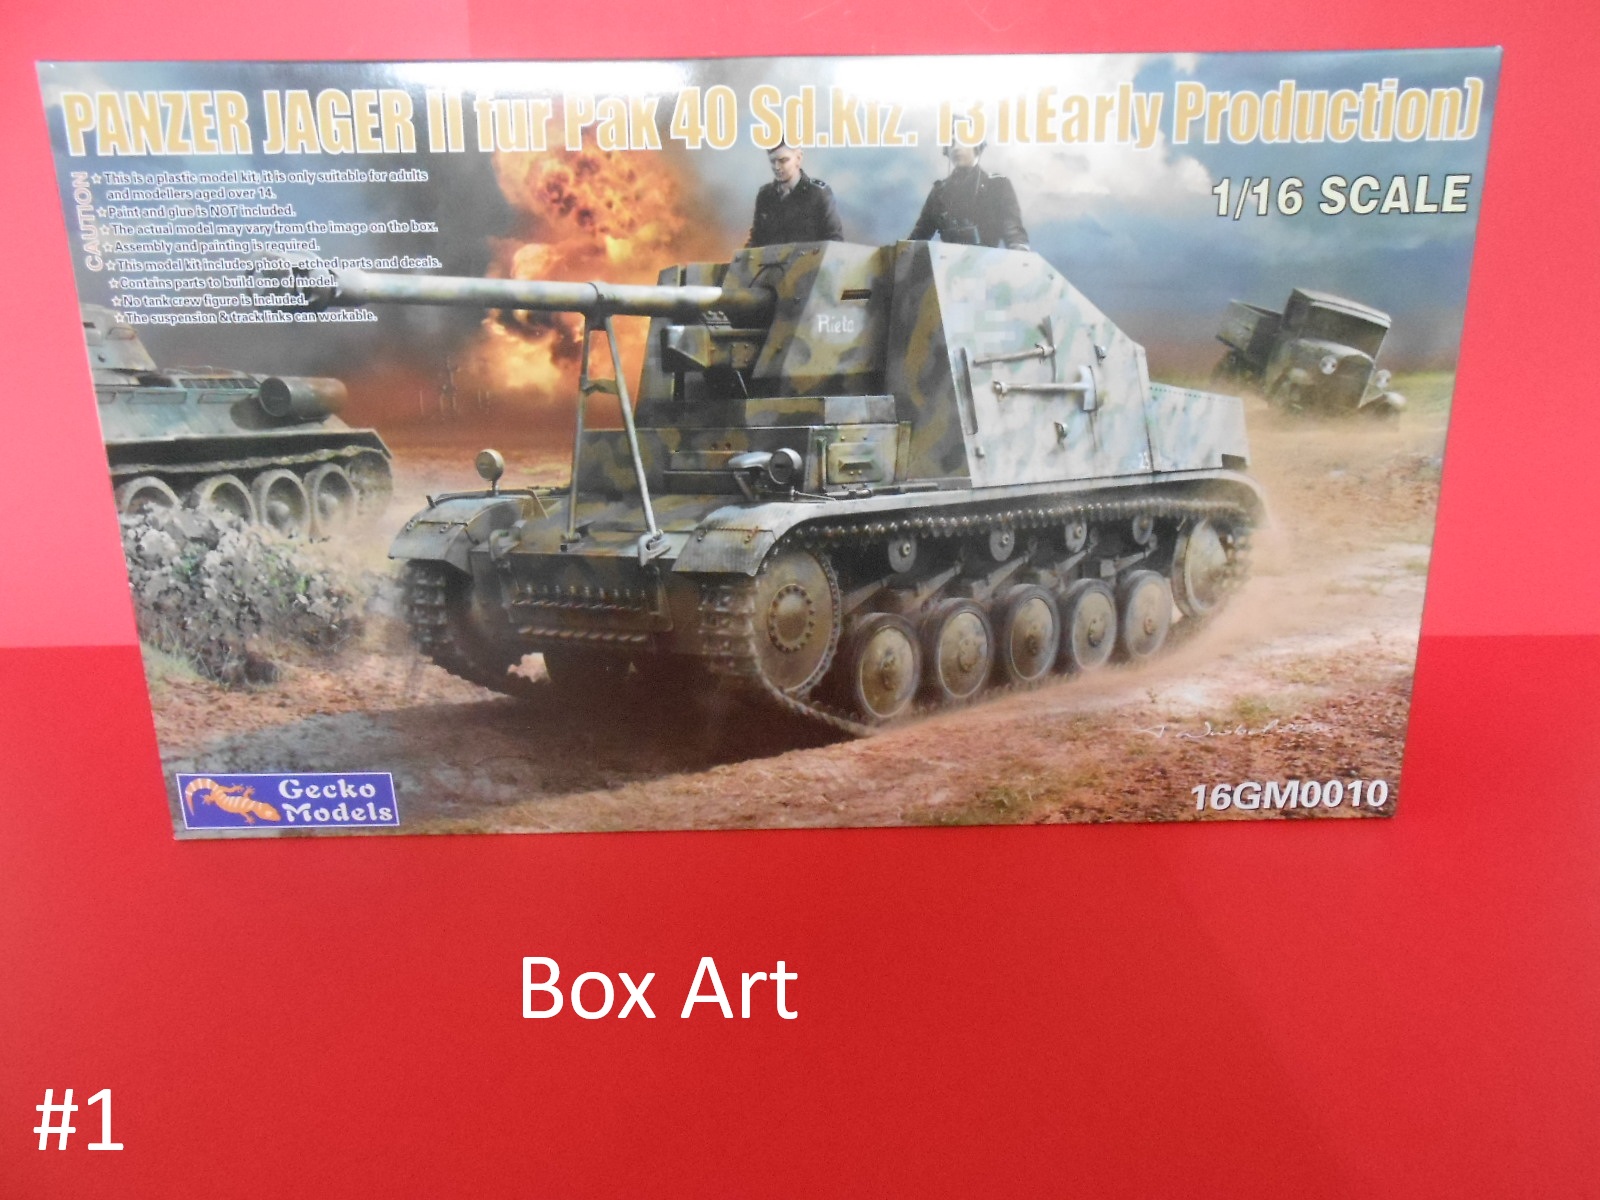
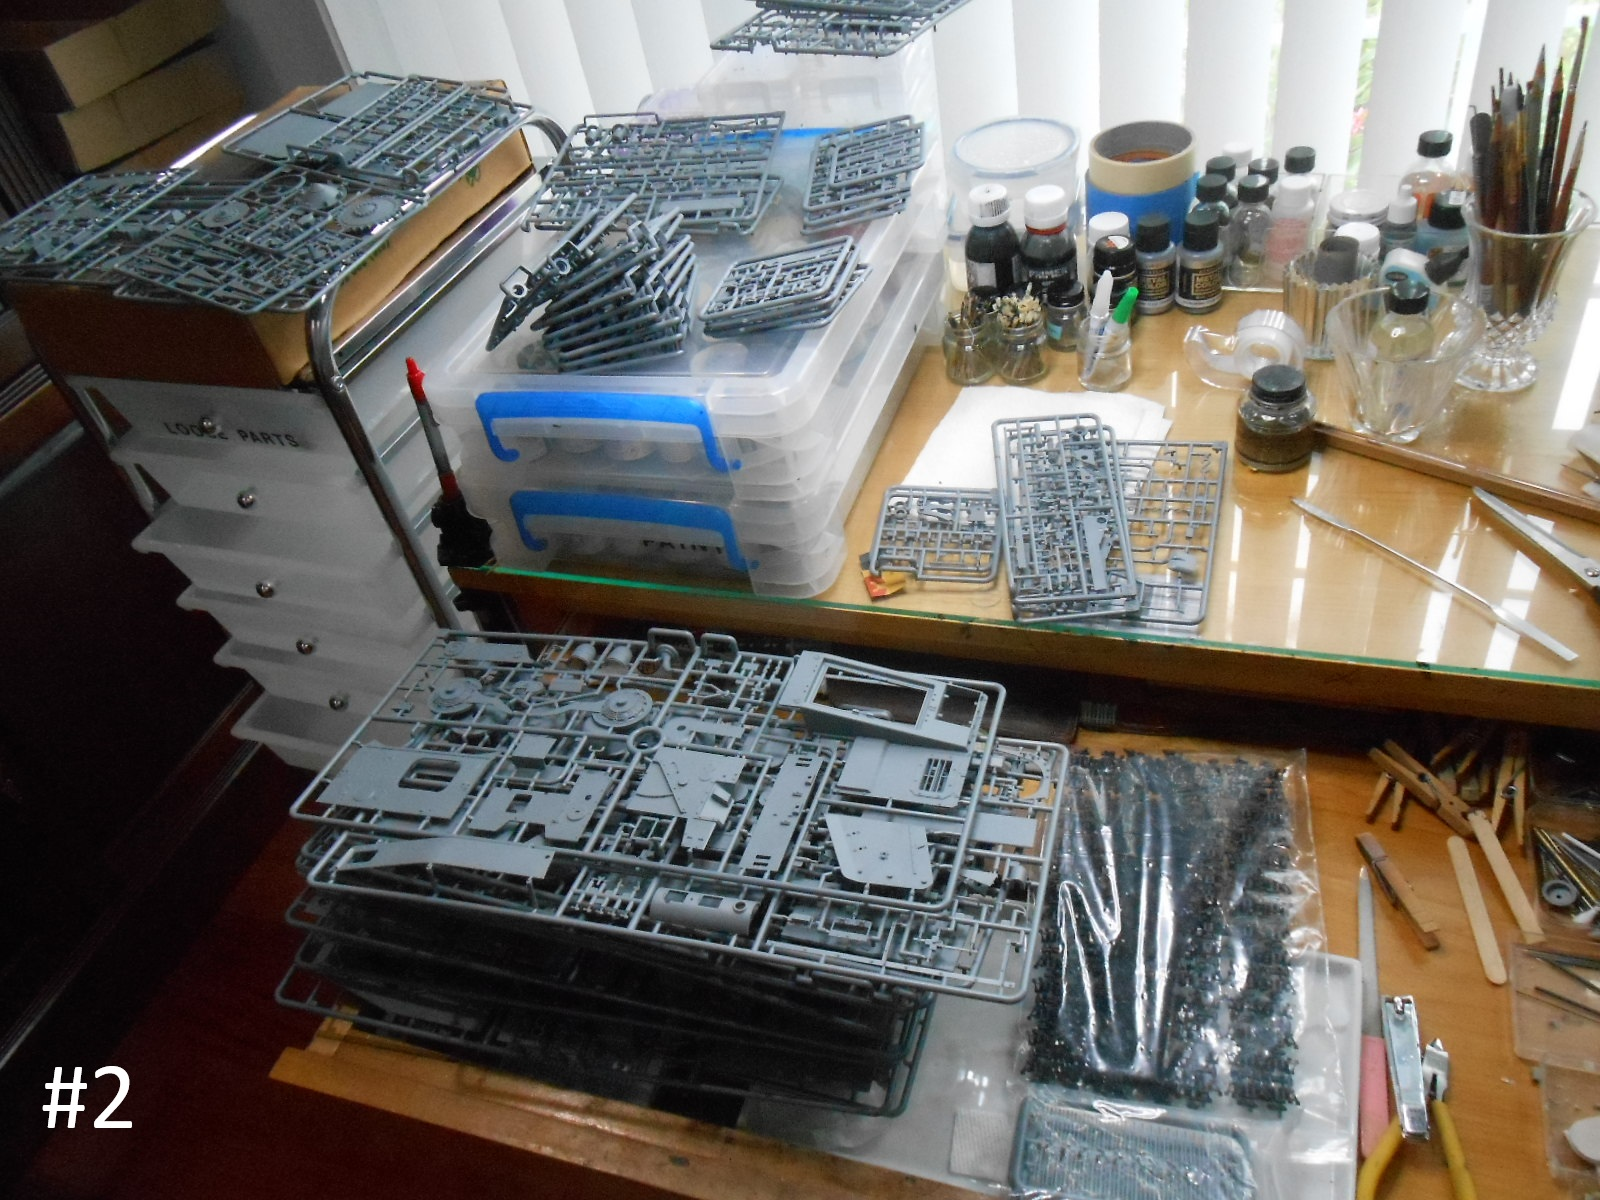
Well Here I go again This one has what looks like a Million Pieces.
I hope I don’t screw it up.
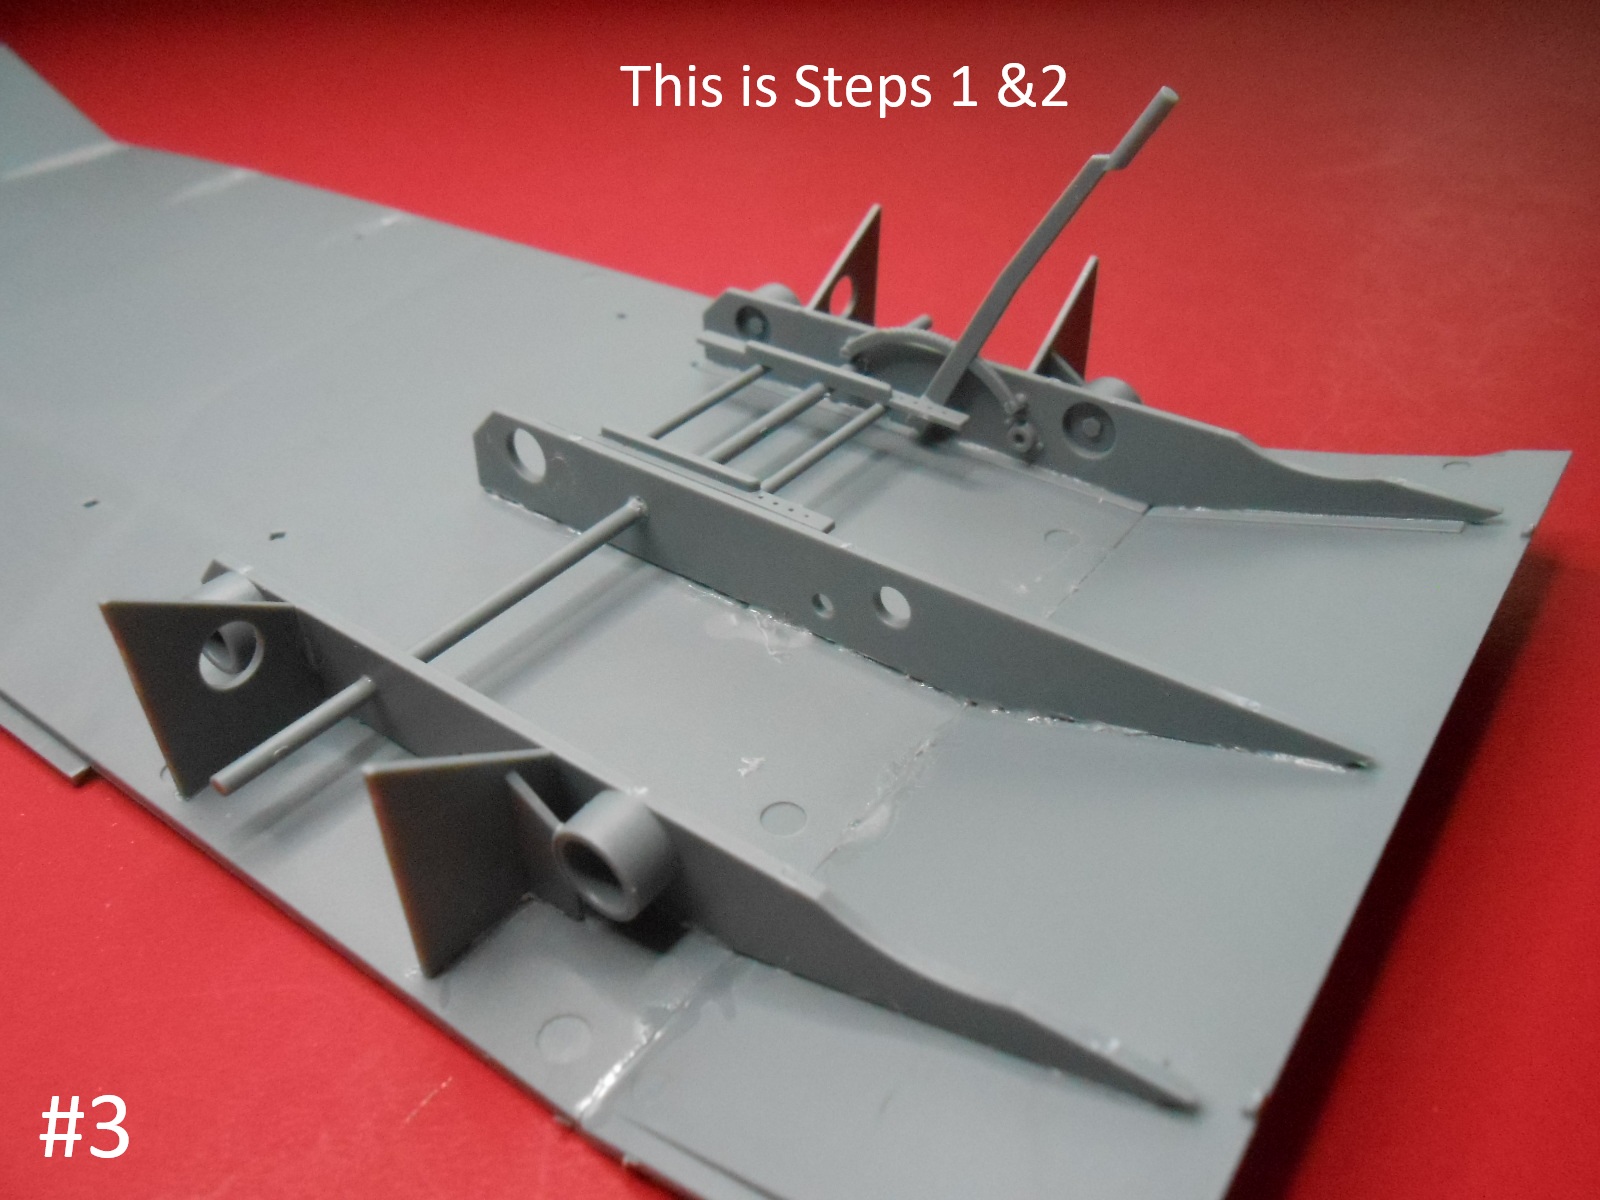
Finished for now.
Donald
Well Here I go again This one has what looks like a Million Pieces.
I hope I don’t screw it up.
Gazillion Sprues…
I’ve managed to resist any of the Gecko 1/16th kits apart from the universal carrier and Pak 40… Now you are laying temptation at my door Donald.
so far as I can see it is pretty similar to their Panzer 2 which I screwed up, an unbelievable number of Sprue and Parts. I’ll have some more pics. later.
Regards
Donald
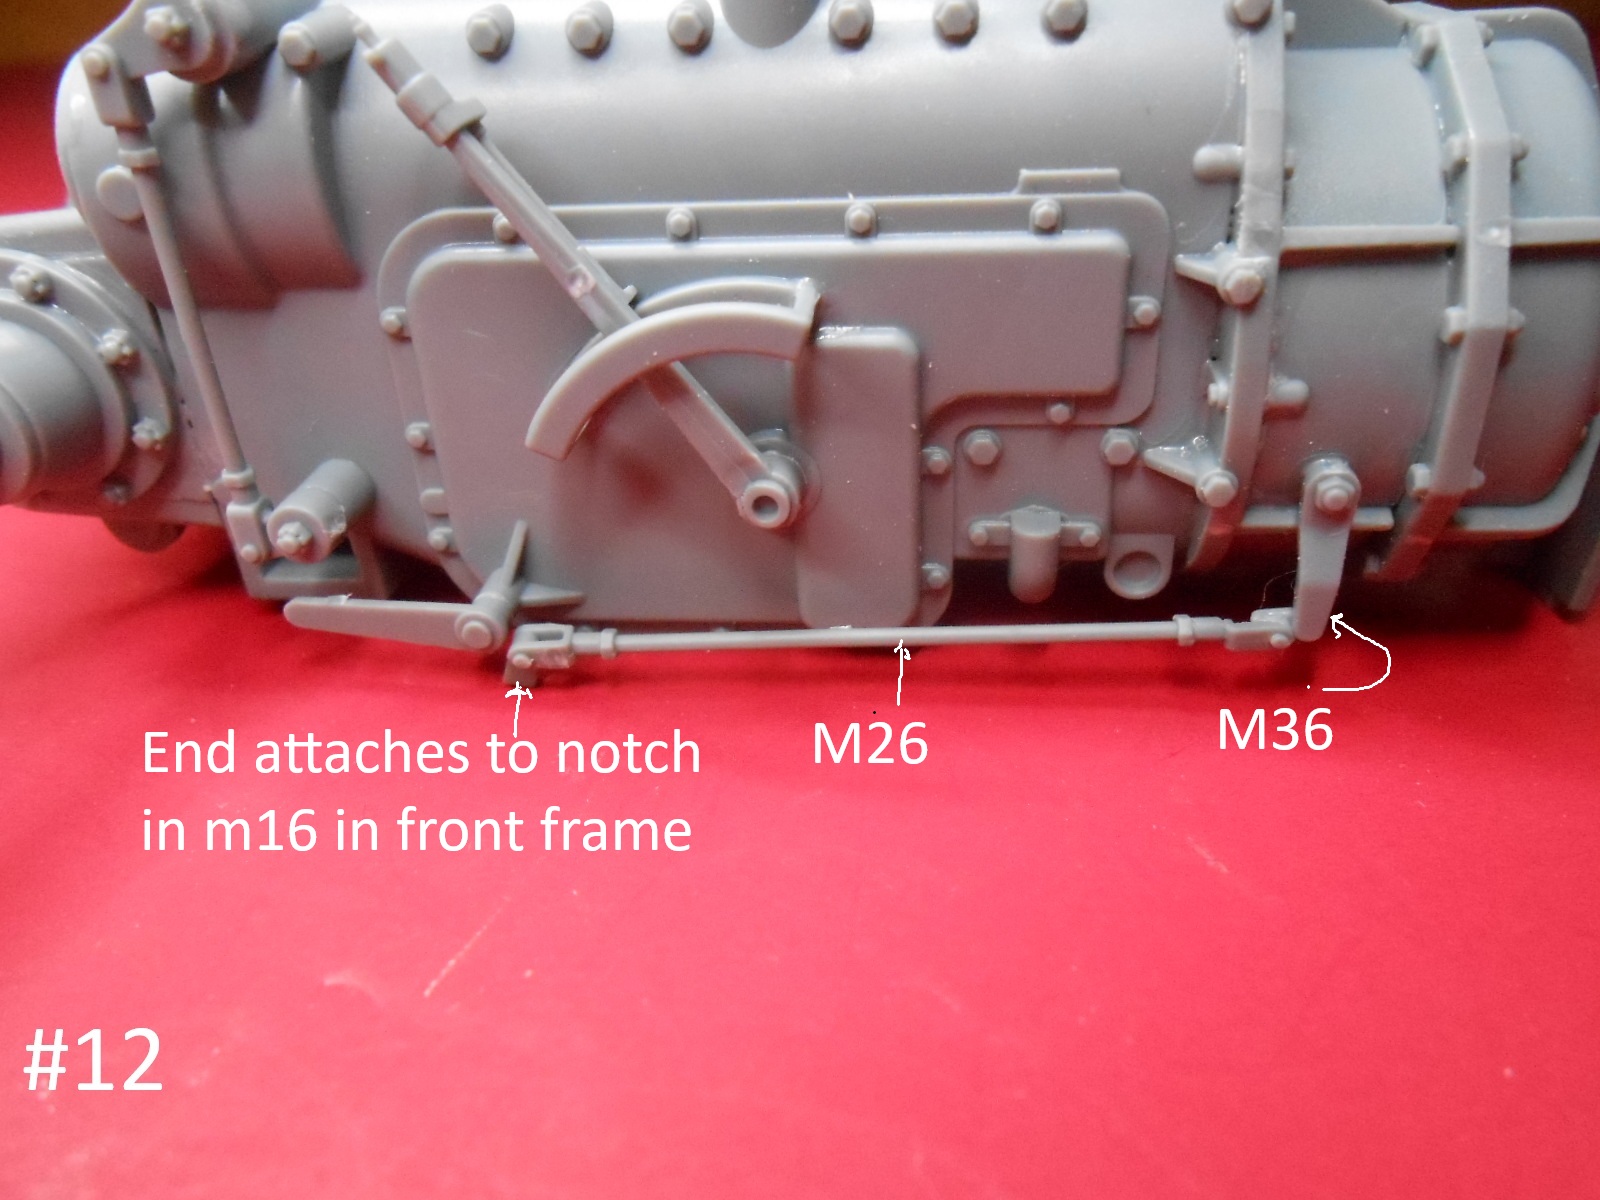
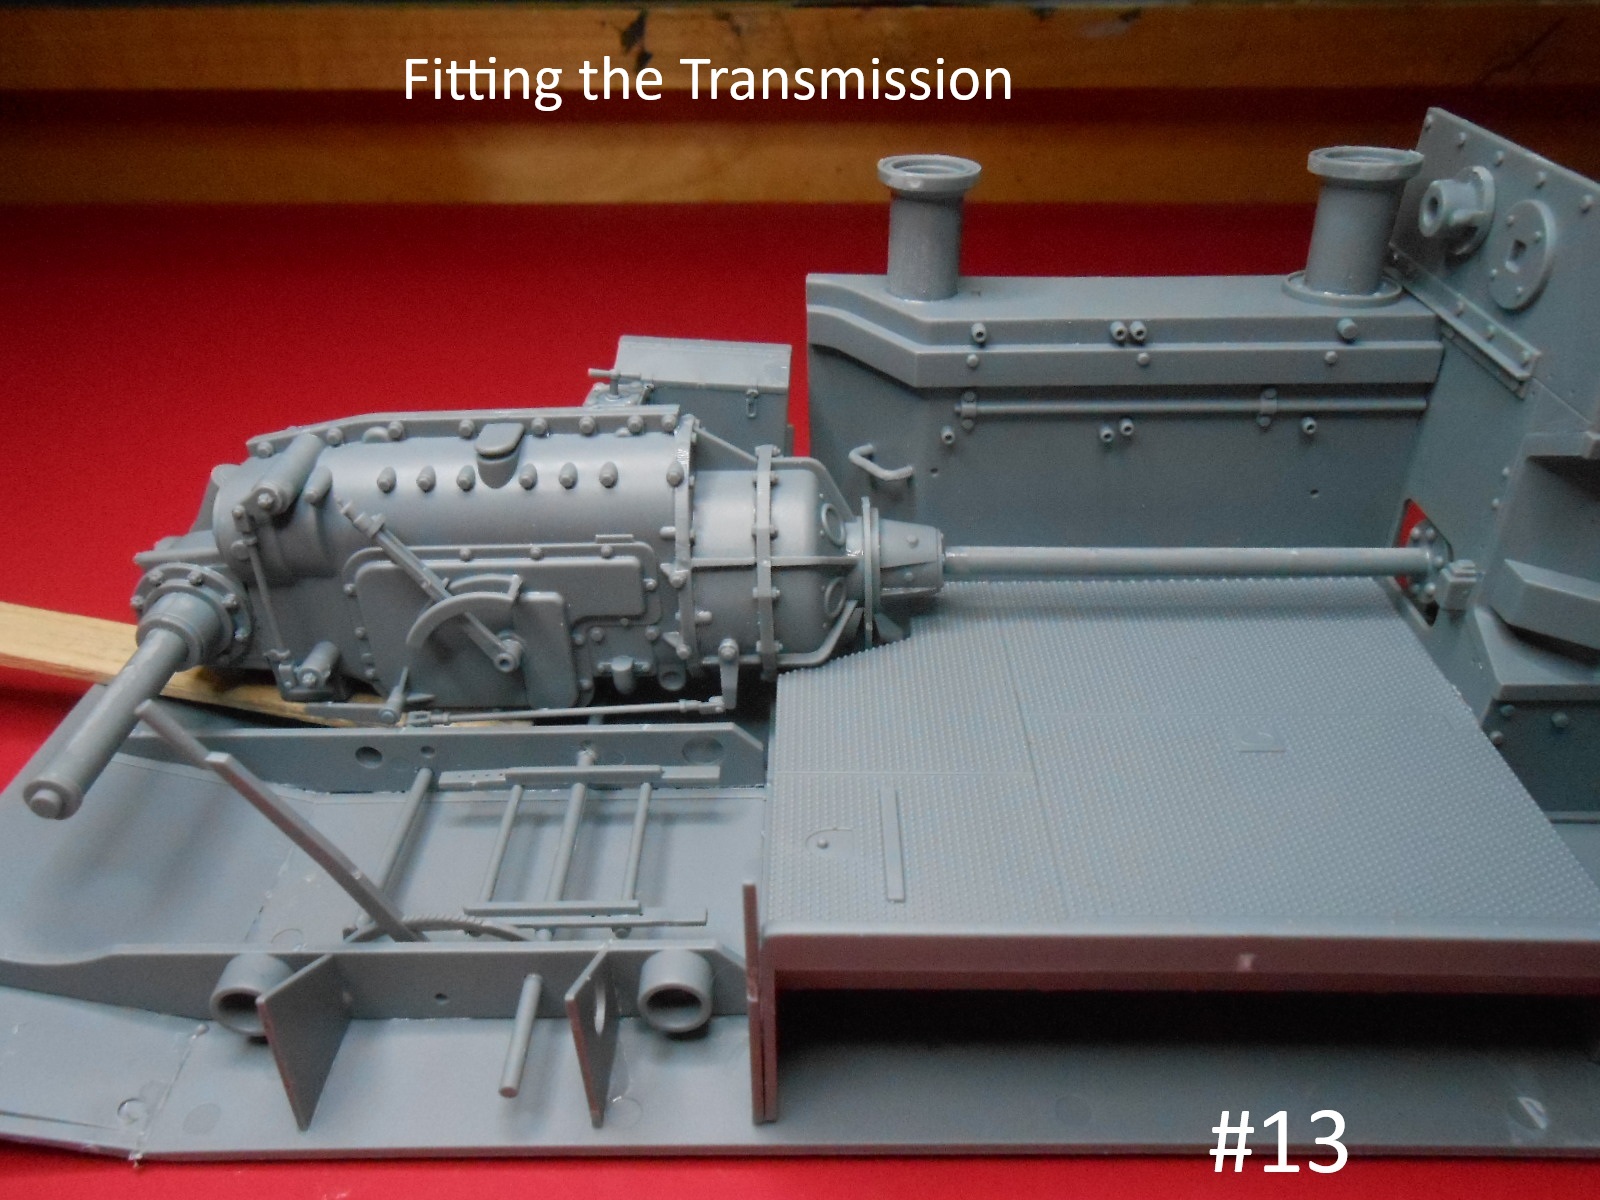
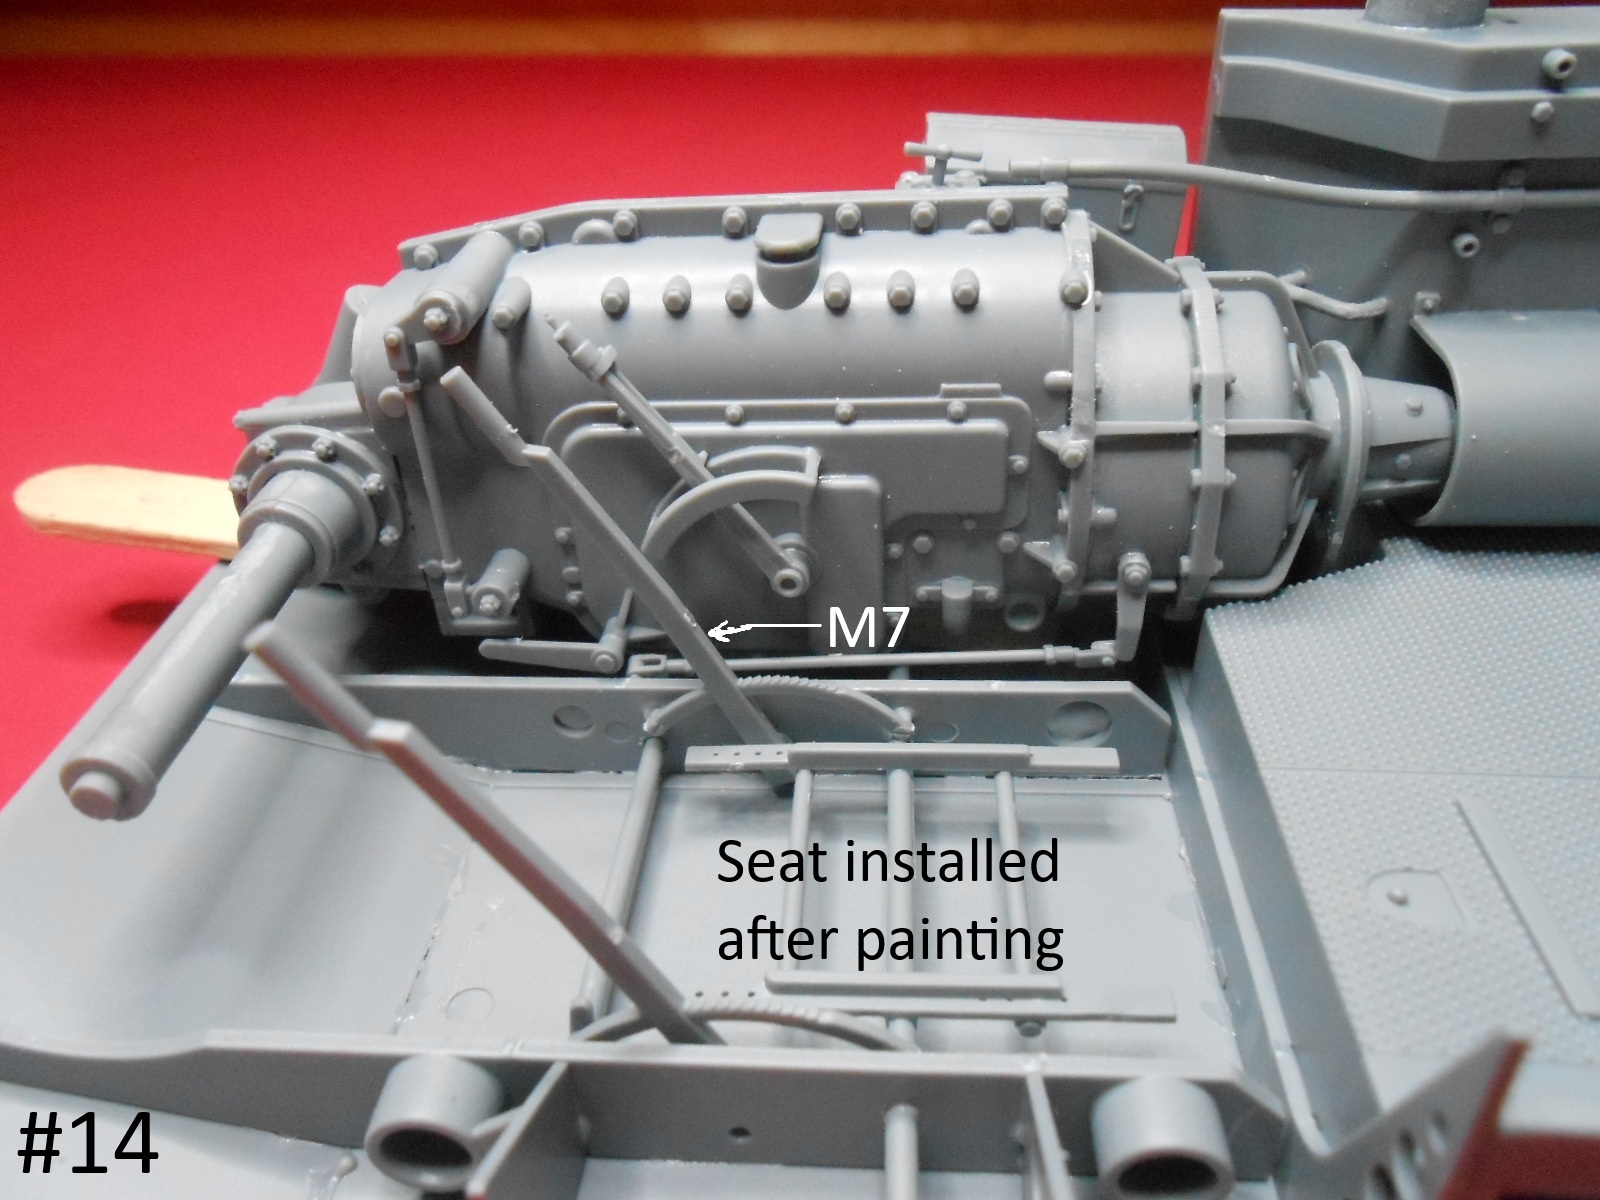
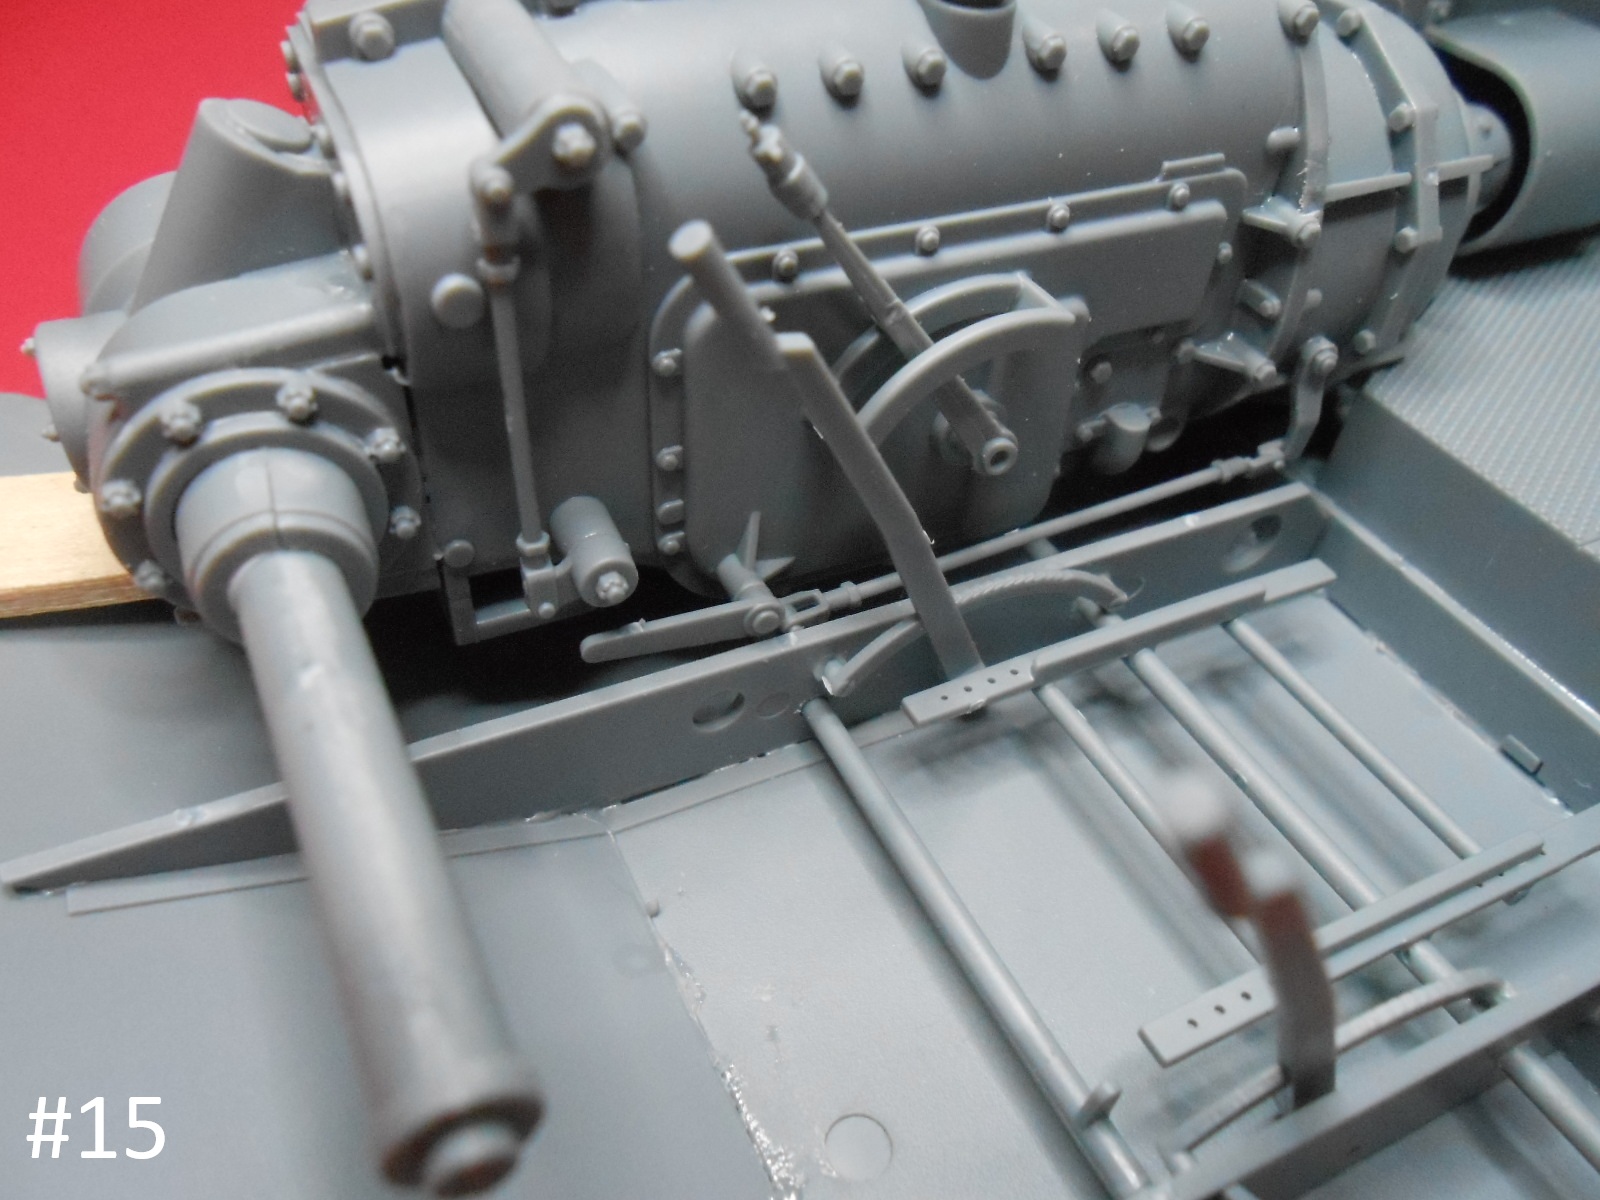
A little bit more this time Some interior Parts and the Transmission installed.
Finished for Today .
Donald
I bought two 1\35 Gecko kits. I really, really don’t enjoy them at all. 50 sprues, all with similar numbers, tiny parts partially molded to the enormouse sprue gate, and vague placement arrows that suggest where you could put the part. I’m a seasoned modeler, but I found the Gecko kits tedious and problematic. Not my favorite manufacturer.
A nice level of detail it seems so far and you are powering through it Donald.
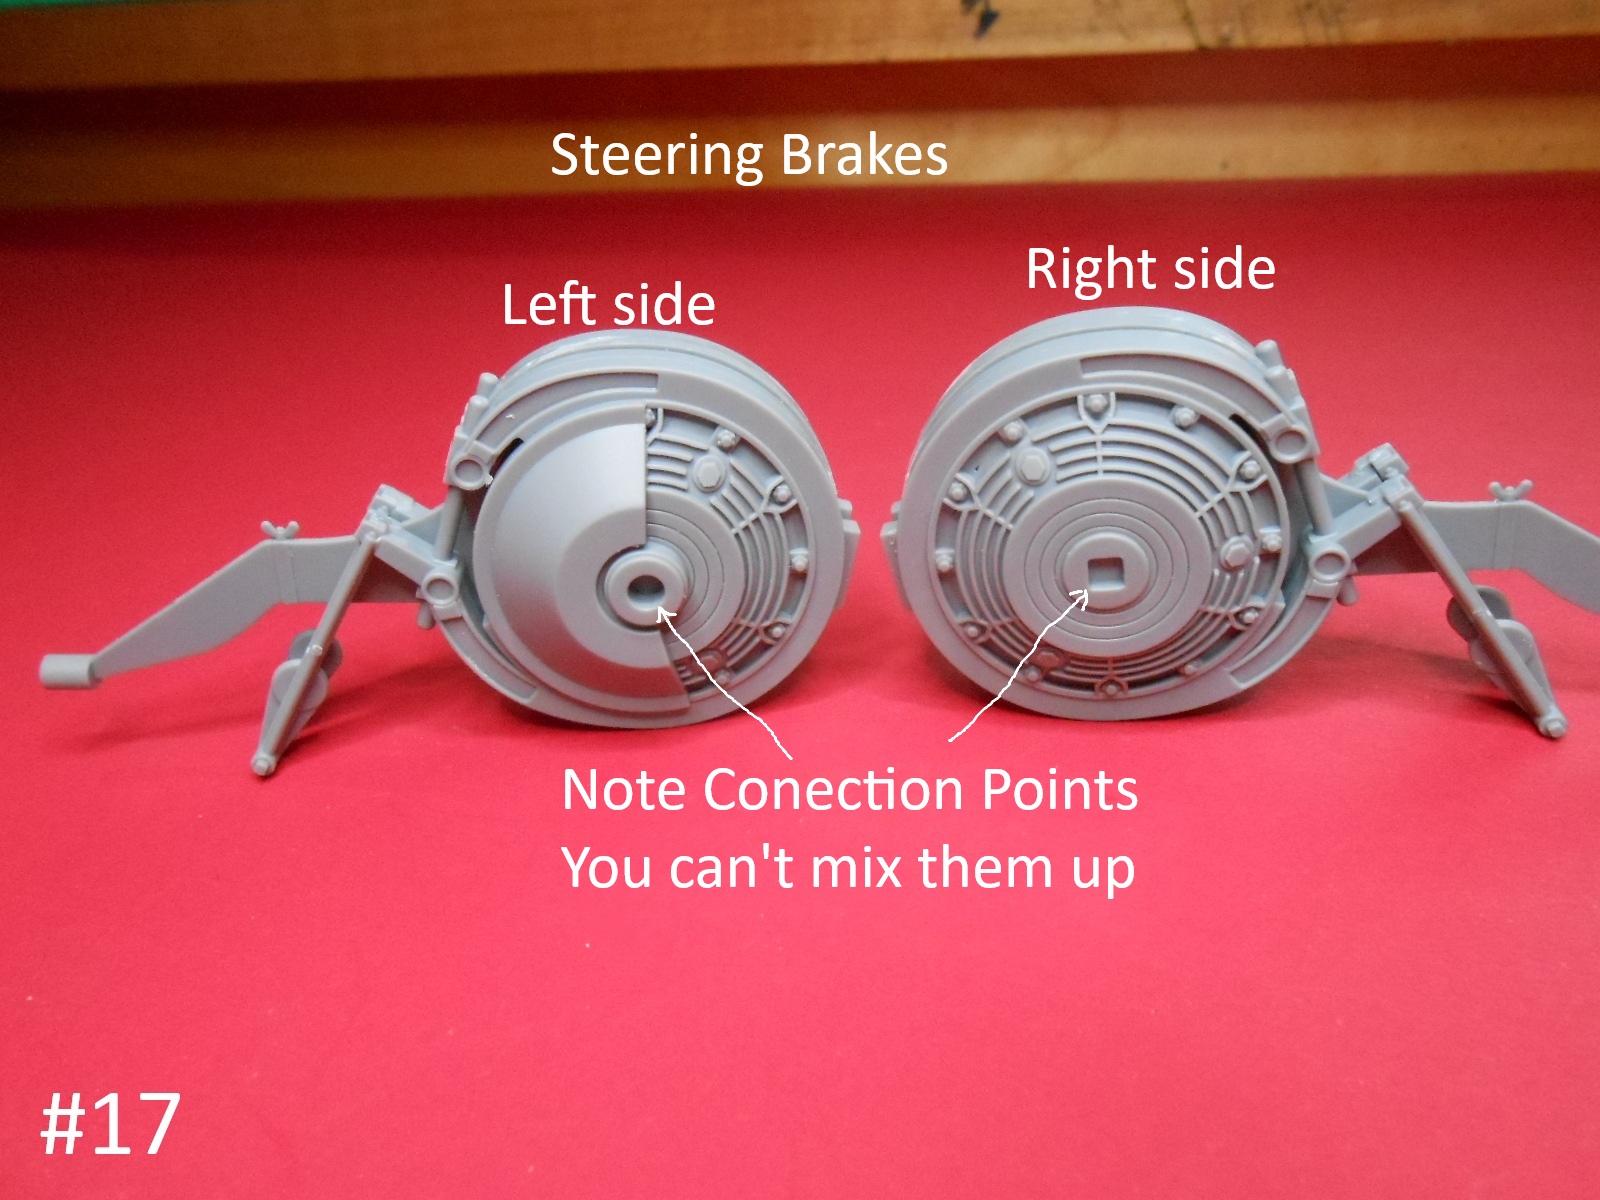
Much of the hull structure and the fighting compartment will be different, but the transmission and driver’s position should be largely the same, so you could use the Australian Armour and Artillery Museum’s restoration of their Wespe for visuals on the transmission and brake housings; the video released this morning shows Steve performing adjustment on the steering brake system, using a period manual for the maintenance instructions, which gives you some really good views of the brake hardware.
I completely agree. This is supposed to be fun. I get enough masochistic “pleasure” from my old bikes, don’t need it on the modelling bench too. I’ve done one of their kits, the Beutewagen Bedford. I did complete it, but I won’t be doing any more of theirs.
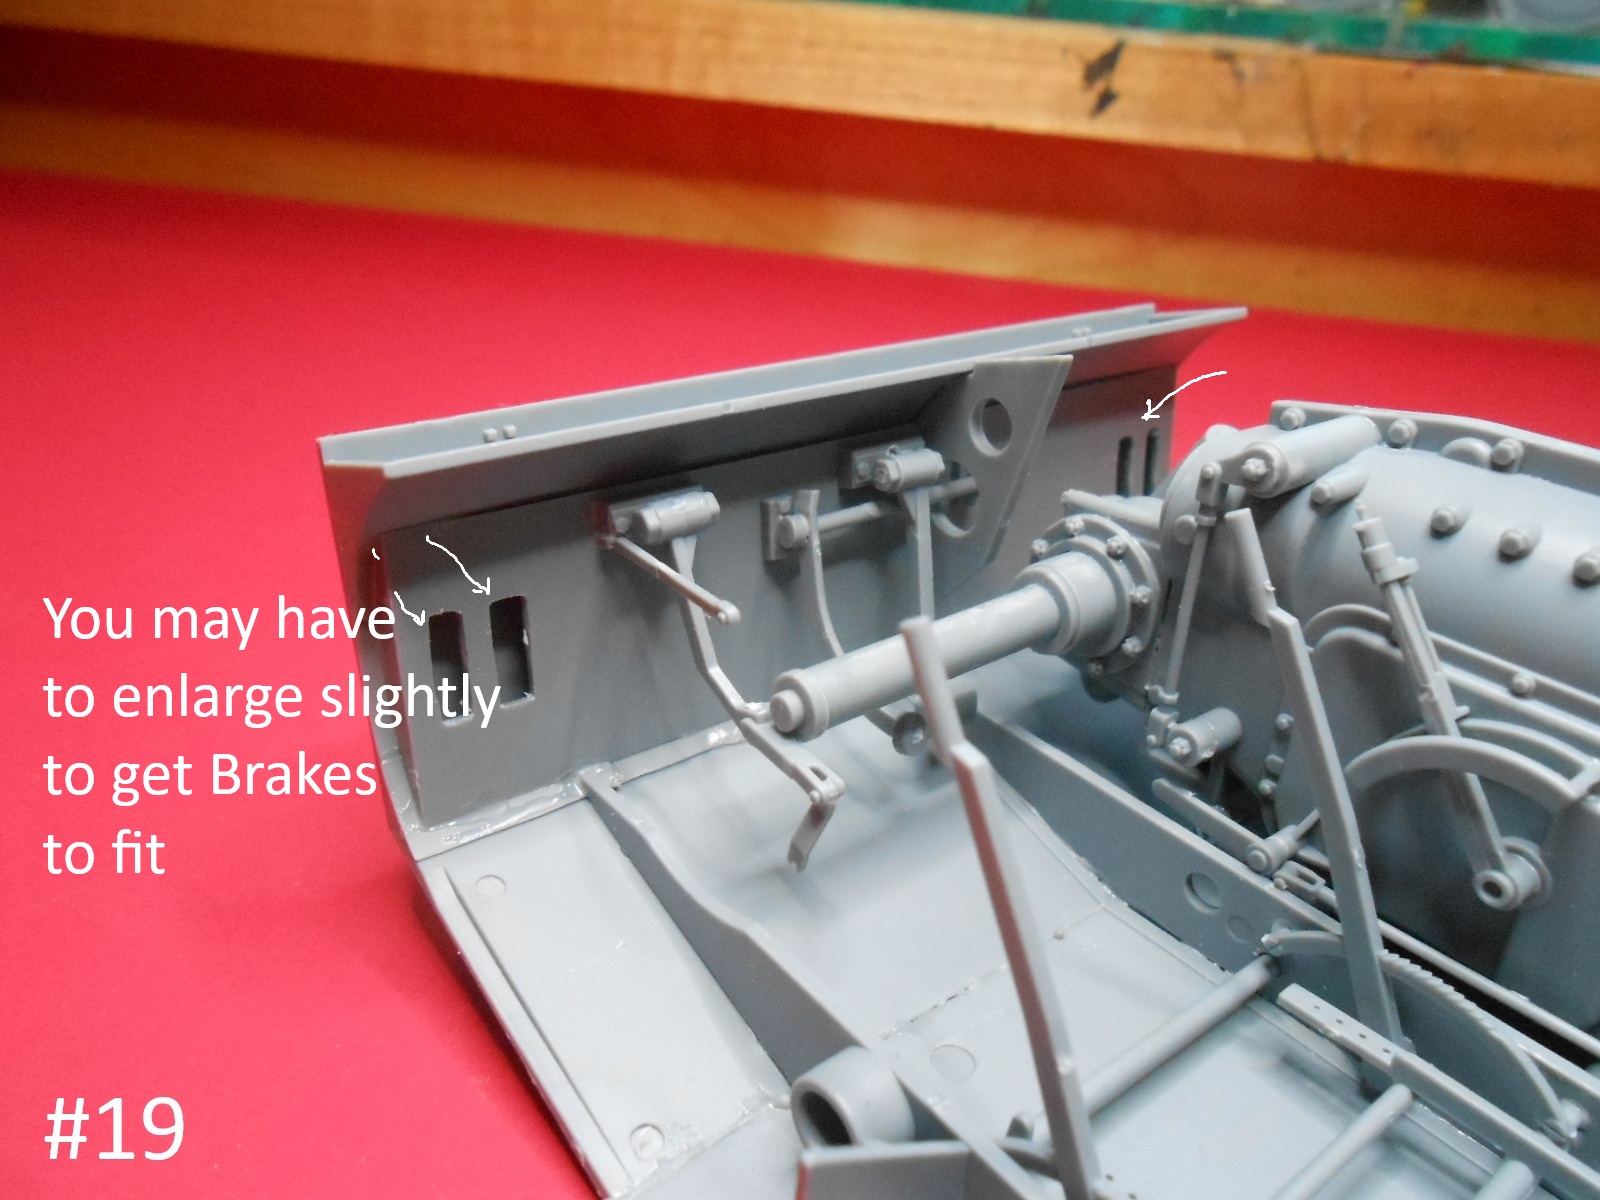
Today I have the inside front end completed.
Next I am planning on doing the Hull sides.
Regards
Donald
Some More finished.
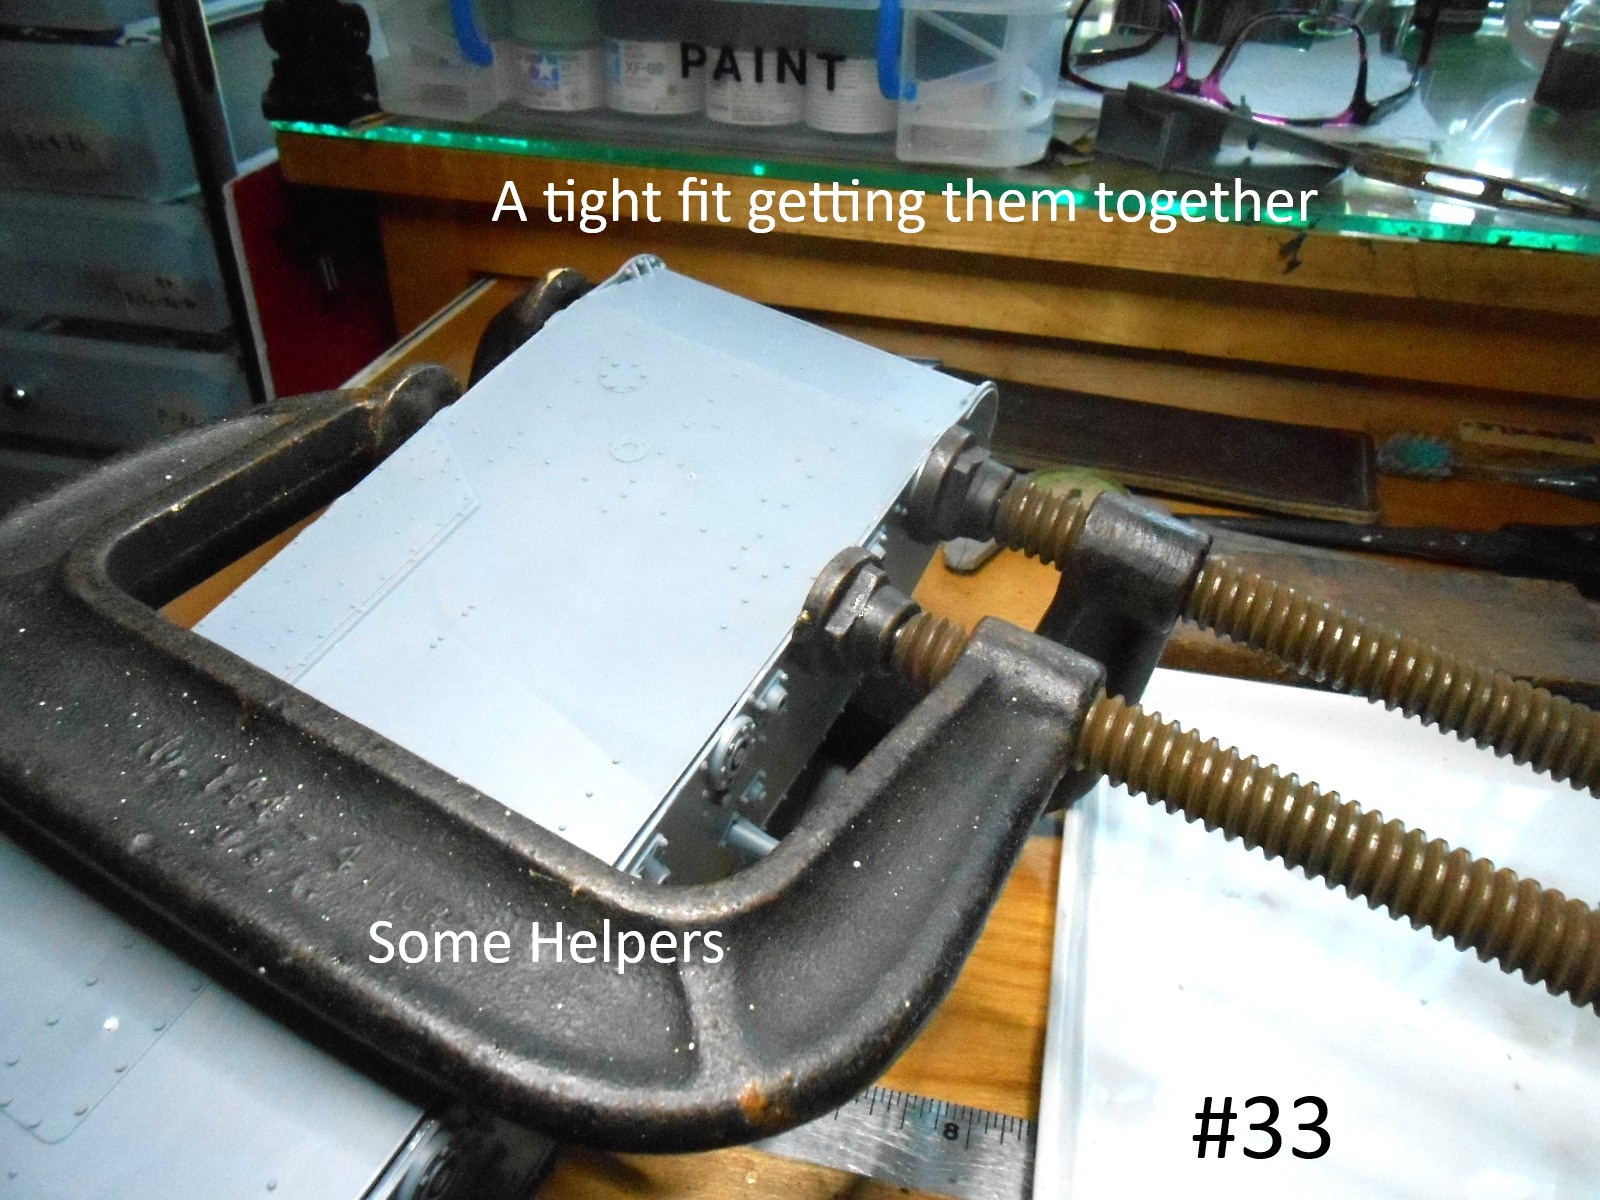
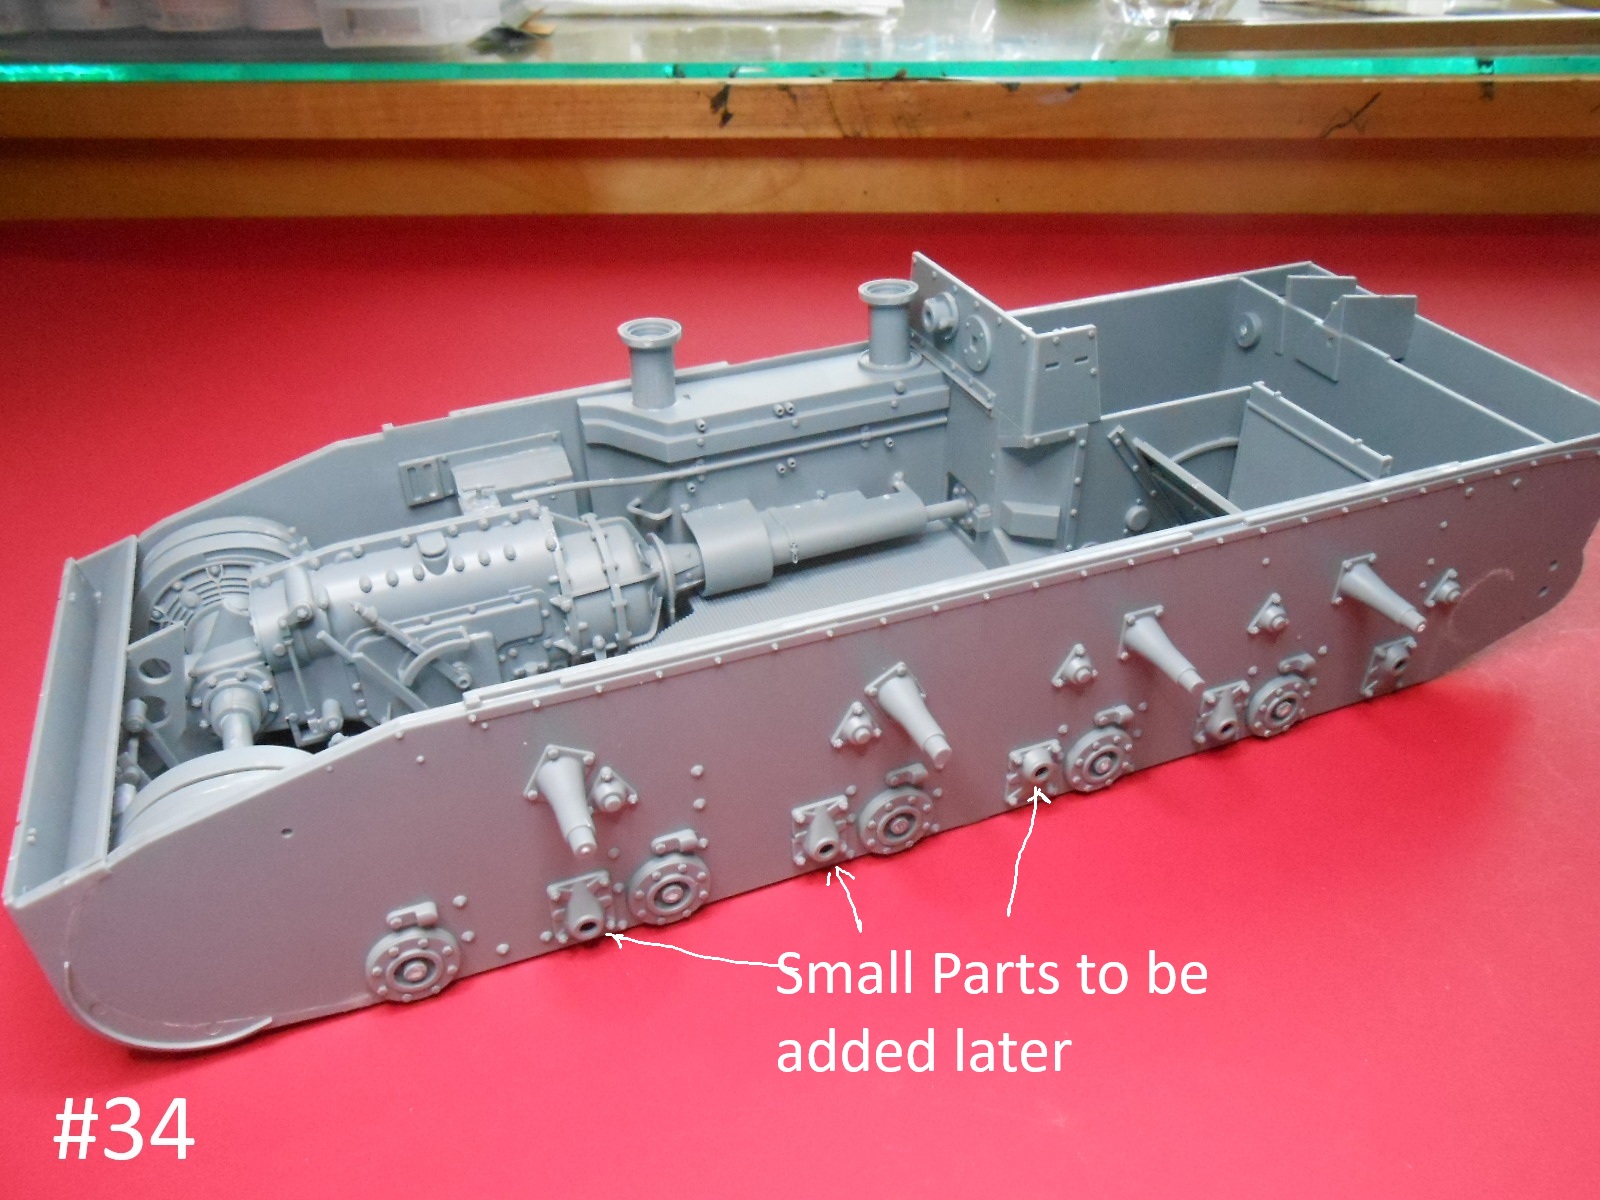
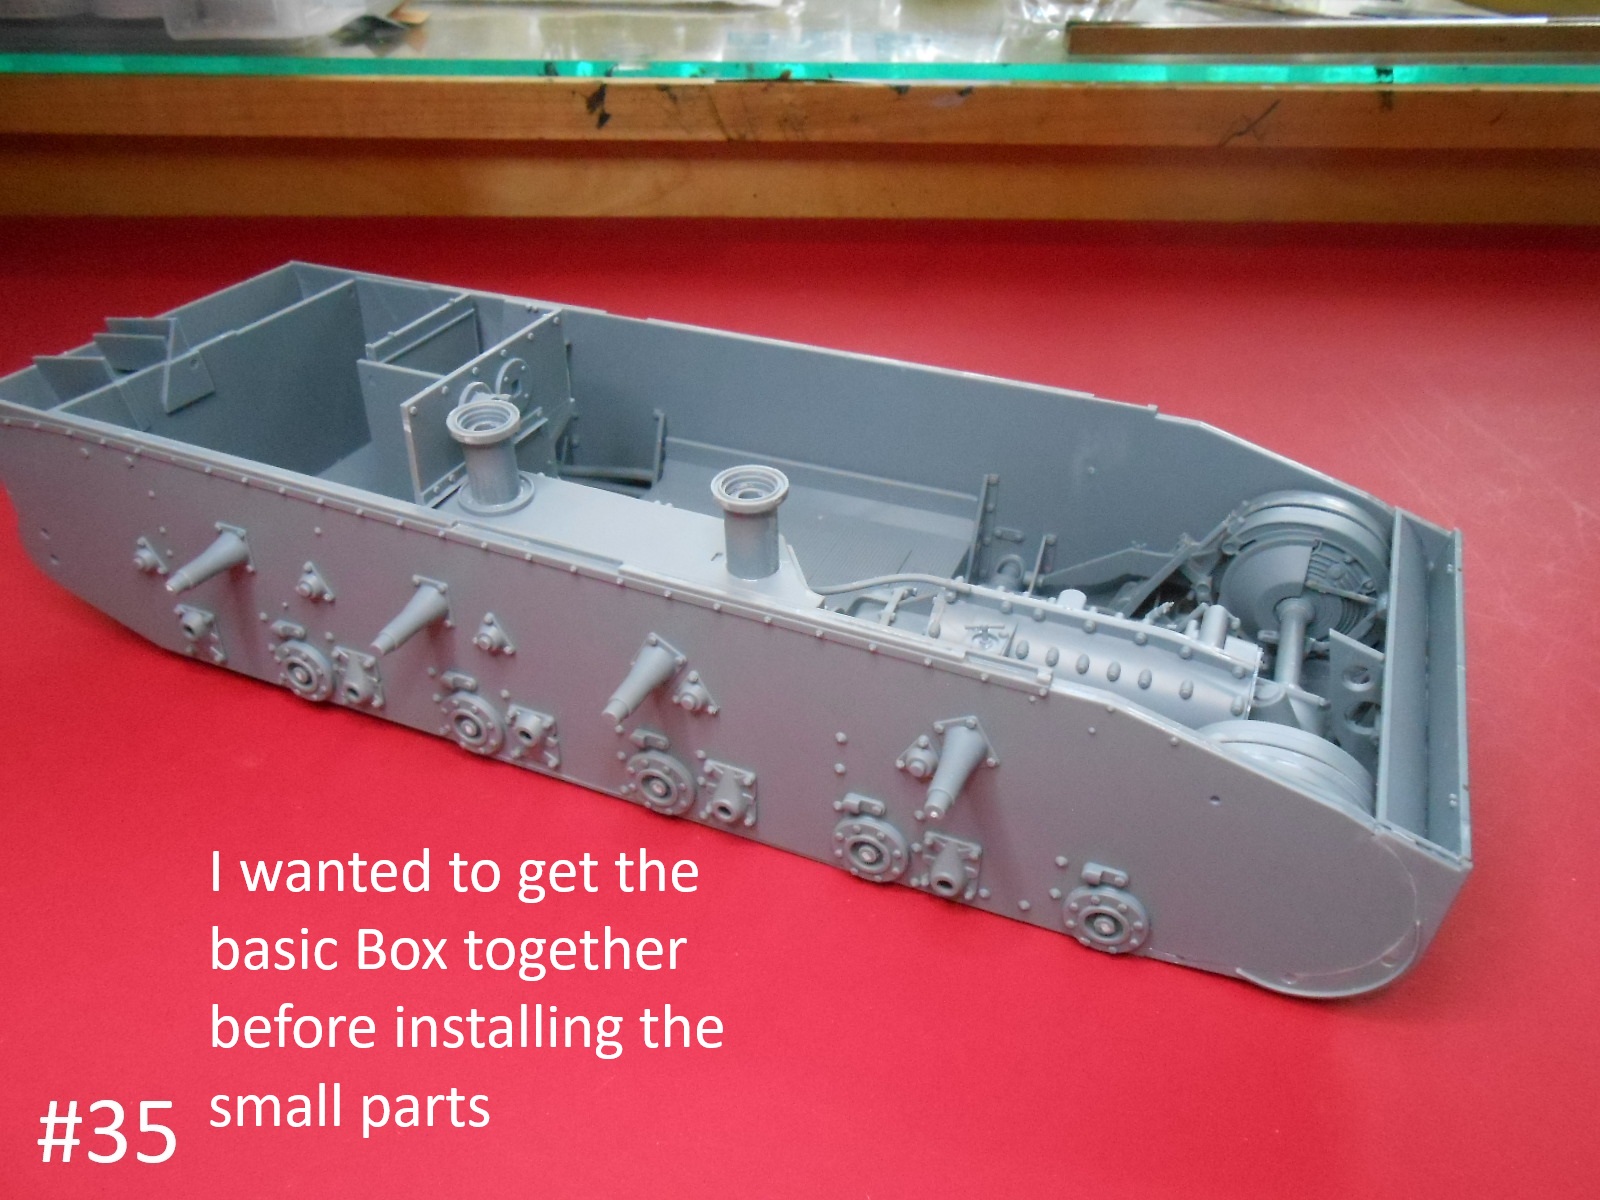
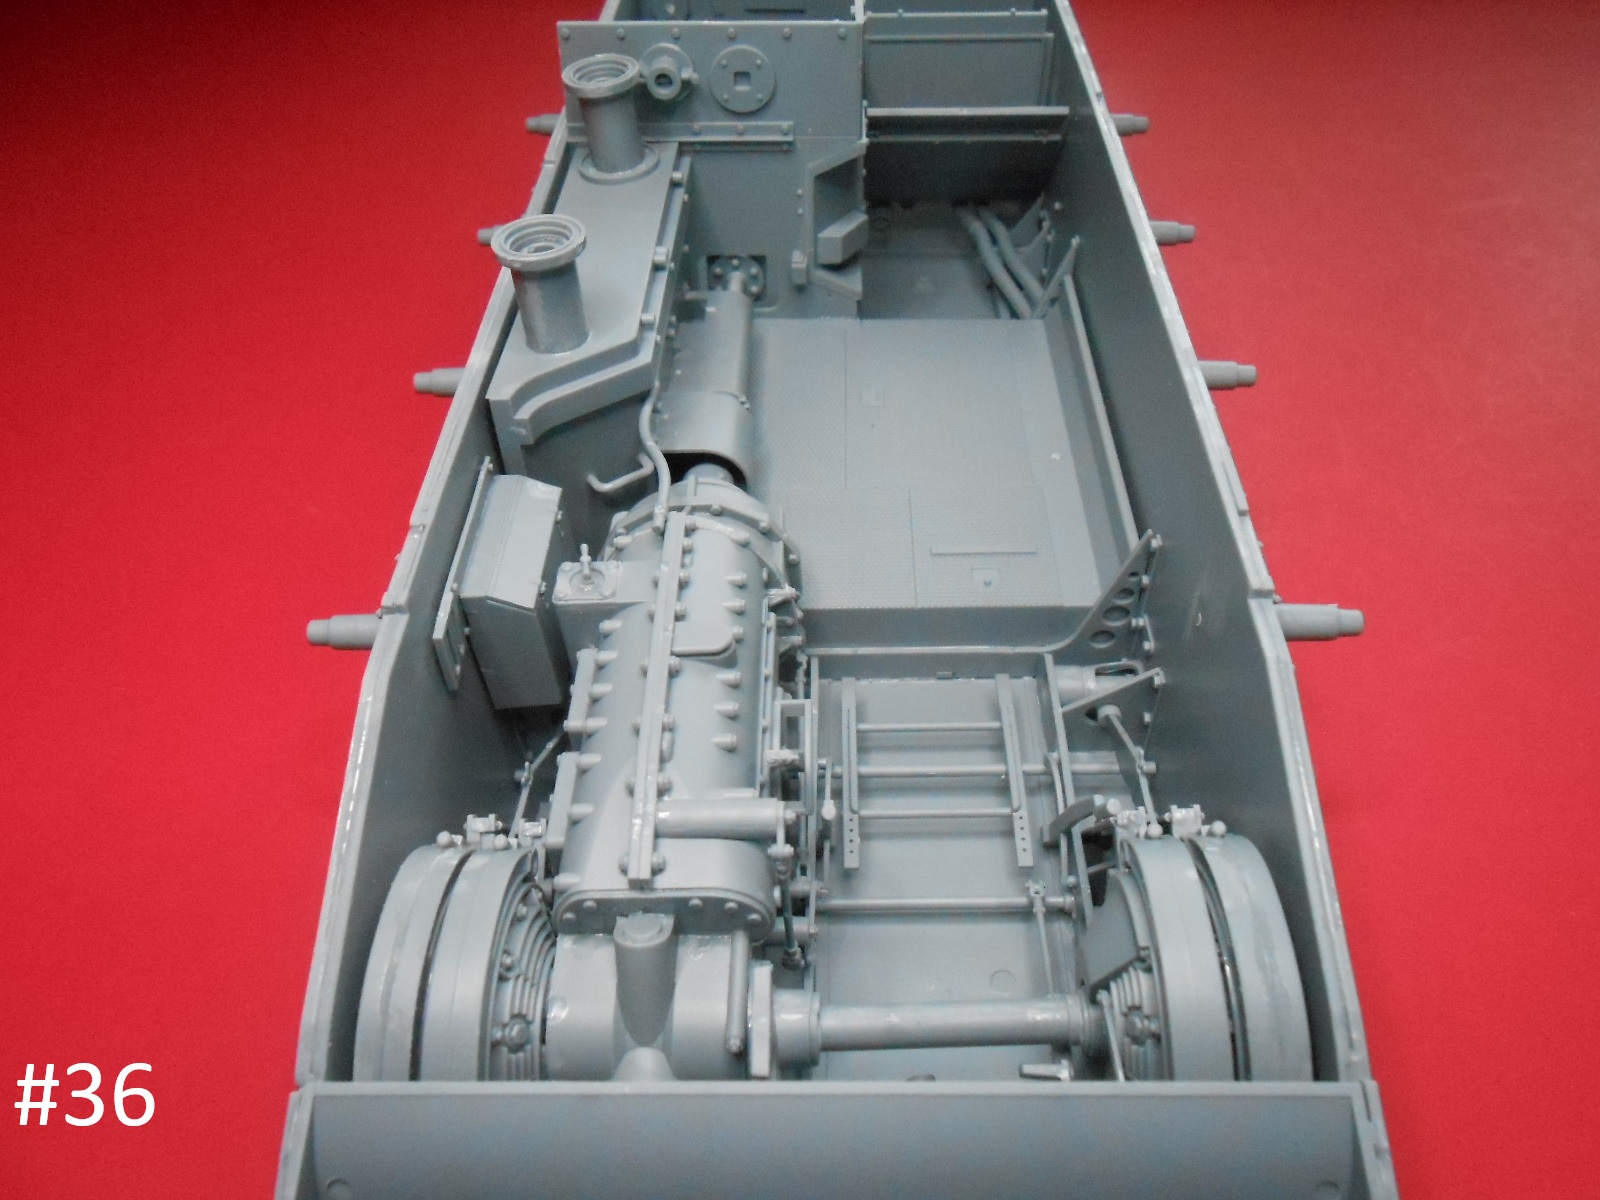
Well I have the Lower Hull Sides and Interior together. The fit wasn’t really good and as you can see in Pic. #33 I had to use a little Persuasion.
Regards
Donald
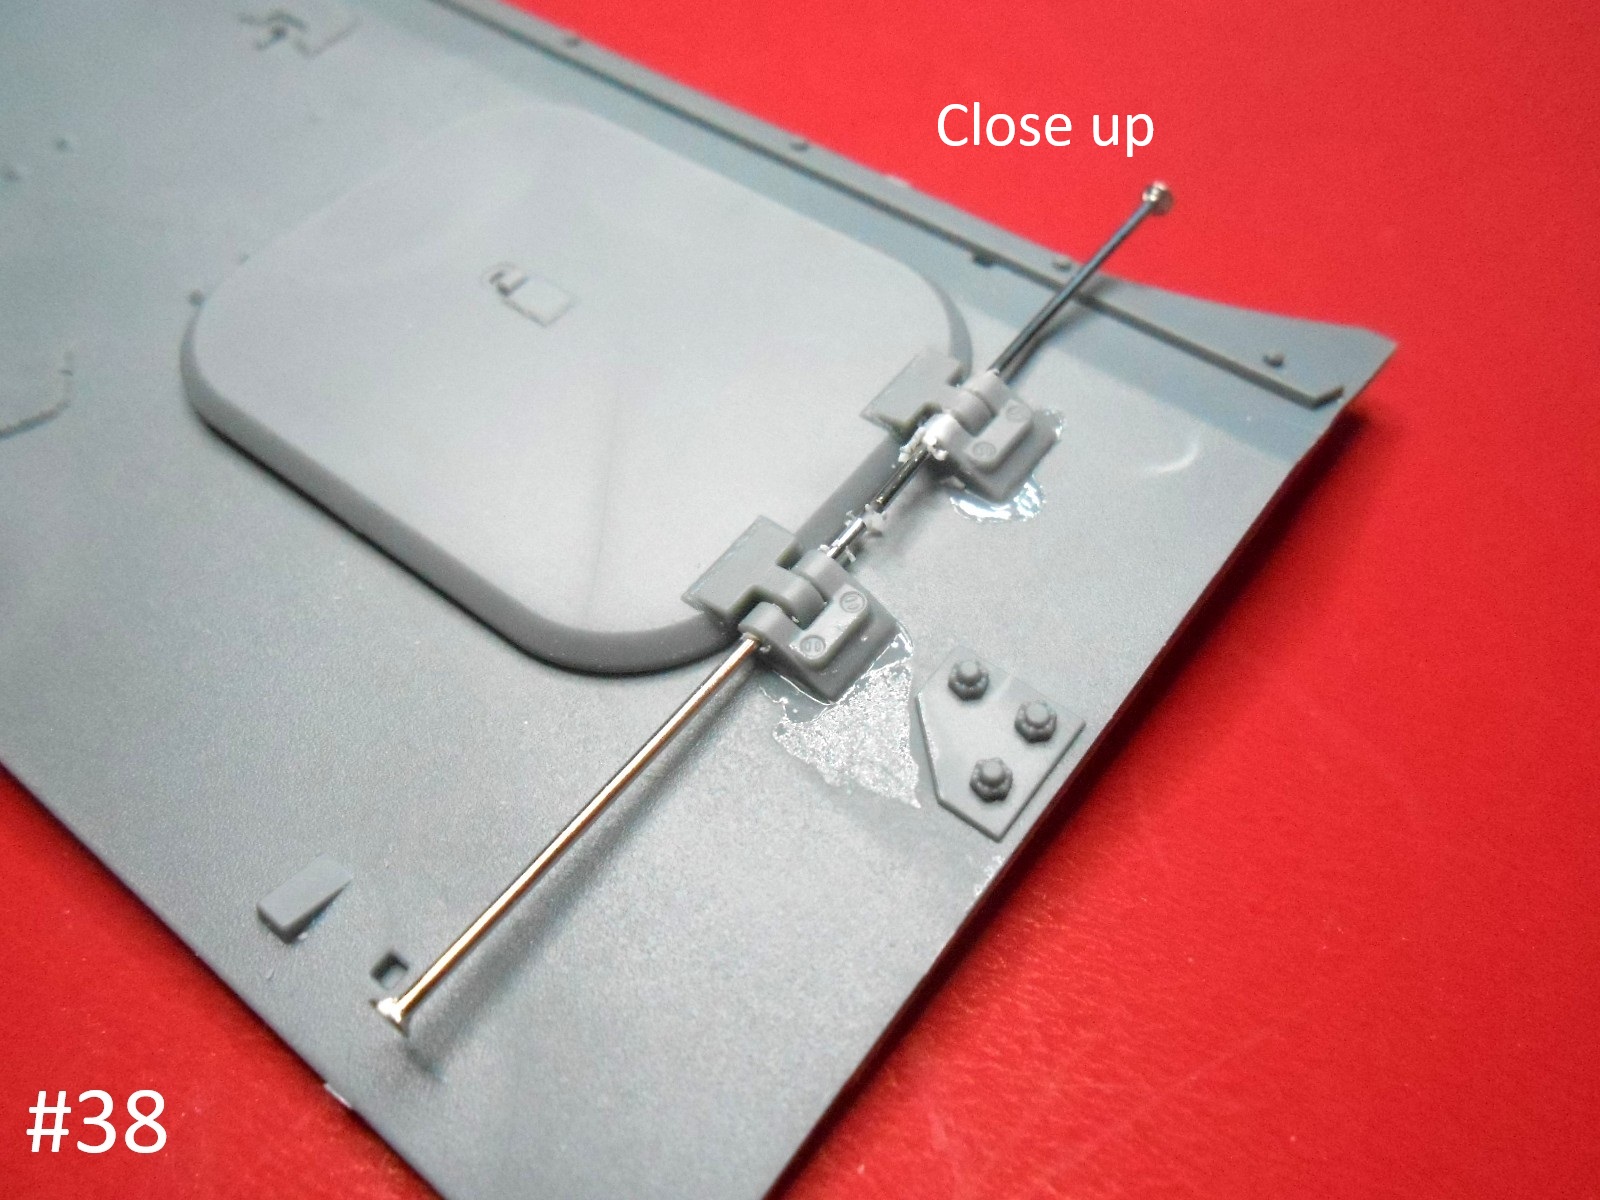
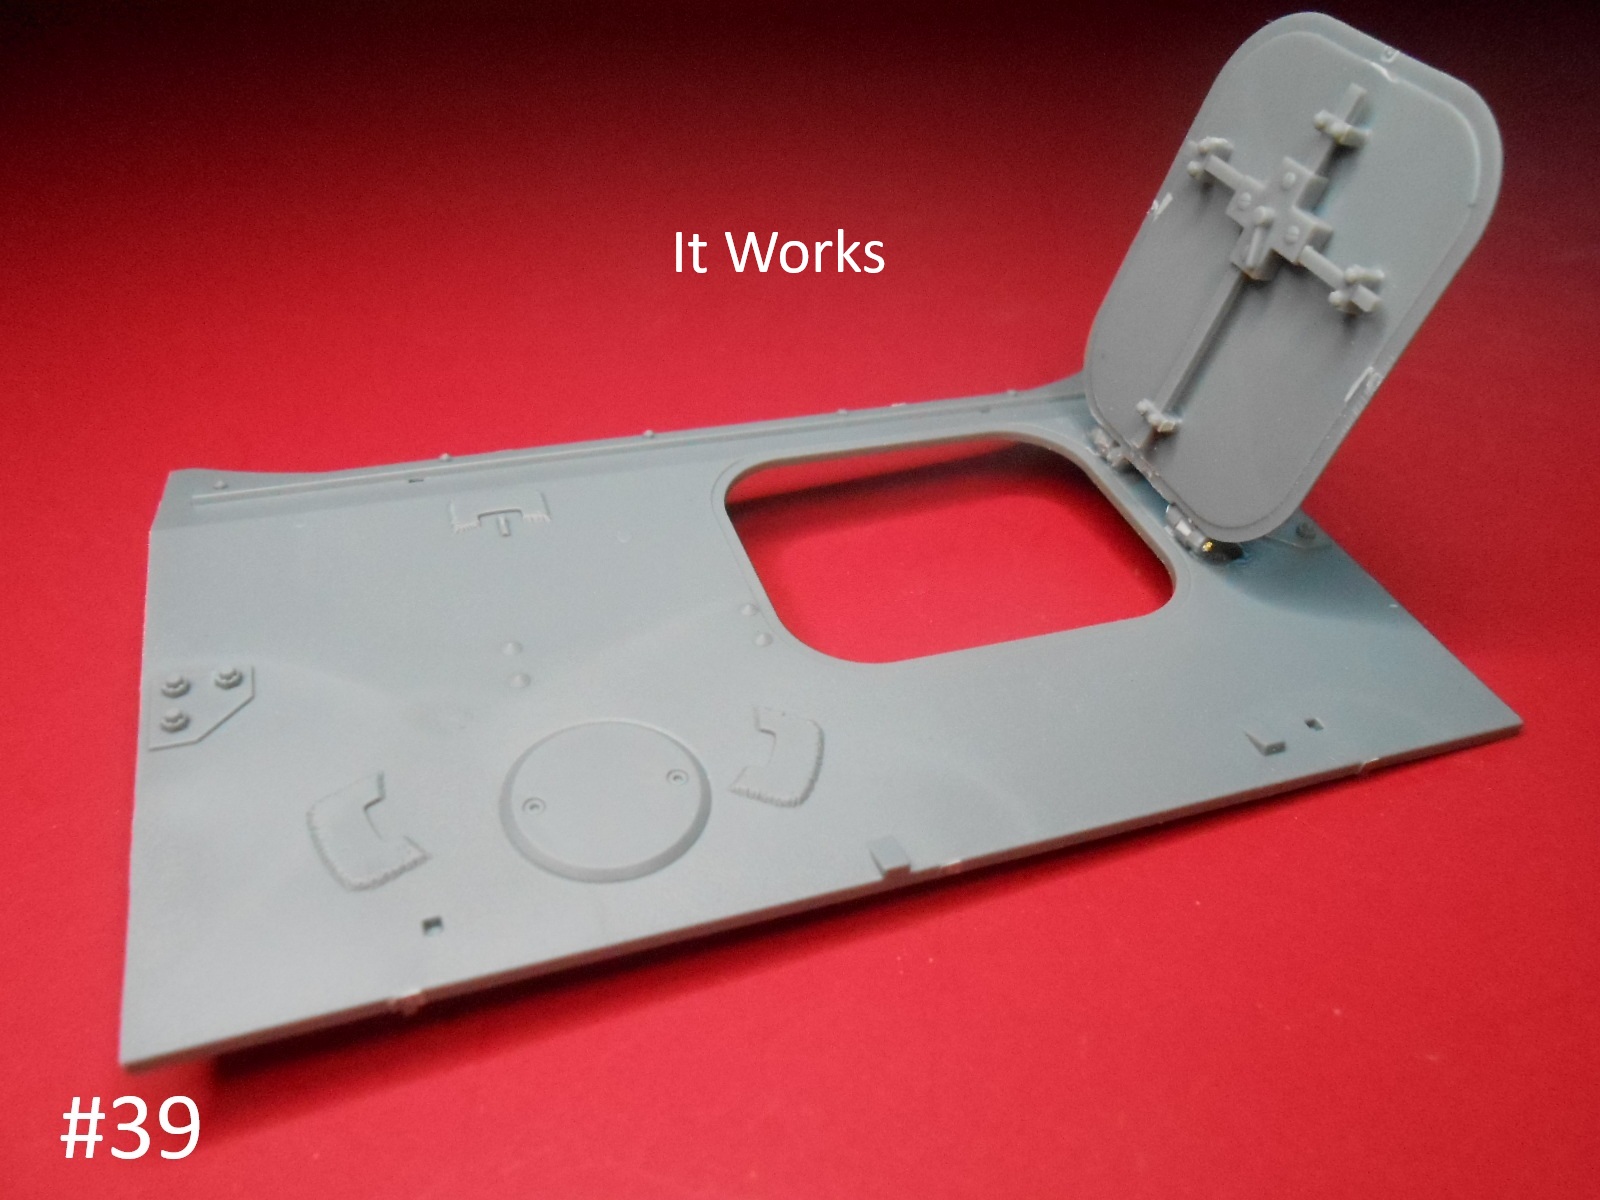
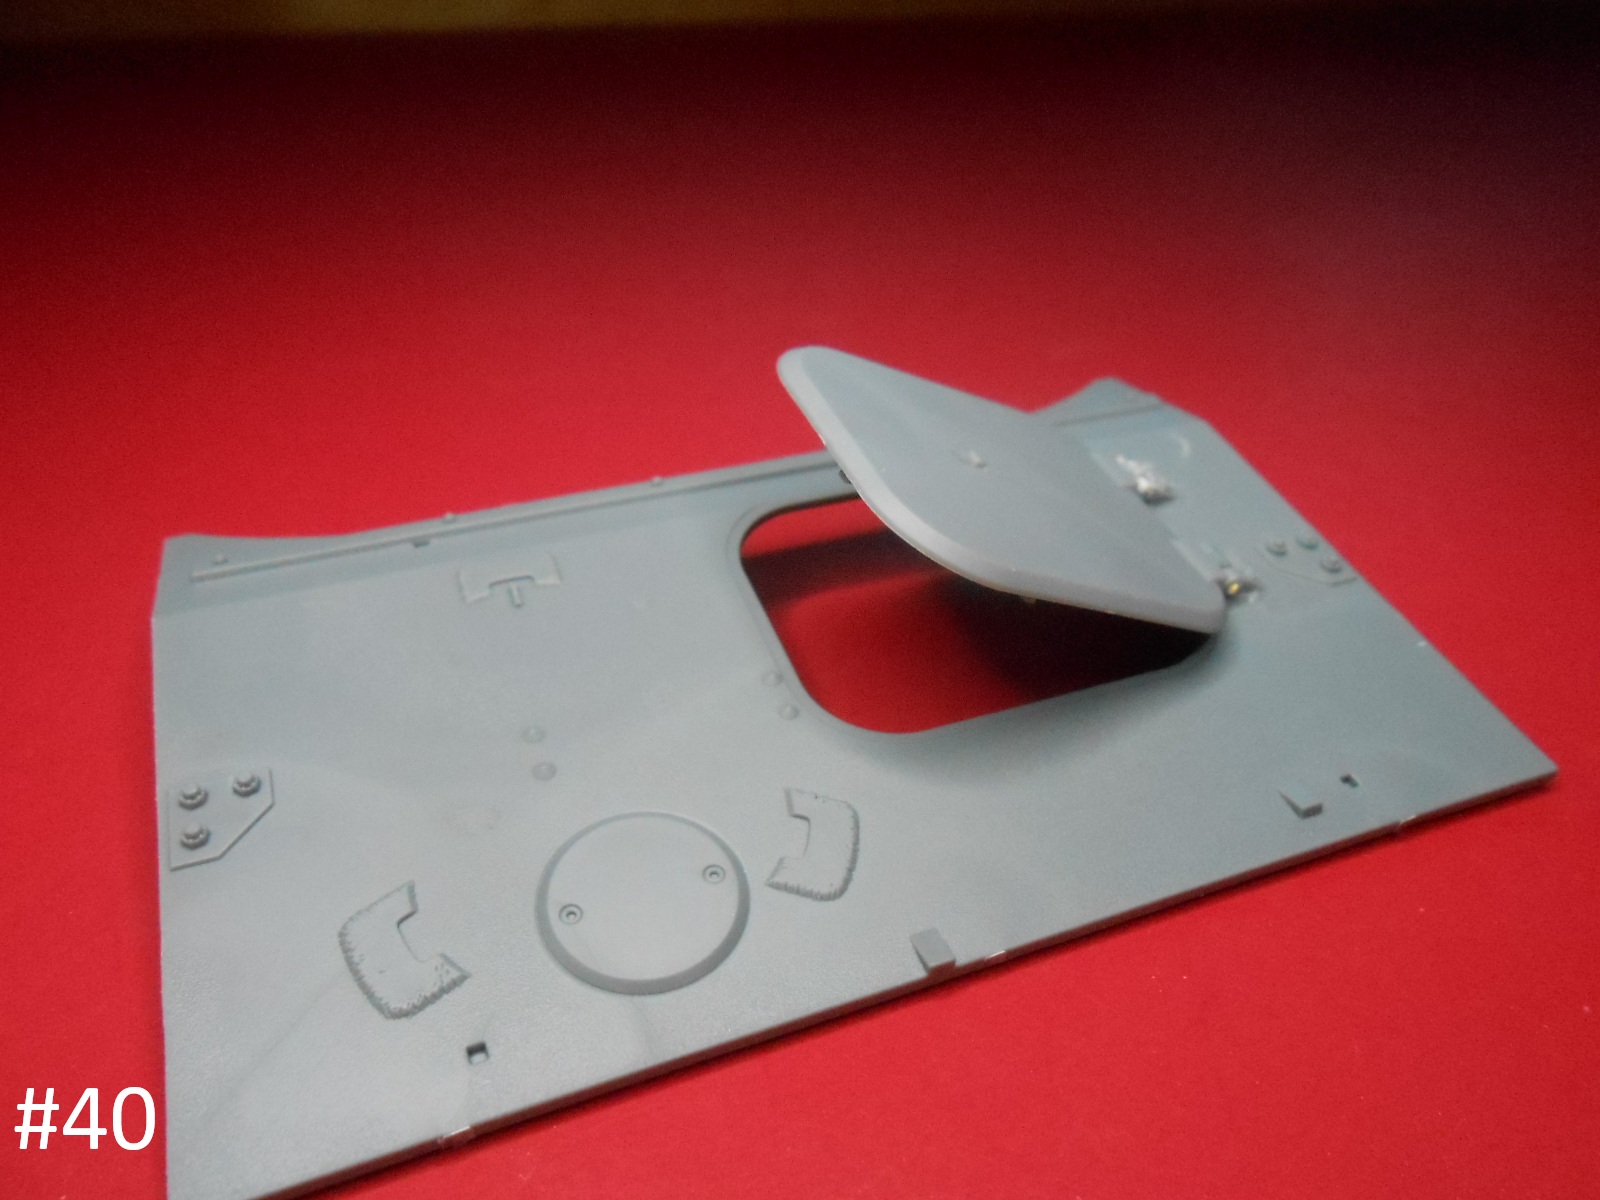
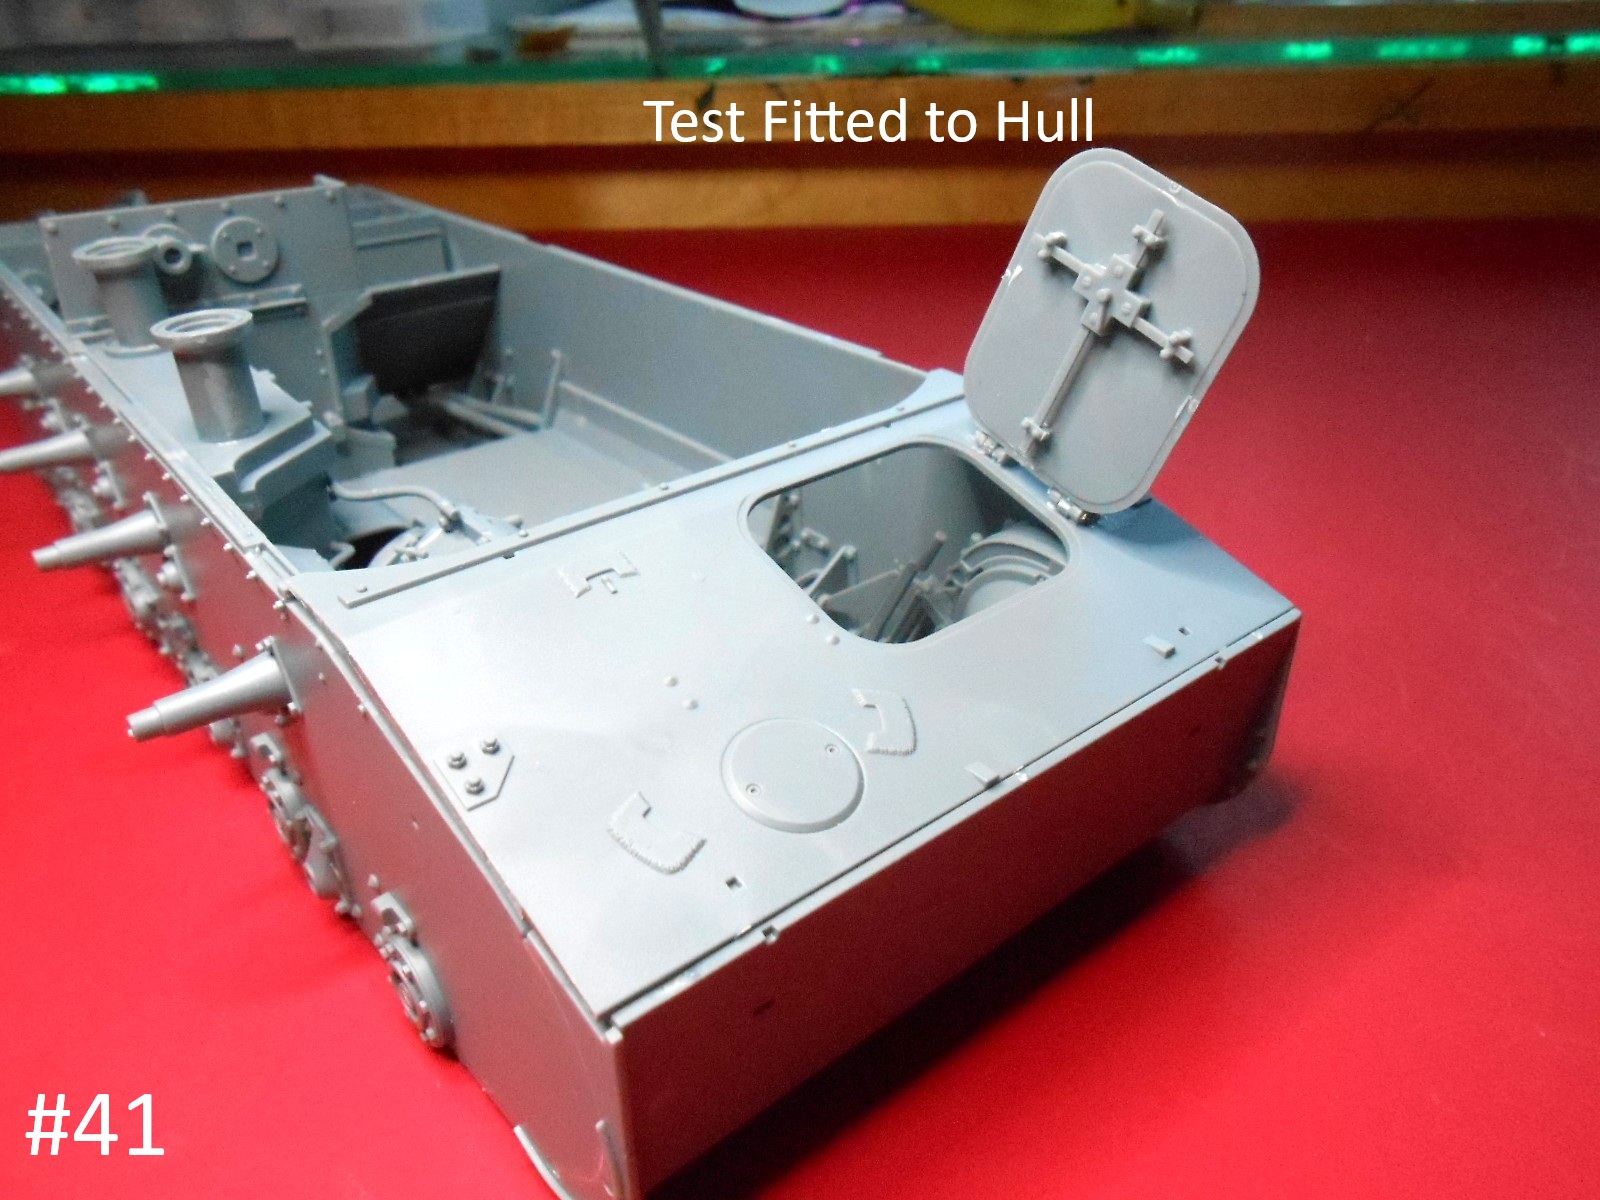
Continuing on, I Drilled and Hinged the Front Hull Hatch to make it movable.
Finished for Today
Donald
Just a little persuasion yes 
Some more finished, You could make the View Ports movable, But there isn’t much to see anyway so why bother.
Finished for today
Donald
Wow, very detailed and a lot of work for such a little vehicle!
It’s going to be pretty much invisible when you get all the superstructure on, but I noticed from today’s Workshop Wednesday video from OzArmour that the ‘pants guard’ over the left steering brake is simplified in the kit (or was changed in the redesign of the hull for the Wespe — at 13:00 they mount it (original part), and you can see that the top of the guard goes further around than the part in your photos. It could be visible enough with the hatch open to be worth addressing if you’re fanatic enough about the detail.
Nope This Build is straight out of the Box. well almost
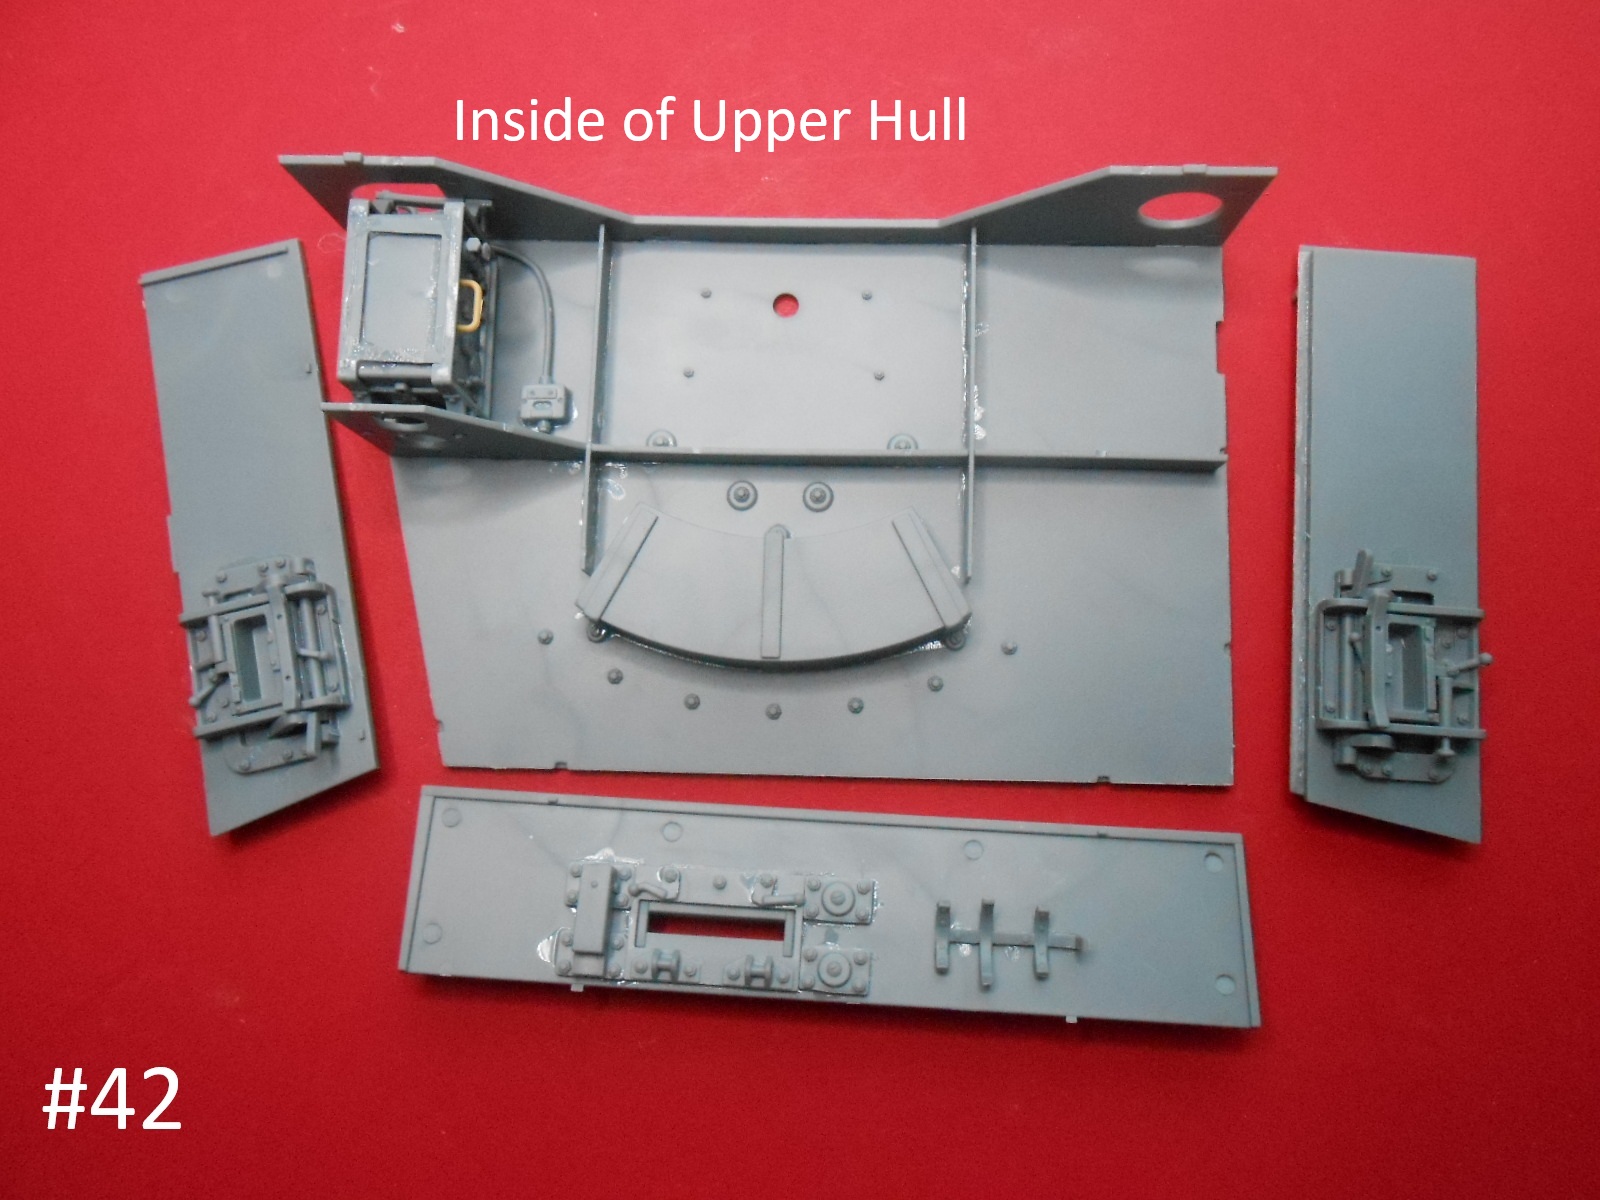
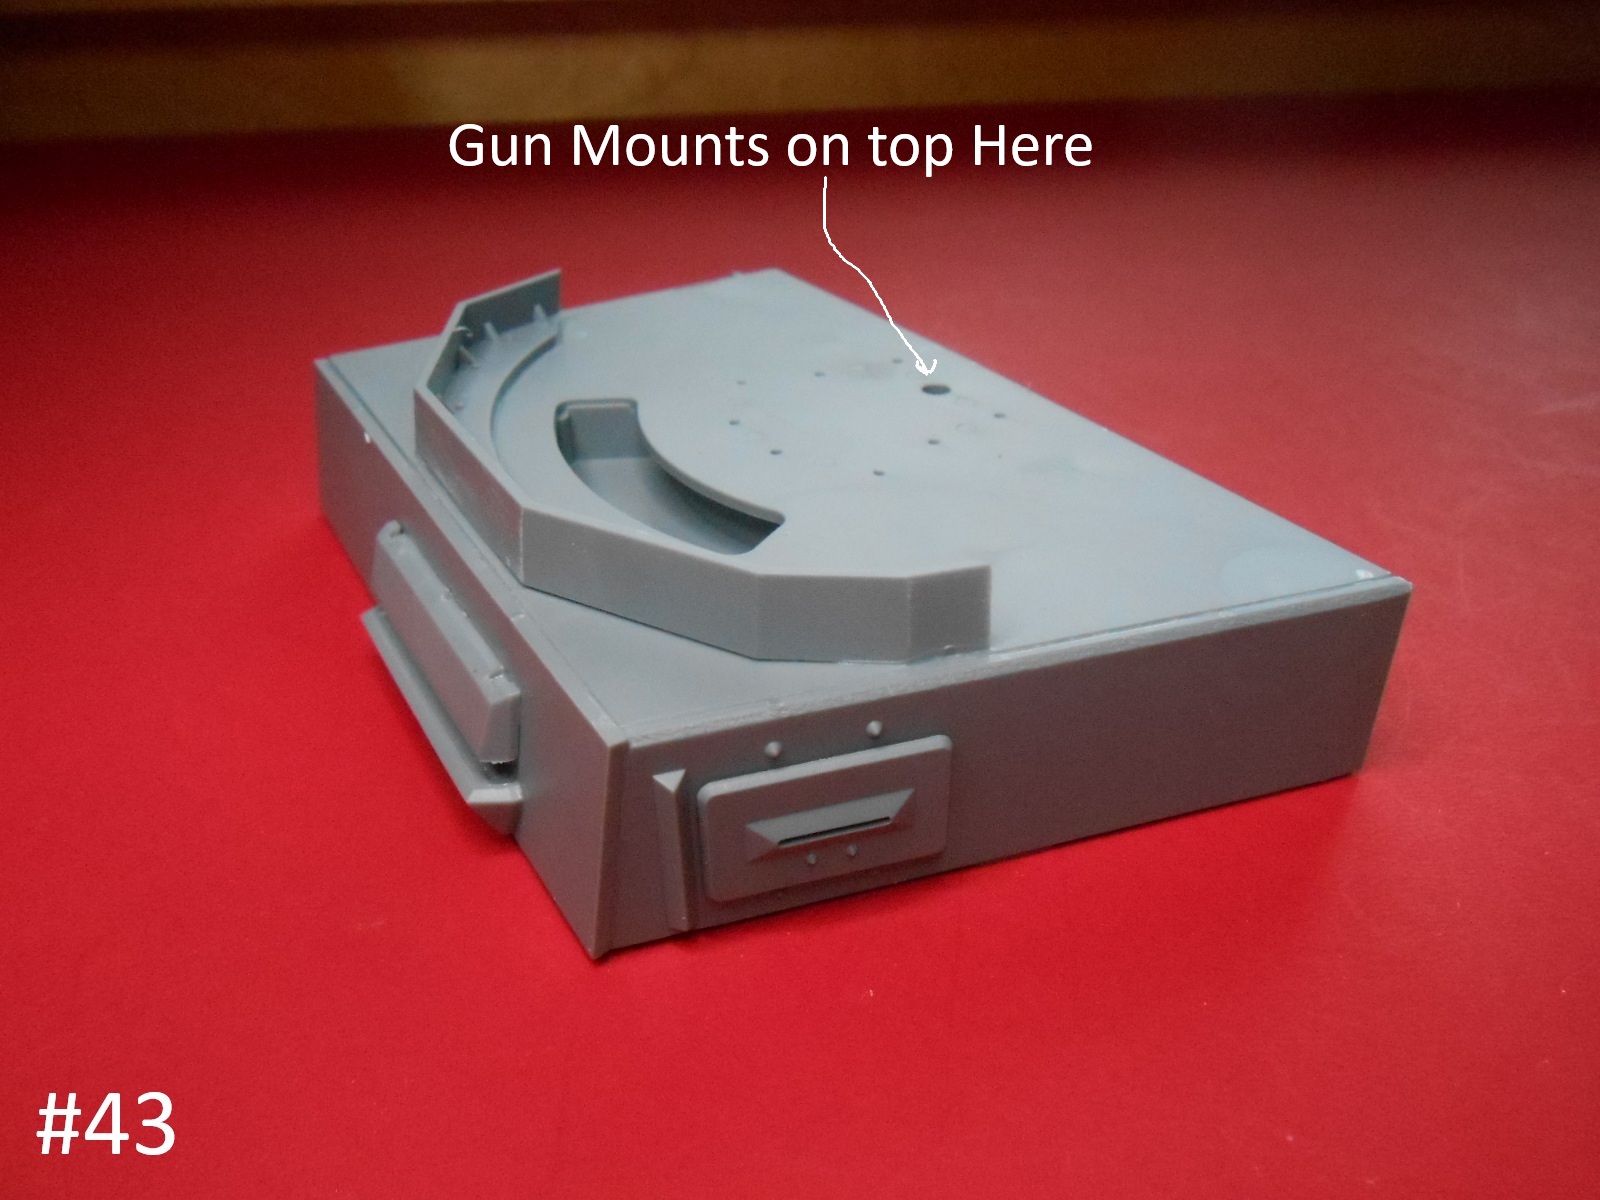
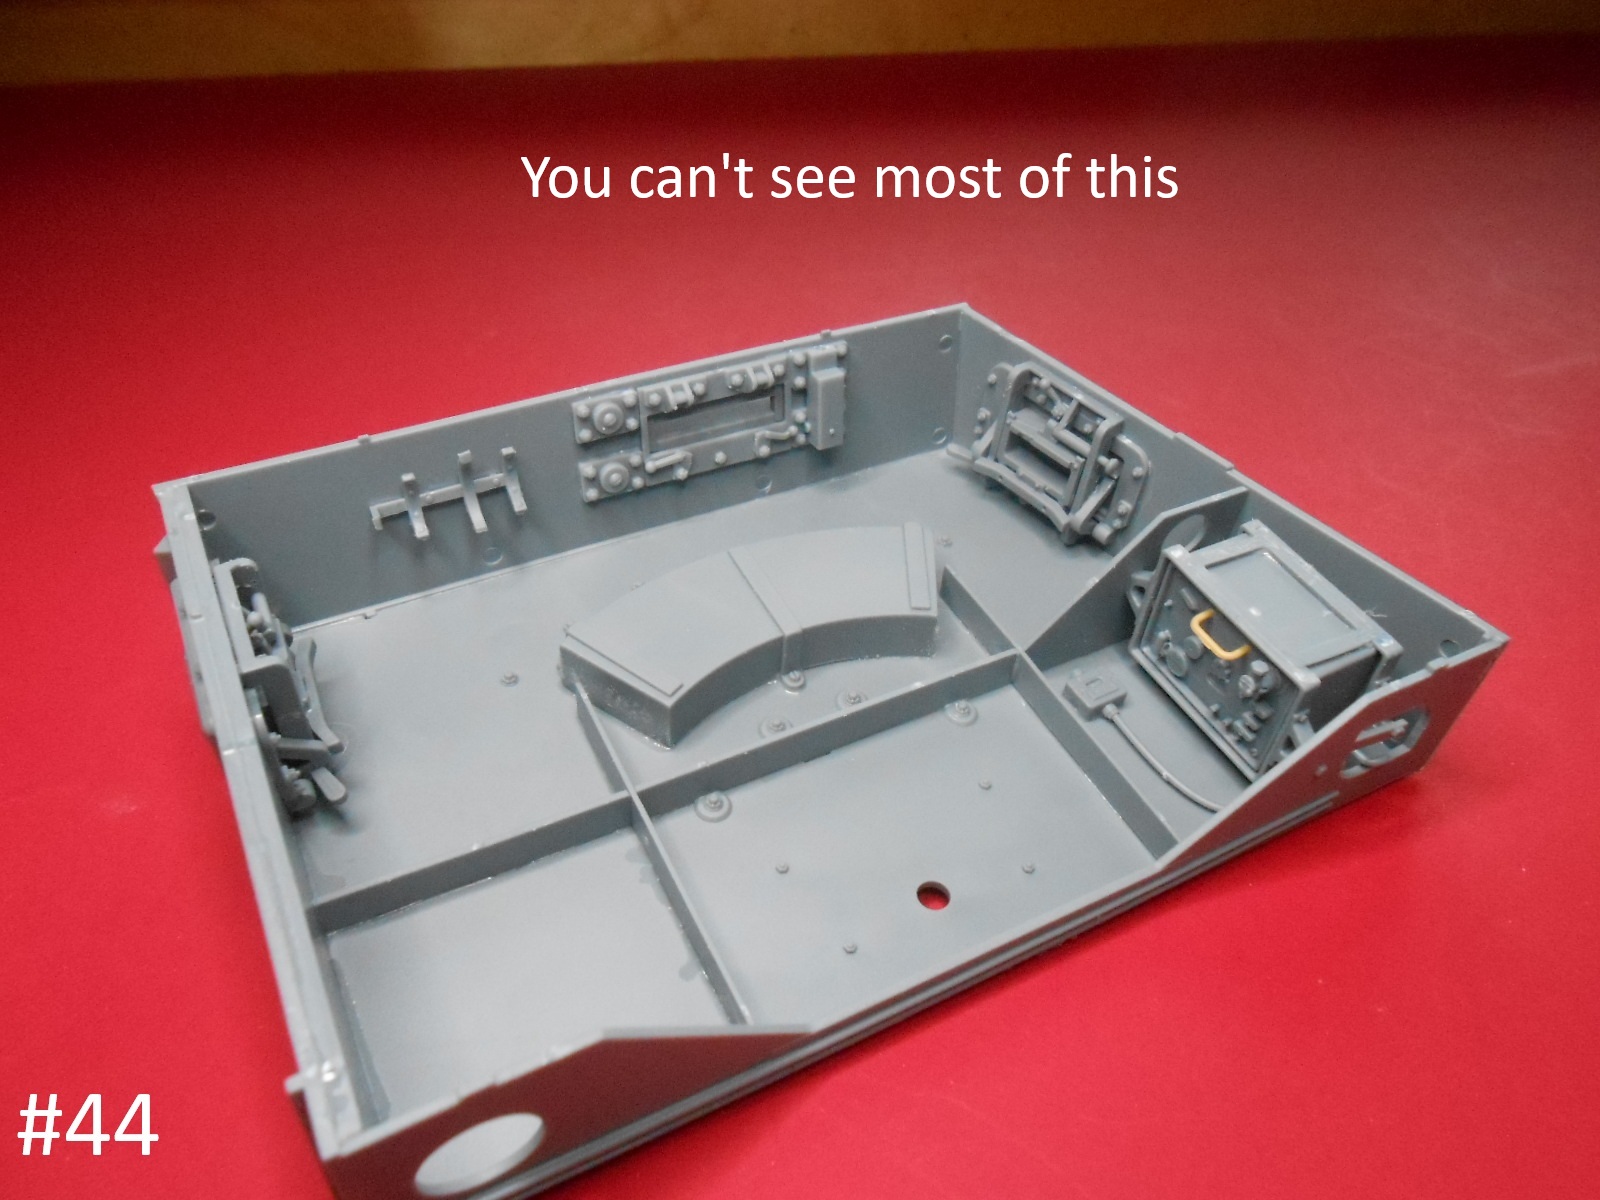
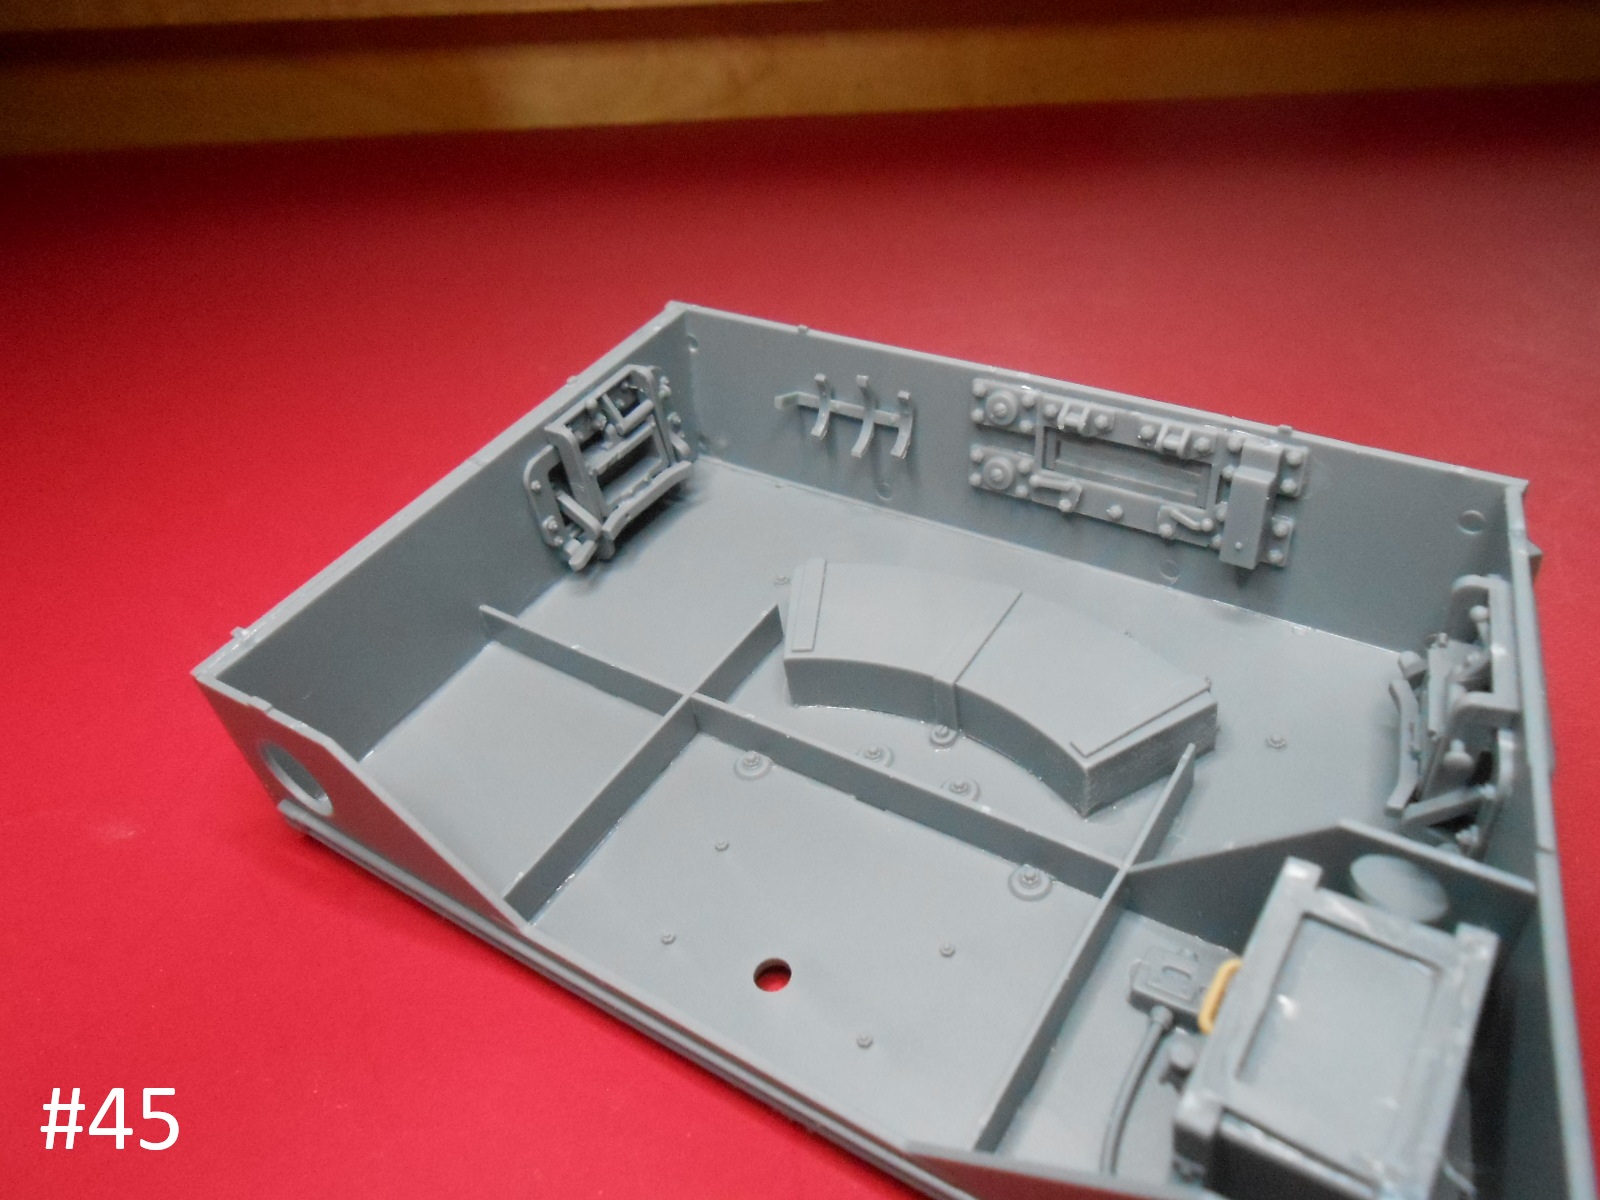
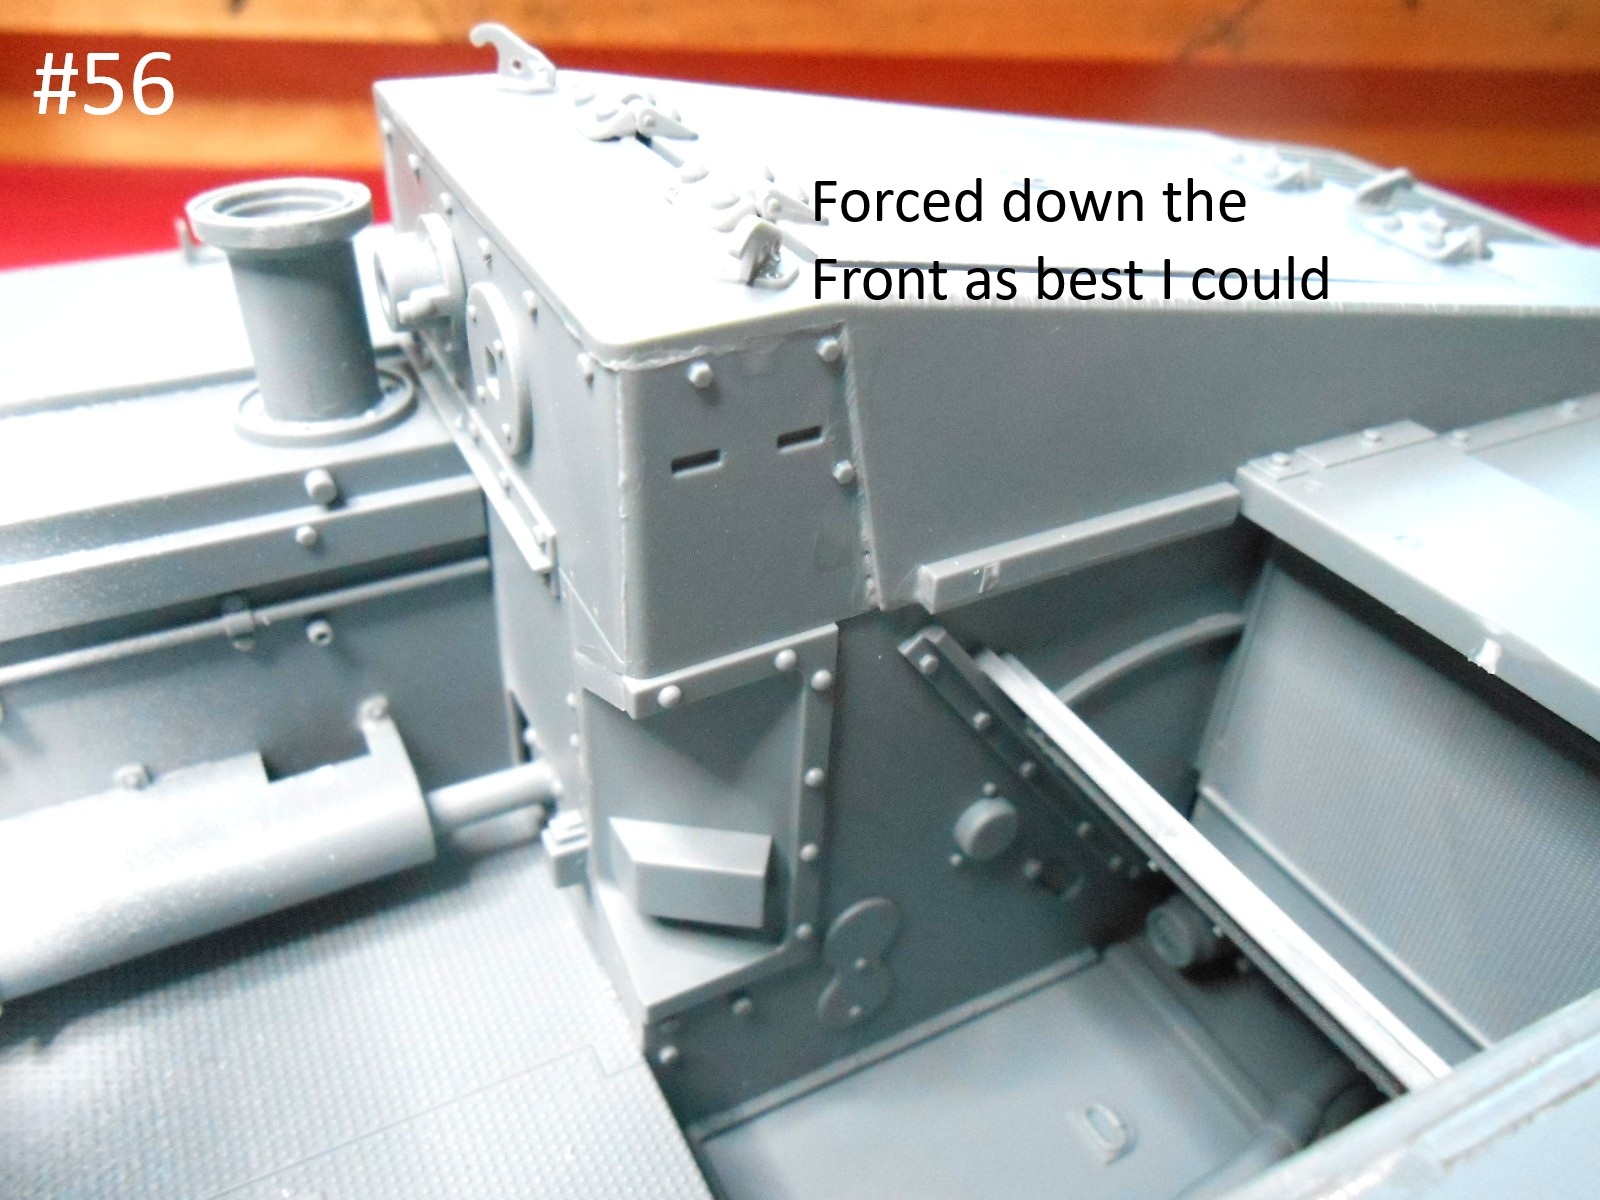
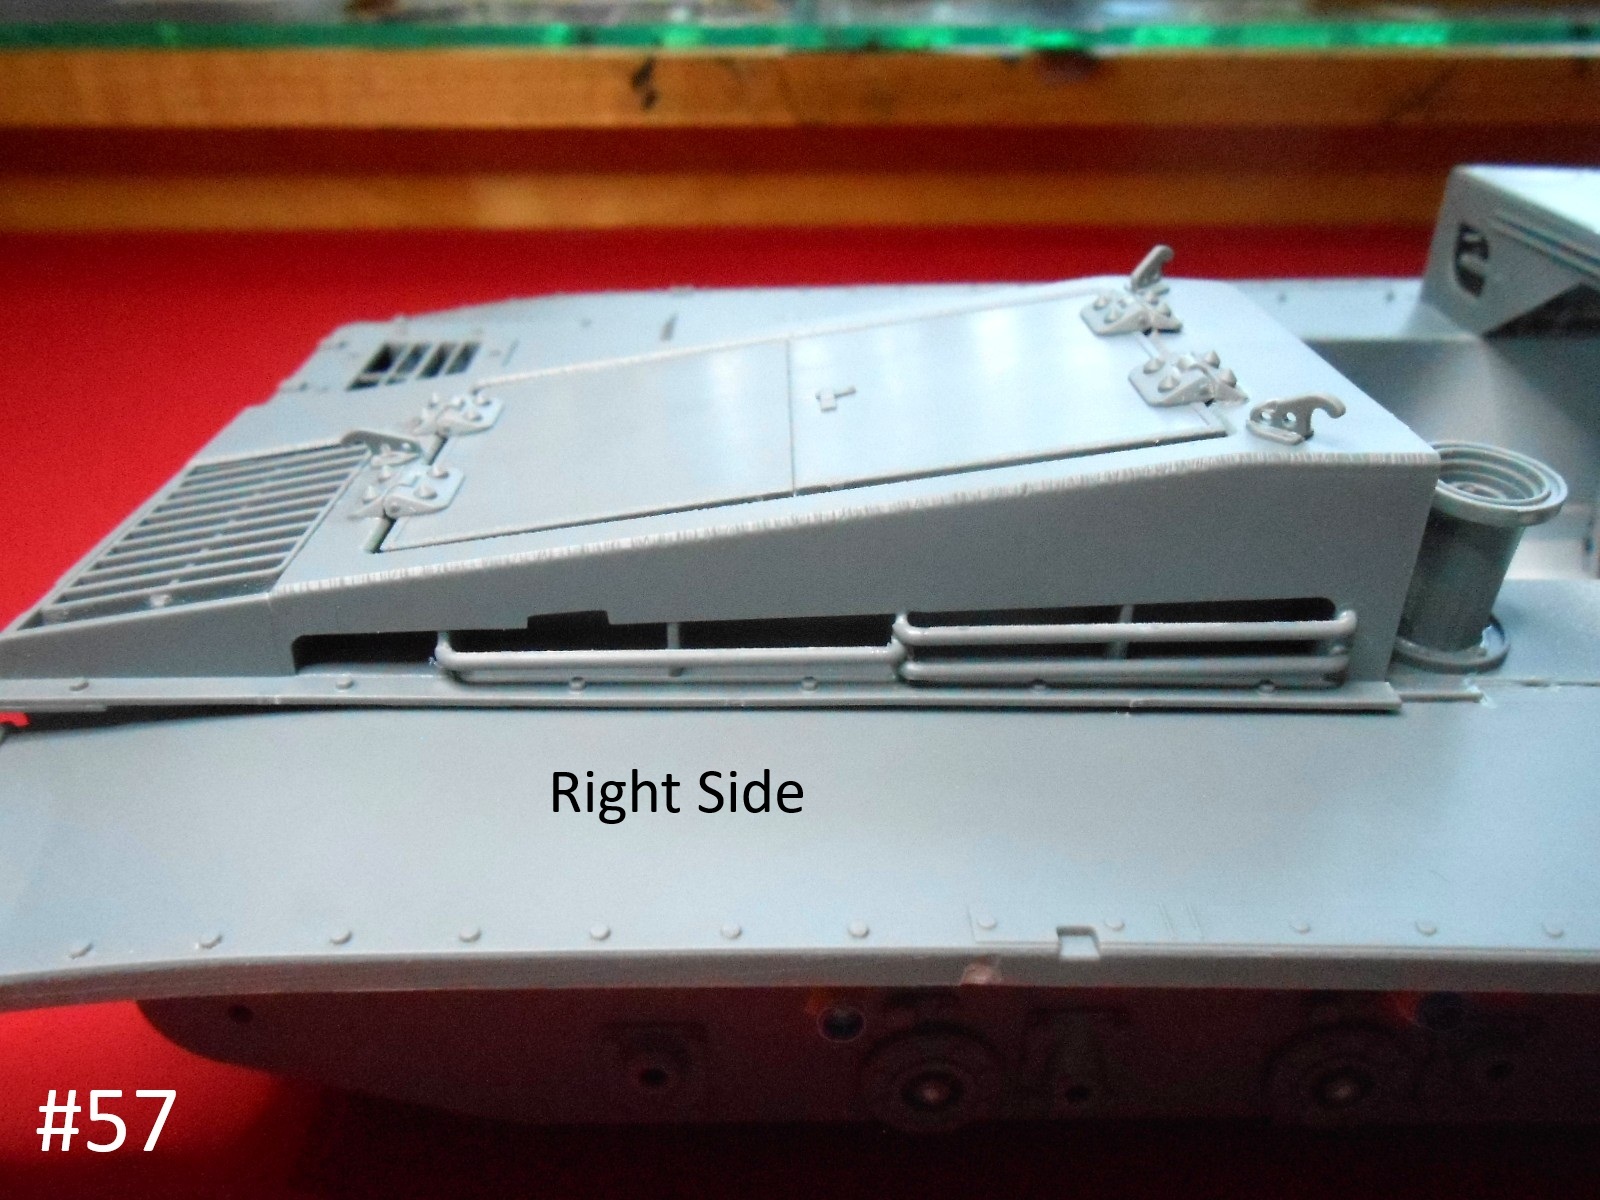
Today I attempted to install the Upper Hull parts . Here is how it came out.
Next I think I’ll install the Swing Arms.
Regards
Donald
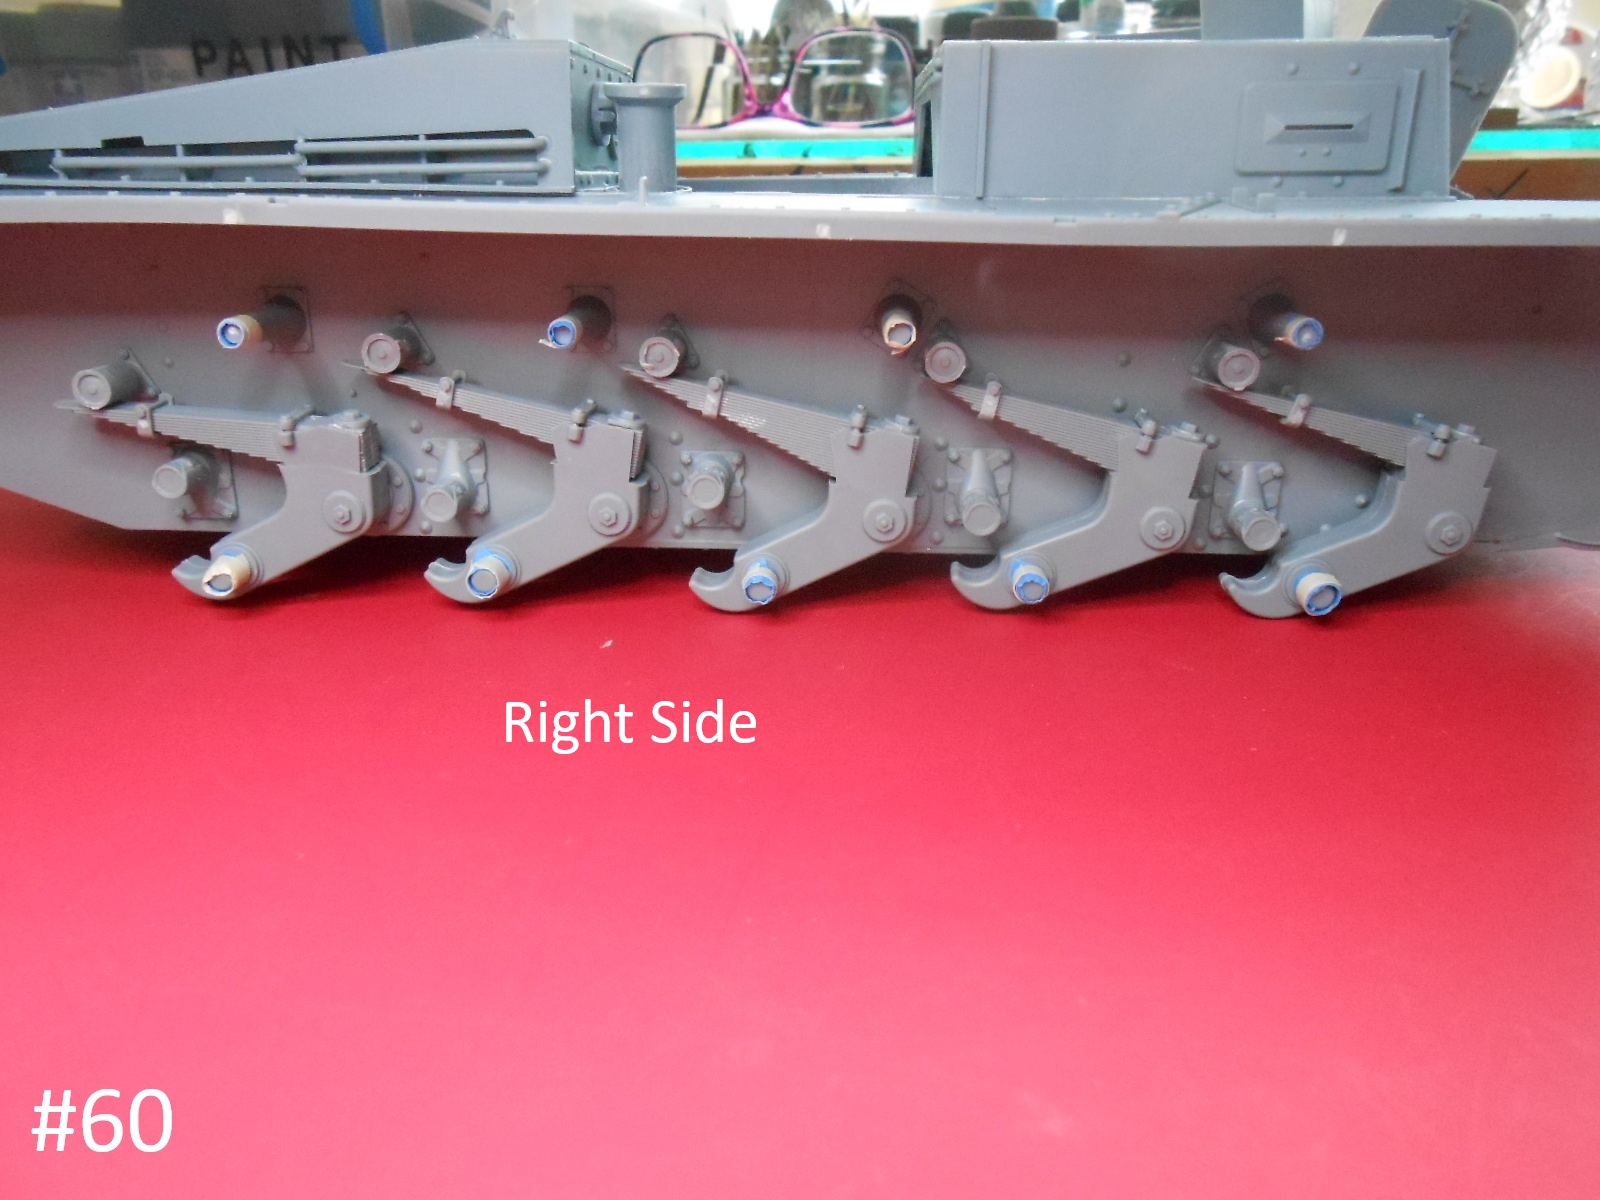
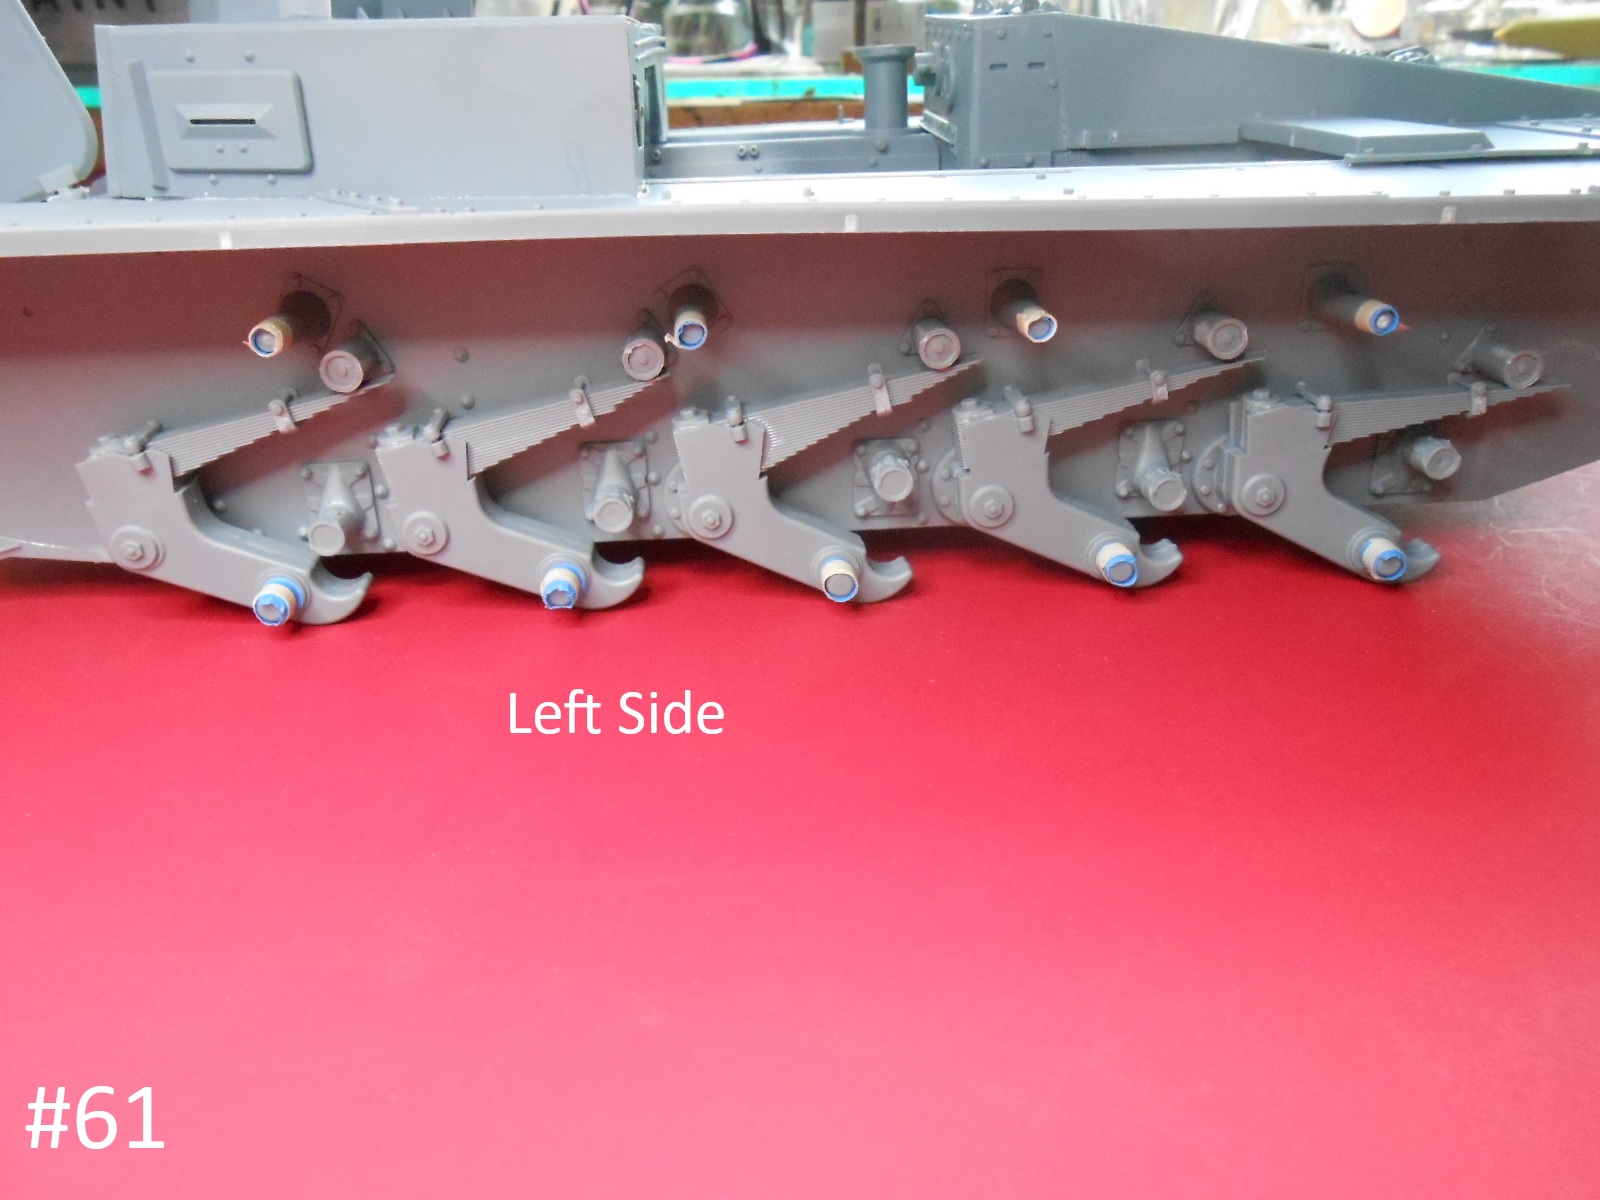
I have just finished installing all of the Swing Arms.
Next I’ll be starting on all of the smaller Details on the Lower Hull.
Regards
Donald
It seems to be going together very nicely apart from the huge clamps LOL and a nice level of detail.