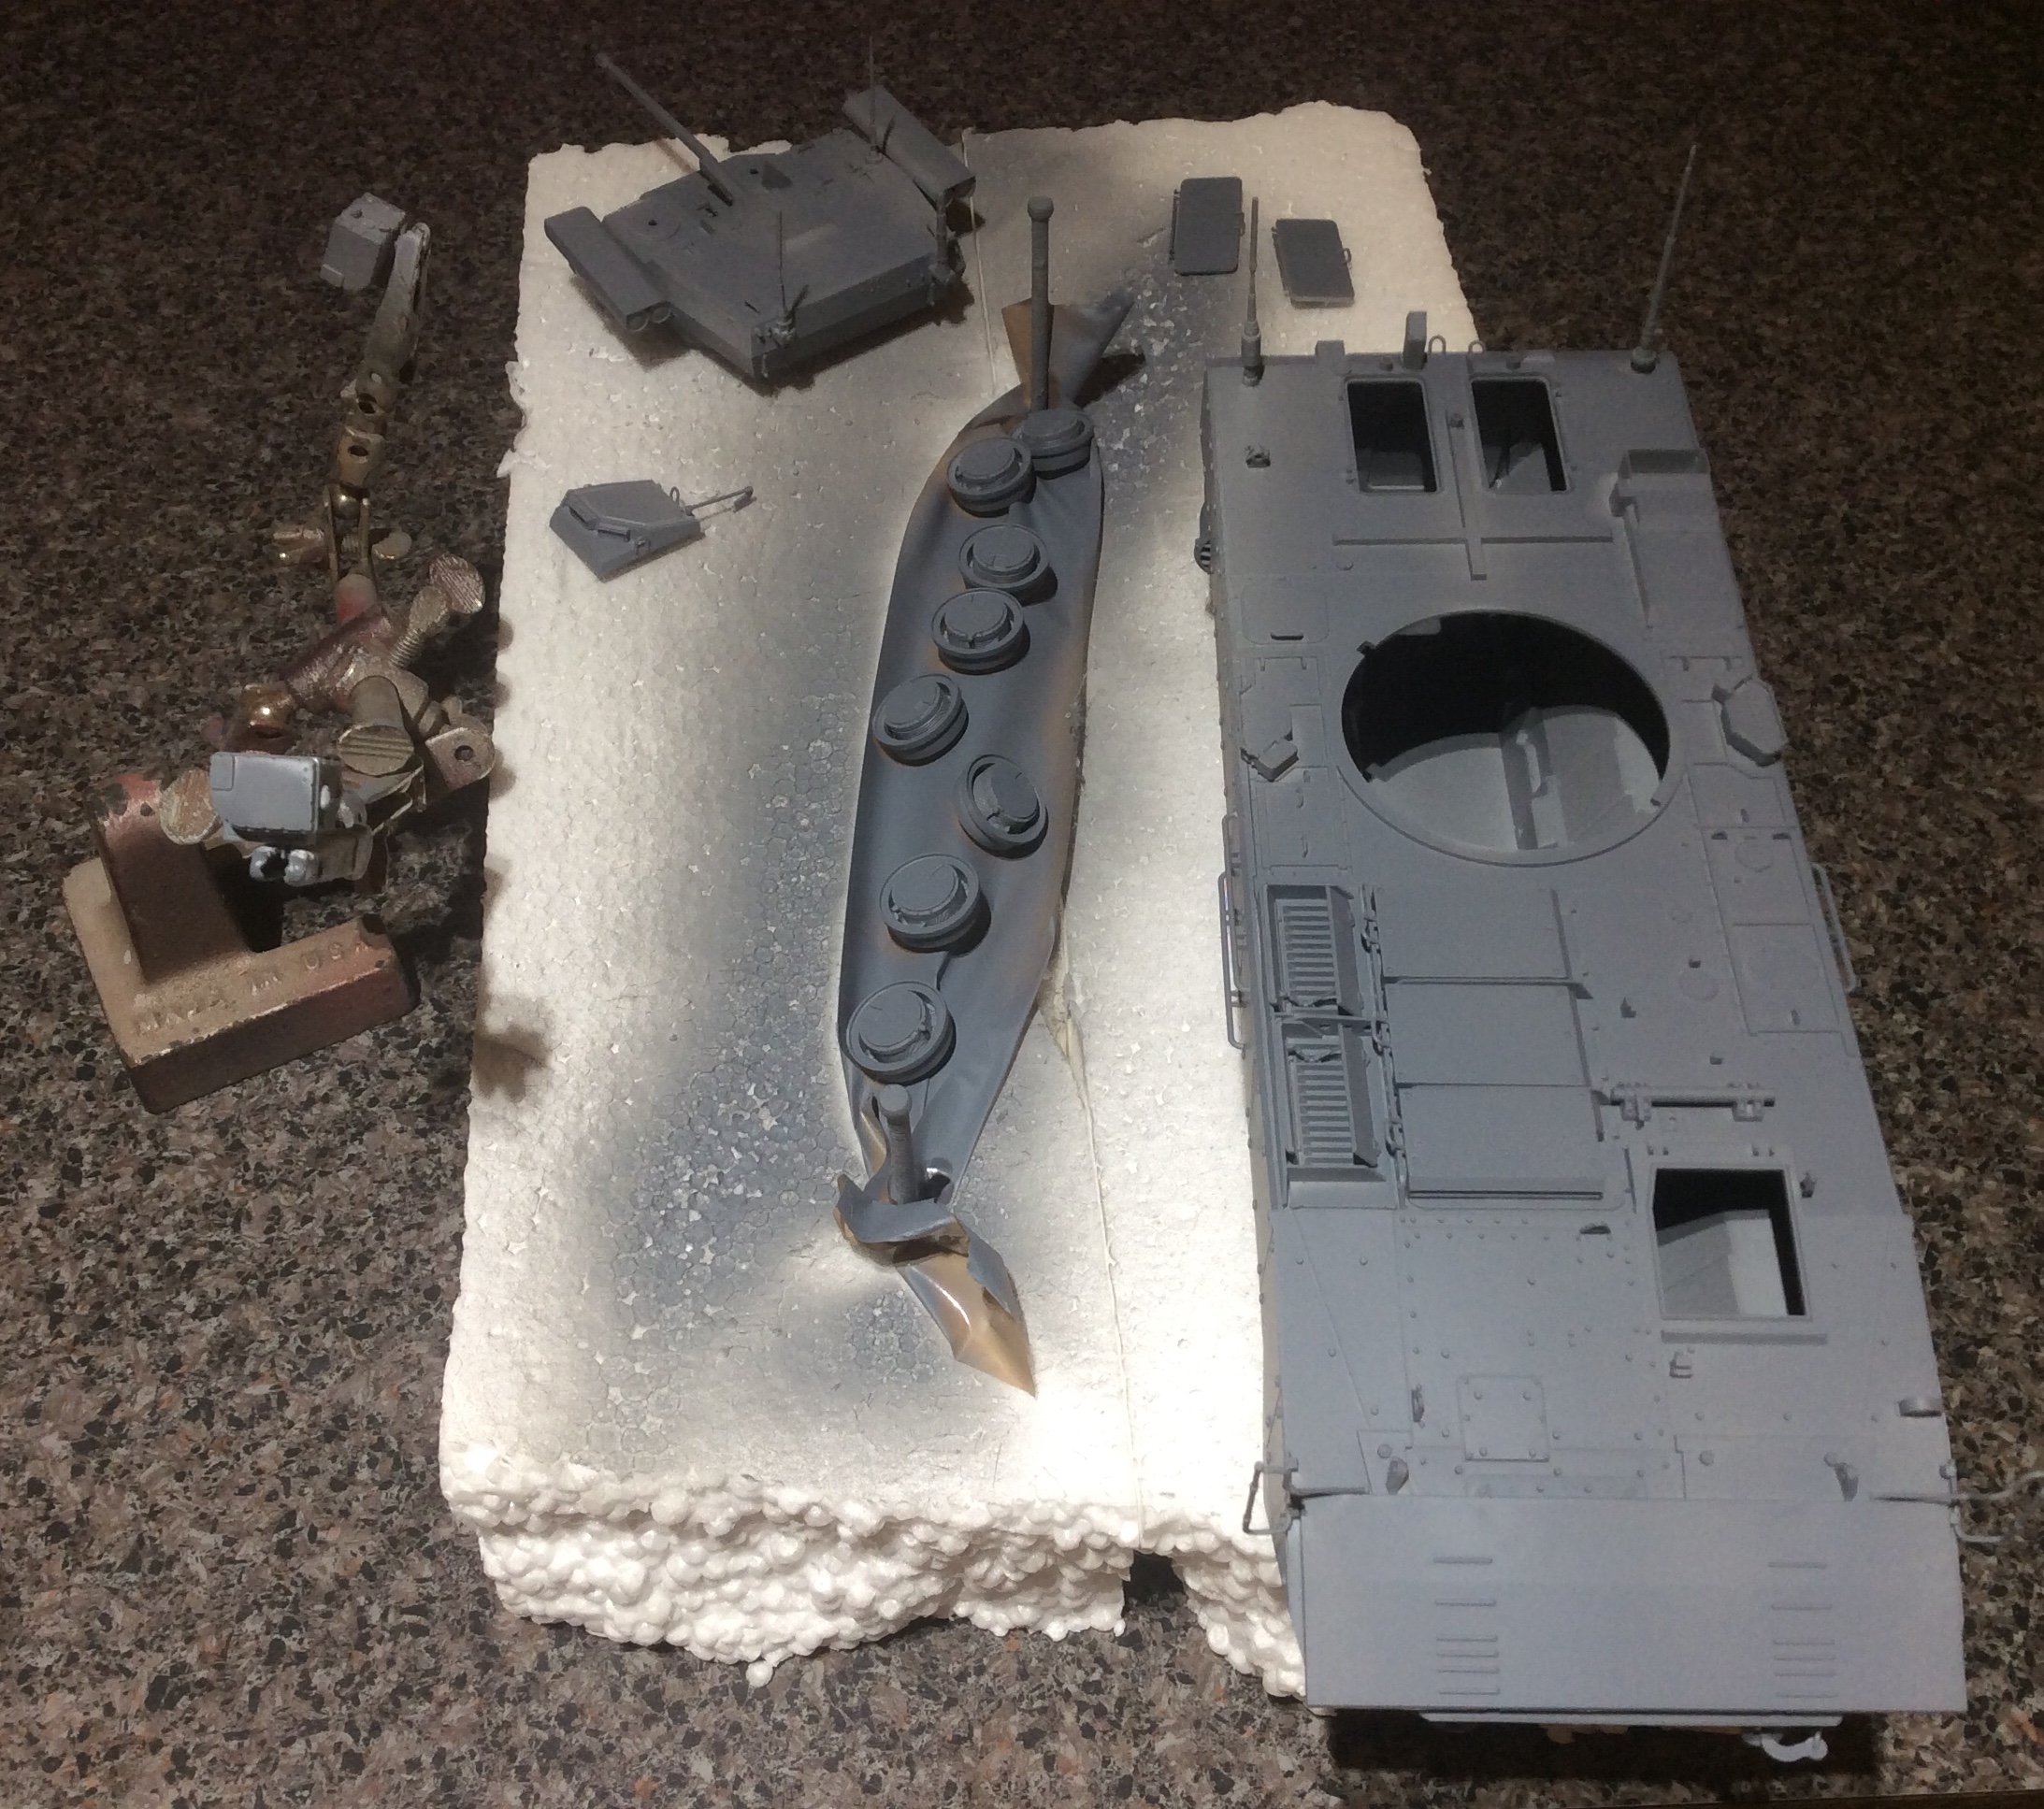
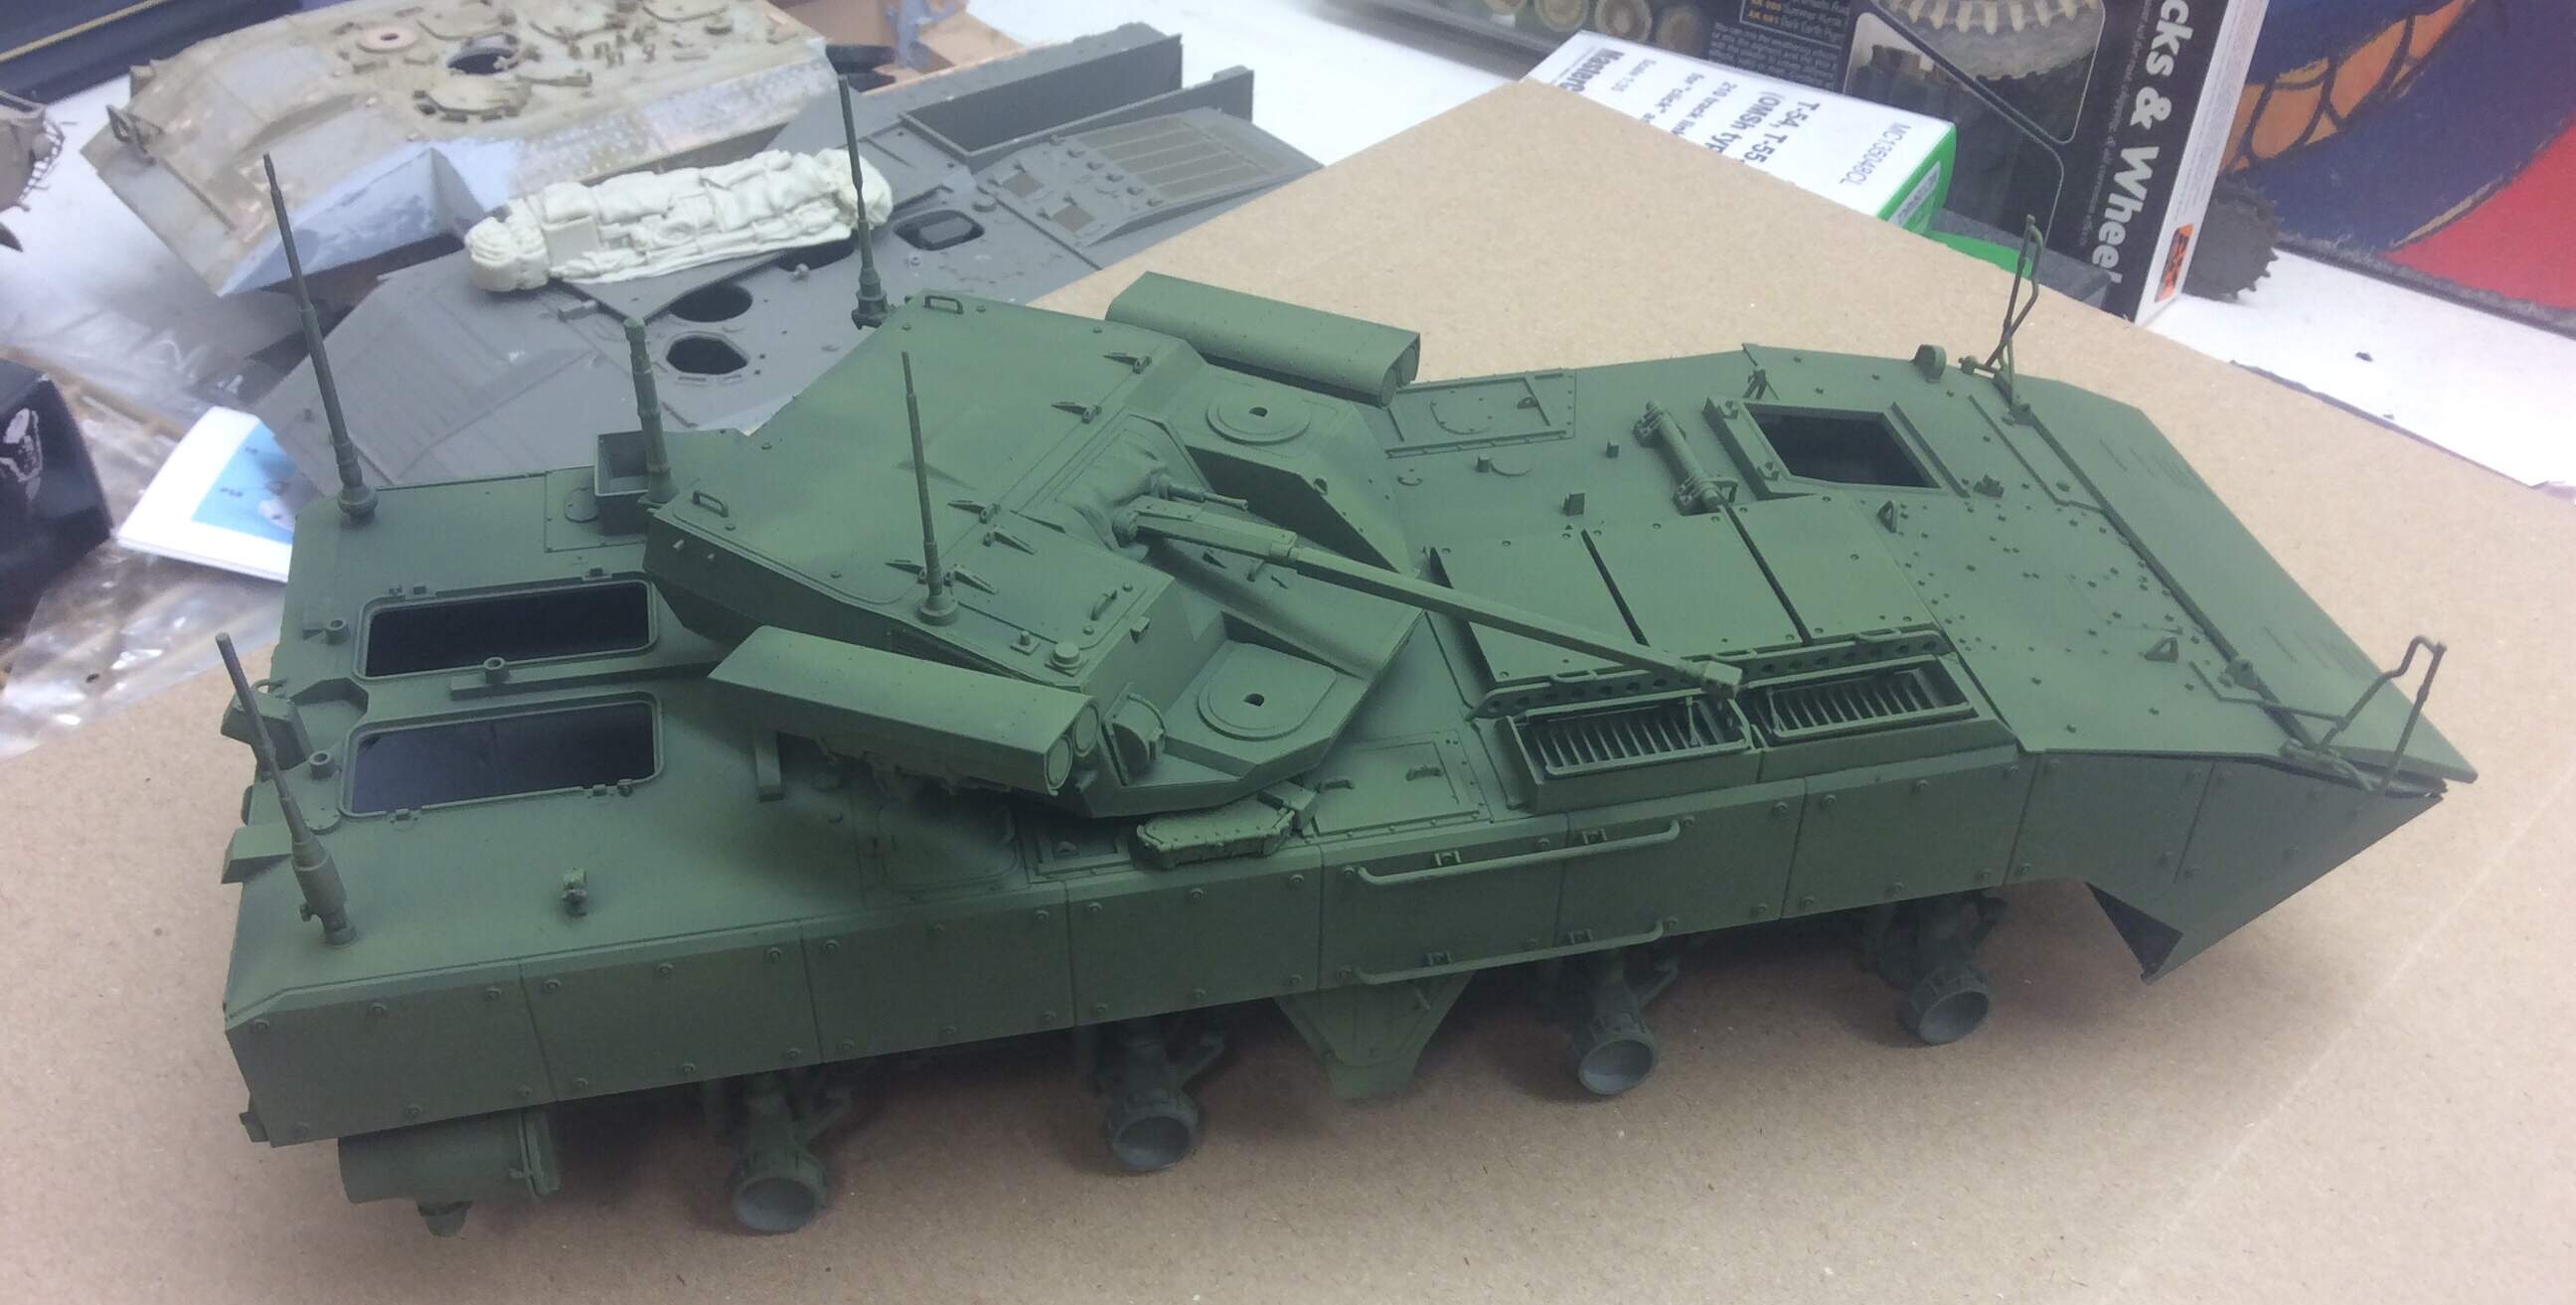
Ok, to pick this up in the new forums, I’ve primed the kit in readiness for painting… this is a surprisingly complex kit, which will benefit from some prior planning. About the only thing I’d replace is the aerials / masts that are available from Voyager, because the kits ones are delicate. Now, to insert an image… img[/img]
No picture shows. There is only a kind-of link to your picture host.
Olivier
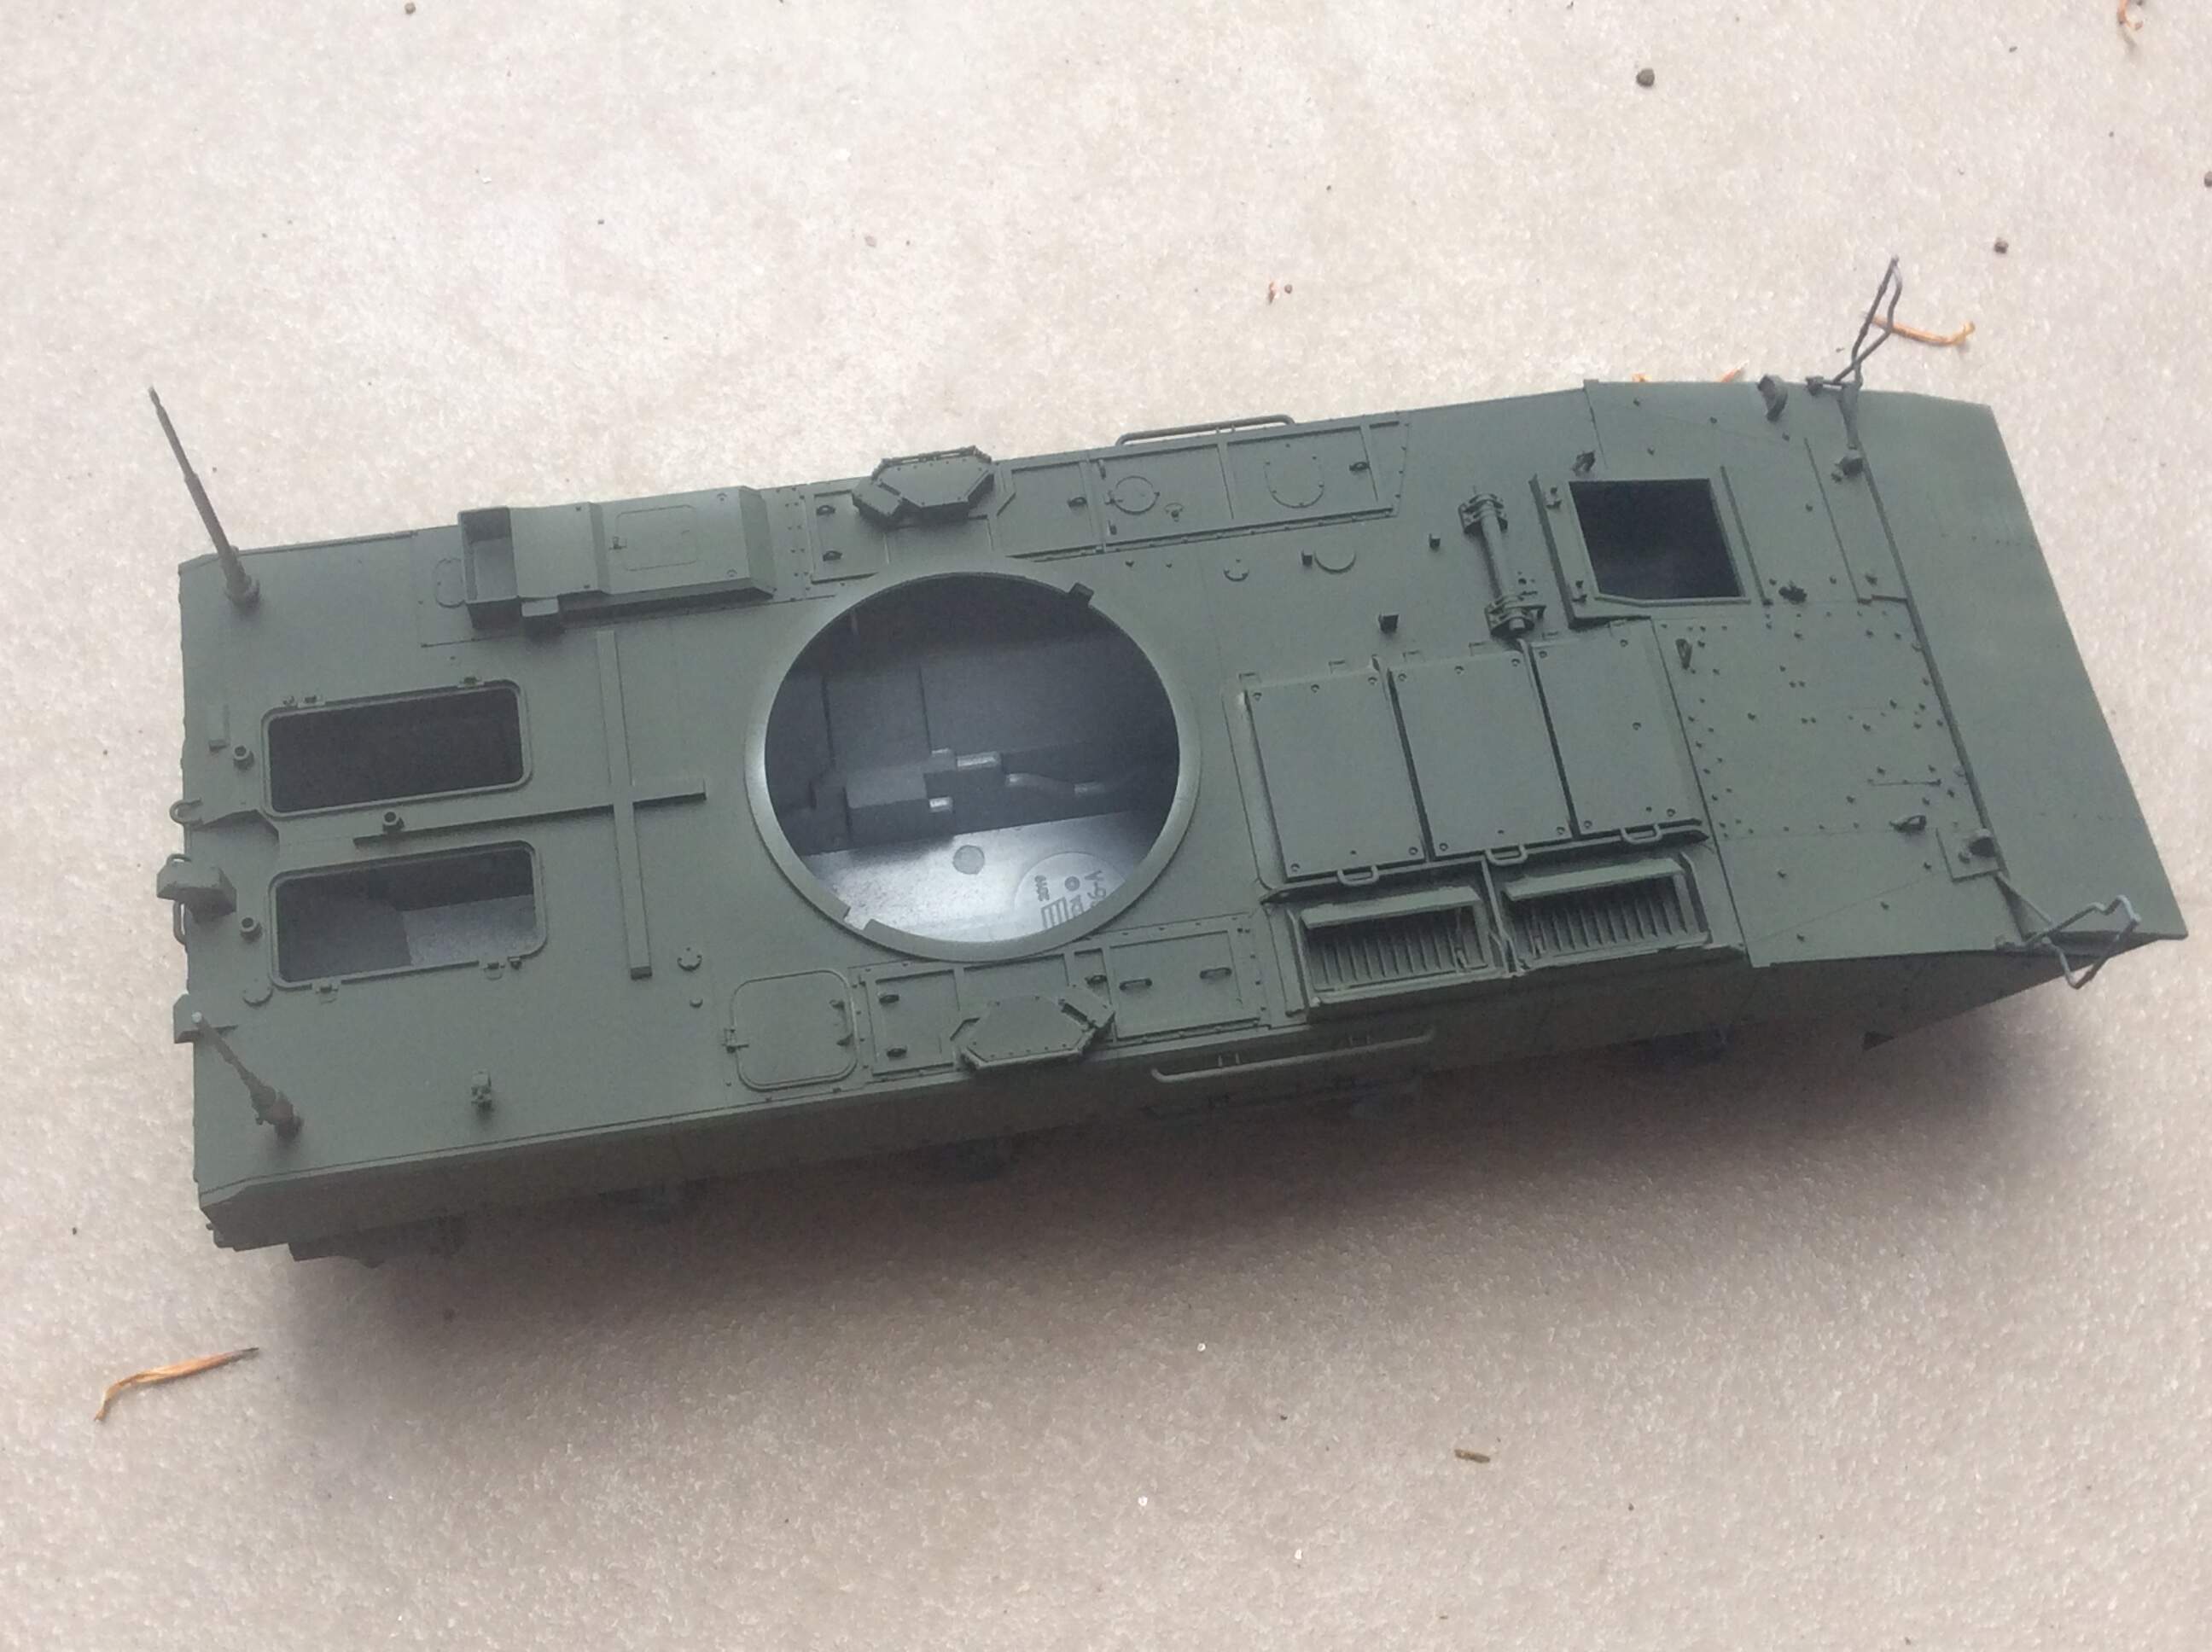
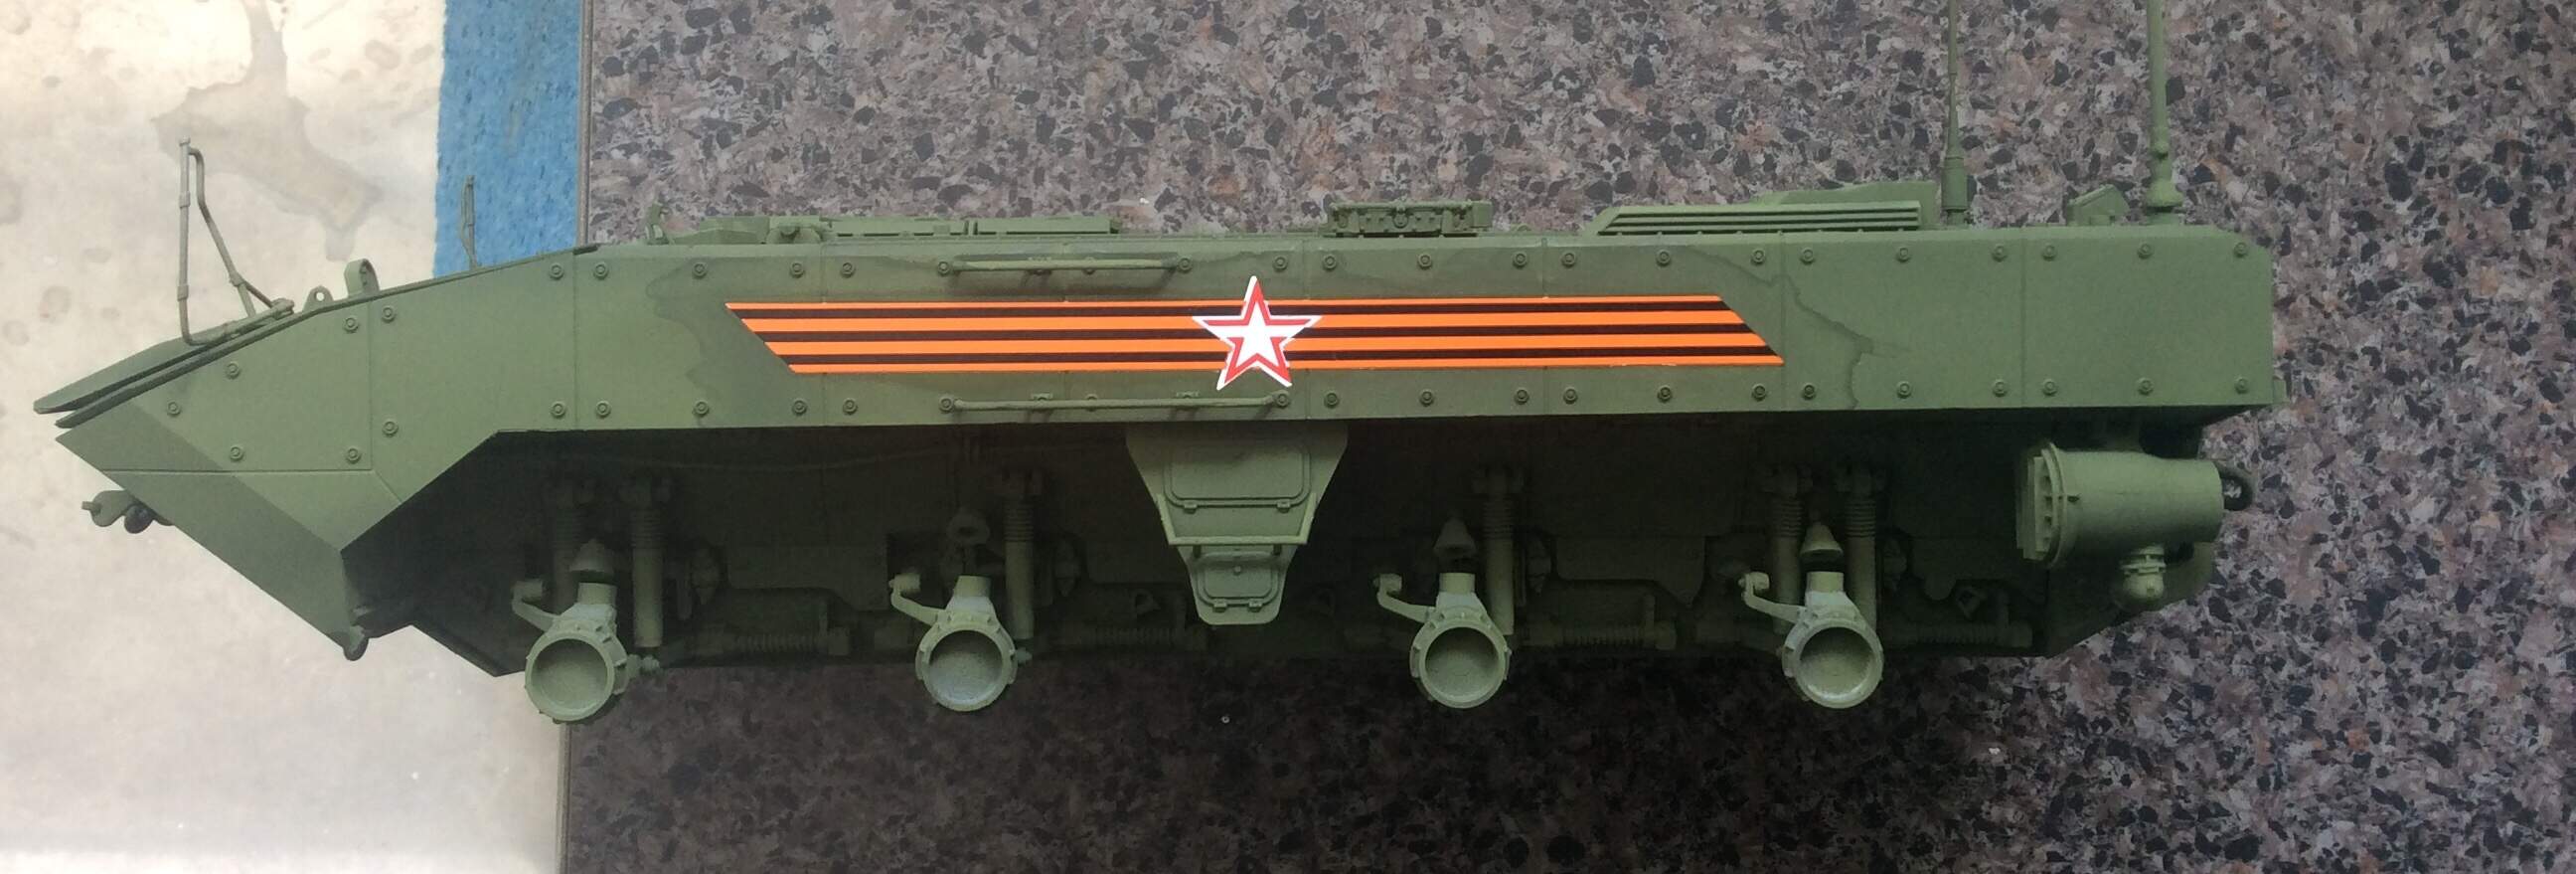
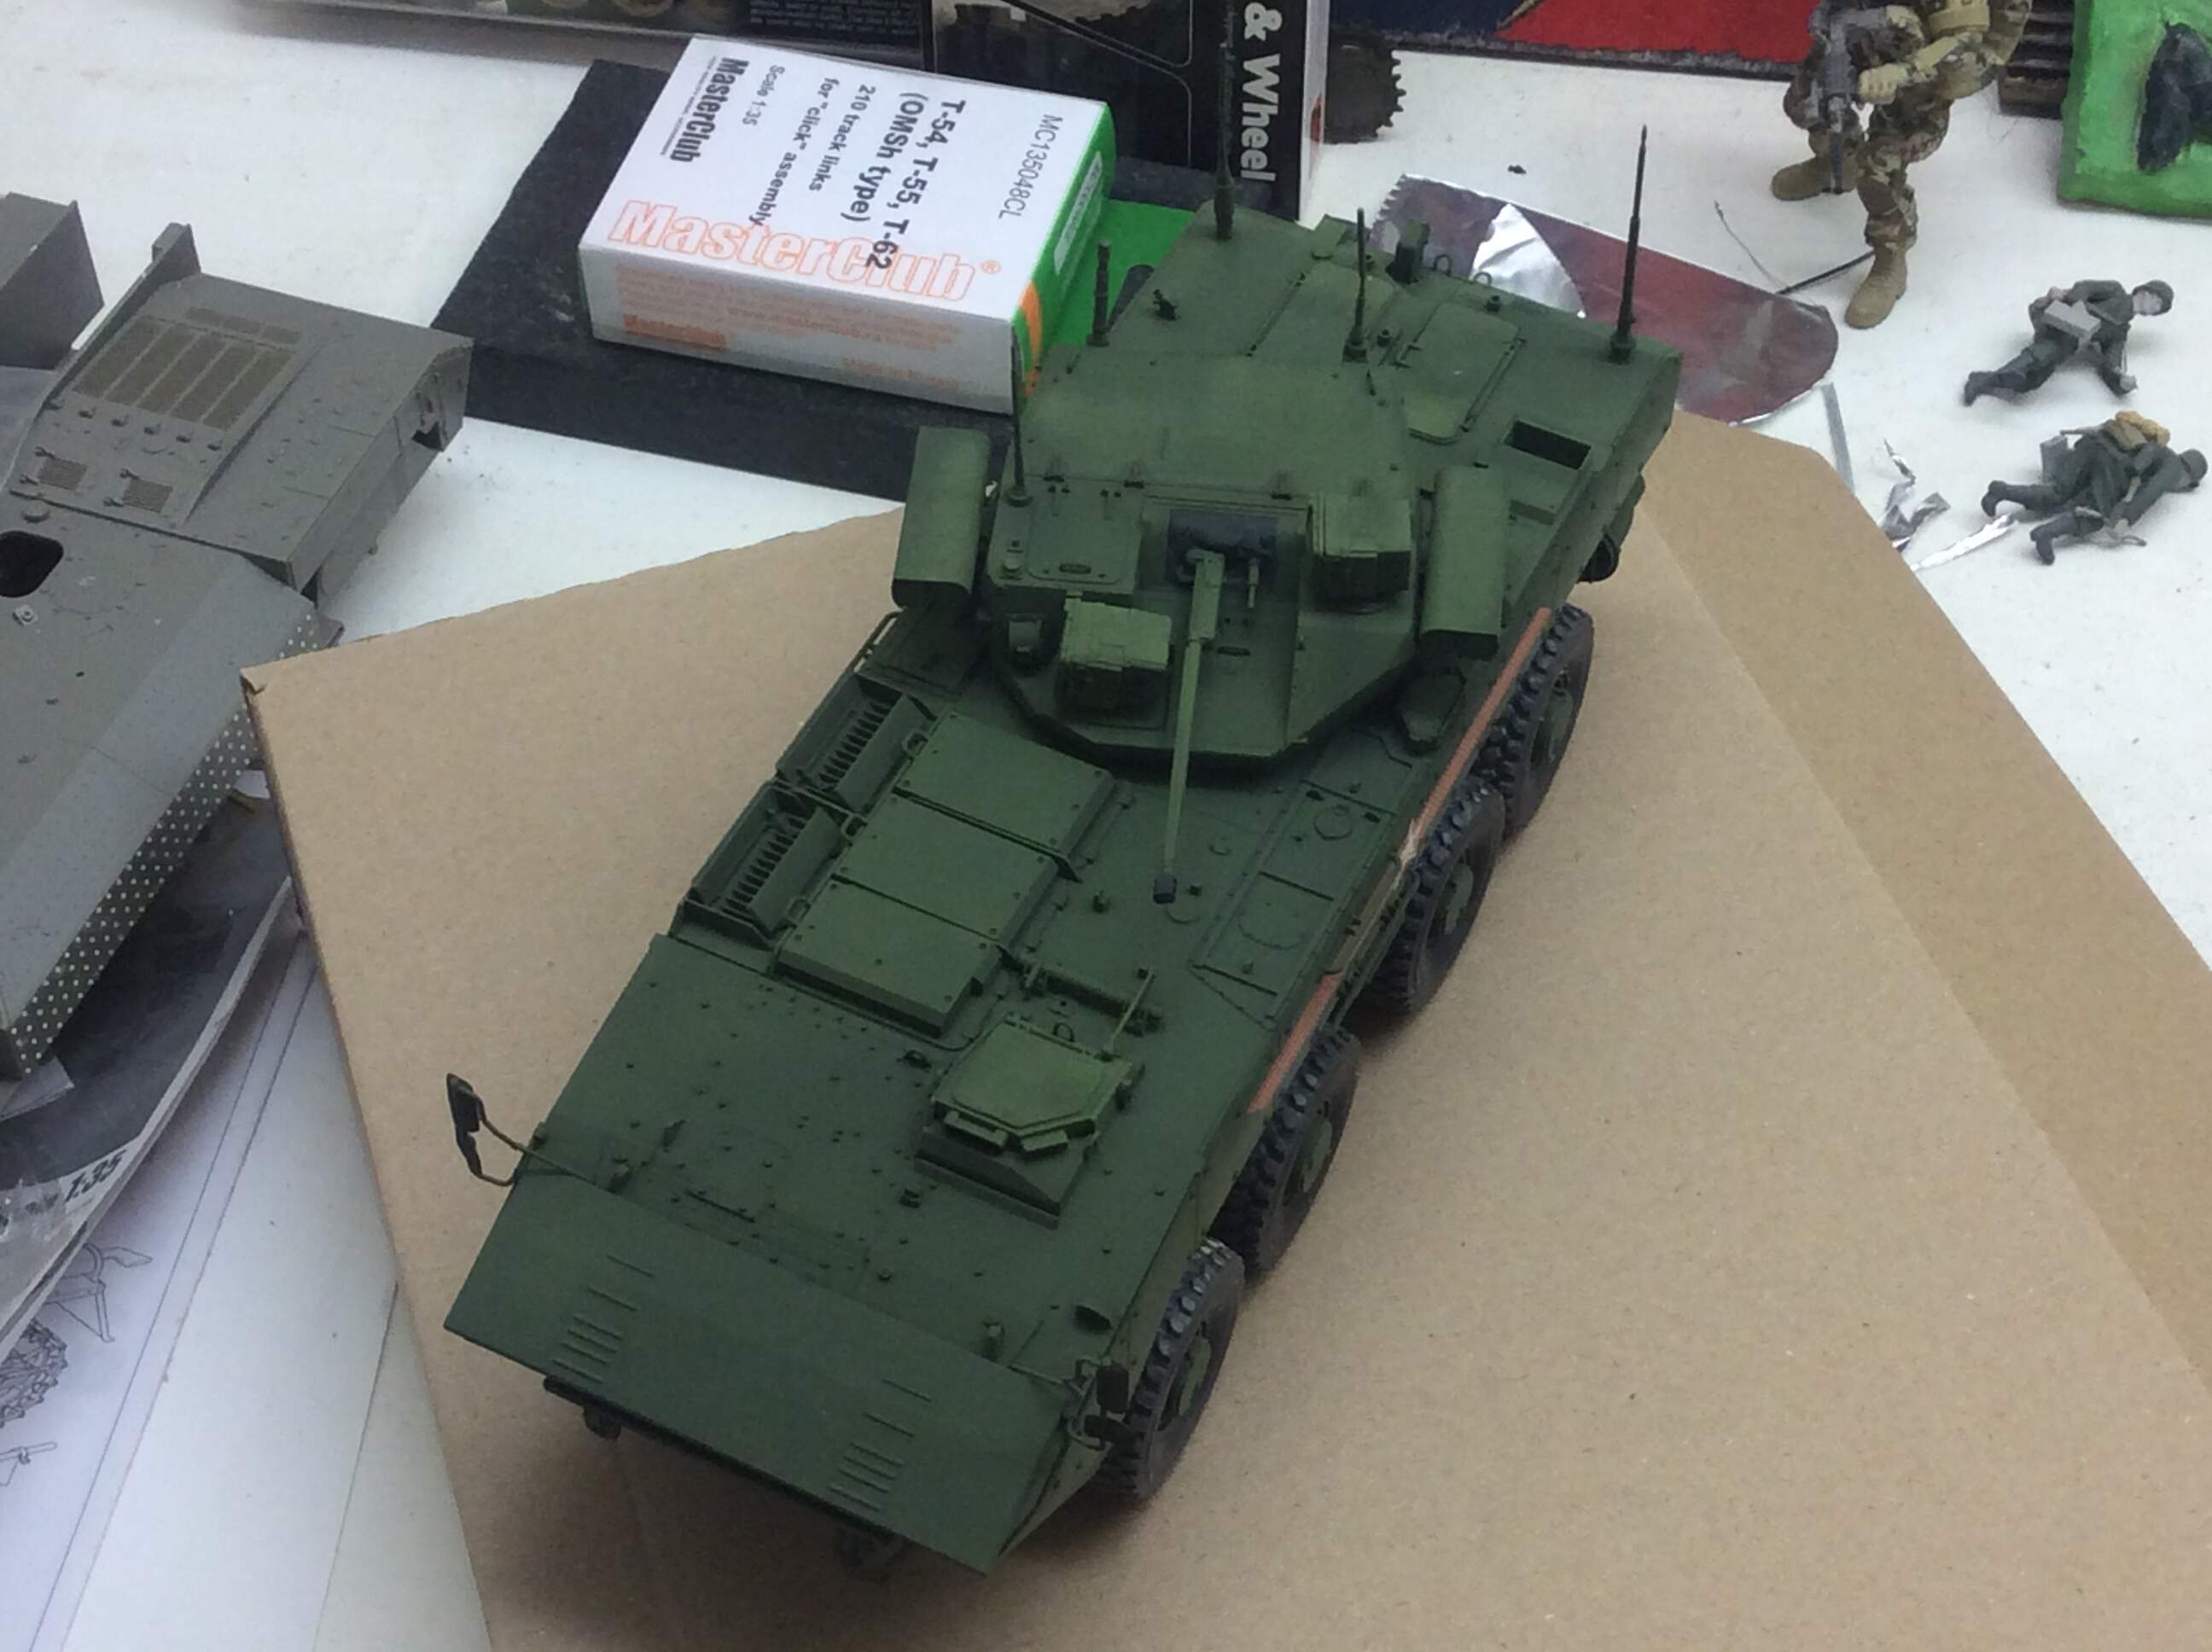
Here is the hull, painted in XF61 “dark green”, from Tamiya. It was slightly overcast at the time. I’m thinking it is a close, if not great, match for the real thing, looking at images online of Bumerangs. I had thought of ‘scaling’ the colour with a bit of white, to tone it down a bit, as this is only one coat. Looking for a bit of feedback on that, really. As I’m going for a parade vehicle, there isn’t going to be a lot of weathering done here.
Hard to tell from your picture. XF-61 is quite dark which does not really show on the picture. However I think that you could spray some lighter color on the center of the various panels to create more contrast. A dark pinwash in the recesses and an old way drybrush would do the trick for a parade vehicle.
Olivier
Thanks for that, Olivier. I ended up using a lighter shade of green, Tamiya NATO green, which is a close match. I will do another coat tomorrow, once I buy another bottle of paint… in the meantime, this is drawing to a close:
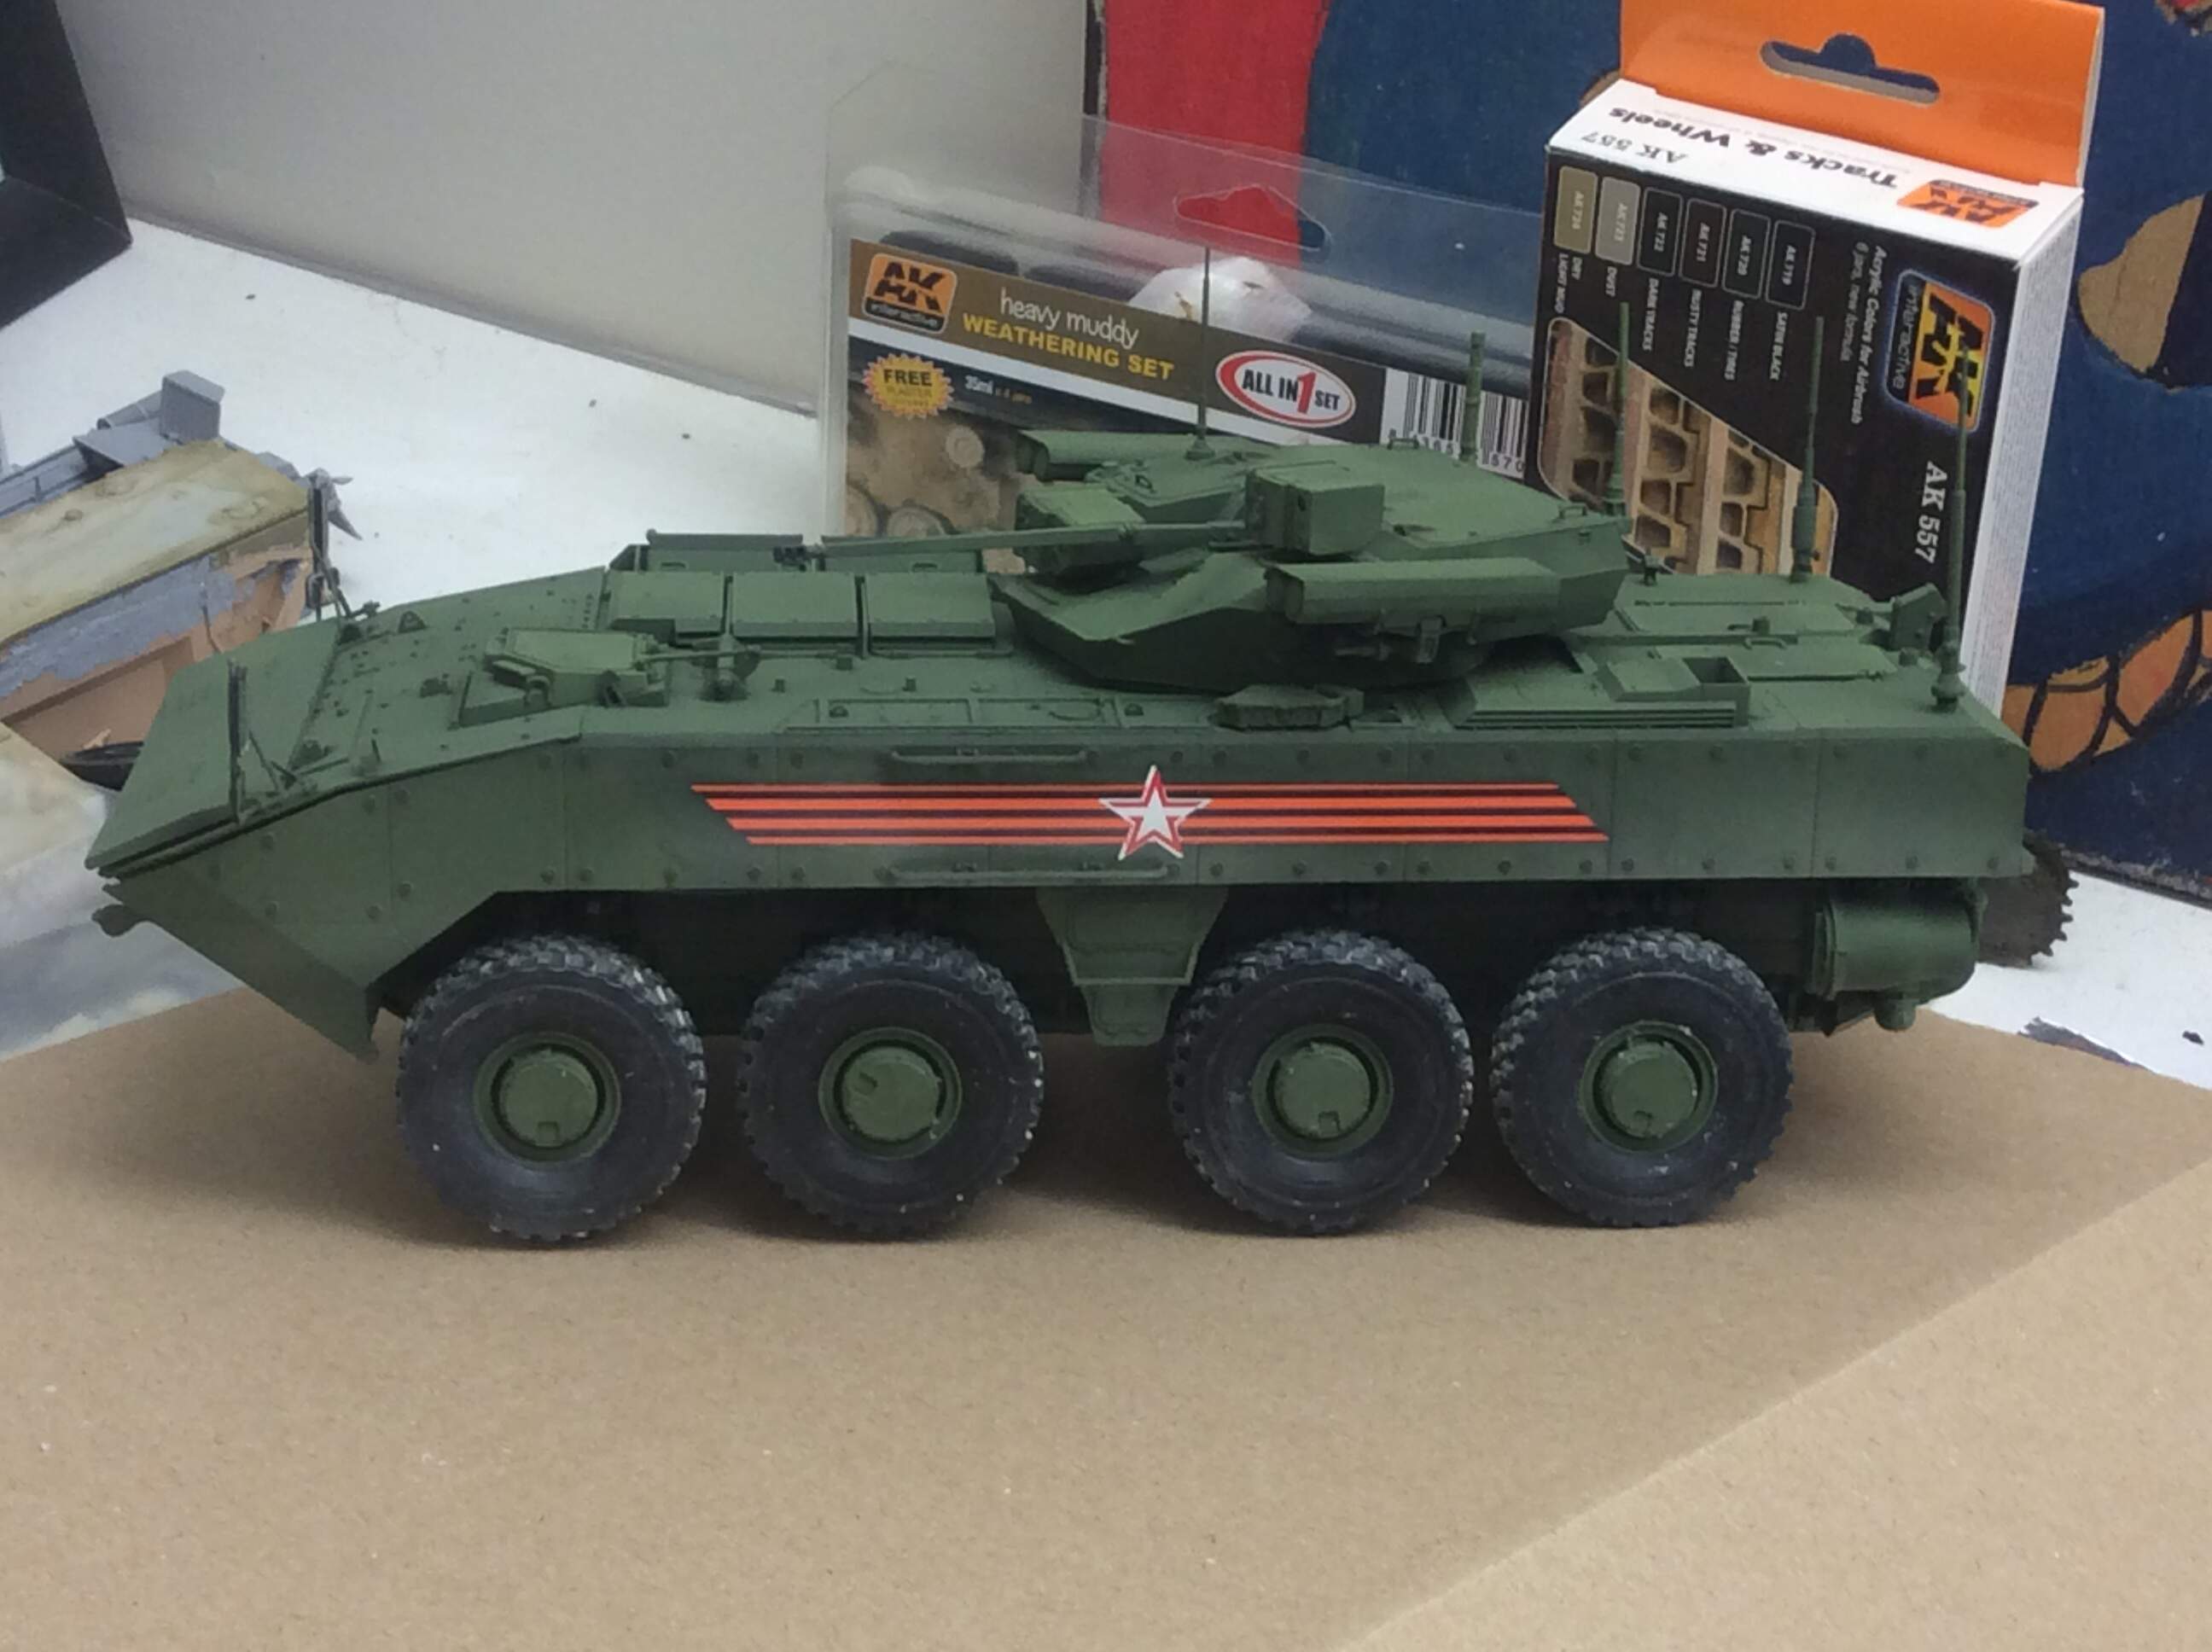
It’s big, it’s green, and pretty mean.
1 Like
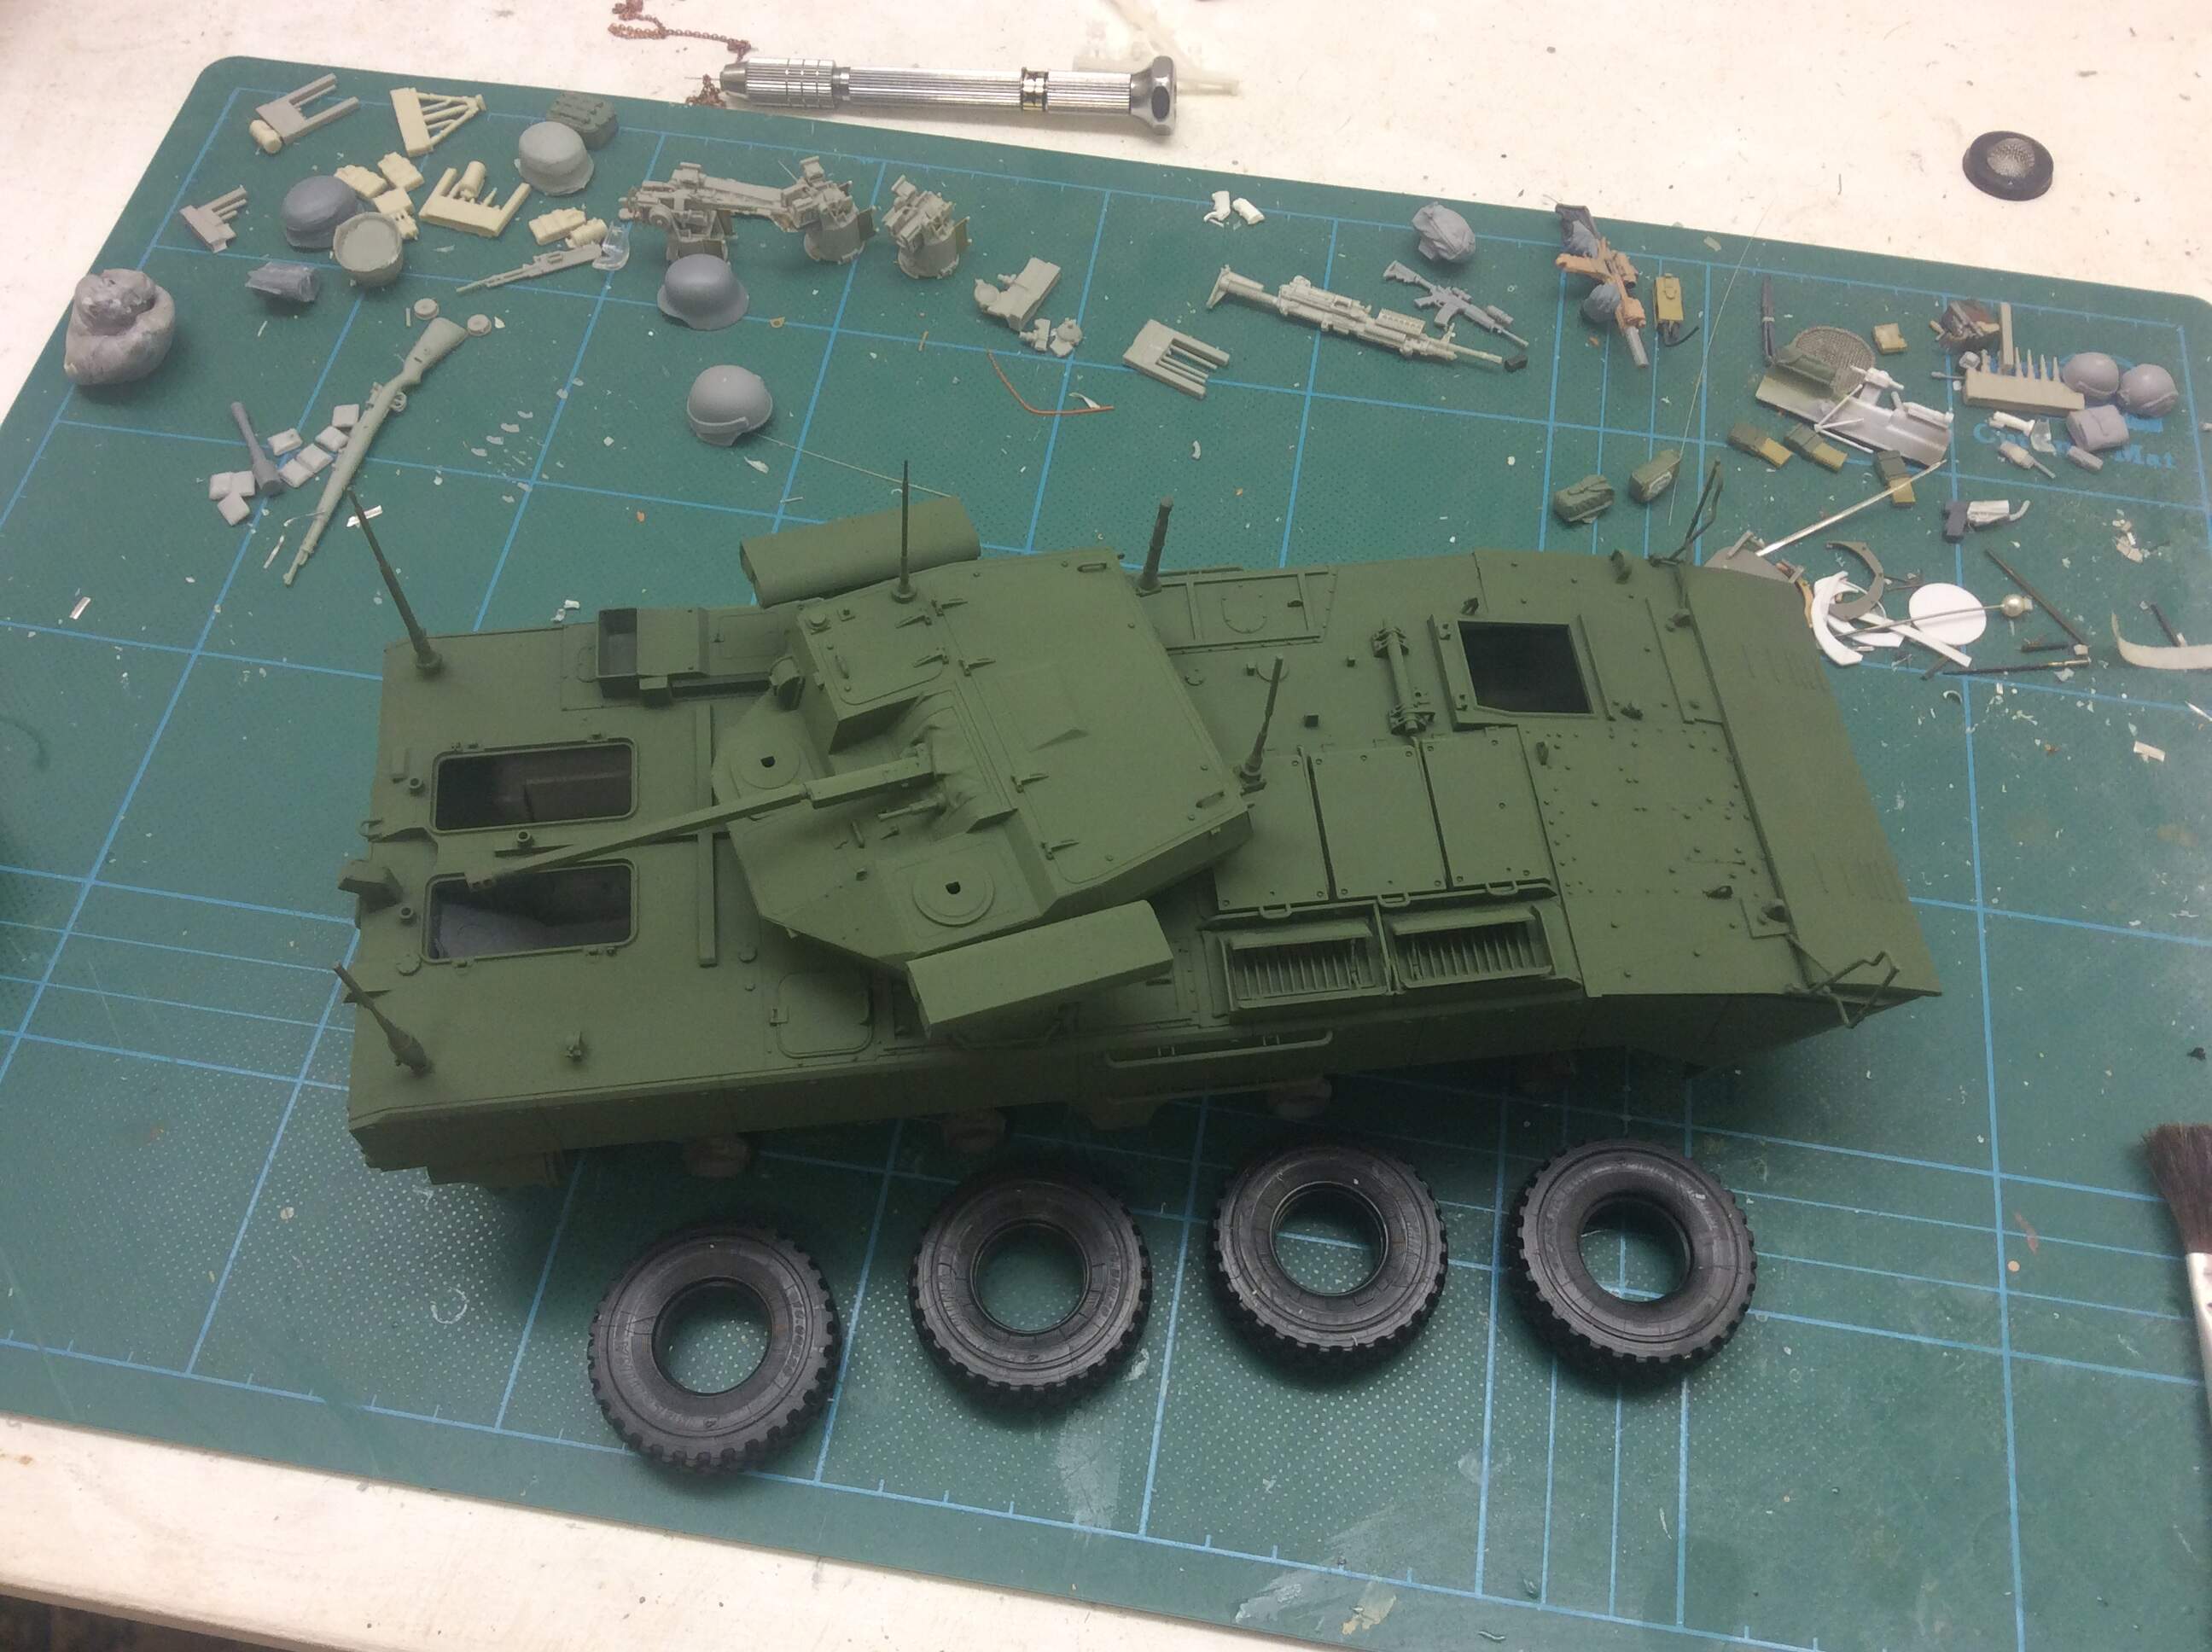
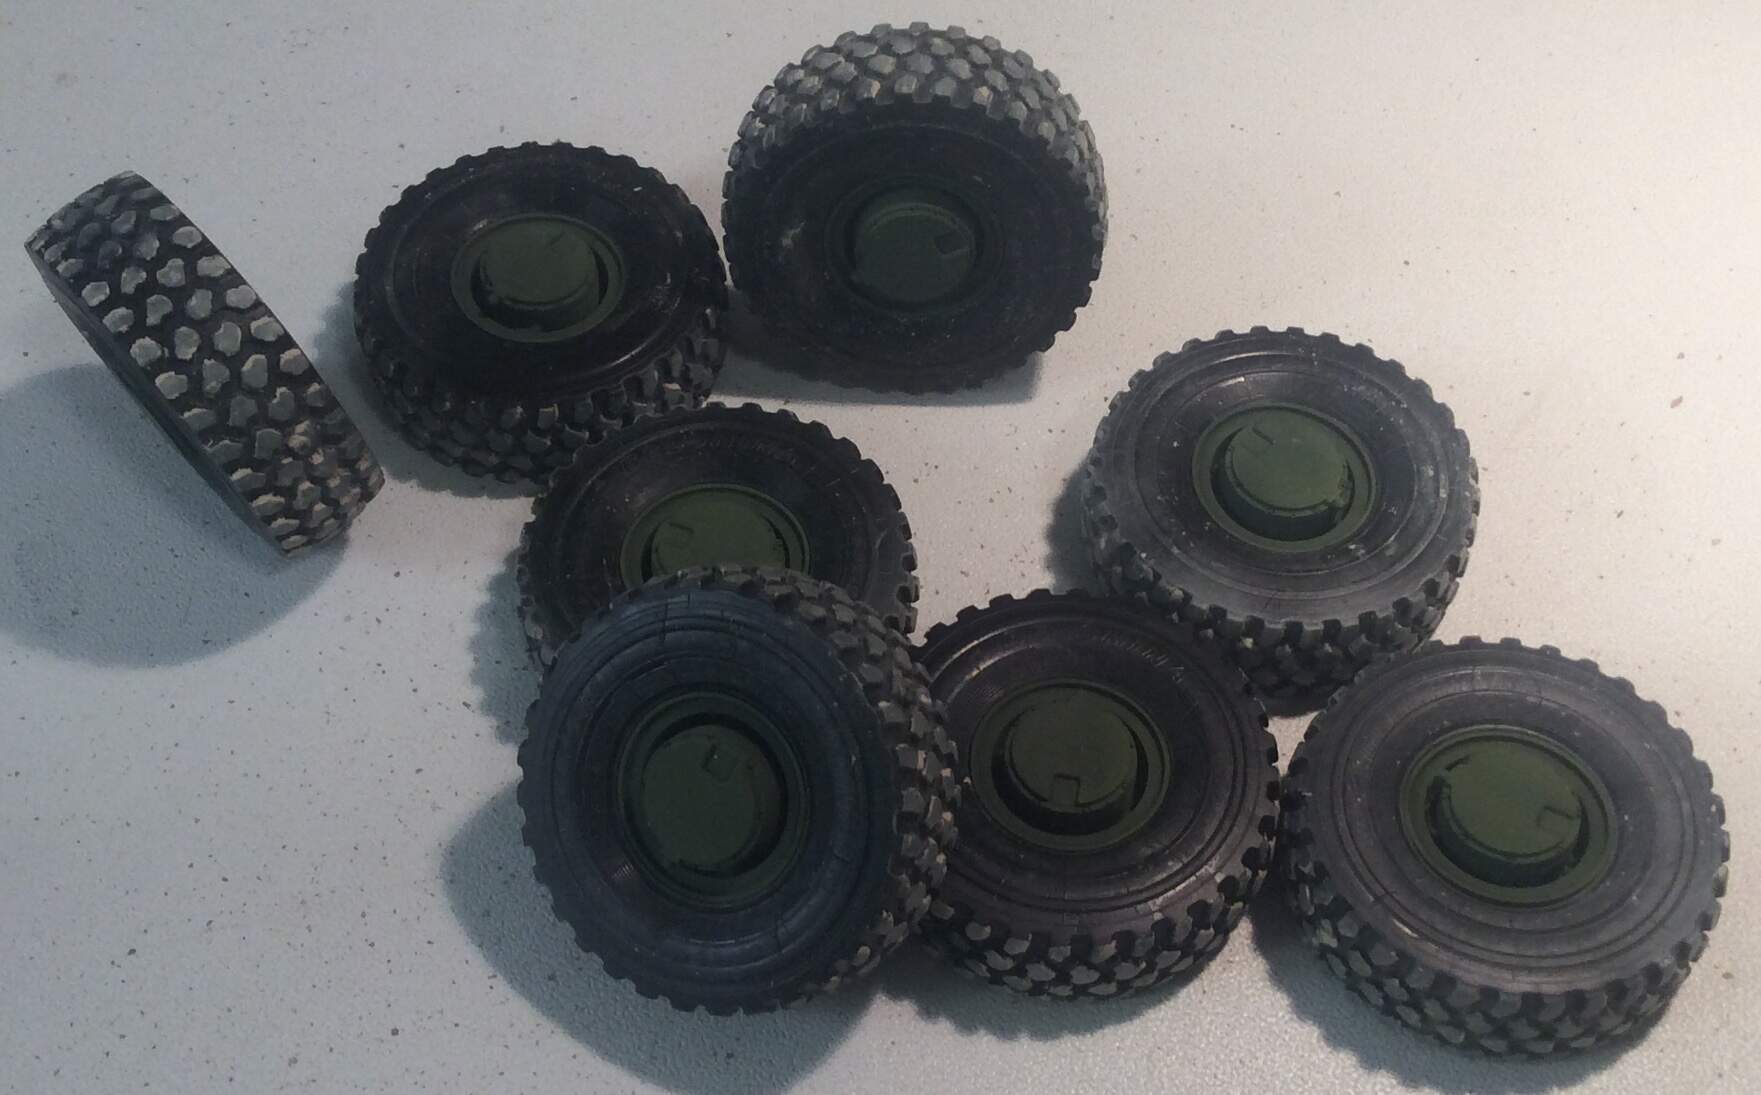
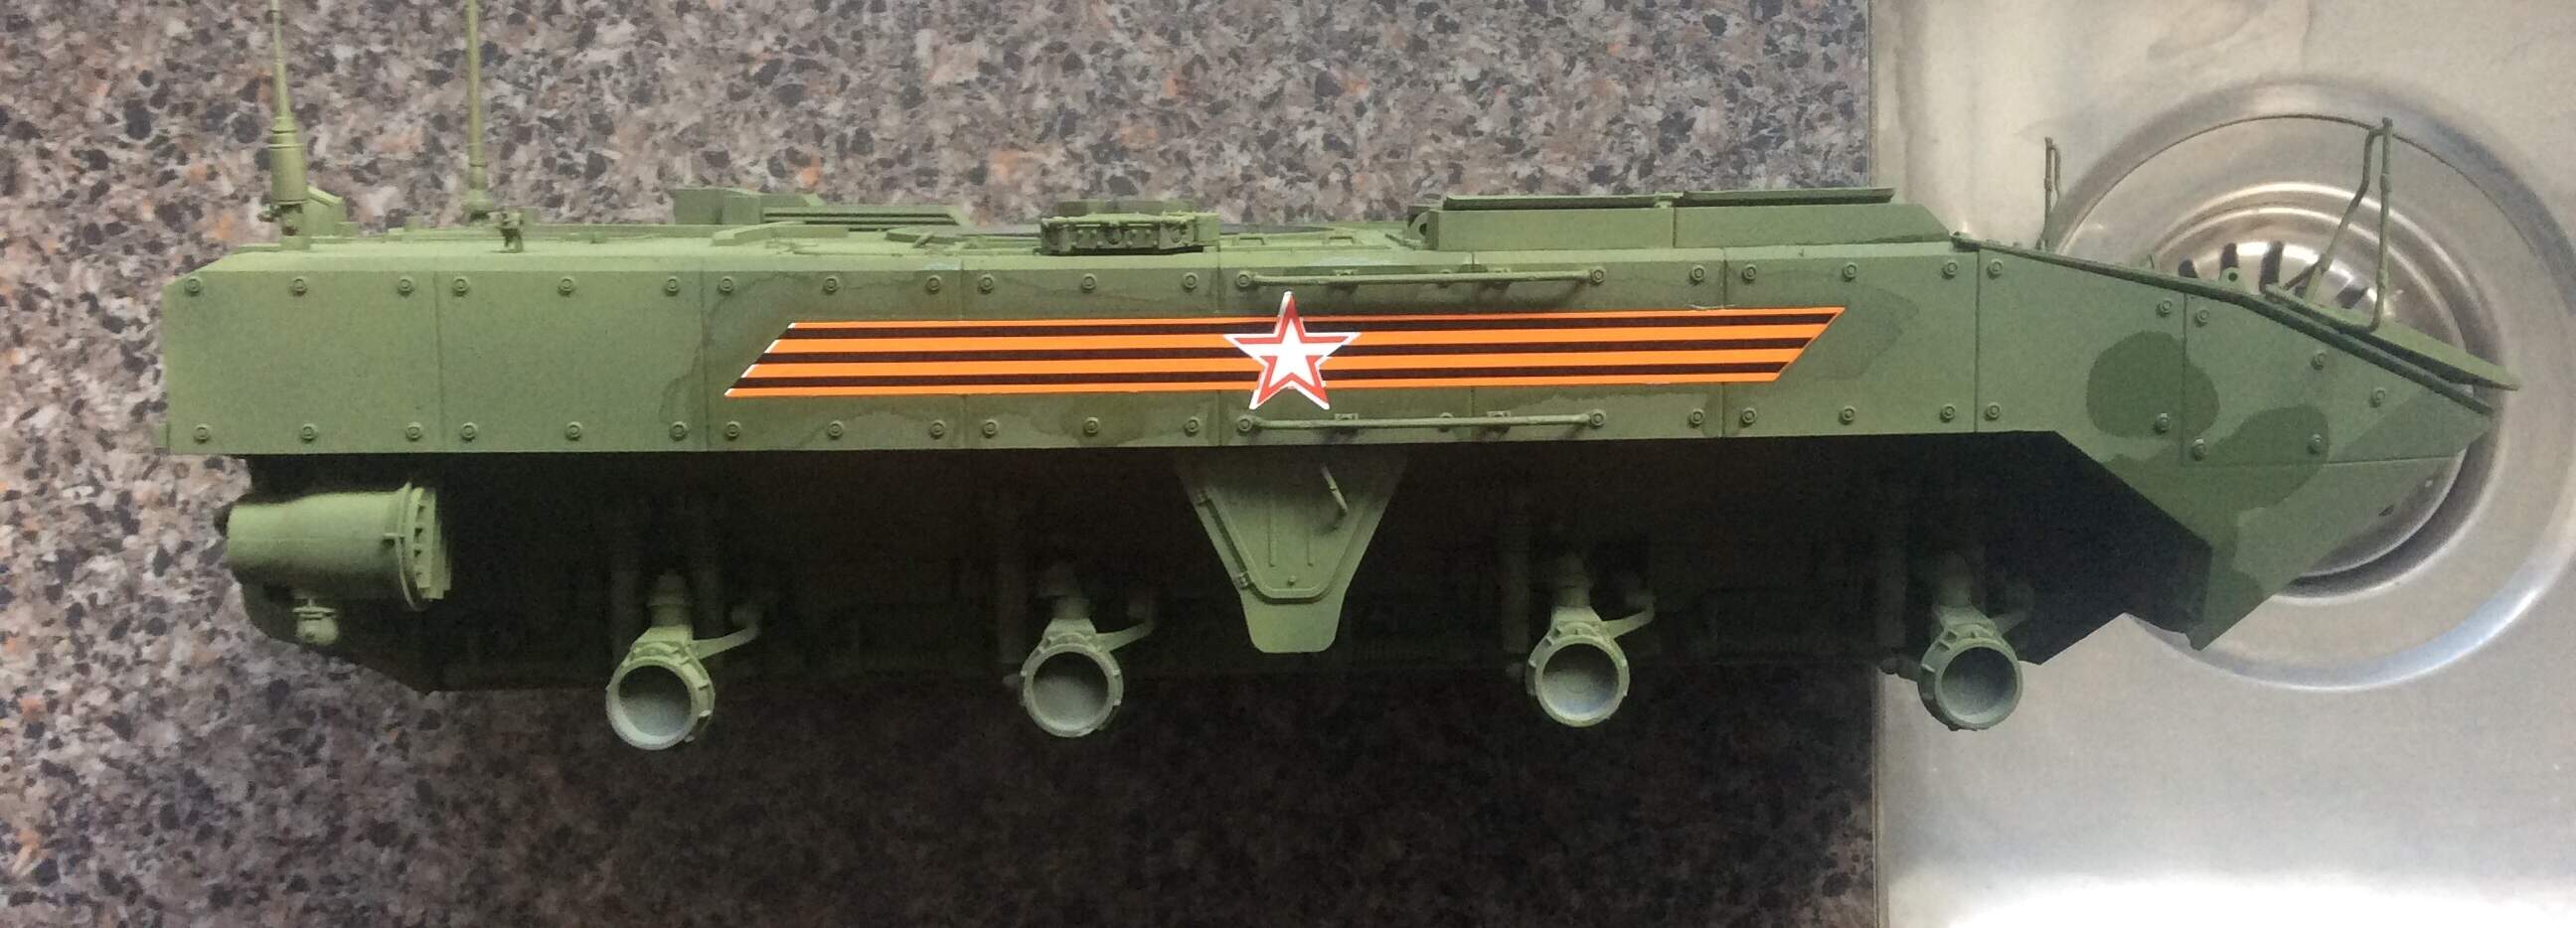
As I’m going for a parade vehicle, I’ll be keeping weathering to a minimum, with a focus on the wheels…
And the hull, with some tonal differences in the mono-green scheme…
Decals, washes, weathering to come. Then fitting the wheels and mirrors.
Ok, it’s been almost a fortnight, and I’ve done some more work. The mirror decals look good, if a little small once in place.

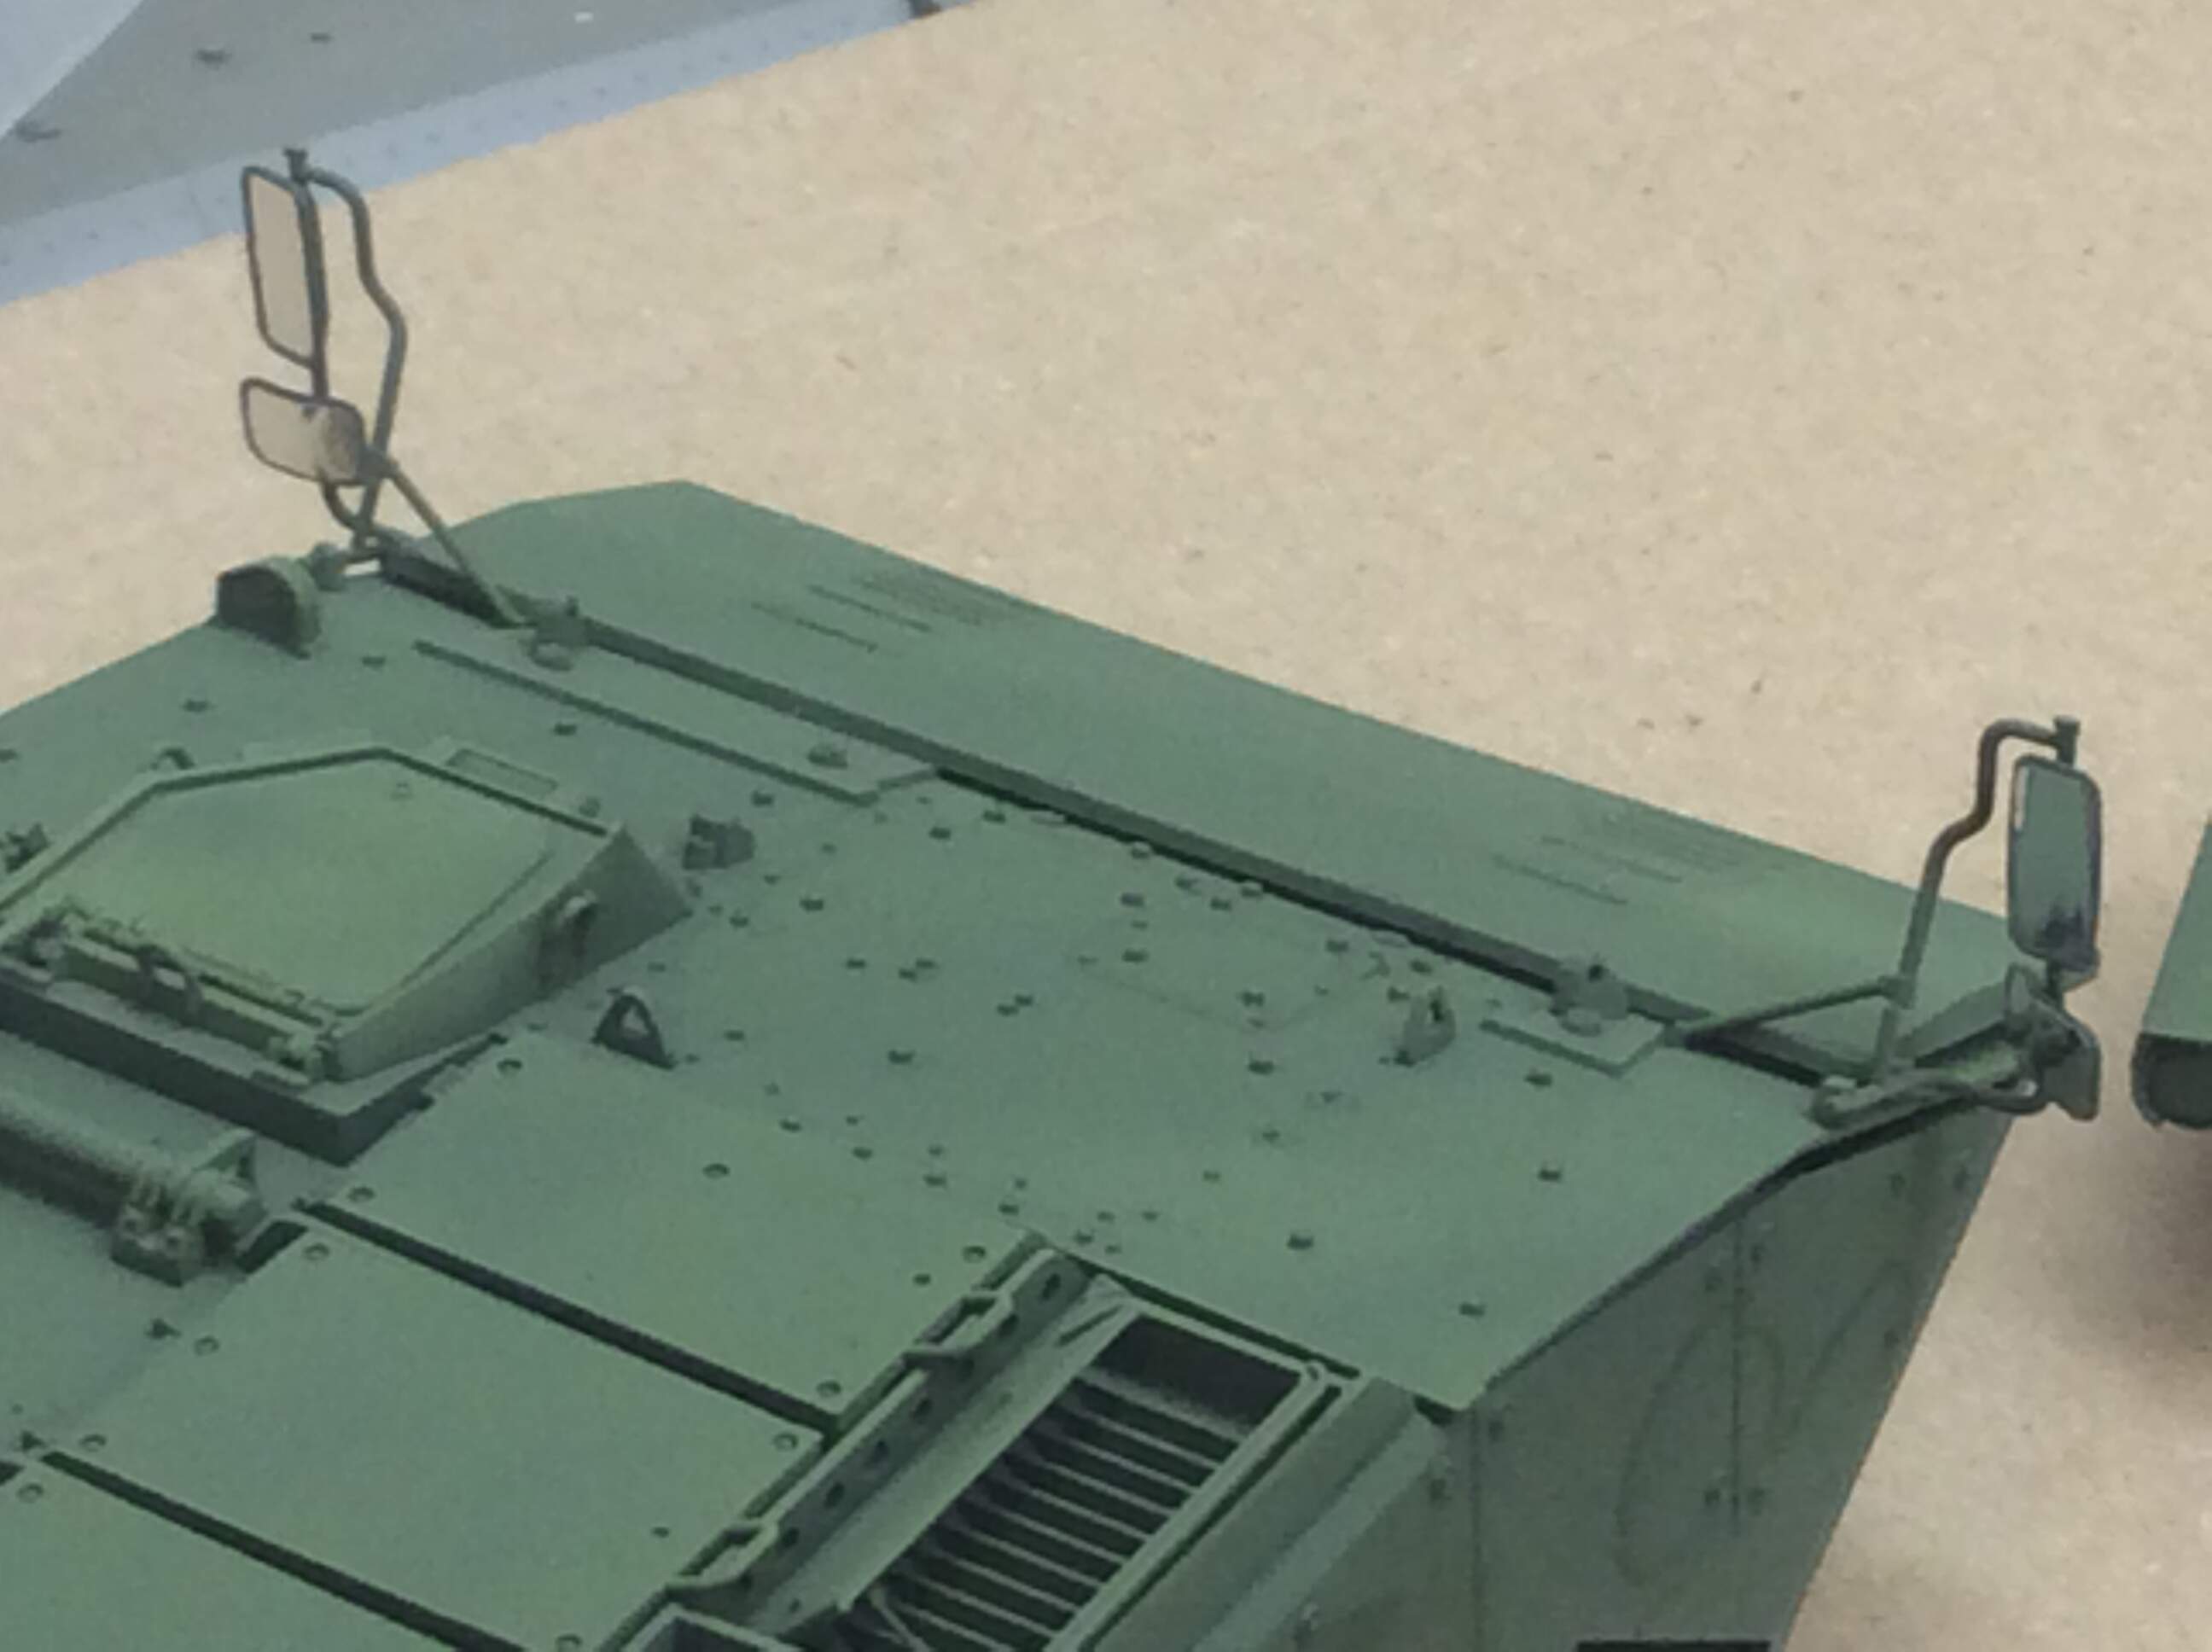
Buy you get the idea. I was worried about the mirrors not fitting firmly, and watching them slide down the frame… but no, all the mirrors fit really well, and stayed in place whilst the glue dried.
I’ve done some minor weathering, and it is all coming together rather nicely. I did leave one of the rear hatches unglued so I may add a figure later, if necessary. Also, the driver’s hatch is just sitting in place.
I’d recommend this as a kit, even though I think I misfit the front plate as there is a gap at the sides which shouldn’t be there. I did test fit / dry fit, before gluing it in place, and it is too low. The piece seems to sit best here, which is all the more annoying to end up with a gap.
A couple of light layers of dust, and some pigment should see this finished this week.
Kylie
3 Likes
Guess I’ve missed something about the mirrors decals. Do they come in the Zvezda box? They look really good.
Since I got Molotow Chrome pencils I only use them to depict the shiny effect of the headlights and the mirrors.
Olivier
Hello Olivier,
The stickers are included in the kit, and do look good once in place. The kit also comes with a length of rope for a tow cable, but this isn’t mentioned in the kit. As there are towing eyes included, too, I believe there may be a second version pending.
1 Like

This has been a great build, which I’d recommend to fans of modern / Russian / wheeled APC. No real traps to watch out for, take you’re time and remember, results may vary.
2 Likes
Nice result. Thank you for sharing your experience. It’ll sure prove useful when I start mine.
Olivier
I must admit, it has rekindled my interest in modelling Russian subjects… I’m contemplating a Terminator 2…
I’d recommend closely following the instructions and checking part orientation before gluing. Not that I came foul of any rush, but there are places in the build that it would be easy to incorrectly align a part and not know until it was too late.
1 Like