Here is my last castle shell in 3D printing. Never say never, but I still have Tannenfels Castle, Castell de Mur, and Schlössel Castle to build. All of them are smaller structures in reality, but quite large in 1:72.
In a narrow part of the Lauter Tal (Lauter valley/Swabian Alb), the small Reichenstein Castle sits enthroned on a slope. It lies on the edge of a high plateau.
The Hohenstaufen castle complex is only partially preserved. The keep was rebuilt as observation tower with beautiful views of the surrounding Landscape – but not true to the original.
Reichenstein Castle was built during the Hohenstaufen period between 1230 and 1250.
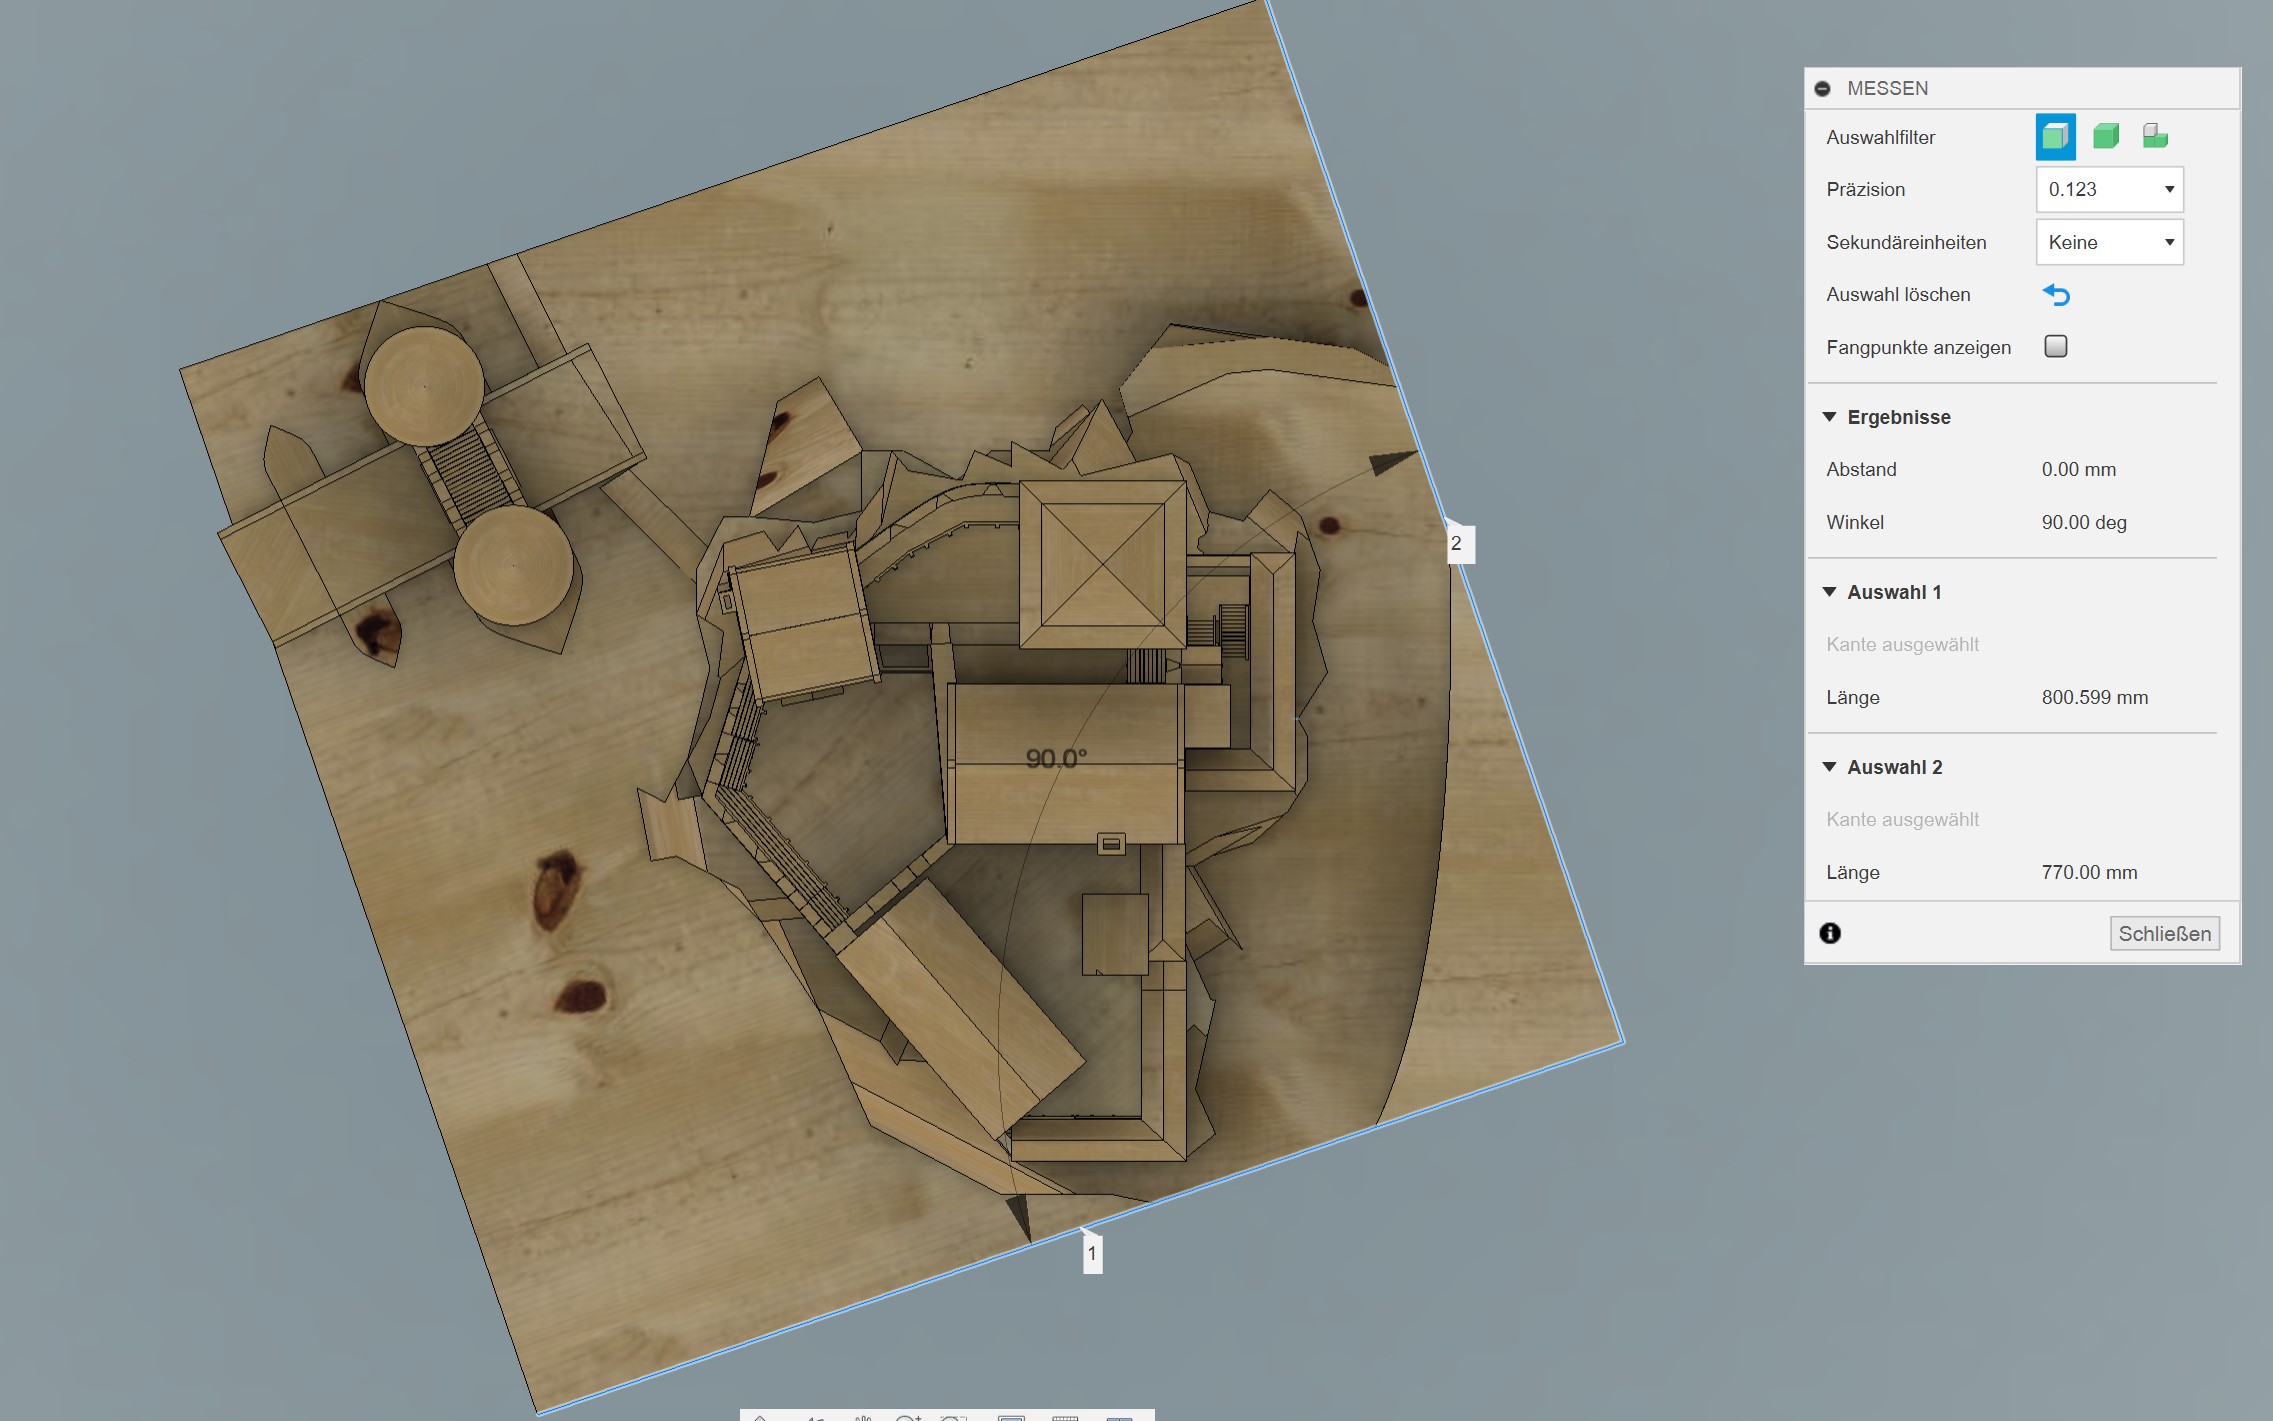
The dimensions of the original are approximately 30 x 25 m - so a small castle. The model was designed slightly larger: 46 cm = 33 m in width, 40 cm = 29 m in depth.
Source: F.W. Krahe, Burgen des deutschen Mittelalters, Stürtz Verlag Würzburg 2000
The construction was again based on this floor plan and the sketch on burgrekonstruktion.de (see above).
It was constructed using the CAD program Autodesk Fusion 360.
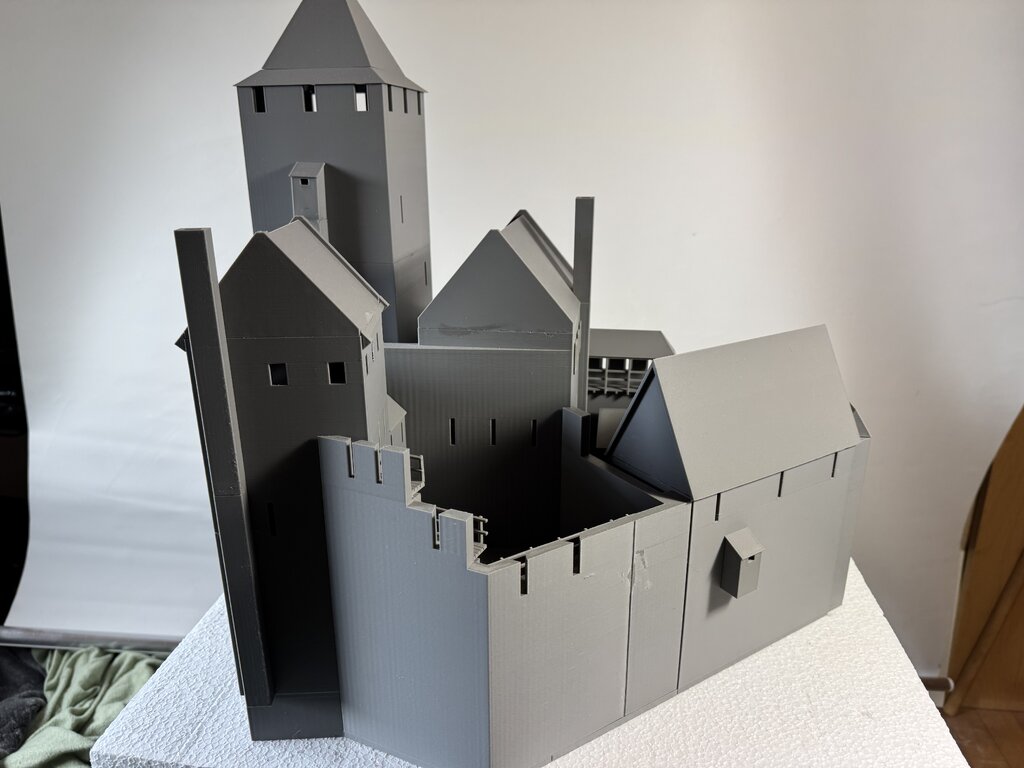
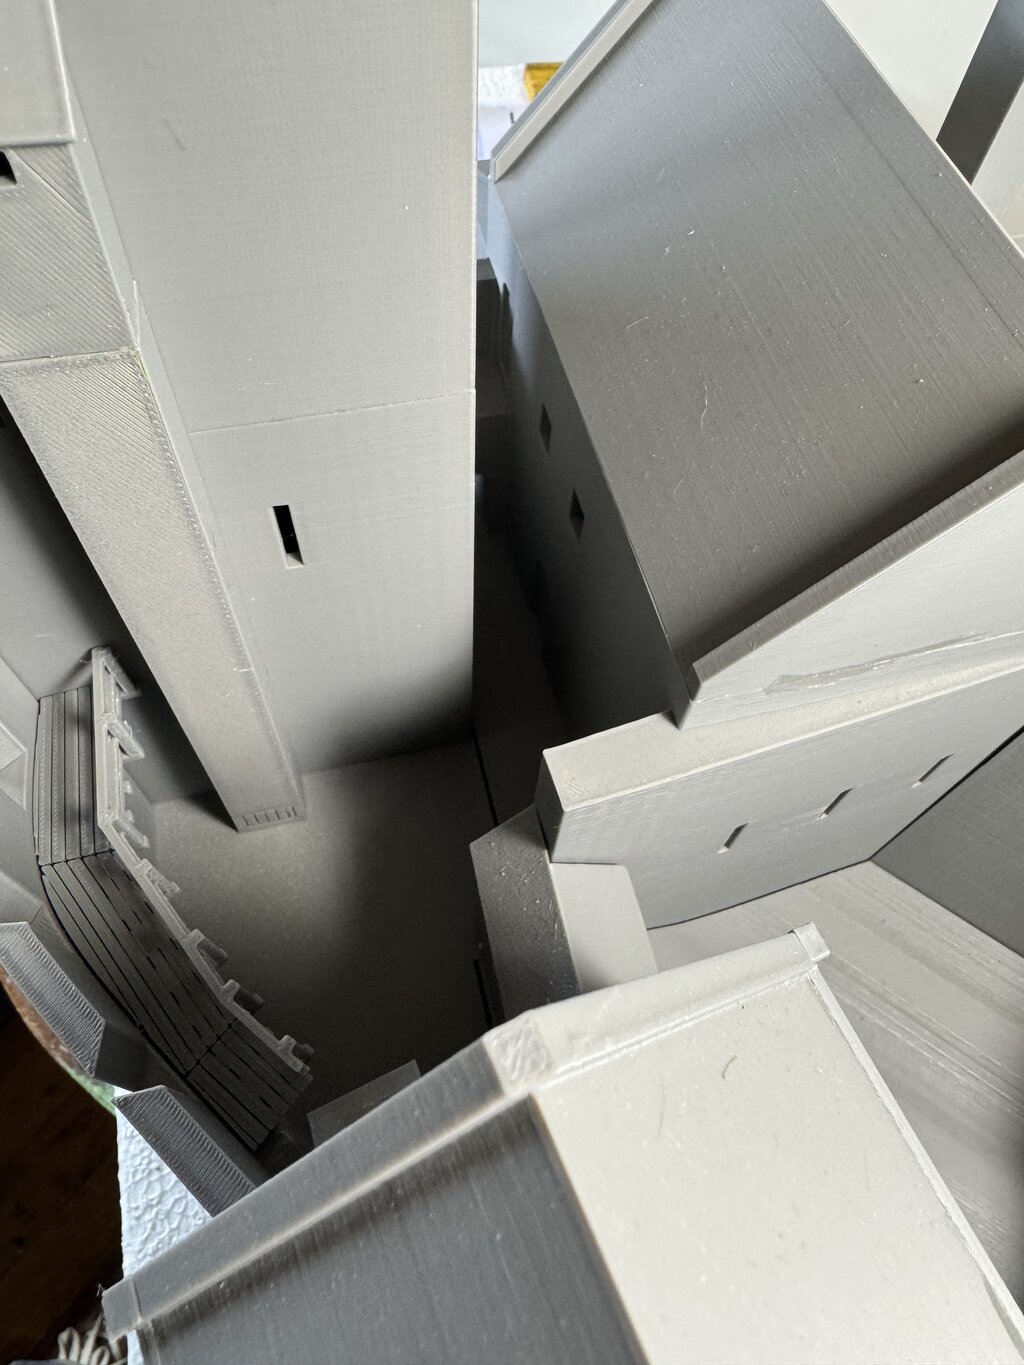
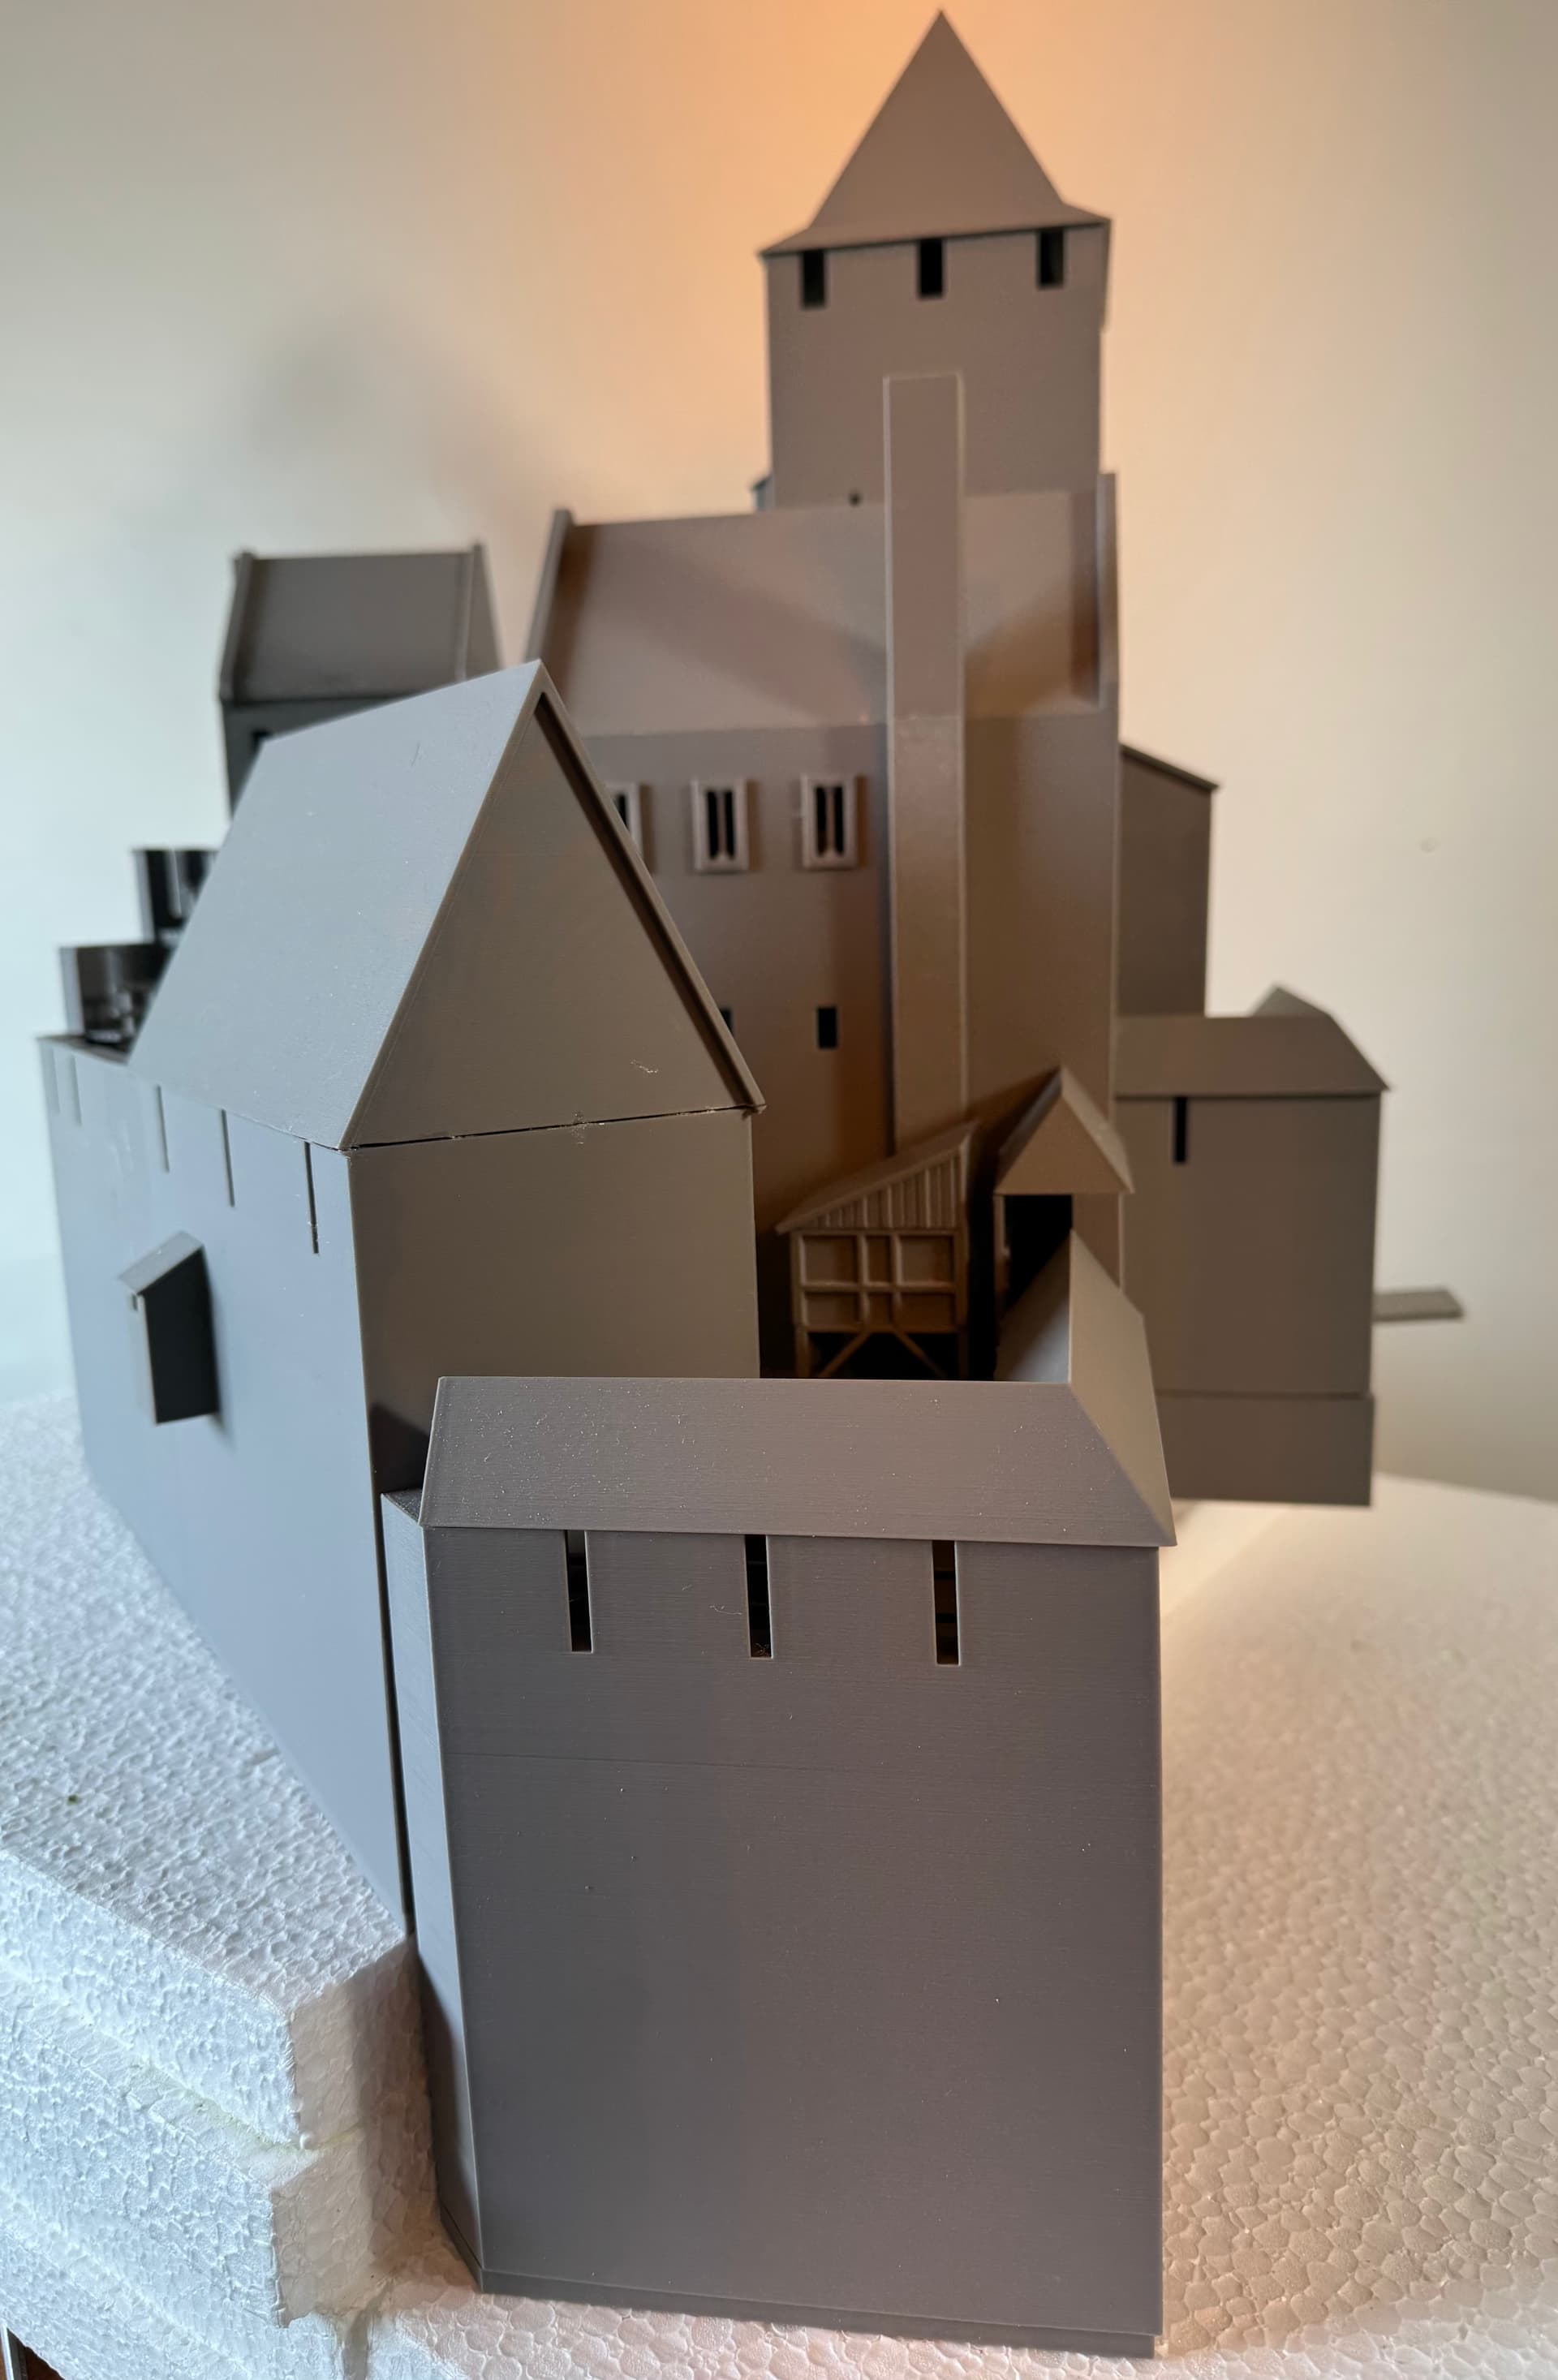
And this is what the castle looks like in print so far. I’d like to add a few more details, but it already gives a good overall impression.
I’ve also printed the base for the different height levels of the buildings and walls.
The keep means in german „Bergfried“. It is the tallest tower. This had a representative function, as it was visible from afar and was usually the last refuge
I’ve been working on this model for a while now.
I’ve come up with an interesting diorama variant that I’d like to try out. The castle will be built on a rock to guard a bridge. A similar configuration to the real one in Runkel on the Lahn in Hesse.
I drew a simplified version of the rock in Fusion 360 to get an overview of the layout and size.
The bridge was constructed and printed as a section, otherwise the diorama would be too large.
The towers and the attached house printed today are for the bridge guards. They are also responsible for “collecting” the bridge toll.
Here is the current status…using the photo of Runkel as the inspiration and Reussenstein Castle as a model for the rock design. Unfortunately, the house on the bridge isn’t yet present in the screenshots of the drawing.
The rocks are now completely printed. Due to the height of approximately 70 cm and the basic dimensions of 85 x 78 cm, I need to come up with a solution to make the separation as inconspicuous as possible. I decided to make the castle rock removable.
This is very difficult to implement, even with 3D printing. First, I printed fitting pieces that fit the rocks precisely, with a straight end on the side facing away from the rock. These can be seen in the pictures by the stepped ledge at the bottom of the castle rock. Thanks to the straight end, I don’t have any fitting problems with the Styrofoam. Furthermore, the 3D print is more stable than if I had pieced Styrofoam onto it. This is especially important when assembling the pieces.
Another measure to hide the separation joint between the castle rock and the slab.
A watermill with a canal is placed below the castle rock. The building is attached to the removable castle rock, and the waterwheel with a canal is attached to the slab. At the same time, this construction prevents the castle section on the base plate from slipping to this side.
The medieval city - or otherwise the part of the city that fits the diorama - is finished. The house on the bridge was placed on the other side of the towers. In addition, the bridge on the side was provided with battlements. So the bridge is part of the city fortification. Another house with a boat base came on the bridge. The houses were printed. A stable came into the city and a dandruff next to the mill. The floor level was adapted to the bridge height using 3D fillings. So soon the manual work can come.
Thank you very much. After a certain period, I acquired the most important steps for building construction. Learning by doing. Fusion 360 is an excellent CAD program. In addition, I have 3 very good 3D printers. I had to gather some experience there as well. It is important to me to print the individual parts with as little support as possible. This requires careful consideration of the position on the print bed and cutting larger parts.
Smaller details with important impact have been added.
The stone arches on the bridge, cornices on the bridge walls.
Not visible, but very important for the further design: the bridge connection to the city was fixed, allowing the lowest pier elements to be glued to the plate. The bridge has its final location. I had done this work before. But because the house was moved to the other side of the towers, it had to be done again.
A ladder cart was printed.
Then a fitting piece was added, as the connection element was missing 3 mm due to the modification of the bridge.
The visible wooden surfaces are designed entirely as a riverbed.
Here is the “3mm fitting piece” for adapting the connecting element to the Diorama edge
Thank you, Sam. A very great compliment. I am dependent on self-construction, because there is no such thing as a commercial model. But constructing is also a lot of fun. You can change and add as you like and implement your own ideas. It will also always be unique.
The city has been slightly changed. A building (first picture blue marked) was removed because the design of the roof was disturbing. It extended down to the ground floor, which was atypical for a townhouse. The house was replaced by an extension to the second house behind the bridge on the rock side. In my opinion, this looks more coherent.
The shed near the watermill was replaced by a complex building whose floor plan has been adapted to the course of the rock. The building consists of an attached shed, a residential house, and an extension.
Ich habe eine frage zu deinem aktuellen stand: Sind die Häuser/Gebäude/Brücken einfach so da oder sind sie mit Sicherungsstiften verbunden?
Ich nehme an, du musst sie zum Bemalen und Detaillieren herausziehen, bevor du sie wieder an ihren Platz setzt. Hast du dafür ein System oder einen Plan, um sicherzustellen, dass sie nach dem Bemalen wieder an der richtigen Stelle landen?
Nochmals vielen Dank fürs Teilen!
Another day, another masterpiece by Frank!
I have a question about the stage you’re at now; are each of the houses/buildings/bridges just placed there or are they connected with locking pins?
I’m assuming you have to pull them out to paint and detail before putting them back in place. Do you have a system for that or a plan to follow to ensure they go back in the right place once painted?
I was pondering whether some model-makers would say it is cheating to 3D print, and that everything should be built with wood/metals etc. in the old-school fashion. My conclusion is that those traditional materials were all that was available in previous decades/centuries to build anything, and that those earlier generations in Model-makers’ Valhalla are likely to be looking down at us saying “Are you kidding?? You can do that with a machine now?? I was born way too early, it would have saved me so much time to achieve such realistic effects with 3D printing“.
Which is the whole point of modelmaking isn’t it, Realism?
Credibility, rather than realism, I’d say. Certainly reproducing an actual subject with the greatest possible fidelity is a laudable goal, but even in 1:1 scale there are usually compromises, and as the second digit increases so do the compromises. And then there is artistry: great art of the past often eschewed fidelity for effect. So model-making like any other art form is subject to compromise; while we work for our own satisfaction there is always in the background thoughts of how it will be seen by others, pin-point accuracy may not be enough to hold the eye. Even the fantastical must be approached with the same rigour as reality if it is to look good (the exception being three-dimensional cartoons or caricatures), the old masters applied the same skill whether the subject was real, biblical, classical or fantastic.
Thank you for your comments.
I know that many modelers disagree with 3D printing. It’s nothing different than plastic model making…with one difference: you design your models and build them yourself. So far, the diorama has around 320 parts that also need to be assembled. Of course, the houses are built in combination with craftsmanship. The models will also receive a surface finish using self-hardening modeling clay and, of course, paints.
Regarding the removability of the houses and their locations.
The models are hollow inside with a wall thickness of 4 mm. I printed precisely fitting baseplates and attached them to the diorama base.