So, I ordered the Micromir Turtle, because submarines are cool, and I’m enjoying the Hunley model.
*waits for model to arrive…
Hmmm… nope. I want it now. and I feel like making my own anyhow. and I have a 3D printer and the willingness to use it. Shouldn’t be too difficult…
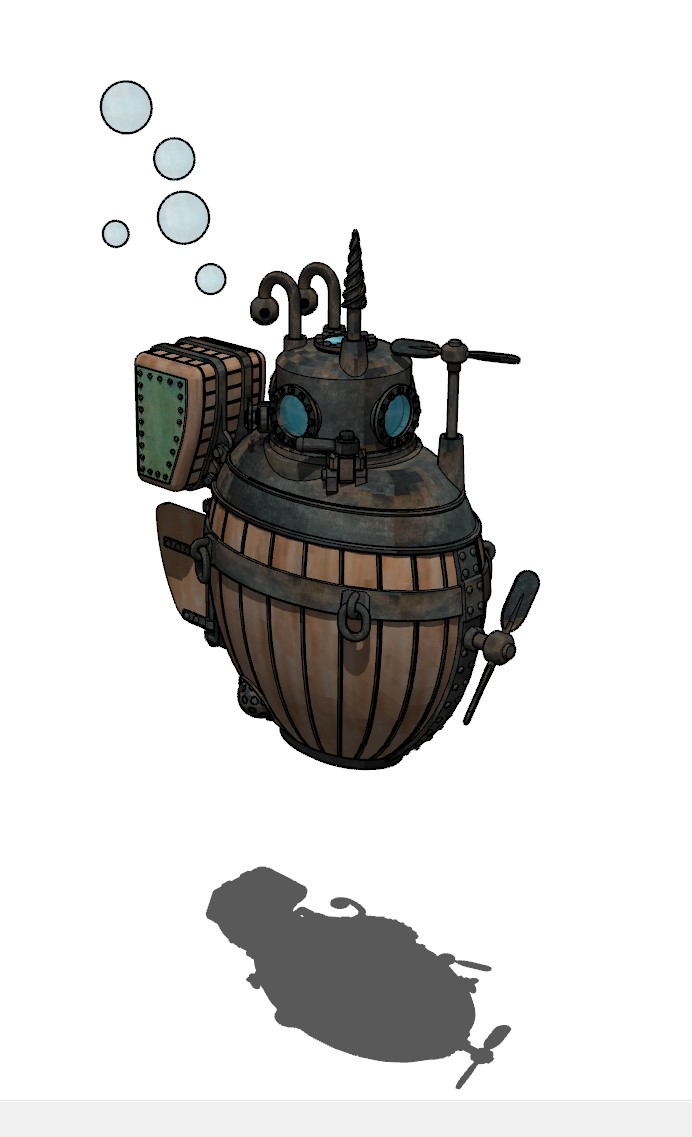
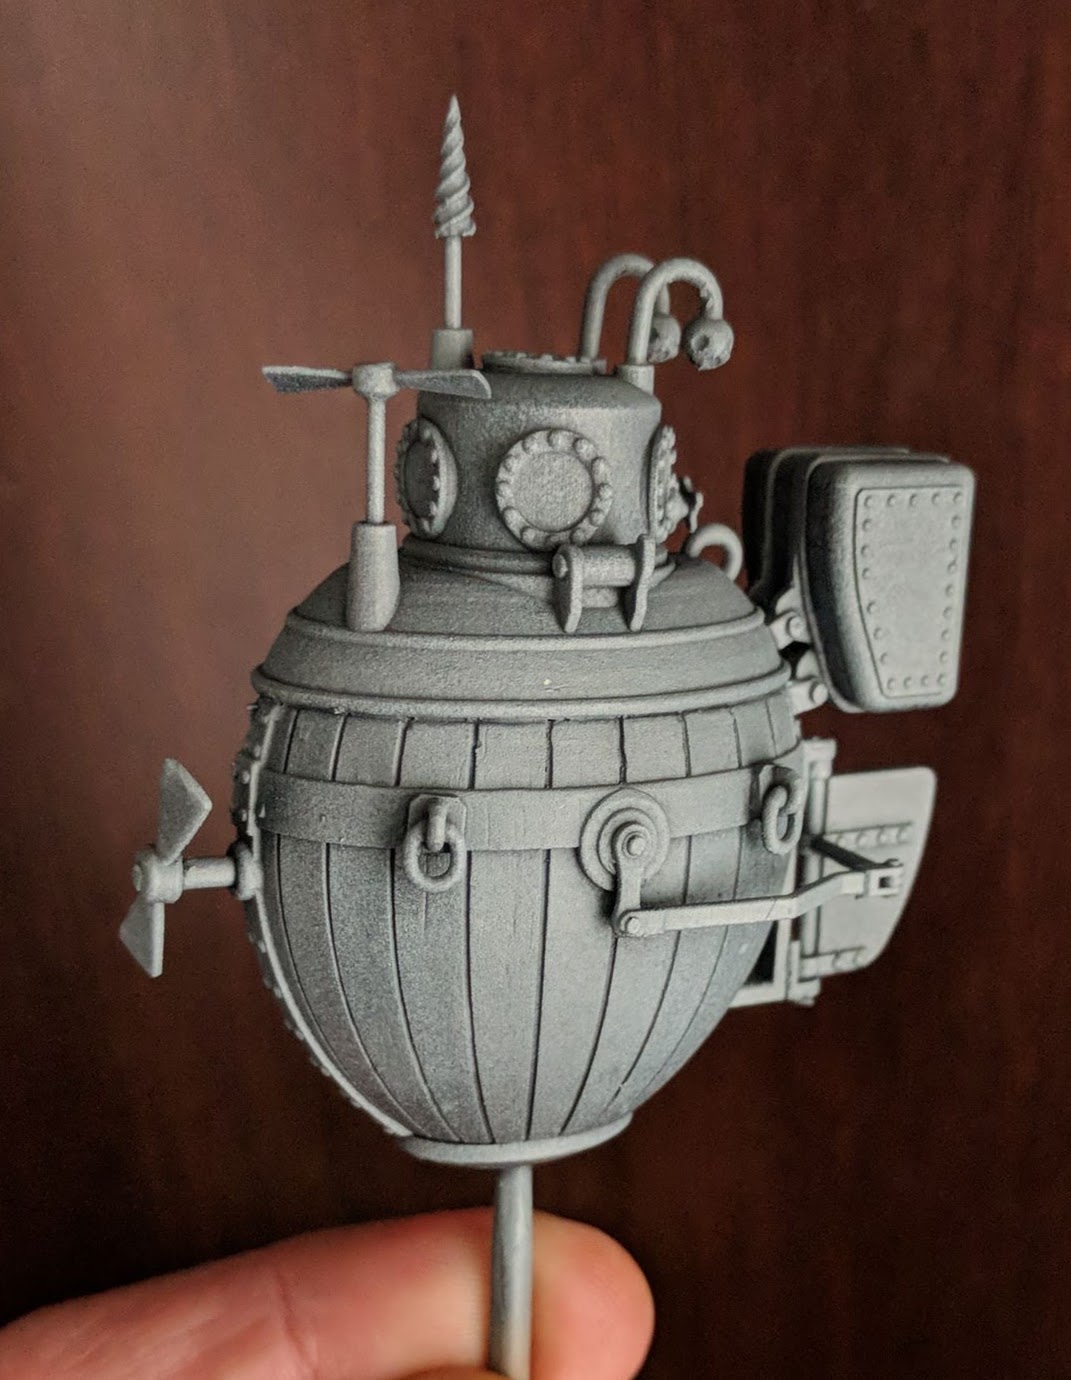
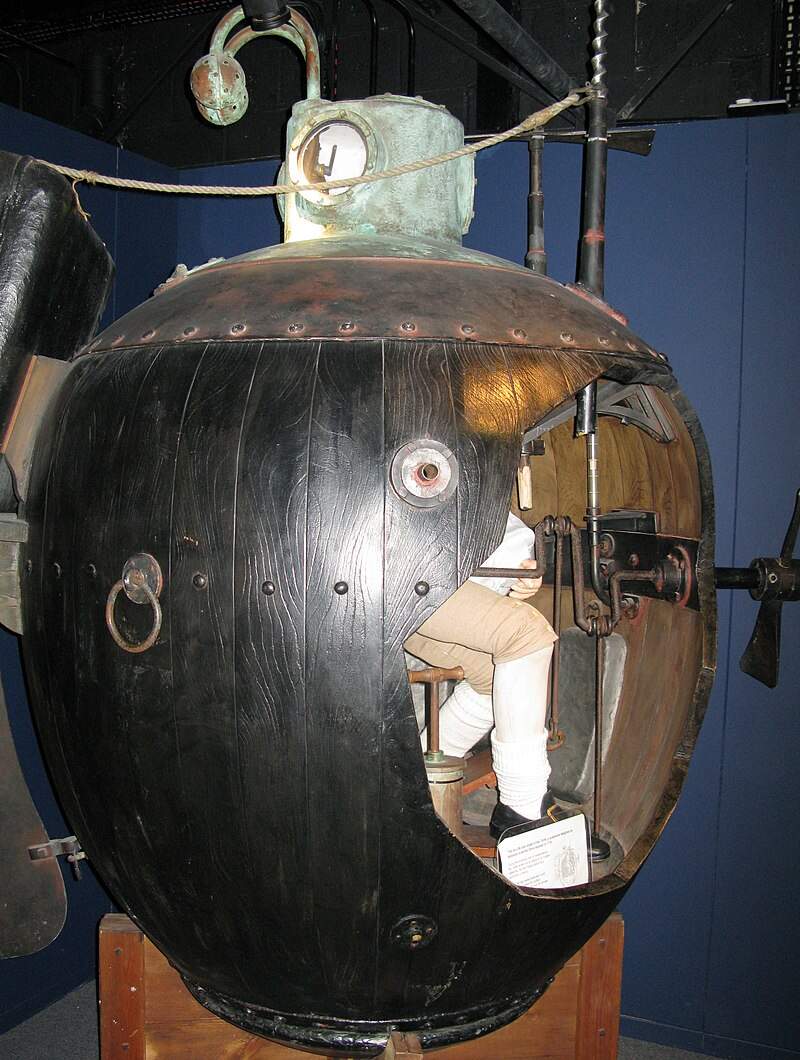
Turns out there’s a lot of anecdotal evidence and vague notions attached to what this thing actually looked like, which is good, because that allows for a certain amount of creativity. Not too much though. despite the lack of hard documentation there is still an expectation of this wee contraptions’ appearance. There are some guessed measurements (approx. six feet high and three feet wide) and some descriptions of various fittings which talk more of purpose than appearance, like the number of windows and the existence of a charge made from wood and iron bands.
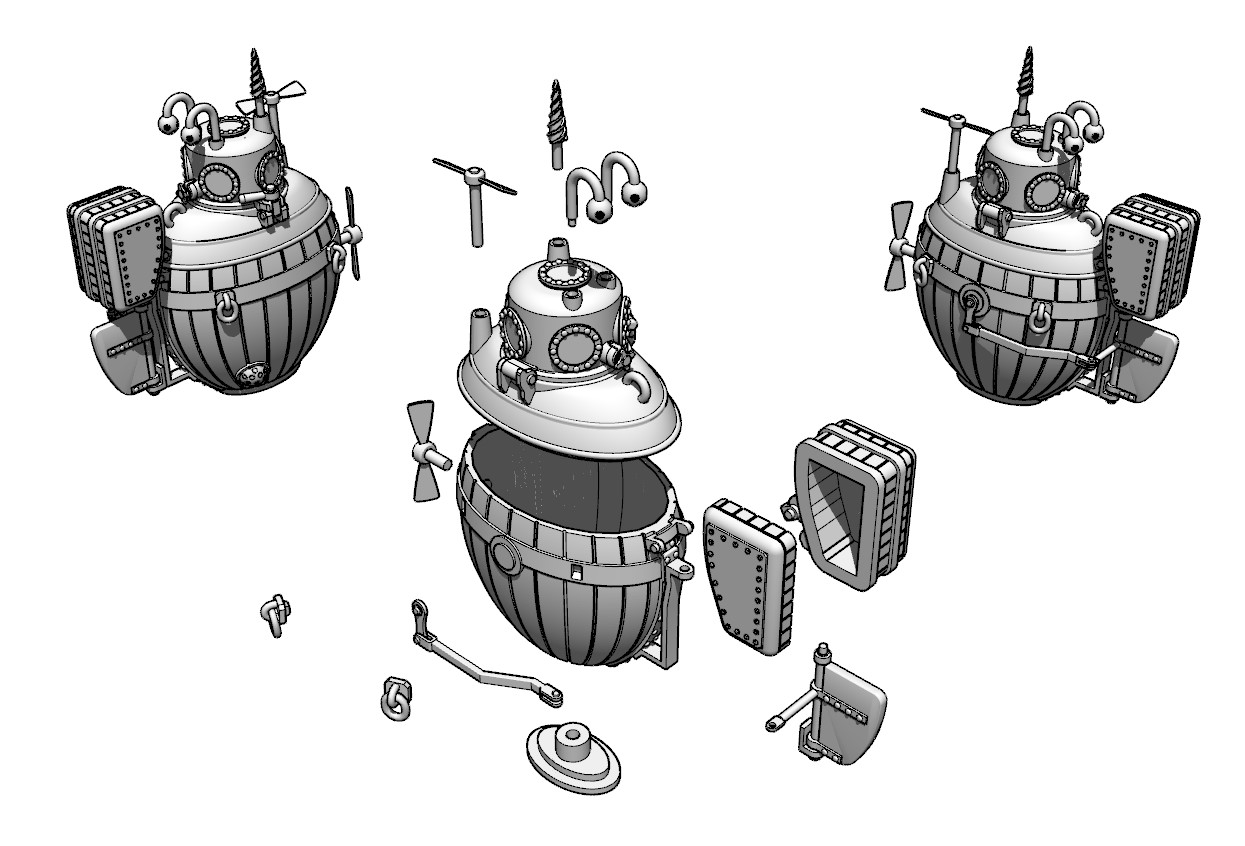
Parts have been designed to allow for easiest possible clean up and reduction in support material. The lifting rings were added because they had to pick this thing up somehow and hinge and hatch locking mechanisms because some poor bugger has to get in and out.
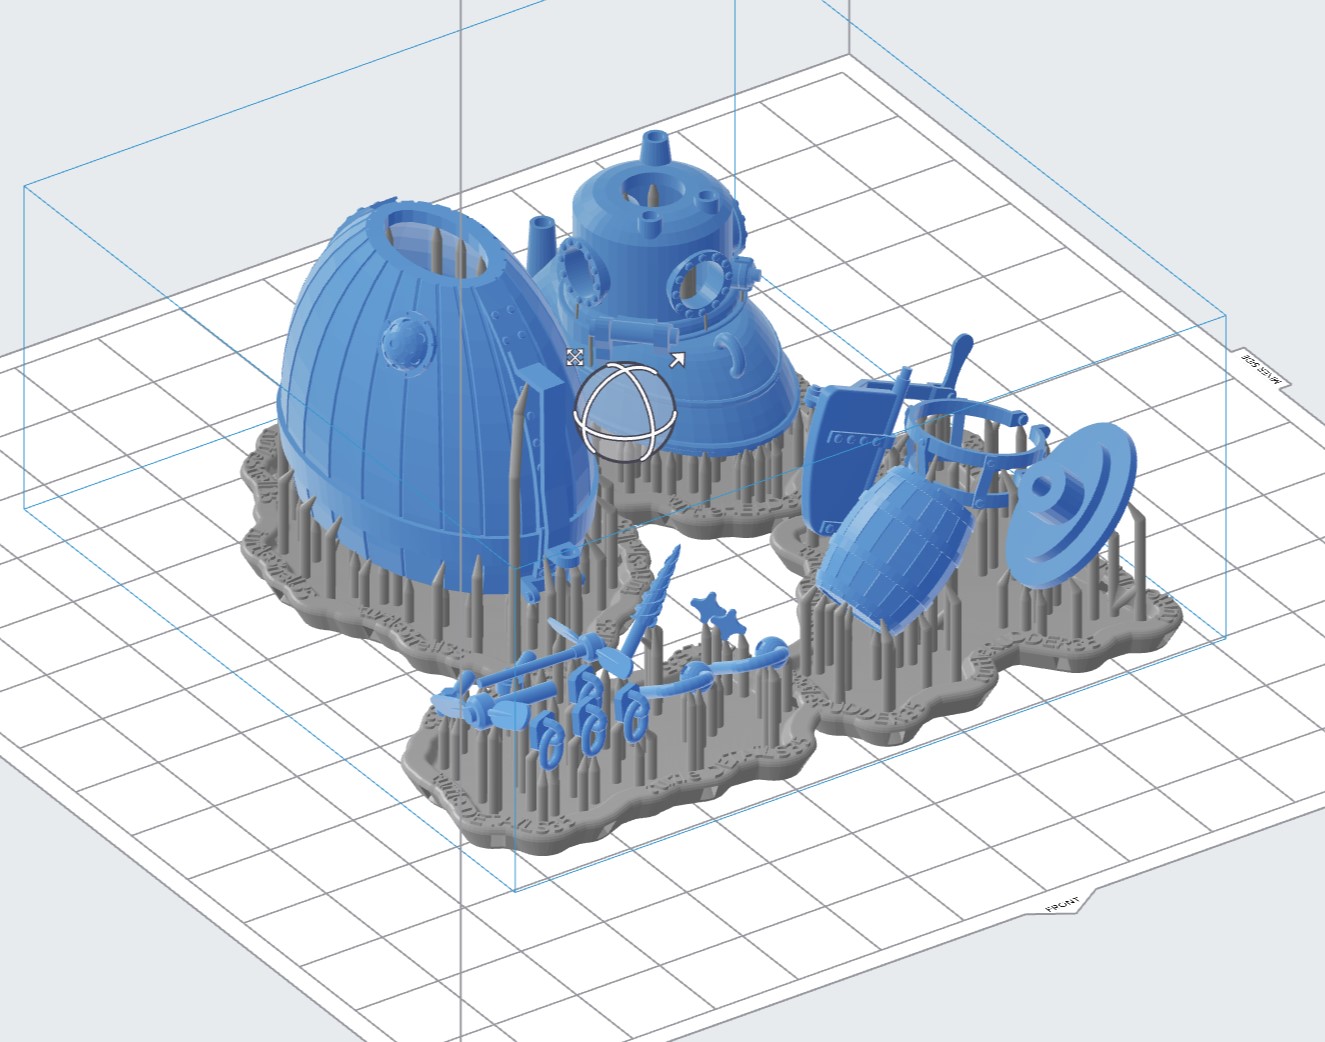
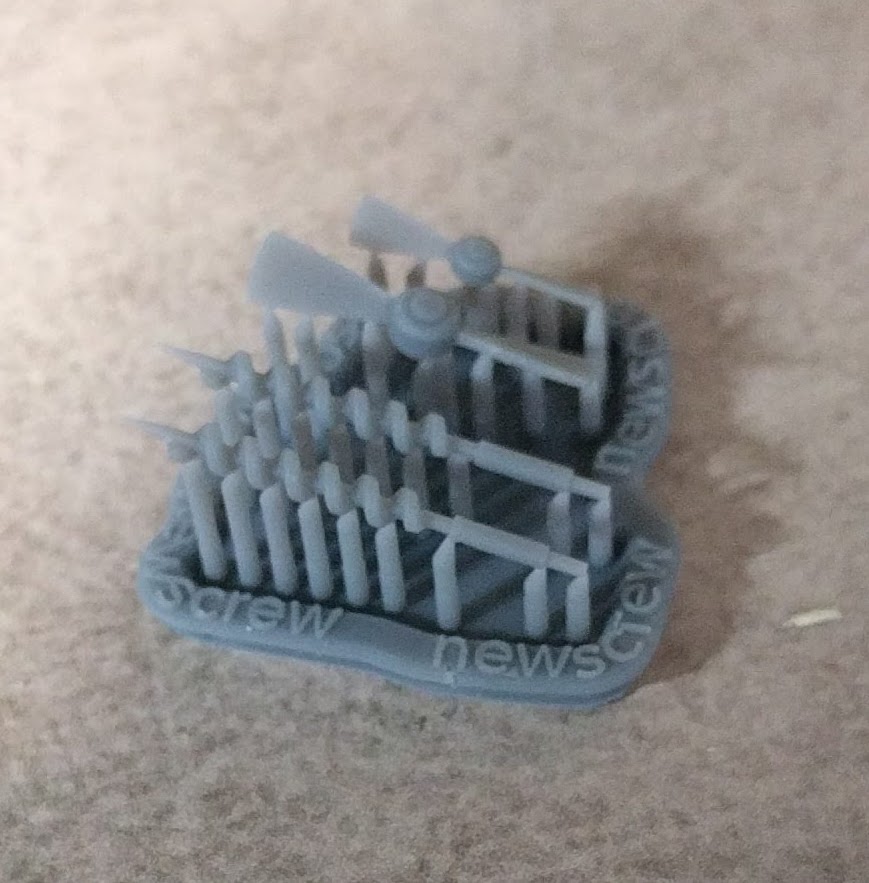
Here’s a picture of some of the earlier version laid out for printing…
Part of my research suggests the main propeller at least had a fly-wheel, and was possibly pedal assisted. The gentleman in question had two hand pumps to work as well and the requirement to surface every 25 minutes to take on more oxygen.
The original crew member gives a detailed account of his first combat mission (a three hour trip up the Hudson in a failed attempt to sink a British blockade ship) which involved him being unable to secure his clockwork charge to the bottom of the ship, being spotted, avoiding the row-boat sent out to investigate by dropping the charge as a decoy, decoy floating off and exploding spectacularly to no effect ,etc etc.
The British have no record of this.
More likely the the Crewman in question discovered just how impossibly, comically tiresome the whole idea was and gave up long before he reached his target.
Additional fun note: As burning a lamp inside the confined space was wisely considered a detriment, the interior was illuminated by photo phosphorescent phungus*.
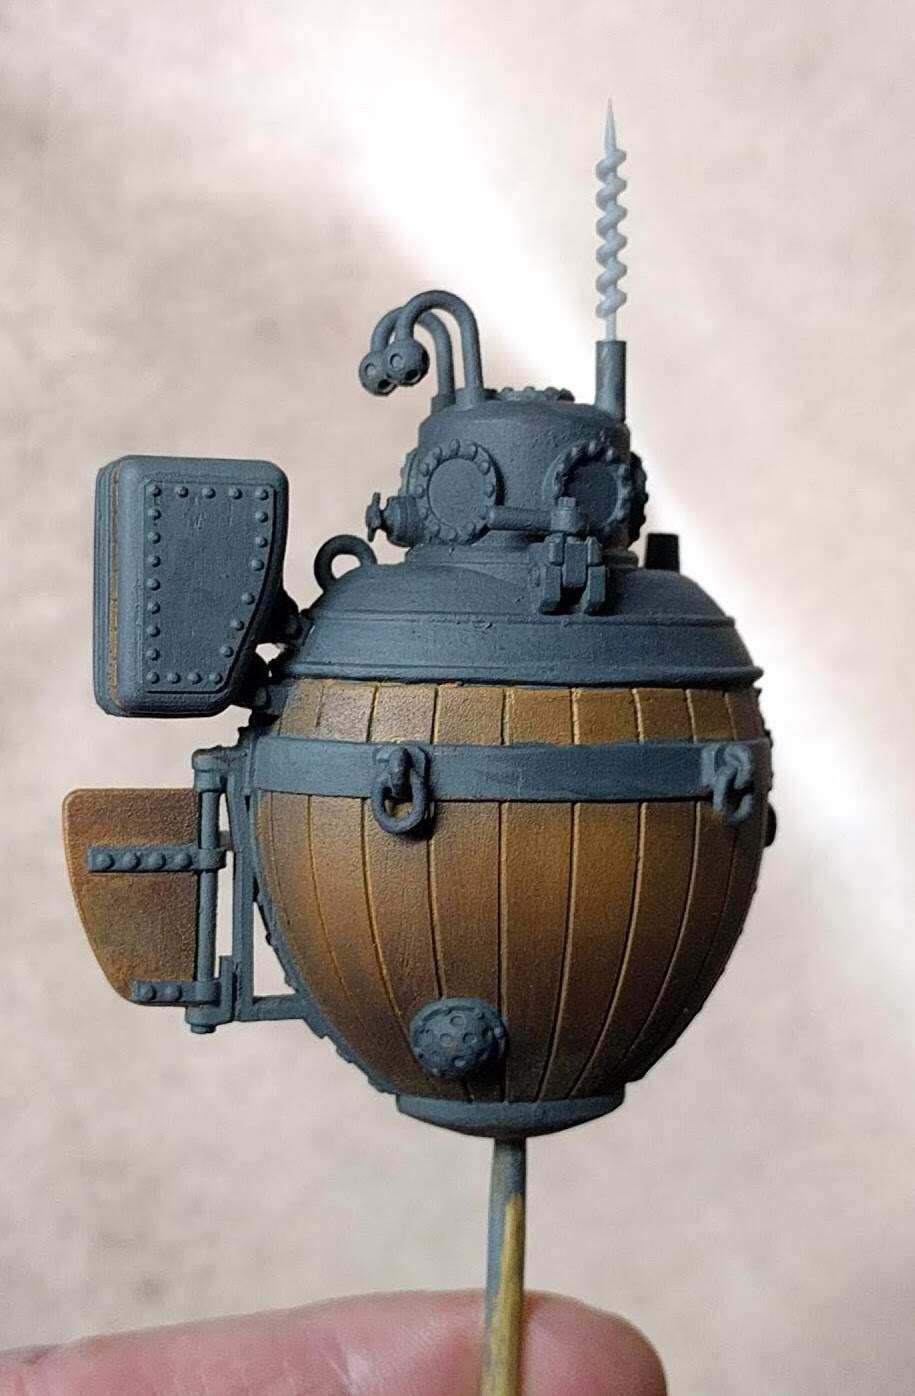
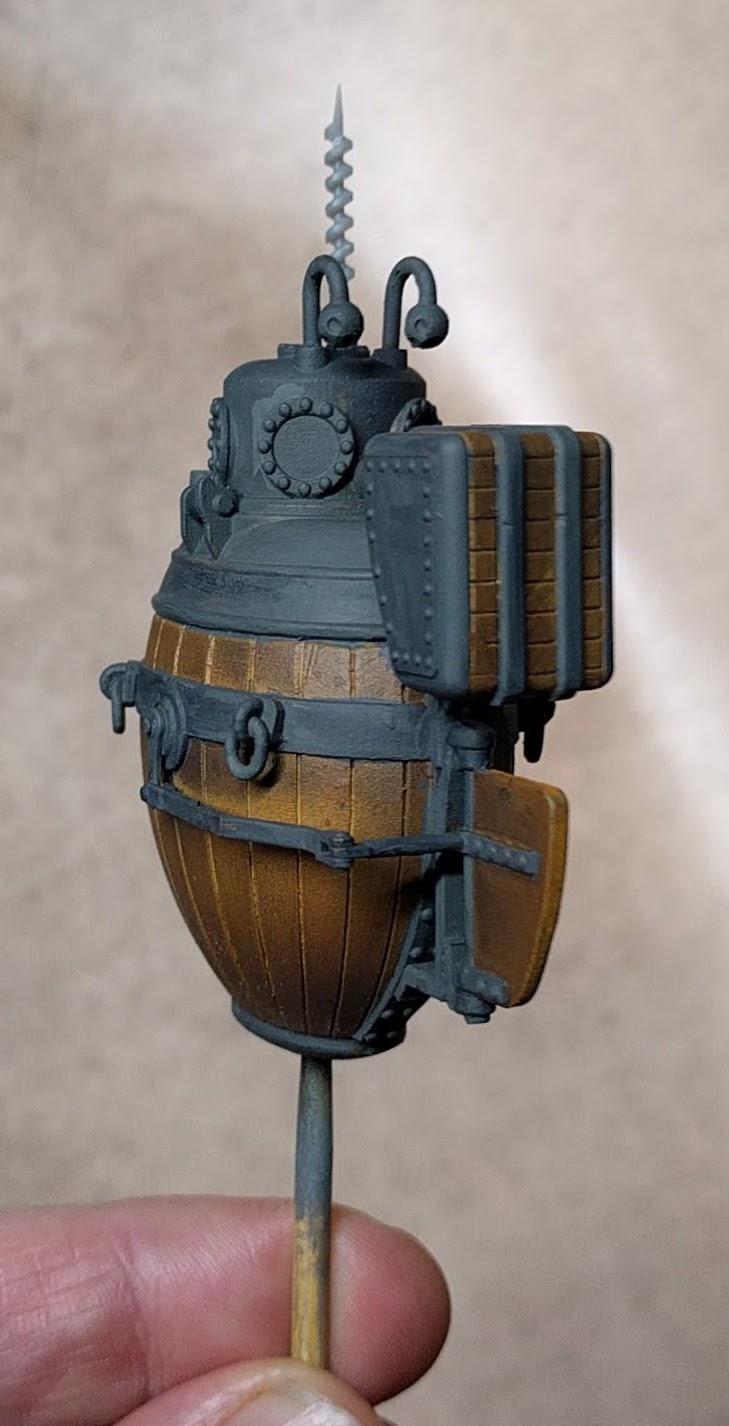
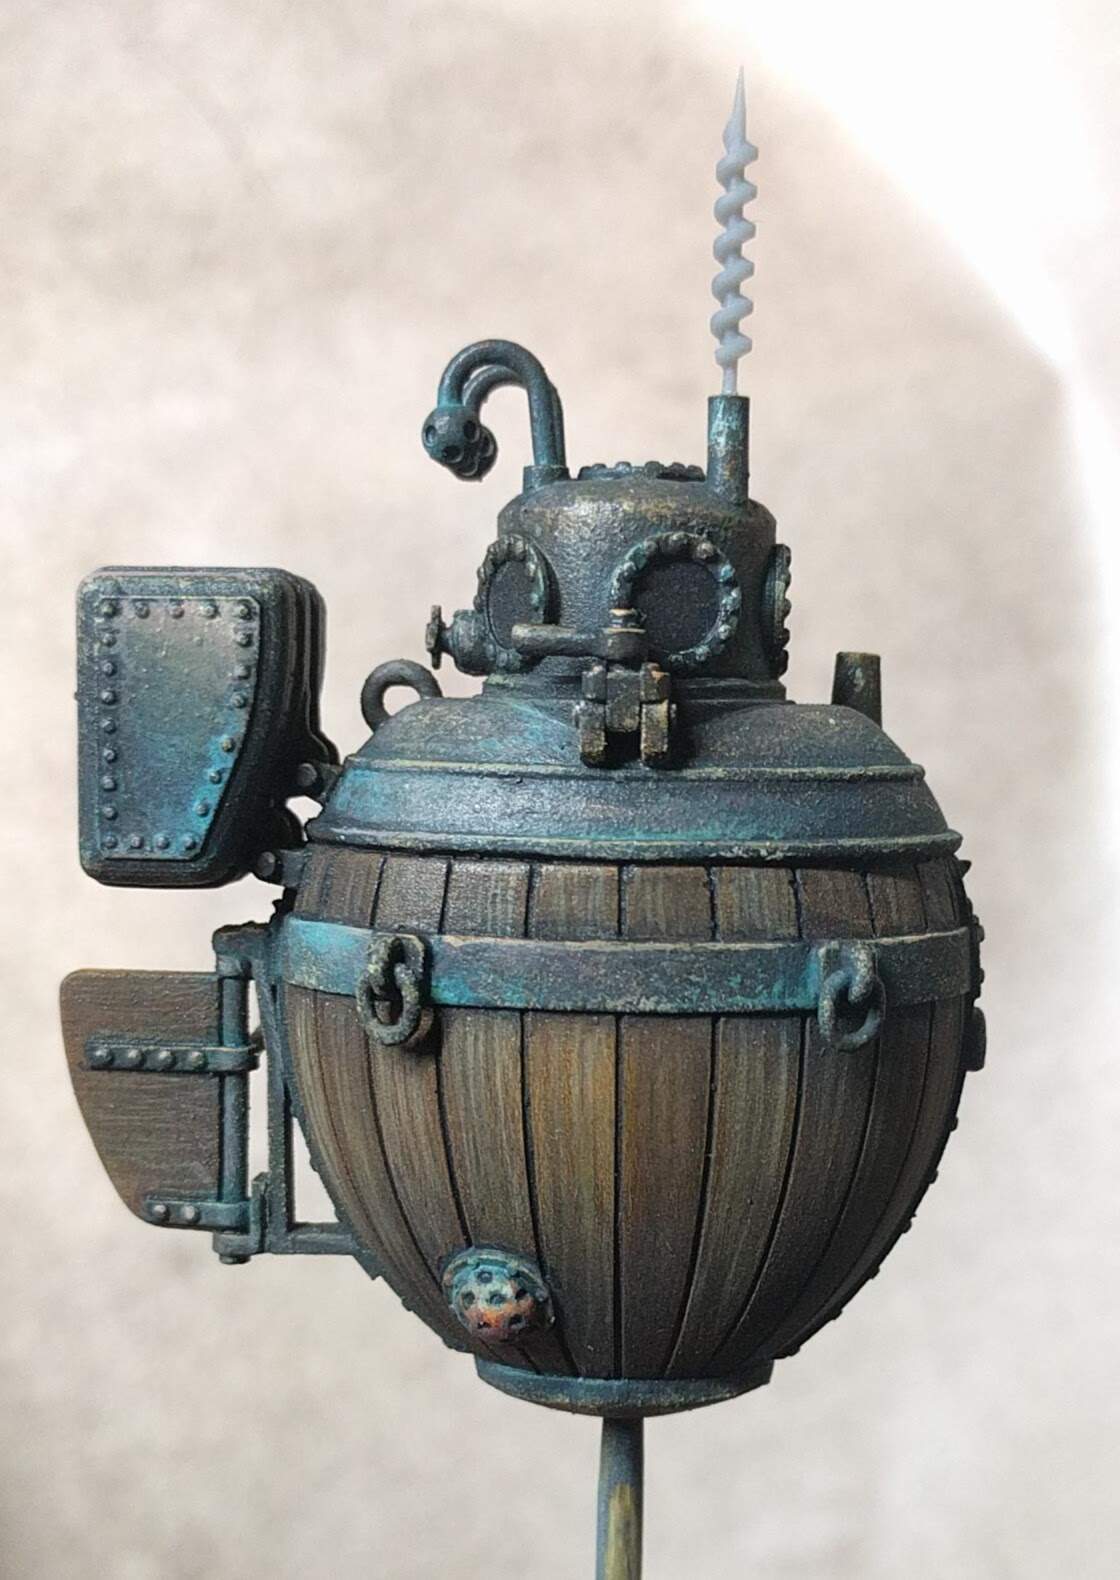
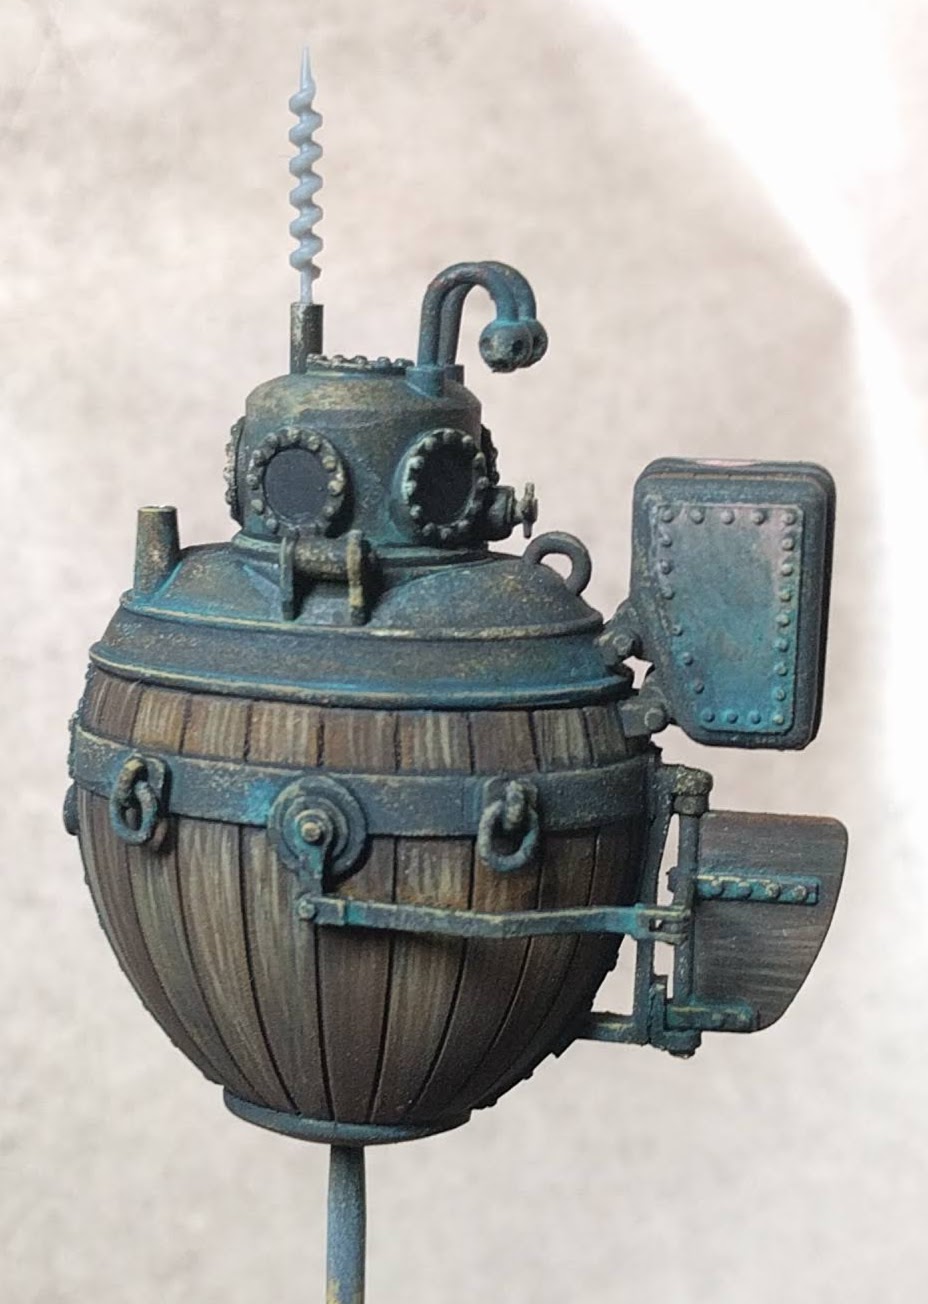
Kinda want to paint this now. Just a couple of fixes to make. The Auger/drill thingy wasn’t terribly convincing and I also made a silly error on the propellers. So new cad-work was performed.
Now, having done that, I’m going to leave them off untill I get the rest of the painting done, lest there be language associated with the loss off tiny bits.
Now, research suggests that the entire thing was probably covered in a generous layer of pitch. However, a thinly and messily applied skin of black sticky tar deeply offends my inner steampunk.
If the auger was used to drill into the enemy’s ships’ hull to provide an anchor for the charge, why wasn’t the charge pre-attached in some way to the auger. How did the captain/pilot/crew attach the charge to the auger? After drilling into the hull how did the captain/pilot/crew disengage the auger bit from (presumably) a bit brace from inside his craft?
Most modern interpretations have a ring-bolt and rope attaching the charge to the auger. It’s assumed, I think, that the turtle would back off and leave the charge behind. Something I’ve not seen in any reference is how exactly the torpedo was armed. A simple string pull device to activate the clockwork timer?
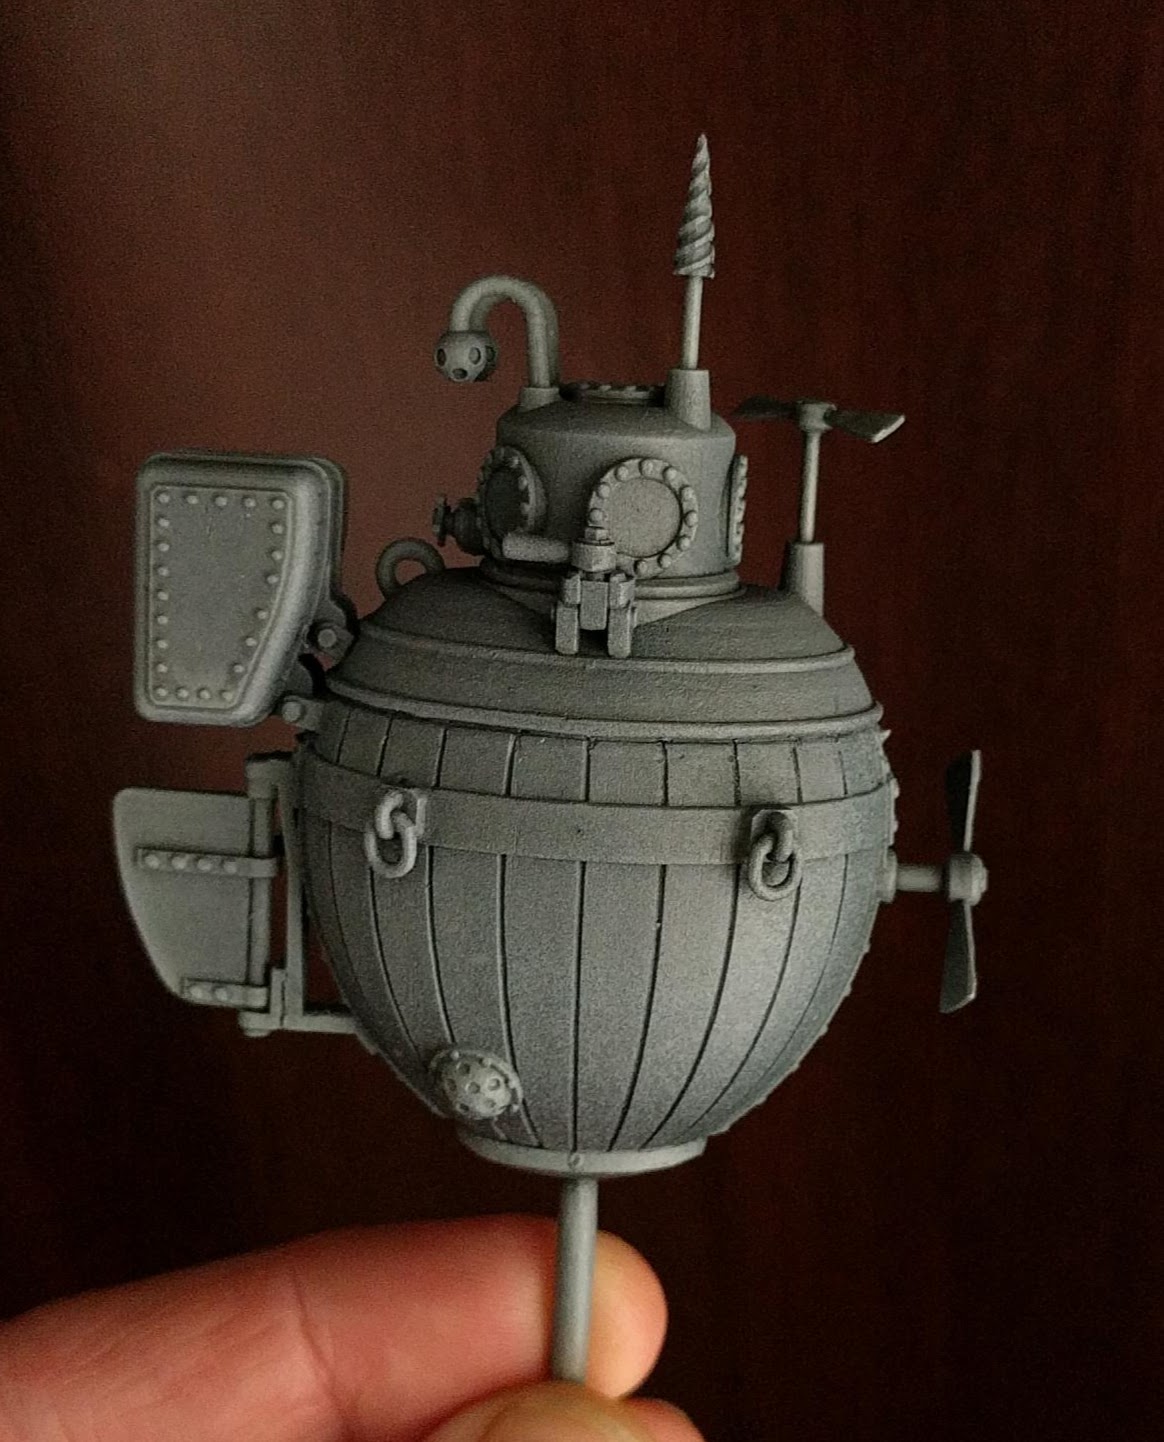
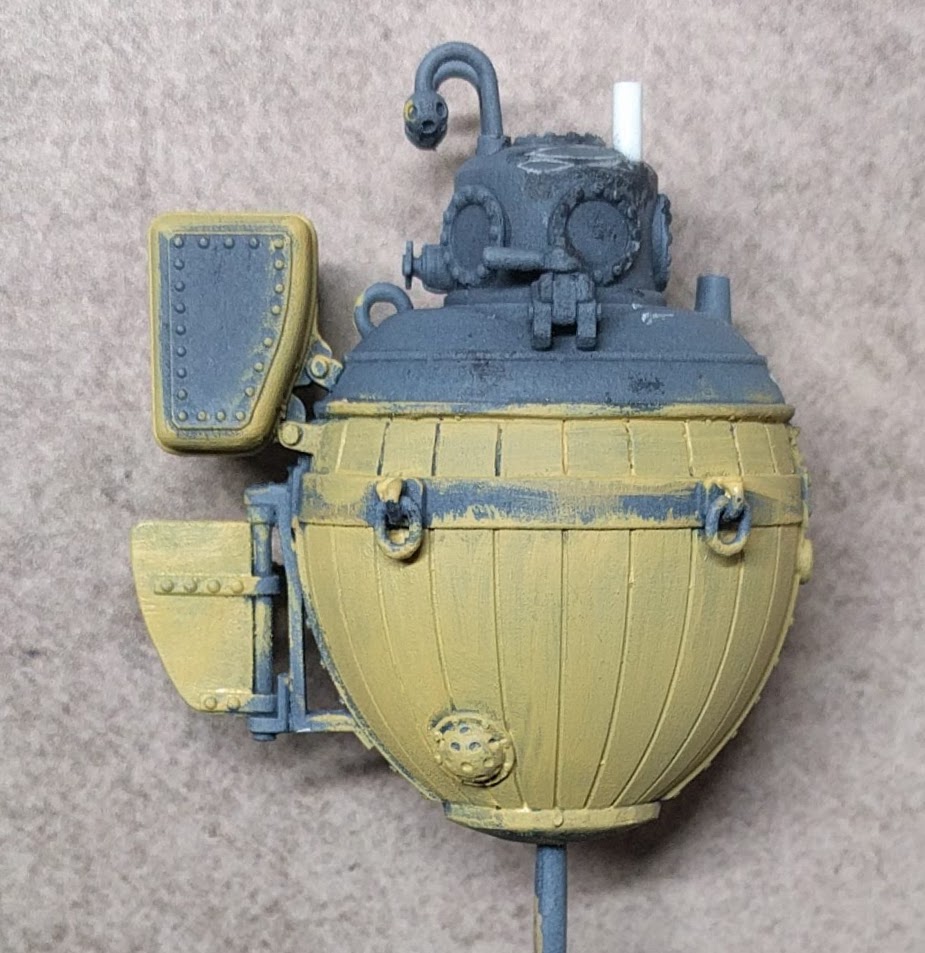
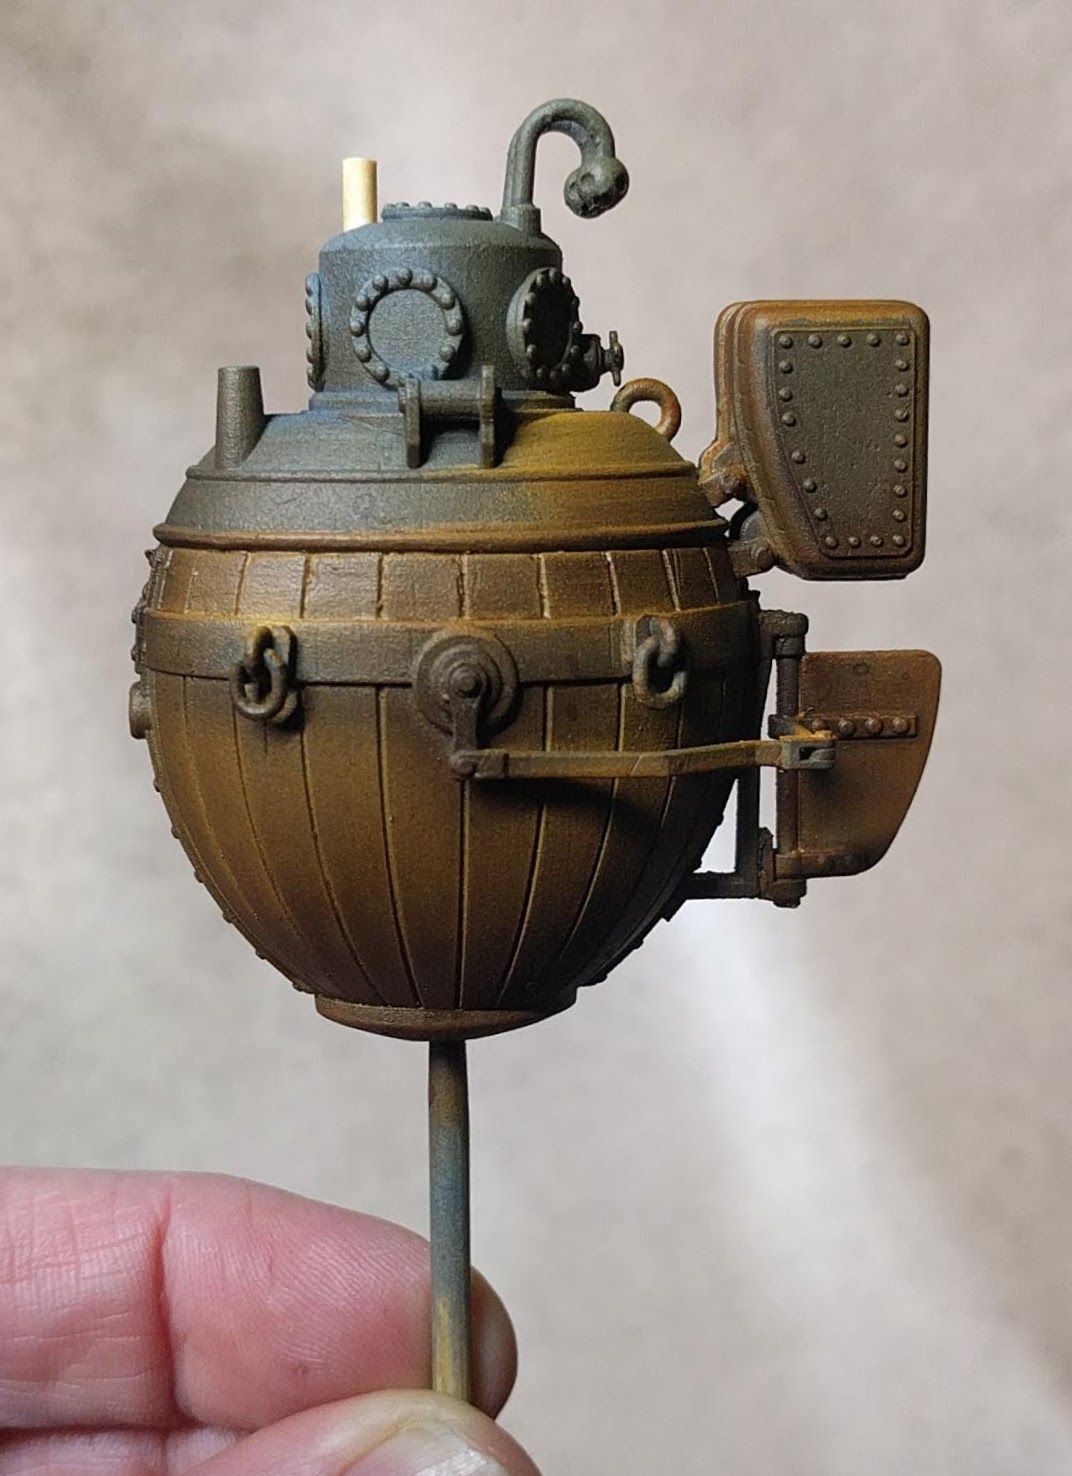
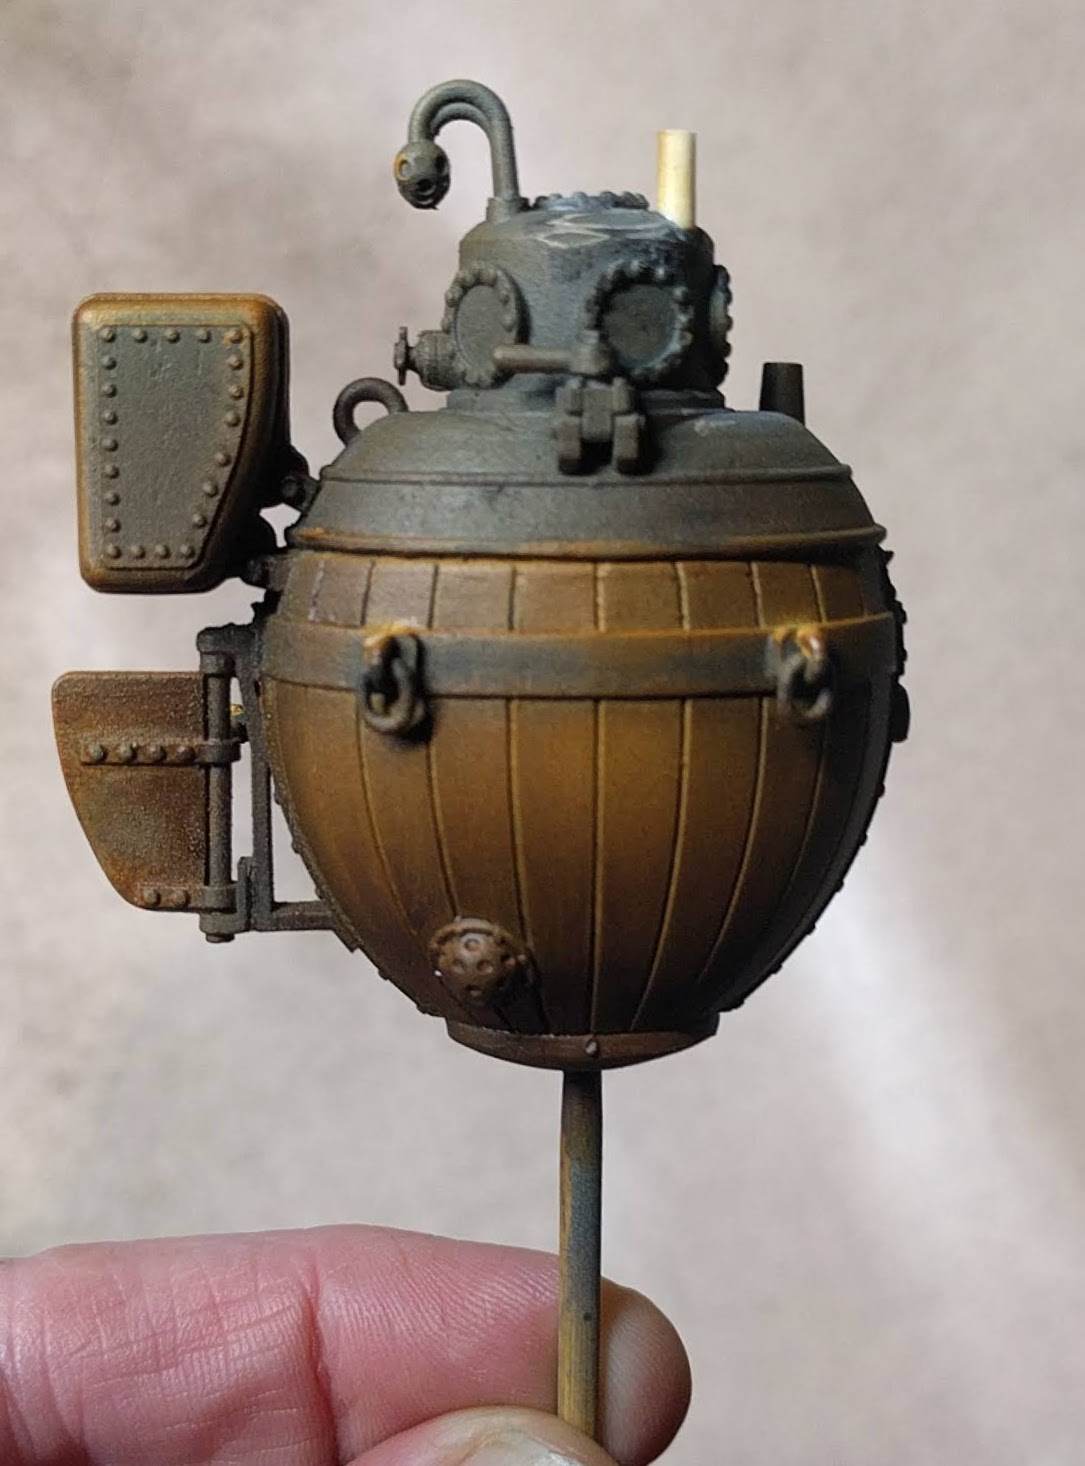
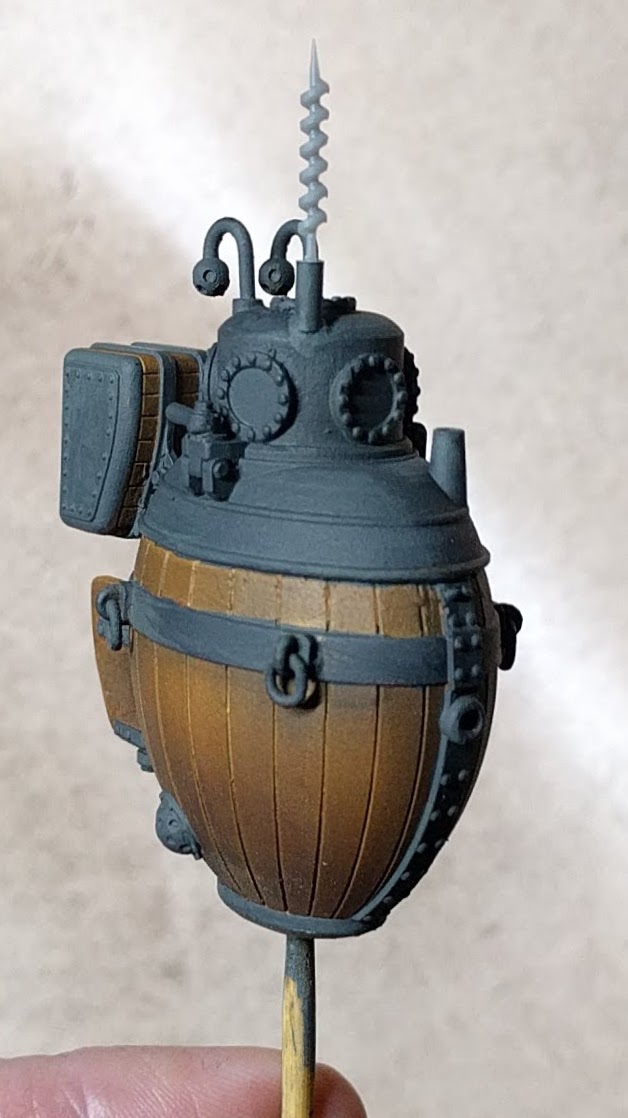
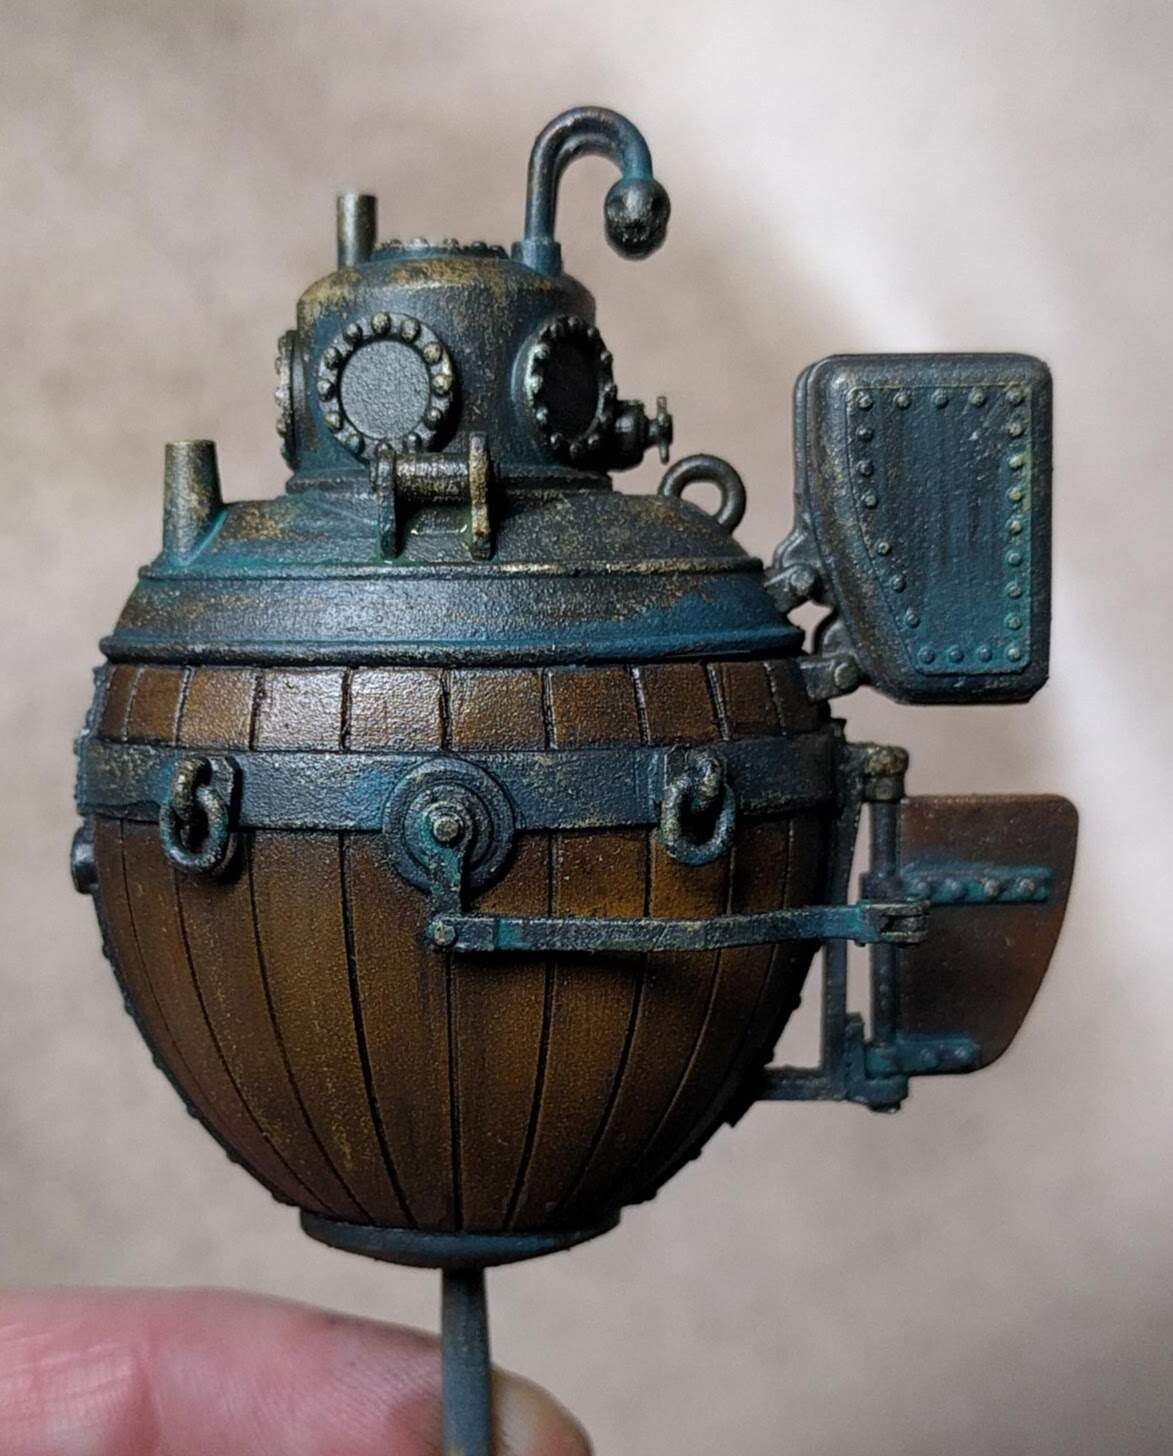
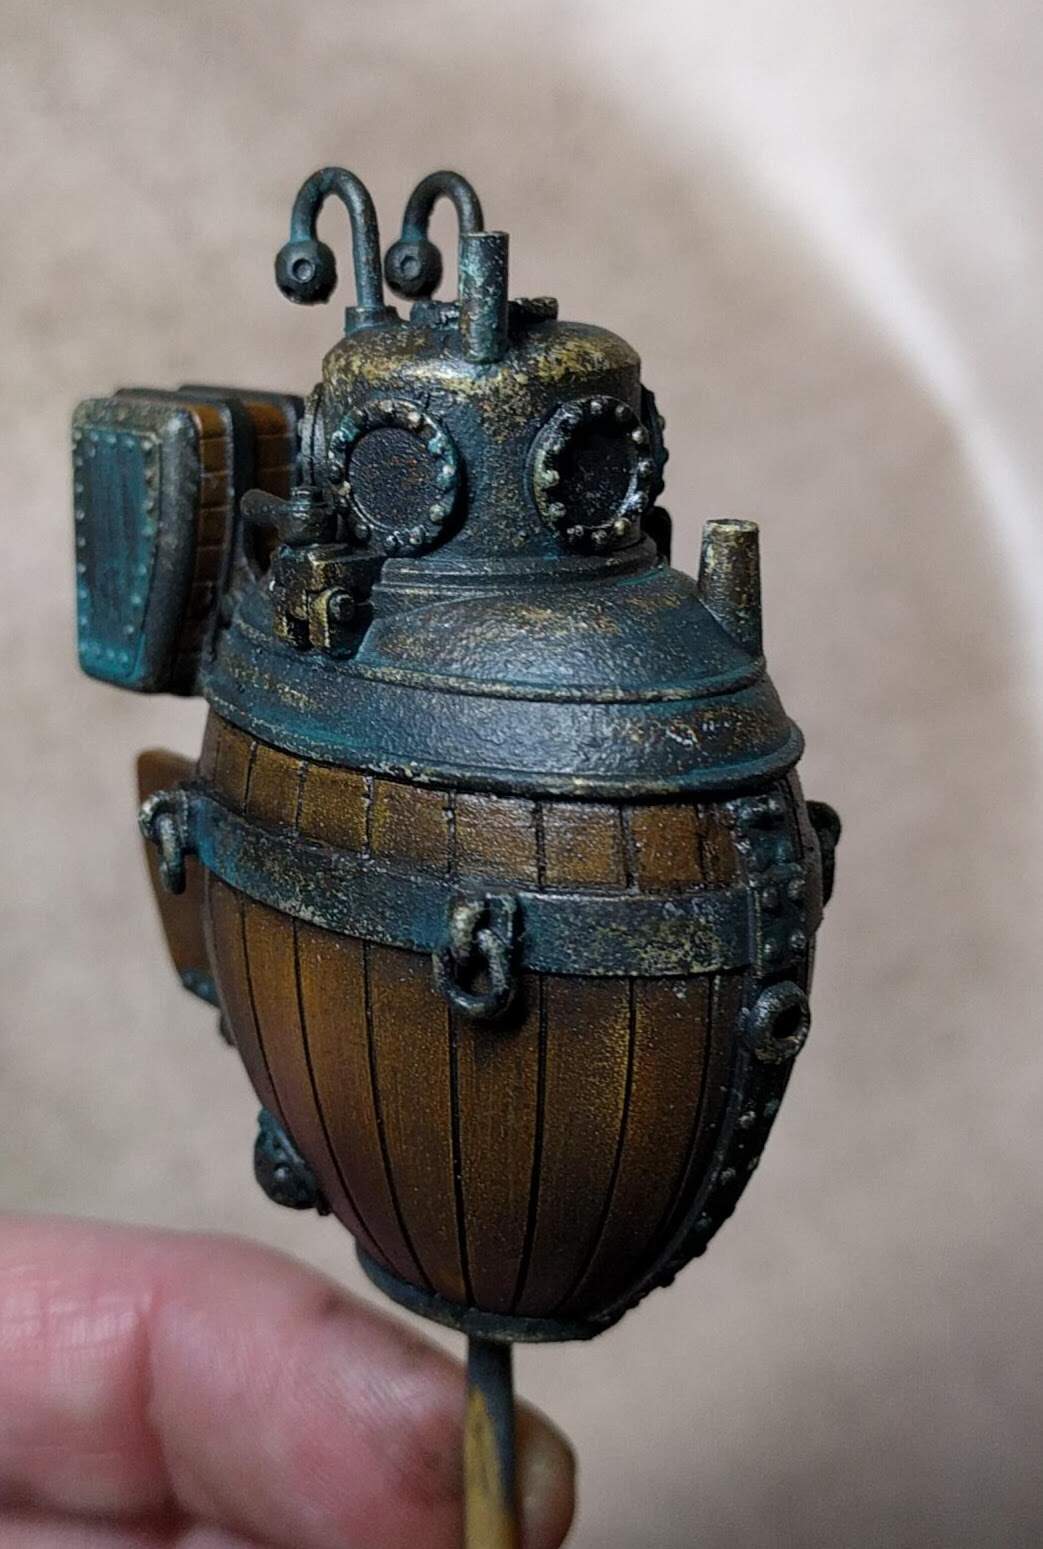
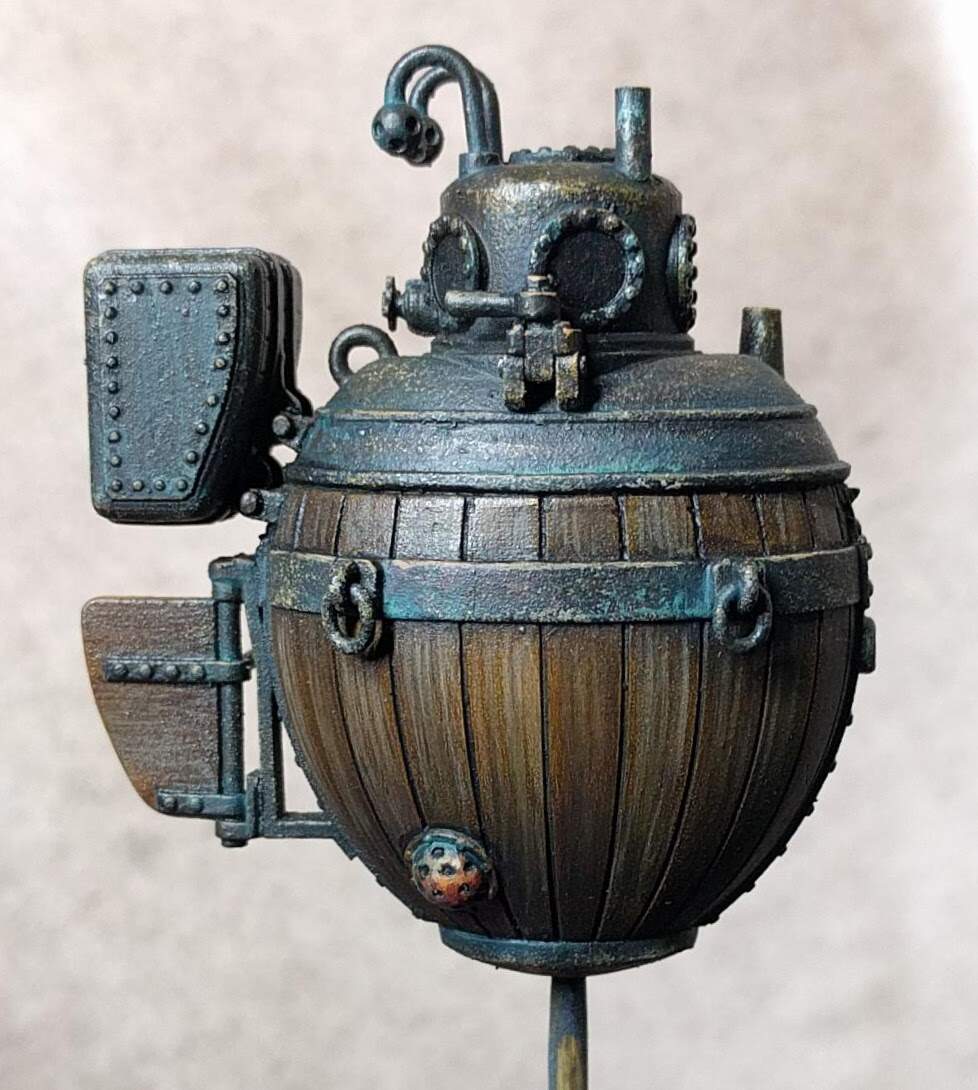
A bit messy, but these will serve largely as undercoats. loads of weathering and textures and stuff next. I’ve also temporarily placed the auger. 'cos it’s cool.
How did they water-proof the various openings which would have been underwater, like the propellers, rudder steering, auger/drill, and most importantly, the hatch? Gobs and gobs of axle grease?
My guess is lots of tightly-packed caulking - much like a modern prop shaft on a boat. That’s just to add extra stiffness to make the occupant’s job that much harder…
I teach model making at the University, and while there will always be a need for being able to quickly create mock-ups and iterations by hand, 3D printing is definitely the new way.
Lets make a Mess…
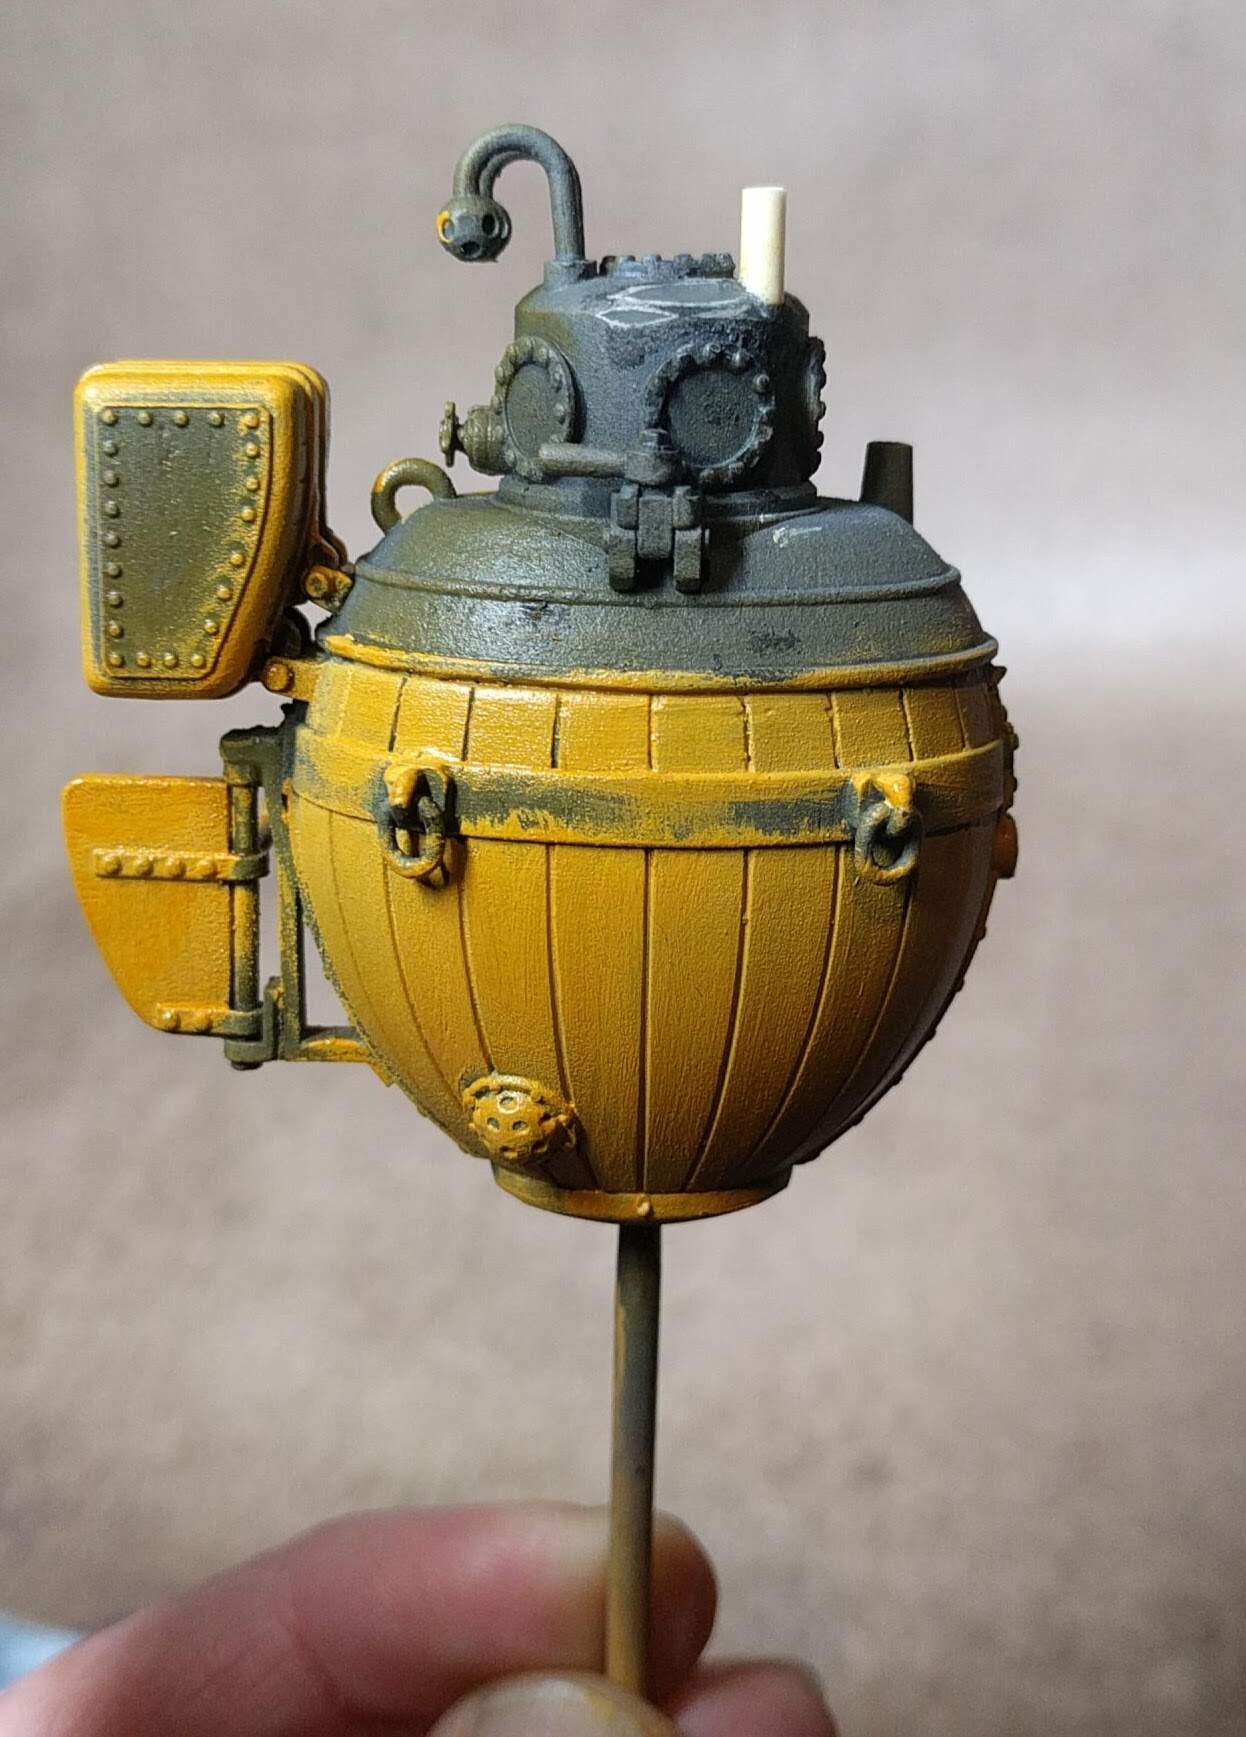
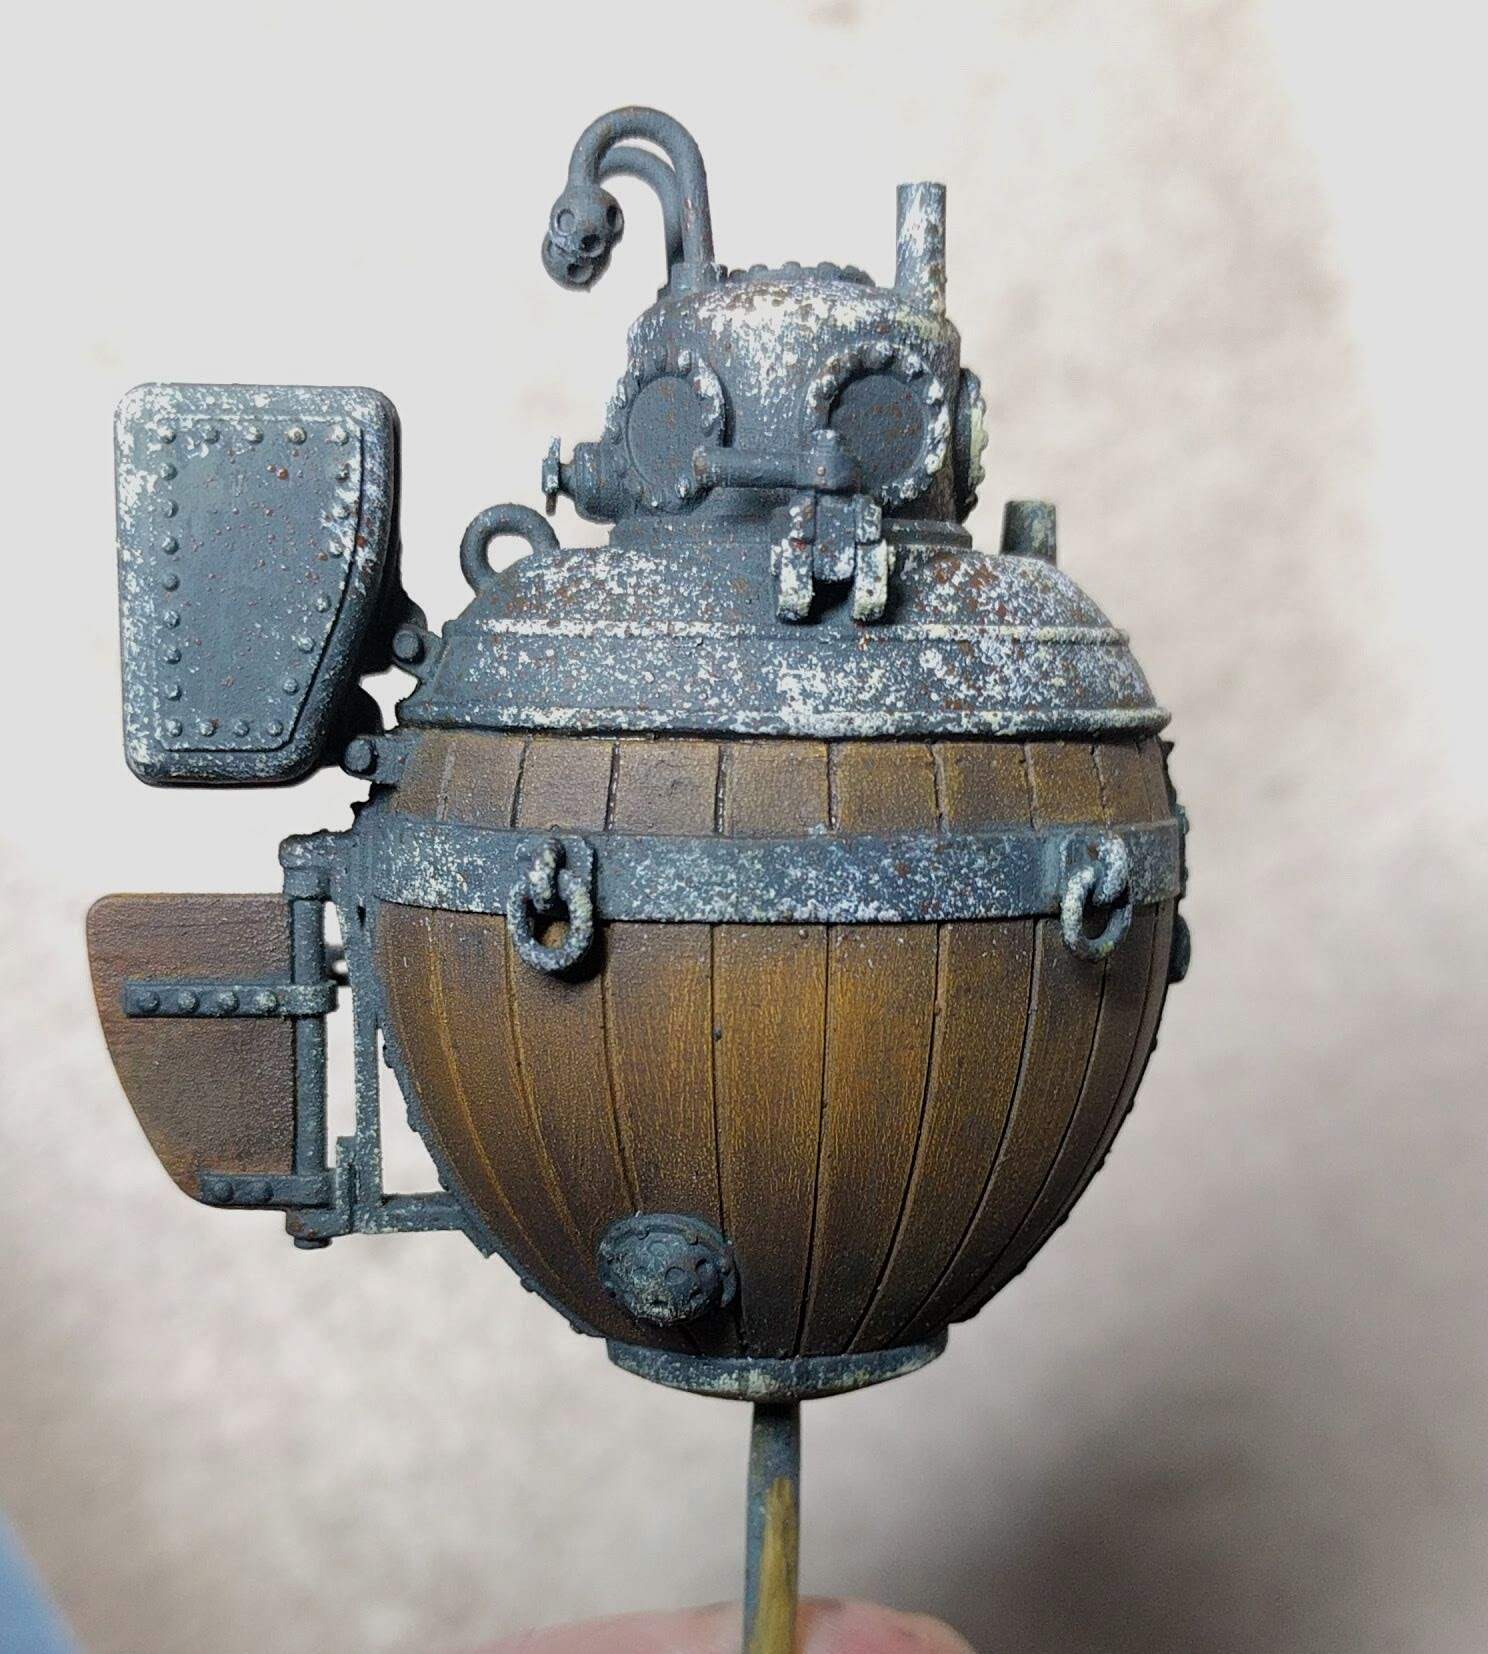
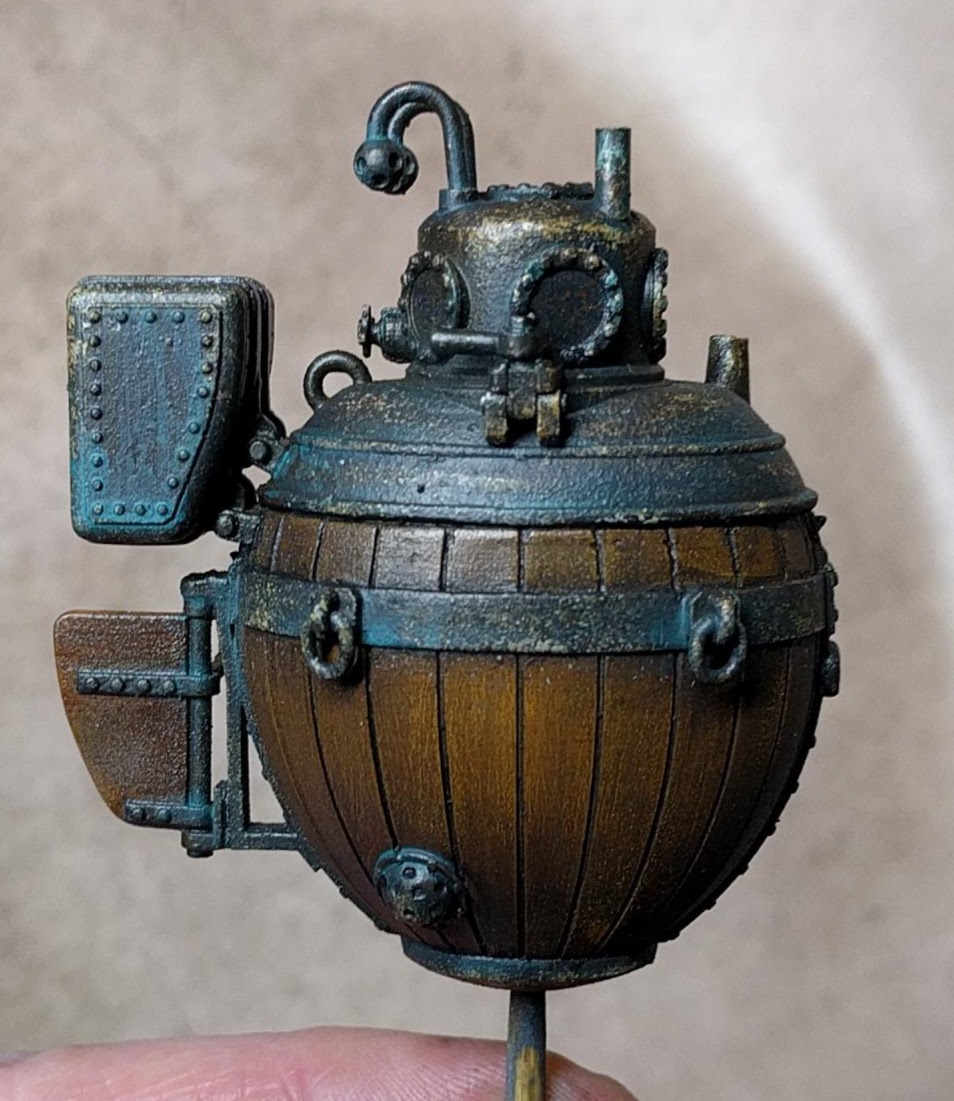
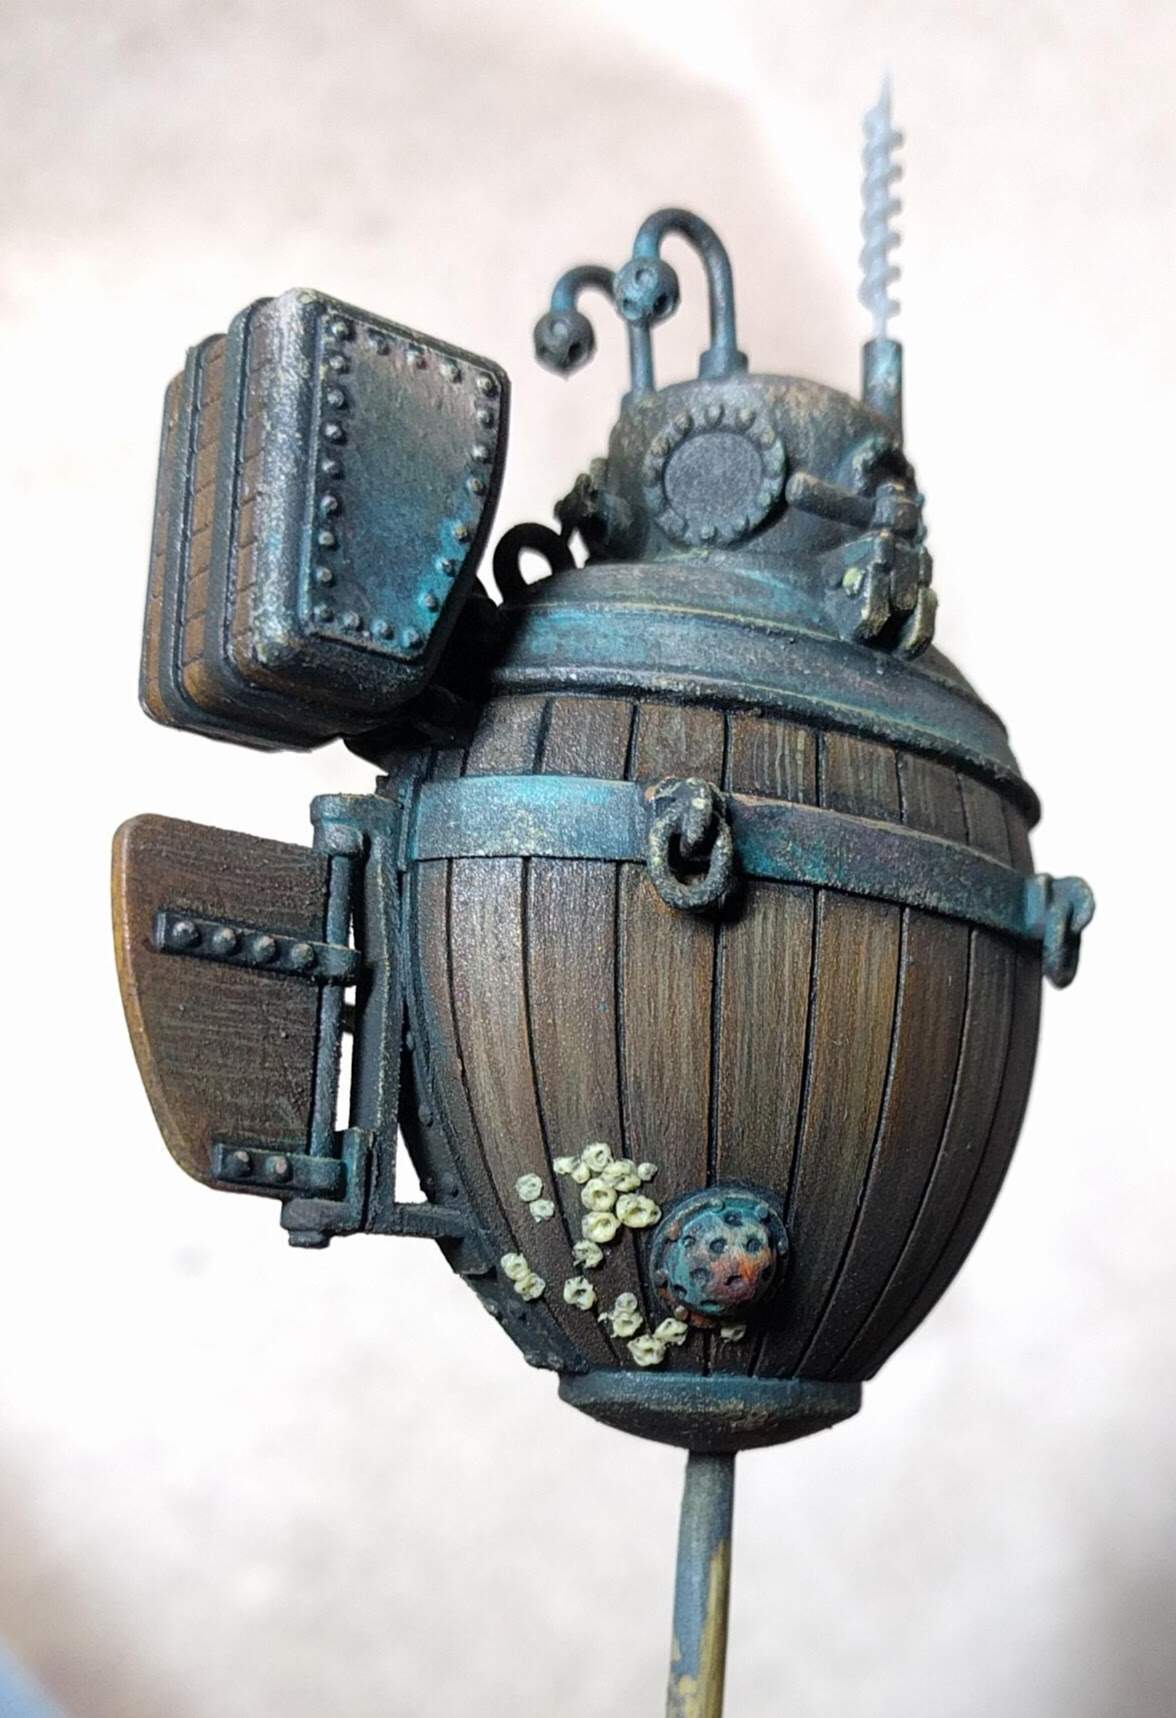
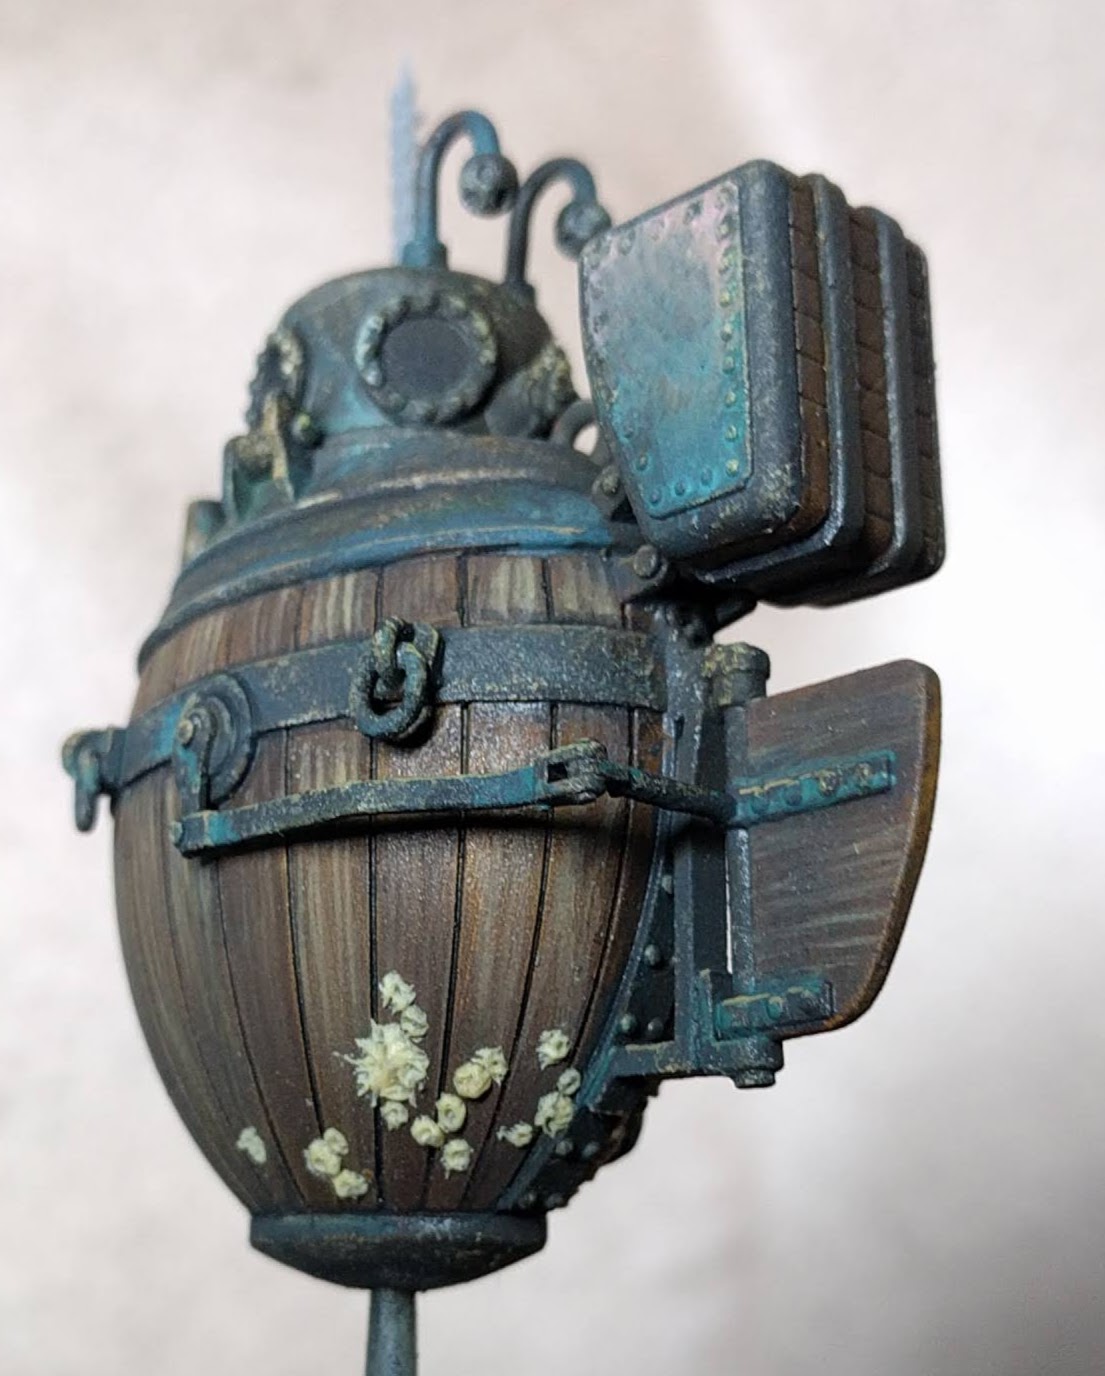
I’m thinking a beaten, textured, brassy bronze look for the main black metal parts. Which is most of it.
Started with some base texturing …
I think the smallest, baby barneys will probably be okay replicated with paint. or some tiny spots of Mr surfacer 500 or whatnot.
Also, Tamiya Putty Quick type isn’t particularly. Which is good (as it allows time for pushing about with sharpened toothpicks), but is a bit of a misnomer.