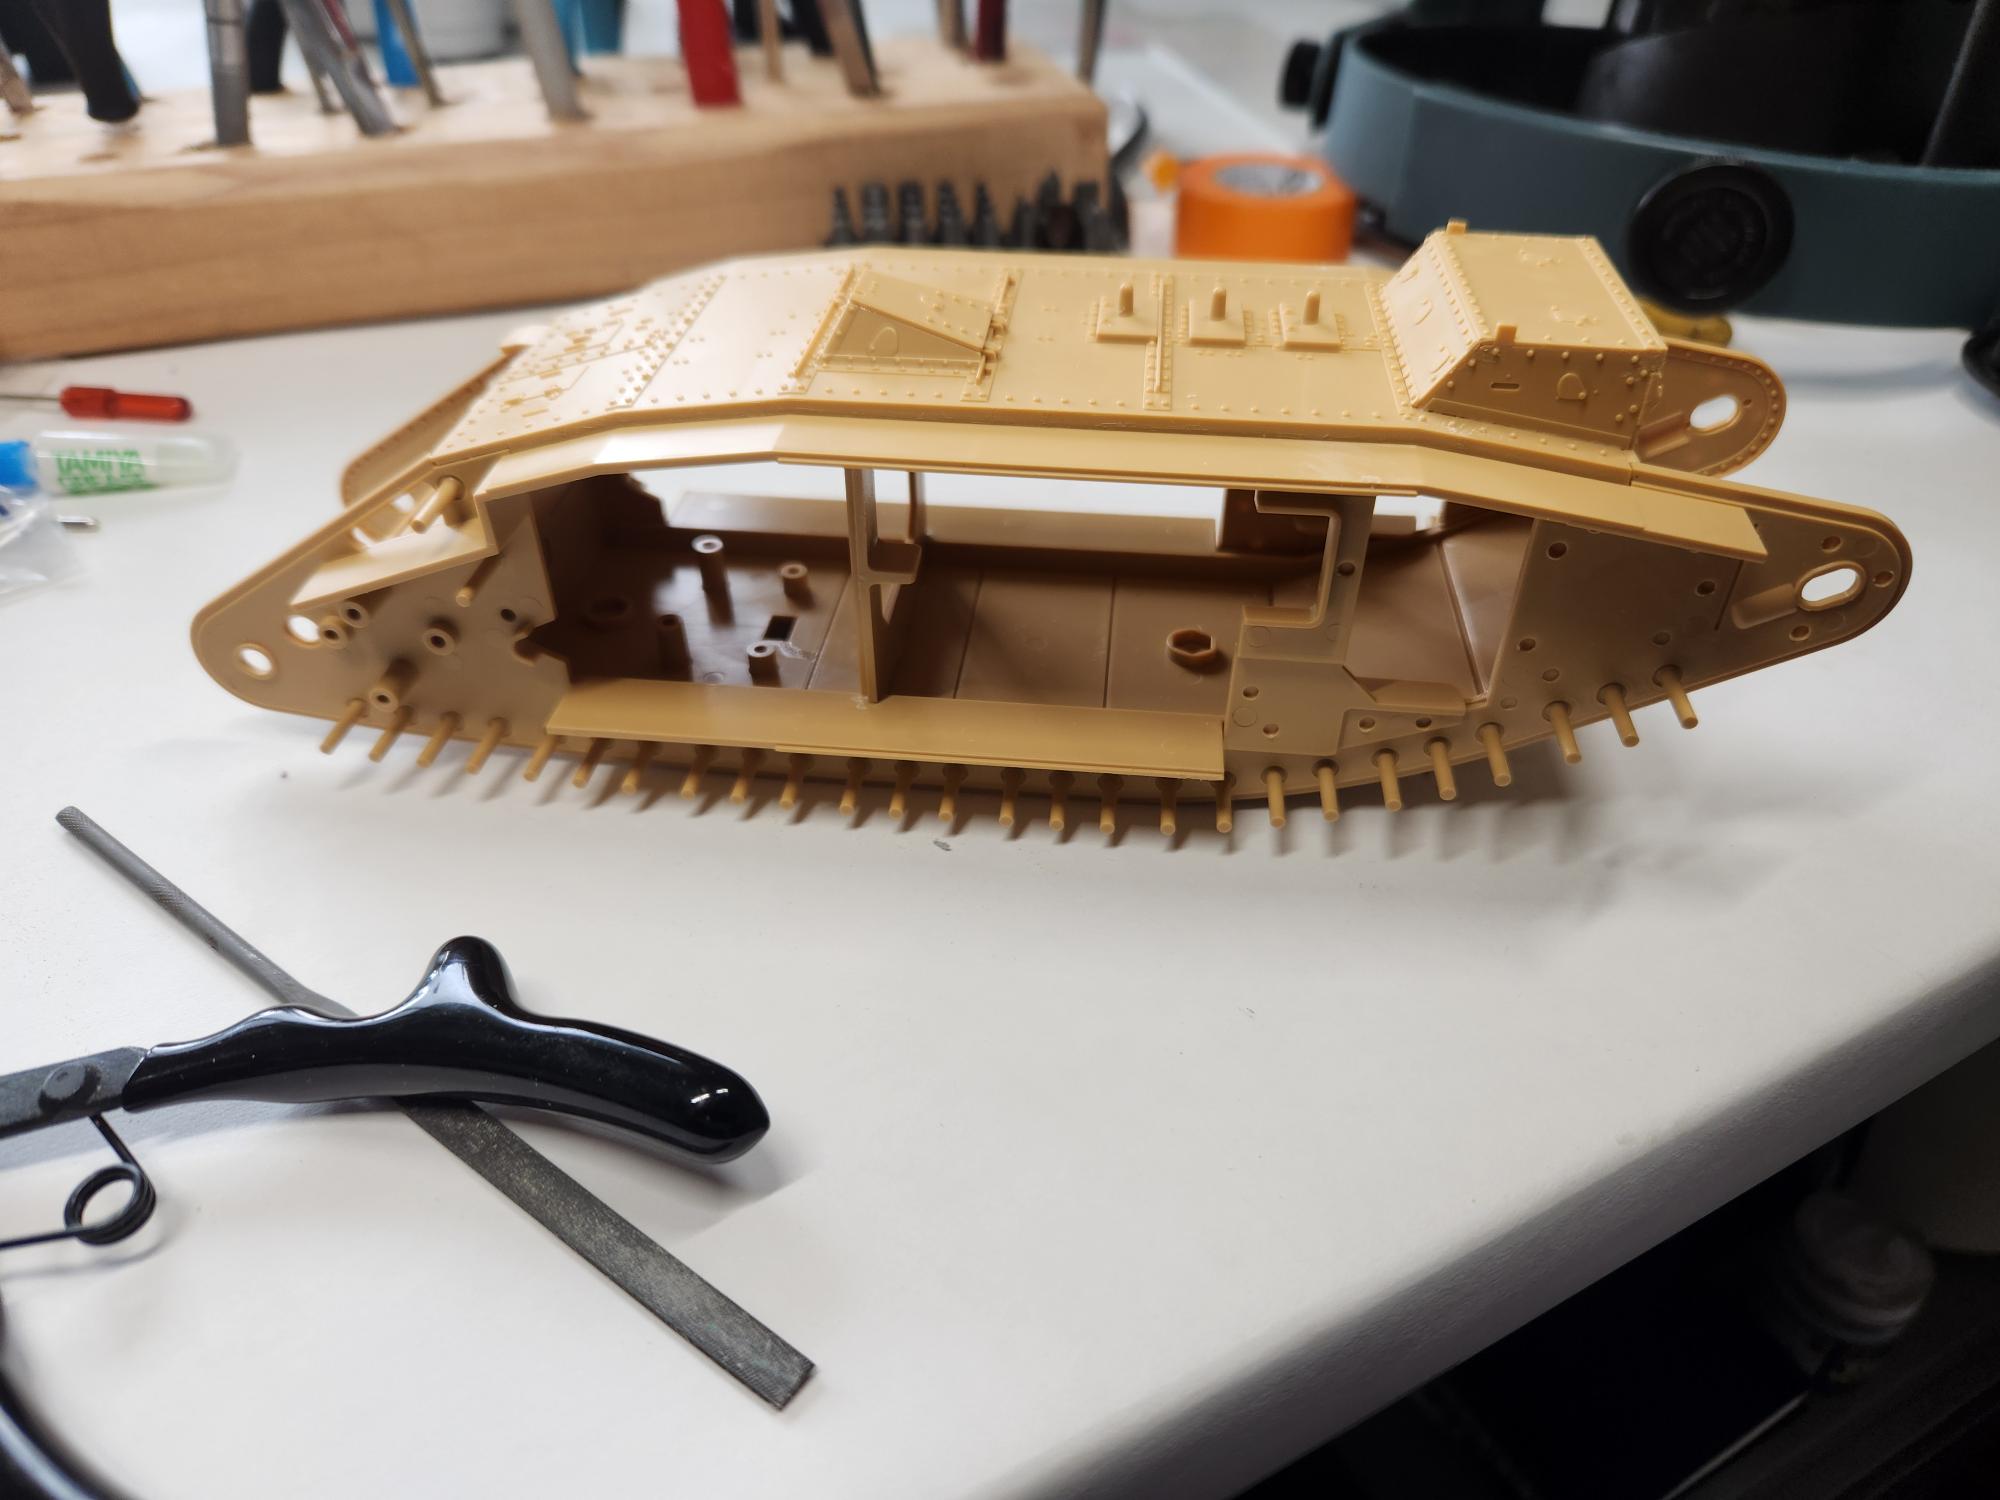
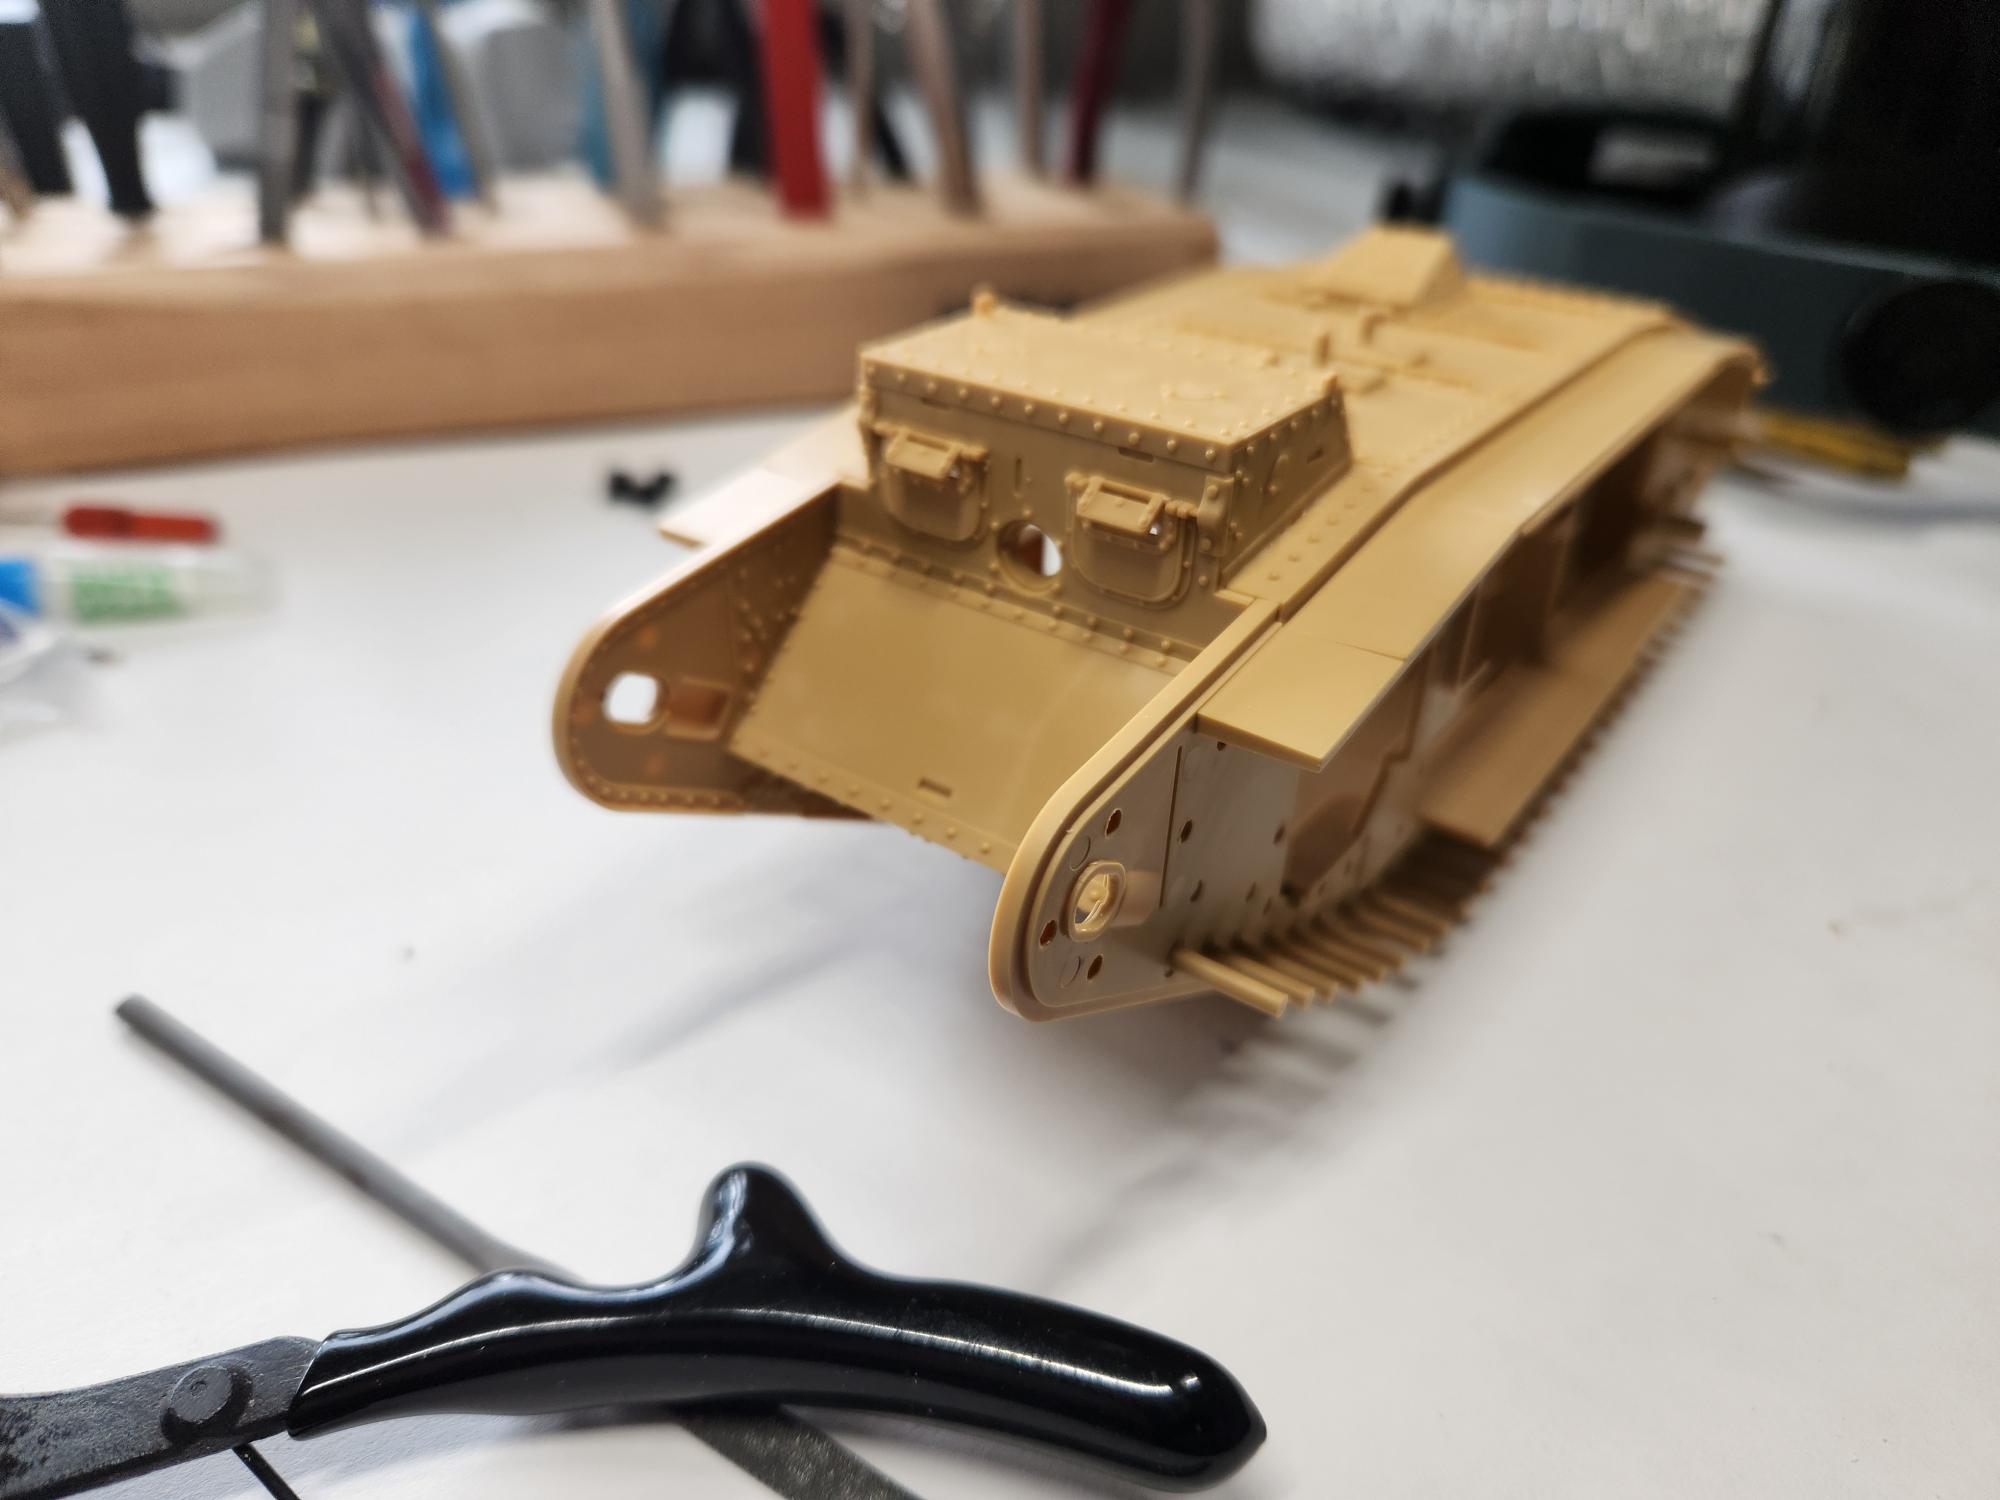
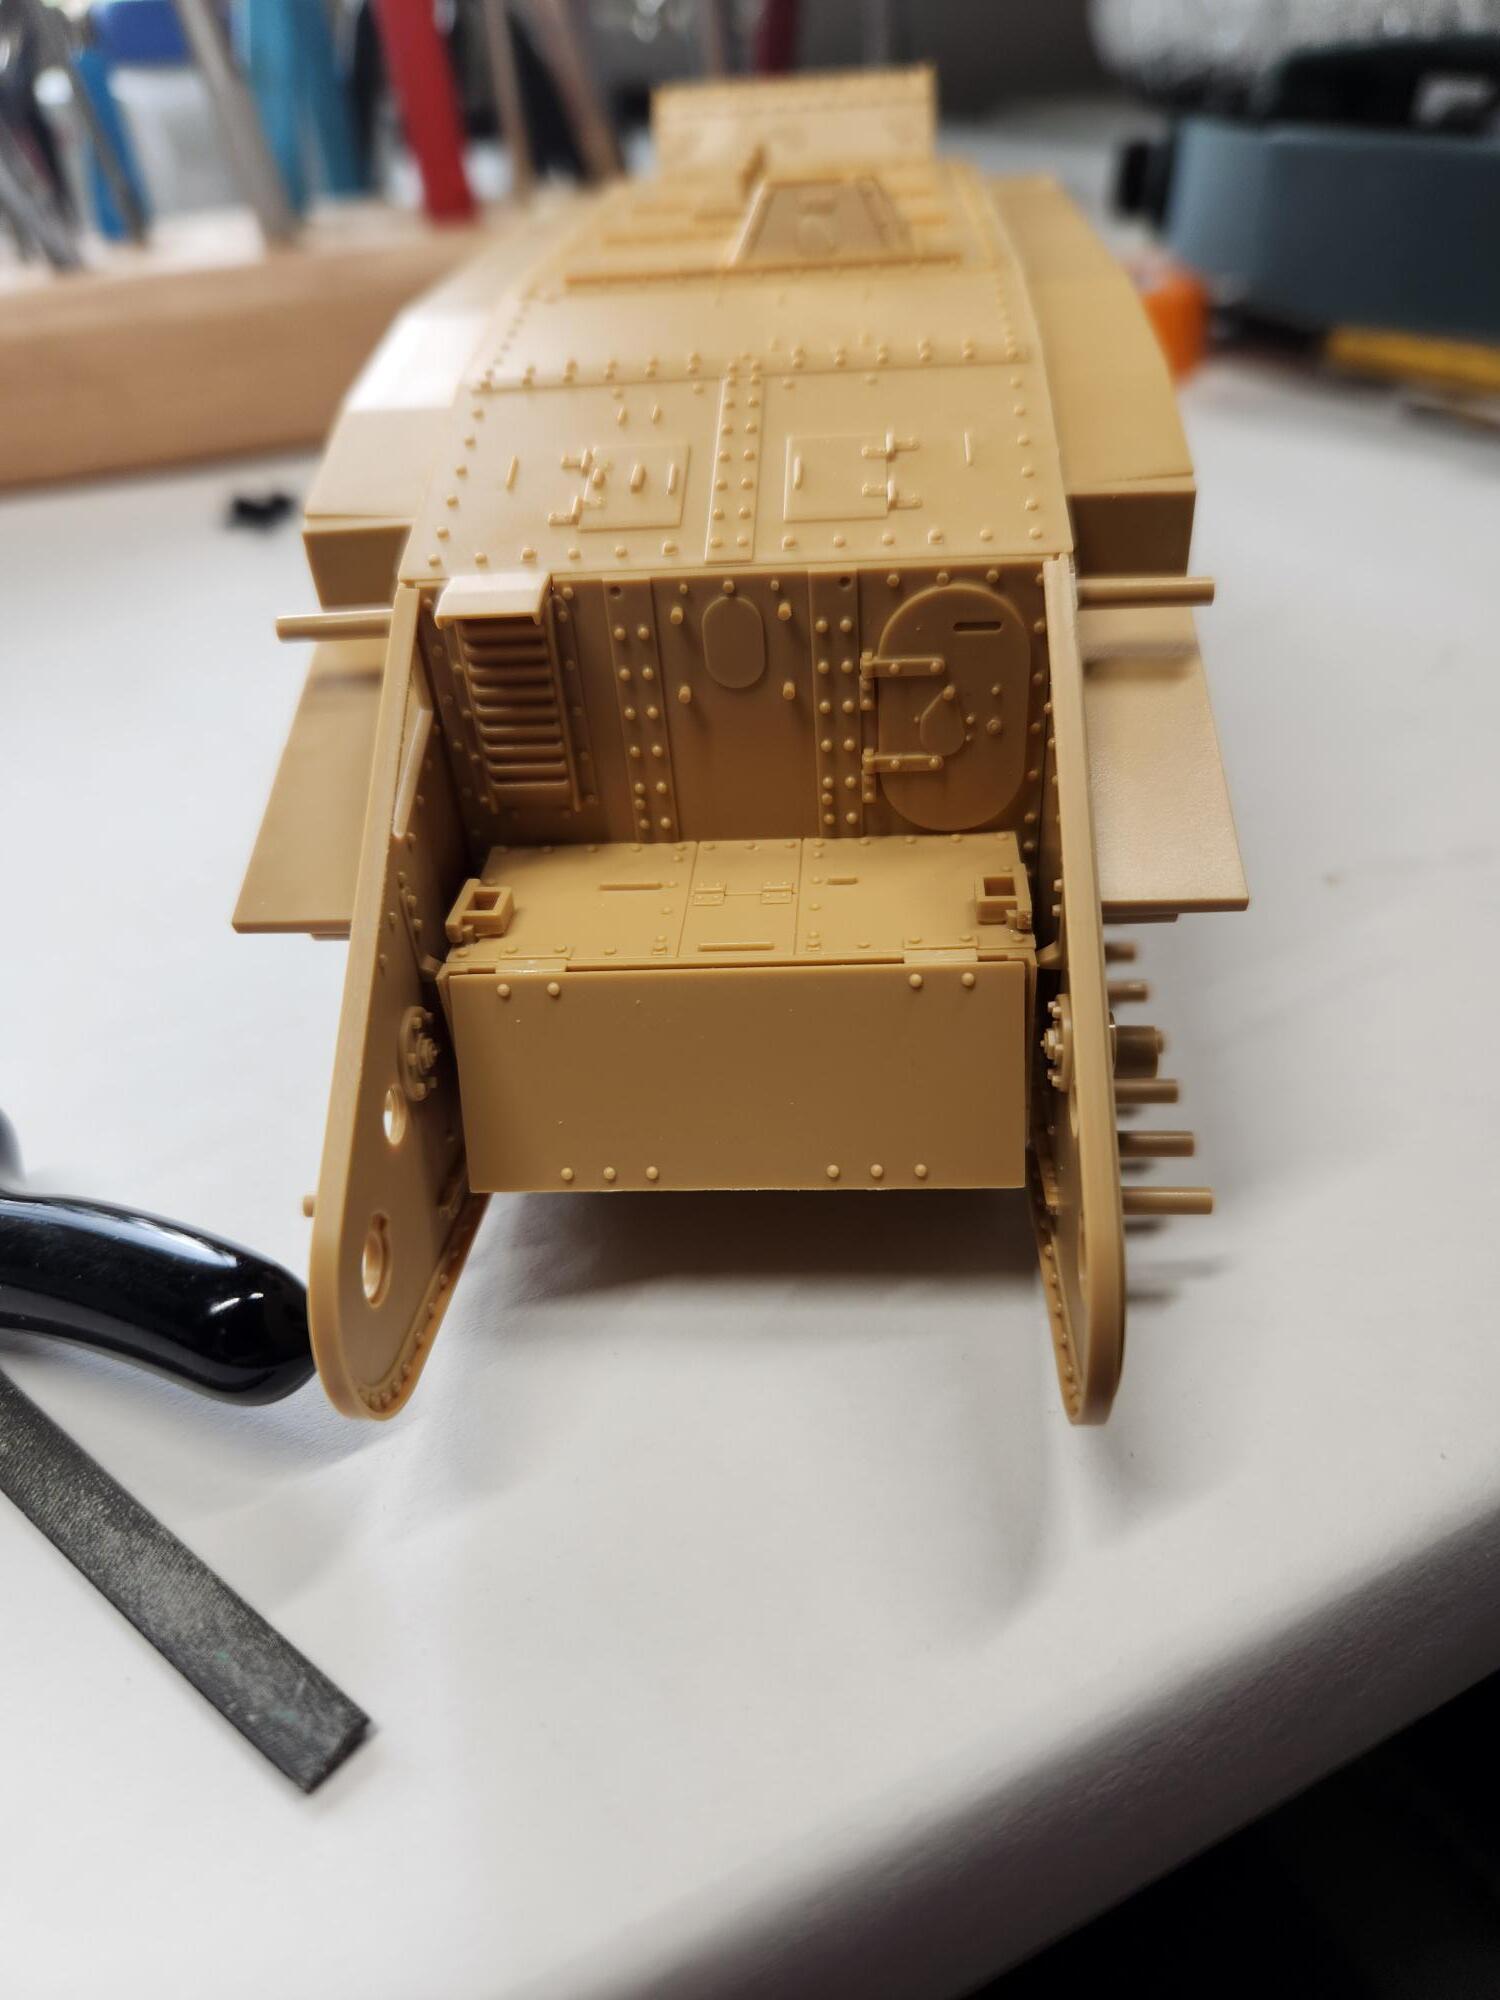
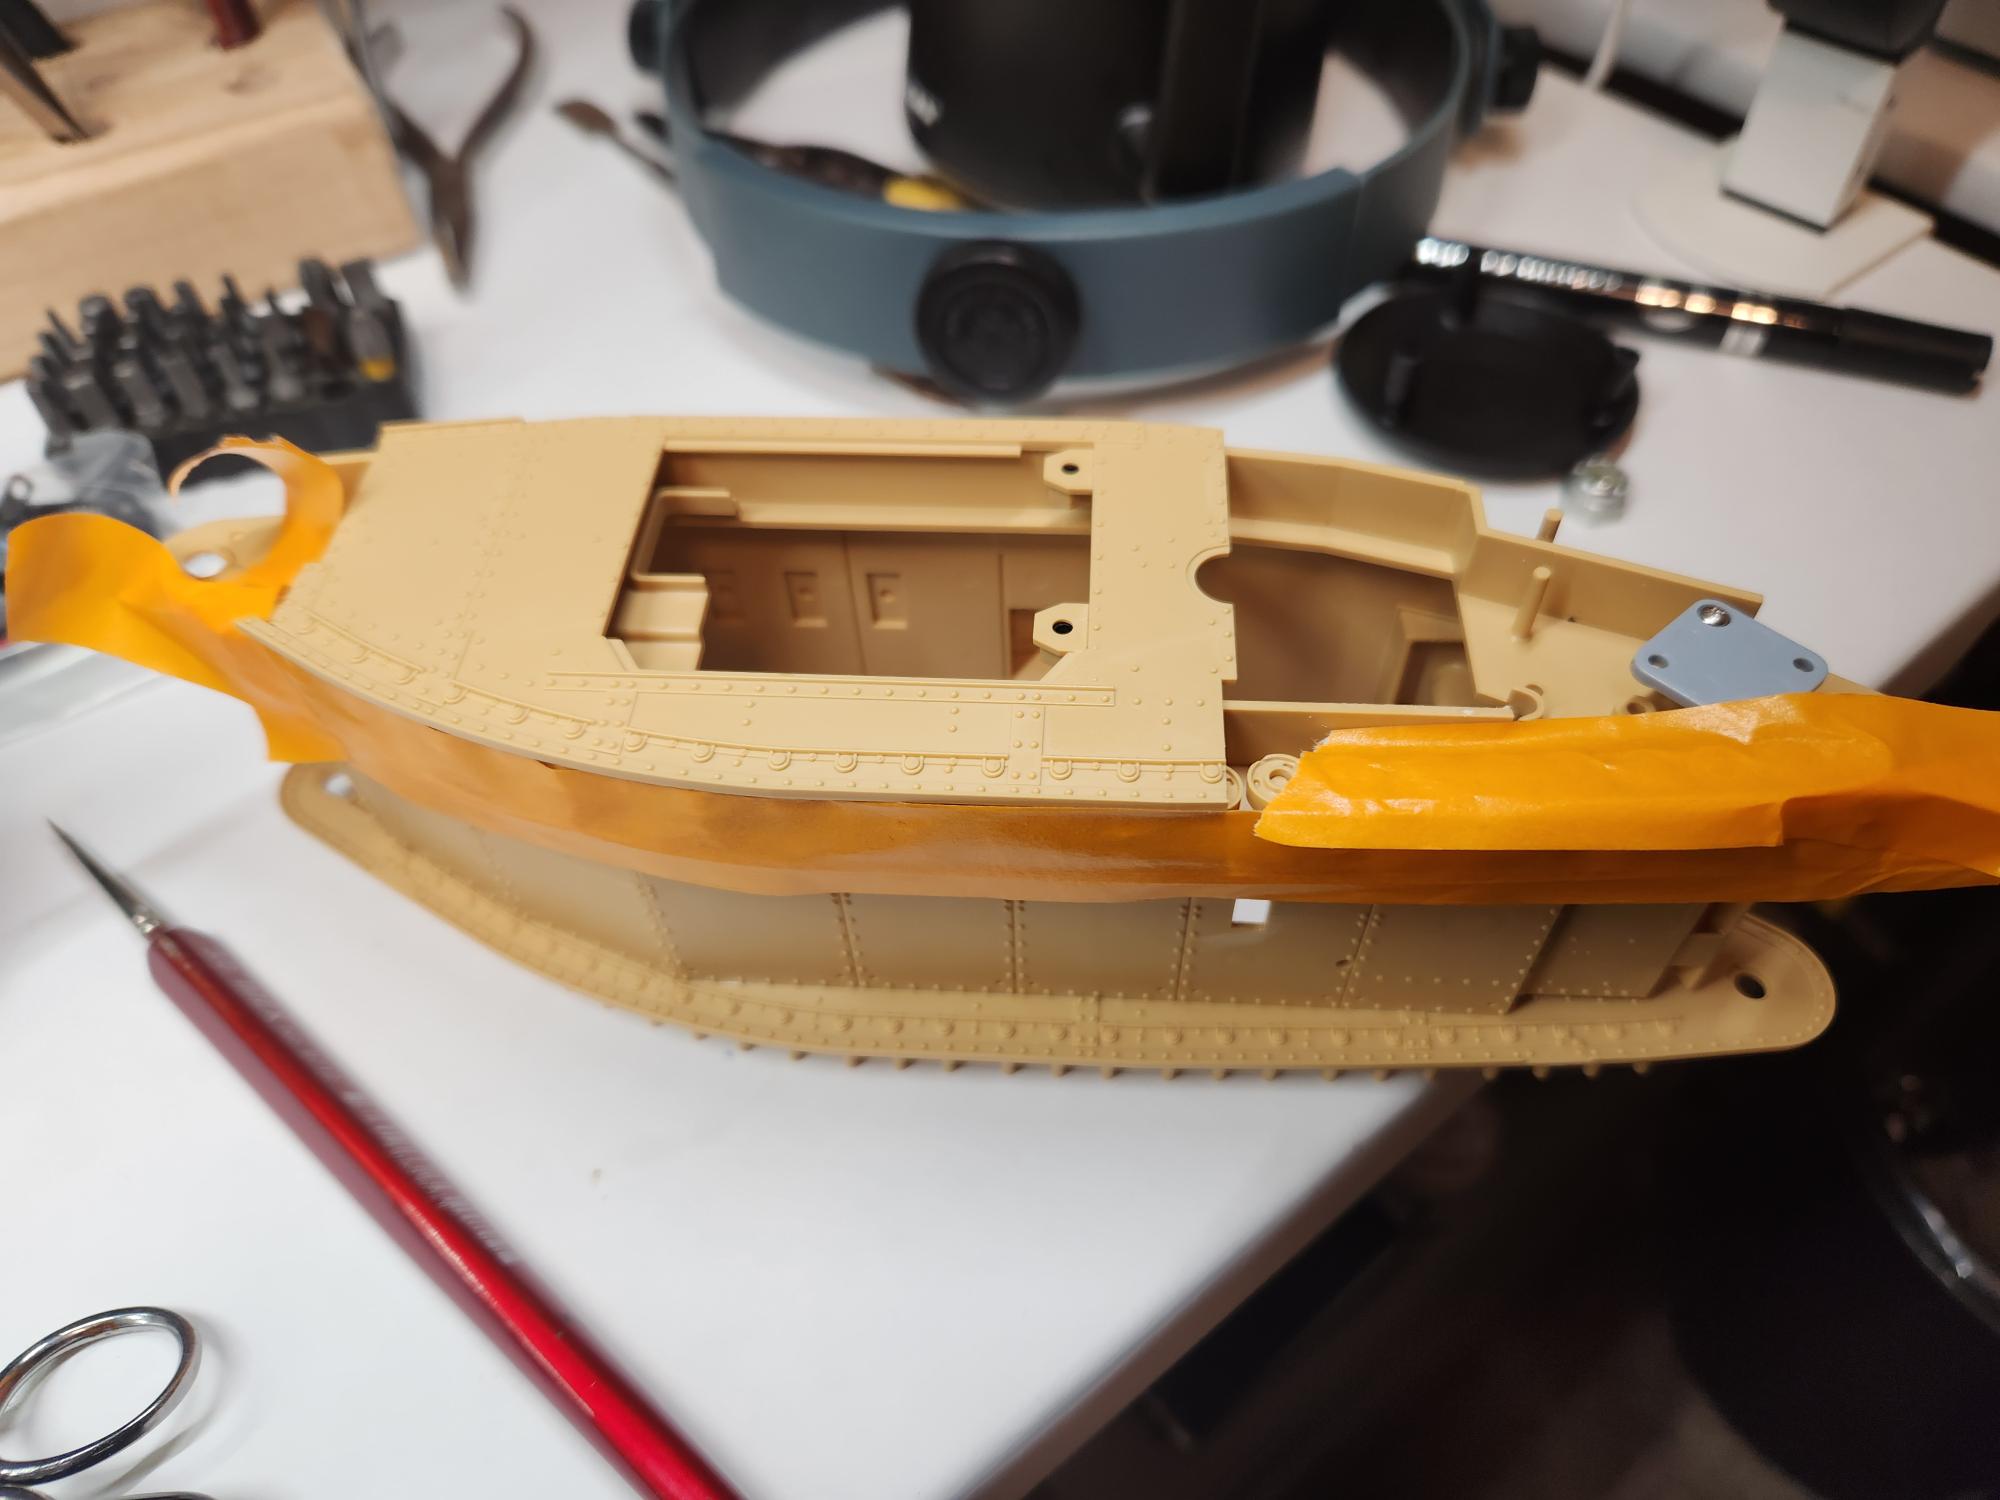
That’s what Tamiya is famous for!
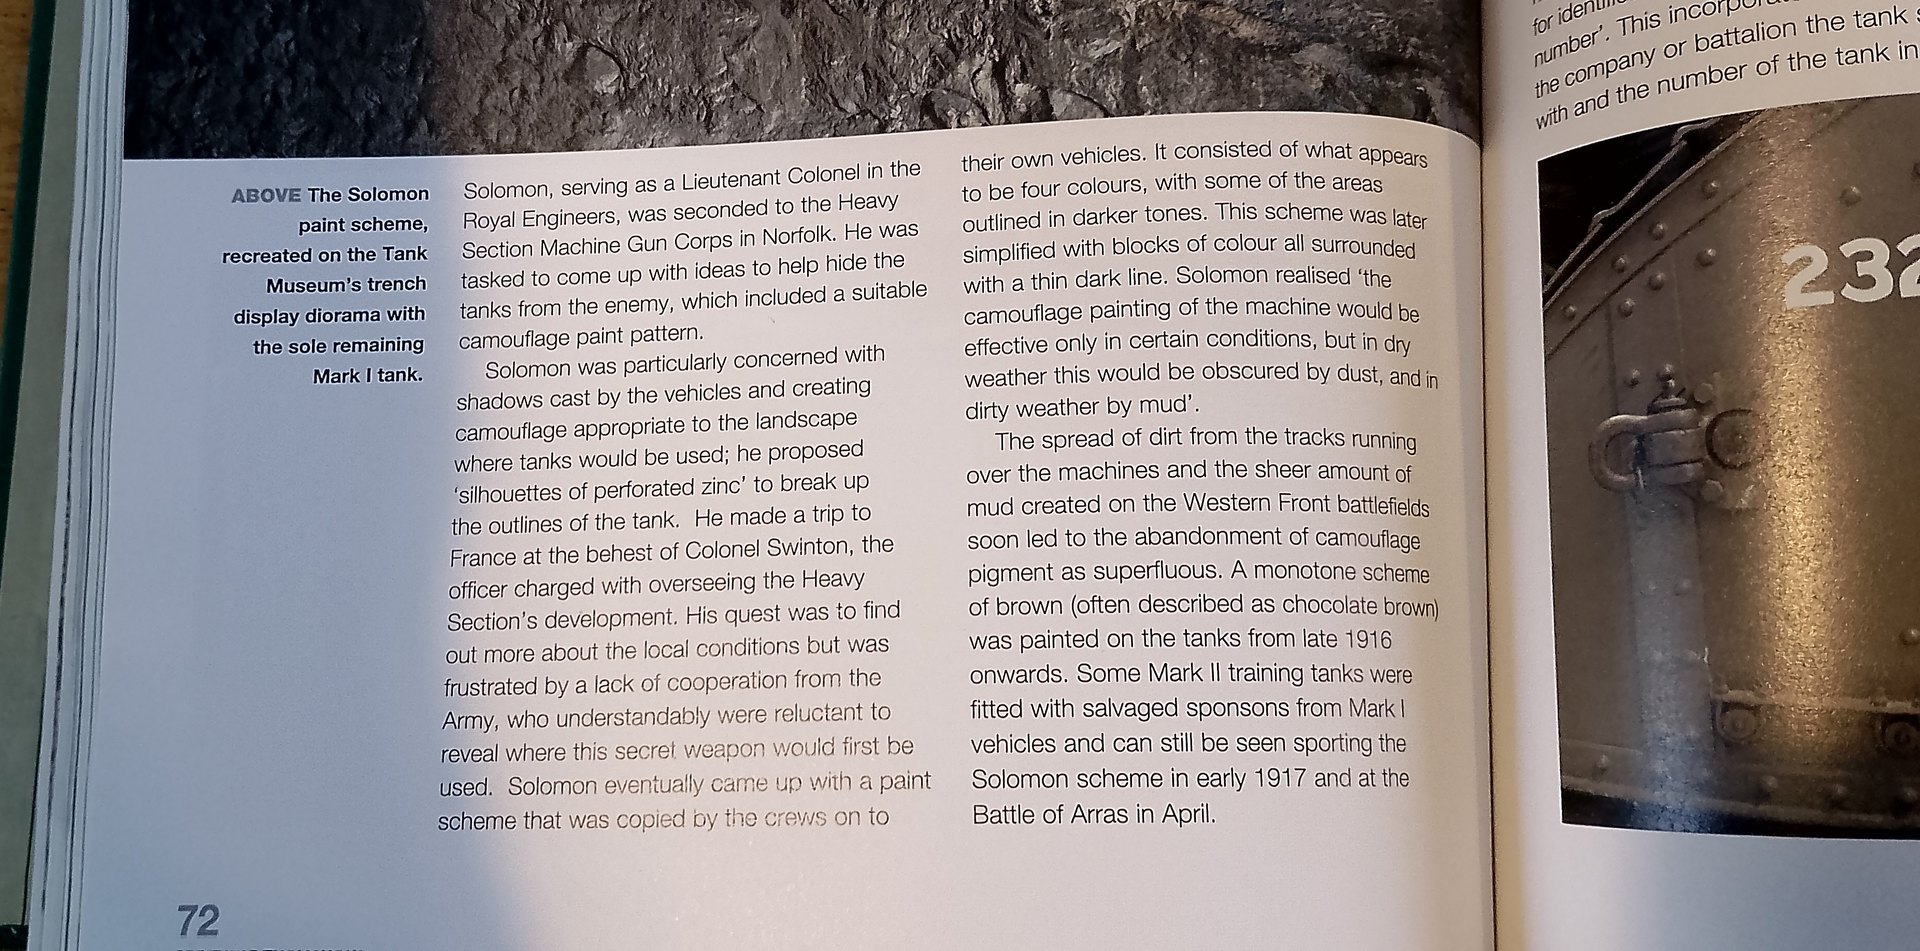
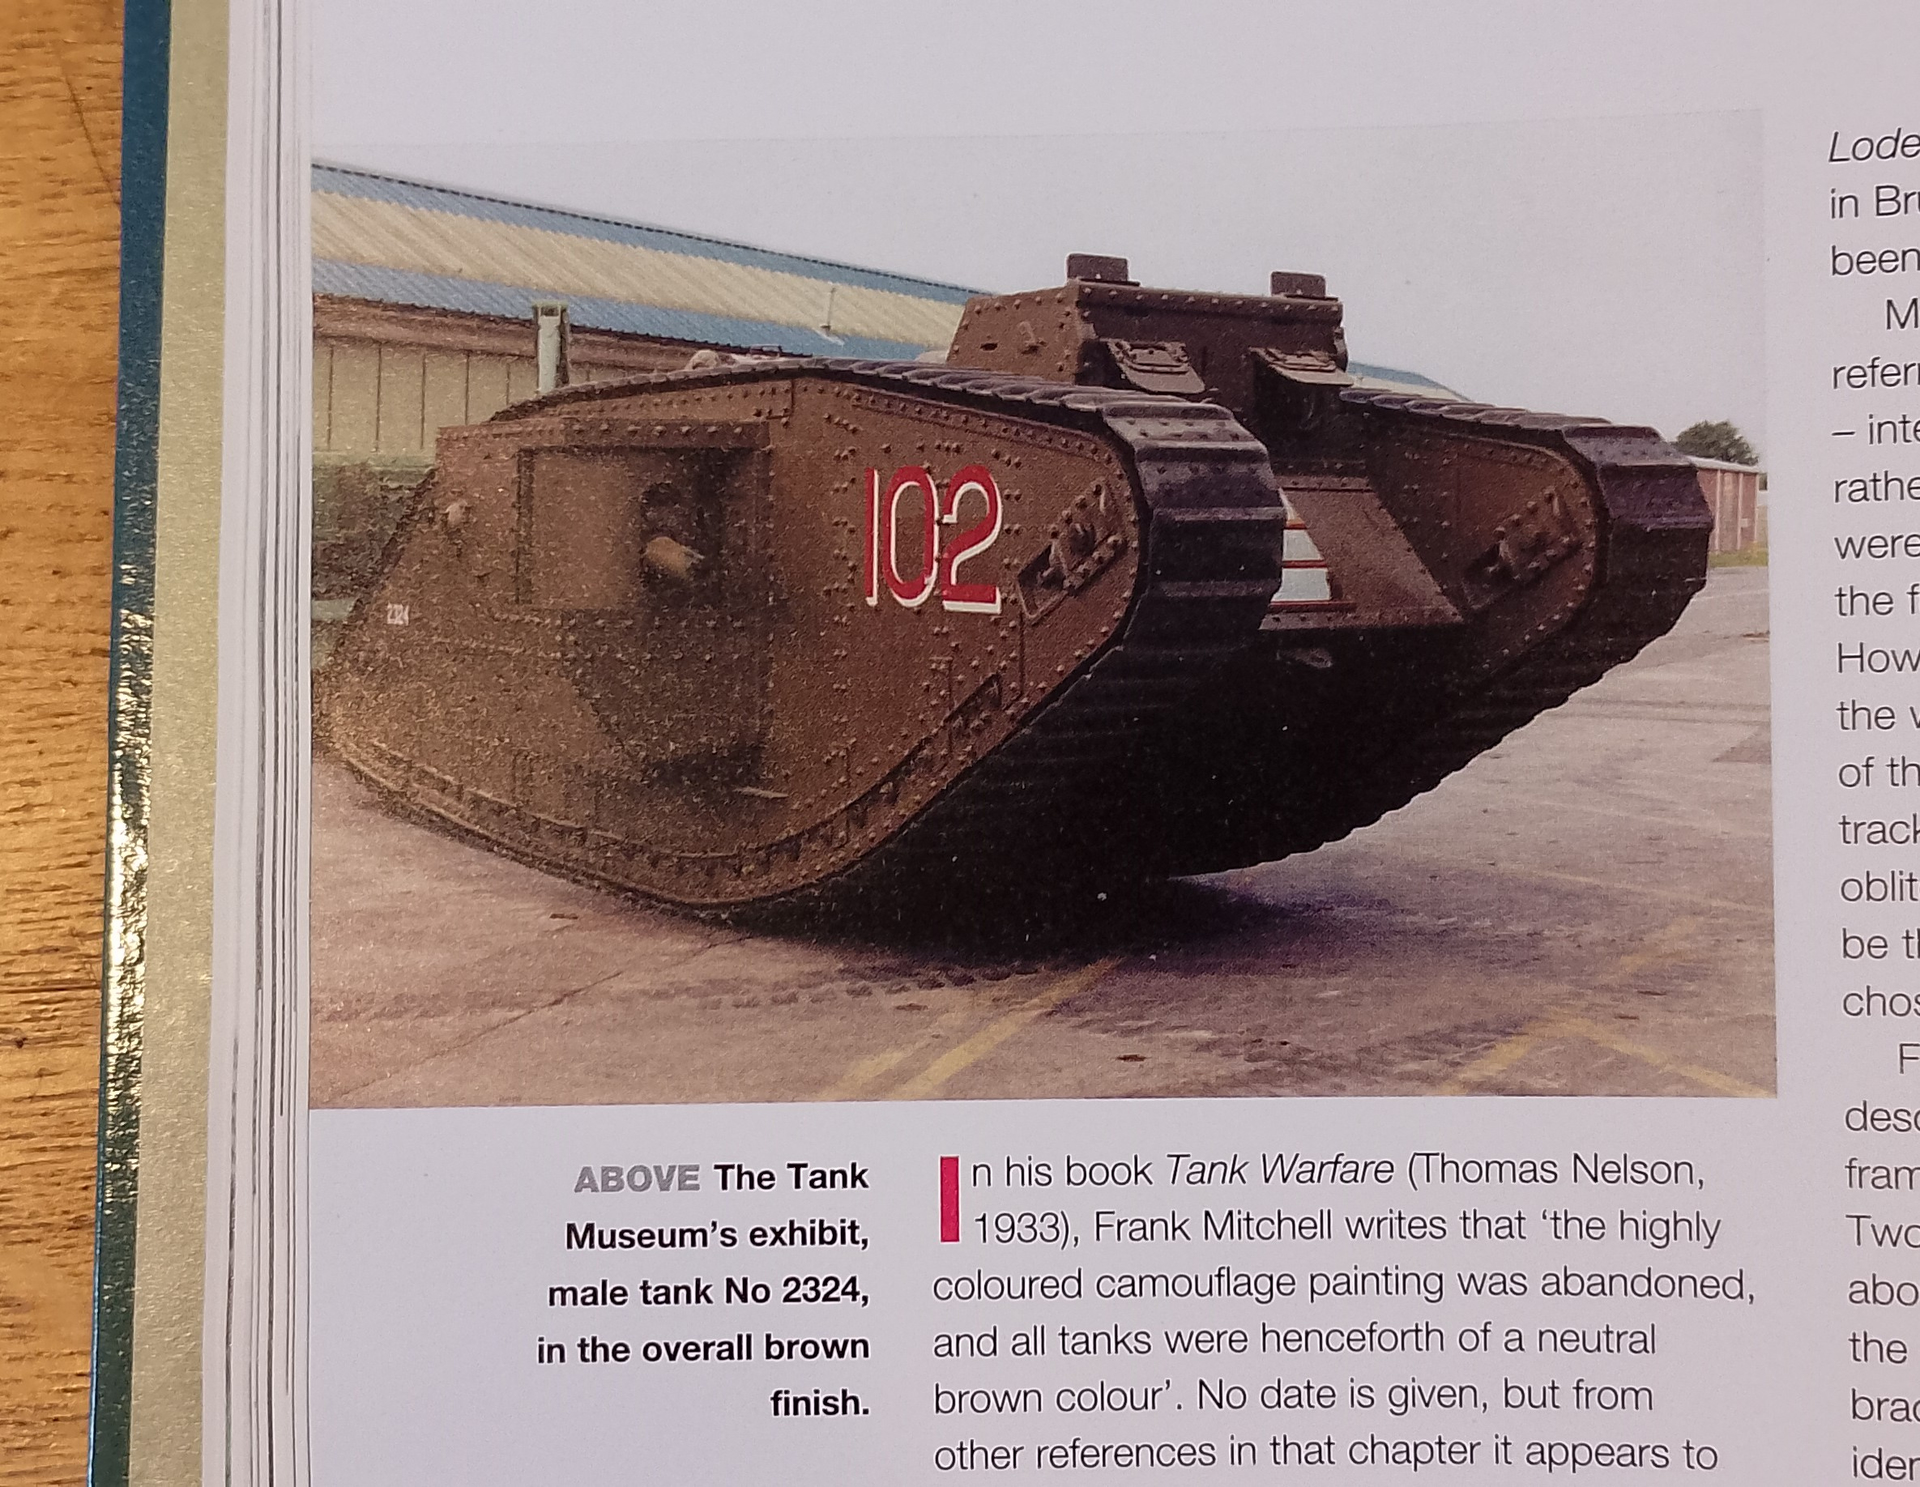
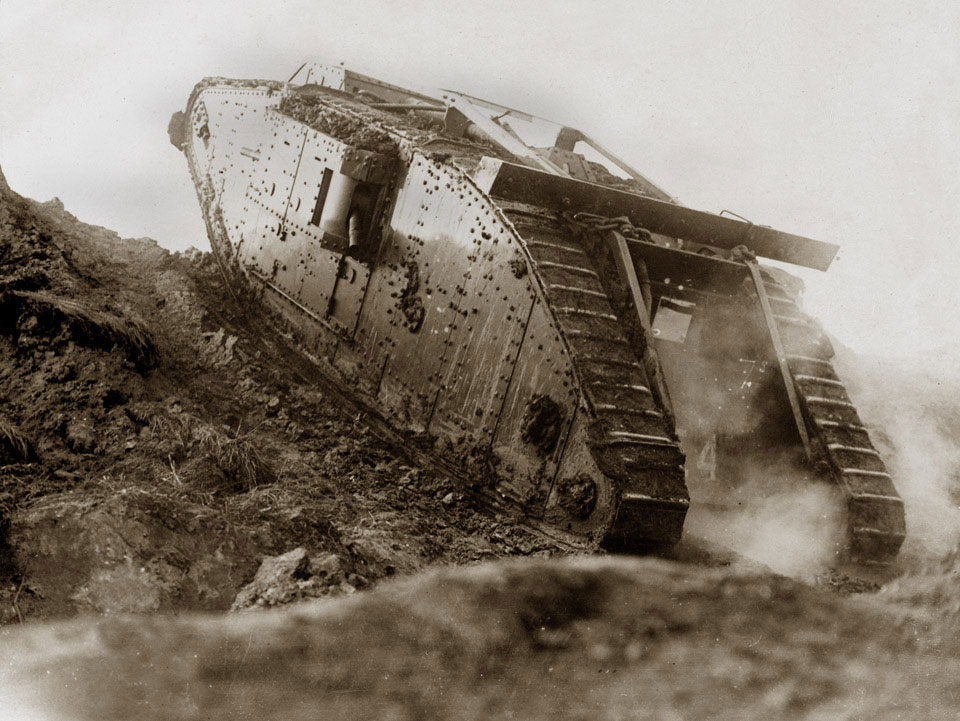
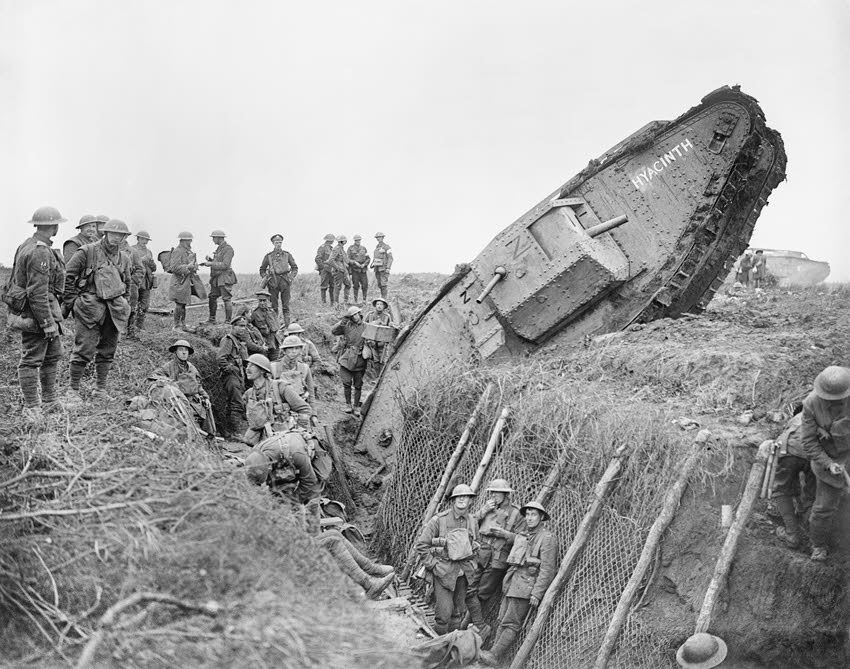
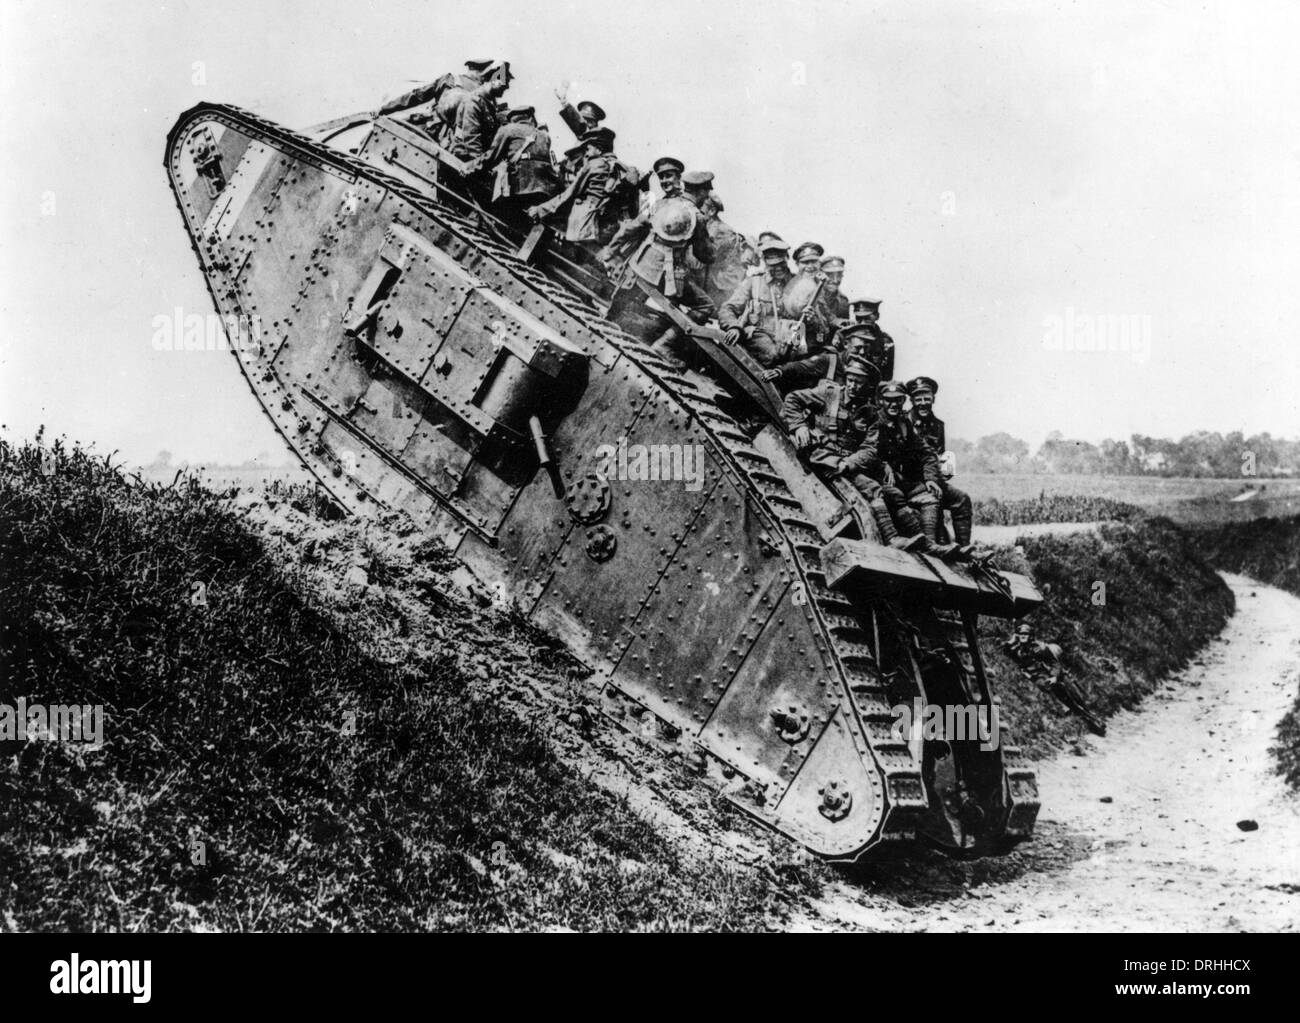
As for colour, by 1917 the RTC had discovered that everything was soon coated in mud, so no need to go for fancy paint in Europe. To jazz things up you can do a lot of weathering - adding pin washes on panel lines and rivets in a dark brown, “splashing” various mud colours to represent wet (fresh) and dry (older) mud along the sides, and of course dirt from boots on the roof.
4 Likes
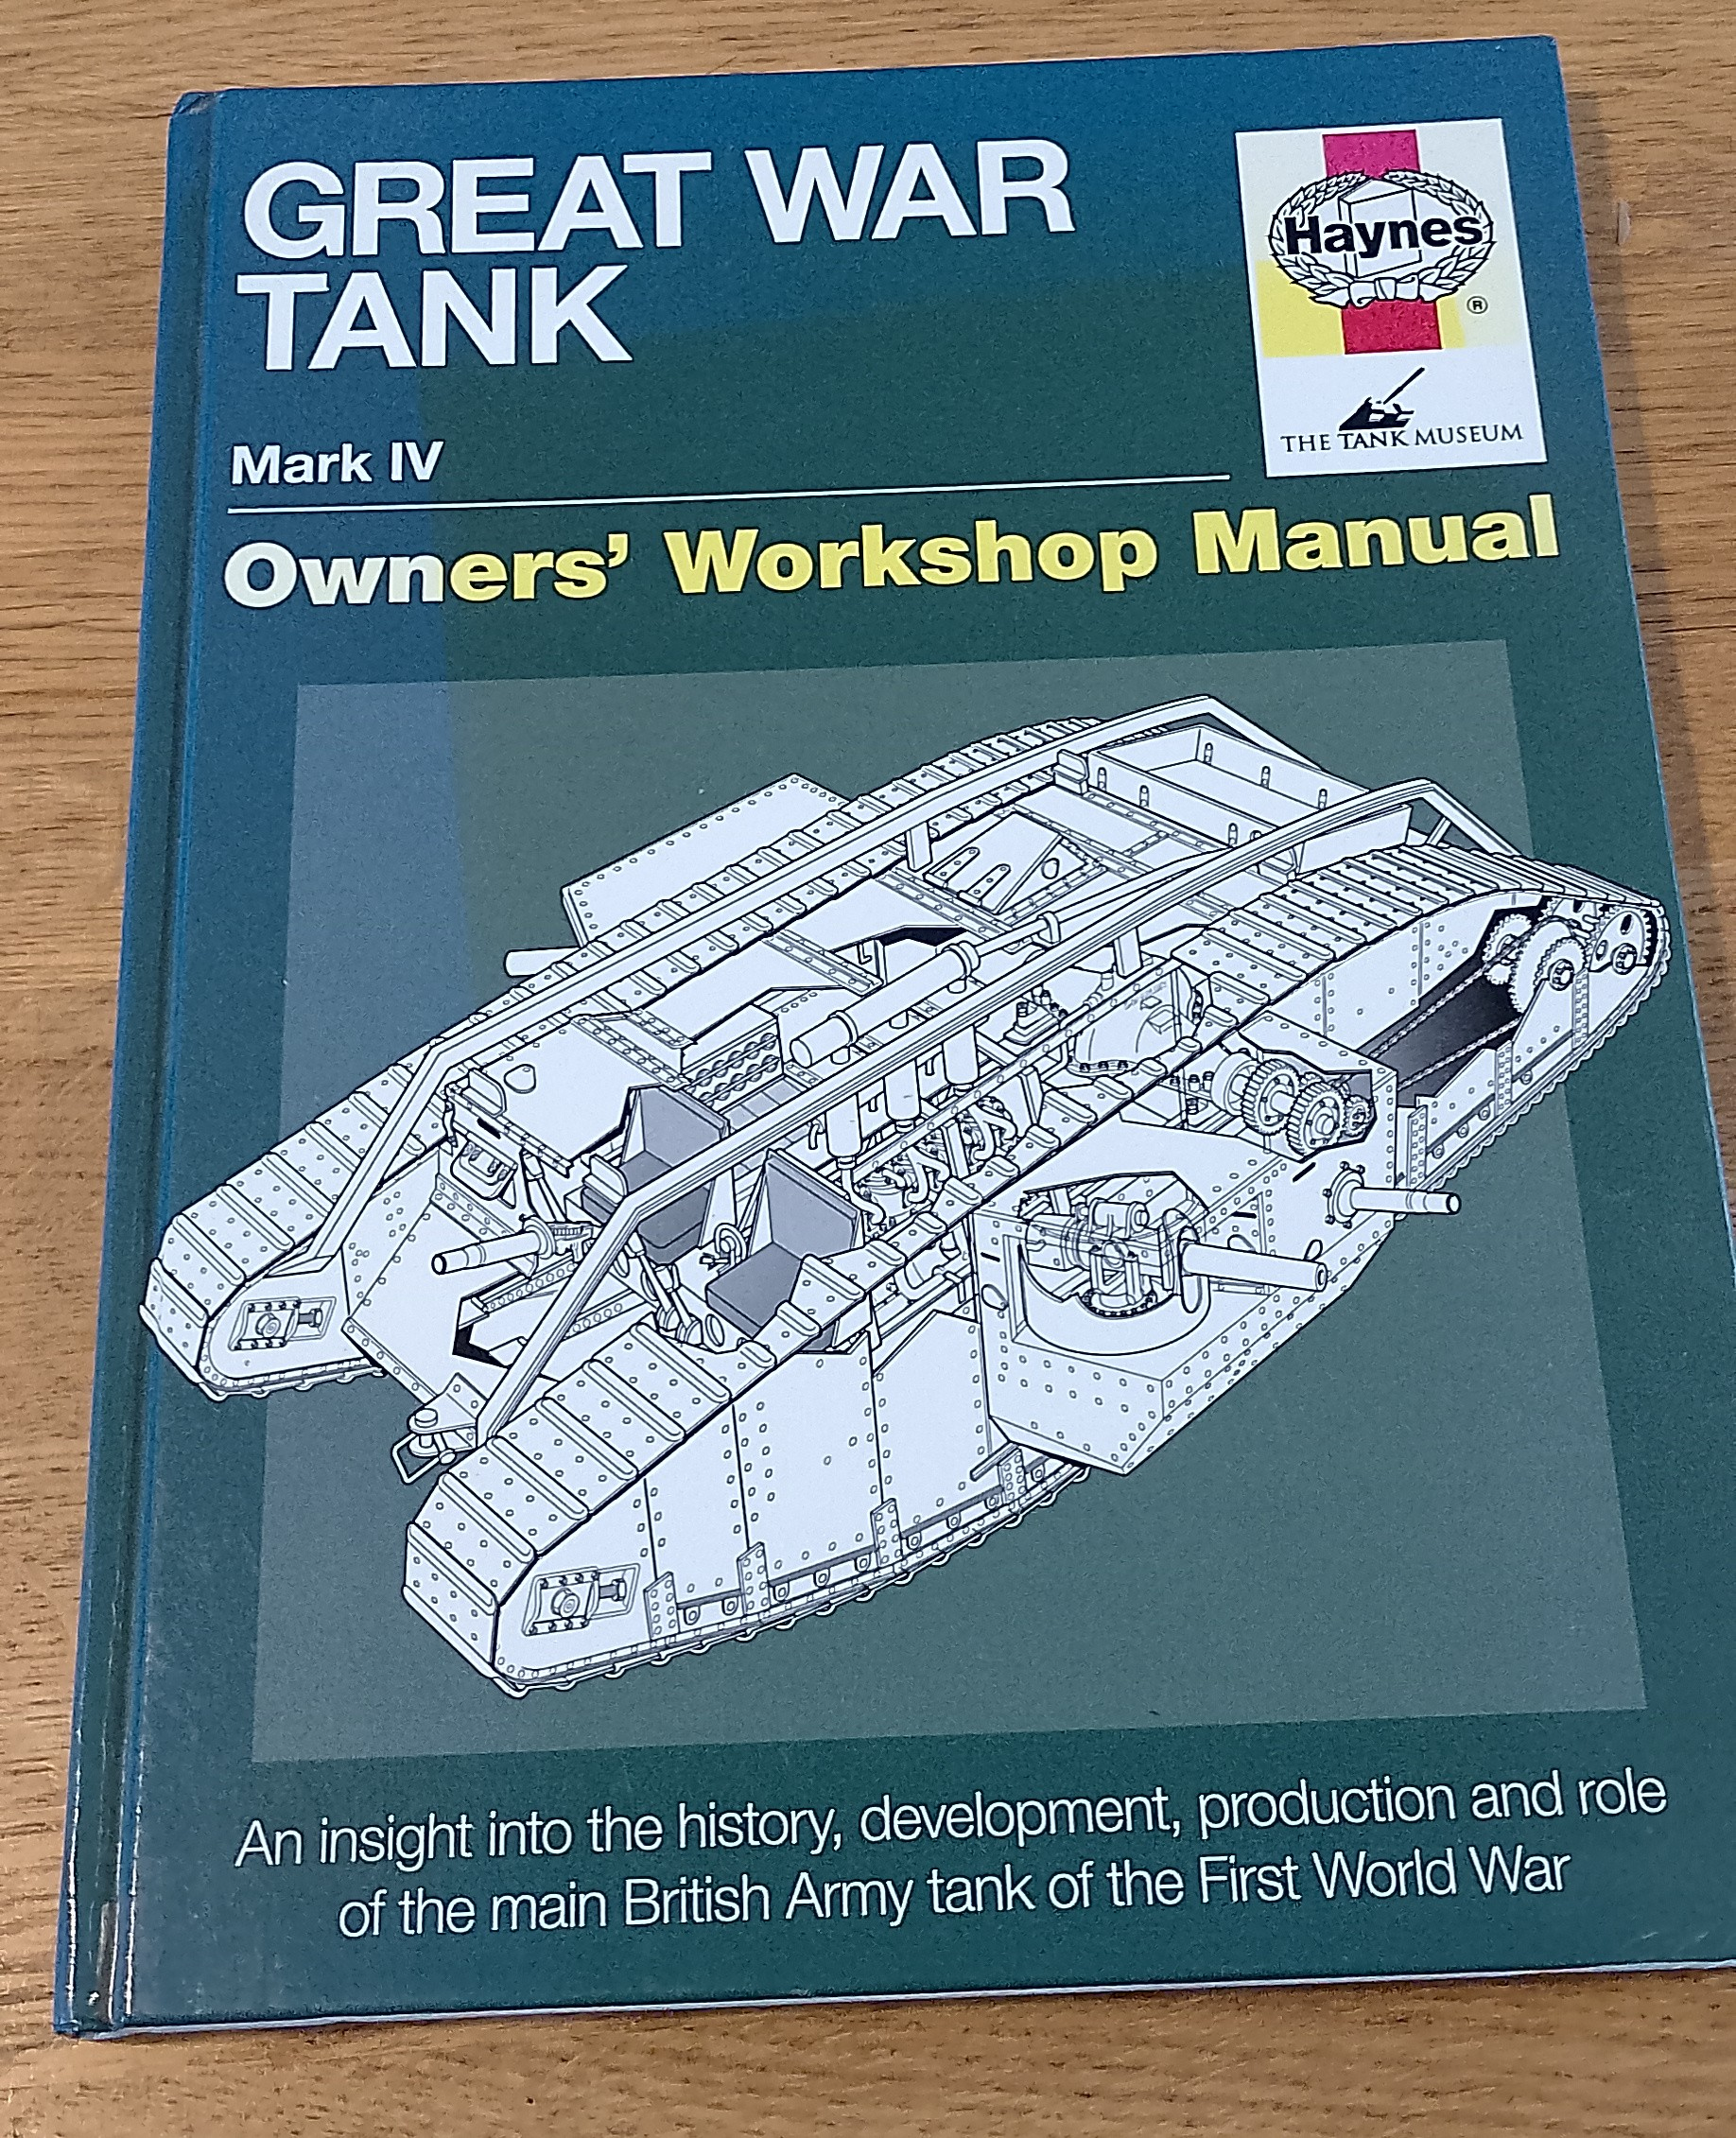
I just had a quick look in the Haynes book on the MkIV, produced with the support of the Tank Museum and even they don’t have much to say on the colour!
So, any sort of khaki brown will do the job under mud and muck.
This really does look like an excellent kit and I was secretly hoping someone would do it. It’s high on my wish list.
3 Likes
And because it’s a Tamiya; it’ll be easy to build. Just throw the glue in the box, shake it up and put it comes, ready for paint. 

4 Likes
I might have to ask for one for Christmas.
Are you building it with the motor?
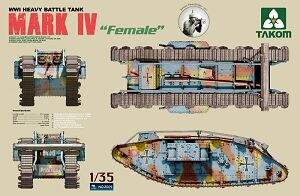
I’ve got Takoms Mk IV Female, and the tracks look like a nightmare. About 6 parts per link! I had to get a replacement set of clip togethers just to save my sanity. But the parts of the actual tank do look like like they’ll go together just as well as the Tamiya. I hope!
Luckily they do give British marking along with the captured German scheme. I’ve just got to try and remember where abouts I put it.
3 Likes
I’ve built both the Tamiya and Takom MkIV kits. The Tamiya is an easy build but not quite as detailed. The Takom is much better, but is a bear to build due to lots of parts that need more than two hands to assemble! Getting the axles for all those wheels into both side plates is a challenge. And you really need the clip-together tracks! (Those six-part ones are essentially unbuildable…)
3 Likes
Evening chaps …
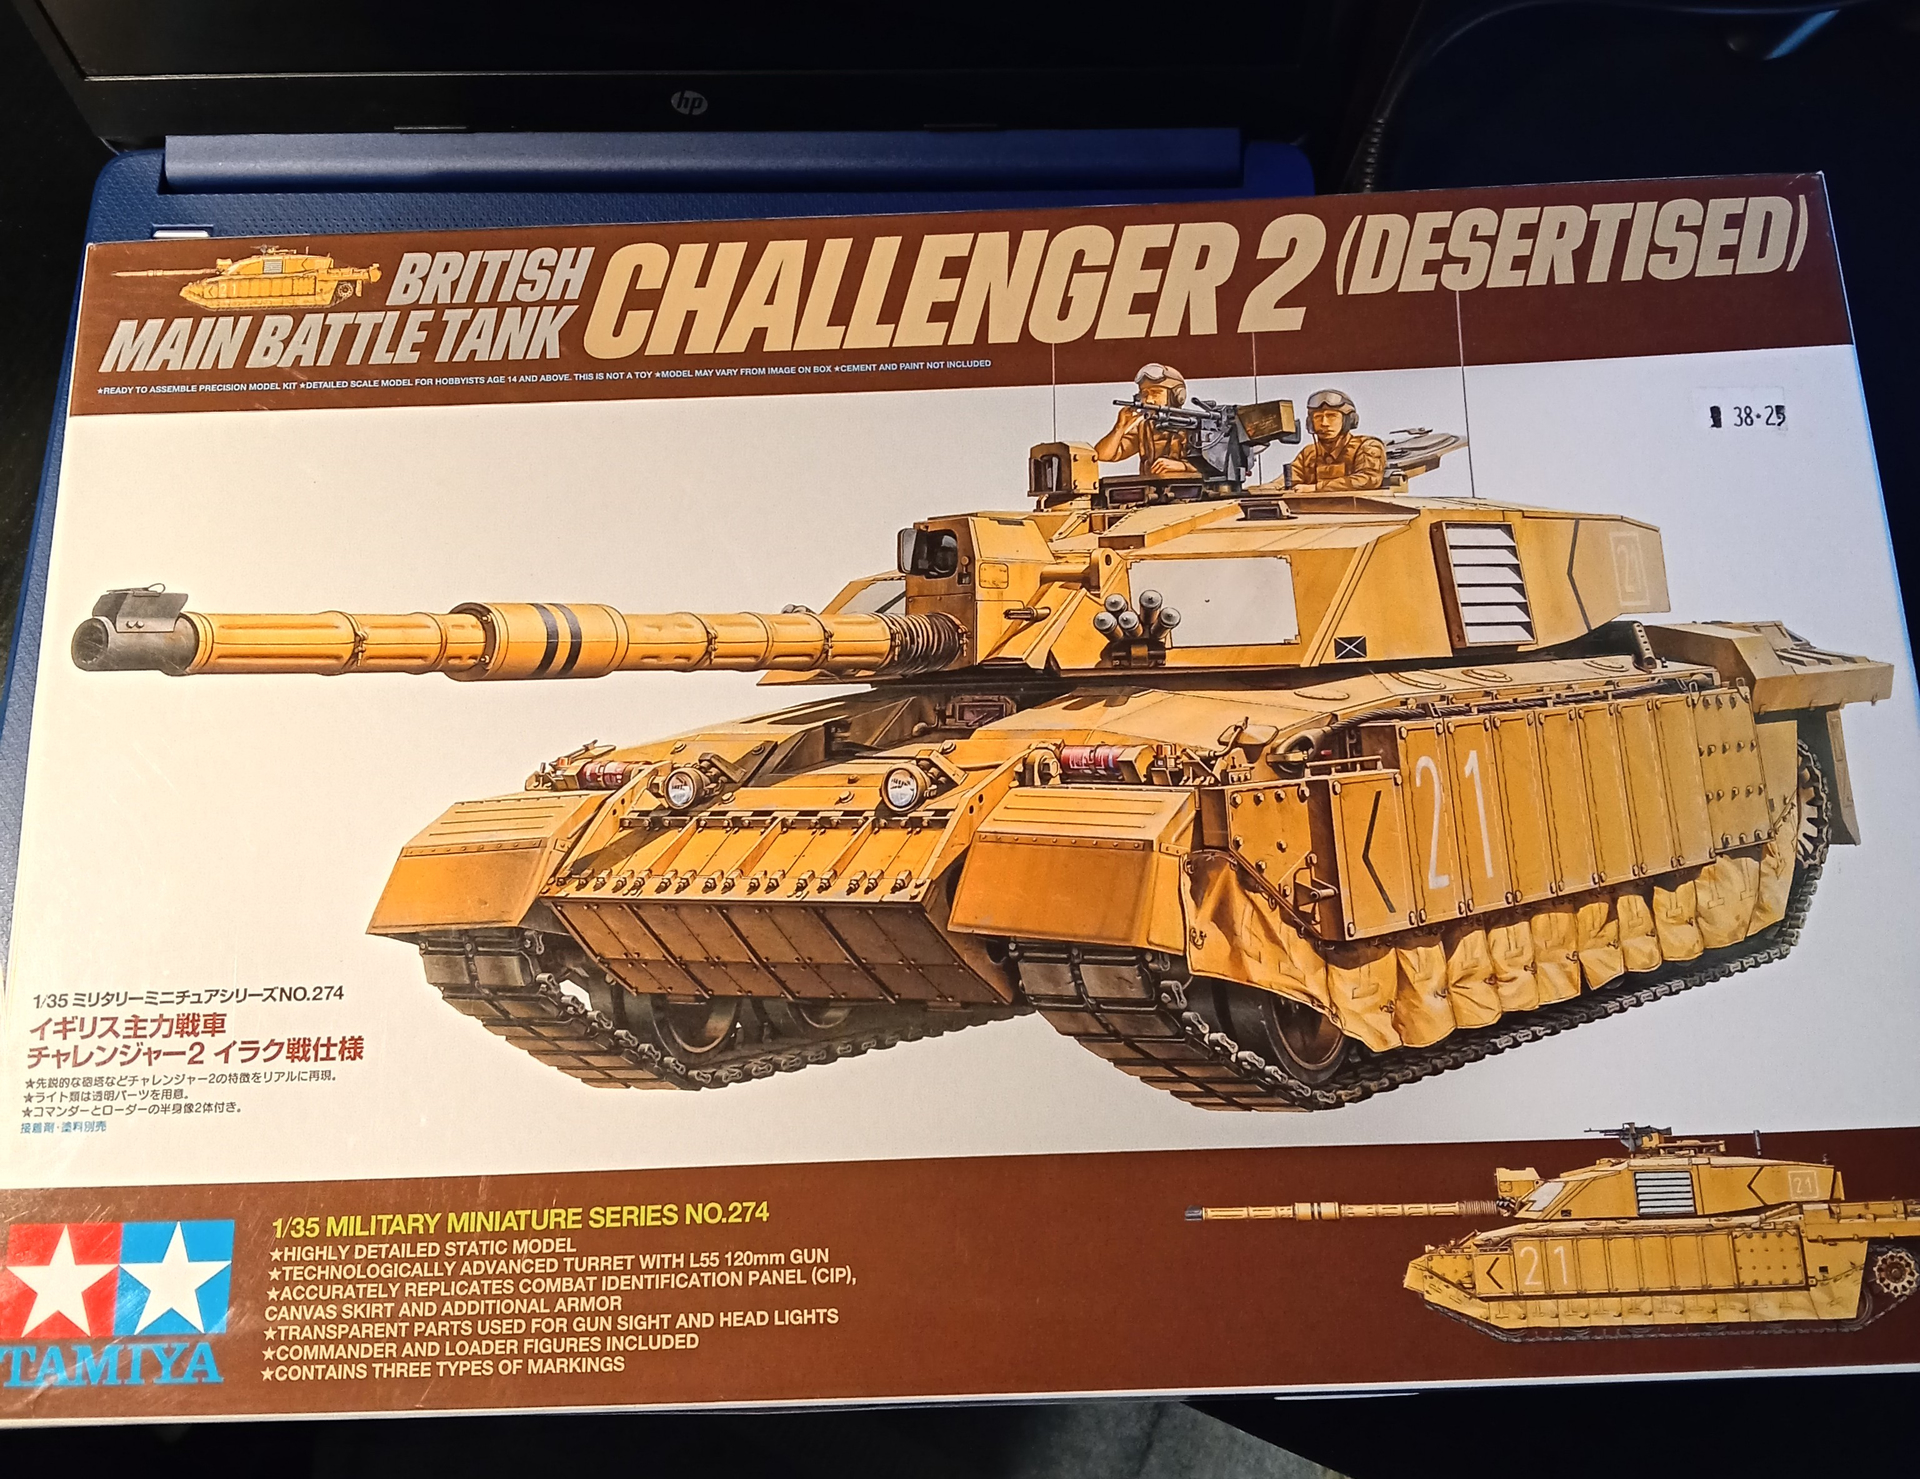
3rd time’s a charm… After the Pershing, then the T-Stick … I’m going to jump in with this
Pretty much be OOB but I will add a few little bits and I’ve ordered the mesh screens for engine decks.
5 Likes
Thanks for the heads up. I do remember getting some parts fitted to one side but none of the wheels yet. I had a look in some boxes but no sign of it yet!
1 Like
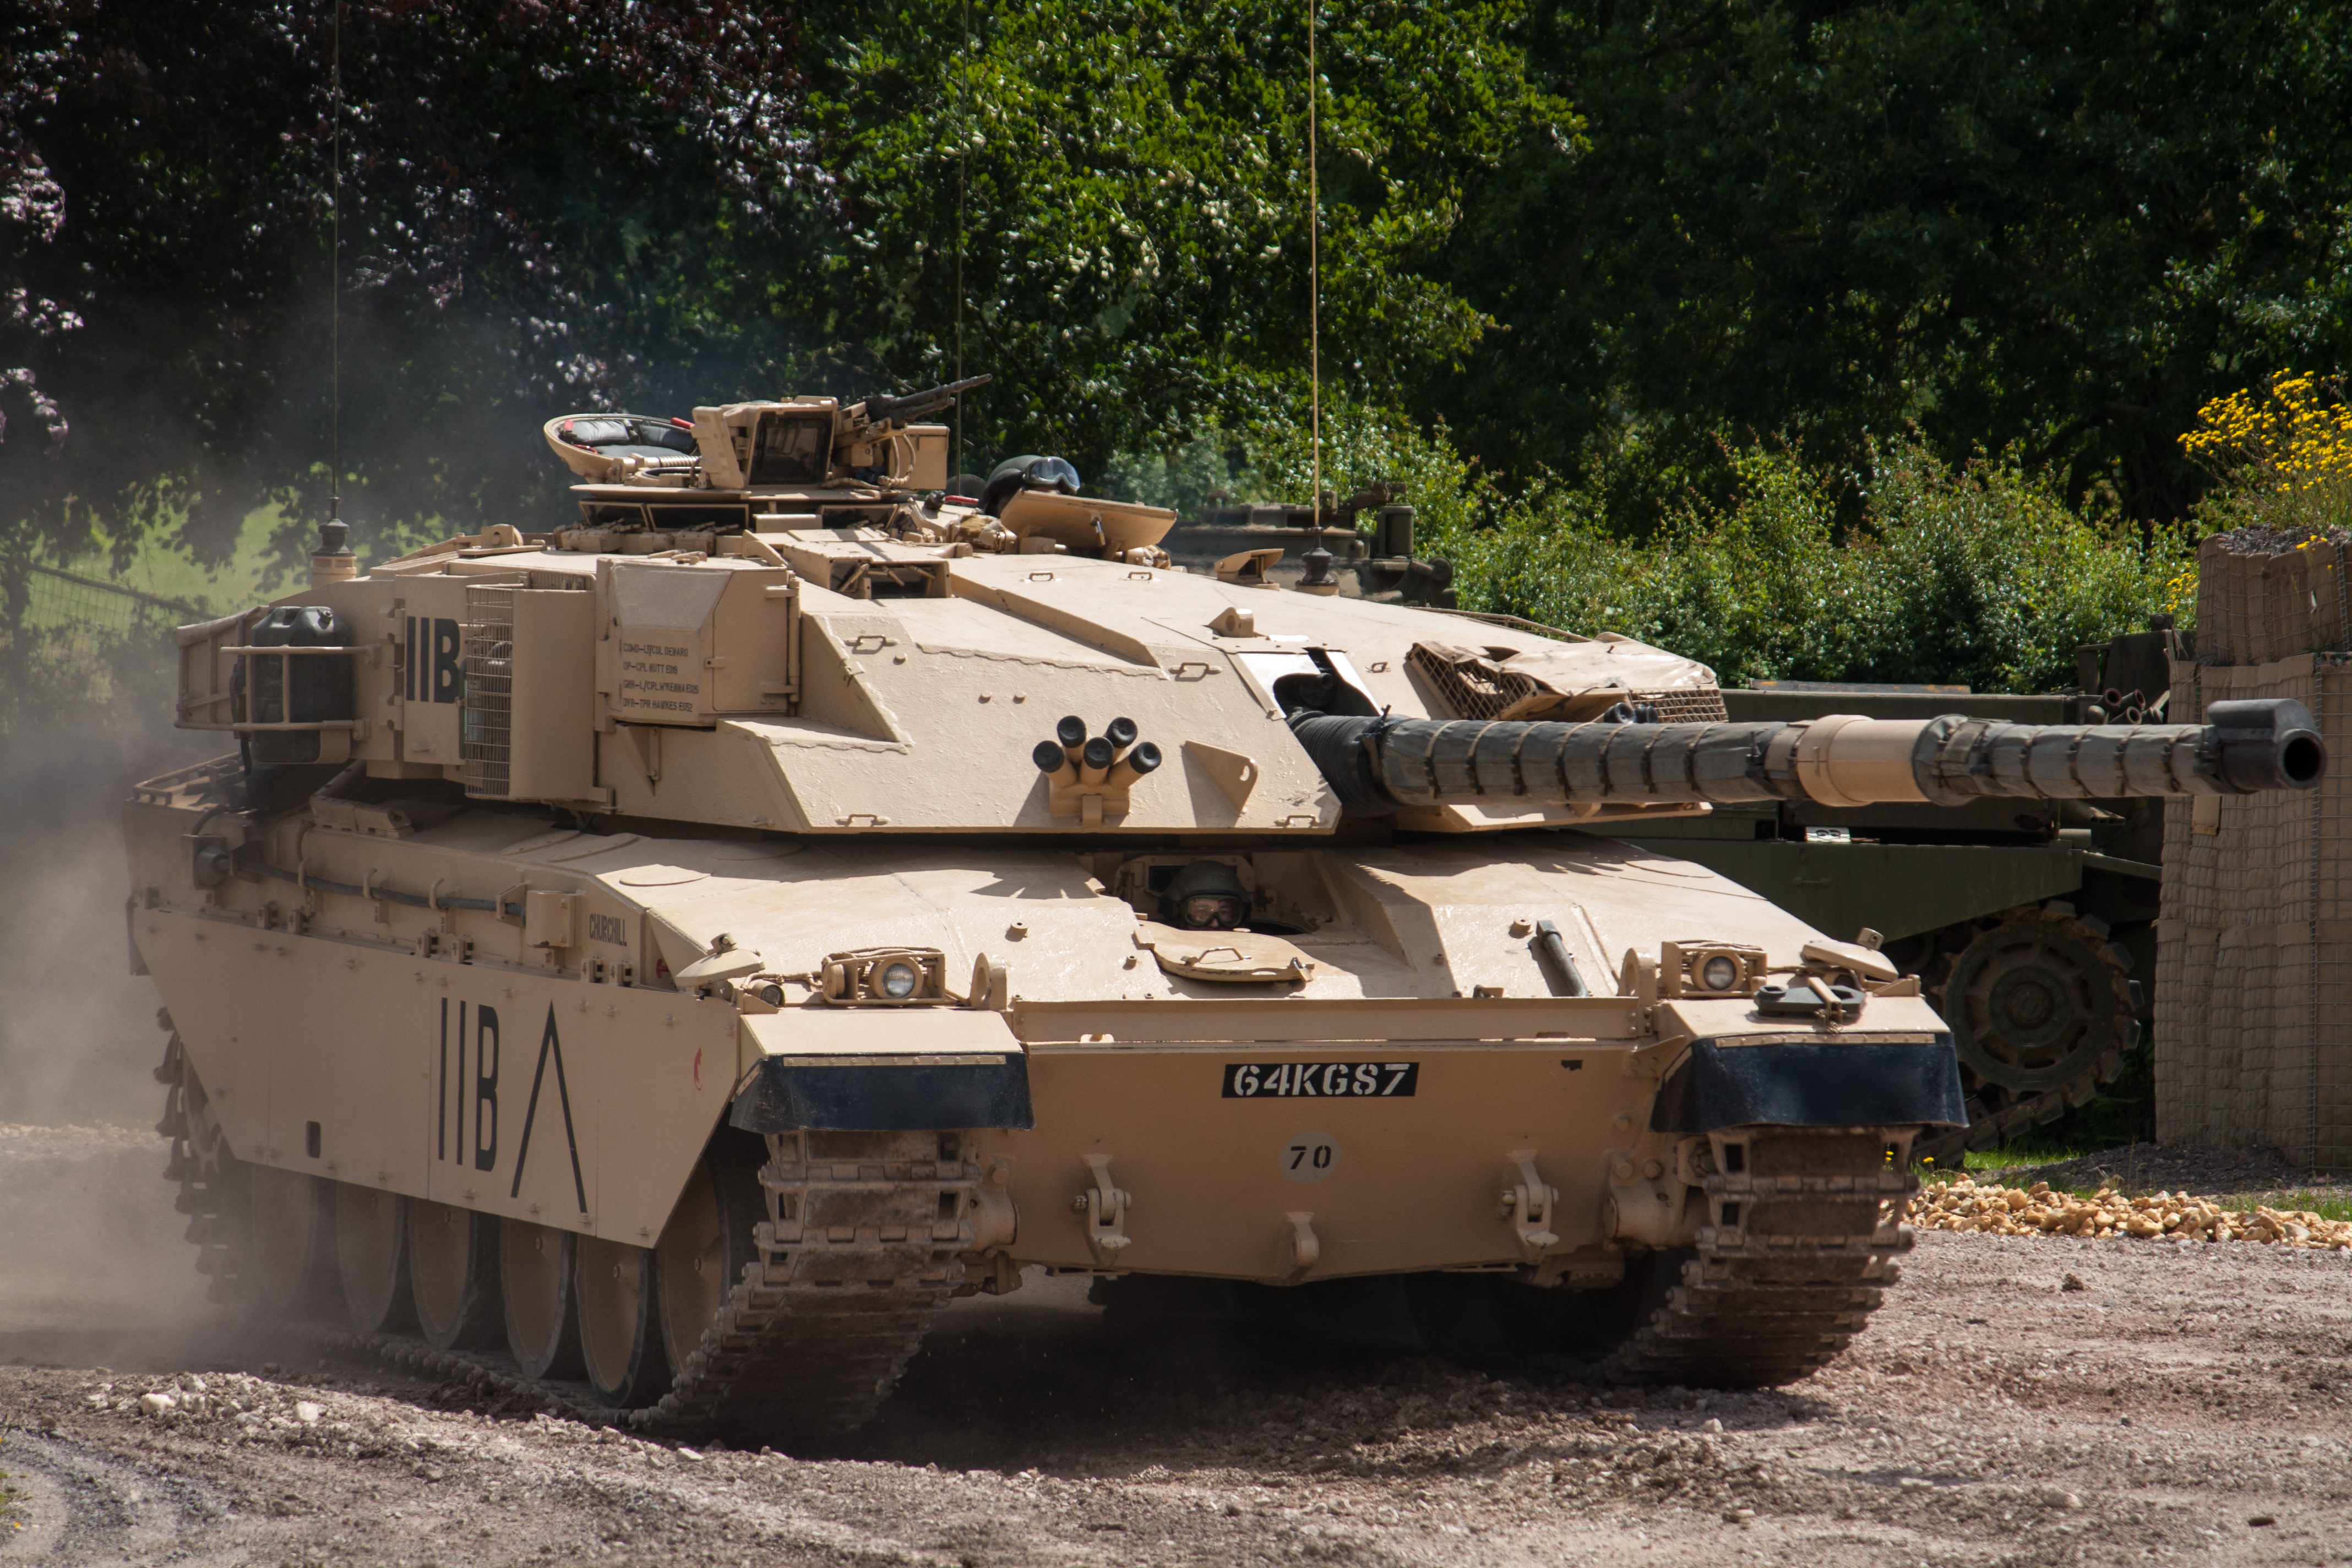
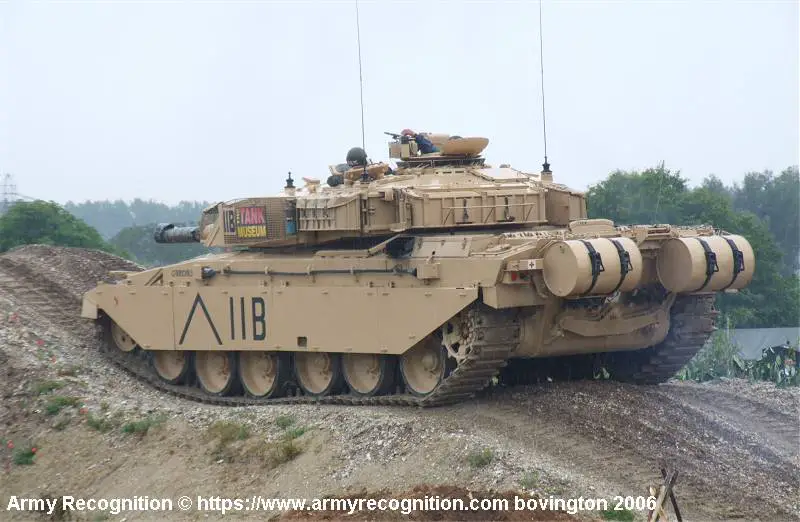
So, I have a conundrum; I want to paint my Cr.1 to replicate the one at Bovington.
I have the 11B, chevrons and the “CHURCHILL” markings, but don’t have the proper bumper numbers and I maybe… Maybe have the red desert rat insignias.
2 Likes
They will be easy to knock up on decal paper. Failing that, you can use normal paper and print them that way. I have done it a few times like that. I did look through my spare UK VRN decals but didnt have any.
1 Like
Somebody (can’t remember who) did a generic set of reg numbers that you need to apply separately on a black background, but then any appropriate-sized stencil number-jungle sheet can do. It’s tedious getting them all lined up, but do-able. Archer sells stencil letters and numbers as separate sheets in their Miscellaneous section…
1 Like
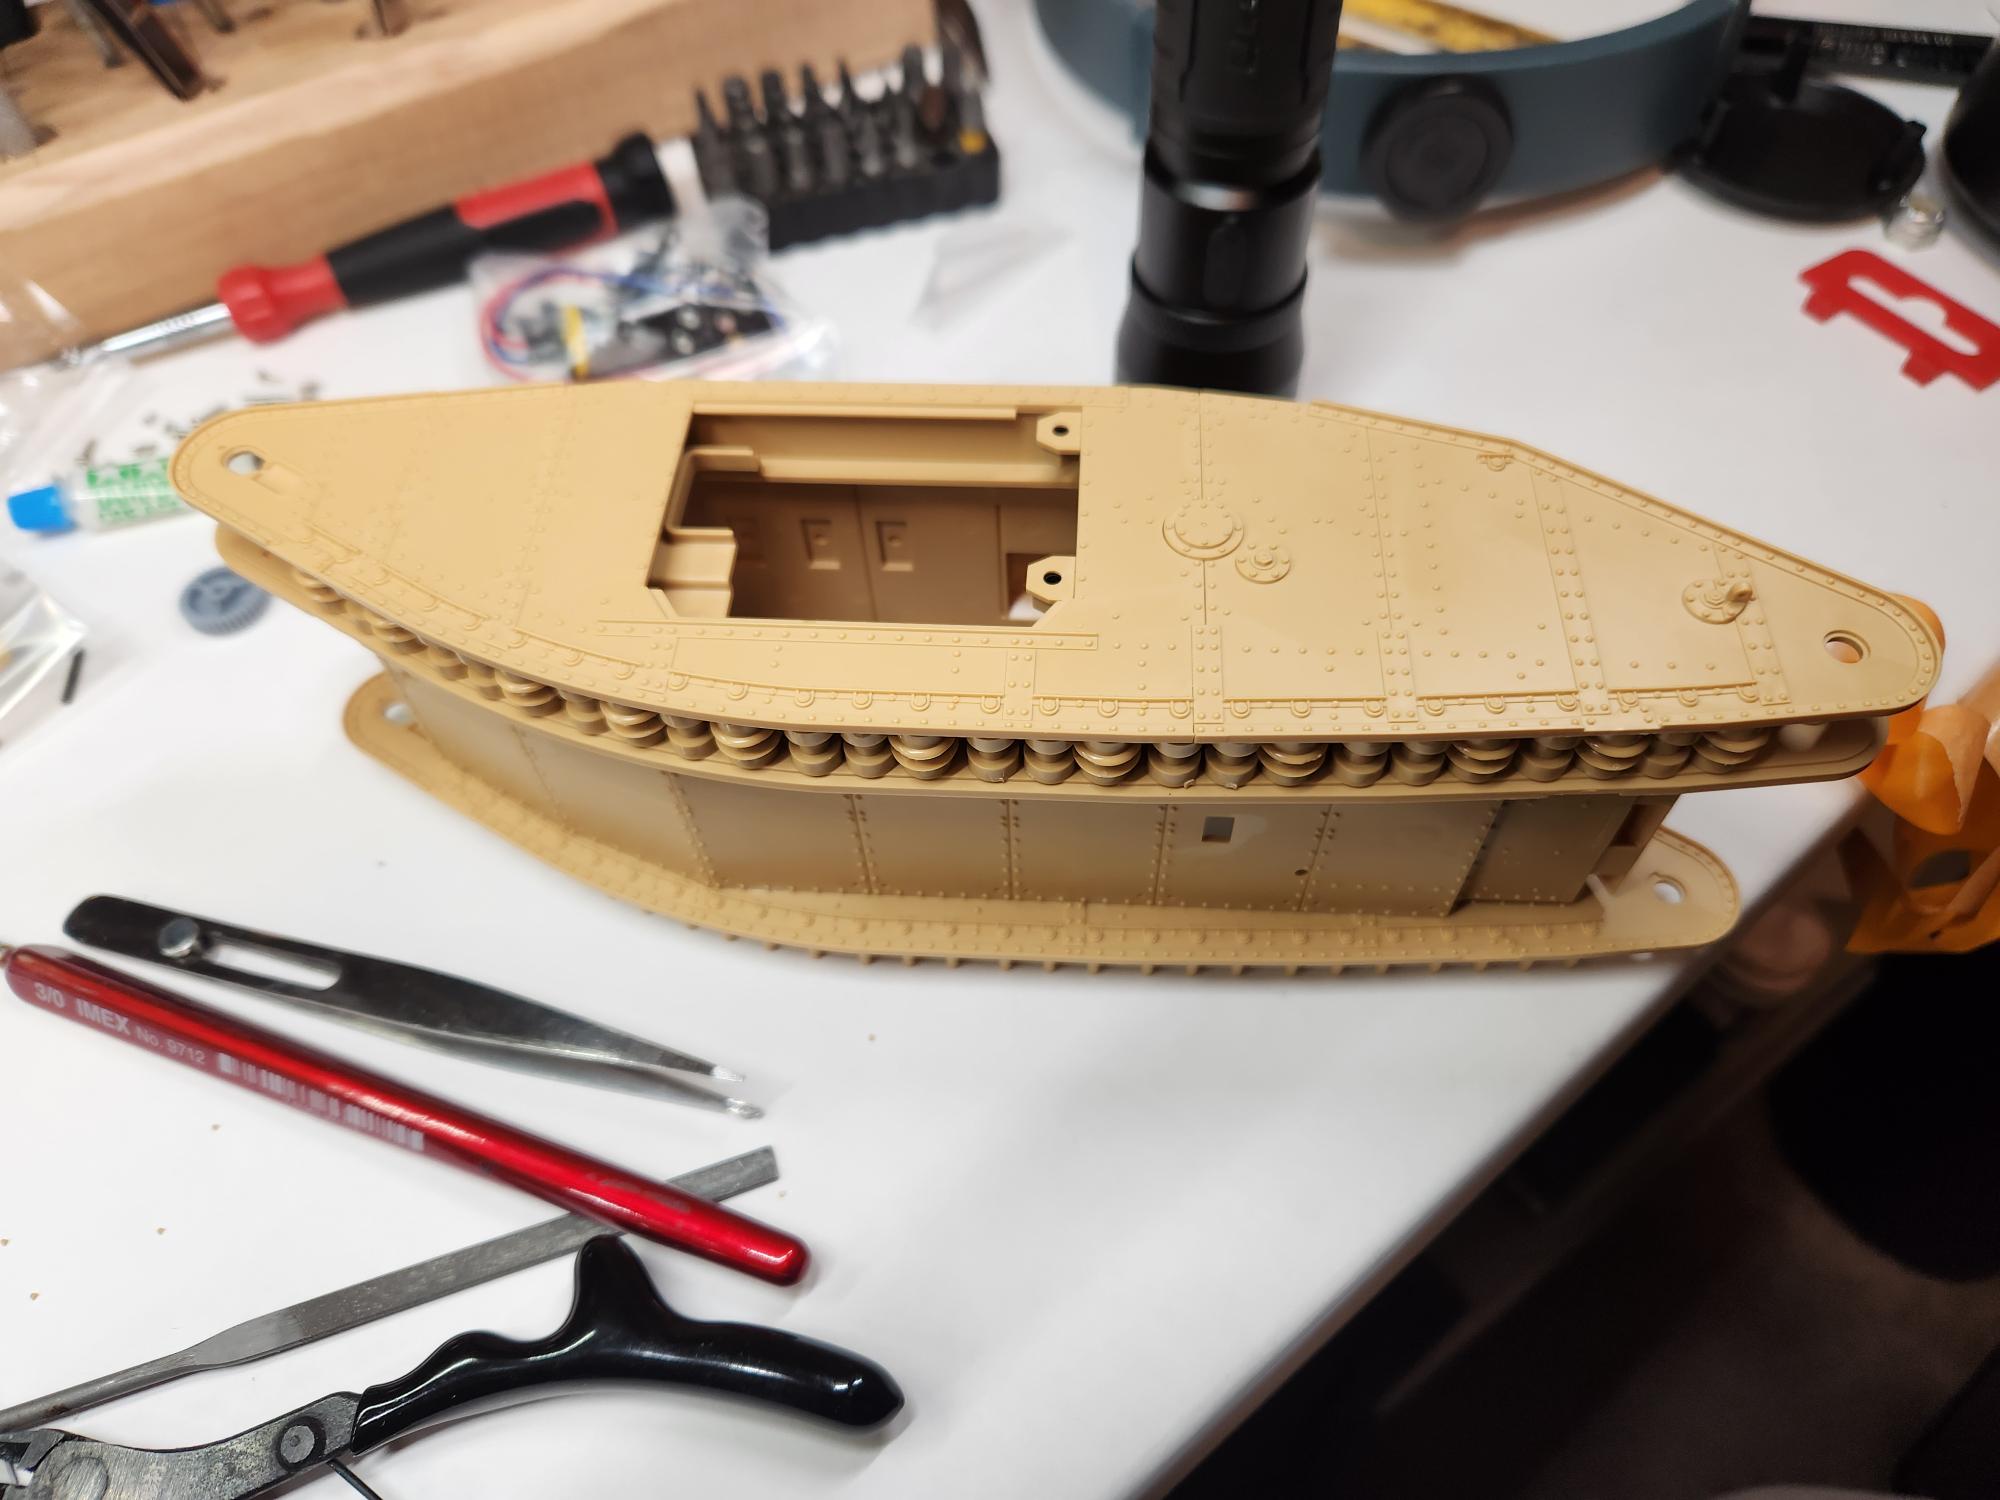
Back to work, I assembled the pilot house and glued it to the upper hull and glued the upper hull to the hull frame.
Then began the task of installing the roadwheels.
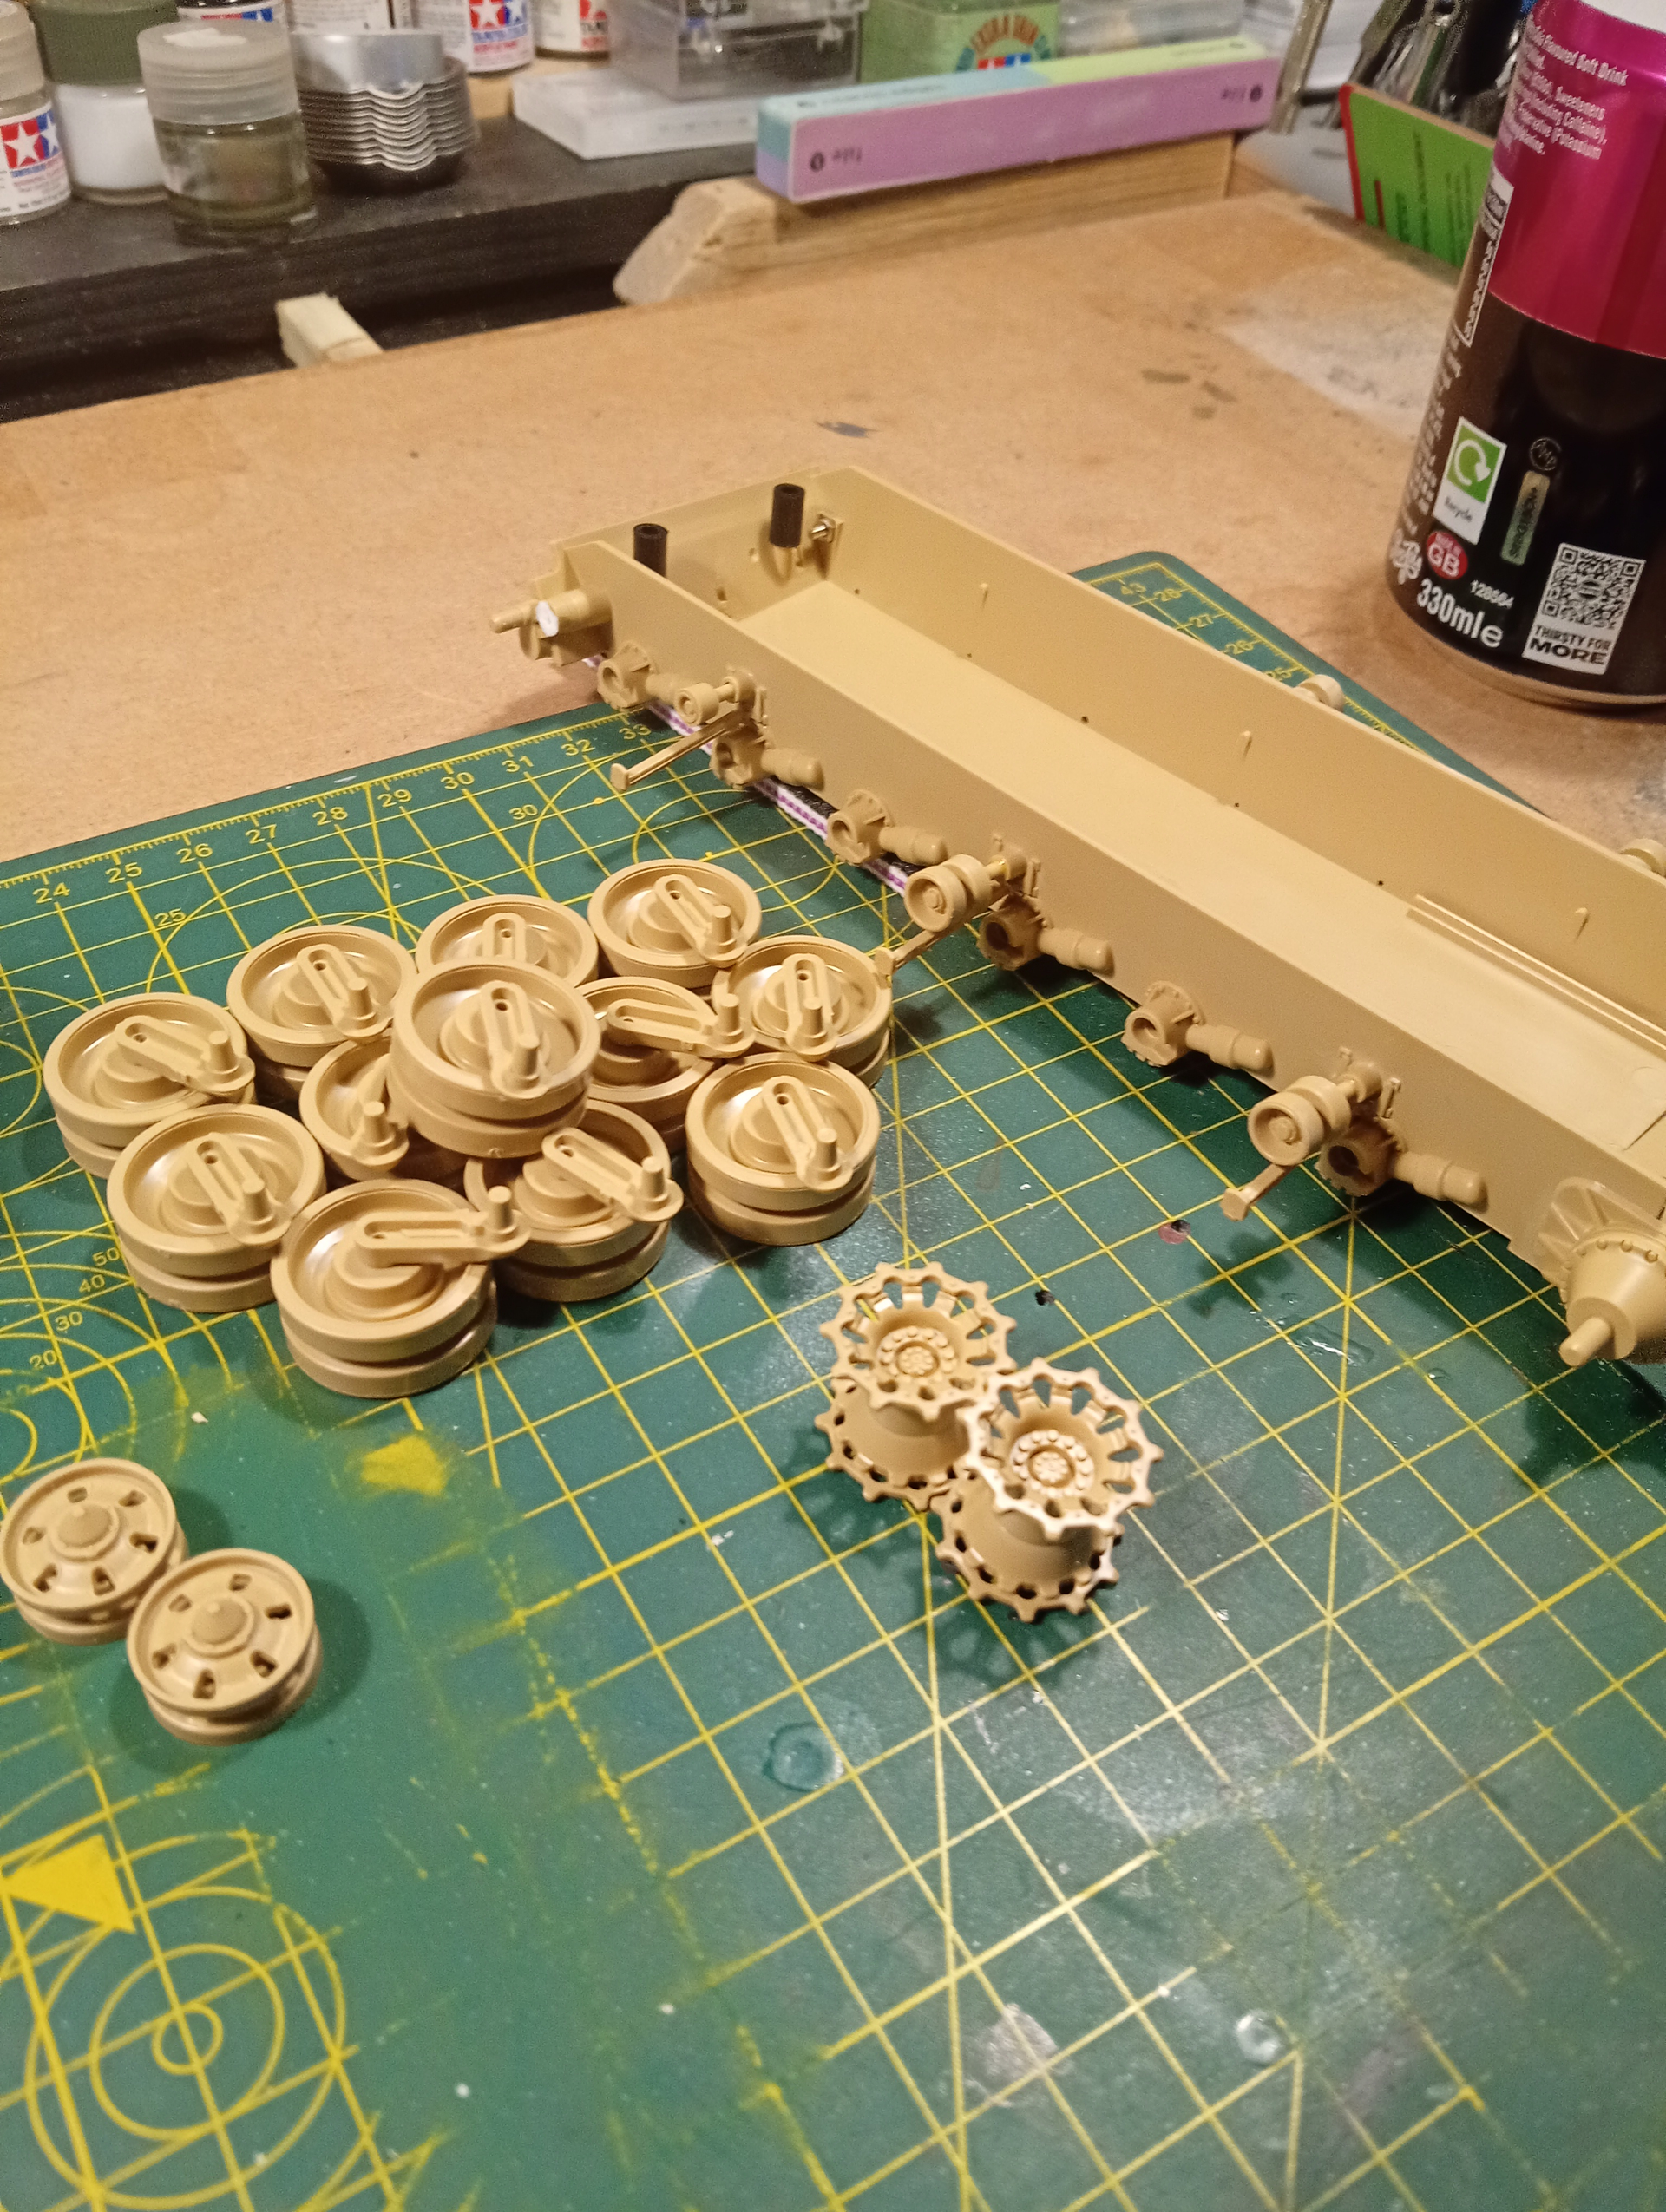
There are 78 pieces to the roadwheels. I did not glue any pieces together. I just dropped each piece onto the axles starting with the parts closest to the hull and went back and forth until all were on the axels. The directions say to use cellophane tape. If you don’t, they will slide off onto the floor. I know… Once assembled the side plates hold everything in place. This has been the most difficult step yet. the slot the side plate sits in is narrow and shallow so it is easy for it to pop out as you are glueing on.
Enough for tonight.
Tomorrow the other side.
9 Likes
This is where the growth of the Third Hand is long over due! Are you adding the motorization gear or building it static? A mate in my club runs his along the tables at shows to attract attention…
1 Like
Looks gorgeous so far. I might have to get a MkIV as well sometime down the road.
1 Like
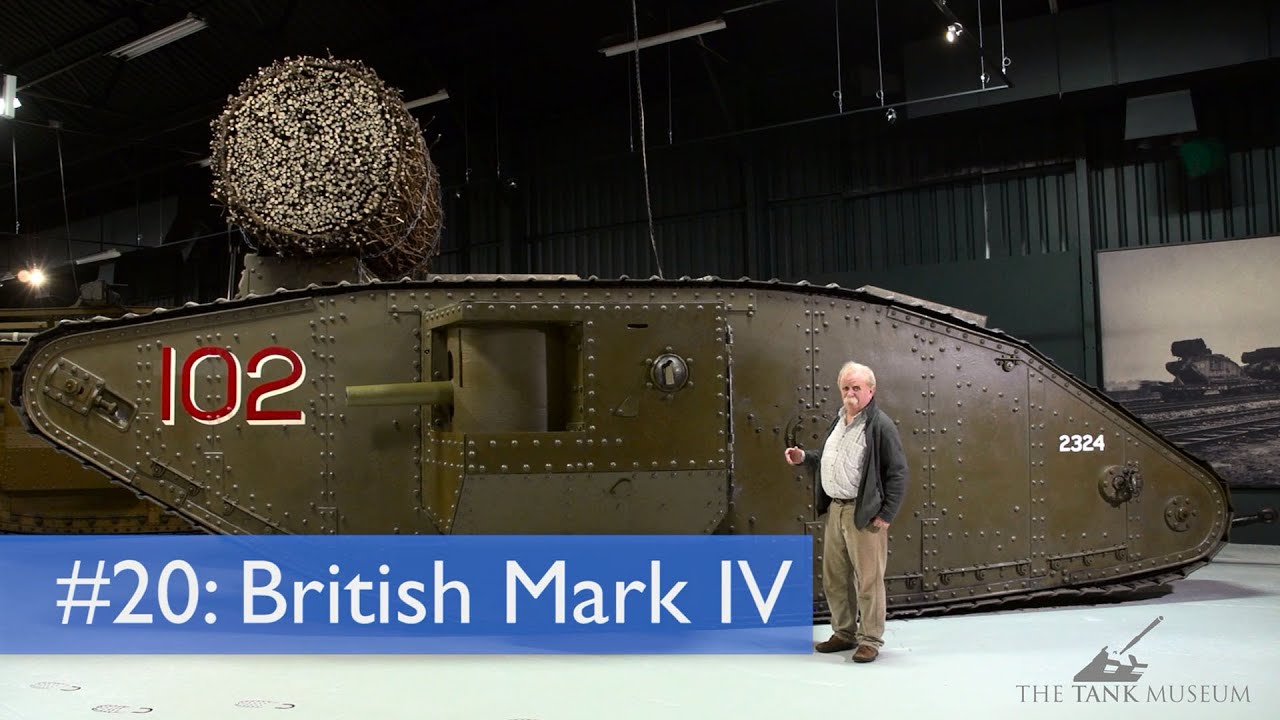
A little more from “The Chieftain’s Hatch” at Bovington on their Mk IV.
4 Likes
hw_dungeongothic68a_h_en_60
It is amazing that it took 4 men to just drive the Mark IV.
1 Like
I am building this as a static display. I wanted all of my seams nice and tight.
2 Likes
Awesome work, it’s looking great.
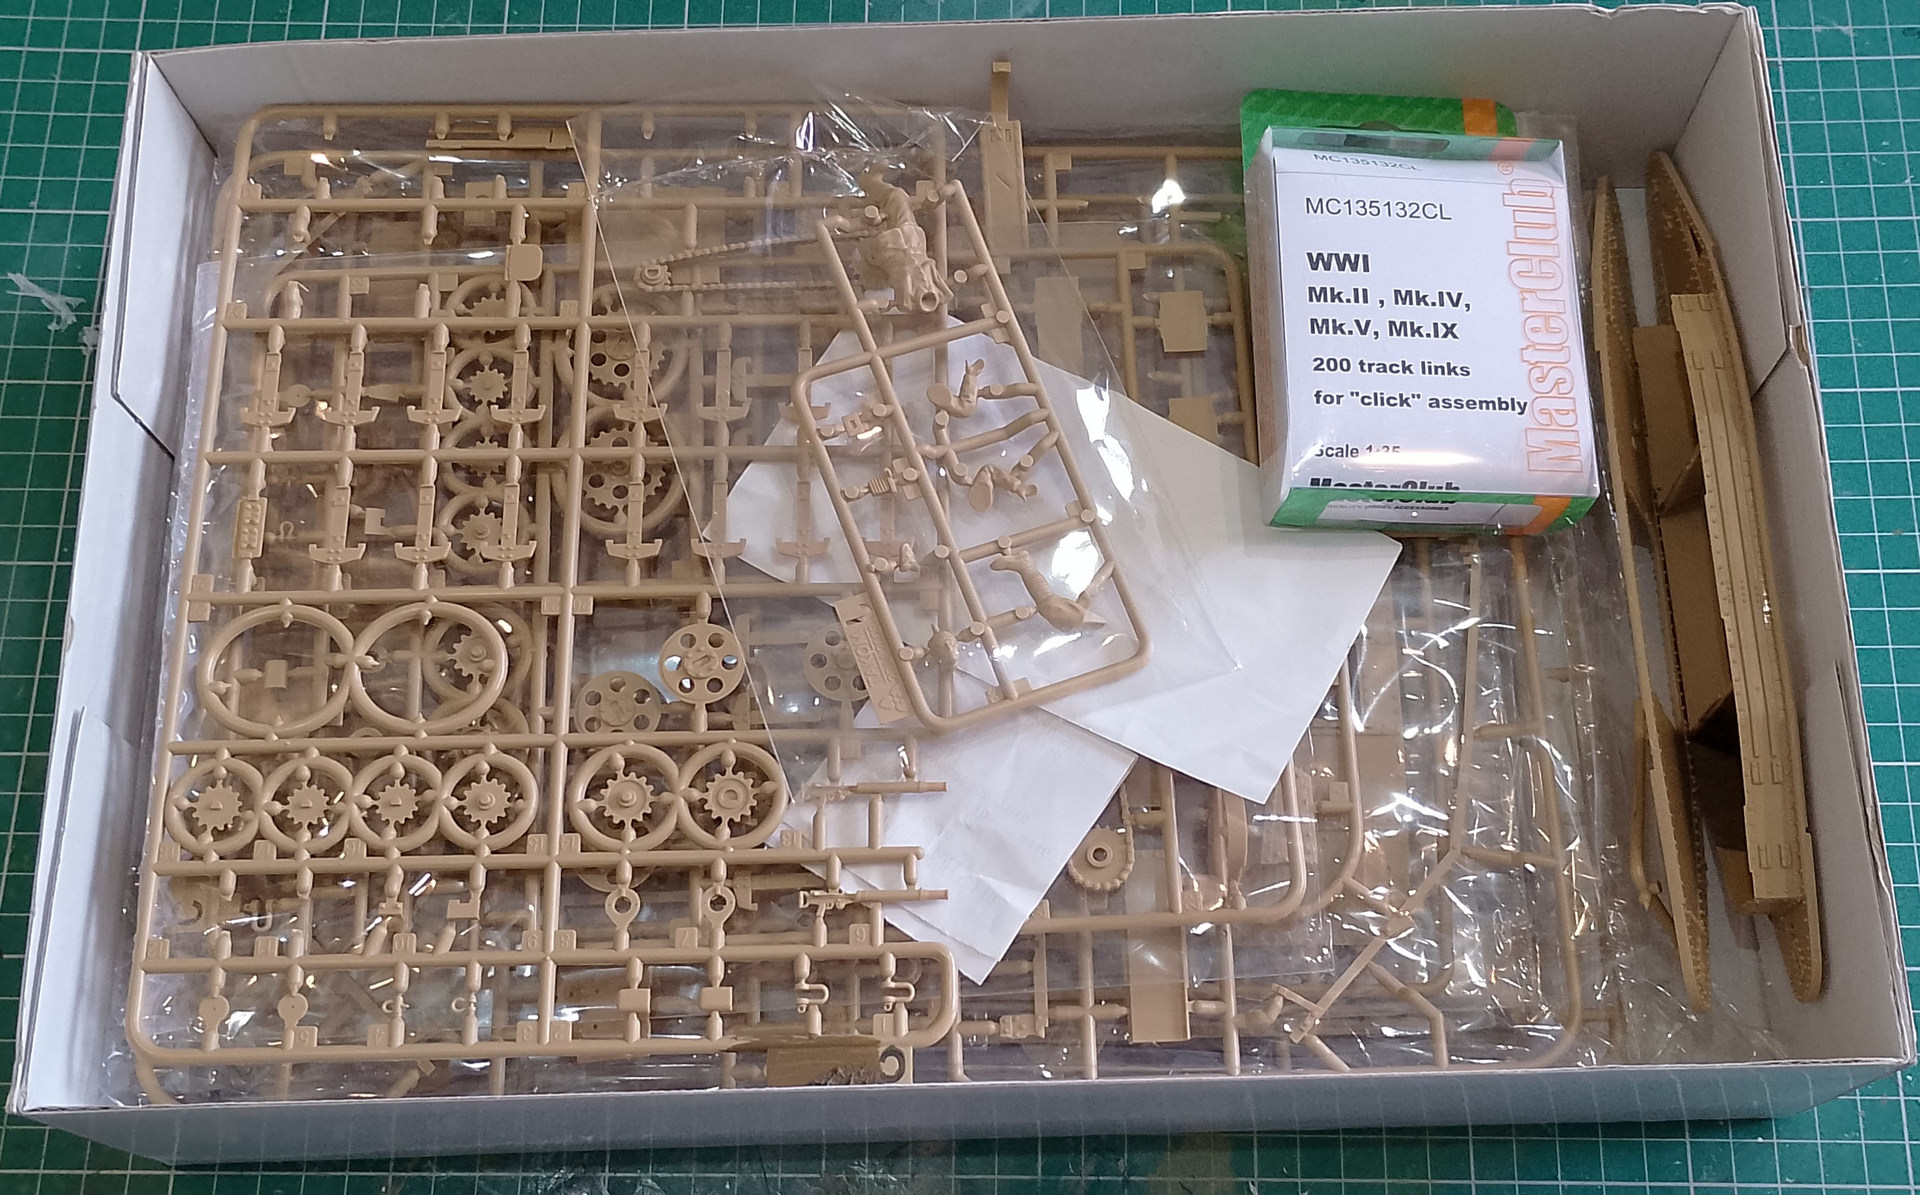
Well I found my MkIV earlier.
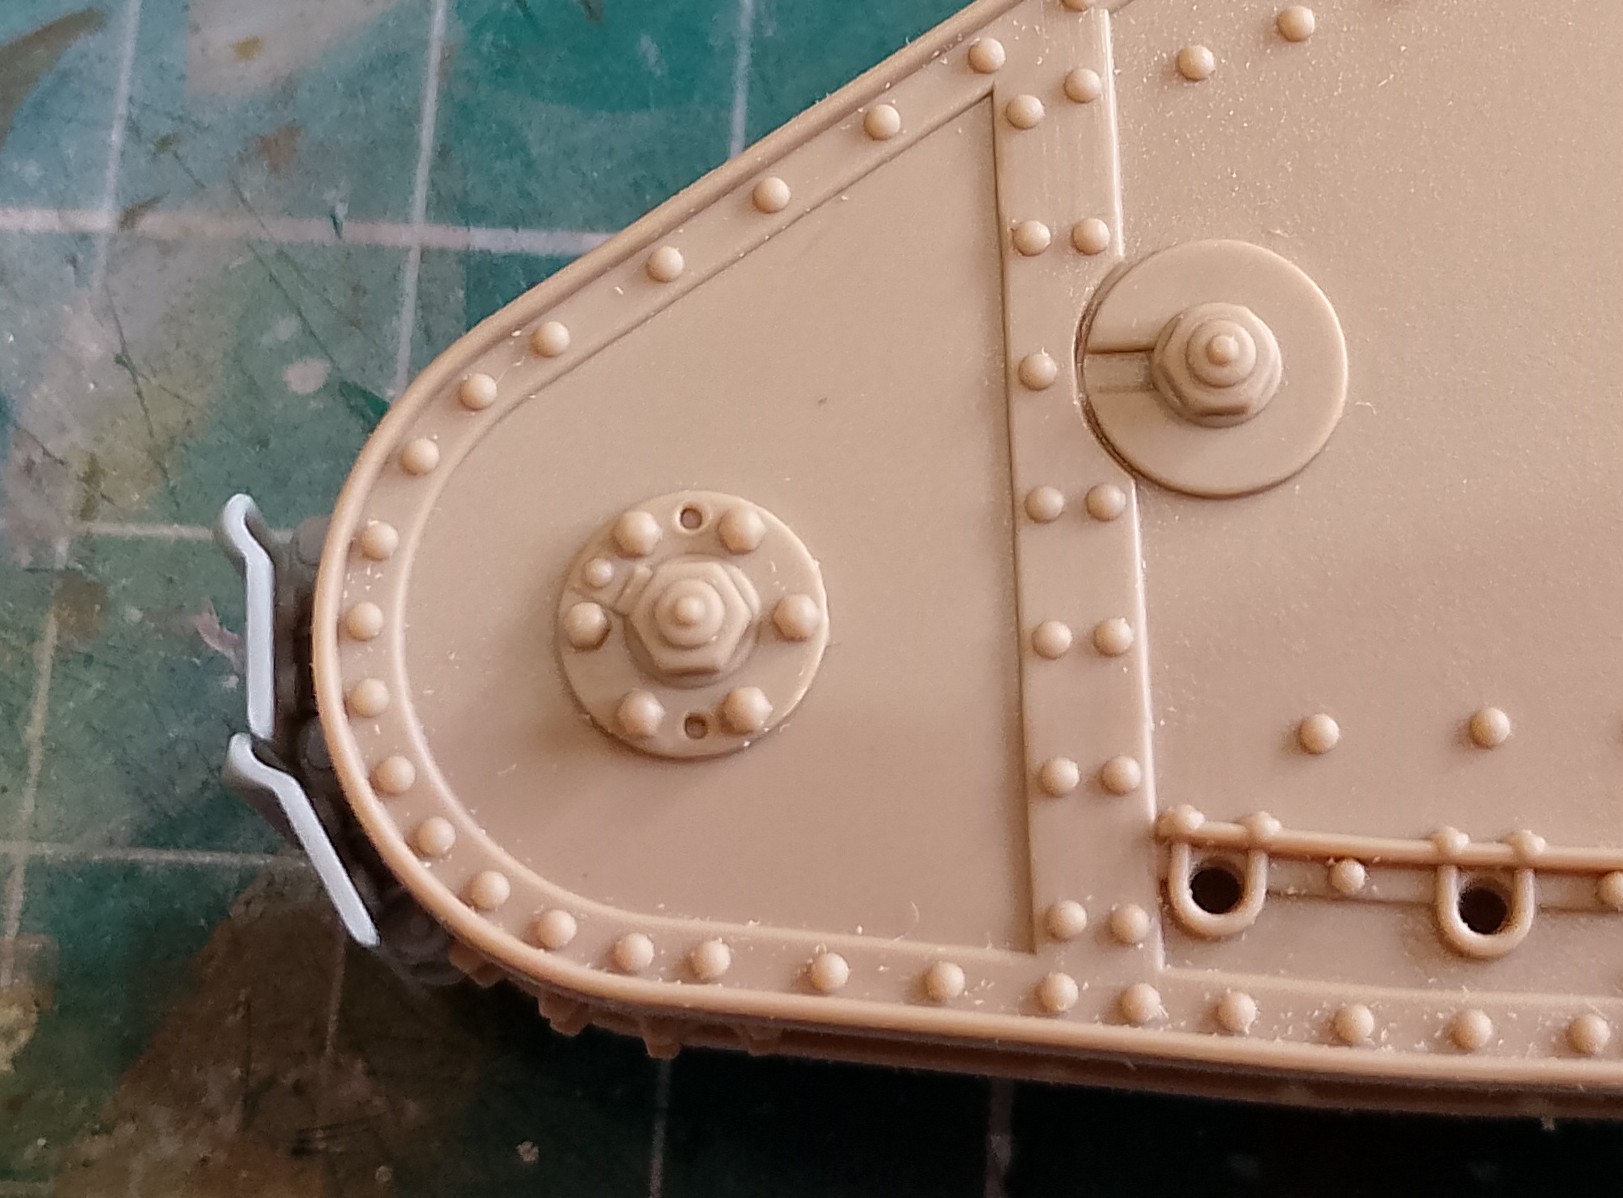
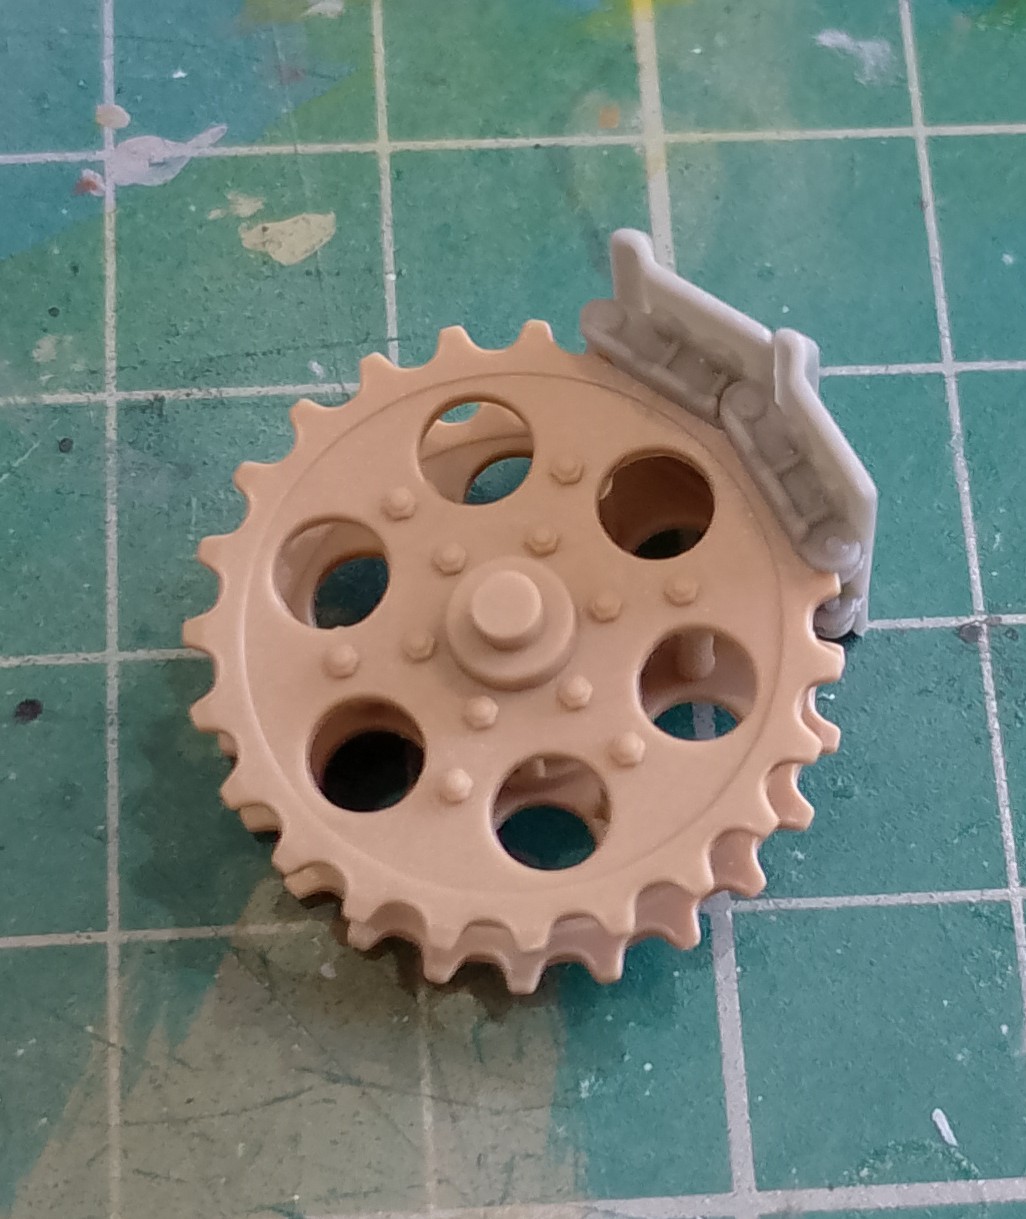
I had glued a few bits to one hull side and experimented with a few different paints on the inside. And because I didn’t make note, I don’t remember what they were! I remember at this point I did some test fitting of the supplied multi-part tracks and decided to put it away till I found something better. No way was I going to mess around with those.
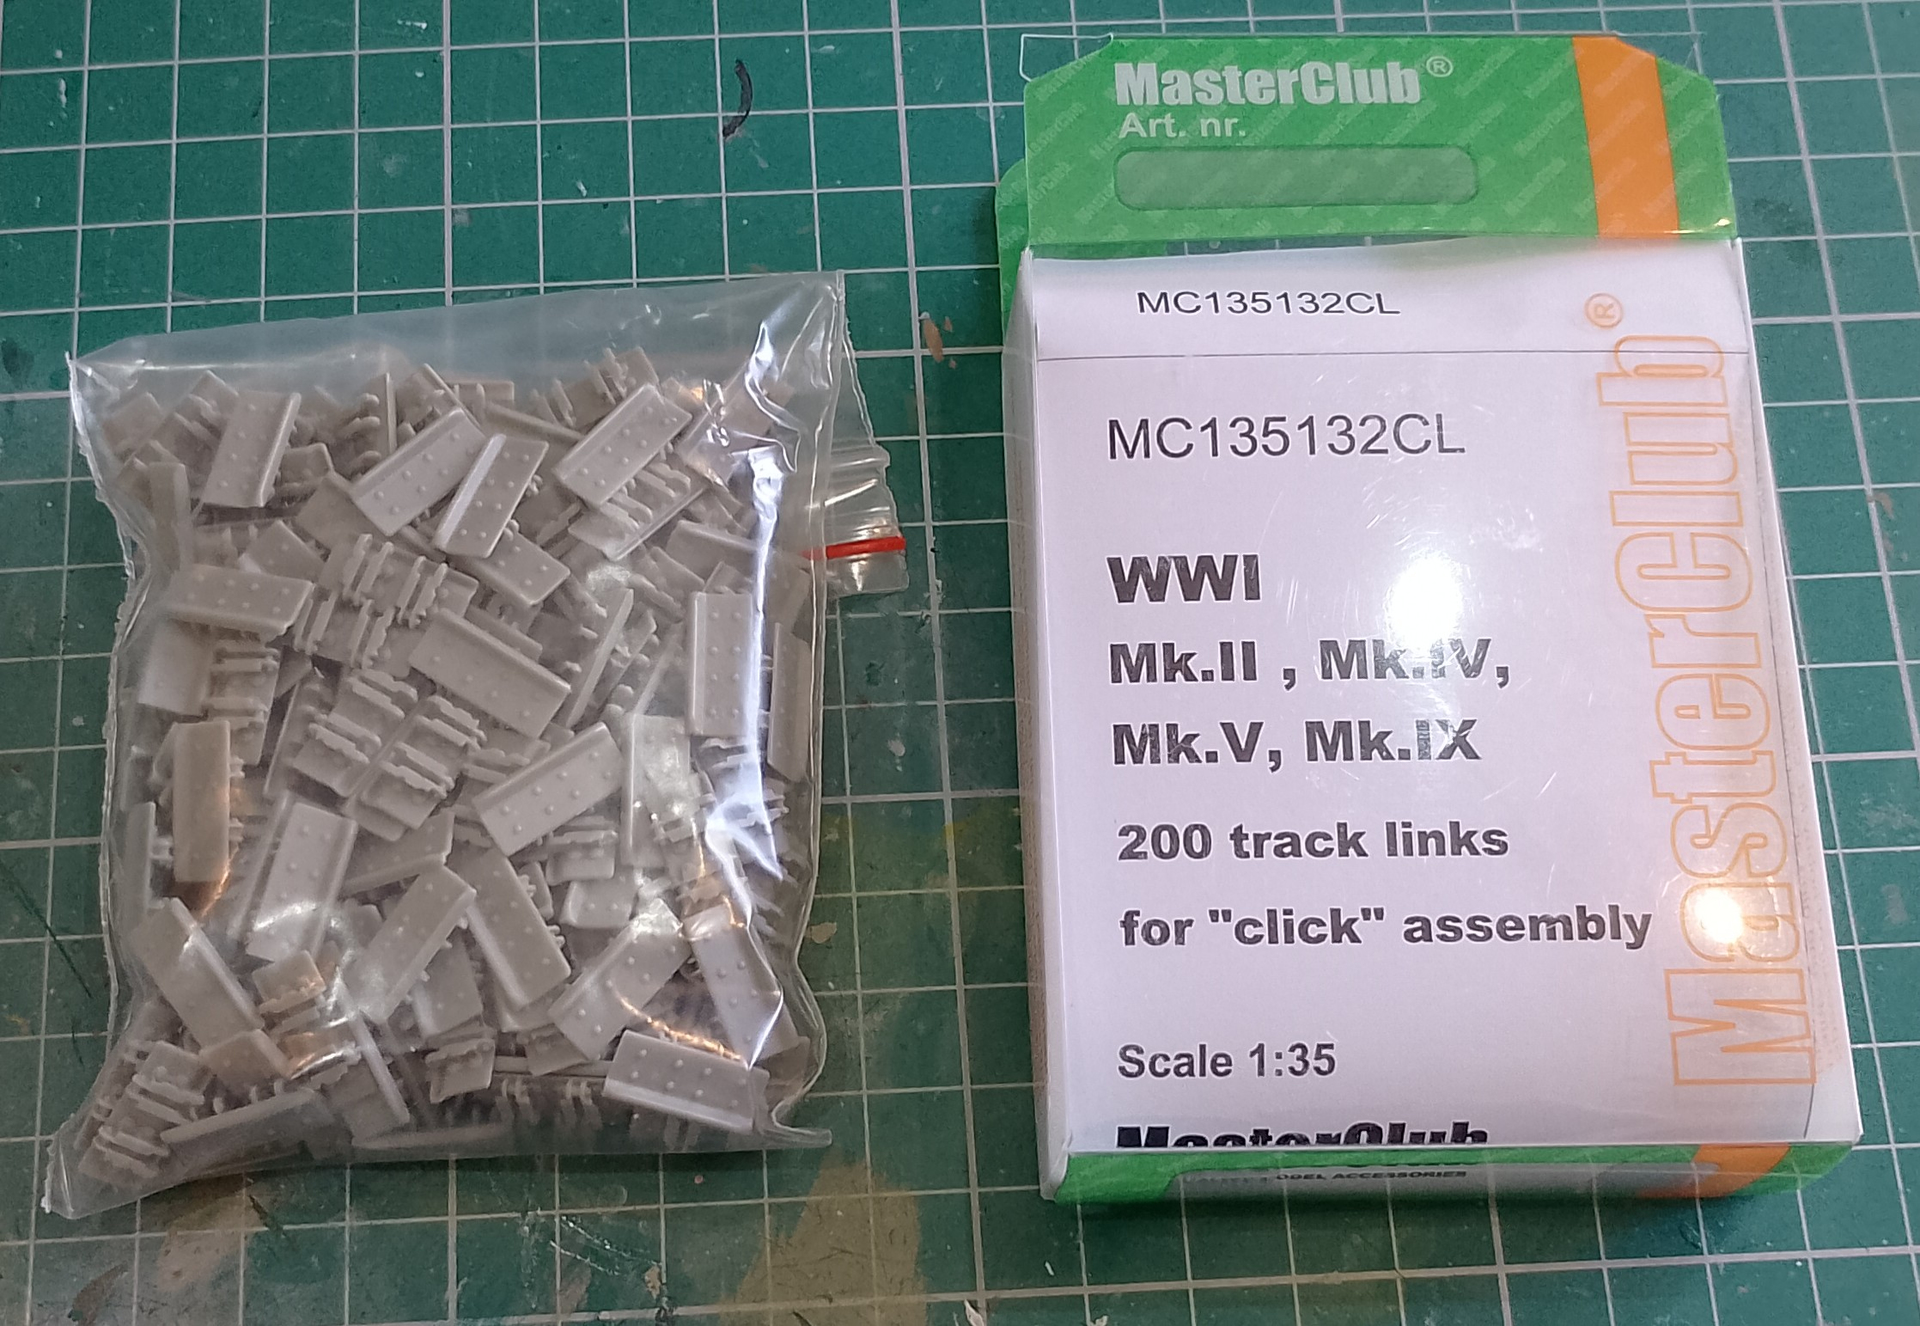
After some searching I found Masterclub did a set of single part, clip-together tracks. Much easier to work with and they fit the kit drive wheel perfectly.
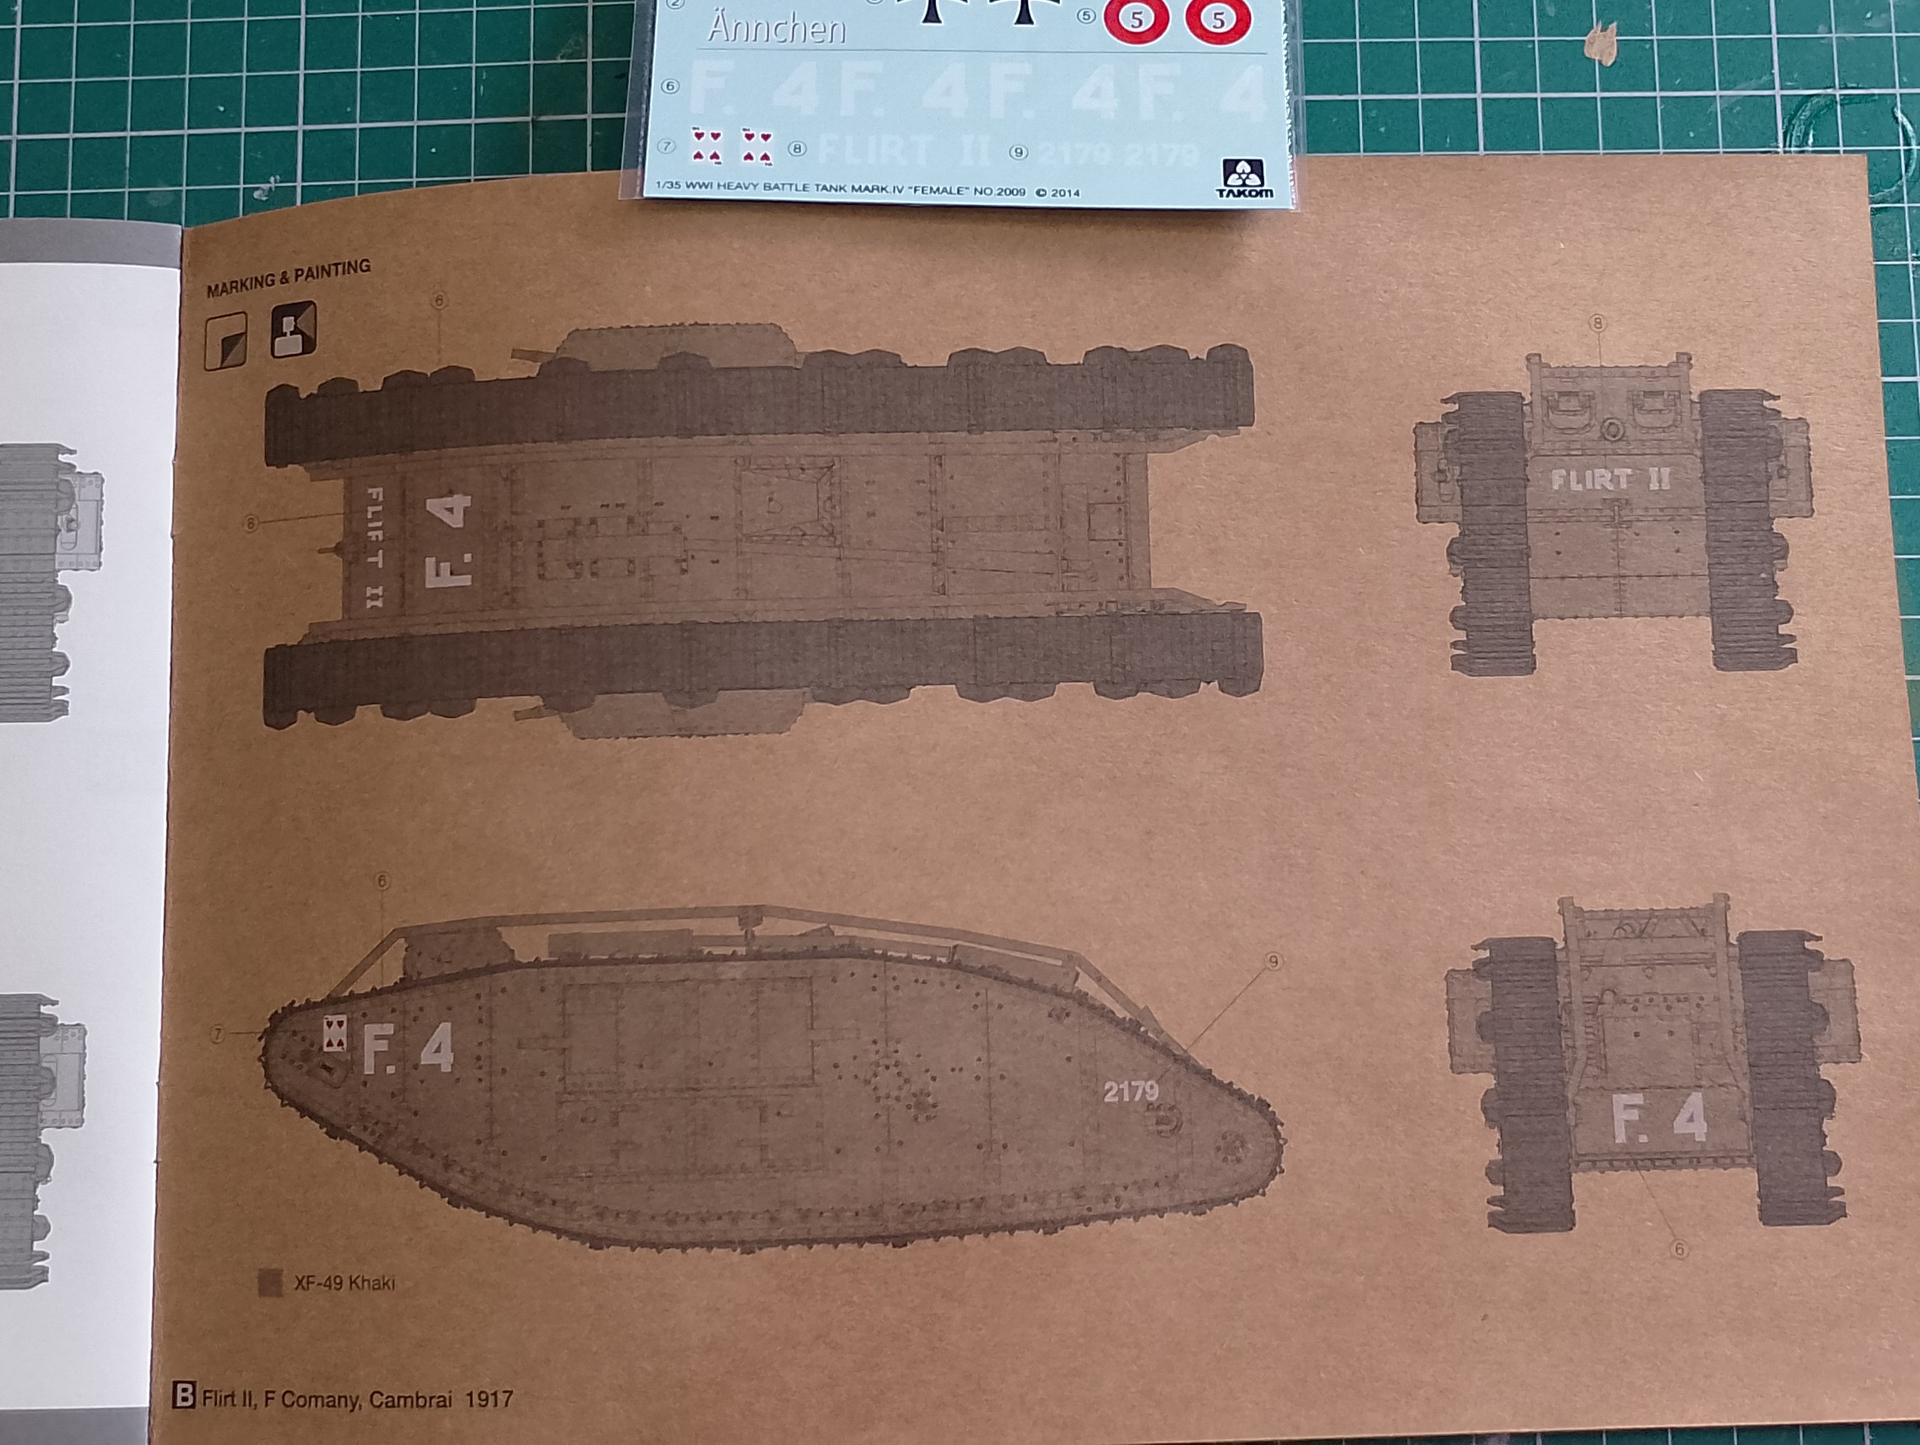
Two decals option, the captured German tank on the box top and Flirt II at the Battle of Cambrai.
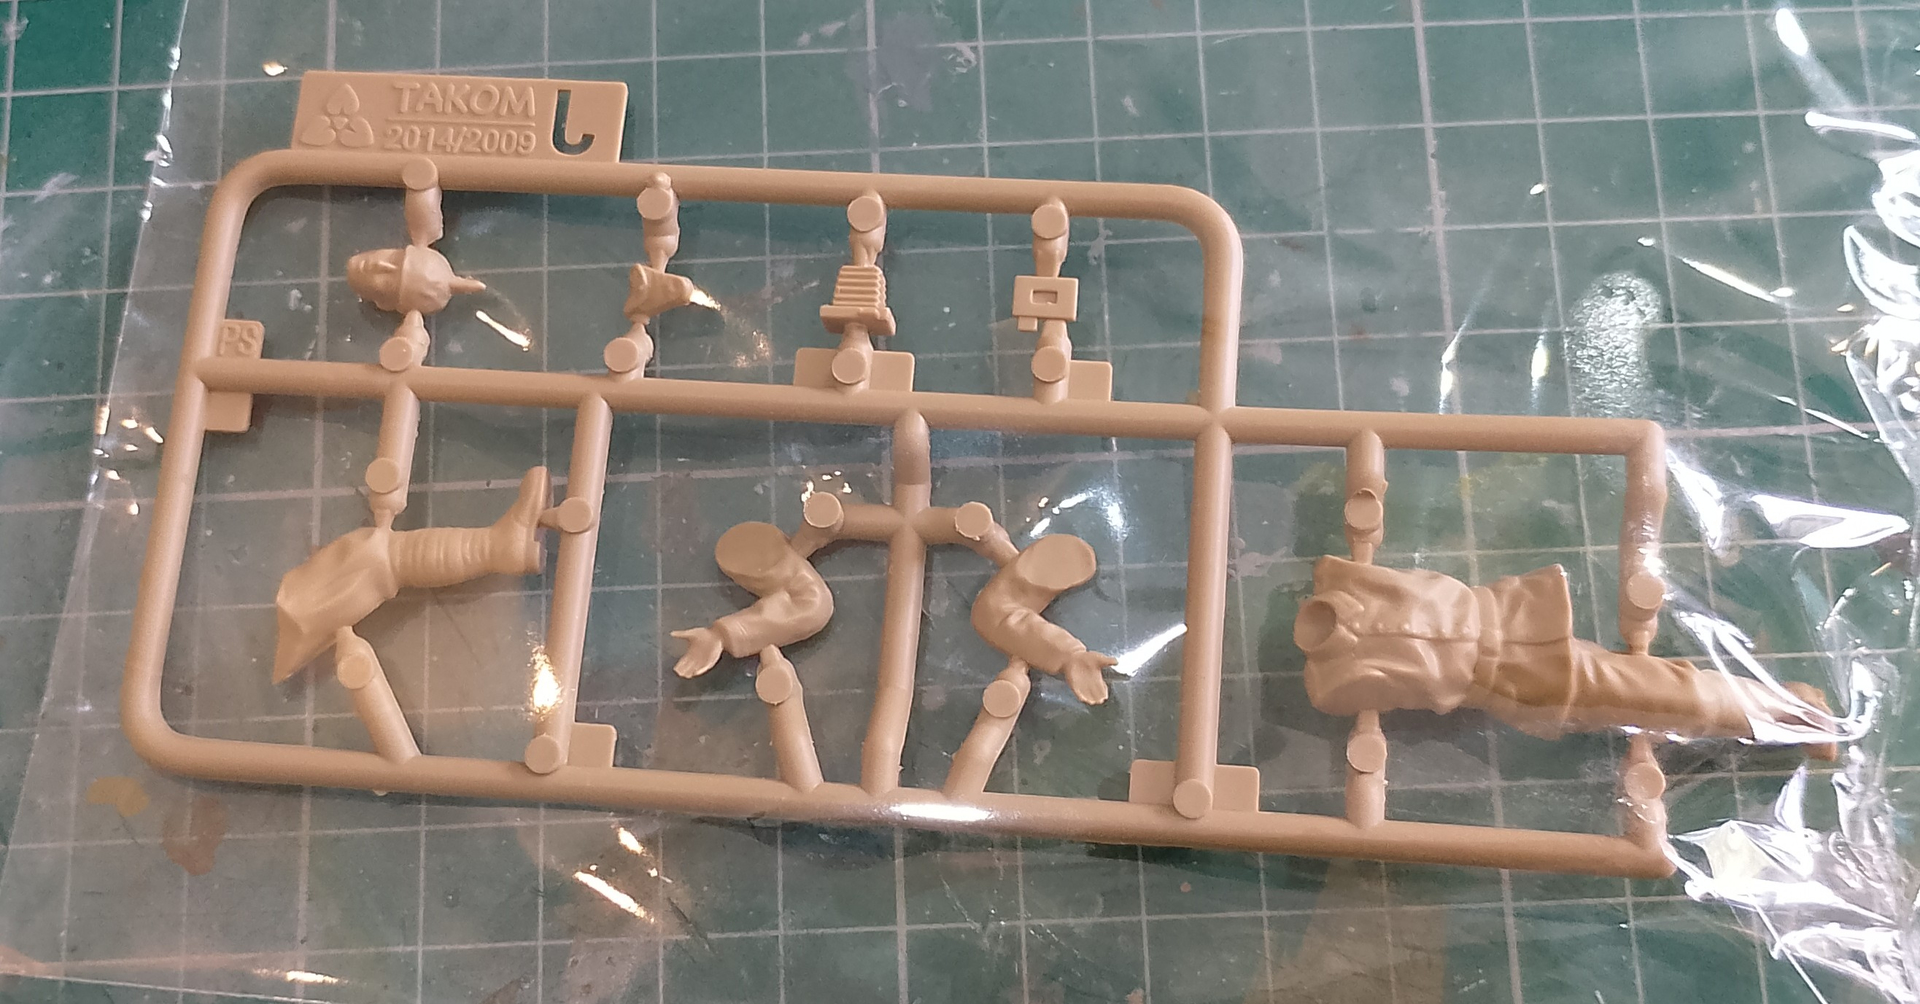
The German photographer is a nice little extra. I won’t be using him here, but he will go in the spares for use in something else at a later date.
I think this will be a challenge, certainly assembled the running gear and the chains holding the unditching beam.
7 Likes
By accident I found this silent video sequences from Dezember 1917 after the Battle of Cambrai. It’s about 14 minutes long, just press the white triangle start button on the video screen. The titles are all in german and can be ignored it you wish. Might be of some interest.
Film ansehen | Nach der Tankschlacht bei Cambrai Dezember 1917 | filmportal.de
5 Likes
Just some basic steps completed … Nice Tamiya fit with no issues as you’d expect.
Have decided on a very worn final finish. Lots of green coming through and solid green replacement parts / wheels fitted. Also leaving the CIP panels off
5 Likes