I’m looking at the front of a Tamiya upper hull from the Mk3 kit, about to do the “fix” where the upper glacis has a step on each side, and thought I’d look at the joins in the Kagero Photosniper book, Challenger 1 vol 1. On pg 33 the step from the left outer plate to the center plate is clearly shown. Hmmm… It’s also visible on pg 71. And another strange detail, on pg 72, the cutout for the driver shows beveled edges.
Could Tamiya have it right after all?
1 Like
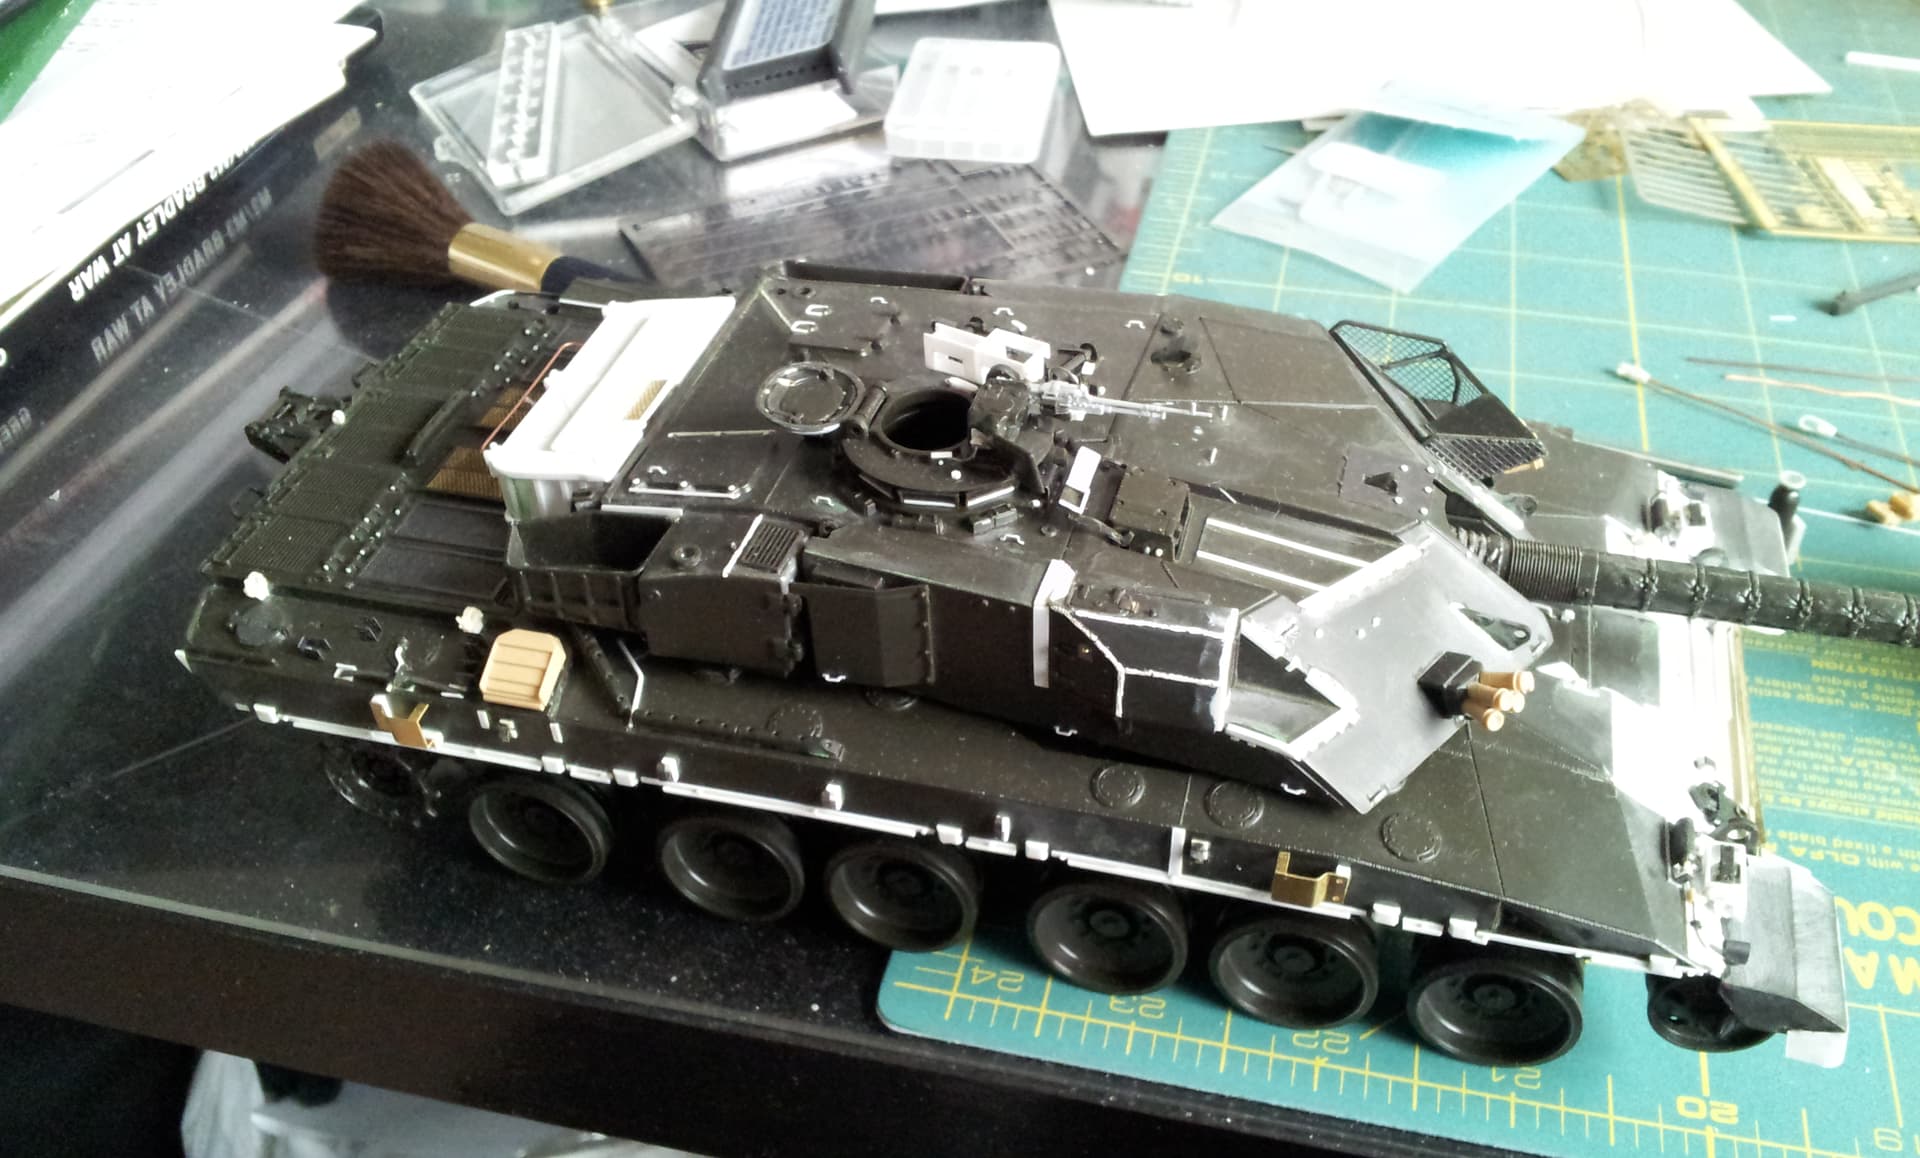
The short answer is, it depends on the specific vehicle and mark that you’re modeling. Photos of the prototype show an additional plate on the center upper glacis section, which is what Tamiya copied, as they often did back then. Early production vehicles appear to also have it, according to my reference materials. From what i can tell, early production Challengers would have the plate, but it didn’t last very long. I see no evidence of Mk.3 vehicles having it, and i suspect that maybe it interfered with the fit of the ROMOR reactive armor package that they applied to the nose prior to the Gulf War. Most modelers just fill in the “wing” plates to make the glacis smooth, and that’s fine. It’s not accurate IMO because it thickens the armor relative to the front fenders and the lower glacis plate. I handled it a bit differently and cut it out. I replaced the cutout plate with a new one that fit flush across the entire plate, like most of the production run had. It’s hard to see and i took this photo years ago with a 2nd gen cameraphone, so i apologize.
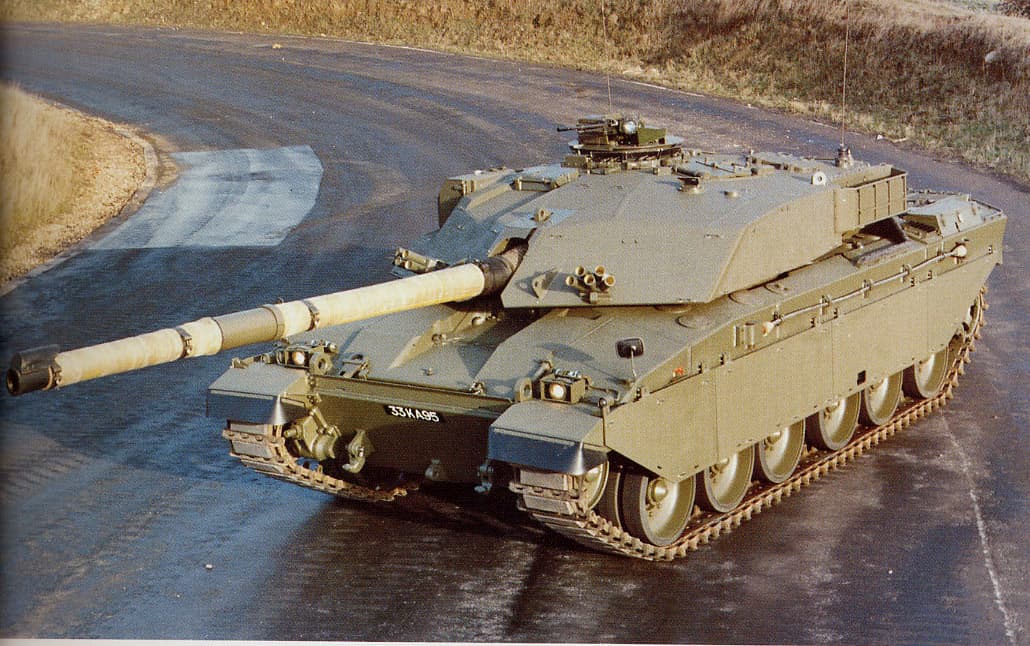
Early production, maybe even the 1st, judging by the low registration number.
Later production:

3 Likes
For Mk 3s the front area of the upper glacis would be flat and one uniform height apart from the DVRs cut out area.
Mk2s as far as I can find out would also of been the same.
Now some Mk1s did have the step in the upper glacis which I’m pretty sure was the initial production run but I’m not sure when the step was removed and the height across the front became uniform. Perhaps when Royal Ord got taken over by Vickers for the production ???
Don’t forget not all Ch1 fielded were Mk3s. There were still a good number of Mk2s still in service right up to when Ch1 got withdrawn.
And just because you may see a Ch1 with the Dorchester armour and or external fuel drums, that also does not make it a Mk3.
The Mk2s used in GW1 only had the armoured charge bins added for crew protection, their internal layout stayed the same so in reality, they stayed Mk2s.
All Mk1s became Mk2s on the TOGs retrofit and Ch1s that came off the actual production line with TOGs fitted automatically started life as a new designation of Mk2.
1 Like
Following on from what you said Brian. I think you are right. I don’t think plates were added to the sides, I think the centre area was thinned down to the original level.
1 Like
I suspected something like that: that Tamiya got ahold of a prototype or very early production unit. It would then follow that they also did the very early/prototype turret bin. Whatever the reason, I feel better having added the filler plates on either side of the center plate on my current build to at least make it look “right”. Just to have something relatively mindless to do, I started assembling the lower hull and running gear on the Mk3 kit I’ve been taking parts out of, not even sure what I’m going to do with it yet…
And another question: the pic I have of the tank with the plate in question also shows a reinforcement or “fish plate” joining the lower parts of the “wing plates” to the very back of the front fender. I don’t have any pics detailed enough of in-service tanks to see if this also is a very early addition or something that was added due to the extra weight of the Dorchester armor side skirts. (ROMAR or Dorchester?)
Does there exist a tweaks list for the Chally by Tamiya? I’d like to do one of the early ones, soon.
Damon.
Look at scorpion military miniatures.
I guess the upgrading of Mk1 tanks to Mk2 is why I have a couple of pics of tanks with Dorchester armor and the stepped plate. A couple appear in the Kagero Challenger 1 book, vol 2. It’s so unusual that I think I’ll continue to do the “fix”- don’t want to get dinged by a judge at a contest…
The model I’m currently working on has the “fix”, done before I knew why.
 IMG_3071 by Russel Baer, on Flickr
1 Like
That’s a plan. ![]()
After looking at this build and Marc’s @MB6400 soon to be build I couldn’t resist getting this …
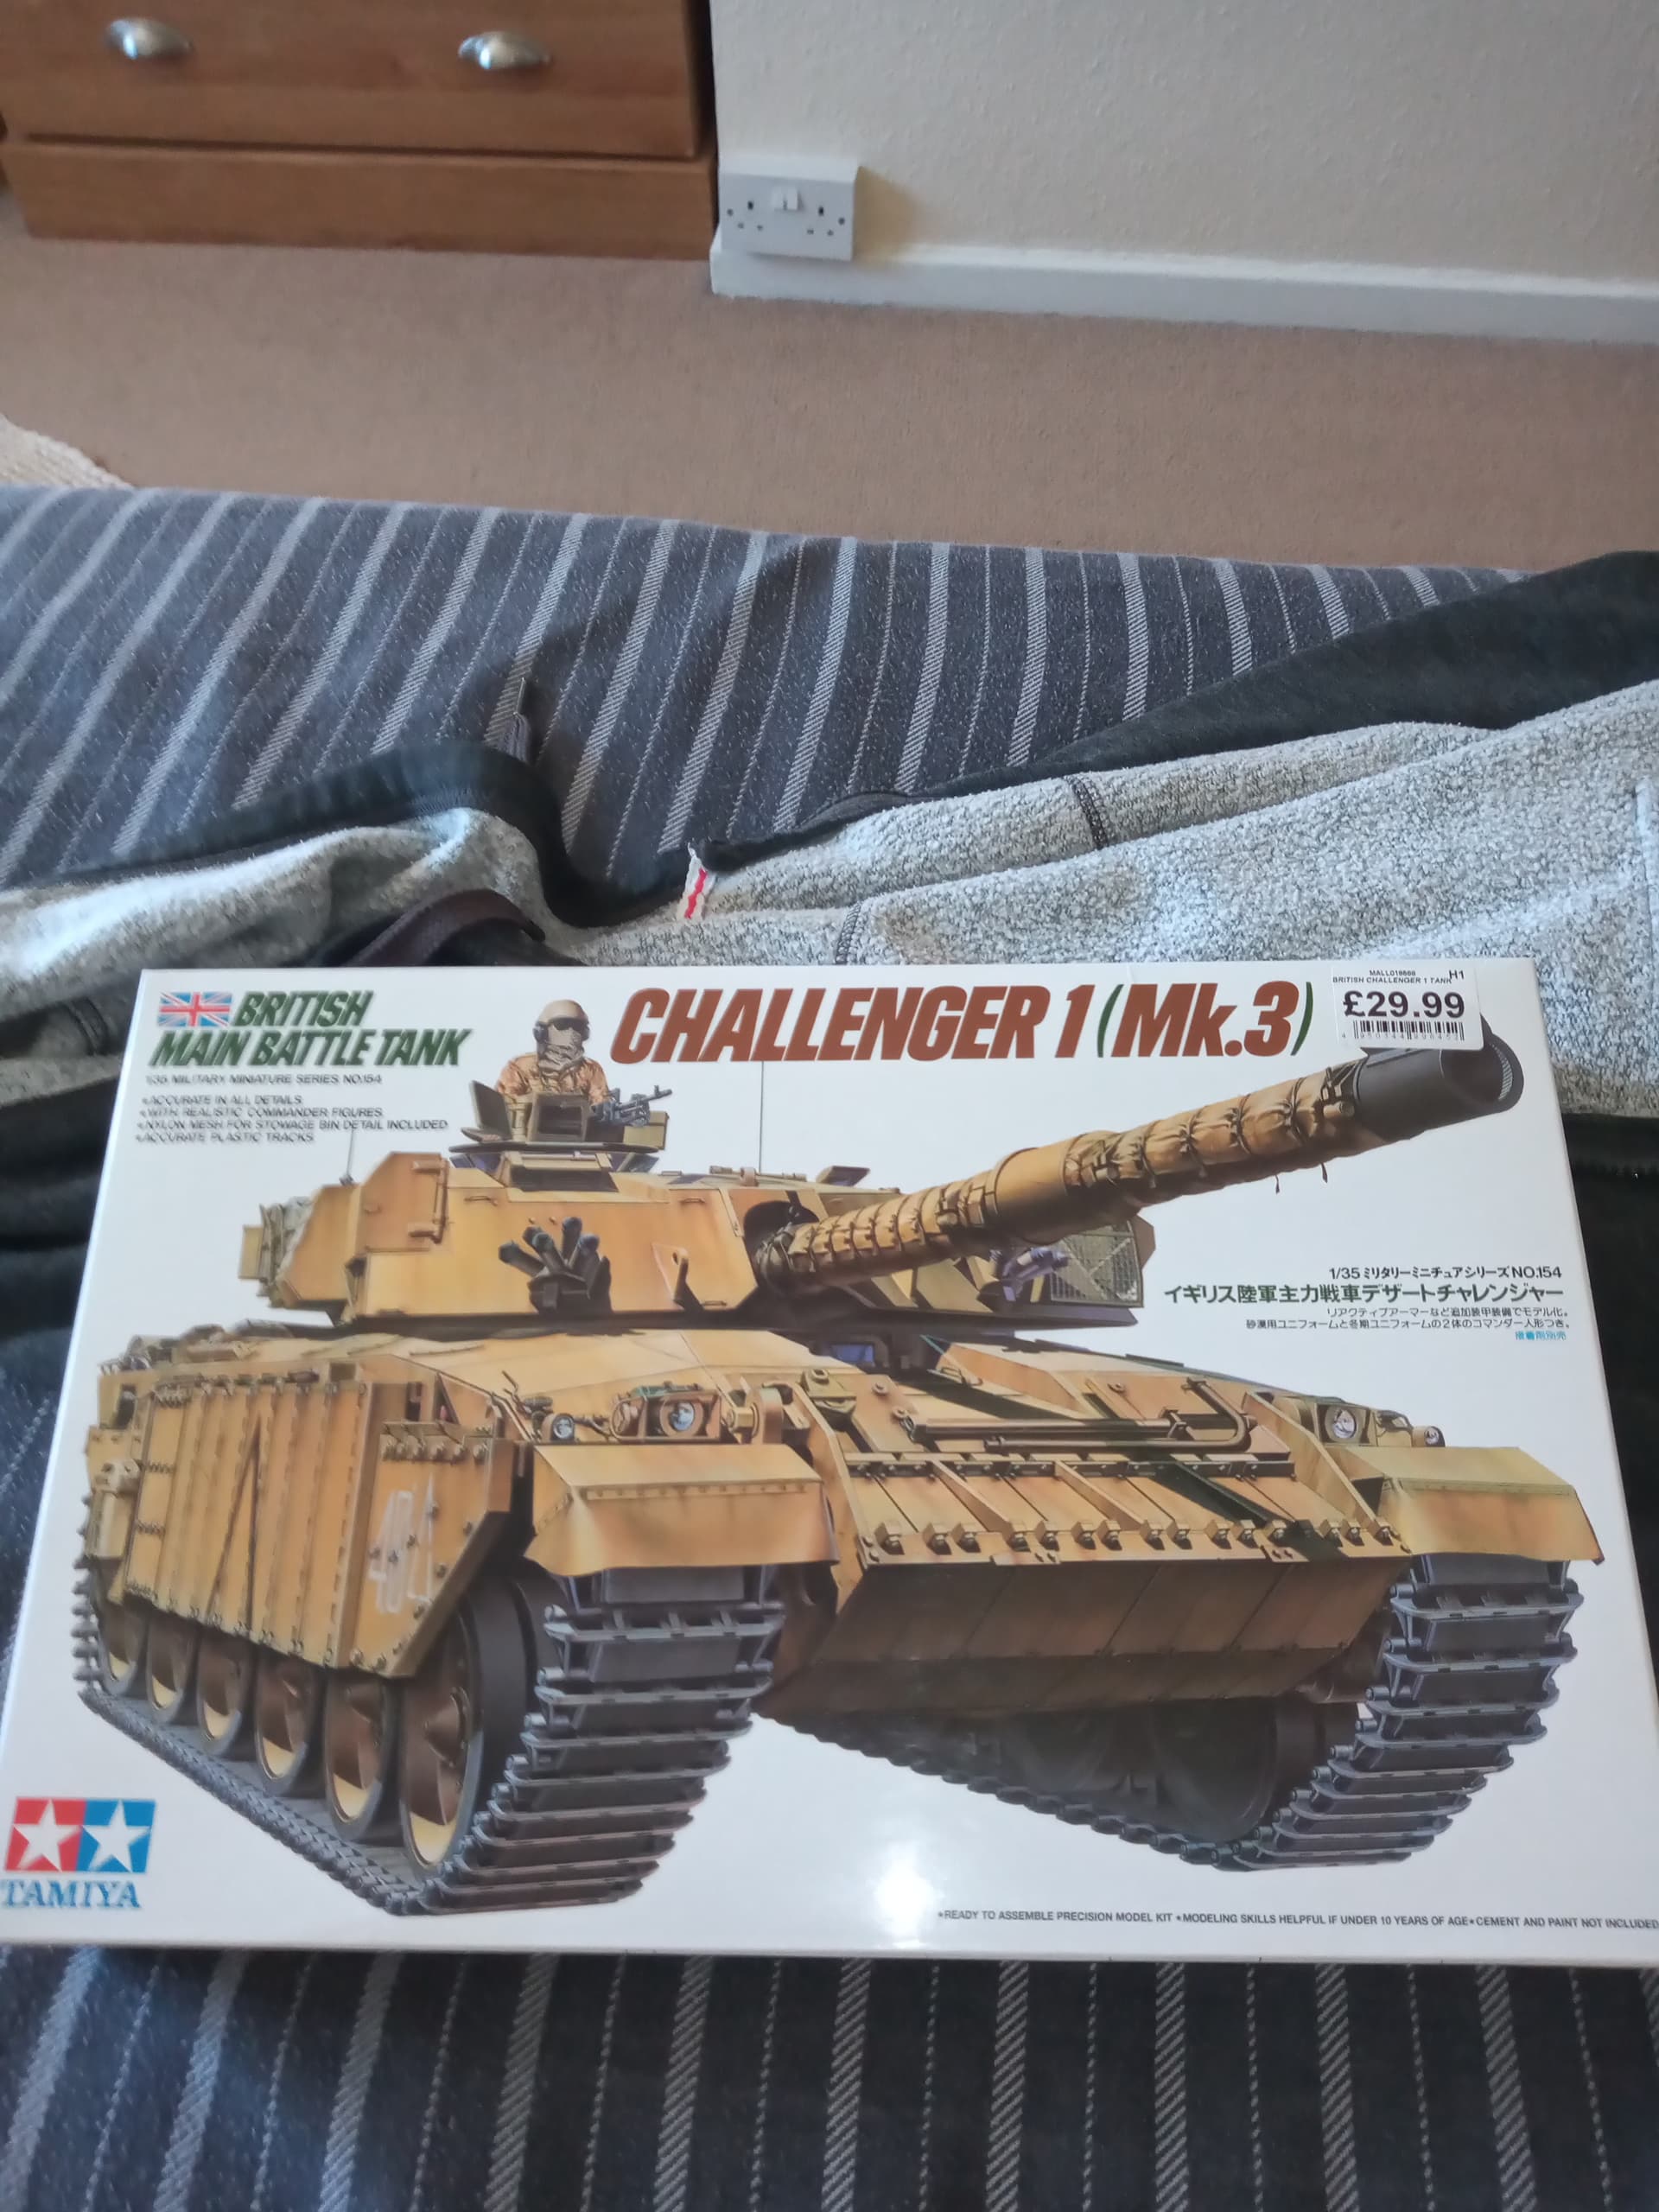
Will be redoing my old 42 C/S ride … Soon…ish ![]()
4 Likes
I’ll be watching closely. In meantime, just 'cuz, I did Brian’s fix. After the cut:
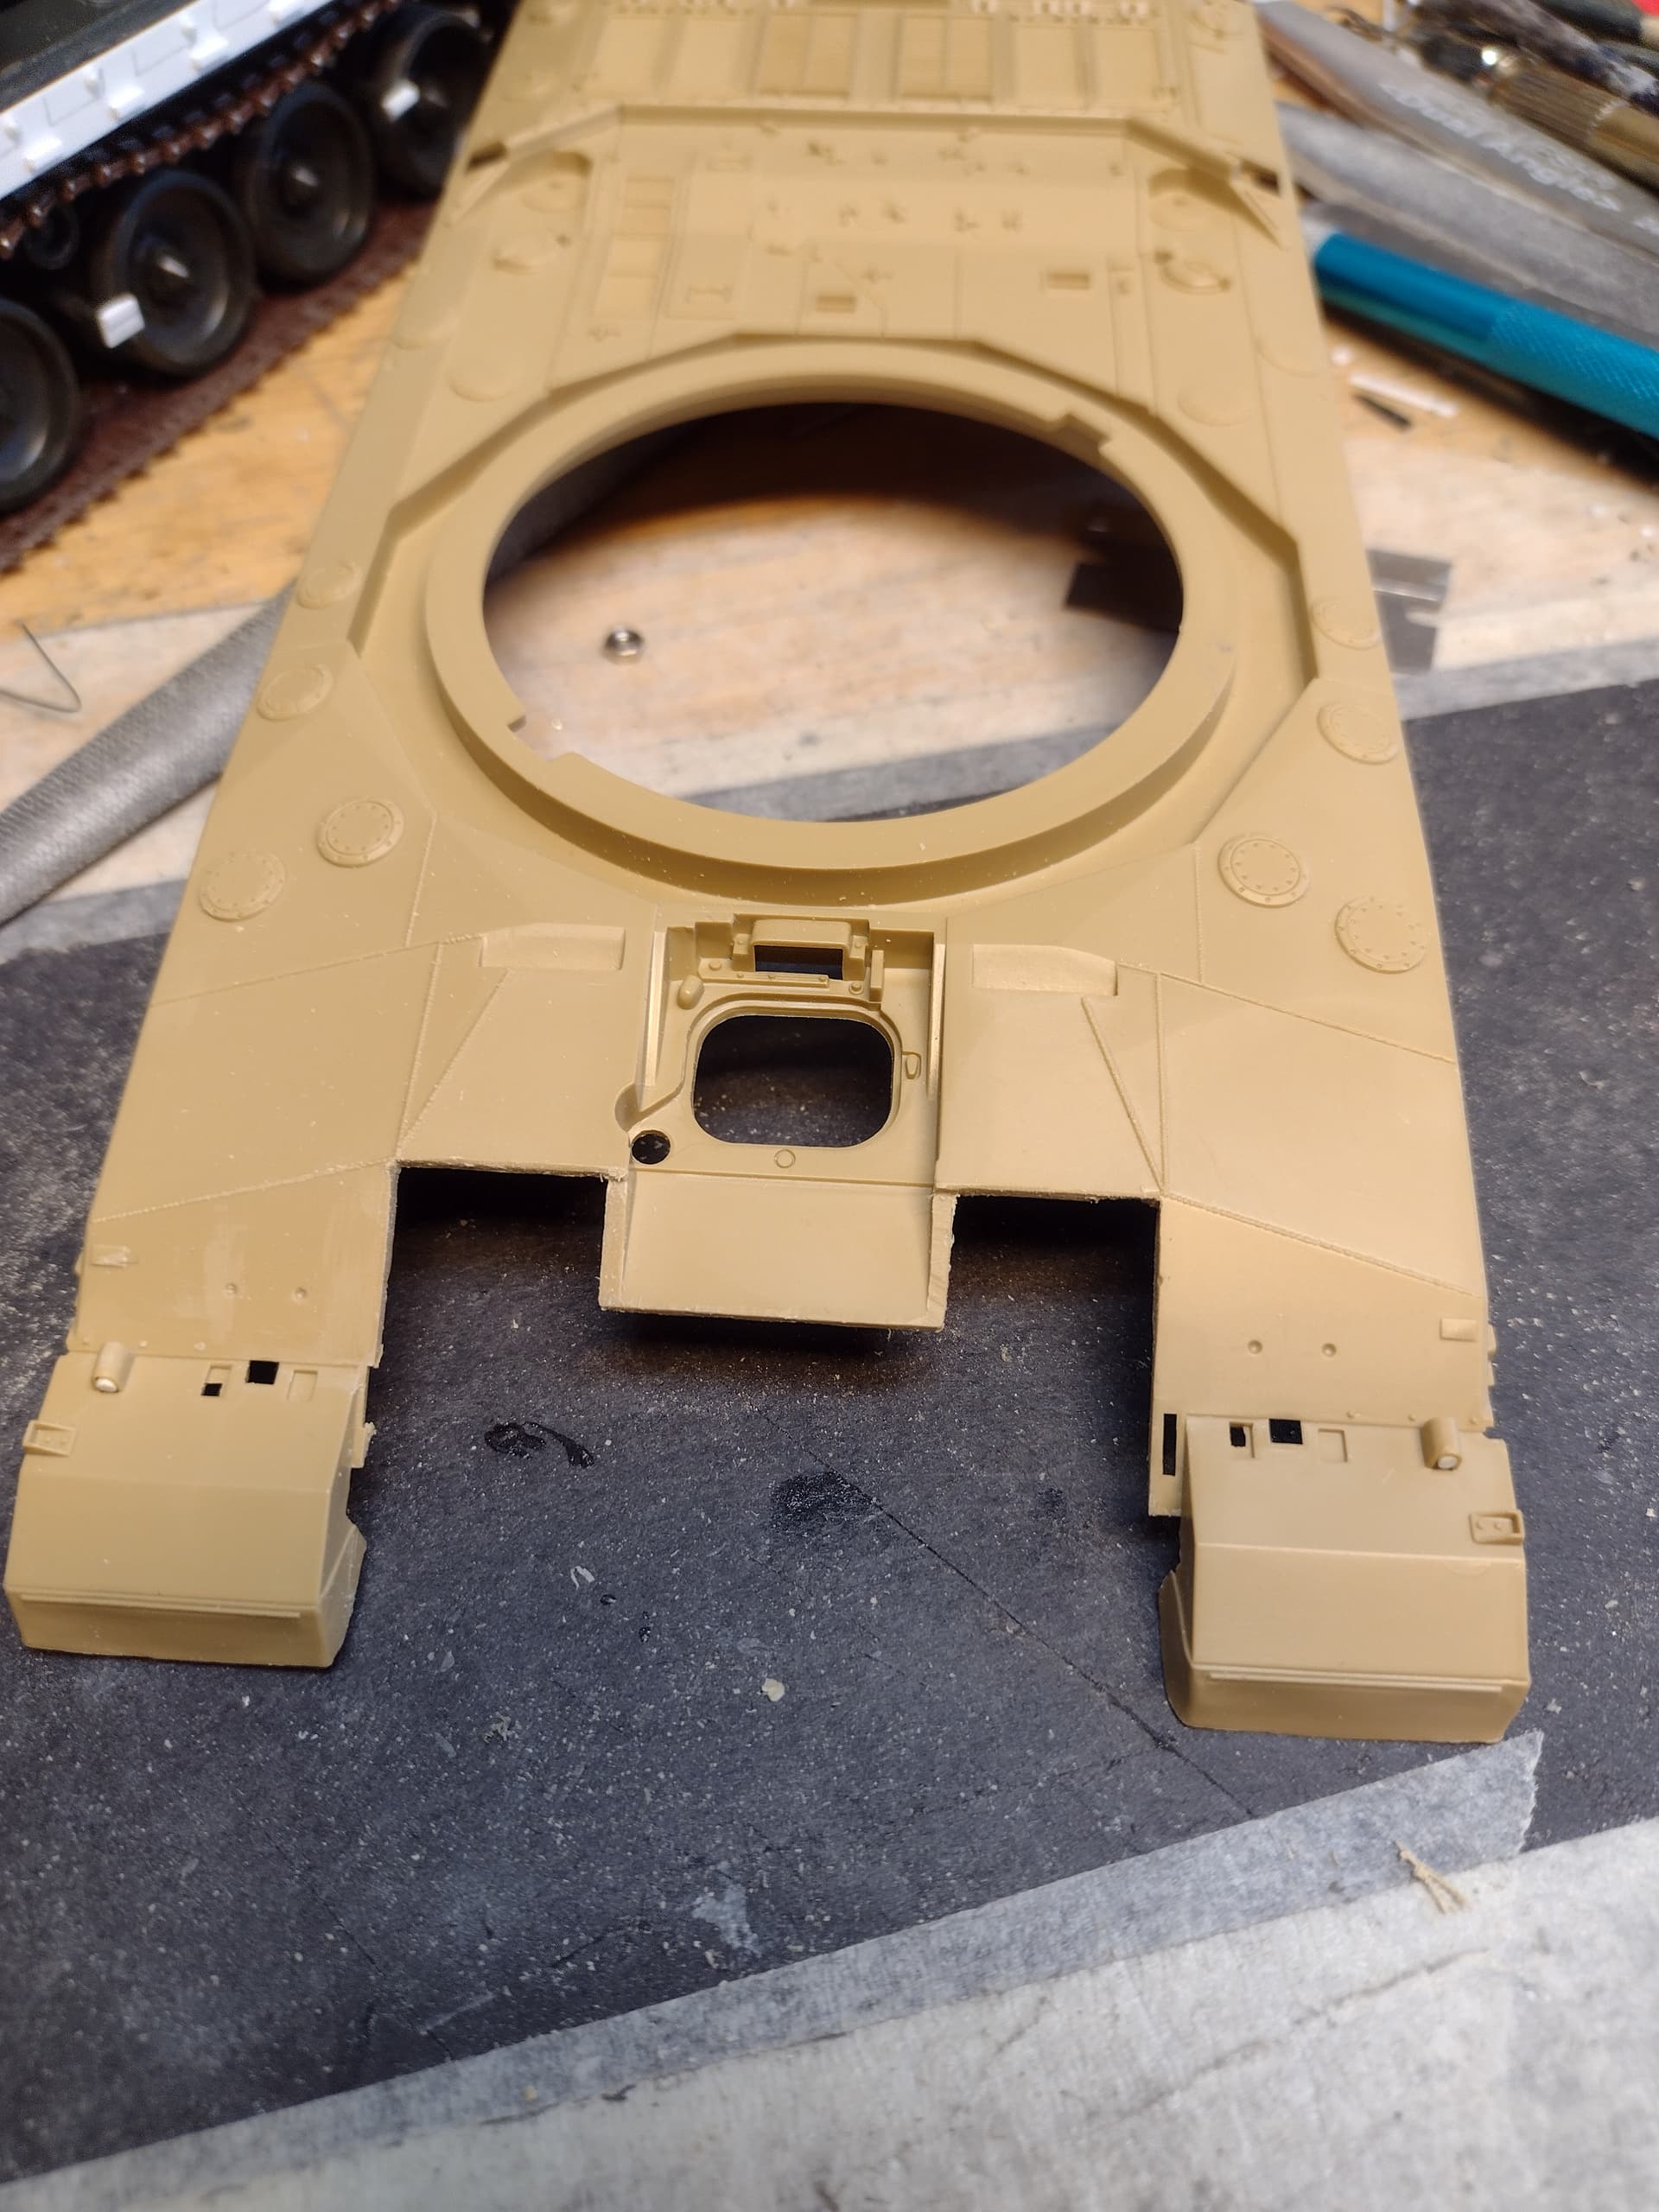
And with the new front plate in:
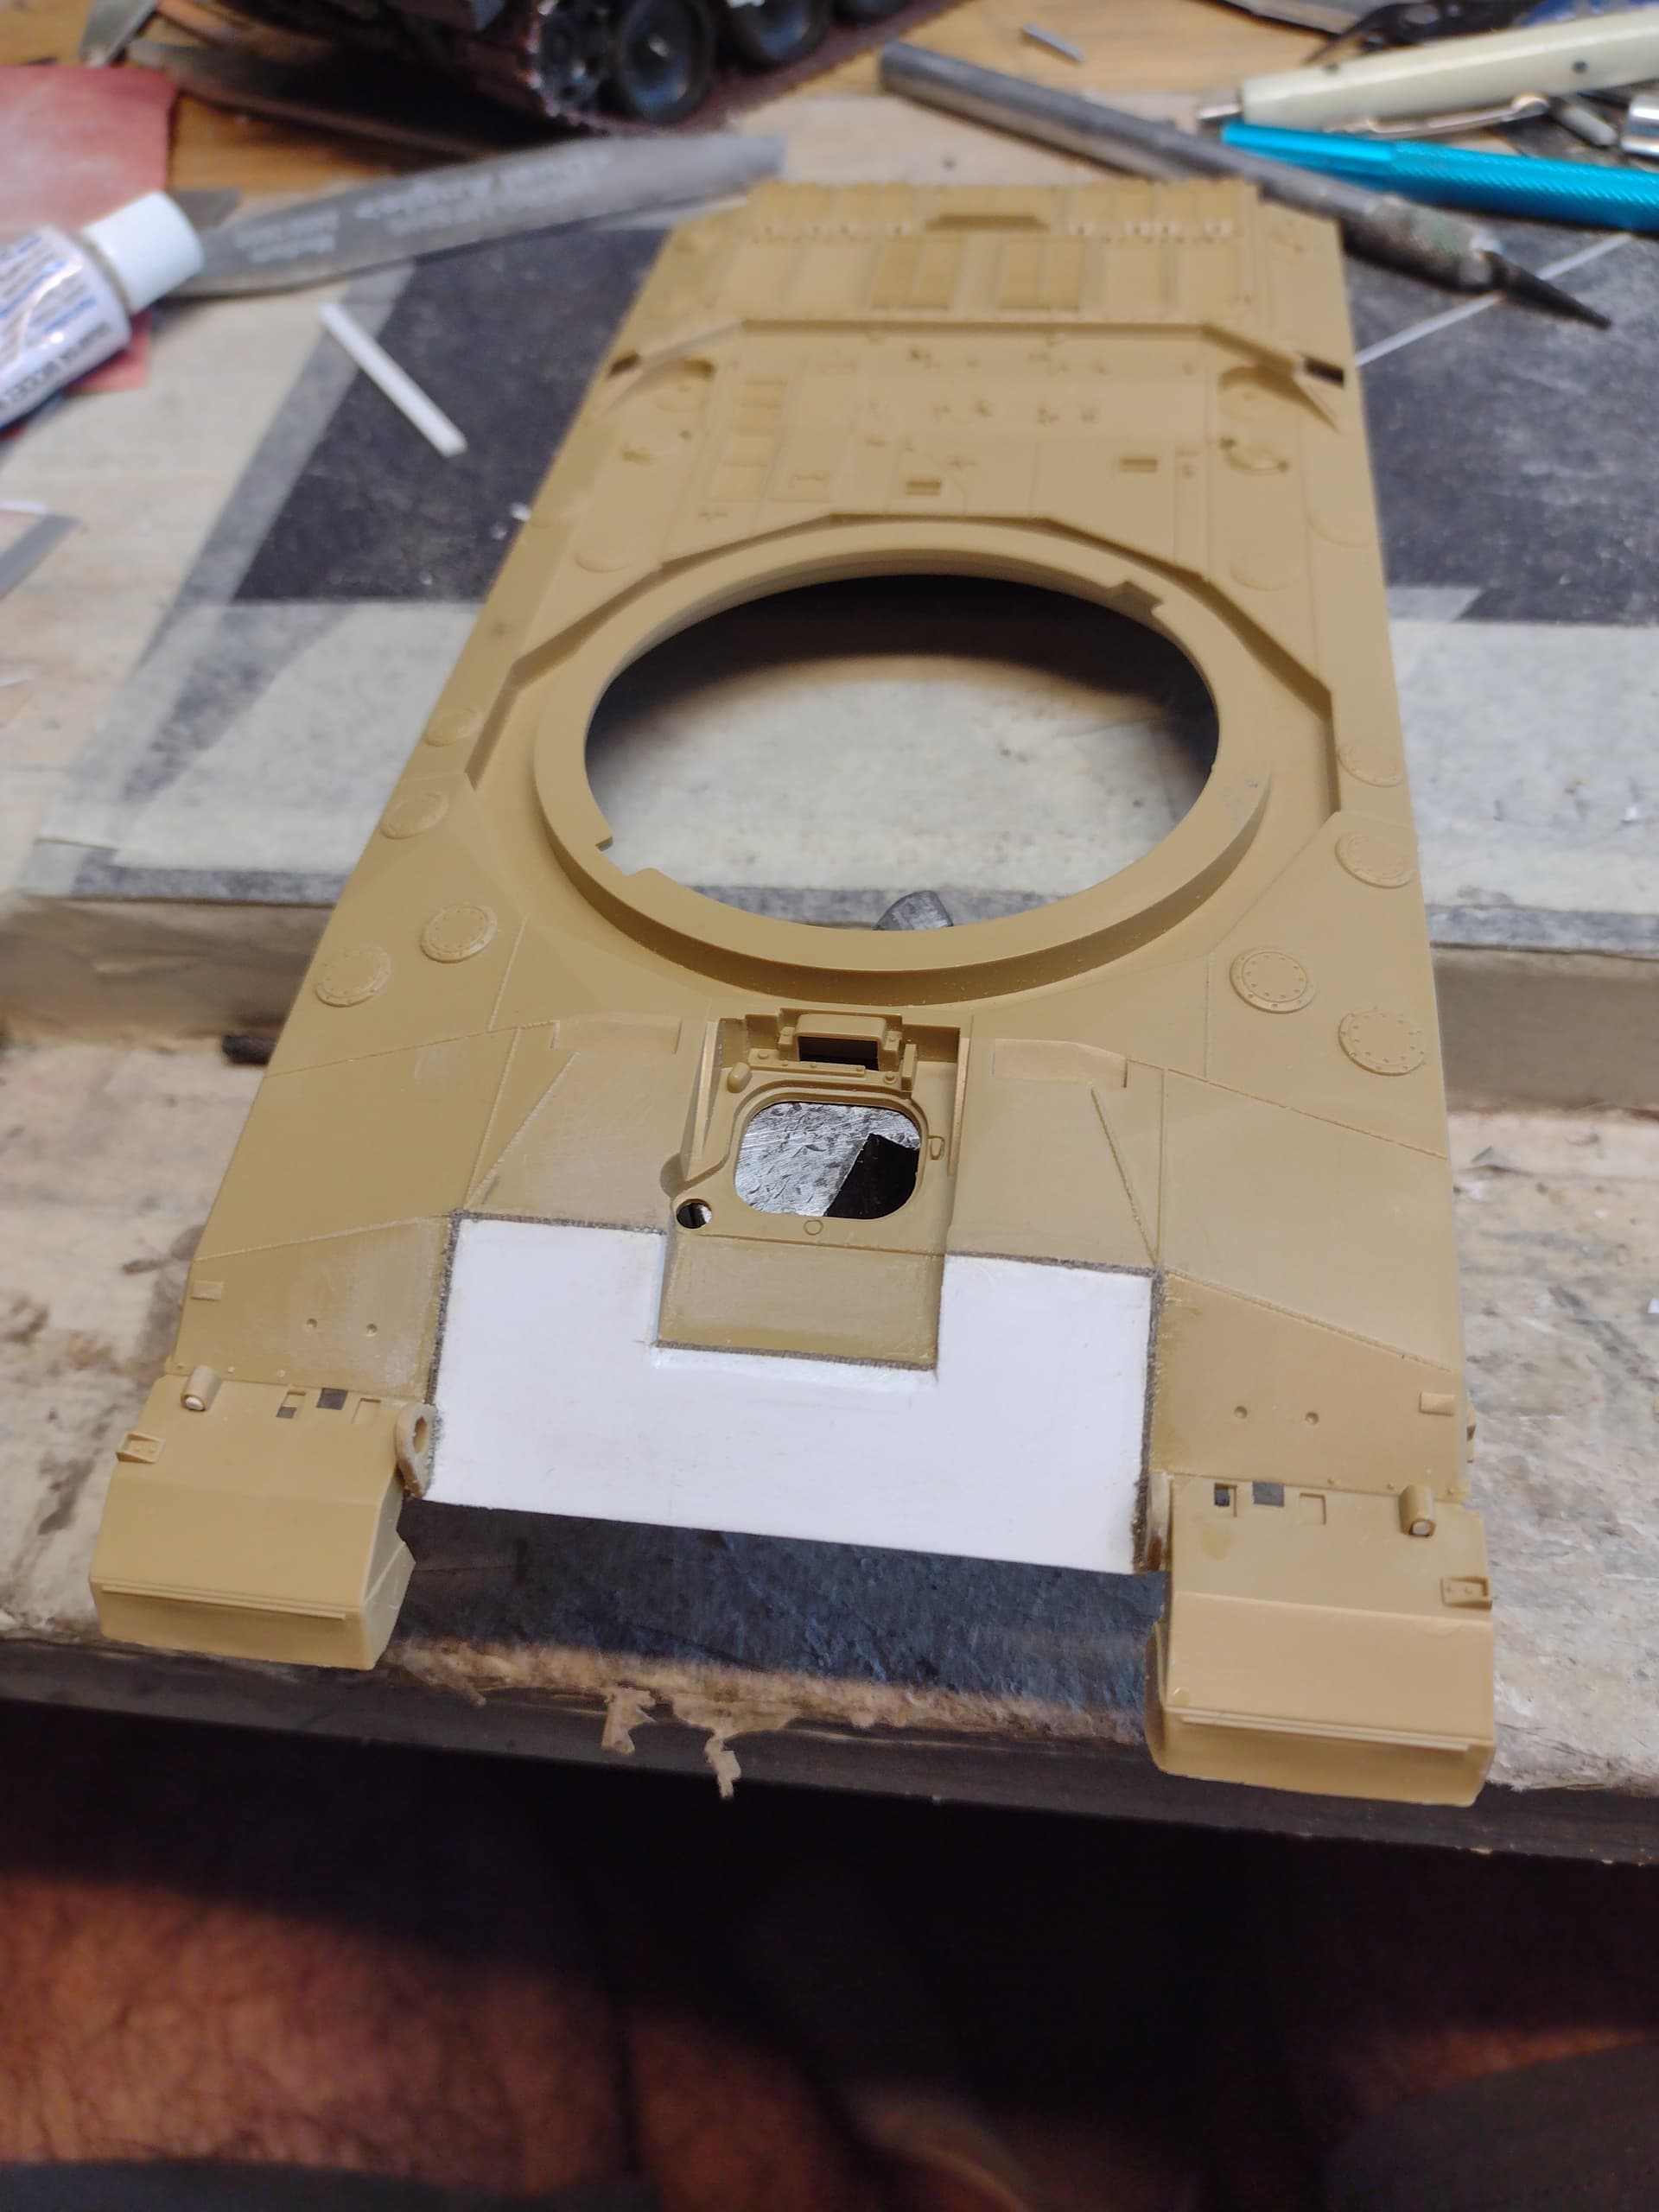
It took about an hour, close to how long blending the two outer plates into the center took, not bad at all.
Welds were put back in with stretched sprue.
3 Likes
Nice ![]() , @Johnnych01 could be a sort of mini group build
, @Johnnych01 could be a sort of mini group build ![]()
Sounds good to me. I ordered the Friuls yesterday, just need the Eduard brass…
@rfbaer I am curious about the Fruils. I had bought the Masterclub tracks some time ago and they look pretty nice with the seperate rubber pads.
That is looking very good Russel, think that’s the route I will go down as well.
1 Like
@Marc: the Friuls are good, easy assembly and one piece links.
@Johnnych01: I like the result better than thickening the side plates, have to agree with Brian.
Not bad. Not bad at all! You probably had an easier time than me. I feel like tan Tamiya styrene has a different, less brittle quality than old olive styrene, which can be brittle. Or maybe it’s just the age.
I think it’s a different plastic formula. I still build the Tamiya Merk1, and original release kits are molded in a more brittle plastic than the later releases. My “green” Challenger is brittle too, compared to the Mk3.