Quéribus Castle in southern France—one of the last refuges of the Cathars during the Catholic Church’s crusade against the Albigensians (Cathars). This crusade was unique in that it was directed against fellow Christians. Catharism was a thorn in the Church’s side due to its teachings; naturally, territorial interests and property disputes also played a role—though, then as now, this was not openly admitted. Ultimately, the Cathars were wiped out; those who did not die in battle were burned at the stake. Paradoxically, we owe our knowledge of the Cathars today to the Catholic Inquisition, as they kept meticulous records.
Regarding the model:
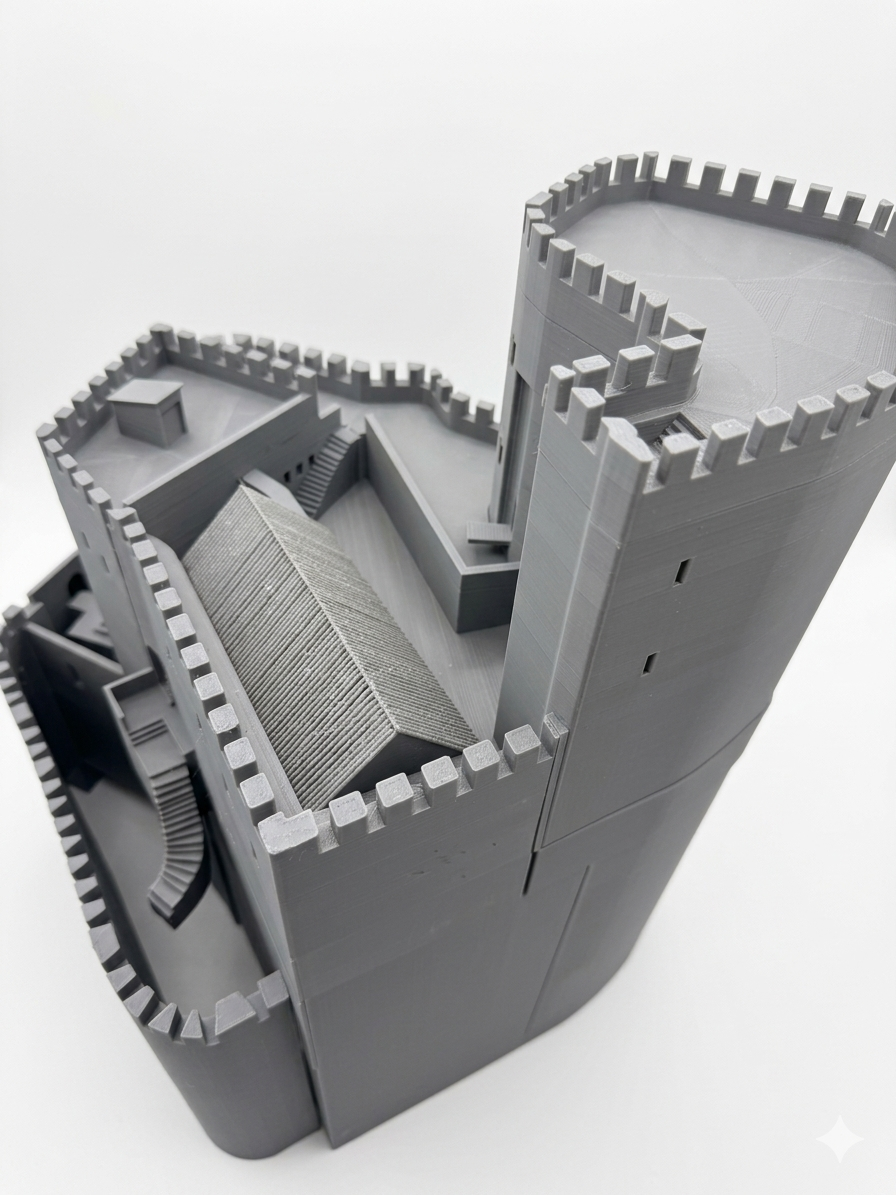
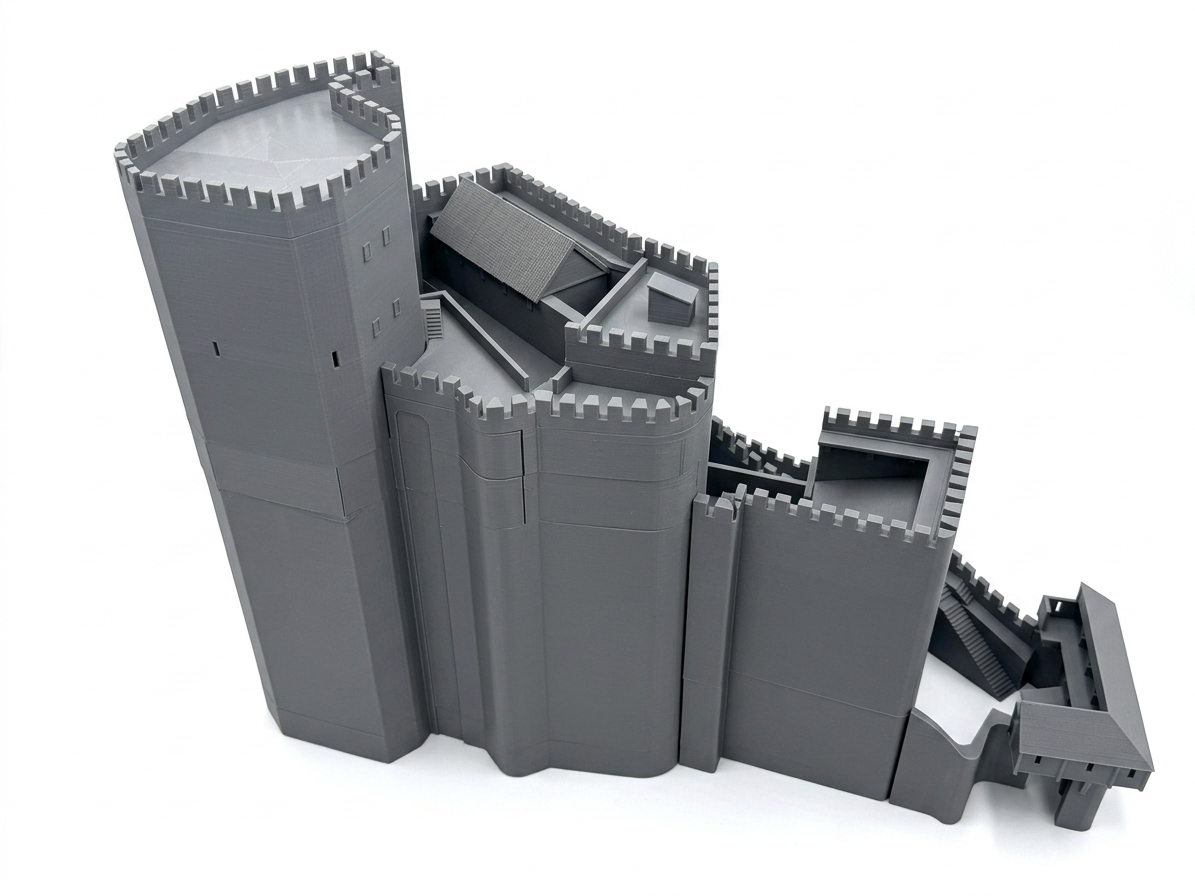
I obtained a laser-scan file of the castle and printed a test version. This makes it easier to visualize the rock structure and the placement of the walls from every angle. I also have an image showing how the castle might have looked during the Cathar era, along with various views and, of course, floor plans. I am experimenting with a new design approach in Fusion 360: I imported a floor plan as a PNG with a transparent background and scaled it to 1:100 (a 1:72 scale diorama would unfortunately be too large). I then traced the lines and initially extruded them to a height of 5 mm, as the individual elements sit on different levels of the rock face. Construction is well underway, and several parts have already been printed; here are the first photos. The actual manual assembly work will come later. The reference photos are from Pinterest.
Here is a slightly more detailed description of one of the initial steps in constructing the model.
A floor plan of the castle was imported into Fusion 360 as a PNG file. To do this, the white background of the original JPG image was converted to transparency using an AI program (such as ChatGPT or Gemini; this works more precisely and quickly than using graphics software). When saving, the AI program typically converts the JPG file into a PNG. This is convenient, as the JPG format does not support transparency.
After saving, import the file into Fusion 360.
Next, scale the drawing to the correct dimensions. This is done using the scale bar found in the sketch’s legend on the floor plan (I recommend watching a tutorial; the process sounds more complicated than it actually is).
After that, trace the lines and extrude them by a few millimeters. In other words, the sketch is transformed into a solid body—turning the flat sketch into a three-dimensional object that can be further modified.
These solid bodies can then be further edited within Fusion.
This provides a foundation for constructing the various parts of the castle.
Fusion 360 is just as useful for standard model making as it is for 3D printing. The advantage is that you can visualize what the castle will look like before actual construction begins. You can then transfer the measurements to materials like Styrodur or export the design as an STL file for 3D printing.
This has been just a brief overview for any interested readers.
Fusion 360 is a CAD program that is relatively easy to learn.
There are countless tutorials available on YouTube. It is free for personal use. You do need to register and “subscribe” to the program, but be careful: after clicking the subscribe button, make sure to select the free version for personal use.
The range of features is somewhat more limited, but still more than sufficient for modeling purposes.
Transparent PNG file. The background has been converted to transparency, leaving only the lines that need to be traced.
Here is the PNG sketch, which has been extruded by 5 mm to form a solid body. It makes sense to extrude the individual elements as separate bodies.
This is done by ensuring each sketch forms a distinct area and the individual elements are separated from one another by lines.
When extruding element by element, select the “New Body” option rather than “Join.” You process the bodies one by one during the extrusion.
After the first body is created, the other sketched lines usually disappear. But don’t worry: you can make them visible again under the “Sketches” folder by clicking the crossed-out eye icon next to the sketch.
To anyone unfamiliar with Fusion, this might sound like gibberish. It involves a lot of detail, so you really need to sit down and experiment with it. All I can say is: watch YouTube videos and experiment.
I am still grappling with the vertical layering of the castle. I think I’ve finally got it right now. The uppermost section of the castle (the inner ward with the keep) has been raised by 3 cm, and the middle courtyard by 2 cm, while the gate remains at its original level. This makes the paths within the castle steeper, which I believe creates a more authentic look. I’ve rarely encountered such challenges, but the original site is spectacular, and I want the diorama to capture that same effect. I am already thinking about the future design of the diorama; the 3D print of the laser-scan model is proving invaluable in this regard. Since it is impossible for me to replicate the model’s entire topography, I used the slicing software to cut away the landscape sections I didn’t need. Consequently, the diorama will be cut off at the rock face beneath the keep. I will use vertical plywood panels to fit the structure to the rock face at that point, whereas on the other sides, I will saw the baseboard to follow the contours of the rock. I have used this method on some of my previous castle dioramas to create a convincing impression of the sheer rock faces. To illustrate this, I will add photos of my earlier projects. Progress so far: screenshots of the design from the slicer and—as mentioned—example images of previous projects.
Thank you very much for the help.
I am already familiar with this video, as well as many others. I like to prepare for my projects using YouTube videos because the moving images convey a wonderful sense of spatial depth—far more so than static photos.
Nevertheless, due to the limitations of my own skills, many details may not be executed perfectly. That is why I do not claim to be building a reconstruction; instead, I always emphasize that I am simply basing my work on the original.
I suspect that the majority of the members in these forums do not know about the Albigensian crusade.
Some may be aware of this “quote”, true or not … Caedite eos. Novit enim Dominus qui sunt eius.
Very Christian if I may say so …
I only came across the Cathars through various videos about Occitania and its castles. A terrible crime was committed back then in the name of faith. Since then, I’ve been delving into the subject more often. But I have to admit, the fascinating castles are a major draw for me—though I never intended to build the Château de Quéribus. Even though it was the smallest Cathar castle, it would simply be too big to build in 1:72 scale. That is one reason why, for a change, I switched to 1:100 scale. Even so, the diorama’s baseboard will most likely measure around 100 x 70 cm.
Frank, another fascinating introduction to what promises to be another excellent piece! Although the computer rendering is well beyond my capabilities, it is very interesting to see your process.
I’m glad you’re following the build report as well. Fusion 360 certainly wasn’t handed to me on a silver platter either ;-). Inevitably, I had to get involved with CAD because I wanted to do more than just print the many ready-made things available for download.
I discovered it as the ideal tool for designing my castle dioramas so that I could print them myself. My first medieval dioramas were built on wooden frameworks, until I received a 3D printer as a Christmas gift a few years ago. I soon realized that it was the perfect tool for printing the castle components myself.
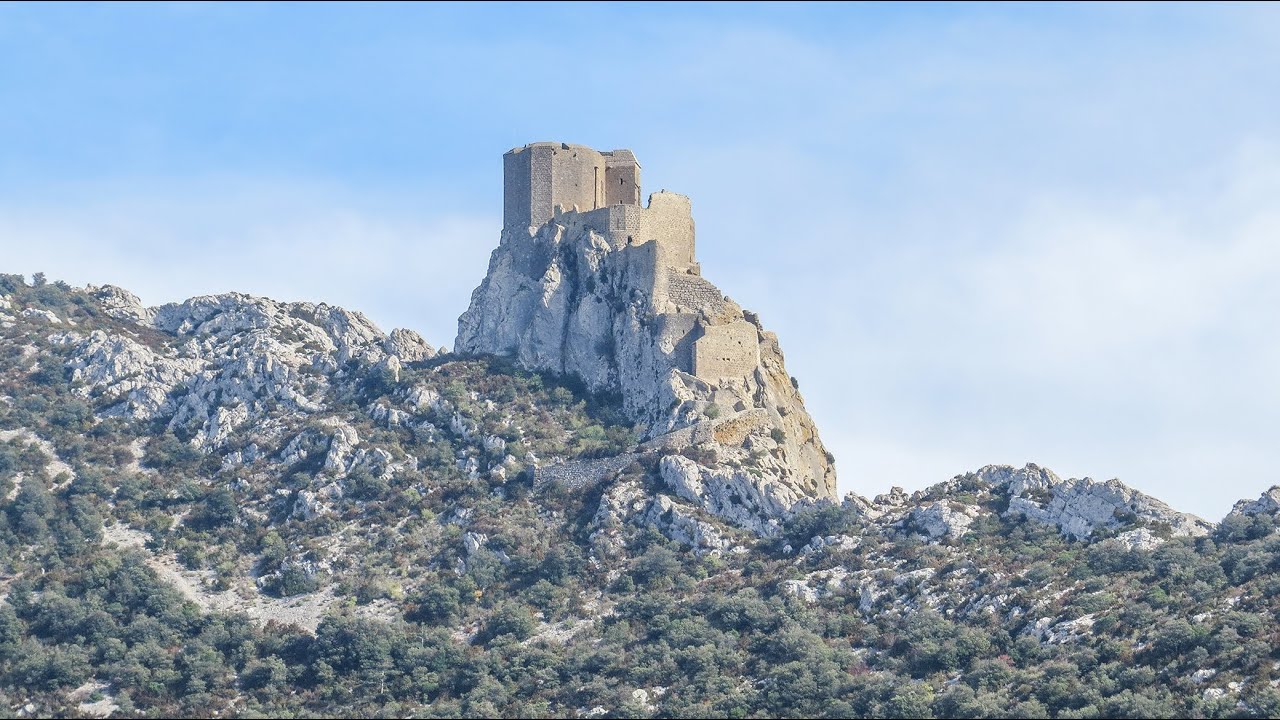
Warning What we see of the castle today does not correspond to the Cathar fortress. It is the reconstruction by the French royal power for the protection of the border with Catalonia, before the annexation of Roussillon
I was already aware that the ruins do not reflect the castle’s original appearance. However, before starting the build, the only reference I found was a drawing of the castle with its battlements. Unfortunately, I could not find any information about what the castle looked like during the Cathar period. Therefore, I ultimately decided to recreate the castle based on that sketch.
In the meantime, I have researched what the castle may have looked like during the time of the Cathars.
Since I could not find any reliable information, I turned to AI for assistance. The construction style shown in the AI-generated image appears quite plausible. In many respects, it resembles the reconstruction of the Castrum of Montségur. However, the topography and overall dimensions do not match. Because of these differences compared to my own reconstruction, I will adjust the time period represented by the diorama to the mid-to-late 13th century.
By that time, Occitania had been annexed by France, and several castles—including Château de Quéribus—had been significantly modified and strengthened as border fortresses facing neighboring Catalonia. The history of this period is quite complex and convoluted. The main objective of these changes was to prevent Catalan and Aragonese influence over Occitania.
Regarding the diorama:
The basis remains the sketch of the battlemented castle, representing an expanded version of the original fortress. The large window in the donjon has been closed up, as it was probably not added until the 14th or 15th century. The floor plan of the donjon (residential keep) has been retained as it appears in the present-day ruins. This may not be entirely accurate, since the donjon was most likely reinforced when cannons came into use. The cistern in the upper outer bailey was designed in a style similar to that of the Castell de Mur.
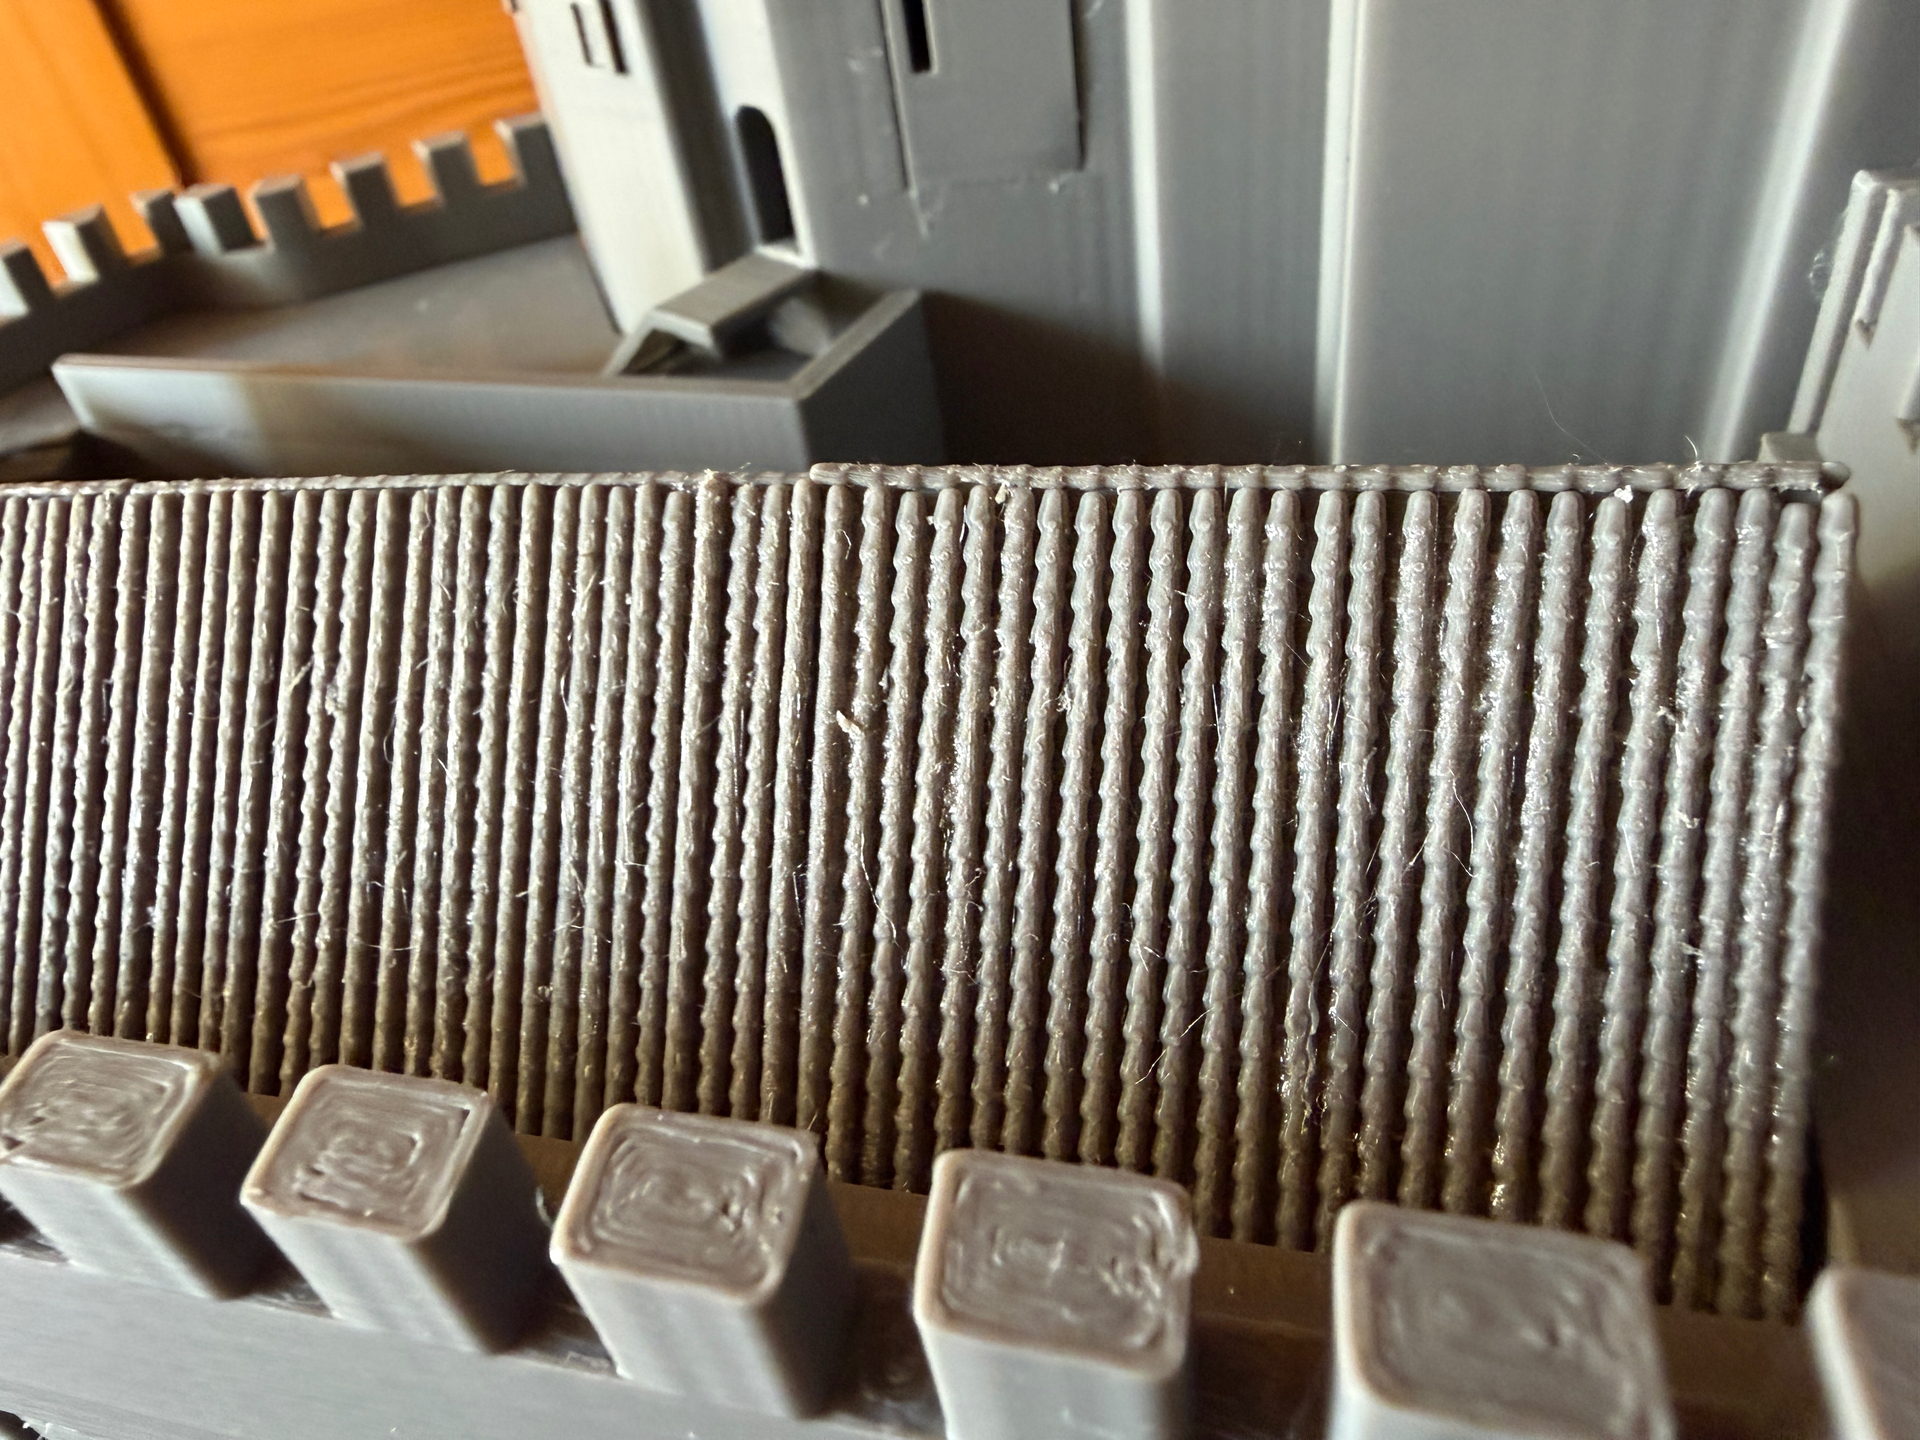
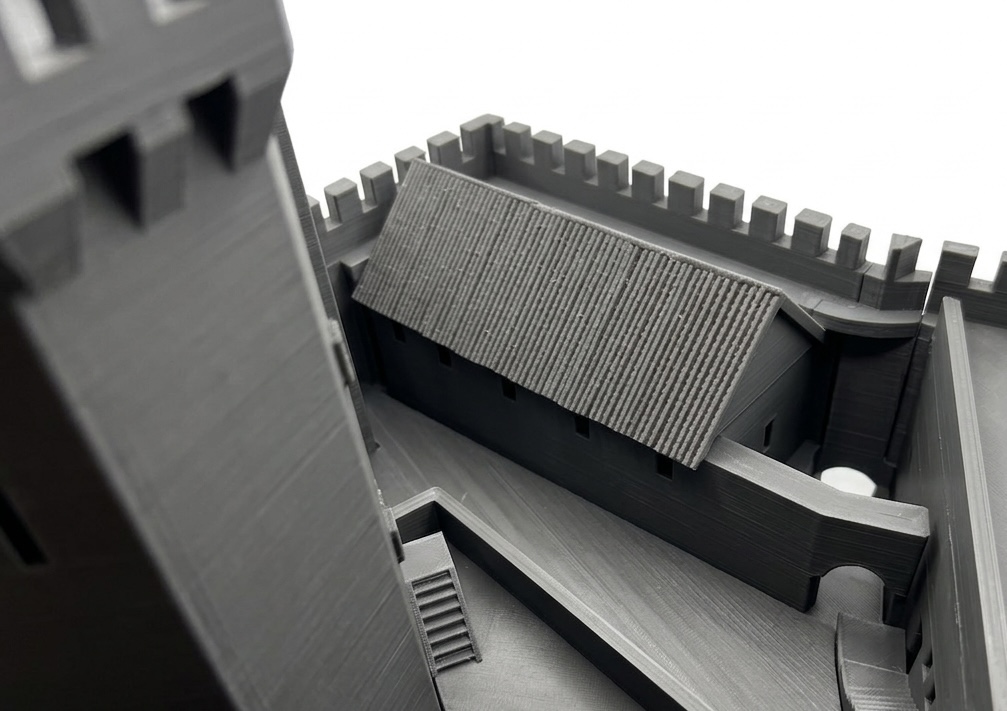
The gabled roof in the outer courtyard of the keep was covered with traditional monk-and-nun tiles. Unlike at the Castell de Mur, this time I printed entire rows of tiles instead of individual ones. At a scale of 1:100, placing each tile separately would simply have been far too fiddly. On the Castell de Mur diorama, there were already around 3,000 roof tiles in total (for both the castle and the farmhouse).
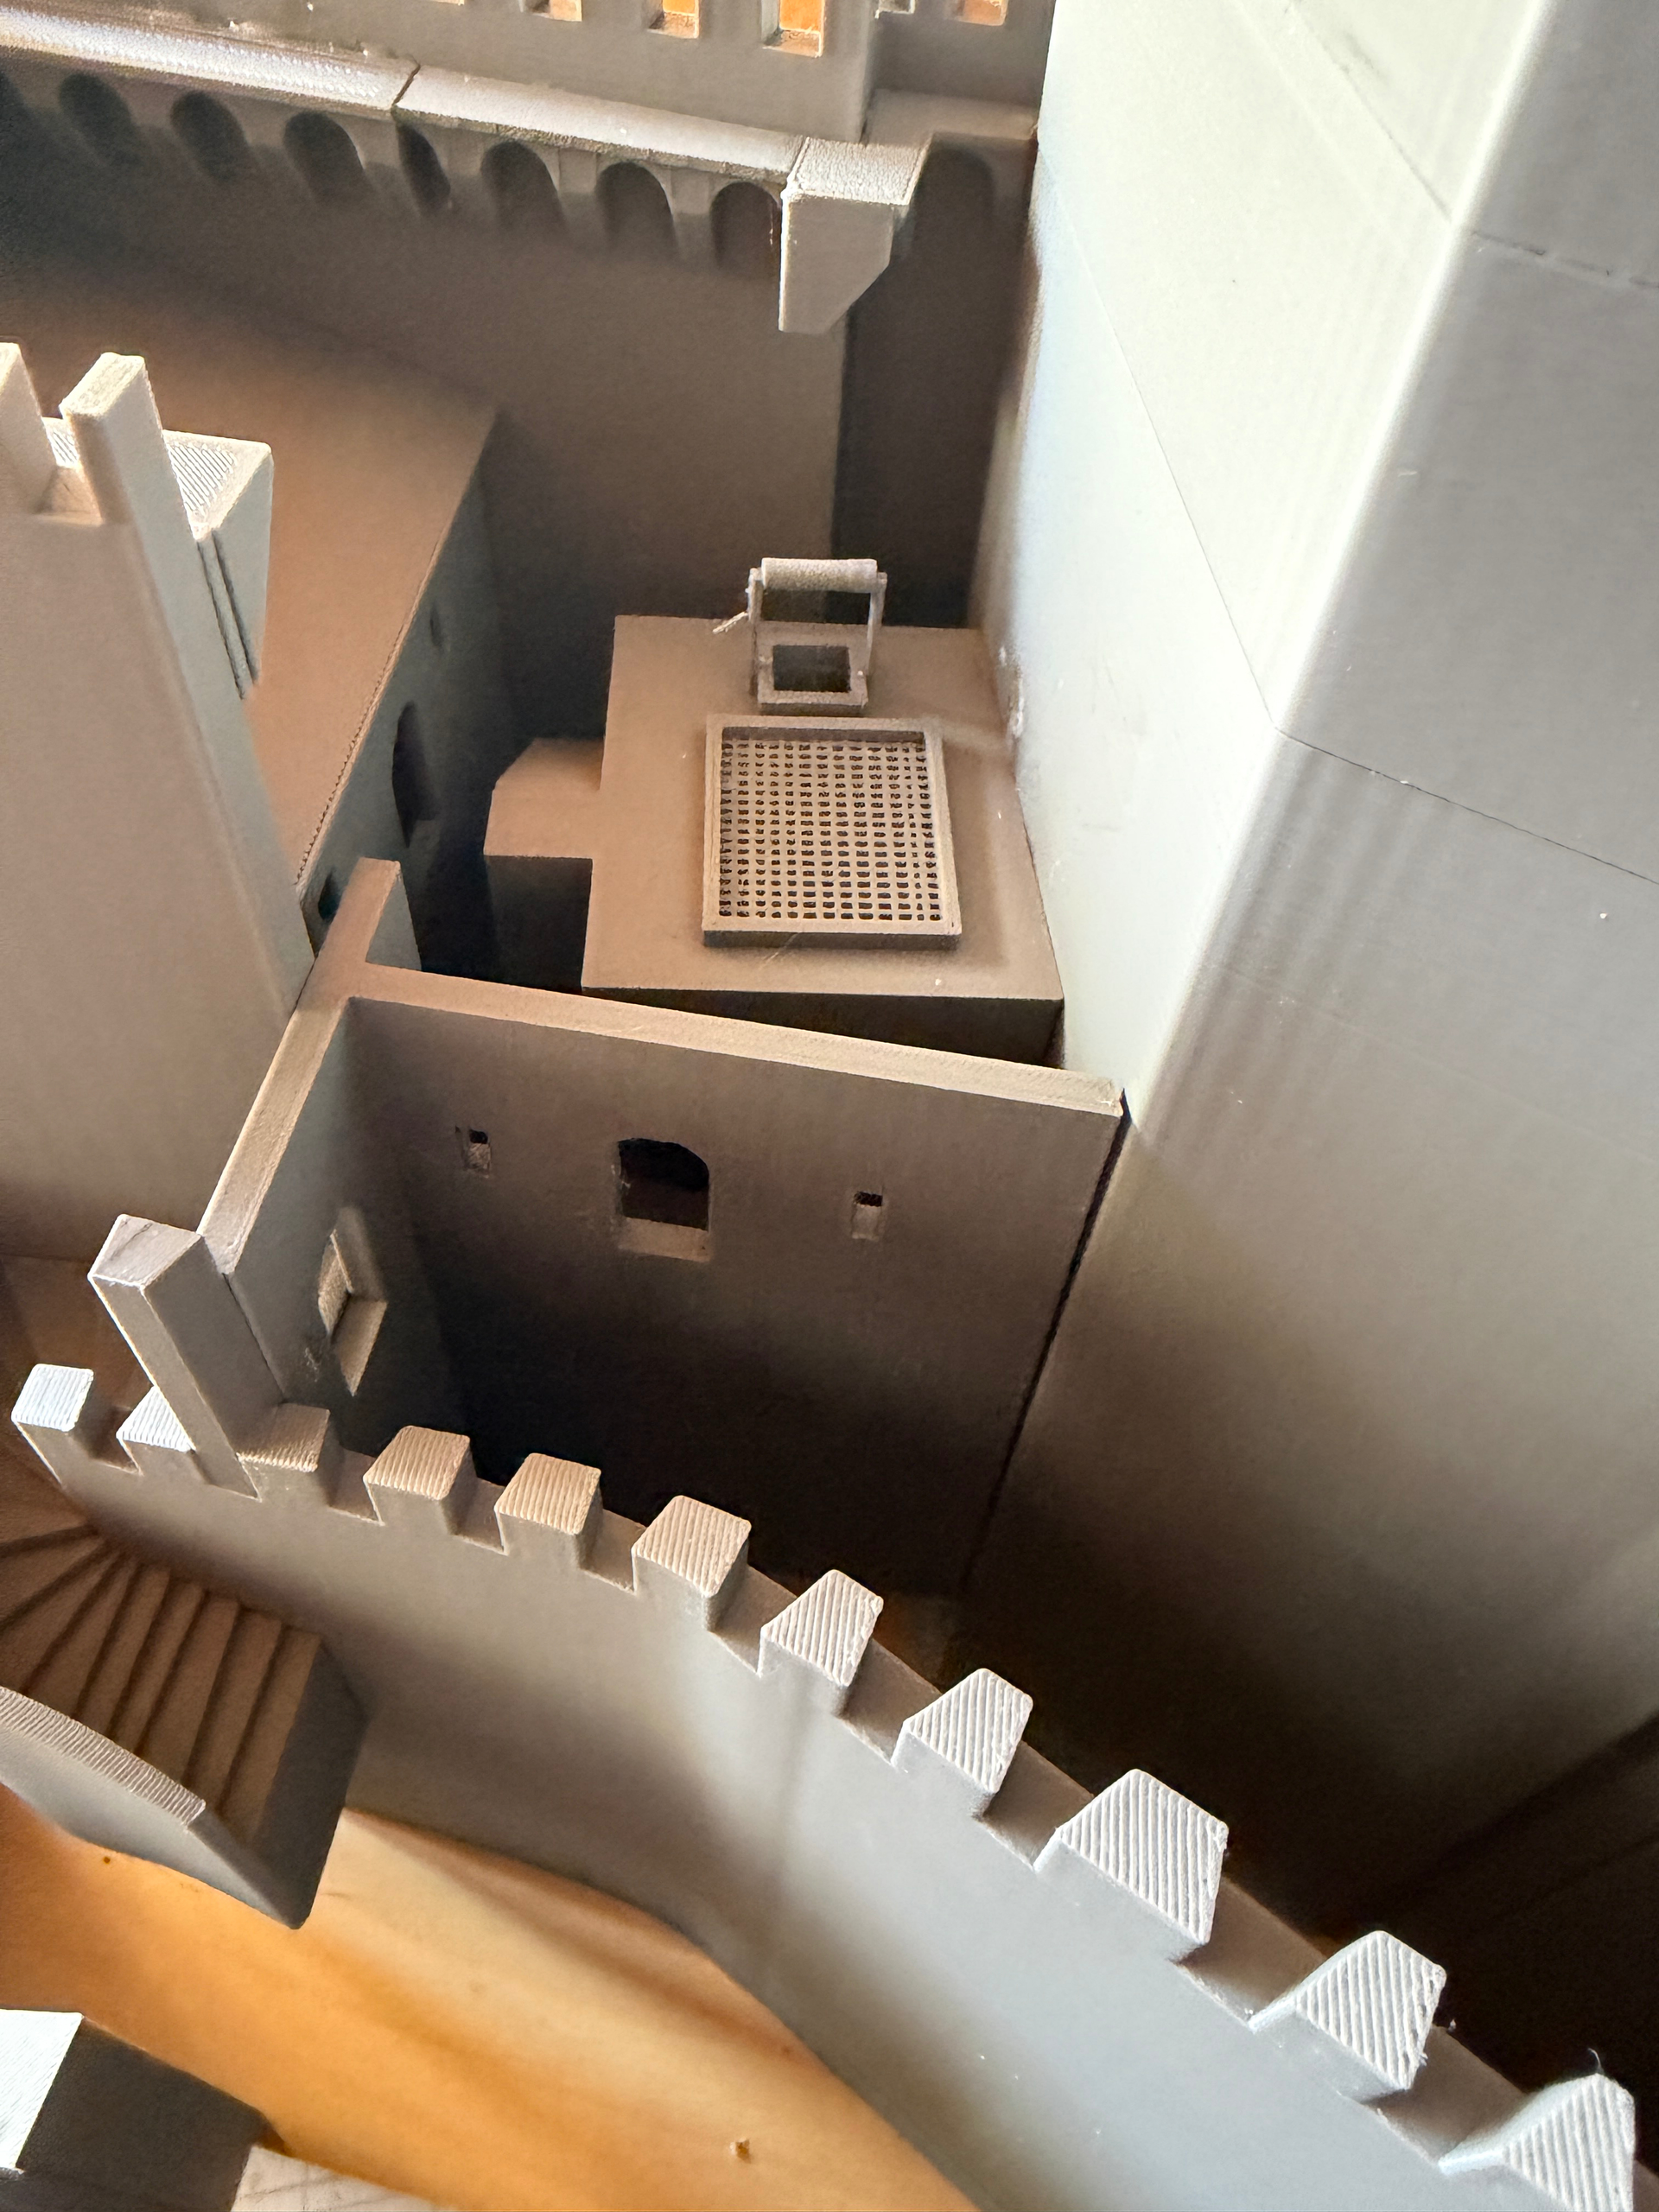
I am also including a photo that provides a better view of the cistern.
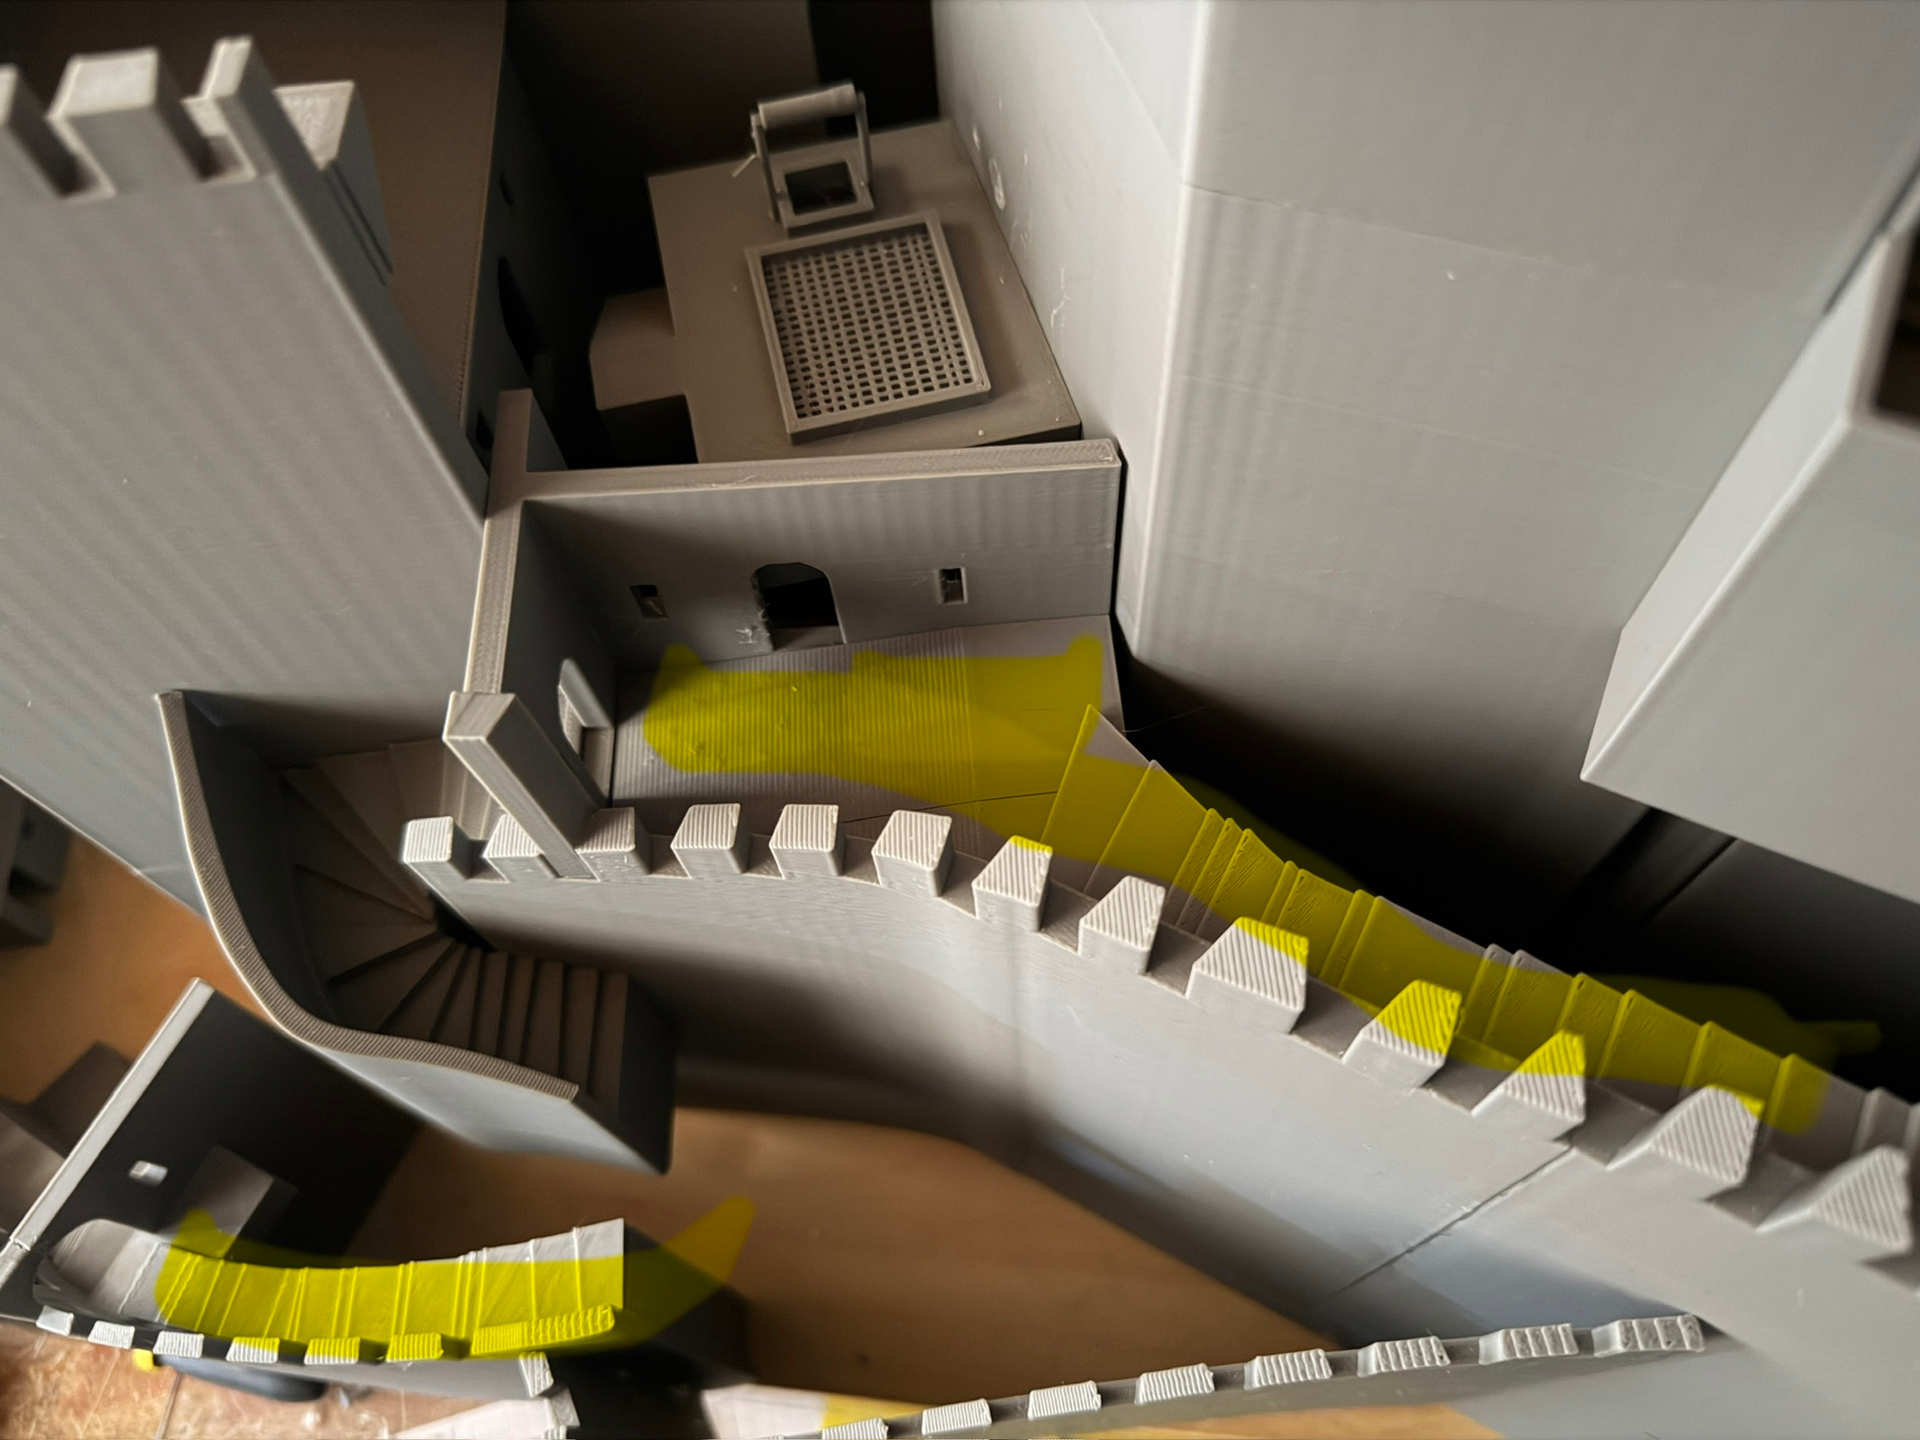
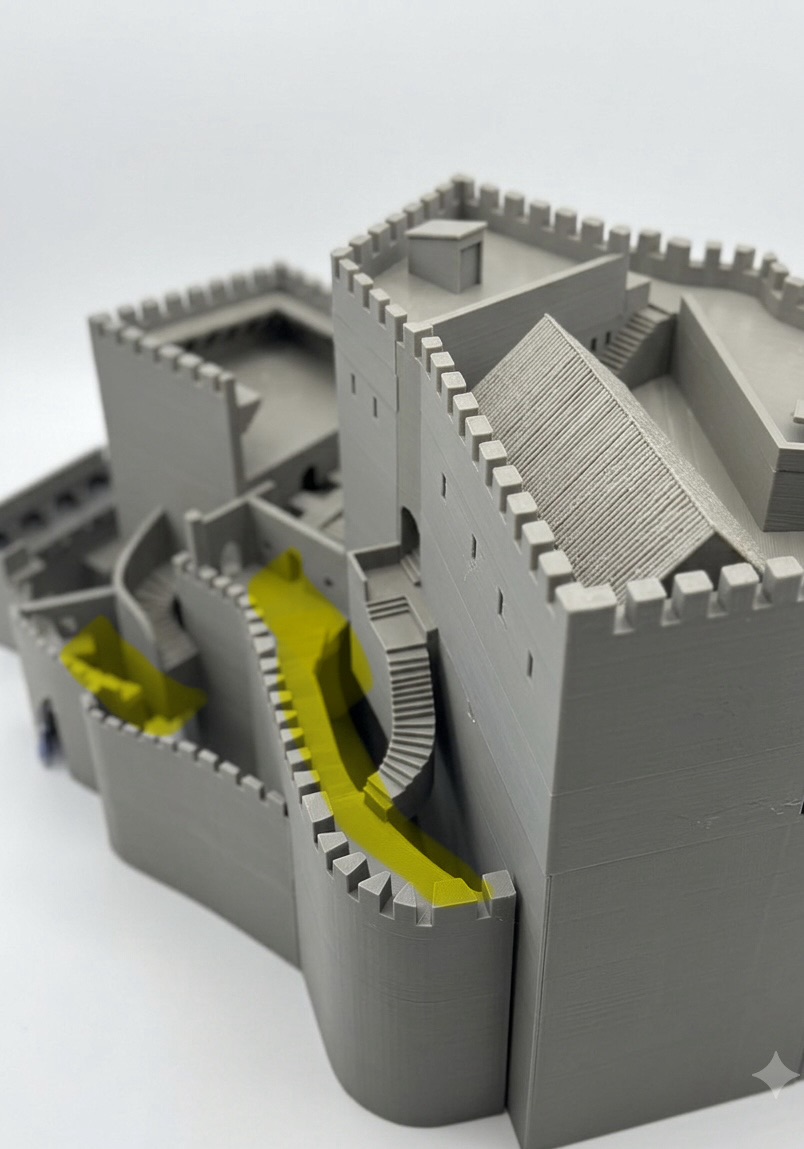
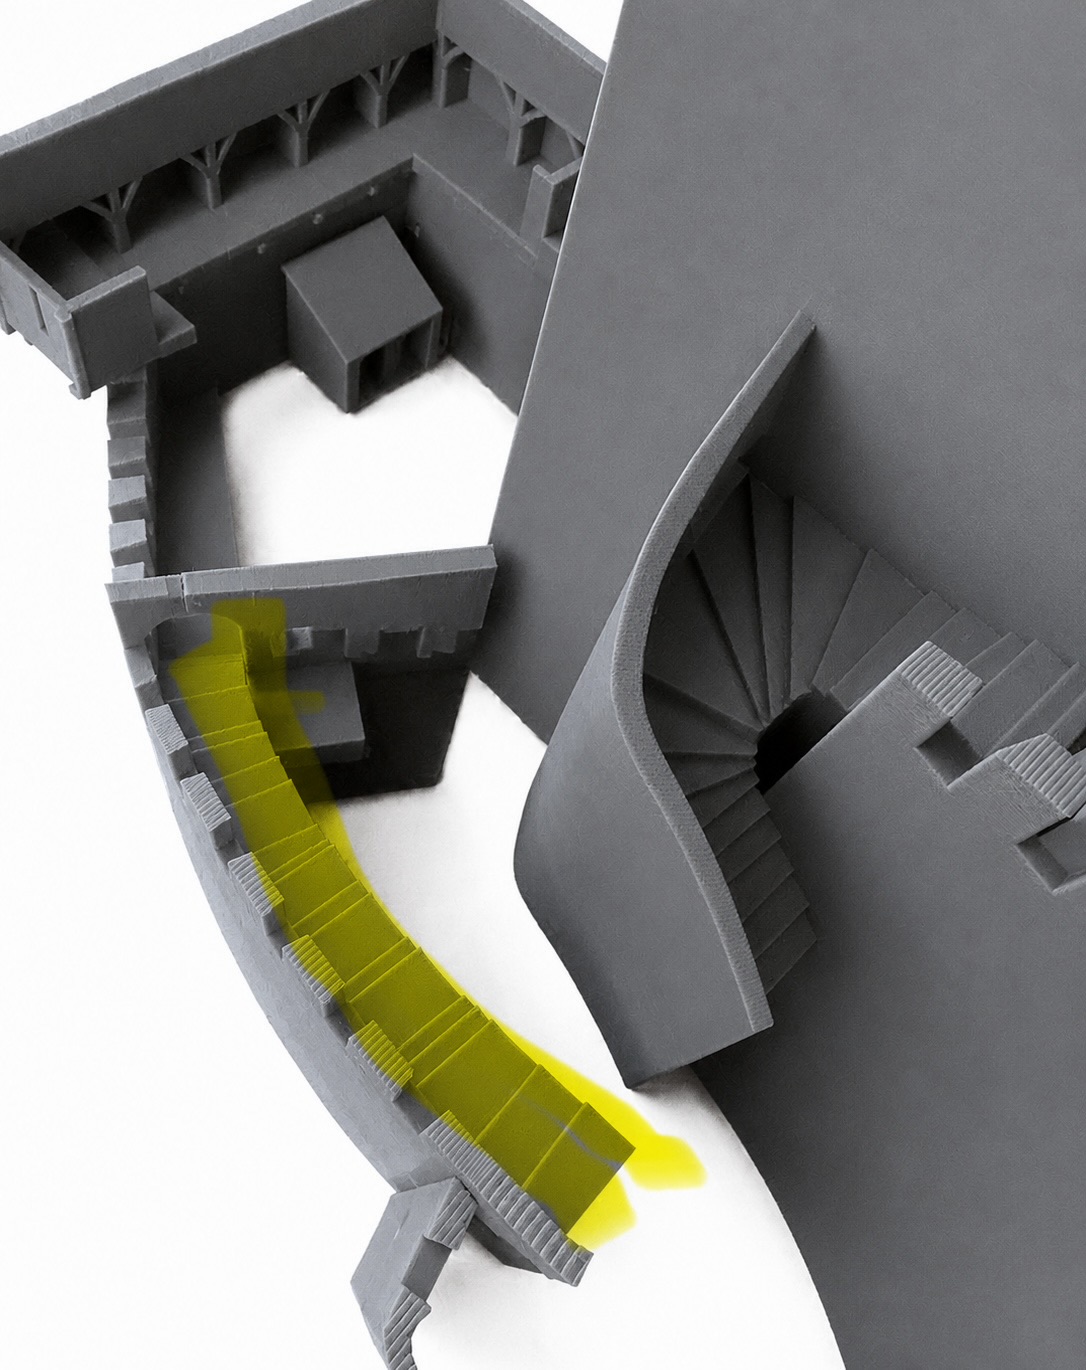
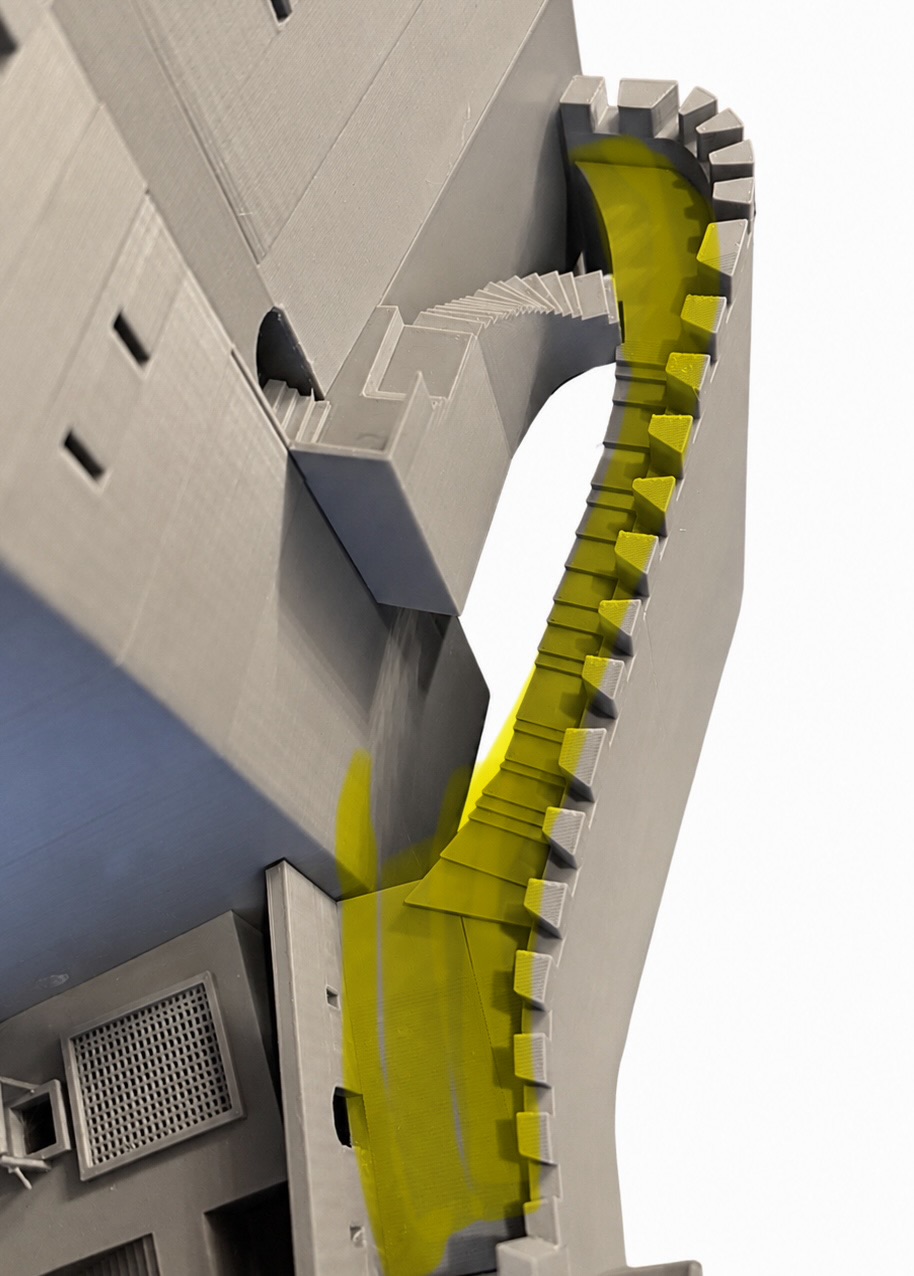
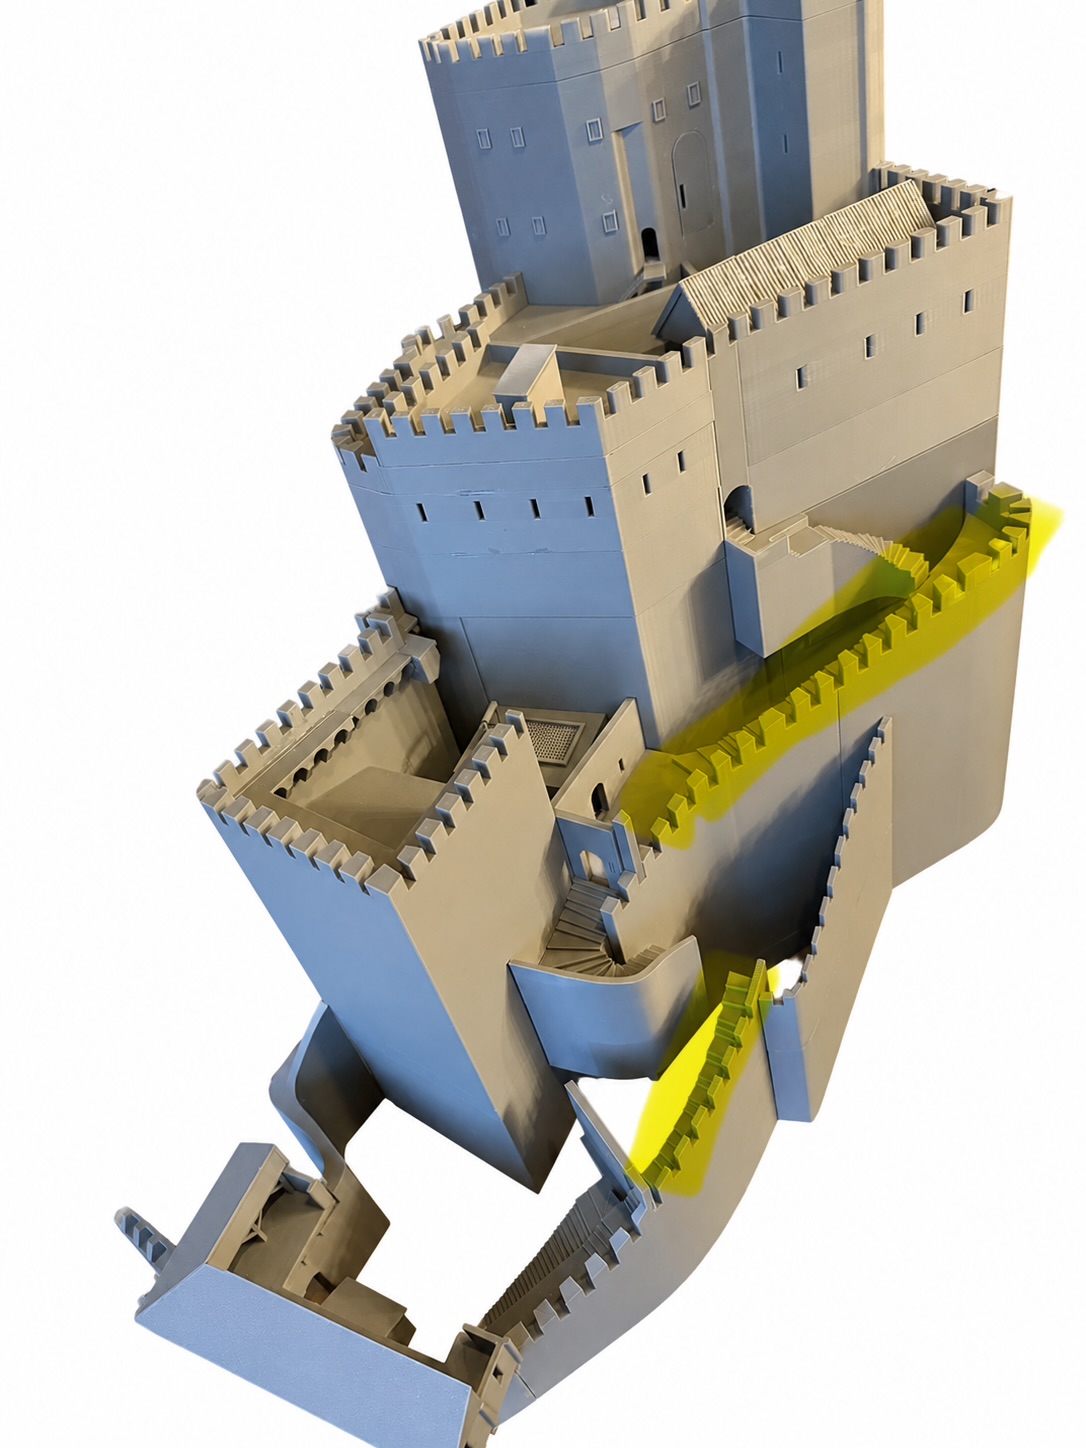
Behind the outer defensive walls, the wall walks were designed and printed, serving at the same time as access routes to the inner castle. Due to the steep terrain, irregular steps were incorporated in accordance with the original structure. The newly added parts are highlighted in yellow in the images.




 castles!