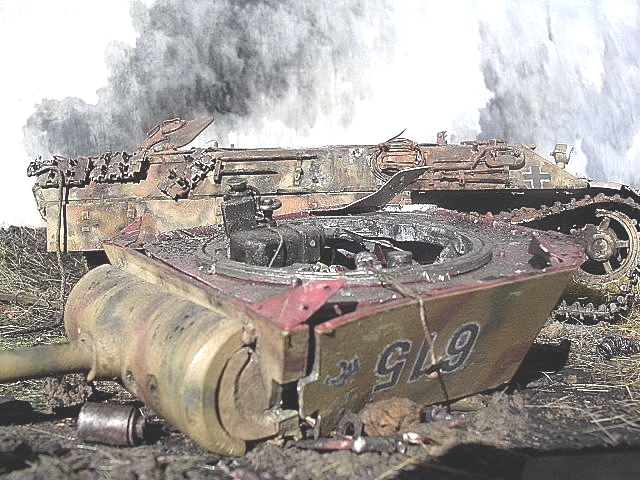
As previously described (Sturmy Weather thread intro) I got this kit cheap at auction in cahoots with SamS. It’s not something I’d have chosen otherwise, but something about it appealed. I’m still unsure exactly what, it doesn’t really float my boat as an element in a diorama. On the one hand there seems to be a reasonable number of period photo references, on the other hand there’s plenty of great models of it out there already, just standing there.
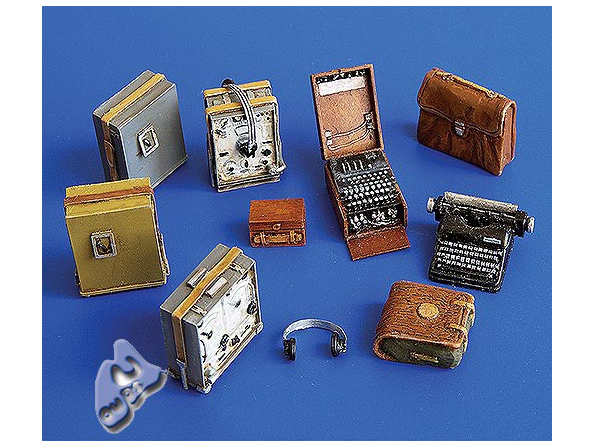
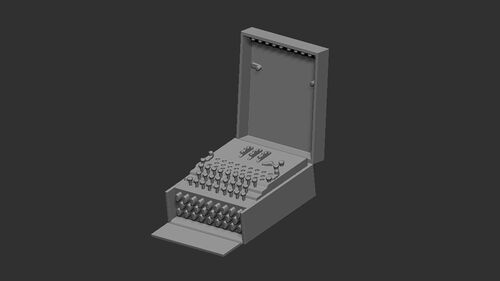
So, for something different I’m thinking about a demolished version. However, given this is billed as a “Radio Communications truck”, disappointingly it has zero interior and zero radio equipment so there will be much scratching & accessory-searching involved. Any recommendations for a good Enigma machine most welcome.
Having already made the engine & most of the chassis (photos to come), impressions of the kit so far are (a) typical ICM, not bad but some chunky details (b) typical ICM, somewhat vague attachment points & ambiguities in the Instructions (c) plastic quality is only one level up from cold butter, which has pros & cons. But overall, irritatingly interesting.
I was surprised to find a pack of resin tyres included – what did that mean, ICM thinks their own kit wheels are crap? Cursory research suggests this might be a re-box from a previous manufacturer, maybe that’s why (?) The resin tyres are certainly better, but I was somewhat bamboozled how the rear 4 pairs joined to the kit axles. I didn’t spend long on that problem, the kit tyres will be good enough after muddying, and some of them are likely to be flat anyway. I’ll probably use the front two resin tyres partly because I can see how to attach them, and partly because they’ll be the most visible.
Careful & painful construction to come, keeping one eye on wrecking it at every step. The meaning of the thread title will become clearer in the fullness of time, although always an excuse to crank up Led Zep.
Many like resin instead of rubber tires to avoid issues like the Dragon DS for example. They might even be a direct copy, so no extra details, just a different material to work with.
Yep Ryan true, although in this case the resins really are way better than the kit’s styrene. But as I’ll show in a forthcoming post the resin hubs don’t even fit the resin tyres, let alone not fitting onto the kit axles. So my alternative theory is that they weren’t part of ICM’s kit but were thrown in from somewhere (there’s no labelling at all on the bag) by the original owner of the kit, which was then put up for auction. Whatever, it doesn’t look like I can even use the two front tyres unless I can meld them to the kit hubs.
Thanks HP that Plus Model set looks ideal especially given the associated extras. And the ML link looks like an extremely useful source for refs and build, merci beaucoup!
Thanks Gino, alas I did have access to one until my railroad mate sold his to another railroader 2 years ago and “retired” aged 85 years young. Since then I’ve returned to my neanderthal modelling man-cave, made of styrene with some brass & resin decorations. At least for my purposes the above Plus Model set should suffice.
Thanks all for checking in, it’s a long time since I attempted a wreck but I had some game…
The first clue to its “ease” of assembly was that the exhaust pipe comprised four (4) parts with nano-connections which had to be glued before installation (and “true”), and then it had to perform a quadruple axel with triple pike weaving through the chassis frame. No sweat. And then the transmission also had to be pre-assembled with nano-connections before installation, its robustness & rigidity being equal to a few strands of plaited hair.
The Instructions at Stage 6 began to lose focus regarding the necessary assembly order, reaching a crescendo of vagueness by Stage 9. My impression was that the Instructions draftsman must have had a breakdown by this time, having no clue how parts A73 connected at the back end, nor the front end of A19/D11 which ends up attaching to empty space when (correctly) installed at its other end. (I’ve since discovered the poor guy was still having an episode in a later step covering the cab controls, he got that wrong too)
So why grouch when it’ll never be seen? Well, some of it probably will be visible by the time it’s wrecked. At least any errors (whether mine or ICM’s) can be disguised as battle damage.
Back to those pesky tyres - as previously mentioned the resins are excellent - actually they’re not, no valves - but even with the front two (which I’d hoped to use) it turns out their hubs are too small for their own tyres…
A final weathering/muddy coat will go on the entire chassis once I’ve decided how the wheels will look. I’m still hedging my bets about where/when to begin wrecking. So far it’s been a standard build, but from now on everything I add will make any collateral damage to the chassis & wheels more difficult to access. And I thought I was finished with complexity.
Persevere as you always do and the result will be grand! I had similar issues with the chassis with mine, in particular the exhaust which seems a tad overcomplicated. I actually cut it, squared off the joins and then glued it in place. It does end up nice though even if it can feel like a hard slog in parts.
Nice new endeavor mate.
That is one of those companies that like a thousand part breakdown though. Good luck with that. I prefer Tamiya kits. Less parts and well engineered overall.
J
Nicely done Tim , ………… and if you screw things up ya can put the 76 album Presence on and play Noboby’s fault but Mine …………. hey you started it with the tiile .
I have a feeling the puns are gonna run rampant ……….
Thanks guys, much appreciated - nearly the full set of my most admired & supportive long-time contributors right there. As the almost late & great Dan Quayle once said, I’m humiled.
Glenn I think we’ll have to share that can of worms…Ramble on . Jeez I haven’t thought about Presence since my entire vinyl collection was stolen in ’77…didn’t miss that one so much, Houses of the Holy a bit more & LZ 1-4 a lot. But it’s got me thinking how much that collection would be worth today…e.g. Sgt Pepper’s in very good condition…
Don’t get me started, my Italeri Blitz tyres (c. 30 years old ) are becoming Dali watches.
So I recently found yet another fault in the Instruction-draftsman’s drawing of the chassis construction but I don’t want to talk about it – four parts drawn upside down at assembly point & I stupidly installed them as such. They’re gone, totally invisible anyway.
Looking at this vehicle overall, totally wrecking it may exceed my current mojo by several increments. In any case it’s not clear to me how much of the main cabin was wood (all of it?) and what was metal. I could make it up & few would know, or alternatively a simple engine breakdown would work just as well for the scene I have in mind.
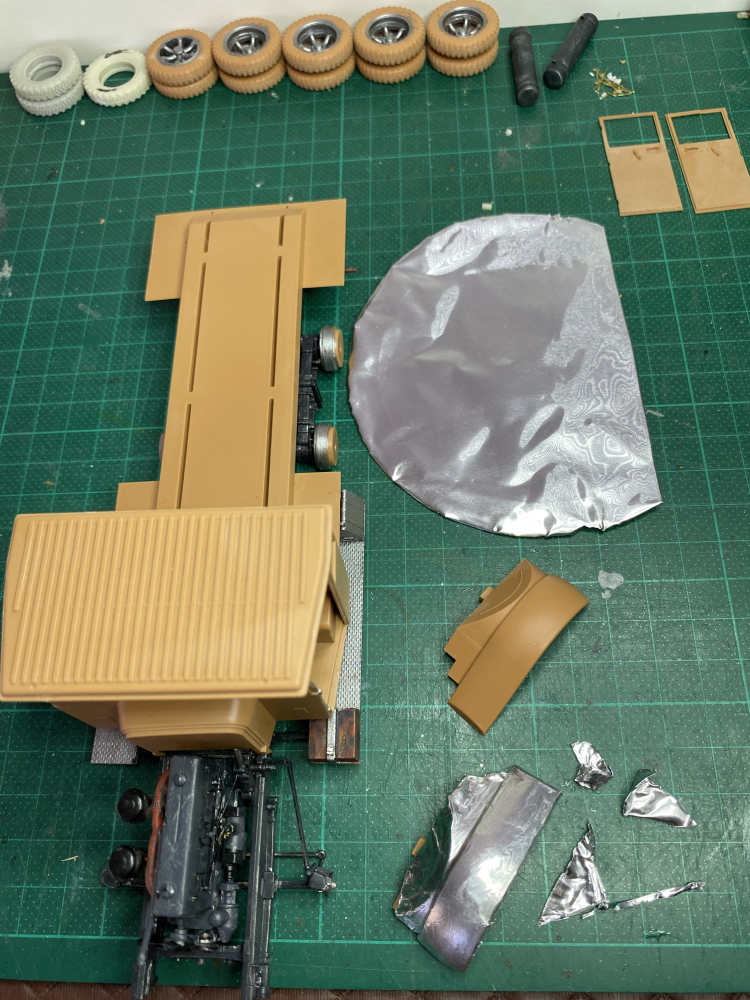
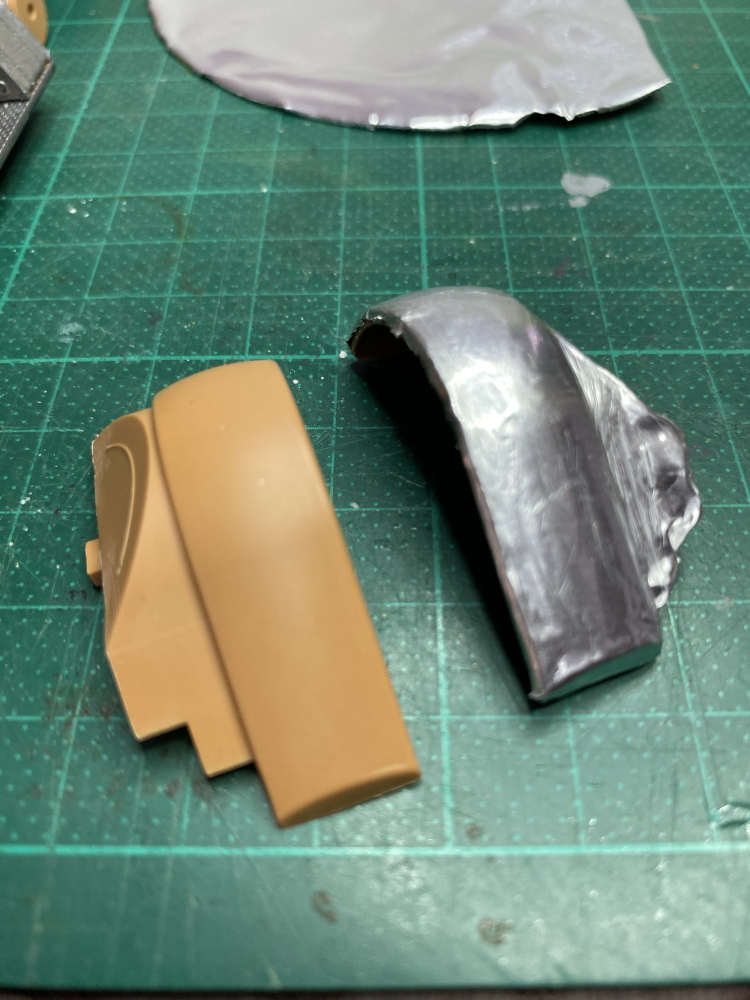
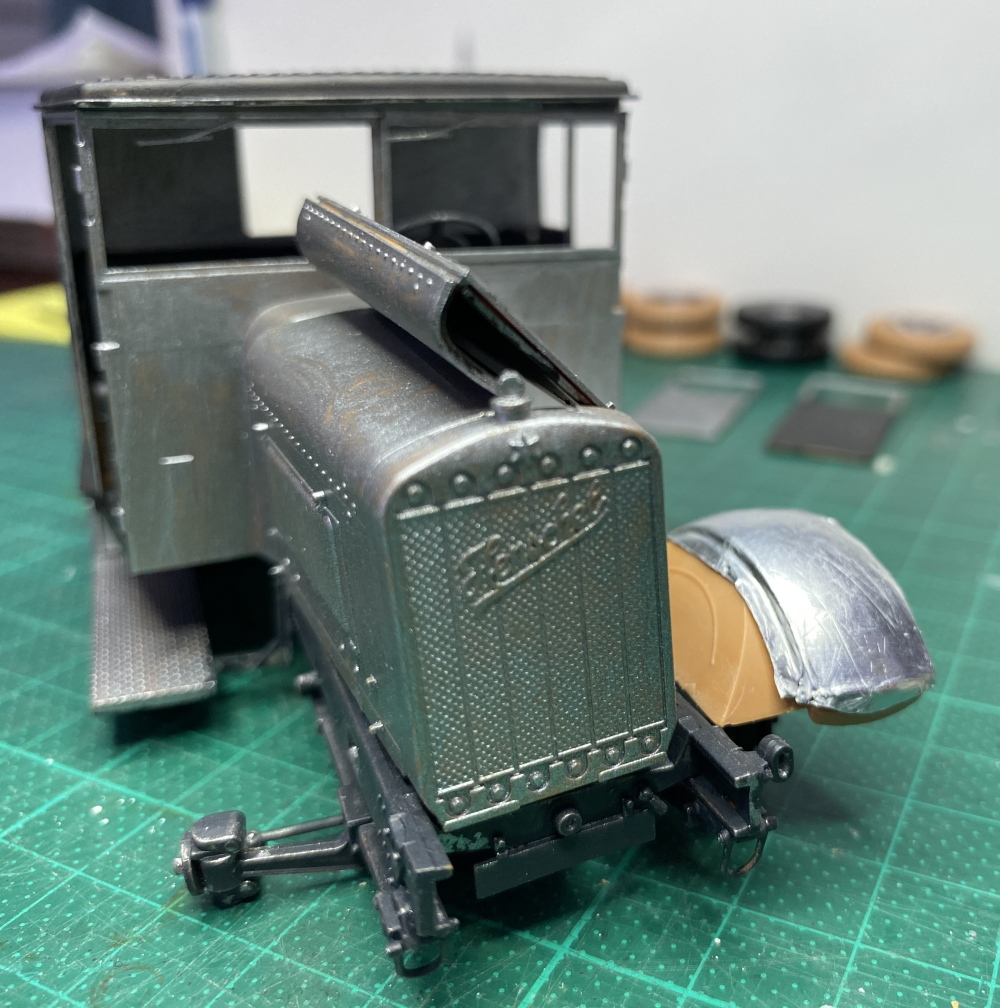
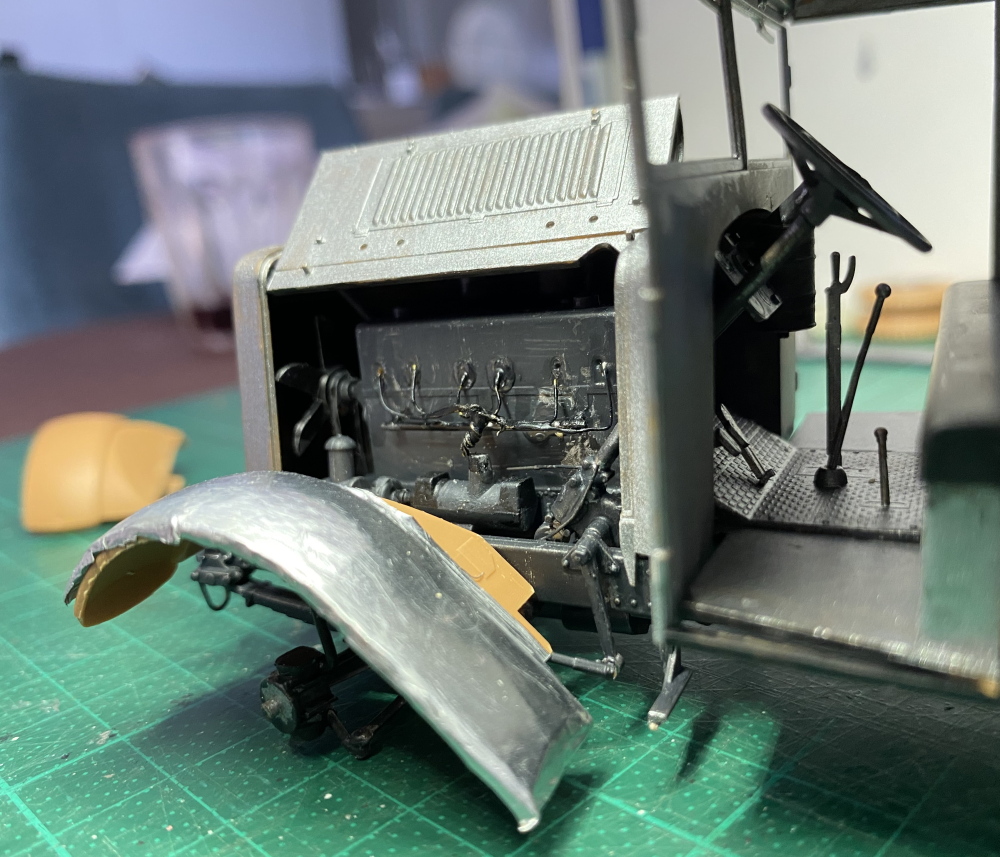
But on with the build – mainly dry-fitting because I’m not trusting how well anything goes together, there’s discrepancies with fitting the cab, firewall, bonnet…most of it really. Using the plastic original I formed a heavy-foil mudguard to receive some damage (minus the curved part of the plastic part of course) later on…
Oops I’ve made another mistake right there, the strip on the bottom of the bonnet lid should be on the chassis rail. Sigh. I soooooo empathised with a fellow inmate who just shared that he stomped on his half-completed model - my next build will be a frickin’ Tamiya