No Richard, the piston is from a Ford GAA V-8, which is an engine developed specifically for the M4A3 Sherman. The piston is about six inches in diameter, it’s huge.
1 Like
Thanks for the correction Matthew - I was indeed showing my ignorance ! LOL
1 Like
Not a big deal Richard - we can’t all be Shermaholics!
I just did a little research - man was I far off !
GAA was an all aluminum Y block DOHC - about as far from a flathead that can be .
1 Like
So I’ve made a start . In studying various images found on the internet I’ve come to the conclusion that , just like auto manufacturers, there seems to be changes from year to year . In the interest of full disclosure I am going to claim a bit of artistic license and choose the features that I like or are doable.
Not all views are available for a given configuration so this may be a bit of a hybrid.
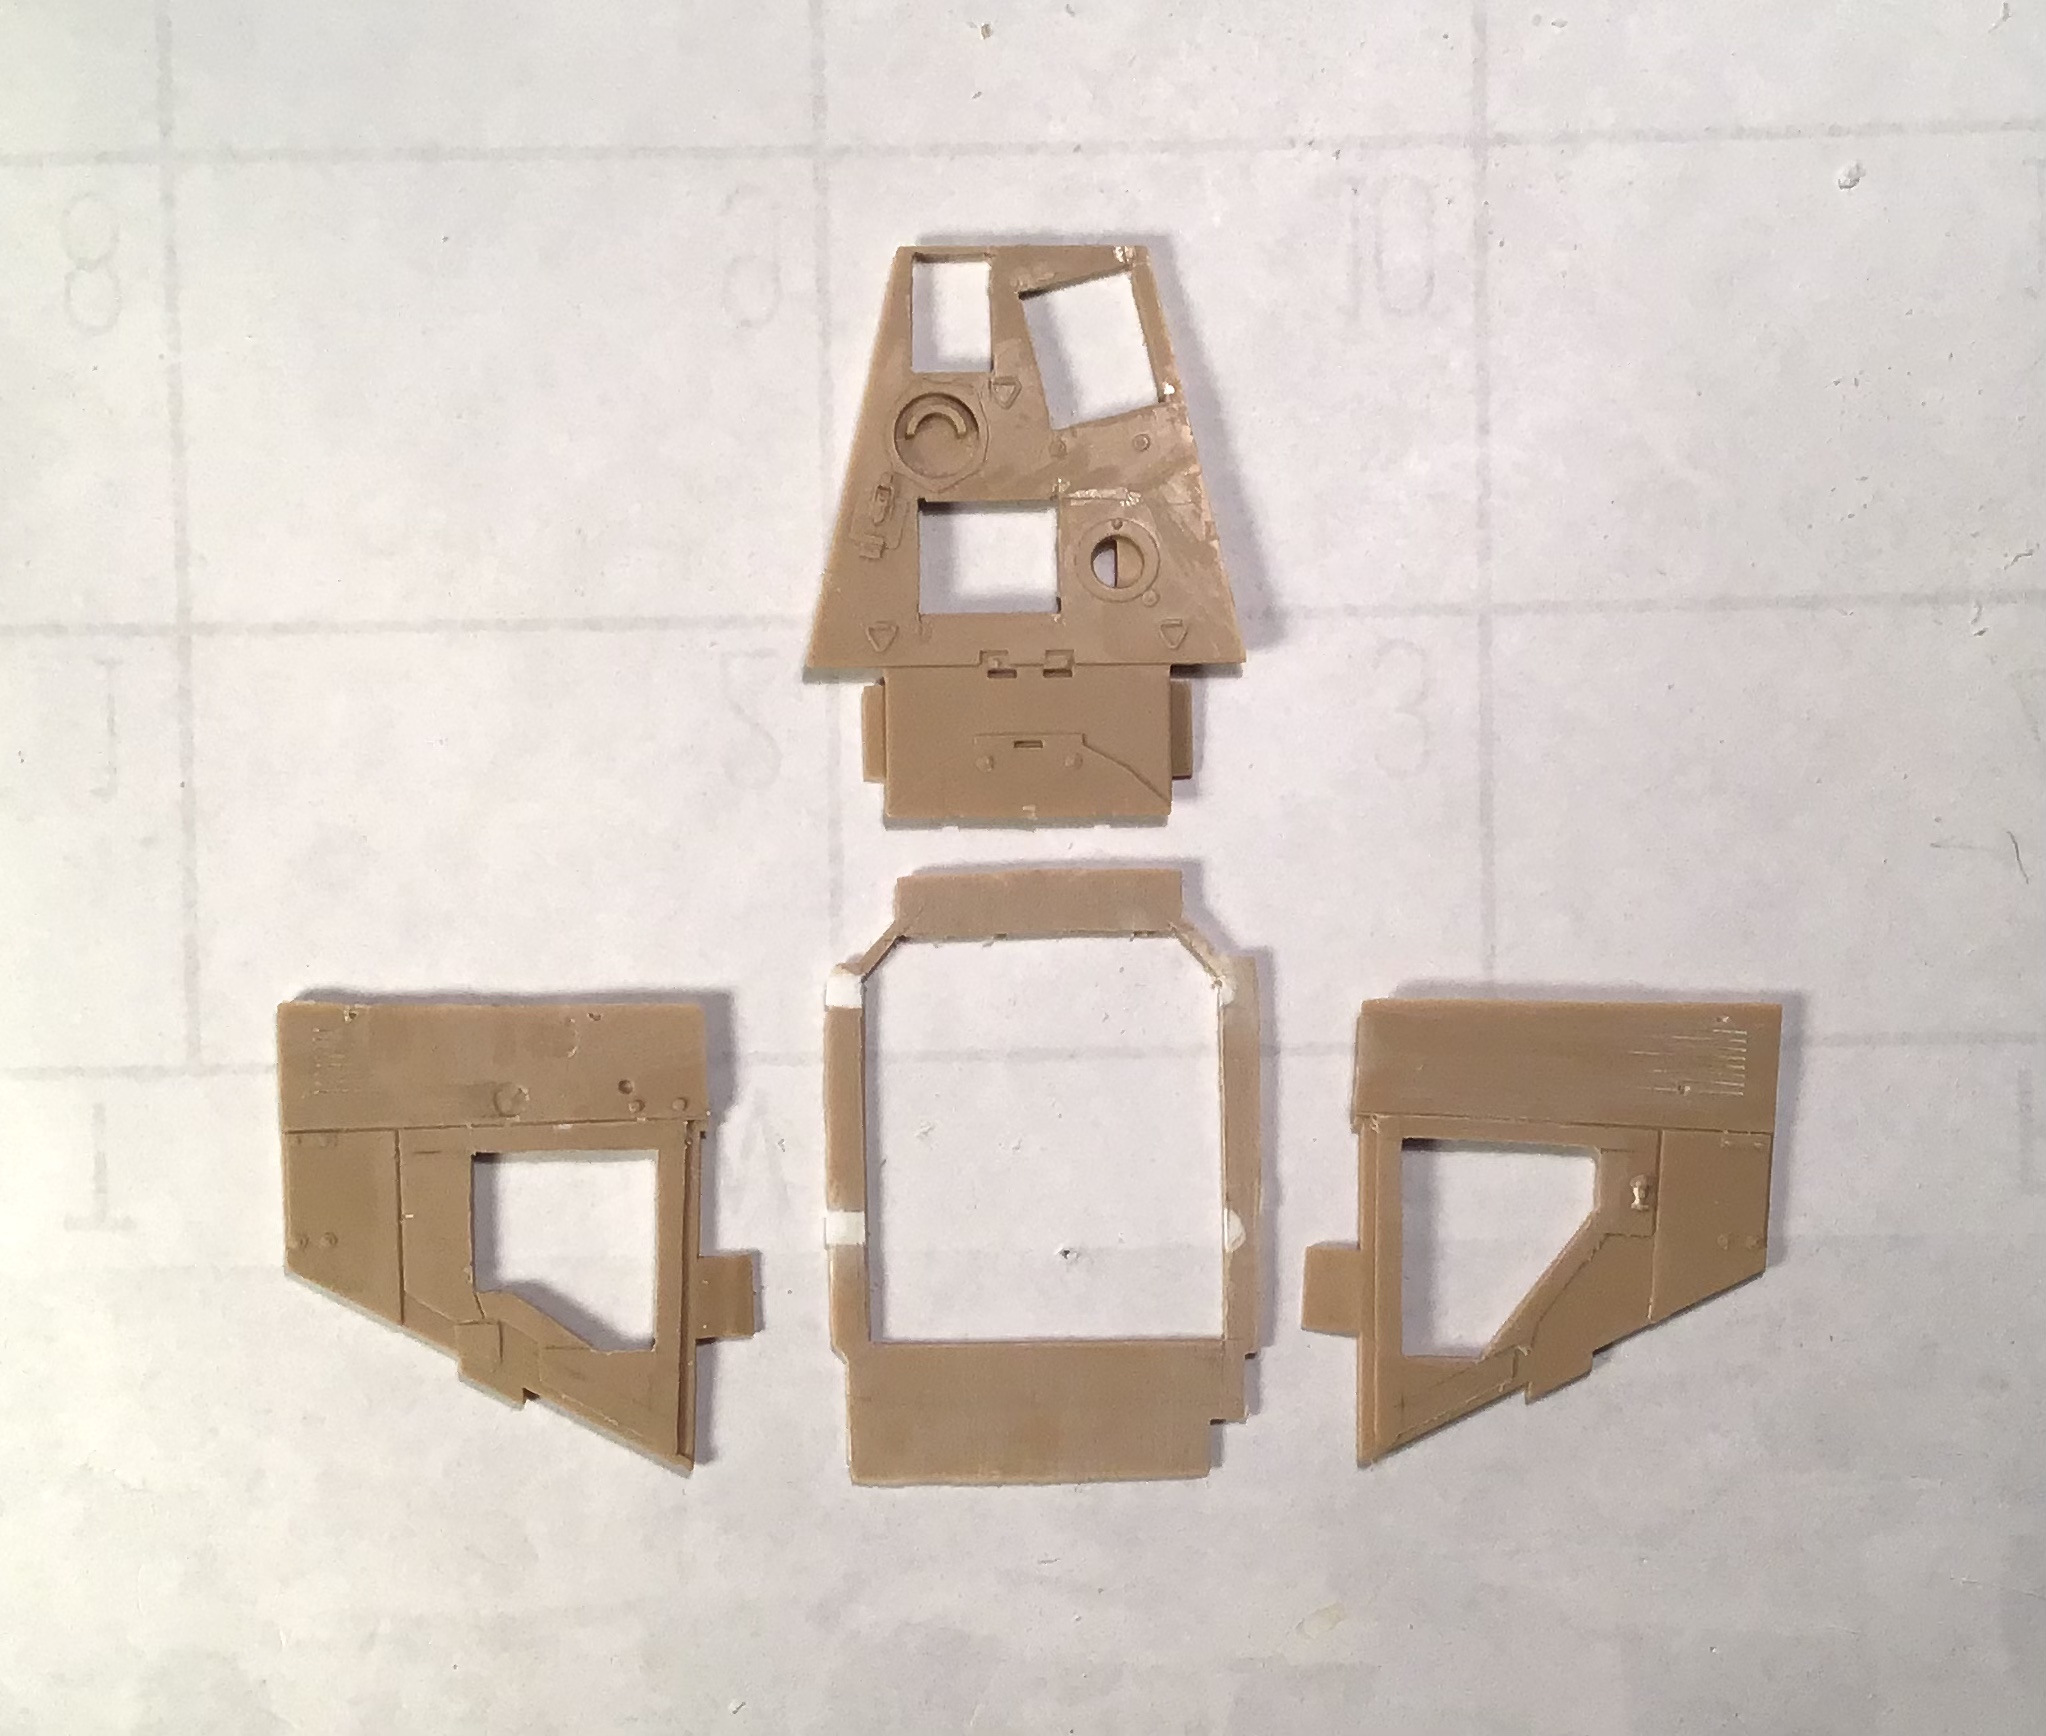
The fundamental difference between the armored version and the civilian one is the armored cab and fuel tanks , armored slats over engine vents and radiator and armored guards over various hydraulic systems.
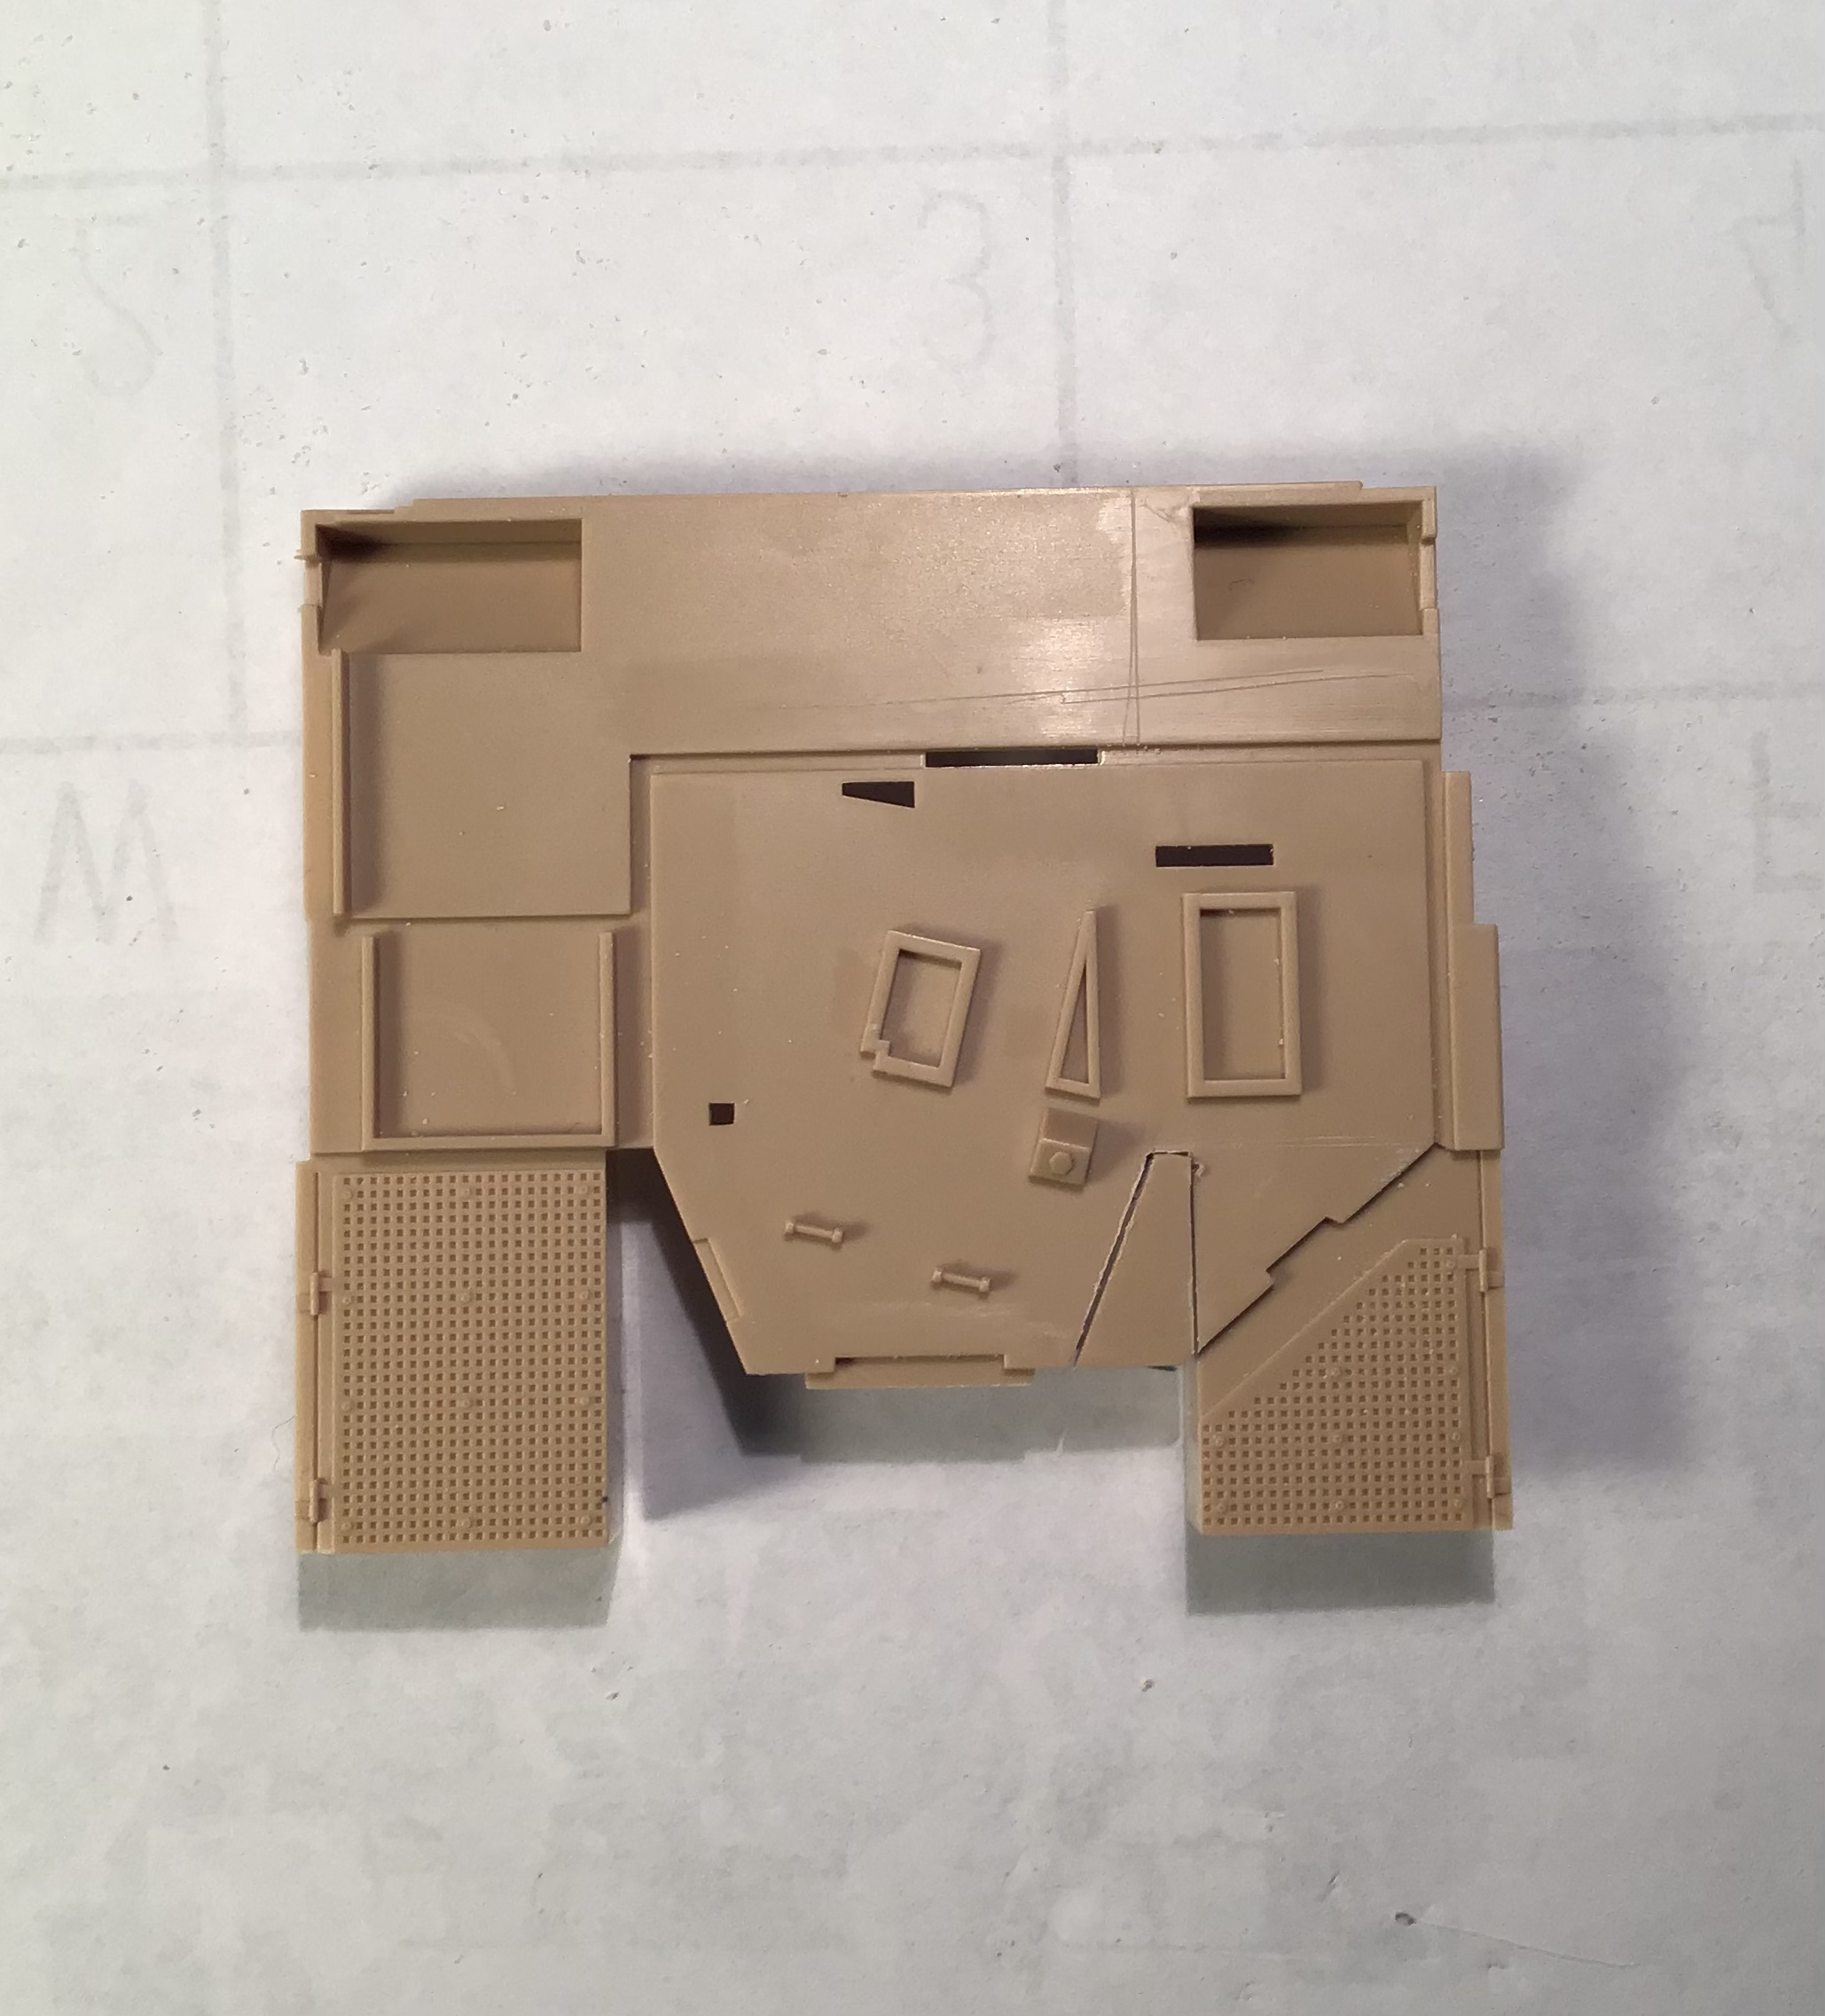
The platform for the cab and fuel tanks on the armor version is asymmetrical. The cab extends to the left edge to make room for a second crewman .
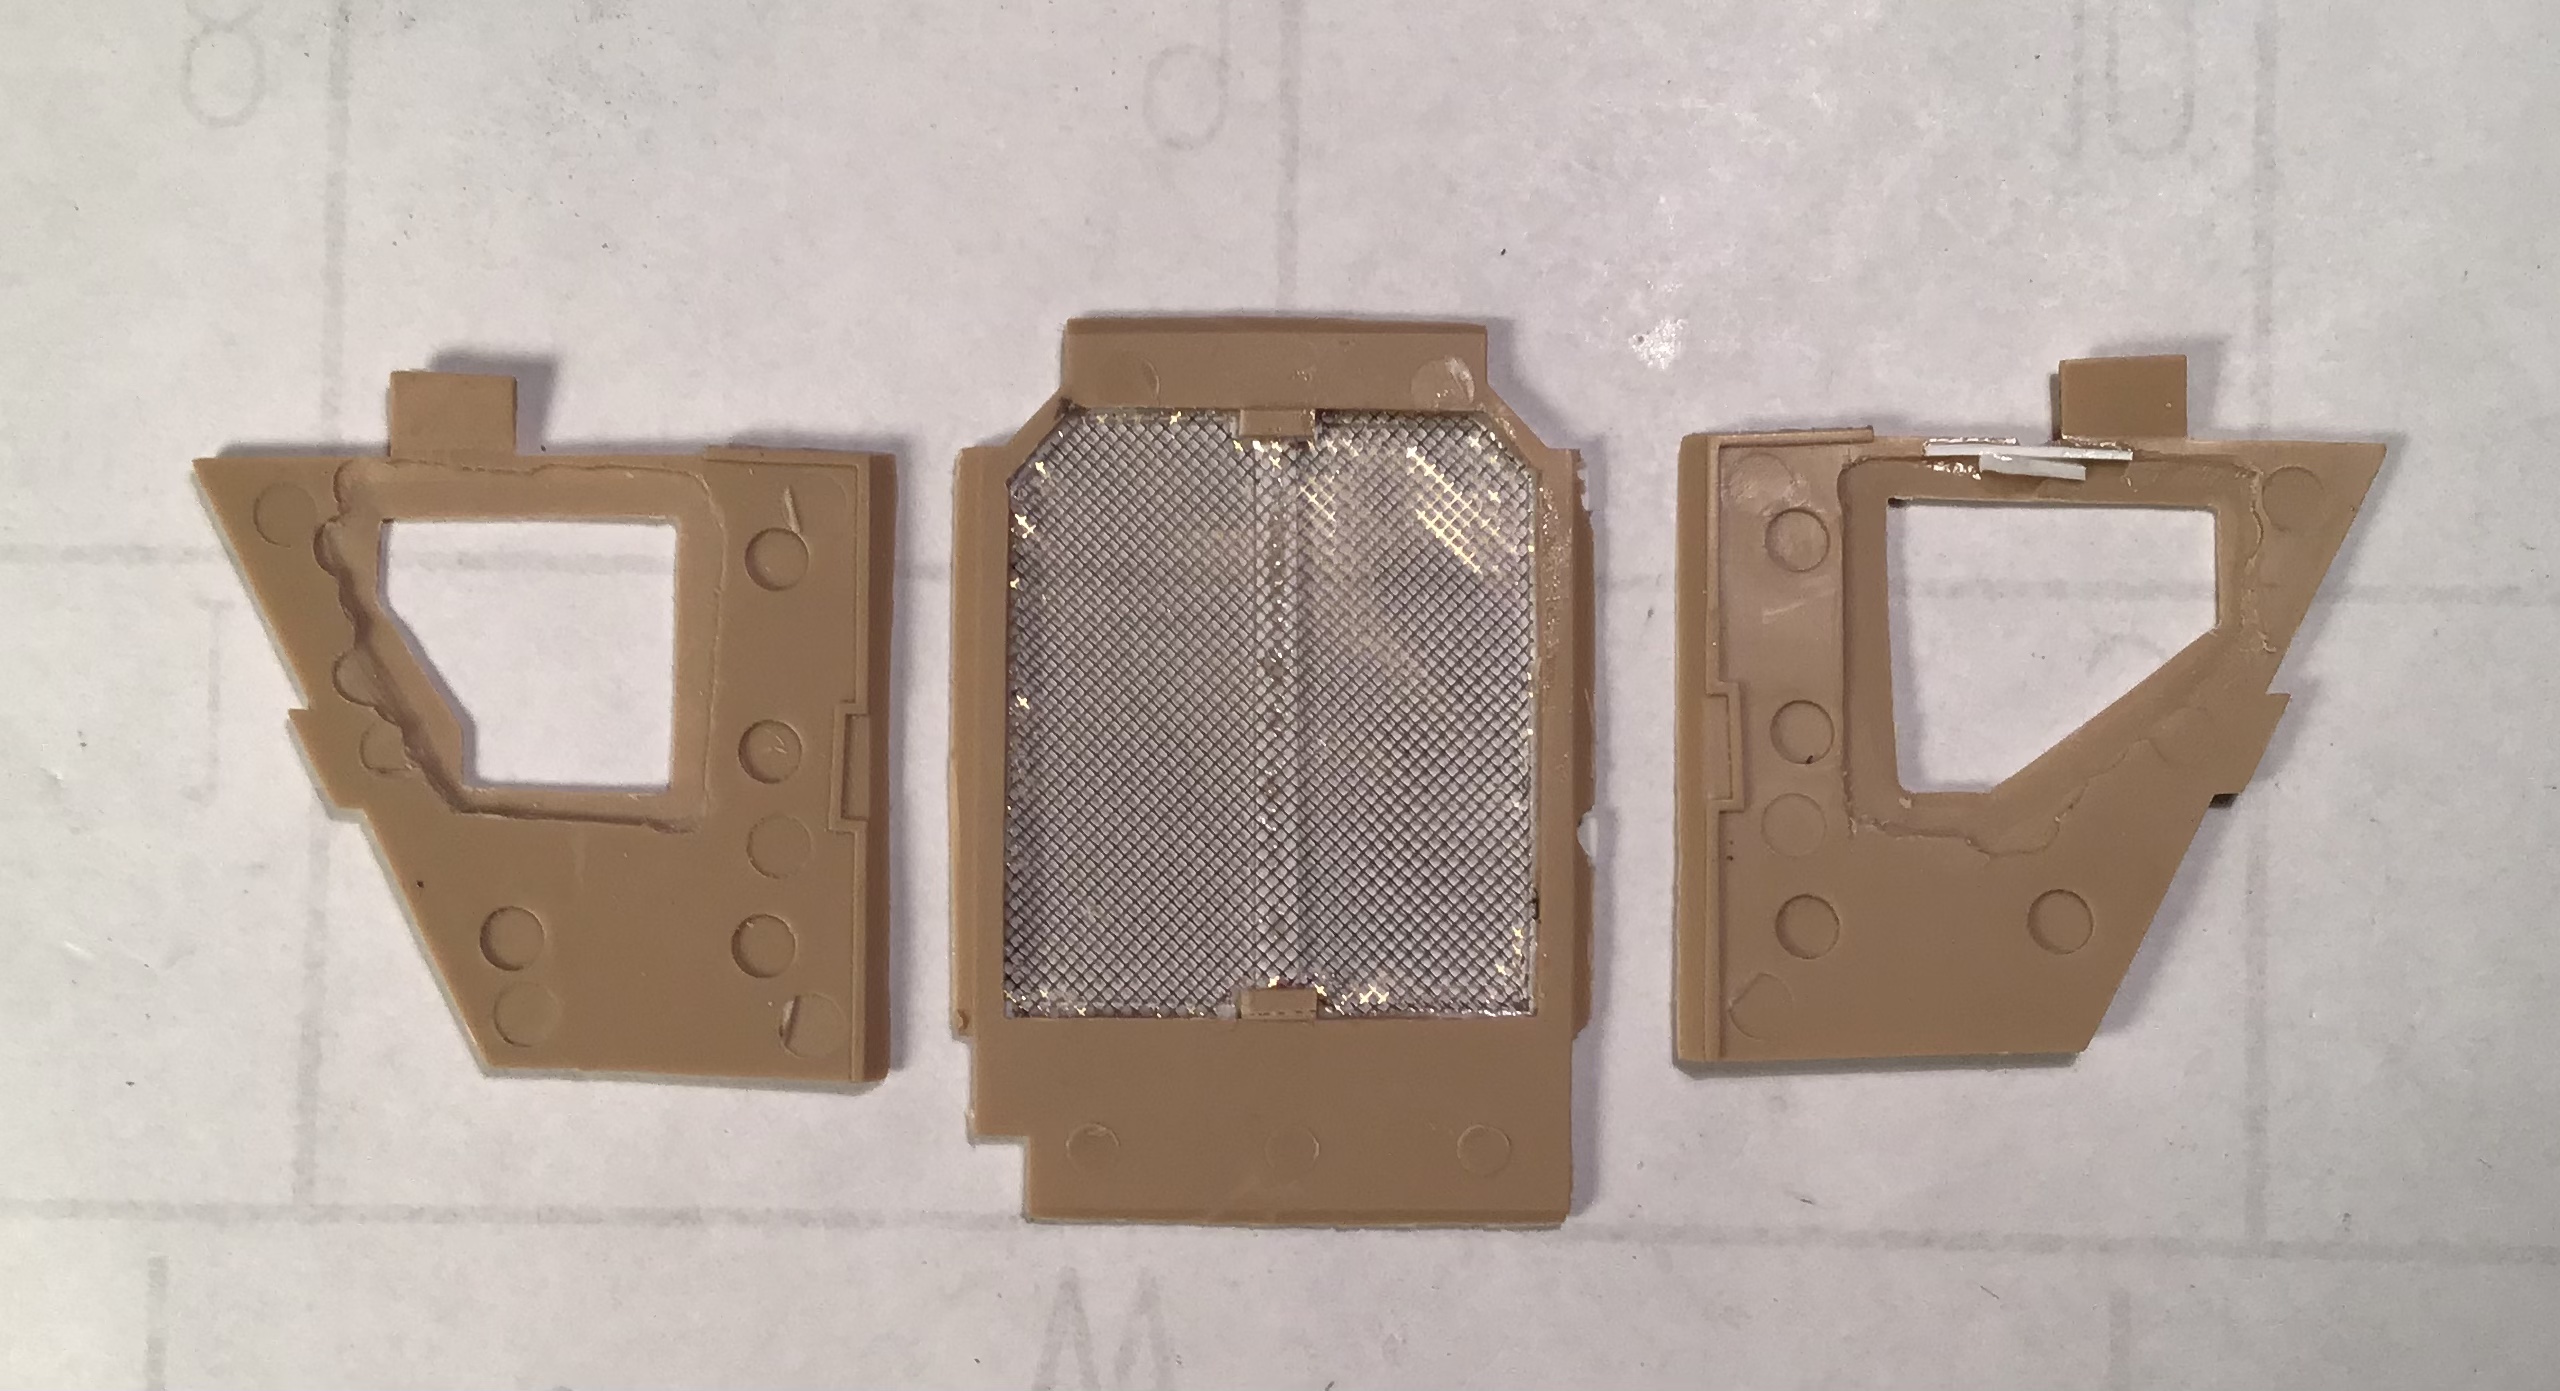
Making it more symmetrical for the civil version required various things including sawing out a piece at the left cab front , milling off the trapezoidal mesh area and some of the material under the fuel tanks and building up the edges for the valence that goes around the perimeter.
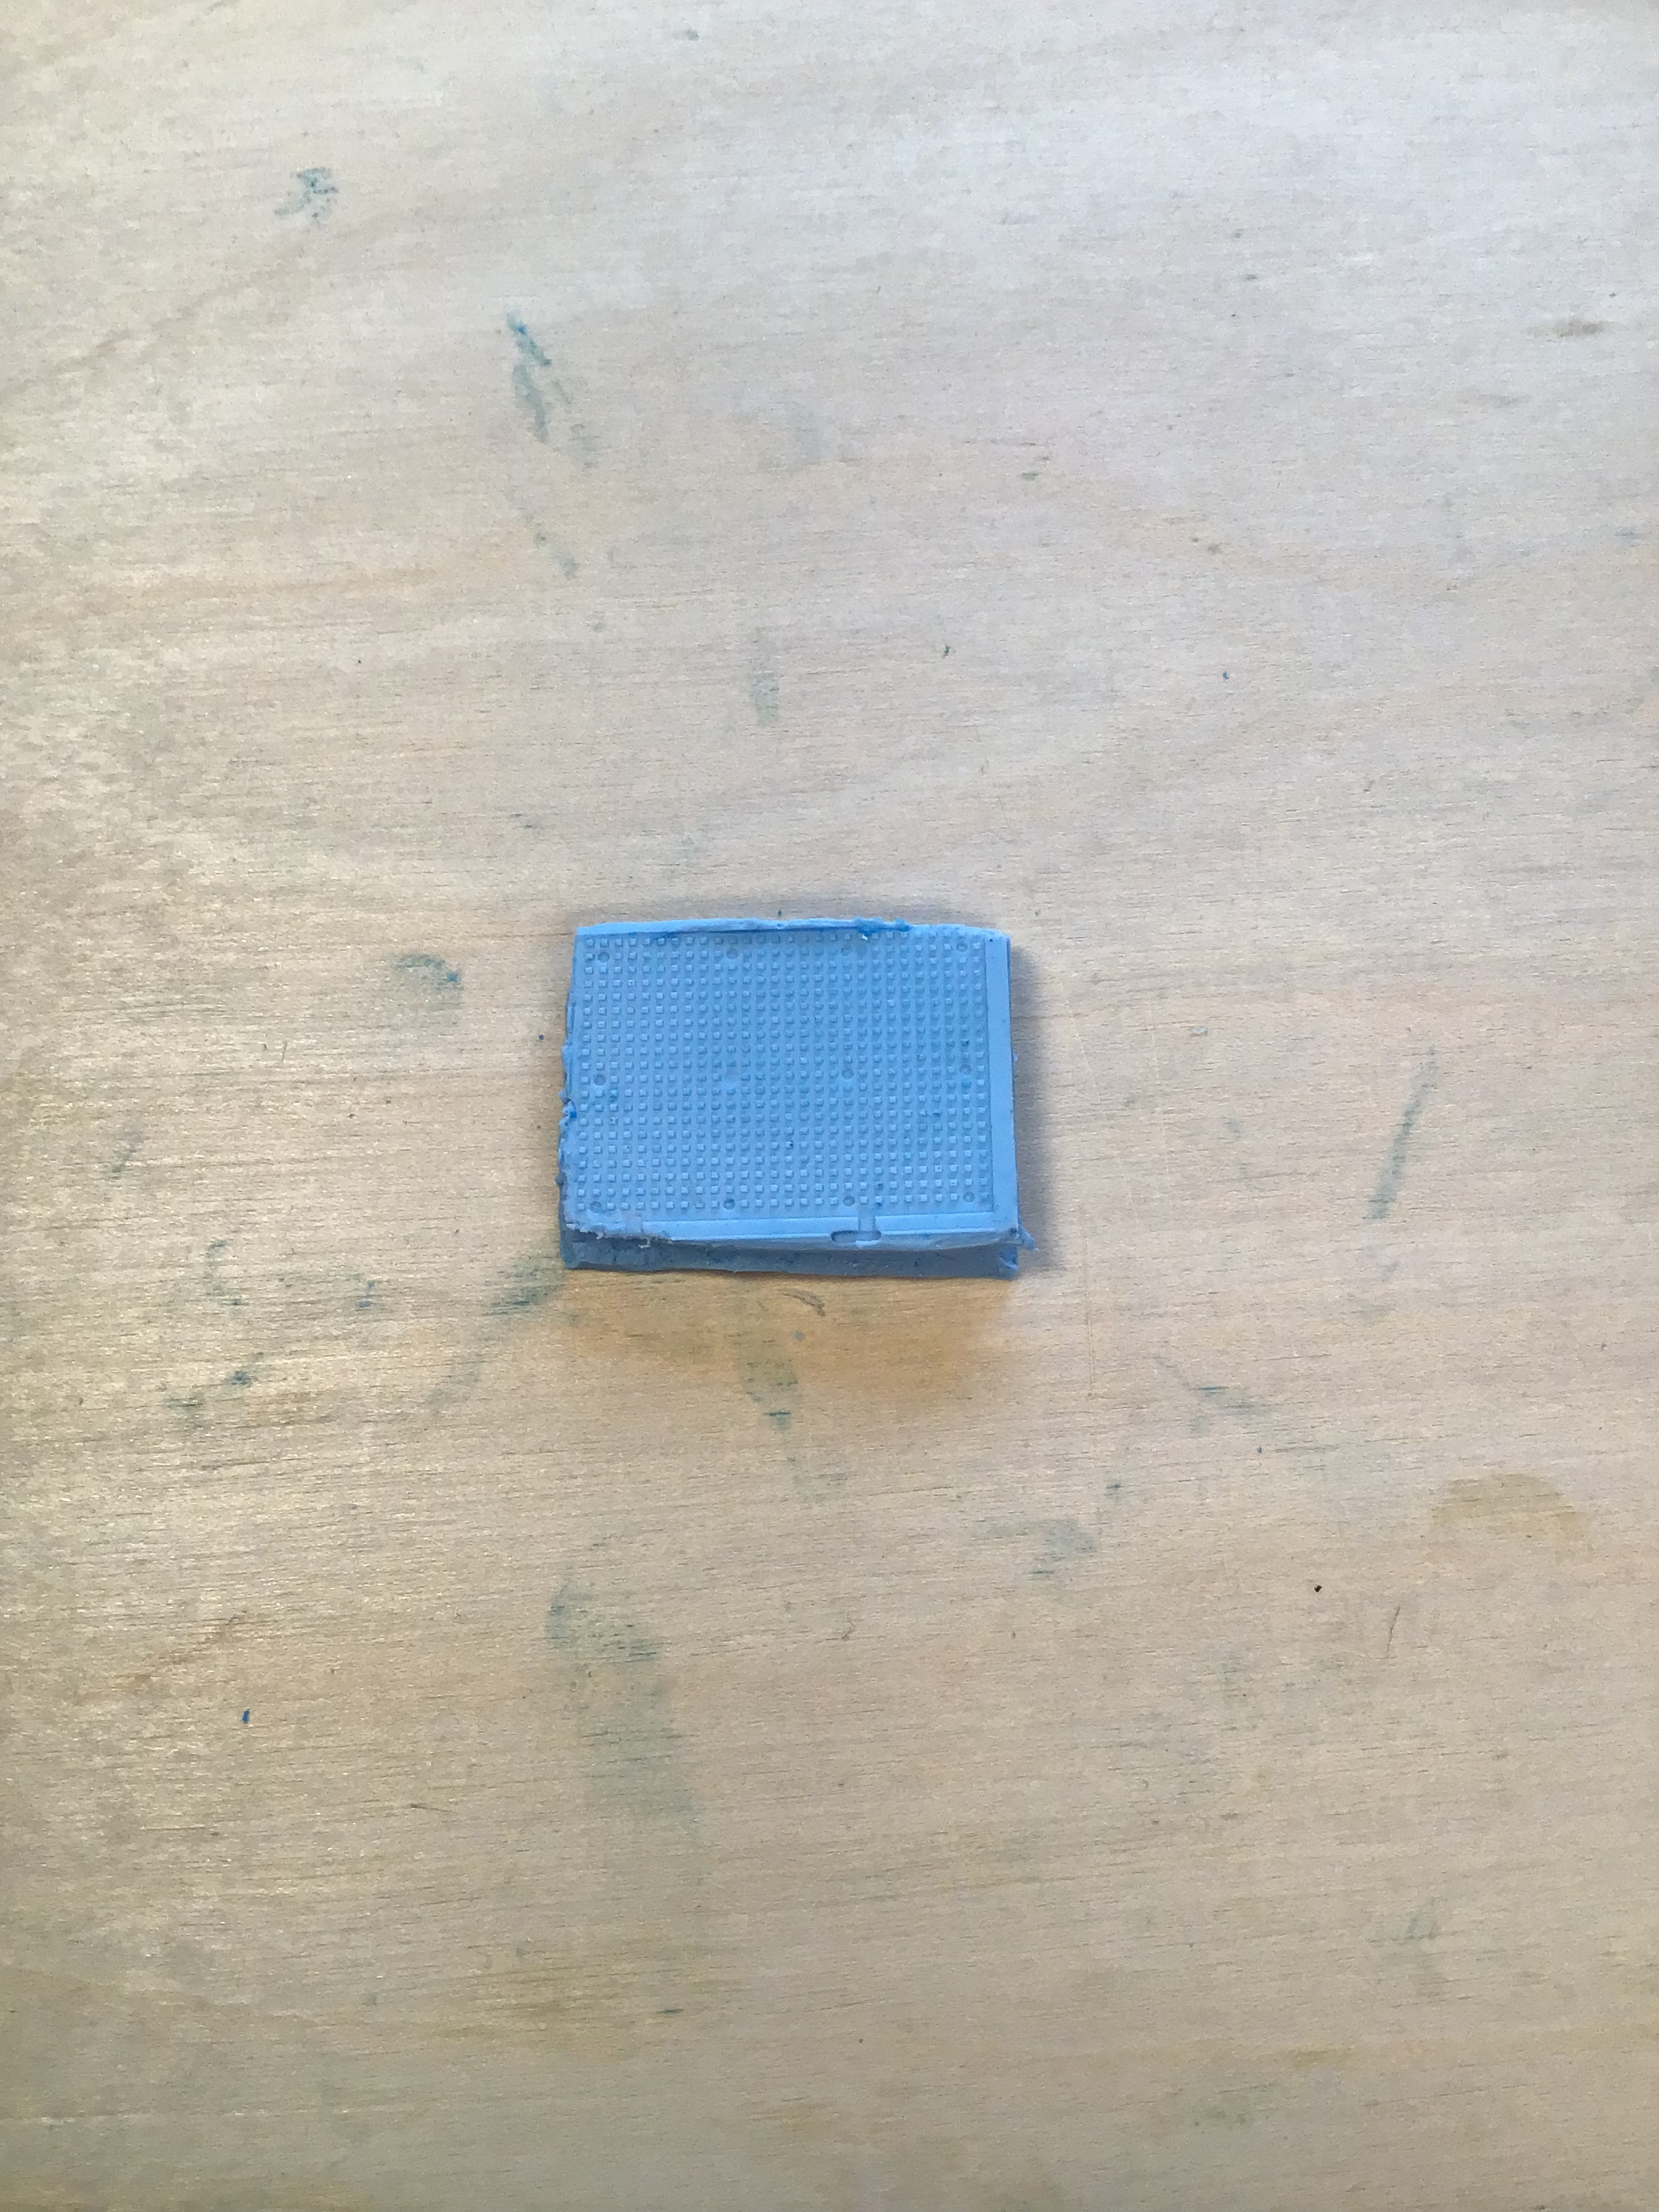
The trapezoid mesh will be replaced with a cast resin one made from a mold formed over the rectangular mesh on the right . I initially tried to make a simple mold by pressing the pattern into a lump of clay but the detail in the clay was soft . I next made a silicone mold and while the detail was much better it was difficult to control the thickness and attempts to thin it by sanding resulted in unevenness. On the third attempt I treated a square of sheet plastic with release agent and placed the plastic over the mold with a weight on it . This gave the results I was looking for - sharp detail on a thin and flat casting.
The first clay mold -
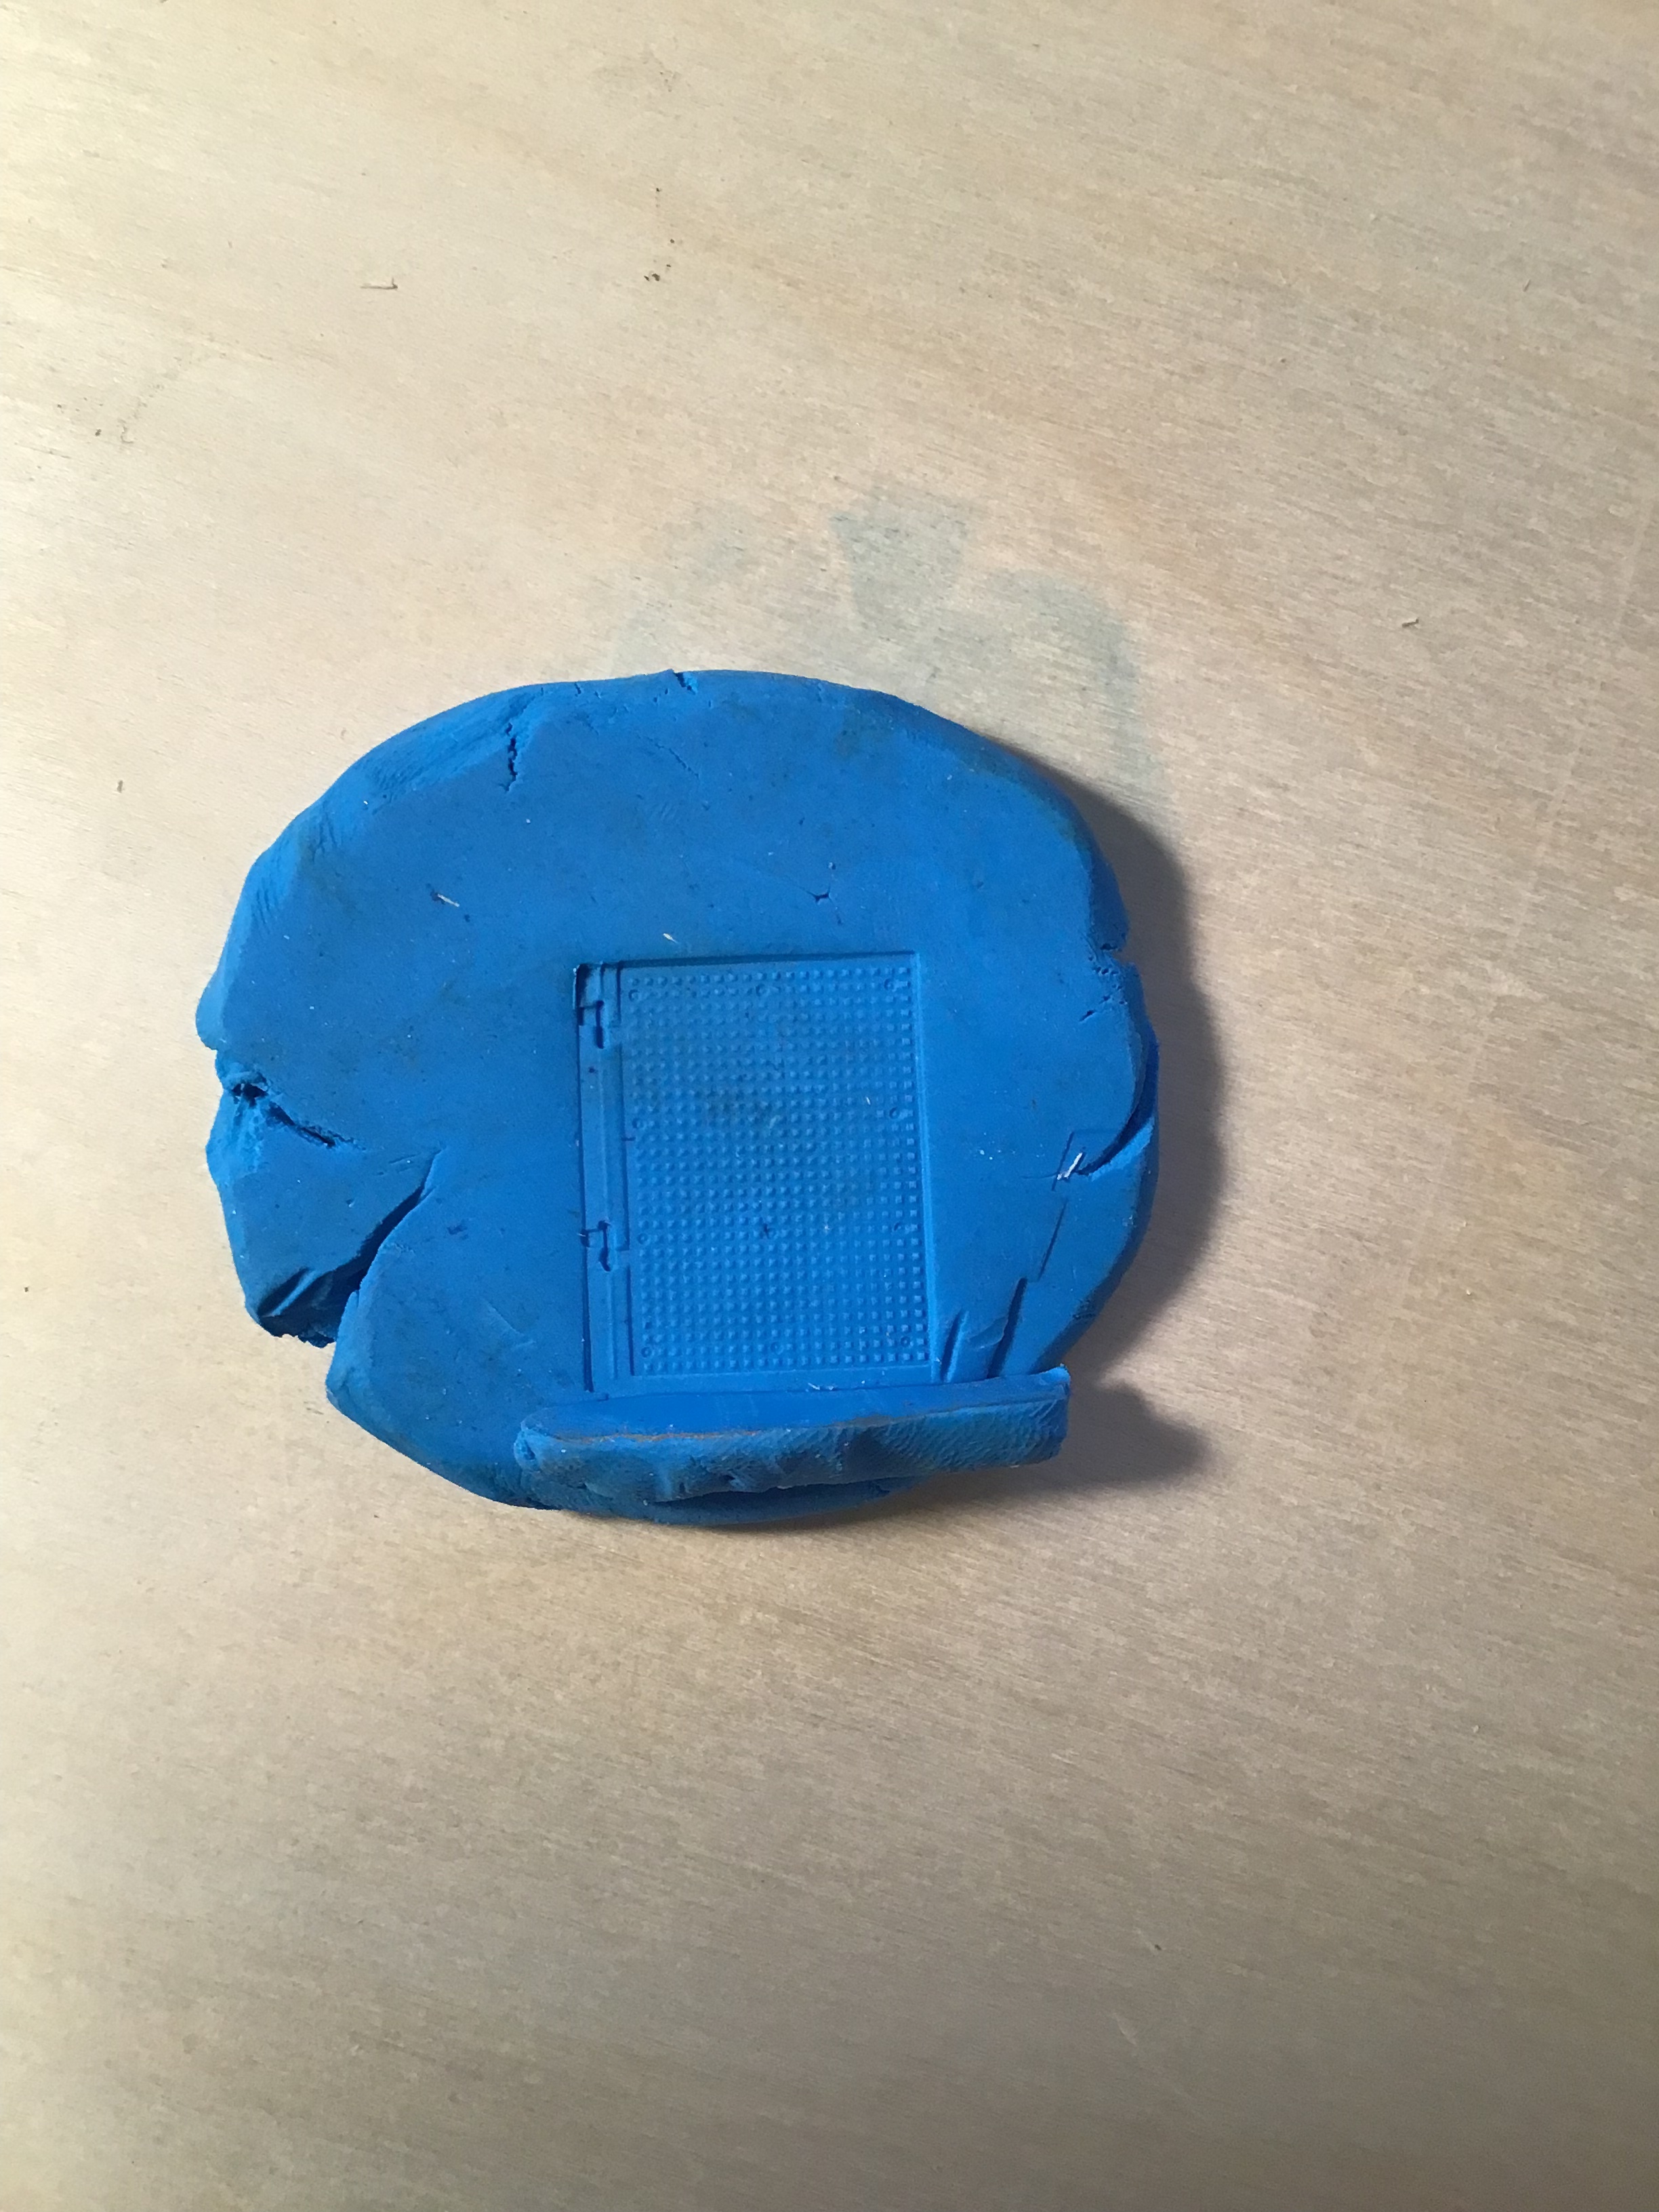
The silicone mold -
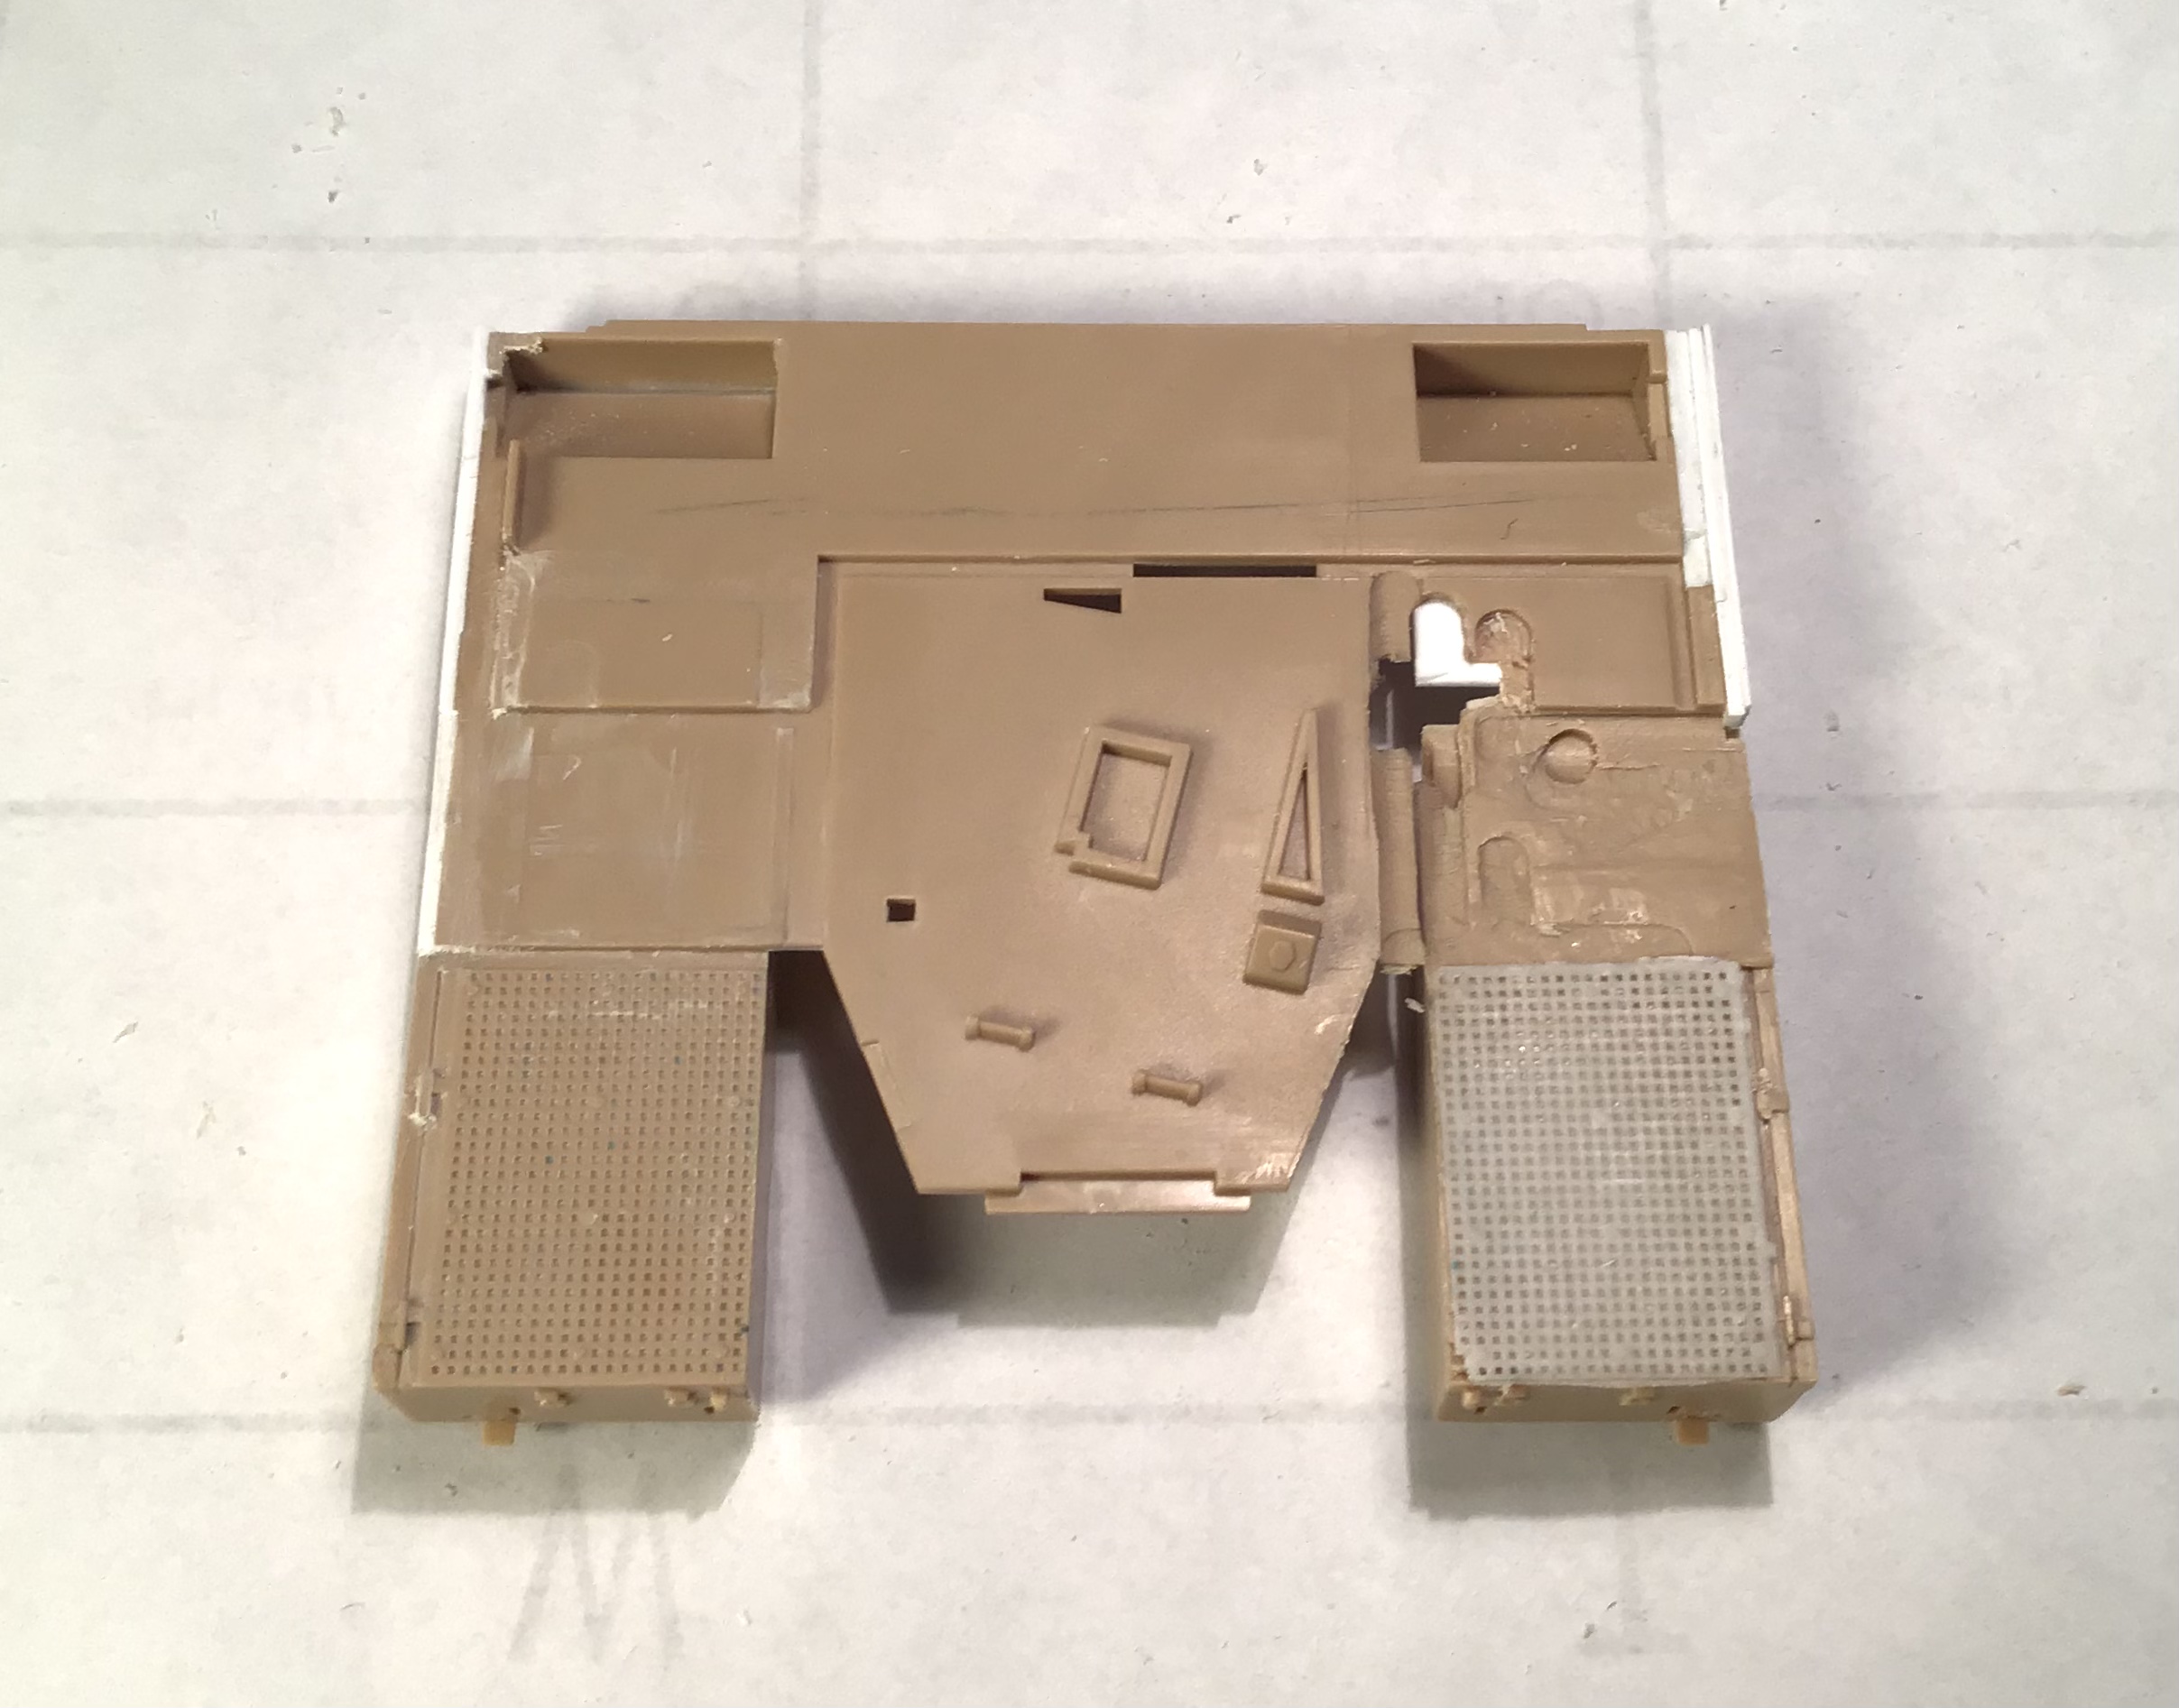
The platform taking shape - a couple glitches where the bit in the mill grabbed the thin plastic and pulled it up resulting in a hole . Fortunately all will be covered with tankage .
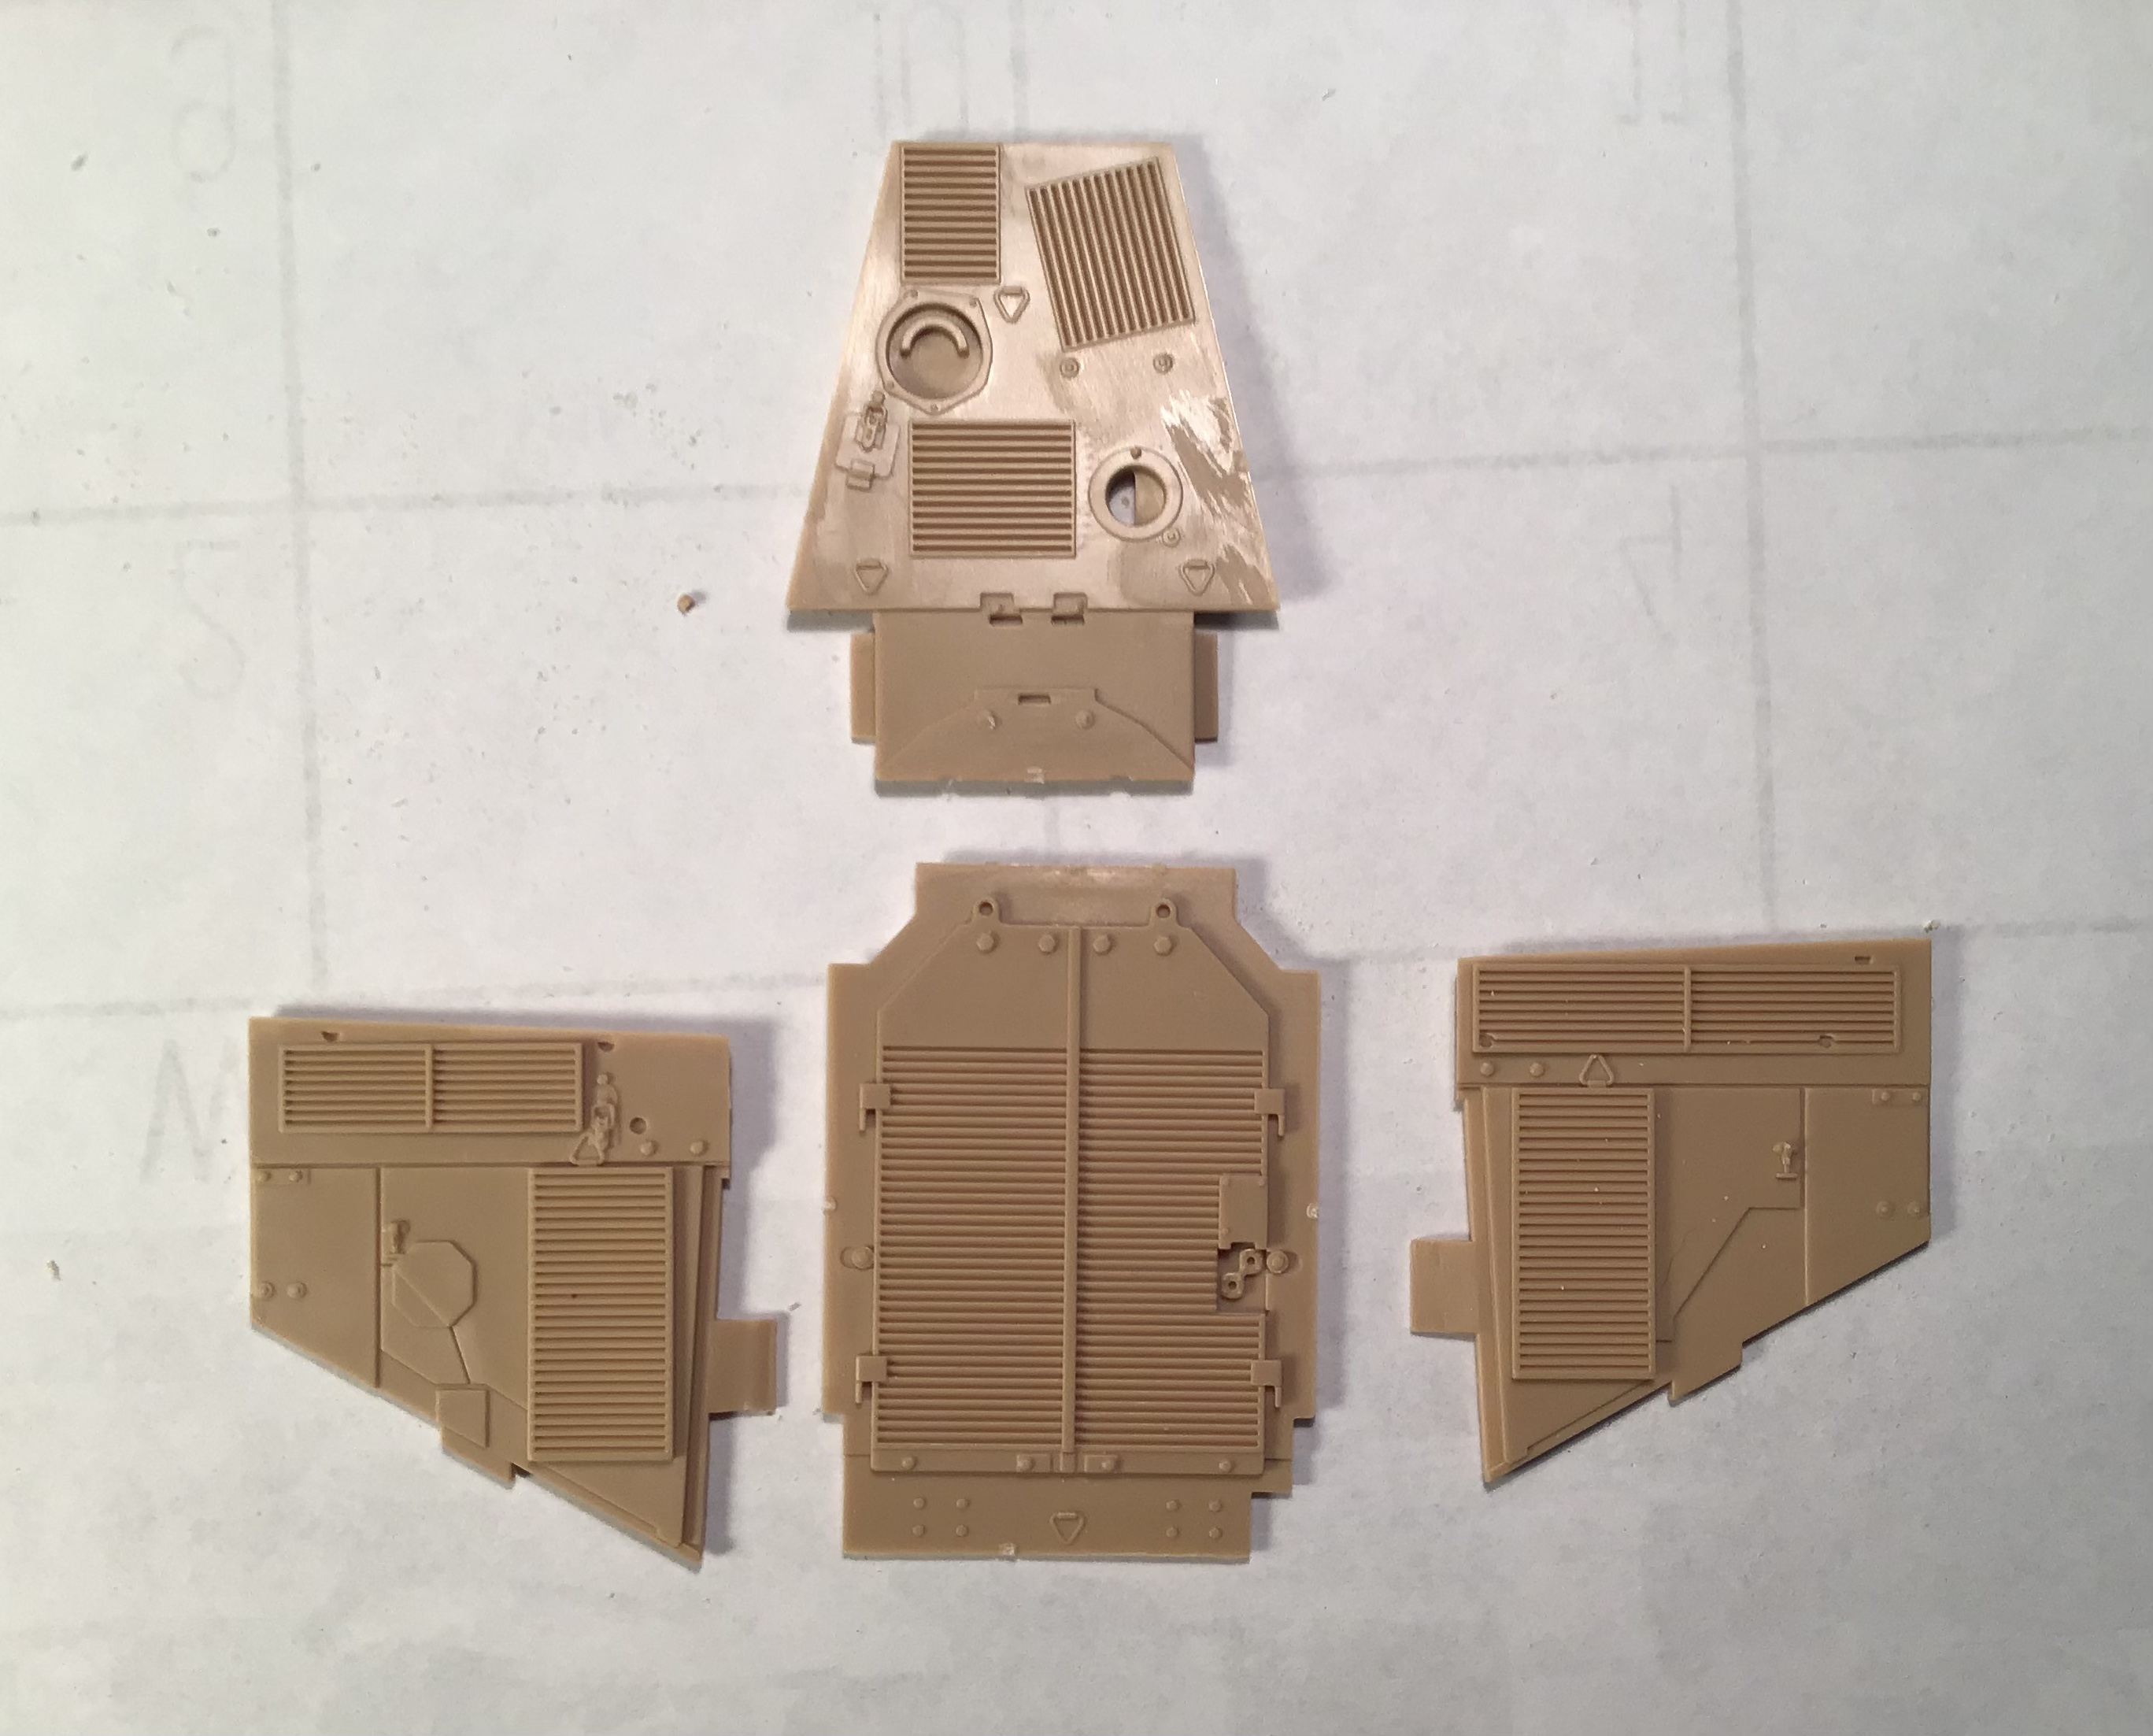
The hood components in their original state …
Removing the armored slats on one component in the mill - this worked better than the platform because of the heavier plastic …
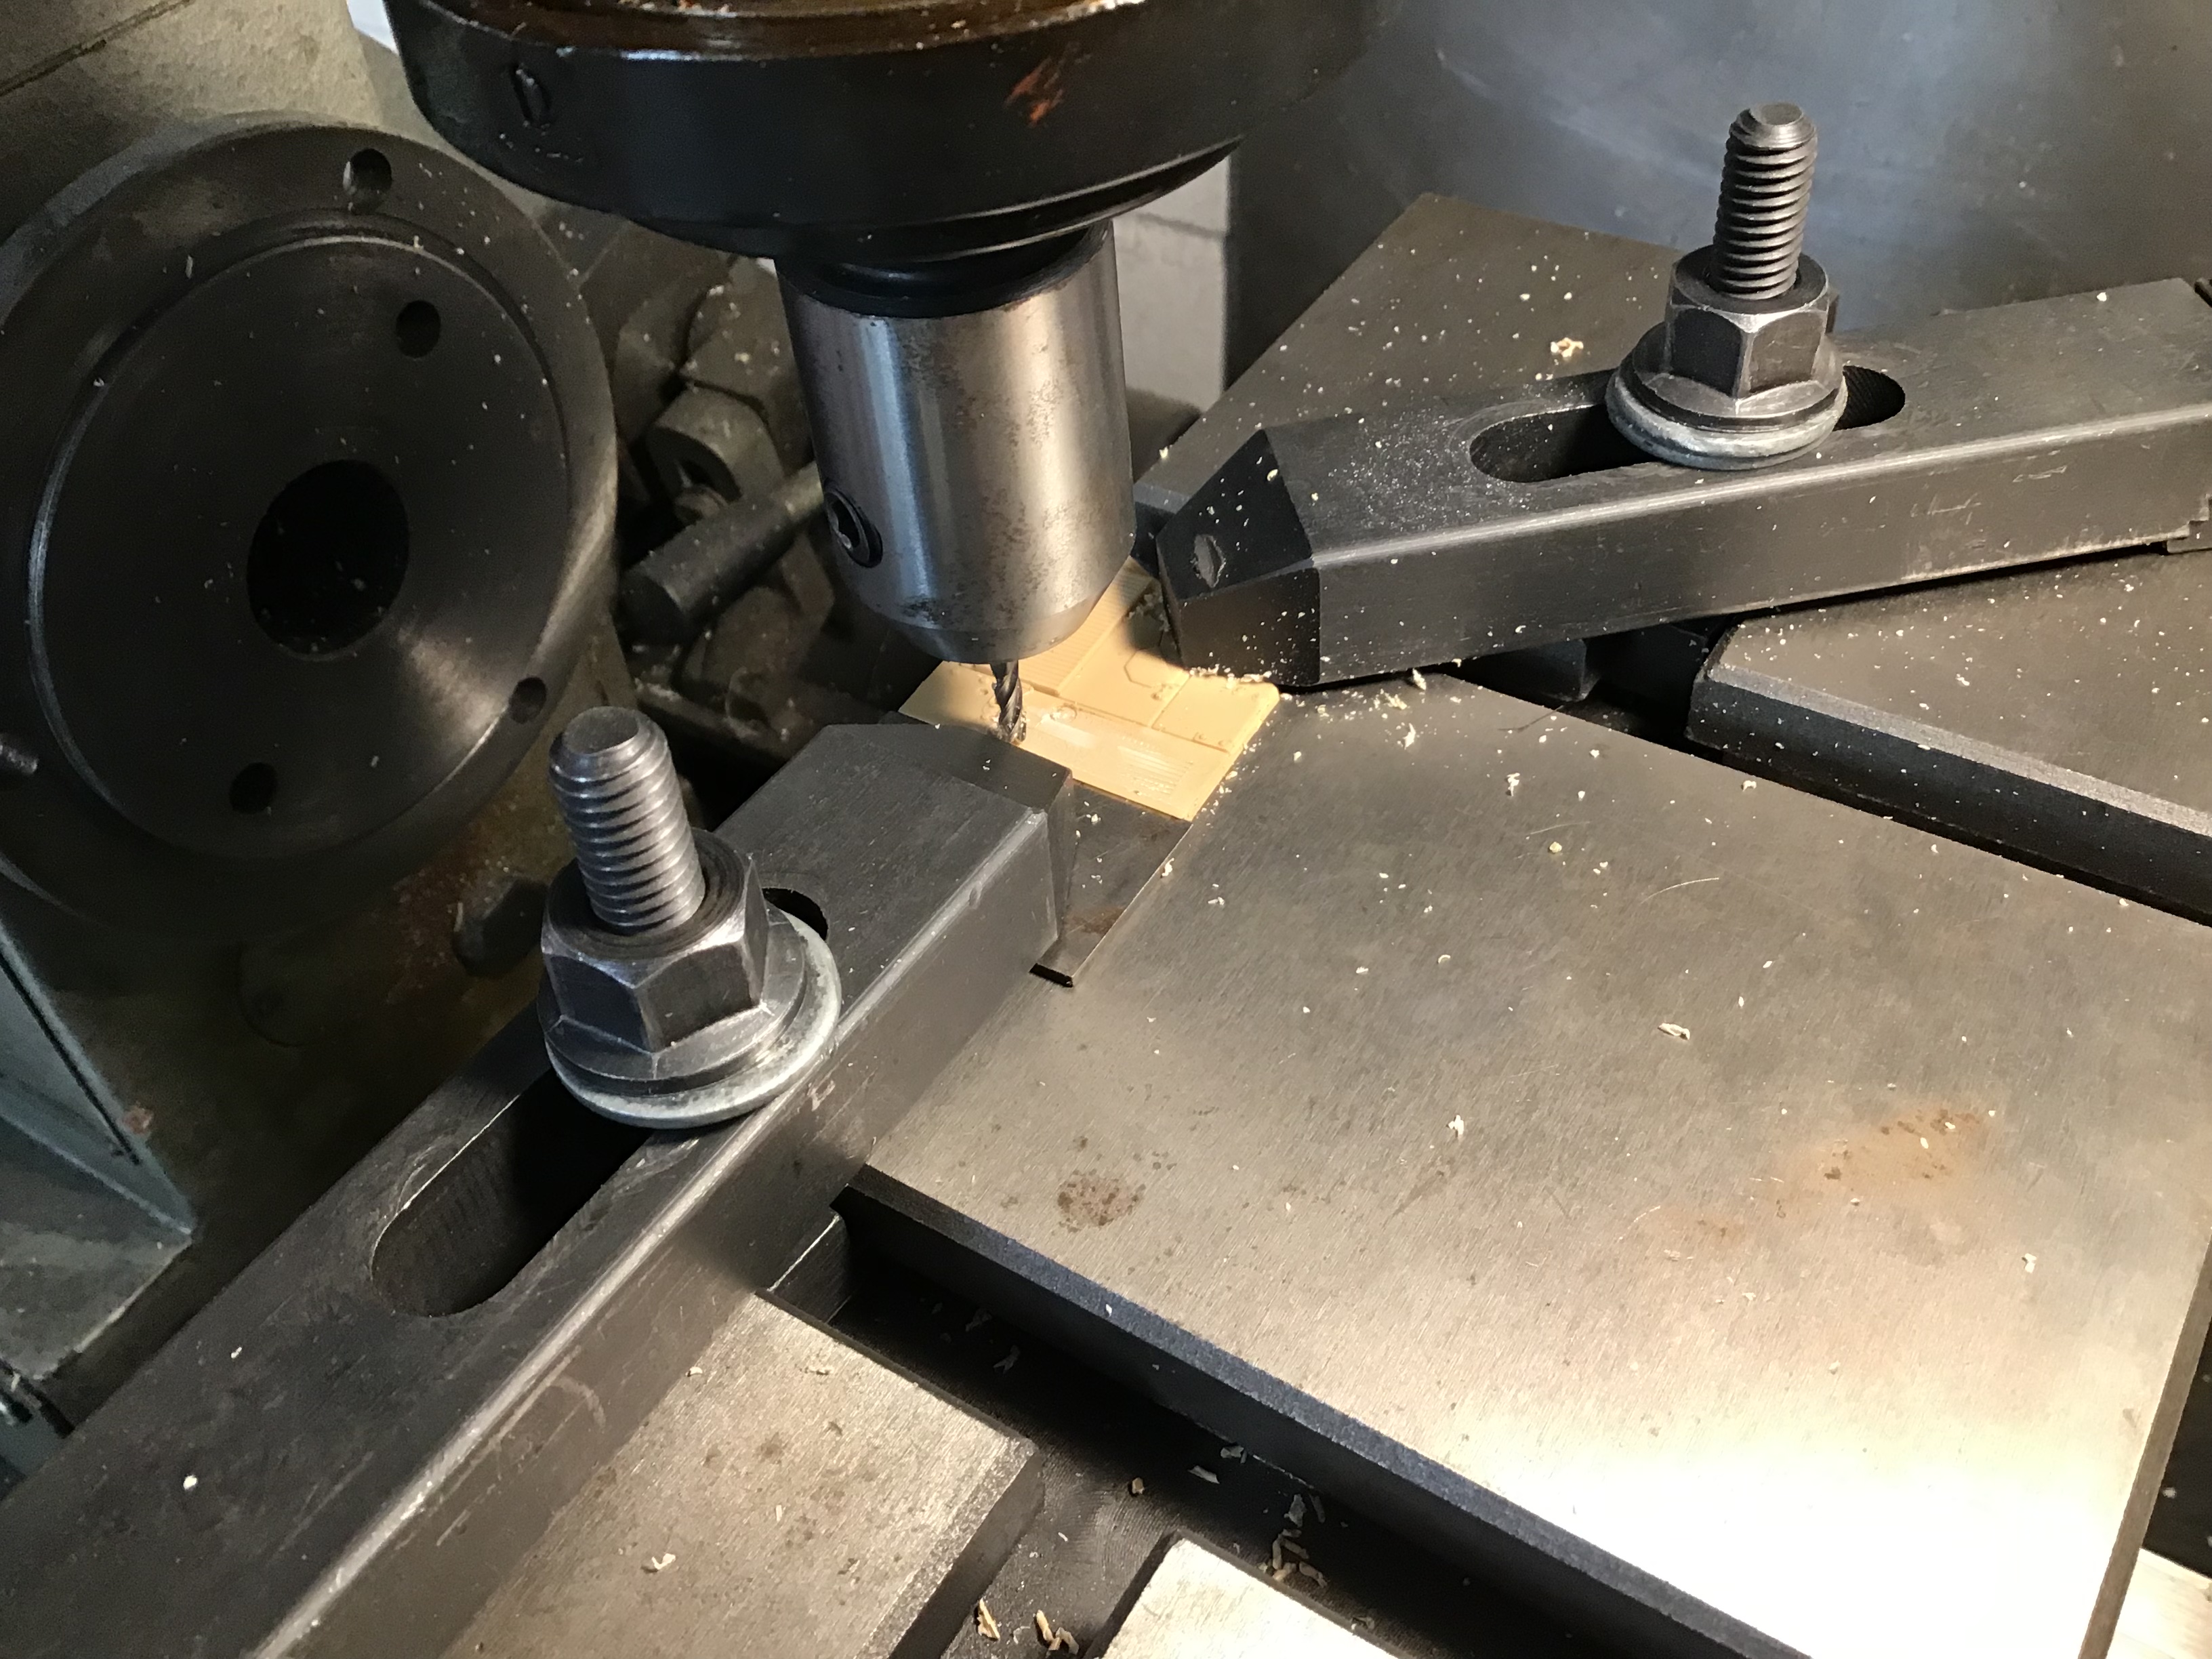
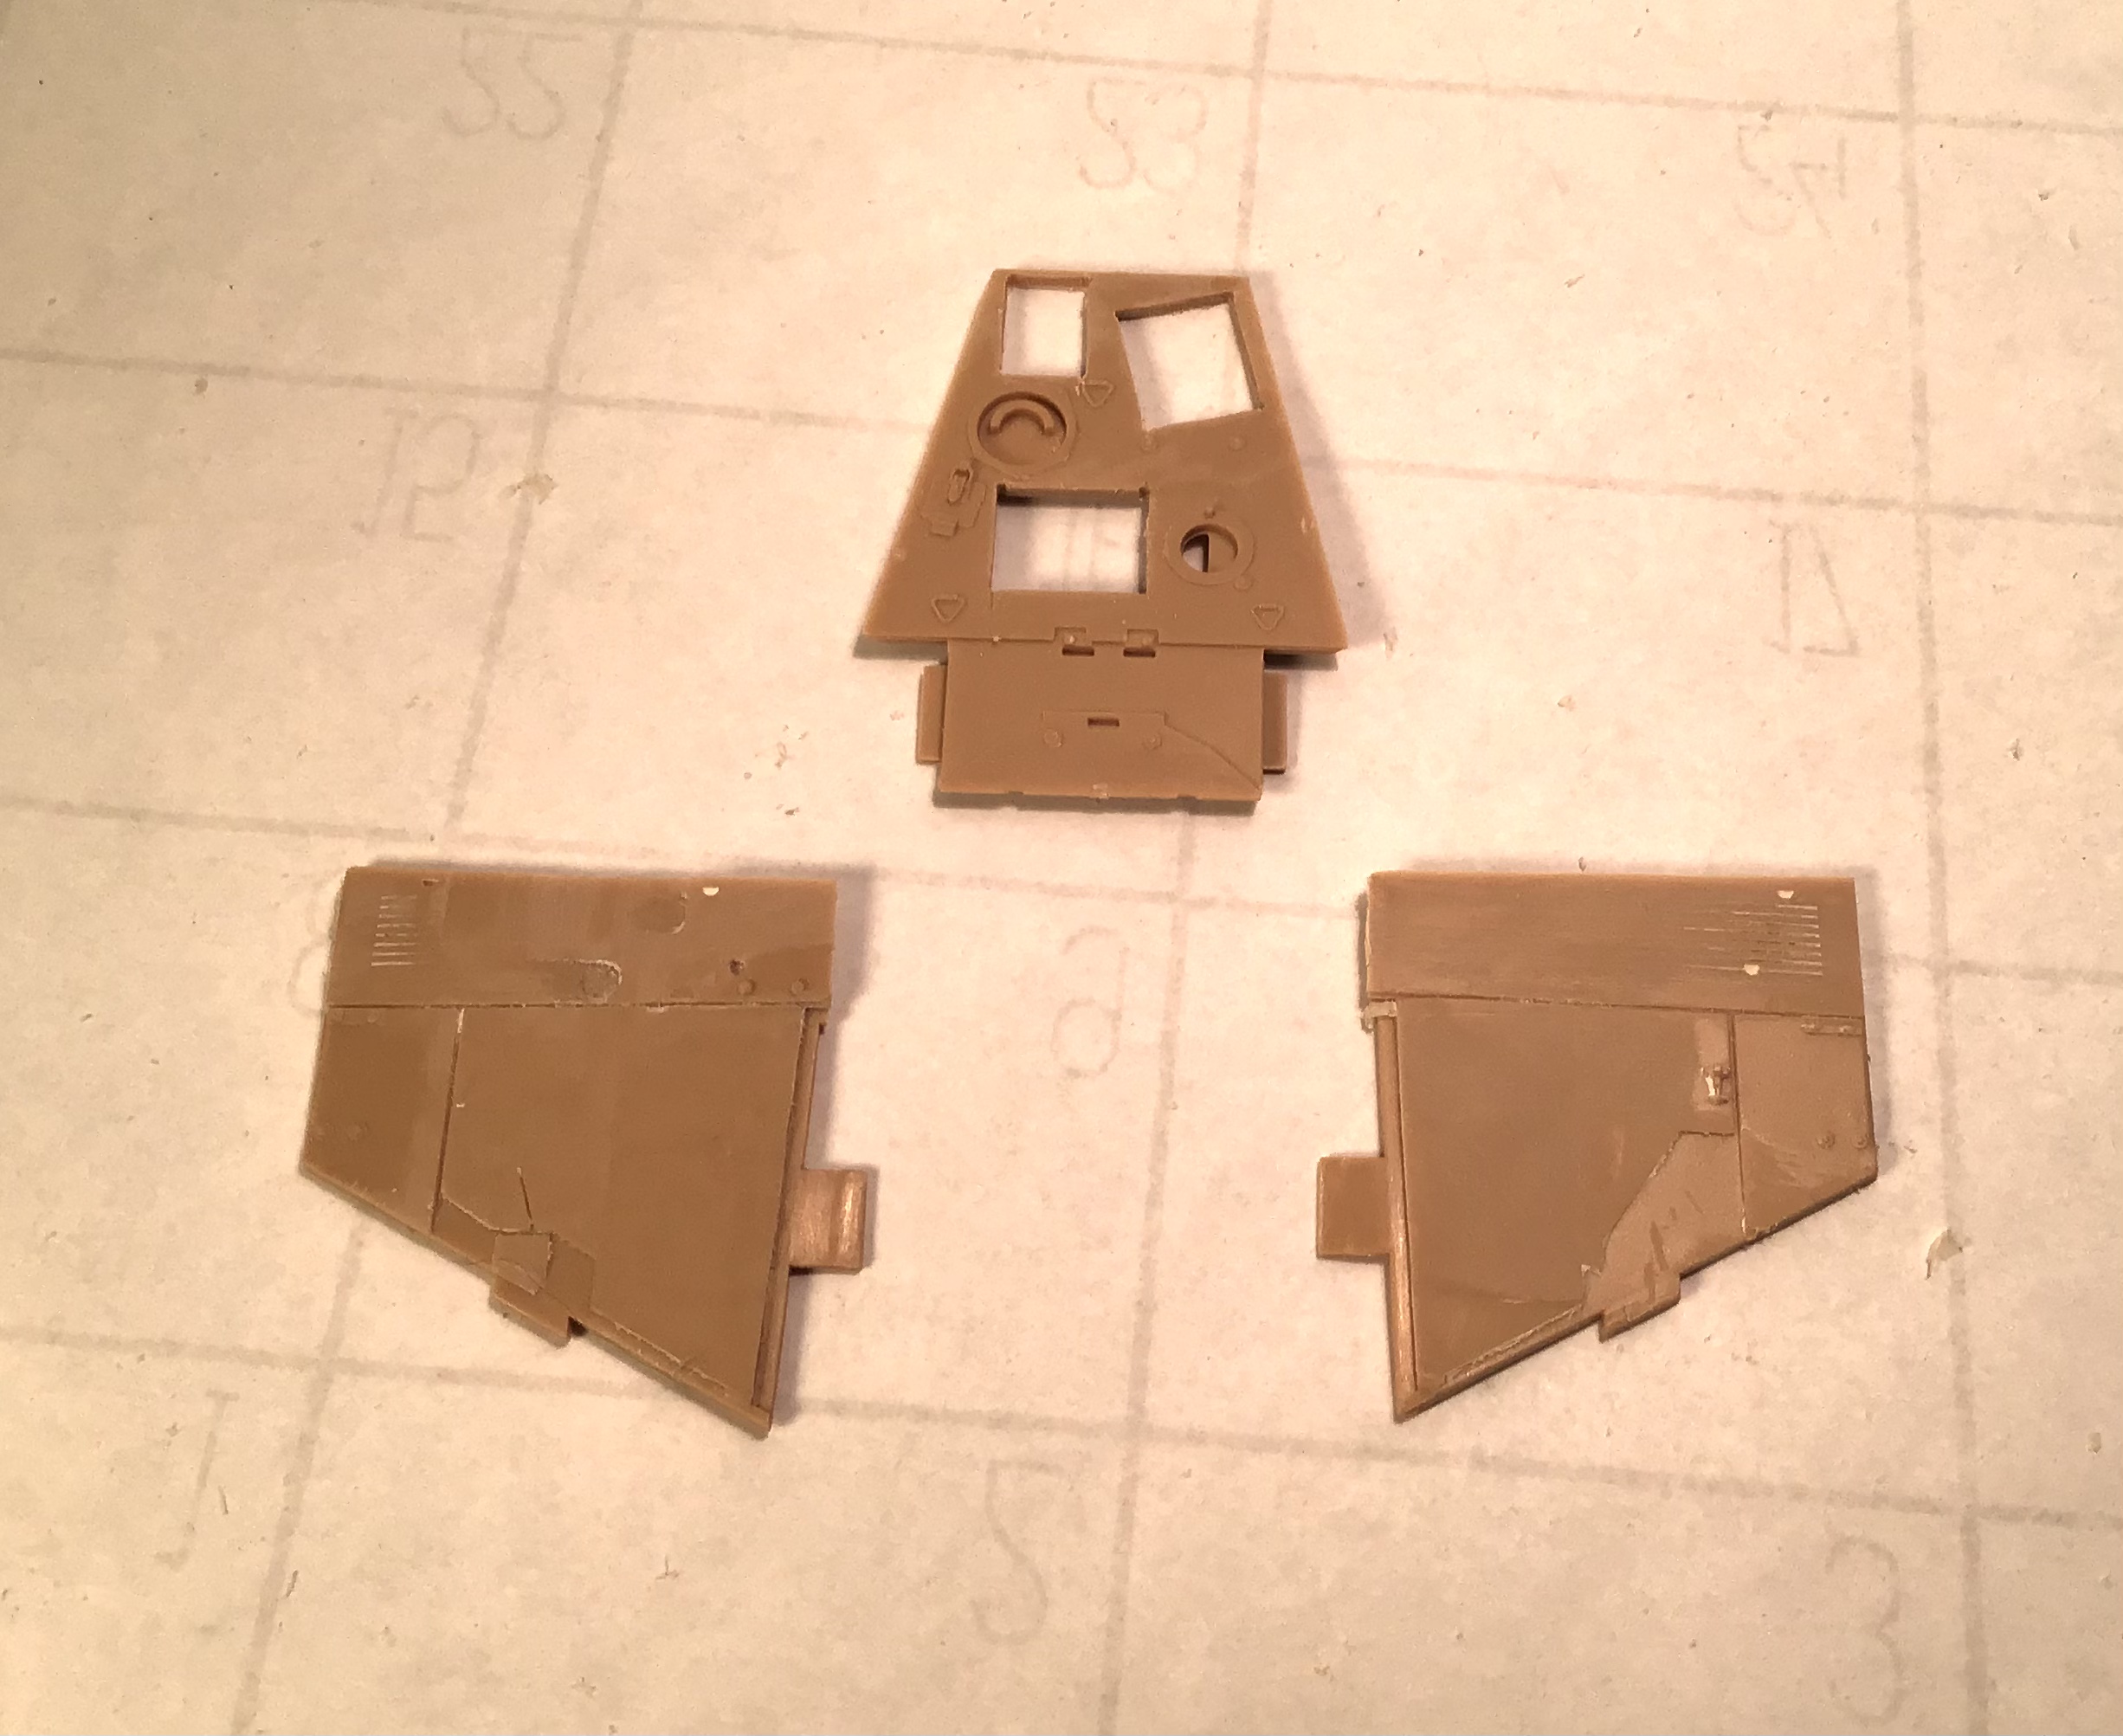
Hood sides and top after slat removal - vents cut out on top …
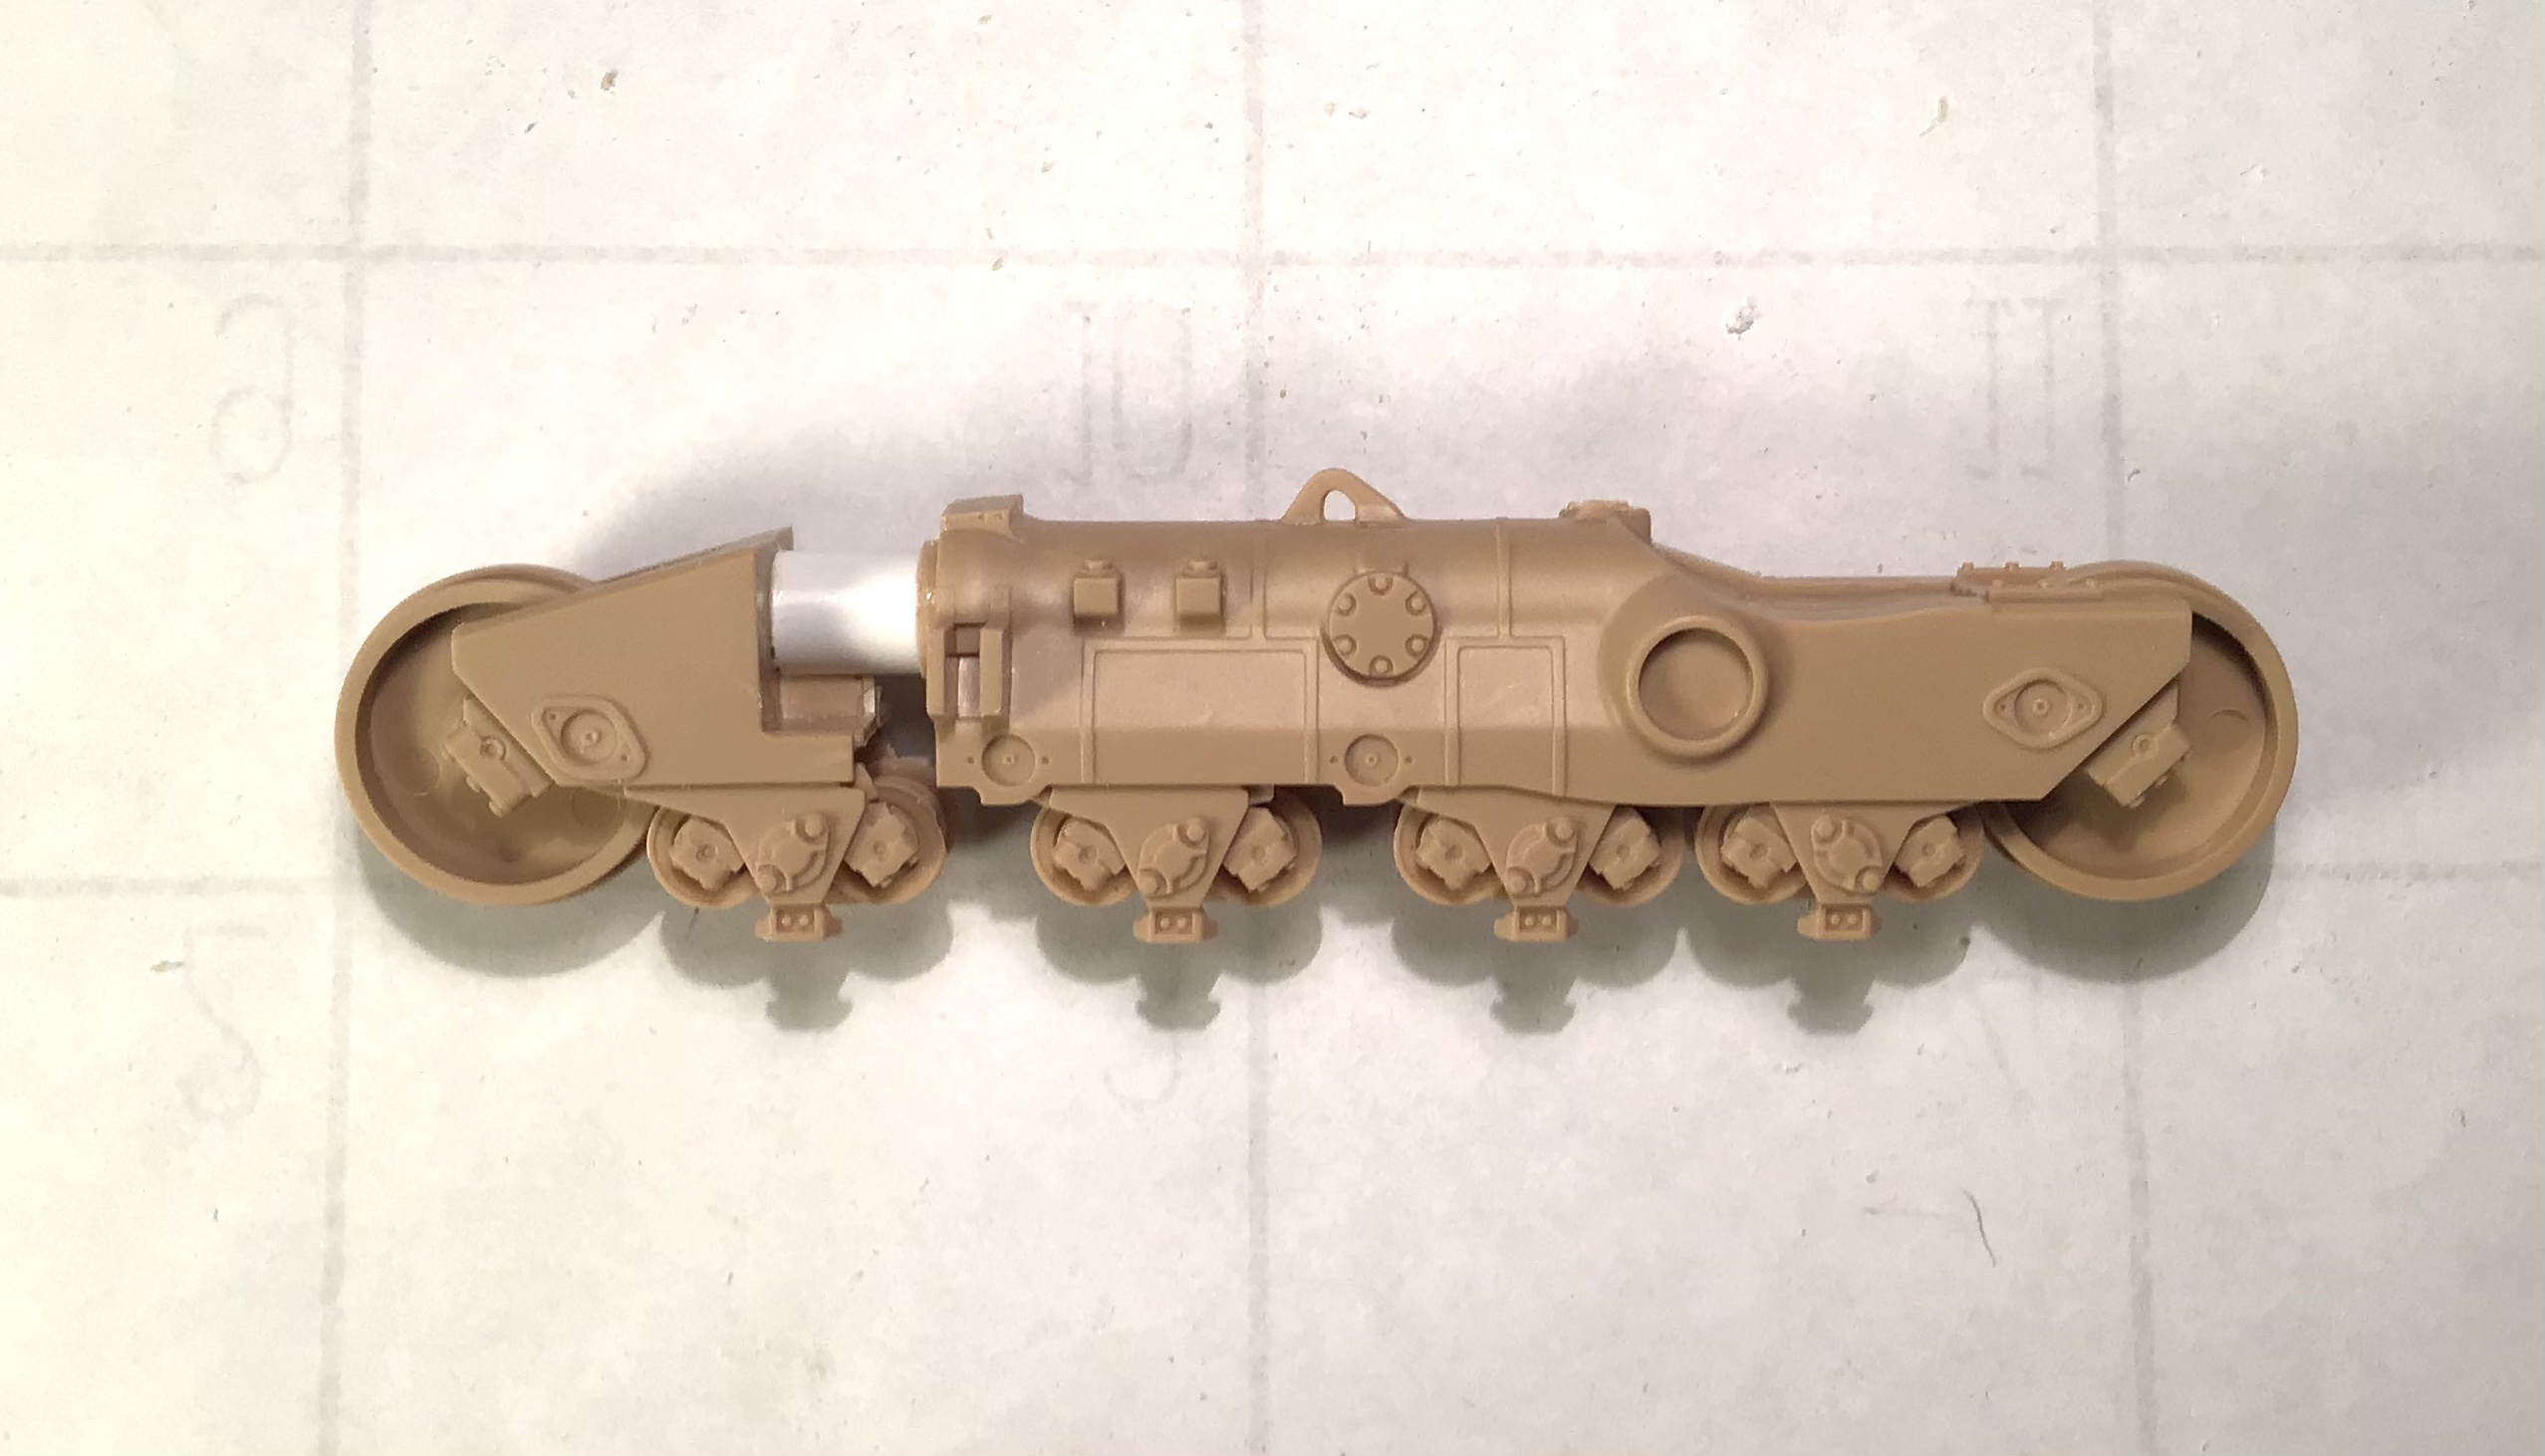
Basic hull and ripper assembled. The ripper needed assembling in order to check clearance around rear platform when building valence and tankage .
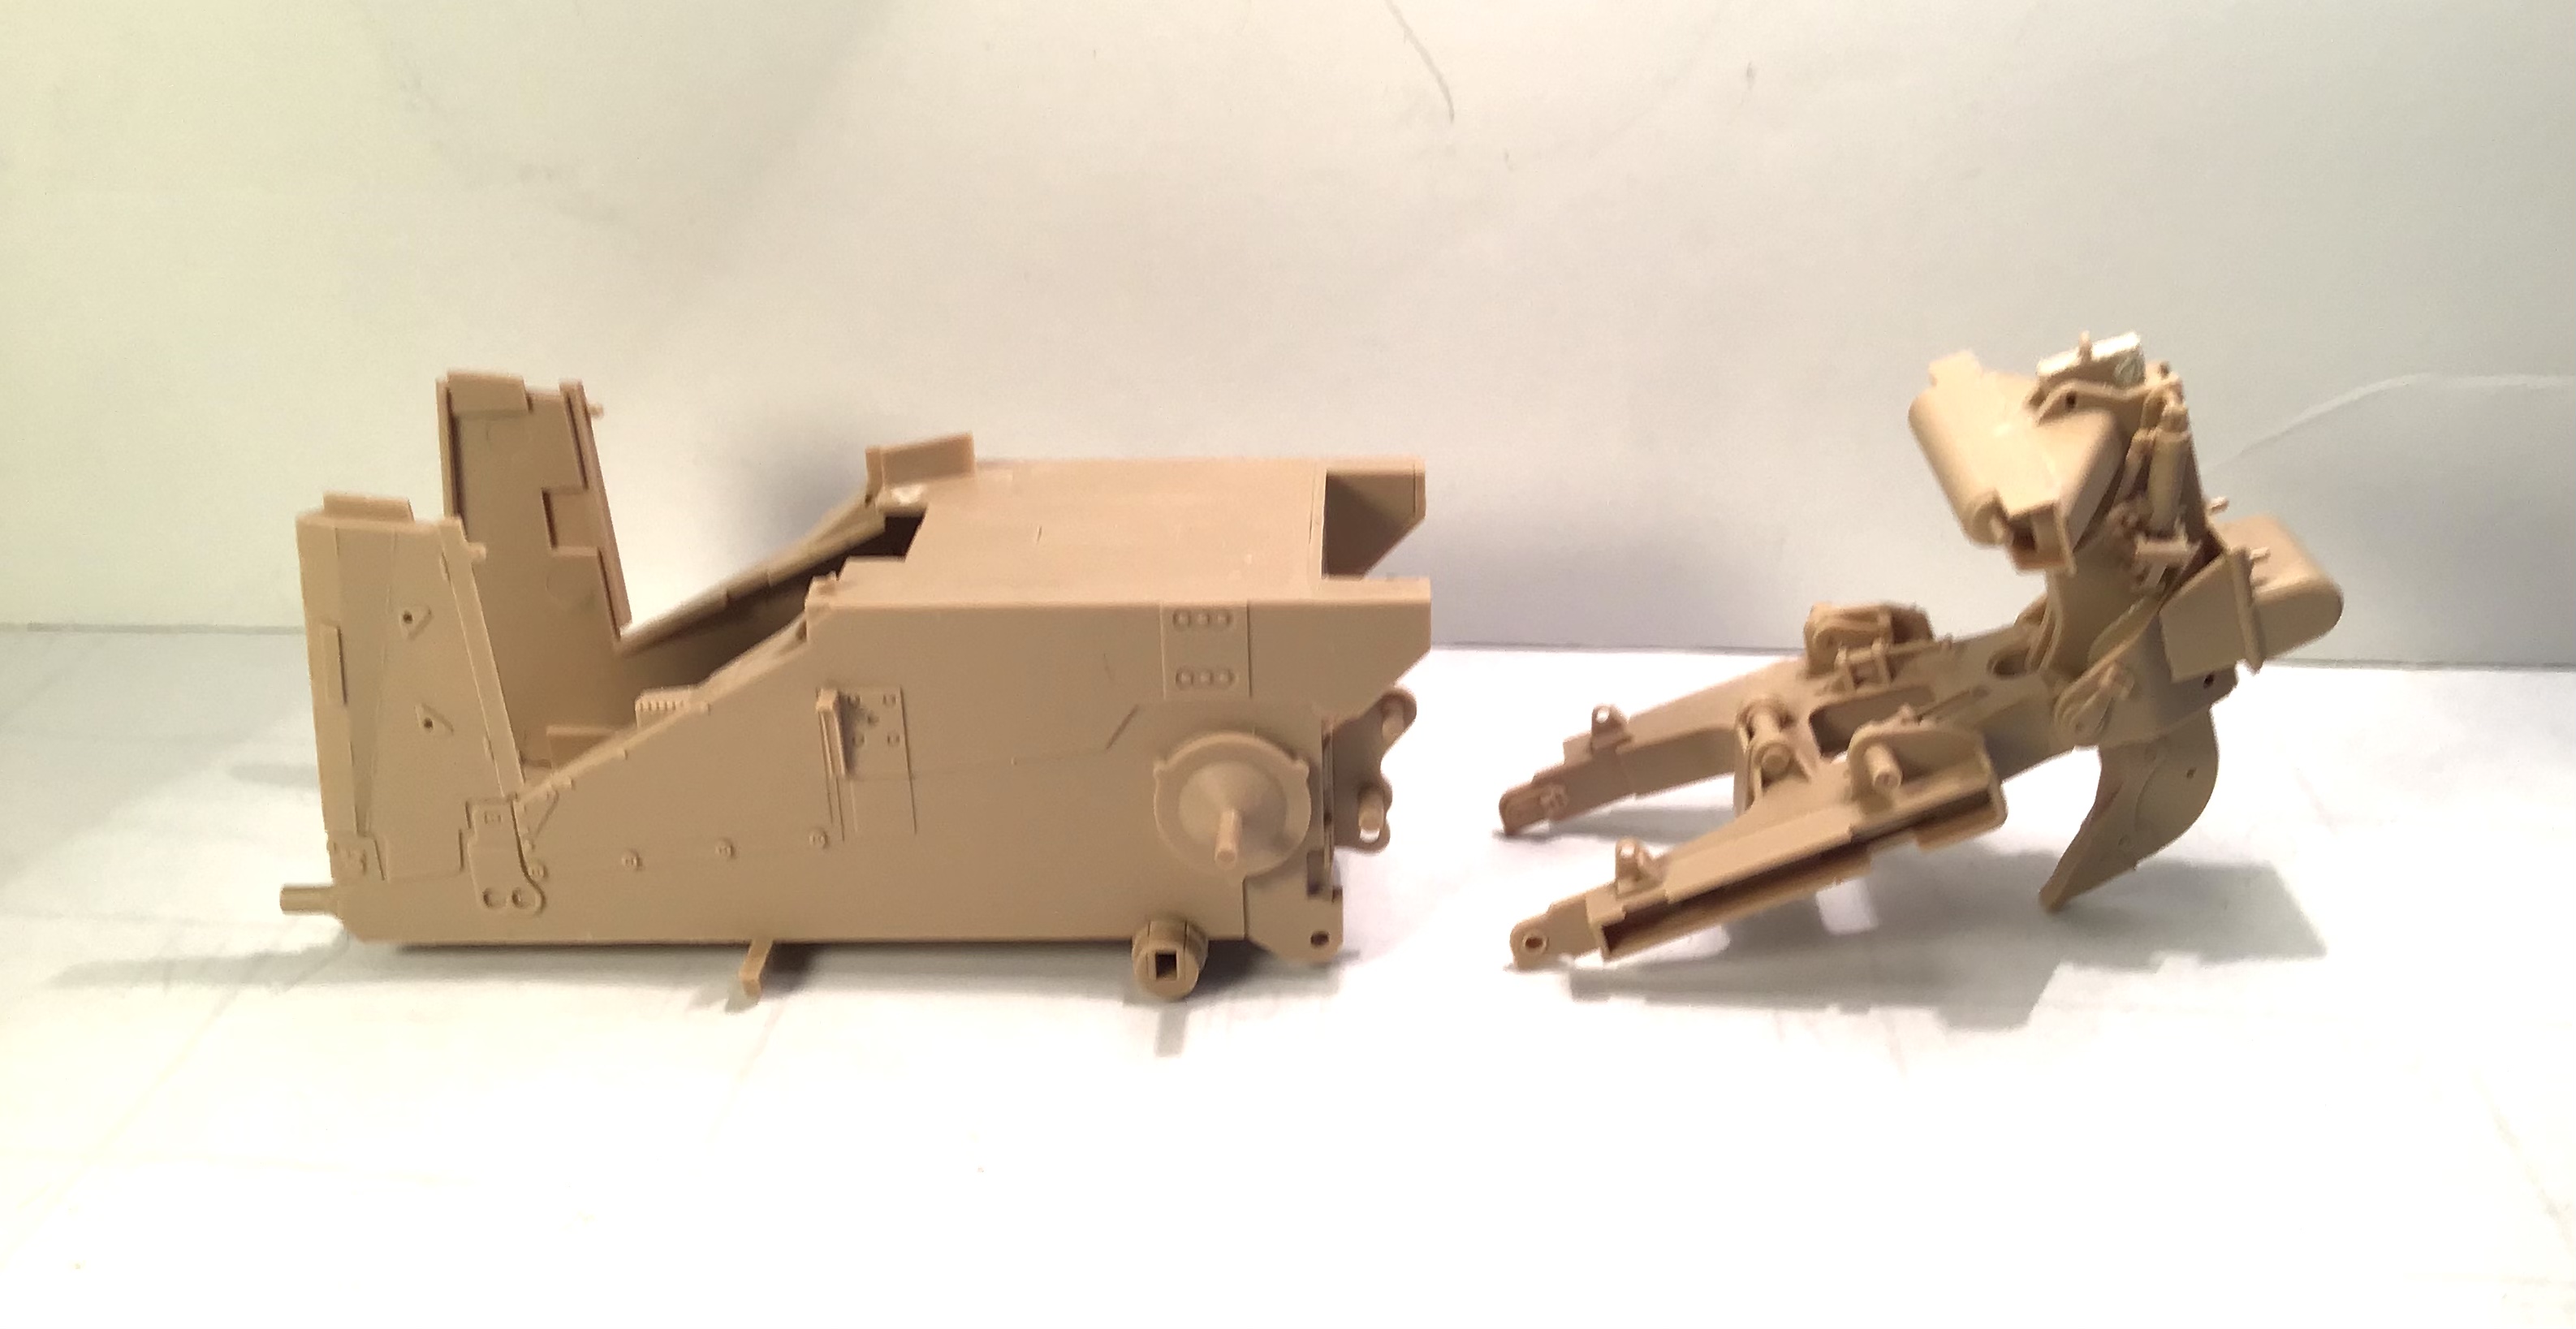
This is my first experience with a Meng kit . So far the fit has been excellent. A couple of errors in the instructions - sprue schematic had sprues R & P reversed - but all in all a pleasant experience so far.
I find it hard to believe that they don’t release a civilian version themselves- most of the work is already done.
4 Likes
As far as I can tell you have not yet downloaded the wetranfer files I sent you. Did I perhaps misspell your email address?
1 Like
Hi Rob - sorry for the late response after your generous help - I am afraid my I pad won’t be able to handle all the images as it is running out of space and I was waiting to ask my son in law as he is more tech savvy than I. Do I read correctly that there is a time limit on this ?
I would do it in a heartbeat on our desktop but Comcast has stopped support for our system and I can no longer access e mail .
1 Like
There is indeed a time limit, but if it expires before you can download them, just let me know and I’ll resend the files. Not a problem. And I feel your pain, that’s why I had my 21-year-old daughter handle all of my tech stuff.
2 Likes
Thanks again - nice to know I’m not the only dinosaur when it comes to this computer stuff.
1 Like
@RDT1953 Hi Richard, wow - the benefit of your milling machine is sure obvious! What a way to solve those problems, versus making new panels. Looking very good -
Cheers
Nick
2 Likes
A little progress…
Armor slats milled off of grill area - again the mill bit pulled the flexible plastic up and cut too deep requiring filling .Openings cut out of grill and hood sides . A lot of variation in these openings can be seen on different images. Some have none at all on hood sides - some show openings in both lower and upper panels, some only in lower . I chose to make openings in the lower panels only.
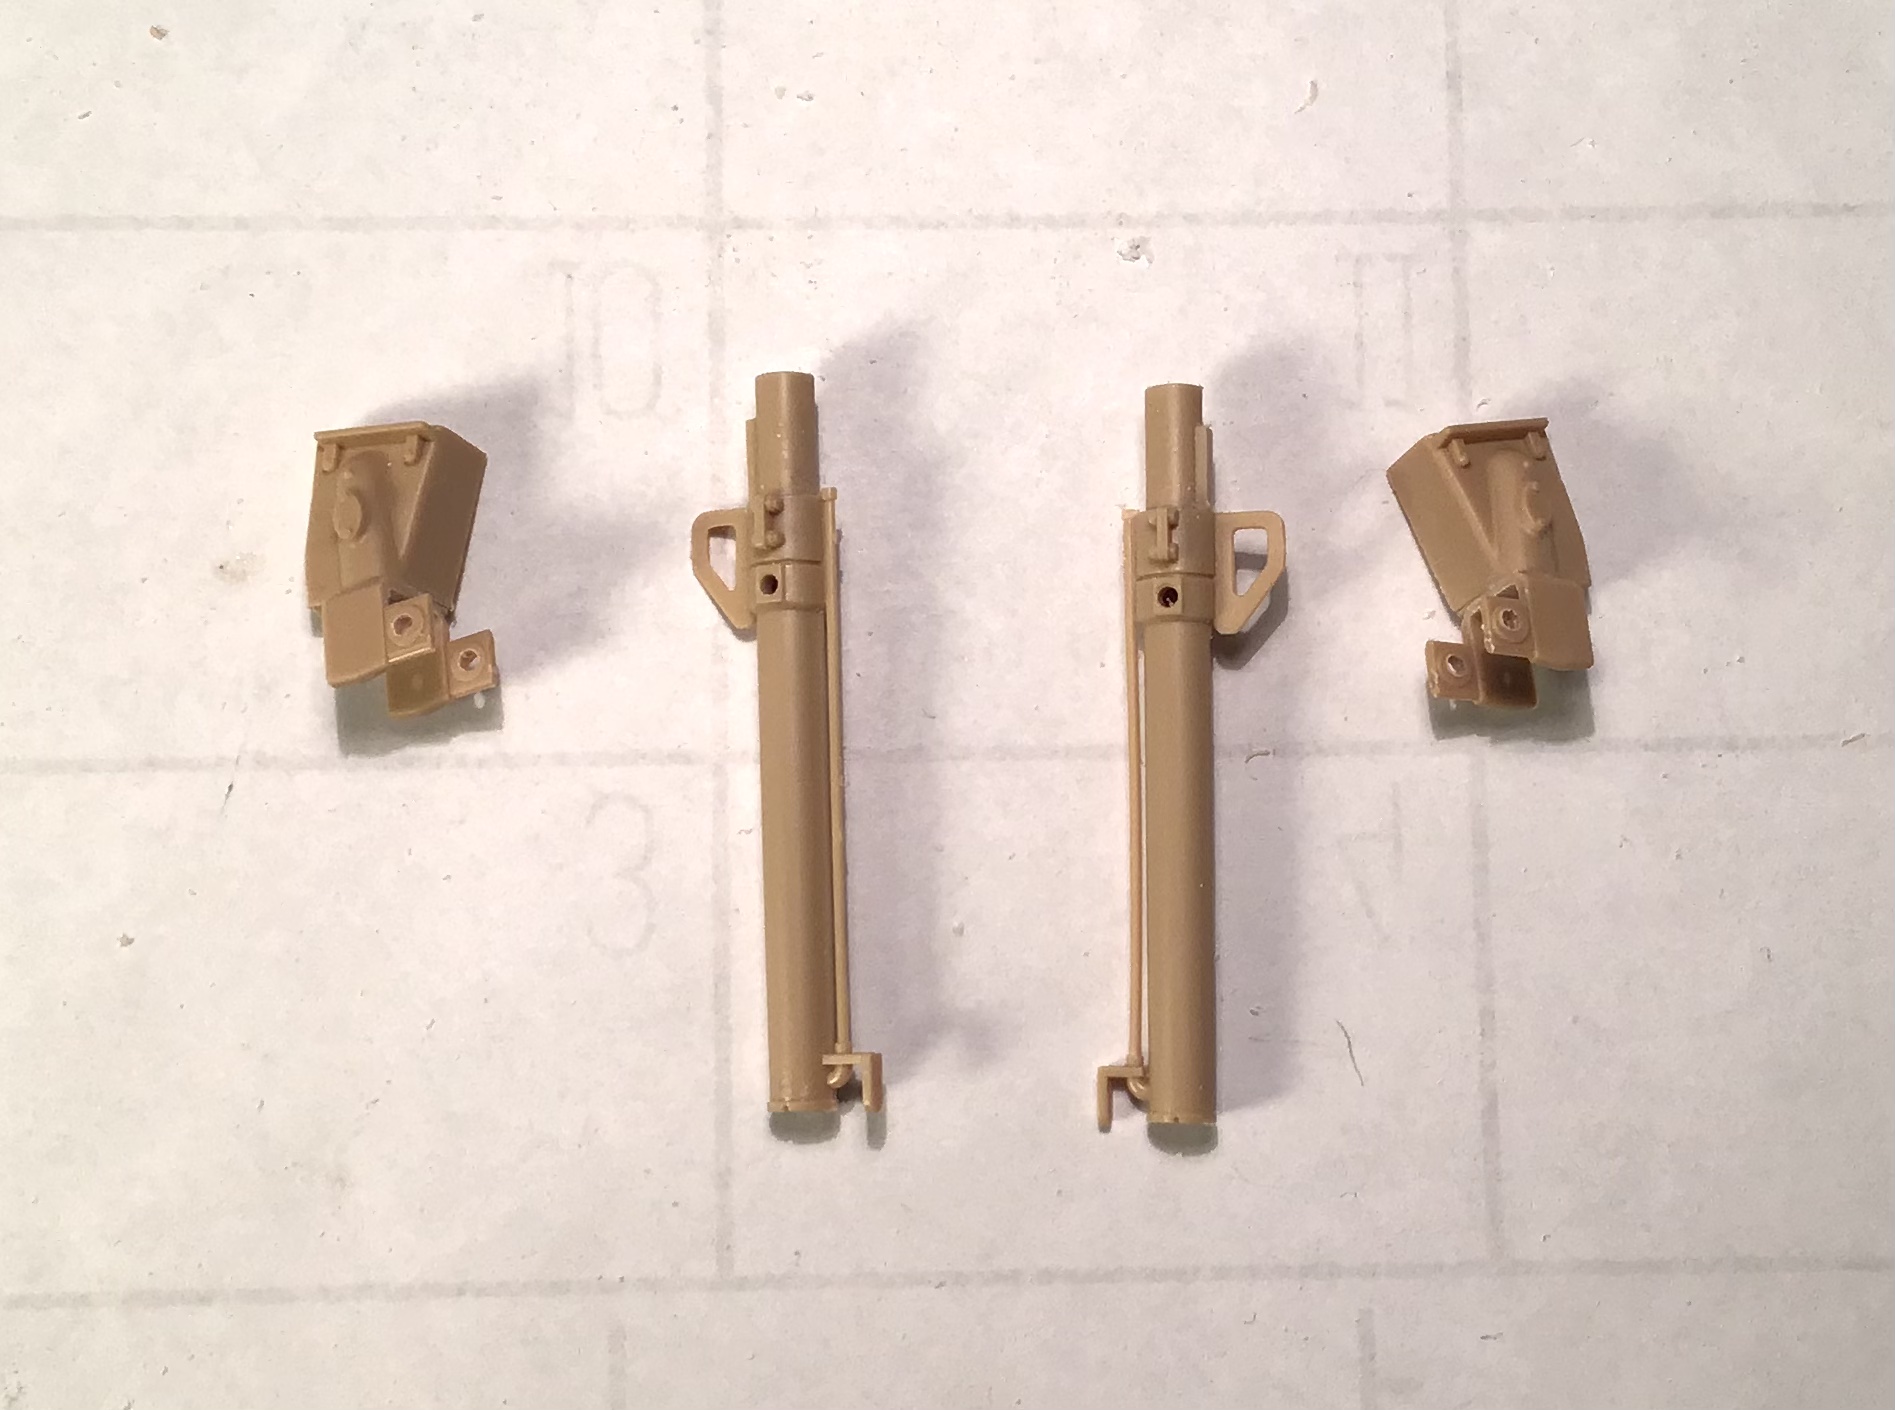
The mounts for the vertical hydraulic cylinders that raise and lower the blade are in halves with molded on pins that enter the sides of the cylinders. You must assemble them around the cylinders . This looks to cause problems down the road with painting as the mounts form the front upper corners of the hood area . I cut the pins off and drilled the mounts out for brass rod so the mount halves could be joined now and cylinders added later.
In a blog posted previously by oldwarloke he noted
The tracks were slack so he cut the undercarriage apart and made it adjustable like the real thing.
I did something similar using plastic tubes.


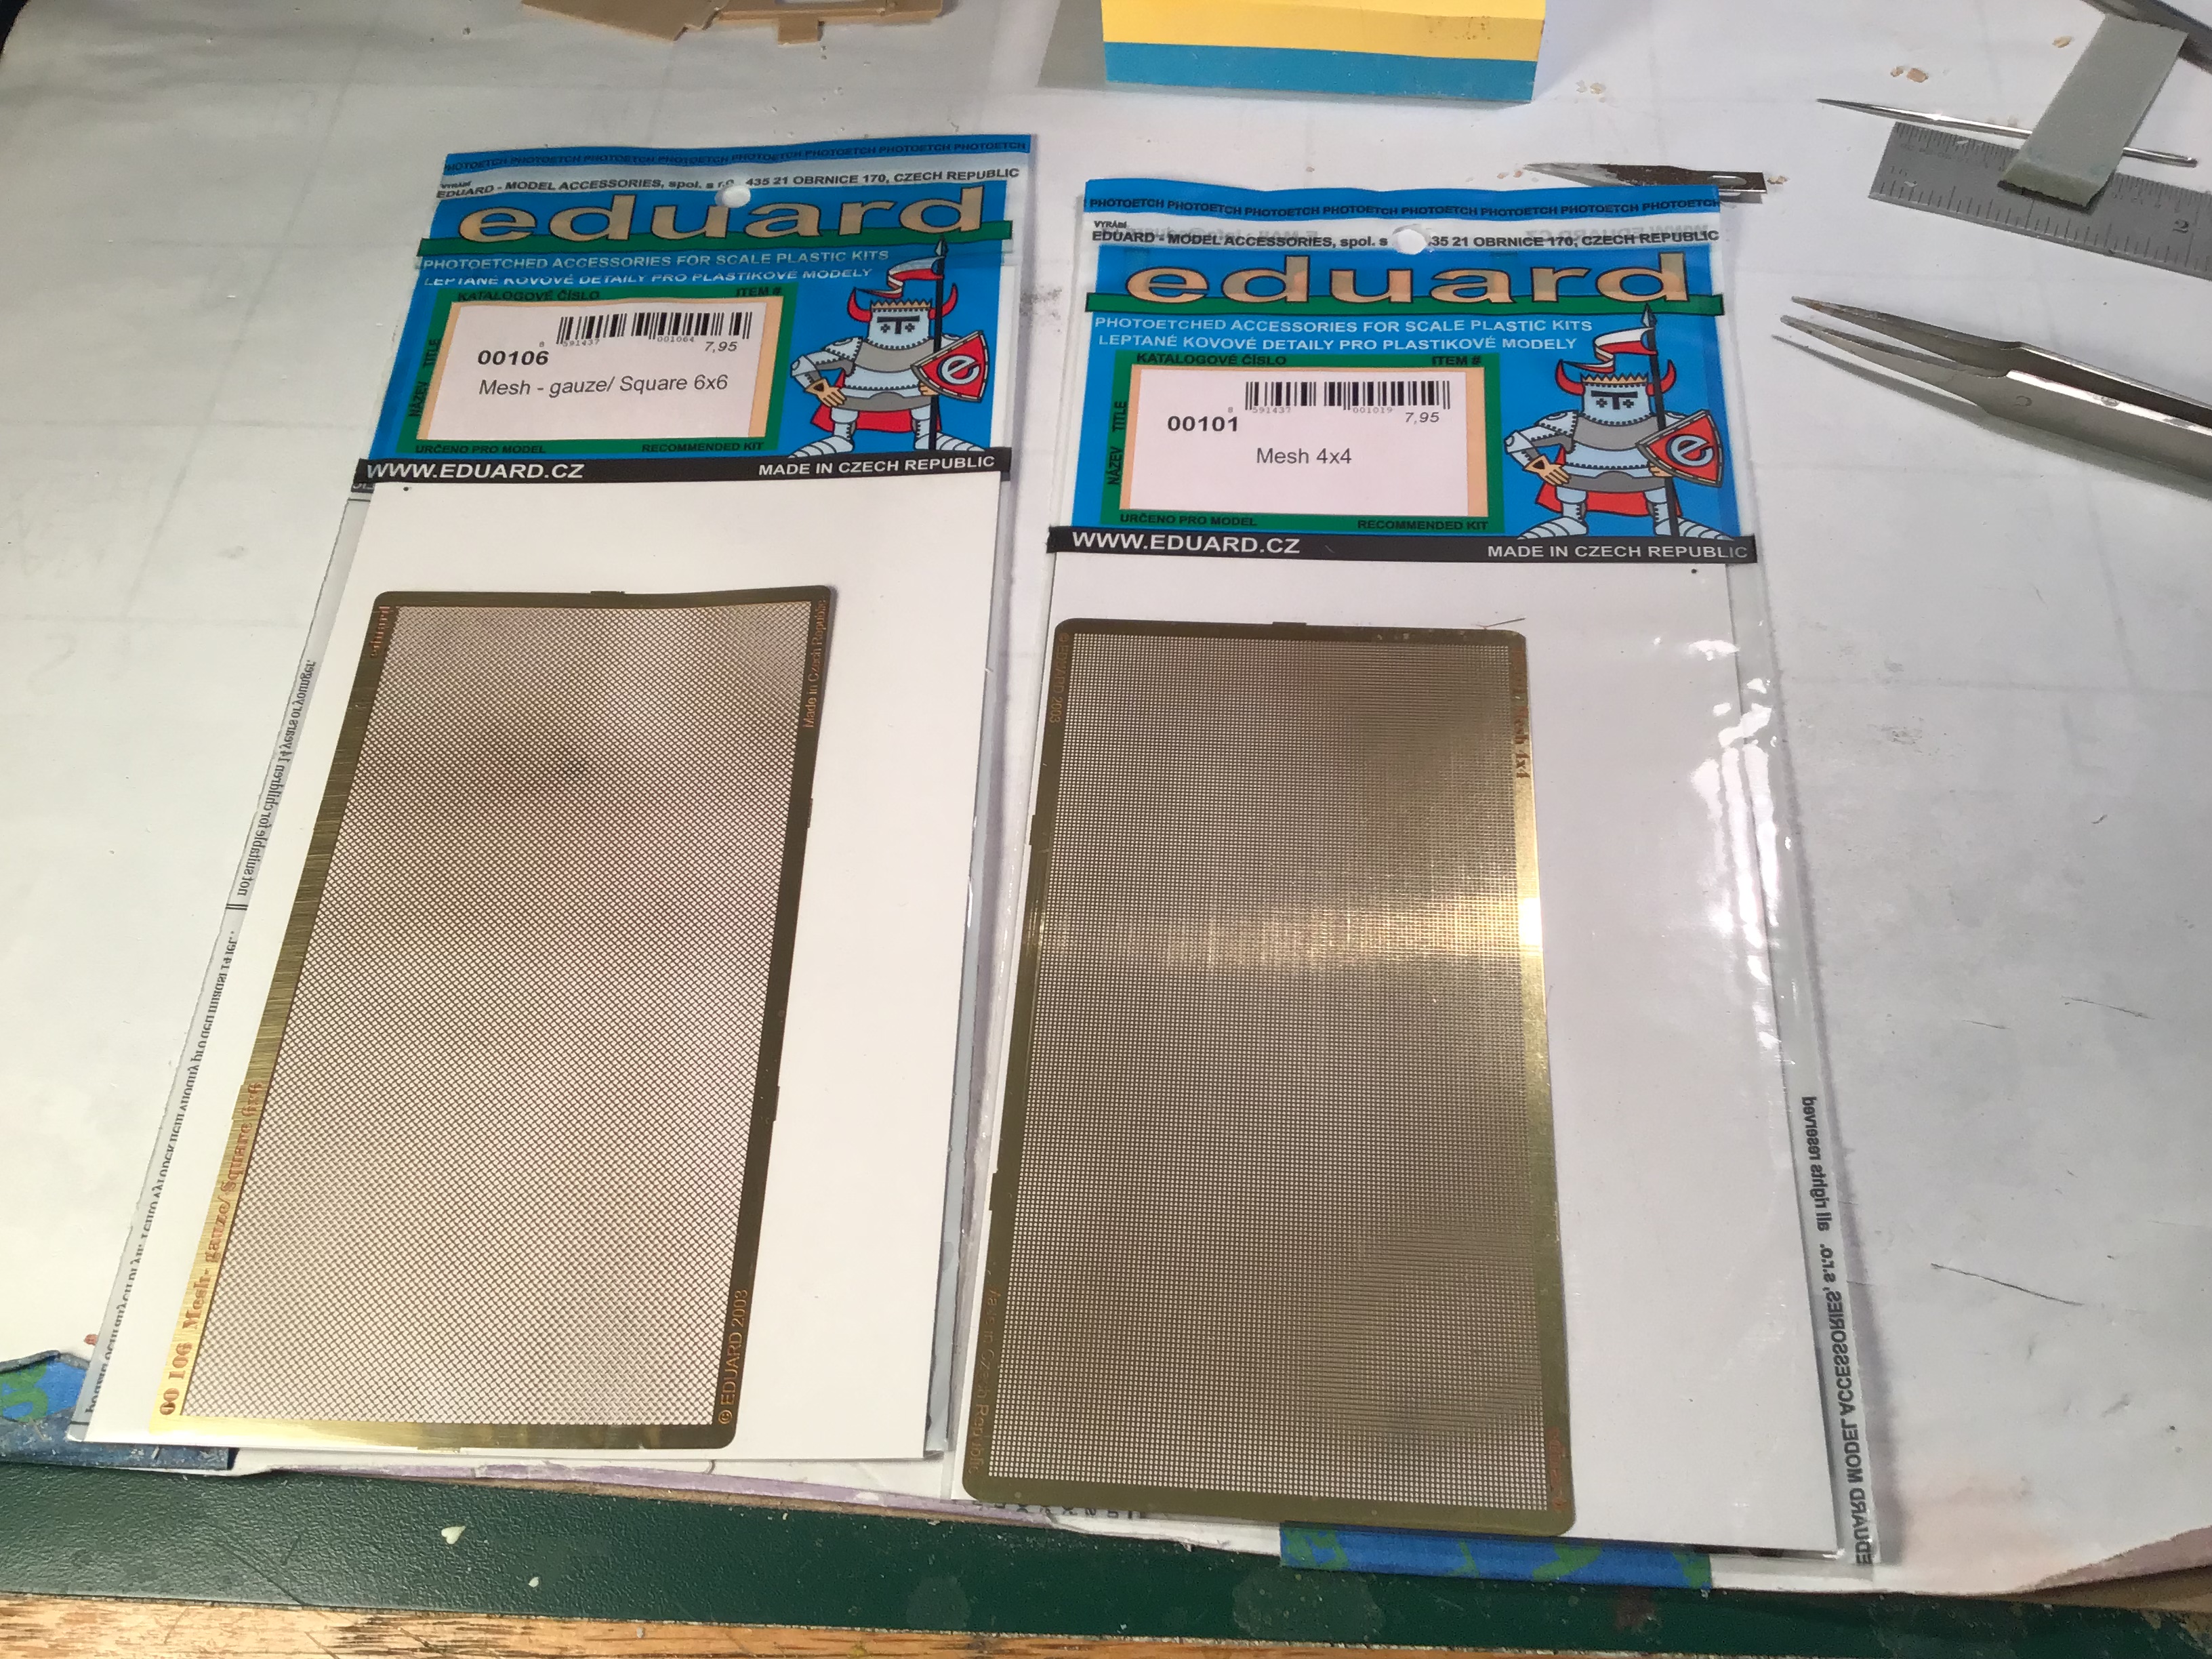
Now waiting for photo etch mesh from Eduard.
Thanks for looking-
Richard
4 Likes
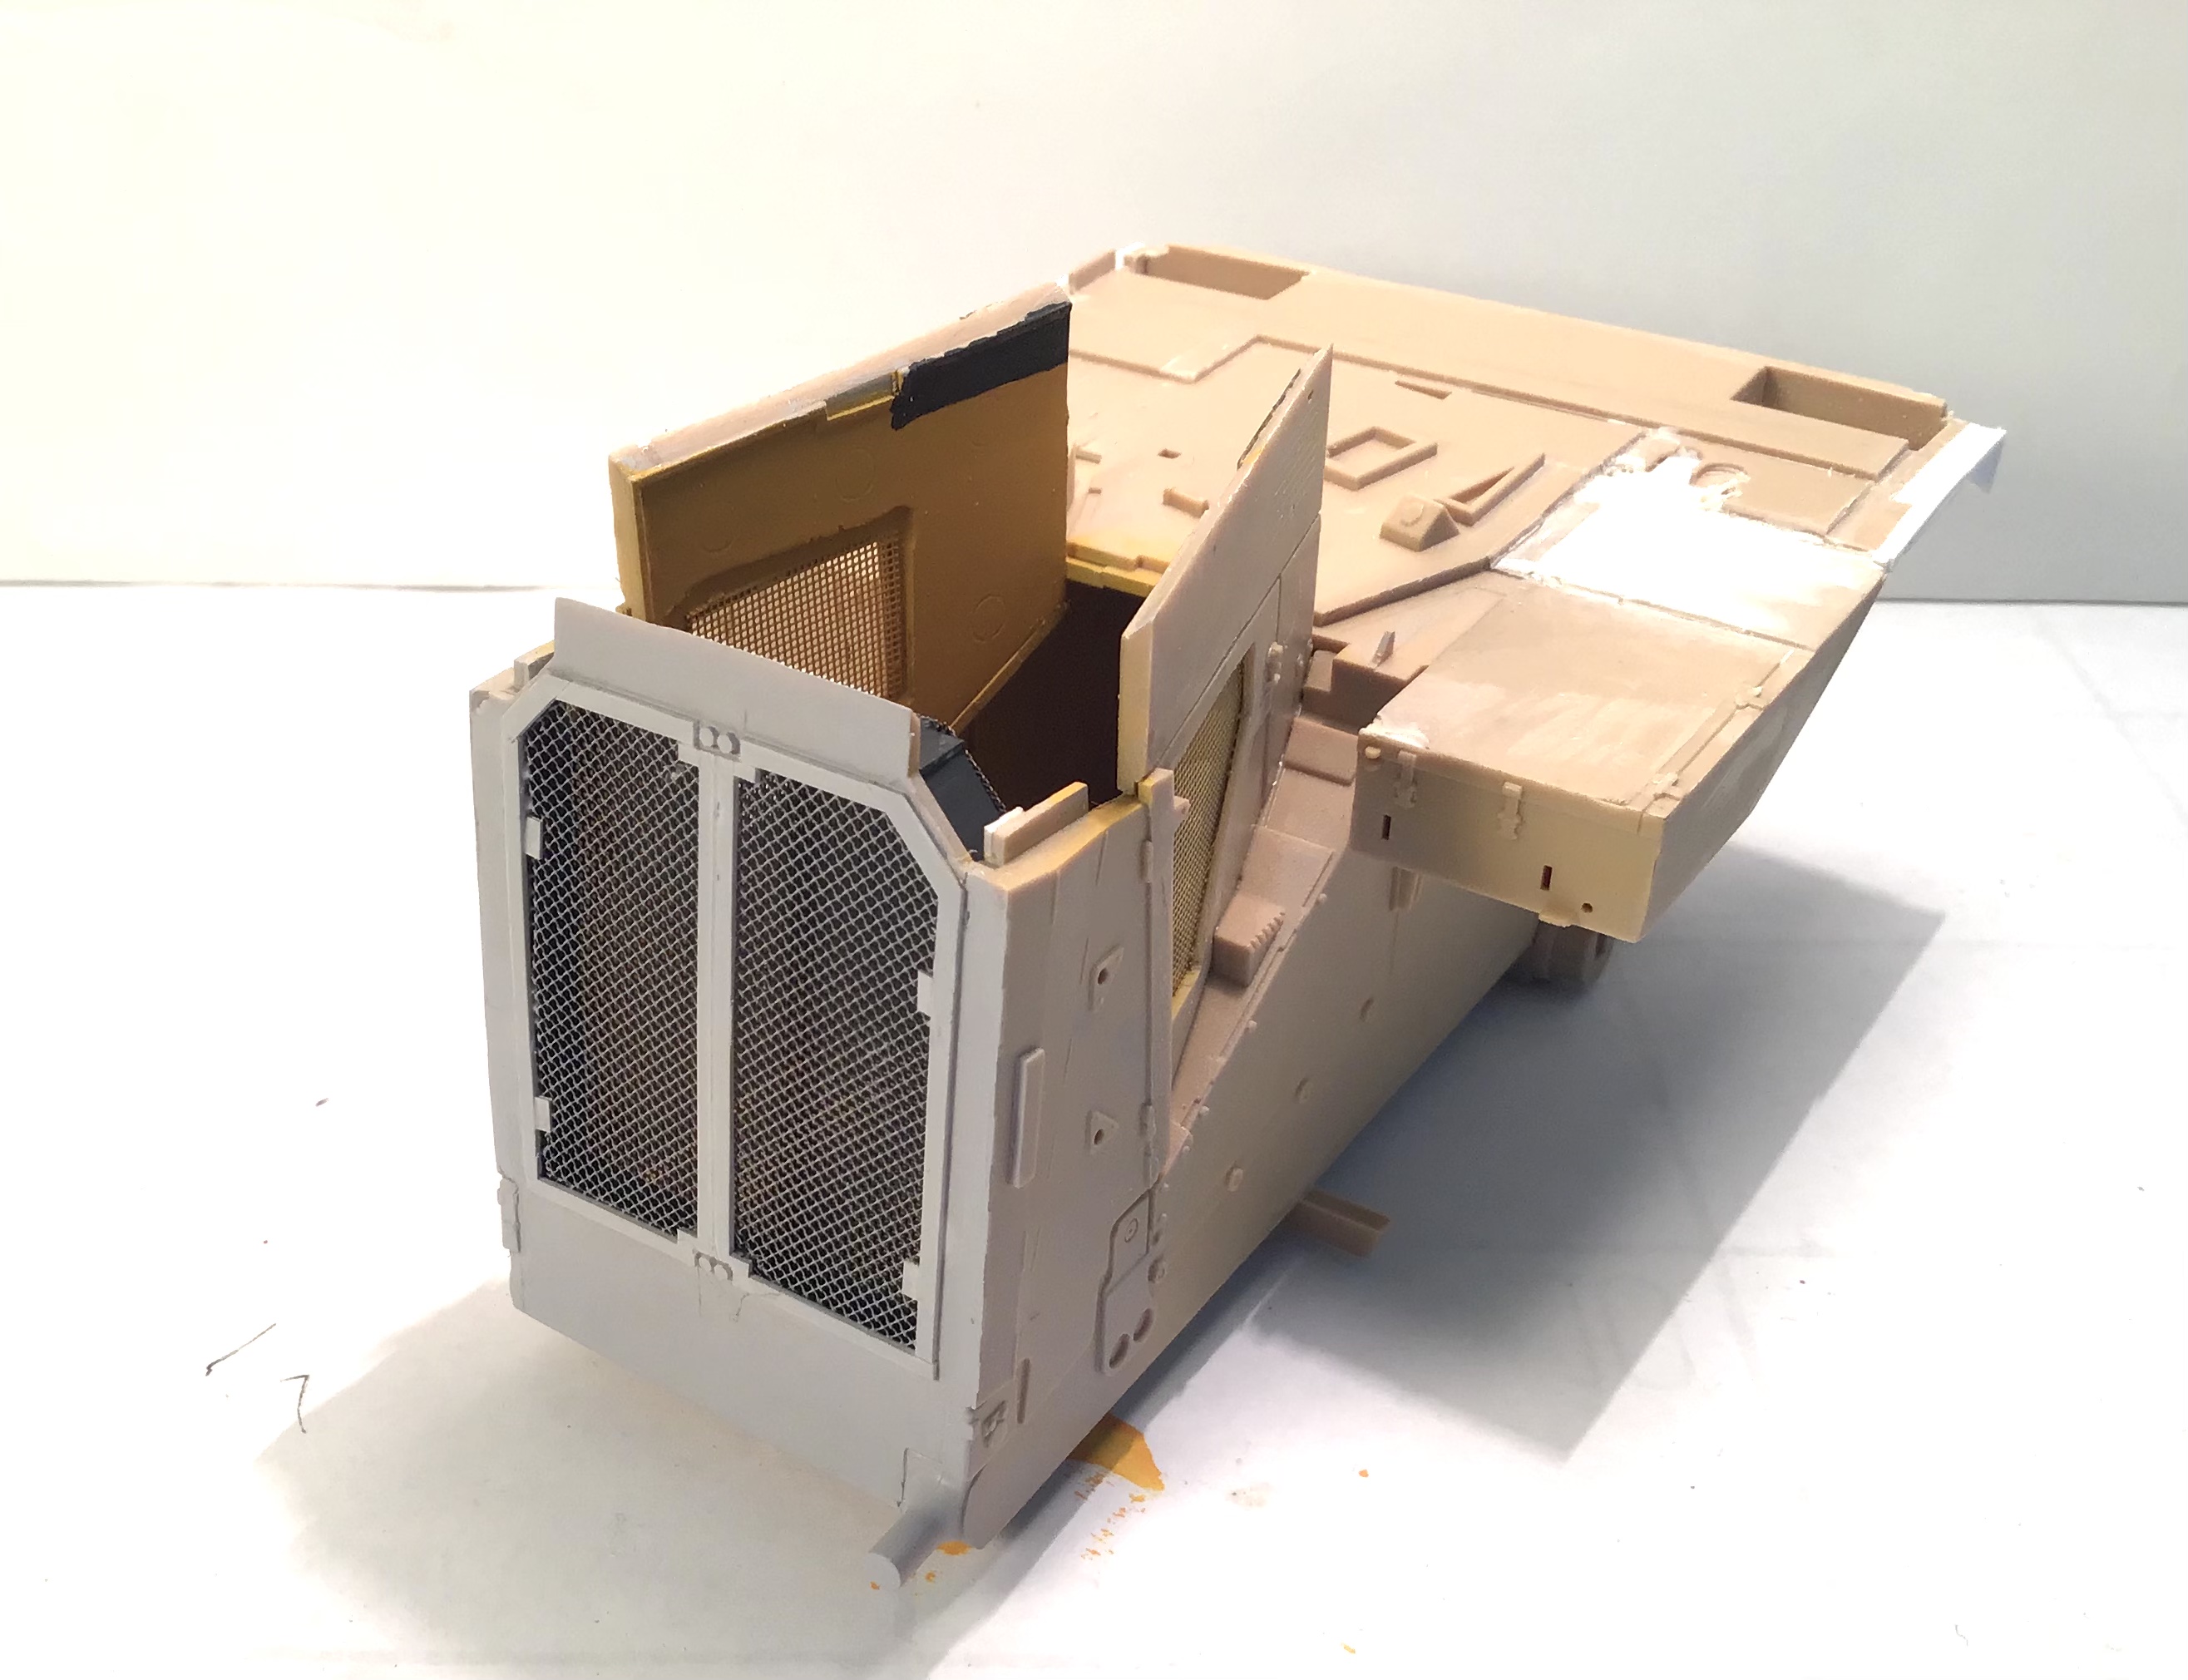
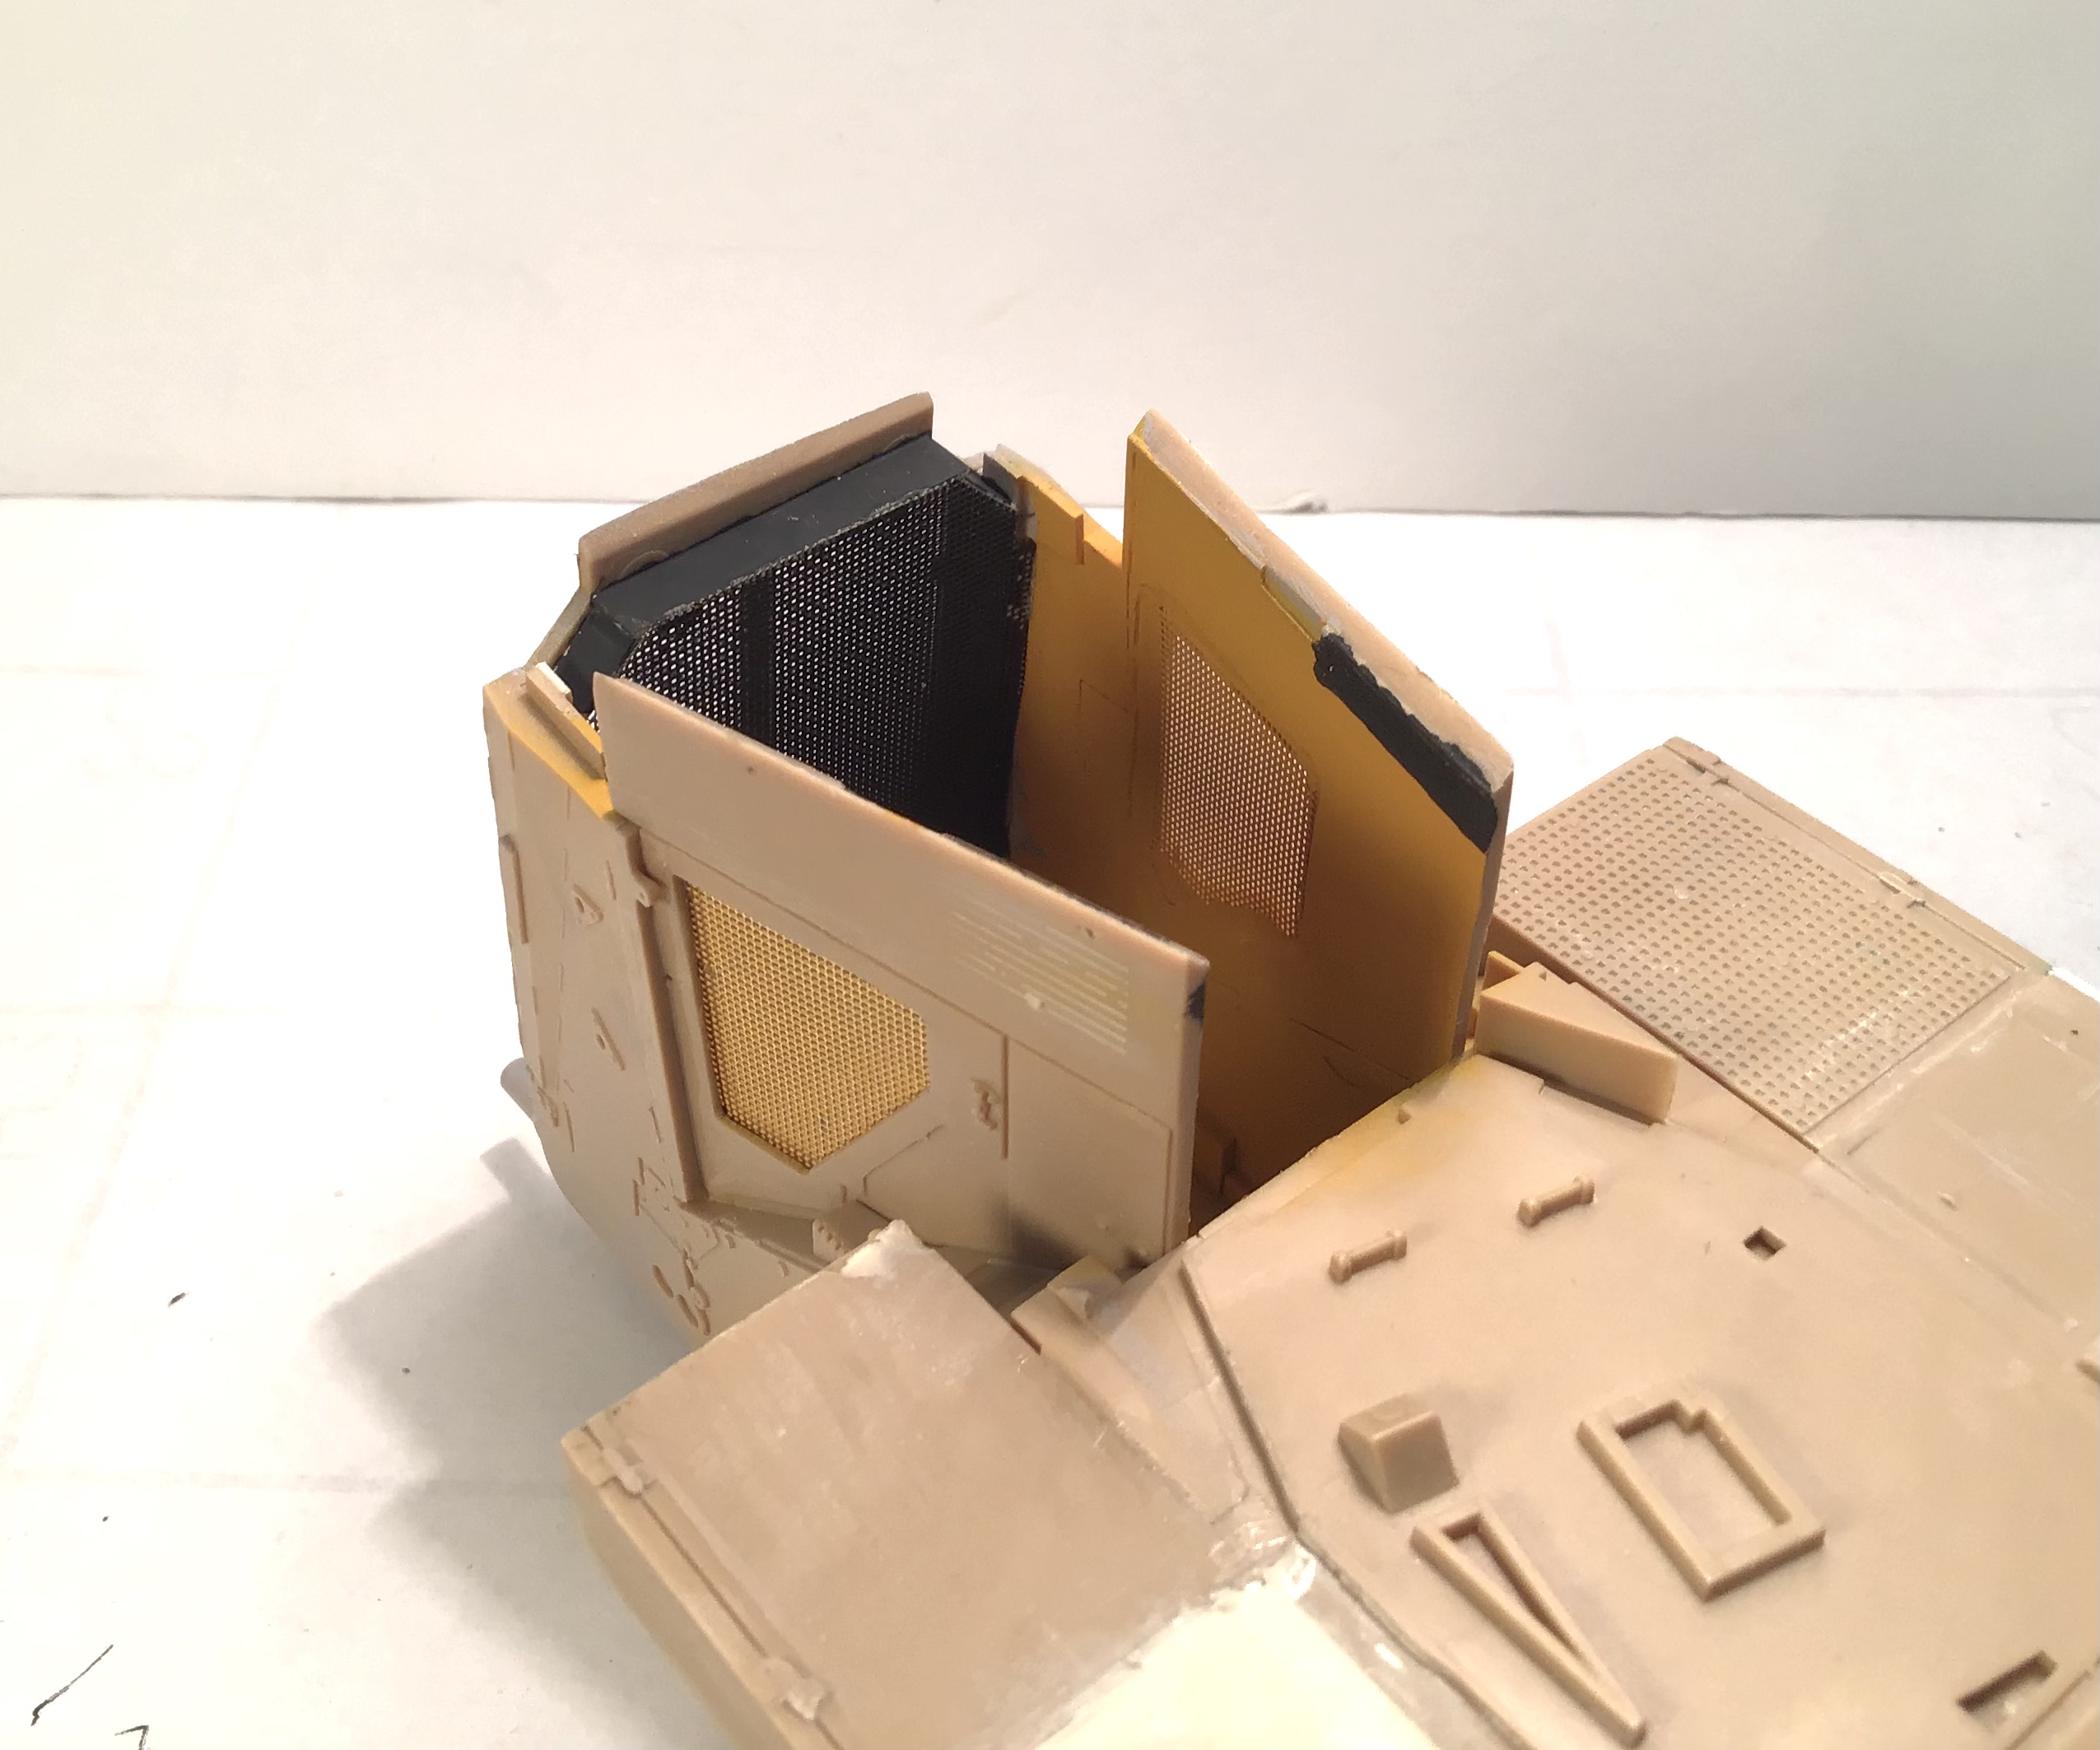
Photo etch has arrived - two sizes .6x.6 and .4x.4
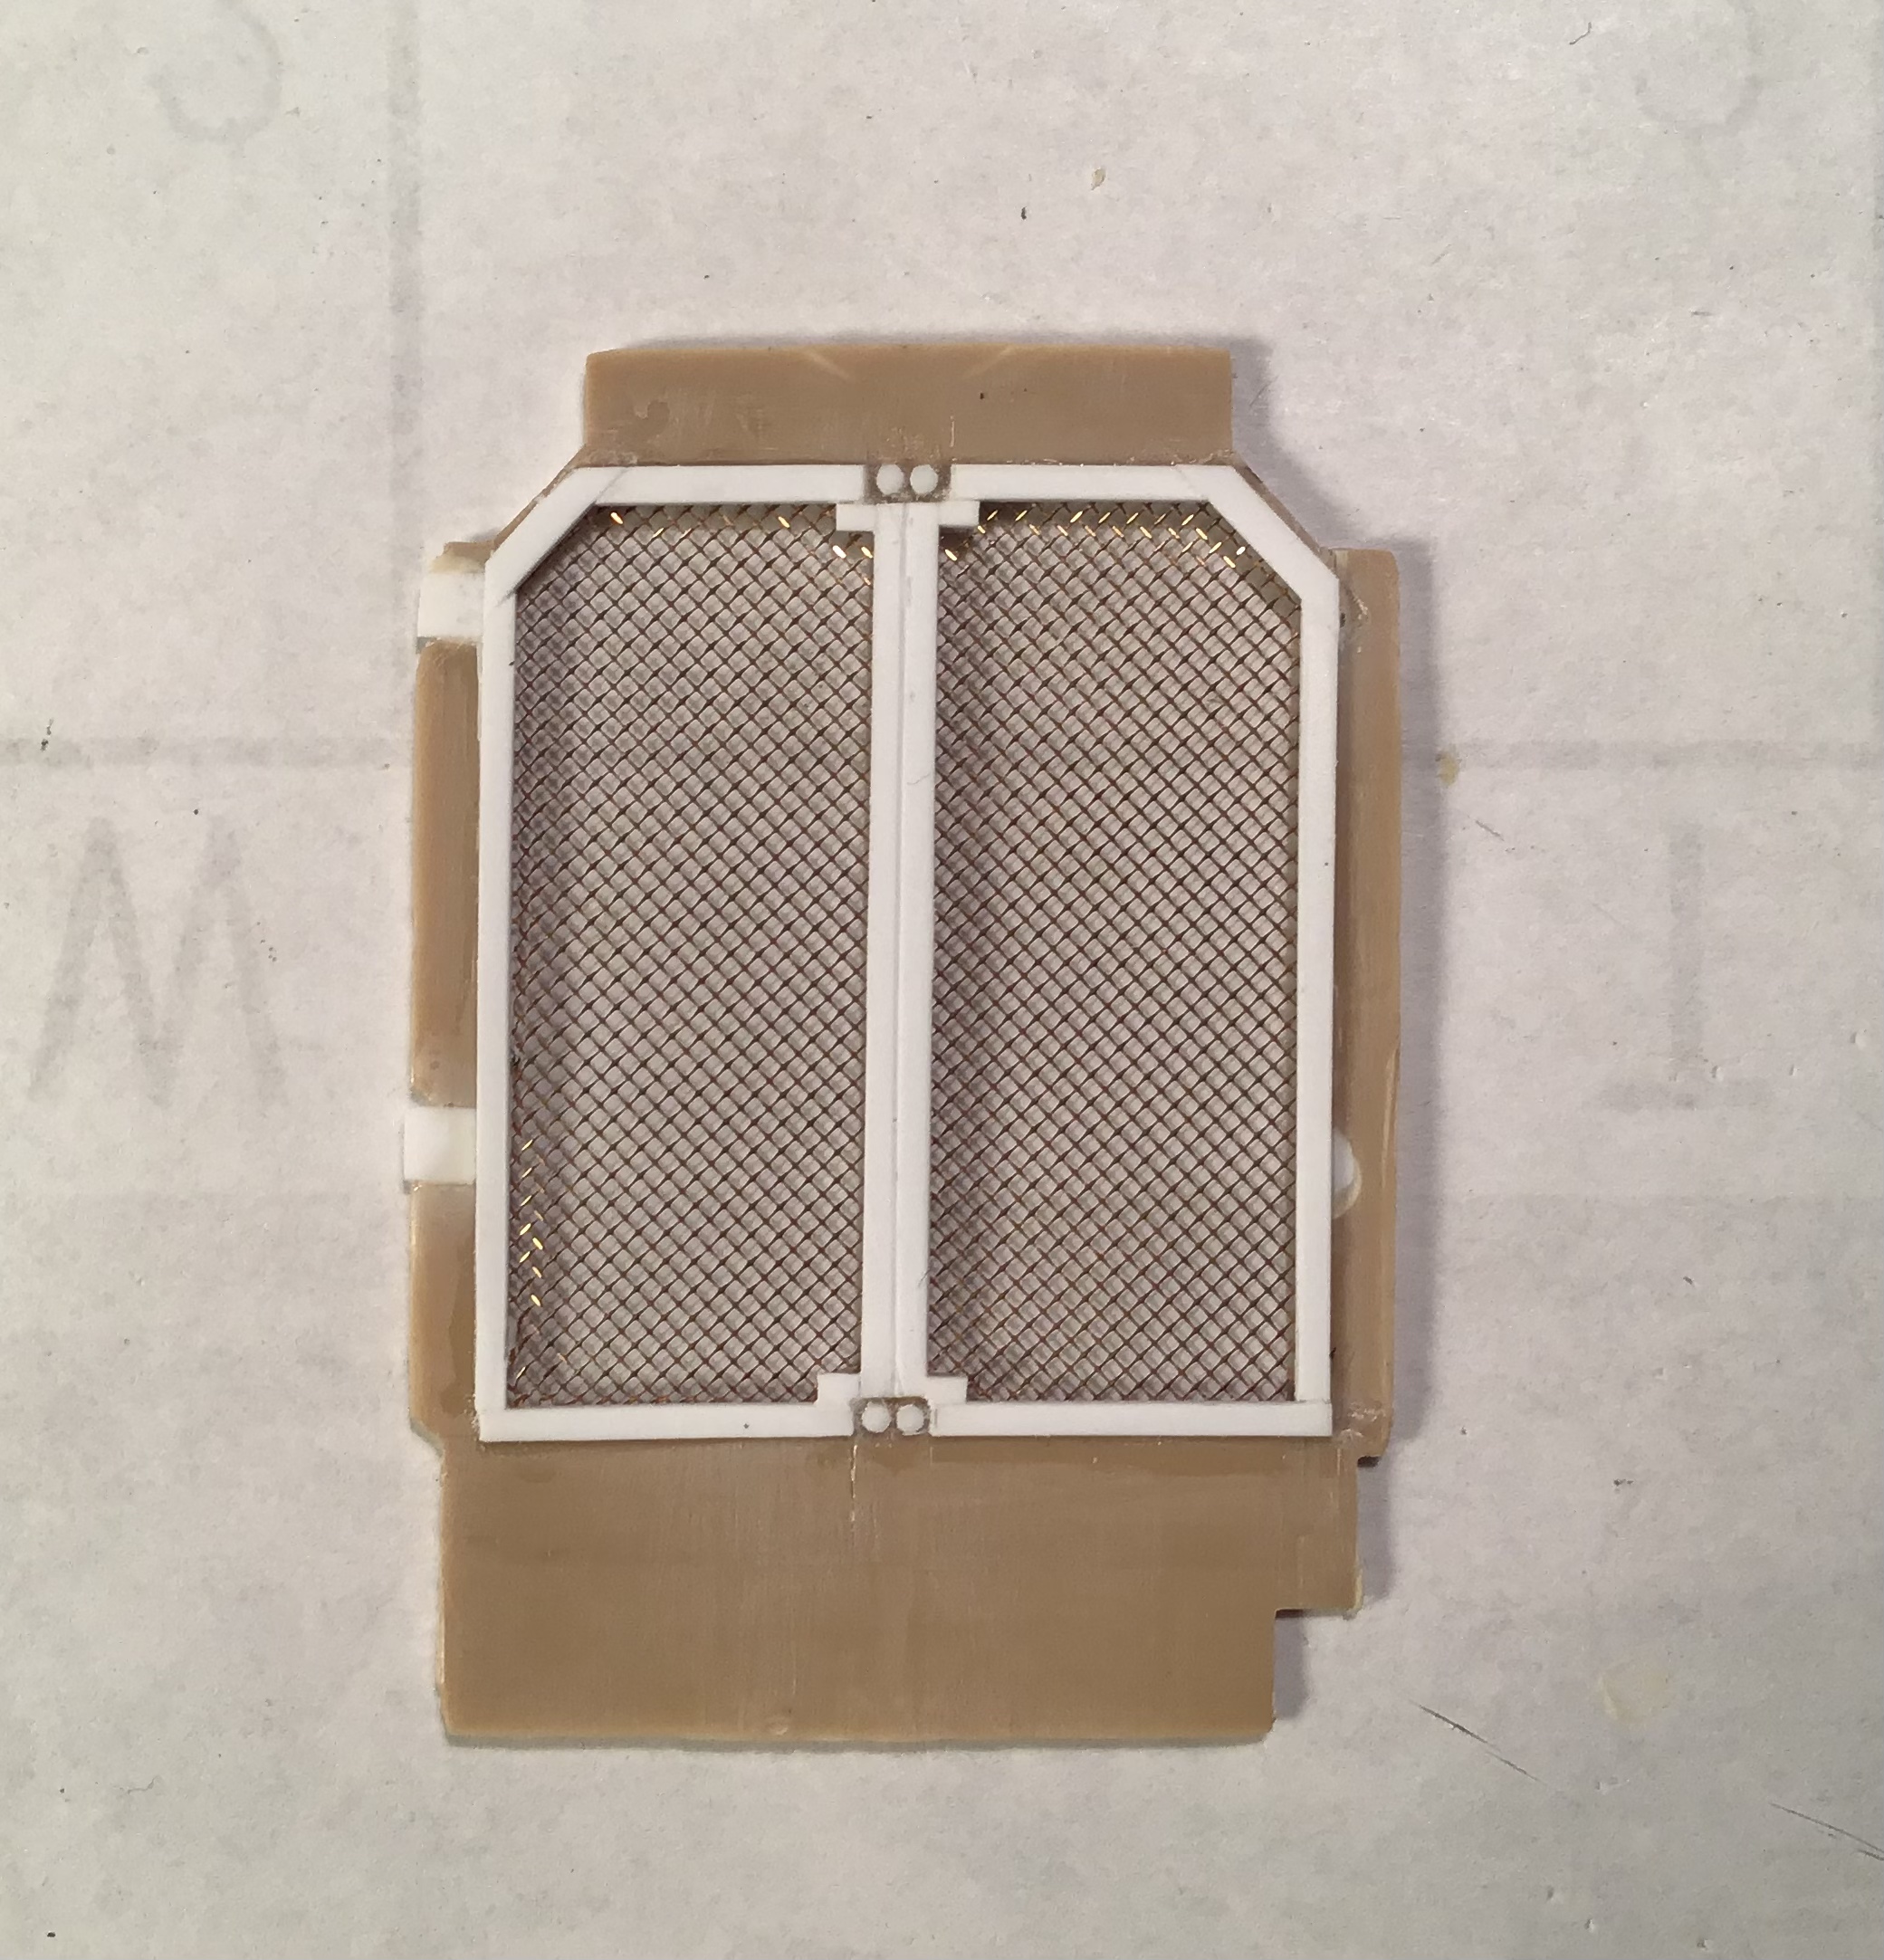
The openings have had their perimeters rabbeted on the back side to accept the mesh by milling then careful hand scraping.
Grill built up of styrene strip and mesh added from behind .
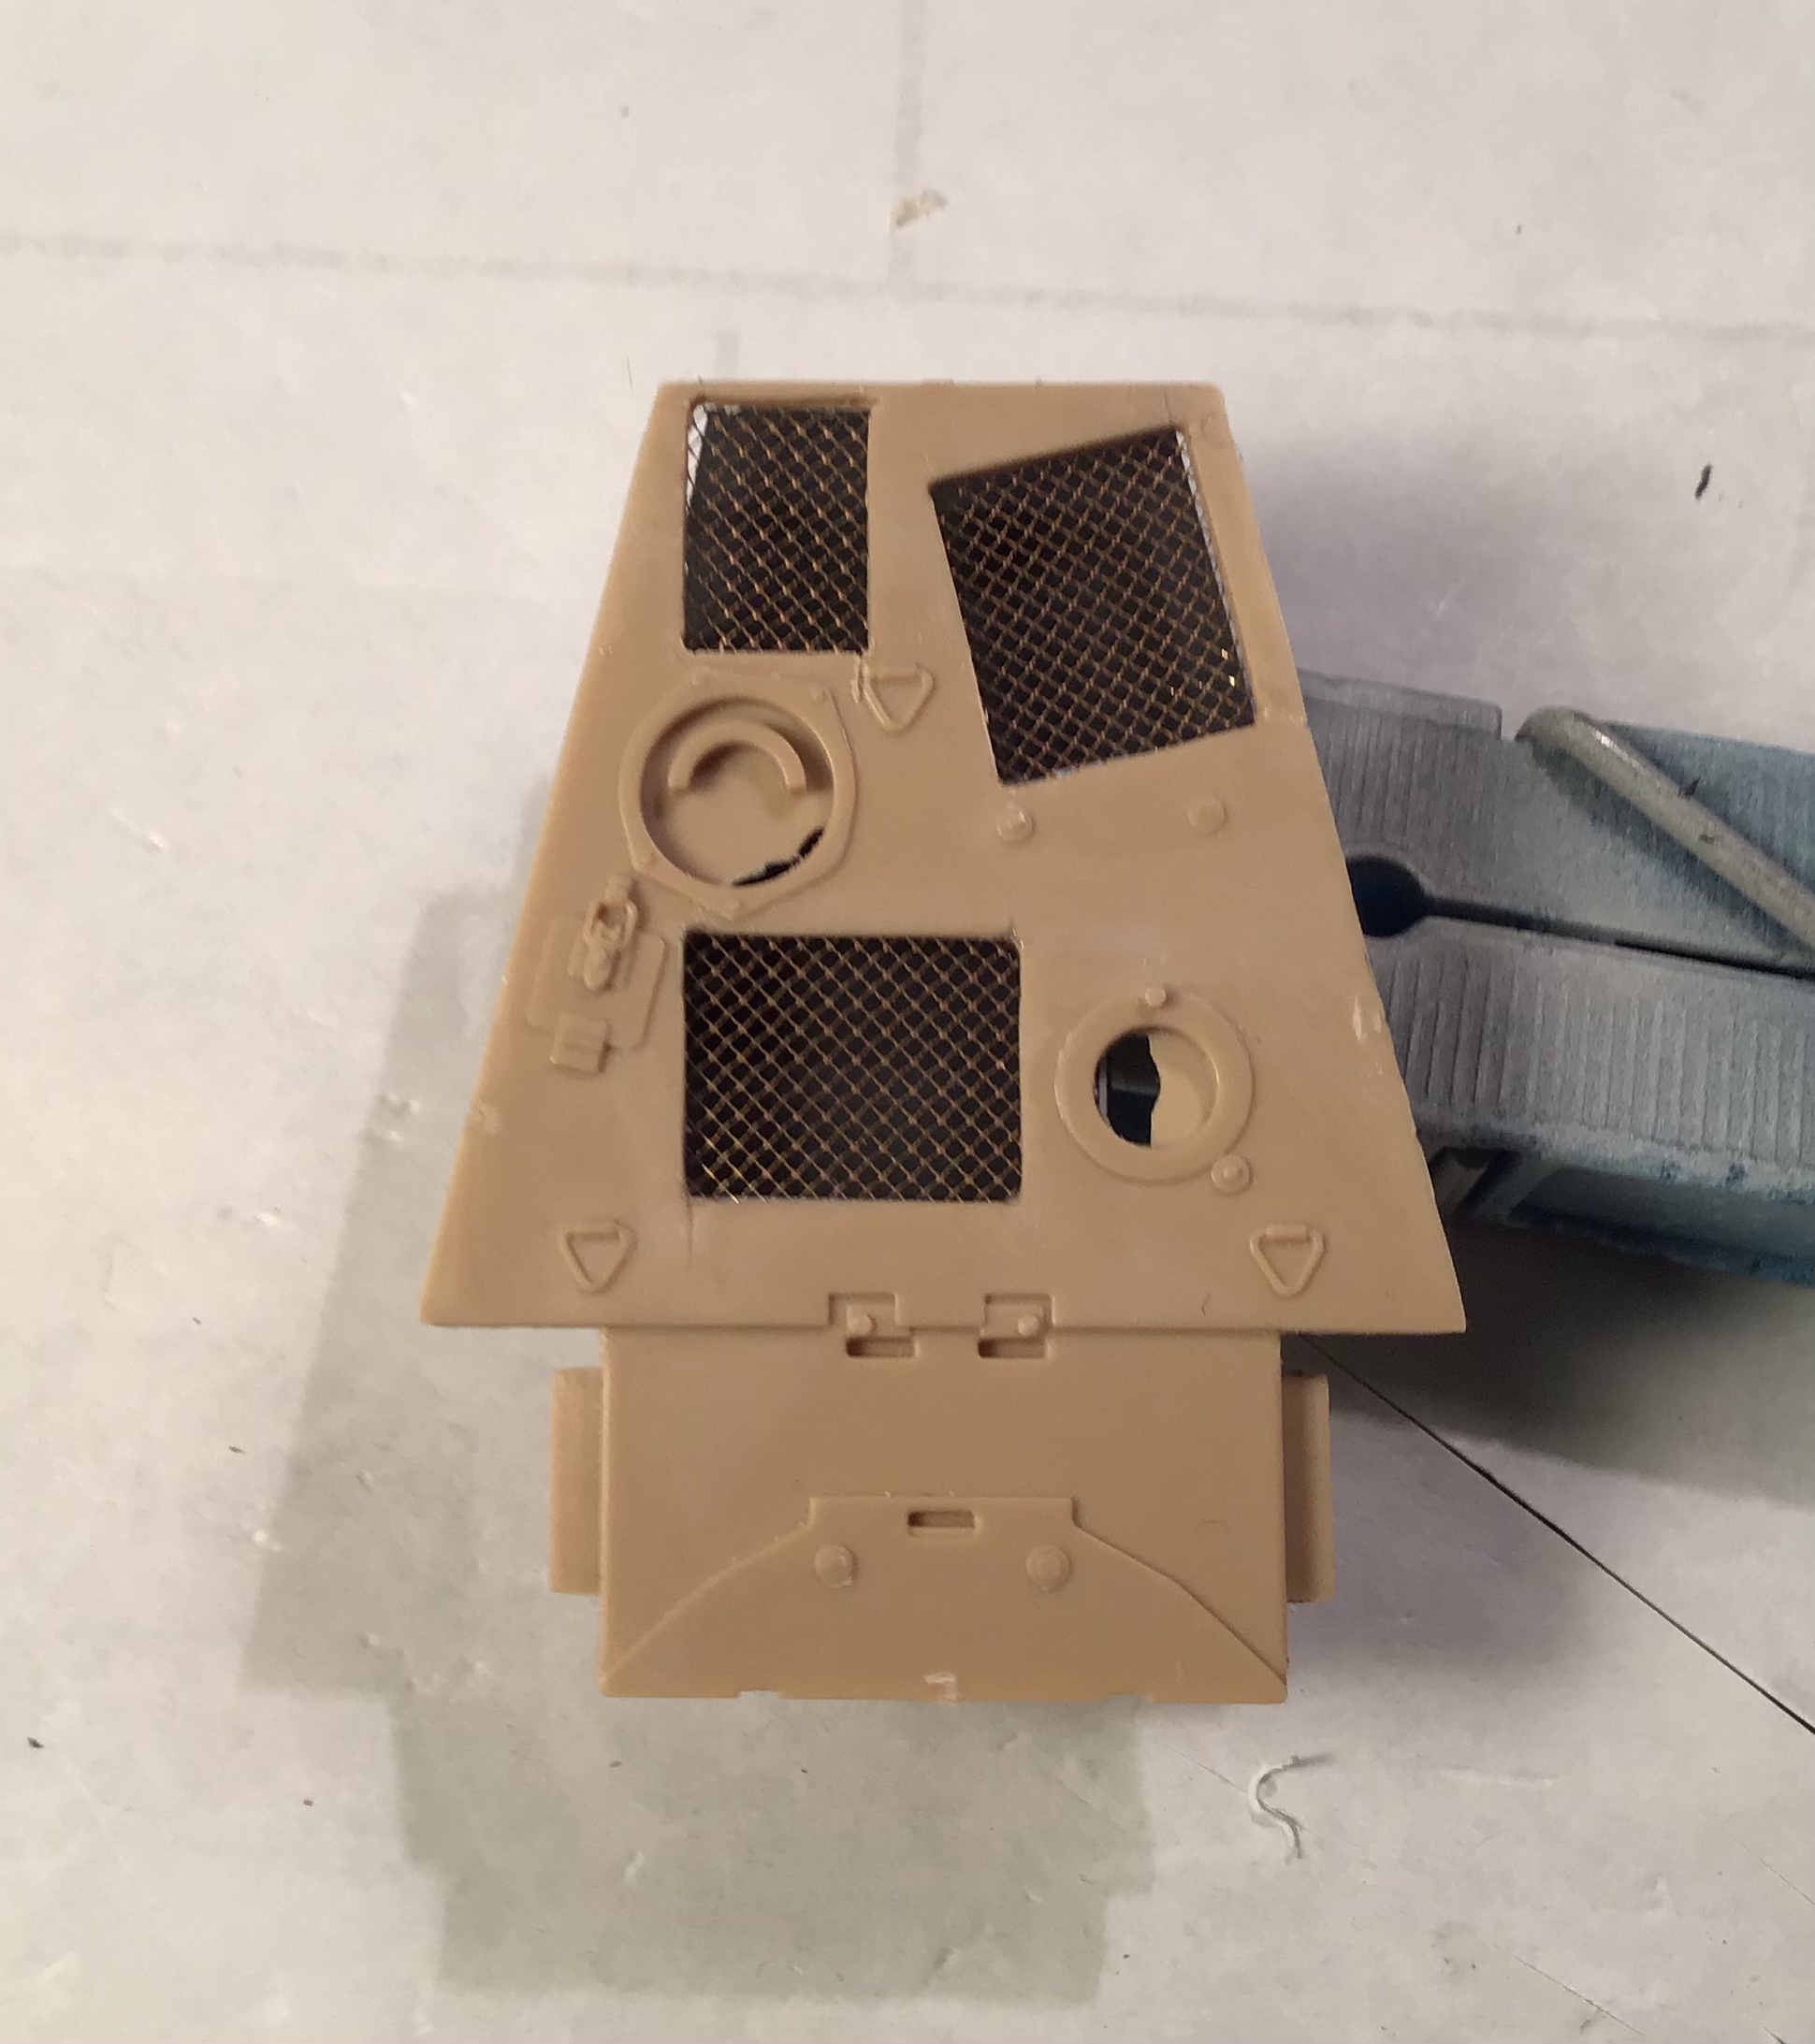
Mesh added to vents in top of hood and box built of styrene to blank off openings. Interior of box painted
NATO Black .
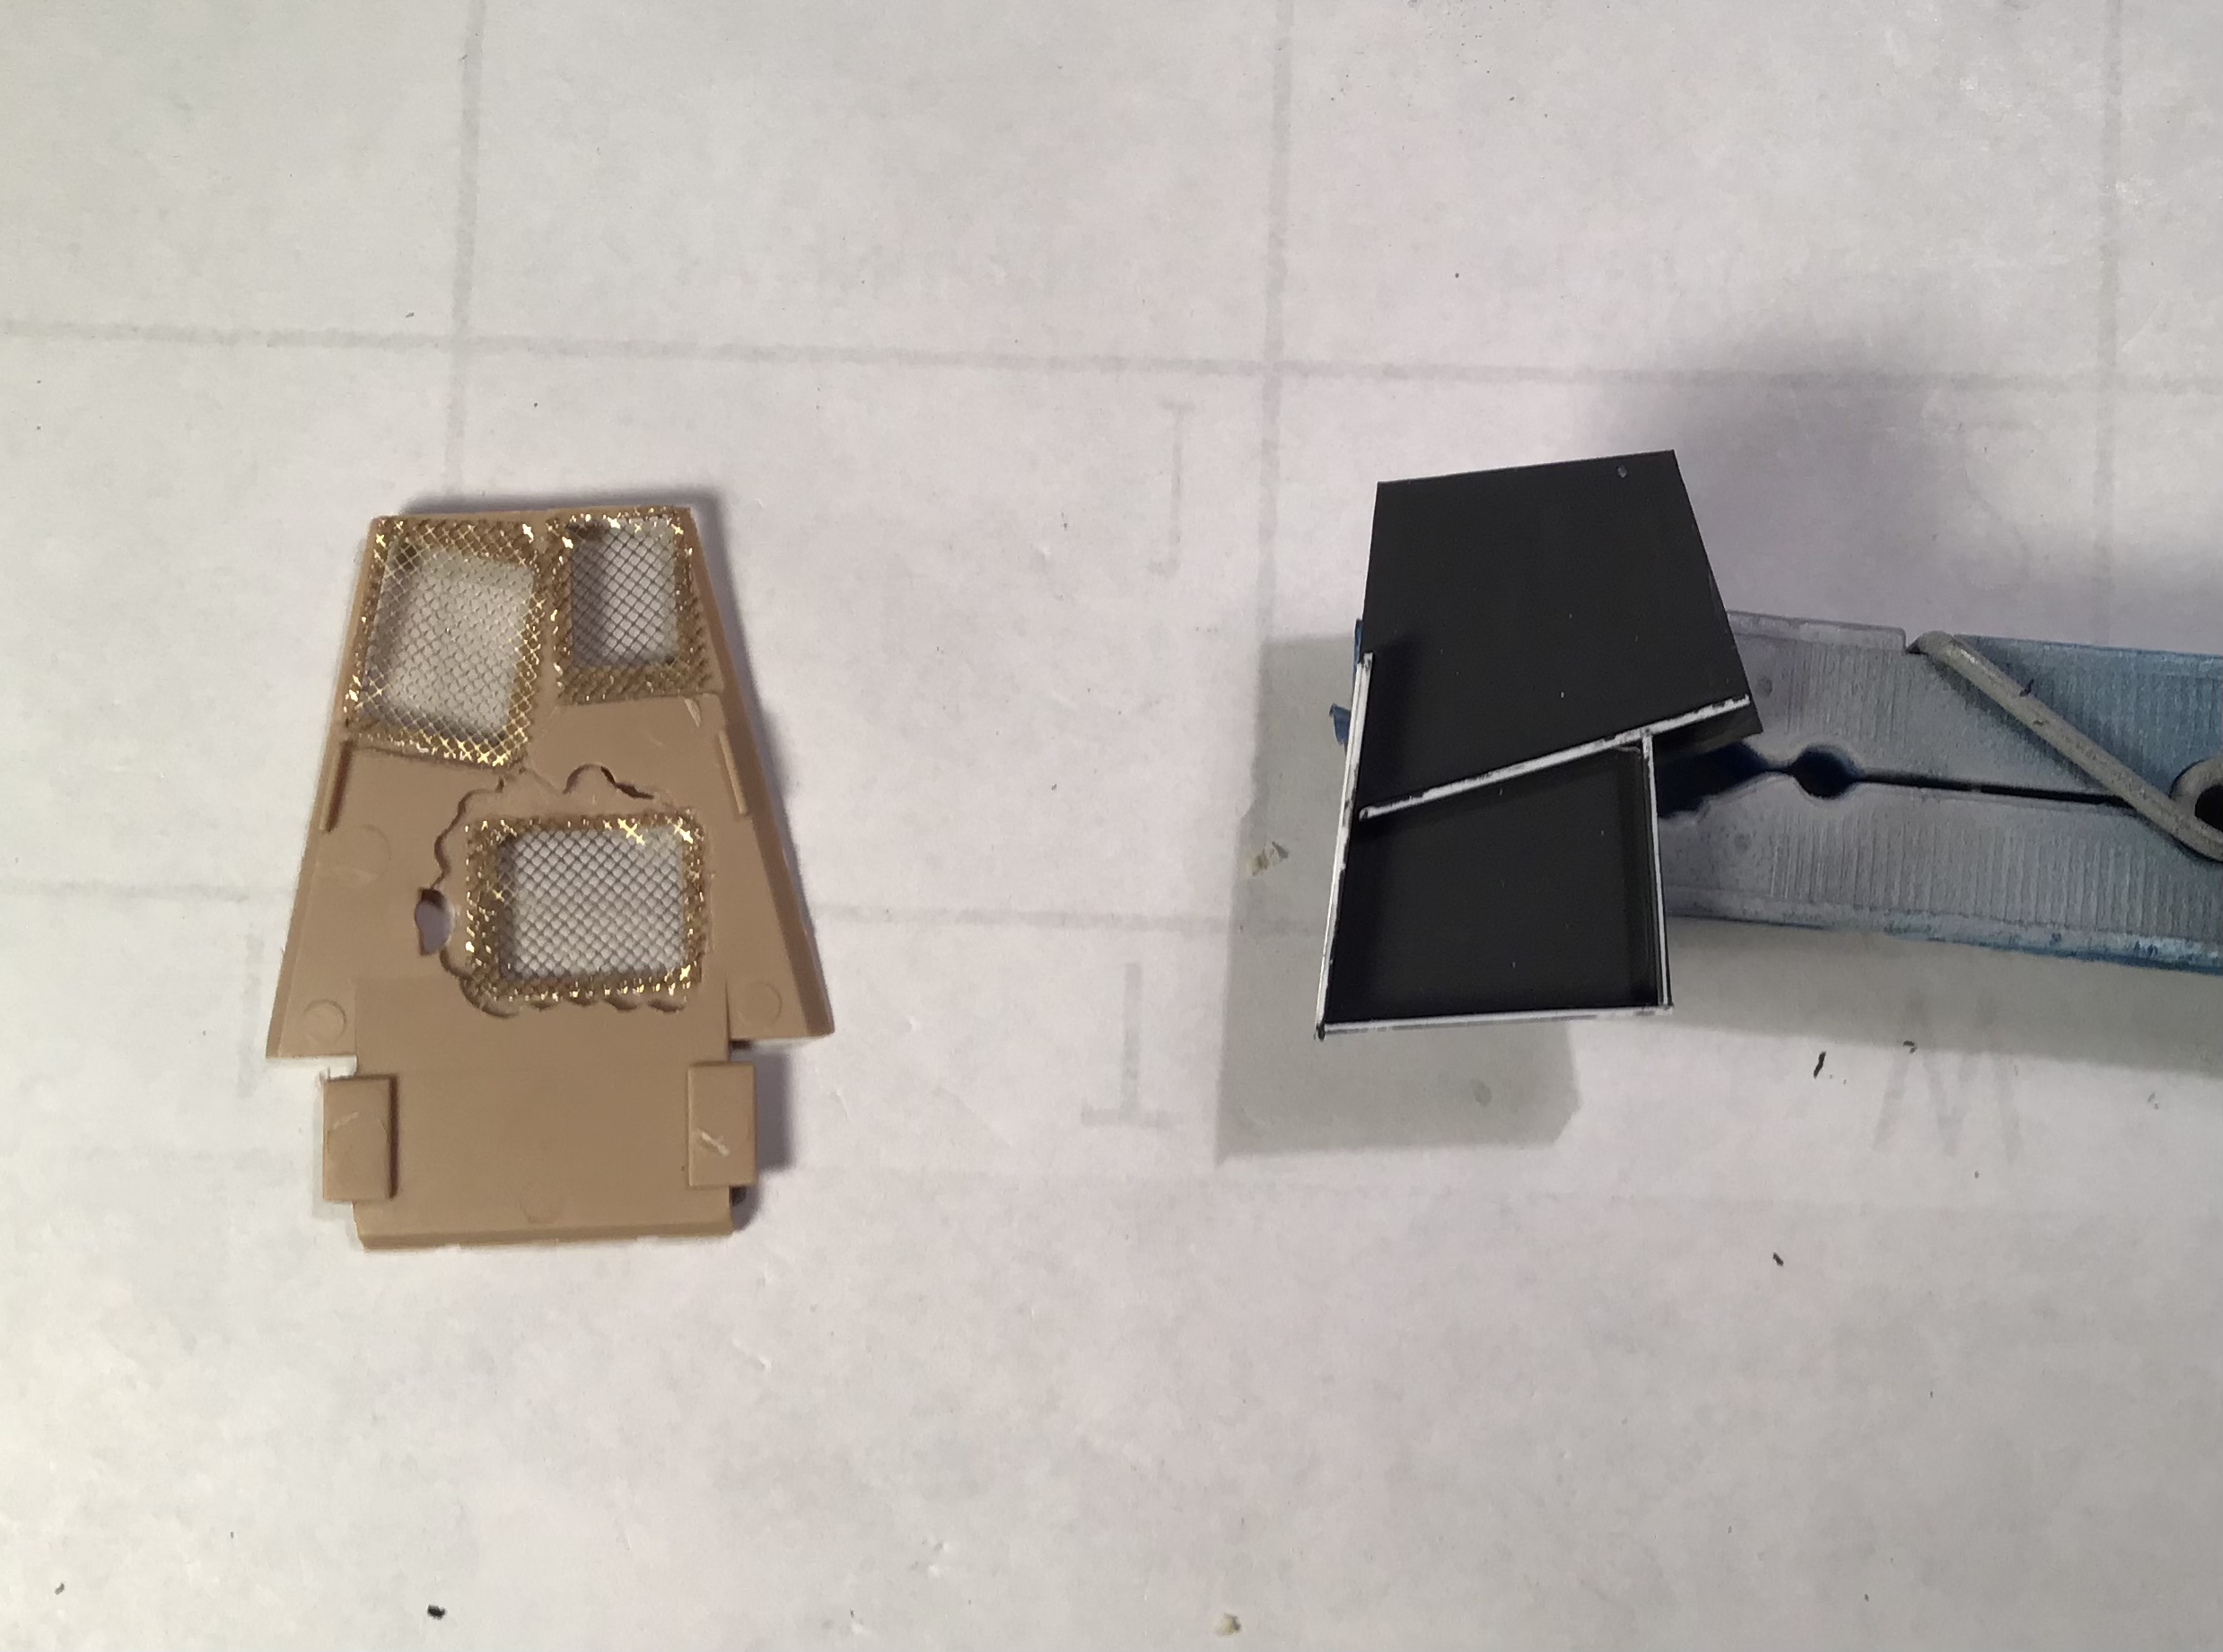
Exterior top view with box in place .
I am anxious to assemble all the hood components but I am afraid of damaging the fragile mesh while working on cab , etc . so I must be patient.
Tracks underway-
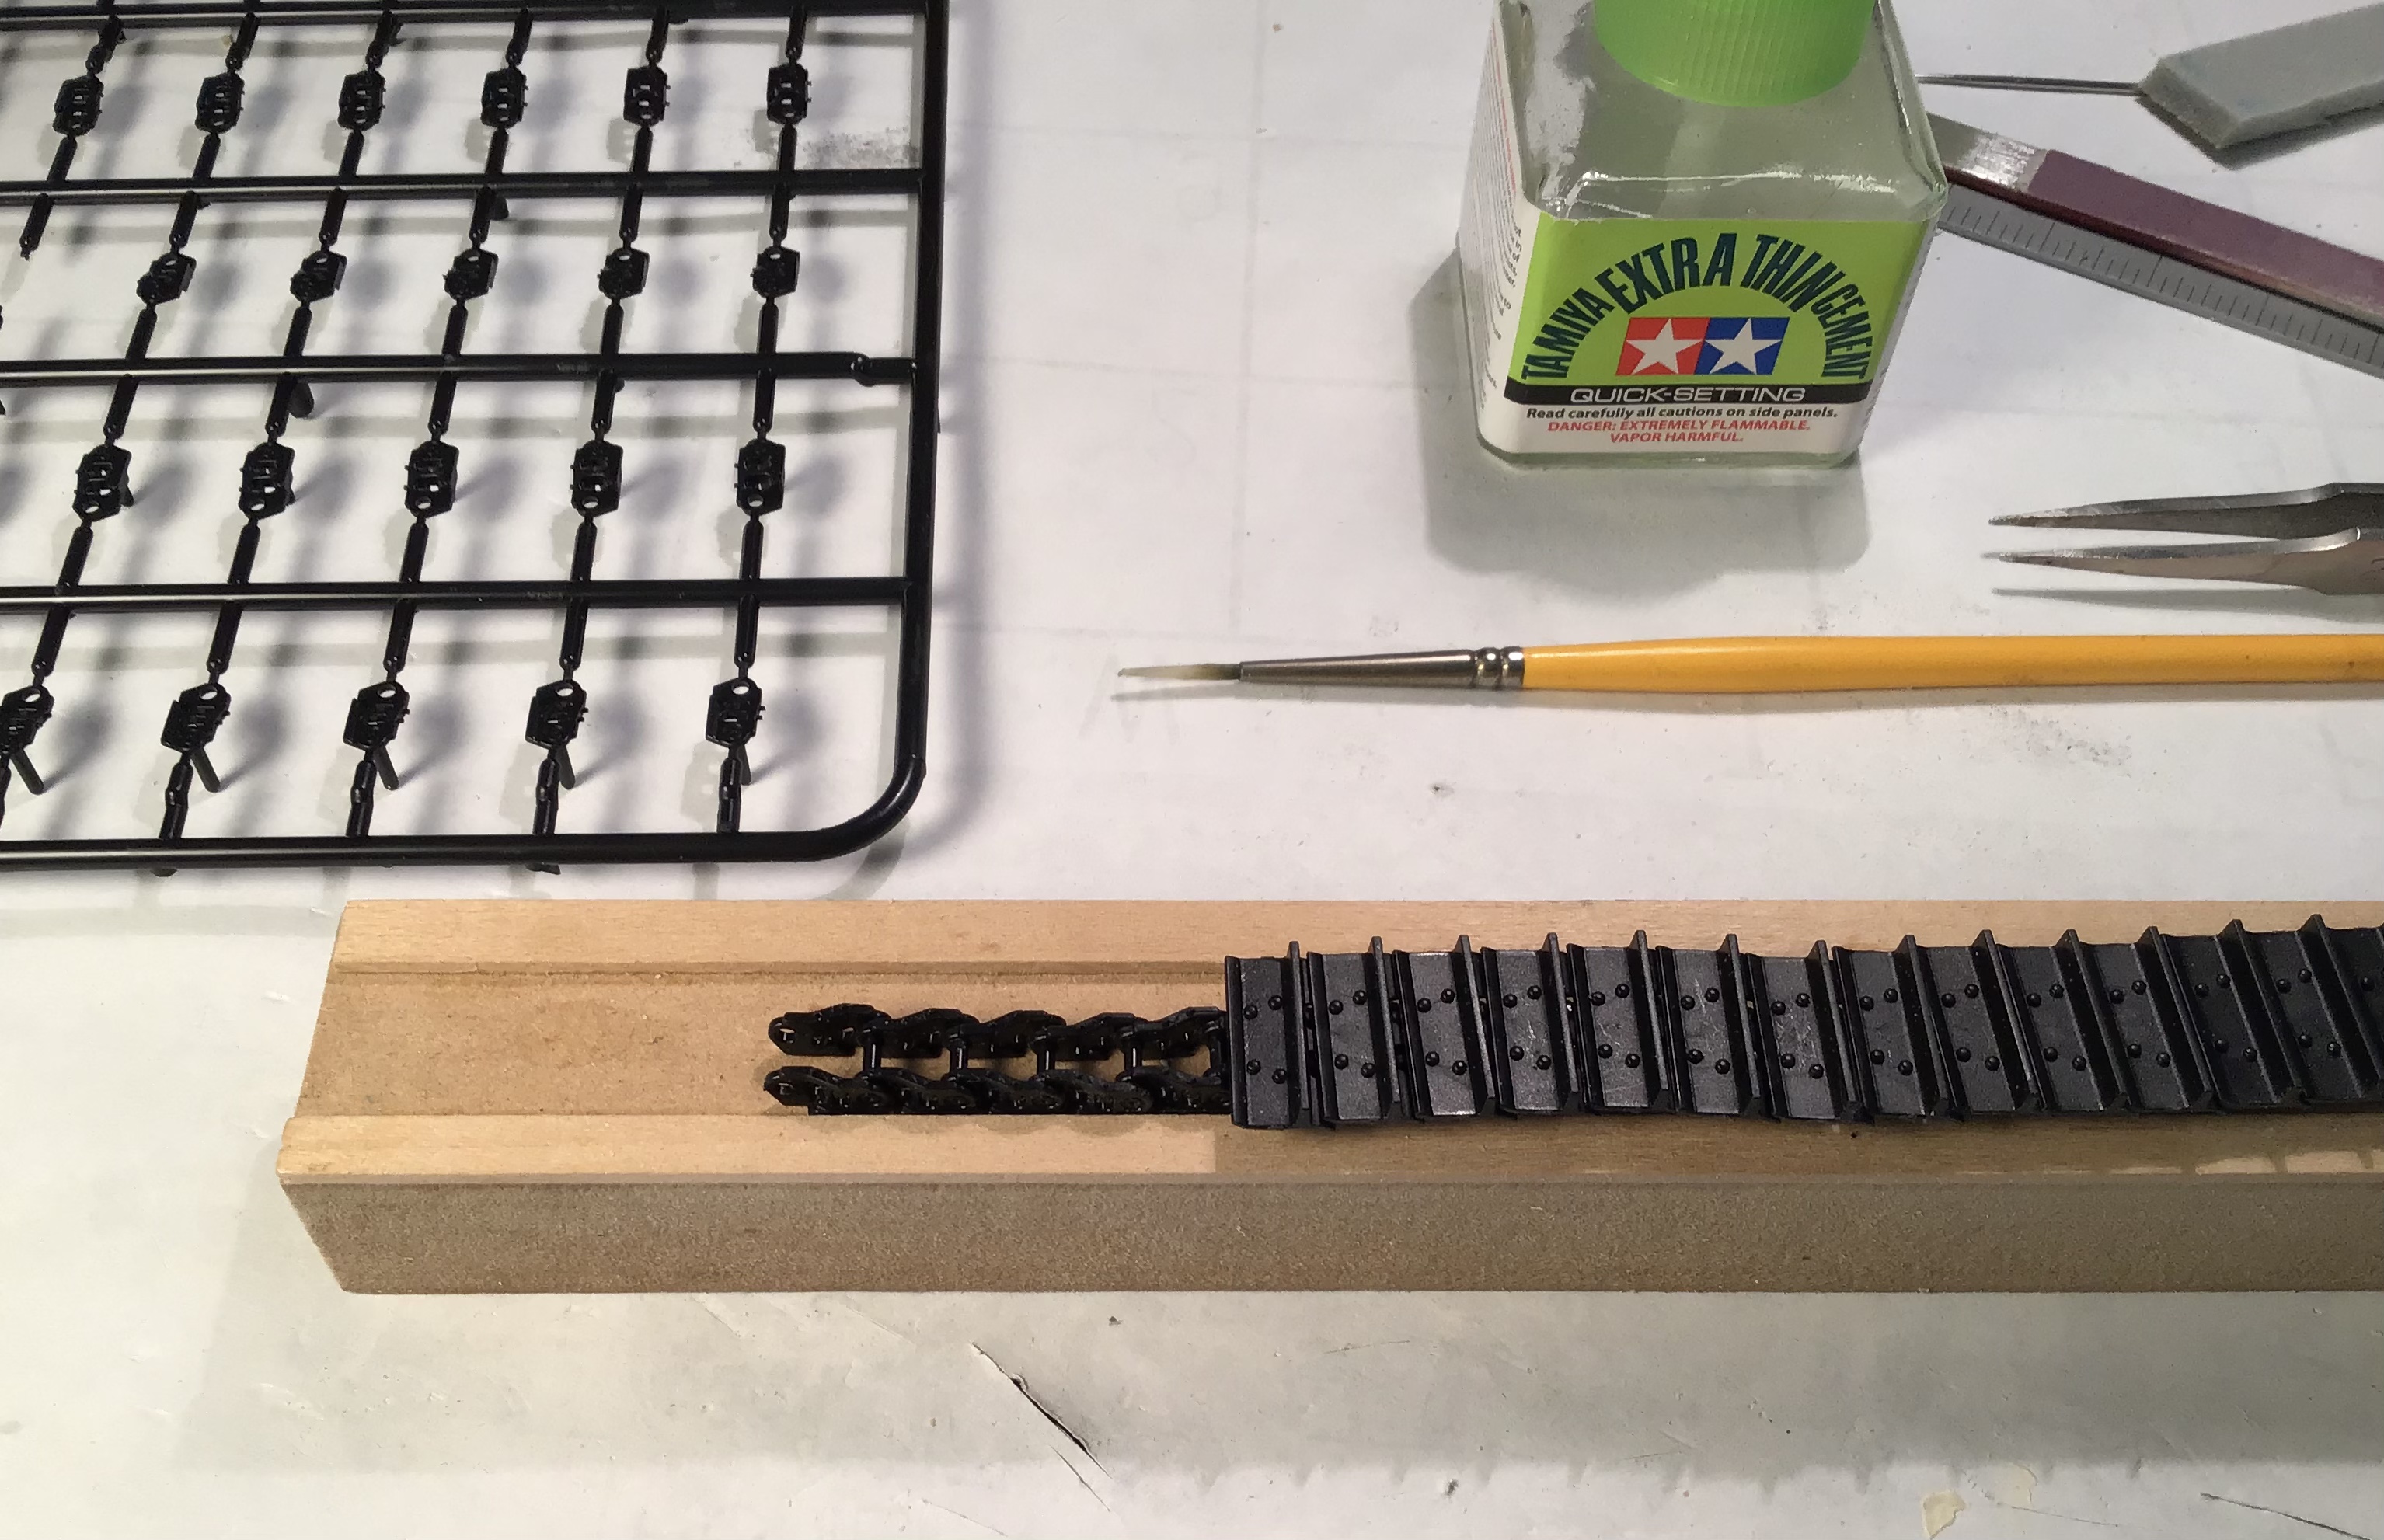
Found this touch up paint at Tractor Supply. I don’t know if it will be ok straight from the can or if I can decant it and use airbrush. I suspect it will be too heavy and /or too glossy but I can use it as a sample and try to mix my own from Tamiya acrylics .

More to come - thanks for looking.
Cheers- RT
3 Likes
Talking about Caterpillar Yellow, did you see that ?
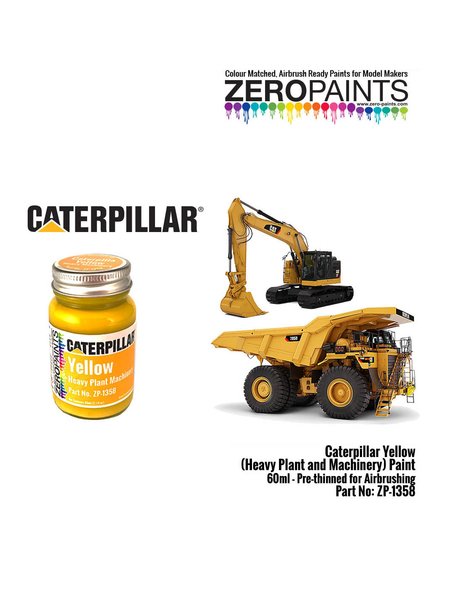
https://www.spotmodel.com/product_info.php?products_id=52561&language=en
H.P.
3 Likes
I have seen others paint kits straight from the can and get good results. I think it can be too much volume. You should have no problem decanting it.
2 Likes
I was not aware of this- I wonder if it is the original Cat yellow or the new which is darker / more brown-
looks to be the new yellow.
Merci beaucoup mon ami -
RT
1 Like
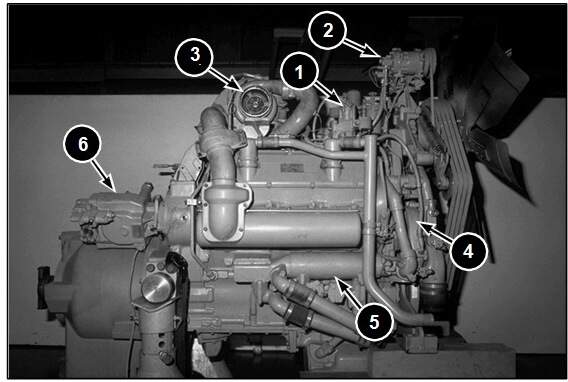
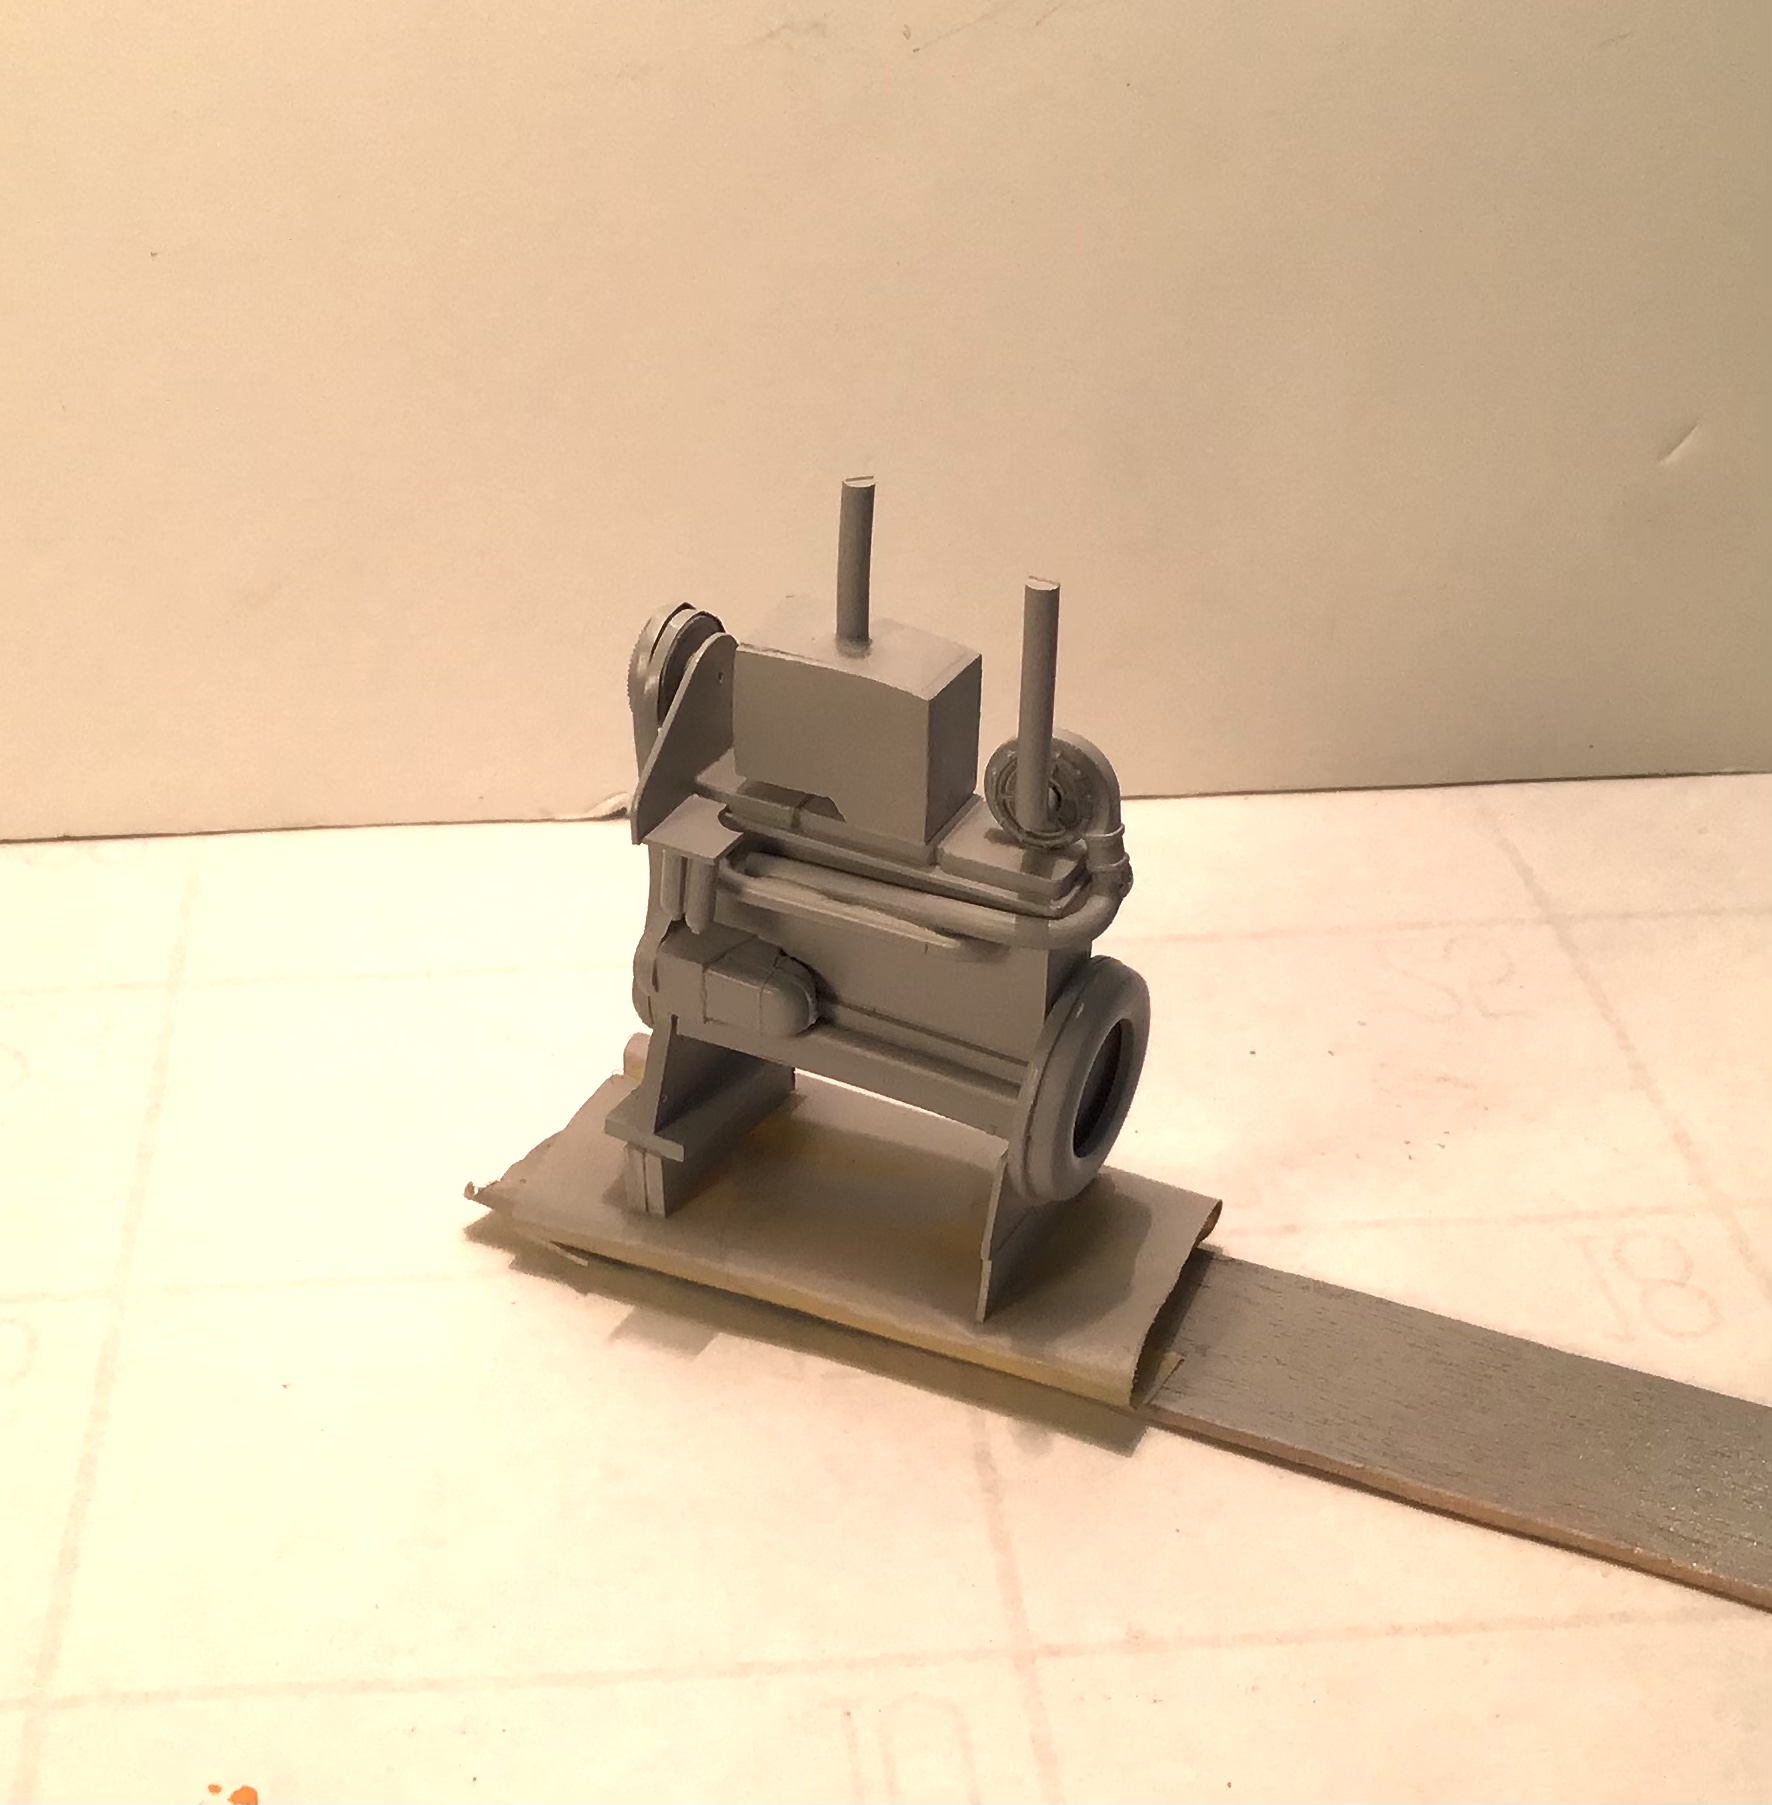
With the open grille up front and the the open mesh on both sides of the hood area the engine space under the hood can be seen somewhat. The engine actually sits very low - the rocker covers are about even with the bottom of the side openings. However the space above the engine is occupied by
air filters , exhaust piping and turbocharger & more .
I didn’t want this space to appear empty so I’ve begun to create generalized representations of the under hood stuff - creative gizmology as Shep Paine called it . Here is the engine - a styrene box on top of a section of Bf 109 cowl for cylinder block and crankcase. More styrene for rocker covers & manifolds. Fw 190 hubs for crankshaft and fan pulleys. Fan made up of photo etch borders. Fan belts from wine bottle foil . Hellcat tire half for bell housing. Eduard spares mostly. Sprue nubs for oil filters.
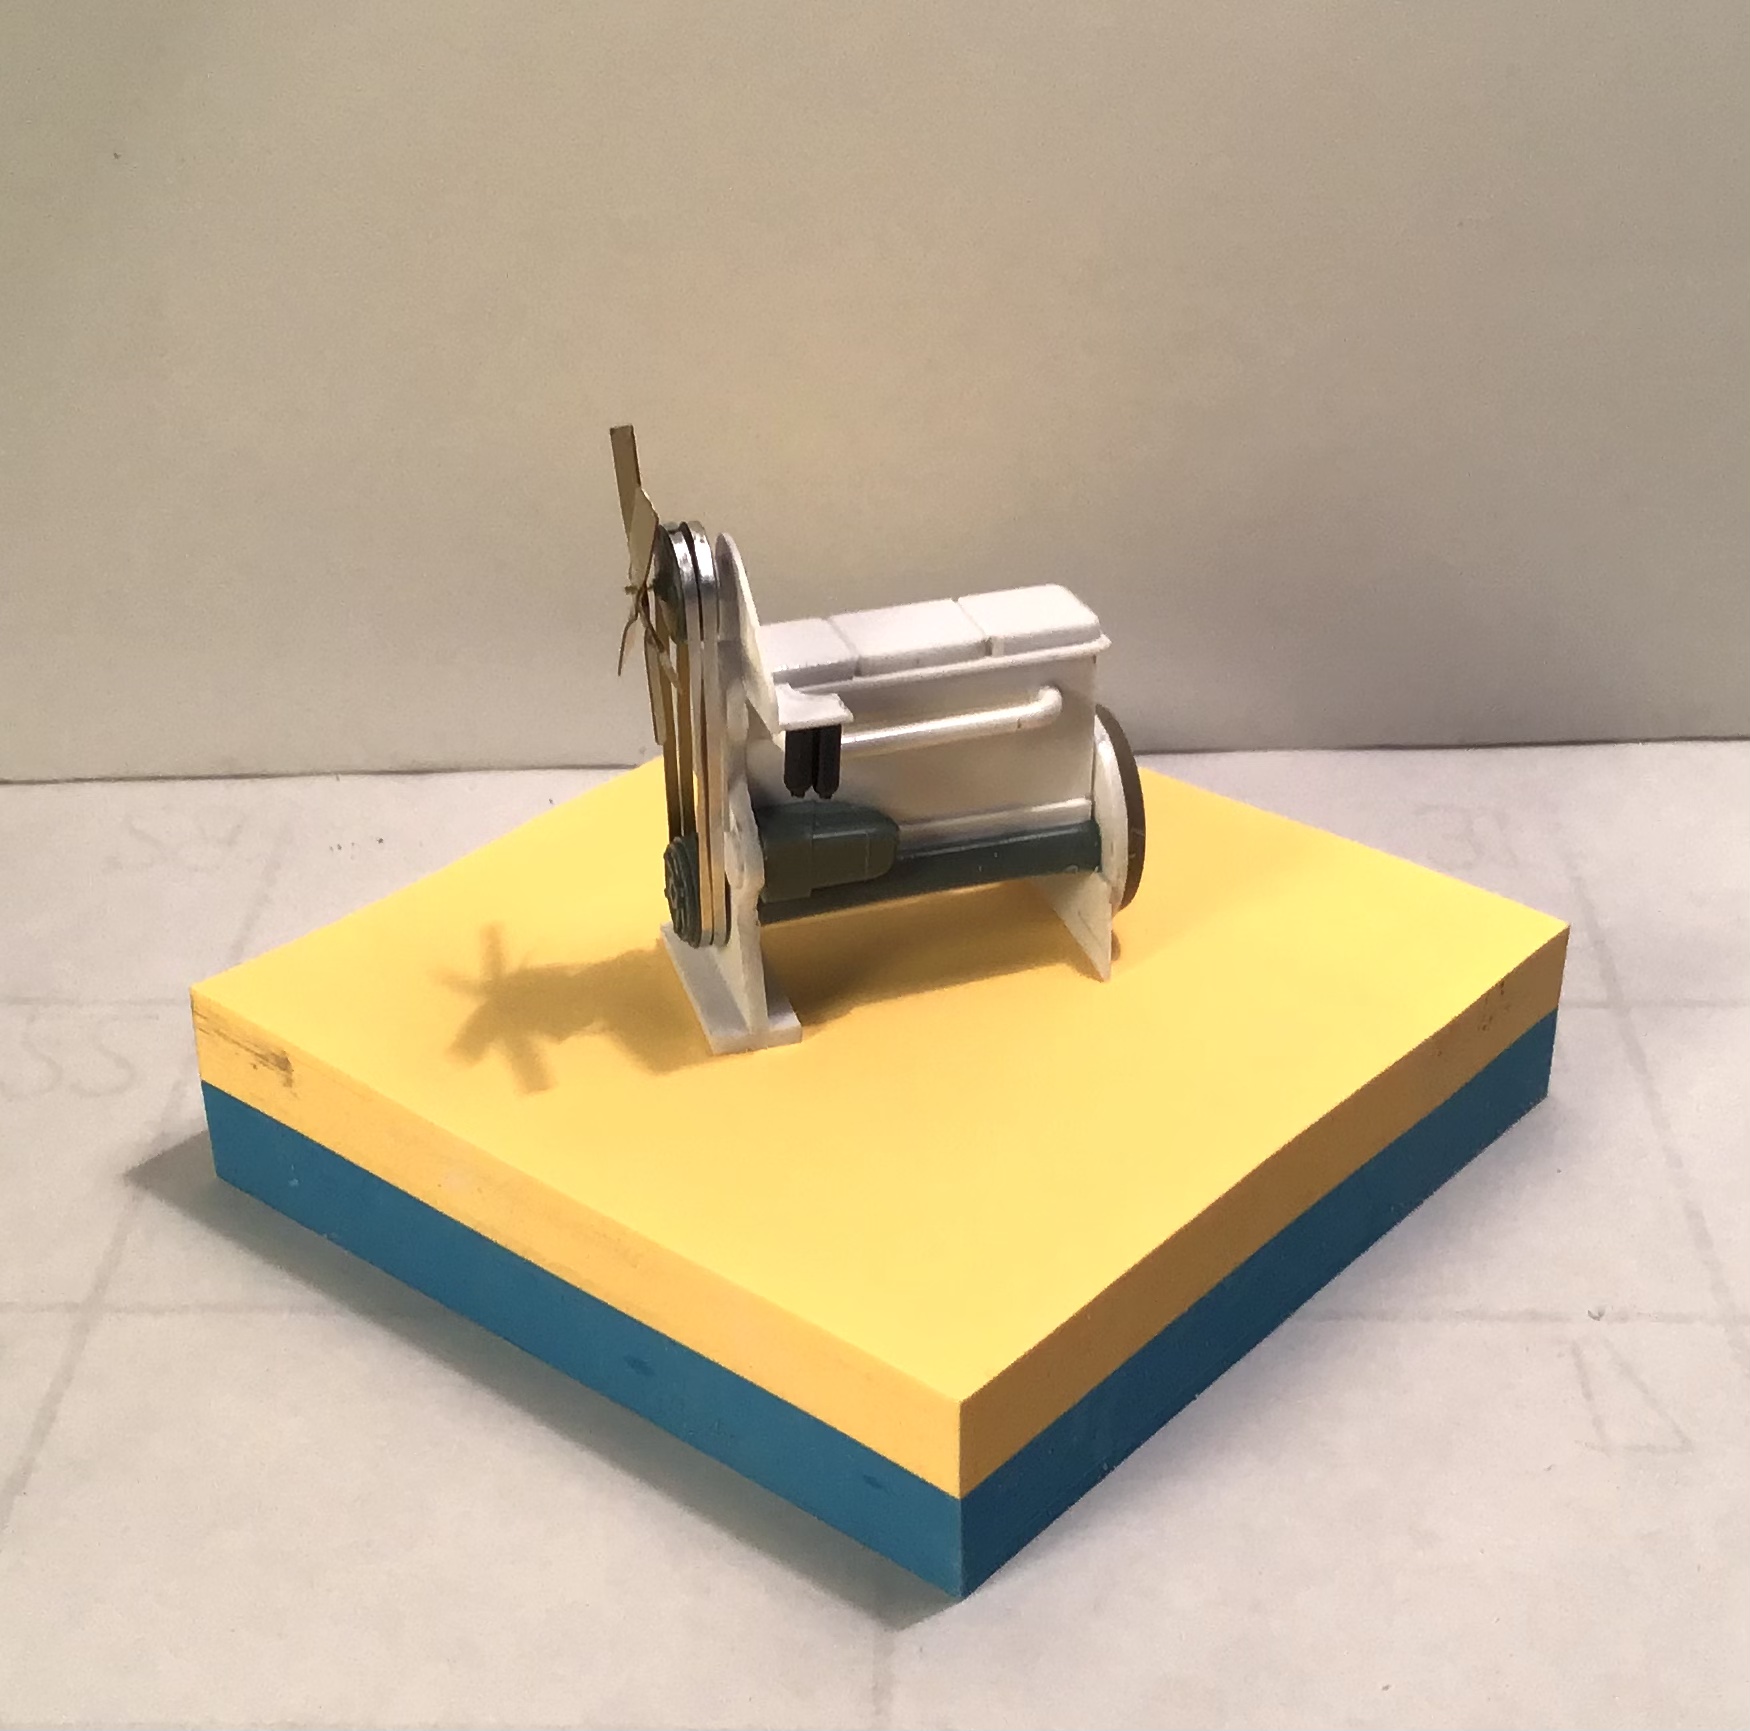

This much needs to be installed in chassis before adding the bits that occupy the space above.
2 Likes


Thanks- very helpful indeed!
1 Like
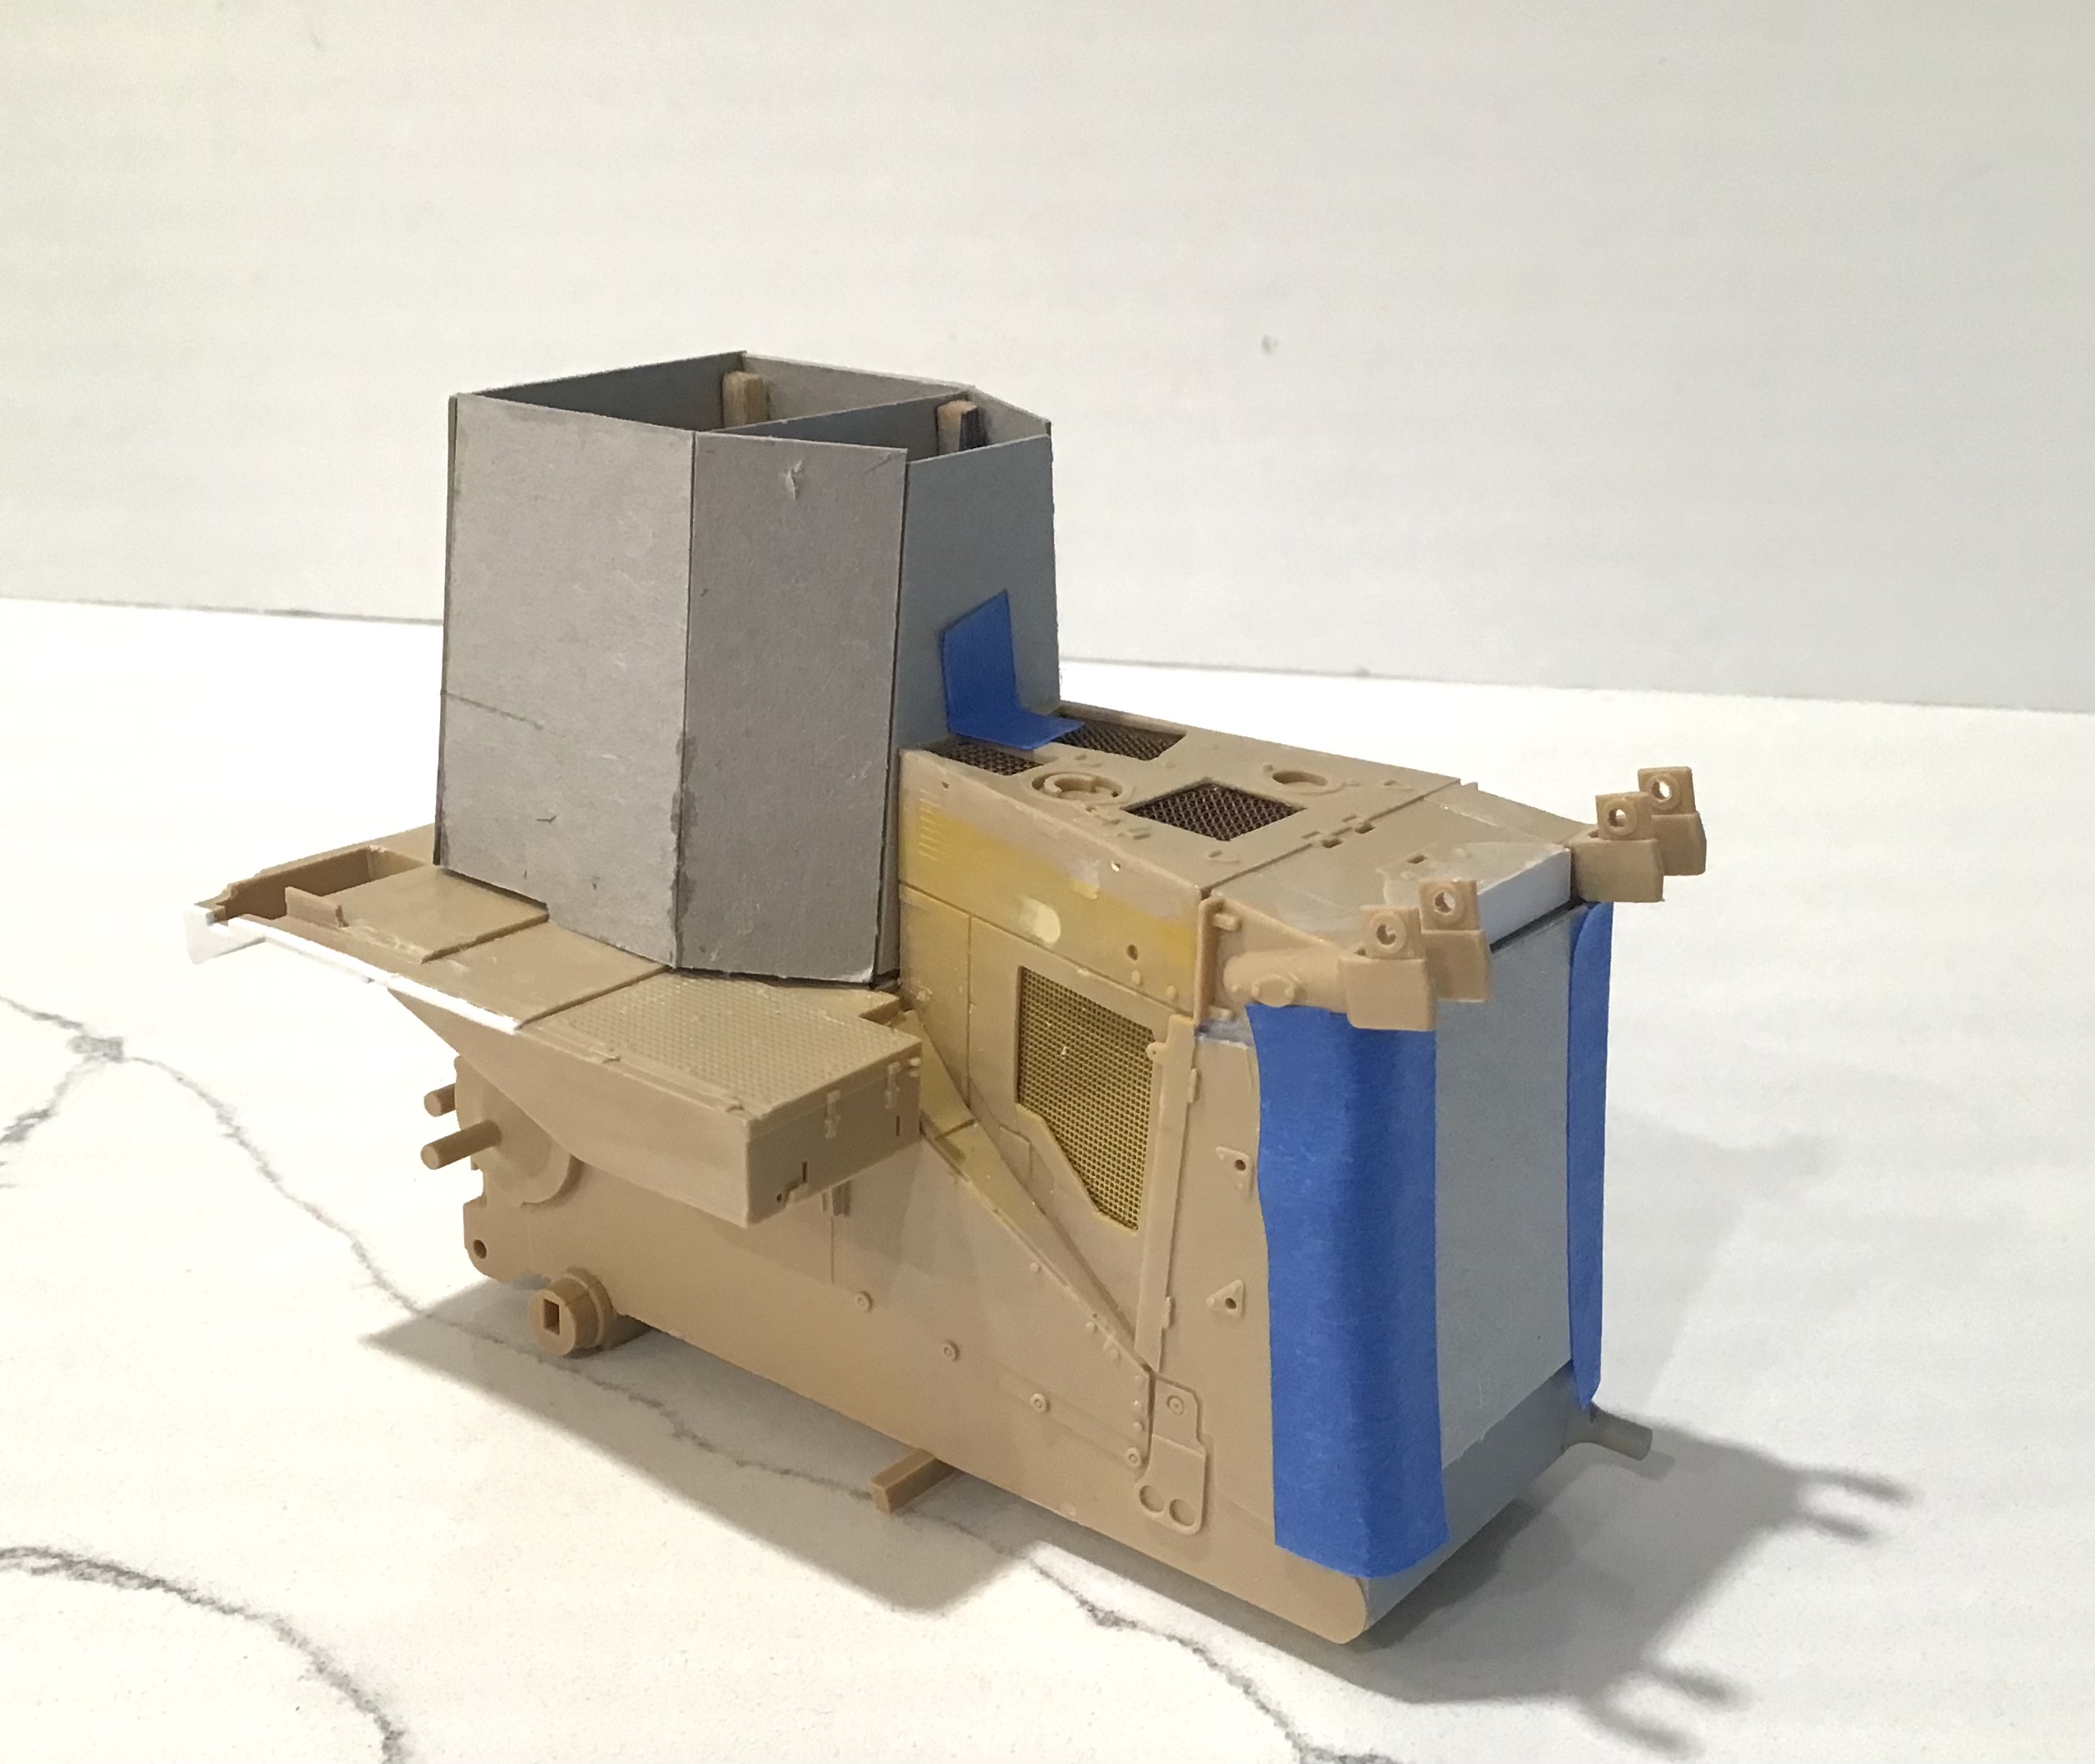
Representation of radiator made up with two pieces of 4x4 mesh epoxied together with mesh staggered to creat smaller openings and airbrushed NATO black .

Interior of engine compartment primed and painted Cat yellow. I initially used the Cat touch up paint decanted and sprayed with the airbrush but I was unhappy with the results. Using it as a sample I mixed my own with Tamiya acrylics . Flat yellow , flat red and a touch of flat dark yellow - got it very close I think .
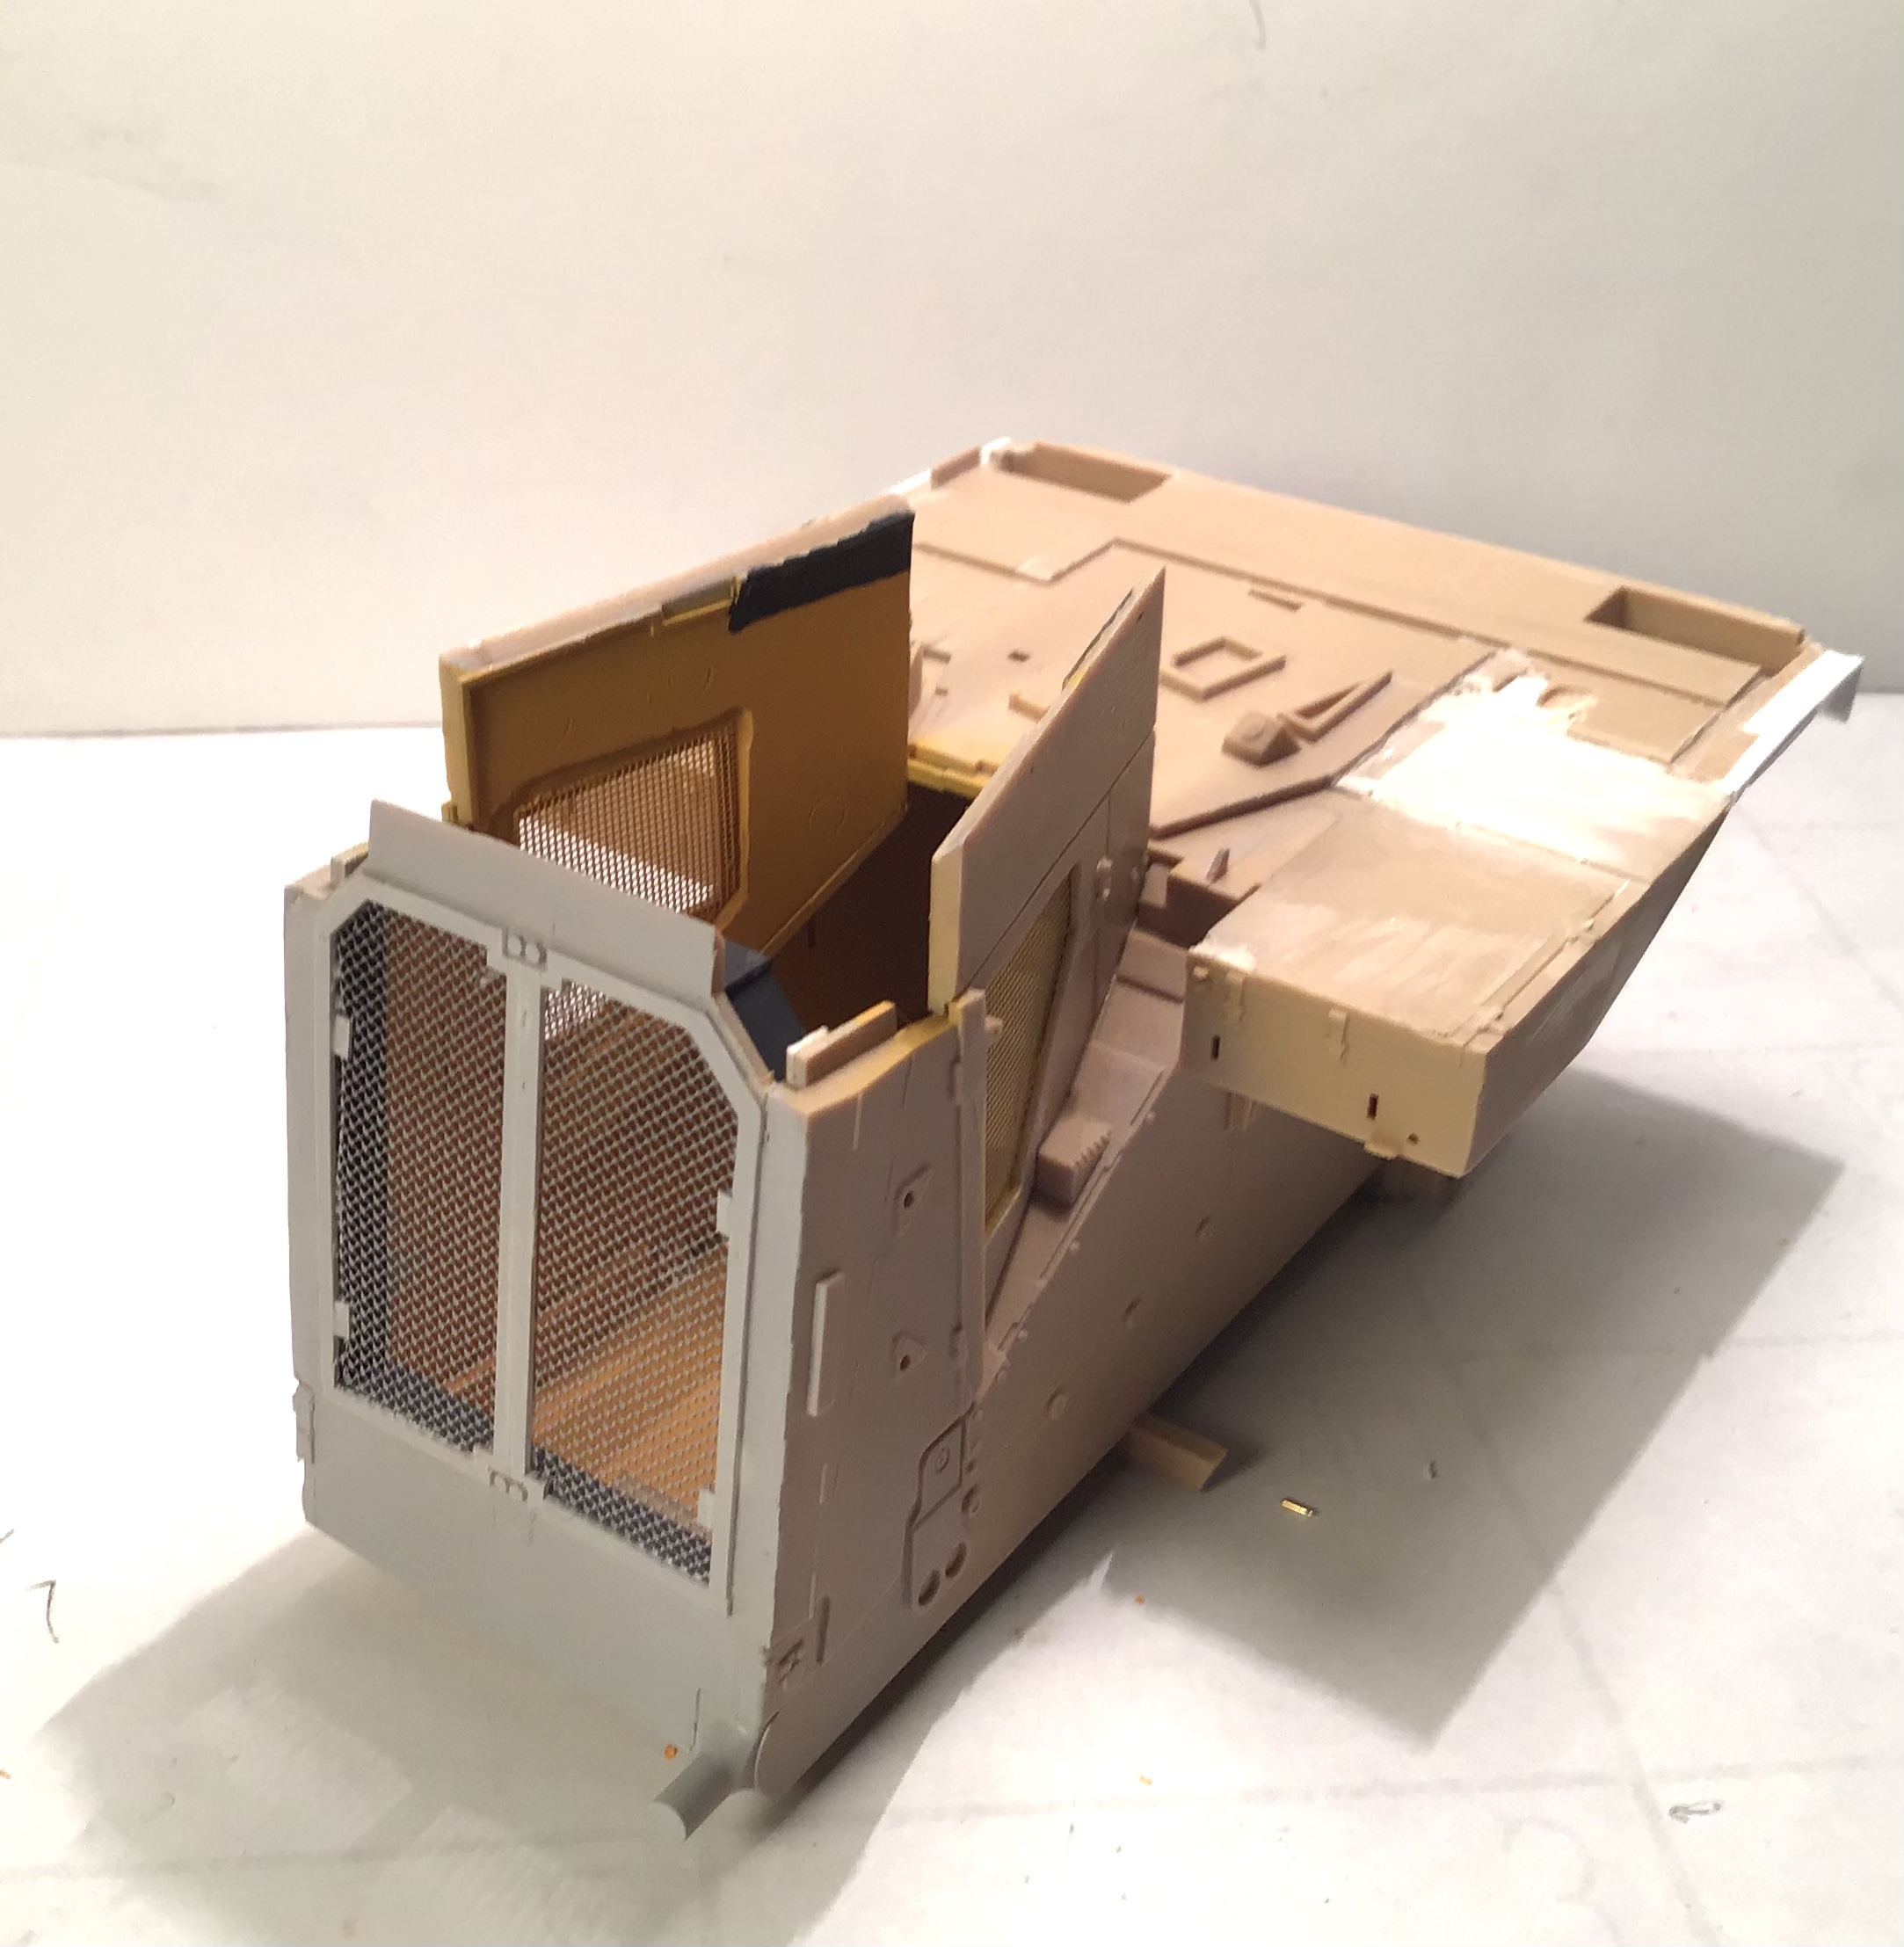
Radiator mesh added-
Generalized air box and turbocharger added to engine.
After primer dries this will be shot with Cat yellow and installed, after which the hood can be buttoned up . After that work on the cab can begin.
2 Likes
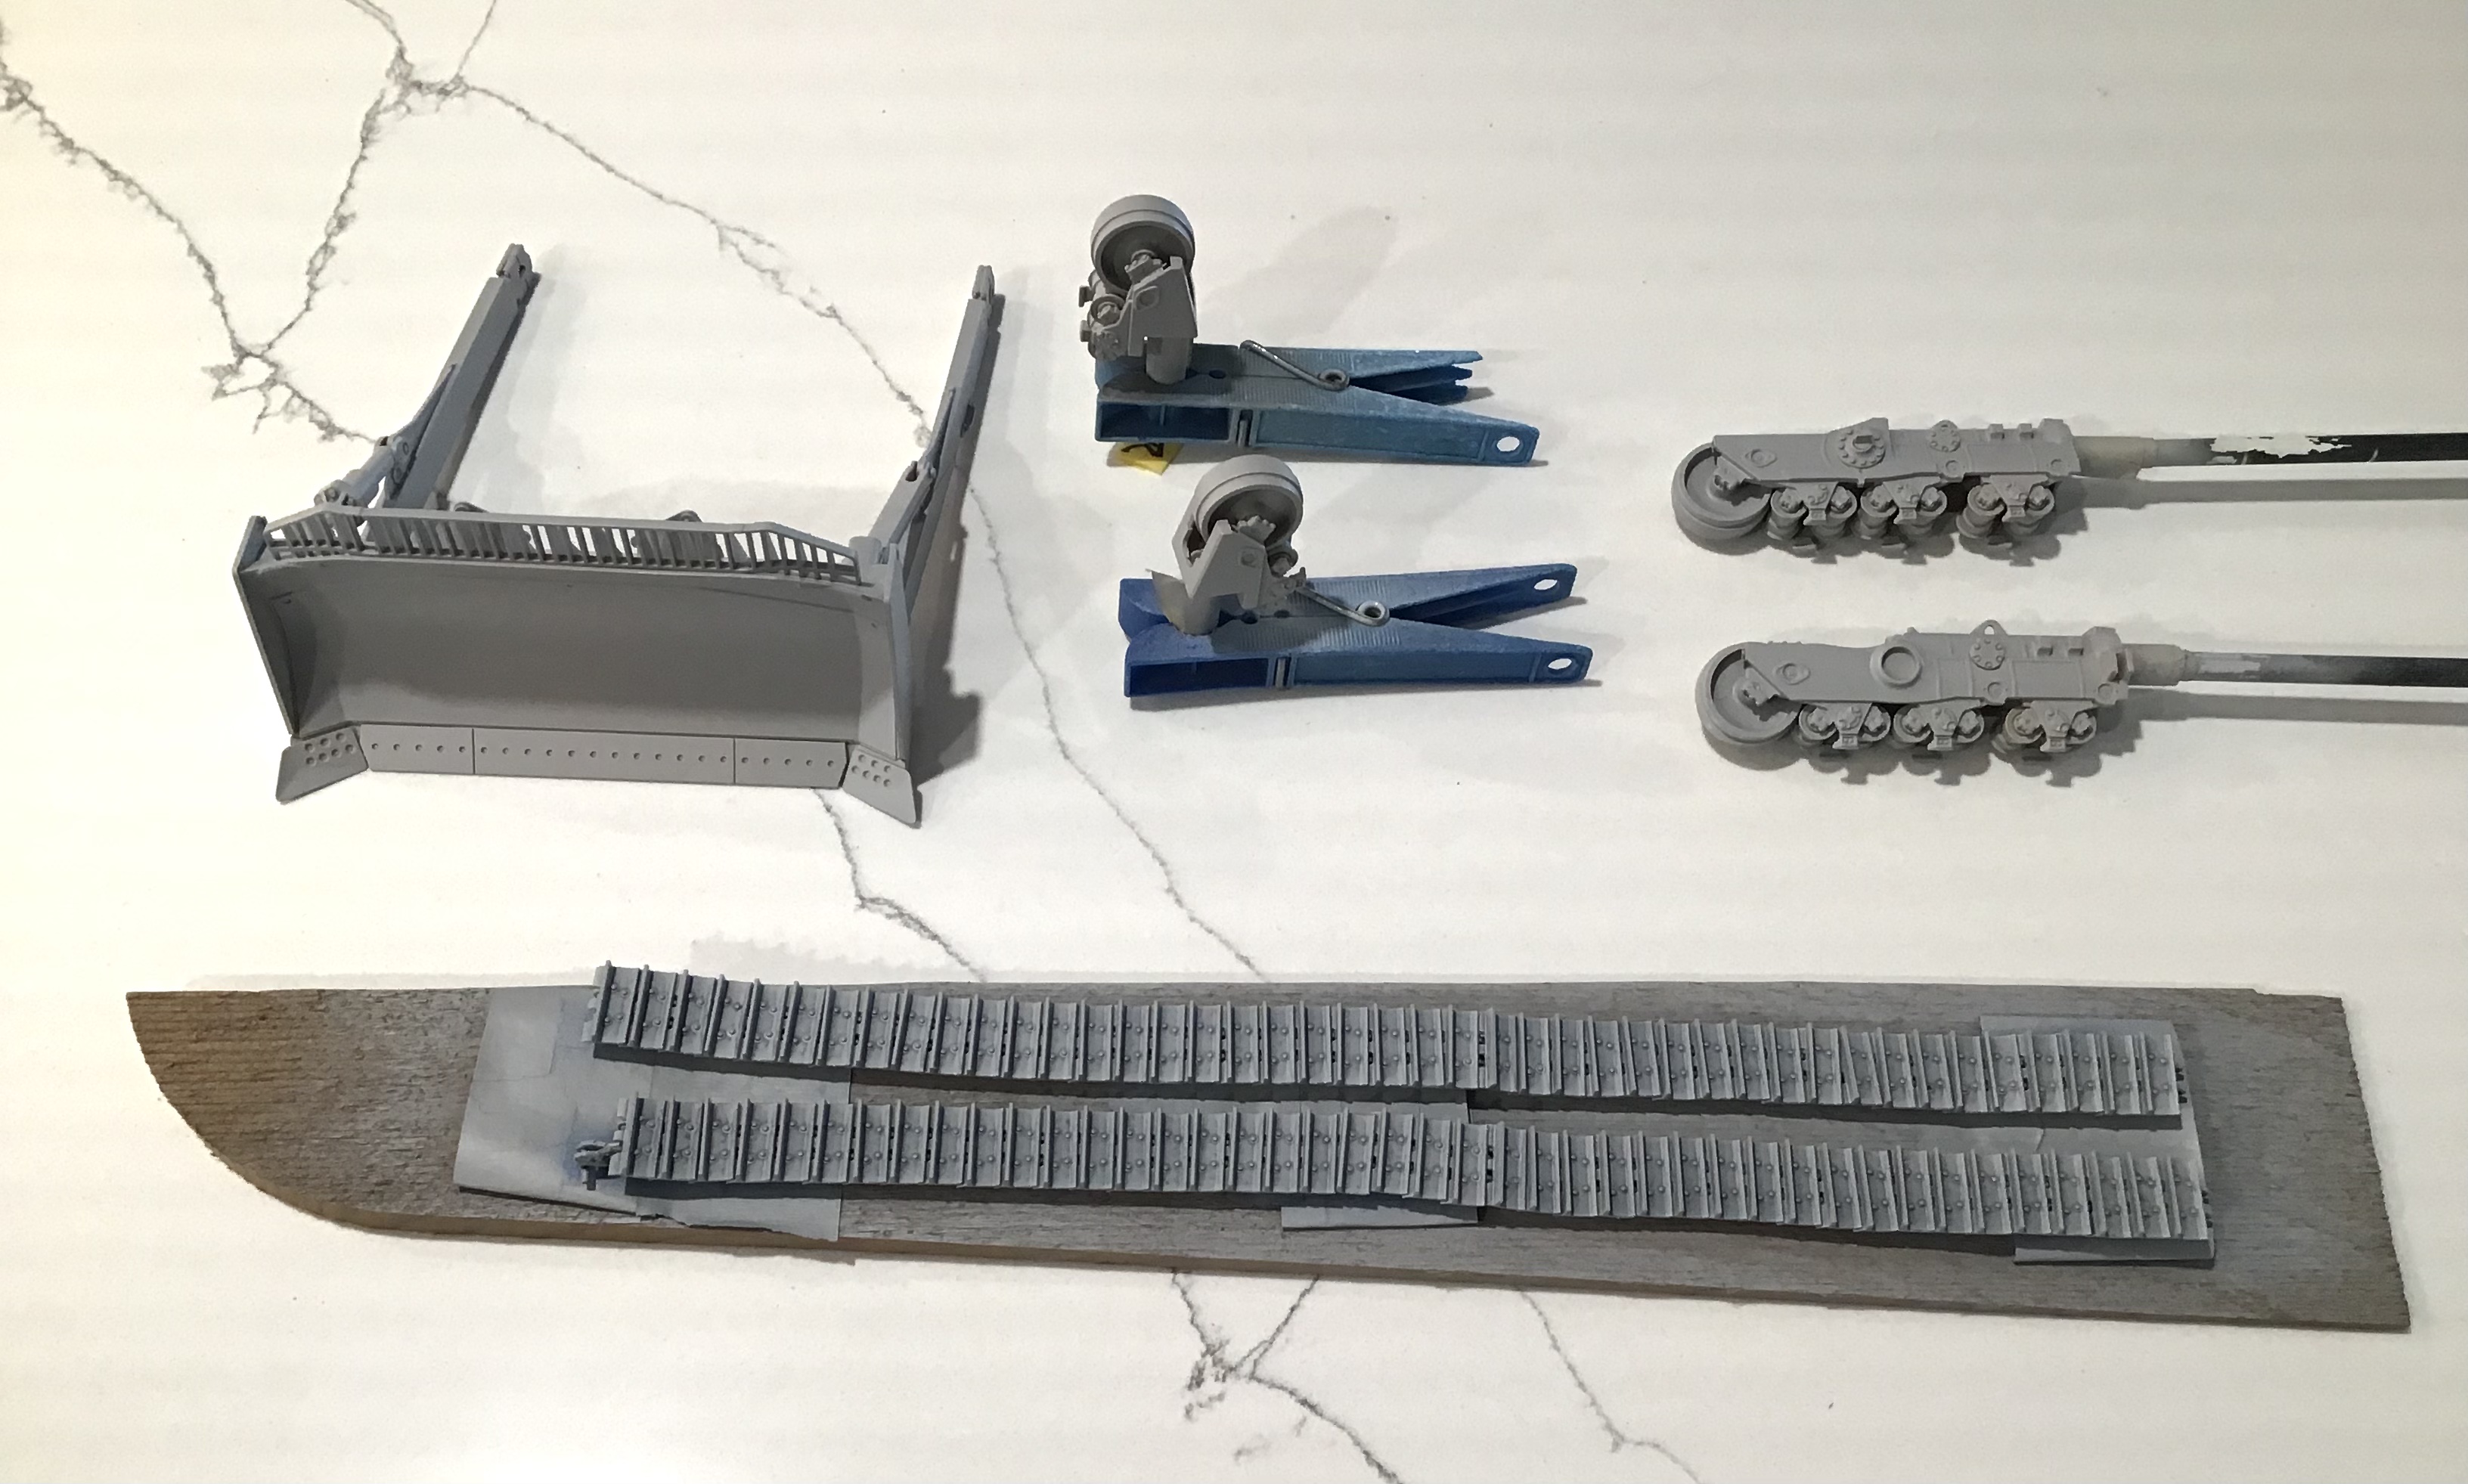
Tracks , undercarriage and dozer blade in
primer …
Cab mocked up in cardboard. I found images on a Caterpillar website that were good side and rear views taken squarely. Using a dimension between two points on the model I was able to expand the image on my iPad to match , then measure cab dimensions from the expanded image.
Cab will be done in styrene of course.
3 Likes