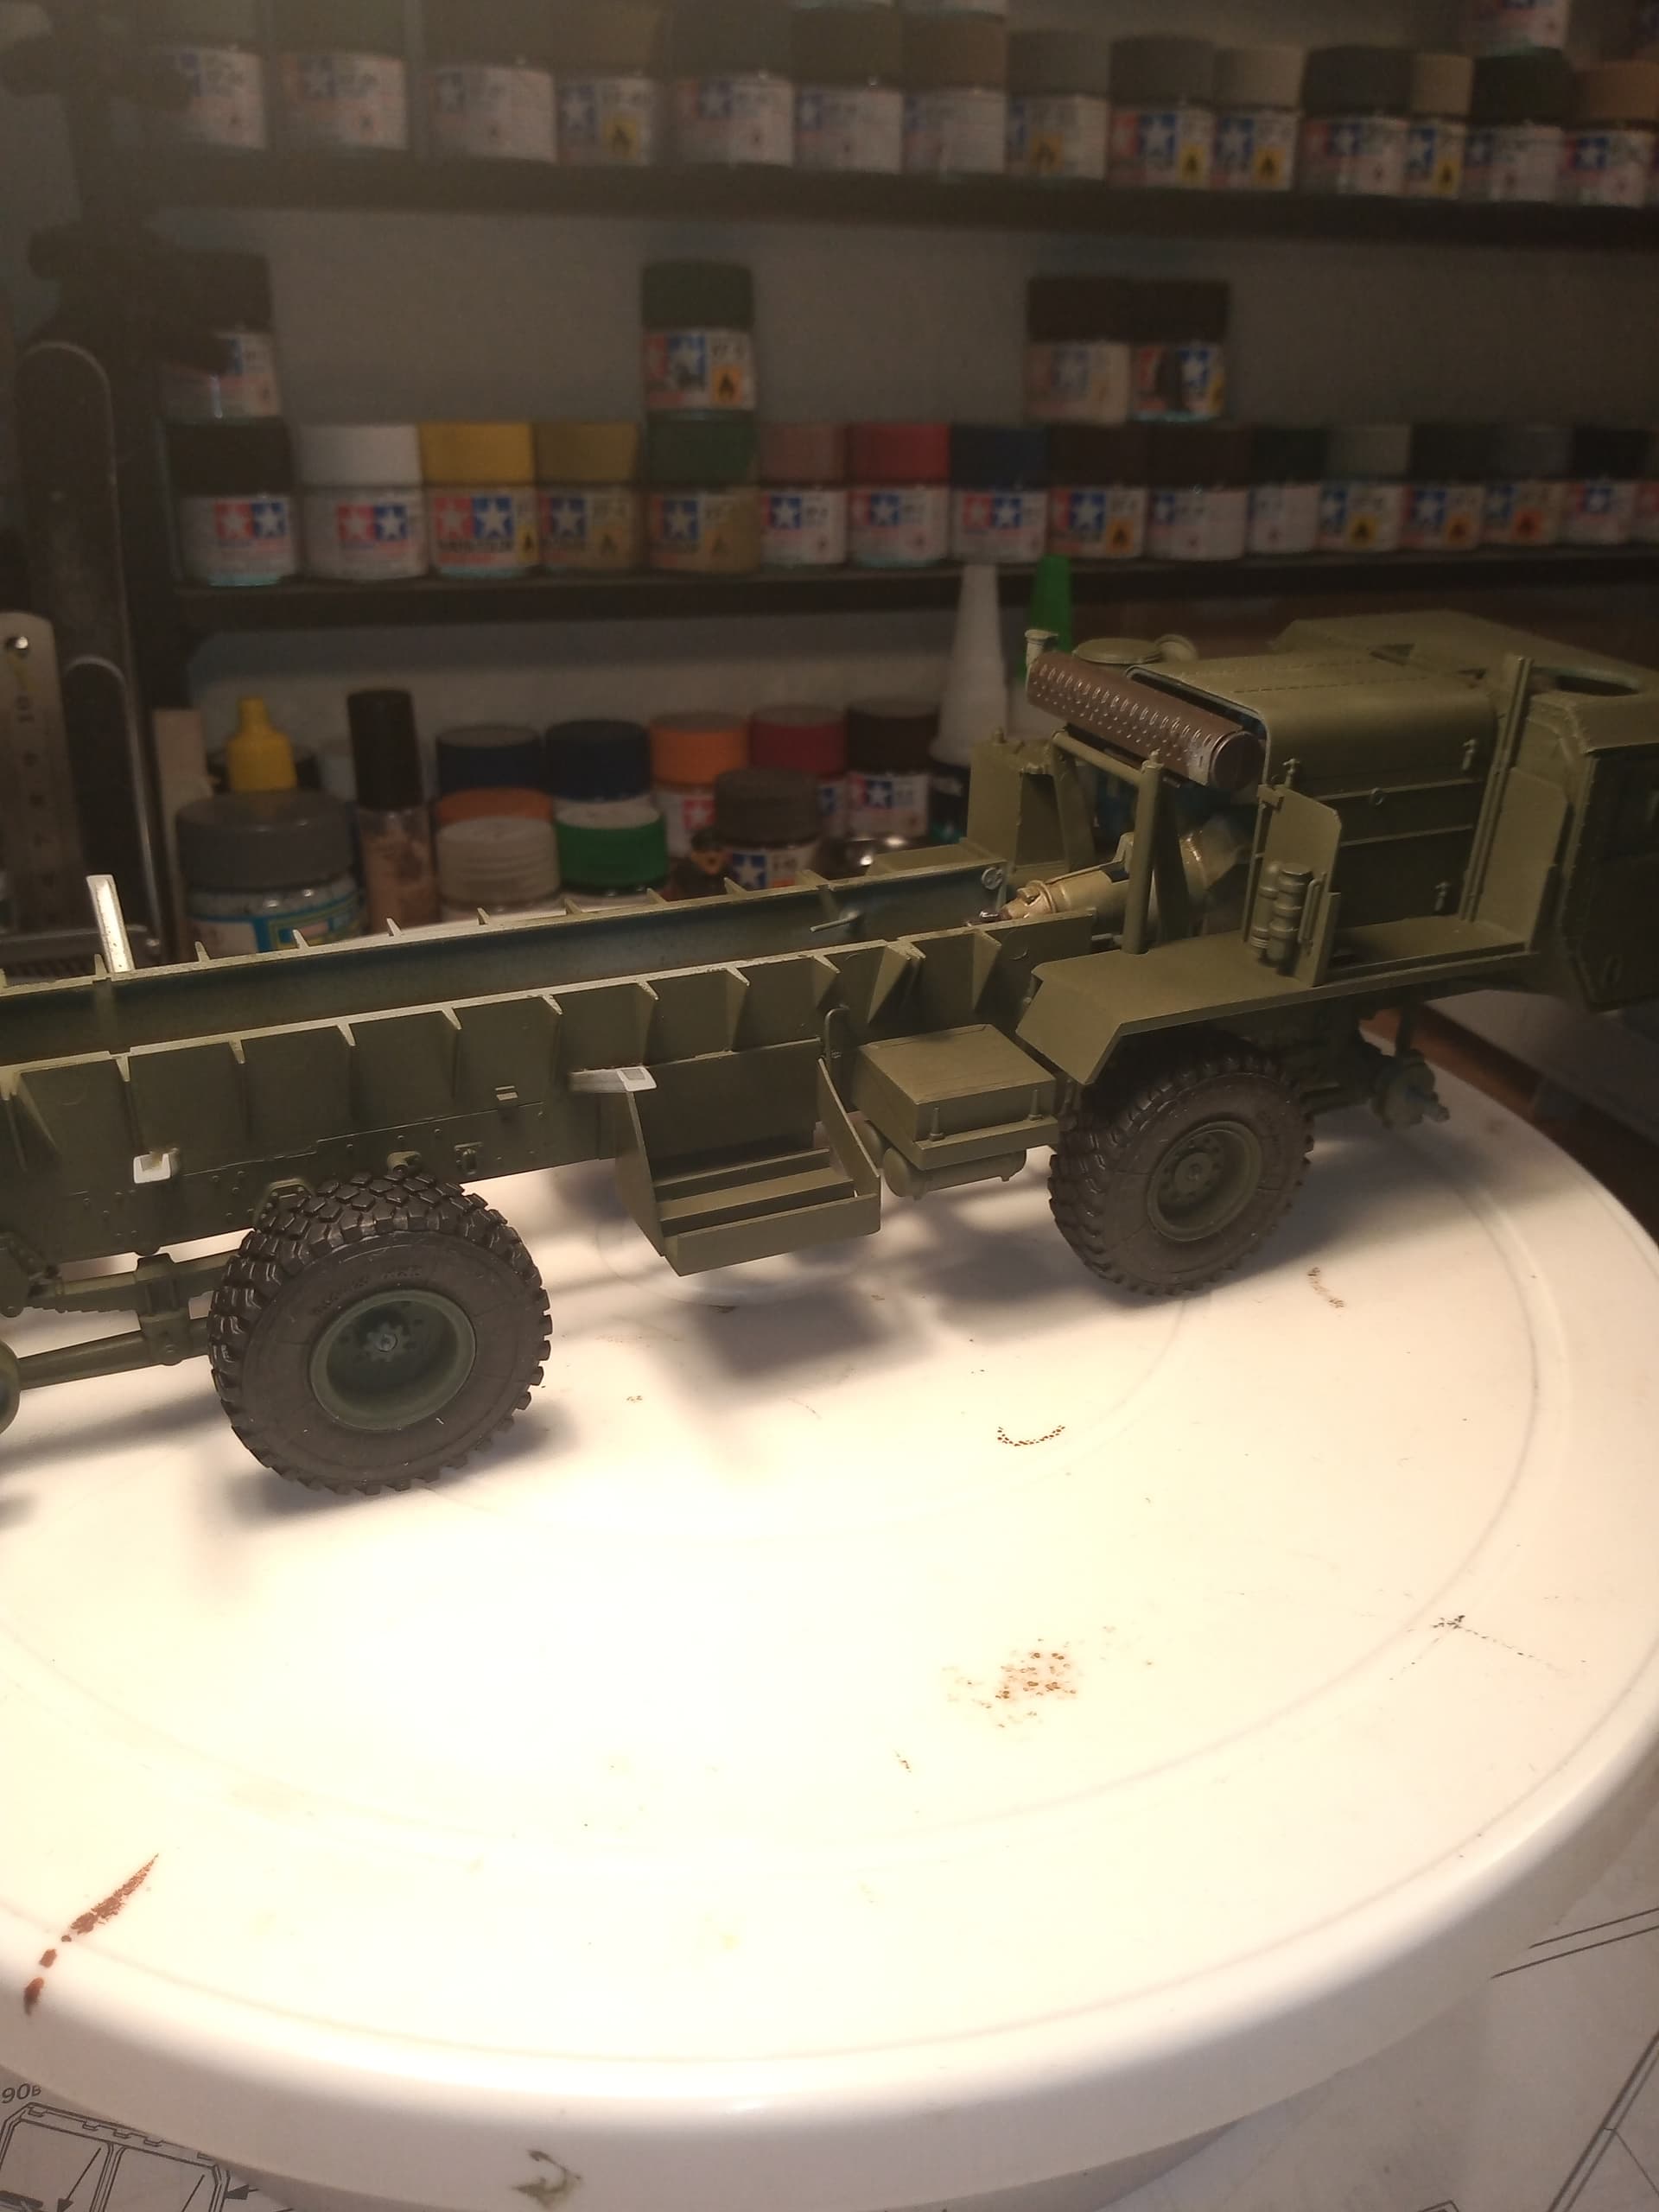
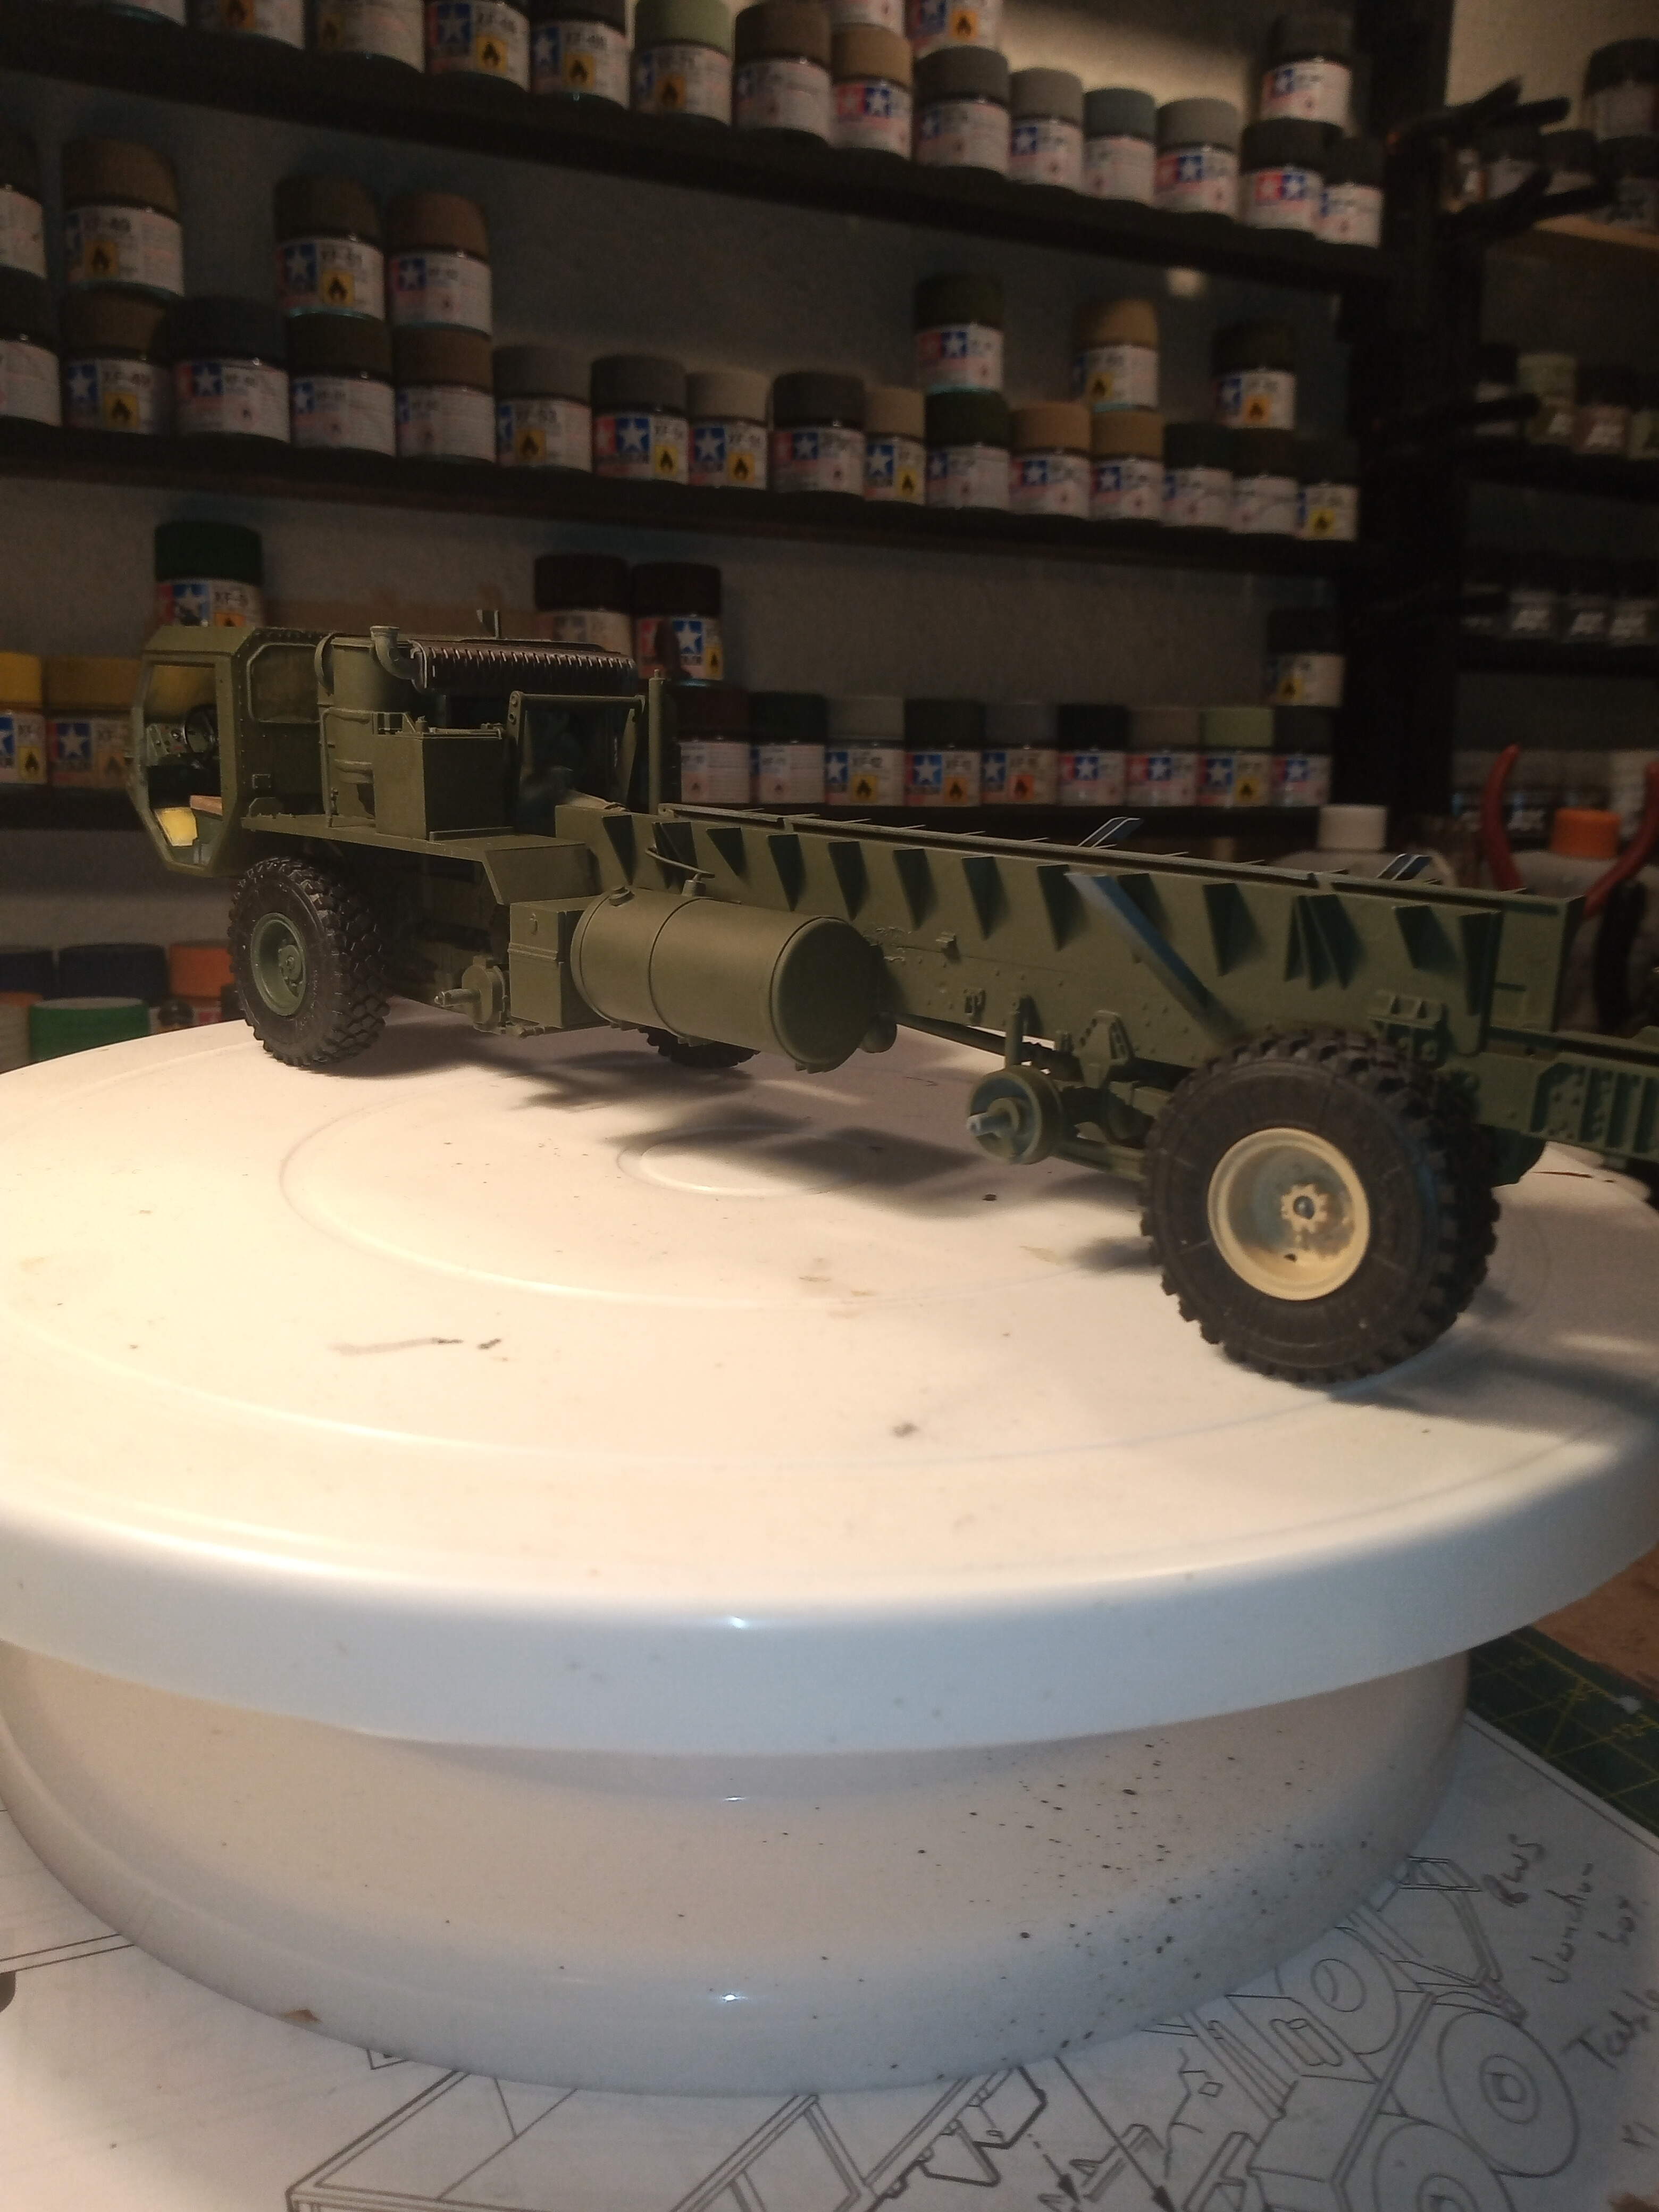
Moving forward…dry fit of the wheels…
All hit the deck and everything is level…result.
Cab is now on and all chassis is primed.
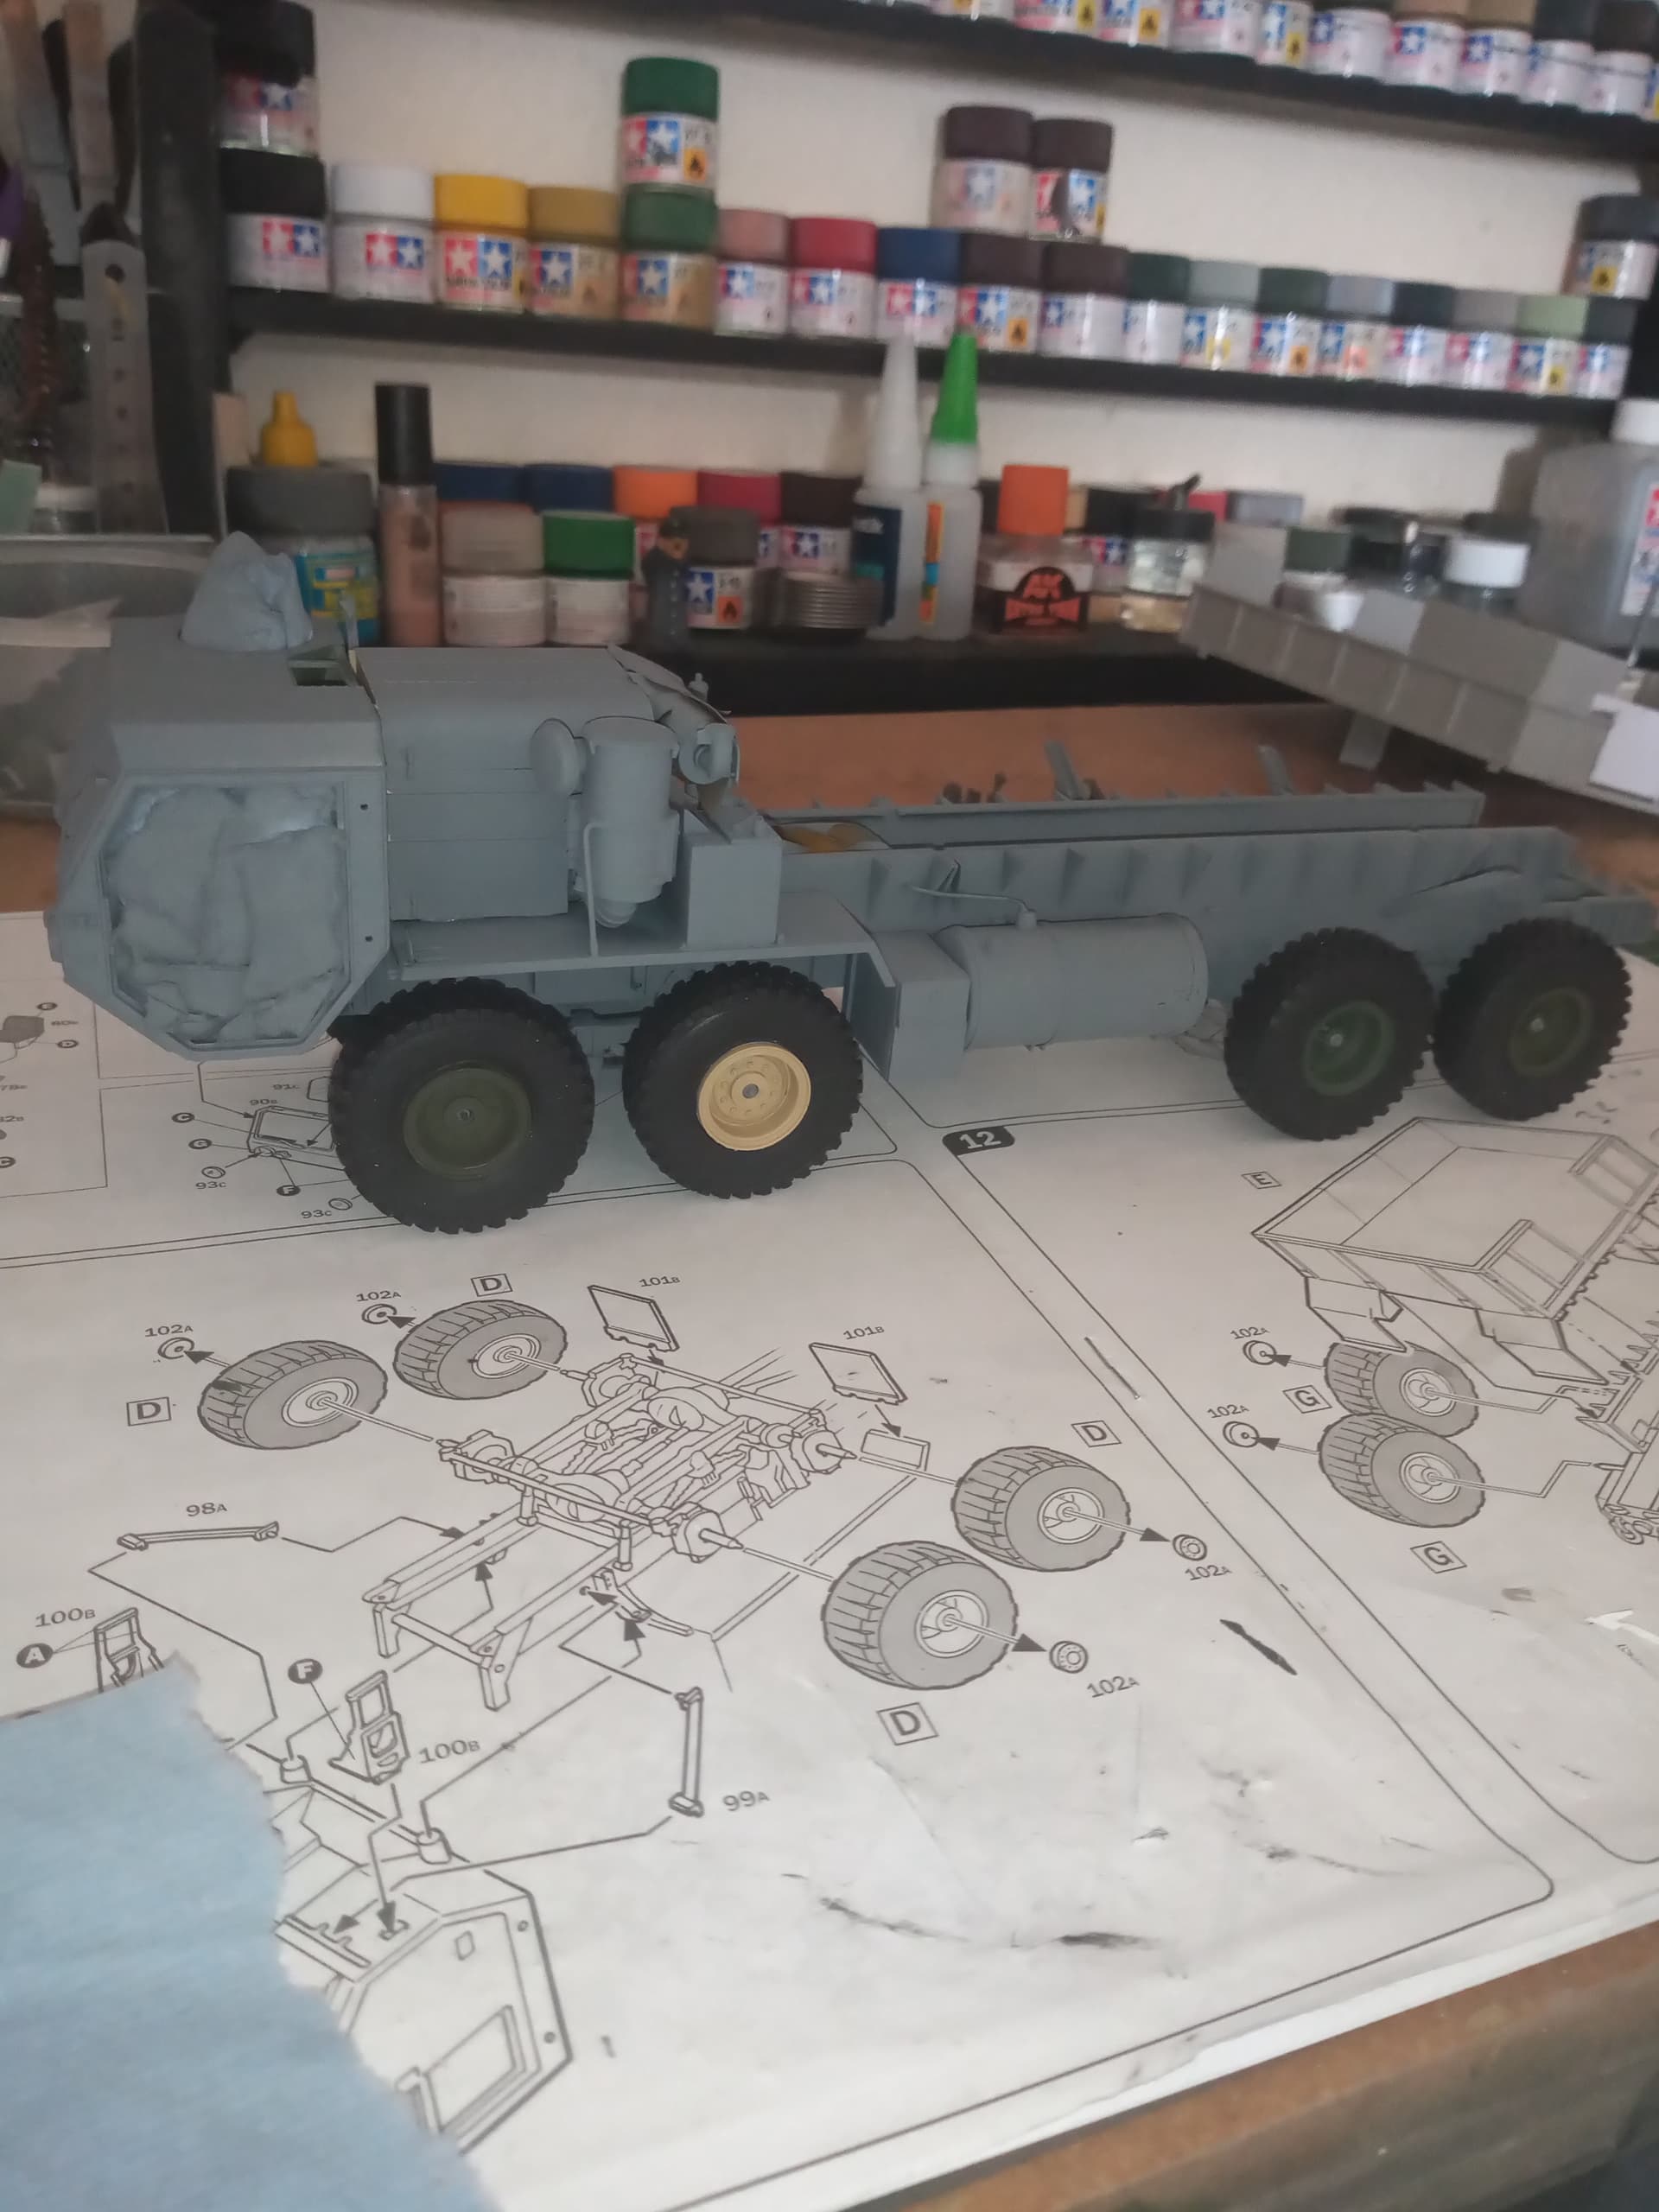
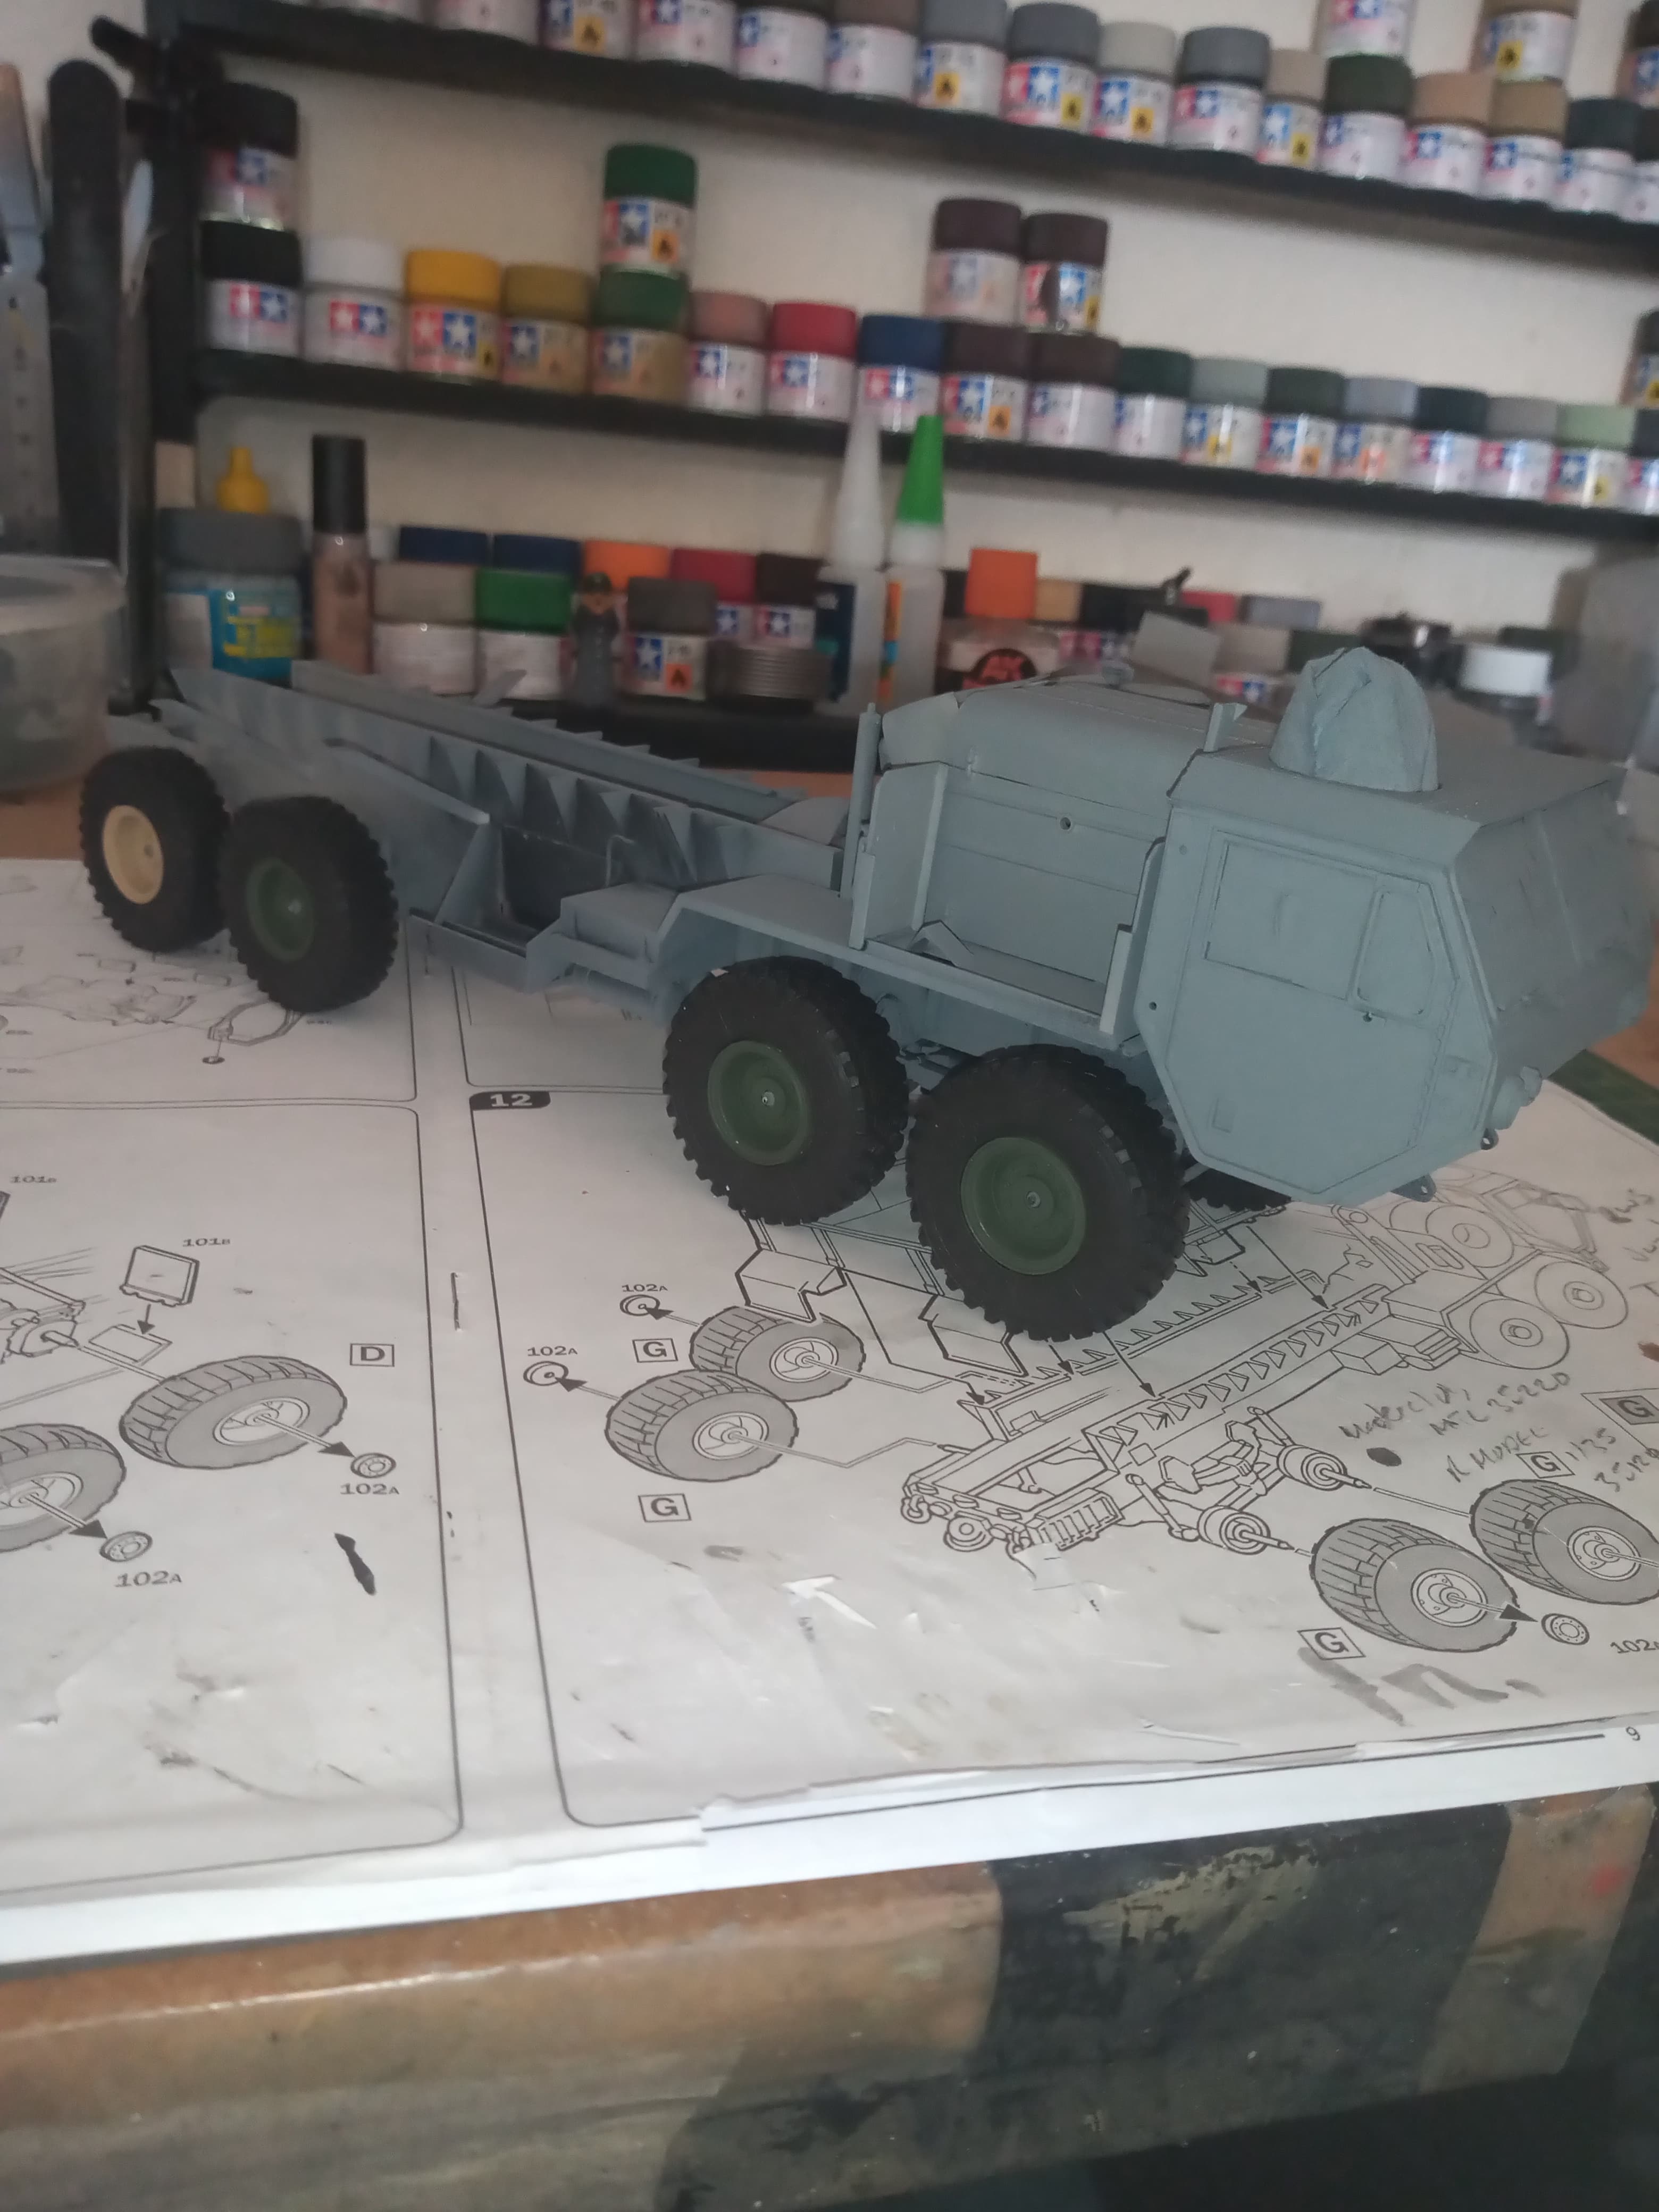
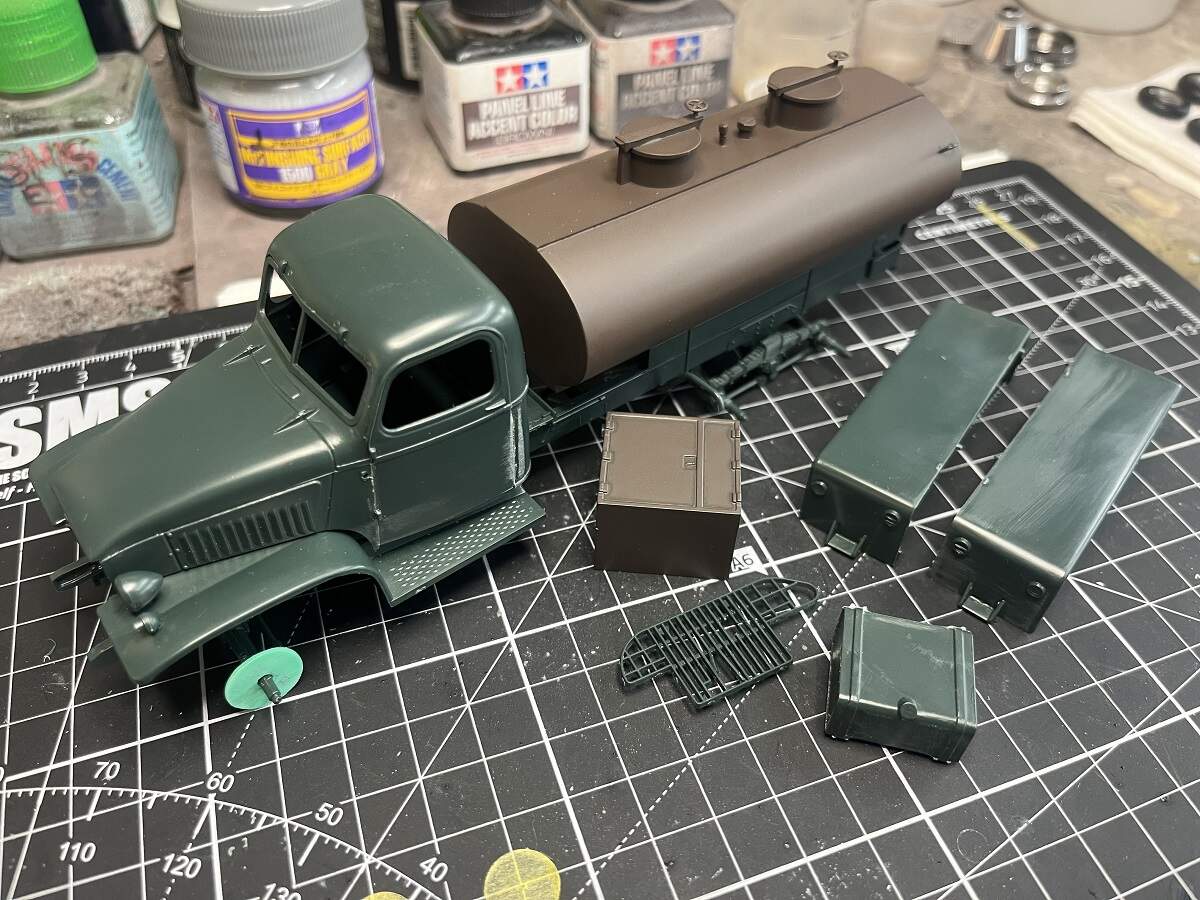
Ready for paint a bit later… AK Forest Green on all the chassis, will then detail some areas in CARC sand ![]()
Moving forward…dry fit of the wheels…
All hit the deck and everything is level…result.
Cab is now on and all chassis is primed.
Ready for paint a bit later… AK Forest Green on all the chassis, will then detail some areas in CARC sand ![]()
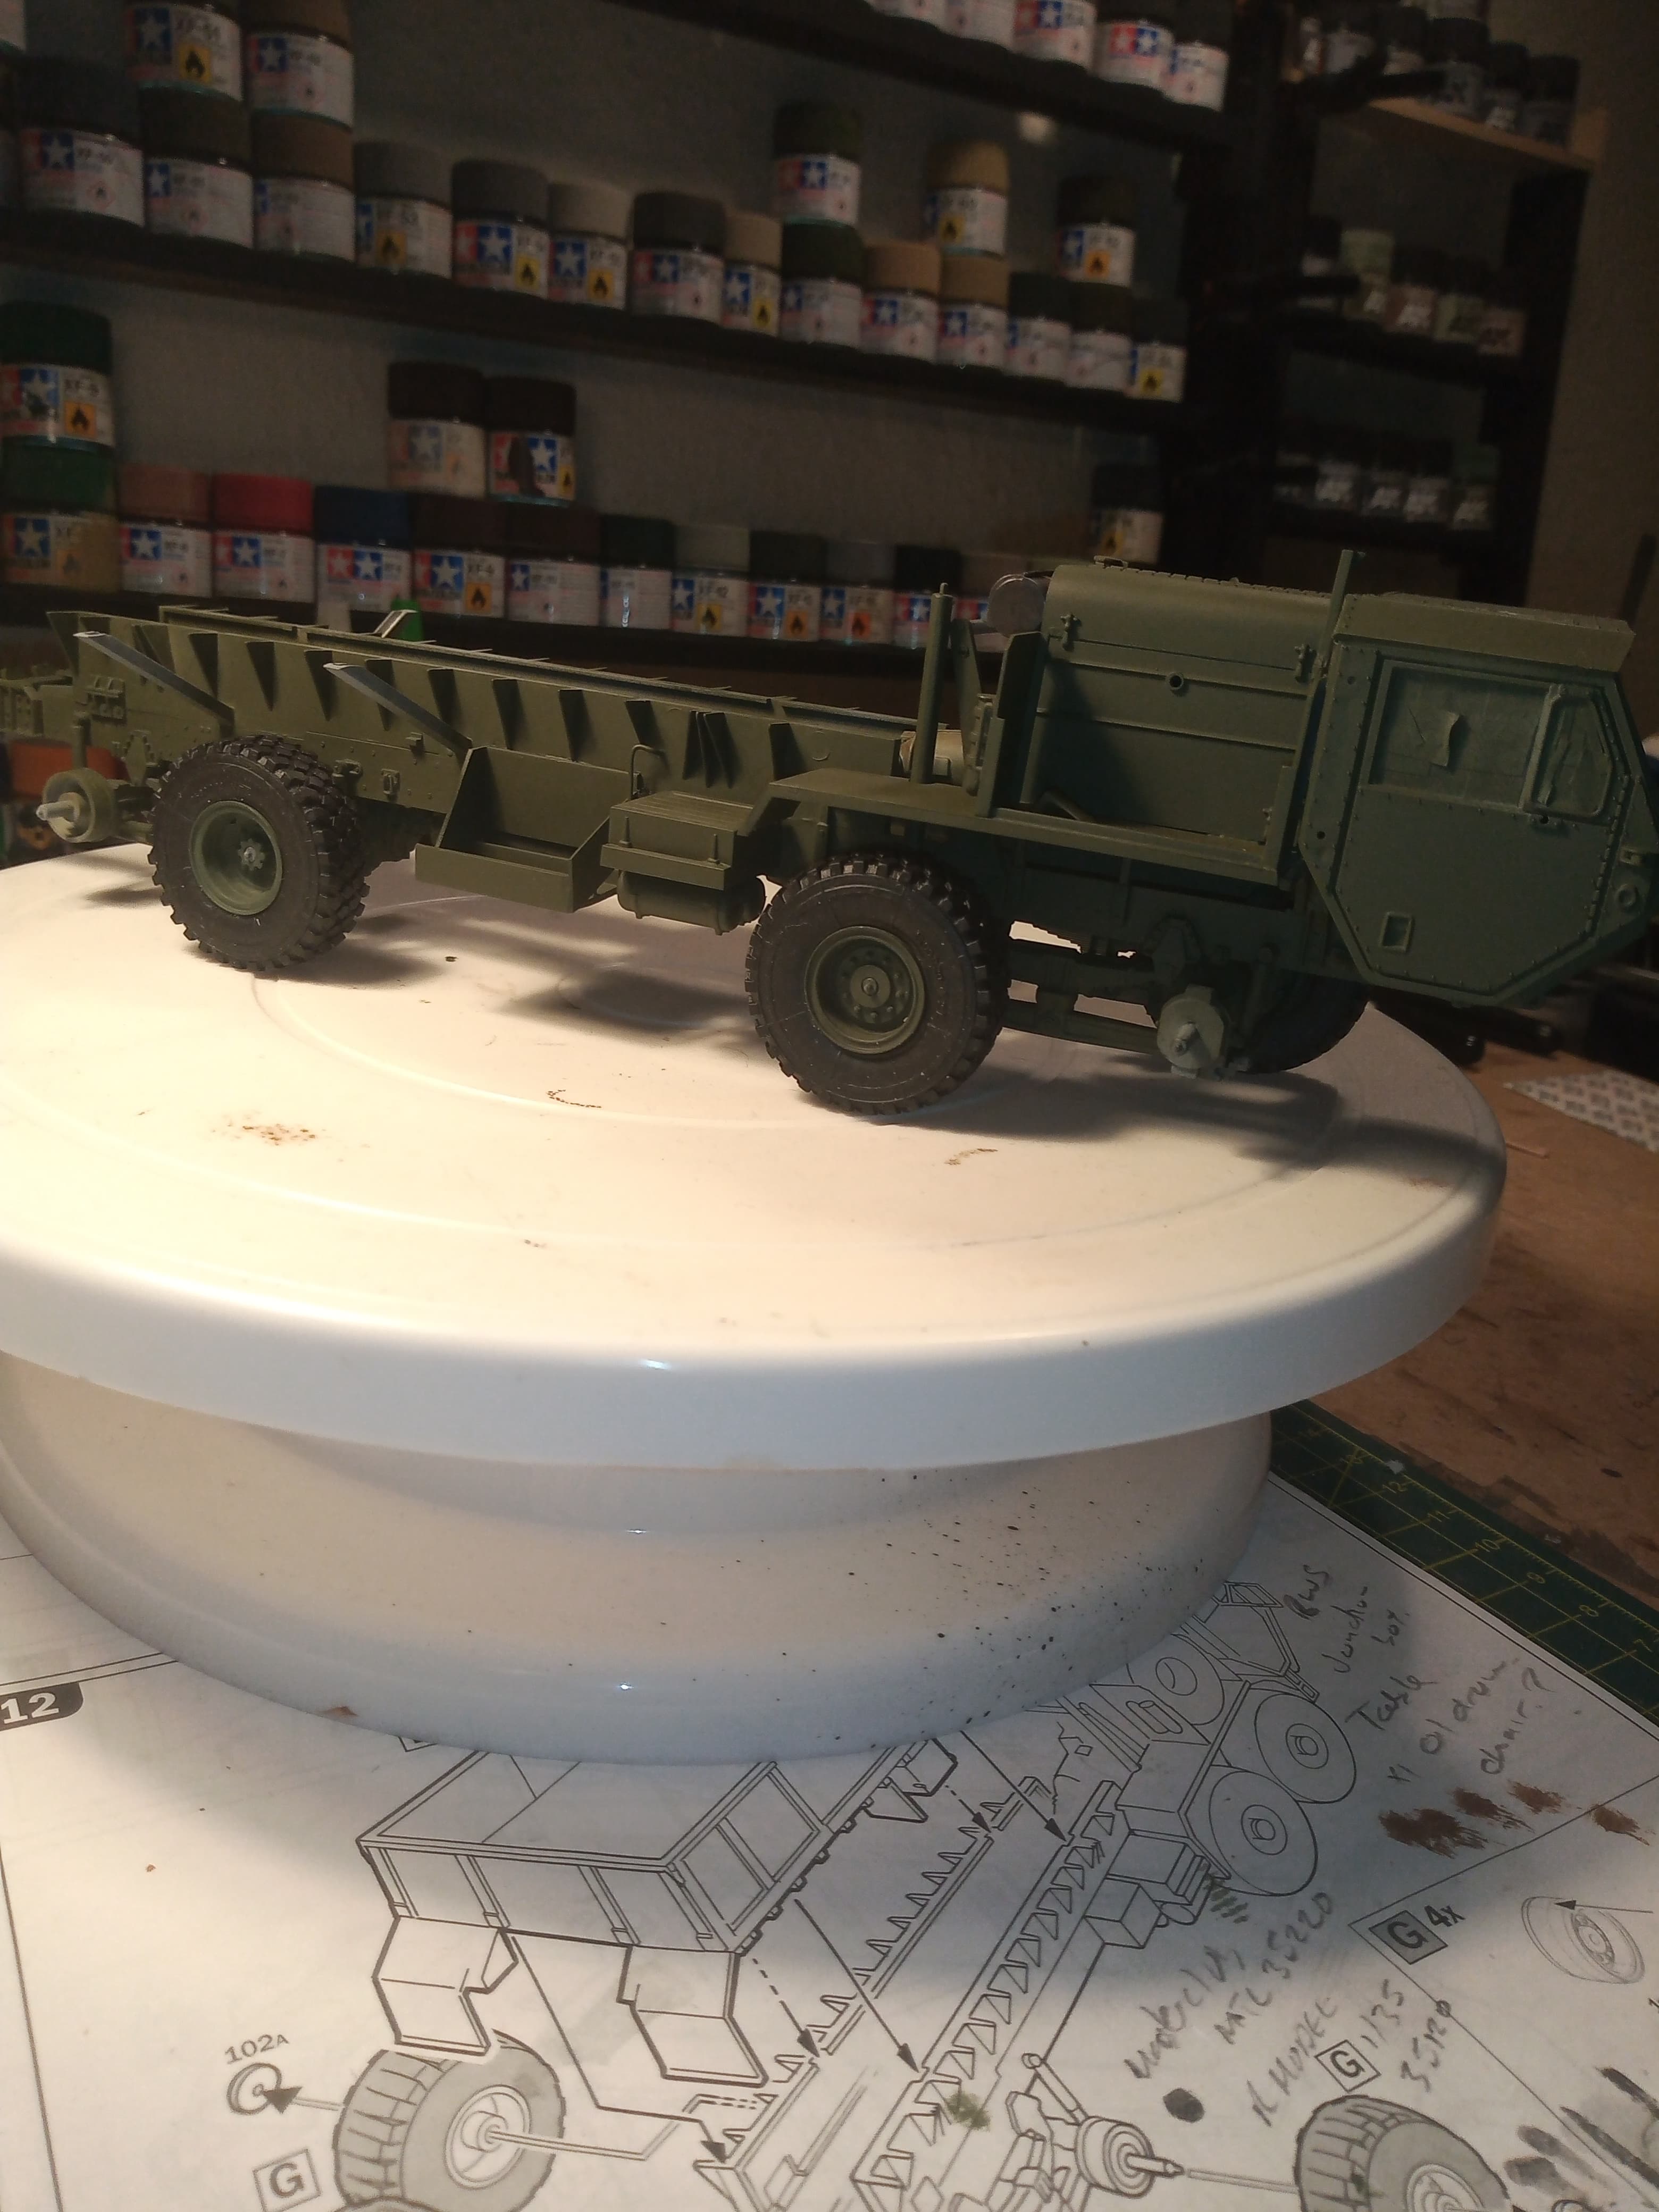
Got the AK Forest Green on the chassis and cab.
Will do some detail painting on the chassis to give it a put together from spares look…
Nice looking awards. I like the first one.
That truck is a beast!
Paul
Cheers Paul… I am enjoying this one. It’s a bit of fun really … I will over paint some areas of the chassis in different NATO greens to add some different tones and a few individual parts in CARC sand… And some parts in primer red like the additional cargo bed supports and the extra fuel tank/drum will be a bit brighter with a logo on …
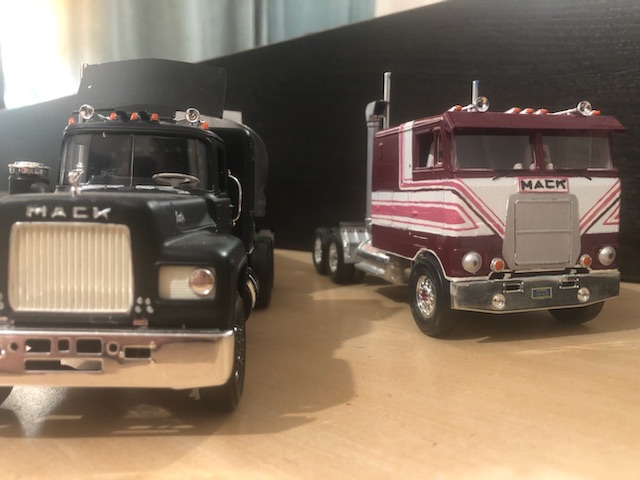
Revell kits Mack sleeper
Revell tanker Semi-trailer
Revell Peterbuilt cab over conversion!
All 1:24
I’m blown away by the pace and quality of the work going on here every time I see an update notification! So much cool stuff everywhere i look.
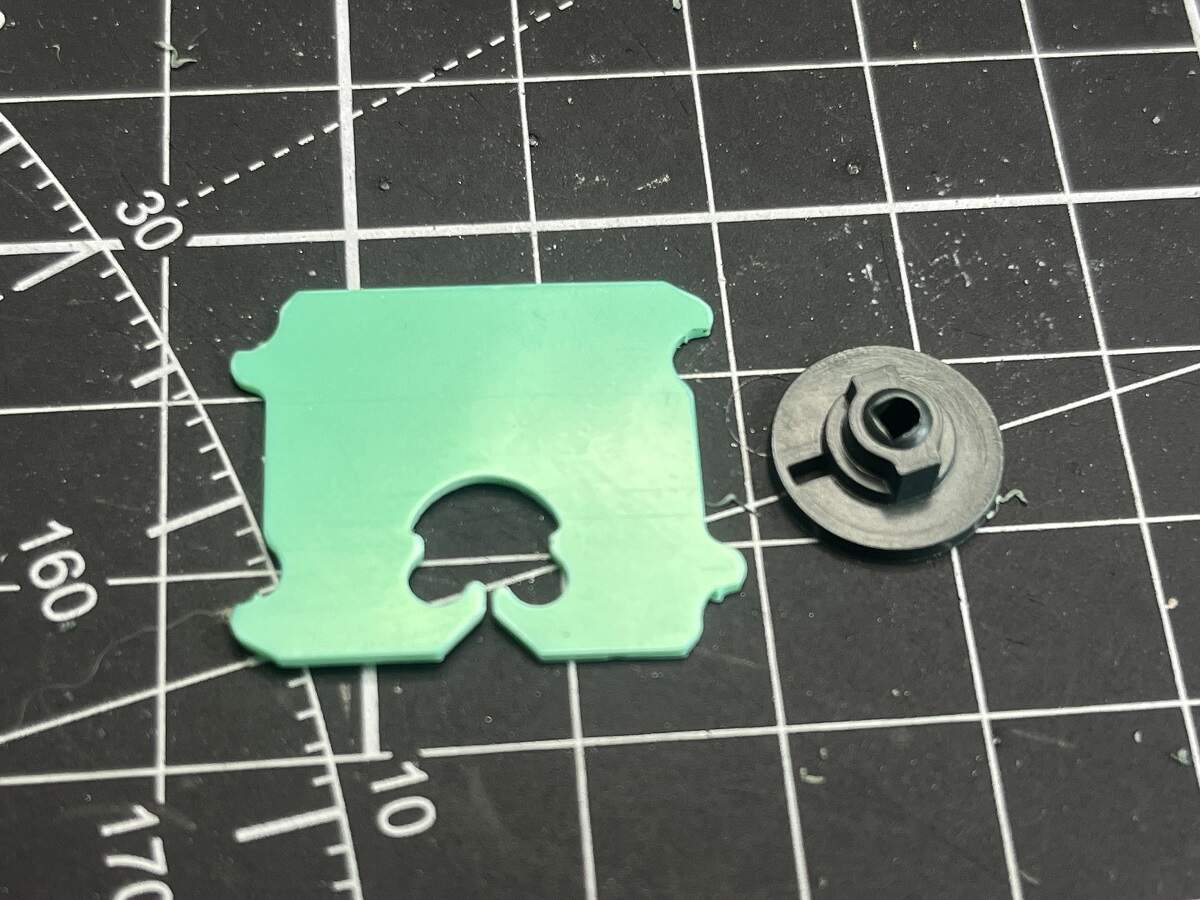
Struck a slight snag on my CCKW build, one of the front brake disc parts is missing, looking back at the sprue shots it was never there ![]() Oh the joys of the second hand kit market
Oh the joys of the second hand kit market ![]() Never mind, an old bread bag tie looks to be about the right thickness. It will be tucked away inside the wheel out of sight so no need to go overboard on accuracy here. I’m still in toddler pants with scratchbuilding when I look at what Nick and John are doing here
Never mind, an old bread bag tie looks to be about the right thickness. It will be tucked away inside the wheel out of sight so no need to go overboard on accuracy here. I’m still in toddler pants with scratchbuilding when I look at what Nick and John are doing here ![]()
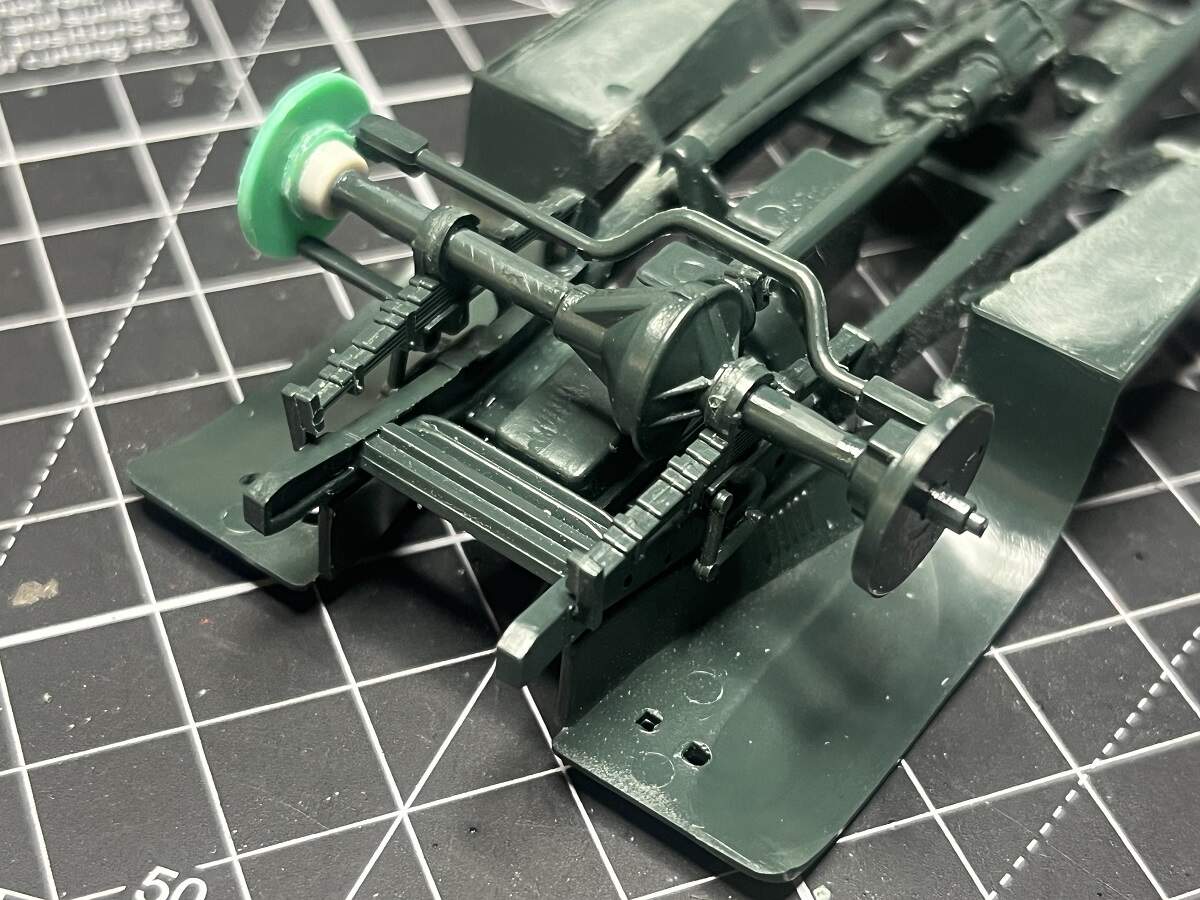
So here’s where it’s at with sub-assemblies and a bit of Mr Surfacer 1500 Mahogany thrown around as well.
Cheers, D
Nice save! ![]()
—mike
Hi D,
The truck is looking really nice, coming right along. I must say, that is a pretty clever fix - you lucked out with that bit of plastic. The thickness looks just right!
Cheers,
Nick
The truck is looking great how it’s building up…but the scratch built disc and hub win the day… Brilliant save ![]()
![]()
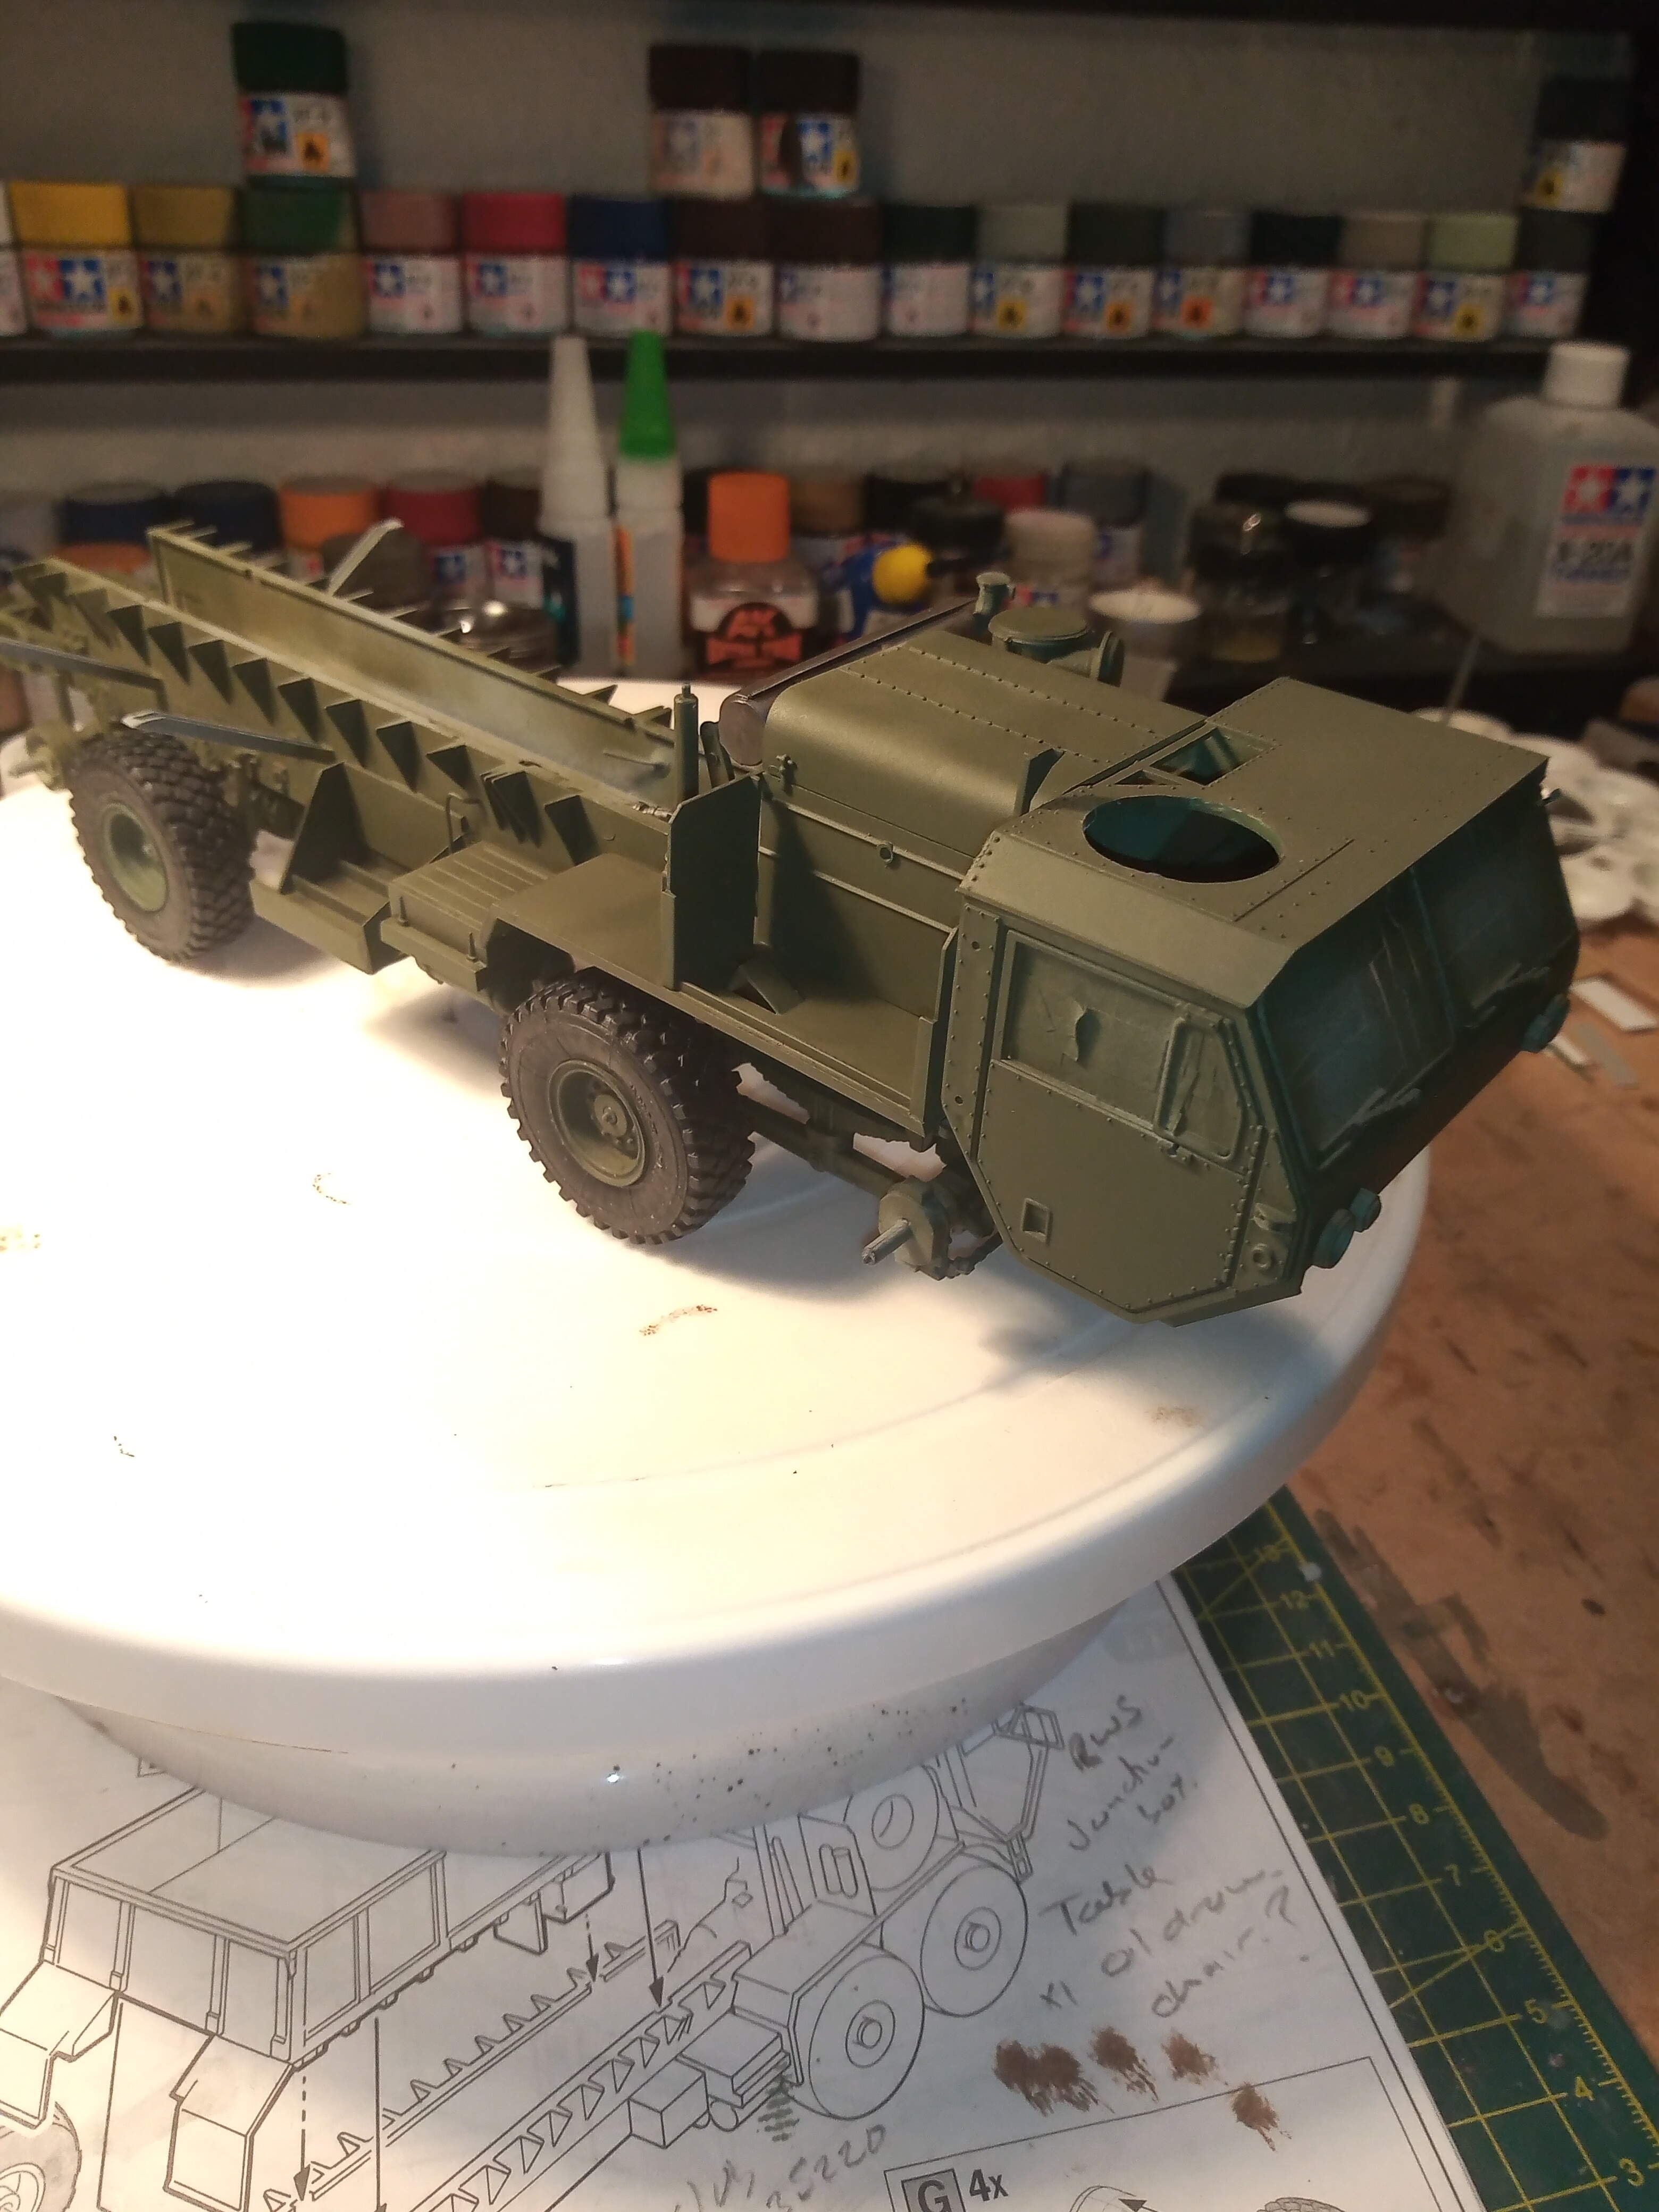
Redid the images from last night in a bit better light …
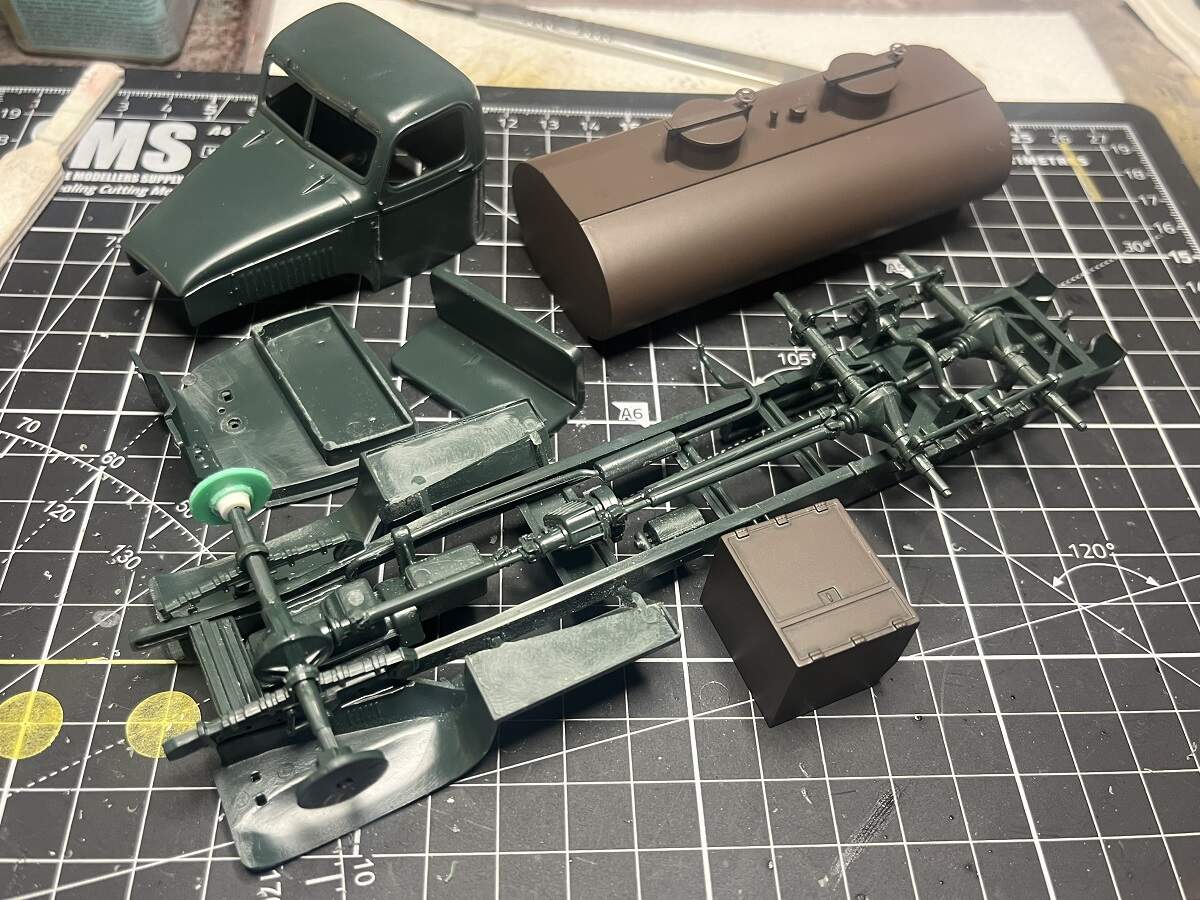
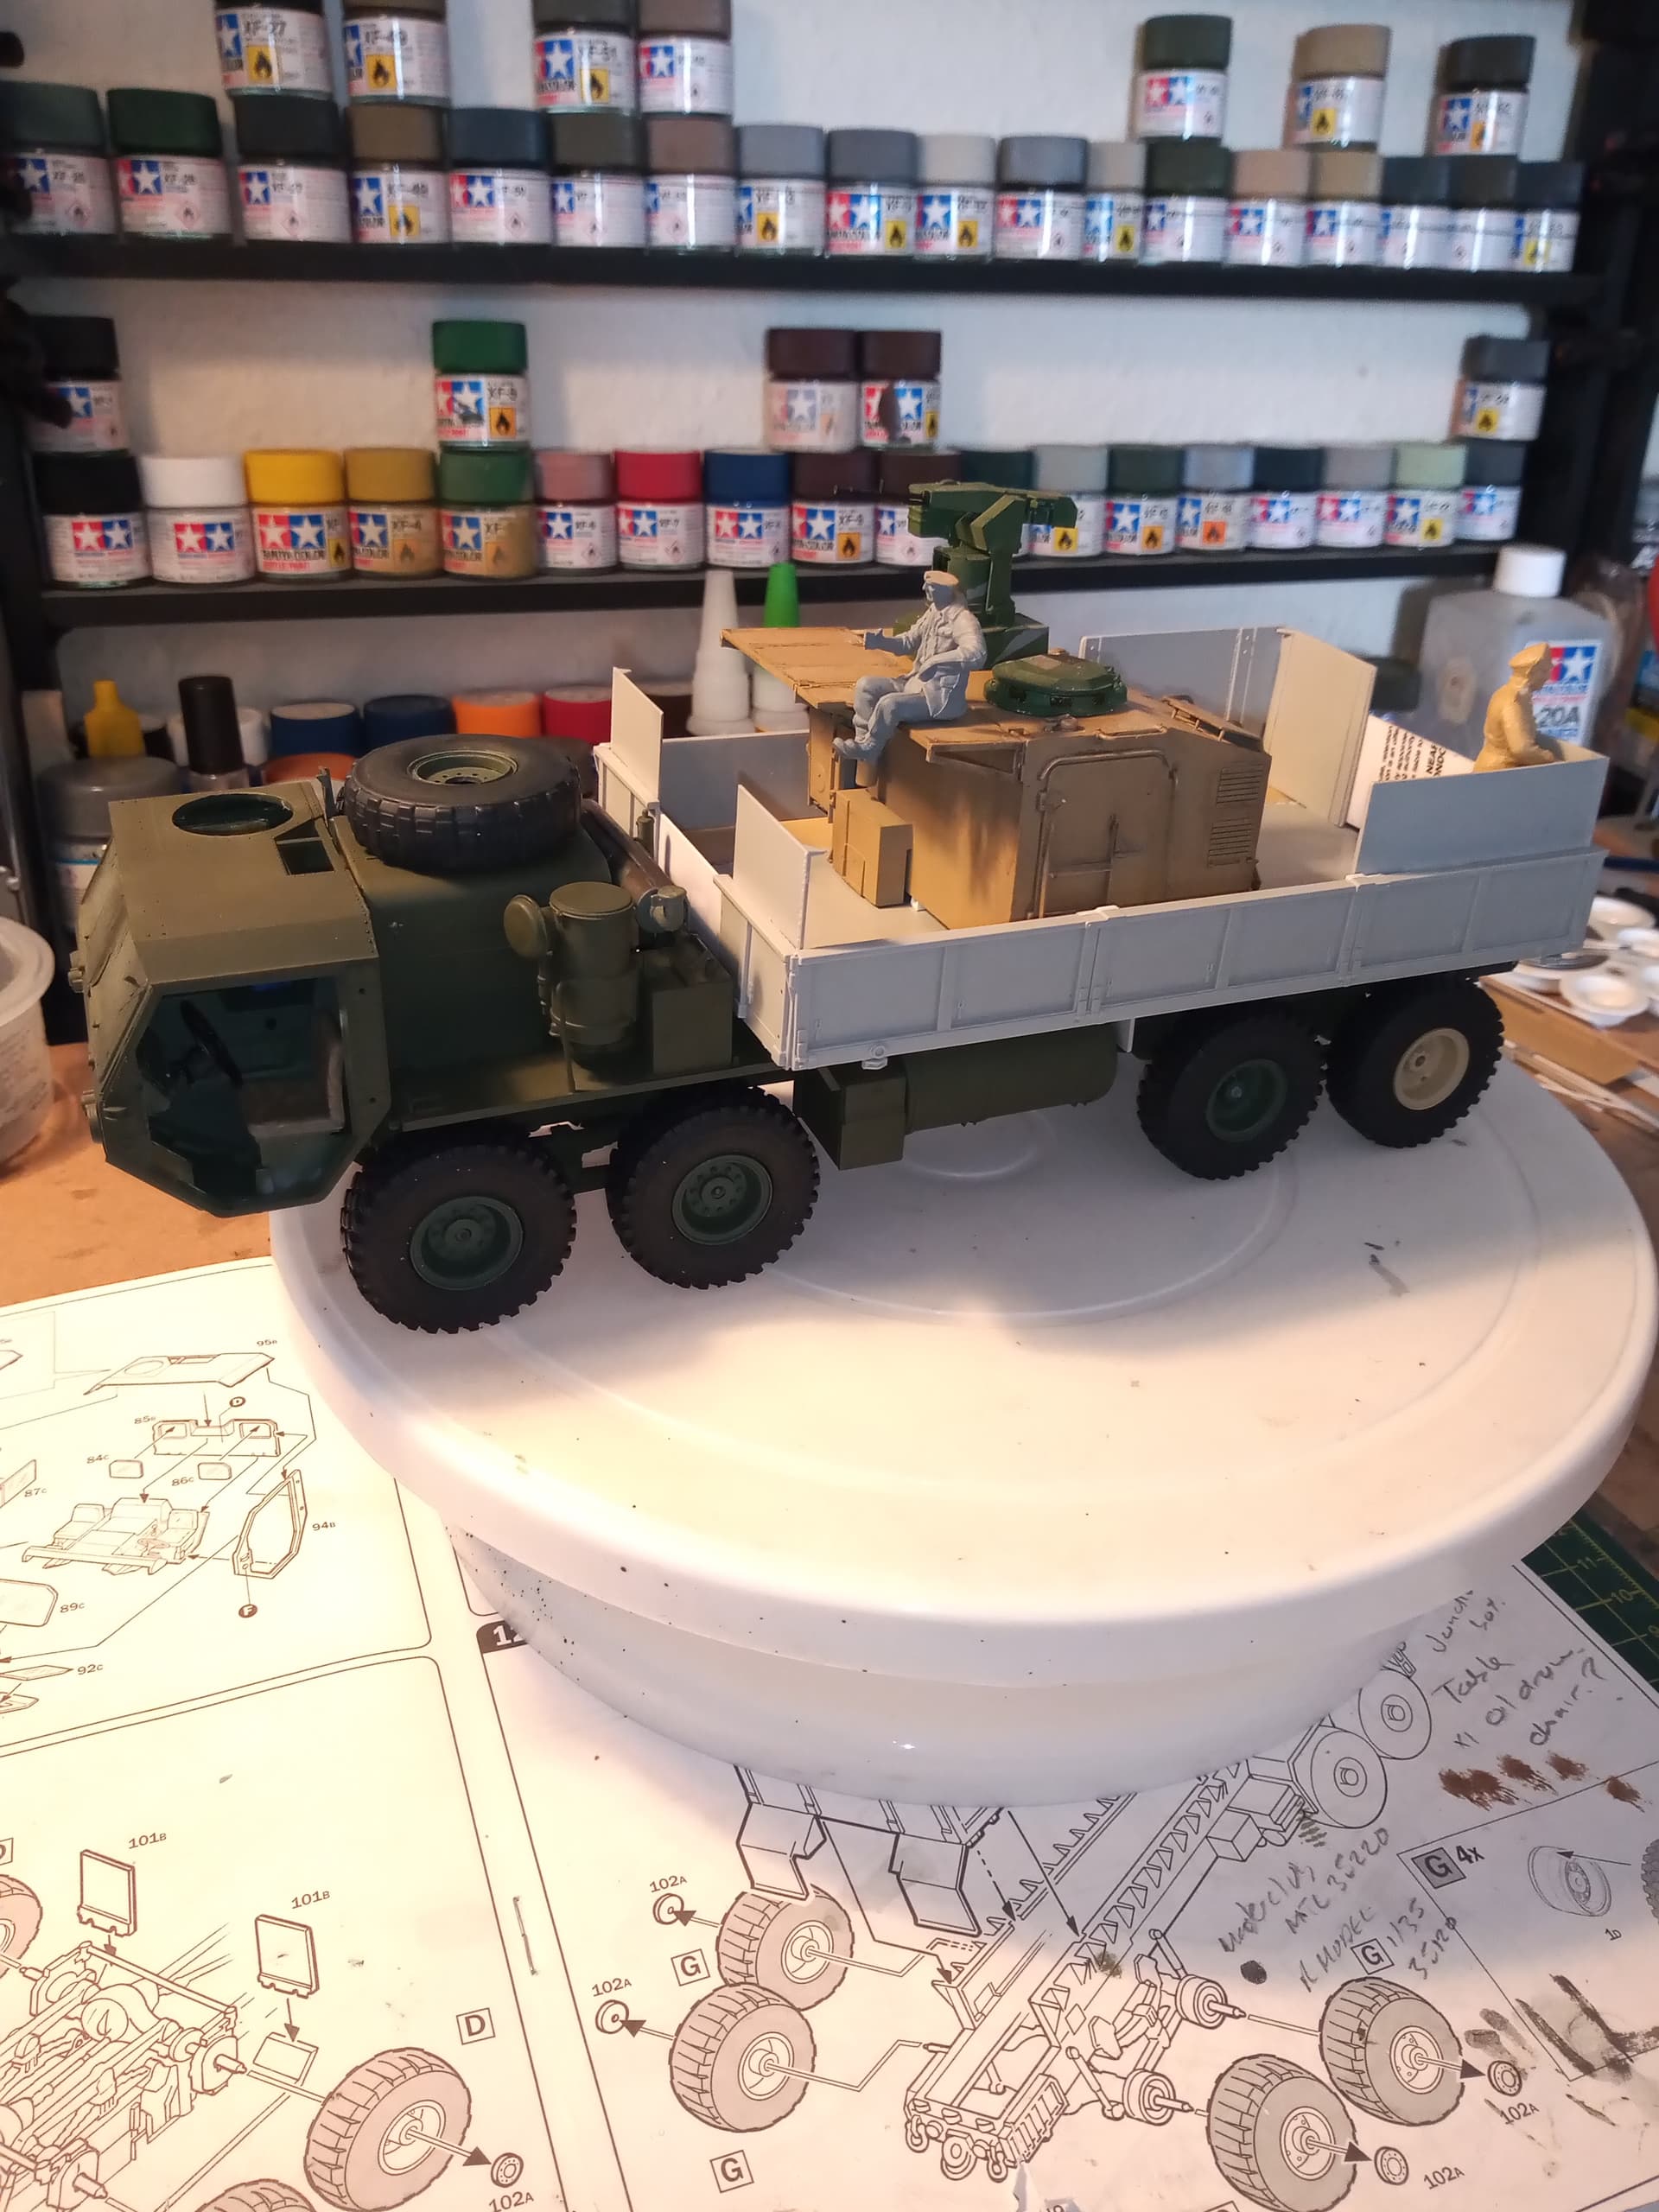
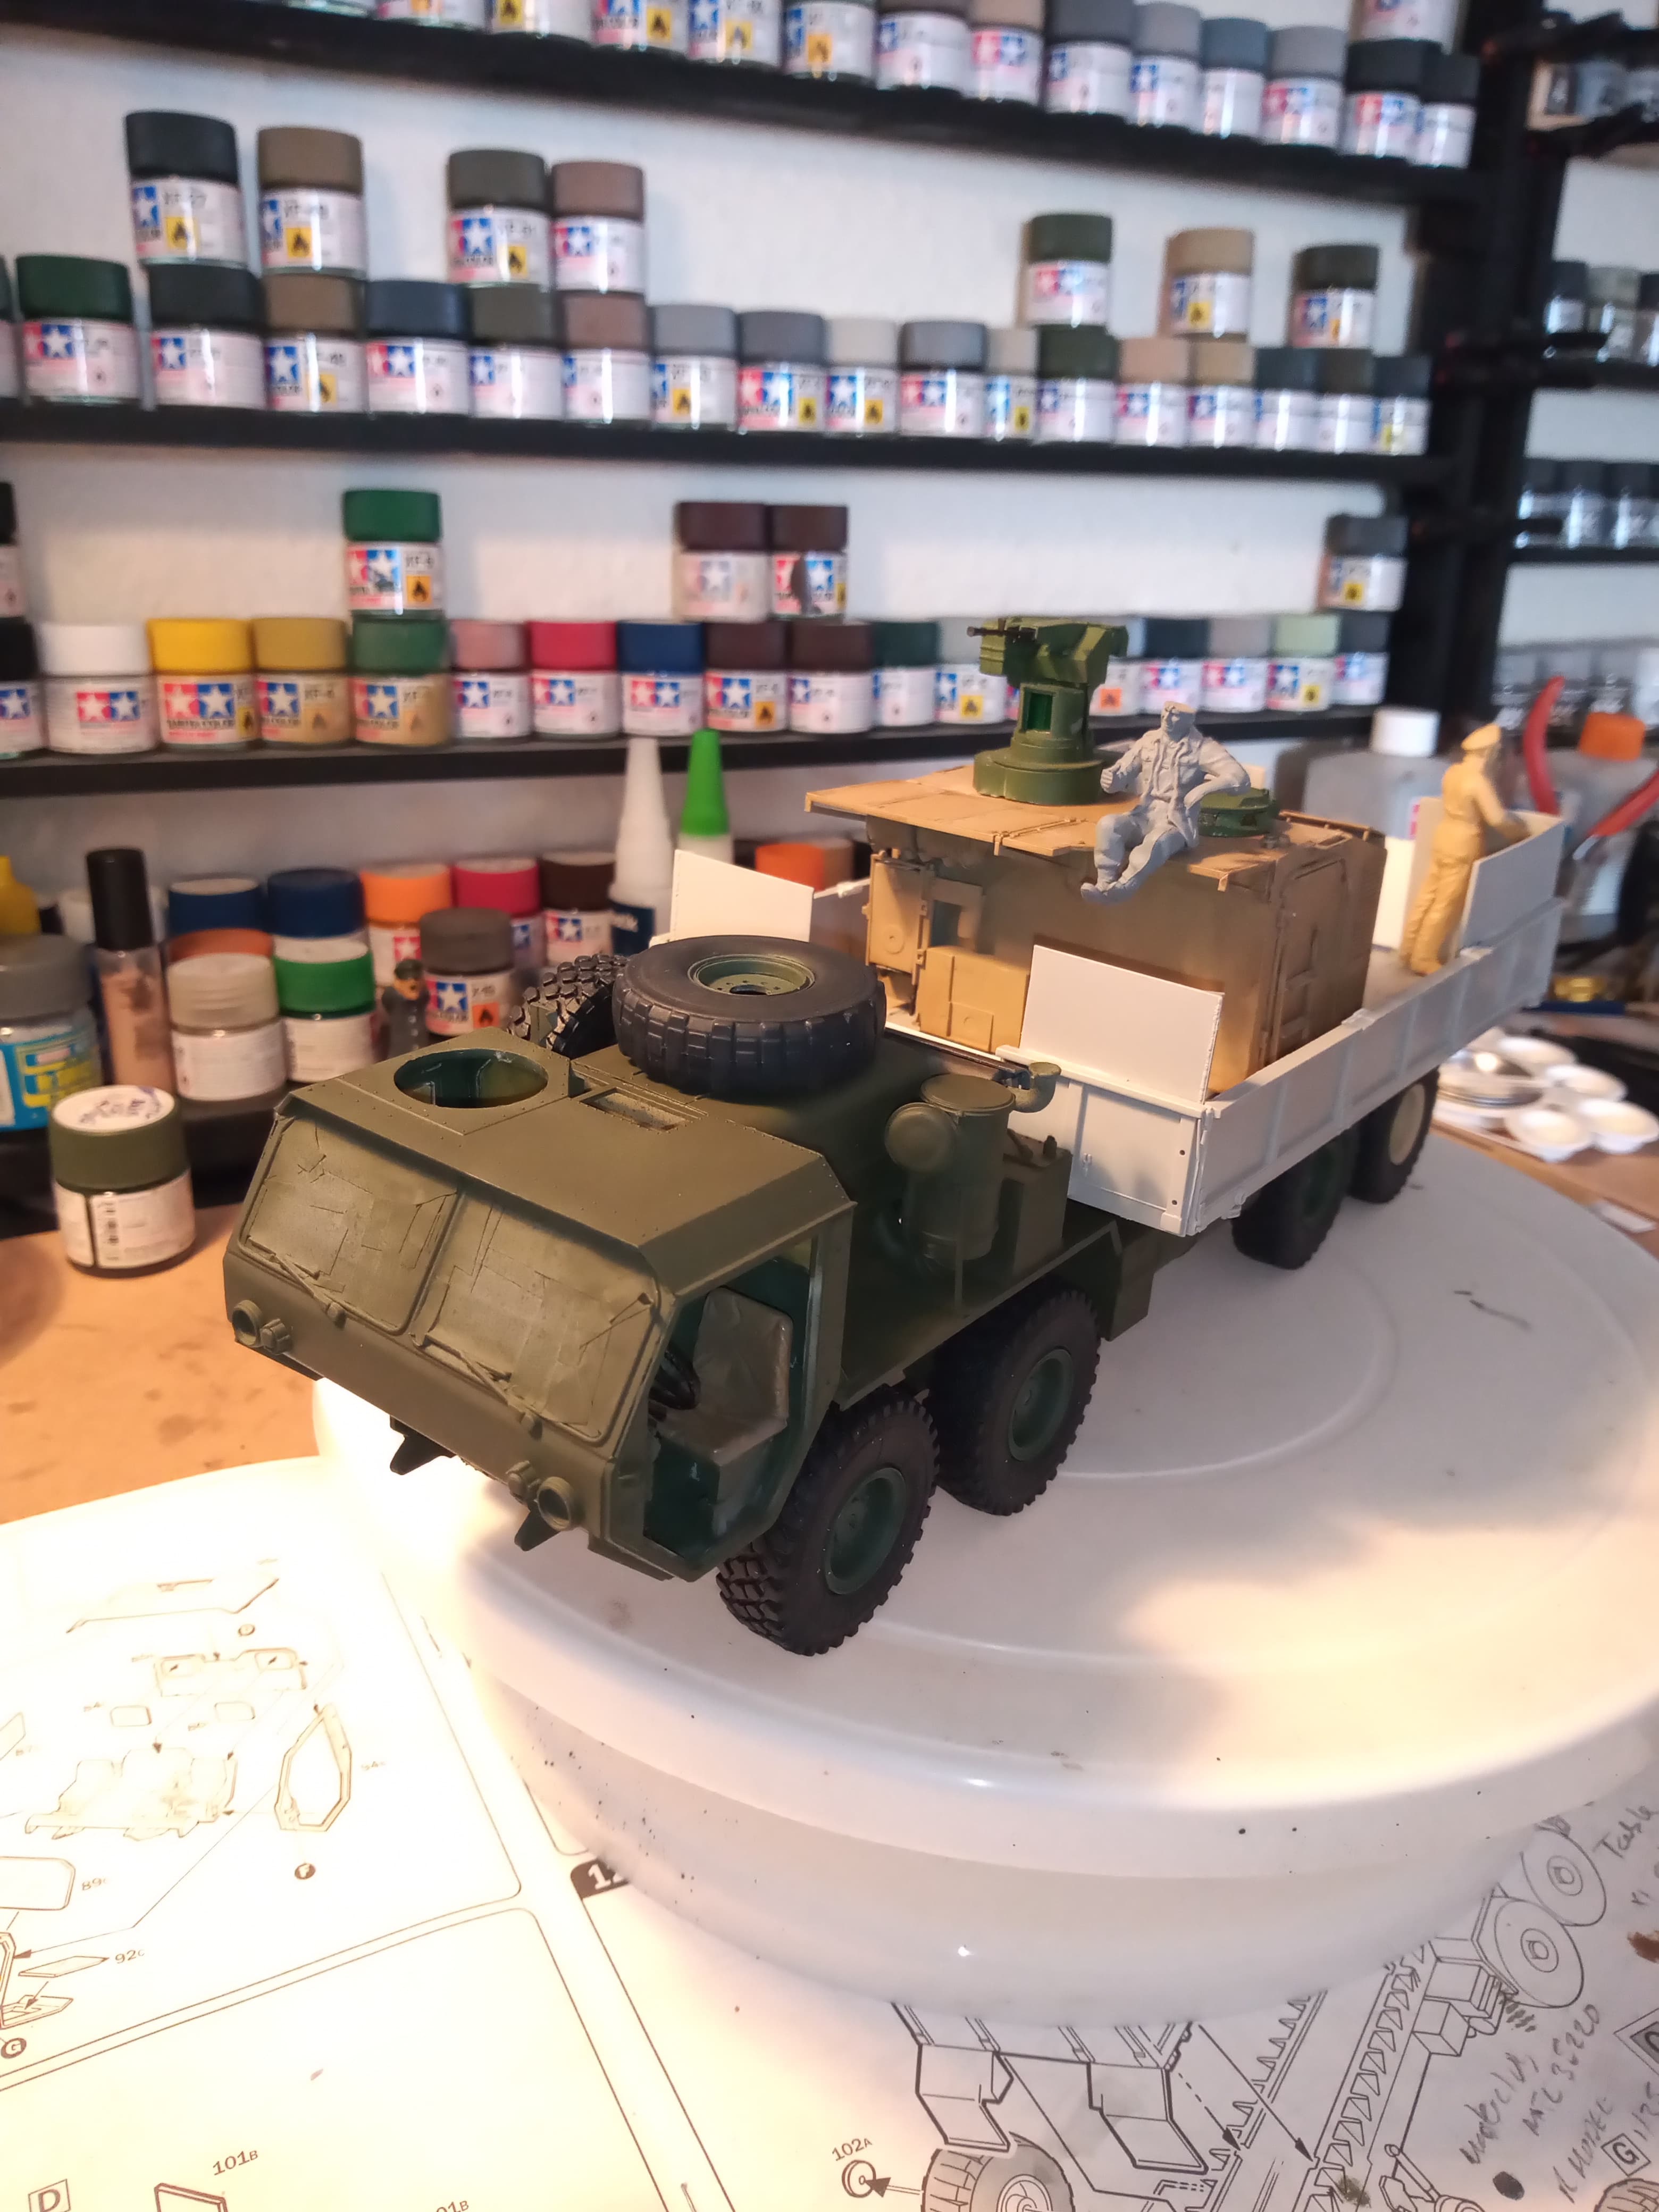
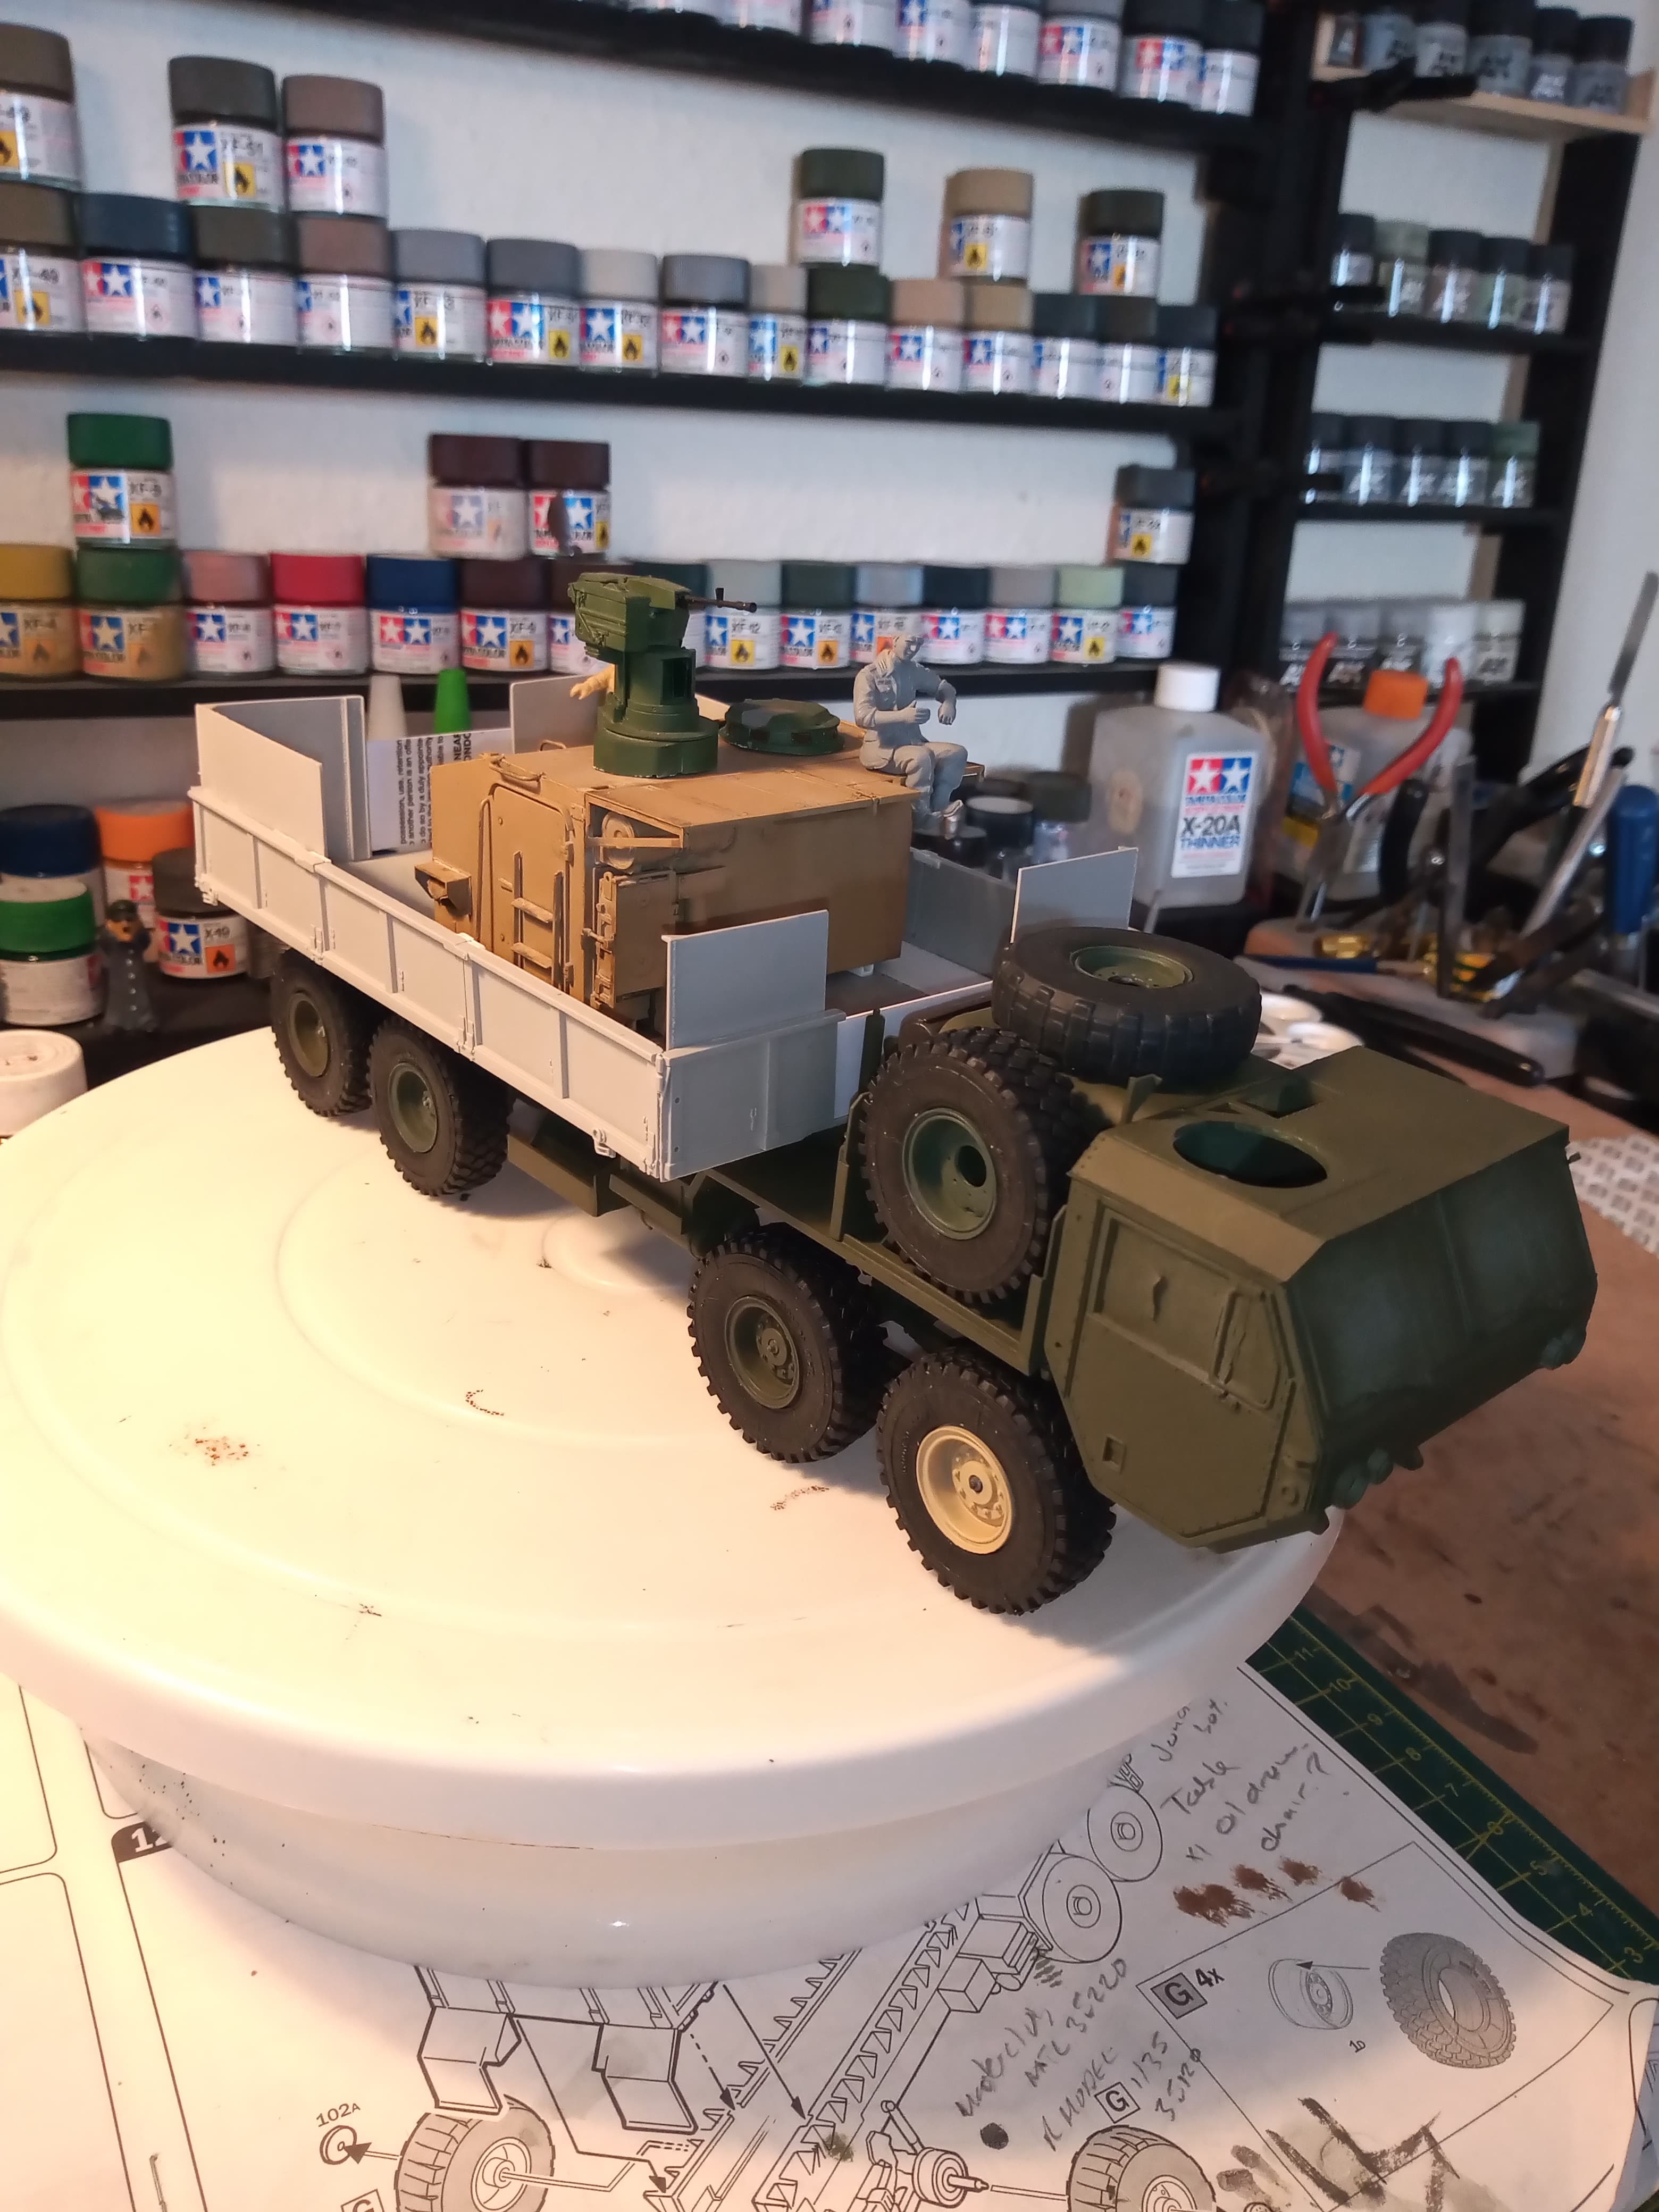
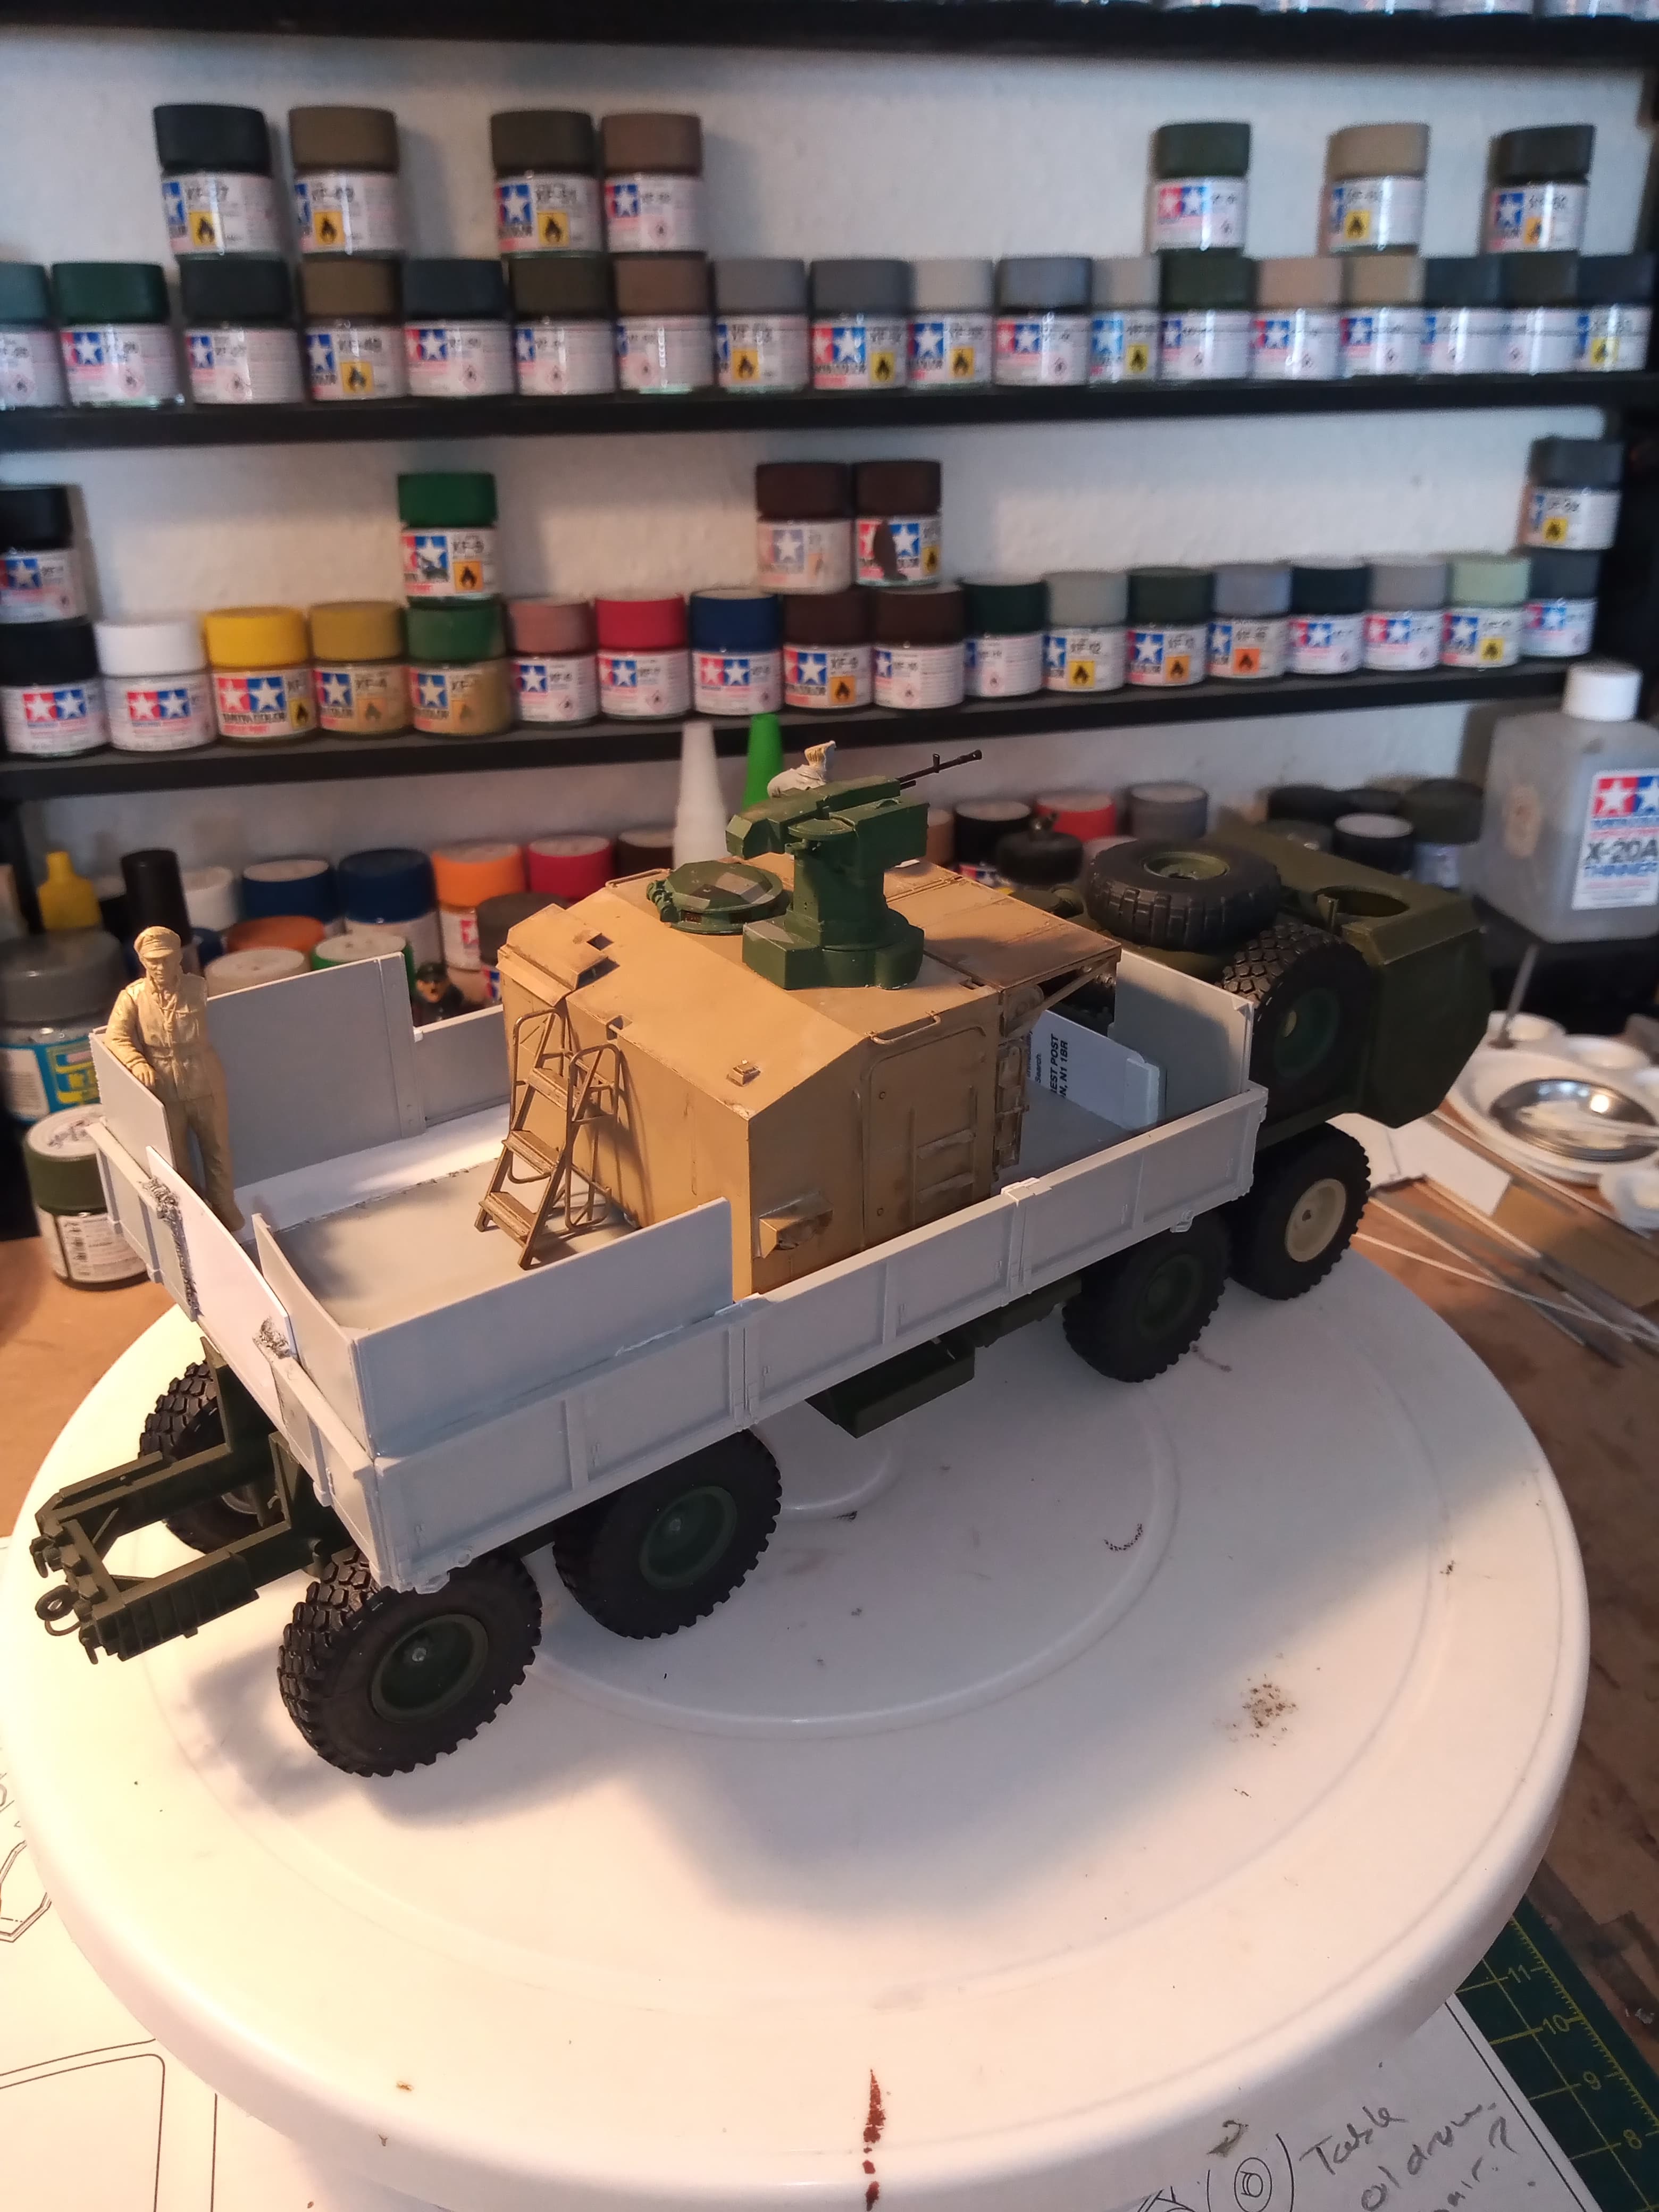
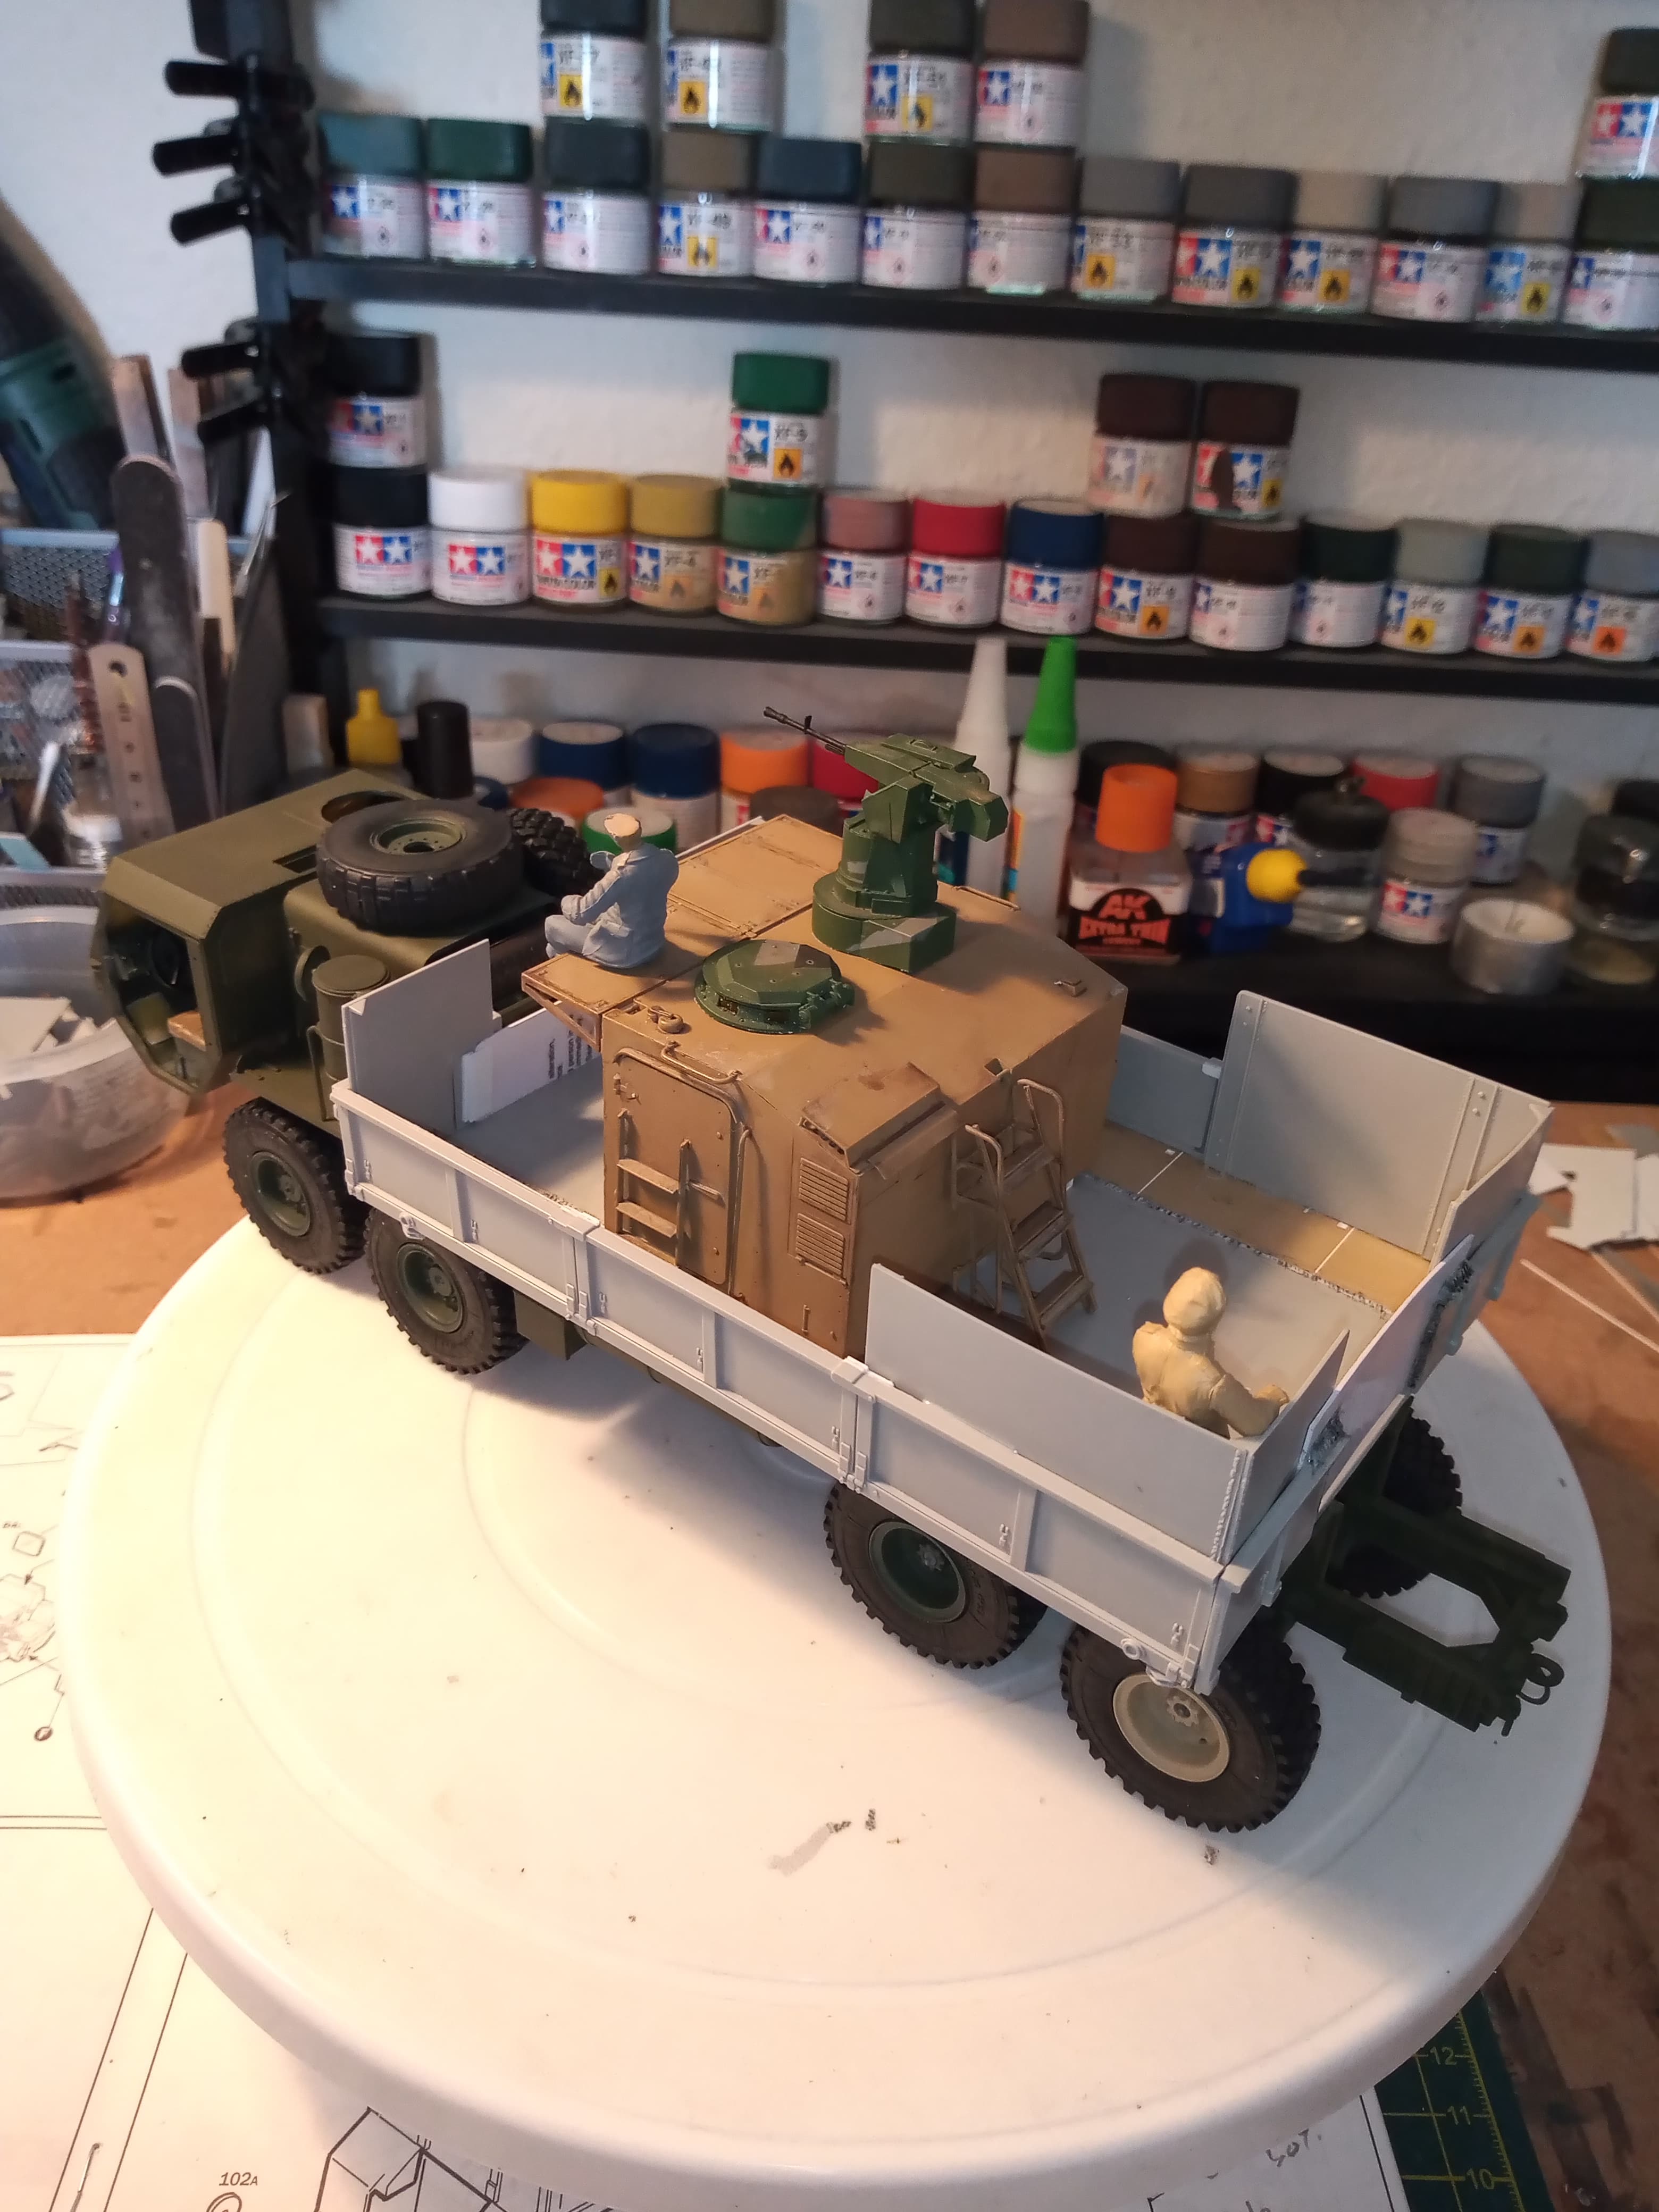
And also thought I’d do a 90% dry fit of everything apart from the crane which I will build up today.
The steps on the rear of the box body will be raised up slightly on the finished item. RWS and cupola will be repainted NATO green.
Figures are just for scale .
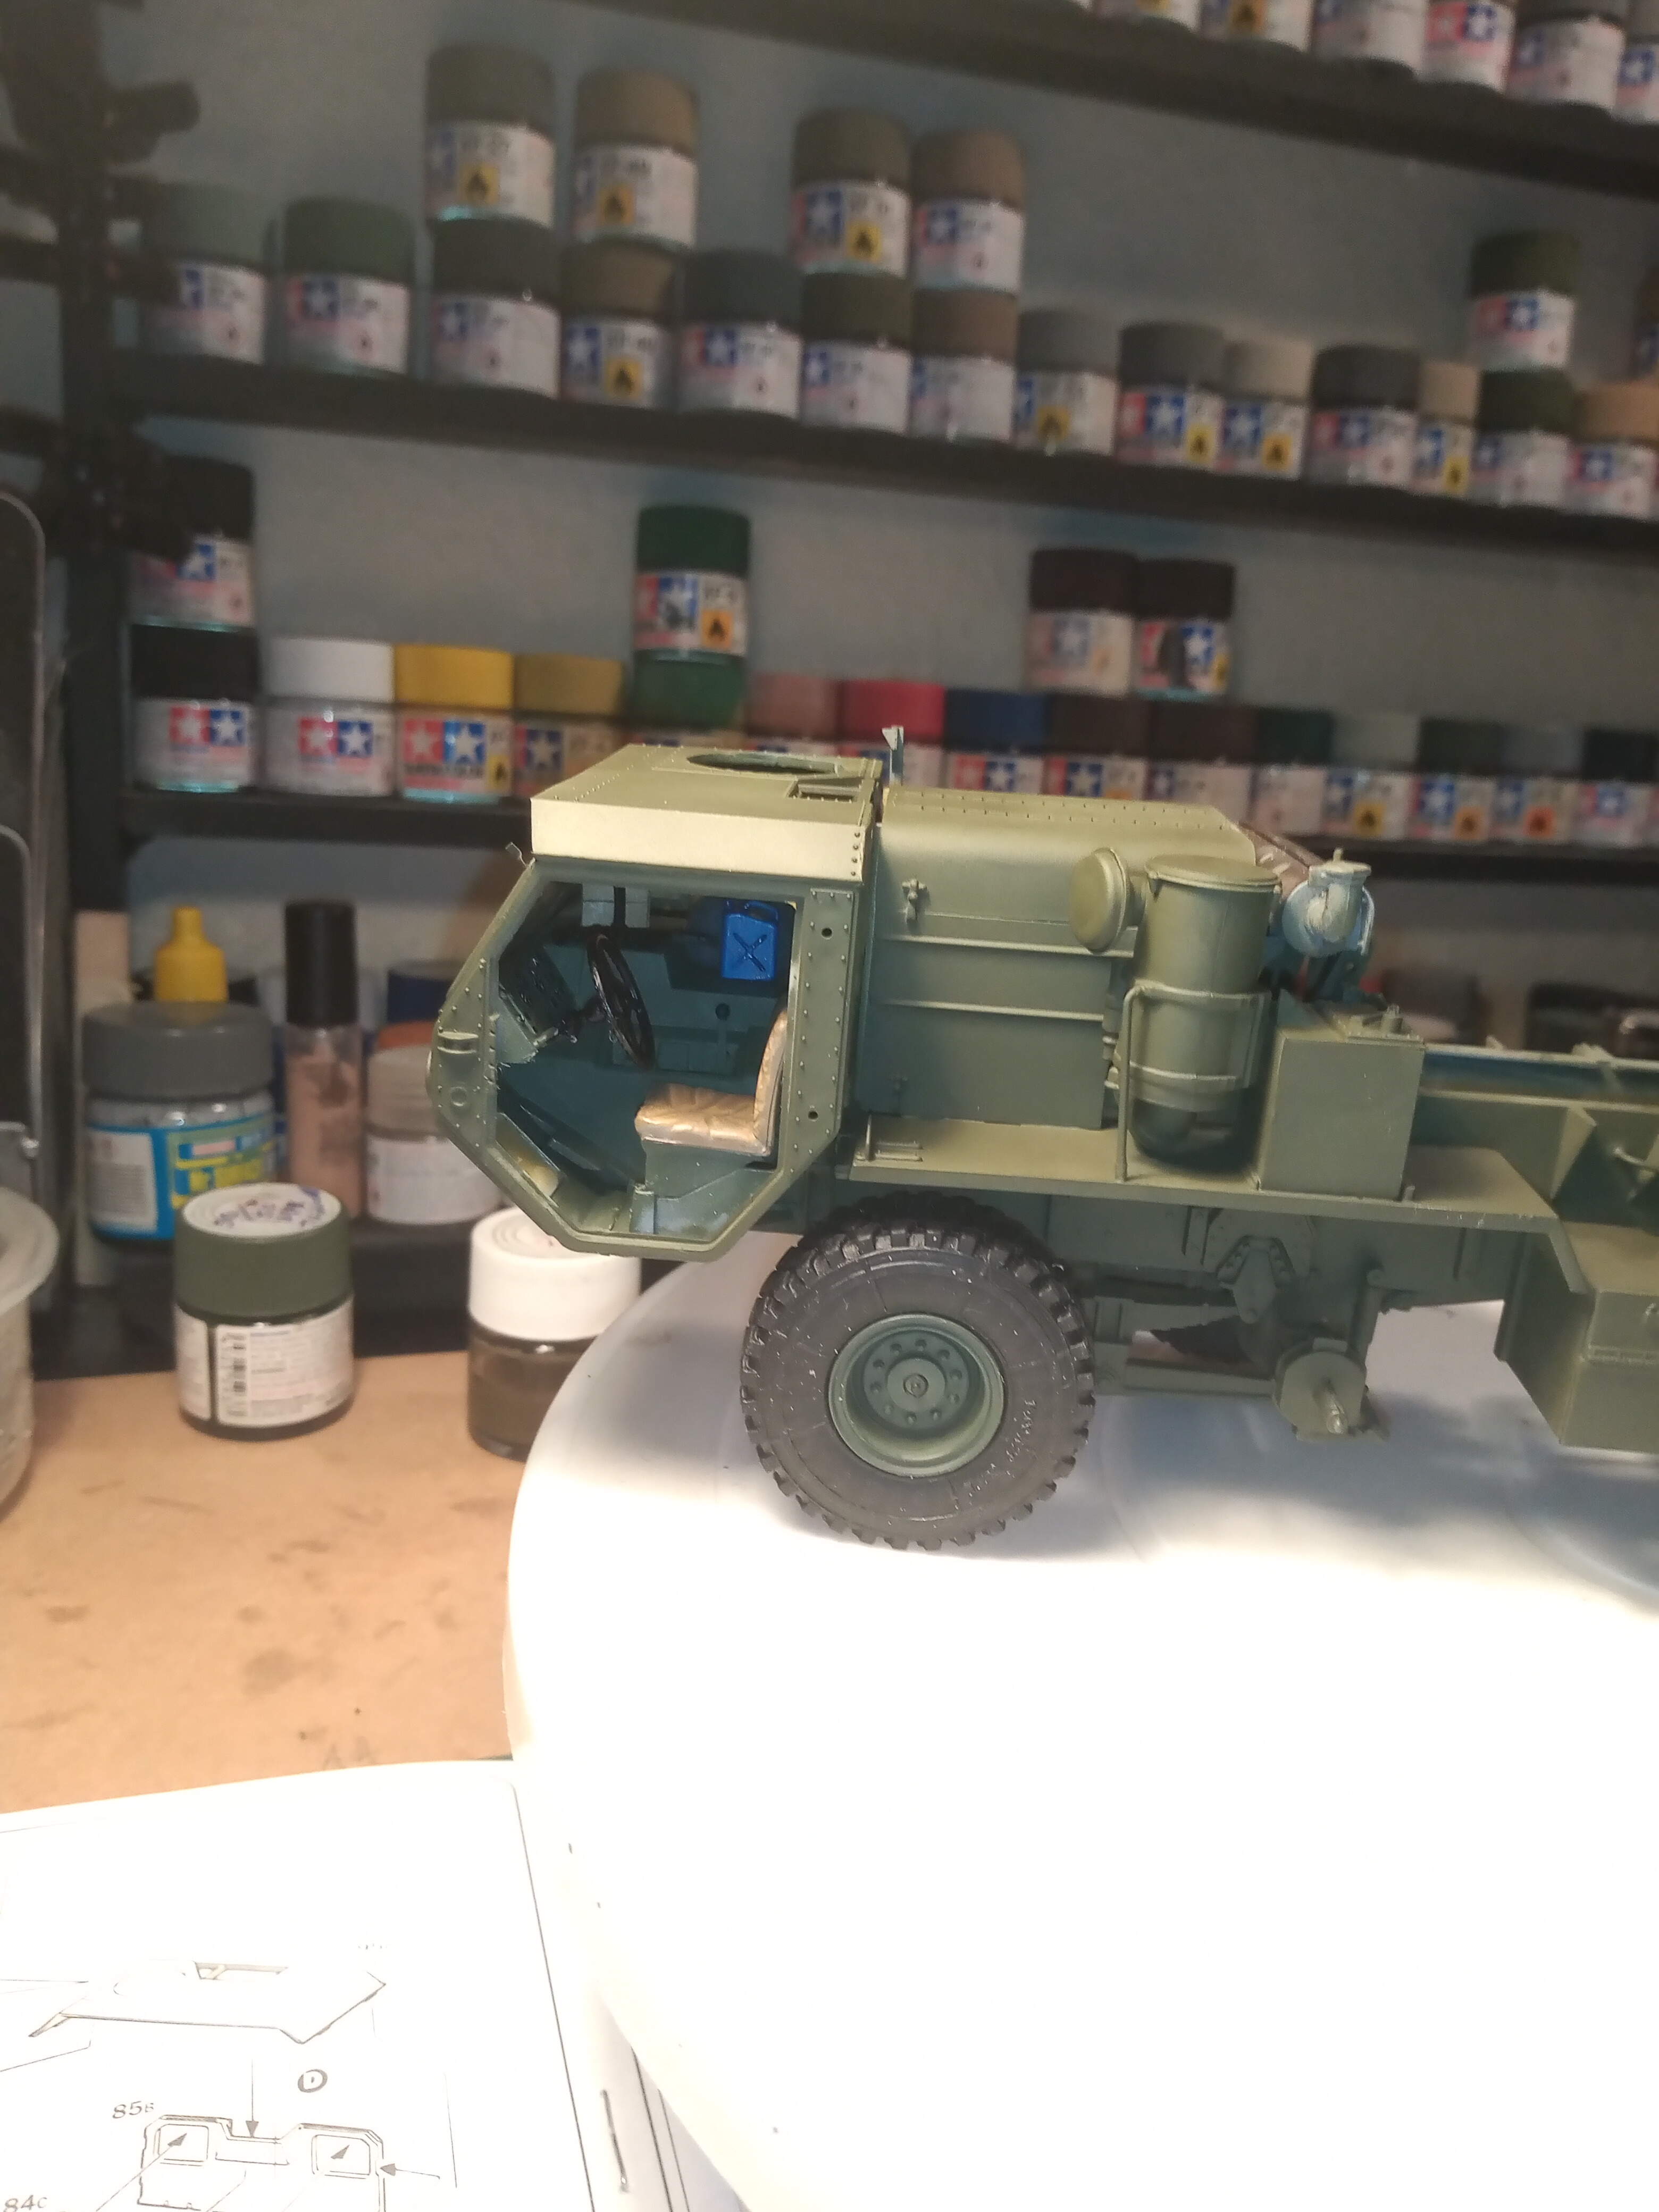
And the drivers door will be CARC sand.
Like what you have going on. When you say CARC, I thought that was a type of paint and not a color?
And again… You are correct ![]()
![]() … I always forget to add the sand before or after the CARC…
… I always forget to add the sand before or after the CARC…
( Chemical Agent Resistant Coating)
I don’t ever hear that enough, so thank you for saying it. ![]()
Hi Jay,
Not sure what happened to your image, but I edited it so it now appears in the post the way it should. Those are mighty fine trucks! (The pin-striped one is amazing!) Are you planning to build something for this campaign? That’d be most welcome - just post some in-progress shots here.
(Did you do the “drag & drop” from Explorer to add your image, or something else? It managed to leave off an “!” from the start of the image reference, and I suspect it depends how you loaded it up. This new Discourse system is very different from the old Armorama software…)
There’s an awful lot going on with this rig! It looks really good. Might you consider mixing up the colors on the shields and structures in the bed? might look like a rig made up of various remnants found and used to cobble this together - Looking good!
Cheers
Nick
Cheers Nick. Yeah, the cargo bed and it’s contents within will have a fair few colours swirling around in there… Definitely a mix and match from things left over and cobbled together by the crew ![]()
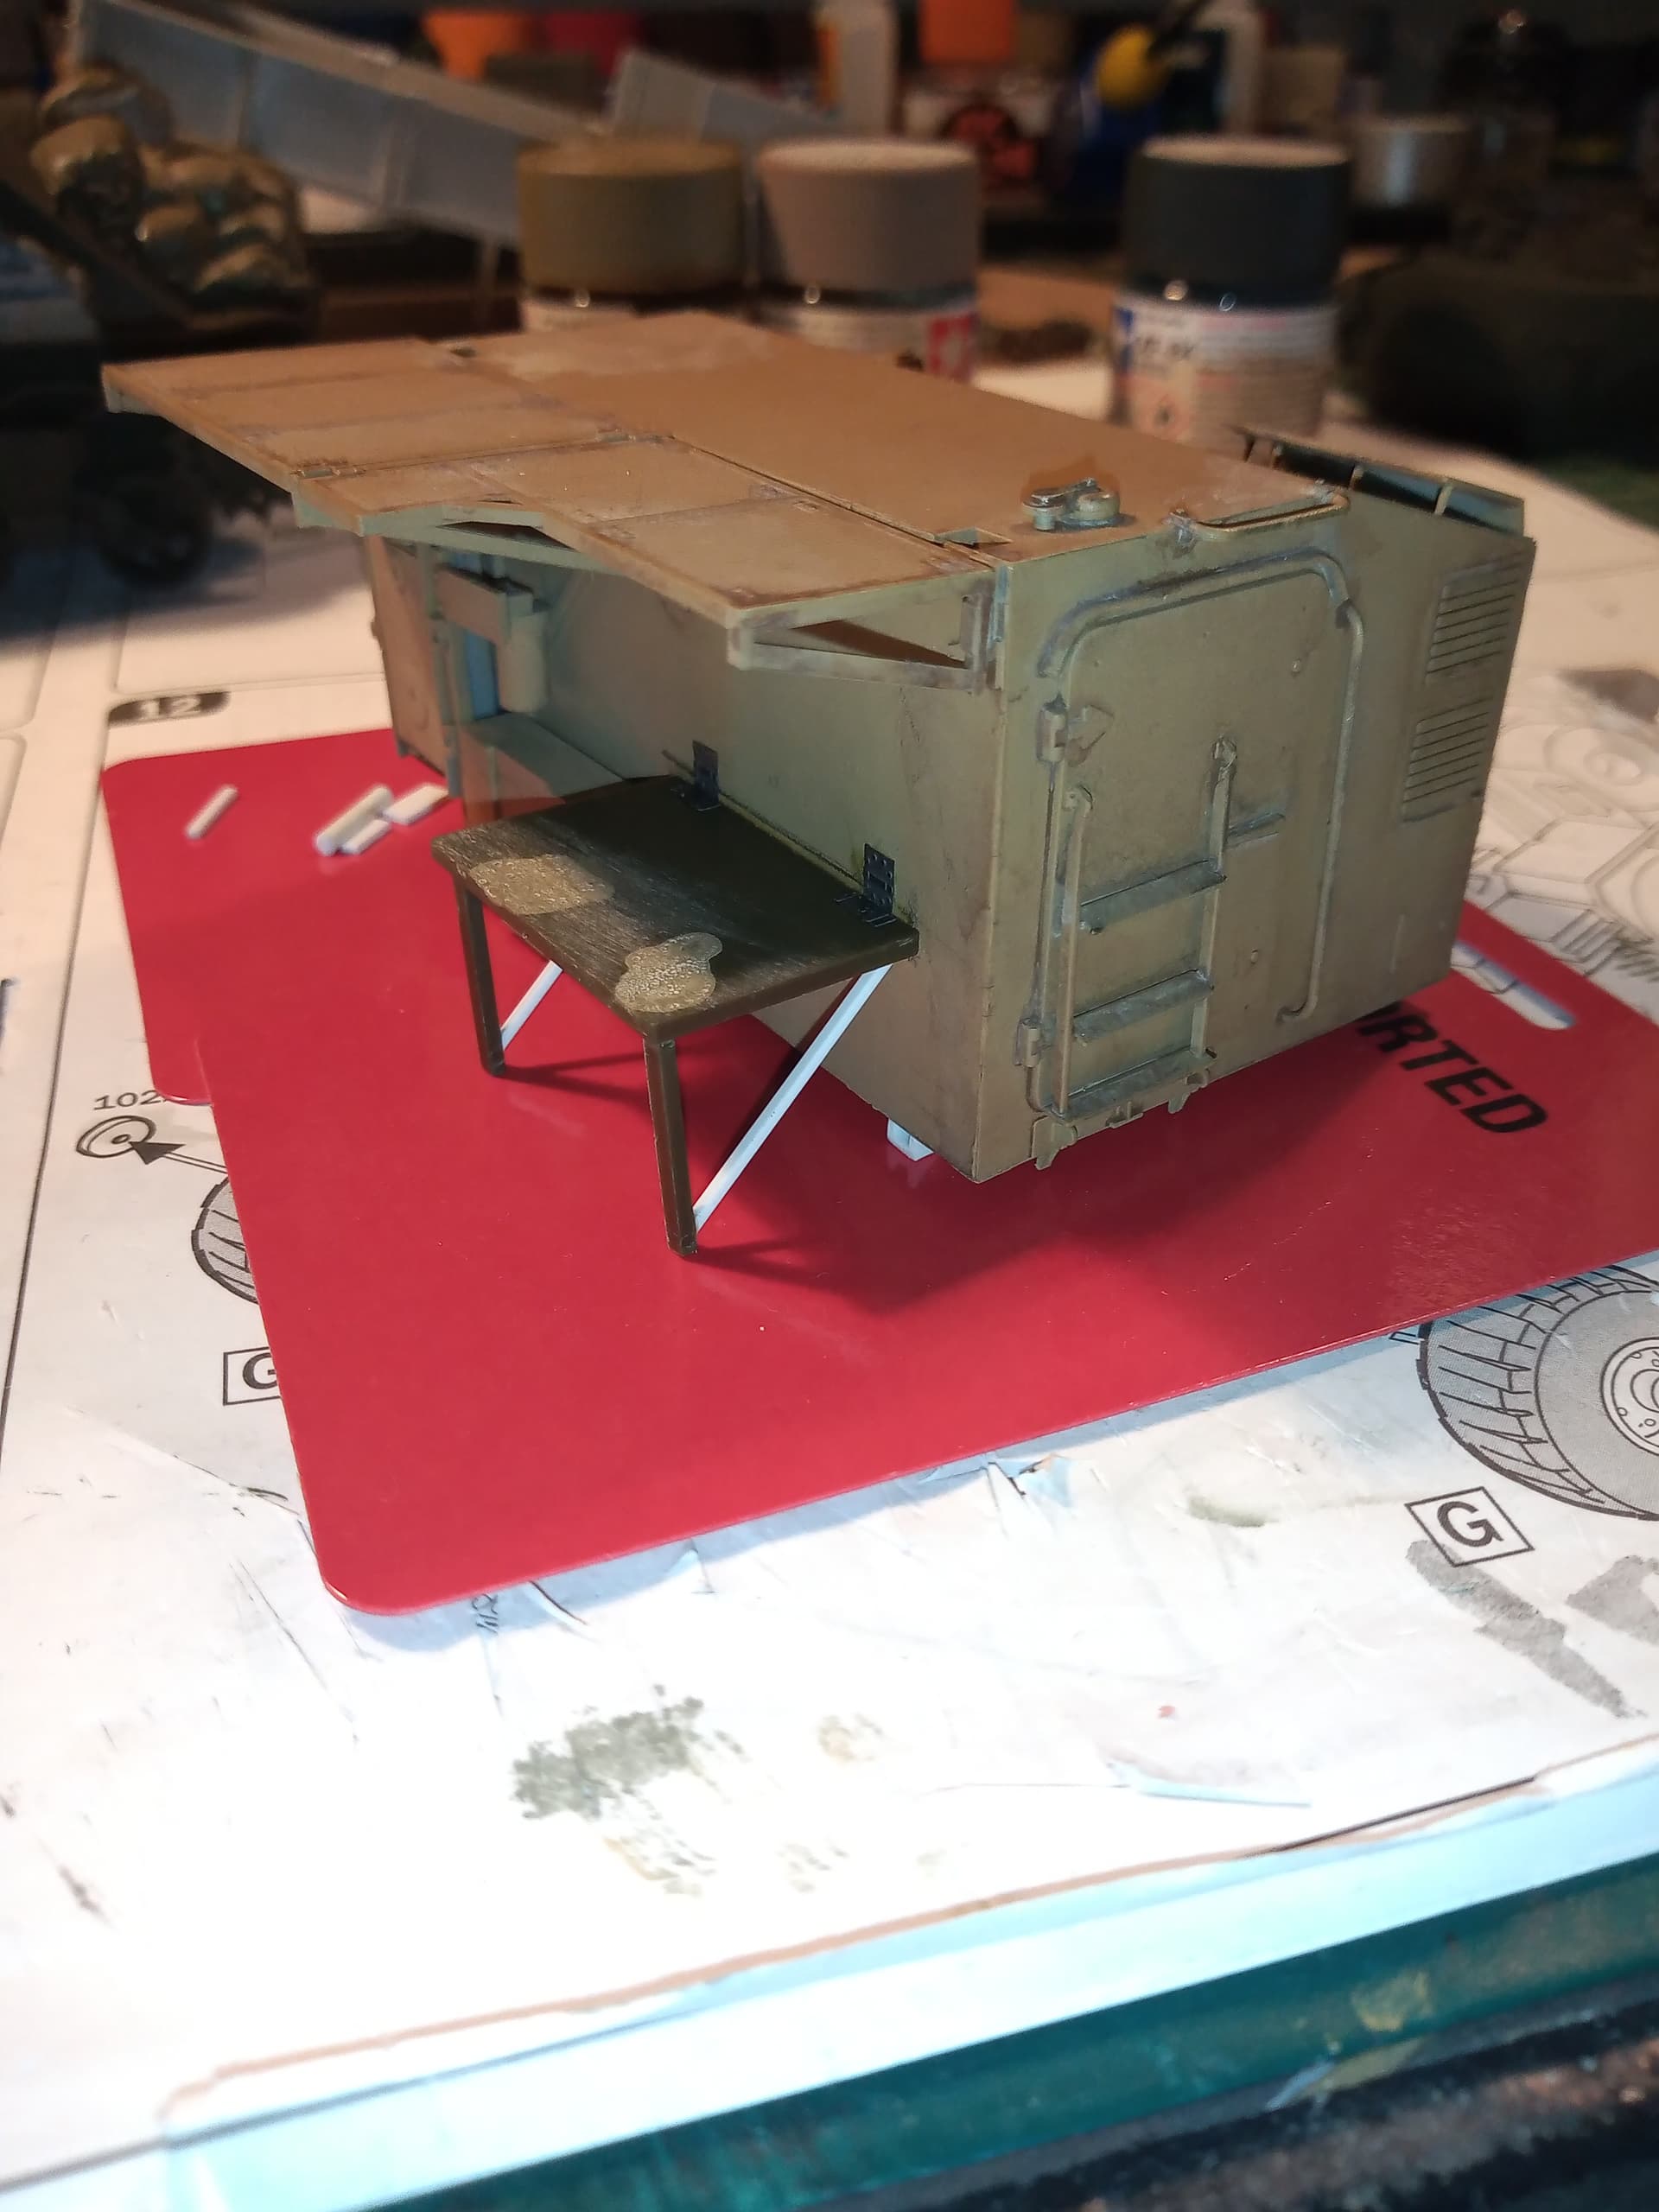
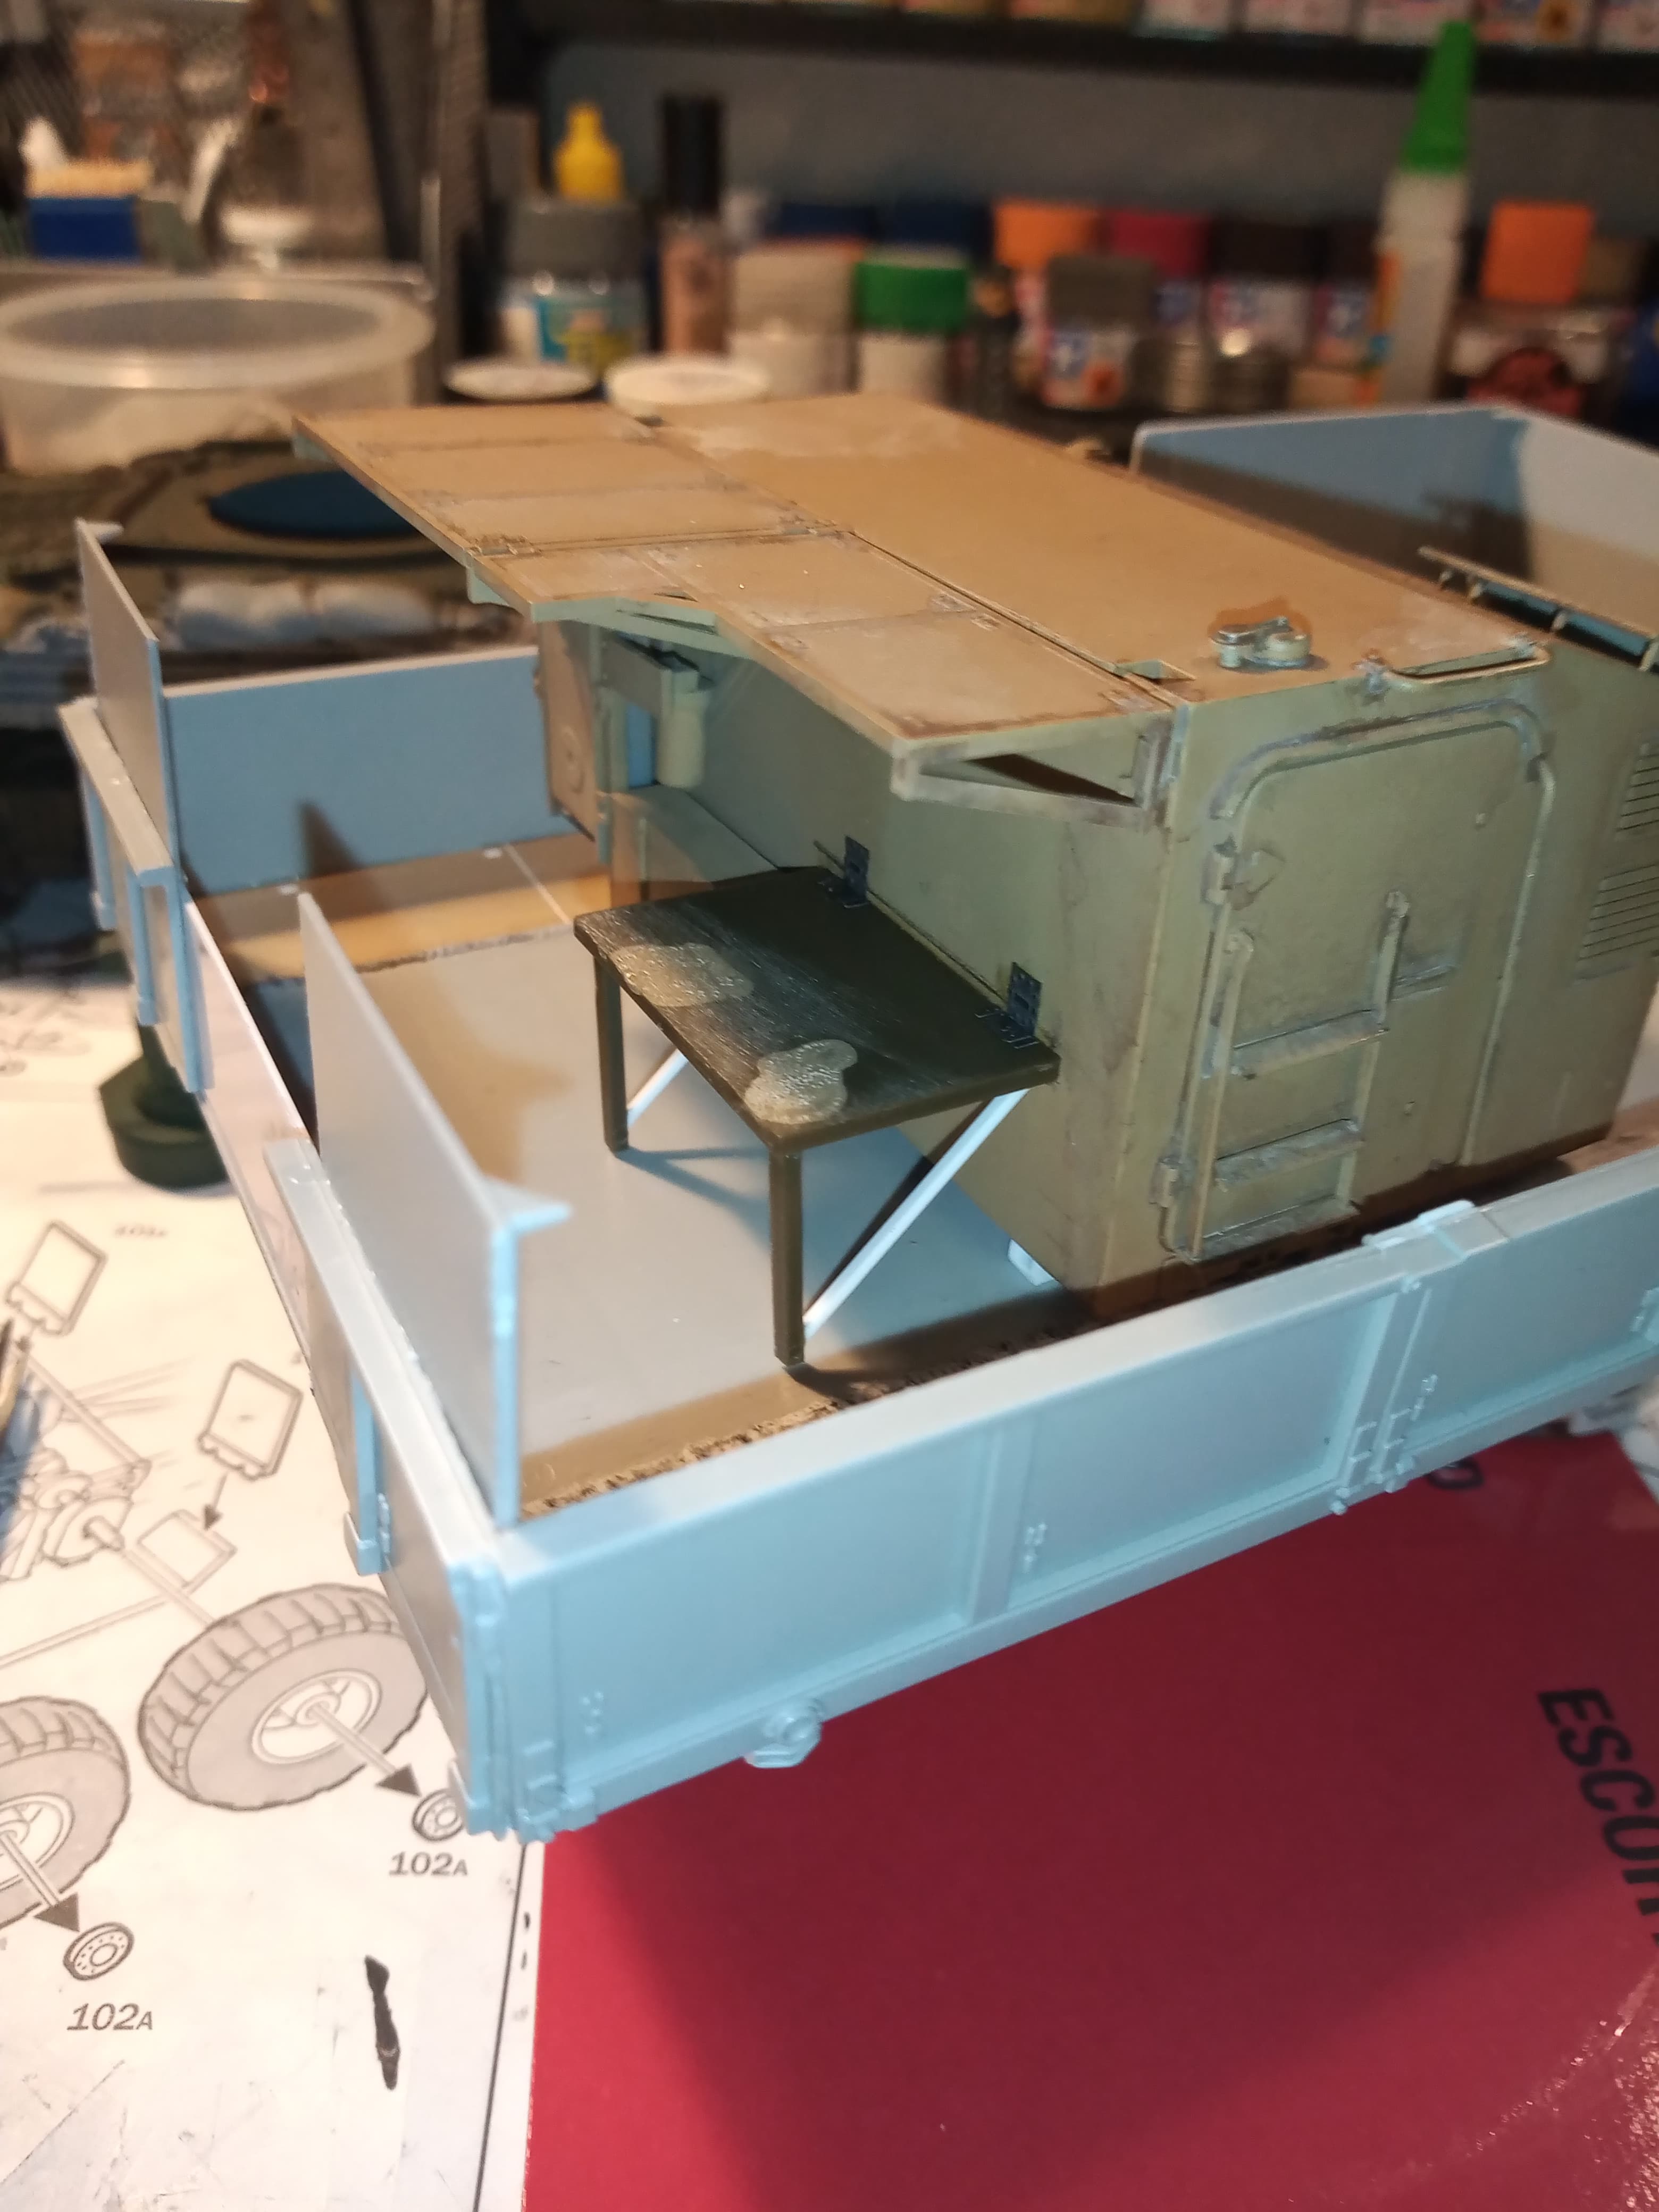
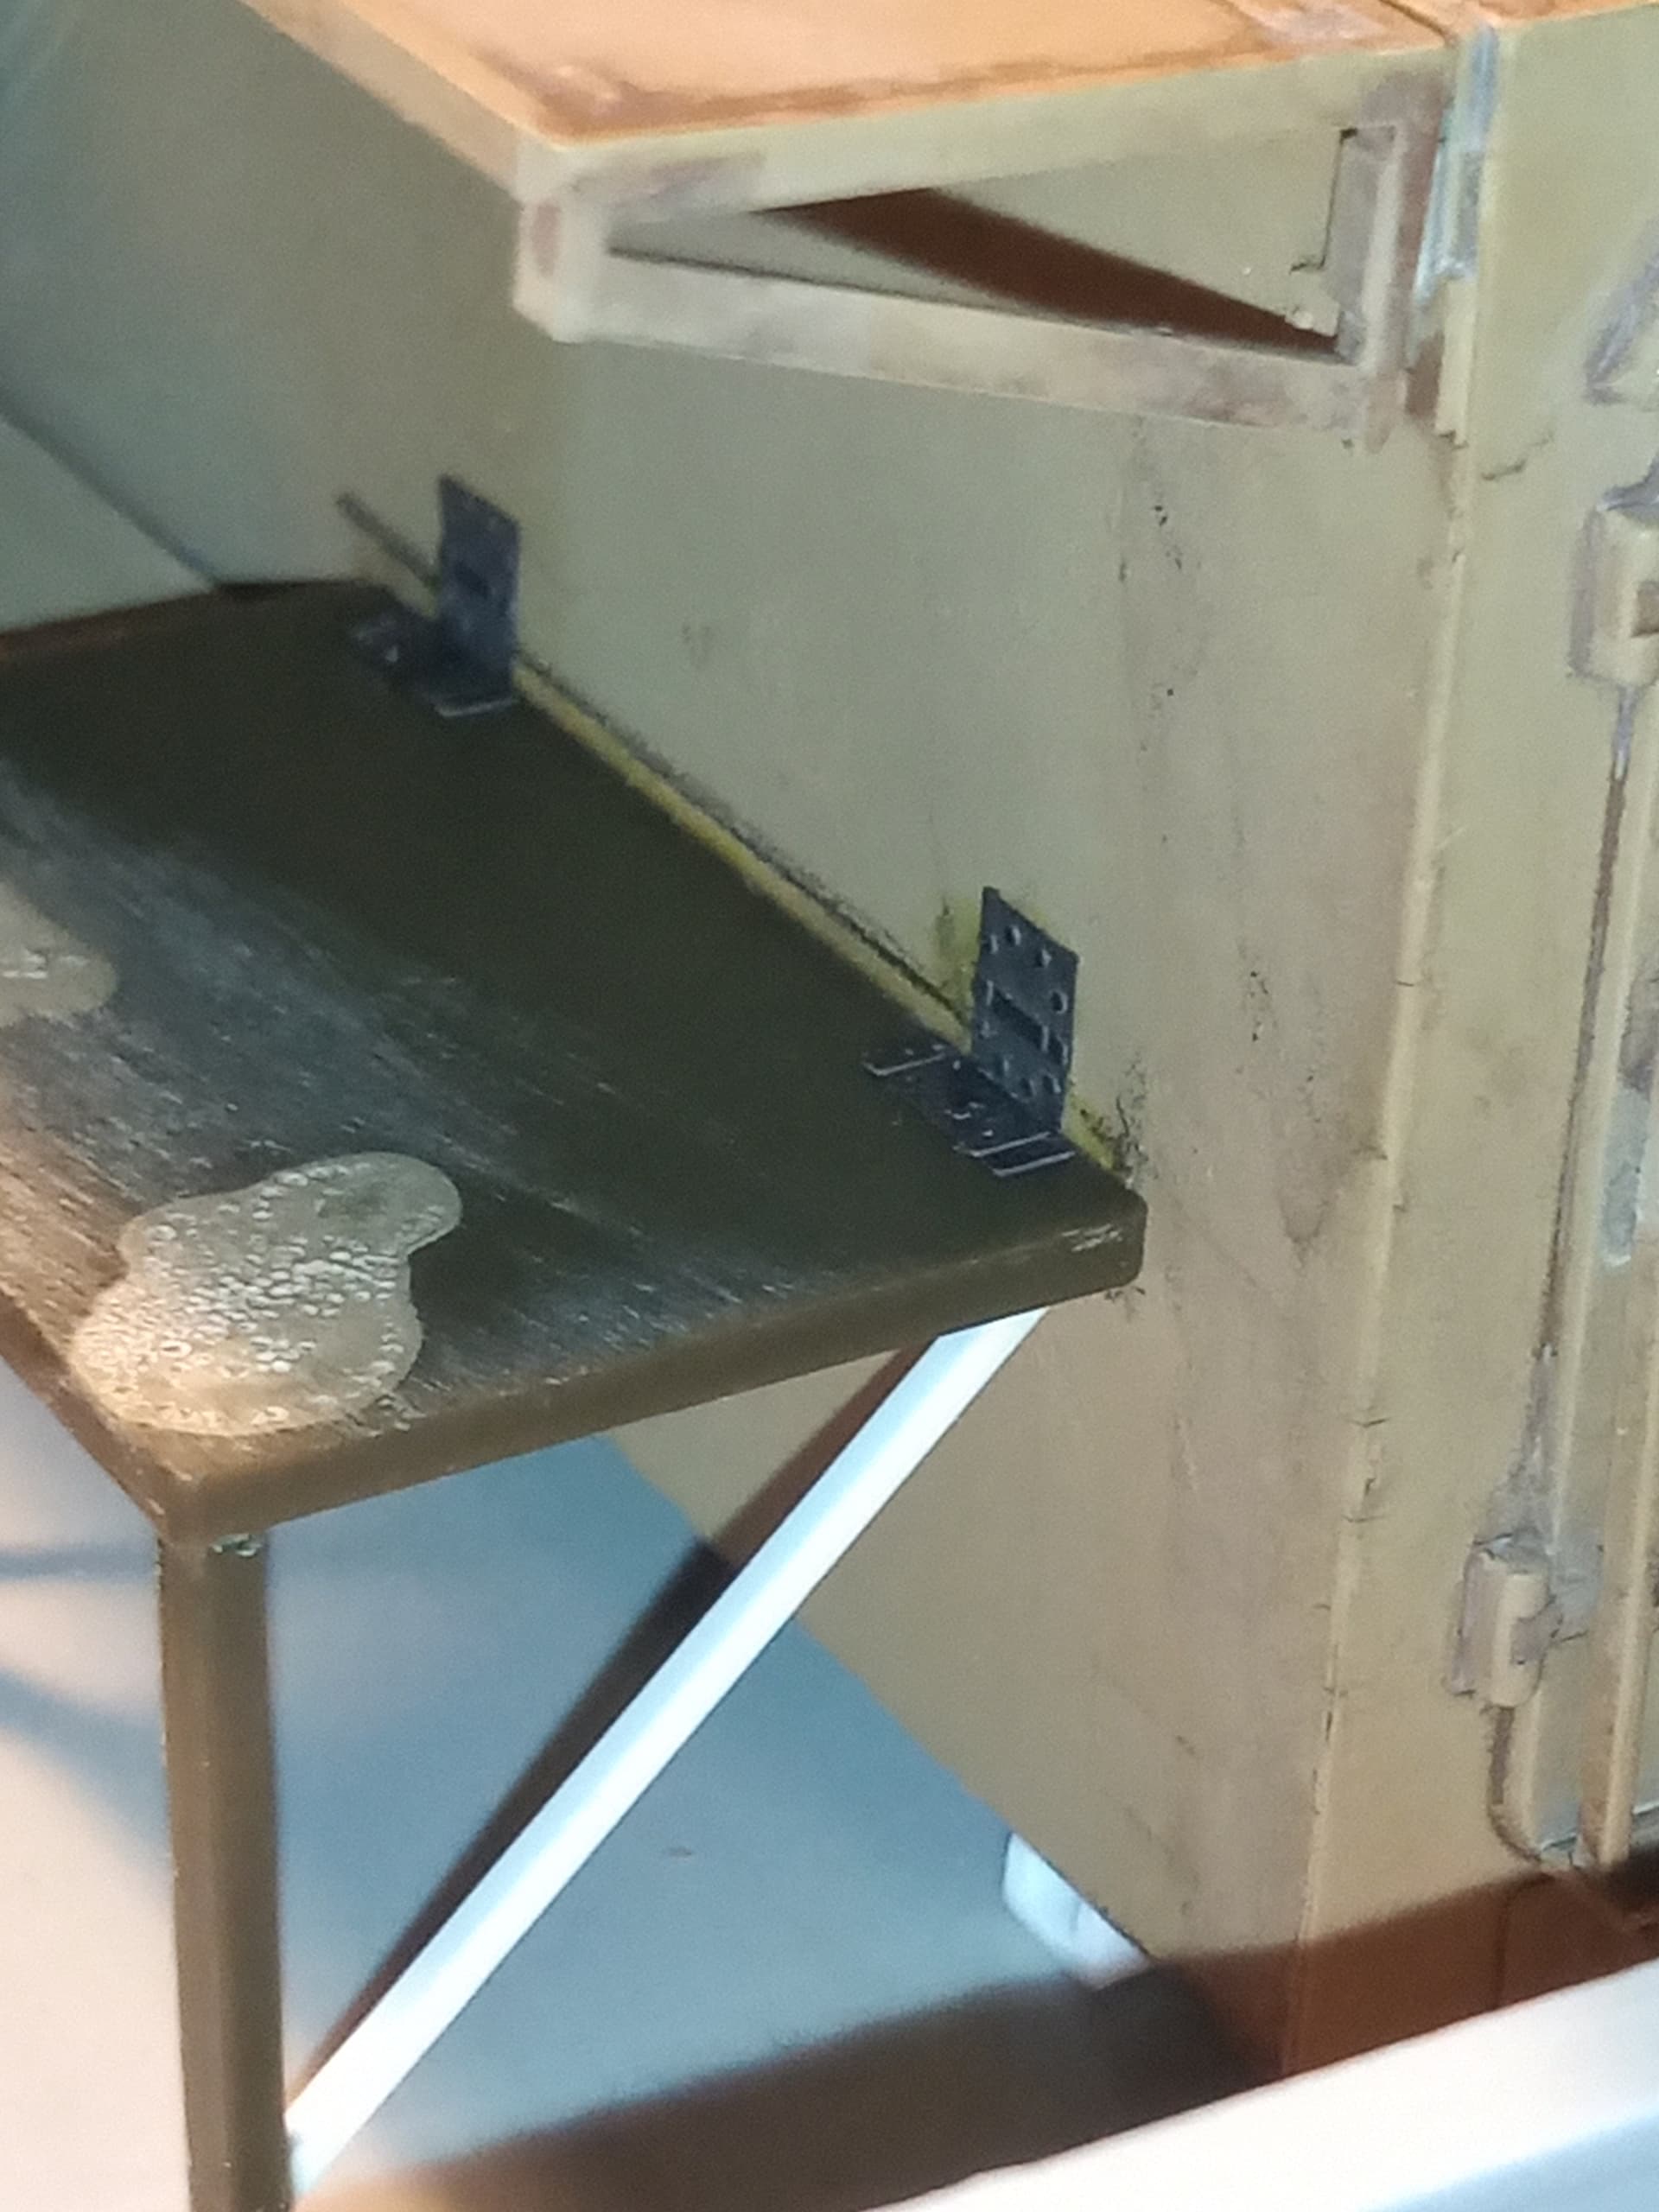
On the Pantsir box body, I am putting a table which is converted to a fold up one on the front end … I think the table is from an old Tamiya kit. .
I cut the 2 rear legs off and added a brace to each front leg.
I plan on having a tool box on the floor, and tools on the table and some modern small arms of various kinds.
How it looks on the cargo bed
And some PE hinges
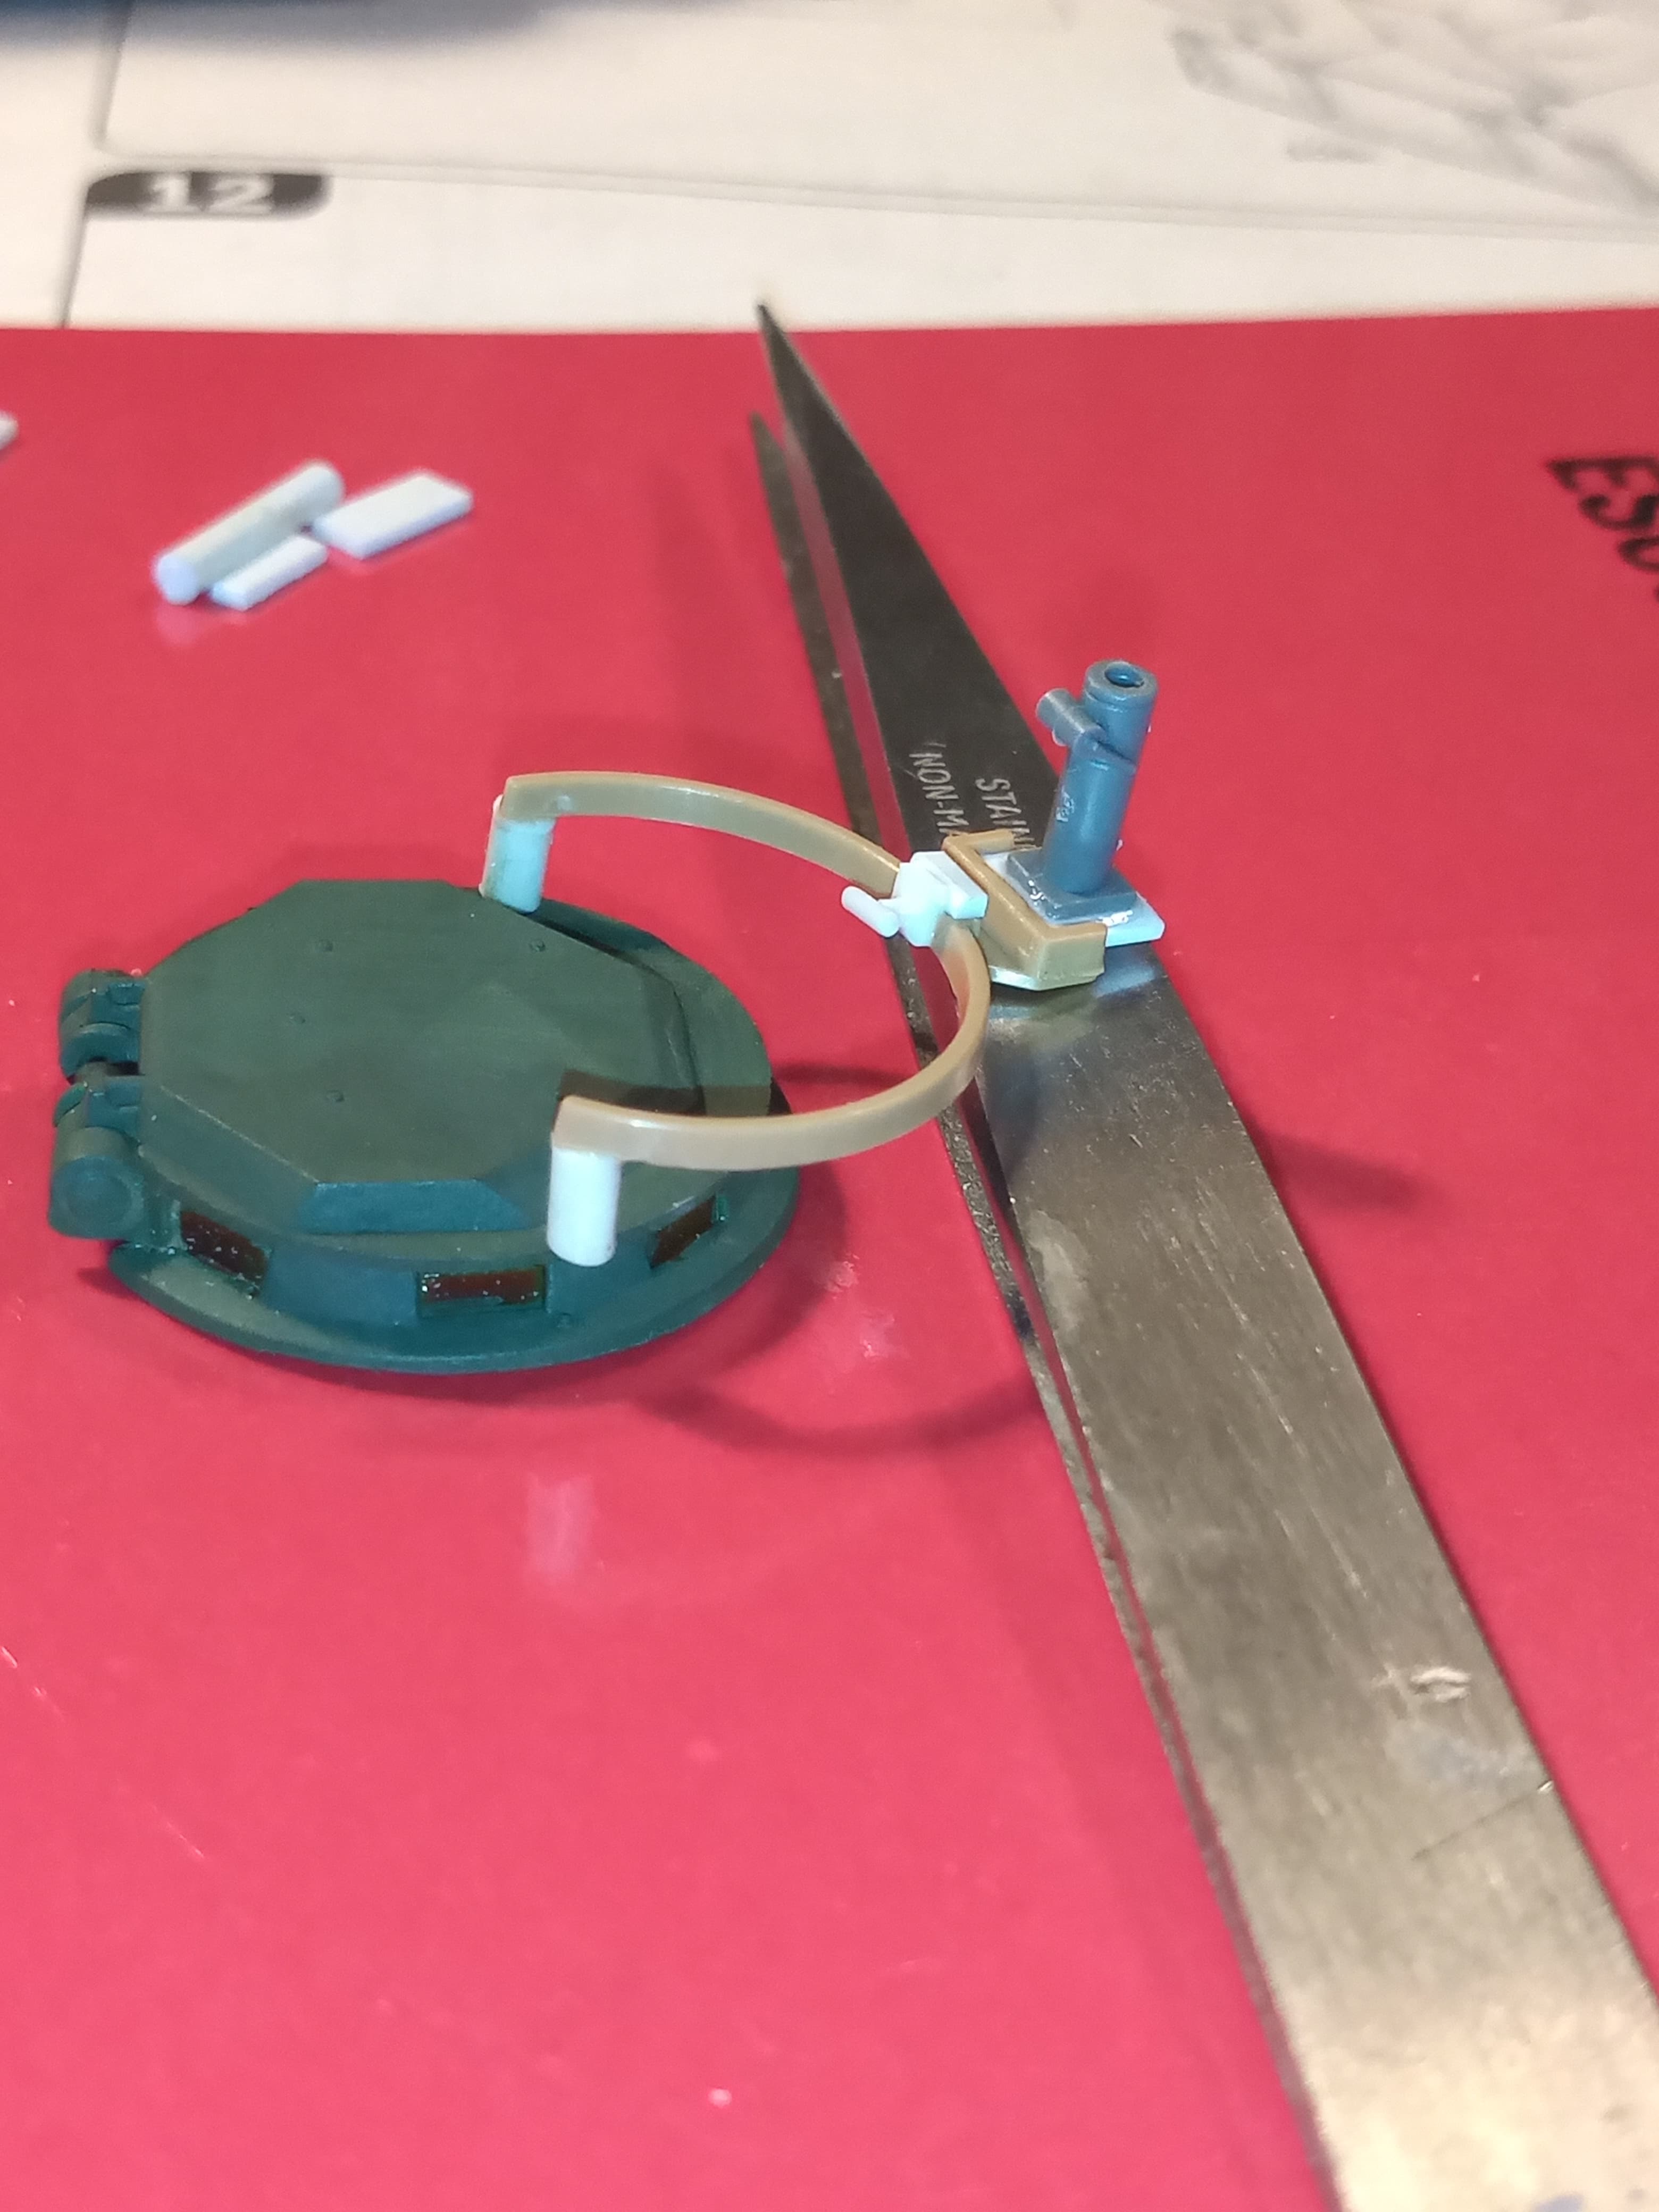
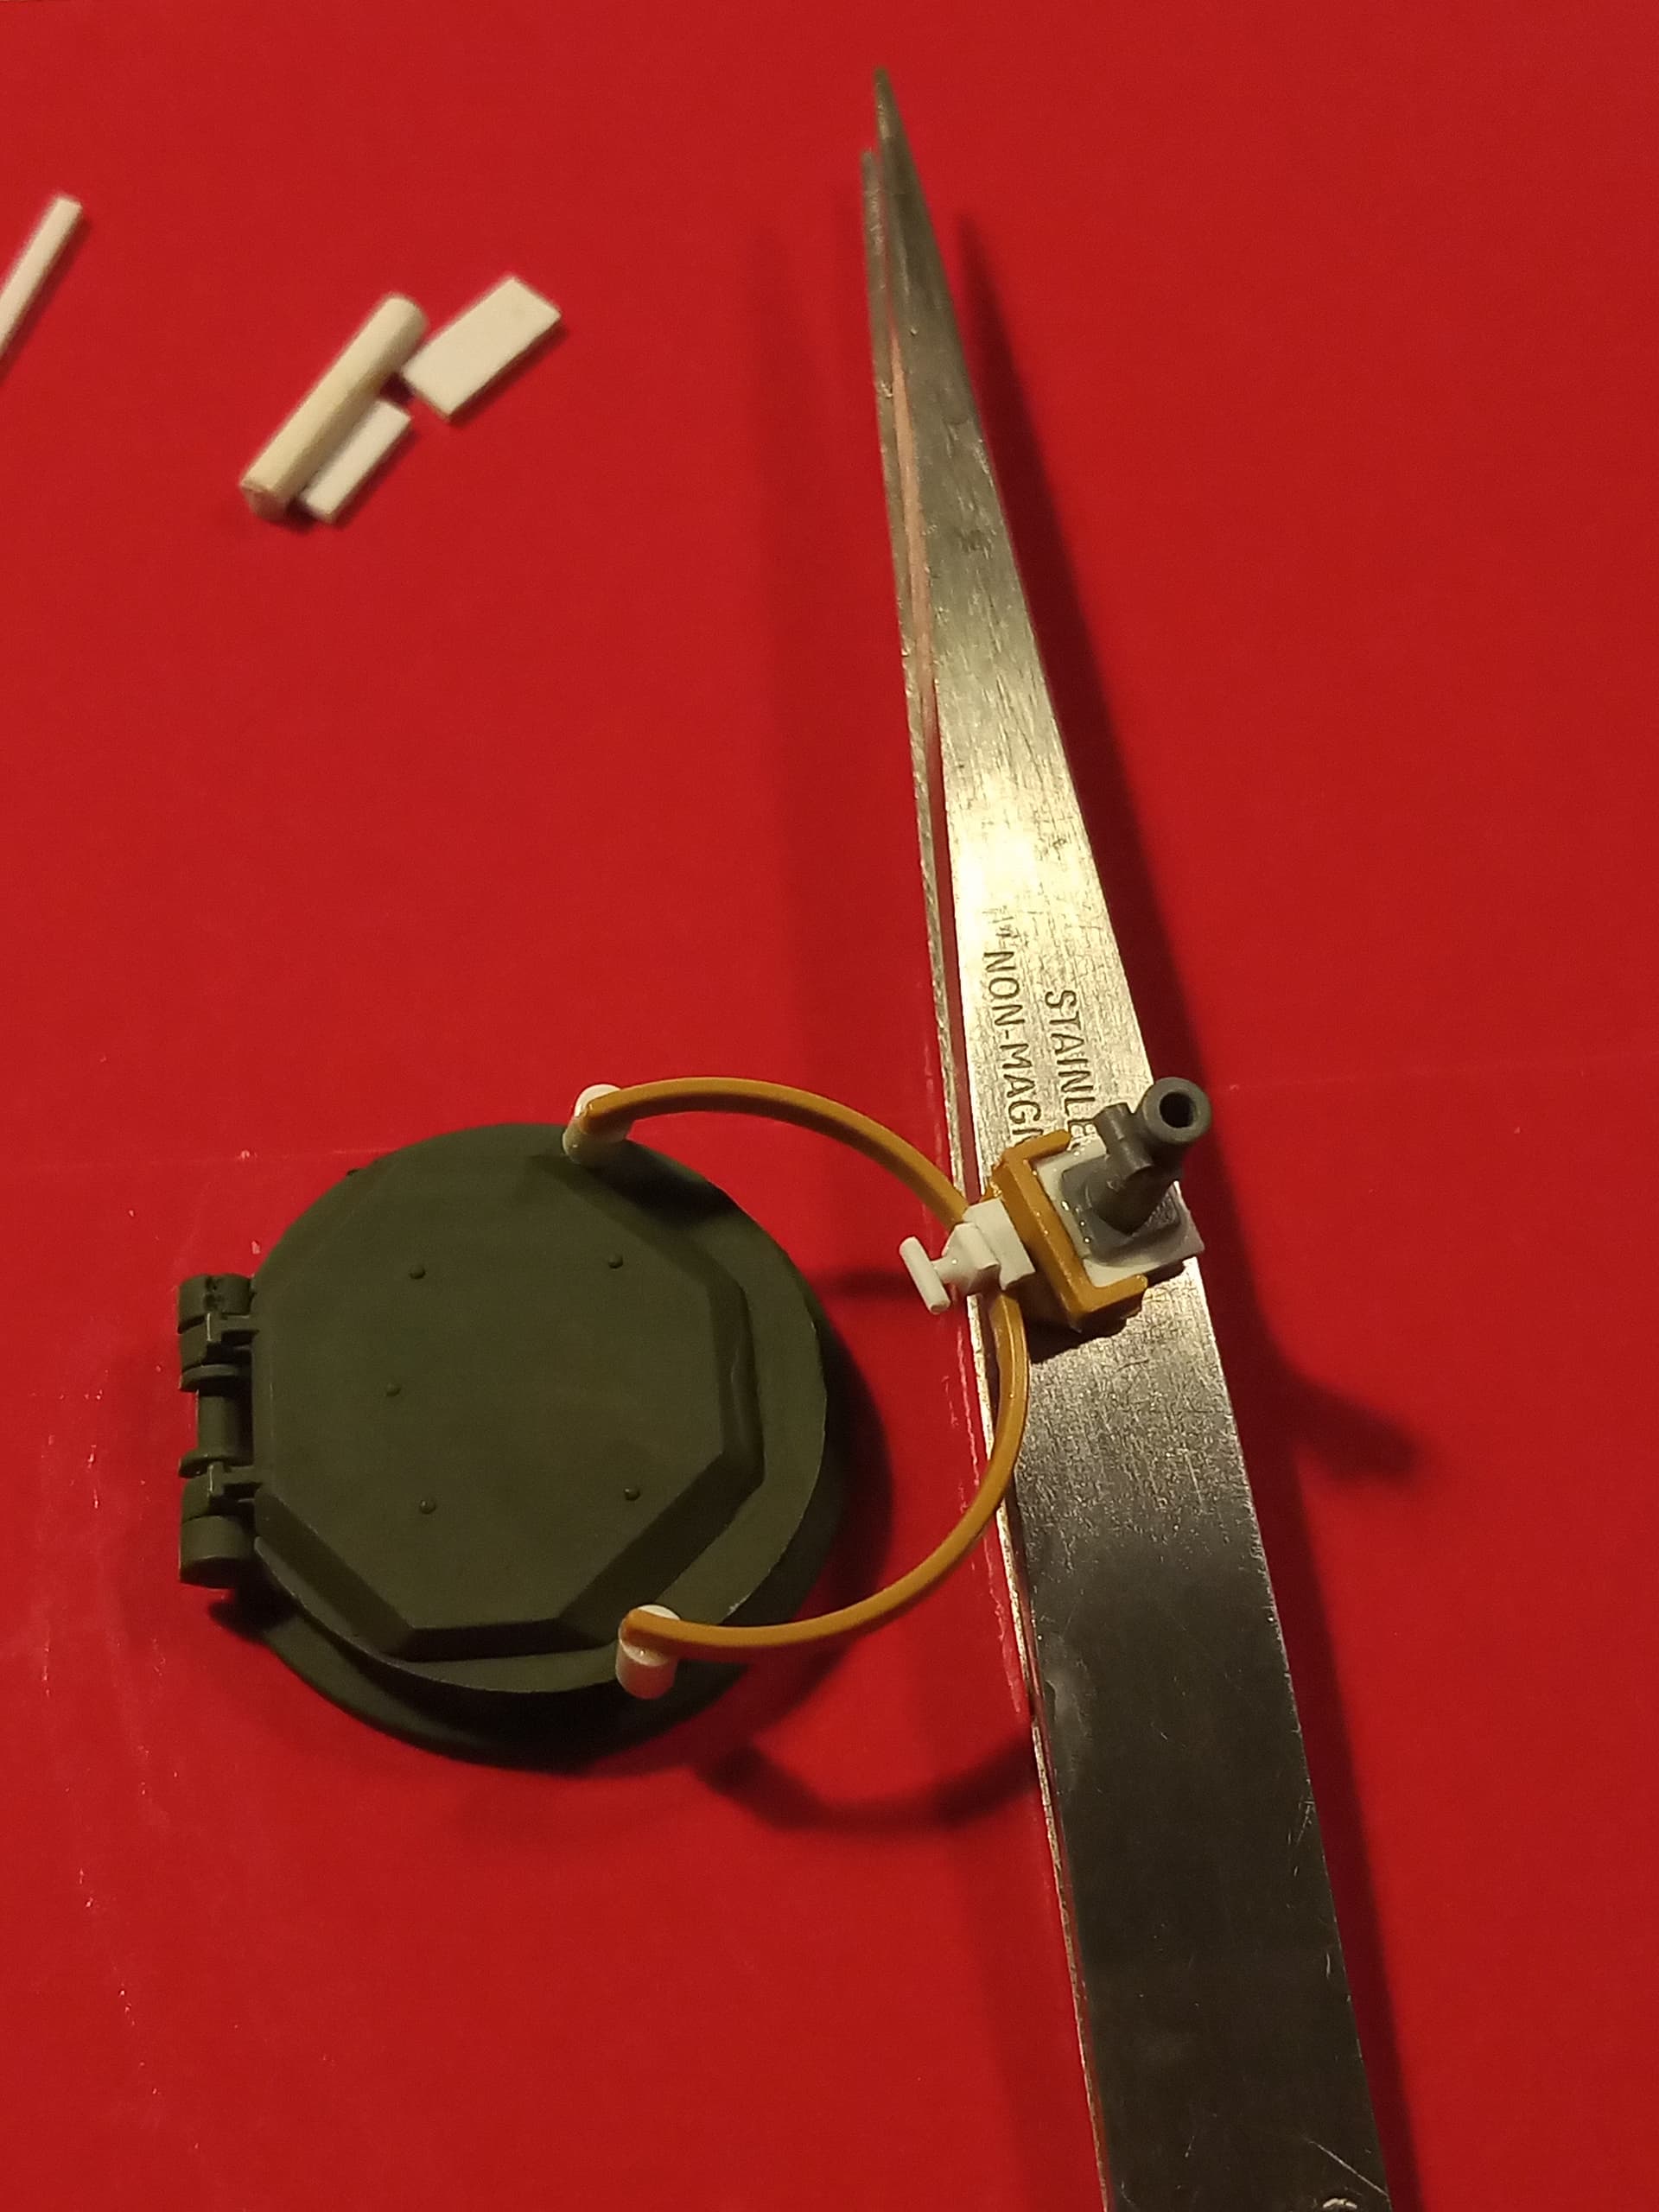
Have also added a semi circular gun rail to the cupola going on top the box body.
Added a lock mechanism to the rear, and then a section of card at the front, with a pedestal mount on top of that.
Just used some cut plastic rod to add some height, they need tidying up a bit so they sit right. It’s just resting there at the mo, not glued yet.
I have a mounting bracket to go on the pedestal… And I intend putting an M82 sniper rifle on that…need to wait for that to arrive and then build a frame for that for it to sit it…keep smiling ![]()
Nice little details John. It is these extras that grab attention.
Thank Peter. On a closer look at the cupola mount I did, I think I’m going to have to make a central support bar that angles up from the cupola to the bottom the rail as I think it looks to flimsy to remain rigid in real life.
Looks great Johnny. As you are still messing around and before adding the brace, see if you can bring the ring a little closer to the cupola. Might be a little to much of a reach for most folks.