As luck would have it been super busy with other things since the wheel bits arrived but will get back to it next week. The wife wanted to go to Hobby Lobby and 40% model kits and someone asked me if doing a trailer. Wasn’t going to but then this was available at around $20.
To mess with me, these wheels are solid. Not sure if they fit any better. Same could be said for the kit. I am thinking the 36’ version would look better with the Mack but I also don’t have any compact trailers. Good problems to have I guess.
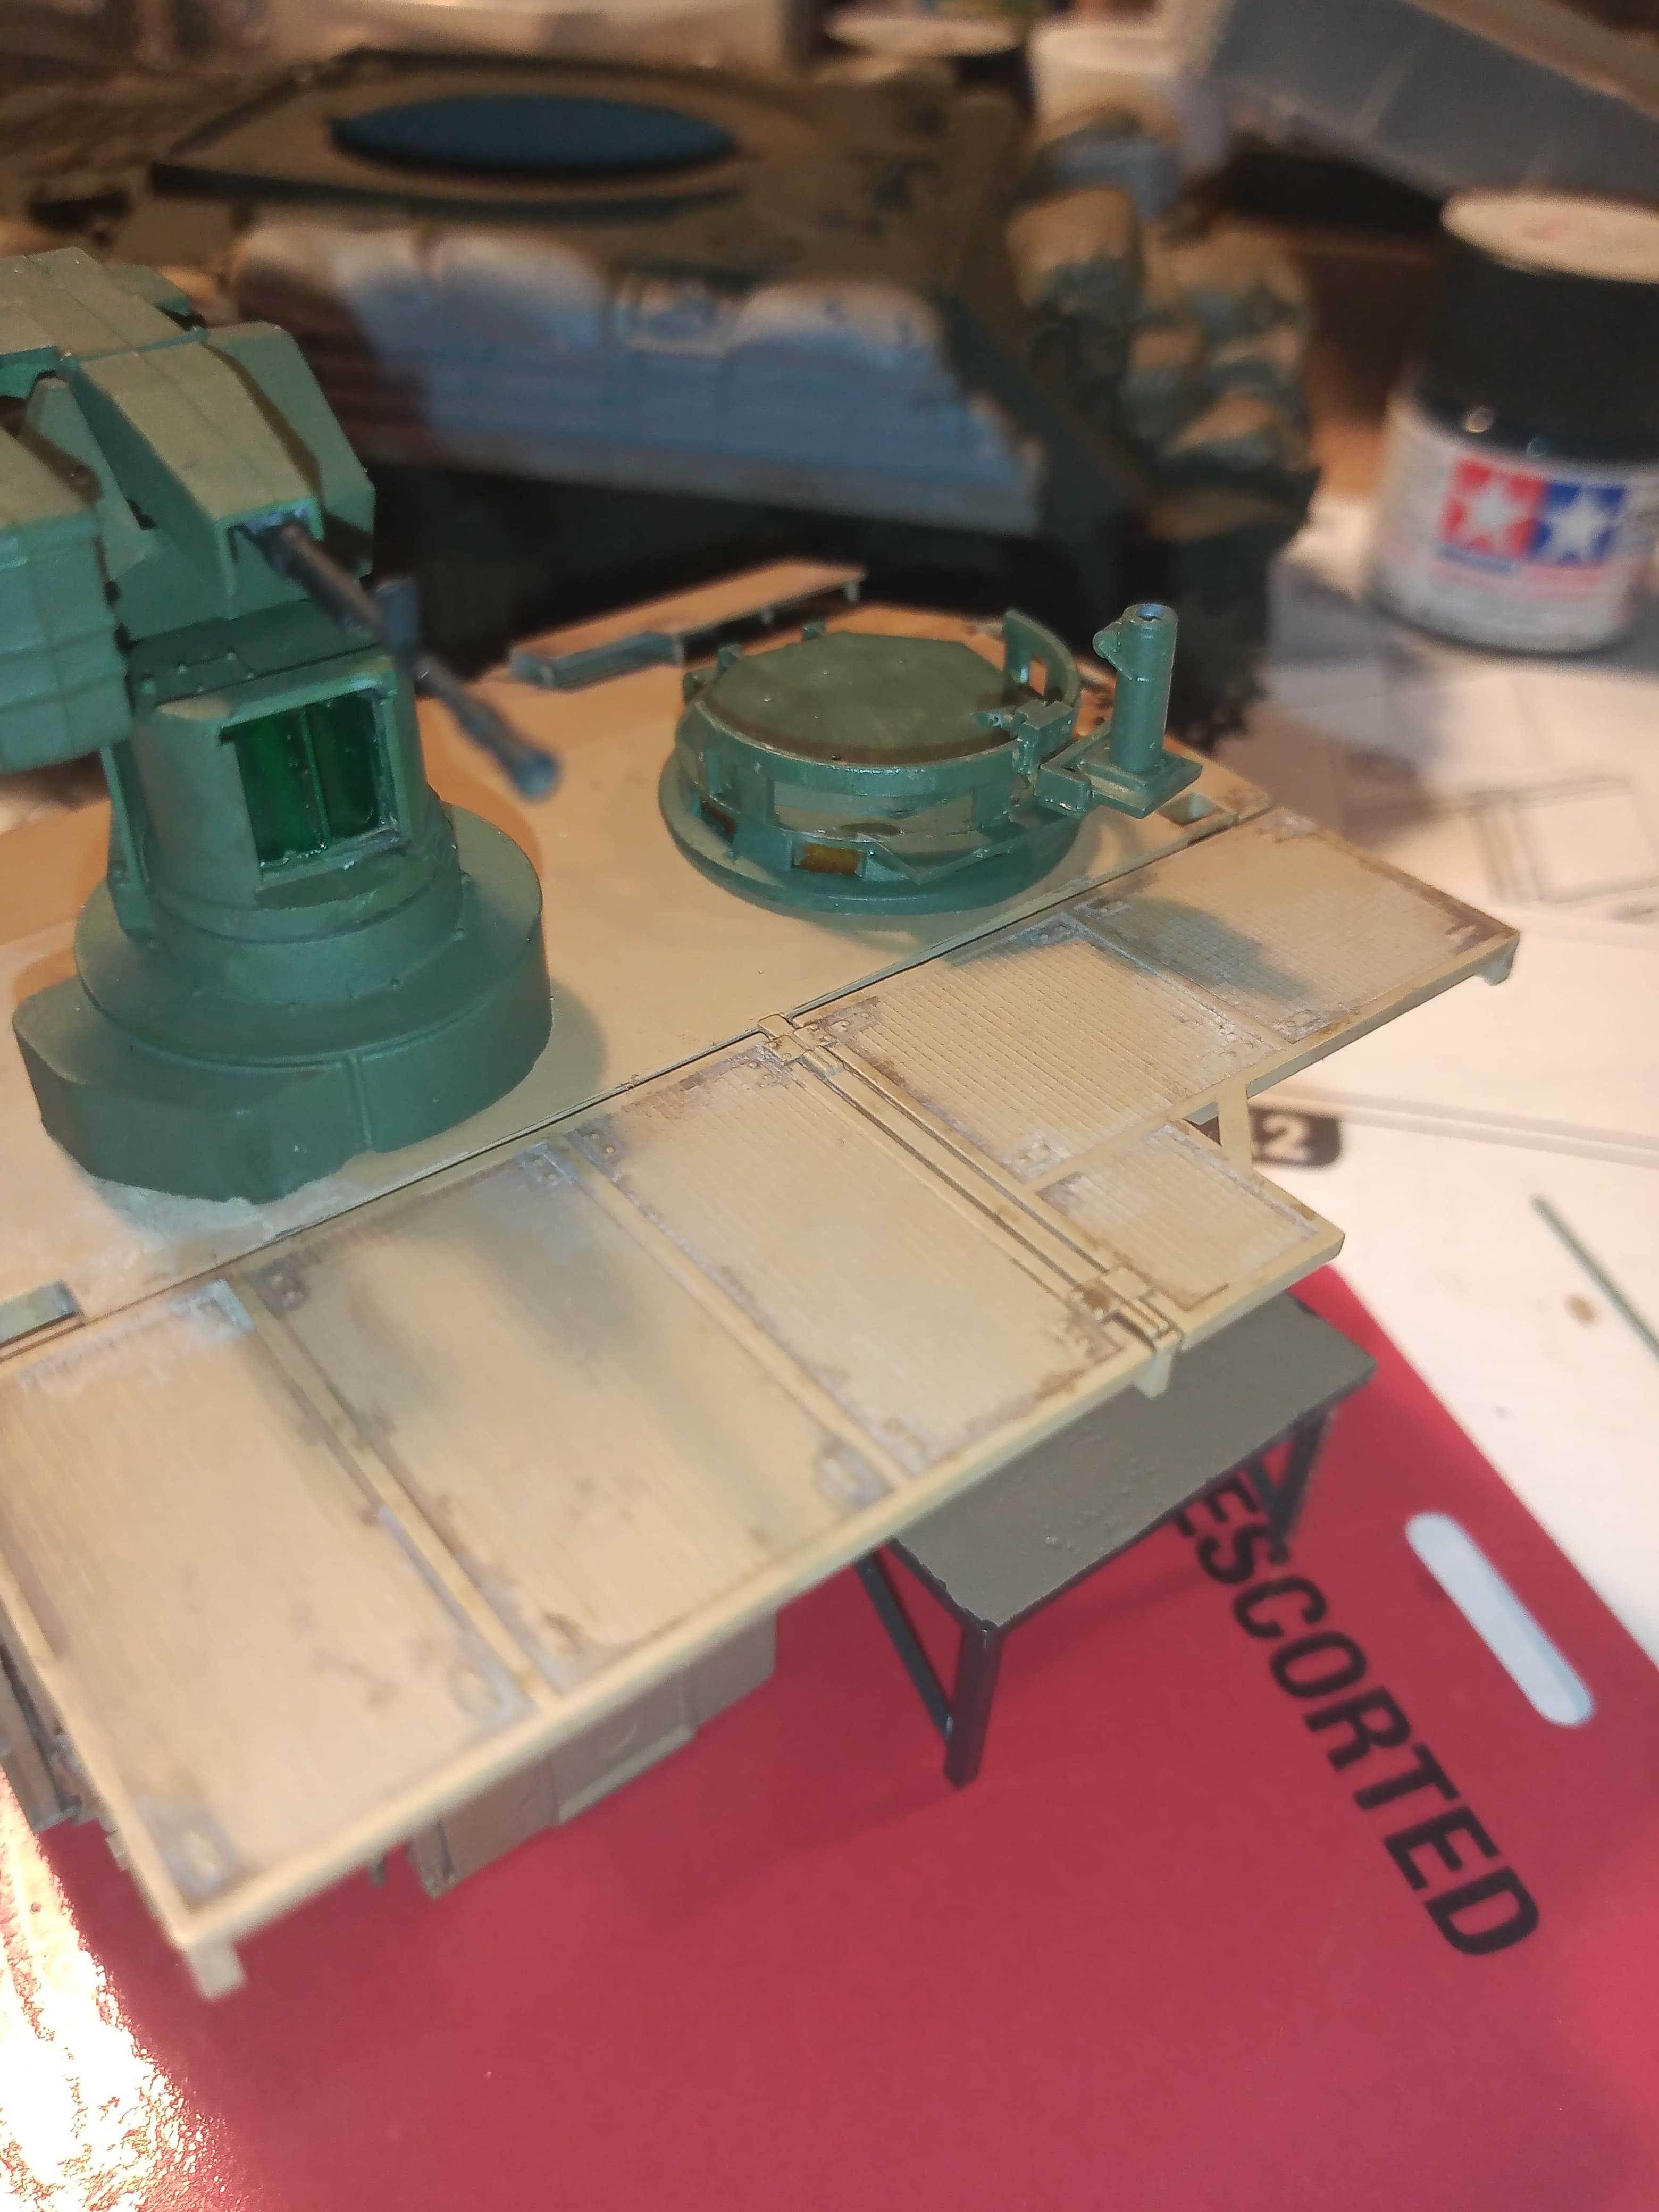
I’m with Ryan. Most ring mounts seem to go around the cuppola/hatch opening so the MG operator can swing it around if needs be. Like this on my M981 FIST
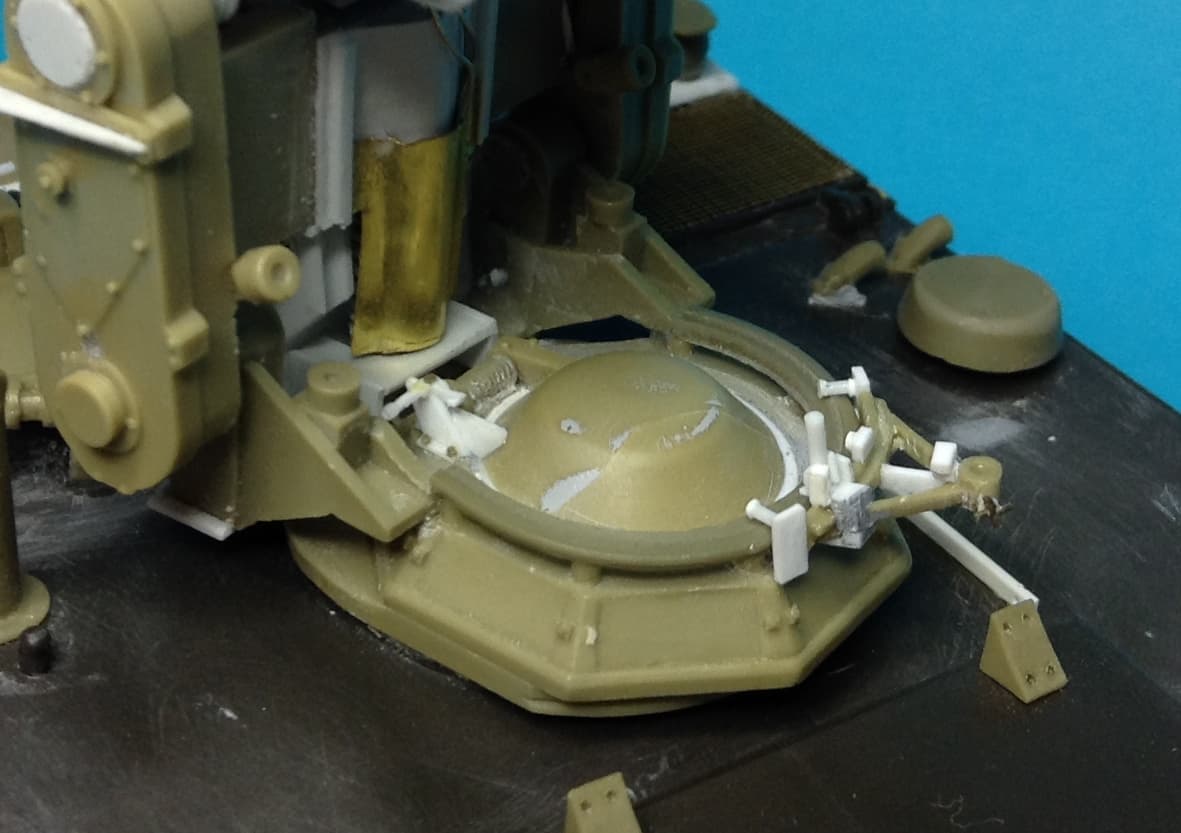
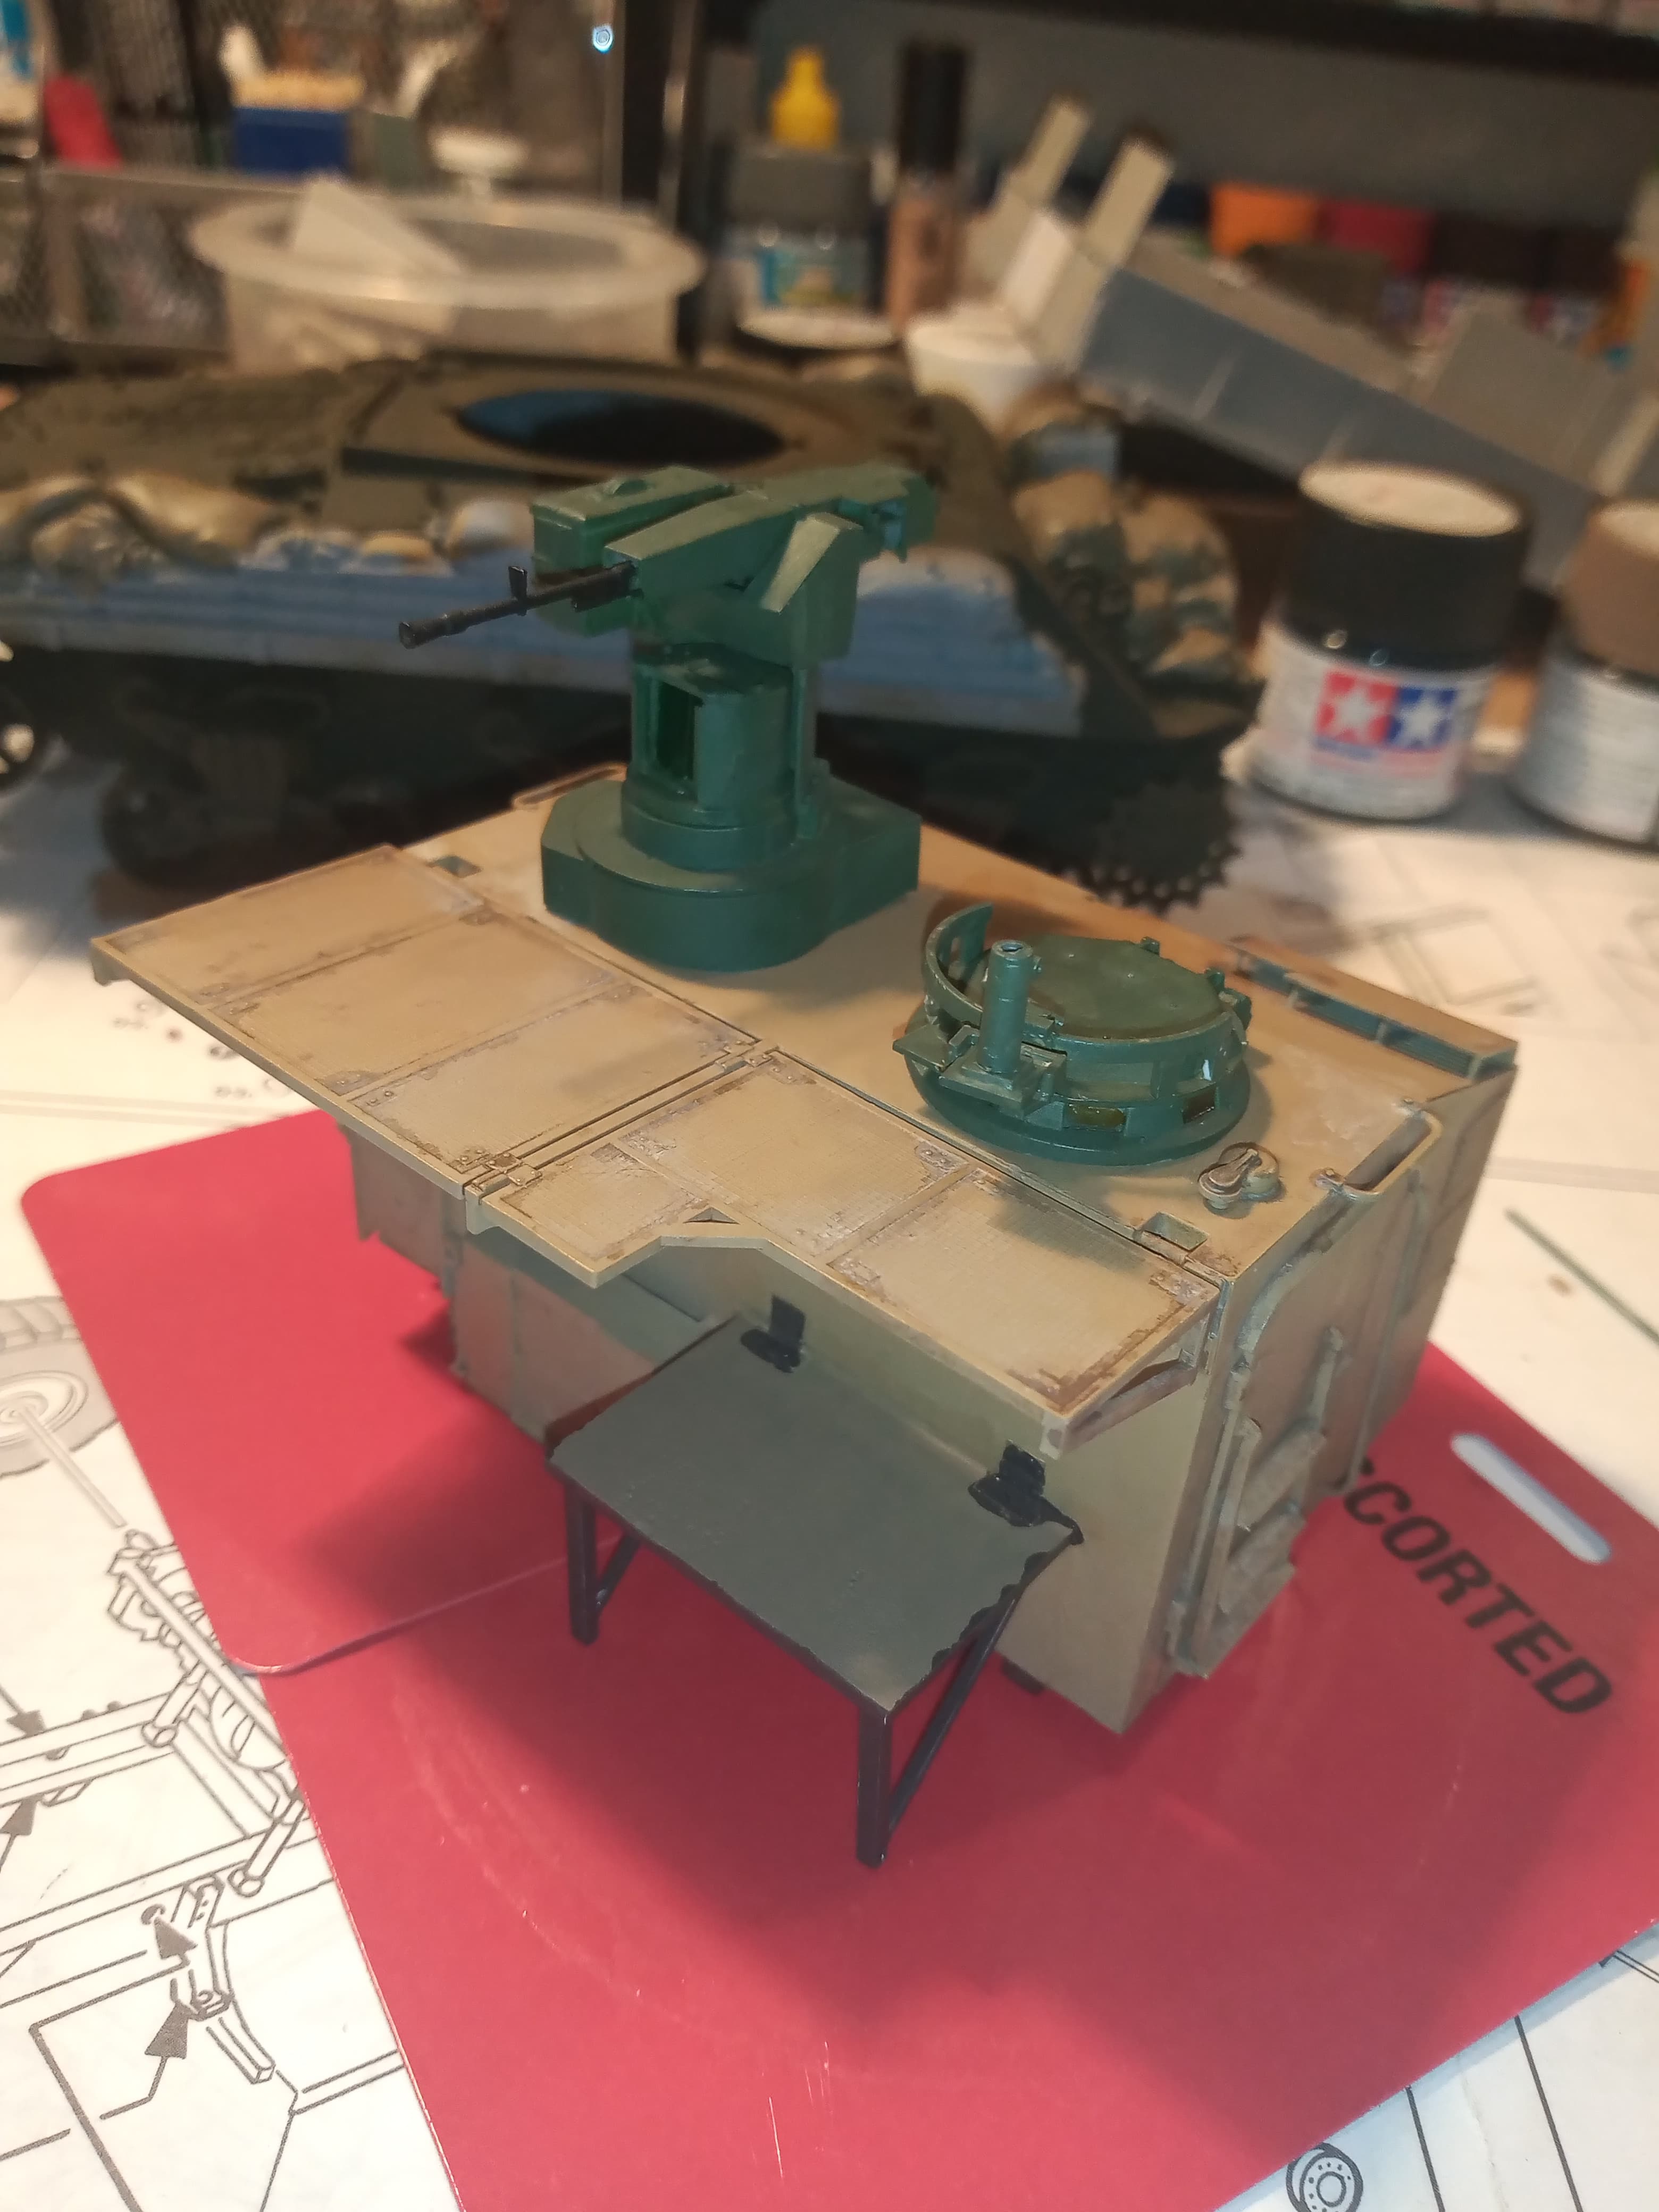
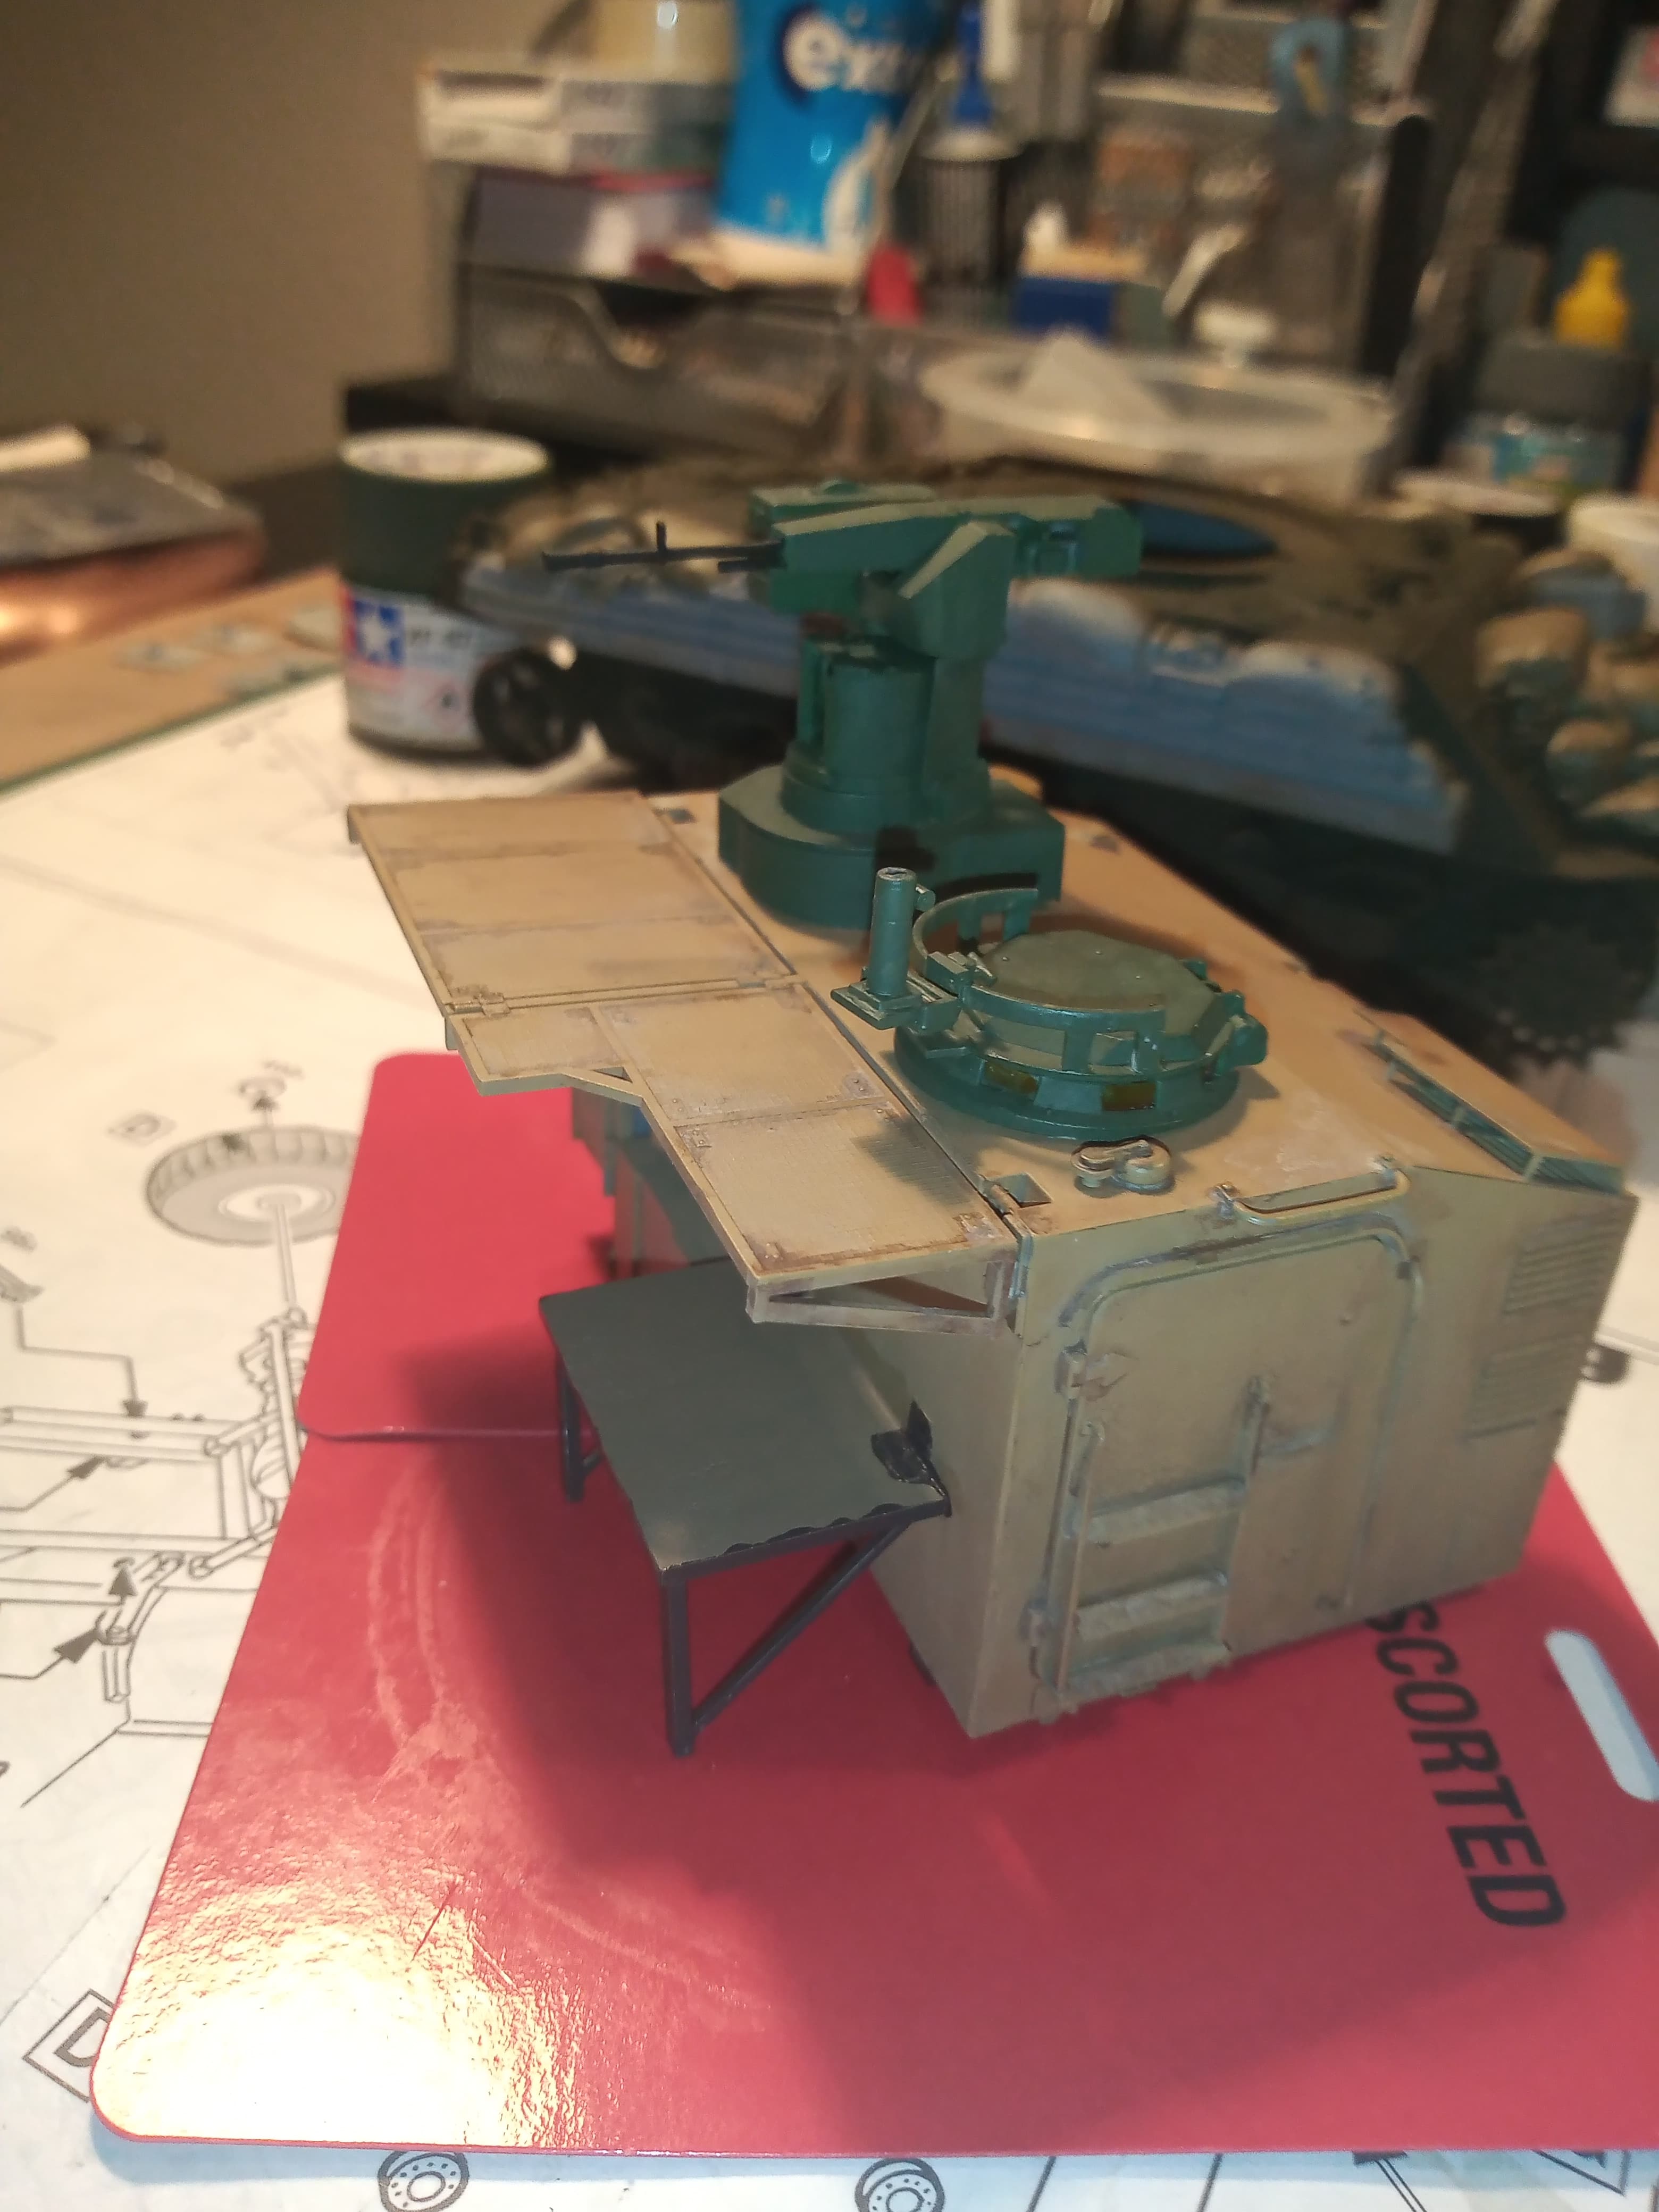
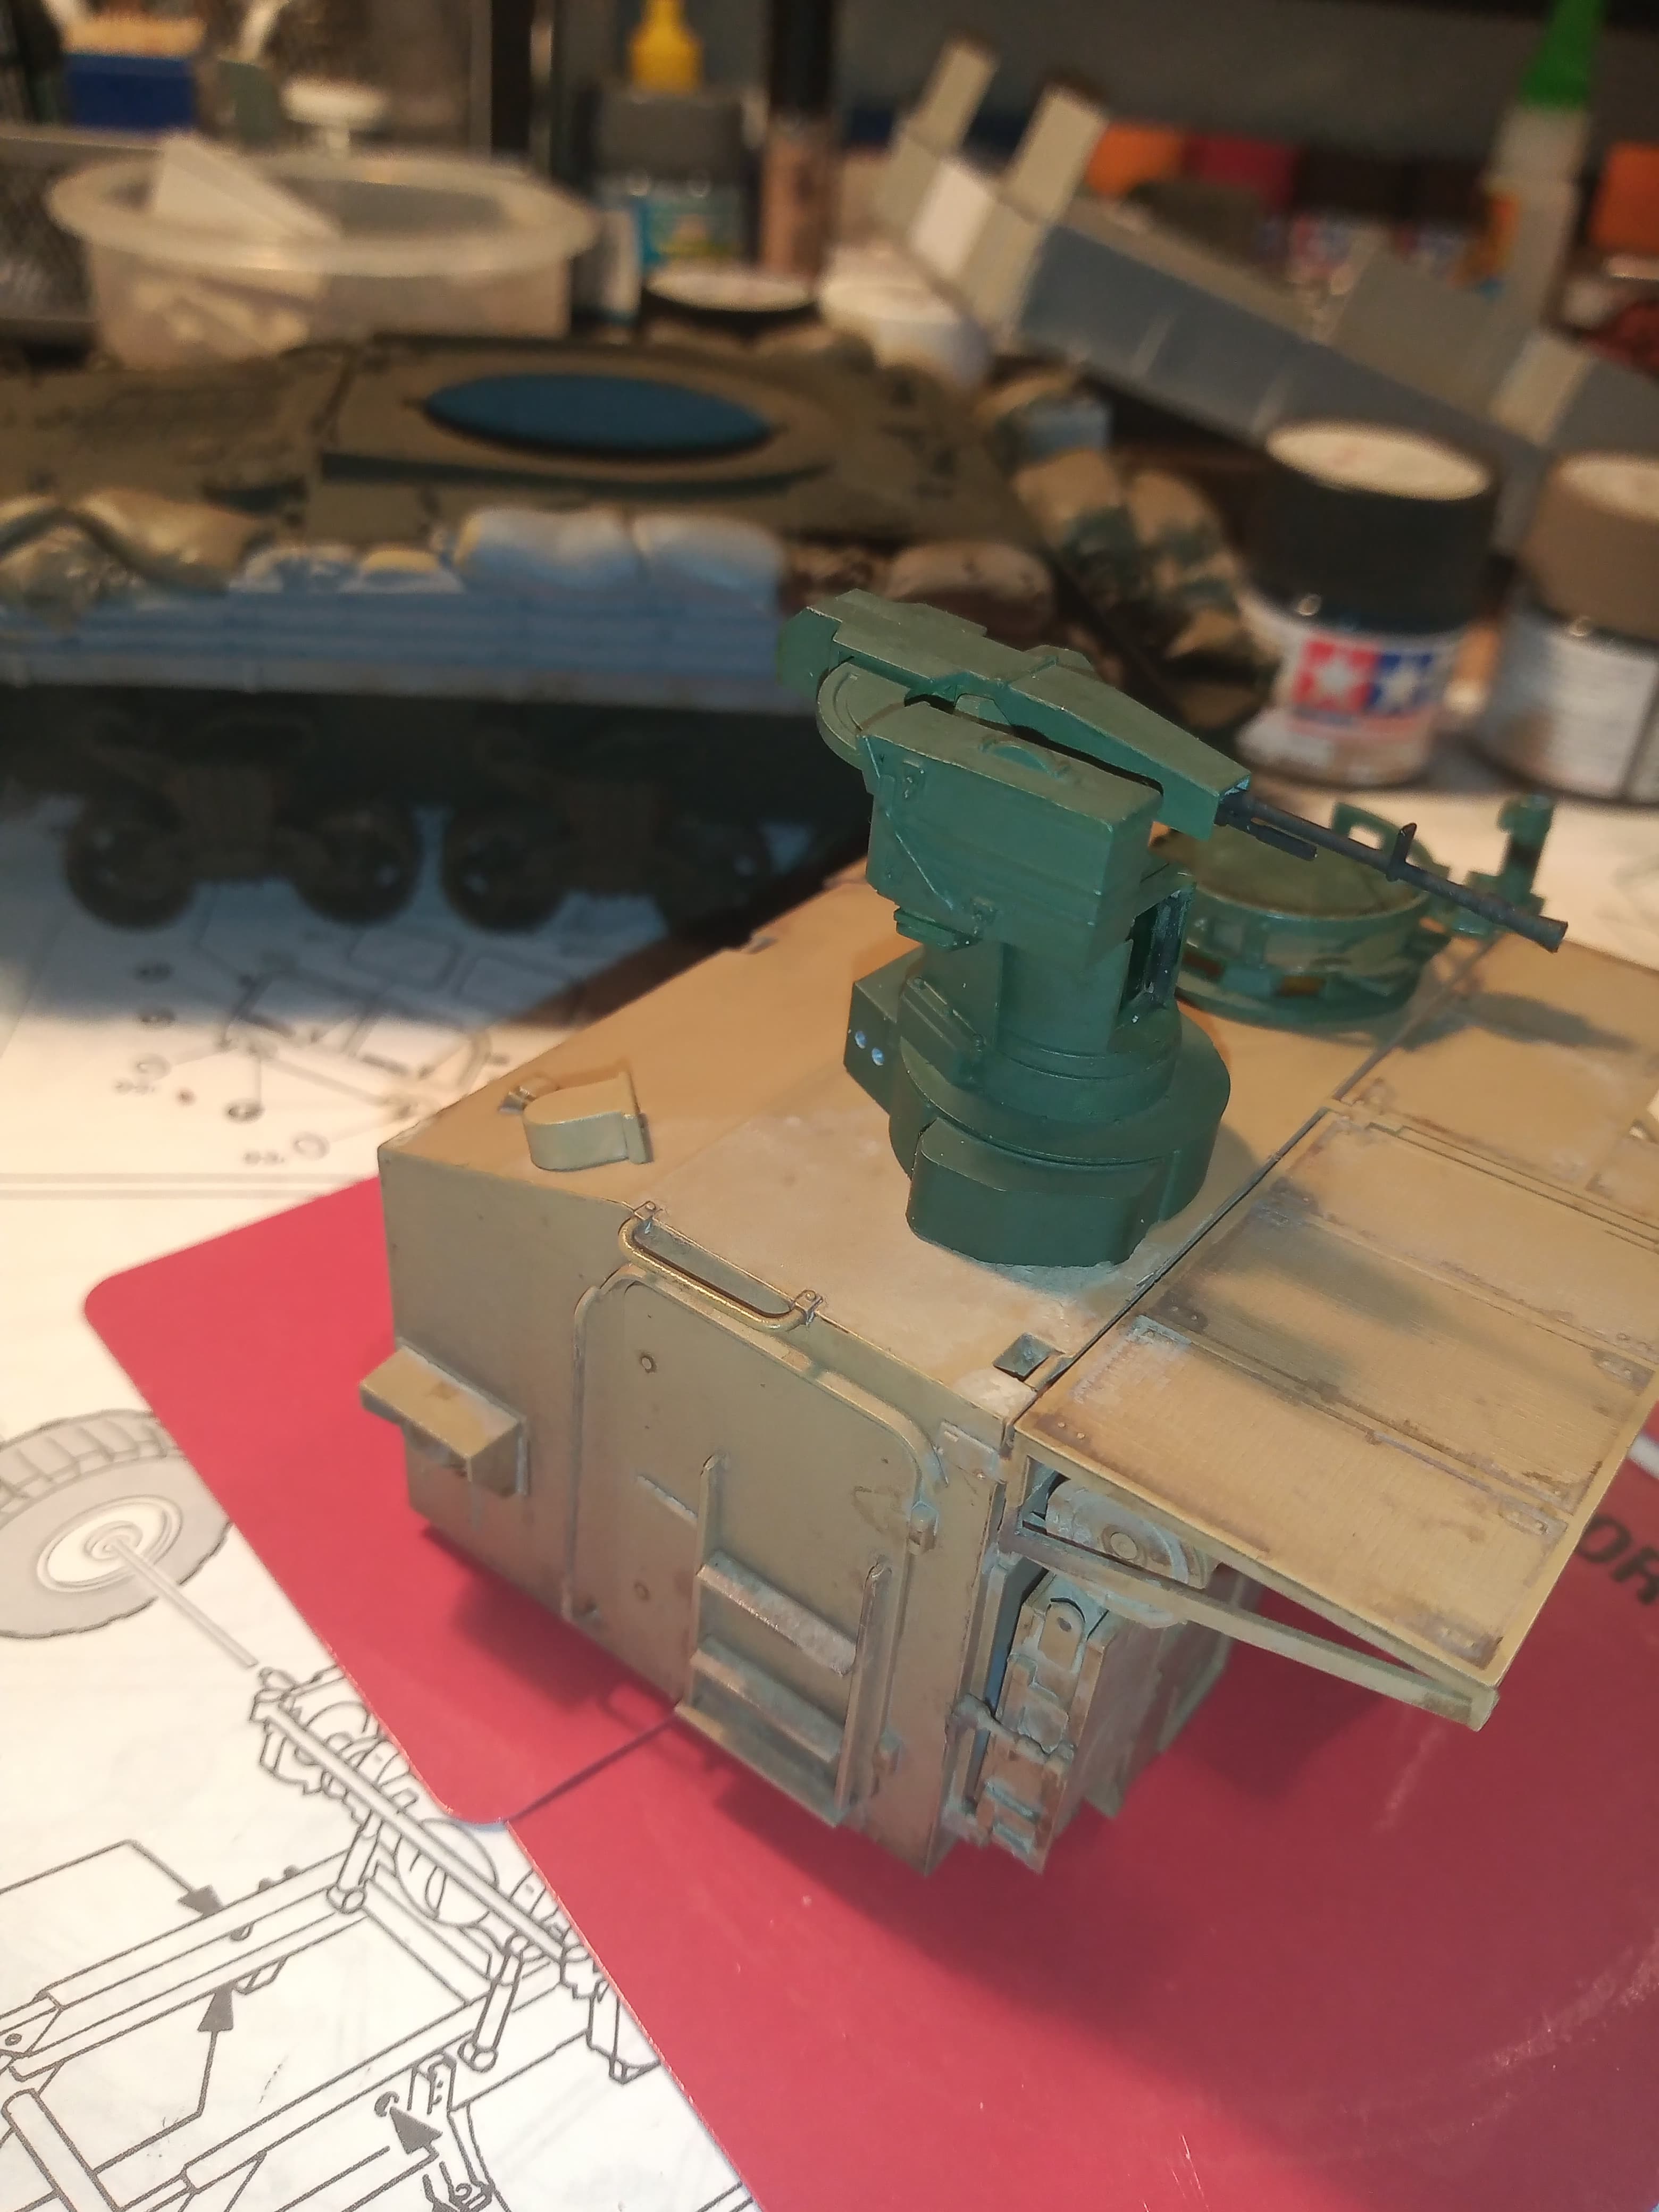
Although it pains me to say it … I took Ryan’s advice and what Peter mentioned and revamped the cupola MG ring. I did have doubts about its workability so started afresh.
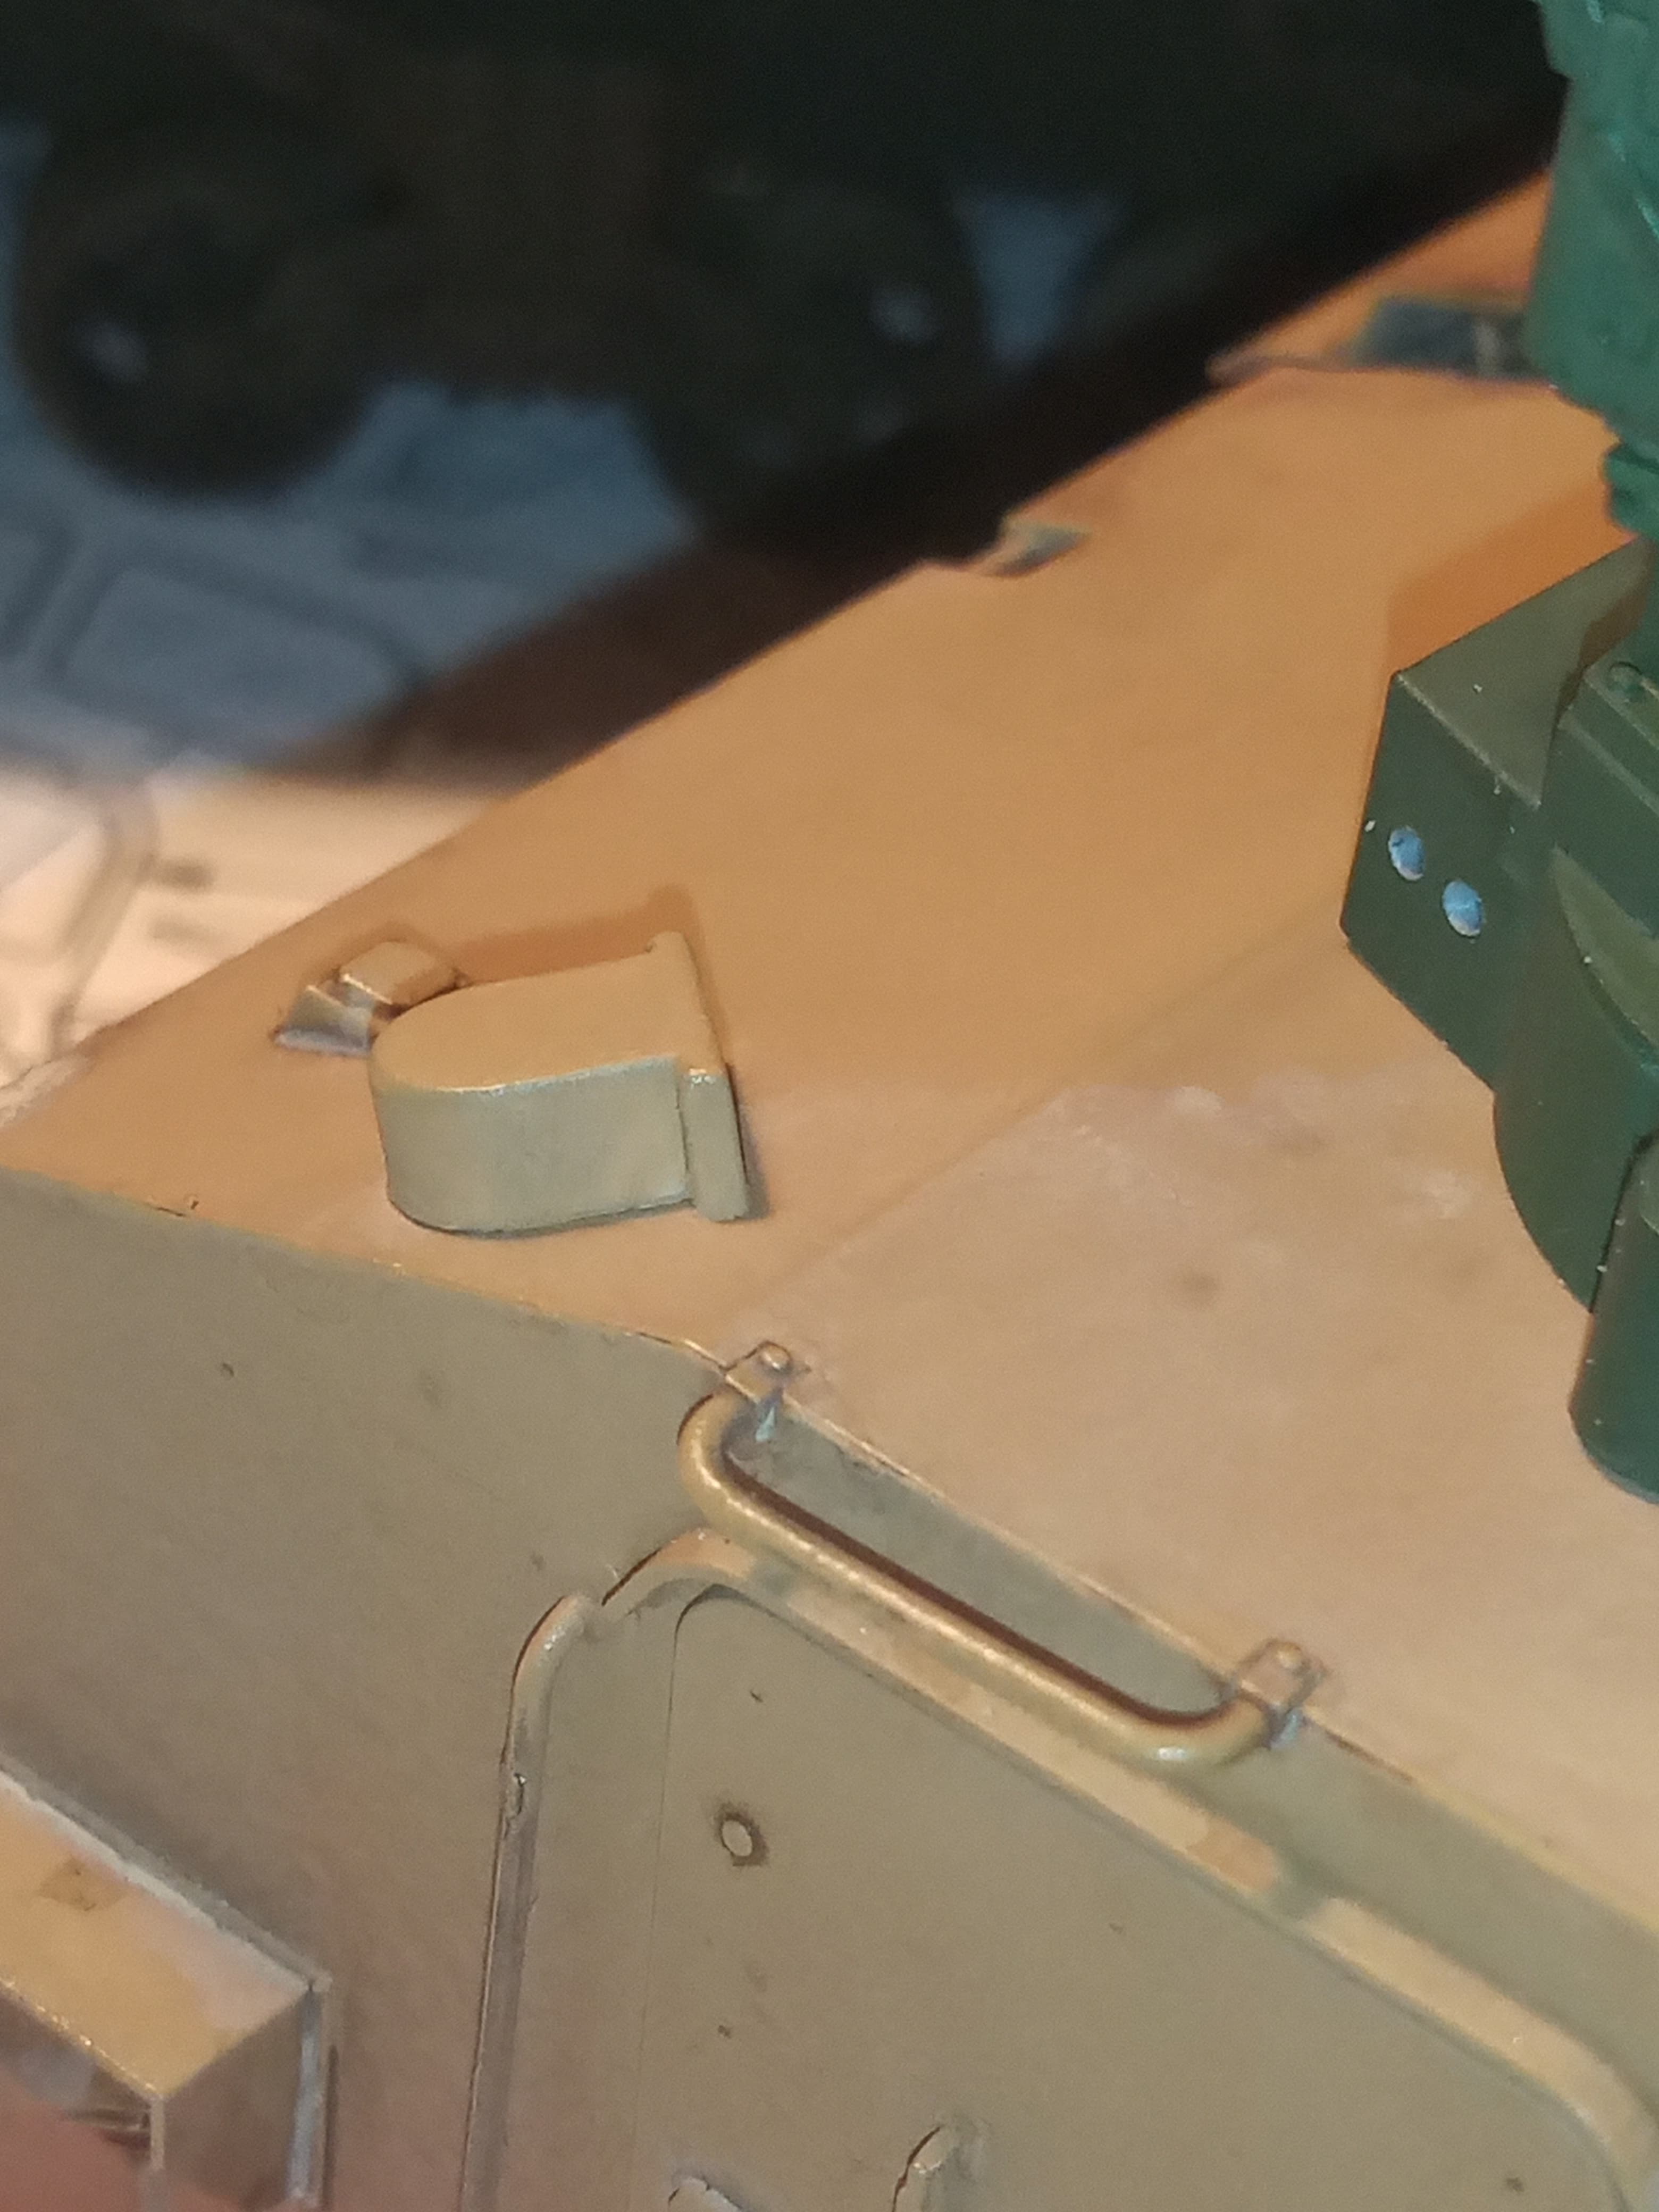
Cut the legs off I put on, and then trimmed off about 2 or 3mm from each end to allow it to sit better and closer to the area where the hatch sits.
I then added two small uprights towards the rear on both sides of the ring, and extended the cupola top slightly (between the tweezers) to allow for another support to sit centrally under the ring.
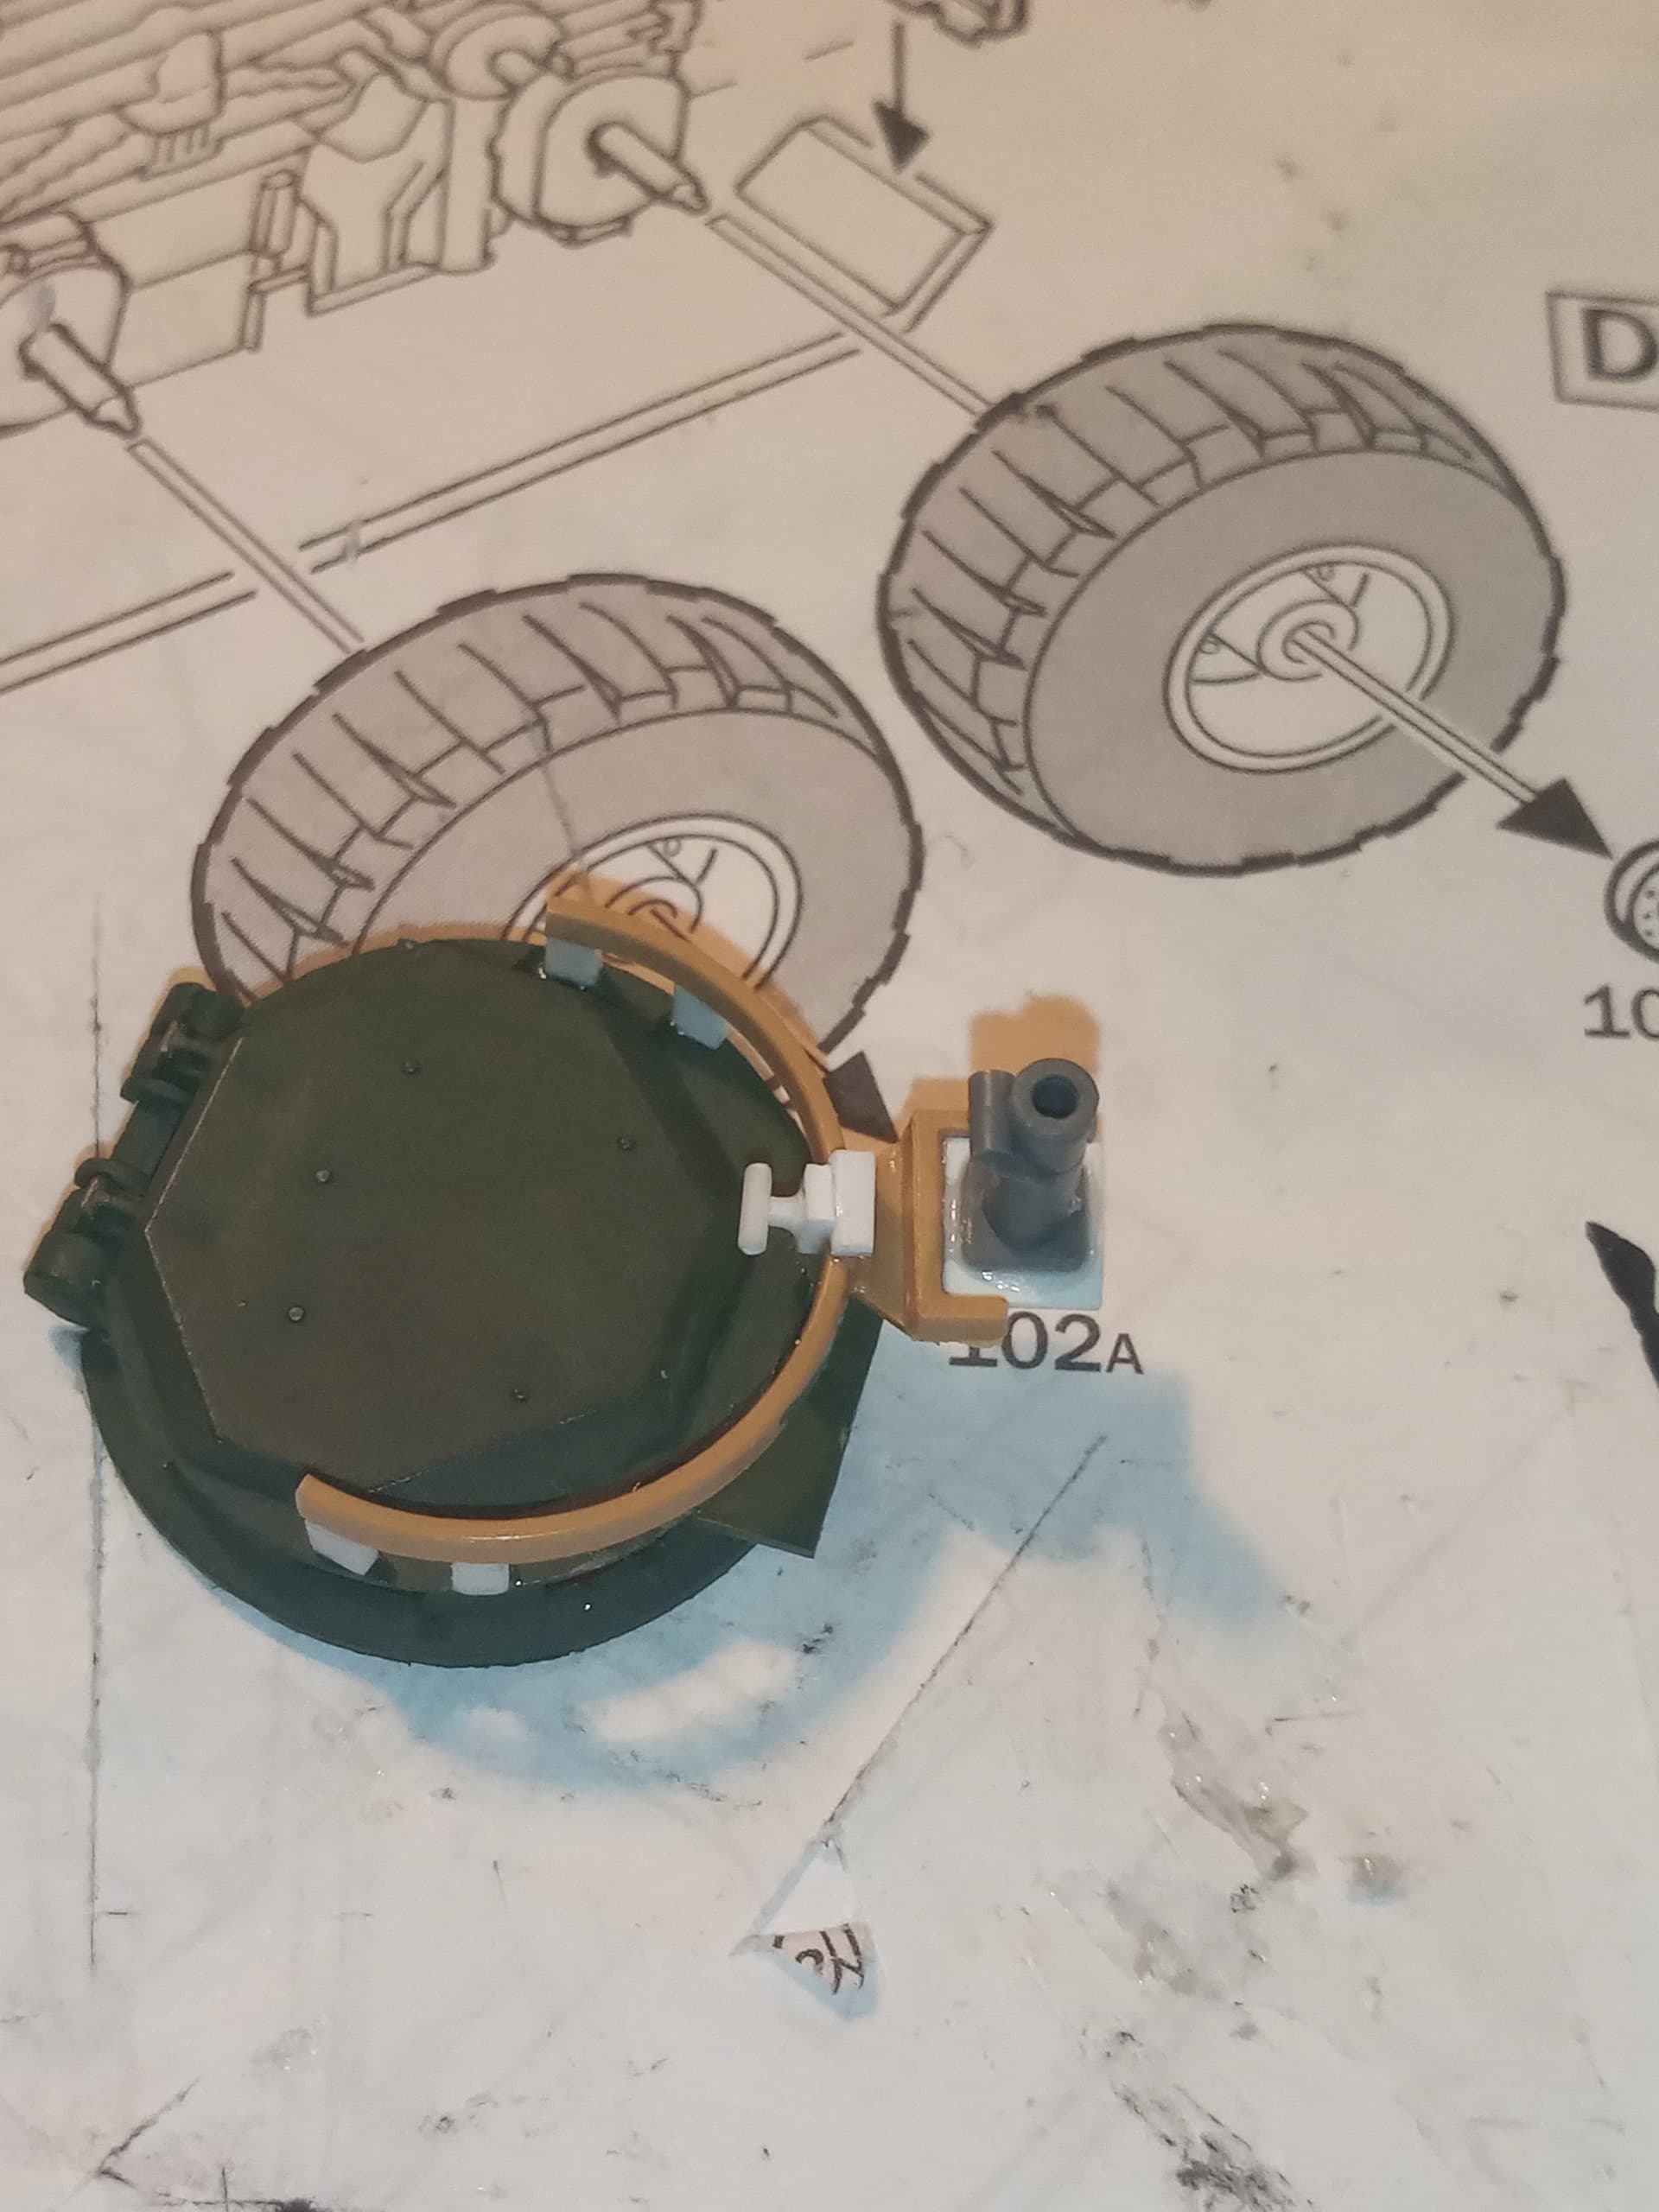
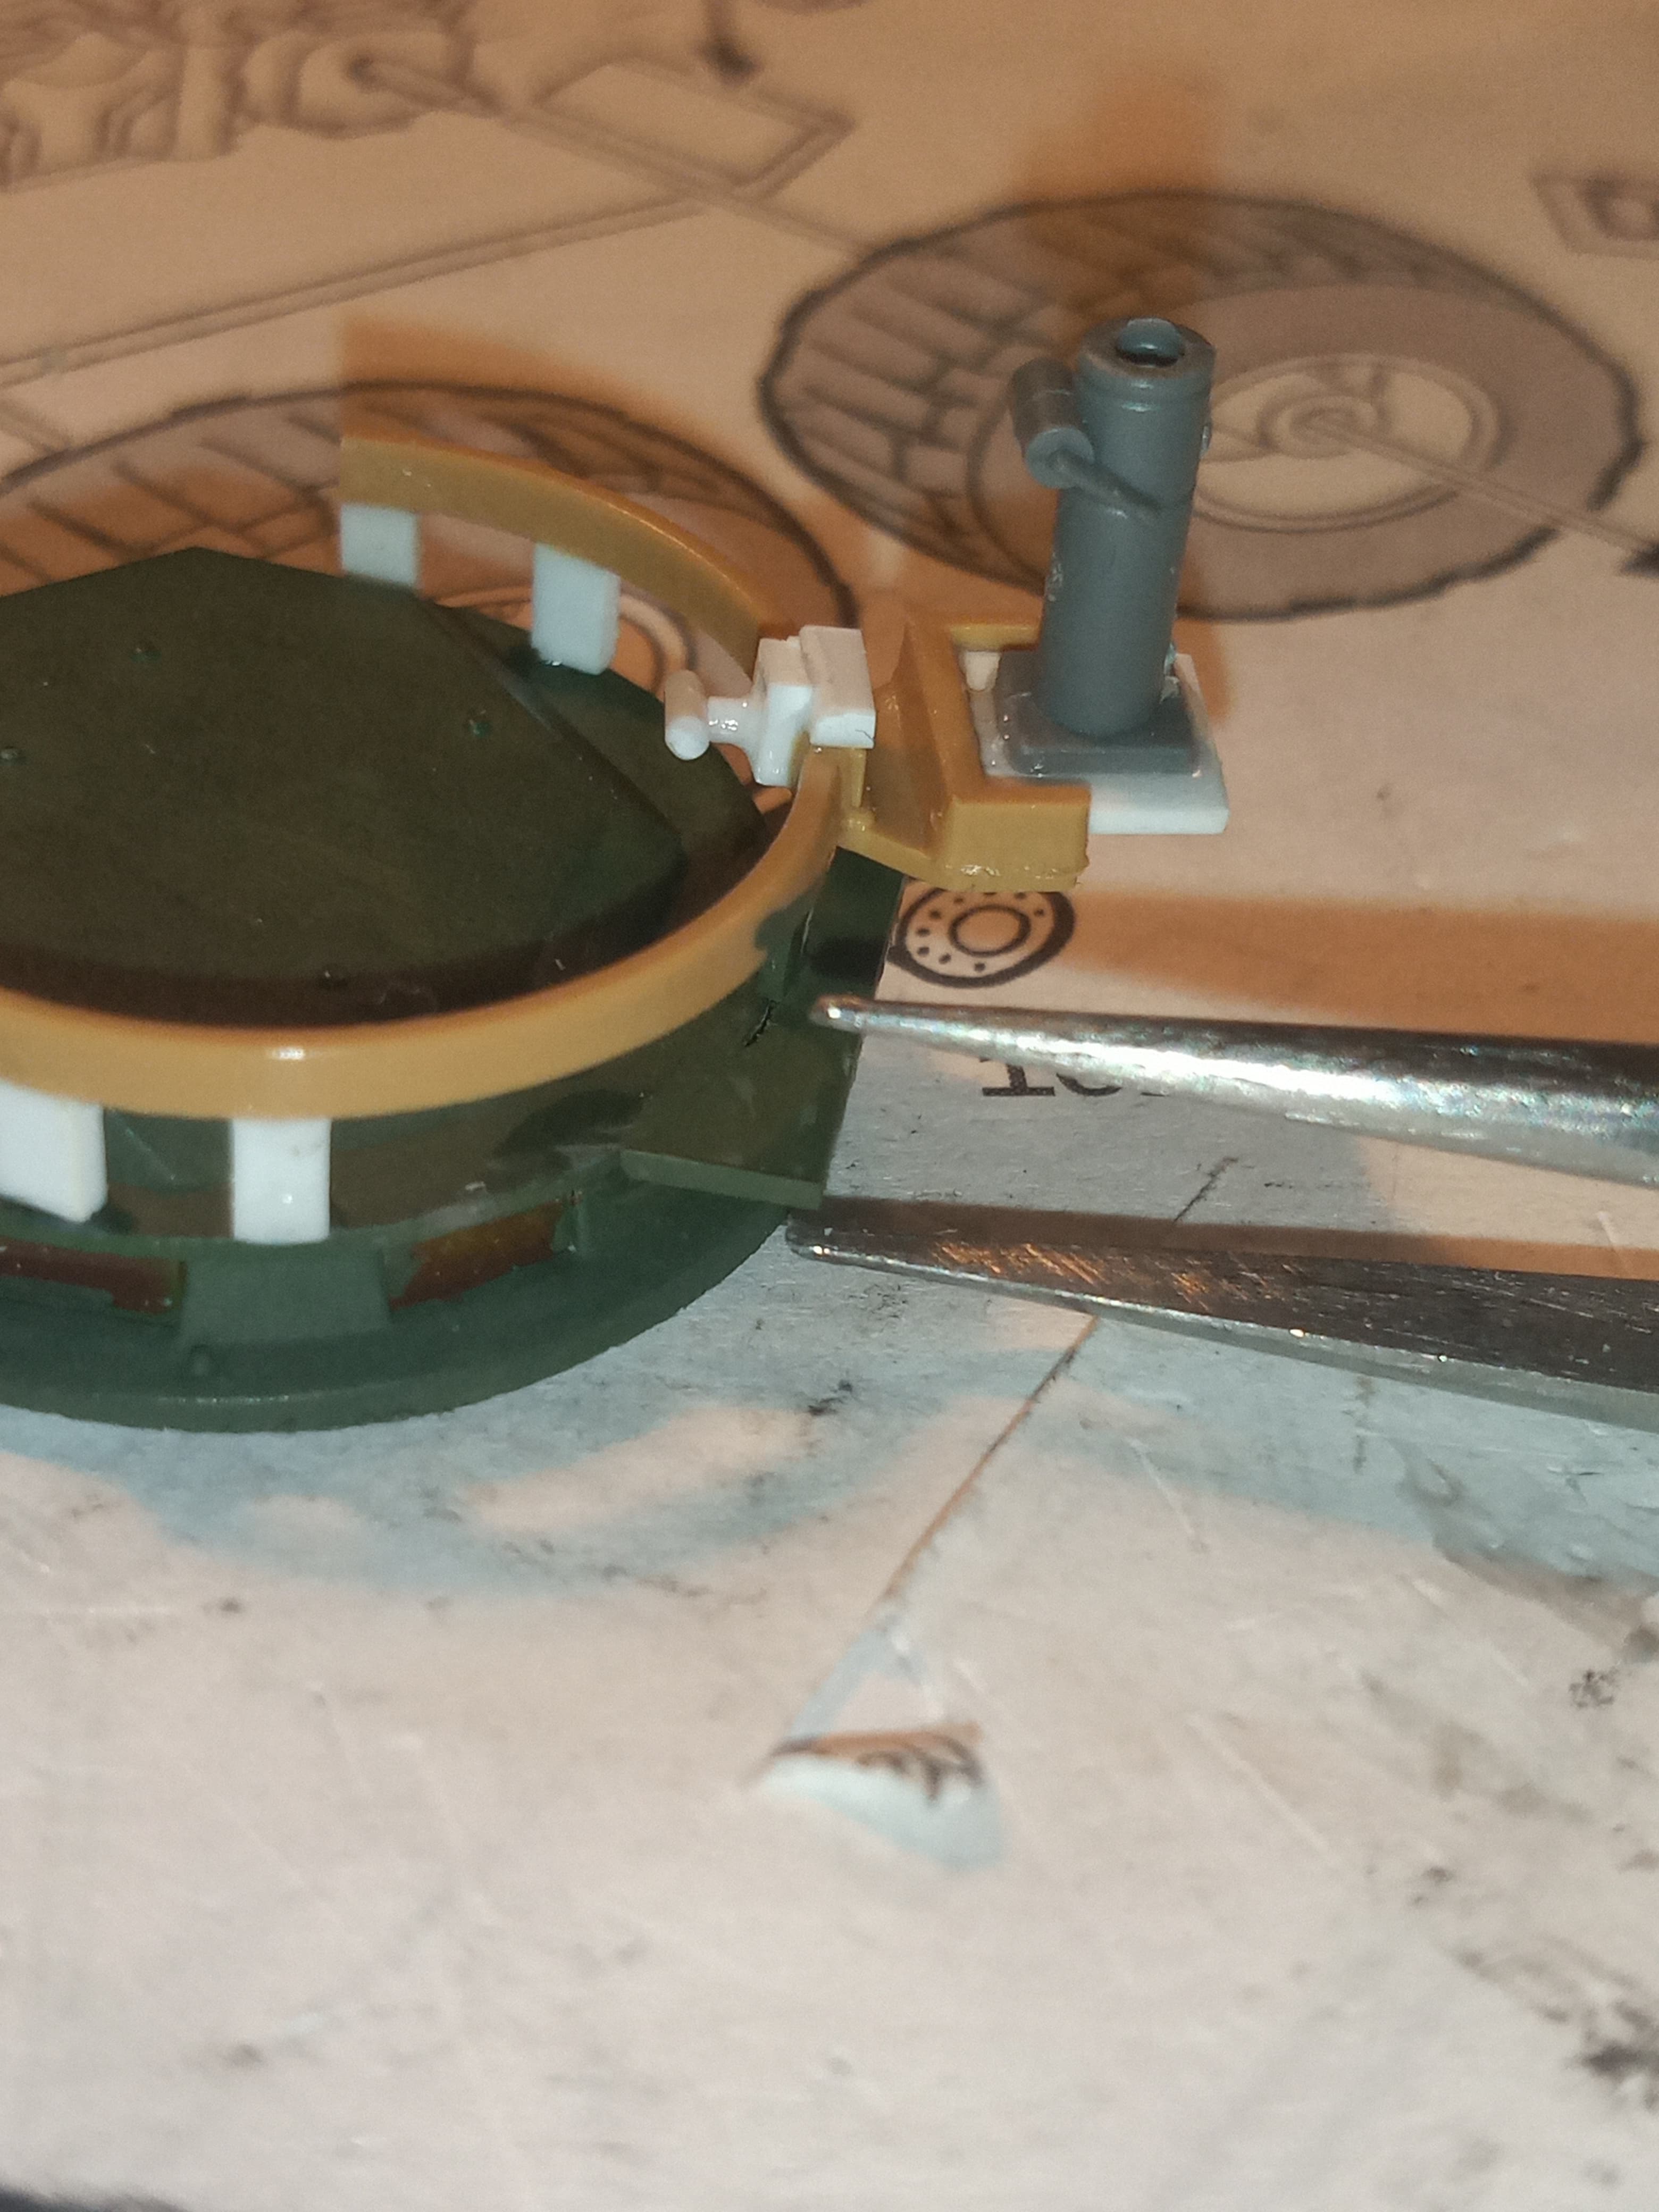
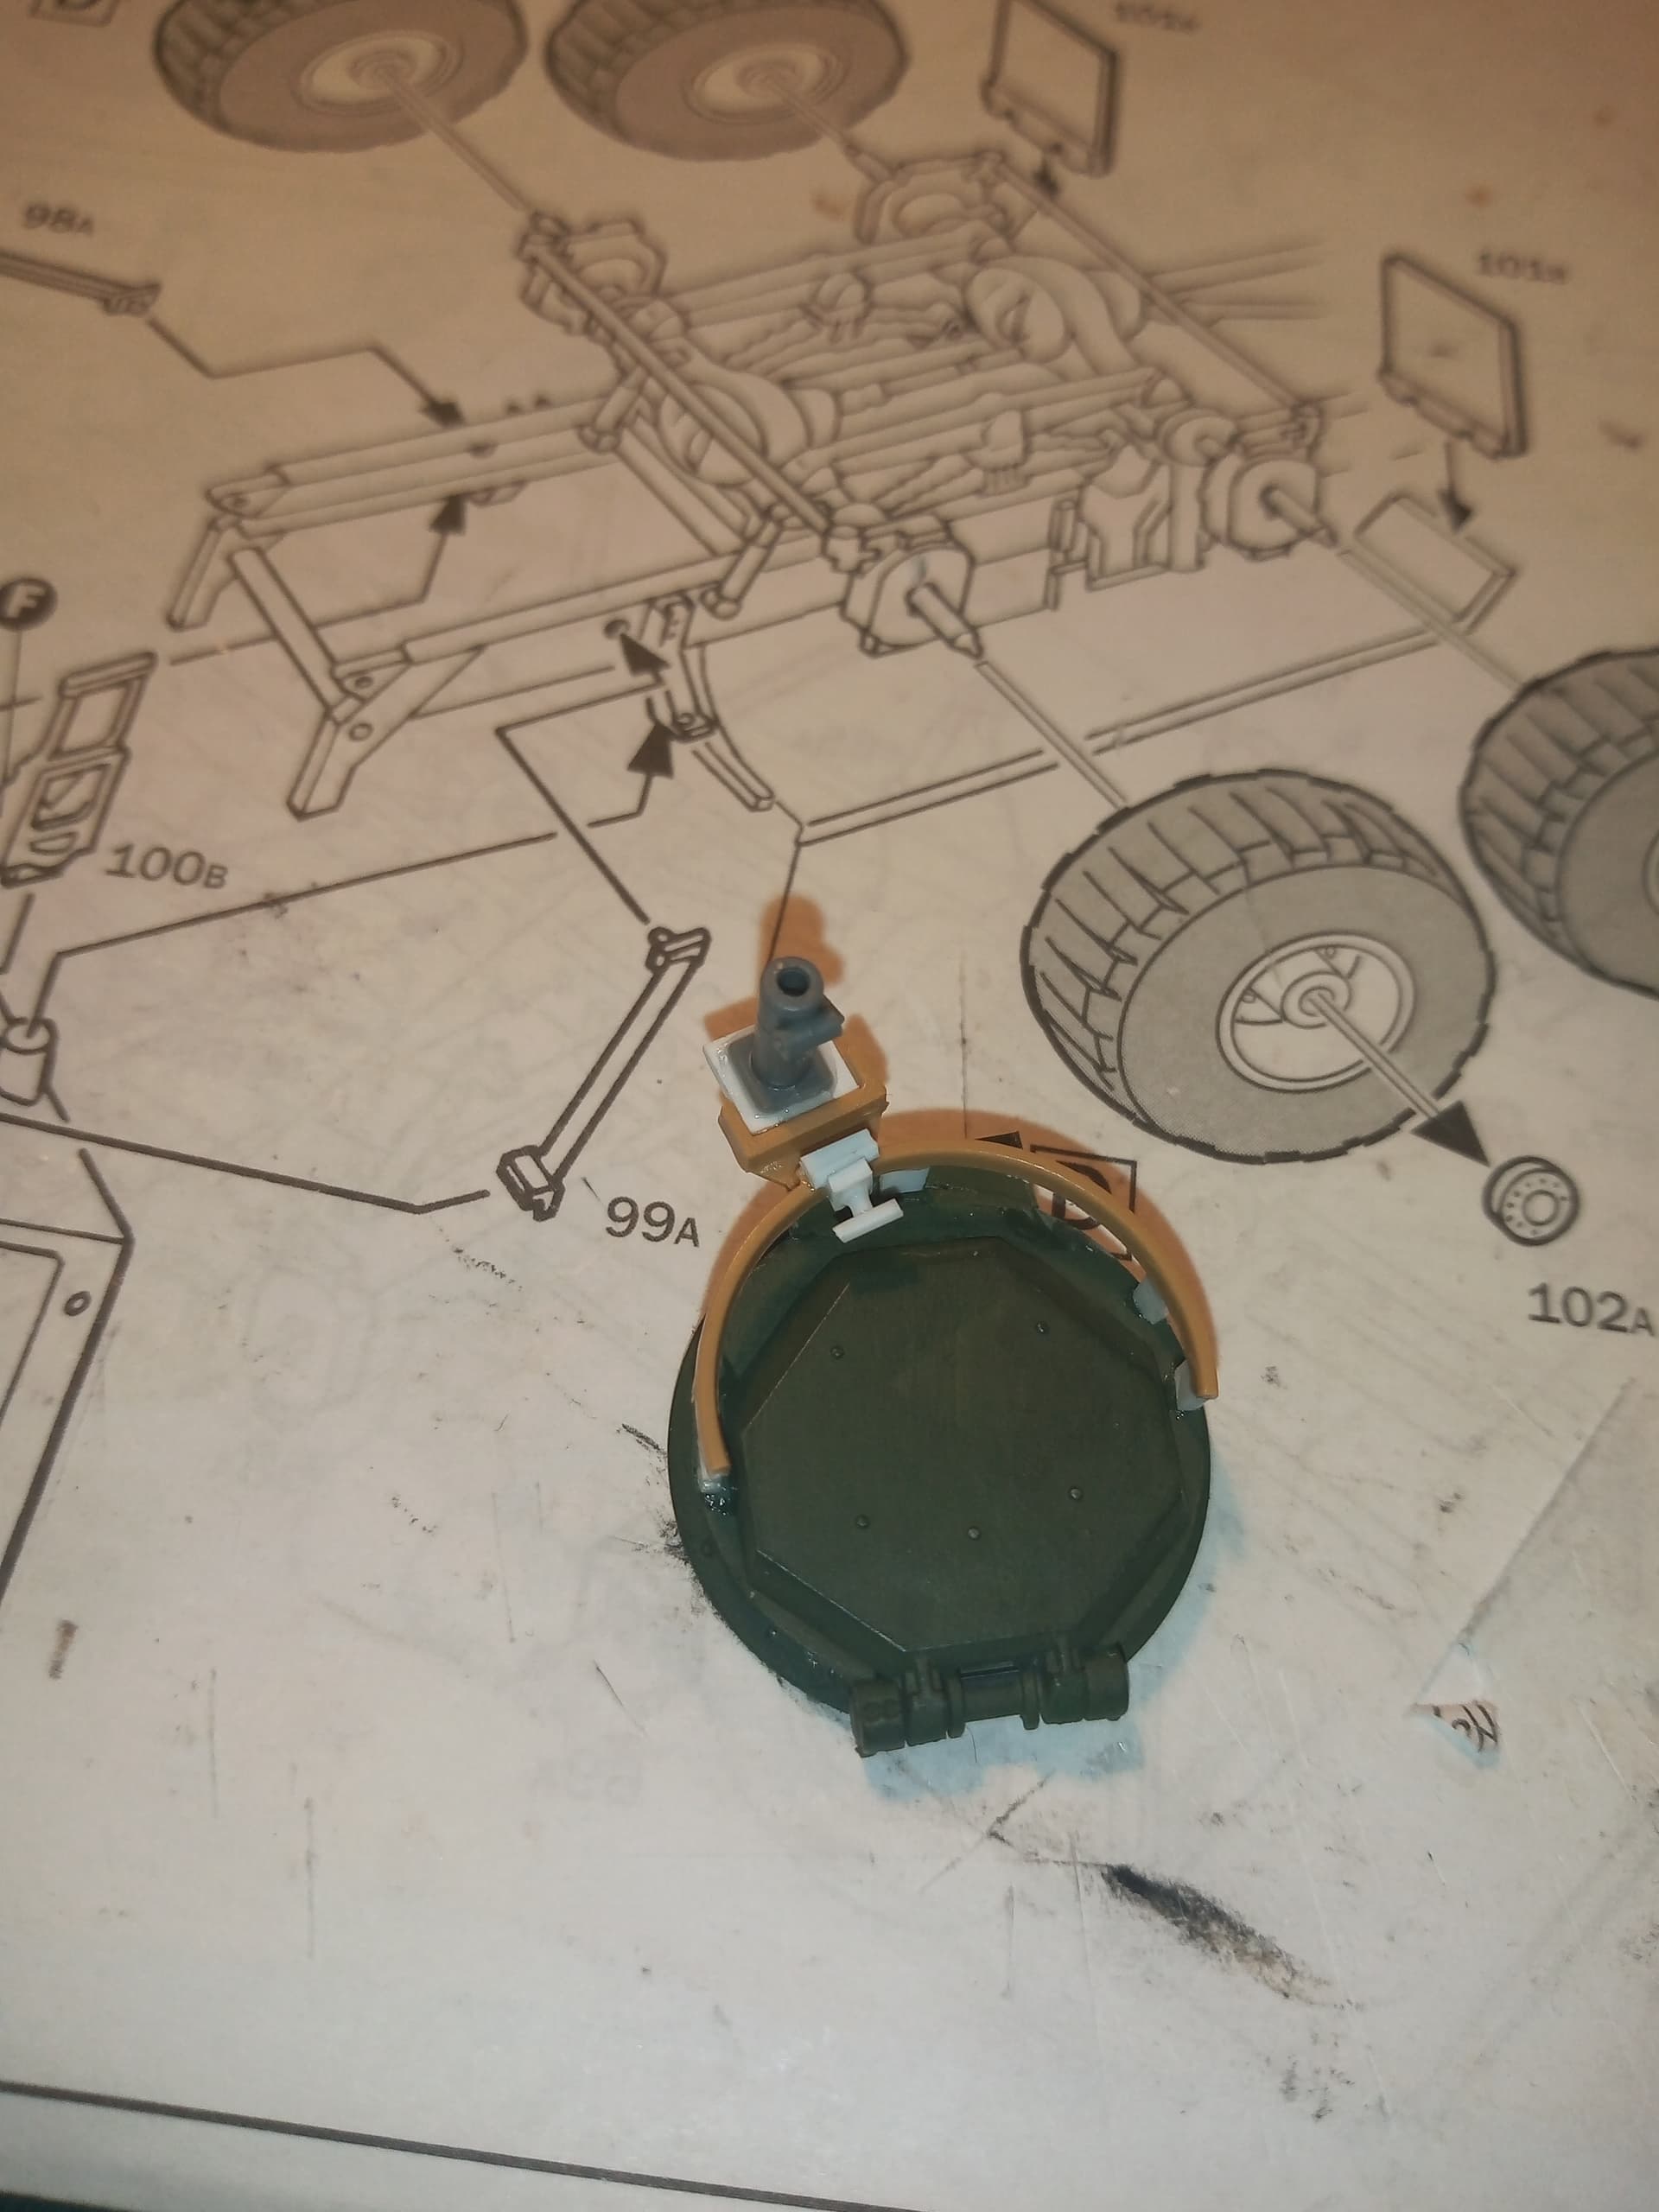
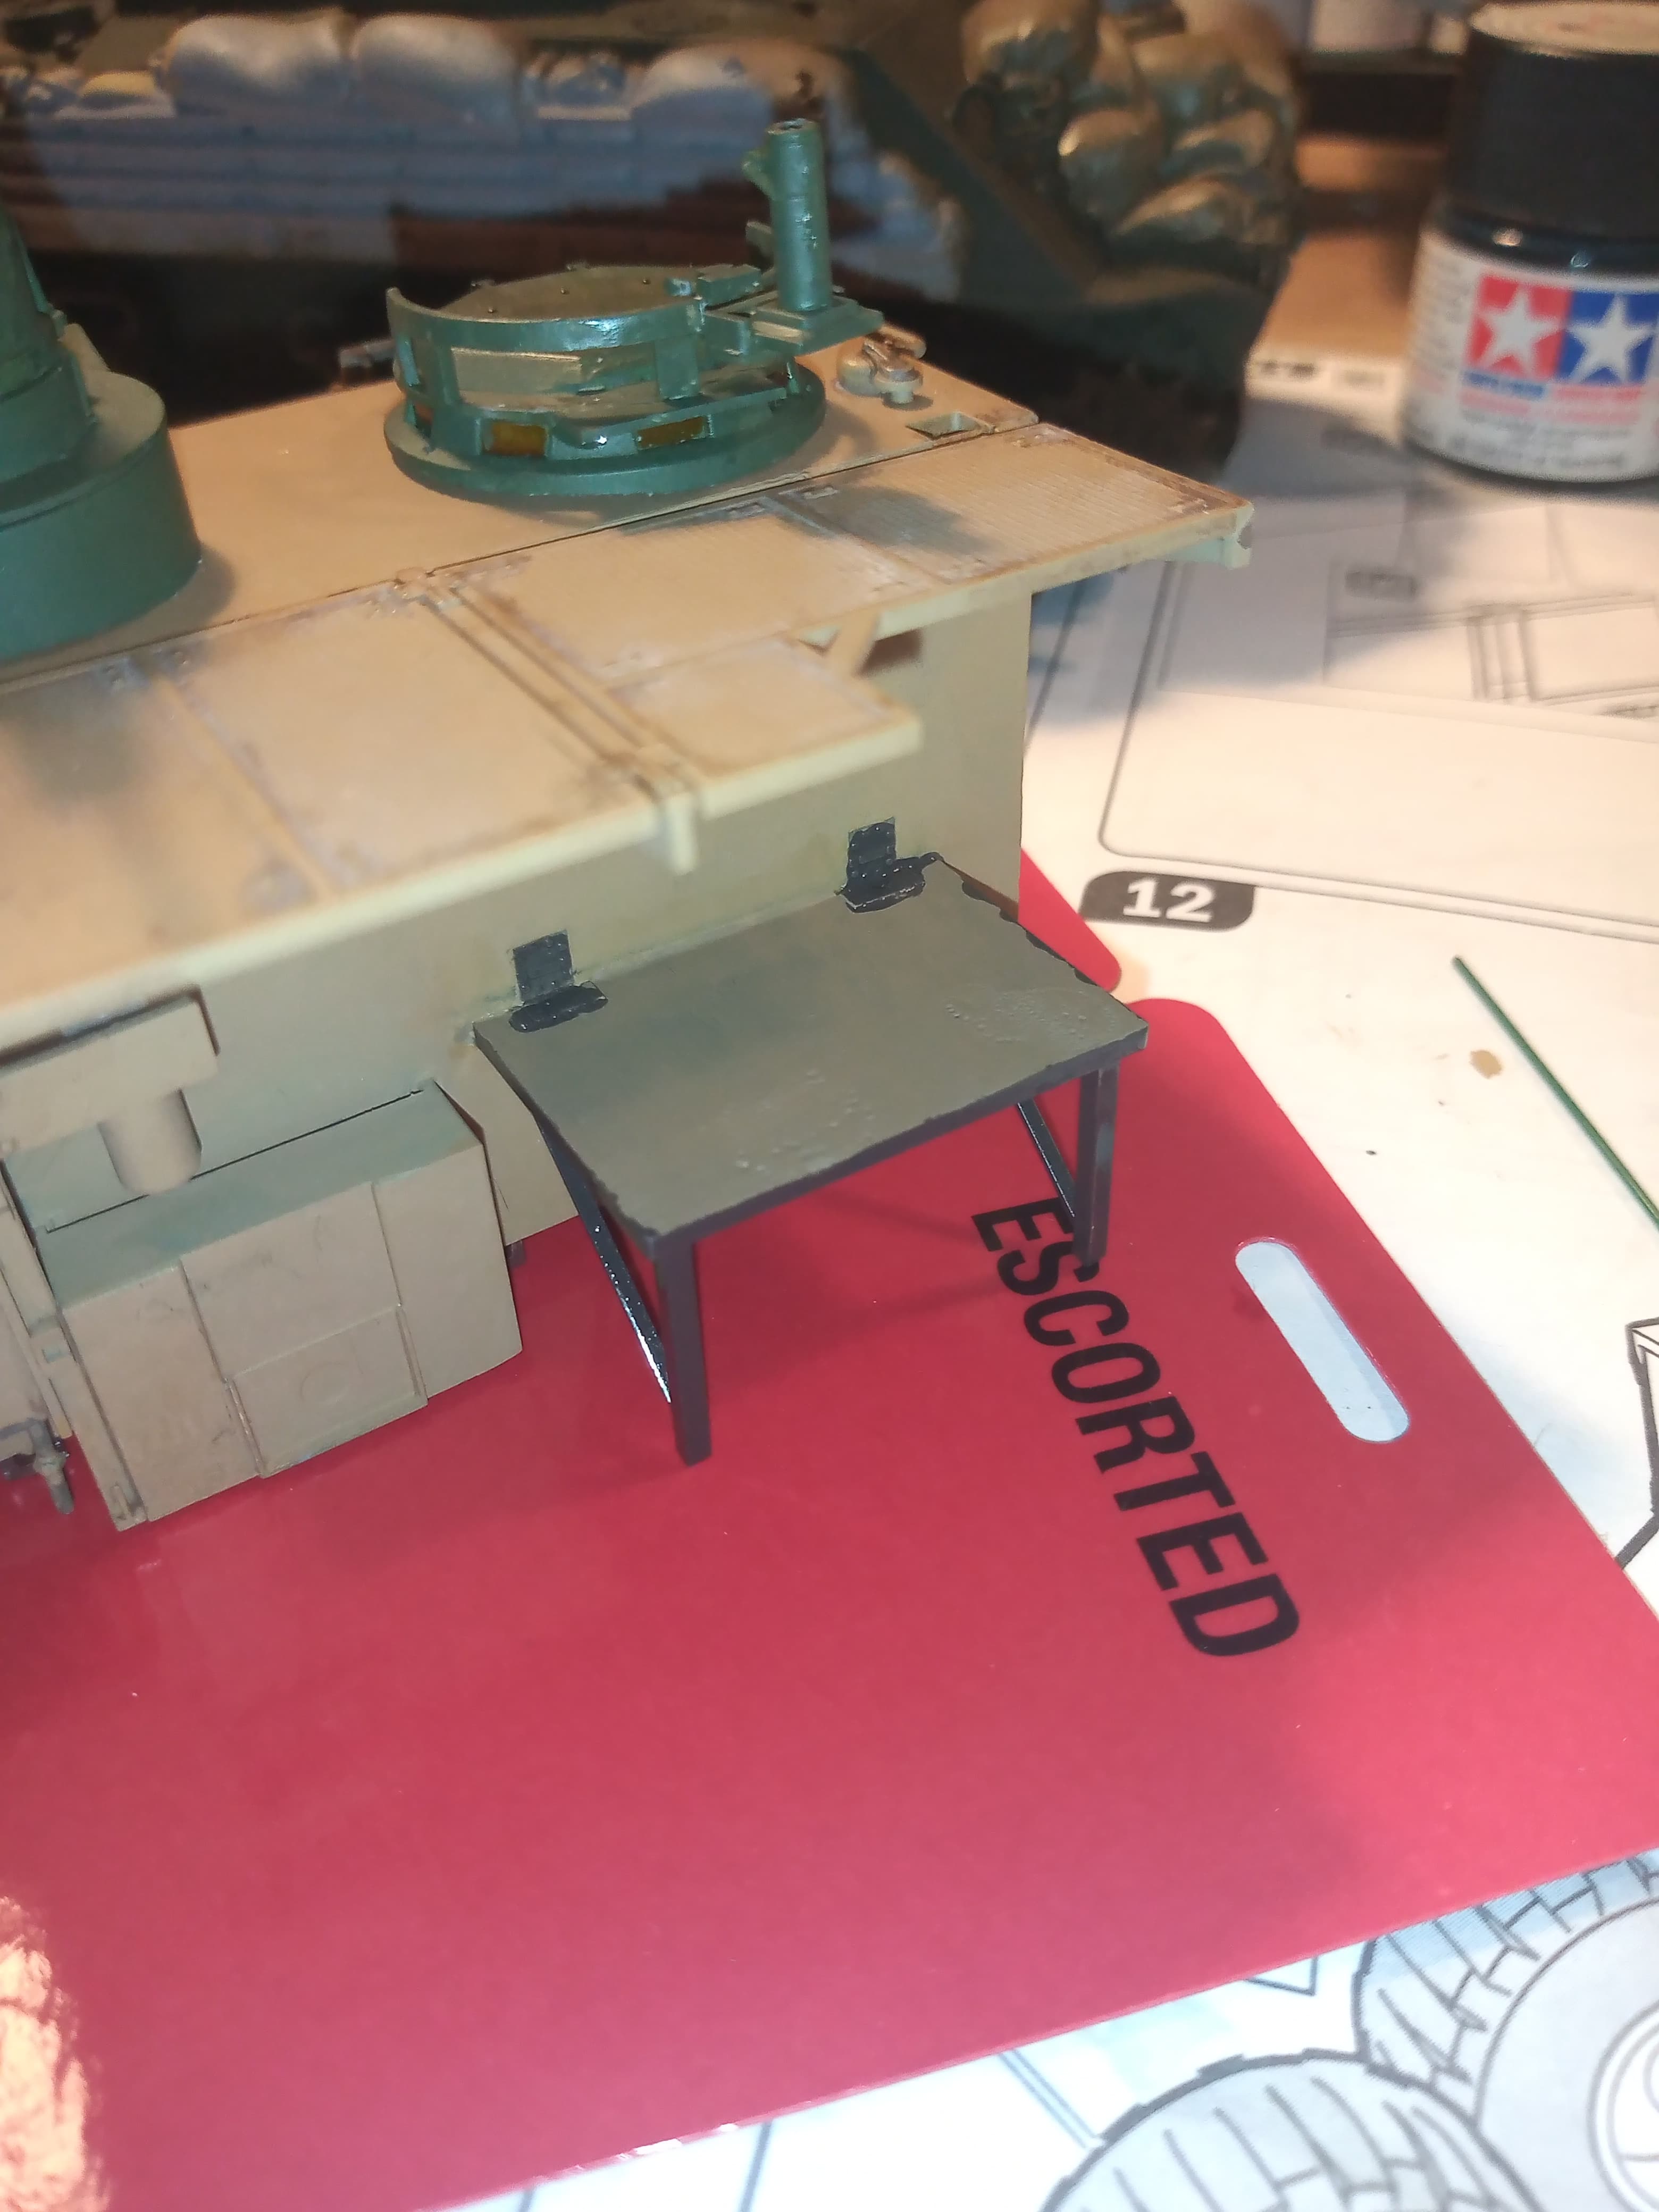
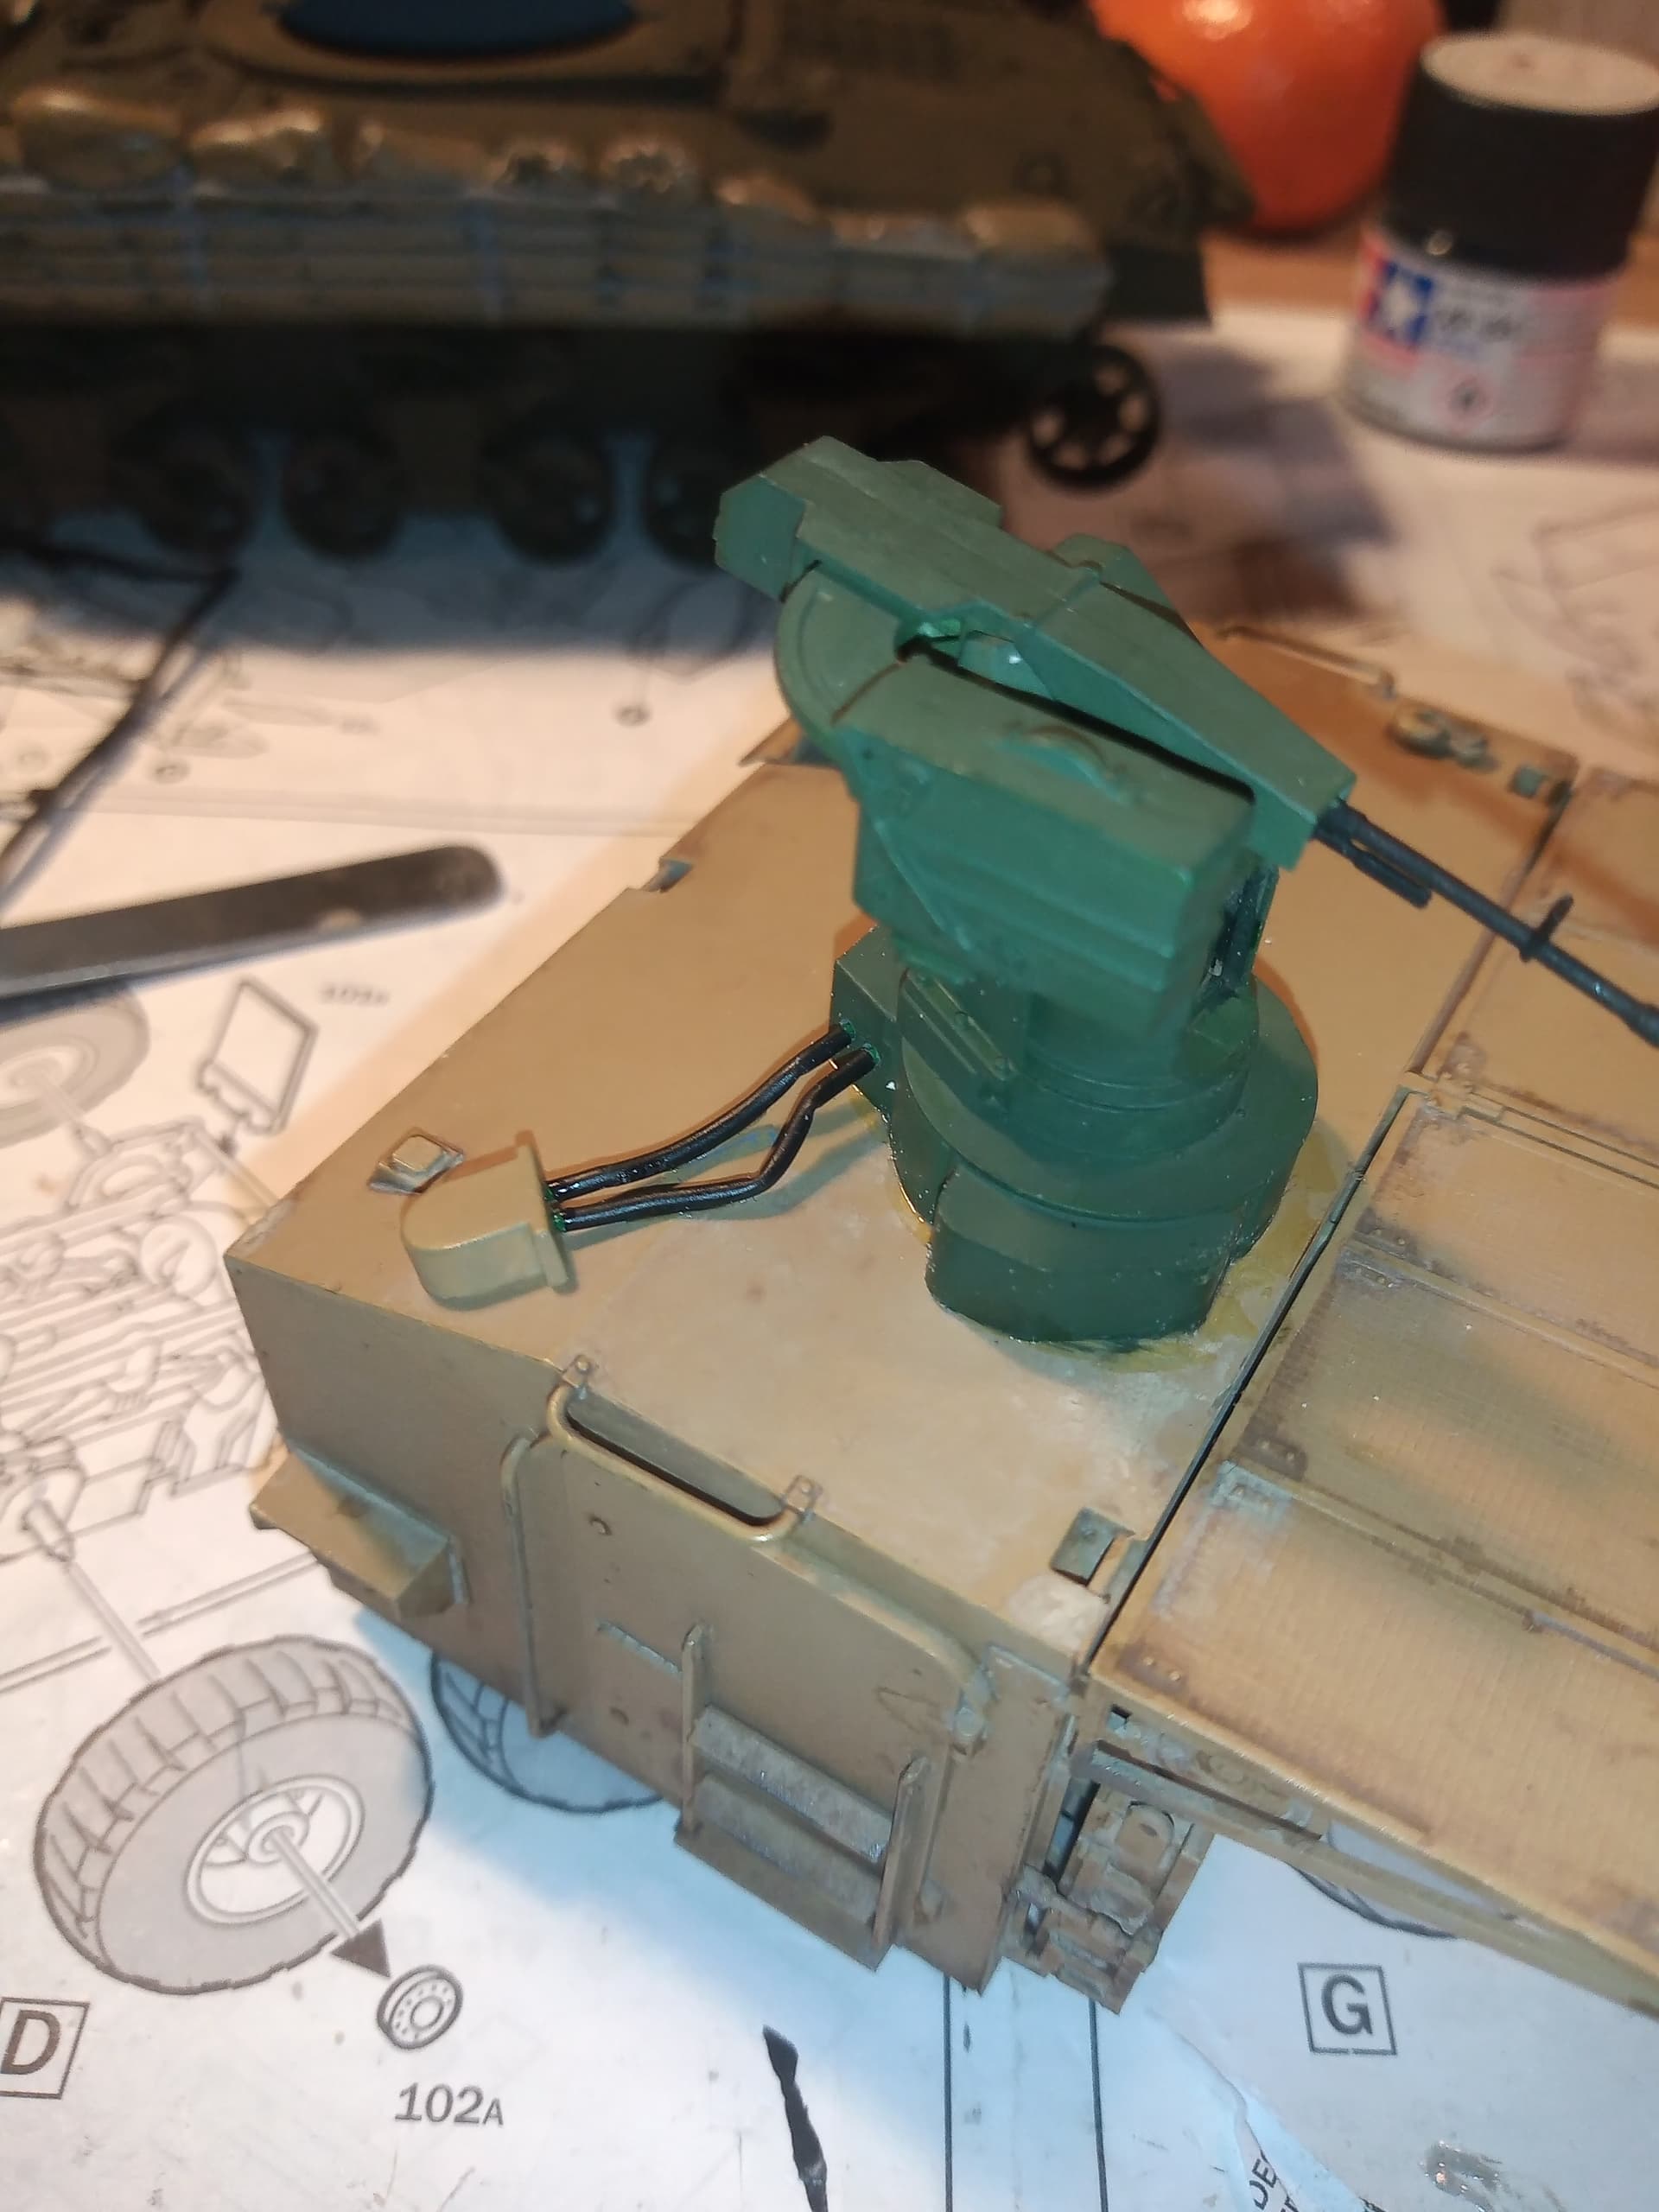
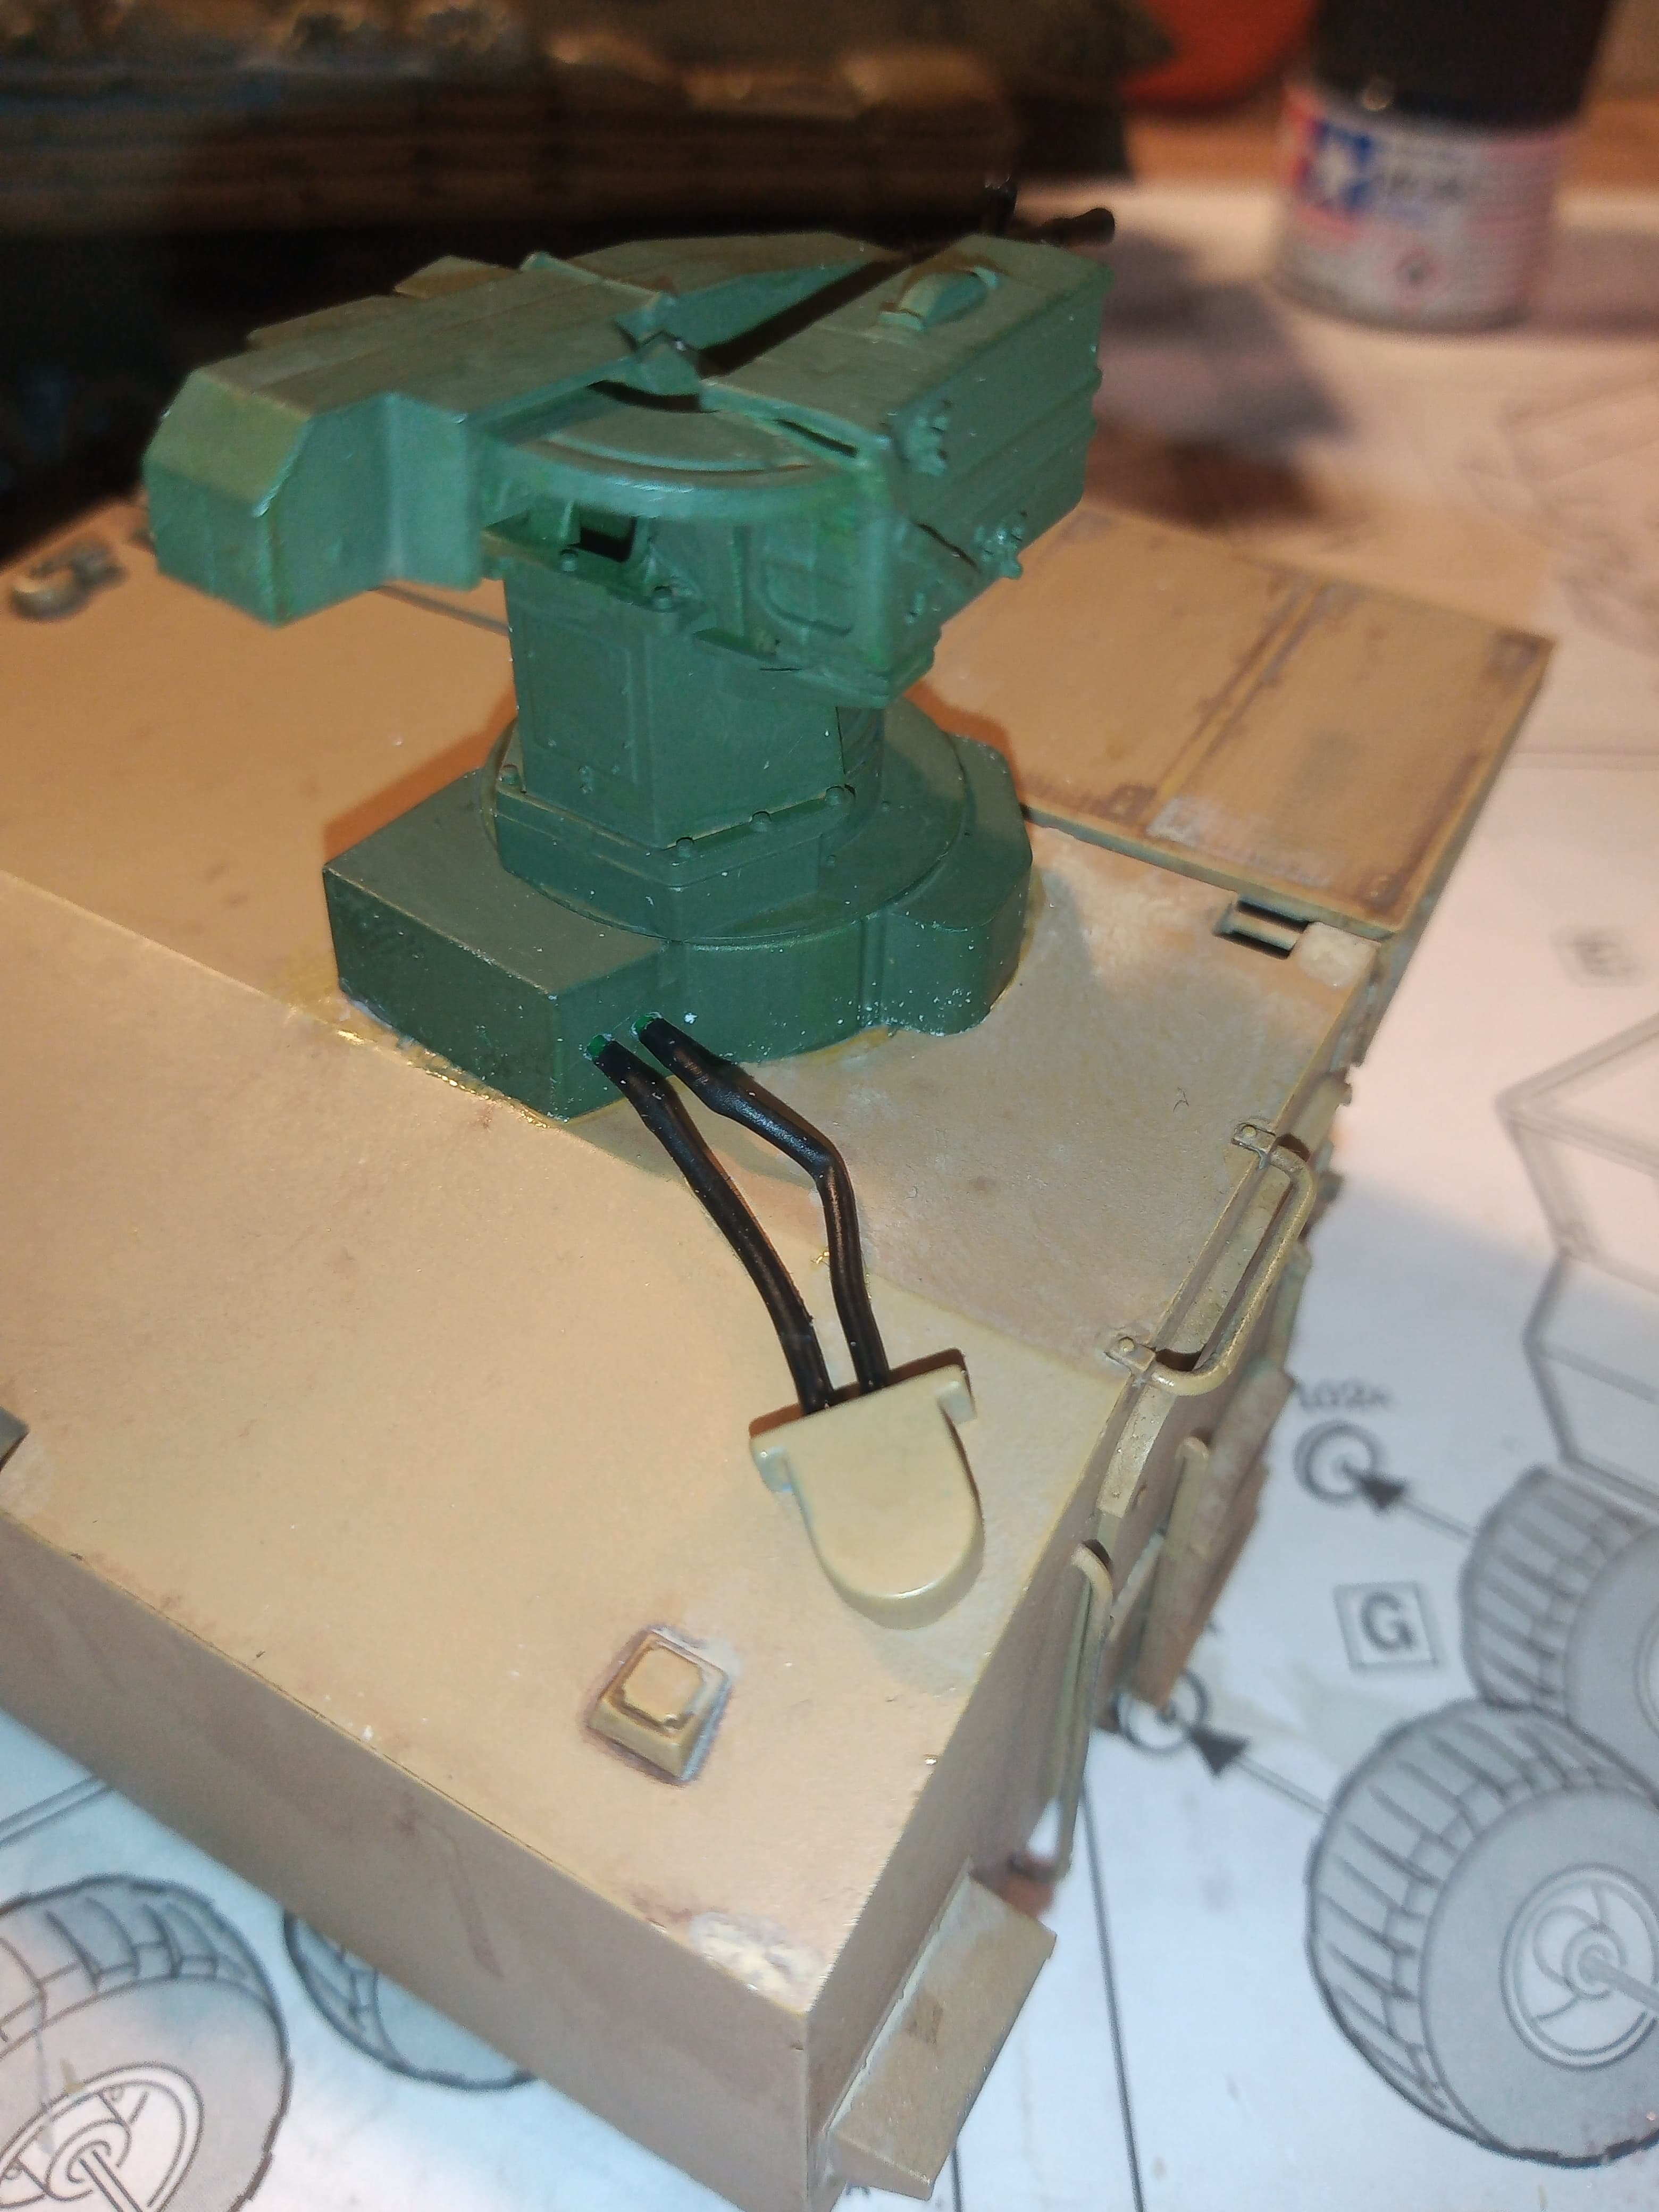
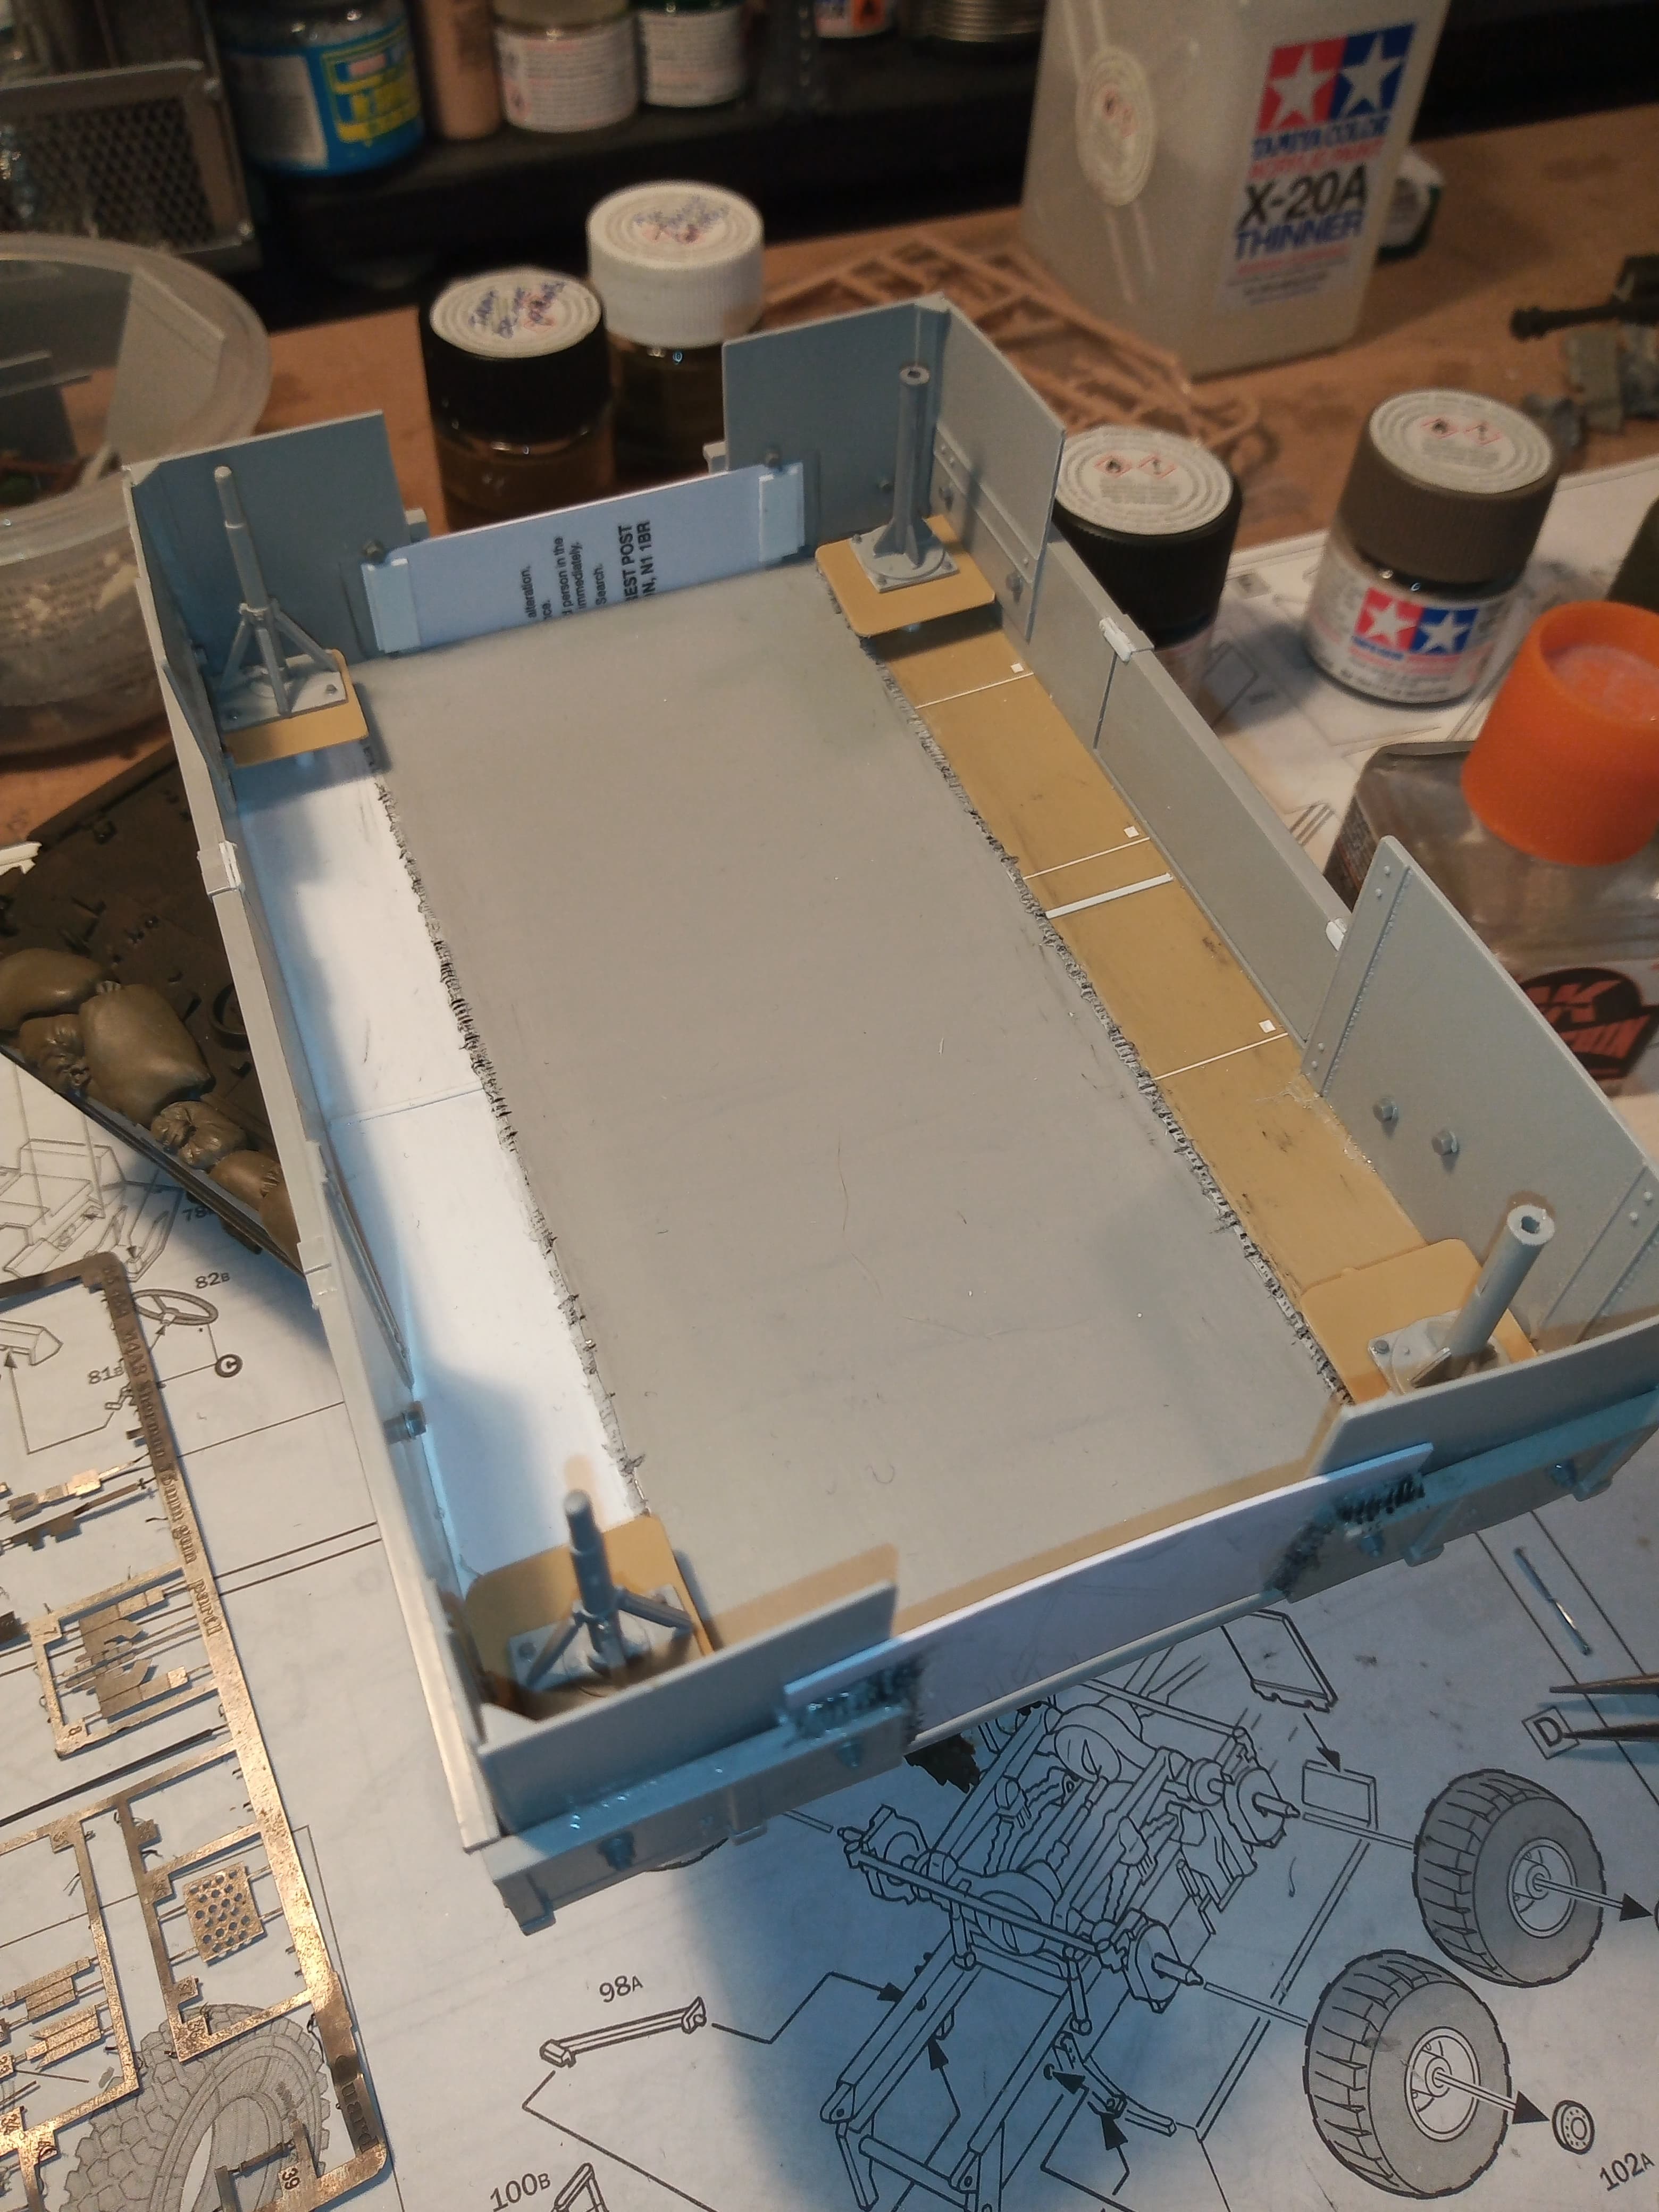
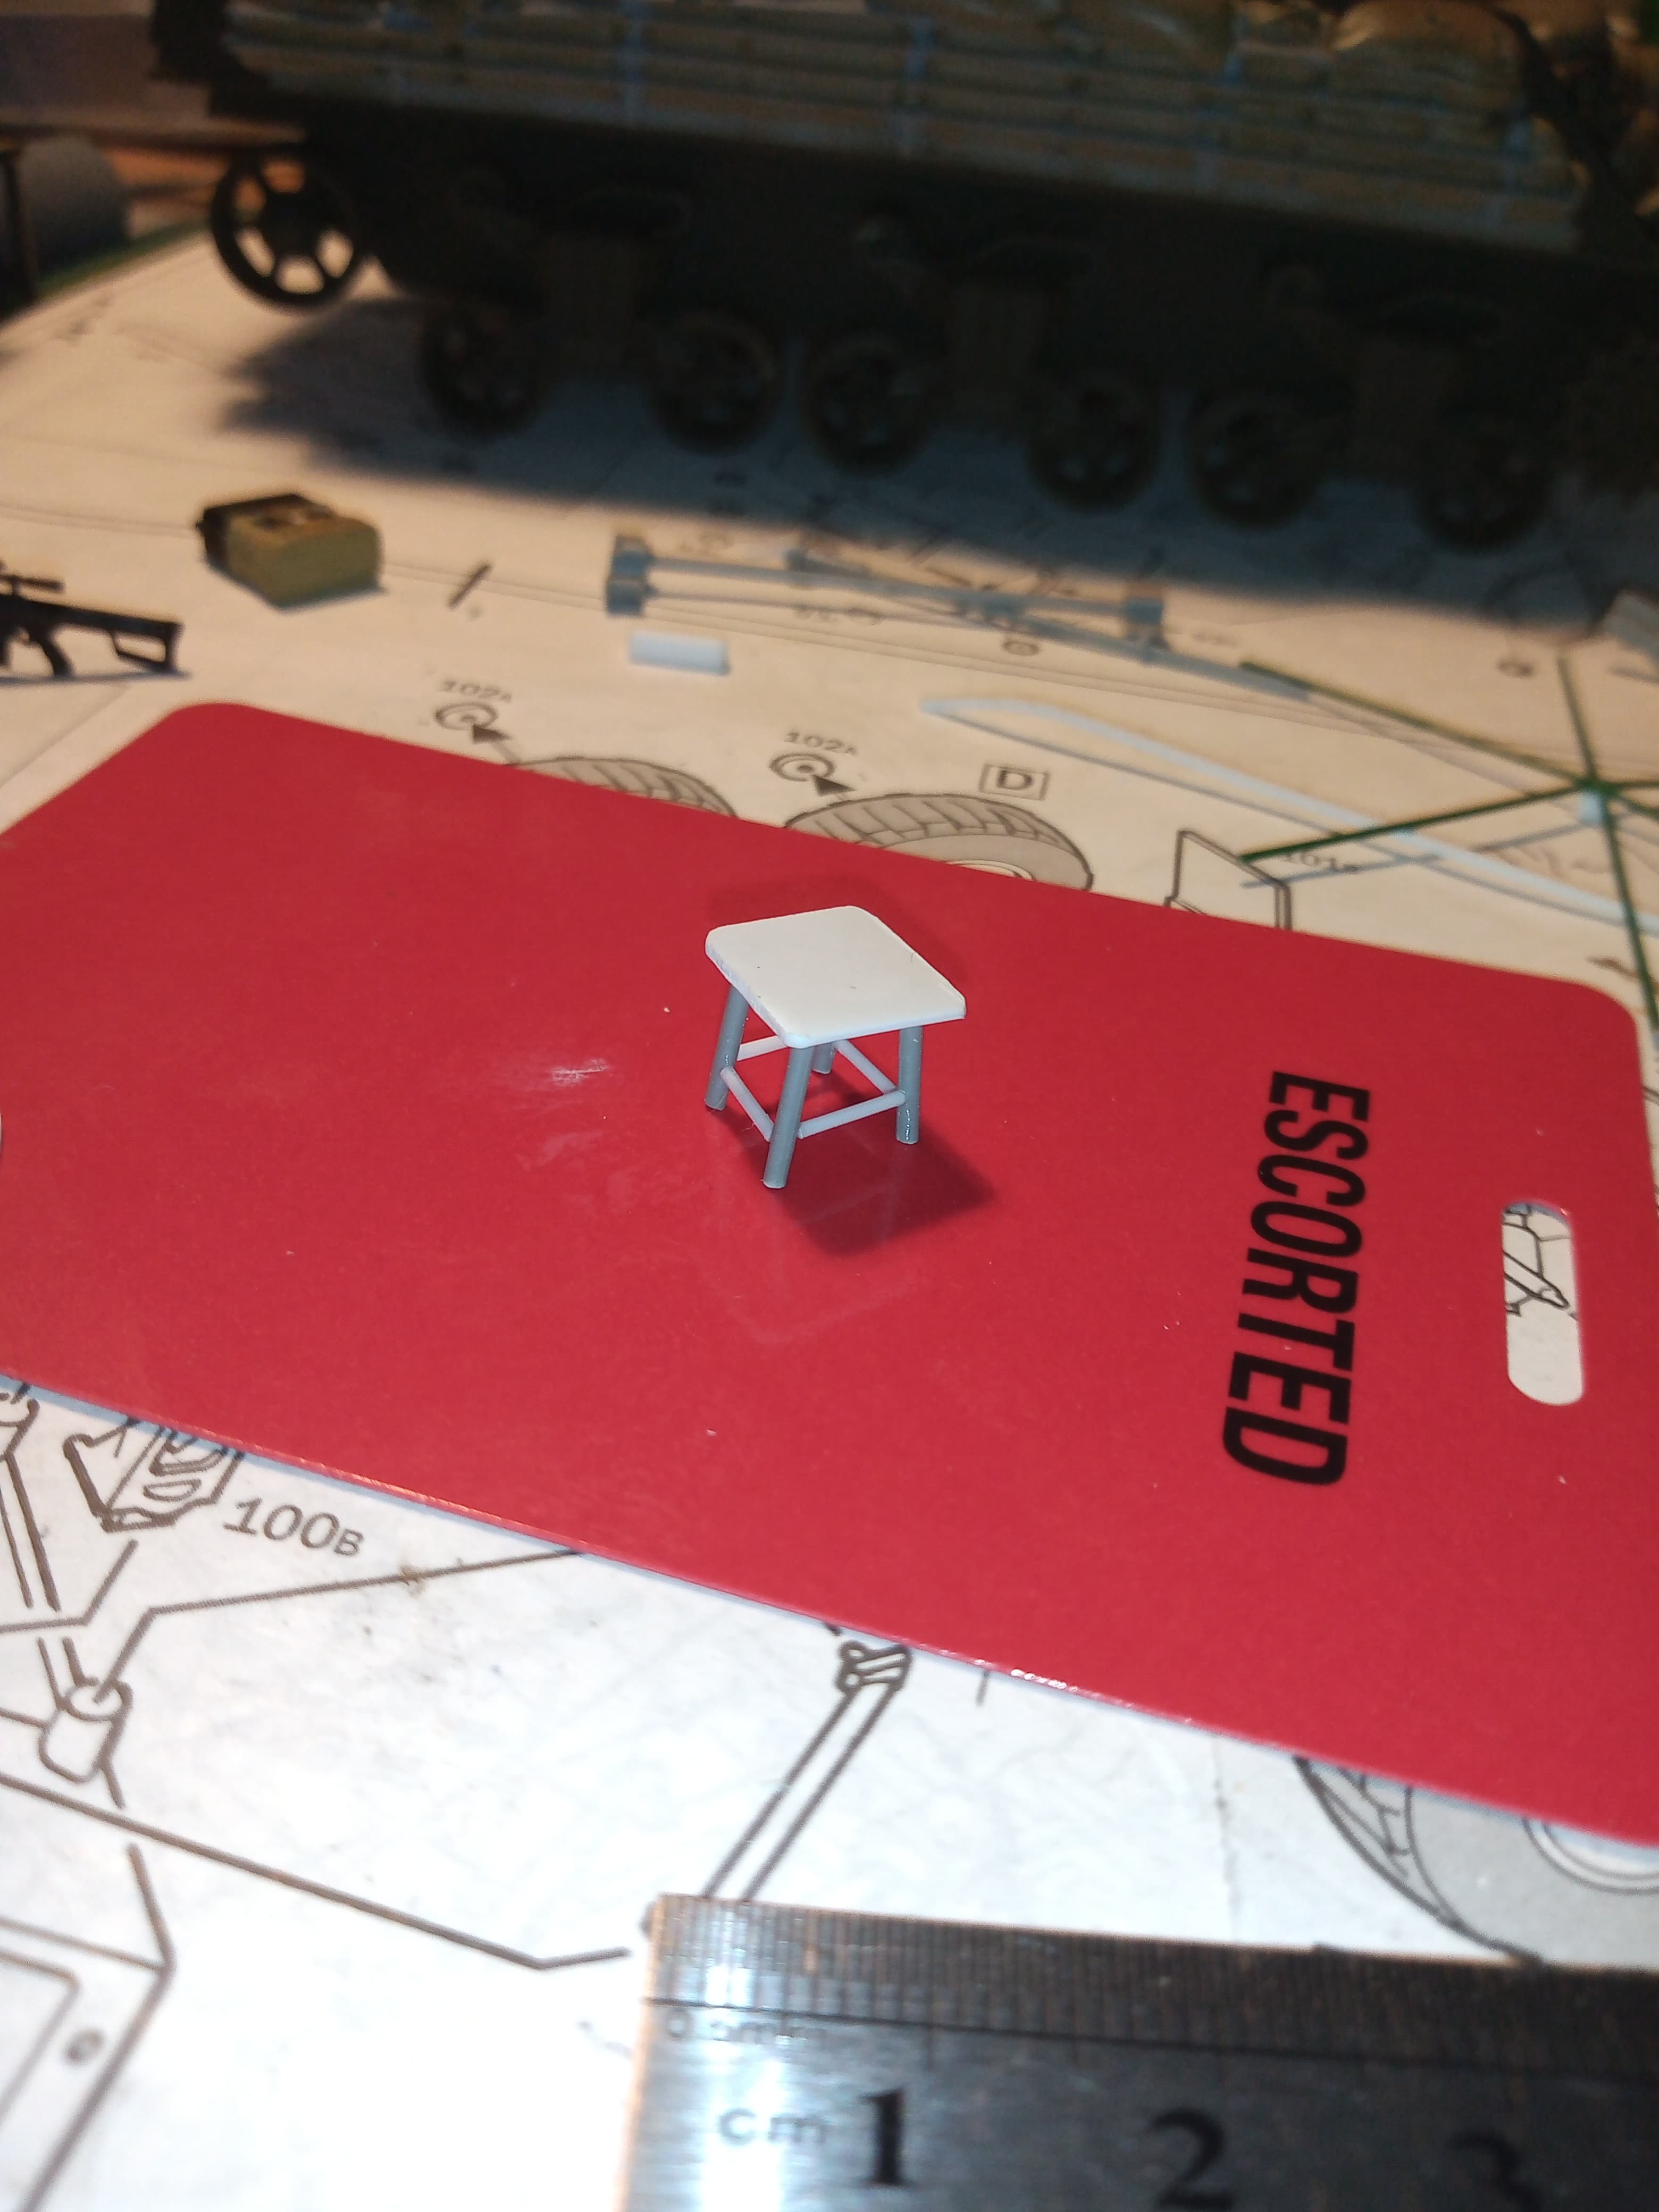
Dry fitted the new style cupola and the RWS …started to paint the drop down table, and added an electrical junction box for the RWS for the cables to feed onto the box body.
The table wooden top and hinges some tidying up as the paint ran a bit the the outside she of the table and it’s legs are Tamiya dark iron, table top is Vallejo old wood.
If the cupola is not stuck down, have you thought about turning it so the rail opening is facing the RWS not straight to the rear? The mounted weapon would not need to be able to swing through in the 2 o’clock to 5 o’clock arc or they would be ‘shooting their own propeller’. Having the opening facing the RWS would give the cupola gunner a much wider field of fire, including behind the vehicle.
It would also give the gunner elbow room when shooting off the side. If it was left this way, shooting off the side would mean the gunners left arm would be up against the raised hatch (assuming that it would remain fairly upright as a form of protection from behind him.
Yeah good points, and if I was putting an MG there or a grenade launcher I would probably twist it round a bit to the left at that sort of angle you mentioned.
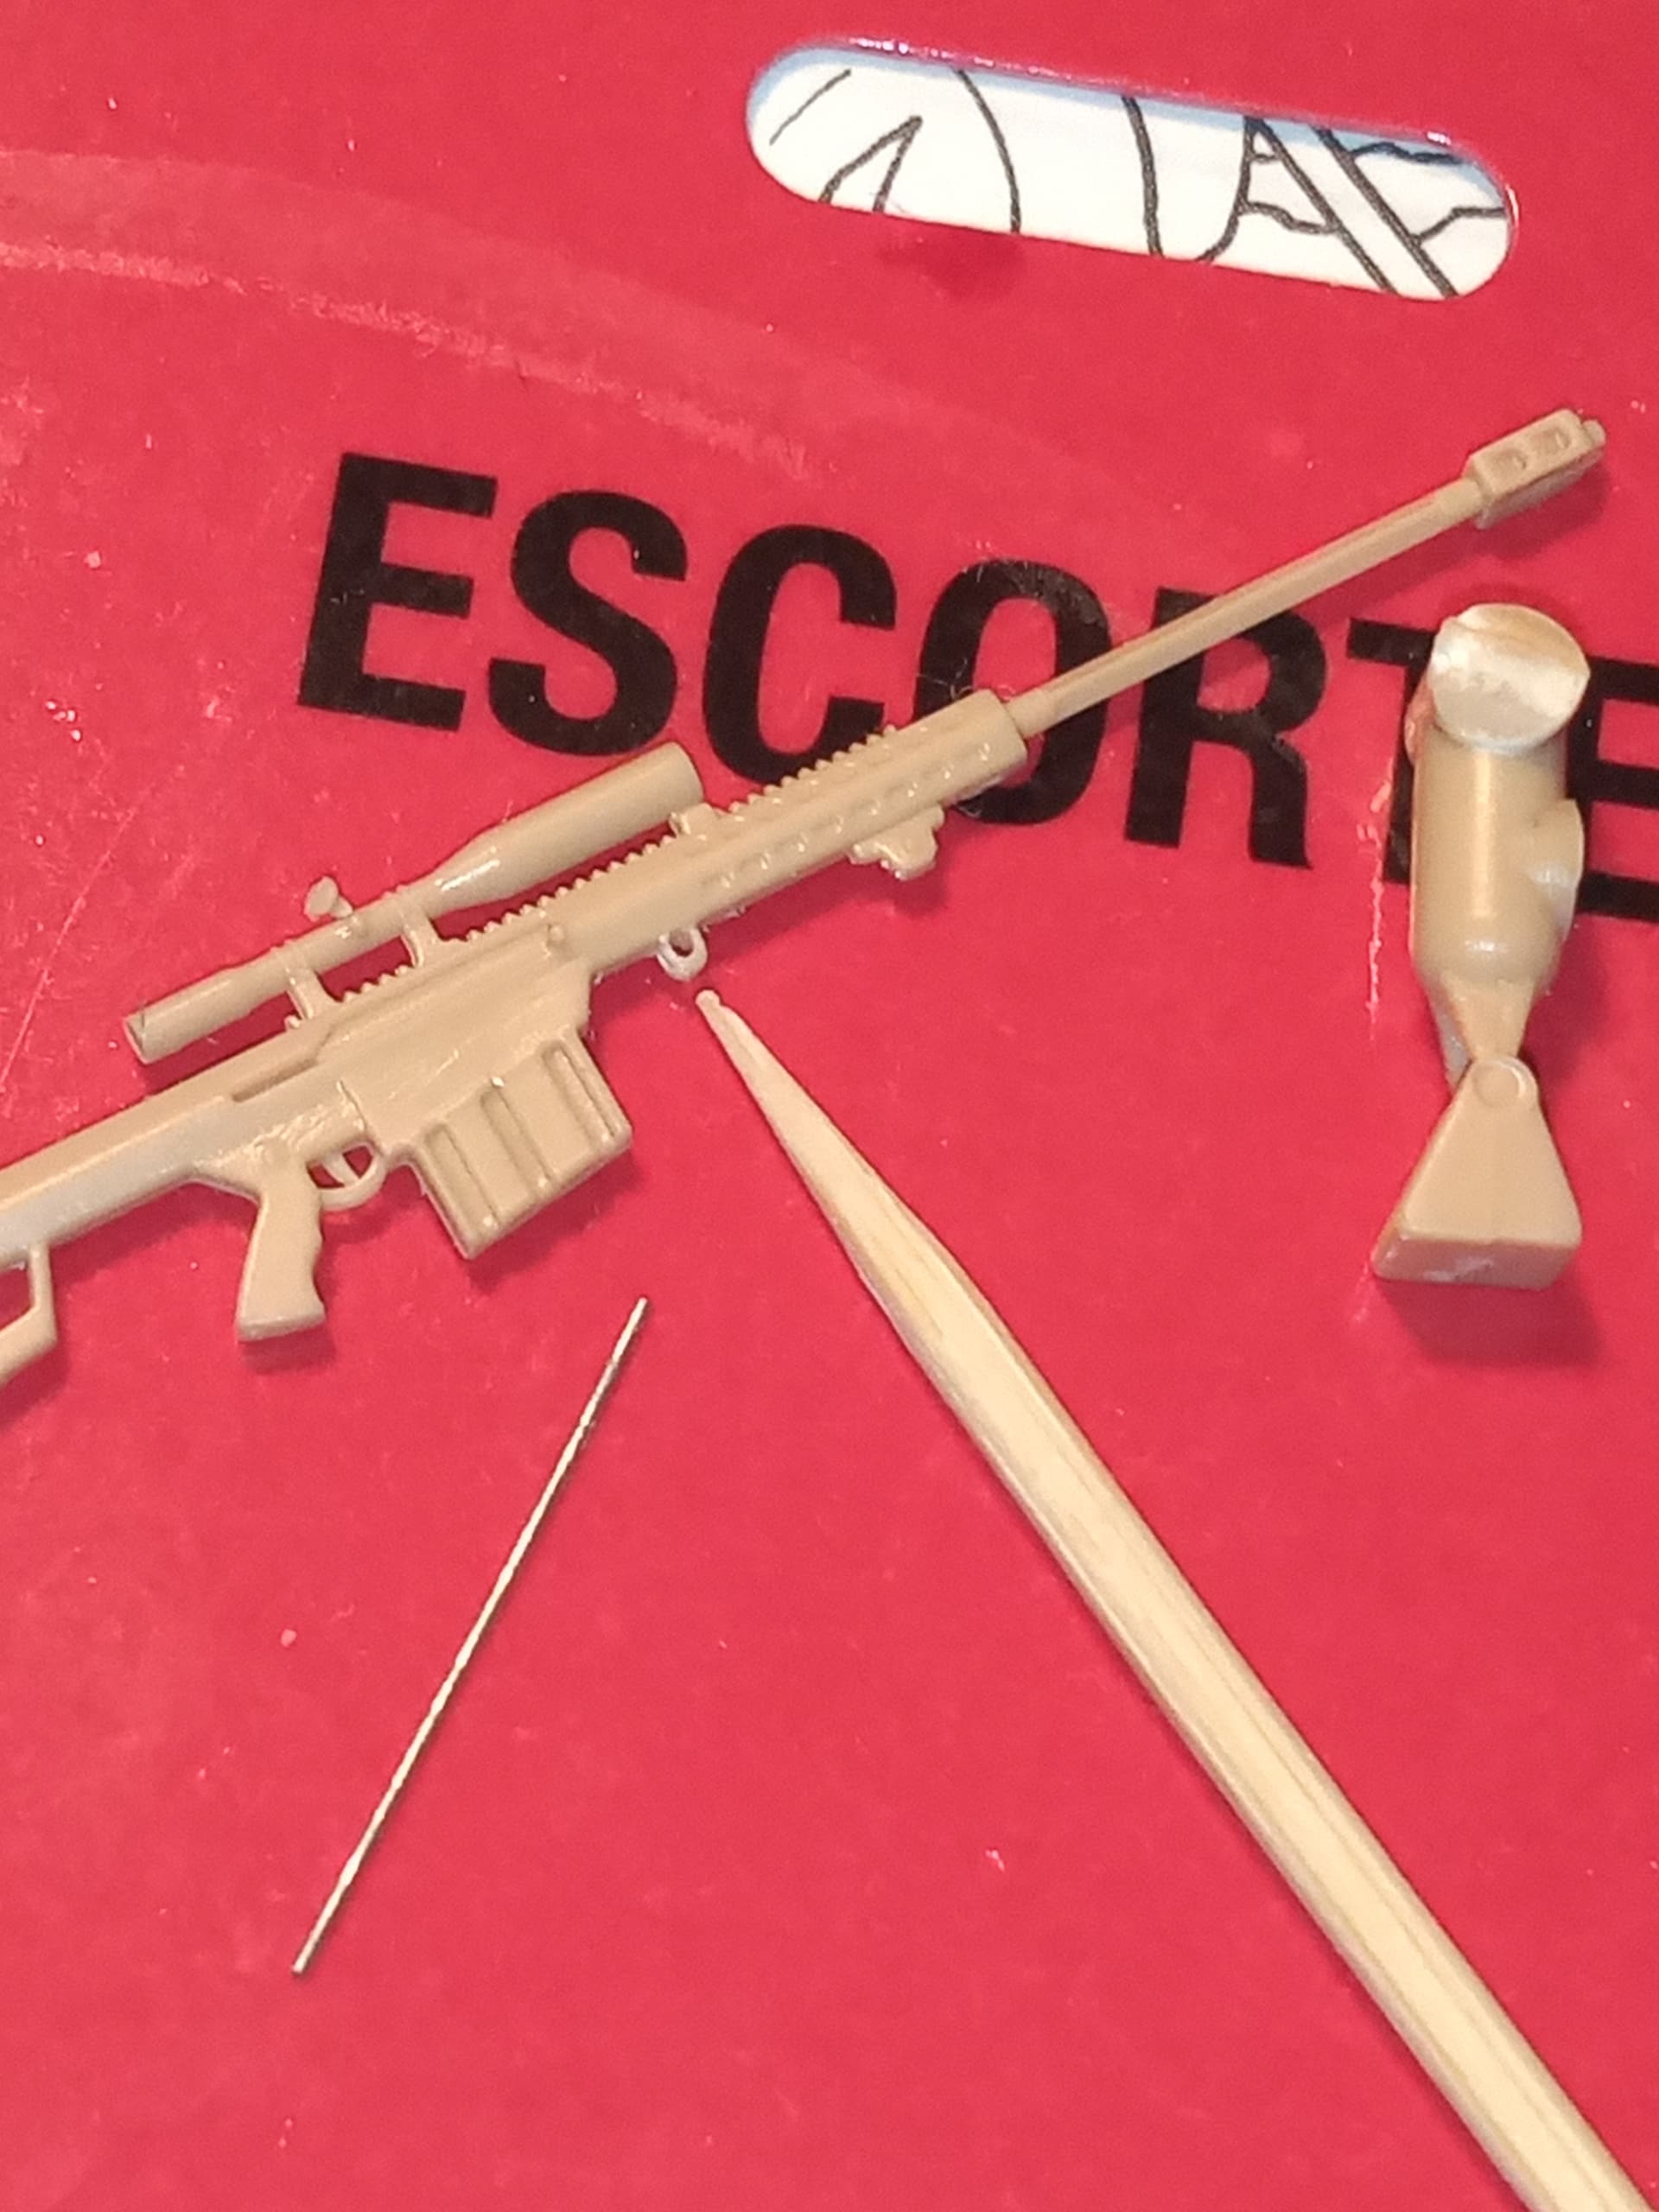
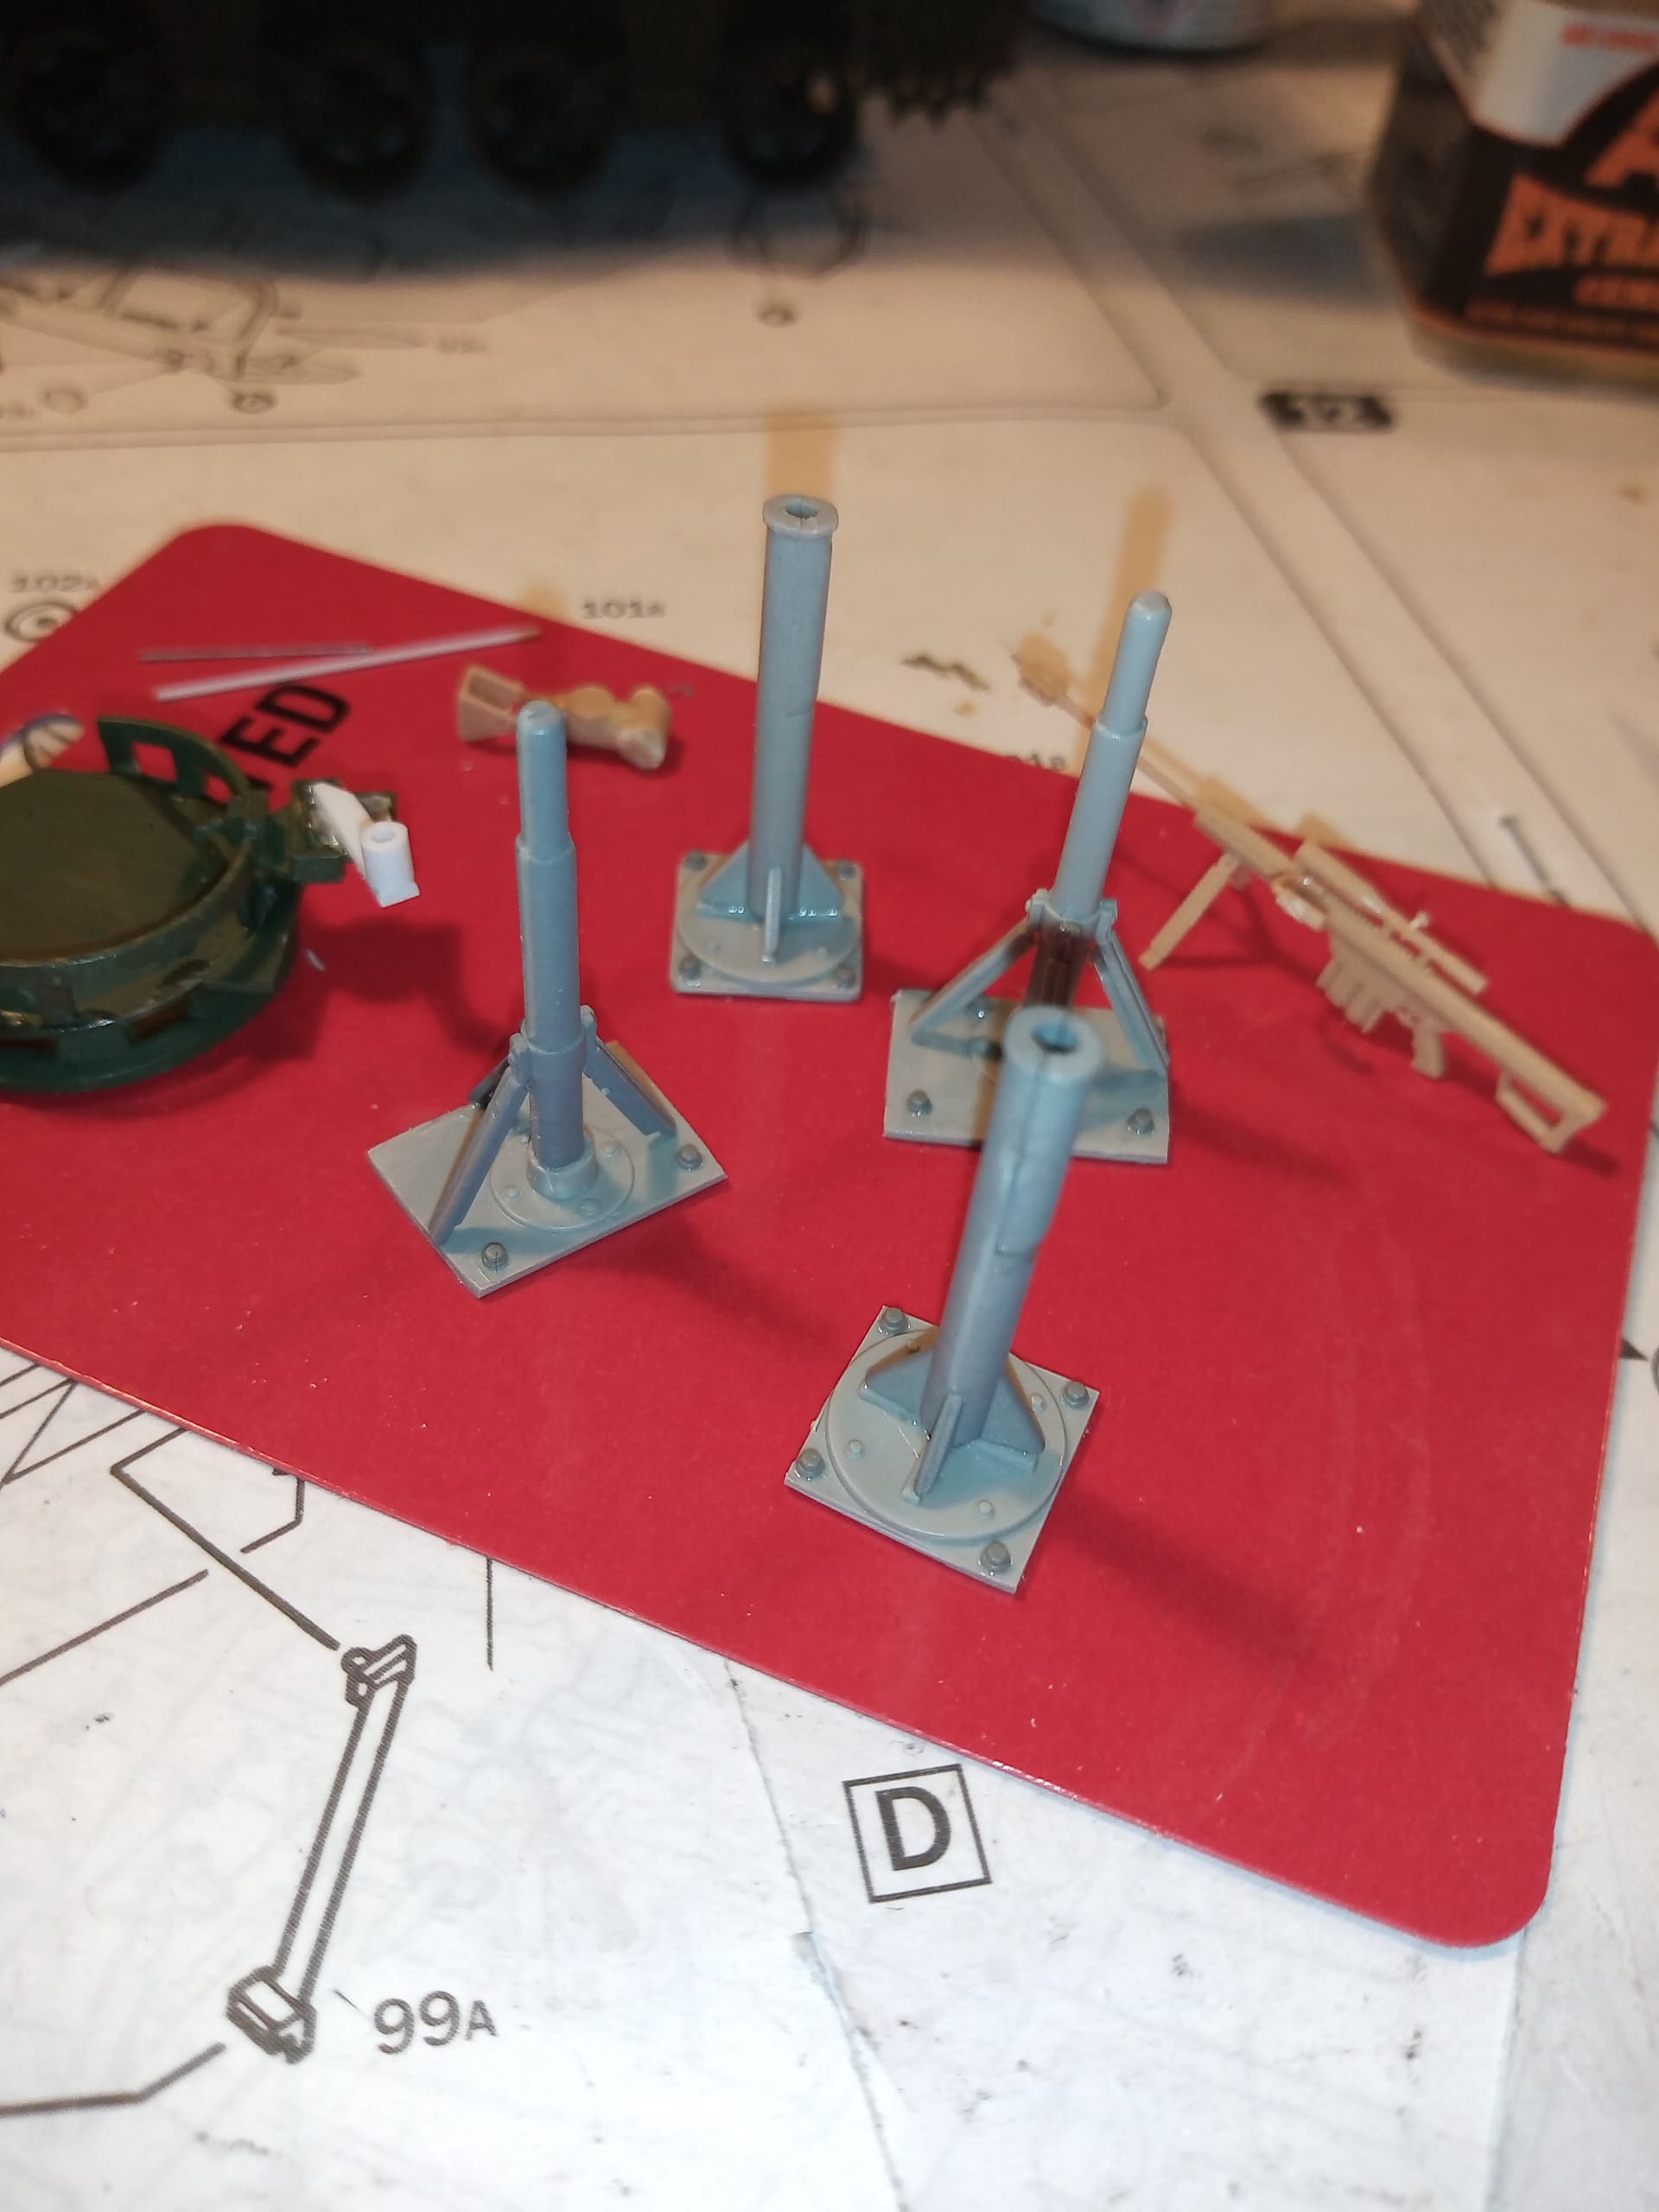
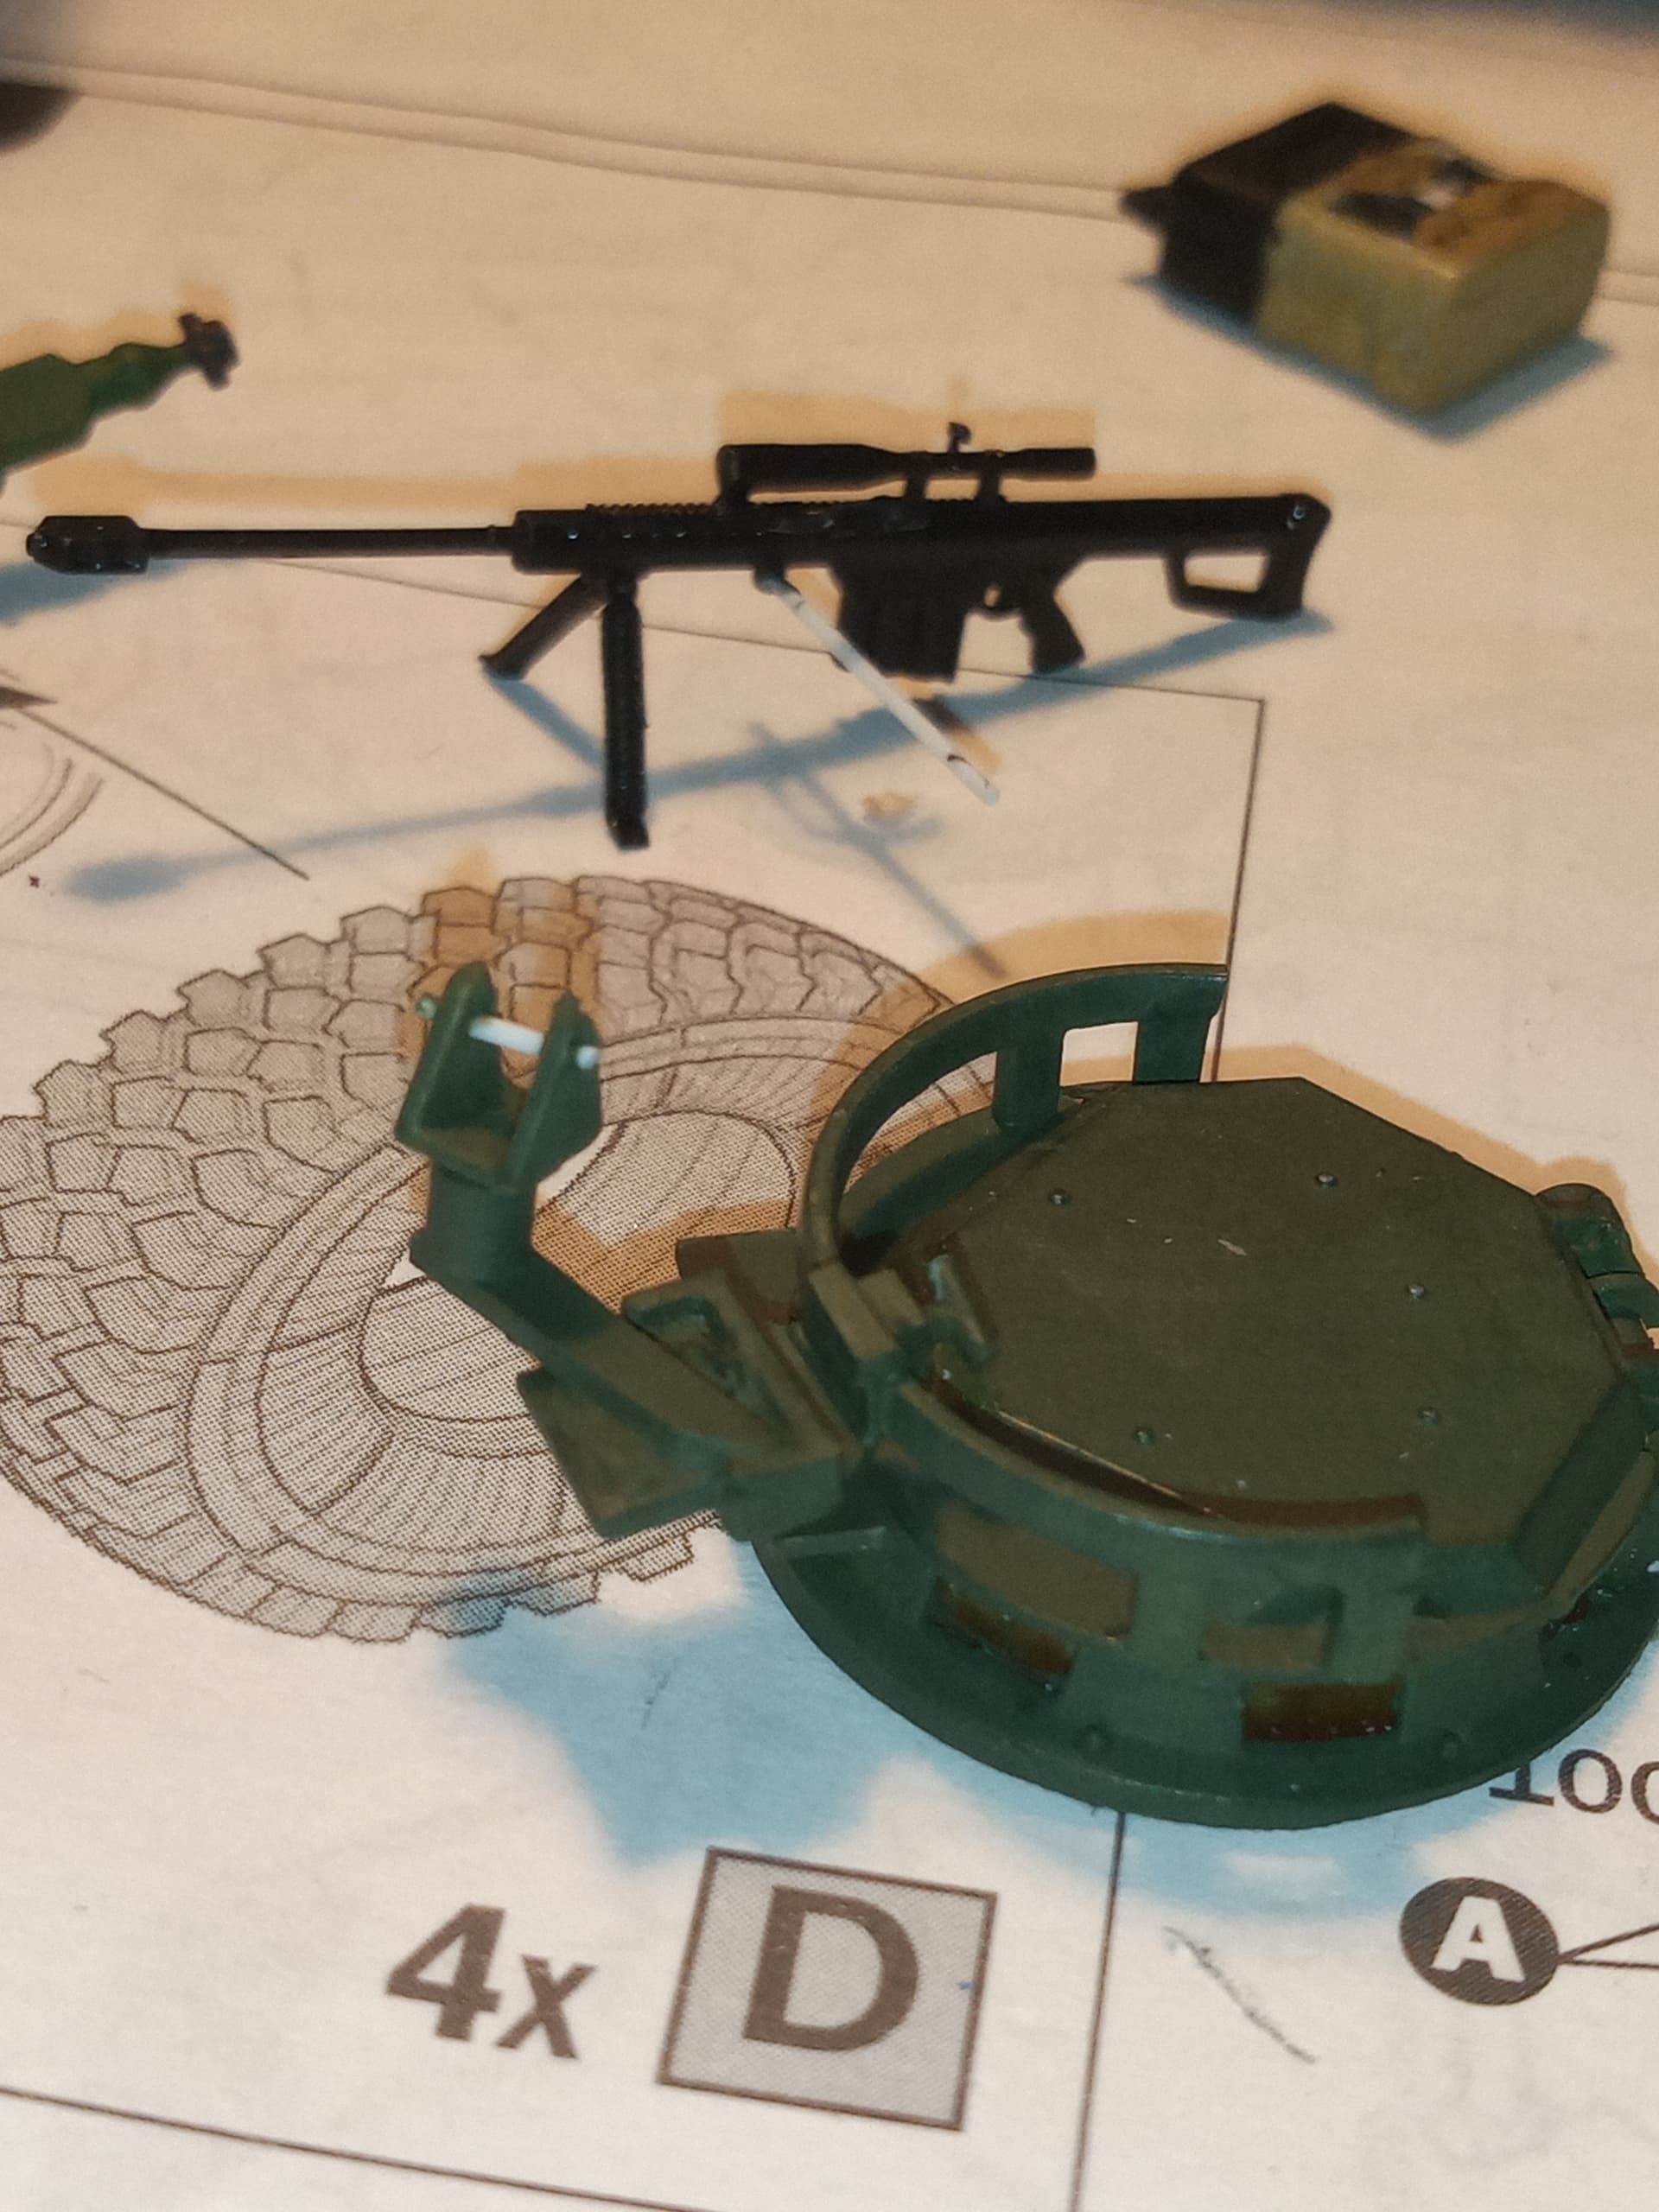
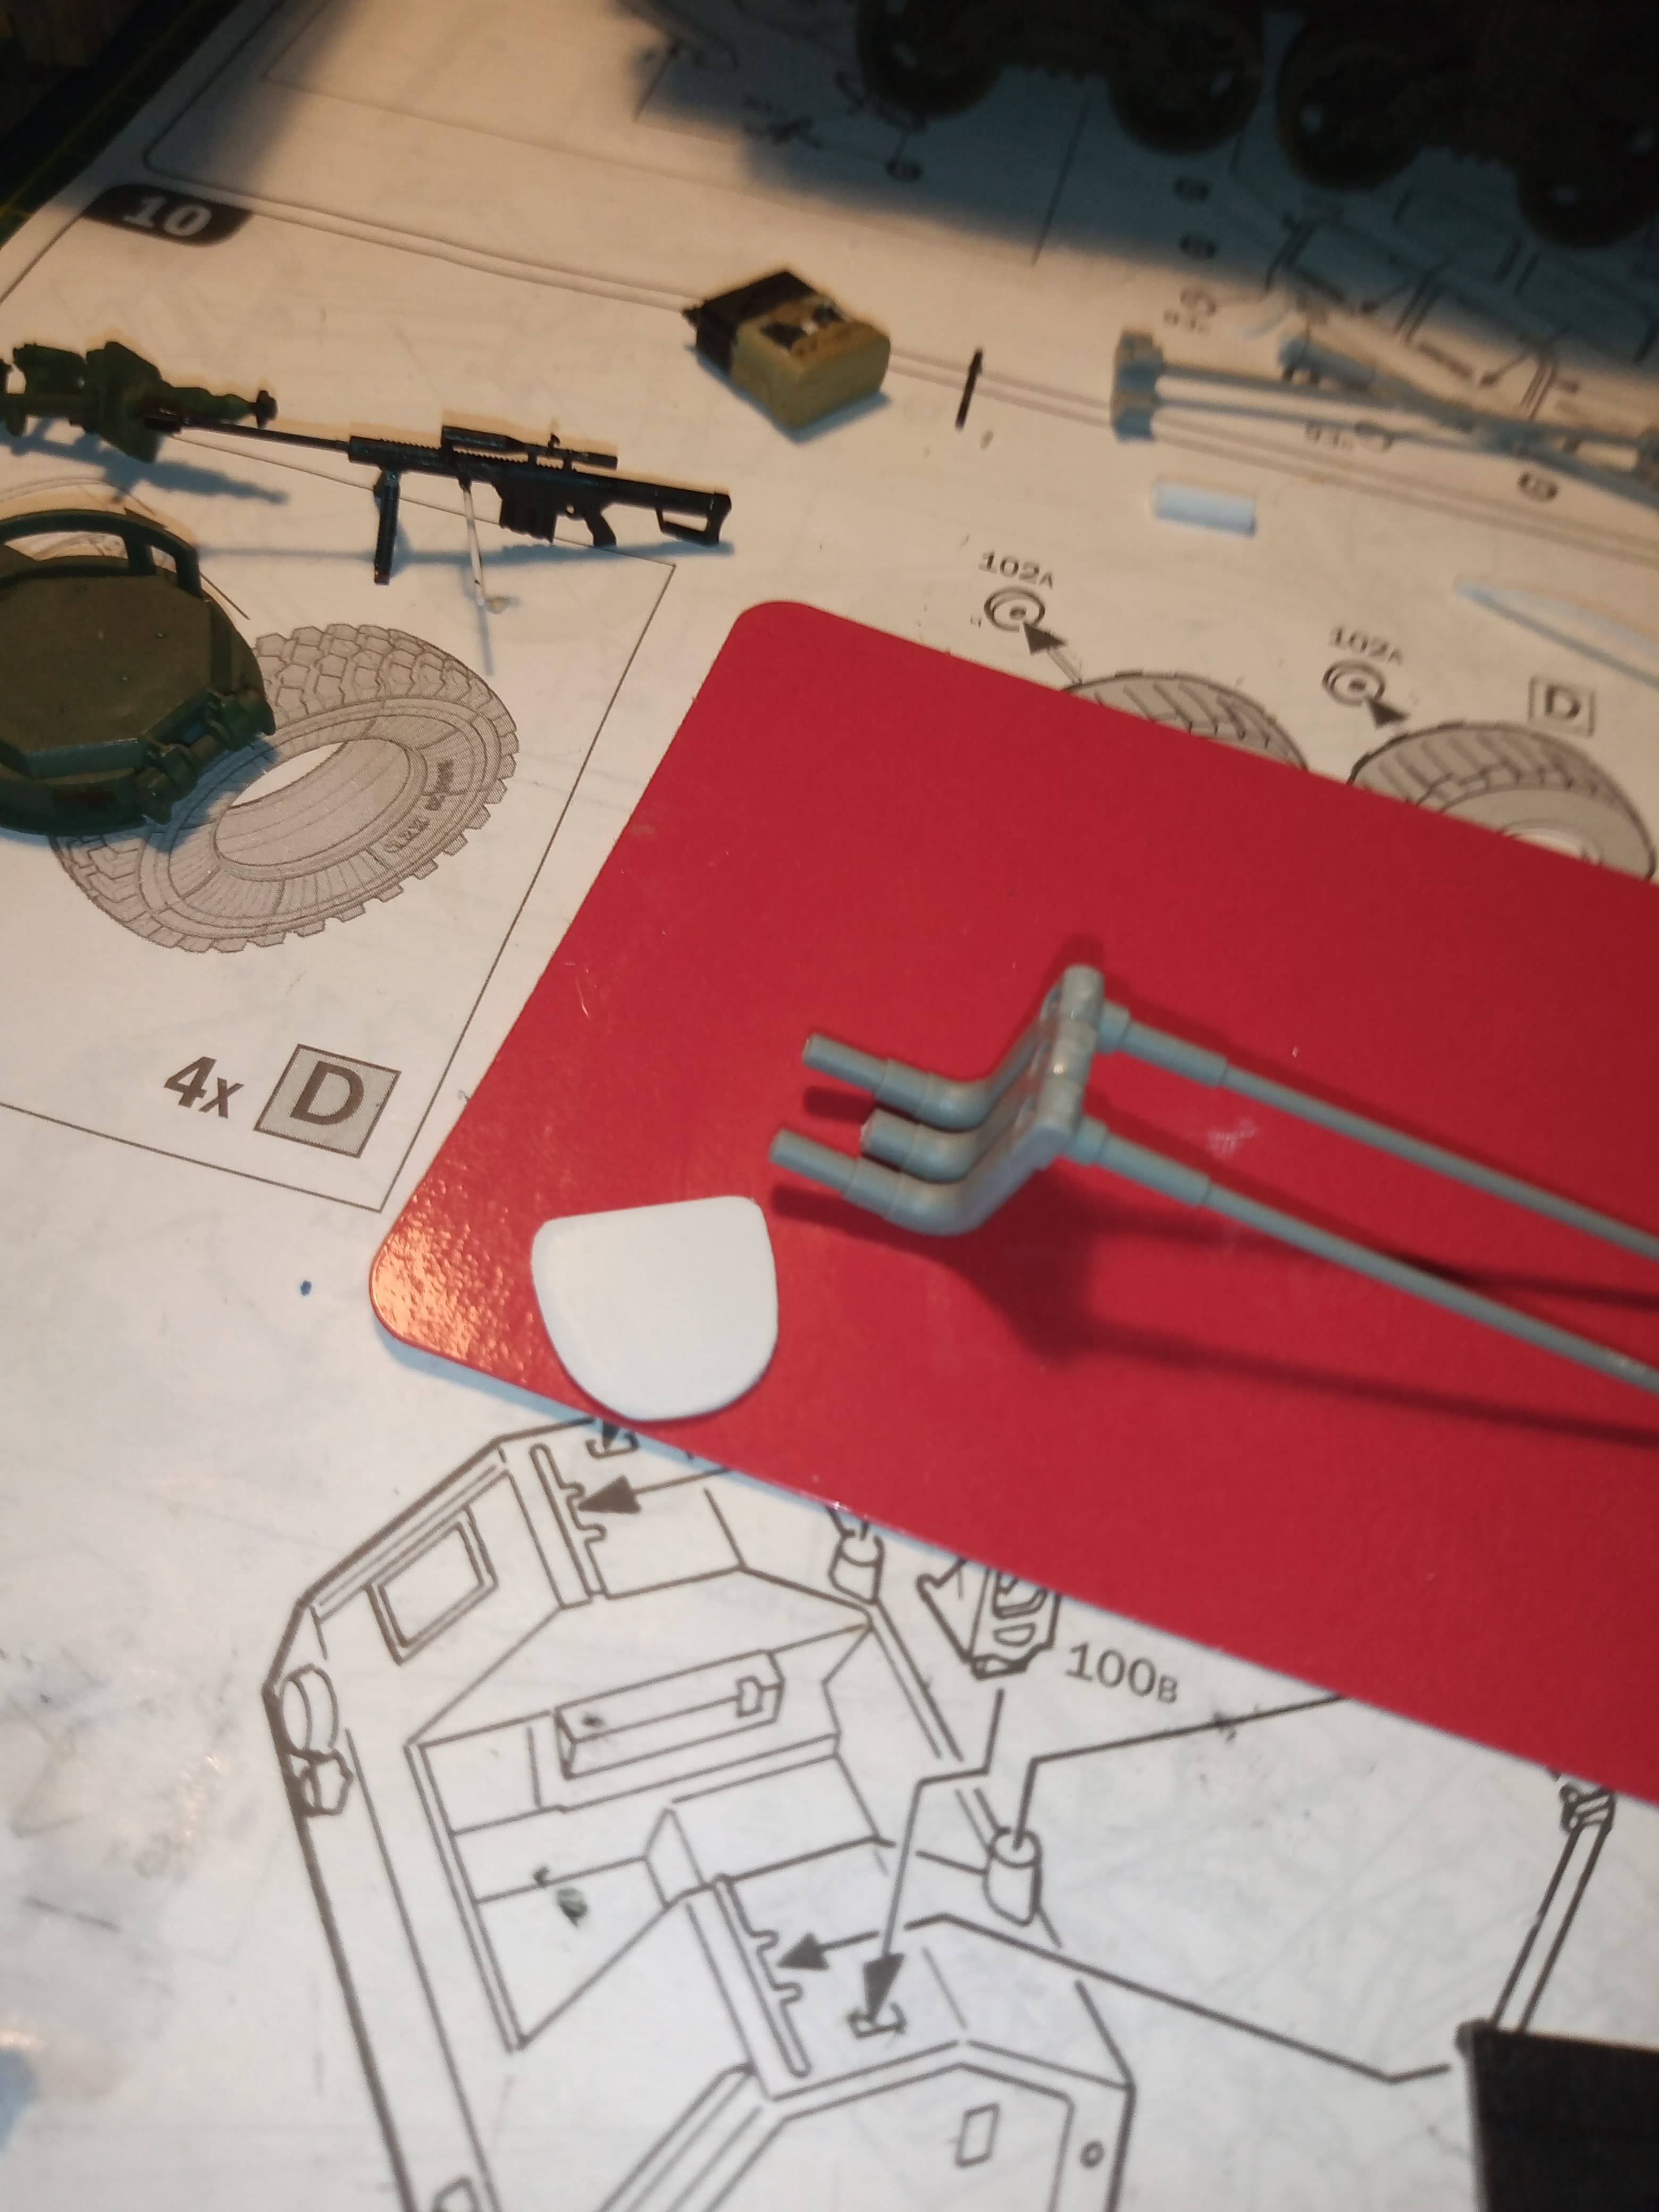
This mount is solely going to be for the M82 sniper rifle which I wanted forward facing for any opportunity long range, one shot only sniper engagements …
Can’t wait to get the sniper rifle fitted. Looks like it also comes with a pedestal mount (not sure if it’s for that or the 240) but I will test fit it as it looks like it will be a nicer fit that what I had. It may need a bit of tweaking.
Once again, a very big thanks to Jimbo … And mate,
if you ever need anything and I have it, it’s yours buddy
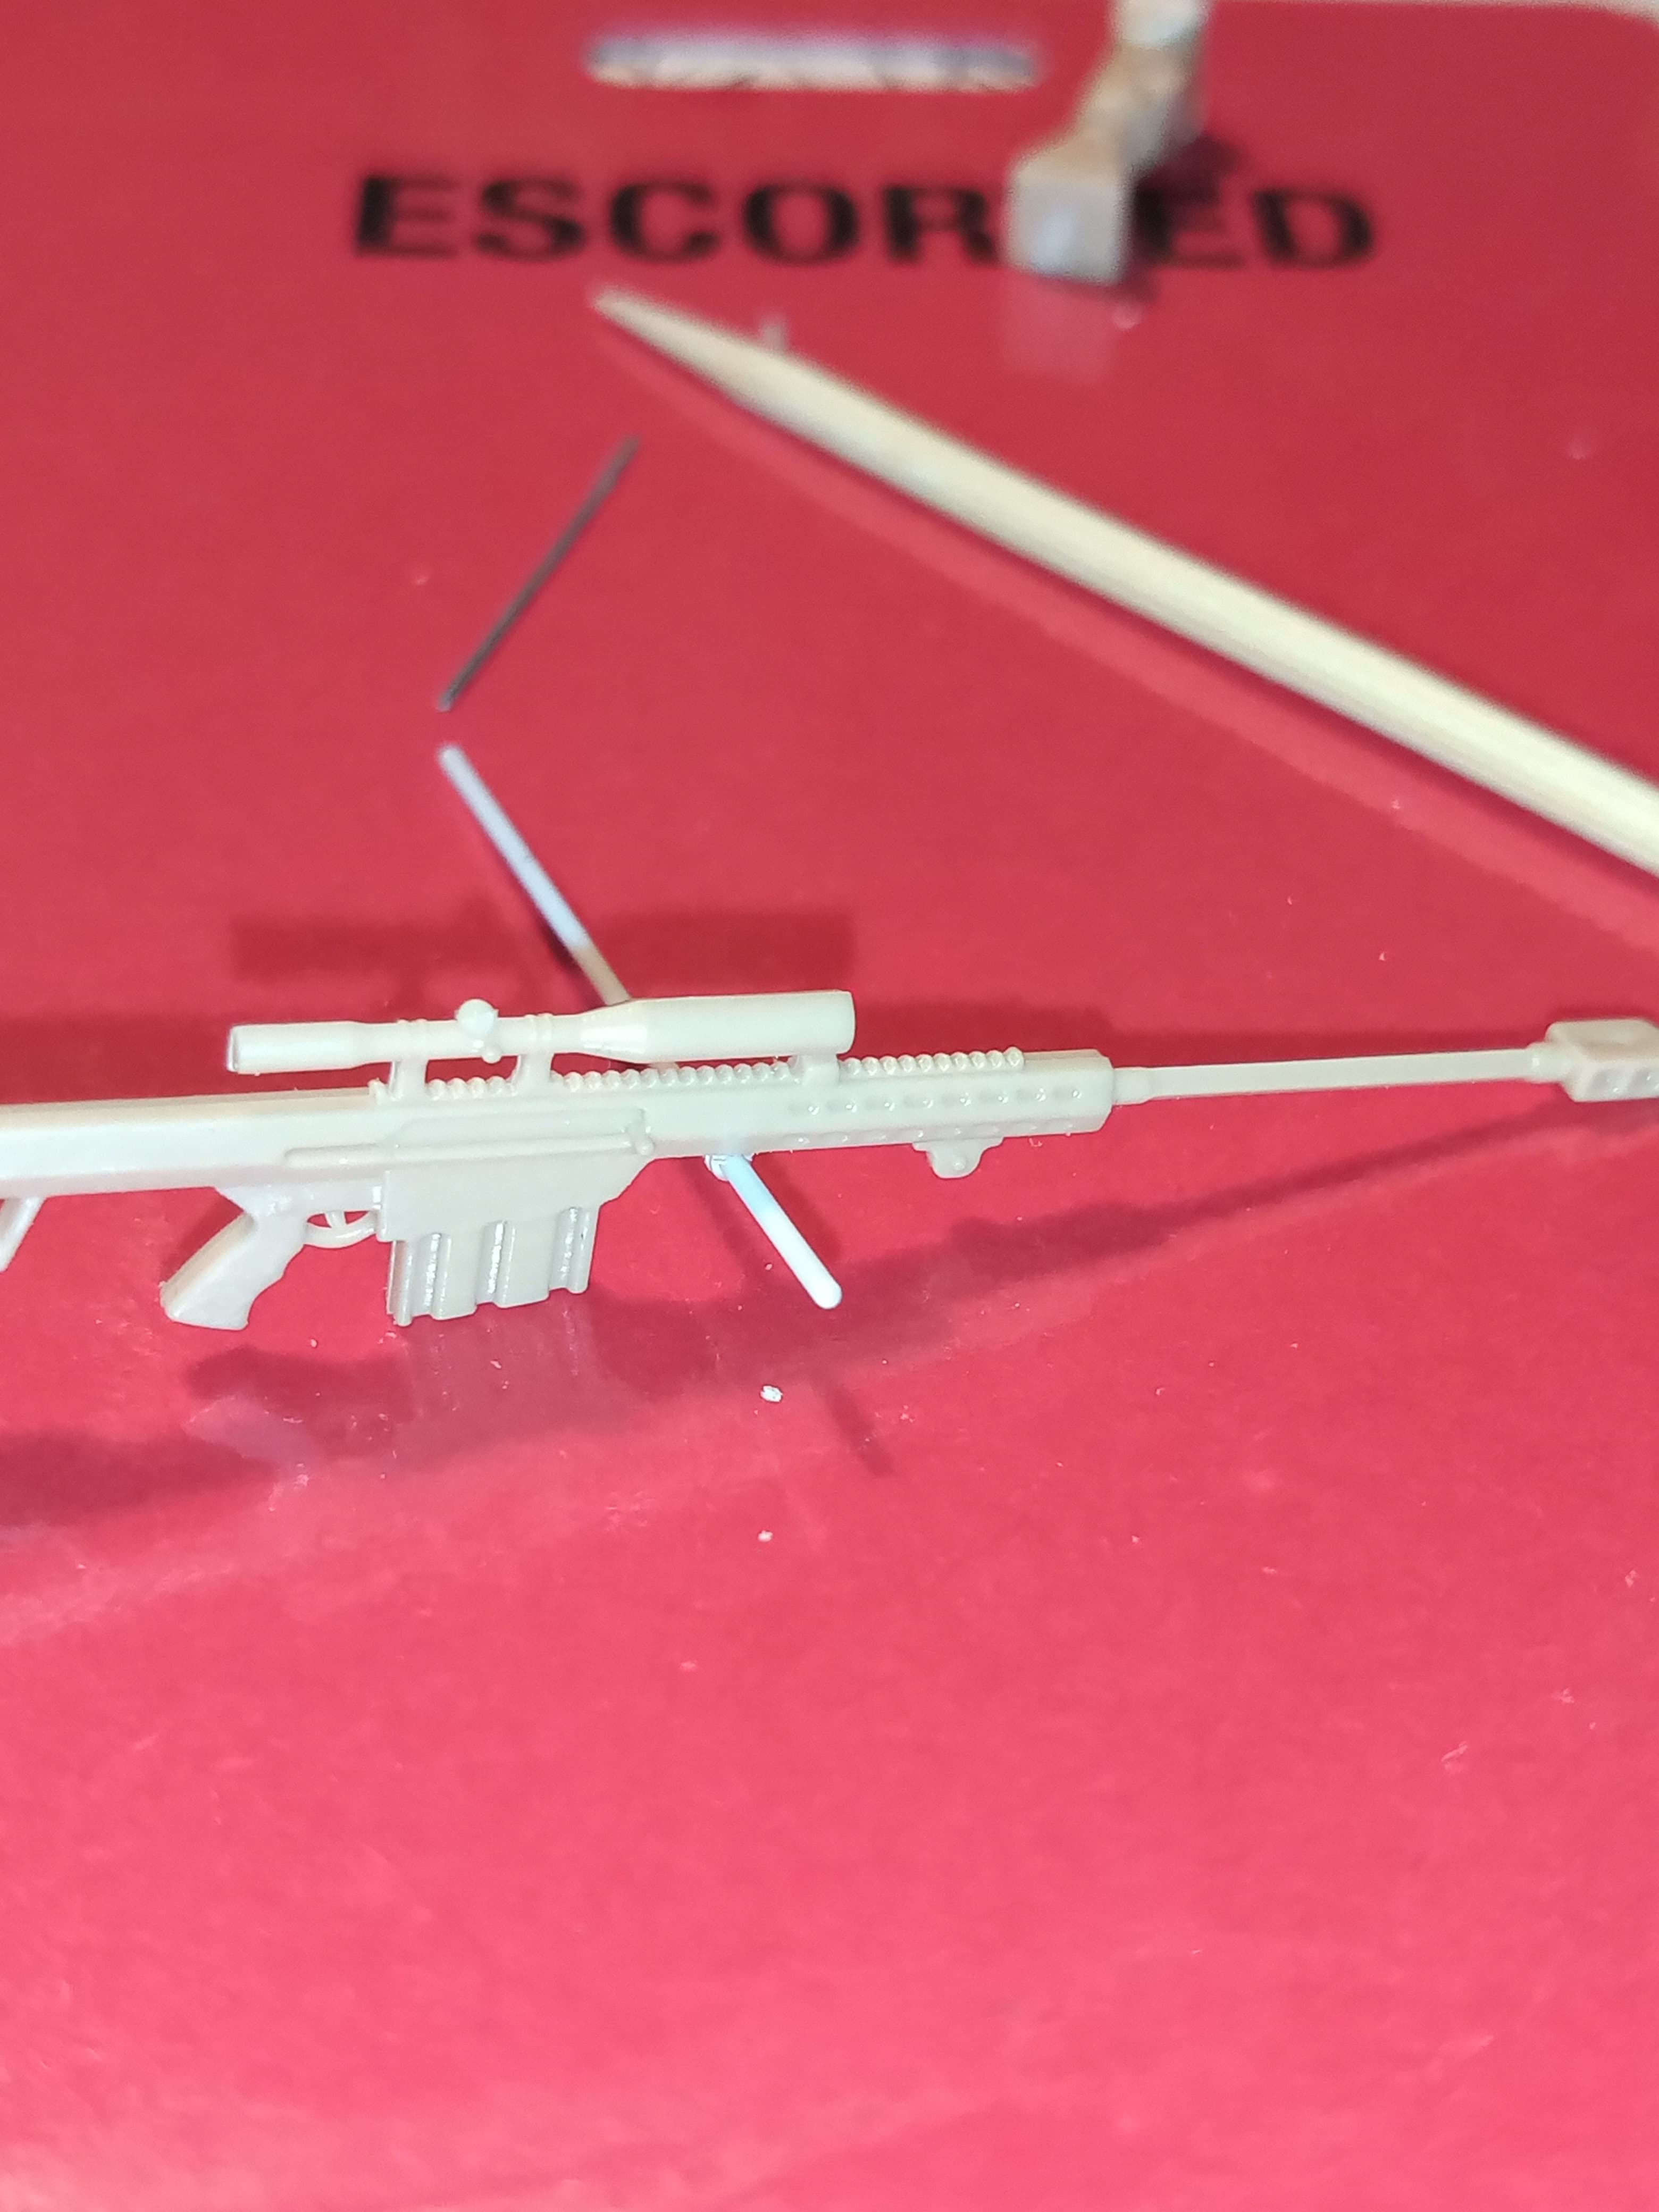
Ok, so the mount on the sprue must be for the 240, not to worry, will stick to plan A and just tweak the one I had fitted…
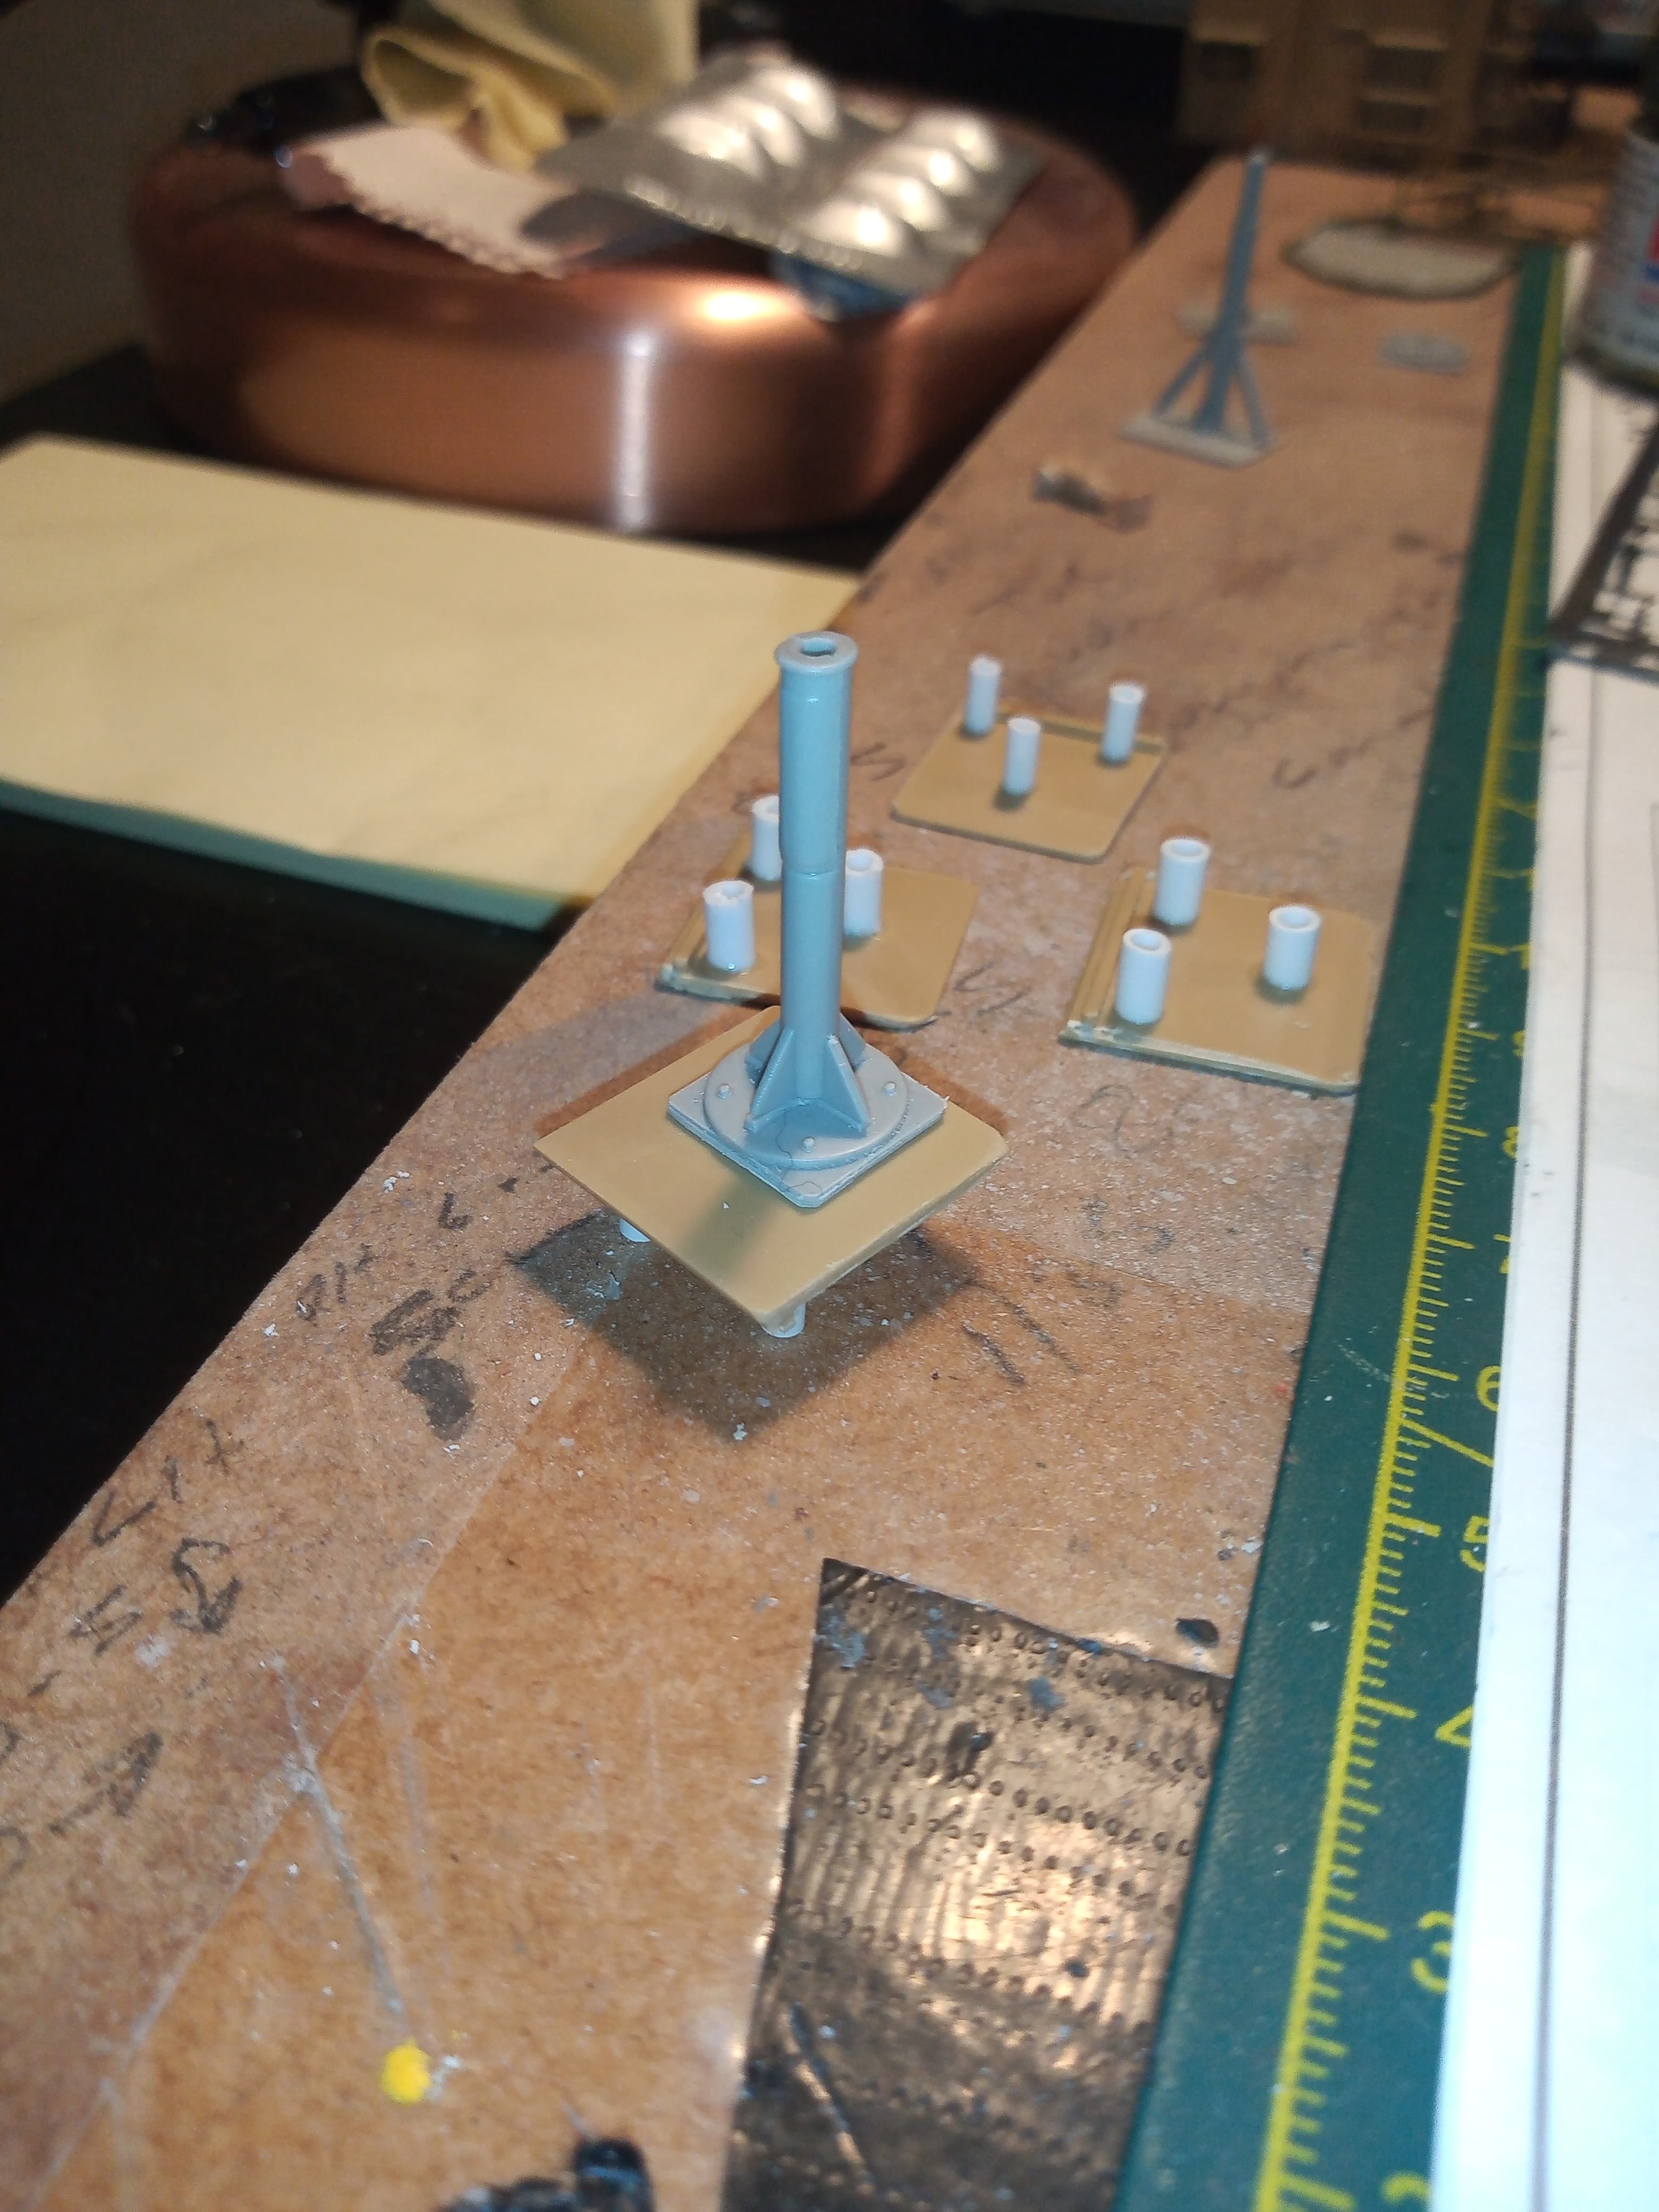
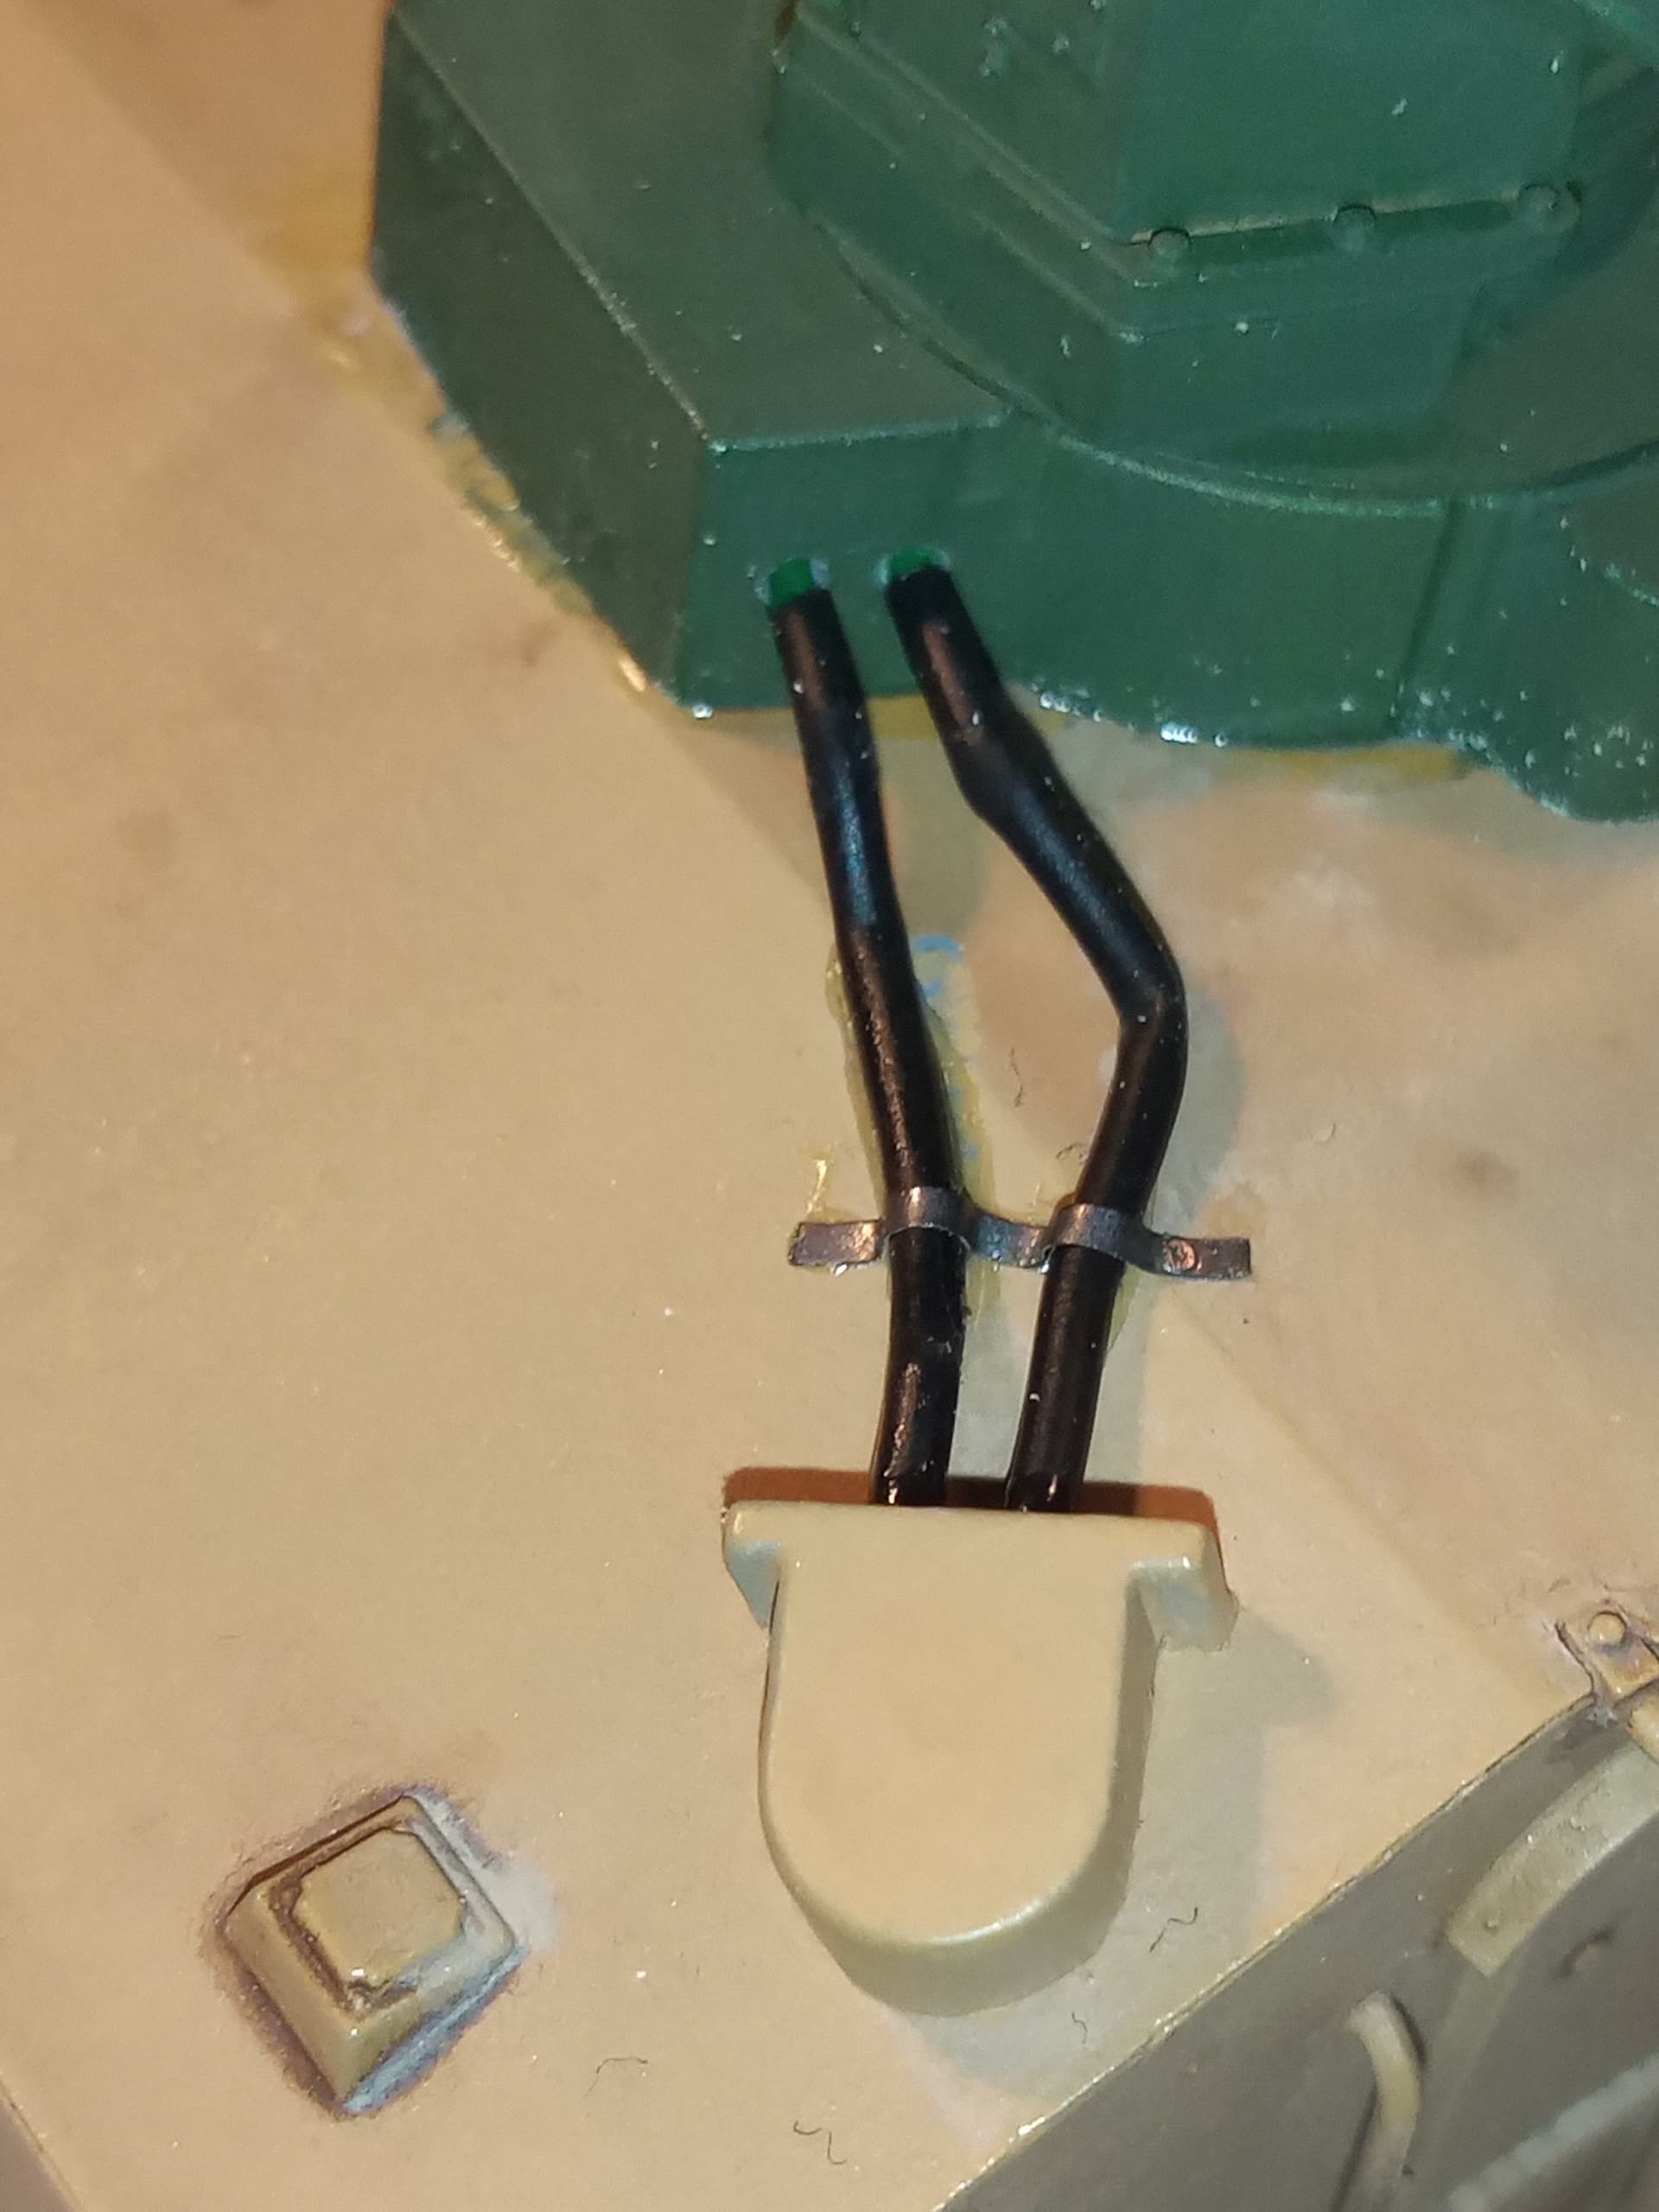
Took the M82 off the sprue, and drilled out the mounting point on the bottom indicated by the cocktail stick
Will look forward to that Jimbo …
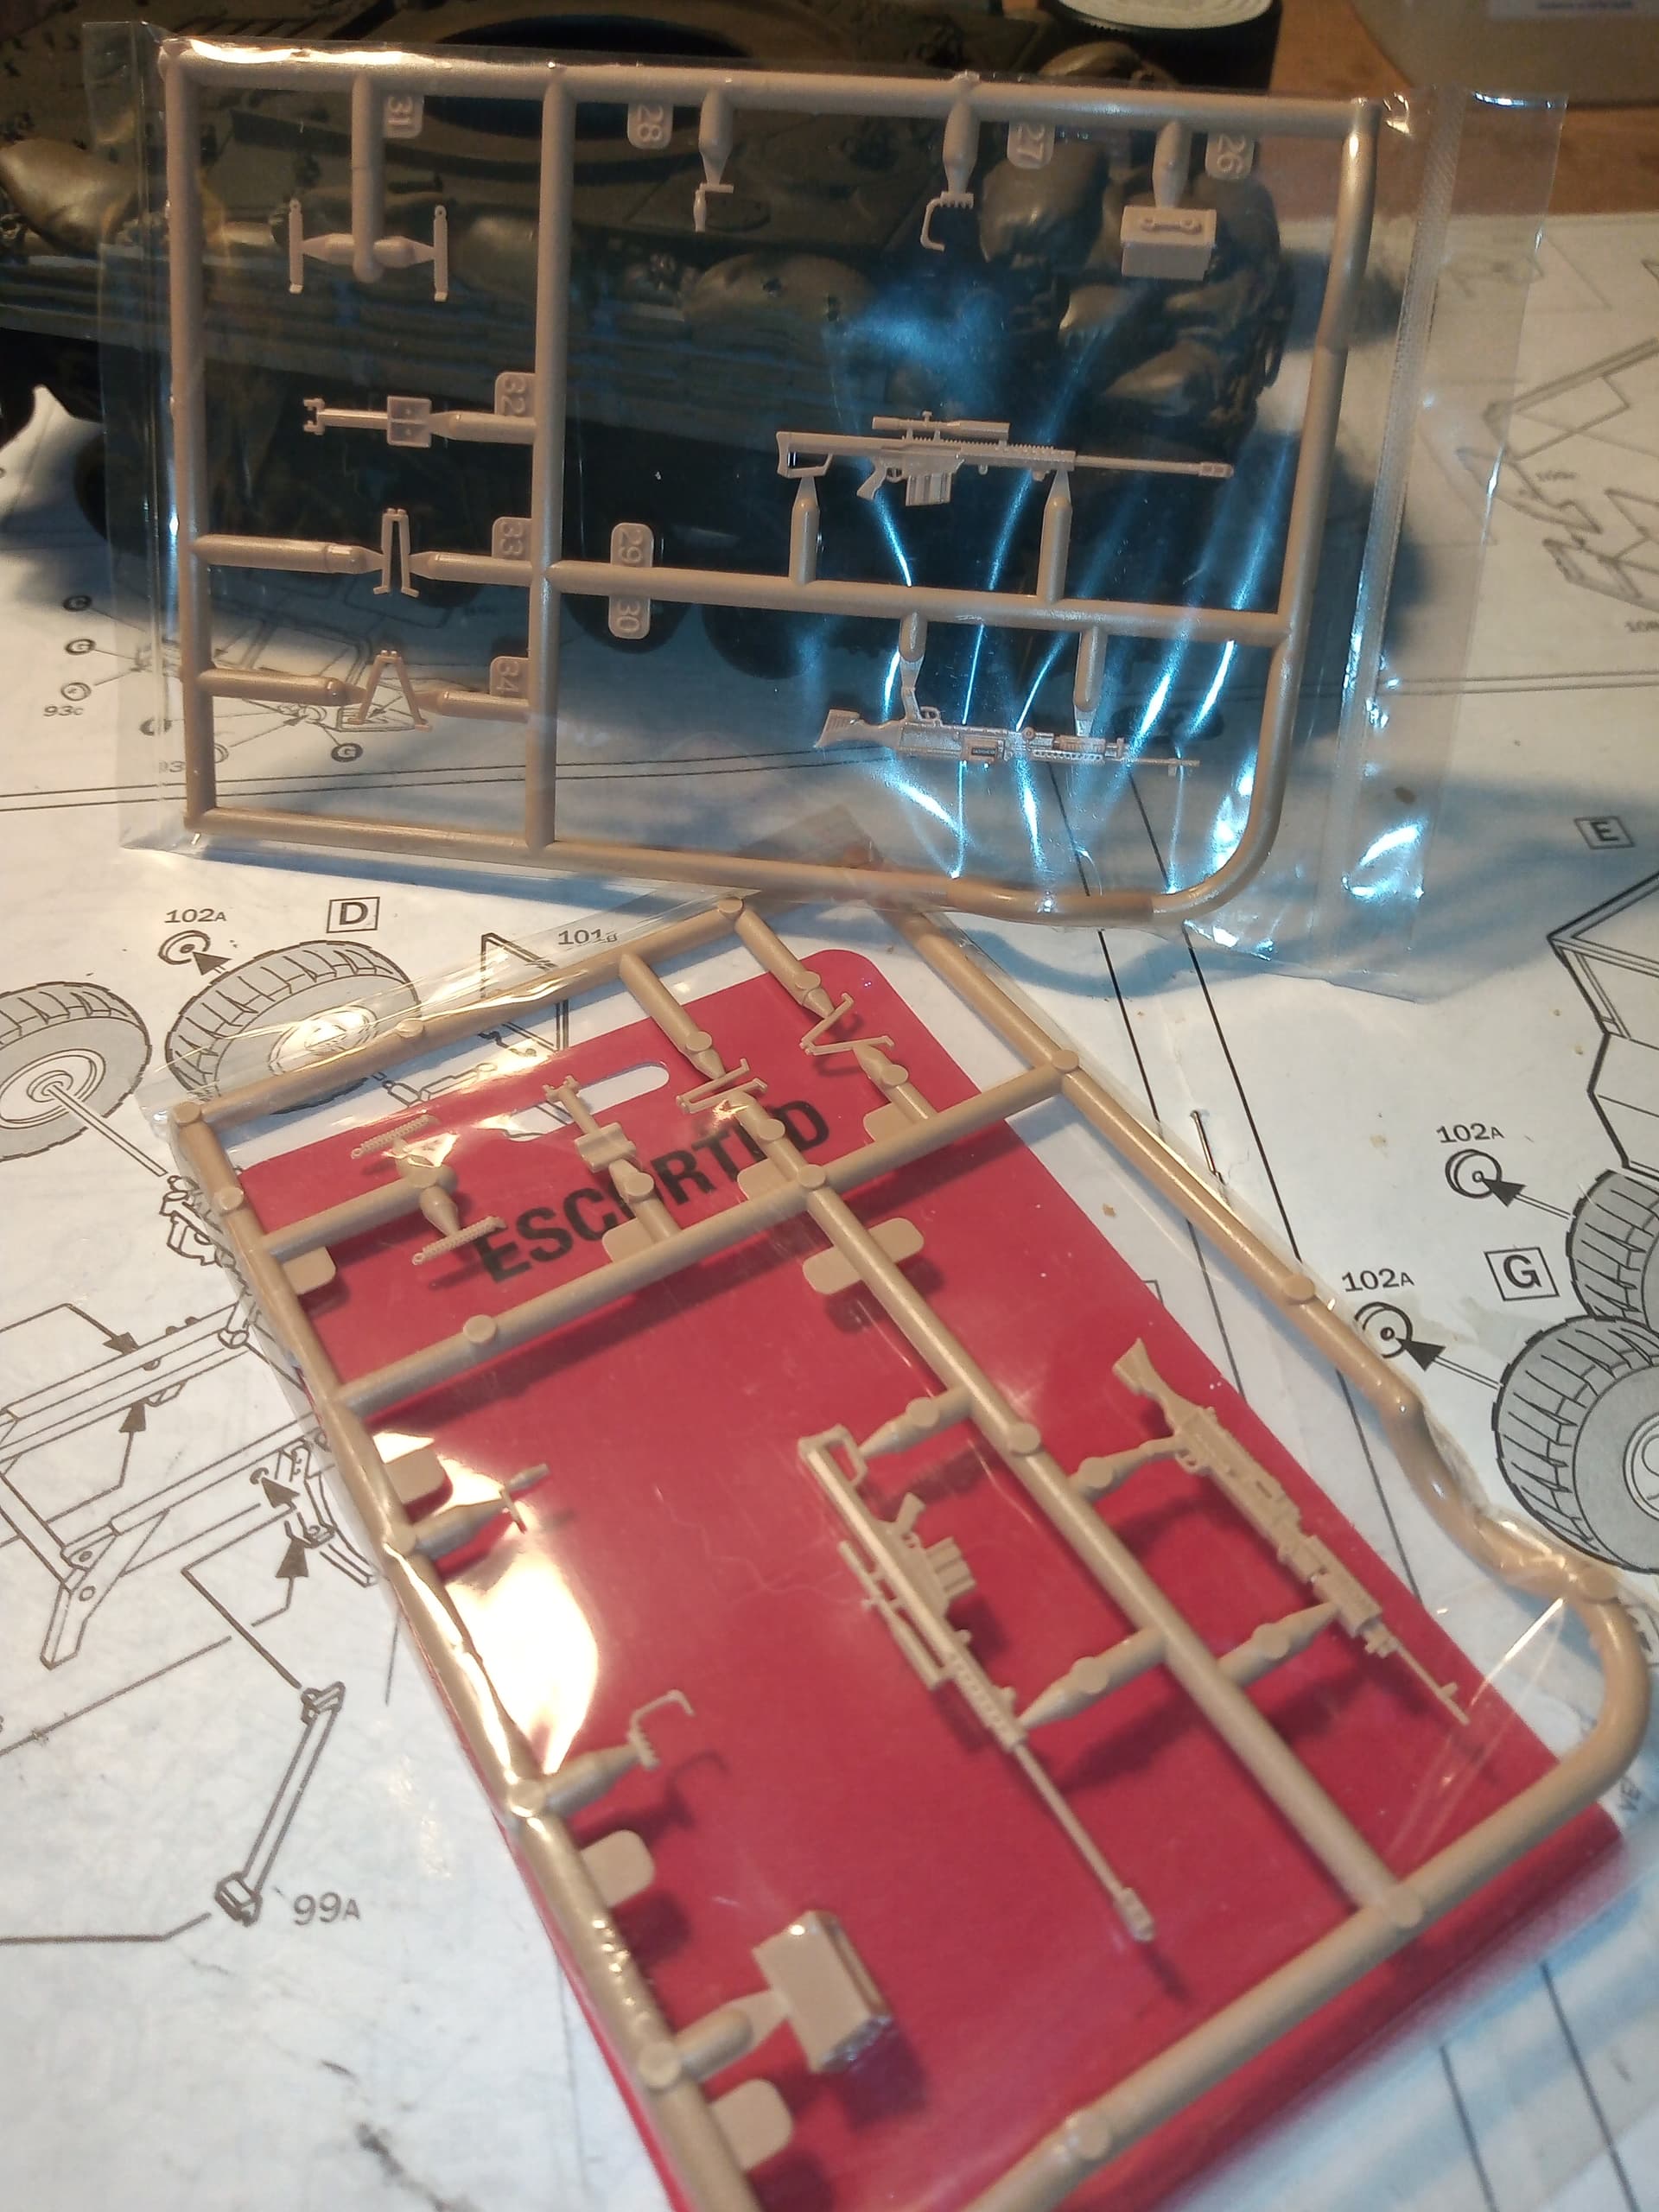
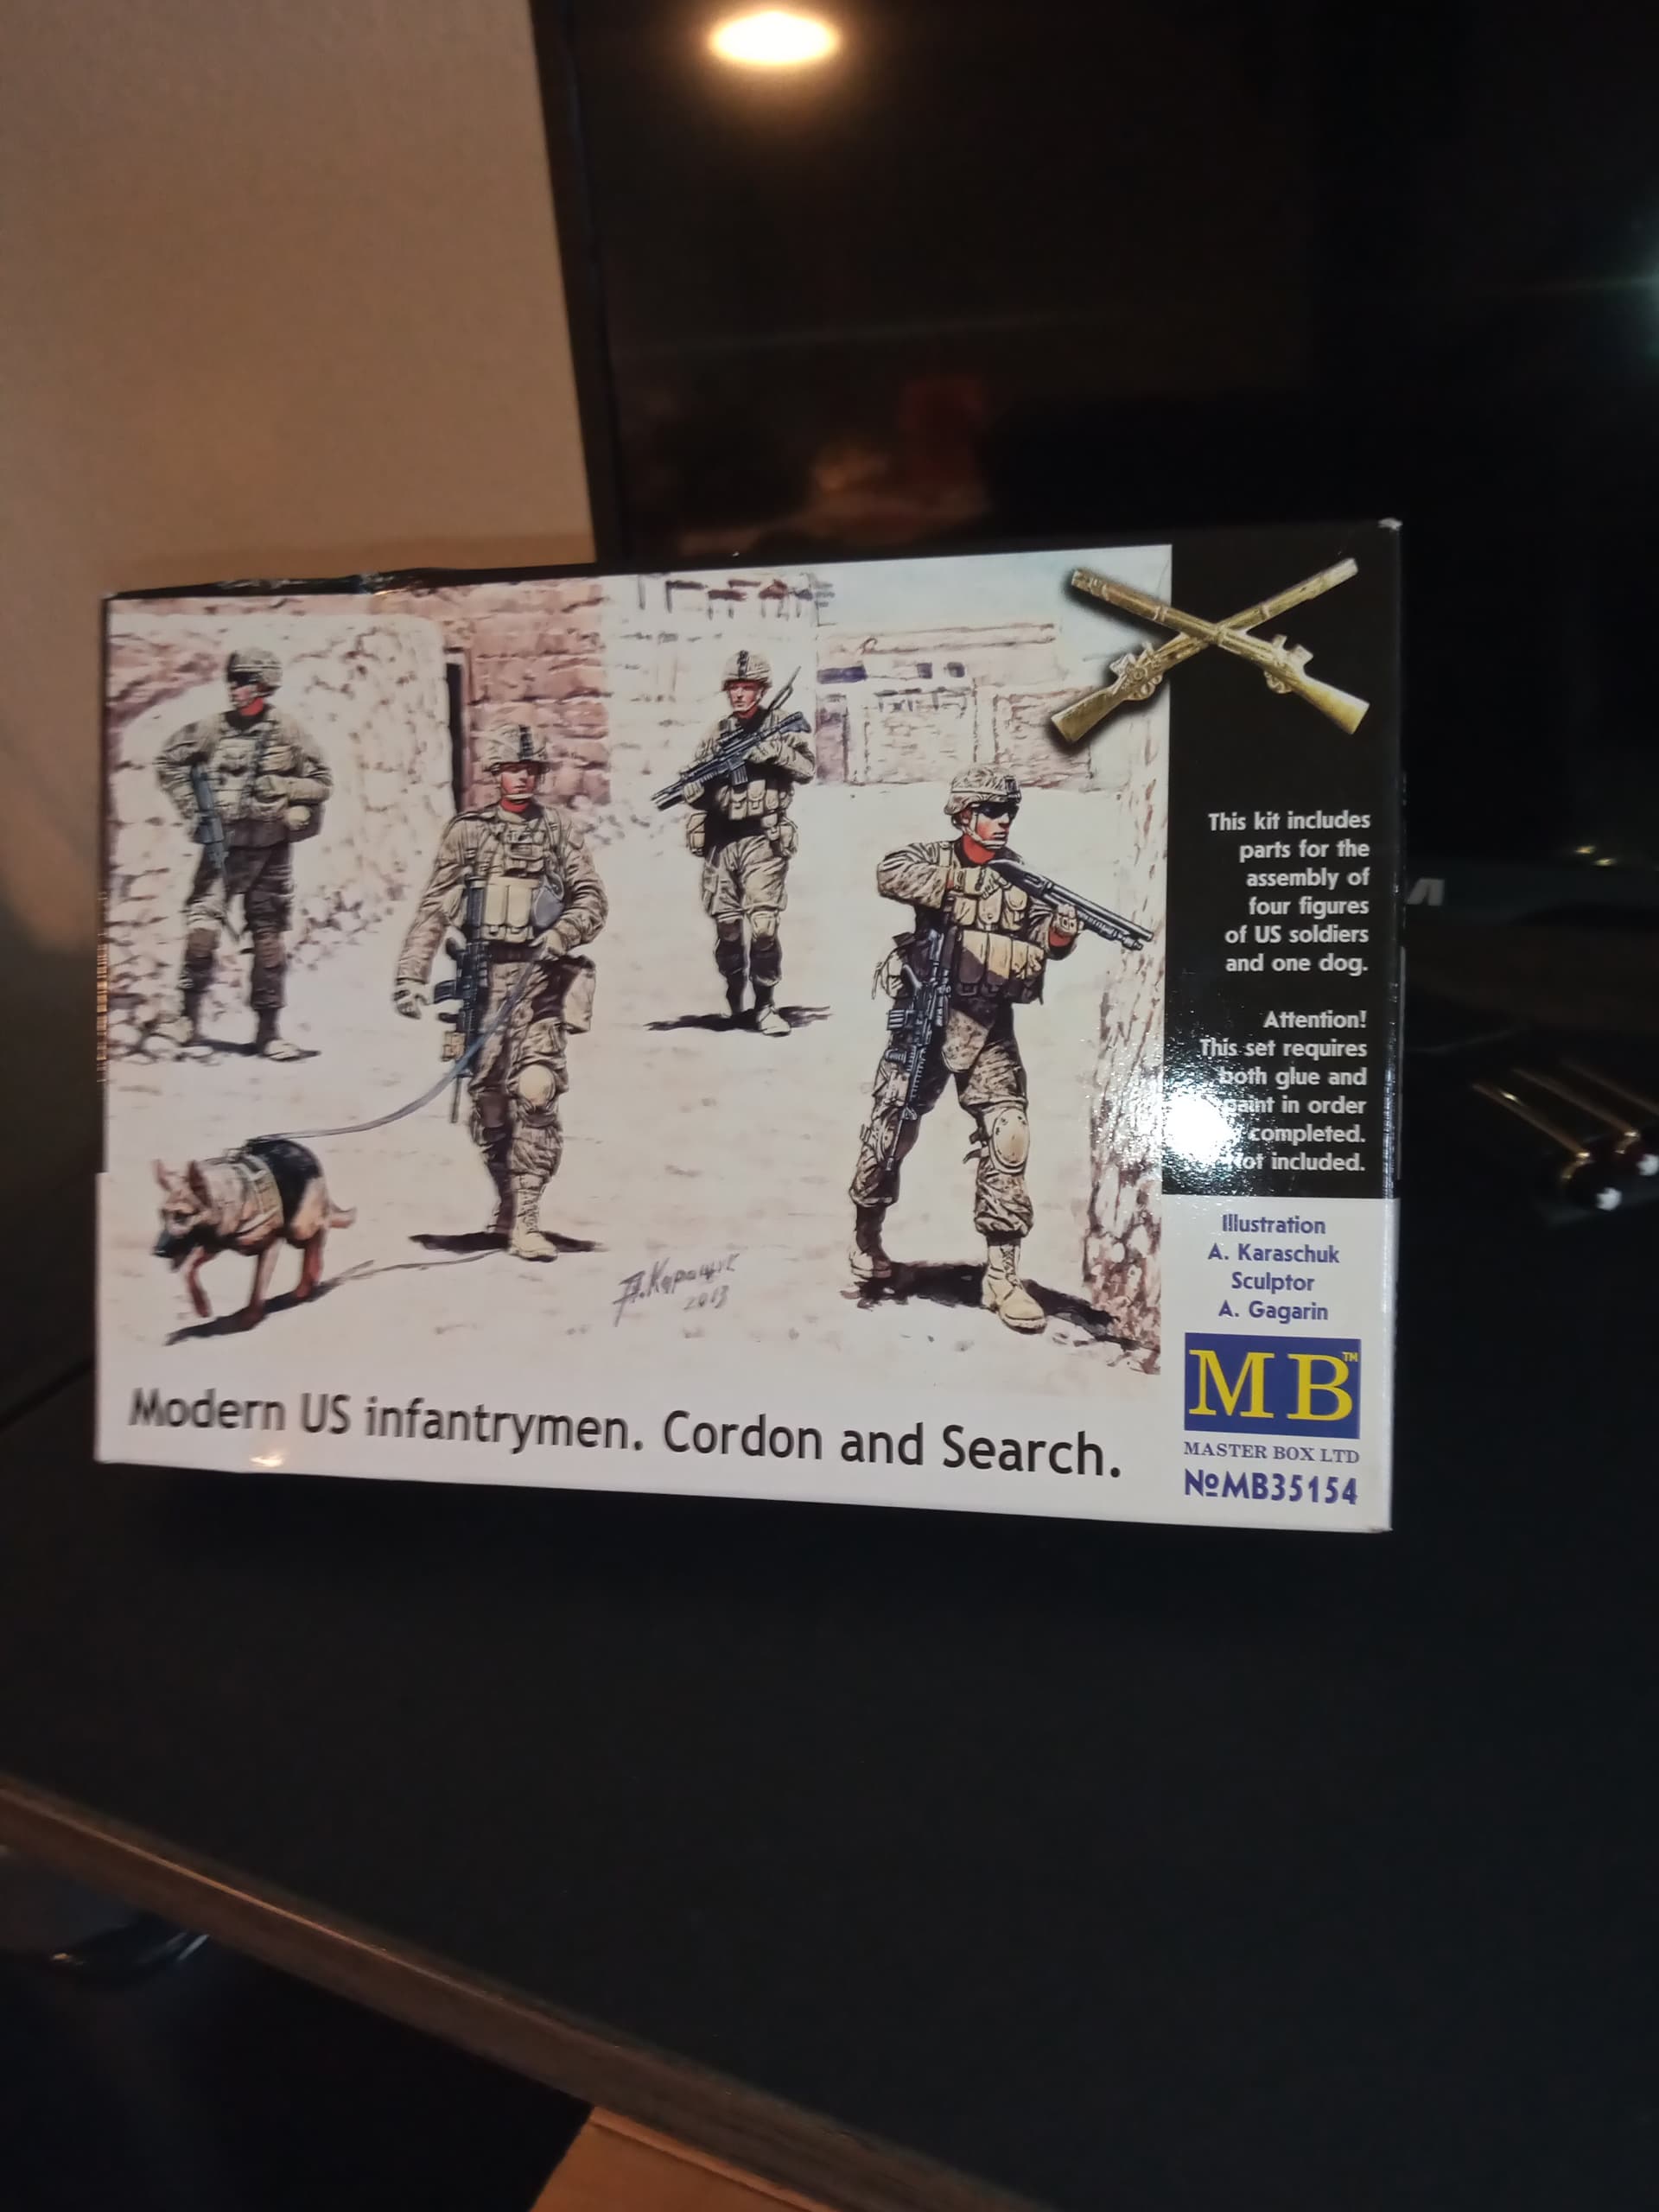
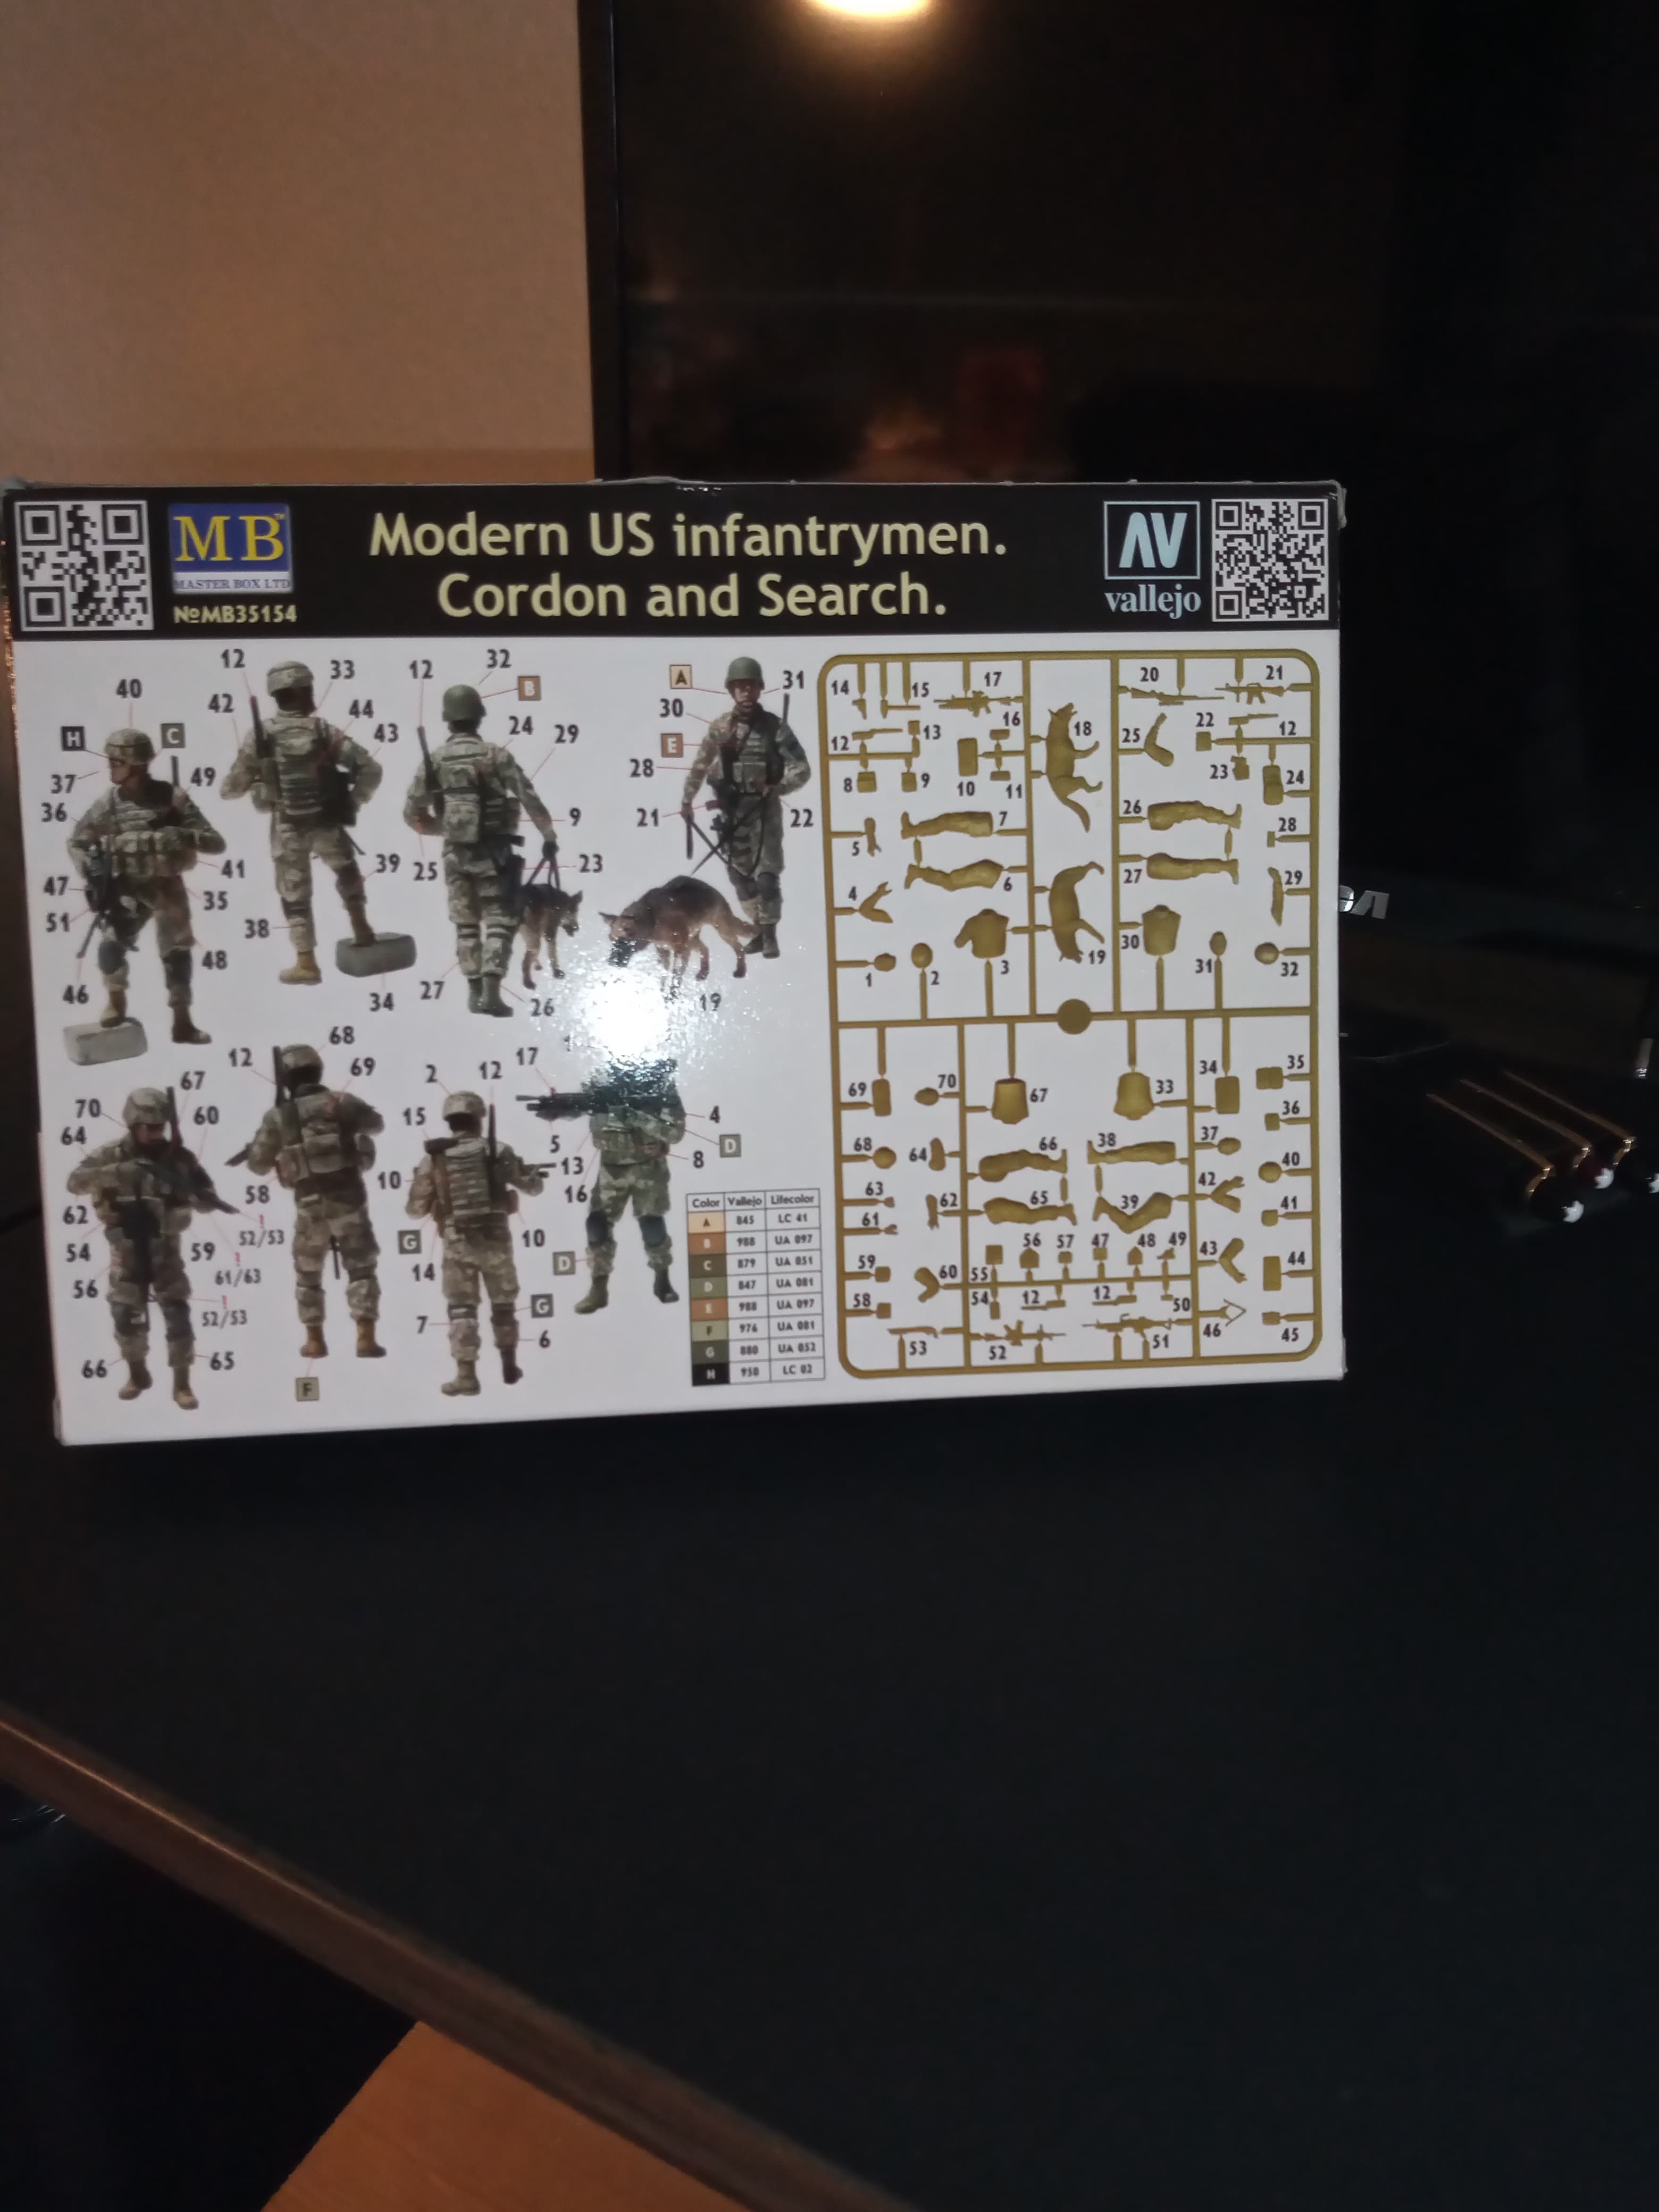
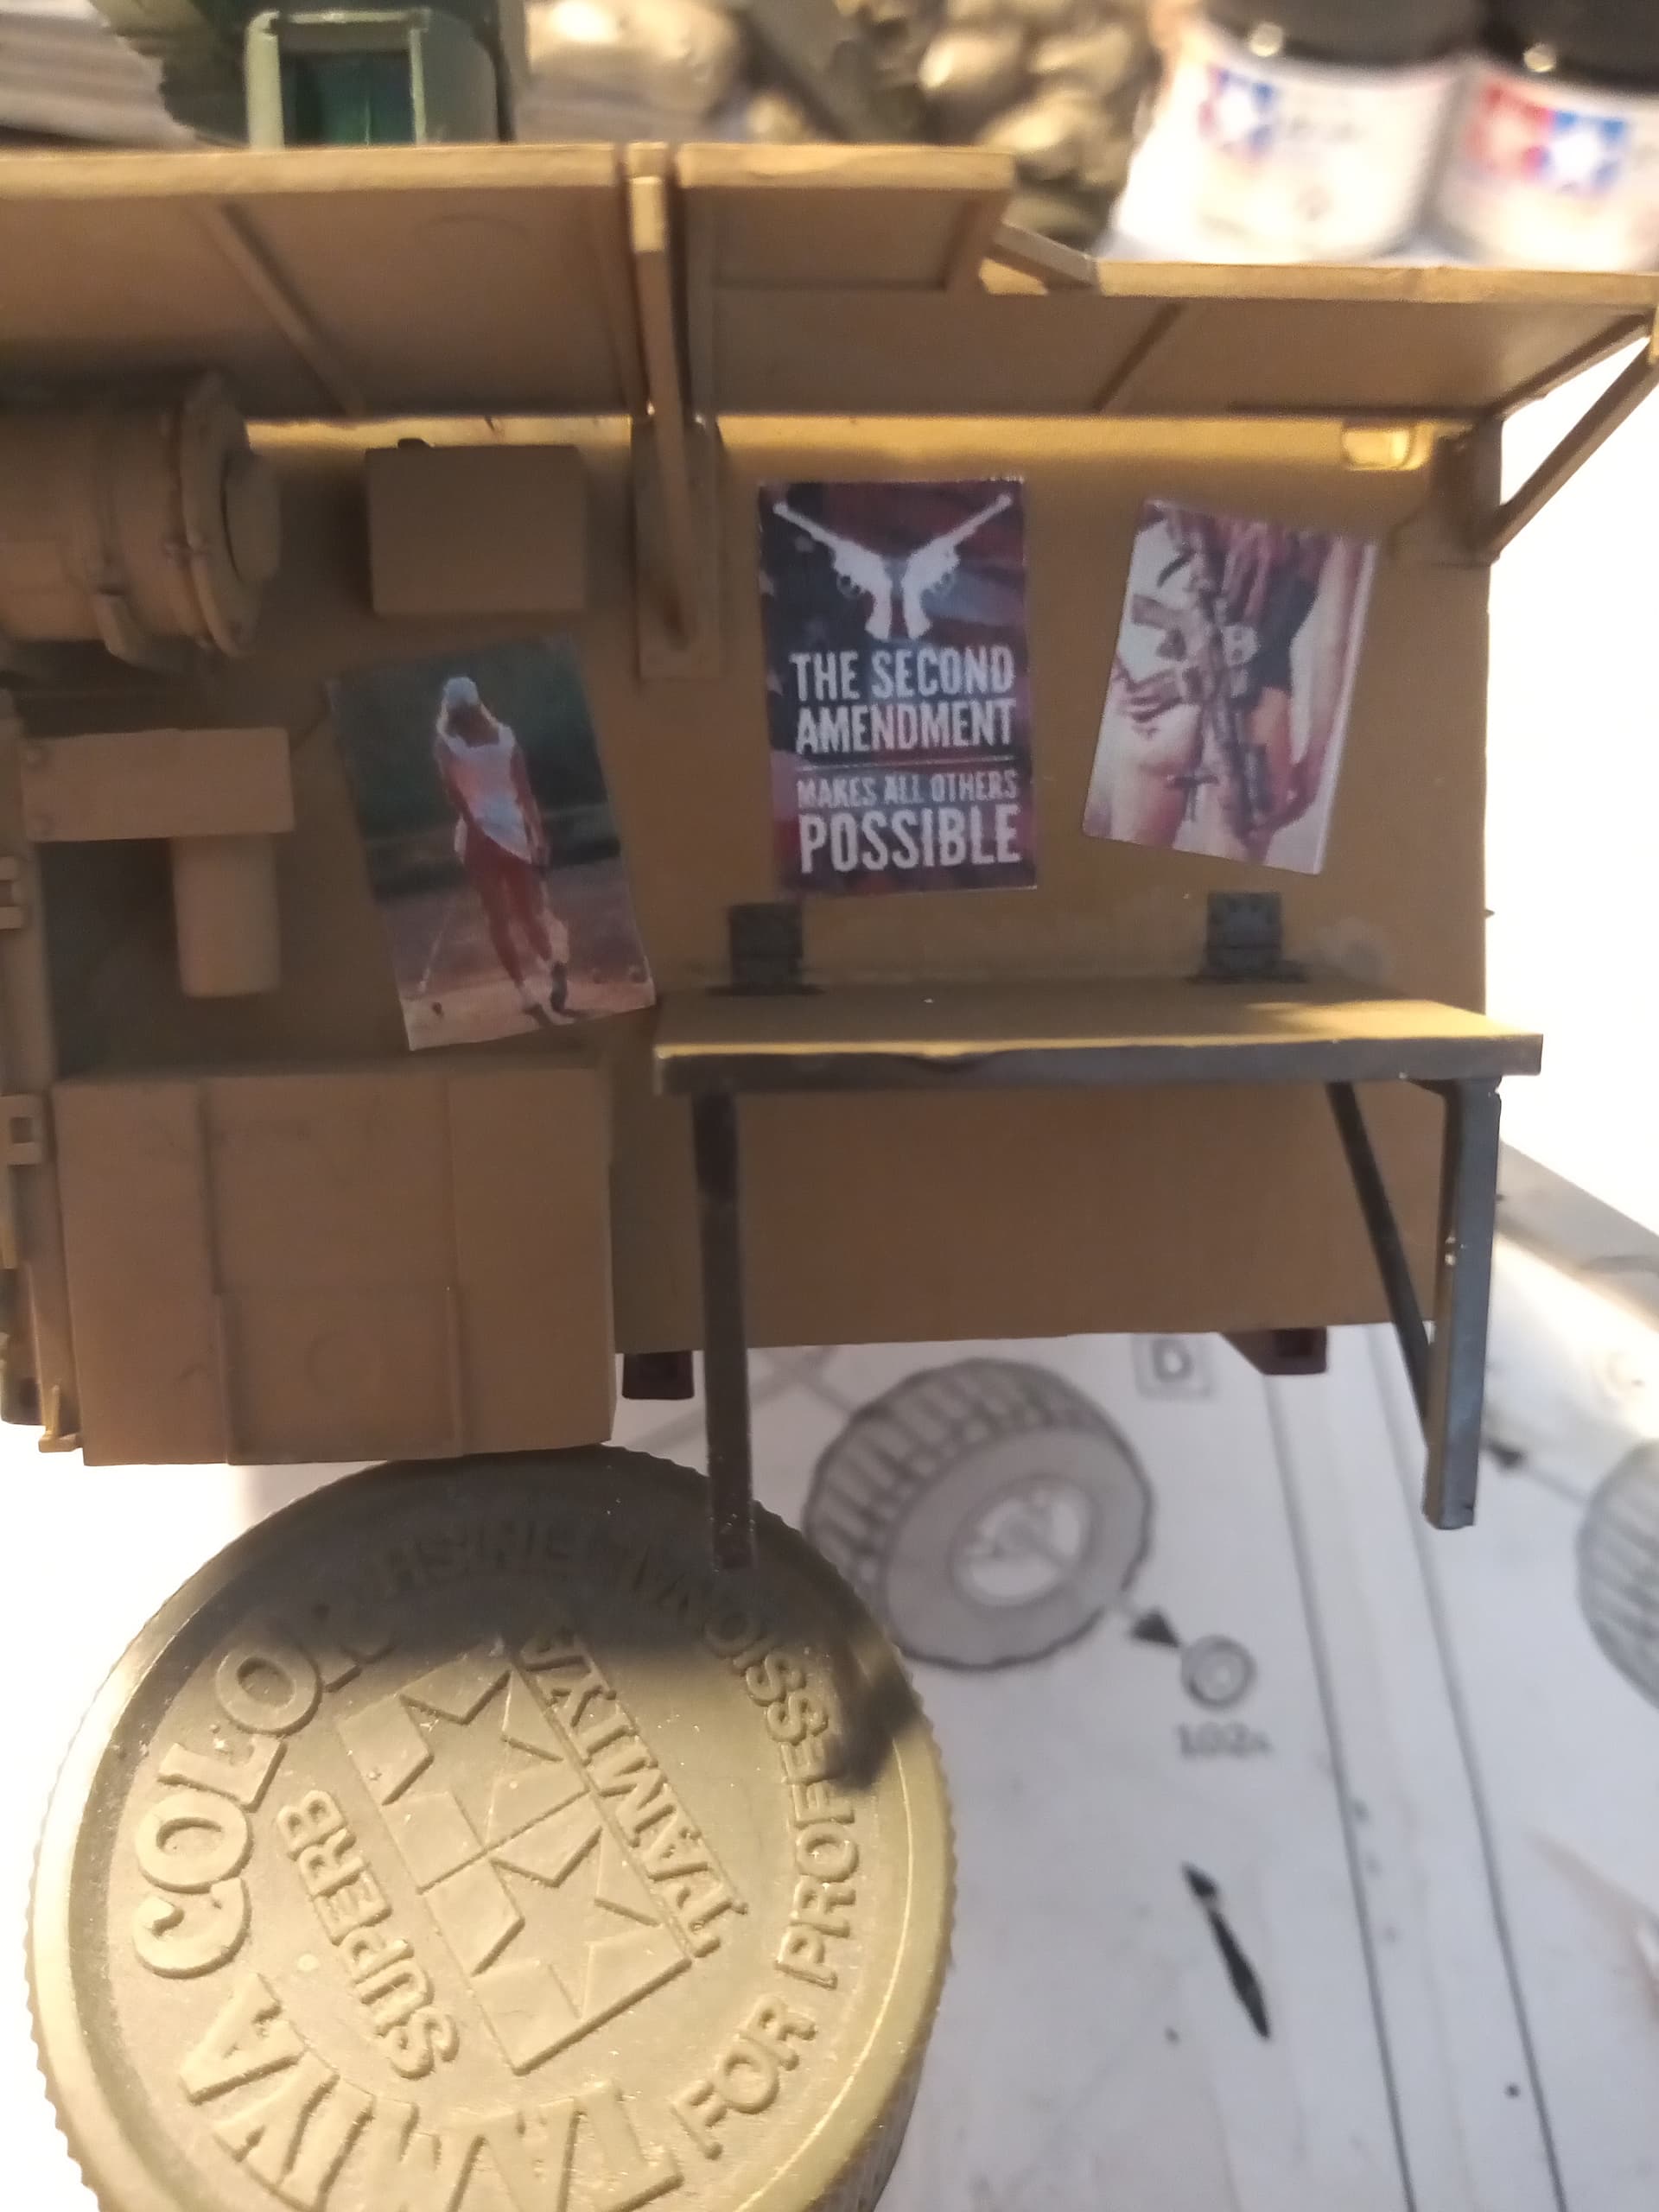
This arrived today, only got it as I wanted some personal weapons for the table area or in a rack maybe. Doubtful I will ever use the figures, but will keep hold of them.
I found that I needed to get these sub-assemblies put together before trying to attach them to the frame. And as I figured, the fan and upper radiator hose prevented a proper fit. They’ve been snipped off.
I’ll tape off the window openings and “canvas” roof in preparation for the camouflage colors.
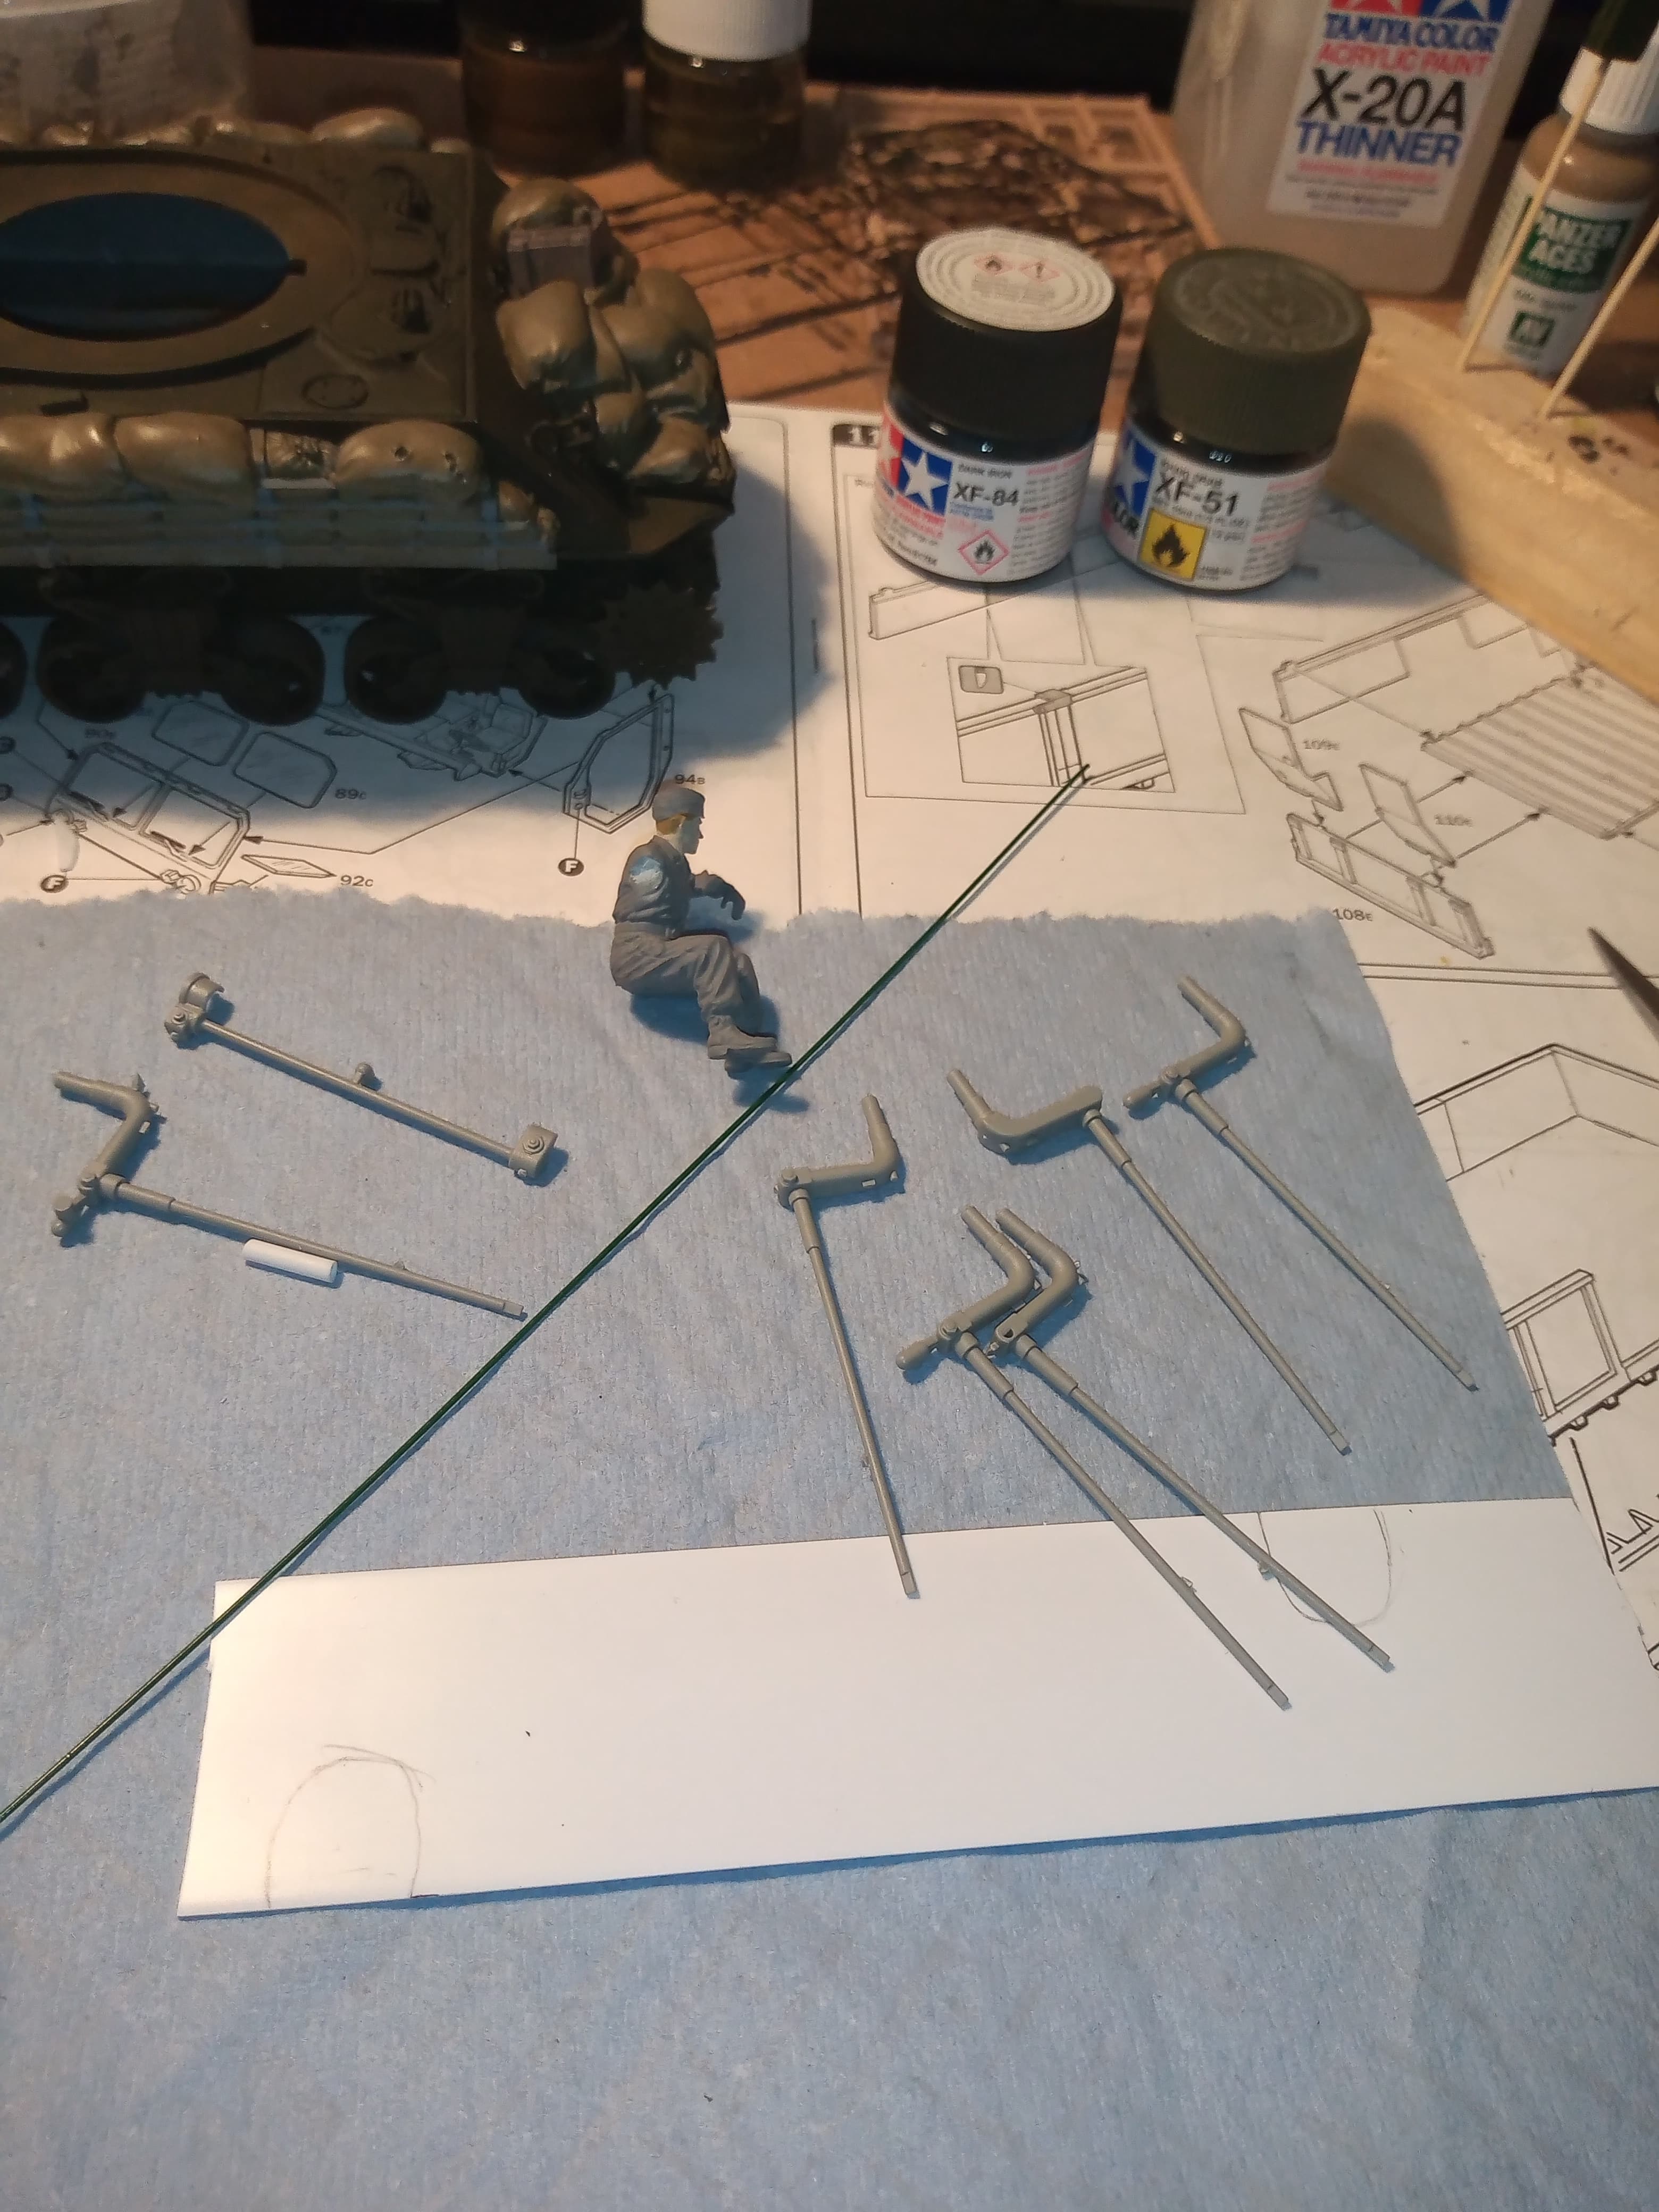
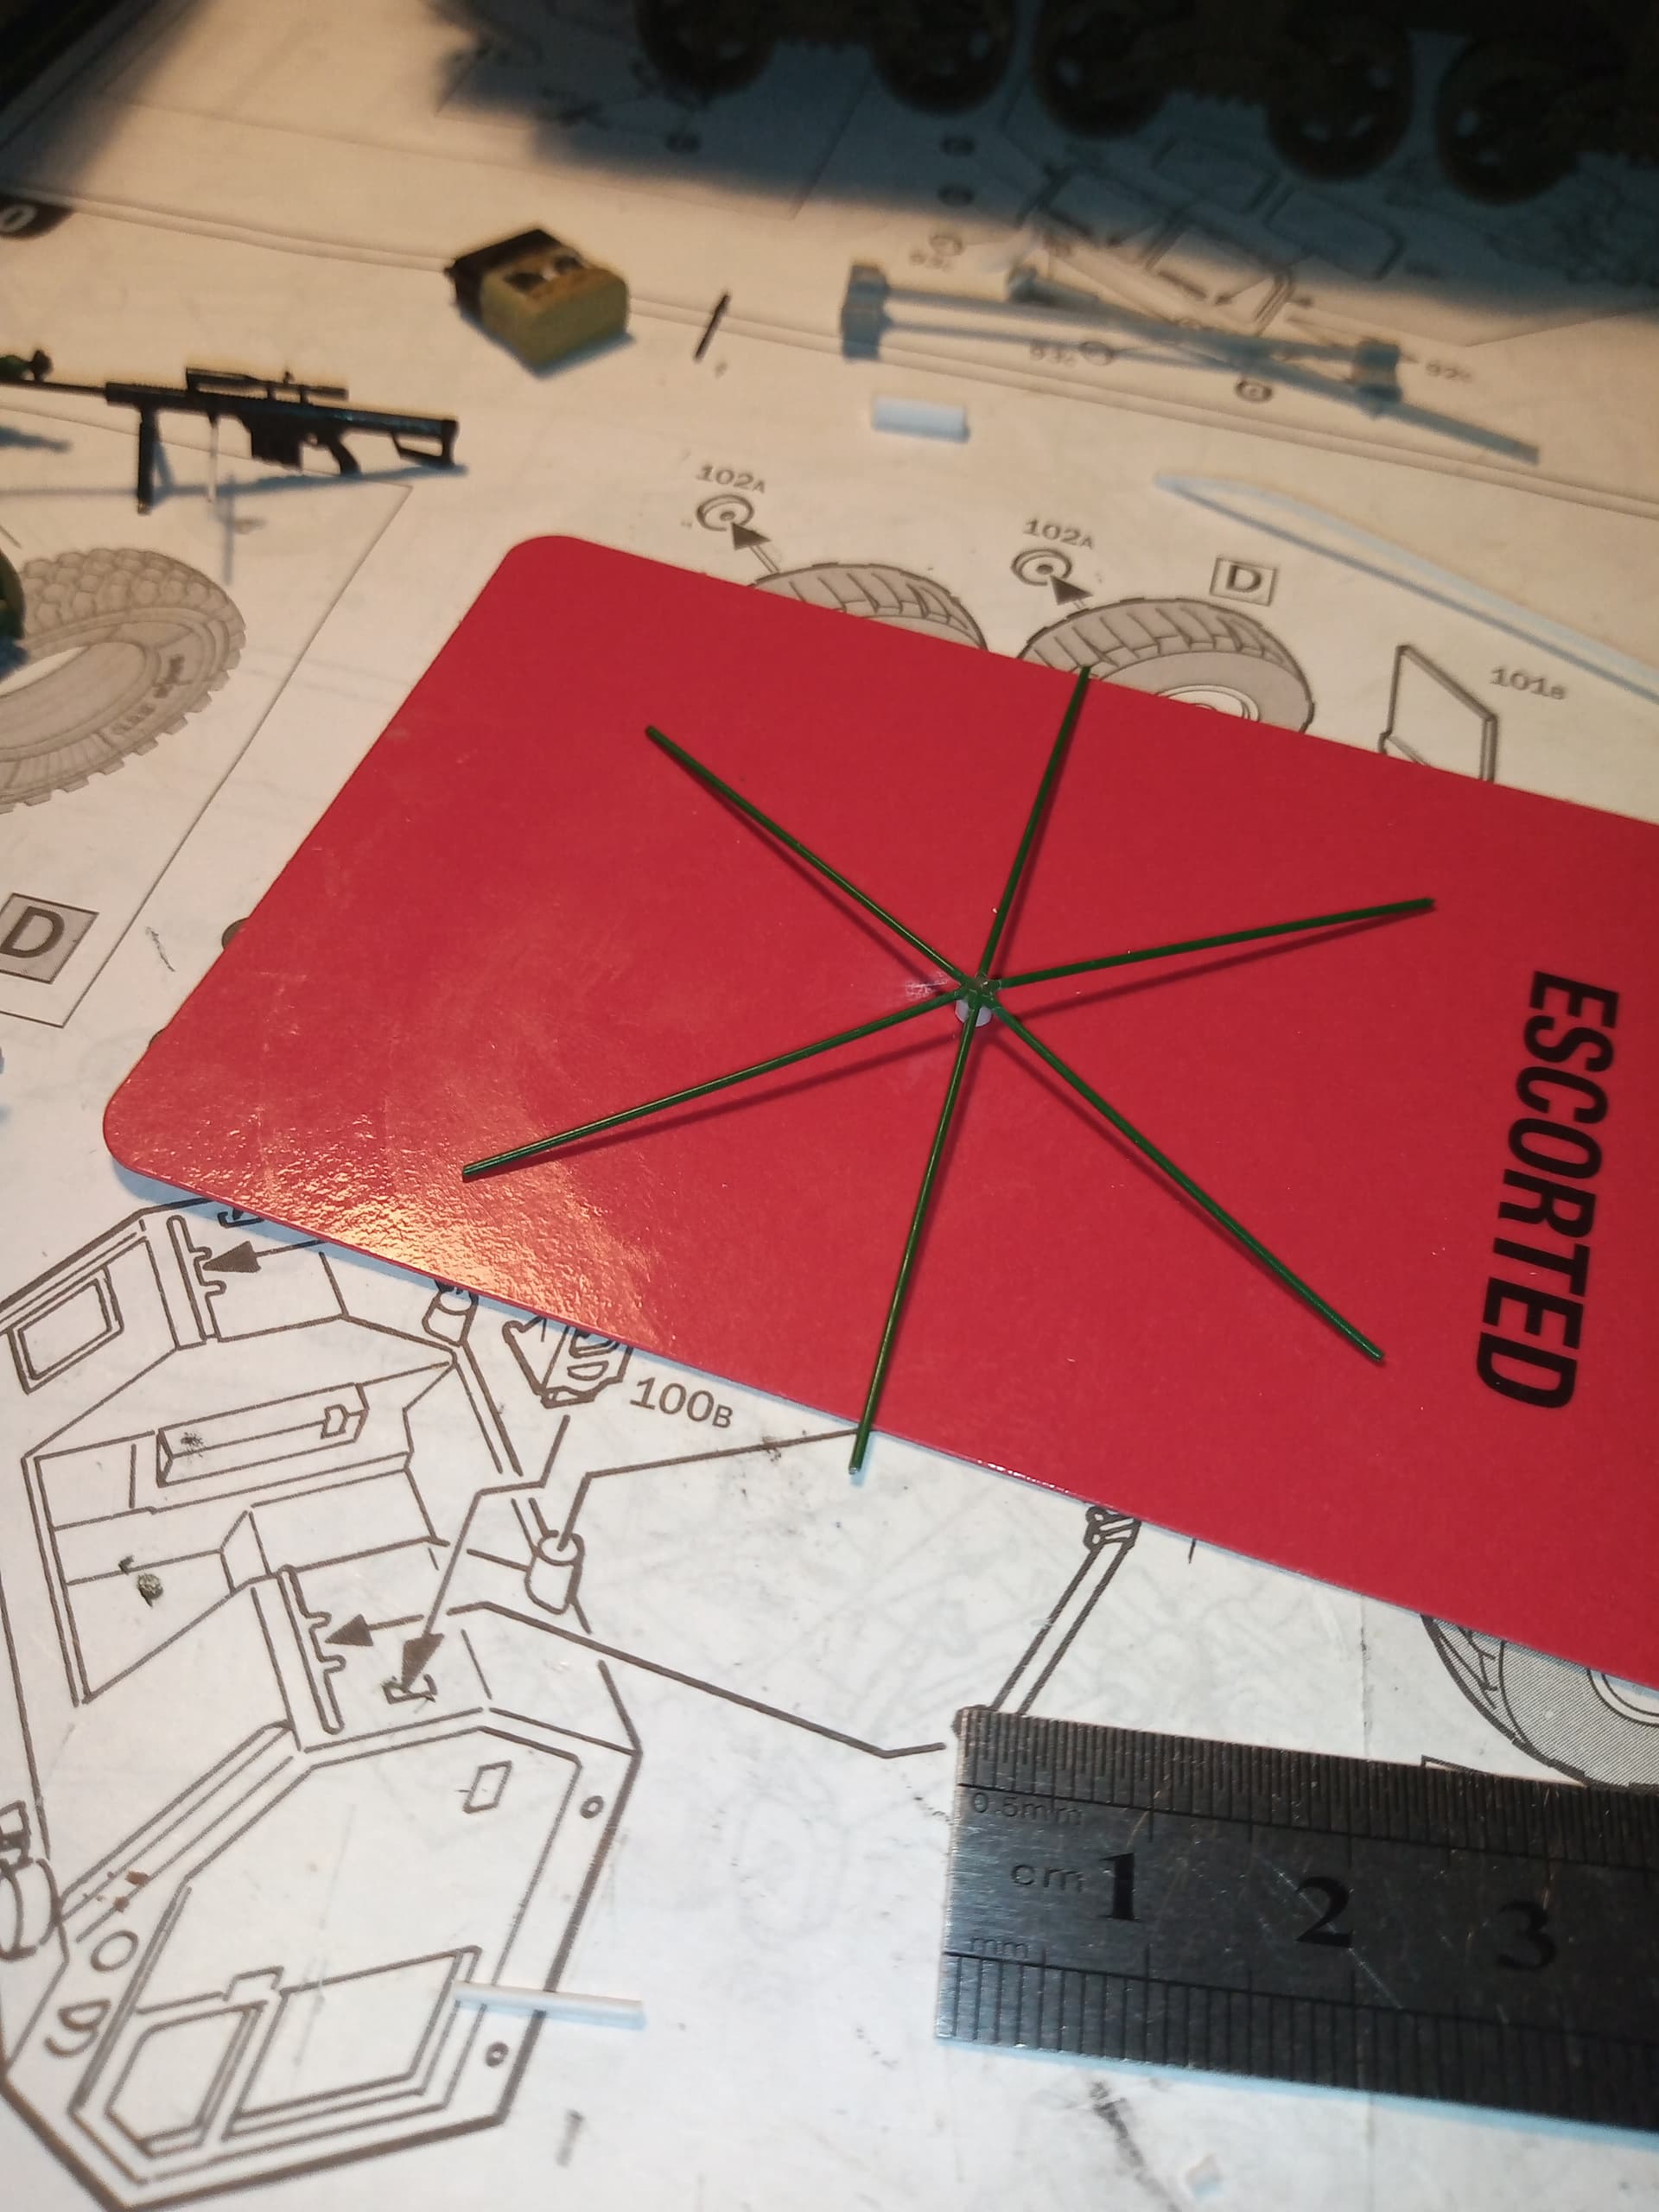
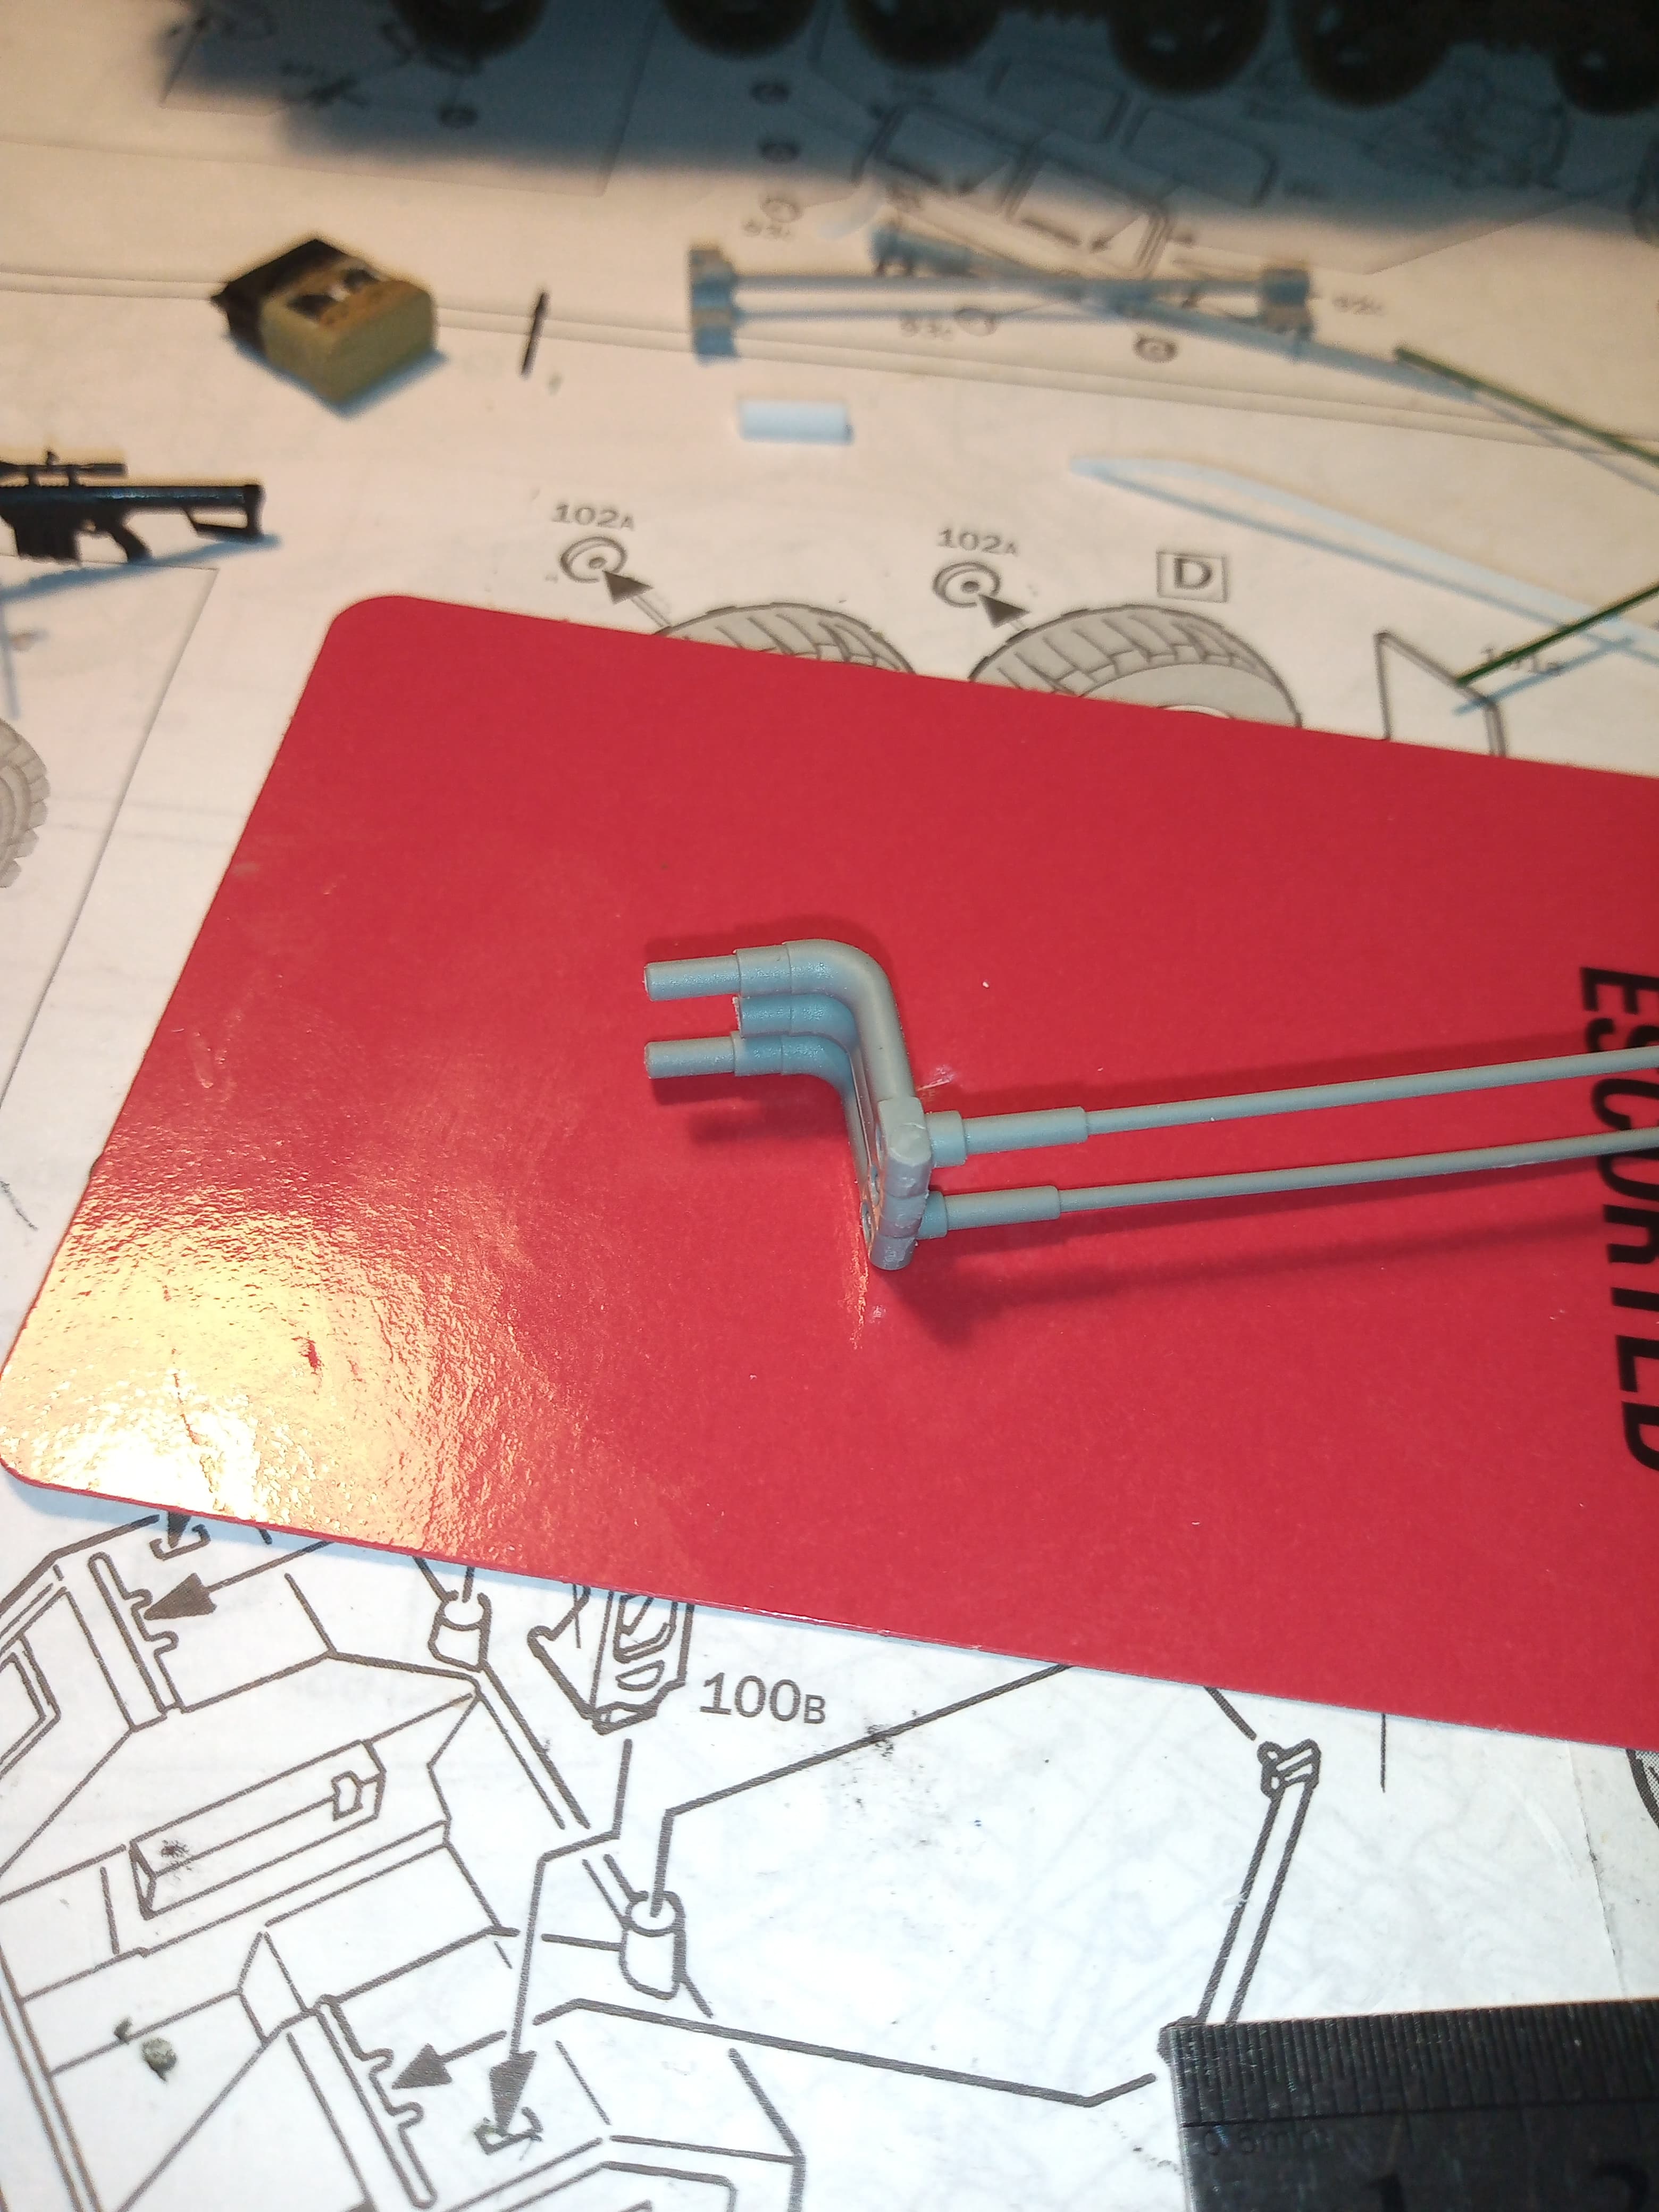
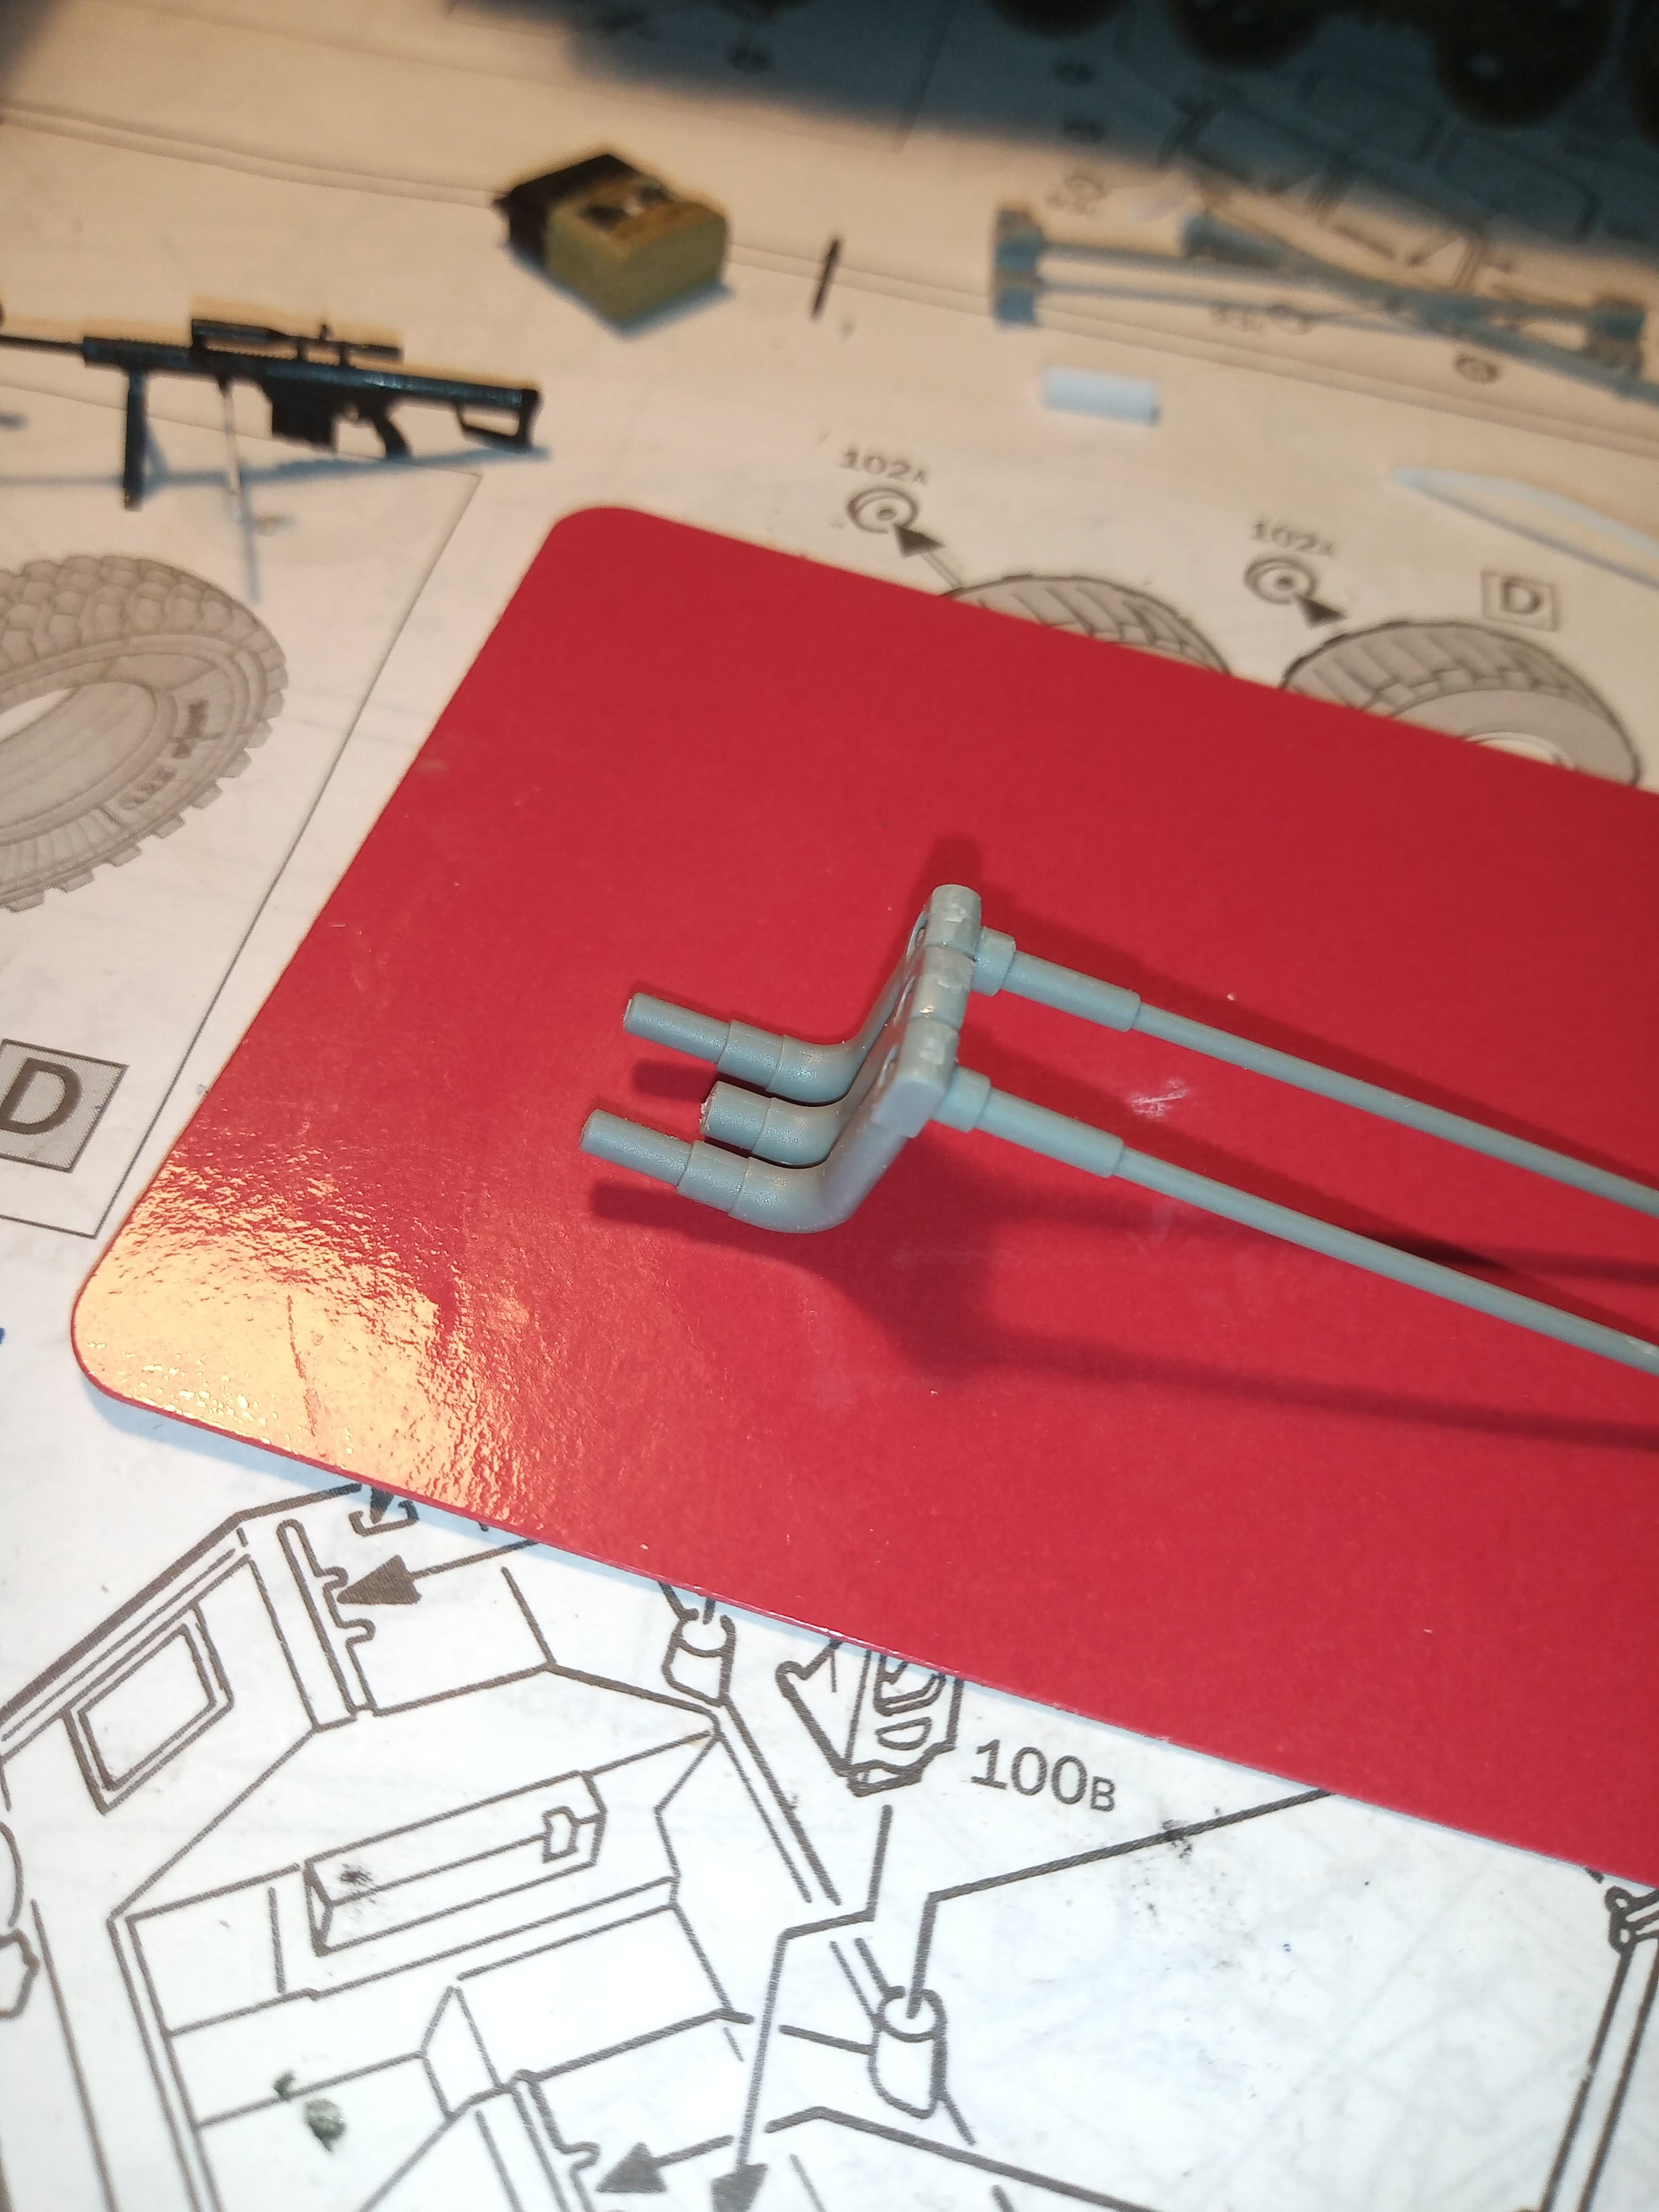
Parasol frame done. It’s just over 6.5cm across so I have plenty to play with when I cut it back as the diameter only needs to be about 3 to 3.5am across once the fabric (tissue & PVA ) is sorted and on.
Used a 2.5mmsection of hollow rod as the base, a glob of superglue gel on top of that, then 3cm lengths of the green florist wire resting on that and sloping downward…
Chair is made up of 2 torsion bars / drop arms complete, one at each end with the torsion bars acting as the front legs once cut down to 11mm. The drop arm will make up part of the back rest. In between the outer dtop arms is another drop arm but the torsion bar is totally cut away and a section of the axle is removed.