Nice find Tim… Ok… Going to have to rip into everything again… The hunt starts over…
Only if I was that talented….opportunity lost. ![]()
So I have a few truck models, so for wheels I am always looking for options. I wish DEF model did truck tires. I mean they would look great but I probably couldn’t afford them. My current build will use Jimbo’s option but I also picked up the AMT semi truck wheel and Moebius Big Rig Wheel and Tire set.
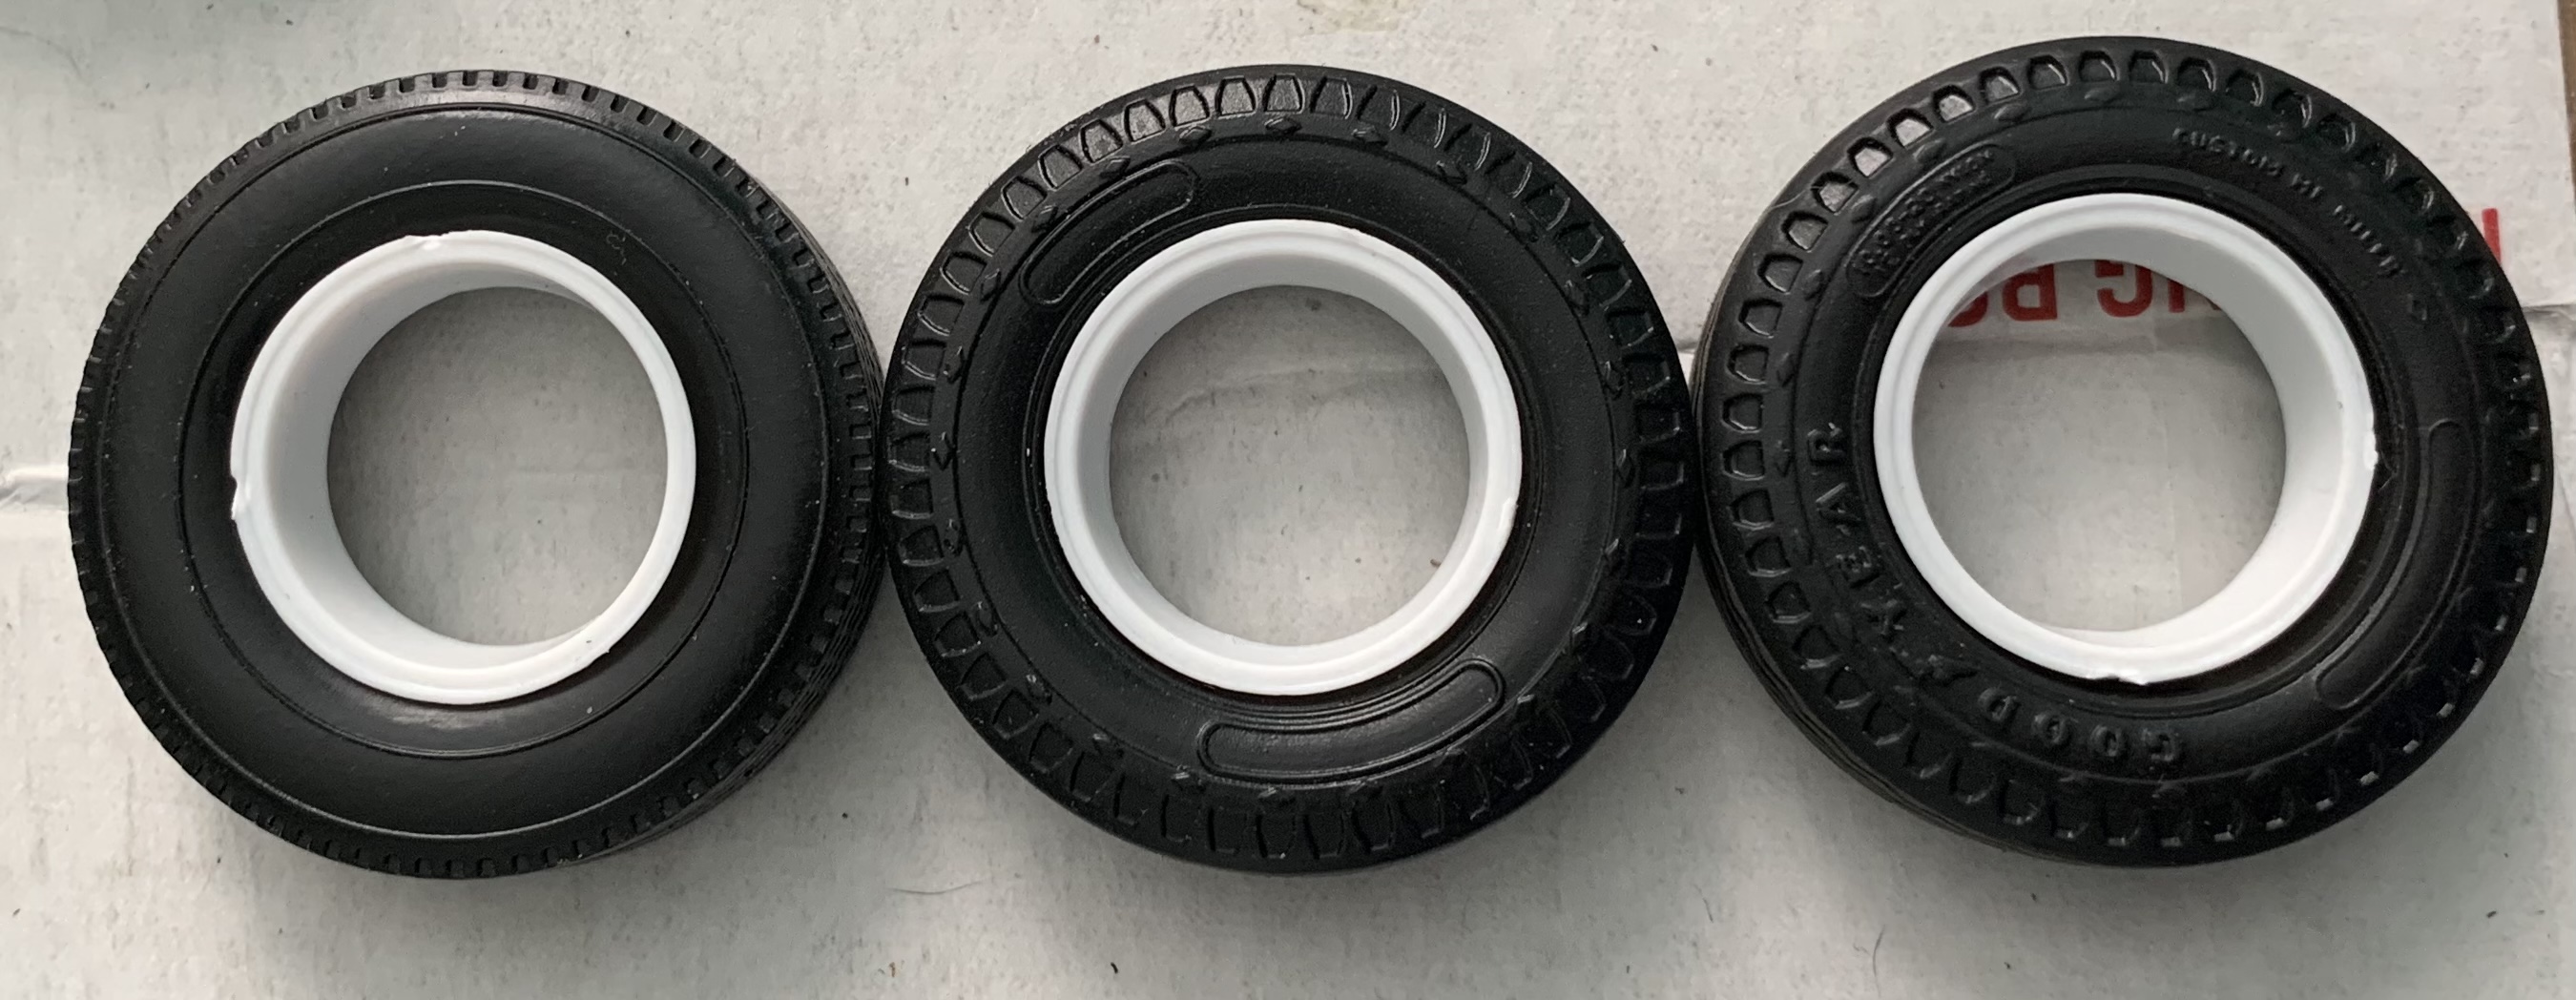
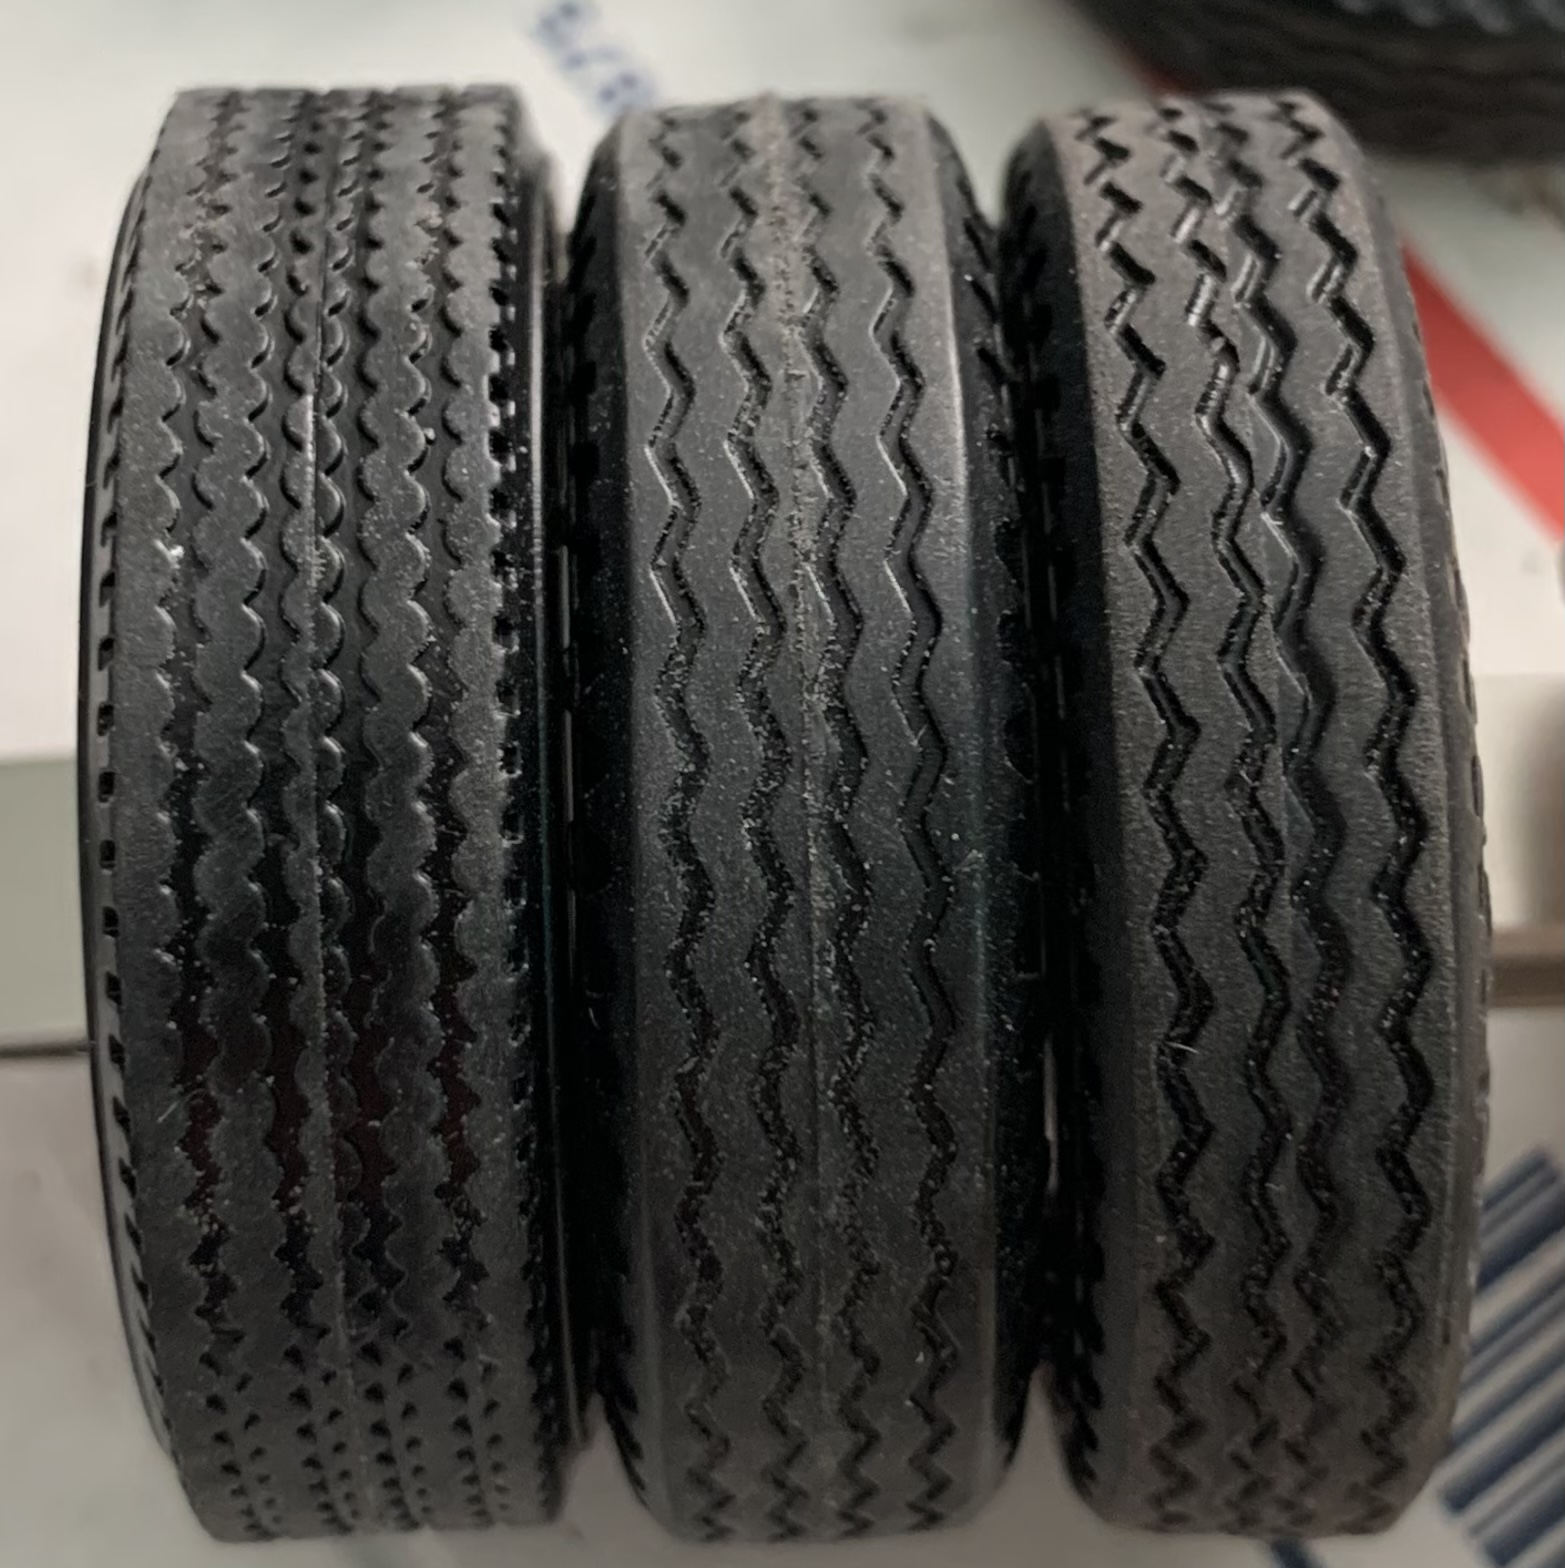
Why AMT didn’t just add these tires to their truck kits ![]() They fit great and look the part. I get selling the set for past kits but put them in the new truck kits.
They fit great and look the part. I get selling the set for past kits but put them in the new truck kits.
There is a god … And one of his alias’s is @Dioramartin …
I did a 2nd sweep through of the bench and boxes … Nothing …
Then I went back to look at the image Tim posted… Which got me to thinking that after I painted the grill area, I masked that bit up ready to prime.
Now I only ever prime outside in one of the garden sheds…
So I went and checked … And … Nothing ![]() … So I scratch built this part instead
… So I scratch built this part instead

Of course, I’m joking, there sat part 117 just hidden by one of my spray gloves…
Crisis averted thanks to an old image reposted by Tim… Let trucking recommence… ![]()
Why is it the thing you seek is always in the last place you look? ![]()
Good catch!
BREAKING NEWS
A Styrene model part was returned to its original owner after traveling all the way to Australia and being CA glued to a certain Dioramartin’s ear! ![]()
![]()
![]()
—mike ![]()
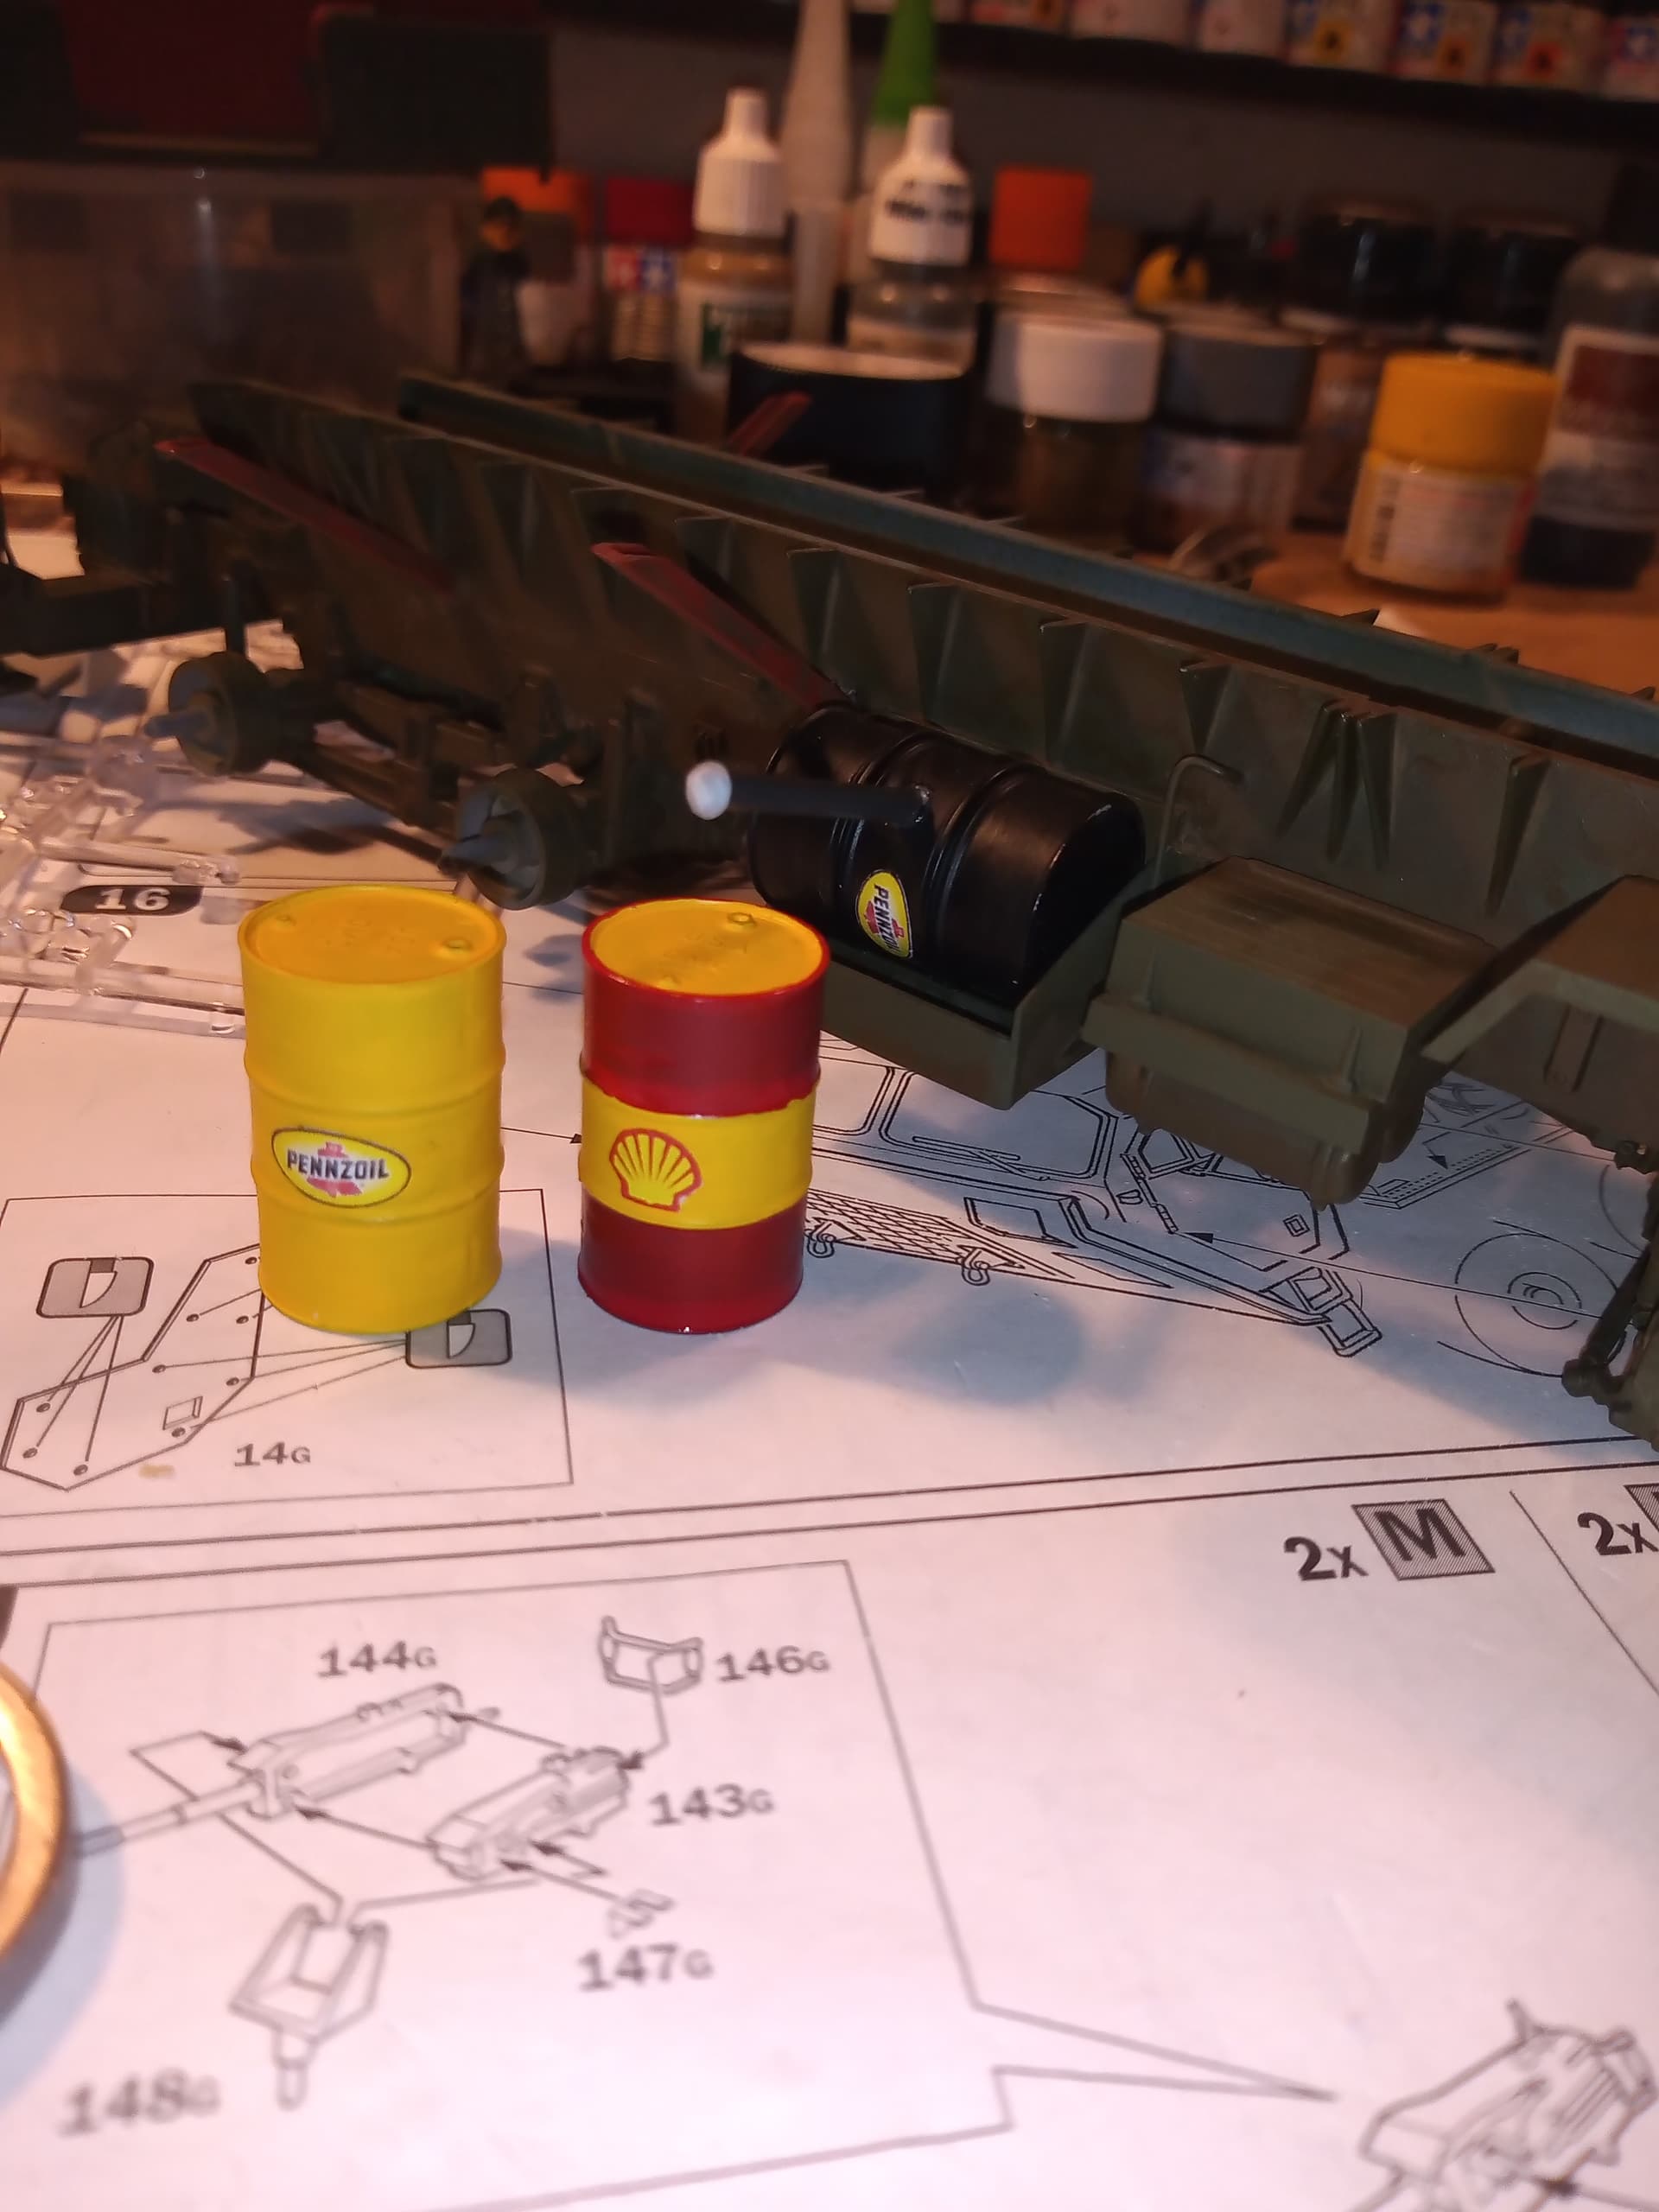
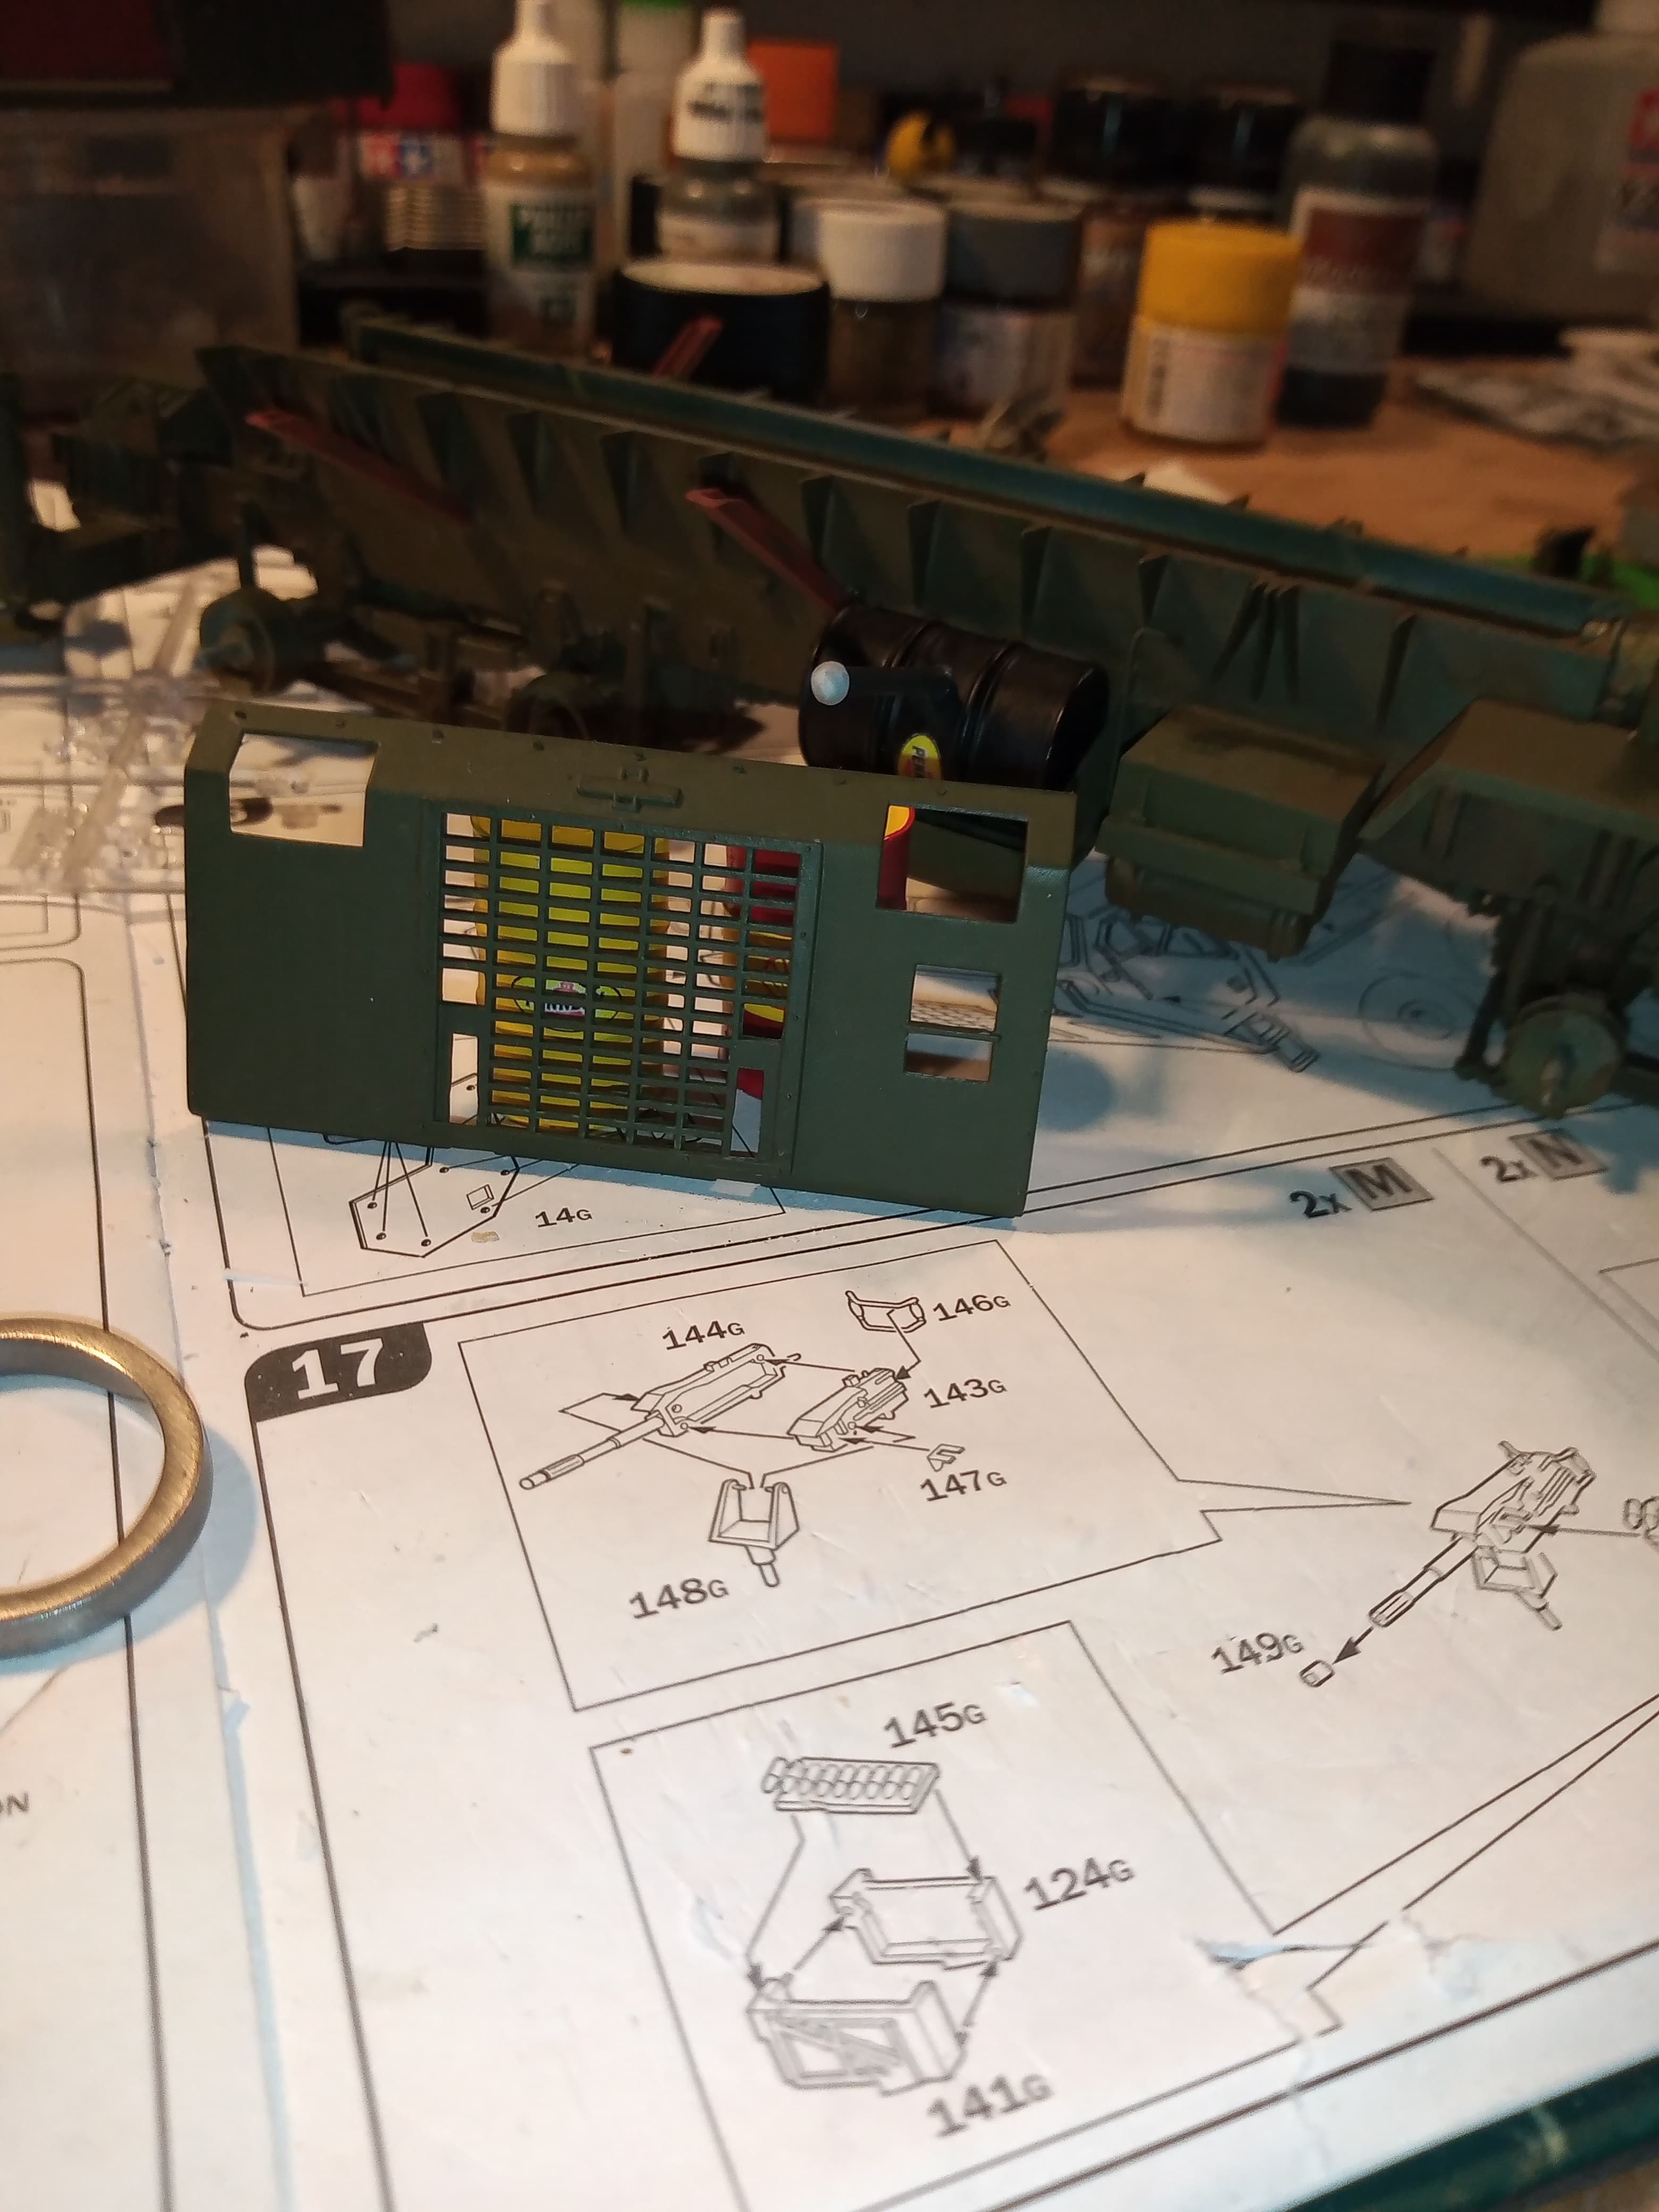
These are the 2 spare fuel/oil drums that will go in the cargo bed.
The all black Pennzoil one is fitted as an additional fuel.tank and filler nozzle.
These are the spare ammo box trays, 1 for each pedestal mount.
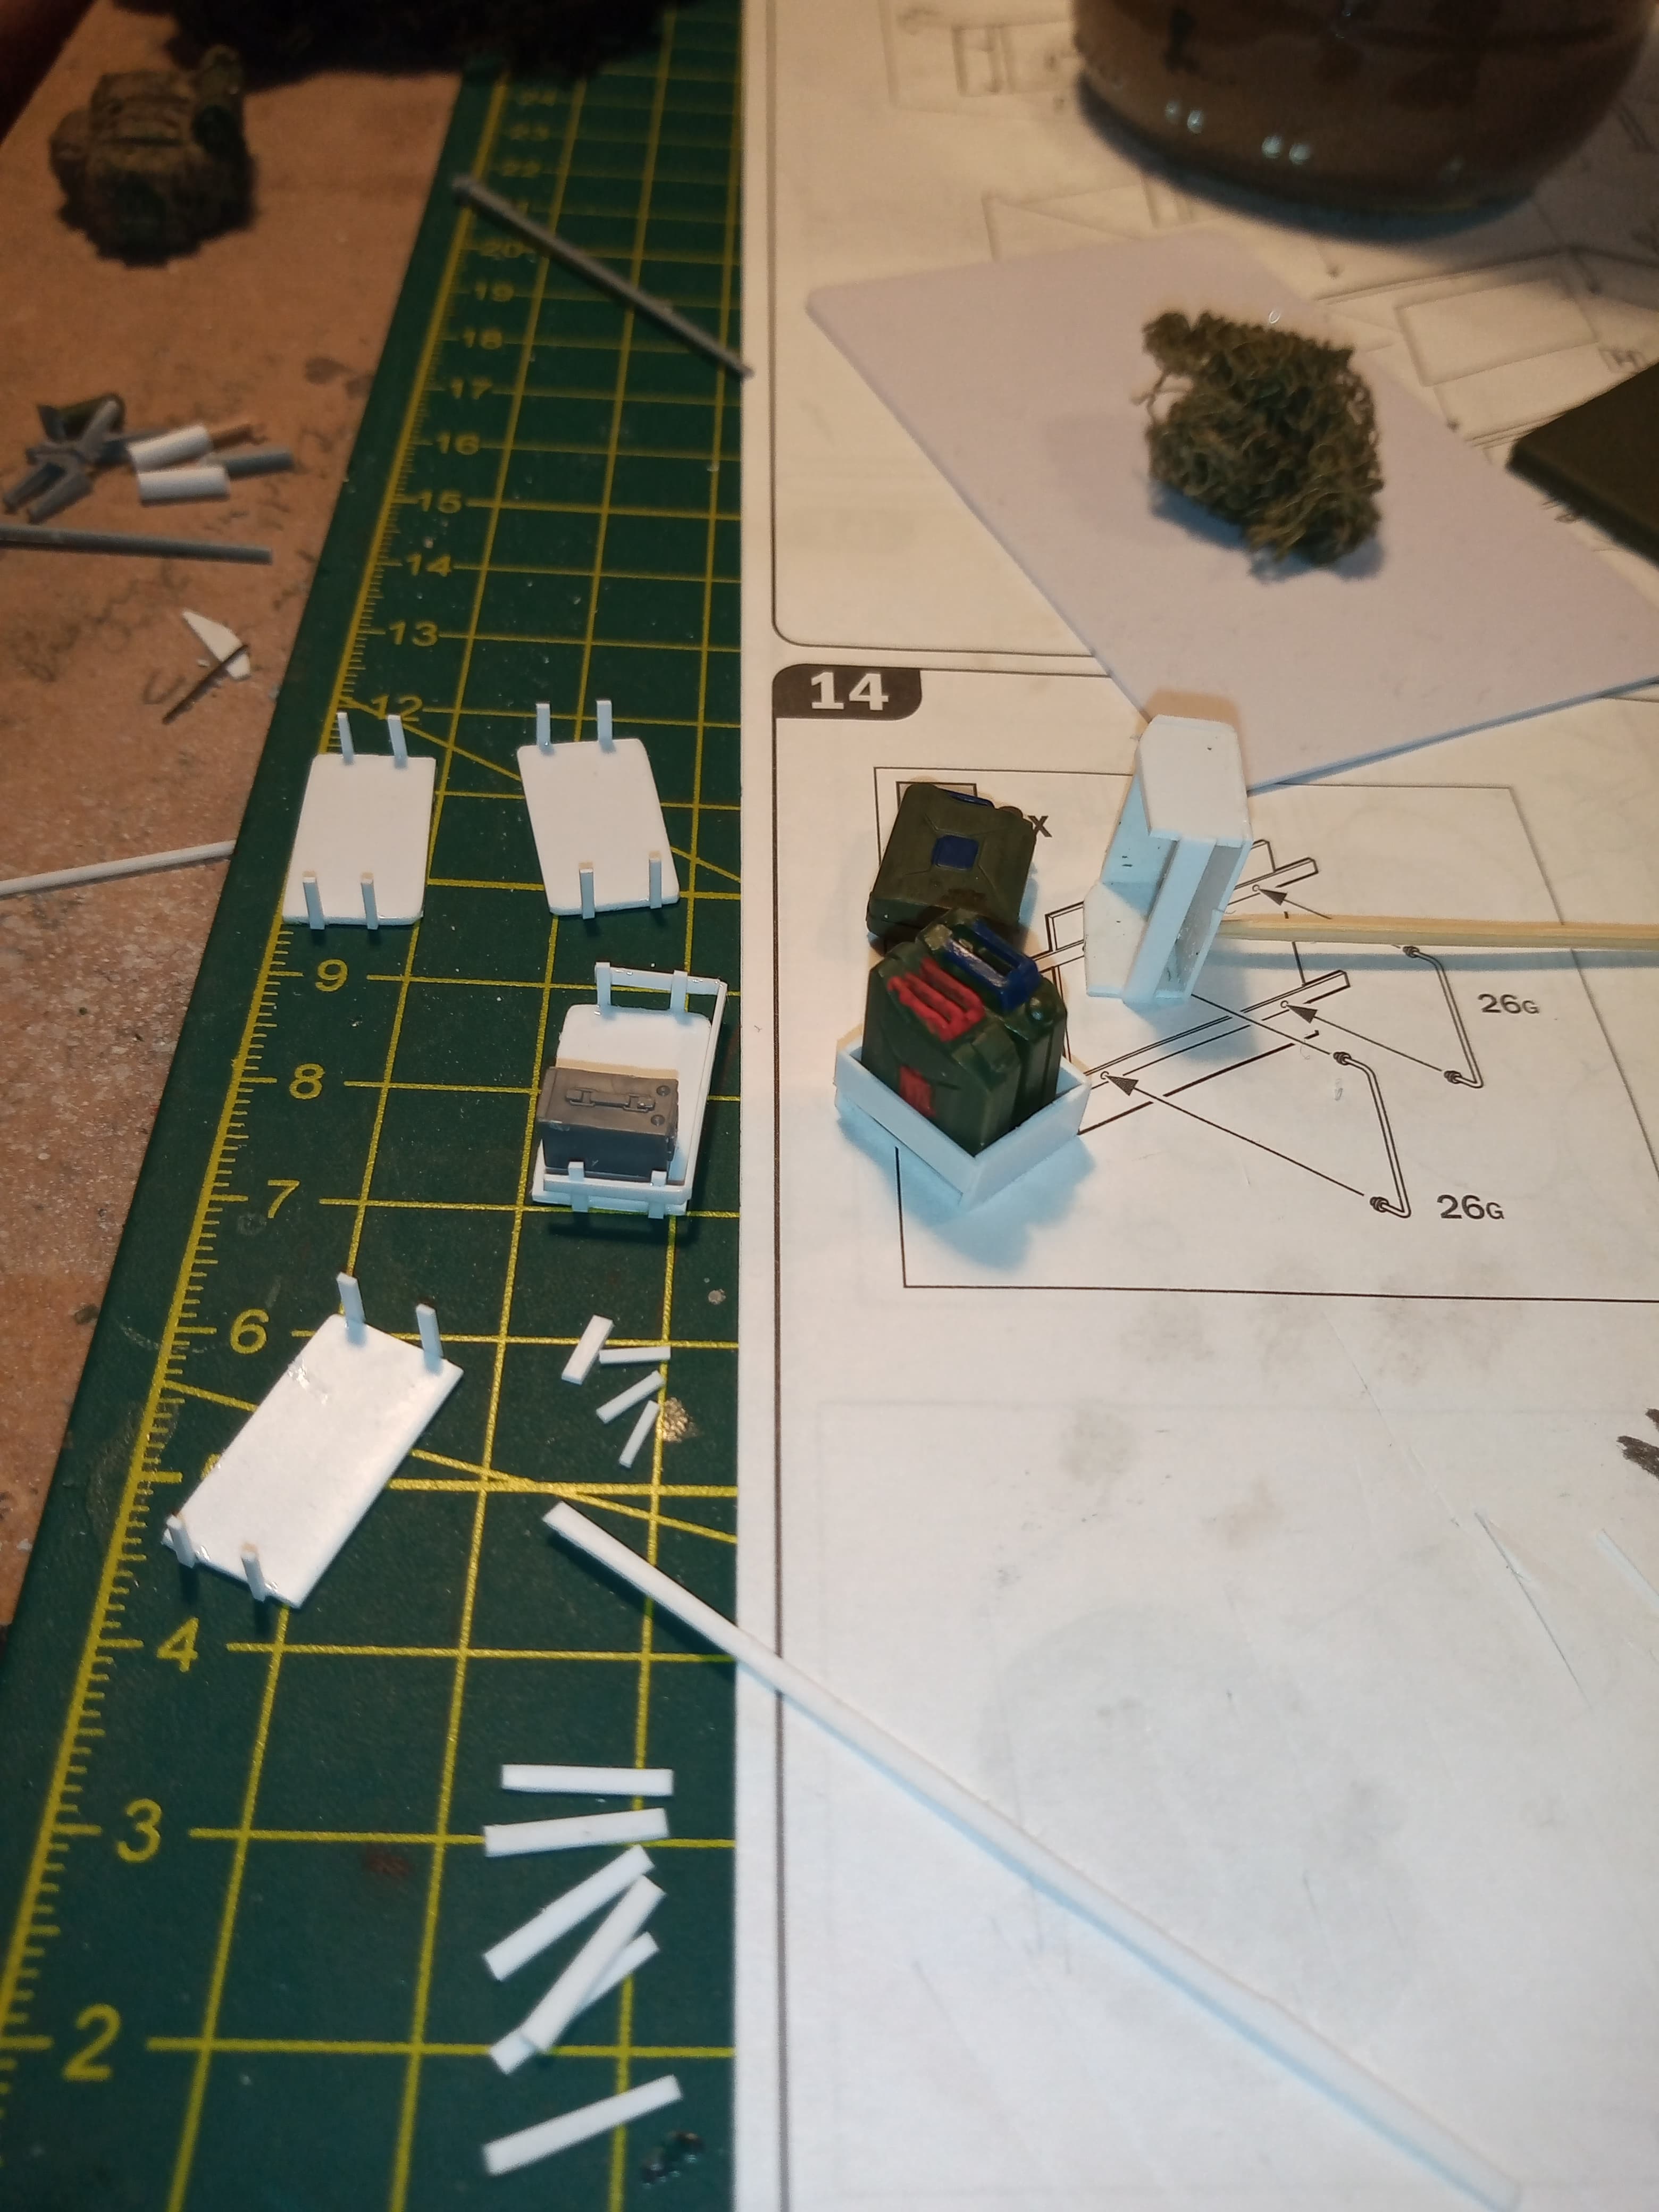
Ones complete, just need to add the upper retainer strips on the other three. Also, you can see the spare jerry can racks, one holds 3 cans and the other 2. One sits directly behind the cab on the left, and RH one sits to the rear of the spare wheel area. Have marked 2 cans for kero, 2 for petrol and 1 for diesel.
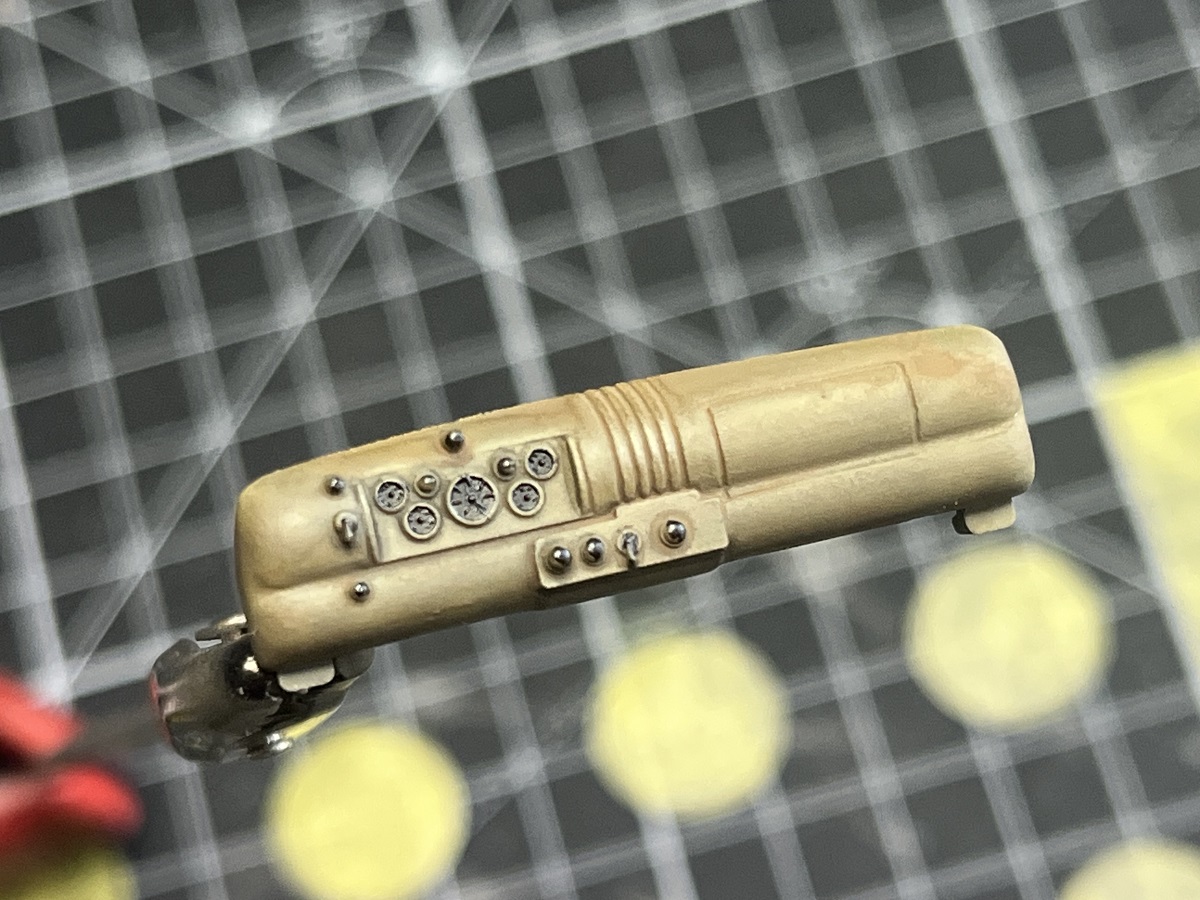
And the illusive front section of the cab… Painted, and ready for fitting tomorrow…
Well, I’ll take being acknowledged as a deity anytime John, but I’m sure you’d have found it eventually without divine intervention…most likely after you’d made a replacement. At least it wasn’t (as Mike alluded to one of my launched PE parts) affixed to your ear all that time. Looking forward to seeing part 117 in its rightful position, great build in progress ![]()
CCKW Water Truck progress report! Got some primer down on the chassis and other parts.


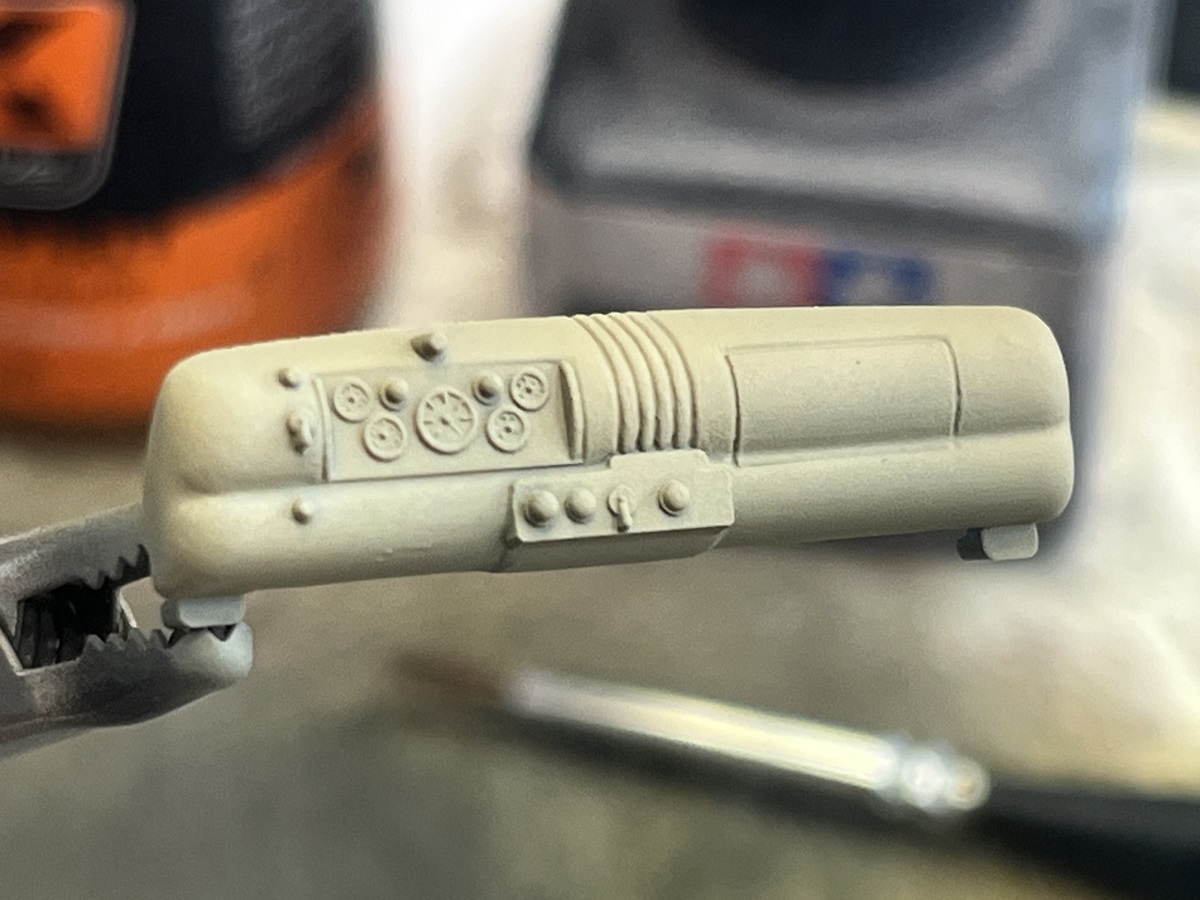
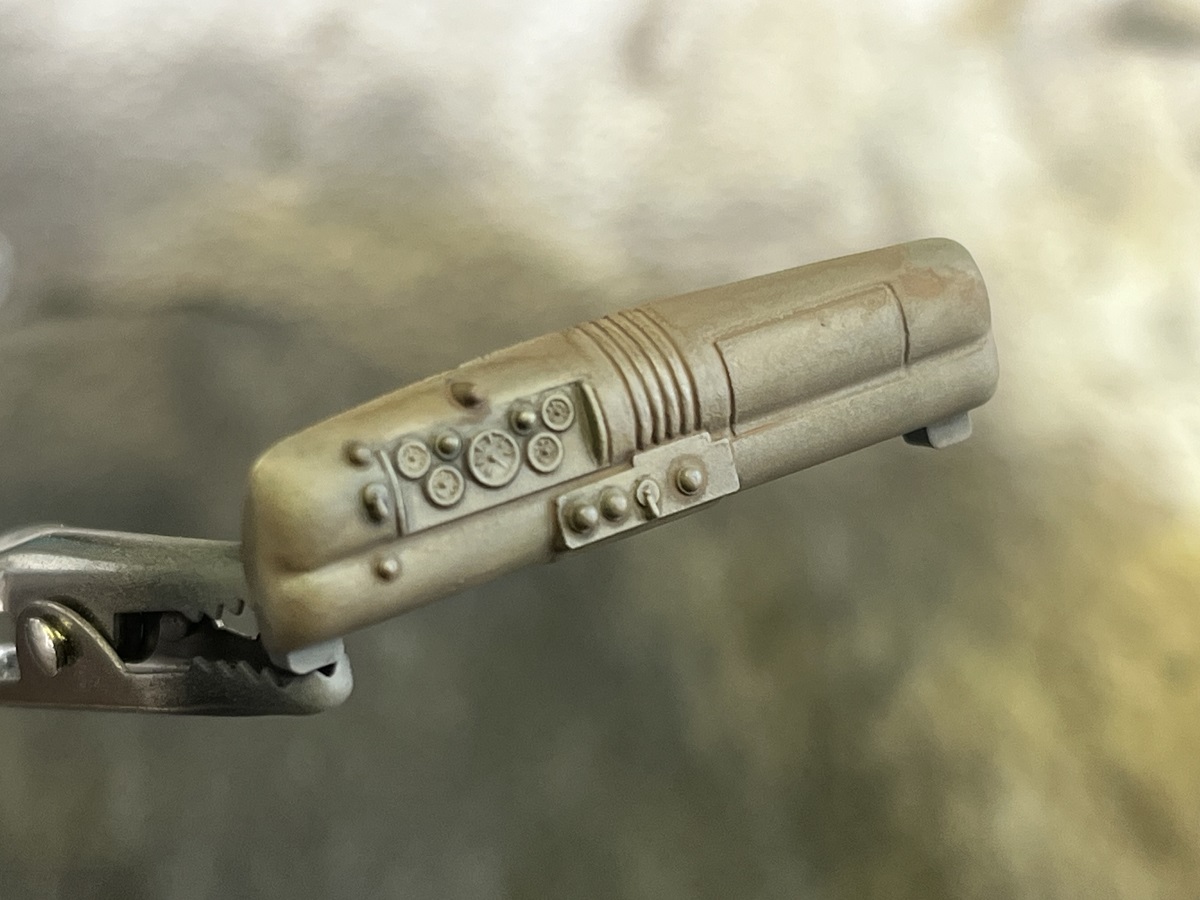
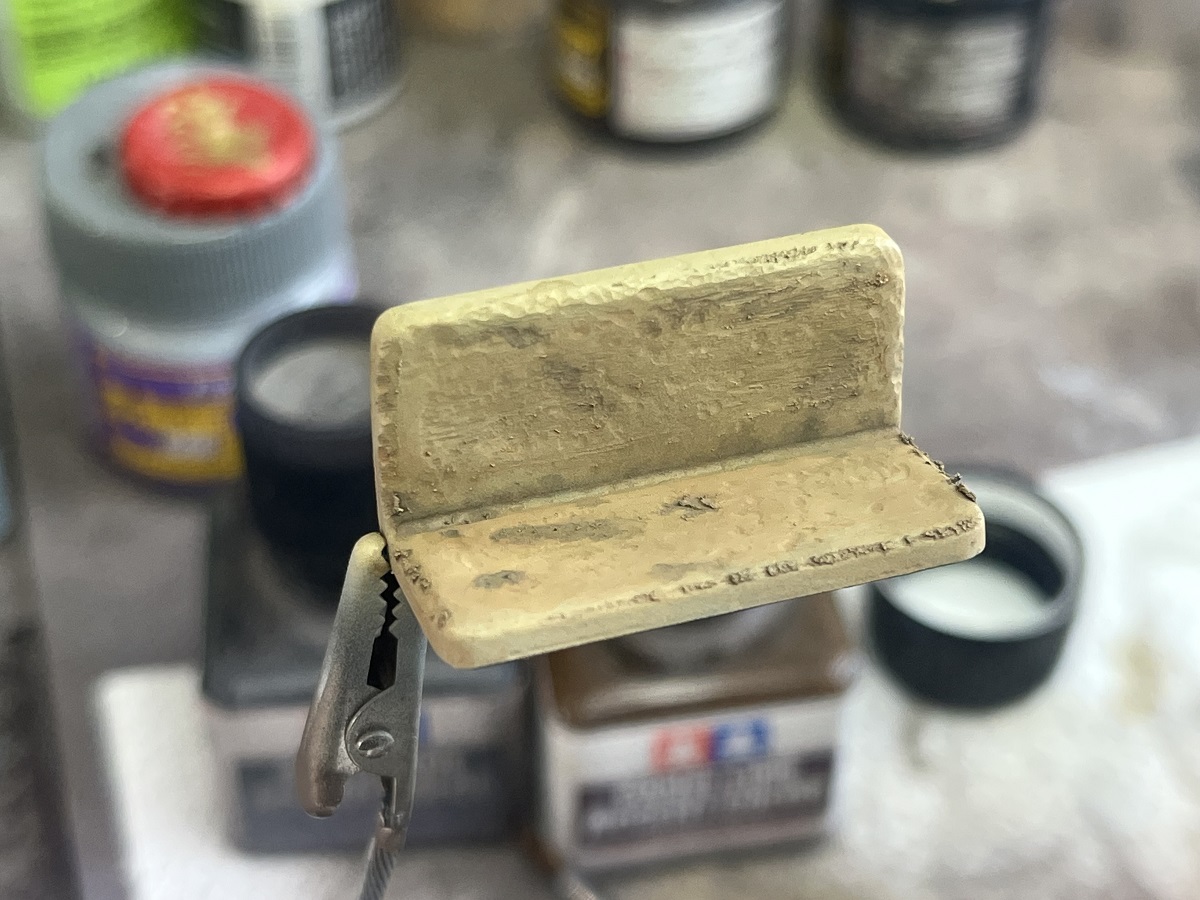
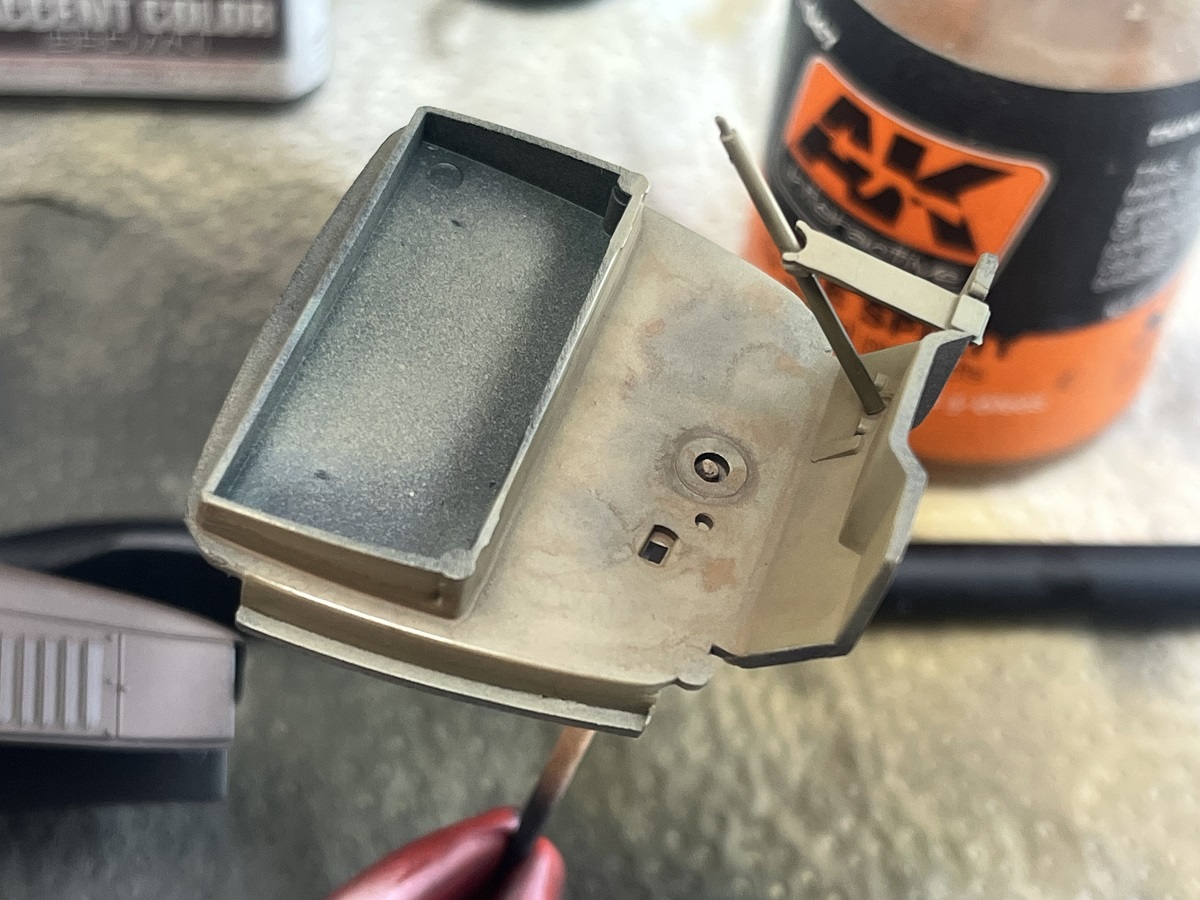
Working on the interior today. The seat was torn up with my Dremel using a drum sander and round burr. Base coated with Tamiya Acrylic Khaki (XF-49) and some Buff (XF-57) thinned with MLT, once cured I wet the surface with AK White Spirits then sloshed on Tamiya enamel PLW in Brown and Black and used a brush dampened with the white spirits to move them around a bit. Details on the dashboard with Tamiya X-1 Black enamel.
This will all be almost invisible inside the cab but it will be there if anybody peeks in hard enough.
Cheers, D
Some lovely paint detailing going on here Damian. Makes those little moulded on parts really stand out and look nice and worn. Seat finish looks great as well.
The cab is attached and now and, before the fenders go on, there are many tiny, tiny pieces to be attached.
I added the straps holding down the rocket crates. Made a nice mess of the one at the rear. I need to let everything dry 100% and then clean that up. Straps and buckle will get painted and the trailer will get a bit more weathering done (flat paint has a tendency to mute about 85% of the “dust,” so…it’ll get it again.
Mike
After all the work you have put into this thing is great to see the AWOL part has reported for duty. I think we have all been in your shoes at one time or another.
Paul
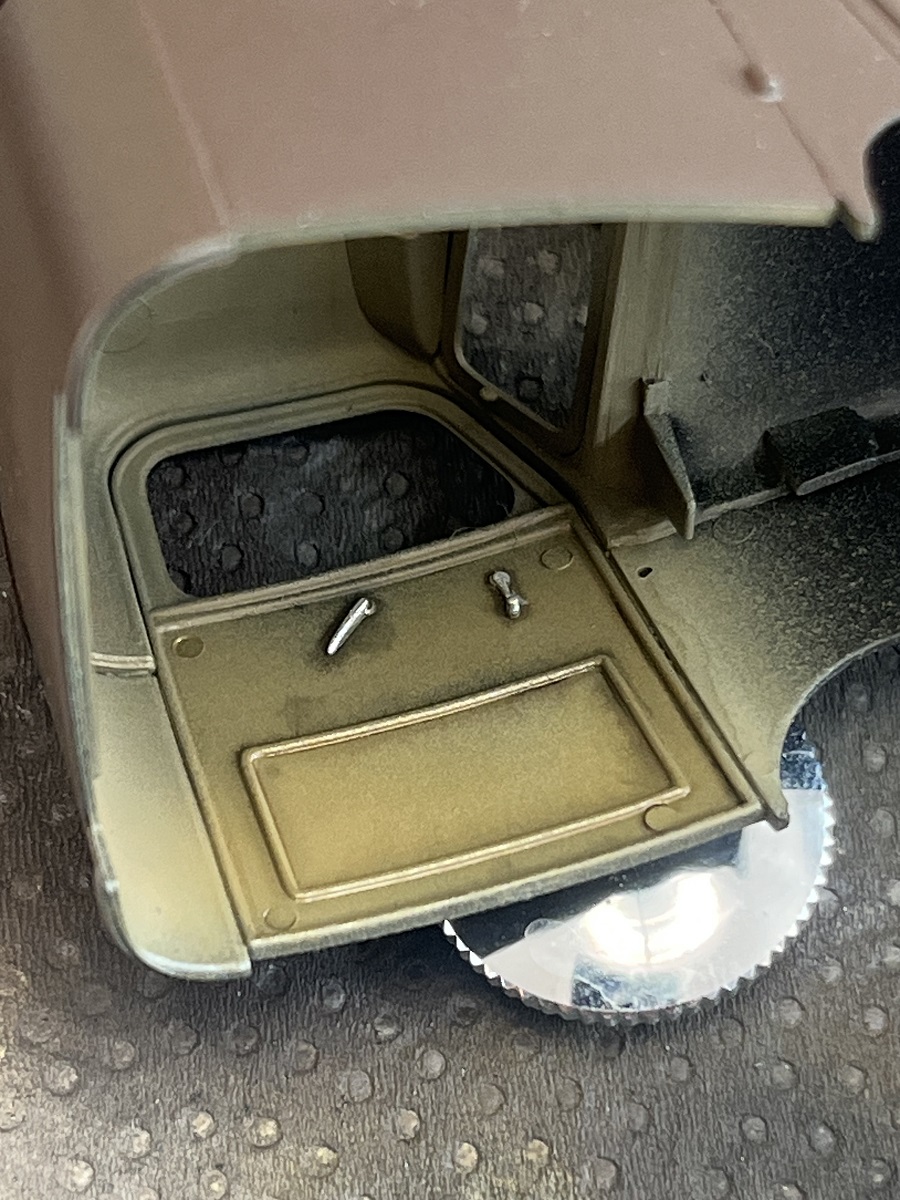
Love that streamline moderne dash!
Paul
I got more work done on the Liberty Truck. The basic painting is done and some washes were added to provide shadows and pic out details. The motor got another trial fit with the radiator & shroud. Its a tight fit but it does snuggle into place.
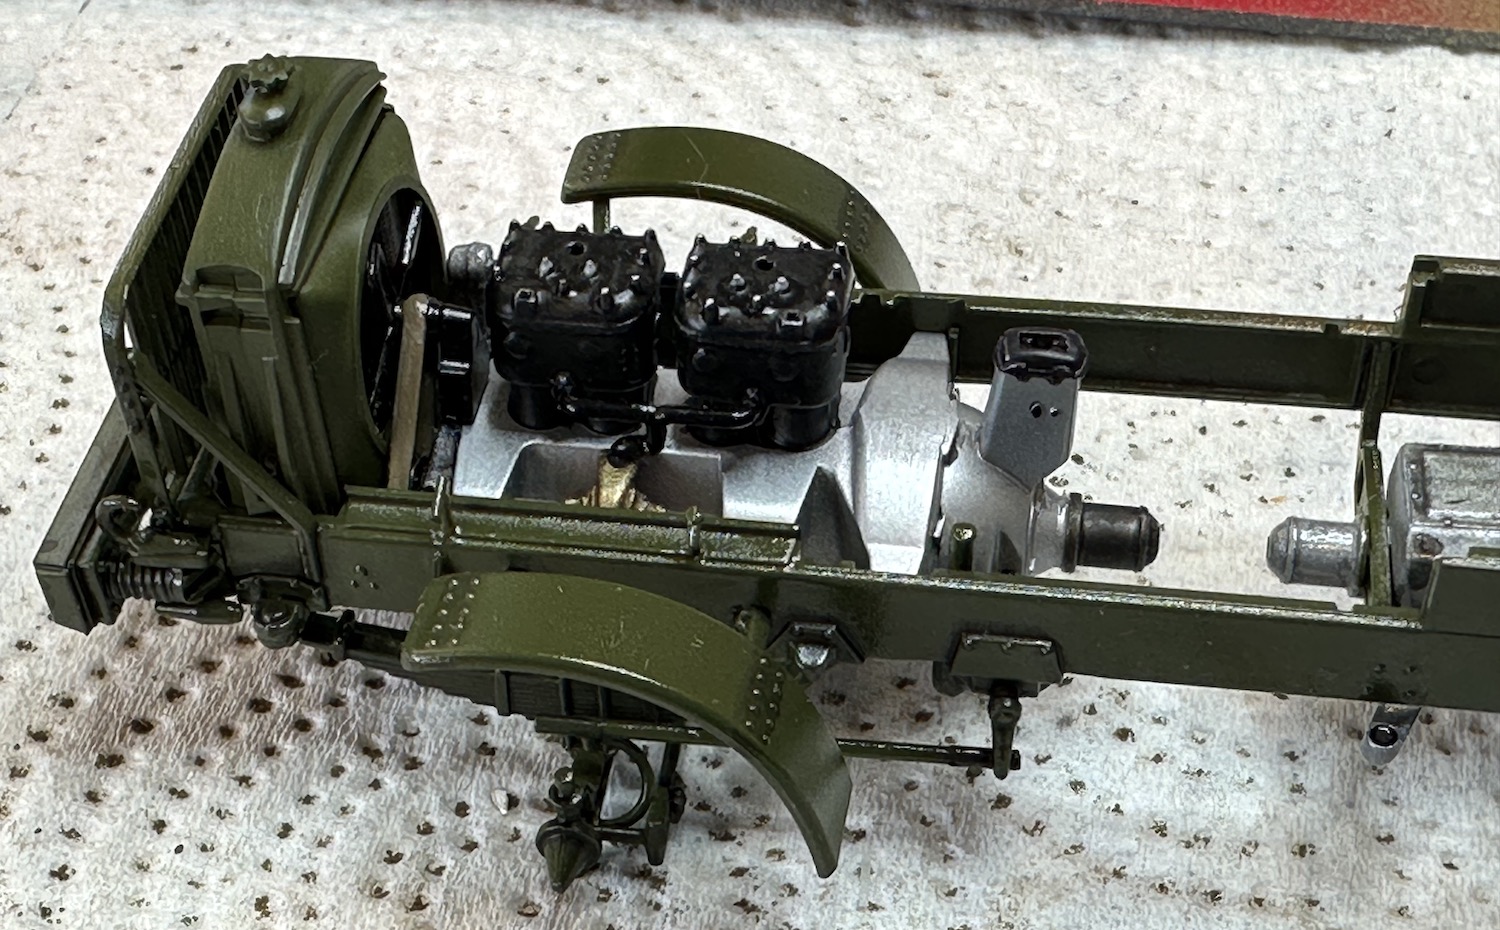
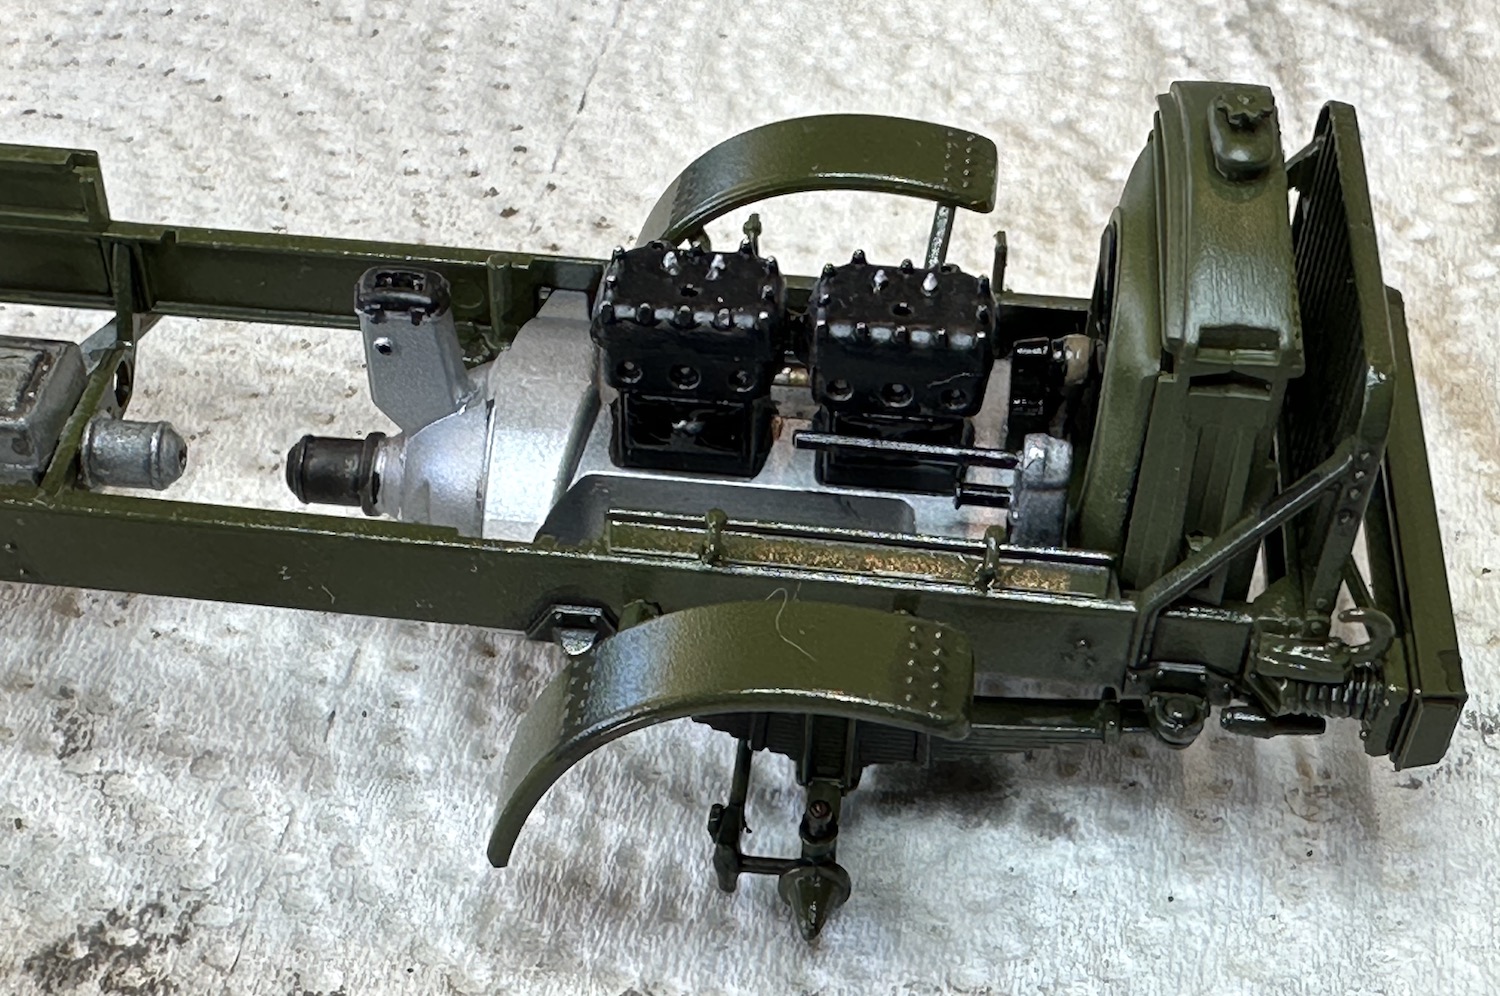
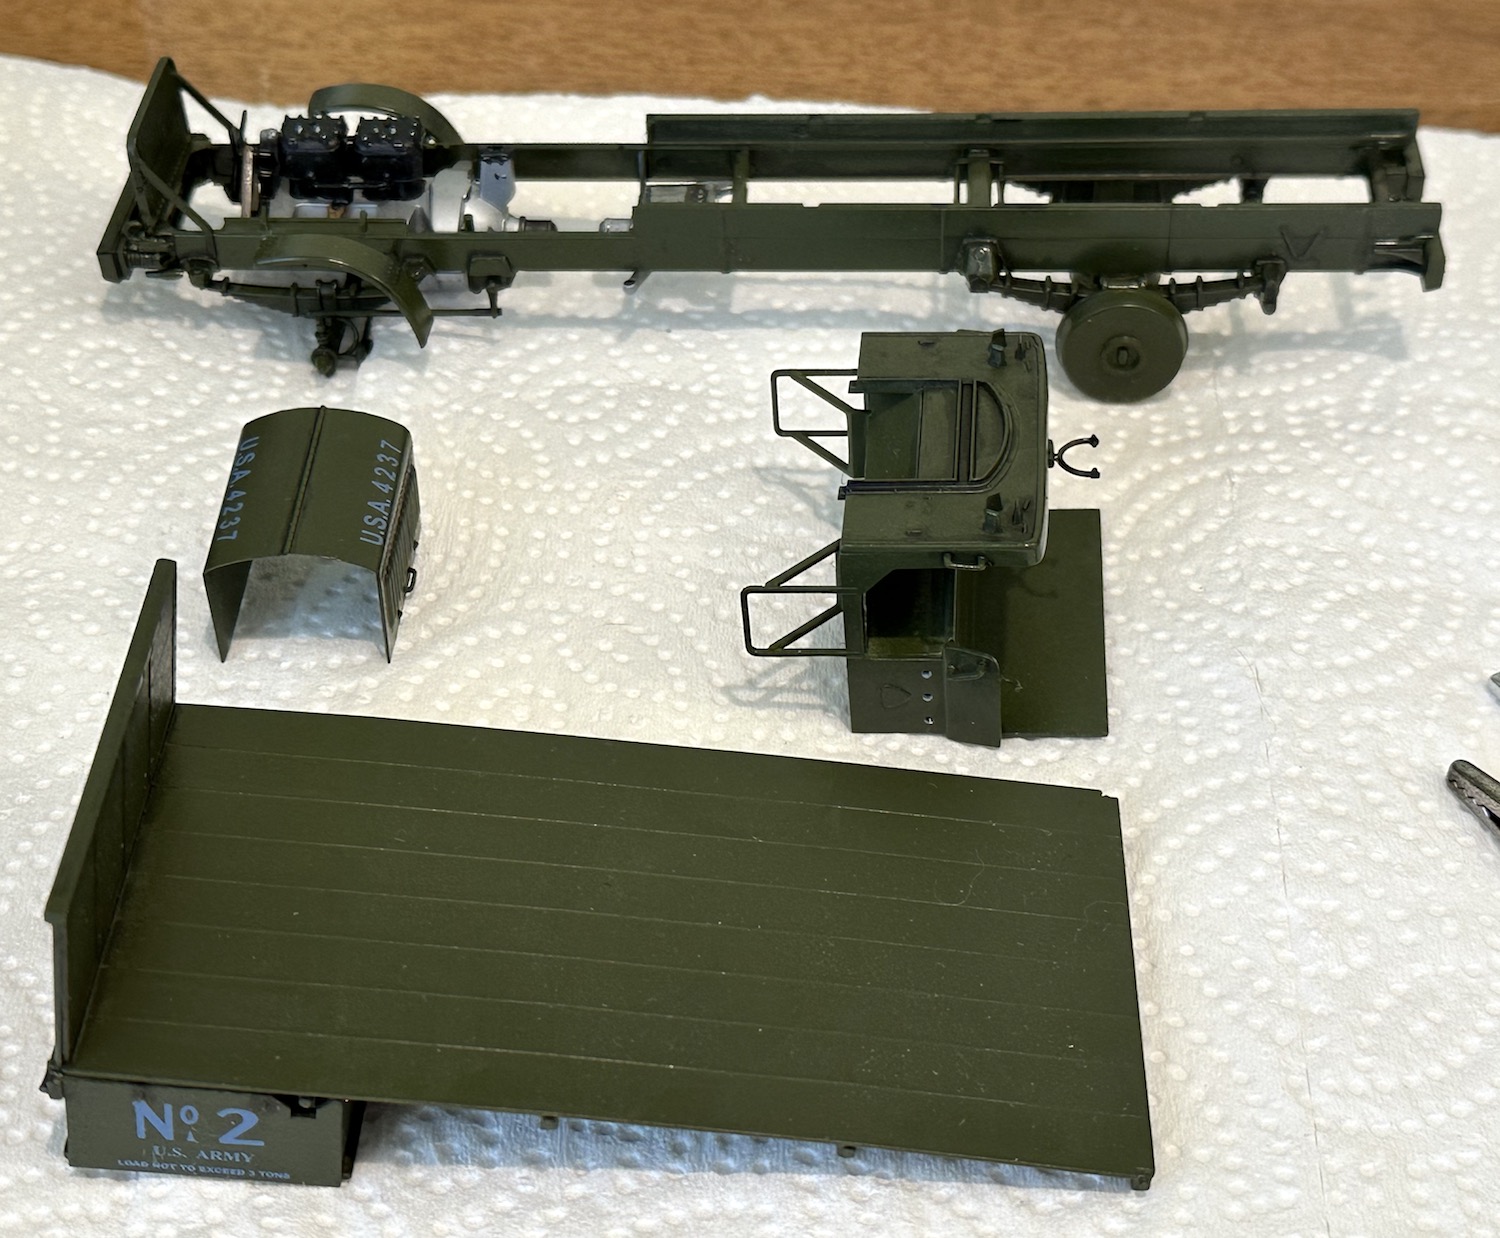
Paul
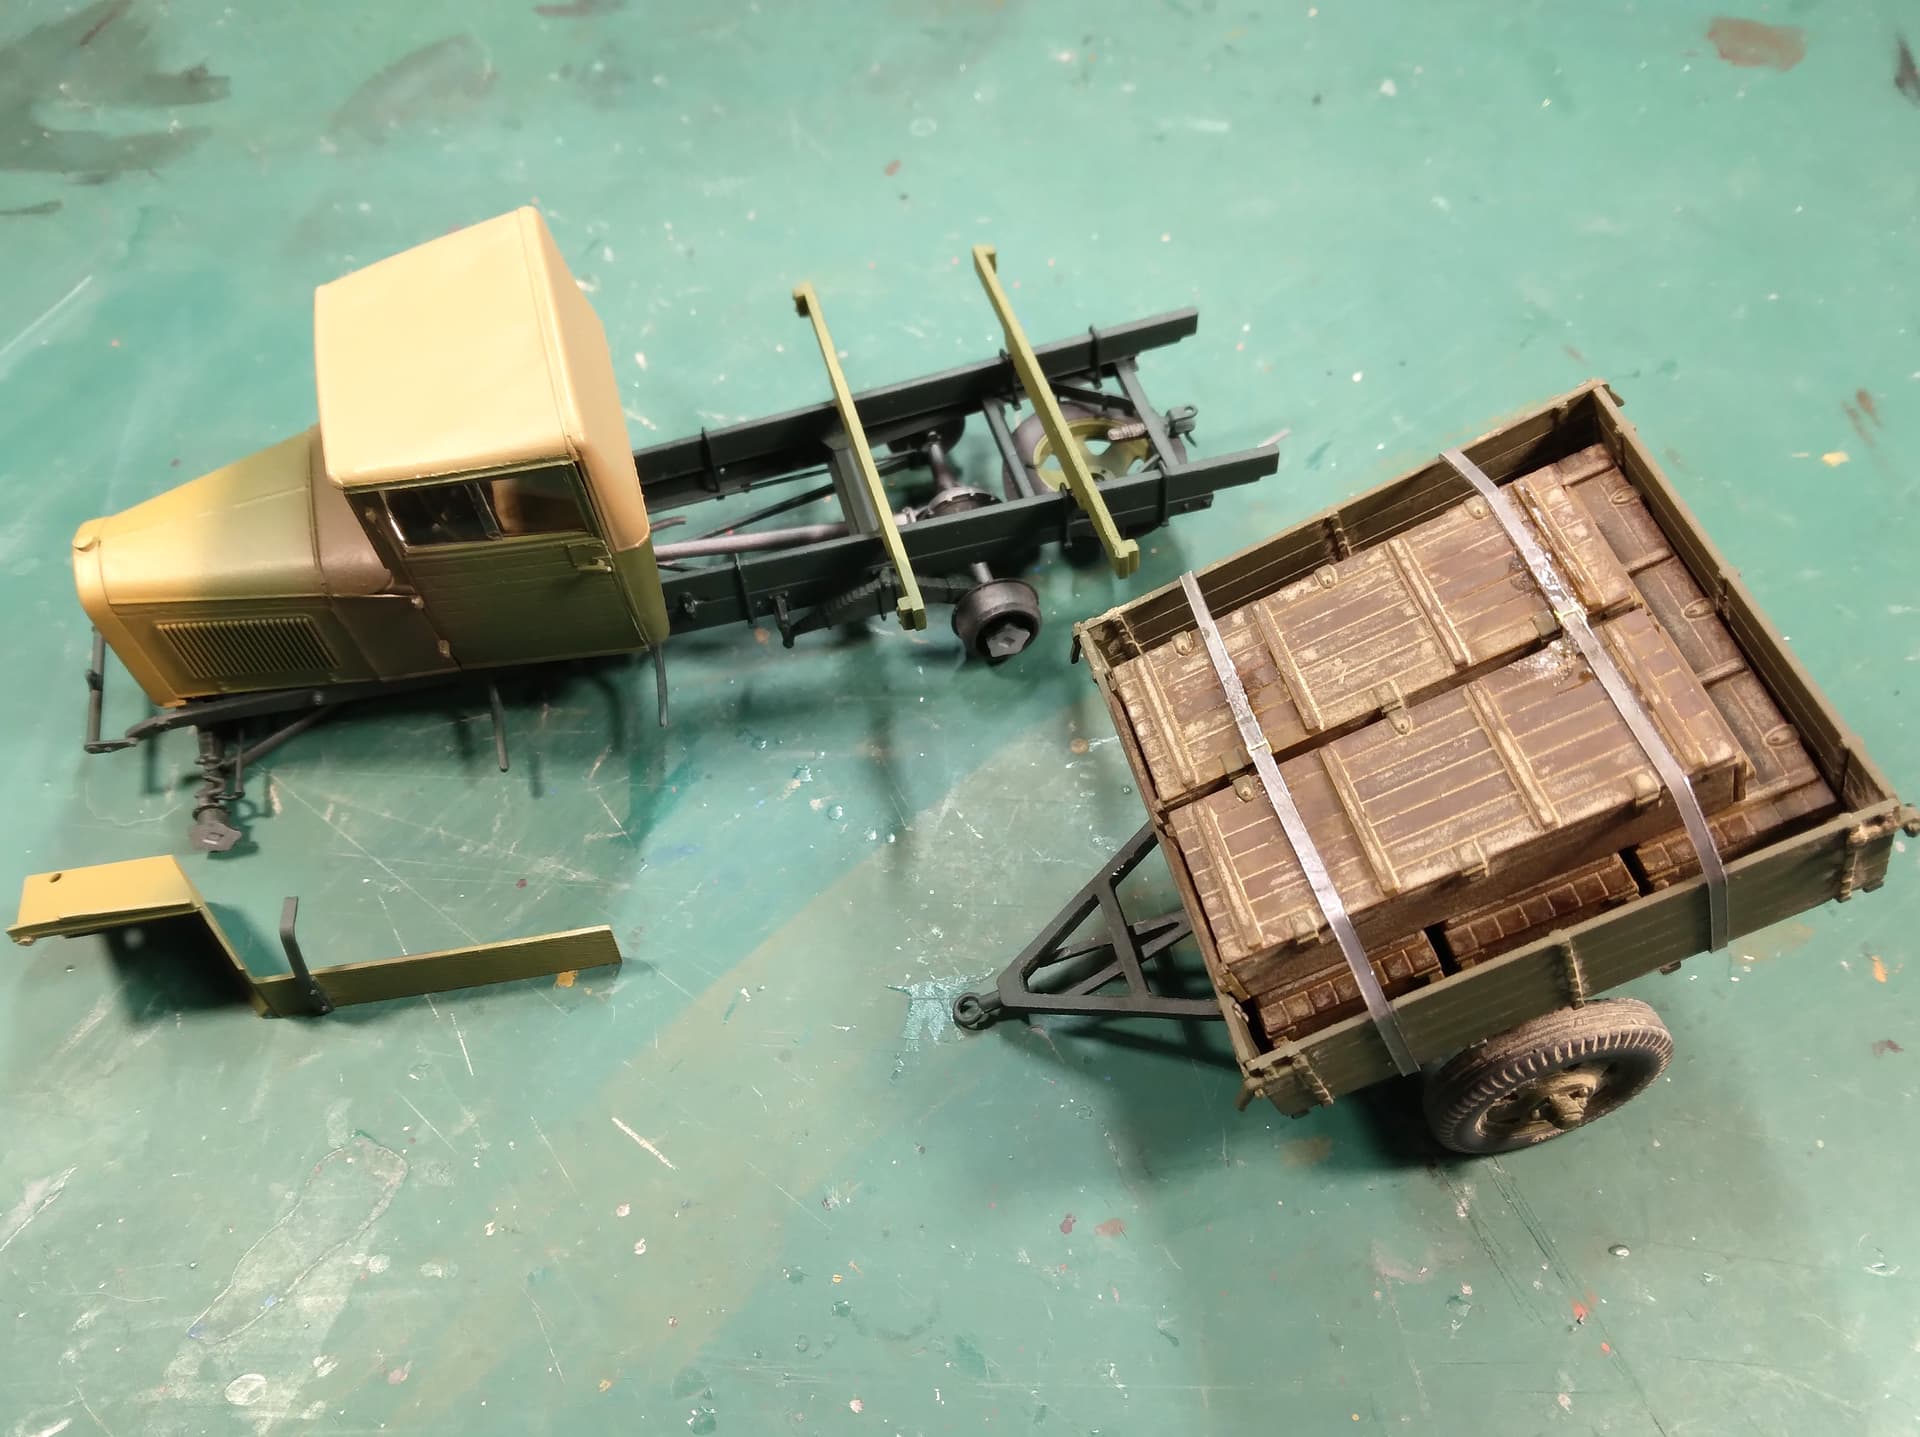
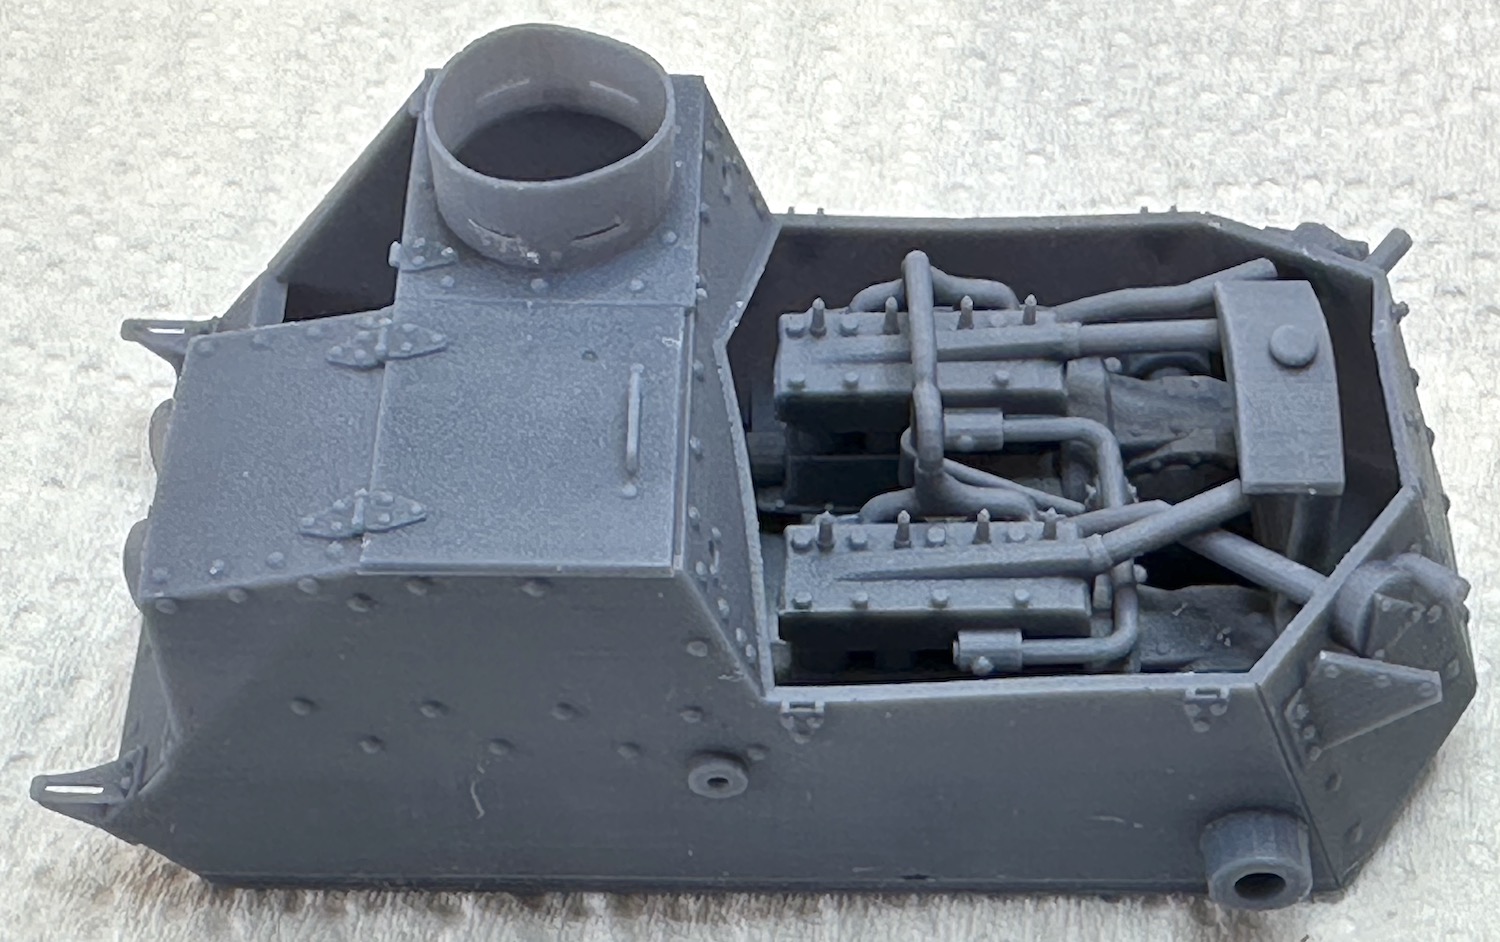
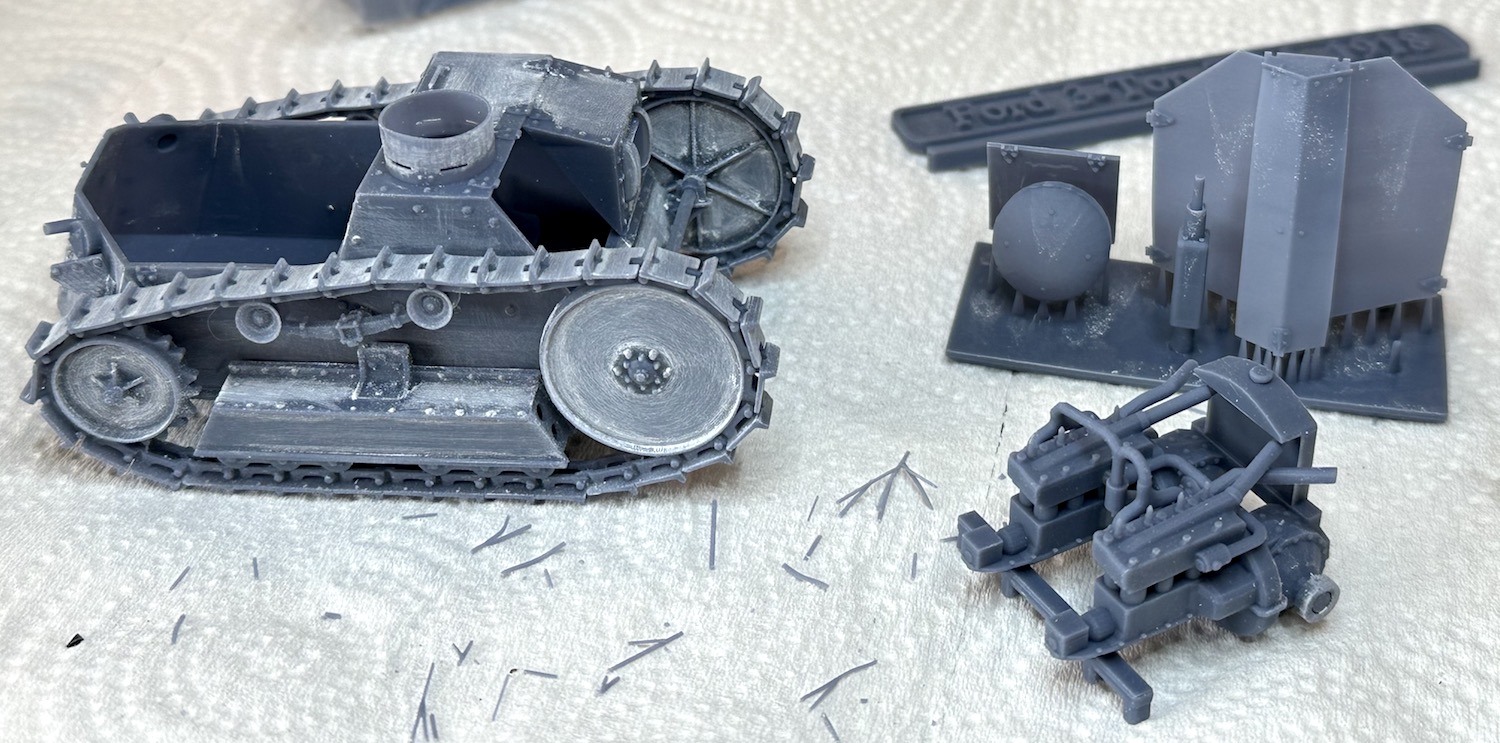
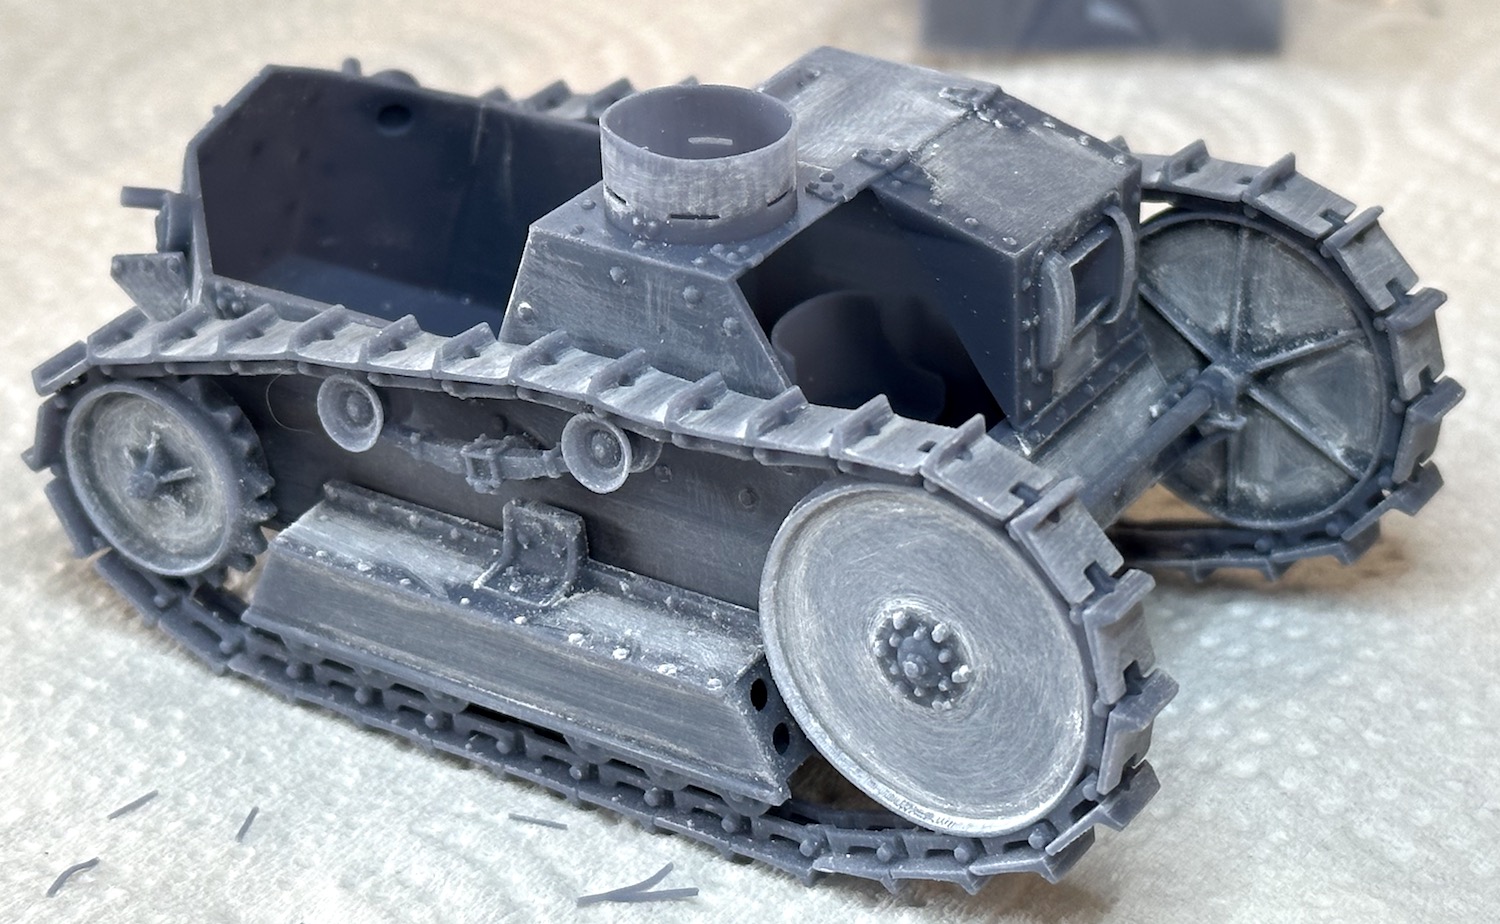
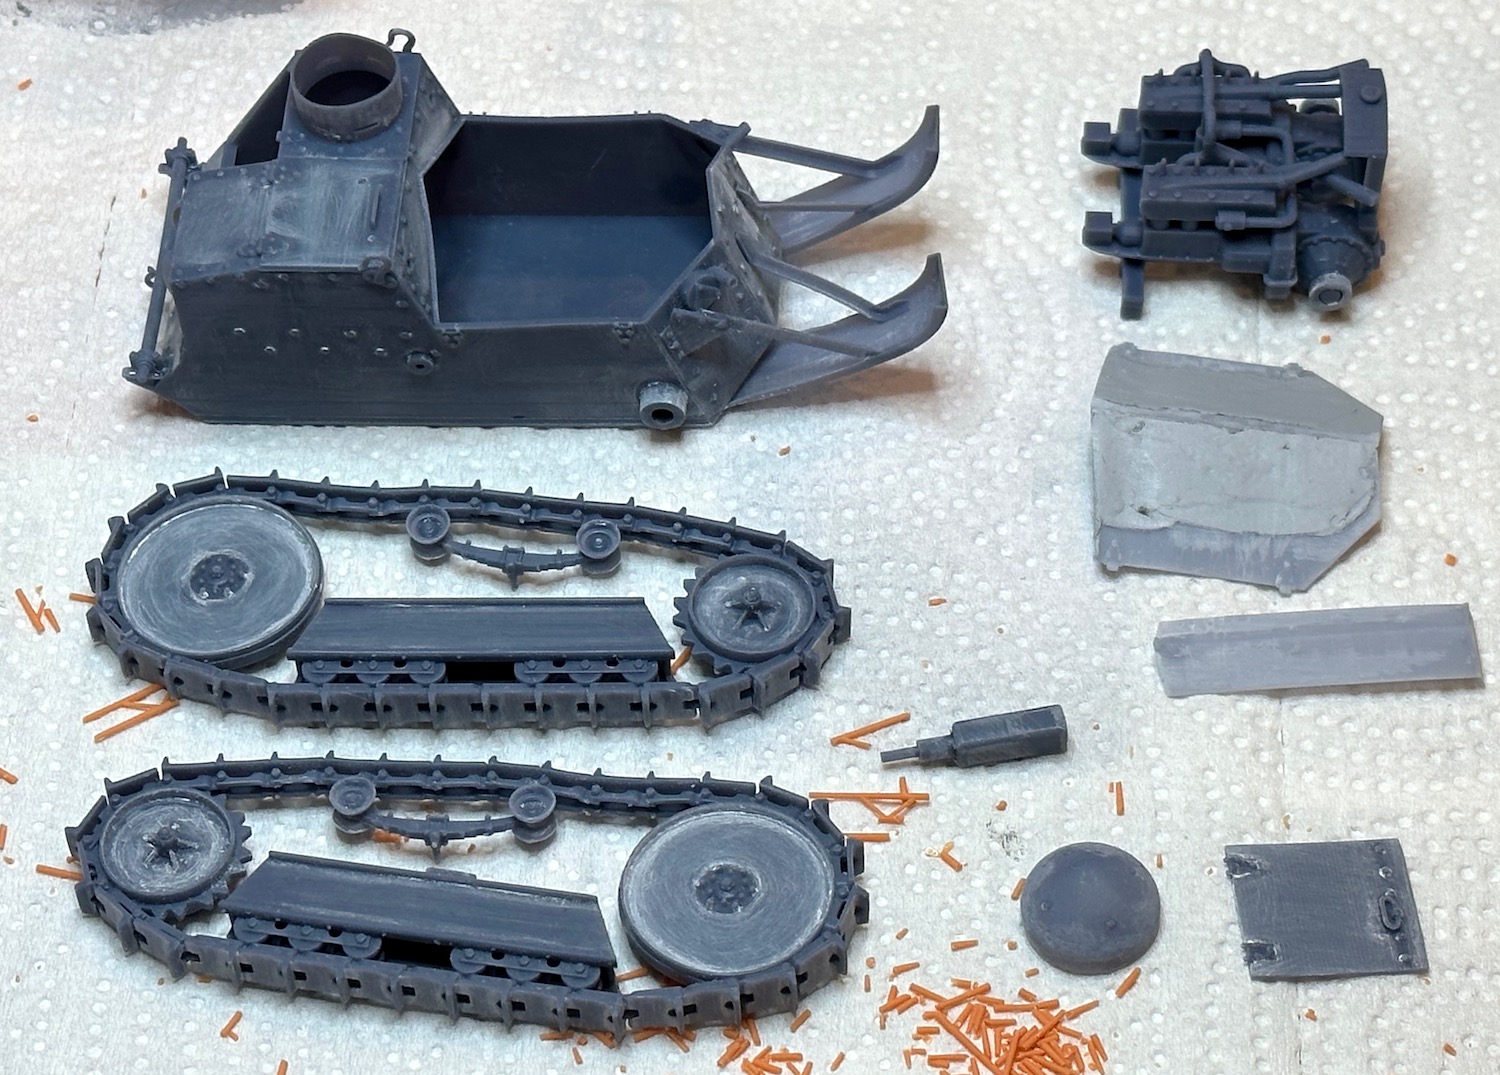
While waiting for paint to dry on the Liberty truck itself it was time to get started on the cargo, a 3-Ton Ford Tractor/Tank. This is an older Vargas 3D printed kit and a bit of a challenge to build. Vargas has done wonders to create scale thickness but at the cost of much warpage of the parts. I actually ended up with two kits and used the least warped parts from each. Yes, I’m carping some about this but I love this little cutie and it will look perfect on the bed as cargo.
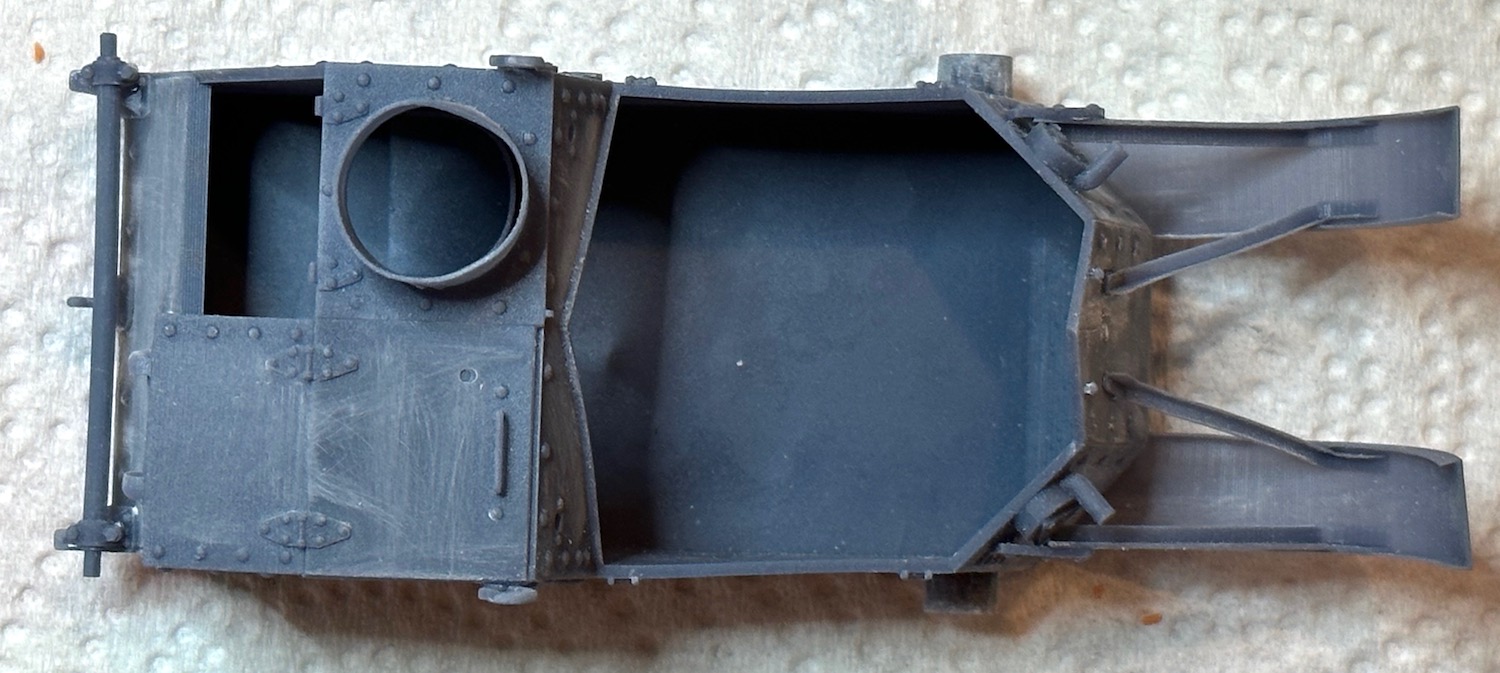
Two areas were of real concern. The main body & engine hatch doors are warped. I spent a lot of time fitting the parts and finally decided that the two covers were going to have to be glued together and a stiffener added to straighten them as much as possible. There will be plenty of putty here.
The body itself will have to be lived with as the one piece drivetrain is a very tight fit, no room for and stiffeners there.
The other area was the twin tail skids. I got one to fit and used its position as a master for the other. Sadly for me, they were warped differently. I finally got the second one installed basically straight but at the cost of one of the support struts not matching the other. “A blind man riding by on a horse . . .”
Paul
Cheers Paul… I was so happy to find it… The liberty is looking nice though. Some great details on it…
Damian and Michael. Very nice work guys. Coming along nicely.
Paul: Those warped body panels remind me of the Miniart AEC Mk 3 I built. A pity as it looks like a lovely kit. Hopefully it will work out.
It will. It may mean it gets a more “used” look than I had in mind. This was intended to a new 1918 production truck carrying a new 1918 experimental tank.
Paul
Paul,
Tank is looking good and I know what you mean. FYI, there is still one support on the bottom of sprocket to remove.