Looking good Ryan. So cool that Jimbo was able to provide a solution. He is a fine upstanding member of our community! ![]()
—mike
Looking good Ryan. So cool that Jimbo was able to provide a solution. He is a fine upstanding member of our community! ![]()
—mike
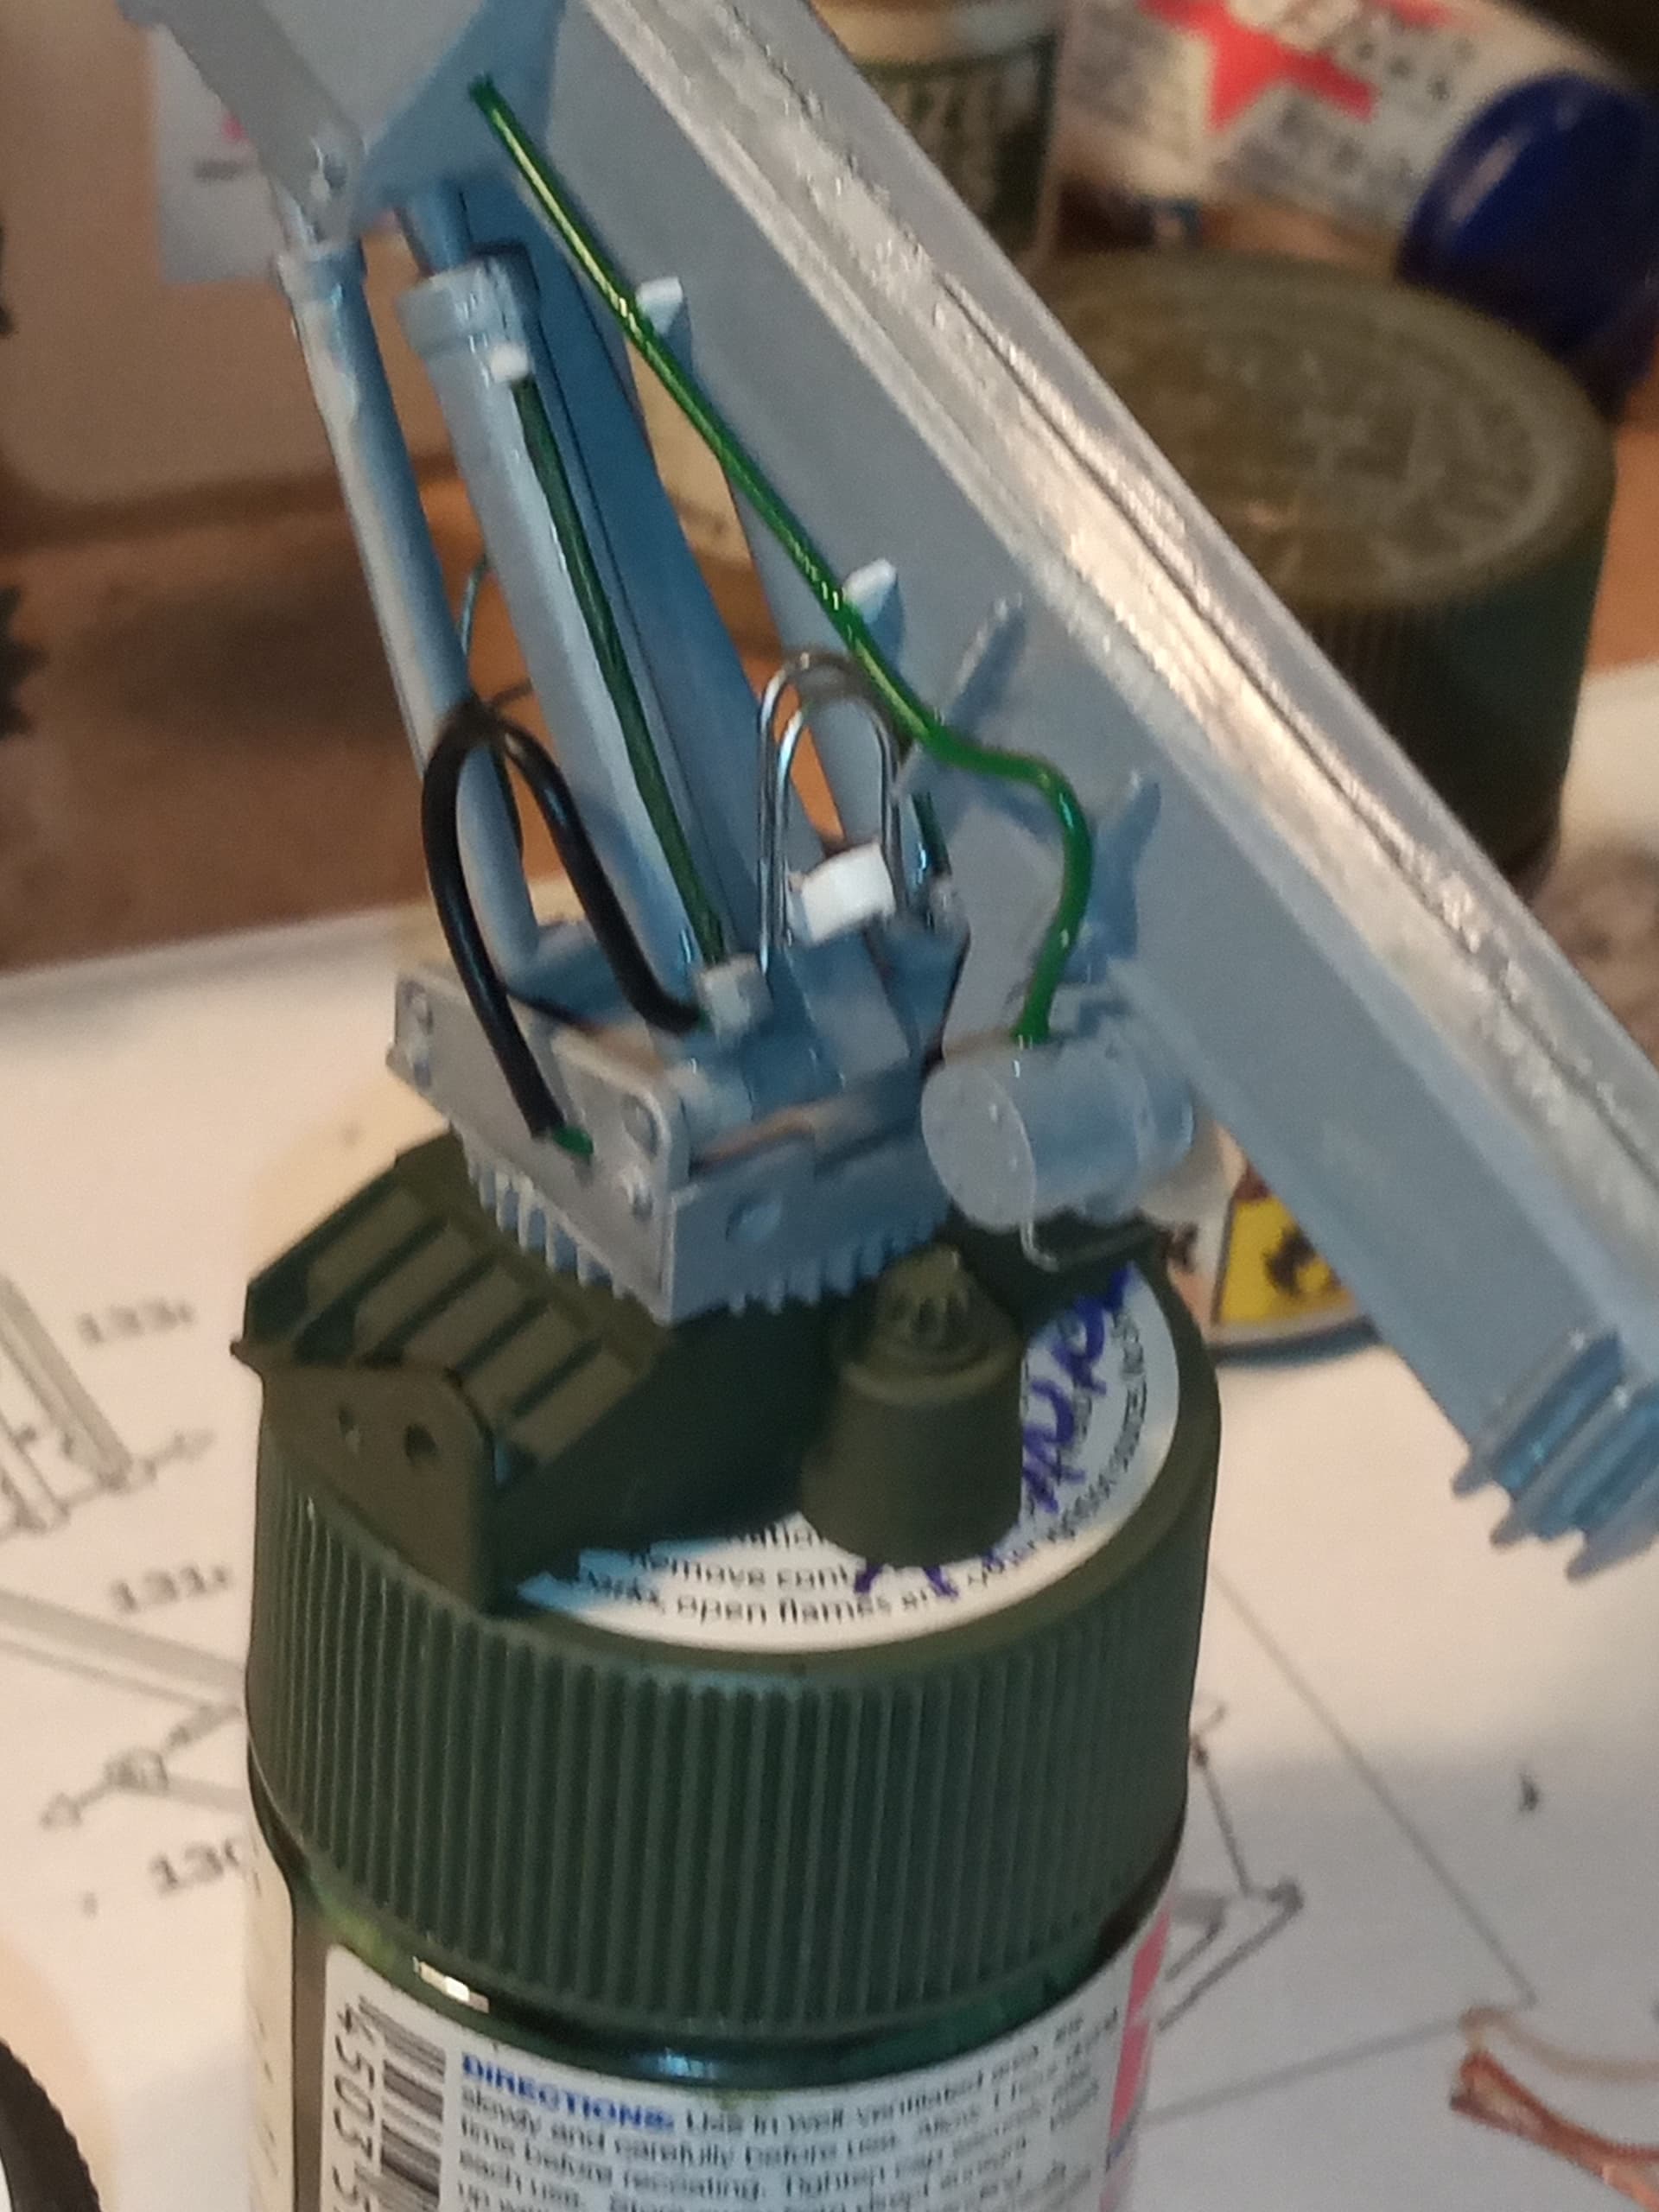
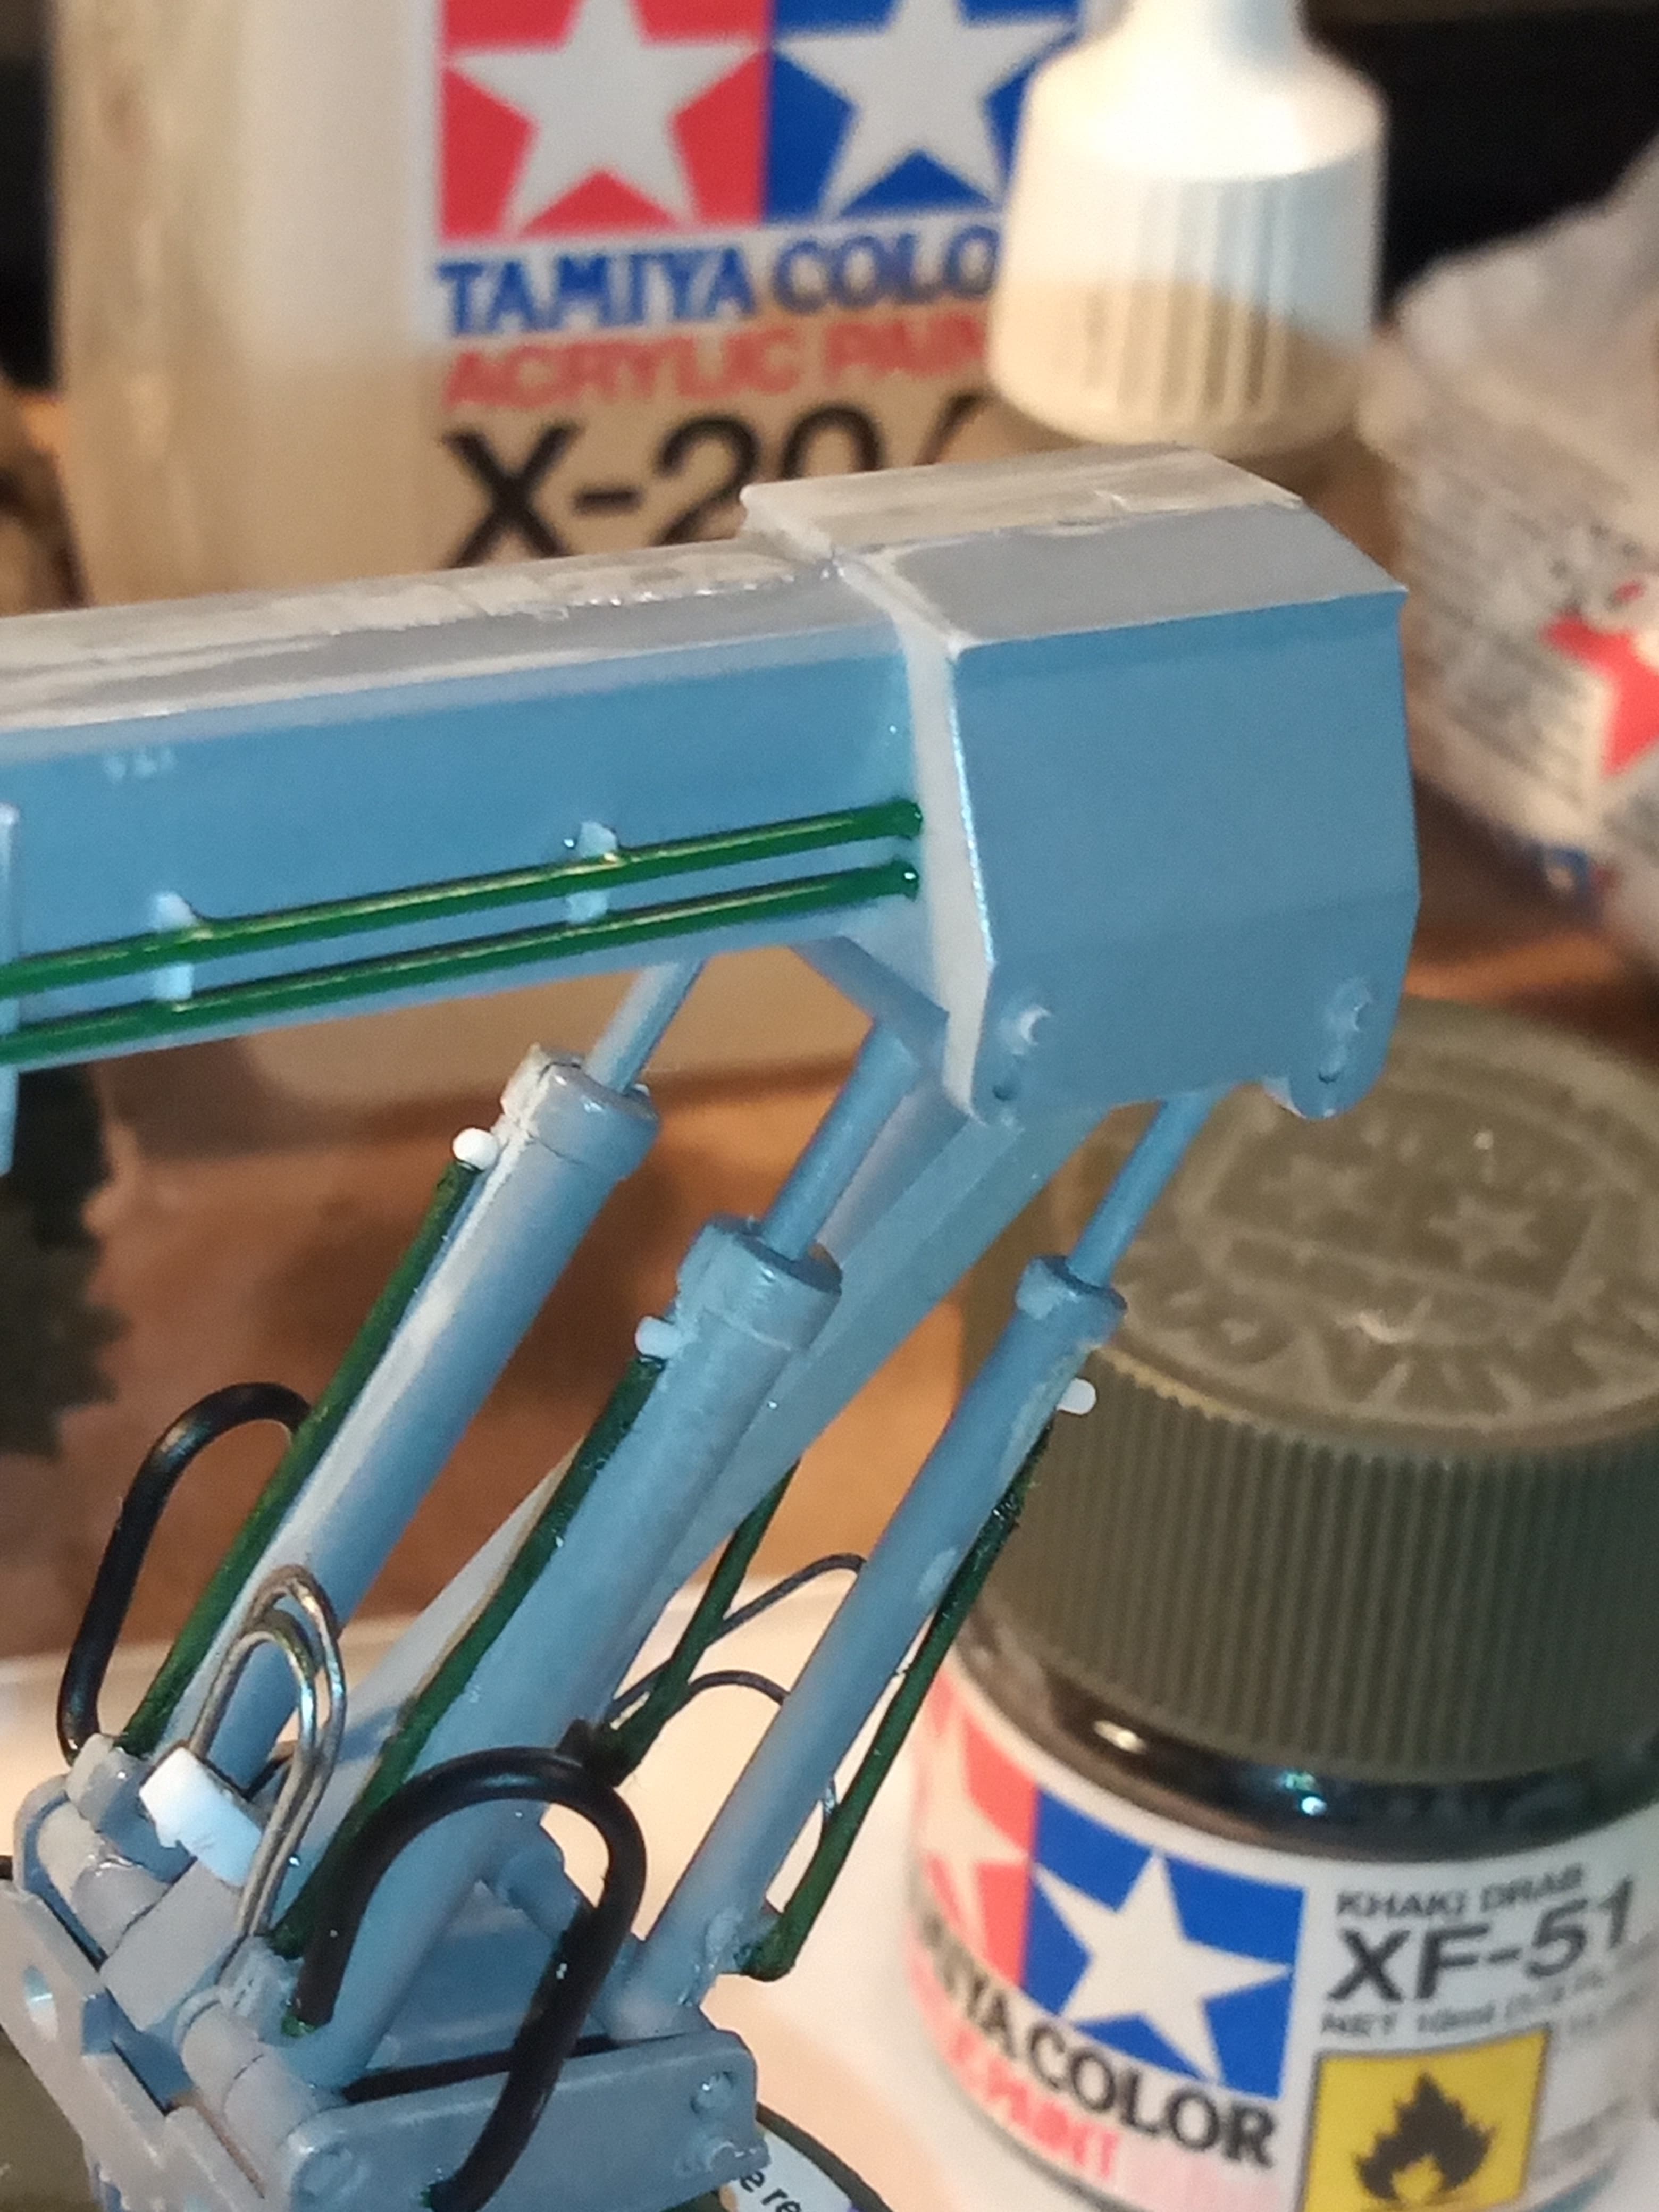
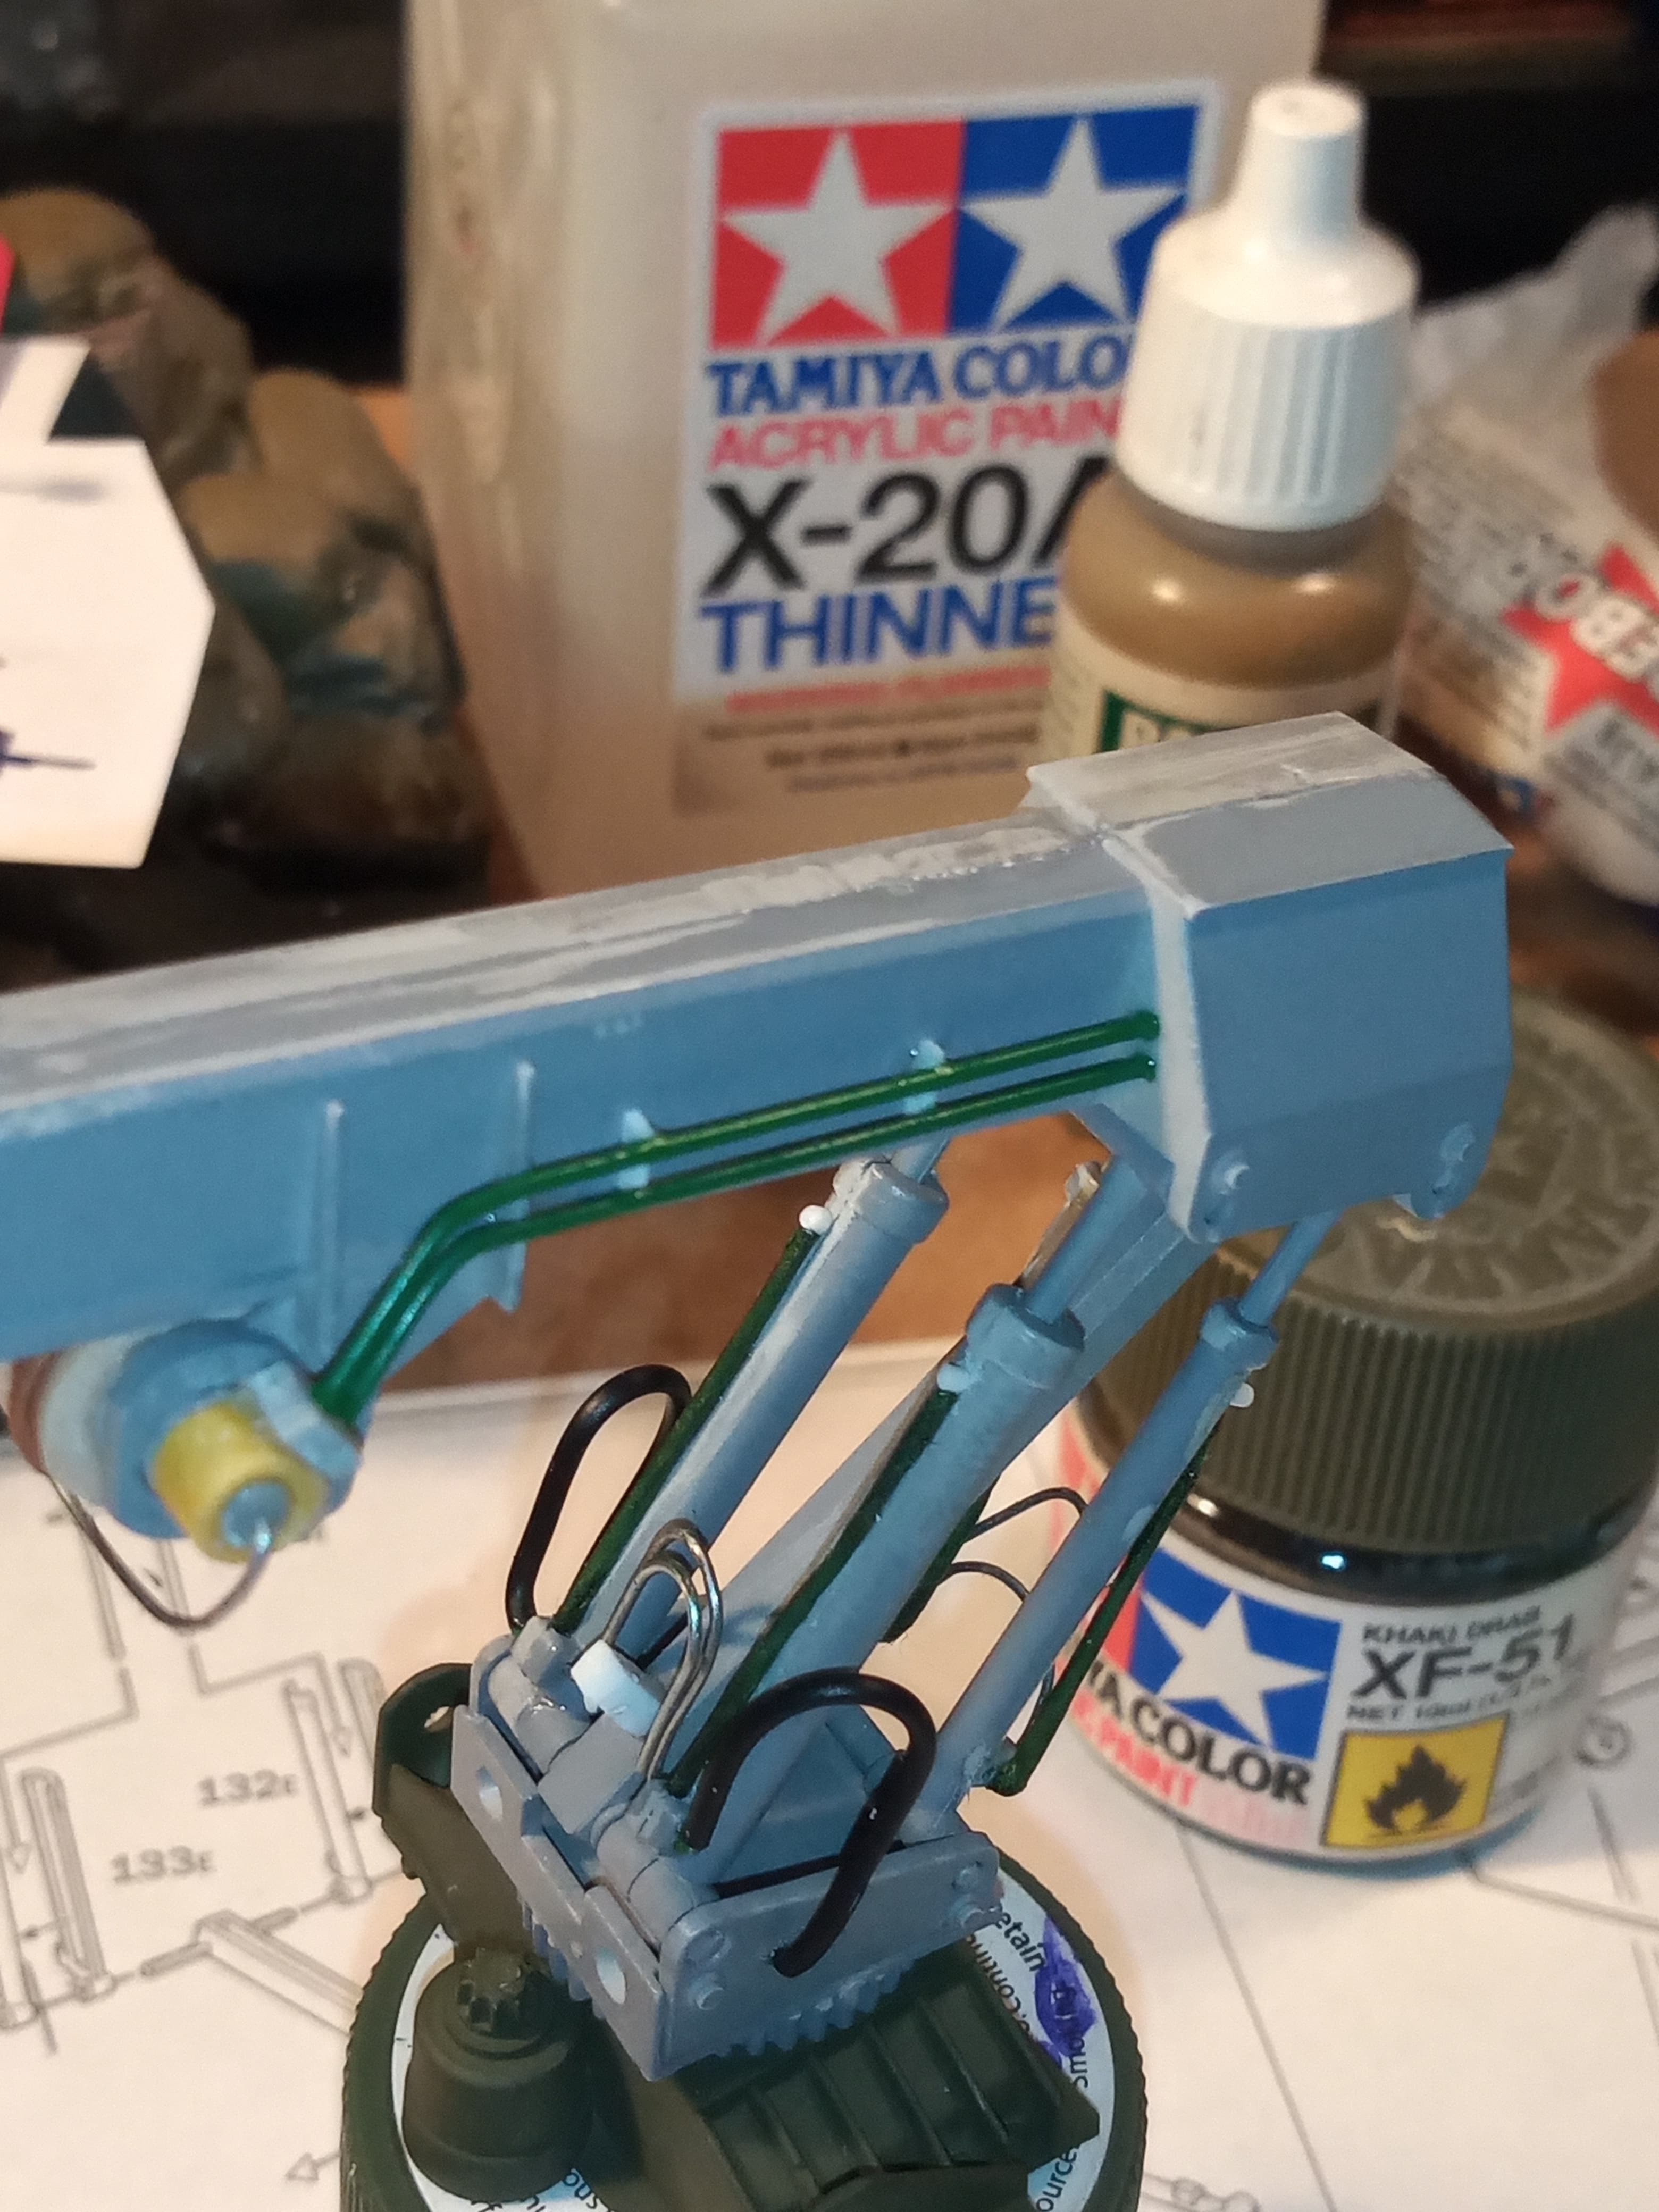
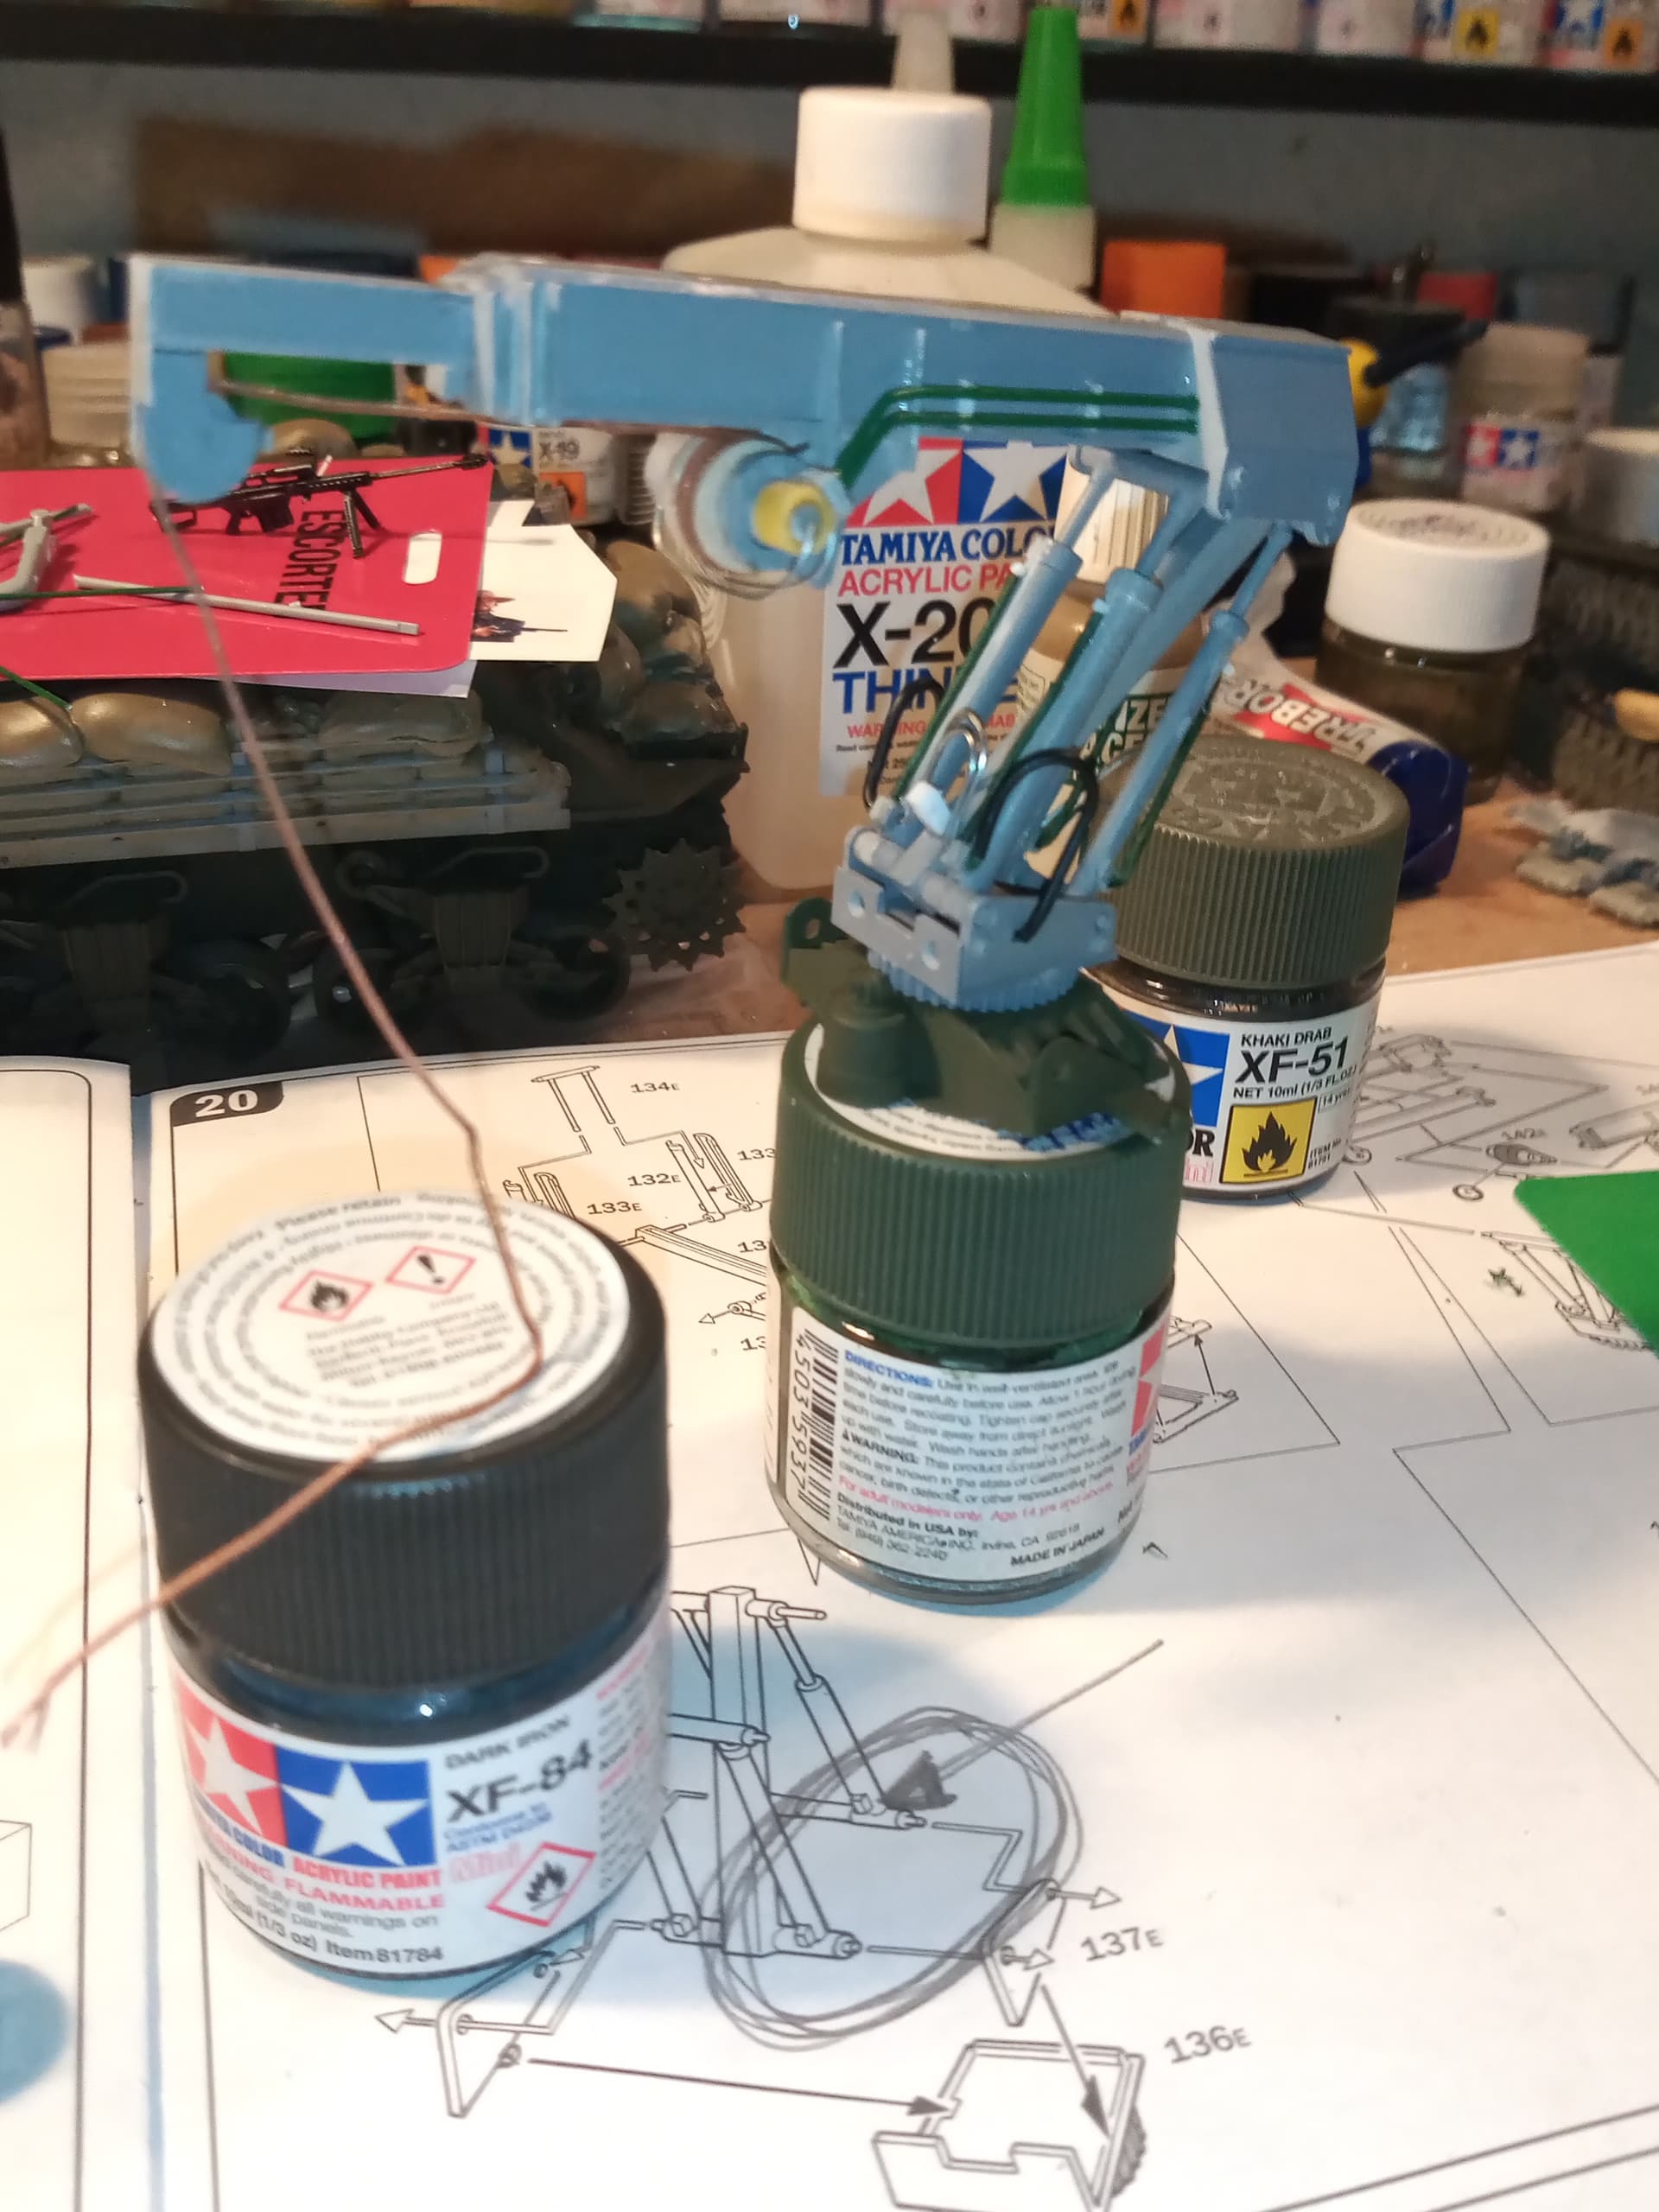
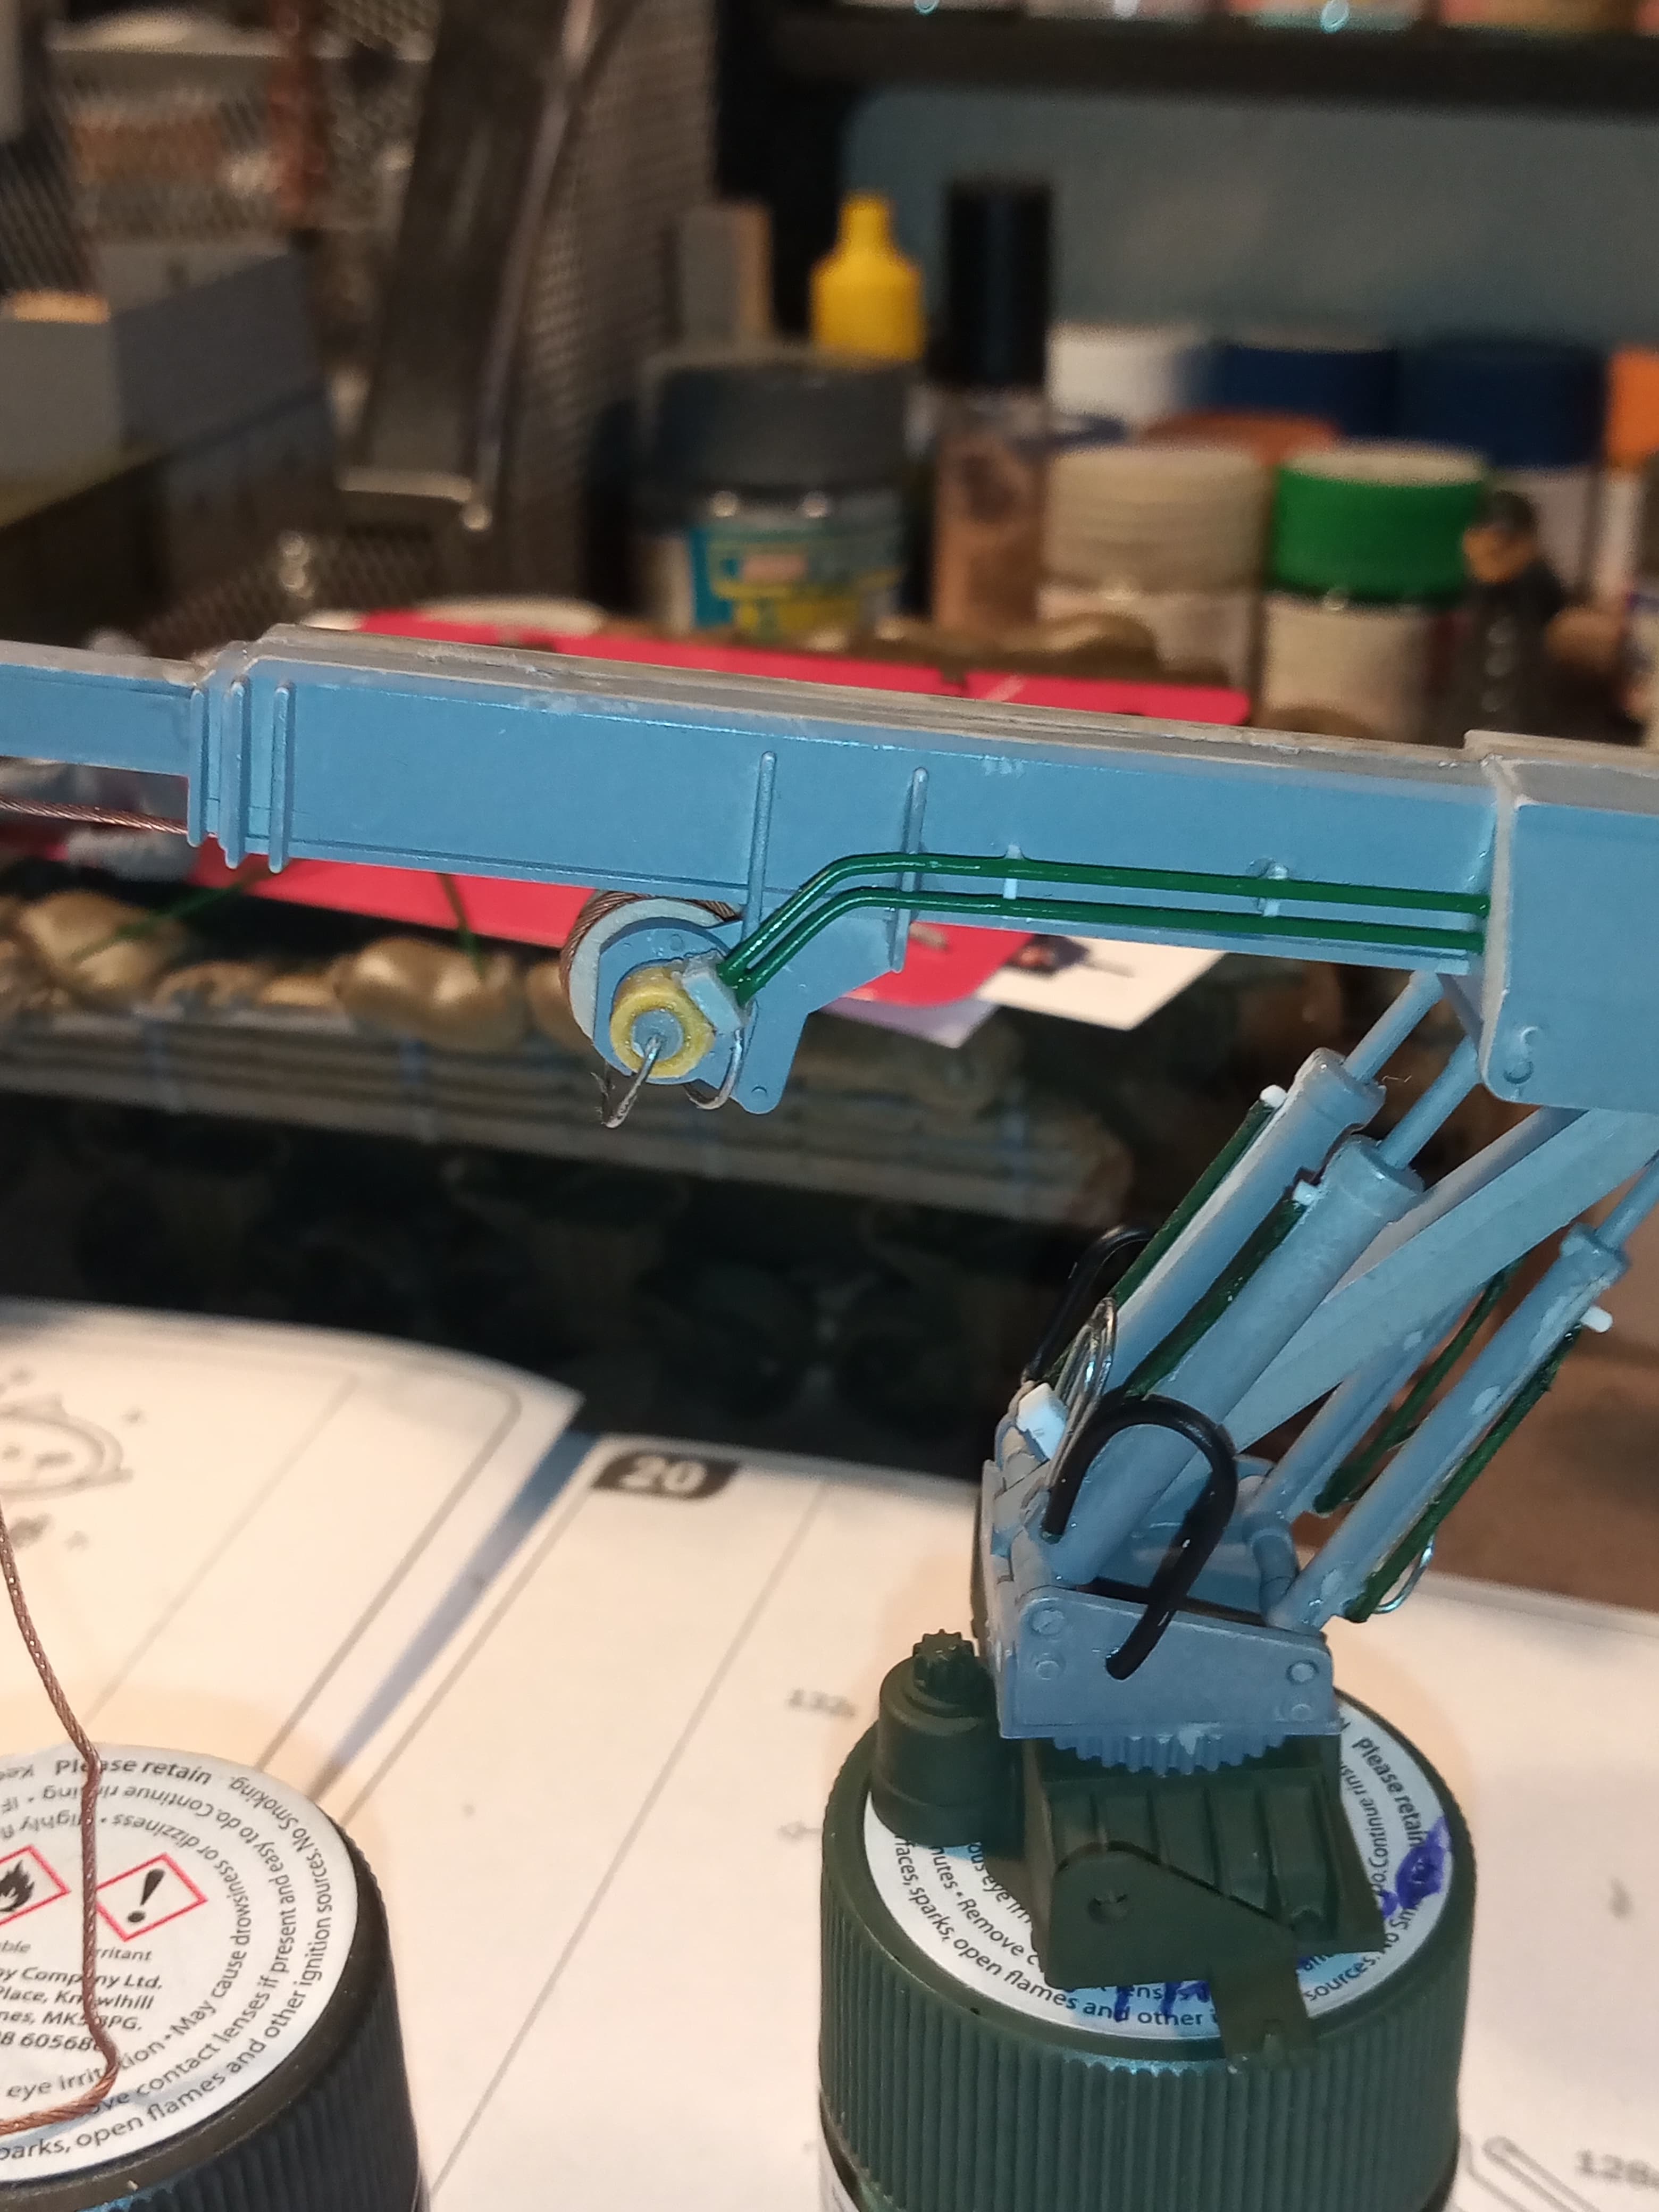
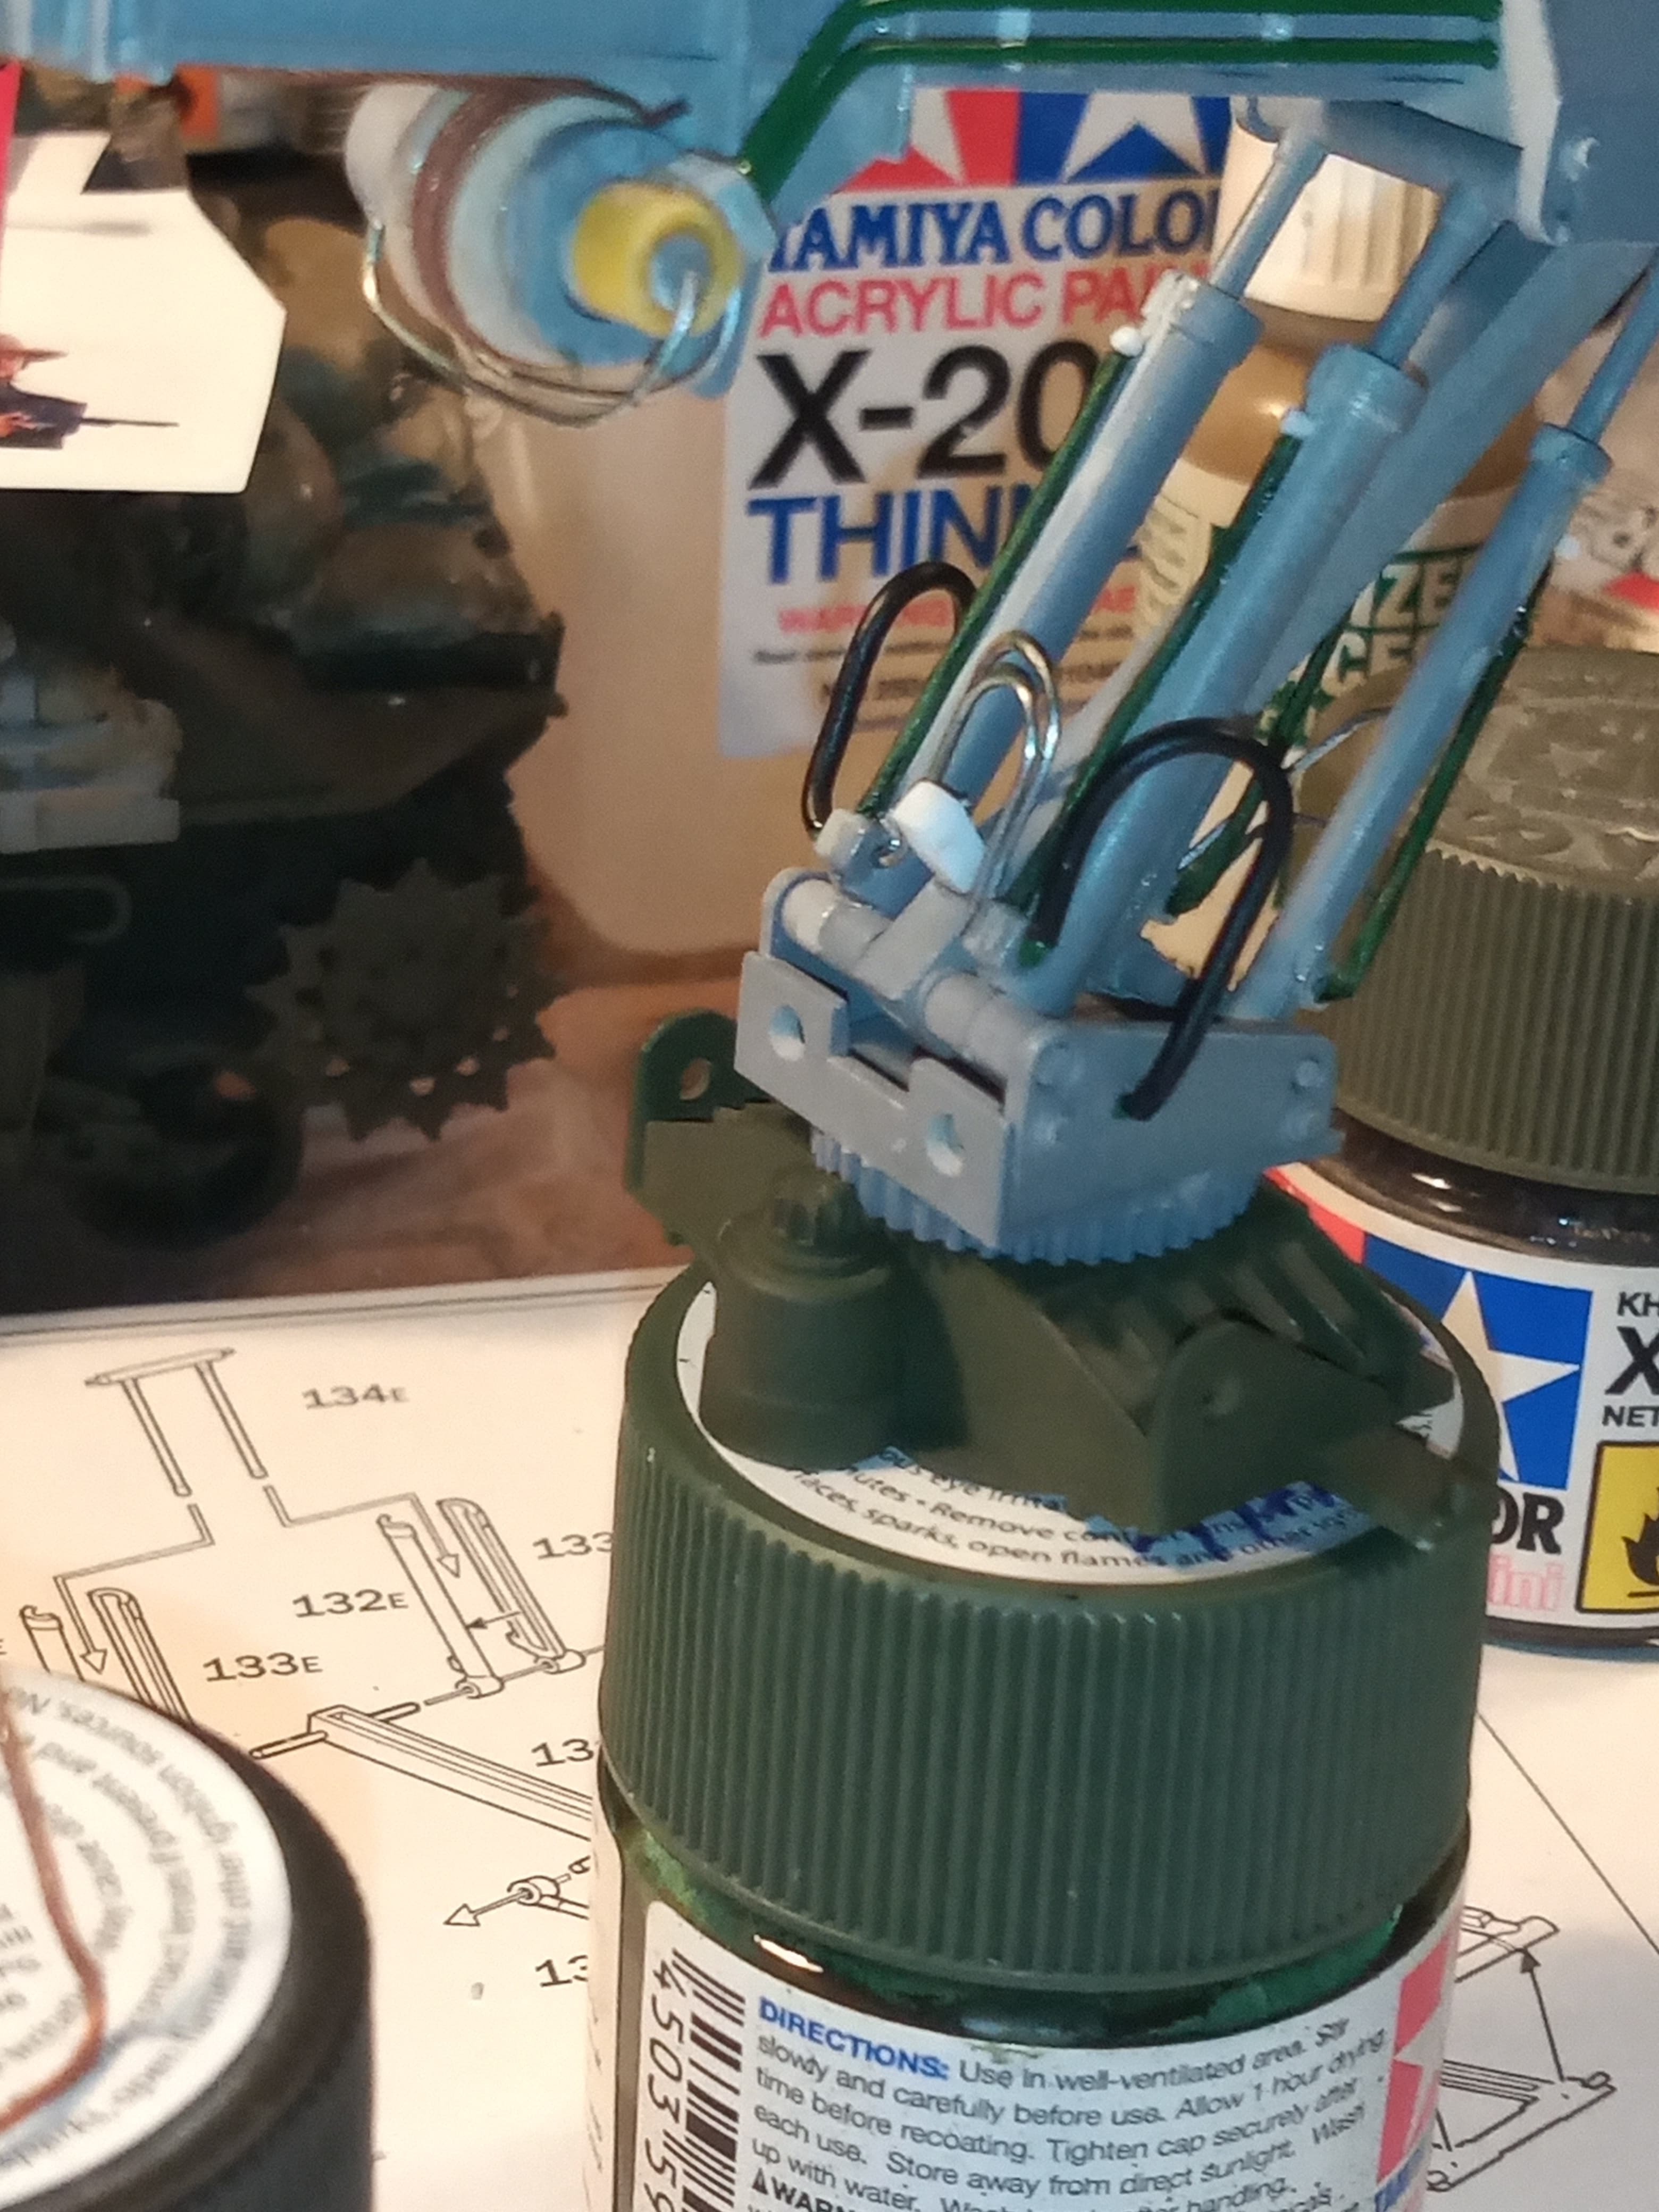
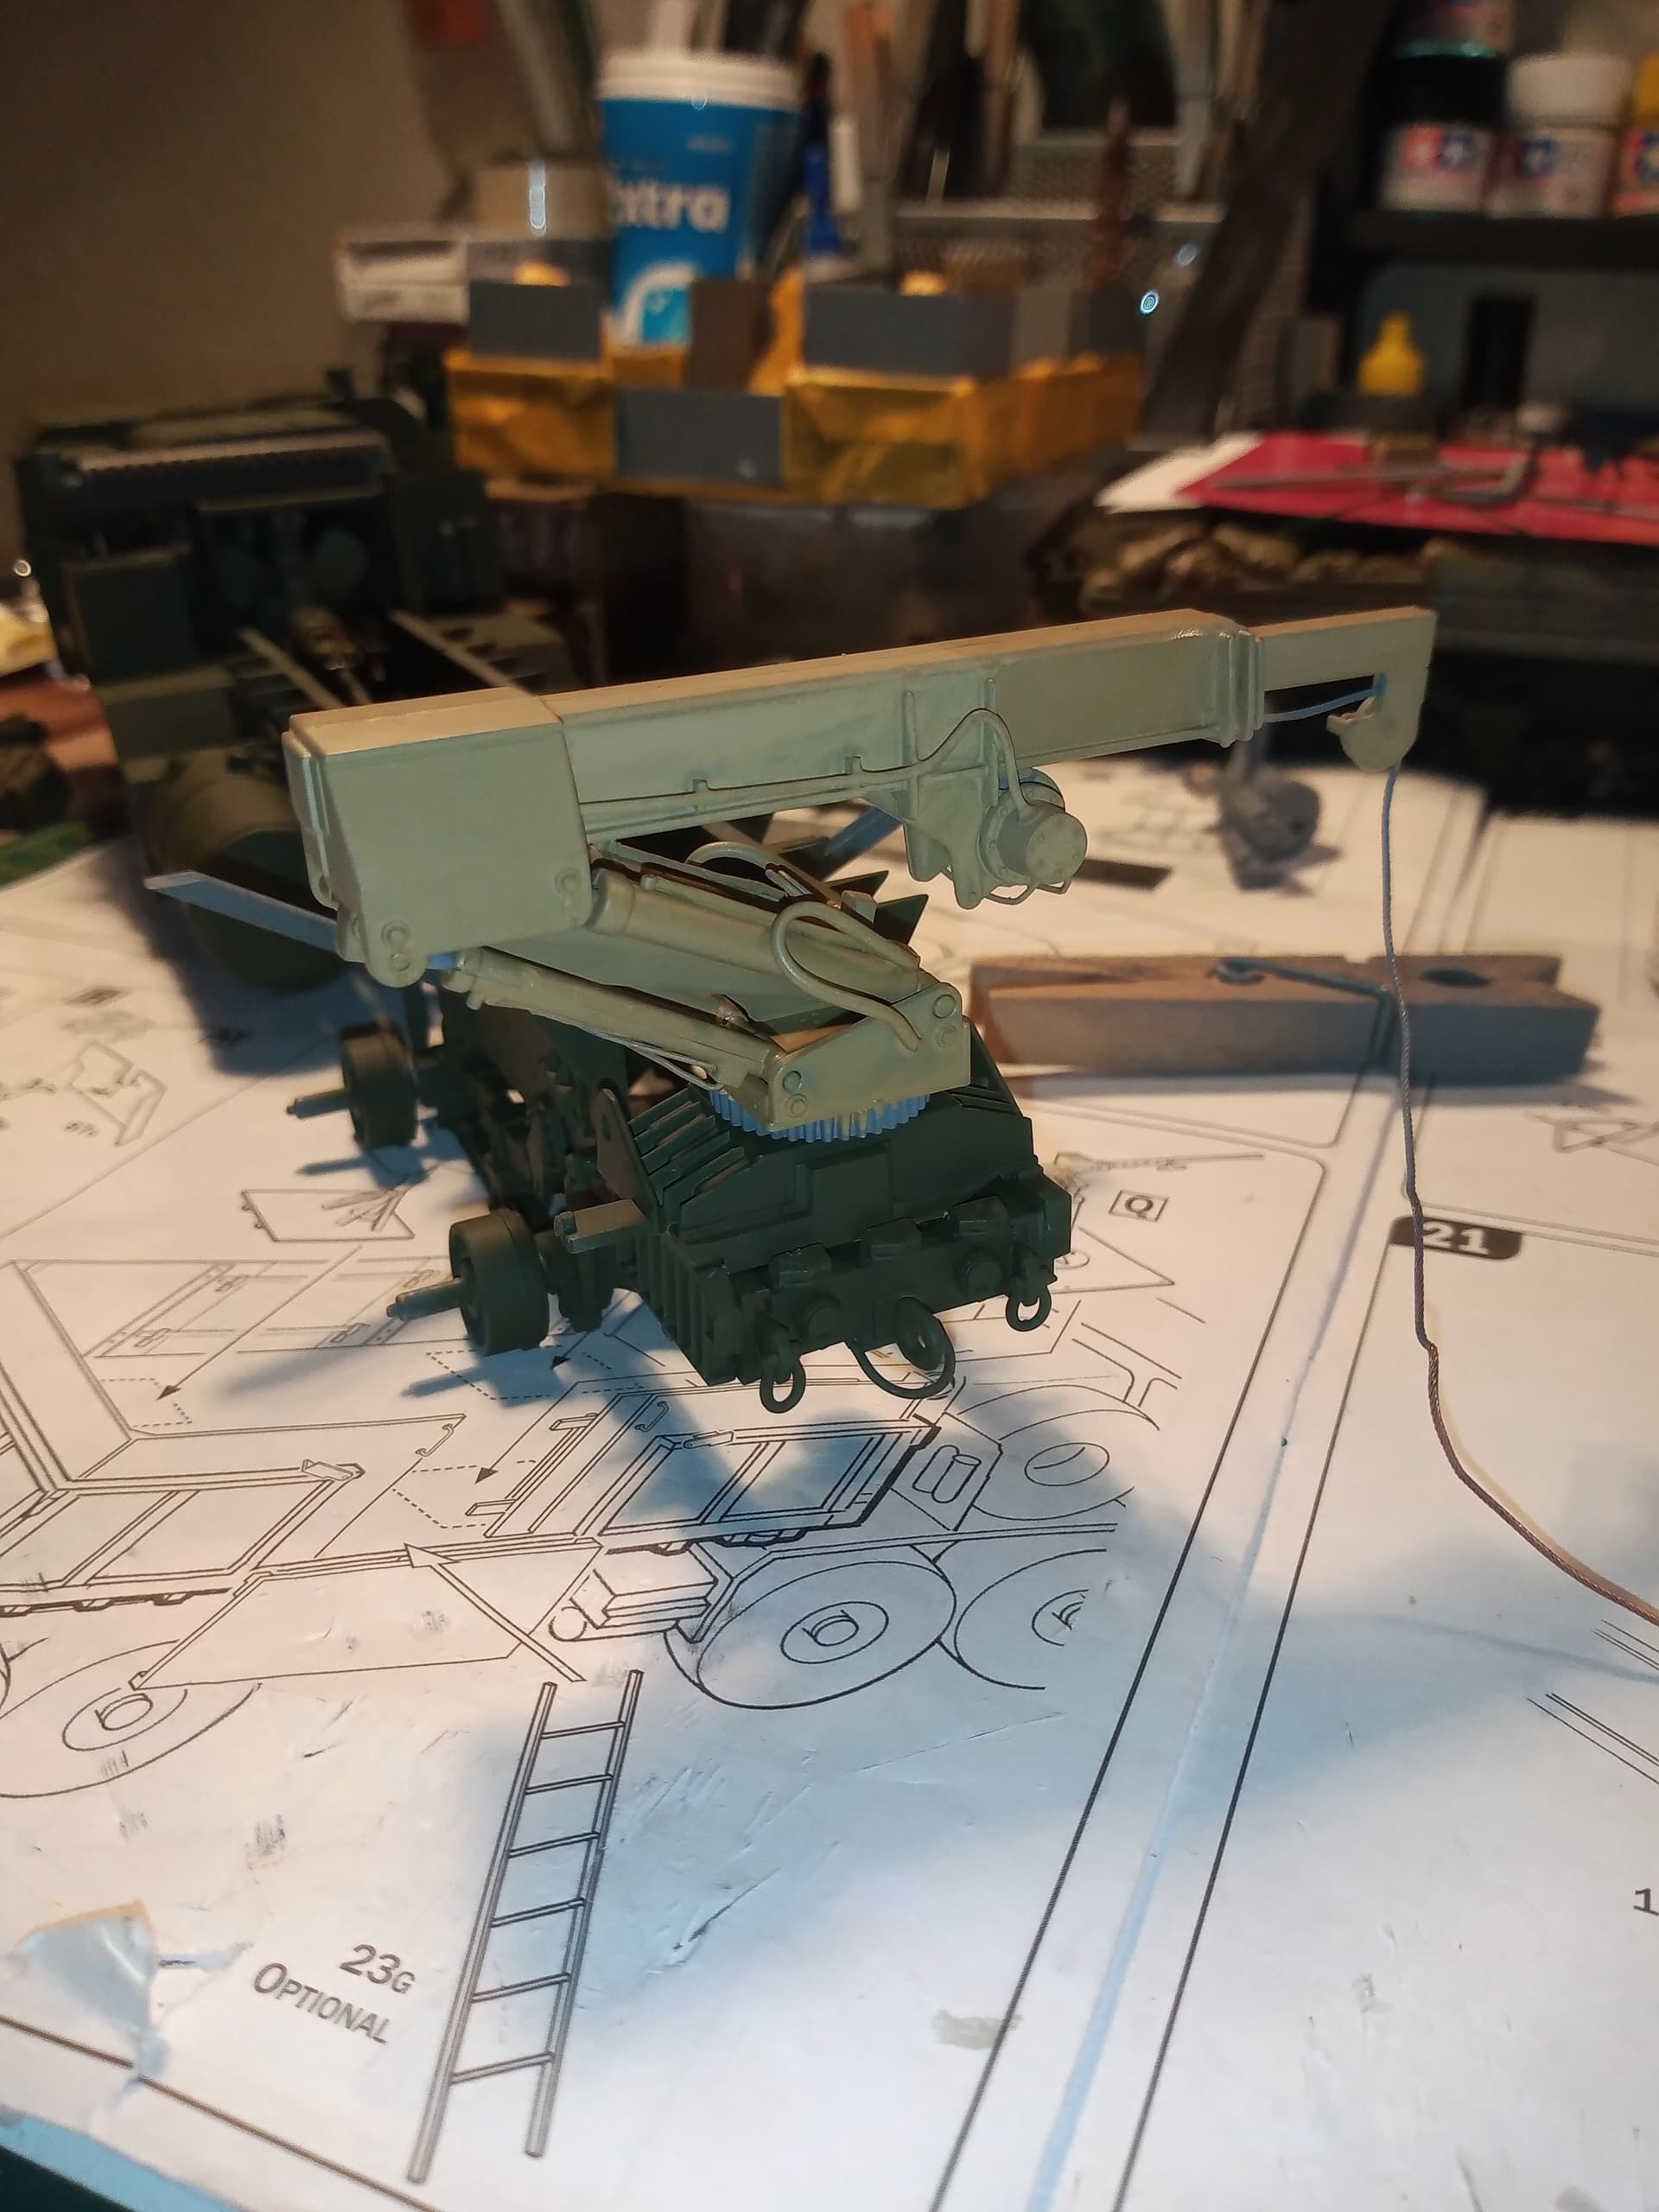
Almost there with the crane detailing now.
Have added the 2 support mounts to the lines on each side of the main boom.
Also the 2 smaller lines under the cable drum.
Also did all the lines on the large rams. Sliced off the 2 vertical kit lines and added those and then the 2 U shaped in the middle ( there should be 3 but it looks to chunky with my wire)
When I did the side lines on the large ram I had a bit of a brainwave as I needed them to be flexible so it all moves still. I used cut lengths of the tube cable you get on the Tamiya 88mm kits, inside that I glued an L shaped cut piece of .71mm wire, then glued that into the hole. That gives a solid bond at both ends, but also allows for full movement in the rams ![]()
![]()
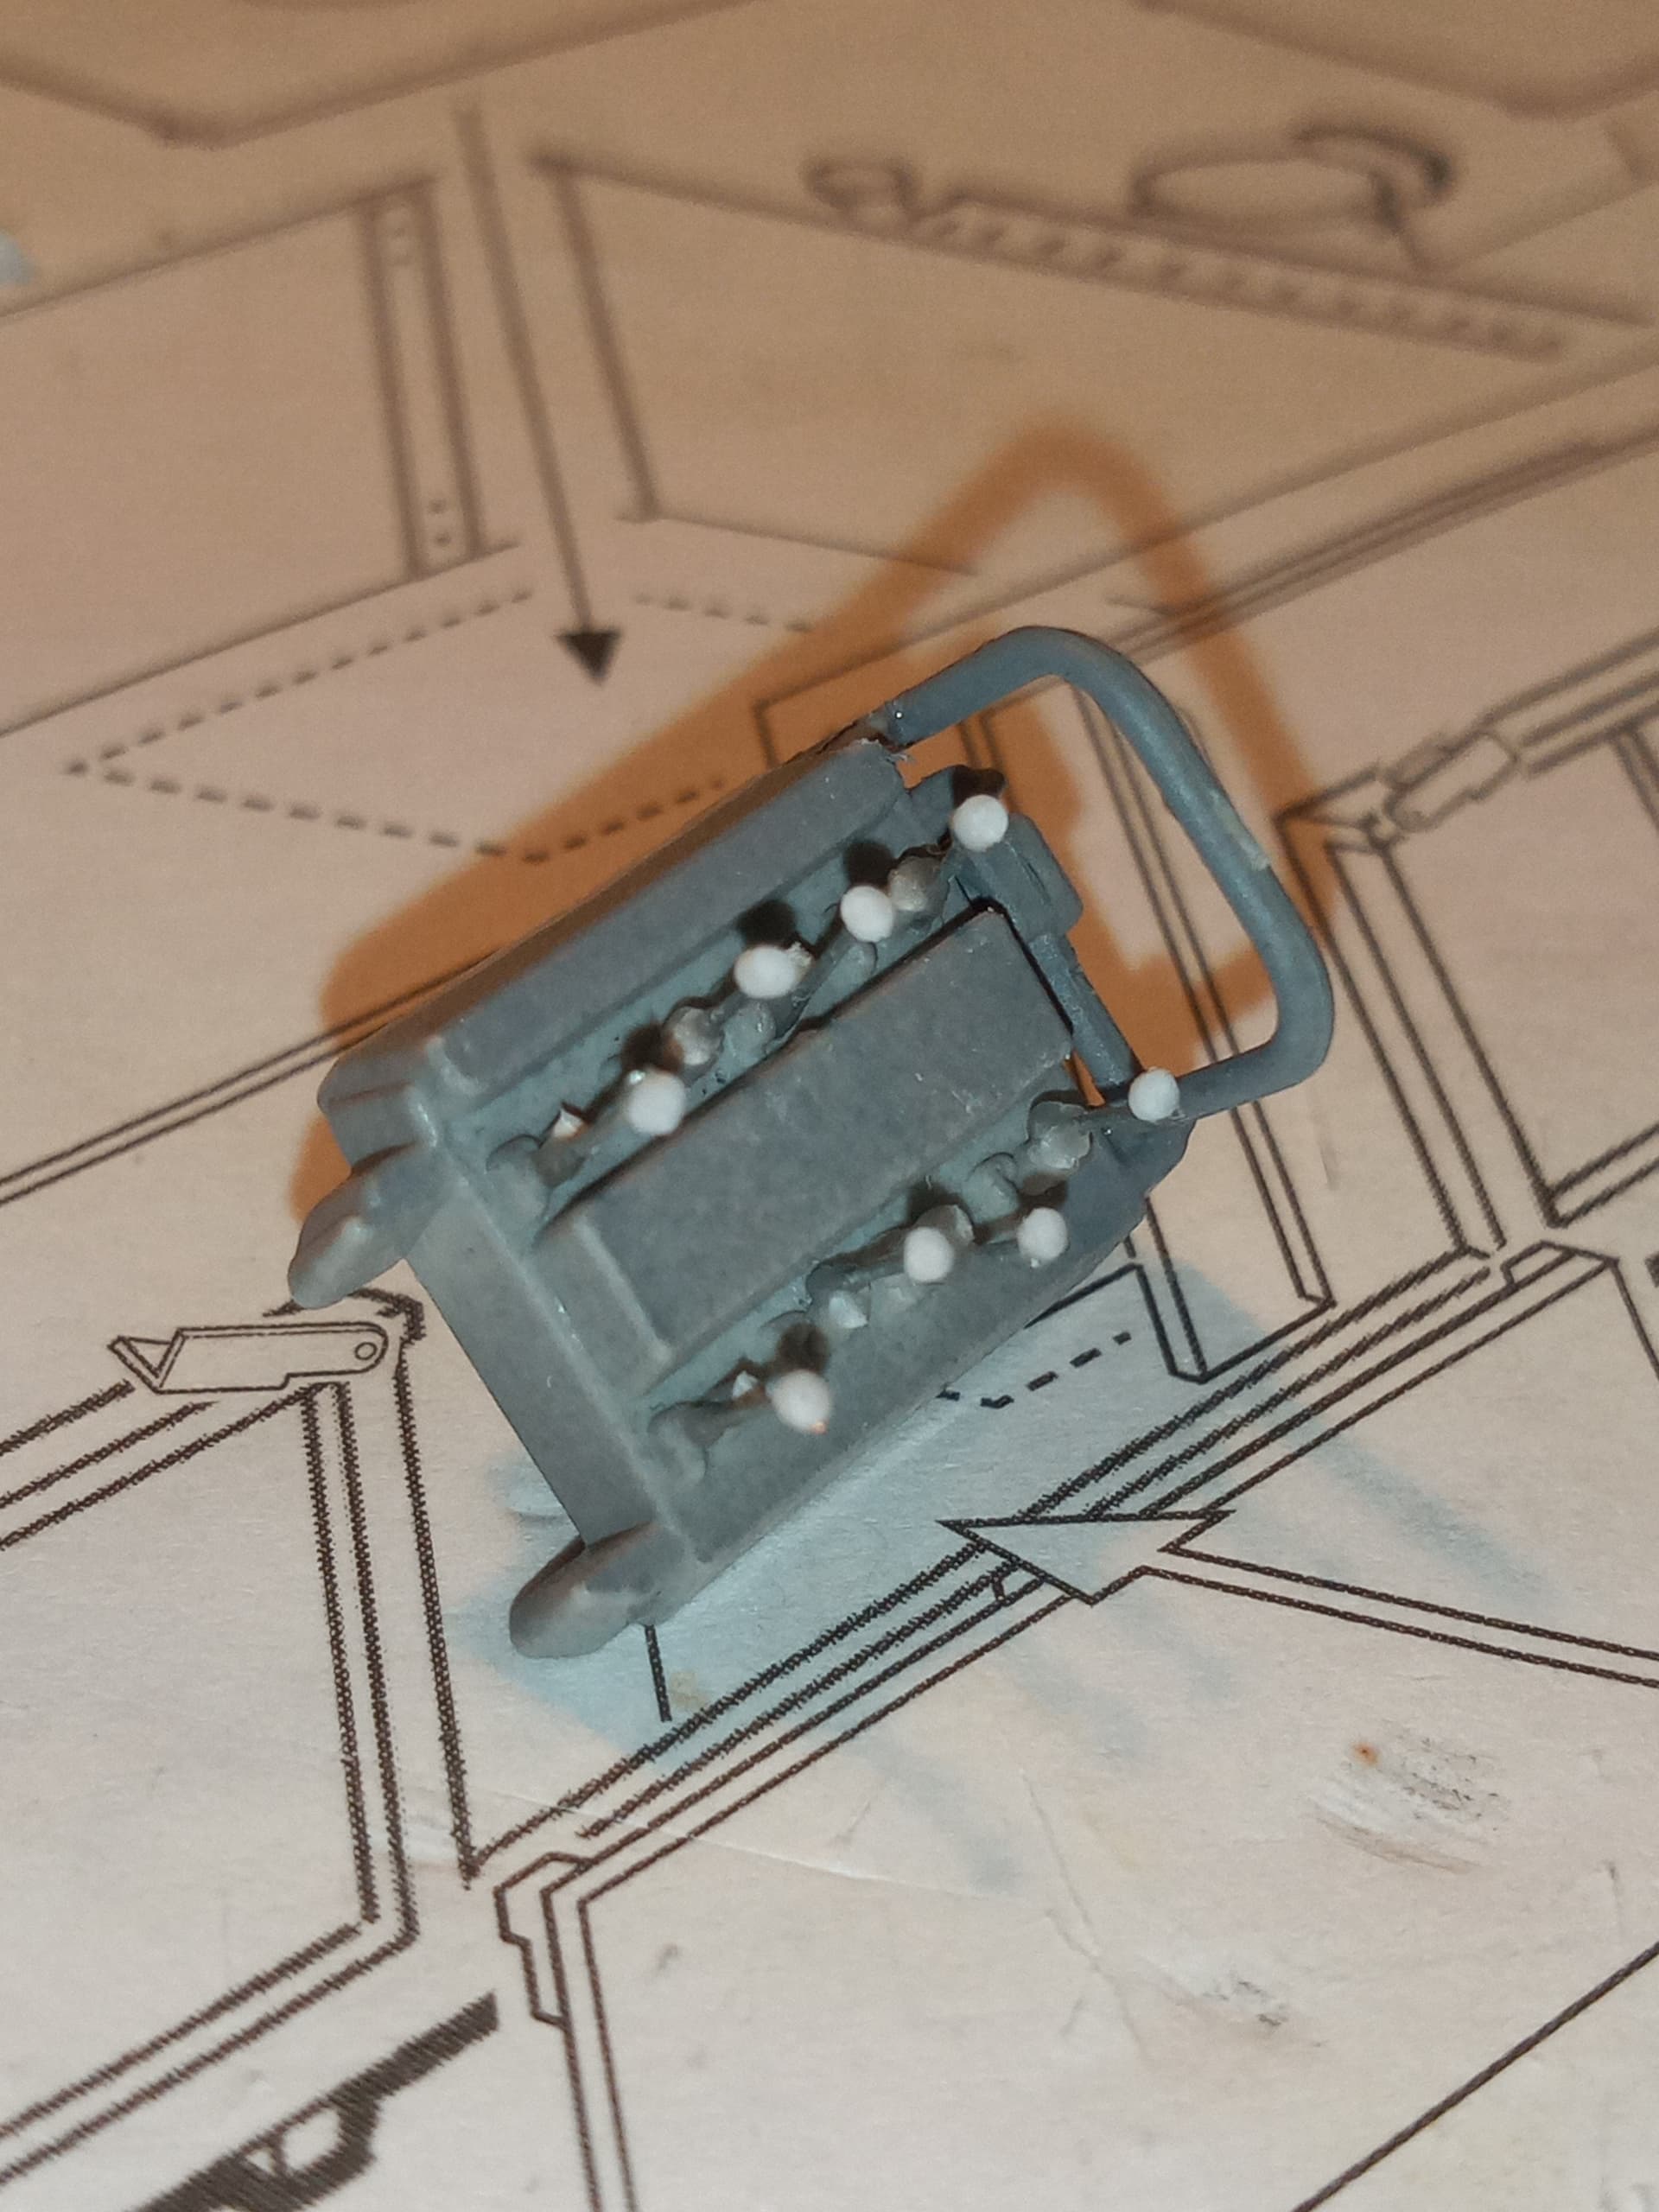
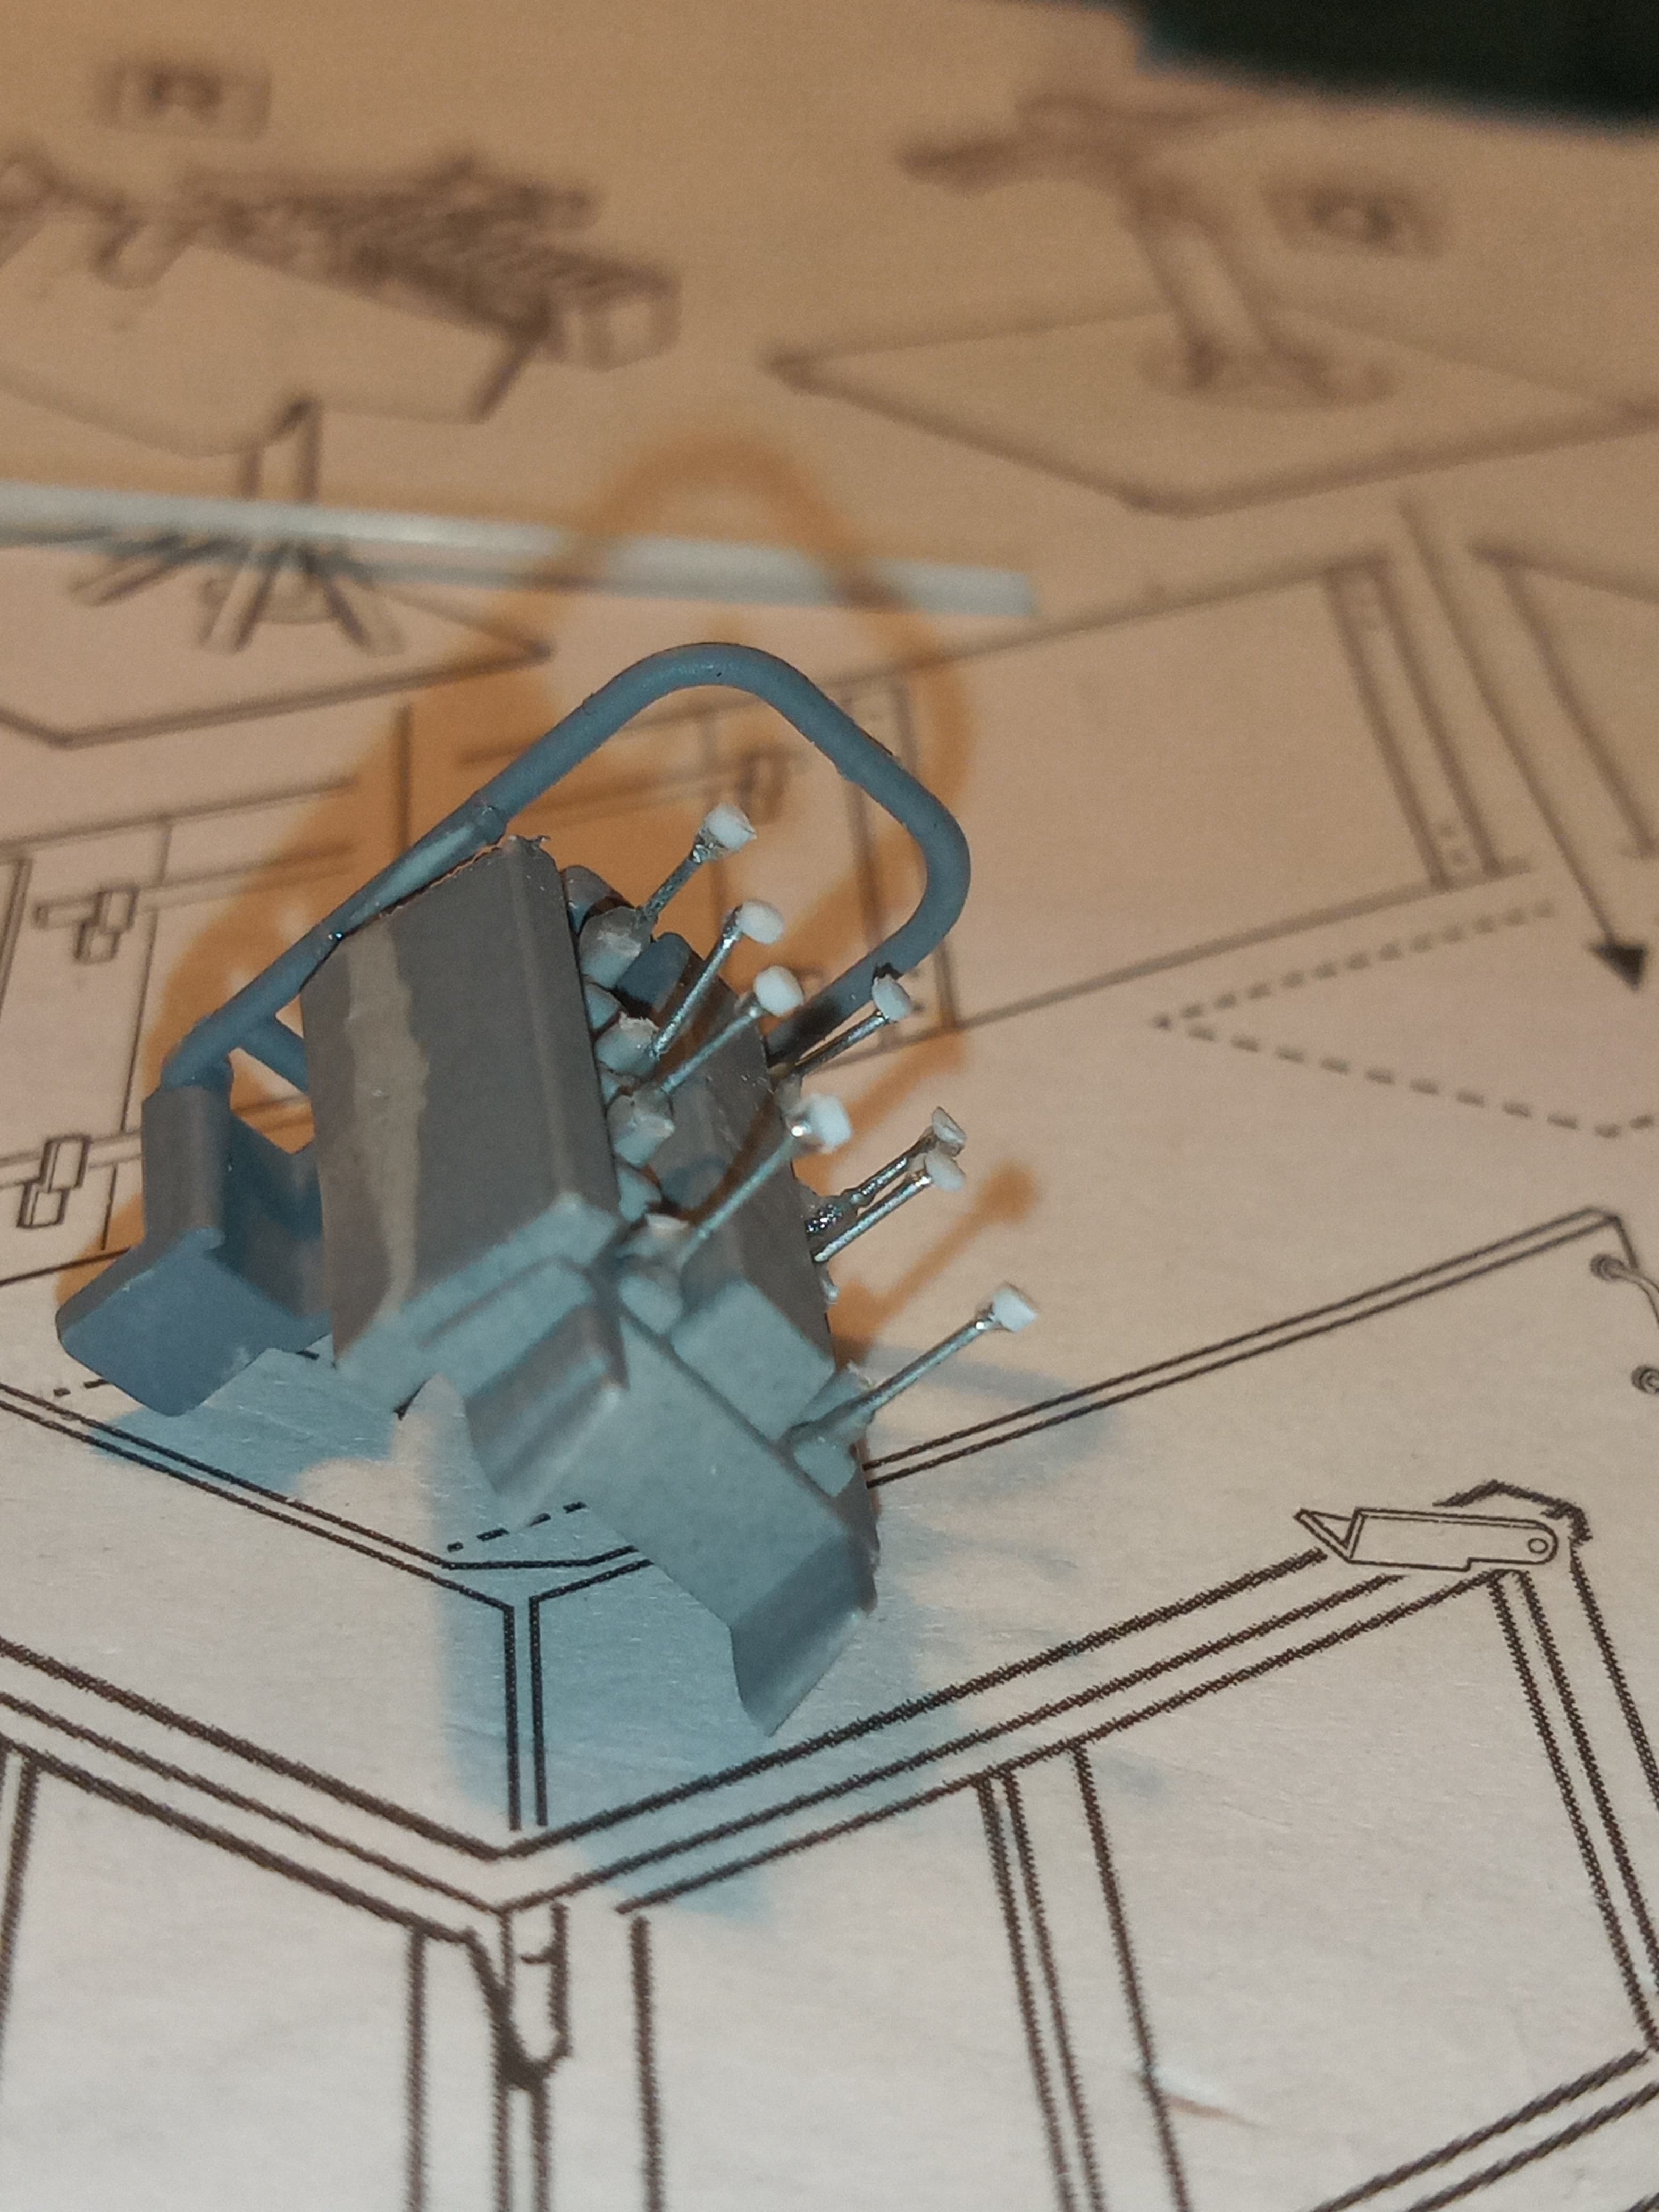
While I was thinking of other things to do while I’m down the rabbit hole… I thought of adding some detail to the crane control box.
Thought the control levers would be best to bling up… So cut 4mm lengths of 0.31 wire for the levers, superglue gel to hold them in place, then .5mm slithers of rod to act as the lever knobs on the end.
I quite like that bit of detailing, very small part of it, but gives it a better look. I may add some basic wiring to it as well…keep smiling troops ![]()
Dressmaking straight pins are great for replacement levers with flattened not spheical knobs.
I did attempt that as a dry fit, but they looked just a bit over scale for this control box… So had to go with this method of making my eyes bleed and ageing 5 years lol
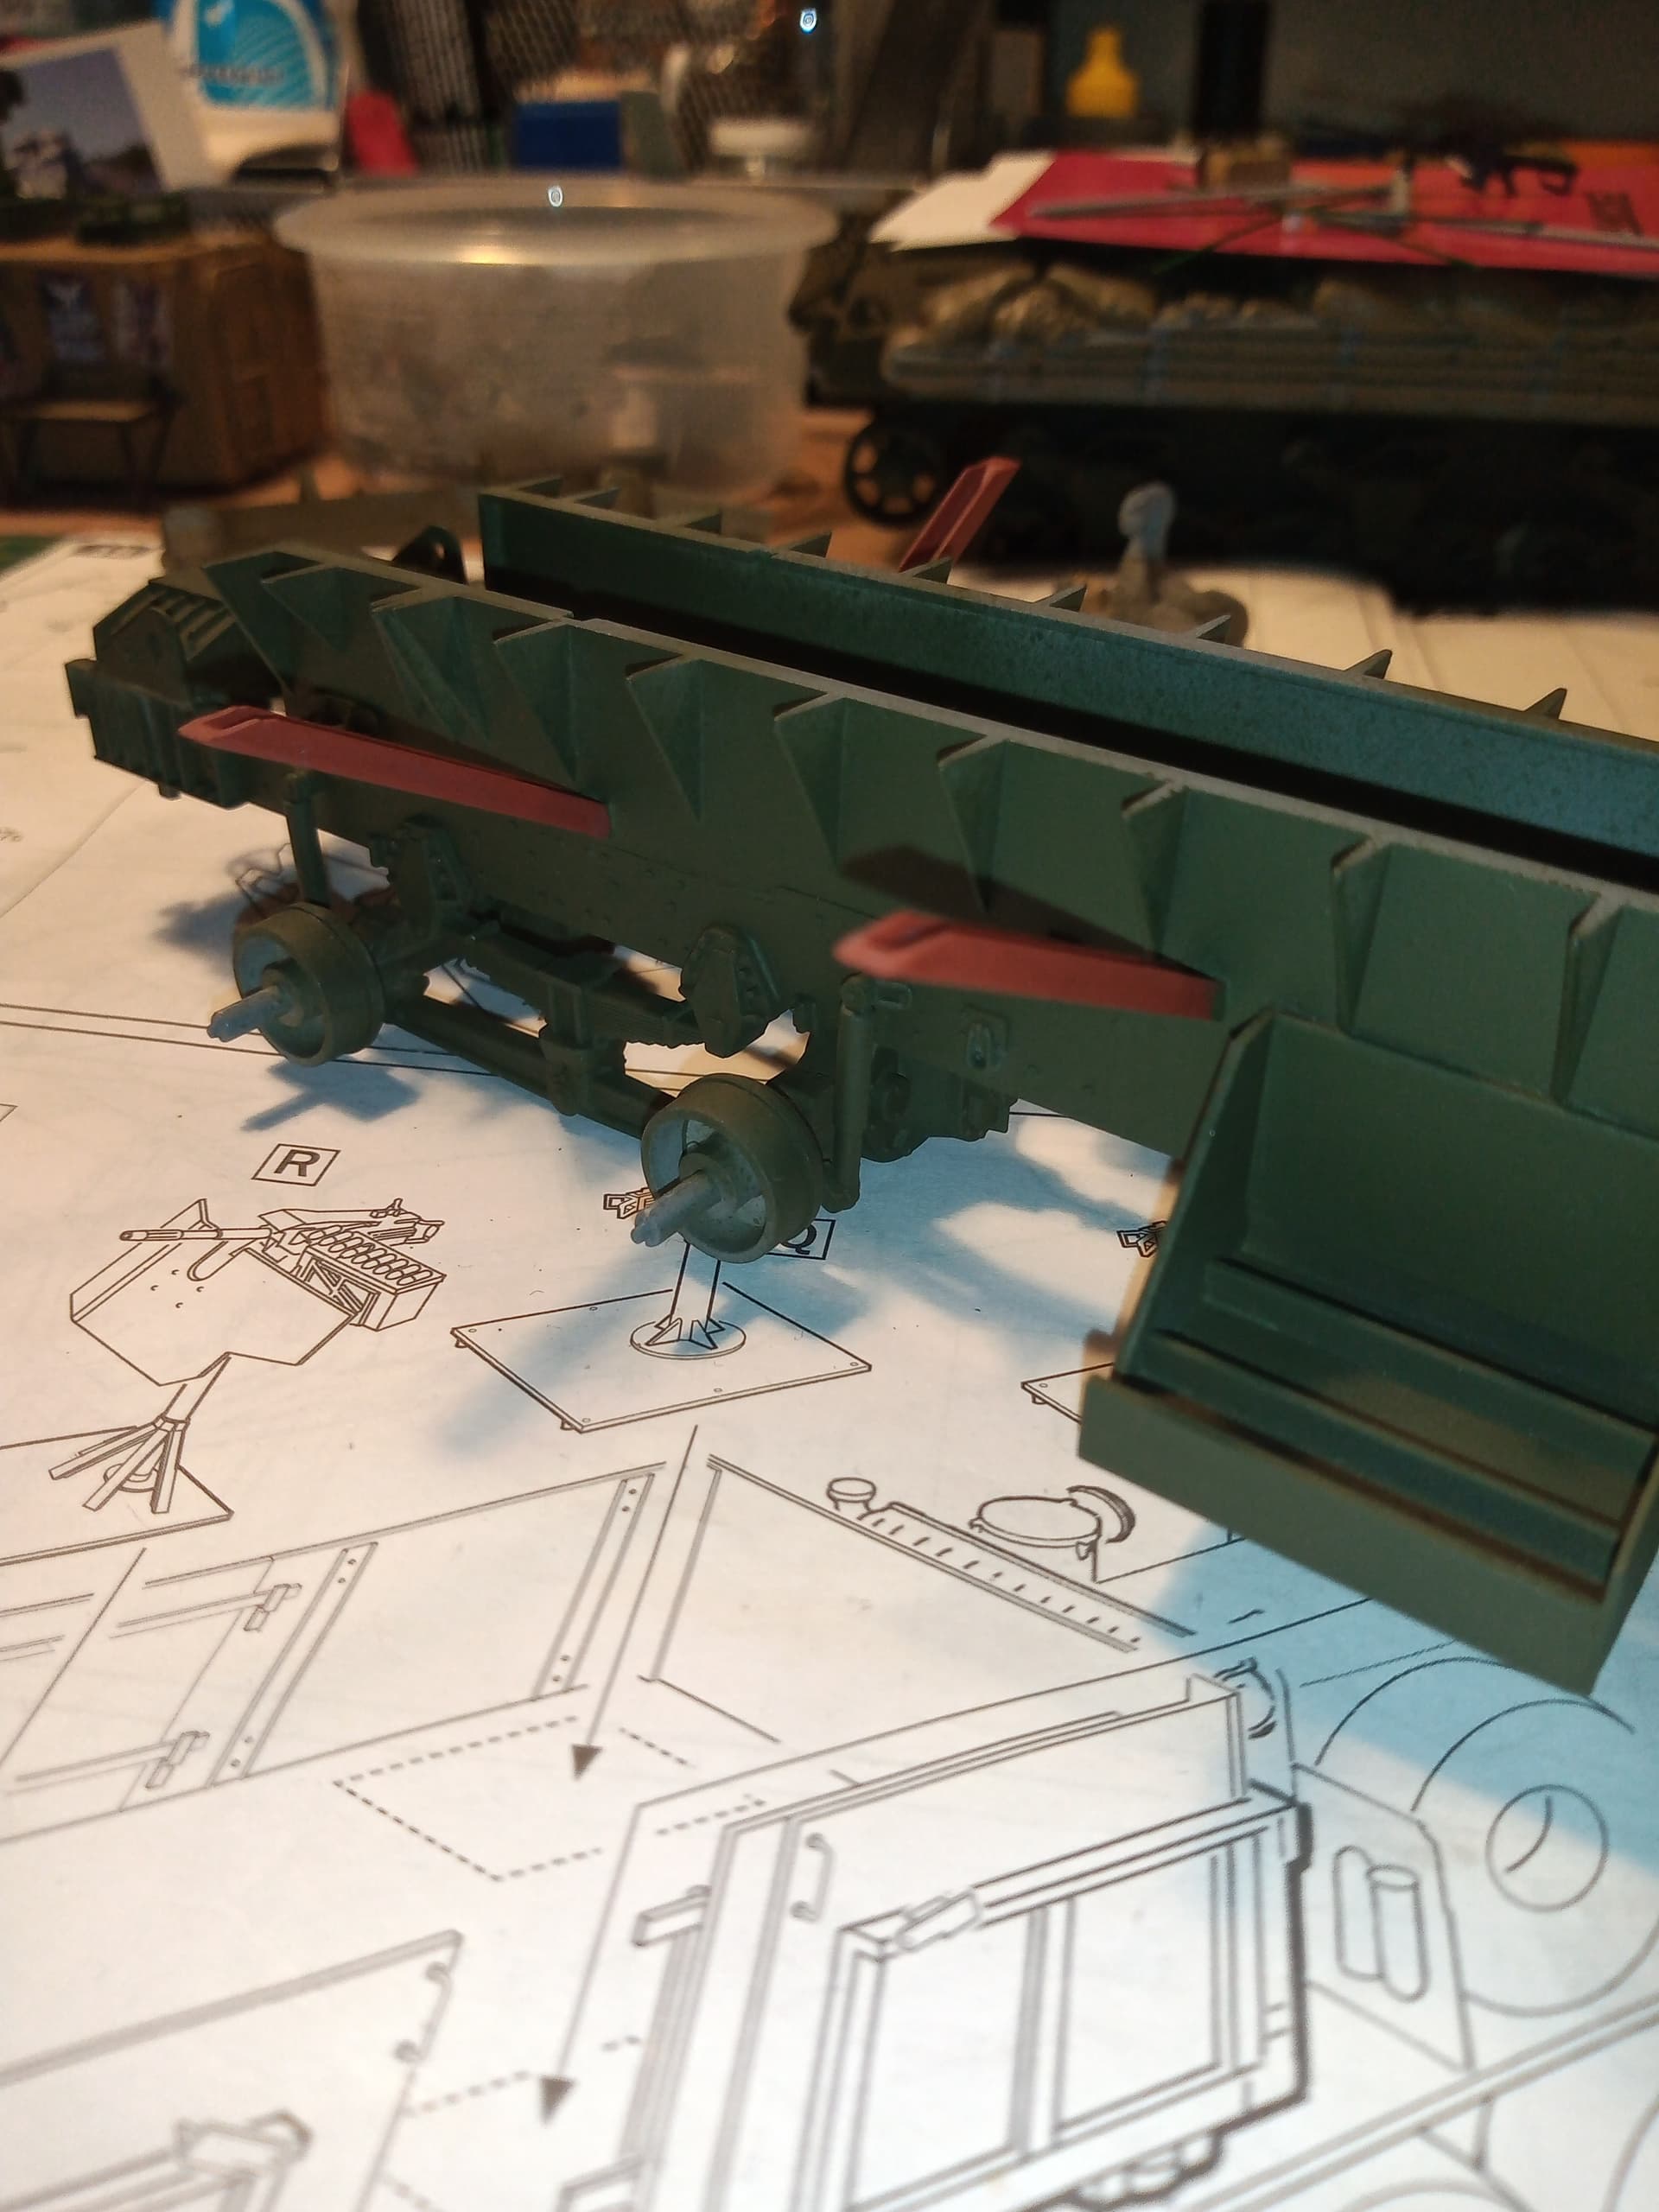
Started the base coat on the crane.
Needs another light coat and should be ok then. Can then start the detail painting on it
Looking good John. the hose work makes a big difference.
Thanks Peter and I agree, something as simple as a few hoses totally changes the look
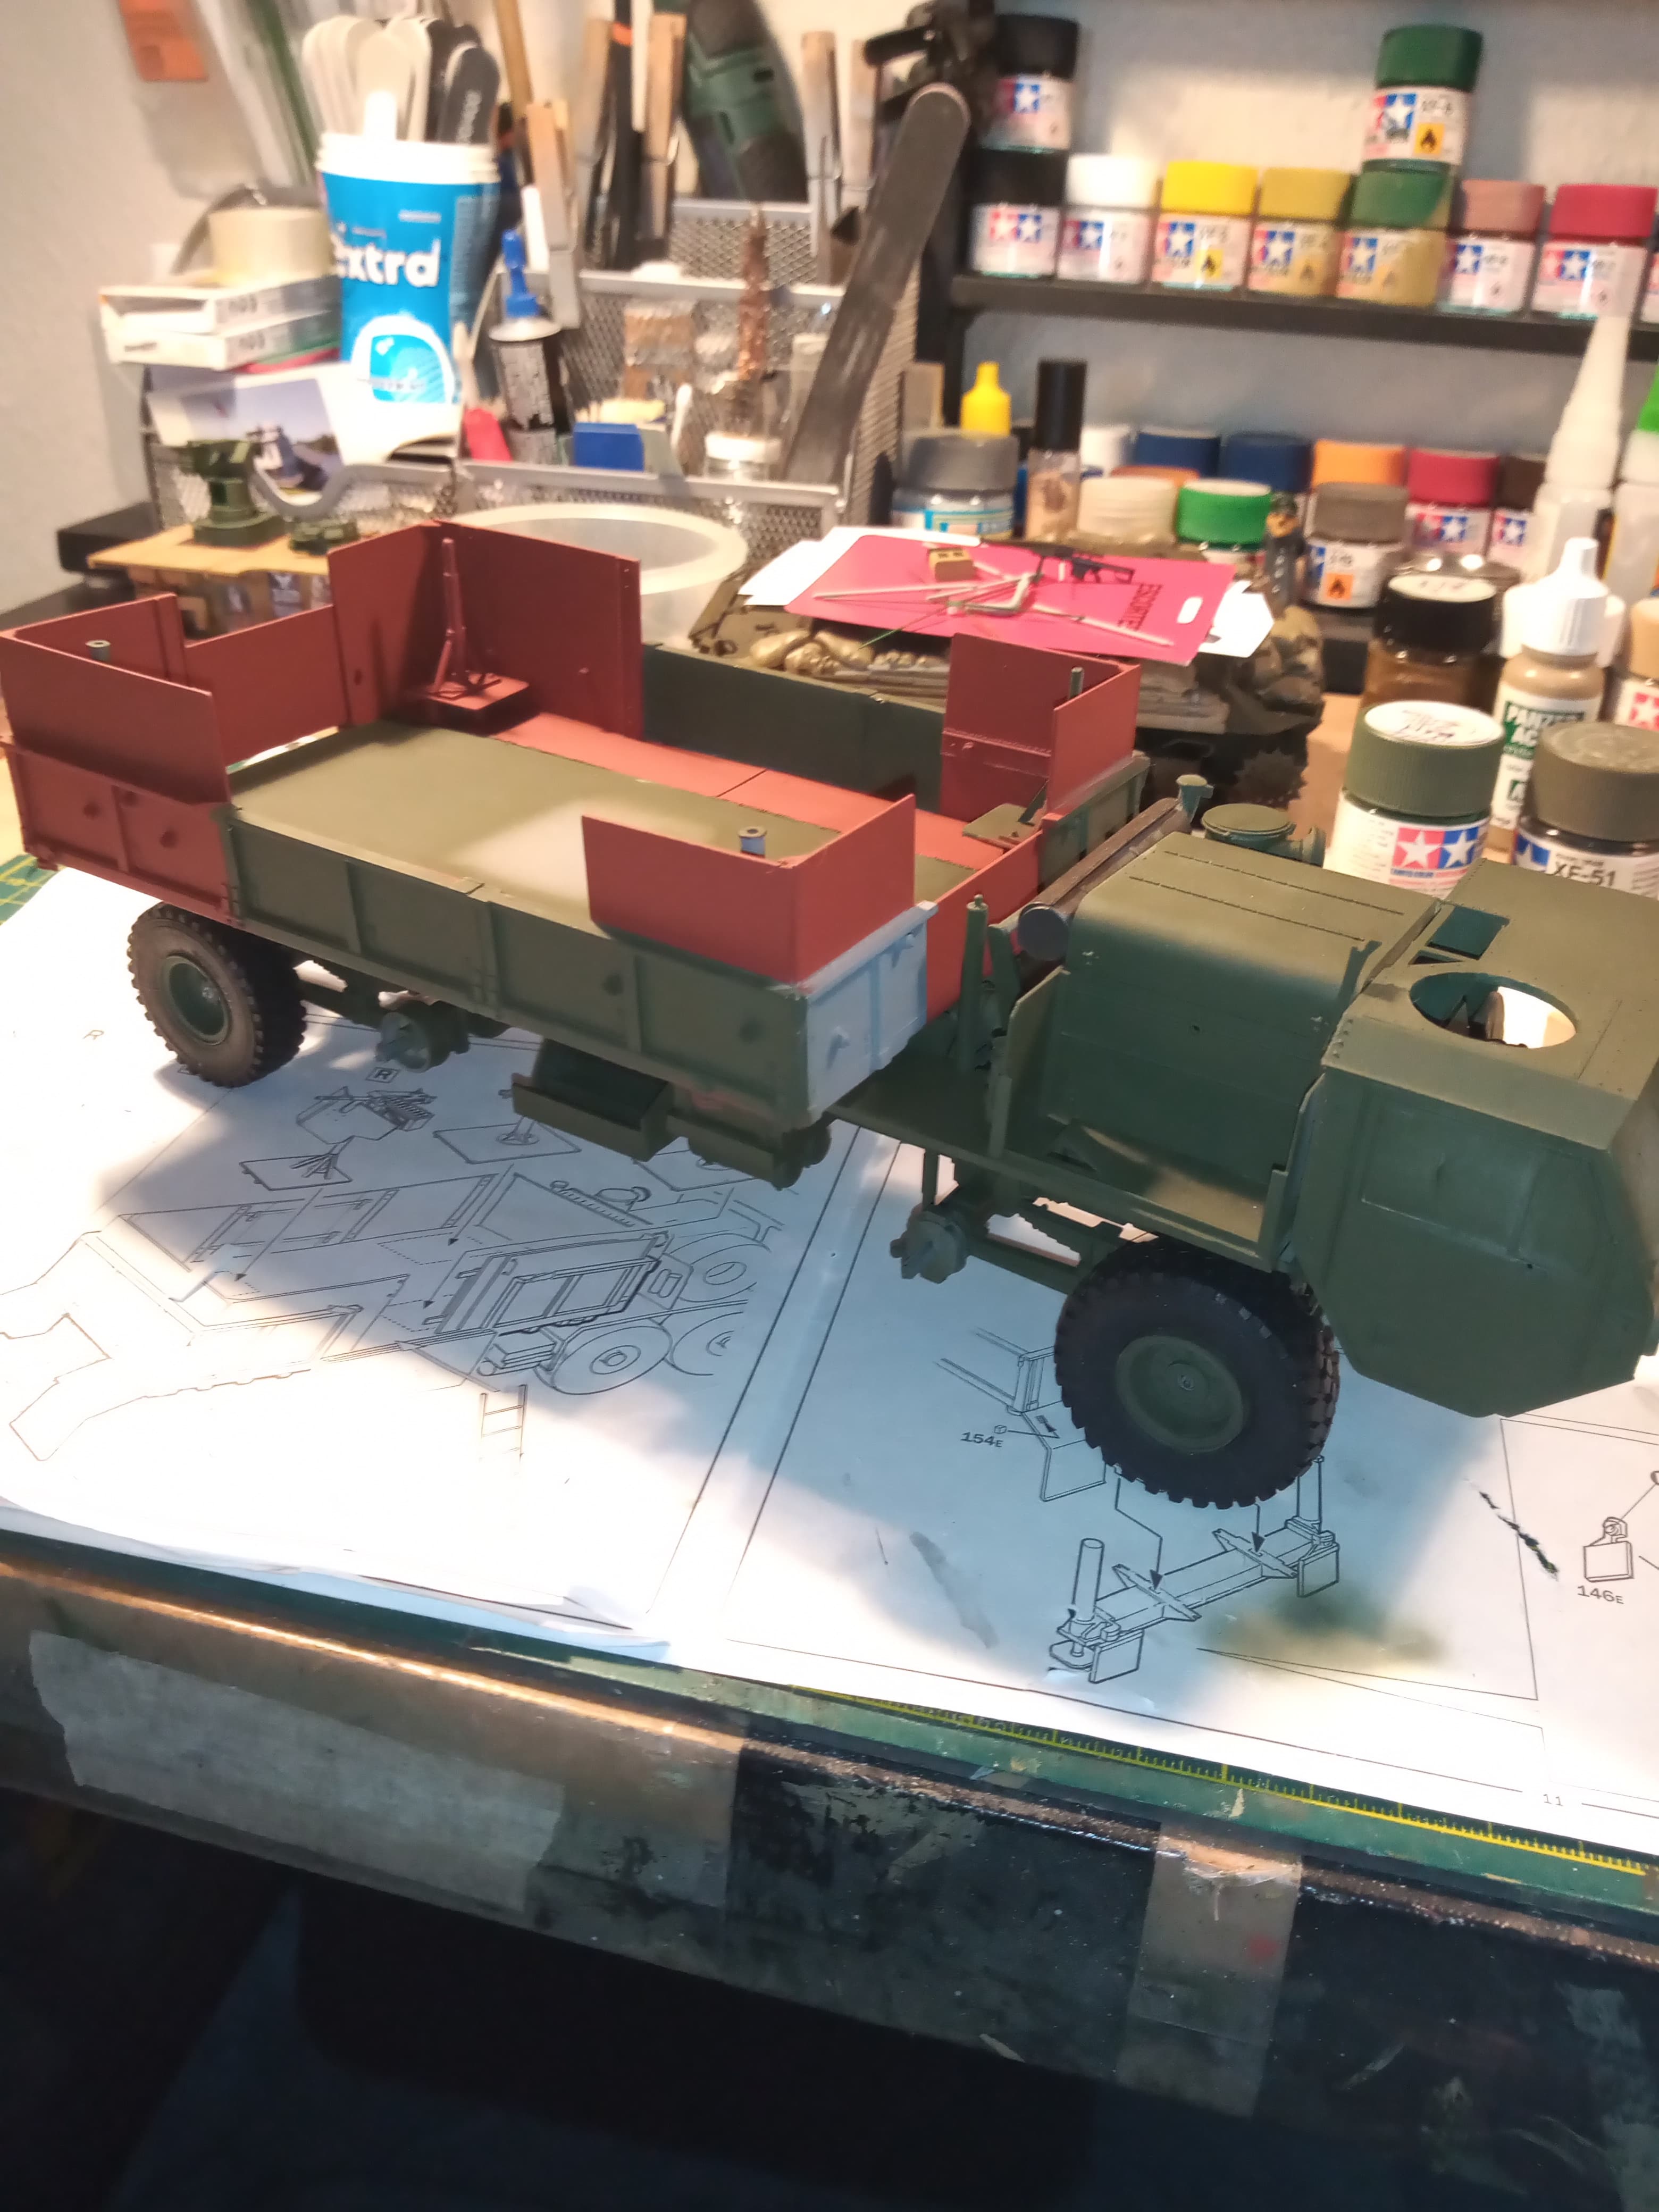
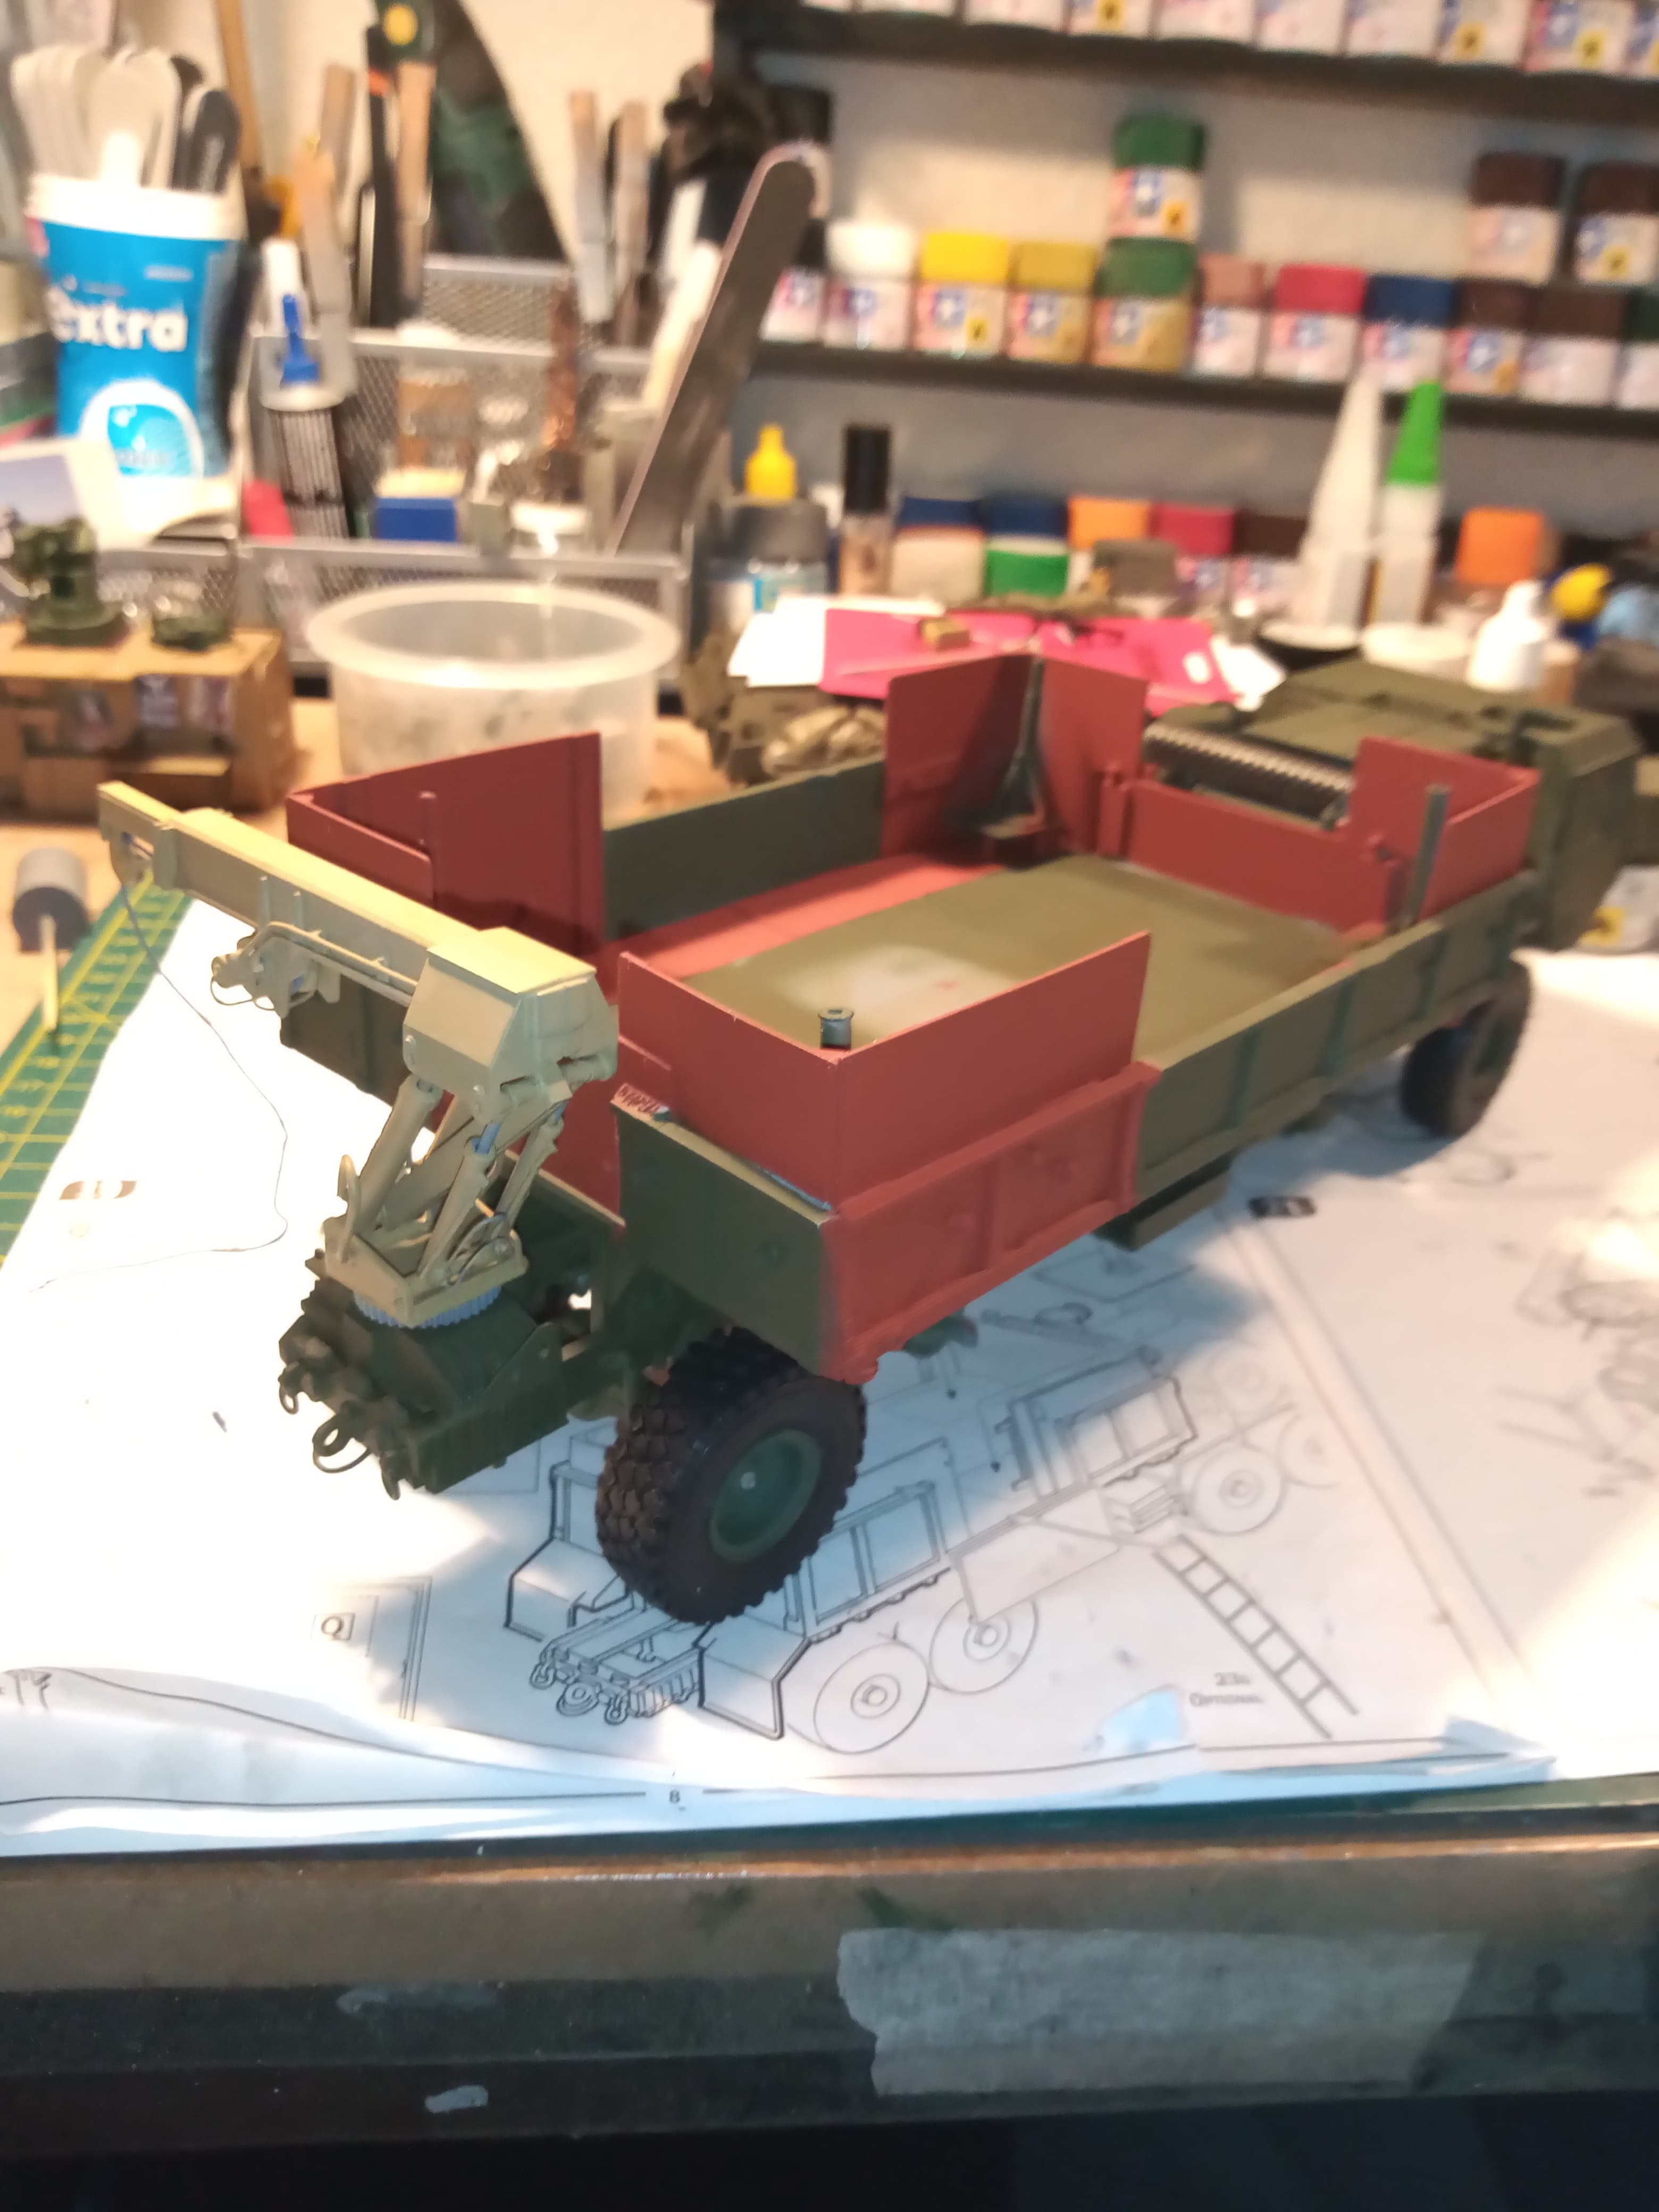
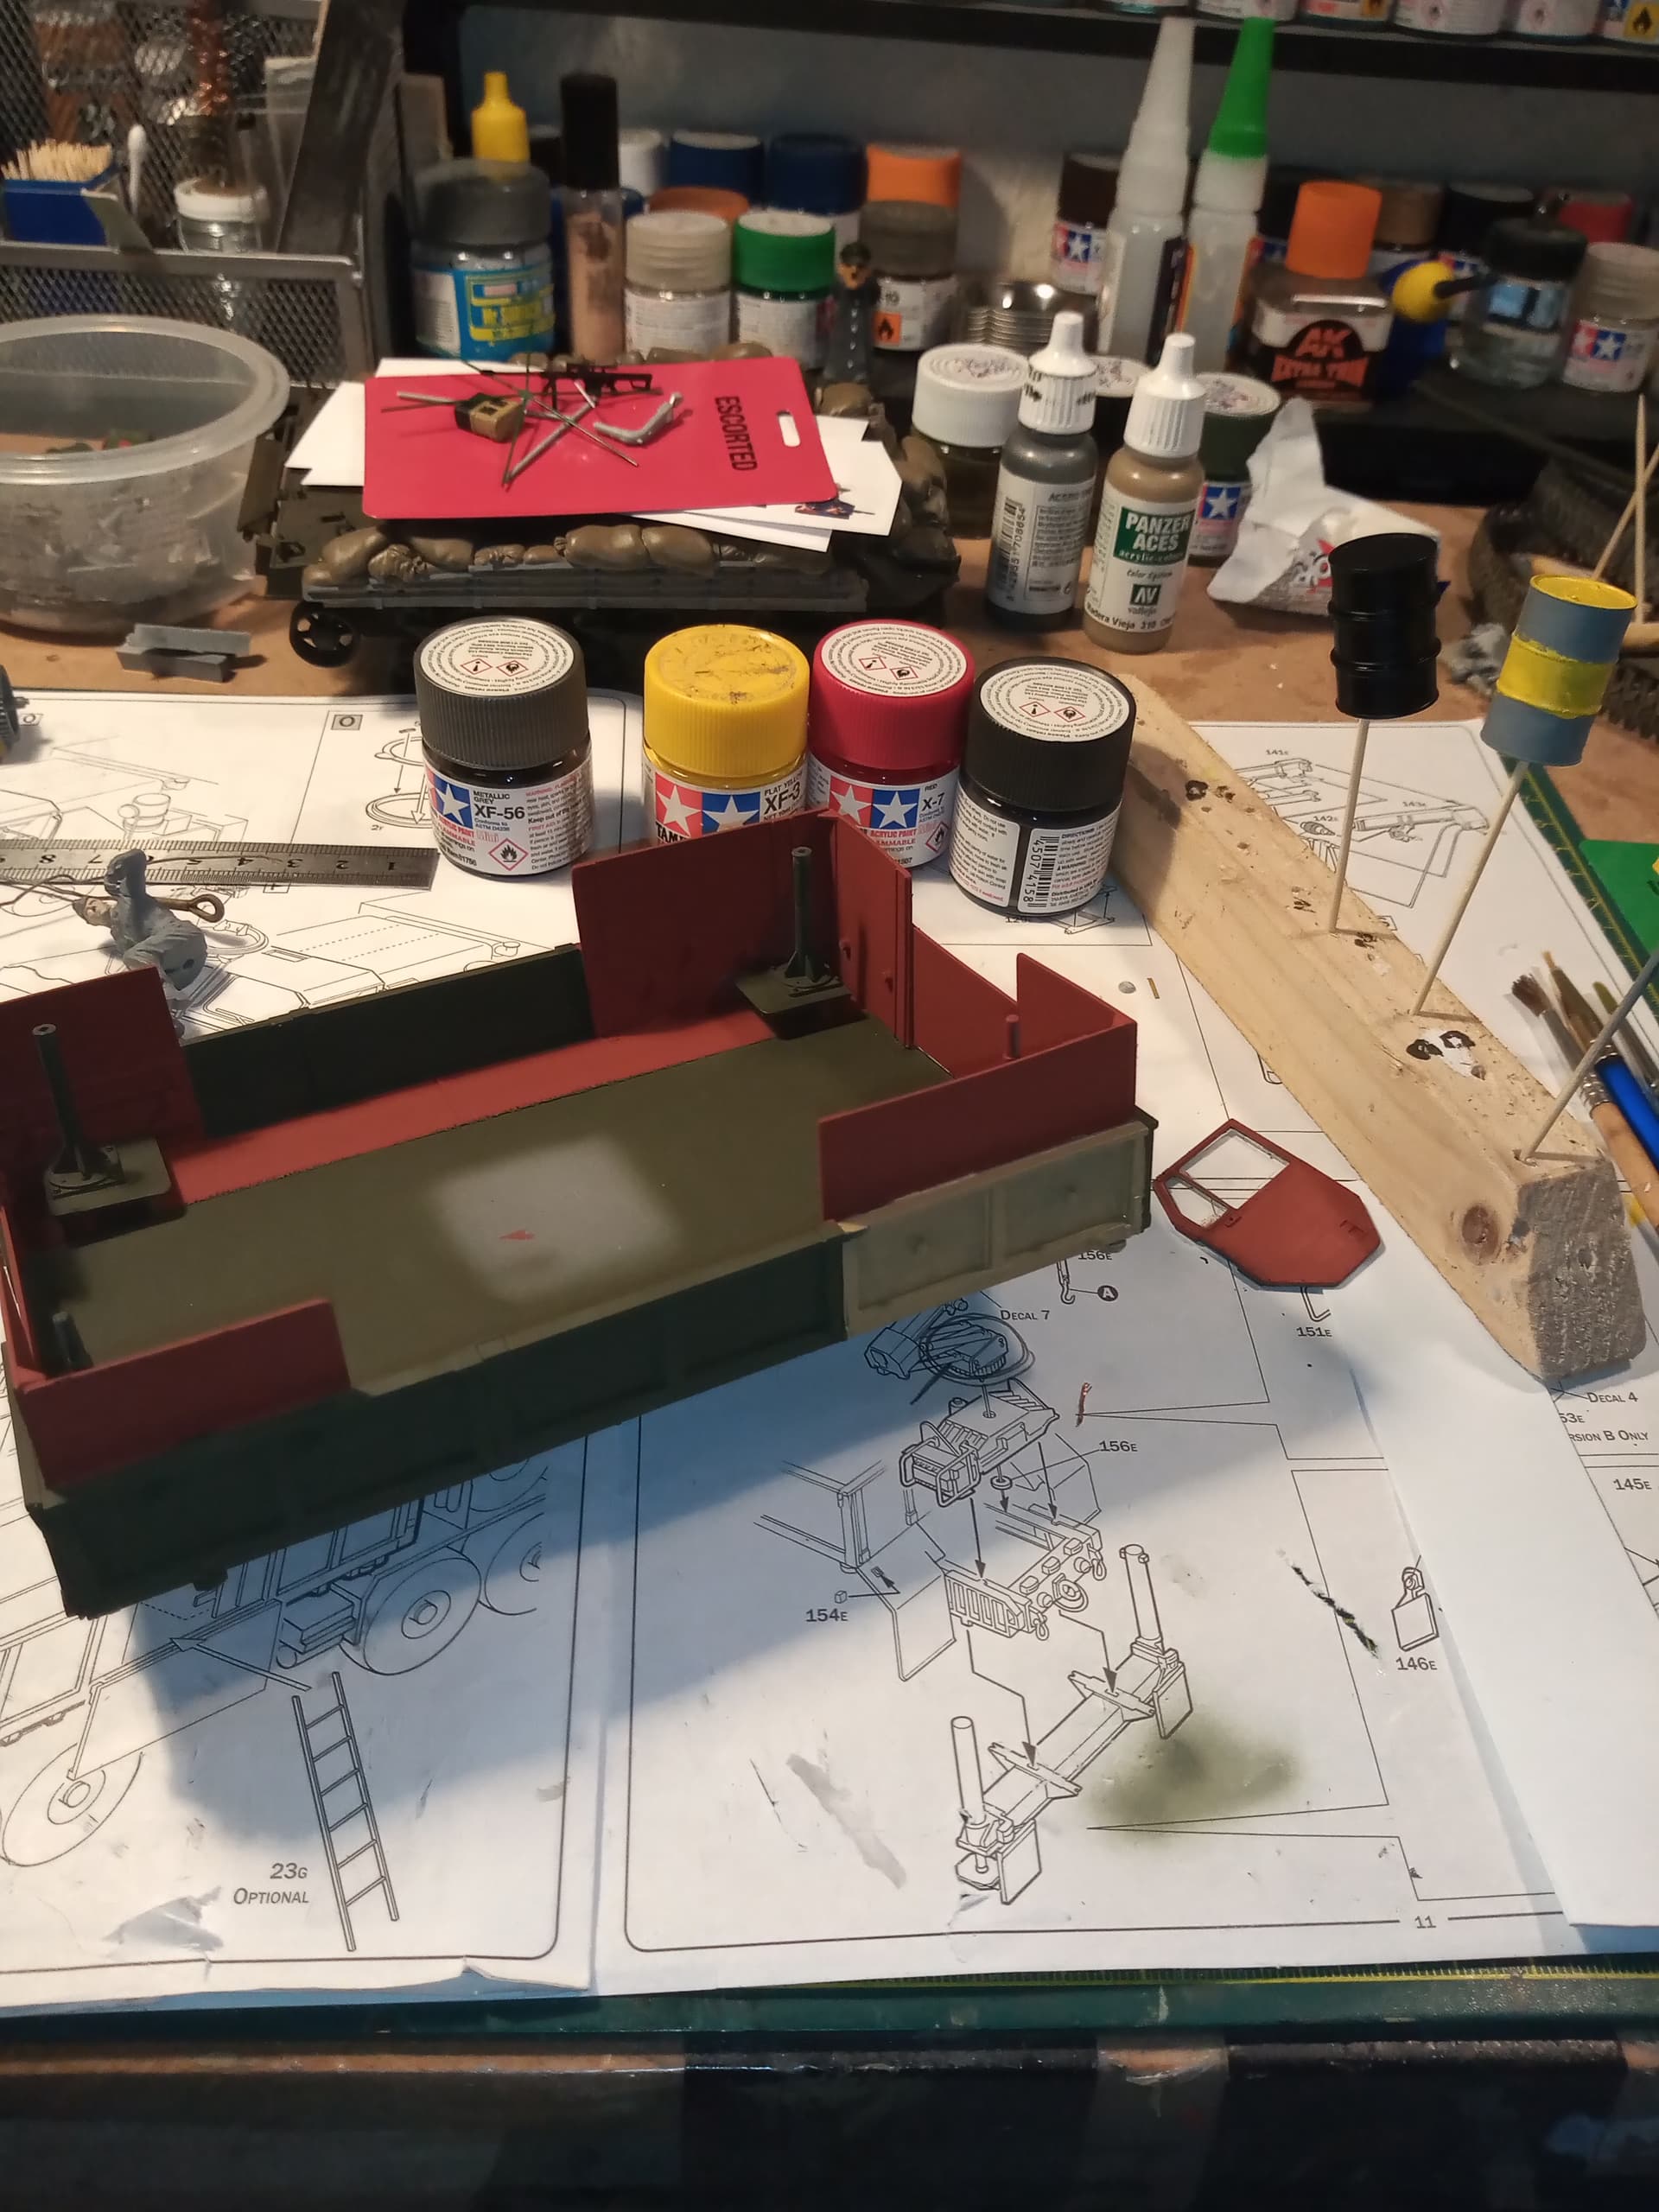
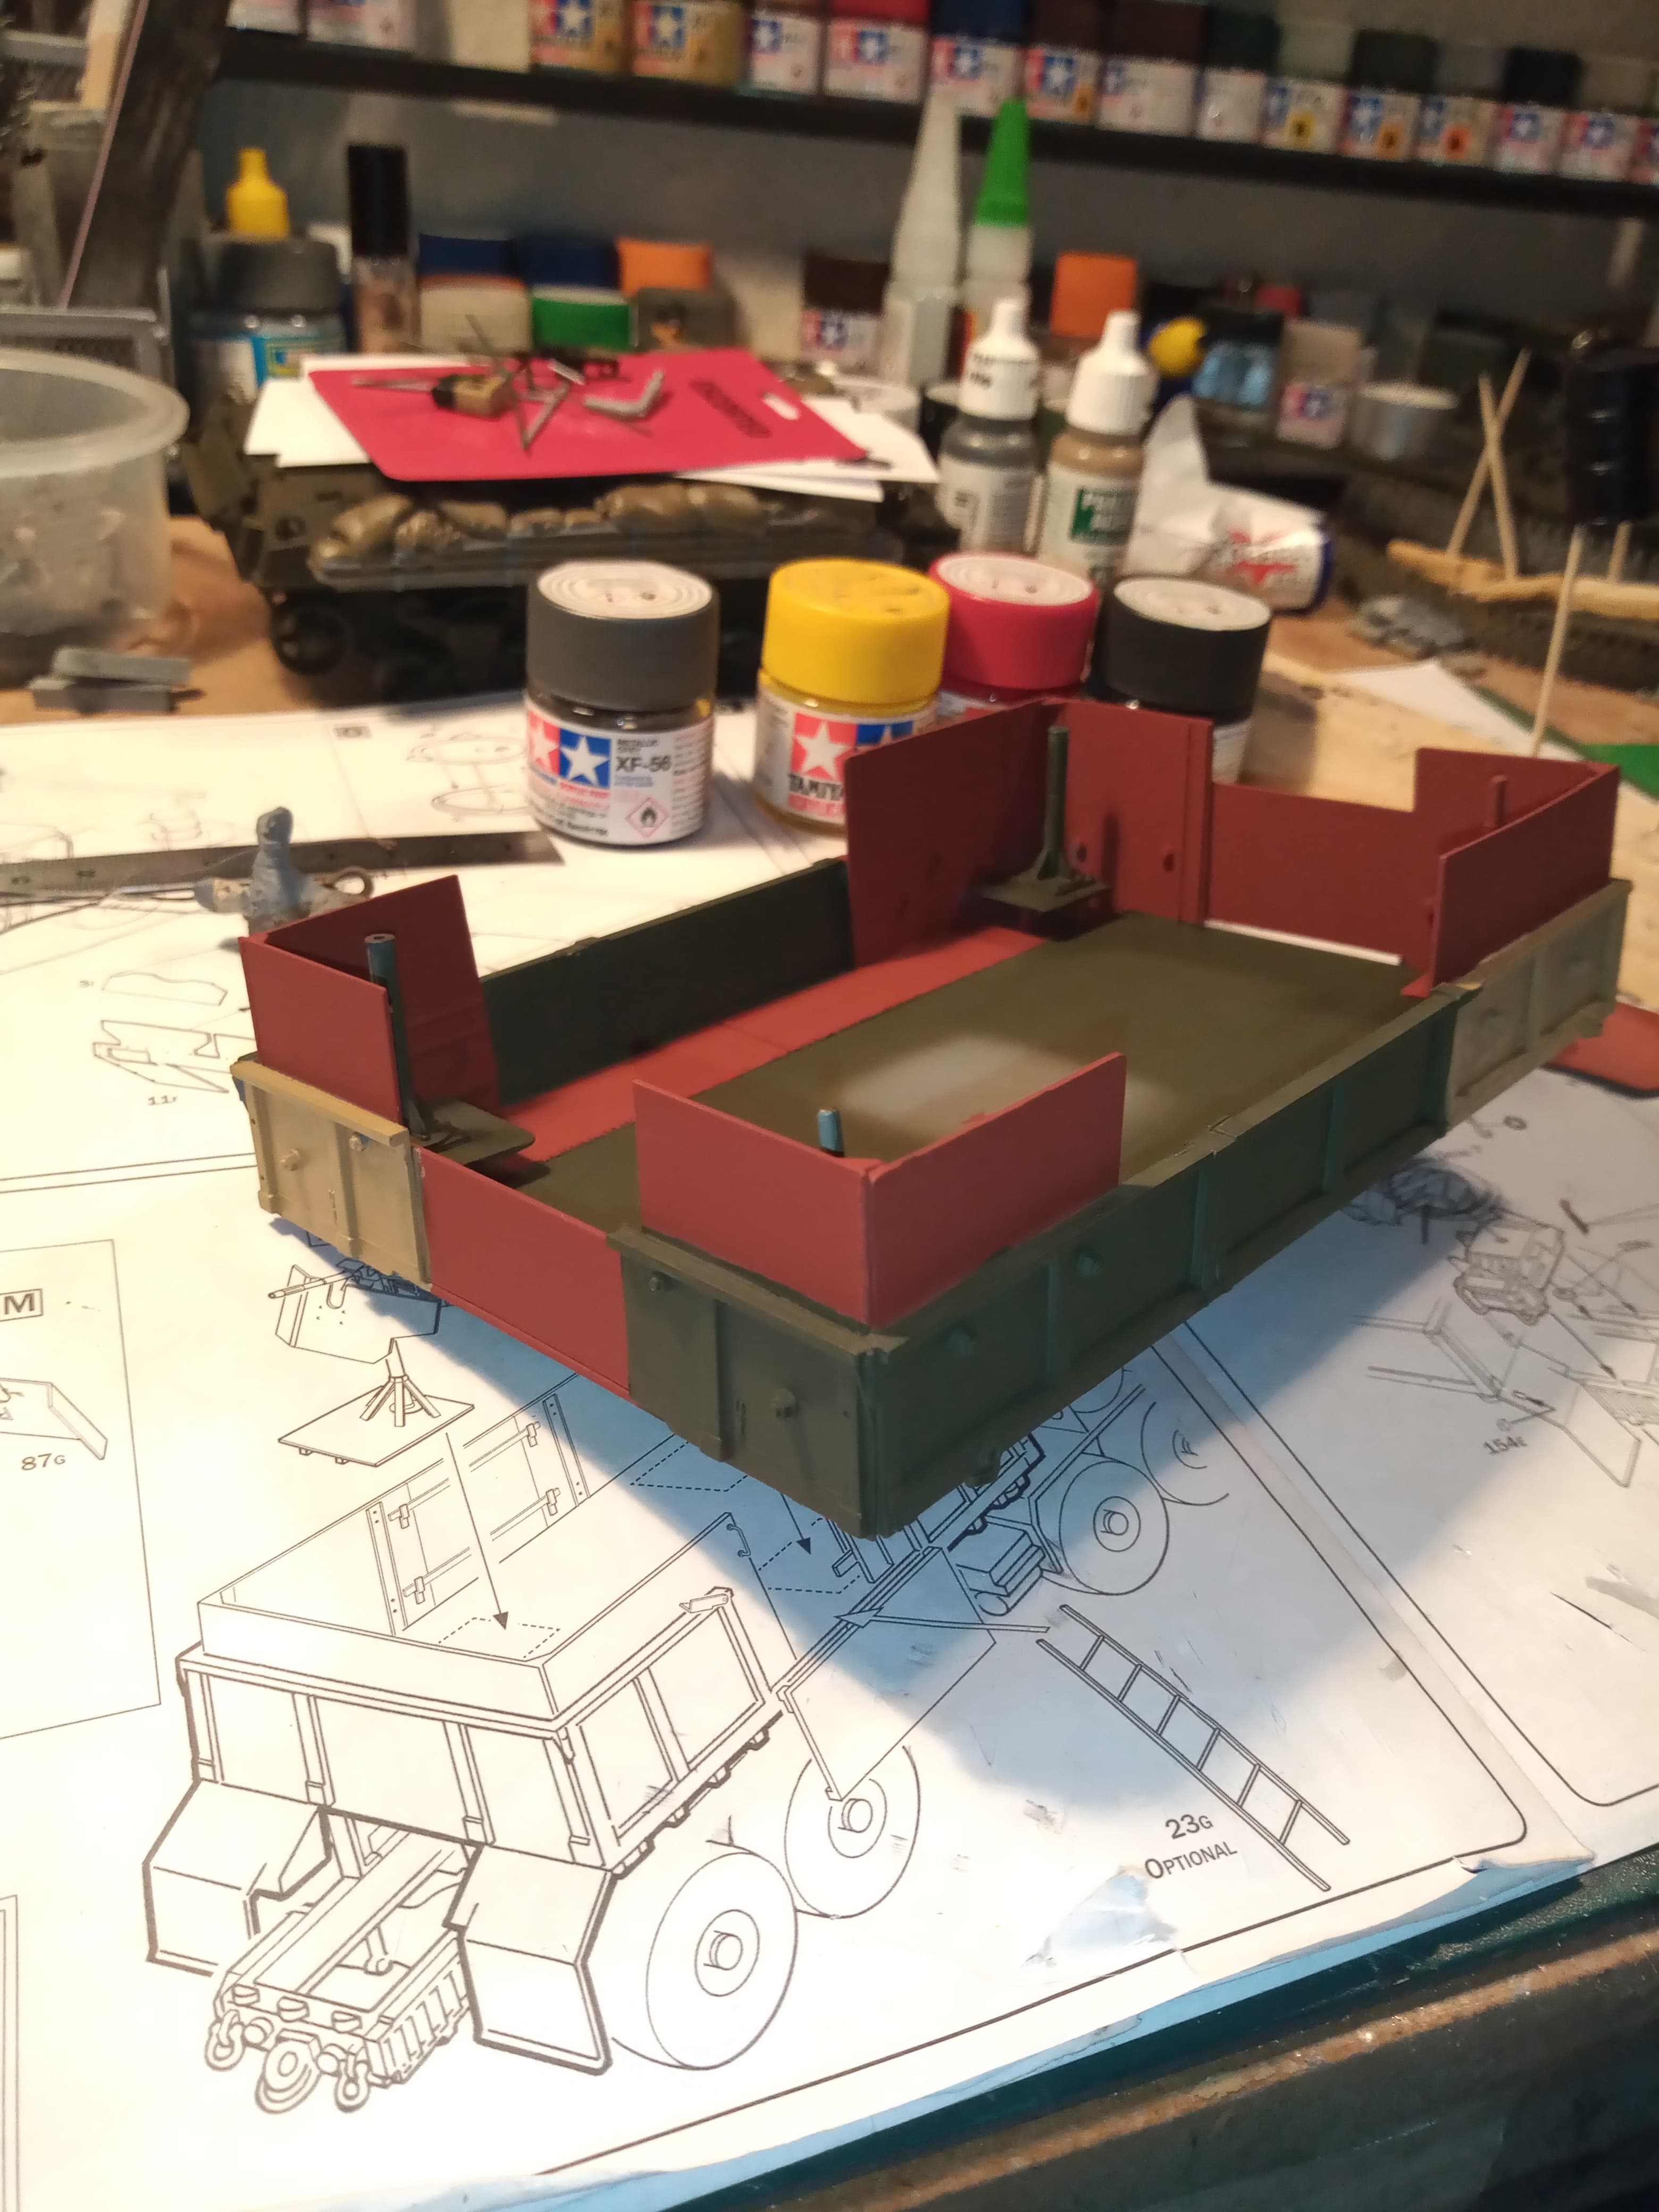
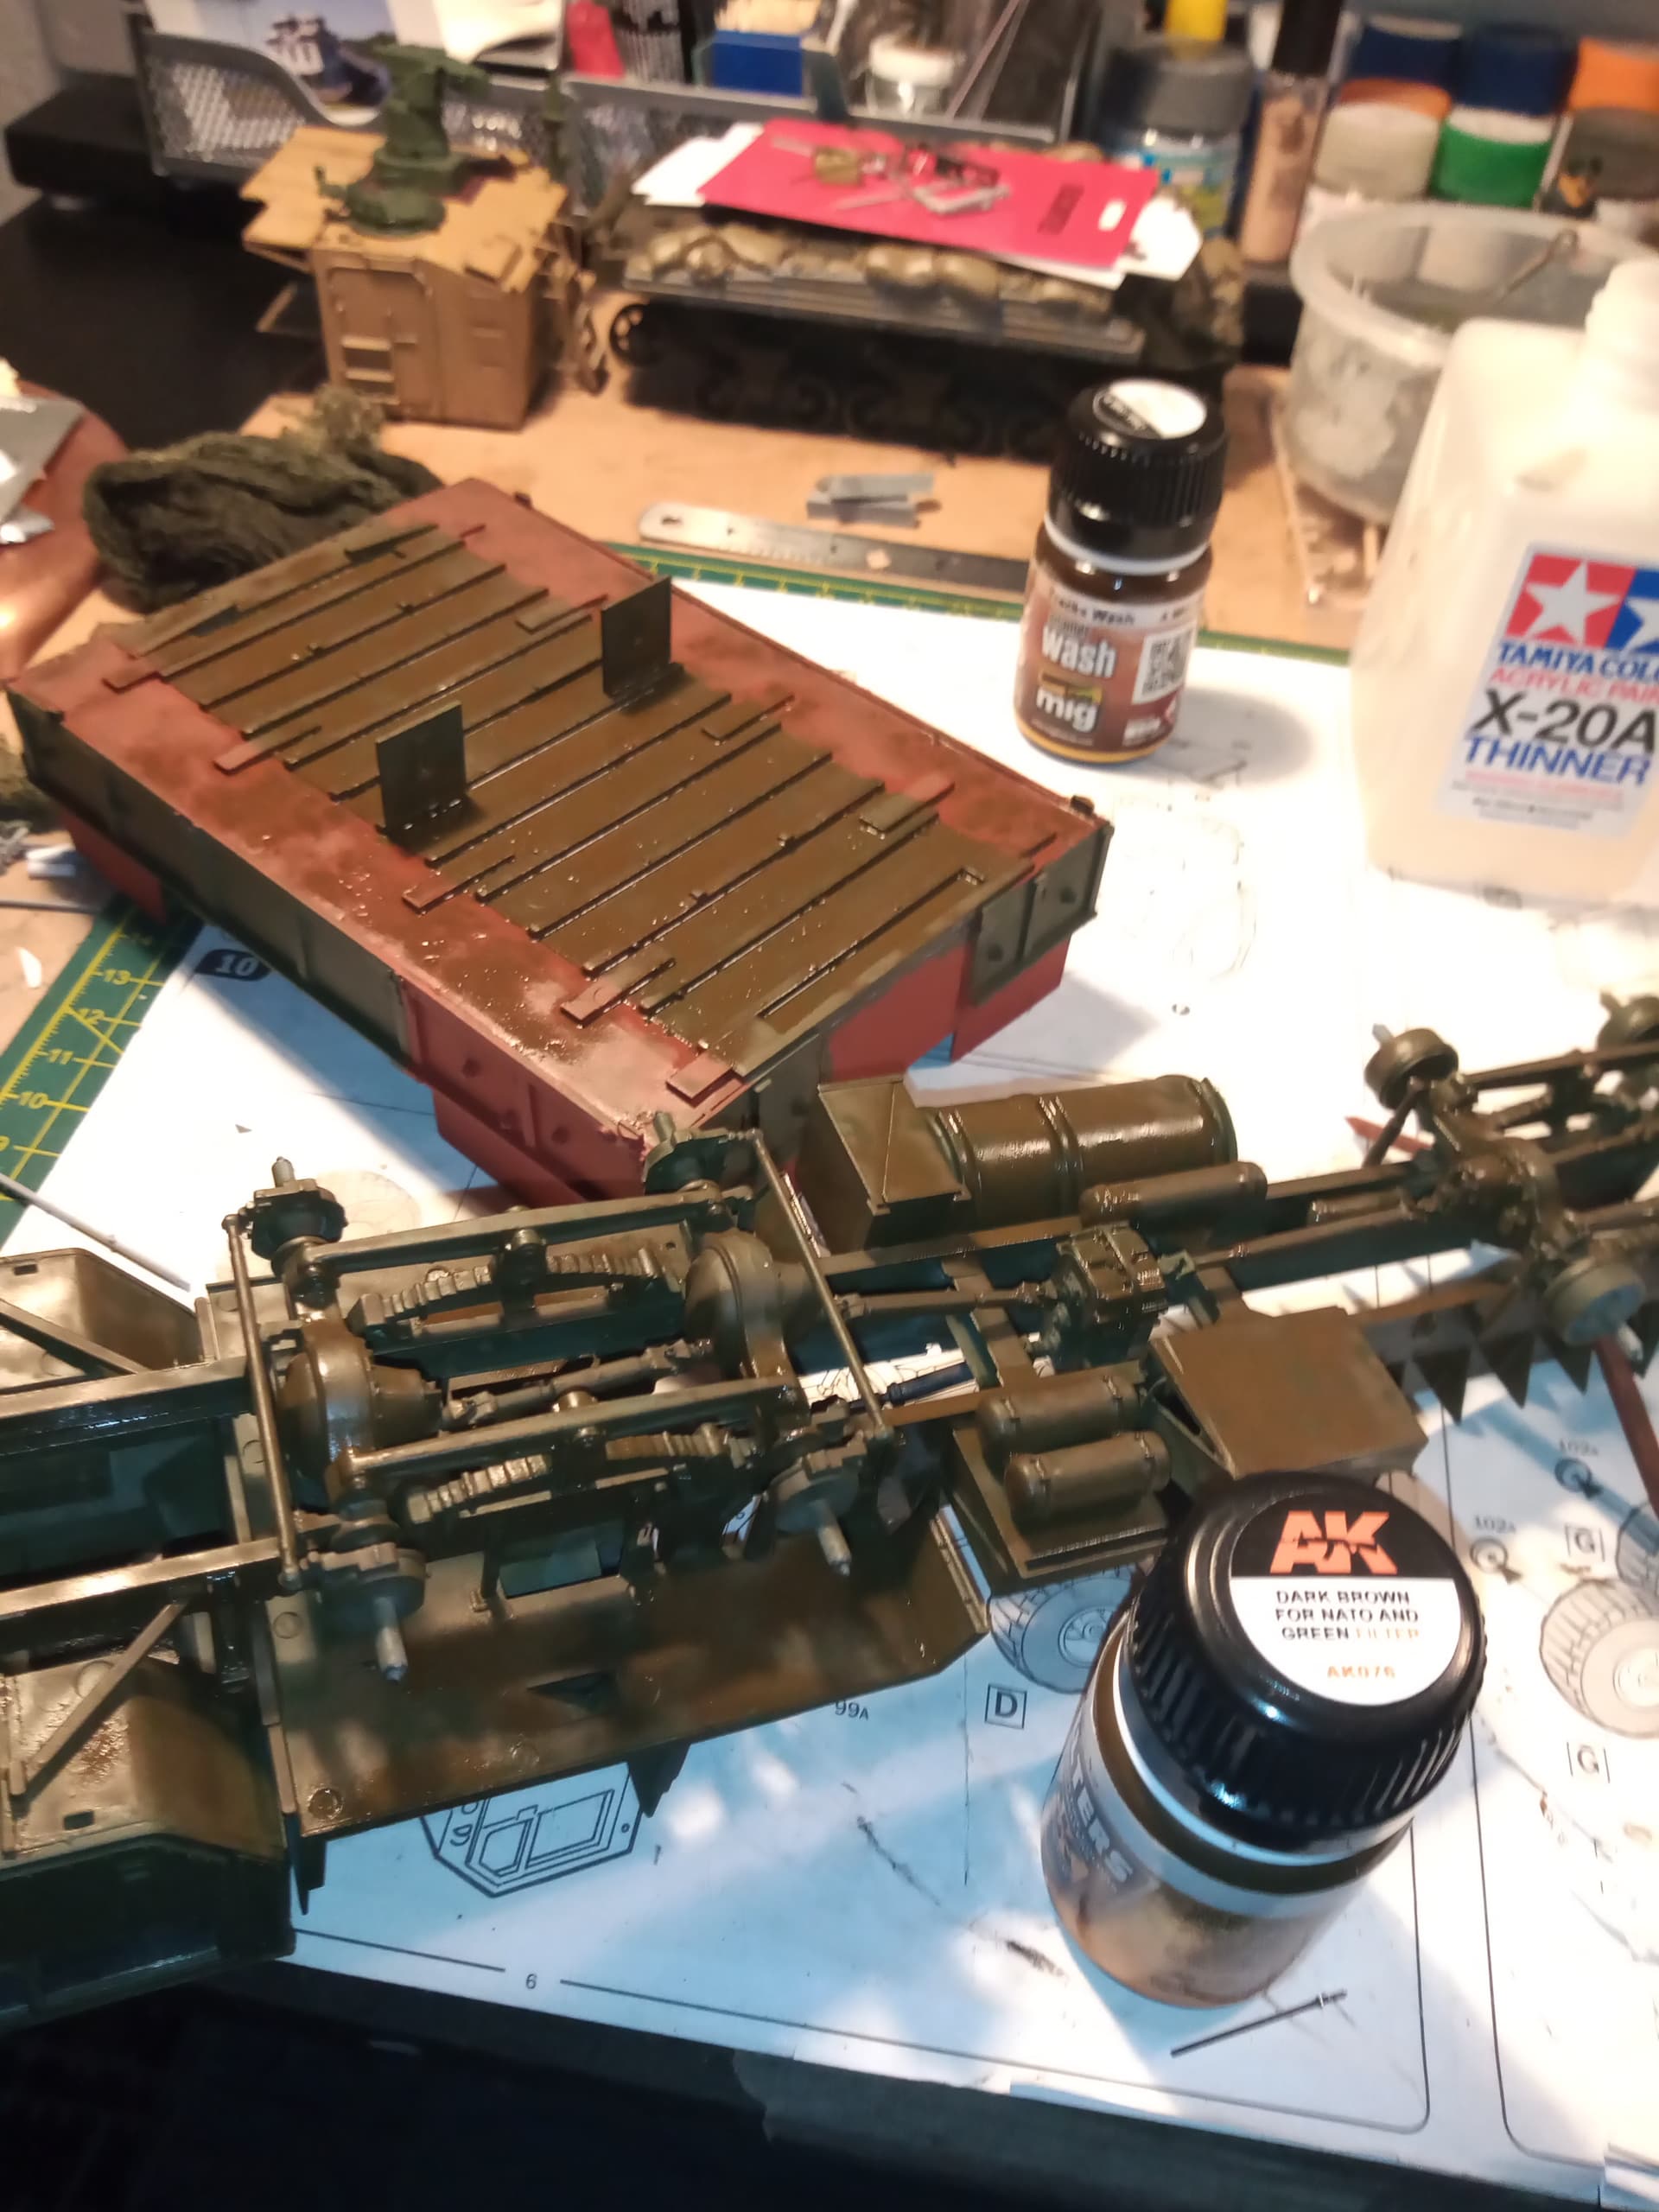
Paint on the cargo bed is coming along …
Did the underside supports in primer red …
Same for the bed once it was masked up.
Just dry fit at the moment…
The grey panels will be CARC sand and there some paint touching in that needs to be done to get rid of the overspray or bits missed… I might leave some overspray on show, as I’m sure post apocalyptic gun truck crews wouldn’t worry to much about that lol…
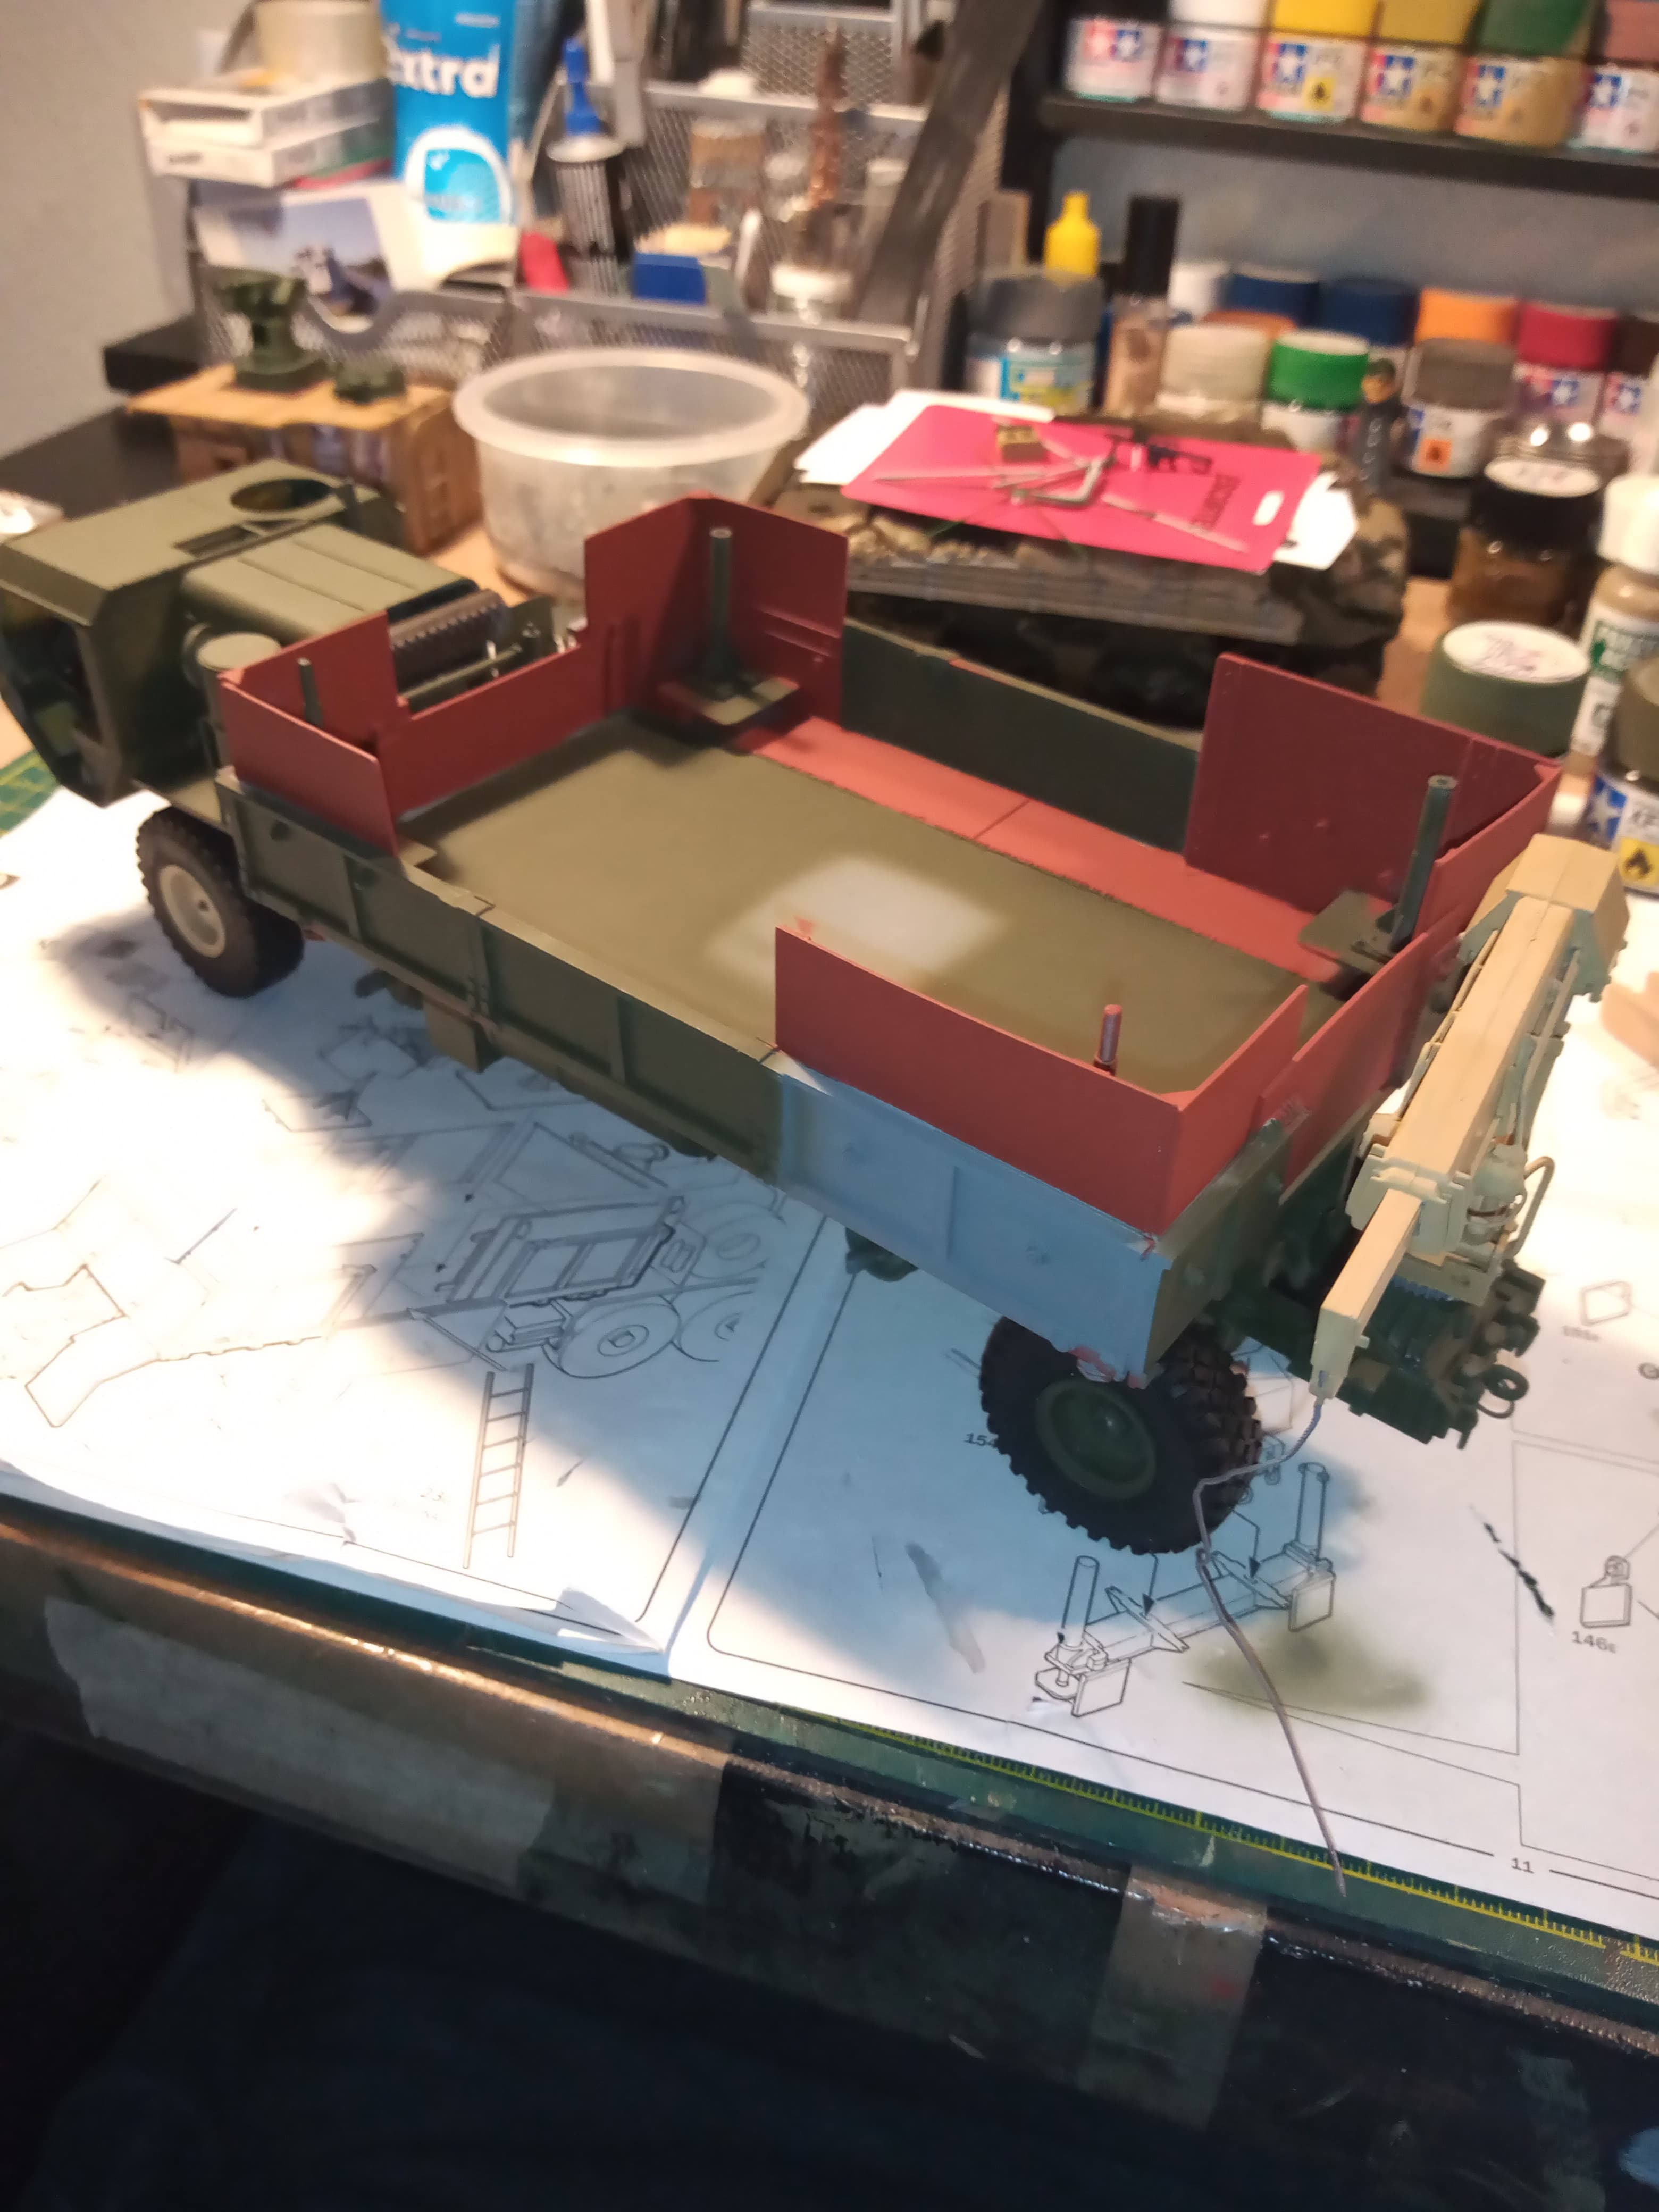
Cargo bed is completed well, the painting part anyway…
It will be getting a severe weather and dusting at the end
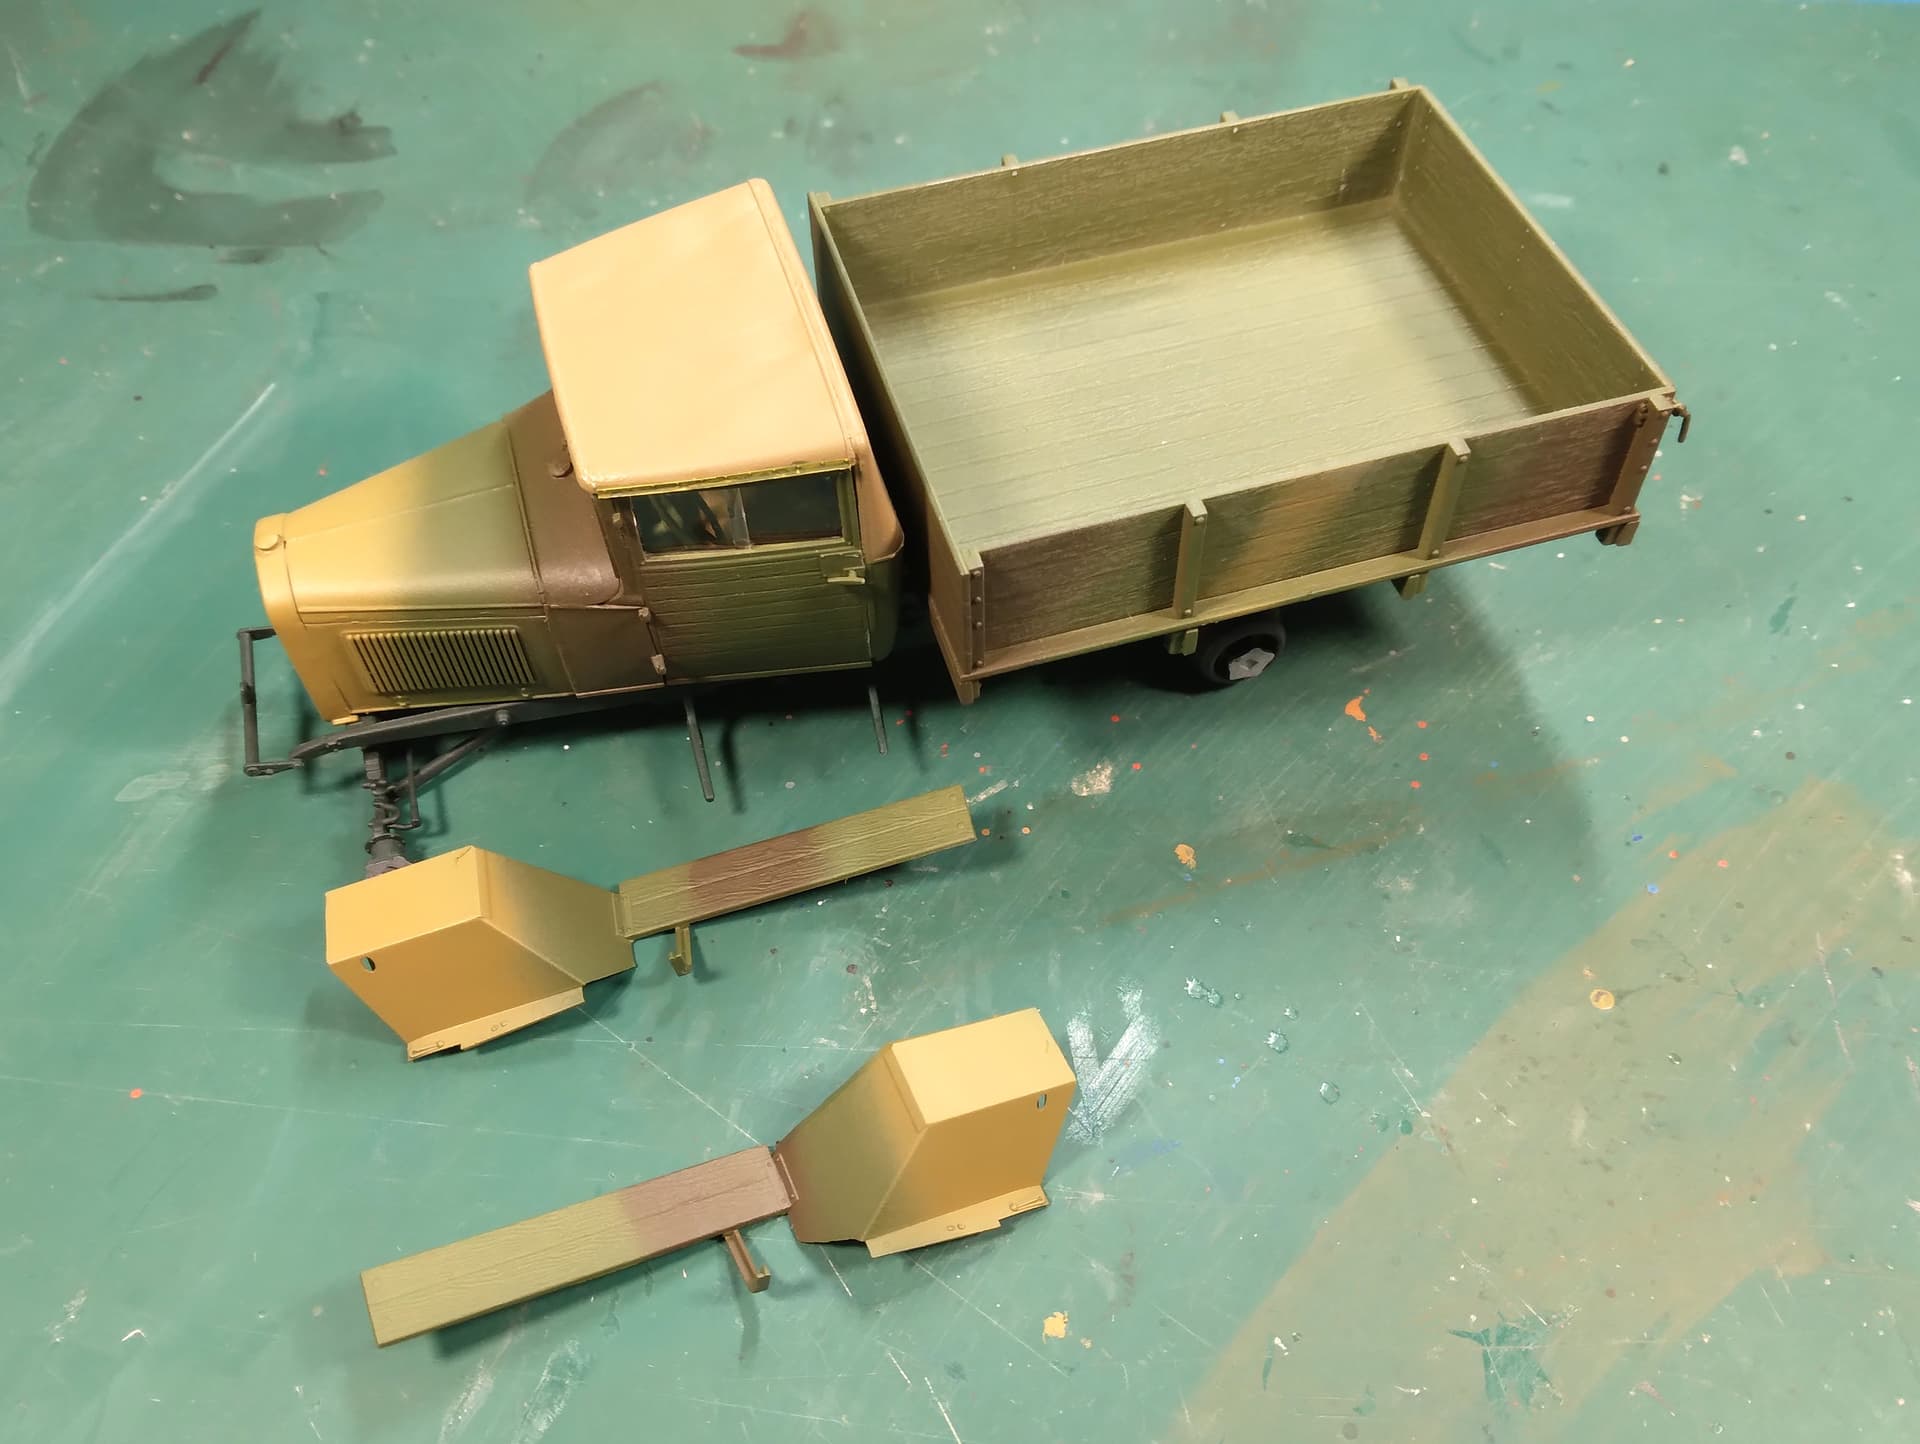
Camouflage painting is done. Cab and box are only dry fit at the moment.
I took a real fine sanding stick (swizzle-stik) to the box’s interior and exterior and lightly ran it across the flat surfaces. Some nice moderate wear that’ll most likely not be seen due to the mud that’s going to get put on at the end.
Mike
Well done. Nicely molded wood texture on this model.
Decided to dirty up the underside of the cargo bed and chassis…
Used AK dark brown filter.
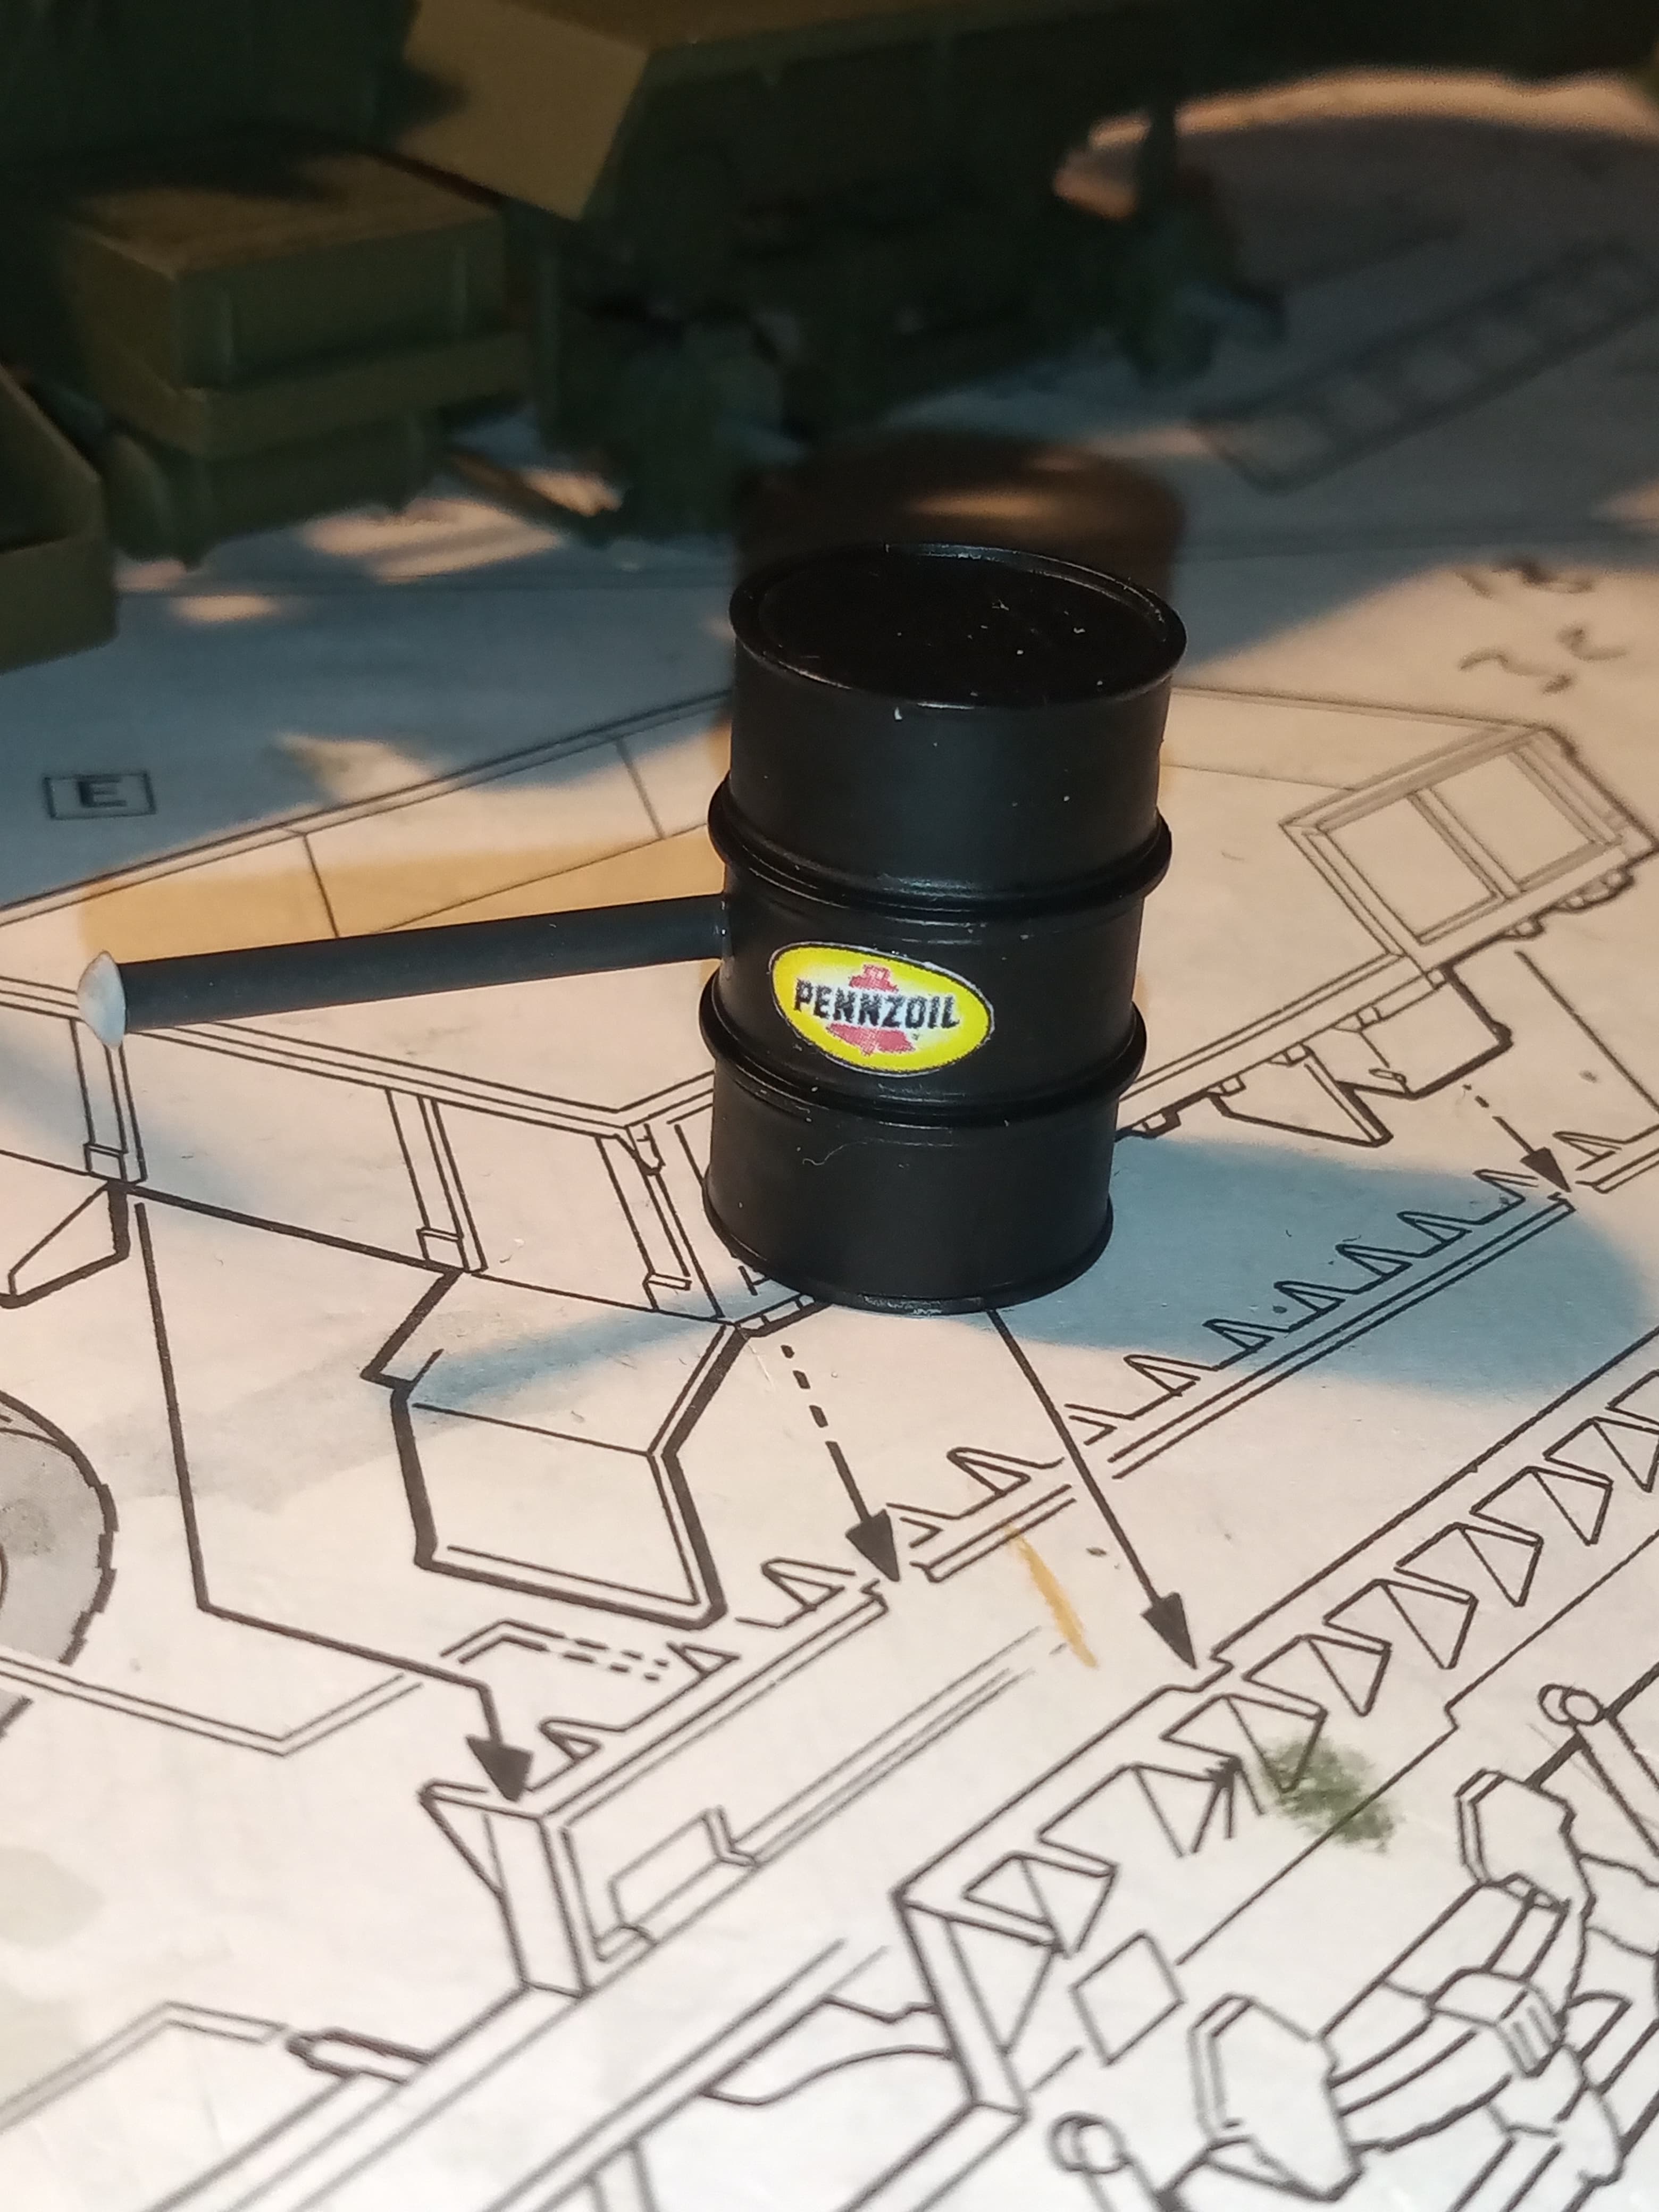
This is going to be the additional fuel tank for the RH side… The Pennzoil is just a print on paper and glued down.
Will do a dust and dirt wash next, then add some pigment to it
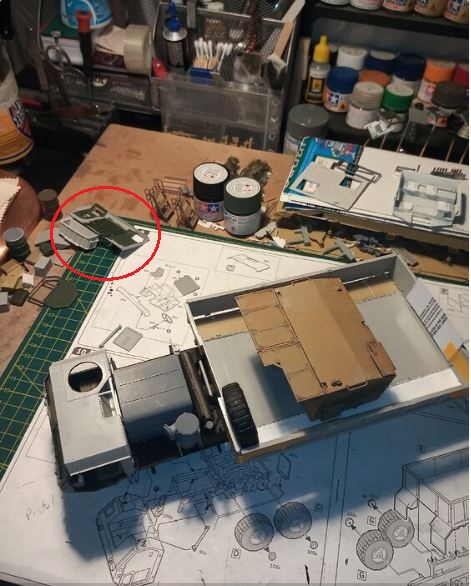
You know when things are going along really well, then out of the blue… You get kicked straight in the nuts …
I was finishing off painting the add on cab armour… Put that to one side and the dirt wash / brown filter had dried, so I thought, right, let’s get the front of the cab built up and finished…
Then I hit a snag of biblical proportions… I cannot find it for love nor money … ![]()
![]()
![]()
![]() .
.
I have literally ripped the bench to pieces, torn through all the spares boxes I have used or kit boxes I have been in over the last month… Nothing …
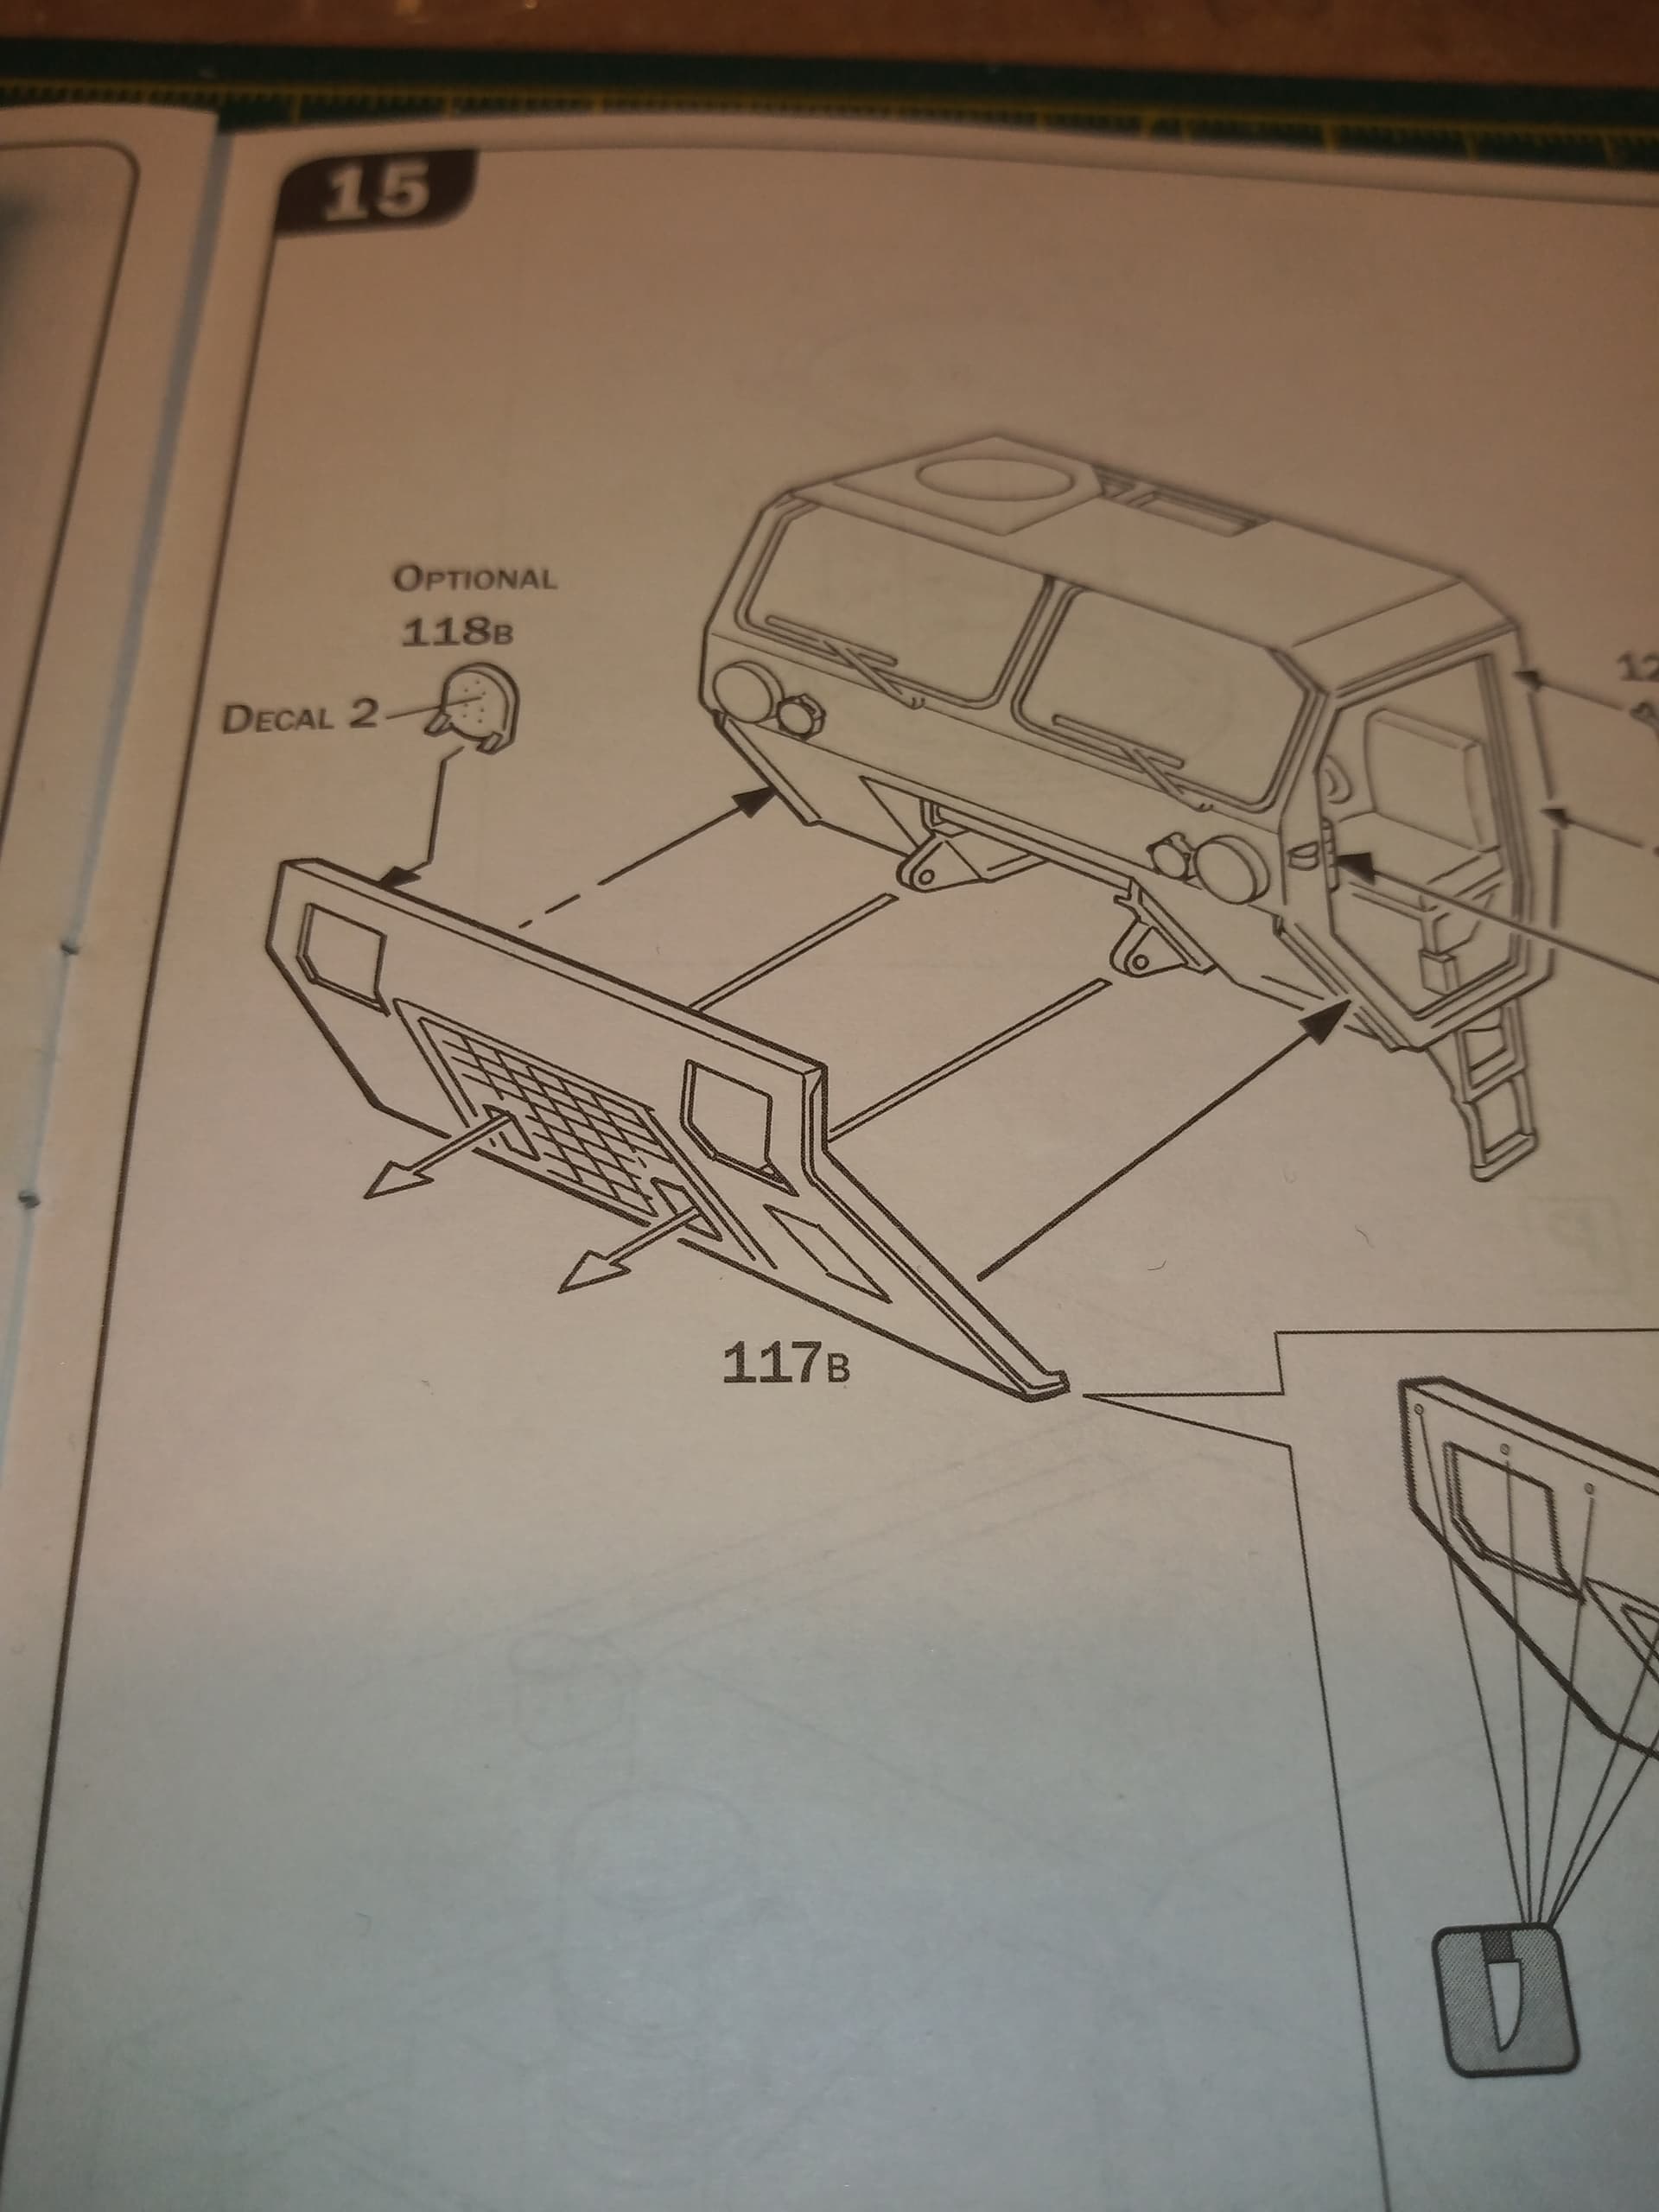
It’s part 117,
I had pre painted it a while ago as I wanted to make sure all the inside edges of the grill were done… Not it’s gone… Just disappeared…
Seriously don’t know what to do …pretty gutted really … I almost threw the whole thing in the bin just now but stopped myself… Just … It isn’t something I am happy or confident in even attempting to scratch…to many angles and cut outs to contend with … and I can’t be arsed even trying the Italeri spares department… If they even have one … Fed up is an understatement…
Don’t sweat it John. It will be somewhere.
If not, just build something to replace it. It does not need to be perfect as you can still cover it. Think add on armour plate:
Or a battering ram, etc.
I think it can be done… Anyway, just start making motions as though you were scratch-building the part and the original piece will magically appear right in front of you. ![]()
PS: Brilliant idea from the petbatRAM! ![]()
Good luck!
—mike
What?! No worries - a scratch built front end makes plenty of sense for this rig! I’ll bet you can cobble something pretty cool together - lots of bolt heads, maybe some sort of bumper or winch mount, several different colors and some rust - it’ll be great! ![]()
Cheers
Nick
It probably slid behind something or in between something.
Is this a butt joke Ryan? ![]()
![]()
![]()
Sorry John, not really poking fun at your misfortune.
I expect in the ‘brand new world’ scenario, that truck would have run over a few Zombie hordes and barged through a few warlord barriers in its time. It would make sense for the crew to have a rough armoured front on her. Either having the front cut off to get to the places to bolt or weld a metal frame to attach plates to.
Hmmm, gives you an excuse to use more of your Meng Bolts.
Exactly what I was thinking… more dee’s nuts! ![]()
![]()
![]()
![]()
—mike