I could use loads of expletives to emphasize my appreciations for @Johnnych01 or @AussieReg or @165thspc along with the many many other’s fine works, yet I think Jim would boot me off from the forum. Suffice to say, “Woof you lads are seriously knocking it out of the park!”.
9 Likes
Thanks HG. I know my efforts are a bit rough and ready compared to the detailing and work that Damian and Michael show us, but it is very much appreciated buddy.
4 Likes
@HGBARNES I totally agree mate! There are a whole heap of awesome builds going on here and every progress report is a gem.
I’m having a lot of fun making my build look ready for the wreckers yard, and I really appreciate the feedback.
Cheers, D
2 Likes
Generators of the era had a third brush which had to be adjusted for the intended load. If the vehicle is driven mostly in the day, the brush was adjusted one way, if it was often driven with the lights on, it was adjusted further along the arc of movement. Voltage regulators had not been invented yet so the only protection the poor battery had was the cutout, a device that was supposed to control excess charging. These had points which could stick and cause trouble.
In addition to filling stations & tire stores, from the teens into the 1930s there were battery stations where you could pull in for a charge, battery service or replacement. The advent of the voltage regulator and better batteries pretty much ended the need for battery stations.
Paul
1 Like
I love the extra stuff you have added to your model. The mechanical brakes and shift linkages really make a difference.
That last picture with the doughboys working on the first series Liberty Truck provides some wonderful detail.
BTW, I have heard that someone is working on a book about the WW1 US trucks. Hopefully, more of the mysteries will be cleared up.
Paul
1 Like
Decided to step in, having a soft spot for trucks (and also loved the film “Convoy” ![]() ).
).
Started on the Mac Distribution kit of the Einheitsdiesel, in 1/72 scale.
The kit has some flash, almost no sinkholes, and few ejection pin marks, usually in places that will not show when the kit is assembled.
The big negative is the instructions of the kit, which are composed of exploded view drawings, but not always clear where parts go to. The assembly sequence is inconsistent, for instance stage 5 is where you join the wheels to the fully assembled chassis, but only in stage 7 the chassis is fully assembled.
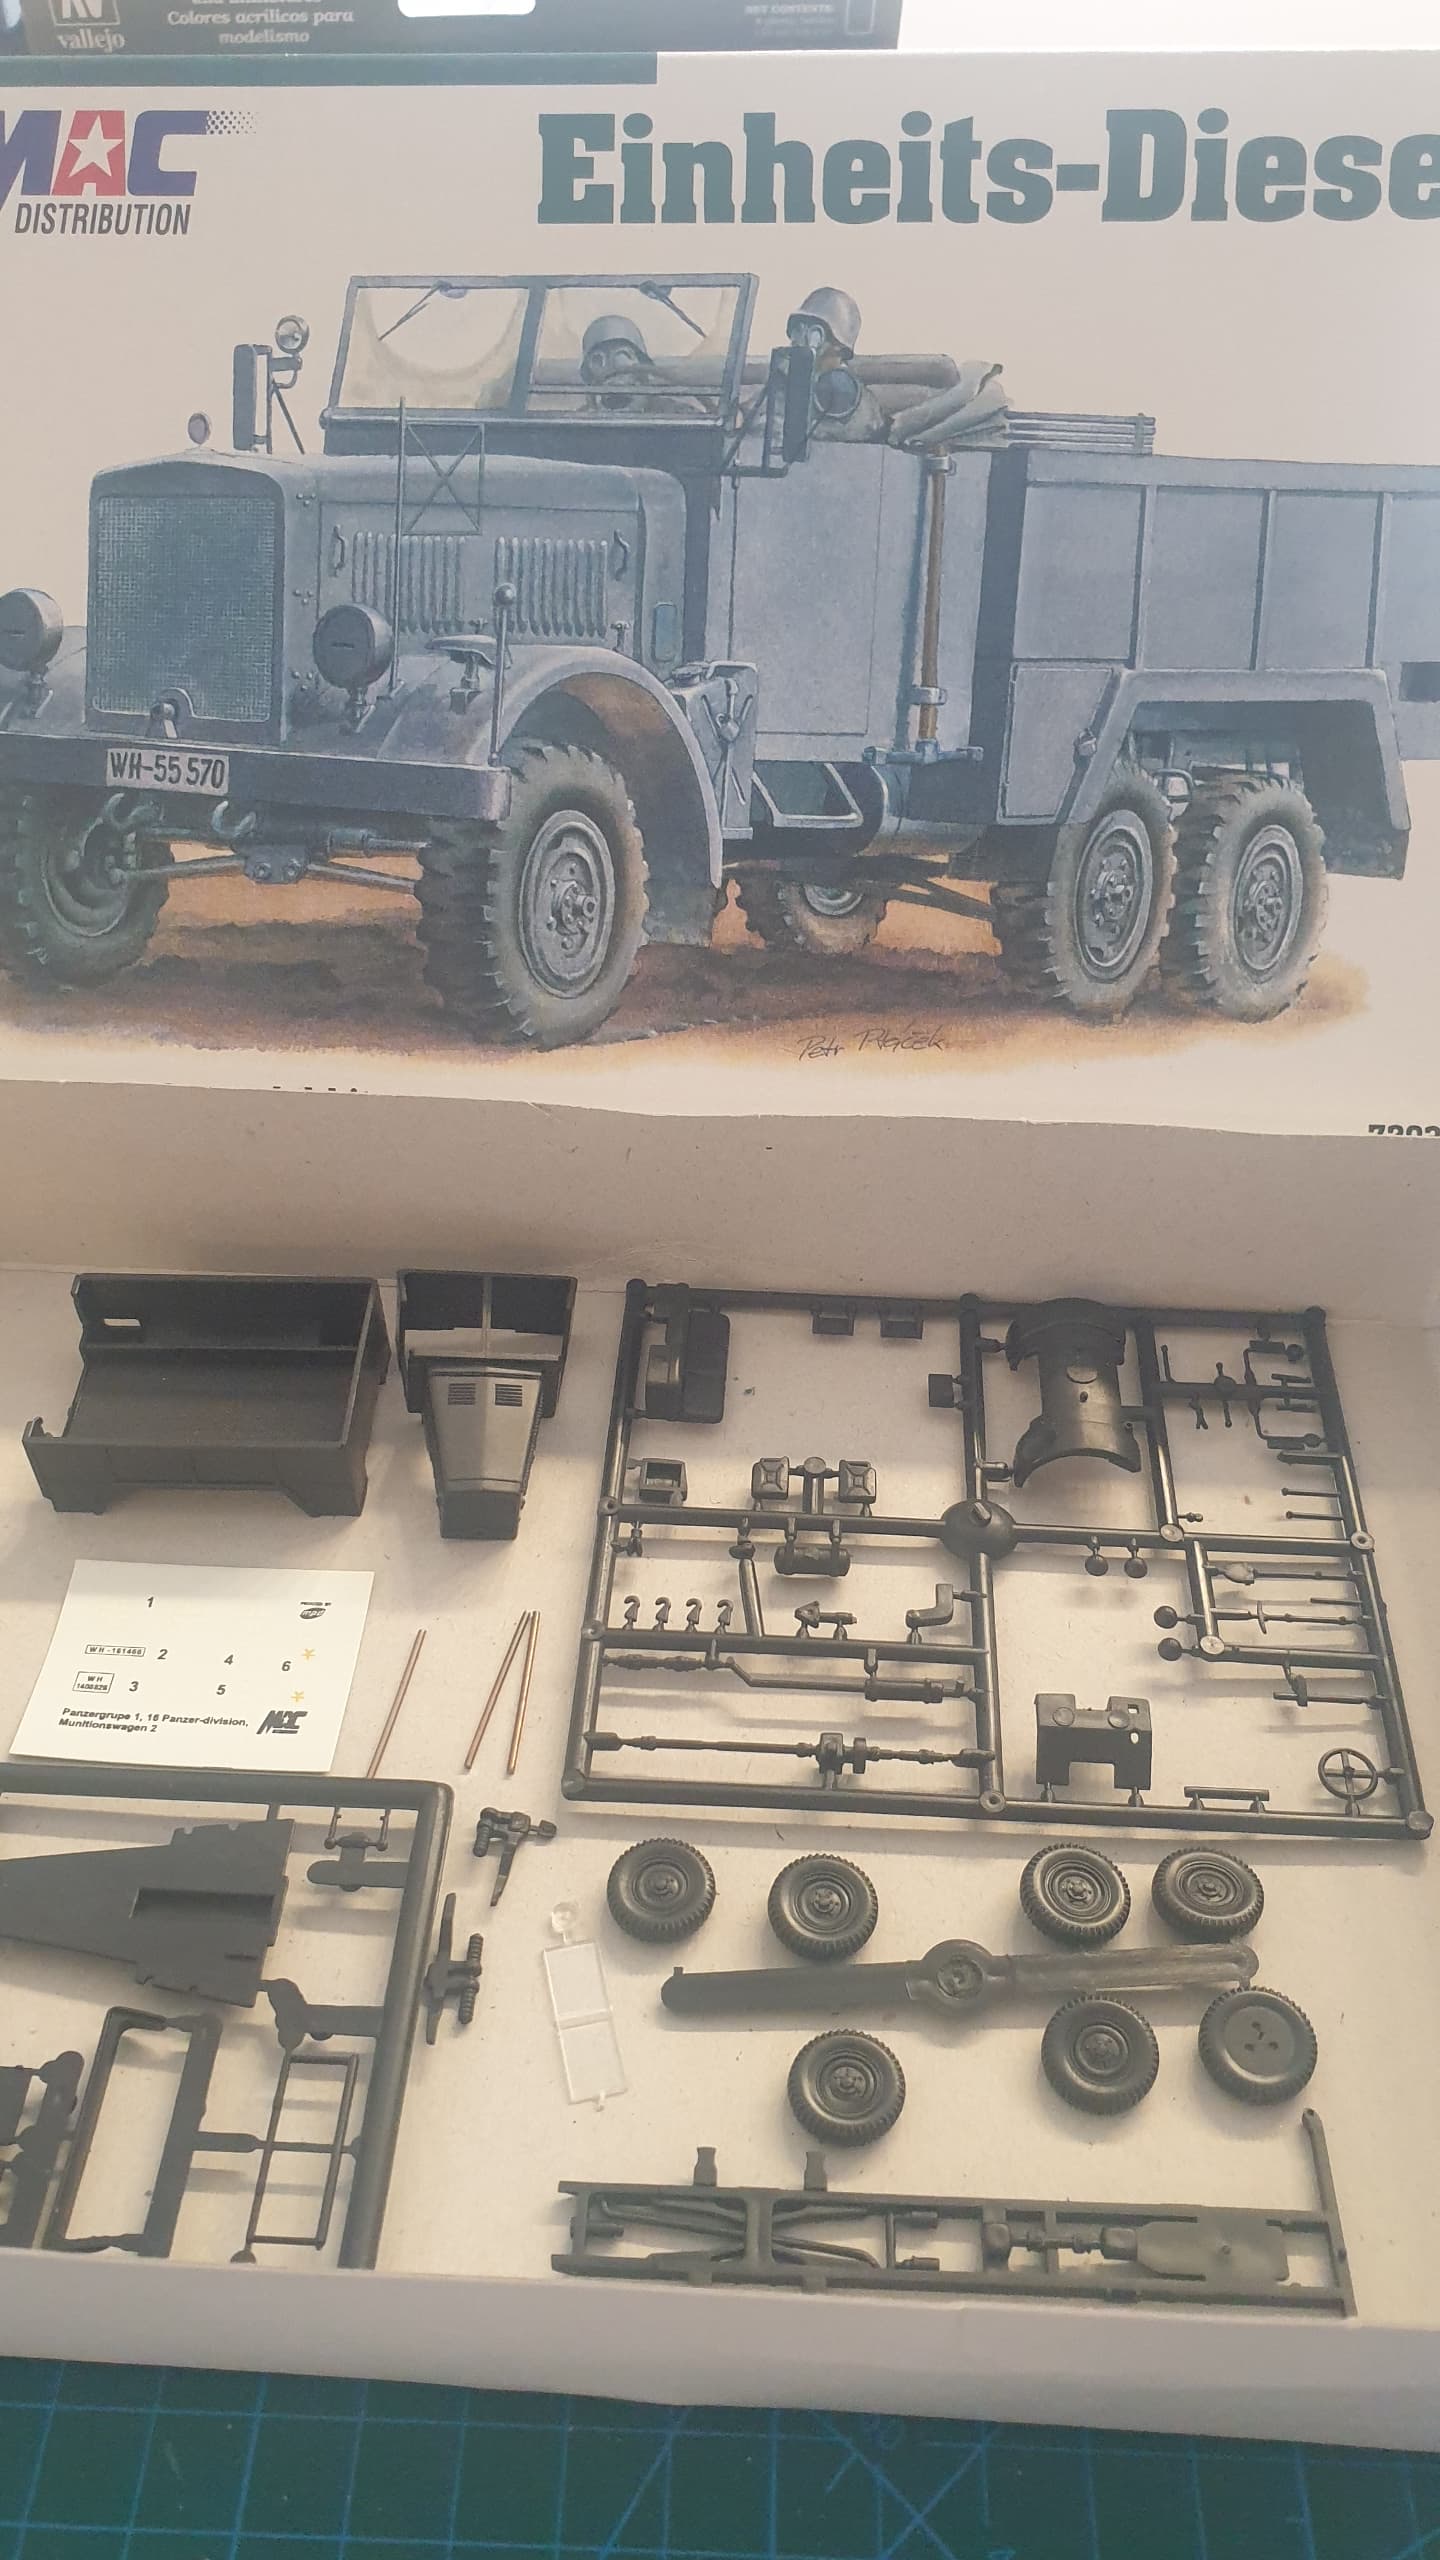
I’m in no way an accomplished modeler, so the kit will have mistakes…
4 Likes
Welcome to the “Journey of a Thousand Steps”.
3 Likes
Cheers
@petbat and @Armournovice, or 1001 steps…plus a few more for good measure!
Welcome @Armournovice, and have fun with the hobby!
Some might remember this project, I started it a while ago - didn’t want to clog the group build with WIP images, so I started a separate post on the armor site if you’d like to see.
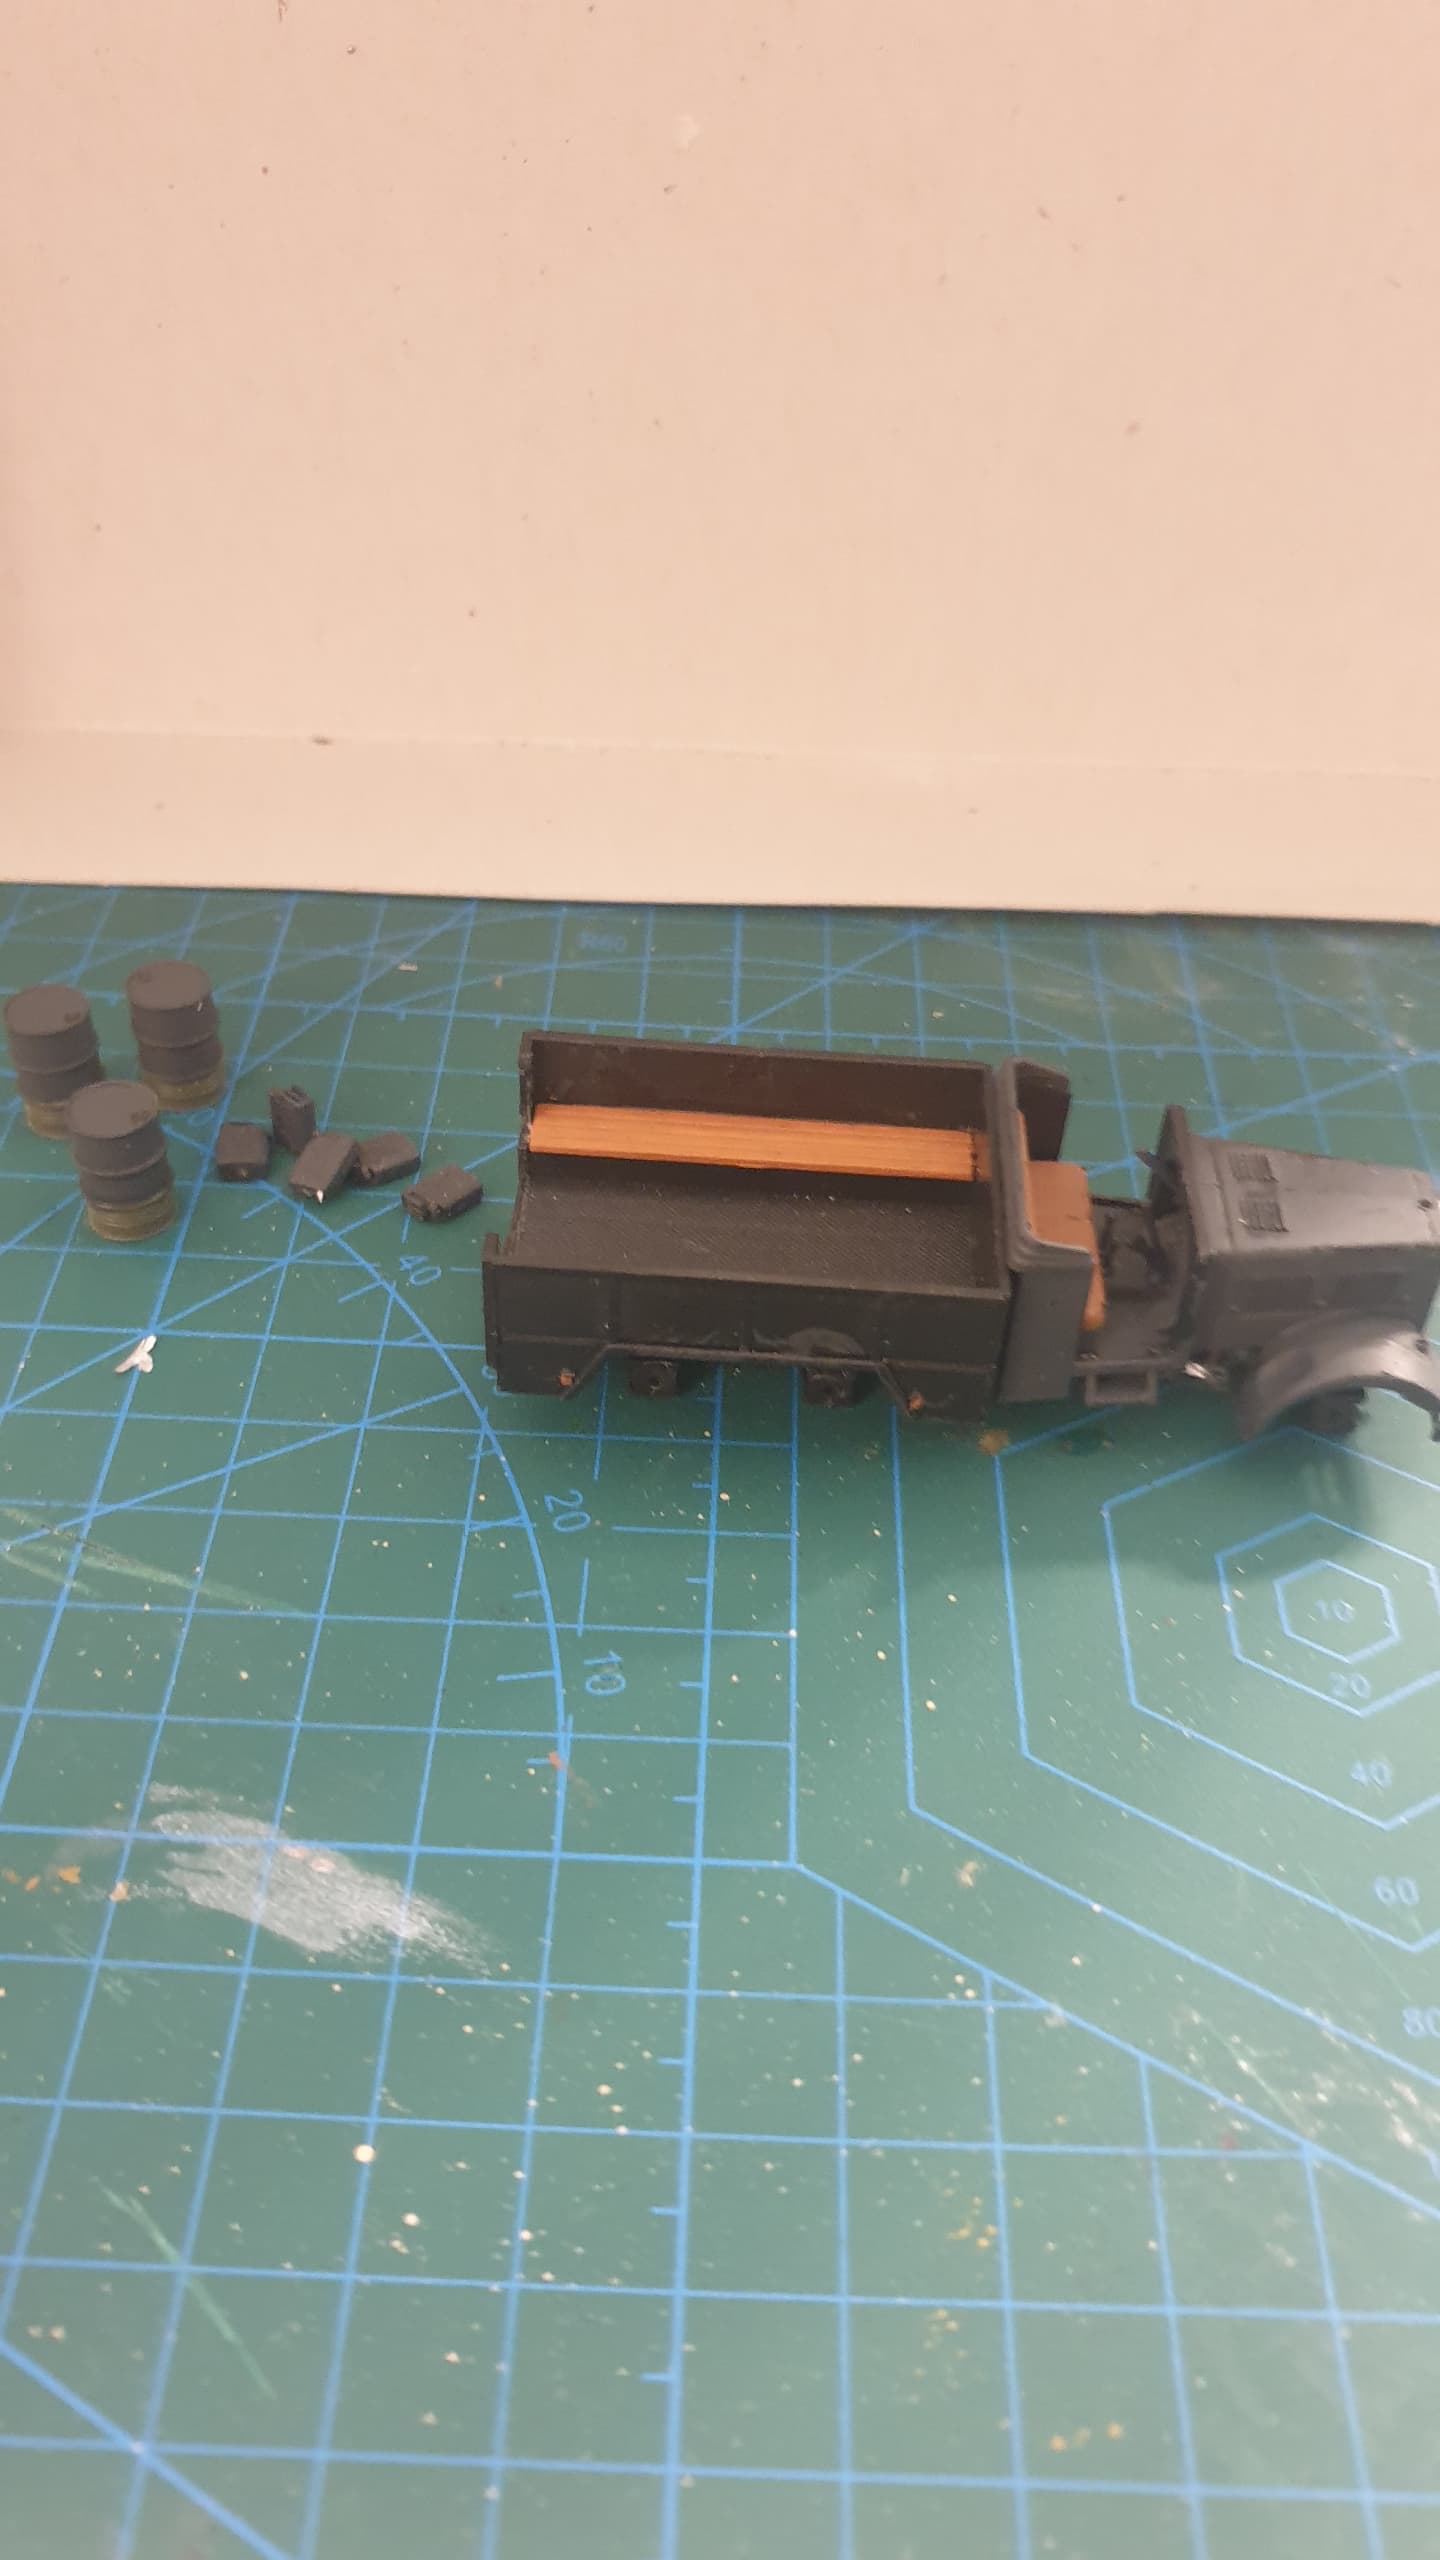
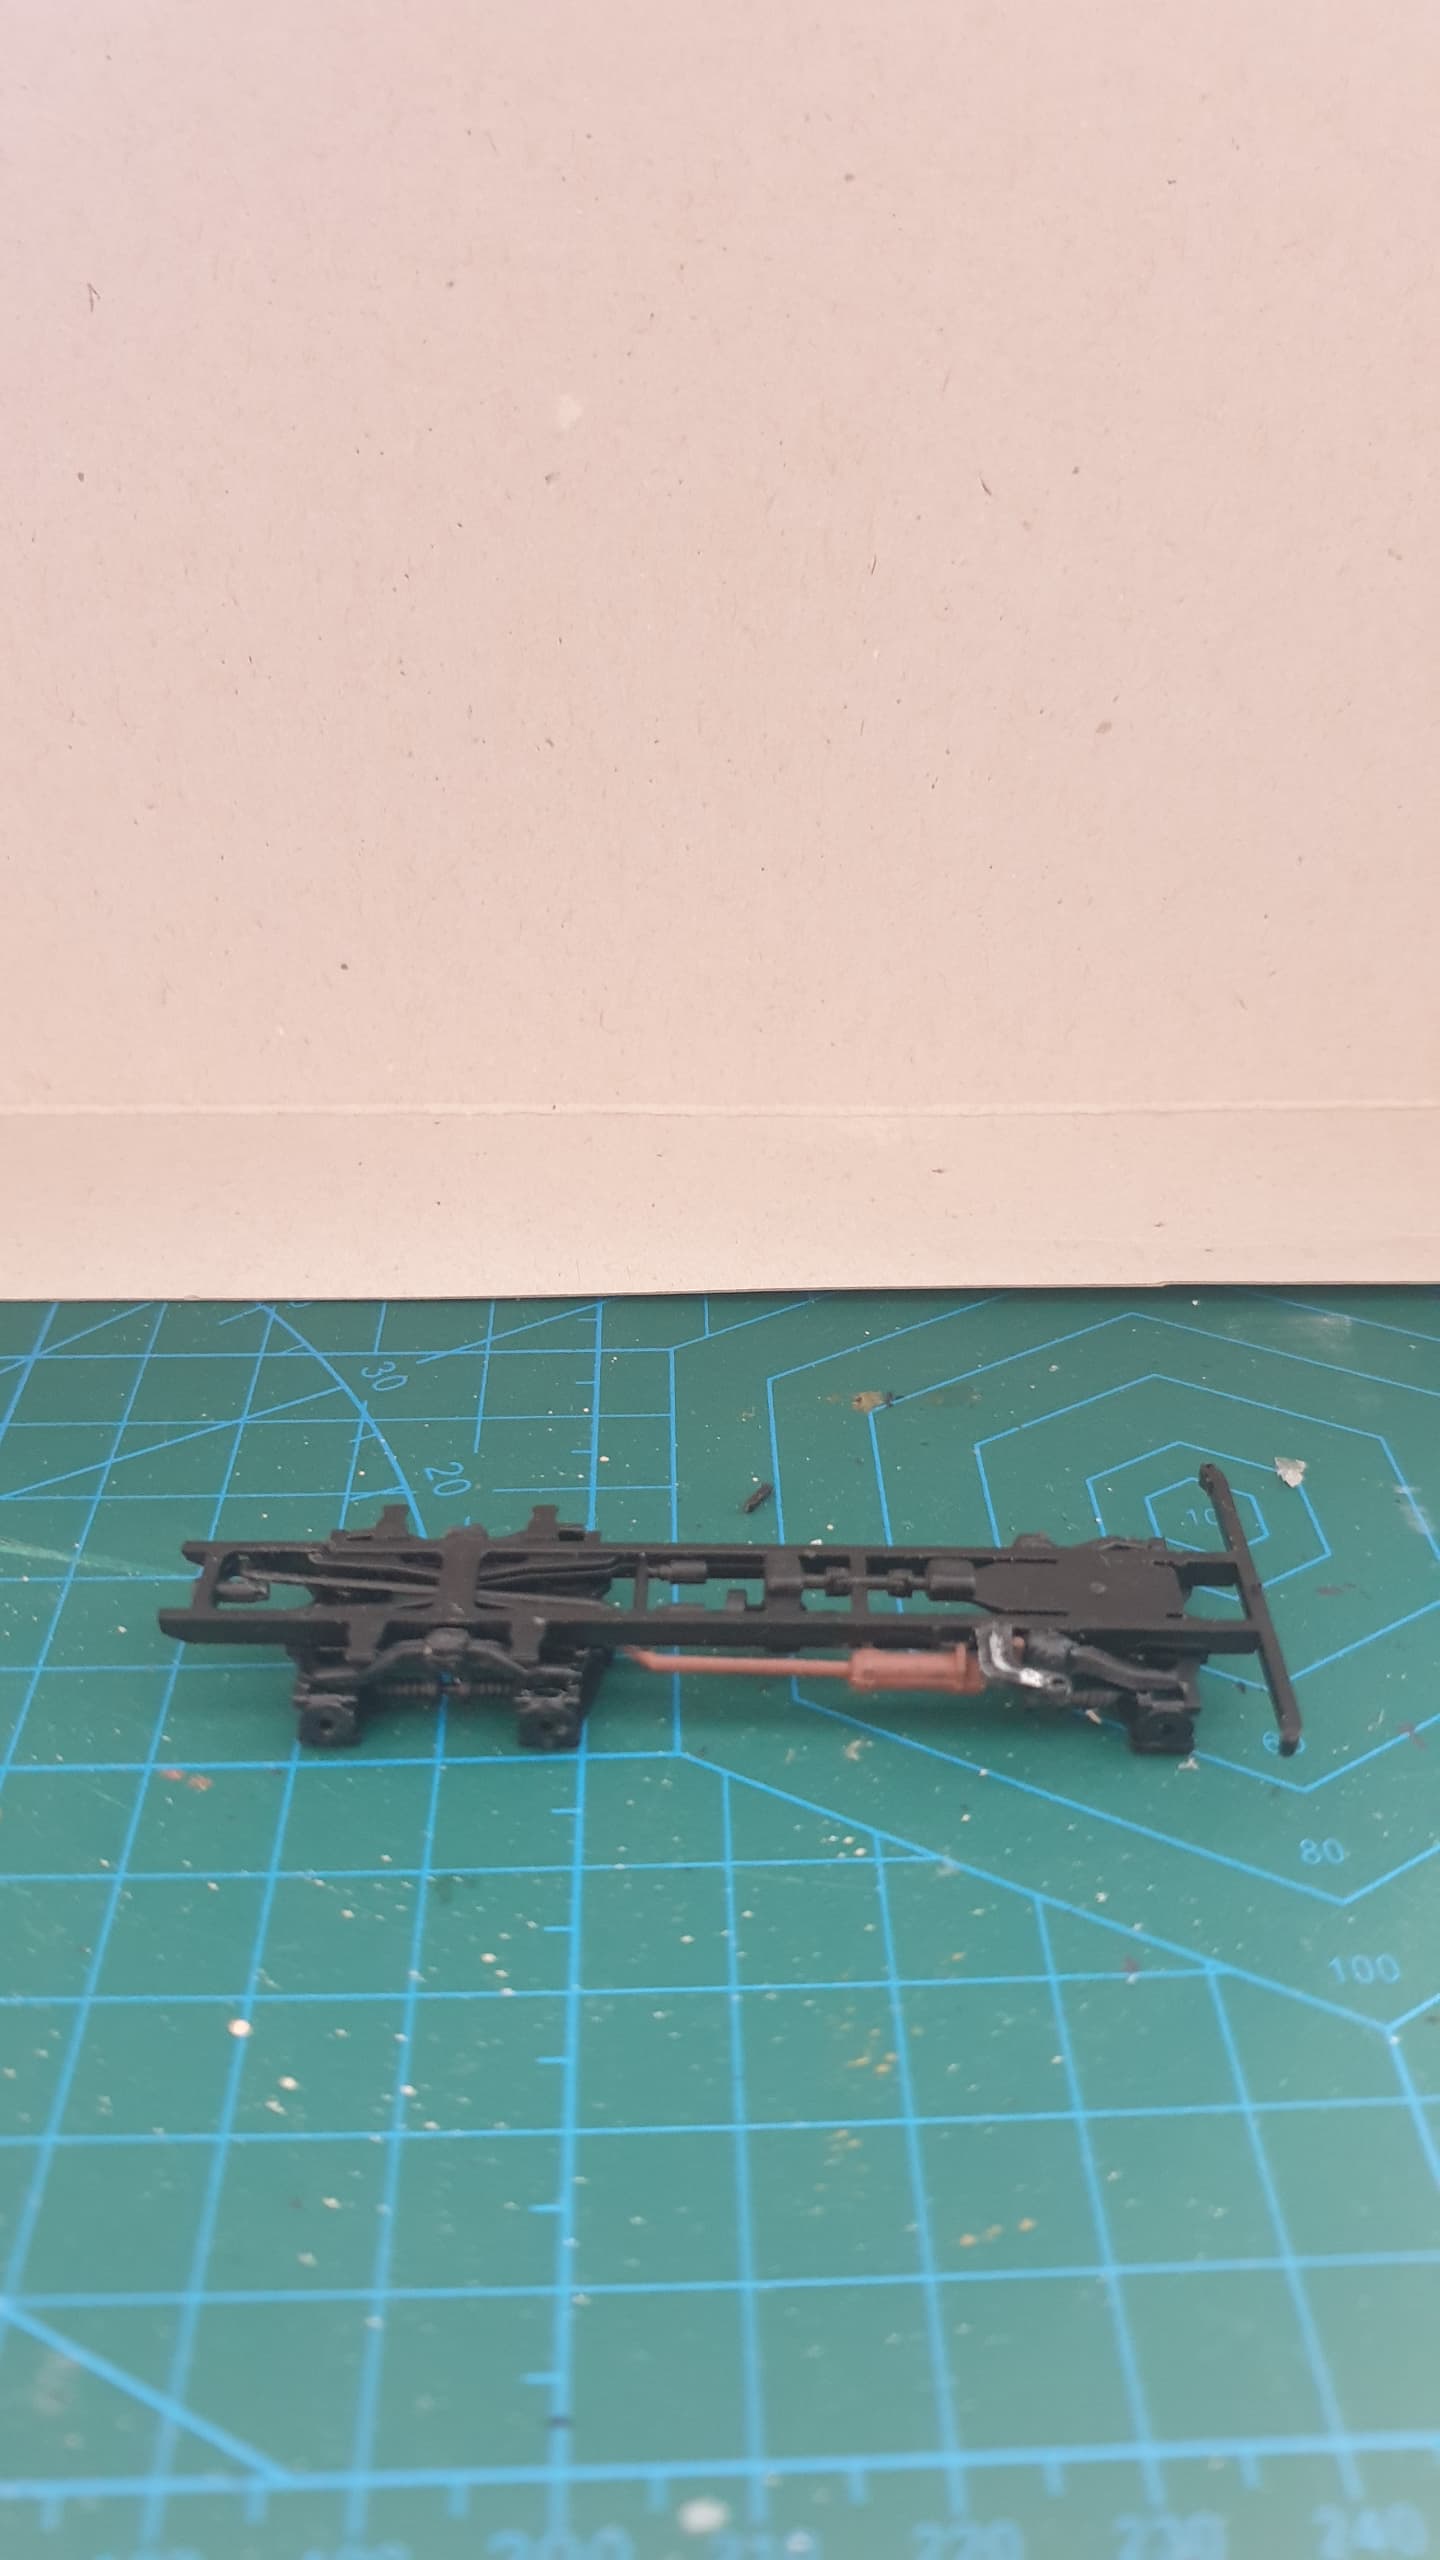
This is ready for paint:
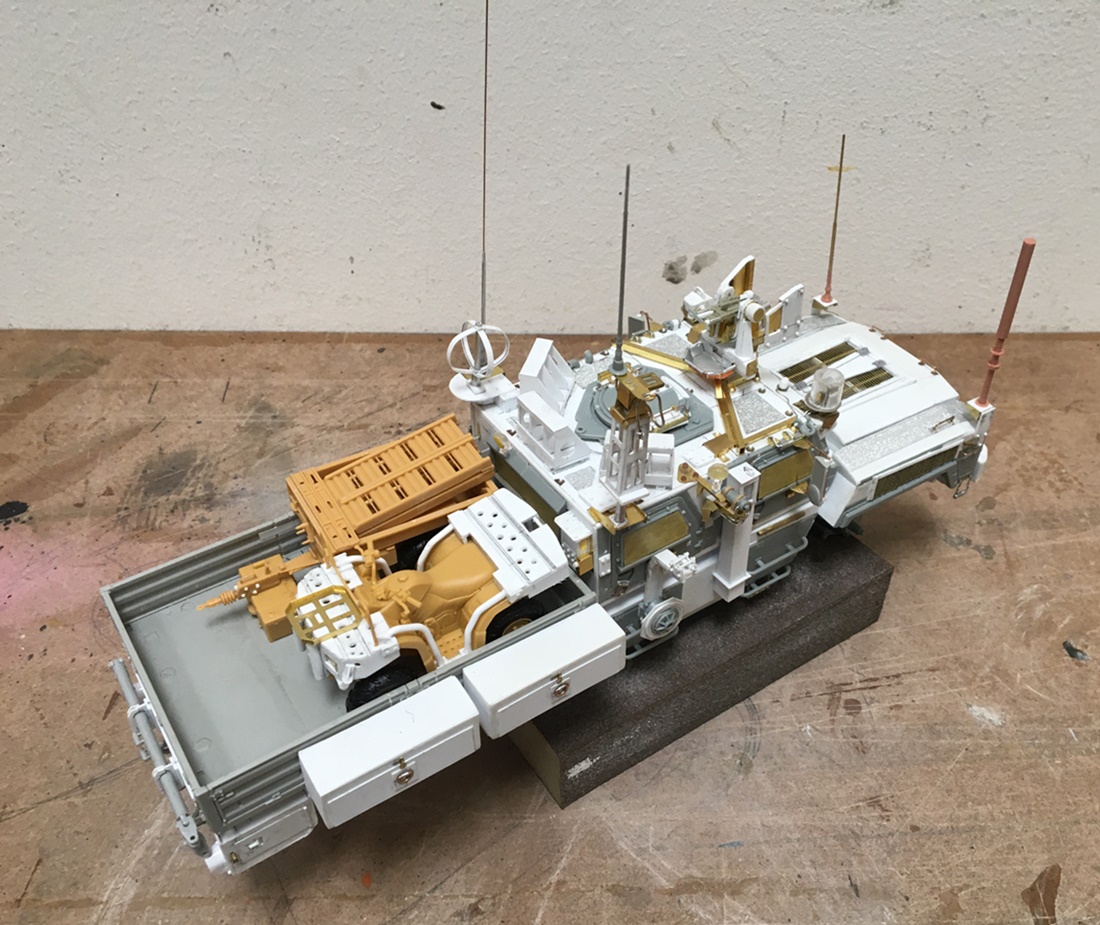
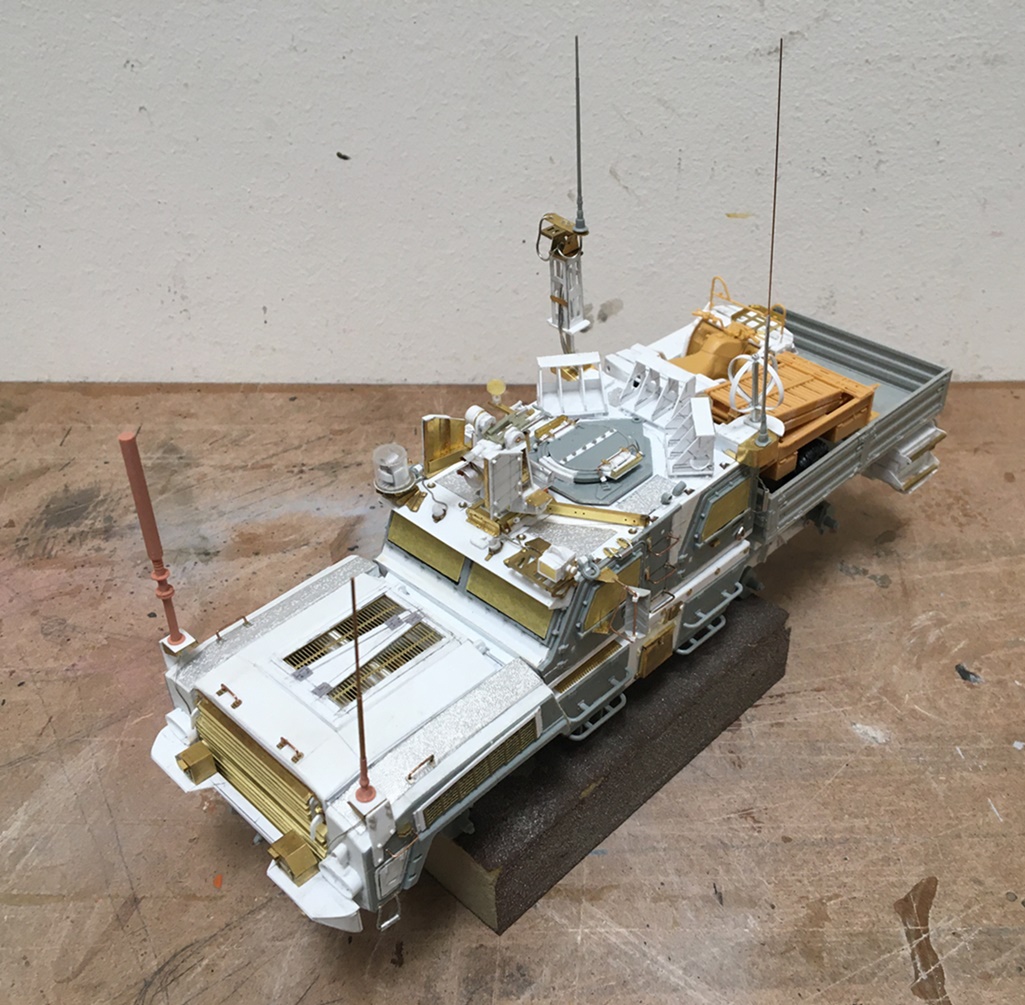
This has turned into quite a project, which I hope to paint up in the next few days
Cheers
Nick
10 Likes
Fantastic work Nick. That is a lot of added love.
1 Like
There was a guy on one of the forums with the strapline “Improving my modelling one mistake at a time!” We’re all on a journey, at different stages, so don’t worry about where you’re at as long as you’re enjoying the hobby. And so far it looks good! Welcome to the site, and more importantly welcome to the convoy!
2 Likes
Nick, the amount of white plastic on that rig is downright scary! ![]()
2 Likes
I don’t think that can go into this campaign… It needs to go into the … “crazy kits practically scratch built that look absolutely amazing” category ![]()
4 Likes
Hum…UFO ? ![]()
1 Like
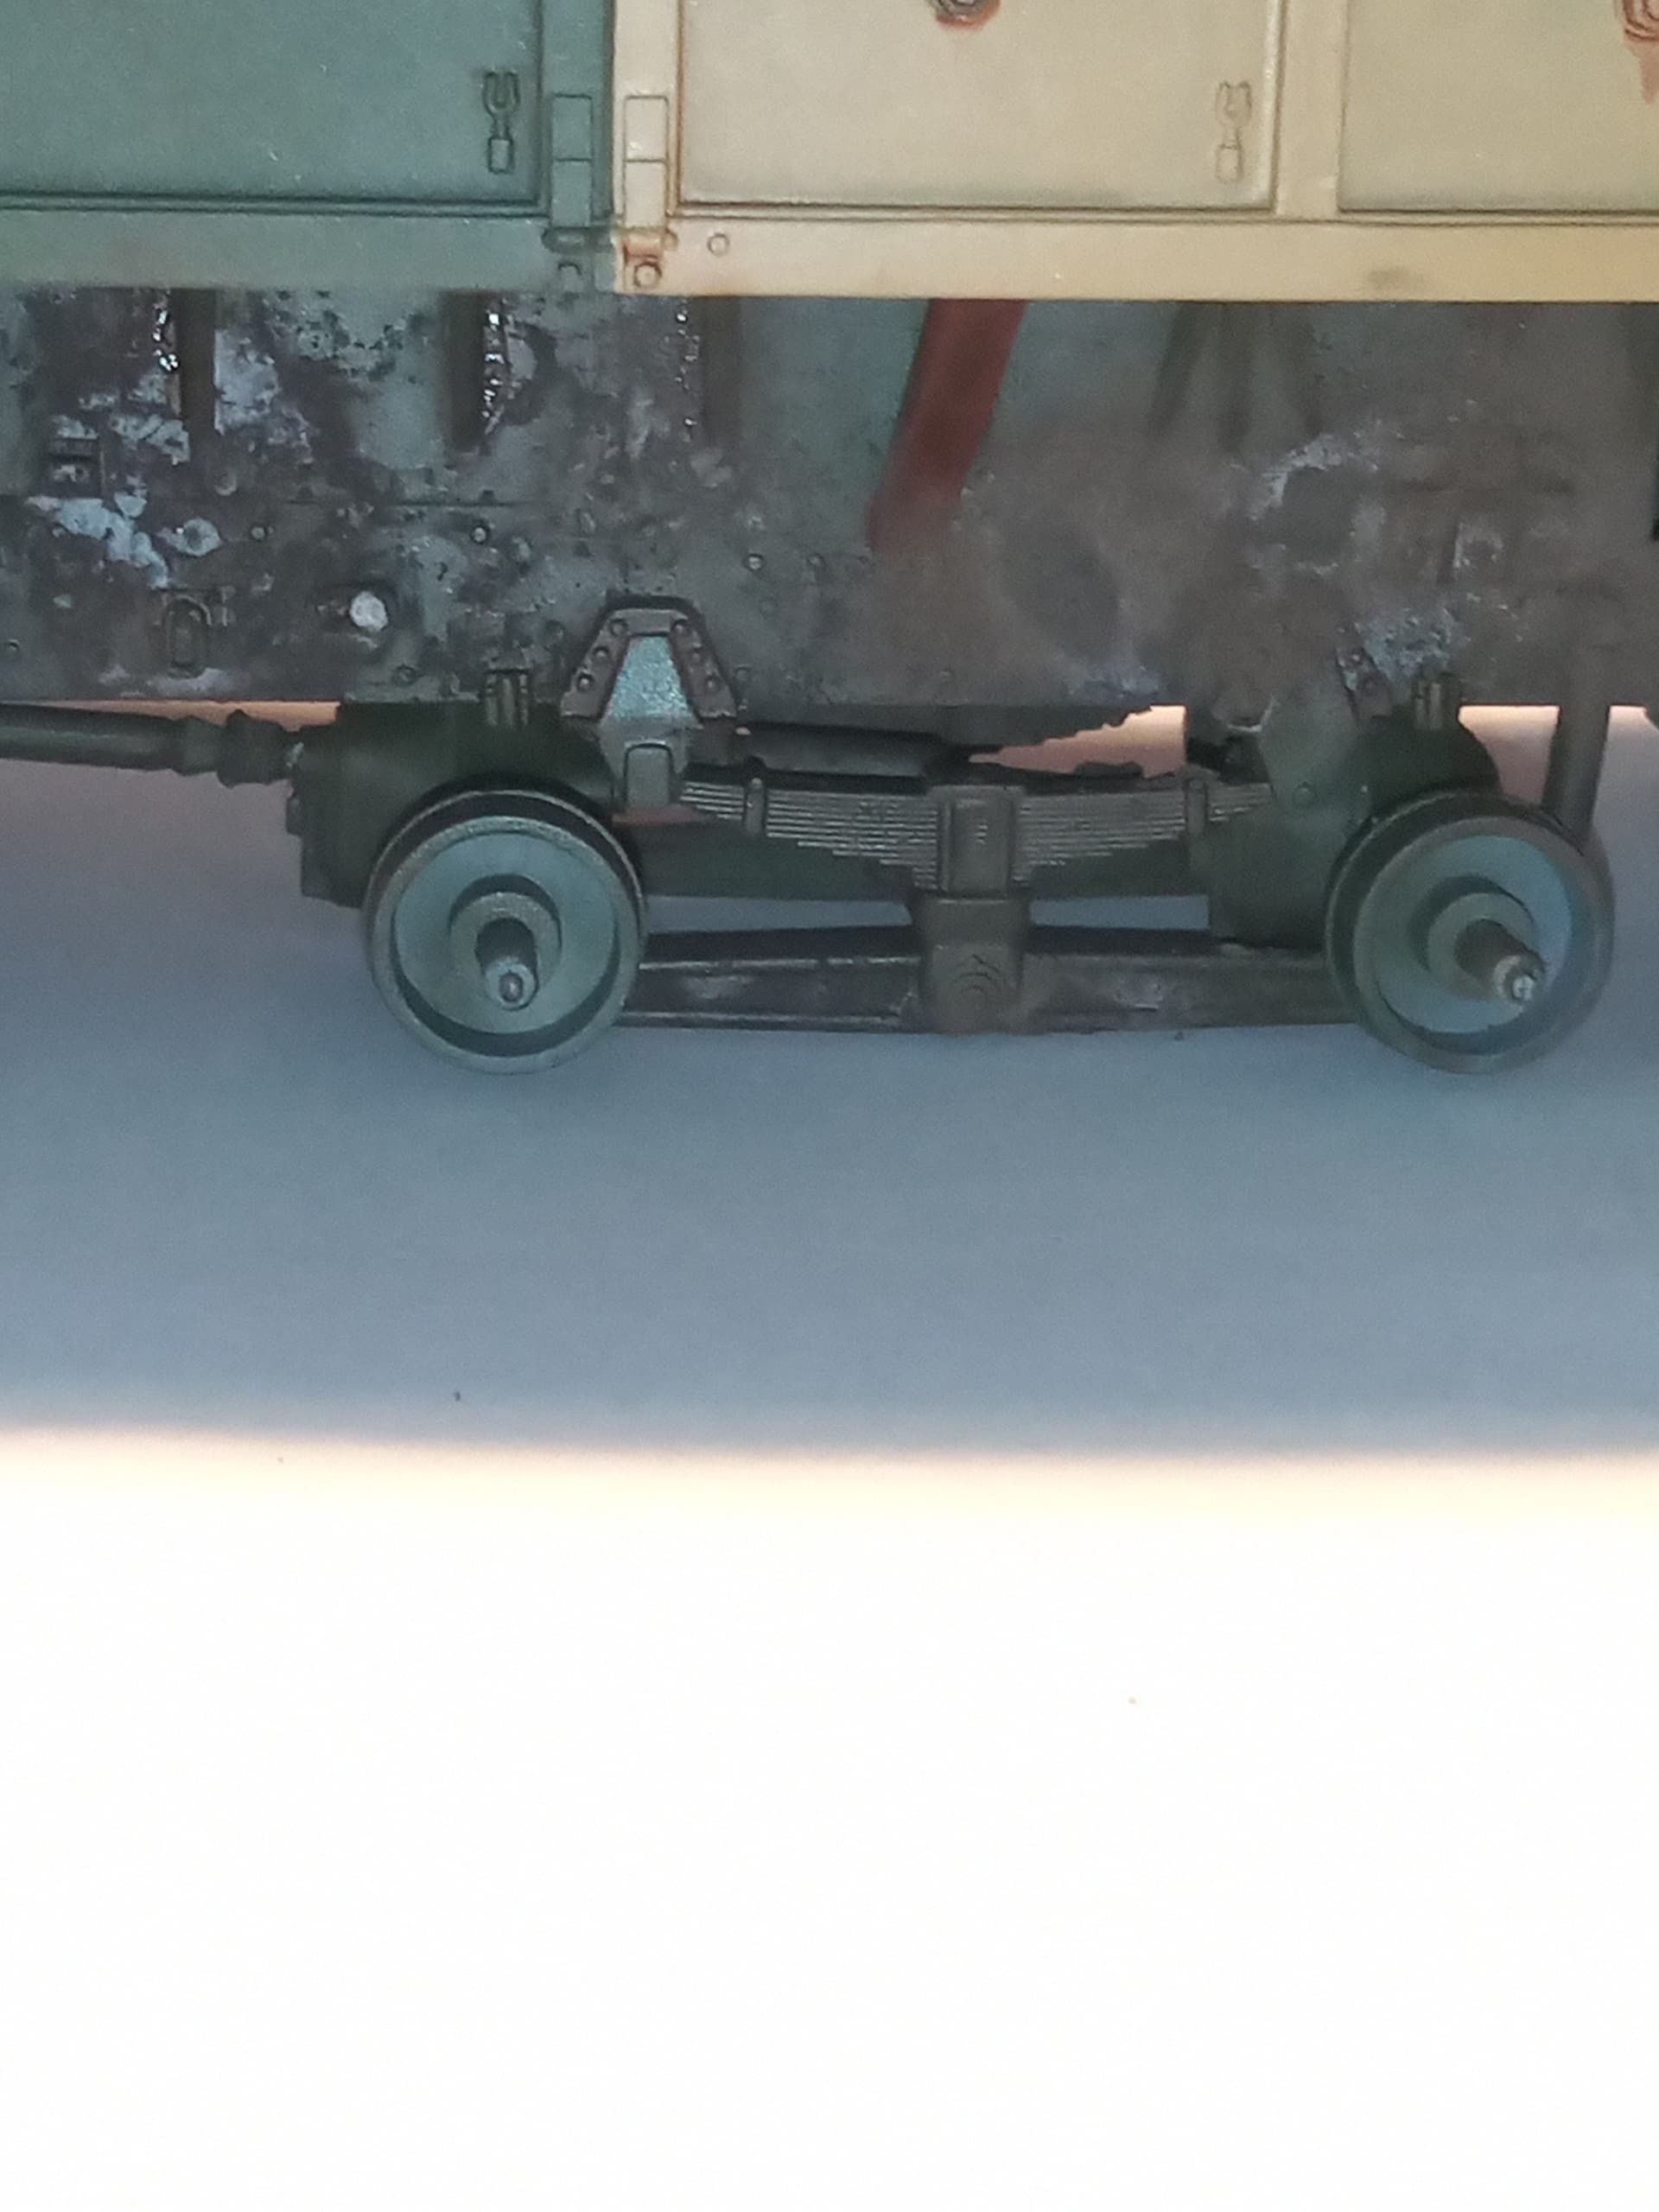
Nightmare upon nightmares… Everything was ticking along nicely and I thought it’s a good time to put the cargo bed on… Oh dear …
The No3 axle snapped off…
The breaks are where the cocktail stick ends are …

And of course both drive shafts broke as well…

To say I was miffed is an understatement… It’s now damage limitation… It’s glued back on and they seem to have mated up ok… Still need to glue back one of the shock absorbers as they both broke as well …
Once that’s all dry, I will see how bad it looks and begin a camouflage process on the areas that need it … ![]()
![]()
3 Likes
What the hell, bro! ![]()
Why you playing Tonka trucks that hard?
2 Likes
Lol…I genuinely didn’t think I was applying that much pressure … Seems I wrong ![]()
2 Likes
That is a very typical problem with “under-hung” suspensions. Both model AND real.
1 Like
I’d drill and pin them for extra strength…
3 Likes