That half truck scores big on the coolness factor. You could iuse the other parts to make a softskin truck with extra traction . . .
Paul
That half truck scores big on the coolness factor. You could iuse the other parts to make a softskin truck with extra traction . . .
Paul
Hello fellow highway haulers!
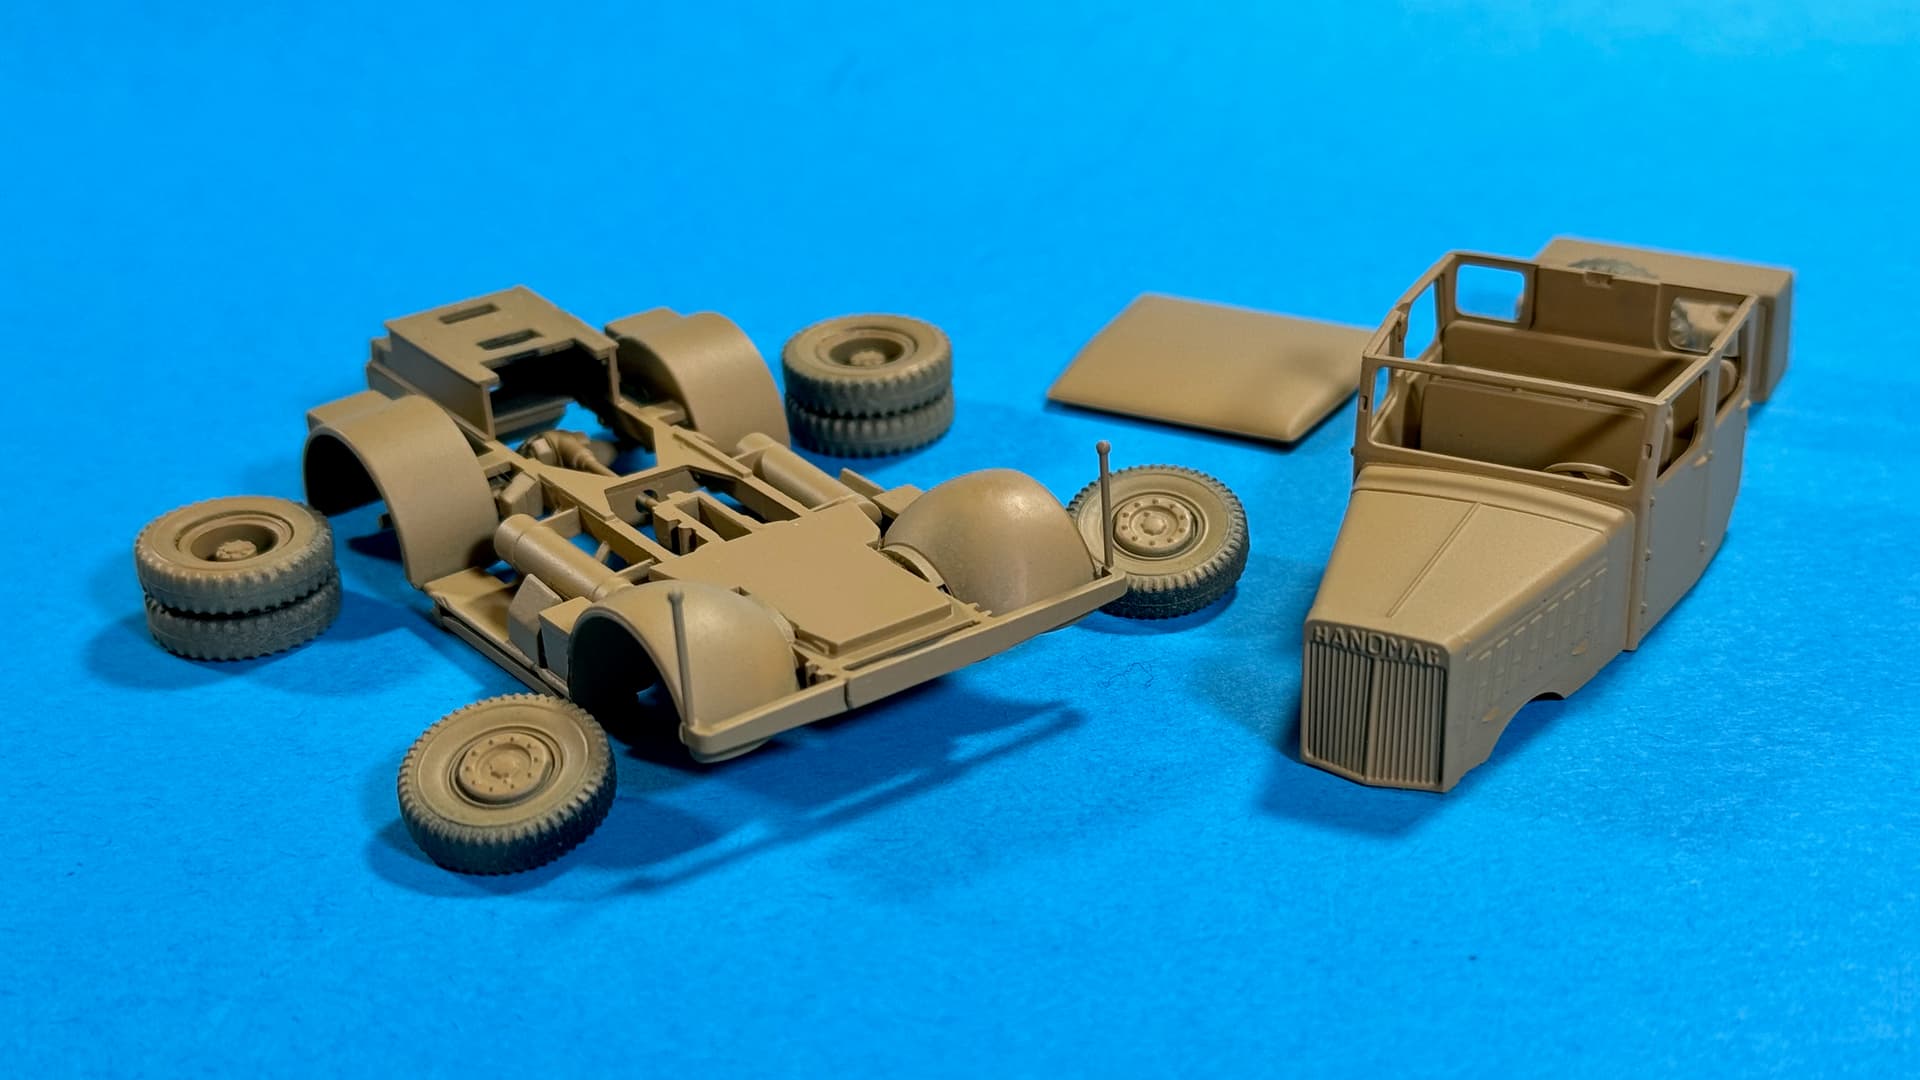
Here’s a small update on my small HANOMAG SS-100 Gigant “Schwerer Radschlepper” Heavy Tractor.
A base coat of Vallejo Desert Yellow (70.977) went on today.
—mike ![]() …
…
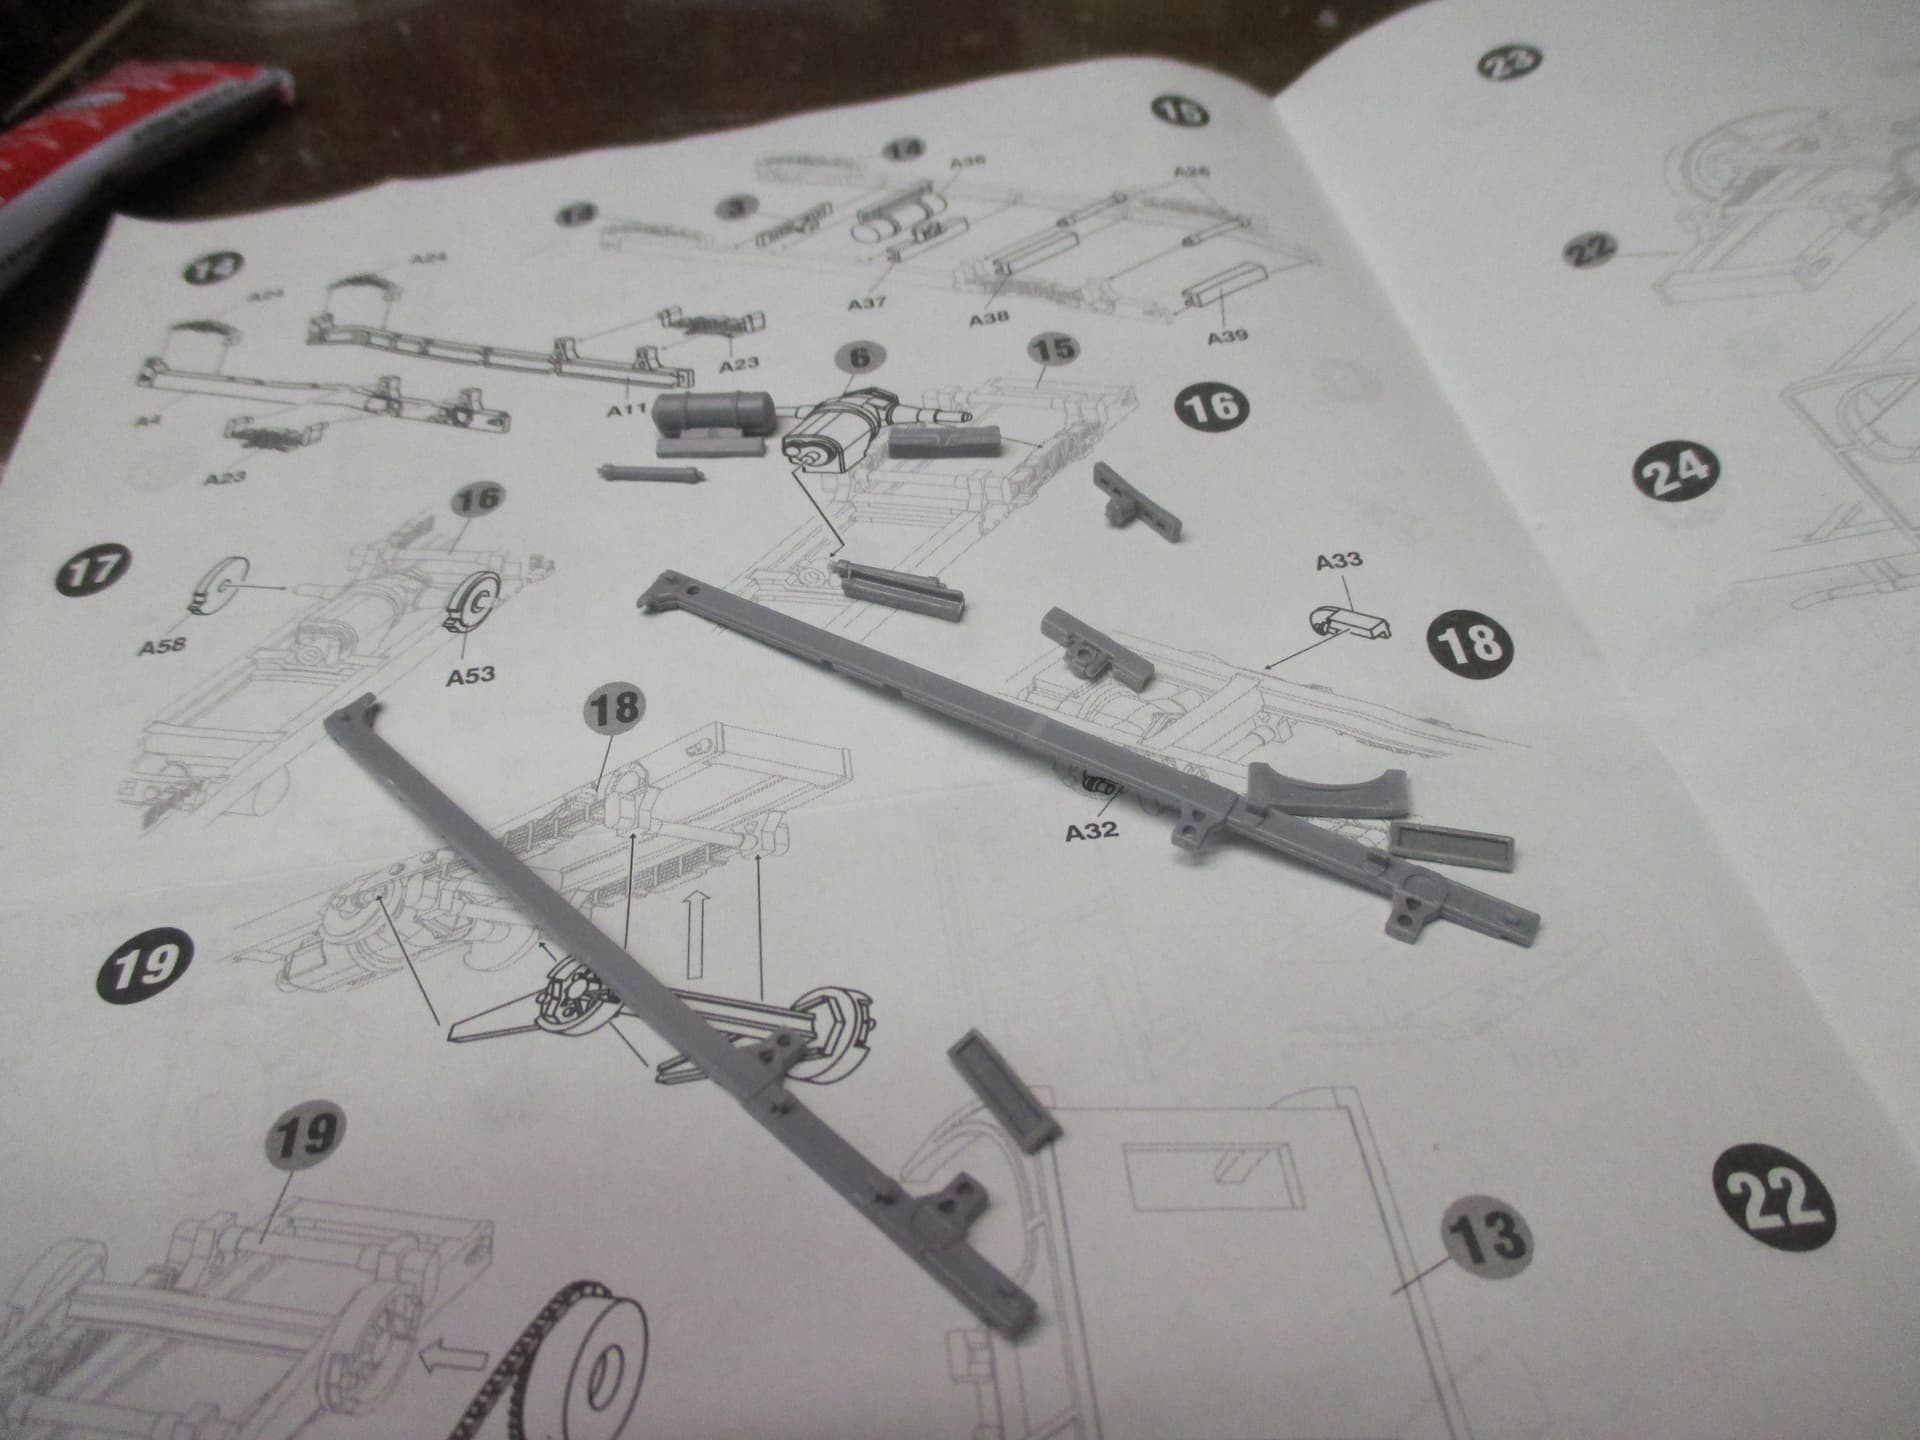
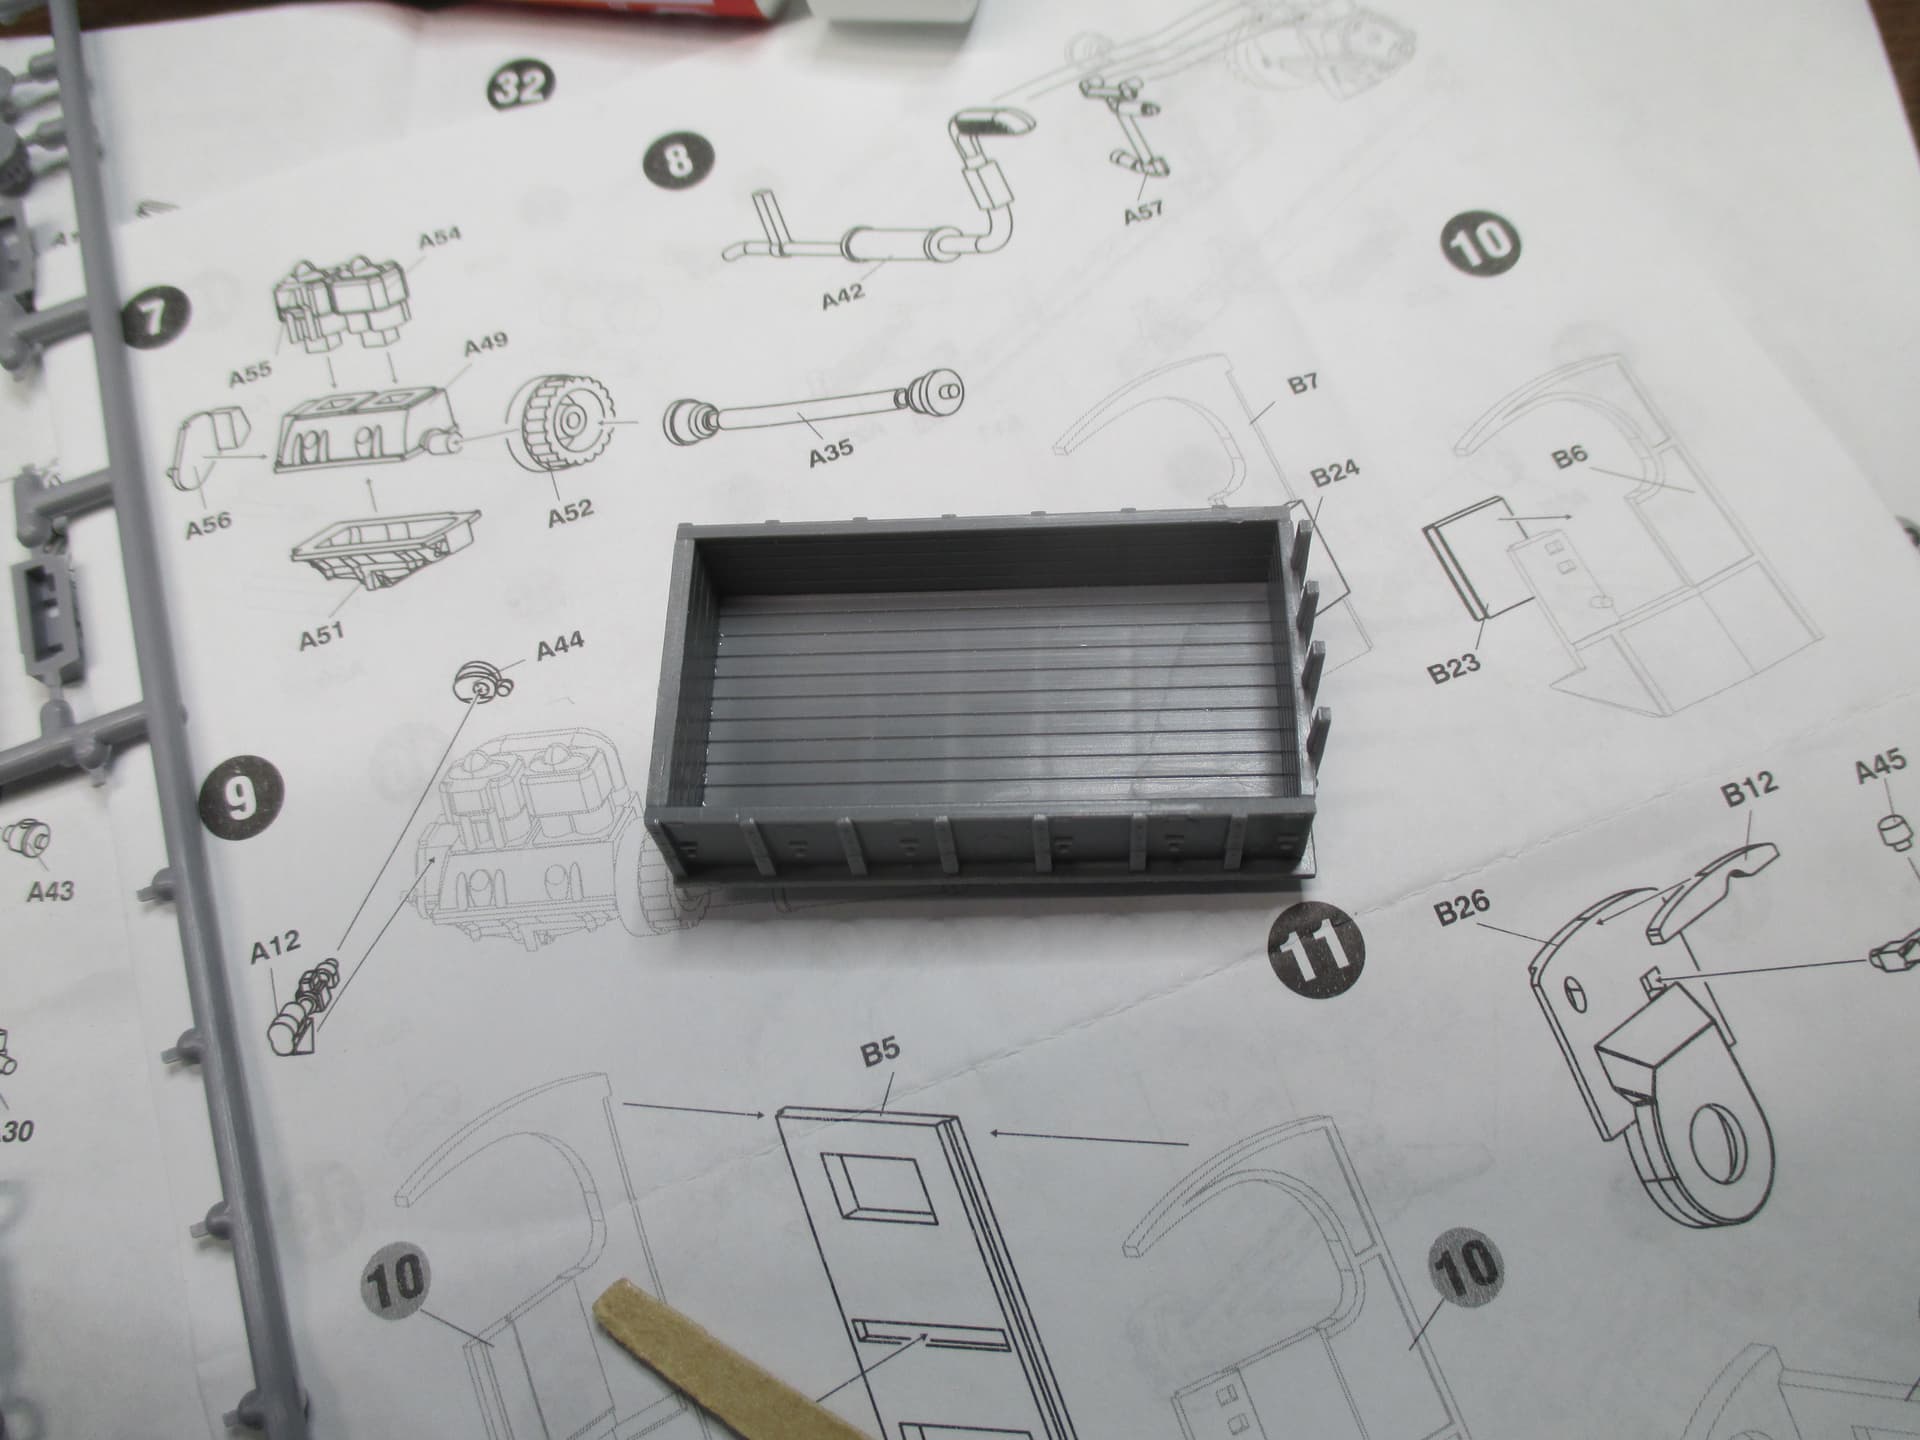
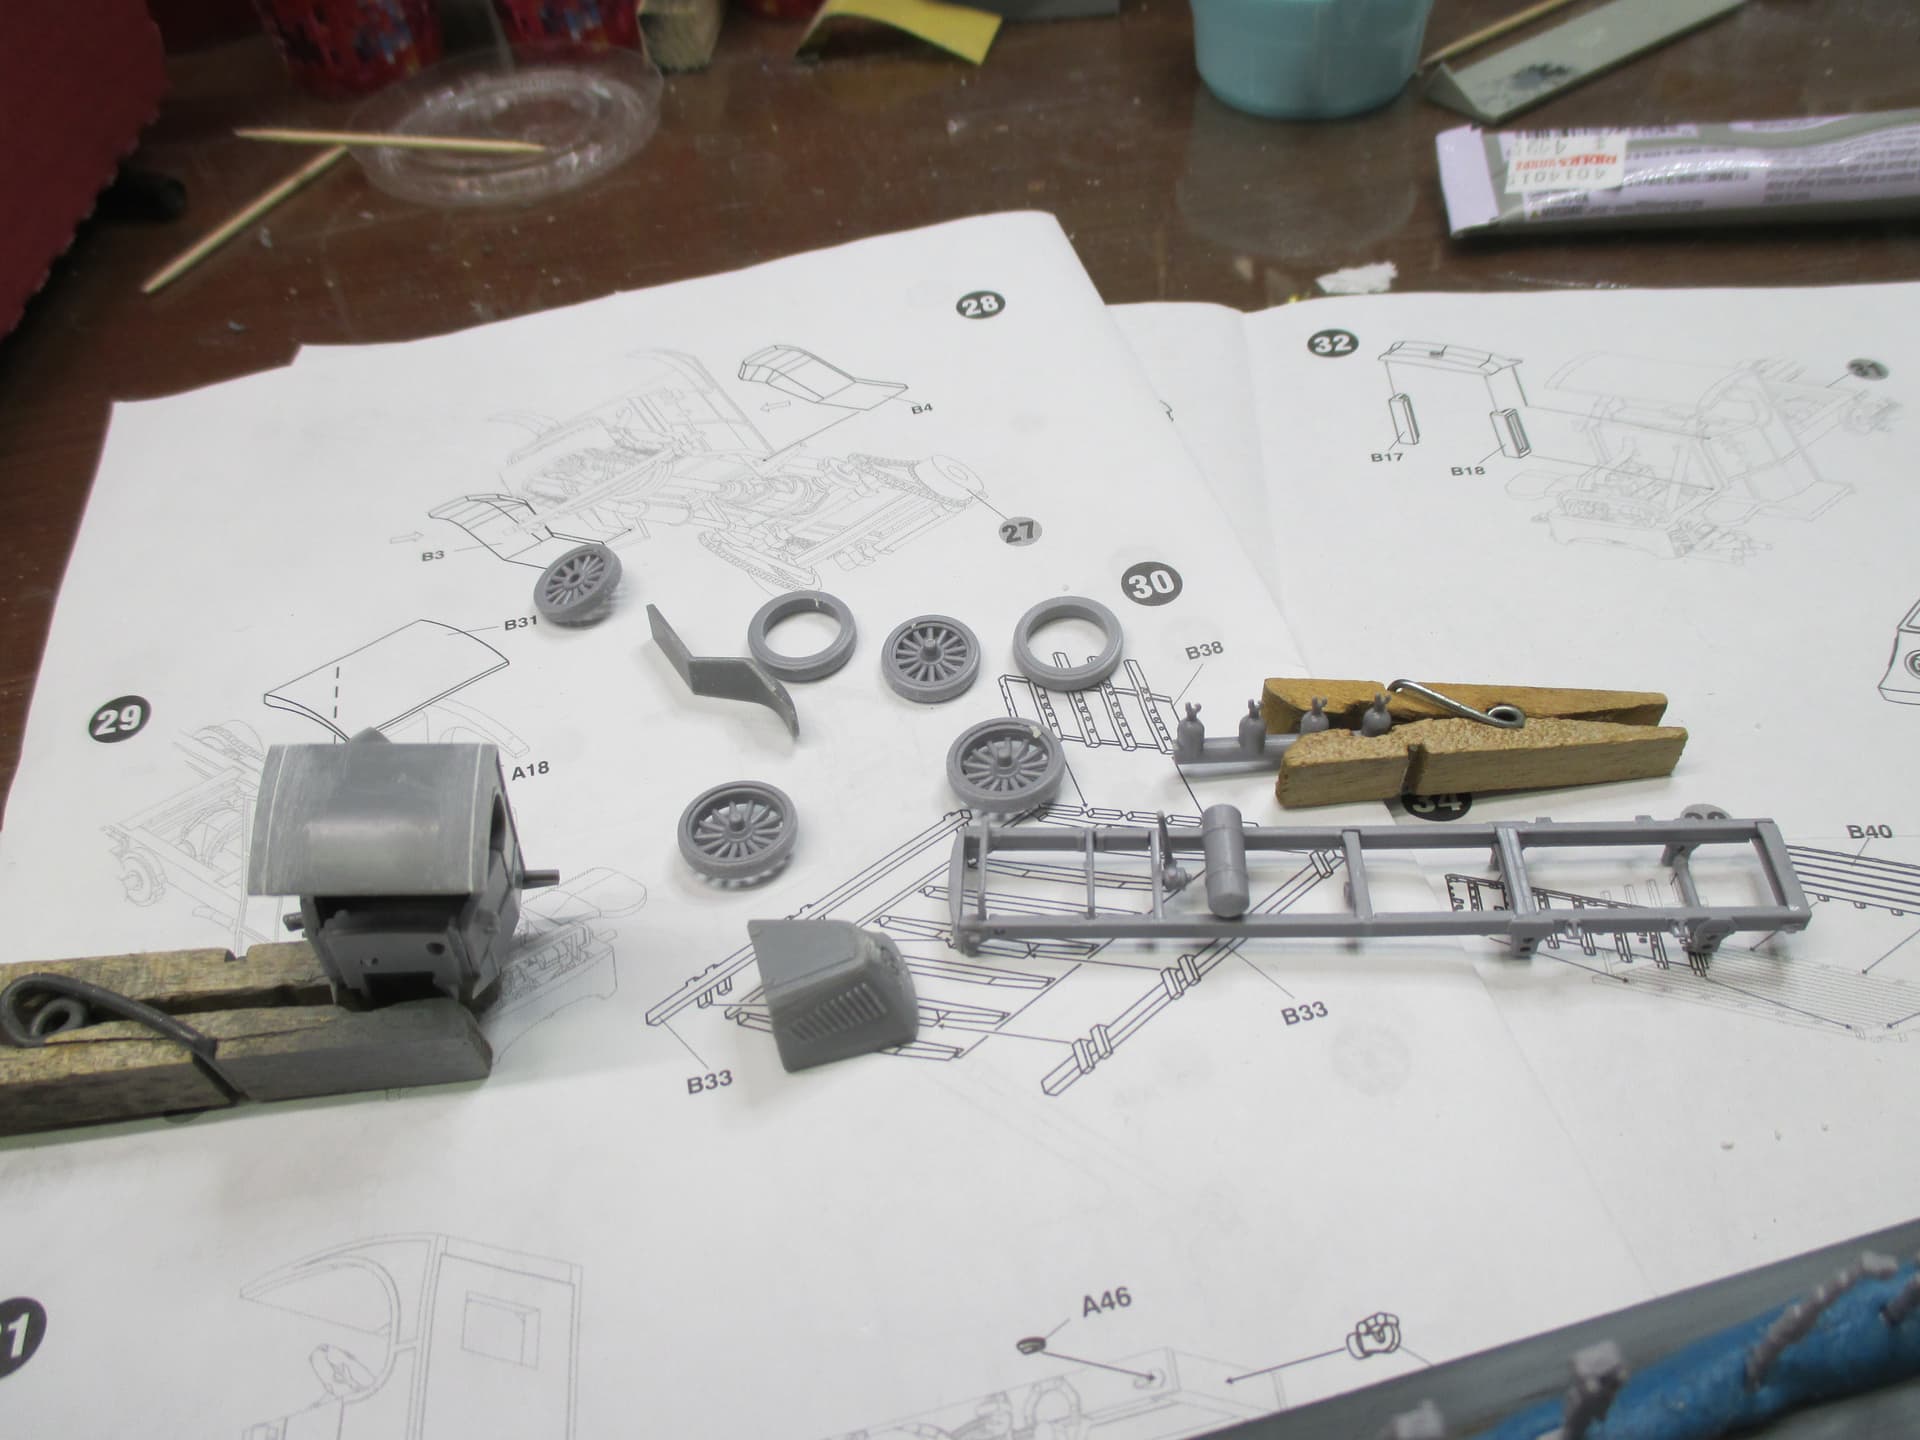
Multi piece frame cut out, cleaned up and glued together
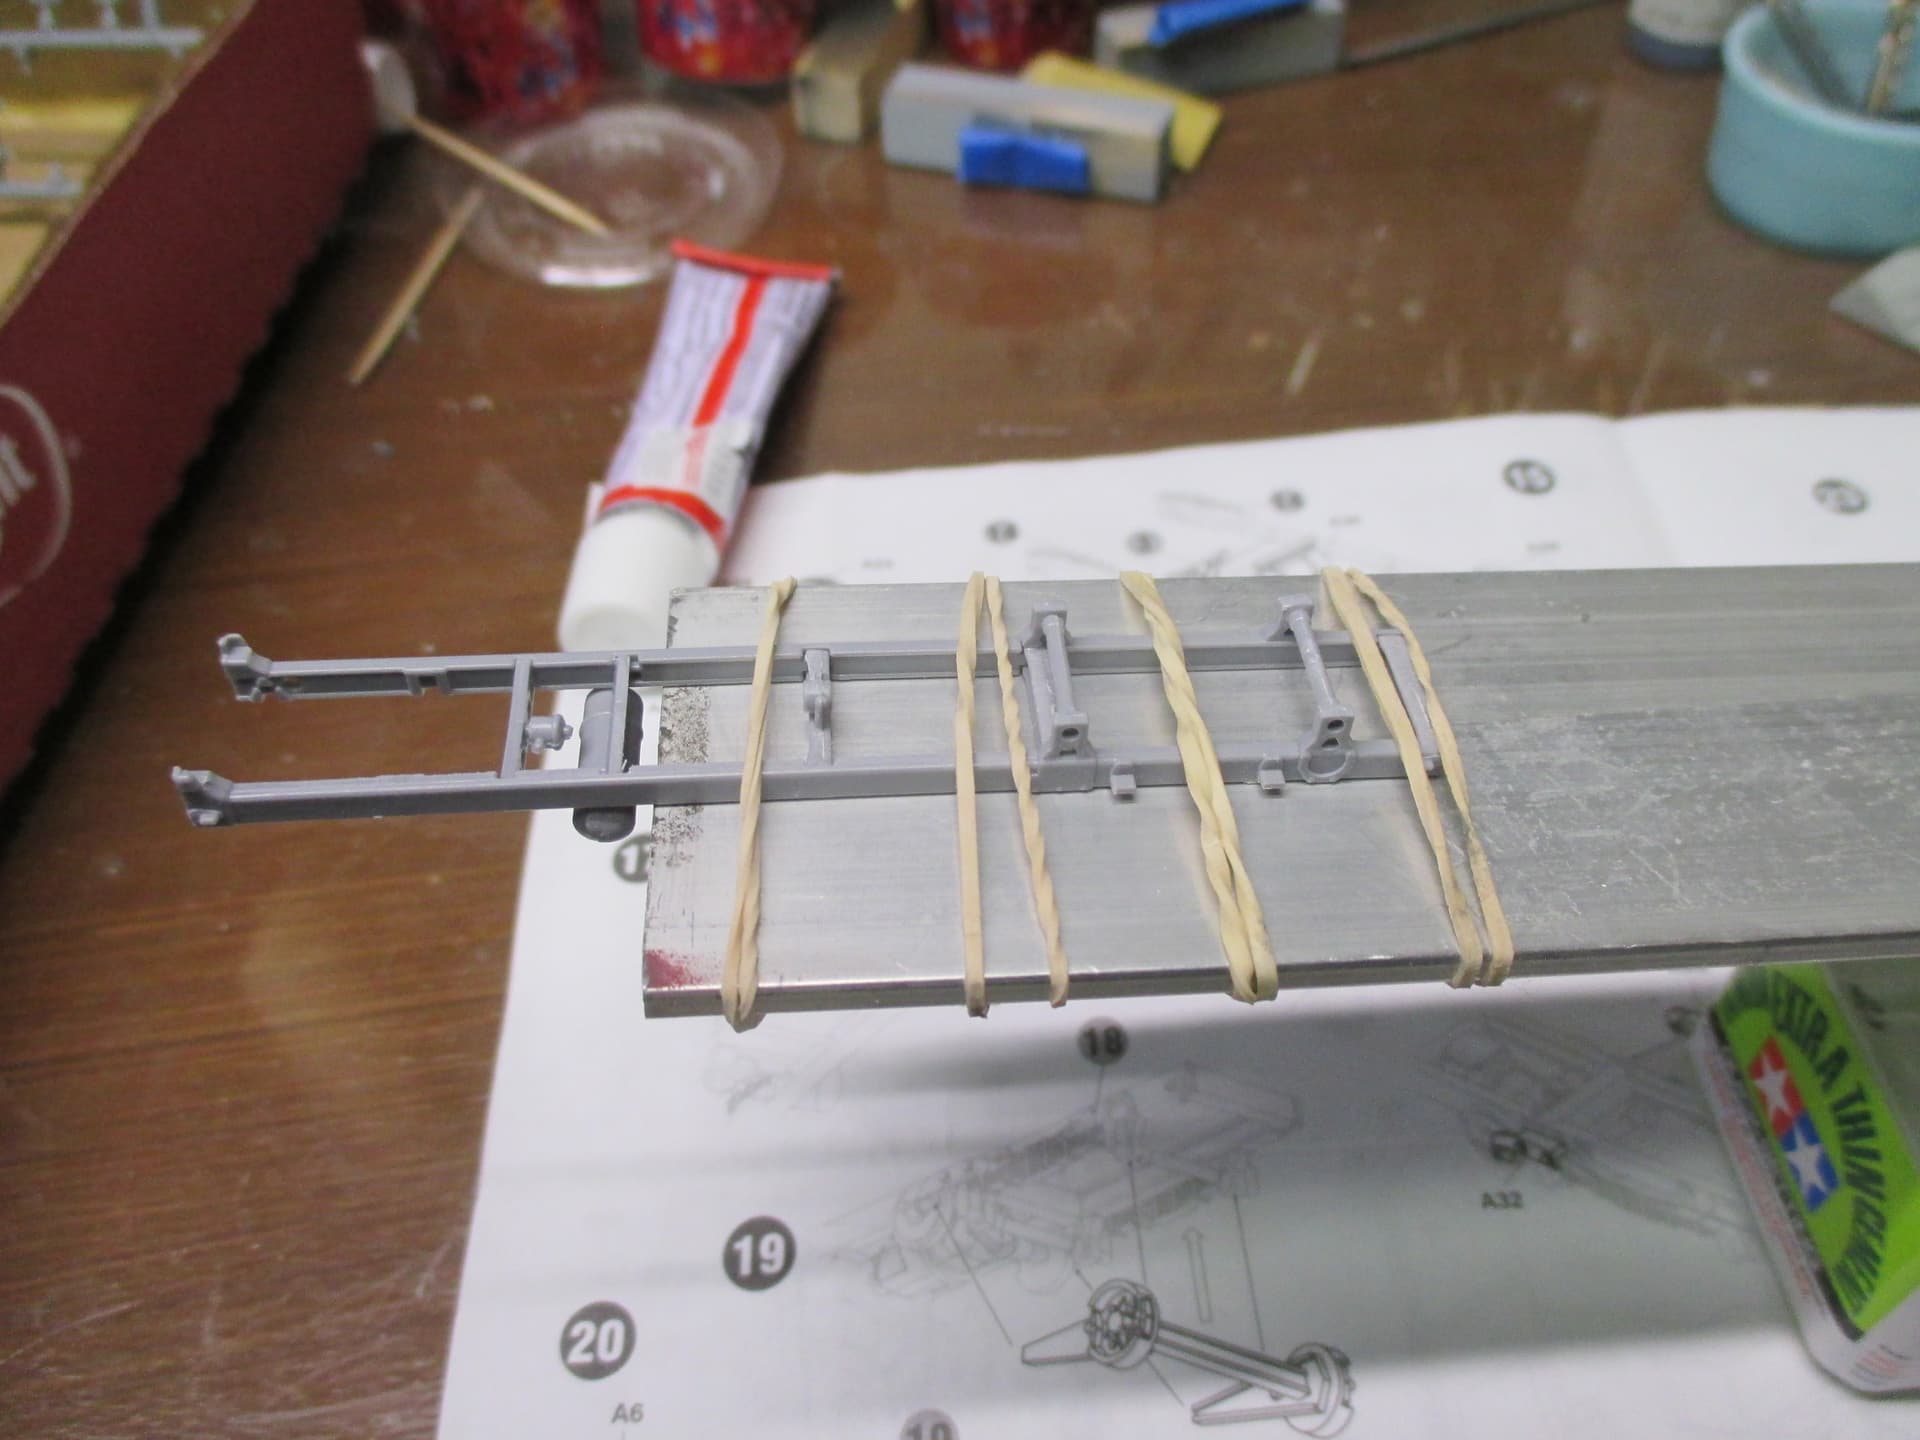
MiniArt GAZ-AAA: Frame and rear differentials are finished.
Keeping everything aligned is extremely difficult. This may be the most fragile model I have ever built.
Yup - that’s the joy of MiniArt! Still, it looks like you’re past the hardest part. Can’t wait to see some paint…
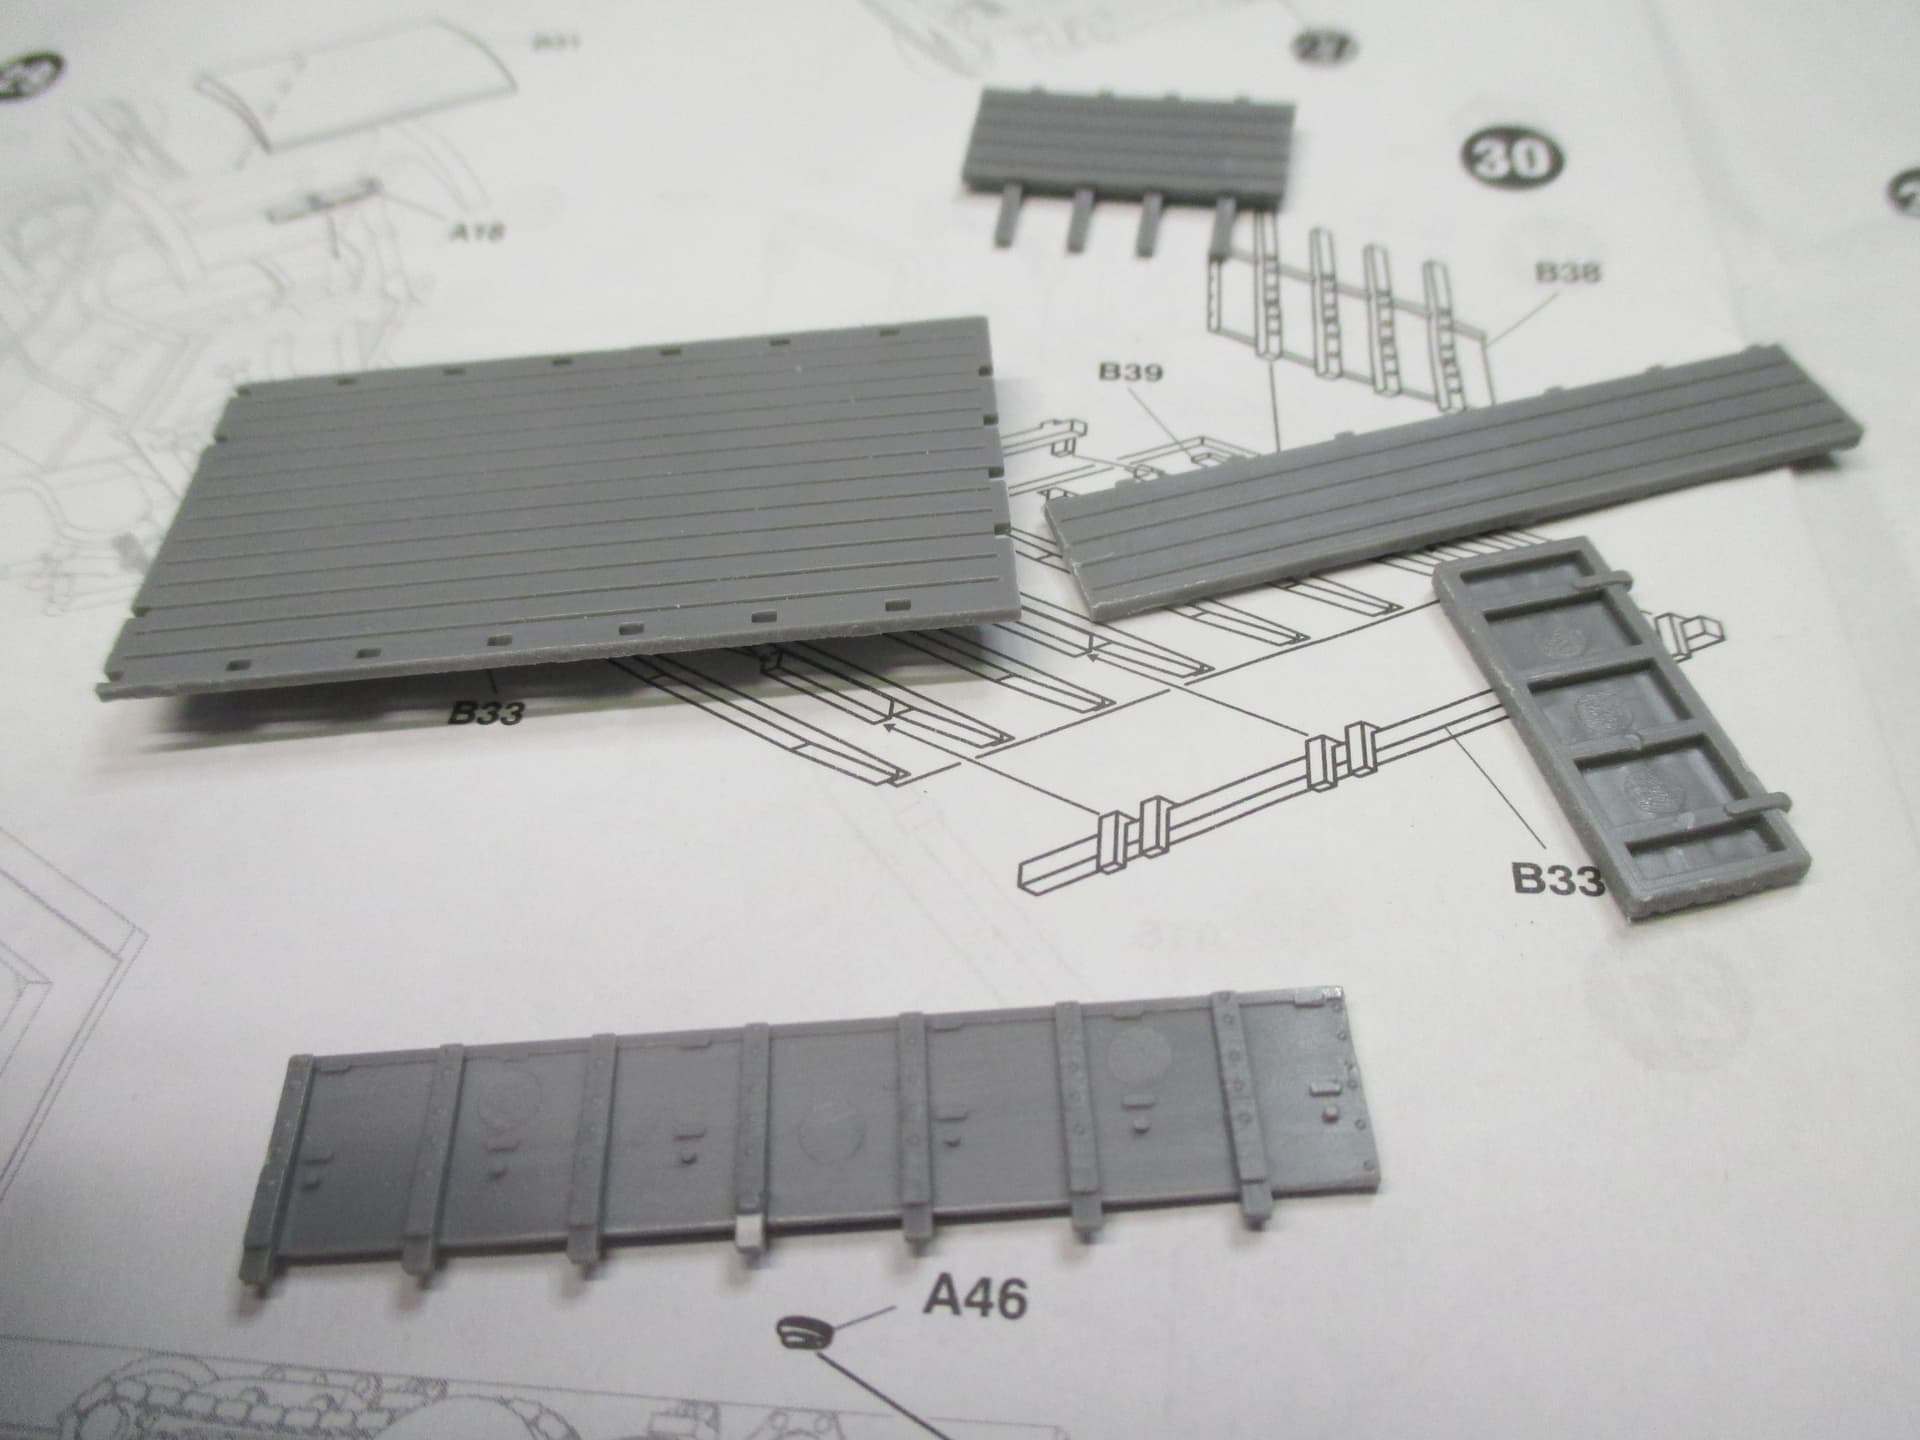
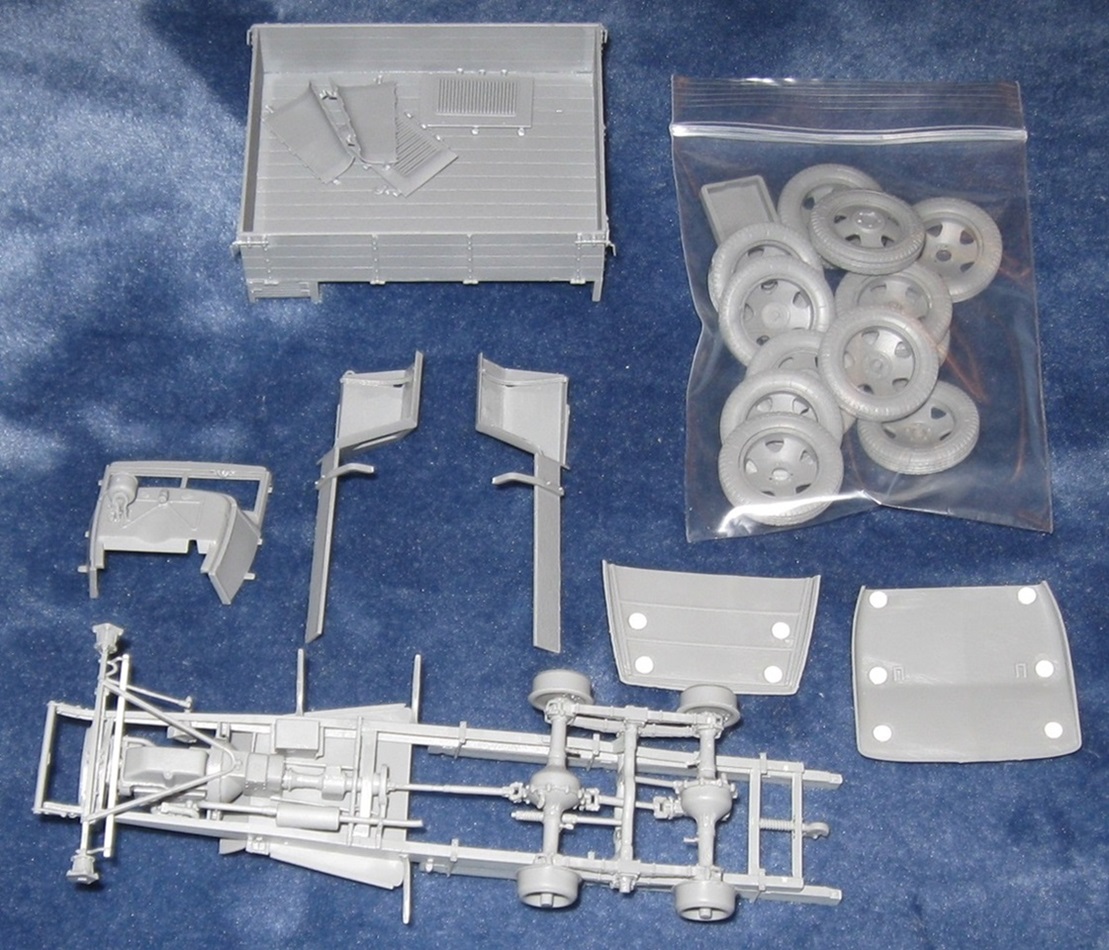
MiniArt GAZ-AAA: Working towards final assembly.
The missing sprue for this model will come into stock at MiniArt in approximately two weeks. Rather than risk another failed campaign, the required sprue was borrowed from a GAZ Staff Bus as per Plan C, described in a previous post.
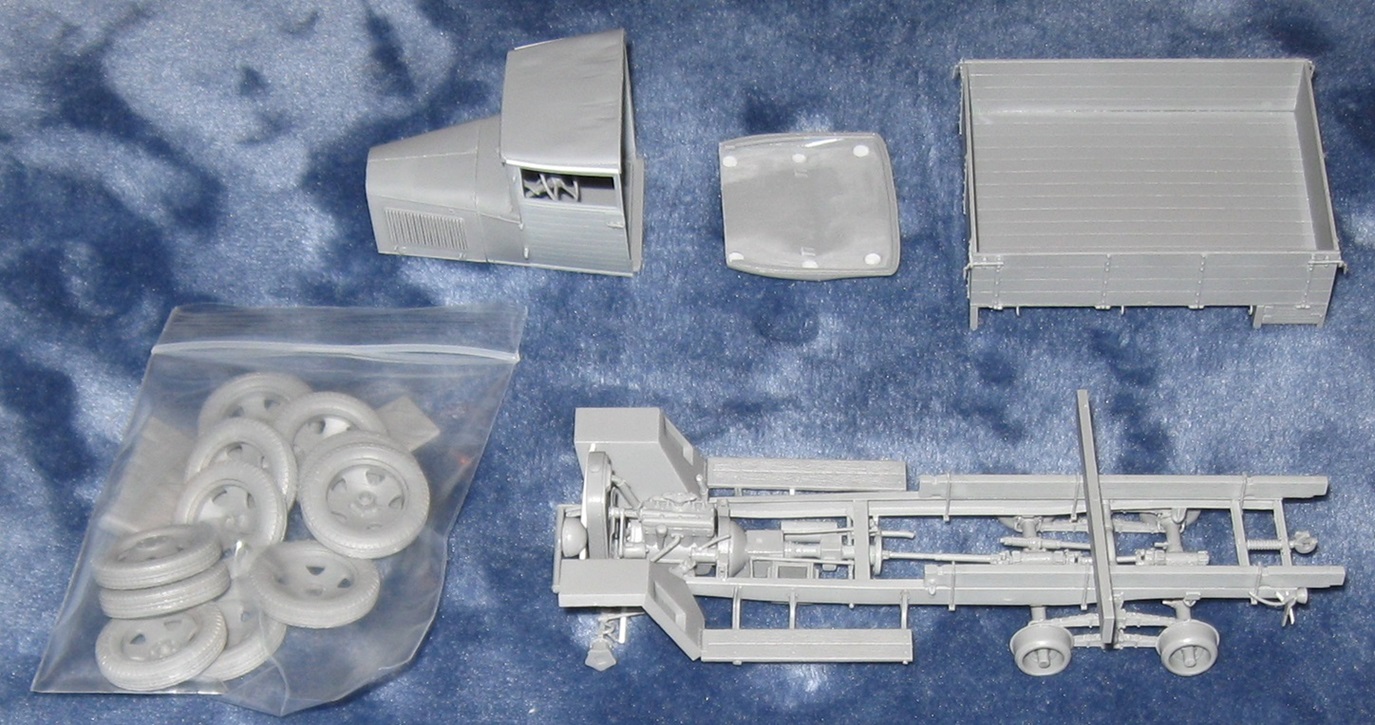
Both brake lines shattered during clean up and remain uninstalled. Once the bed is in place, making it easier to handle the model, I may attempt to scratch build replacements.
Many parts for this model are exceptionally fragile. About one in 10 parts broke during clean up or installation. One large sideboard bracket shattered too badly to use and requires a scratch built replacement.
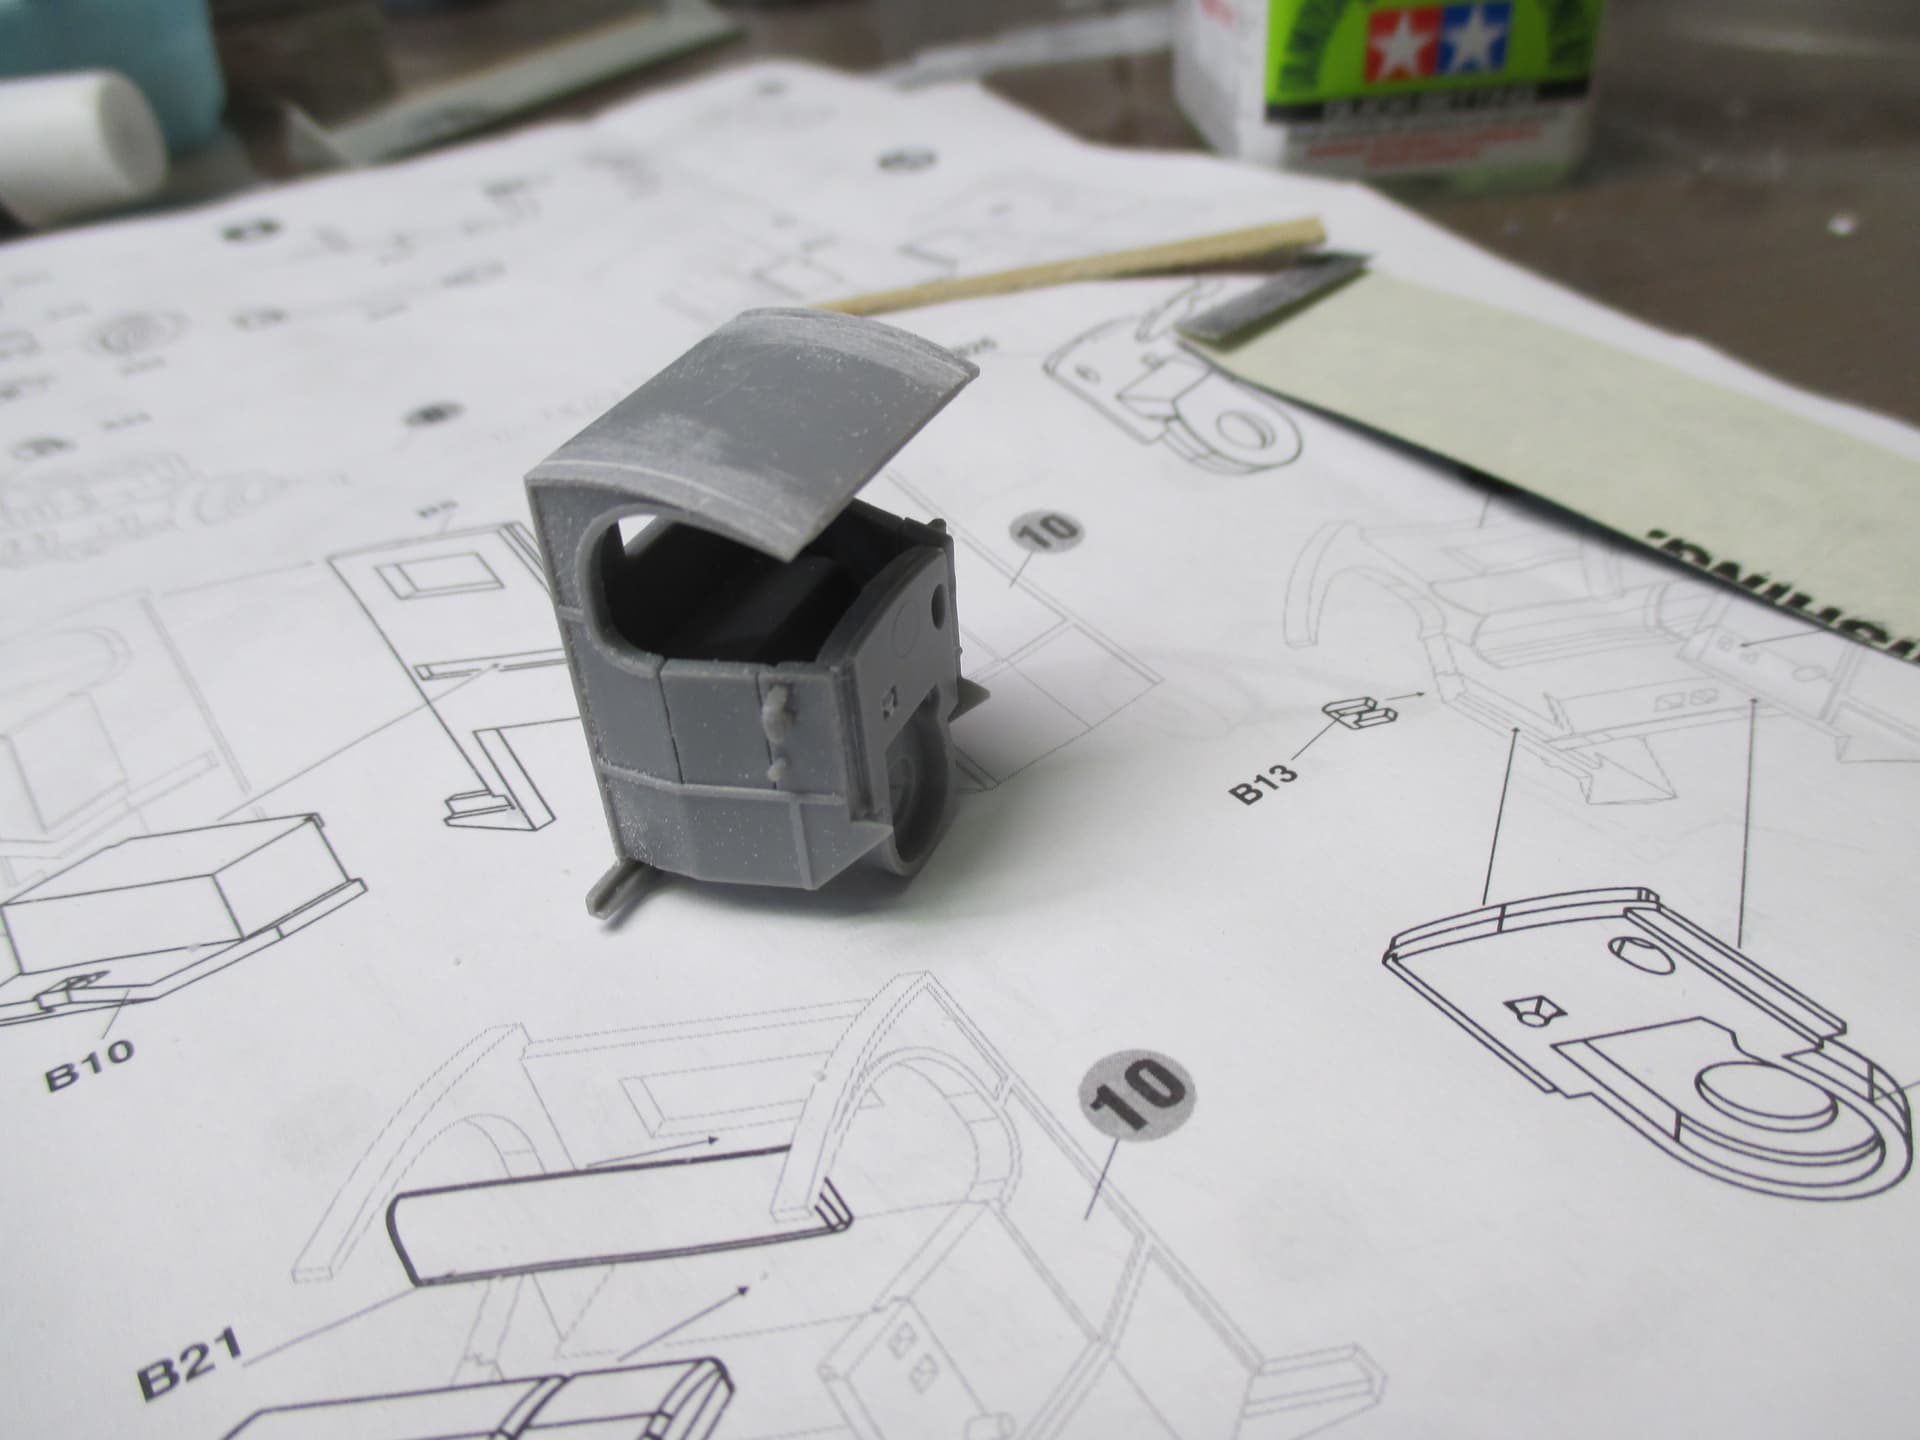
Disks of punched plastic were used to fill shallow knock out pin holes in two cab parts. They still need sanding.
So far, no parts have gone missing which is a minor miracle.
…
@barkingdigger Your finished truck looks excellent. I am very impressed with how clean and perfect it looks.
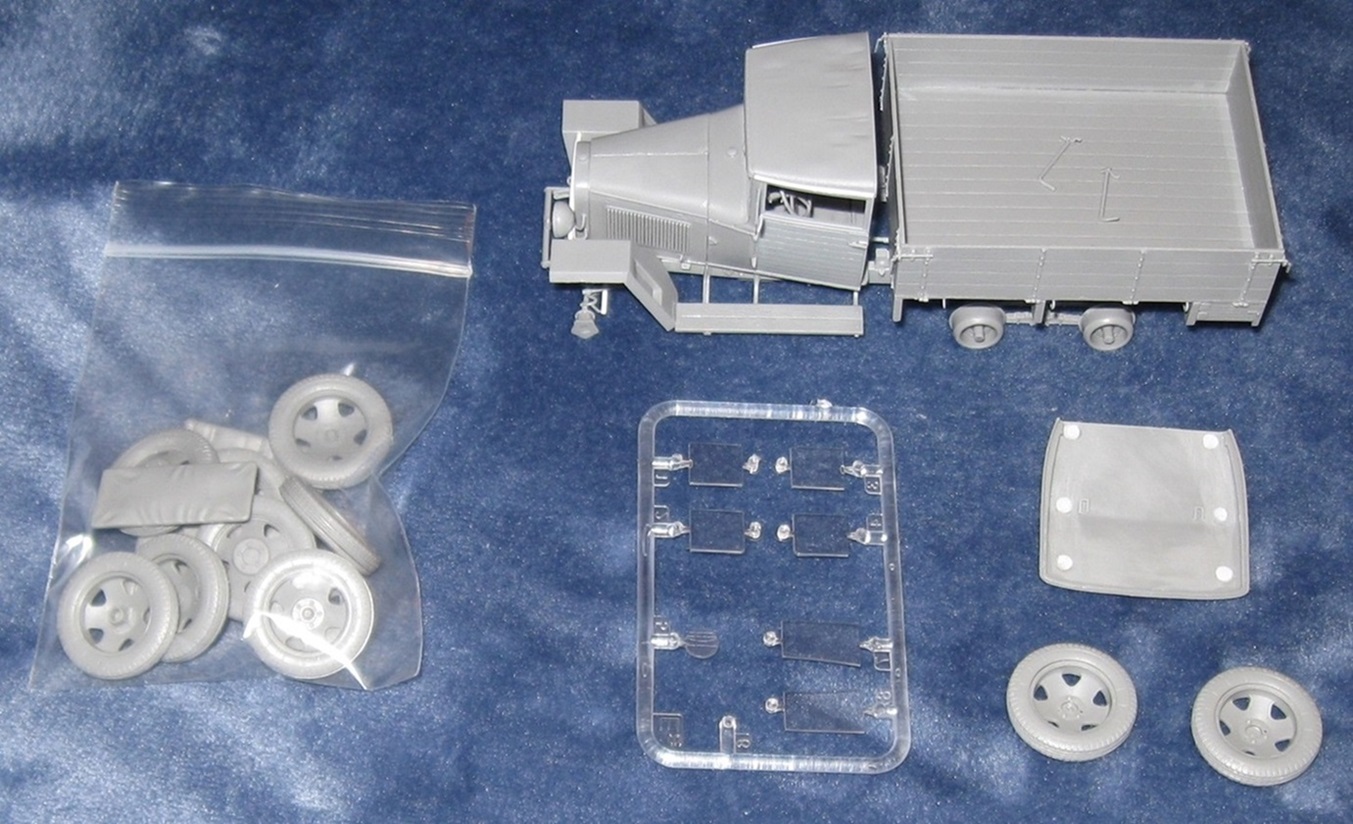
MiniArt GAZ-AAA: Only a few parts remain to assemble.
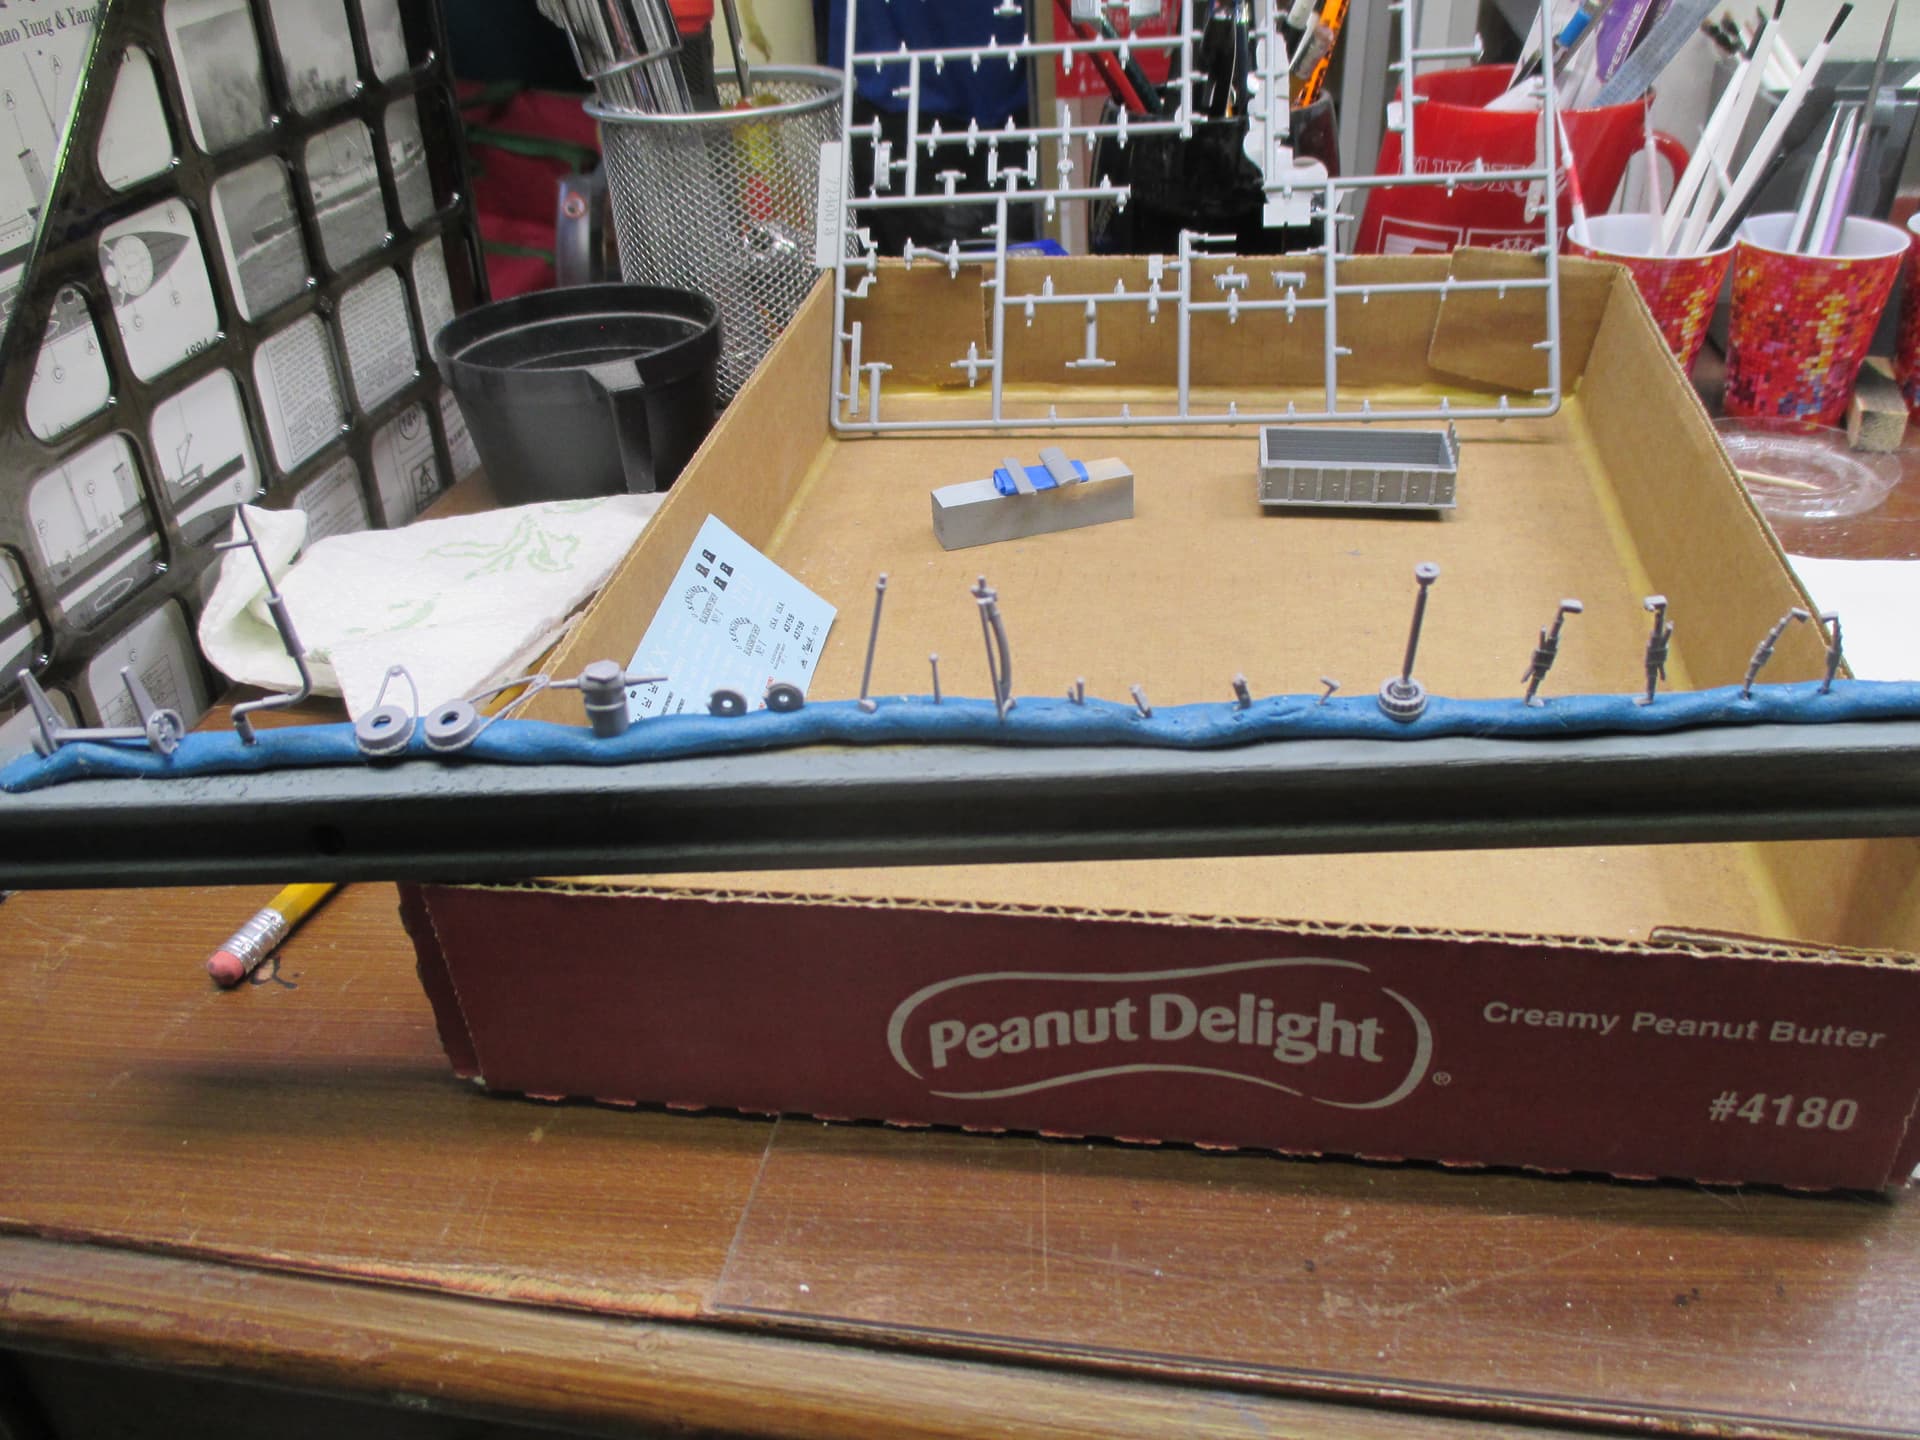
All major components are now assembled. About 20 gray parts remain for the horn, mirrors, and spare wheel holders. All broken parts to date were replaced with sheet and rod stock. All photo etch parts were also replaced.
Having never built a model like this before, the plan is to paint the bed, cab, and frame individually, bring them all together, add environmental effects, add the wheels, and beat it up some more. Since the engine will remain hidden under the bonnet, the innards will receive a coat of primer black and nothing else.
According to information found on the internet, wooden cab vehicles came into service around 1941. MiniArt places this model in 1944. I am going to fudge a bit, add the second headlight, and pretend this is a vehicle from 1943 during the time of Operation Citedel. If I ever get my butt in gear and build a diorama, that will allow me to pose it with a Panther D or early Tiger I. Maybe both!
Since this will be a summer vehicle, plain Jane 4BO Green she be. However, since this is a Russian vehicle, I feel compelled to beat the snot out of this thing when painting it. Having never done this before, and generally lacking recent painting experience, what could possibly go wrong?
Looking good! Be sure to mask all the contact points for the cab, bed, and frame as it’s a pig to scrape paint off them afterwards.
MiniArt GAZ-AAA: This project is ready for paint.
The rear view mirror is not going to make it. The spare tire holders are also very fragile. In a worse case scenario, the rear view mirror can be replaced with a disk of punched card and a length or round stock. The spare tire holders can also be replaced. ![]()
My foot needs more time to heal up so paint work must wait a few days. ![]()
As an aside, last month, I built a Studebaker US6 for the Winter Wonderland campaign. (It also awaits paint.) In comparison to the GAZ-AAA, the Studebaker is much larger, heavier, and more robustly built. That genuinely surprised me.
…
@barkingdigger Thank you for the encouragement. In truth, I am concerned this project could go belly during painting. My plan is to mask contact surfaces with Blue Tac and windows with Tamiya Tape. Things could get ugly if a window pops out when removing the tape.
Looking very good ![]() … Not far to go now … Nice clean build
… Not far to go now … Nice clean build ![]()
You paint with your foot? ![]()
I hear ya on it being fragile - good luck with all the handling needed to get it done. And let me know if a short time extension might be of service!
To paint, I need to hobble downstairs, carry the compressor, desk lamp, paints, and chair into the garage, then hook everything up. When finished, everything needs to go back where it started. If the wound pops open, it could make another big mess.
For what it is worth, I am determined to finish on time. A couple more days of healing should be enough.
Nice progress on the GAZ-AAA. You’re almost there.
Stair hobbling with tools in hand… ugh! ![]()
Heal brother… heal… ![]()
—mike ![]() …
…
I actually thought you meant that you use a foot treadle to control your air pressure,
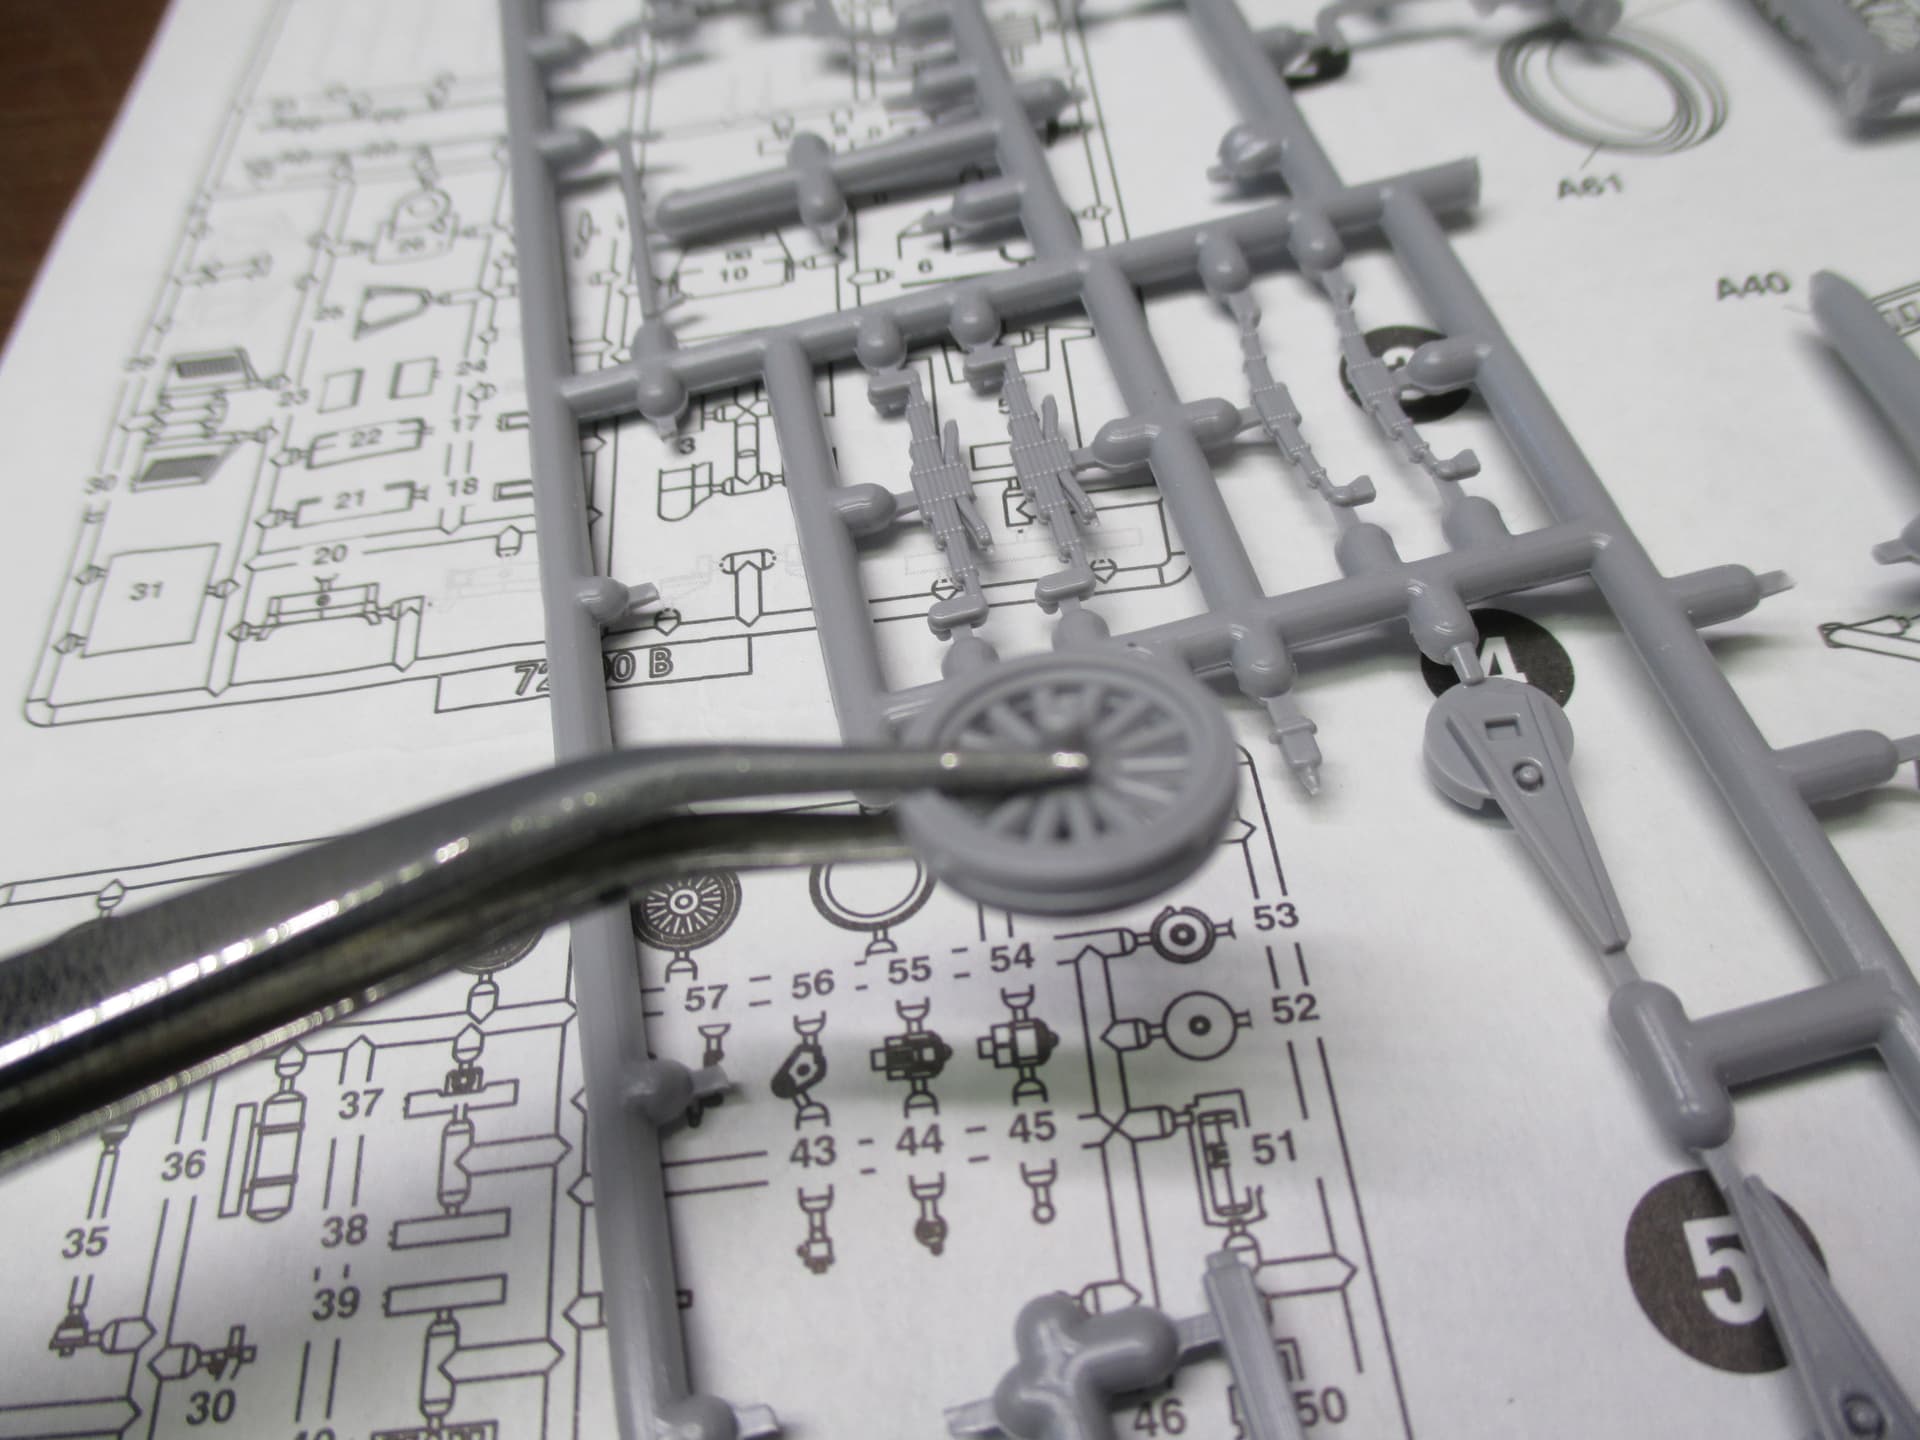
The wheels need a bit of clean up because of a largish parting line/step
HAHA! Sorry. That would actually be pretty neat, sort of like a piano or sewing machine.
I had a mental image of toes curled around the airbrush… ![]()
TIG welders and other devices use foot controls.
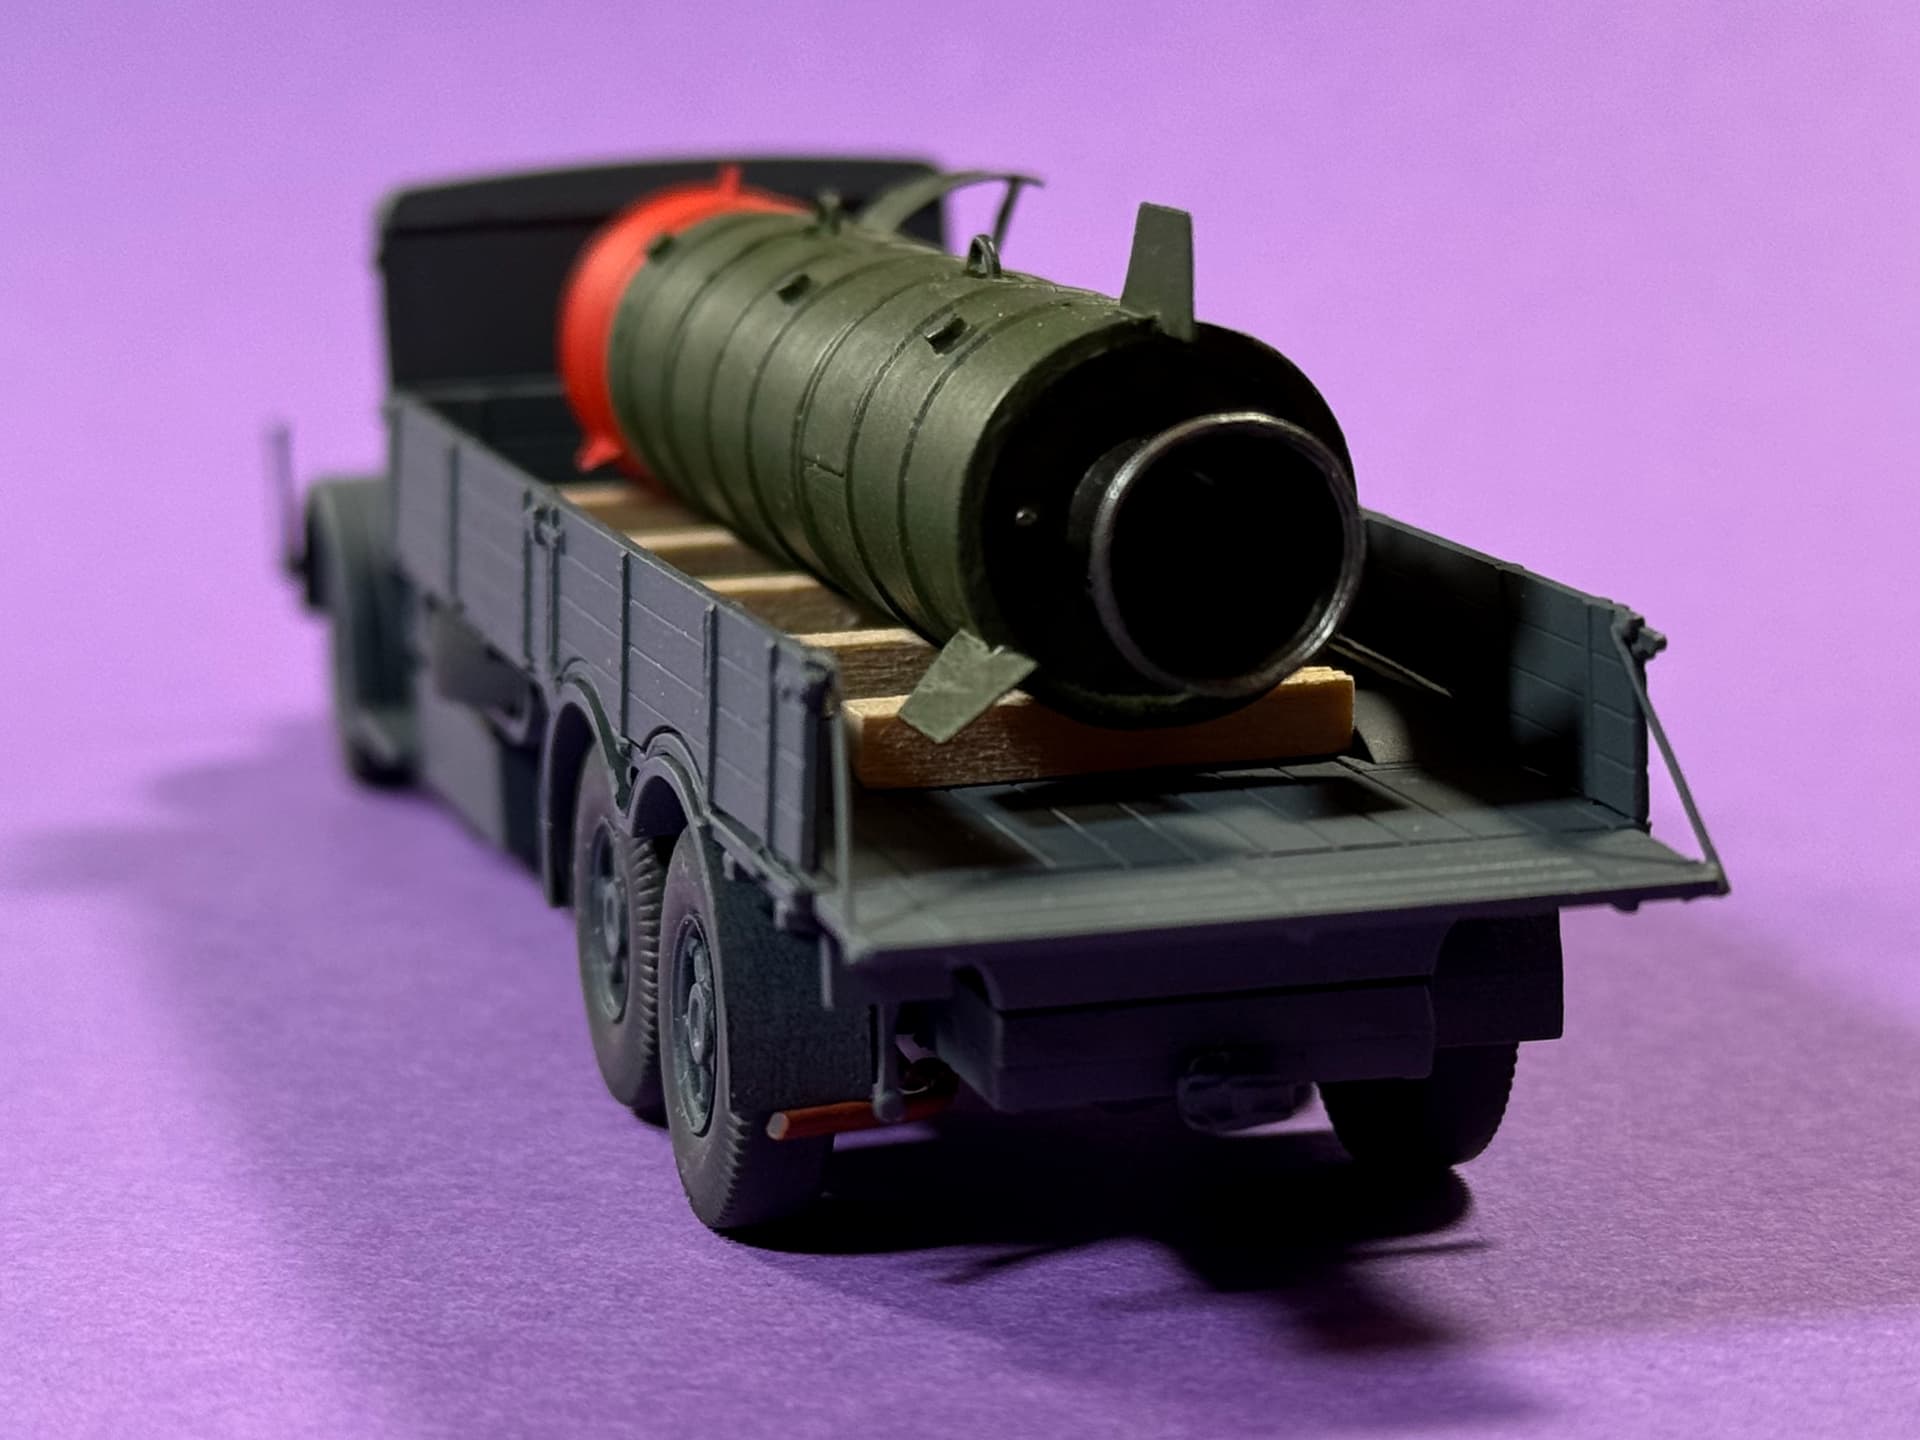
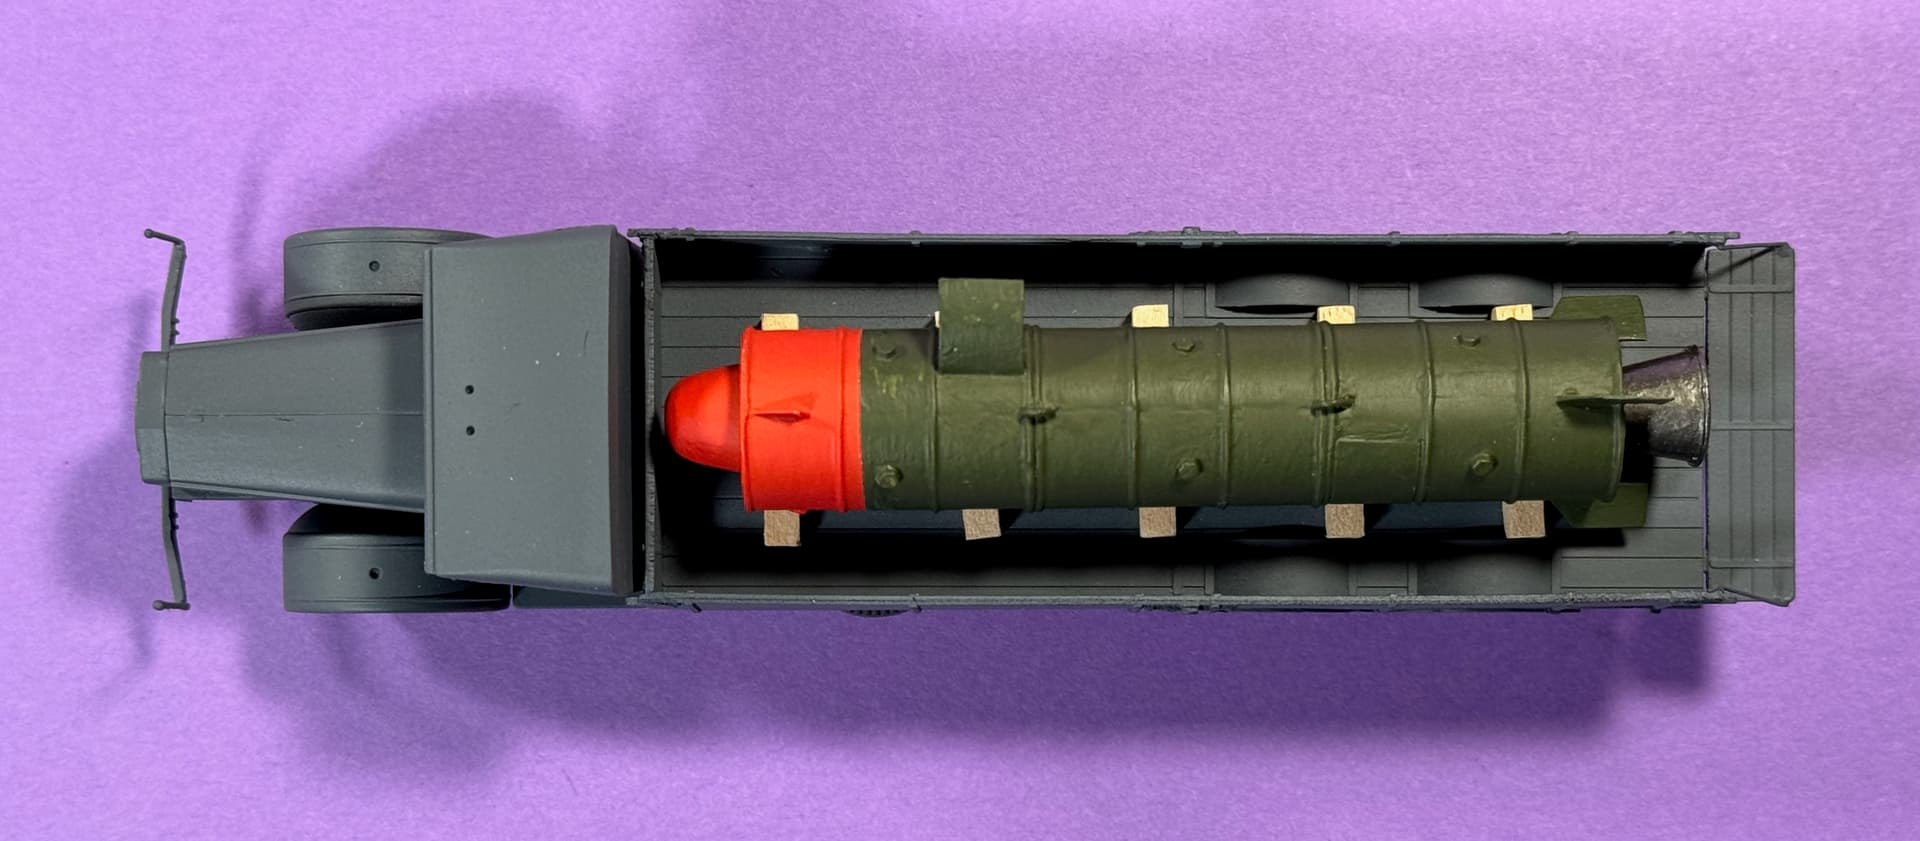
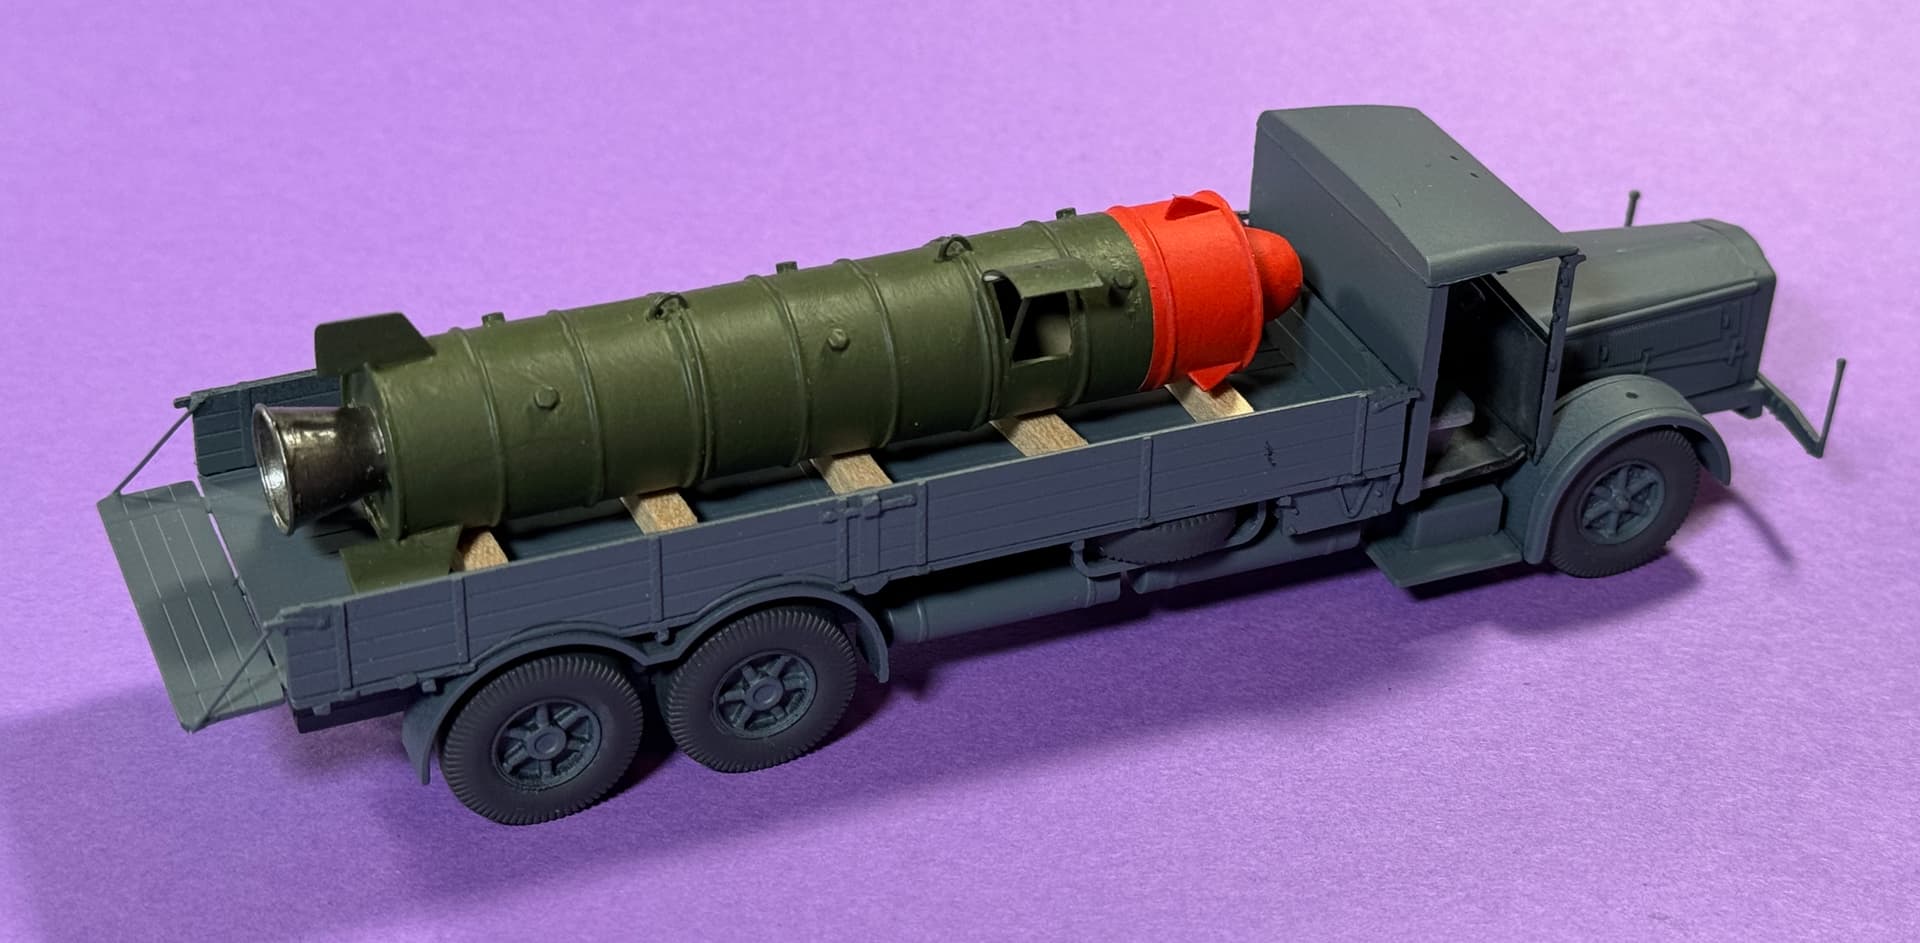
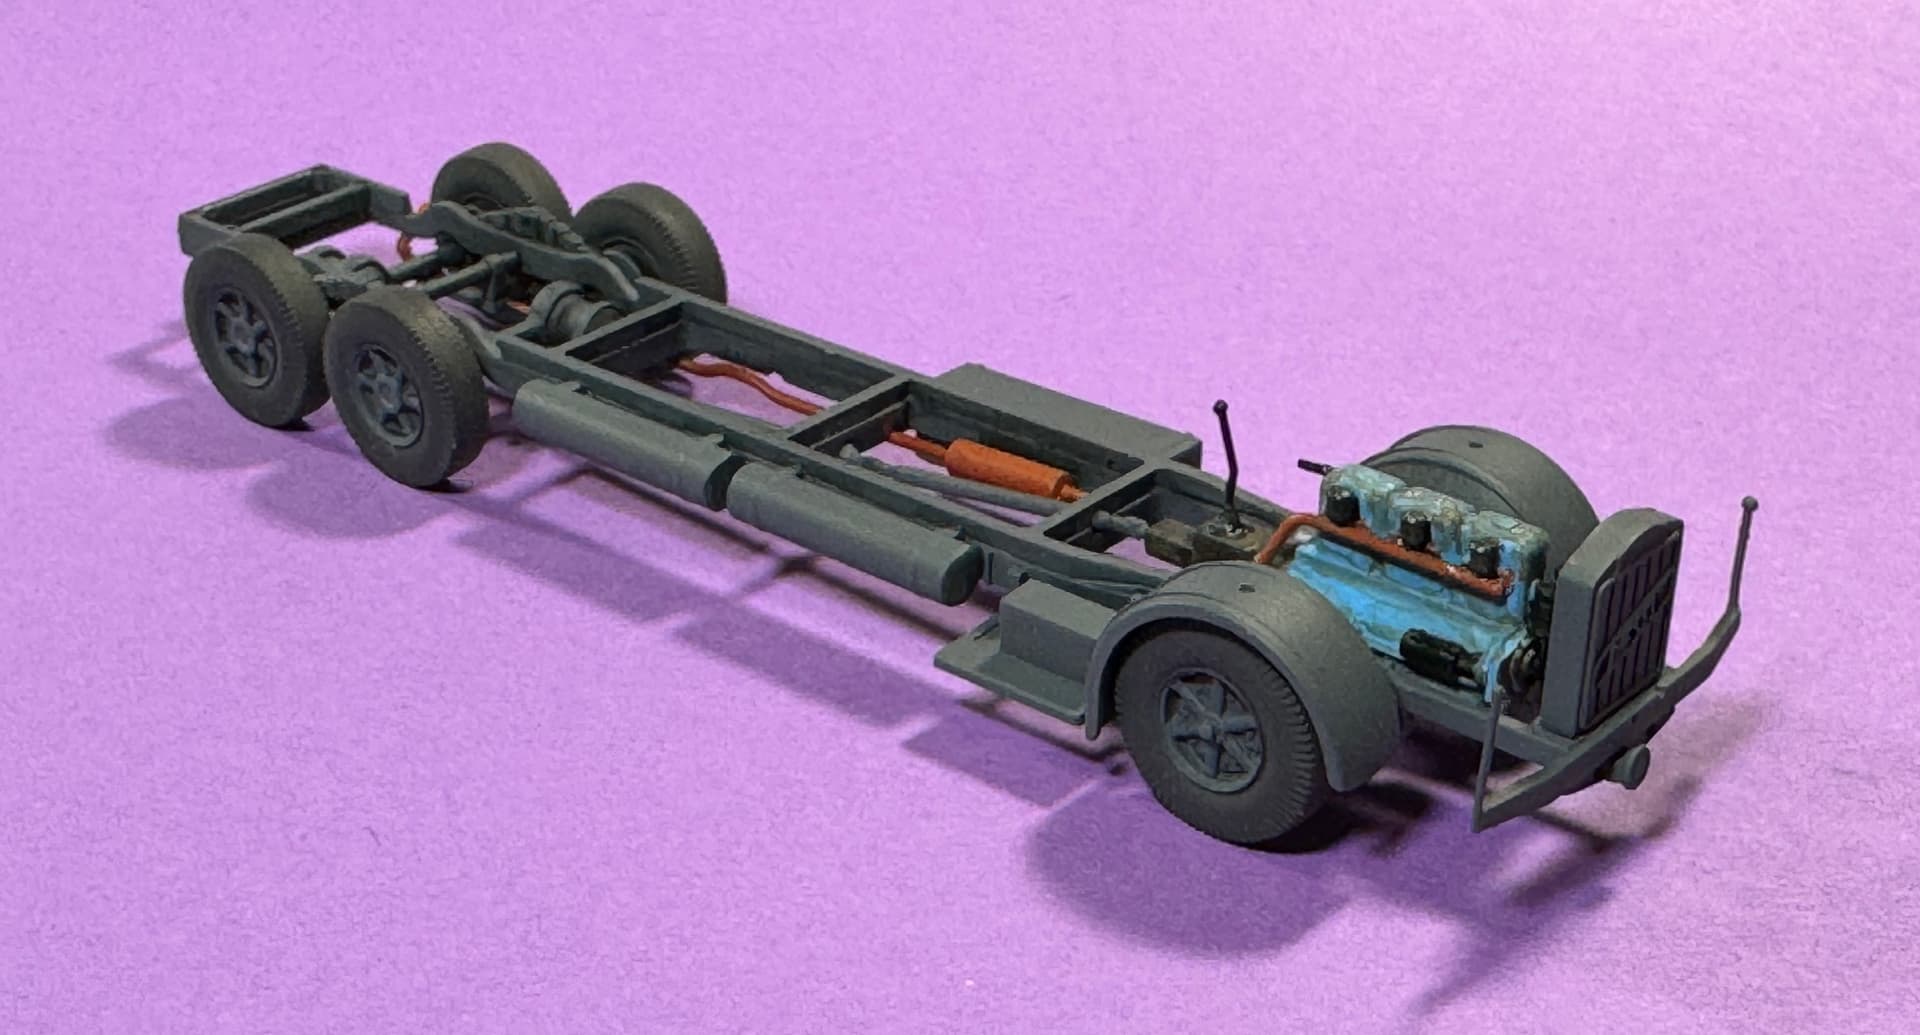
German VOMAG 8LR LKW WWII German Heavy Truck (dry-fit w/bomb load)… interior paint, doors, windows, misc. parts pending.
• Tamiya (85006) Matte Black (TS-6) (rattle-can)… primer
• Vallejo Medium Gunship Grey (71.097)… base color
• Vallejo Highlights Africakorps (70.340)… canvas cover
• Vallejo Dark Rubber (70.306)… tires (tyres)
Bomb Fuselage
• Tamiya Fine Grey Surface Primer (87064)
• Vallejo Russian Green (71.017)
Nose Cone
• Vallejo White Primer (73.600)
• Vallejo Scarlet (70.817)
Exhaust Nozzle
• Vallejo Exhaust Manifold Metal Color (77.723)
Thank’s for having a look!
—mike
Nice. It’d be a shame to hide that load.