@ 18bravo. Thank’s! It’ll get off-loaded and moved around in the ‘Sci-Fi and Alternative History Campaign X’ later on this year.
—mike ![]()
@ 18bravo. Thank’s! It’ll get off-loaded and moved around in the ‘Sci-Fi and Alternative History Campaign X’ later on this year.
—mike ![]()
I sprayed a thinned-down filter of Vallejo German Dark Yellow Primer (73.604) over the original Vallejo Desert Yellow (70.977). Of course, while doing so, there was a great deal more handling involved.
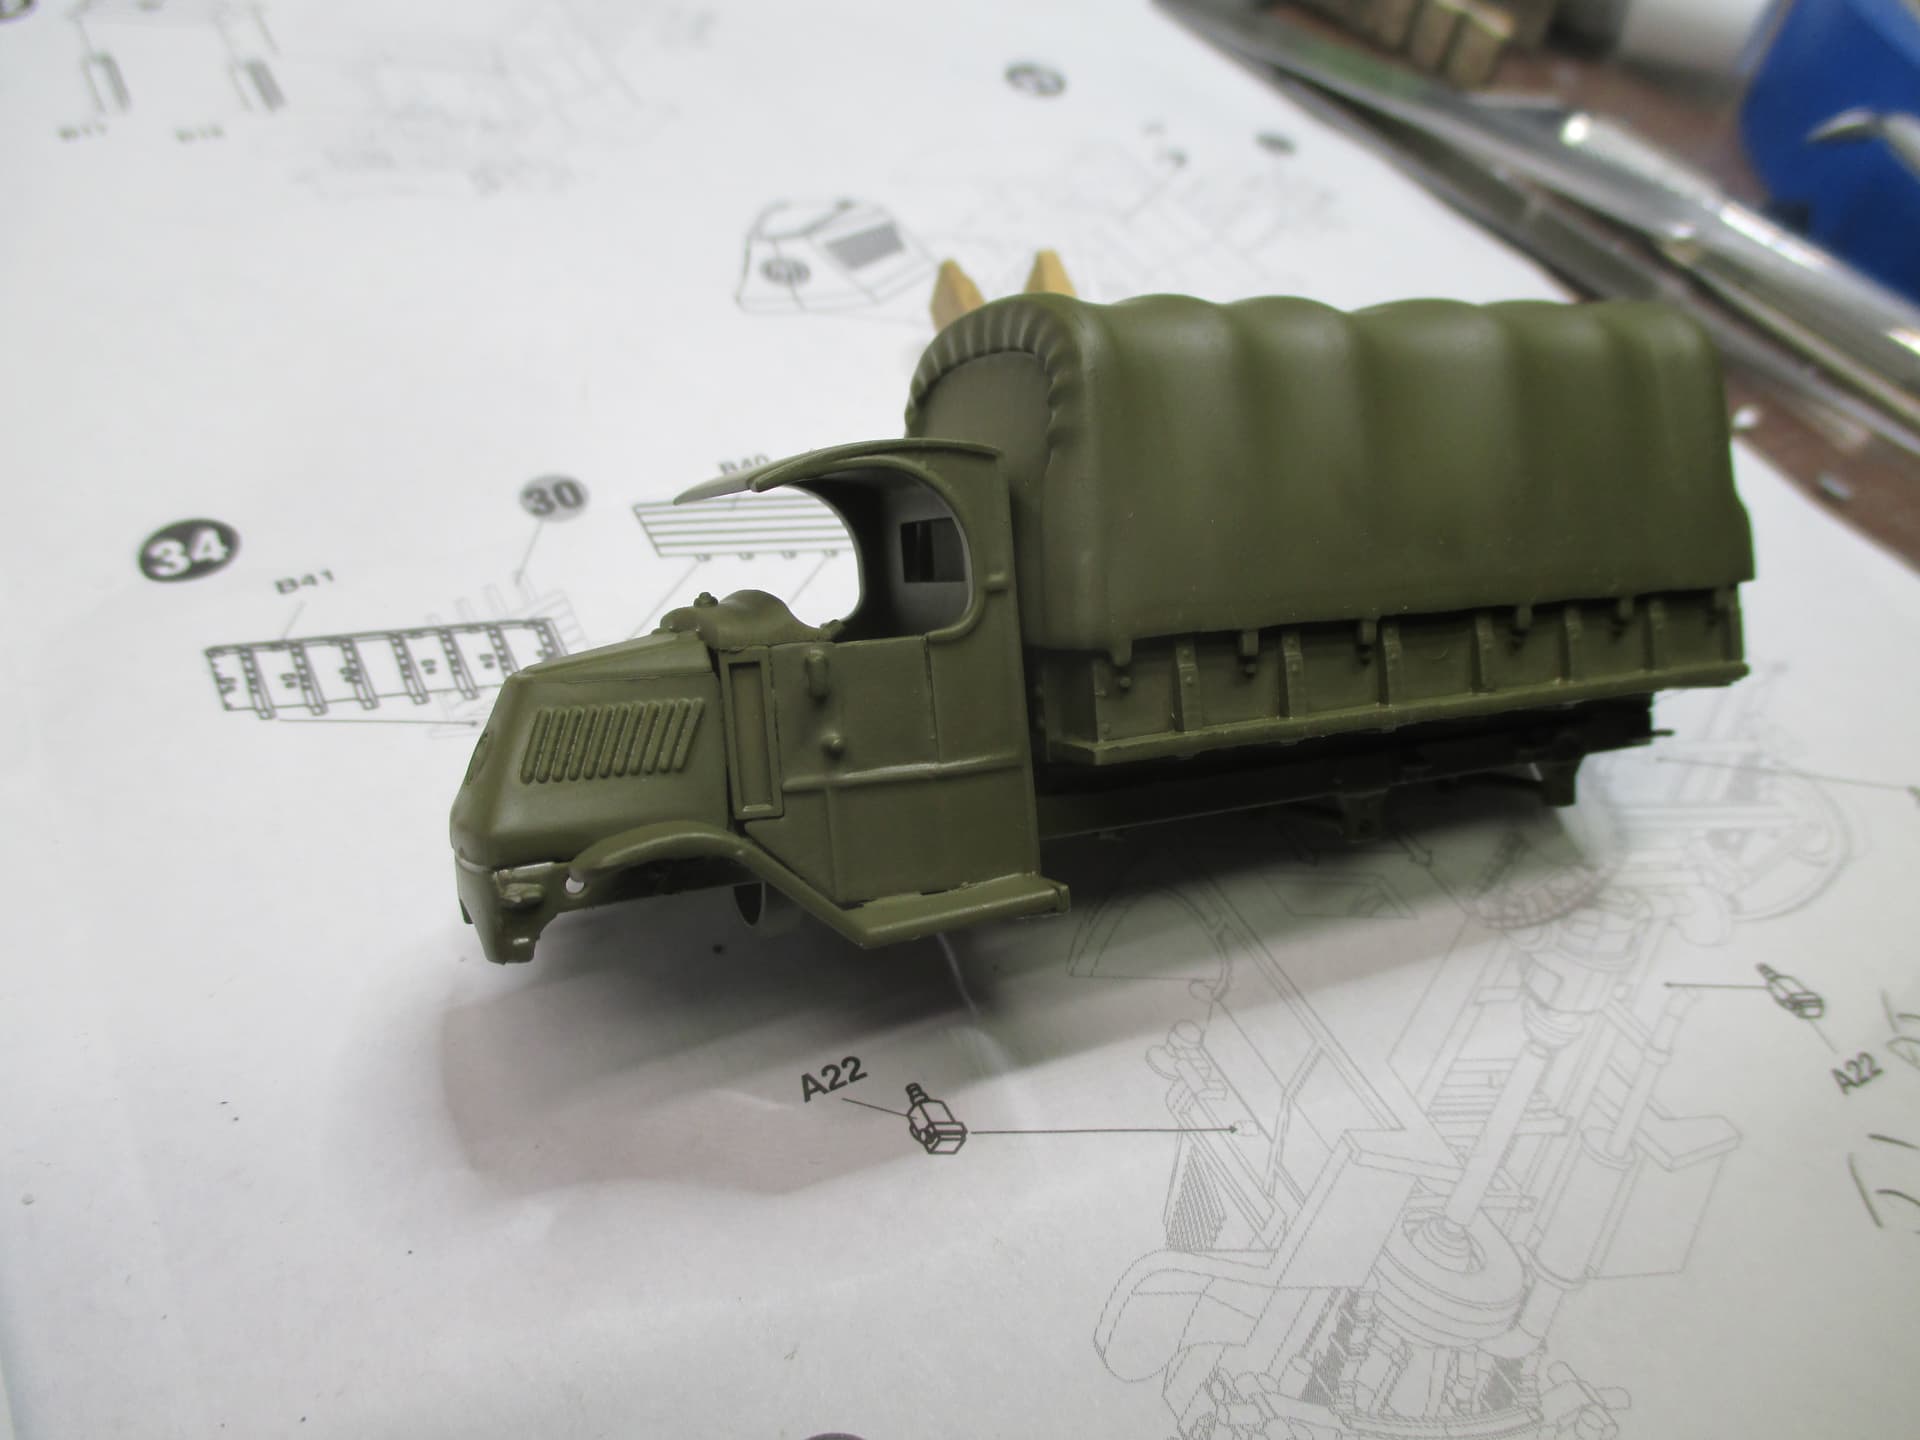
Had some difficulty getting the front wheels to adhere to their (steerable) attachment points. Finally got those set when the Width Indicators decided… NO MORE! The original wands were moulded into the bumper and after knocking them countless times, I shifted gears and cobbled-together new ones using K&S Brass Rod (8159) .020”(.51mm) with a CA ball on the end. ![]()
![]()
![]()
![]()
Remember… Friends don’t let friends with fat fingers build models! ![]()
![]()
![]()
—mike ![]() …
…
It’s not the fat fingers that’s the problem, it’s the scale. I am not a scaliest, but smaller scales can be harder for the fat finger afflicted. I don’t know if I am fat finger afflicted vs two left thumbs afflicted at times.
Would have maybe painted on a lazy Susan, use something to hold the transmission/engine pan (center blob) to help with holding issues or lay Susan and forget this mess altogether. You have options.![]()
I did the same fix on an Opel Blitz, but the next day I knocked the truck off them ![]()
Great work Mike, following from a respectful distance ![]()
As long as Susan is happy lol
Some of us fat-fingered folk are steadily heading to 1:1 scale modelling!..
yeah…I’ve heard of snapping parts off… ![]() What you can’t see when the model is done, I usually pin, brace, replace with metal, or otherwise reinforce lots of parts on builds, simply because of my confidence, that I will eventually knock those parts off otherwise!
What you can’t see when the model is done, I usually pin, brace, replace with metal, or otherwise reinforce lots of parts on builds, simply because of my confidence, that I will eventually knock those parts off otherwise! ![]()
![]()
With a week to go, is everybody going to make it? We can talk extensions…
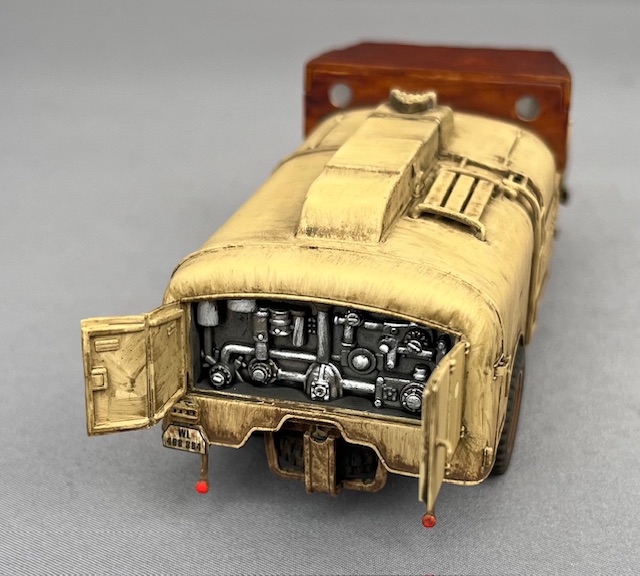
My inexperience building and painting vehicle interiors resulted in some issues but I am 7 airbrush sessions in and pushing hard to complete on time.
@barkingdigger thanks for hosting this campaign! I enjoyed seeing so many great projects, and participating! - maybe another Convoy campaign soon??? ![]()
![]()
Cheers
Nick
You guessed my cunning plan! ![]()
Yes an extension could be very helpful
I have been quite in this one but I am still planning on moving forward with the kit.
Almost done. Still need to add a few bits & bobs to the VOMAG, clear parts and touch-up on both vehicles. … OH yeah… decals! ![]()
Weathered the VOMAG cargo bed floor and blocks.
Thank’s for having a look!
—mike ![]() …
… ![]() …
…
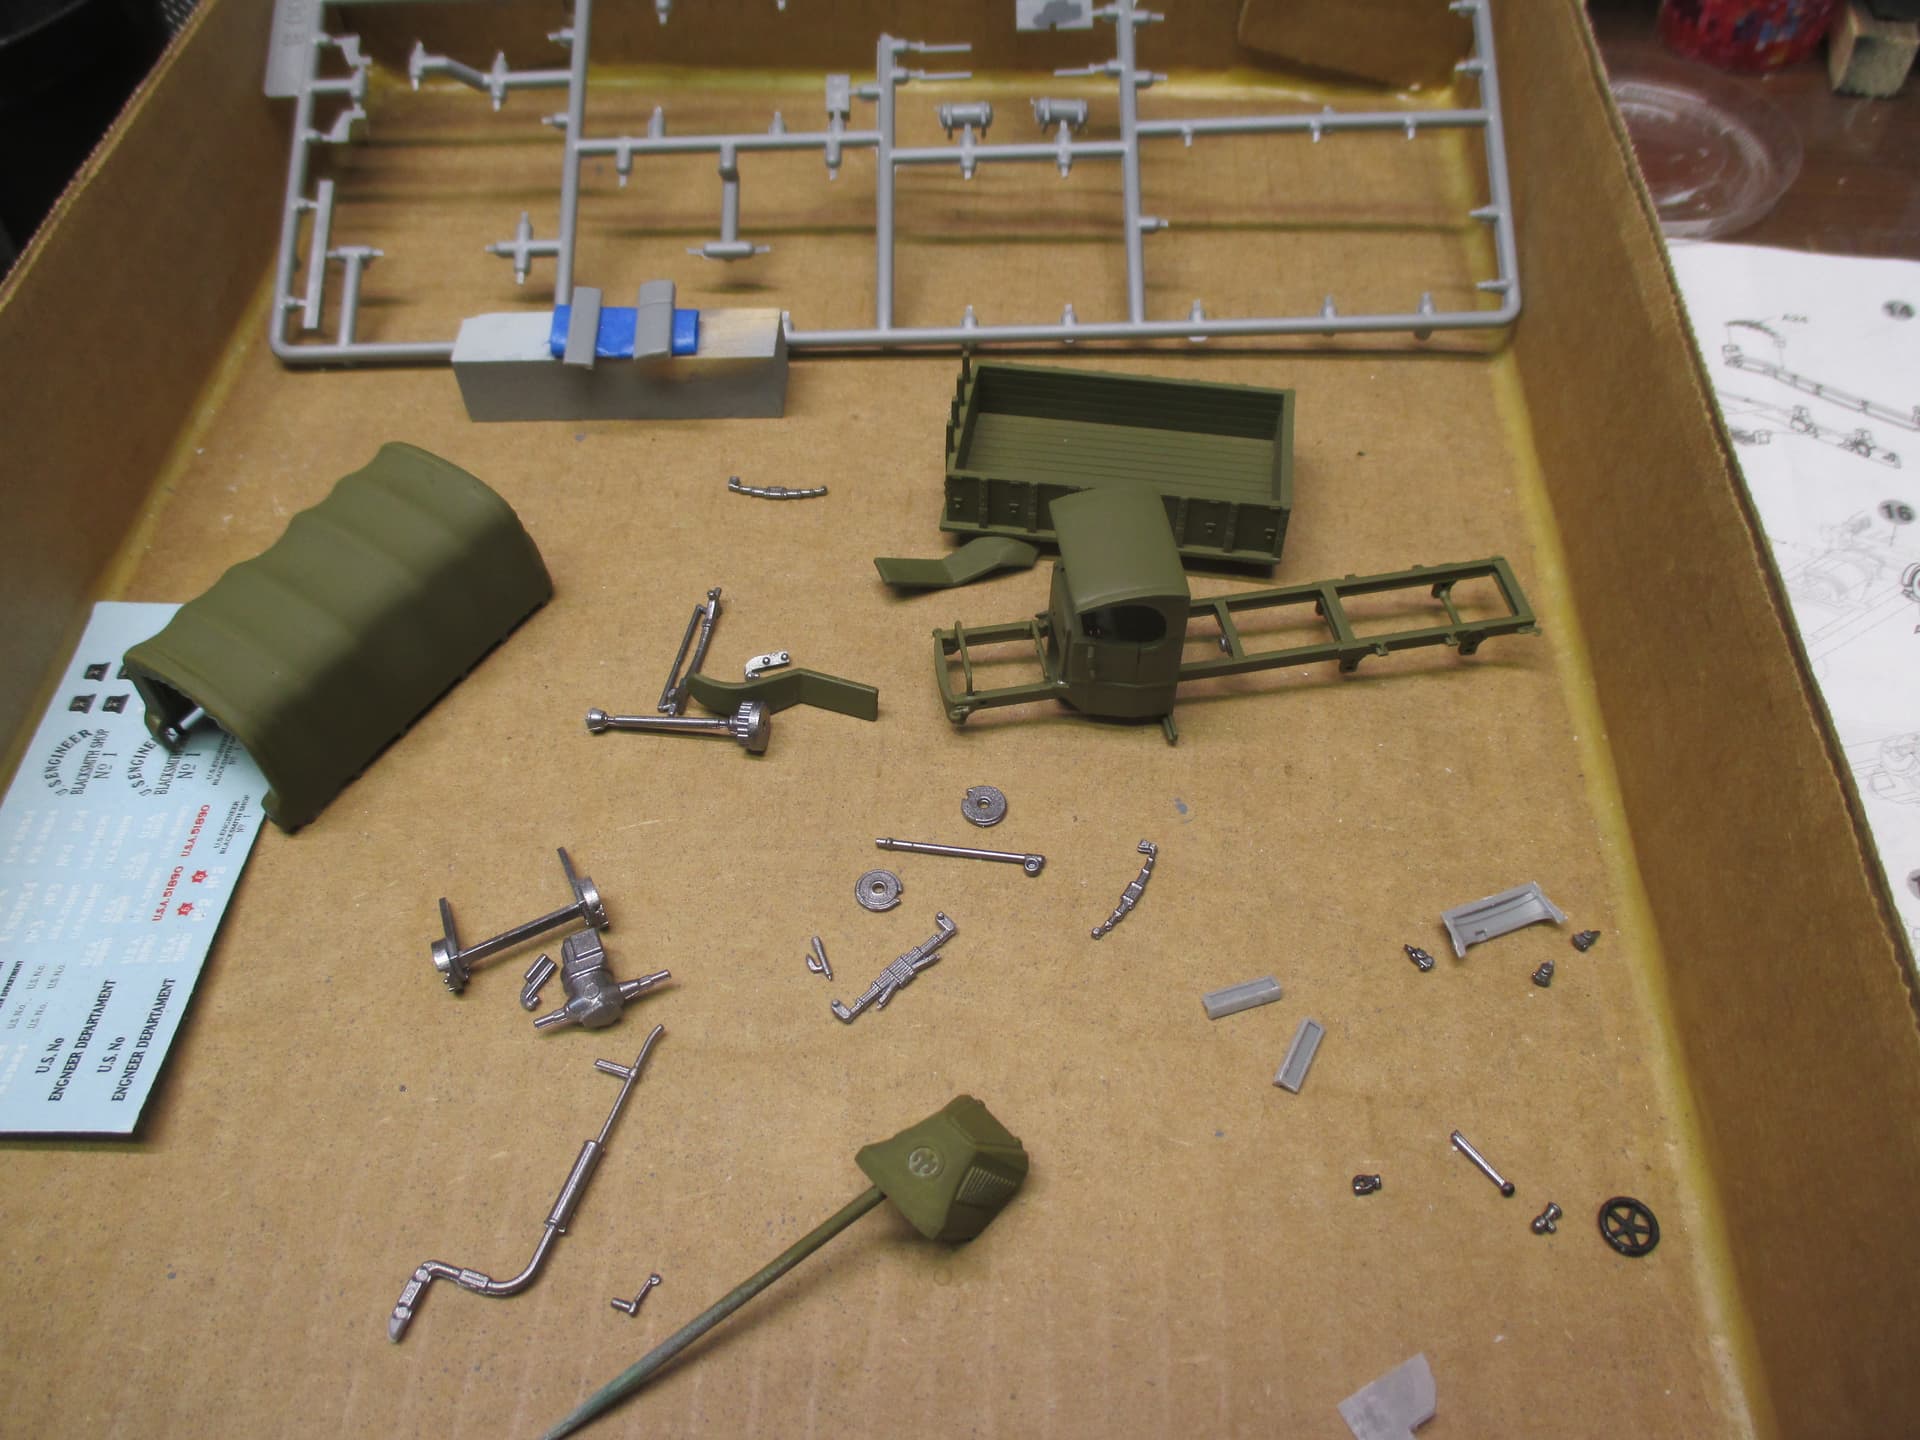
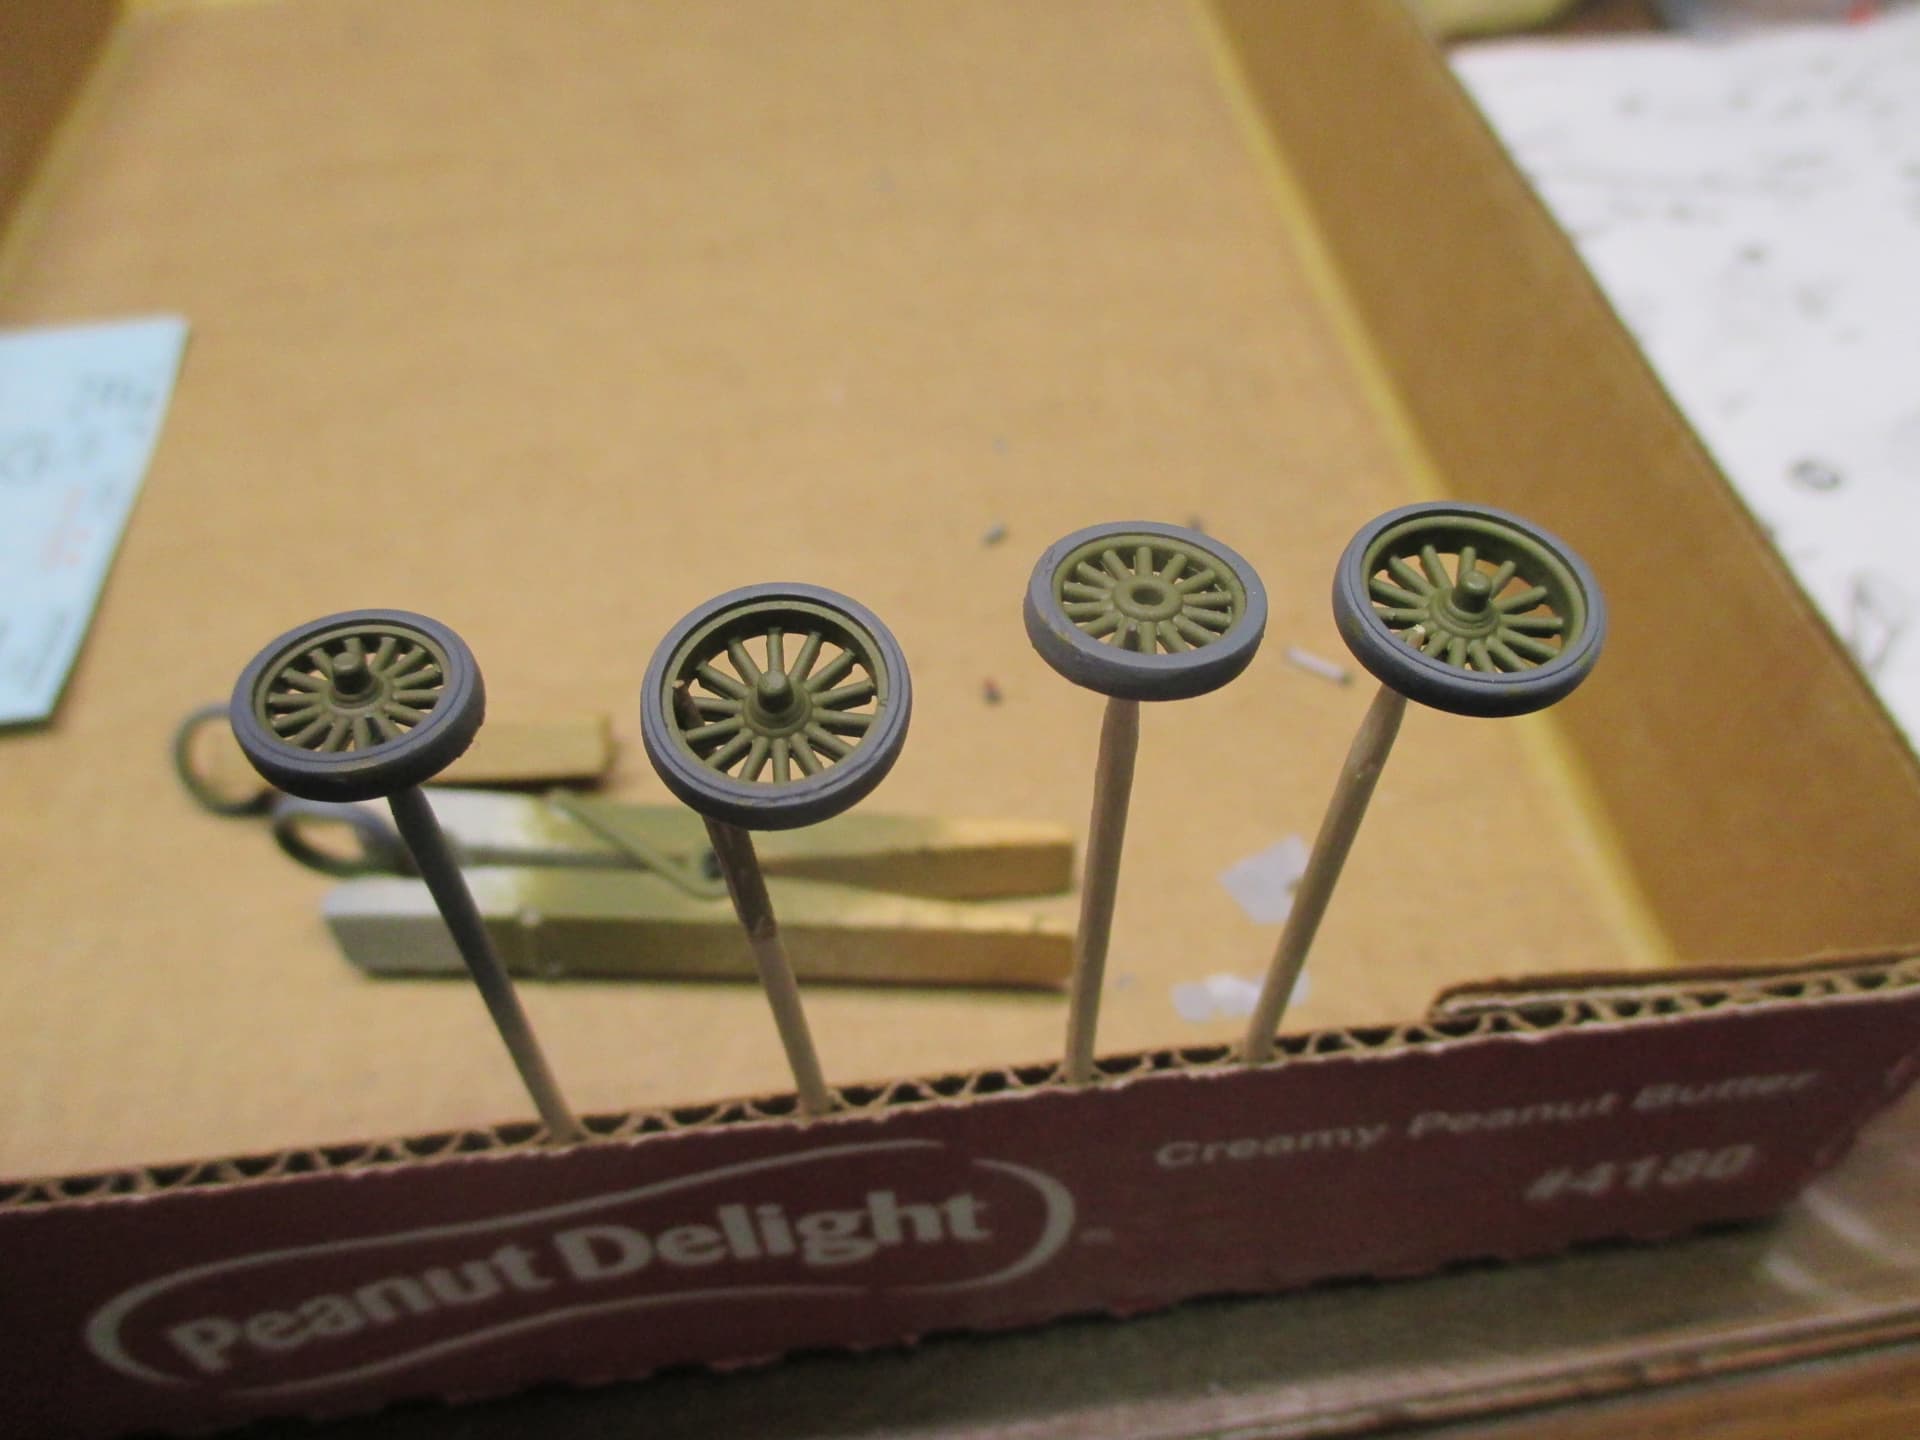
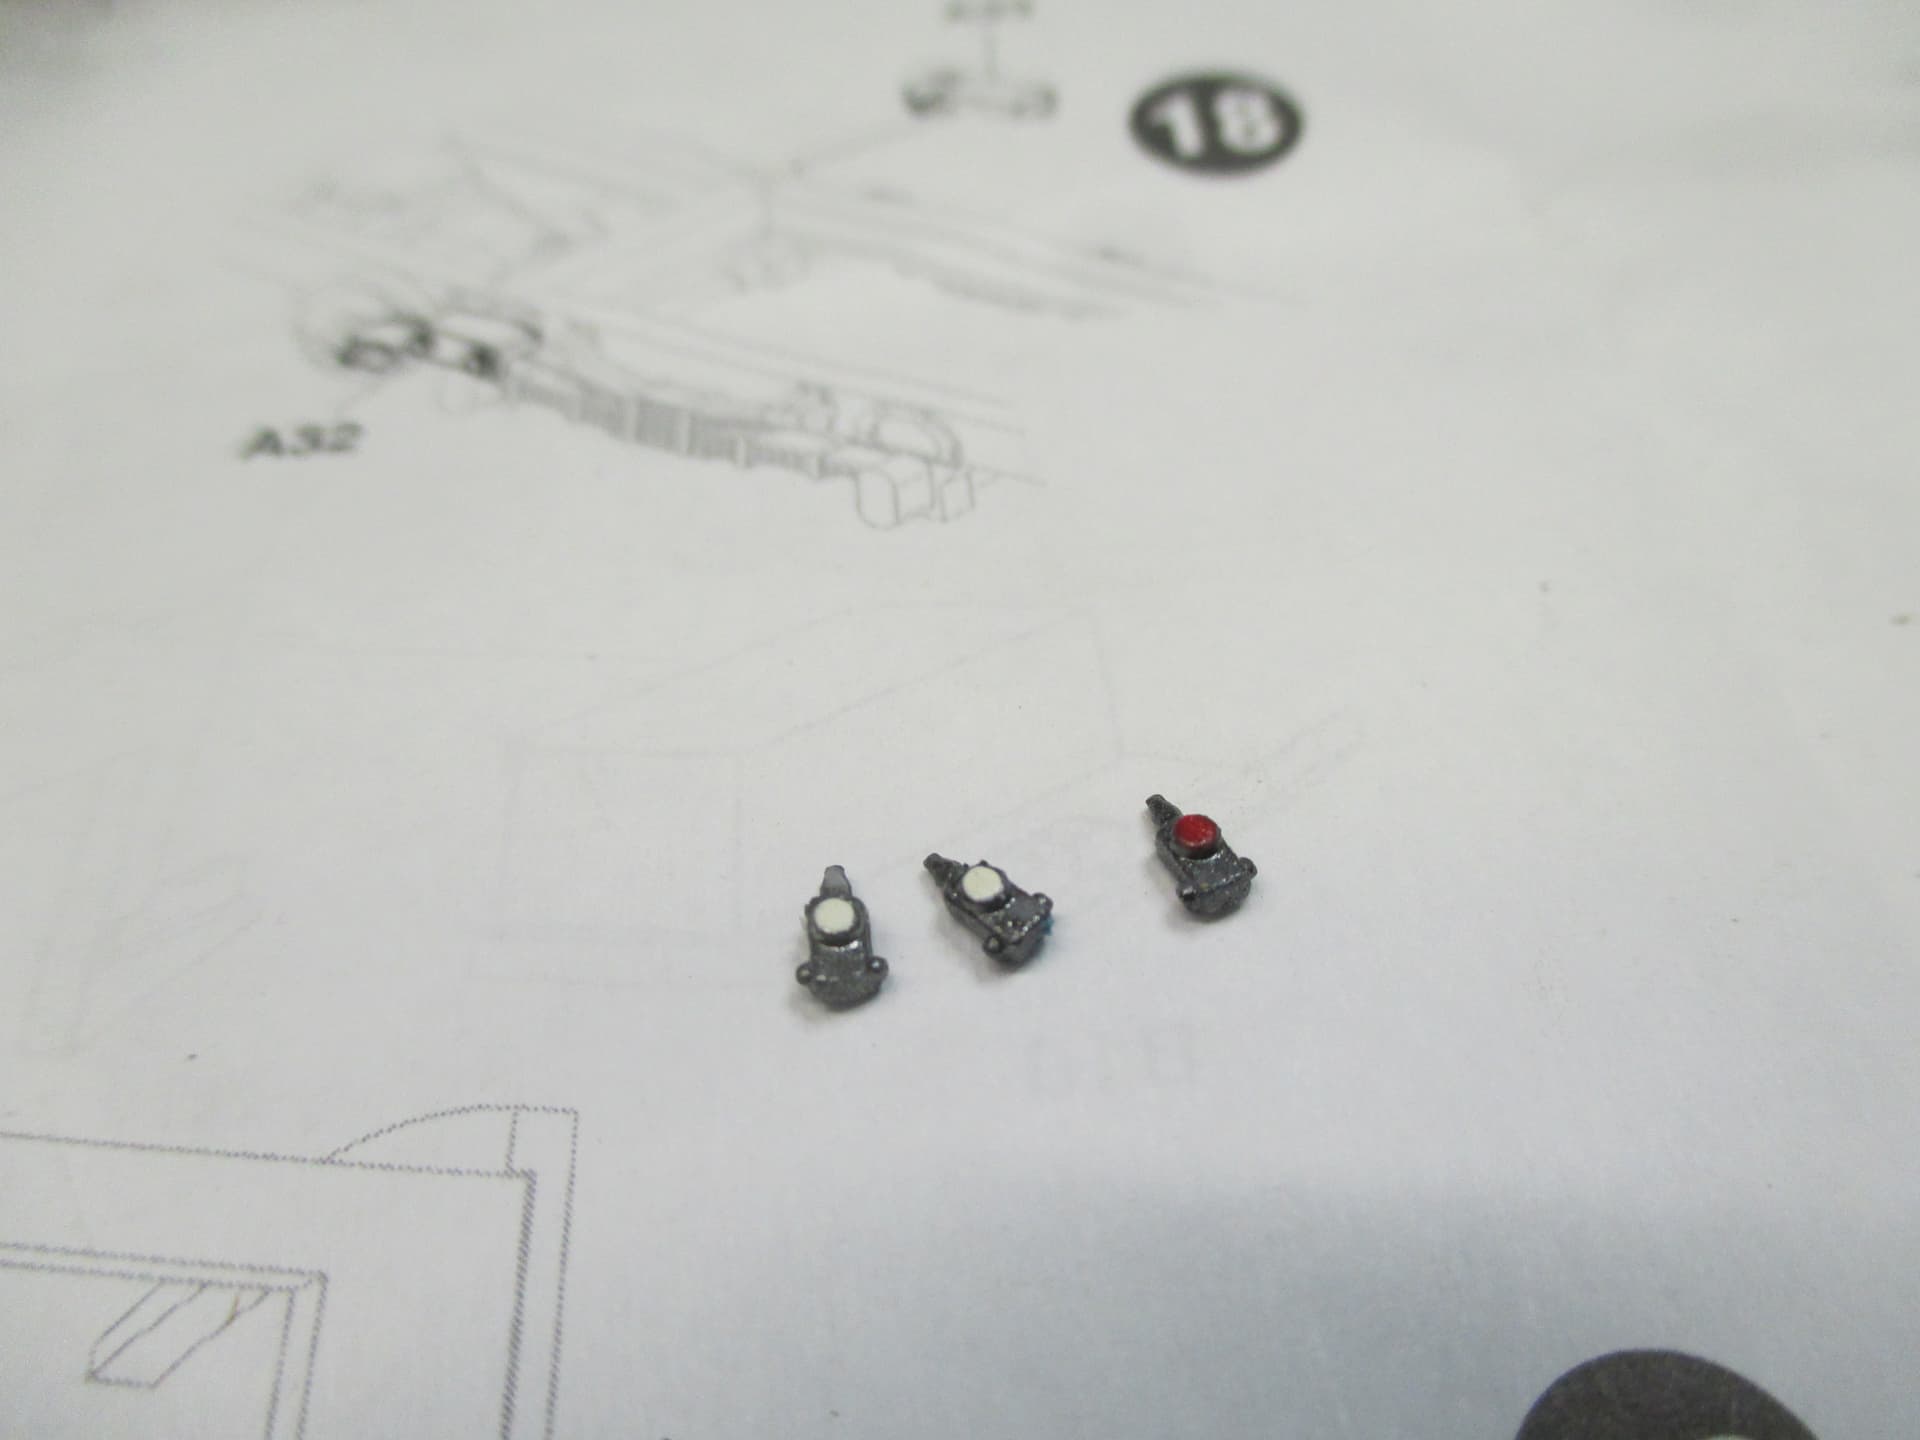
Parts painted and ready for assembly
There’s some really great work going on, and I’d hate to let anyone miss the award, so I’ve extended to the end of March! Keep on truckin’…
Thank you very much !
Seriously Nick the crew cab Ford it just tooooooooo cool!
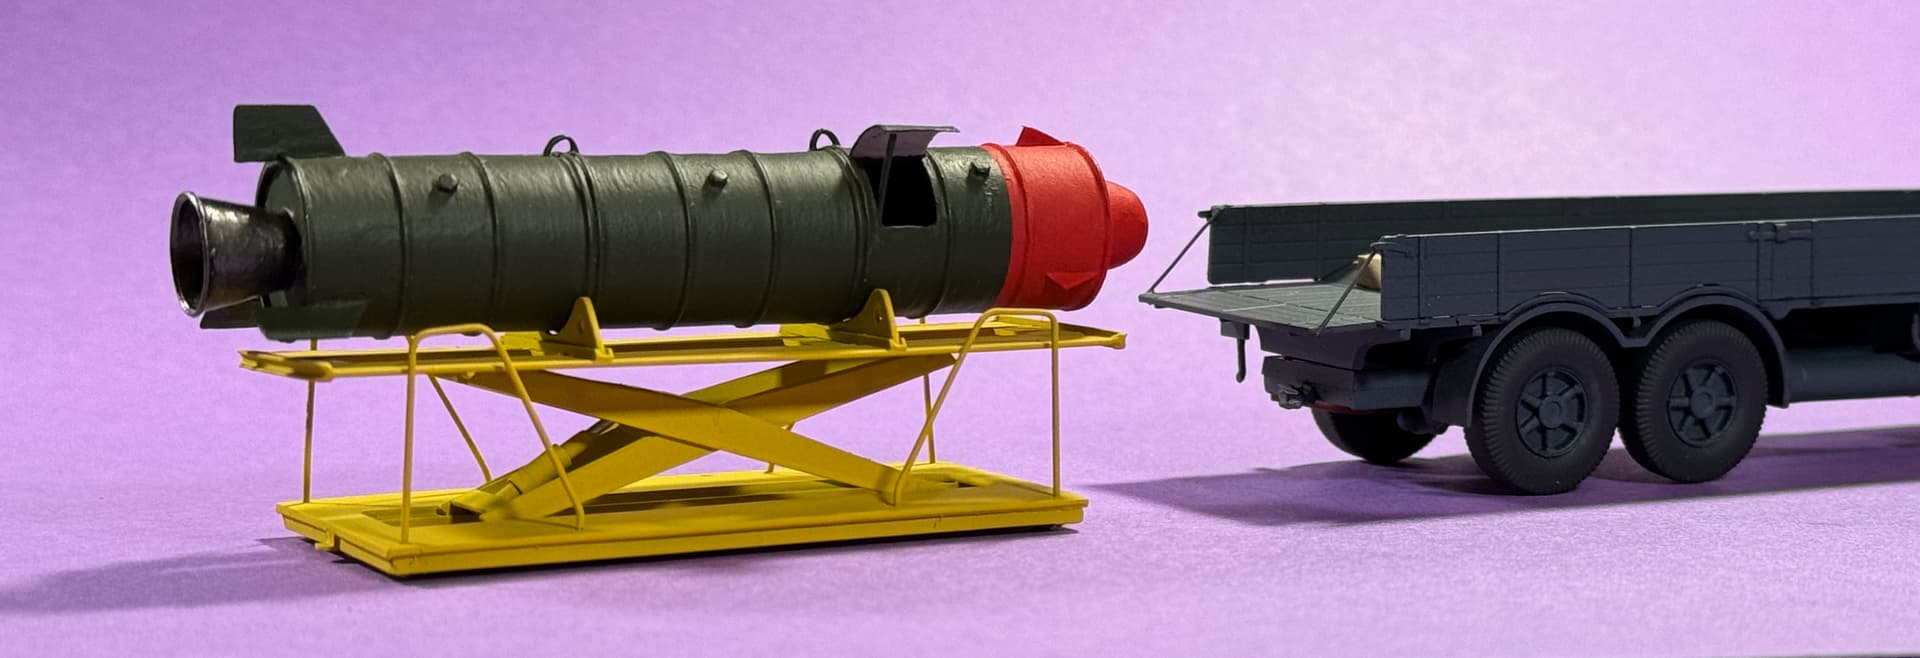
Nice builds, Mike. Have you given a code name to the atomic bomb in the load bed? Like little boy and fat man.
Stevie, nice process on the WWI truck. Looking forward to see more ![]()
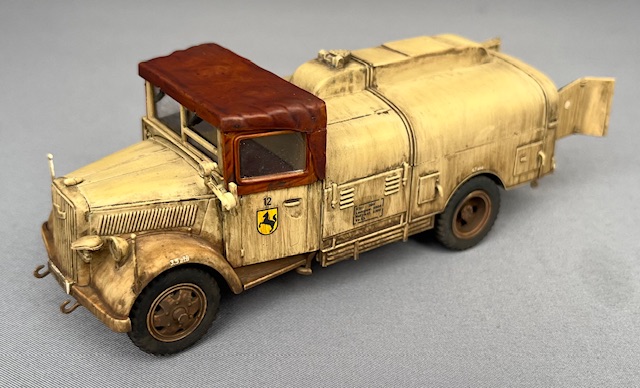
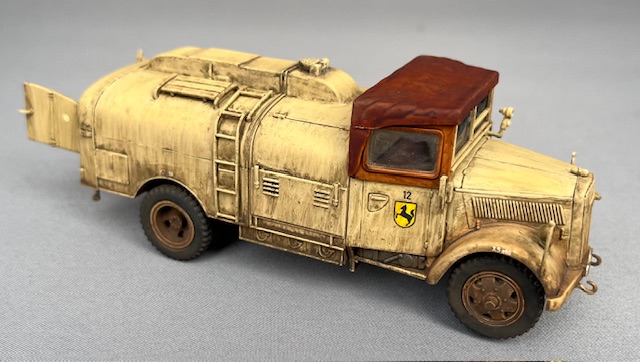
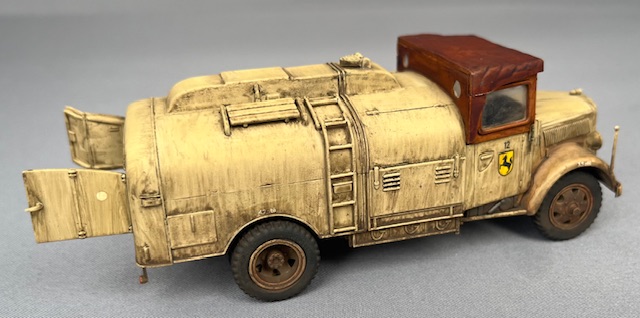
I have finished my italeri Opel blitz tanker in 1/48 scale. Very nice kit with good details and nice fit.
The photos create more contrast than real life despite being taken in daylight. The weathering is more subtle in real life.
Looks good Jesper ![]()