Looking like a great start Mike. ![]()
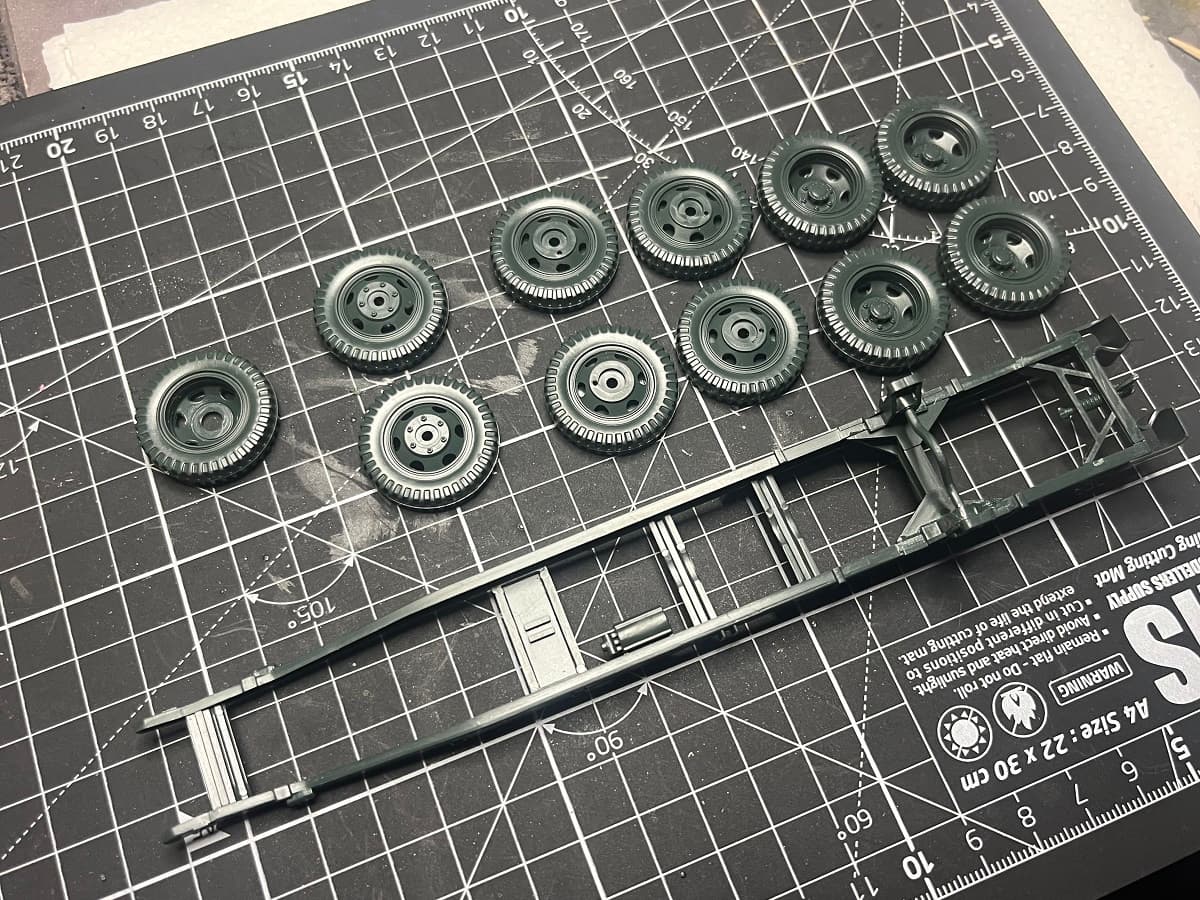
I started with the wheel.

Adding the backer rod helps the looks and fit but I am still not happy about it overall. Open to suggestions on fixing and/or other wheel options.
Looking like a great start Mike. ![]()
I started with the wheel.
Adding the backer rod helps the looks and fit but I am still not happy about it overall. Open to suggestions on fixing and/or other wheel options.
Maybe some warm water coaxing? ![]()
—mike
Great to see a few builds already under way here, this looks like it’s going to be a great Group Build!
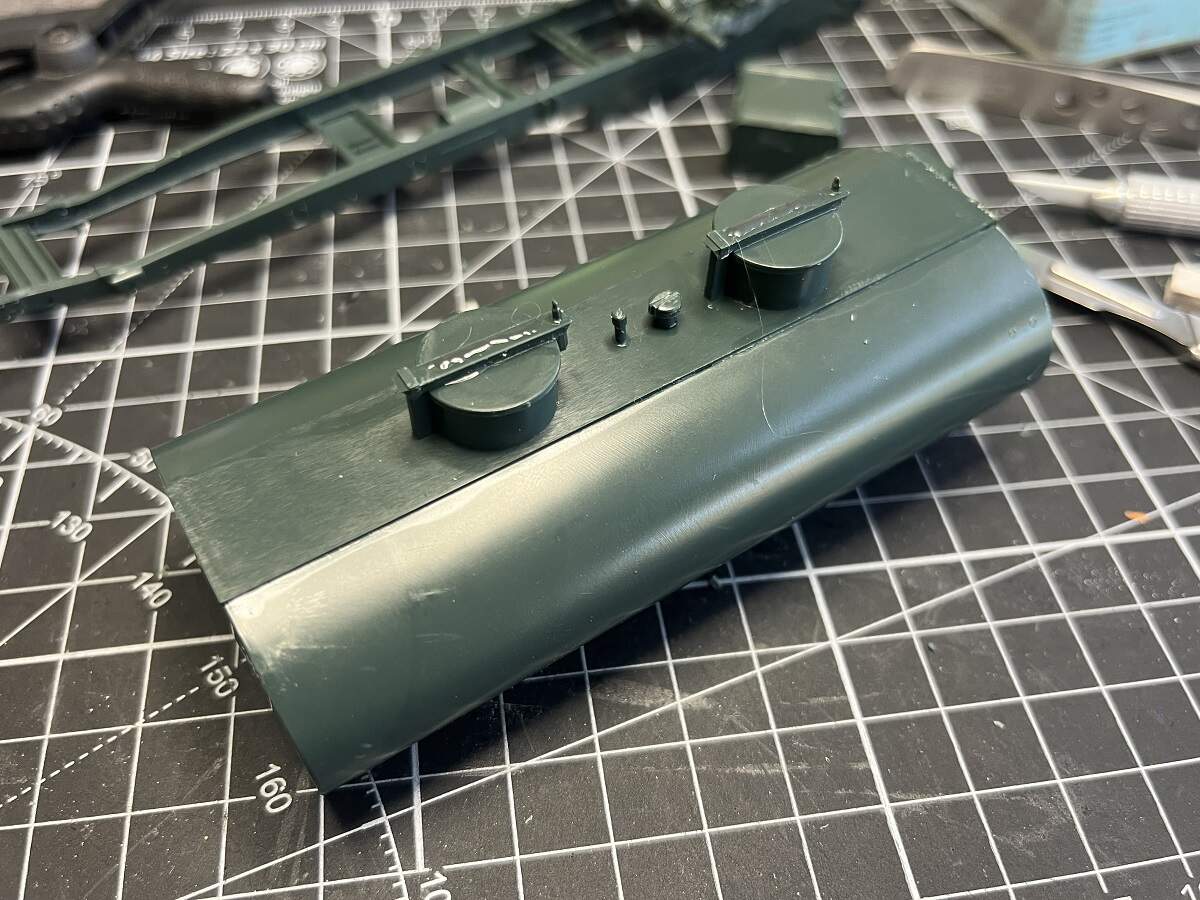
I made a start on the CCKW Water Tank truck, the wheels, chassis and tank are all put together and curing for a day or two before I tidy up the glue lines. There were some sink marks in the hold-downs on top of the tank that I filled with Sprue-Goo, otherwise no issues to speak of so far.
Cheers, D
Sink marks on an Italeri kit? Surely not! Next you’ll tell me the Earth rotates around the Sun… ![]()
That’s a coincidence…it was only last night at the mess bar I was chatting to a bloke called Copernicus about that very topic
Measure twice, cut once???
I figure I have two choices: cut the base’s feet or bend the base legs in some (and maybe trim the feet a bit). A bit too much “feet” to cut as the legs are now so, I’ll tweak the legs in some and see how that goes (once the cargo box’s walls are attached to the floor.
Mike
Cut the tip of the feet diagonally?
Good luck with the bend!
Should work with a combination of a little cutting and a little bending. But you don’t want to disturb the detail at the feet too much.
—mike
I know you guys are doing wheelie things here, and I’m familiar with that old song, and yet, every time I see this campaign heading I want to build a type VII U-boat…
Thank’s for reminding me! I measured the VOMAG cargo bed parts through the plastic bag back in November, 2022 when I received the kit — wasn’t 100% certain of the fit until just now. ![]()
The kit provides a pretty nice tarp as well.
Back to the laboratory! ![]()
—mike
[EDIT] One more image added…
Got the wheels done and went to work on the cab. Not warpage, just difficult to hold together with my ham-fists! I still need to get at the interior to add the steering wheel, so I only applied a tiny dab of glue to hold the doors in place for now. ![]()
![]()
Thank’s for looking and keep on truckin!’ ![]()
—mike
It’s white metal so it’s pretty flexible. I’ll see about tweaking it close to the circular center. I imagine I’ll need to trim a little off the feet, diagonally as petbat mentioned - a bit at each outer corner. Hoping to mount the walls and “adjust” the base tomorrow AM.
Mike
I was driving over the road when Movin’ On was on TV. We all used to gripe about it being unrealistic but the driver’s lounge at the truck stops were always full when it was broadcast.
Paul
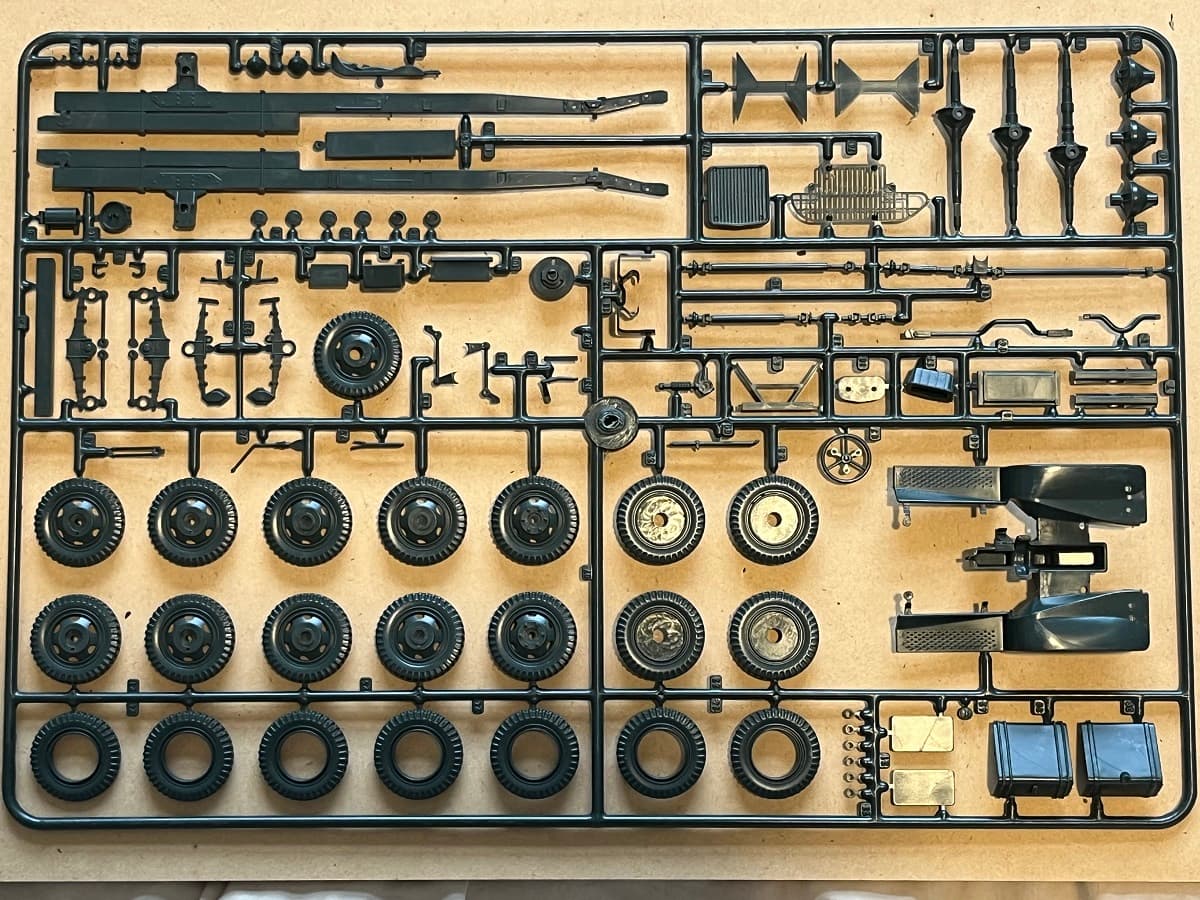
Anyone know if the AMT semi truck tire pack is solid or hollow core?
Cut a bit of plastic …
Started on the chassis…
Got the basic frame together…
The cargo bed support beams …
I know right, unheard of. Almost inconceivable ![]()
I don’t know if they are solid or not - just for kicks, I looked them up and they are only described as vinyl - so - maybe risky to get another set of what you already have.
This made me think about a Peterbilt I recently built - haven’t tossed the instructions yet, and they show the rims being two piece - could you add a rim around the inside edge (like a bead lock), then between the inside and outside (looks like the provide an outside lip) bead locks, a series of spacers? Maybe .6 x .8 or 1.0 evergreen? so you are forcing the vinyl to the outside edges while also preventing them from collapsing in? I did this on a build somewhere along the way but can’t remember what! ![]()
![]()
For the Peterbilt I used resin tires and wheels because I was going for a pretty distinctive tread pattern and wheel. The resin setup is nice, but not cheap - though there are several sources out there.
Looking forward to seeing what you come up with!
Cheers
NIck
Ouch! nice! so, uhh, yes, you will be taping this in place as you are gluing!
Cheers
Nick
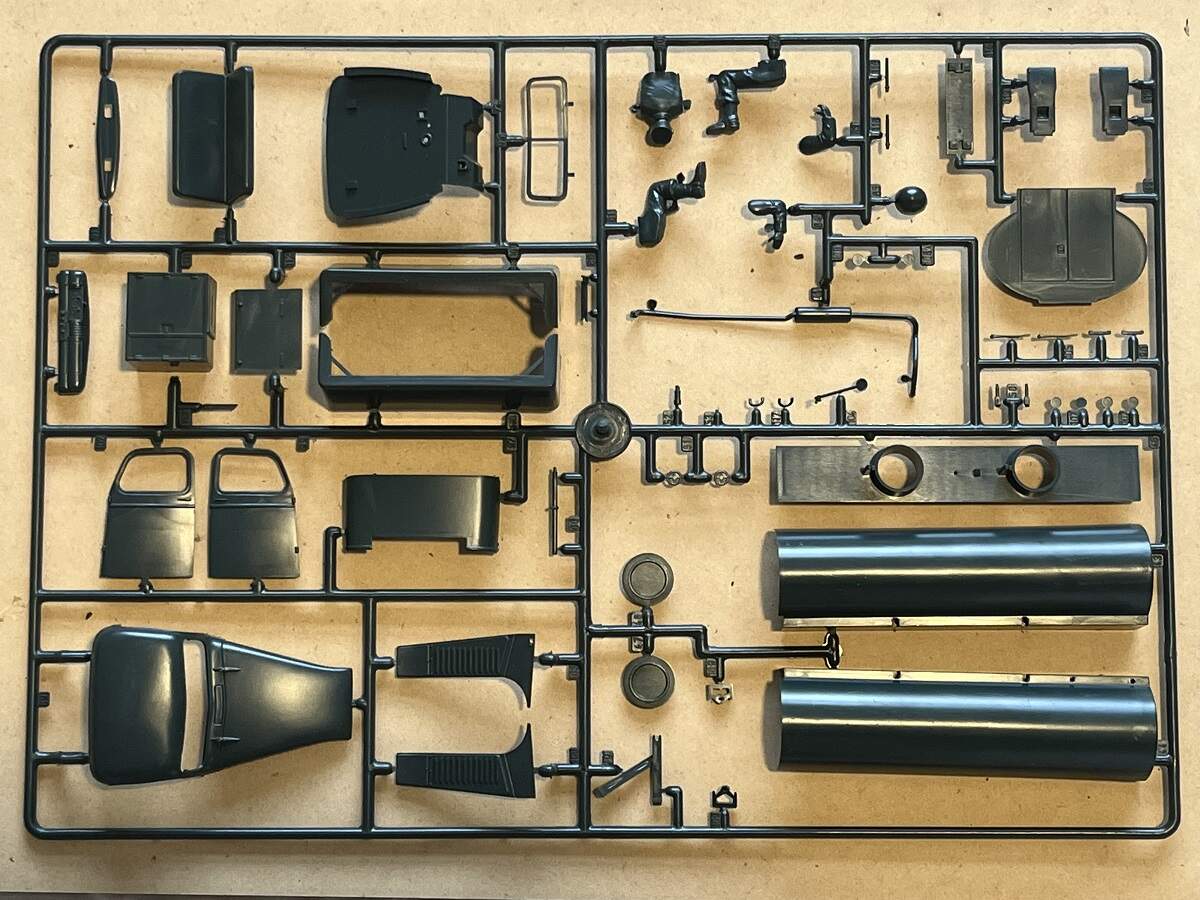
Well guys, I’ve made some headway on the Miniart truck:
This has gone together pretty well. While there are plenty of tiny parts, they go where they are supposed to and fit as intended. The plastic is a bit soft, but I think that has helped to keep them largely intact when cutting them off the sprue, sanding, and gluing.
As the idea is to make this into a panel van, I cut apart or didn’t use the pieces that make up the back of the cab. If you look carefully, you’ll see the cab roof has two pieces - an inner and outer shell. I cut the outer shell along what looks like the tangent of the long cure in the roof. Then, left the inner shell a bit longer, to serve as a bench for the roof material.
It turns out in real life this truck doesn’t have a wall separating the cab and bed, and the seat should be two small seats, and not a bench - well, I made a pair of fake seats, by keeping the bench solid, then splitting the back into two pieces - not correct, but close enough for what I’m doing! I added some thin sheet material to the seat backs - I don’t know if this will ever be visible, but - it was easy enough to do.
On to the panel van:
Well, the idea here is to use a portion for the kit roof to support the roof projecting over the bed, making the panel area. As it turns out, the back side of the doors are vertical, so the plan is to add some backing behind this (the kit doors), and then attach the panel walls. I like the look of the cutout for the rear wheels more on the blue/grey photo, than the cutout on the line drawing, so, mine will be tight too.
Ok, on we go -
Cheers
Nick
Ryan, I haven’t done a large-scale truck in 40 years so forgive my ignorance. Is the tire issue that they are larger than and/or sloppy fitting on the rims? Is your “backer rod” that round foam gap-filling stuff, used to fill the tire void and expand them to fit? I’m wondering if there’s a solution that I could cut on my laser, like semi-circular segments of acrylic (plexiglas) that could be inserted in the tires for expansion and rigidity perhaps? I’d be happy to give it a go if what I’m explaining sounds plausible? Gratis of course, just wanting to help a brother out…
Jimbo