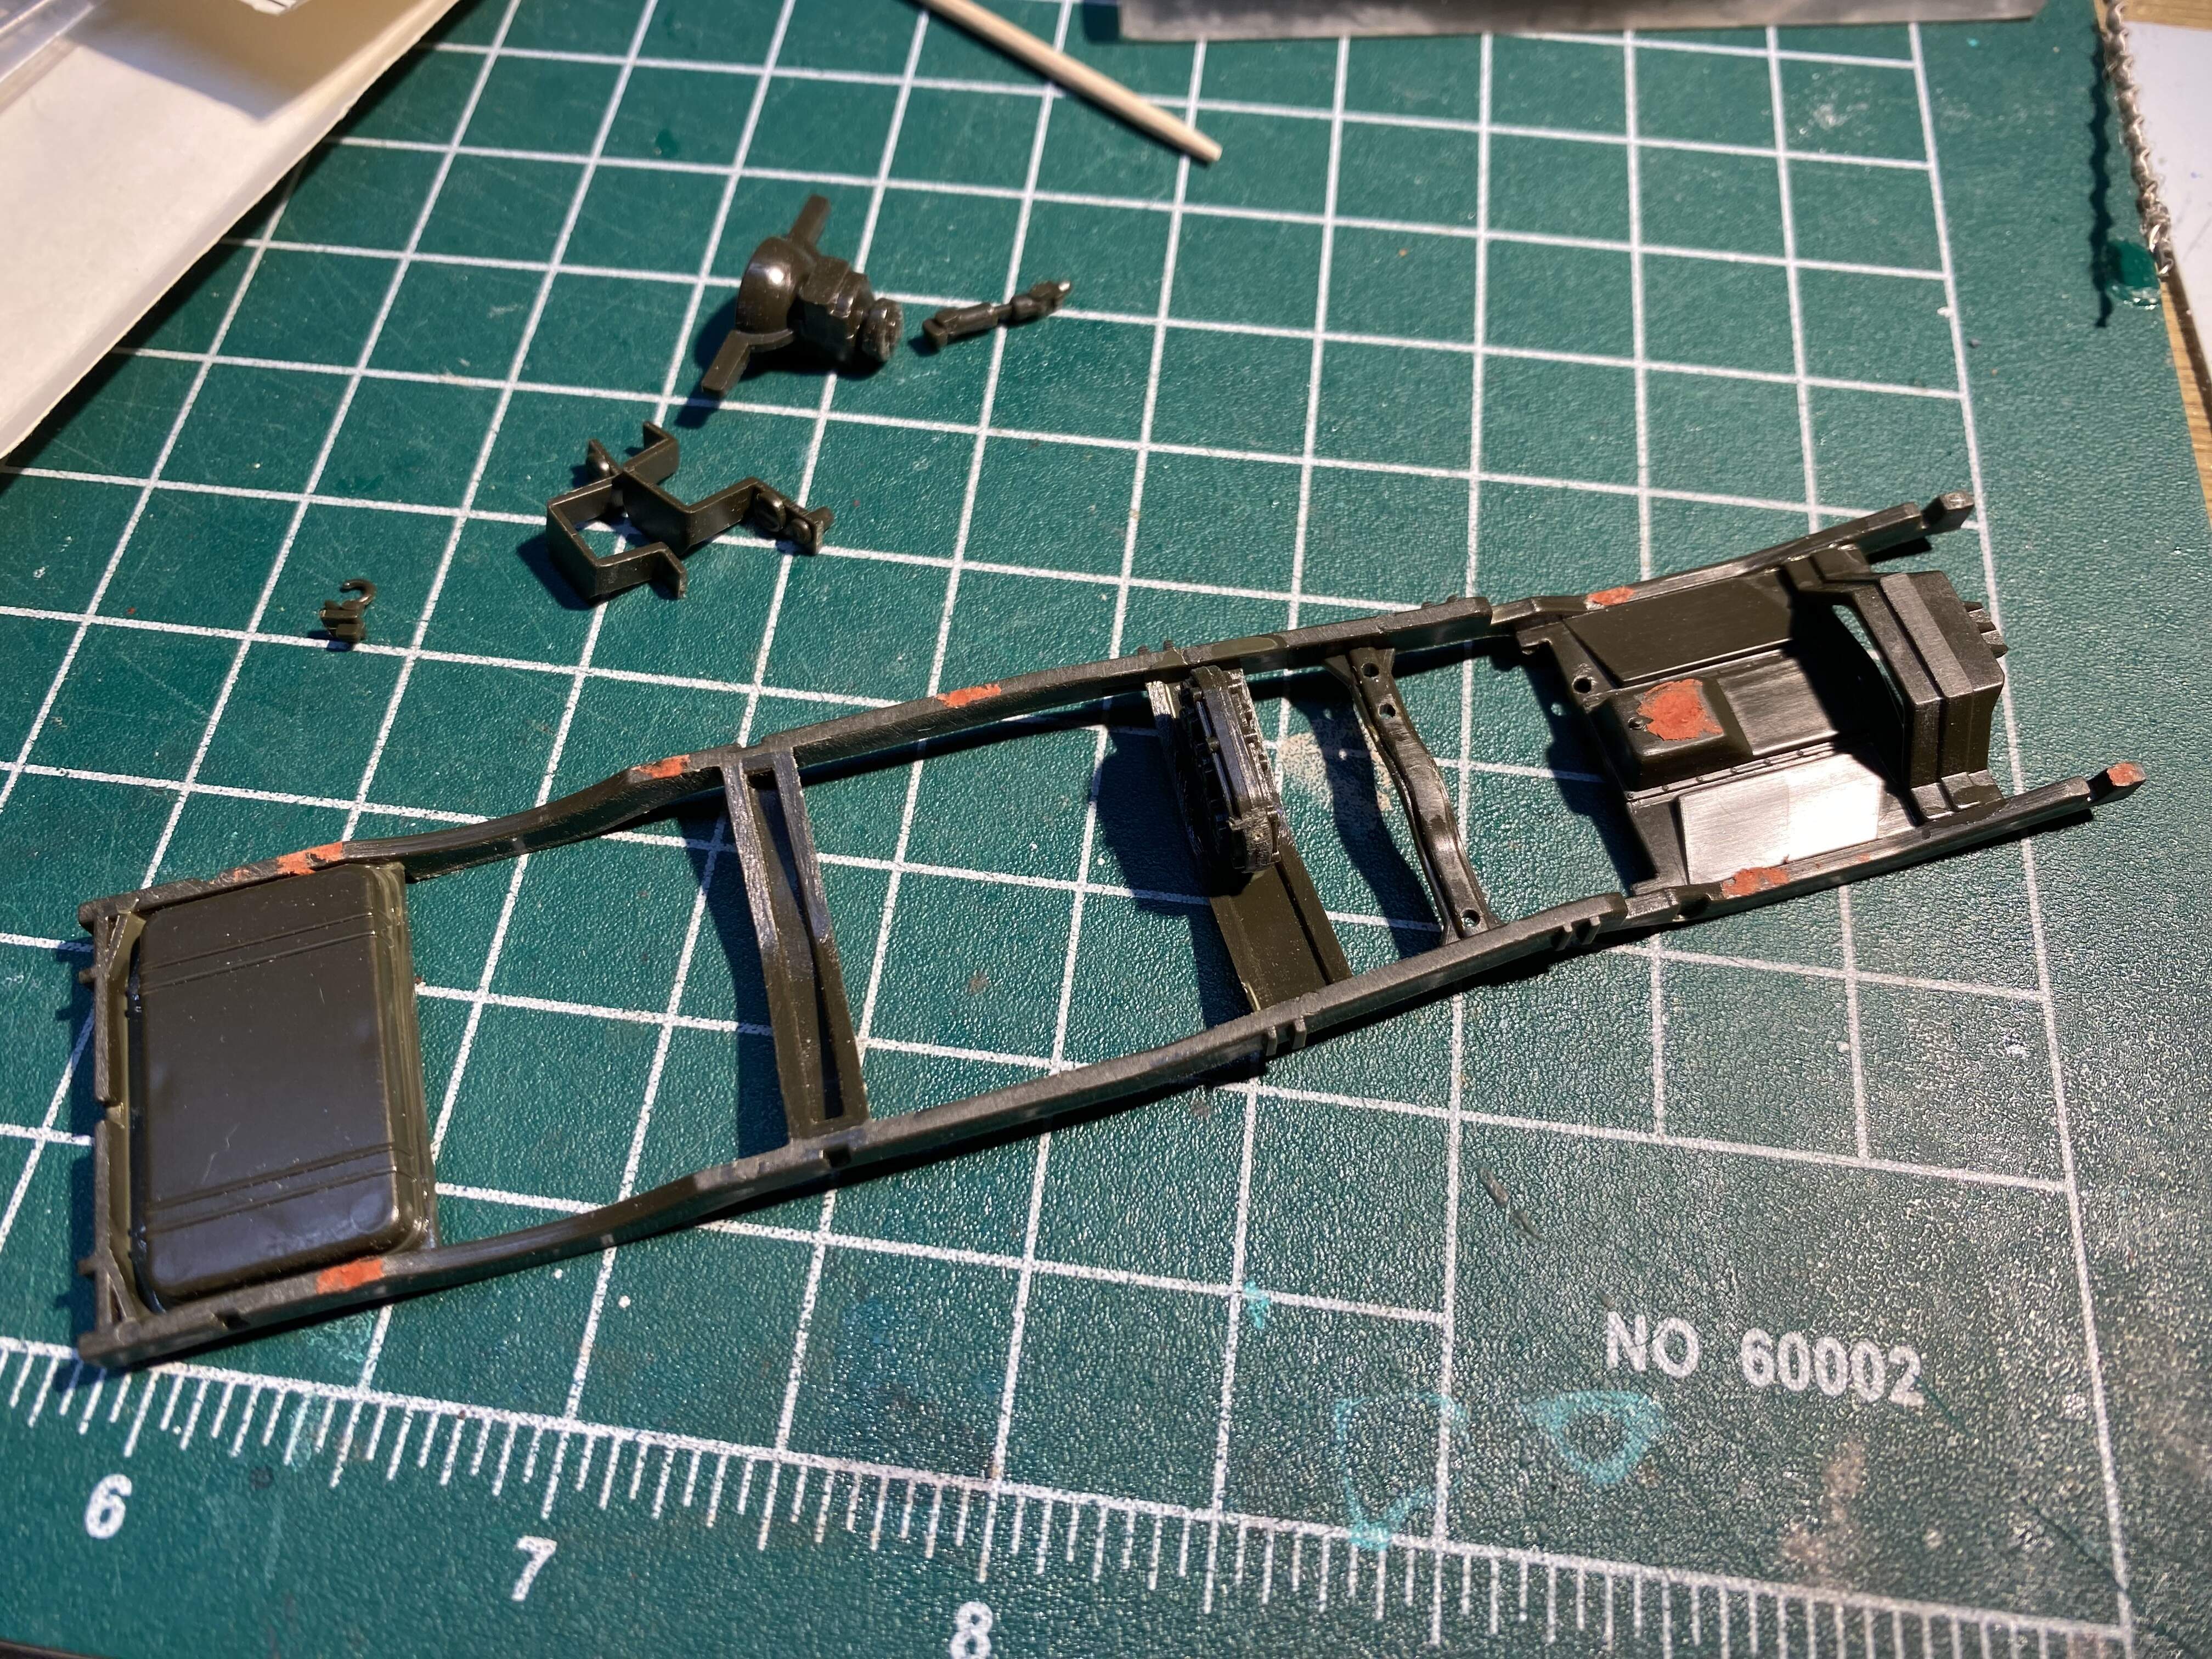
Post apocalyptic truck - chassis got nuked by the looks of those rails.
4 Likes
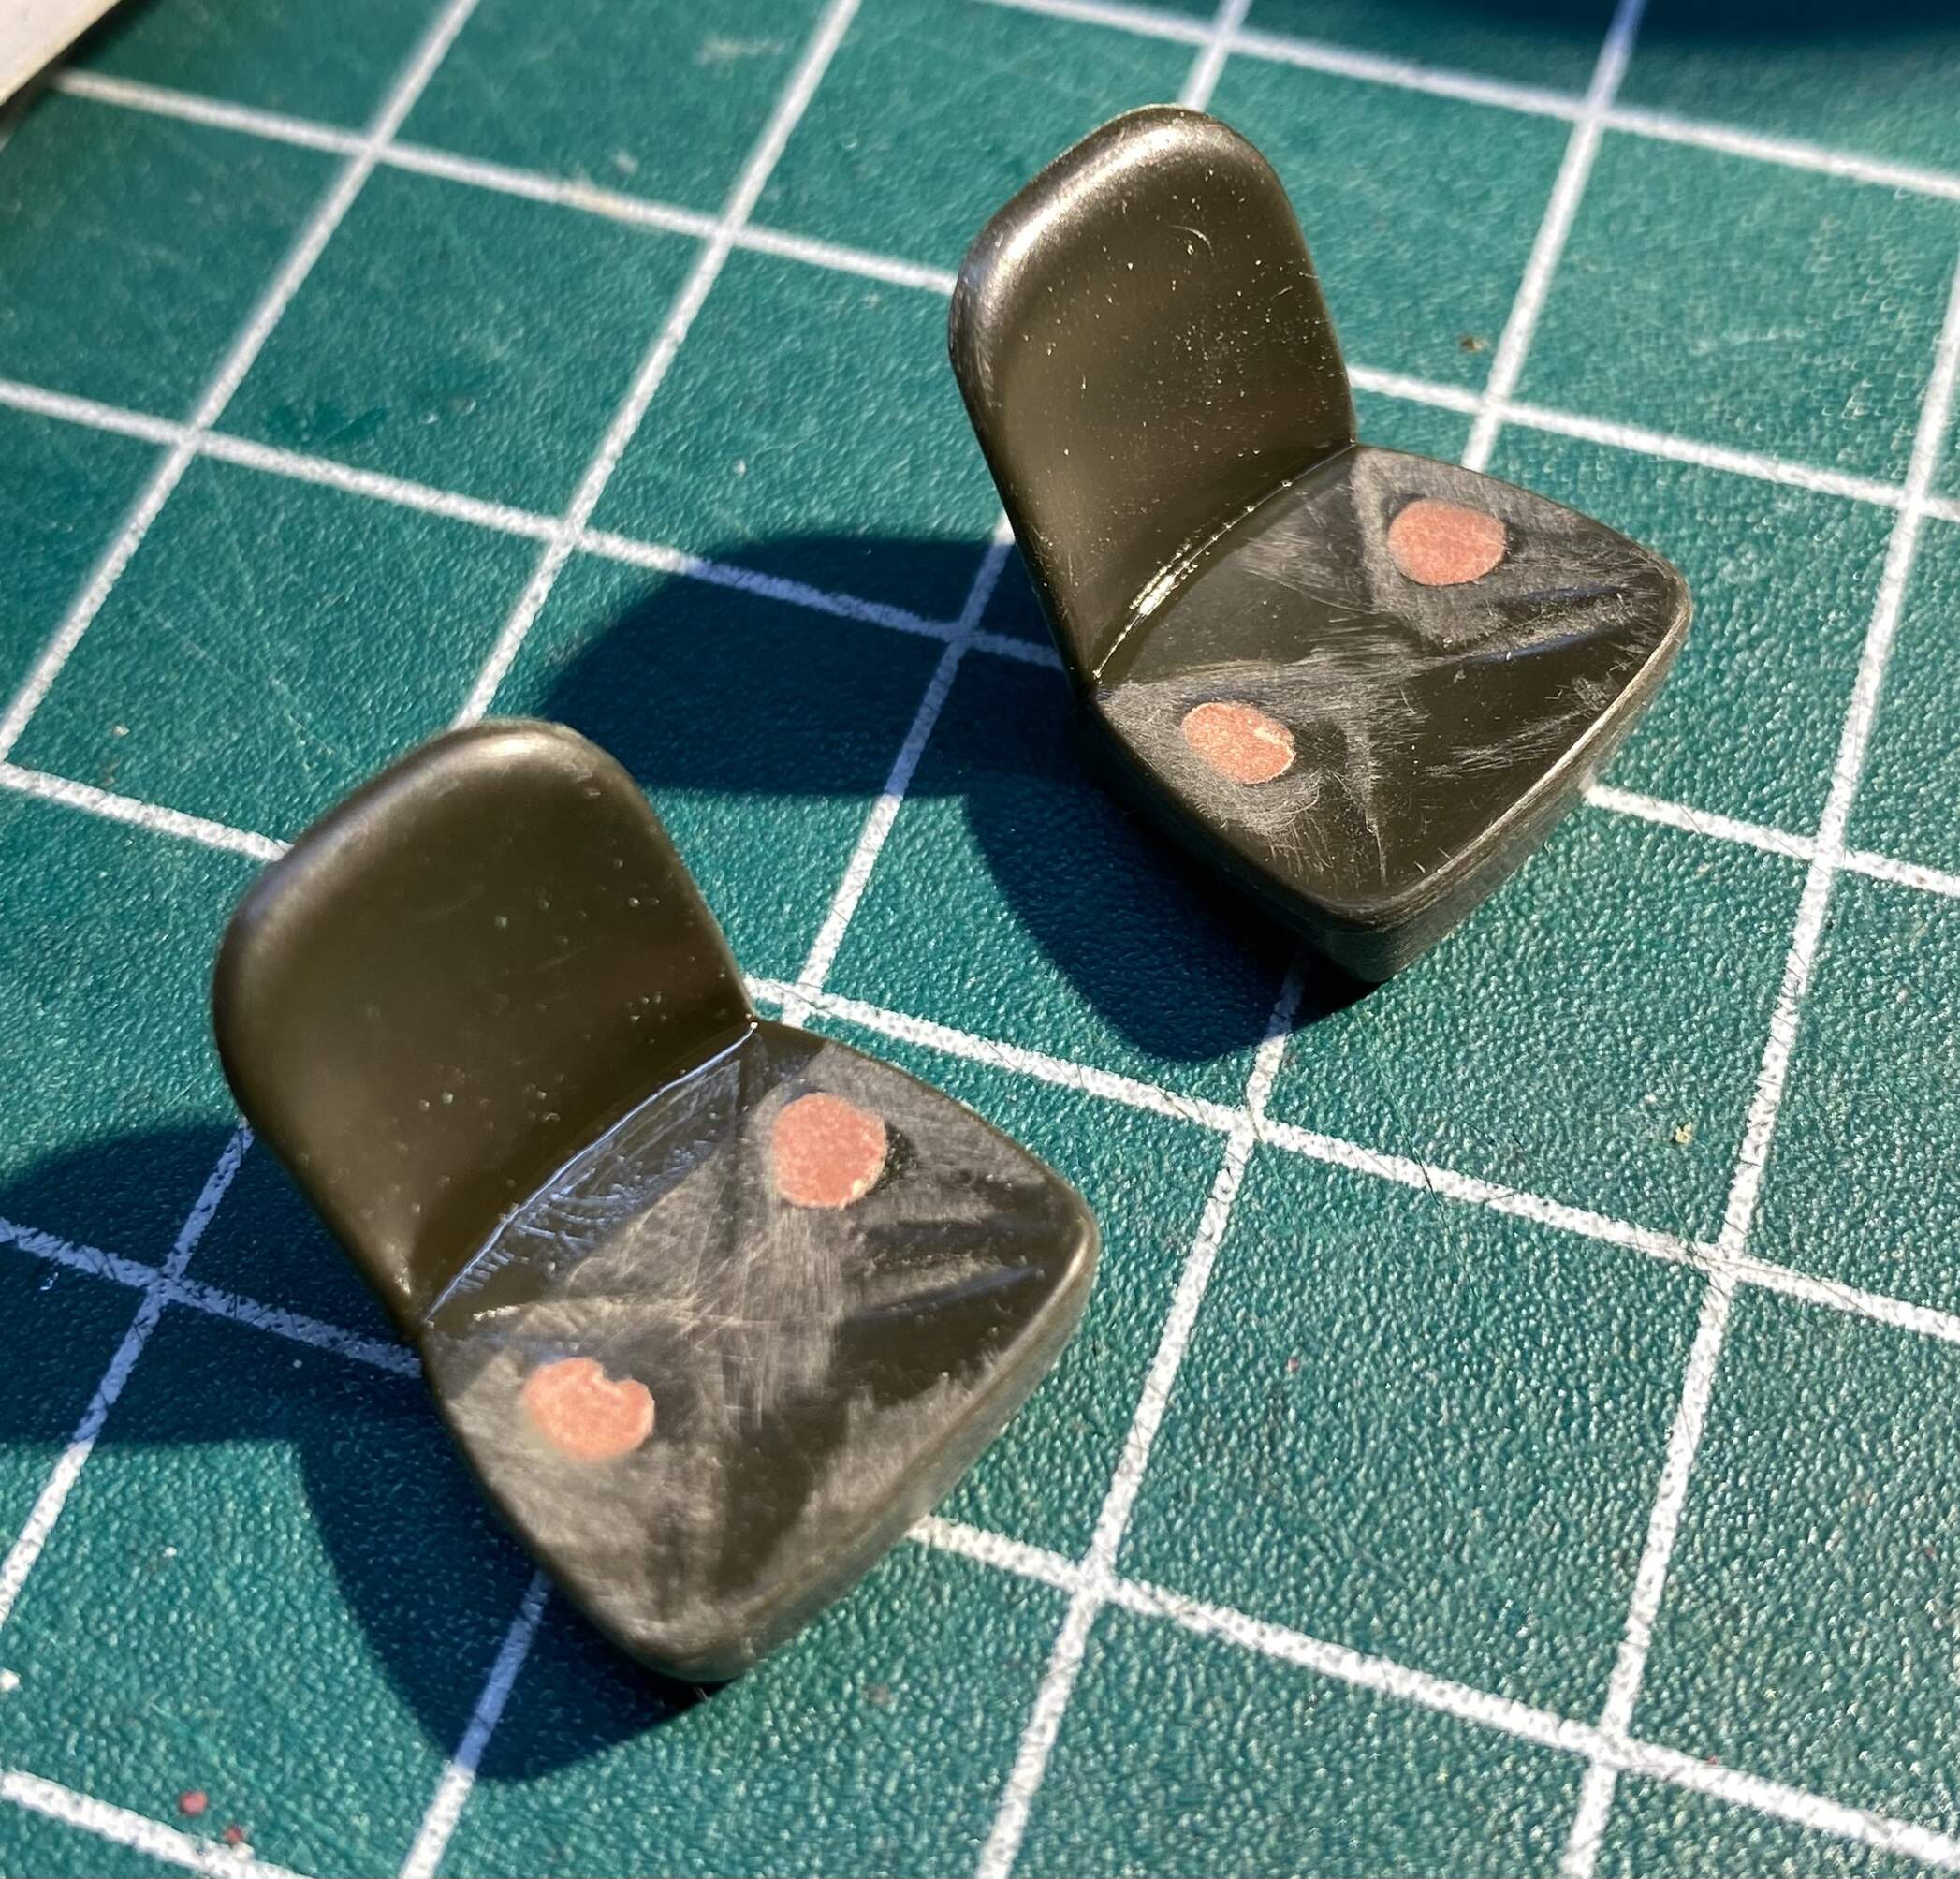
Did somebody mention Italeri sinkmarks ![]() ?
?
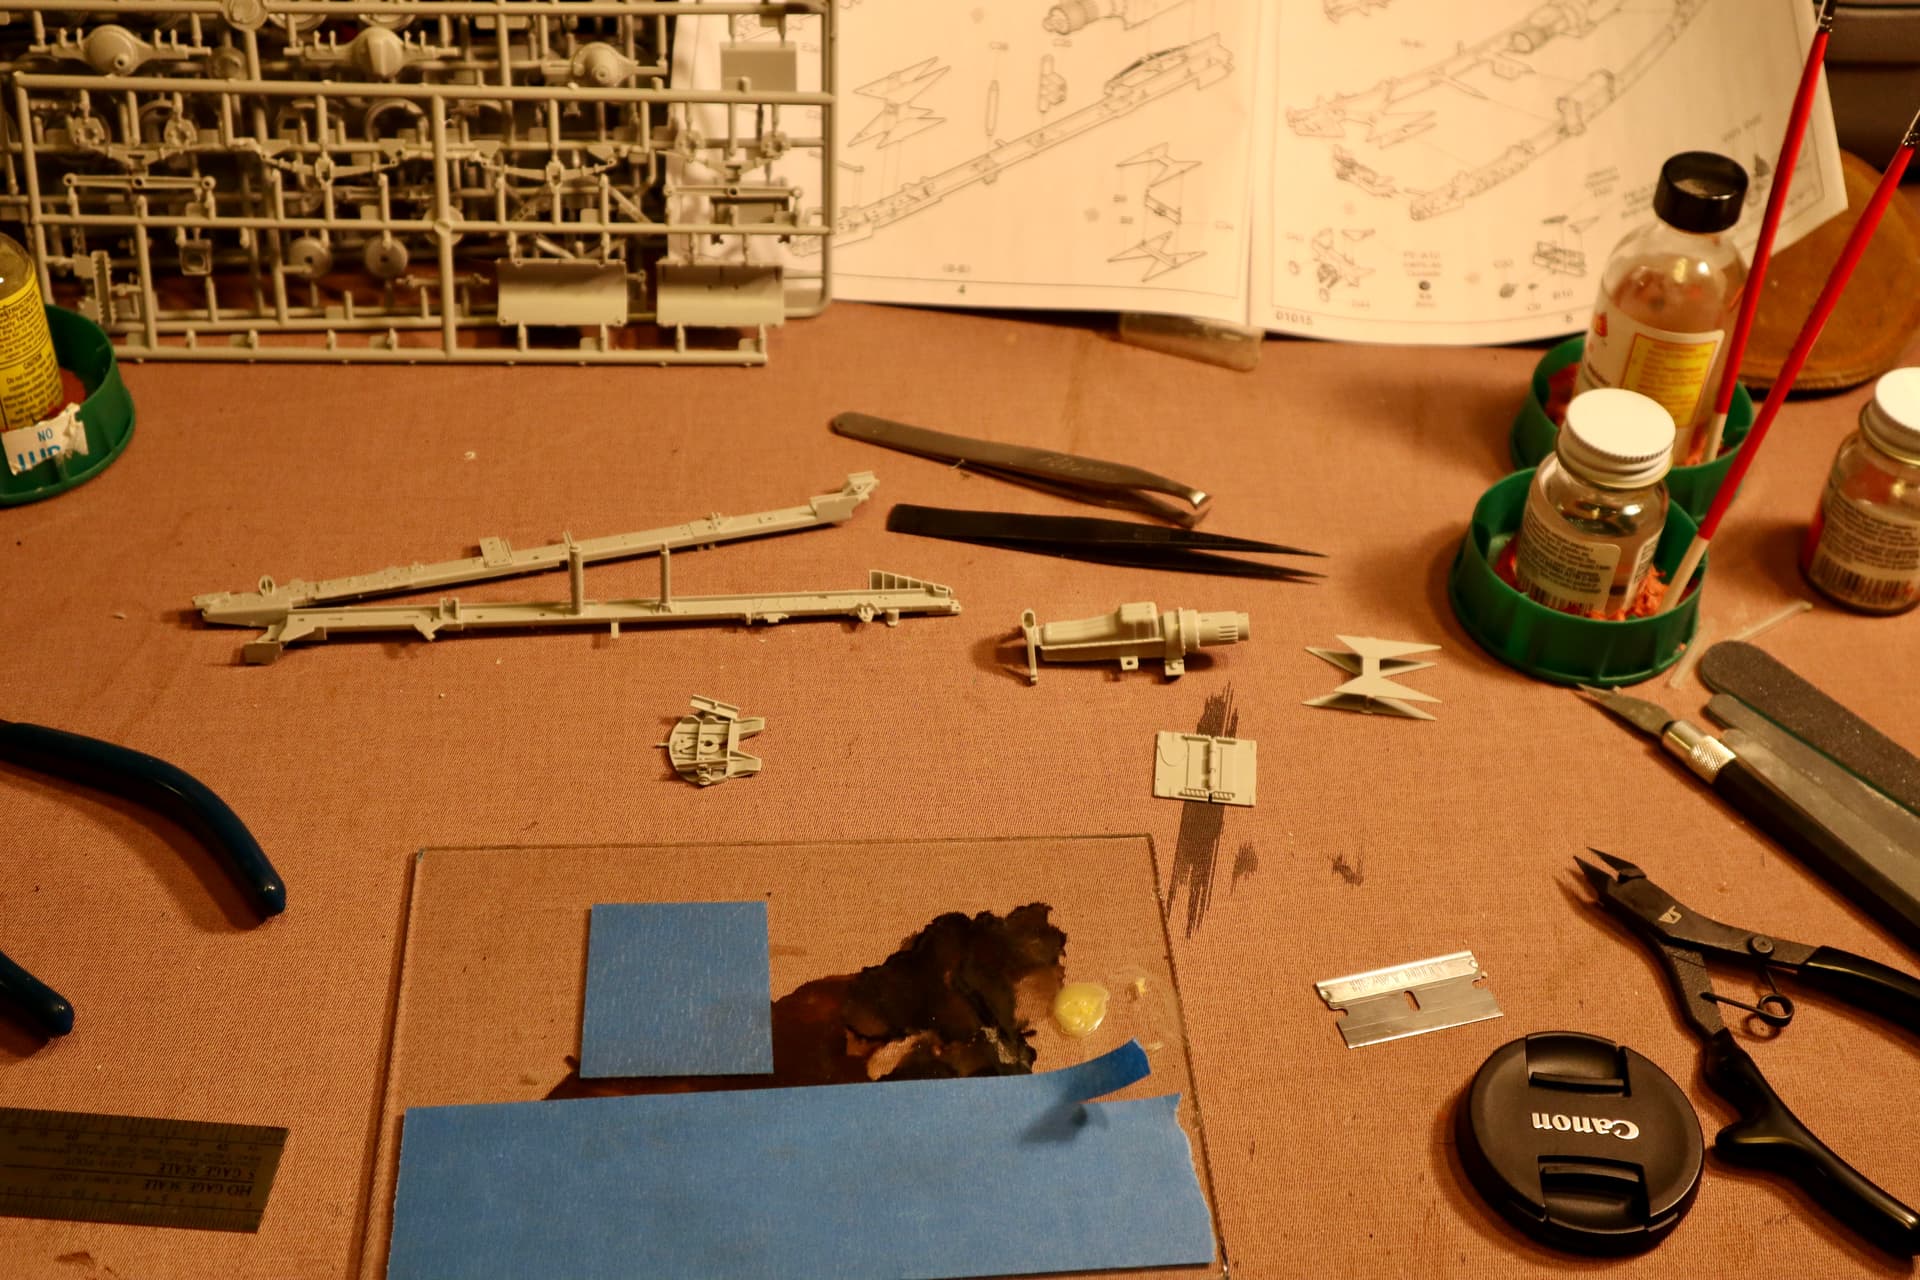
Been feeling a little punky this week so not a lot done but today I grabbed some bench time on the WC-54 Ambo. Filled the major sink marks in the seats:
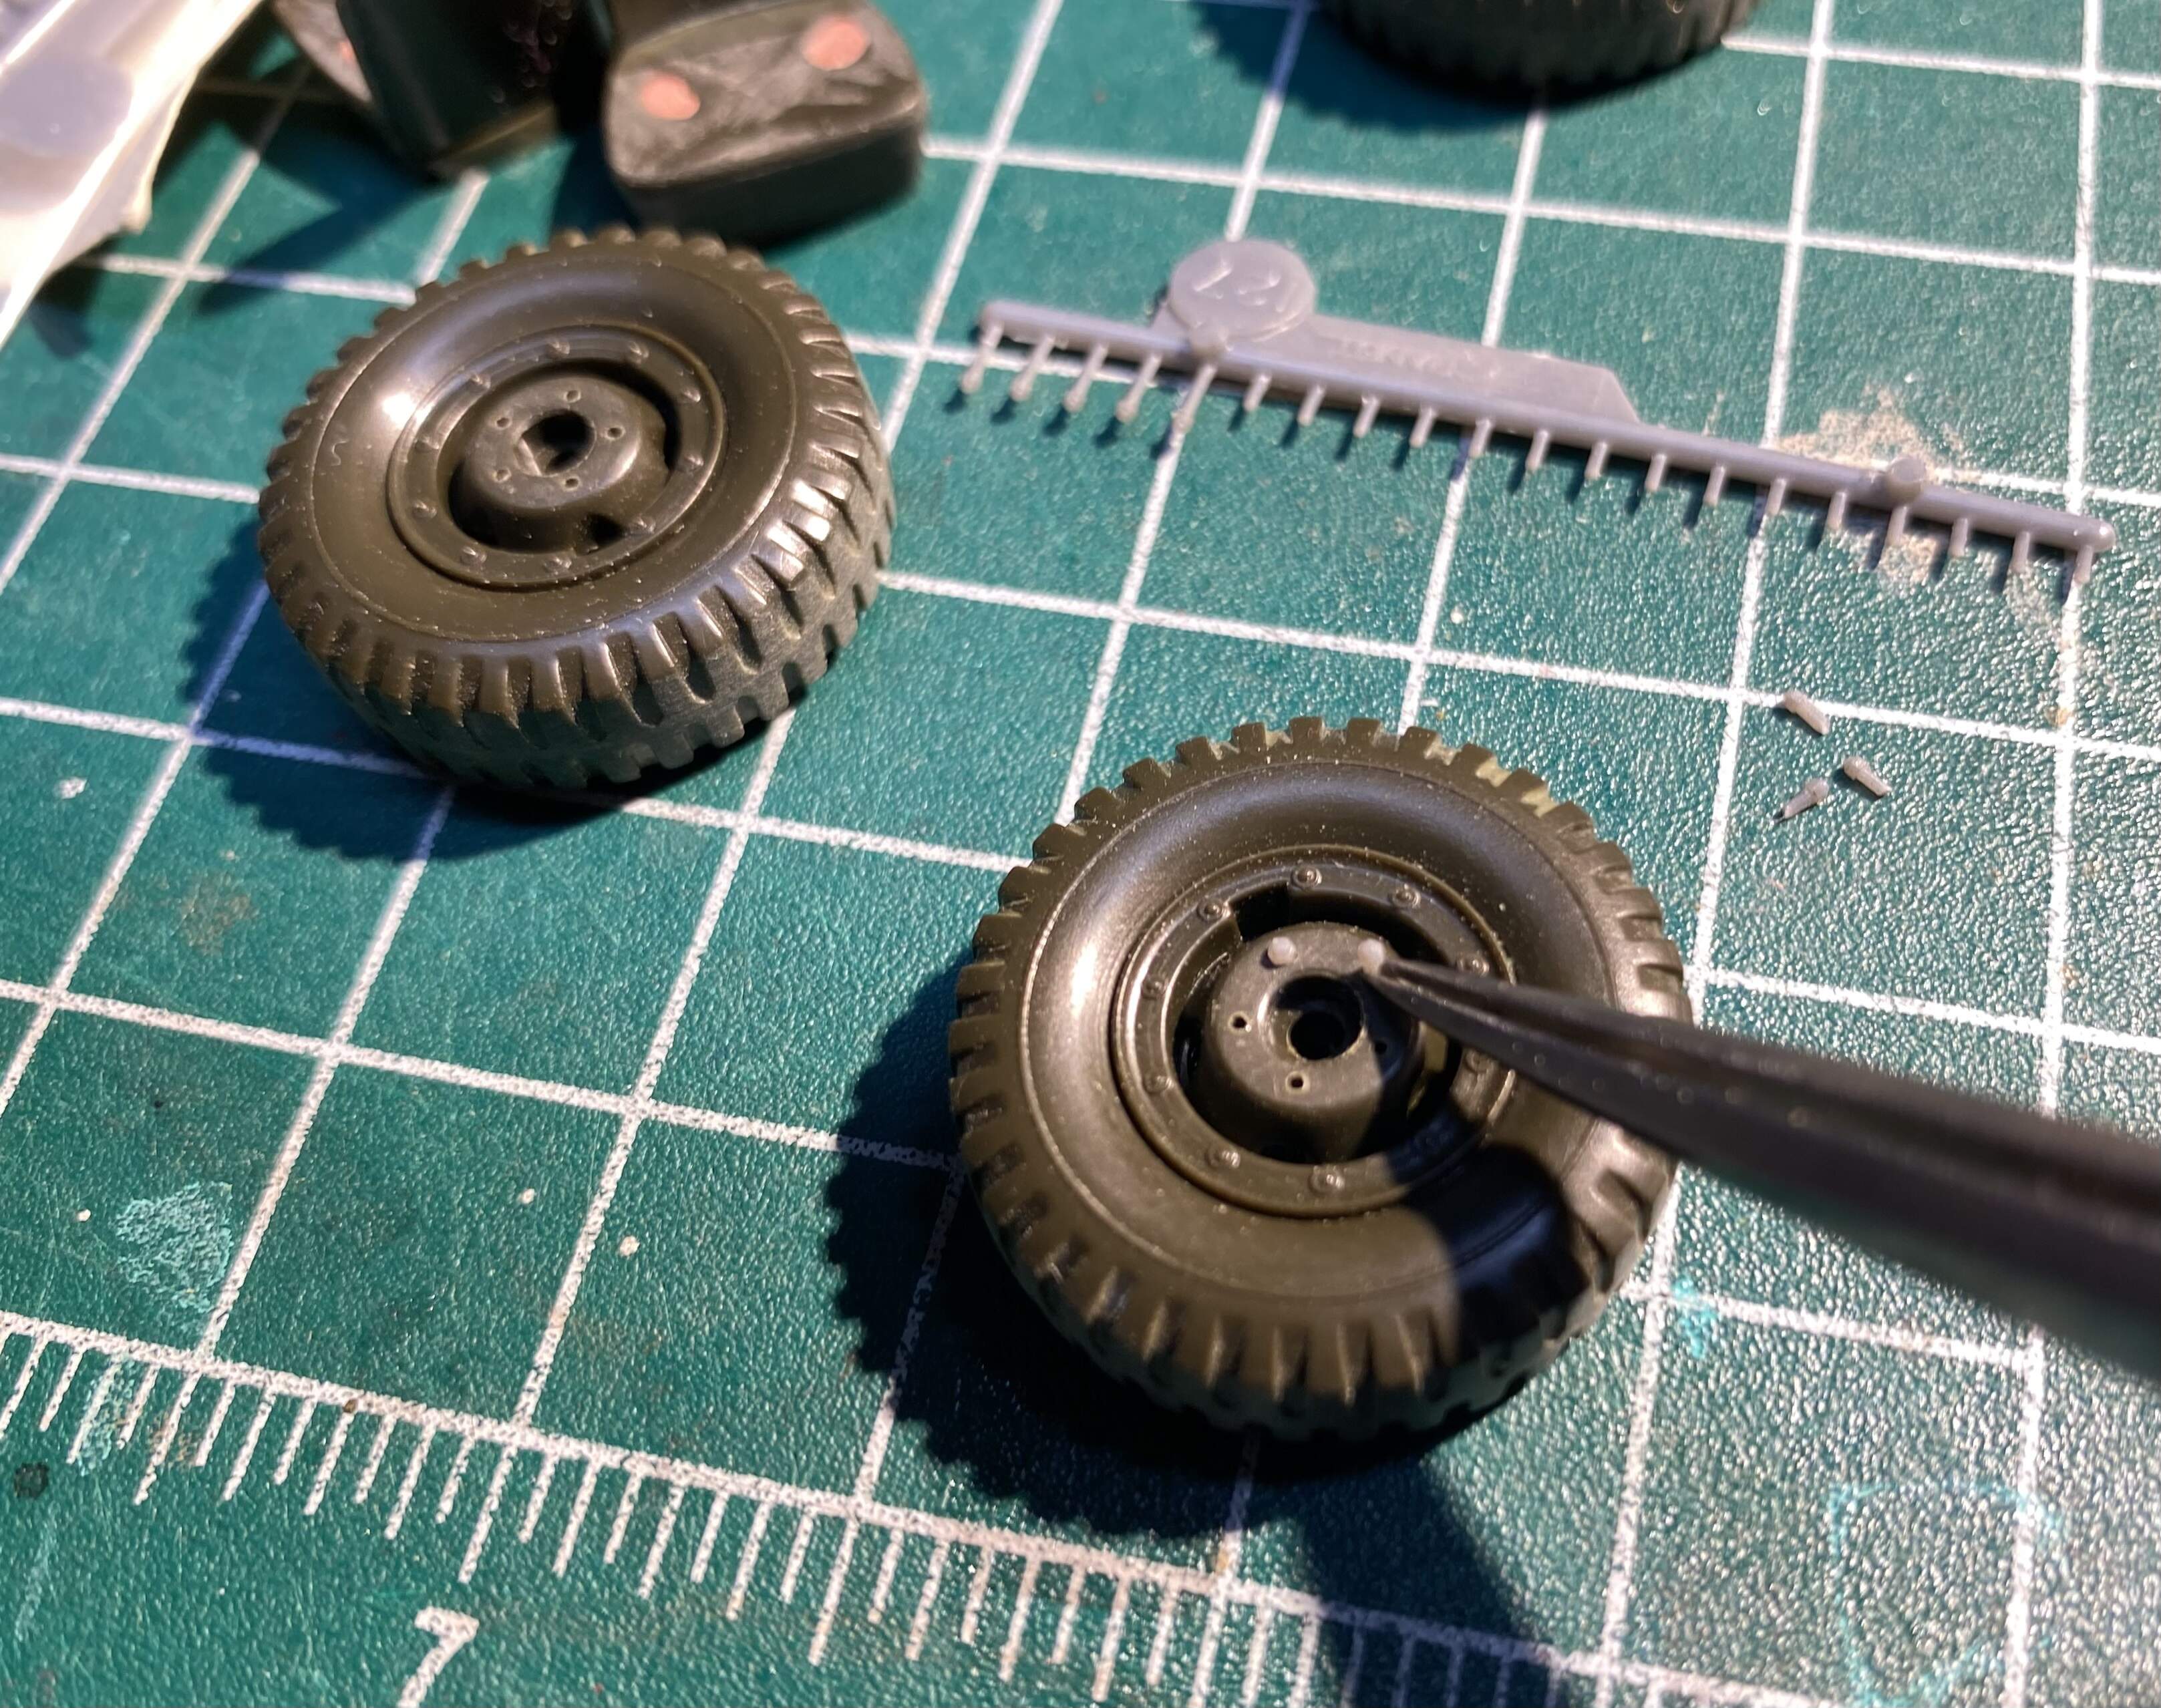
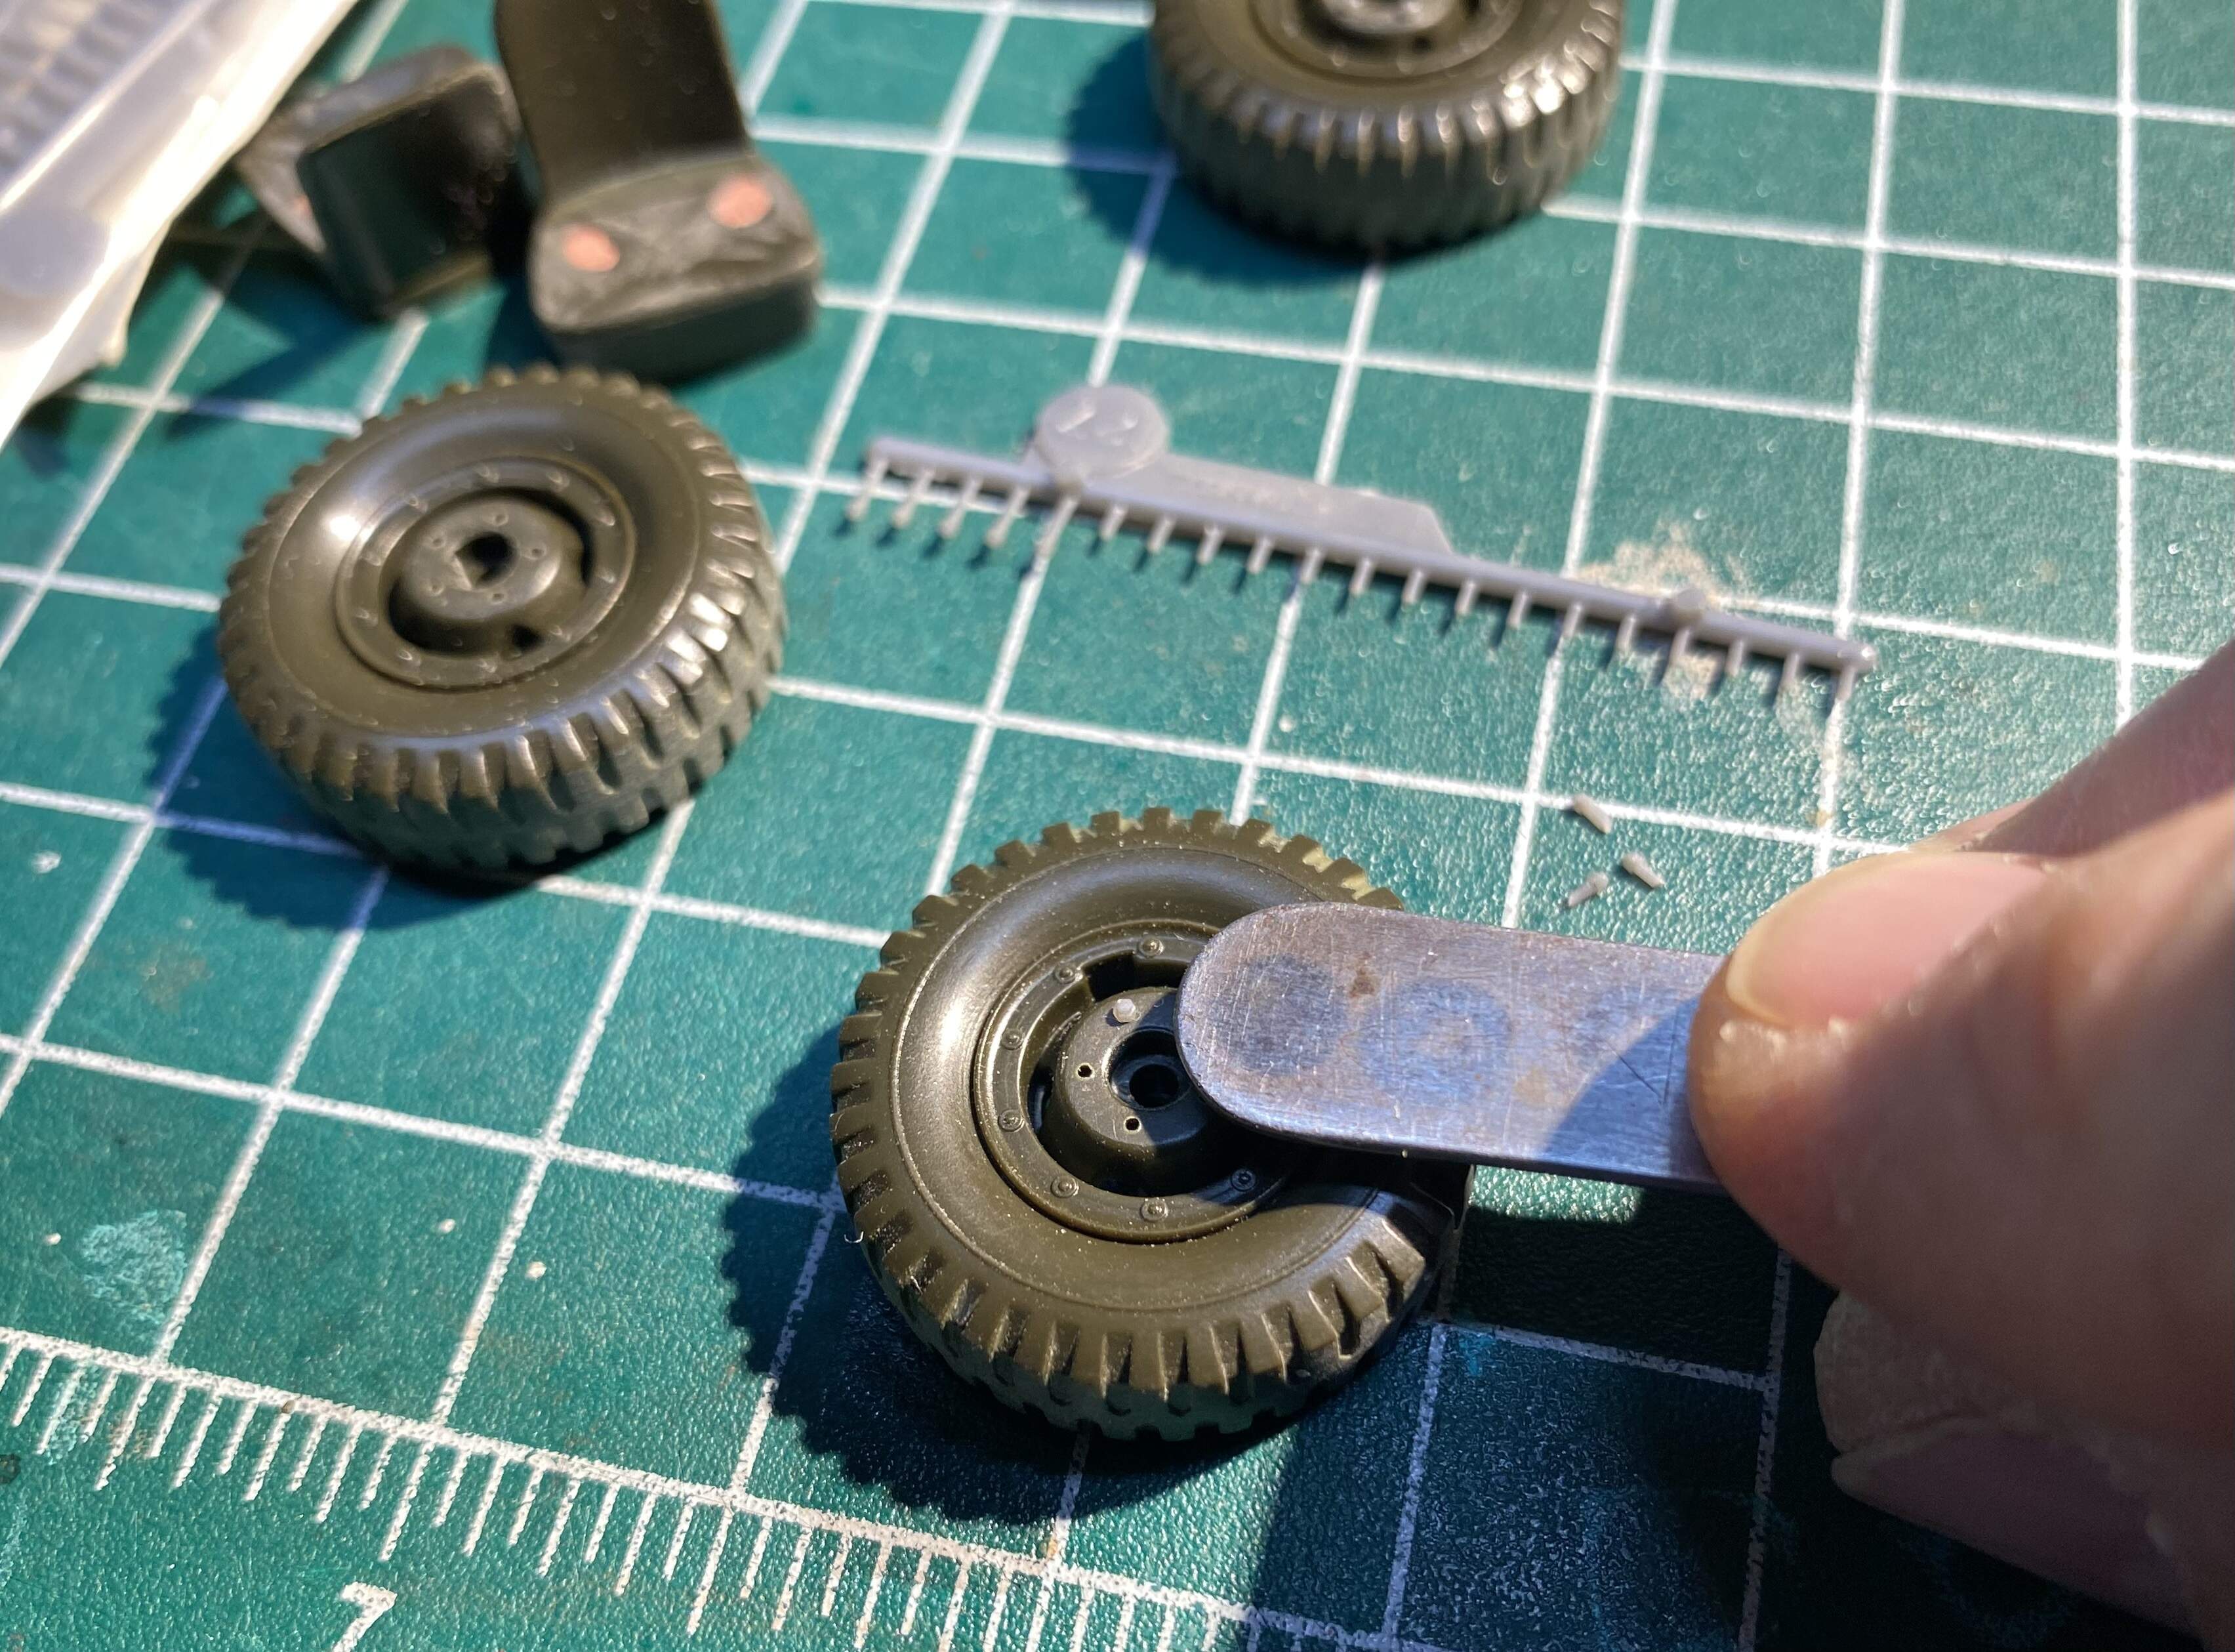
Then turned my attention to the wheels and finishing the new bolts, and the dreaded sanding of the tread/seam. First removing the offending ‘nubs’ that pass for wheel nuts, then drilling the .022” holes to accommodate the Grandt Line N-B parts; cut the parts on a bias to make insertion easier. Insert parts and push them home with the back end of the tweezers:
Lastly for today started on the chassis and yes, more sink- and pin-marks:
Hoping for a good dose of bench time this weekend, cheers all!
Jimbo
10 Likes
@ Ryan. Hope you come up with a solution. ![]()
@ John. “Scotty, I need warp speed in three minutes or we’re all dead!”…
Oops, wrong campaign! ![]()
![]()
@ Nick. That is utter freakin’ awesomeness! ![]()
![]()
![]()
![]()
@ Jimbo. Holy fat guy butt-cheek sag marks! Really like the resin bolts. Looking good! ![]()
—mike ![]()
4 Likes
Hahahaha I was just looking at that photo before and saying well that’s clearly butt-sink. Considering they were prolly padded with horsehair over springs maybe I should have left ‘em ![]()
2 Likes
Plastic sprue cutting has begun.
https://forums.kitmaker.net/t/m915-5th-wheel-recovery-tractor/28149/4?u=buckeye
5 Likes
Jimbo,
The issue is it seems be precut tire side and the either side of the rims doesn’t sit well. It’s not a a lot but enough. The backer rod is the foam material. Give the wheel some heft and seem to help the fit some. It was mentioned on here as an option for the hollow wheels and I think it helps the look. Probably more when supporting the weight of the model.
I am open to any option that helps. I can send you parts so you can see what I mean as it’s difficult to photograph. Nick’s bead lock idea seems to be inline with what I think might help. The geometry, the thickness and angled rim lip have me knotted up. An insert on both sides might solve the fit issue.
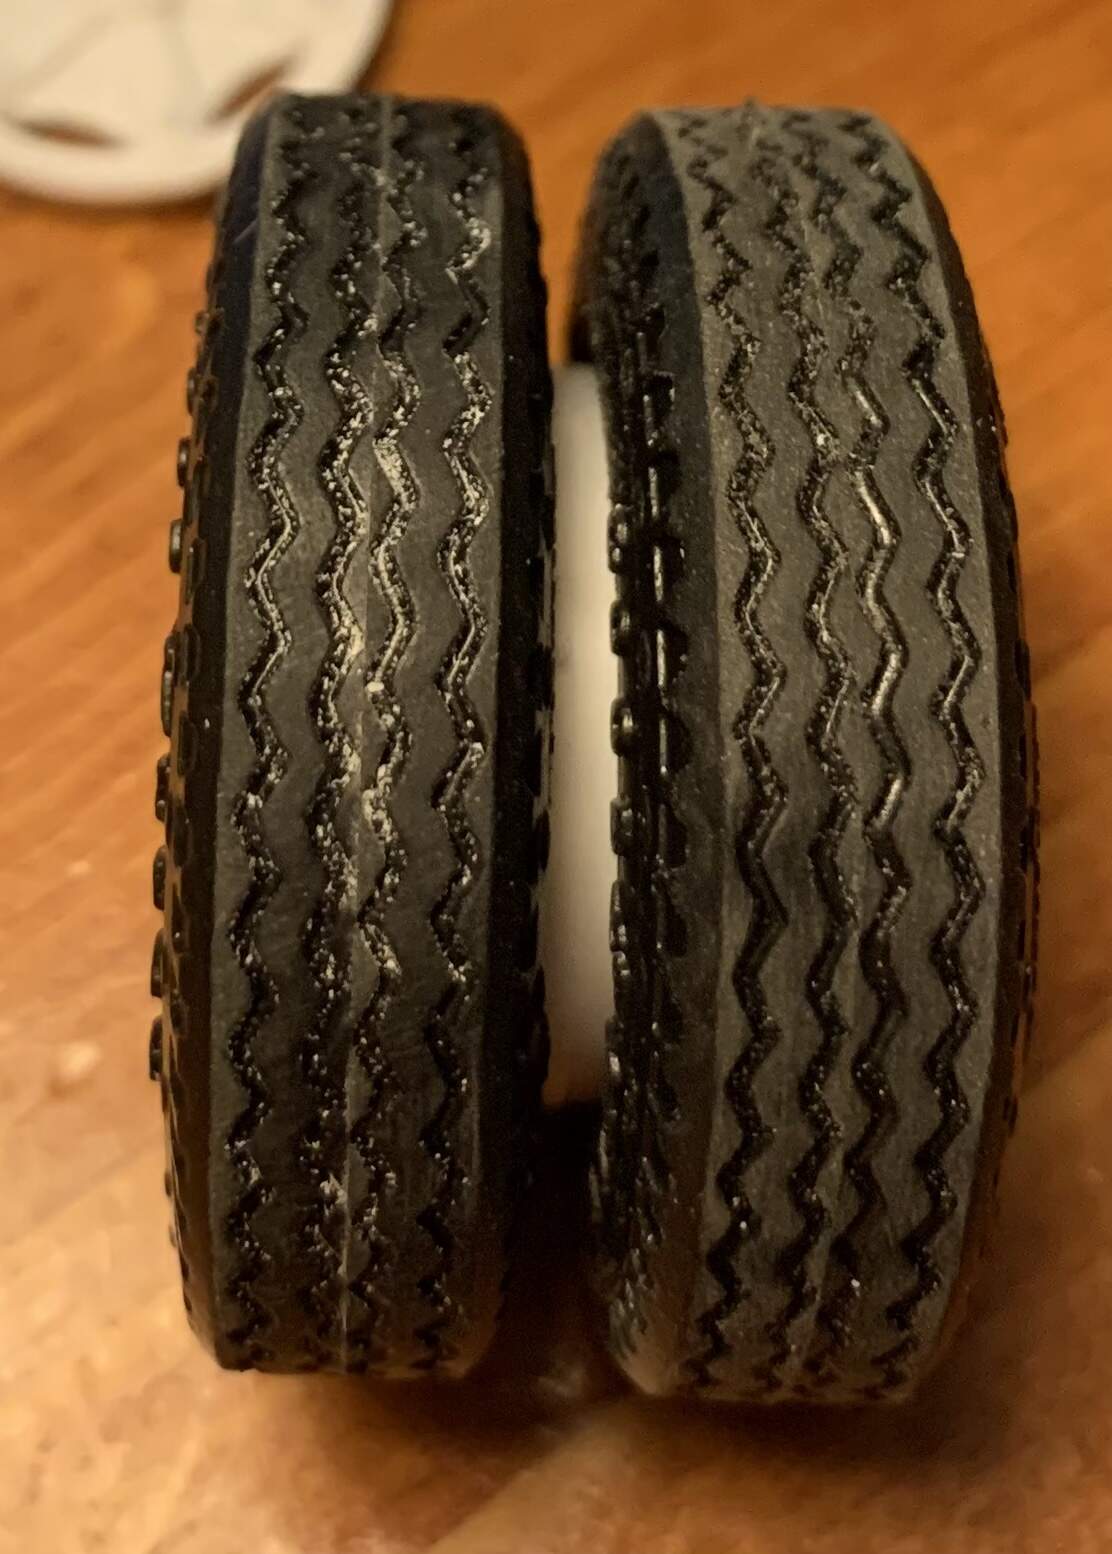
Left side is without the backer rod.
4 Likes
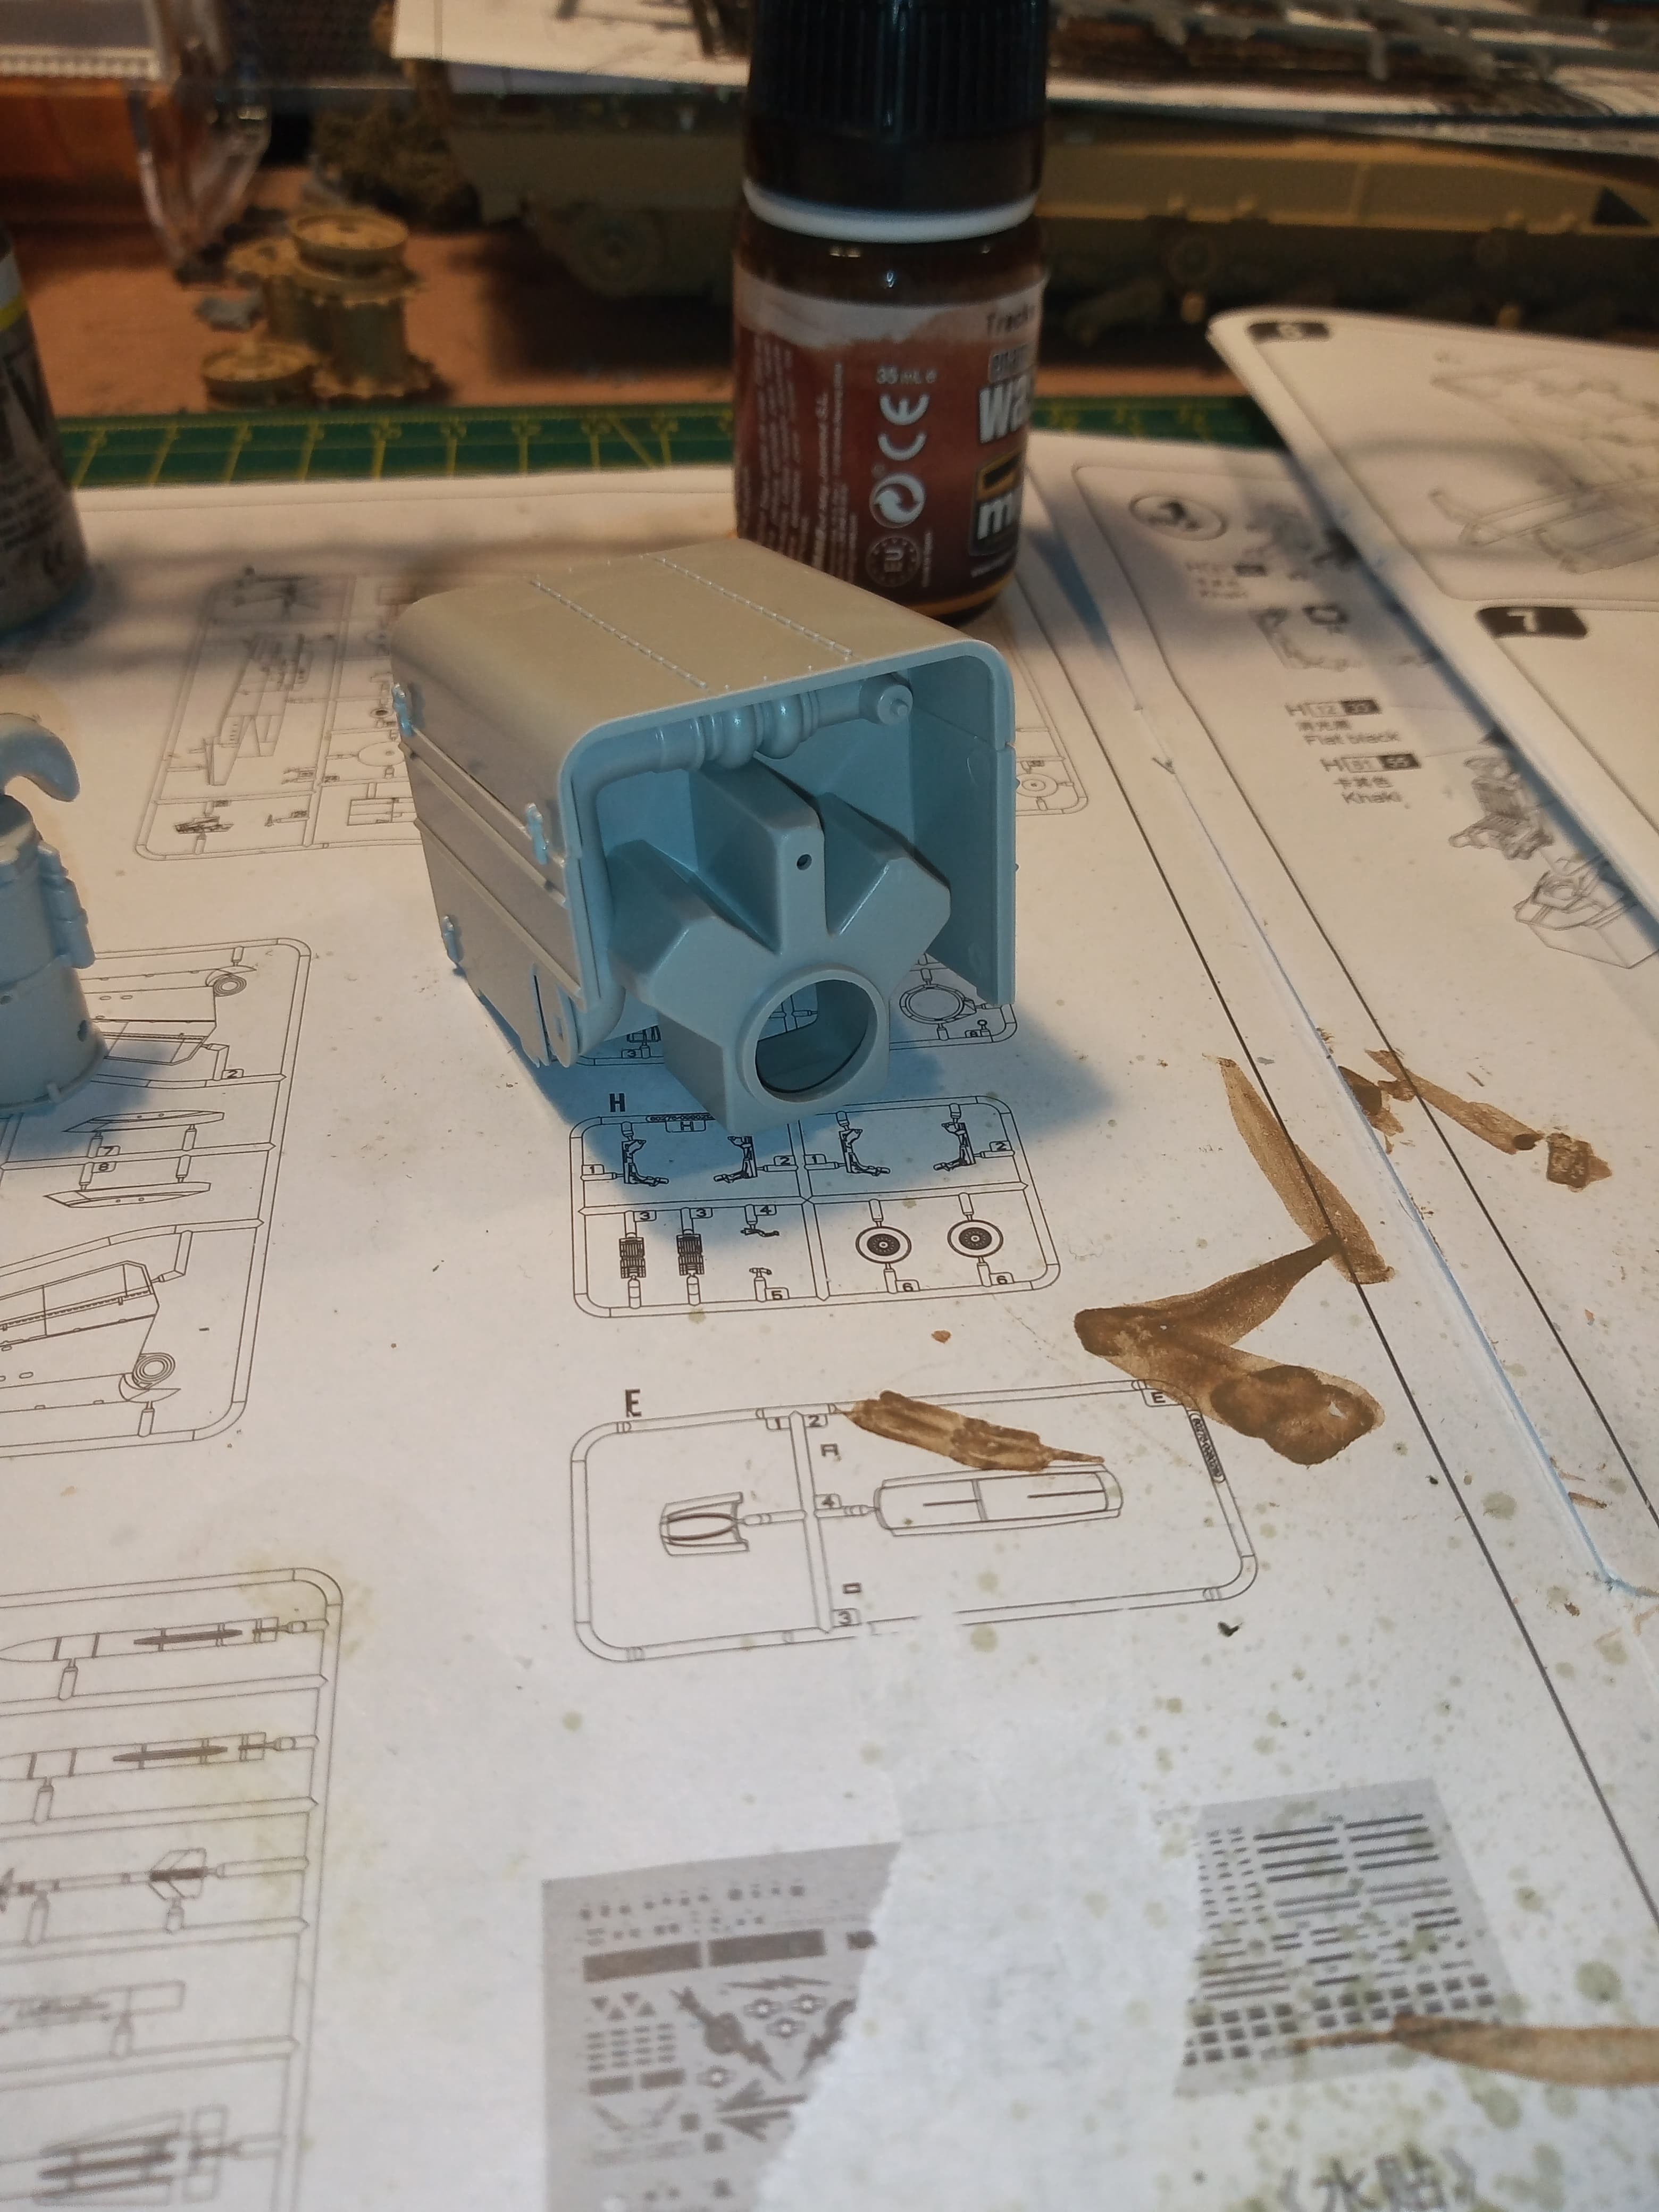
Taping was tricky due to the way it mounts onto the chassis so I devised another way…
Glued on first, then clothes pegs in one place on the bottom to hold the mount against the chassis, then 2 cocktail sticks cut to length and used as braces on the top open area and finally a cut length of sprue on the front upper corner glued on place to regain the squared shape…used tape there to hold the shape as glue dries …
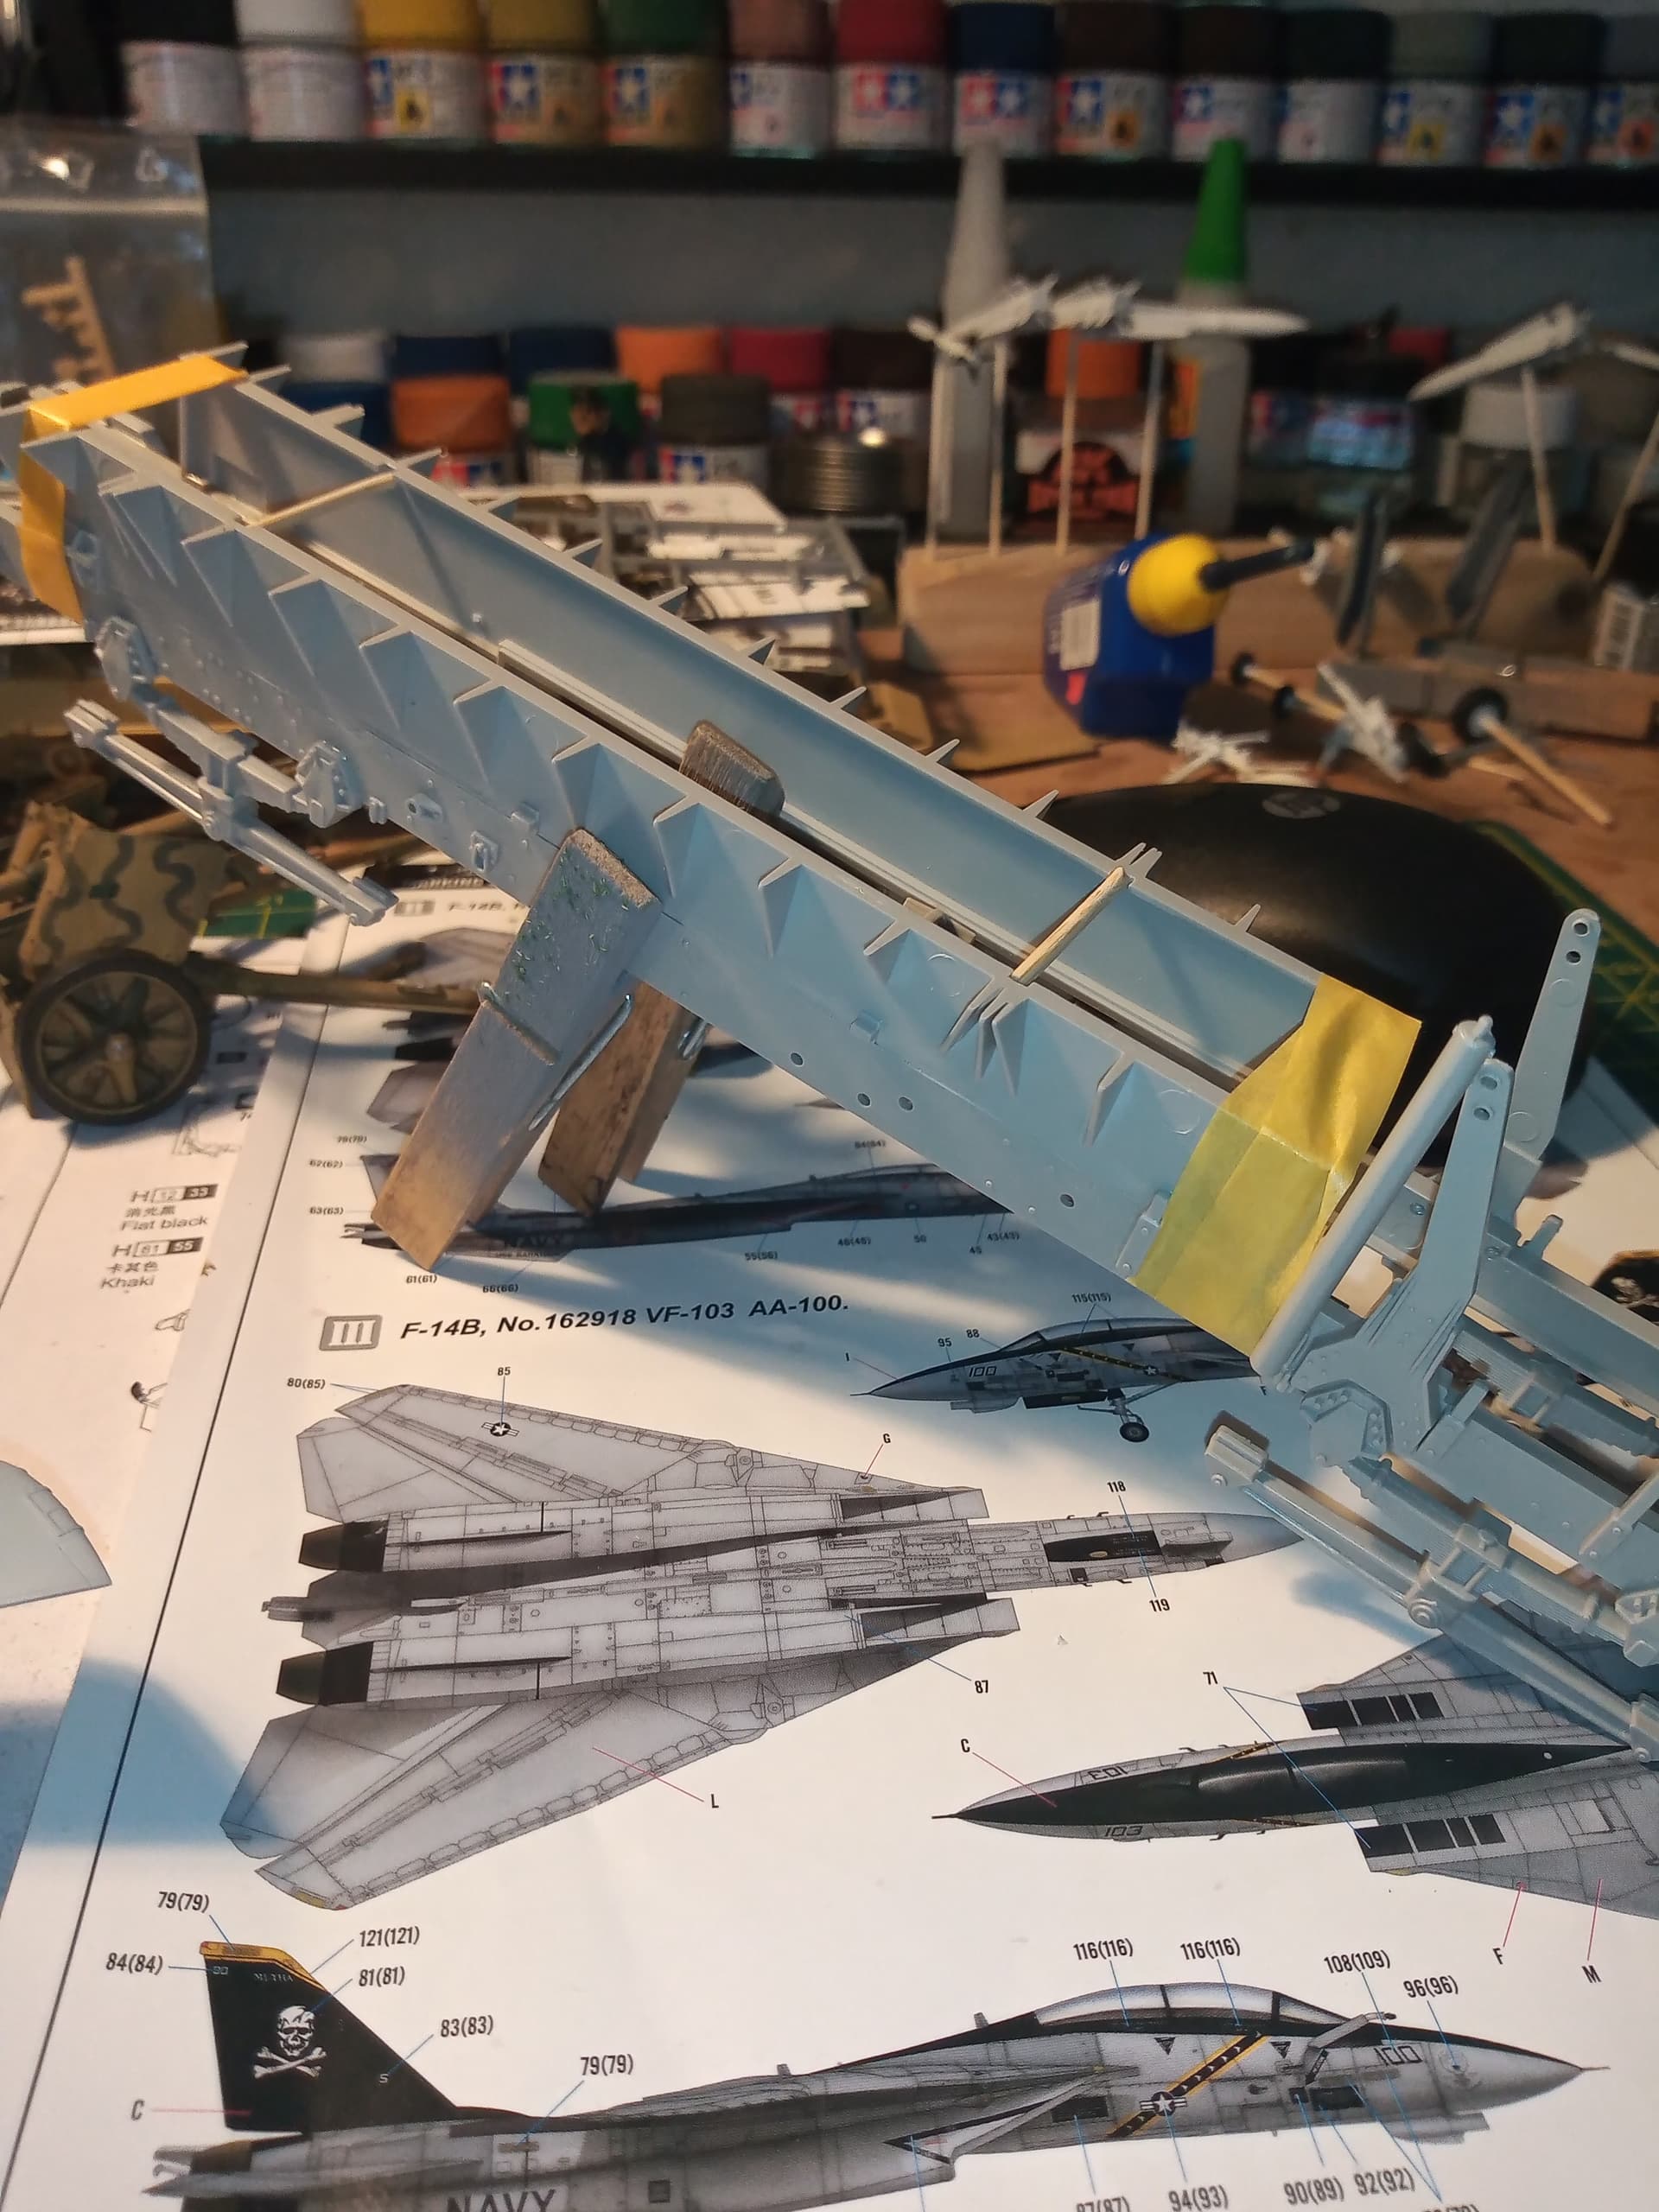
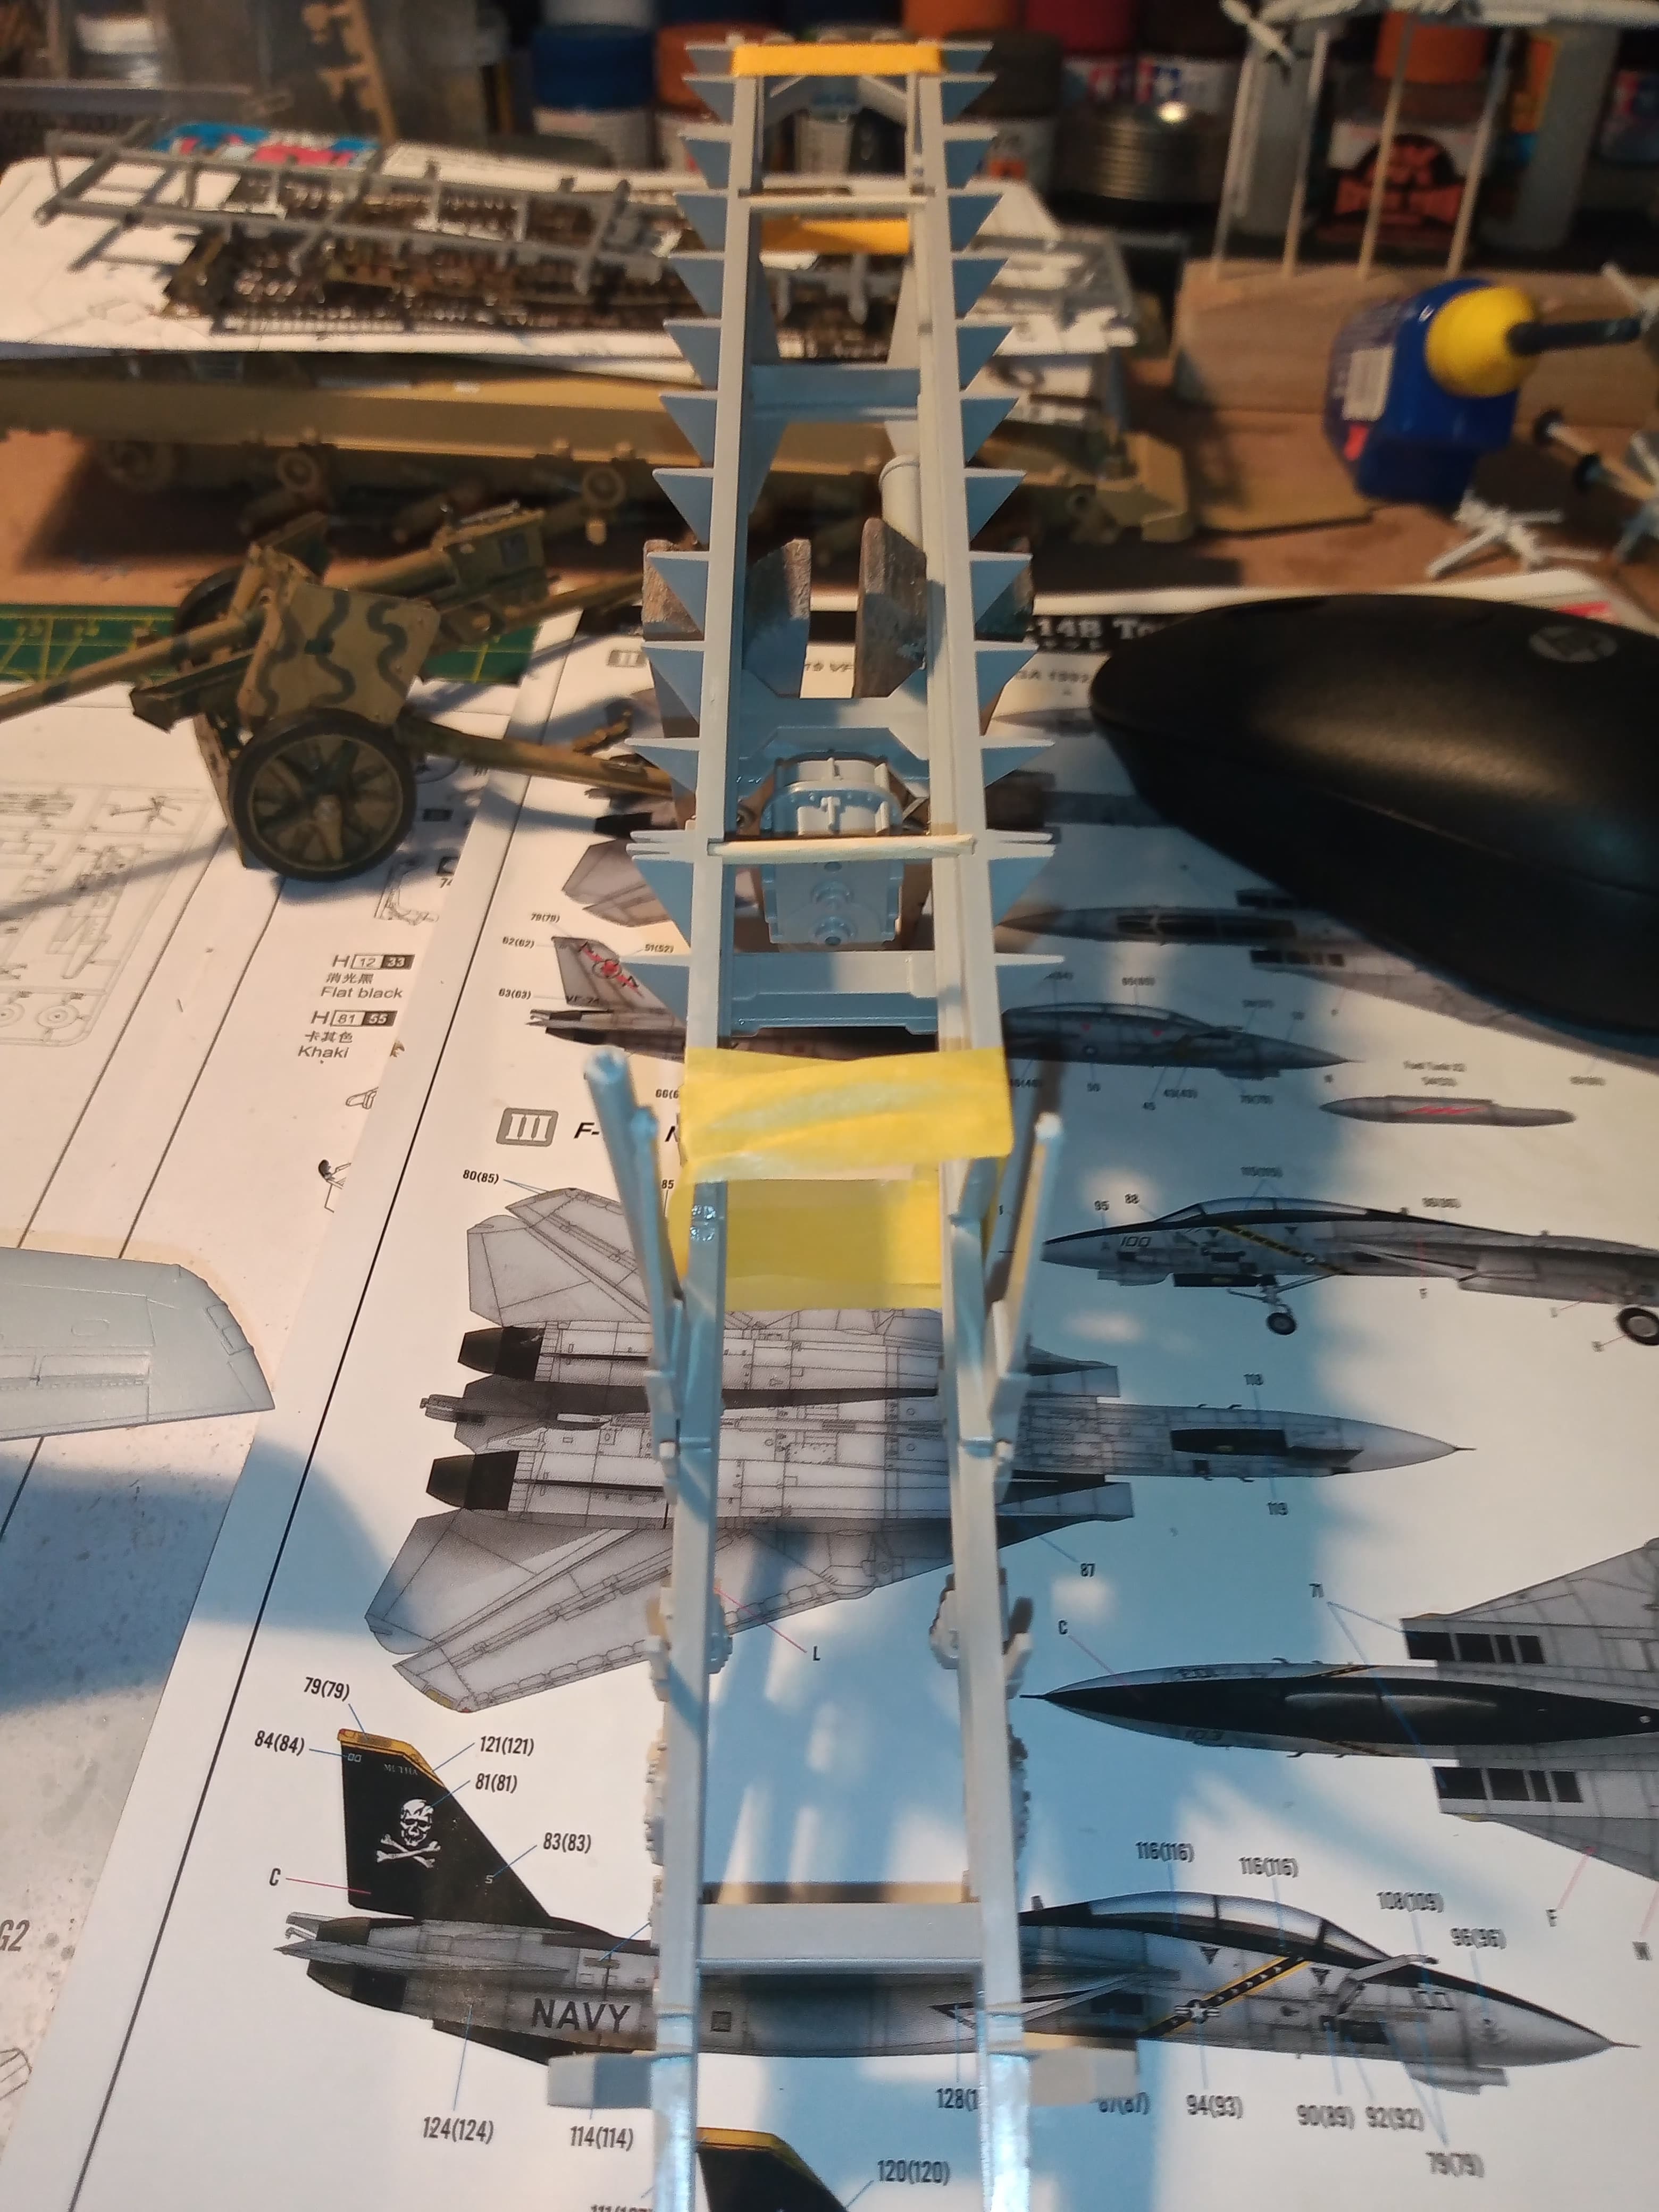
Once the frame is dry on the chassis, I will add 2 more internal cut sprue braces to hold the sides true until the cargo bed is on.
And @petbat … Yeah you’re right… But I want that look after I’d finished… Not before I started it lol.
8 Likes
Degree of Difficulty: 9.5
3 Likes
Was pretty straight forward to be honest Matt … I’d give it a steady 5.5 lol…
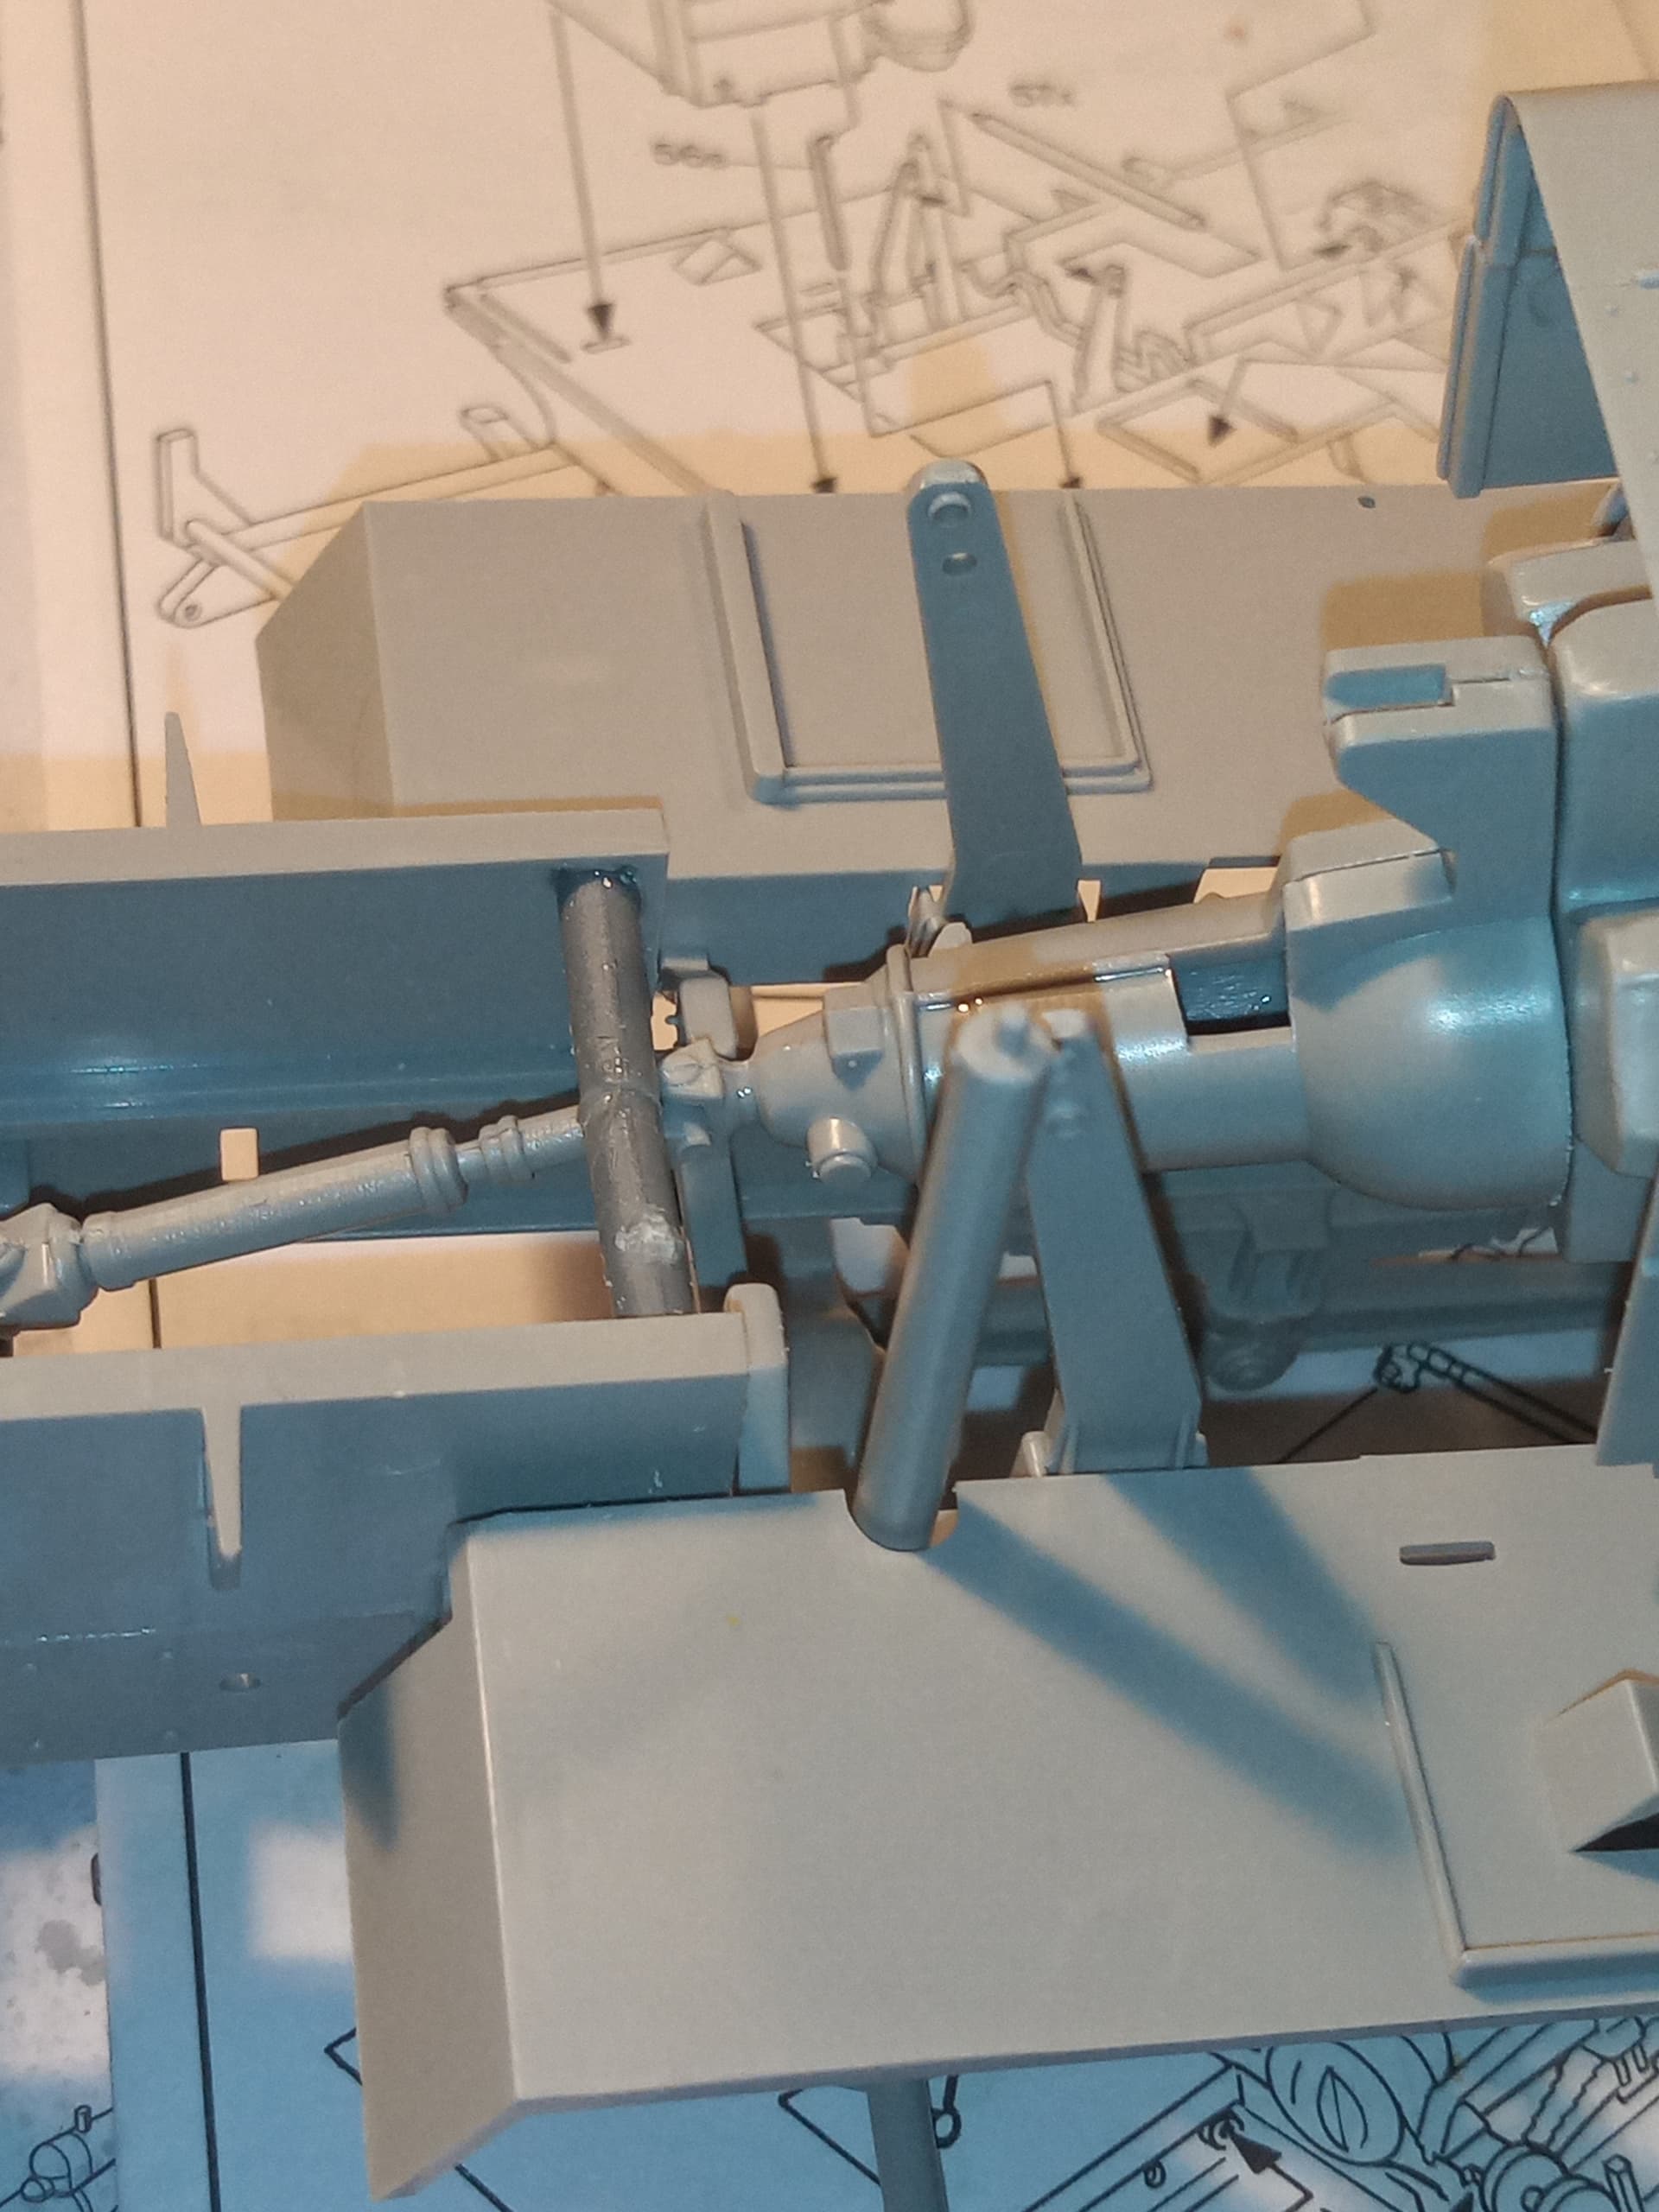
Axles and springs are on. Need to put one more set of prop shafts on. I have a slight worrying niggle there may be a miniscule twist somewhere on the chassis. It all lines up and sits flat on the deck, but …there’s that niggle …
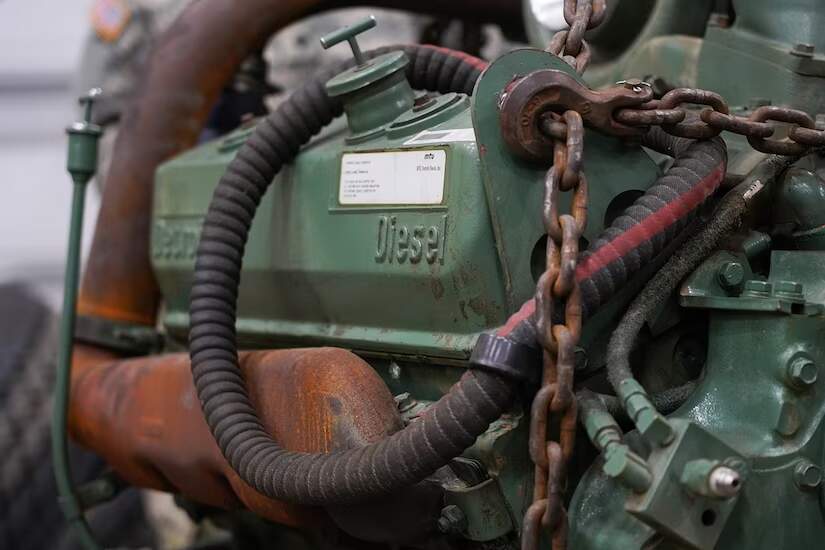
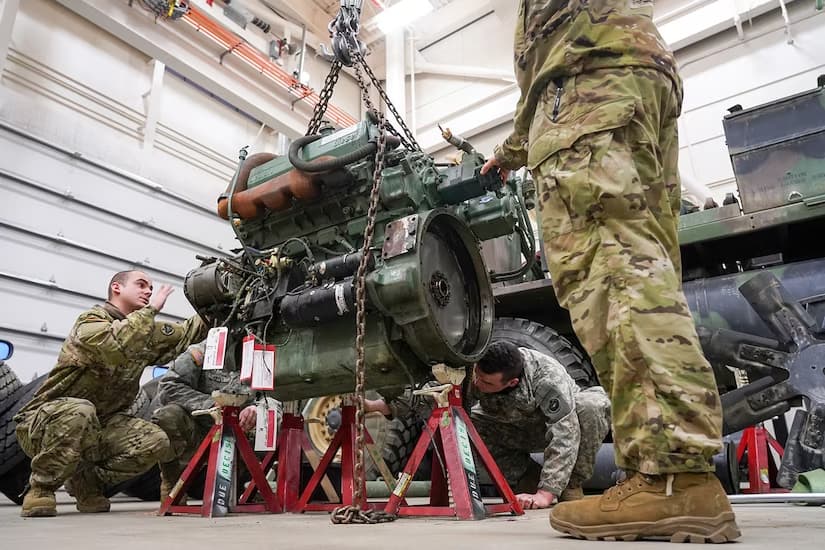
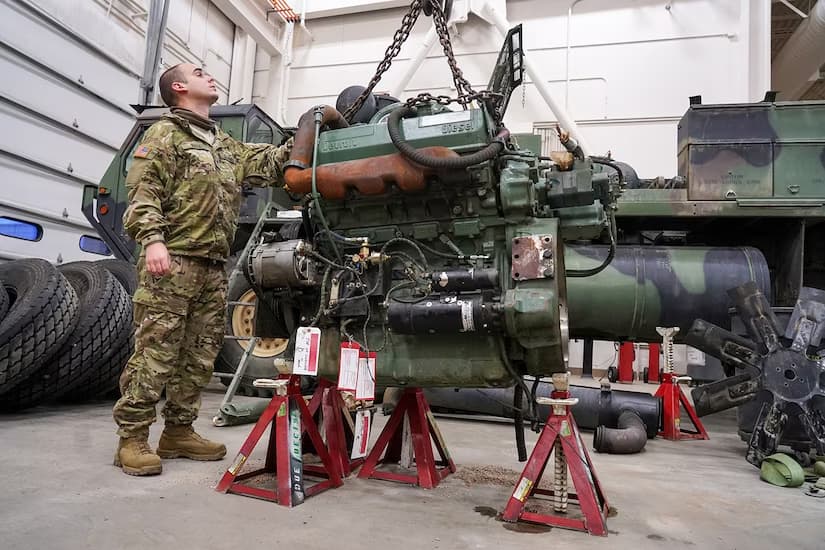
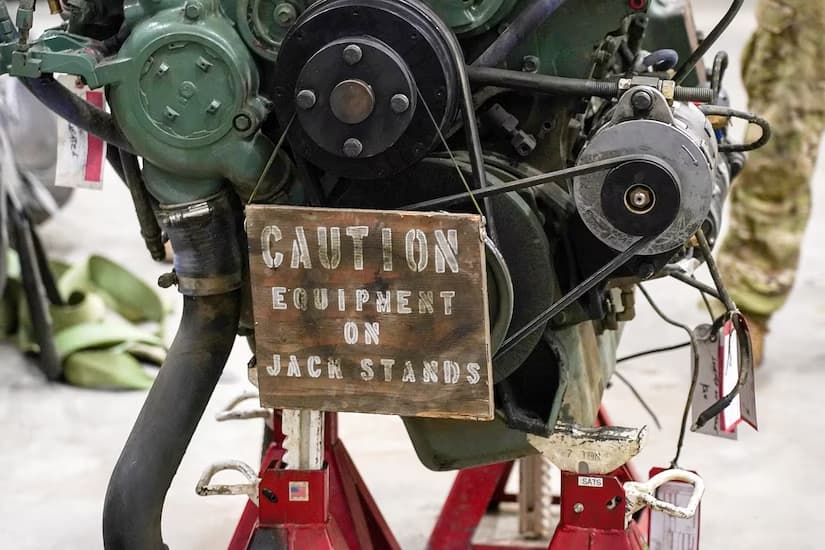
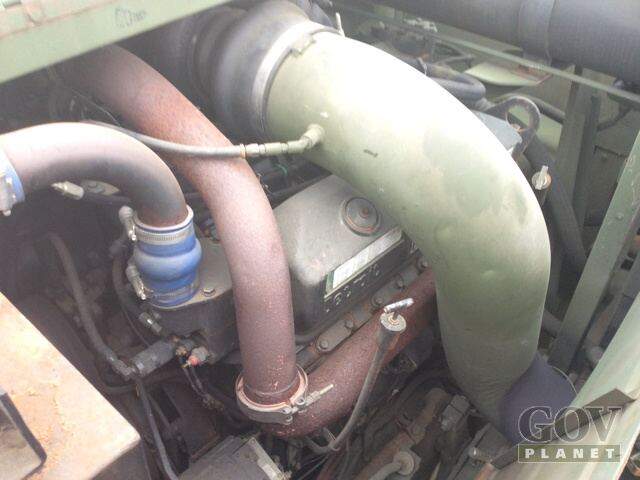
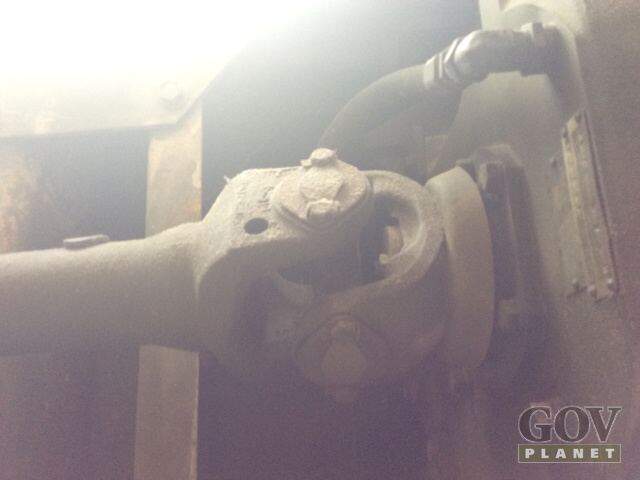
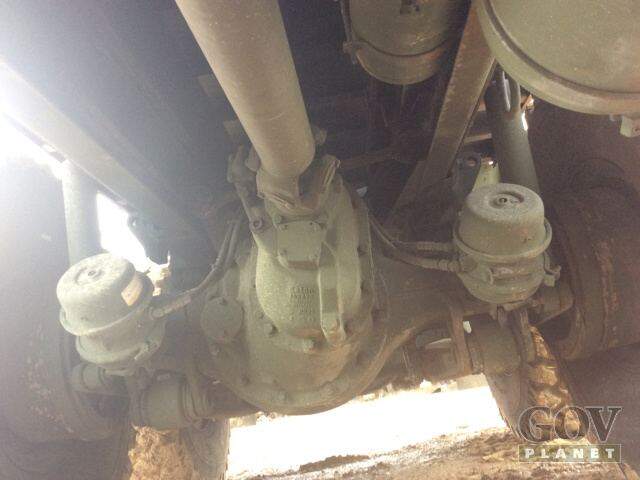
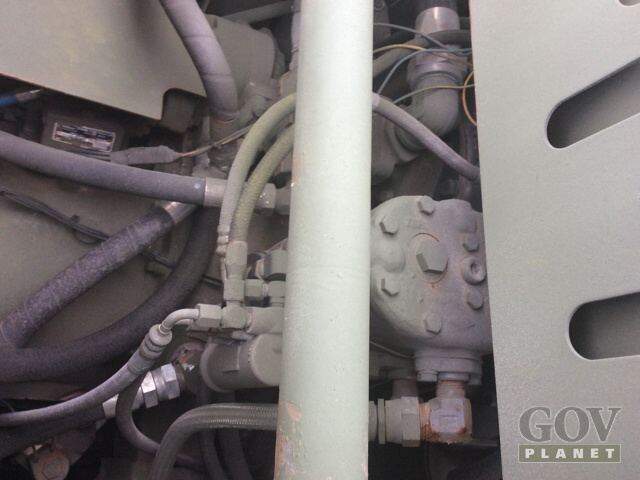
May need to get some ref pics of the rear of the engine.
The kit offering looks … Well, lacking lol… If you can see a fair bit of it, it may need some additional work.
7 Likes
Scroll through the pics here:
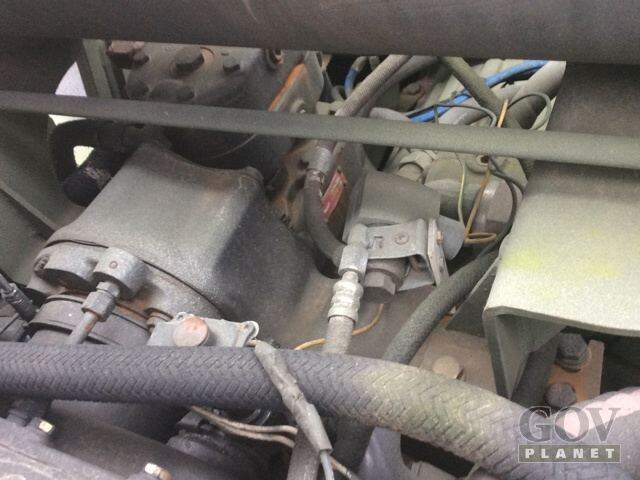
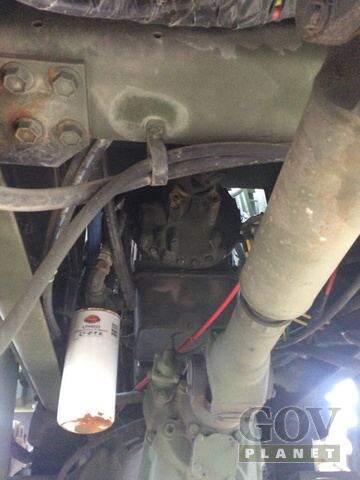
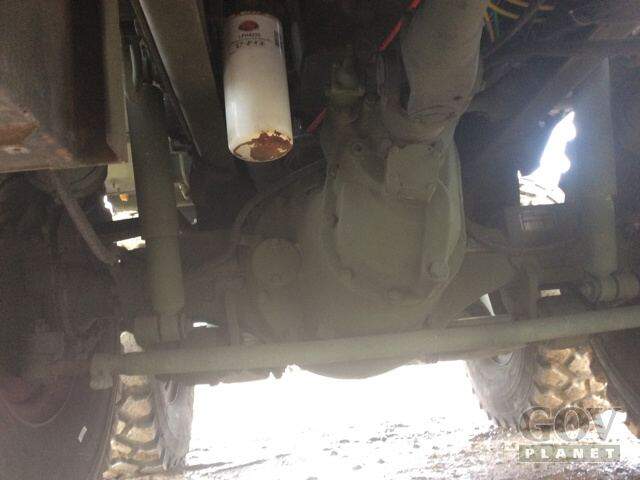
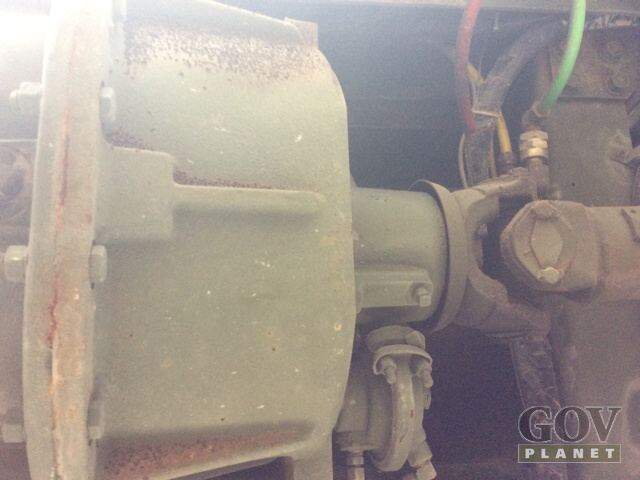
Transmission:
Some walkaround pics that might be handy:
Option:
2 Likes
Hi all,
Going into this GB with the Revell Peterbuilt 359 Conventional kit. Looking forward to this build, as it’s my first truck.
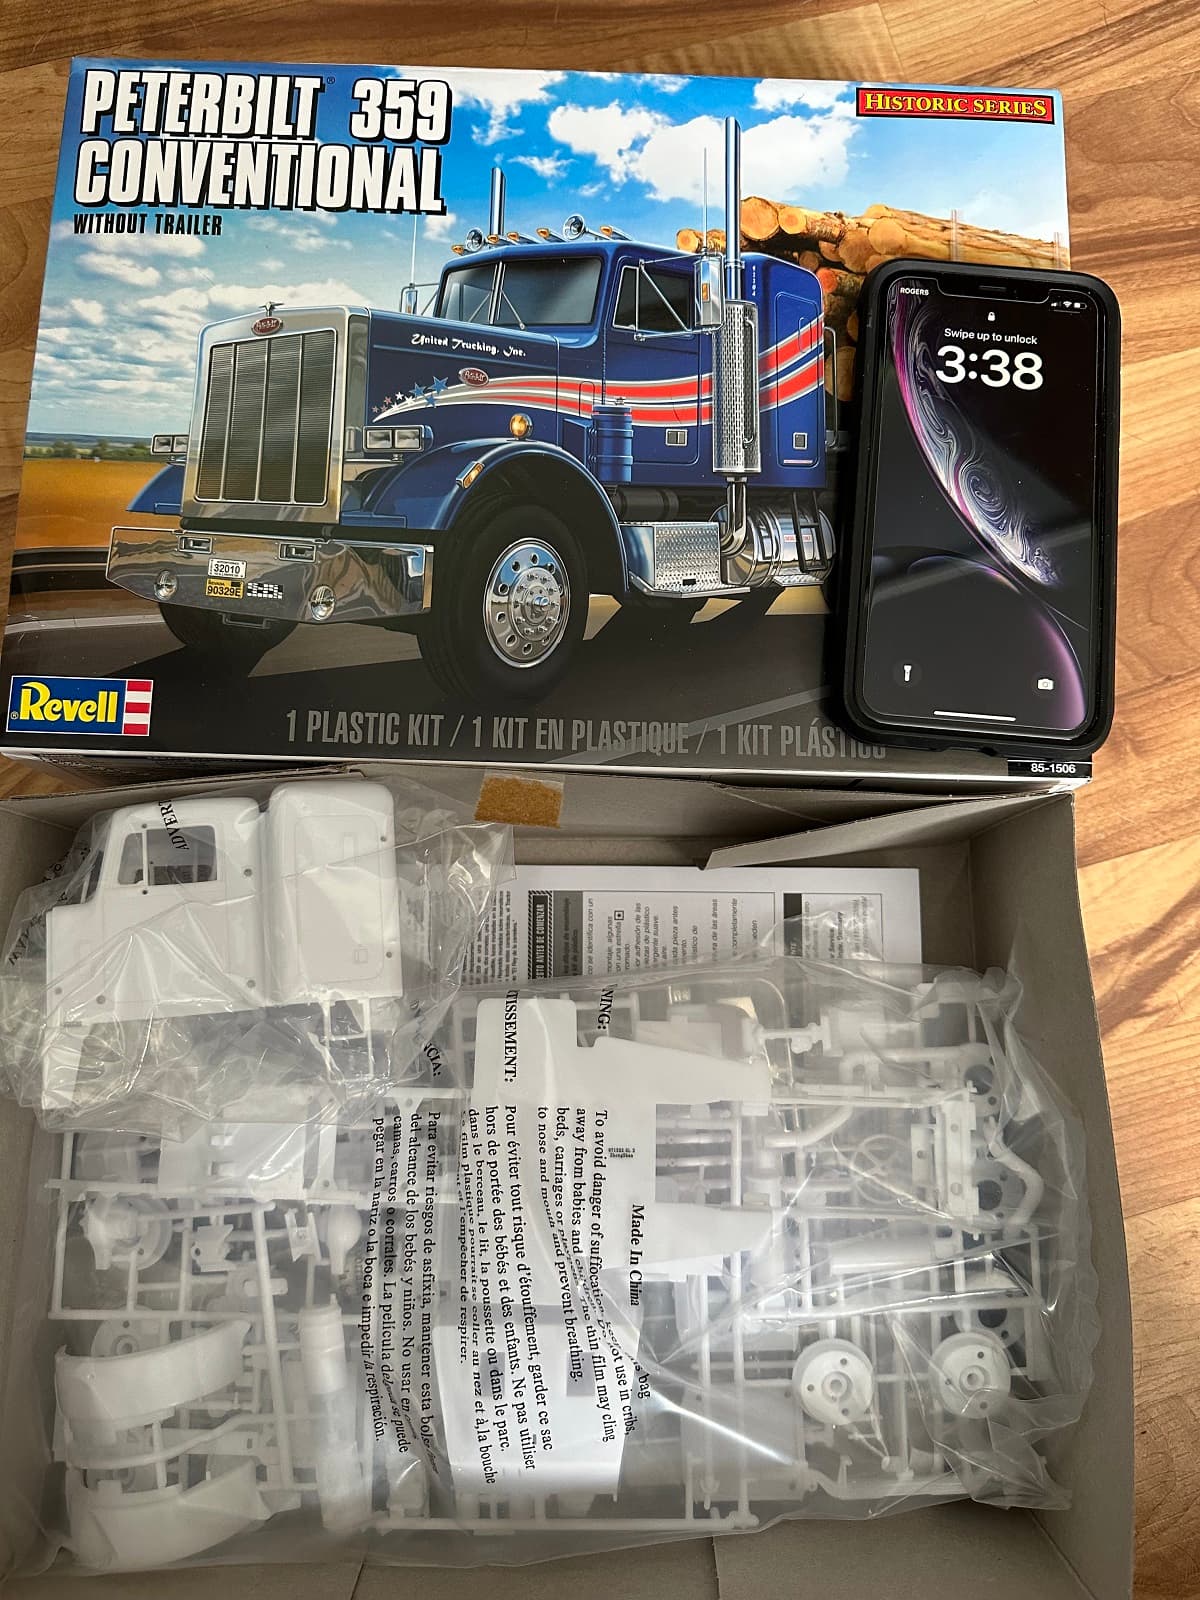
10 Likes
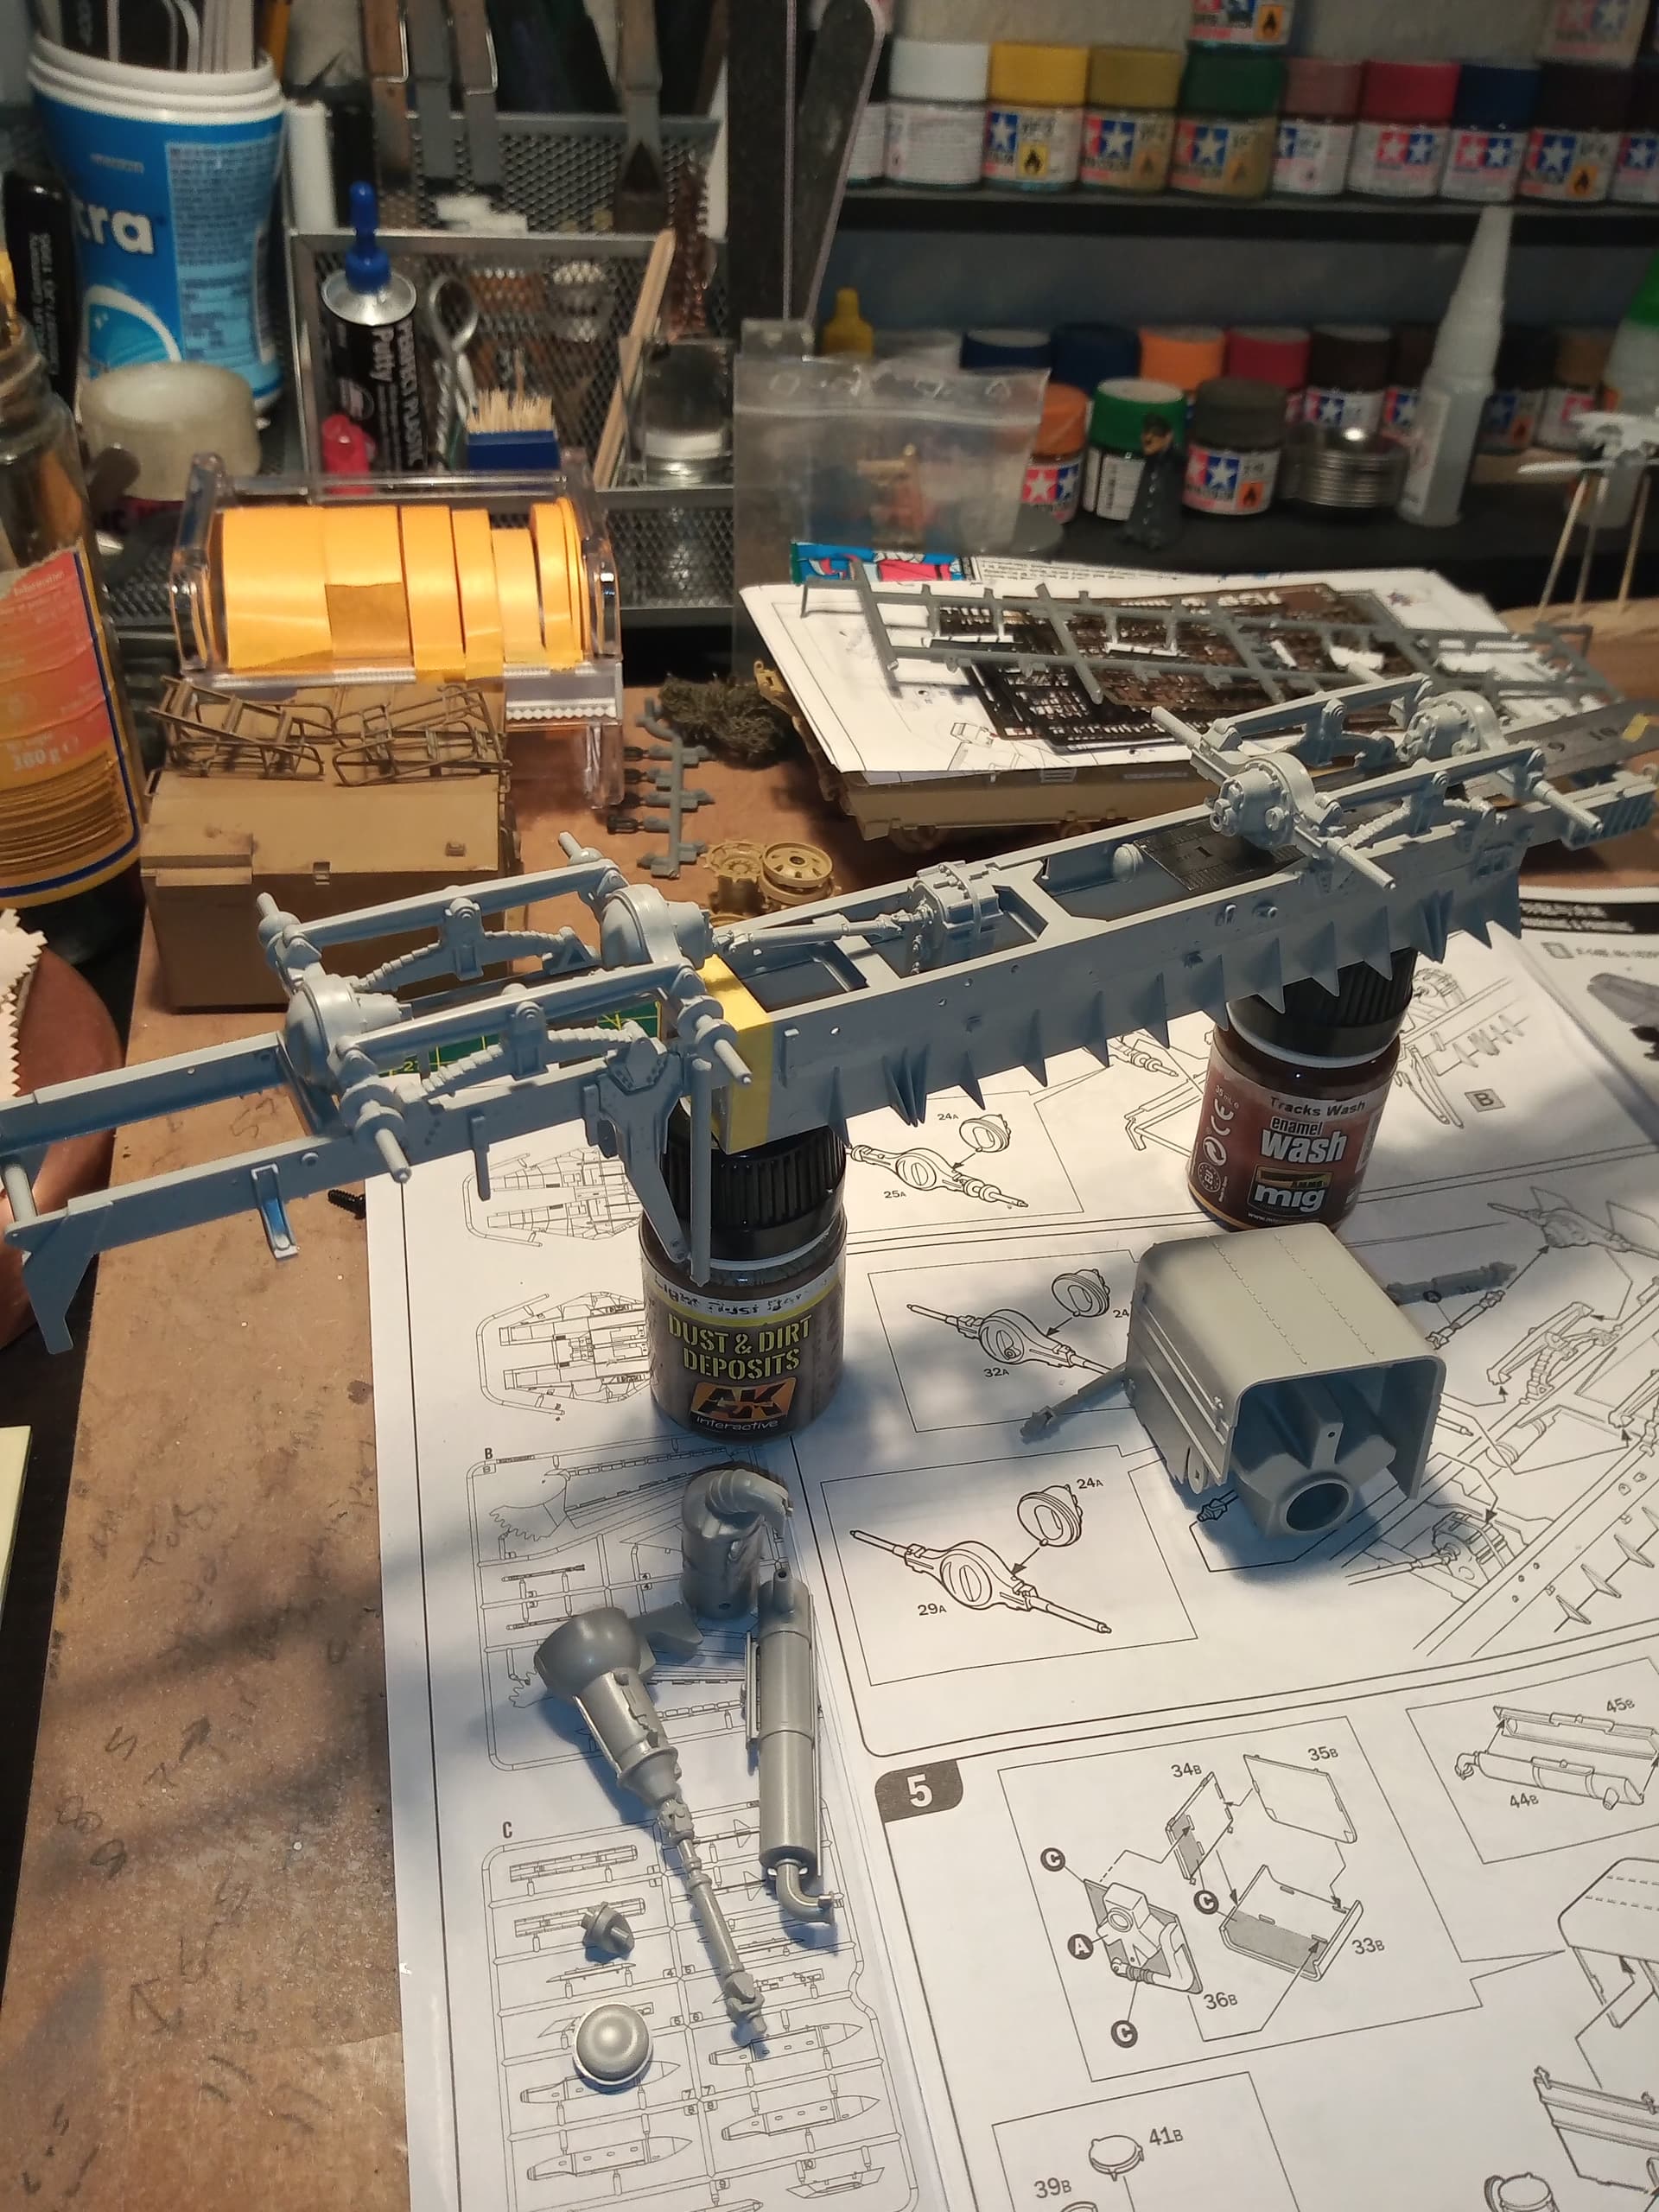
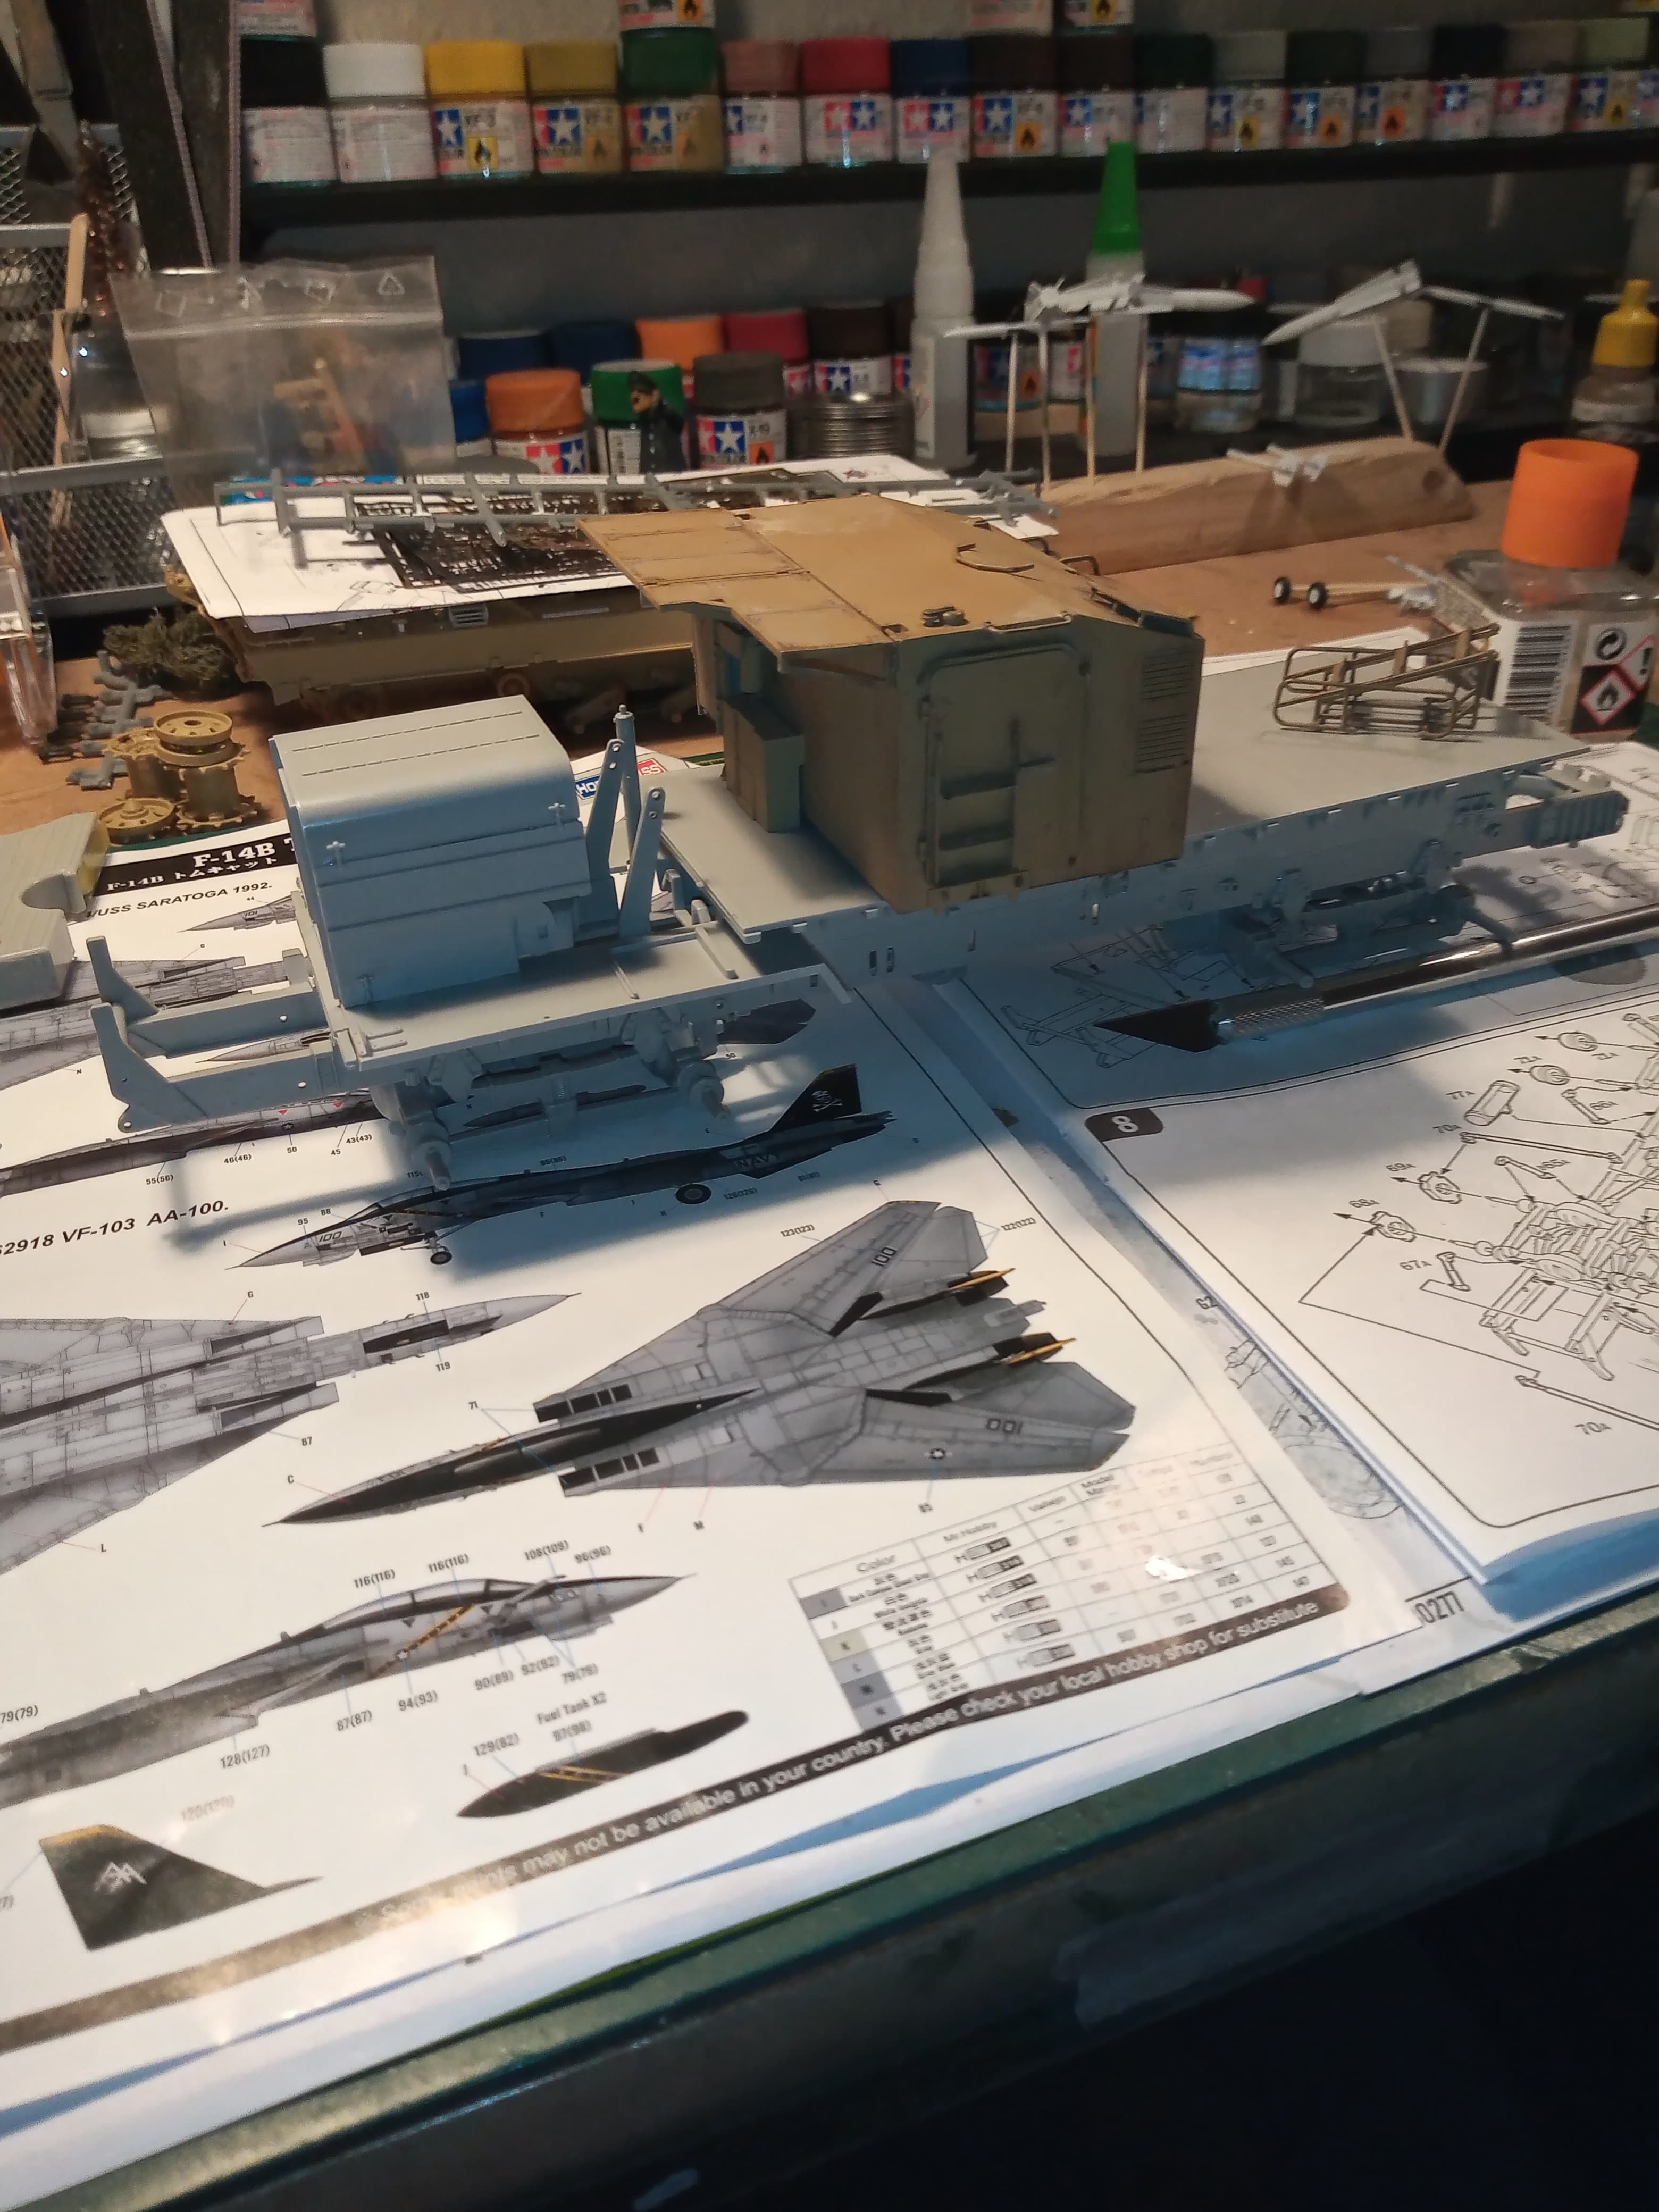
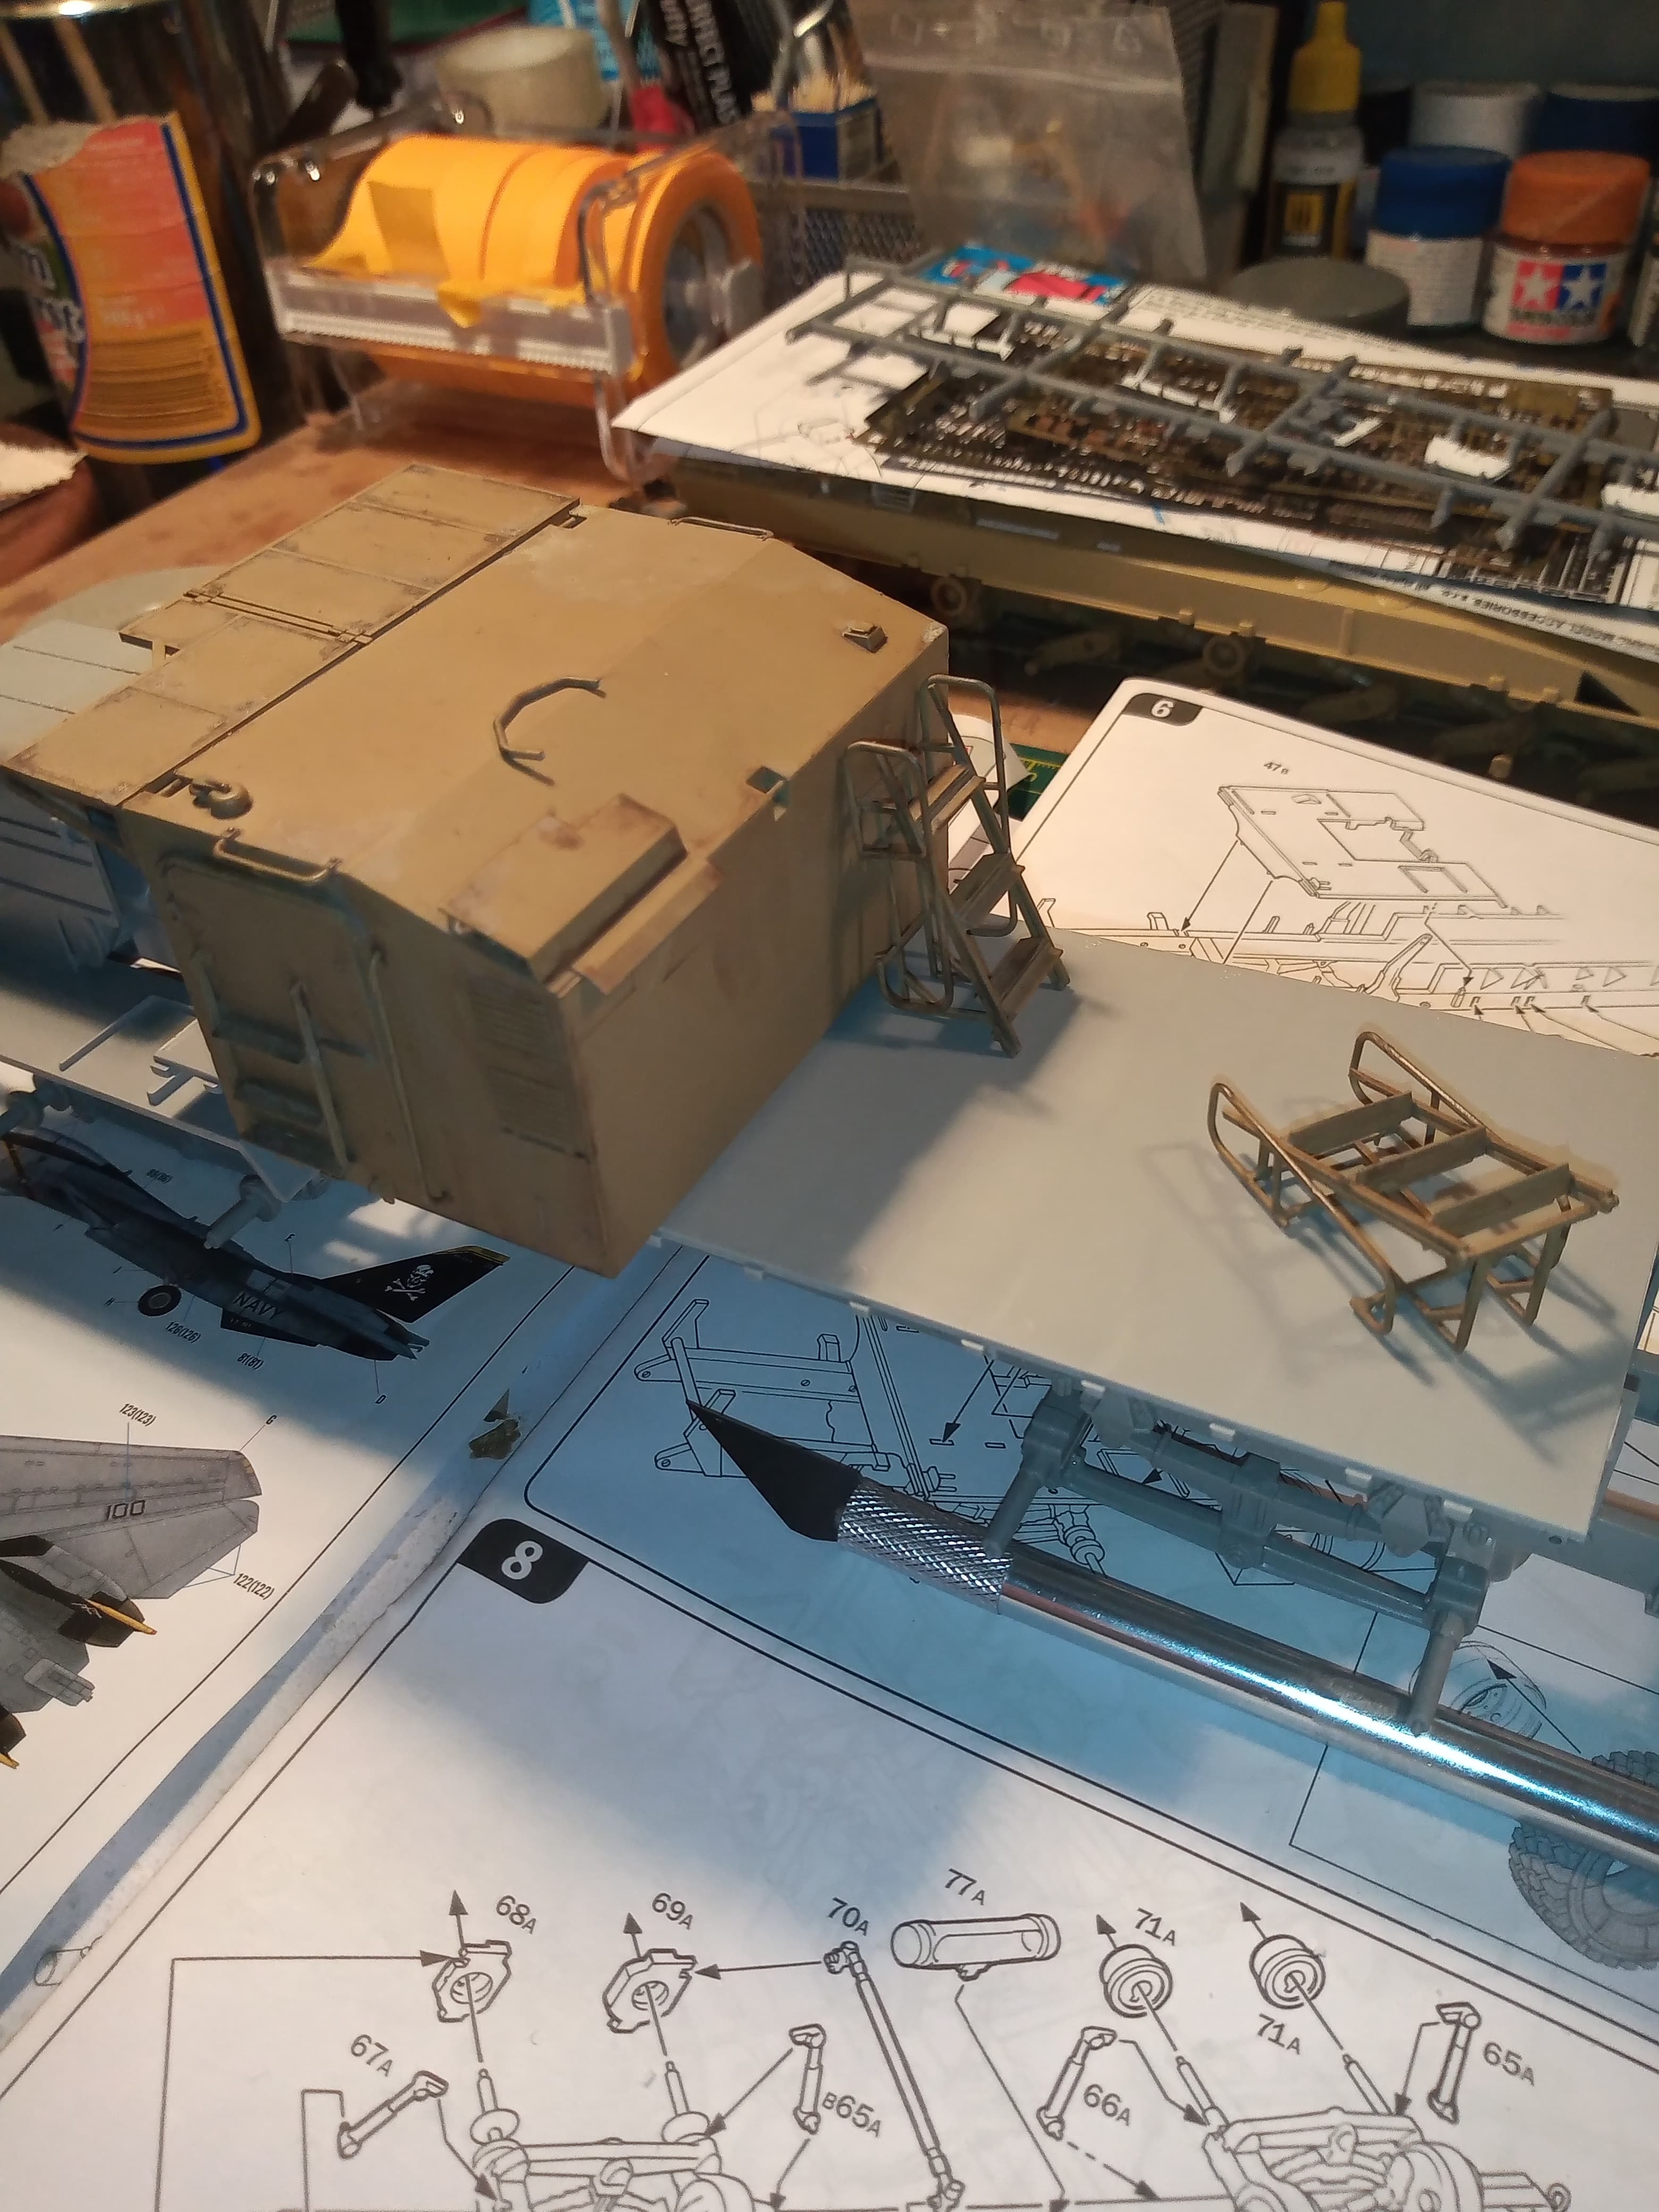
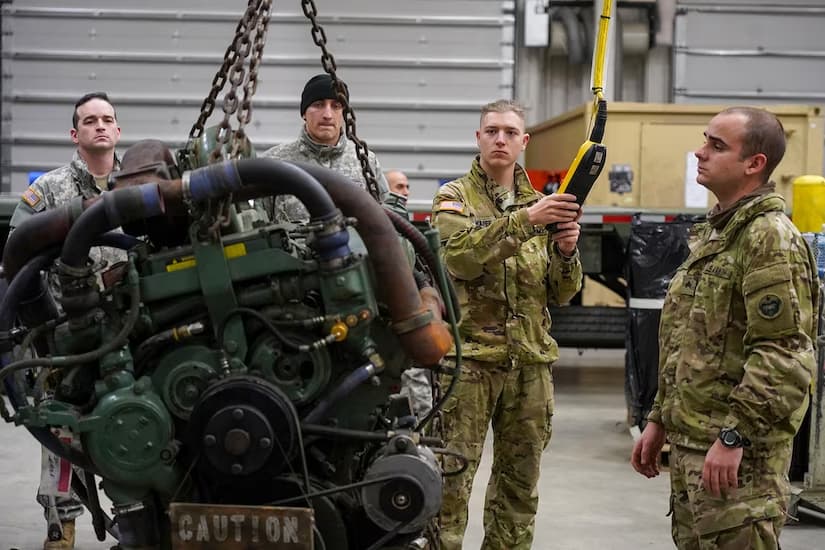
Anyone have a decent idea or some images of the back end of the HEMTT engine bay…I need a decent colour reference for the engine block, cylinder heads, drive train housing etc…
Also have to revert to plan B…the support brace I put on blocks the drive train from the engine rear to the transfer box…need to do a new brace and reposition it further back …
Also dry fitted the cargo bed and then the Pantsir box body to get a feel how much extra I will need to add on each side
7 Likes

Cheers mate… Perfect ![]()
2 Likes
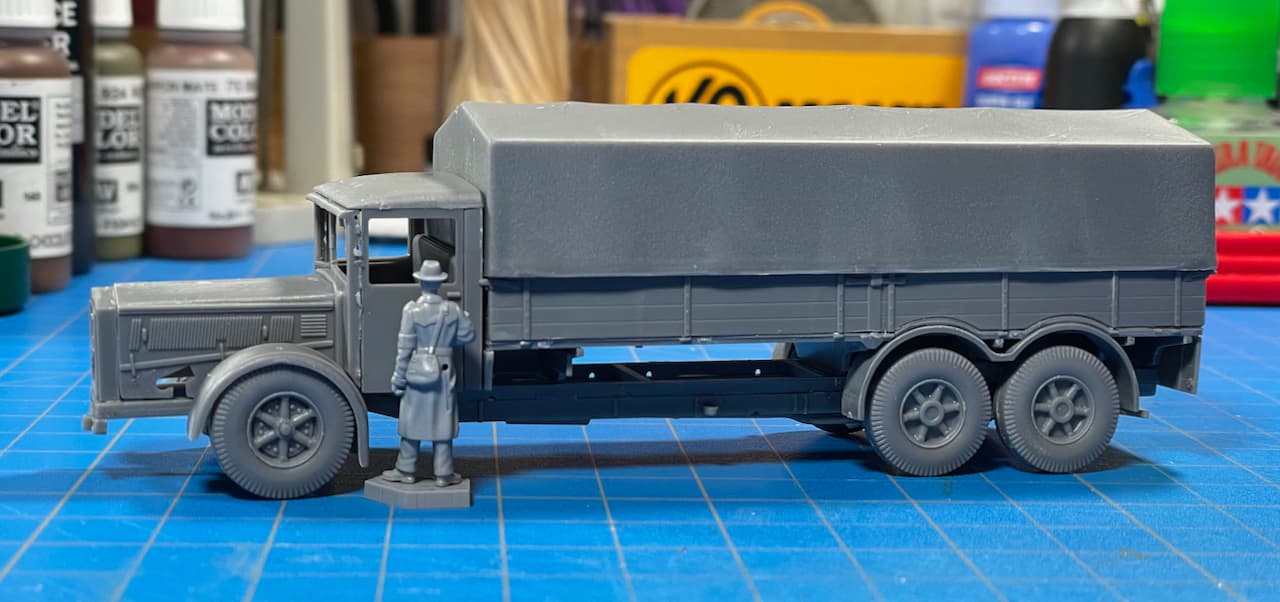
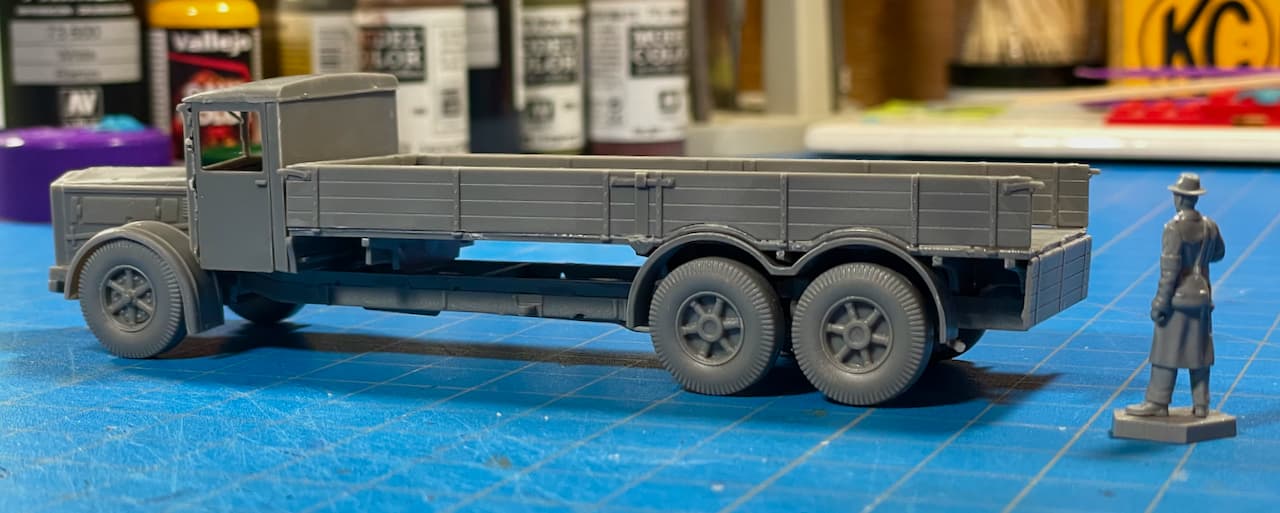
Hello all. Good to see your trucks rolling in!
Had a good work session today. I even went back and built-up the VOMAG engine and it dropped into the chassis like a glove! Anyway, here’s most of the truck dry-fit together. Wheels are just held on by Blu-Tak right now. I’ve still got to add on the bumper, foot steps boxes, cylinders, etc. Roden really packed-in some nice details for such a tiny kit.
Inspector 172 sticker shock!: It’s very ugly, and there is no paint? … Now how fast can it go on the Autobahn? ![]()

I think this will do nicely. How much?.. and only if the big bomb package is included. ![]()
Sales: Let me talk to my Manager. I’ll be right back… ![]() ﹩ $
﹩ $ ![]()

Oh well, back to the sales floor. ![]()
—mike ![]()
11 Likes
I’ve added some details on the front wall of my Magirus S330’s driver cab:
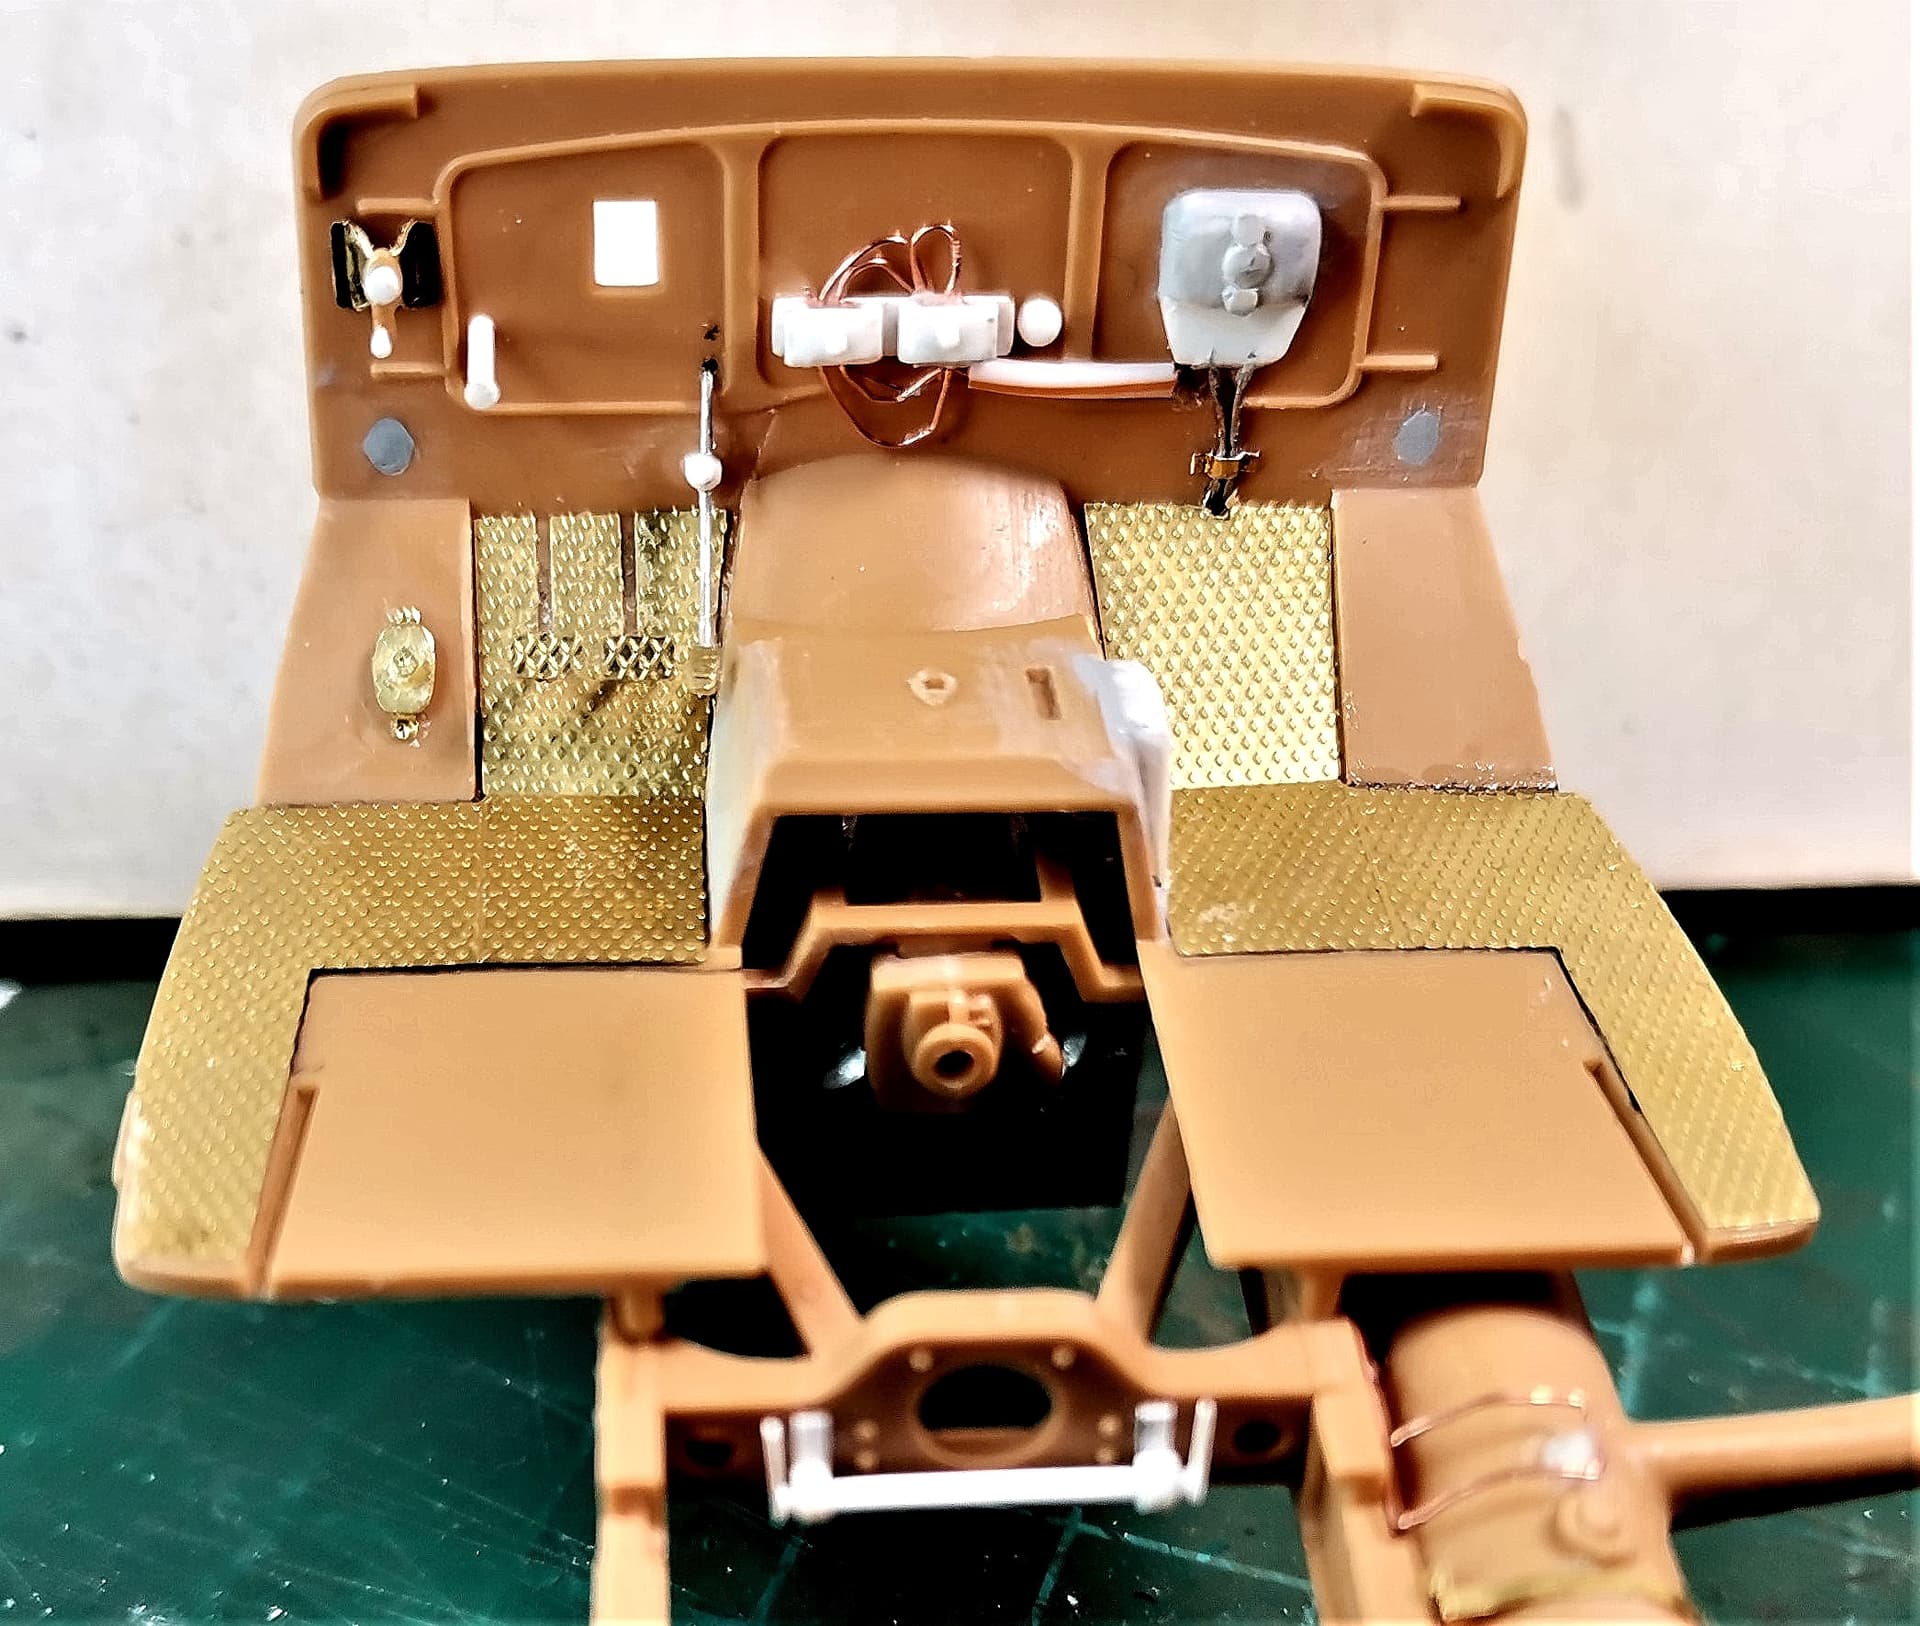
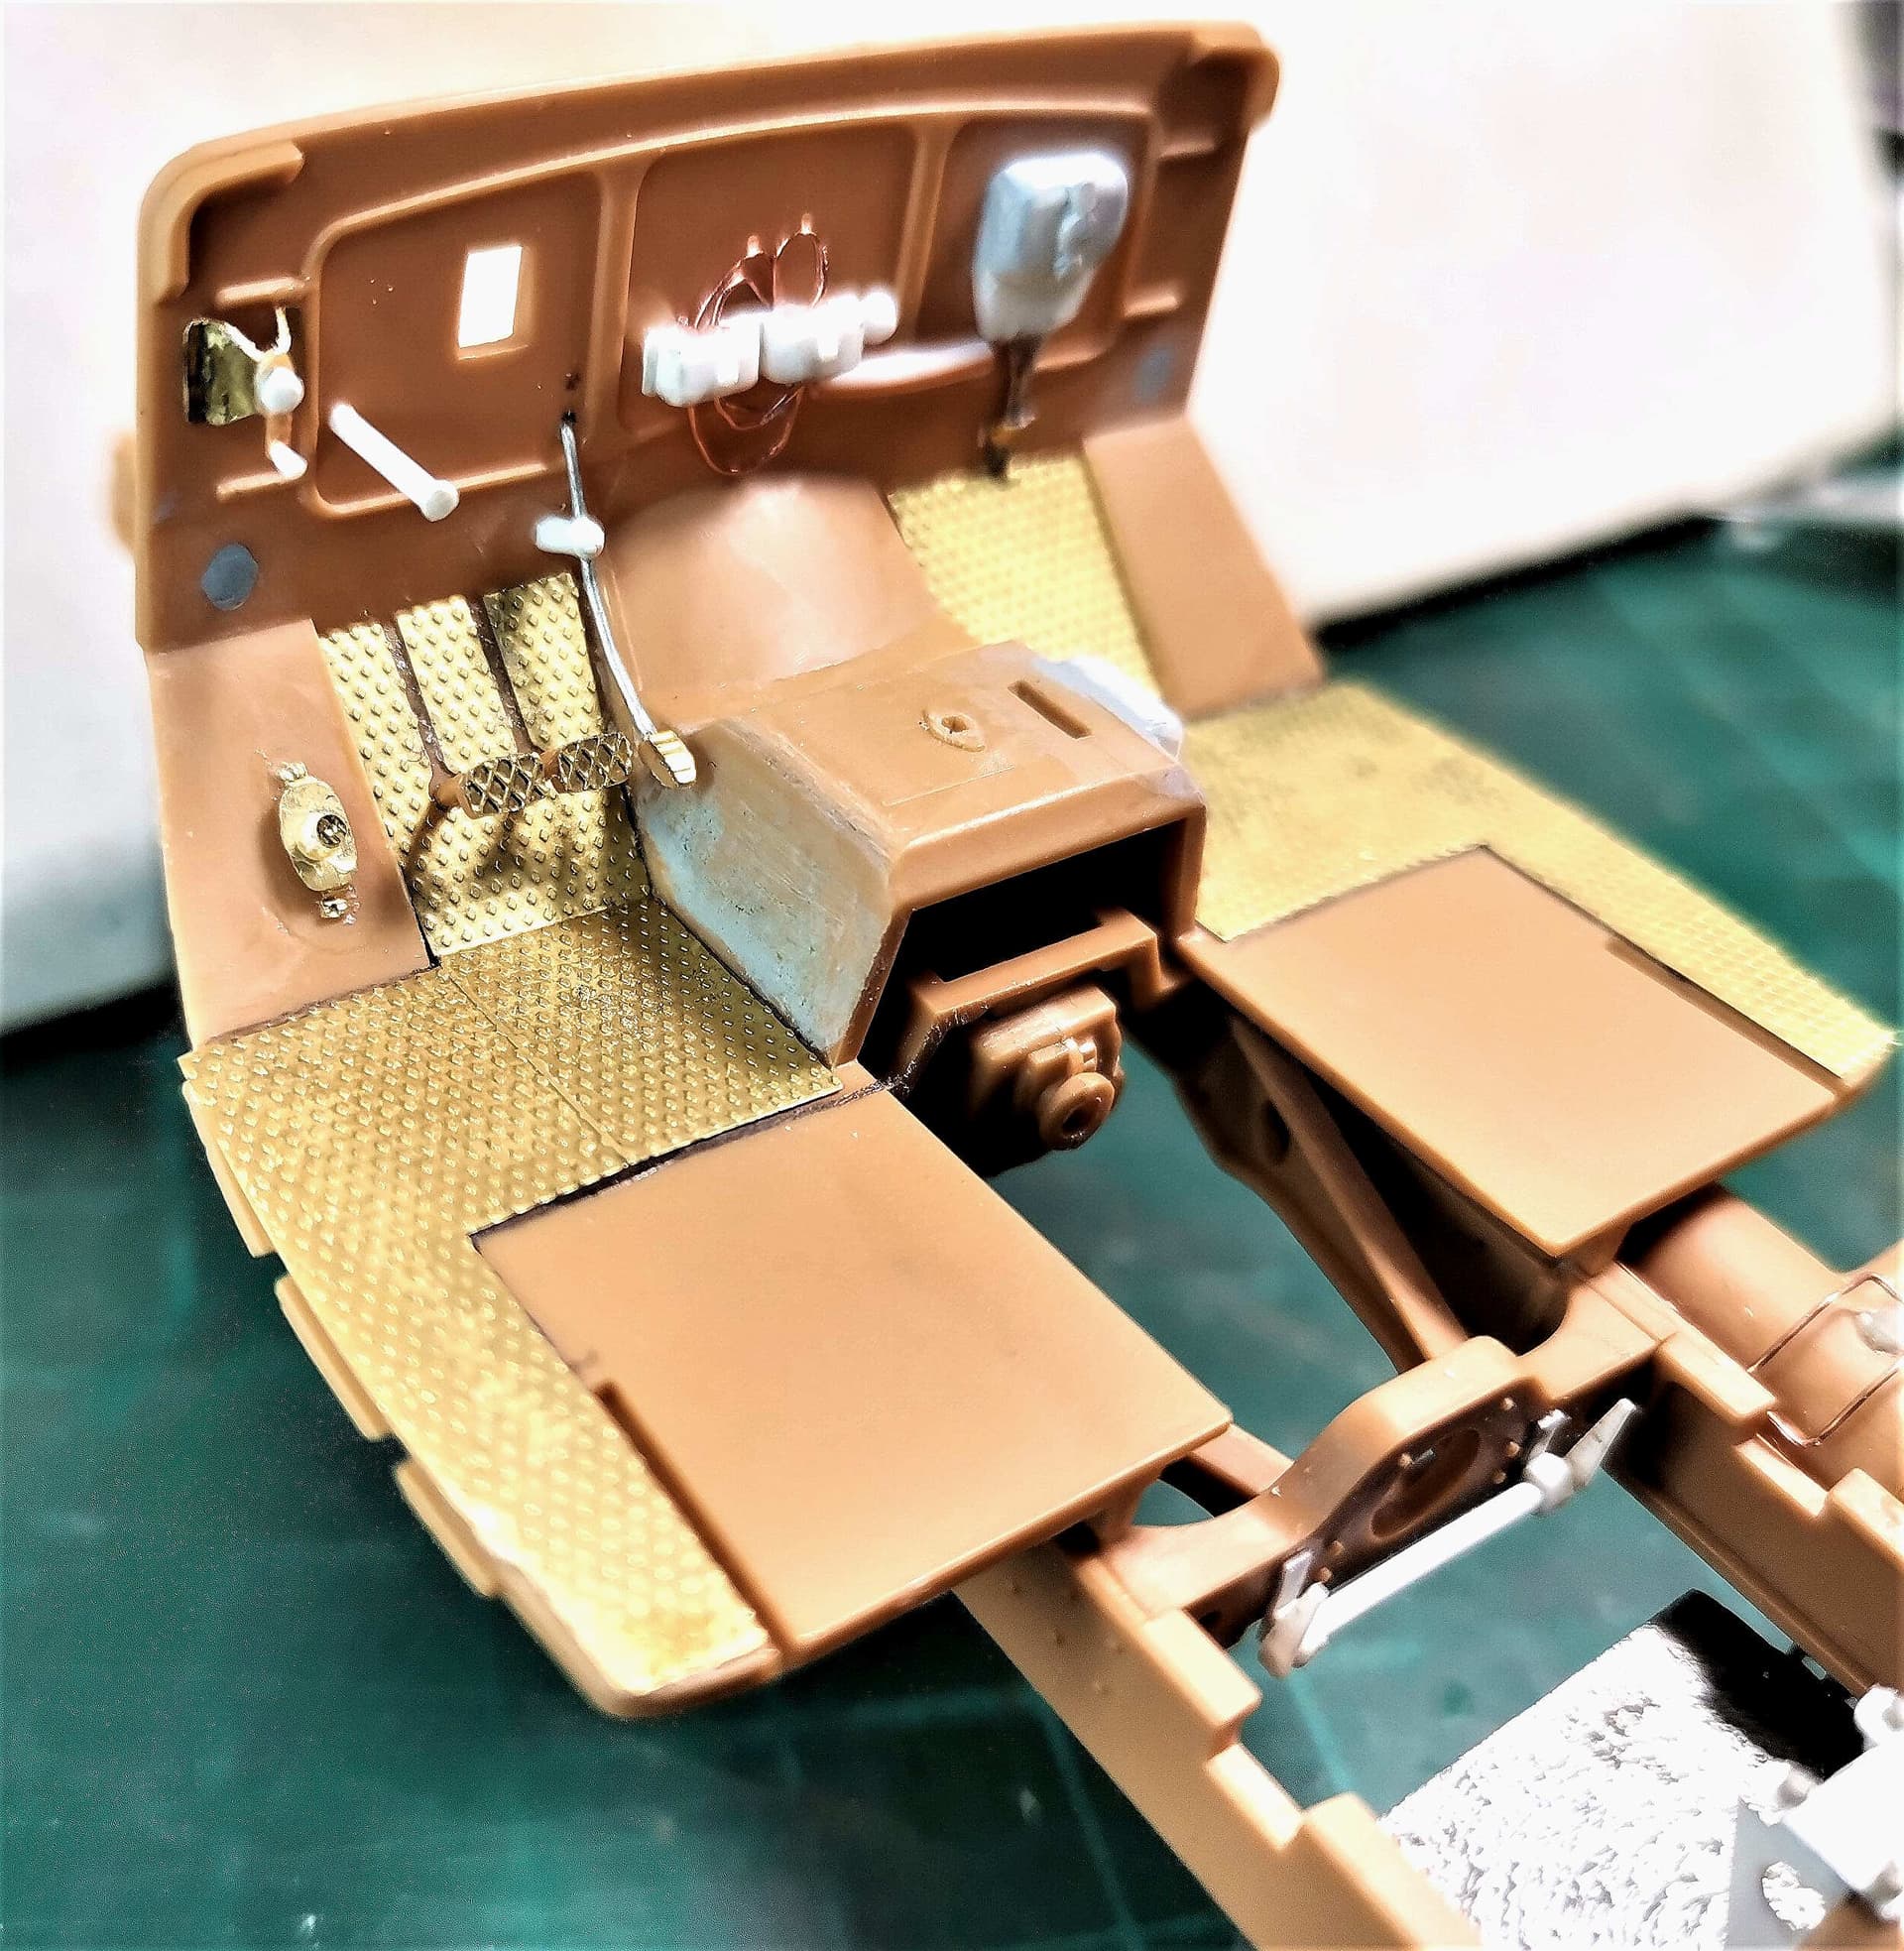

Used some VModels PE, styrene rods and profiles, wire and a piece of wire insulation.Made the bracket on the driver side from leftover PE frame.
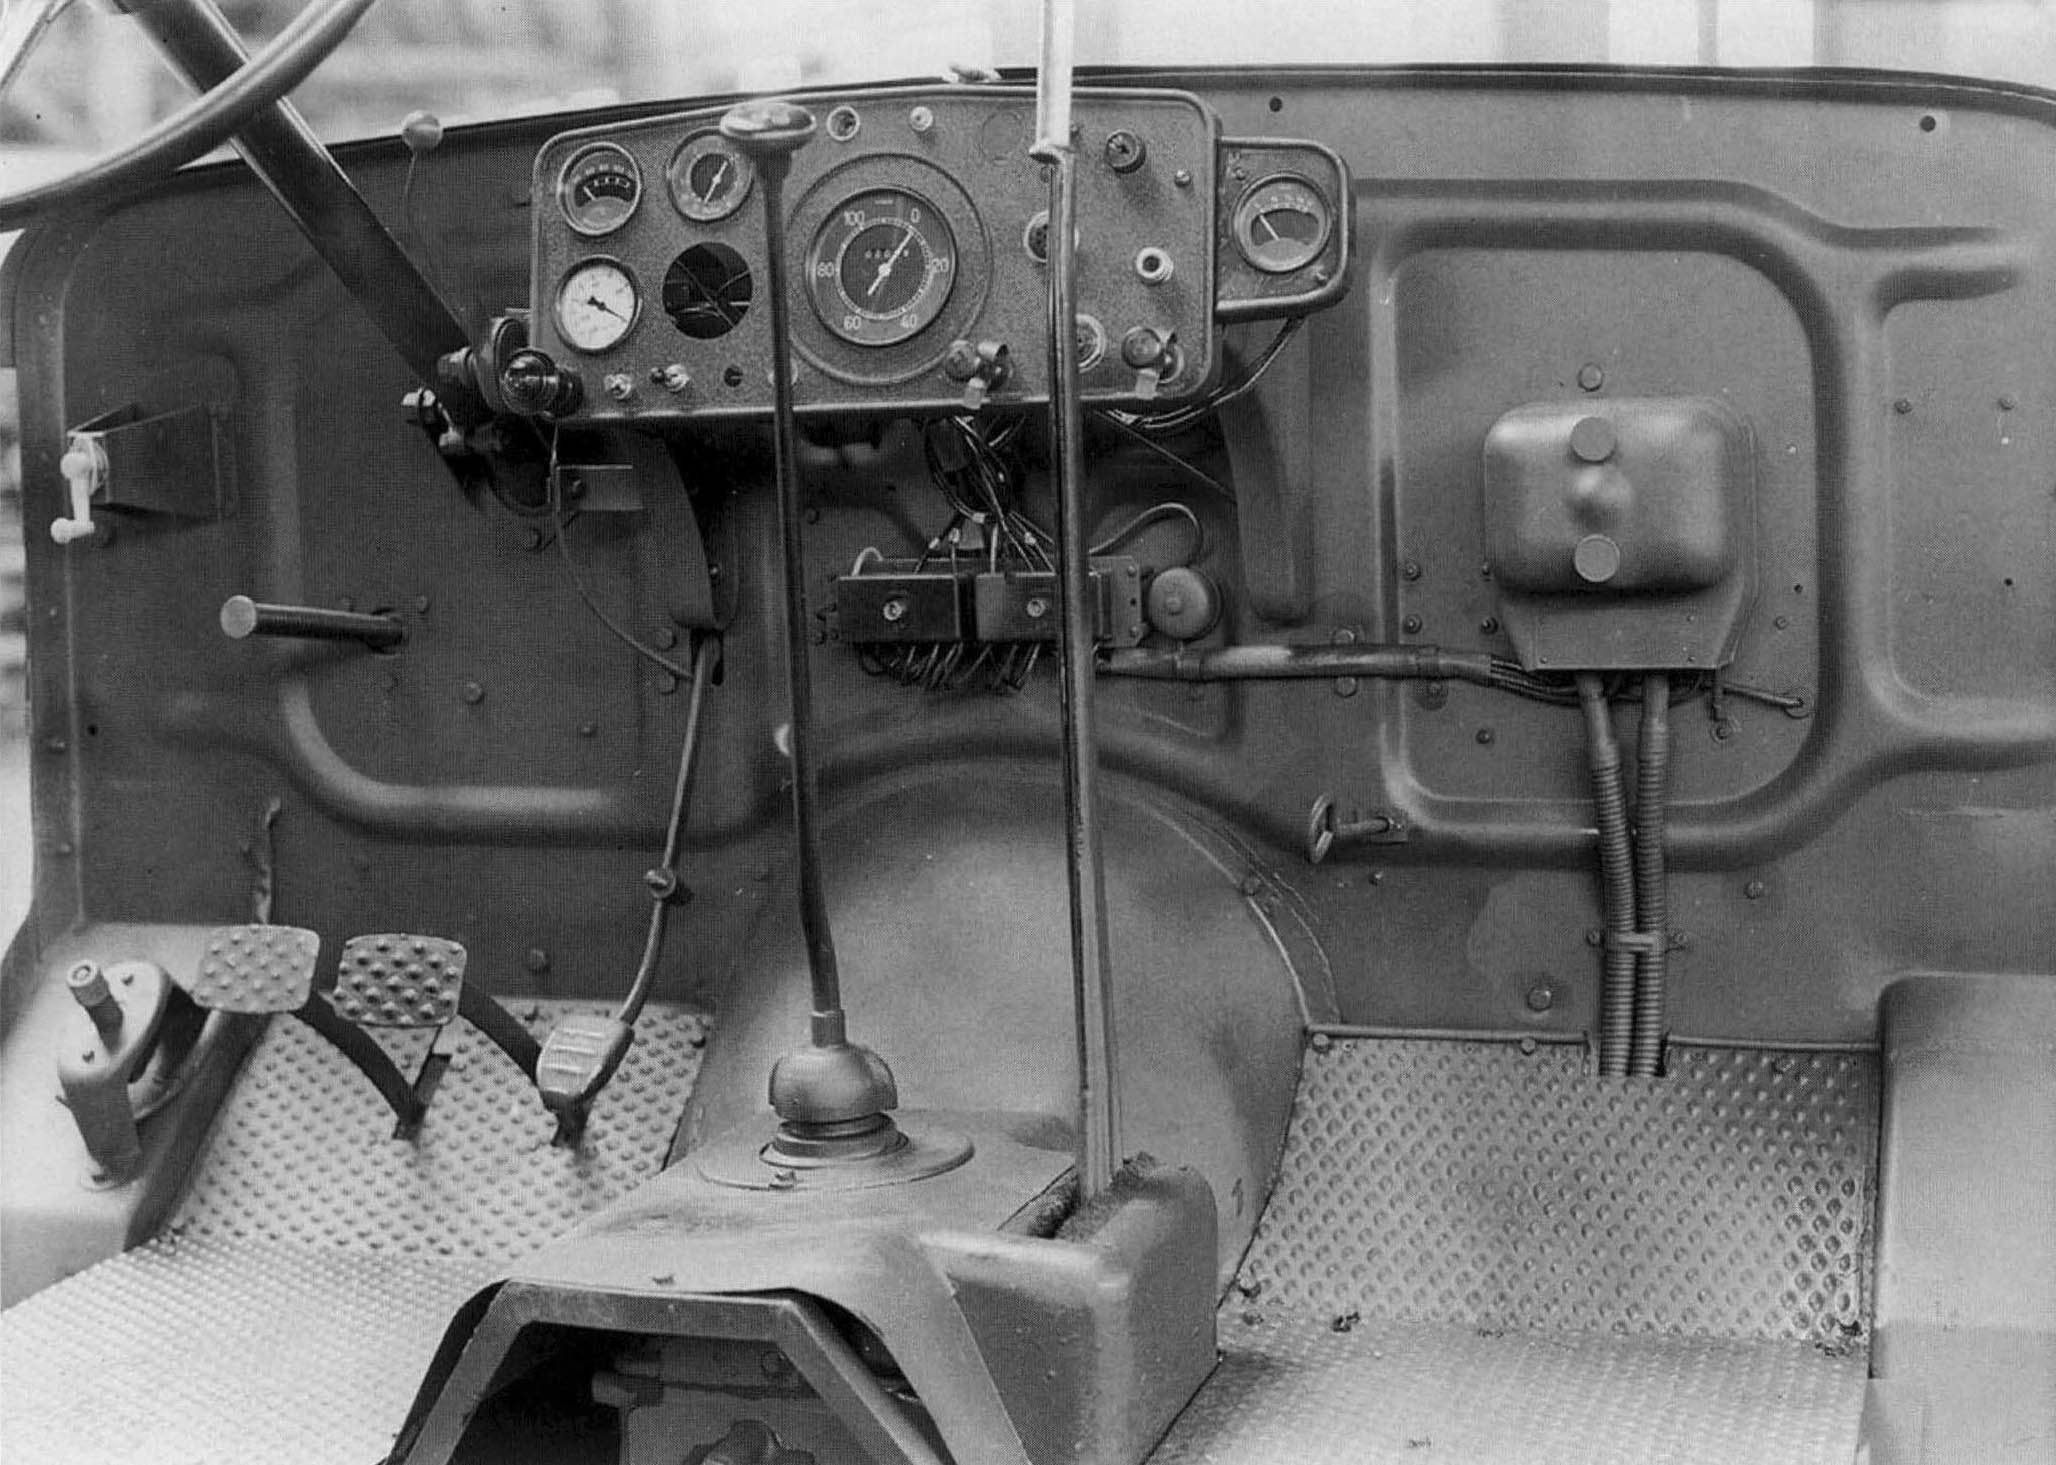
Here is my refference picture:
Cheers,
Angel
13 Likes
Great work as usual Angel. ![]()
3 Likes
Incredible details, Angel!
2 Likes
Ahhhhhh Angels back ![]()
![]() … Brilliant work mate
… Brilliant work mate
2 Likes
Yes, he is back! Woo hoo!
2 Likes