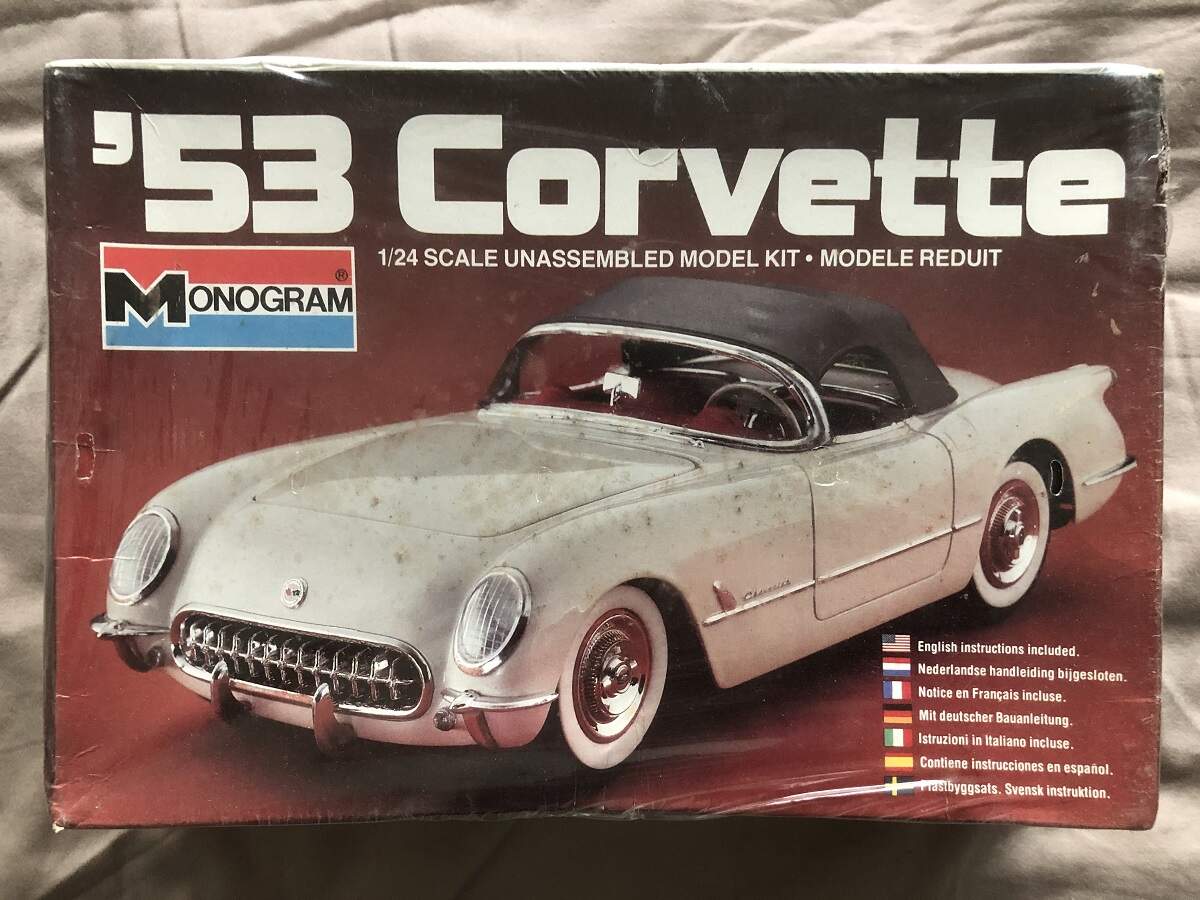
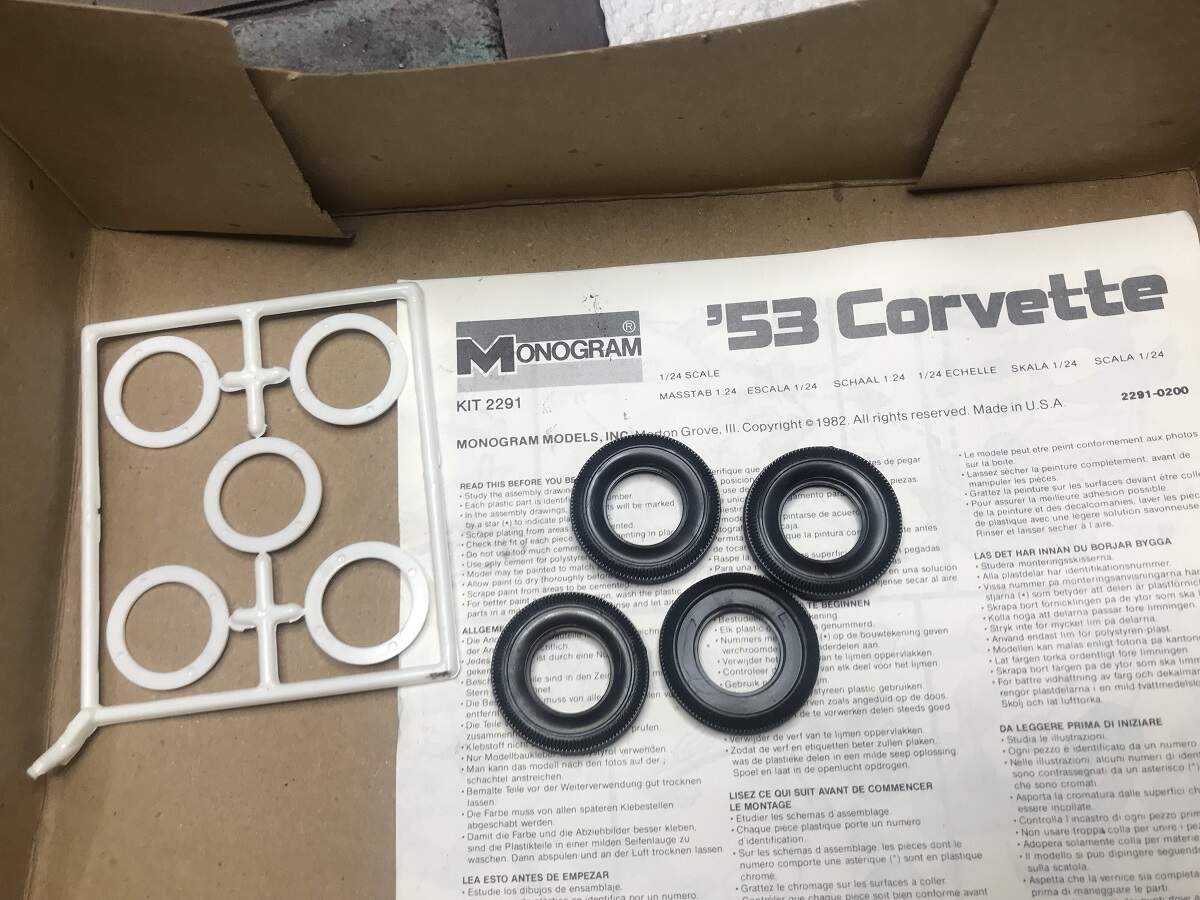
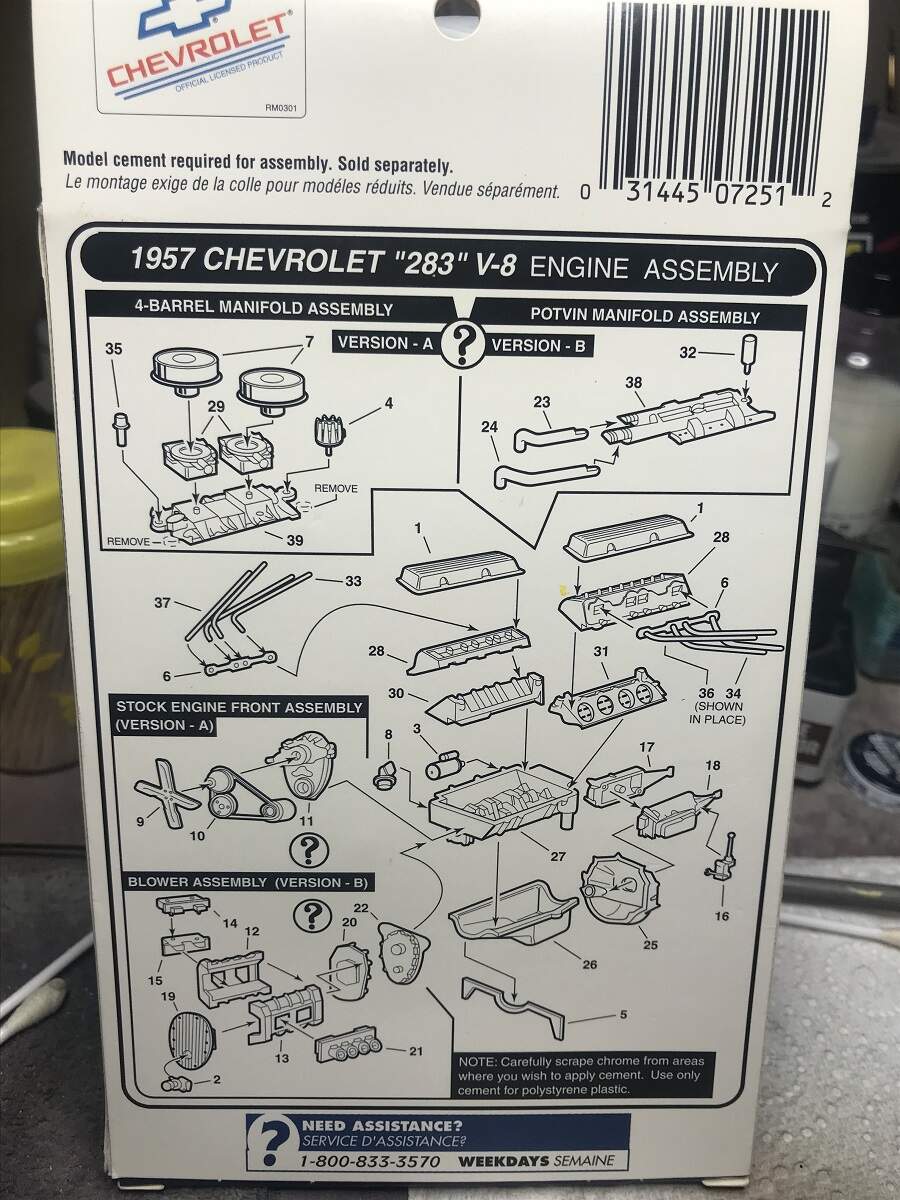
This project started back in September 2014 on the old AutoModeler Forum, when I started the '53 Corvette build. It was on and off the bench until late November 2020 when it was finally completed.
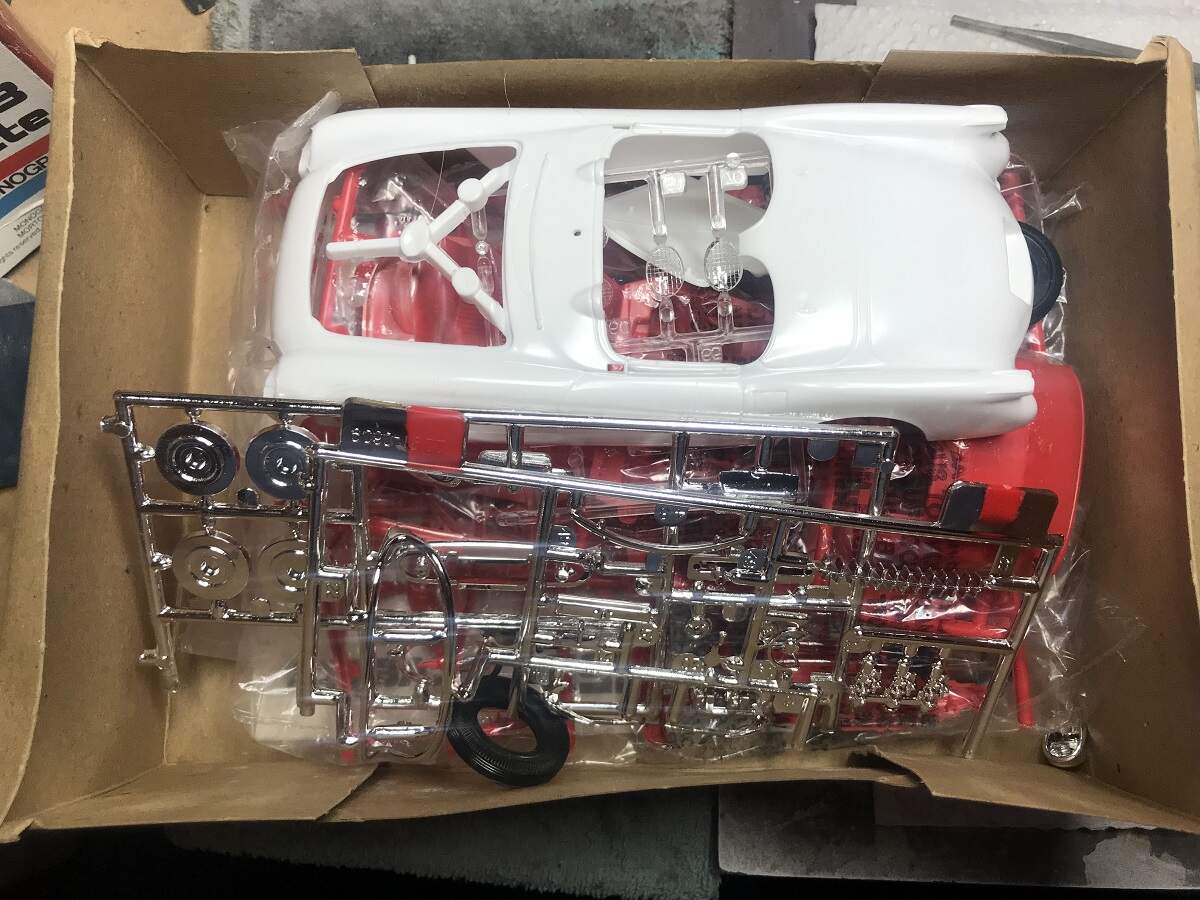
I haven’t had a Chevy on the bench for a few months now, so it’s time to start tinkering with the '55 Corvette. This one will be the same kit as the '53 and '54, but from an older (1982) boxing.
I will start tidying up some of the parts in between working on other builds, and this kit will also need a donor V8 from another kit to lift it to 1955 spec.
Next post I will list all of the kits I have lined up for the rest of the C1 series.
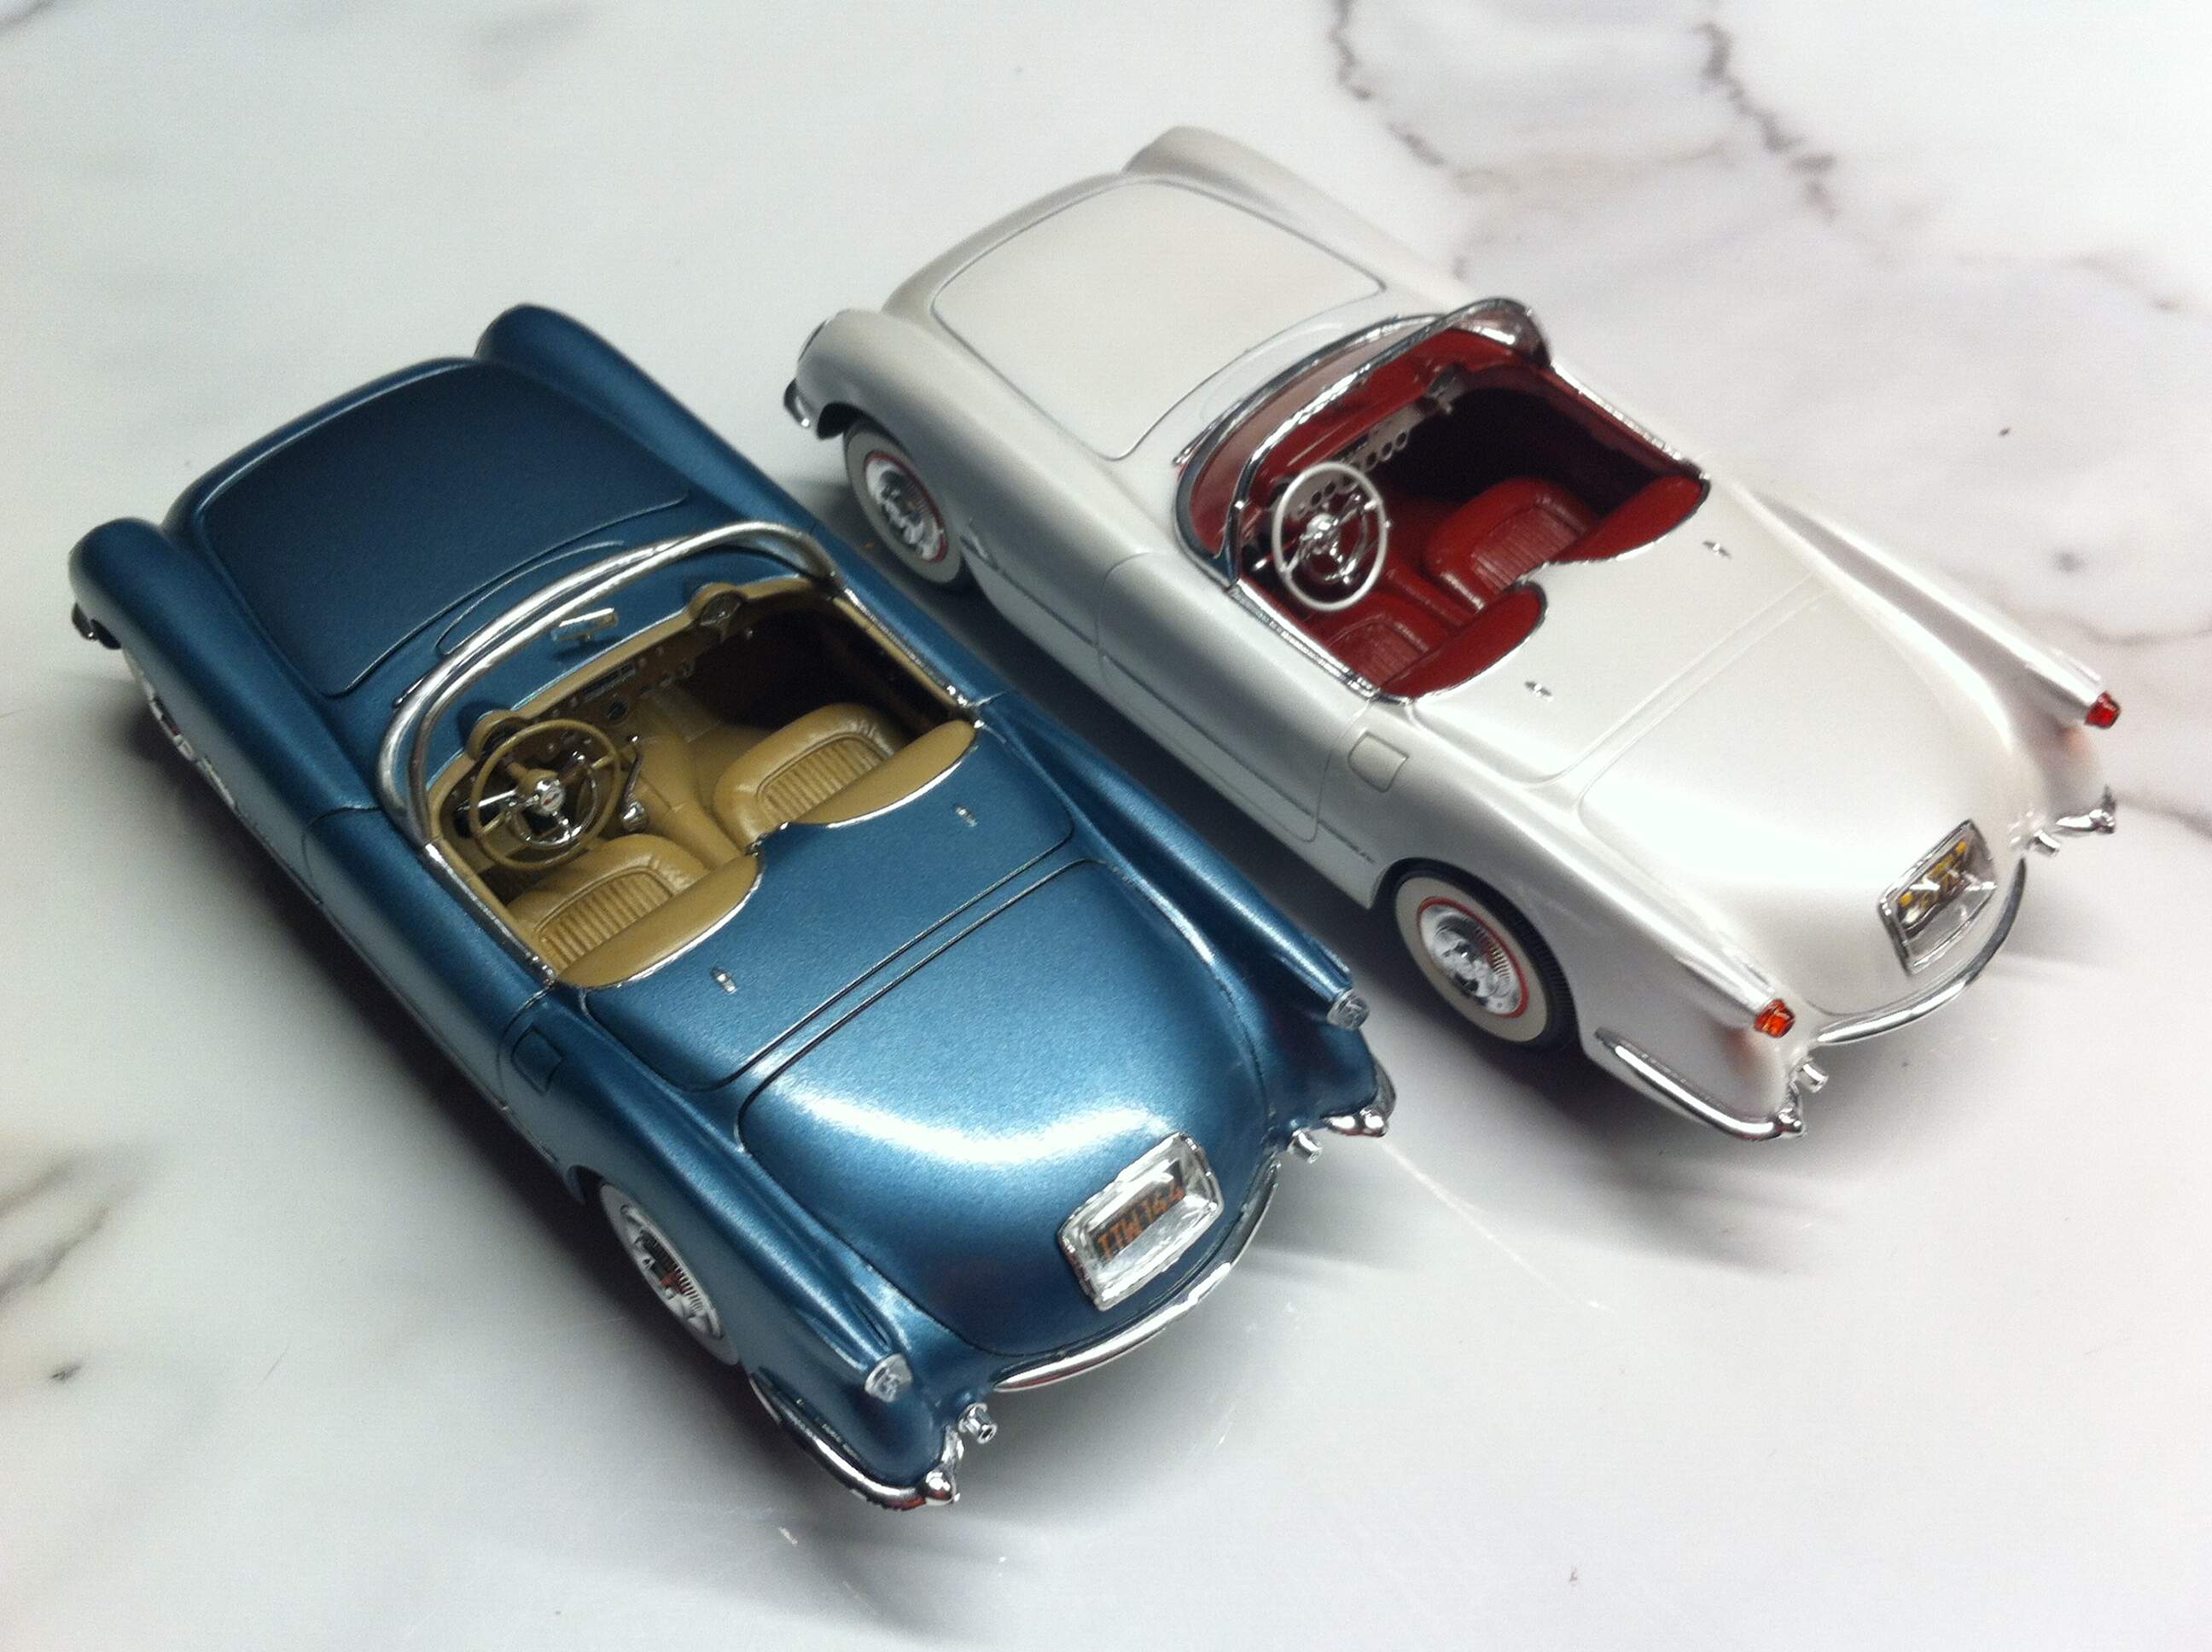
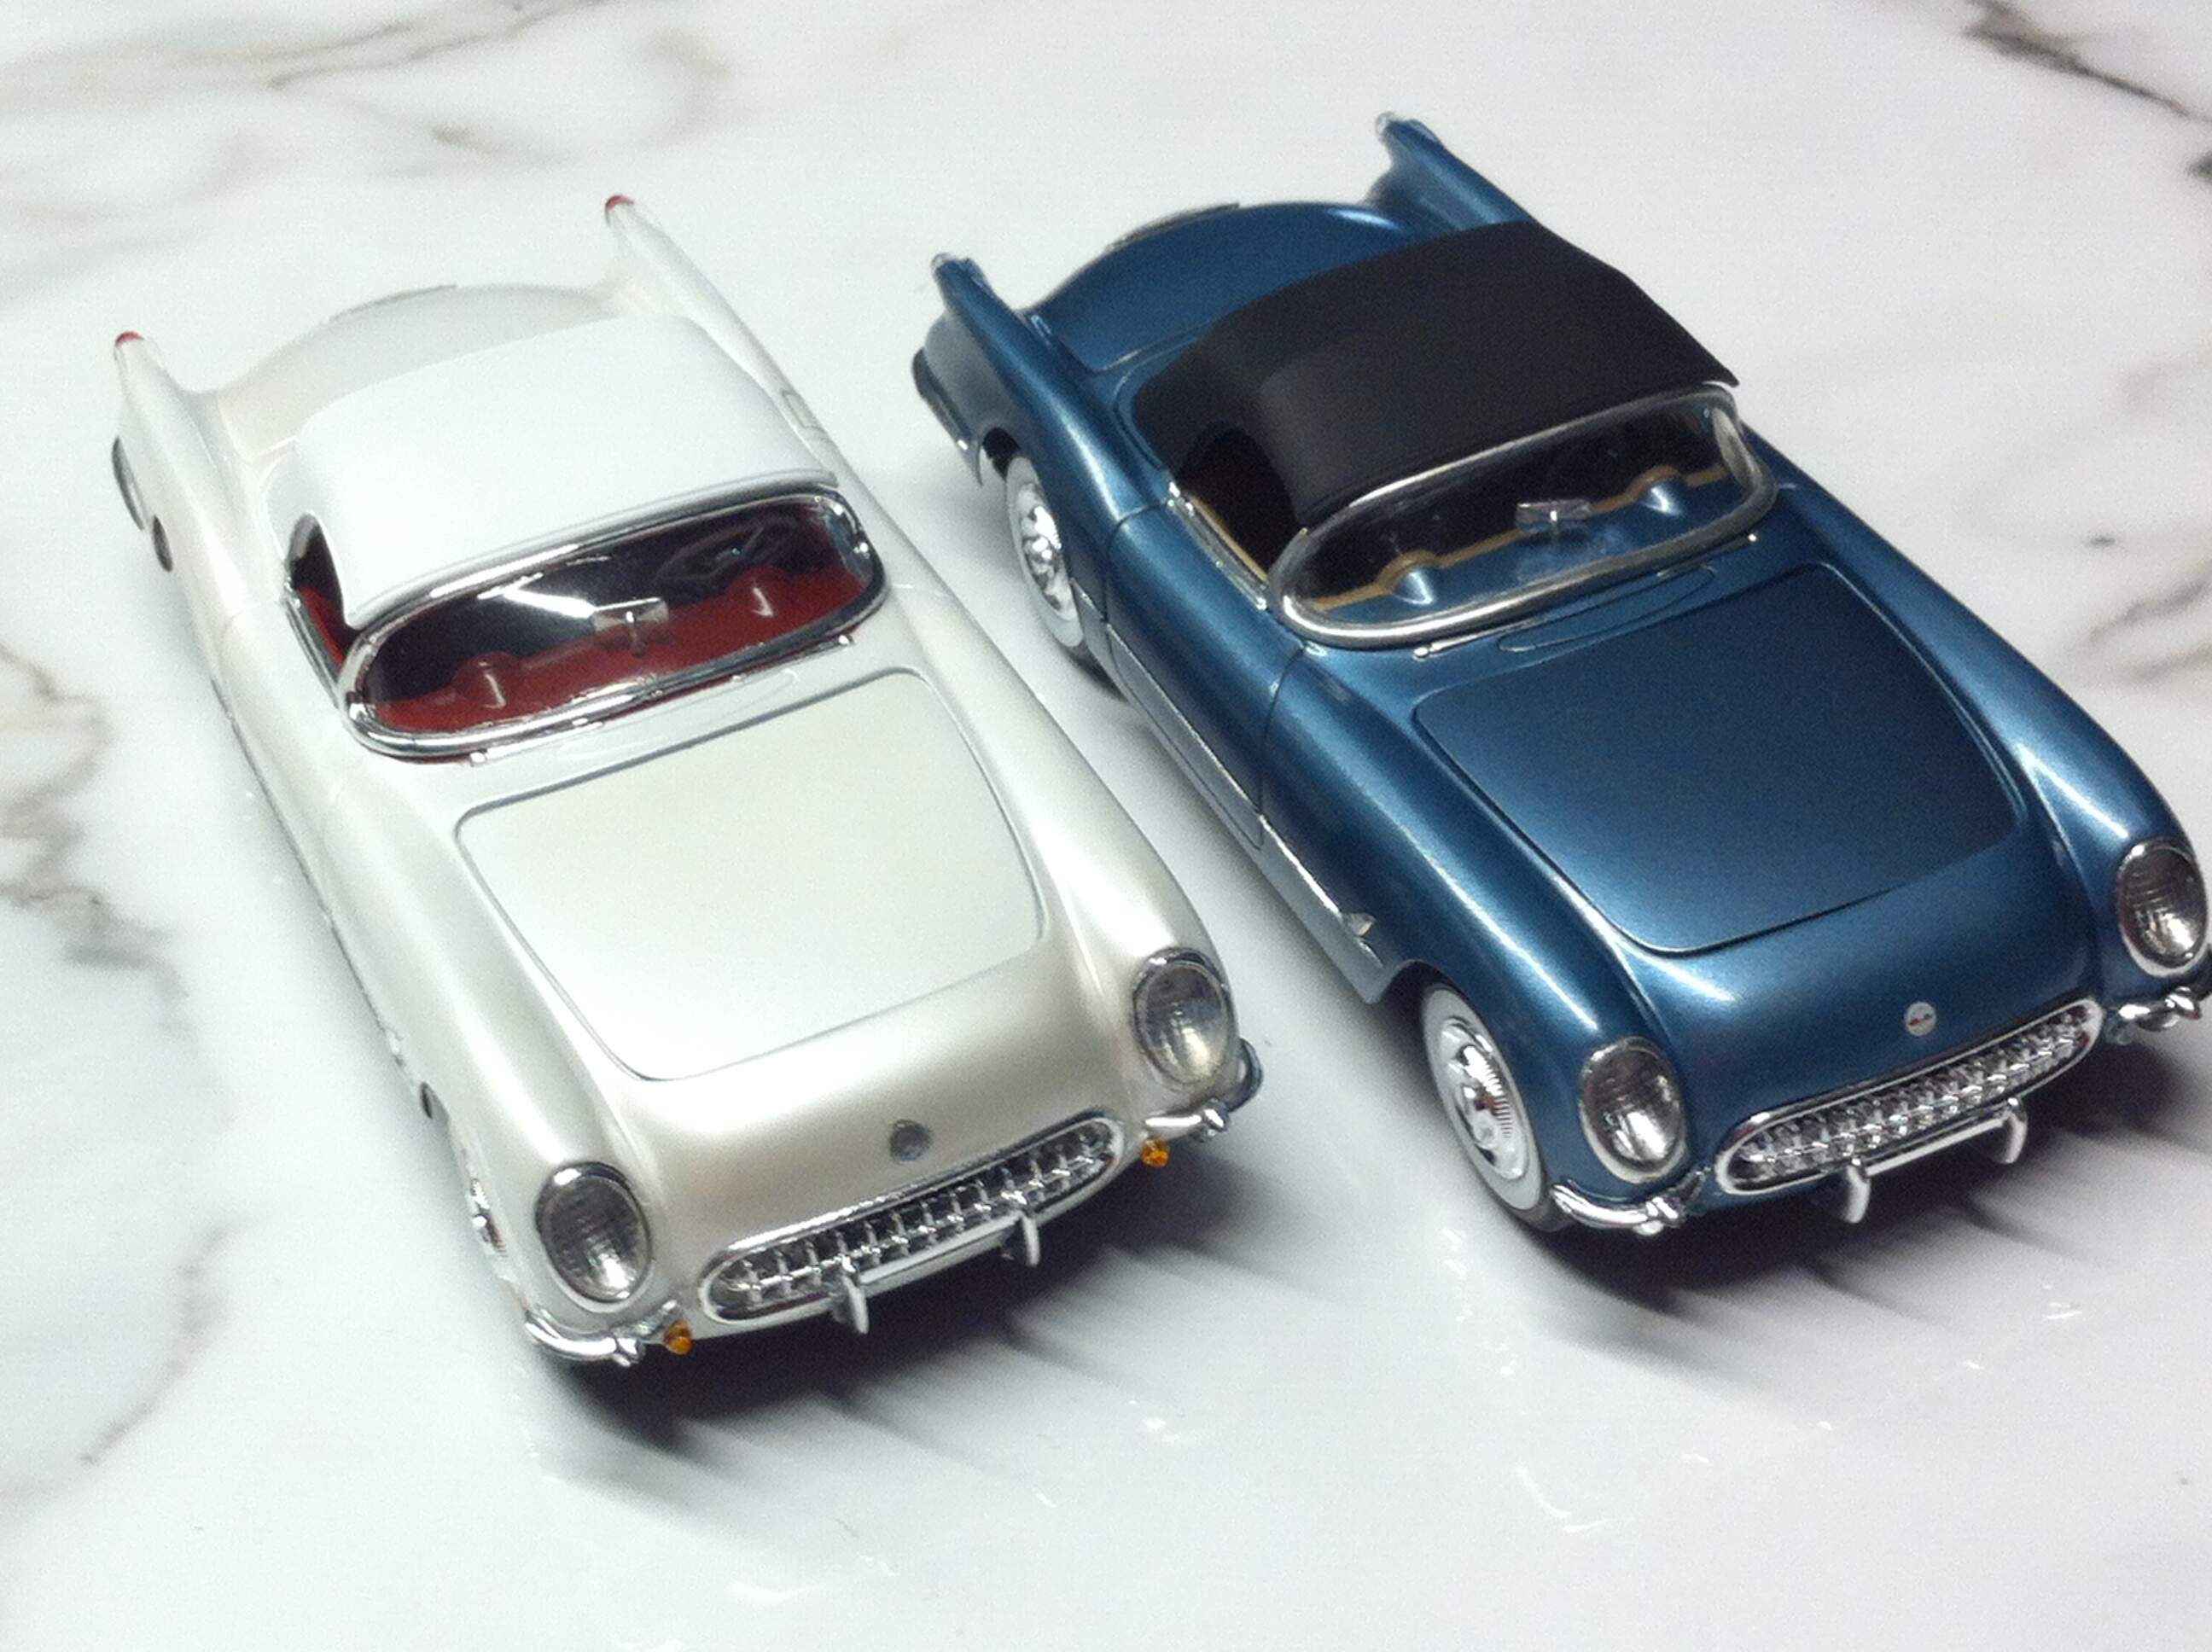
When done, those beauties will make a killer display.
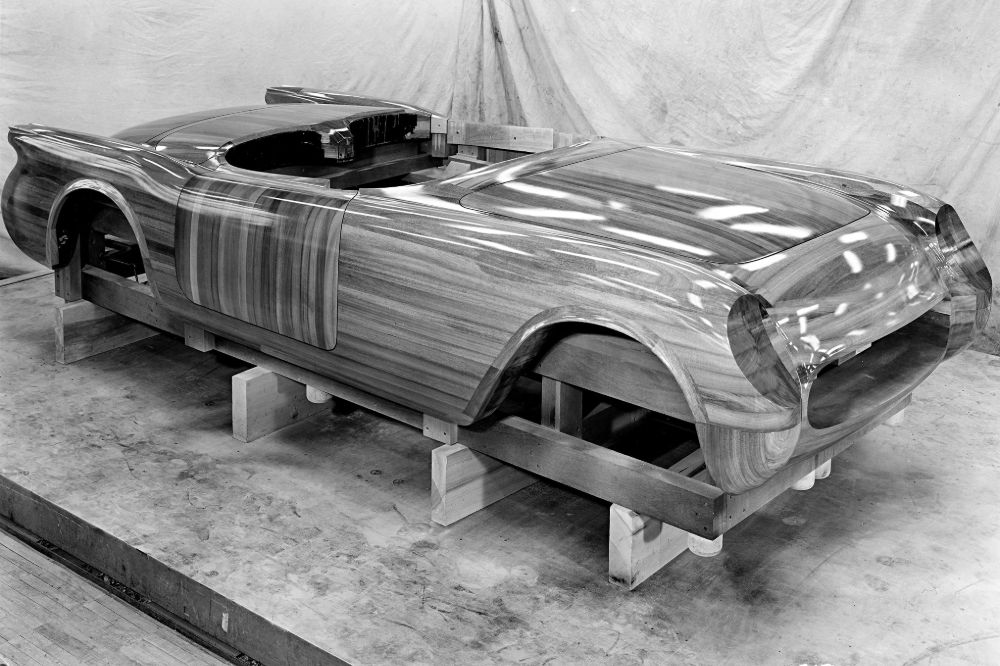
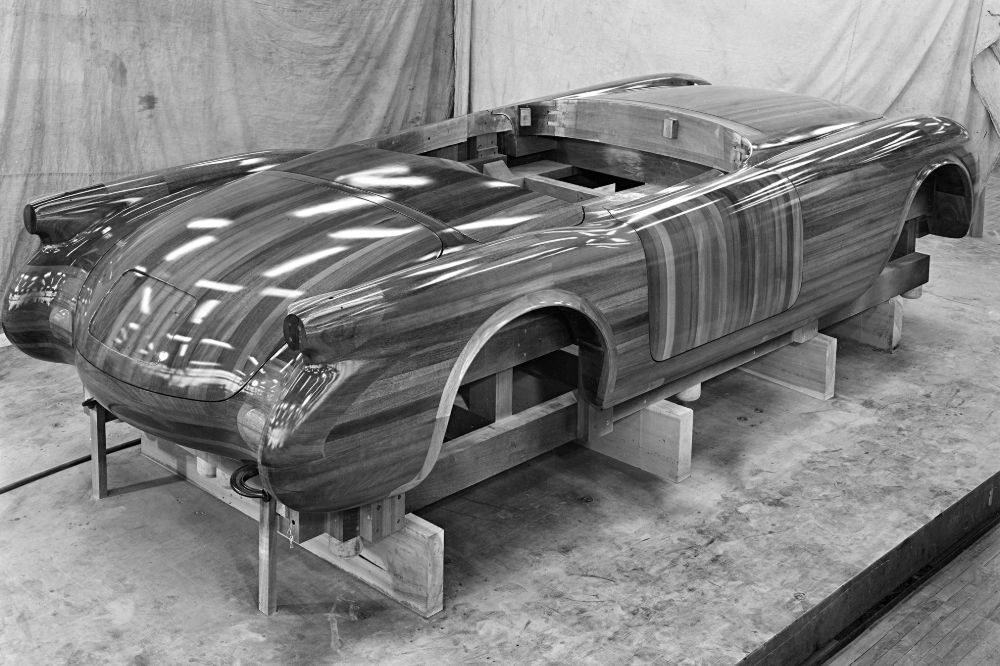
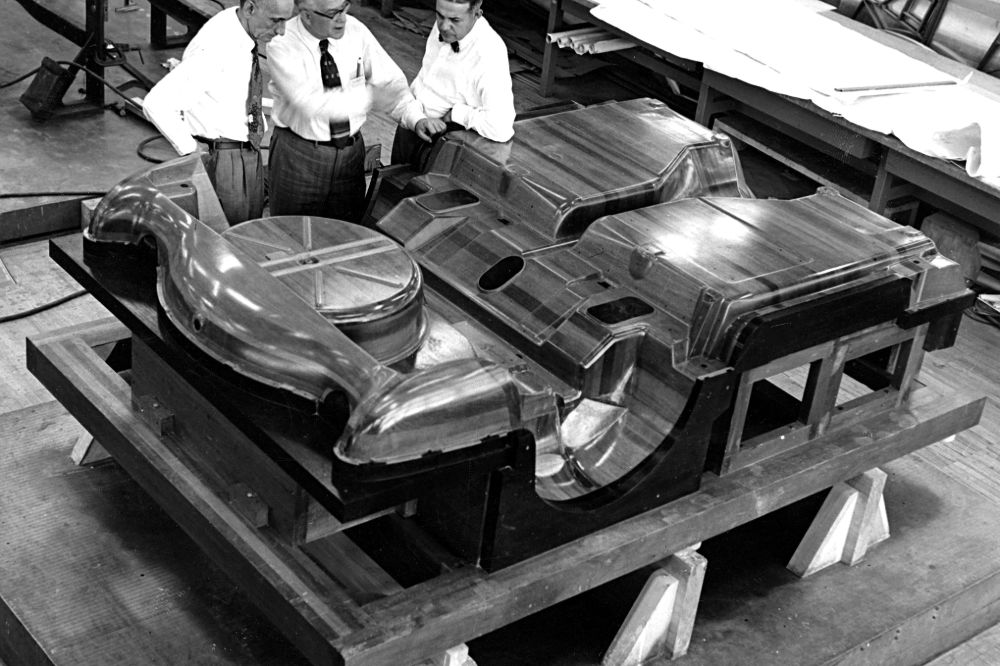
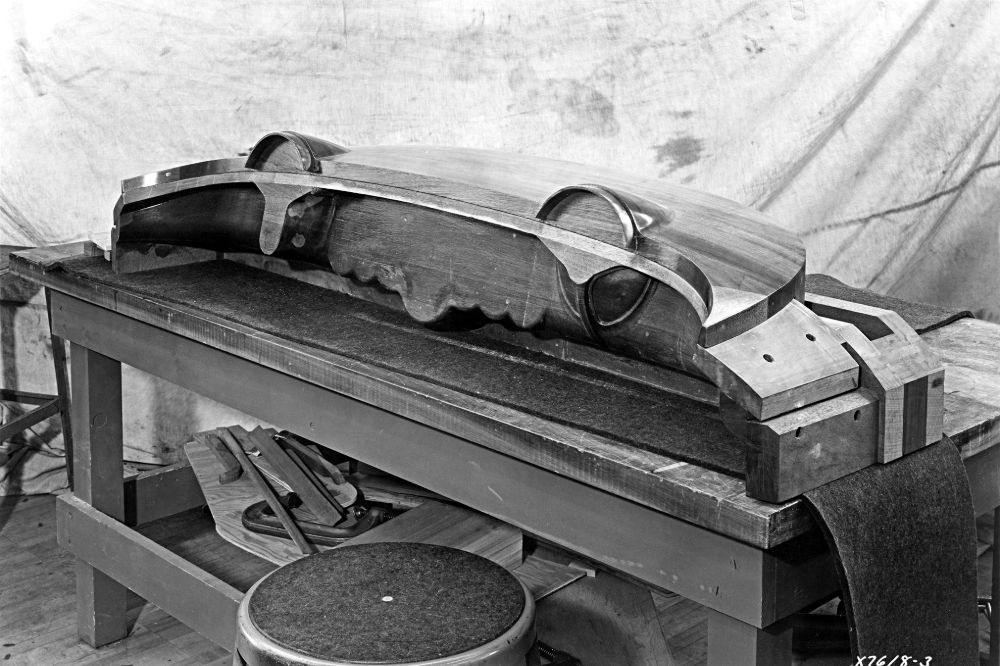
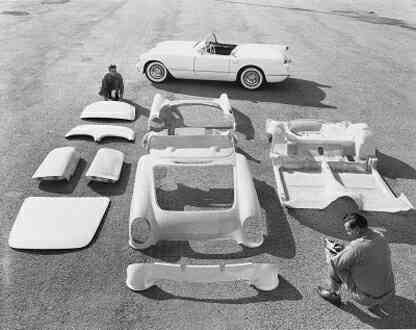
If you know a good woodworker, it would be pretty cool to have a scale model, alongside the plastic models, in real wood, of the wooden bucks, you shared pictures of, some years ago.
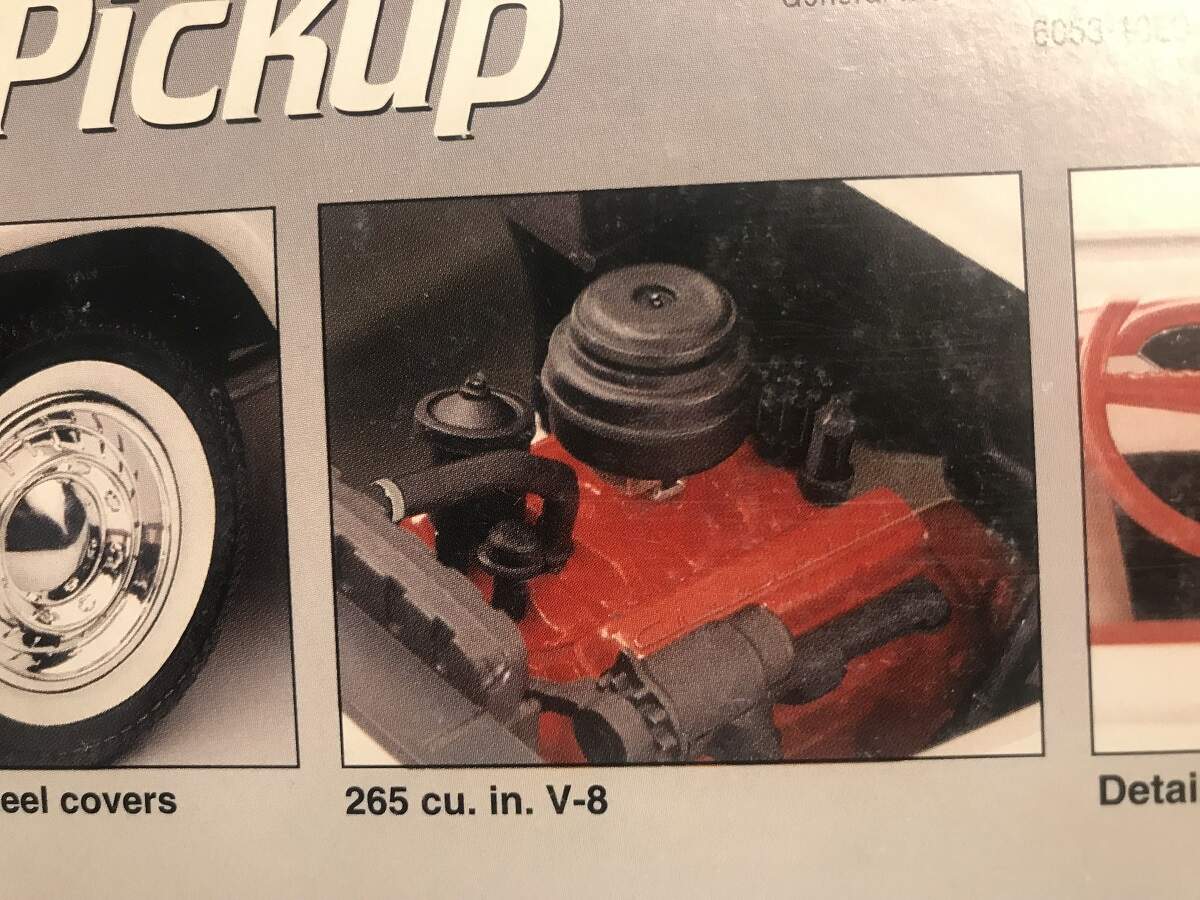
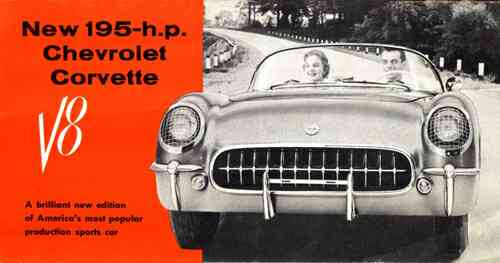
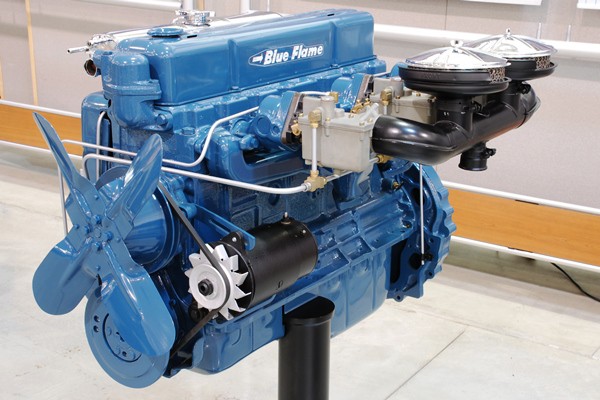
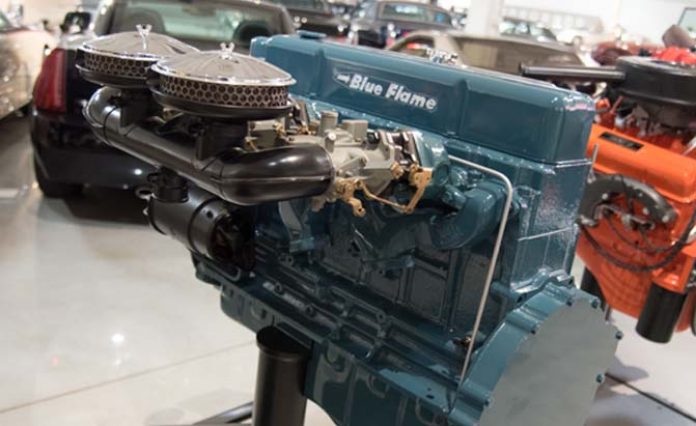
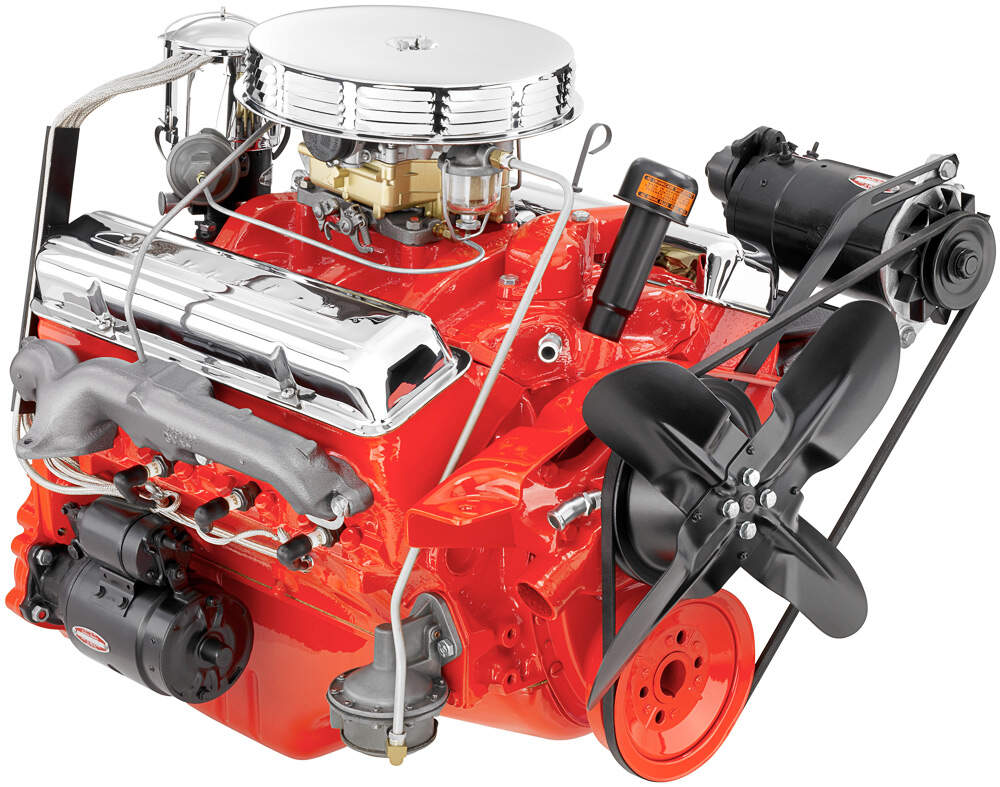
Doing some preparatory research, there were 700 of the '55 Corvettes built, and 693 of those had the all-new 265ci V8 fitted. The remaining 7 had the 235ci “Blue Flame” inline 6-cylinder.
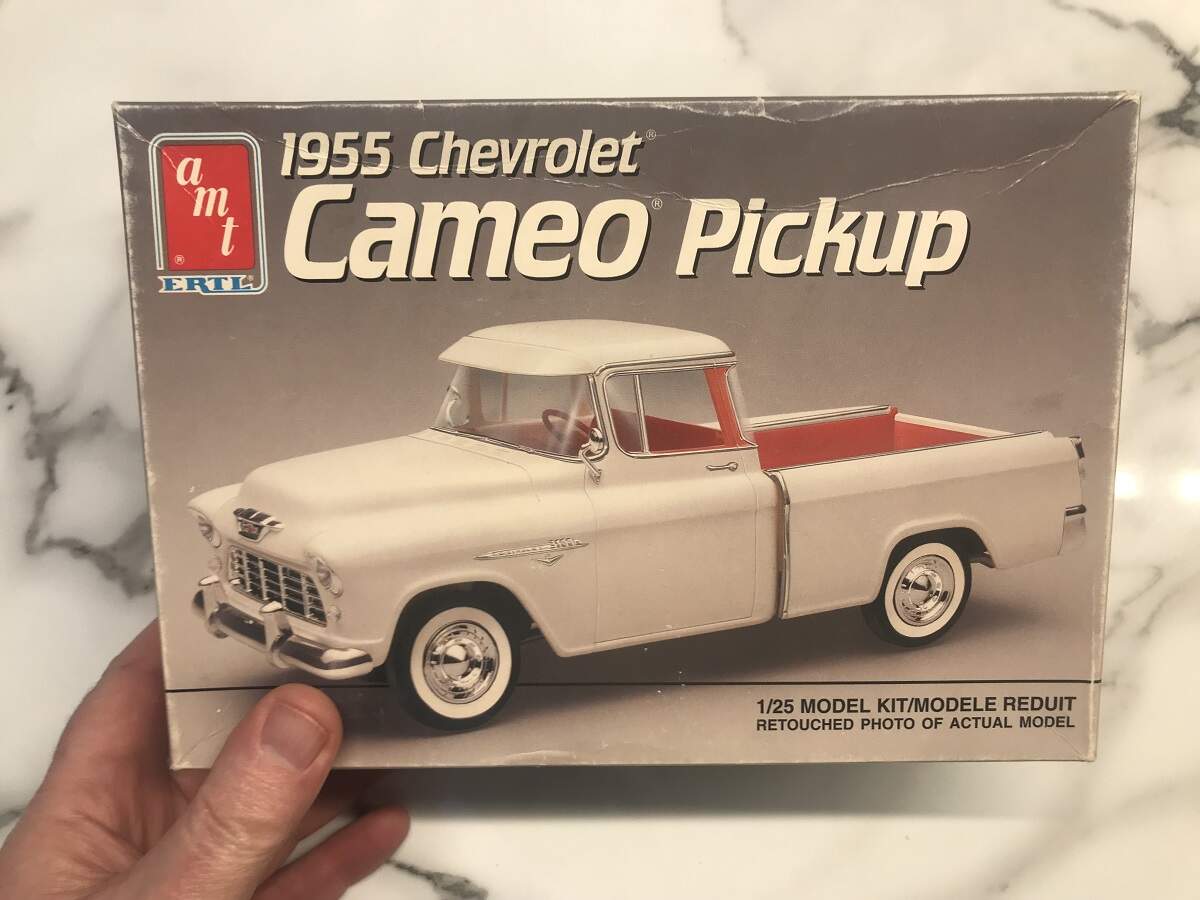
A while back I picked up a “rebuilder” '55 Chevy Cameo Pickup for next to nothing, so it will kindly donate its 265 V8 to this build.
All I will need to do is dig through the spares box to find a flat air cleaner.
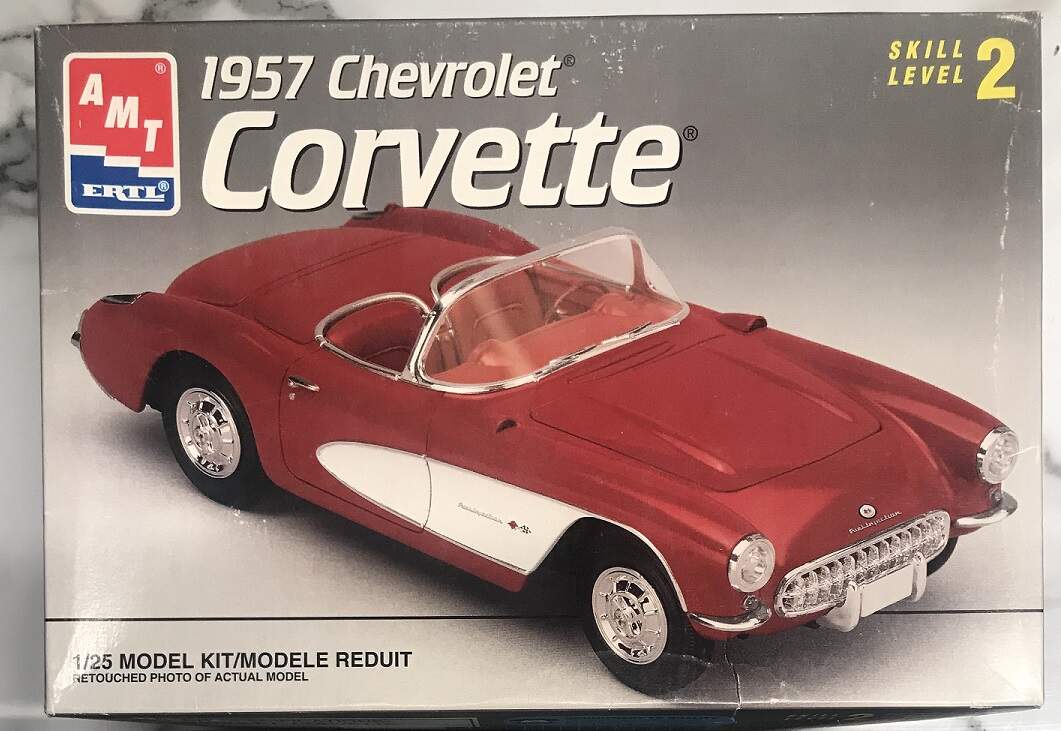
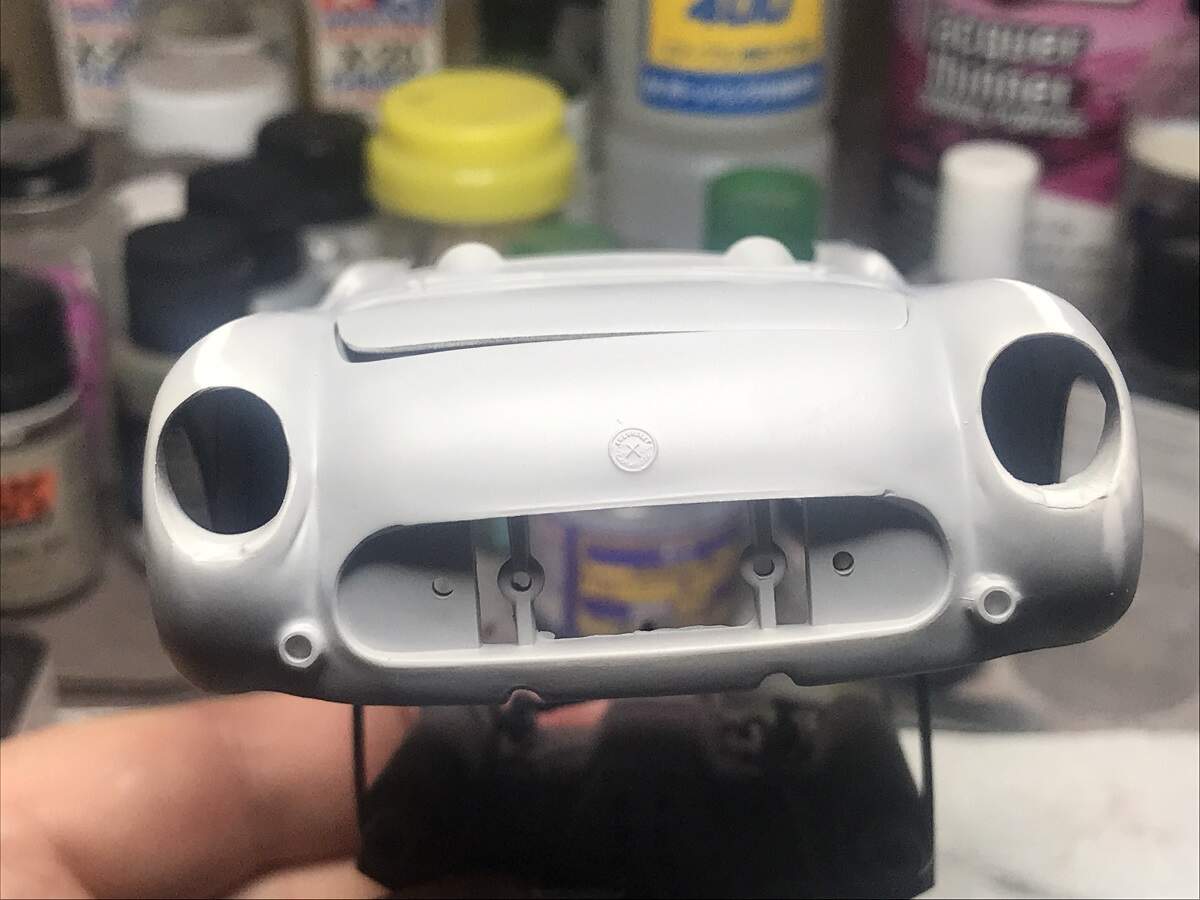
Cosmetically, the only difference of significance was a slightly wider grille, but that would require some major surgery on the kit for something that would be barely noticeable in this scale, so I’m leaving it as is. I recall reading in a forum some time back that the kit grille is actually somewhere in between the 53/54 and 55 dimensions anyway.
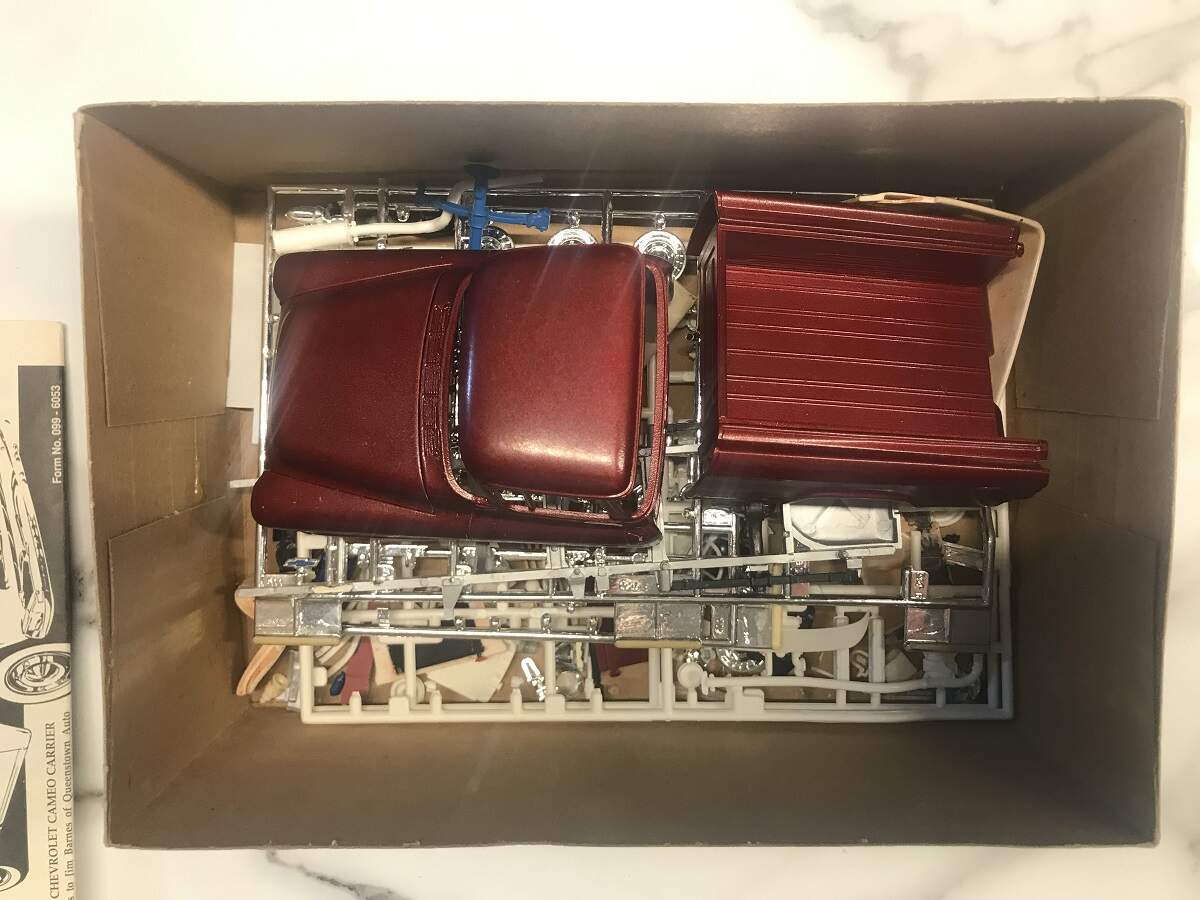
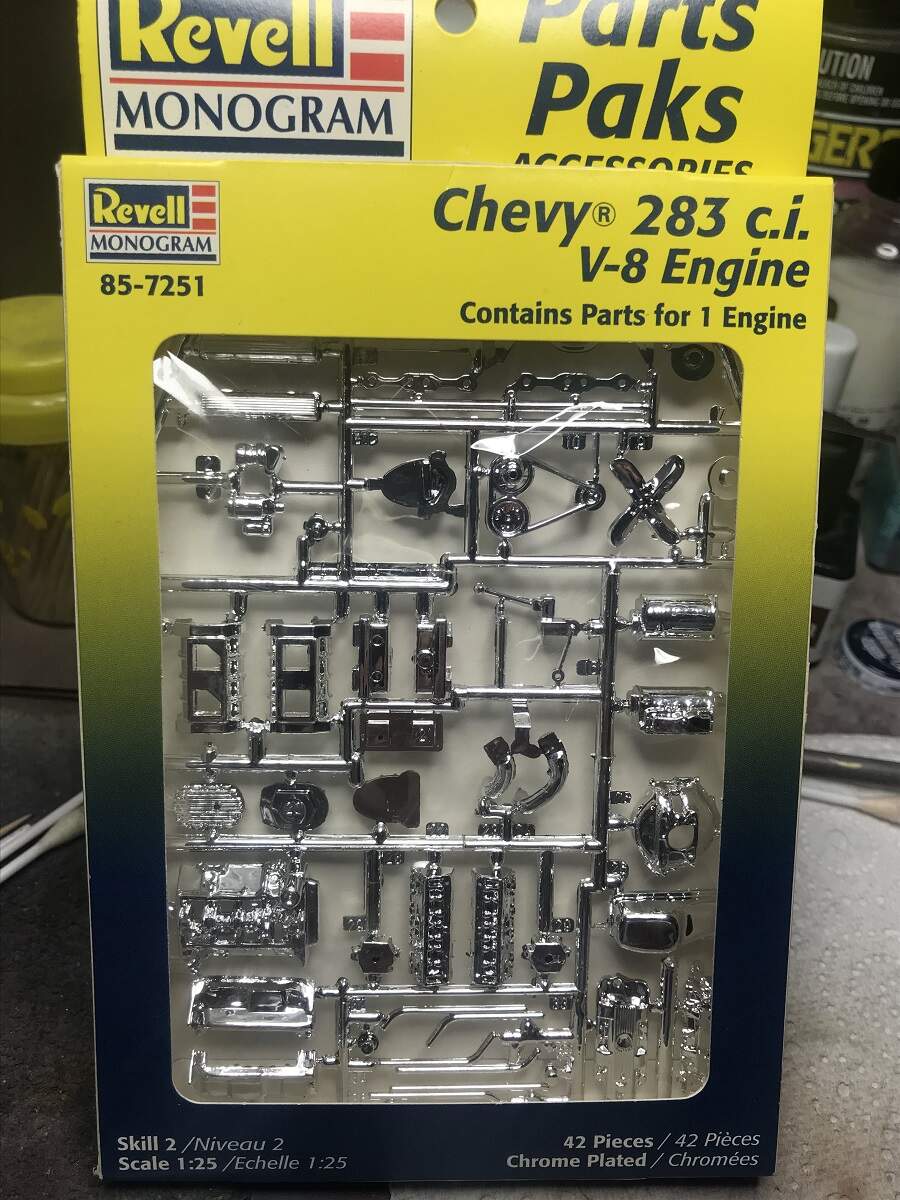
Well, the best laid plans . . . . . . yeah! I went through the '55 Cameo box to pull out the engine parts to make a start, and the oil pan is missing! Oh well, back to the drawing board. In my box of car after-market I have a couple of Revell Parts Pack engine sets! I’m fairly certain that the 1/25 283ci will look passable as a 1/24 265ci. I will do some research on the physical dimensions of each engine and confirm my suspicions!
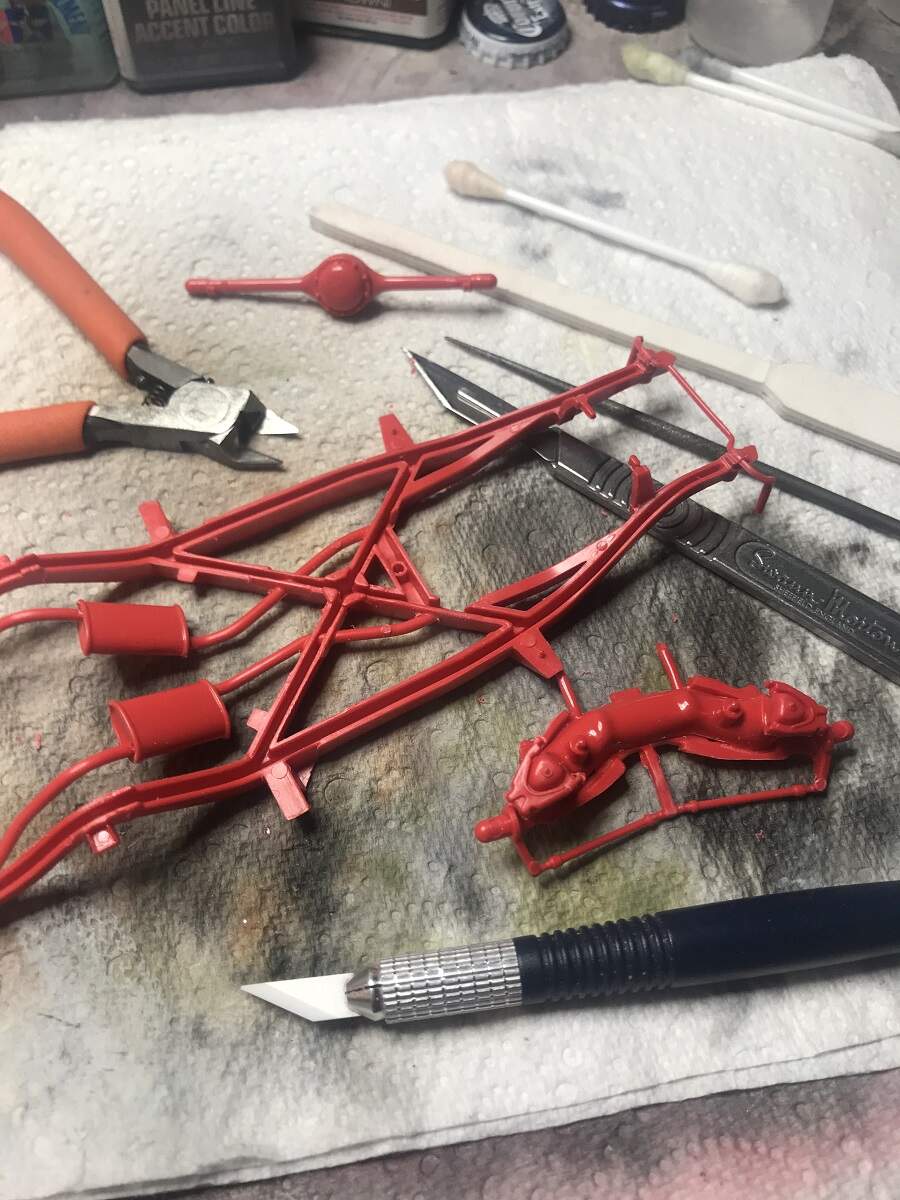
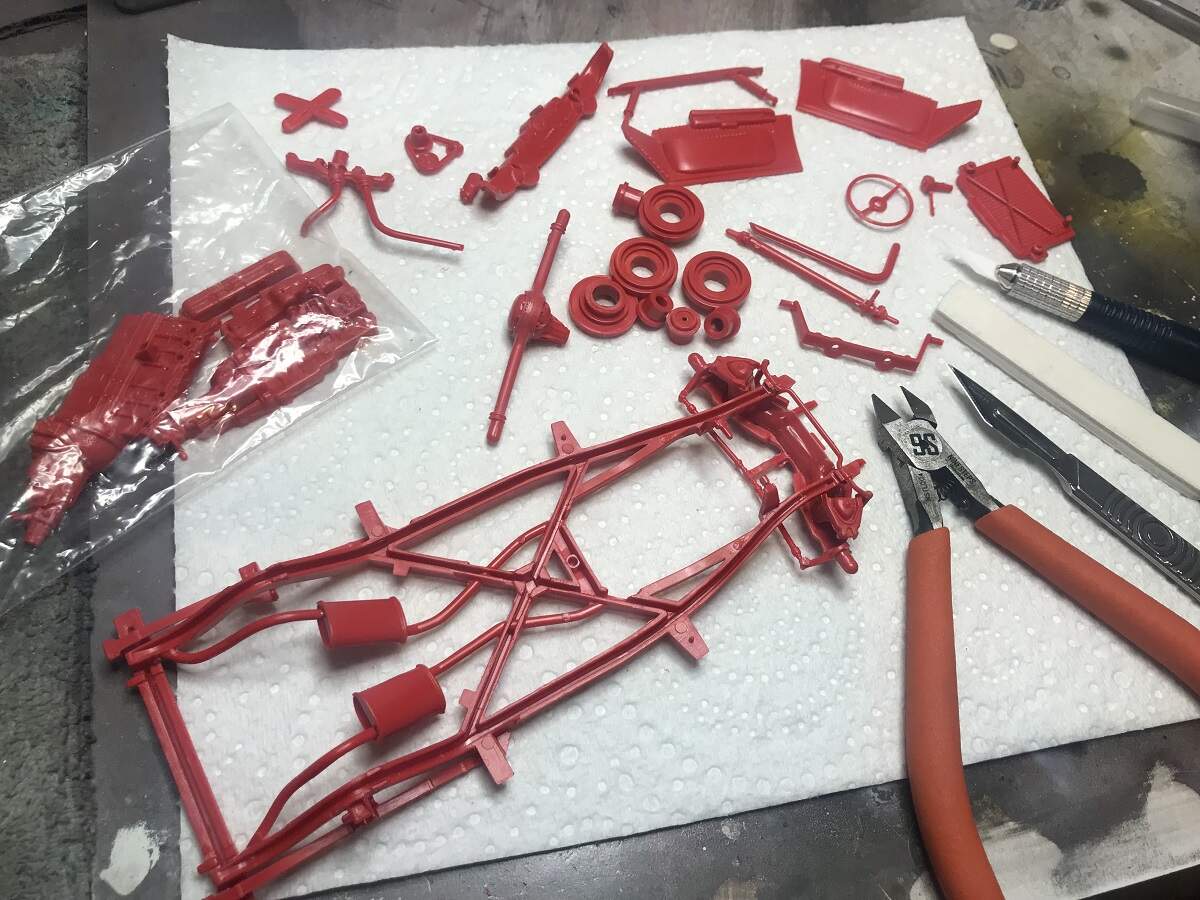
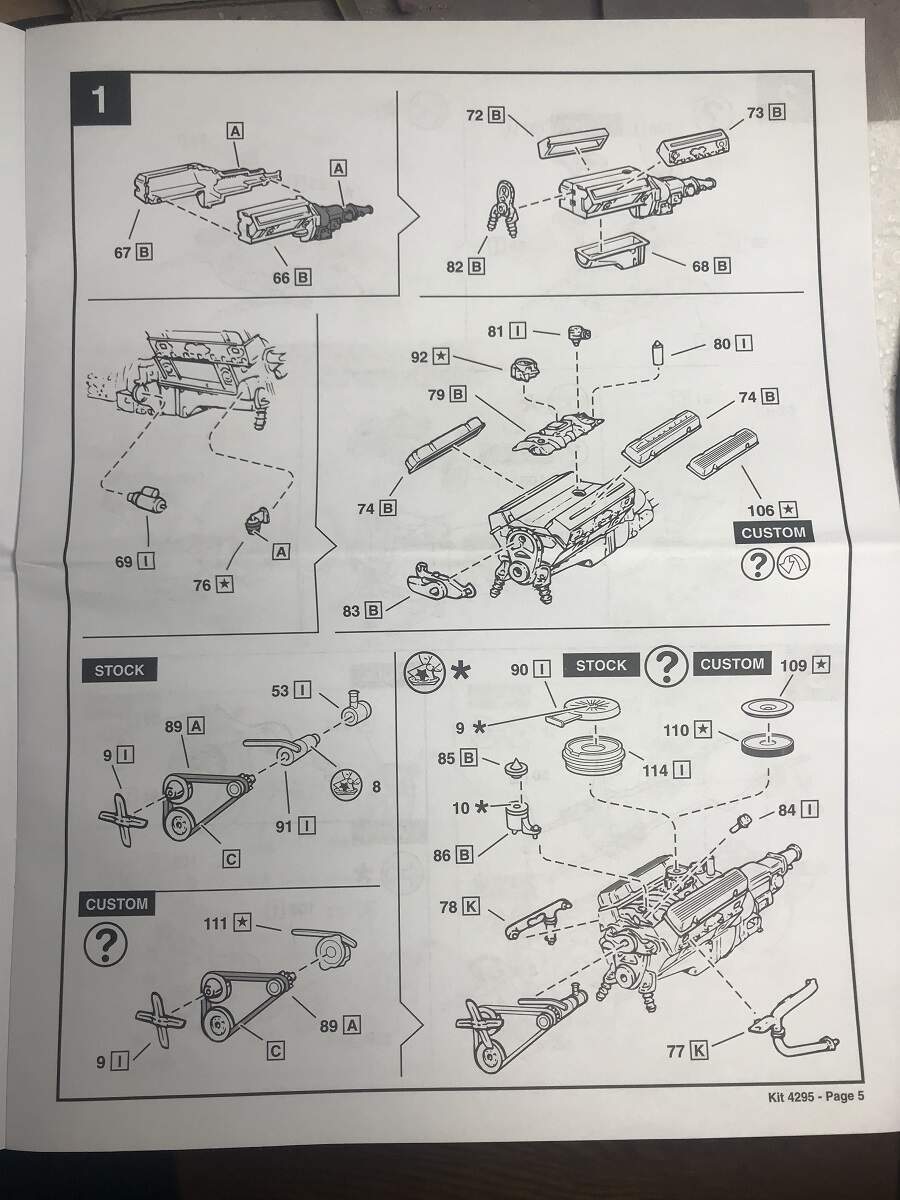
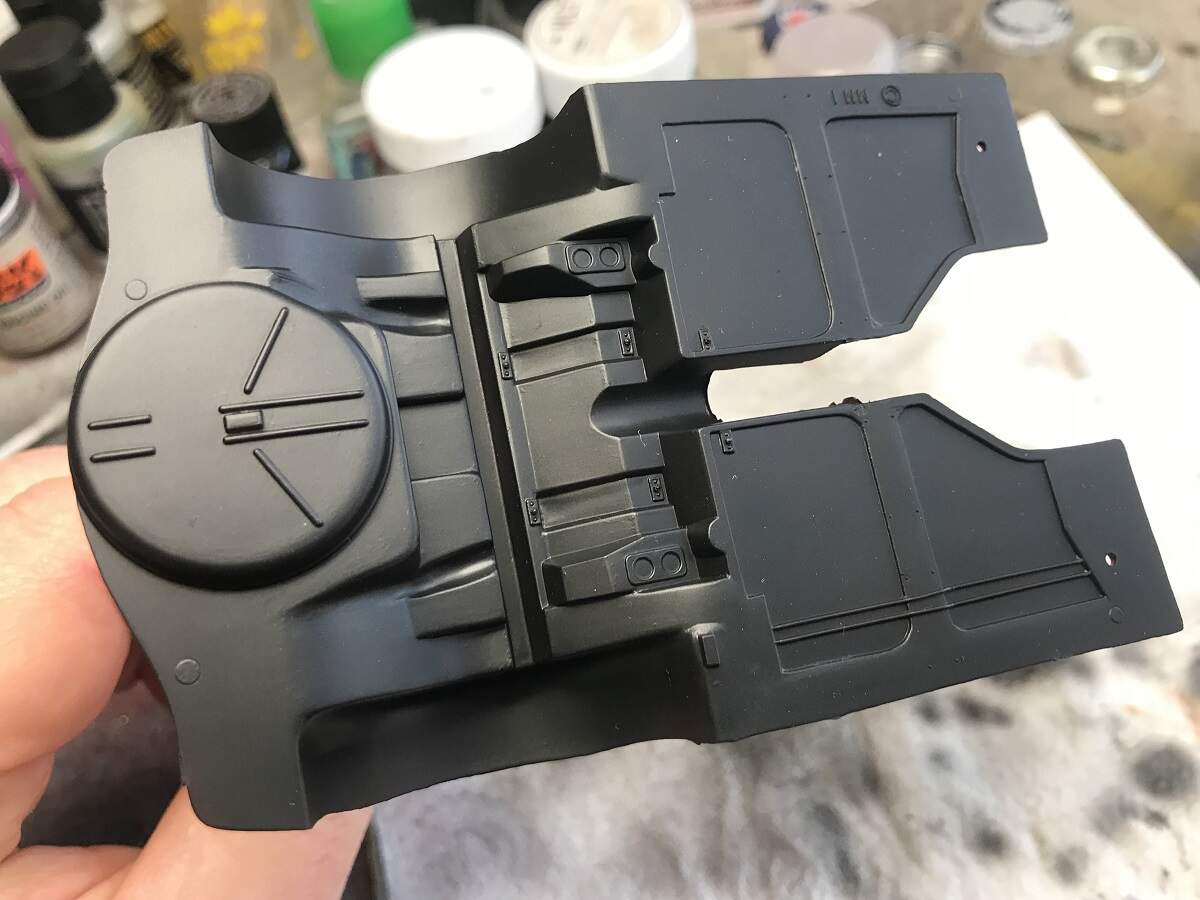
I also made a start on Steps 1 and 2 on the kit, cleaned up the chassis and assembled some of the front end (after hacking my way through a little flash!).
Plan C is under way on the engine swap. The Parts Box 283 doesn’t have a stock option which is what I want to show. Also, the 283ci V8 was based on the same block as the 265ci, and in 1/25 rather than 1/24 will be noticeably smaller in the engine bay. I am digging through my stash of Tri-5 Chevy kits to see which kit will be the lucky donor!
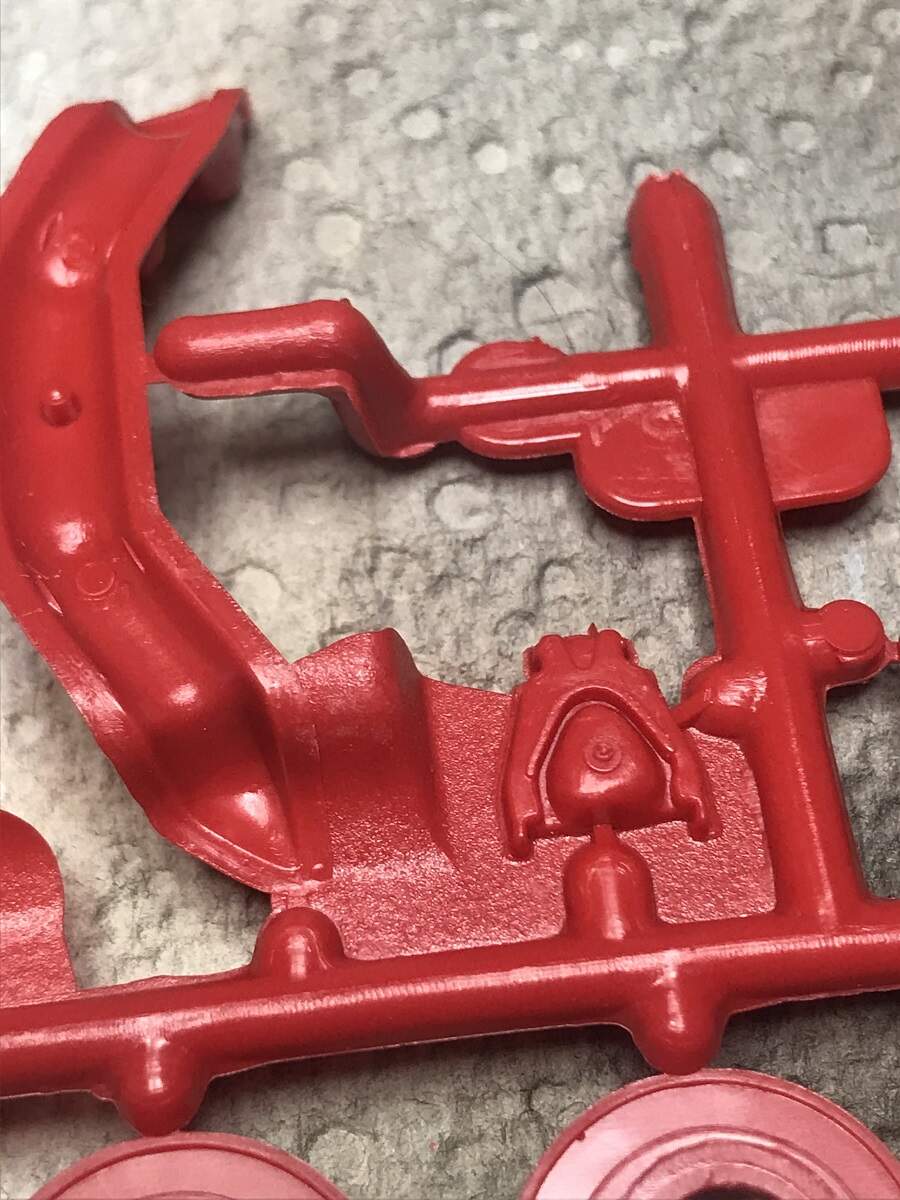
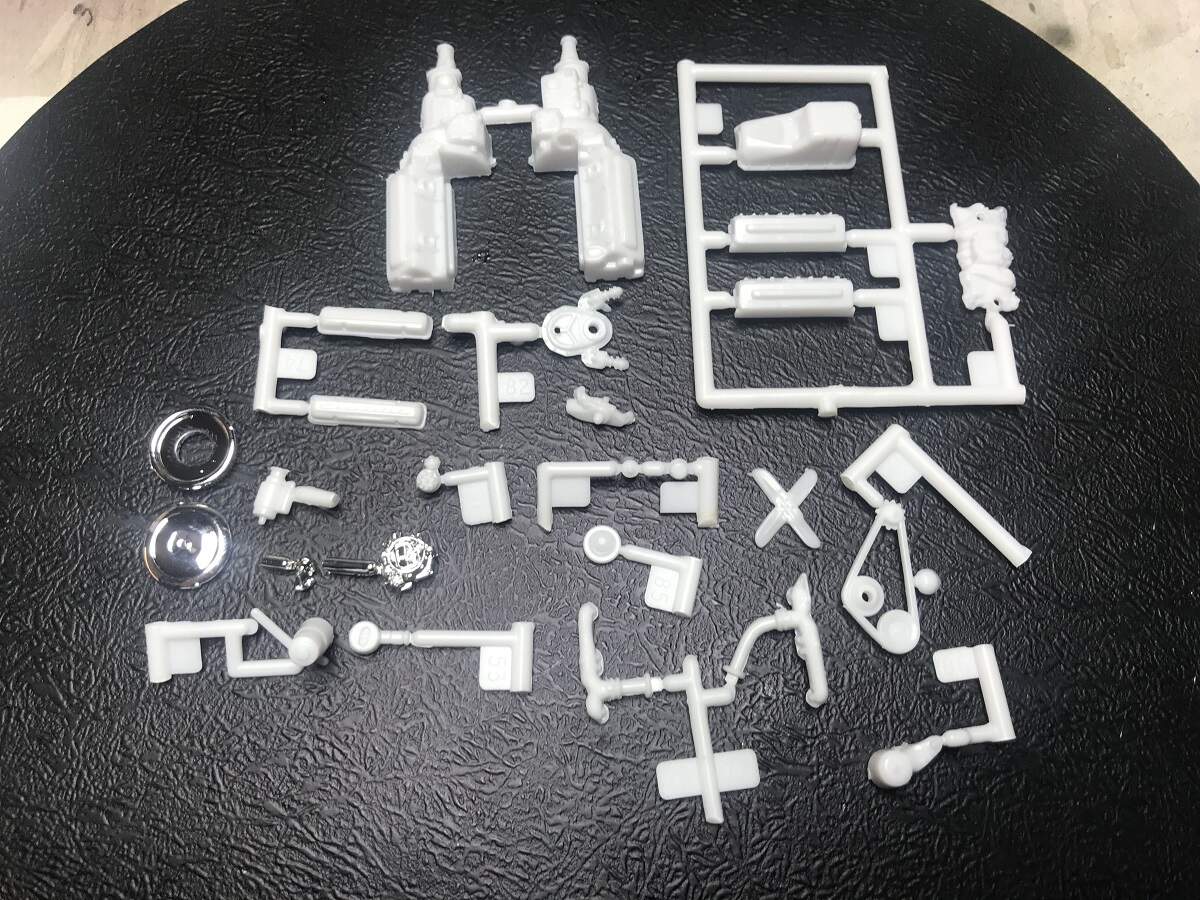
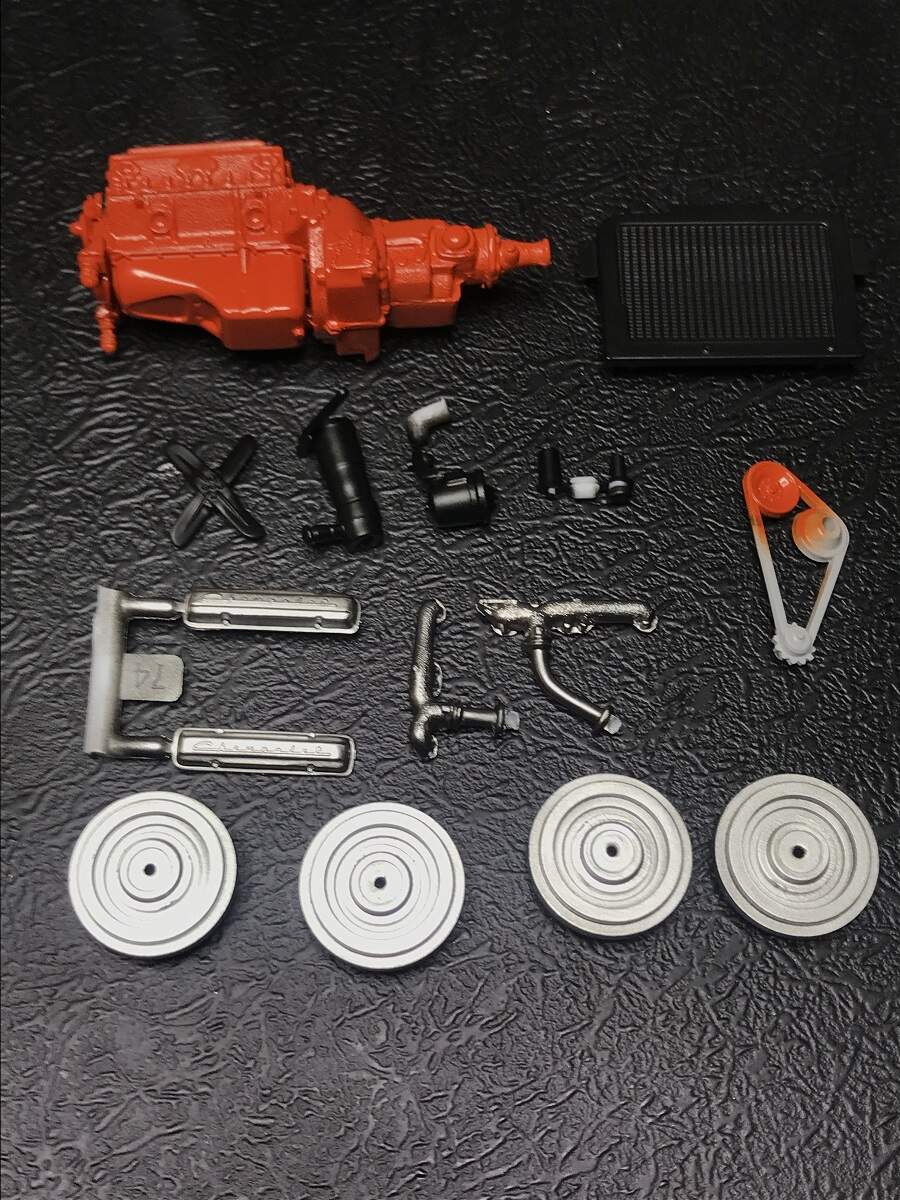
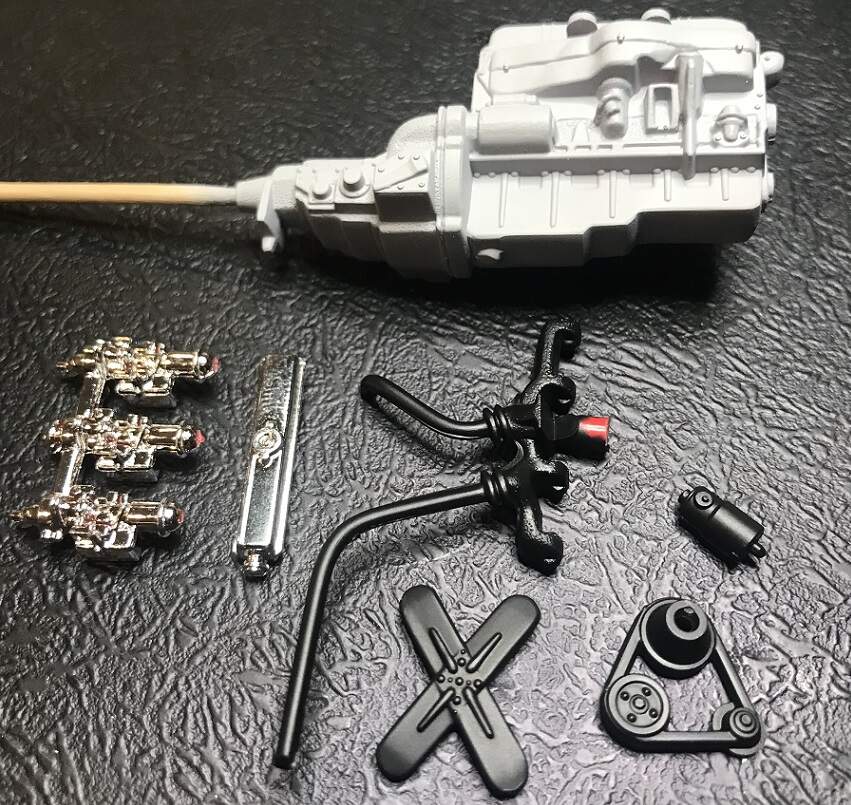
I put a bit of time in last night trimming the parts off the sprues to see how they look, and separating out the 6-cylinder engine components that won’t be needed. So far only a couple of small sink-marks to fill, nothing major to slow proceedings at all.
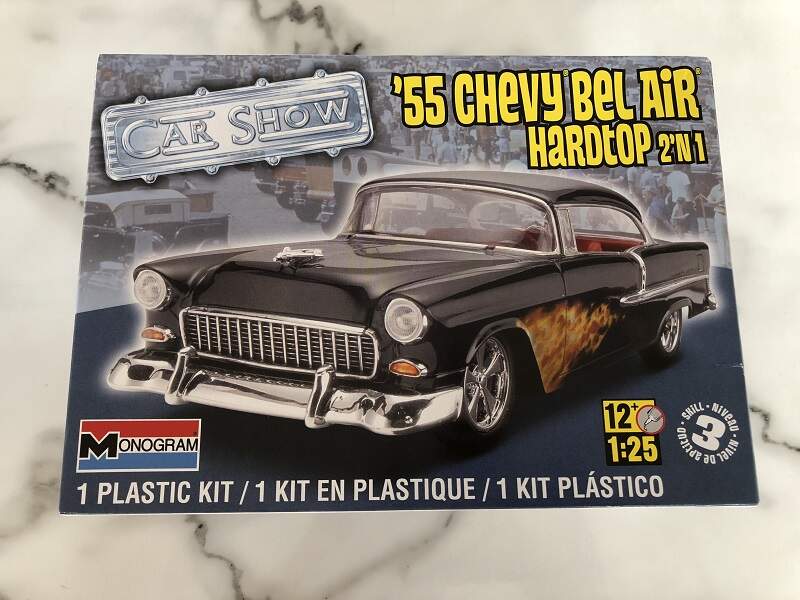
Ok, all of my 1/24 Tri-5 kits have either modified or big-block V8 engines, so dead end there. We circle back to the option of stealing a 1/25 small-block from another kit so it’s time to crunch some numbers.
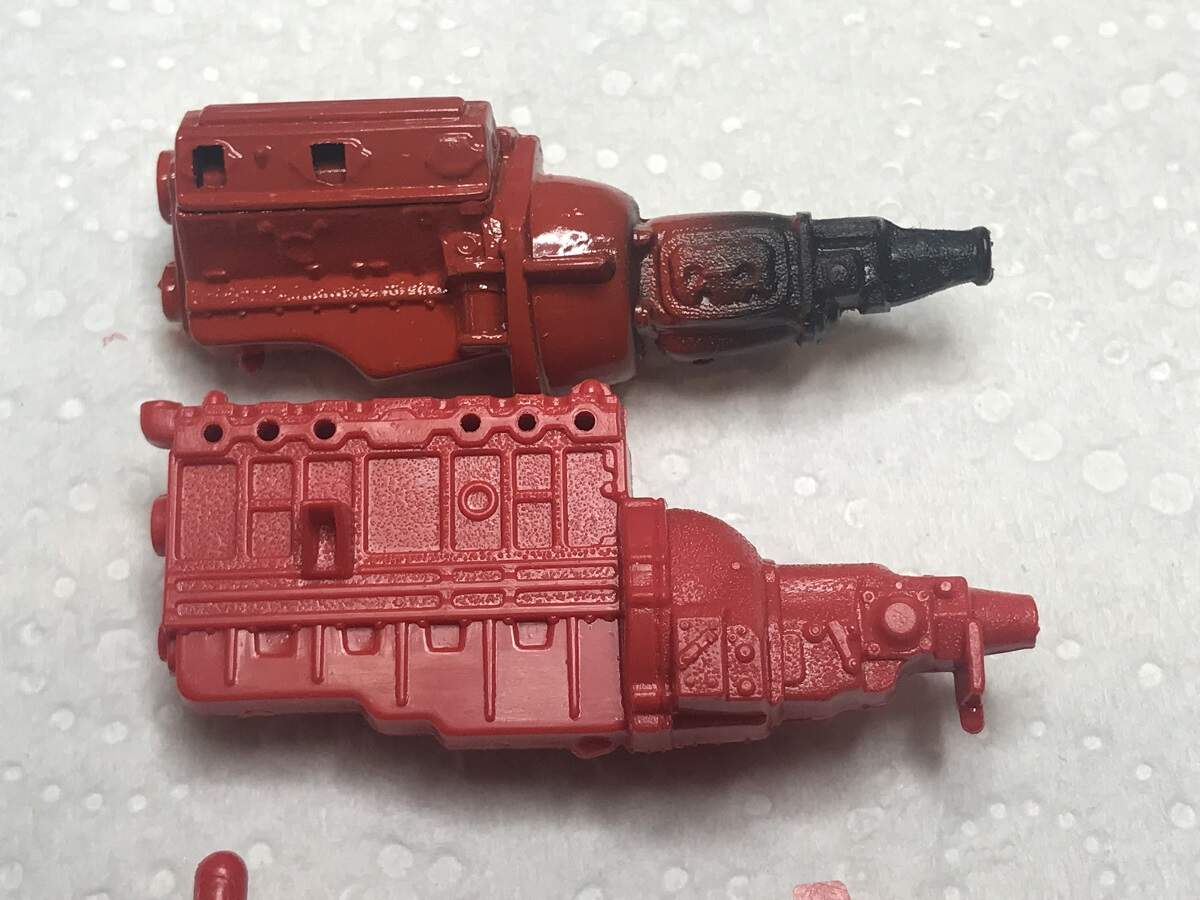
This photo shows a 1/25 283ci V8 (from a junker '55 Street Machine kit I picked up from a swap meet) against the 1/24 235ci inline 6 from the Corvette kit. Almost identical overall length from the front of the block to the back end of the transmission.
From the front of the block to the back of the bell housing on the V8 is 30mm. Scaled up from 1/25 makes the engine dimension there 750mm. Scaled down to 1/24 would be 31.25mm. I think I can live with a 1.25mm discrepancy!
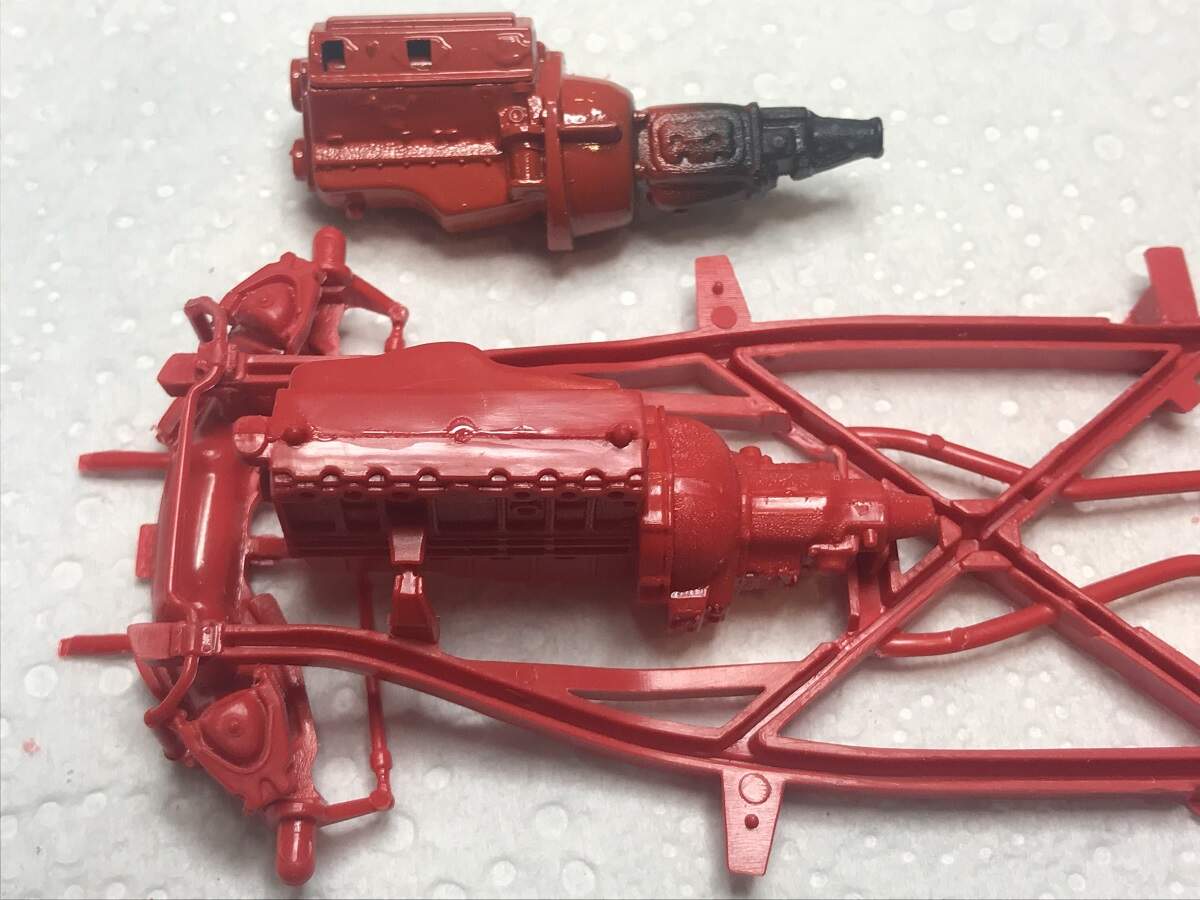
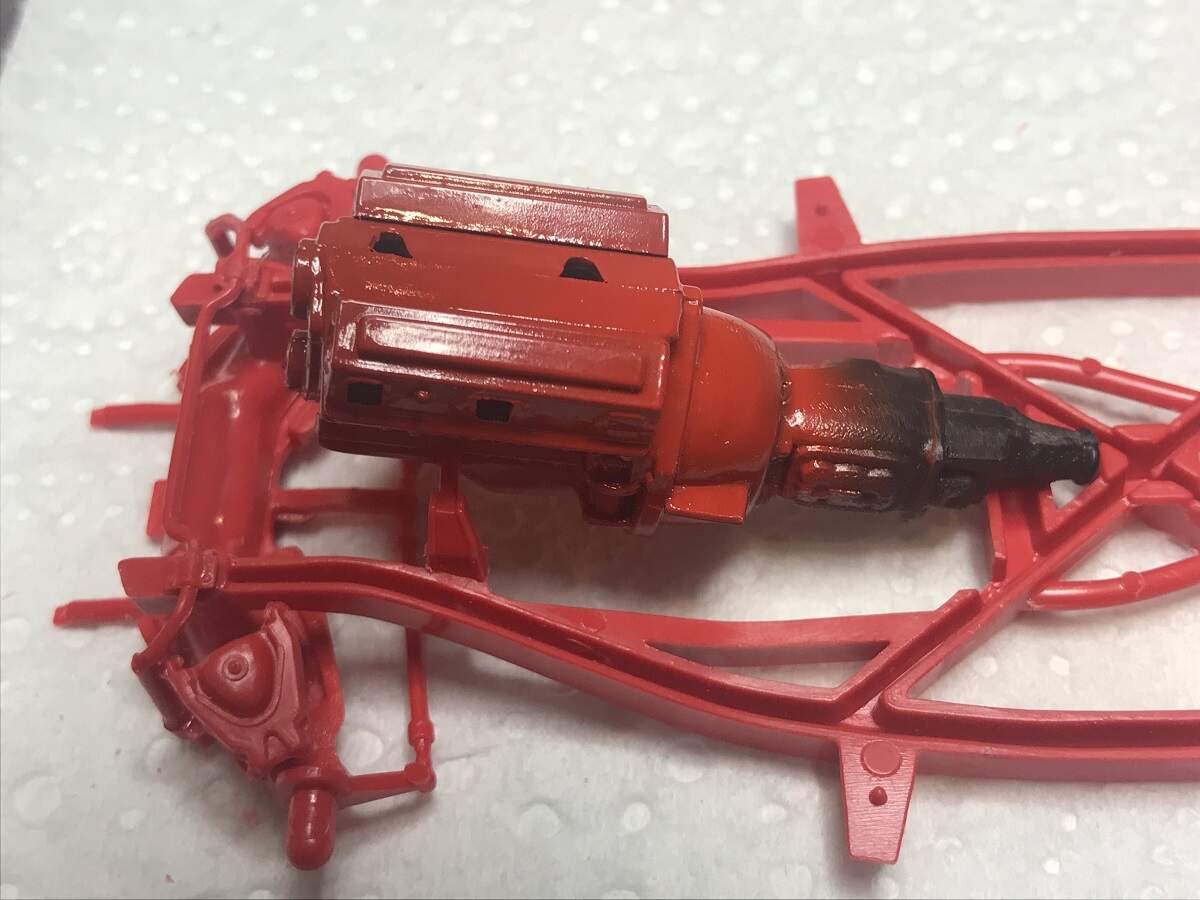
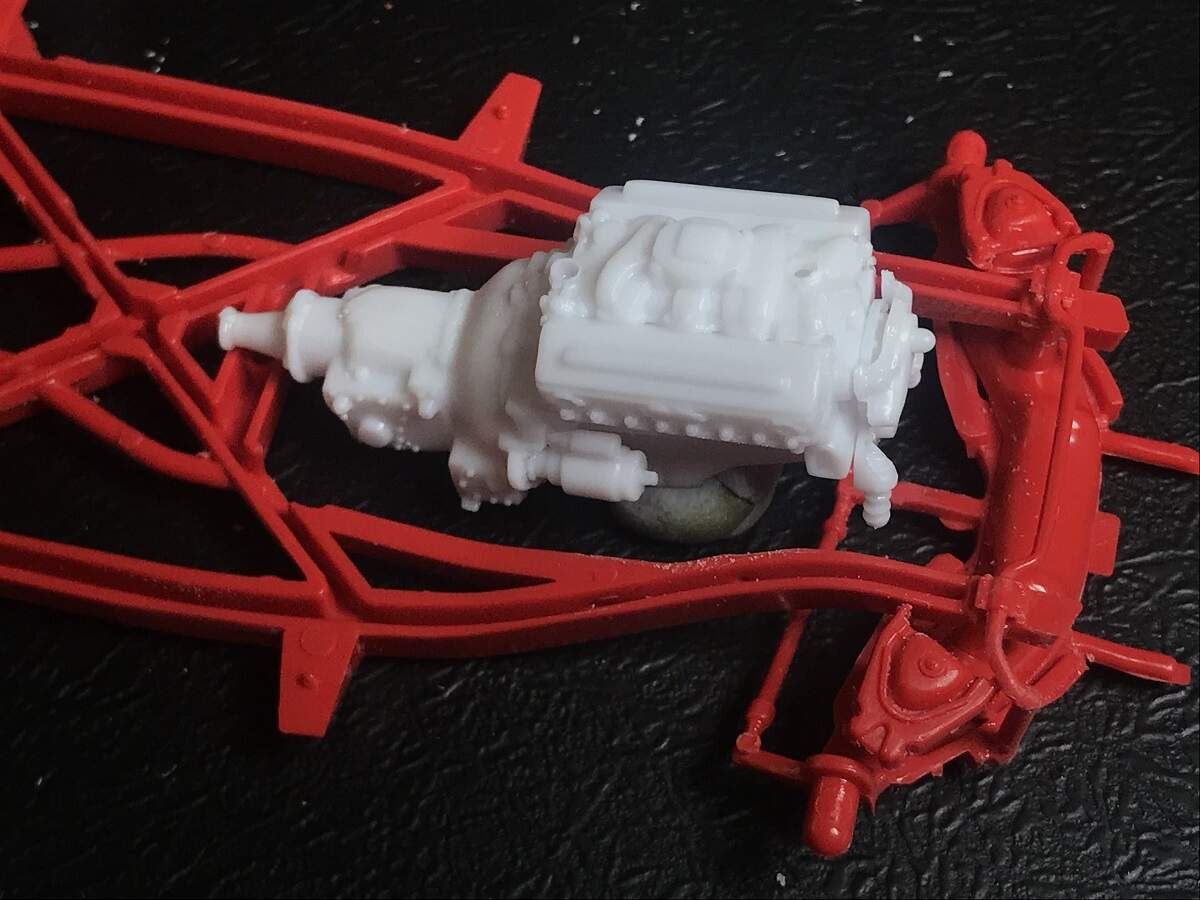
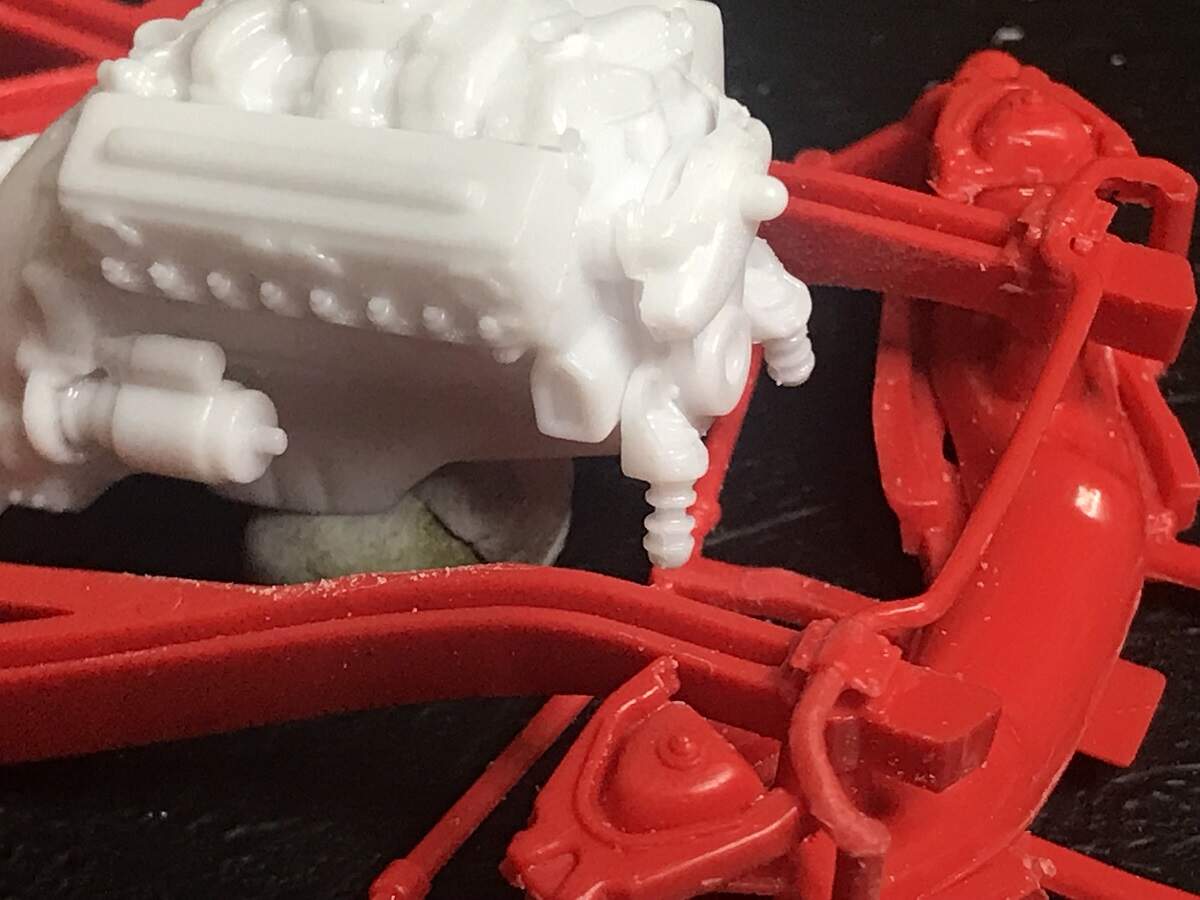
Dropping the 6 in place gives me a marker as to where the driveshaft meets the transmission, right over the crossmember, and dropping the V8 in place gives a sense of how it will sit.
I will carve off the engine mounts for the 6 and I might be able to move them forward and lower to use them to mount the V8. I think once the manifolds and rocker covers and other accessories are added on, this will look quite nice.
Never being one to waste an opportunity, I think I will build up the Blue Flame 6 and make a small engine mount stand and display it beside the '53 and '54 Corvettes!
Nice D ! My father was a boat builder by trade and designed , built and raced power boats for fun .
He built a 280 cu. inch class hydroplane when I was a boy . In this class the engines had to be stock and could not exceed 280 cu. in. displacement . The 265 cu. in. Chevrolet was the engine of choice for nearly everyone including my dad .
Cheers- Richard
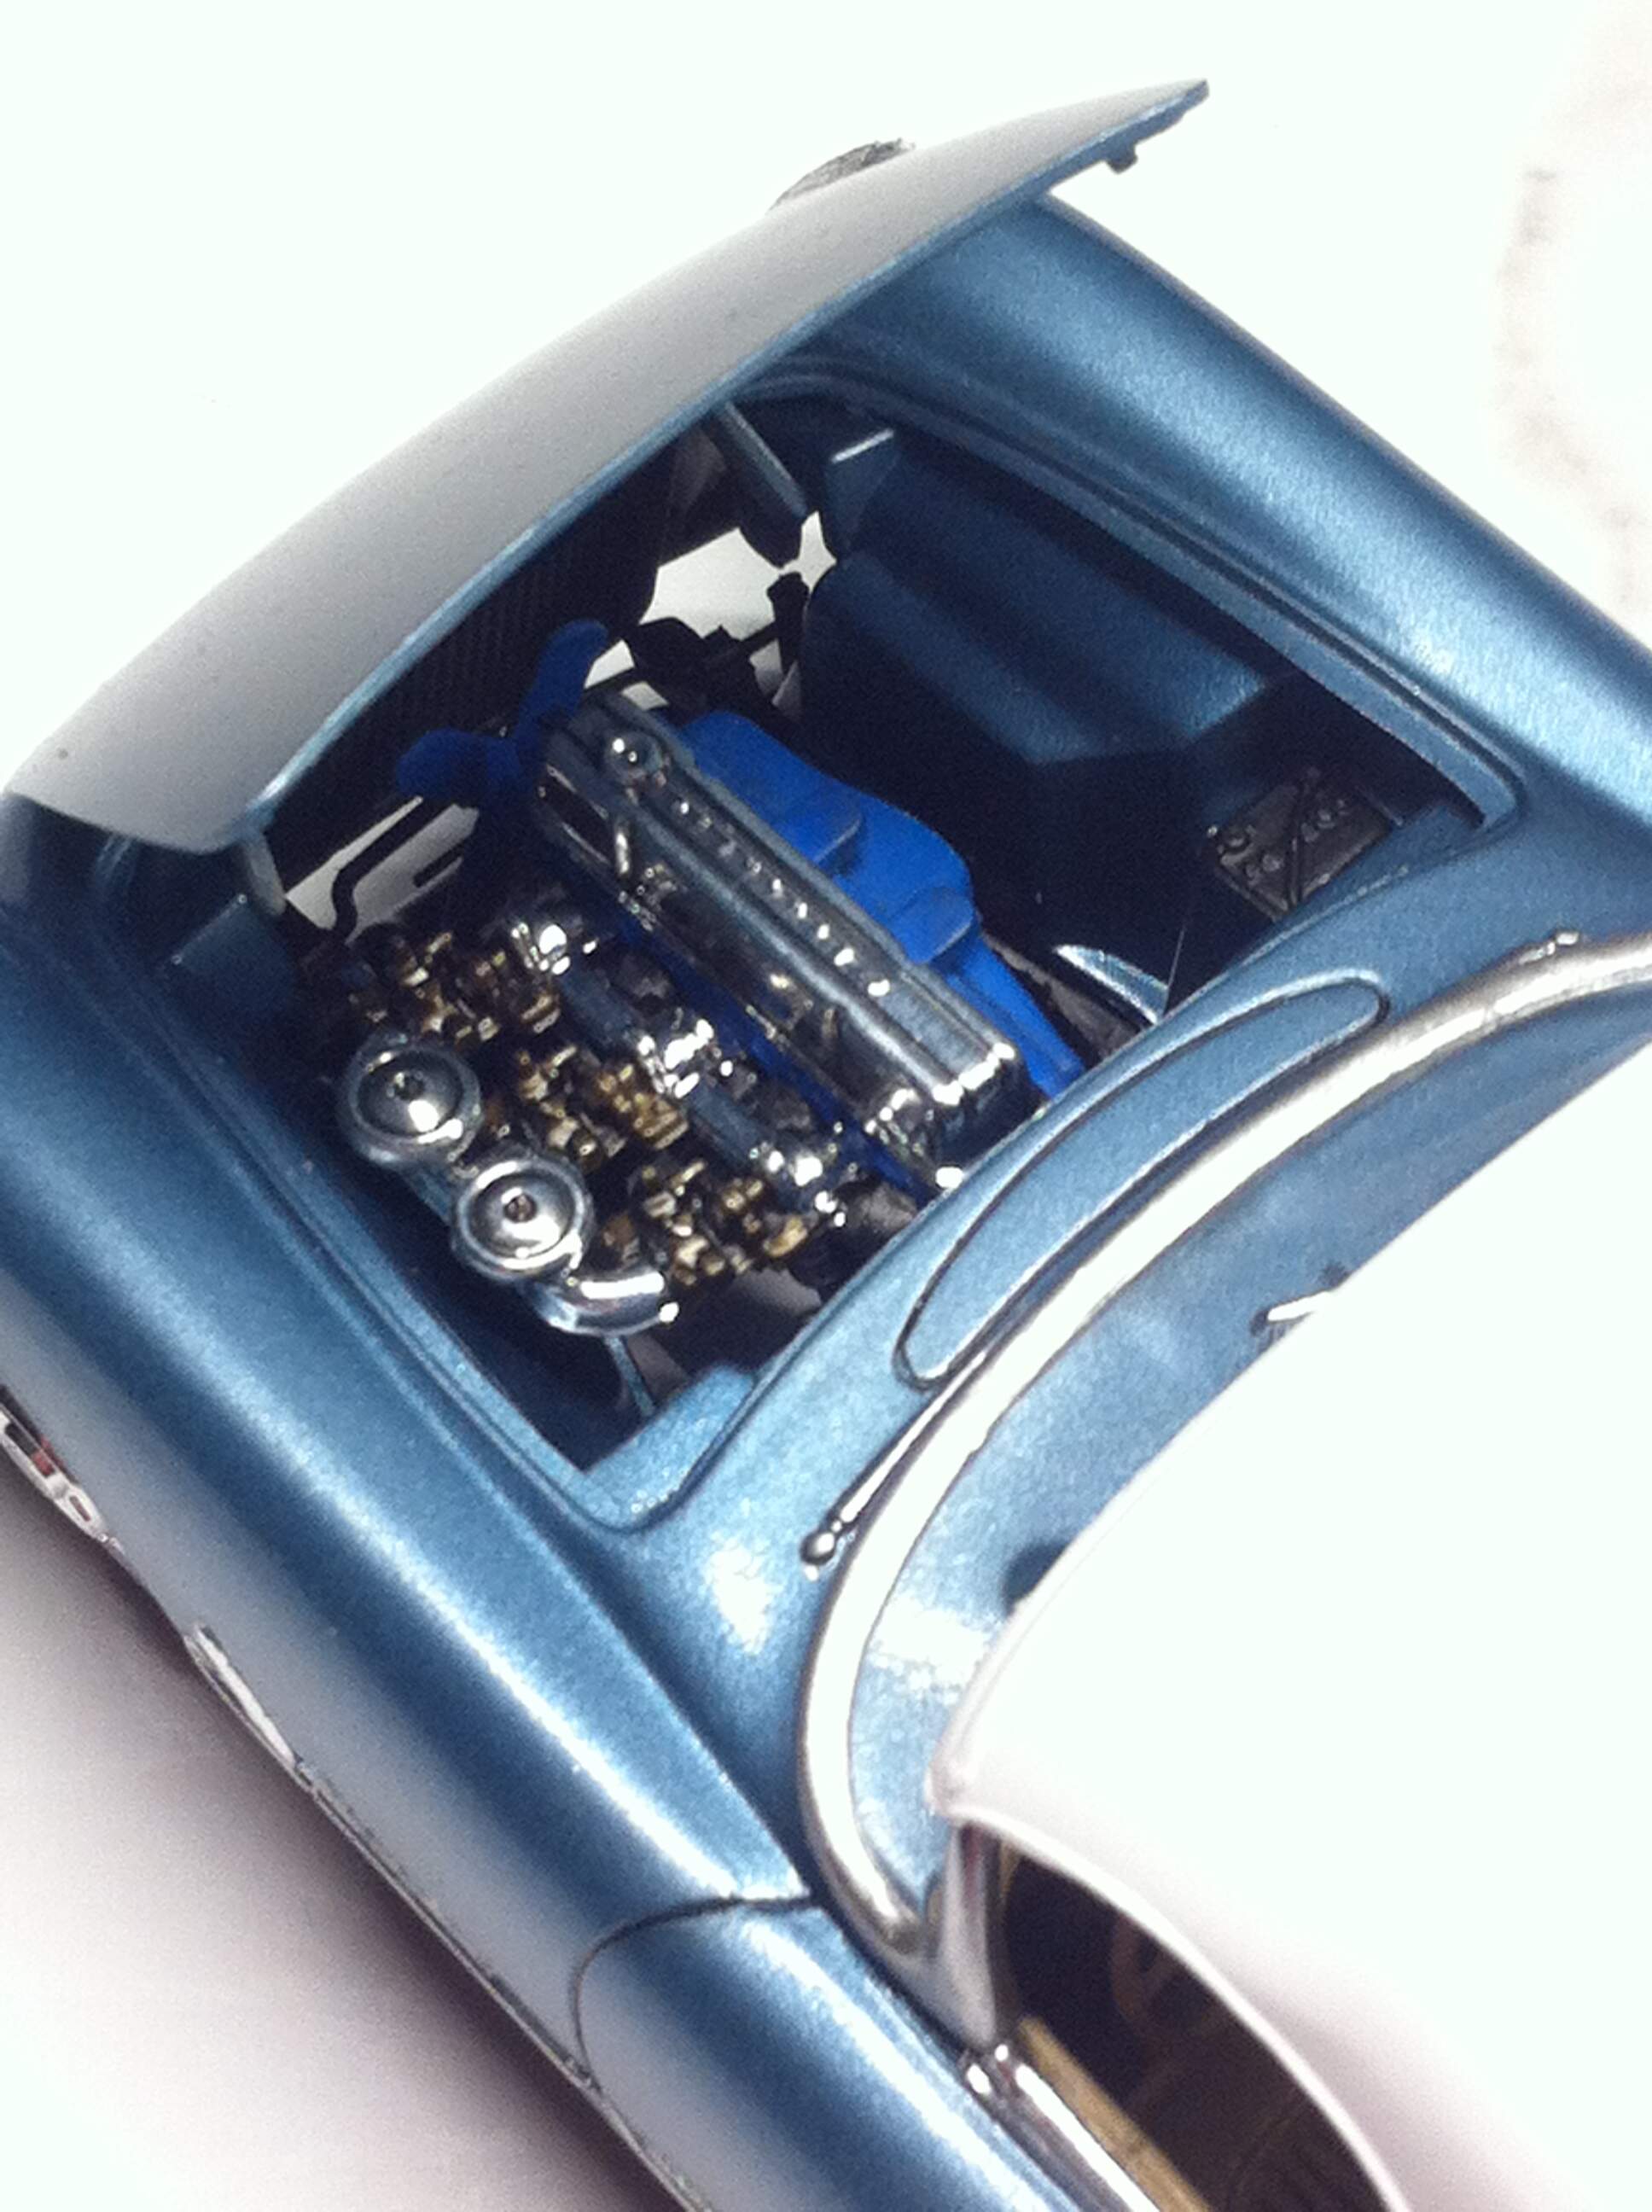
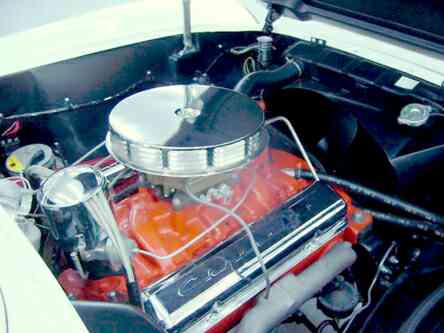
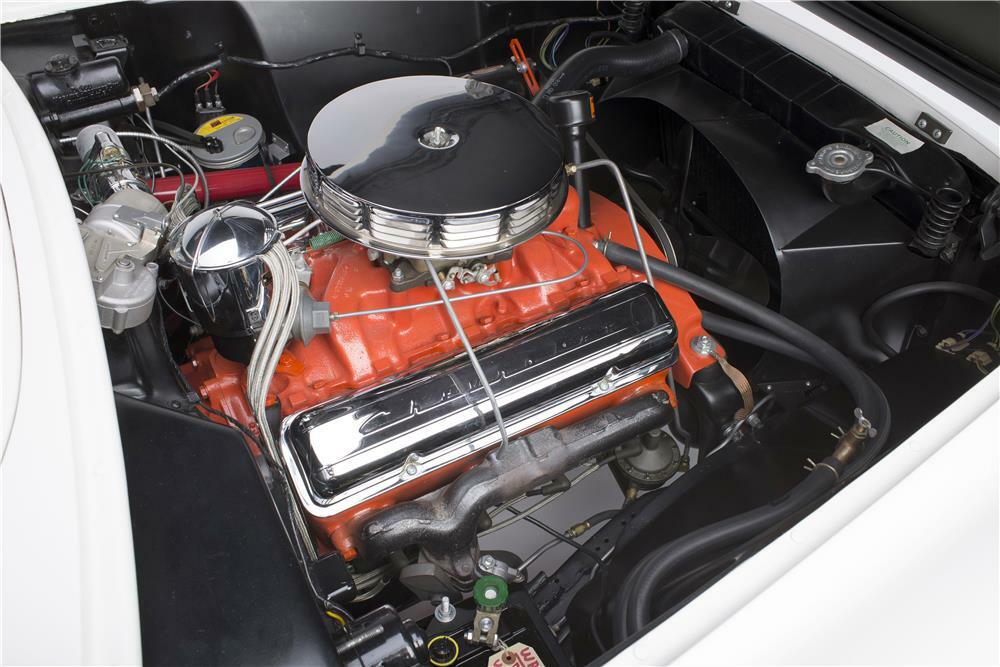
I will need to fully assemble the engine and do some test fitting with the body in place to make sure that the engine sits low enough and far enough back to look the part. The kit distributor looks nothing like the one on the original engine, might be time to scratch-build something to suit there.
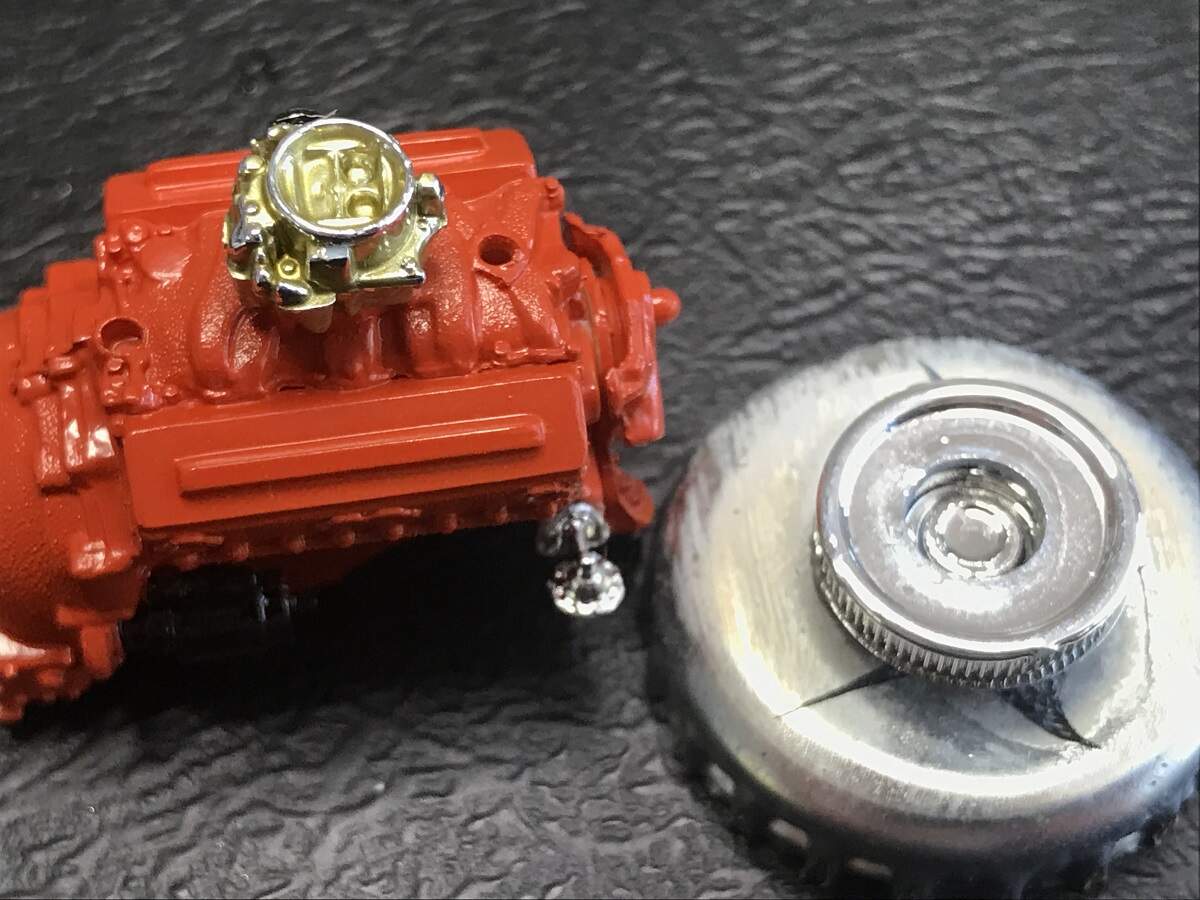
A bit of detail painting on the engine, and fitted the fuel filter and carb. On test fitting the air cleaner, it is sitting too high in the engine bay.
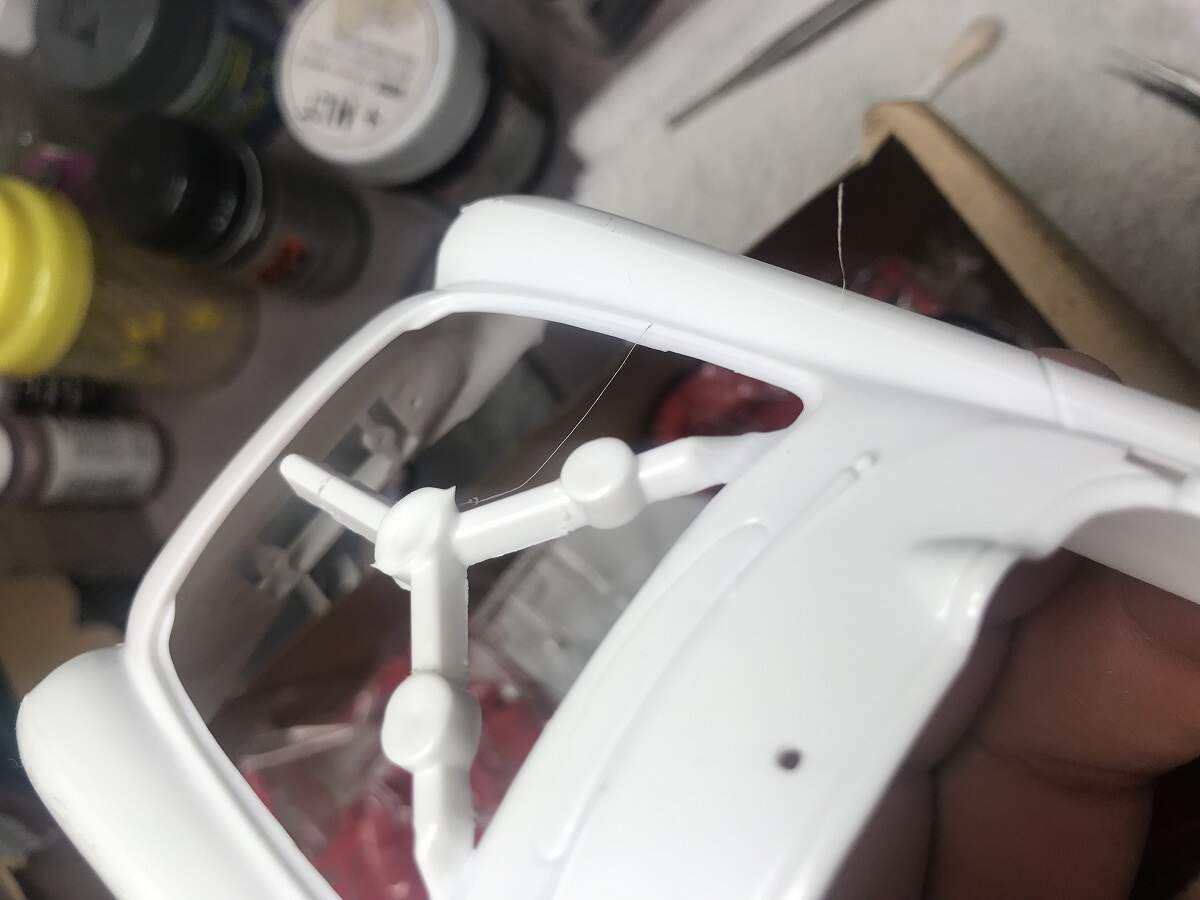
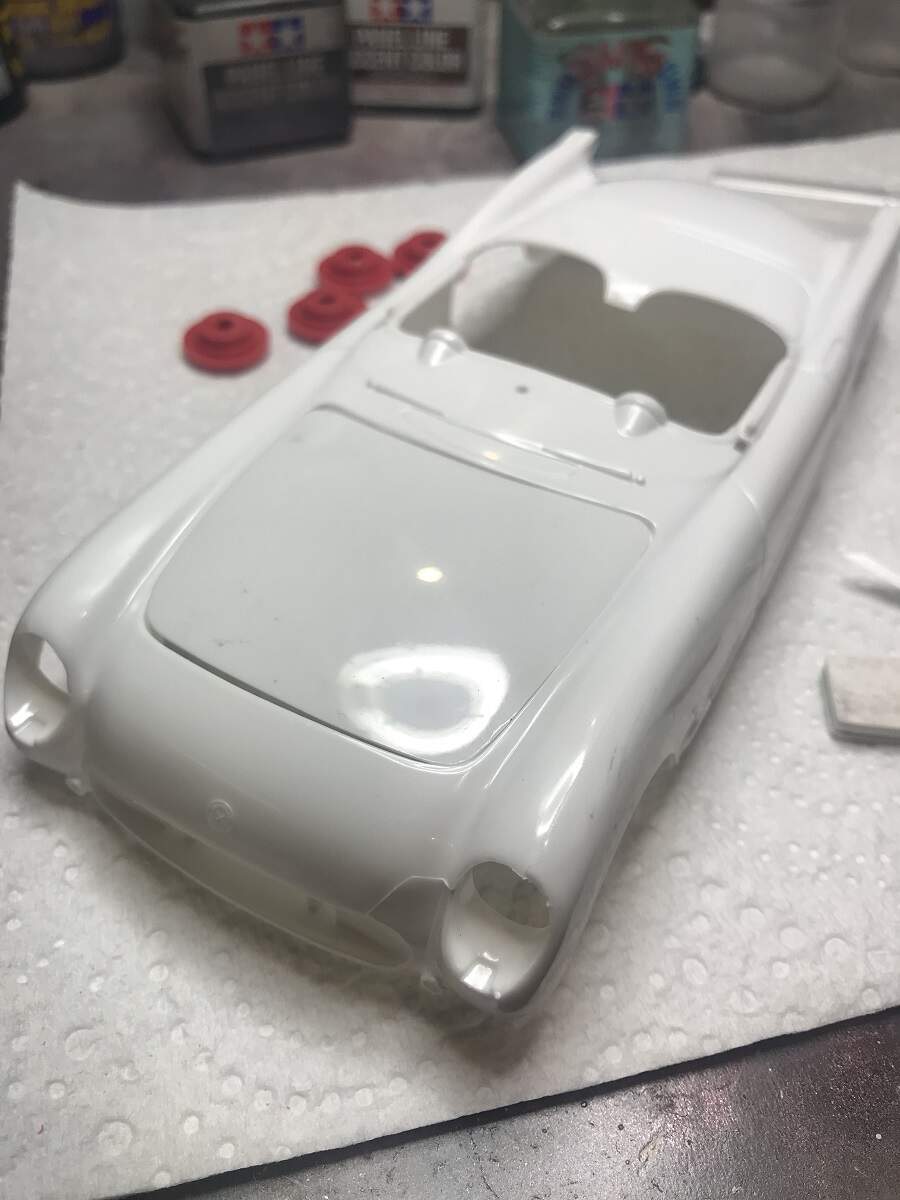
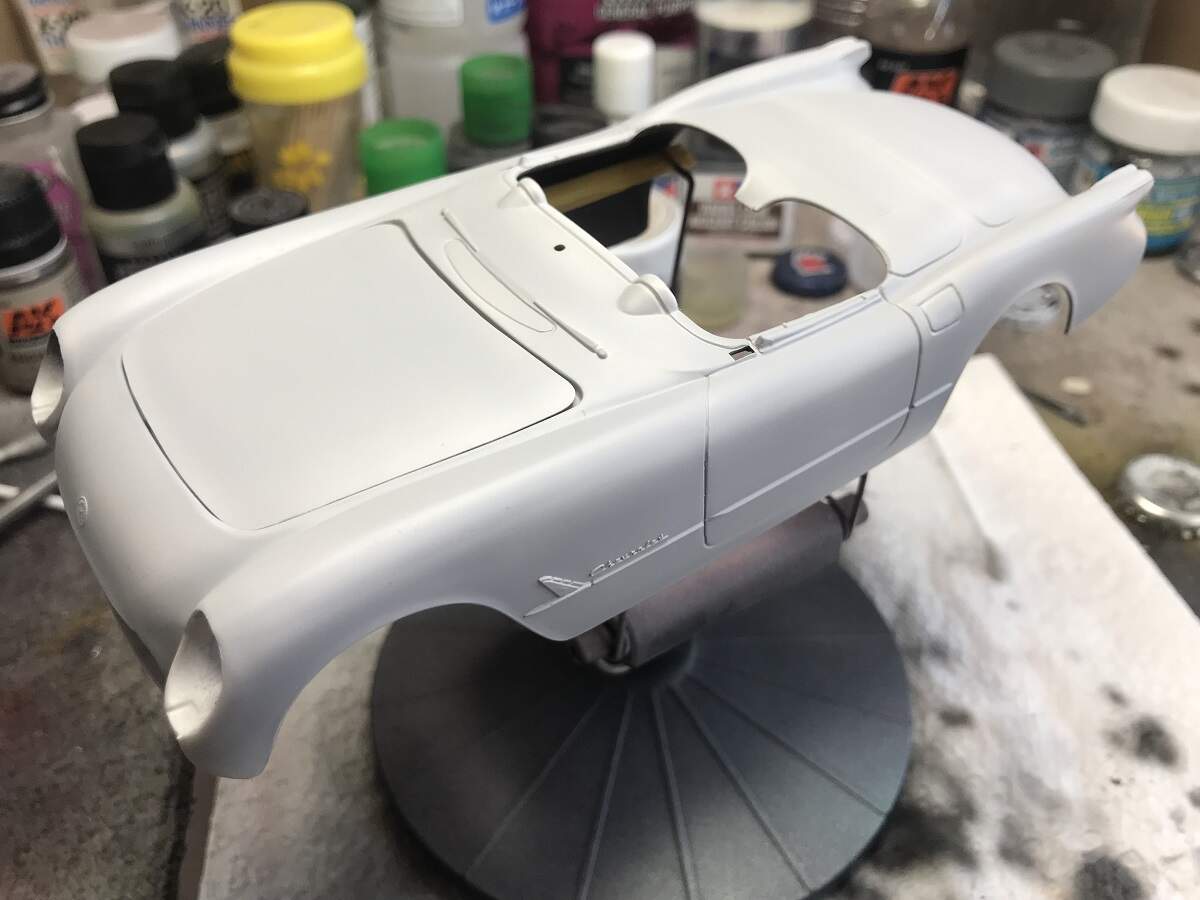
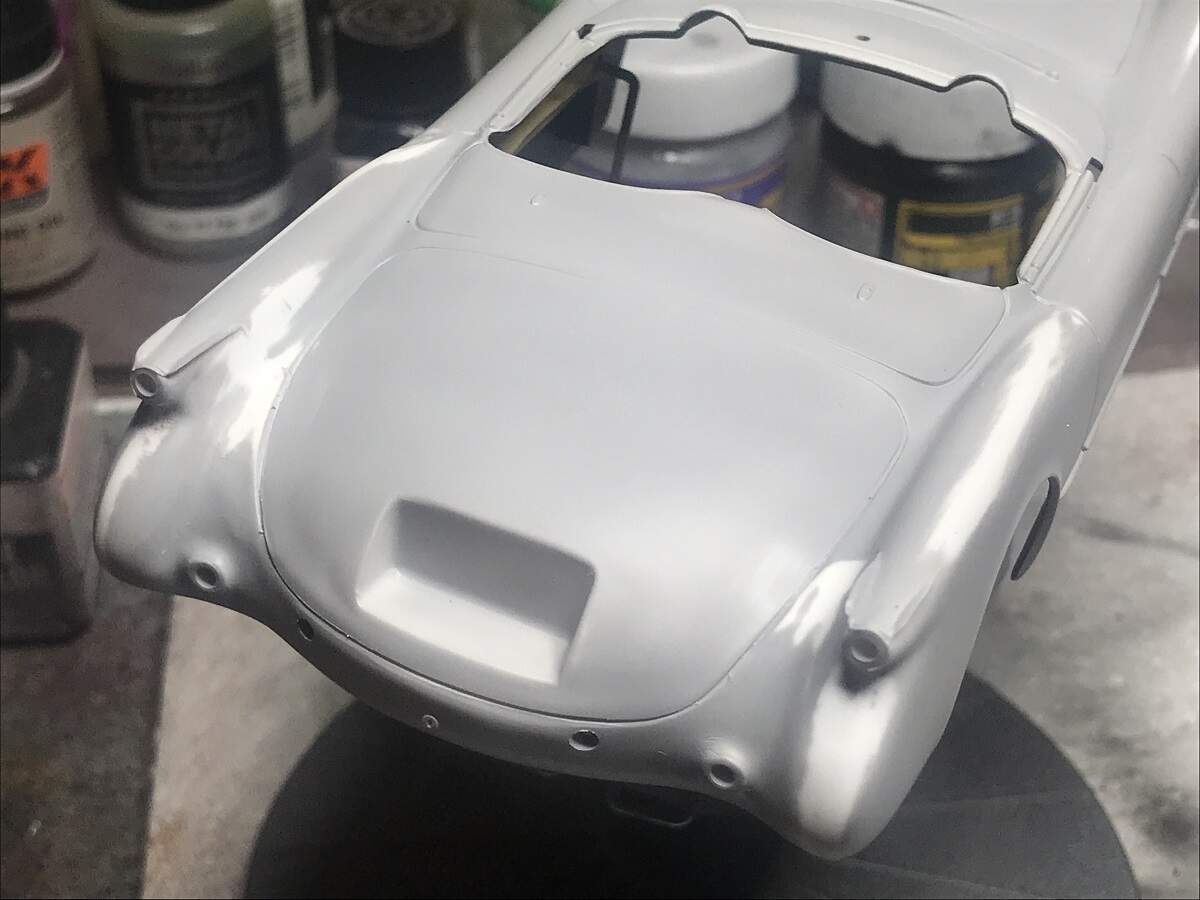
A little progress and a backward step on the '55 Corvette body. As always, the primer coat revealed some very fine seams and mould lines that needed attention.
I might spend some time tonight fabricating a display stand from some sprue and see what I can come up with.
Masking and painting the intake manifold on the chrome carburetor part looks like fun! Maybe I need to carve off the manifold and paint it separately and then reassemble.
I’ve never had much luck with the couple of attempts I made using liquid mask. I probably need to keep trying though, because that would seem to be a good option for this type of small part with complex surface detail.
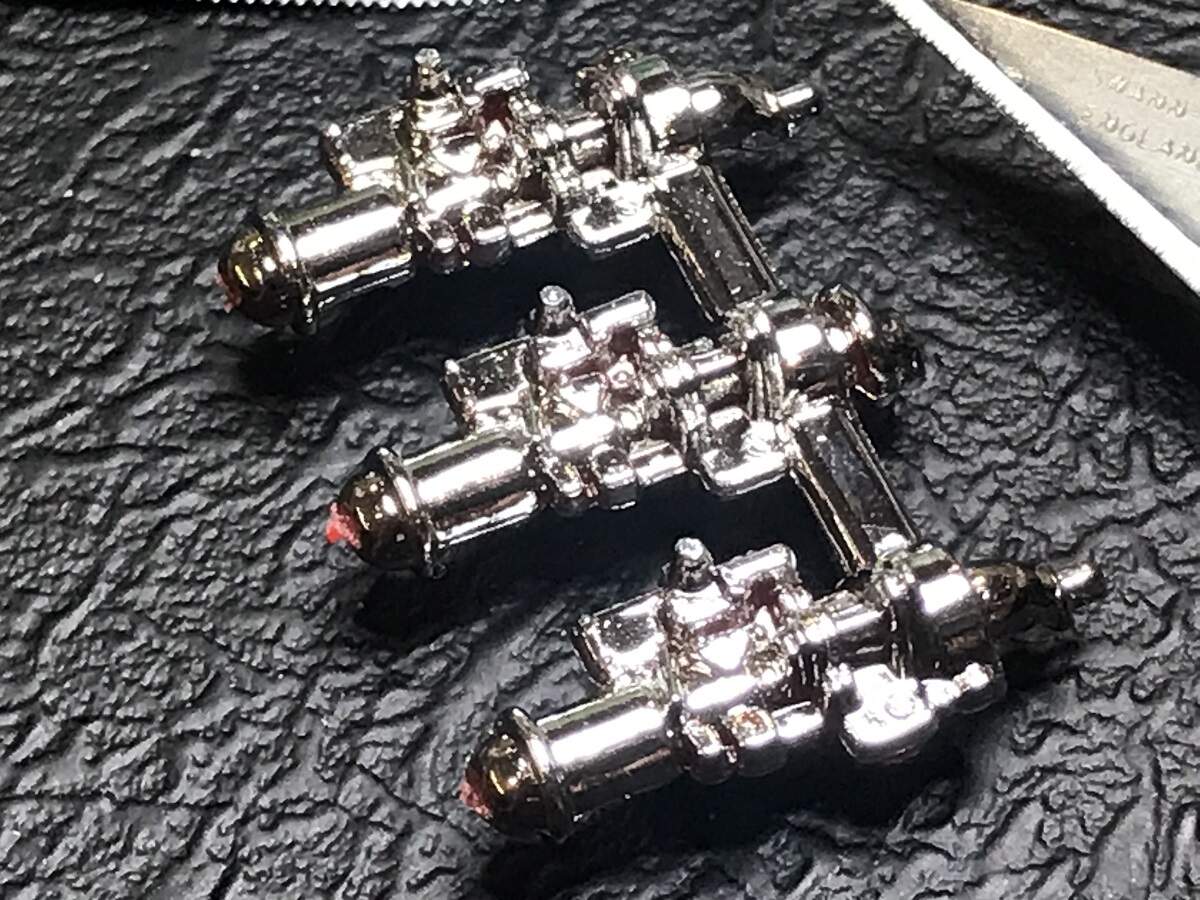
Never one to shy away from some bench shenanigans, on with the micro-surgery!
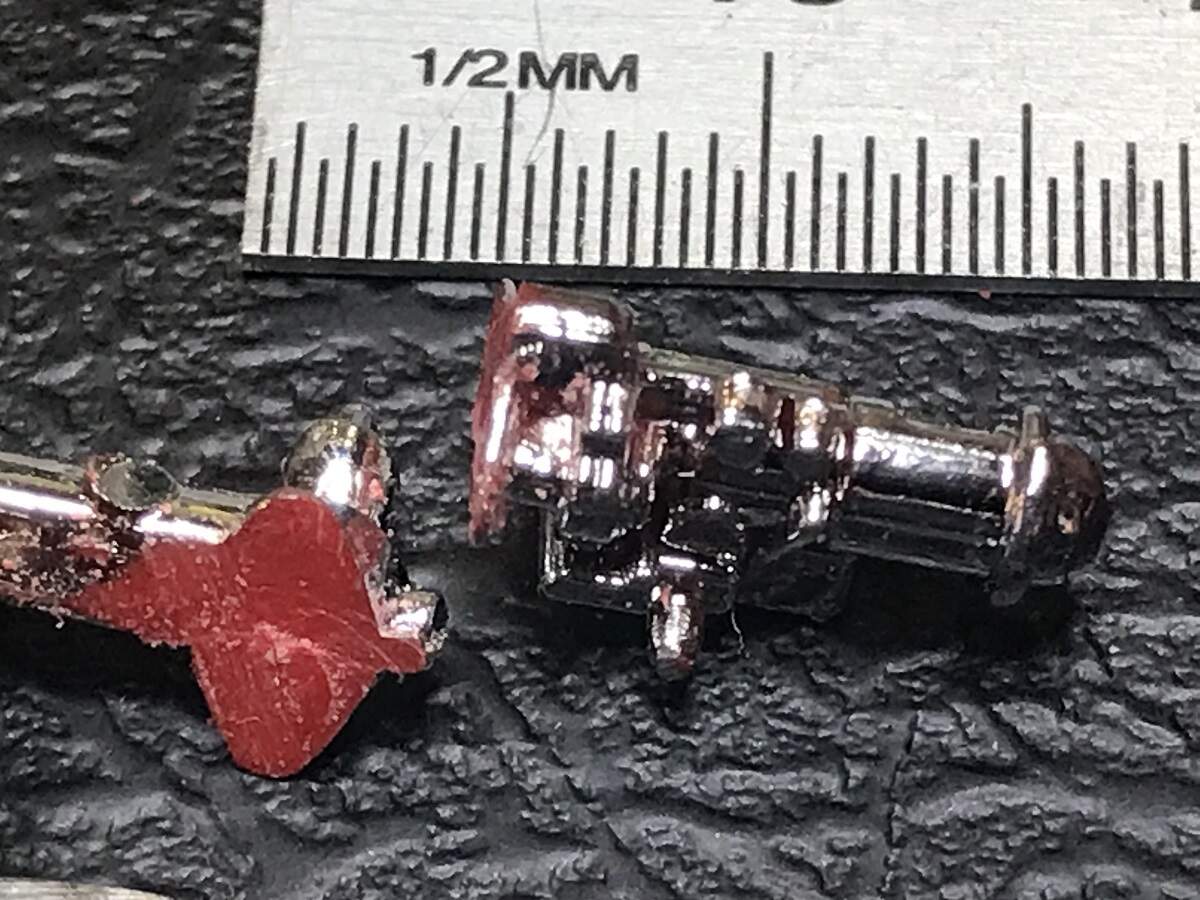
First up I used a scalpel blade to deepen the groove where the intake manifold and carb body flanges meet. Great detail on an old kit that it was even there!
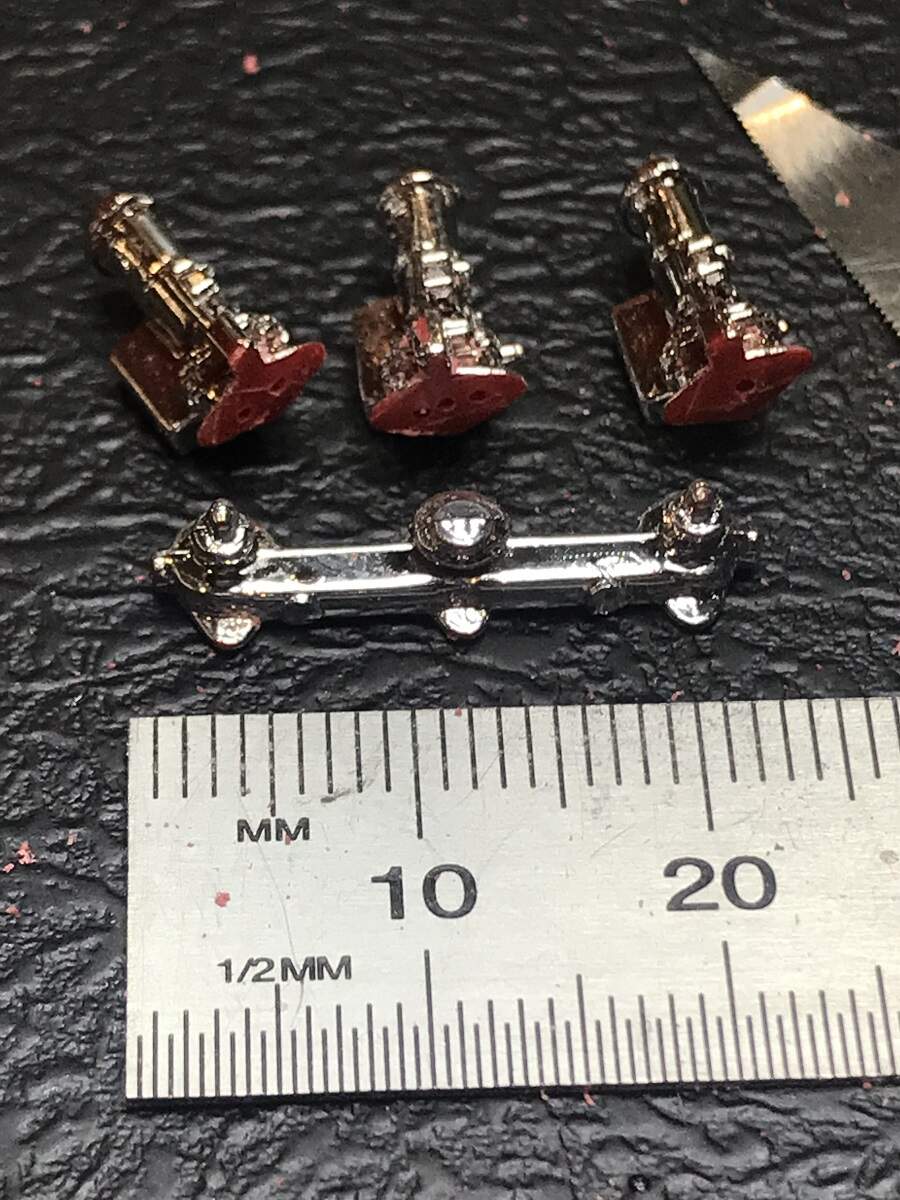
I drilled some small holes in the flanges (1, 2 and 3 respectively) on both sides so that they go back in the right order, and I will lightly sand the mating surfaces after painting to get a good bond. The manifold will get a bath in oven cleaner to remove the chrome. The chrome air intakes will be masked while the carb bodies get a shot of flat clear to dull them down. If they don’t look right they will get painted with a steel colour.
The body of the '55 has been reprimed and cured, wet sanded, and I’m having a close look now to see if any further work is required.