Hello,
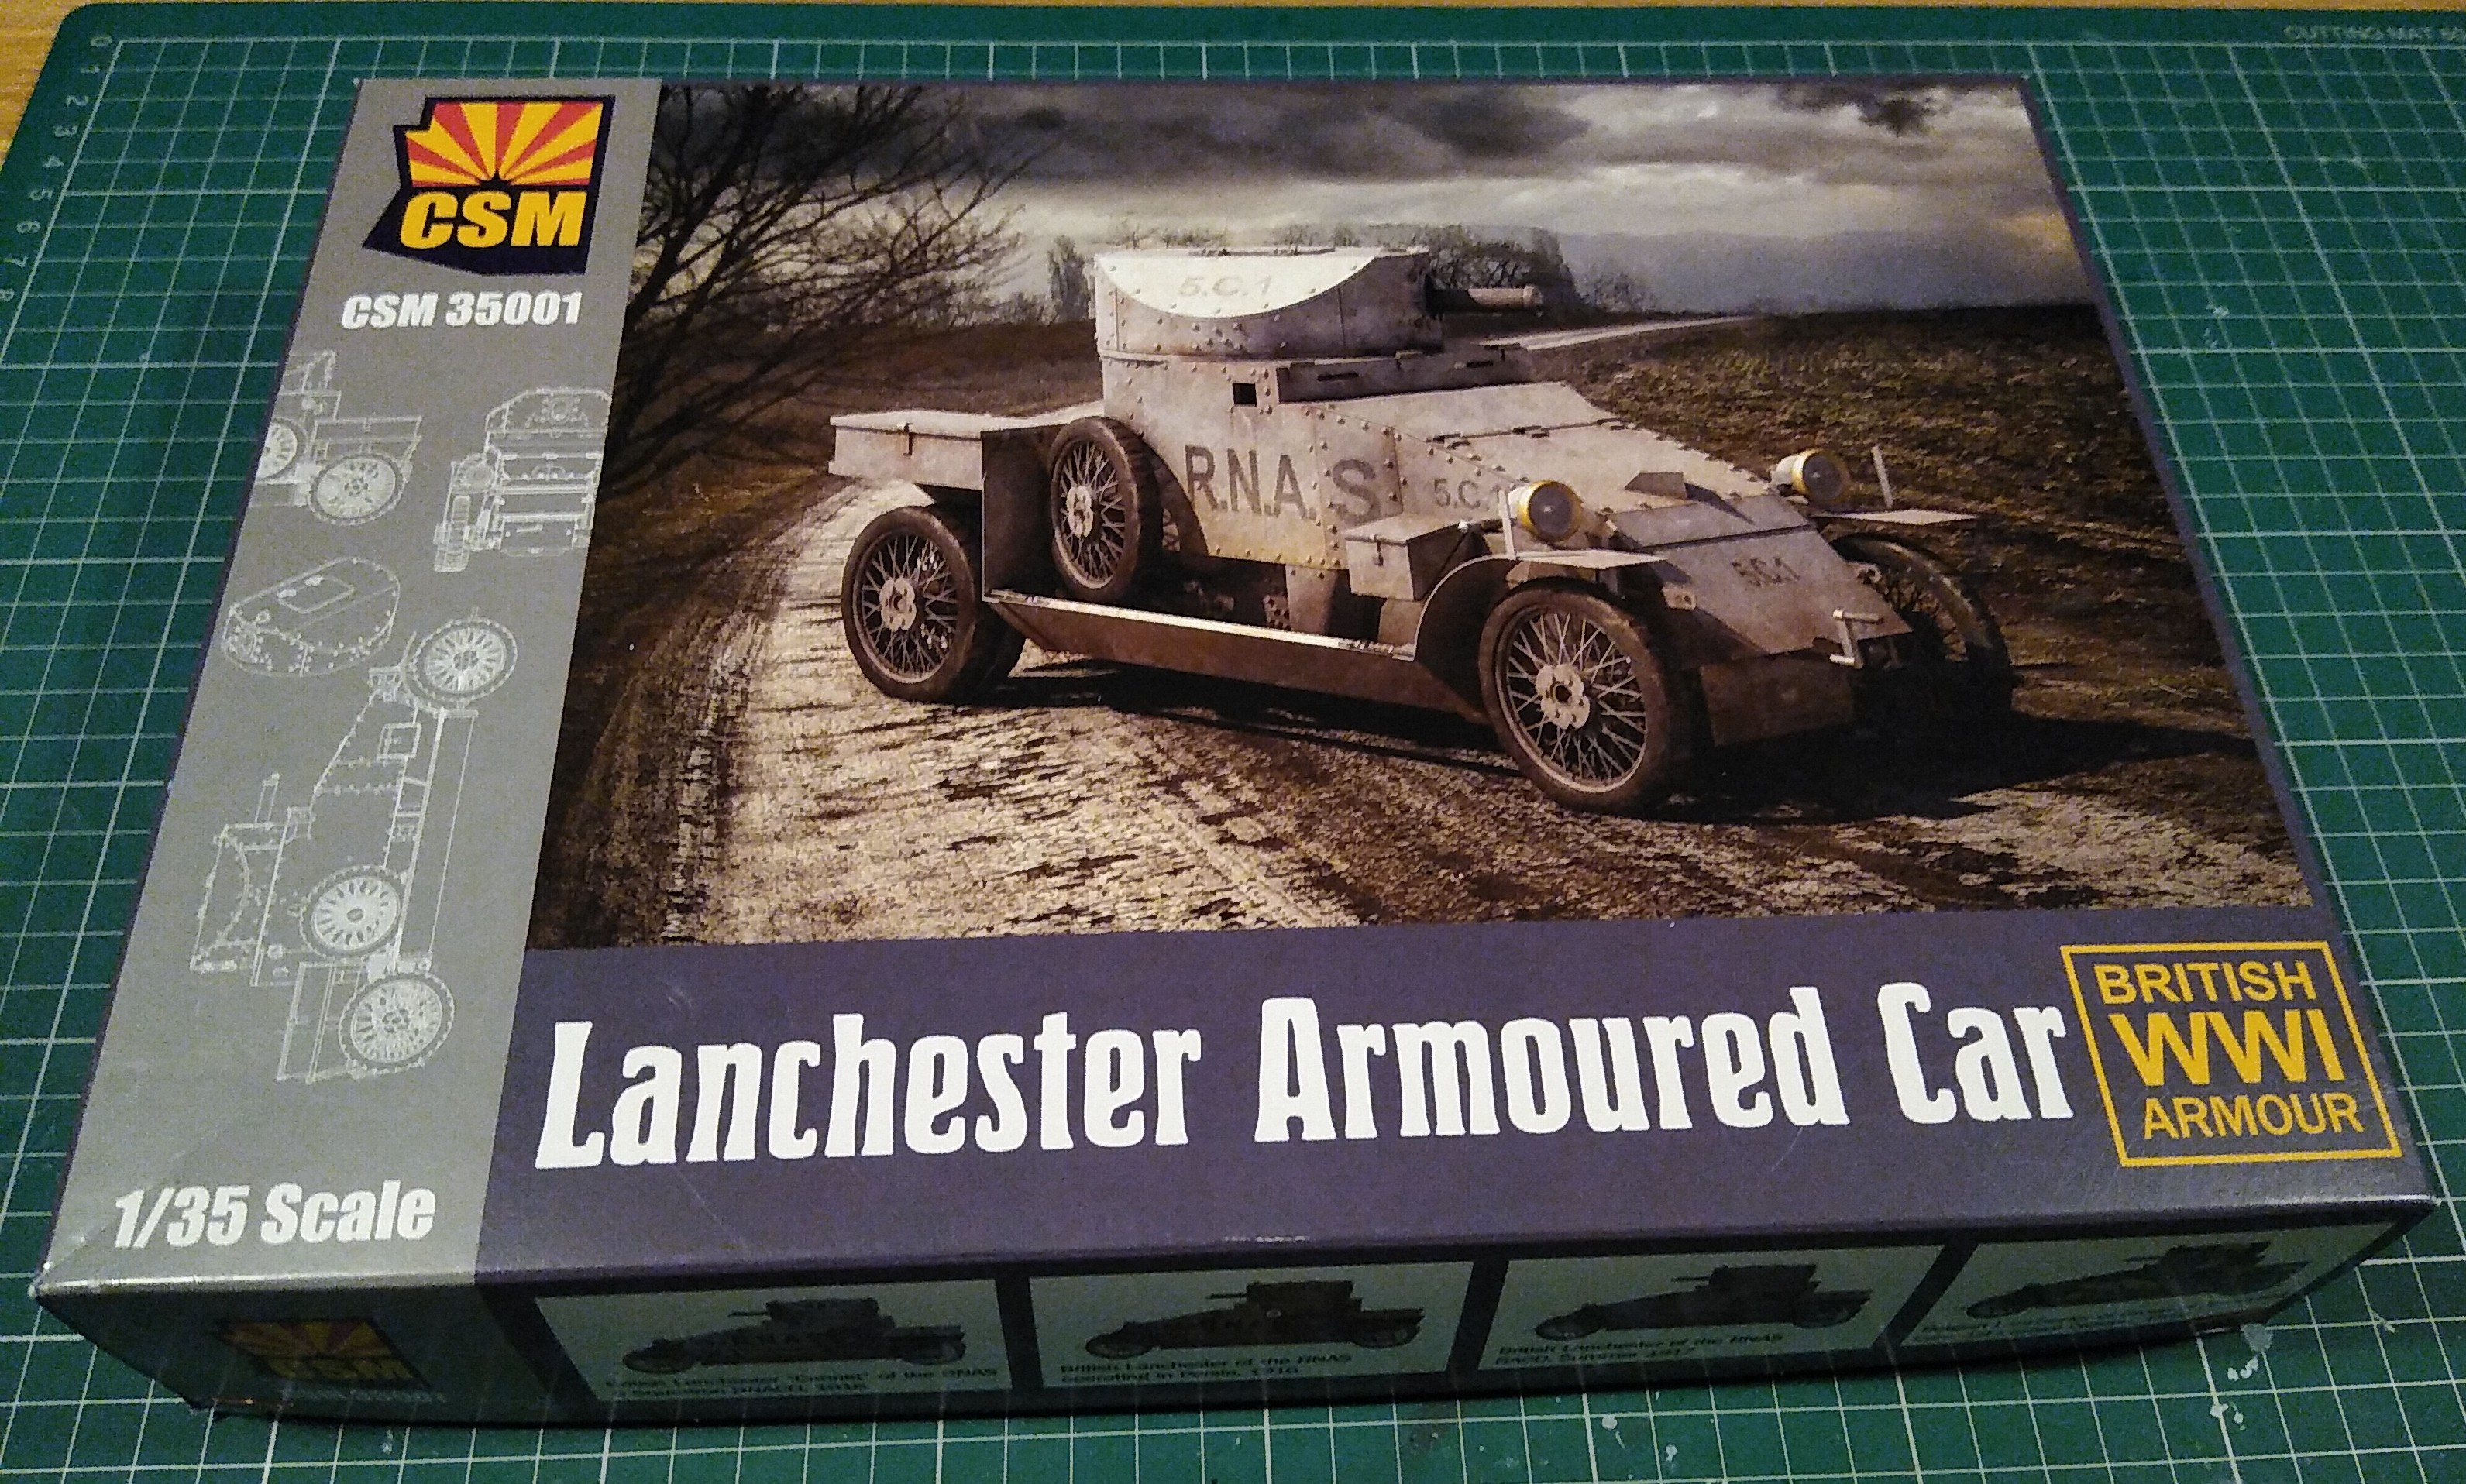
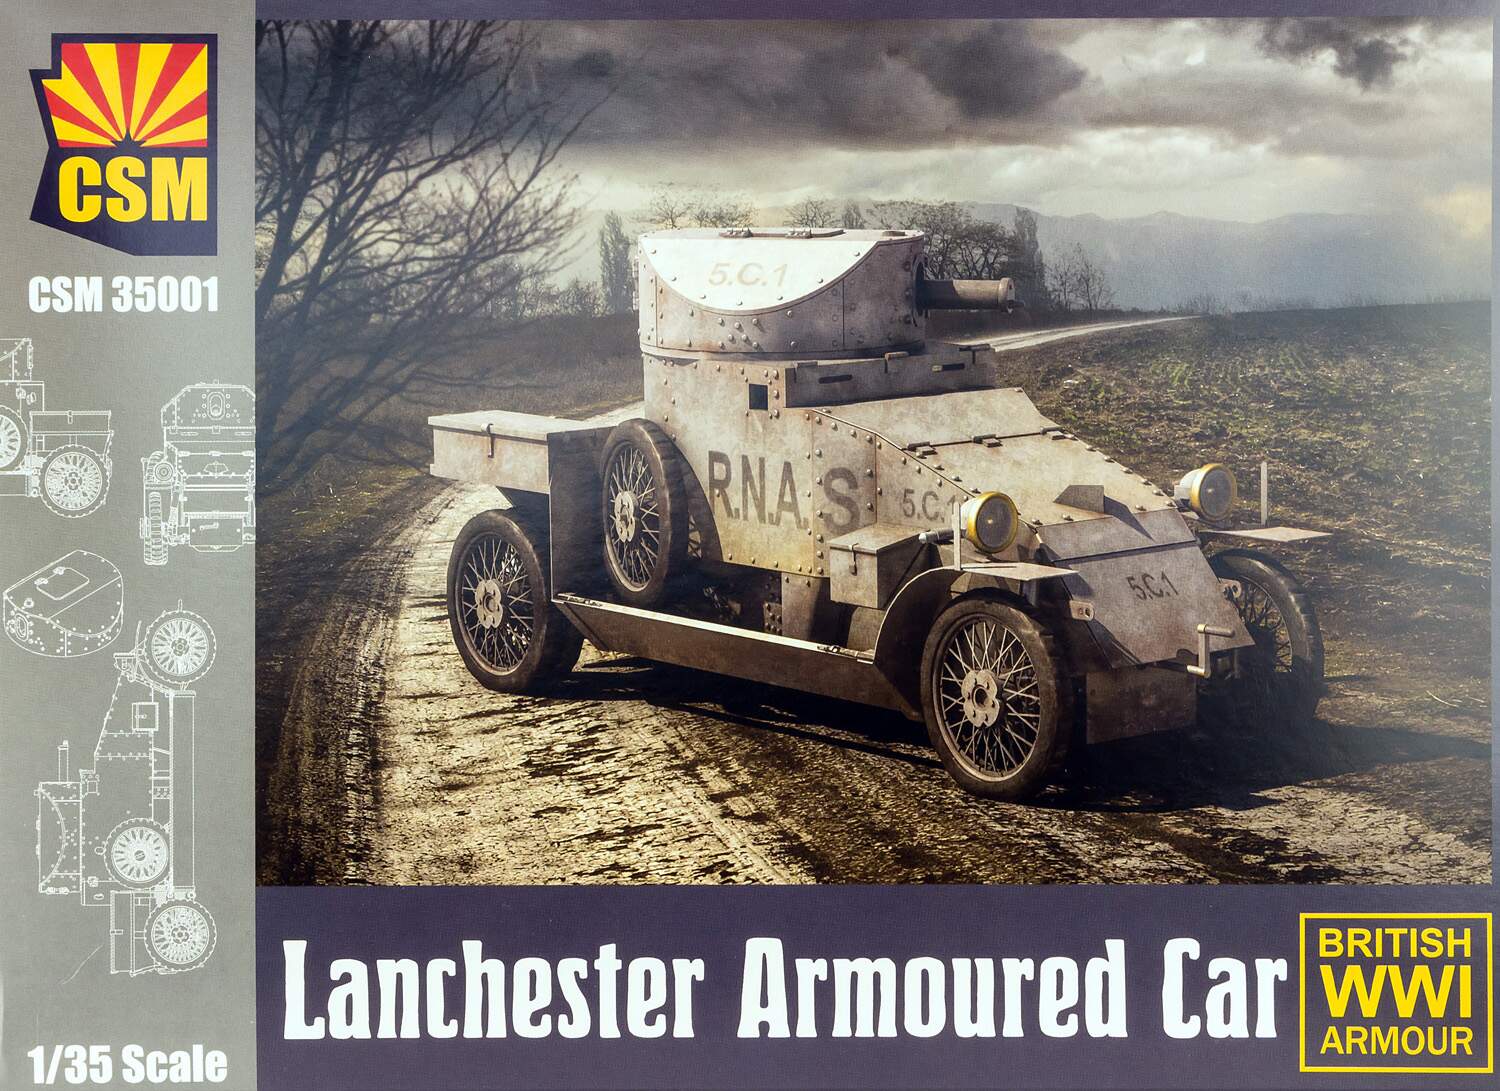
Thought I would share my build of CSM’s Lanchester Armoured Car.
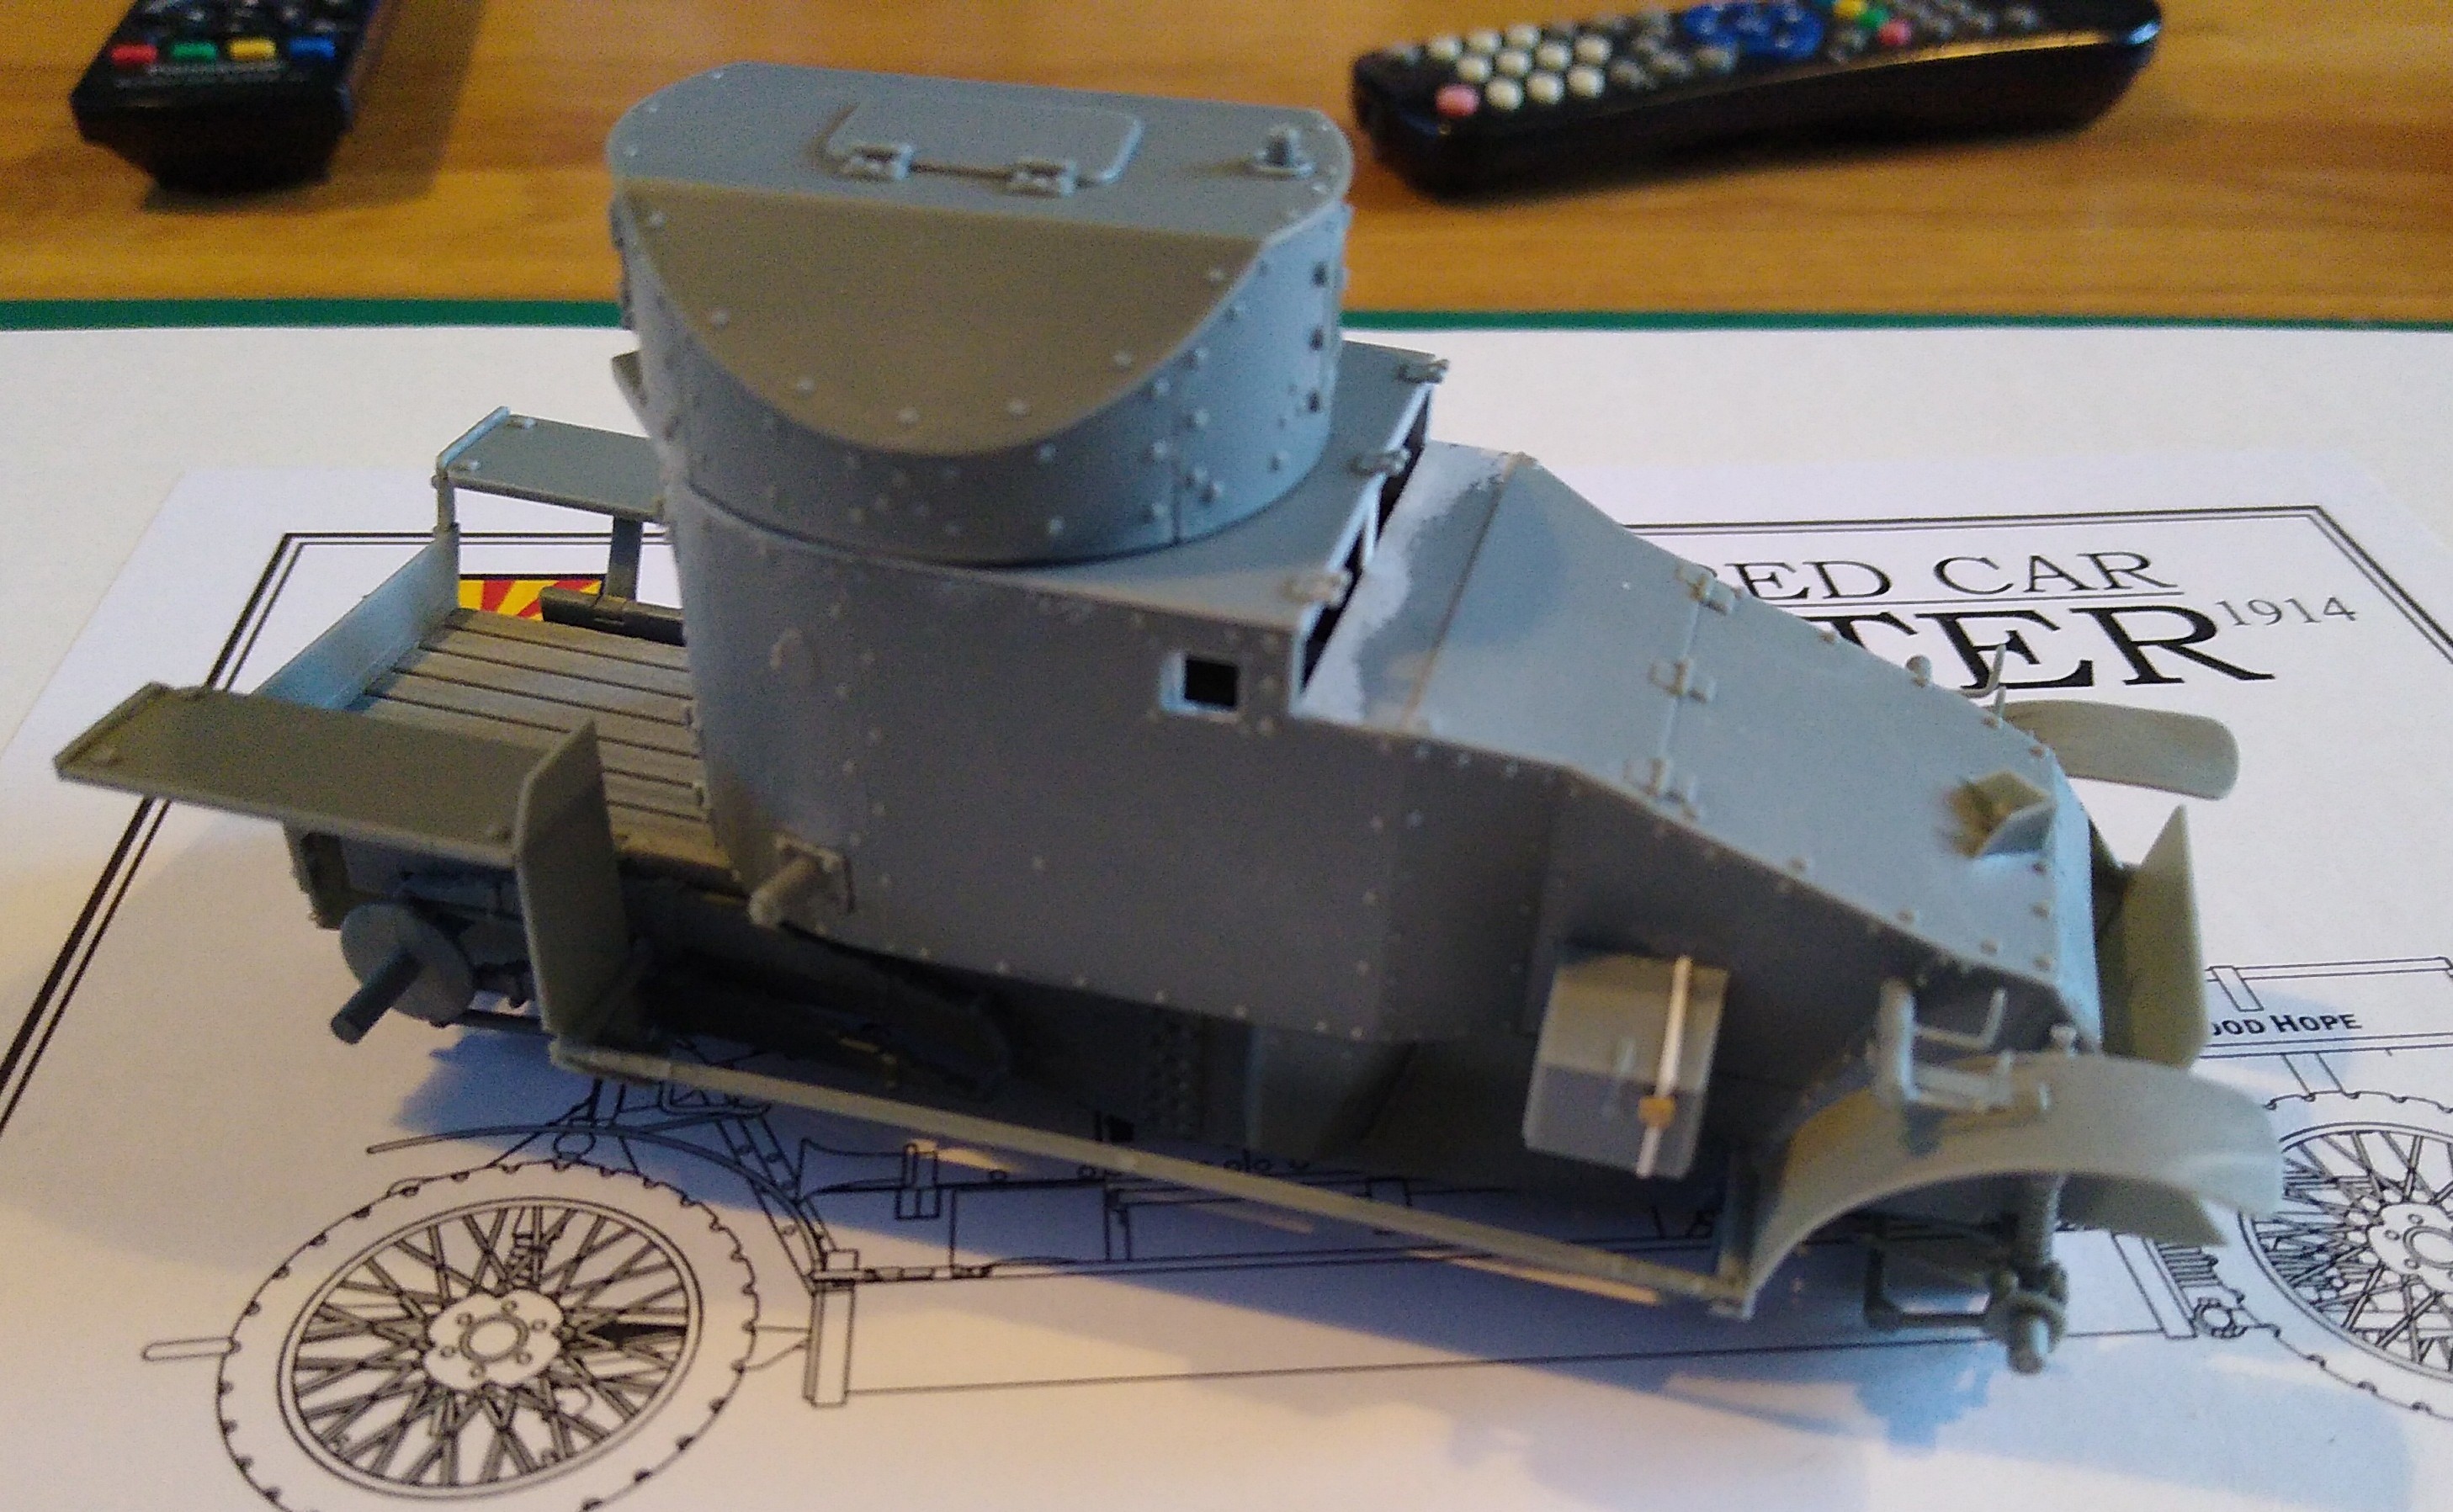
I got this one for Christmas from my partner. Rather than add it to the stash, I started it over the holidays and this is where I’m currently at.
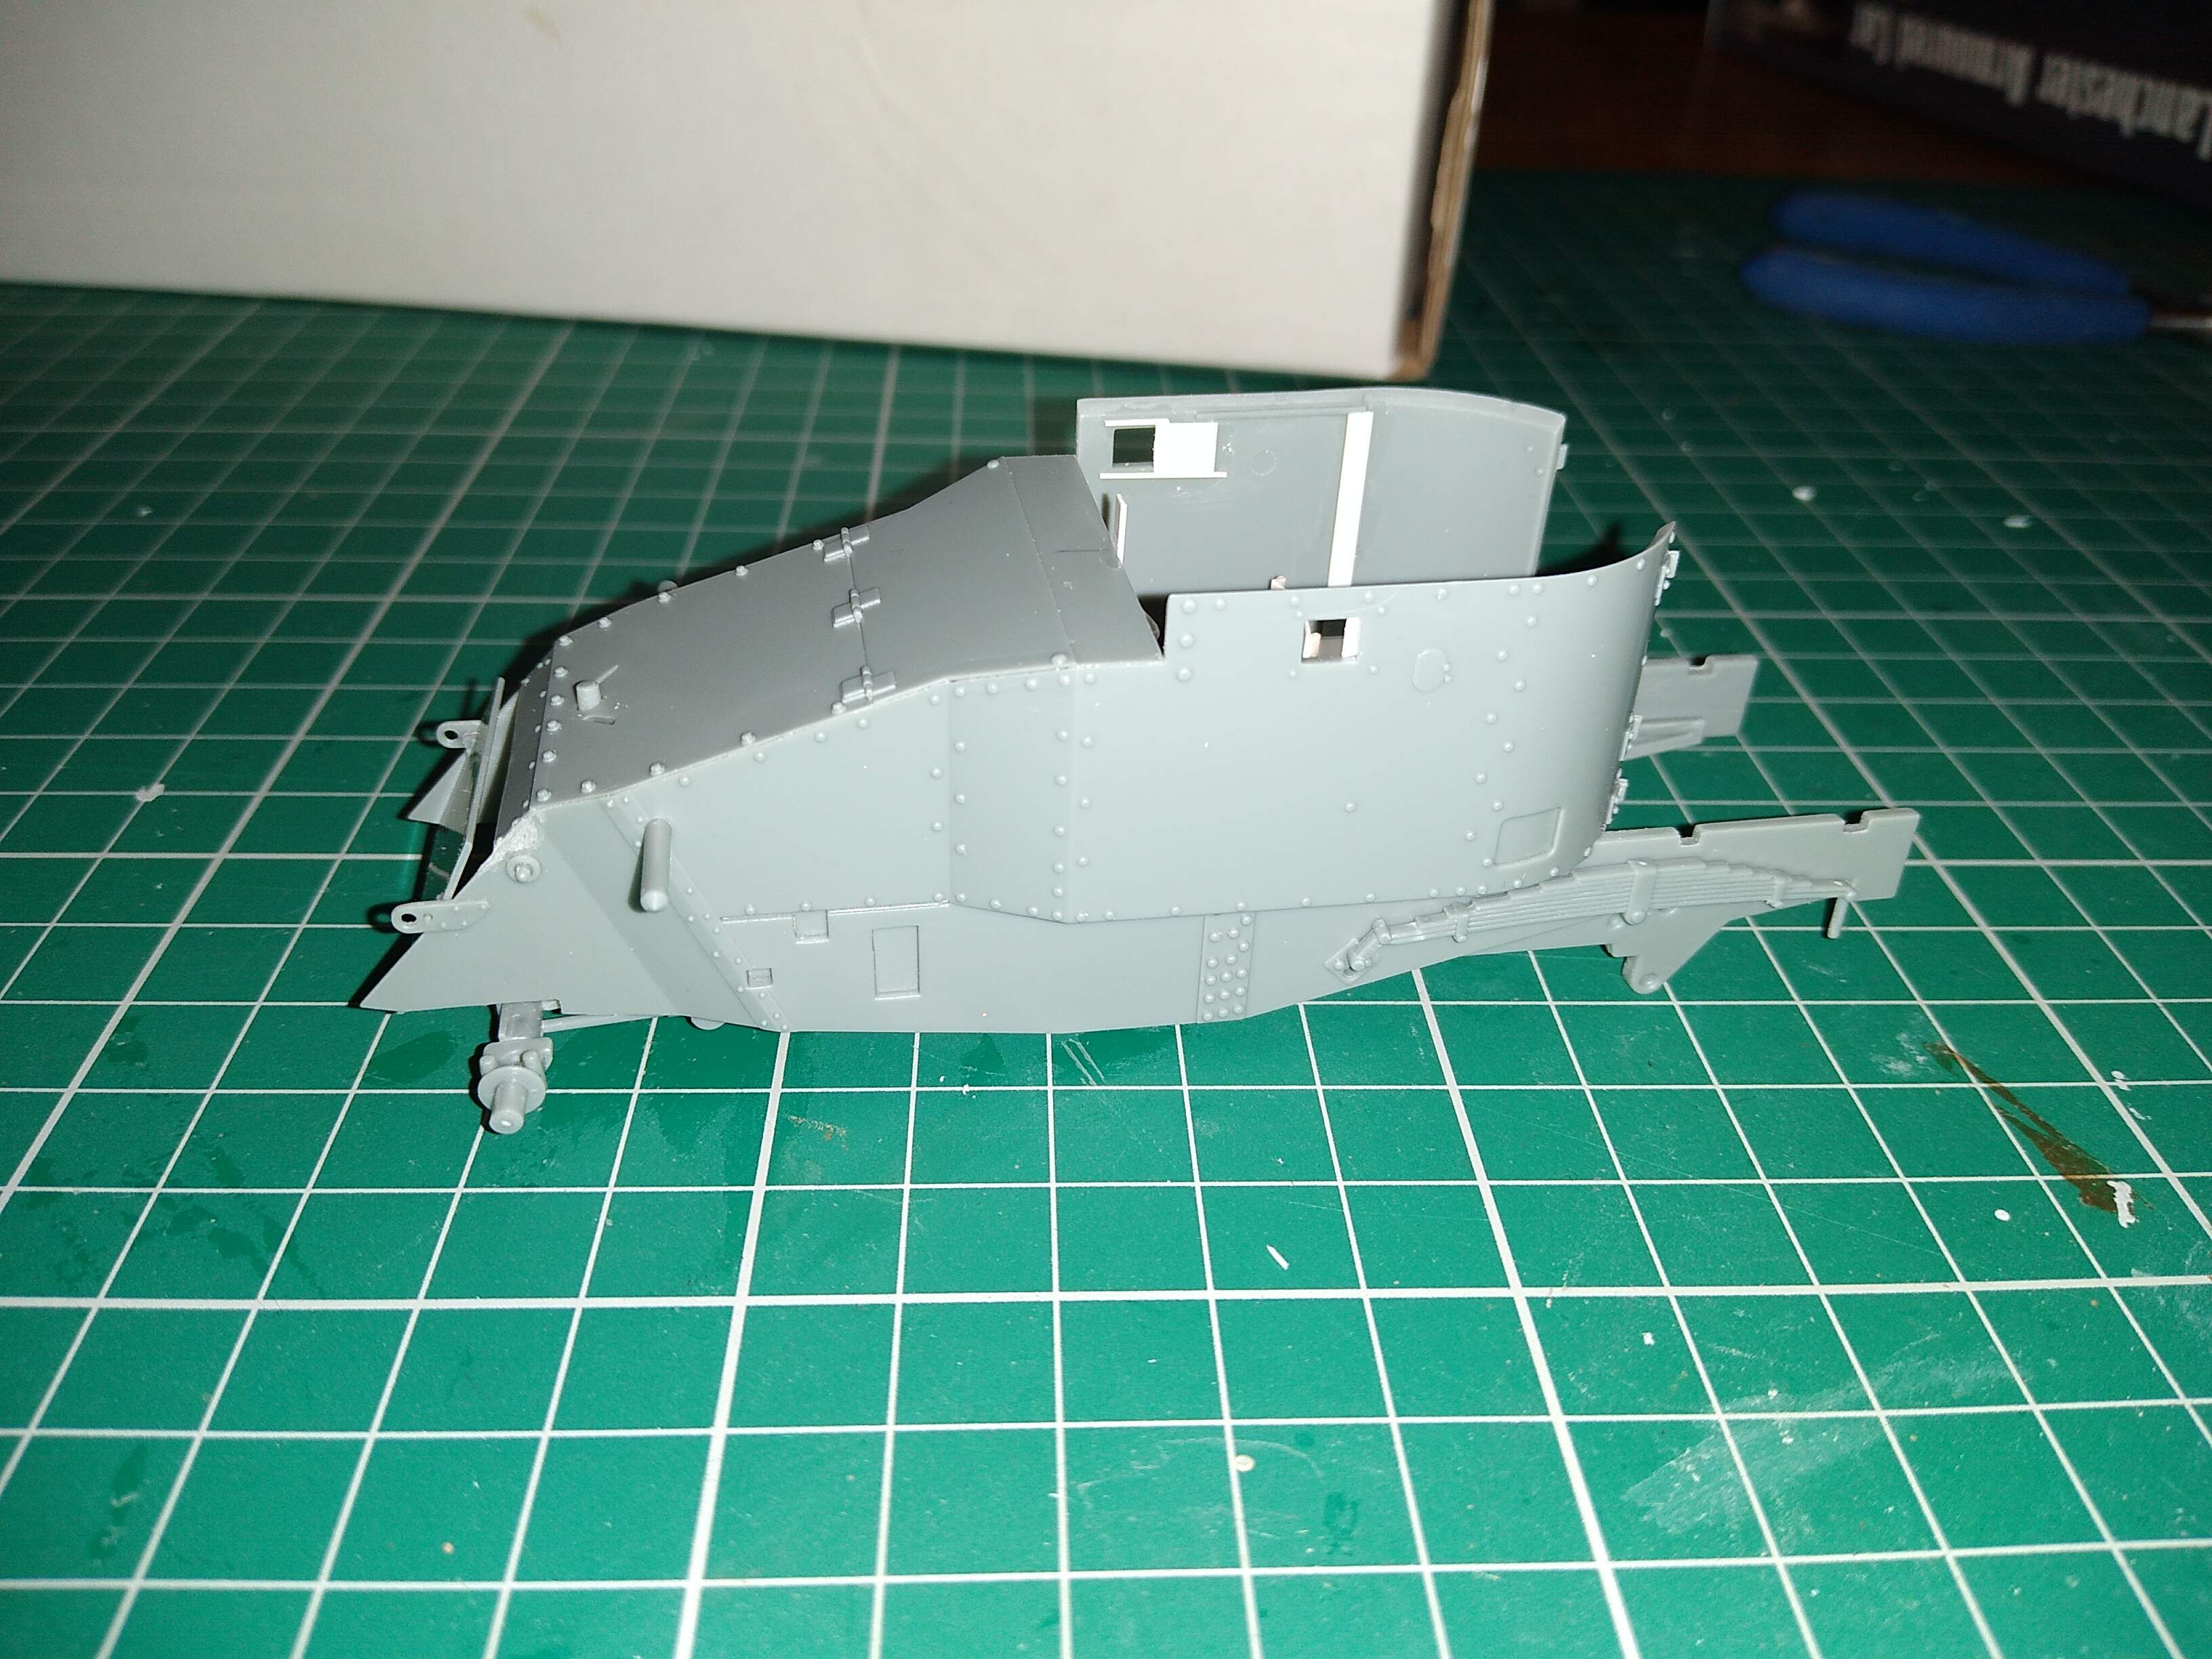
Builds up fairly quickly and easily, but I do recommend test fitting everything! As I found out when I couldn’t get the radiator to fit right. Had to sand both sides of it to make it fit without forcing the hull sides apart. My mistake and in no way a problem with the kit.
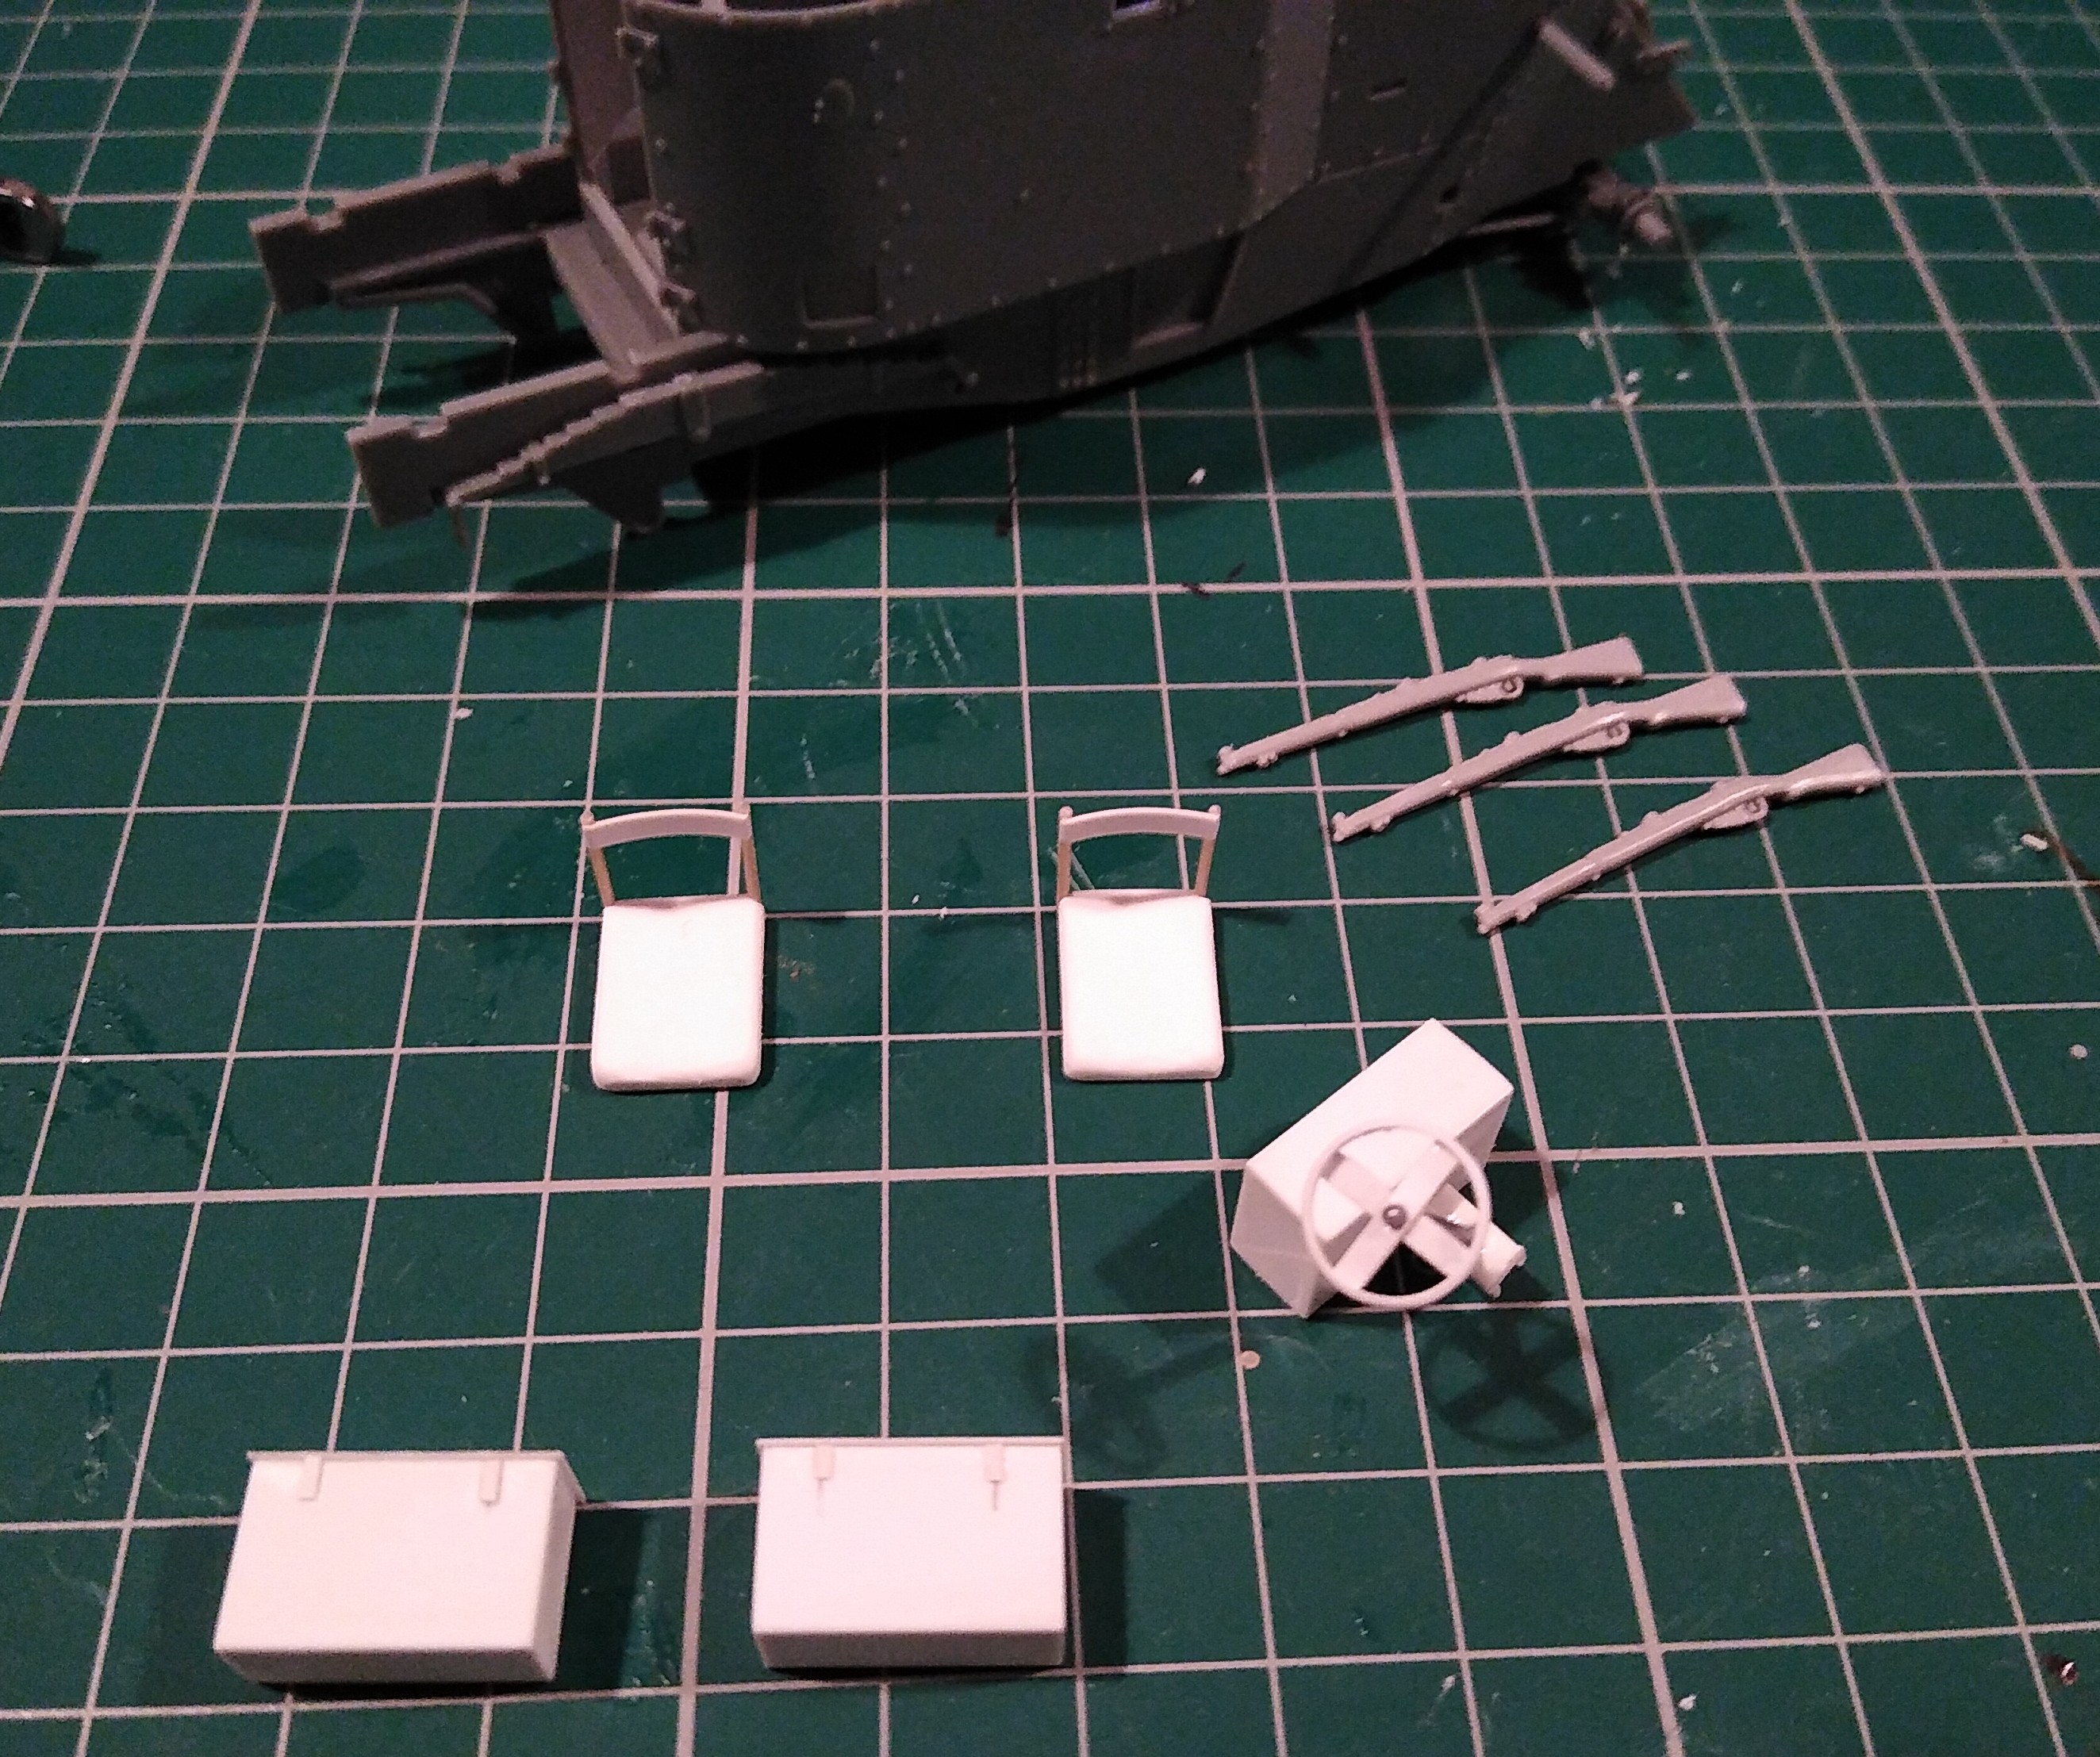
I do plan on displaying it with the doors and drivers hatch open and it’s completely bare in the inside. A search on the internet turned up a few photos showing the interior, so based on those I scratched together some simple parts. All made from plastruct stock, rod, sheet and a rack of Enfield’s from the spares. Not claiming it’s 100%, but it will look a lot busier inside. It was a lot of fun researching and putting these parts together.
Looking real good, and nice work on the interior. One thing, the front armor plate, is it glued? It should not be vertical. It would look like this if positioned open.
Thanks. It’s just held in by the pins and free to move at the moment. Just makes it easier to get in and paint the radiator. I’ll secure it permanently when it’s painted. Quite impressed by the engineering of the kit that you get it to move freely if you wanted.
I’m not sure yet.
I like the desert scheme for the the version in Persia, but I can’t find any references to them. In fact, very little about the Persian campaign seems to be out there.
I’d recommend Bryan Perrett’s book, “British Armoured car Operations in World War One,” Pen & Sword Books, Ltd. South Yorkshire. 2016. ISBN: 978 1 47386 1183
It pretty much covers all of the various and wide spread operations, from the western front to Russia, to all of Africa, the Middle East, and through Mesopotamia into eastern Turkey, Persia and north to the Caspian. The book’s only real downside is that it’s not long enough! Altogether, though, it makes for fascinating reading.
He doesn’t really get into any camouflage or makings, but he does generally identify the types and numbers of the different armored cars employed by the many different units - navy, army and air force in the different theaters and campaigns.
You’d think, though, with all the new WWI armored cars models that have popped up over the last few years that we’d at least have a couple more Osprey titles beyond their NVG on the Rolls-Royce armored cars.
Thanks Michael, will have to look for that one. Always good to add another book to reference library.
Last week I did get David Fletcher’s ‘War Cars’ and Perretts ‘The Czars British Squadrons’ which details the operations in Russia. Very useful books. I think we will start to see more reference works in the near future, especially with all these kits coming out. Osprey would be missing a trick if they didn’t.
I did get some white primer on the interior parts. As much as I could anyway as I kept losing air pressure. My 20 year old compressor is definitely on its way out! As soon as my LHS is open, I’m ordering a new one!
LOL! That’s kind of funny… I also tracked down copies of the oop Fletcher HMSO-Tank Museum book and Perrett’s “The Czars British Squadron” (still waiting on that one).
I suspect that Perrett’s earlier book covers pretty much all of the details about the Locker Lampson / Dunsterville unit’s operations that are also in Perrett’s newer book and then some. Although he does write in the newer book, “British Armoured Car Operations” that he has revised the chapters on this unit to reflect some updated information, the unit only gets a few of the chapters (rather than the entire book).
At any rate, sounds like you’ve pretty much covered all of the research bases that I can suggest for the Lancester armored car!
If you want to dig a little deeper into the operations of the armored car units in the middle east (to include T.E. Lawrence’s ops), I would recommend this one:
Stejskal, James. “Masters of Mayhem: The Seeds of British Special Operations.” Casemate. Havertown, PA. 2018. ISBN: 978 1 61200 574 4
This one really brings the history of British operations in the Middle East (to include the many different armored car units operating there) during WWI. He does cover T.E. Lawrence, but he also gives fairly equal coverage of a lot of other units and individuals. Really helps to add a lot of balance to overall history of the Arab Revolt and beyond just what T.E.L. was doing.
Yes, Czars British Squadrons is about the Locker Lampson ops. Only had a quick look through but it seems very interesting. Will have to make a start reading it soon. I picked it up to learn more as I’m also building ICM’s Ford Armoured Car. We’ve been really spoiled with all these great kits recently.
Added some details to the inside of the doors based on photos. Scratch built the inner latches from scrap plastic strip and wire handles for the pistol ports. The right angled part was made from a piece cut from some etched brass fret.
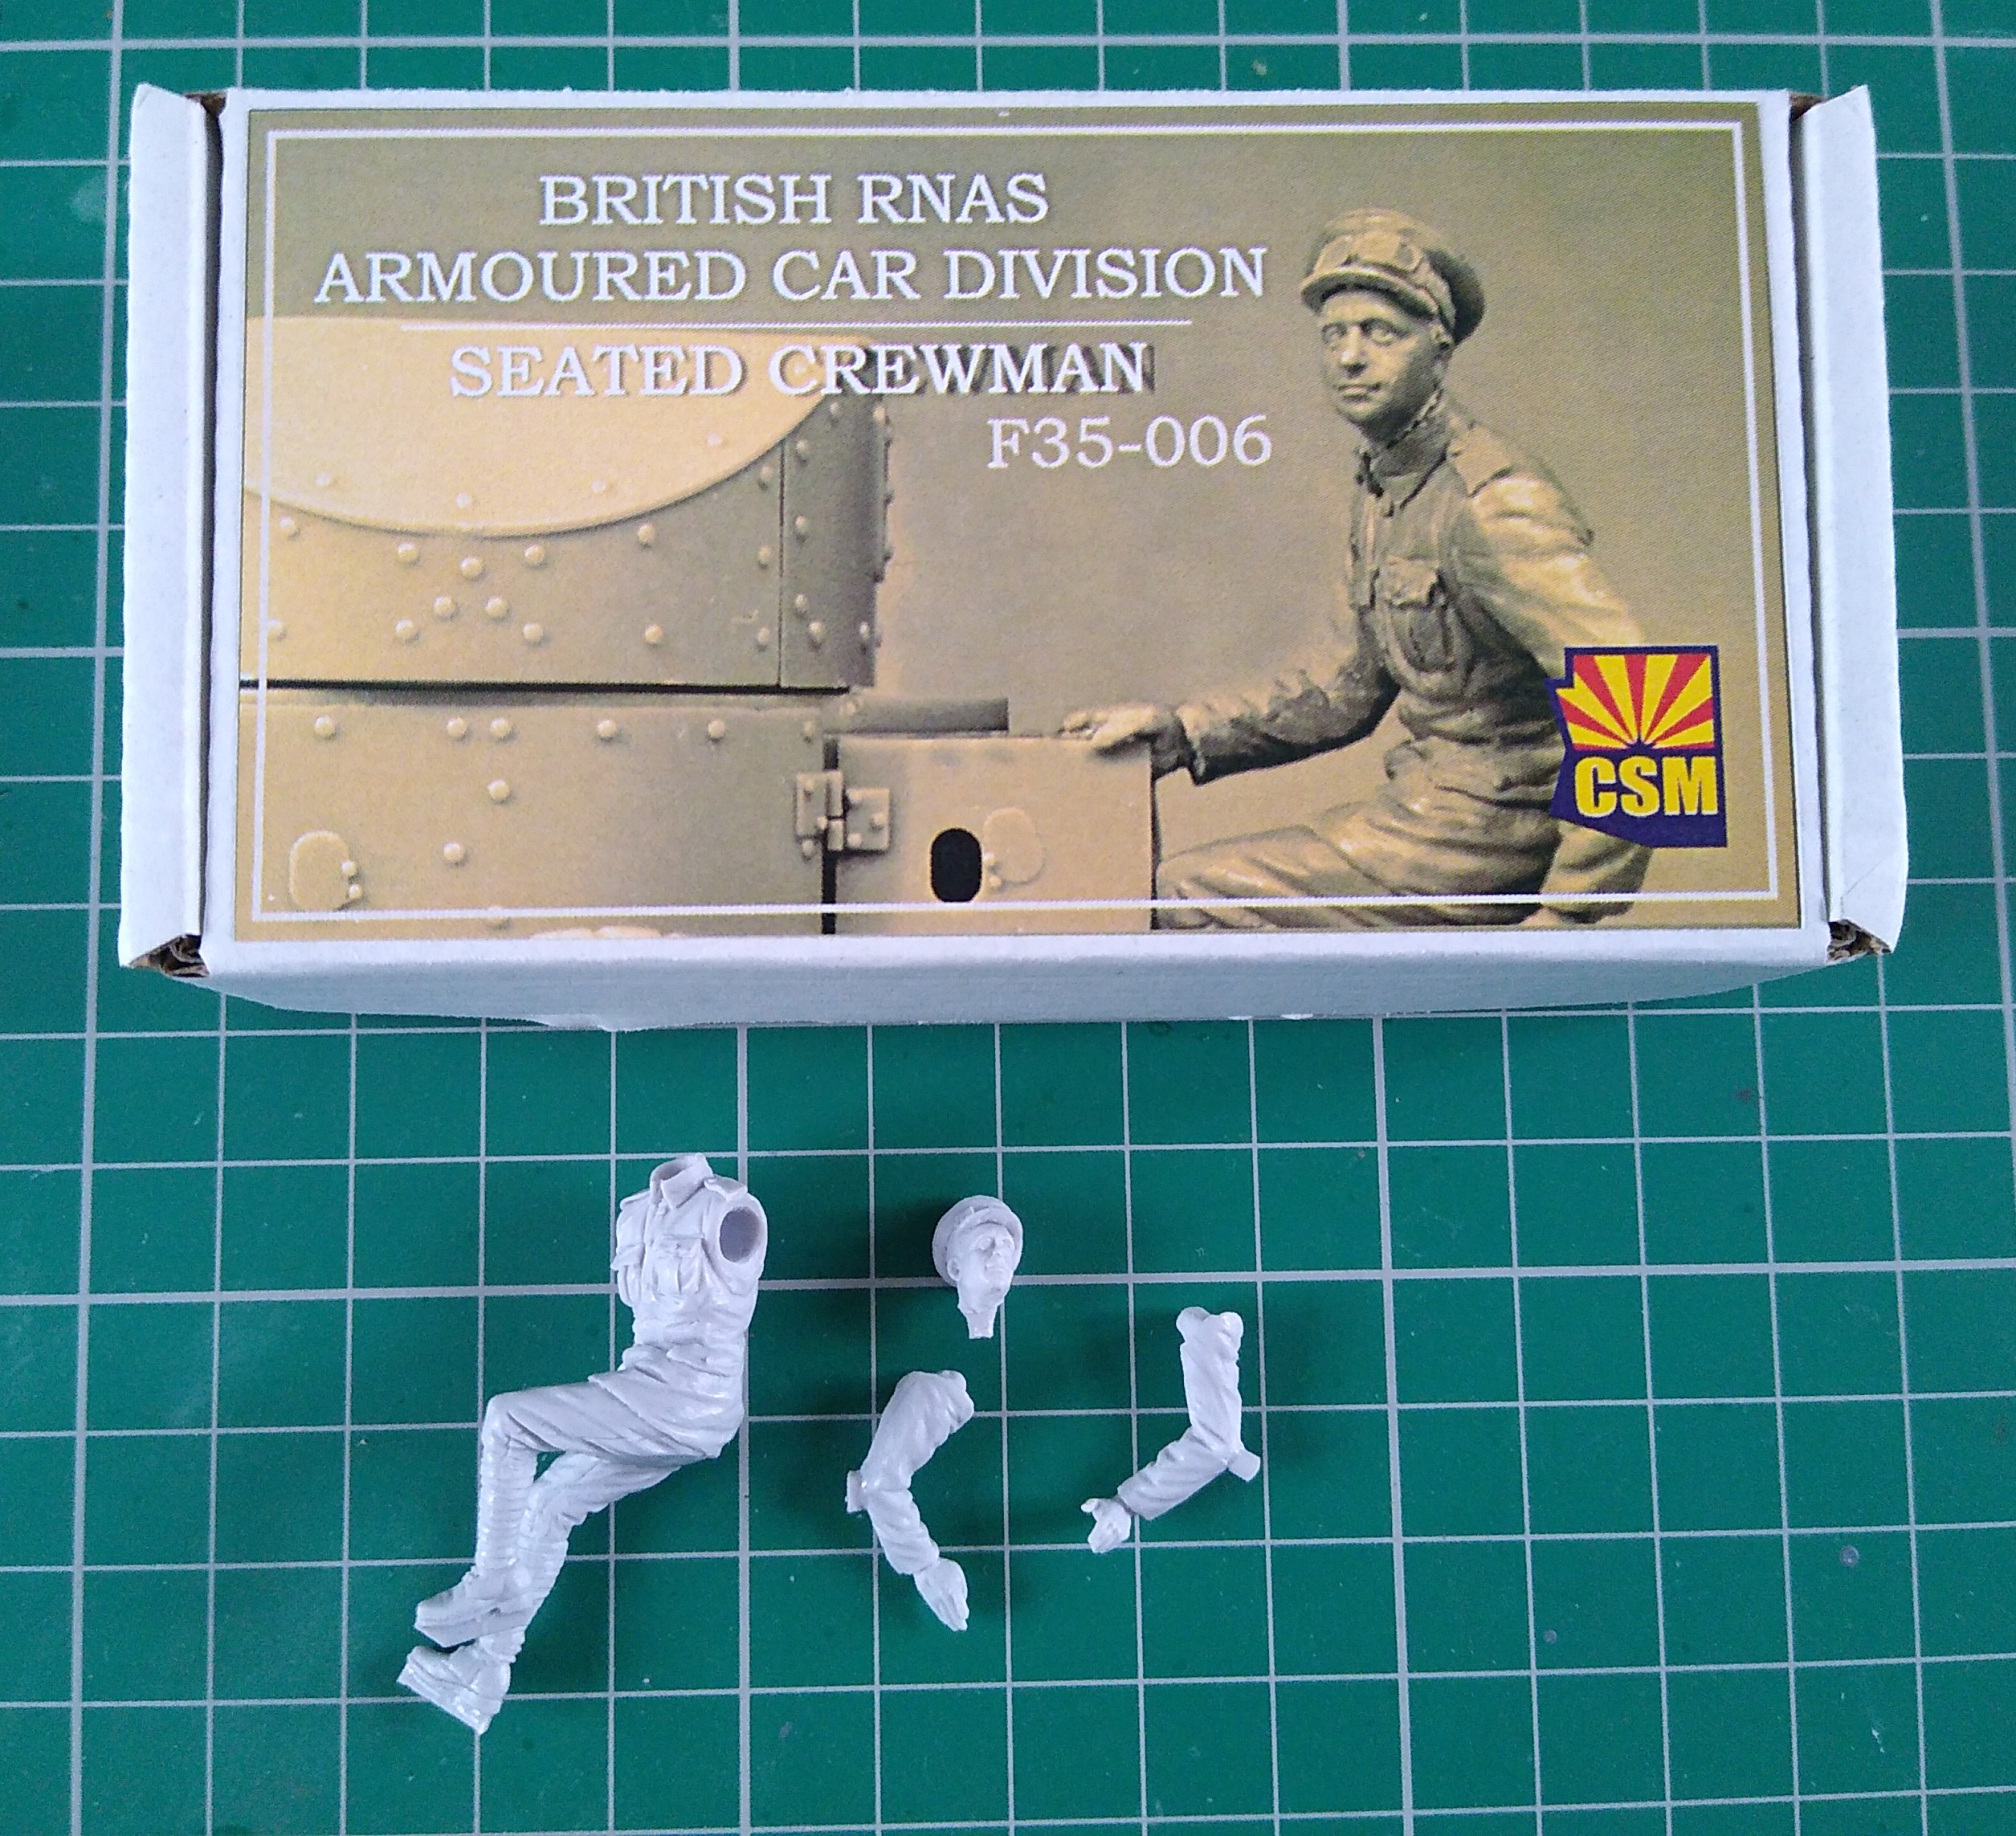
I’ve ordered a crewman from CSM. My first post Brexit purchase from the continent, so we’ll see what happens and what, if any, additional charges I get when it arrives. Thought a relatively inexpensive item would be a good test.
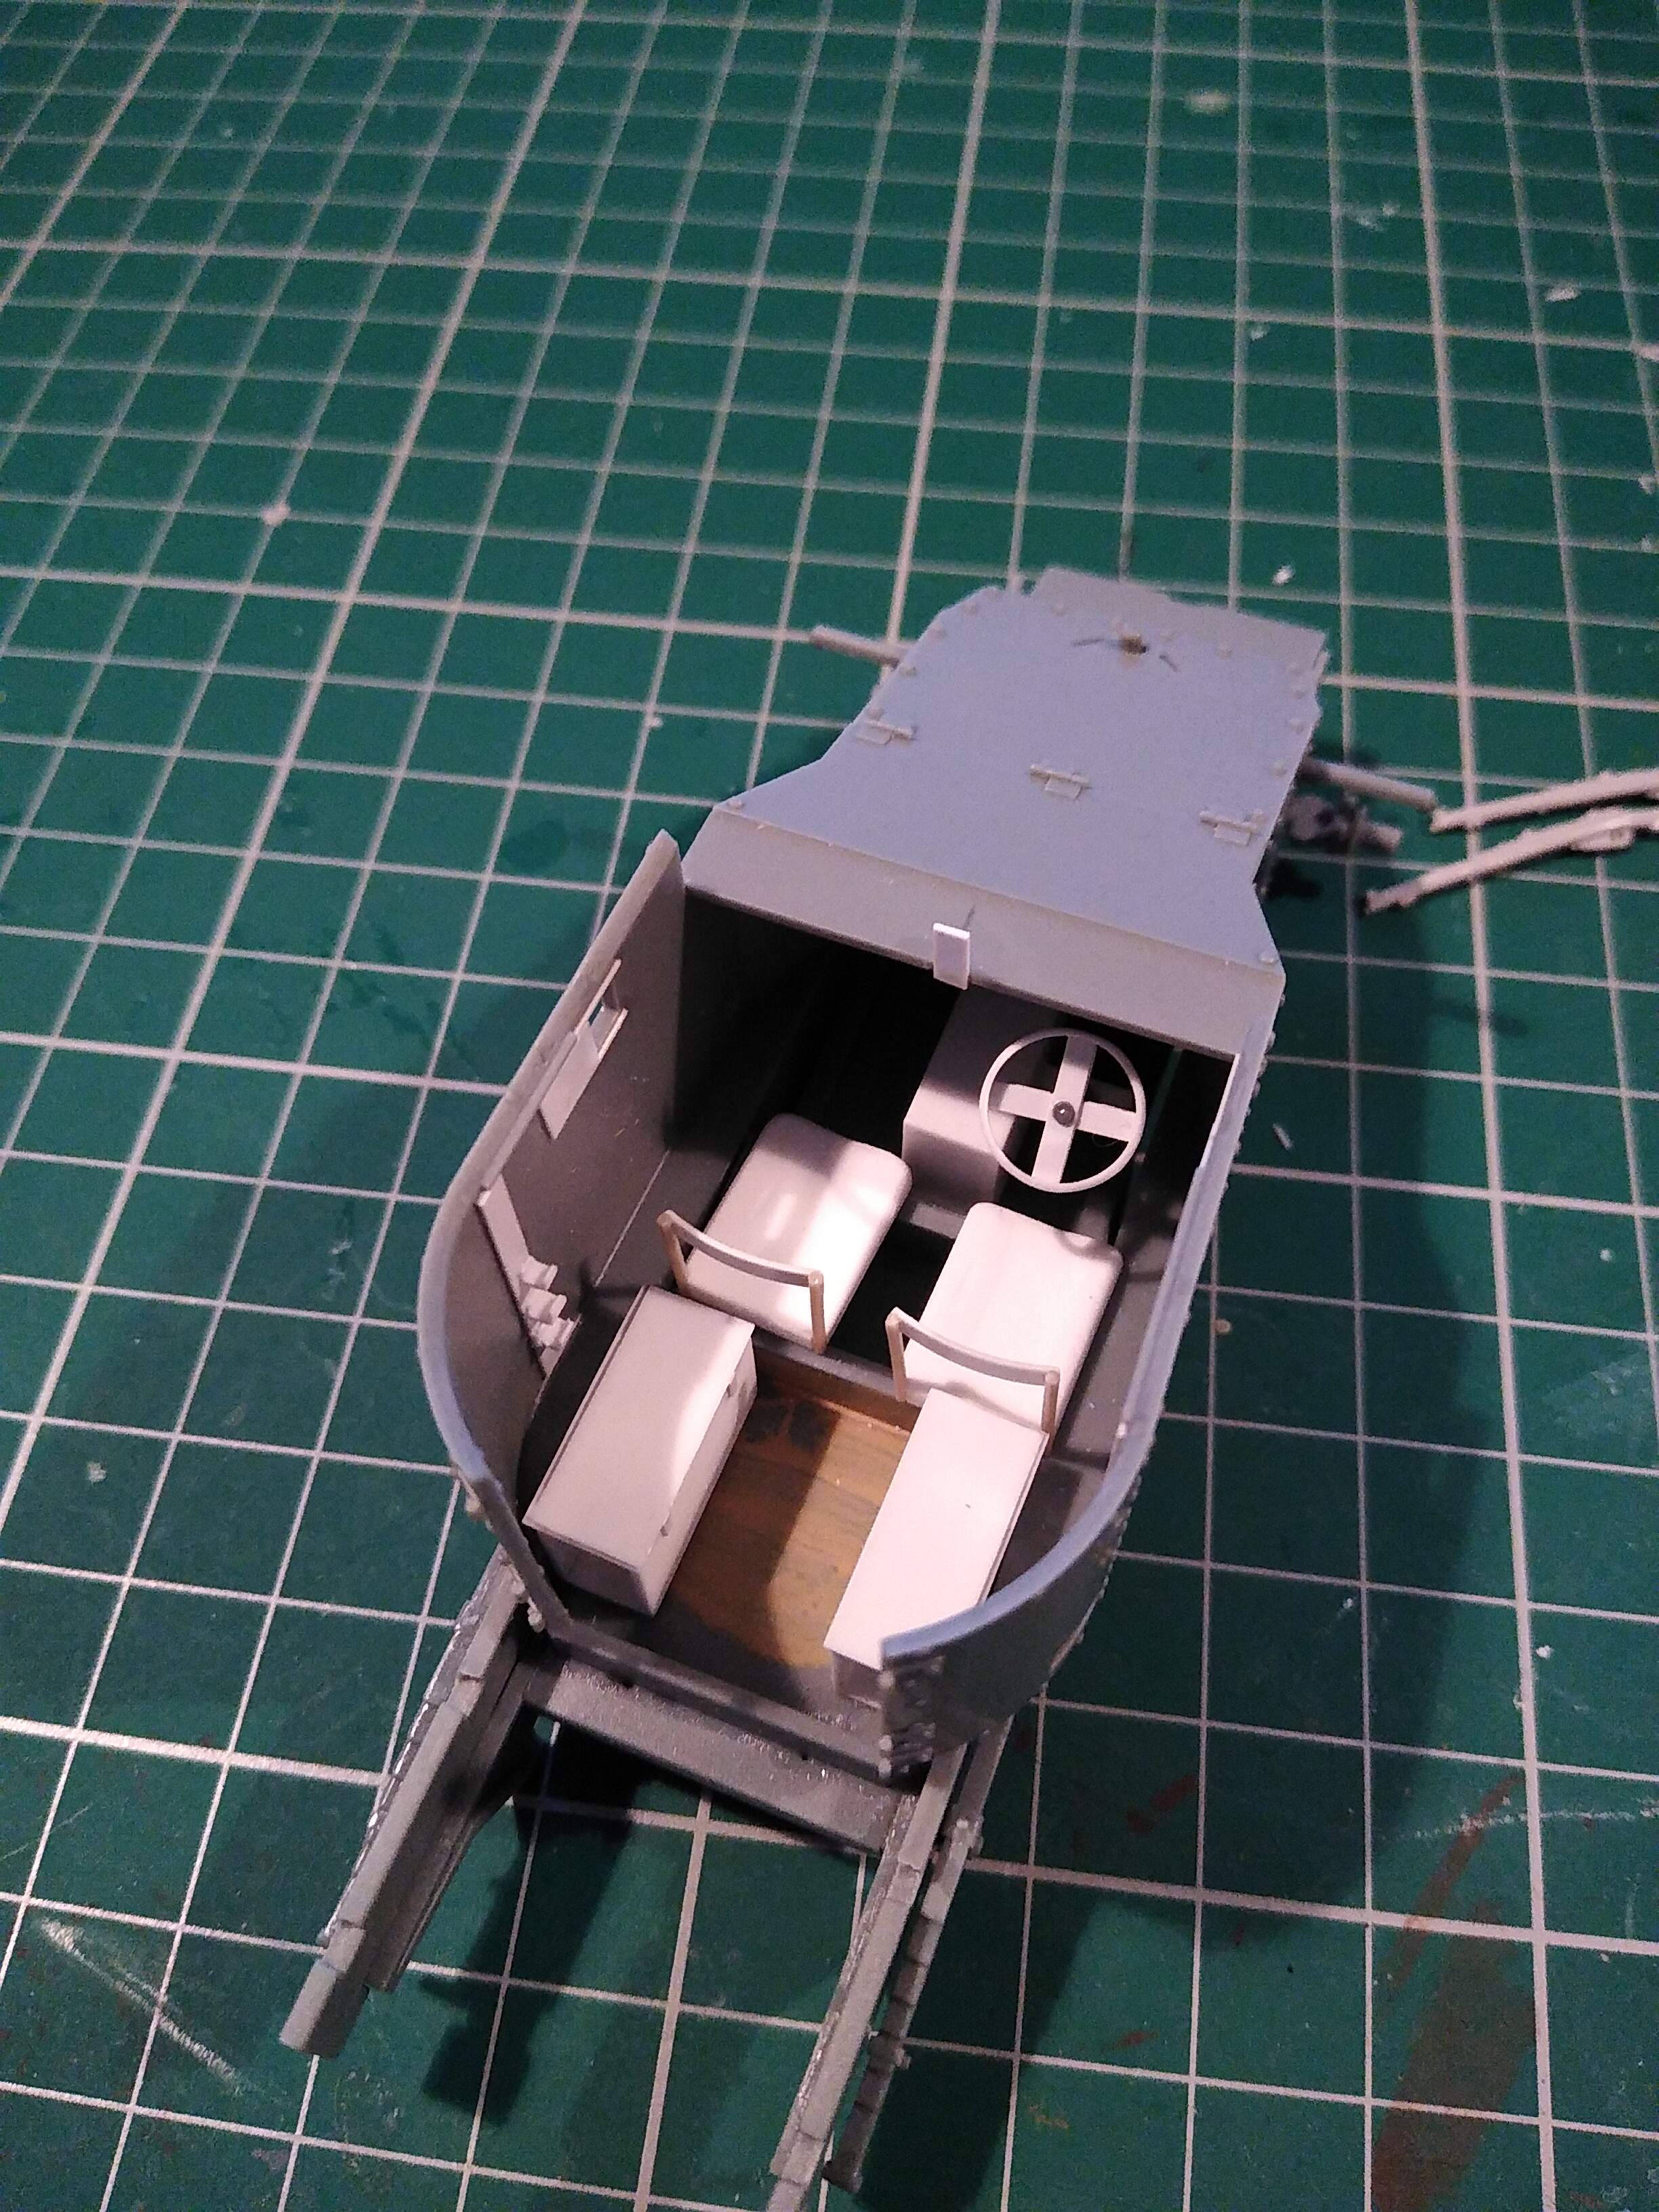
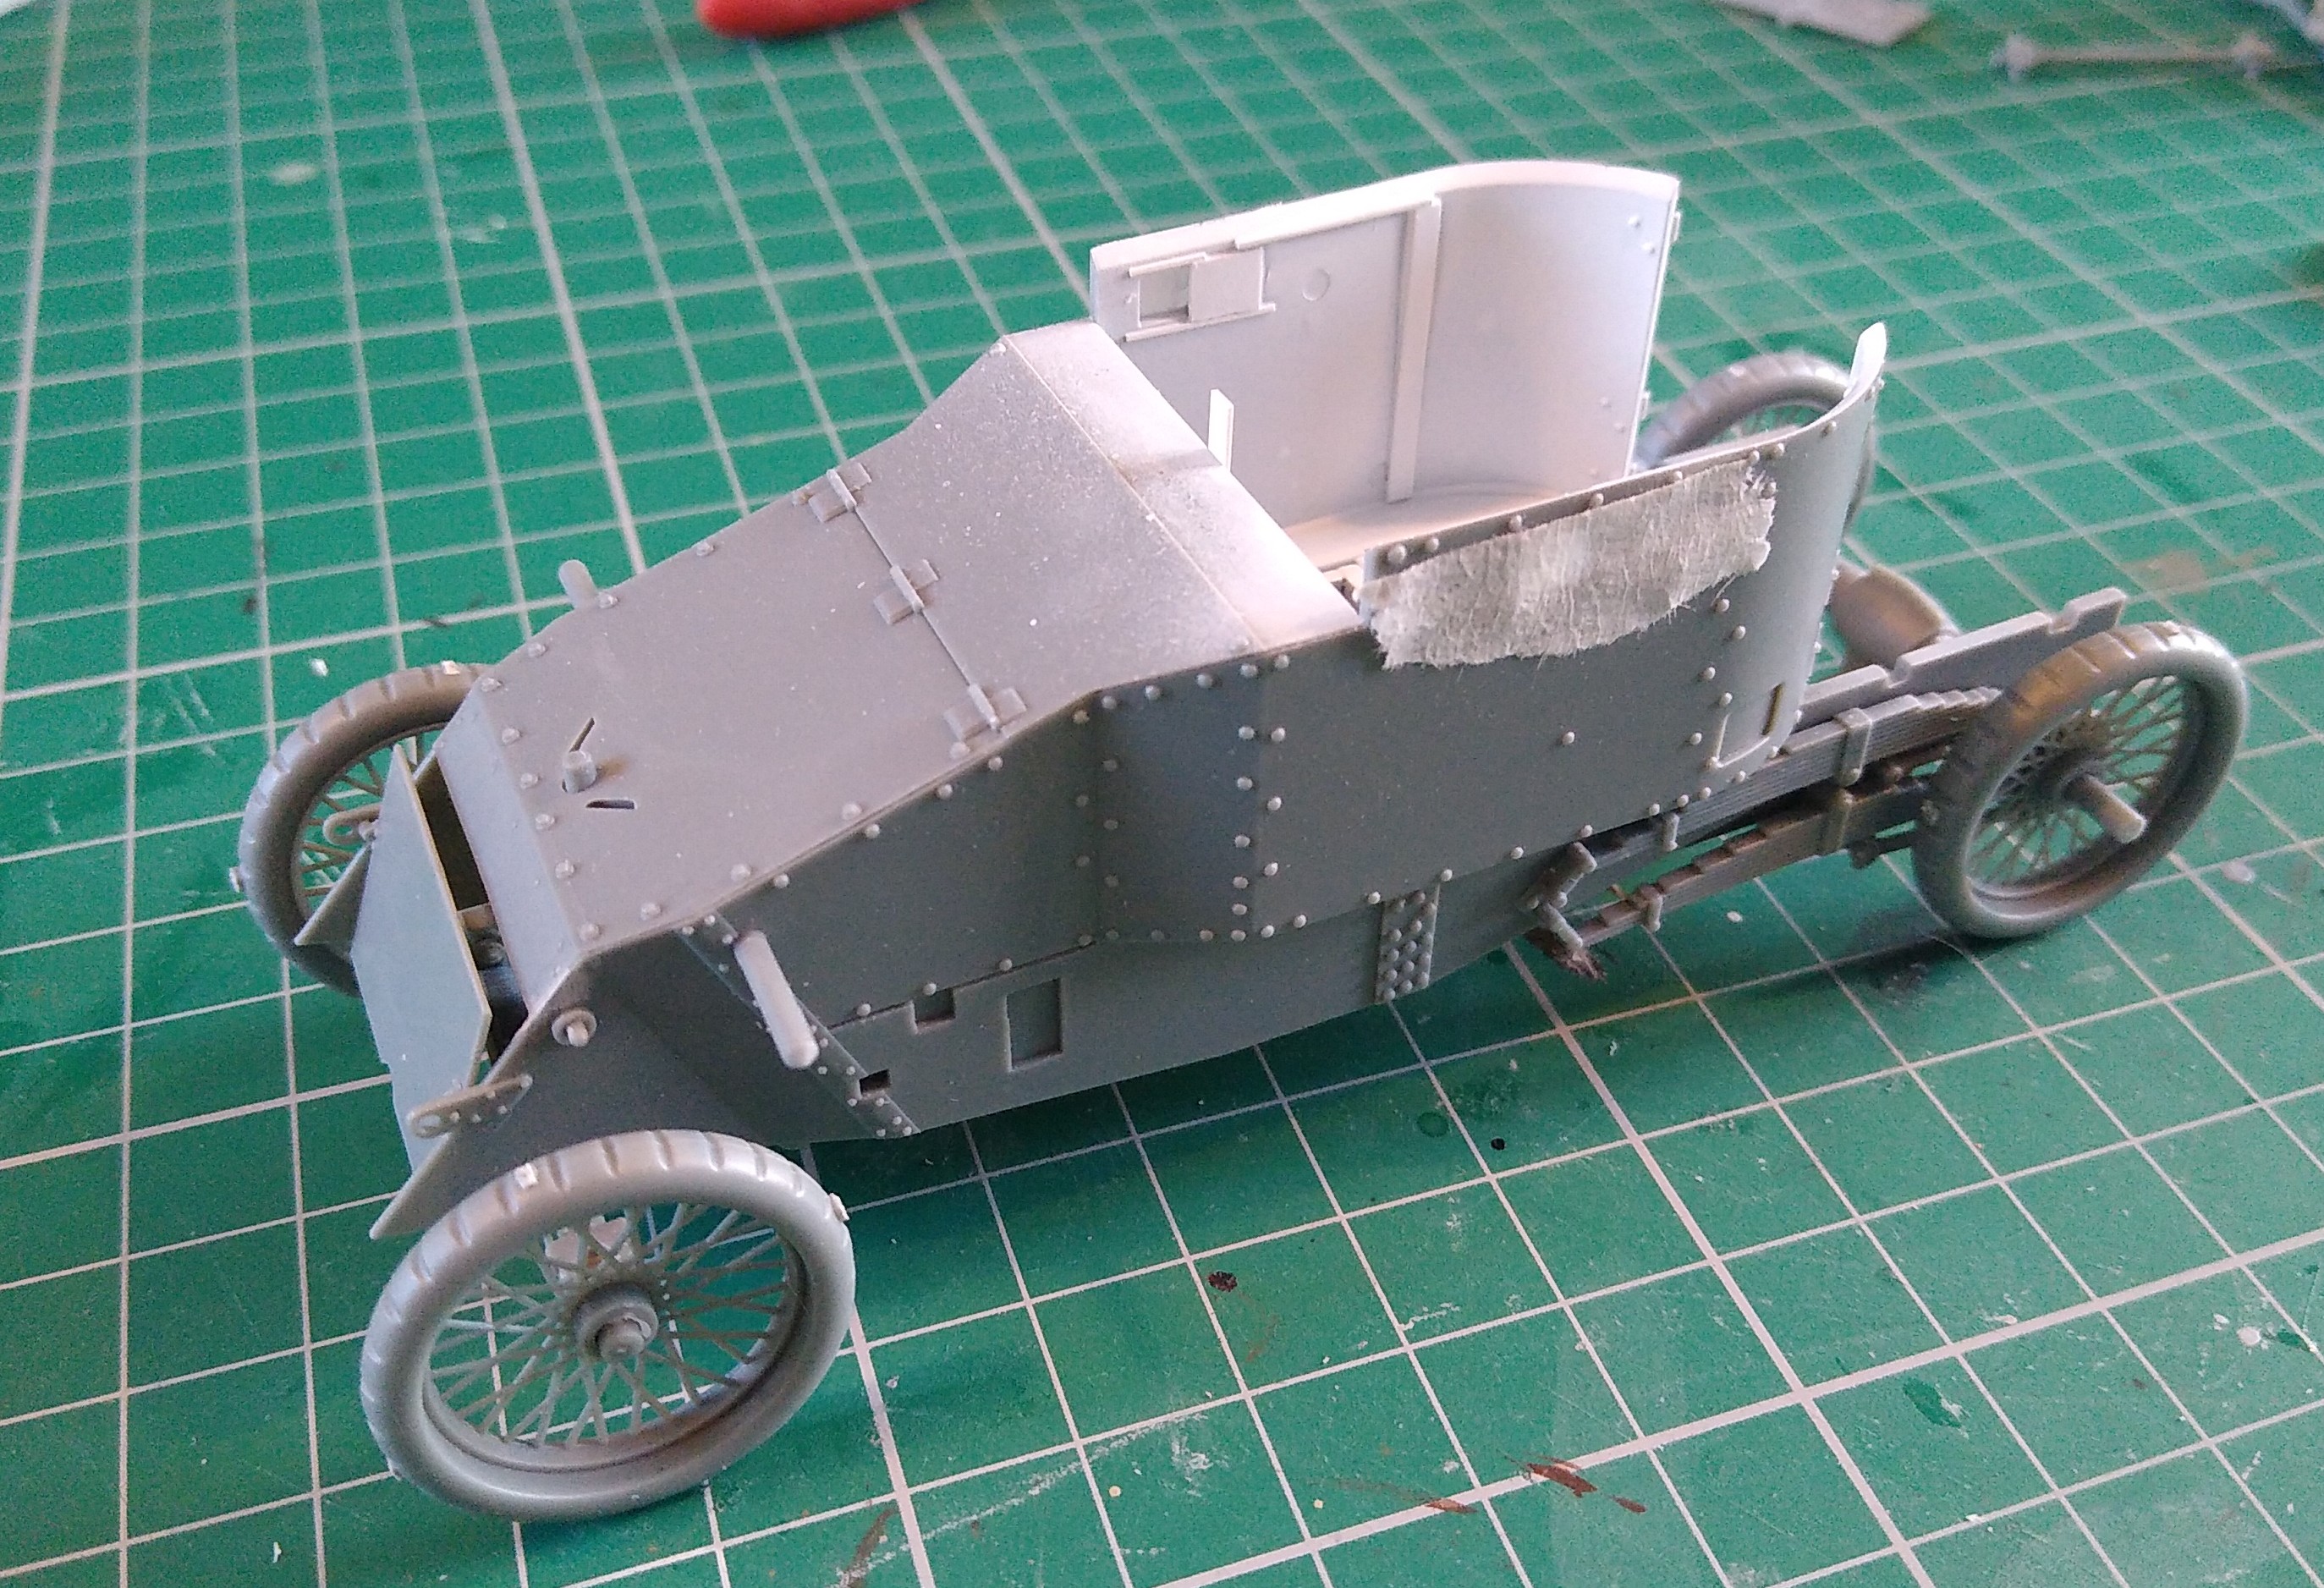
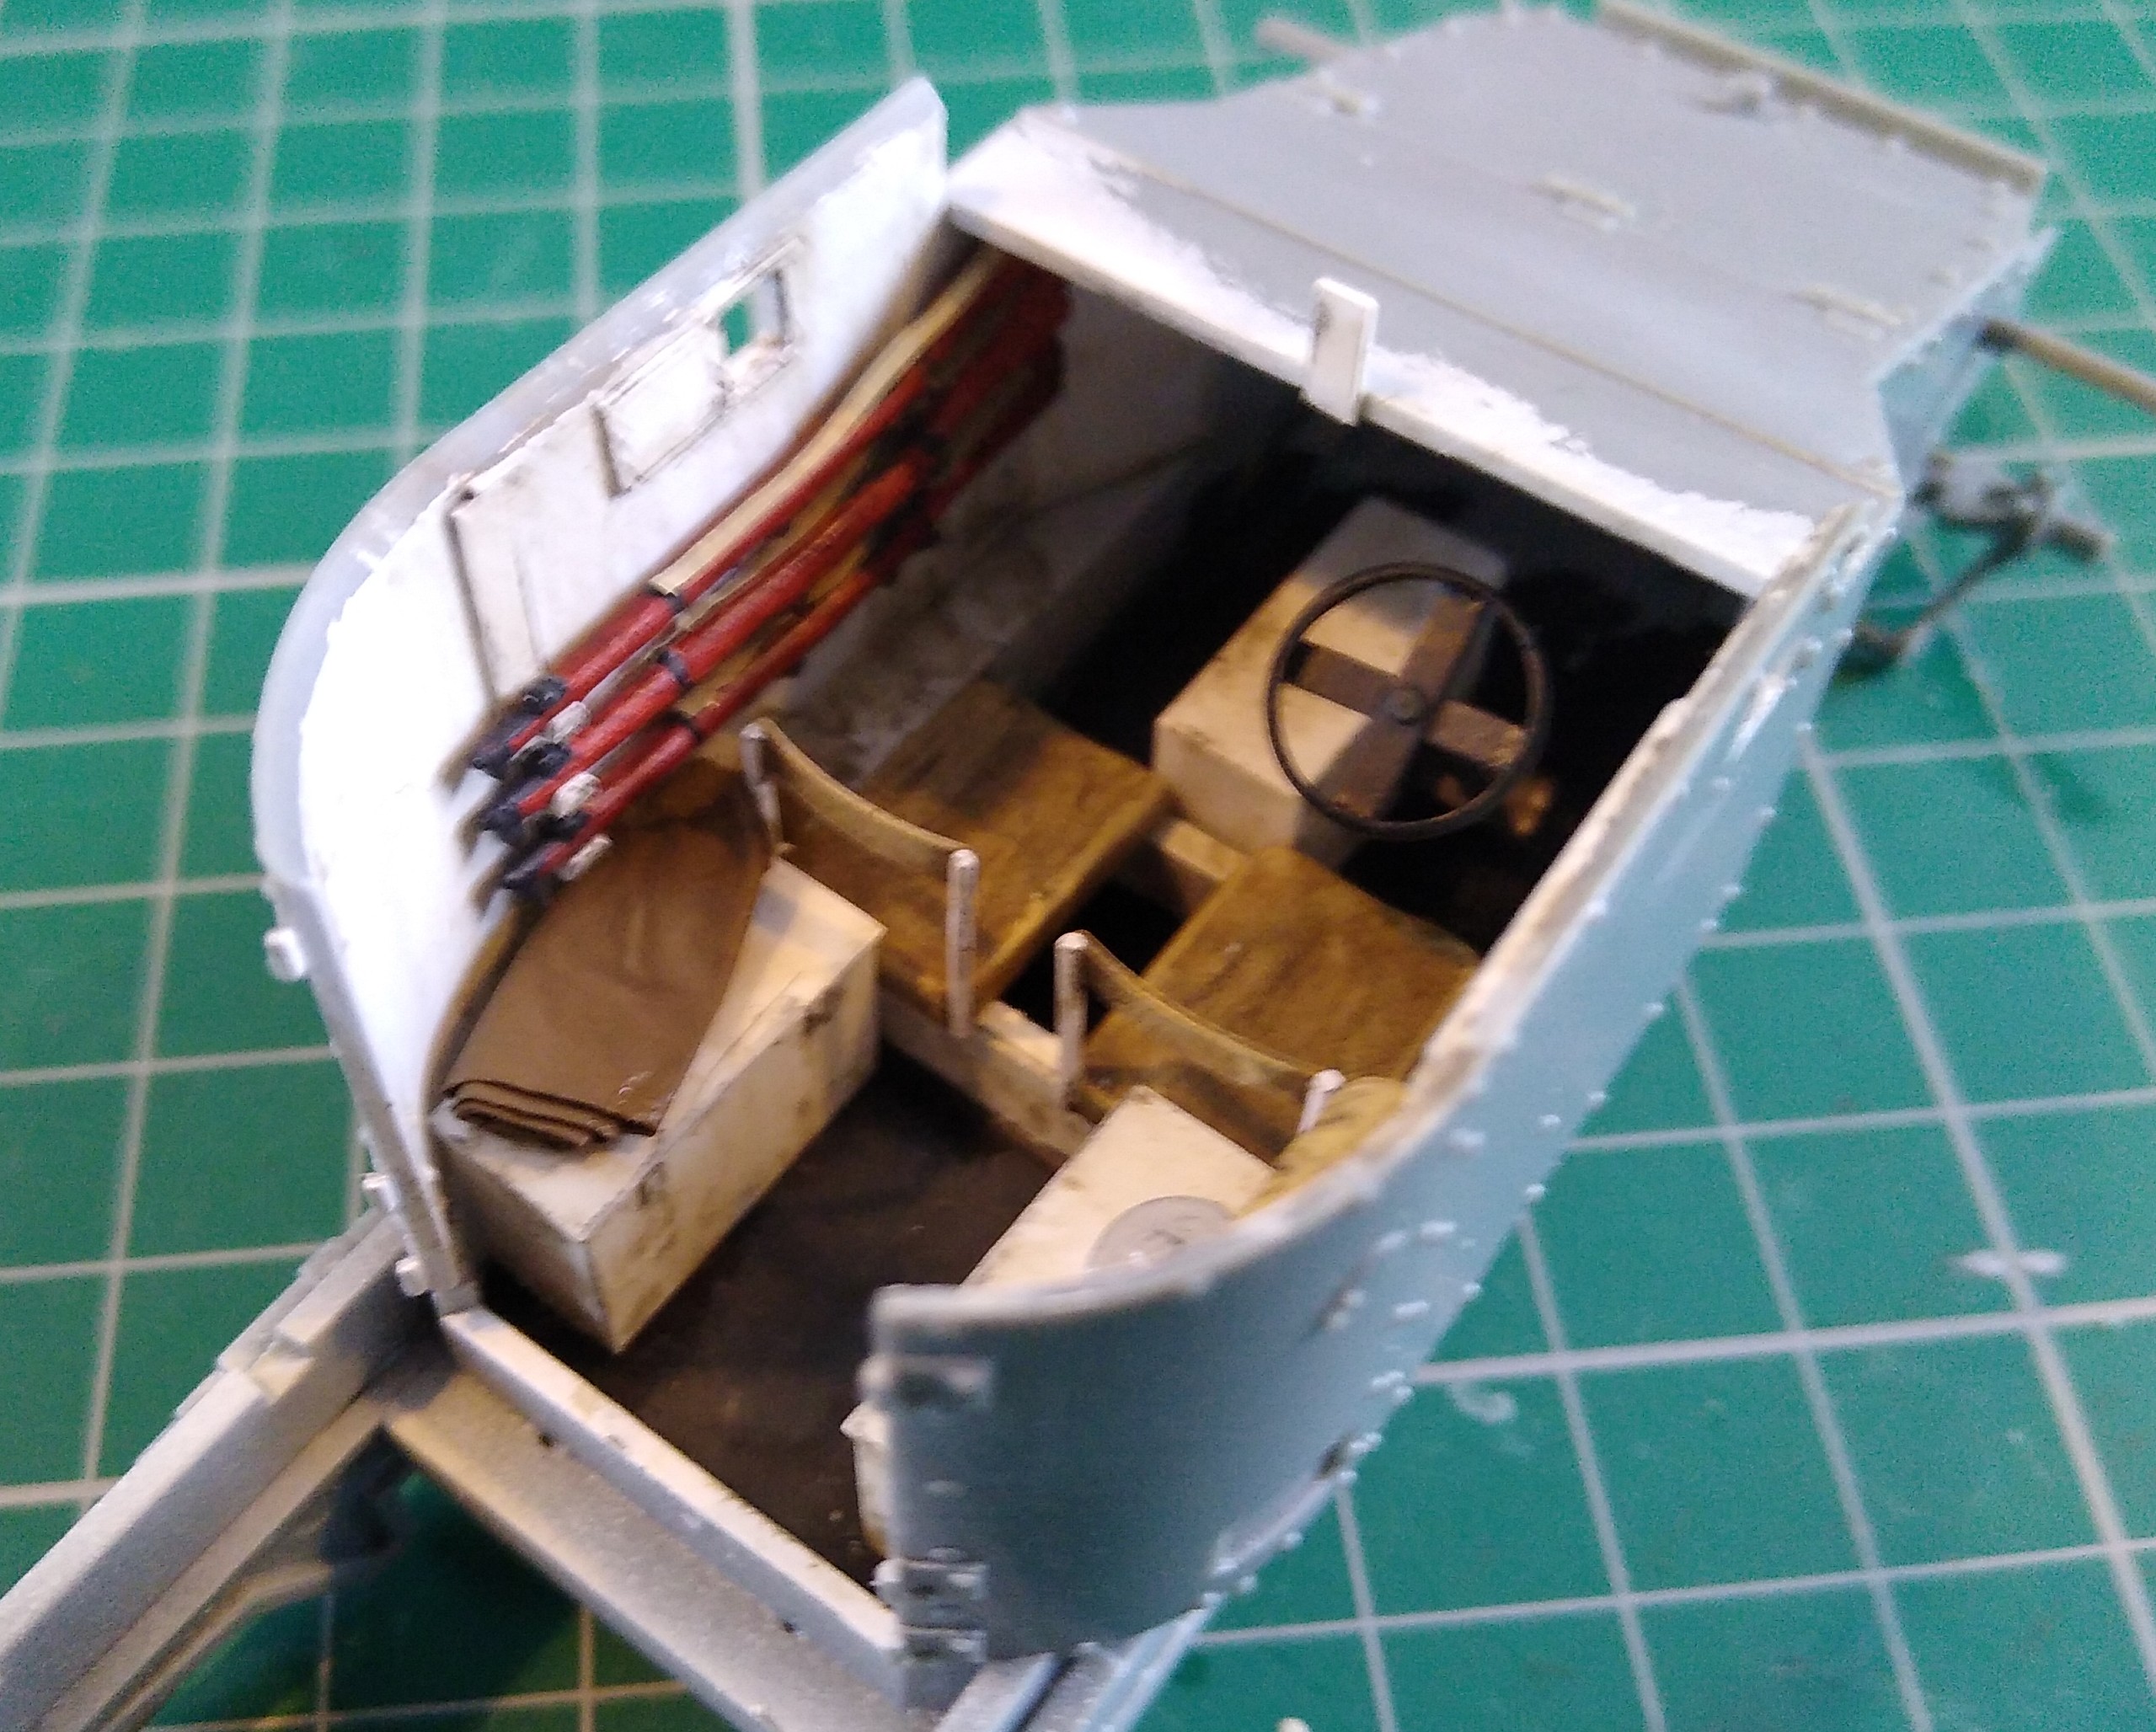
Interior parts painted and fitted inside.
Would have been easier if I’d decided to do this before I put the hull together, but worked out in the end. Next step is to check in the spares for some packs and other things to make it look lived in.
Really happy with how my scratched interior has turned out. I’m not making any claims it’s 100% accurate, but at least it won’t look empty when on display.
Added some bits from the spares to add some life to the inside.
A pack, a rolled up blanket and mess tins from an ICM equipment sprue from one of their British Infantry sets.
I hadn’t noticed before just how cramped this vehicle must have been when fully crewed!
Word of warning.
CSM have molded the roof, part A9, with a beveled edge BUT the bevel does not reach all the way to the top of the edge. The result of this is that the roof tries to sit slightly more than half a mm too high.
The armoured visor for the driver will be lifted too high if it meets the hinges on the roof and leave a gap down to the horizontal plate in front of the visor.
Compare with the boxart, edge of roof not visible from the side, before you commit to glue.
The turret sits on a raised circle on the roof and the rear curved sections of A7 and A12 should extend upwards to cover the edge of the turret mounting plate. The fit of the rear doors also becomes a little sketchy.
DRY FIT carefully
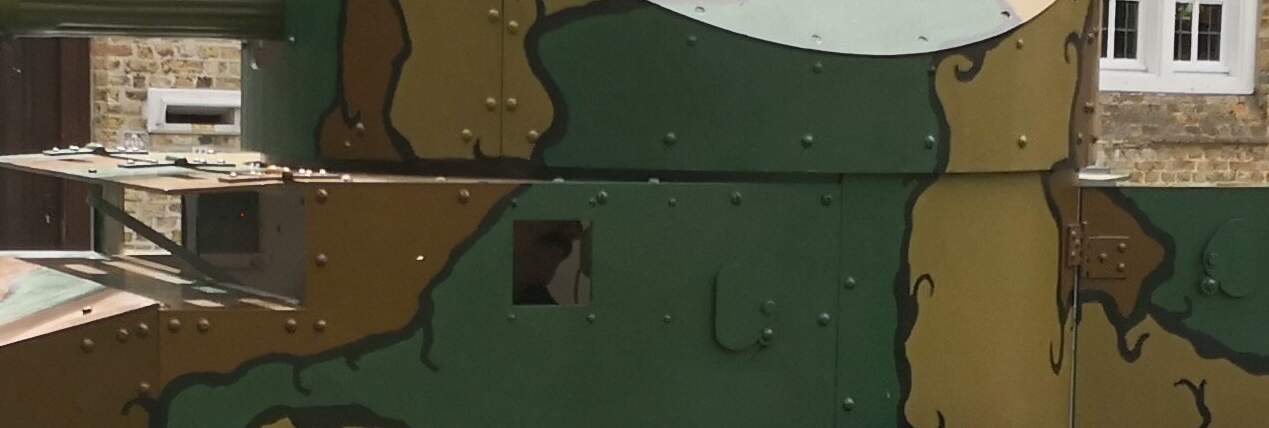
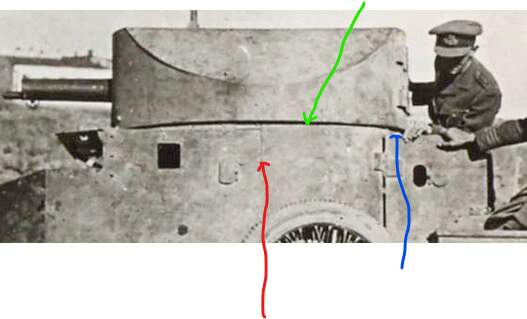
This is a replica, not an original Lanchester AC, but I think they have done the roof and sides correctly.
Image from CSM’s website
Red points at plate joint.
Green points at raised edge of rear plate
Blue marks top of door
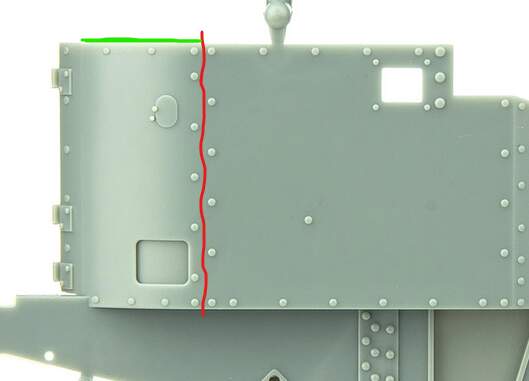
I get the impression that the rear half of A9 tries to be the raised turret plate and the forward half hasn’t realised that it should be a little bit lower.
Part A12:
Red line marks missing plate joint
Green area marks missing material
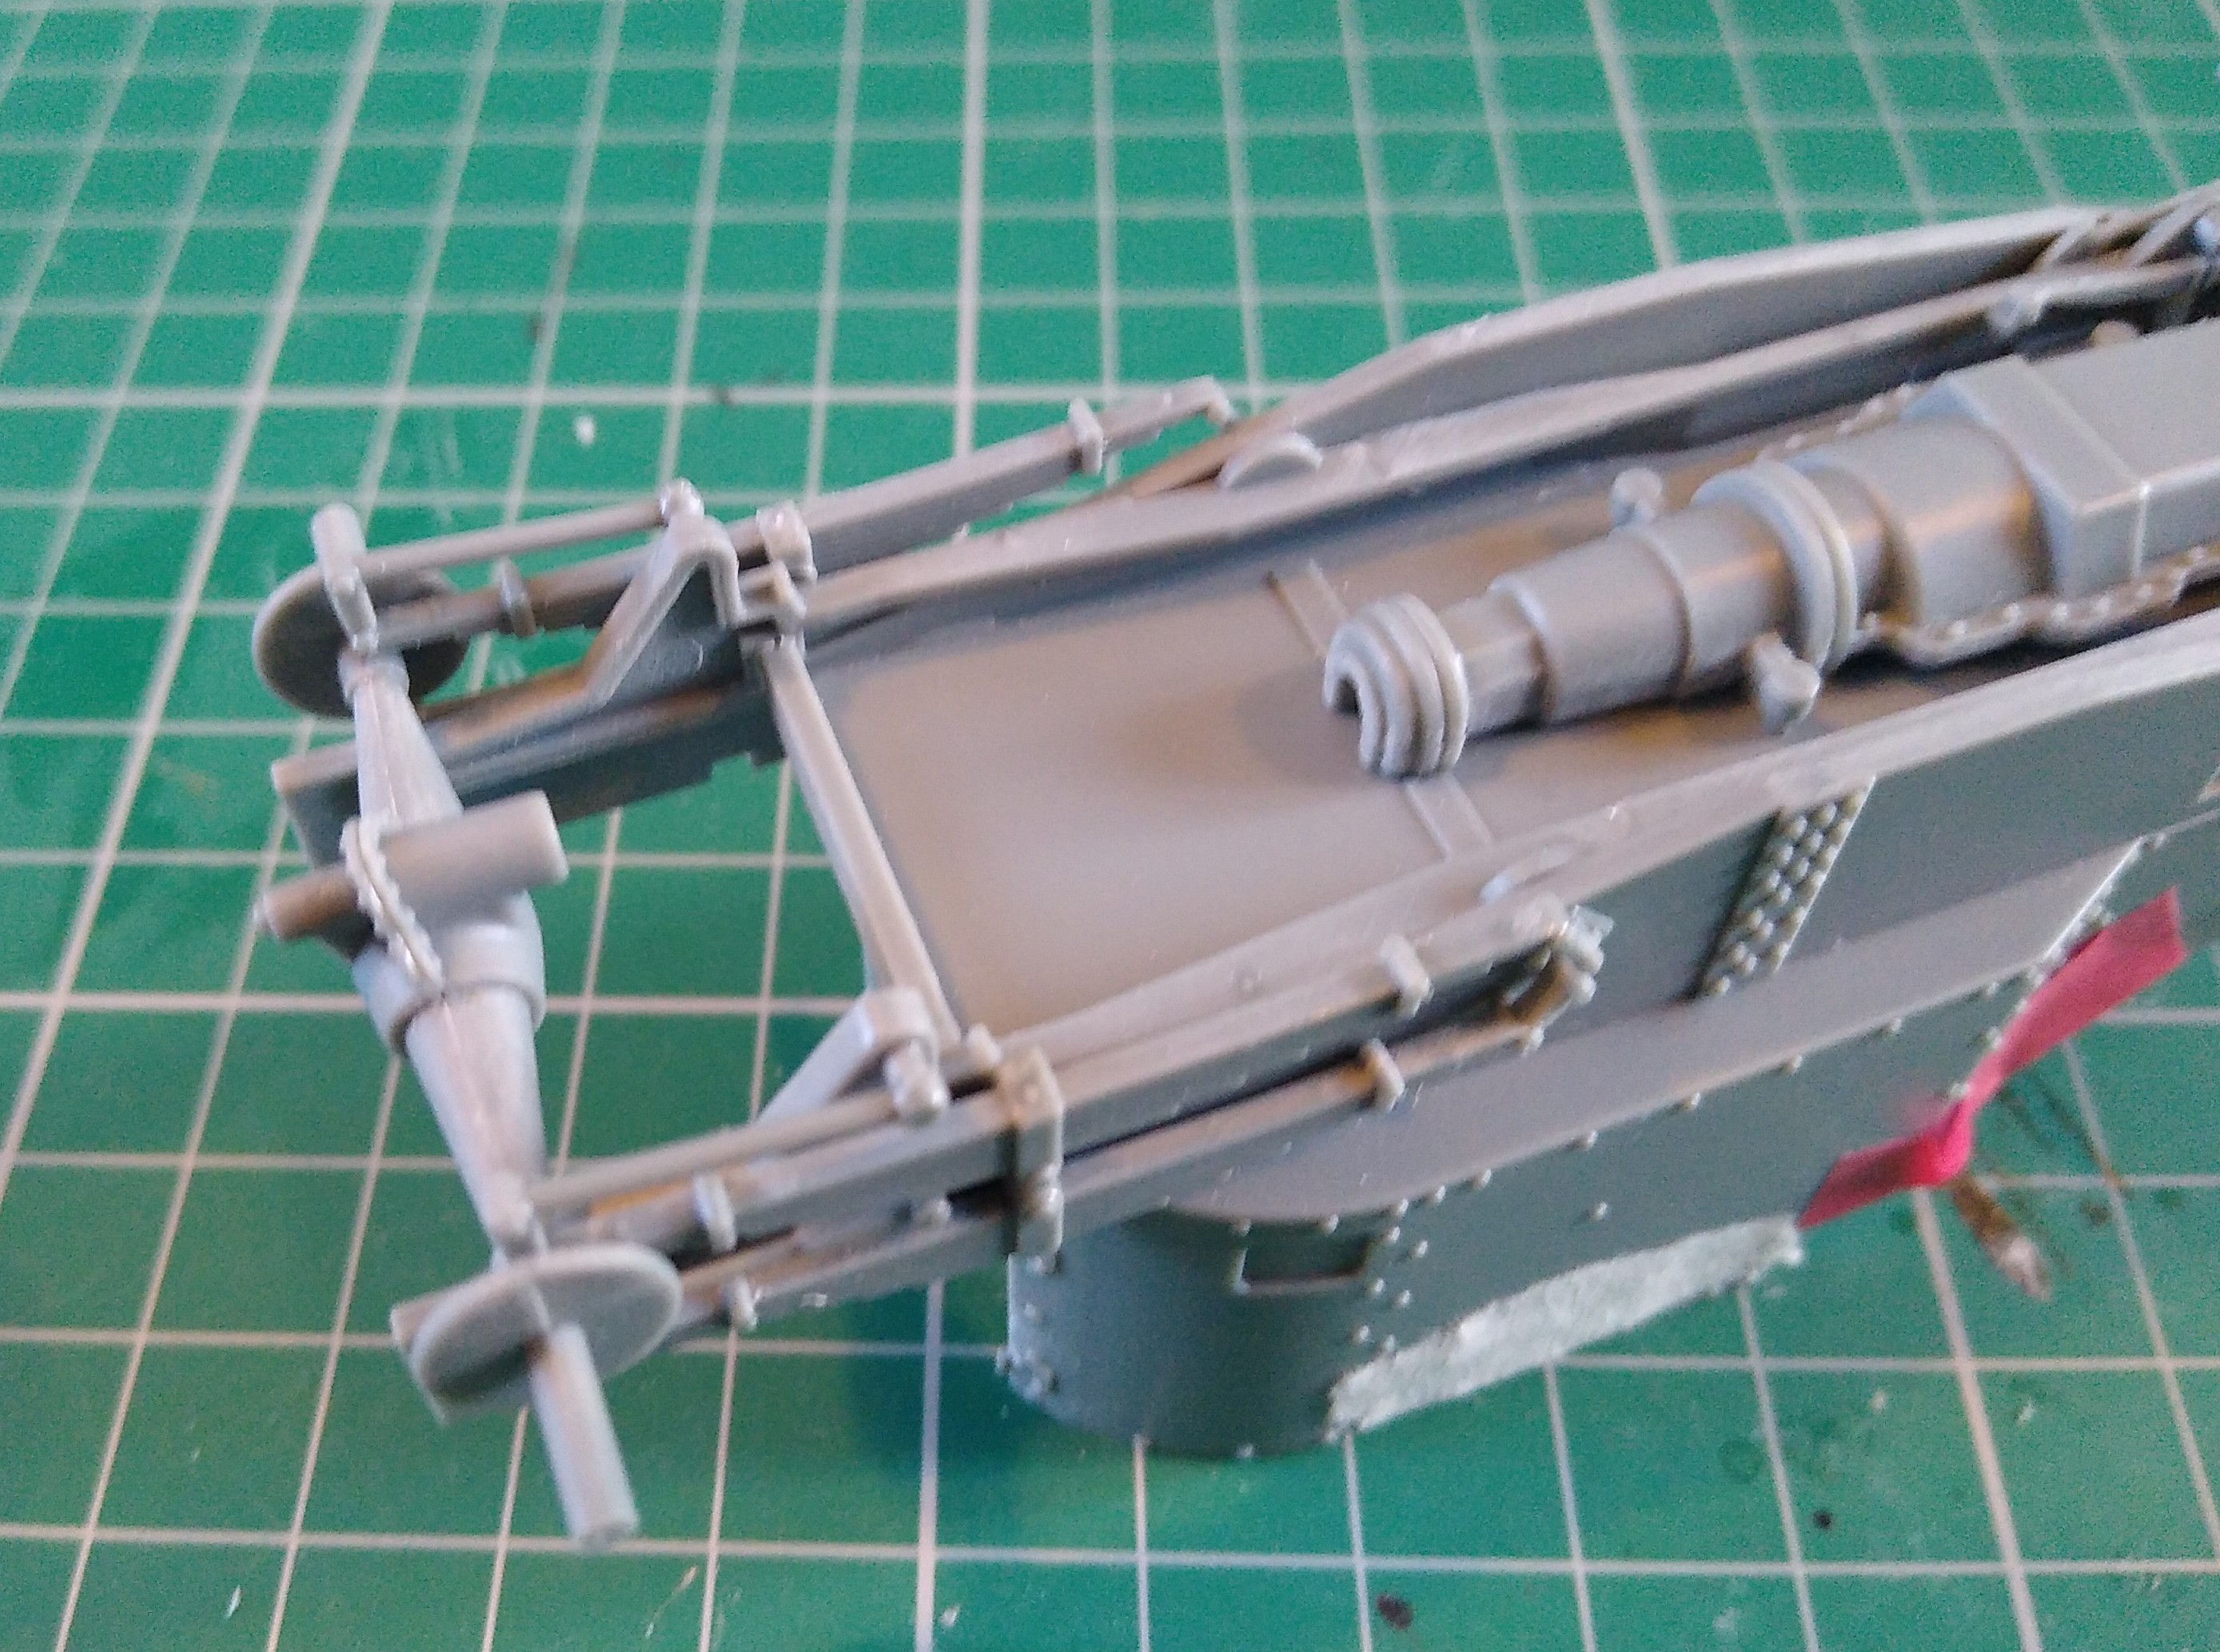
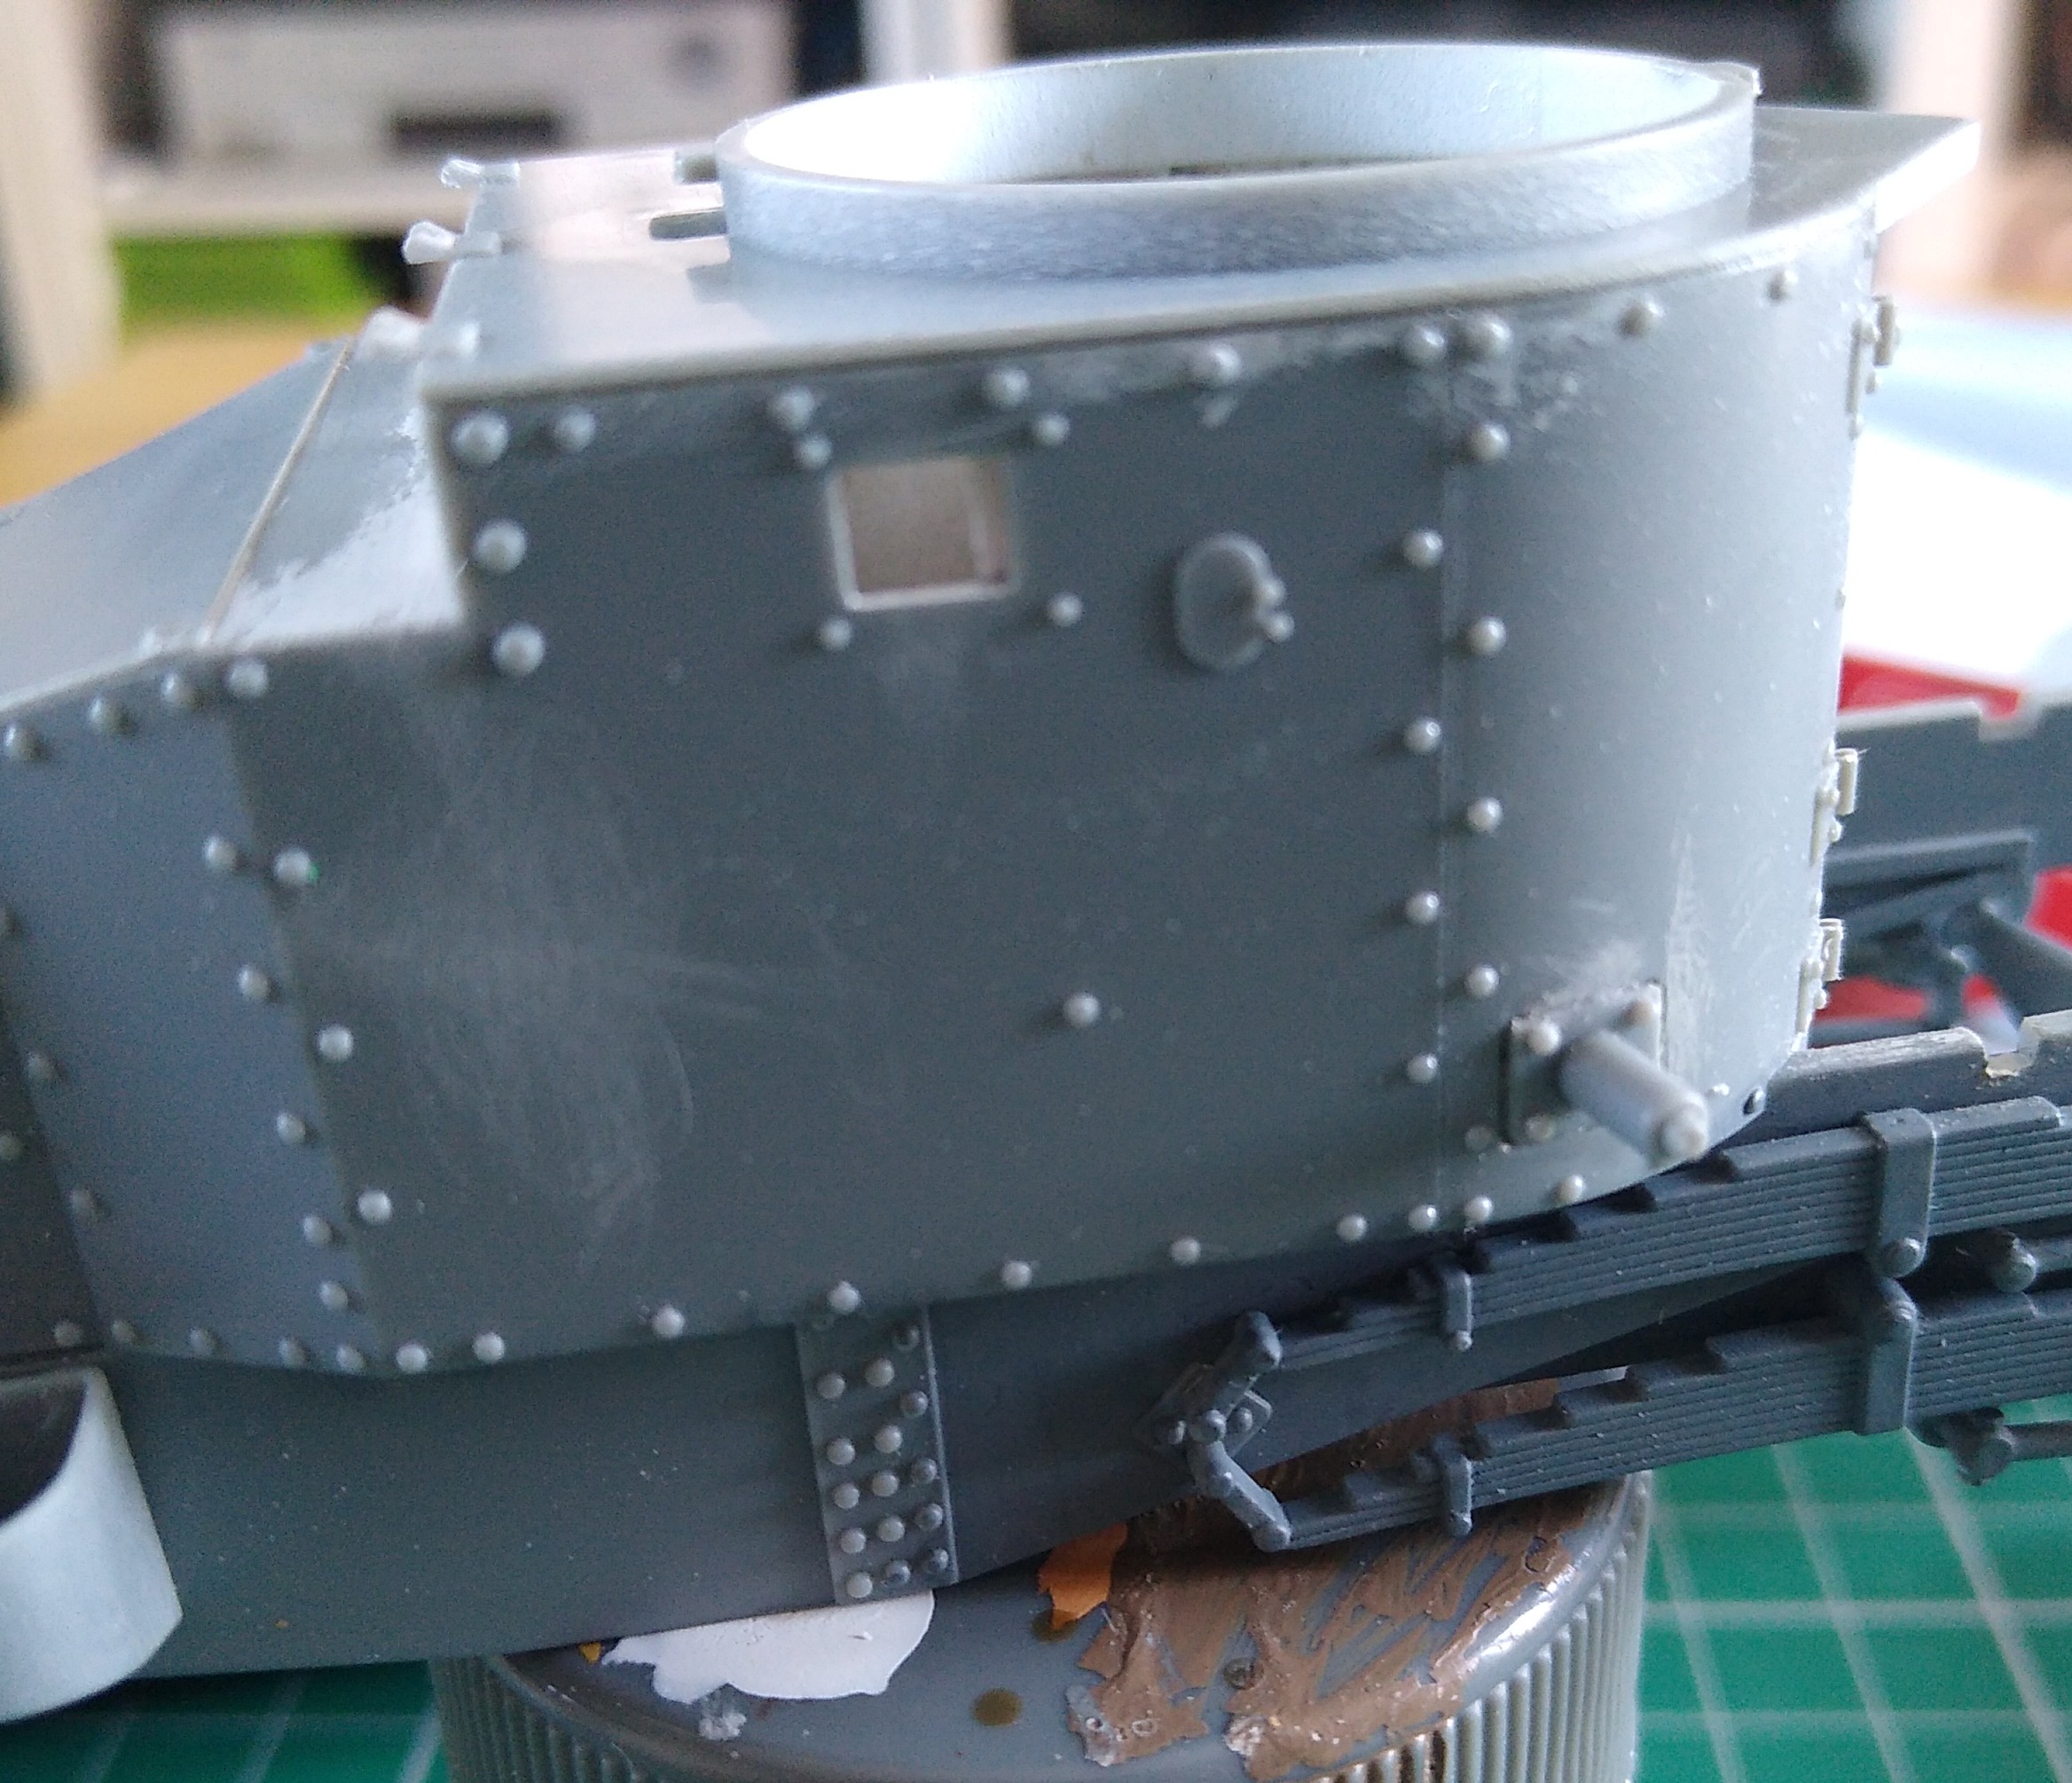
At Robin’s suggestion, I scribed in the panel line between the rivets on the hull side and tidied up some untidy glue around the spare wheel mounts and a couple of spots that got on the sides. Will still need to give these a quick swipe with some finer wet and dry to get a smoother finish.
There is a bit of a gap around those, but test fitting the spare revealed that it would be completely hidden, and any work to blend that part in would probably be wasted. Again that was entirely my fault rushing those.
Not much so can do about the roof as I had stuck it down last week. I have however made a note in the instructions if I ever build another.
I’ve also made up the securing strap on the right side stowage box. Used a thin strip of plastic softened in hot water and a buckle from the spares. No photos of that yet though.
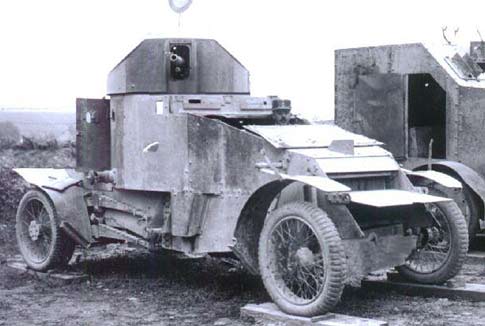
Also made a start cleaning up and prepping the parts for the fenders. I anticipate that they will be quite fiddly to get together squarely.
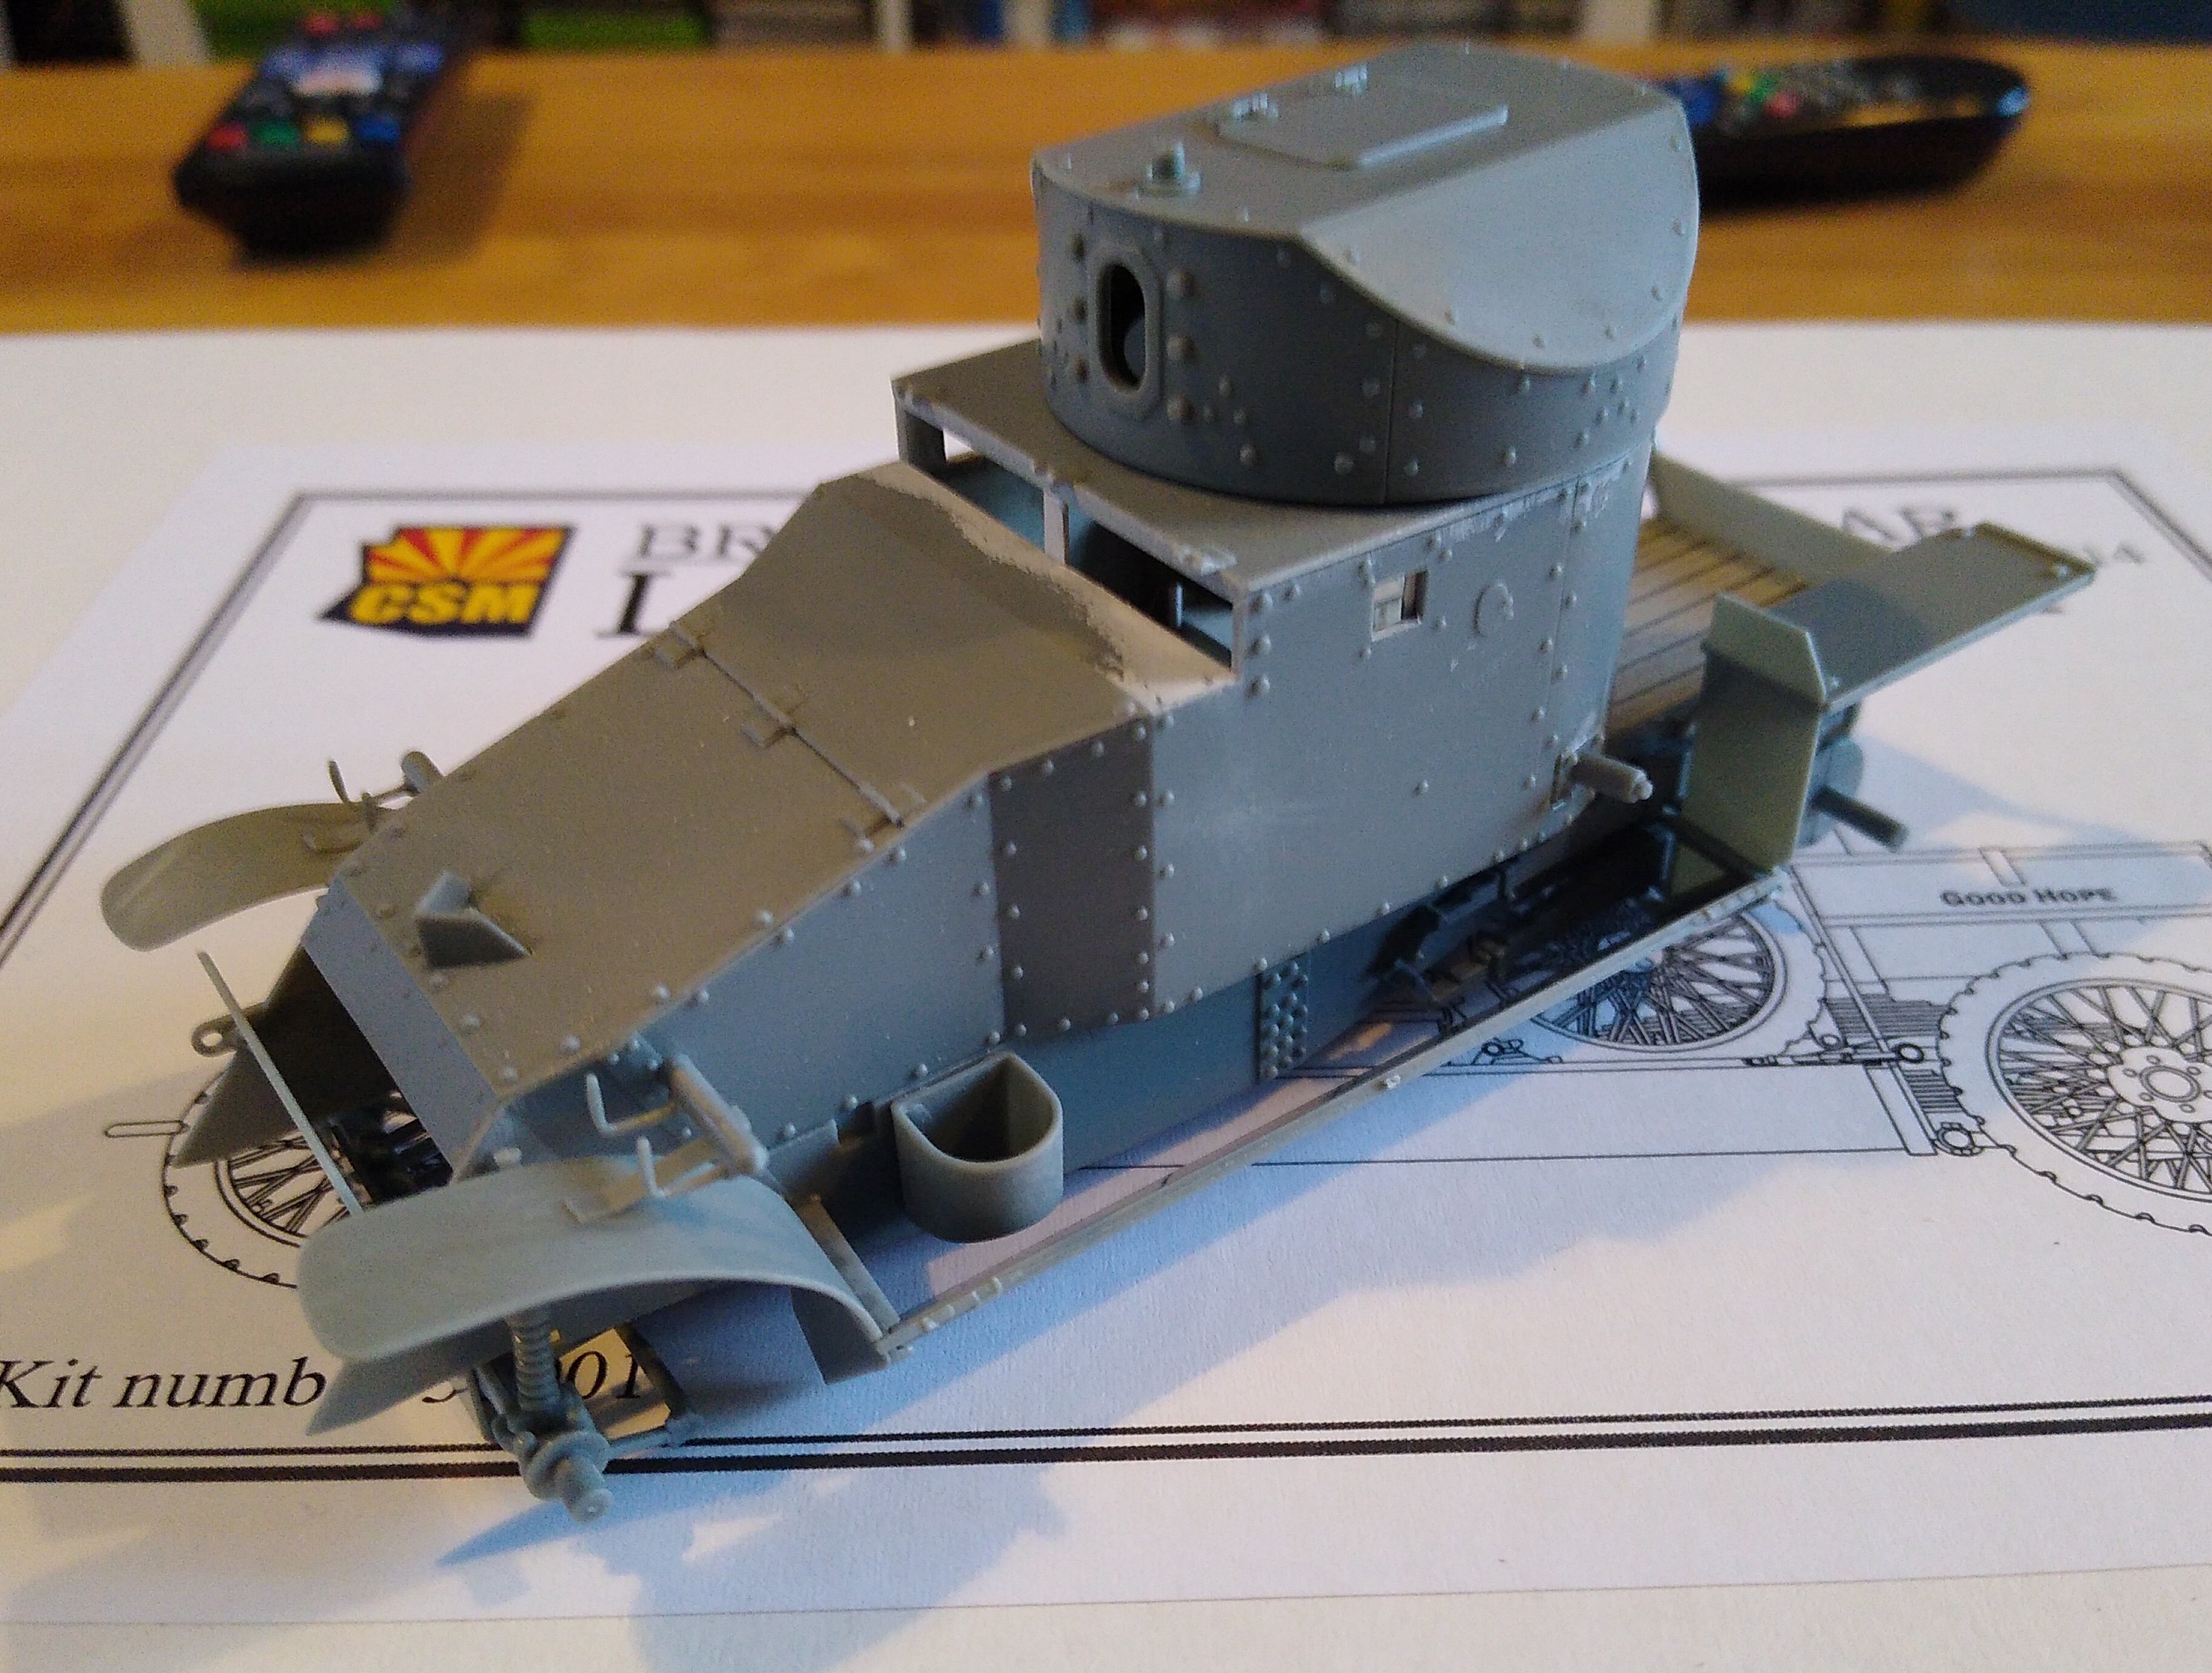
Lots of progress today.
Finally got the front and rear mud guards fitted. A lot of parts go into making these up and I did find it a challenge to get everything squared up. I worked one side at a time and dry fitted the unditching planks to help keep it all lined up. The headlight mounts were also tricky to work with. They’re very delicate and have three huge sprue attachment points. How I managed it without breaking them I don’t know!