Definitely has the potential there
2 Likes
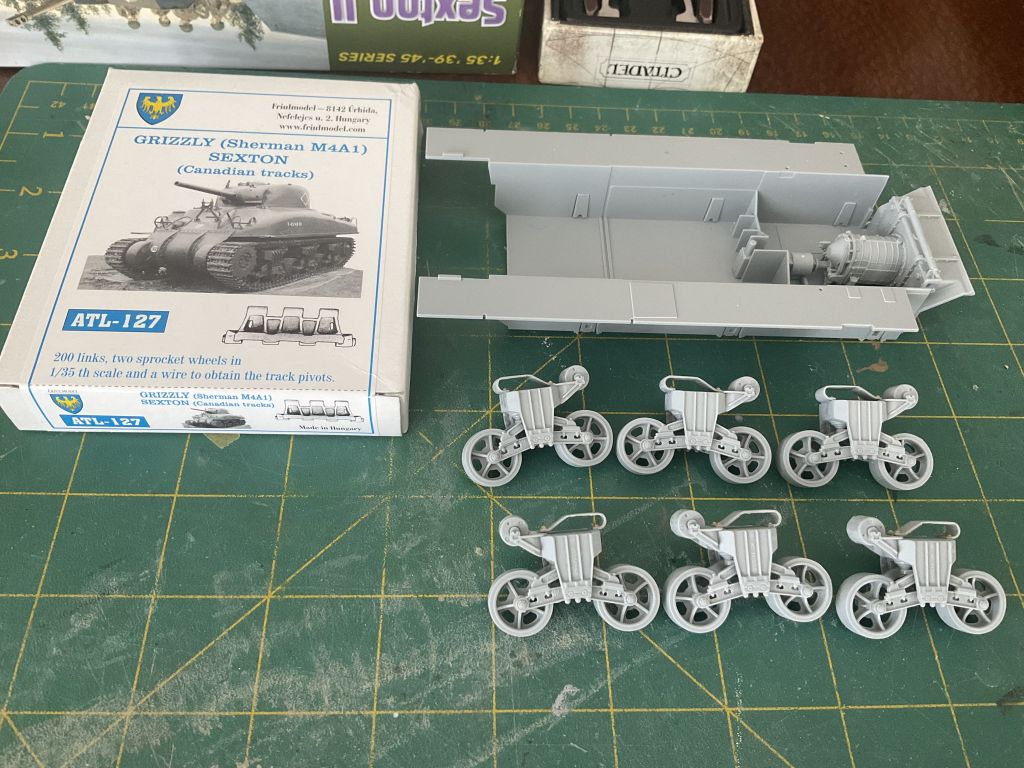
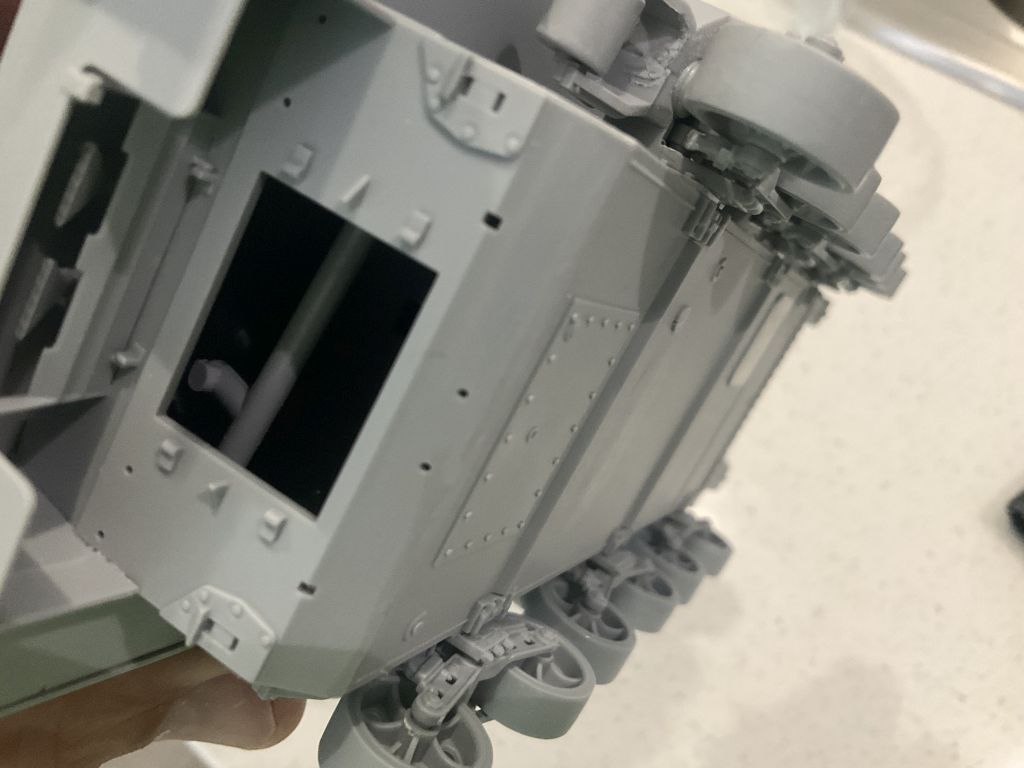
Okay made a start on the Sexton. Building some parts out of instruction order to make sure everything is square and in the right place before adding the details, and before it is too late if anything is amiss.
This will be pretty much OOB but I added the missing bolts on the track skids, which is a must.
I am going with the Dry Pin tracks. Only other sets I have are Bronco T49 ones.
10 Likes
Nice start and looking good. Seems to have some good detailing on the hull.
3 Likes
Hey, hey.
I made another version of the D-Day Medal. This one is simplified in an attempt to avoid another rejection.

8 Likes
Why was the other one rejected ?
1 Like
My submission for The Great War was rejected by the site owner because it does not look like existing campaign medals. To my knowledge, the medal I designed for Fire For Effect was accepted. Therefore, I greatly simplified this medal to look more like Fire For Effect. If this is still too complicated, I can create a super simplified pixel art design.
2 Likes

Never to late mate … Glad you are on the way with the Pz IV ![]()
2 Likes
Hi Everyone,
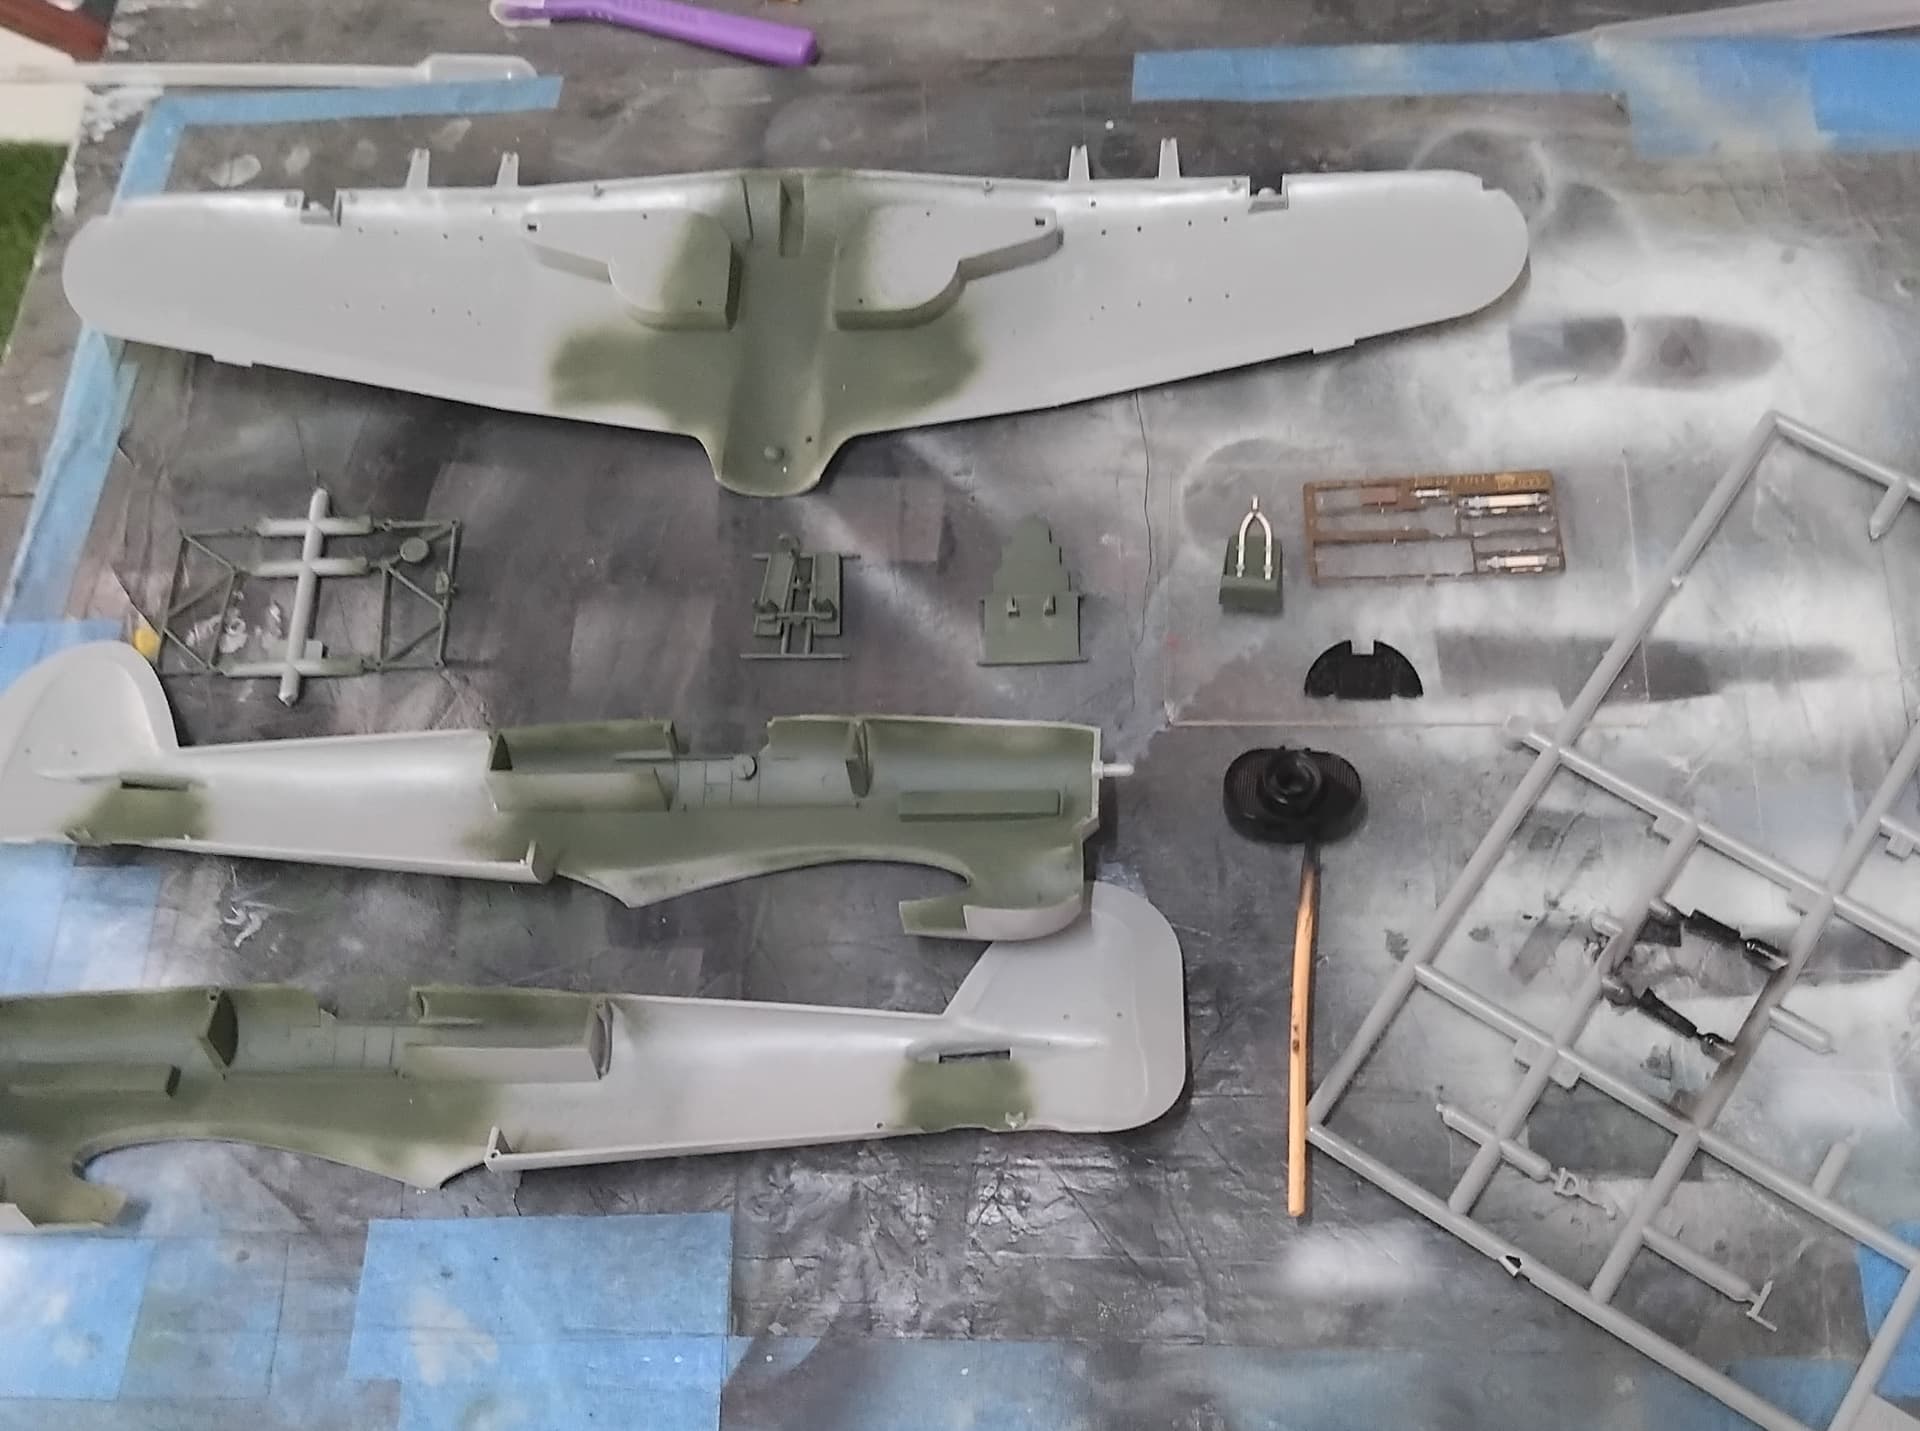
I’m jumping in with something a little different from the norm associated with D-Day. This being Hasegawa’s 1/48 Typhoon Mk. 1B.

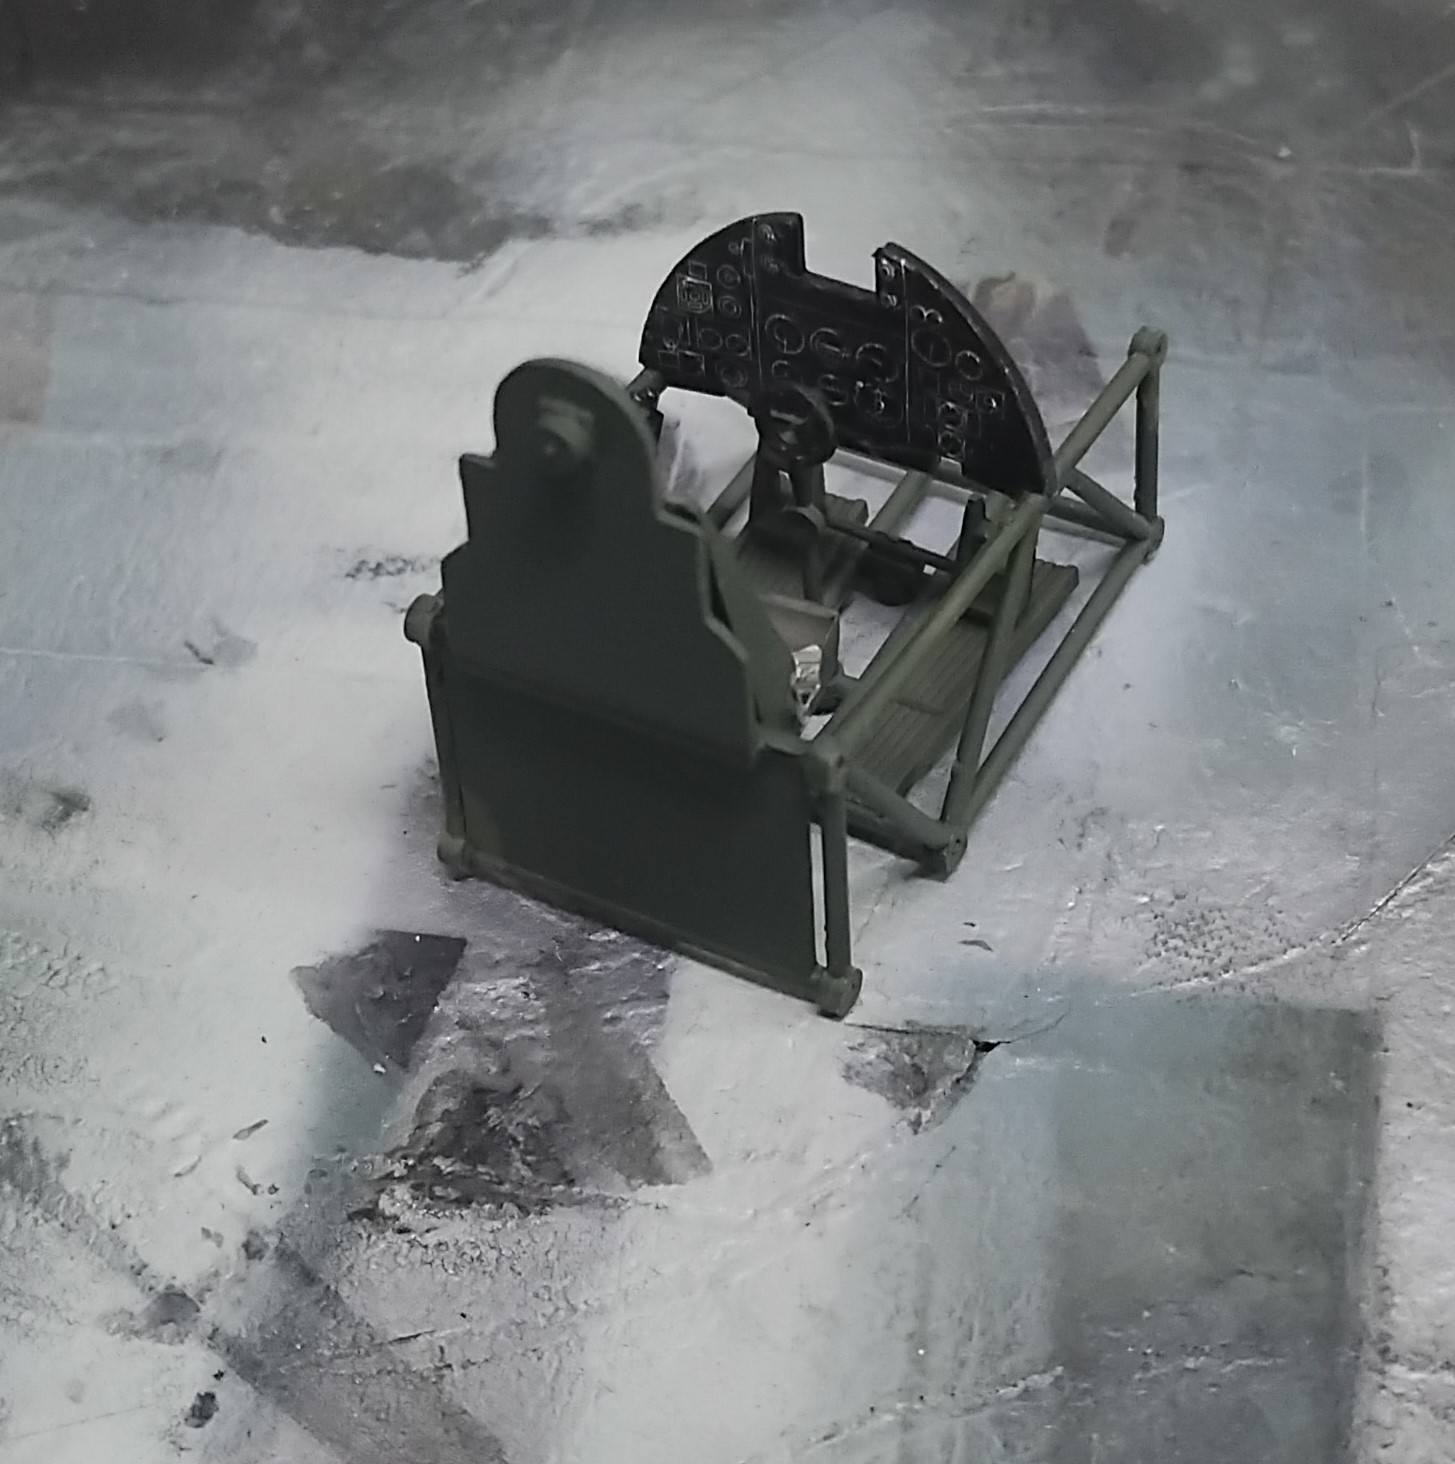
I started off with the cockpit and the interior per the instructions. So far, a pretty straight forward kit. I was a bit disappointed that Hasegawa in their effort to save costs, opted to have an insert on the fuselage to deal with the “car door” variant vs. the “tear drop” version. I opted to go ahead and glue the inserts onto the fuselage halves prior to mating the entire fuselage. This would later prove to be an issue further down the line. Not sure if this a builder error or an engineering issue.
I felt that sanding down the fuselage halves to deal with this mismatch seemed the easiest path to go. This turned out to have a butterfly effect, as I’ll explain later. Moving forward I went on with partial building of the cockpit, and adding some seat belts, followed by painting the interior parts with some left-over RAF interior green that I made a few years back, though to my eye it looks like it’s gotten a wee bit too dark. Oh well.
The cockpit/pilot area was completed, using the kit decal for the instrument panel, and really liking the way the belts enhanced the area. I did have an issue with the construction. It was a bit fiddly, and the side counsels didn’t fit as illustrated in the instructions, so I did a best fit with the help of some superglue!

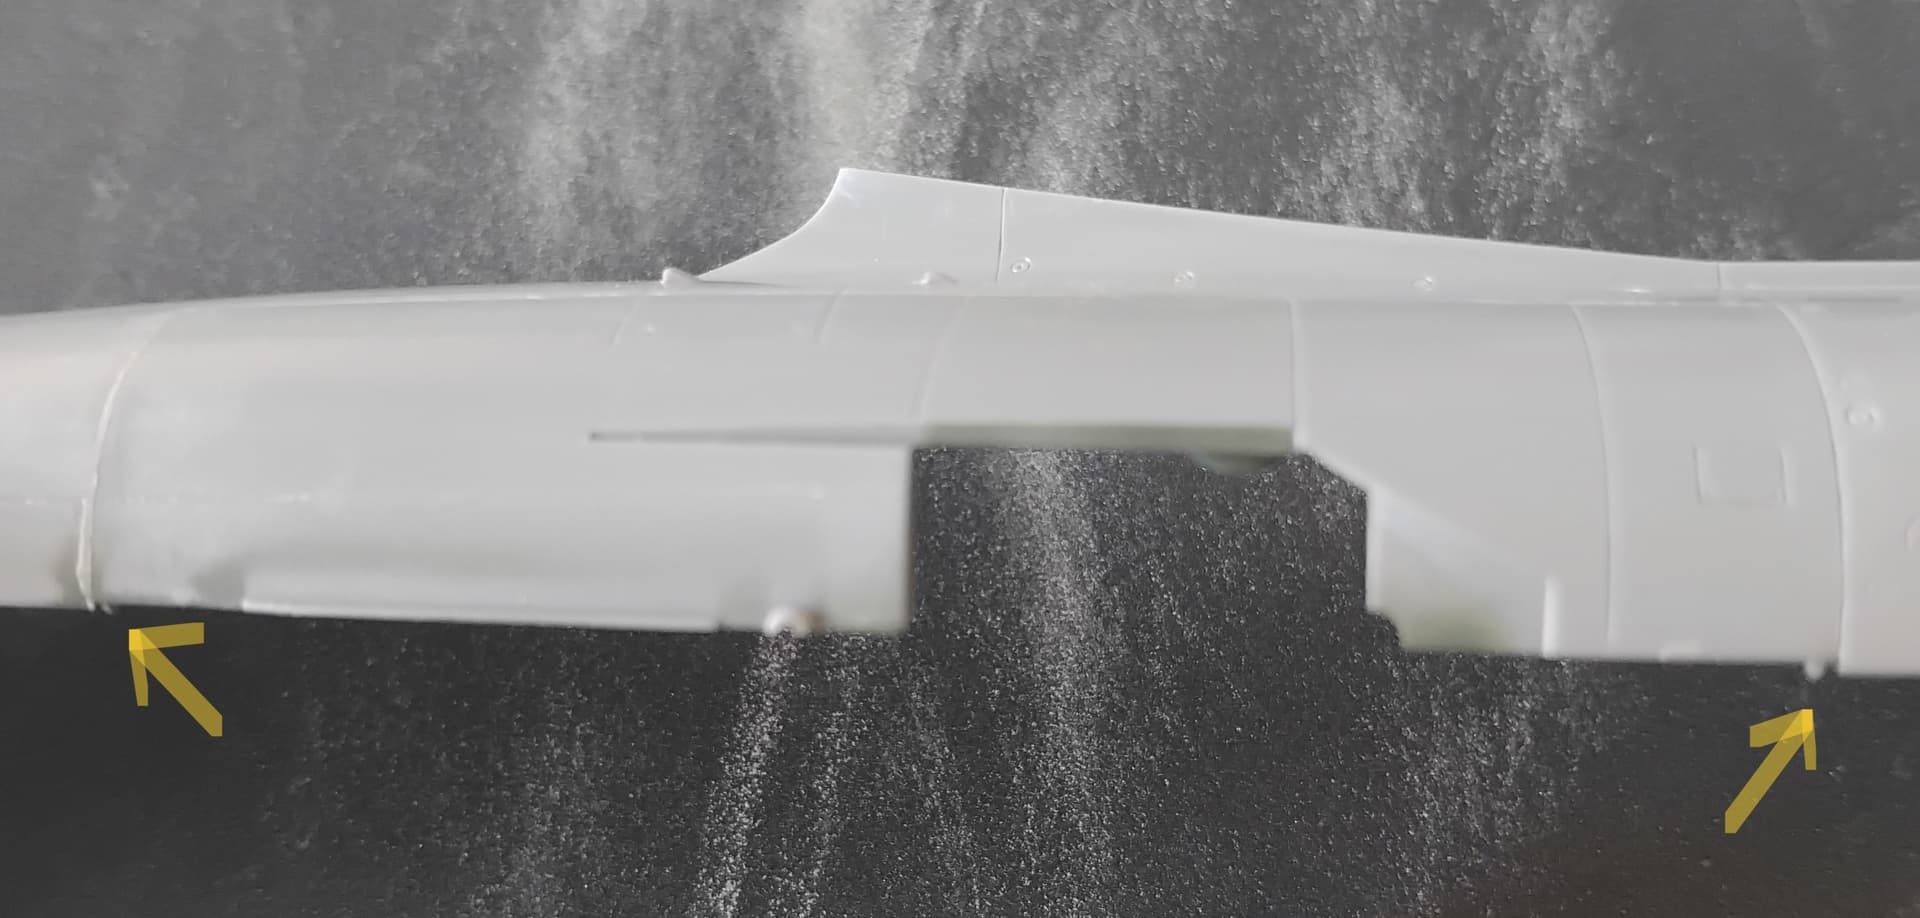
Things were then set up for closing of the fuselage.

Due to the sanding, I lost the alignment pins, not a big deal for me, and the fuselage halves went together with a little effort, though not too big of deal. After the fuselage dried, I test fitted the fuselage wing mating area. This is where the butterfly sent the message. There’s going to be some major gap filling needed!
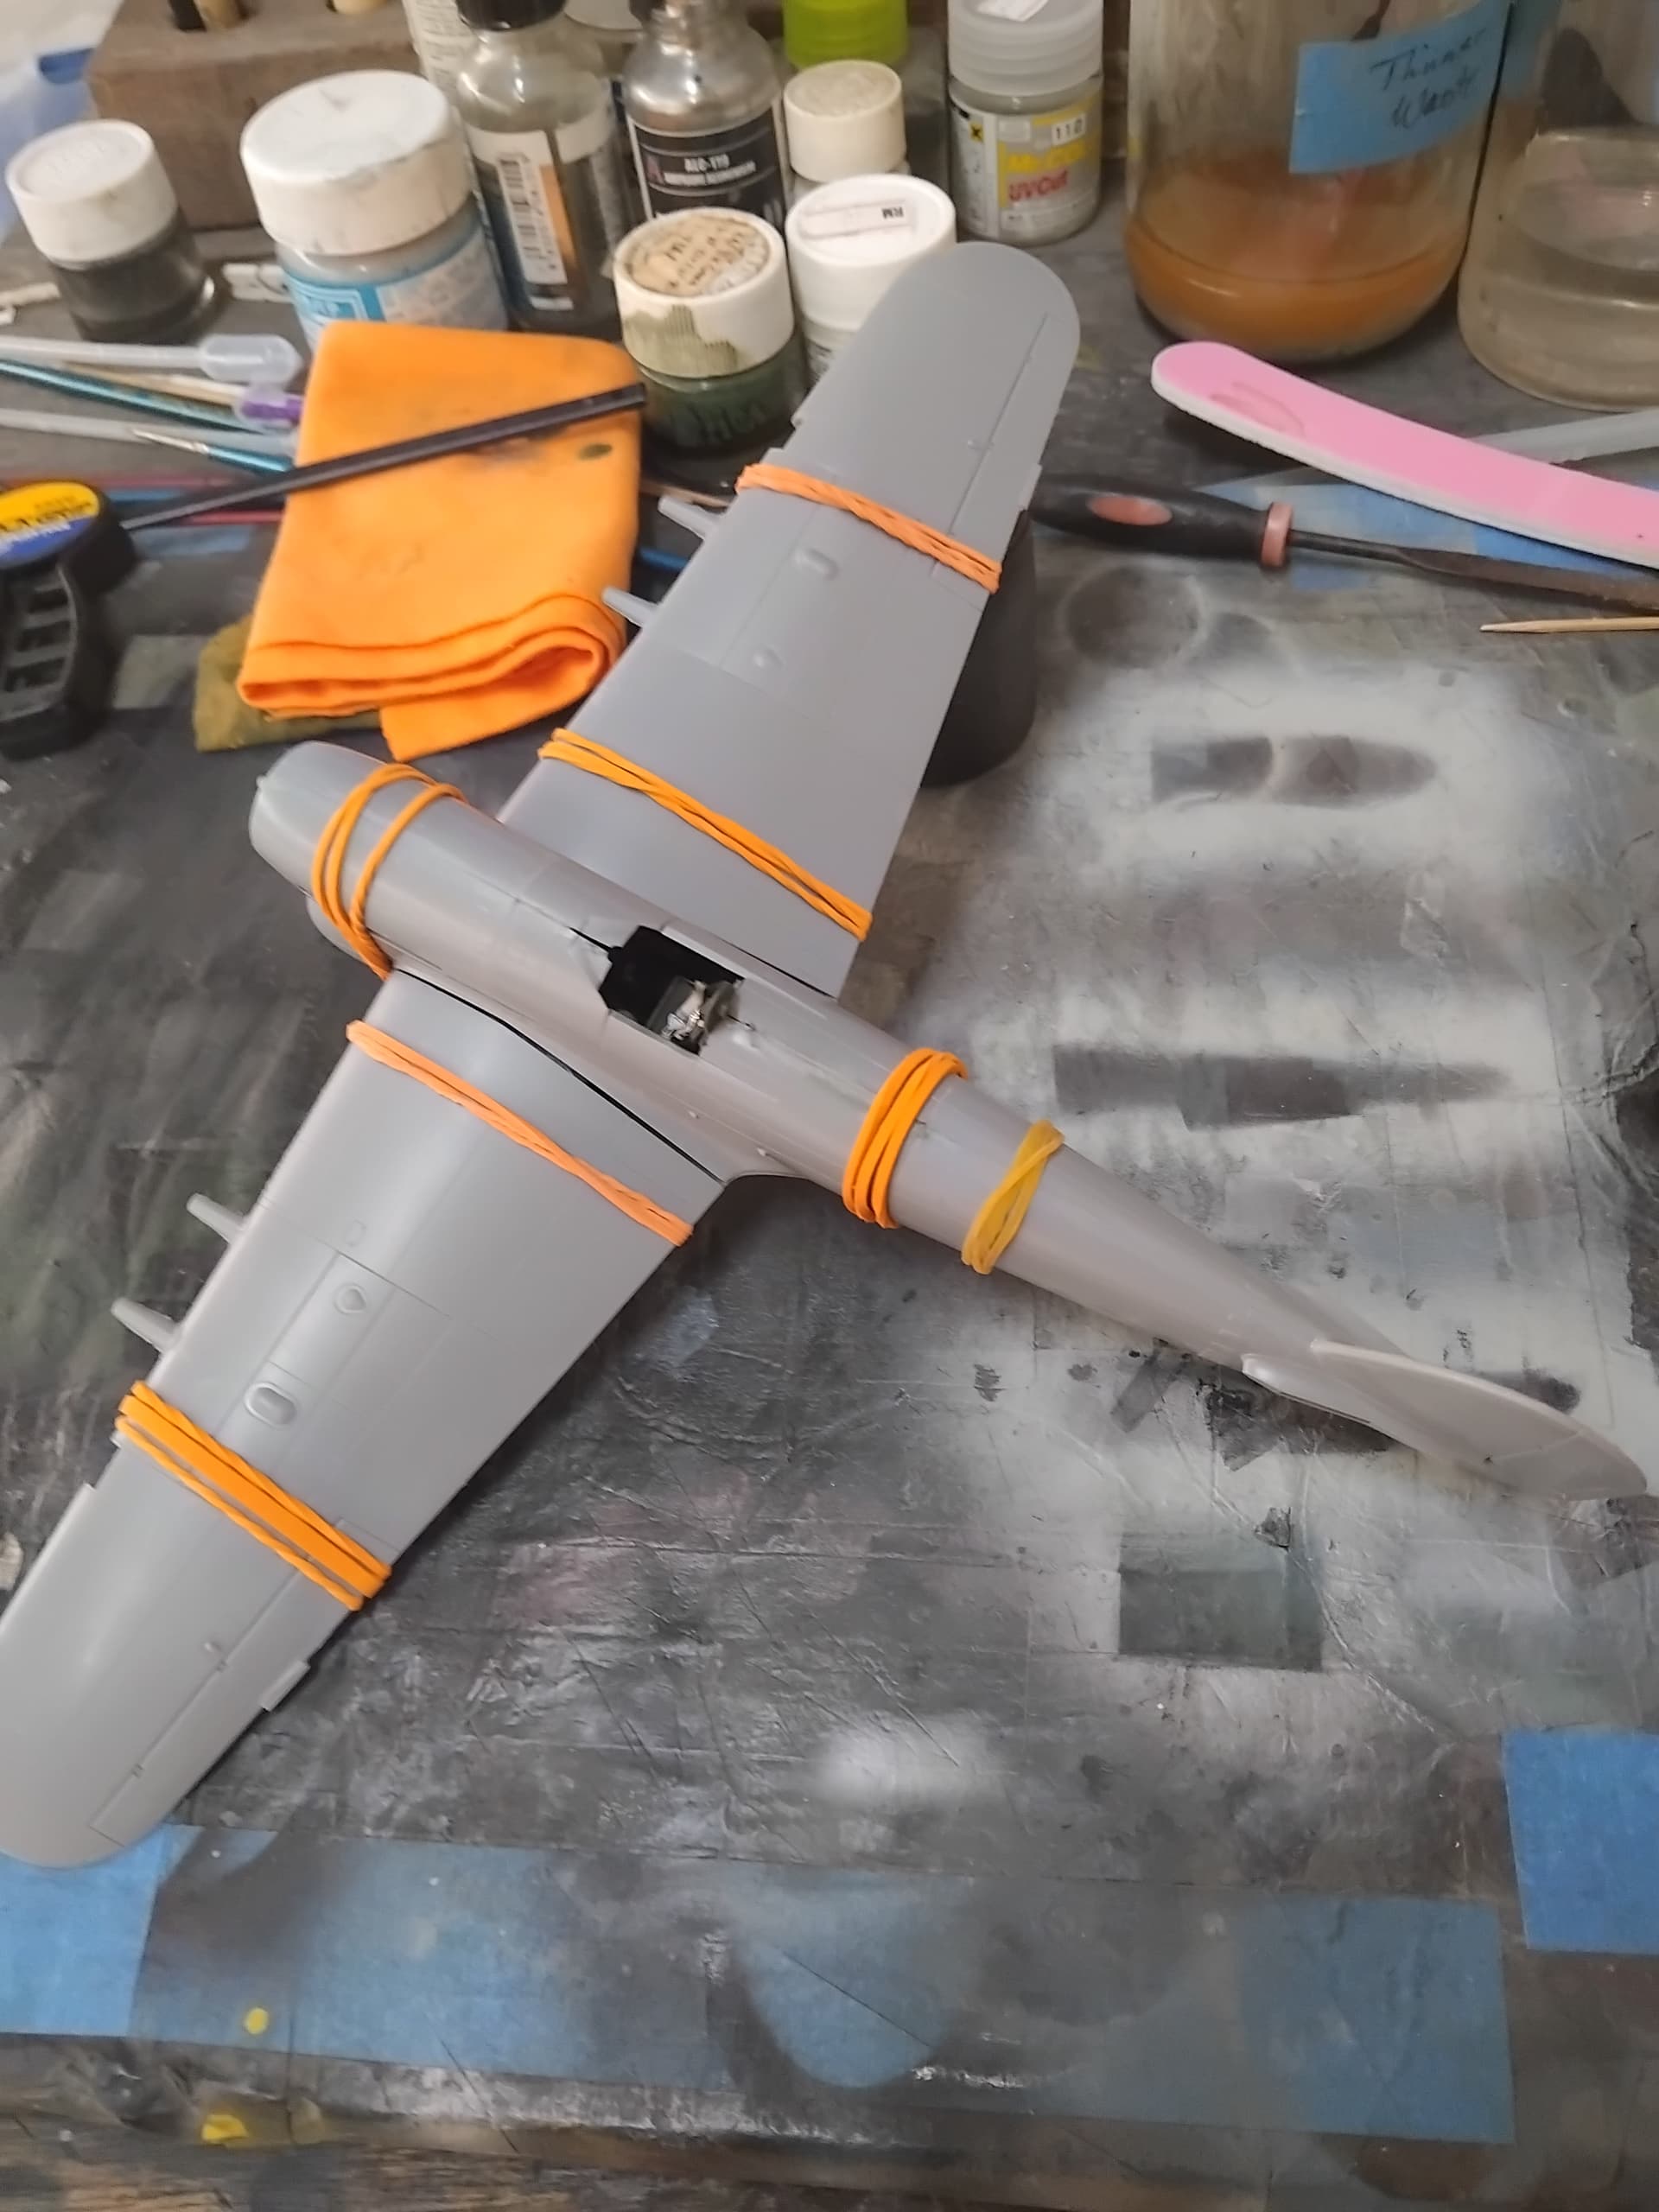
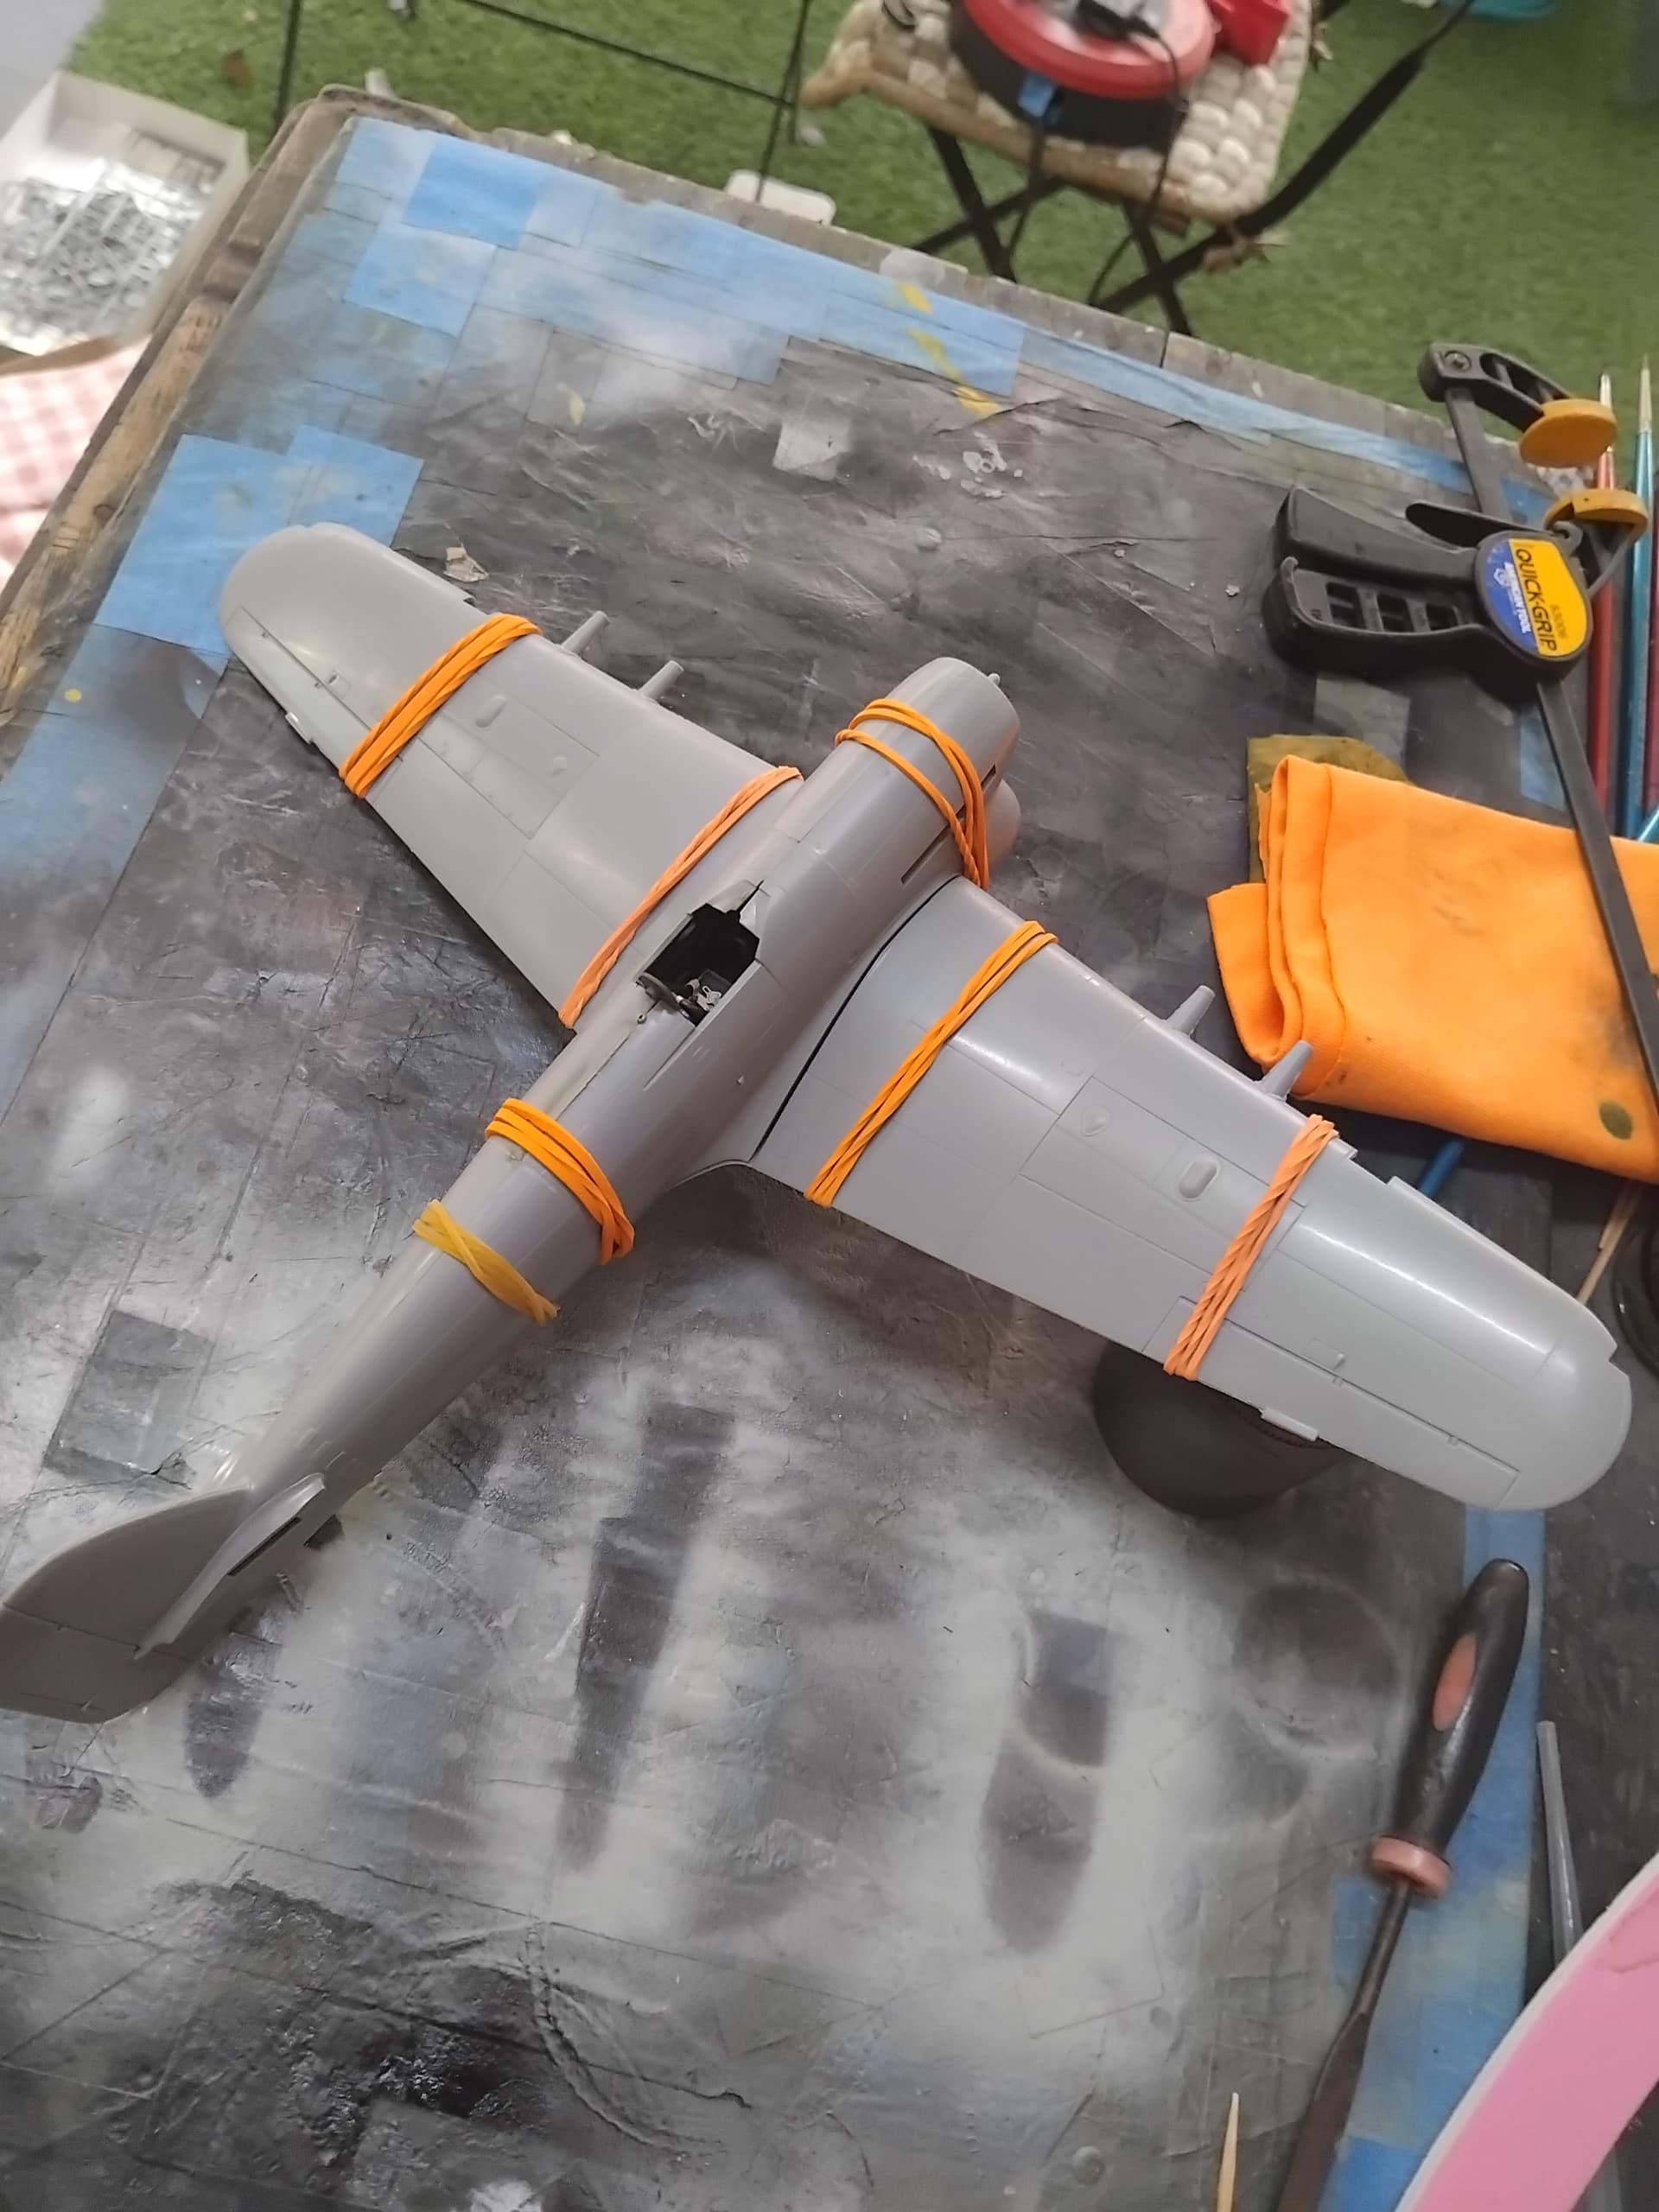
Up next will be getting the airframe completed and preparing for the paint job.
Till then, stay safe, wash your hands with soap and water, and above all else have fun!
12 Likes
A very welcome addition to the group John … Really like the Typhoon… It’s big mean looking …
3 Likes
Grinding on parts clean up before starting assembly. Wheels & return rollers done which is the worse of it.

7 Likes
one of those tedious jobs that adds so much when its done to give a better look …
4 Likes
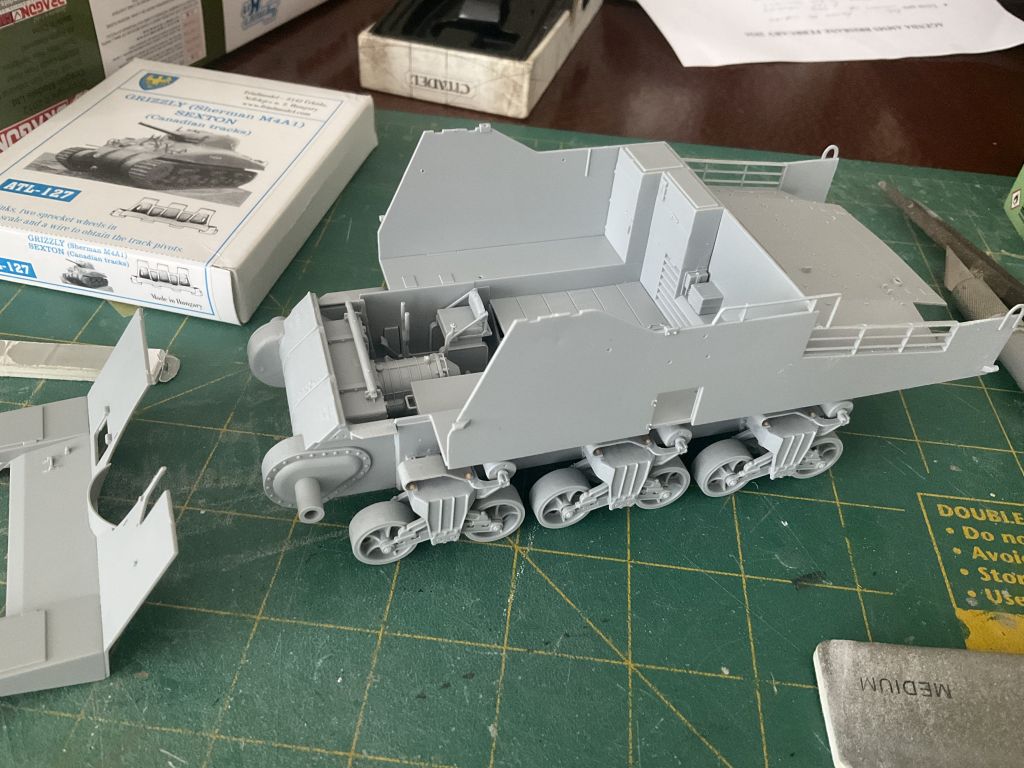
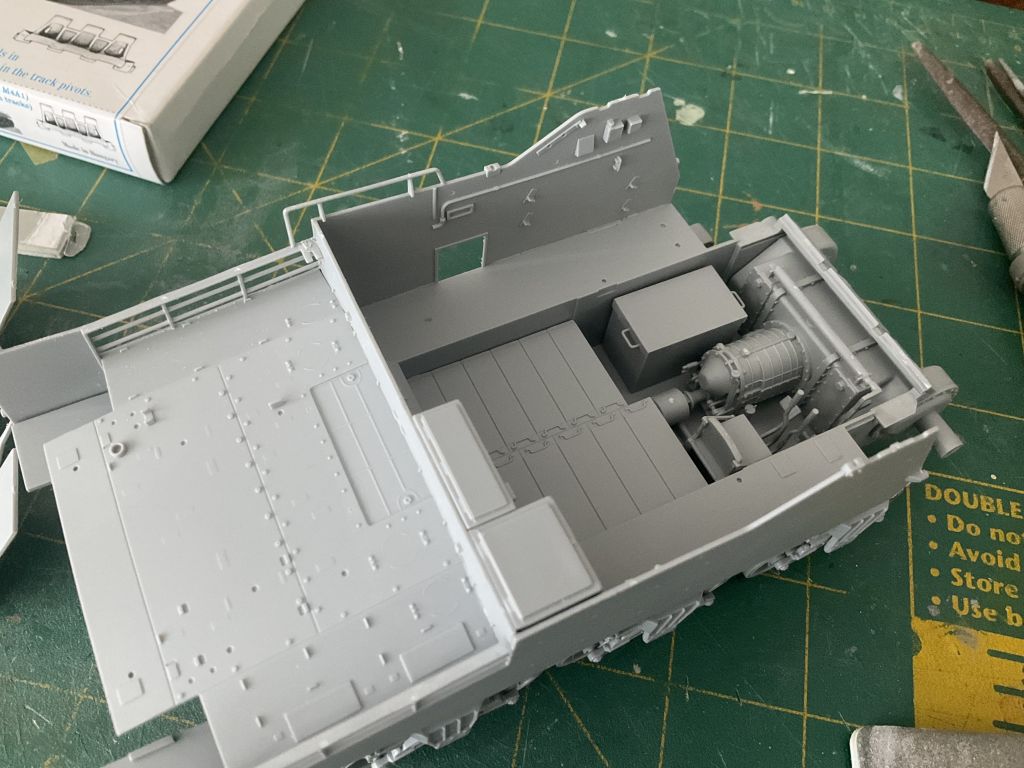
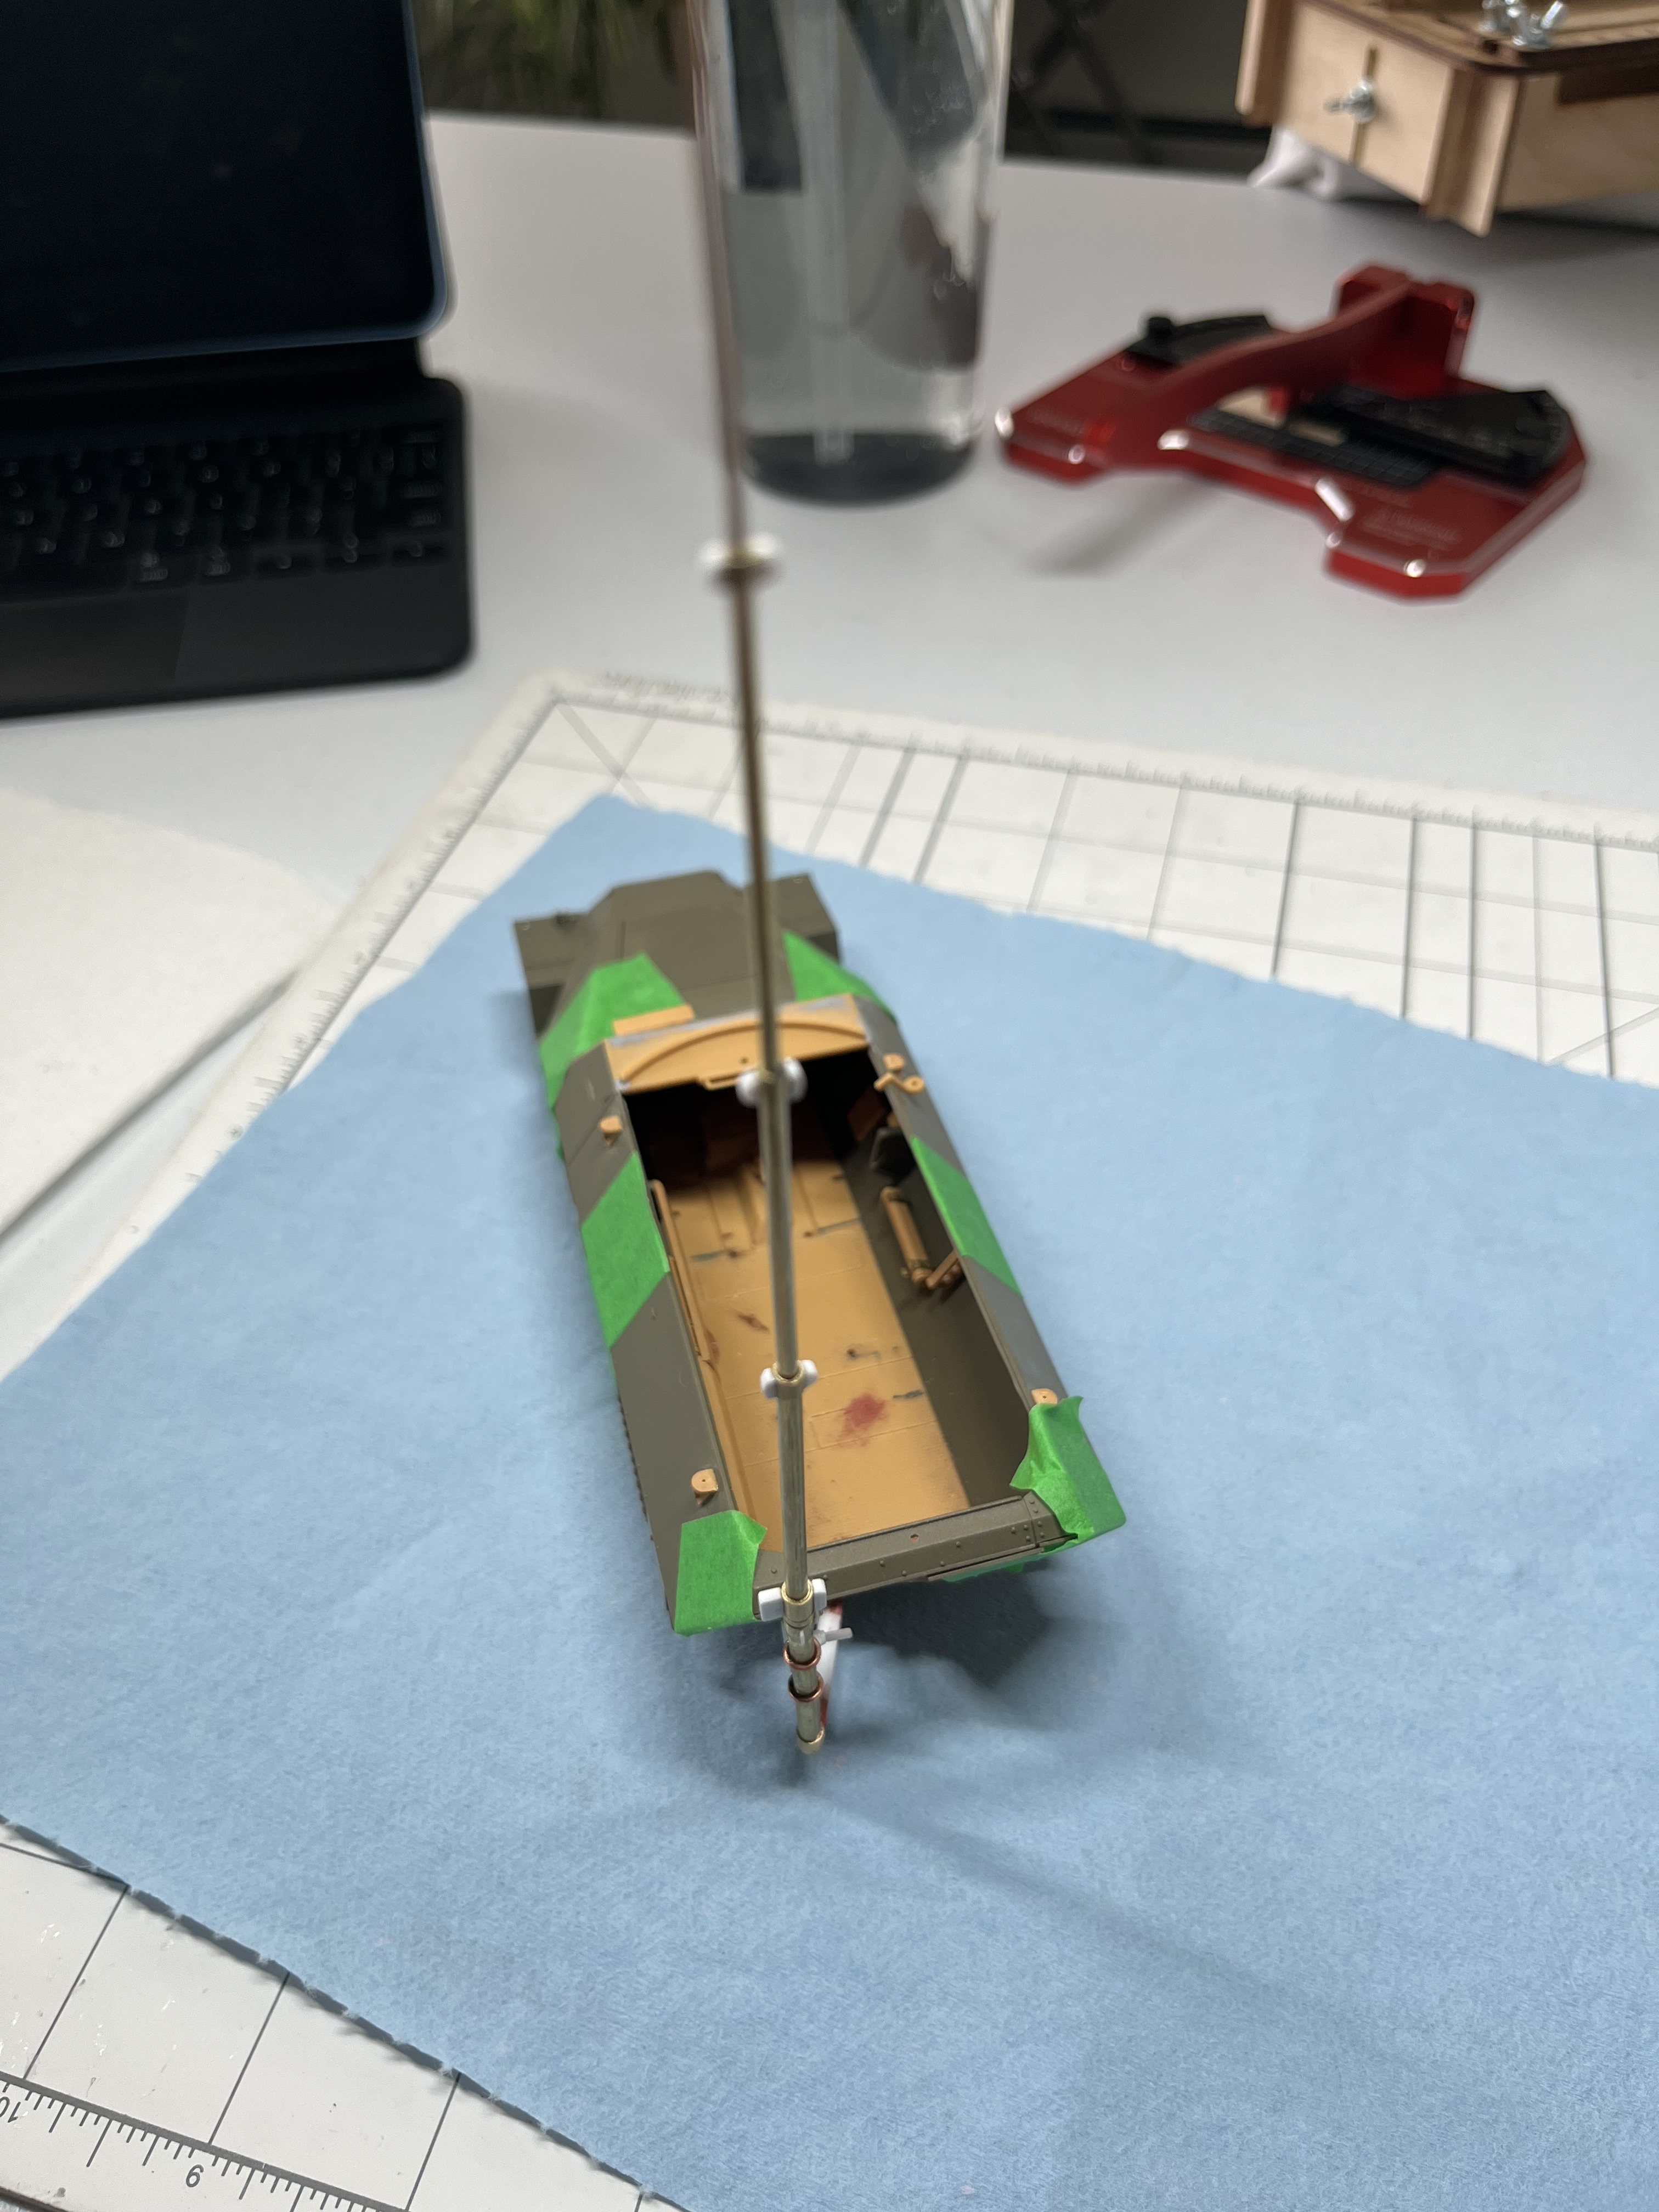
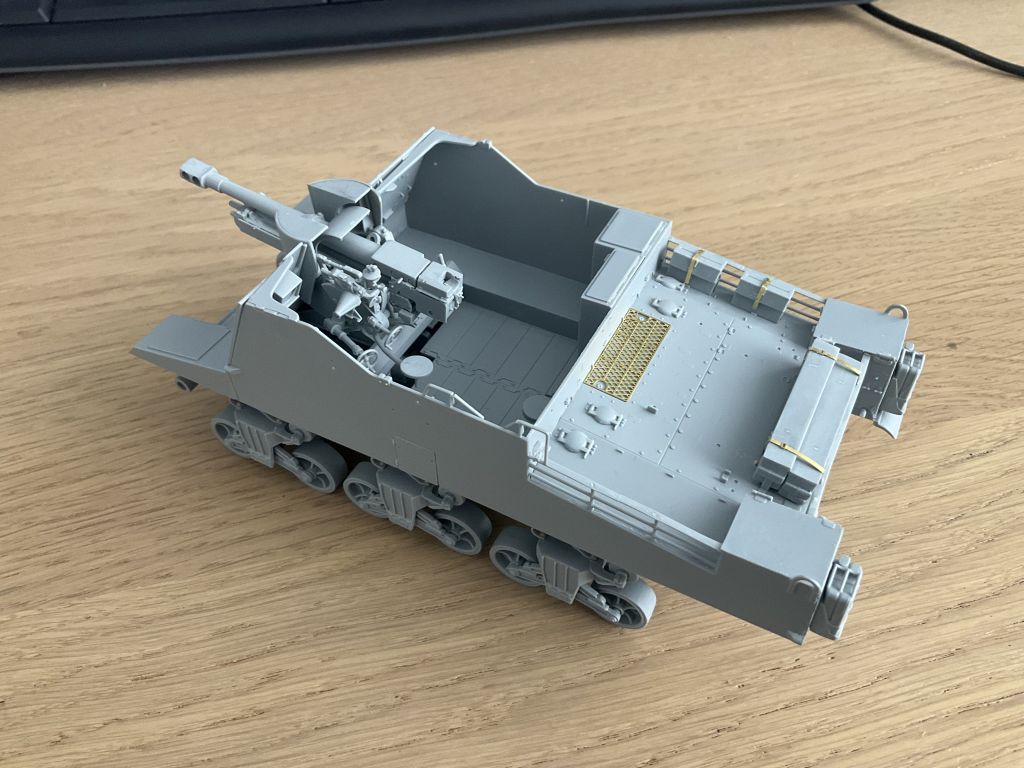
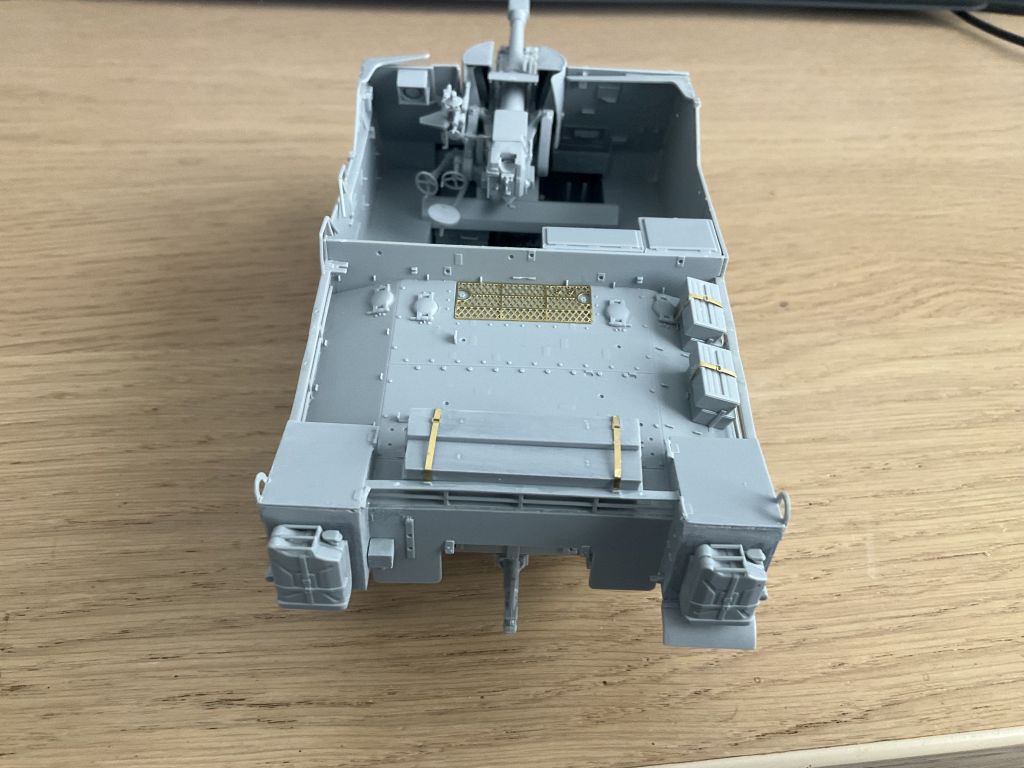
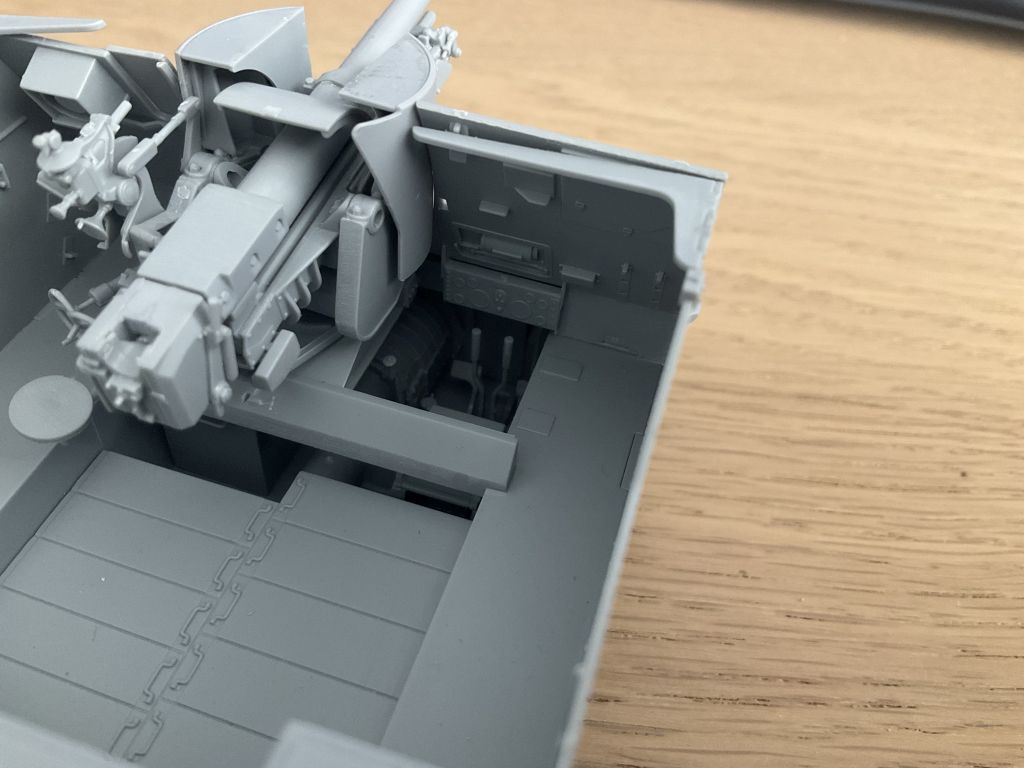
Basic construction for interior painting done.
I had to put a strut in the rear to correct some warpage. Without it, the engine deck panel curved up ward. I also had to attach the rear storage boxes to the deck and let that set first, that helped keep the deck flat too.
Dry fit pics:
12 Likes
I notice the driver is on the other side compared to the M3, M4 and M7?
2 Likes
Thats building up nice. Looks good.
2 Likes
Hi John, I appreciate that it’s a tad late, only by a year, but…
a) is it still possible to enter this? and…
b) could the diorama be set in the few days before D-day, as I’ve an idea for a 1/72nd scene showing vehicles/supplies being loaded aboard landing craft along the English coast.
G, ![]()
2 Likes
Of course mate, and not surprised you missed it with your ongoing activity that was going on in the real world … and … I am a terrible rule enforcer lol … and I am sure there was furious repacking and constant loading before, on the day and during the actual invasion itself … looking forward to it ![]()
![]()
3 Likes
Thanks John, much appreciated my friend, ![]()
![]() .
.
G, ![]()
2 Likes
Hi all,
A bit late to the party, but thinking I might try something along the following line…
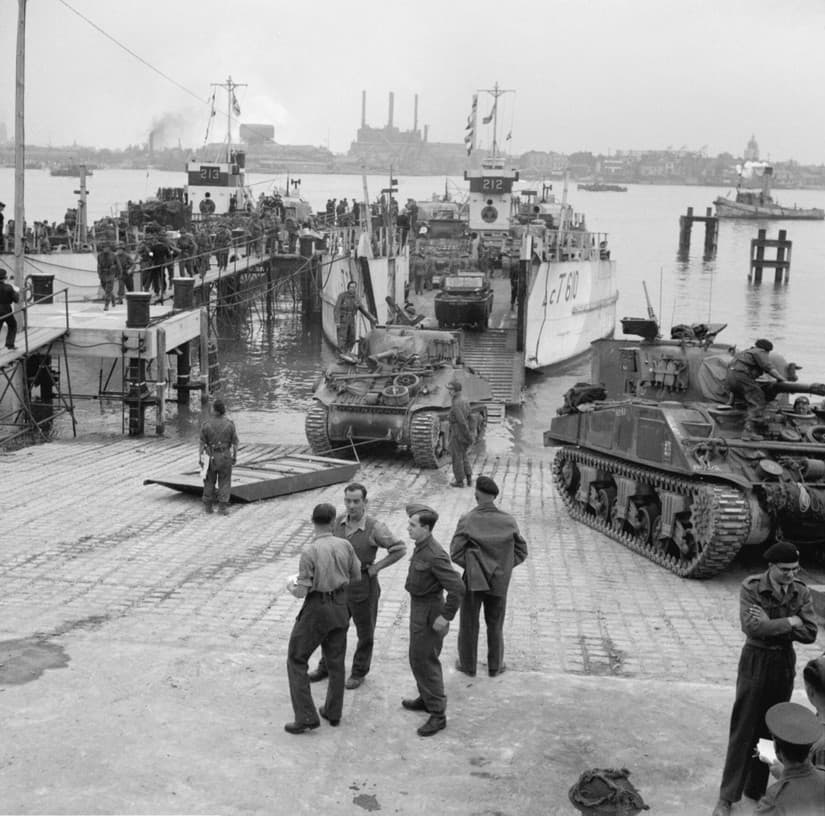
To keep it simple, and to fit my 1/72nd scale A4 size I’m thinking a the Airfix Higgins LCVP, bow ramp down on an hardening mat (the square ‘cobble-like’ surface in the image above).
I’d add a jeep being reversed aboard…or a different vehicle if anyone knows what else they could carry, ![]() .
.
I could also add a dukw running into the water, ![]() .
.
G, ![]()
5 Likes