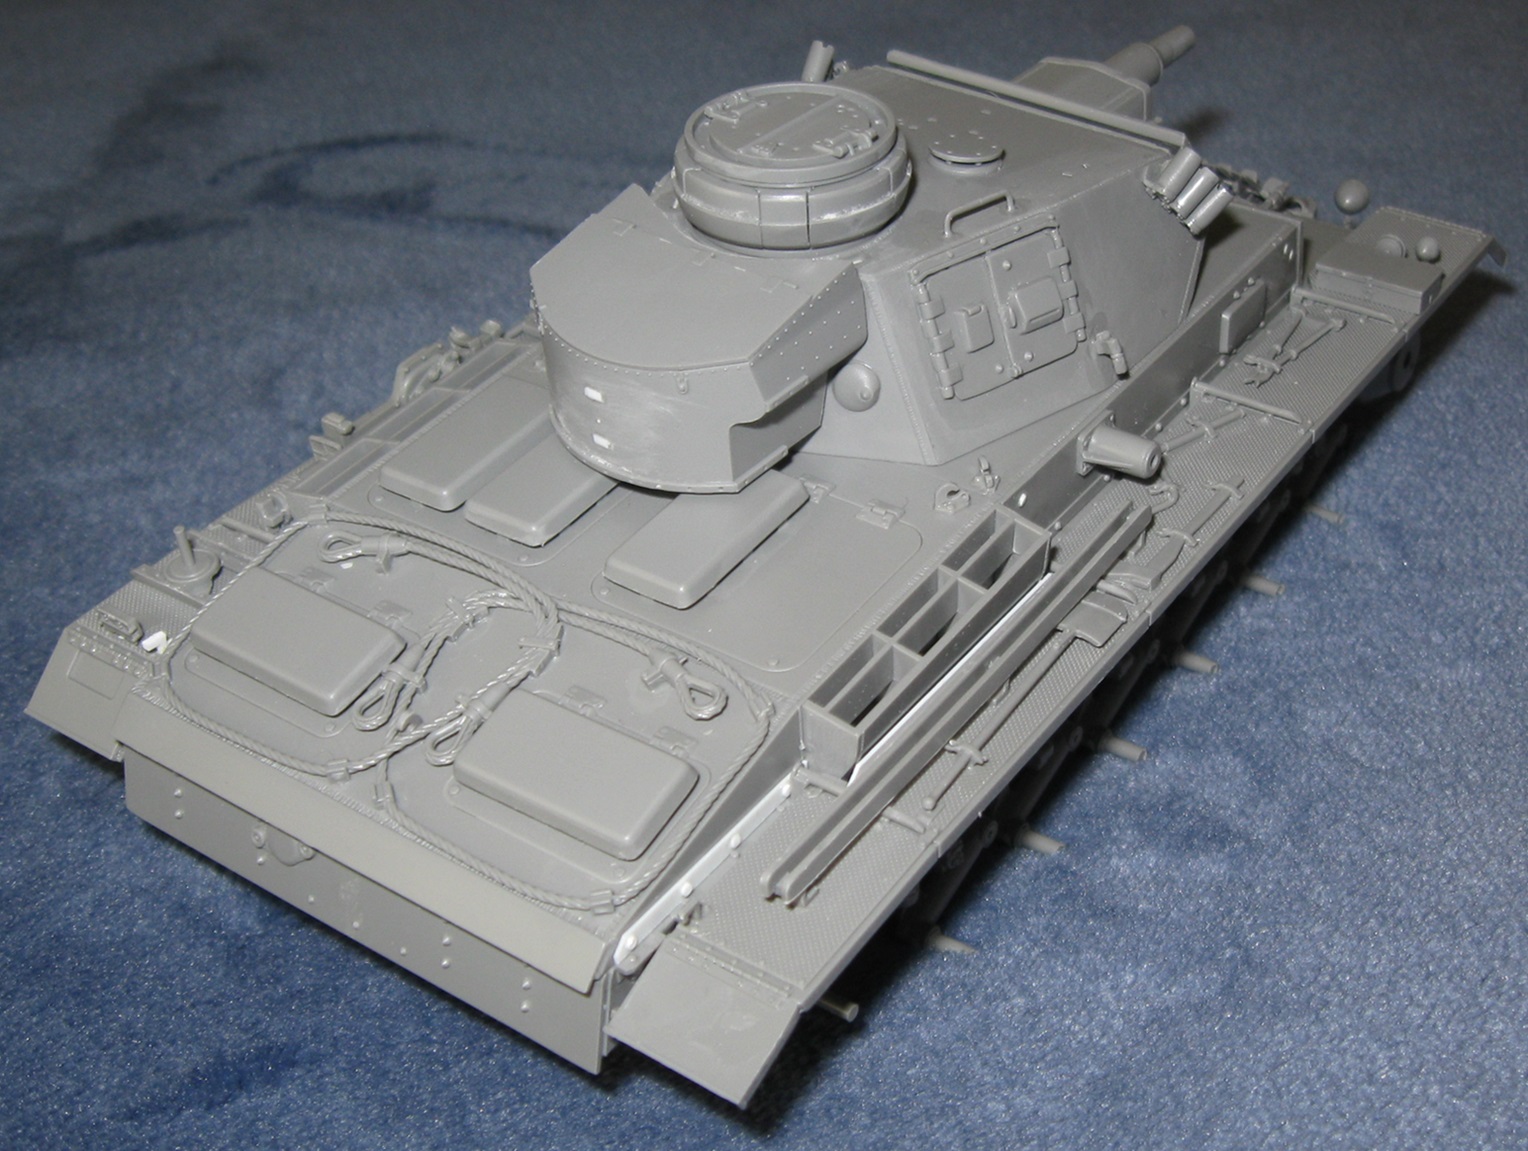
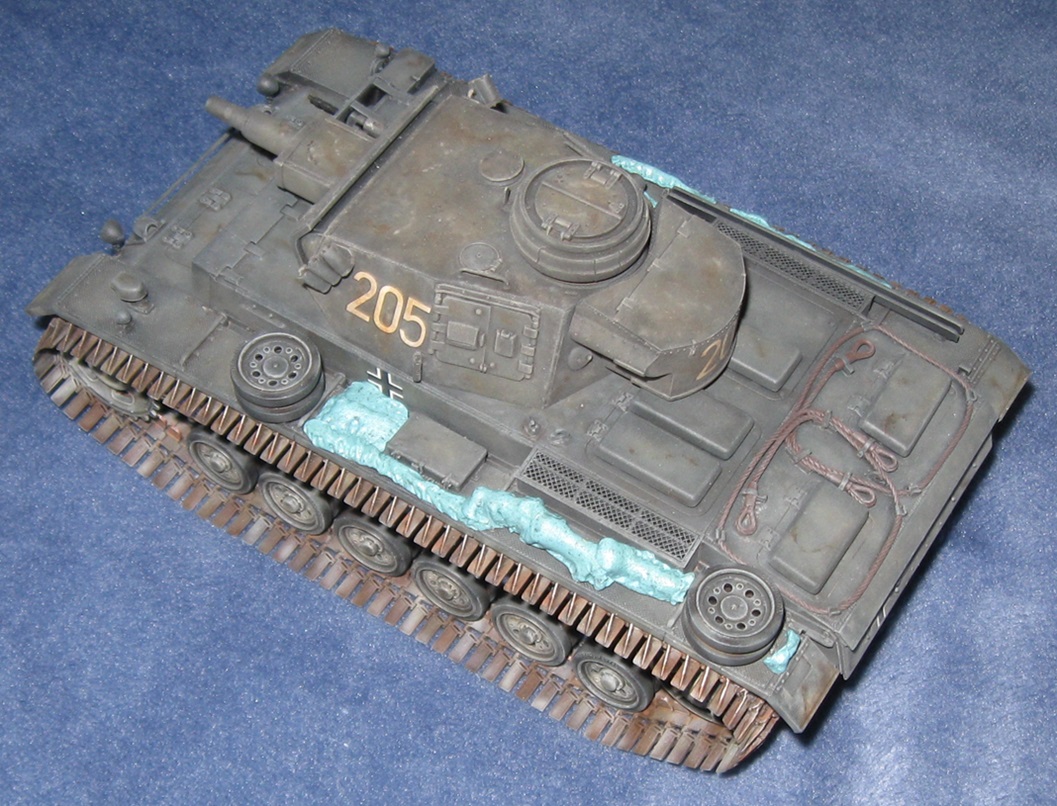
This model was started on November 30 of last year as a speed build test. Construction finished December 5. Primary painting finished December 11. Then it sat in the box two months. Decals were sealed February 16. Then is sat in the box for 4 months. Now it is finished.
Accuracy issues aside, this is a fun and easy model to build. Final assembly is quick and painless. Link and length tracks are hassle free and look good.
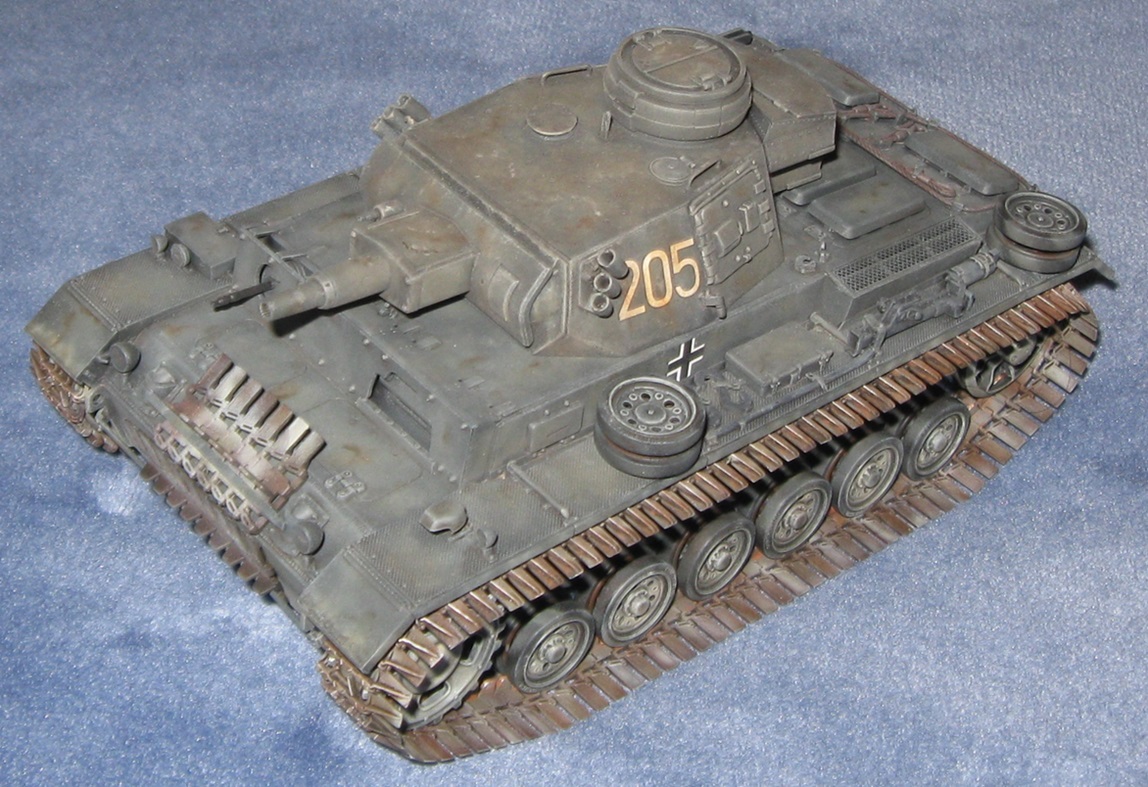
Unfortunately, my painting skills and inherent artistic talent are just not sufficient to make a dark gray tank look vaguely interesting. At least a dozen hours were spent pushing oil paint around, trying to add contrast and create realistic mud splatters. Dropping a big glop of burnt sienna on the paint palette was a mistake. The finished model looks like a boring, gray brick.
There is hope. This model is essentially in the state a good effects painter starts with. If I can master some additional skills, I can pull this model back into the shop and keep going.
…
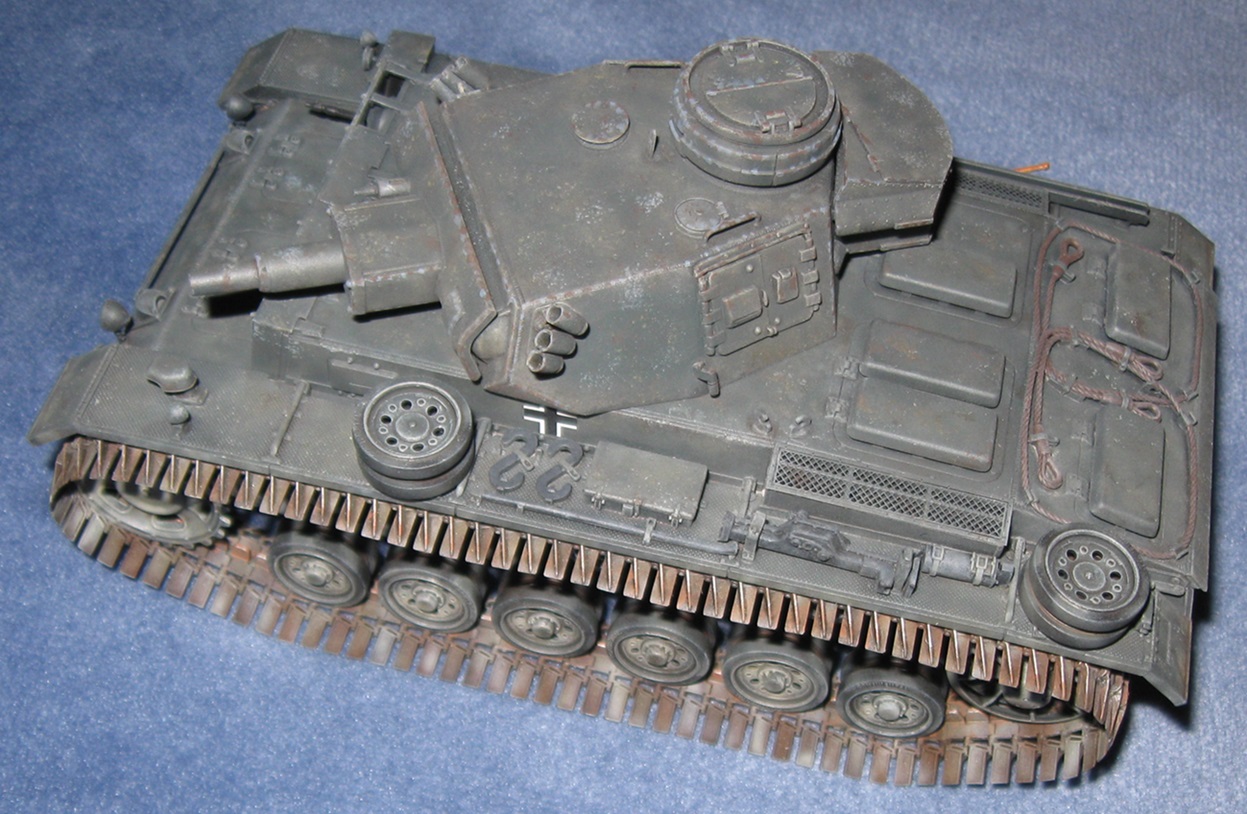
Comparing my previous three models, it is interesting how one is shiny, one is in the middle, and one is flat, even though all three went through the exact same painting process and received the exact same flat coat.
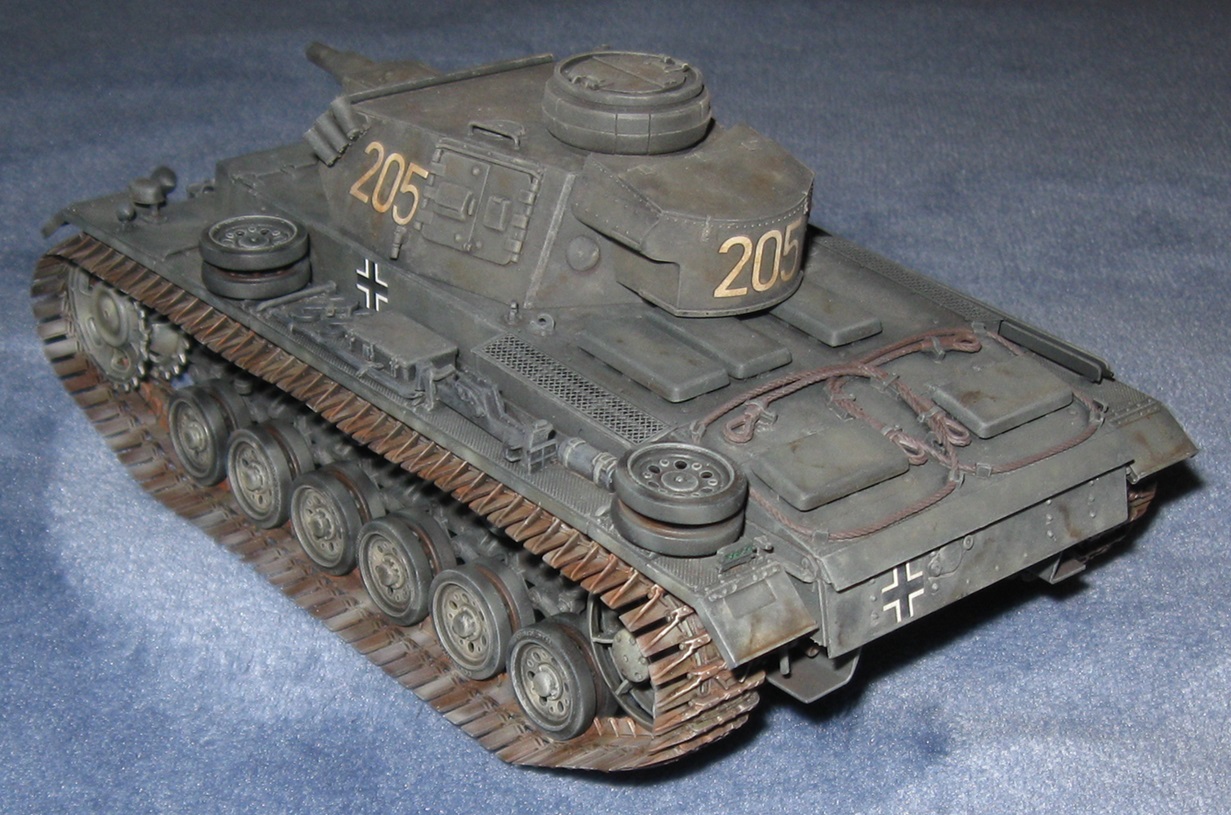
Doug, as the boys say, a filter and maybe a pin wash could do wonders here. The filter will help draw the colours in and the pin wash define the detail more.
Also consider a thin brown wash on the running gear and lower hull as a dust coat, which will vary the colour from the turret and upper hull.
What all of you do not understand is that I did all the normal effects painting techniques on this model. Multiple times. Over 20 hours of painting. And it sucked.
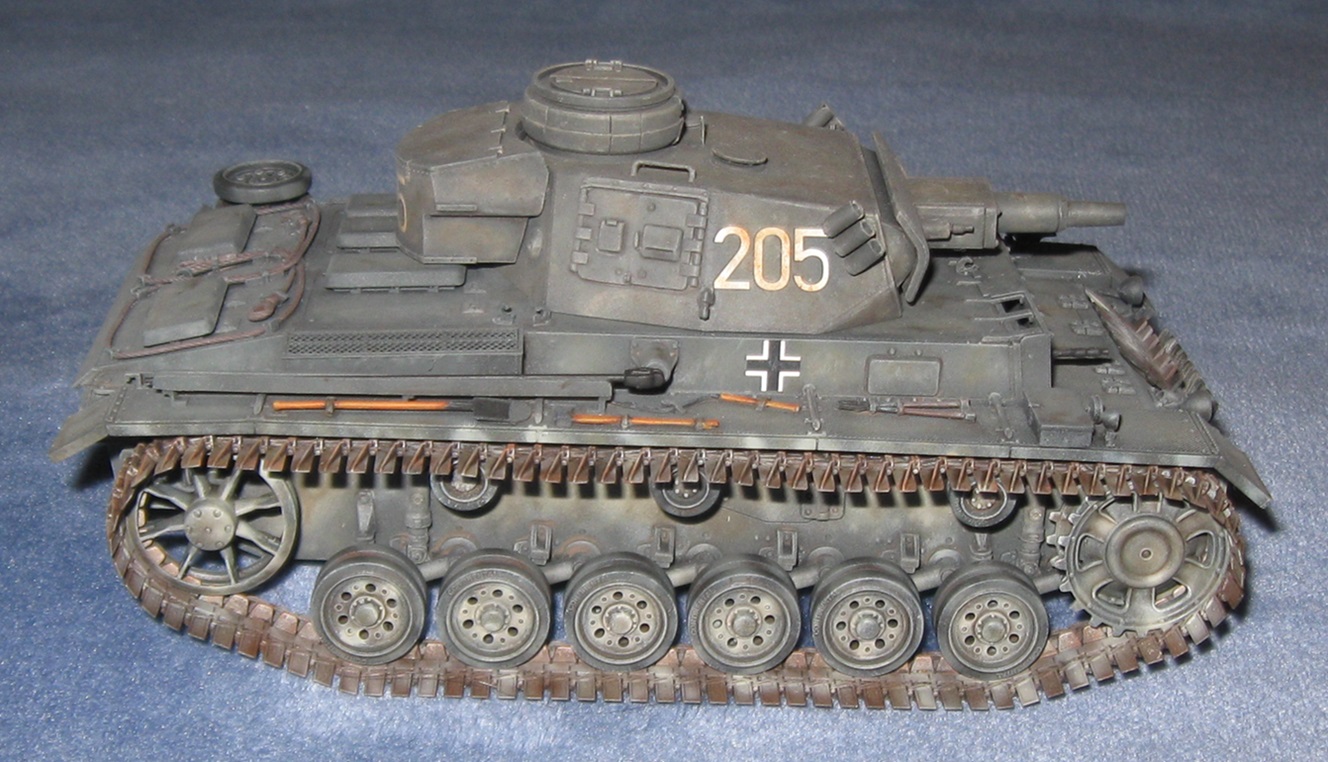
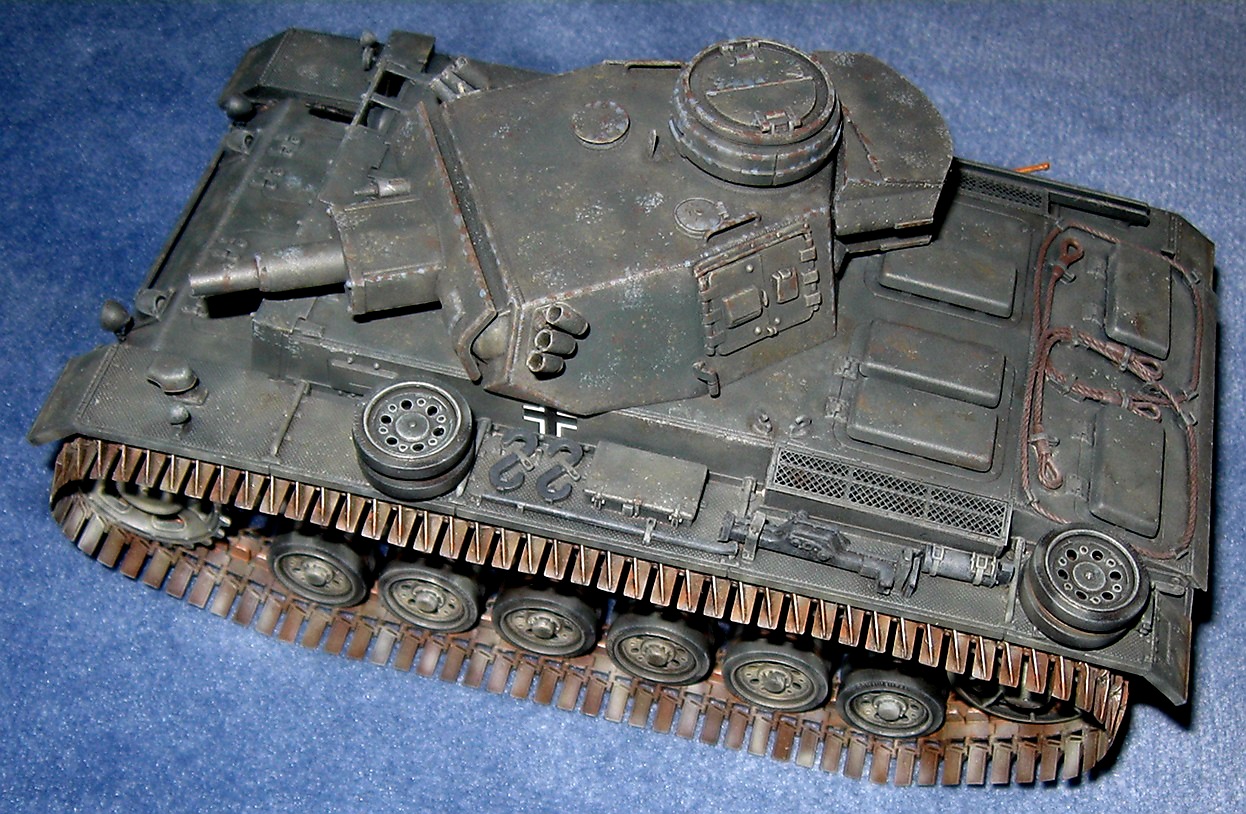
Anyway, this is where things stand after yet more hours of painting. Various chipping techniques made things much worse. The sponge method did the most damage. Yikes. Chipping on a low contrast paint scheme with old eyes is hard mode. Brighter white lights and glasses with much more magnification should help. Unfortunately, the only way to learn is to try things and ruin models. They are called practice models for a reason.
I am going to really go to town on the chipping and intentionally ruin the model to get a better feel for that technique. Once done, I am going to over spray a third coat of dark grey and wipe out most of it. Then I will redo all the effects painting a third time and see what happens.
Love the bent shovel on the far rear fender. Haha!
Not much time of late to build. Almost no opportunities to paint. Slowly working on this thing for the last couple months. Typical Italeri. Link and length tracks are really hard to get right because they are slightly too short. Fit of major assemblies is slightly off. Sink marks all over the place so bring your filler to the party. A bit of effort produces a really neat looking vehicle.
The last three months of my life were very difficult but I managed to get in some model building. This project was started on September 24, 2025 and concluded on January 6, 2026, taking 108 days. As usual, I worked on many projects during that period, drastically slowing things down. This is a habit I am resolved to break in 2026.
This model is almost completely built from rod, sheet, and tube plastic stock. If I recall correctly, it uses less than a dozen scavenged model parts, all of a small size. That makes it the closest thing to a true scratch built model I have completed.
The paint job may seem strange. It is supposed to be modern US desert tan. It looked really plain in solid tan so I added heavy panel lines and lots of oil paint to liven things up. Why is a brand new piece of machinery rusting? I am dubious.
I try to learn from my mistakes and this model suffers from three.
1] I use Winsor and Newton Burnt Umber for panel line work. It is too gritty and tends to leave tide lines no matter how it is cut or thinned.
2] When making completely enclosed plastic boxes, there is a point when the box seems dry but is actually still setting up. If a box is sanded in this condition, seams will sometimes pull back later. Walls may also cave in as excess glue escapes. Never flood the seams of a completely enclosed box and give time for the glue to evaporate.
3] Keep a clean work area. A small amount of dust will contaminate a project. This one is obvious but catches me every so often.
Doug,
1] I also use Winsor & Newton Burnt Umber for panel lines. I used to get tide lines thinning with mineral spirits but then switched to Turpenoid Blue Label and now no tide marks. No grittiness either.
3] Sanding dust has always been a conundrum but I bought the DSPIAE hobby vacuum and it’s a winner. Handheld but cleans a work surface or a model in seconds. Highly recommended.
Total time to completion was 355 days. Eleven months of that was me losing focus.
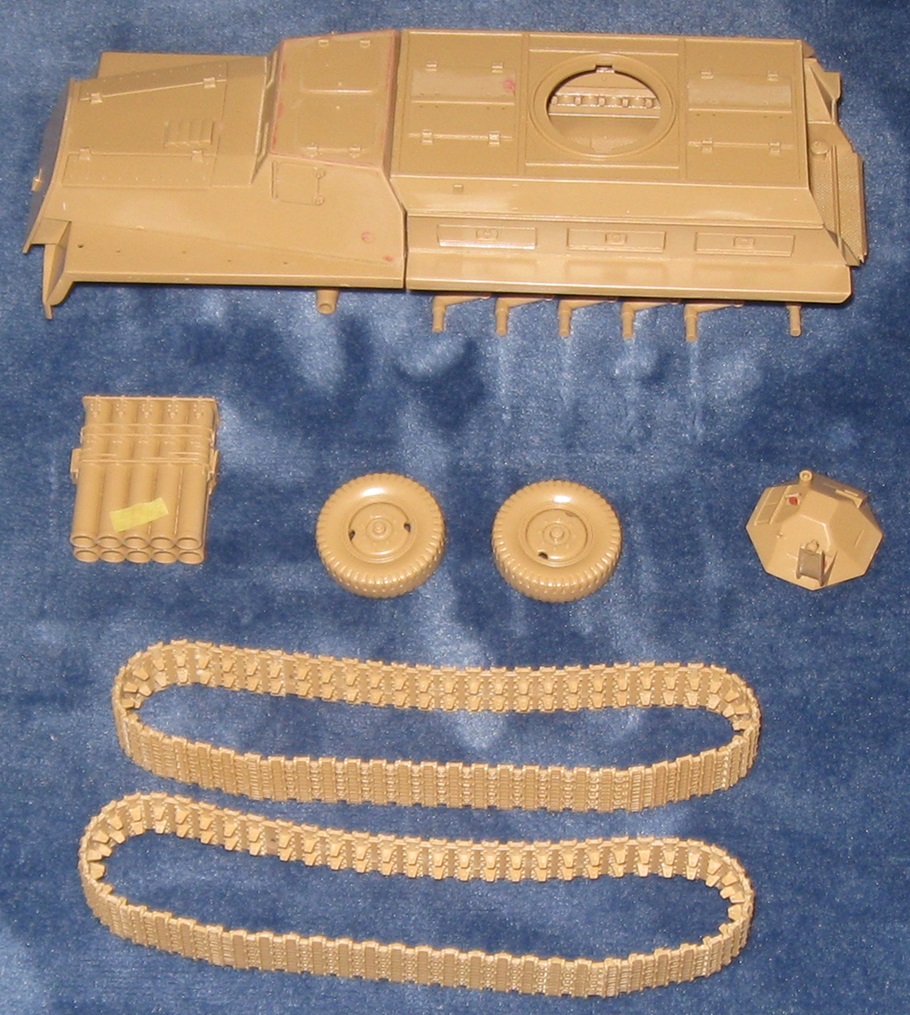
This is my first completed Russian tank in any scale. It is my fourth attempted Russian vehicle and the second completed.
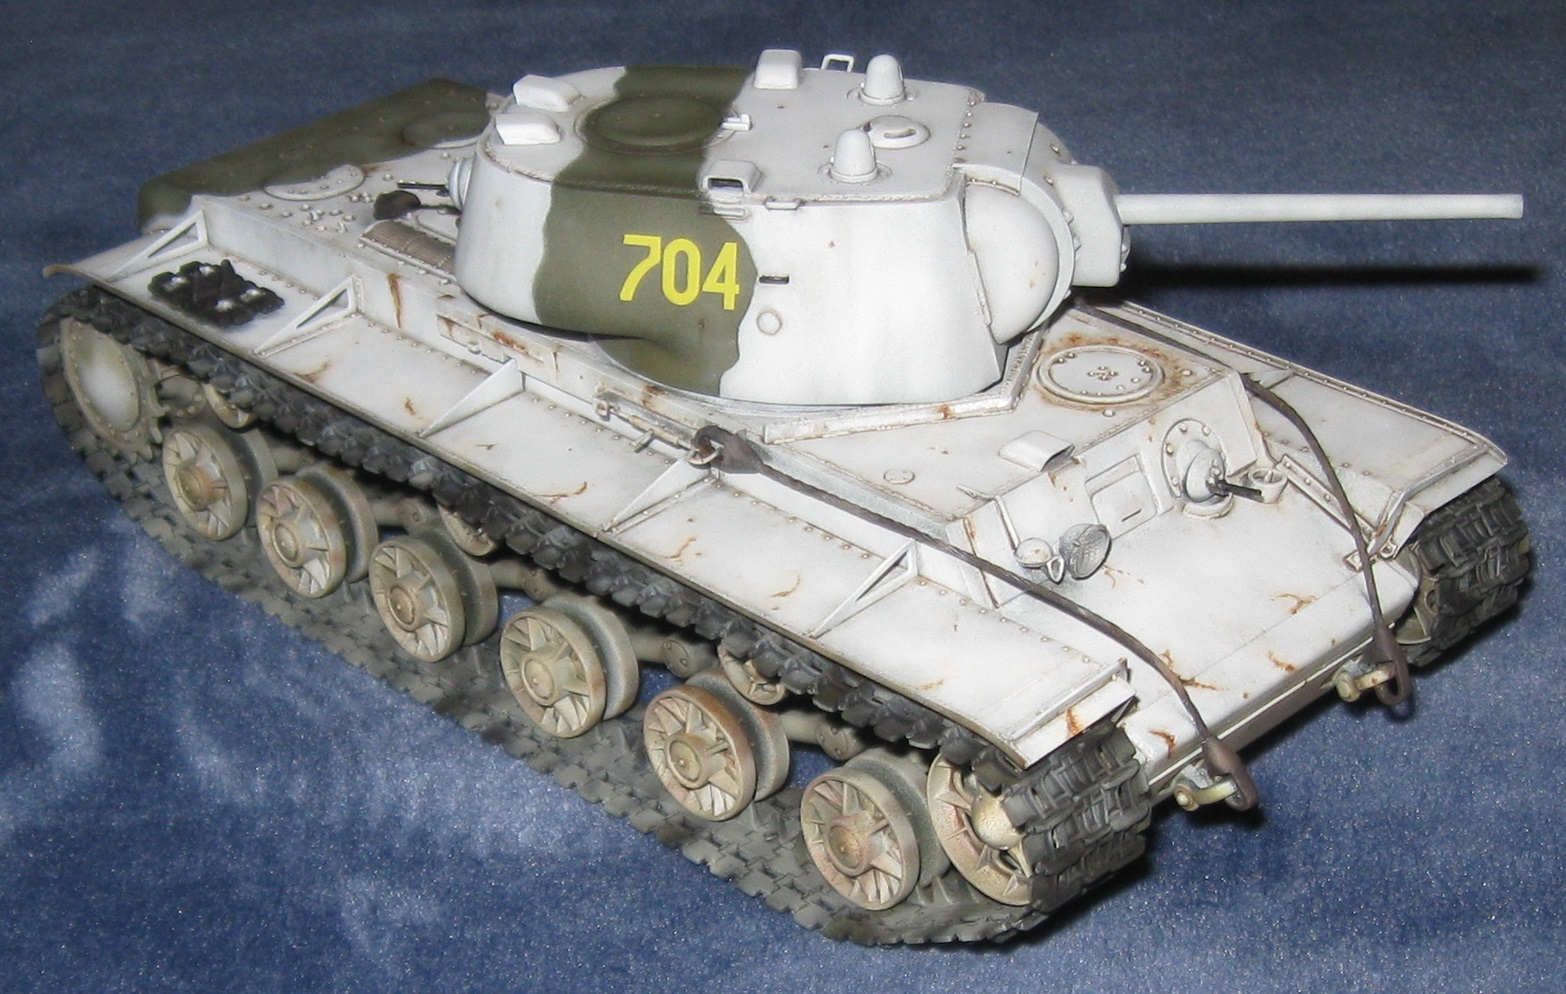
This is my third attempt at a whitewash finish. My first attempt was in 2006 on a 1/72 scale Hasegawa Panzer IV Ausf. F2. I still have that model! The second attempt was in 2018 on a 1/35 scale Dragon Jagdpanzer IV Late Production that went into the trash. That fail was so bad I gave up on models (again) until 2022.
In my opinion, from the fenders down, this is my best model yet. The belly is really nice! I do not like the hairspray technique so the whitewash finish is okay. How did rust form on top of whitewash? How come the area around the driver’s hatch is so dirty compared to the rest of the tank? Urrrrr…
There are a lot of ways to paint tracks and get good results. I normally start with an umber base and mottle on lots of earth tones. For this model, I used a black base and pulled back on the earth tones. In my opinion, the result looks pleasing. It is more of an artistic approach than a realistic approach. To be even more different, I did not silver up any contact surfaces. (For realistic, forget all the crazy mottling and washes. Glob on pigment and you are done.)
This was a really pleasant model to build. If you are a novice model builder and want to practice on something not Tamiya, this is an excellent choice. It is cheap. It comes with soft plastic and link and length tracks. The small amount of filling required is good practice. For an easy paint job, paint it green and do not add any decals. If you want to practice effects painting techniques, it is a Russian tank so beat it up! The only things to be mindful of are the machine guns and tow cables. The machine guns are really petite so maybe add those last. The hook things that secure the tow cables are fragile. For an easier build, leave off the tow cables and add the fragile hook things at the end.
On my model, I replaced the tow cable wire with twisted wire for hanging pictures. It is cheap, strong, and looks correct.
Excellent job Doug, I’d be VERY happy with the way that model came out. Finish looks great. I have one or two of these Trumpy KVs in the stash, one of these days I’ll get to them.
Thank you! That was about a year and a half ago. My airbrush still sucks but my skill level improved significantly, all through trial and error.
For example, about 5 days ago, I stuffed some gloppy paint into my airbrush. It clogged fairly quickly. I spent the next 90 minutes trying to filter and thin the paint. No joy. Clog, clog, clog. A year ago, my frustration level would spike very high. Today, I knew immediately what was causing the problem. I knew exactly where the airbrush was clogging. I knew possible was to fix the paint. I quickly developed alternative solutions and ultimately went with one of those. I did not even throw the paint out. I stuck a label on it–For brush painting only!–and then bought a new bottle of paint online. The airbrush session was successful and I learned some things.
I still need to find a top feed airbrush with a comfortable trigger but for now, my Iwata is good enough for many projects. (About a year ago, I purchased a cheap airbrush from China. I understand why people praise it but for me, the trigger is h o r r i b l e. My next airbrush will be a top feed, fine spray Iwata.)
Every time I purchase a model, minus a few missed early on, I take a picture or two and stick those pictures in a folder.
Since returning to model building in May 2023, I purchased 69 models. Of those 69, I built 16 of them. Of those 16, I finished 4, one was finished but went back in for overhaul, and one went into the trash.
Yikes.
I really need to get this under control–build more, finish way more, purchase way less, sell on unwanted models.
I know a lot of model builders struggle with this. Running the numbers for myself, it is worse than I thought.