I hear ya! I passed that milestone a year or so back. Time catches up with you.
Ken
Thank you, Wade, Matt, and Ken, for understanding.
Matt, Zvezda’s Pansir S-1 caught my eye as well. I look forward to seeing you take another fine model and making it spectacular.
By my count, this thread currently includes 4 incomplete projects.
Italeri M3A1 Scout Car–washed; ready for progress
Italeri M24 Chaffee–washed; purchased tracks; needs new idler wheels and sprockets
Dragon Panzer III M–purchased decals; needs wash; ready to progress
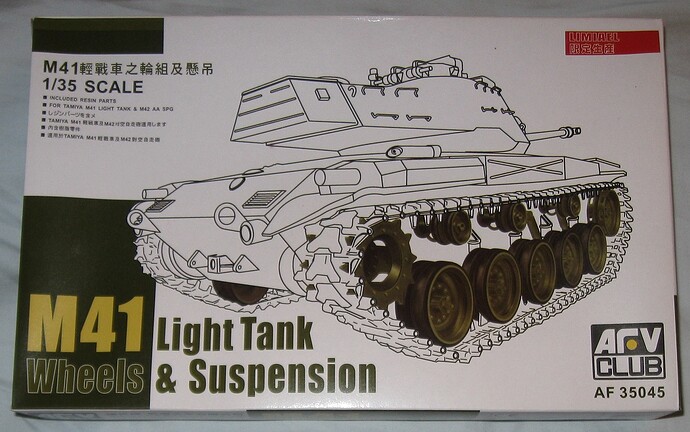
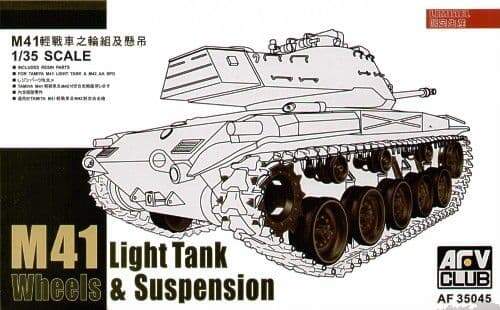
Tamiya M41 Walker Bulldog–purchased tracks; purchased running gear; awaiting delivery of parts
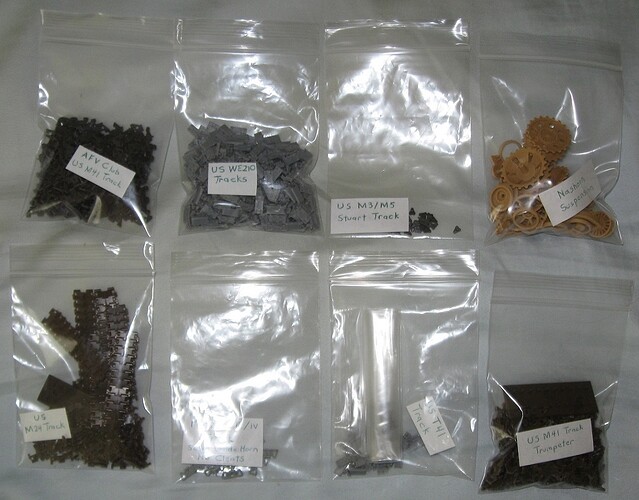
California heat makes it unpleasant to build during the day so I have spent the last few weeks cleaned up over 3,000 parts for various projects, old and new. Pictures of little bags full of parts and sprue are not terribly interesting but my work area is becoming very organized.
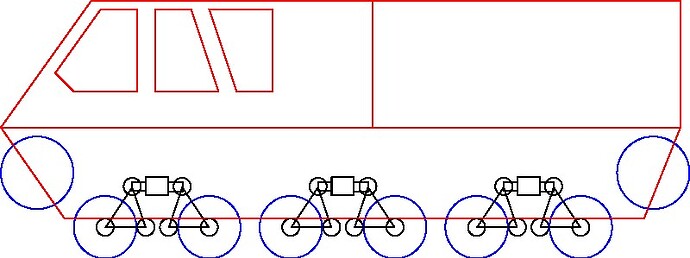
Below is my current idea for the Apocalypse campaign.
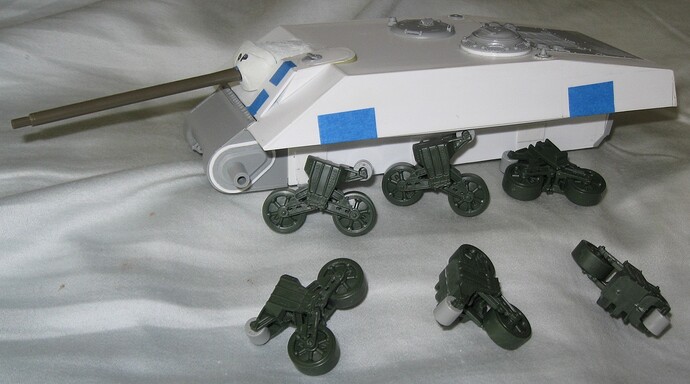
Finally, I offer this picture of yet another ancient project recovered from a box–the Jagdsherman.
Over the last two months I concentrated all my modeling time on three campaigns that ended in failure. The problem was lack of skill, not lack of effort. With those commitments behind me, I can now pursue personal projects.
For my next personal project I am building something new and relatively easy, a HobbyBoss (formerly TriStar) Panzer 38(t) Ausf. E/F, purchased two months ago to serve as a practice model. The kit includes useful etched parts and individual track links, exactly what I want from an armor model. The goal of this project is to gain further experience painting a vehicle in single tone Dunkelgrau.
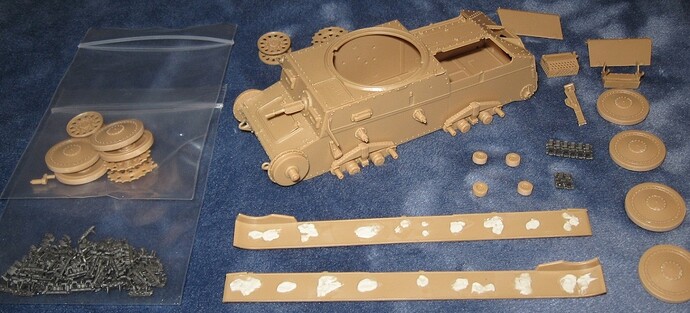
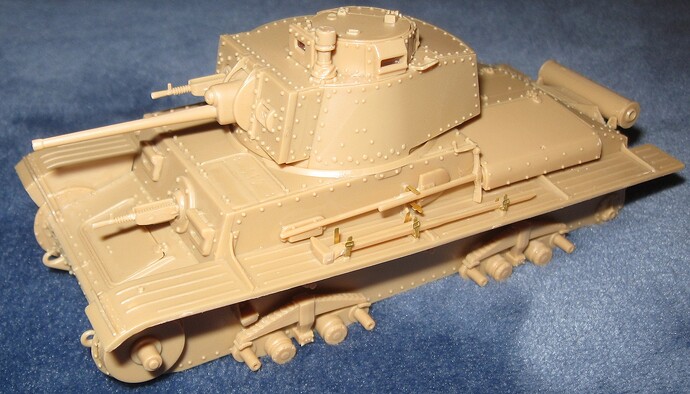
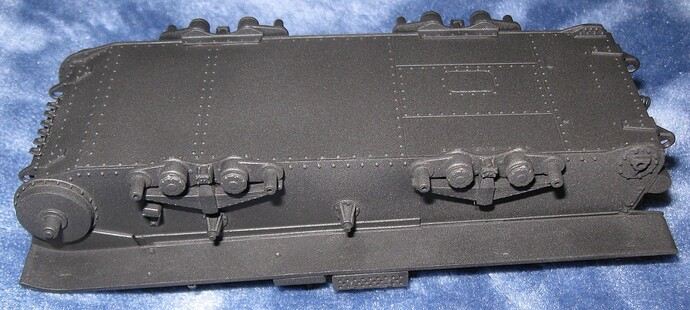
After one day of work, most of the hull and suspension elements are built. The only ejector pin marks to contend with are sprinkled on the bottom of the fenders, shown here covered with putty. With the exception of the two piece driver’s hatch, fit is very good. Track links are easy to clean up but perhaps one in 4 has some flash. All wheels have separate tires but I cemented them in place to speed painting.
So far, this project is everything I hoped for. At my current pace, I should finish assembly tomorrow. ![]()
Construction of the Panzer 38(t) continues to go very well.
All turret parts fit very well. Engine access panels are a bit loose and leave very small gaps at the front and back corners. These gaps are easily filled with plastic strip. Etch parts are well designed but on the thick side. The picture above shows some etch straps installed but not yet closed up. A very few individual track links are probably unusable because of excessive flash.
Since the tracks are not yet built up, painting will probably need to wait until Wednesday.
Nice tight build! That was really fast!
Doug, I’m sure we’ve mentioned these before - well, pretty sure anyway:
The Panzer 38(t) is all done and ready for paint.
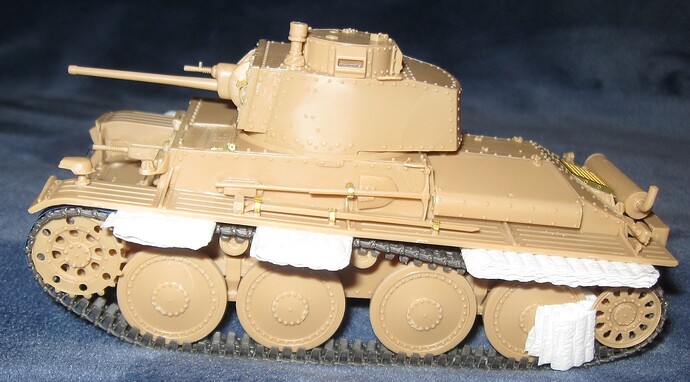
Instructions call for 93 track links per run. My model uses 96. Even after tossing track links with the most severe flash problems, there are plenty for both track runs and spare storage. It was difficult to achieve realistic looking track sag around the idler wheels. The rain gutter etch part for the turret was very difficult to bend. These vehicles carried their radio antennas in many, many different configurations. I took my best guess when positioning the antenna mount. There are a fair number of very small detail parts that might frustrate some builders.
For me, this was a really great and fun model to build and I look forward to priming it tomorrow. It is not perfect but…they never are.
Sorry to nag Doug; I now note you did in fact list these in your post of 21 Aug - which I obviously missed.
Good luck with it all.
You are not nagging and I sincerely appreciate your suggestion!
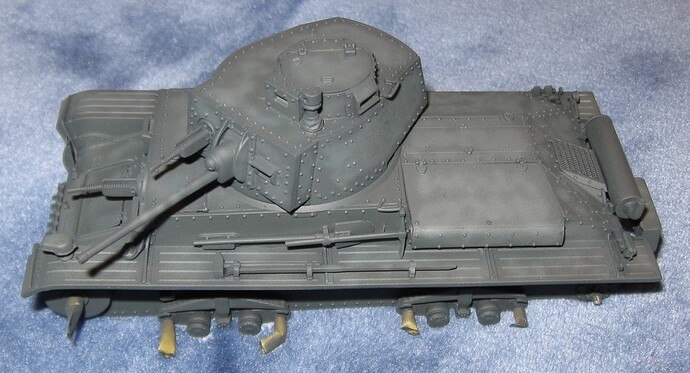
After washing the Panzer 38(t) two more times, it was airbrushed with Badger black primer.
Unfortunately, the careful filling work on the undersides of the fenders was ruined because the putty shrunk quite dramatically. This will require another round of filling, sanding, washing, and priming to fix.
While waiting for paint and putty to dry, I decided to try my hand at making some terrain. This effort was inspired by the work of various Armorama members.
I started by measuring my display cases and storage boxes, then computing common tile sizes that will fit both. For efficient use of space, 200 x 200 mm, 100 x 100 mm, and 50 x 50 mm tiles work best. (All my recent figure projects sit on 50 mm diameter bases.)
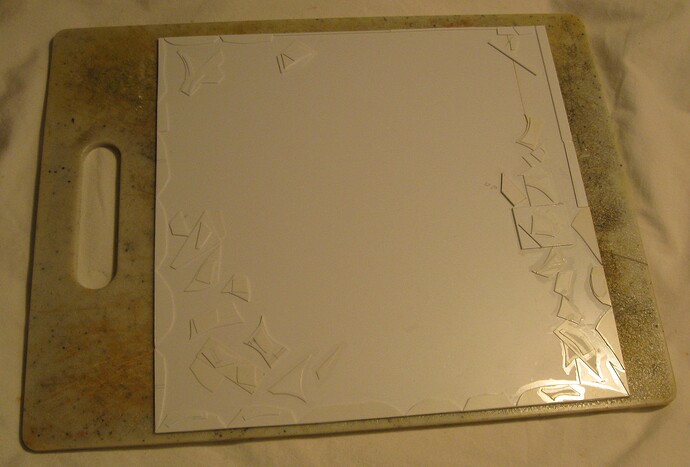
For the first test square, I used 1 mm thick sheet styrene to make a 200 x 200 mm square. The rim was built up with 0.5 mm strips from my scrap styrene drawer. As an experiment, some small hills were added, also using scrap styrene. This size square will fit two medium tanks if they are very friendly.
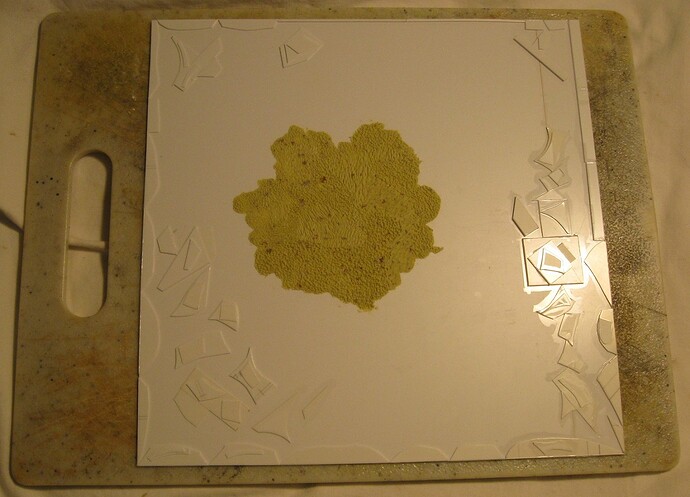
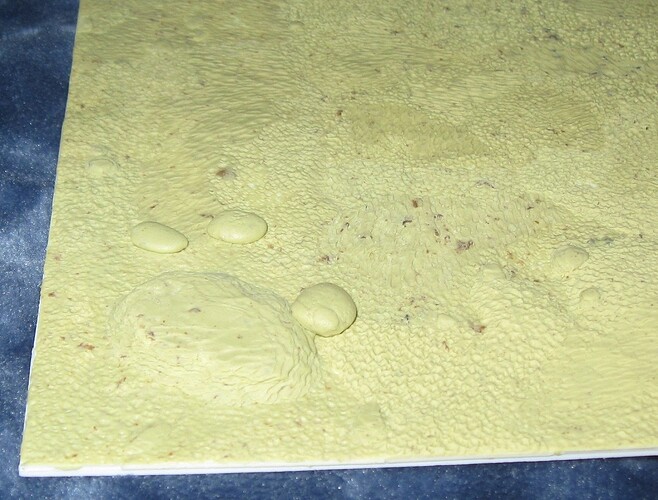
Milliput was added to the middle of the square to create surface texture. For such a big tile, this is a very laborious and time intensive process. Many other products work for creating surface texture but Milliput has three huge advantages: it is completely inorganic (no vermin), very rigid (increases strength of the tile), and nearly indestructible when dry (will last hundreds of years).
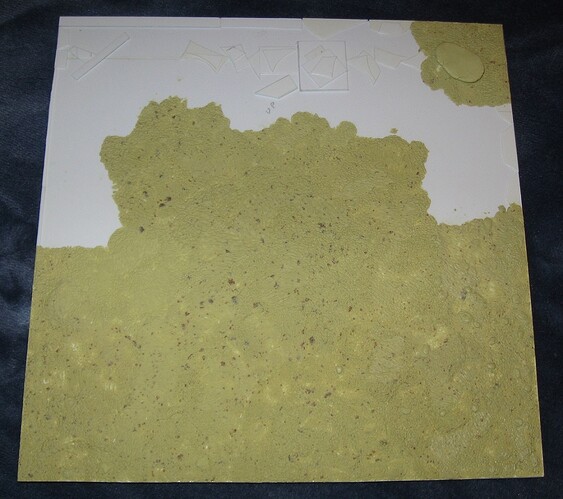
Many hours later, the first tile approaches completion. Unfortunately, the tile can still flex, though not much. Another millimeter of styrene sheet should solve that problem. On the plus side, it is very light weigh versus plywood.
The styrene strip rim is not so great. The little styrene islands also kinda suck. Next time, I will use continuous and rounded shapes and make things flow better with some light sanding. On this tile, strategically sculpted rocks hide the many corners and hard edges.
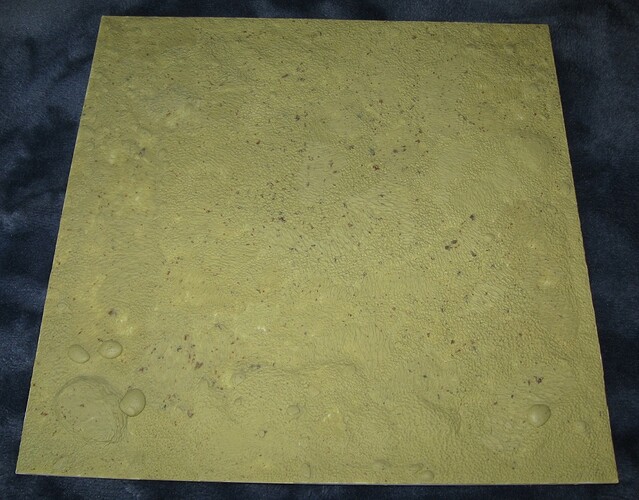
While hard to photograph, the surface texture is really nice and varied. I use this technique often for figure bases with very good results. However, I suspect most of my work will disappear under terrain products.
During my last go at model building which ended in 2010, I purchased a selection of supplies for making dioramas. I plan on using those supplies to decorate this square as a random patch of wilderness. If I can find some good videos on making bushes, fences, and wells, I may add one or more of those. I would like to add a convincing tree but doubt my skills and supplies are up to the challenge.
This will become a base for the Panzer 38(t) and…something else?
Looking good Doug.
If you have a small punch set, consider punching out thin discs of styrene to fill knock out marks. If the disc is a little smaller than the mark you can still fill around it, however as the amount of putty is minimal, you will not get the level of effect of shrinkage on a larger putty blob.
You can still sand the disc if it sits out high.
The Panzer 38(t) is once again ready for primer. Meanwhile…more work on the terrain square.
The final result looks quite lovely but the project is a failure. Milliput does not shrink but takes a day or two to fully cure. After finishing each portion of the square, I placed it on a paint storage container. The top of that container is not perfectly flat and the square dried with a noticeable bow.
This piece will get broken up and repurposed as dungeon scatter terrain. I am still pondering what materials to use for the next experiment. ![]()
Welcome back! I hope you and your family had a great vacation!
In this particular case–small diameter but deep holes–putty seemed the best choice because my selection of hole punches is limited. When filling the holes I tried an experimental technique that did not go well, as usual. The learning curve in model building is ginormous and very painful. ![]() Next time, I will use a different option.
Next time, I will use a different option.
Fillers suck. They never work as promised and waste my time. This model should have been done two weeks ago. Moving on…
Trying something new again. No idea if it will work.
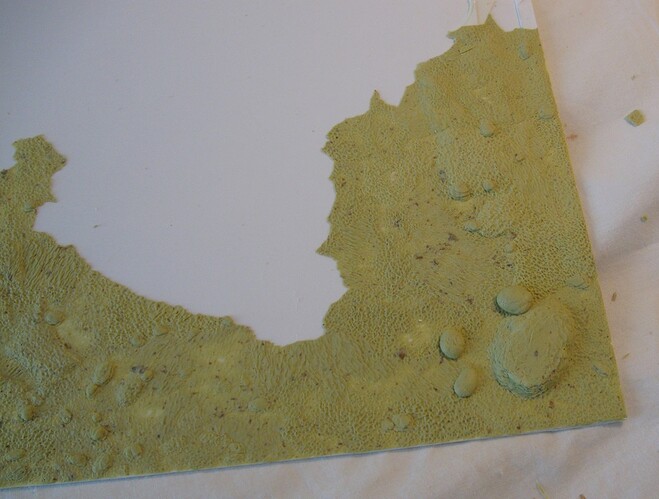
It was possible to recover almost all the Milliput and sheet styrene from the terrain square above.
My Panzer 38(t) finally received a base coat and one round of dot filtering, a technique suggested by Wade (Armor_Buff).
While not a perfect example of the dot filter technique, I am very happy with this result. Tomorrow, I will add one or two more dot filters above the fenders. Below the fenders, I will apply my standard mud dapple technique.
Very nice contrast, Doug!
Having spent the last few weeks avoiding my airbrush, it was time to once again risk everything and press forward.
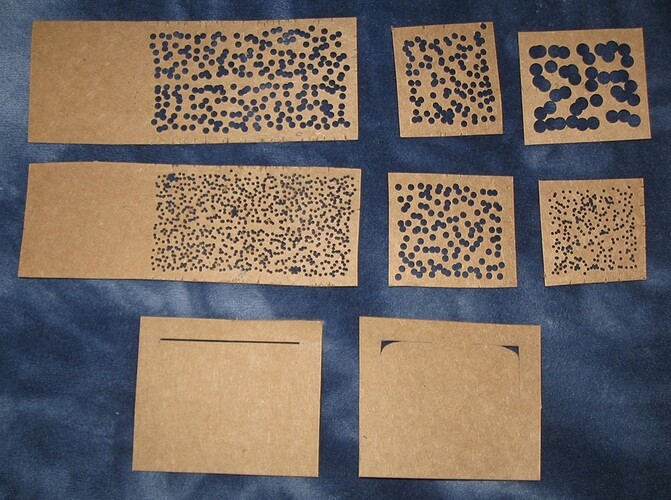
My airbrush regularly splatters, sputters, stops working, and then shoots like a fire hose. This makes fine line work and mottling downright dangerous. These simple masks were made from soda pop boxes for line and mottling experiments.
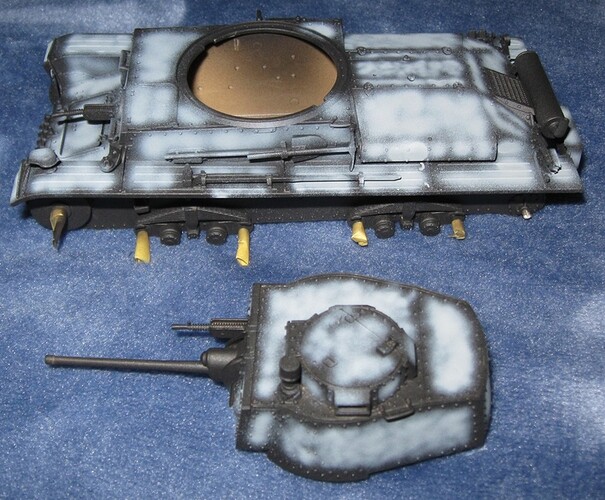
The first experiment, using a medium dot scatter mask, was a failure. When placed close to the model, the mask works too well. This opens up many useful possibilities but does not accomplish the desired goal for this experiment. Using the mask from further away creates a more diffused pattern but it still looks too much like a mask. It was necessary to hand spray a mottled pattern to cover up the masked paint areas.
Two new paints were used for this work, Vallejo Panzer Aces Light Mud and Dark Mud. This was also a failed experiment. Vallejo Panzer Aces paints do not play nicely with my airbrush. They are pure hell to spray. The colors are pretty good but I need to find Vallejo Model Air equivalents.
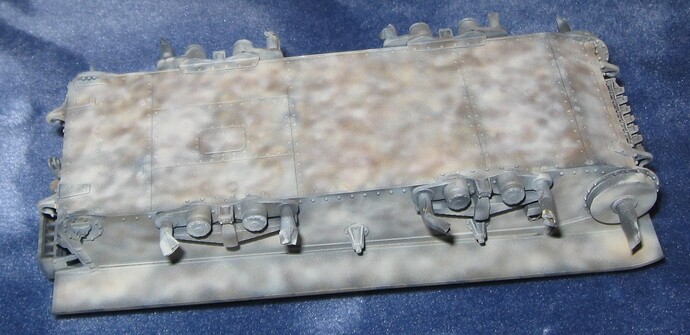
Moving on, various colors were sprayed above and below the fenders to add more variation to the paint. On previous models, there was not enough contrast between upper and lower portions of the vehicle. This time, all surfaces were made much lighter. My hope is that washes will darken up the upper surfaces while leaving the lower surfaces quite light.
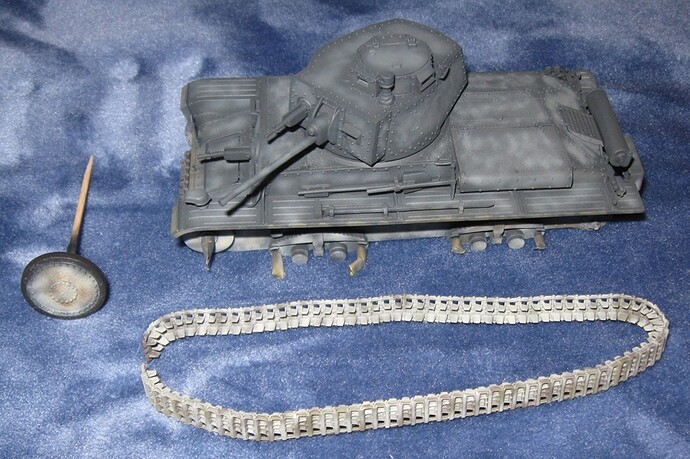
This experiment has probably gone far enough–time to finish up. With Christmas approaching, it seems wise to wrap up all my open projects and clear the deck for new projects and new experiments in the new year.
