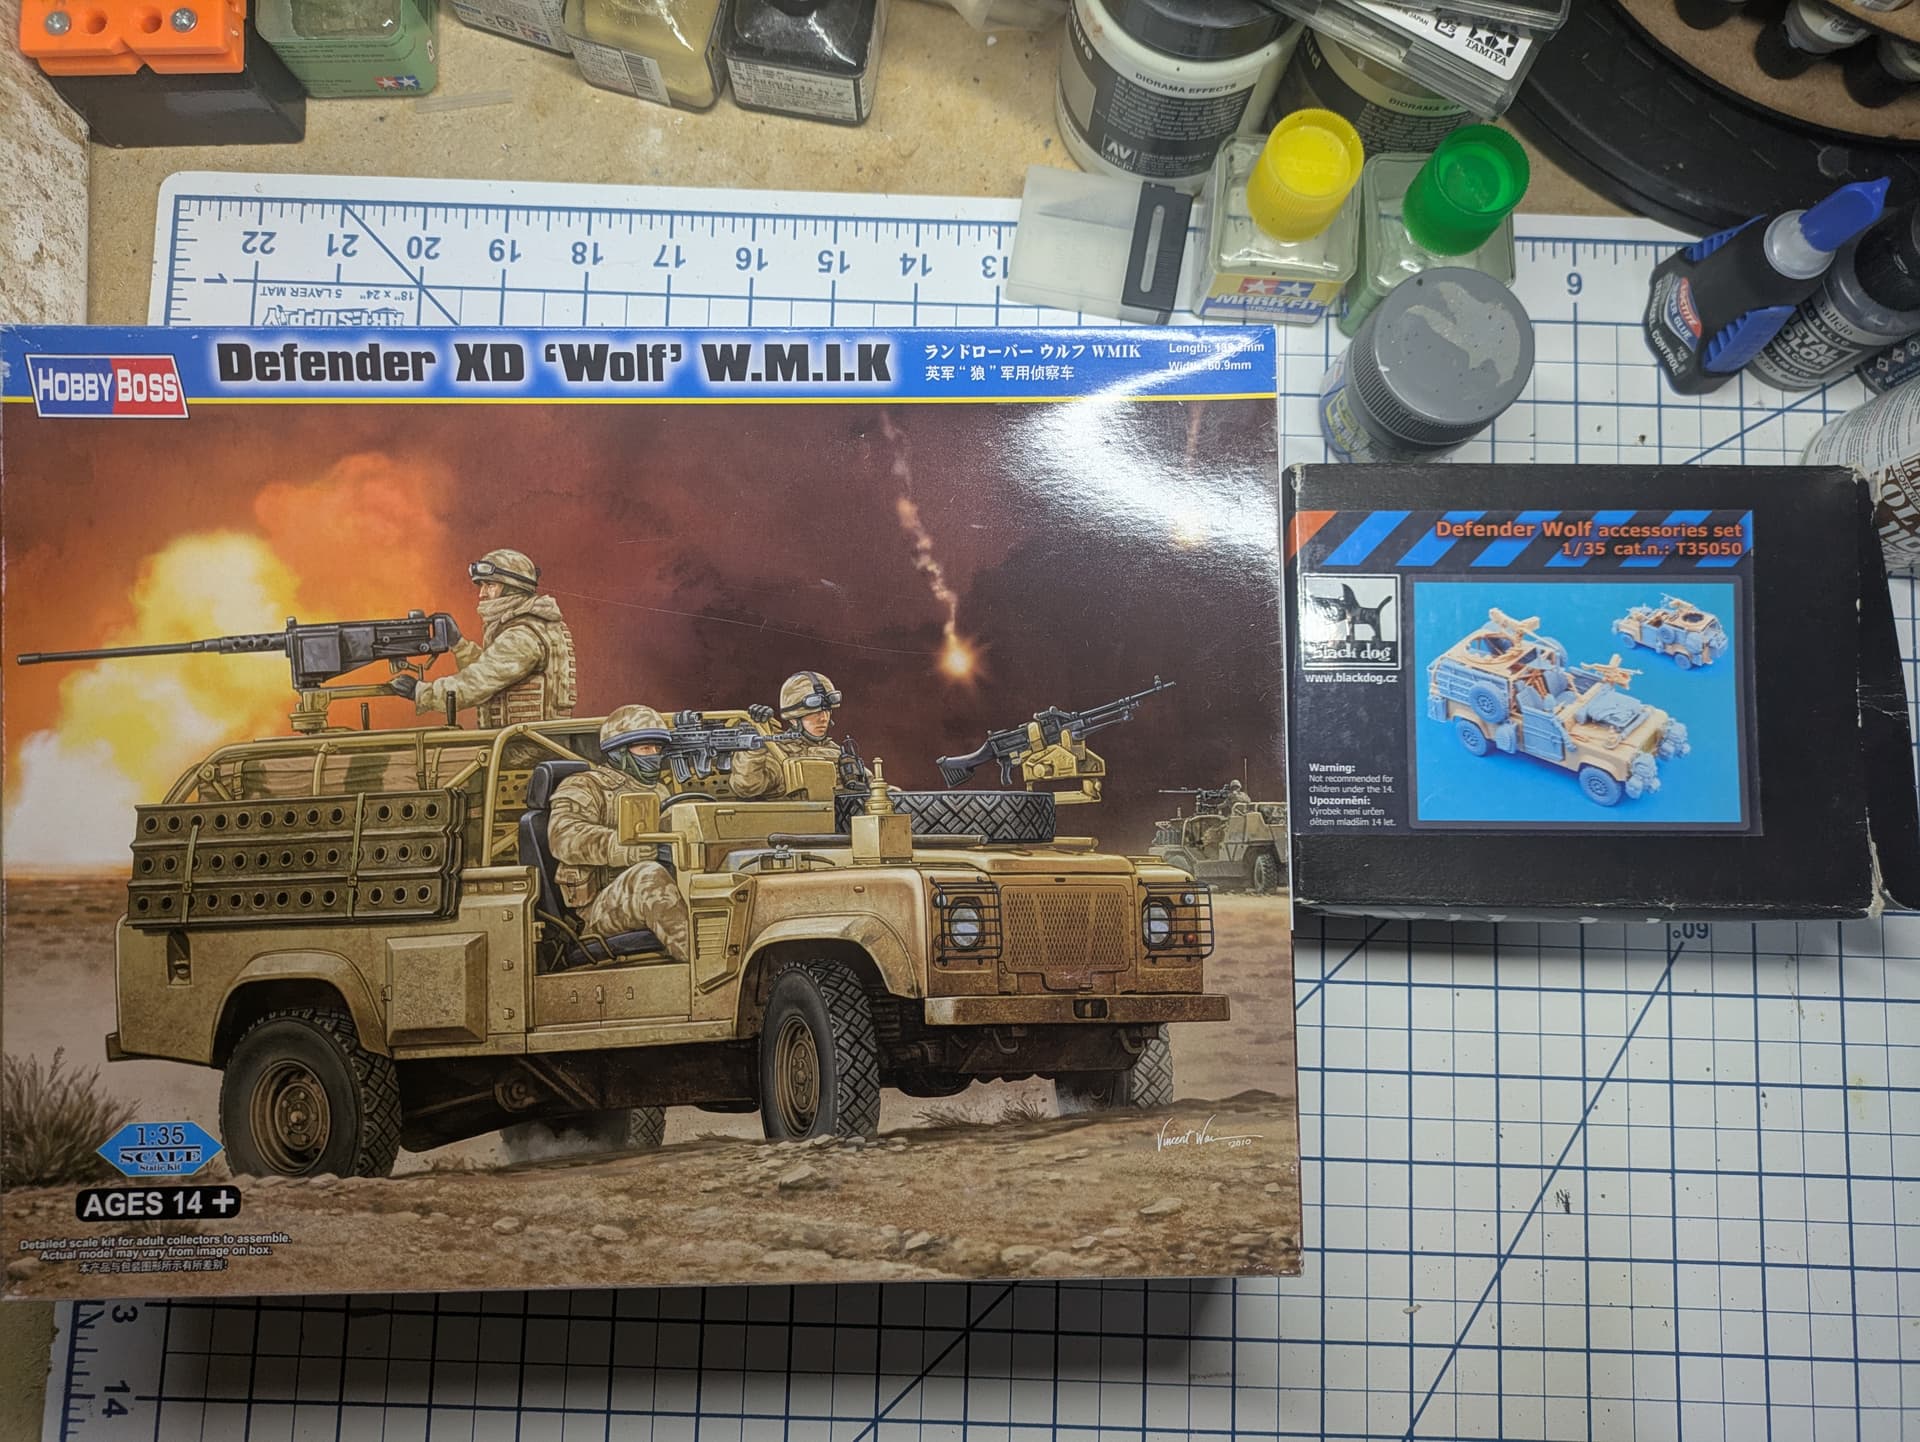
Very nice start. What’s your level of AMS affliction?
There are a few easy fixes, and some not so easy. It’s all up to you.
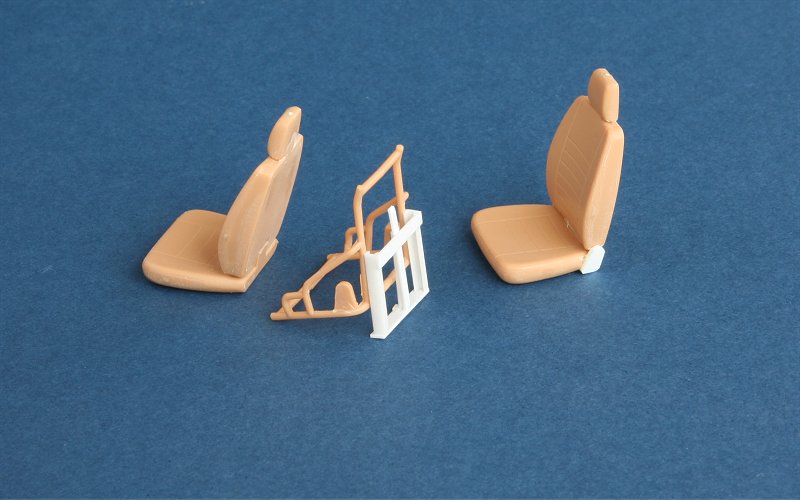
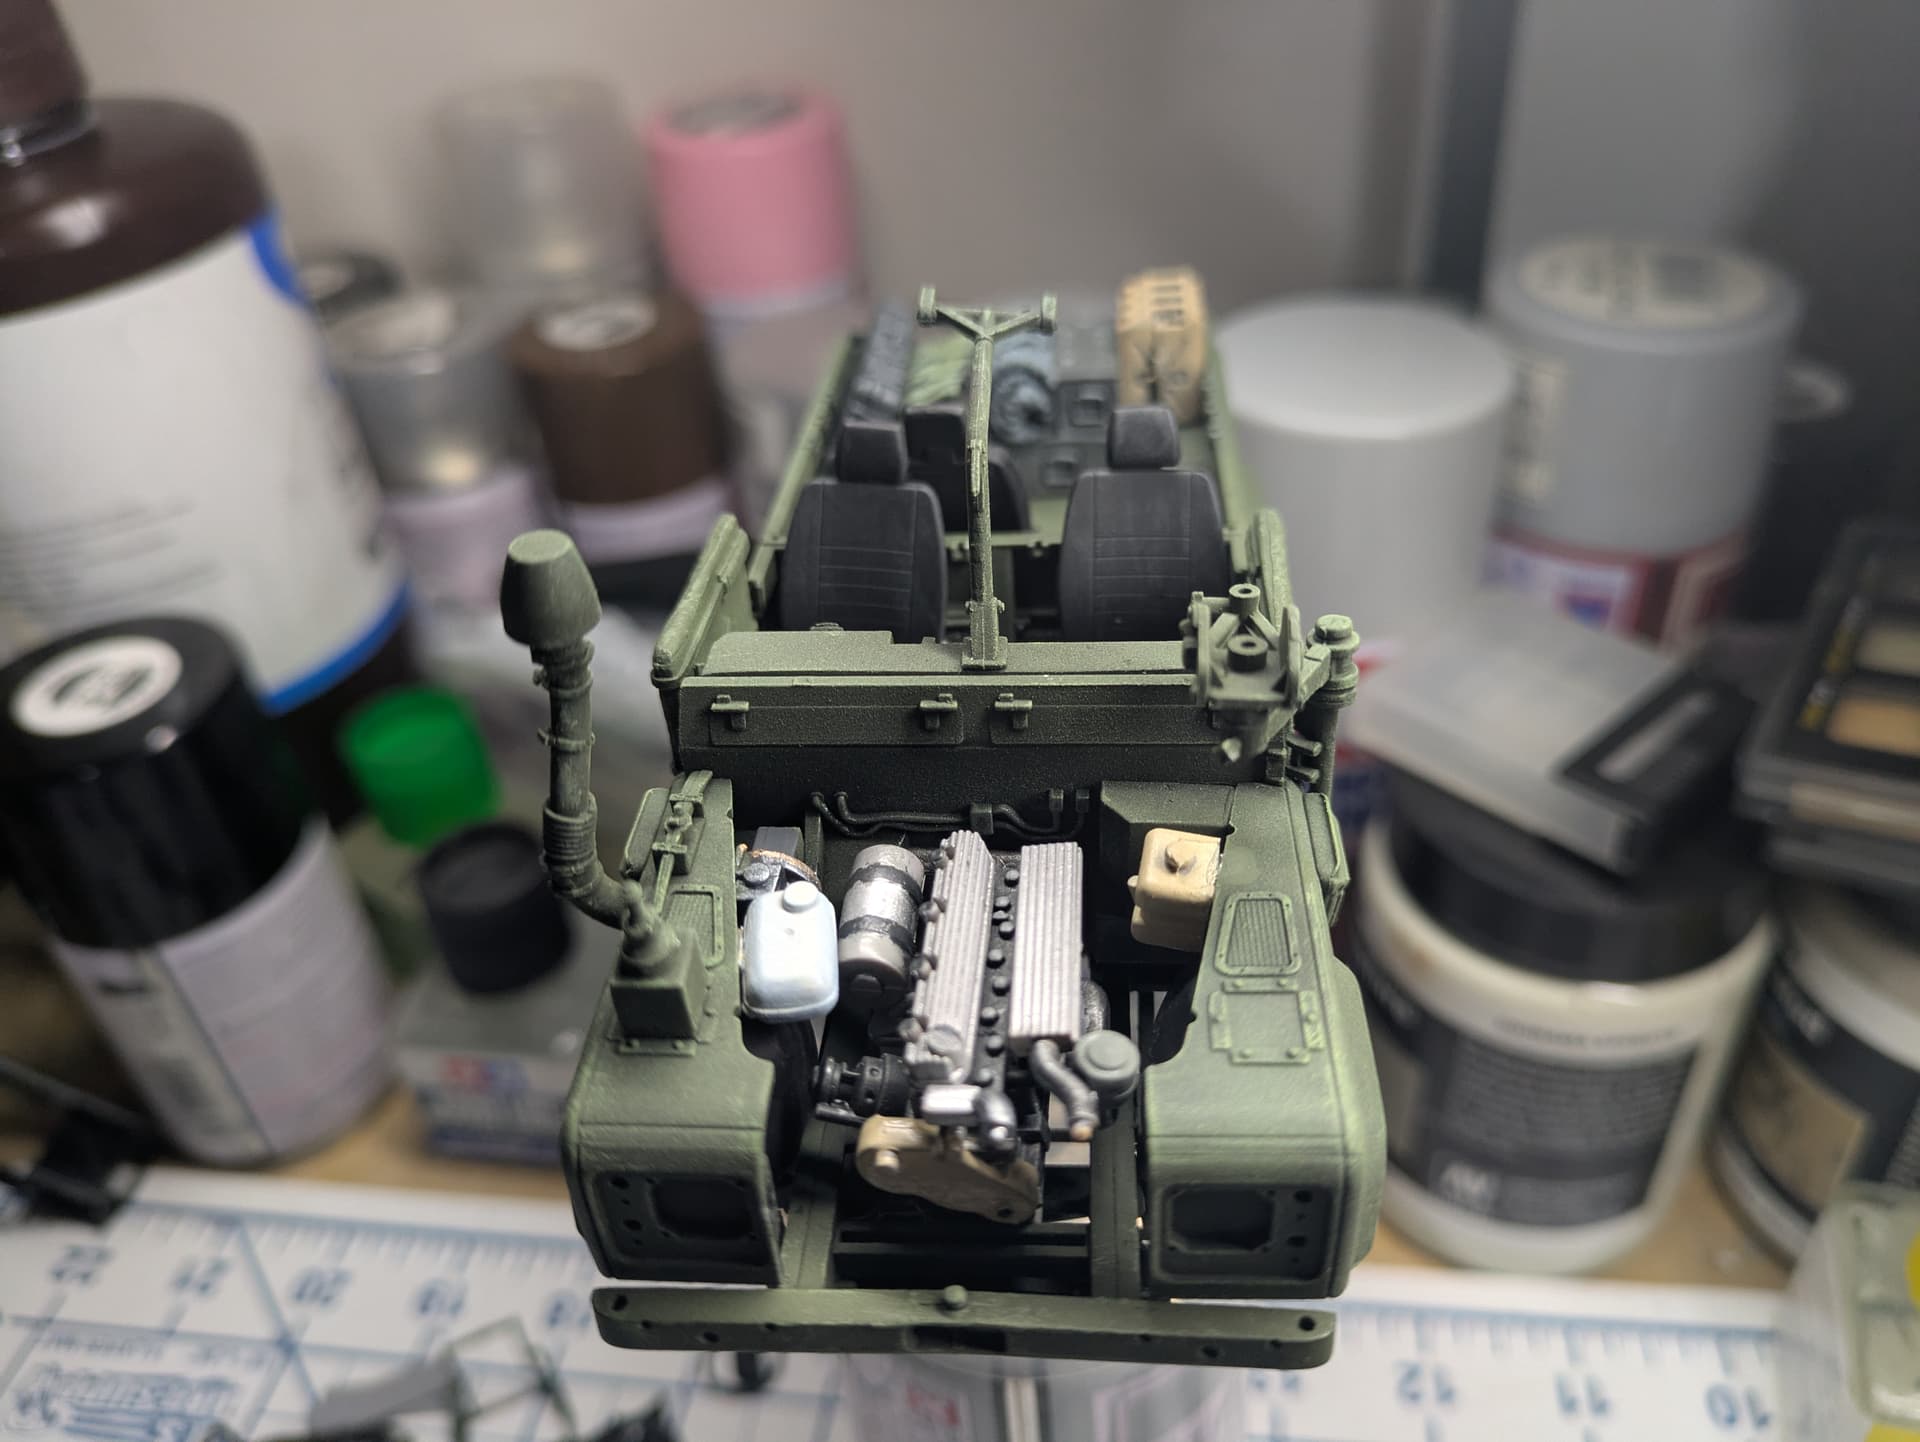
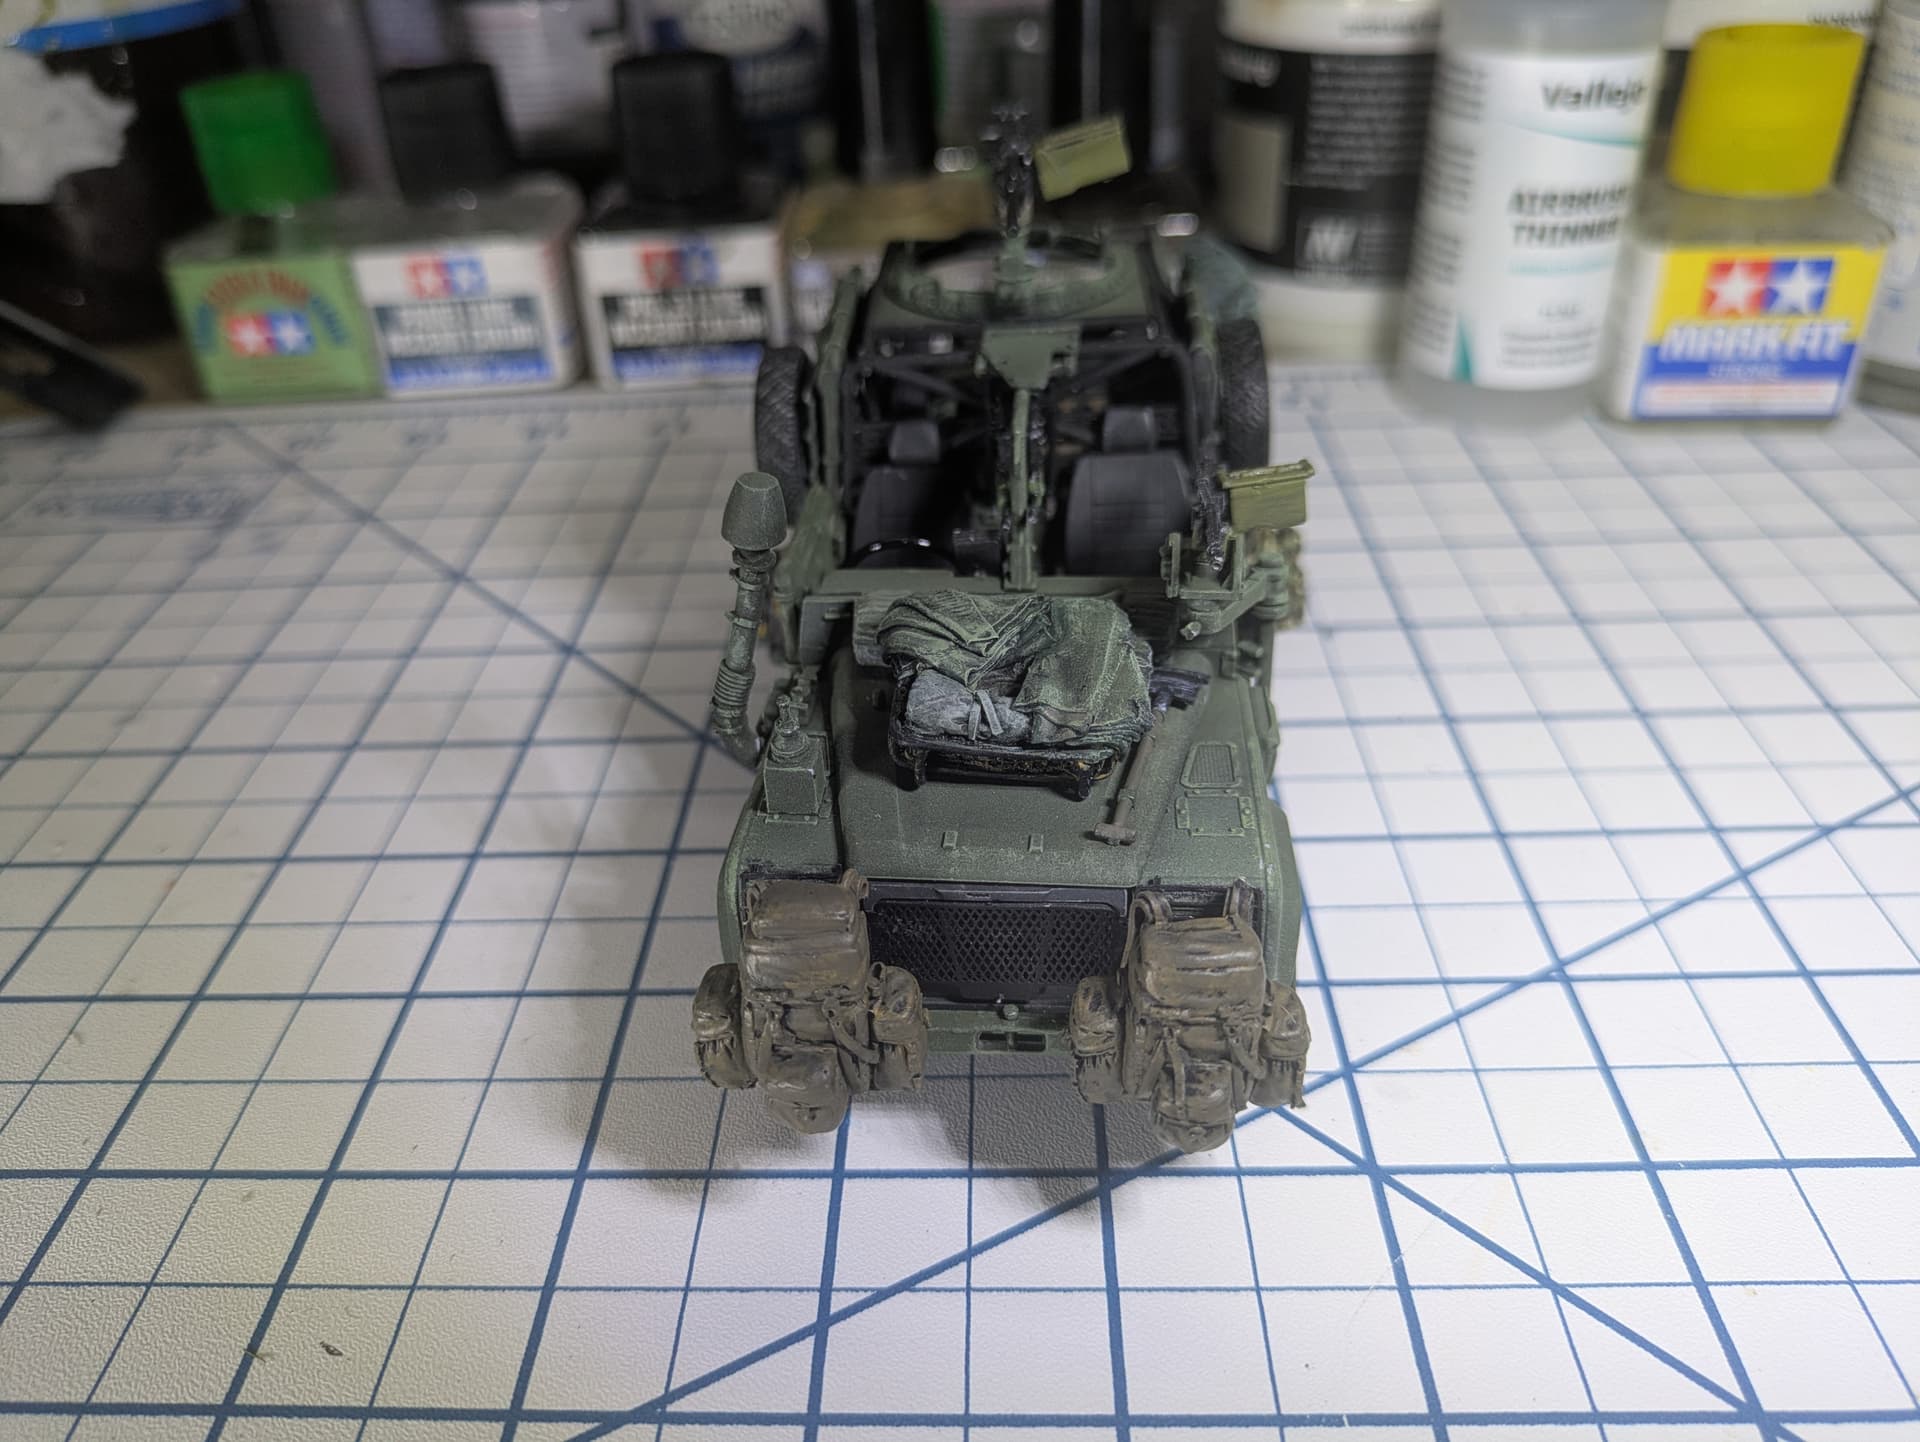
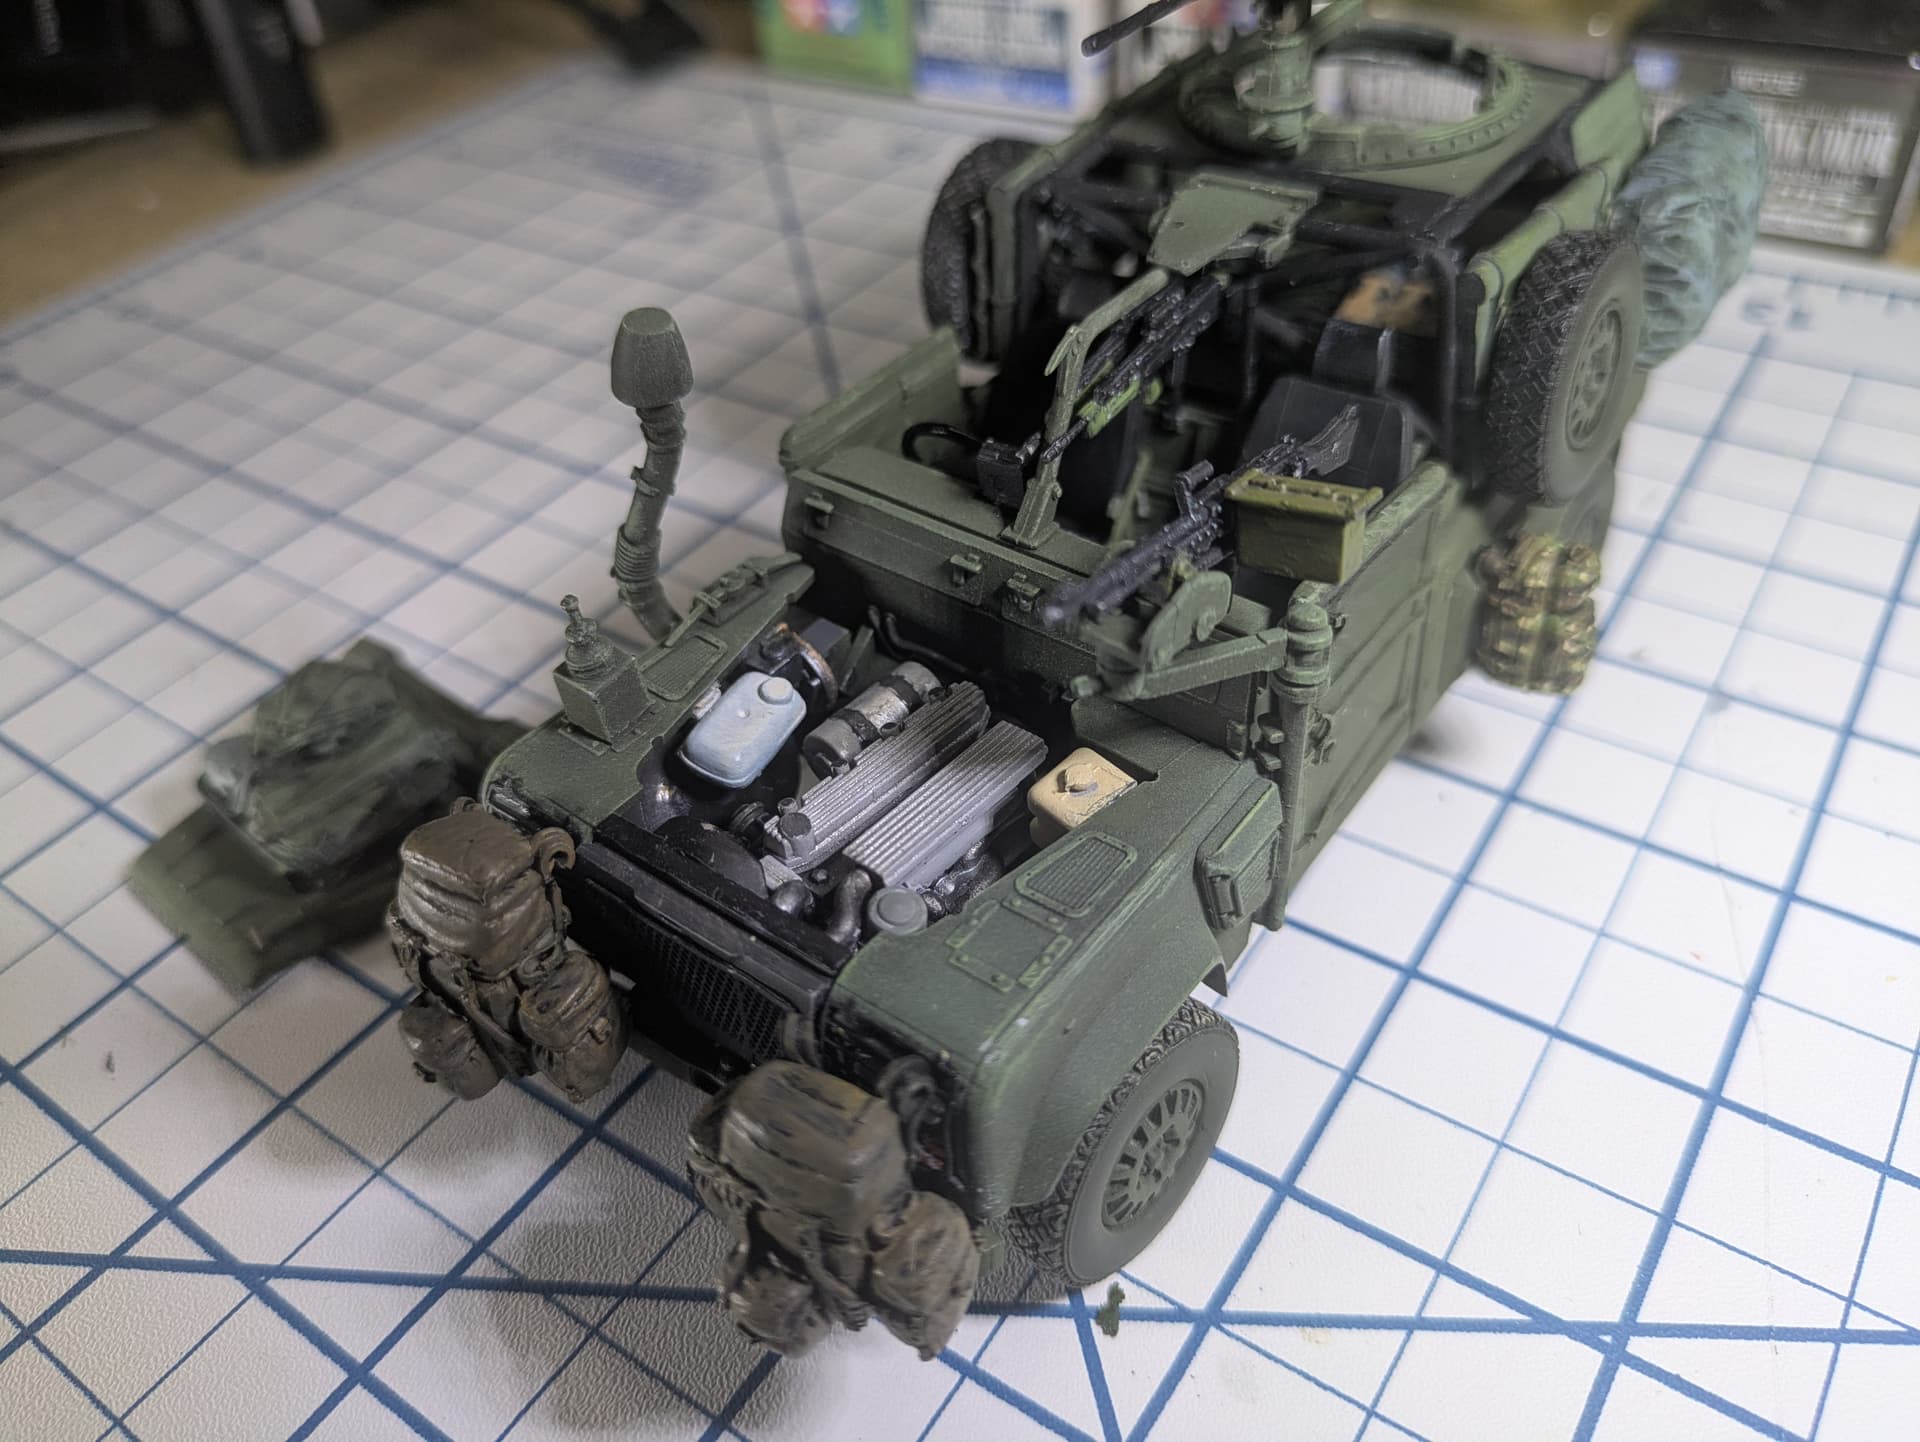
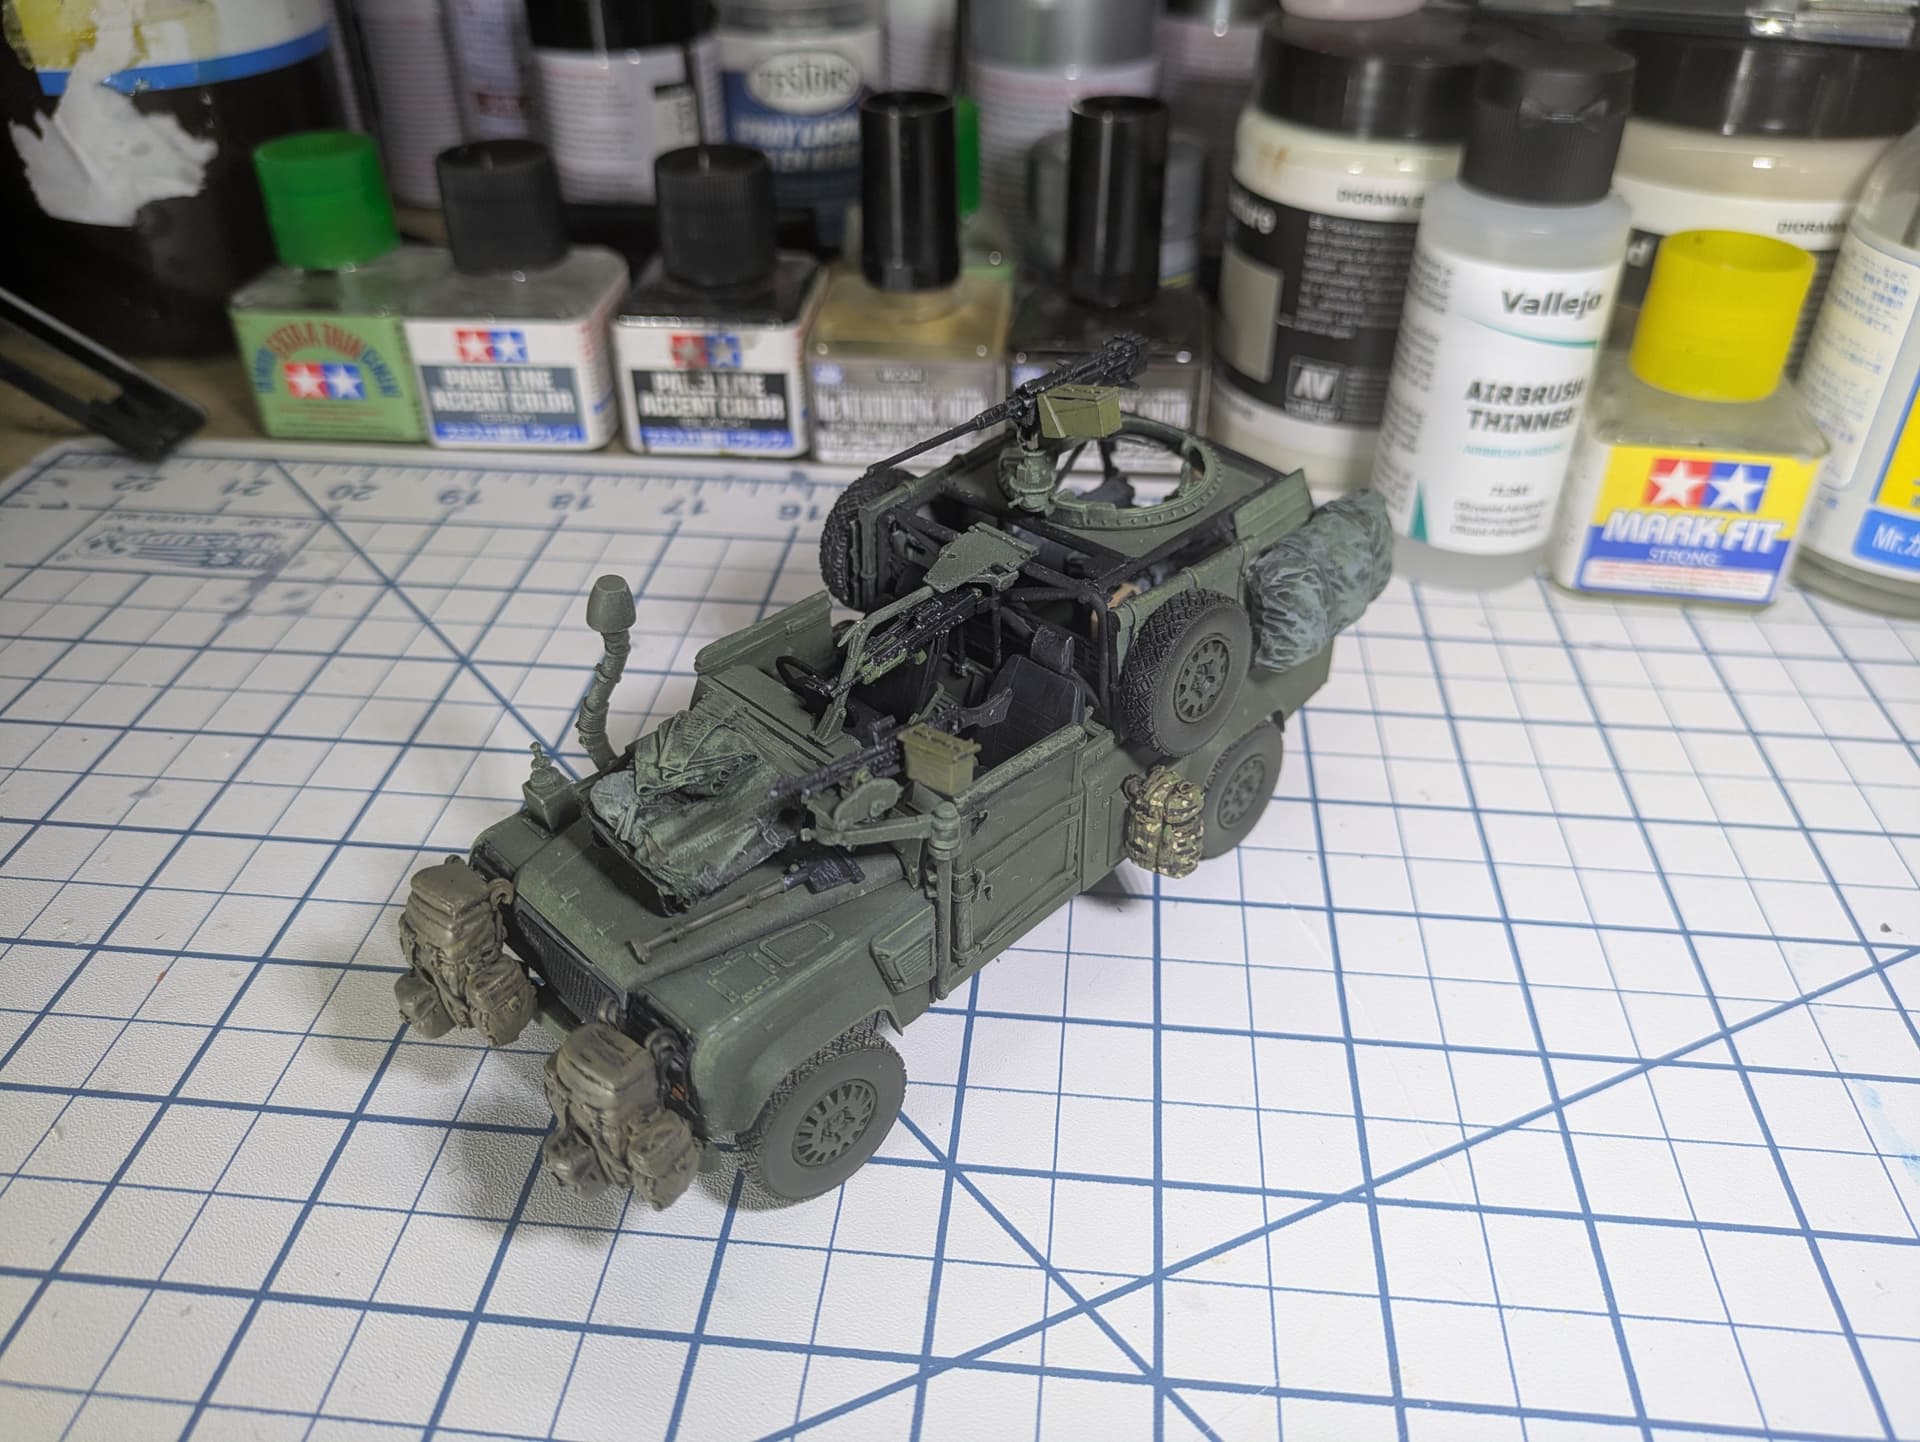
First, I was never able to find photograhic evidence the the framework pieces should go around the driver’s seat. Plenty for the commander’s seat though. Because the commander’s seat can be raised, I believe the framework is so that his seatbelt maintains the same tension whether raised or lowered. That’s how it appears to me. At any rate, it can be left off for the driver. As can the kick plates in most cases.
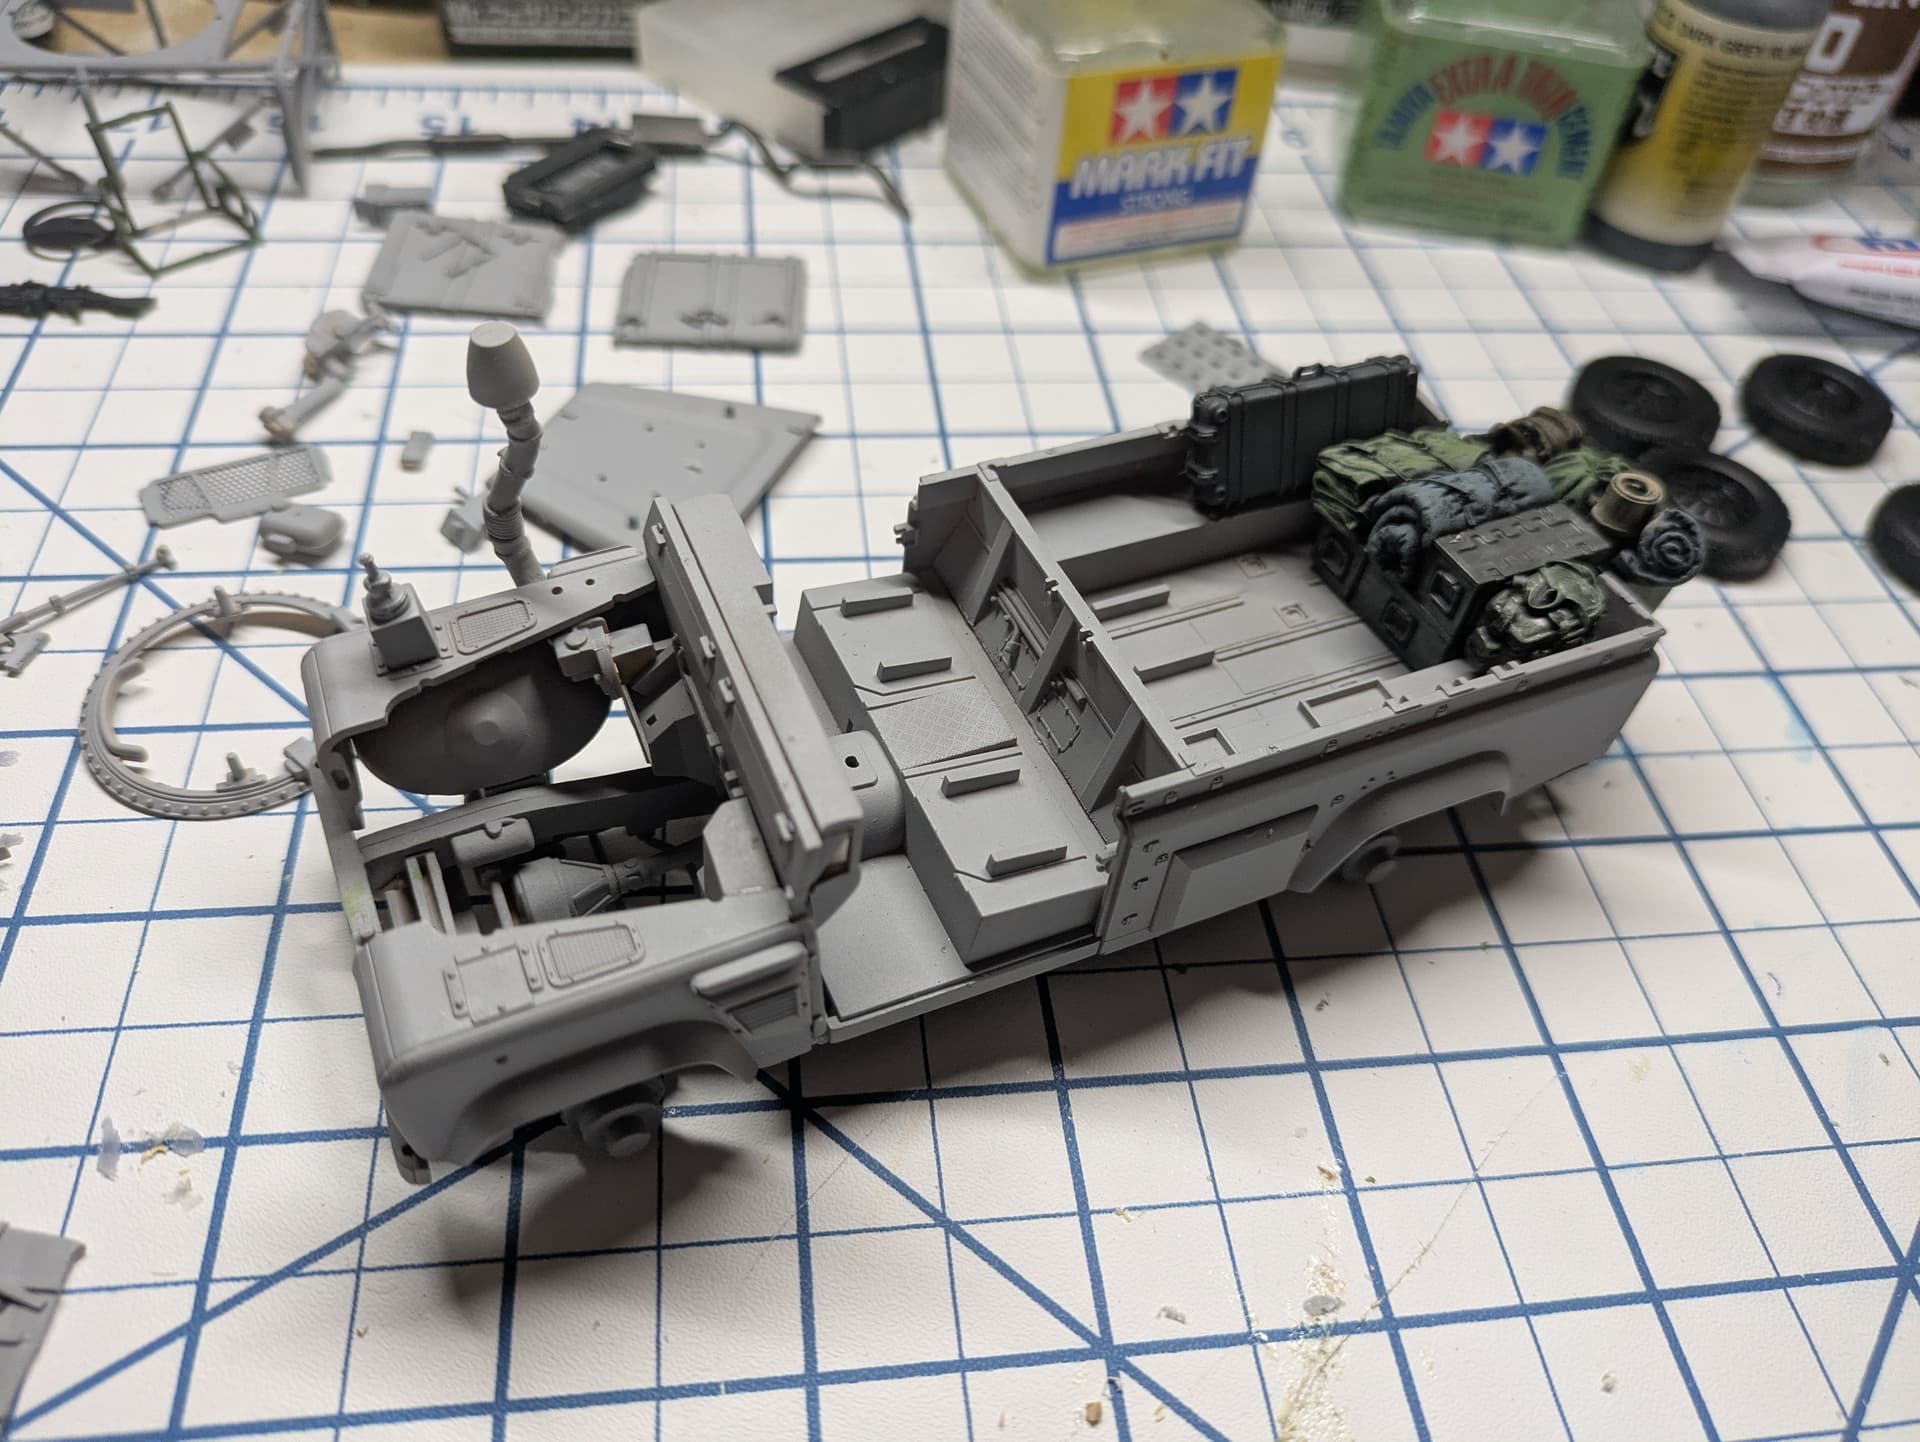
The second easy thing - relocate the braces on the chassis so the their rearmost portion is about even with the front of the stowage bin doors.
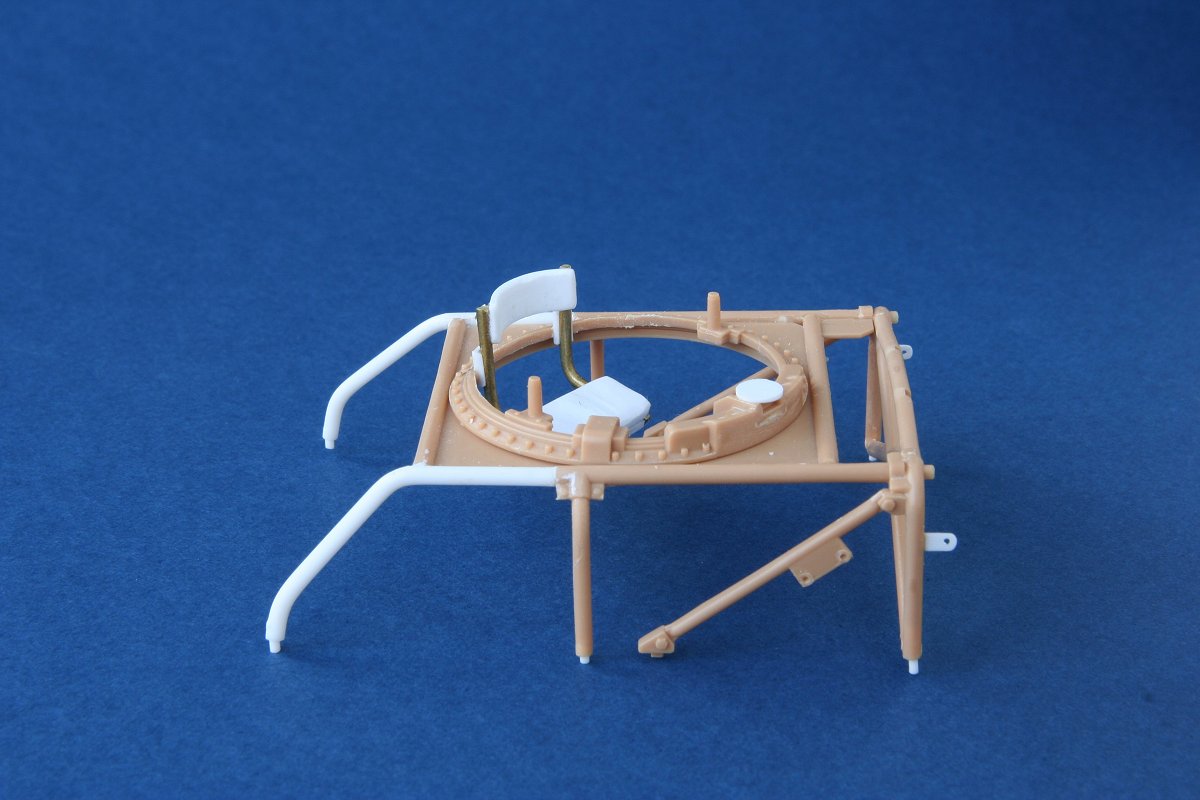
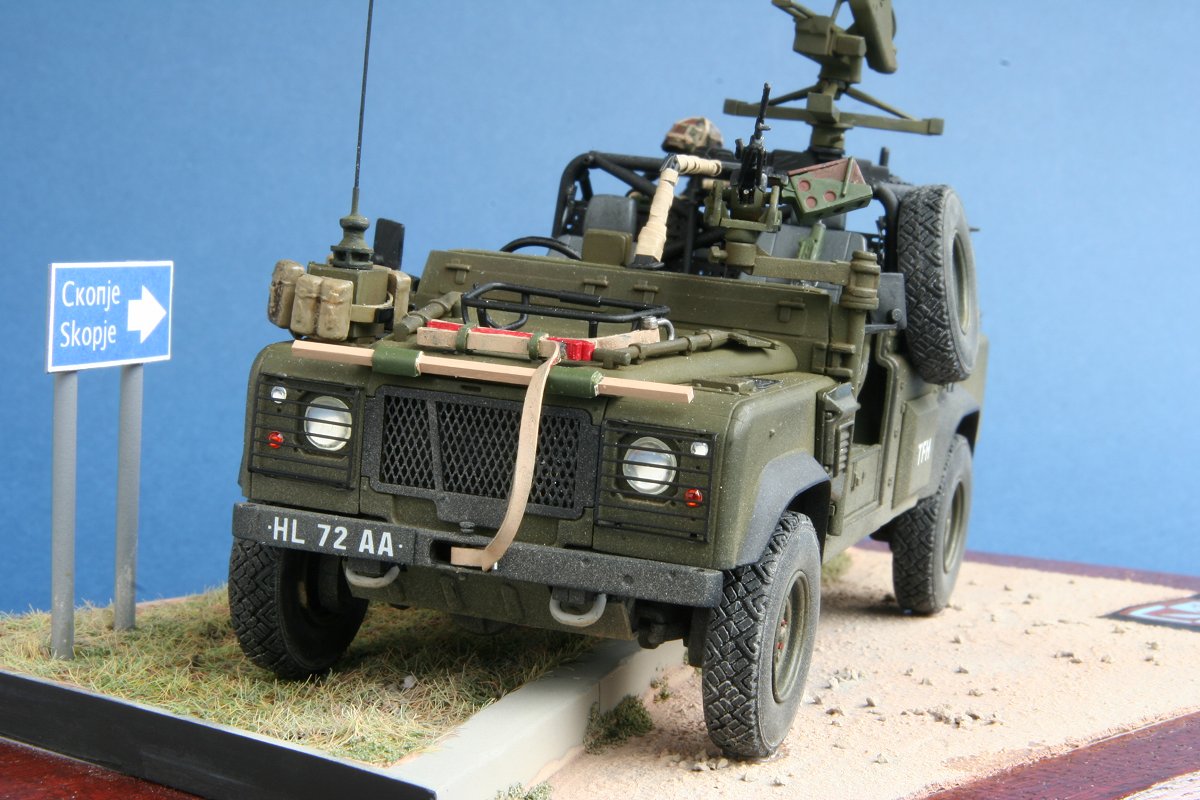
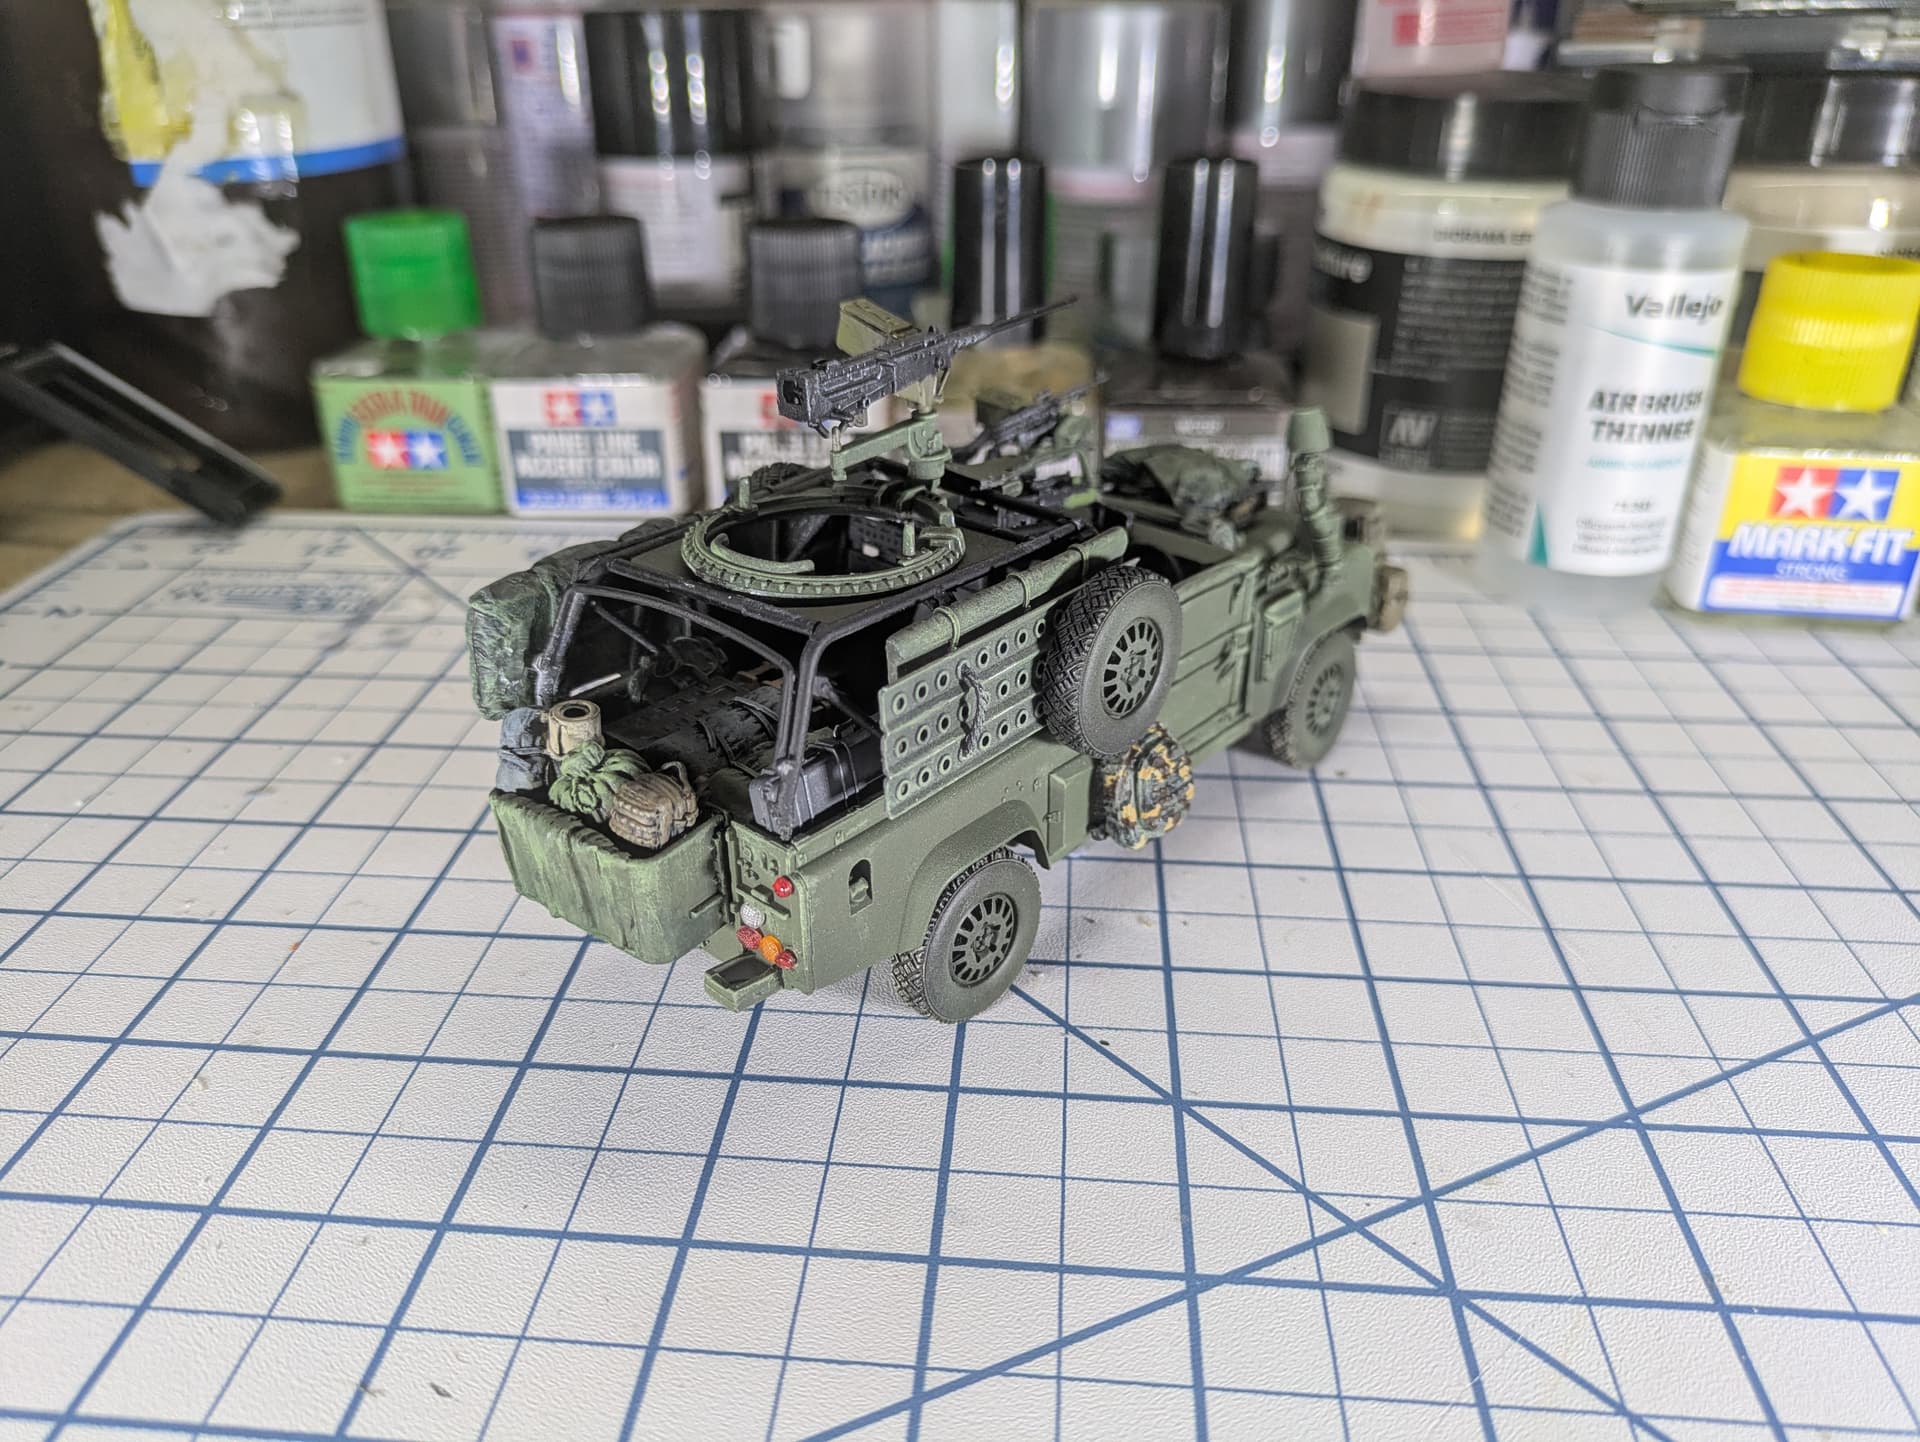
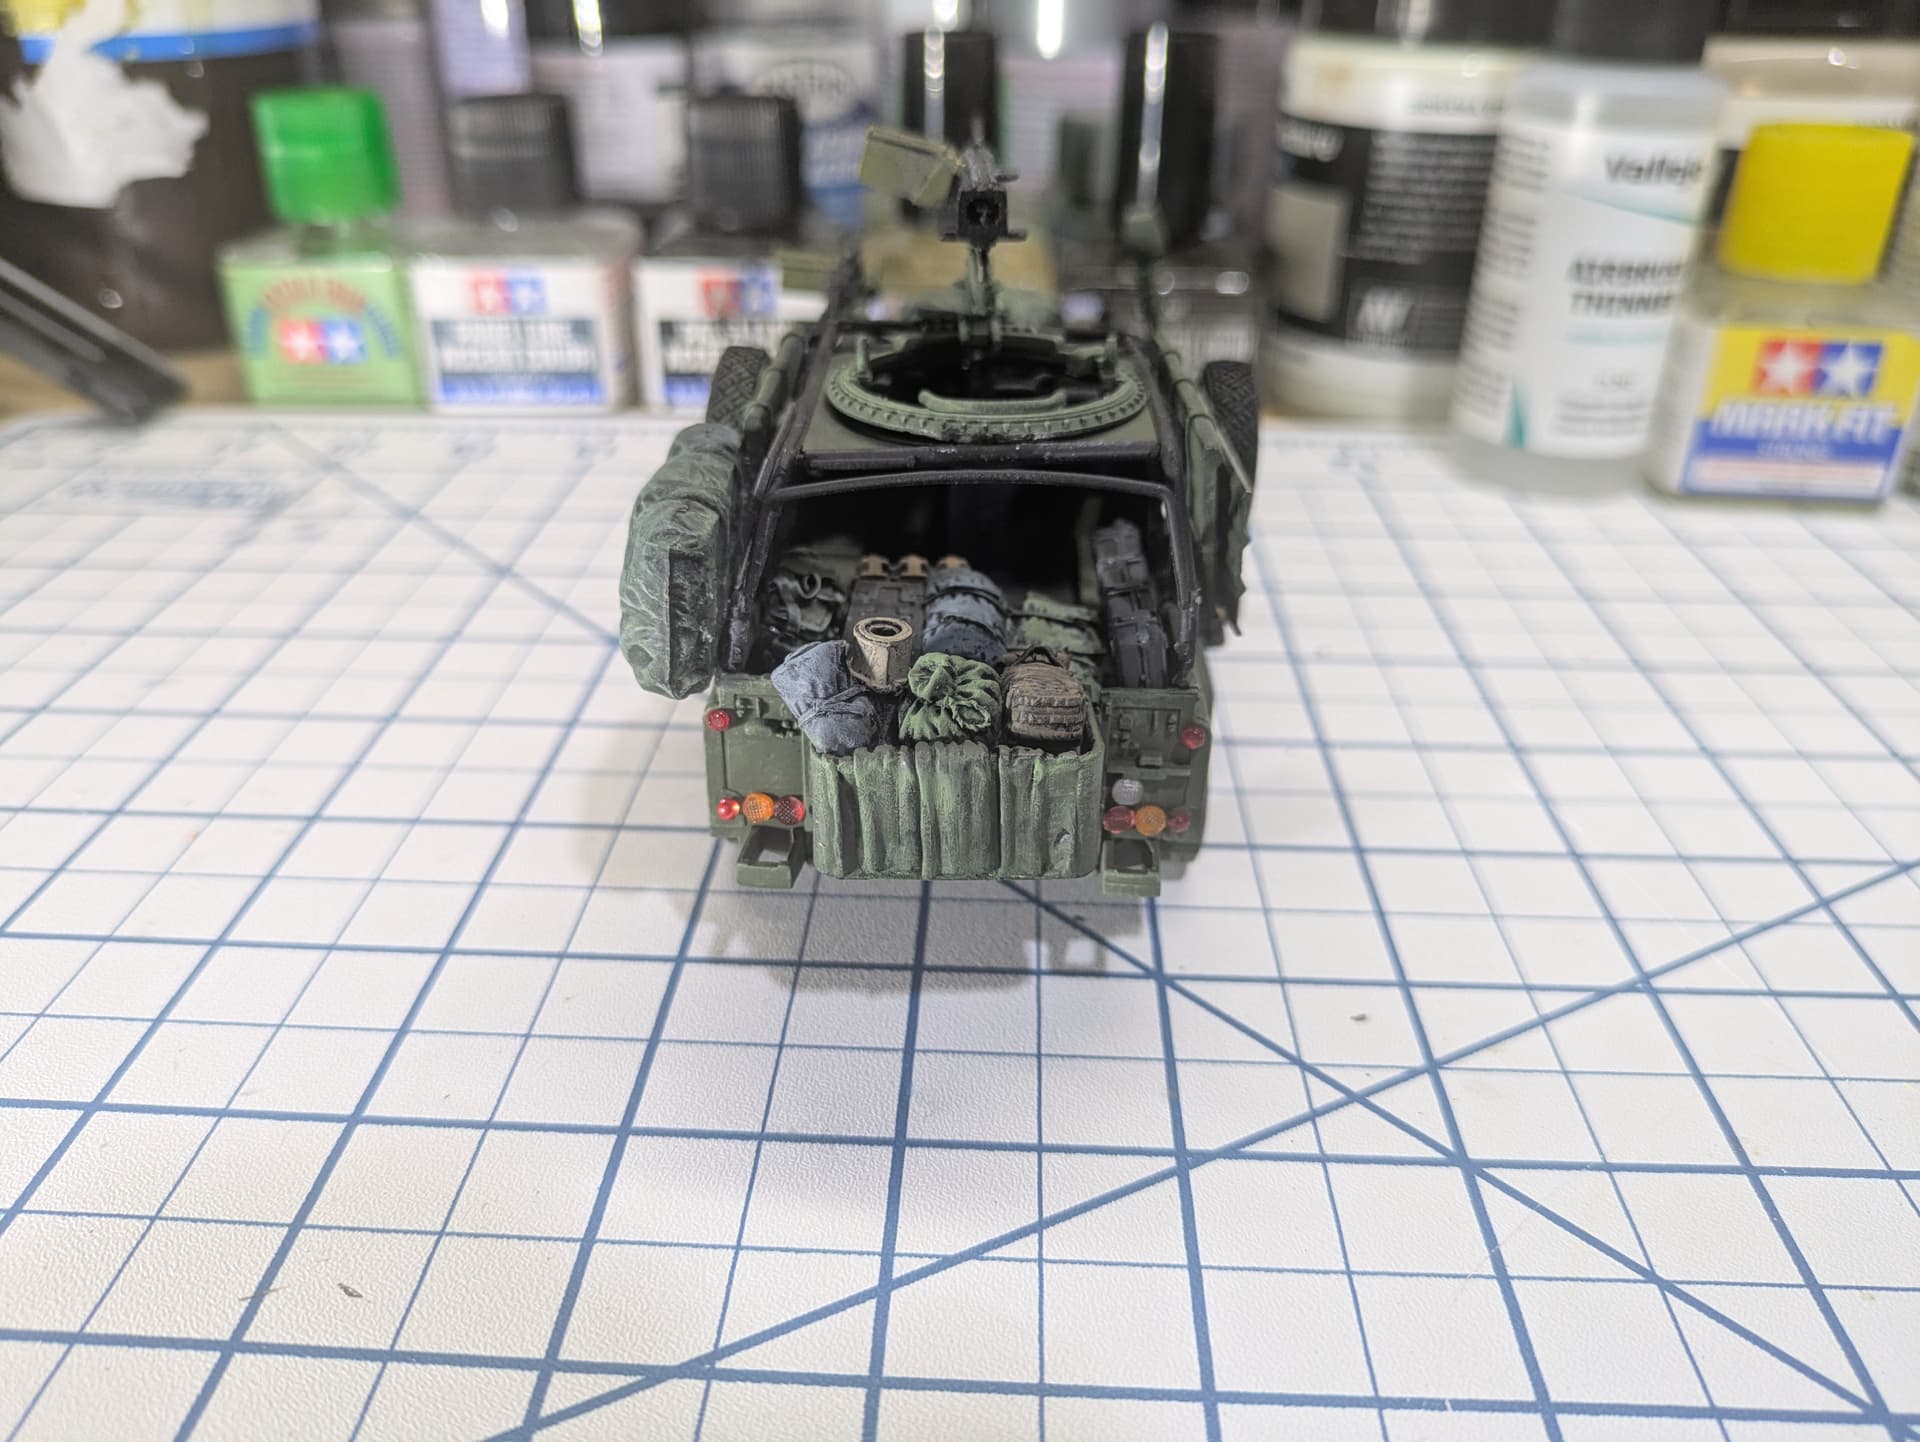
Now the not so quick fix: The entire roll cage needs to be lowered. I think it was 3 mm - it’s been quite a while. If you don’t care to fix that, it looks okay for the most part, but the angle at the rear is way off. To fix that you also need to move the gun ring forward, which is yet another slight shortcoming of the kit.
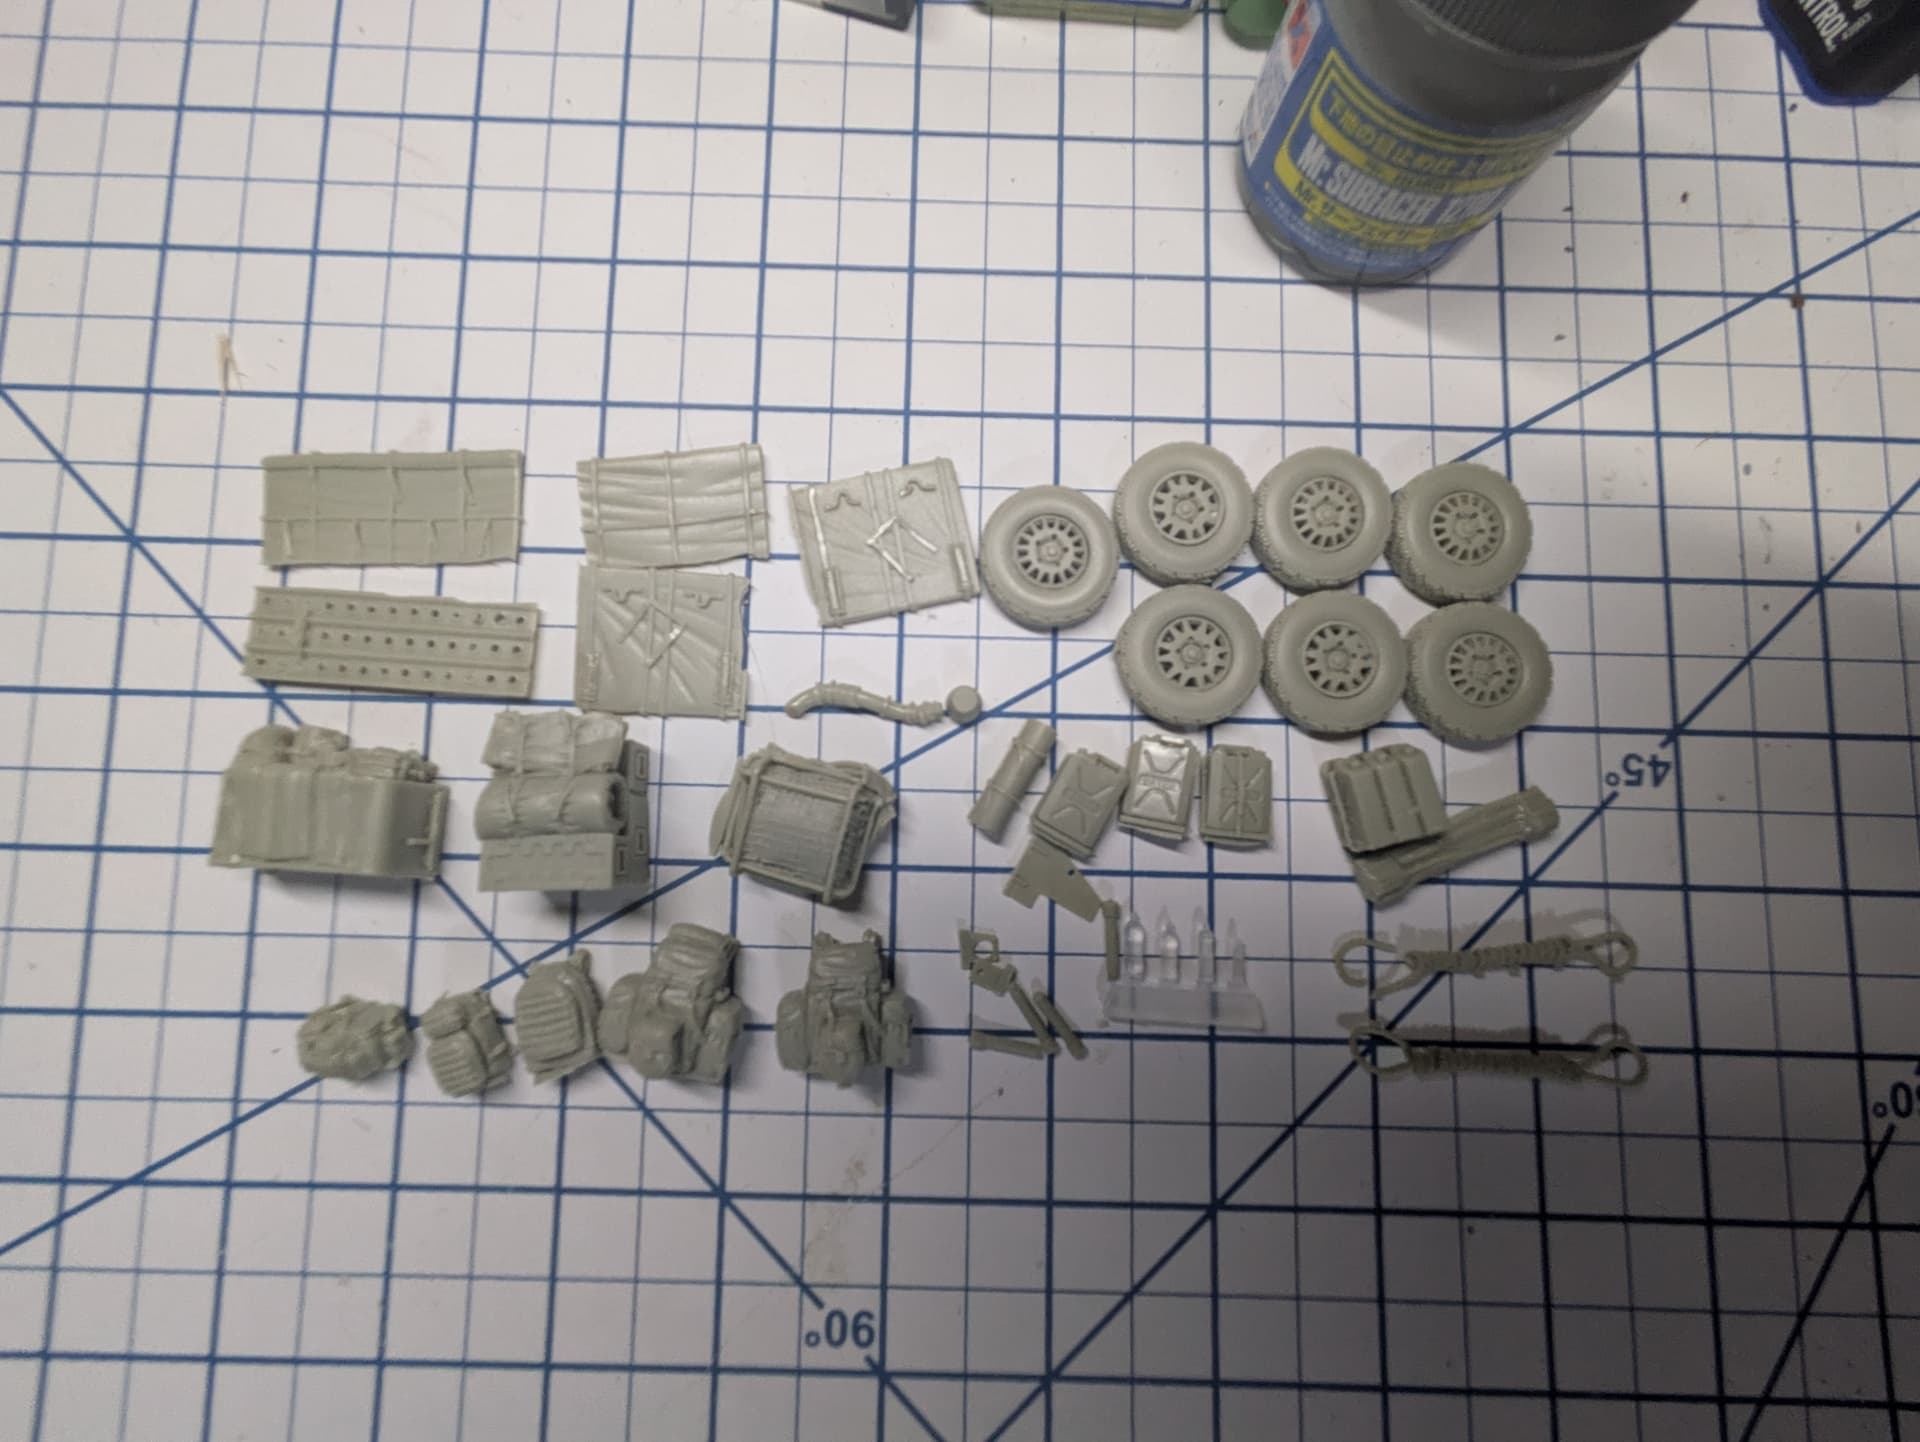
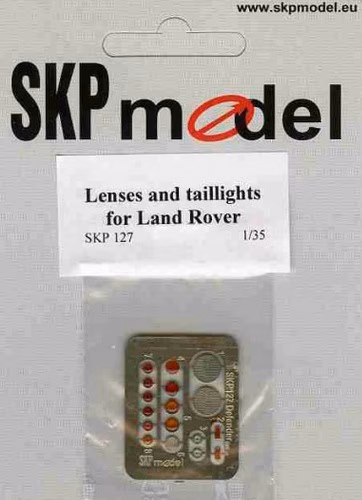
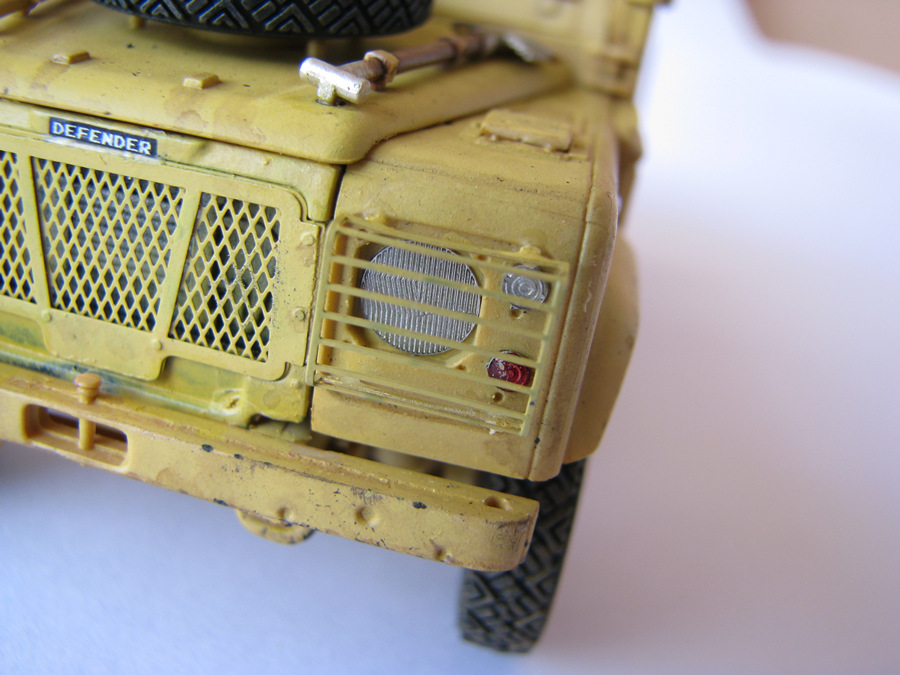
One more minor annoyance - the CIP supplied in the kit is way too small. Better to use a resized Tamiya one (three actually) if you have them.
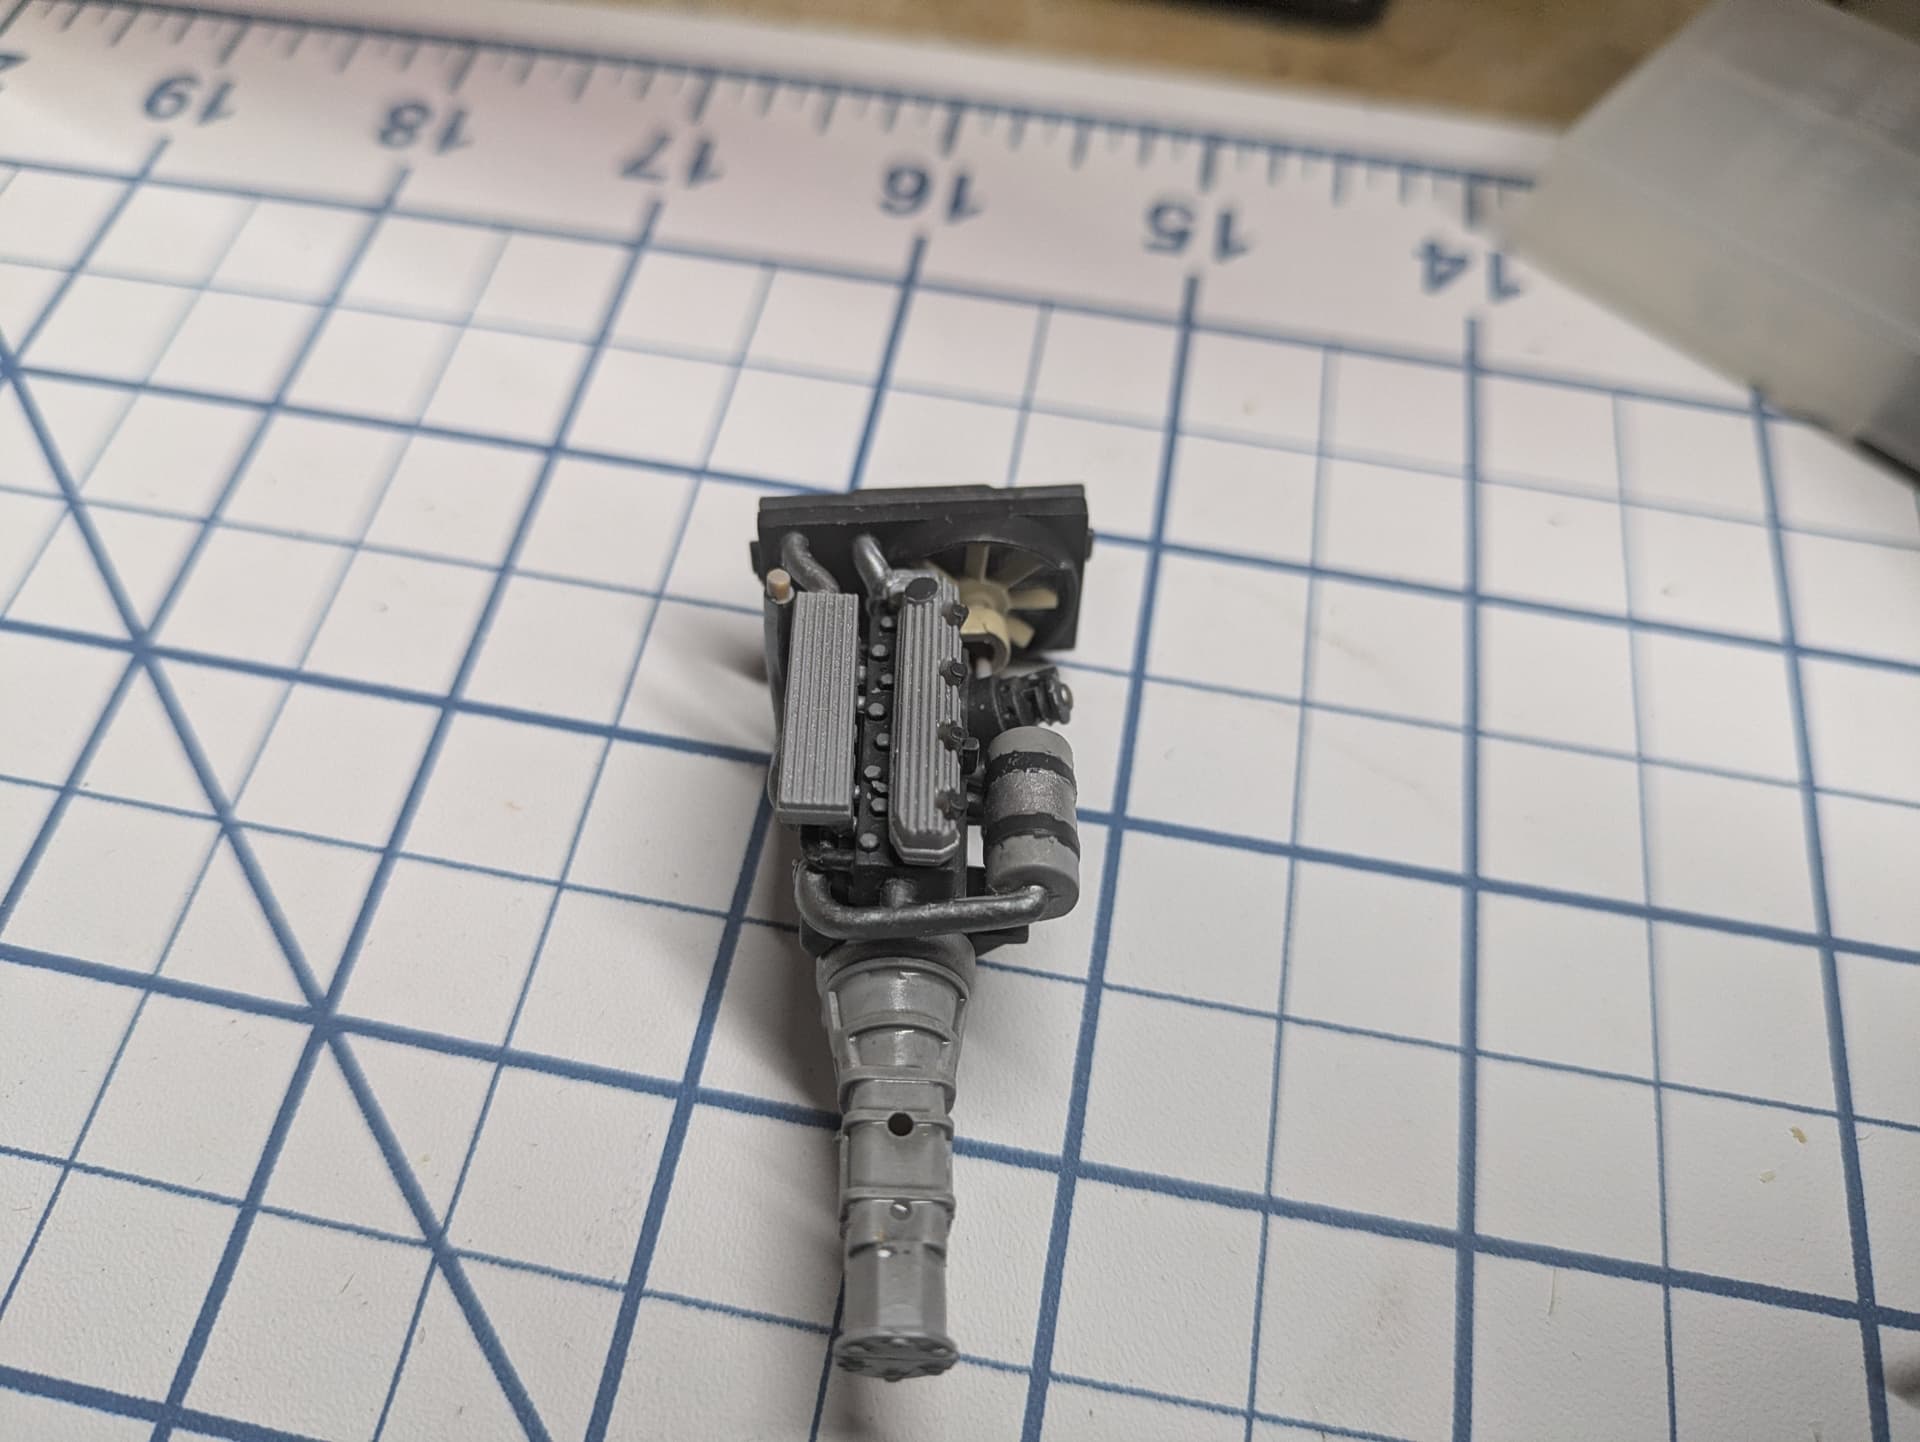
The kit will build into a fine model without those changes. The fit of the parts is oustanding. It just won’t quite be as accurate as it could be. And with the resin wheels you don’t have to worry about the fit of the tires onto the wheels.
A not on the wheels - there are twelve and fifteen spoke versions. Depending on the time frame the twelve spoke (later) version may be inappropriate. As could the fifteen spoke for that matter.
Looking forward to more,
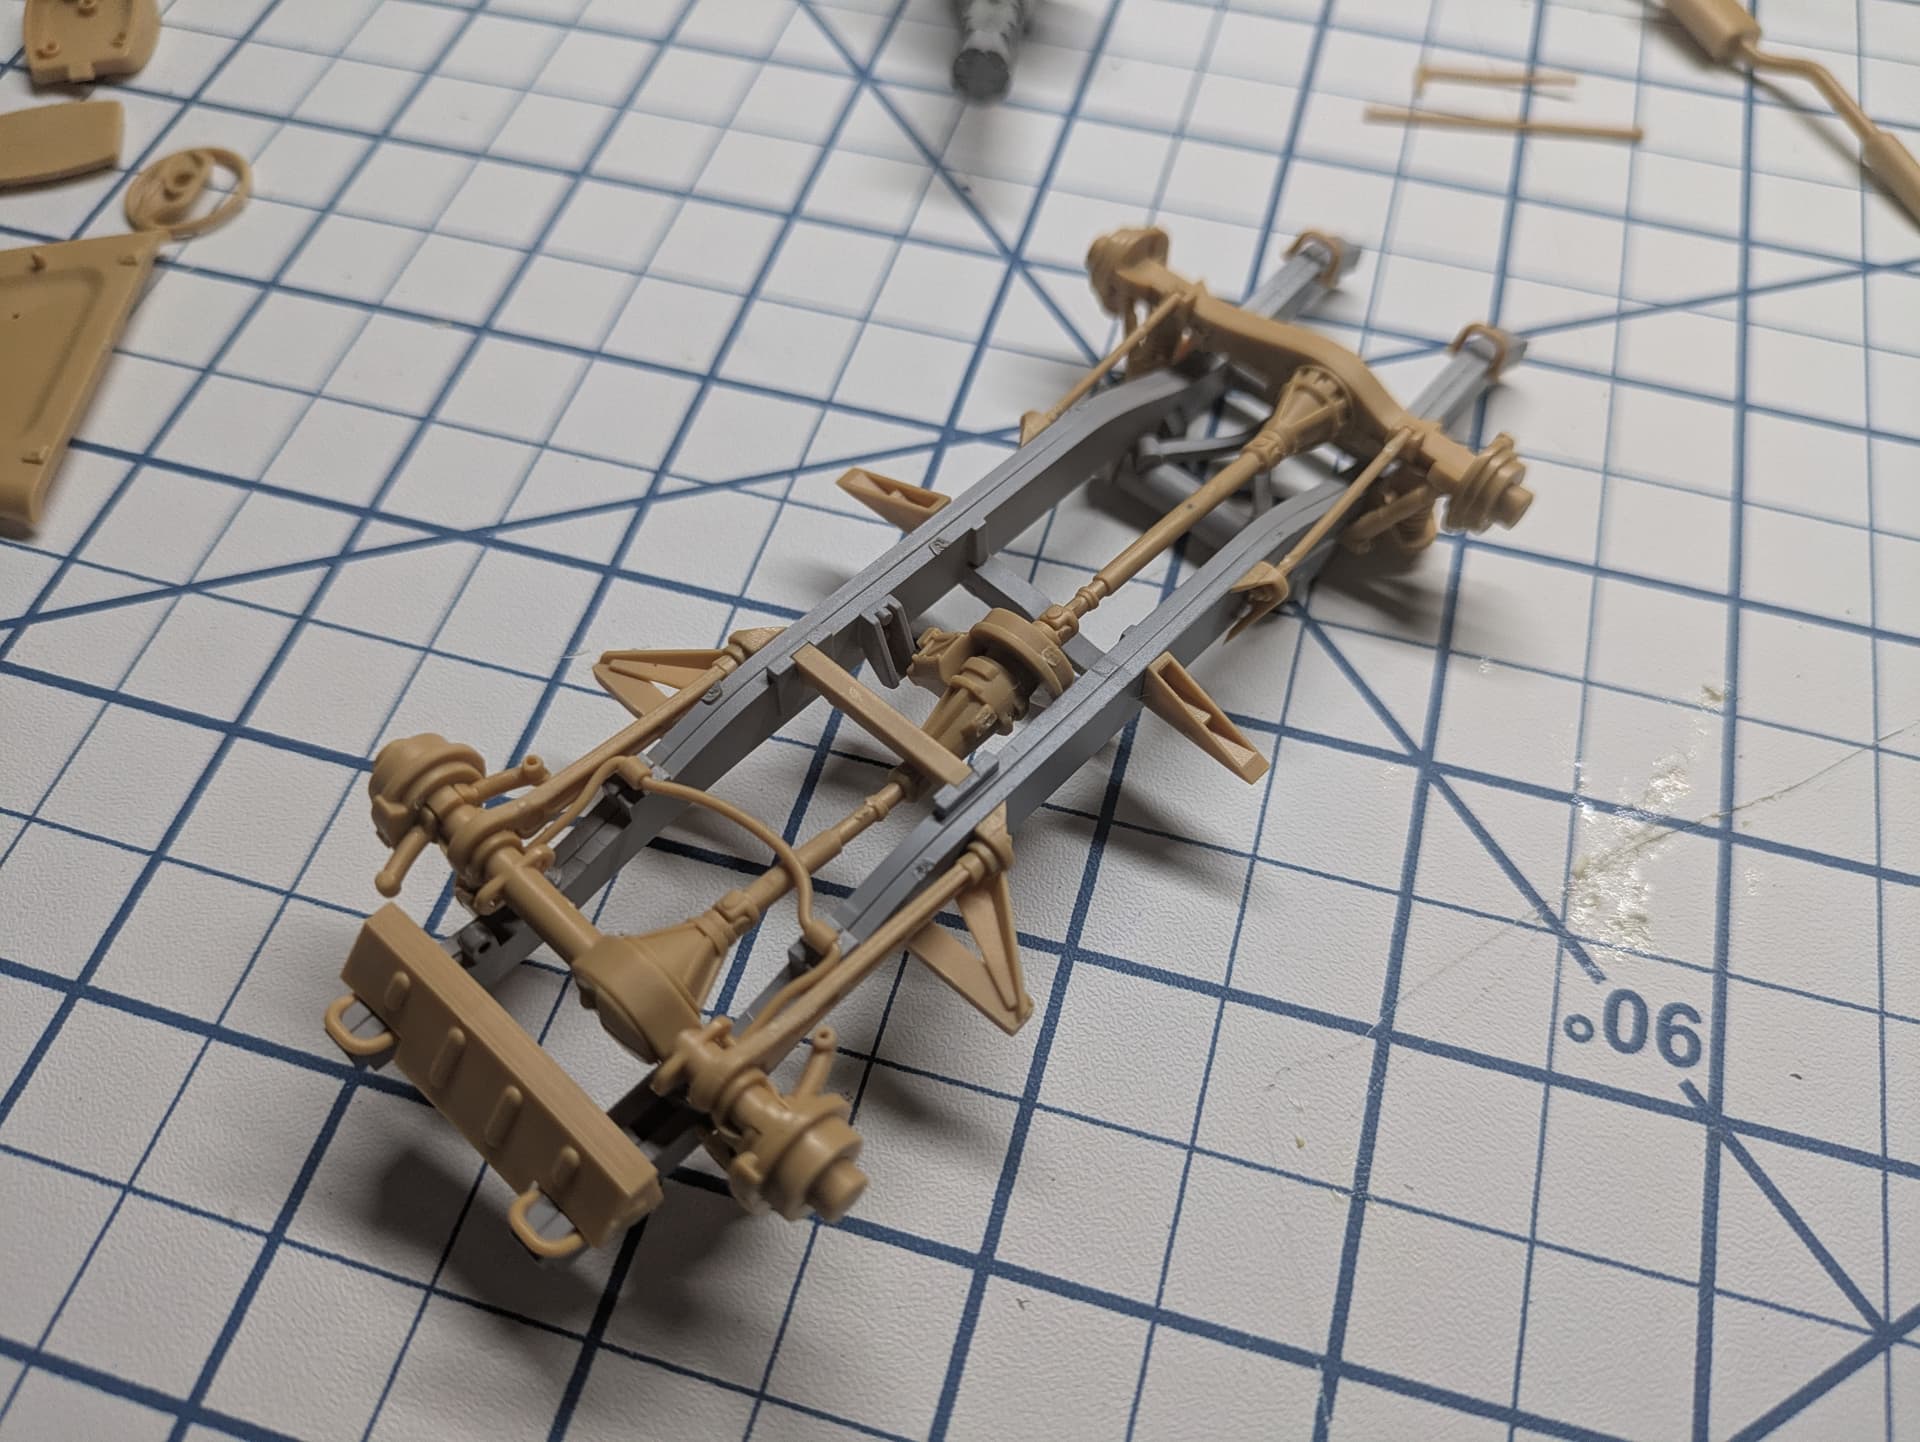
The suspension on the HB Landrover kits is a bit ‘off’, both in terms of the ride height and the wheel track (too wide) but there is an easy fix for both.
If you remove some of the rear part of the hub (compare left with right in the image below) you can reduce the wheel track sufficiently. In terms of the ride height, removing the top ‘ridge’ of the coil springs reduces the height enough for the vehicle to sit better.
As18Bravo says, the WMIK frame has the wrong geometry and that makes the frame too tall and the weapons ring slightly too far back - you can either live with it or not as you prefer.
I decided to shorten the frame legs and replace the rear bar sections, plus shifting the weapons ring a bit forwards.
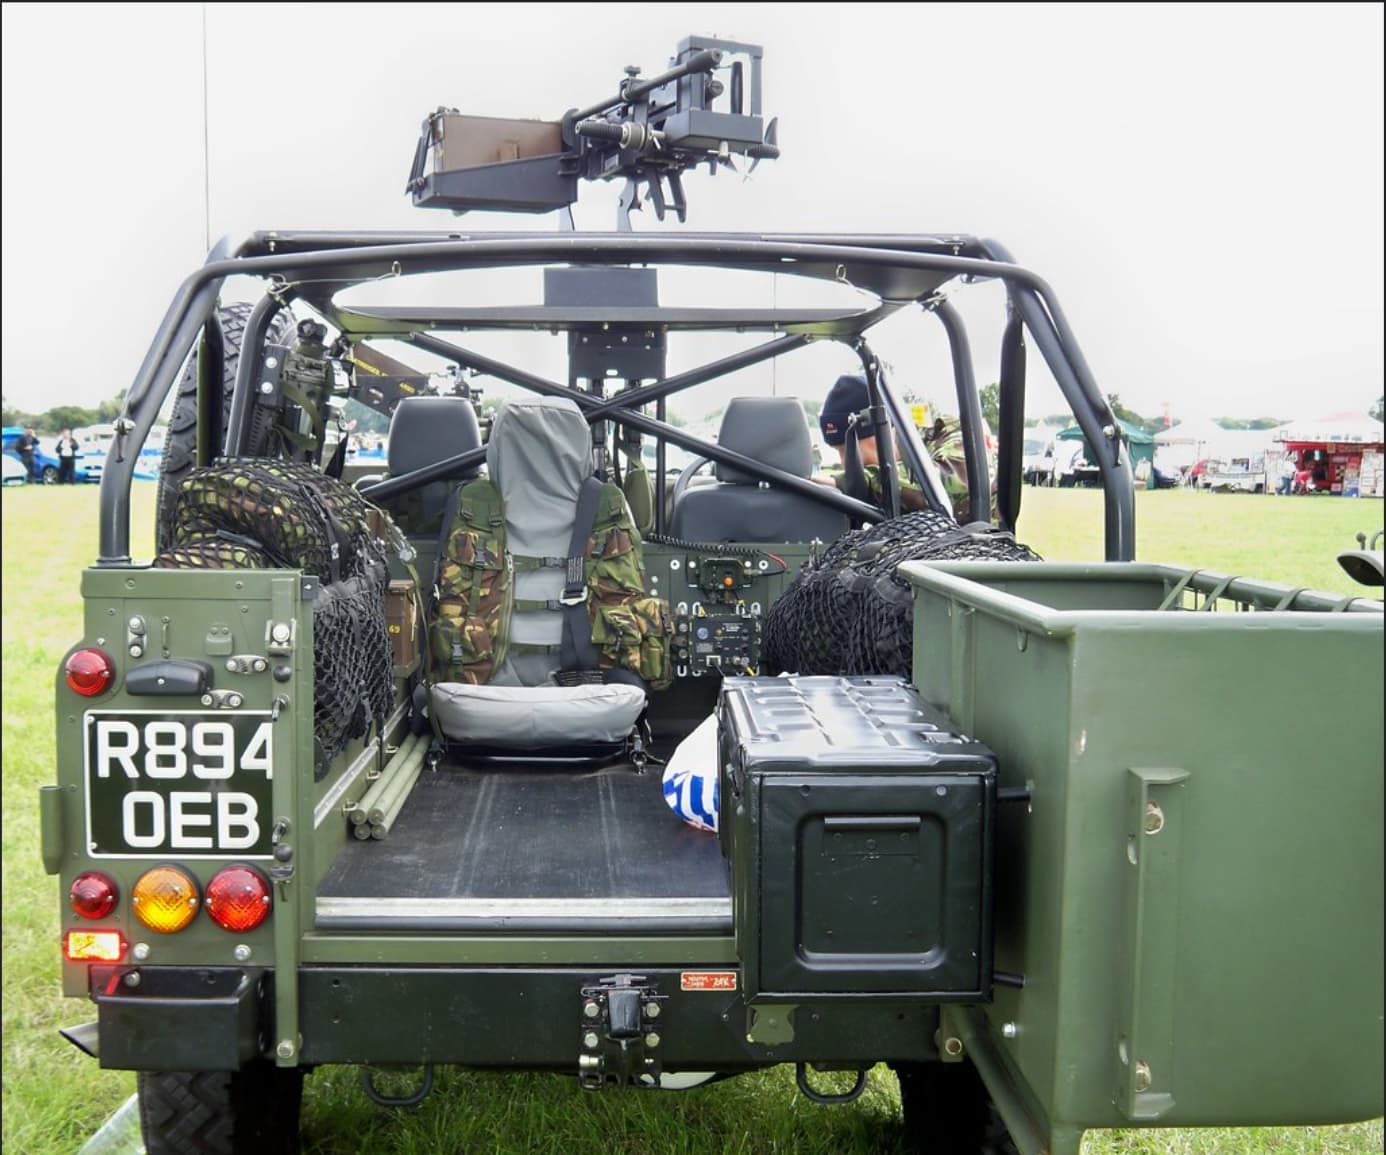
The two photos below show the difference in ‘sit’ and wheel track - the Kosovo with Milan ATGW was built with the kit wheel track. The R-WMIK had the wheel track modified (see how it sits further inside the wheel arch) as well as how reducing the coil springs slightly gives the vehicle a better ride height.
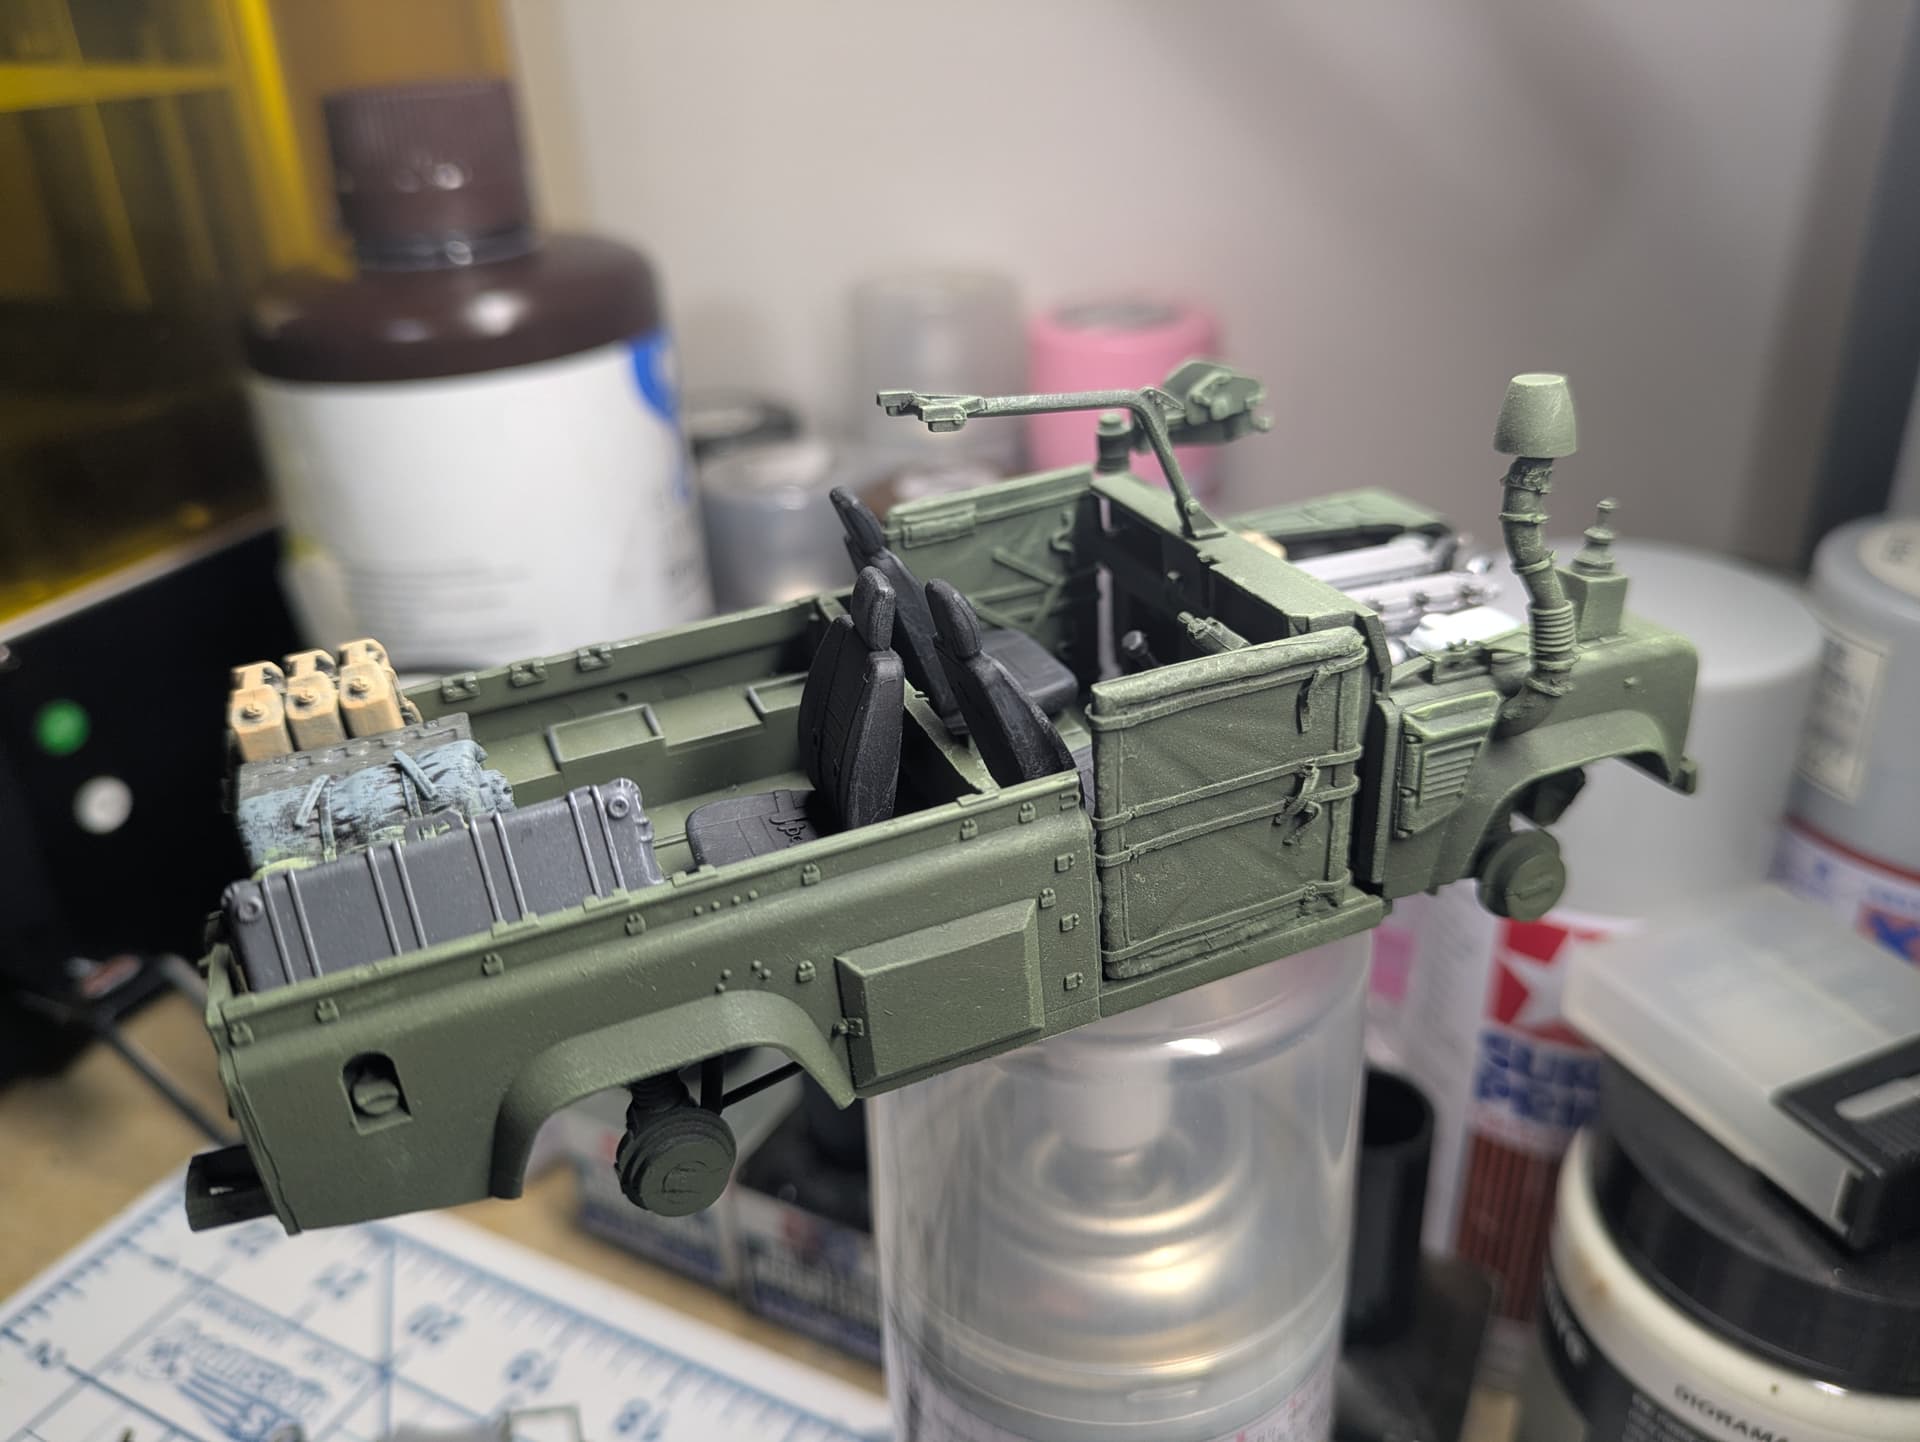
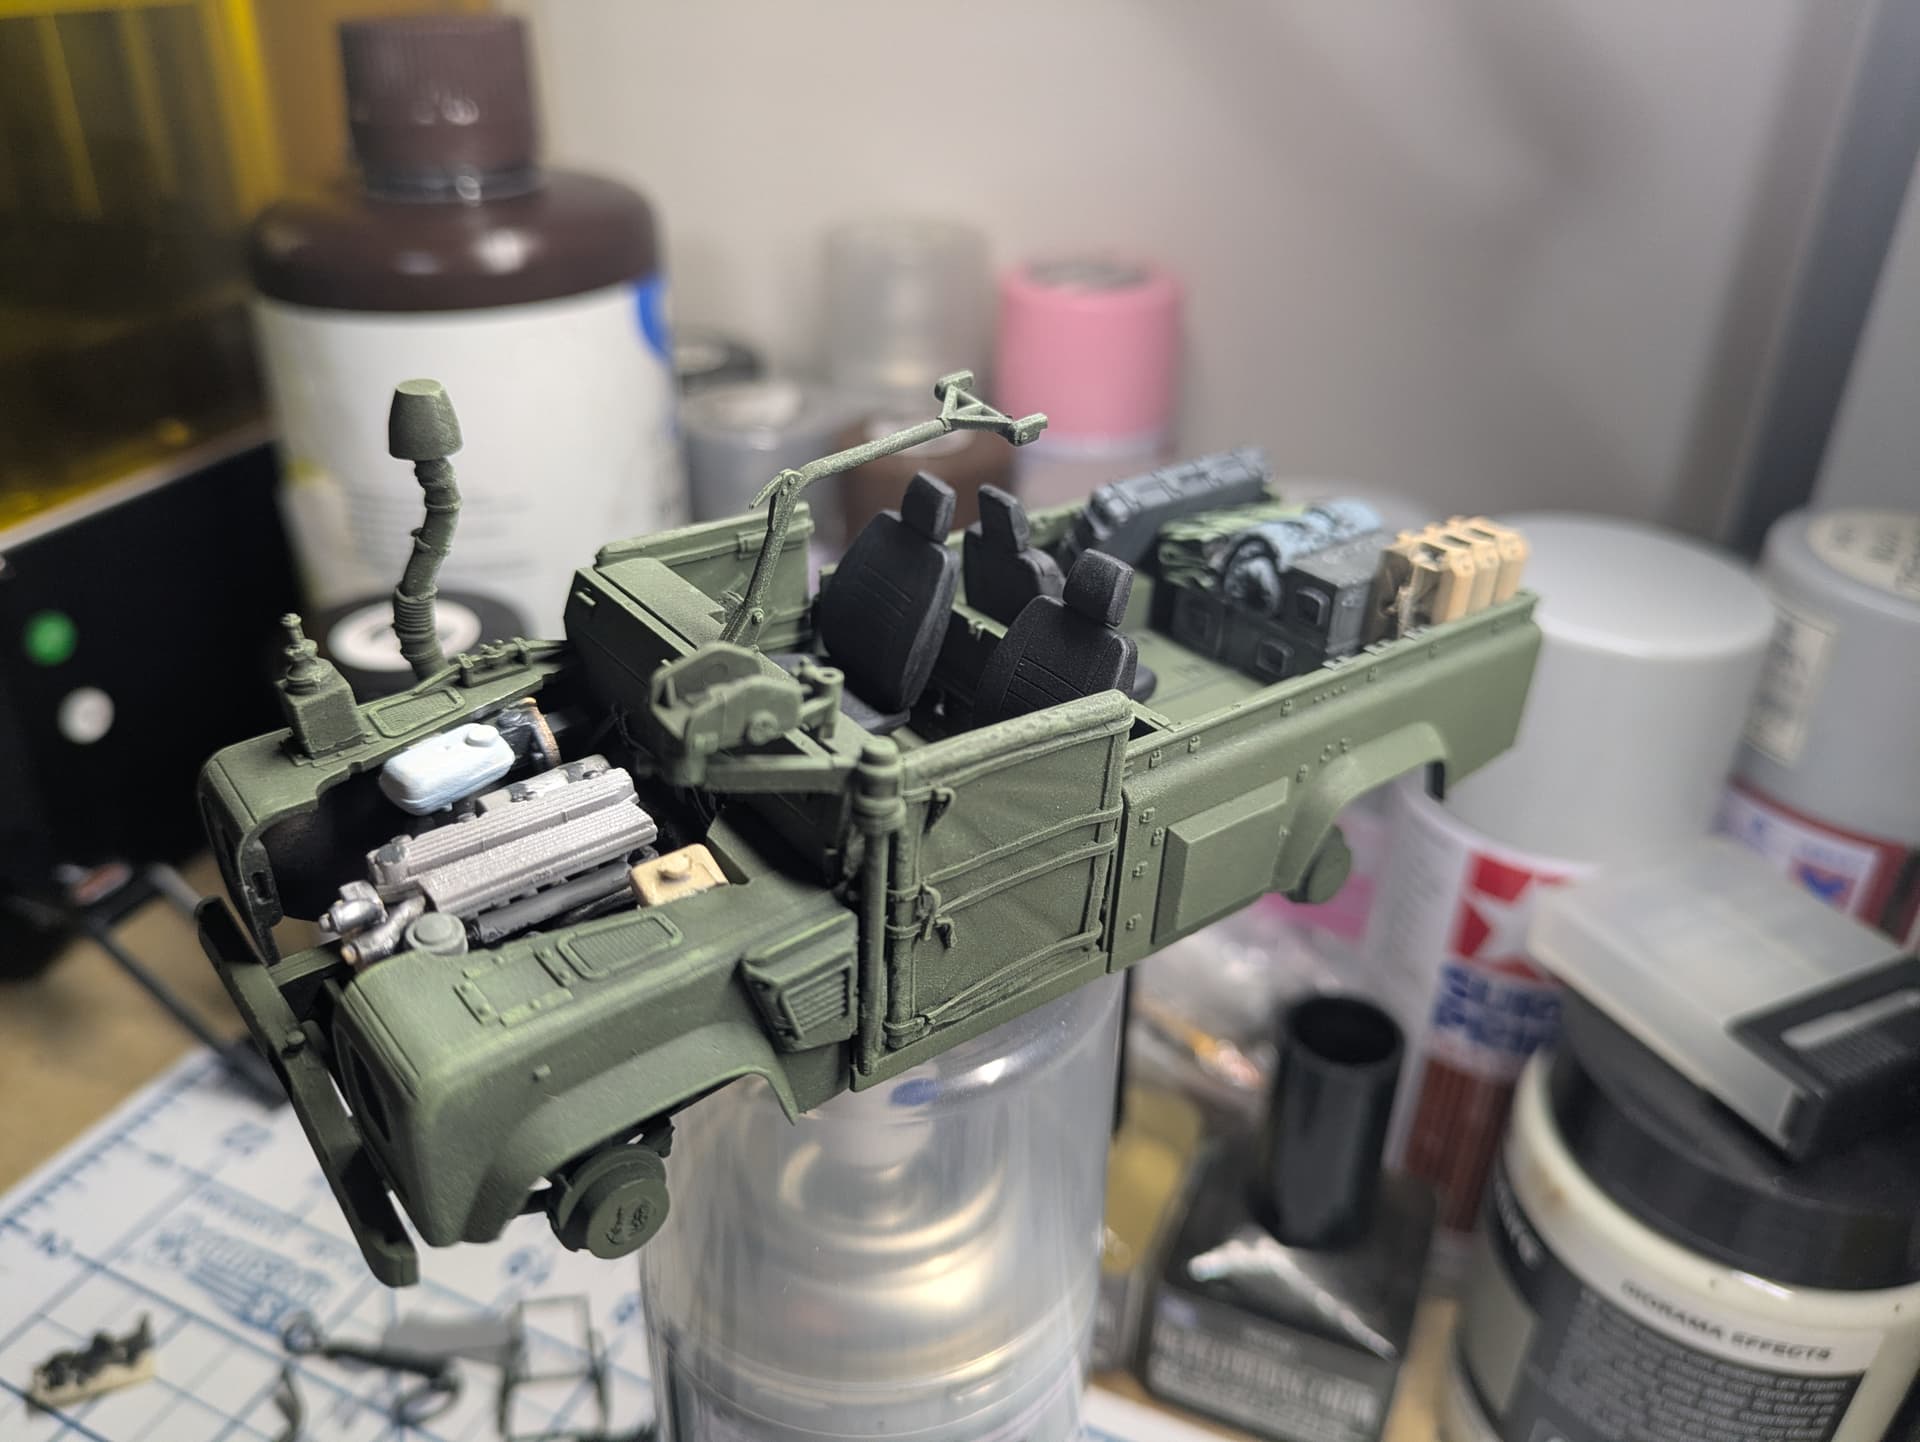
With regards to the TUAAM aerial box on the wing/fender, that will date your finished vehicle as it relates to the Clansman radio system (probably no later than 2005). Later vehicles were fitted with the newer Bowman system. The Clansman rig would be unlikely on a vehicle fitted with any of the kevlar armour pages such as the doors you’ve fitted because this started to arrive later than 2005. I think (and am open to correction on this) that vehicles fitted with the kevlar panels and doors were also equipped with a belly armour plate. The later R-WMIKs definitely were, but they also had a redesigned cargo bed floor.
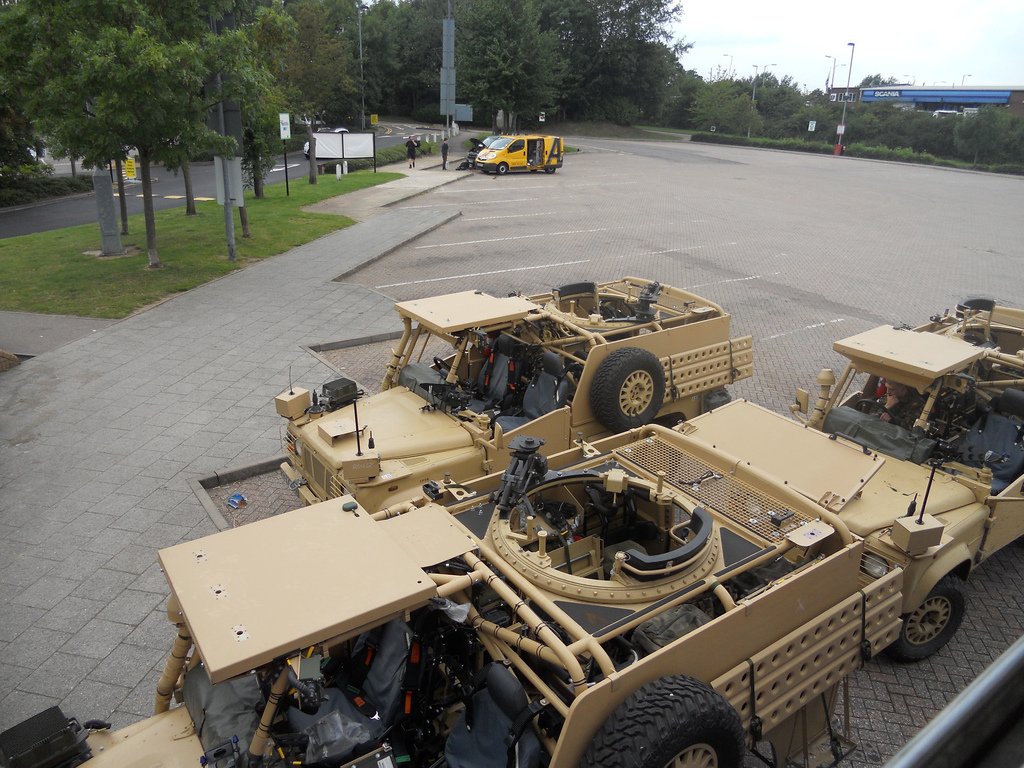
The ultimate WMIK is the R+WMIK which has a fully redesigned (and wider) back end plus enhanced overhead panels above the driver (the Airfix 1/48 scale kit is this specification) - the last image below shows R+WMIKs.
If you look at the Kosovo-era WMIK model I posted an image of previously and compare it with the later R-WMIK model you can see the difference in the aerial mount arrangements.
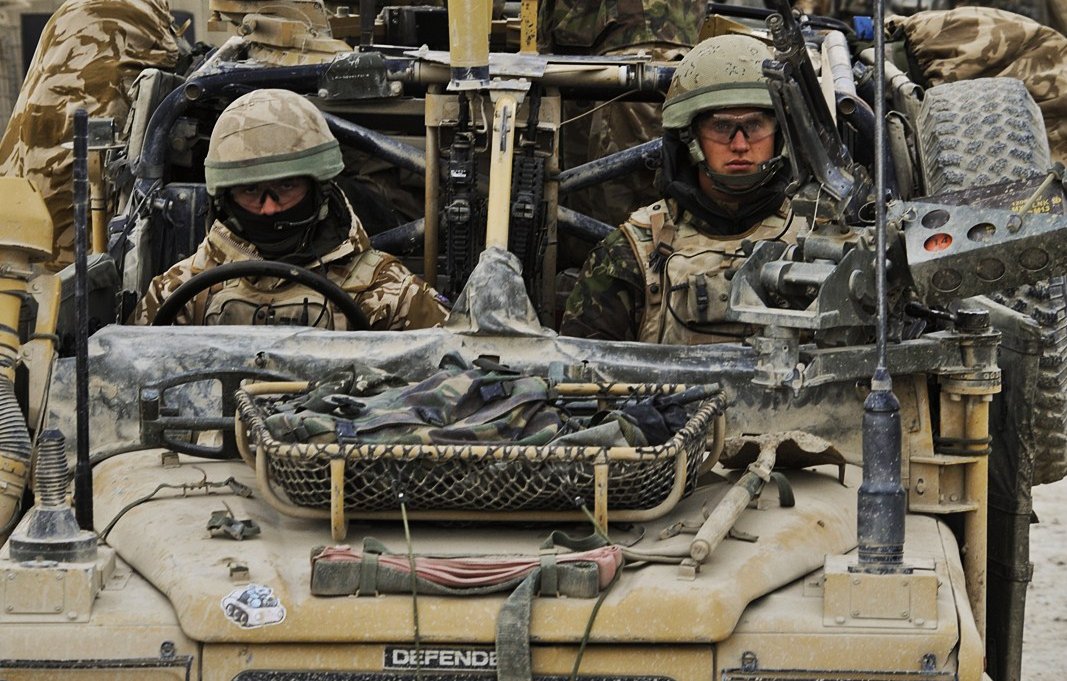
The two Rock Apes (RAF Regt) in the upper photo are sitting on an earlier vehicle with the Clansman TUAAM box on the left and the vehicle has no additional armour. In the second photo (Rock Apes again), the later Bowman aerial arrangement is visible and the vehicle has the kevlar armour.
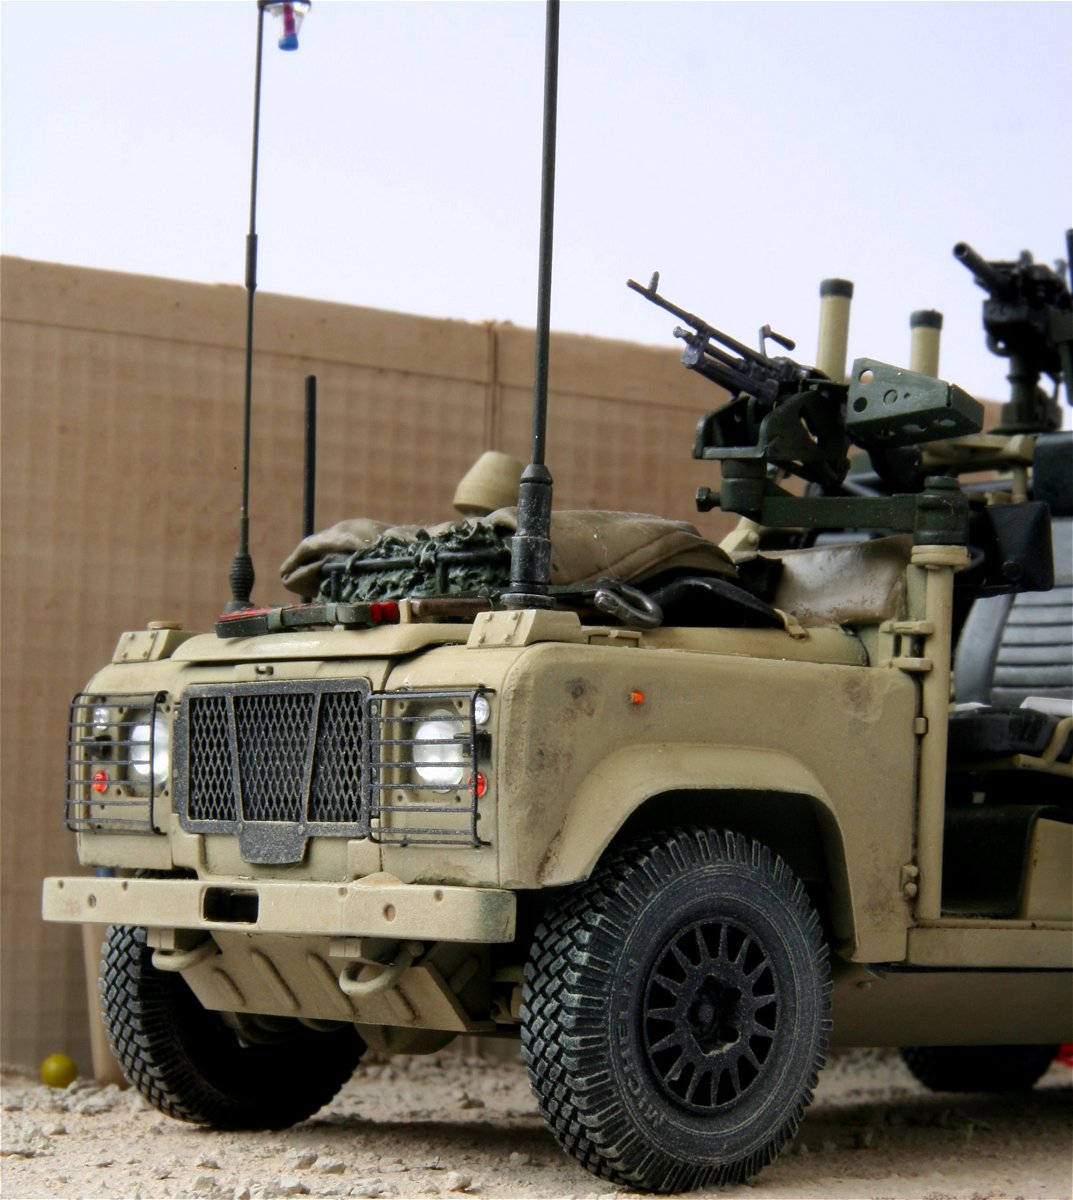
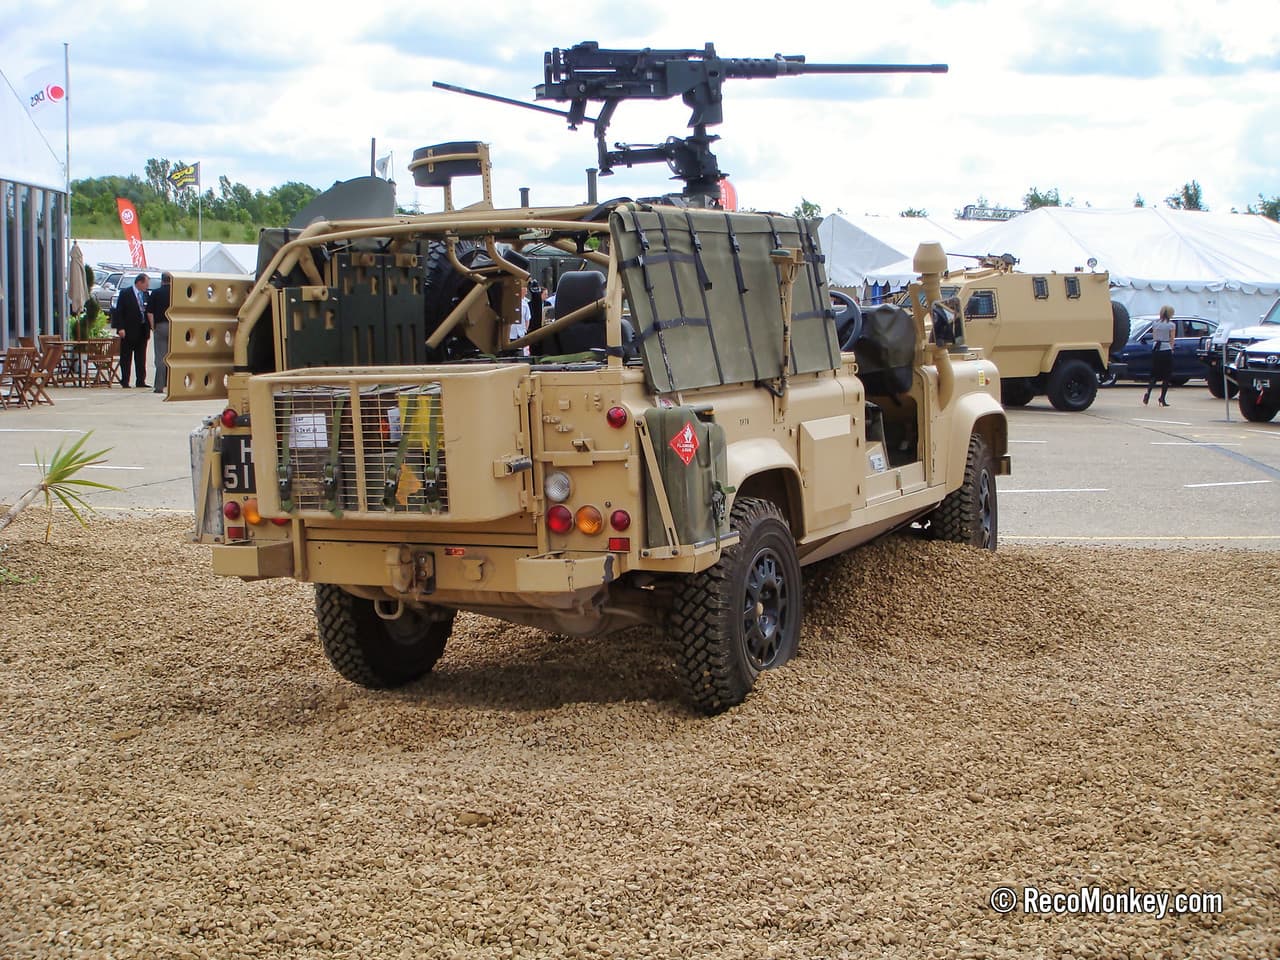
The kit wheels are for the original issue vehicles. The later (E-WMIK and R-WMIK) were fitted with ‘alloys’.
In the third photo, you have the normal wheel hubs but the Bowman aerial fit (note that both vehciles are green with a heavy application of mud). In the fourth photo (same WMIK as the second photo) you have an example of the Alloy hubs fitted to later versions. Careful study of this photo reveals both types of alloy on this vehicle (front and rear axles).
An additional note before it’s too late:
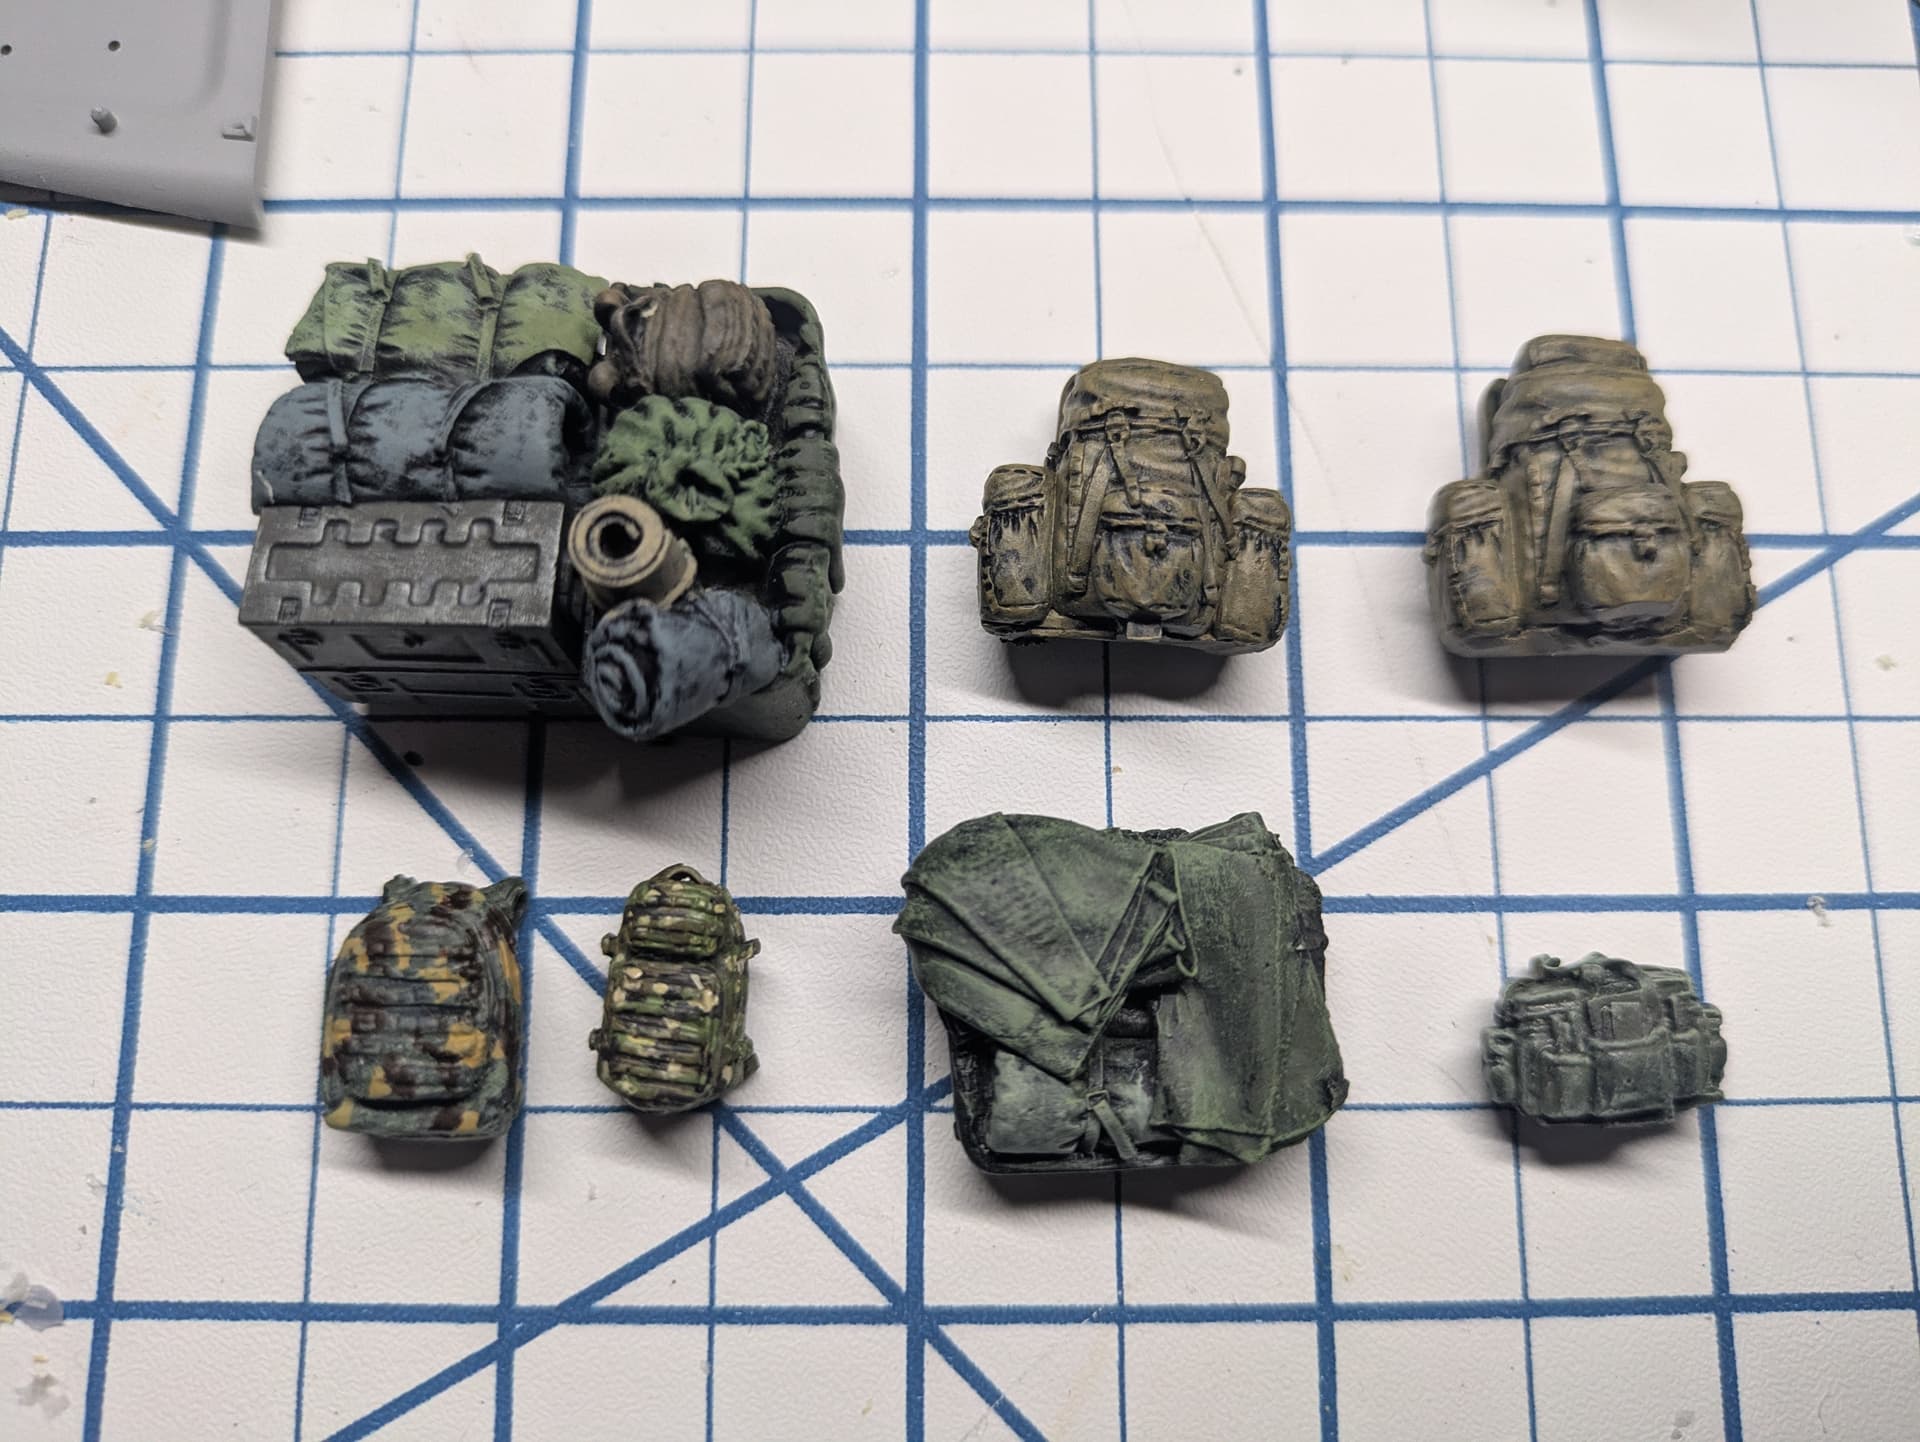
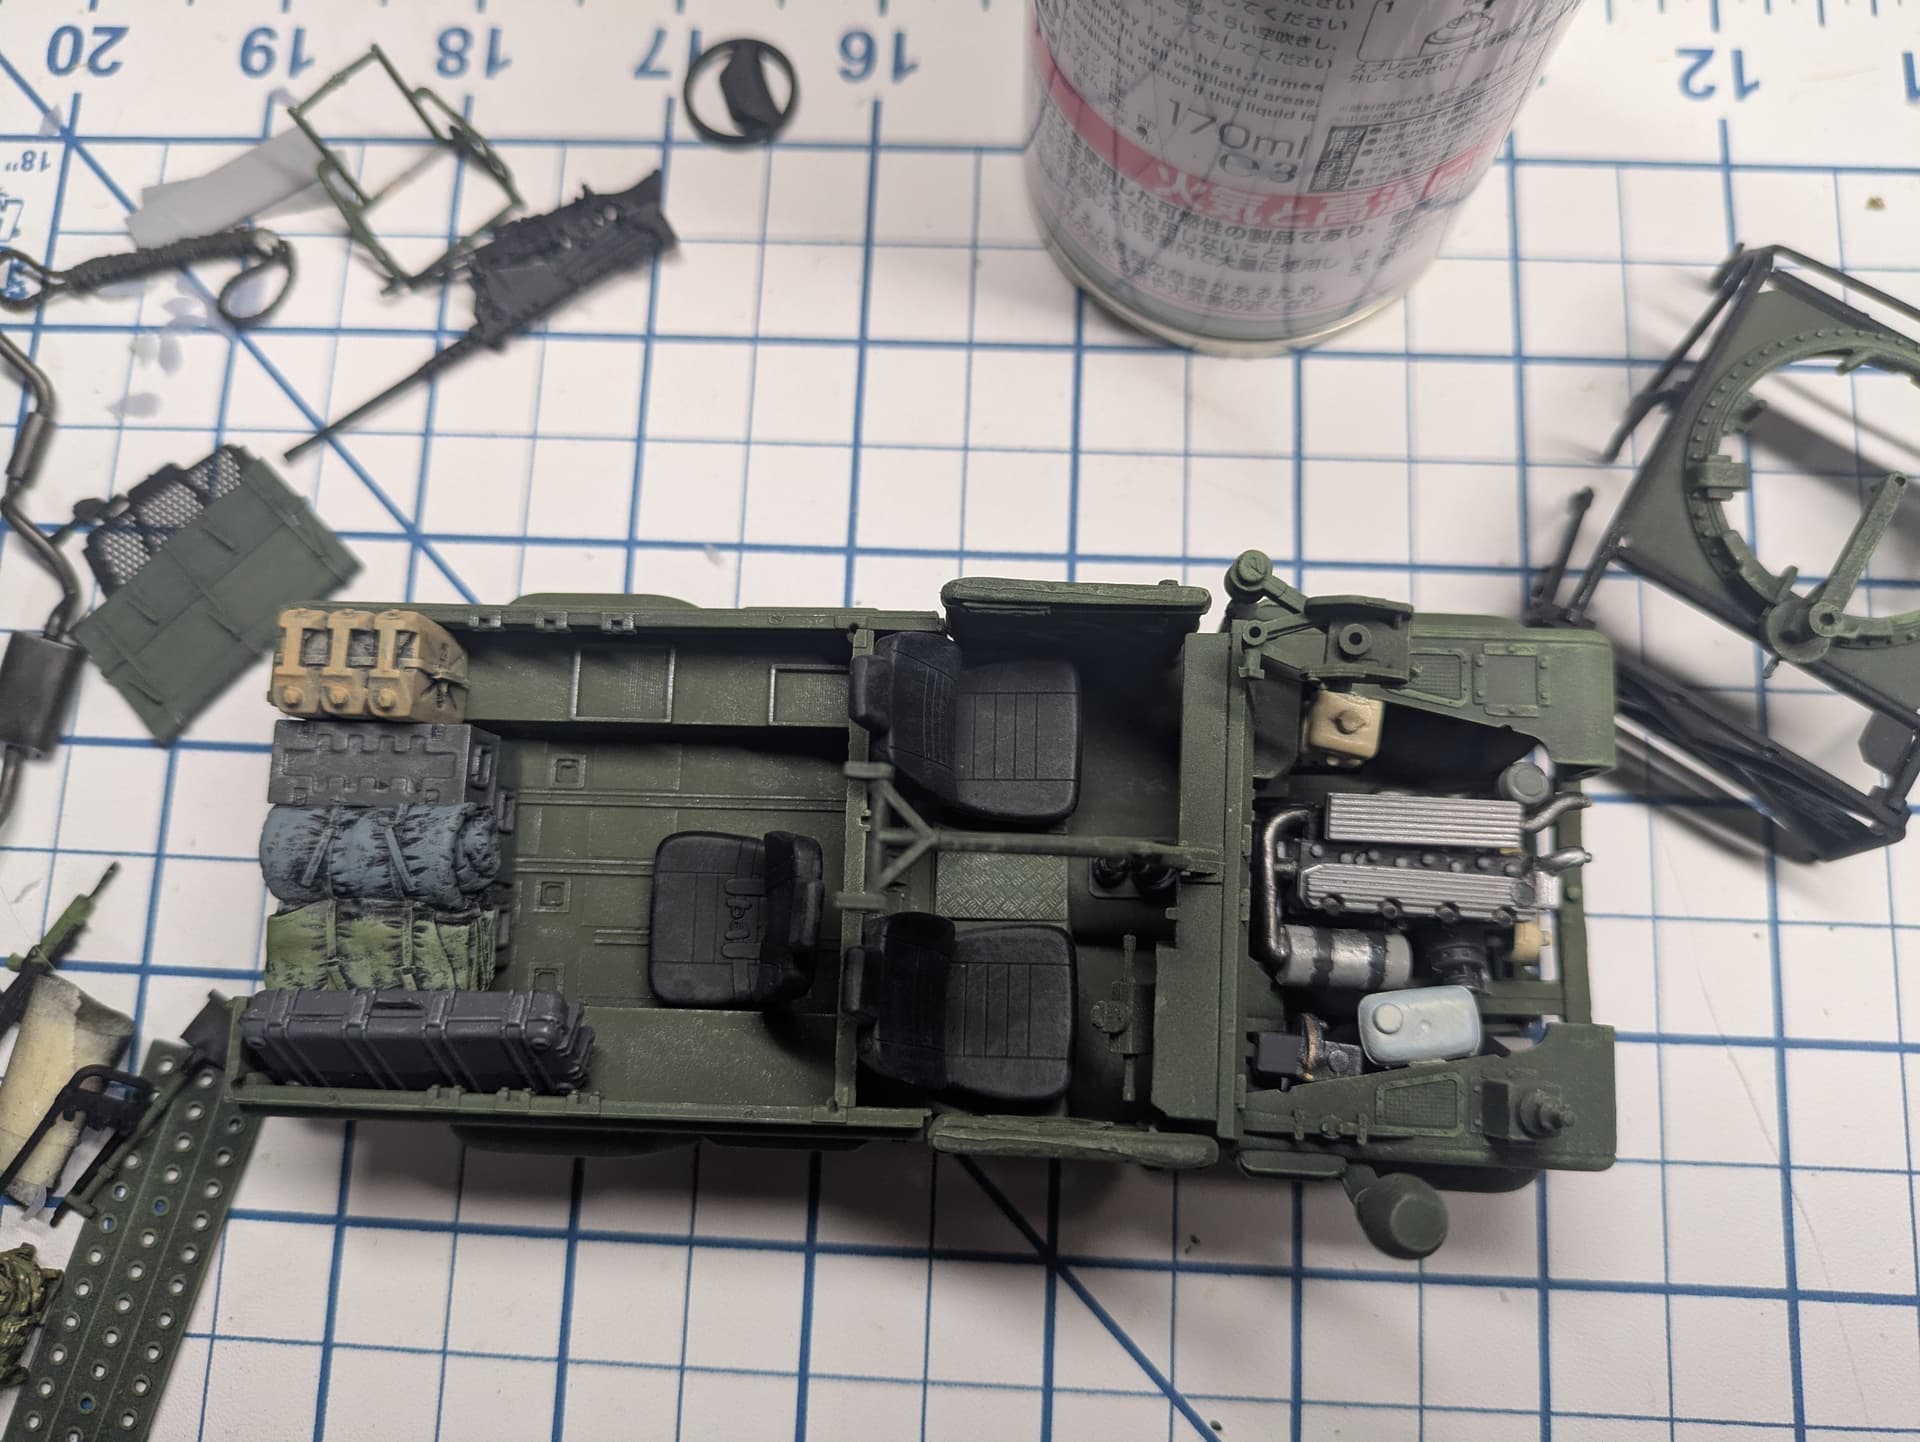
I myself was never able to find photos showing the rear facing seat in the bed being on the right hand side of the vehicle. Perhaps years later others have surfaced, but I have not seen any. It’s another easy fix - simply pop the seat off and shave off the right hand seat mount from the floor. The left hand mount is actually centered in the bed, so you can simply use that same mount to put the seat on the left hand side, On the right side you can cover up the old mount location with a scratch built battery box.
According conversions descriptions, with the configuration of LRA002, you can have MAPIK Jankel armor without belly armor, and old wheels to depict an O-WMIK for 2005-2007 time frame.
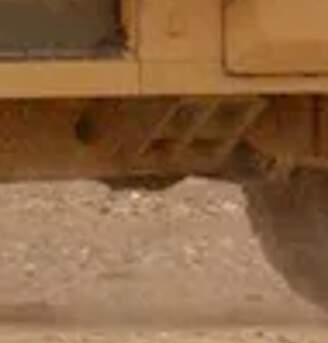
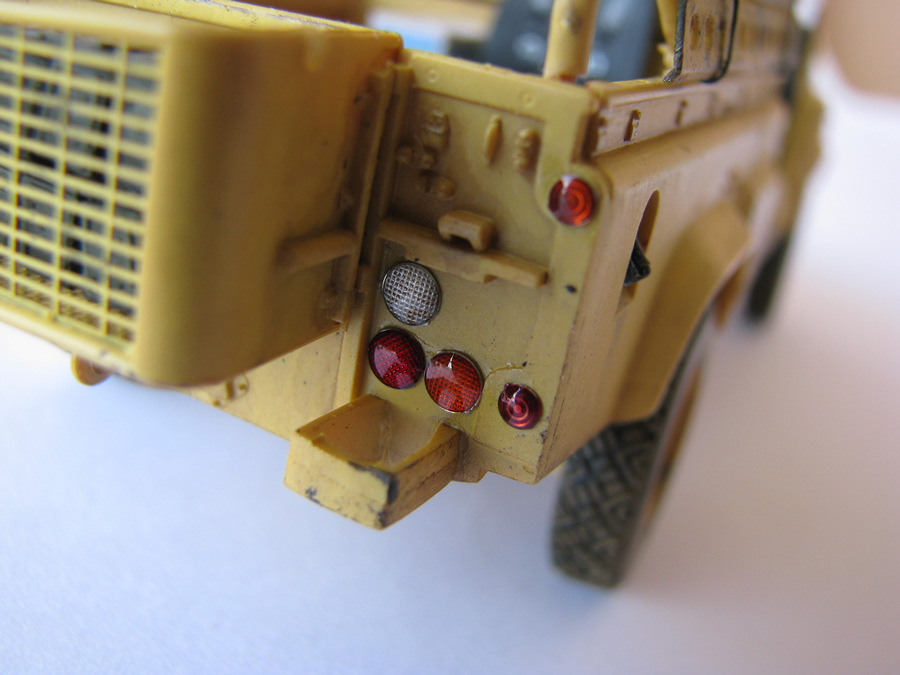
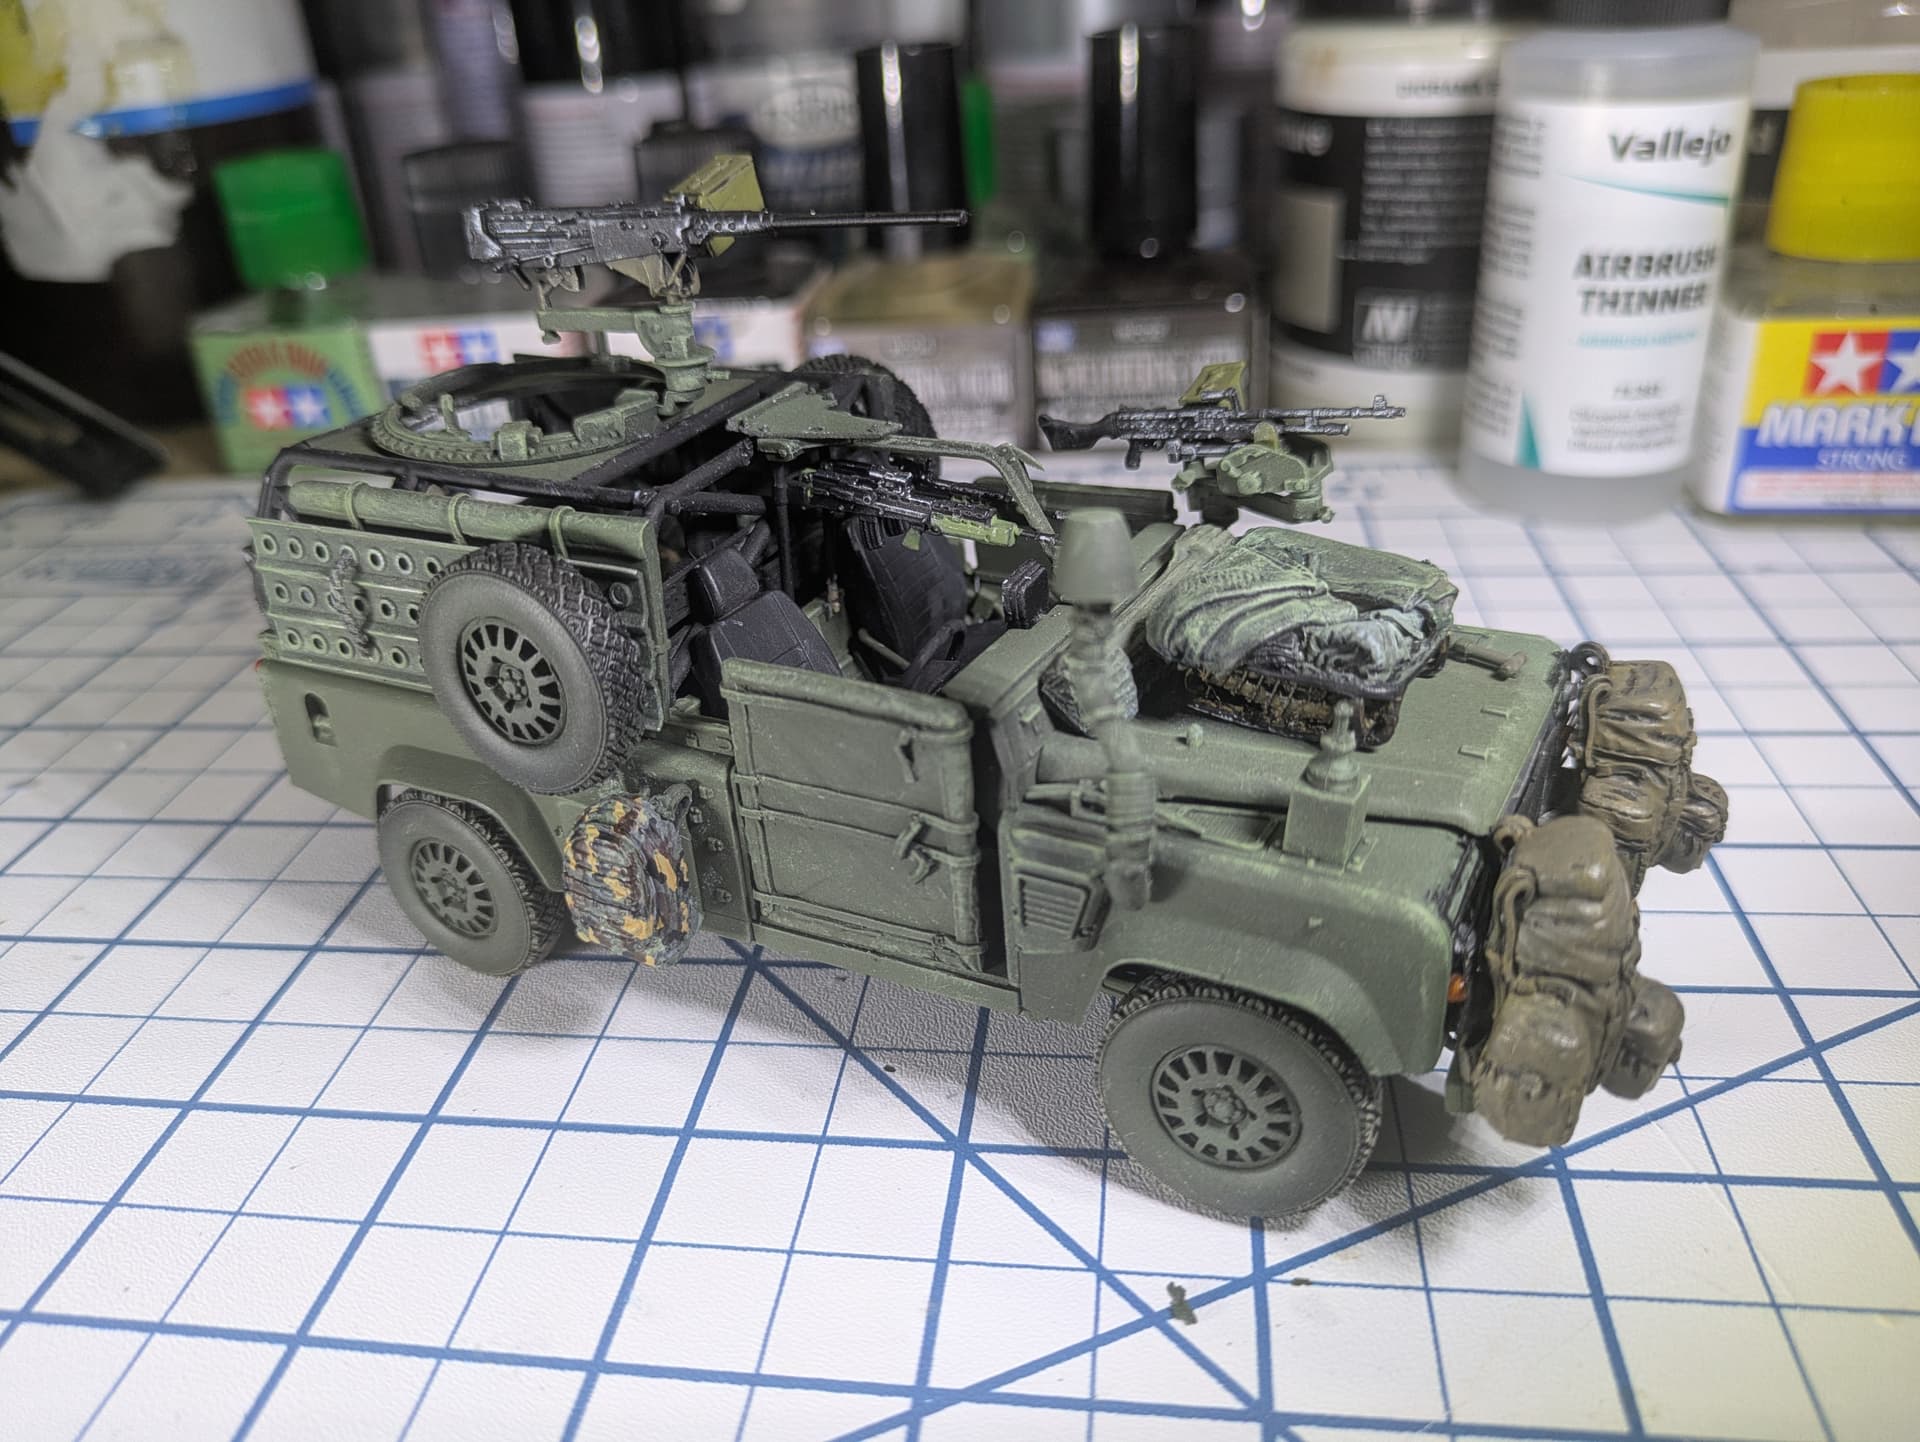
It looks very good, I really like the contrasting light lenses on the rear. One point to note, the bergens secured over the headlights is a very rare sight, typically an SF addition. They aren’t however secured using only the headlight light brush guards as they aren’t strong enough. Usually a length of rope is used to secure them. One end tied to the bonnet stowage basket whilst the other end has a carabiner tied to it which is secured to the bergens. The bergens waist belt is then used to secure the bottom to the bumper to stop it flailing around. You can just see what I mean on the picture below and also a picture showing the brush guard clips. If you are that way inclined it would be a very easy fix.