Dear all,
thank you for following and comments! And here is another quick update.
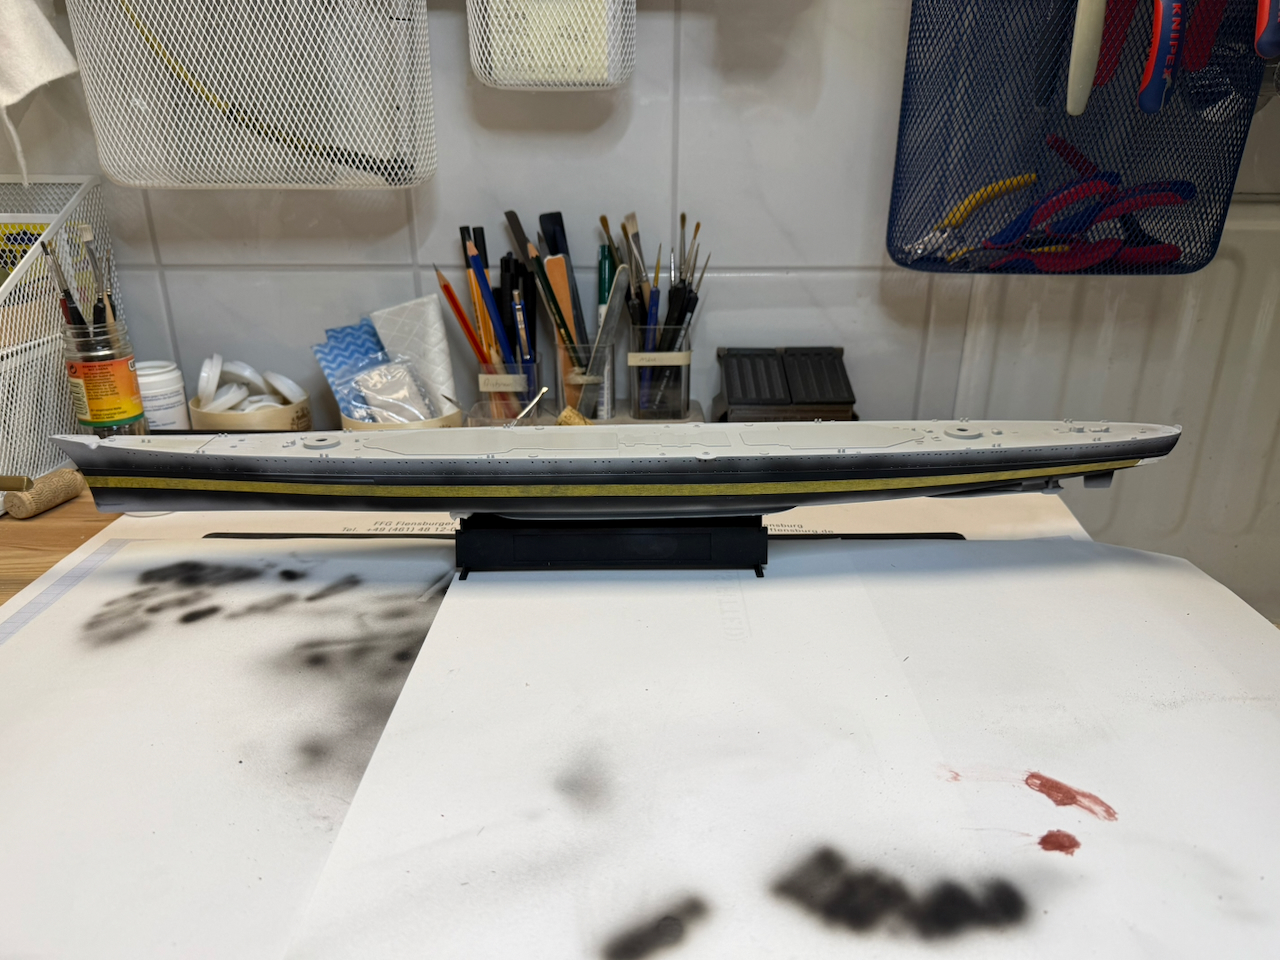
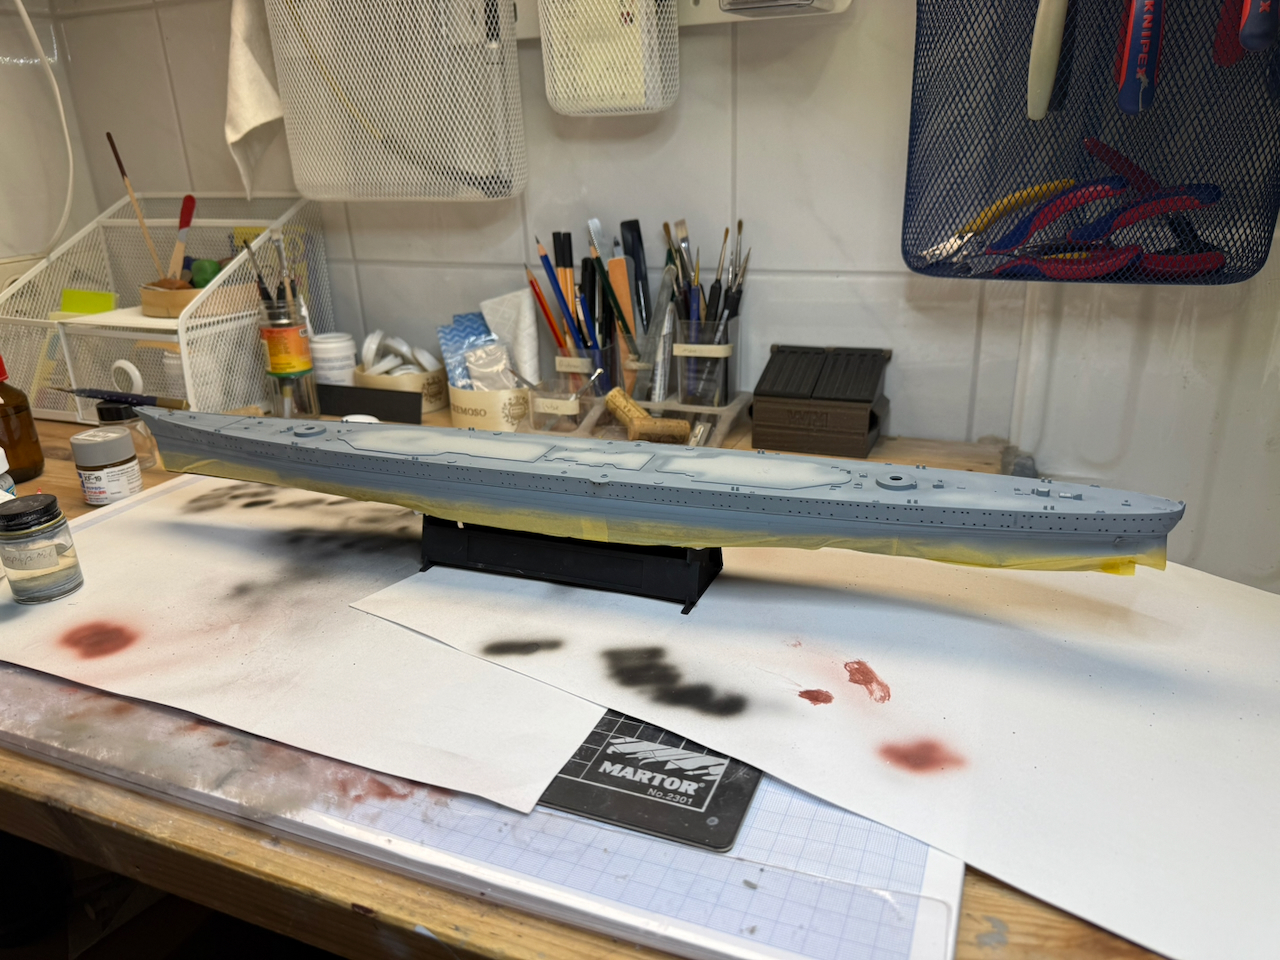
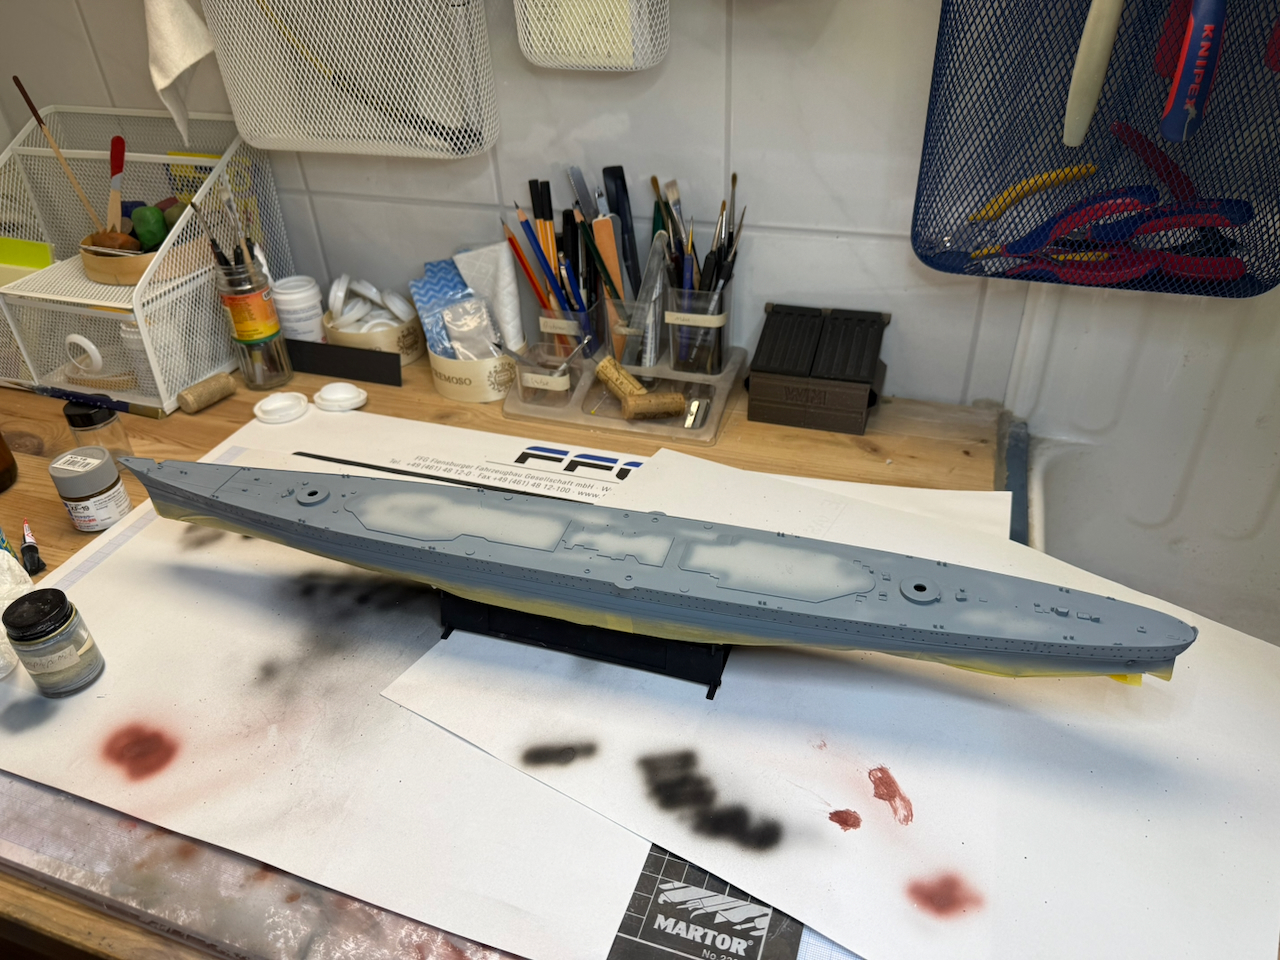
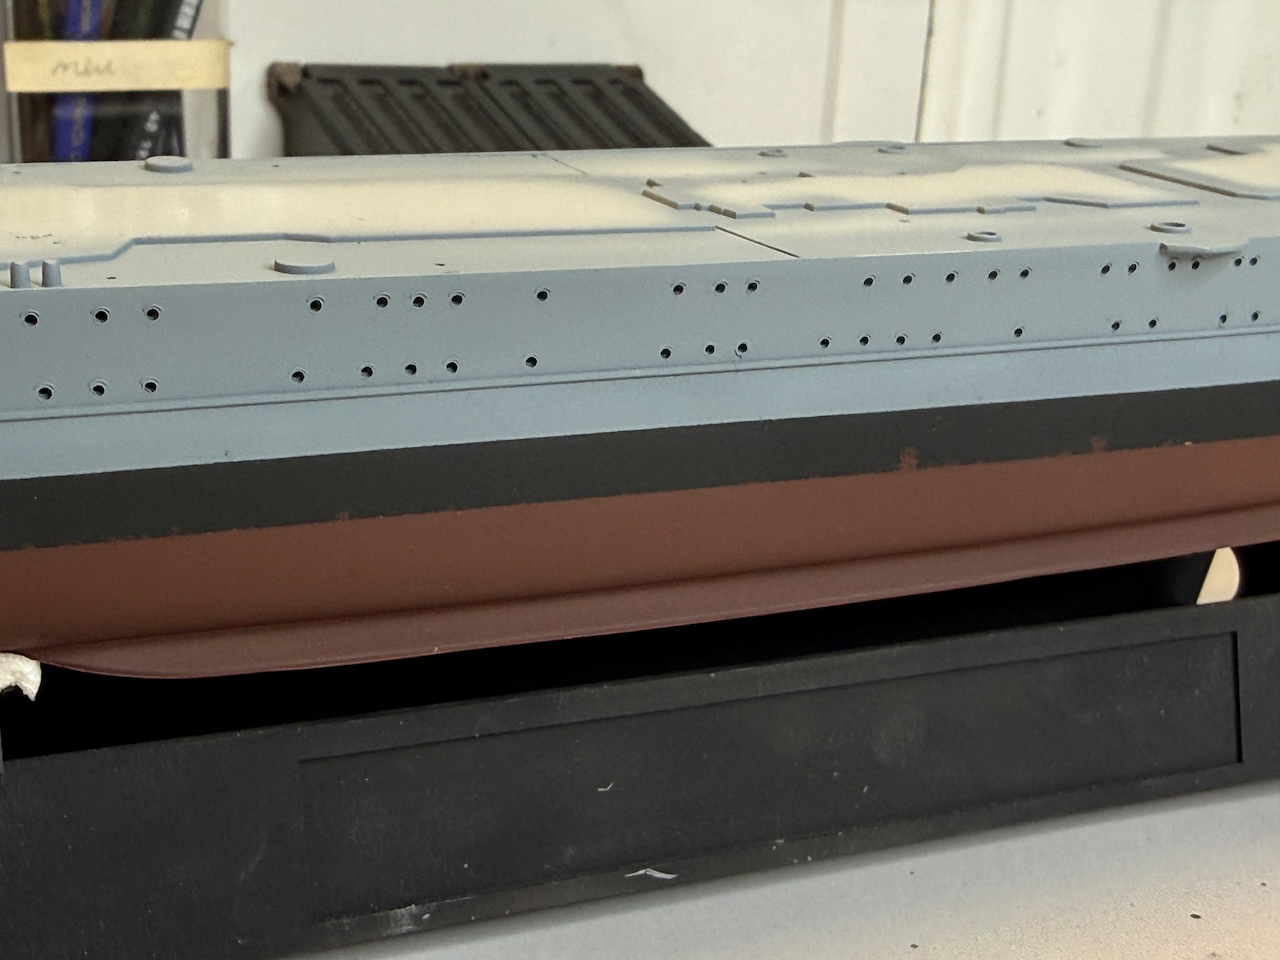
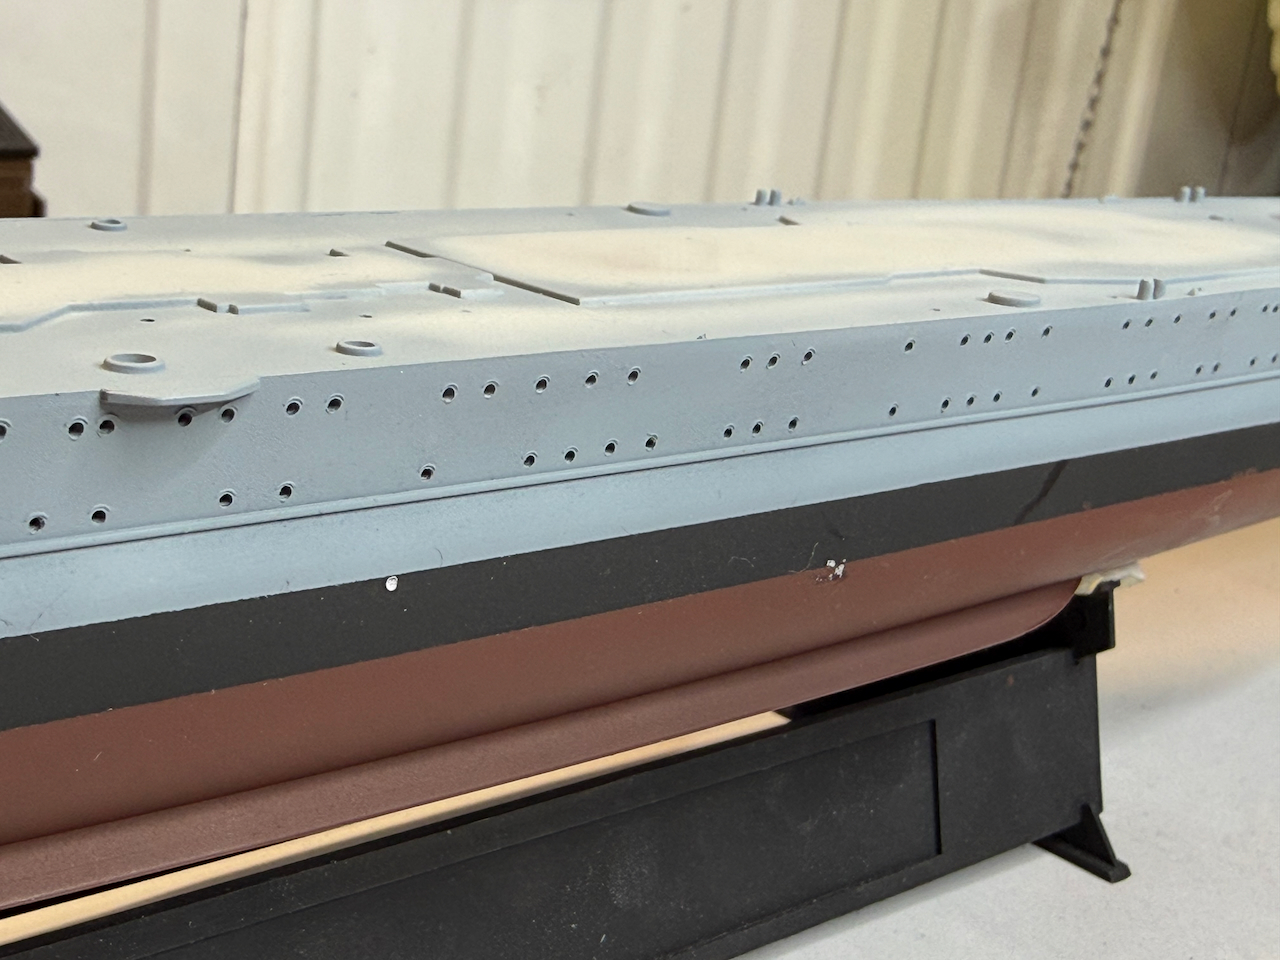
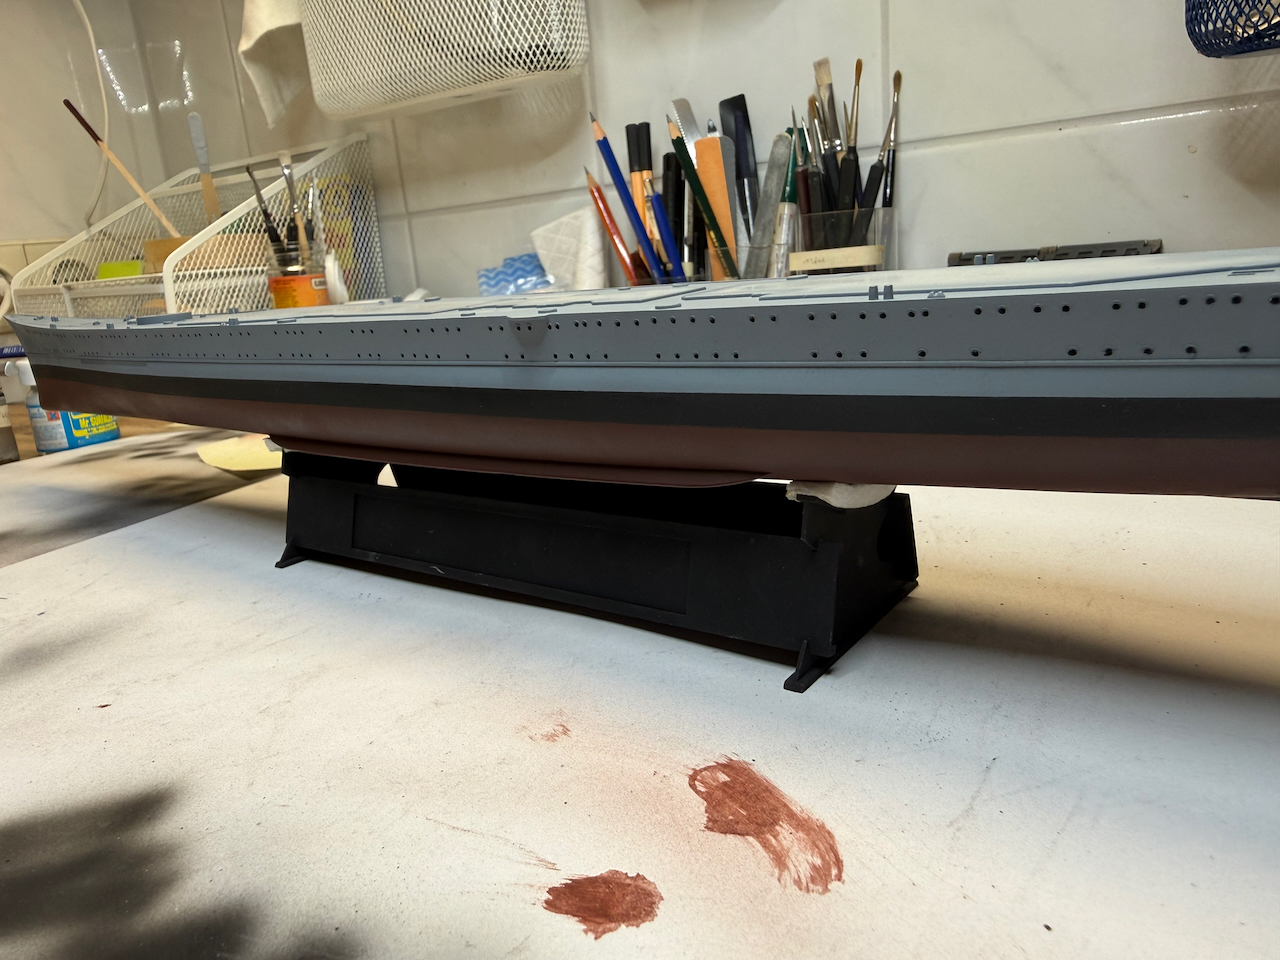
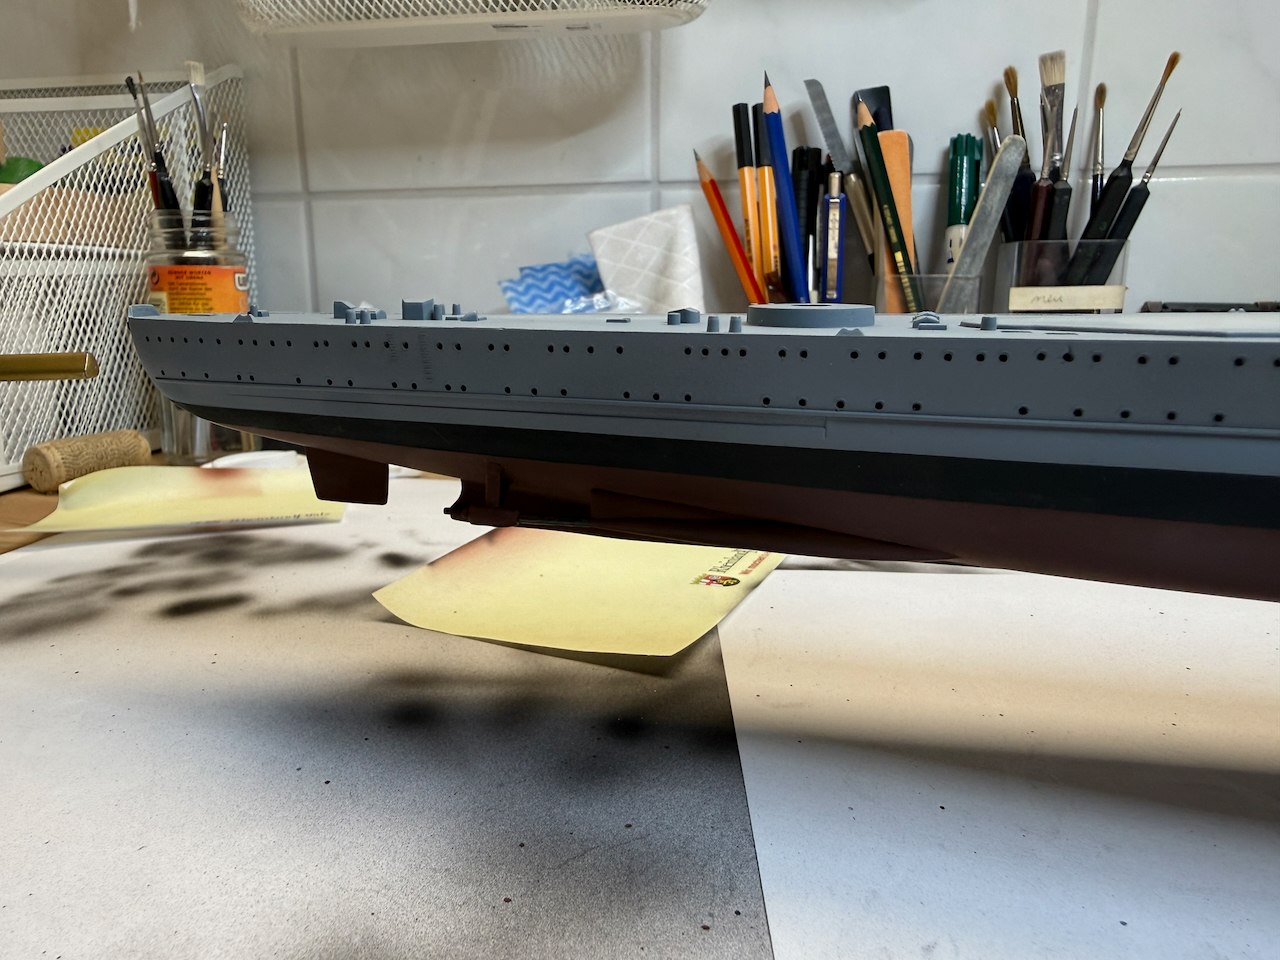
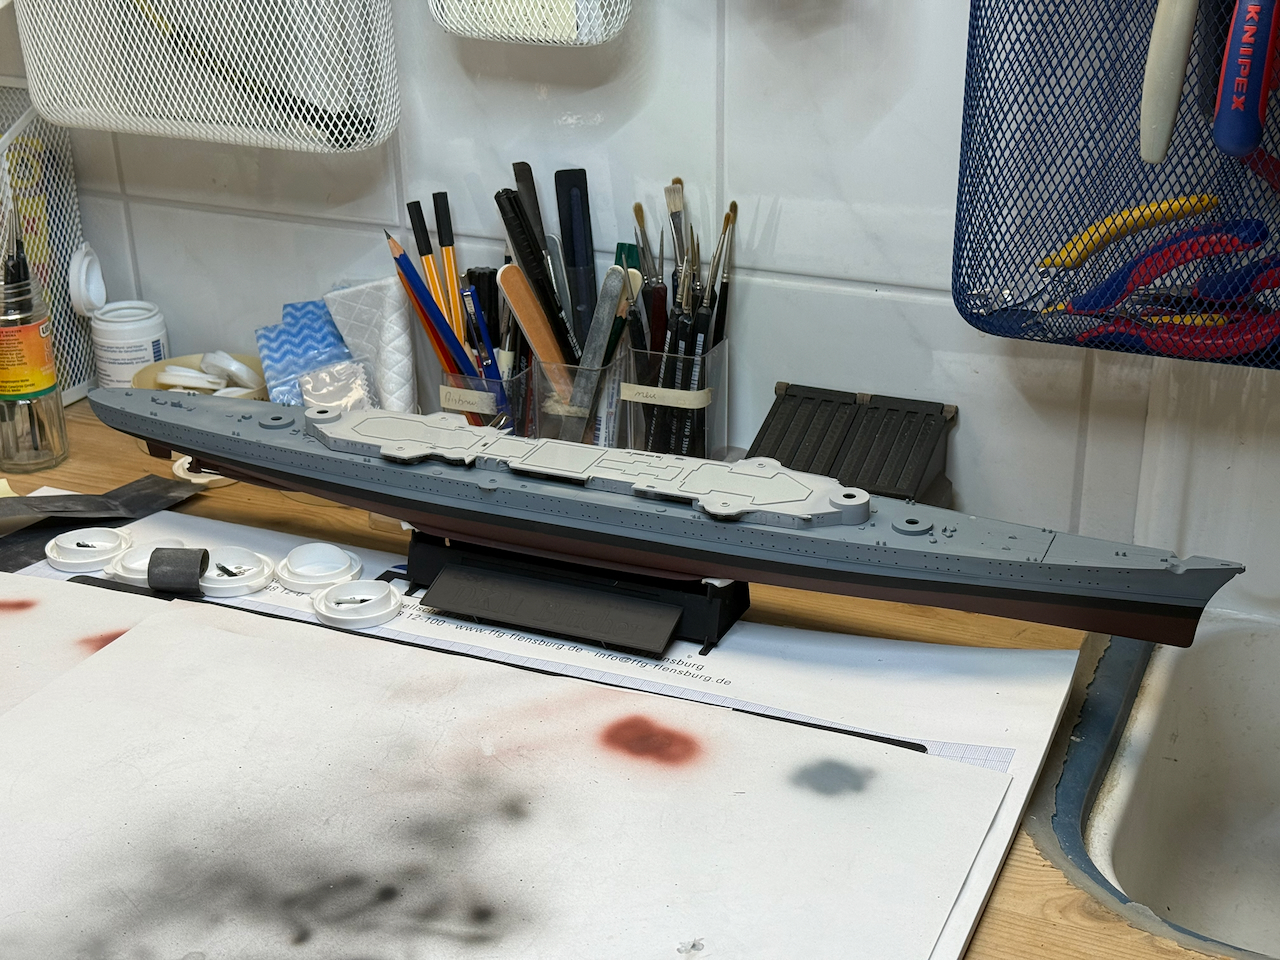
Filling and sanding the hull, especially the seams between the upper und lower hull halves, has come to an end. I masked the boot stripe around the hull.
Of course there will be some re-work to be done, especially around the stern section, but that’s ok.
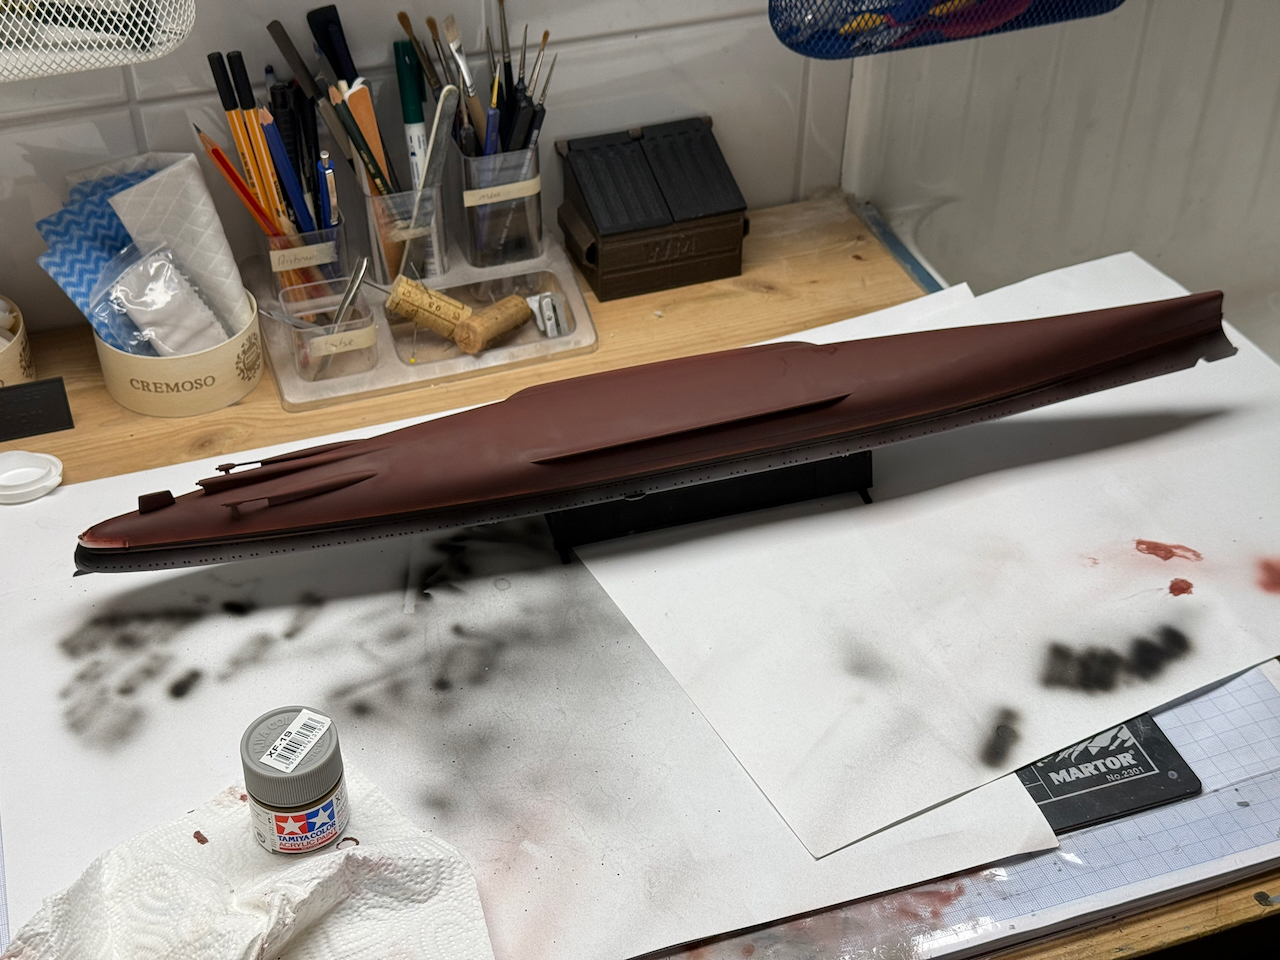
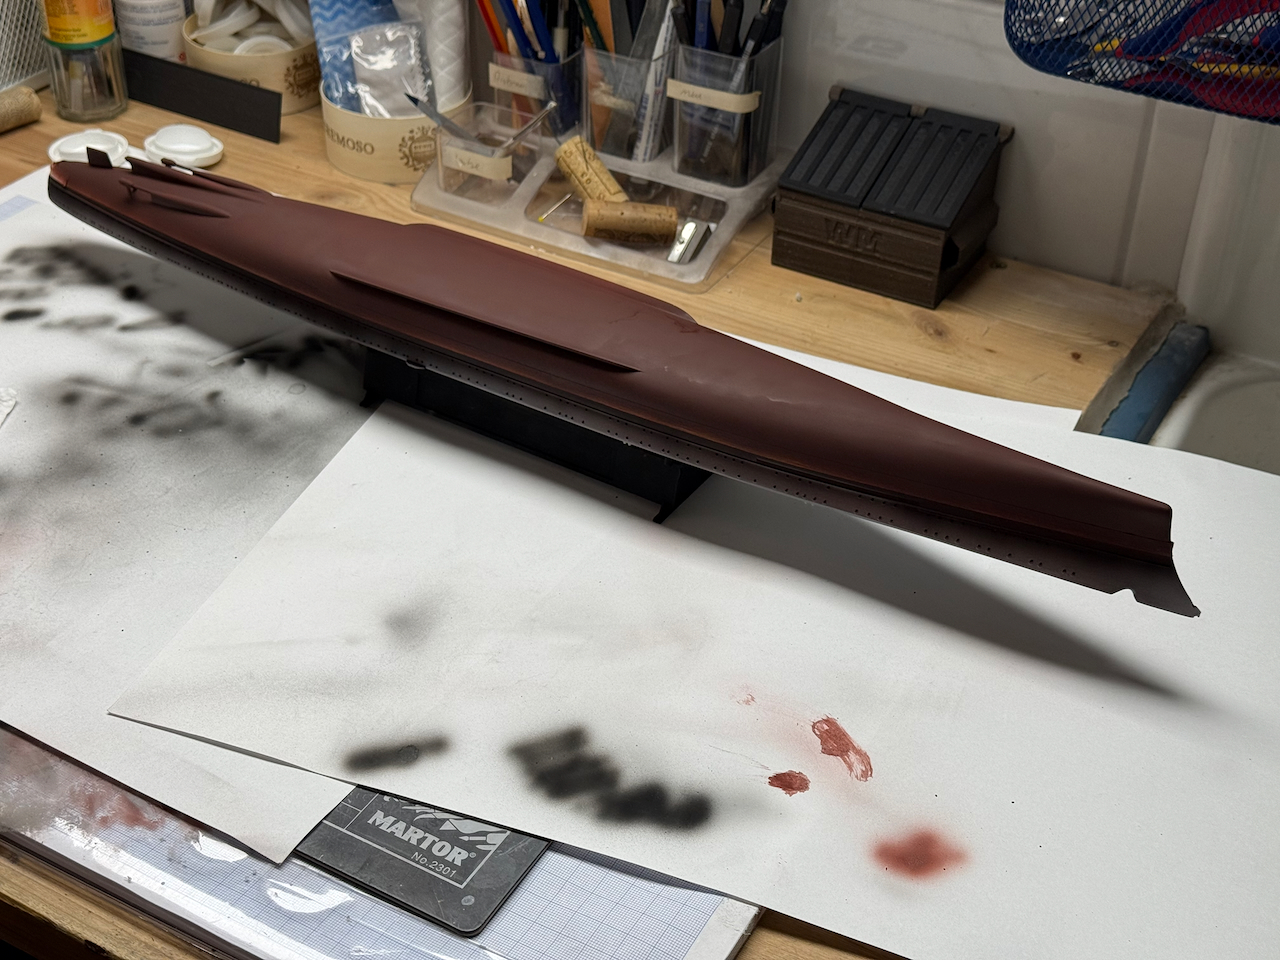
And the hull red color is on.
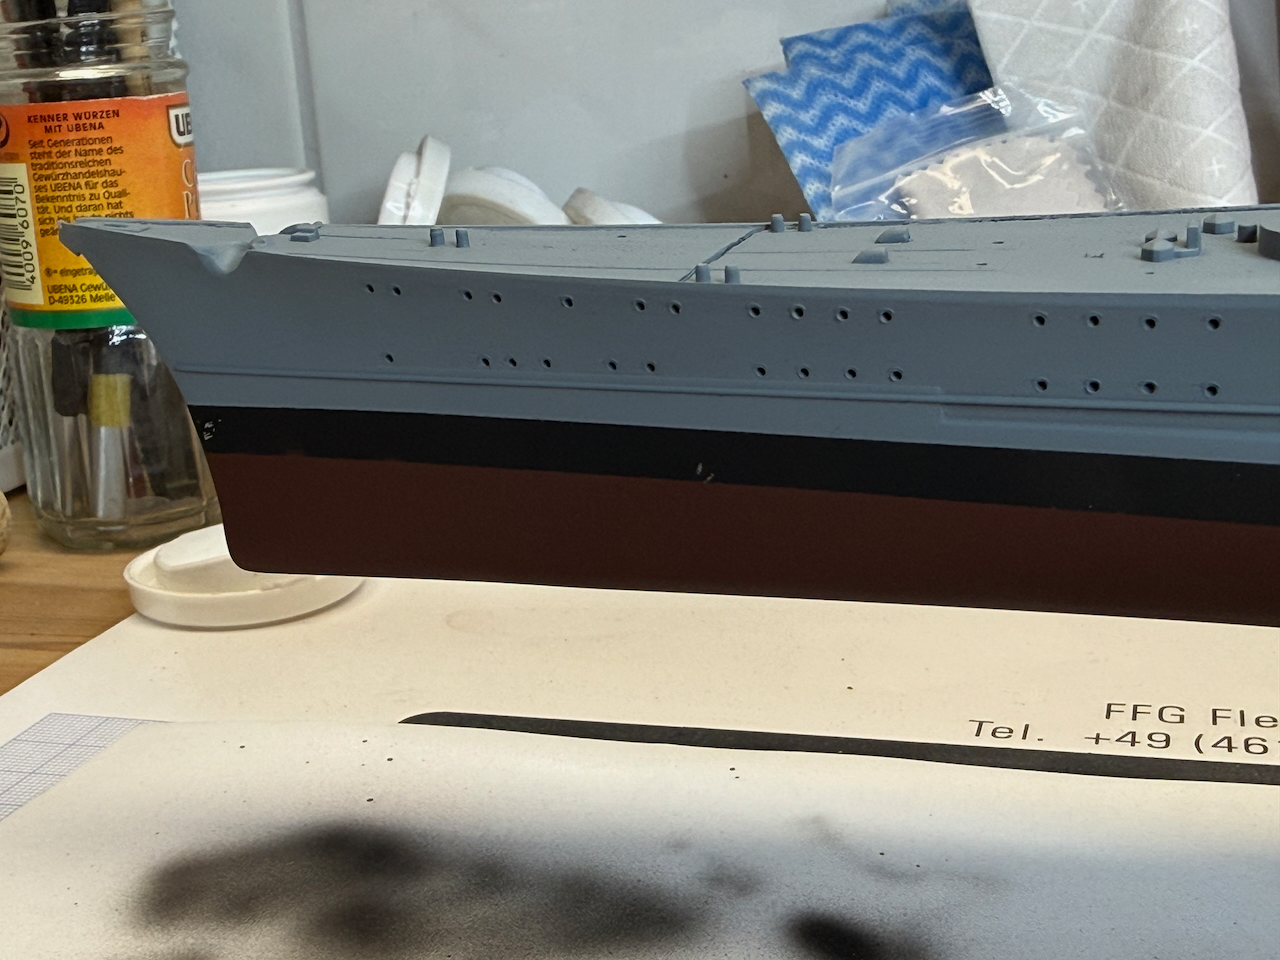
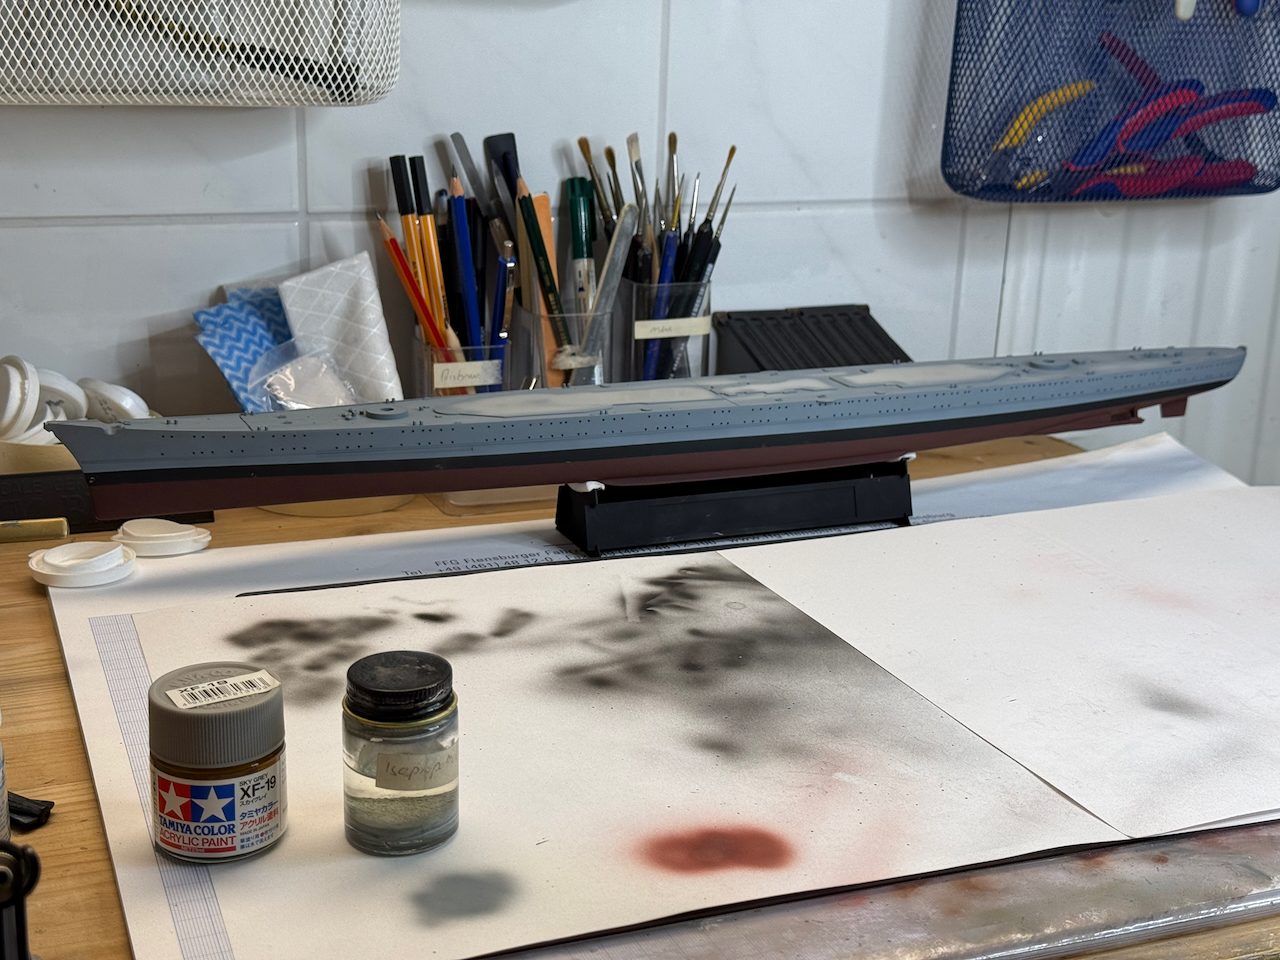
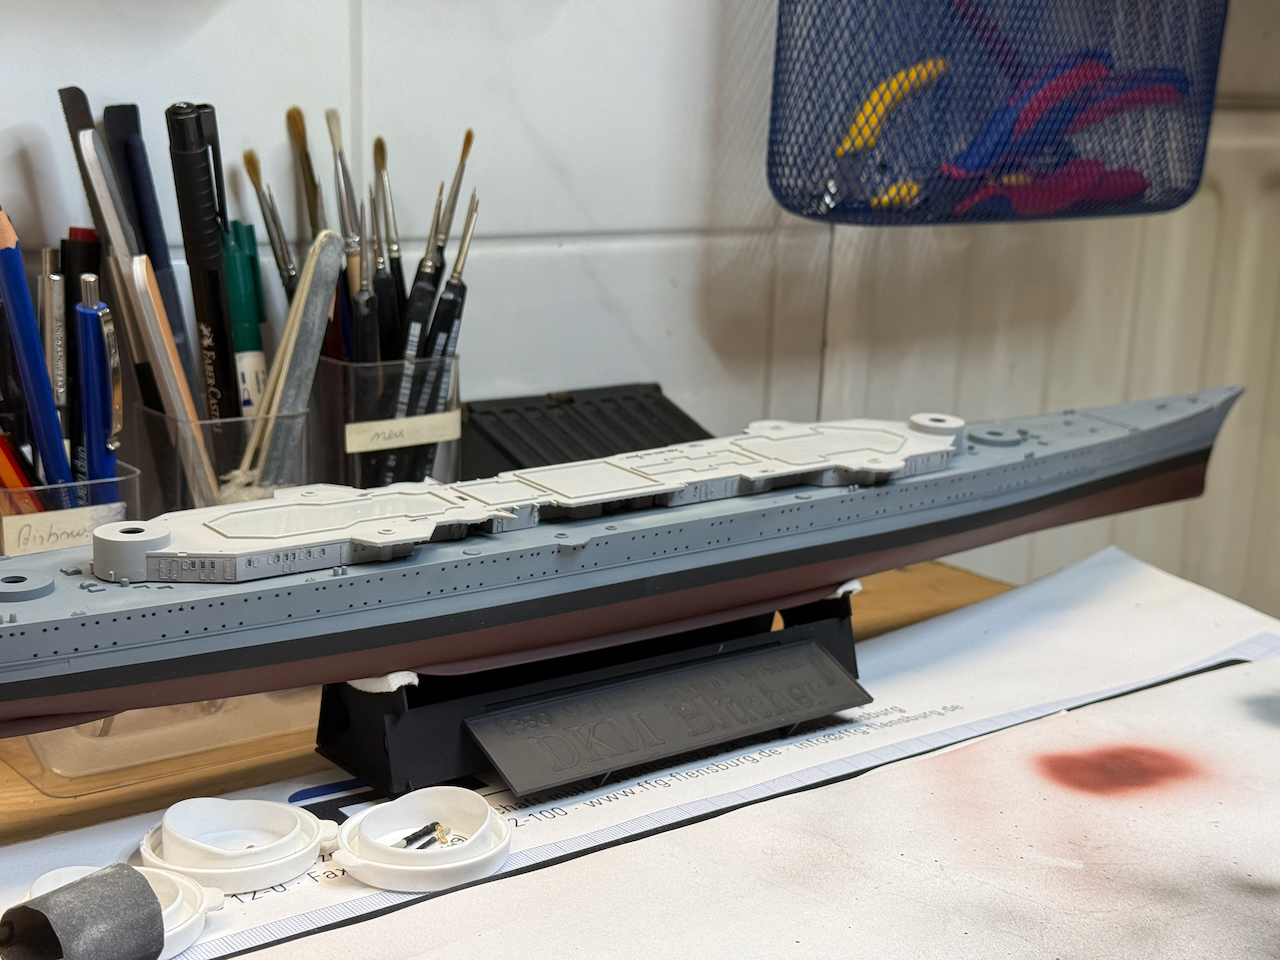
18 mm Tamiya tape fixed along the original 5.9 mm boot stripe masking downwards covers most of the lower hull sufficiently for the grey upper hull painting. As for Gneisenau, the early German war scheme 50/51 (darker hull, lighter upper structure) is used, with XF 66 for the darker and XF 19 for the lighter parts. From all references I could get those colors are a good match. I did the research for Gneisenau several years ago and am now simply sticking to it.
And here’s the hull.
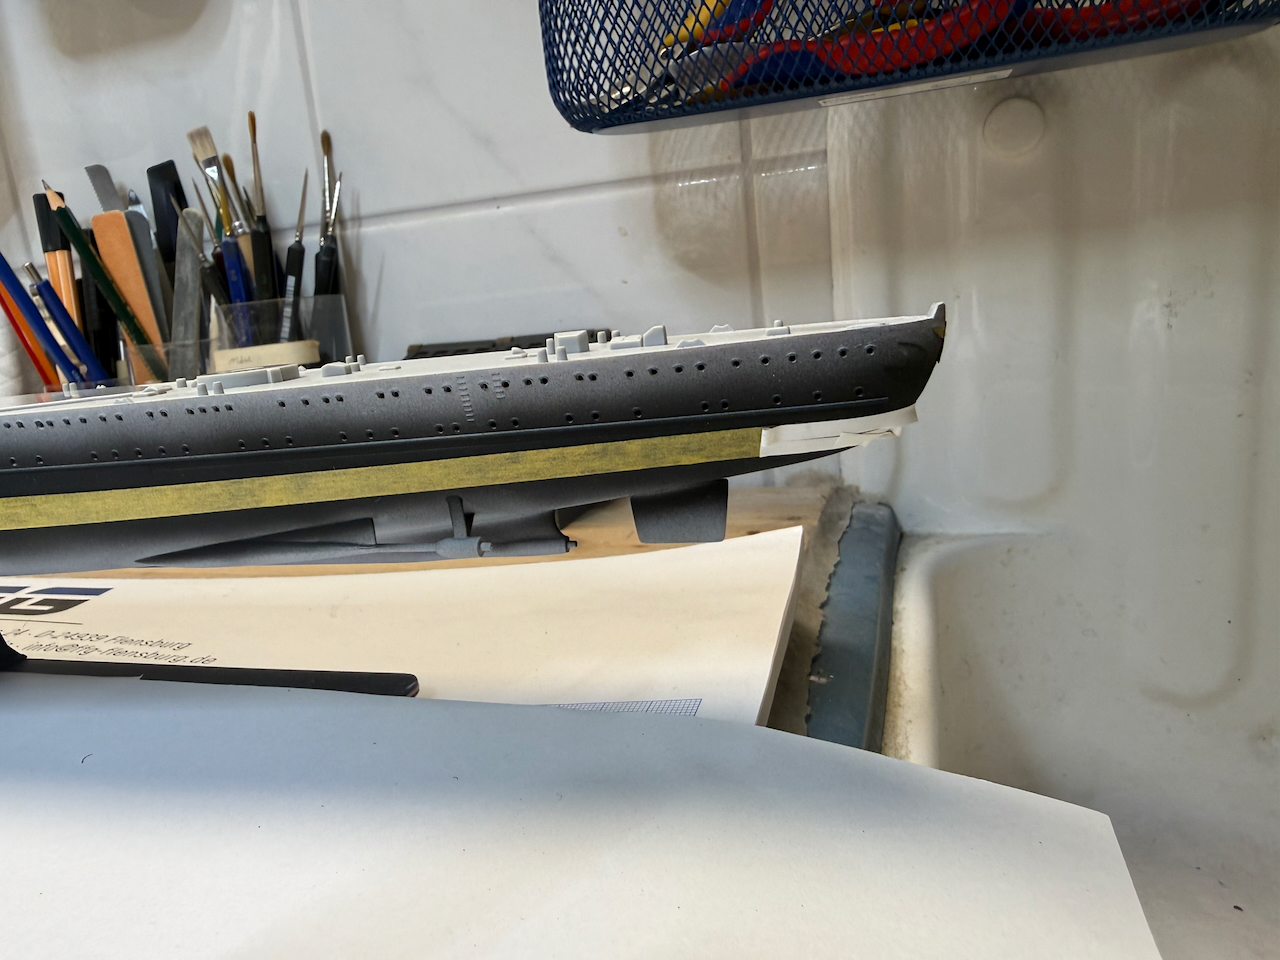
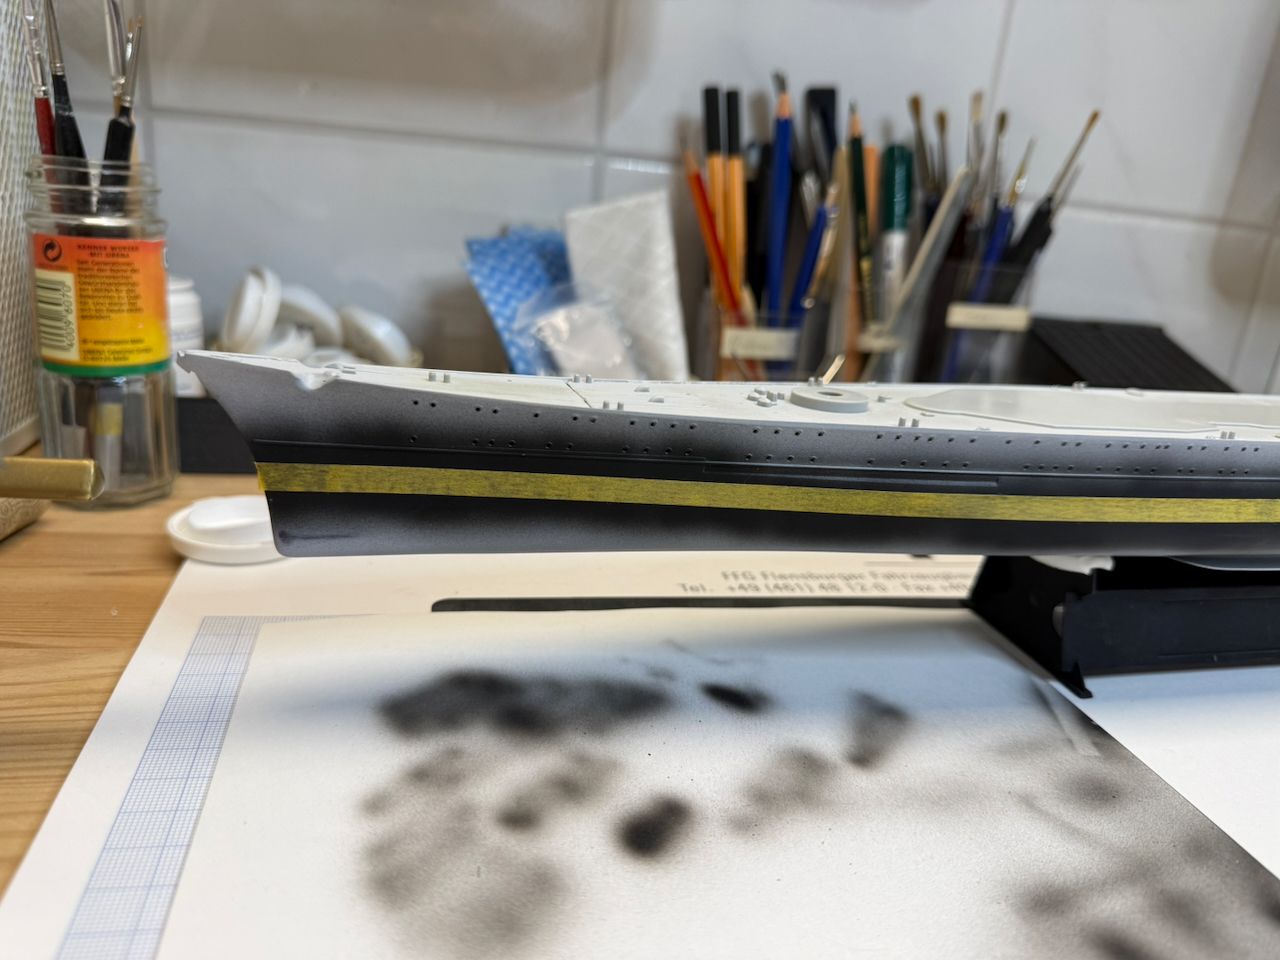
There will be several touch ups necessary, as expected. I’ll have to do some more masking around the stern as I’m not happy with the position of the boot stripe, then there is some bleeding - which reminds me, the last time I painted a hull is some five years ago…I probably should have discarded the masking tape sitting in my drawer and started a new roll of tape that I bought in between… But really nothing to be concerned about, all those fixes will be easily done, some with a normal fine brush, some with the airbrush.
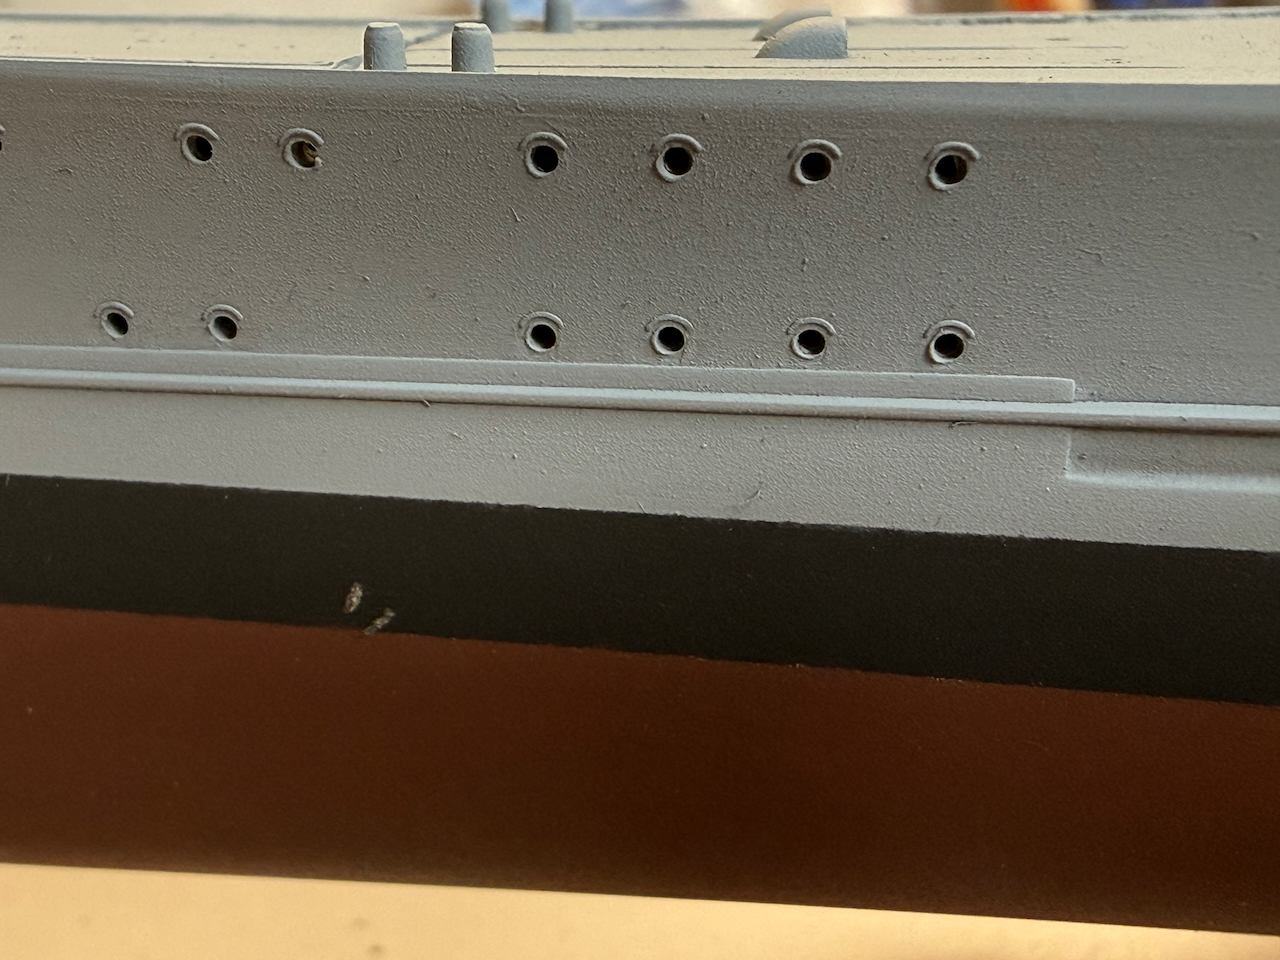
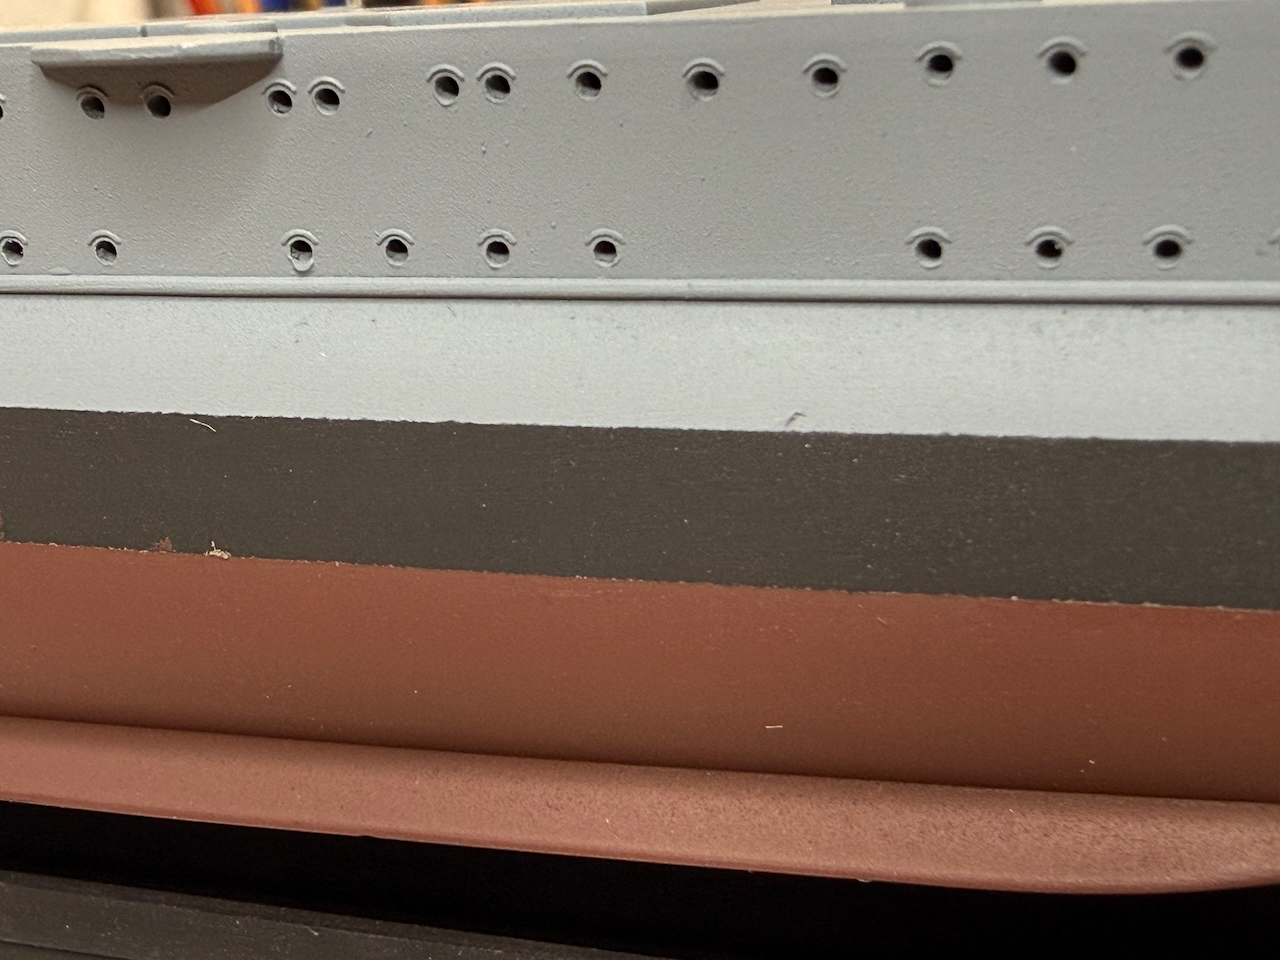
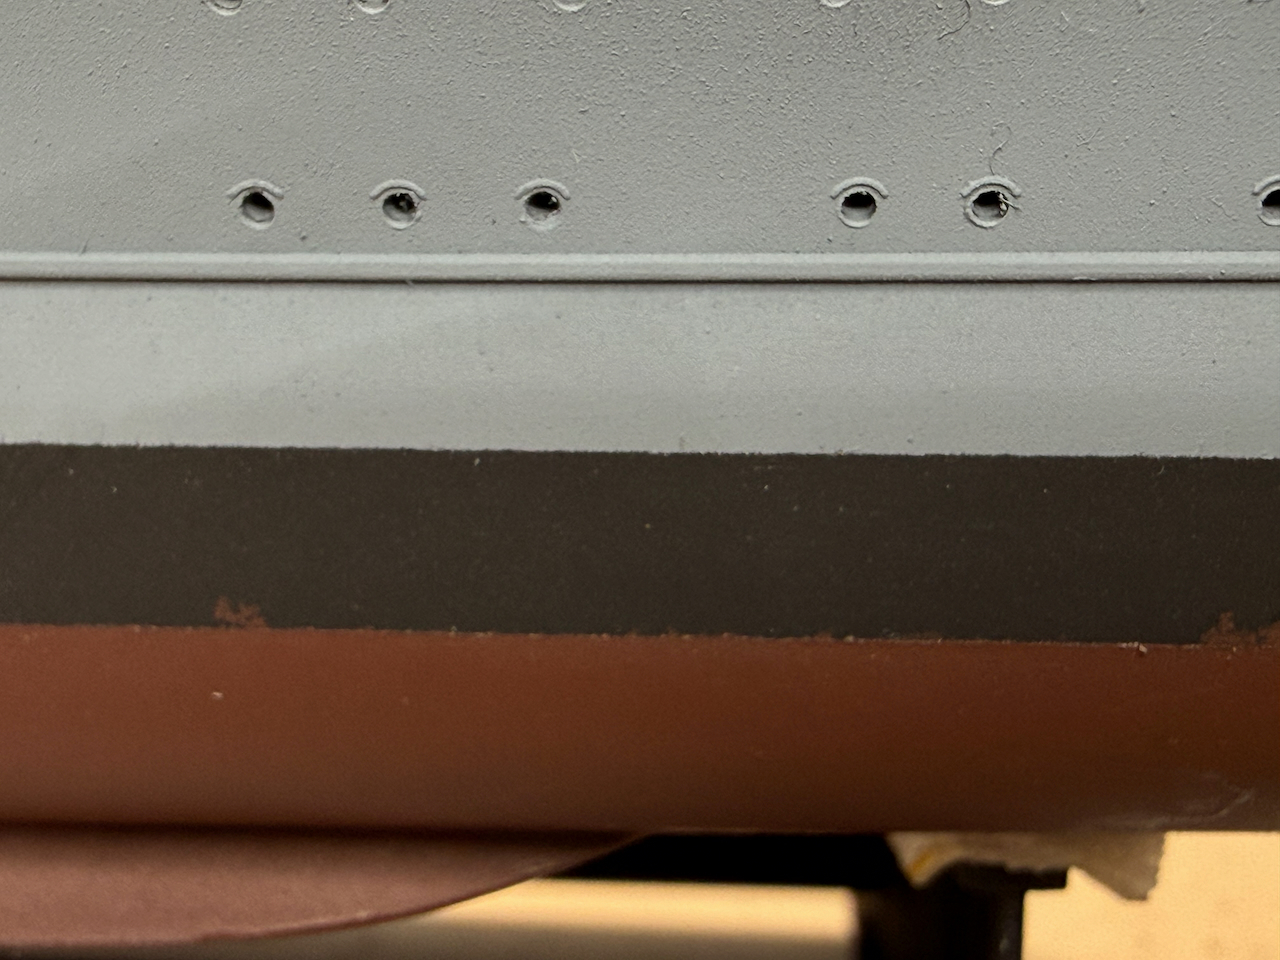
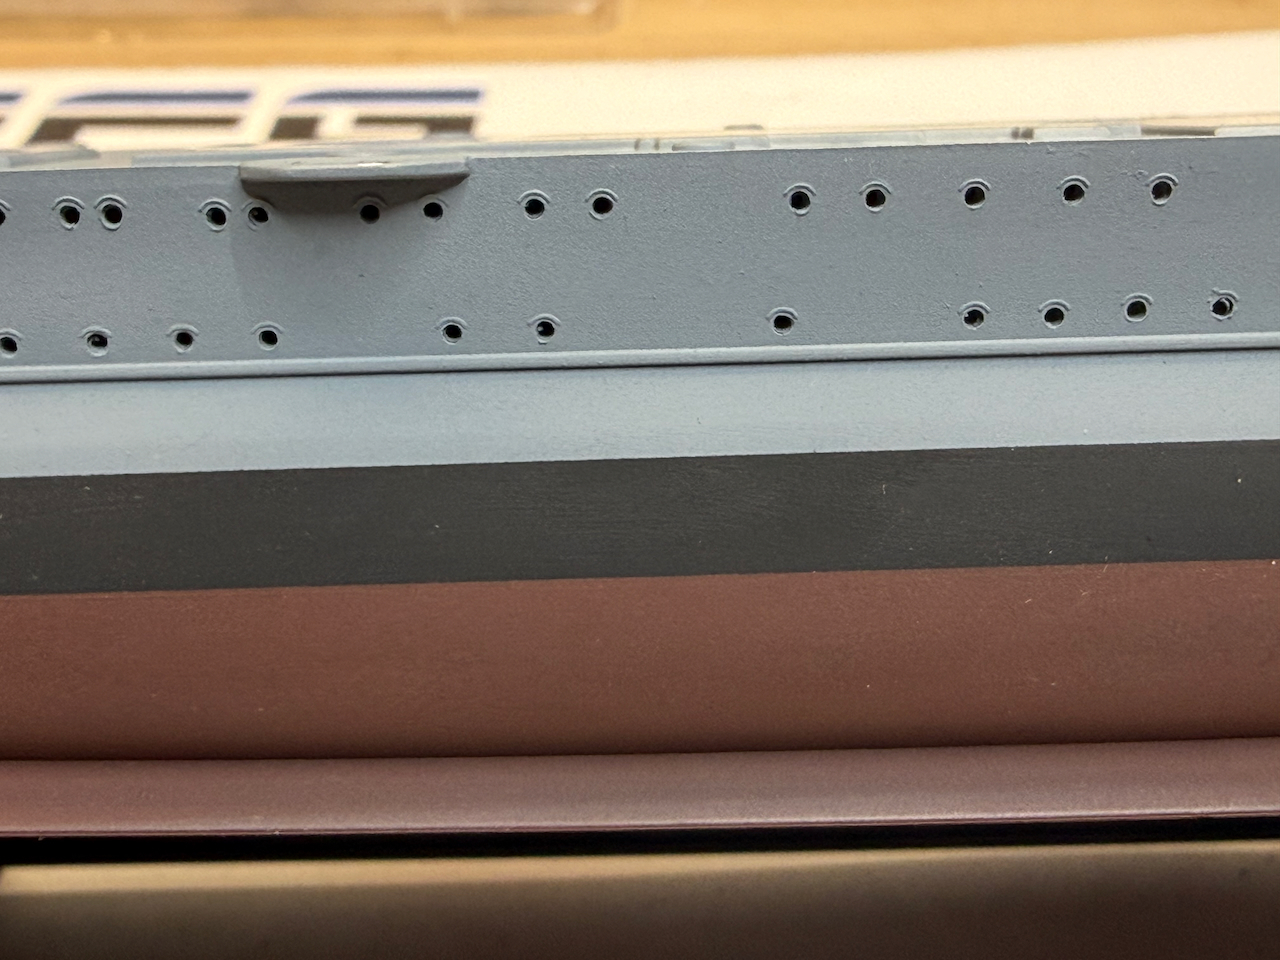
Apart from those required touch ups - I am really happy about the result of my lengthy work on the upper/lower hull seam, that’s essentially invisible.
The little rough surface is hardly visible to the naked eye, as those pictures are showing it way bigger that it is…
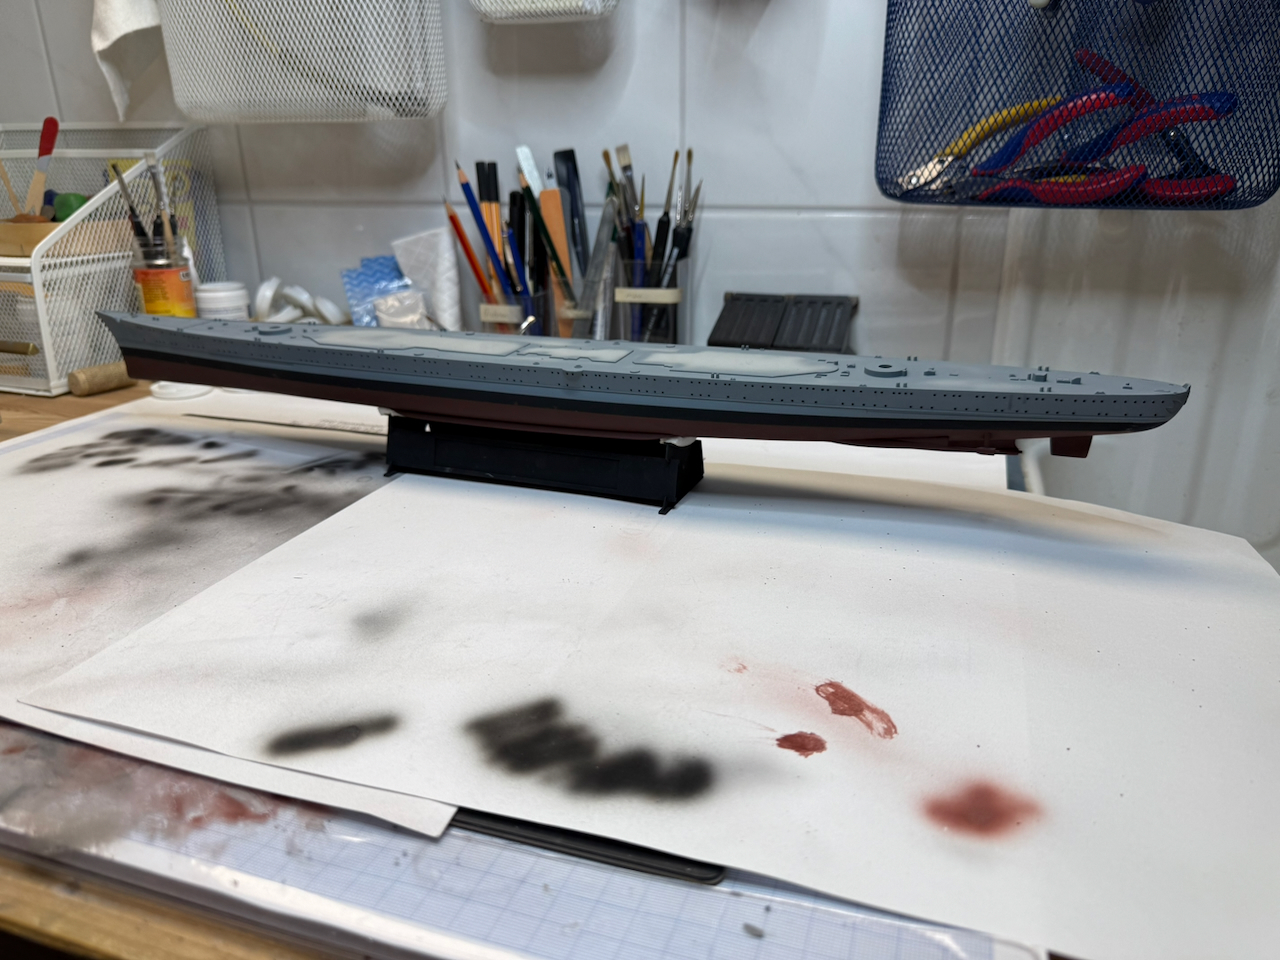
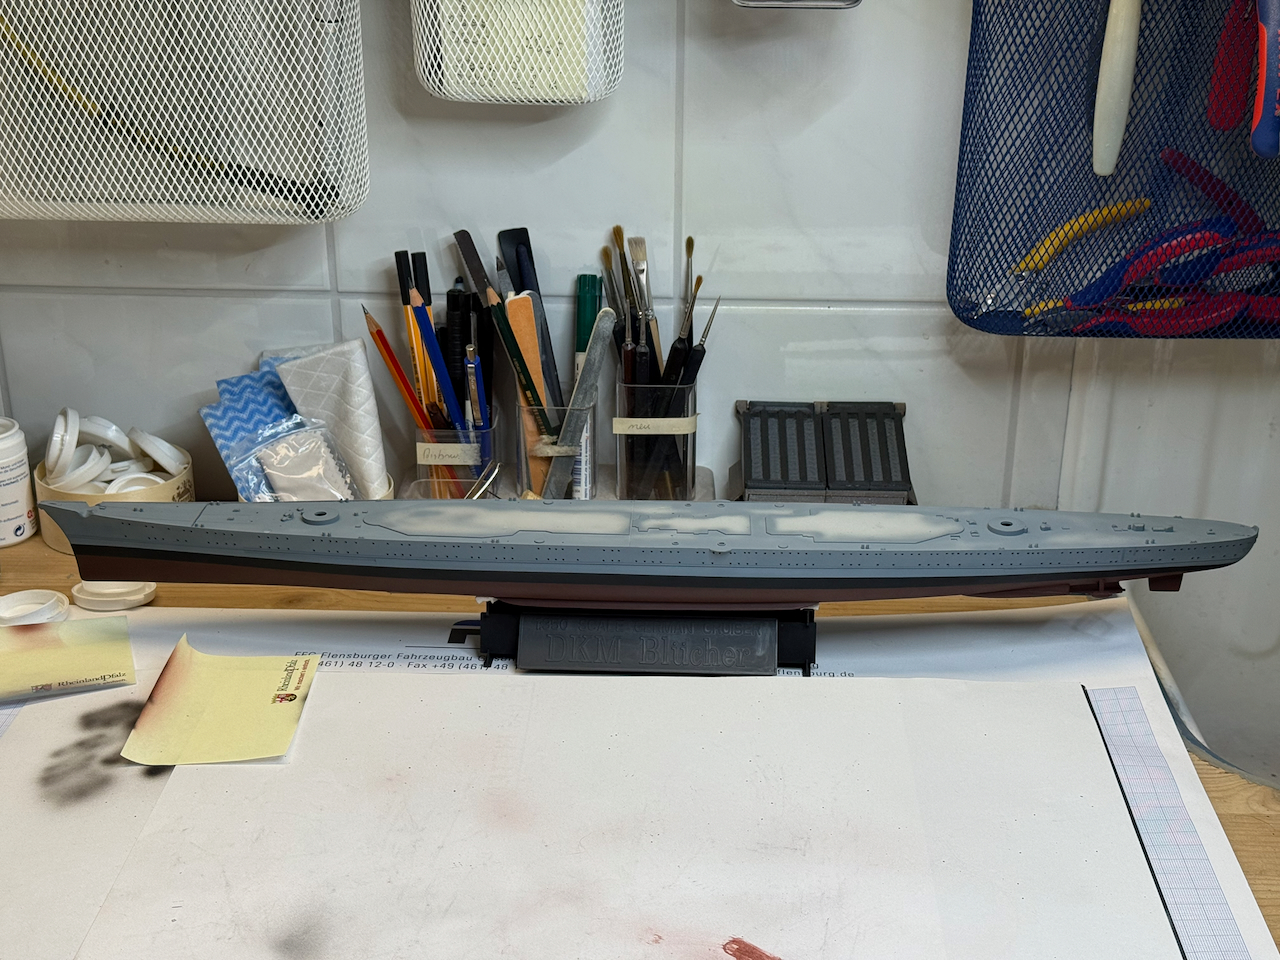
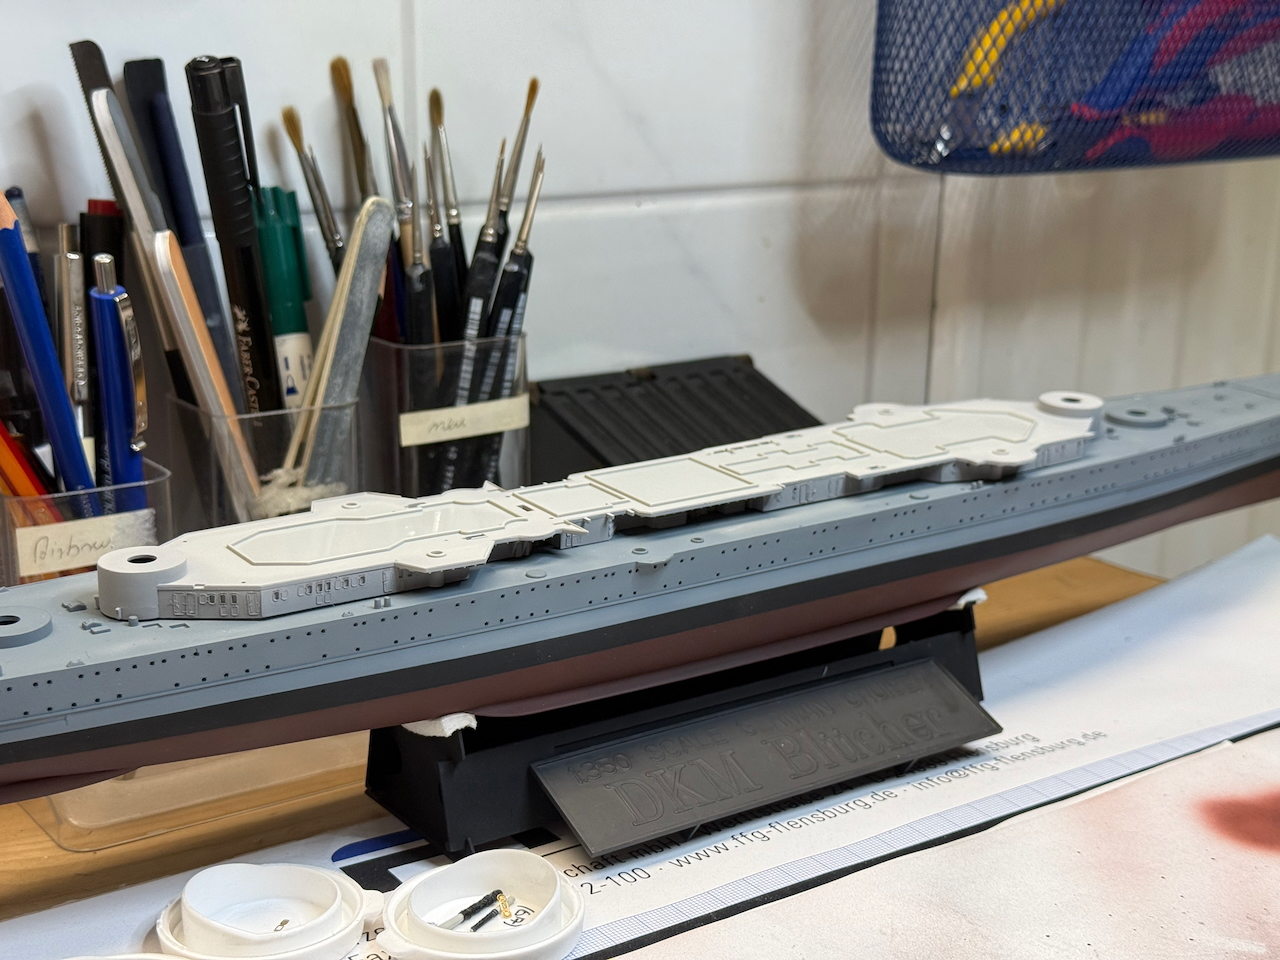
And here one last picture of where Blücher stands for now, already much more looking like a warship’s hull. I hope to find some time next weekend, but that will mainly be all the required tech ups and fixes.
For now, als always, that you so much for following, looking in and alle comments,
and for now
Cheers
Jan
11 Likes
Looking good Jan 
Something I found with masking tape was that after a while dust works its way into the edges/side of the roll, which leads to the paint being more prone to bleeding into the masked areas. To that end I keep all my tape in seperate zip lock bags to make sure they stay nice and clean, meaning less bleeding of the paint work 
2 Likes
That’s coming along really well, Jan.
The filling and sanding was definitely worth it. it looks absolutely excellent. And the small irregularities at the waterline are quickly fixed.
Keep it up!
1 Like
Looking good Jan,
great work on reshaping the bow.
Cheers  Si
Si
1 Like
Russ, Jörg and Si,
thank you so much for your kind comments, that’s highly appreciated.
So here are the fixes and touch ups. Weekend was quite real life busy, so short periods in the workshop that needed to be interrupted for curing of colors was convenient.
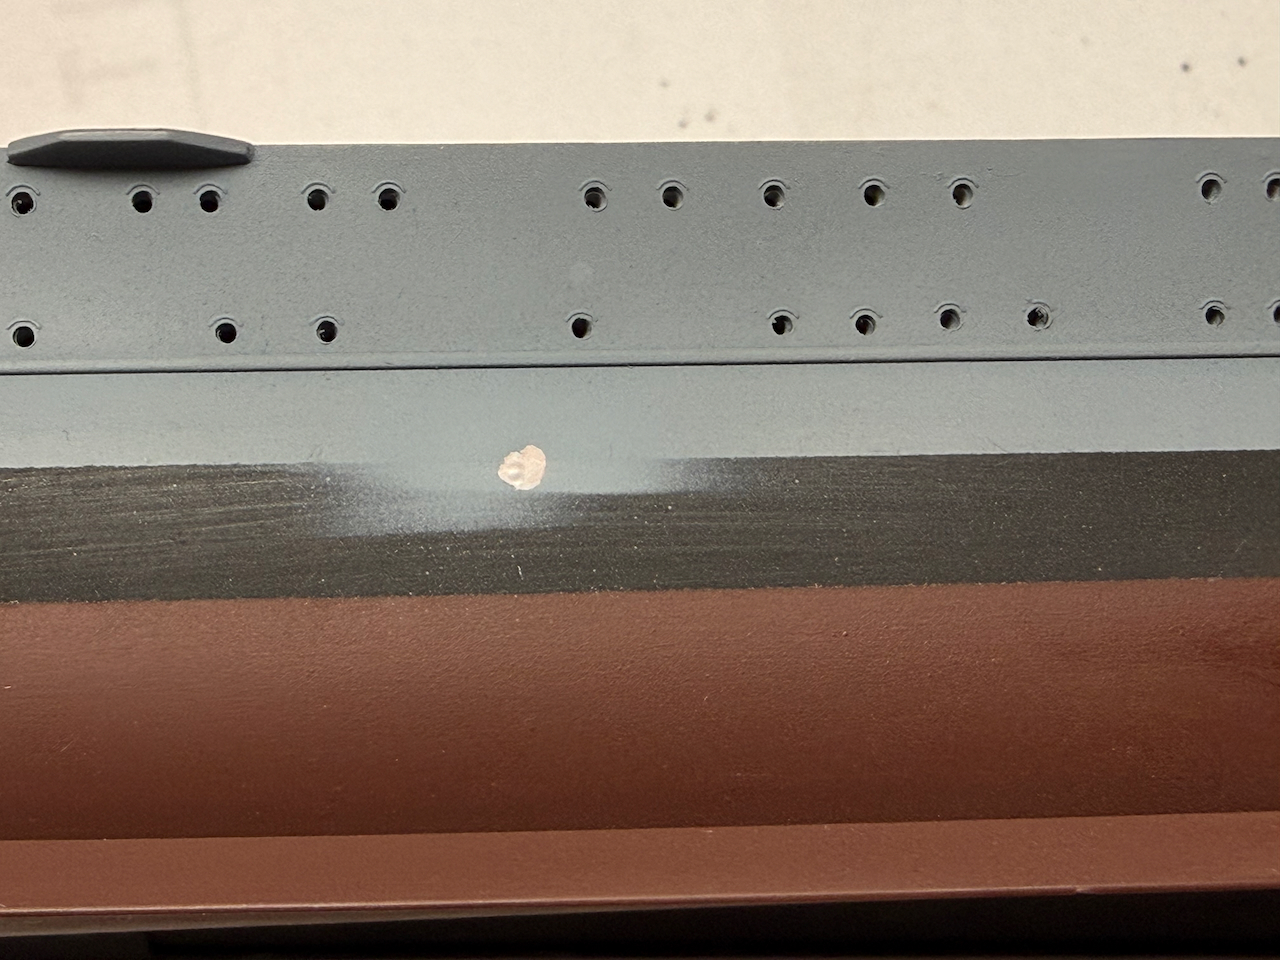
A closer look and some careful sanding showed a cavity that I’d missed before - so that was the biggest fix to be done. Around the stern the boot stripe needed some corrections as well, but that was not too difficult.
But that cavity required some filling and subsequent sanding.
Nothing difficult, but it took more time than expected, as the surfacer for filling takes longer to cure.
Finally, all done and I’m quite happy with the result:
The little cavity is completely gone…
So here’s were I am finished for today, and for the next at least to weeks. I’ll on a business trip once again for two weeks, if I find time (and the right mood) for some time in the workshop that weekend I return end of May I can’t promise.
So I once again hope for your patience and that you stay with me until probably early June for hopefully another update here.
Thank you very much and cheers
Jan
10 Likes
Excellent progress Jan, it’s looking super … I have to say I do love the sleek lines of the Kriegsmarine vessels … All of them very eye catching
2 Likes
Wasn’t the Prinz Eugen longer than the Blucher because of different engines, which would make the deck also longer? Or did Trumpeter just fudge the dimensions so they could use the same hull on both models?

1 Like
Hi,
you’re generally correct there - the common figures you’ll find makes the Prinz Eugen around 6 m longer and about 60 cm wider, Blücher and Hipper are listed with identical dimensions.
However, for Blücher and Hipper that can’t be exactly true, as Hipper never got an Atlantic stem as Blücher had already for commissioning. So those figures would likely be for the very initial appearance with an almost vertical stem. Hipper had her stem modified, adding som length - call ist 1 or perhaps 2 meters? Blücher had this far more protruding stem, that likely added some more length - 3 m, maybe even 4 in total? Hard to say, but she’s for sure longer than Hipper was. And possibly closer to Prinz Eugen’s length than to the 206 m given for her.
The Trumpeter hulls differ in shape from somewhere between the forward main turrets on forward, see on this picture, Prinz Eugen Hull and Blücher deck:
The difference in width - 60 cm equal 1,7 mm in 1/350 scale - are not recognizable. The Blücher deck fits neatly from about Bruno turret on backwards.
The deck itself is very different and accounting for the Blücher’s (and Hipper’s) very different superstructure.
Cheers
Jan
8 Likes
…and here is a very brief update. More like showing that I was not completely idle, but (even a fading) jet lag and the workbench don’t really mix well…
I will be building the lowest layer of the superstructure, that expands from Bruno to Caesar main turrets, to have it ready before I put down the wooden deck, so that should give me the chance to adjust the deck and the superstructure with a little trial and error.
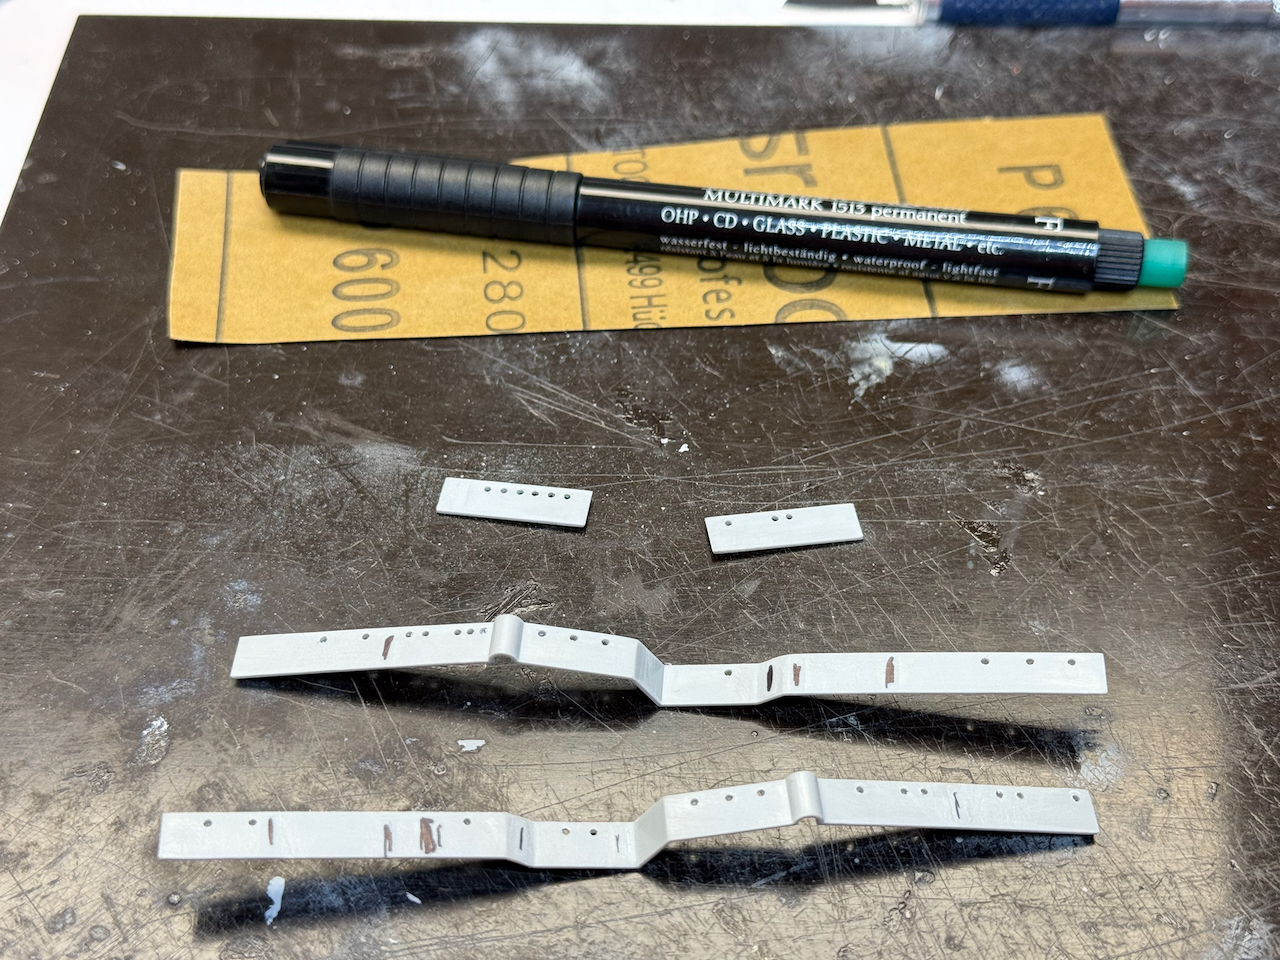
However, that part is not simply put together, there are rather a lot modifications required for the PE sets, so that step will take a while. First start is drilling out portholes and sanding of portholes and doors to replace them by PE parts.
And yes, I am one of those who still drill out portholes - there was this question in a different thread some weeks ago. I am aware that those porthole were not “empty”, however, painting them with a very dark blue for me never gave the desired result. I am able to drill them much more even and circular than painting them. I use a 0.8 mm drill and a hand drill, never an electric one, so I can make sure I hit the center and don’t cause any plastic melt or the like. The thickness of the wall is hard to realize, and my aim is not to produce “open” porthole to look into, but simple the clear, dark outline.
So here’s what I achieved.
I hope next weekend will be a bit more productive - but as always…I’m not making any promises.
Thank you all for looking in and cheers
Jan
13 Likes
She’s coming along nicely Jan
This is where the real work on these ships begins: so much detail in the superstructure… 
1 Like
Thanks mate, you’re right…and there is quite a ton of that right going on to the first level of the Blücher’s superstructure.
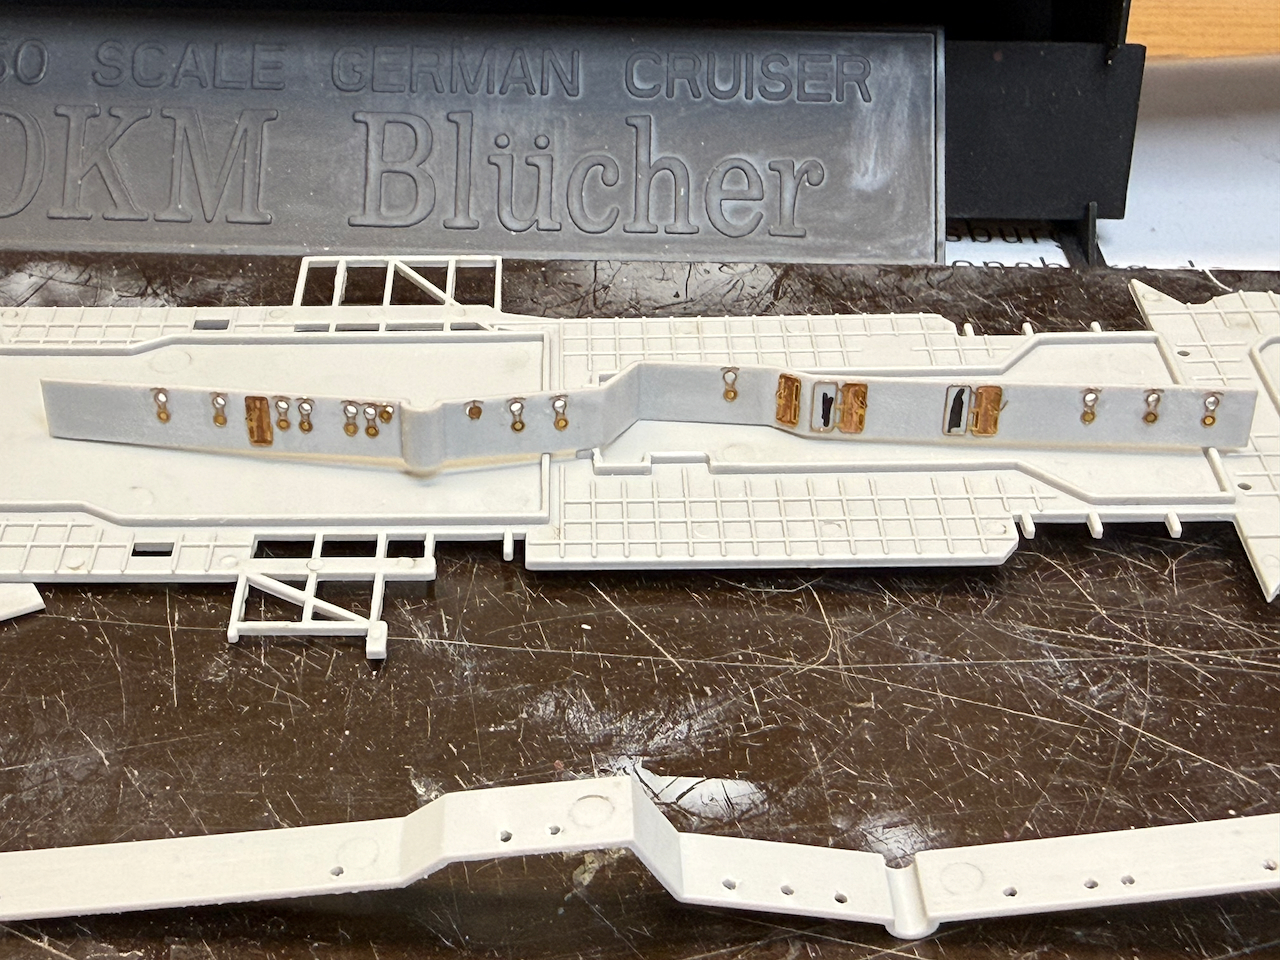
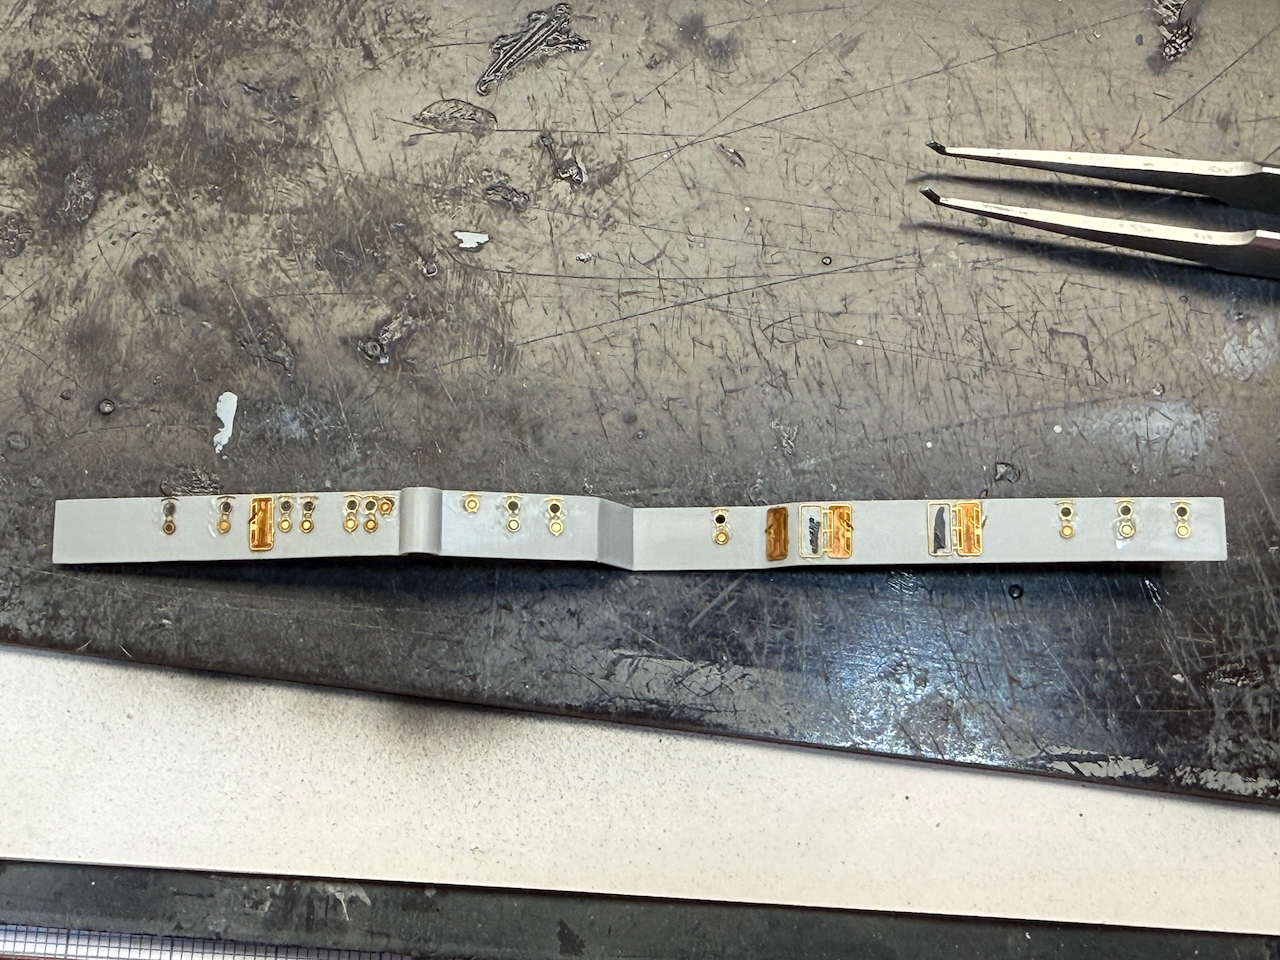
Time is not my friend, or my workbench’s, so only very little to report once again. But still - a little bit got done. And as I said, the first level of the superstructure has a lot to consider.
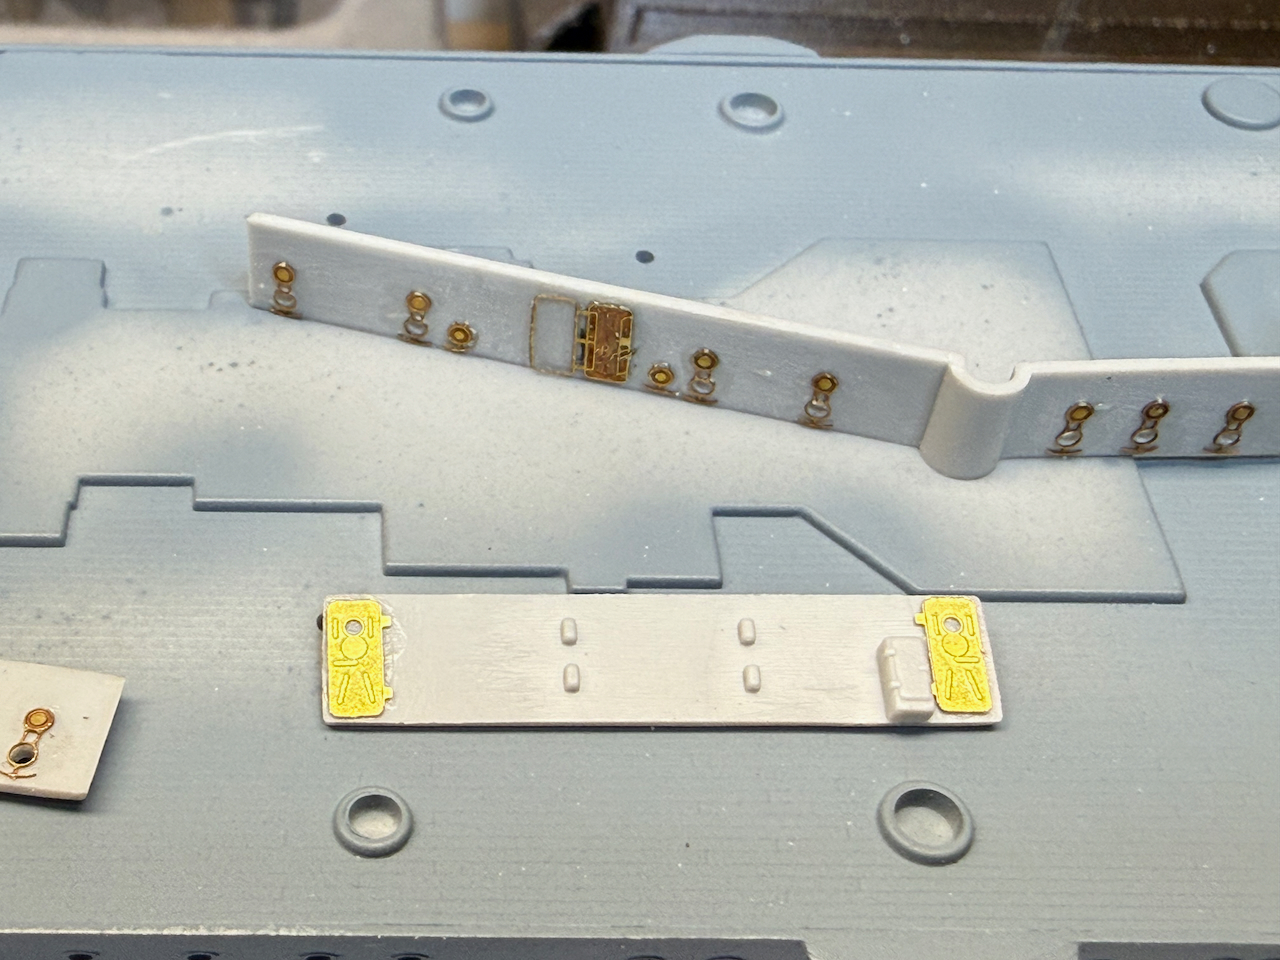
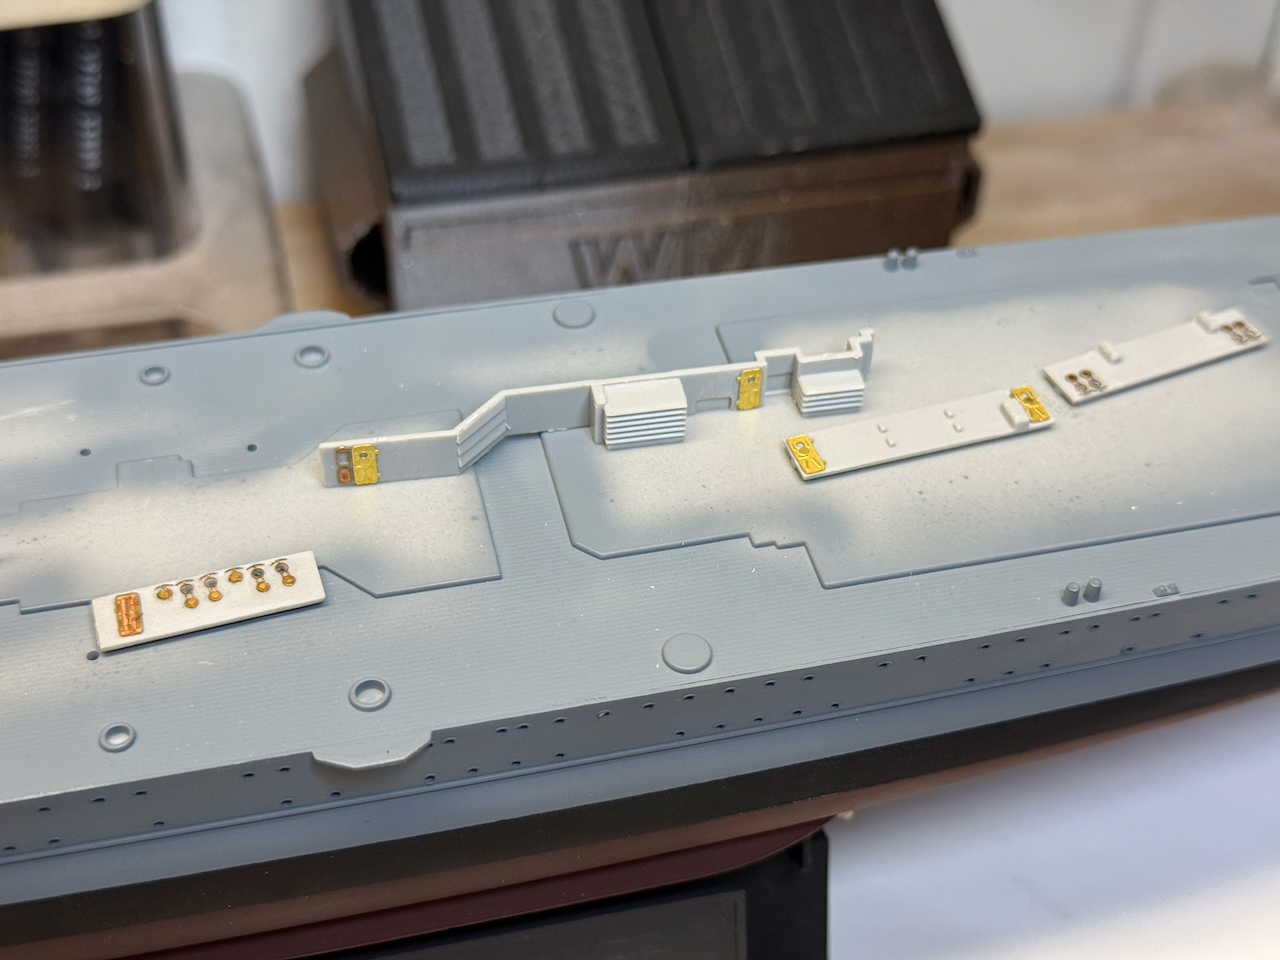
So more doors and portholes done -
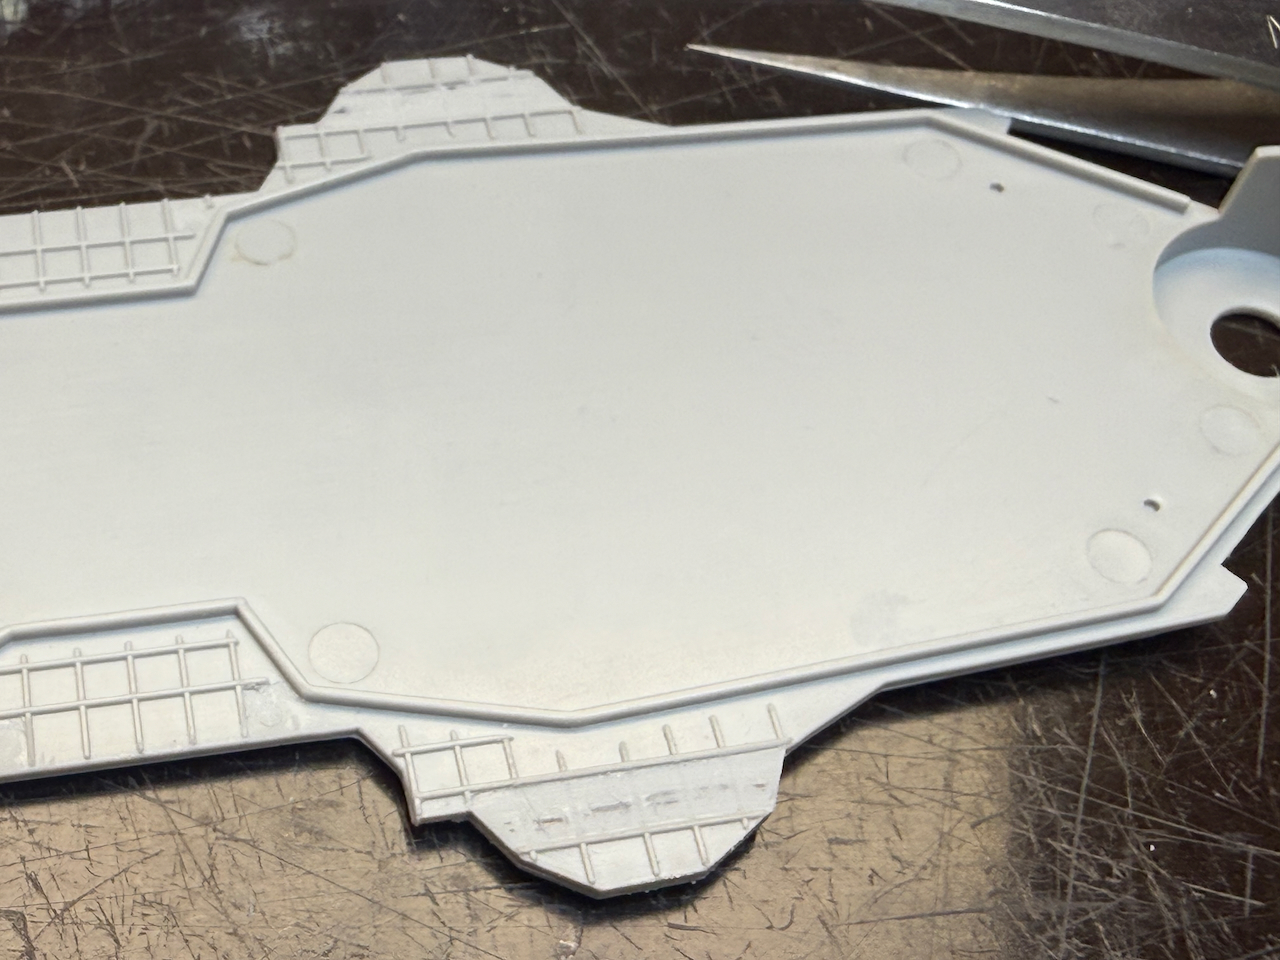
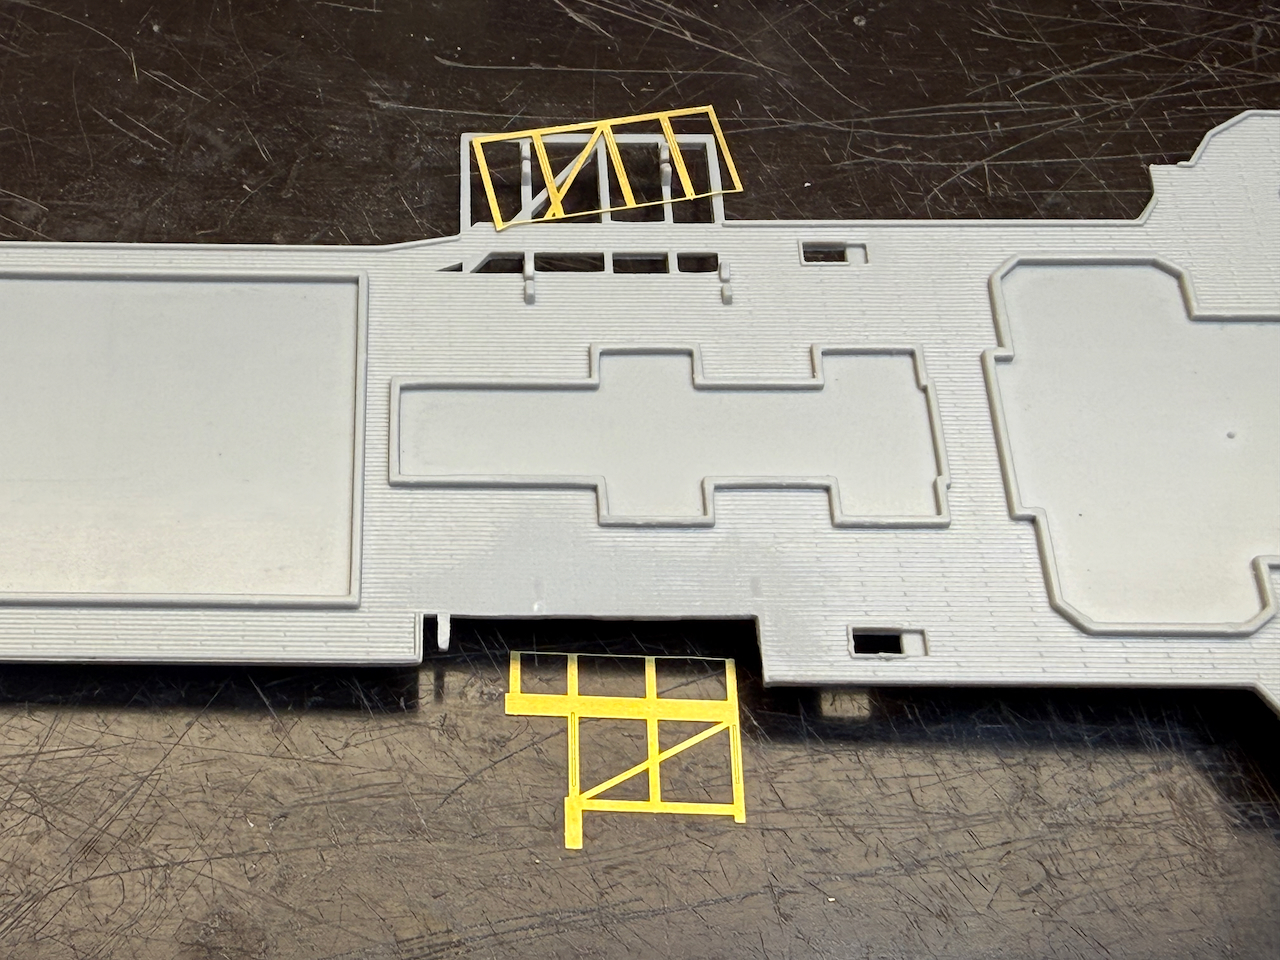
and some modifications to the deck, some structures for the boats need to go away and be replaced, on two areas the structure of the deck has to be removed to make room for a railing that will go between the main and the first deck, and some nasty ejector marks smoothed.
However, I won’t put too much effort into those ejector marks, as it will be nearly impossible to see them when the deck is installed…
That’s it for today, thank you all for looking in and following!
Cheers
Jan
7 Likes
Good to see progress Jan, very nice work on adding detail to the superstructure sides.
looking forward to the next update.
Cheers, Si
1 Like
Dear all,
as always, thanks for looking in and Si thank you very much for your kind comment. It remains slow progress, even though this weekend I had some more time in the shipyard. But those small things are really time consuming…
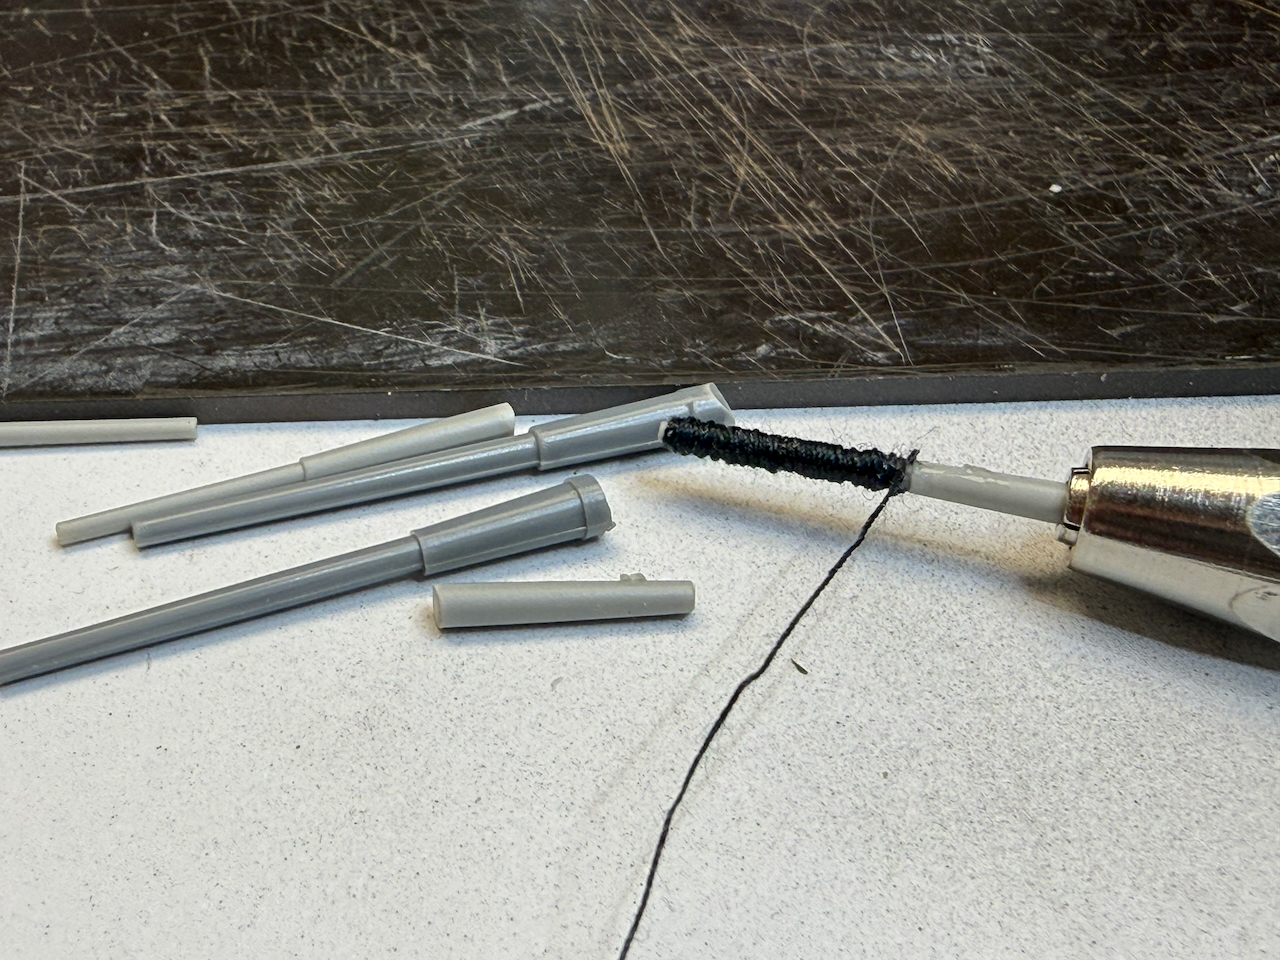
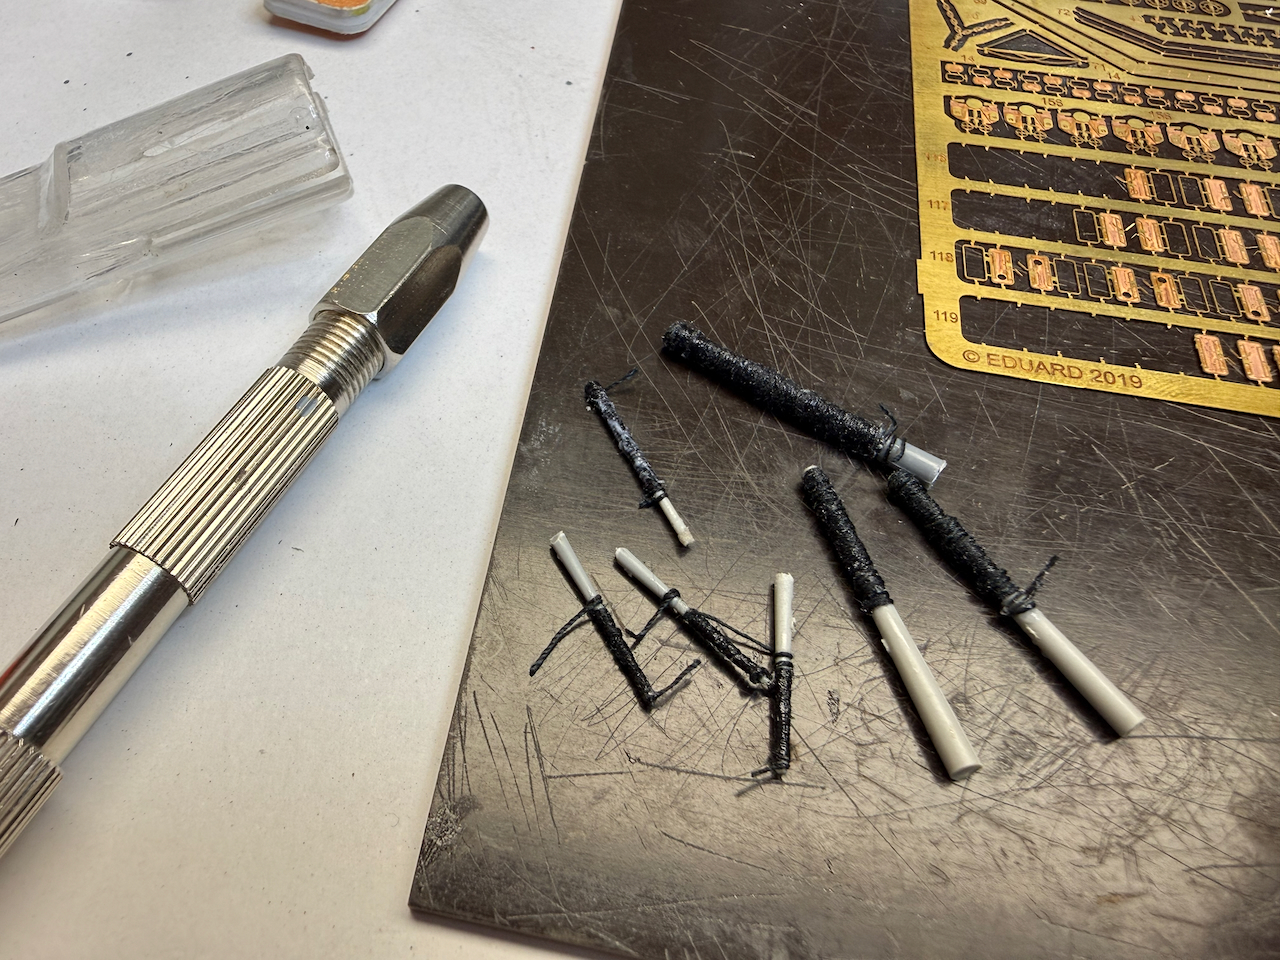
First up now were cable or hose reels. I have to admit, they are still not my favorite parts, and for Gneisenau I neglected them a bit, I omitted the cable or hose on some, and they do look kind of empty. So, Blücher should have reels with hoses again.
So here’s a new approach - I use plastic gun barrels that were cut from the older models and replaced by brass, my hand drill and sewing thread. The different calibers allow for smaller or larger reels. The thread gets a coat of thinned white glue in the end.
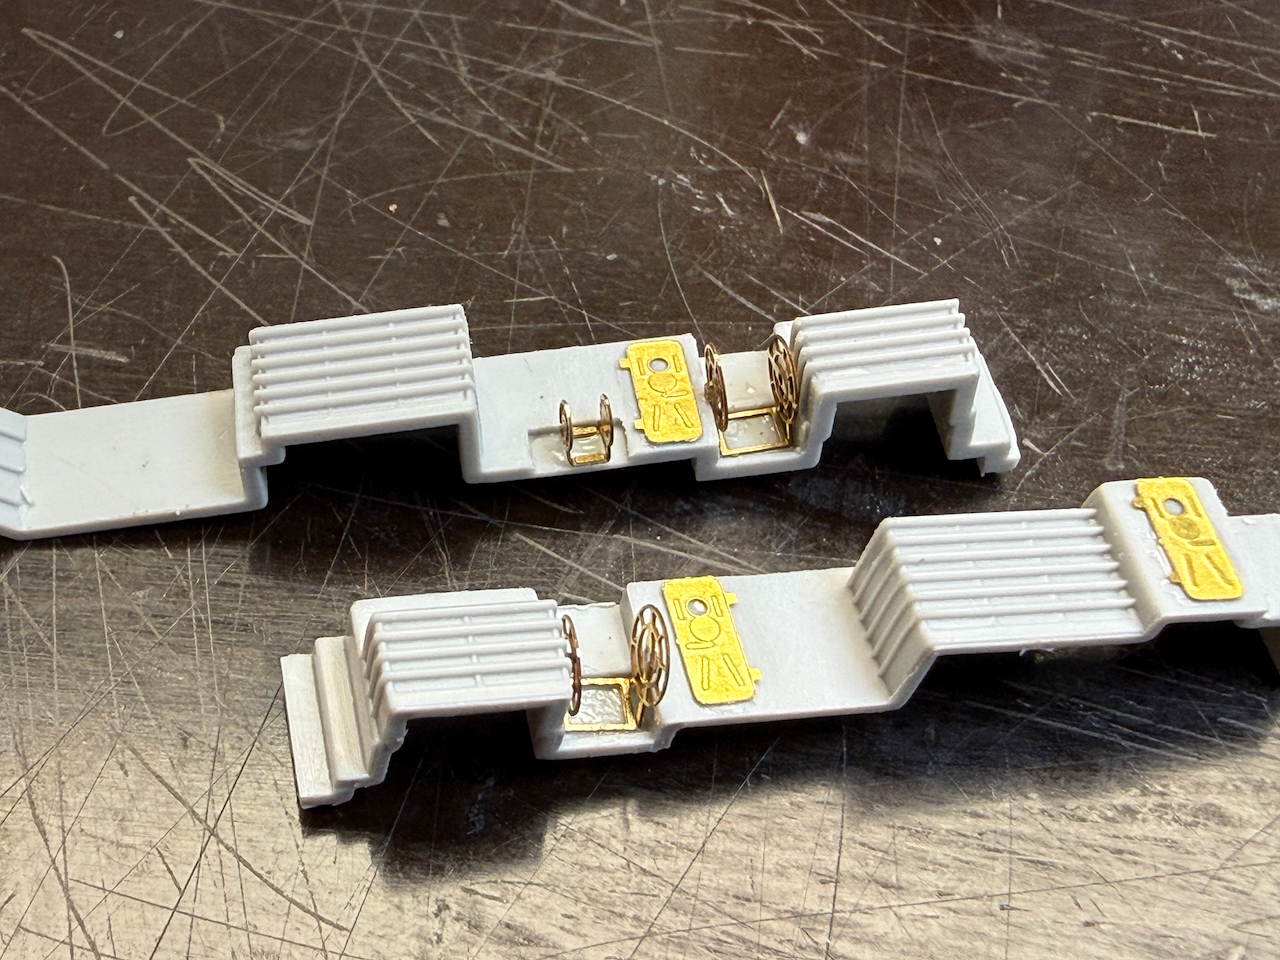
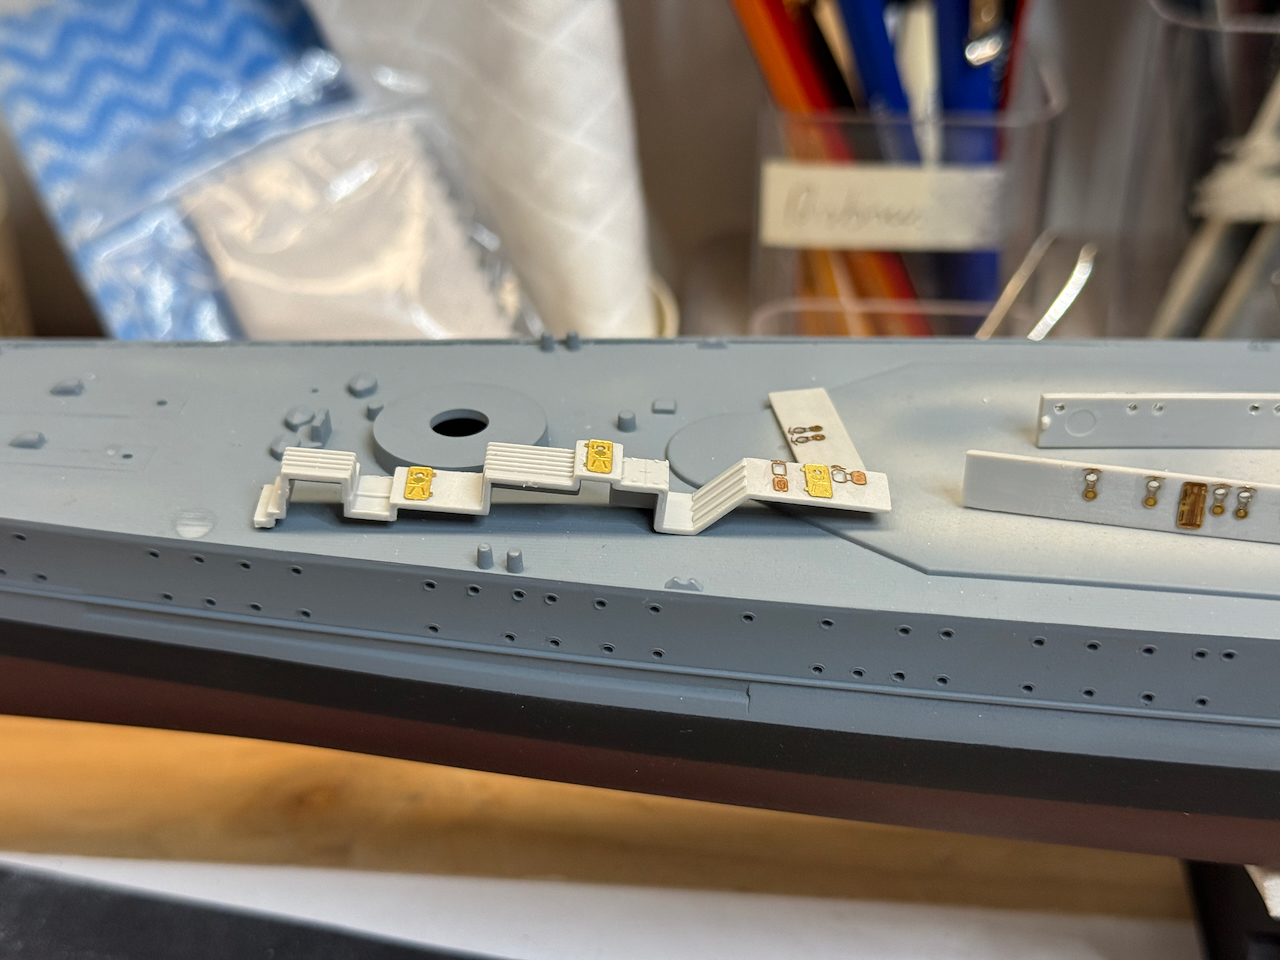
Those will be cut to the required length and inserted into the brass frames, the first of which were installed on the superstructure.
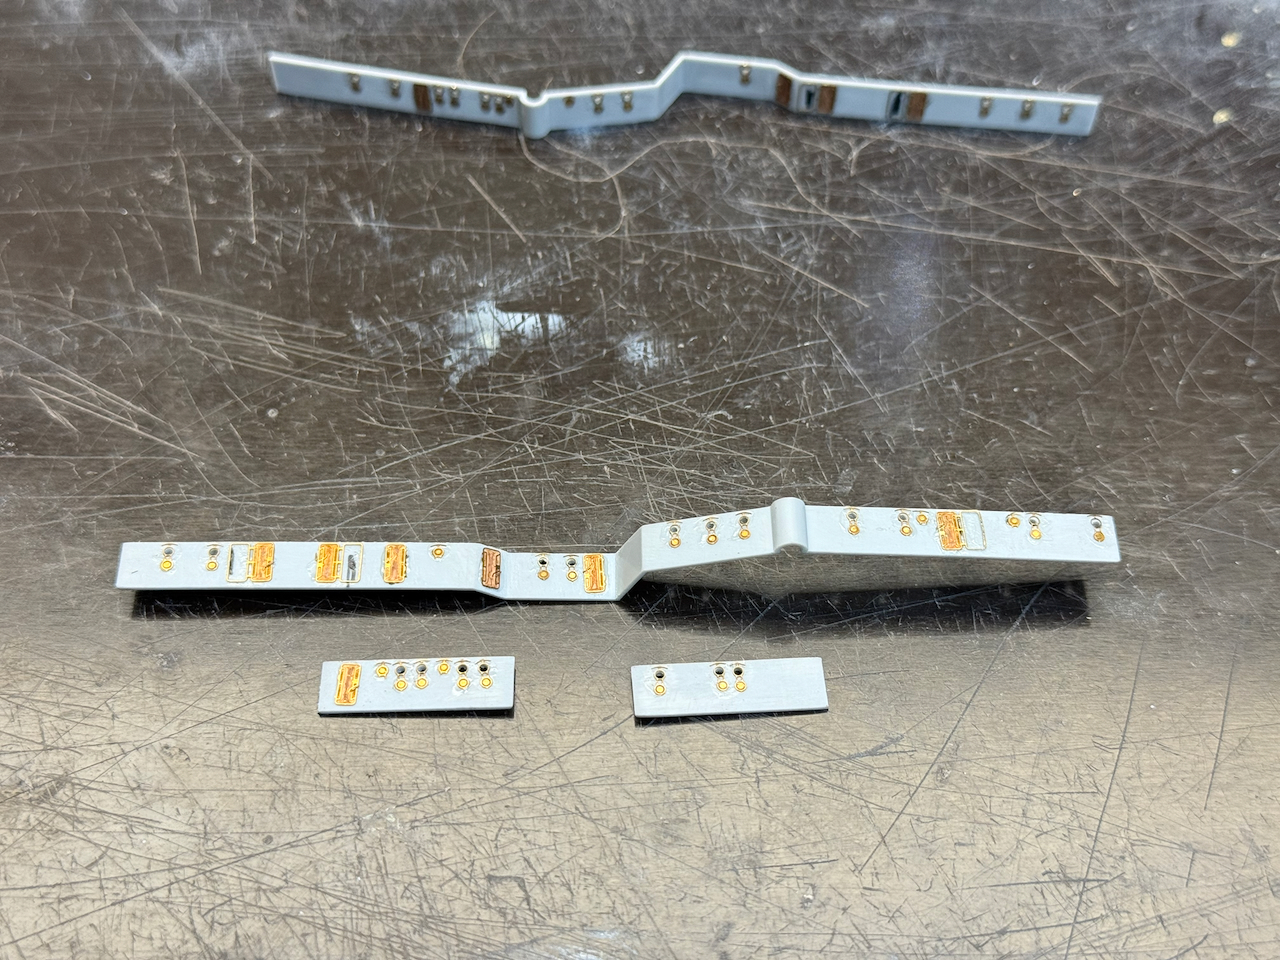
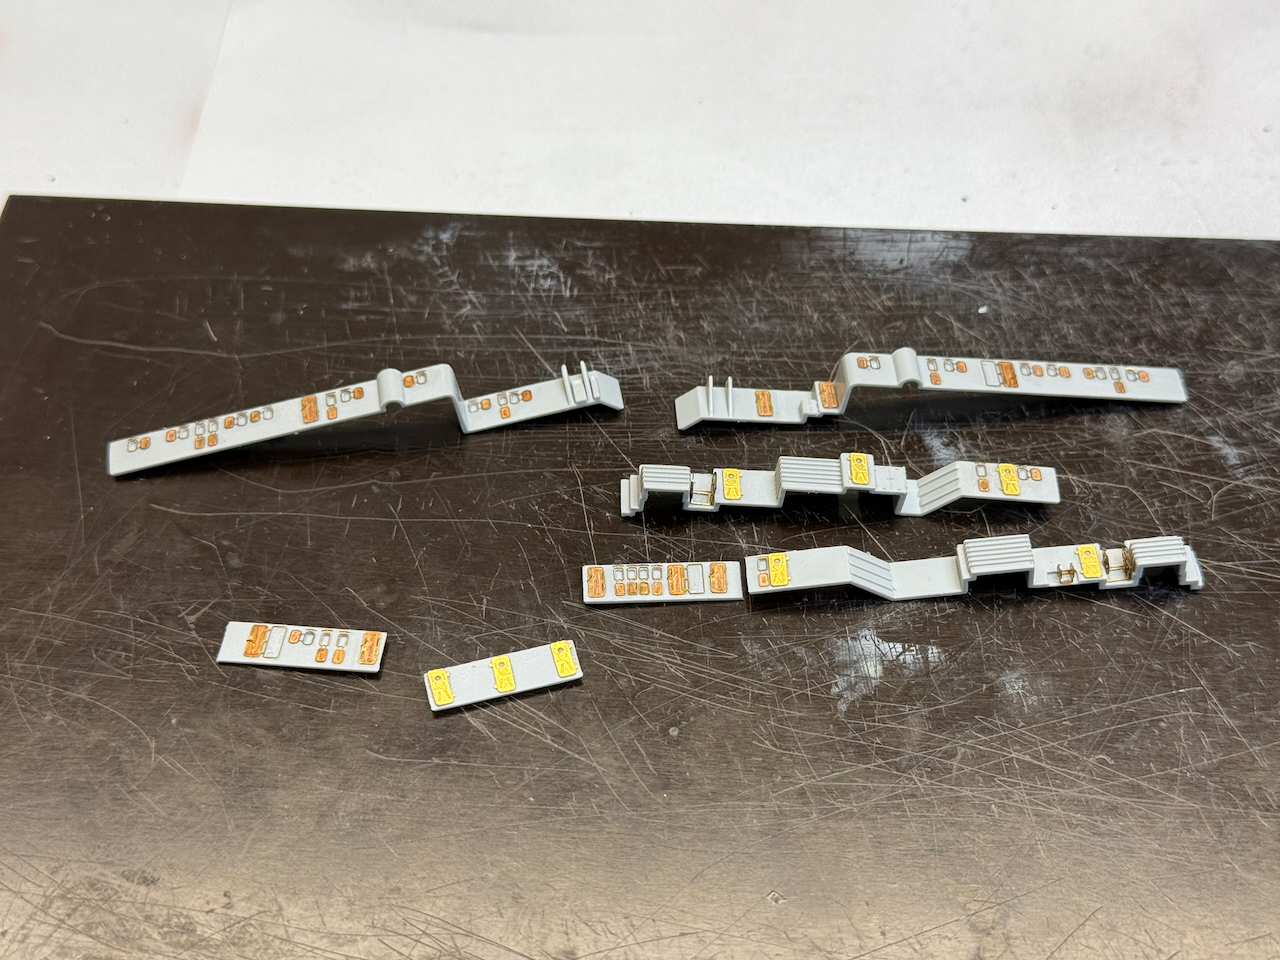
Other then that - more brass, more doors, windows and portholes…
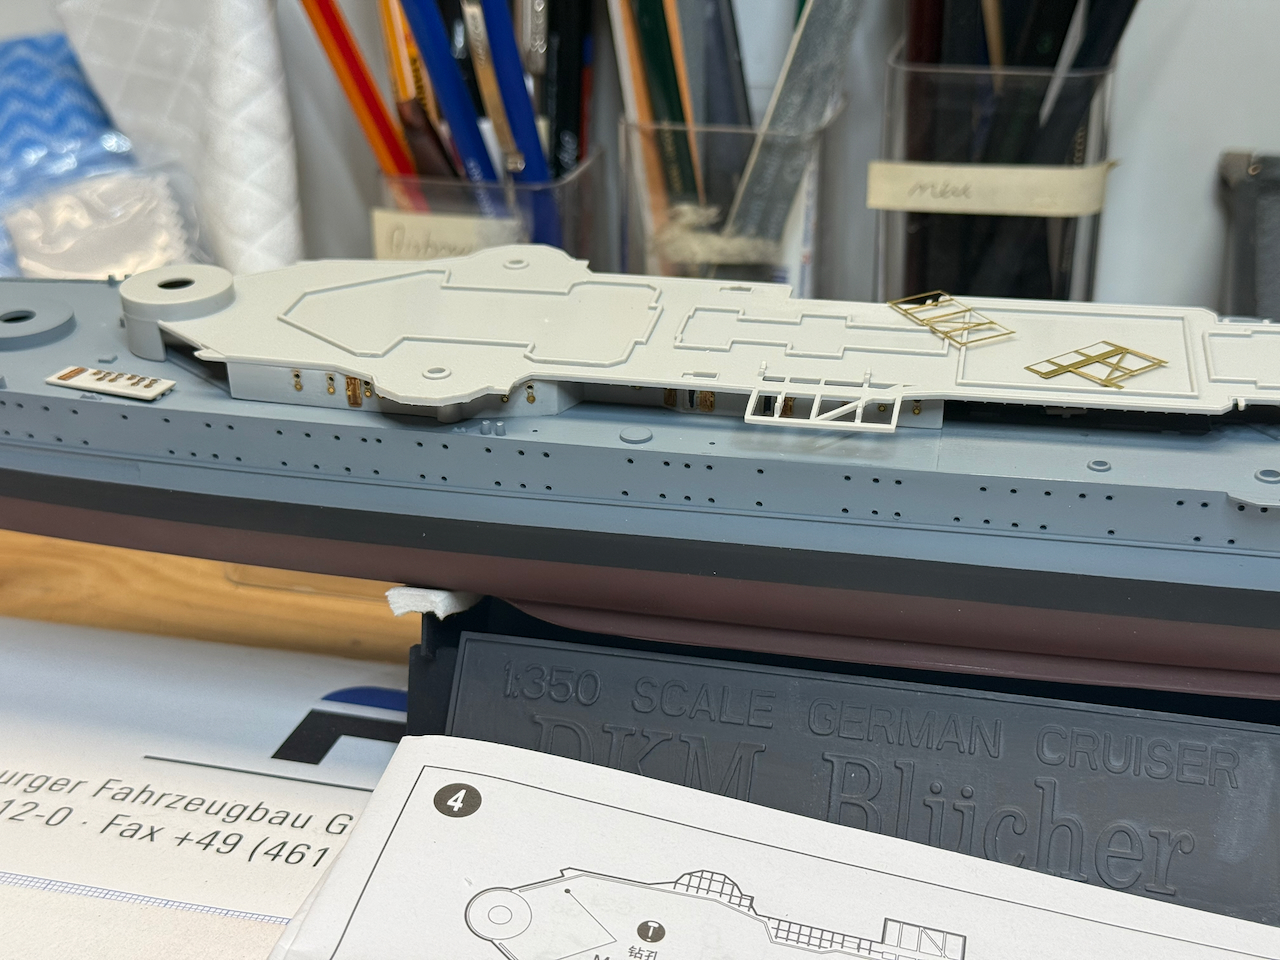
With that, I hope next weekend I can bring the lower superstructure in a condition where I can fit it to the main deck to start working on the wooden deck. Before it comes to the wooden deck, I realized that there are quite some details that need to be done to the deck, i.e. scuttles and hatches, before I can eventually try to get the deck on…
So here’s all put aside for another week (fingers crossed) and I hope to have another update next week.
Thanks for following and cheers
Jan
8 Likes
Dear all,
a little progress over the weekend, but time is not on my side…hence the posting only two days later…
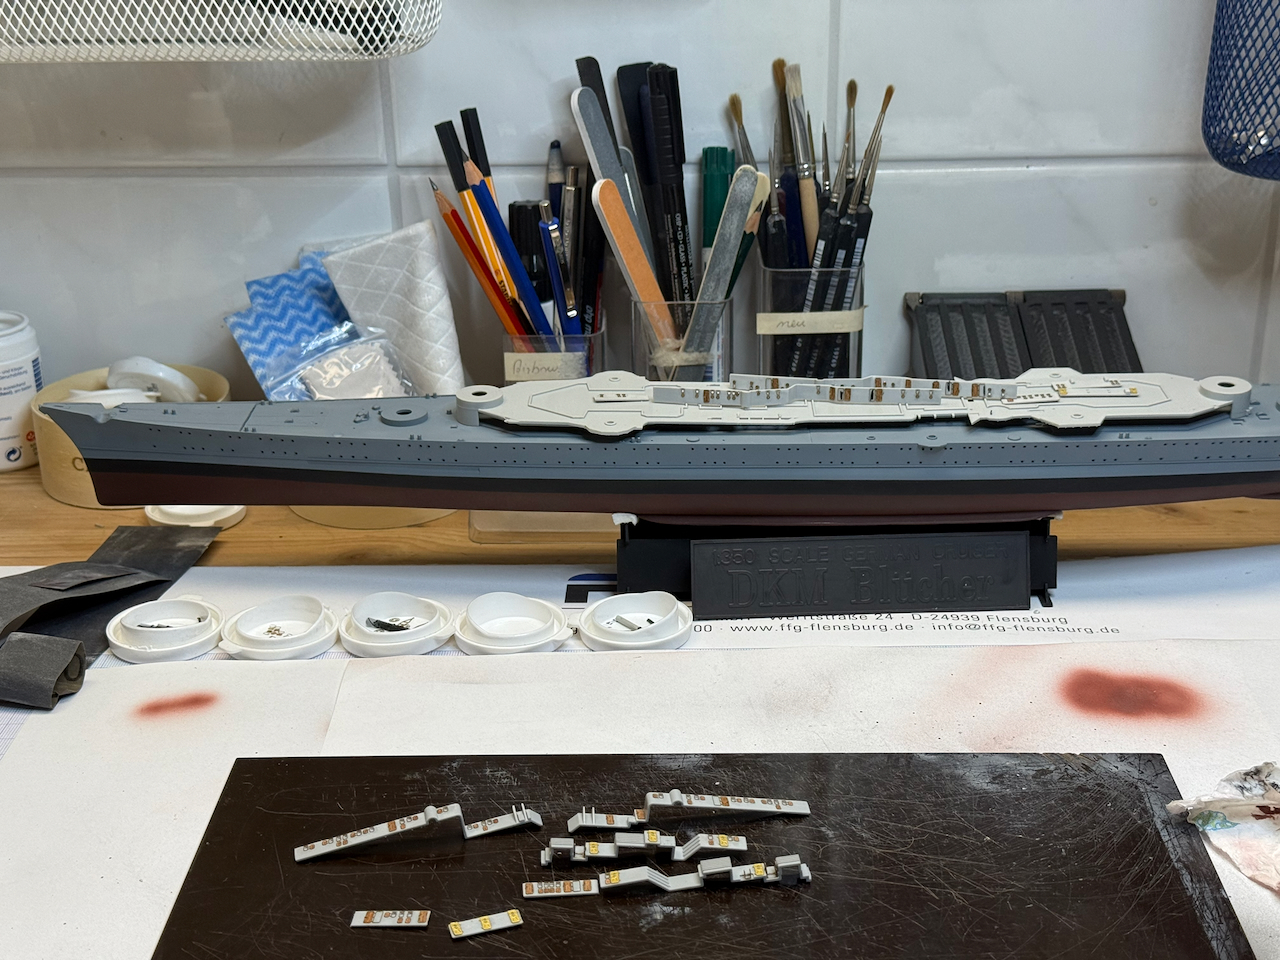
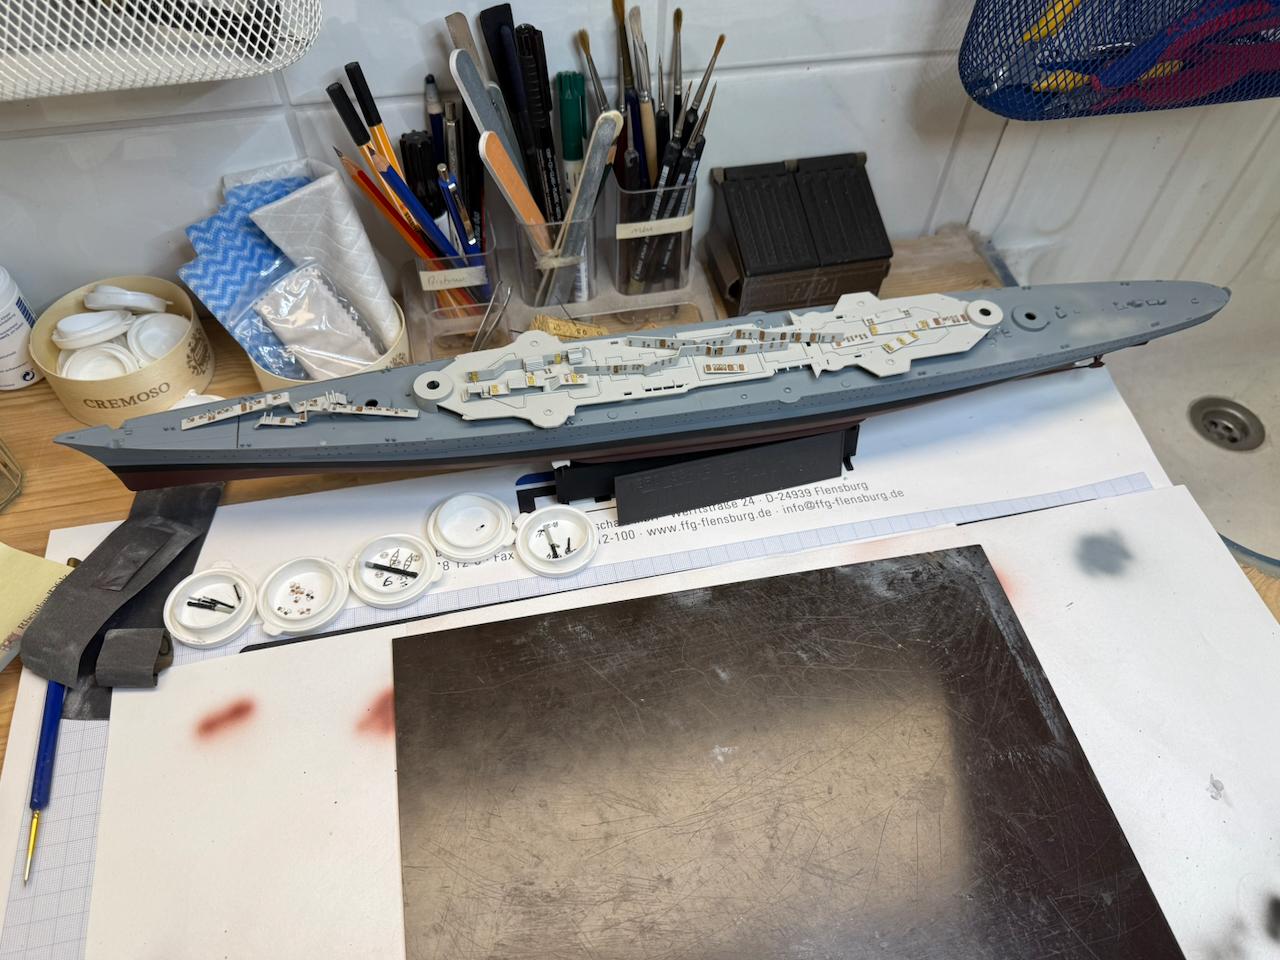
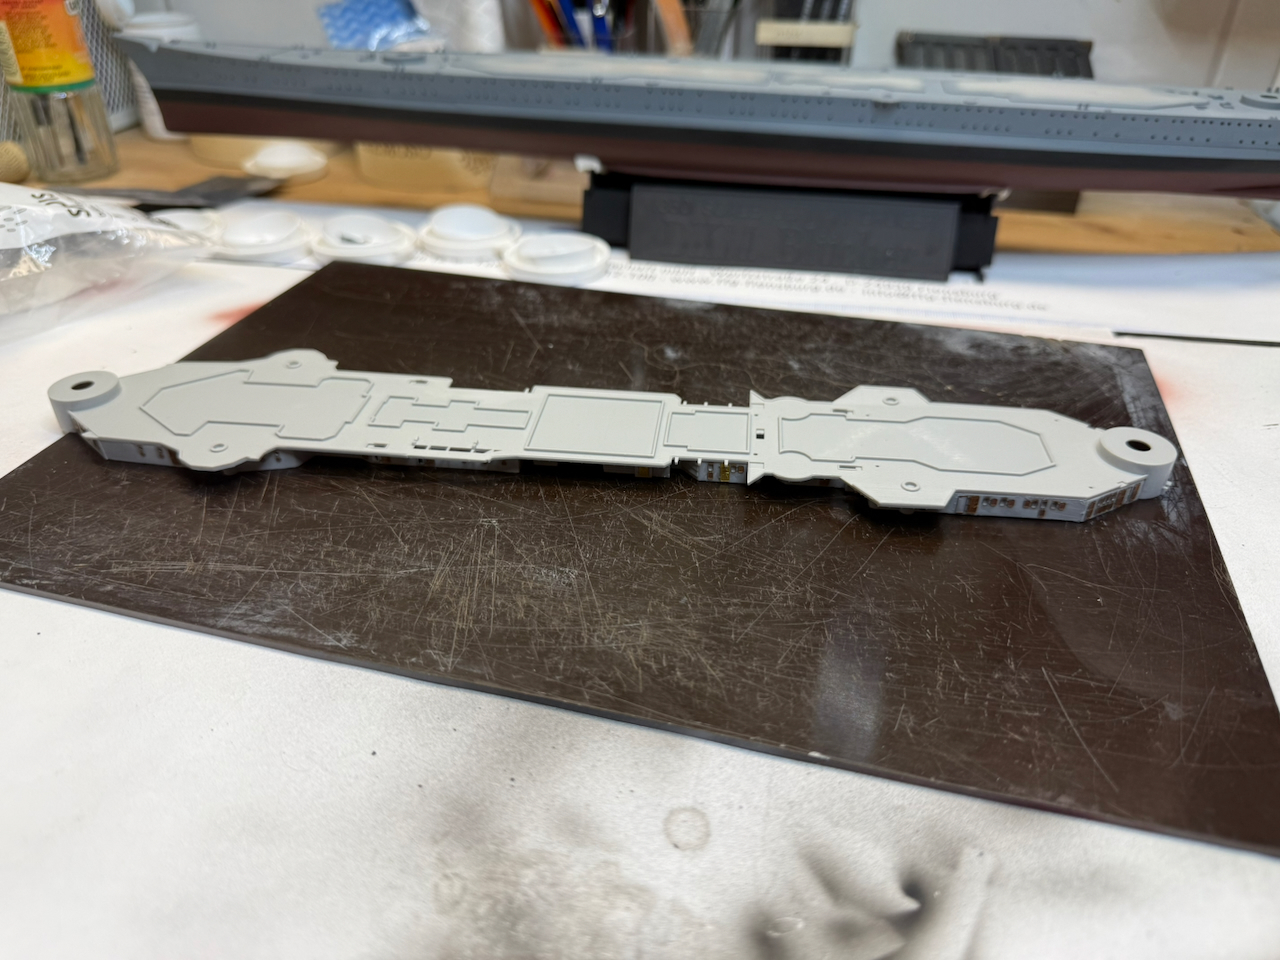
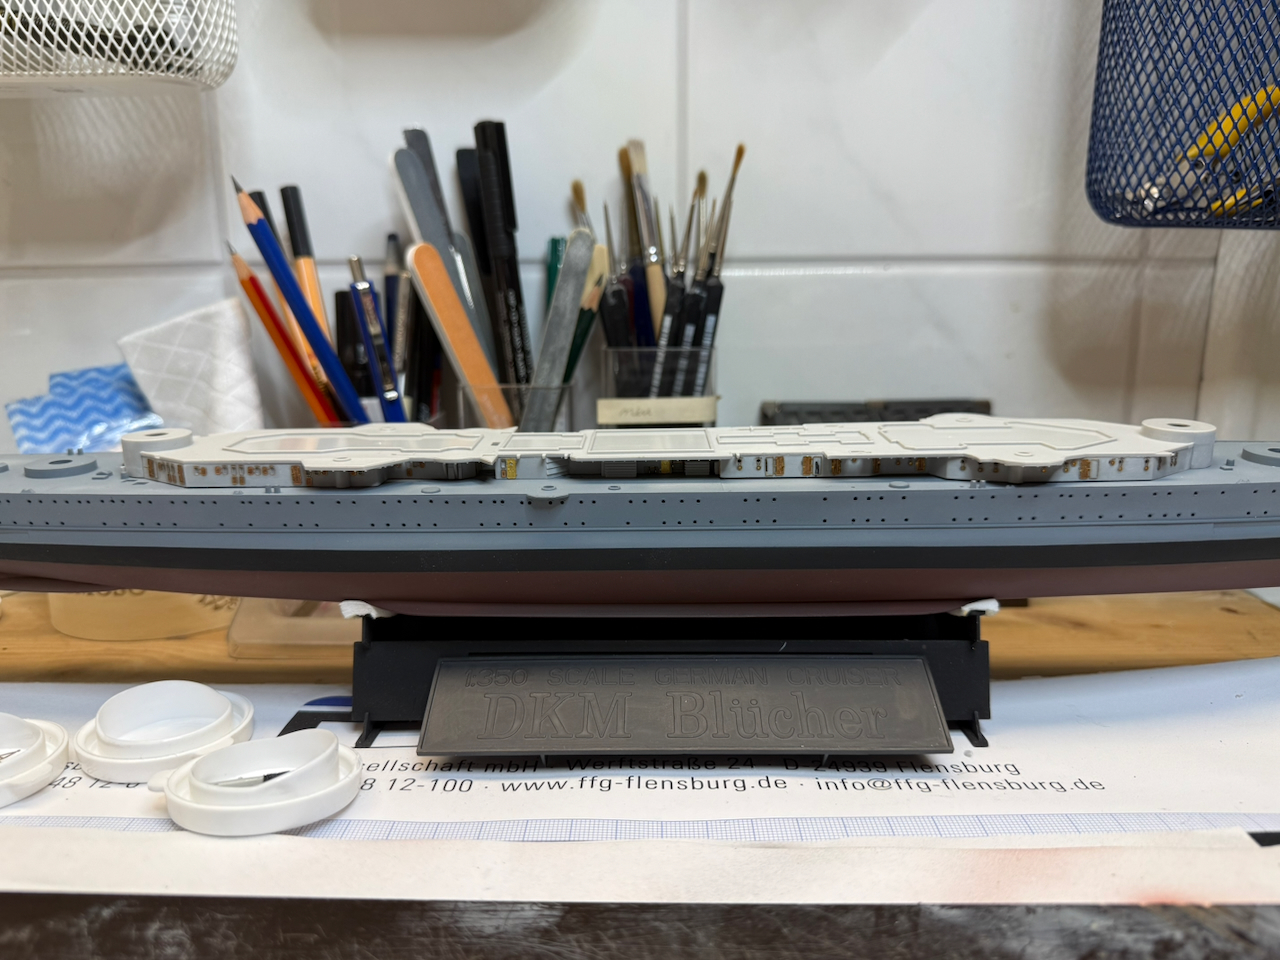
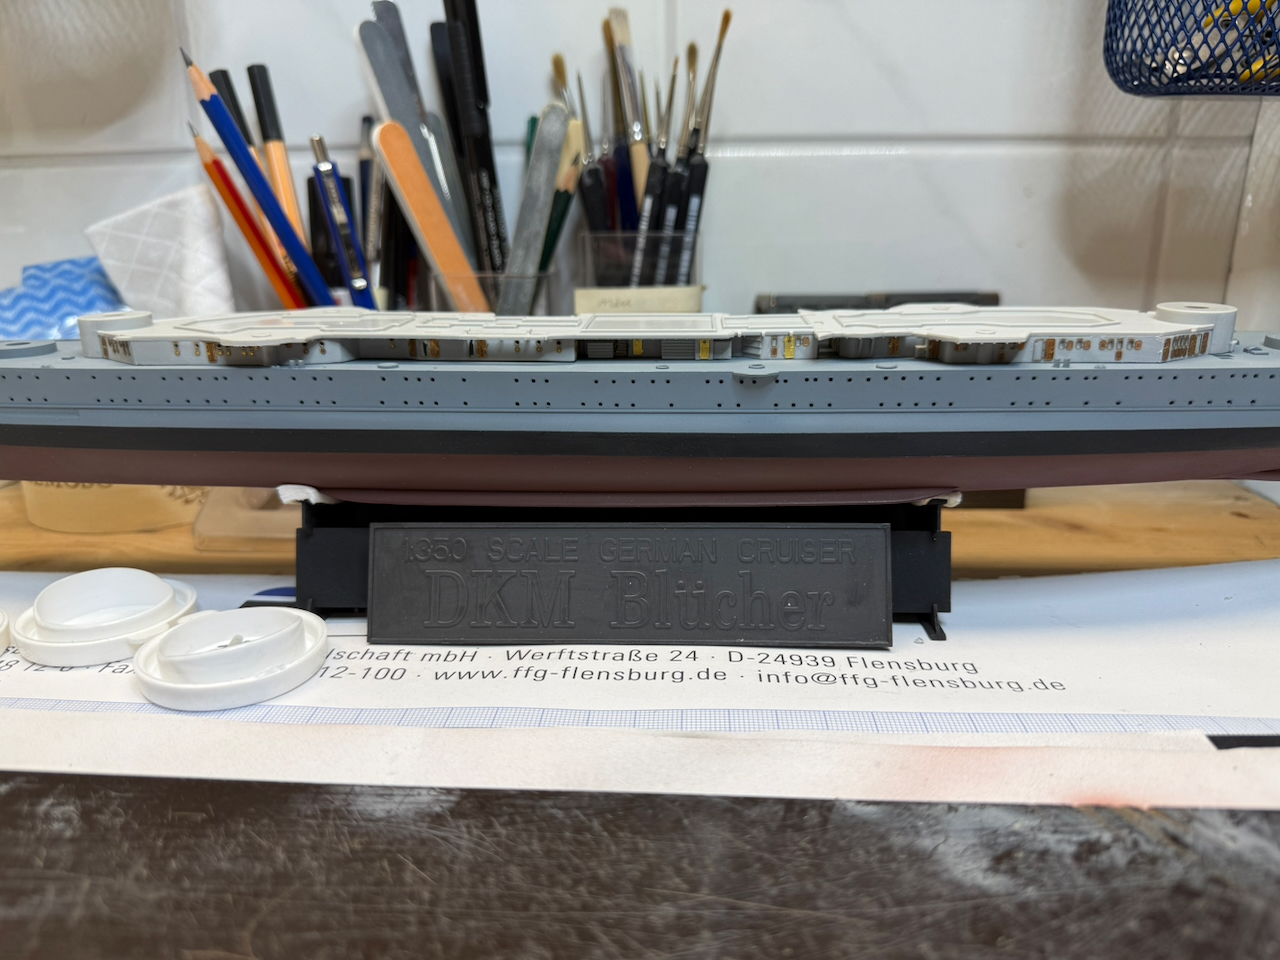
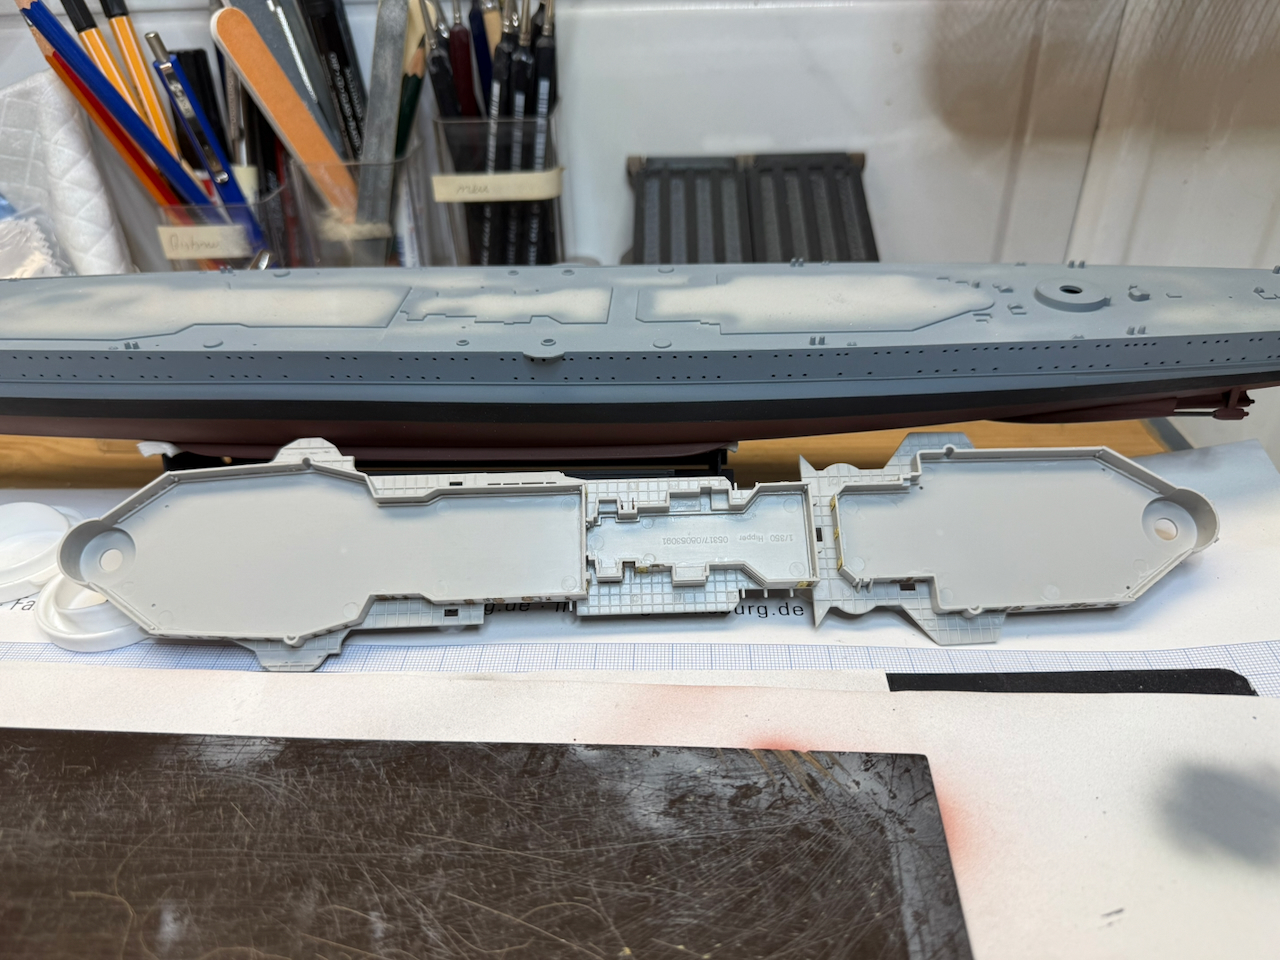
Essentially build up the lowest superstructure level, less some details that will follow later on.
And a first coat of the DKM 50/51 scheme, the light grey for the superstructure. As with previous models like my Gneisenau, I use the Tamyia XF 66 for the darker hull and the XF 19 for the light superstructure. The biggest problem with the XF 19 is that it is very close to the color of the styrene, so it requires a close look to see wether it’s painted properly…
There will of course be more details added, the extensions for the boat cradles for example and the reels need to be finished. But this starting point will allow me to work on the wooden deck, and that was what I initially was aiming for at this point. But I haven’t decided on the next step, to be honest. And the coming weekend doesn’t really look shipyard-friendly, either…
Thank you all for following and cheers
Jan
10 Likes
All progress is good Jan … shes looking good !
2 Likes
That’s already looking really good, Jan.
2 Likes