Finally, it’s time to start a new build log. As you all know me, this once more will be a lengthy endeavor, as the time I can spend at the work bench is still quite limited. So once more, I hope for your patience while following along.
As I had business in Oslo a couple times last year, the idea was there to build the Heavy Cruiser Blücher, who still rests in the Oslo fjord in about 80 m of water depth. Blücher was sunk by Norwegian coastal batteries while trying to enter Oslo on 9 April 1940 during the invasion.
I always considered here a very attractive ship with beautiful lines, and next to Hipper she is one of my favorites despite her brief lifespan.
We have seen those beautiful builds of Prinz Eugen (from Russ) and Hipper (from Si), but there is no Blücher yet and I don’t really see builds of here posted elsewhere. As Blücher is one of the better known ships, I assume the reason for that is the Trumpeter kit, which shows here almost as a 1:1 copy of the Hipper, with only very few altered parts. Especially for the hull, this is wrong, as the Blücher got her so called “Atlantic Stem” very early on, and her hull lines were more like those from Prinz Eugen than from Hipper. Trumpeter however has Hipper and Blücher with identical hulls.
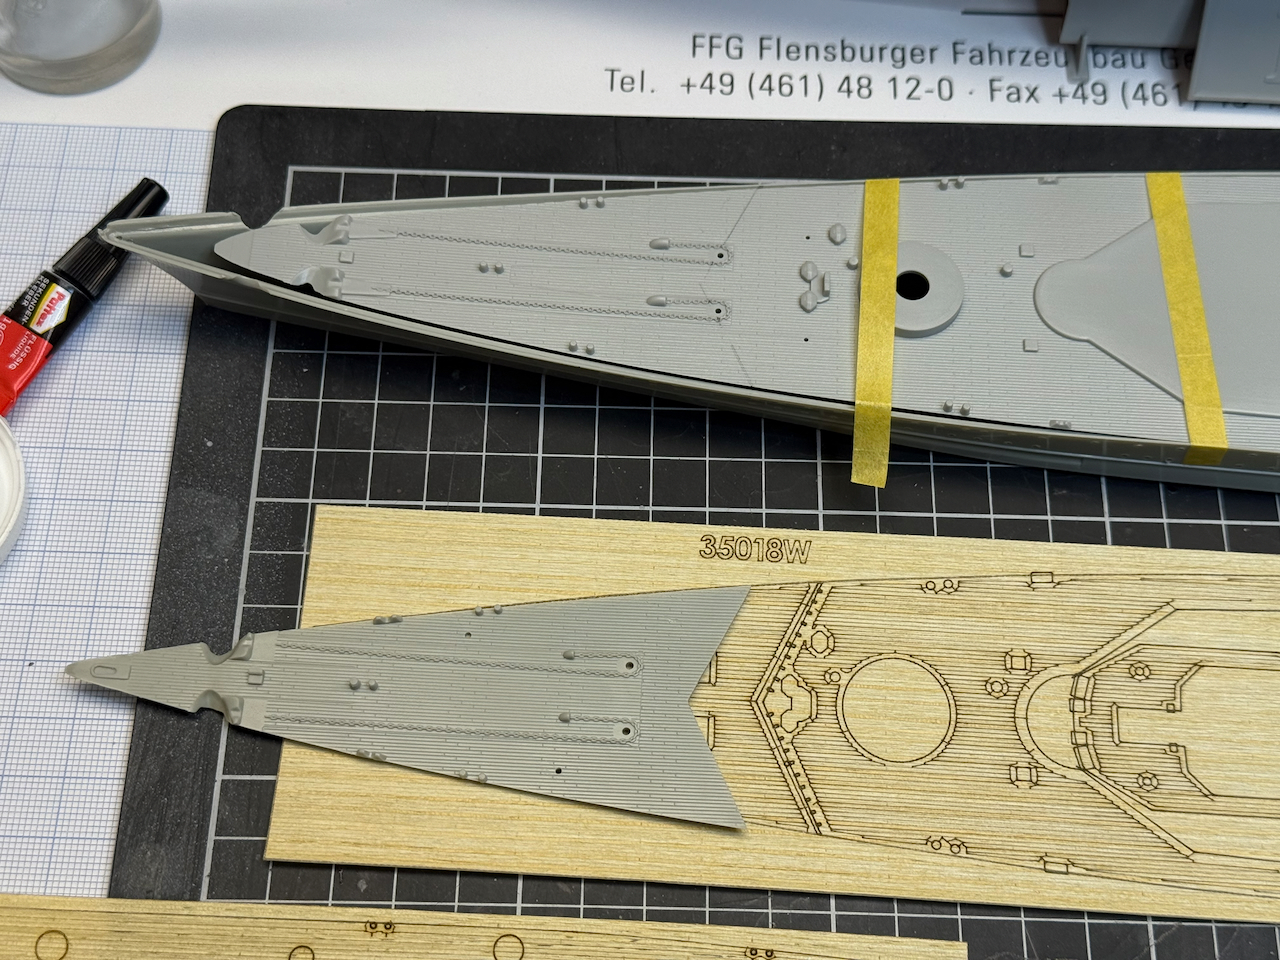
So here is my approach: as the general hull lines are very important - in my view more important than the number and position of the portholes - I decided to take a Prinz Eugen’s hull and build a Blücher on it. As I wanted to make sure that this will work, I started some weeks ago bringing together the Blücher deck with the Prinz Eugen hull, until I am eventually confident enough to share my build.


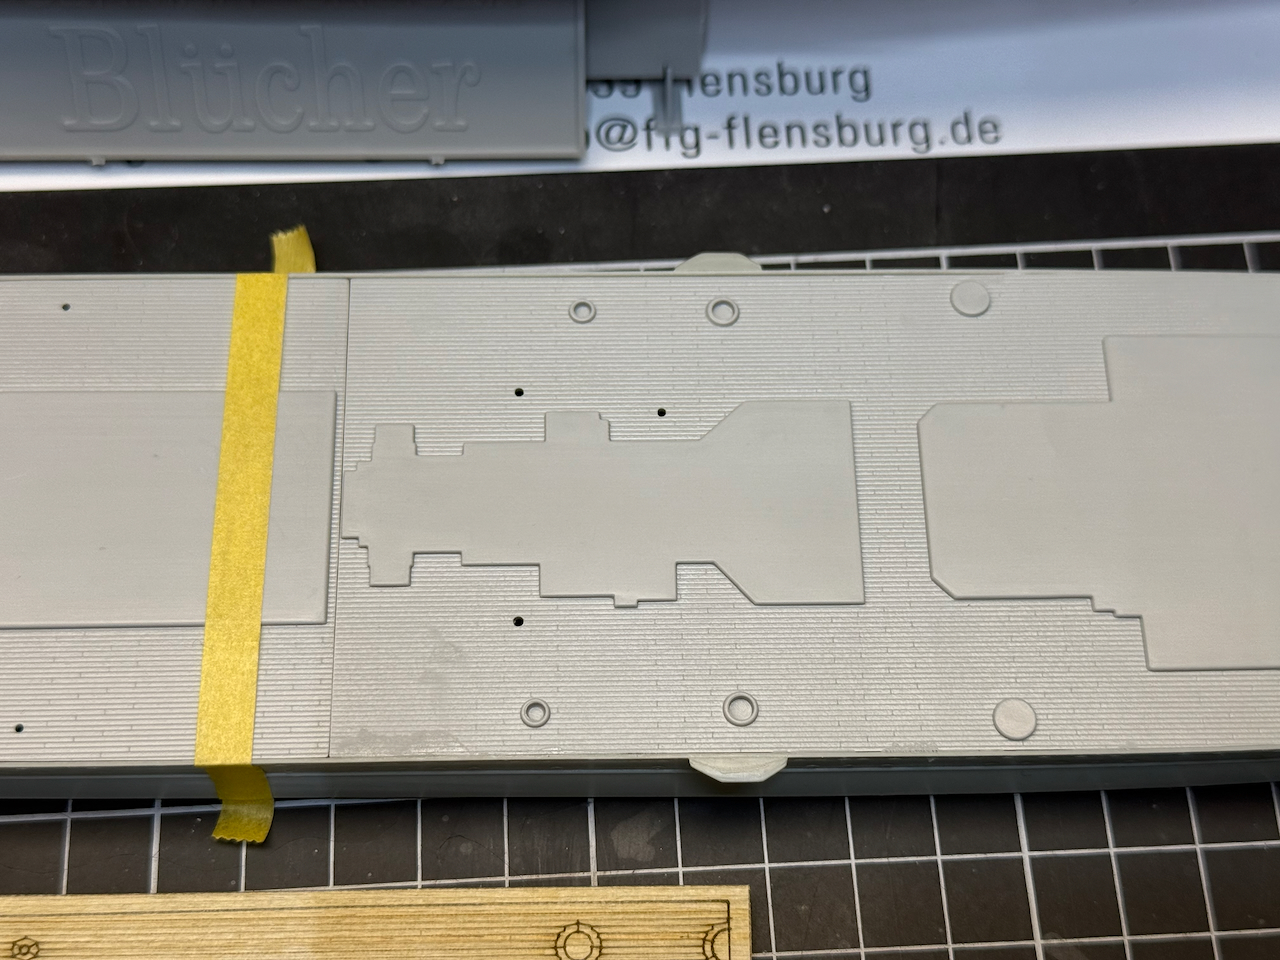
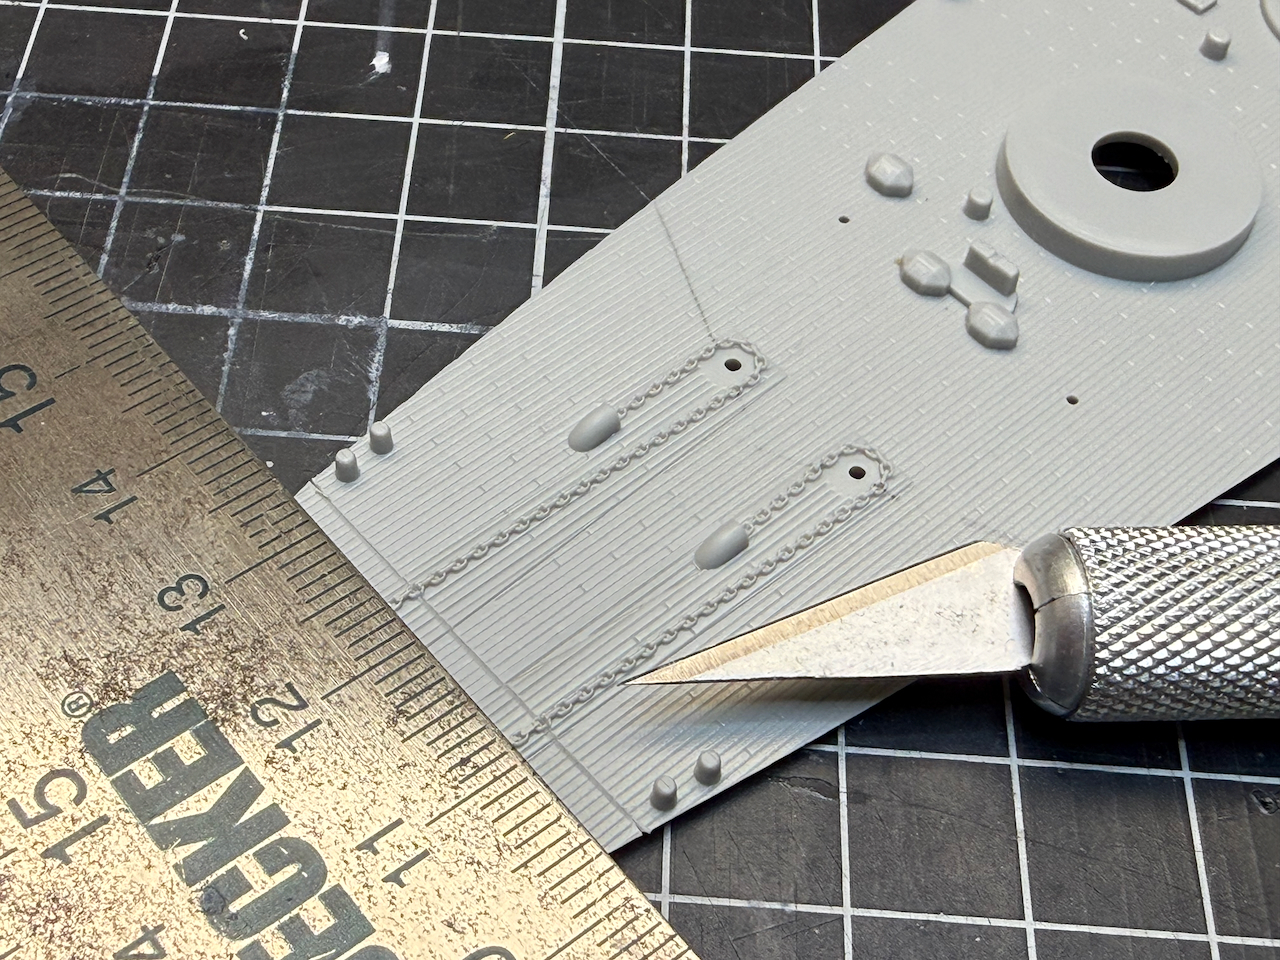
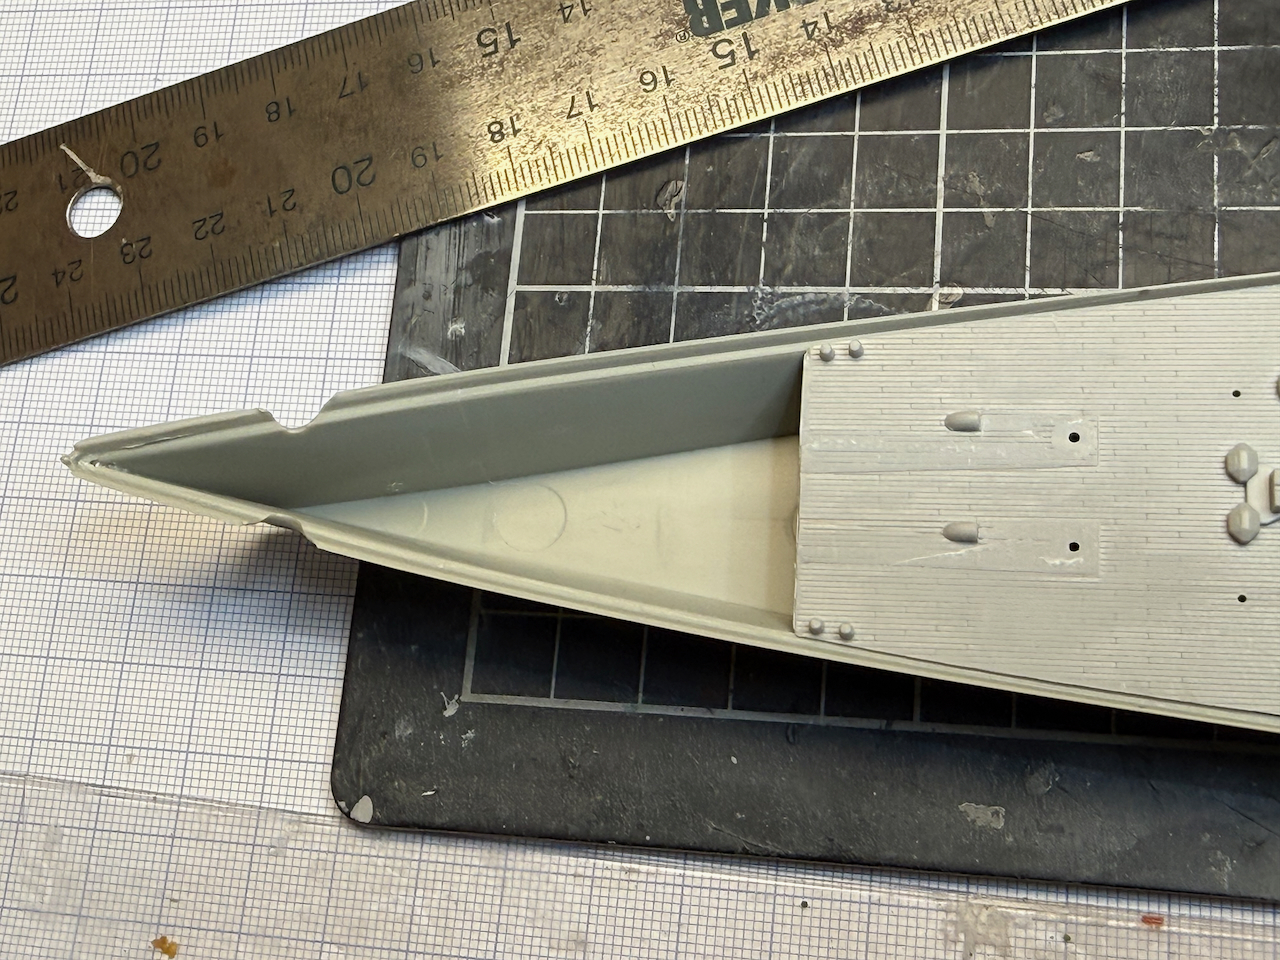
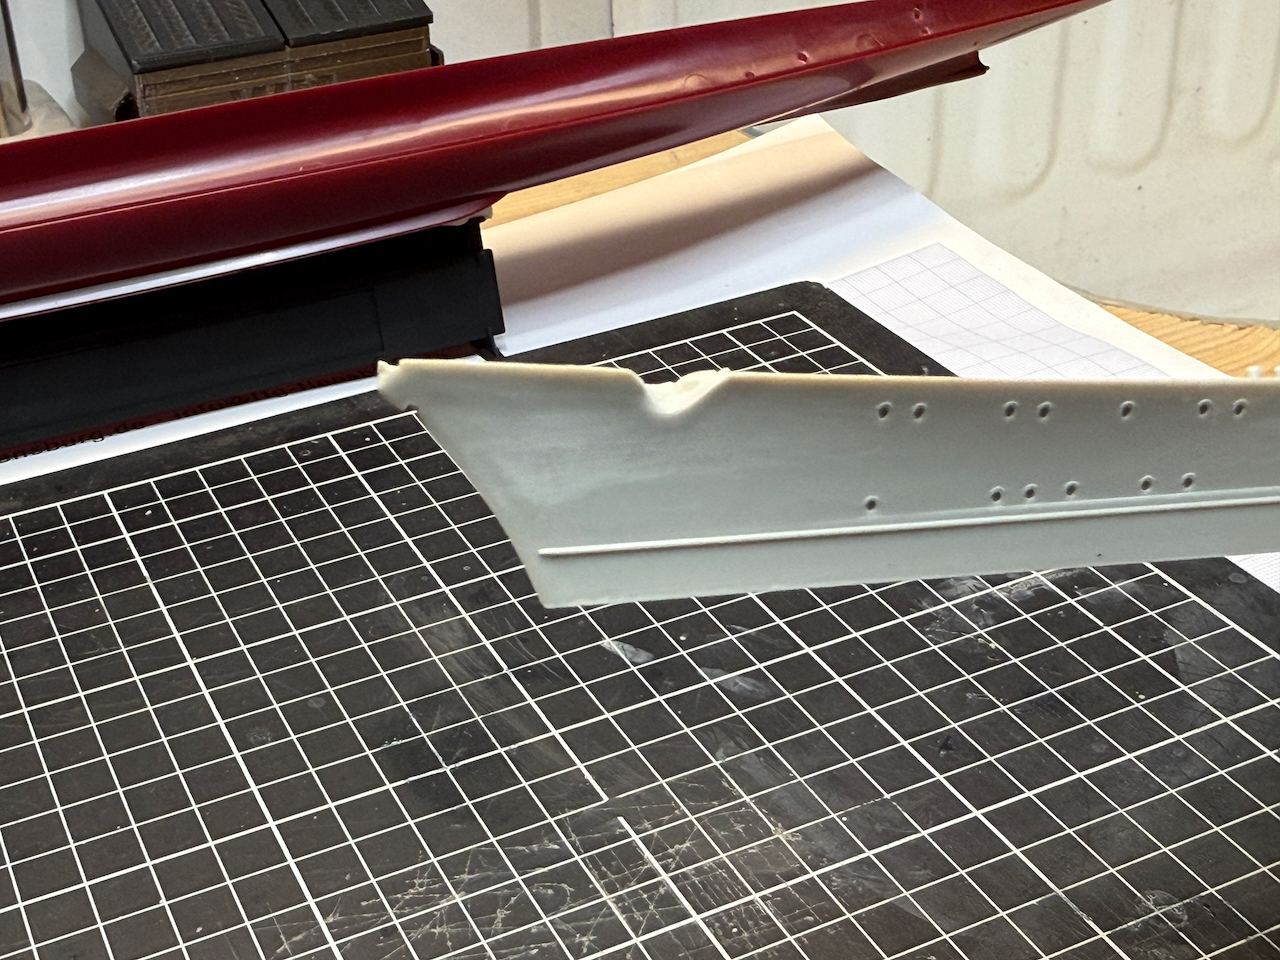
So the first challenge was to cut the forward part of the Blücher deck, cut back that front part from Prinz Eugen at a feasible position and fit the parts into the hull. But more about that in a minute.
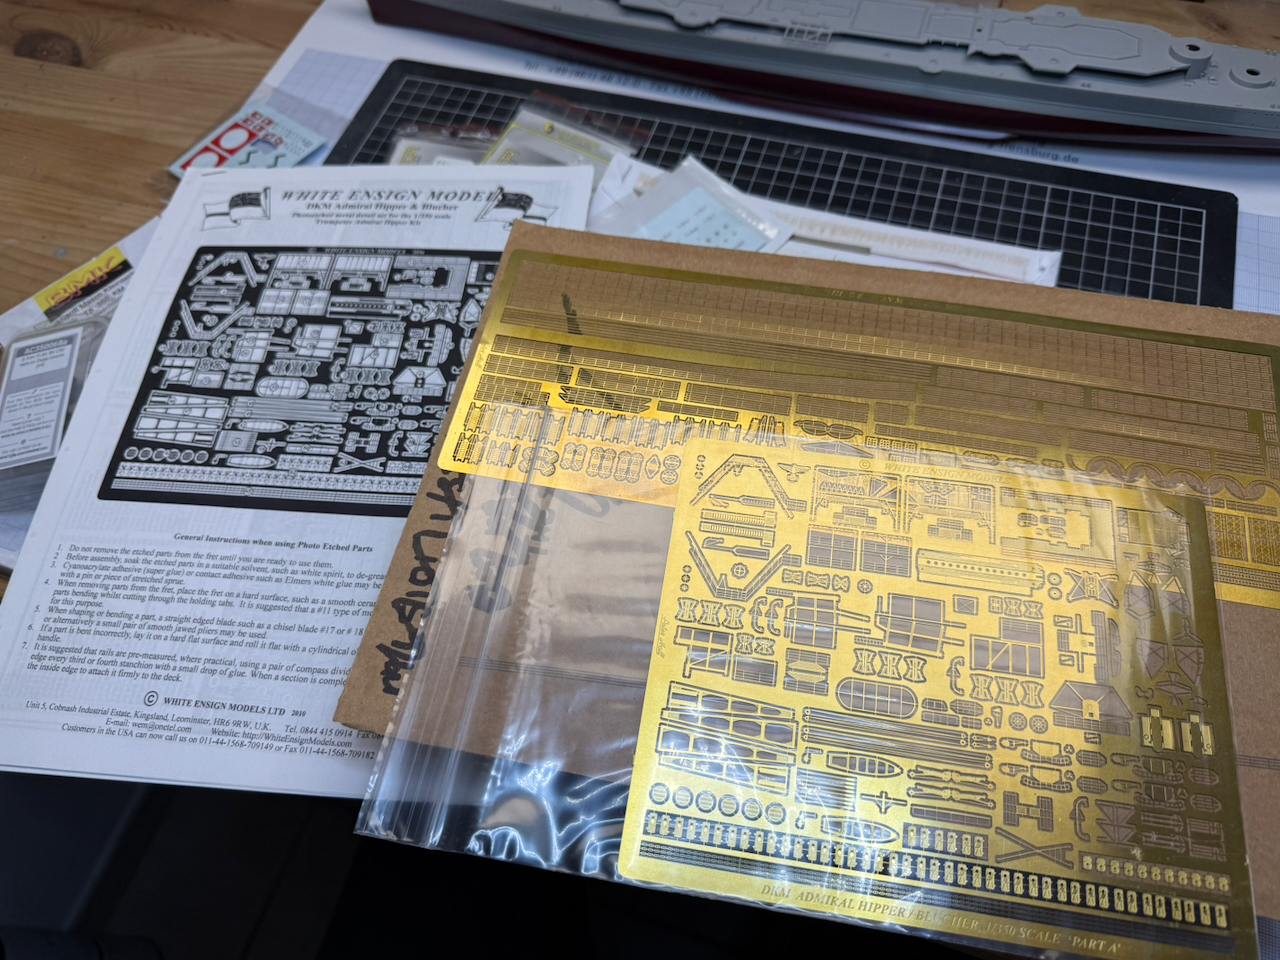
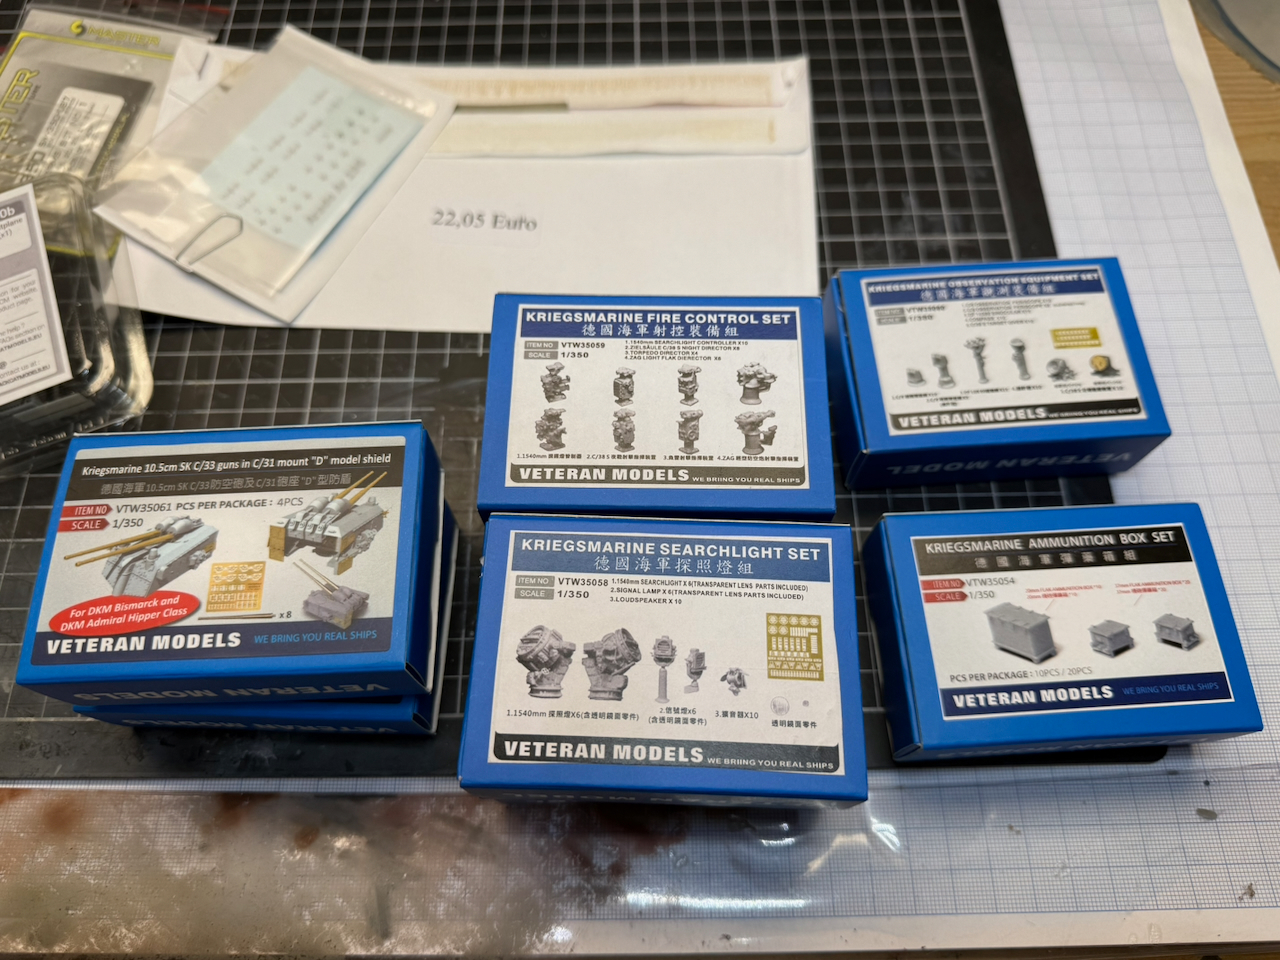
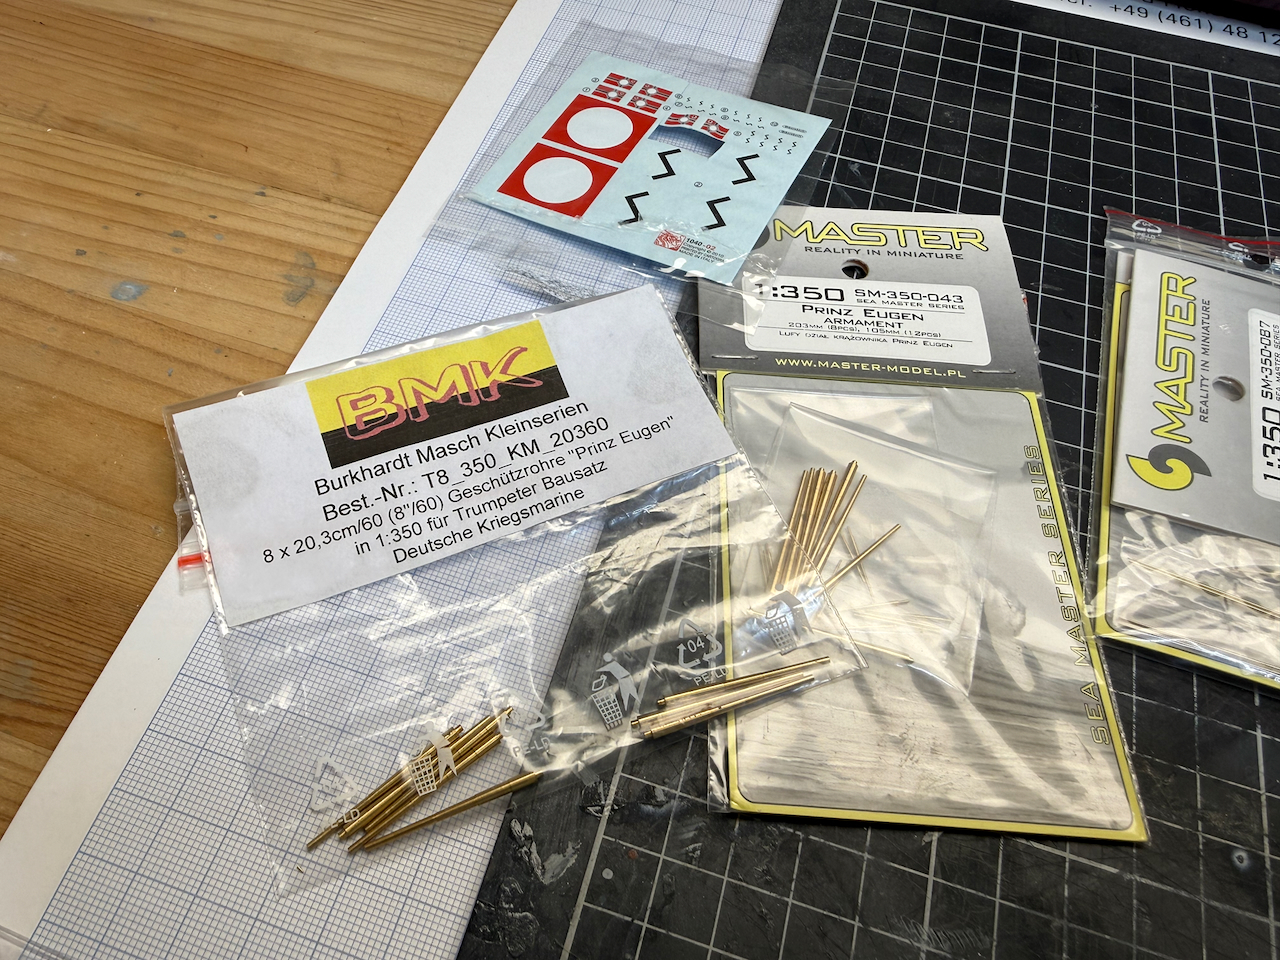
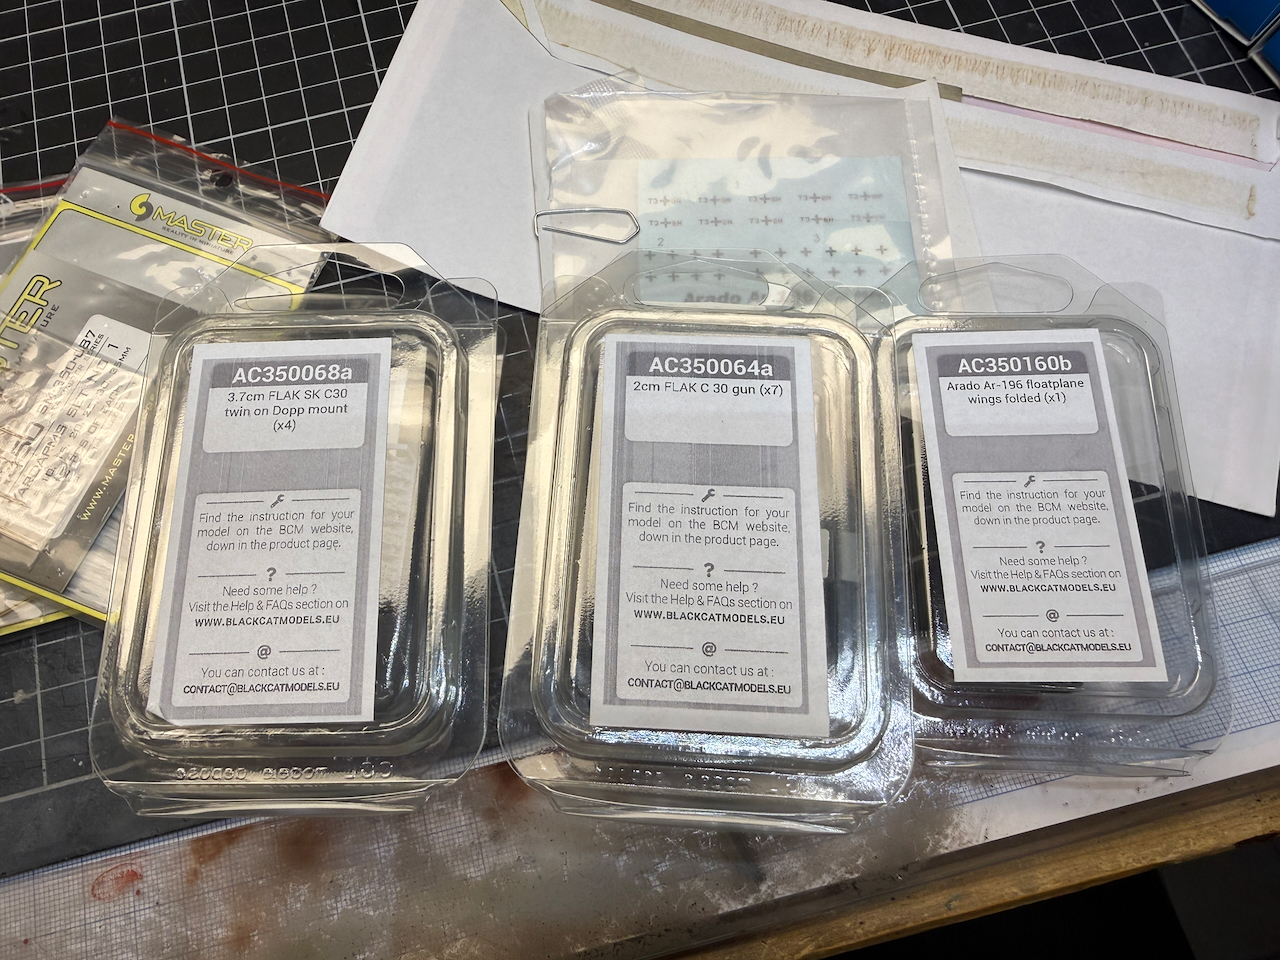
So here’s the bigger plan and what I will be using:

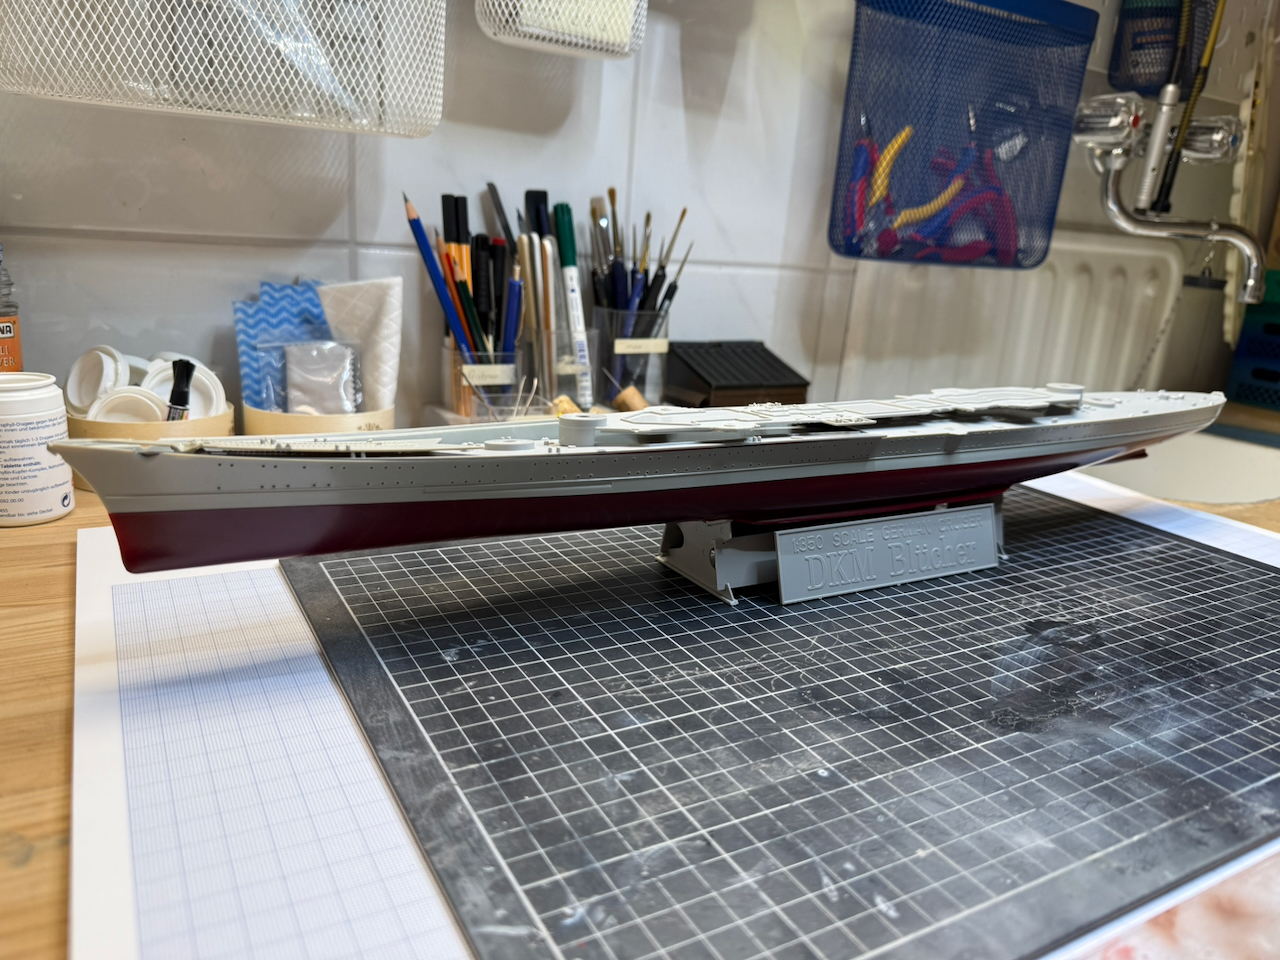
The ship will be in her last “outfit”, so the standard early war colors - medium grey hull/light grey superstructure, I will be using the same colors as for my Gneisenau. Same for the hull red. Turret tops will be yellow.
Pictures of Blücher on her way to Norway show that she had gotten an enclosed bridge before getting underway; pictures from her sinking hull in the fjord show that she had a degaussing cable, but not going all around her stern. The eagle on the stern was still there.

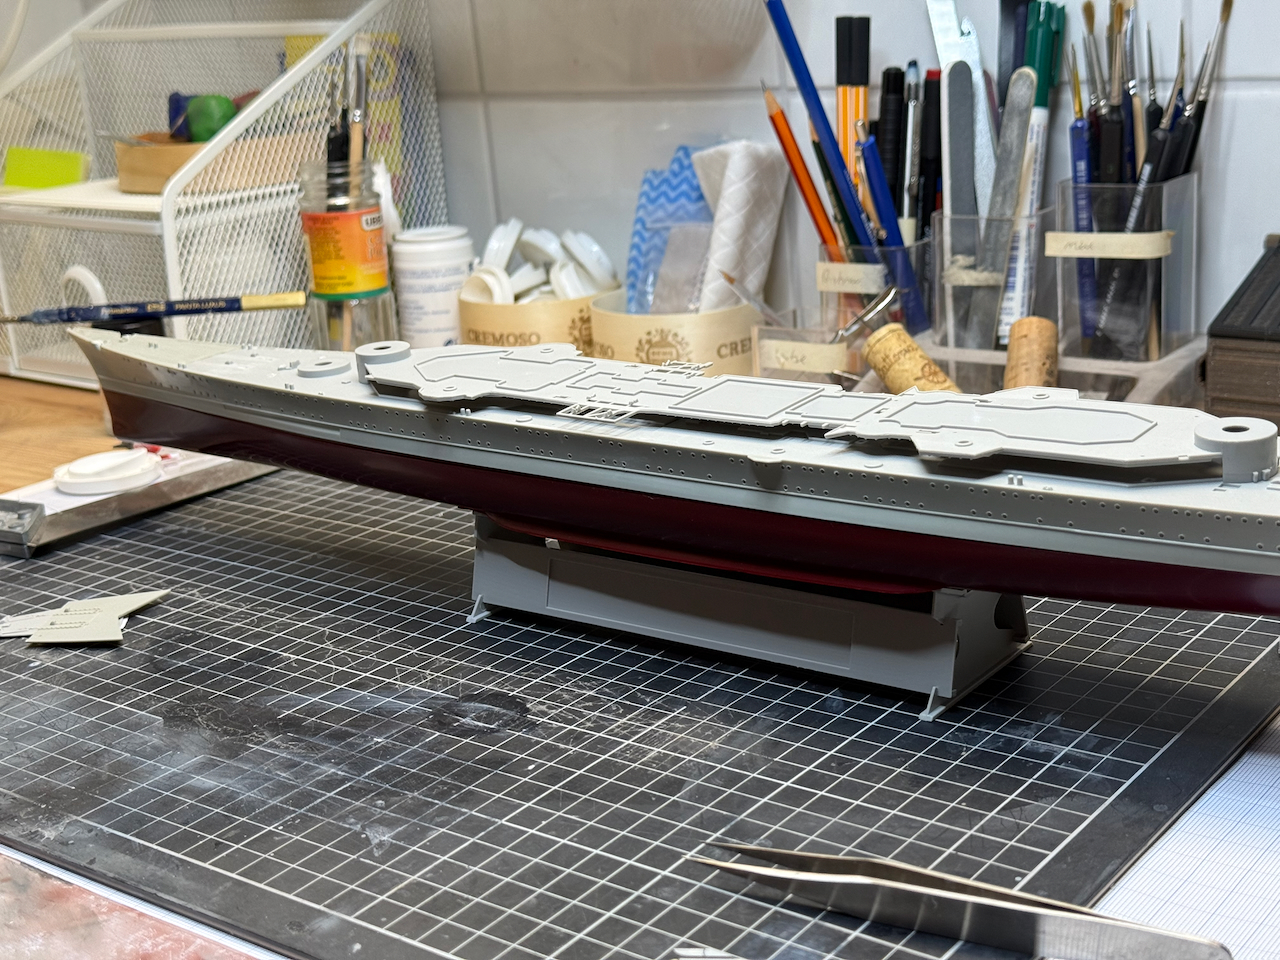
Now let the work begin.
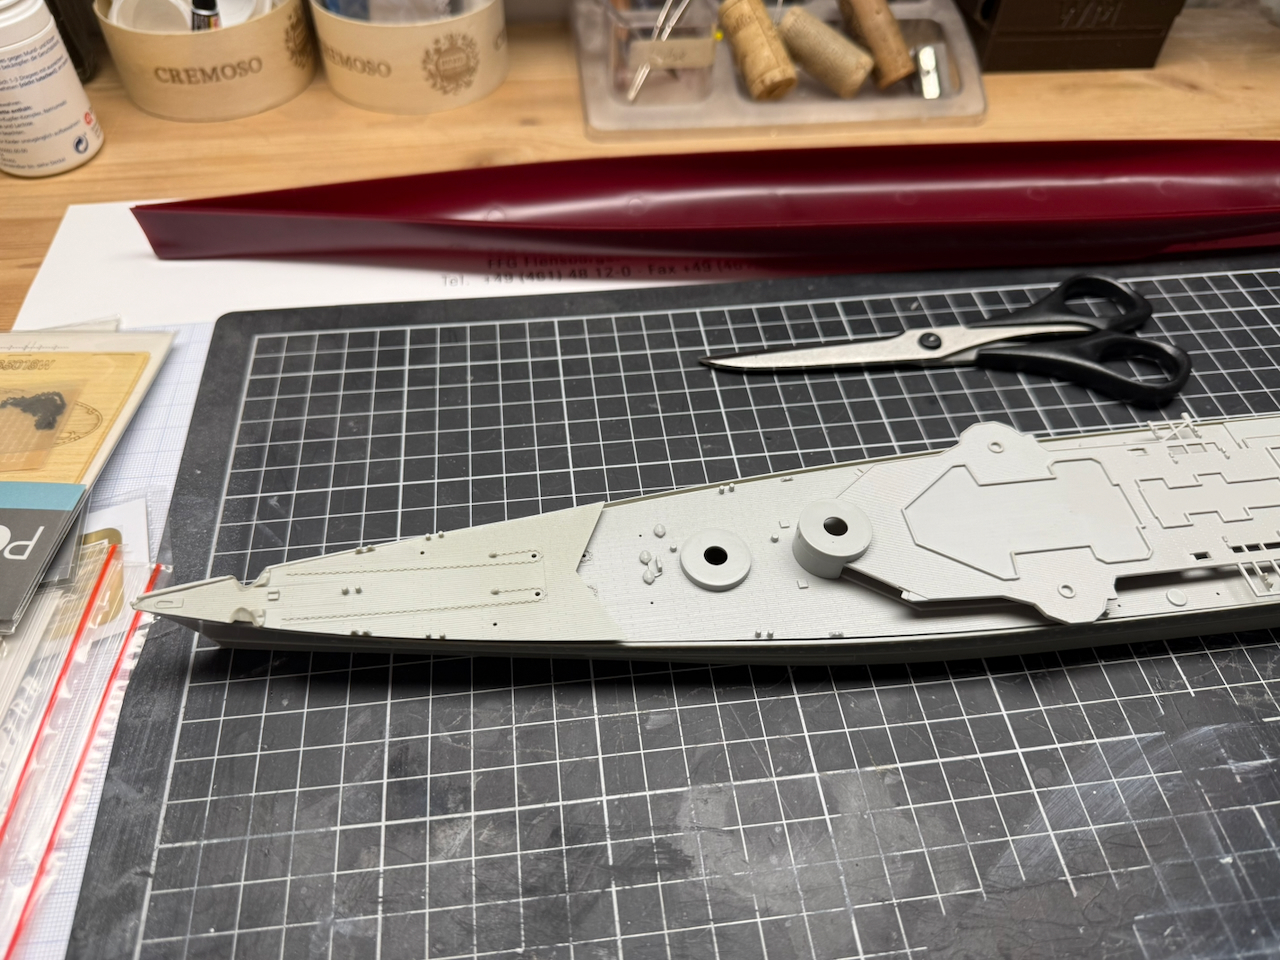
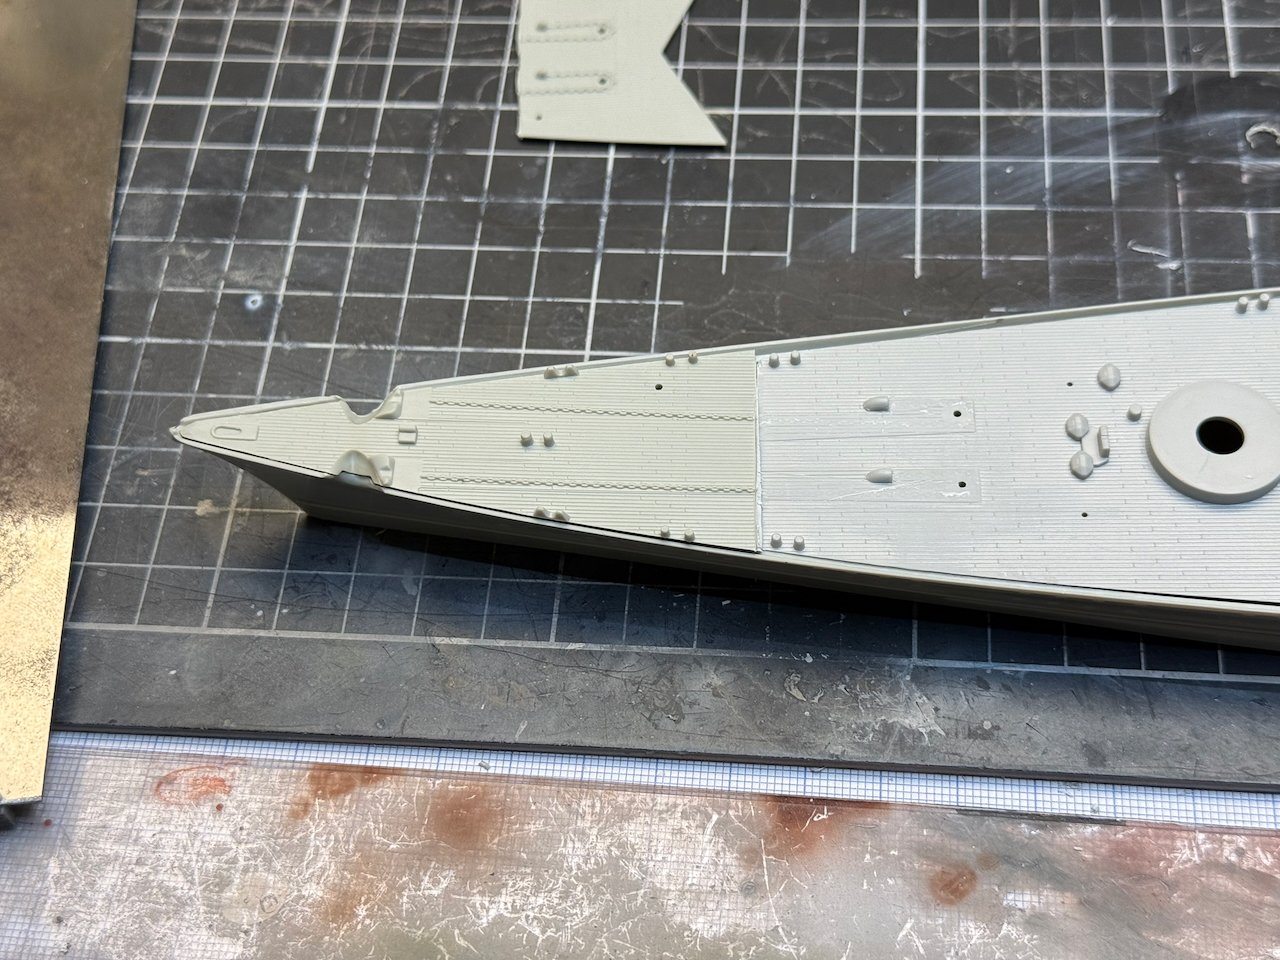
The after part of the Blücher deck fits neatly into the Prinz’ hull.
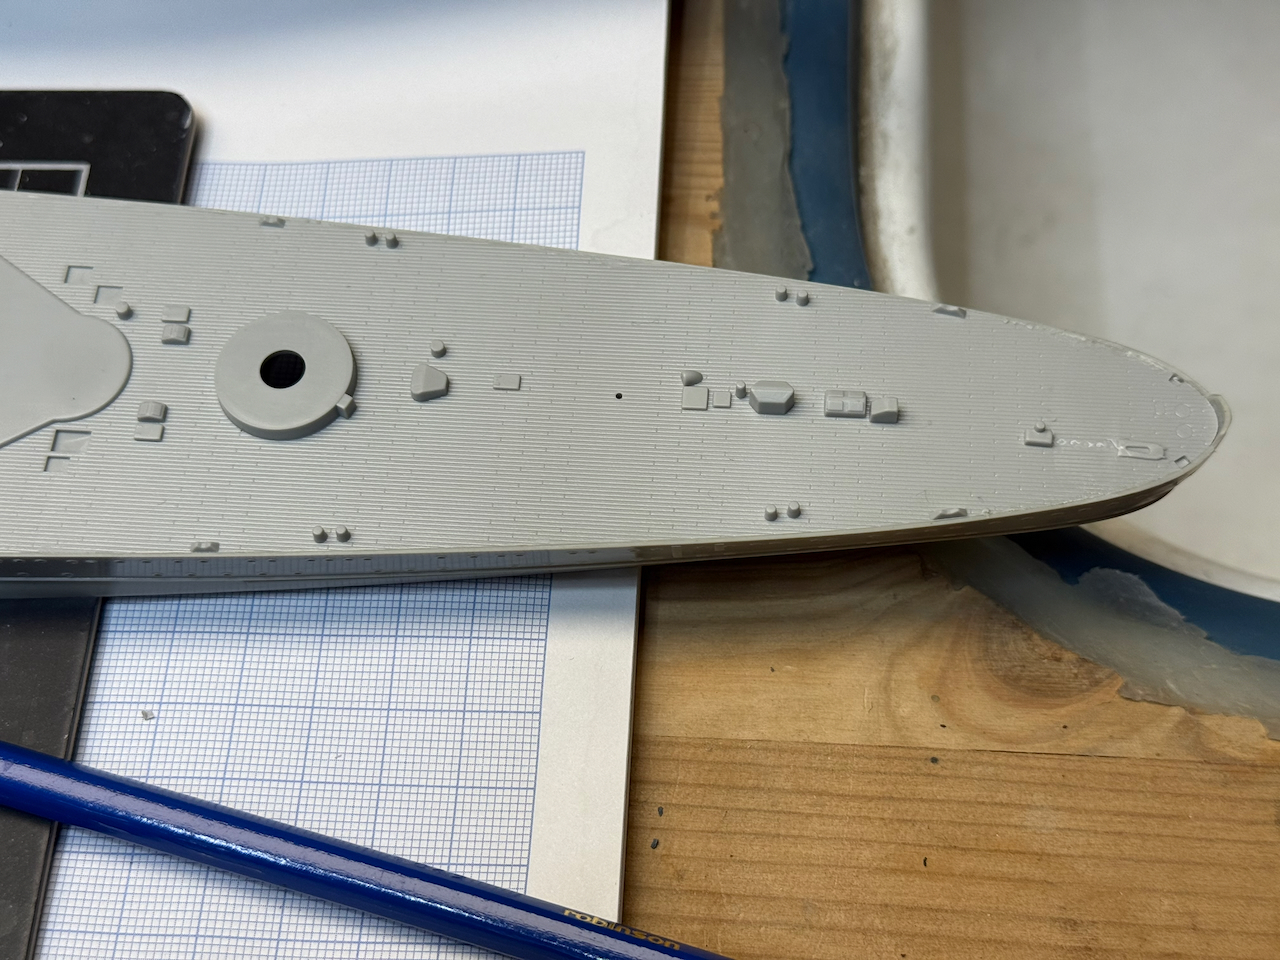
The bow is pretty different. The Prinz’ hull forward is slightly wider, and of course the hull is longer. I now that the official figures for the length for Prinz Eugen and Blücher are about 6 m different - but usually, you find the same dimensions for Hipper and Blücher, but Hipper never got that extended stem as Prinz Eugen und Blücher had. So my assumption is that the 206 m for Blücher do not take the re-designed stem into account. If she was same size as Prinz Eugen I don’t know, but I would say it’s a fair assumption that she was somewhat longer than Hipper.

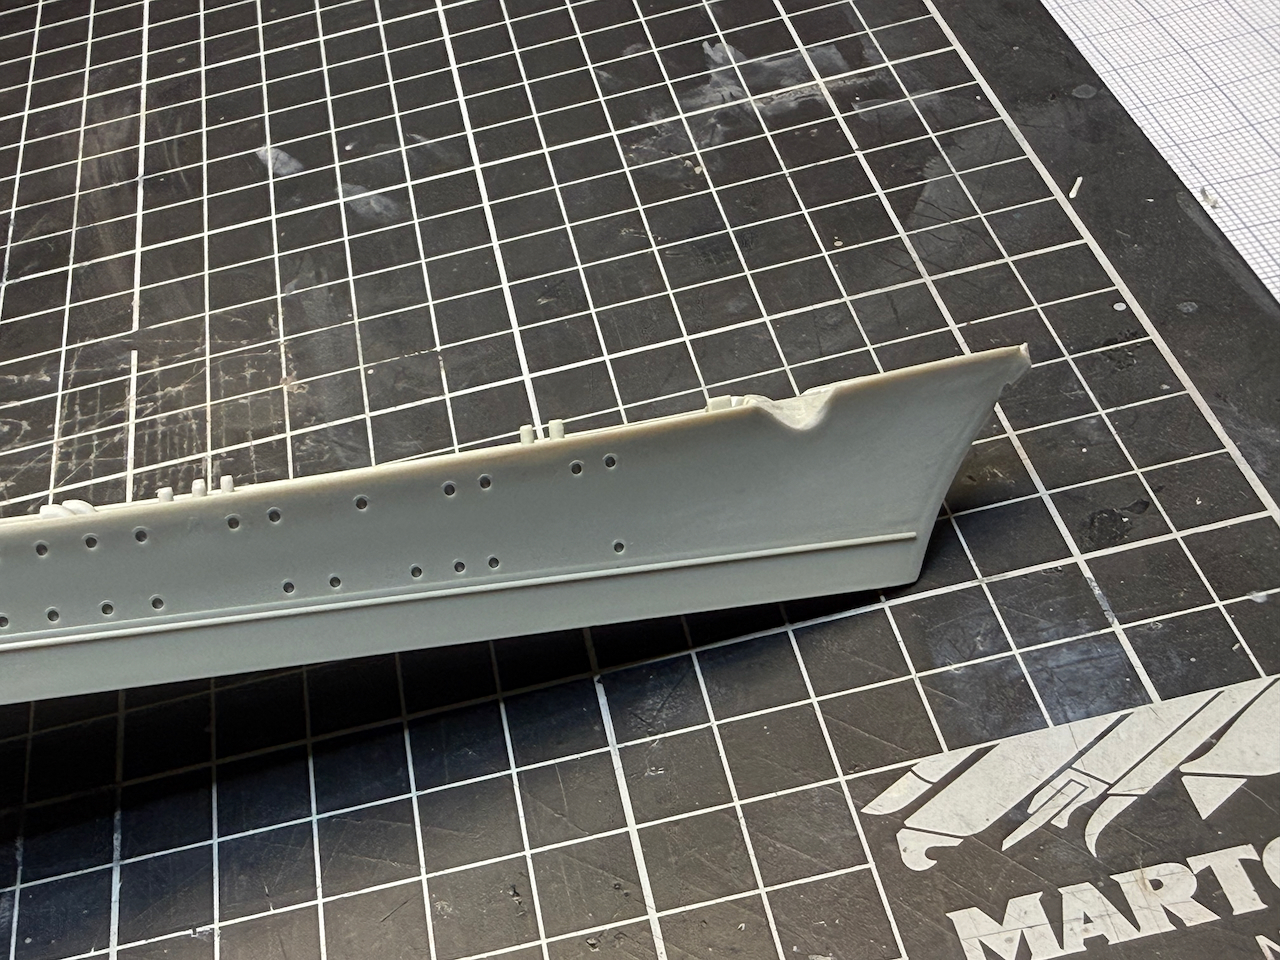
And now the interesting part - deciding for a point to cut and bring everything together.

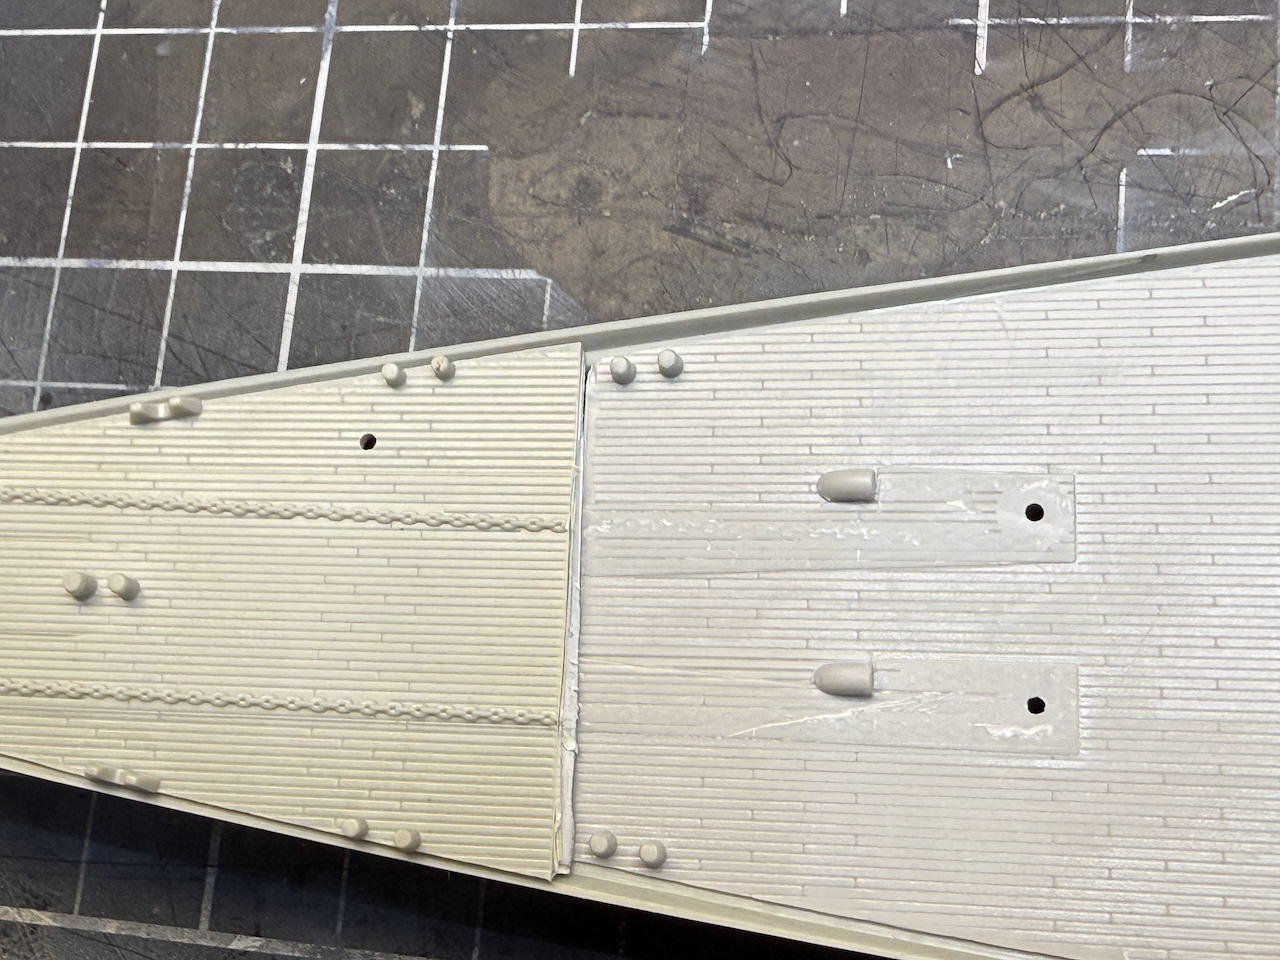
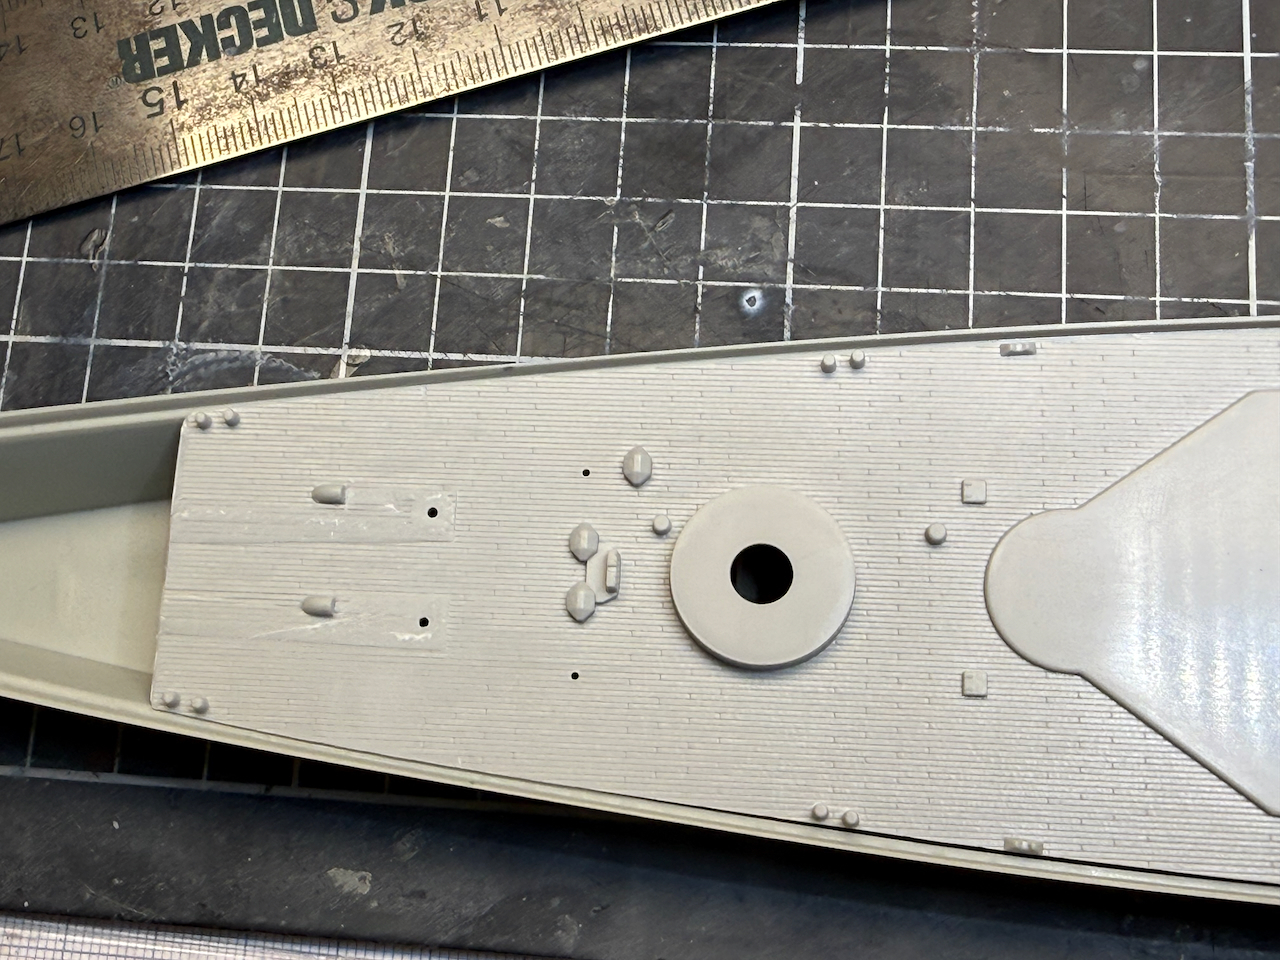
After some cutting and sanding, and a little squeezing of the hull, that’s how it came out. As the ship will get a wooden deck, this serves mainly as the base structure, the seams will be covered by the wooden parts.
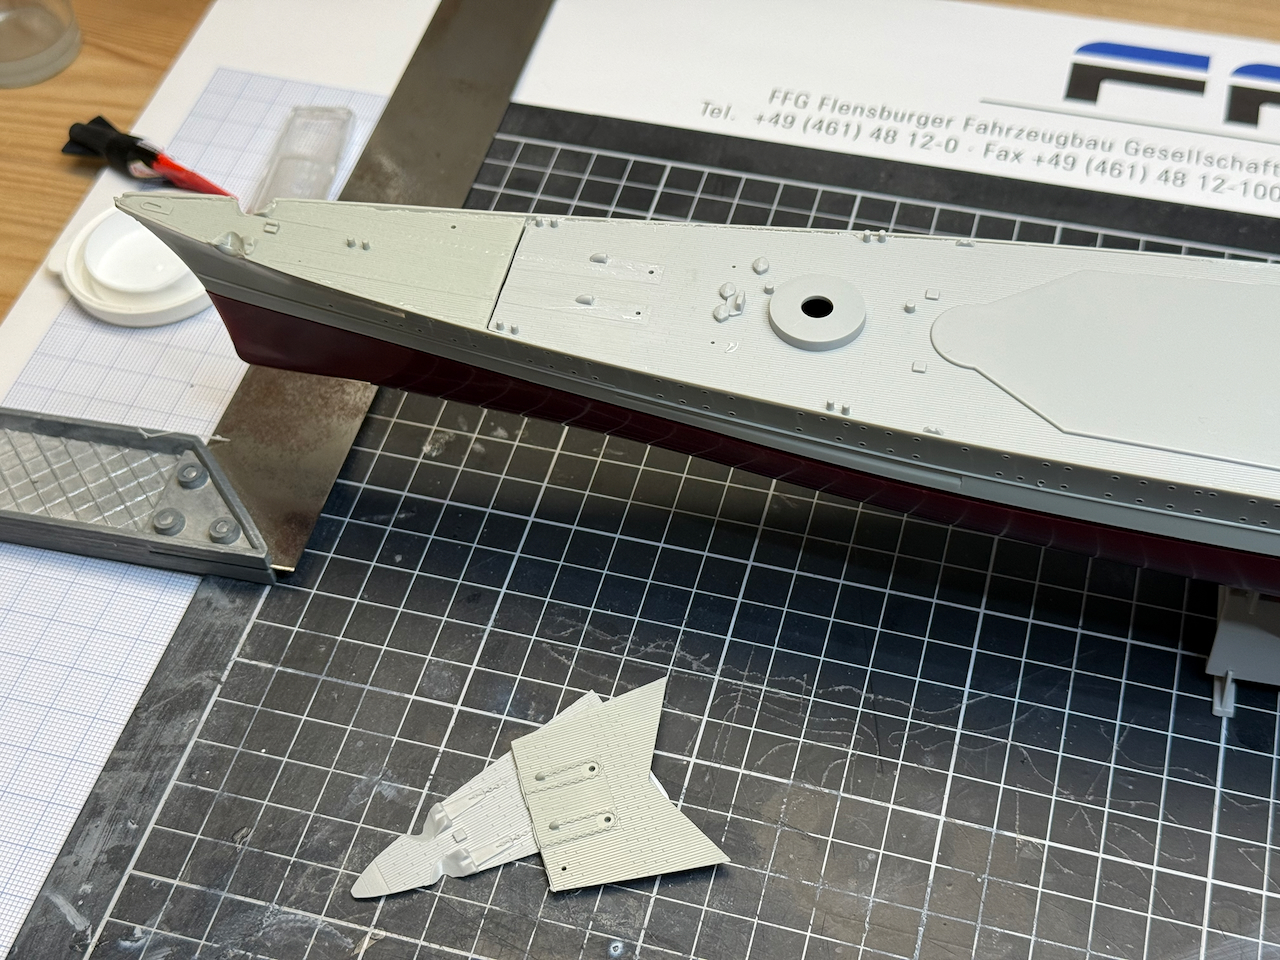
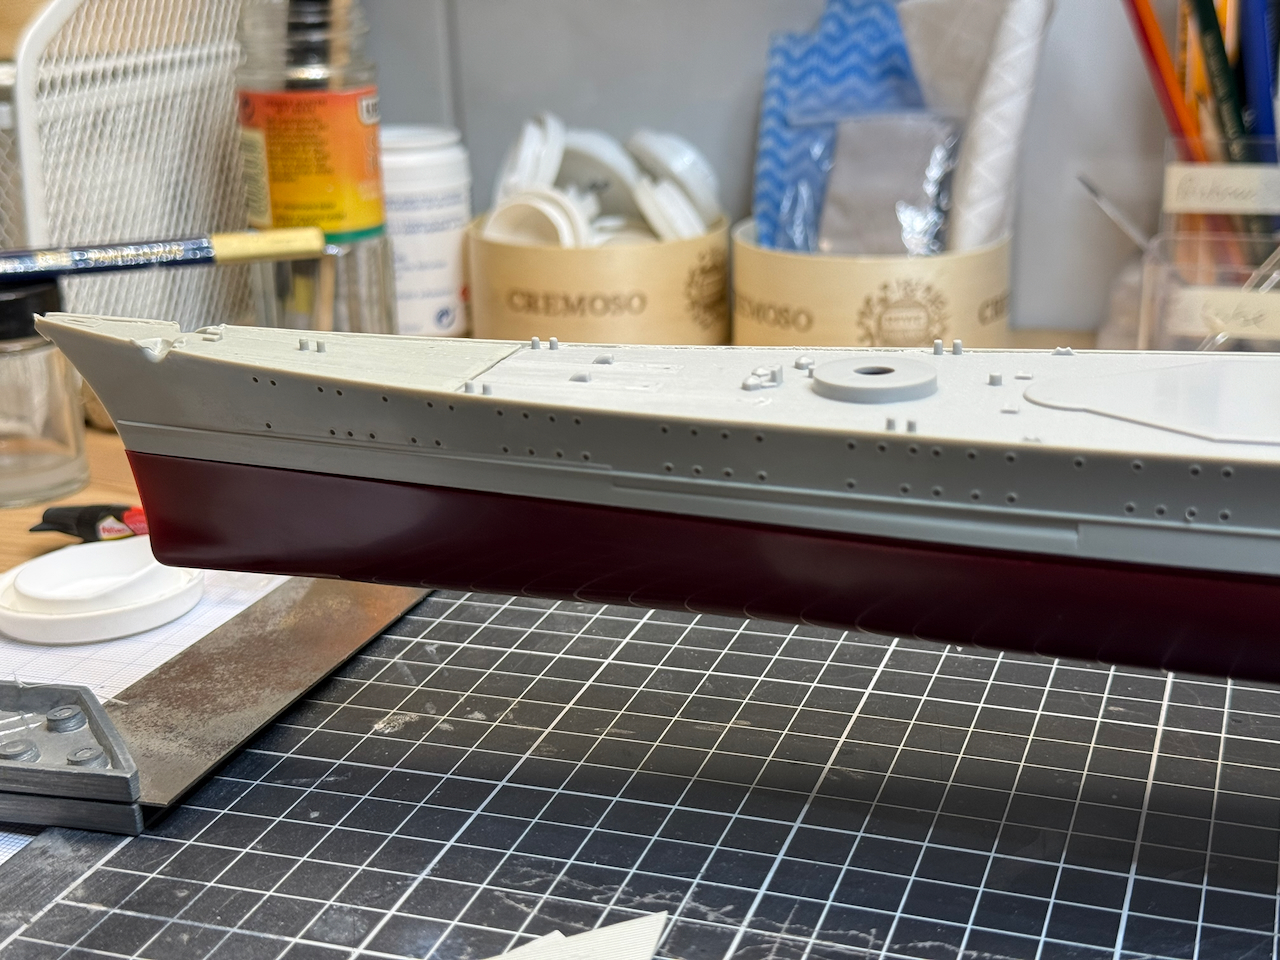

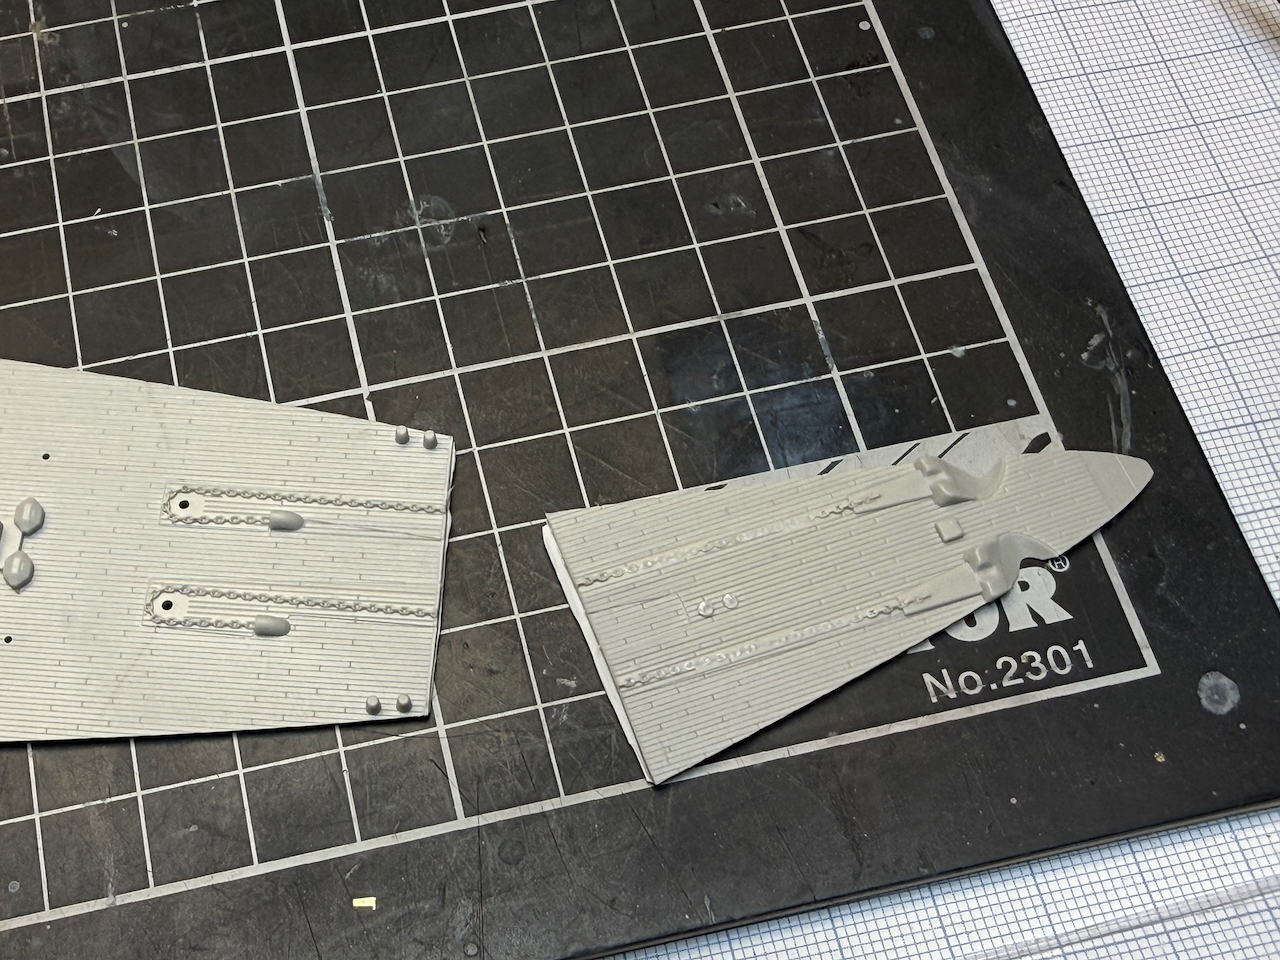
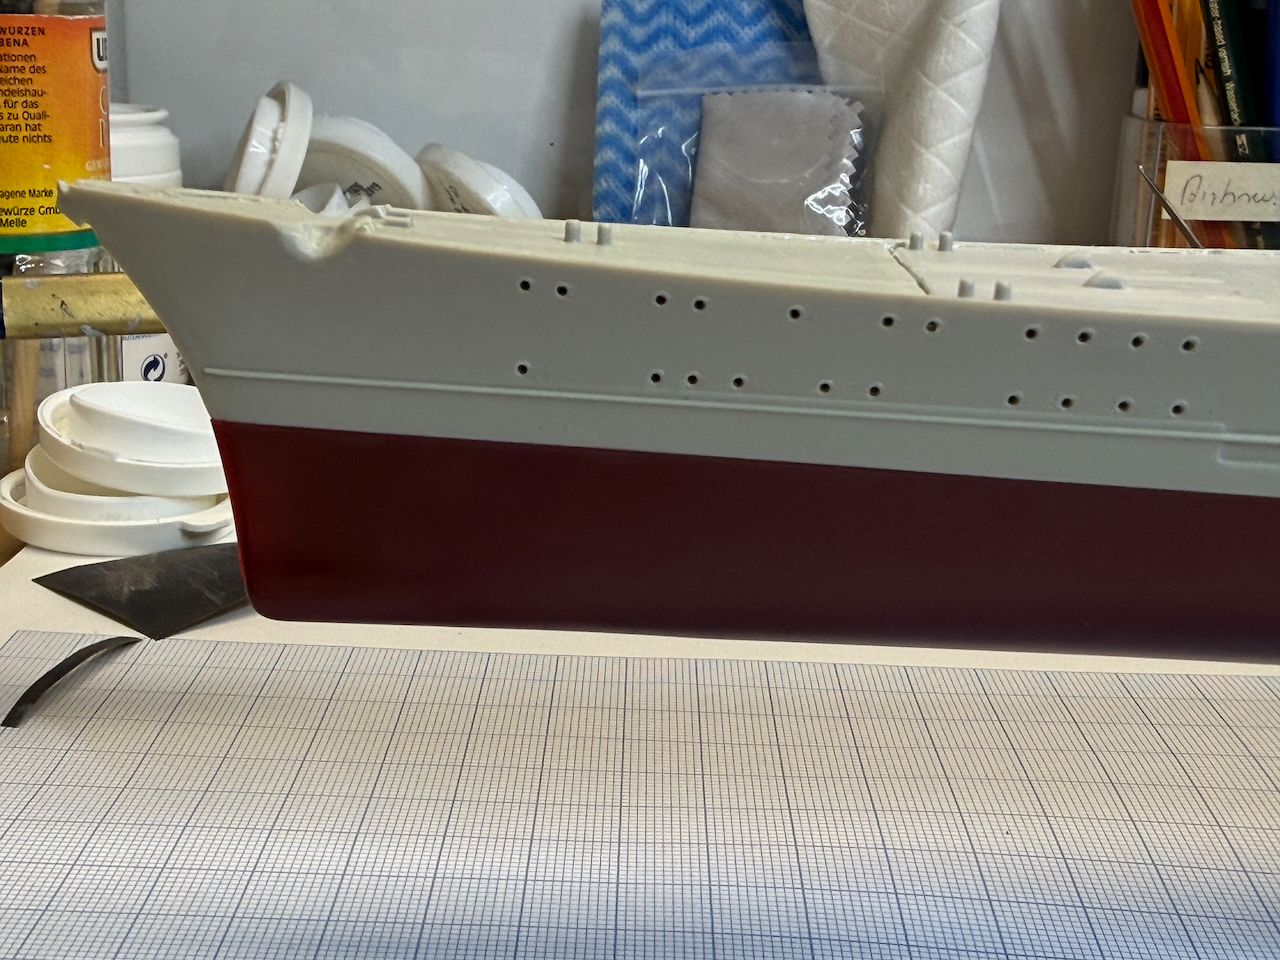
Work on the degaussing cable and identifying some areas in the bow that will require some filling later on…
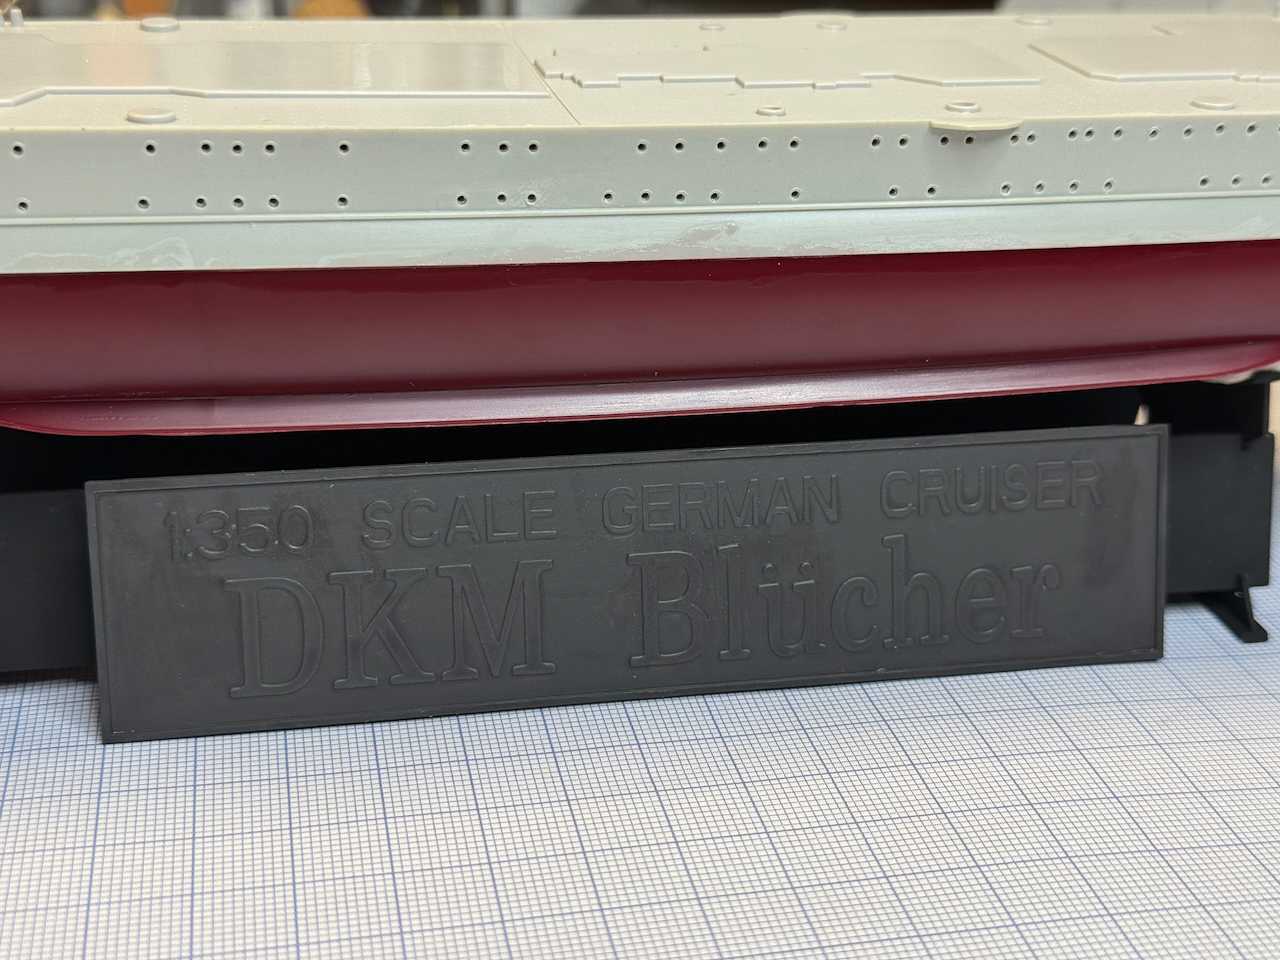
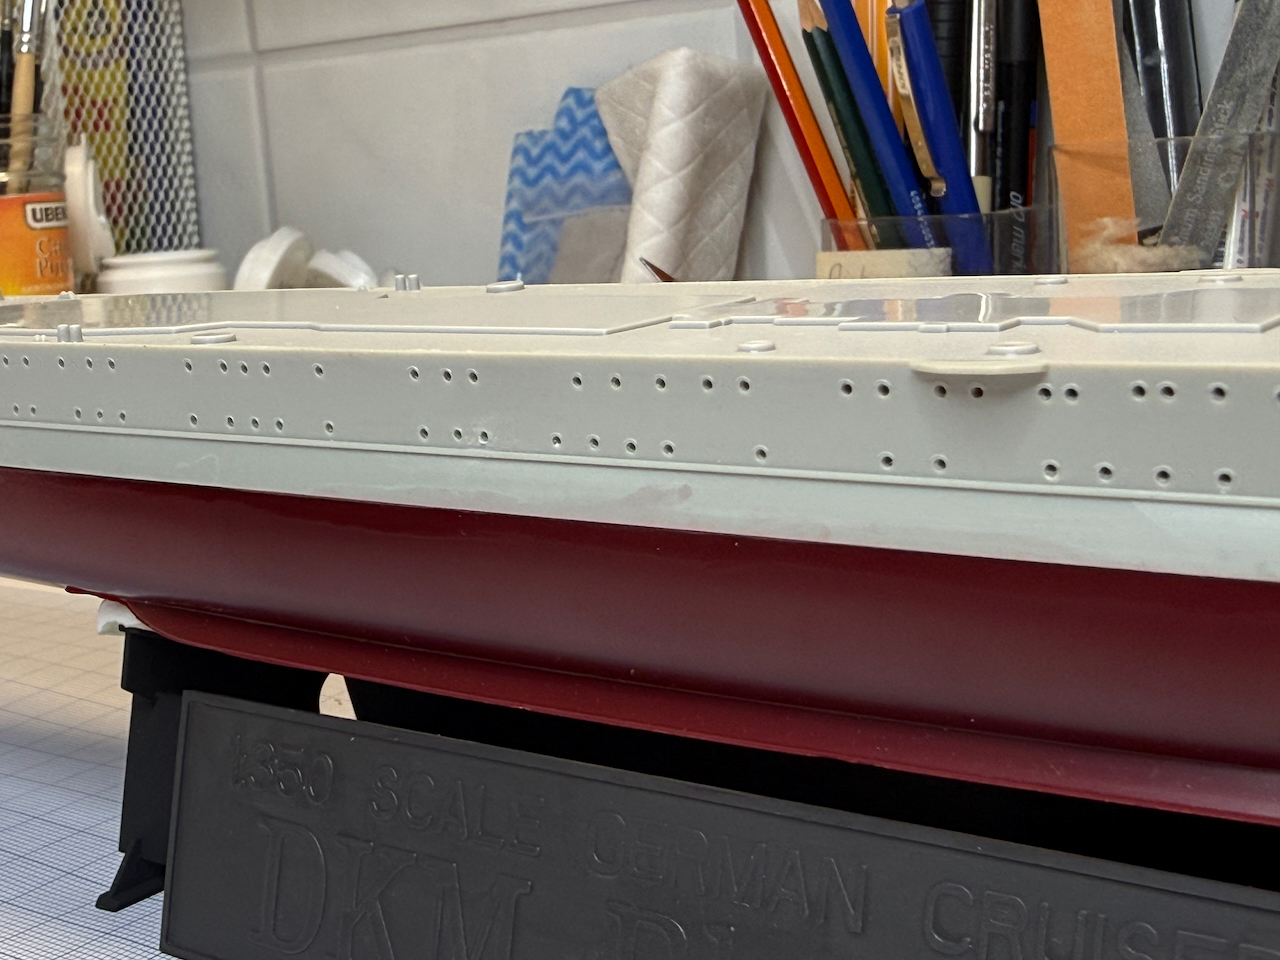
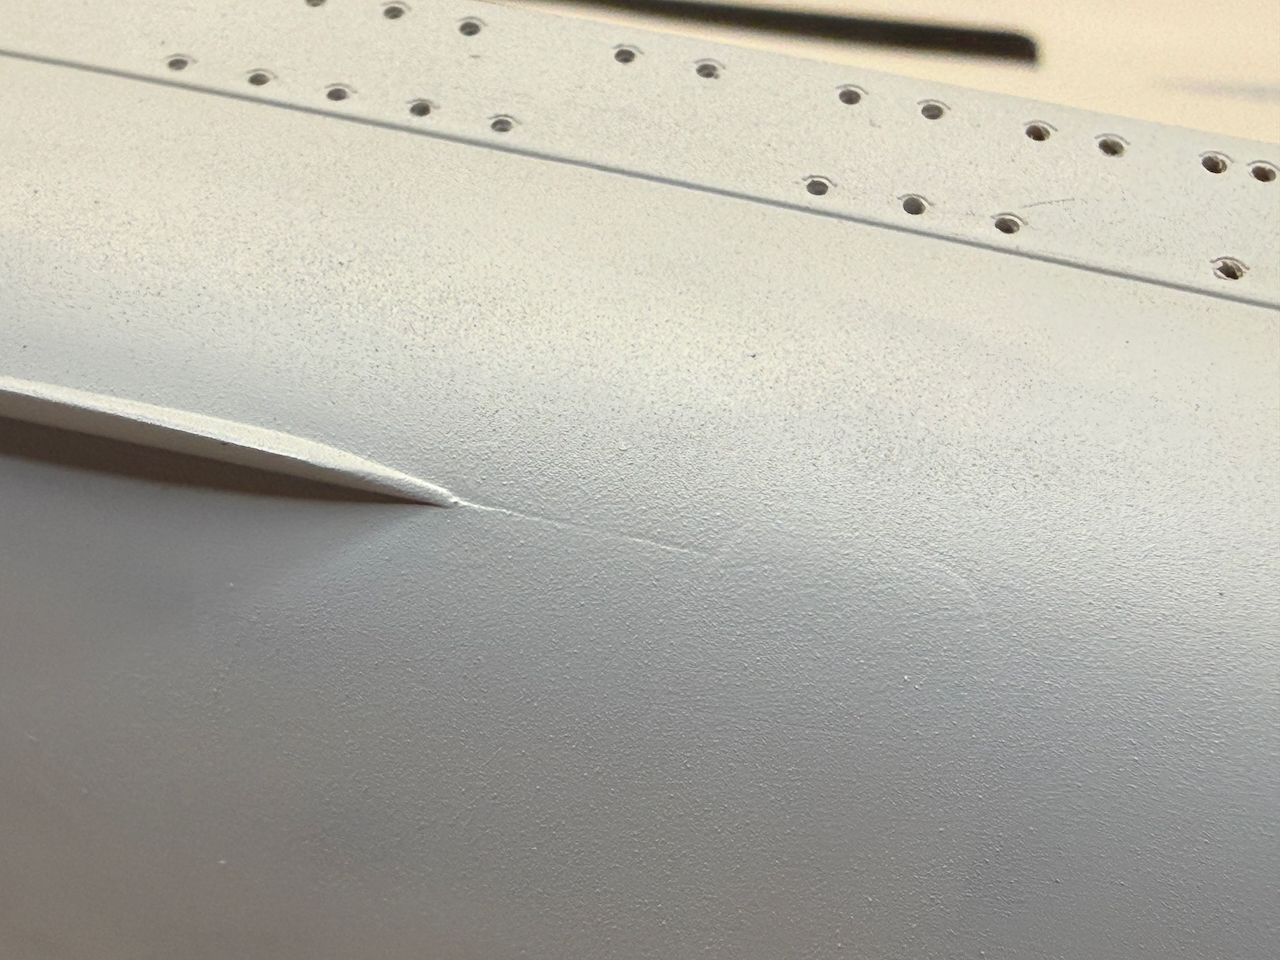
First color - nameplate in “dark iron”. All portholes drilled out, as is my habit. I know that they were neither empty nor open, but drilling them open lets them stand out clear and dark against the hull.

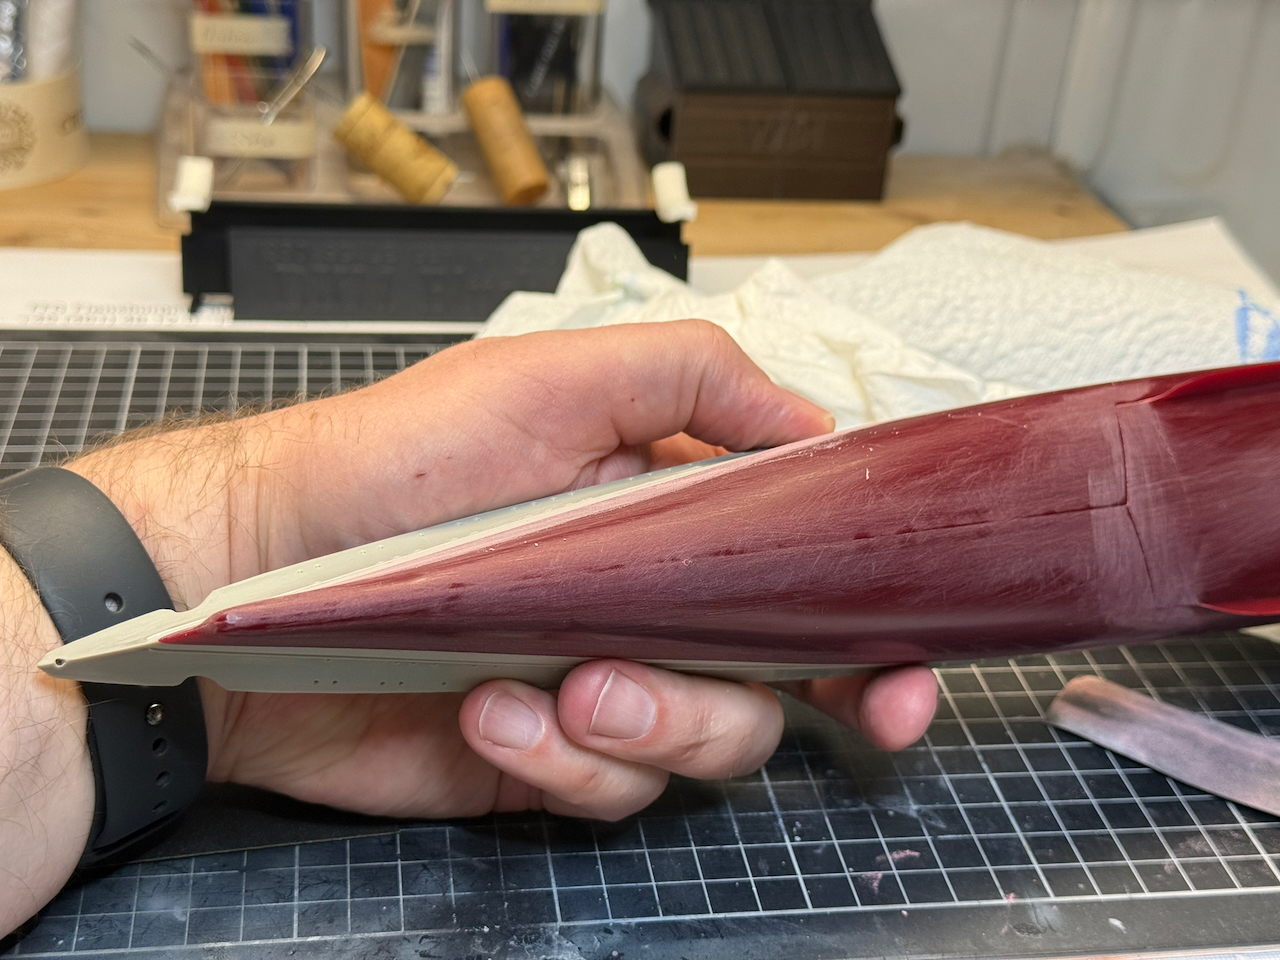
And upper and lower hull glued together - fit is really nice, but anyway, there will be a good deal of filling, sanding and smoothing required - that should be up next.


And that’s it for today and for the start of my new build log. I don’t even start promising next updates…next weekend could be a chance, but…
I hope to have you all along once again, as always, all comments and recommendations most welcome!
For now cheers
Jan
Pulled up a chair and tagging along Jan …. great start on her.
Jan, it’s really great to see you back on the boards with a new build!
And to make it even better, its the Blucher build!
Following with interest mate! ![]()
Another build I’ll follow in awe!
Cheers,
Angel
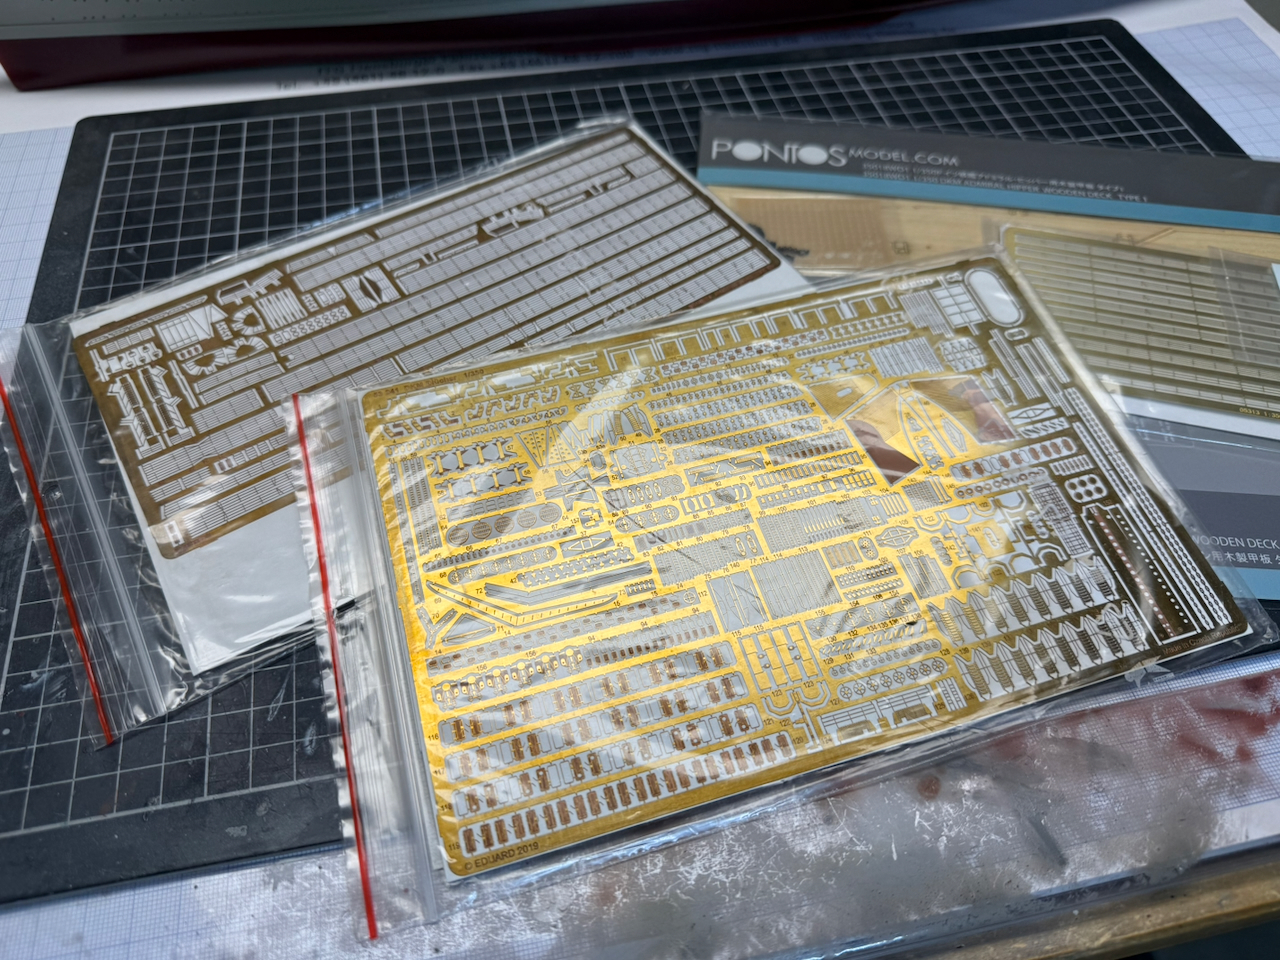
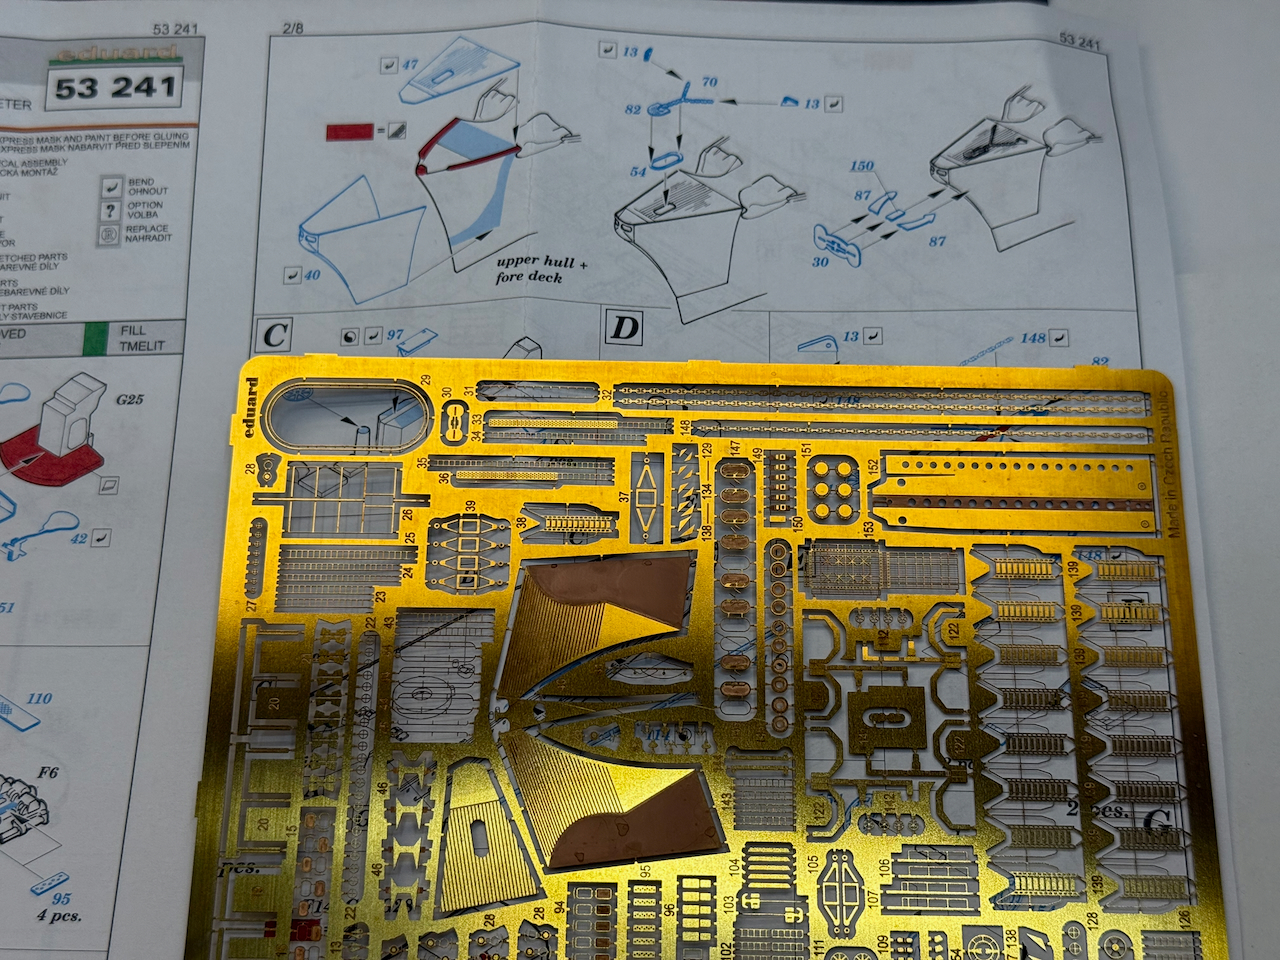
Looks like a lot of PE and other after-market stuff which should lead to another epic ship build. I’ll be following along closely, getting inspired and motivated to start another ship build myself.
This is another build report just the way I like it, Jan. No fear of major cutbacks. ![]()
![]()
I want to be on board!
Gentlemen,
thank you all so much, I am glad and honored to have you on board!
You all know, this is going to be another lengthy cruise at sometimes moderate speed, but I’m looking very much forward to it!
Cheers
Jan
Dear all,
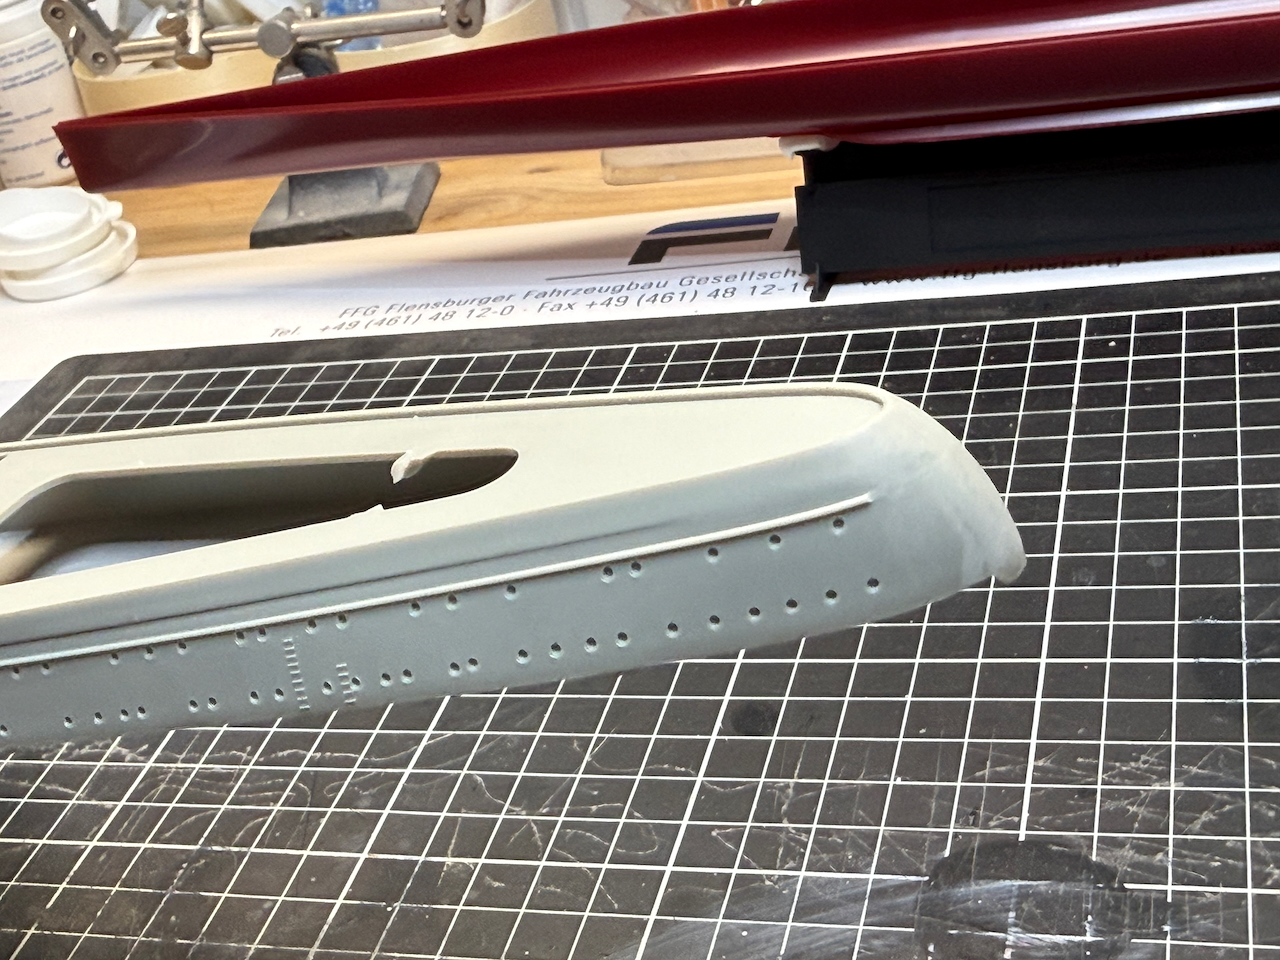
there’s a little progress to report. It doesn’t look much, but it was a few hours of work. If you put out ships in a pace like me (that is, one every few years…), you tend to forget how much work needs to go into the hull before you can start painting…
So here’s a few pictures of my - still not finished - sanding - filling - sanding… endeavor.


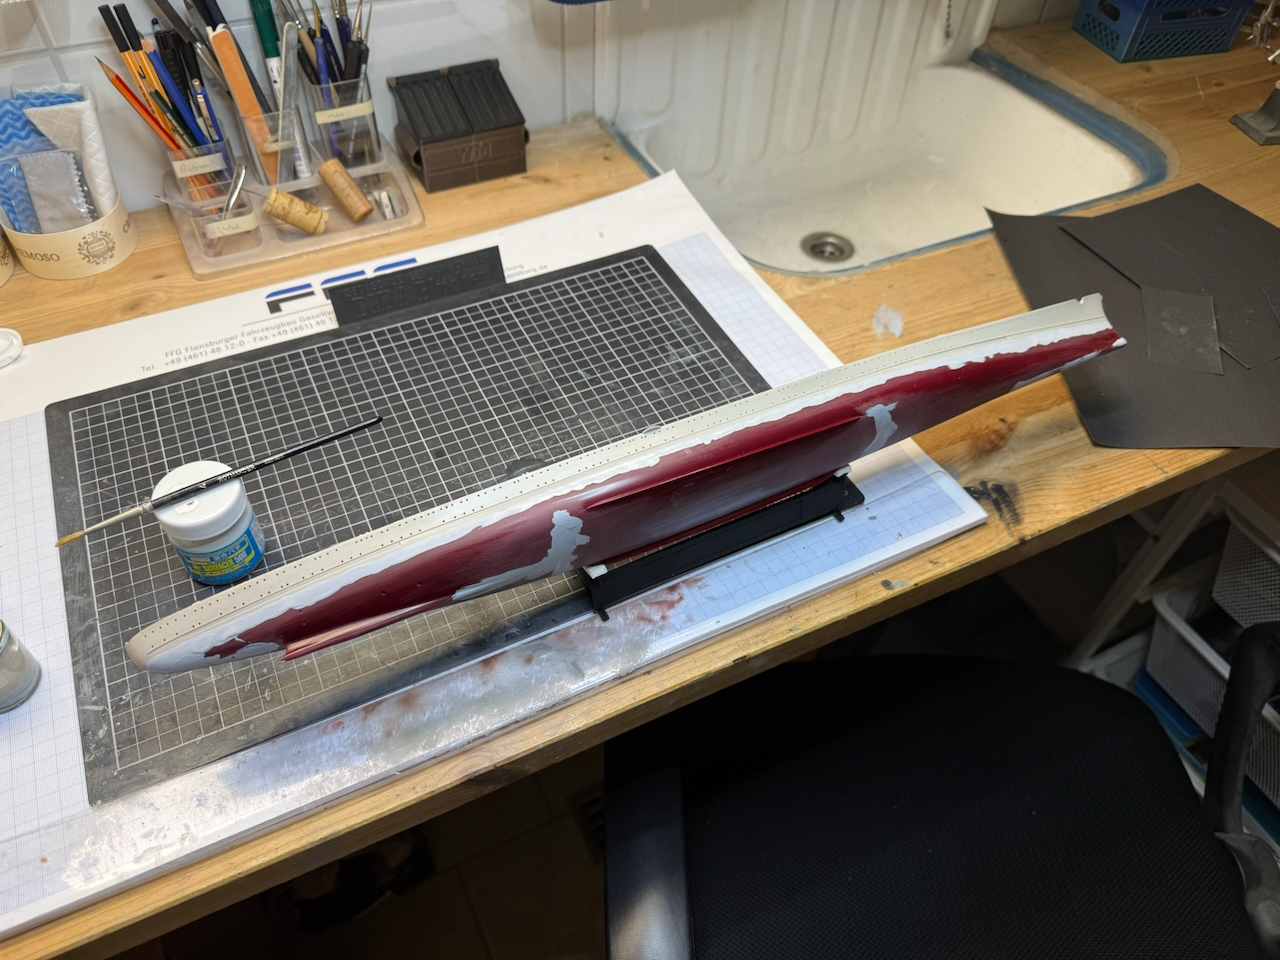
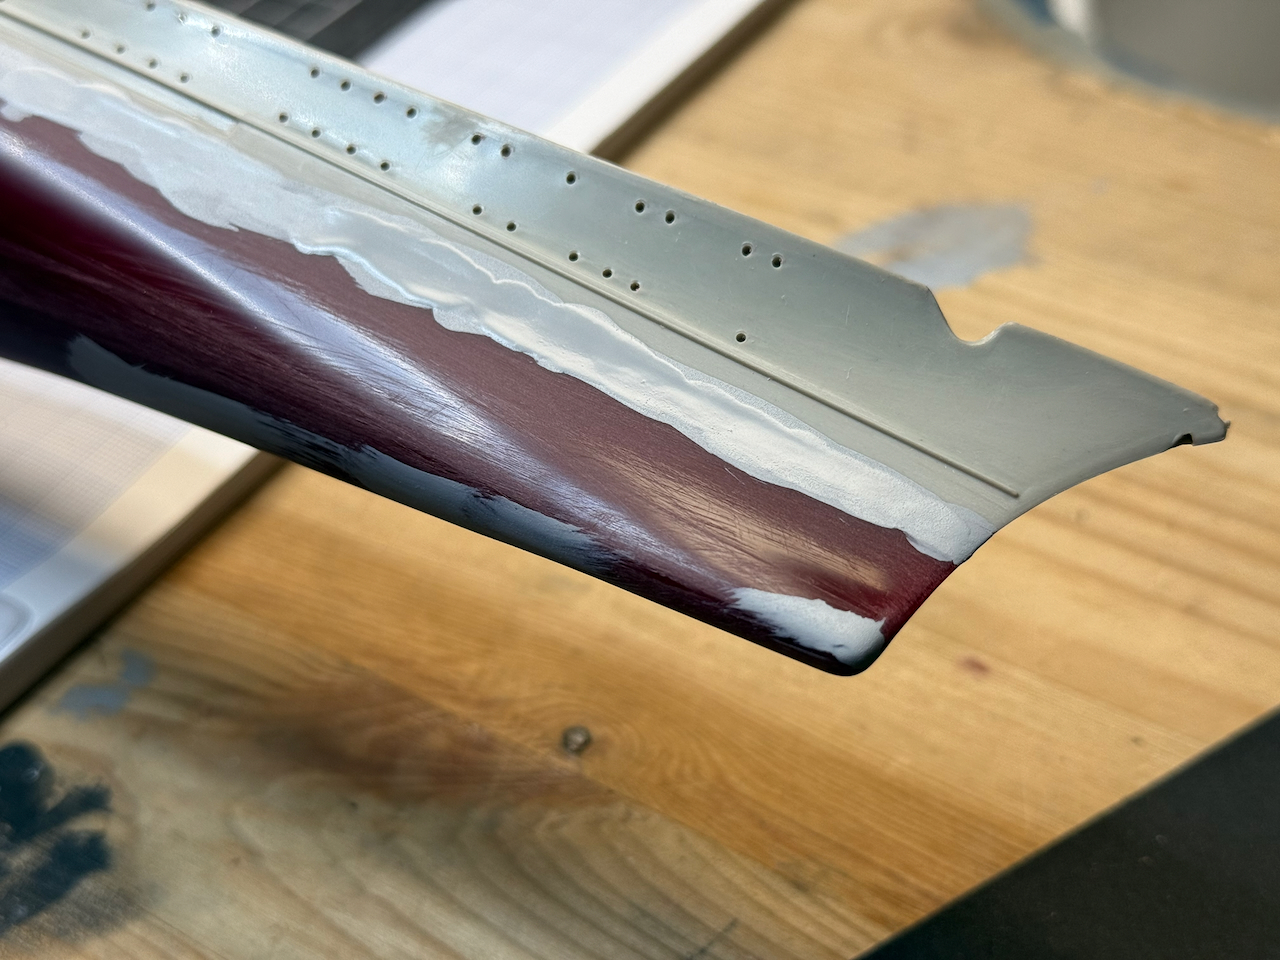
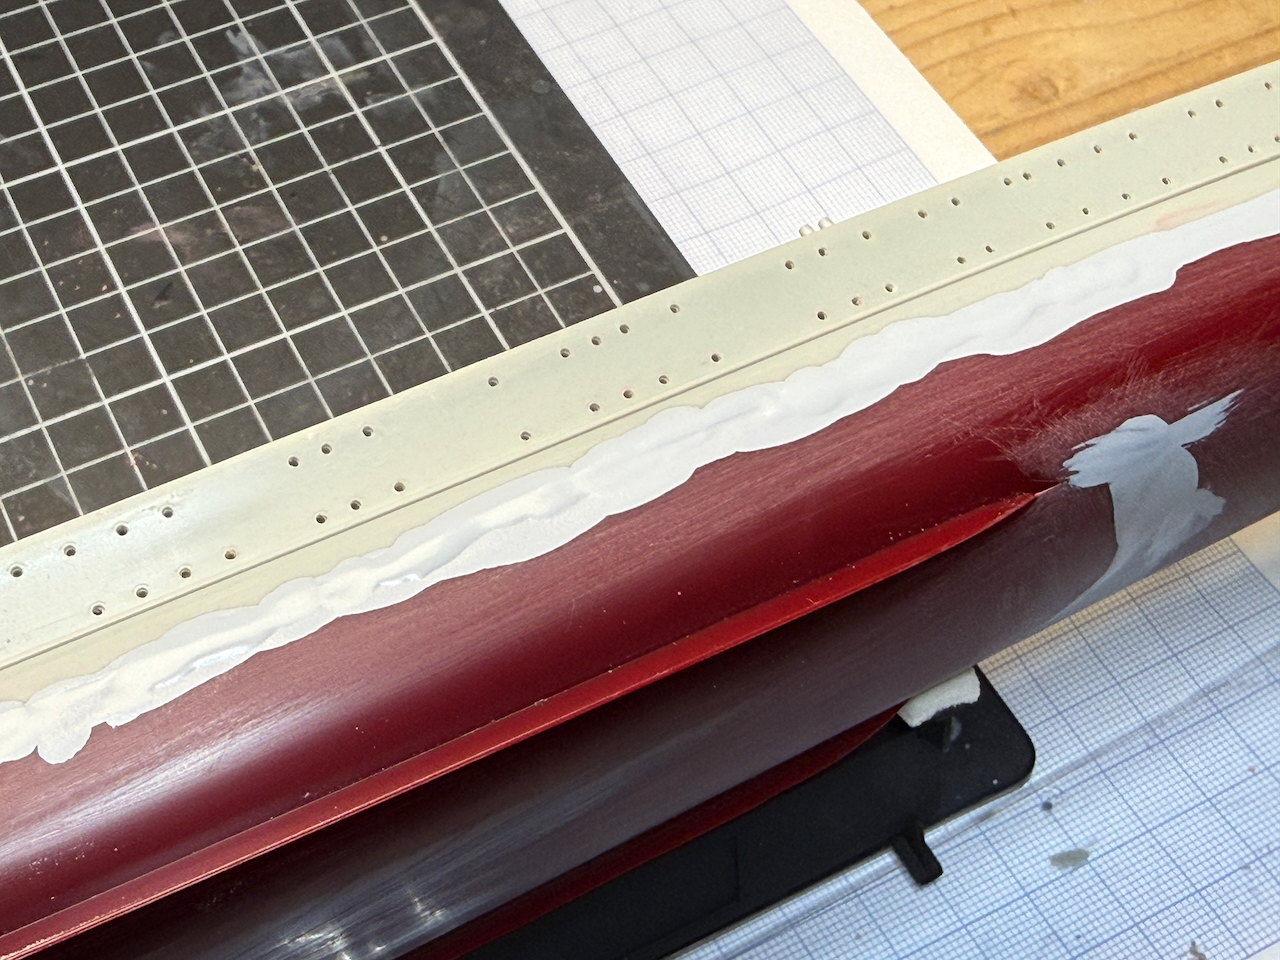
Once I’m satisfied, the whole hull will get a coat of Mr. Surfacer from the airbrush and a delicate sanding, before the first paint will come on. That will likely be in a few weeks, as the filling/sanding of the big seams will have to be repeated a couple of time yet.
So much for today,
cheers
Jan
Ah, I remember the fun I had with the Eugen’s 2 part hull.
Good work so far Jan ![]()
Hi Jan, great to see on another project, I will be following along with interest.
Cheers, ![]() Si
Si
Dear all,
thank you for following, and welcome on board, Si - great to have you along, too!
Russ, you’re so right mate - sheer fun…
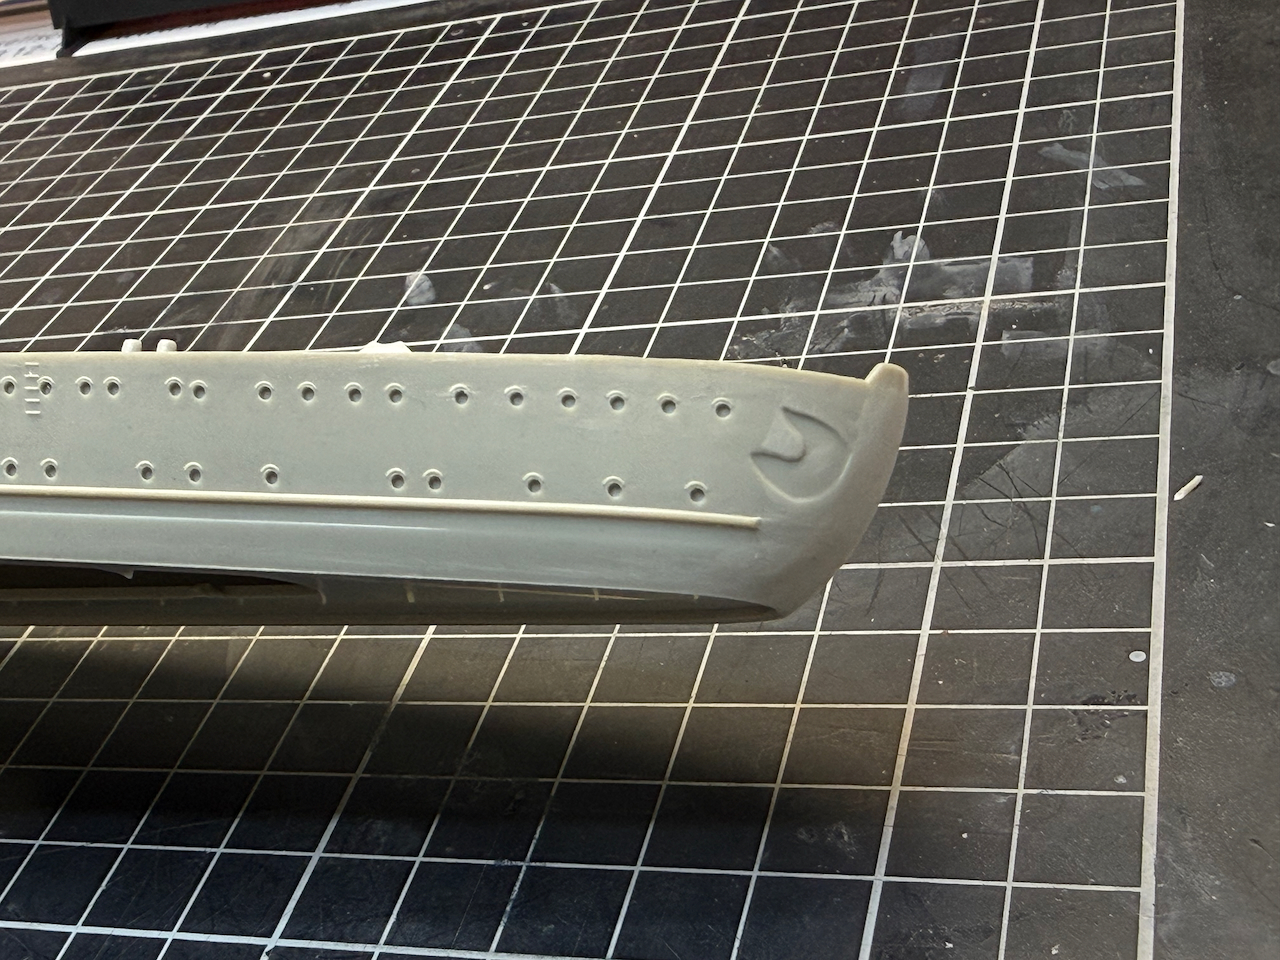
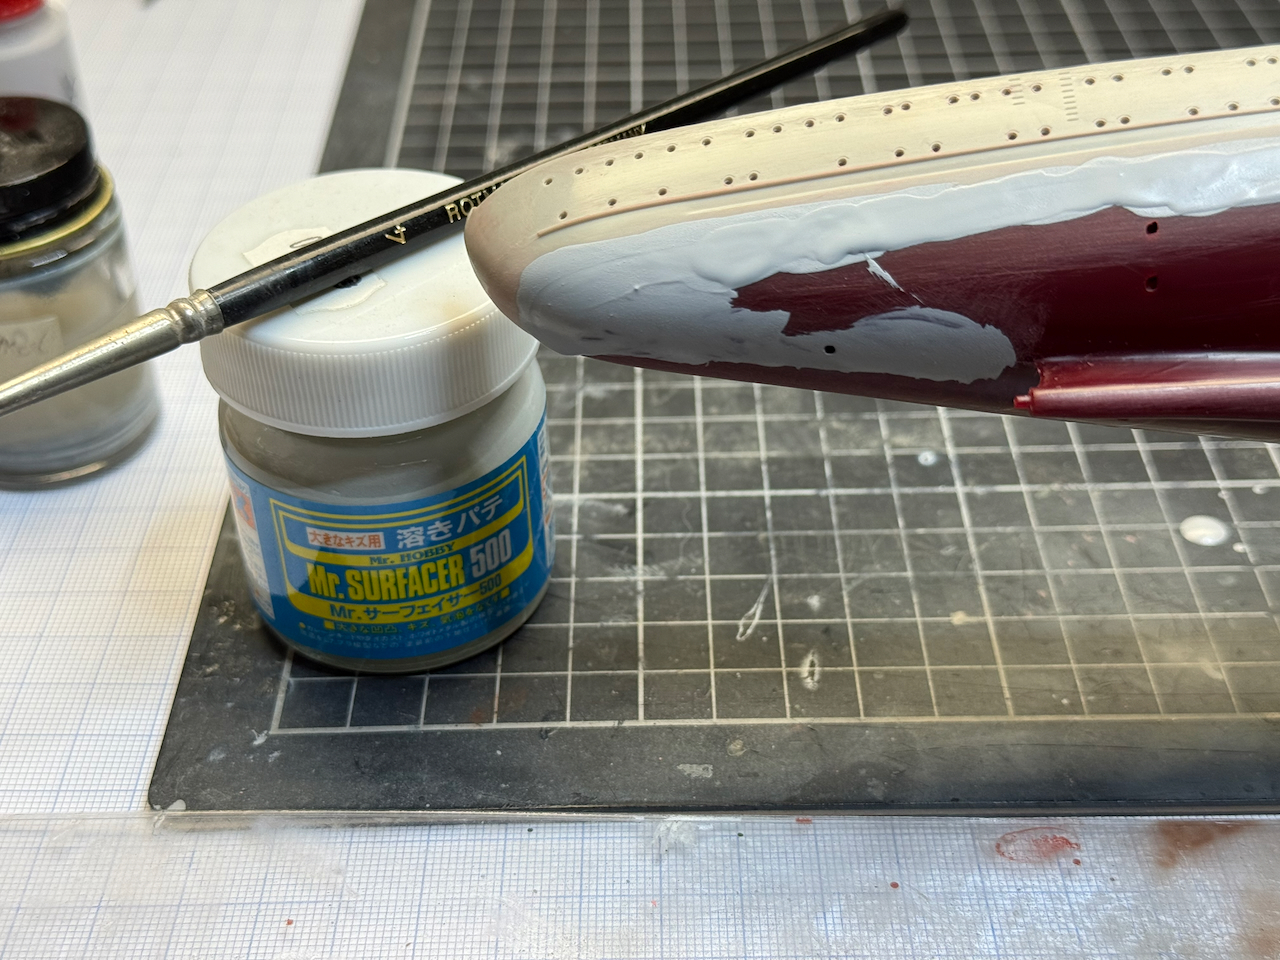
So one single update-pic for today - more like a symbolic picture.
As I was busy otherwise yesterday (and during the entire week before - I had initially planned on at least some sanding in the evenings after work, but office days are pretty extensive these times…) I could only sand everything that I had prepared last weekend. The seam looks surprisingly smooth already, however, at least on more round of filling ist required (and sitting to dry…).
With some luck I can spray on the primer coat next weekend.
Cheers
Jan
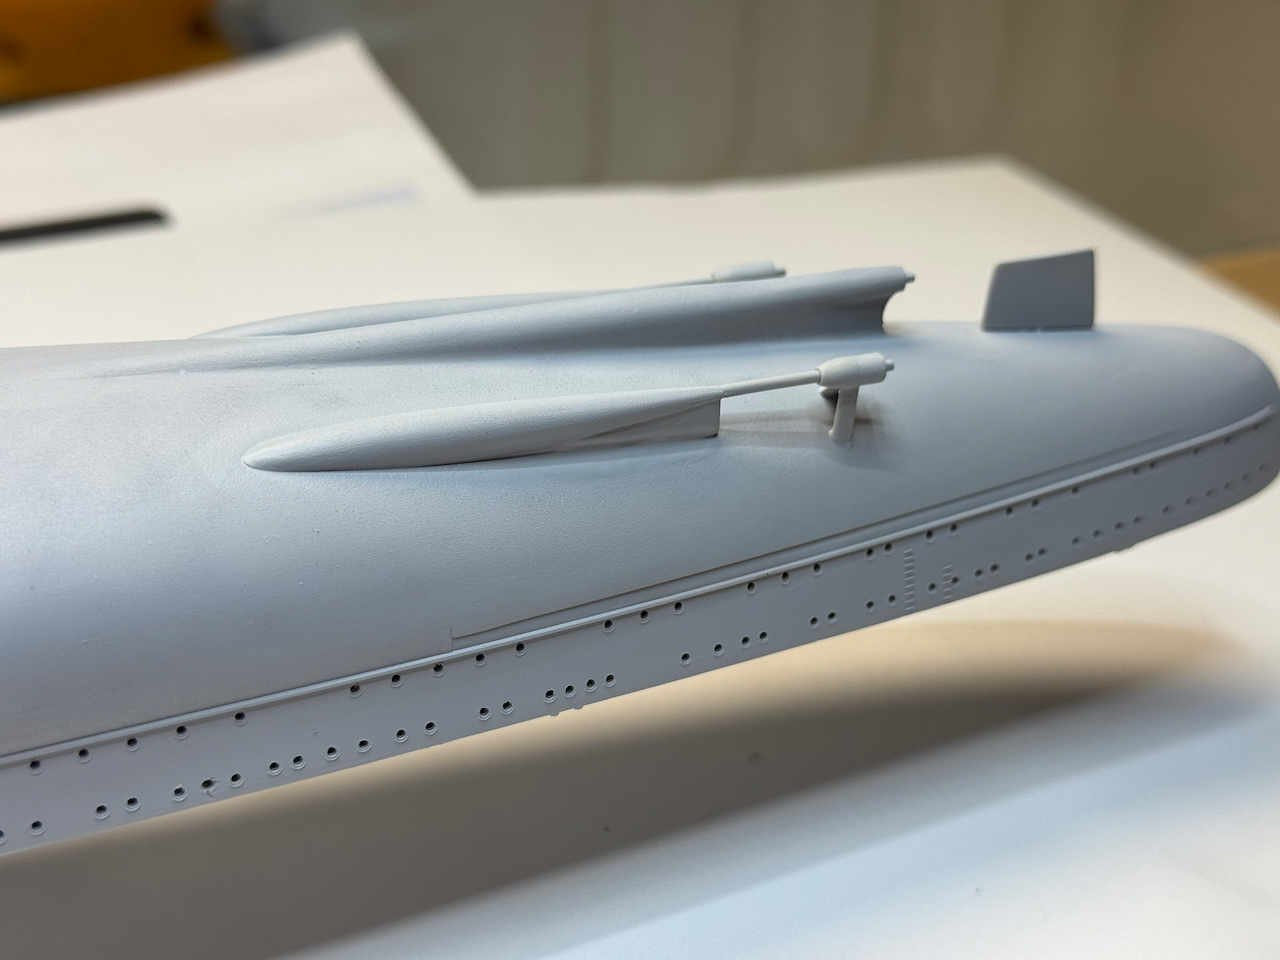
And a little bit more to show.
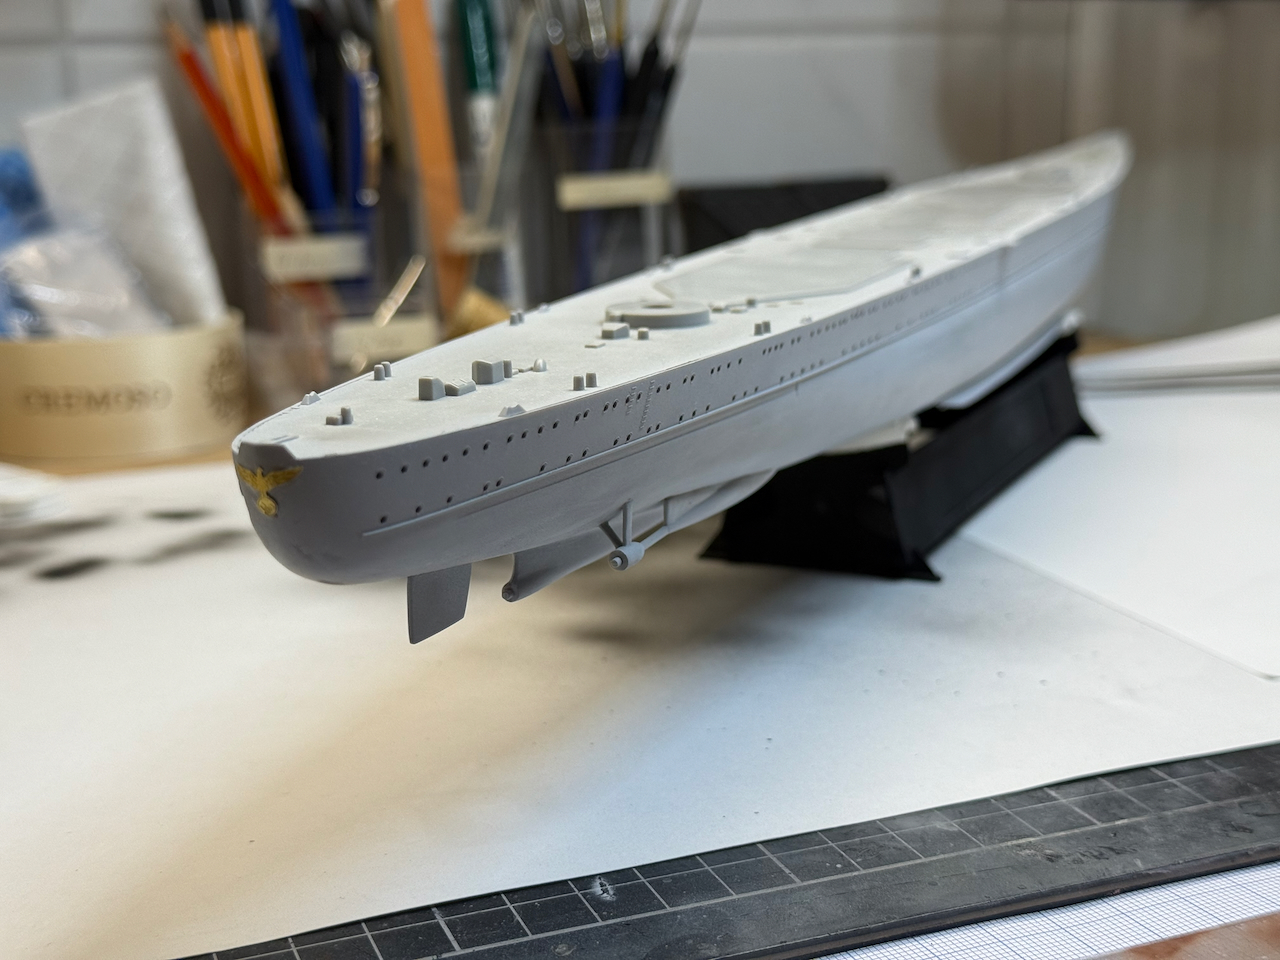
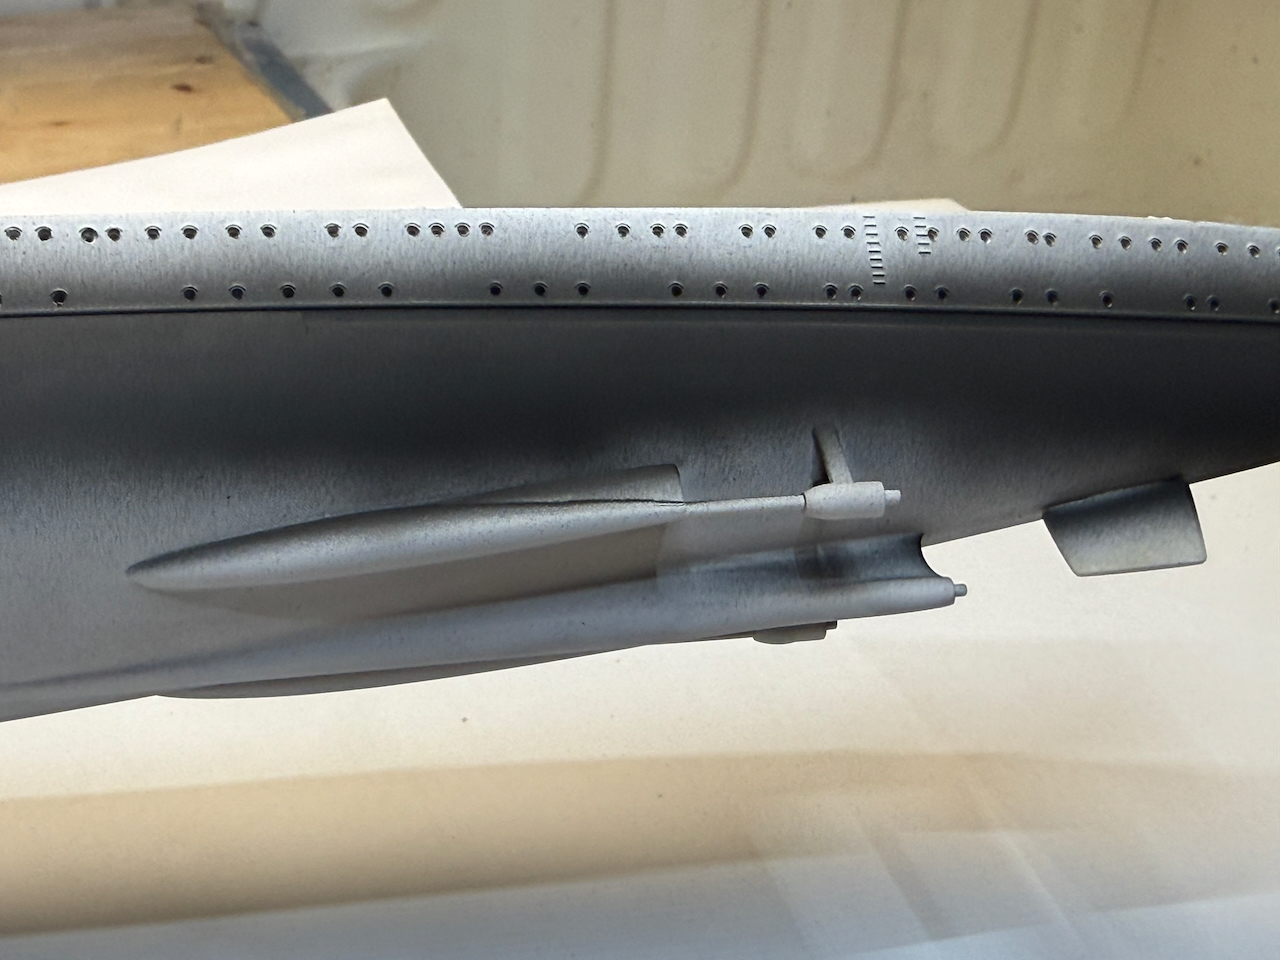
Shafts and rudder installed before giving the hull a coating of Mr Surfacer. I can’t say wether the kits parts from Blücher and Prinz Eugen are much different here, but to avoid any risk of misfitting, as the whole lower part of the model is from the Prinz Eugen kit, I used the shaft’s parts and rudder from the Prinz Eugen kit.
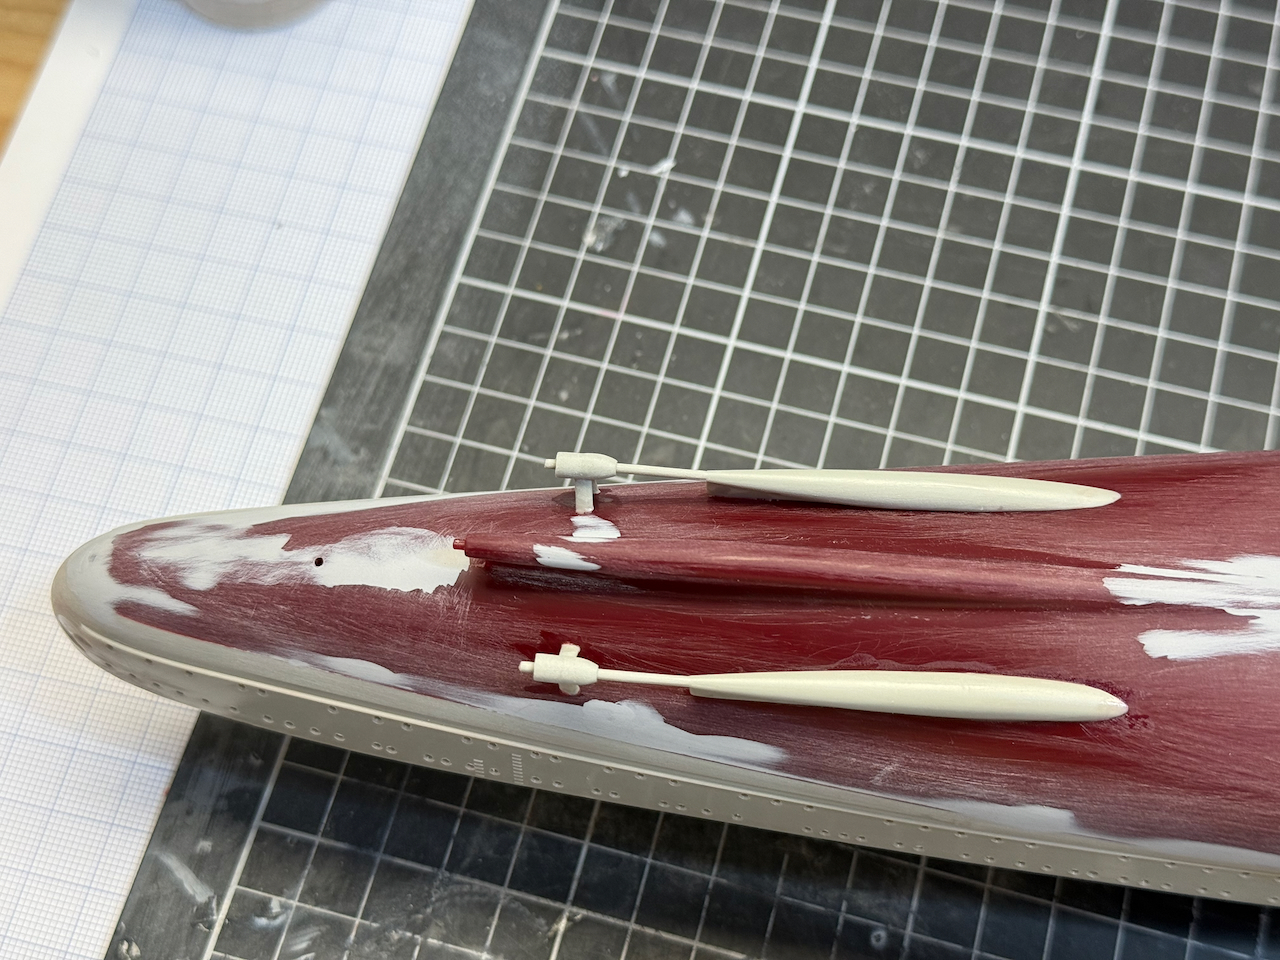

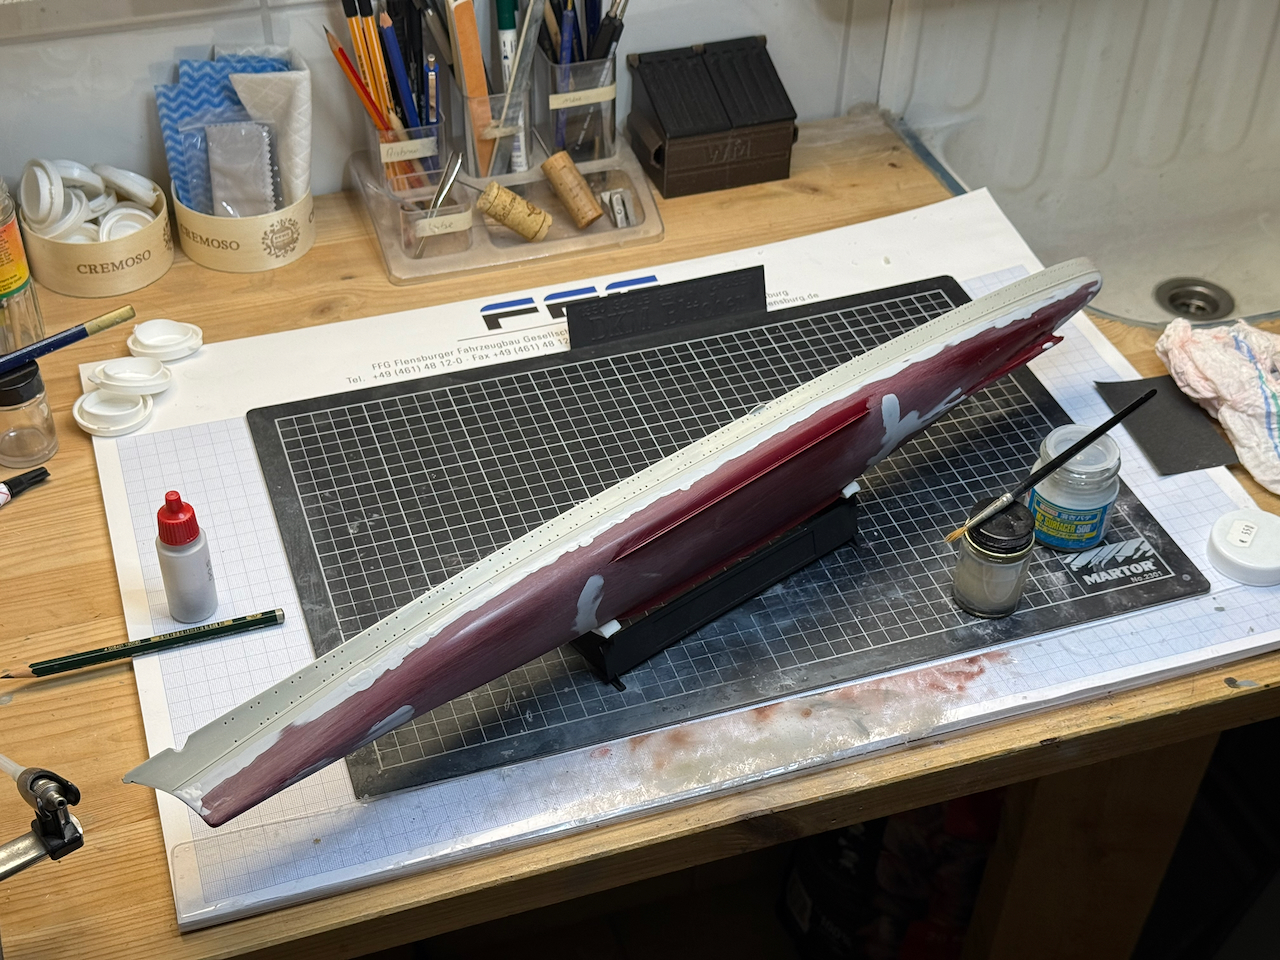
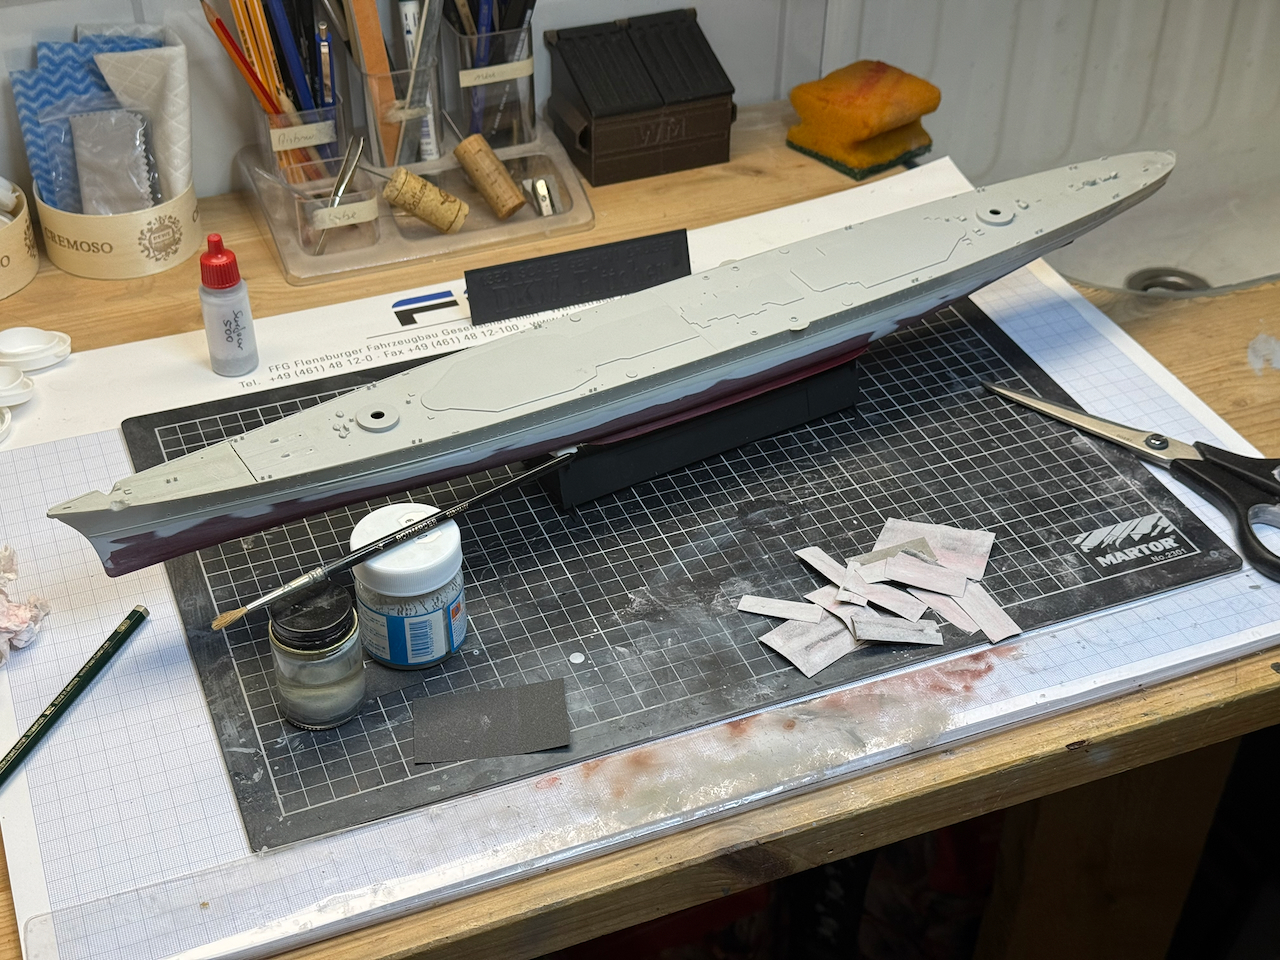
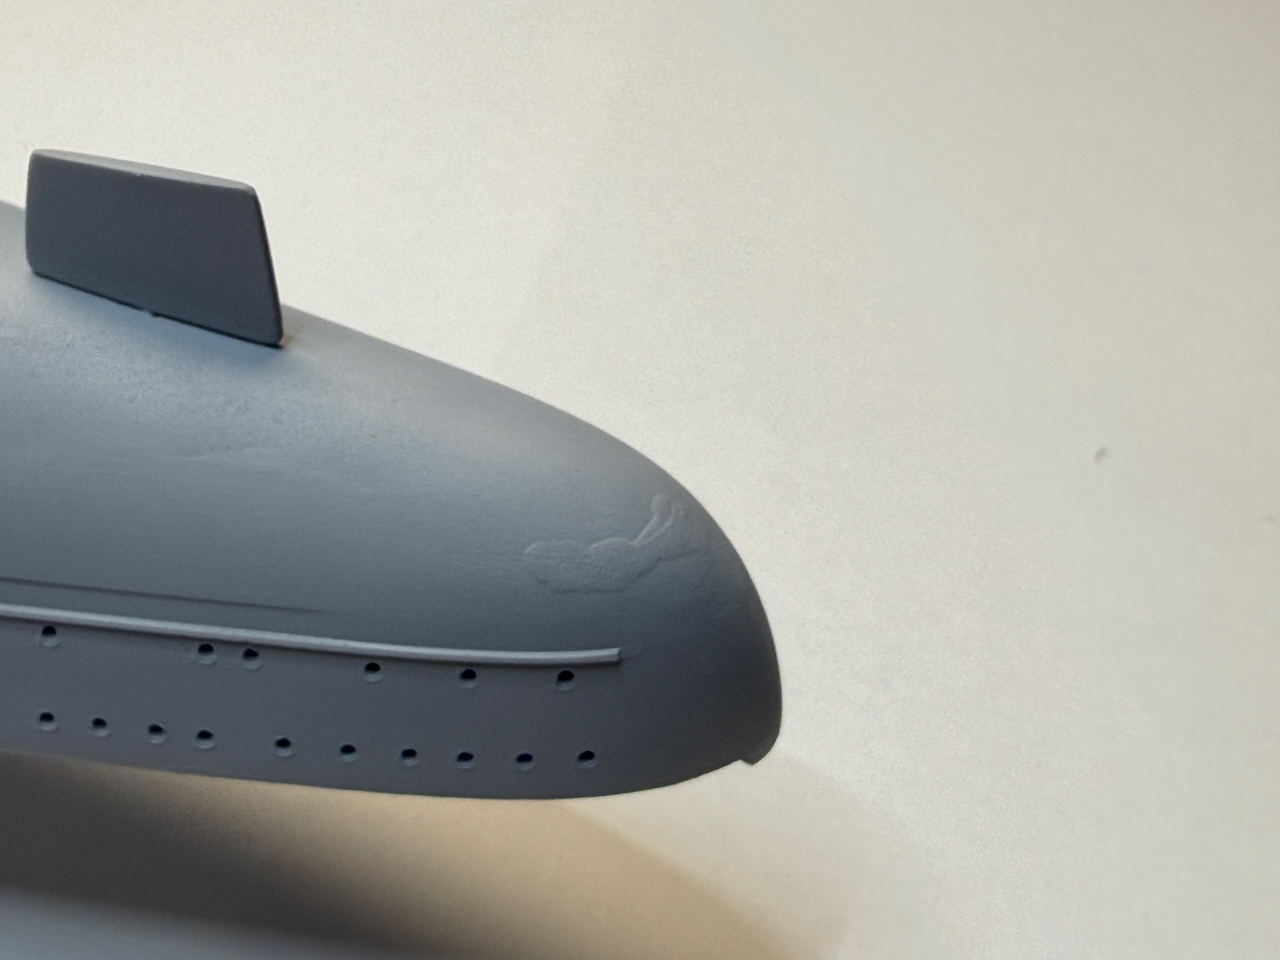
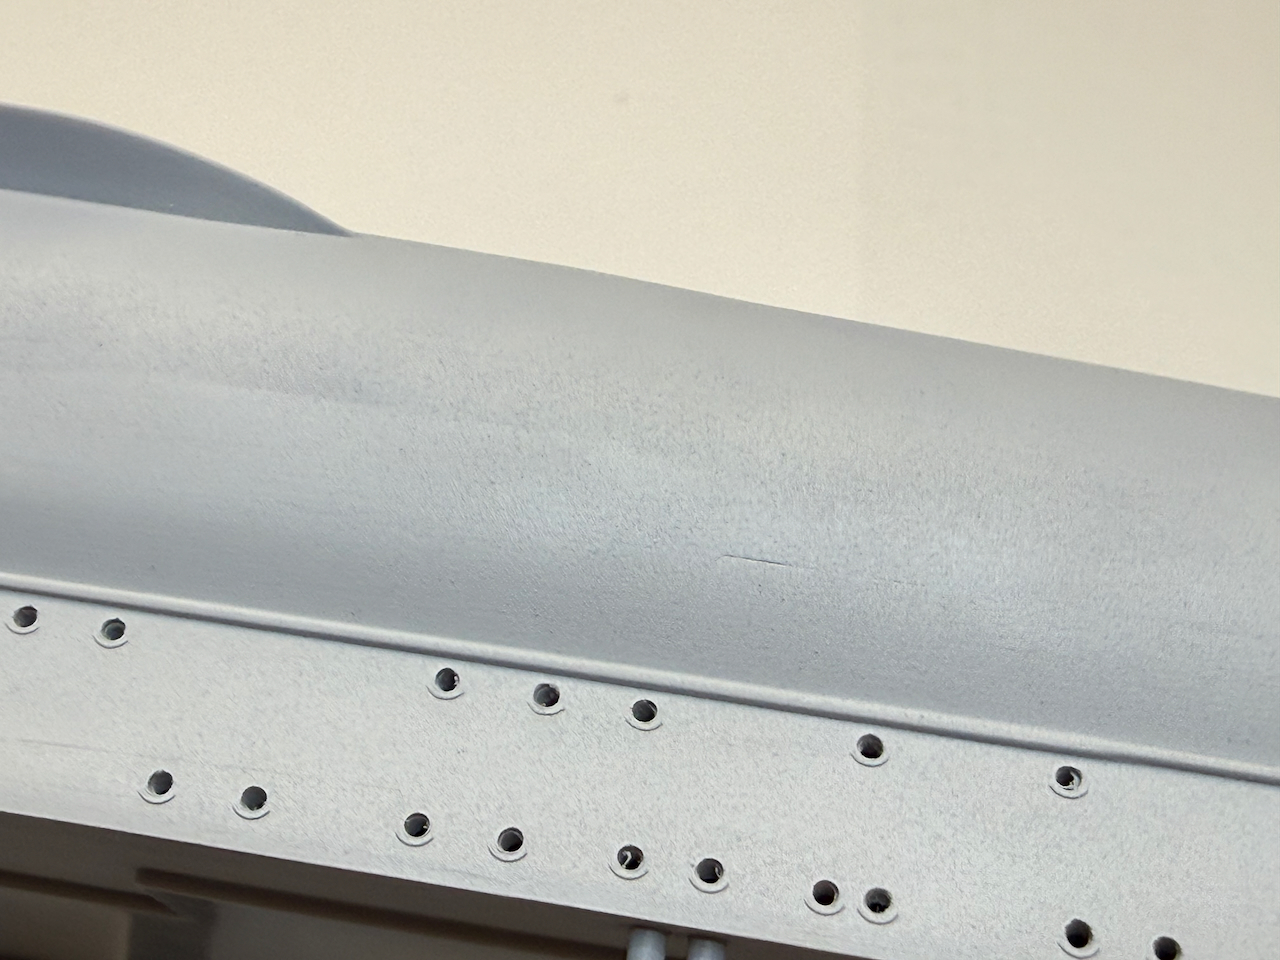
Next the whole hull was sprayed with surfacer to bring out all areas that still require more work.

Results are better then expected - there are quite some areas that need more filling, and the whole ship will be sanded very gently before painting, but the problematic areas are less than I had feared…


By tomorrow it will be cured enough for further work. I hope to find some time.
For now cheers
Jan
Looking good Jan and thats a lot of sanding and filling …. makes a difference though …. ![]()
Thank you very much!
On a side note, it appears that Eduard is well aware of the wrong shape of the kit’s stem…
The picture below is from their page, presenting the photo etch upgrade. I had not payed any attention to it before I saw it by chance today, going thru my collection of etch that I want to use.
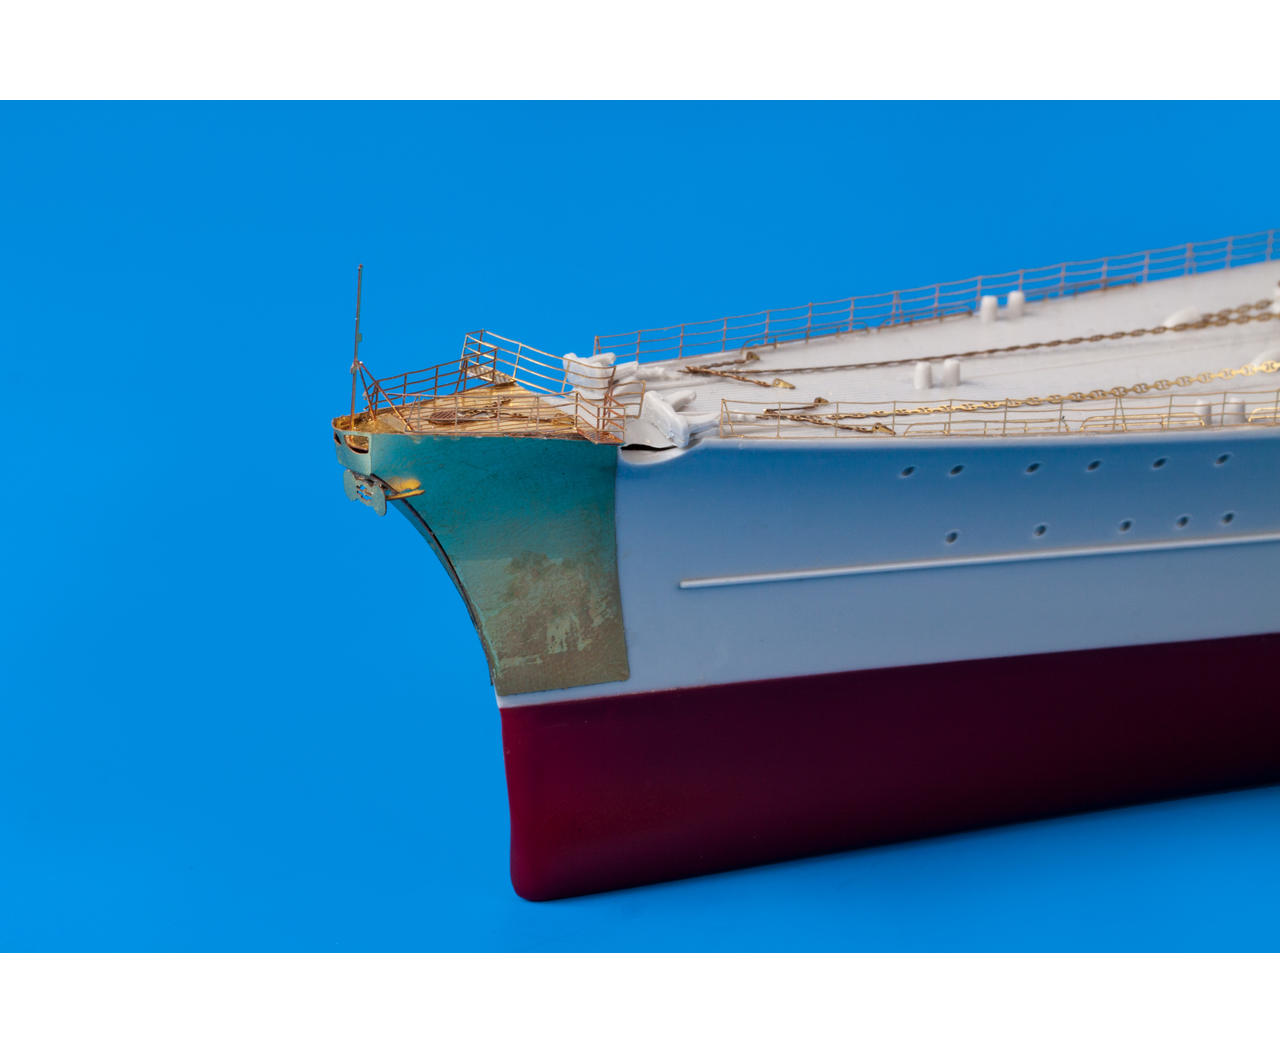
I honestly have doubts that this is practically doable, this needs to be seamlessly integrated into the hull structure and the stem itself seems a bit open - that would require quite a lot more filling and sanding and I have doubts that I would be able to get it look right with my abilities.
But back to the model progress.
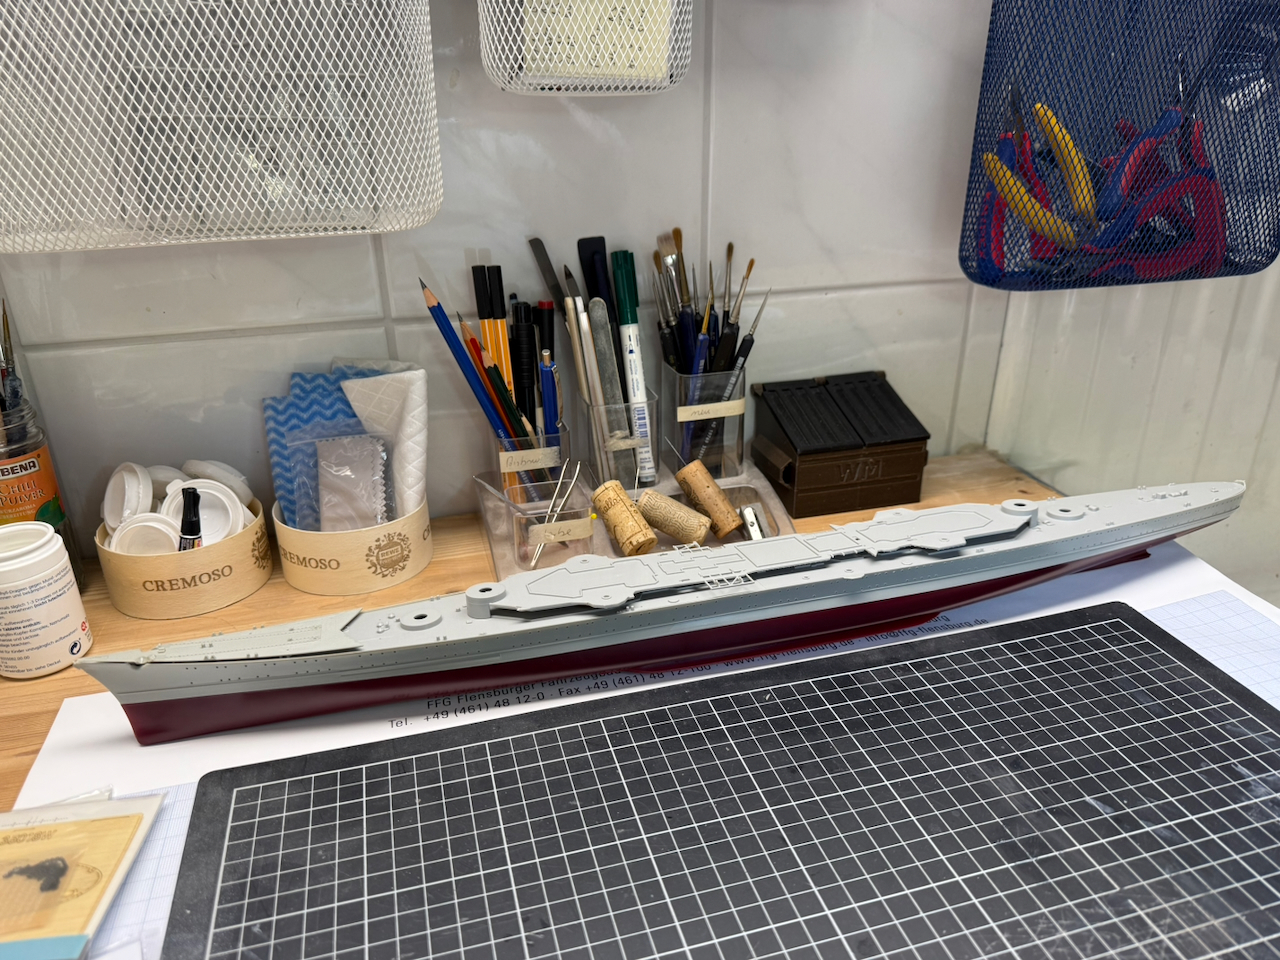
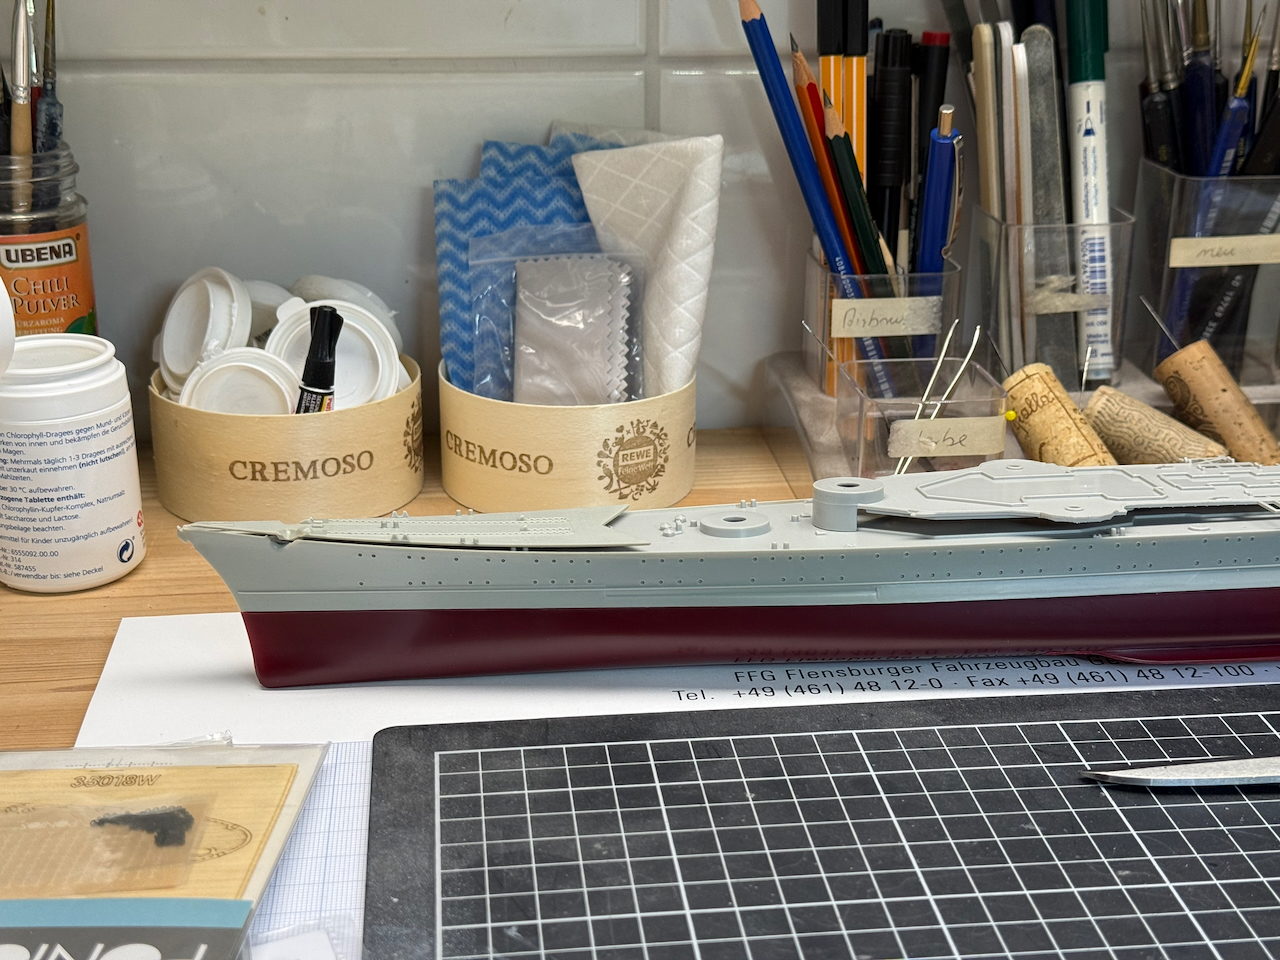
After some more sanding, most of it with extremely fine grade, the hull looks quite ok. The first PE is on, this one from the WEM kit.
And finally for this week, first color. I started with my “reverse engineered bootstripe” by spraying an extensive area around the waterline in black. The bootstripe of capital ships was about 2 m, so about 5,8 mm in 1/350 scale. I found some 5,9 mm masking tape which I consider is close enough. With this tape I am going to mask the bootstripe along the waterline, after that painting upper and lower hull. This gives you a bootstripe with perfect even thickness all along the hull.
So here’s the first color on and drying to be masked off in a few days, when I find some time…


All the filling and sanding payed off, the joint between upper and lower hull halves has disappeared.

So much for today, I should find at least a little time next weekend…I hope…
For now, thanks for following and cheers
Jan
Nice progress Jan ![]()
Interesting in this day and age of 3d printing, that Eduard is offering a brass “fix” for the stem, rather than a resin piece ![]()
Hi Russ,
thank you very much!
And in principle I agree -
however, time flies…the PE set from Eduard is an offering from around 2016…
That’s 10 years ago: I feel so old now ![]()