This might seem a bit weird, mate, but rather than using a 0.2mm drill (effectively the thickness of 2 sheets of paper) how about using a sharp pointer/needle and just press gently into the hole? This should give you the same result?
1 Like
Dear all, that’s very kind of you!
Yes, those Veteran do look so much better than the the kit’s parts, and I’m not giving up.
Just until I saw the pictures I took to upload them here - another order of magnitude in terms of magnification - I was rather happy, then I saw what I did…more later.
Thomas, same here - 0.3 mm ist the smallest I have, whenever I find them somewhere I buy a couple as I tend to break them frequently. Never seen a 0.2 mm drill…
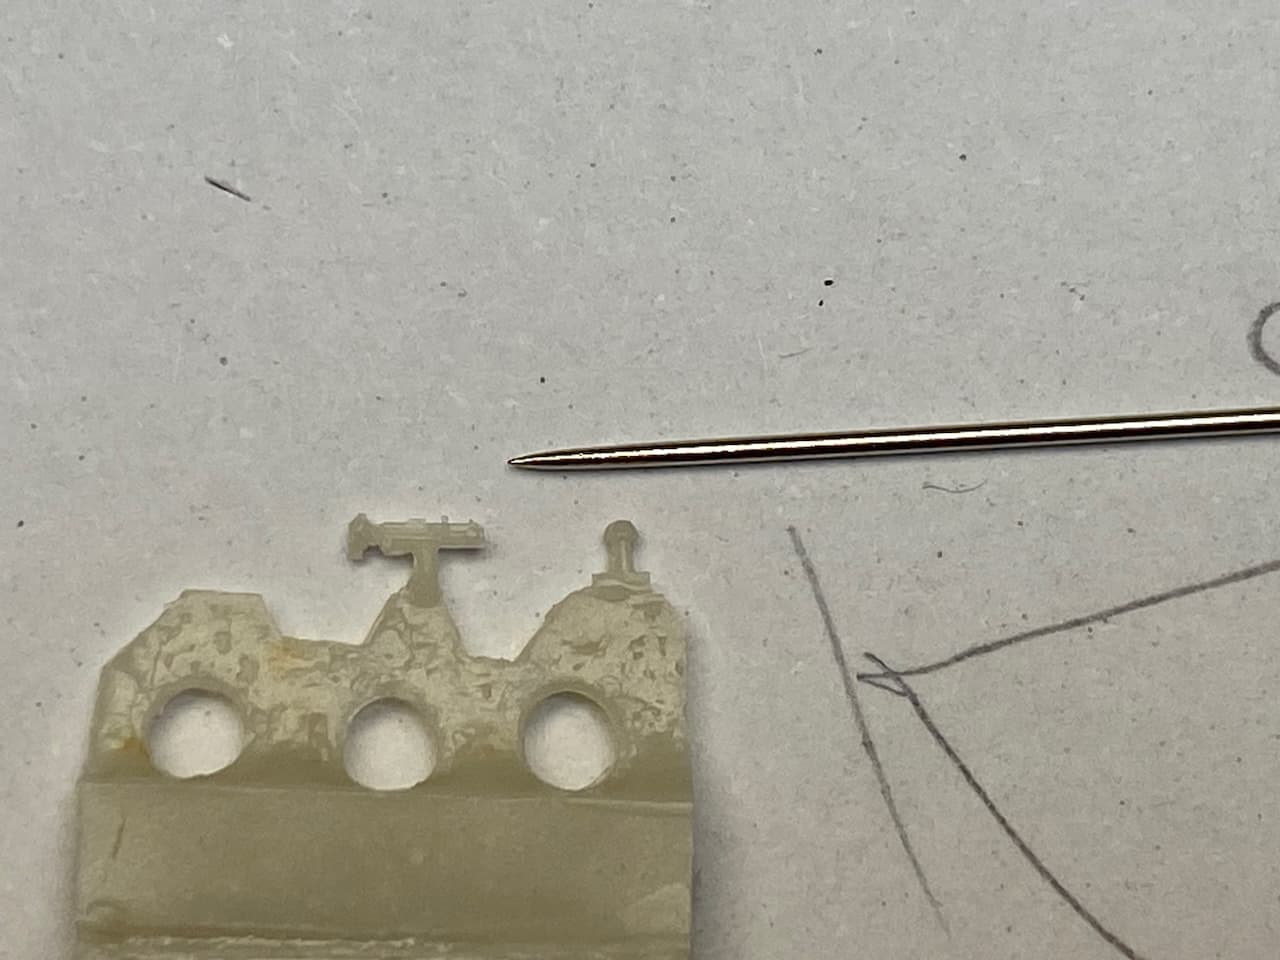
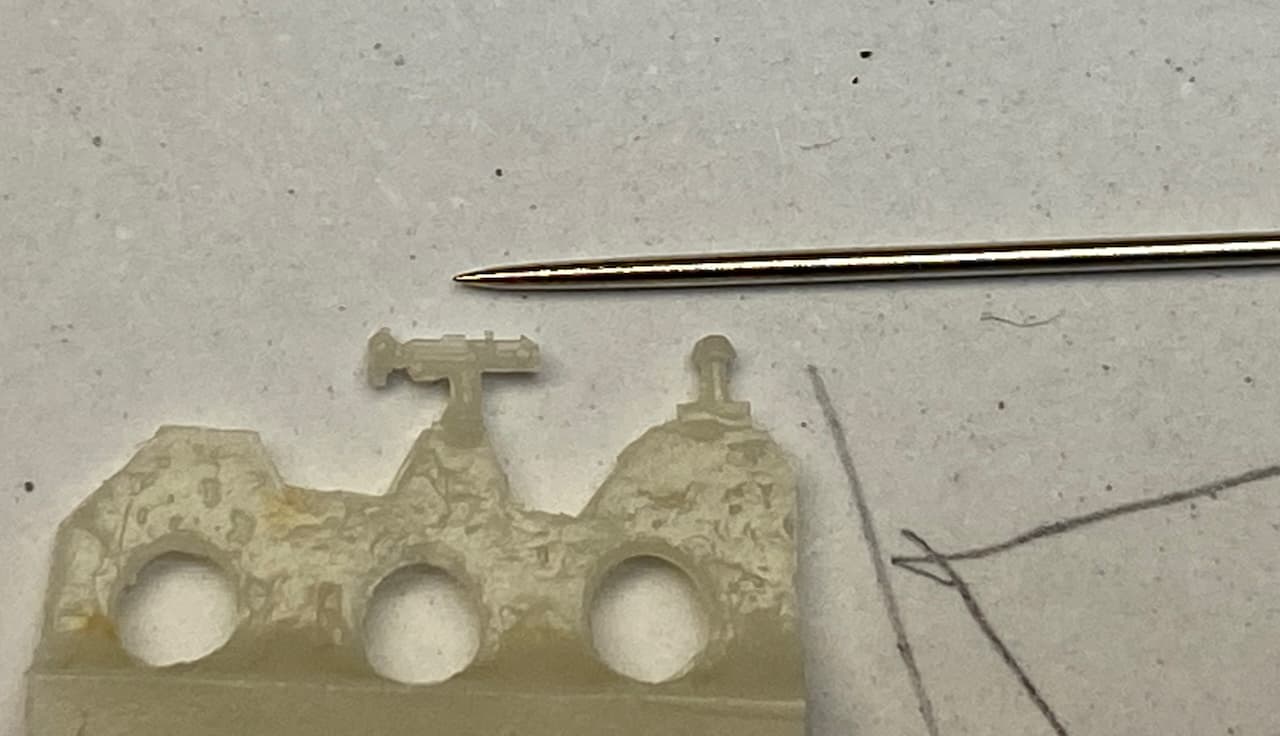
Russ, not weird at all - however, did you realize how big needles are?
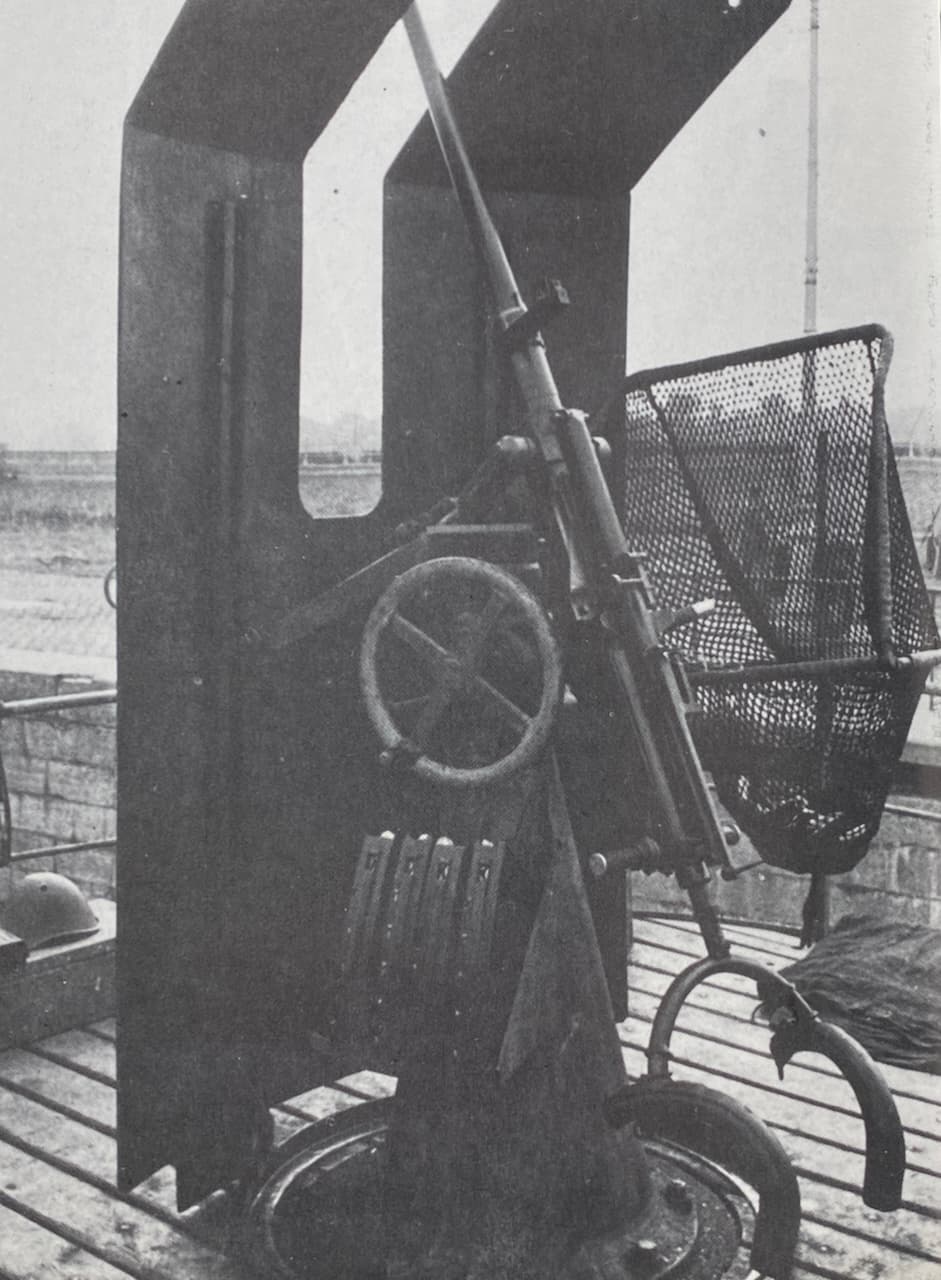
Tim, the shell casing nets is exactly what I was thinking about to omit. Even though they are really delicate etch, they are still too big and sturdy compared to the rather simple nets from the original.
And I will not use the safety chain that could be added to the shoulder pads.
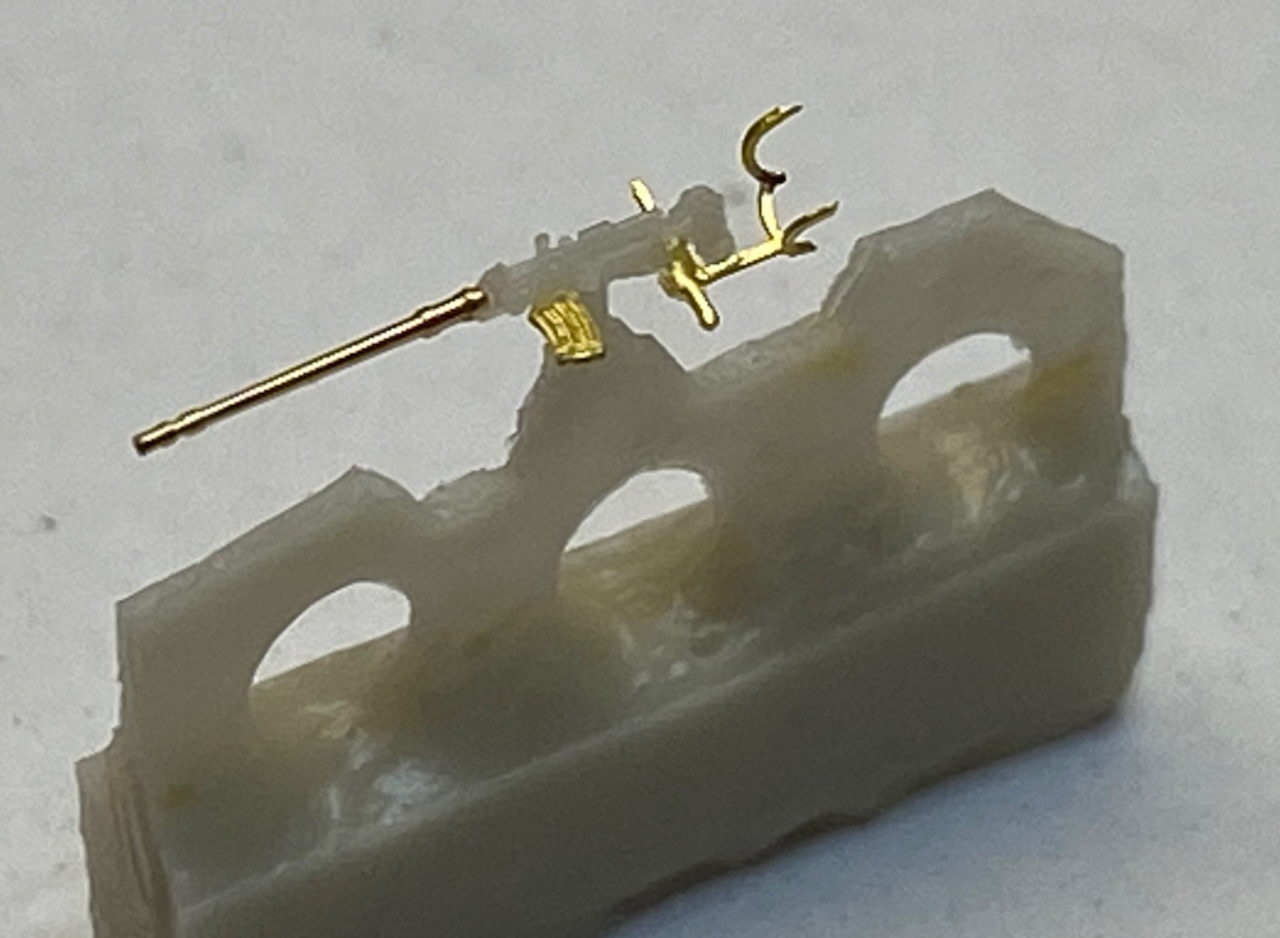
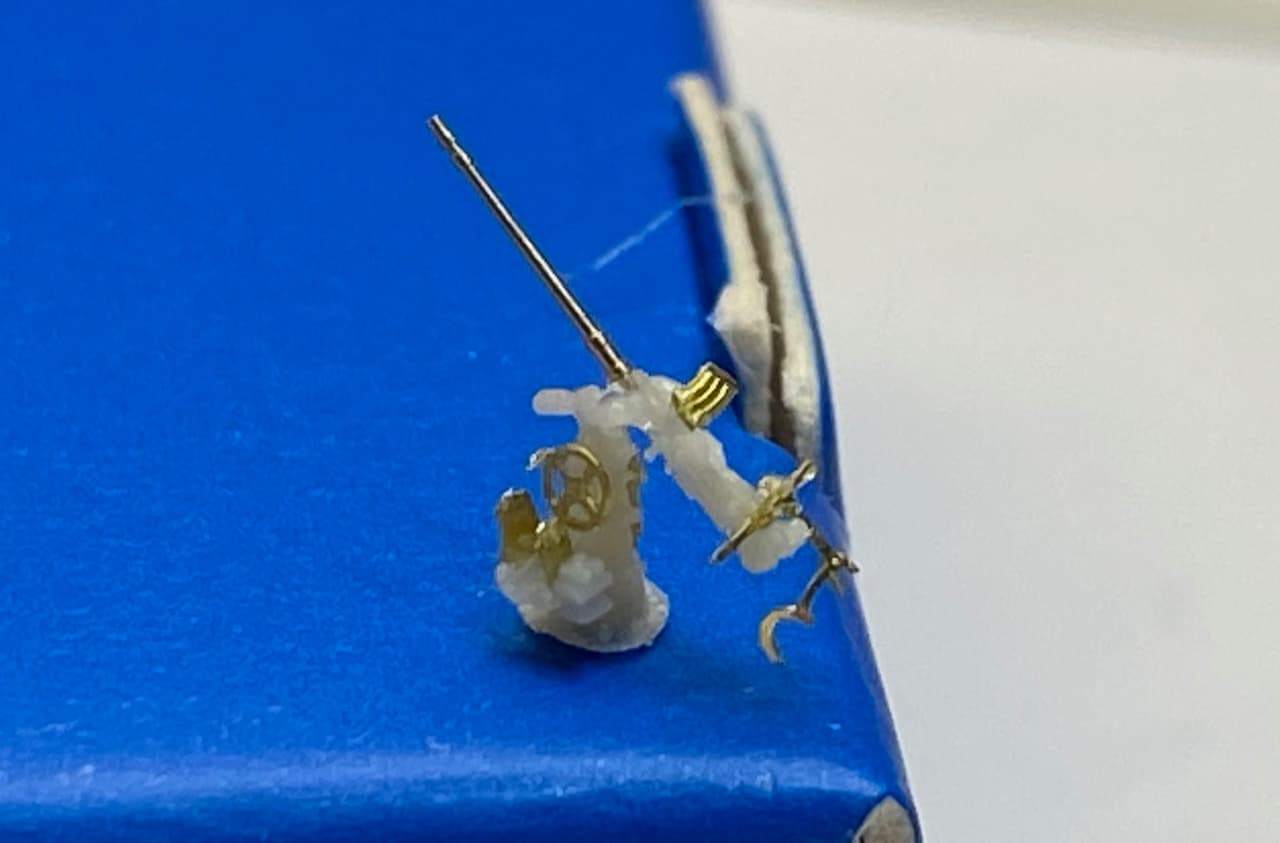
Anyway, I think I found a more promising way to go. Leave the breeches on the fret while adding all the brass.
First I tried to open/widen the hole for the barrel with that monster needle. I don’t know if it really had any effect or if it was pure imagination, but the barrel seemed to fit easier.
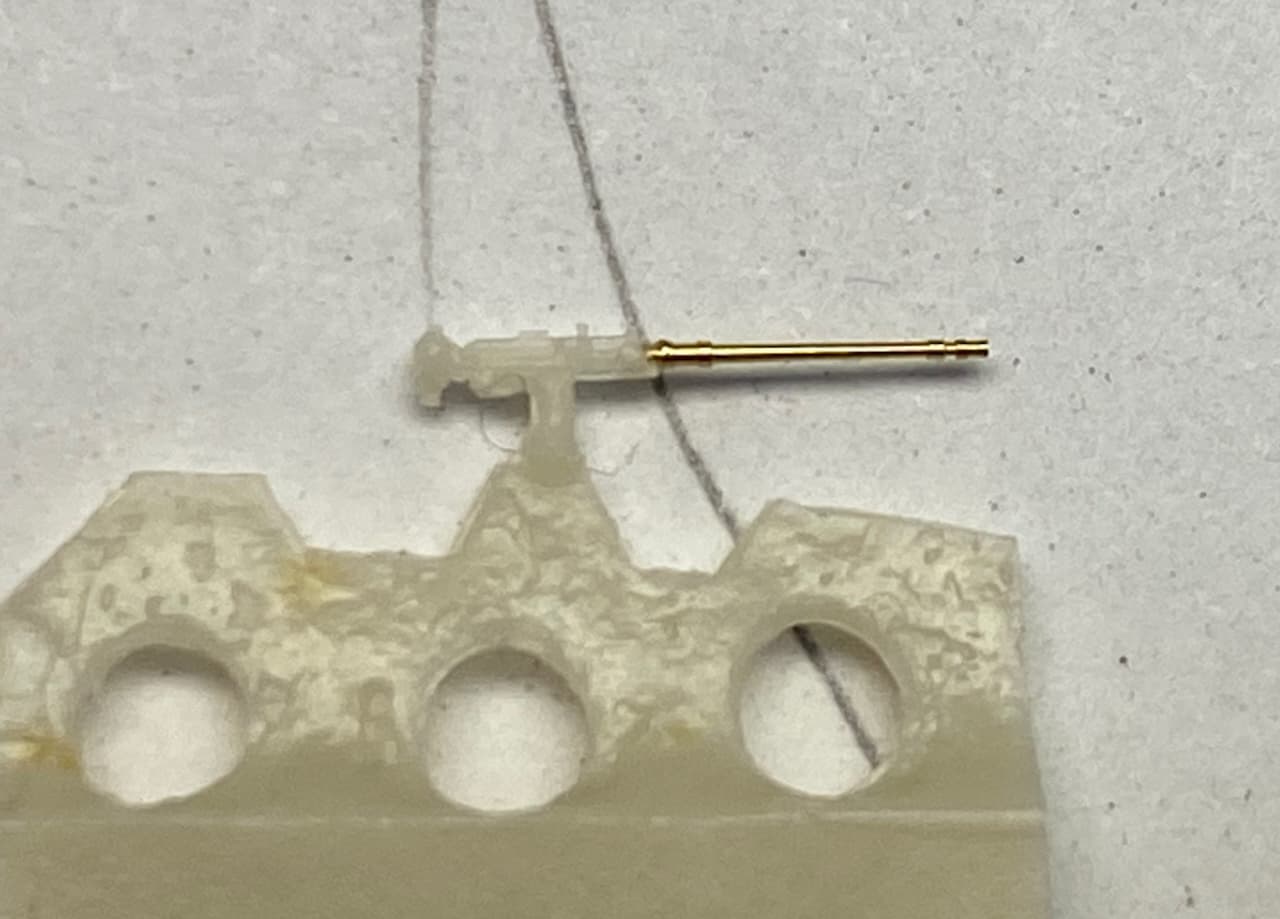
And the other brass added, on the fret it is clear where the up and down side of the breech is.
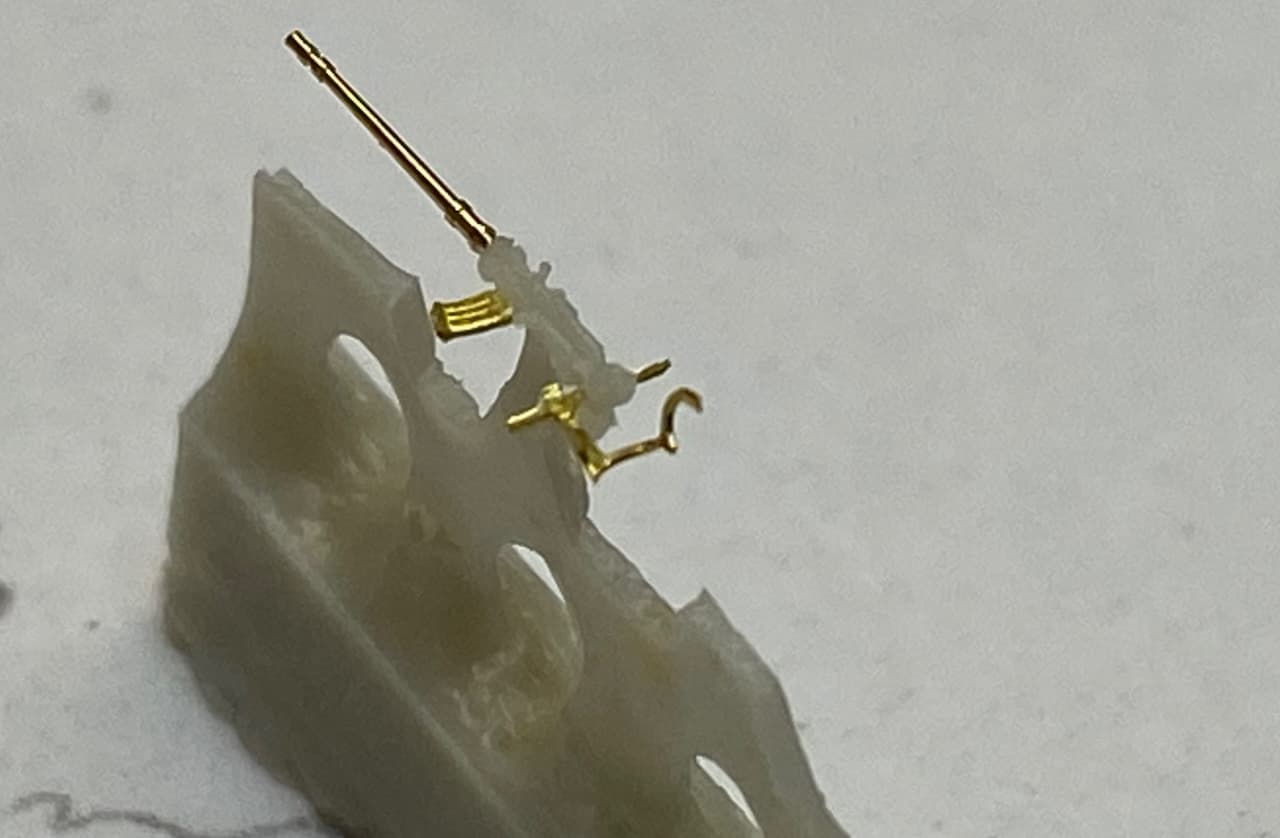

The mount, glued with a tiny drop of glue. Getting that free again will be again a bigger challenge as with those 3,7 cm. But I can’t see a better option for now.
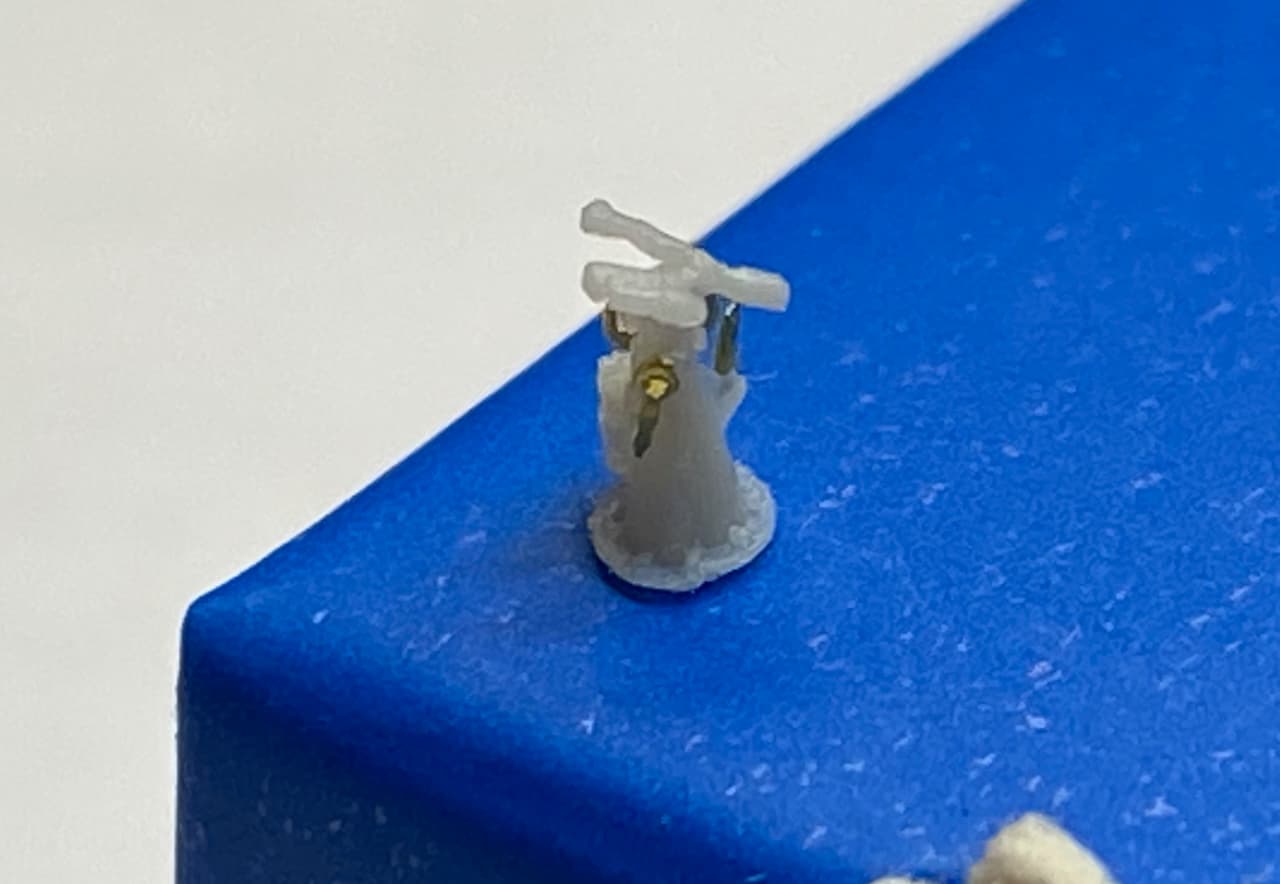
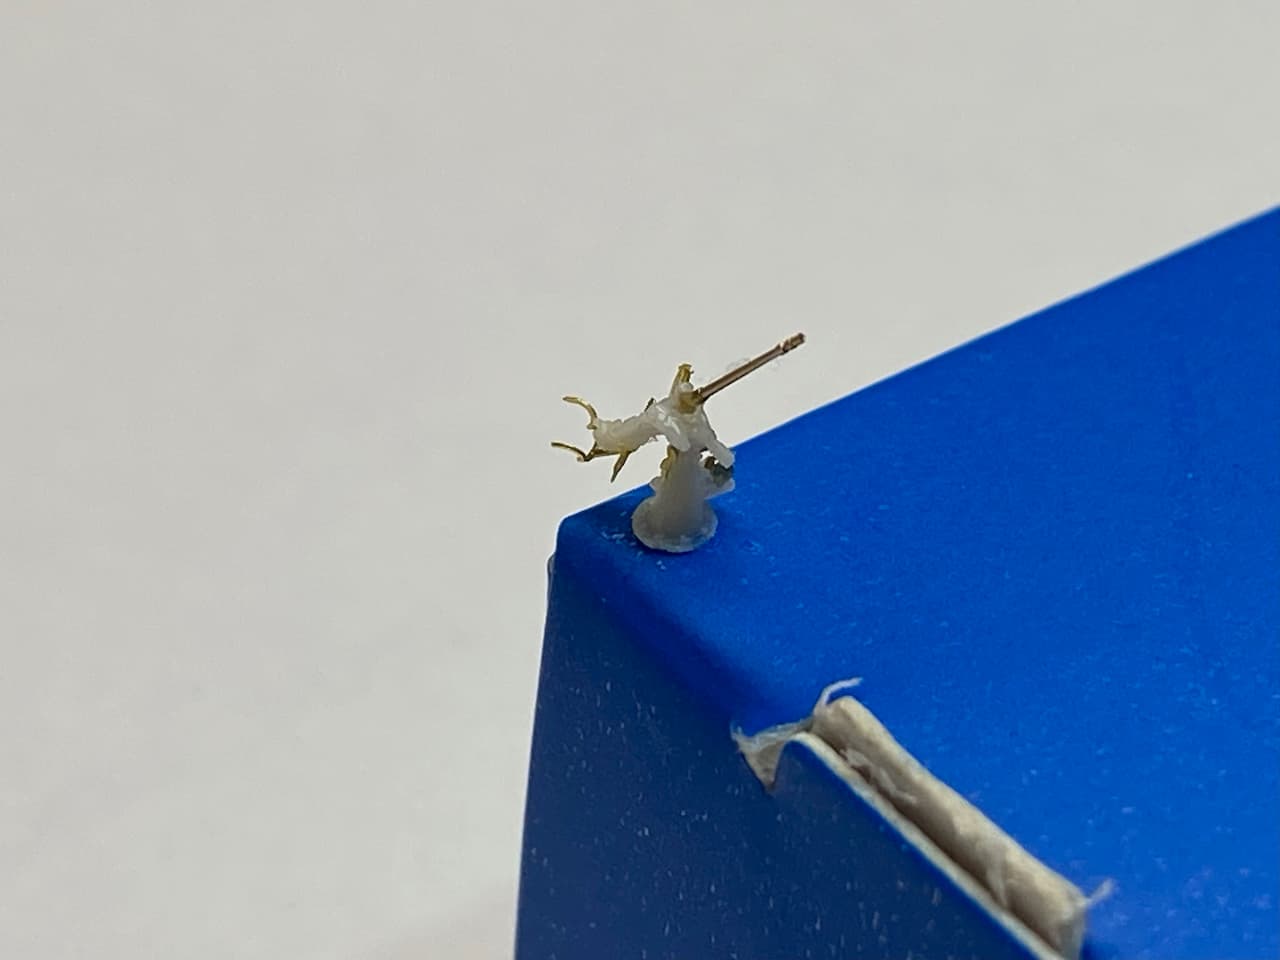
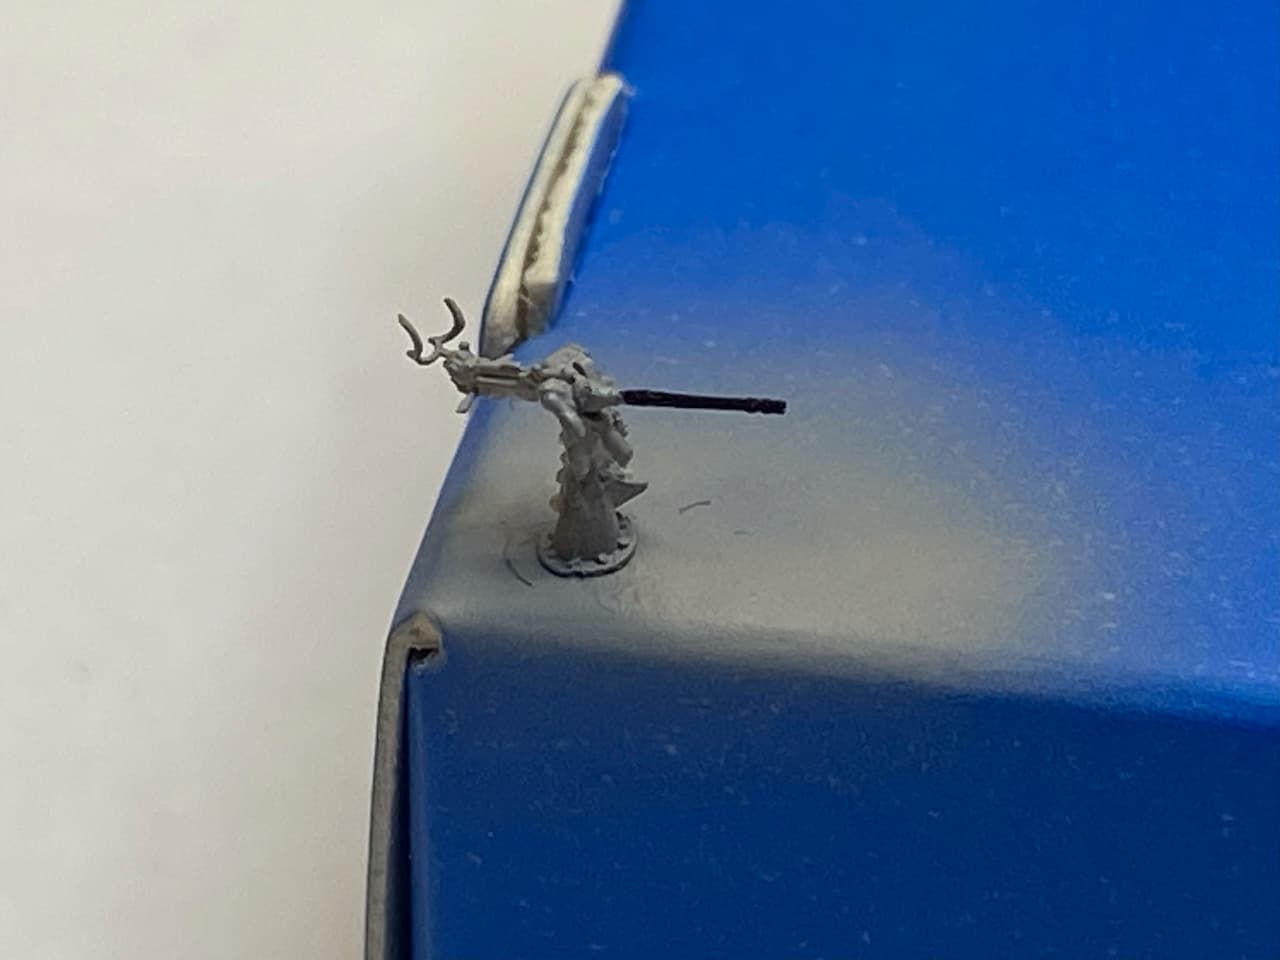
And cutting the breech from the fret and inserting/glueing it to the mount. For that I didn’t use the maximum magnification from my micro visor to get a little more 3-D sight. I managed to get both parts married and was pretty proud at first…
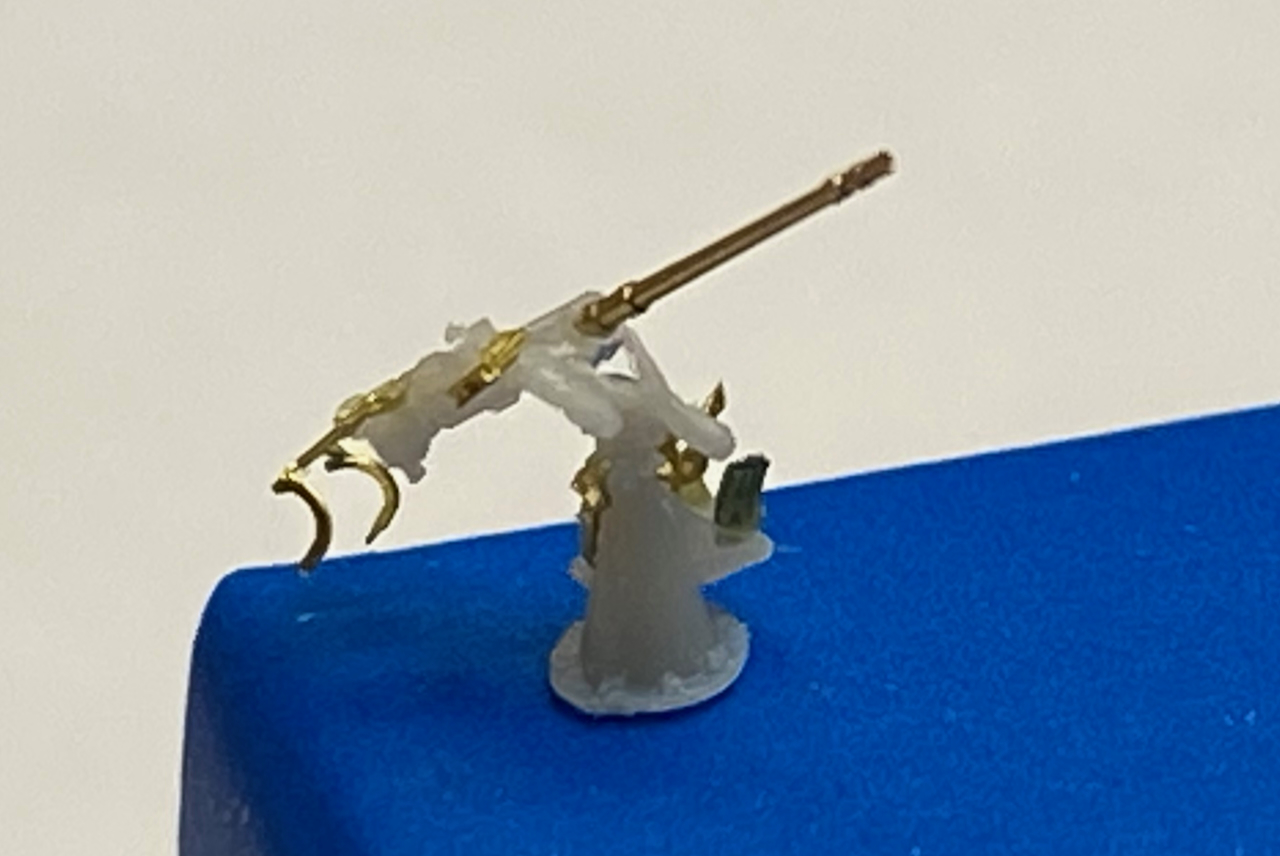
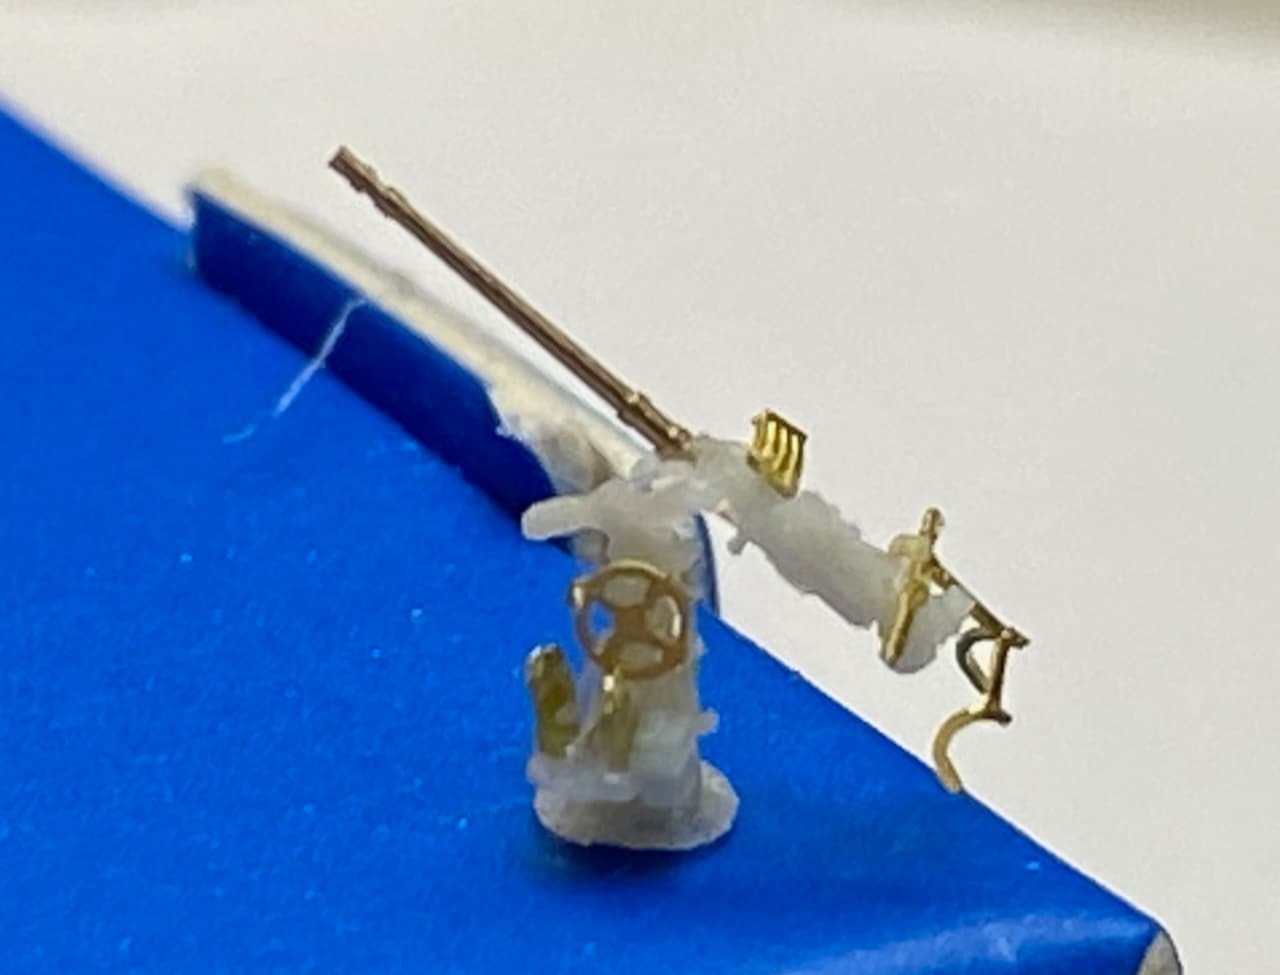
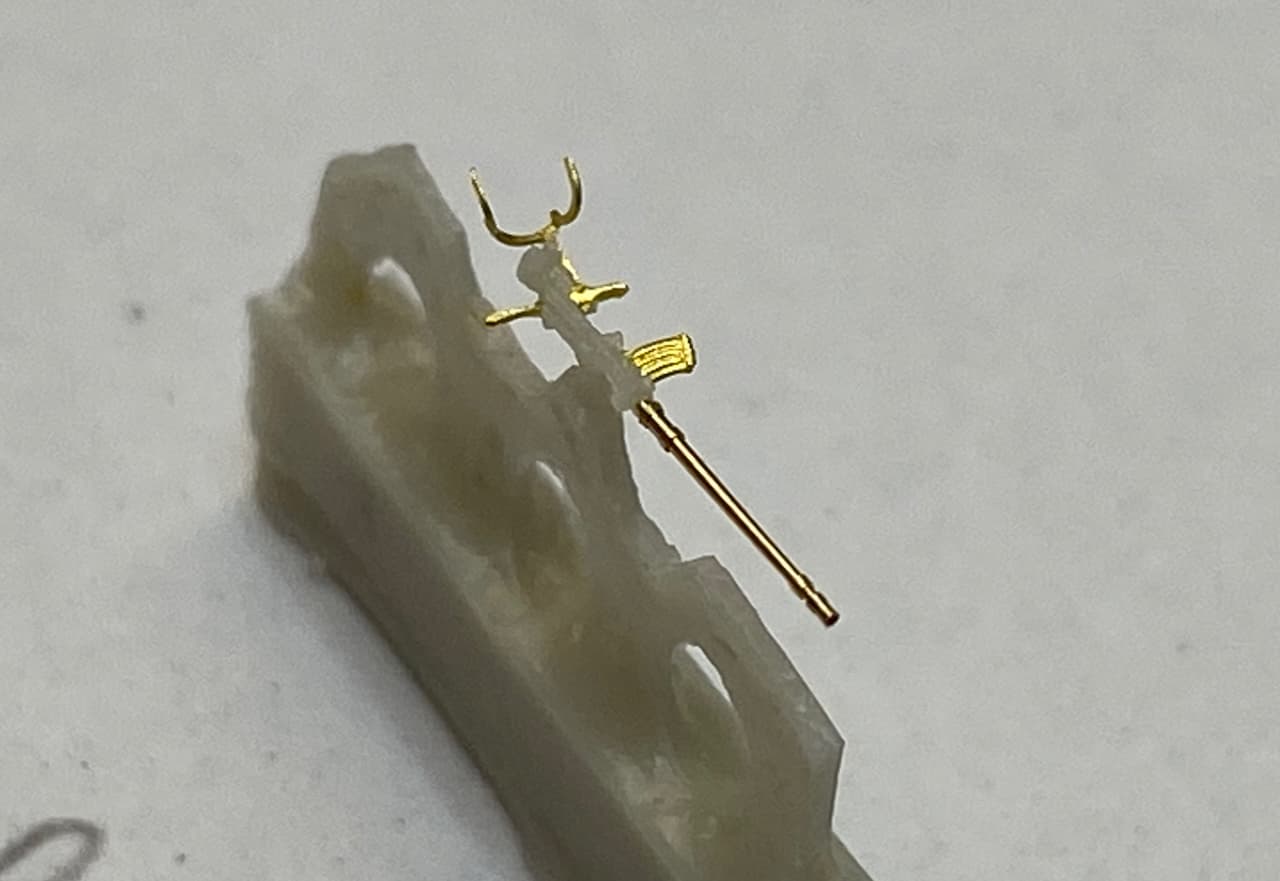
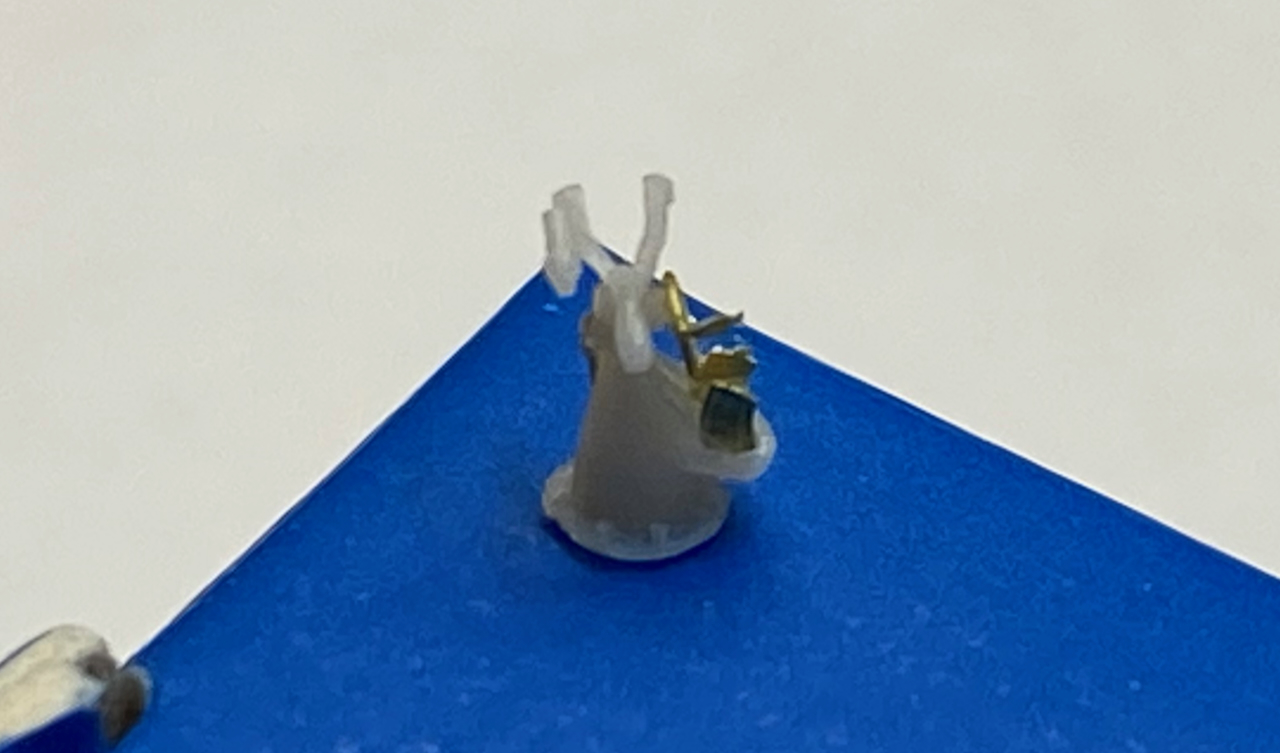
…however, that’s only a proof of concept…I managed to glue the breech upside down ![]()
![]()
![]() (shoulder bars point upwards, not downwards…)
(shoulder bars point upwards, not downwards…)
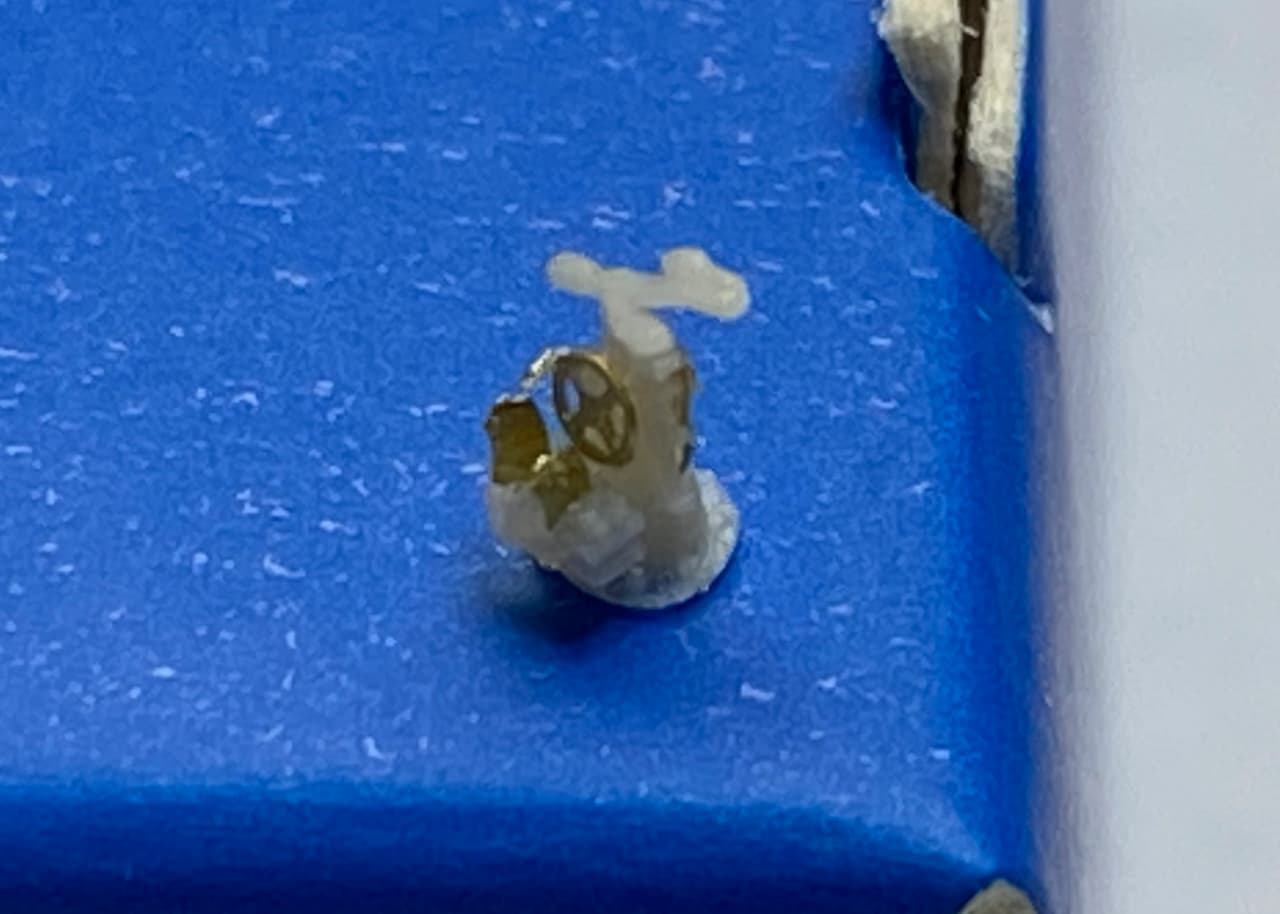
I don’t think I can break the bound and turn the thing without doing damage, maybe I just paint it and keep it as a spare.
So 10 to go…
Cheers
Jan
5 Likes
A while back I ordered a set of 1mm bits. They got the order wrong and sent me 0.1mm bits. I have no idea how you would use them without breaking them or even what you would be drilling out.
I got a refund but got to keep the bits, for interests sakes more than anything else.

X-Acto # 11 and 1 eyelash for scale.
4 Likes
Hehe with a drill like this, if everything goes wrong in life for you, you could still work as a dentist ![]()
1 Like
You could use one of the ones you’ve drilled to fire a few rounds at each of the others instead of drilling them…(just don’t use HE rounds!)
1 Like
If you have mice as patients. ![]()
1 Like
Rodent Dentistry?
Sounds like an exciting new field serving squirrels, ferrets, marsupials, rats & mice everywhere!
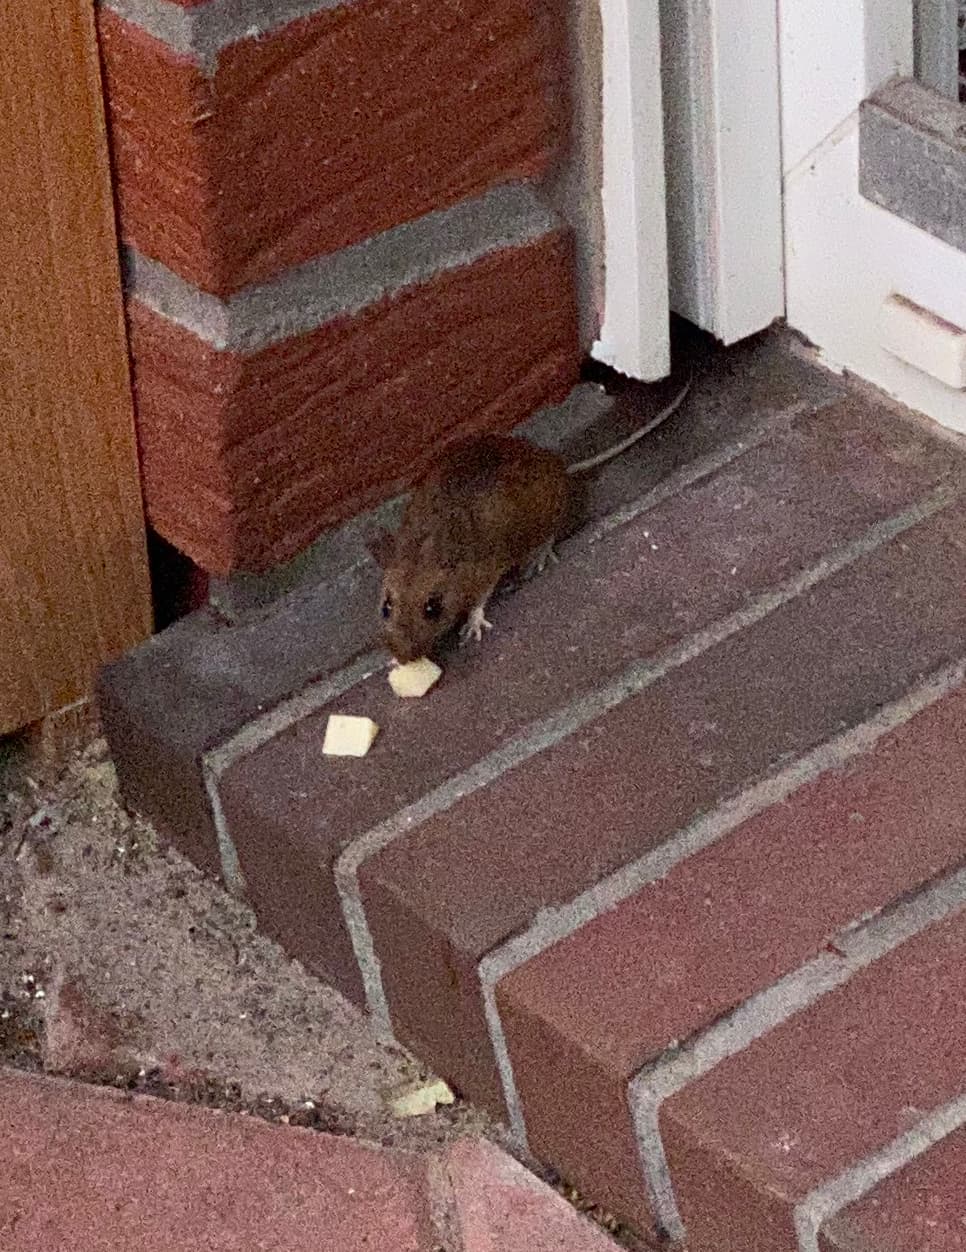
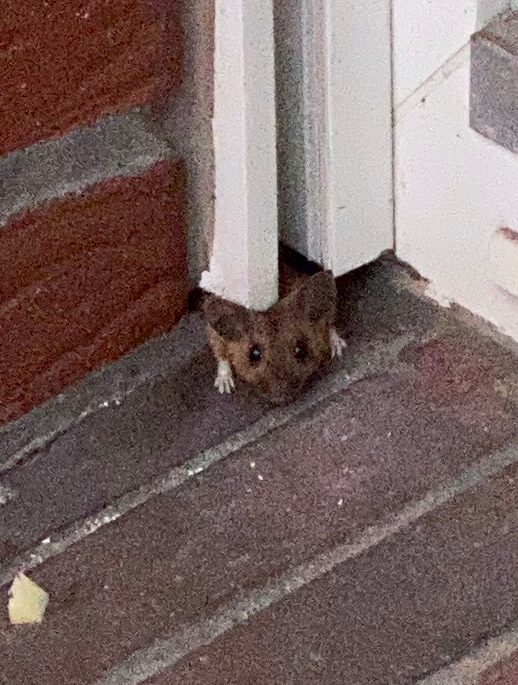
Little Buckie below can be the spokes-rodent for flossing after raiding the bird feeder.

6 Likes
He’s of mixed heritage, part Rodent, part Sumo Wrestler…
Cheers,
M
3 Likes
Well, I’m not really familiar with Rodent diet, or knowledgeable about Rodents in general - however, from it’s look I would not think it is in need of dentistry… ![]()
Anyway, my little neighbors here are likely more the size for a 0.1 mm drill…
4 Likes
But I managed a little bit of success, even without 0.2 mm or smaller drills. Those 2 cm are tricky to build, despite their limited number of parts. I simply can’t work with that micro visor goggle for an extended time.
Anyway, four done.
Here before painting
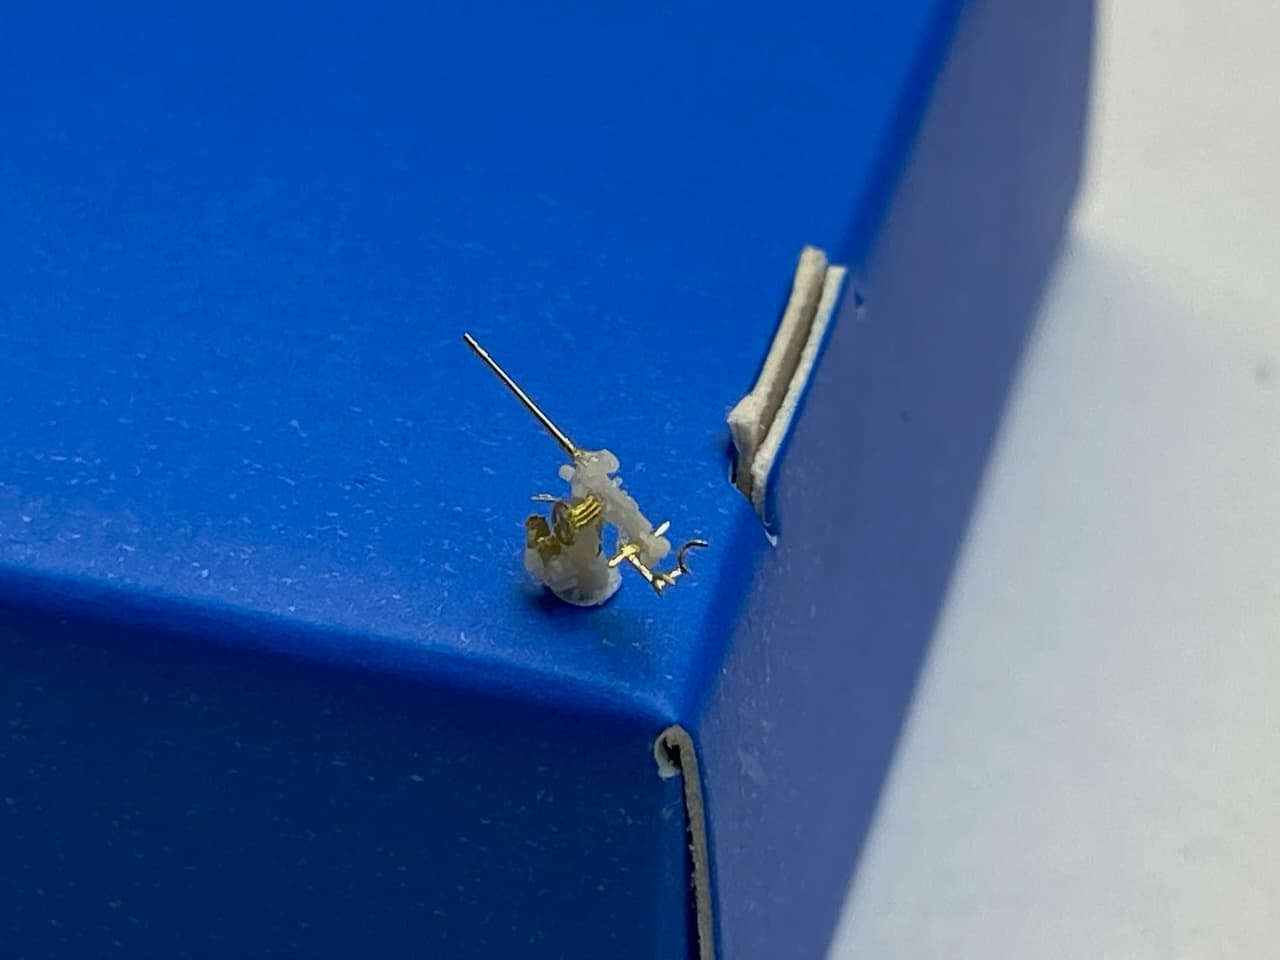
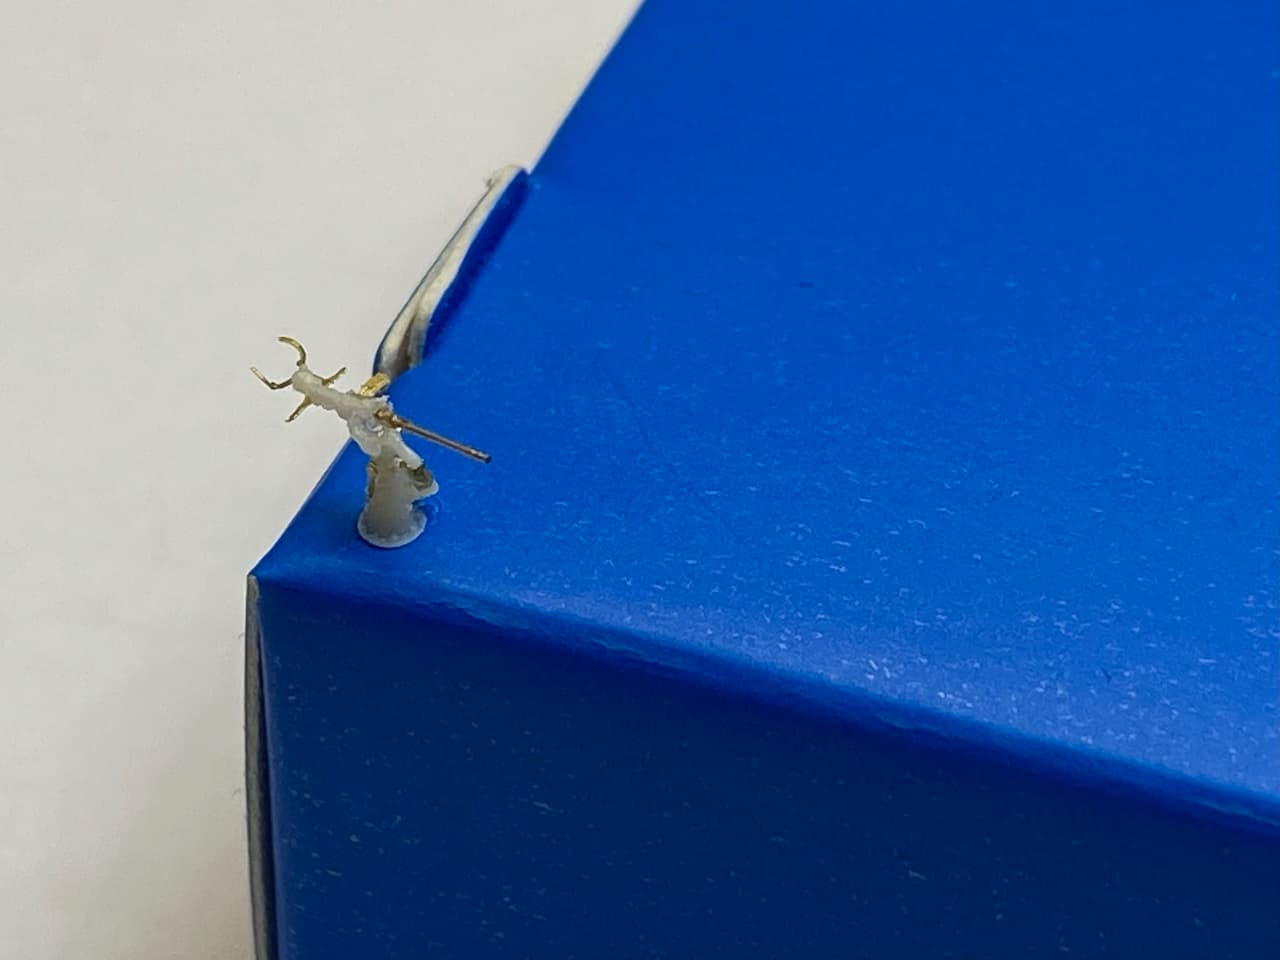

and here with some color on. They are really delicate and fantastic builds by Veteran, just notice the bolts in the mountings (last two pictures)…
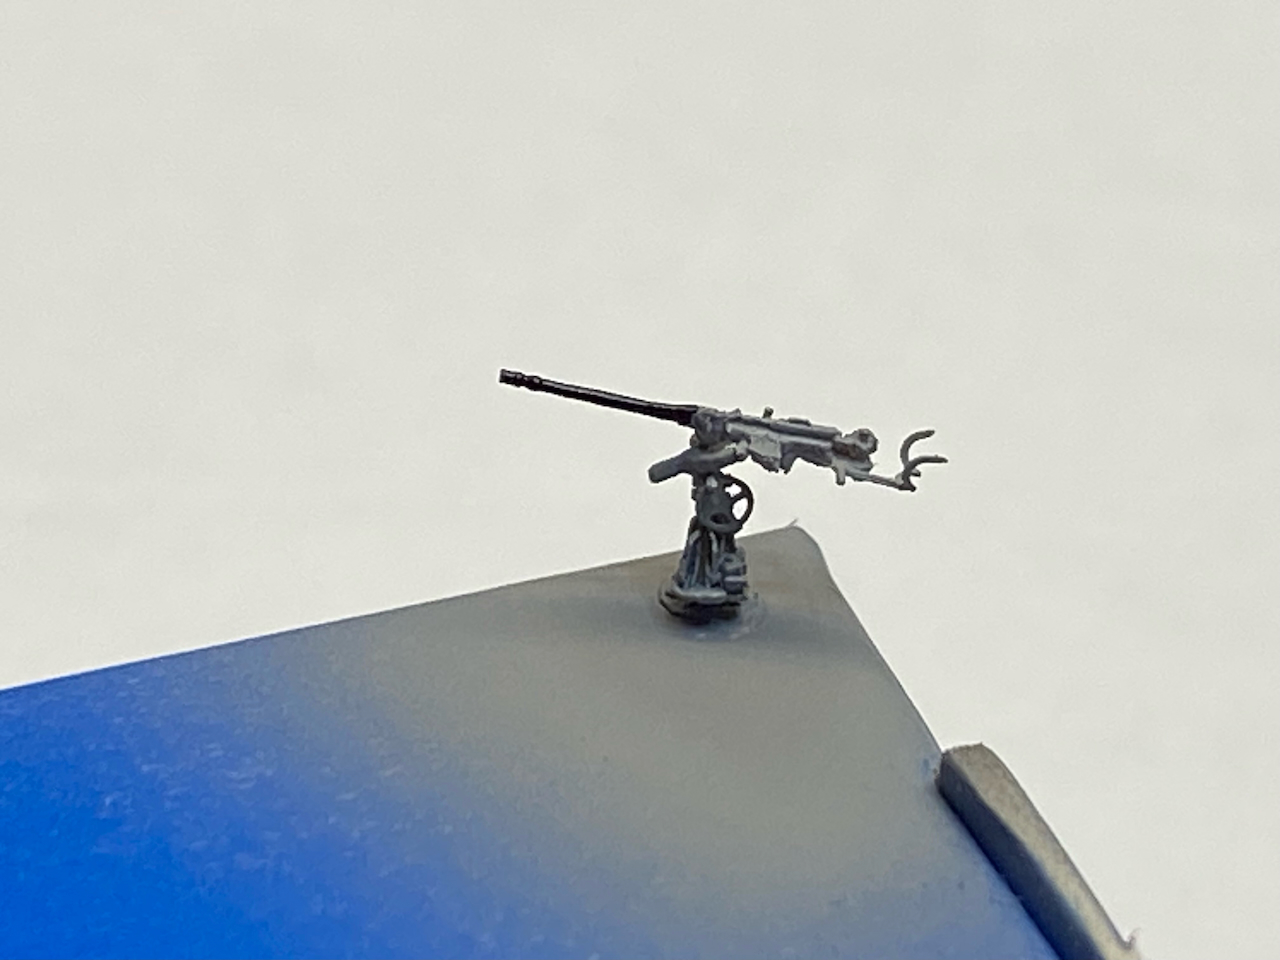
That’s the first ‘batch’ I am fairly happy with and that I’m going to use on Gneisenau, all others so far will be discarded. Not a good output, four out of nine. I have 15 left, and eight more on order, and some of the later /C38 version, which in 1/350 really look pretty similar. But after some ‘training’ I am quite confident that the six more needed will be built more efficiently…
Thank you all for looking in and cheers
Jan
7 Likes
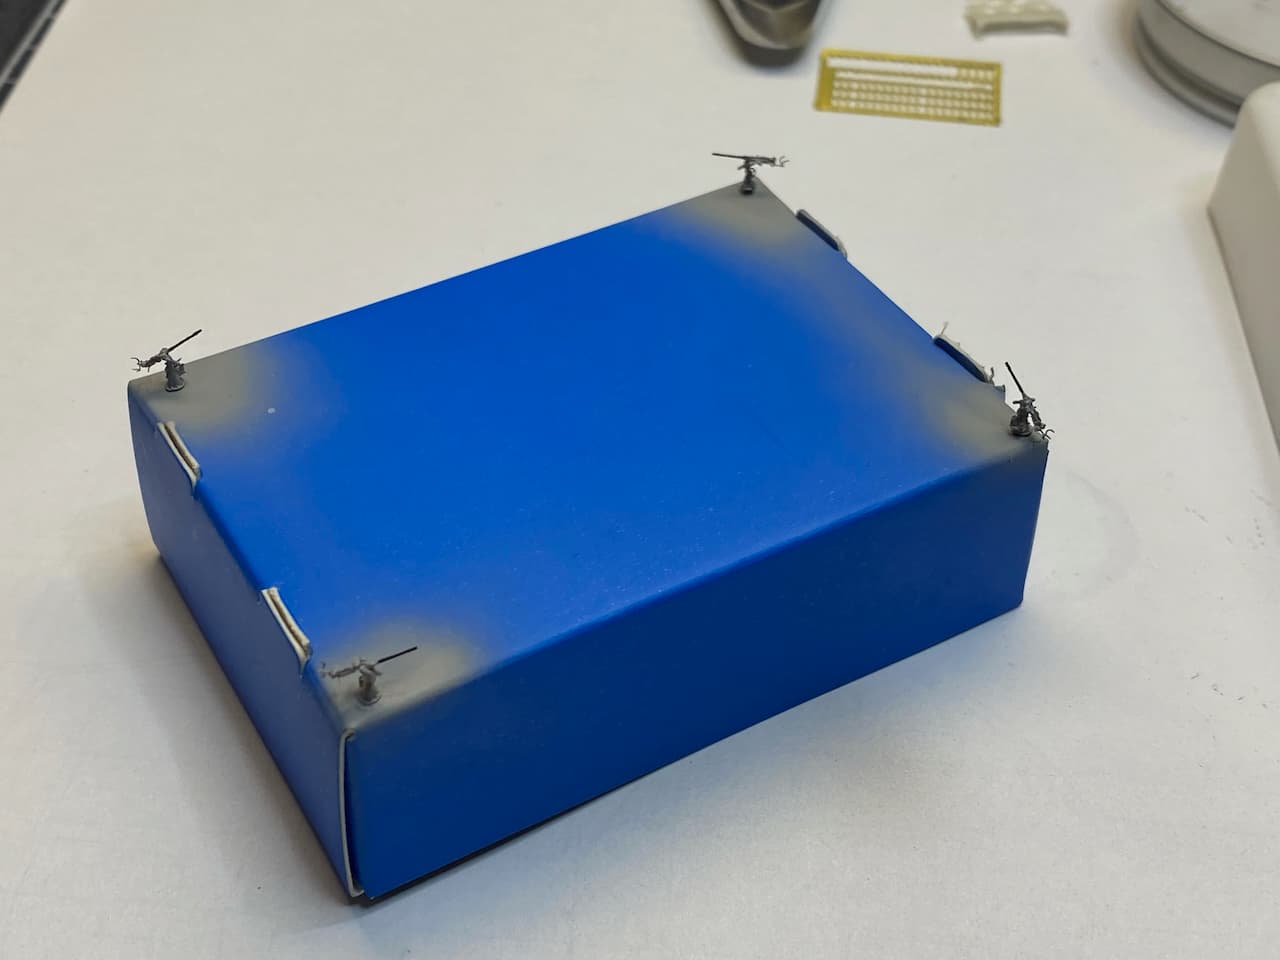
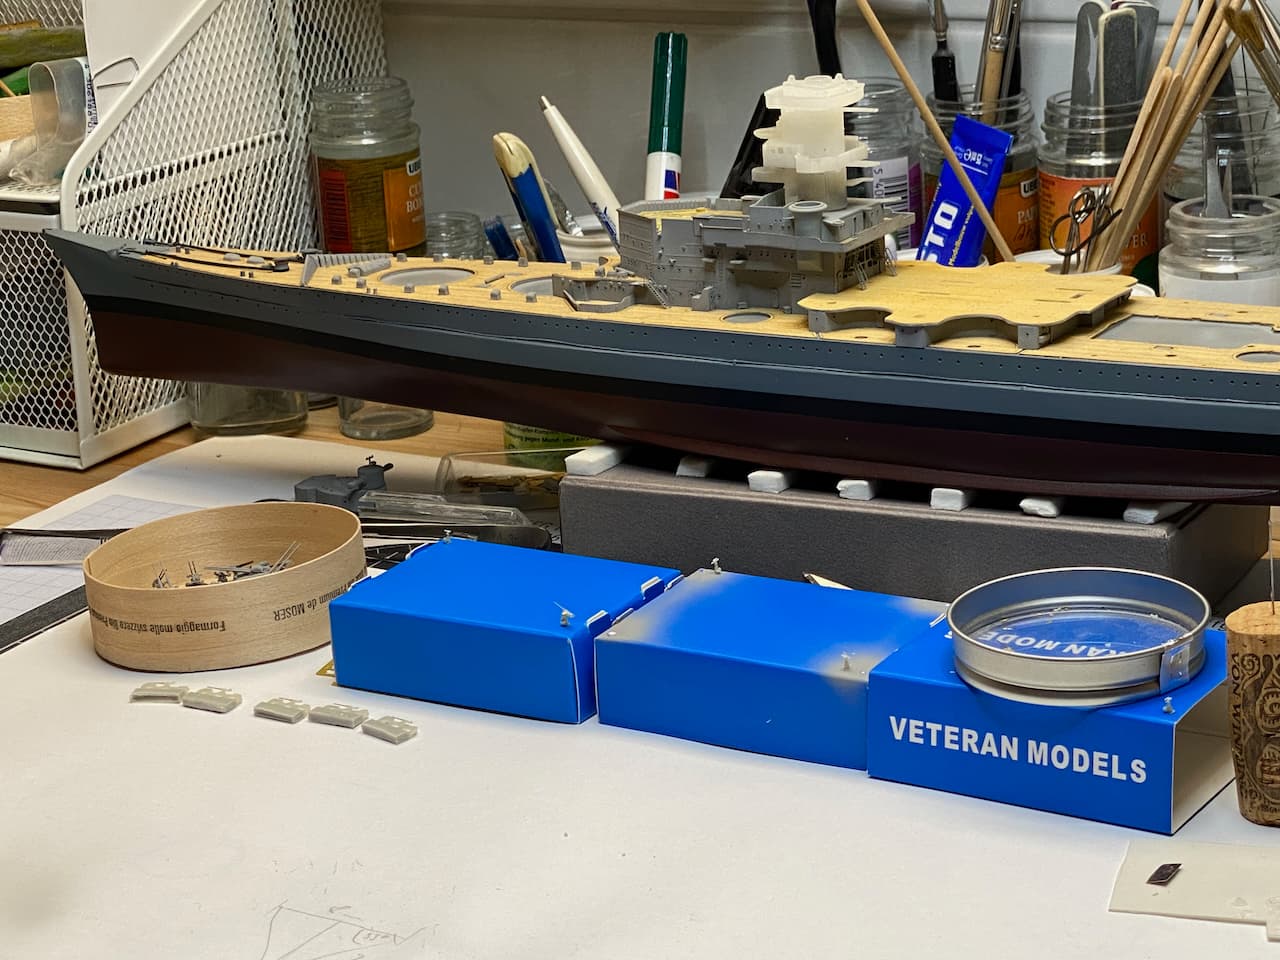
Super work, Jan. Those 2cm guns look just right.

Plus, that is one well defended box! ![]()
![]()
3 Likes
Great work Jan! ![]()
Your persistence and determination have truly paid off mate! Those 2cm’s look the business! ![]()
![]()
![]()
![]()
![]()
1 Like
Thank you. very much, Tim and Russ!
Yep, those little cardboard boxes are worth fighting for… ![]()
Six to go (2 cm’s , not boxes…)
Cheers
Jan
1 Like
I have to say I really enjoy the wild tangents some of these threads go on. I was chuckling at my desk at this post ![]()
2 Likes
Dear all,
not much to report this weekend, for two reasons mainly - this is a long weekend for us in Germany, and even up here on the North Sea shore we had fantastic wether. So that won over shipyard, at least partly.
Second, next weekend I’m going to pick up my new micro visor - so for the week after next I hope to be better equipped for that micro engineering…
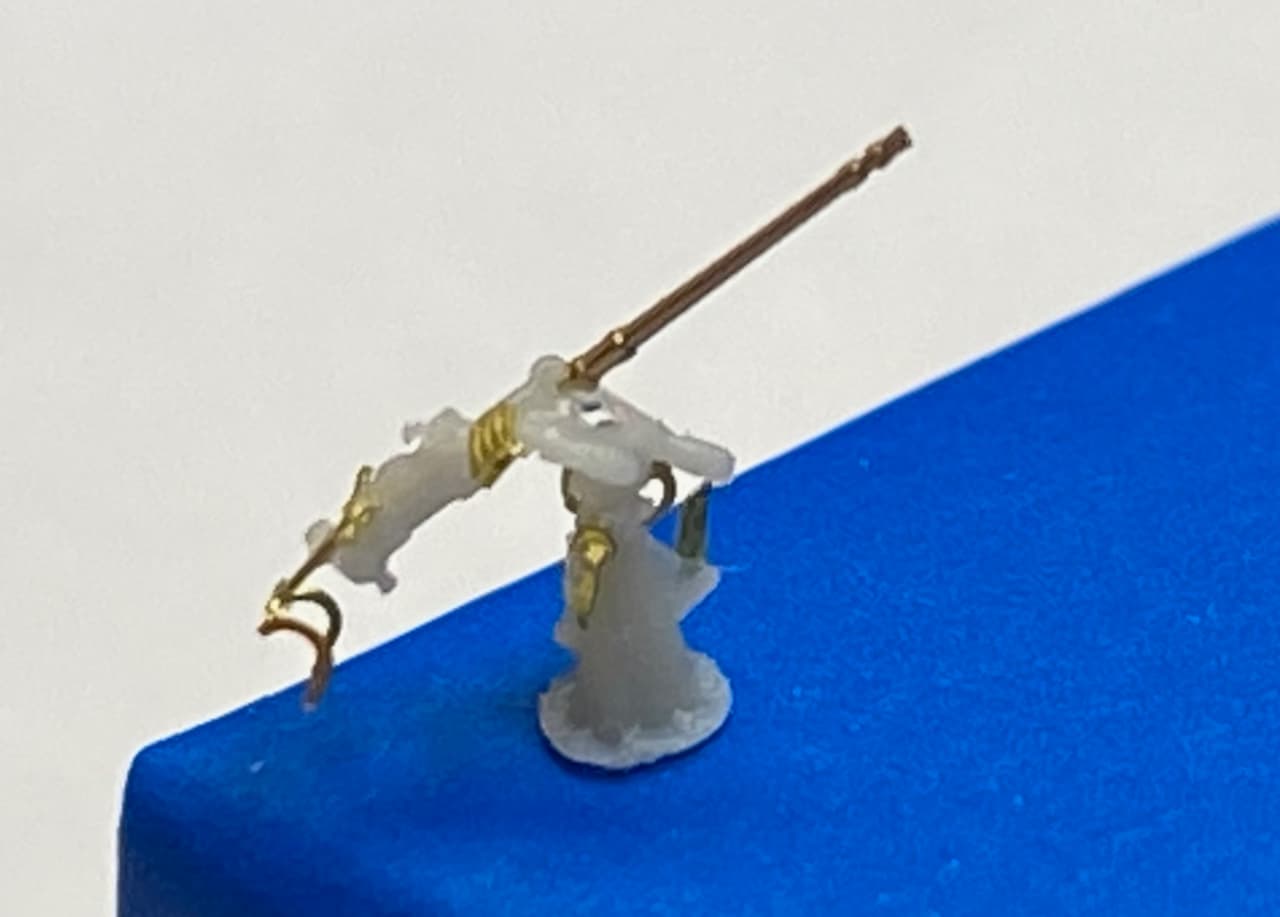
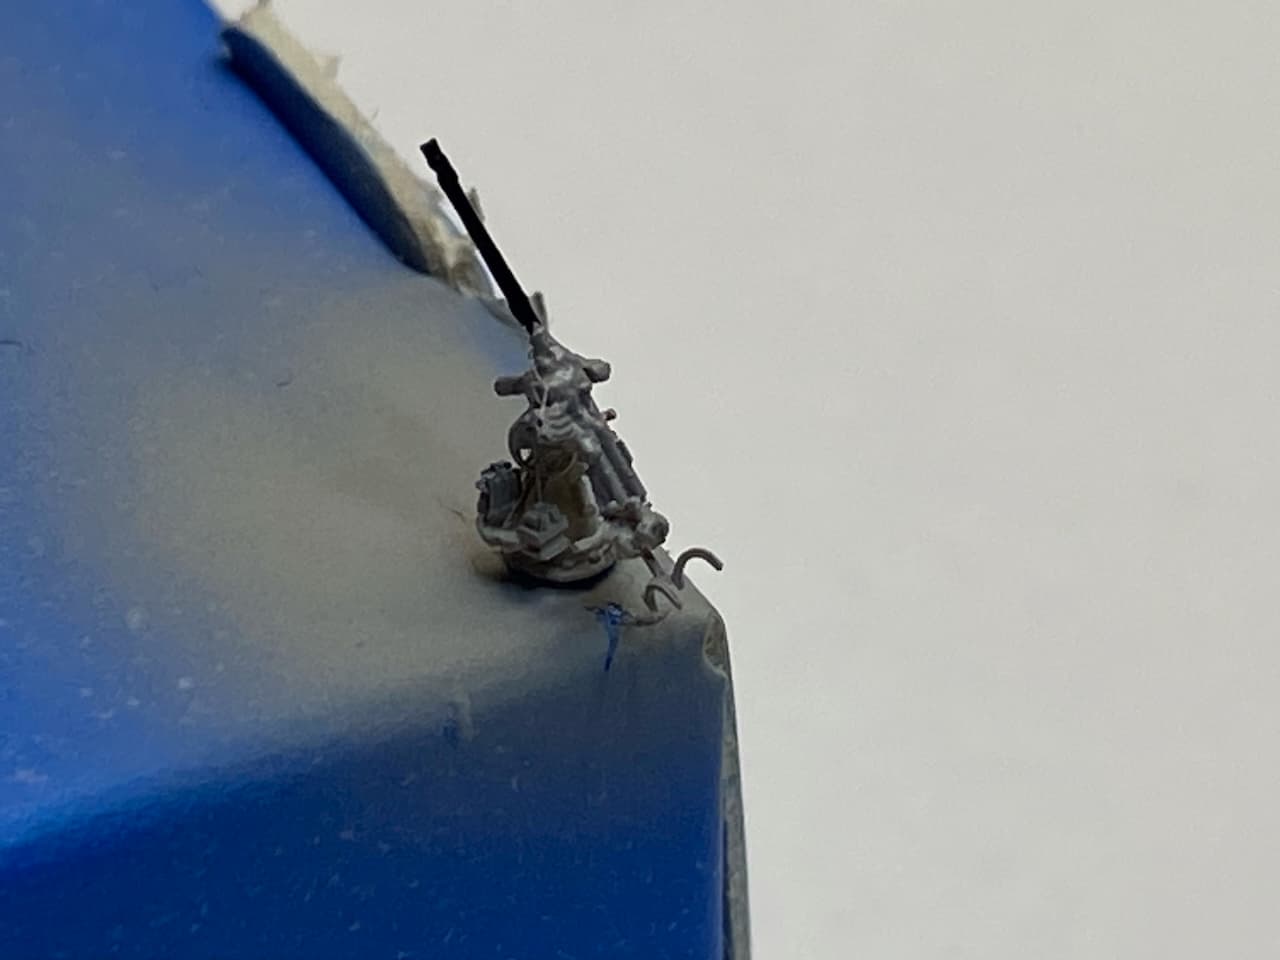
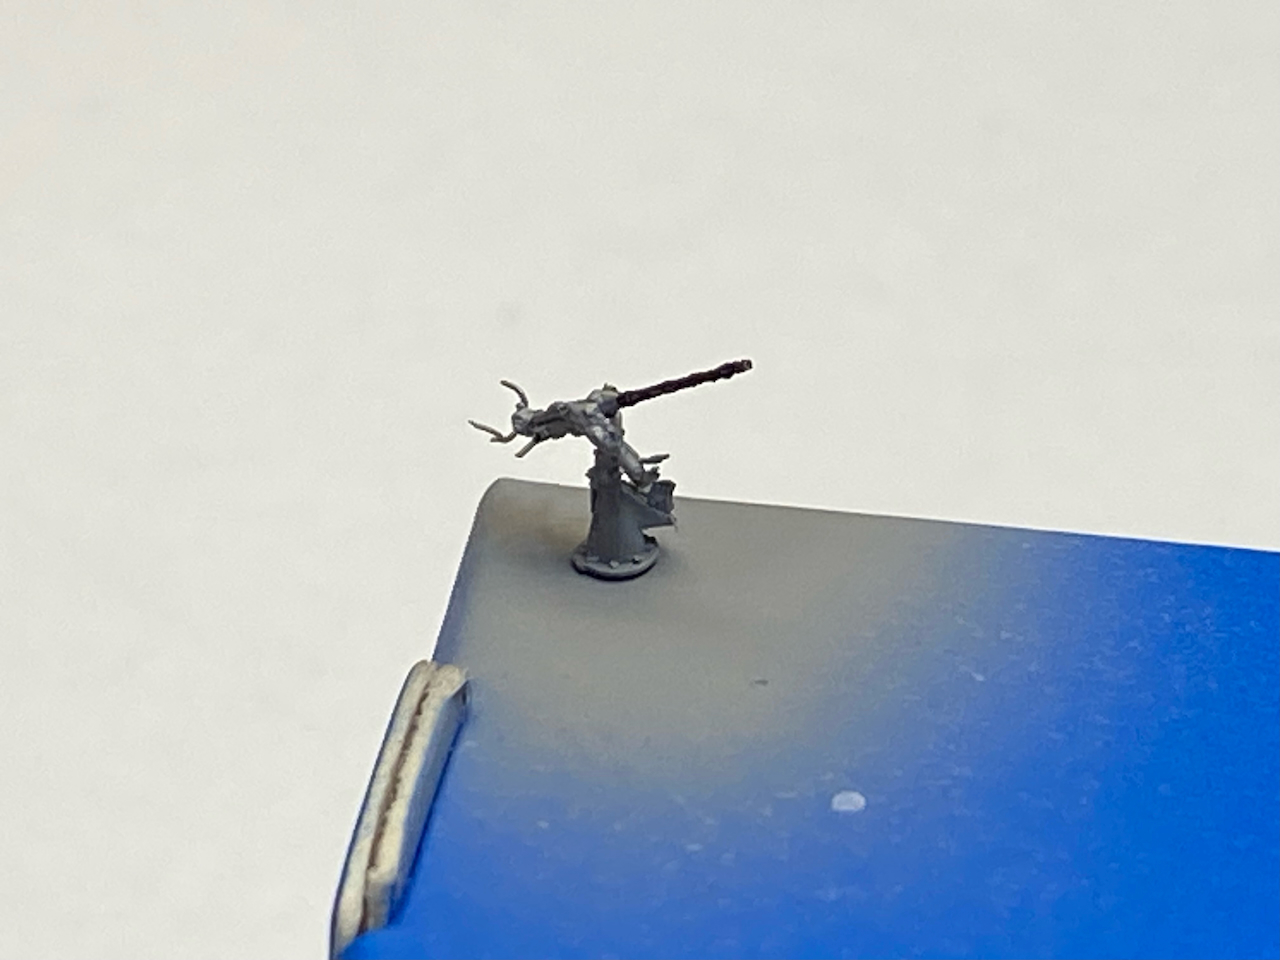
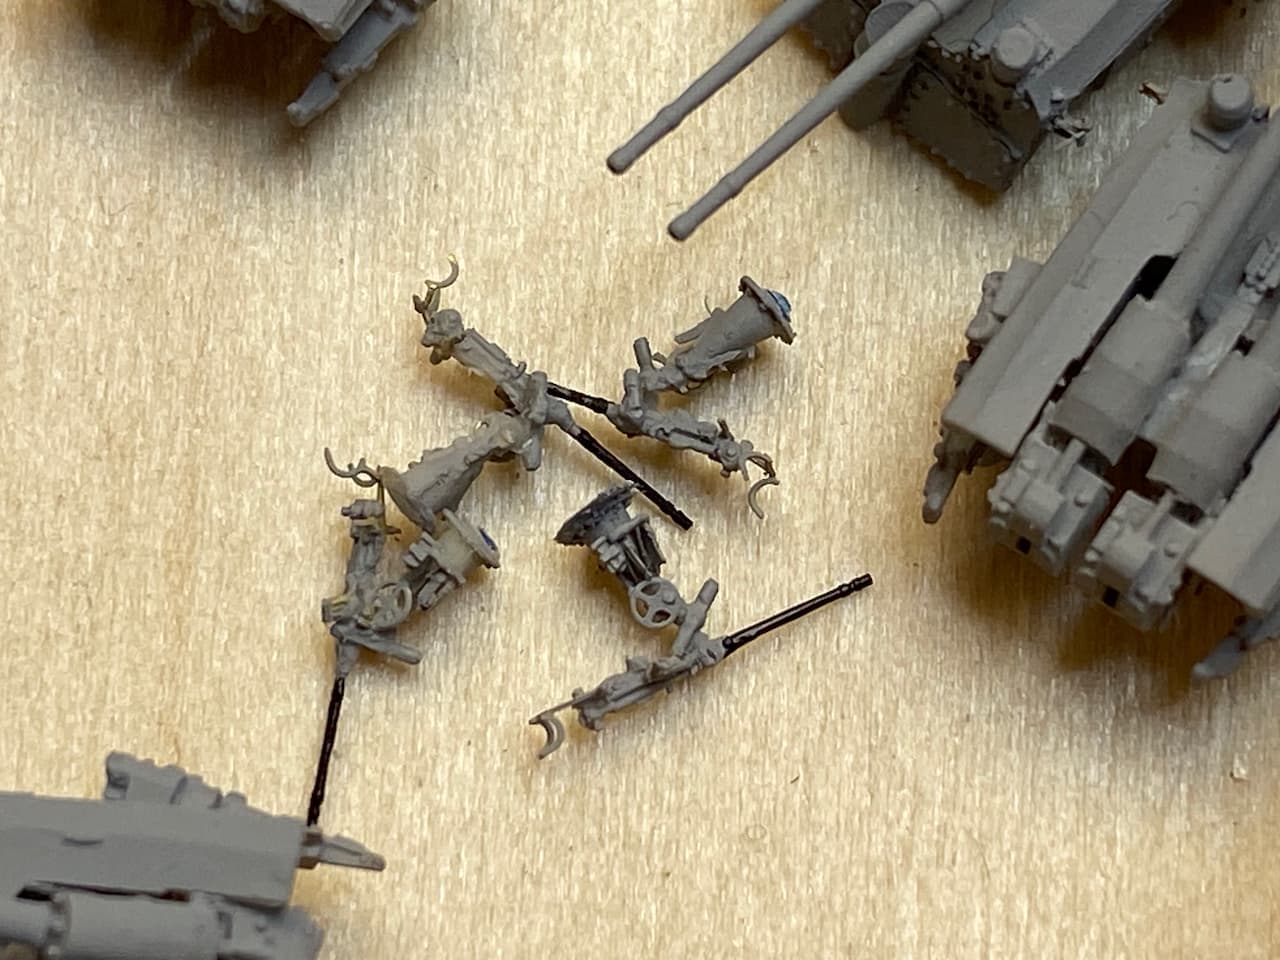
However, just a little progress - six gun mounts glued to three boxes (two guns can sufficiently defend one box, I found out…), barrels fitted to the breeches, one continued and finished.

the first four guns came loose from their box without problem -
Cheers for now and thank you all for looking in!
Jan
7 Likes
That would shred my nerves working with things that small Jan… Hats off to you. …they look great as well…![]()
1 Like
Thank you Johnny! Working on them really brings my eyesight (and skills - I could never be an eye surgeon or the like…) to the edge.
Another busy - and modeling wise ‘lazy’ weekend, so no real progress. But some things I’d like to show.
Indeed there are 0.1 mm drill bits. No idea if they will survive their first task, but they even weren’t really expensive, there seems to be a marked for them for working on computer circuit boards, rather than modeling…just gave them a try:

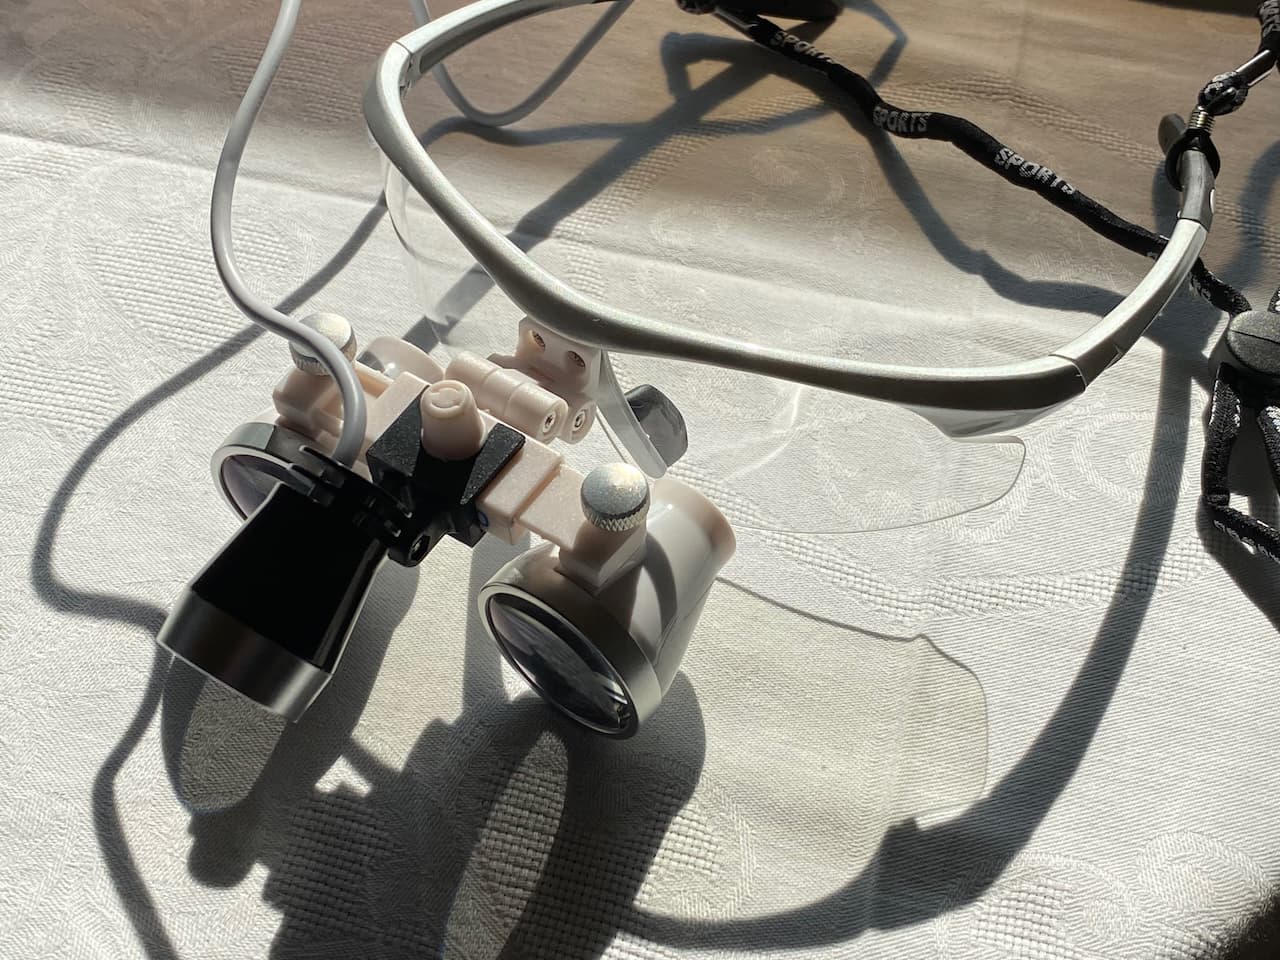
And I got my new micro visor, however, they will require getting used to. Dentist equipment, the focus point is rather far away, so I have to get used to setting back a little while working vice bending over the desk. Well, I of course kept the other ones, so I can choose and change.
4 Likes
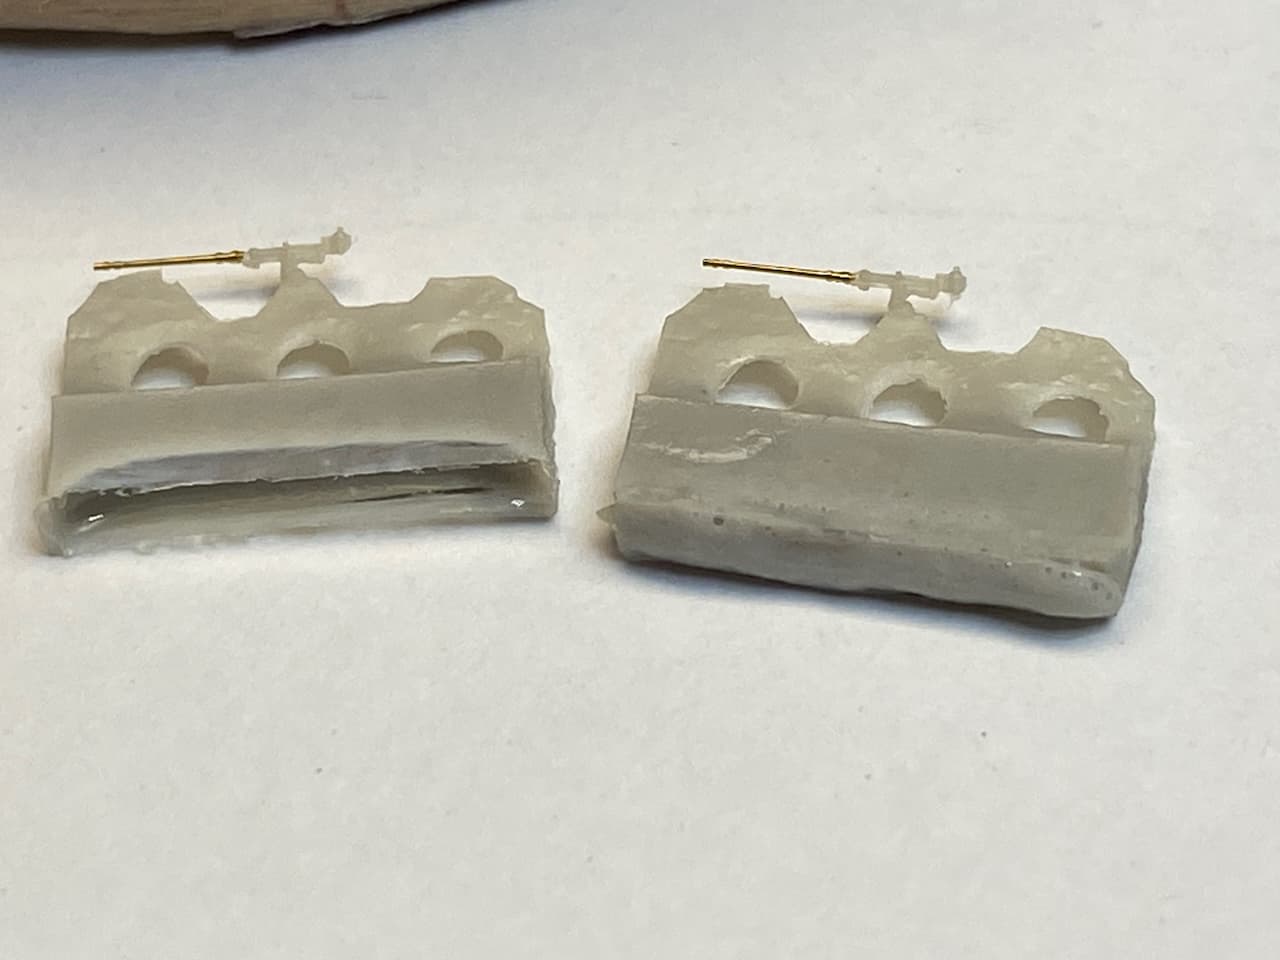
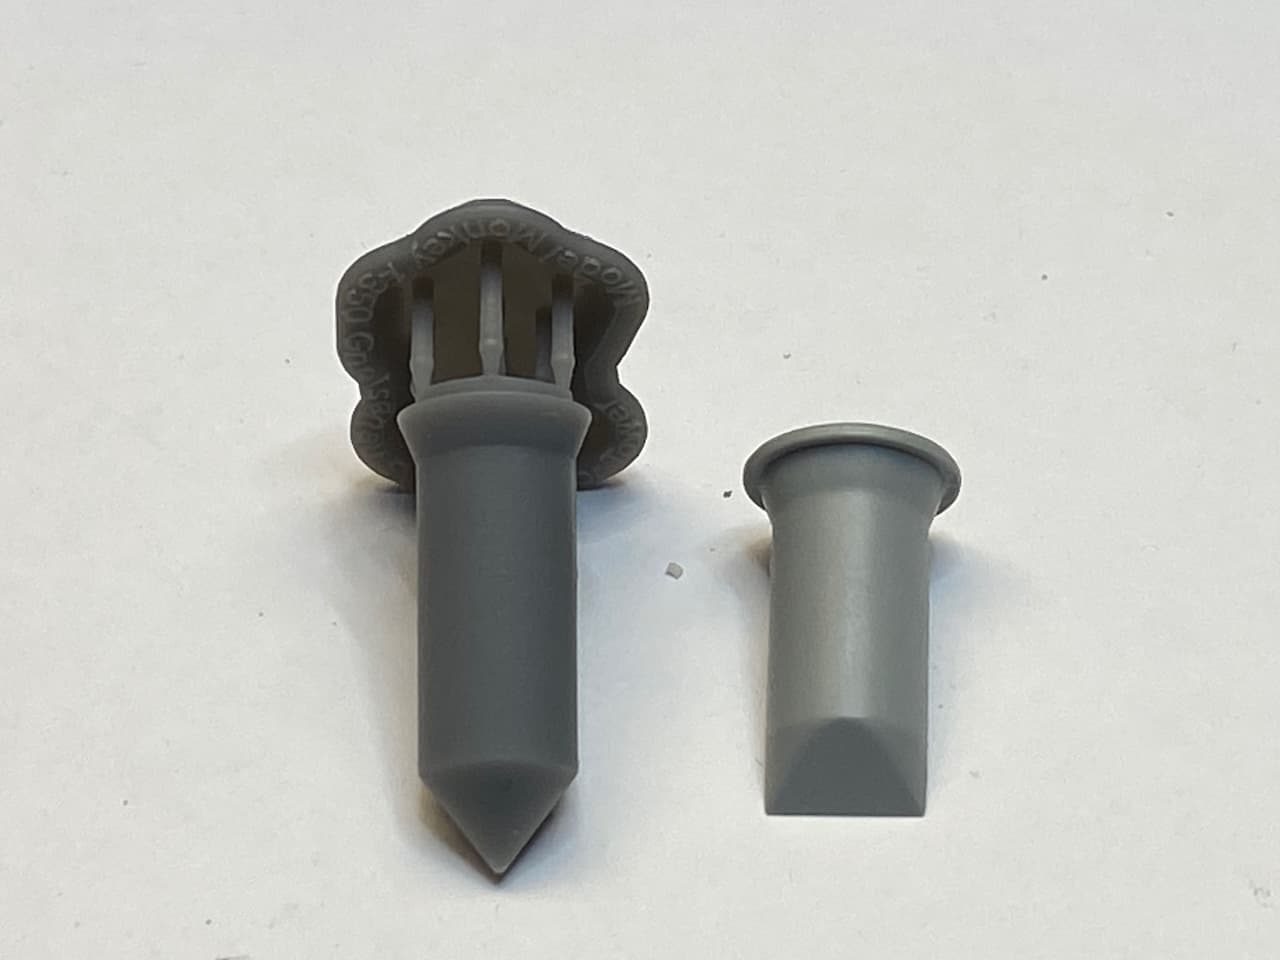
But here come the really important things I picked up today - and another huge thanks to Steve aka Model Monkey. Gentleman Steve sent those to me:
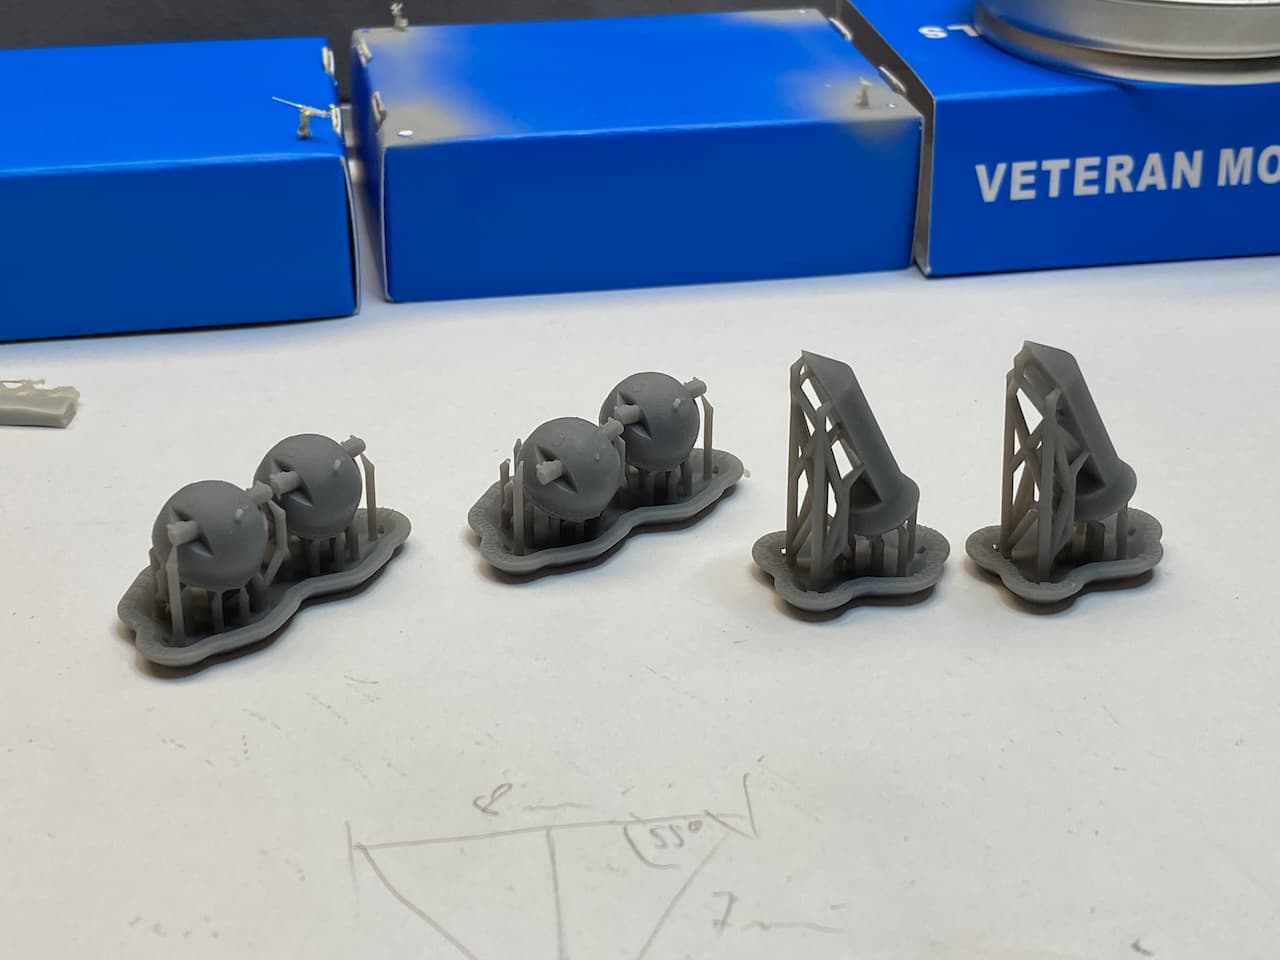
and what is there to say? Just marvelous!! Perfect!
They look absolutely splendid, and they fit, as if they were just original from the dragon kit - or even better!
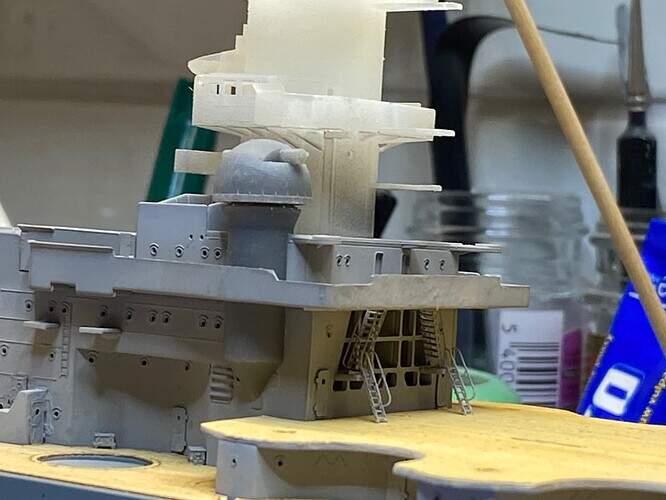
So here’s the old, ‘Scharnhorst’ version:
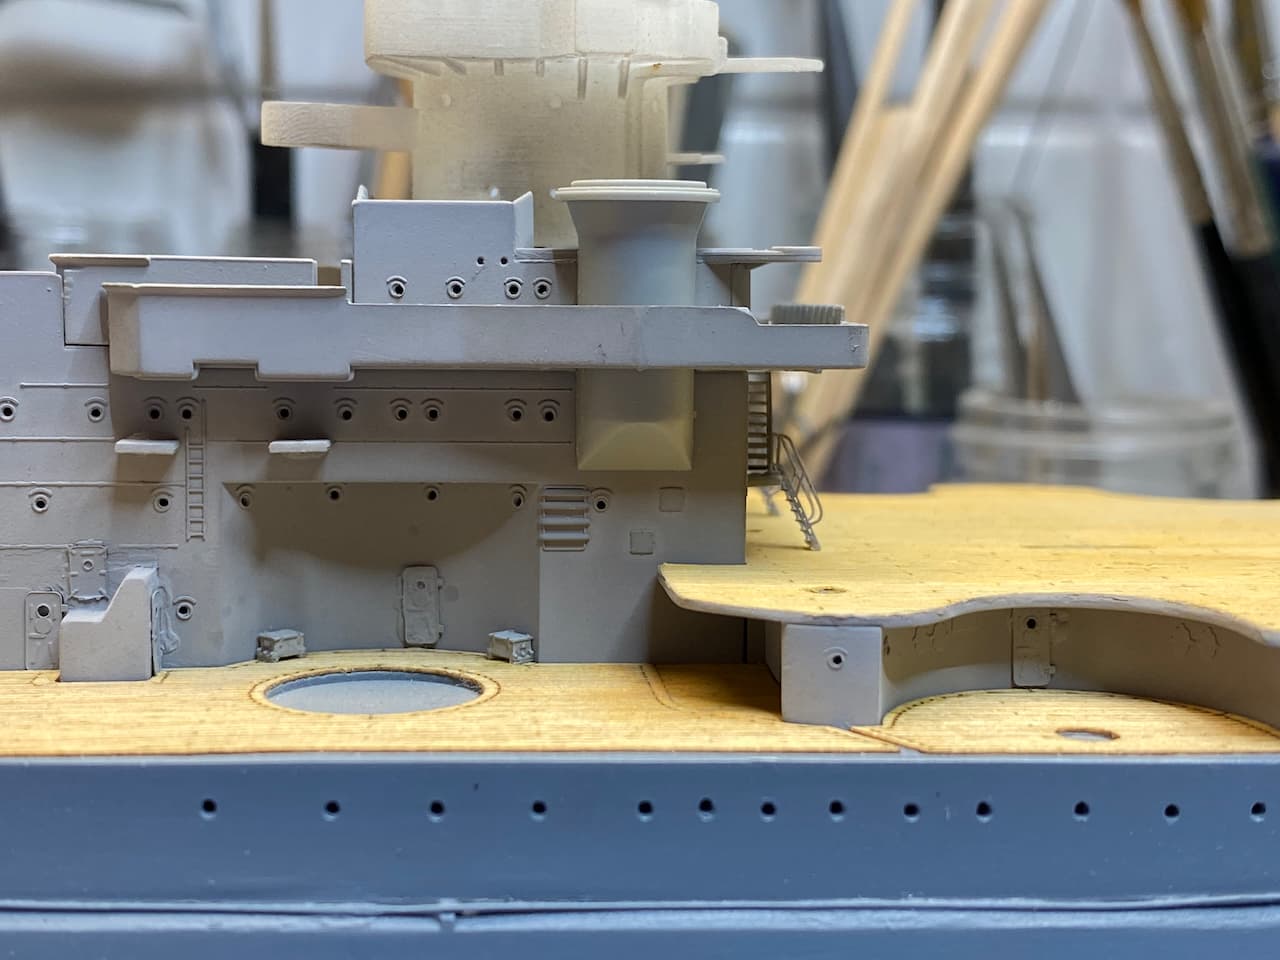
…and here is Gneisenau:
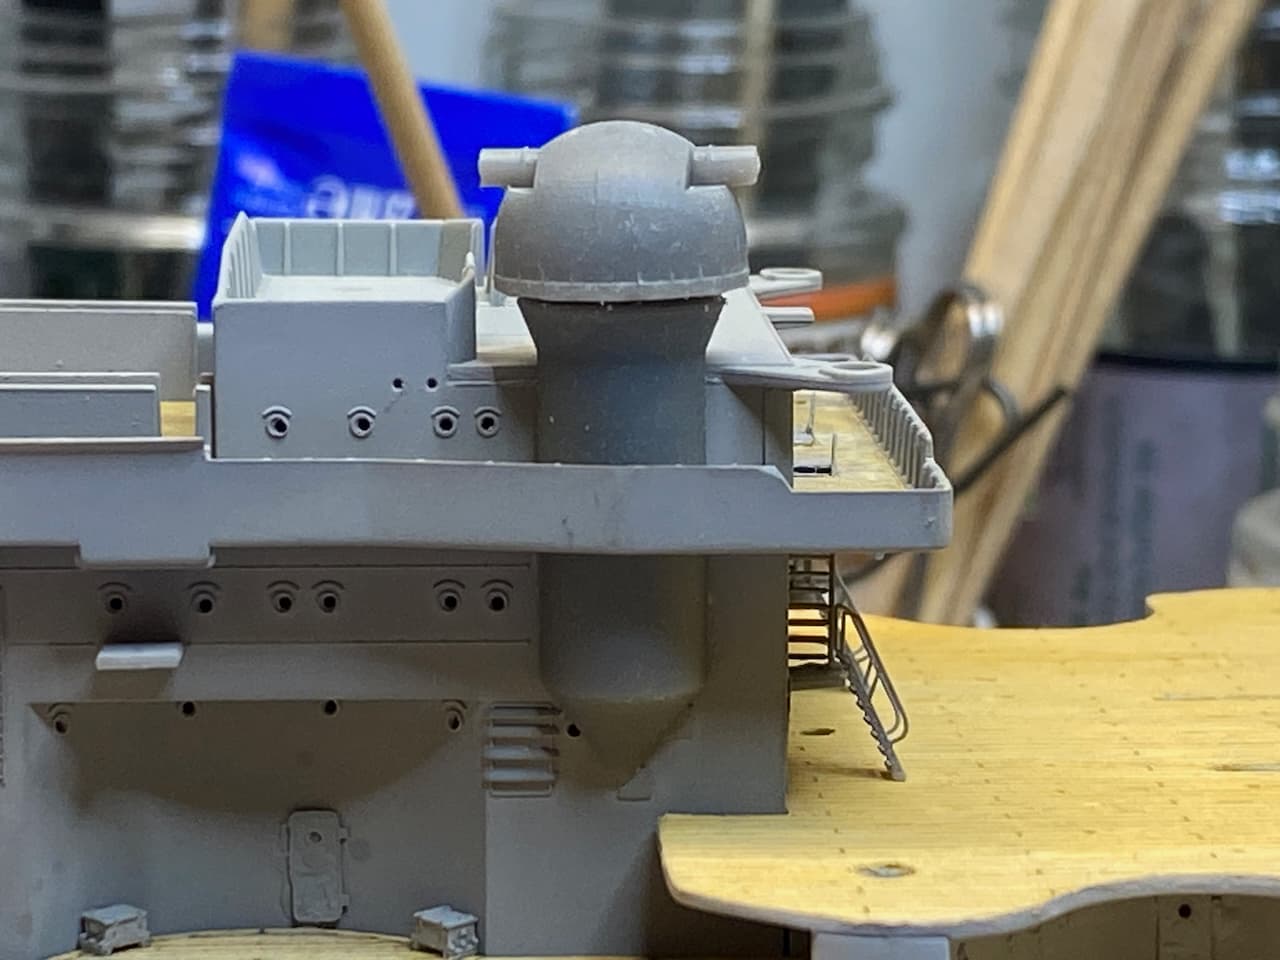
They make so much of a difference, and I was already about to give up…now that is one motivation booster! (if I only had time now, lots of traveling the next weeks, real life & navy issues…)
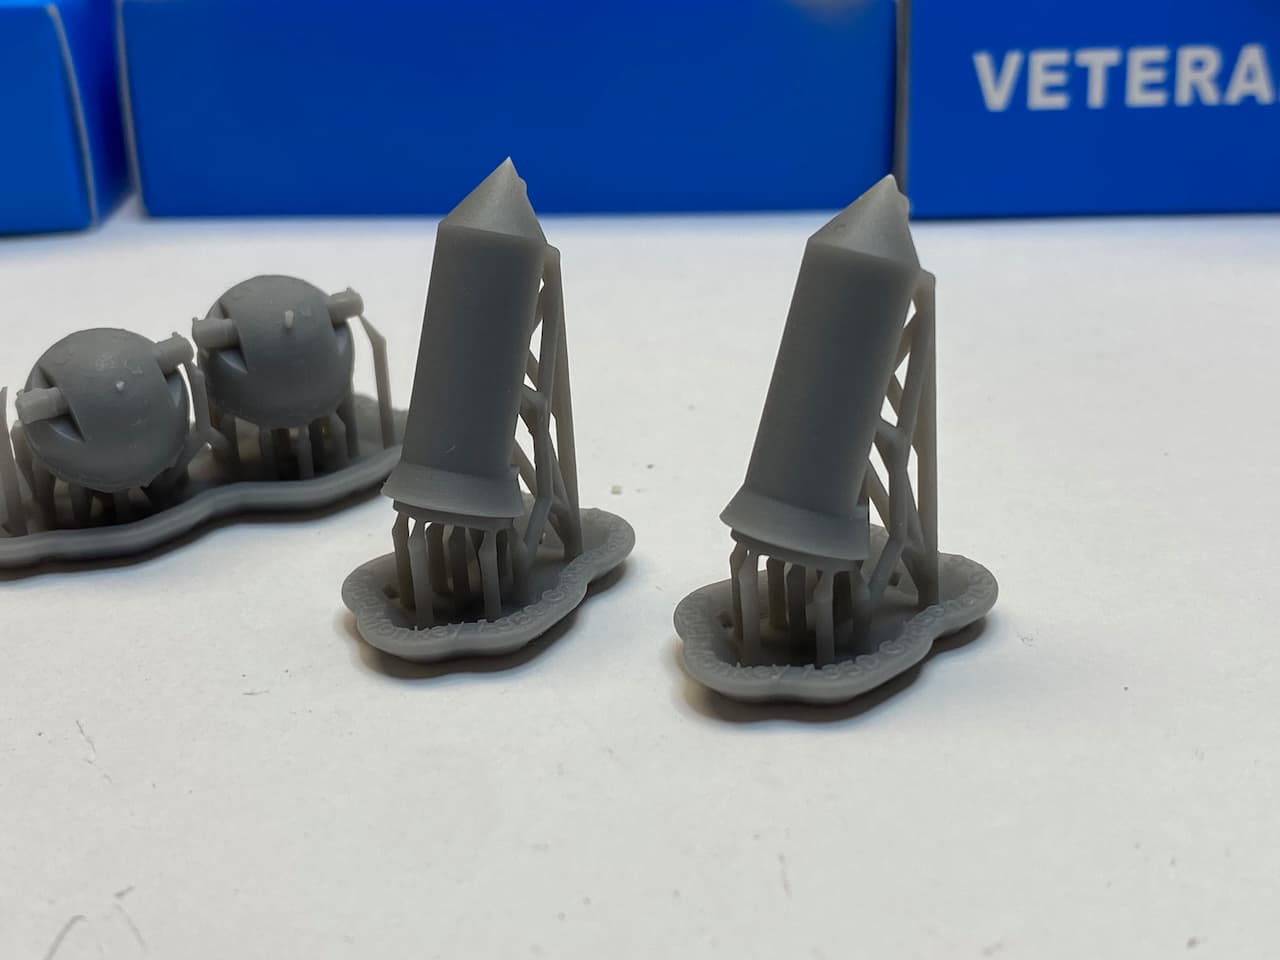
Here are some more impressions - I just cut them free and sanded the ‘connectors’ down, and even without any proper cleaning they look just great! (They will see some very light treatment and cleaning before painting…)


With that I’ll leave you for now, I hope I find some time next week but can’t promise. And if there’s time, it will be more 2 cm/C30…so not so much of an update…
Anyway, thank you all for looking in and all your kind comments, that’s really keeping motivation high!
Thank you and cheers
Jan
7 Likes
You make me feel inadequate with my pair of Dollar-store eyeglasses with the lenses of a second pair taped over them.

At least mine are stylish! ![]()
5 Likes
Jan, these look perfect! ![]()
2 Likes