DKM Gneisenau 1/350

Dear all,

so here comes my next build log, back to the roots in many ways and new in about as many ways at the same time:

Battleship Gneisenau in 1/350 scale

So I’m back to my favorite scale - and it feels like coming home, cutting the first styrene, after my 1/700 experience. I’m back to full hull WW II ships.
But this is going to be a transformation from the Dragon 1/350 Scharnhorst 1943 kit into a Gneisenau, and I’m still not entirely sure about the time. So when Dragon brought out the Scharnhorst 1943 I could not resist. But when they brought out their Scharnhorst 1941, I liked that even better, so I had to get that kit, too. So there was the consideration to use the 1943 kit to build it into a Gneisenau, and to build the 1941 Scharnhorst as intended by Dragon. It will (sometime in the future) be the “returning from Operation Berlin” fit, with yellow turret tops and some remnants of the baltic stripes.
So there is the consideration as to build Gneisenau in the same situation, looking pretty much alike paint wise -no remnants, but same yellow turret tops, or go for an earlier 1940 version. I tend to do that, apparently during the Norway operations (Weserübung) when providing distant cover during her encounter with HMS Renown, she hat bright red turret tops - that would make her stand out. I definitely want to do her with those fancy air recognition painting, both Scharnhorst and Gneisenau actually, since I think this adds a lot to the model. However, for reasons, I will omit the swastikas.

So even if I said “I tend to the 1940 version”, decision is not made yet and I’d love to hear your opinions.

So here’s the setup:

Gneisenau 0 - 1

Gneisenau 0 - 2

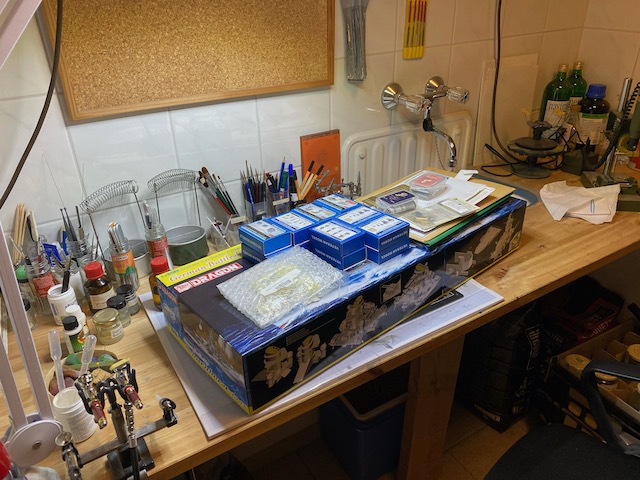
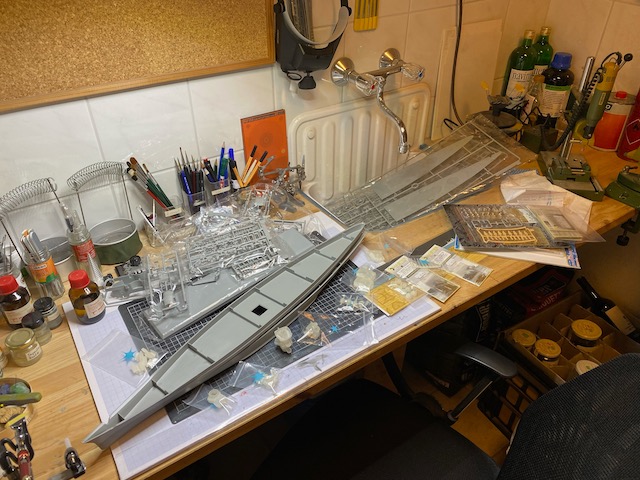
Quite a lot of add-ons, I am not sure yet which of those I will be using. Time will show.

Gneisenau 0 - 3

Gneisenau 0 - 4

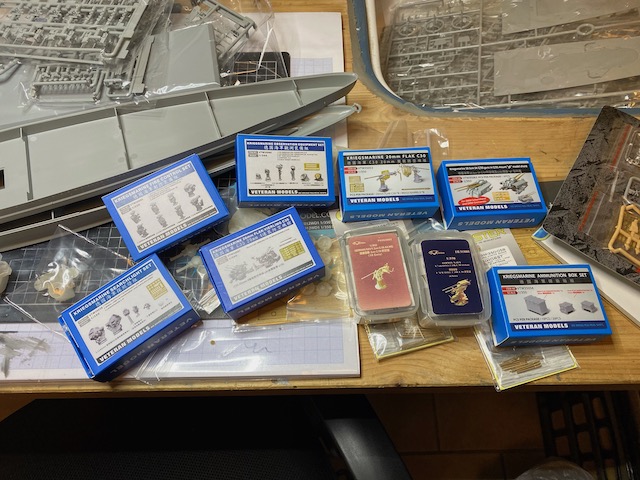
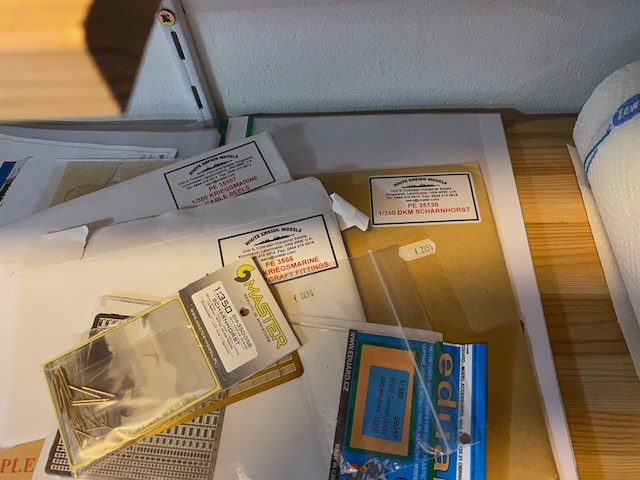
And there may be more stuff added over time as well.

The most obvious alterations that need to be done:

  • bridge/forward superstructure: 3D printed replacement
  • hangar/catapult: 3D printed replacement
  • 11" turrets, 10m rangefinders: 3D printed replacement
  • main mast: well…will have to build one…
  • teak deck on the 4.1" AA “platform”: will have to scratch build

And many more small and bigger details, changes to the main deck, forecastle, … this will be fun!
However, I will try to build a clearly recognizable Gneisenau, clearly distinguishable from Scharnhorst (how awkward were those “one kit builds both” offers…), but I will not be going down nut counting. Both ships have very distinct features, but have been constantly changed over their careers, so it’s close to impossible to exactly say how they looked at a given time.

So here we go!

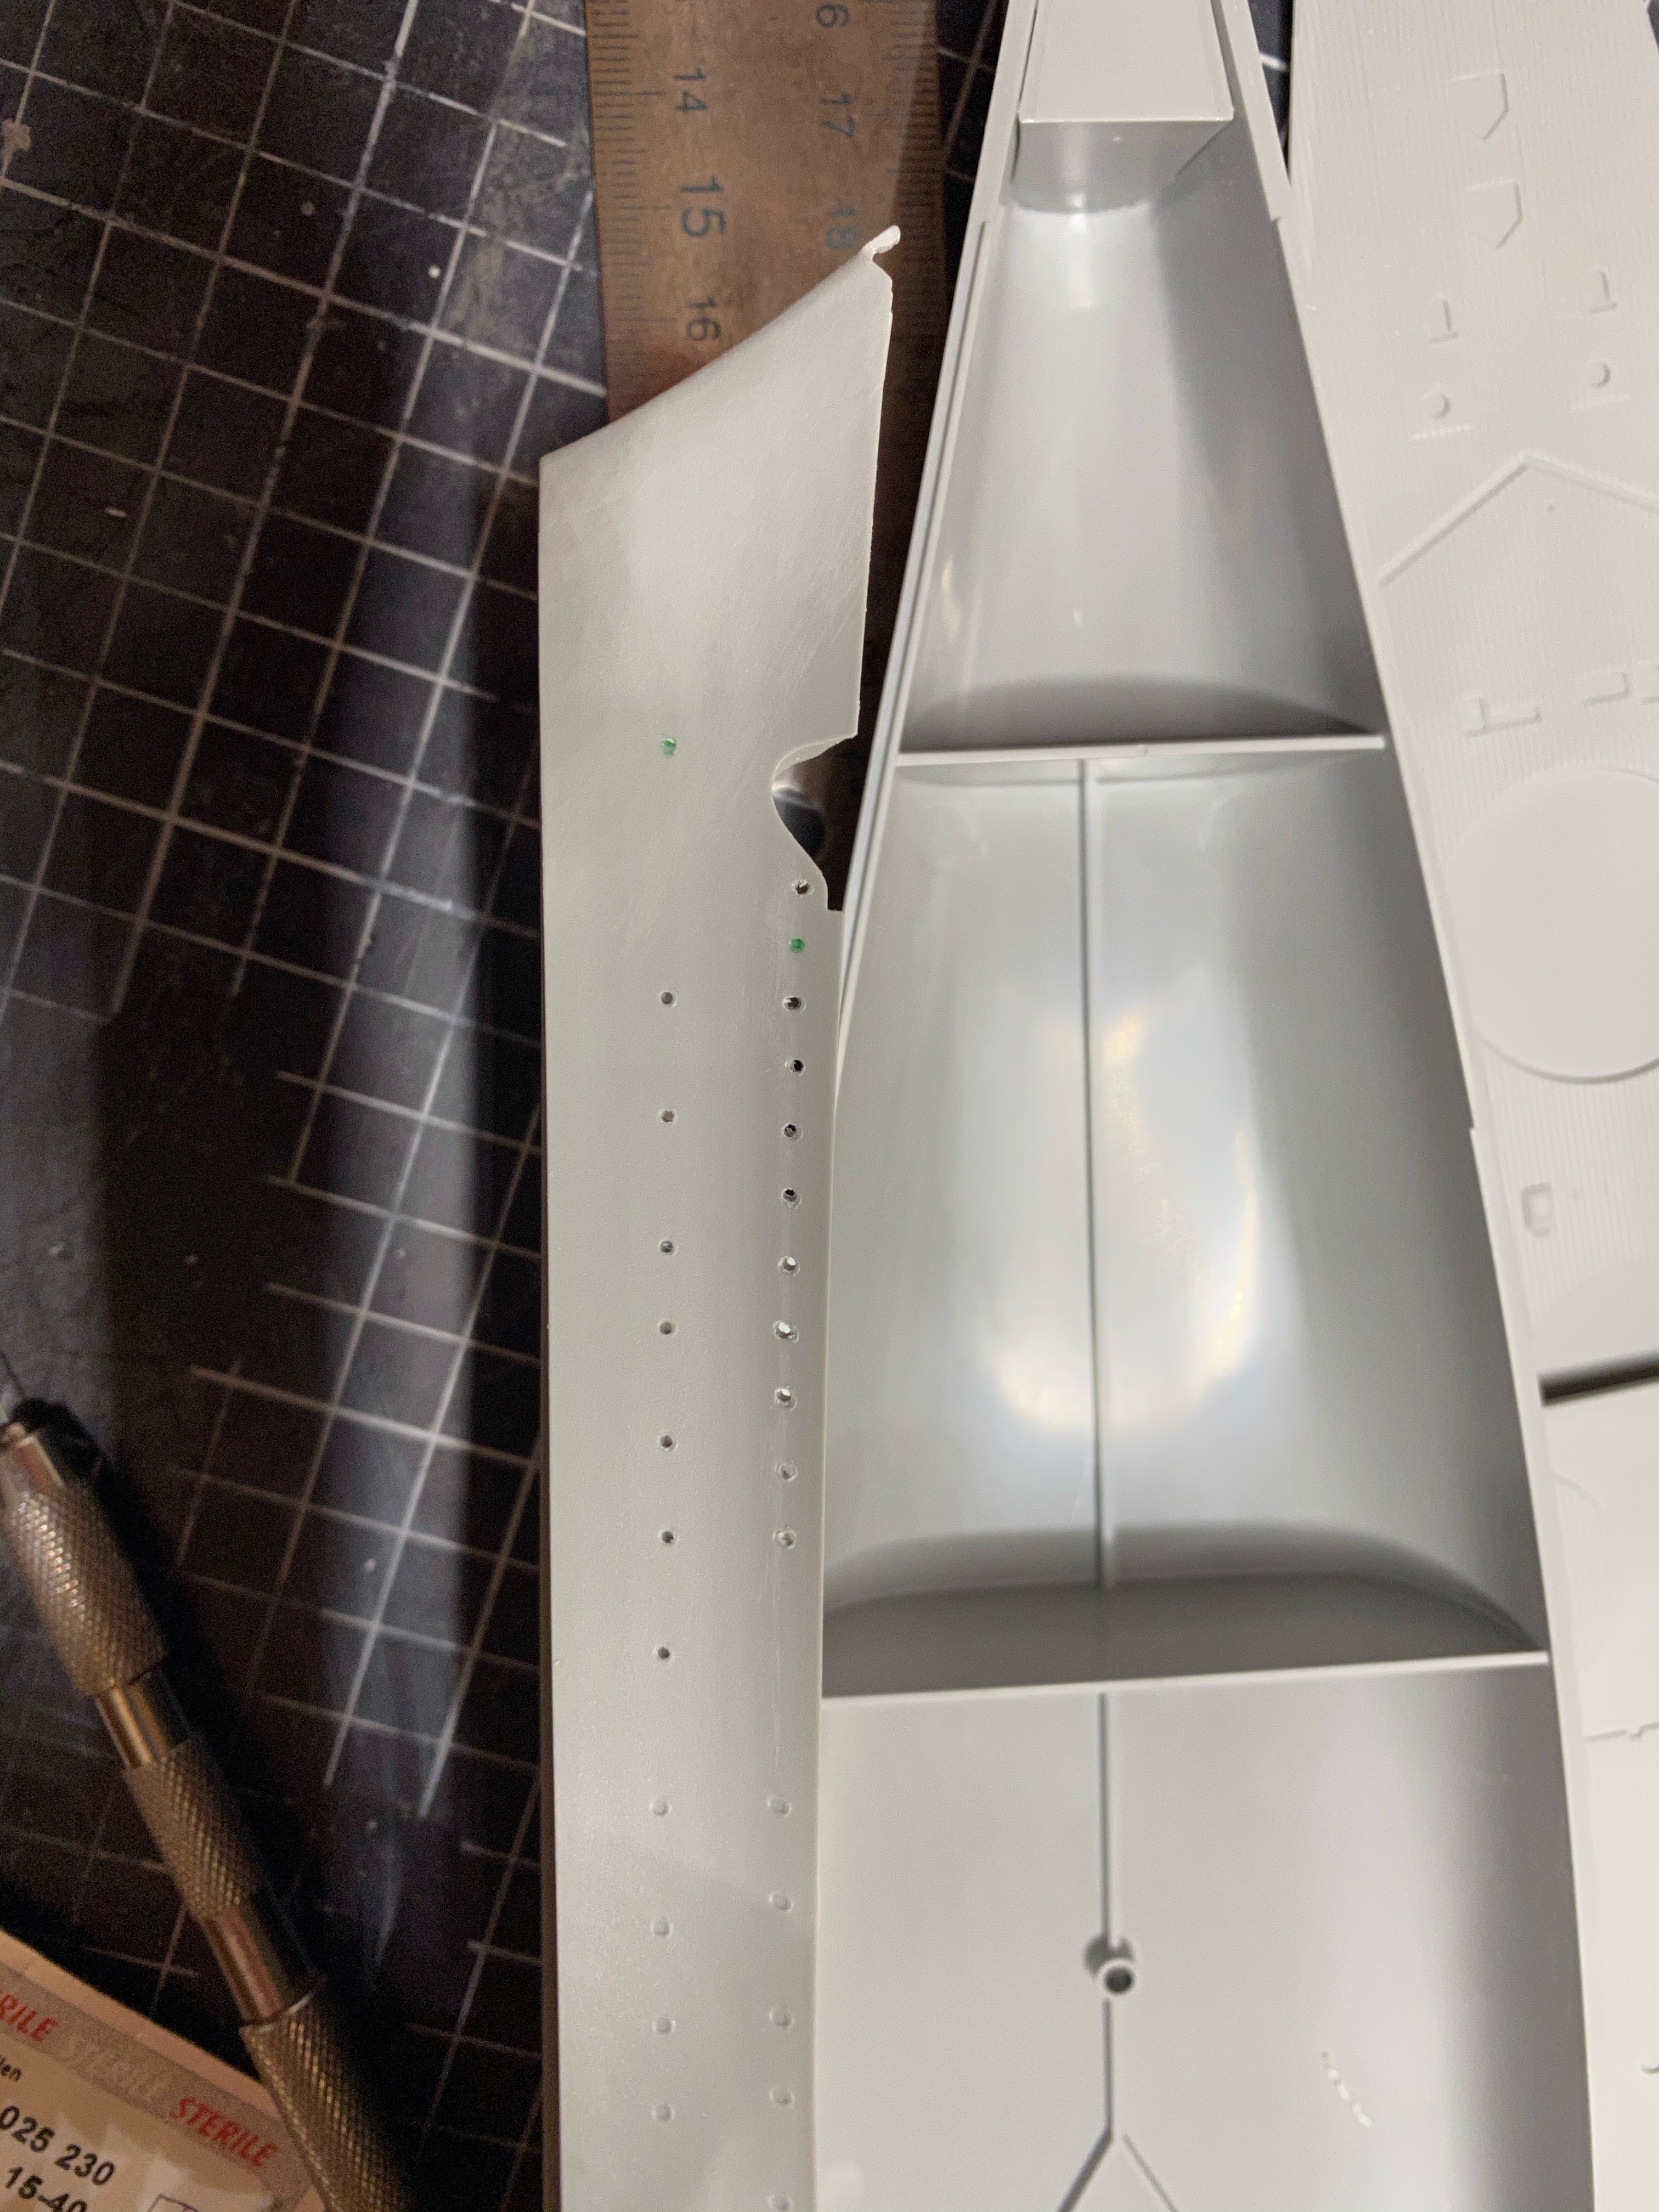
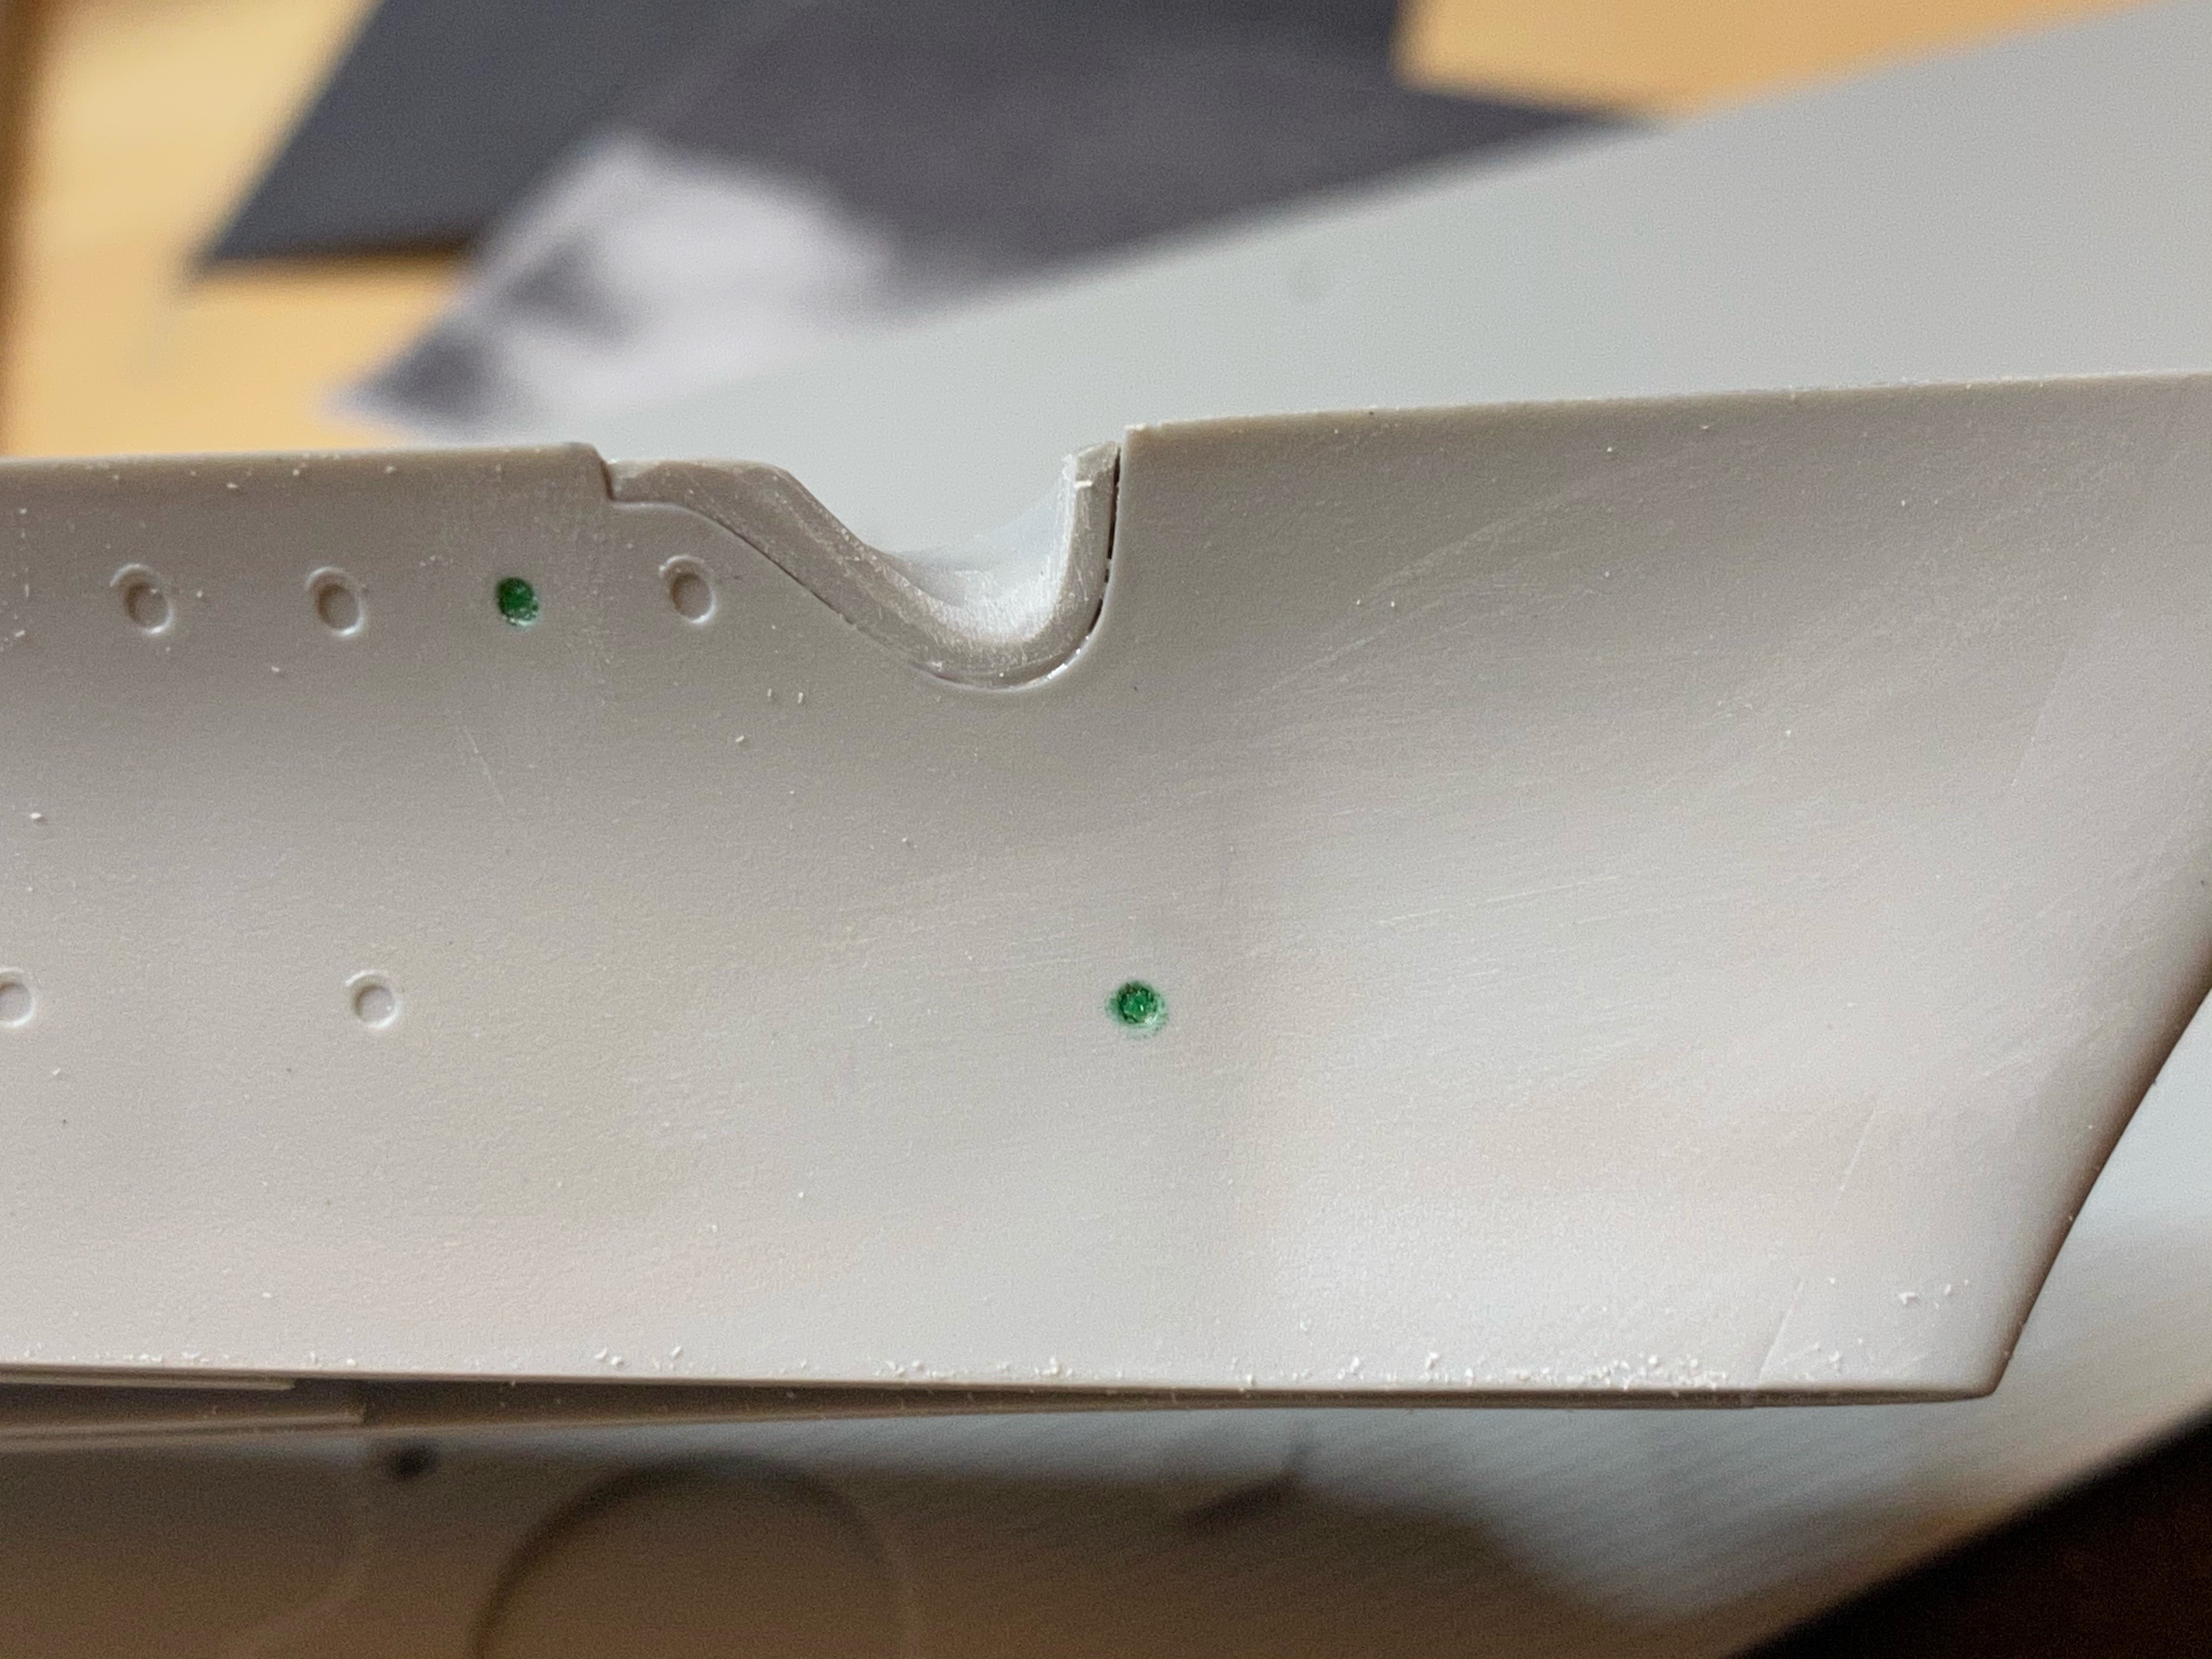
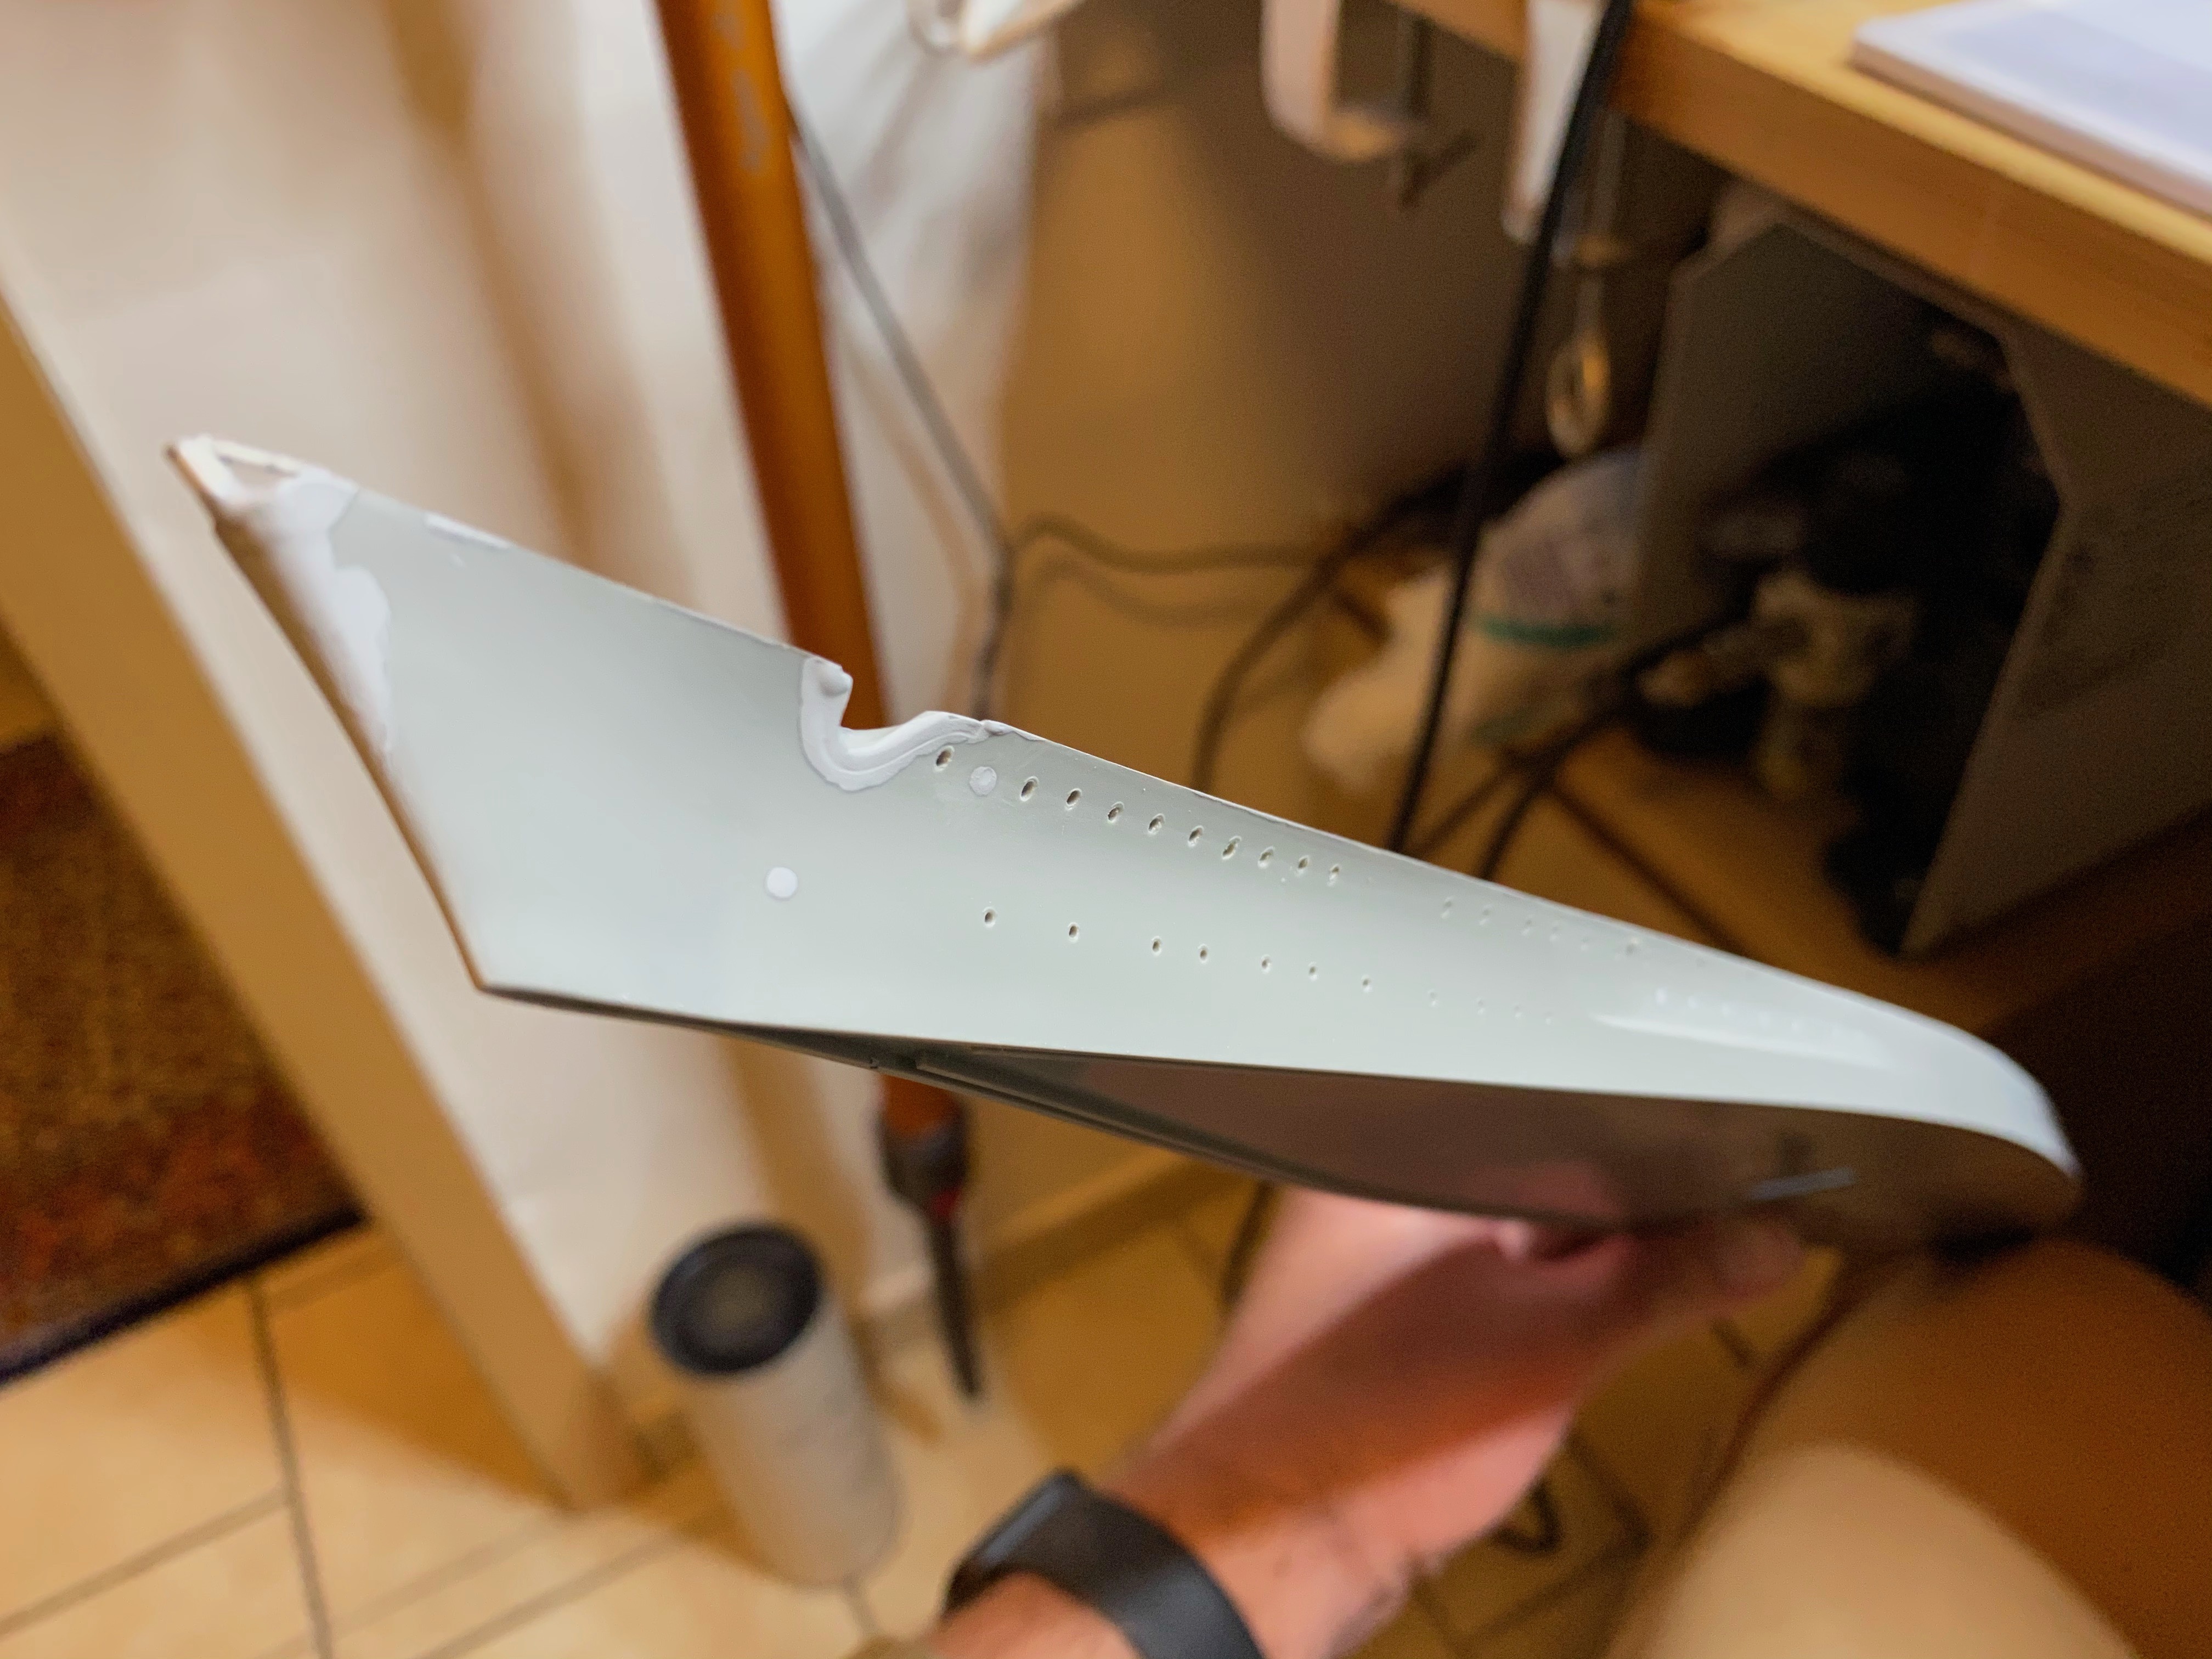
First changes indicated - Gneisenau did not have a second row of portholes above the armored belt forward, and just four or six - still checking and interpreting pictures - aft. And some obvious portholes were located differently. The green marked porthole will have to go.

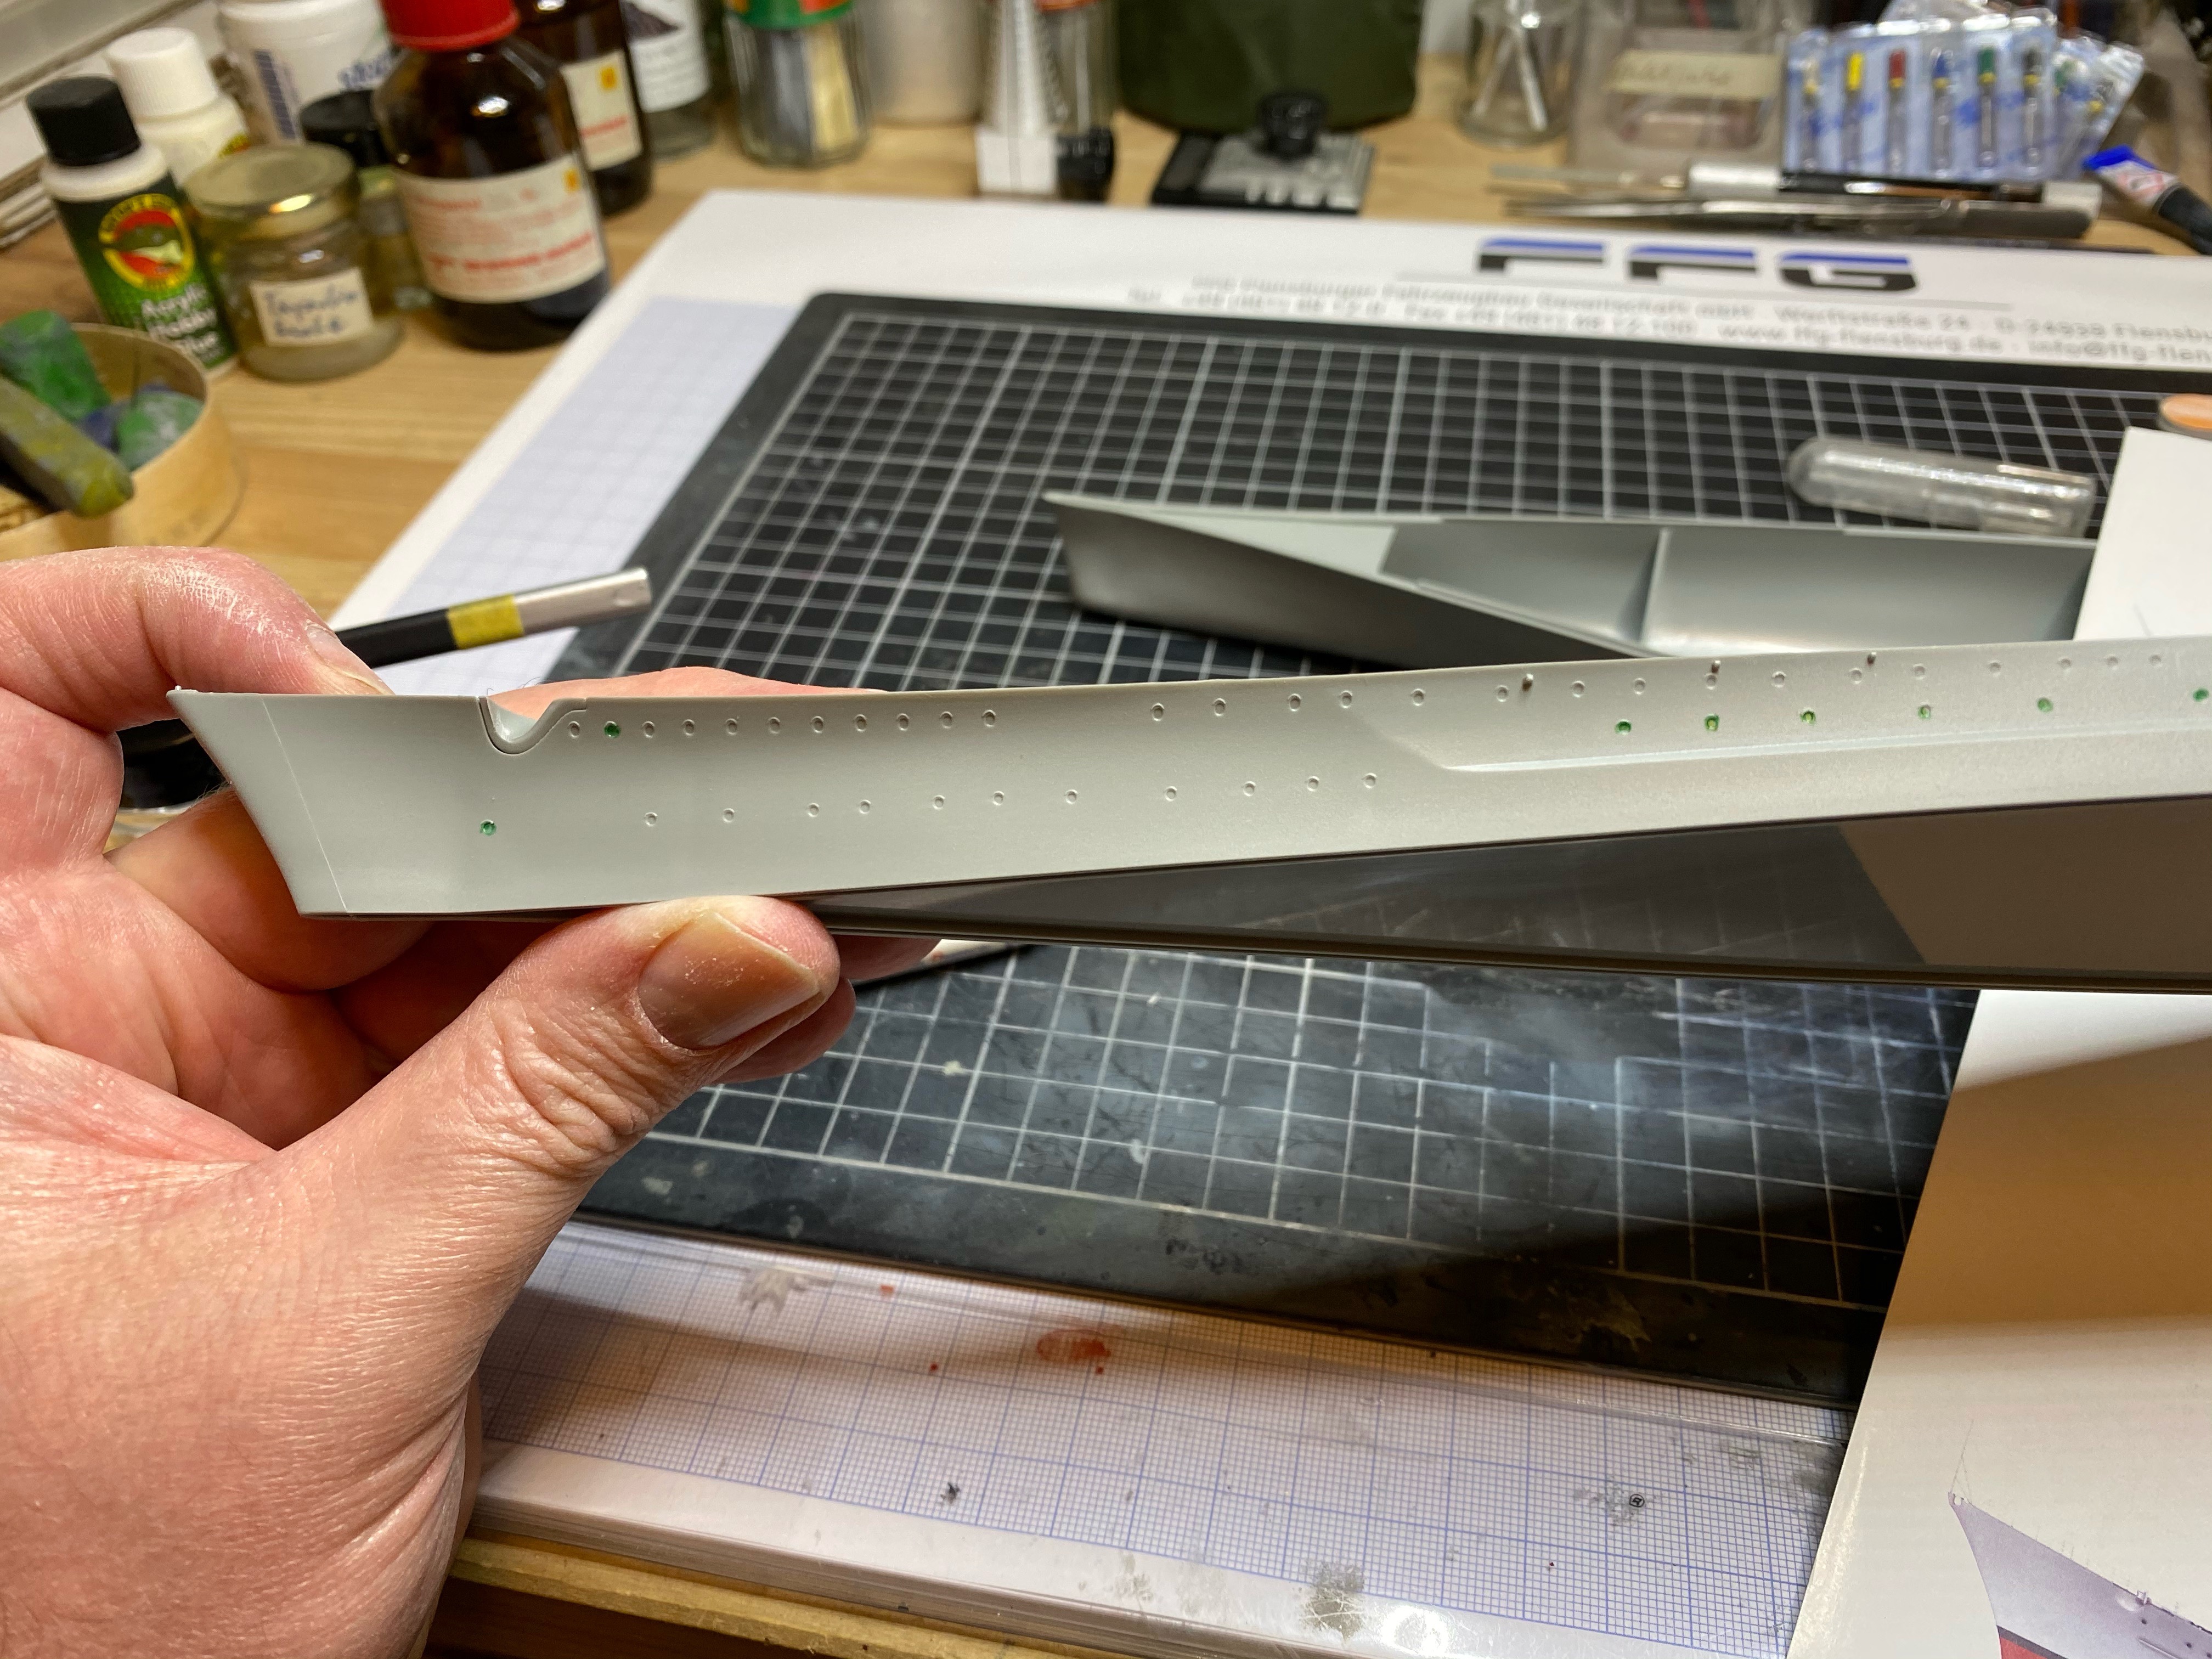
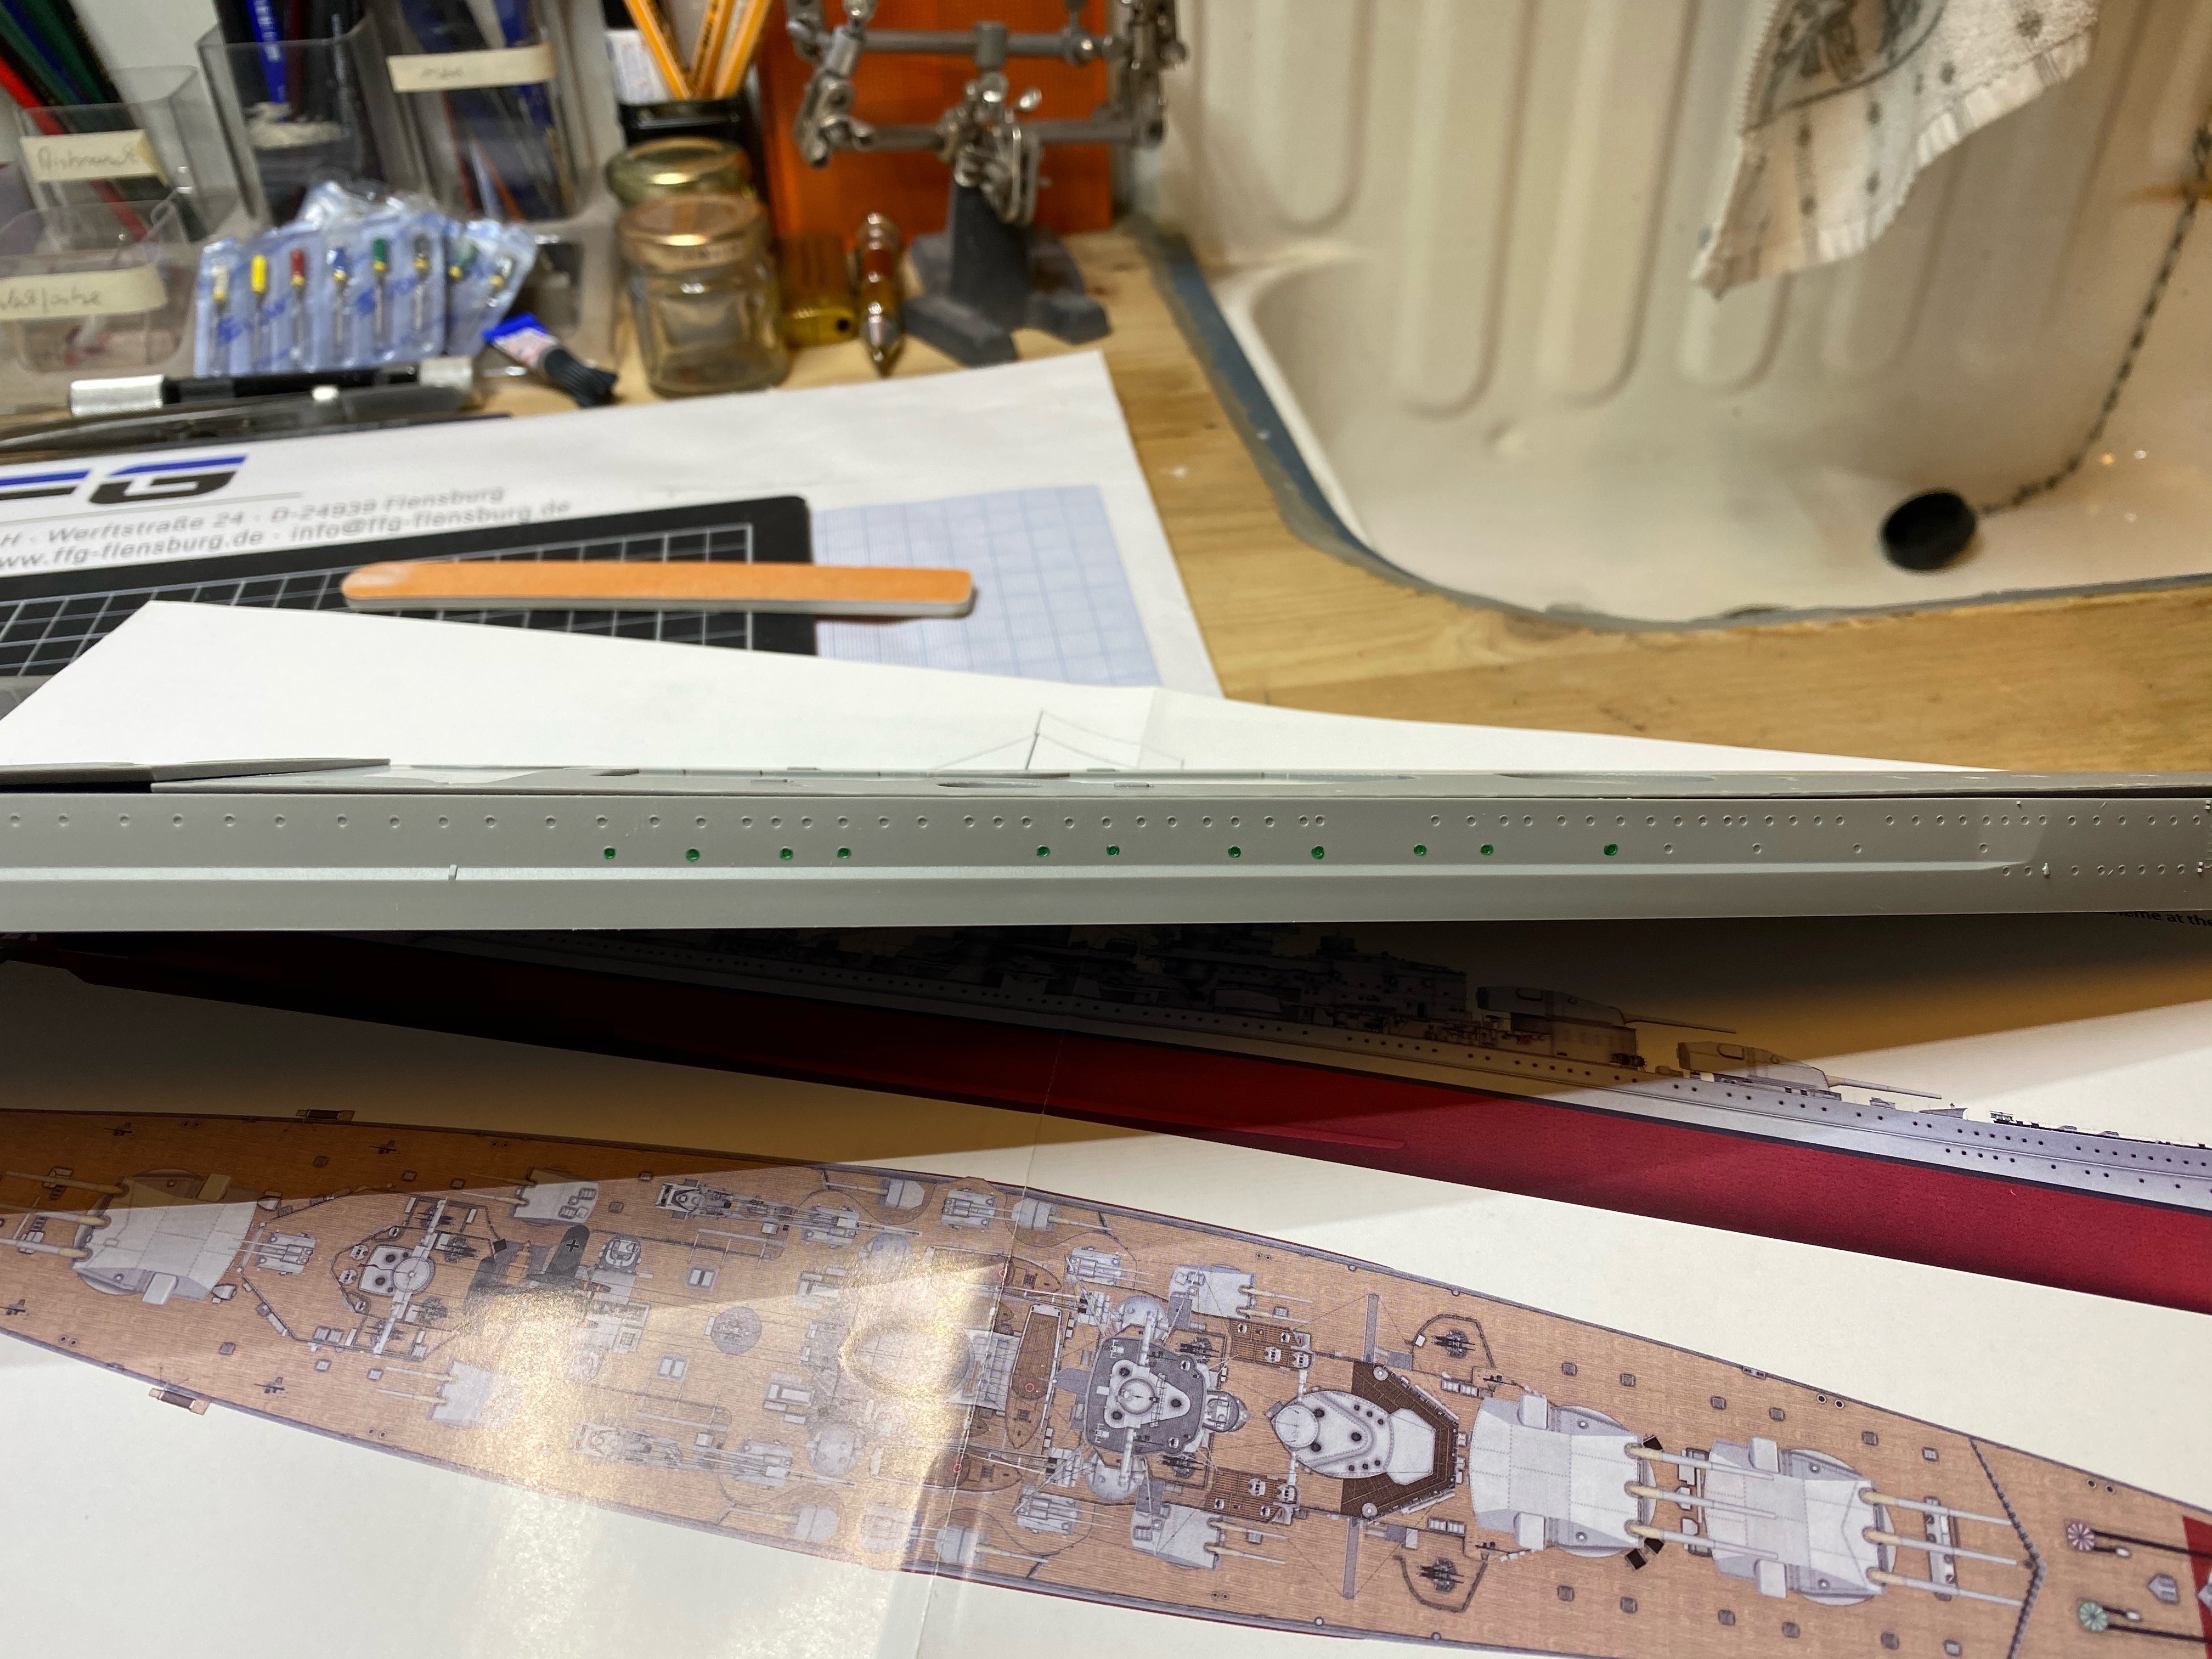
But I am not going to check each and every porthole along the hull, as long as it looks reasonable, it will stay.

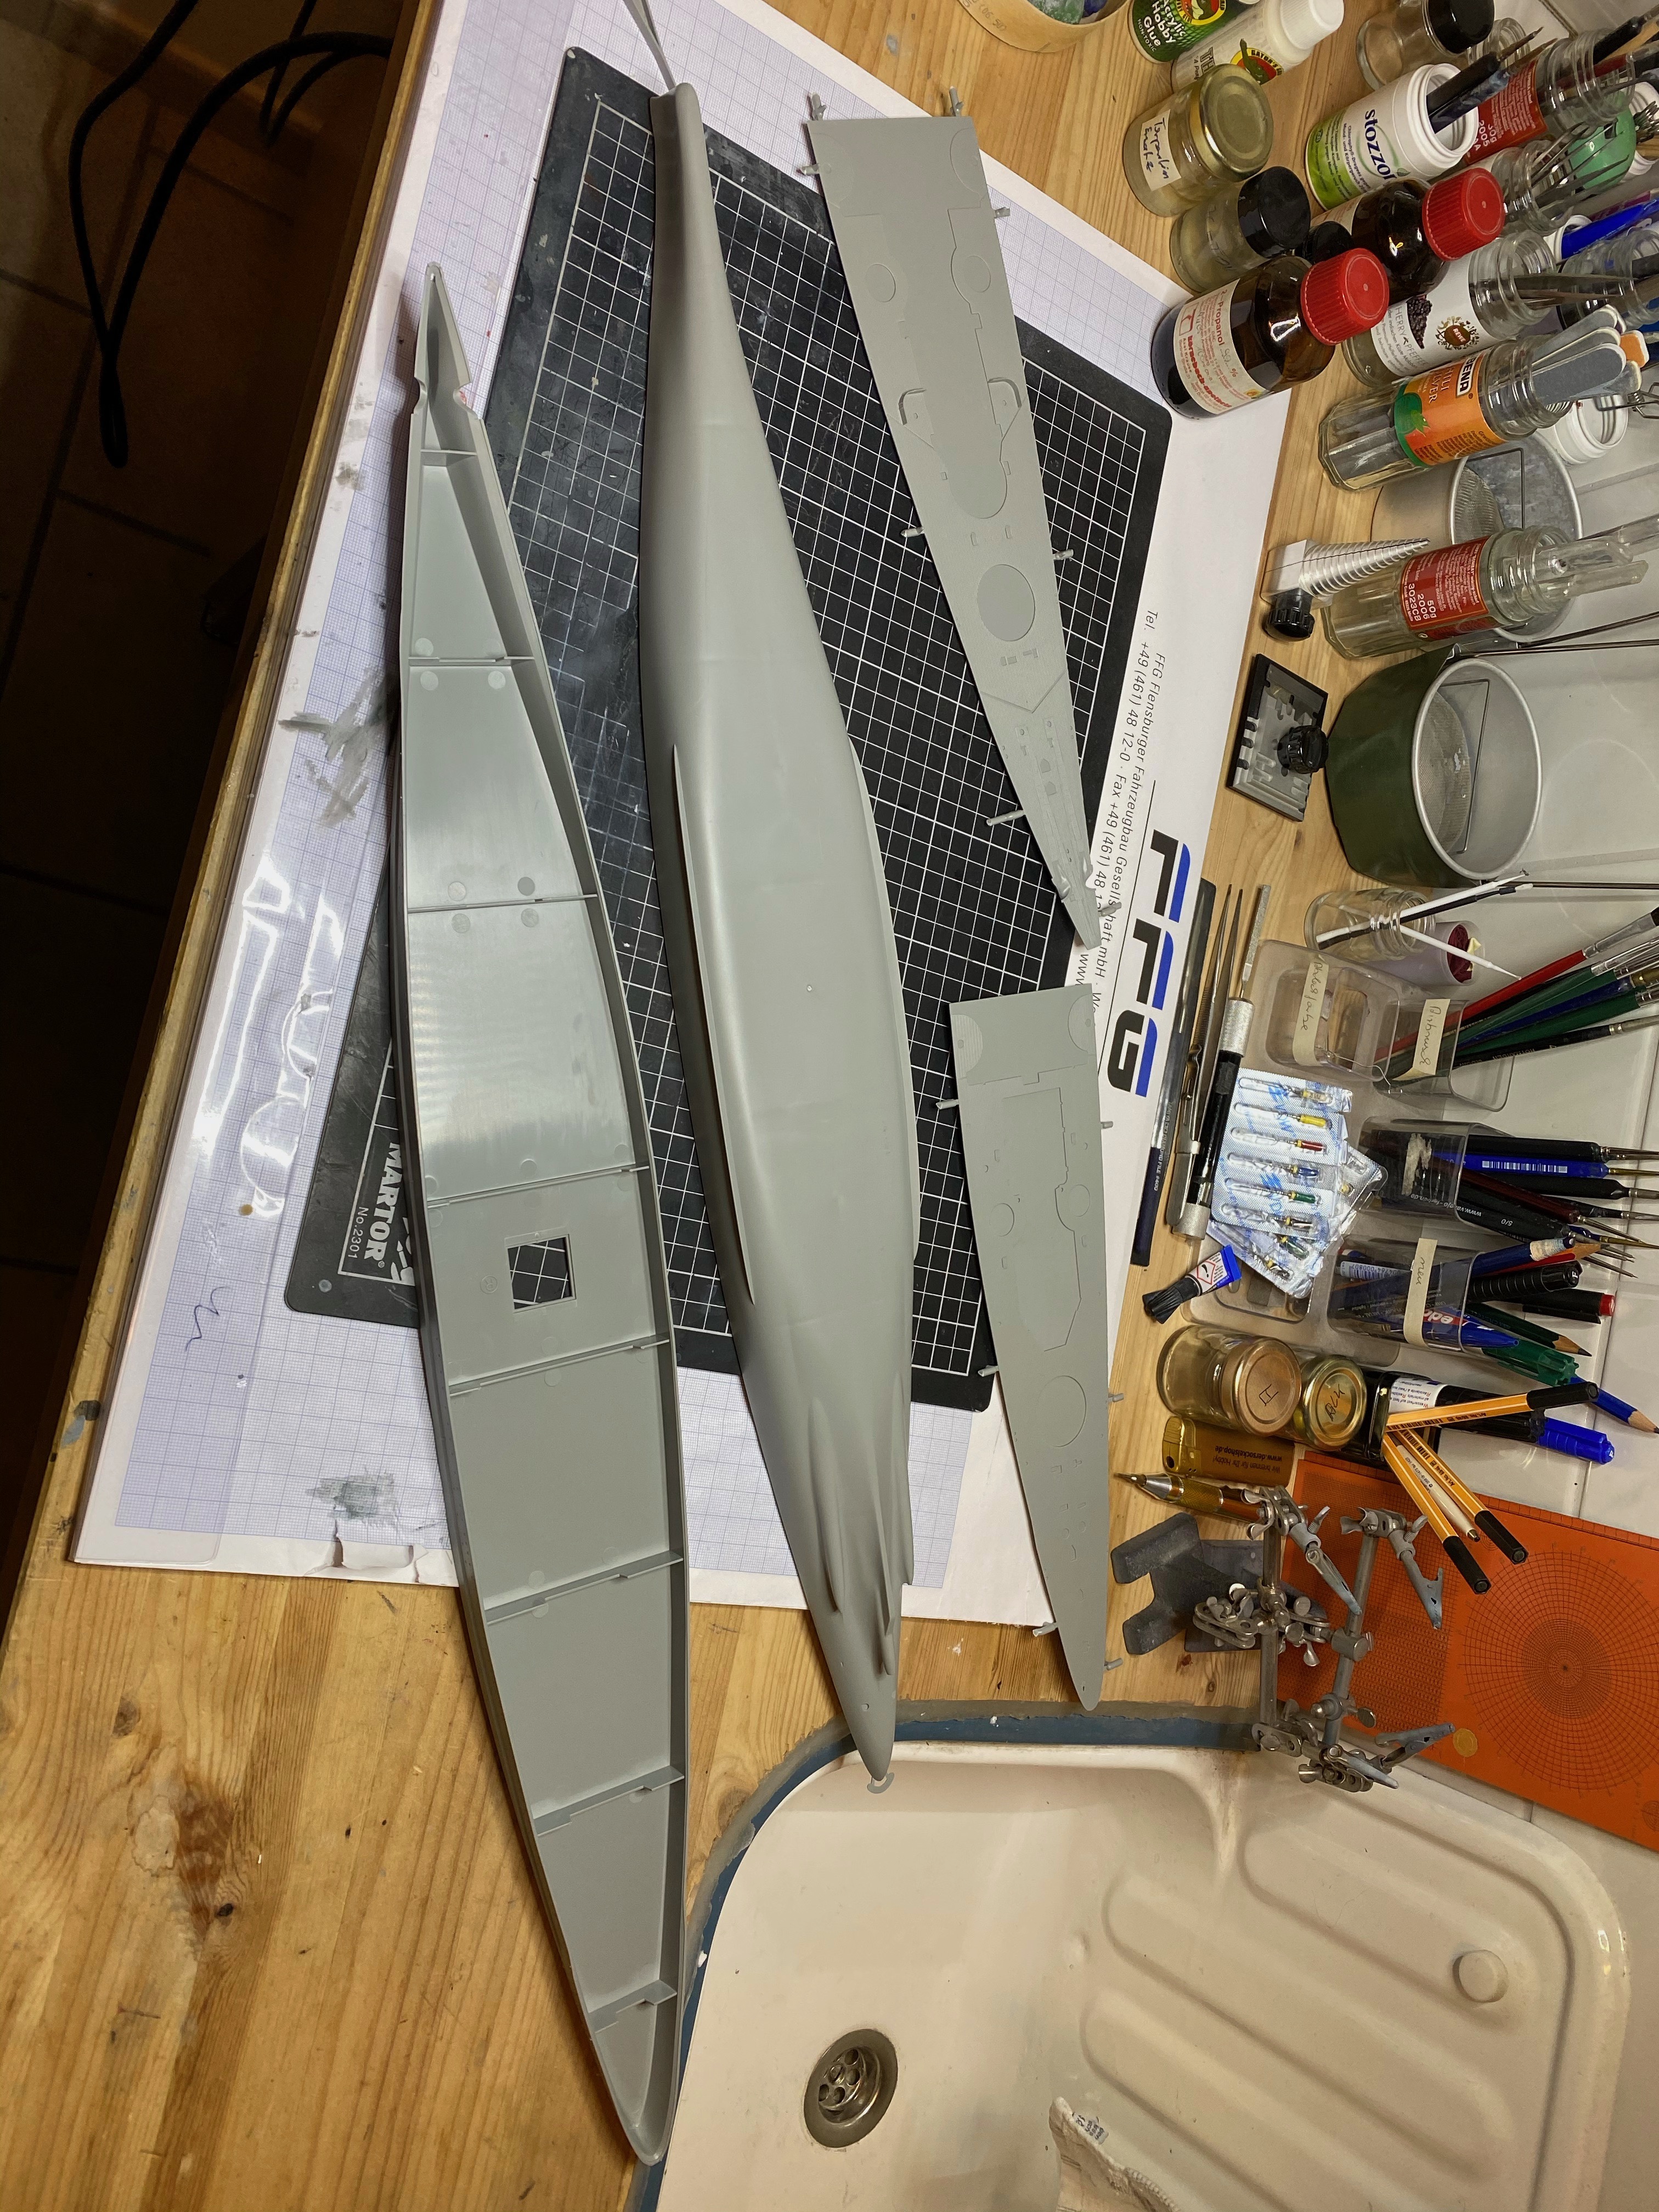
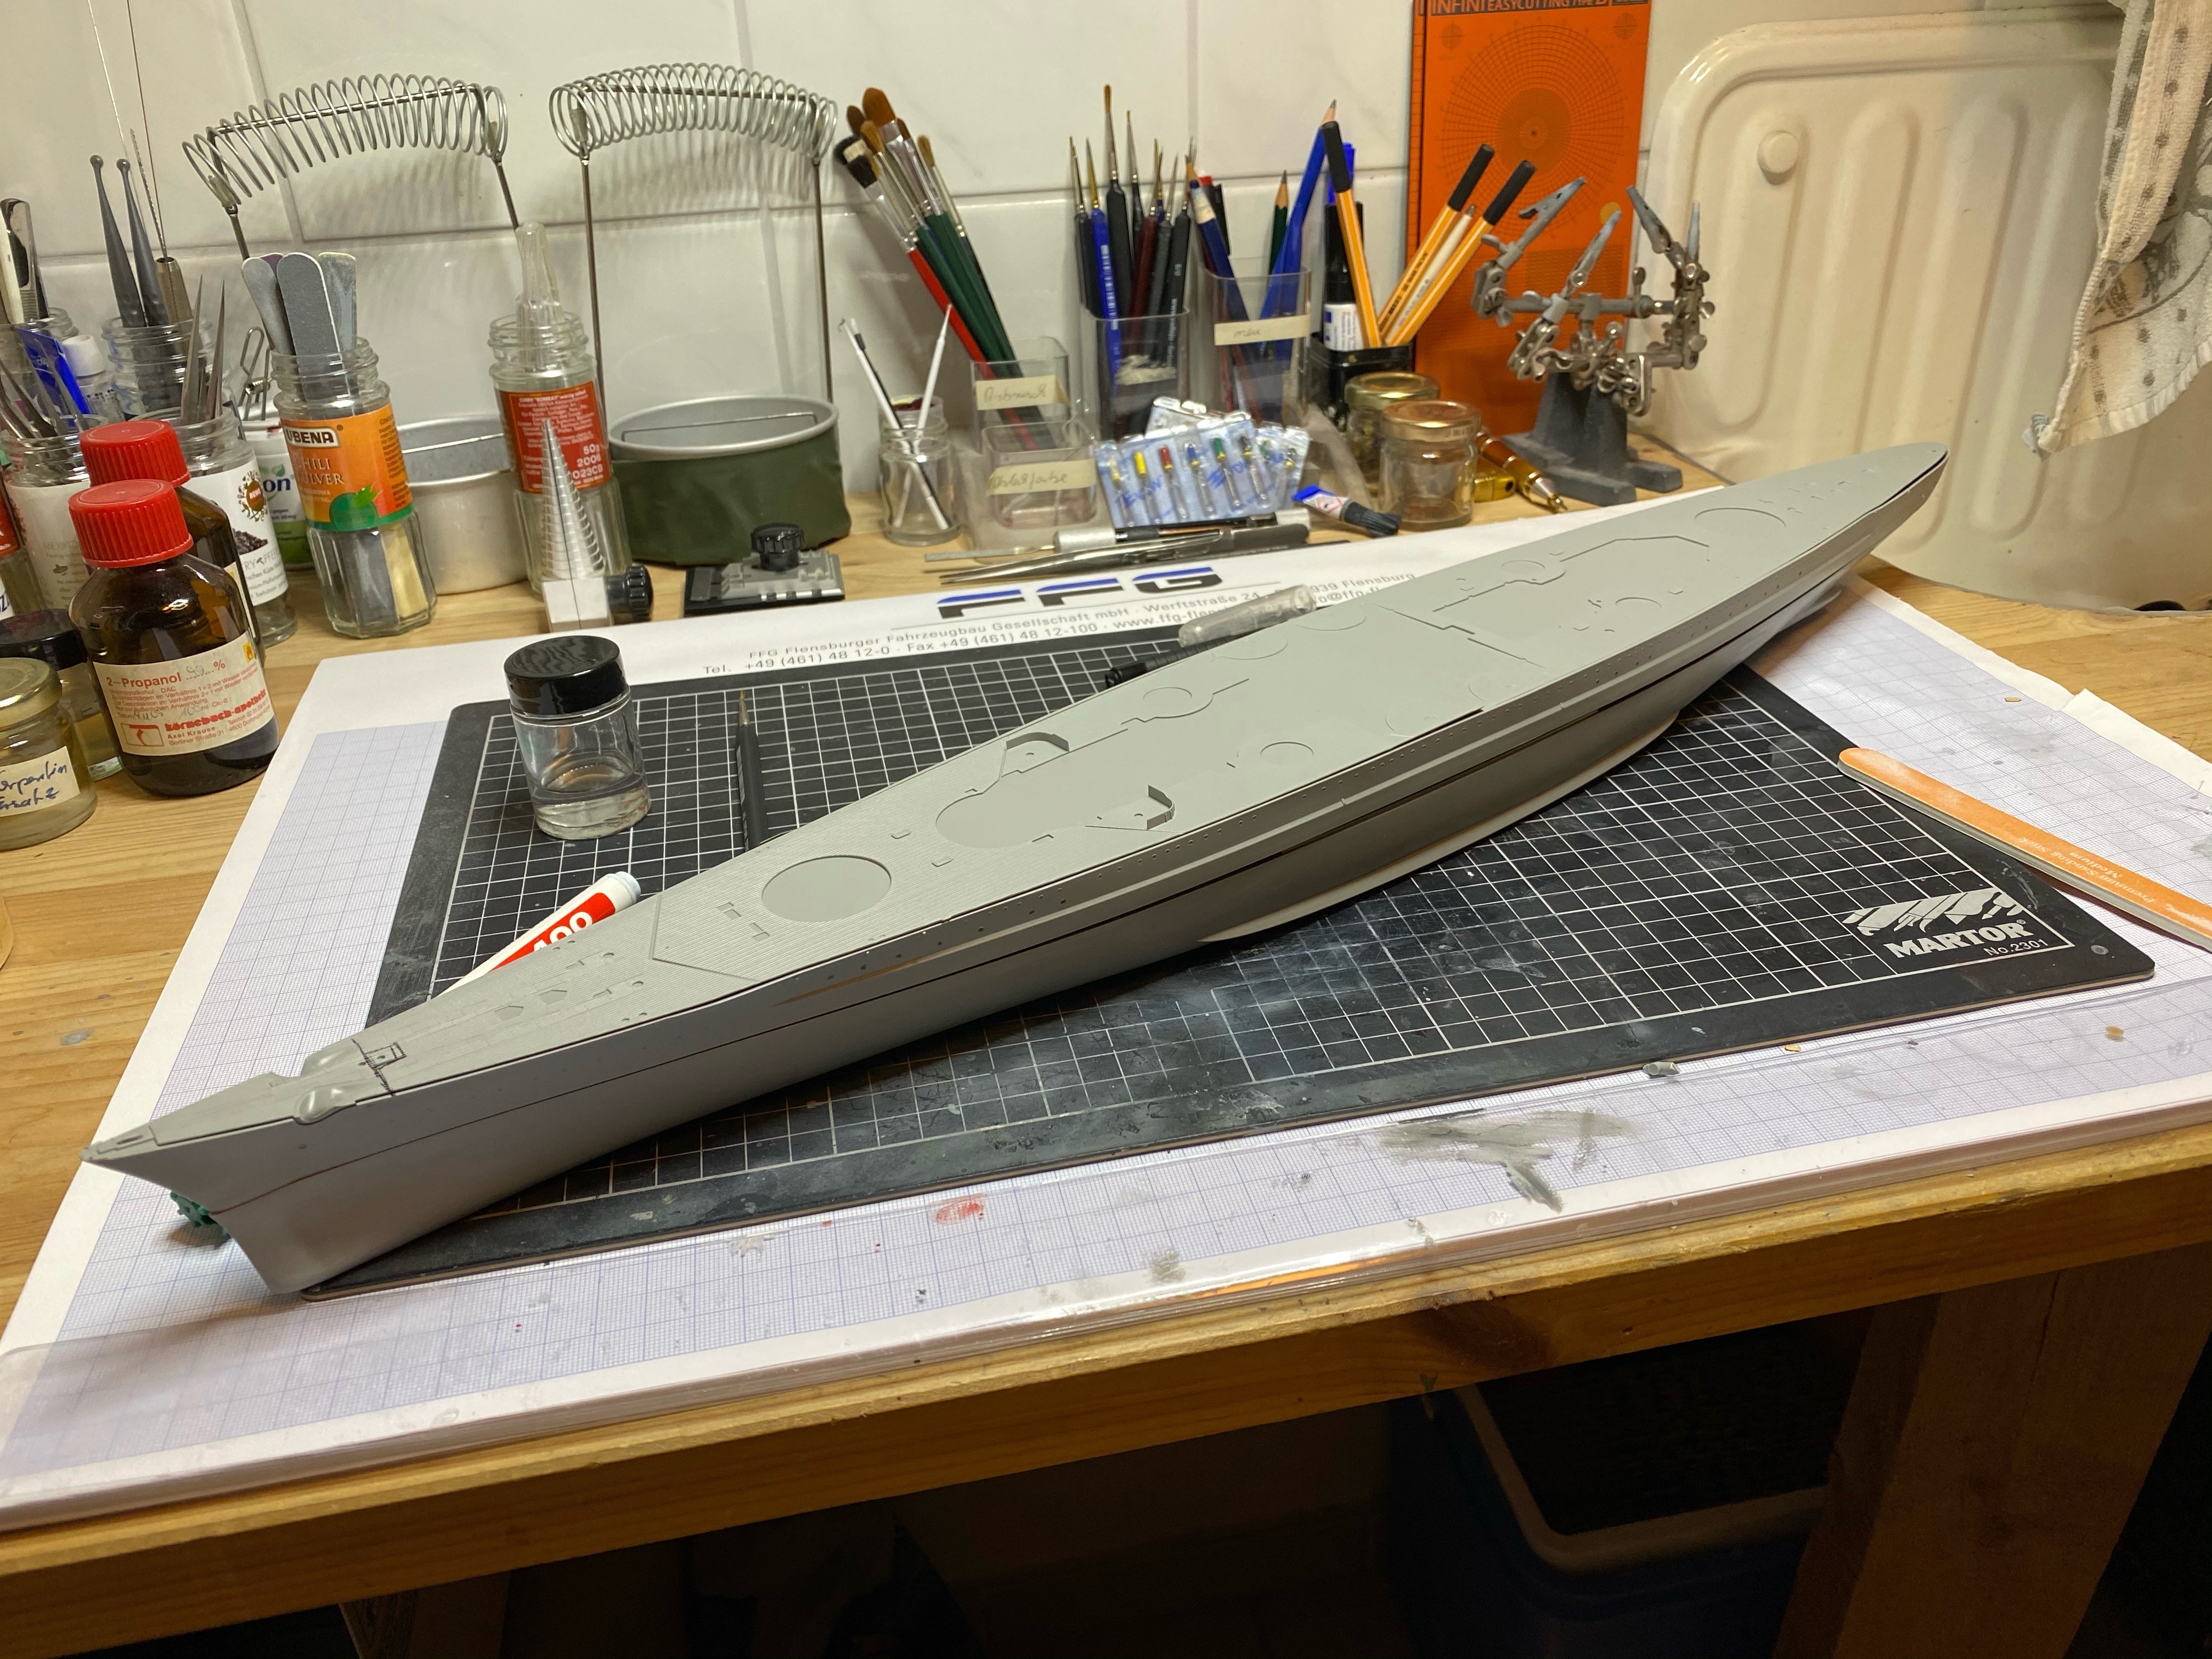
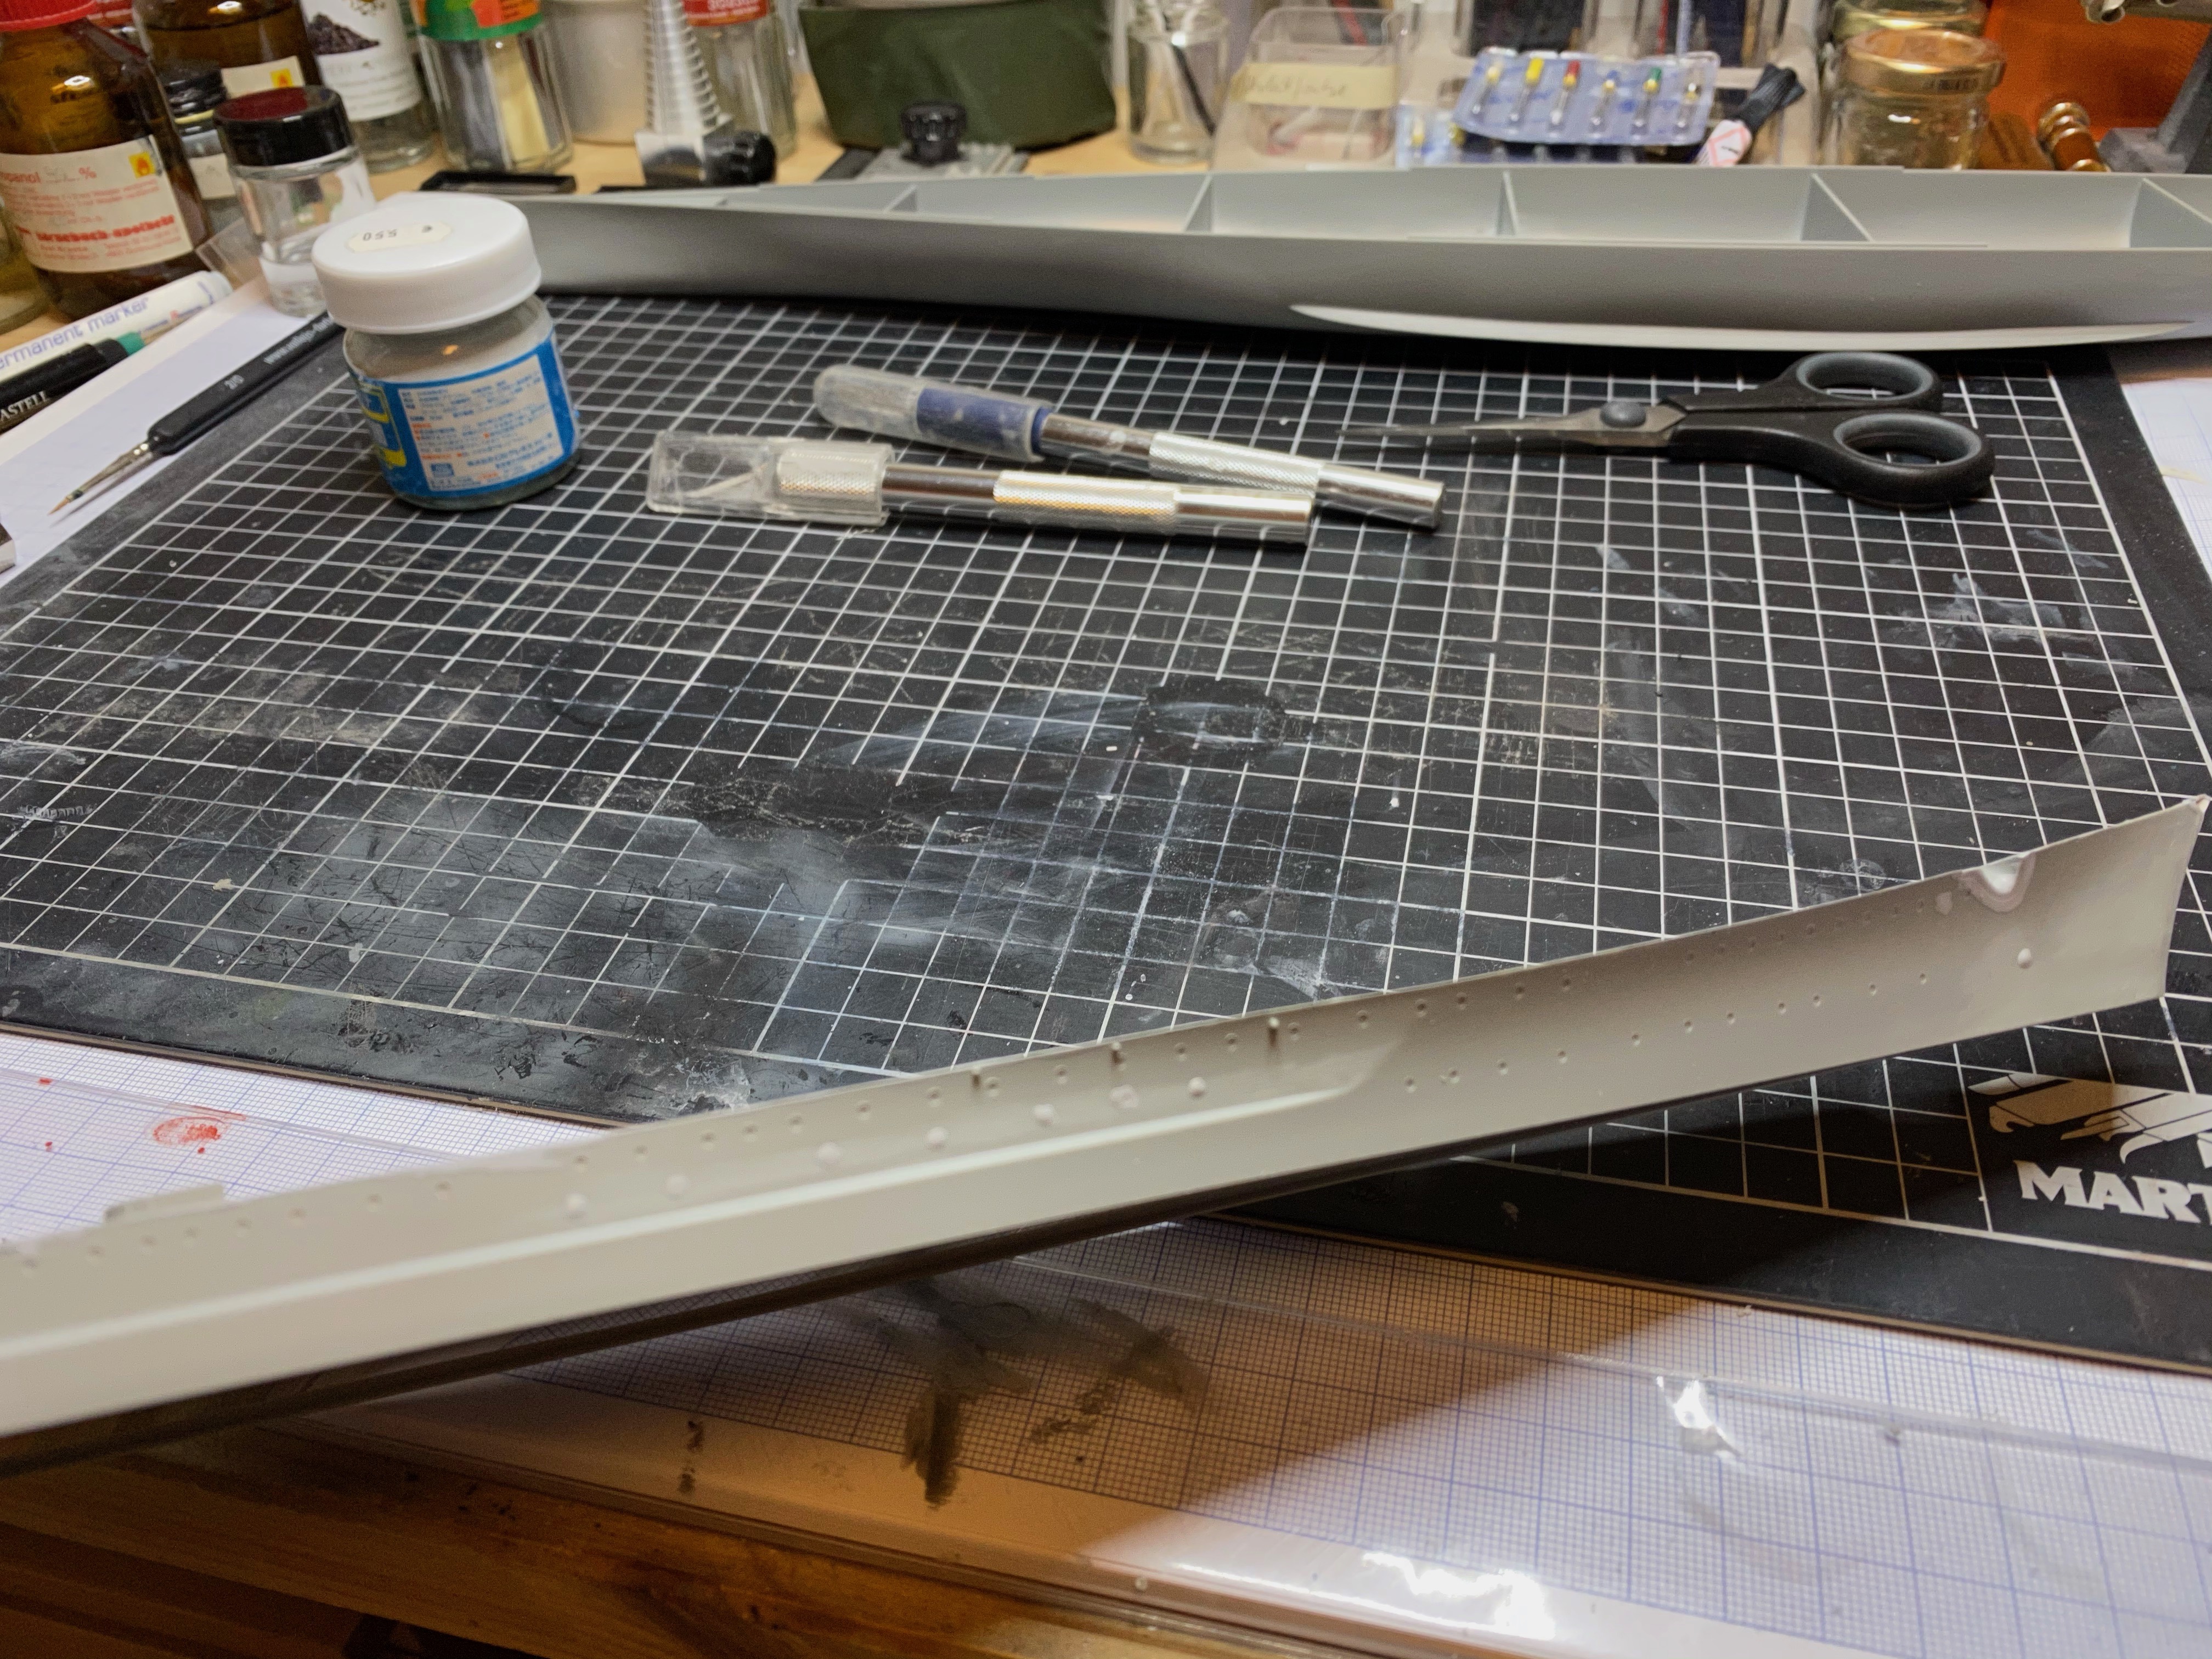
Overall fit of the hull is really good. Of course there will be some filling band sanding necessary, but not too much.

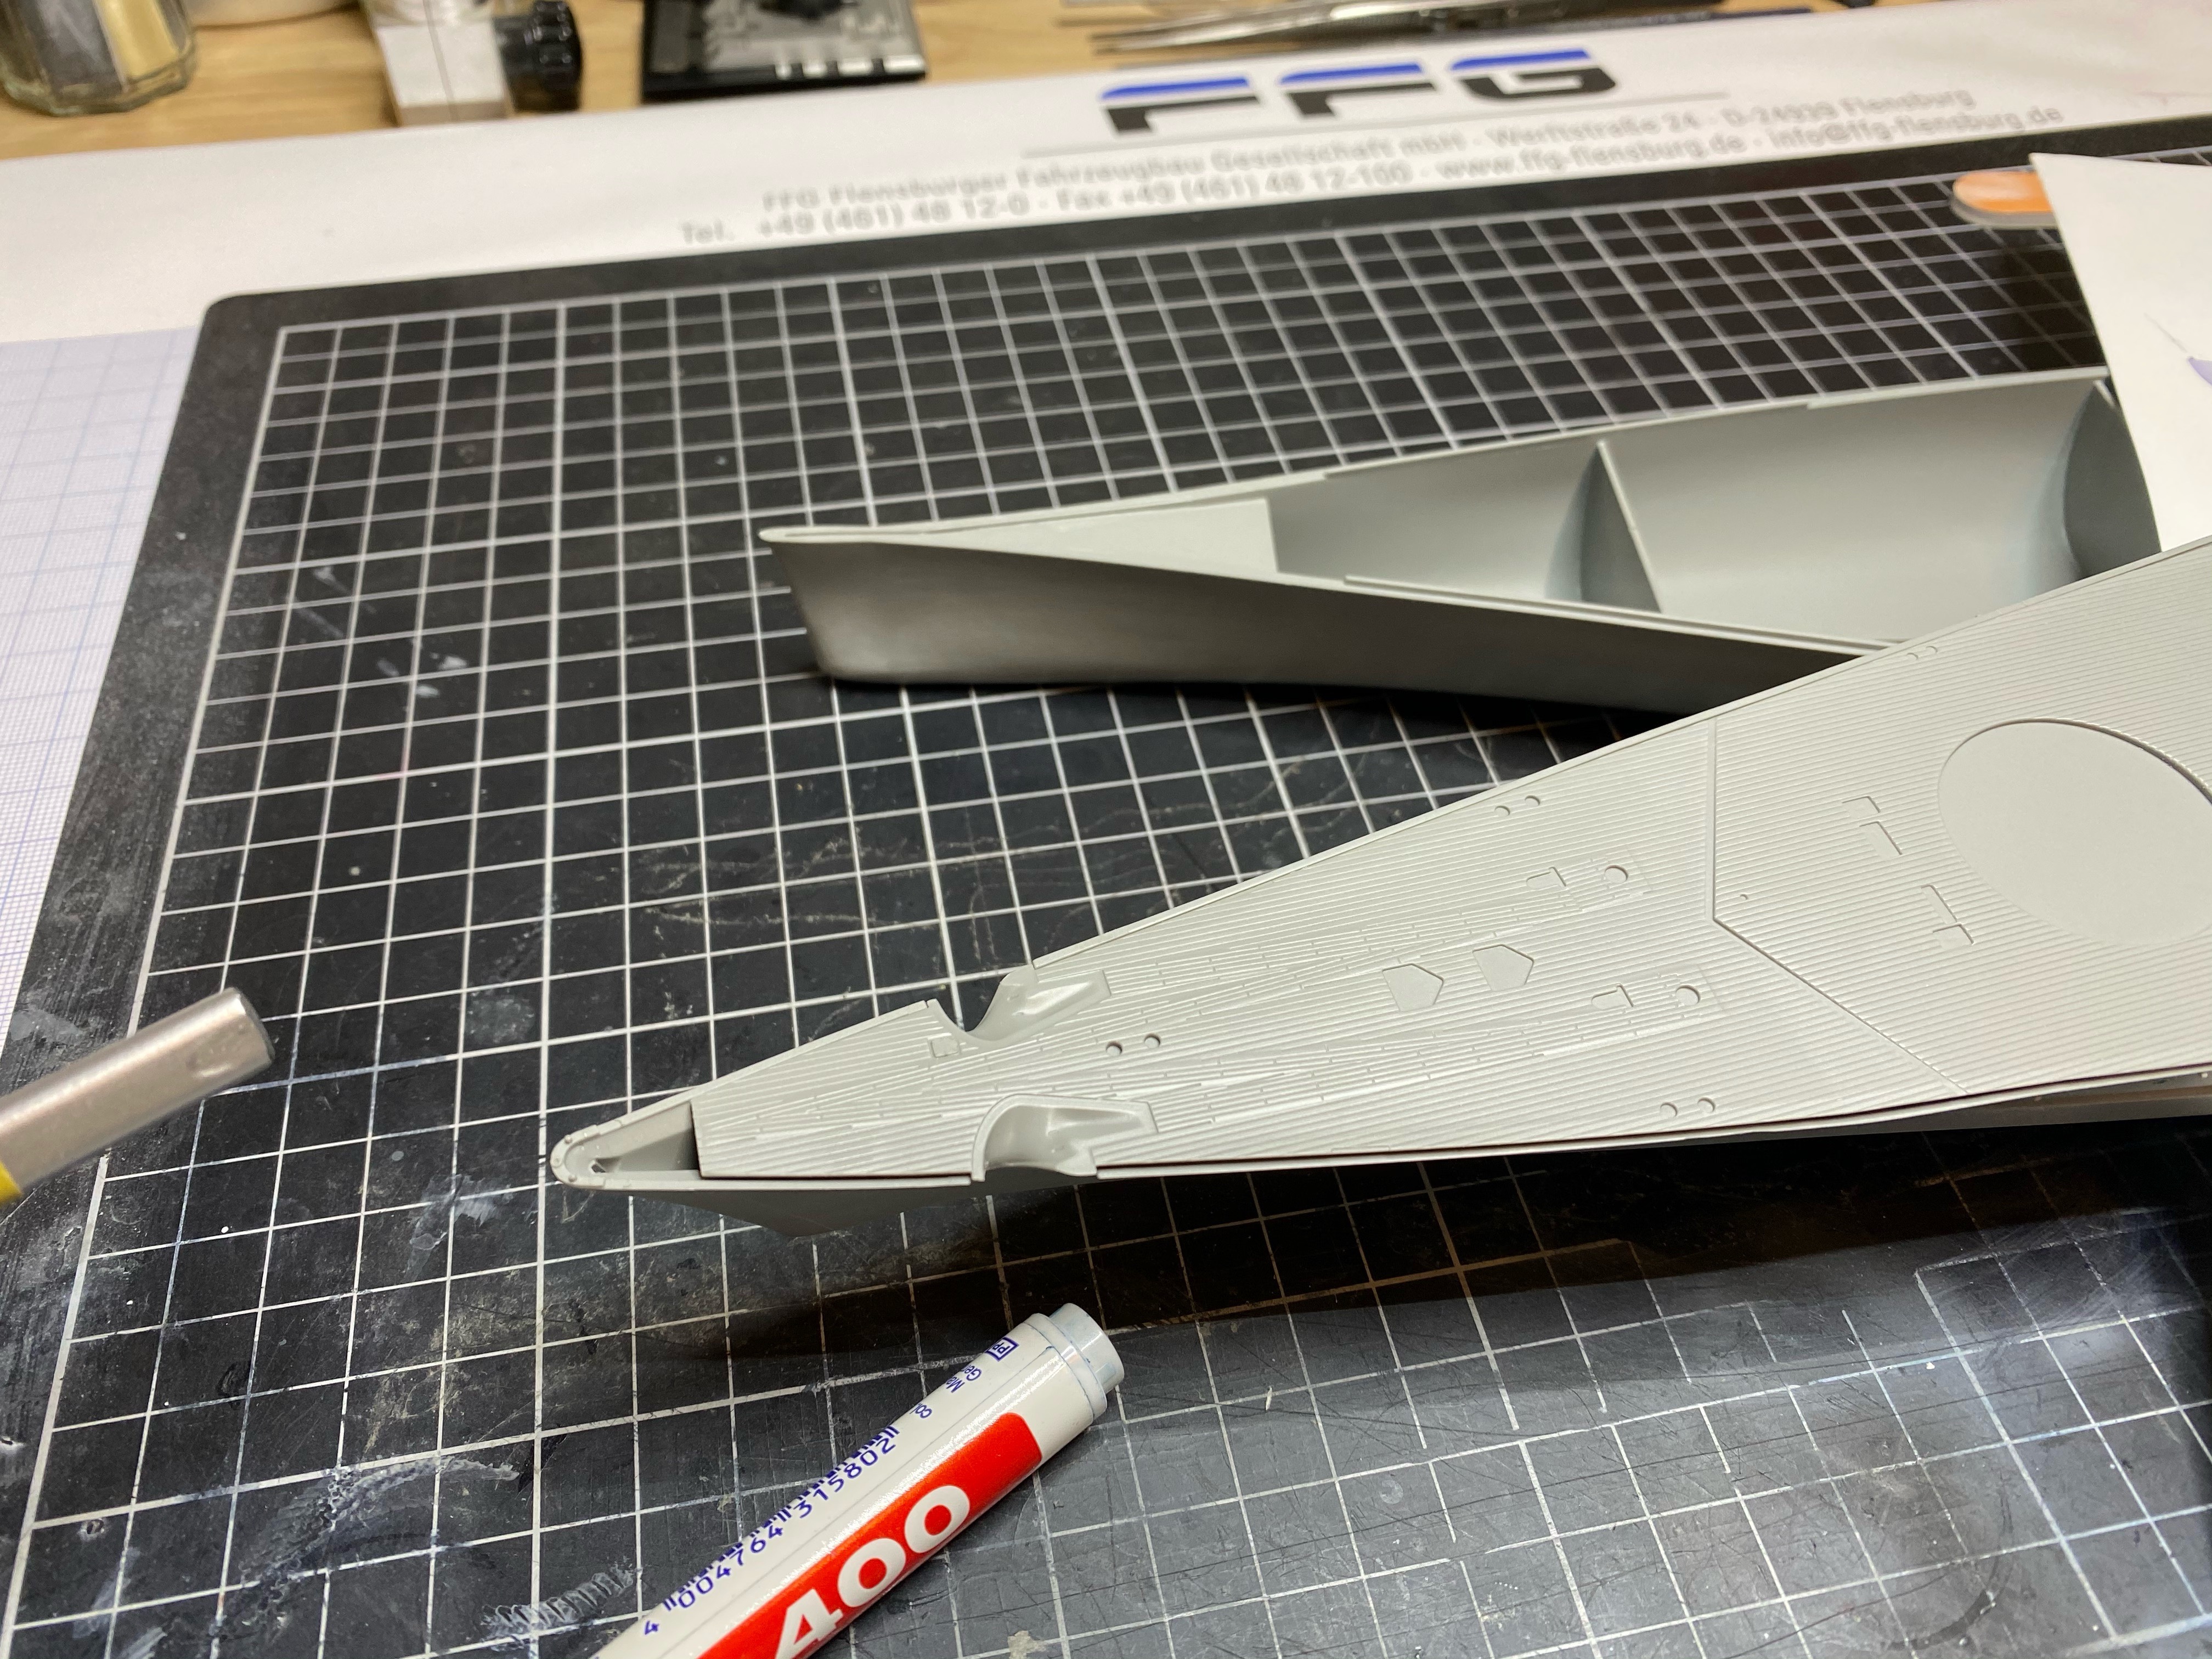
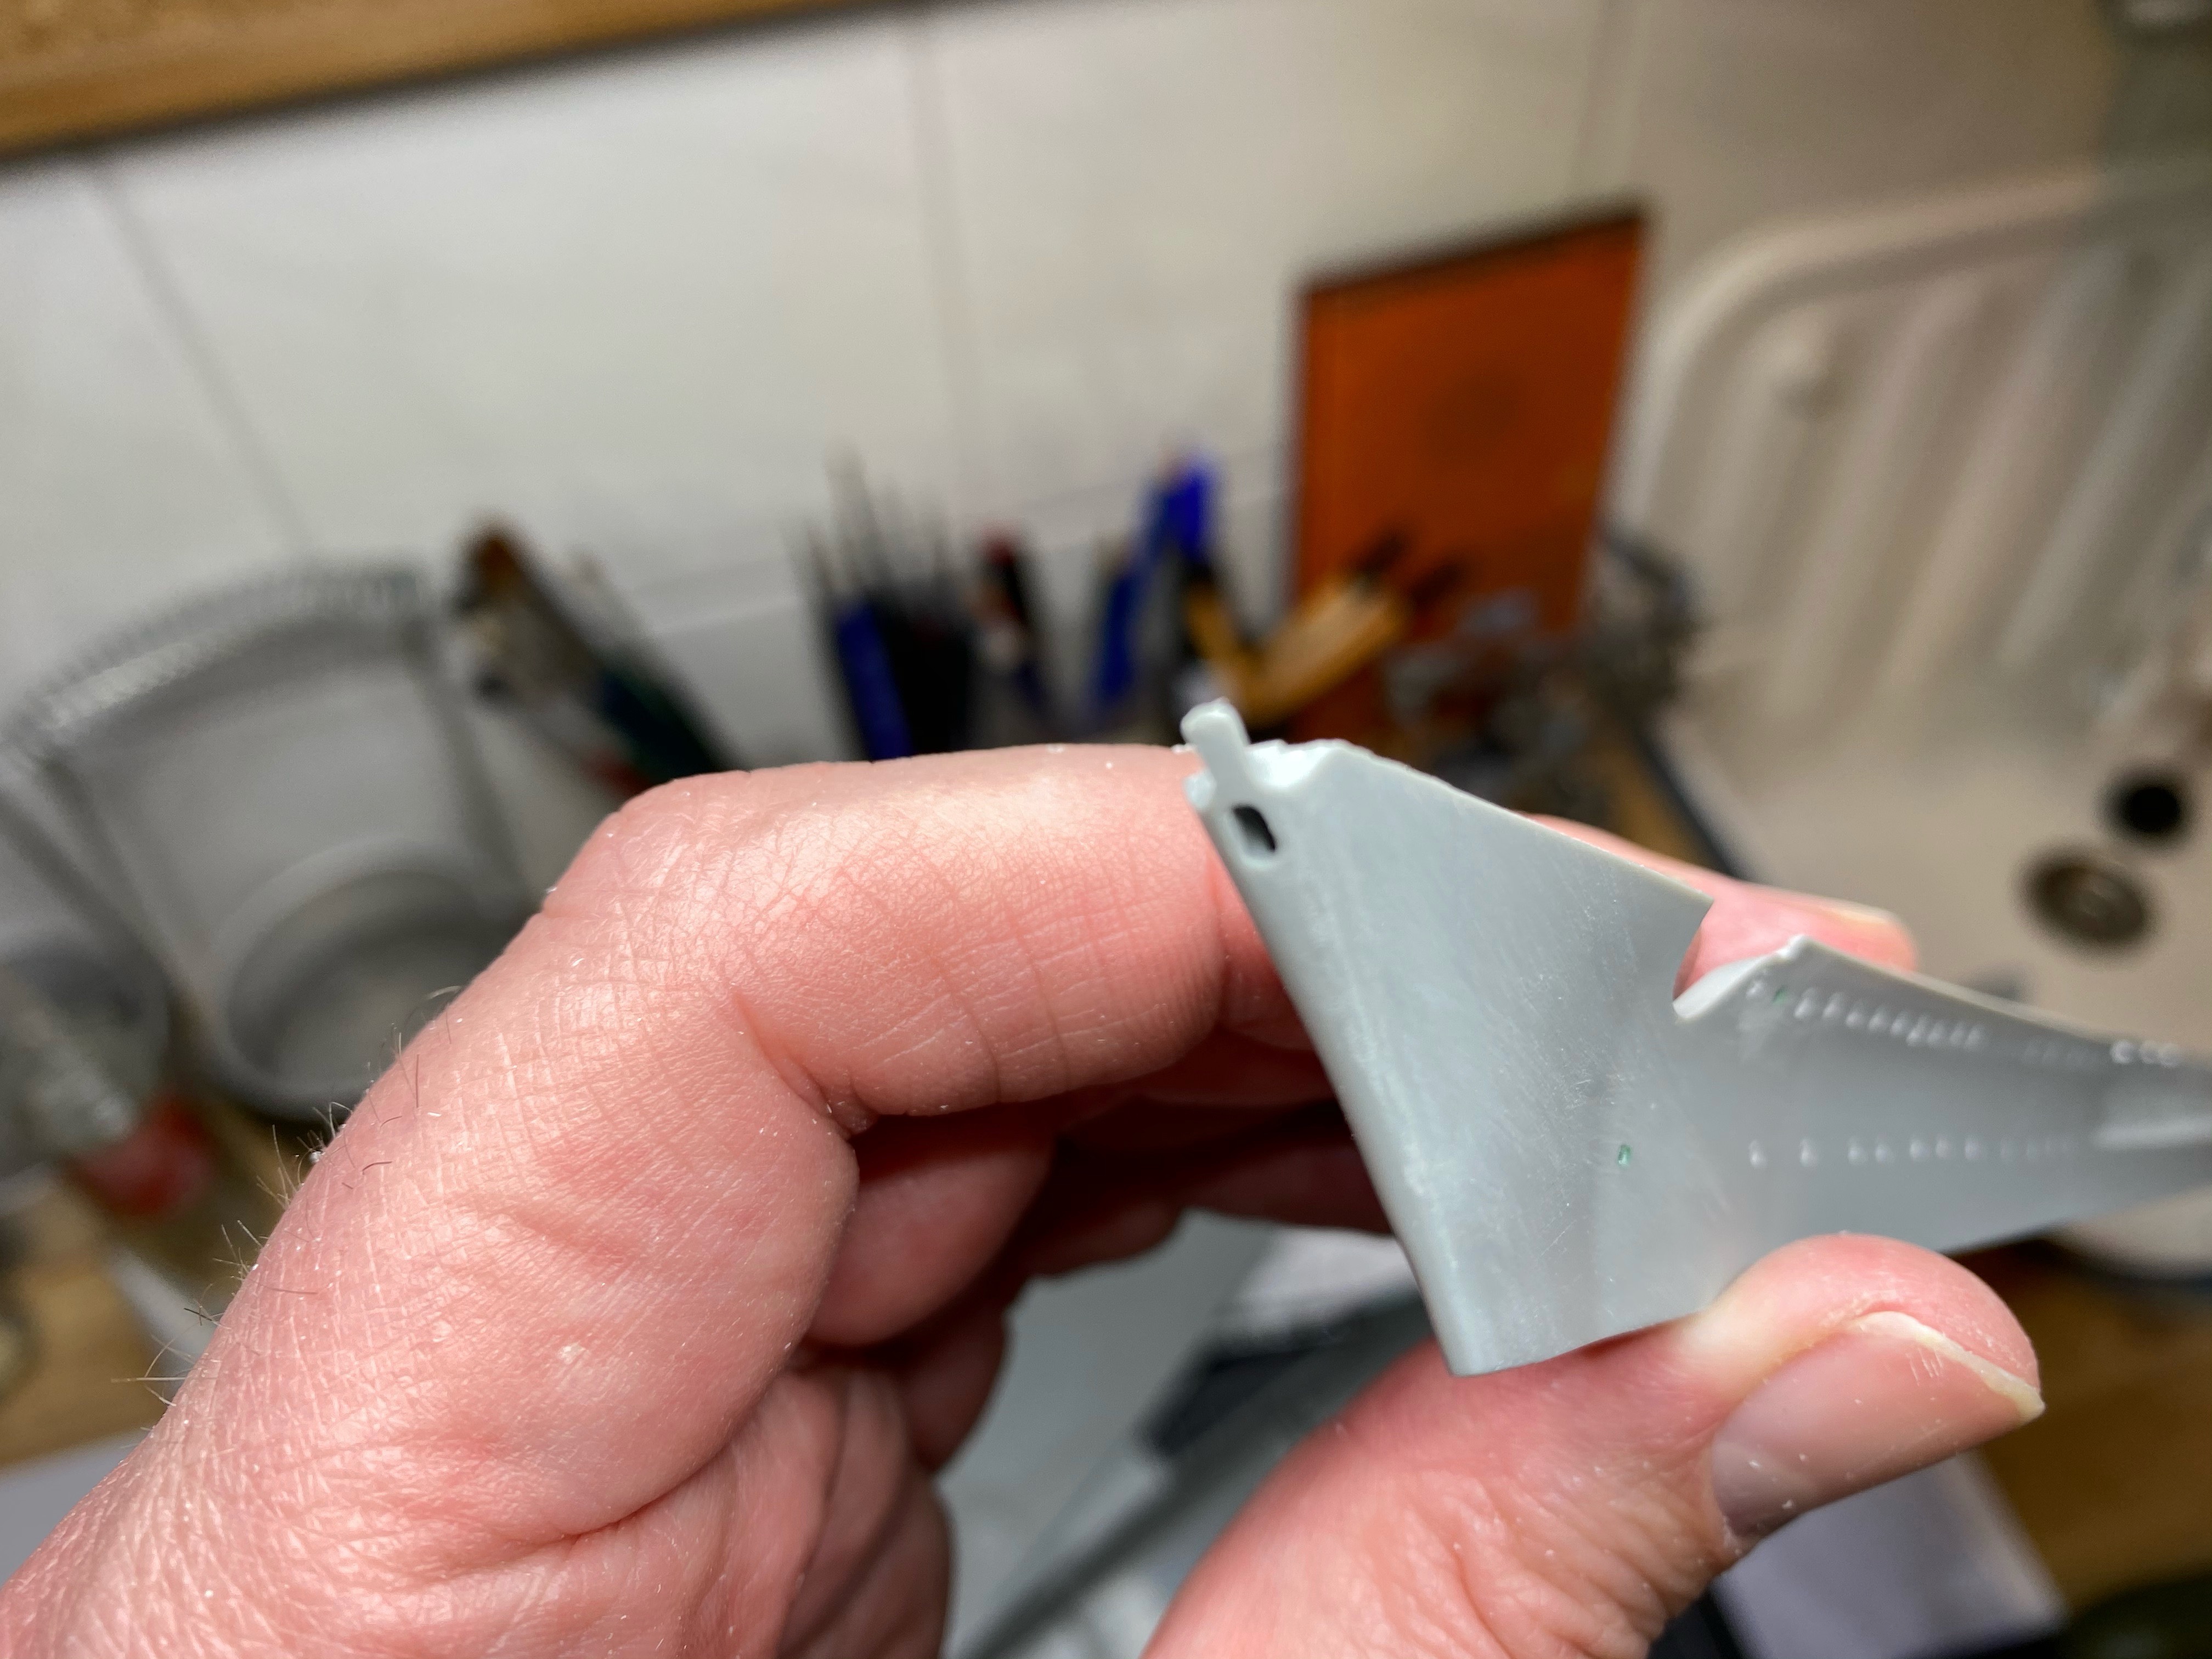
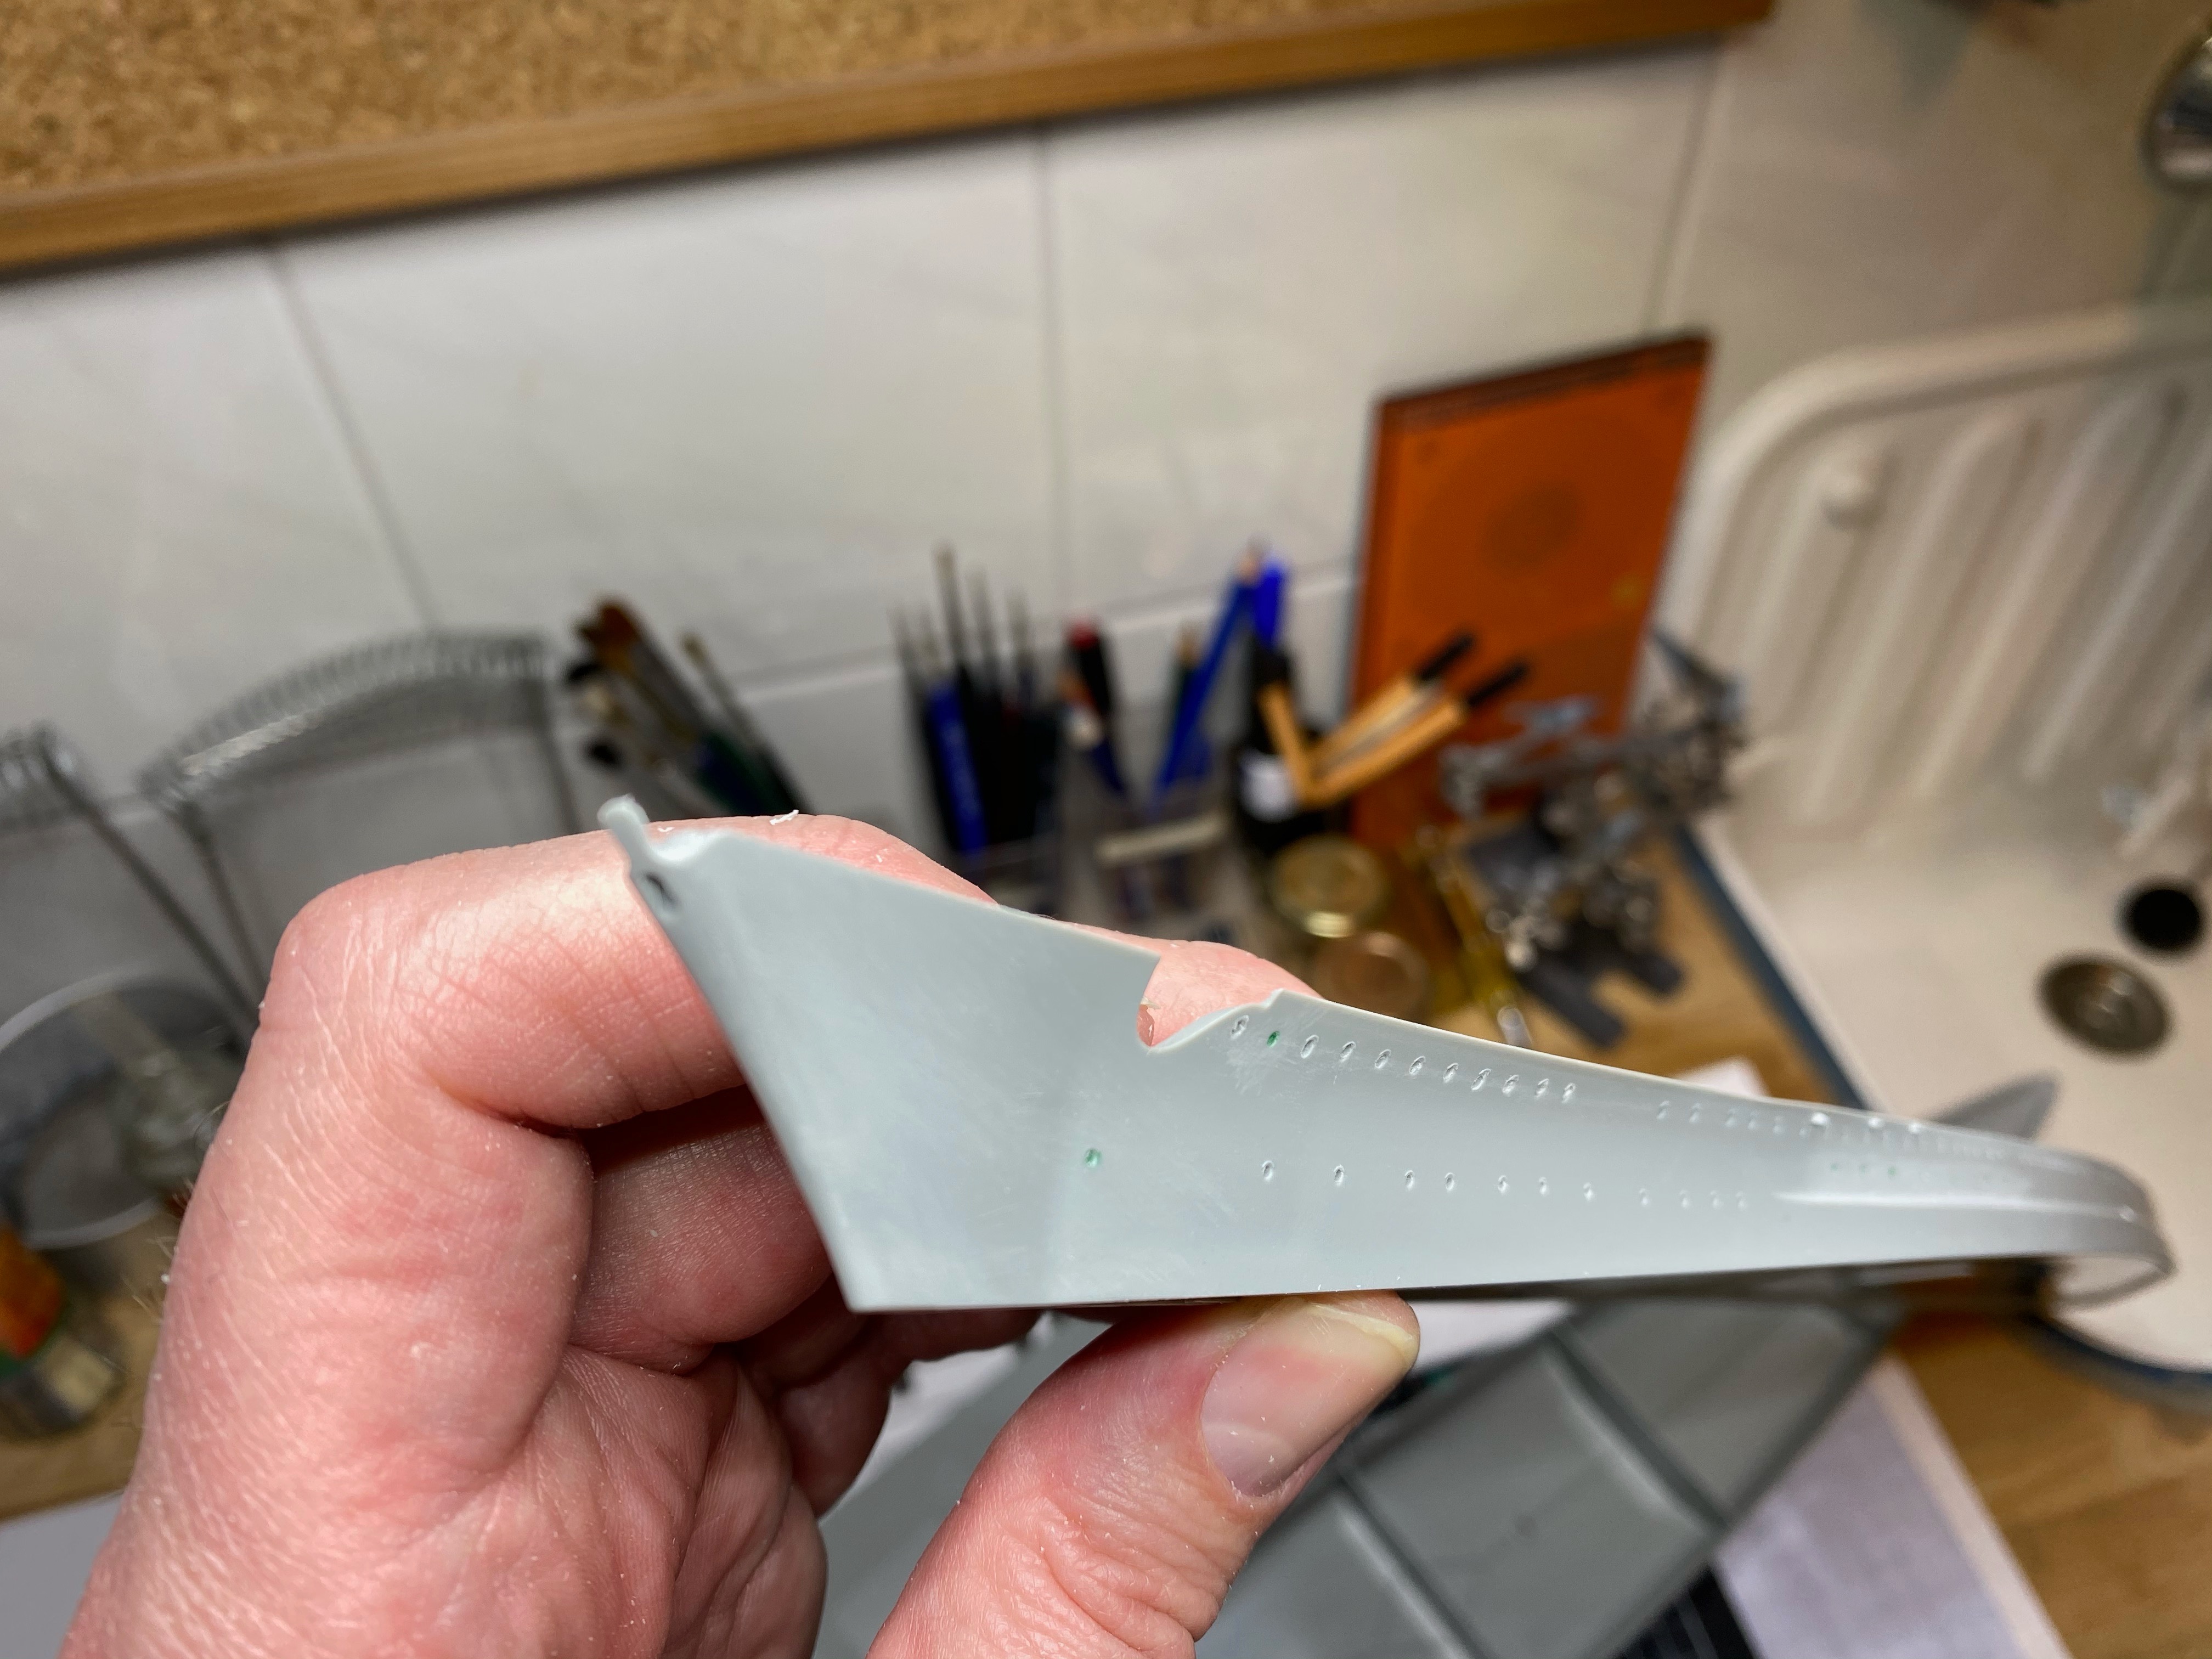
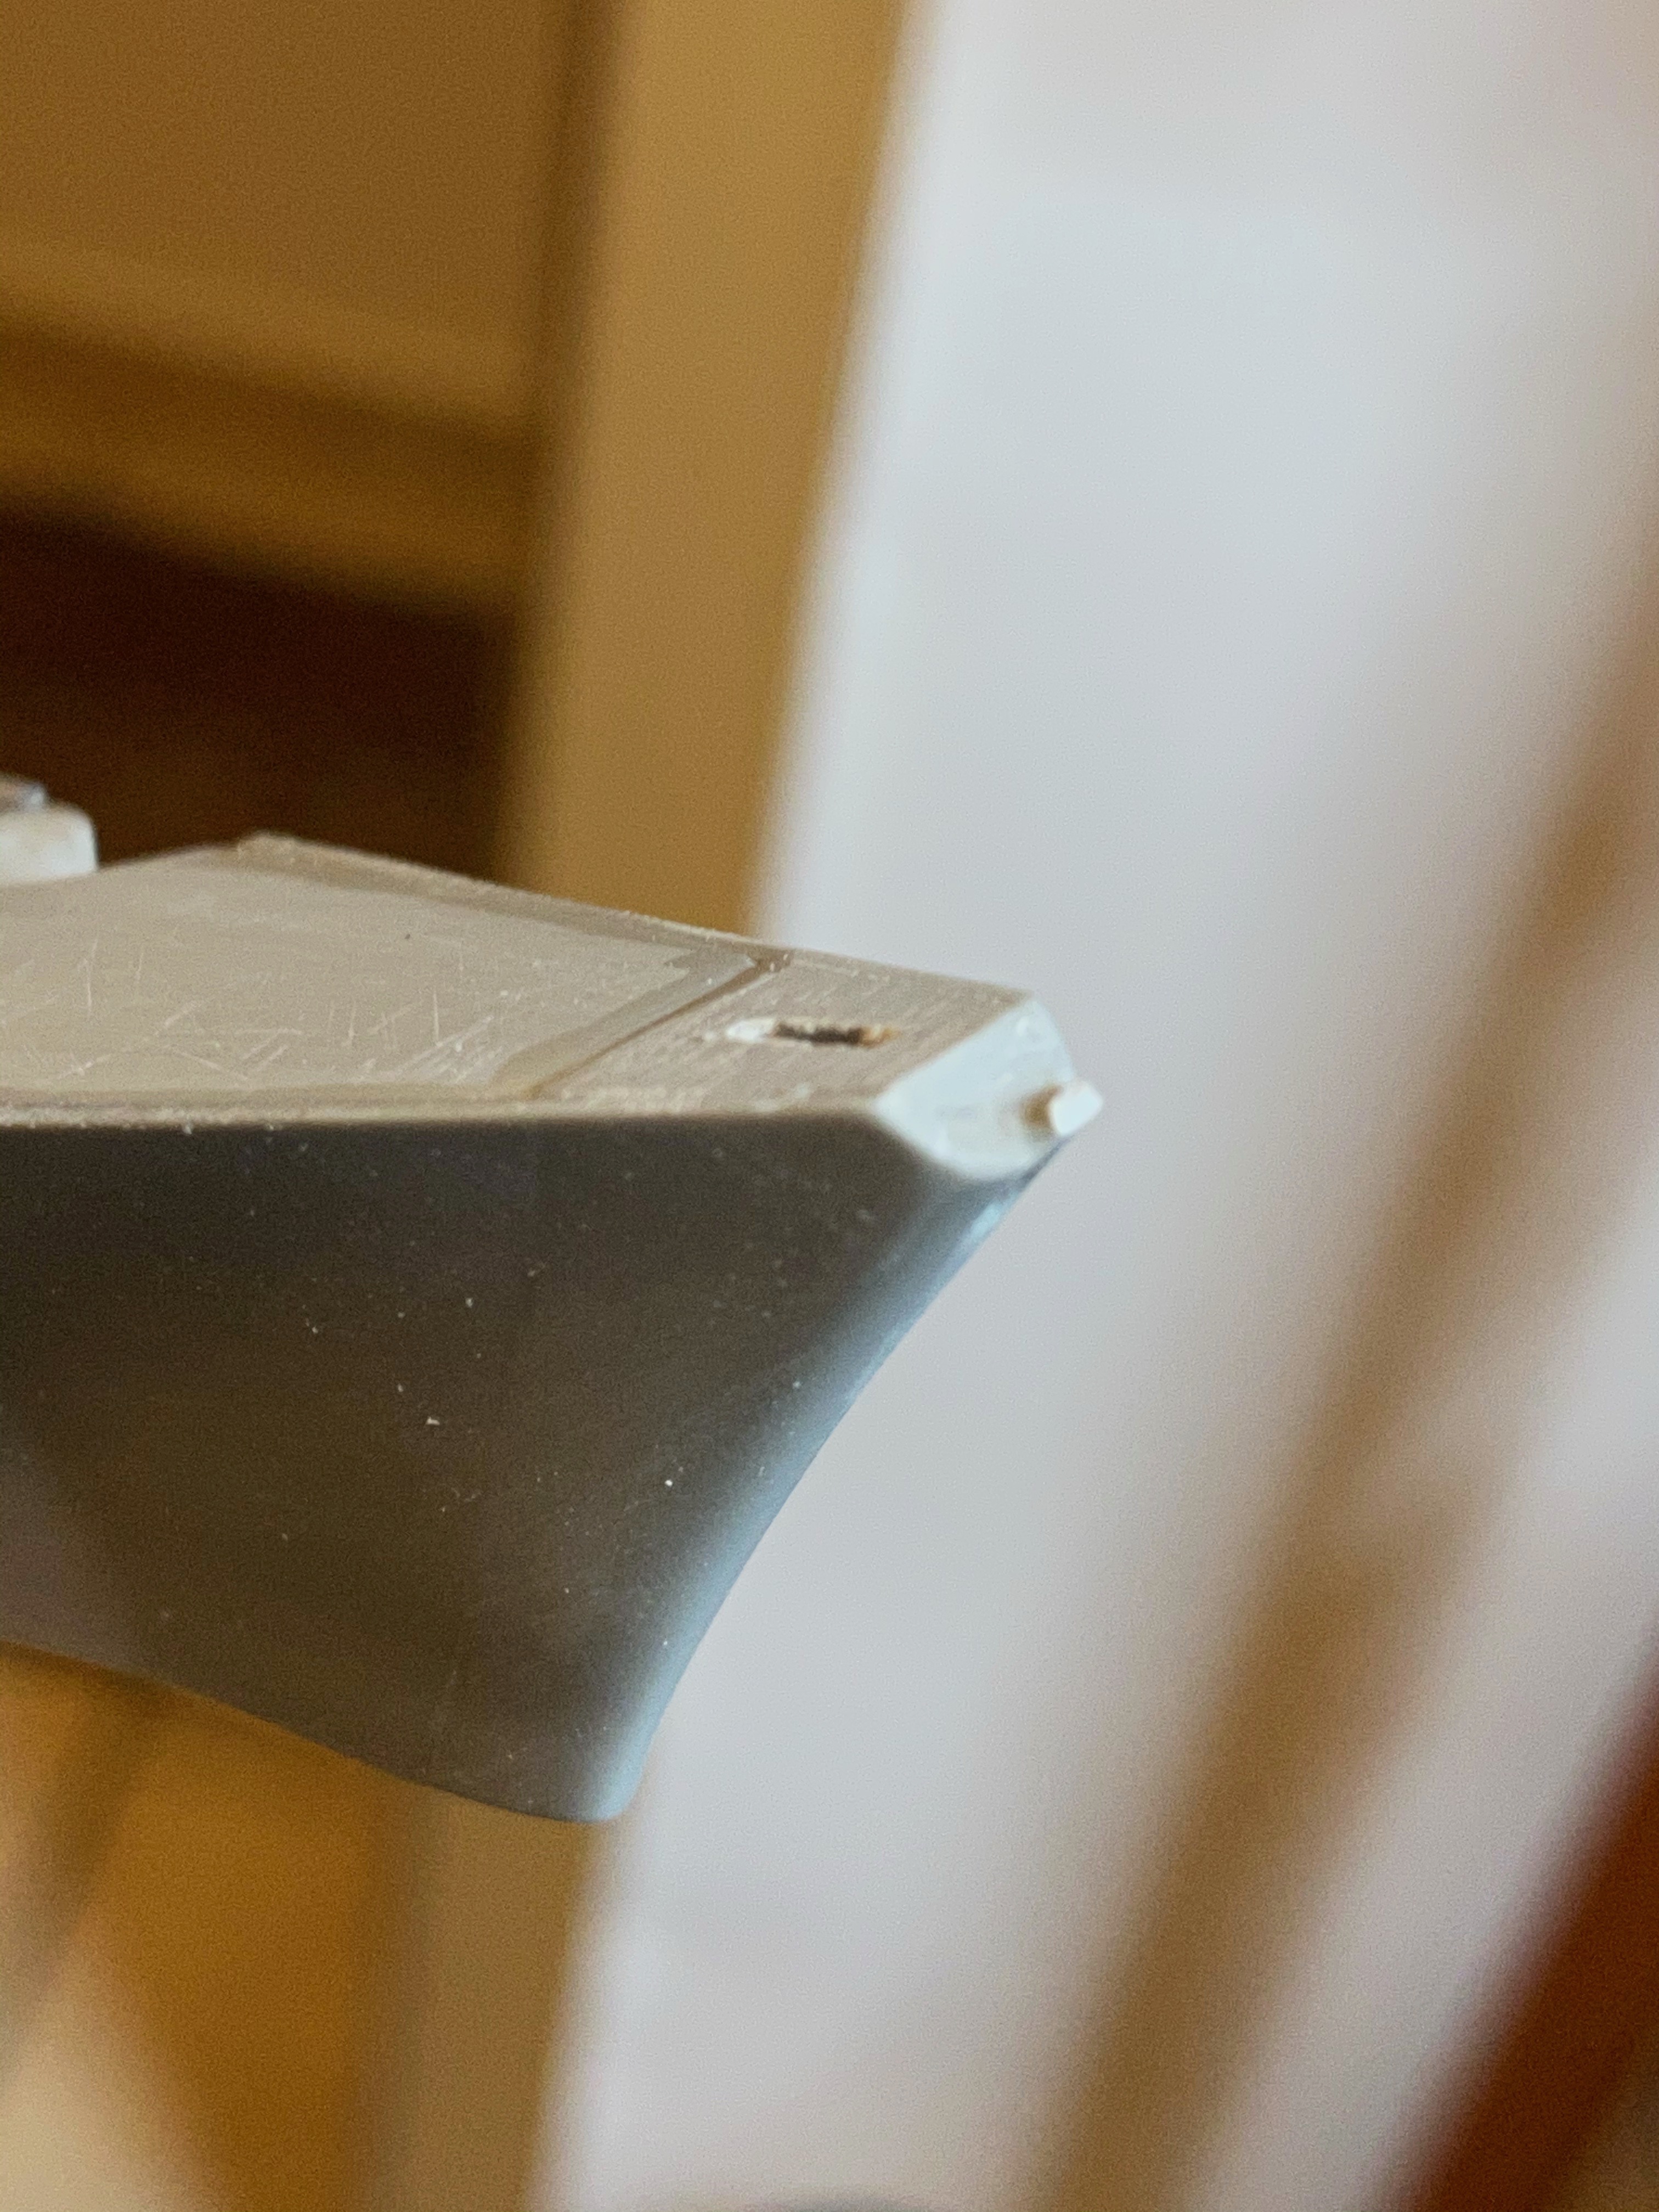
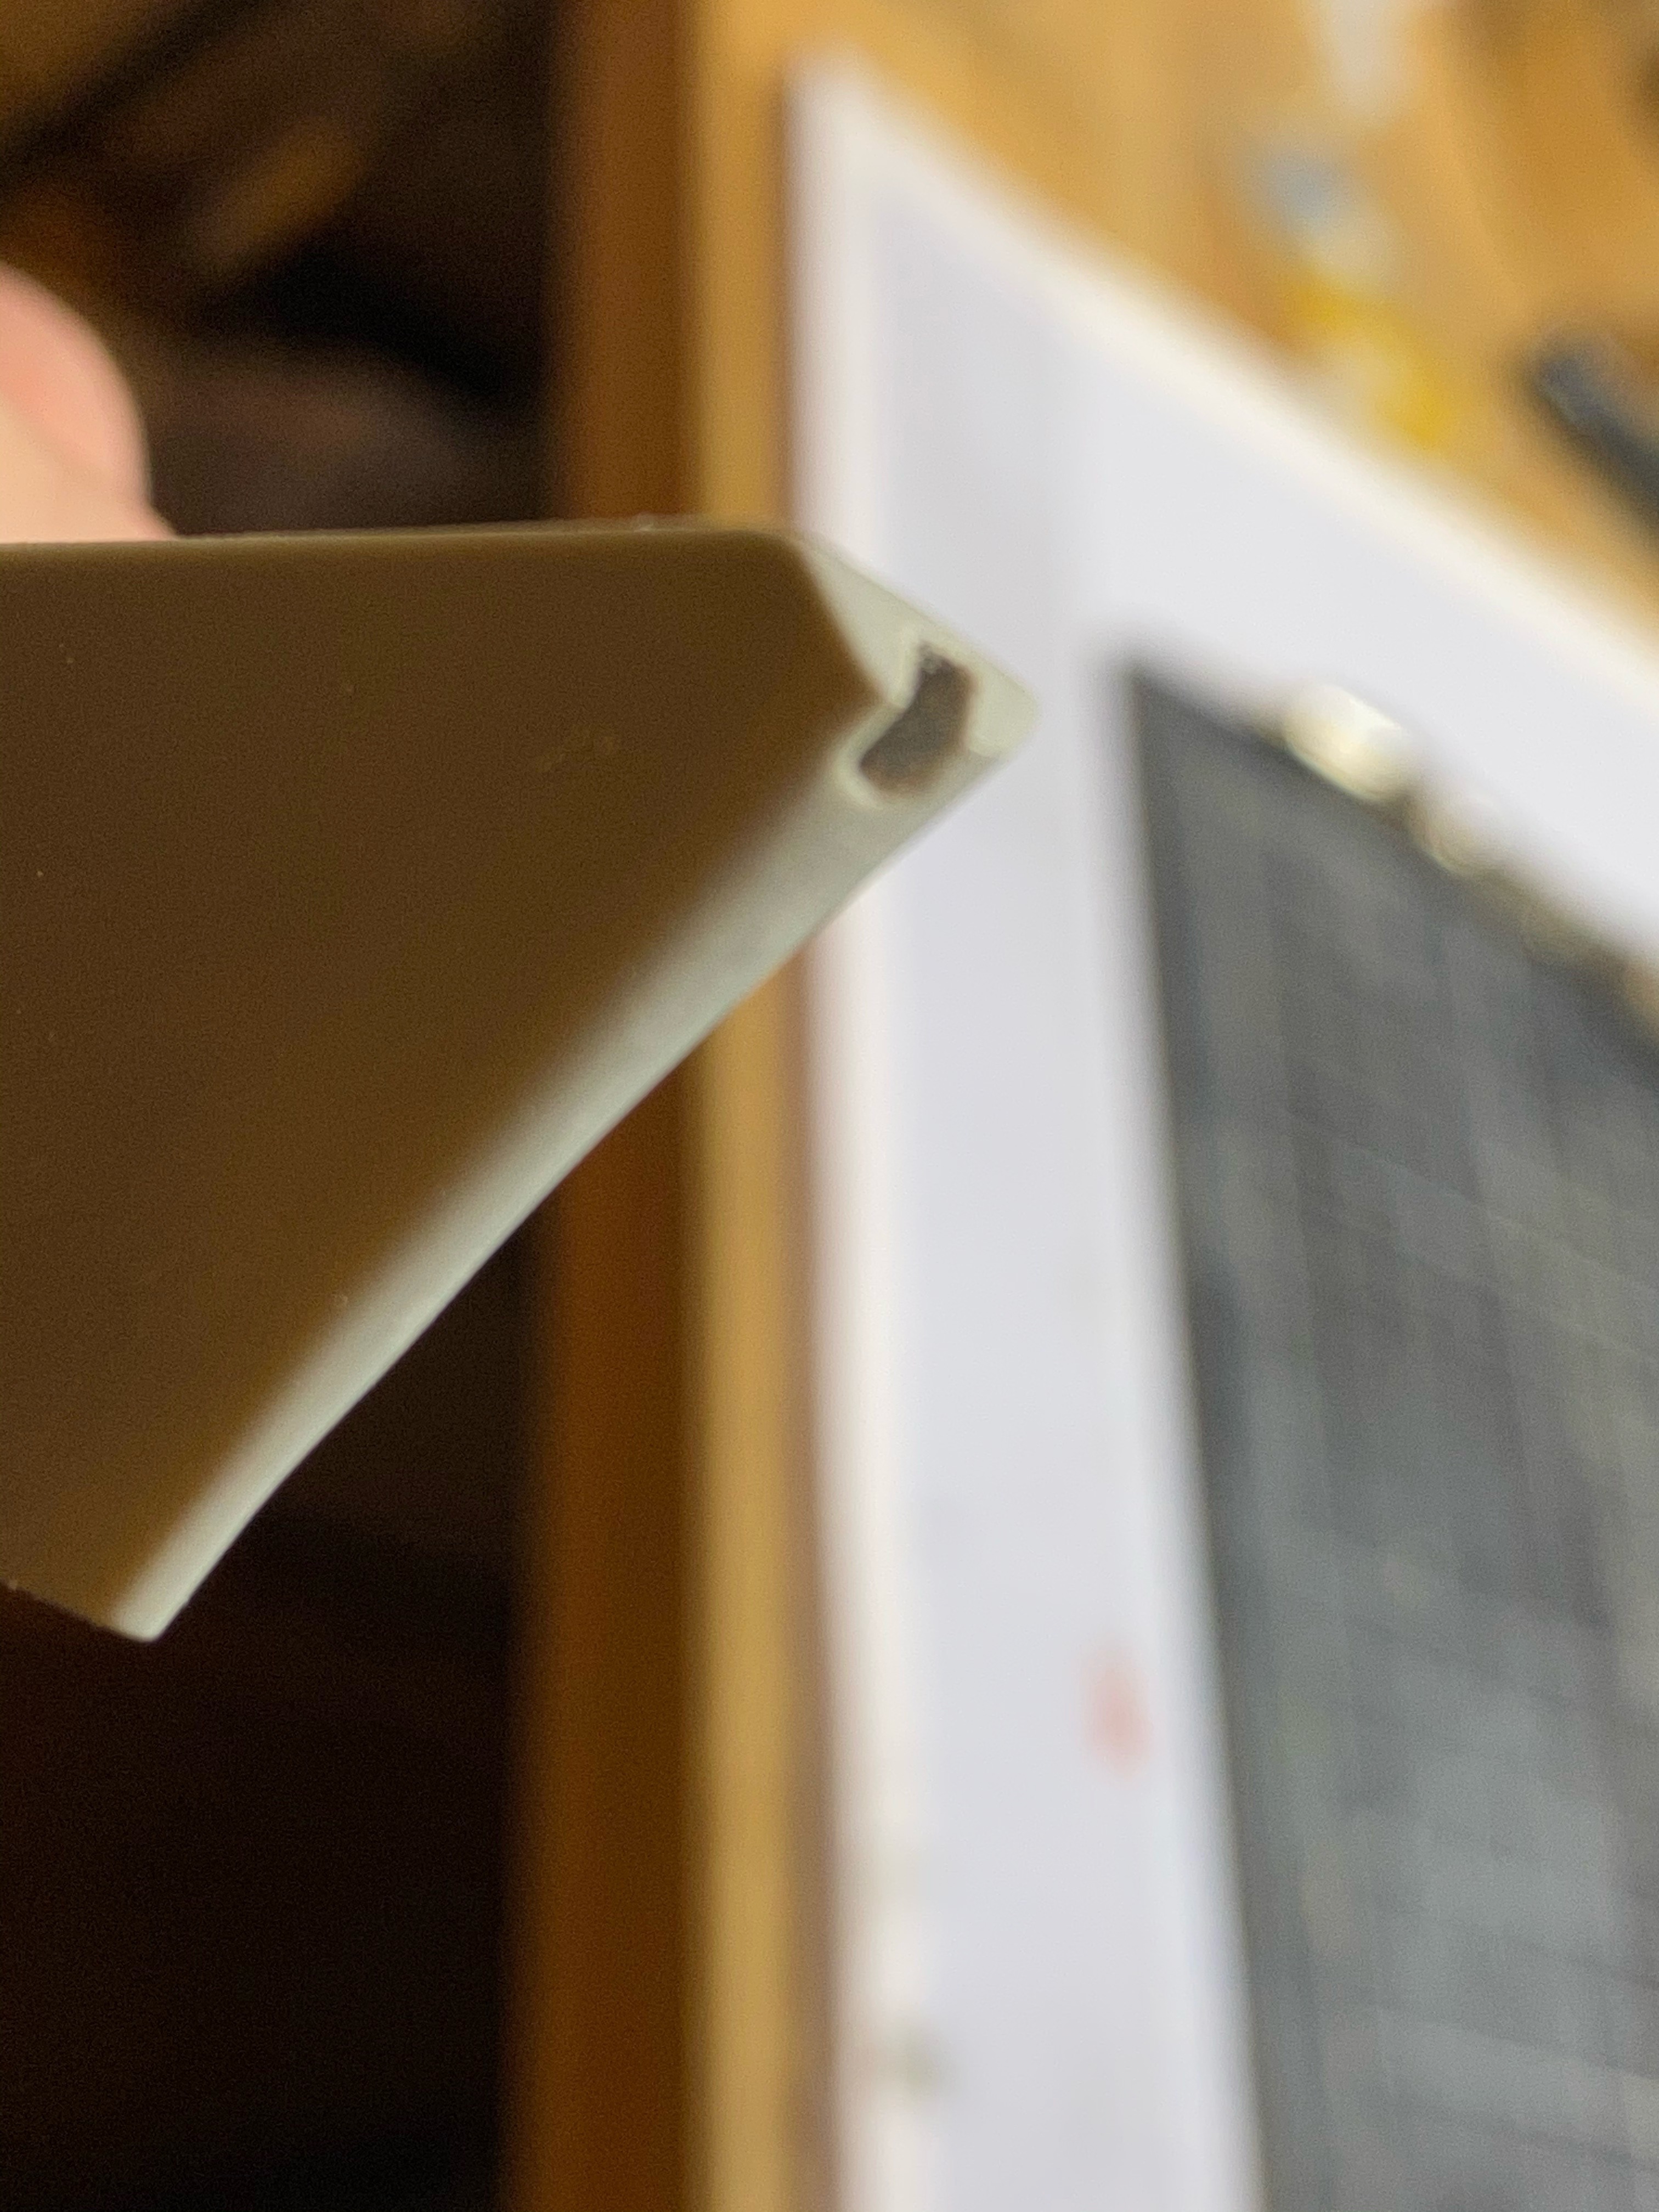
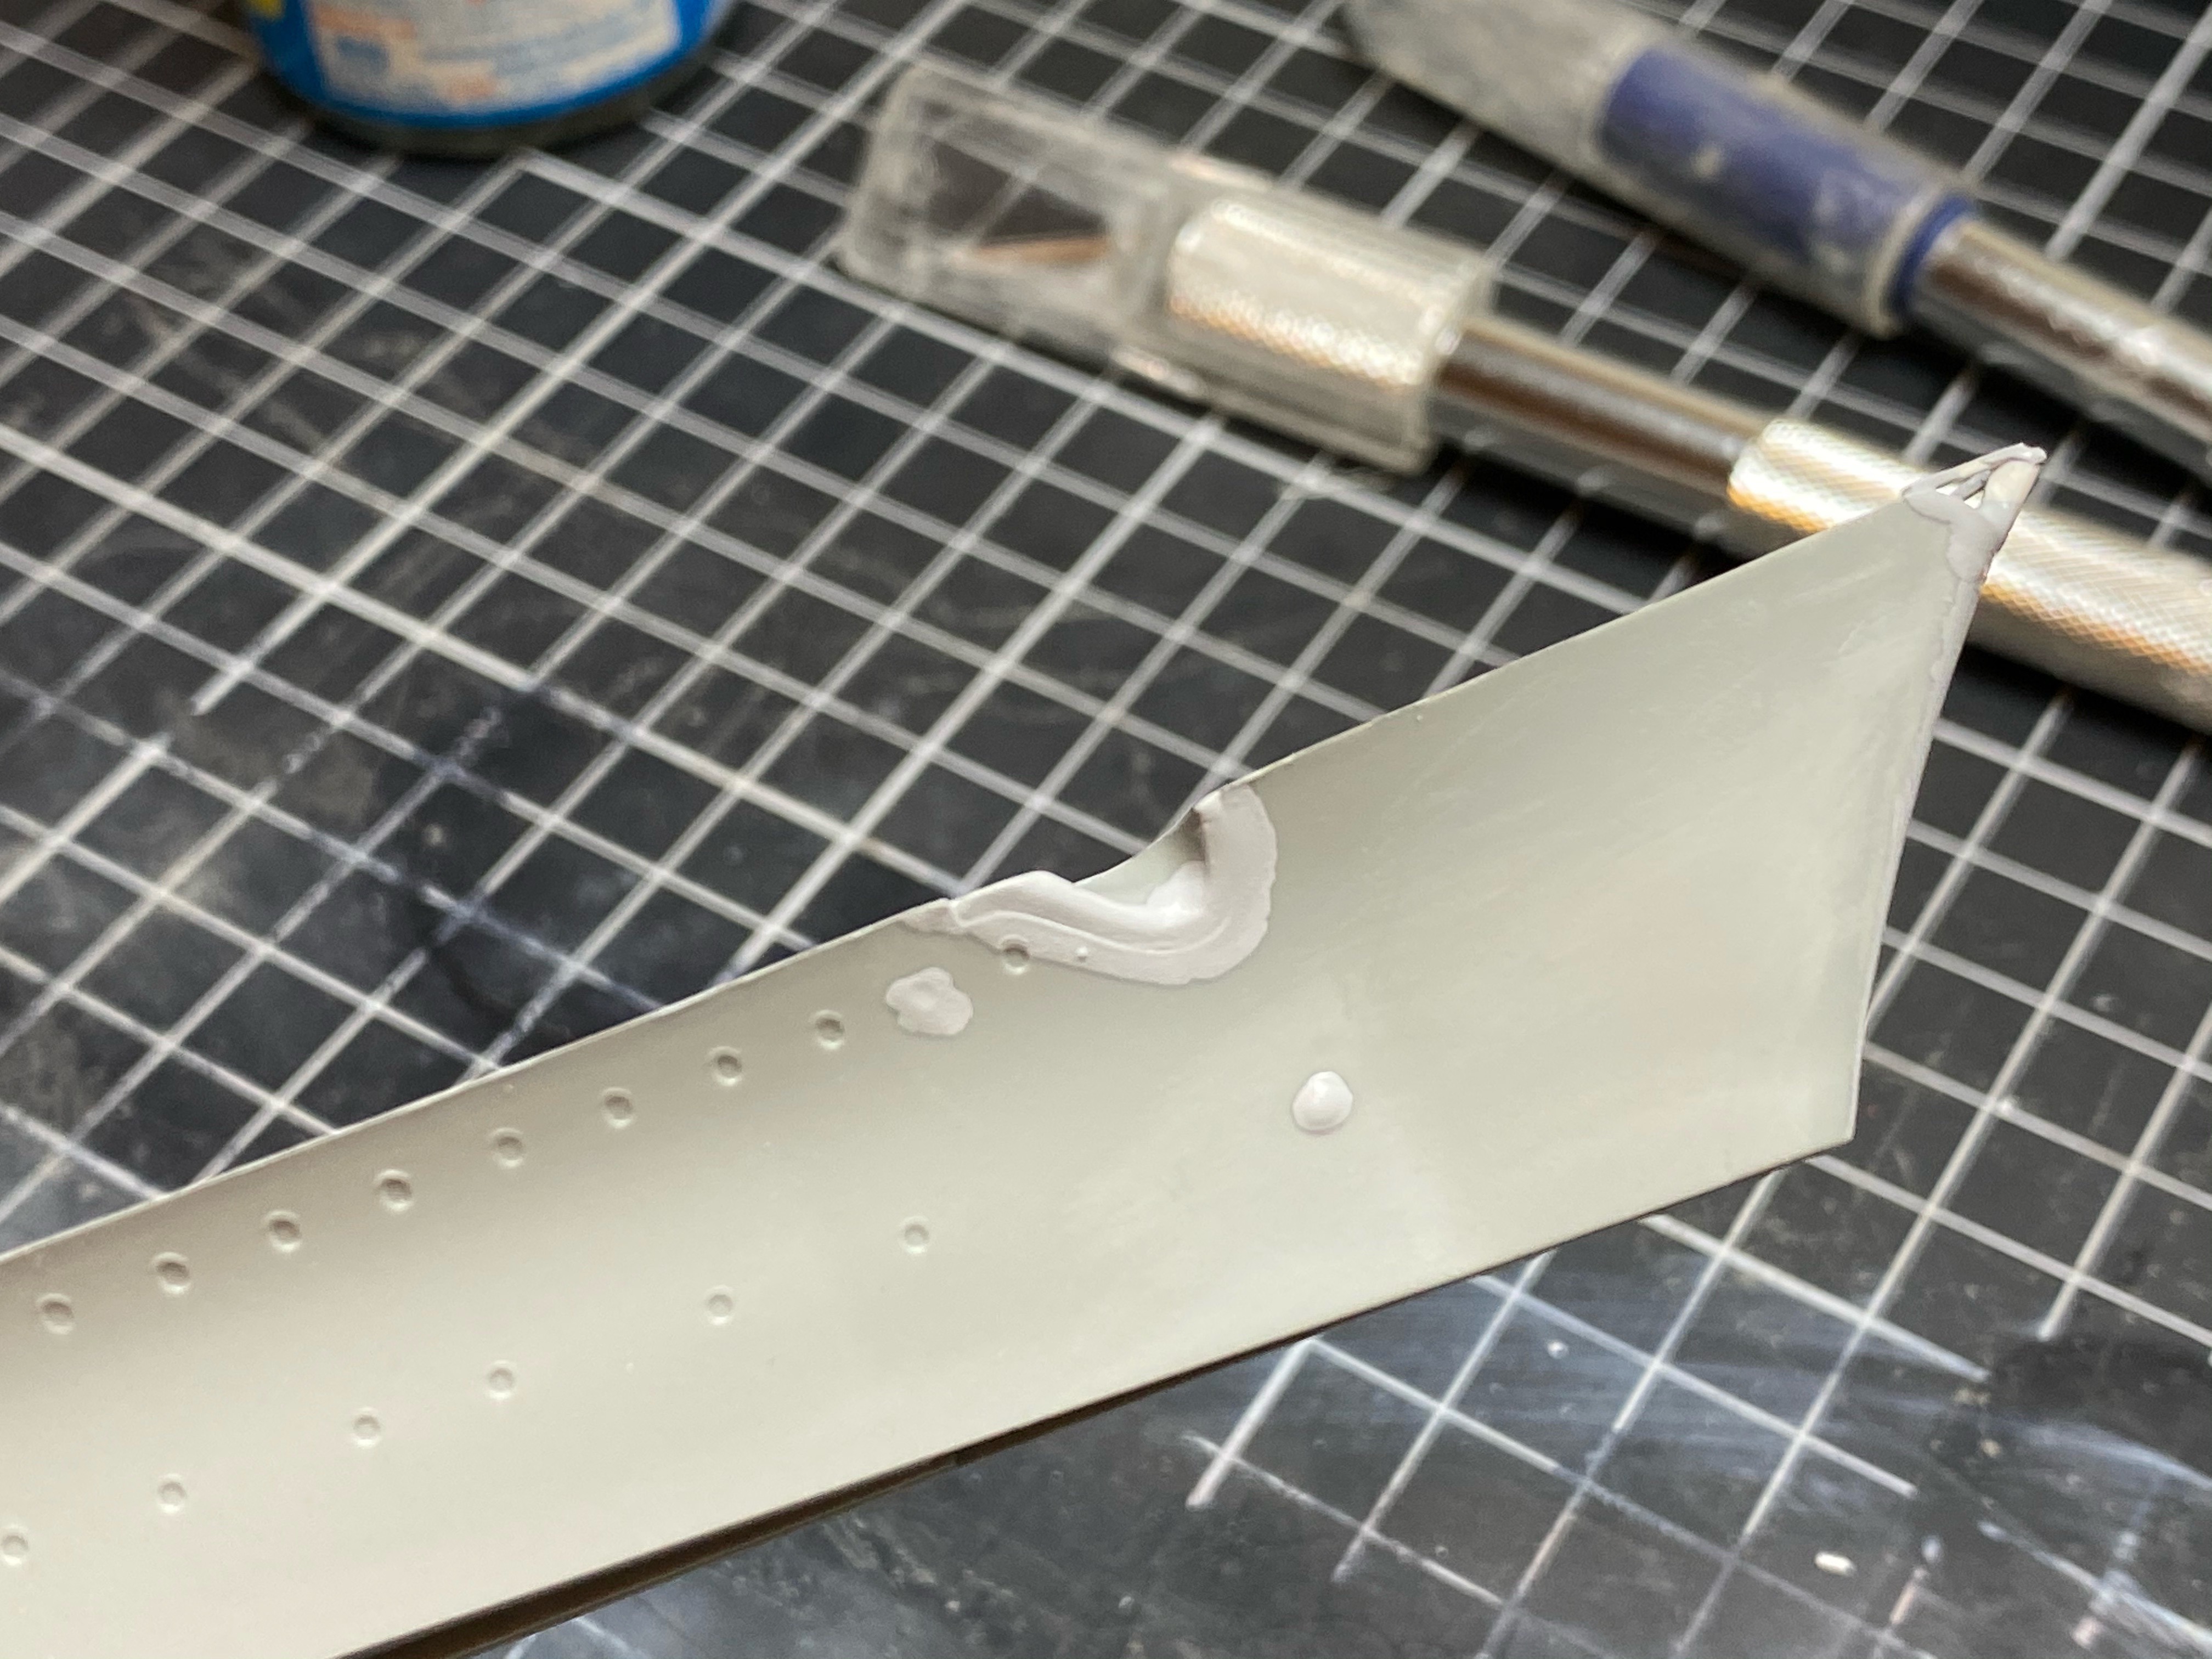
However, one flaw - there’s a gap at the stern

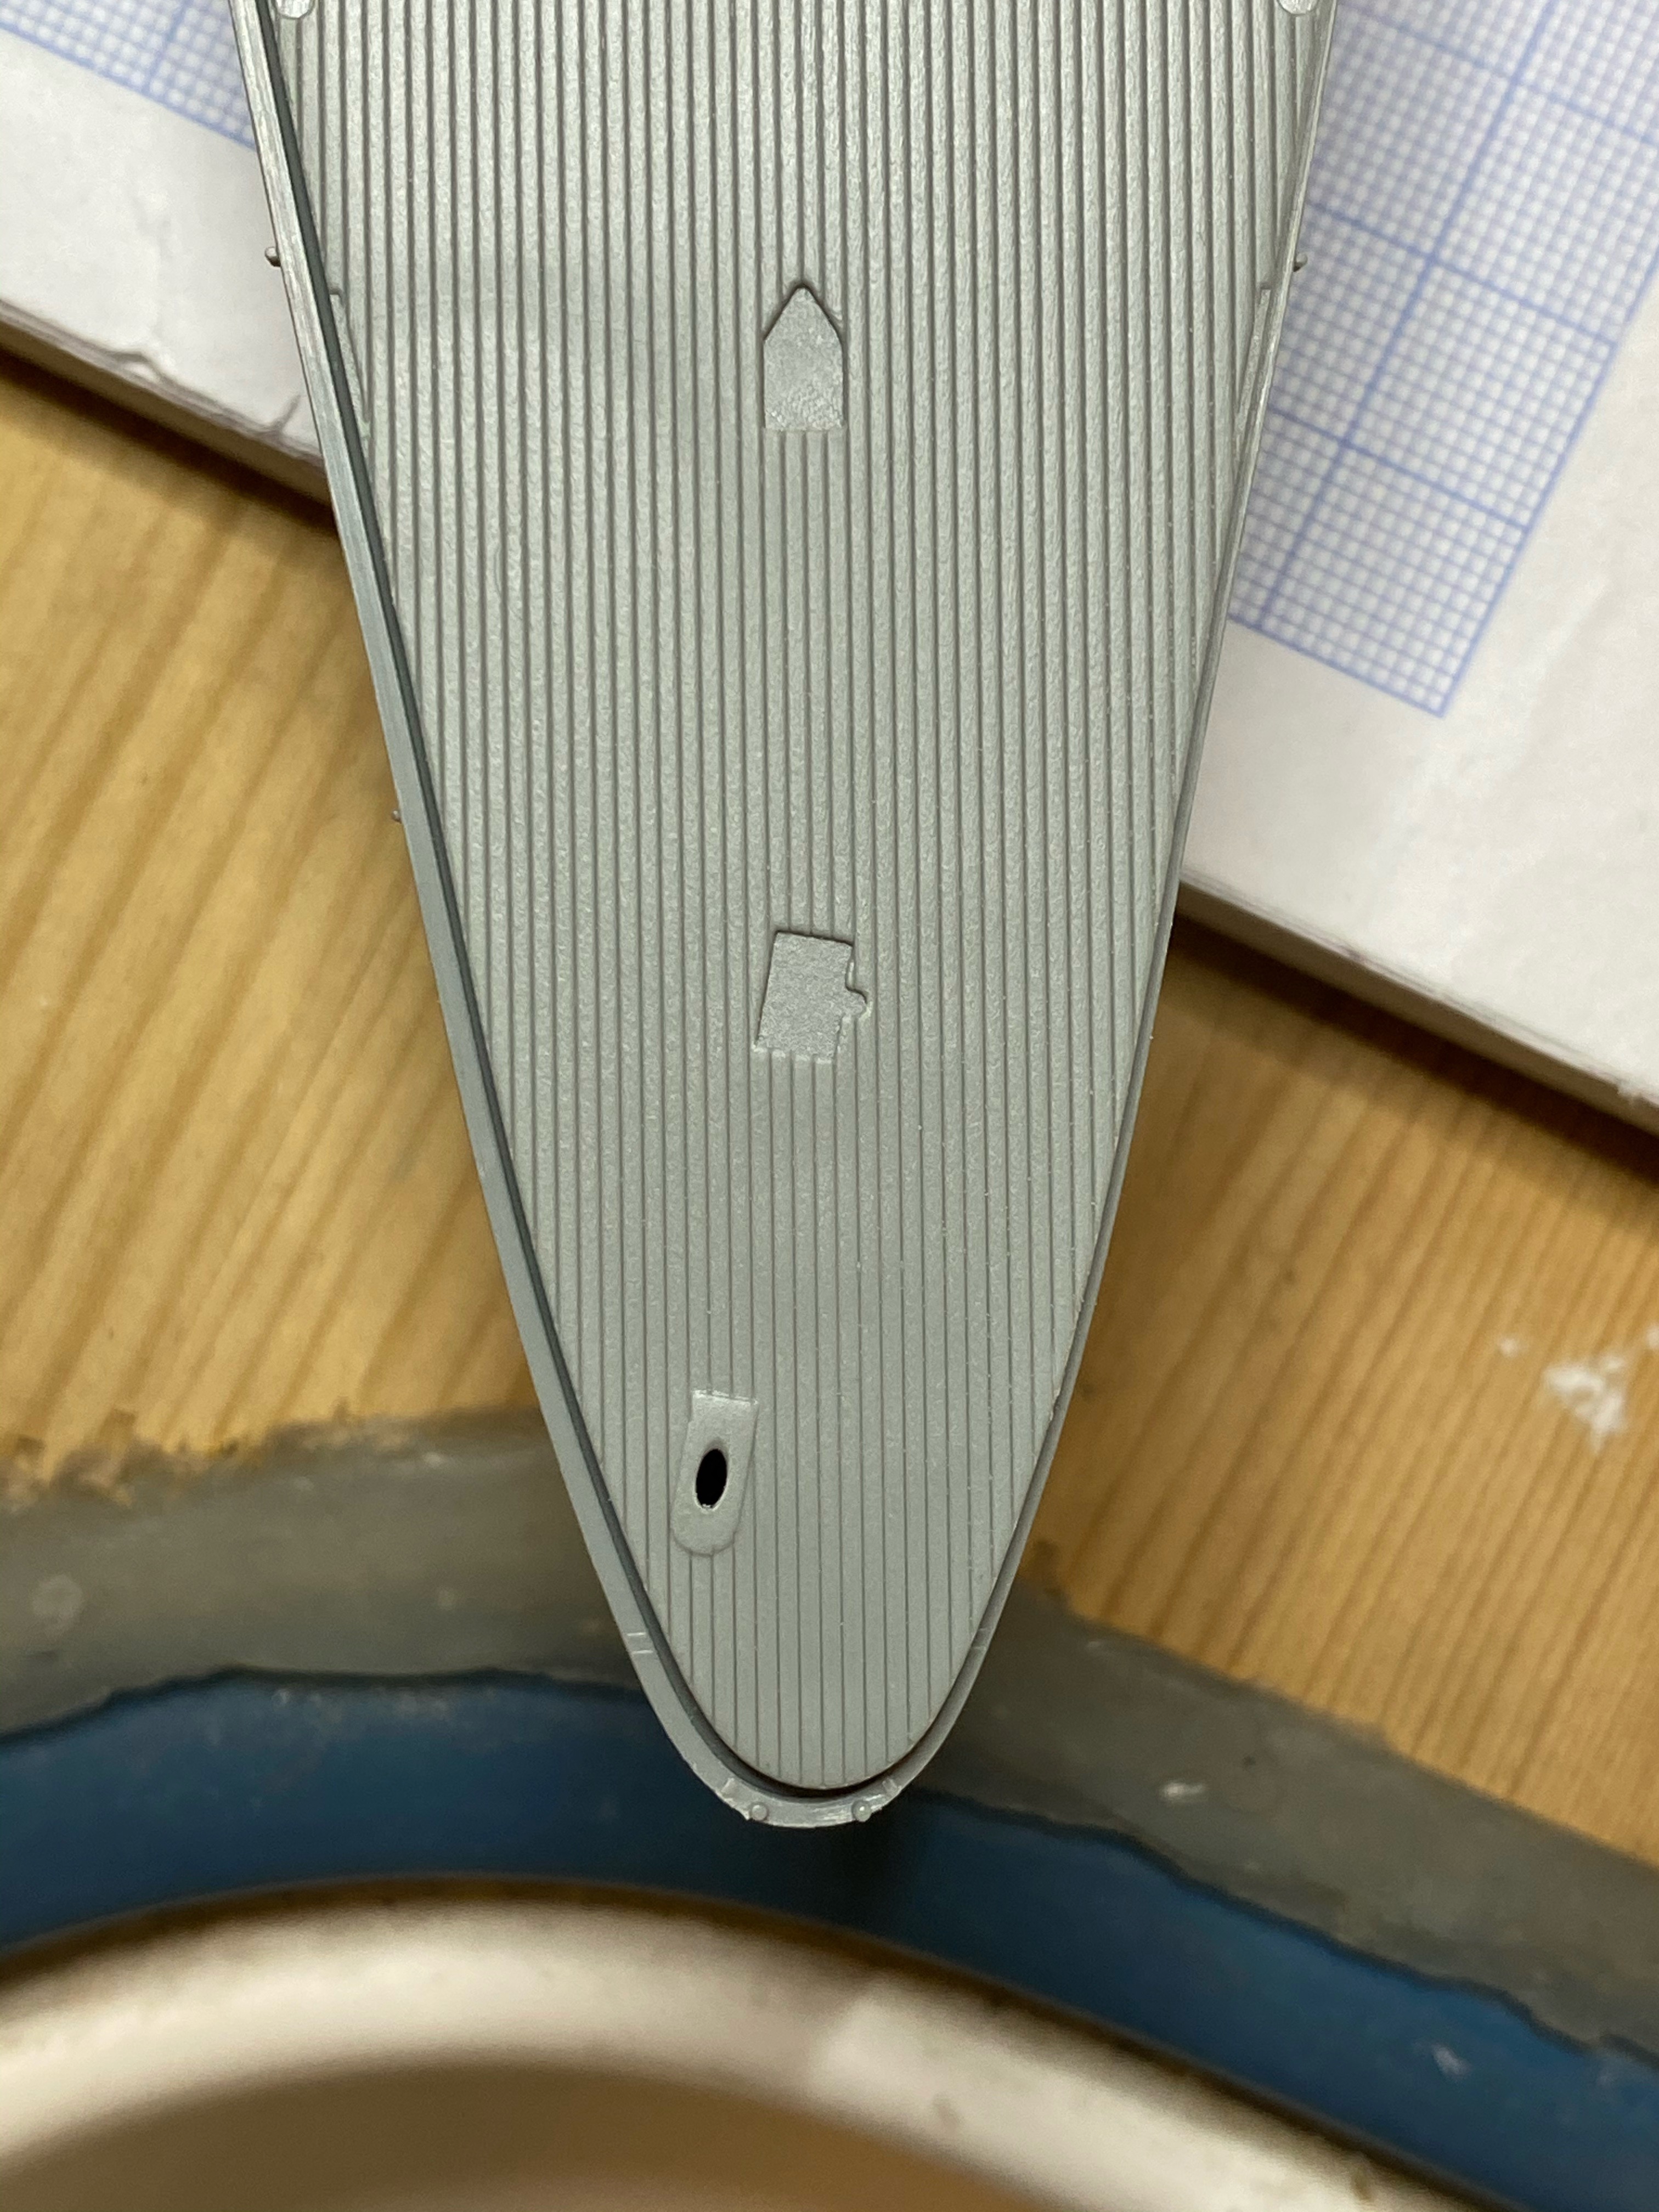
and test fitting shows that the wooden deck most likely will not cover it, as it fits snuggly with the deck and not the hull. But that should not be too much of a challenge.

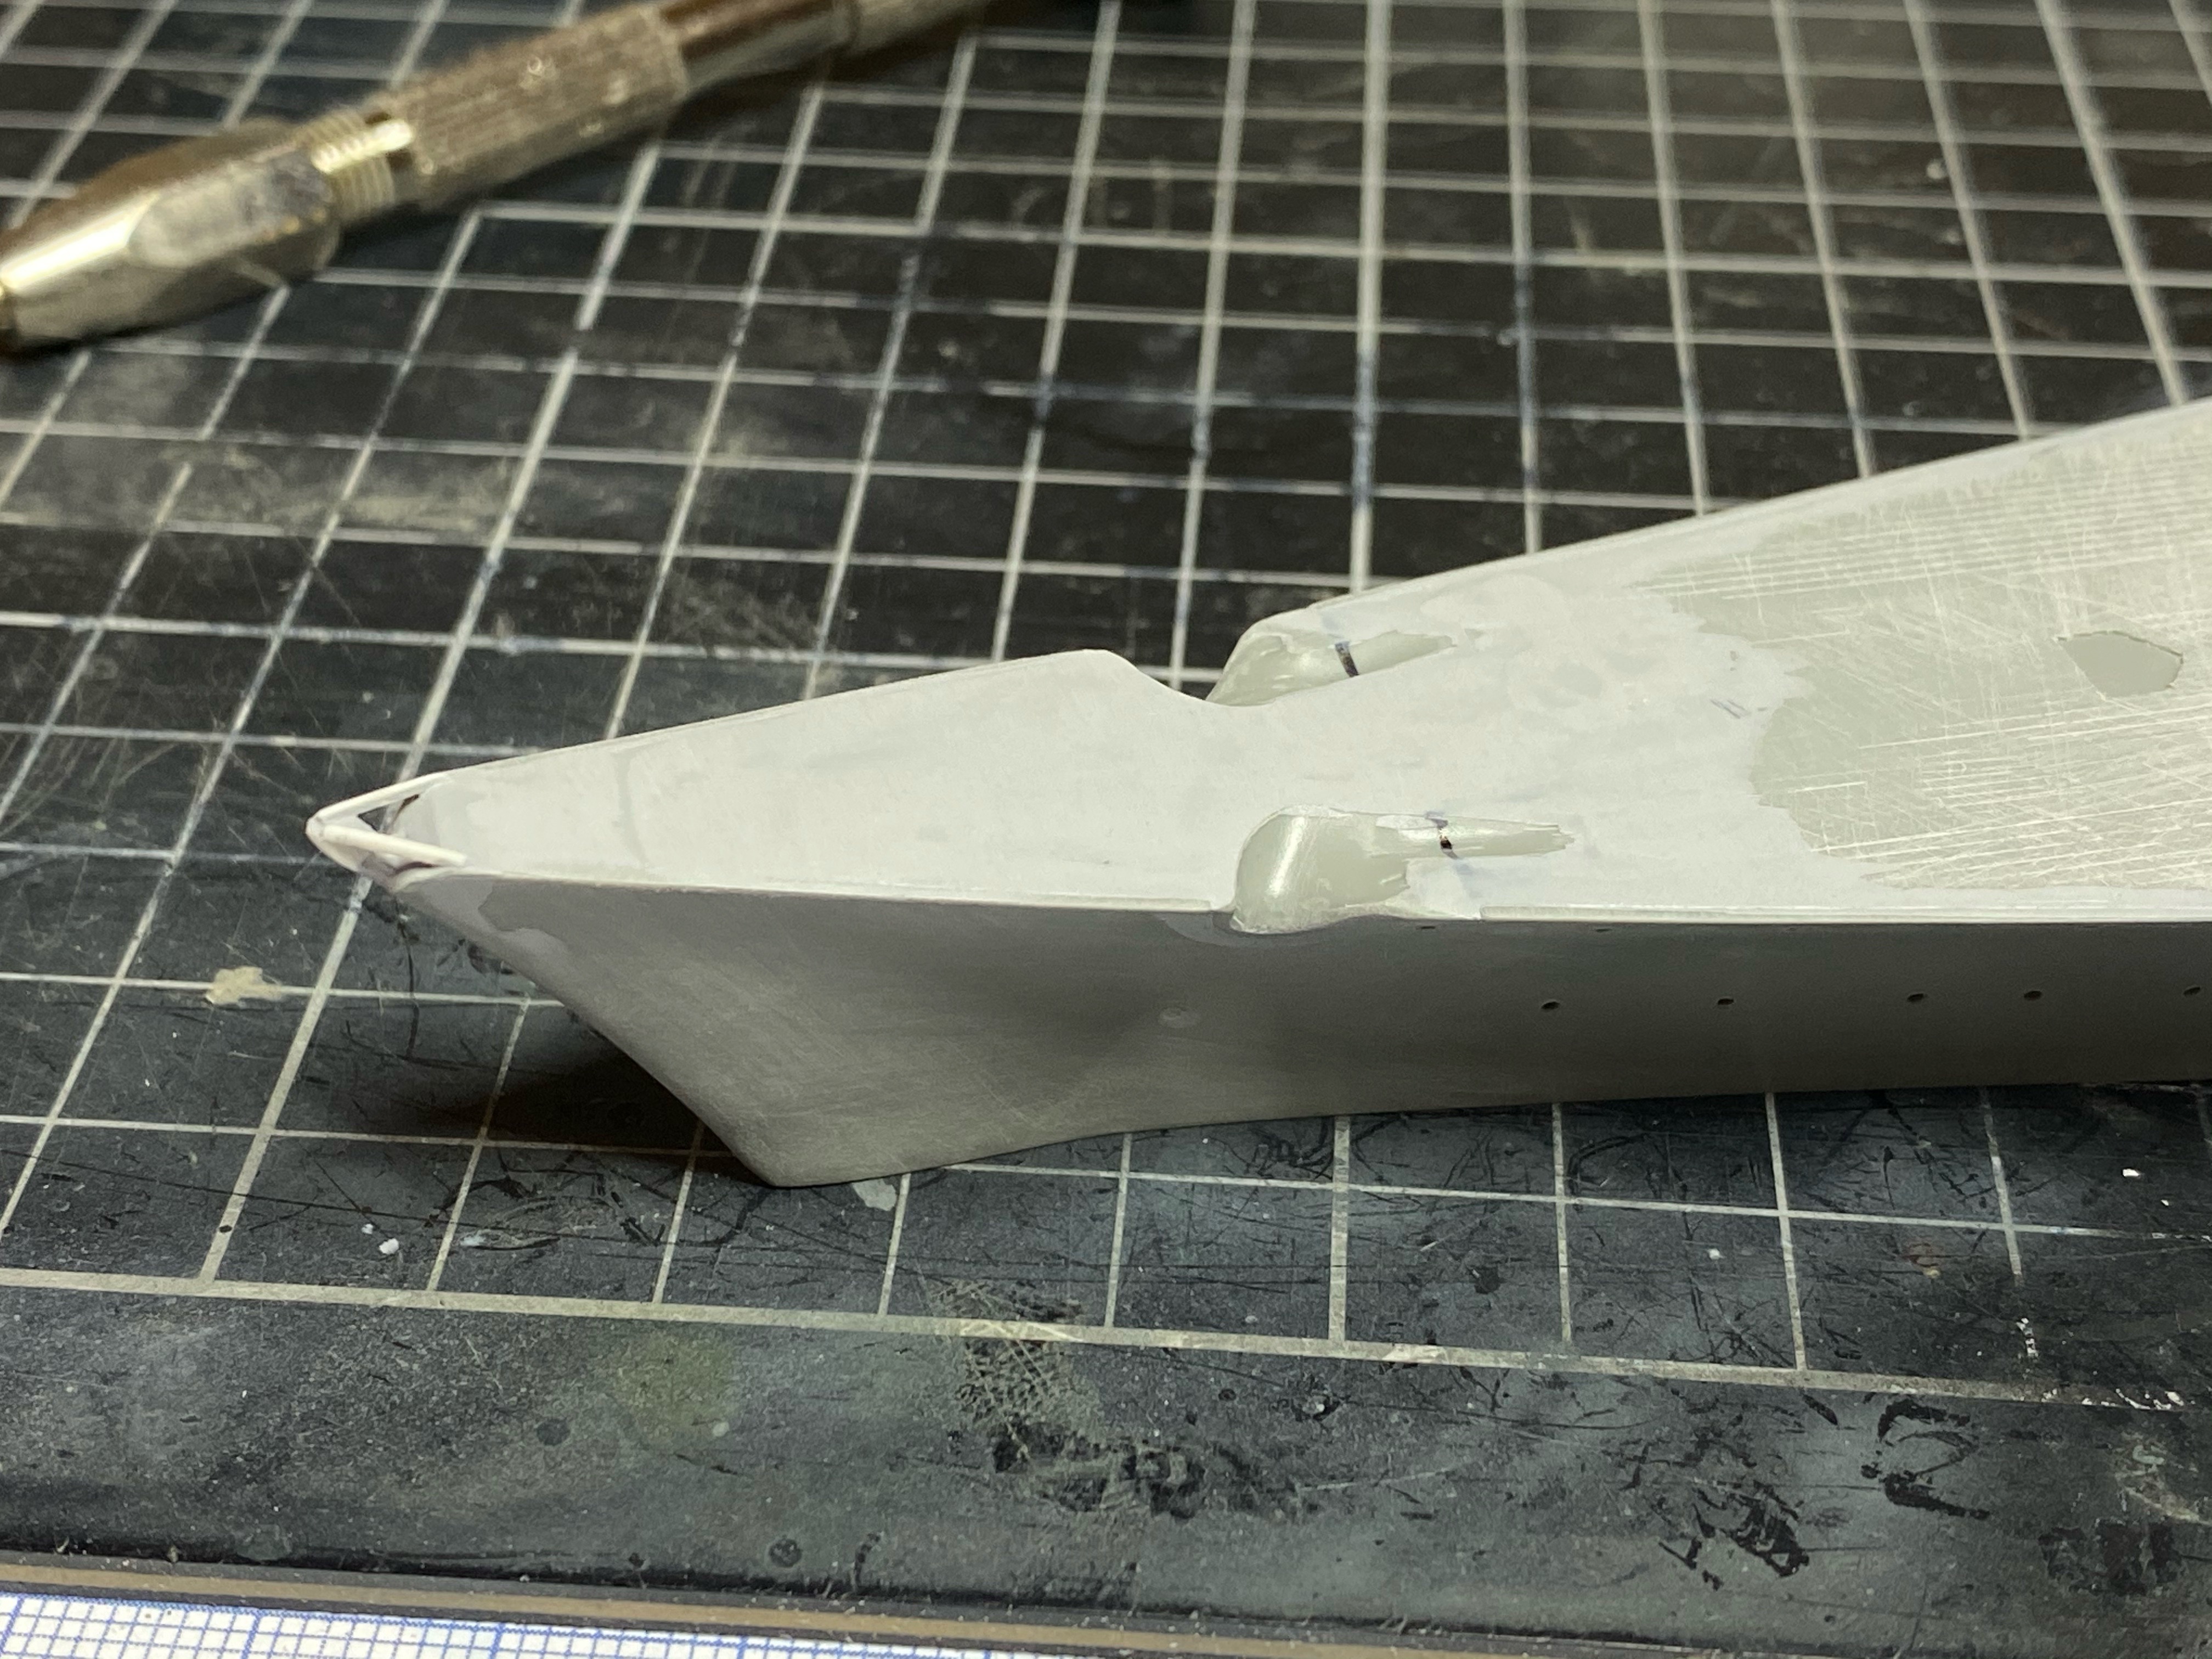
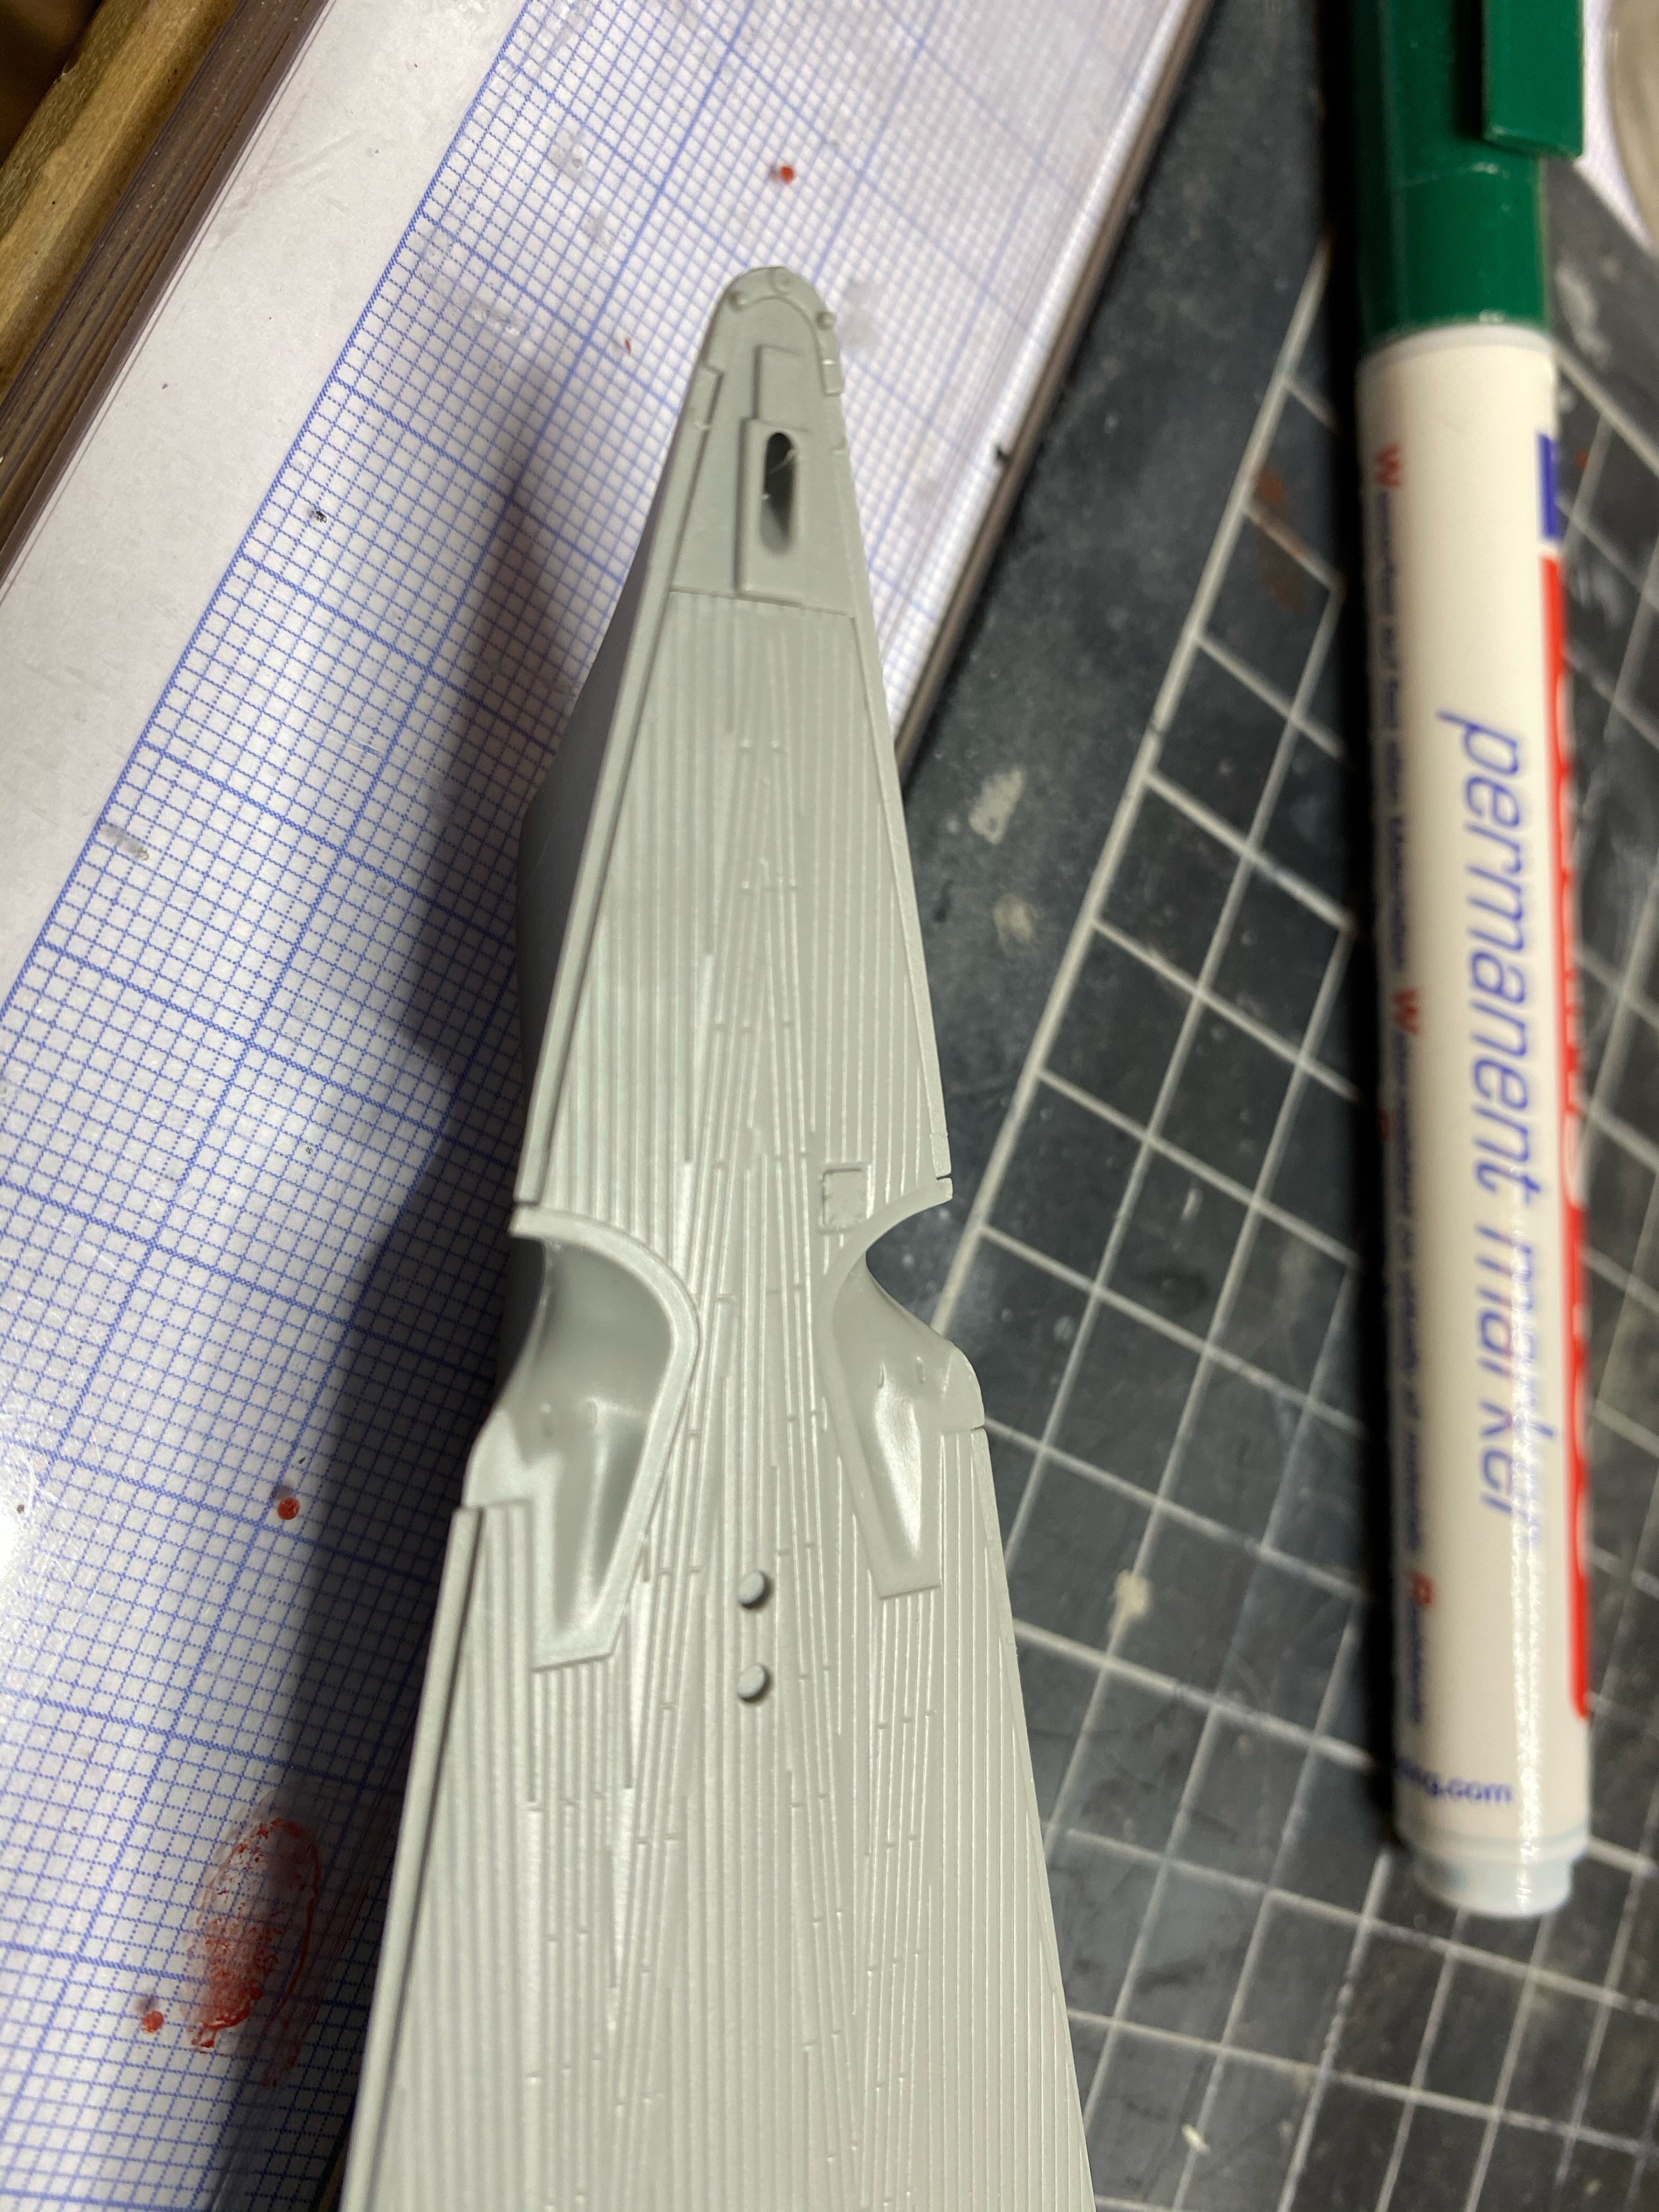
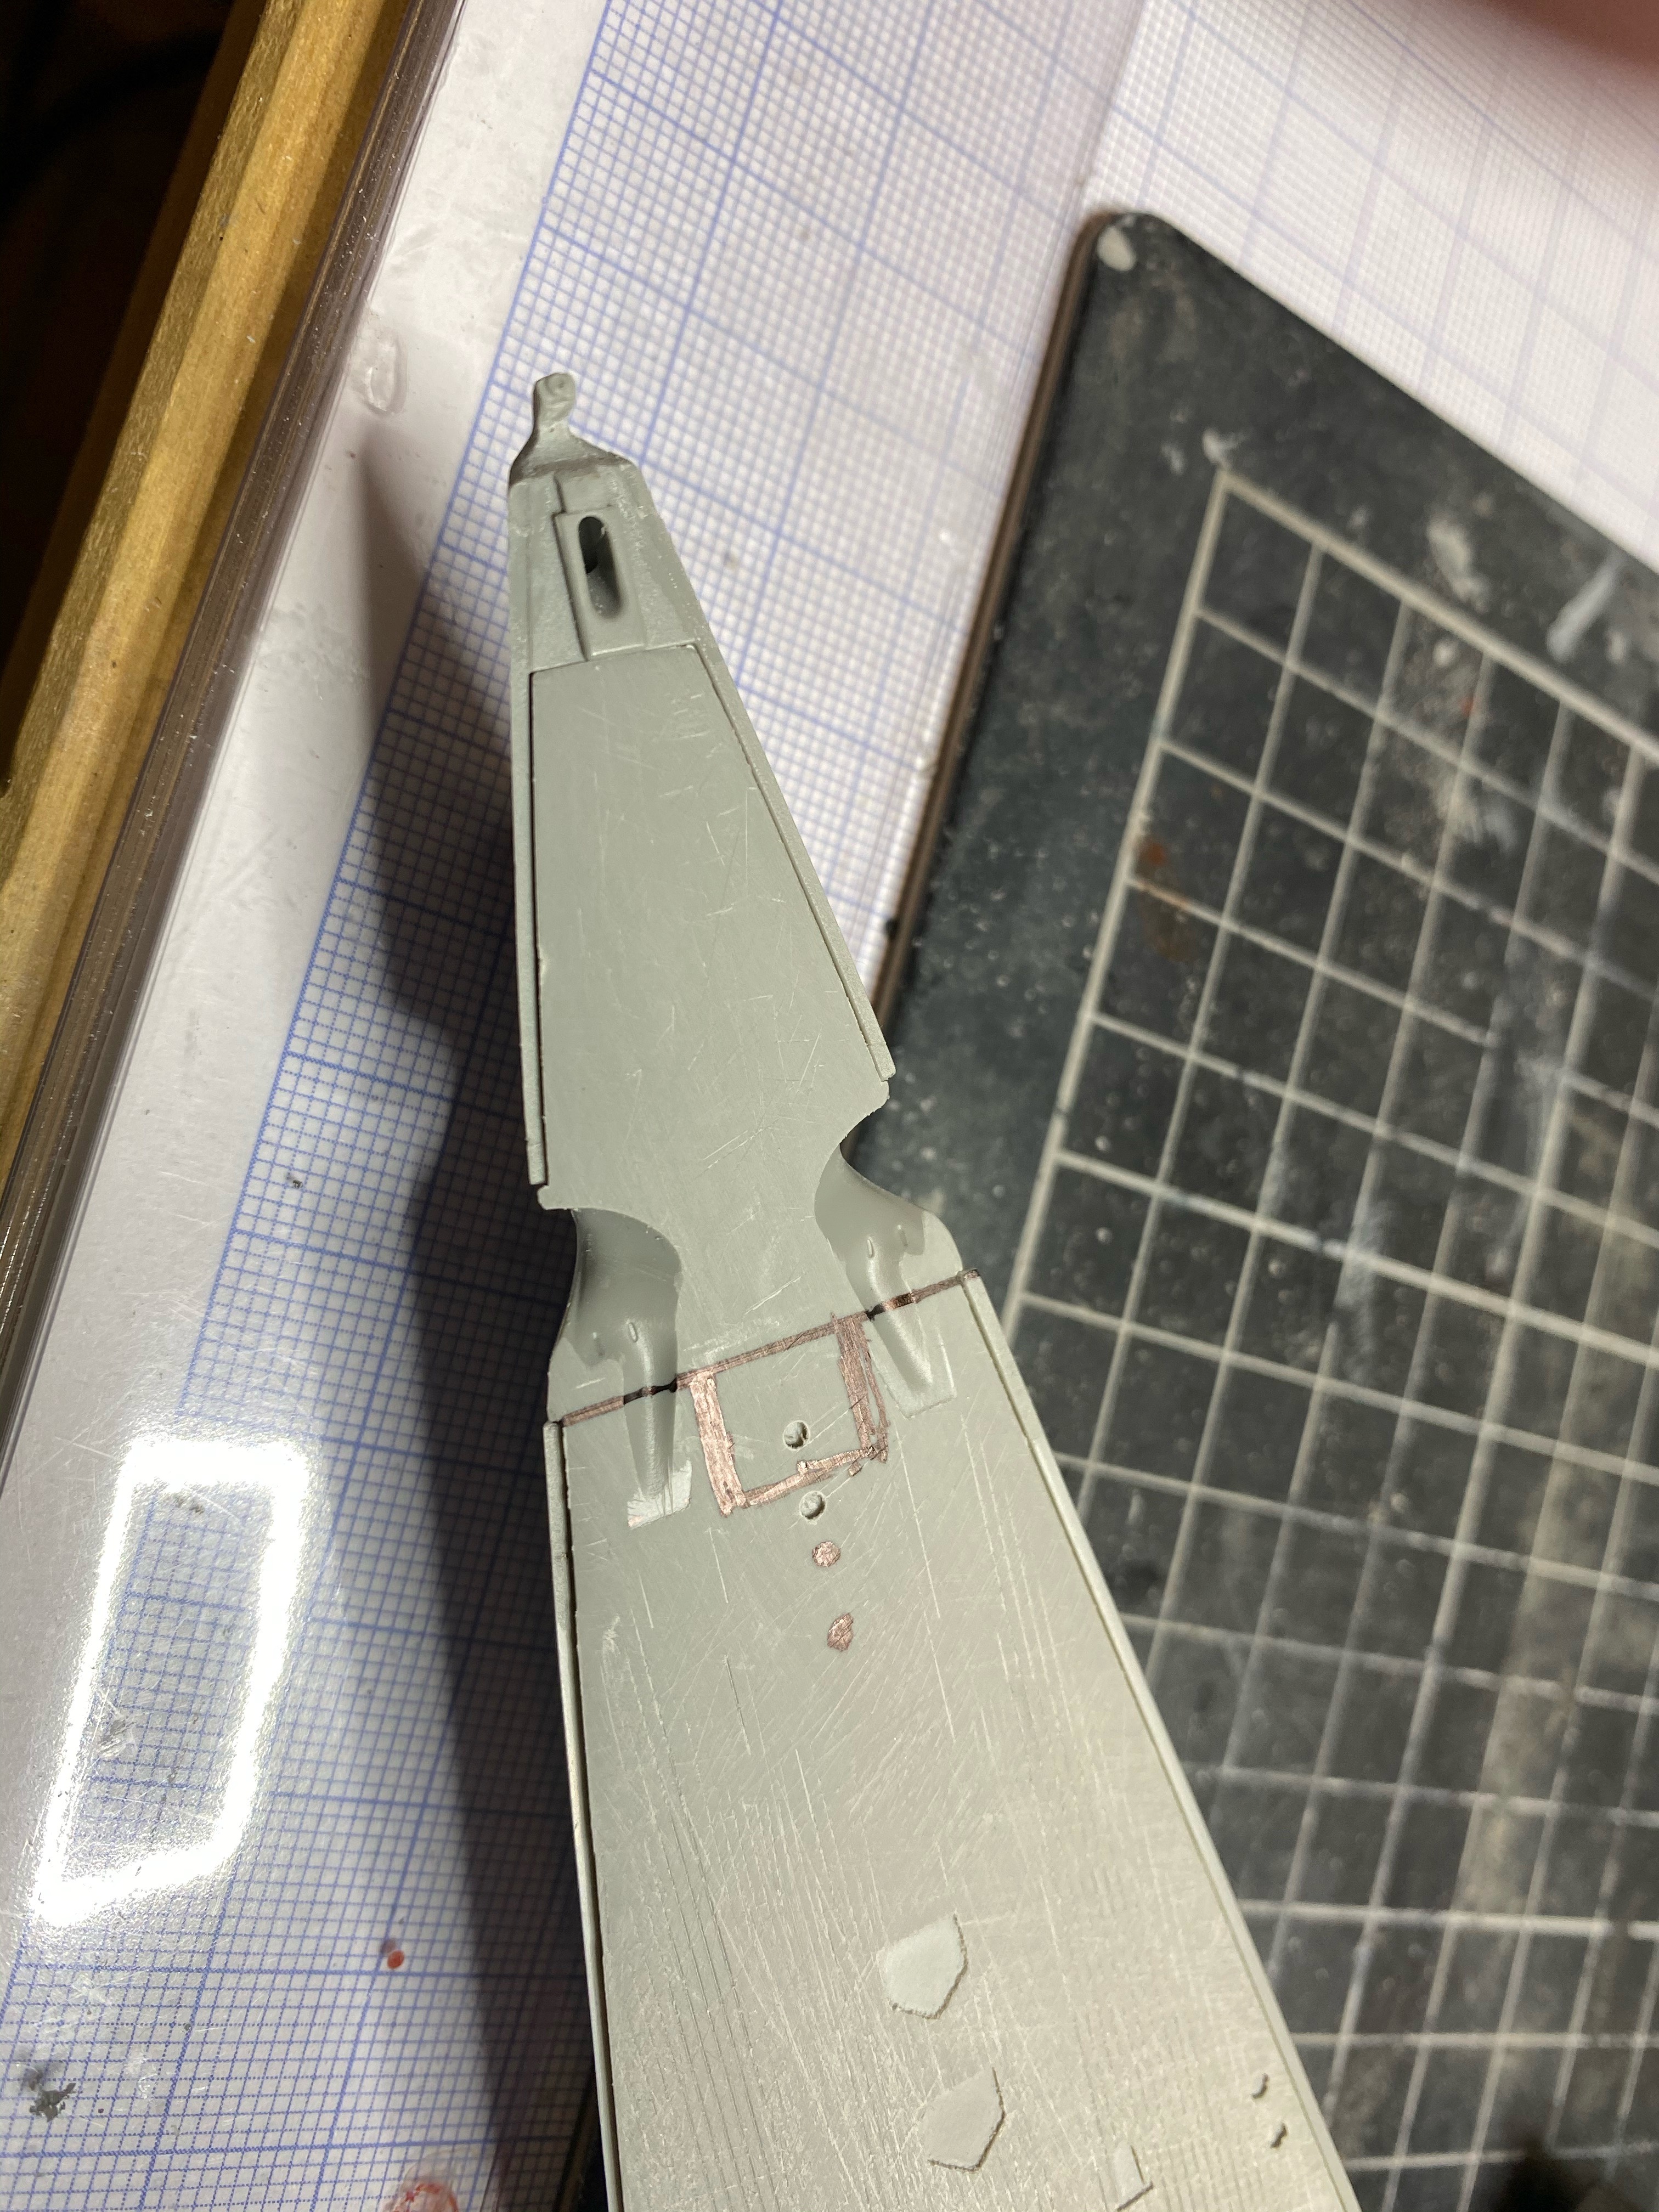
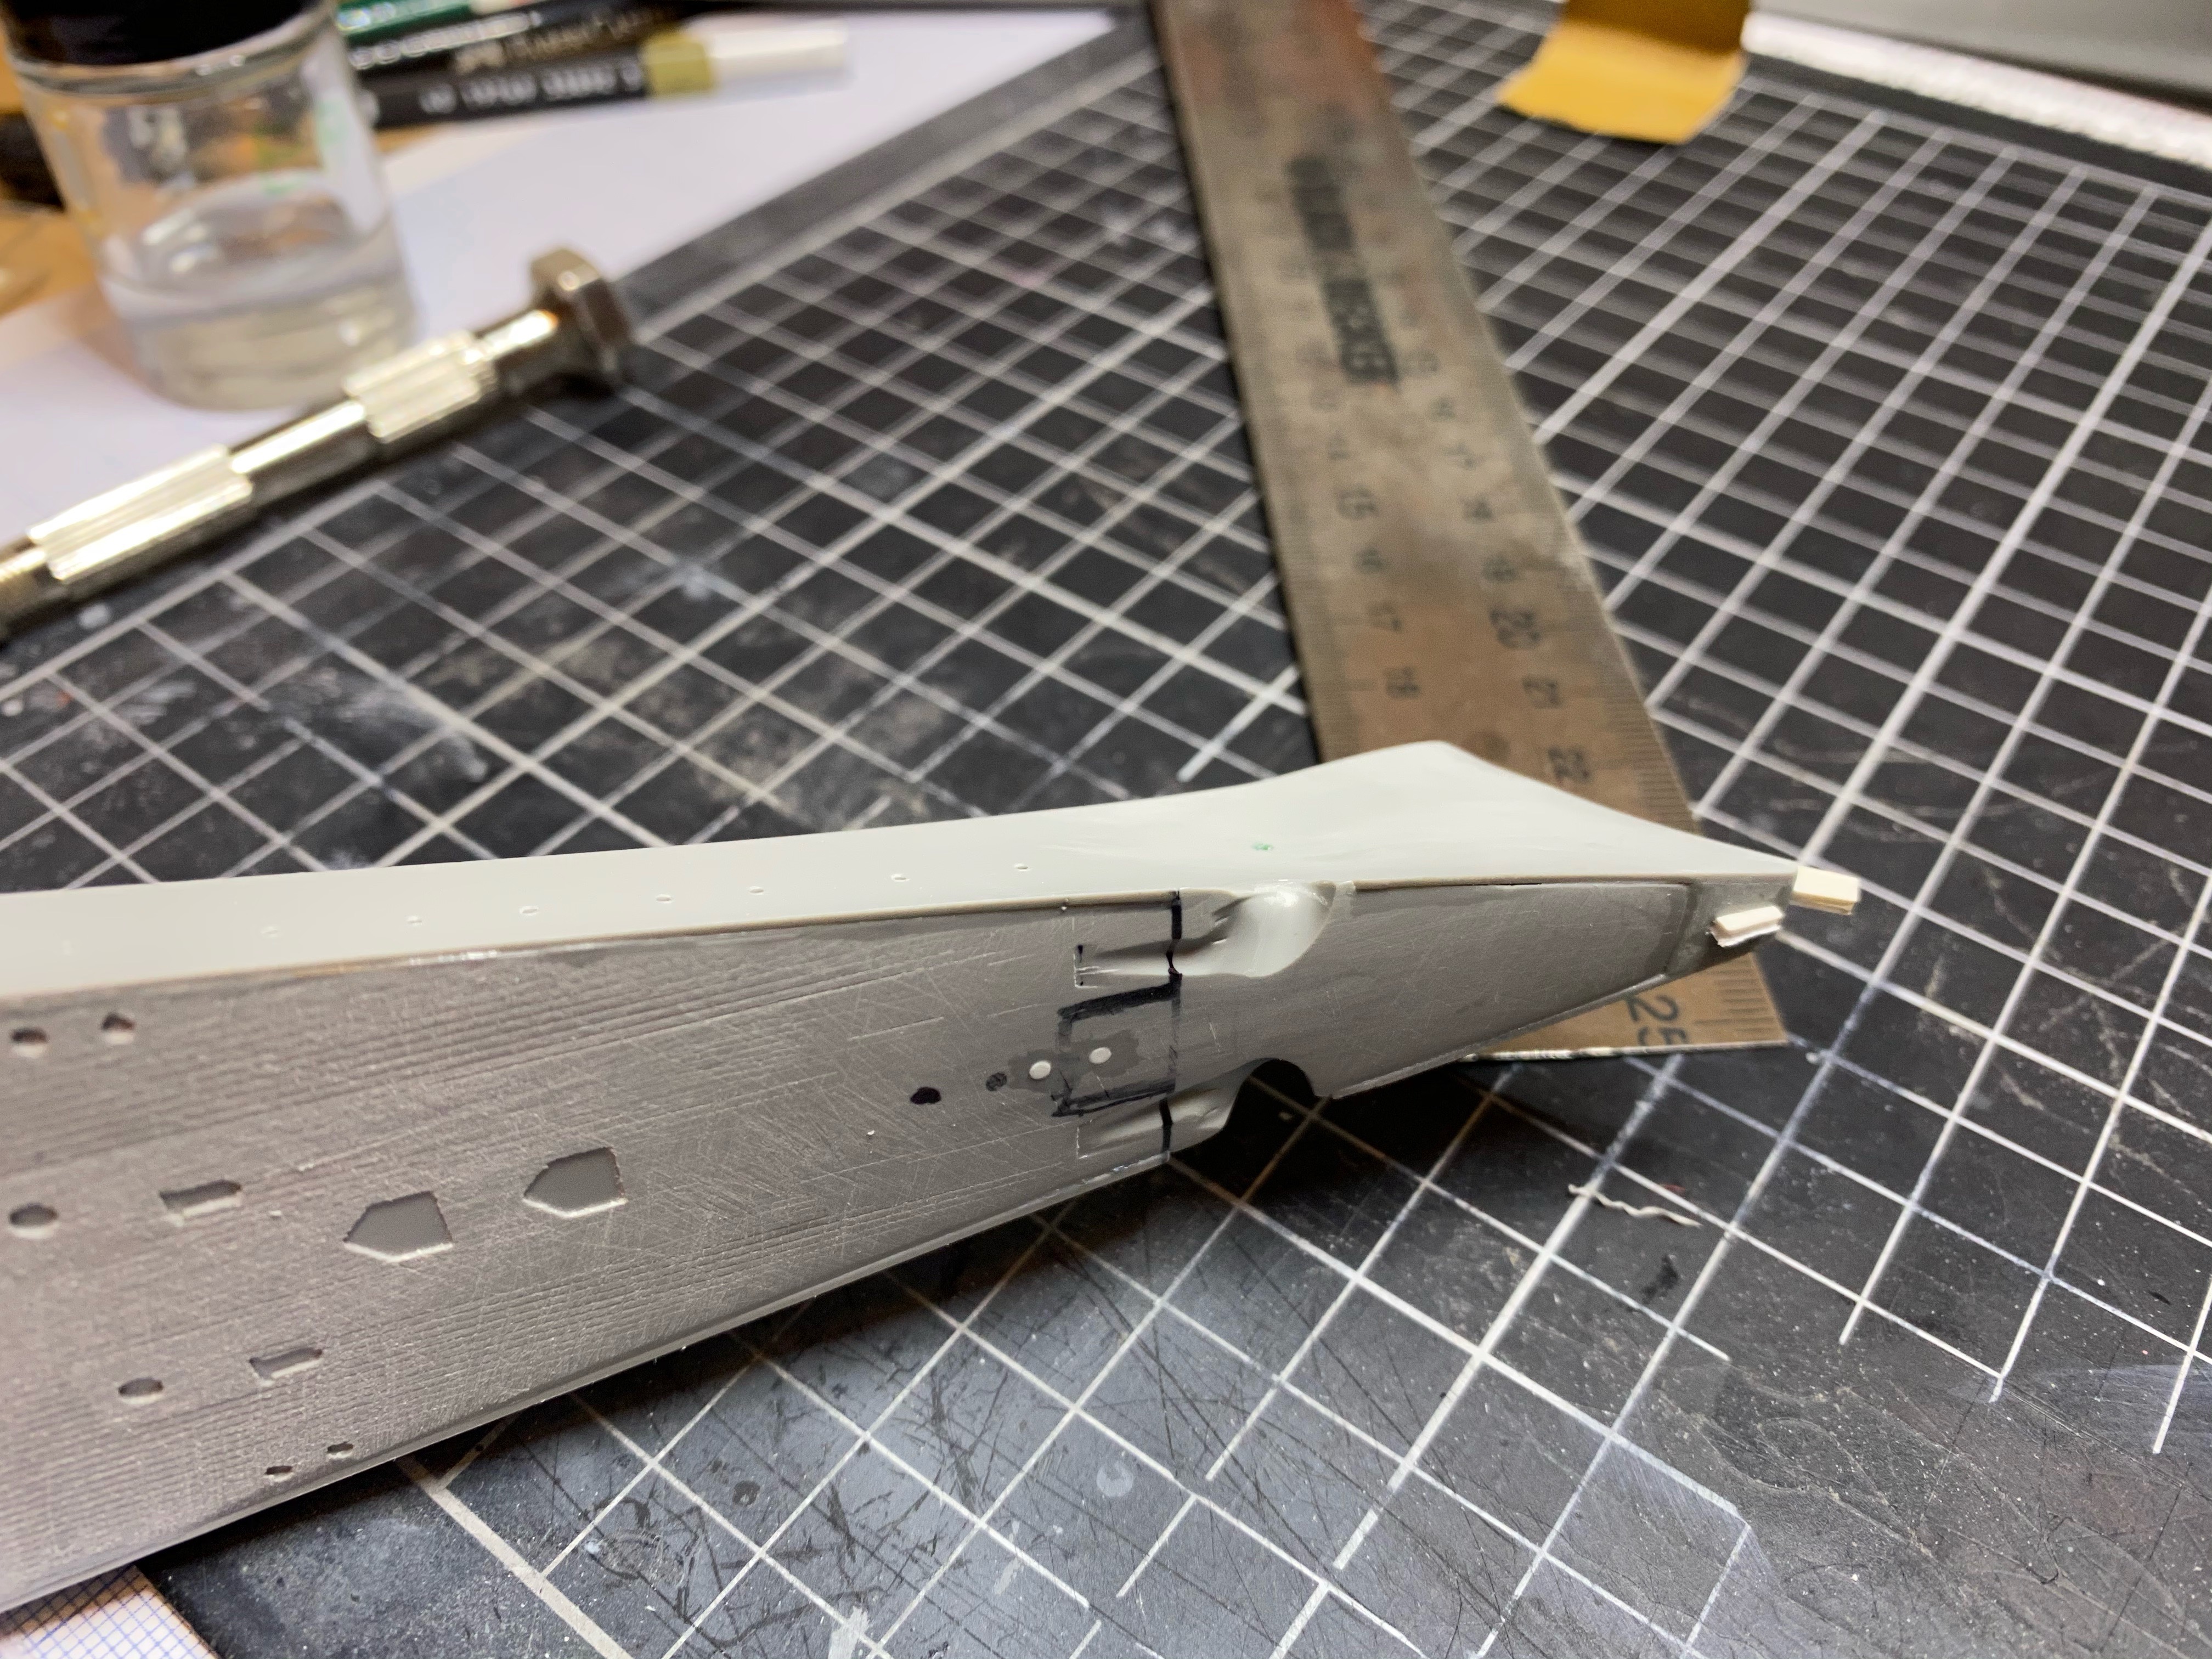
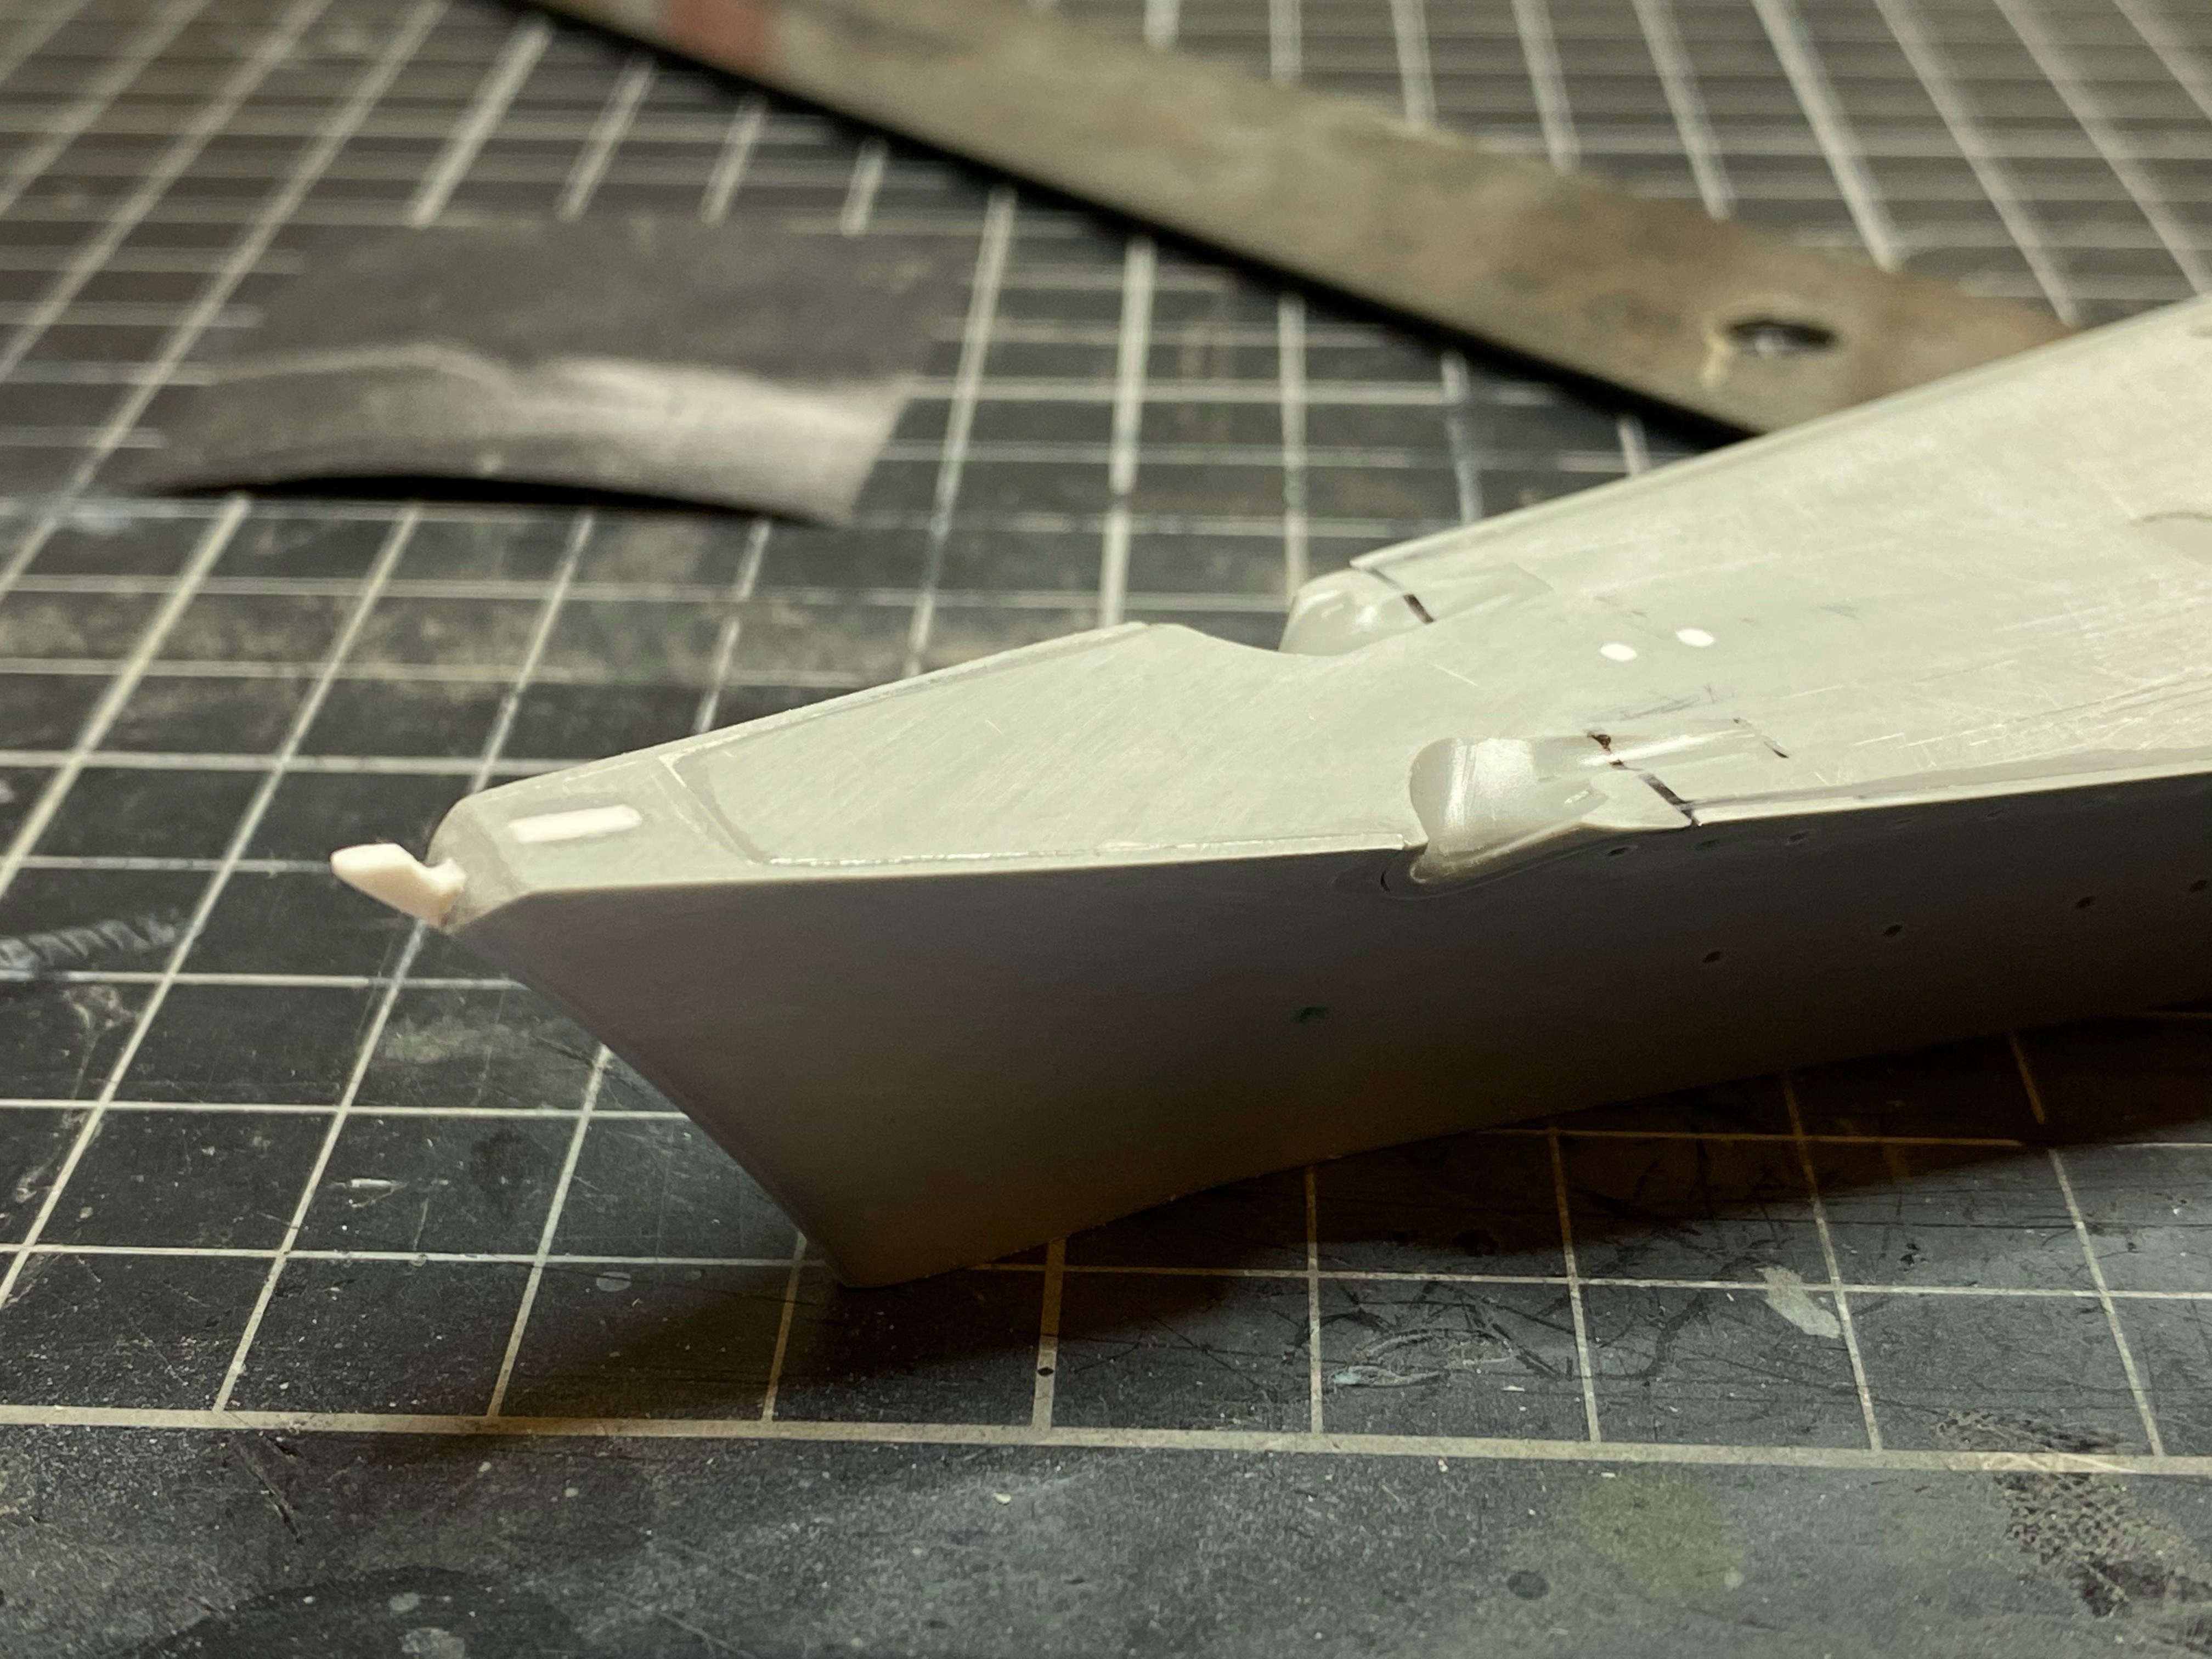
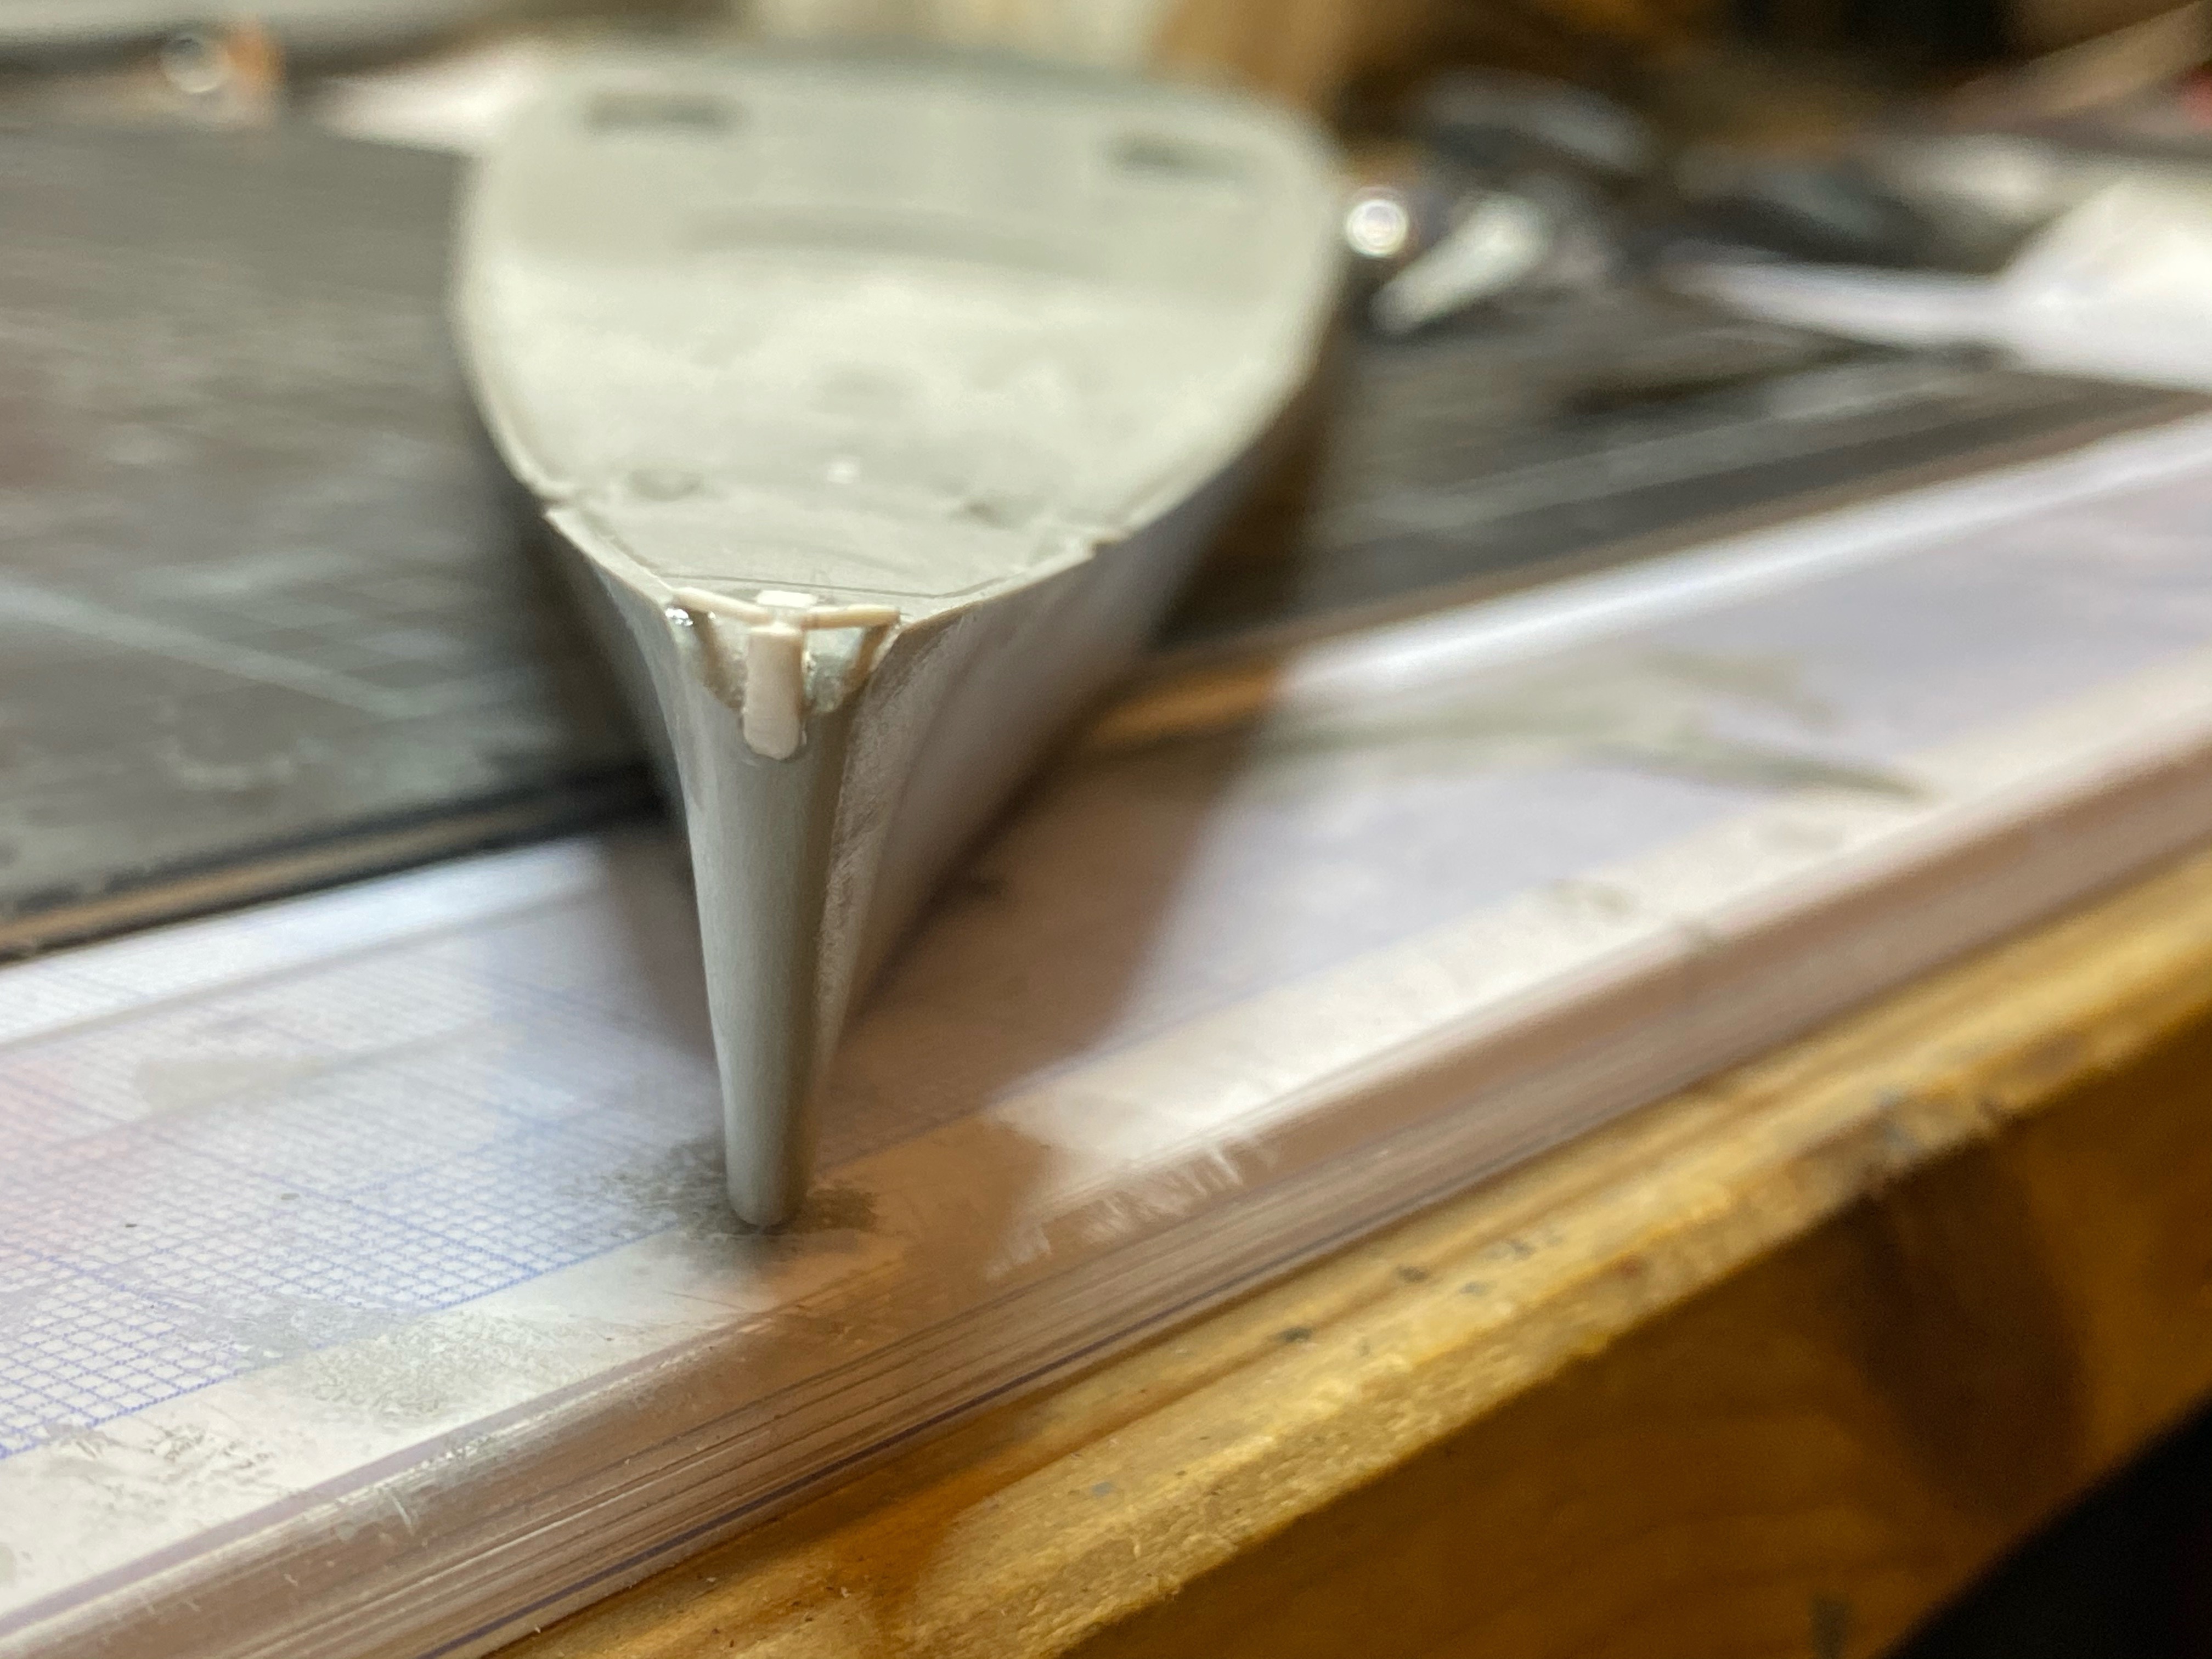
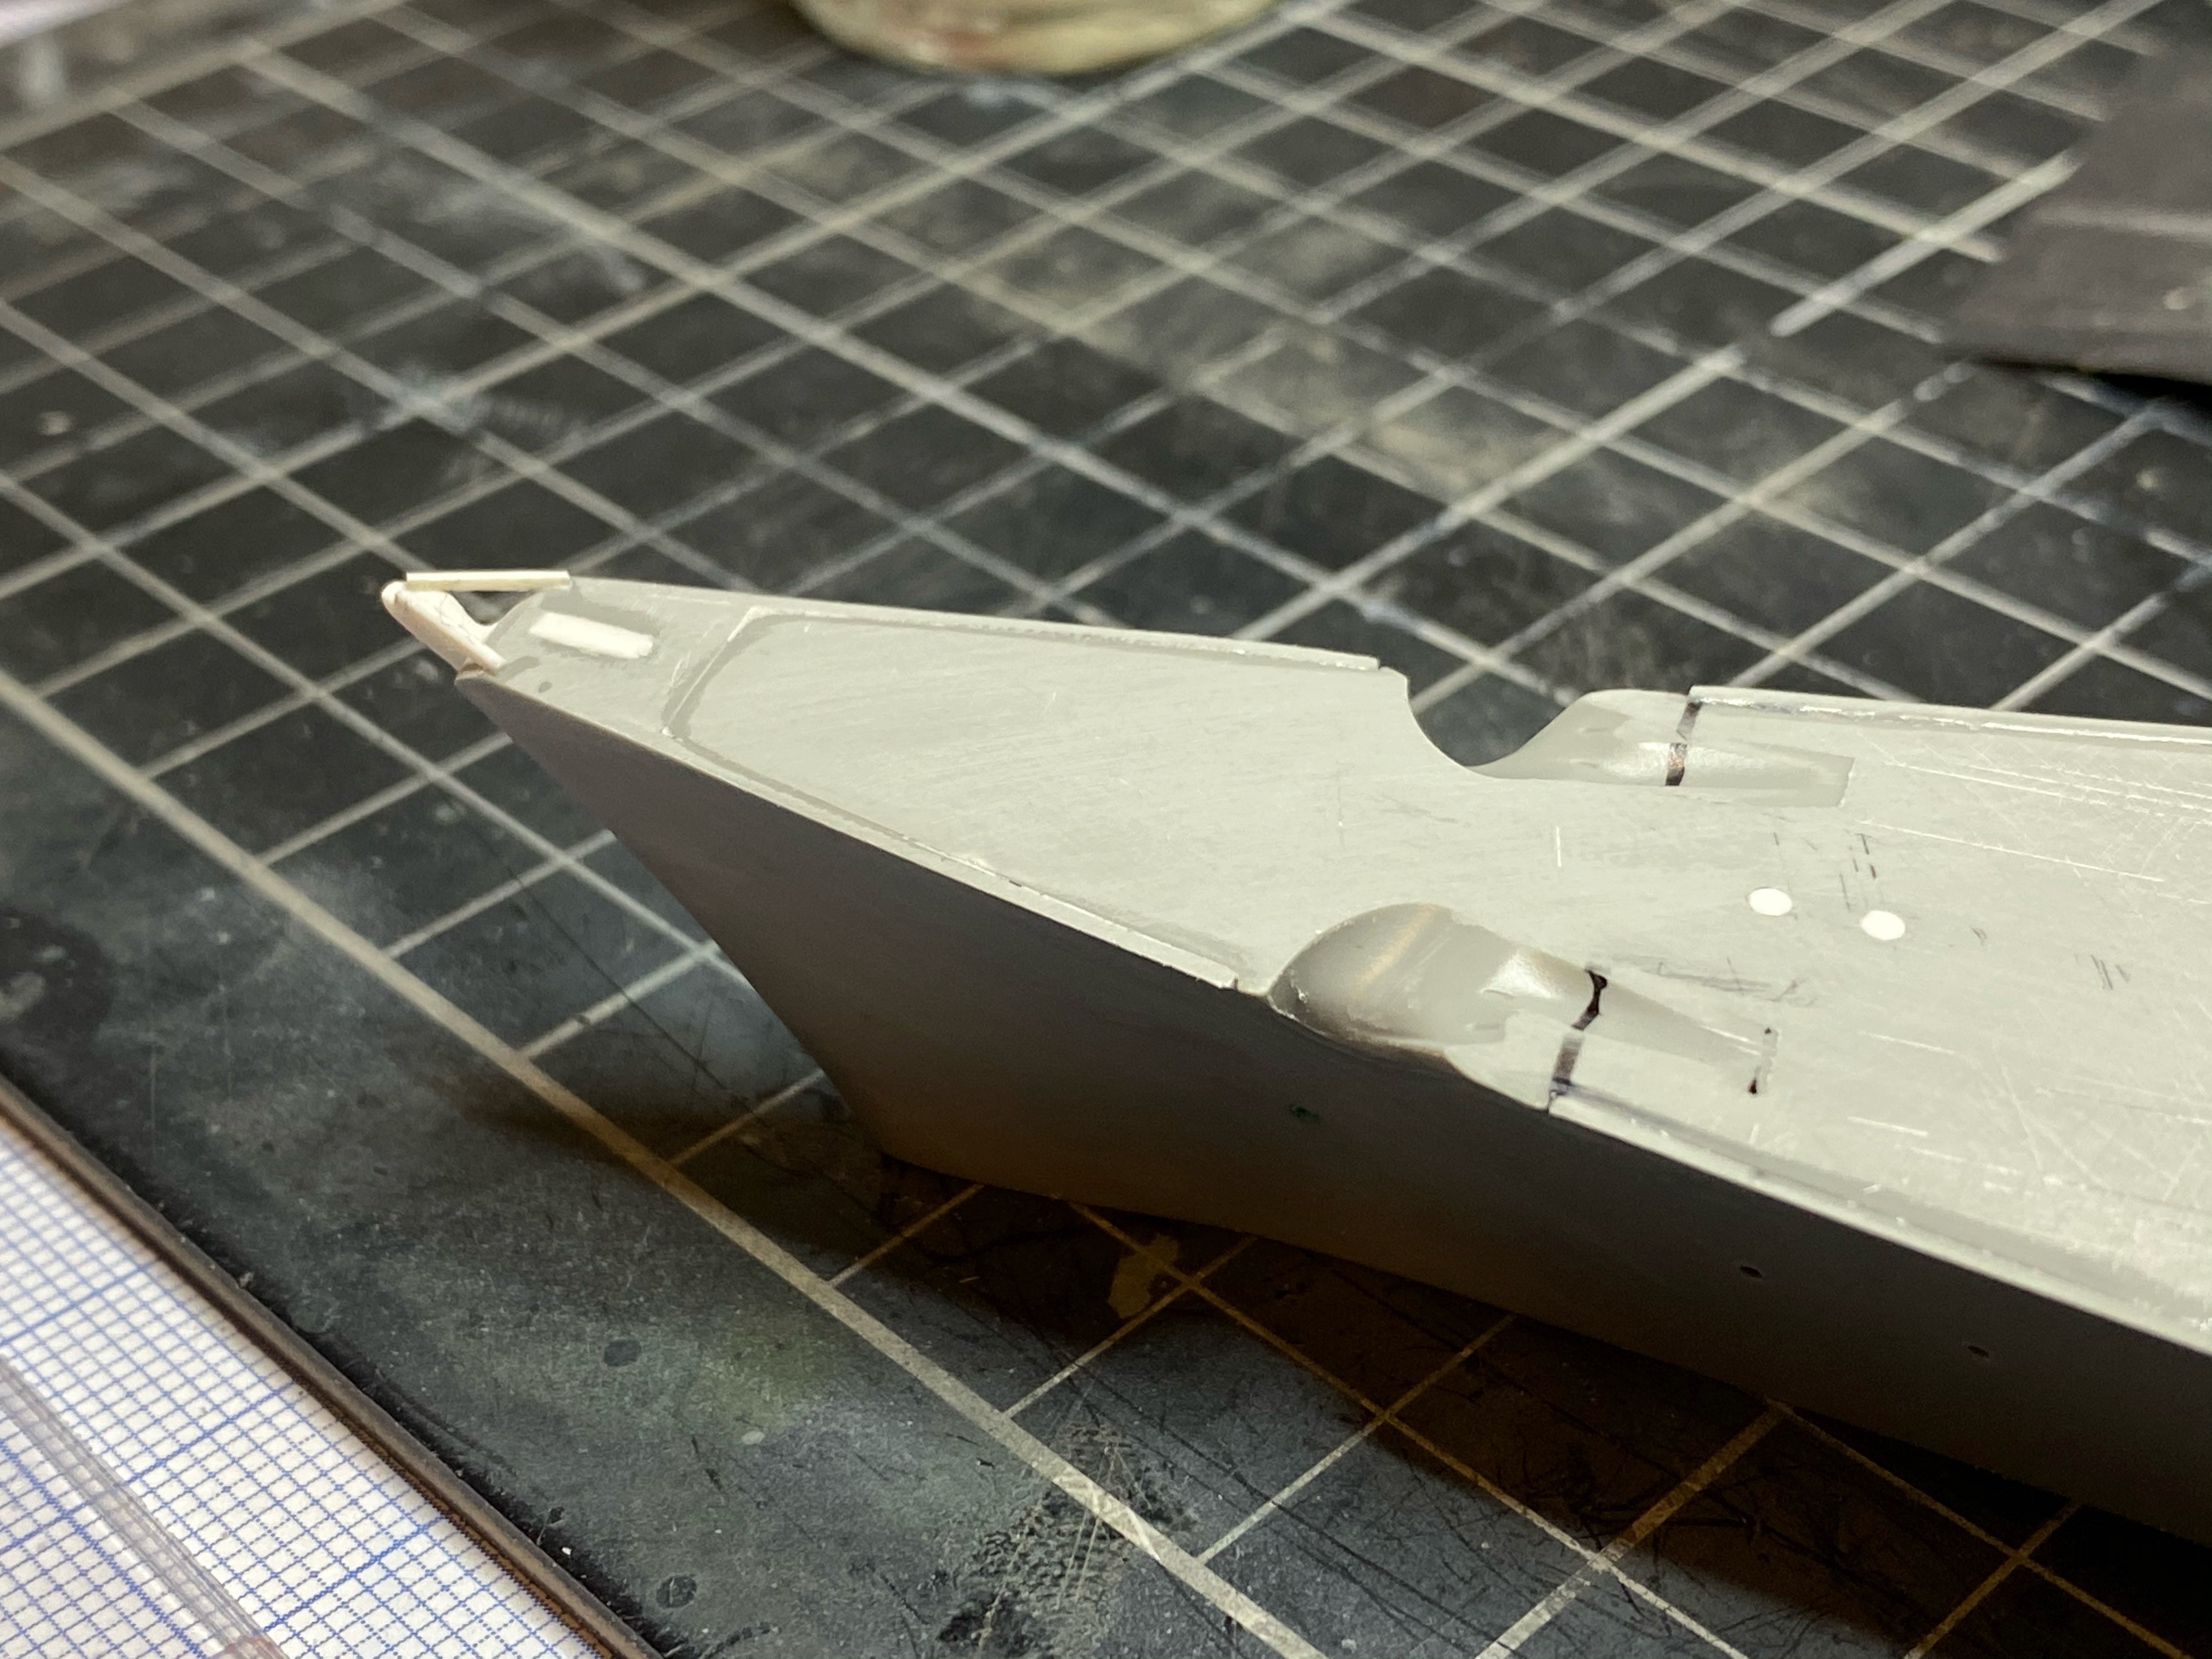
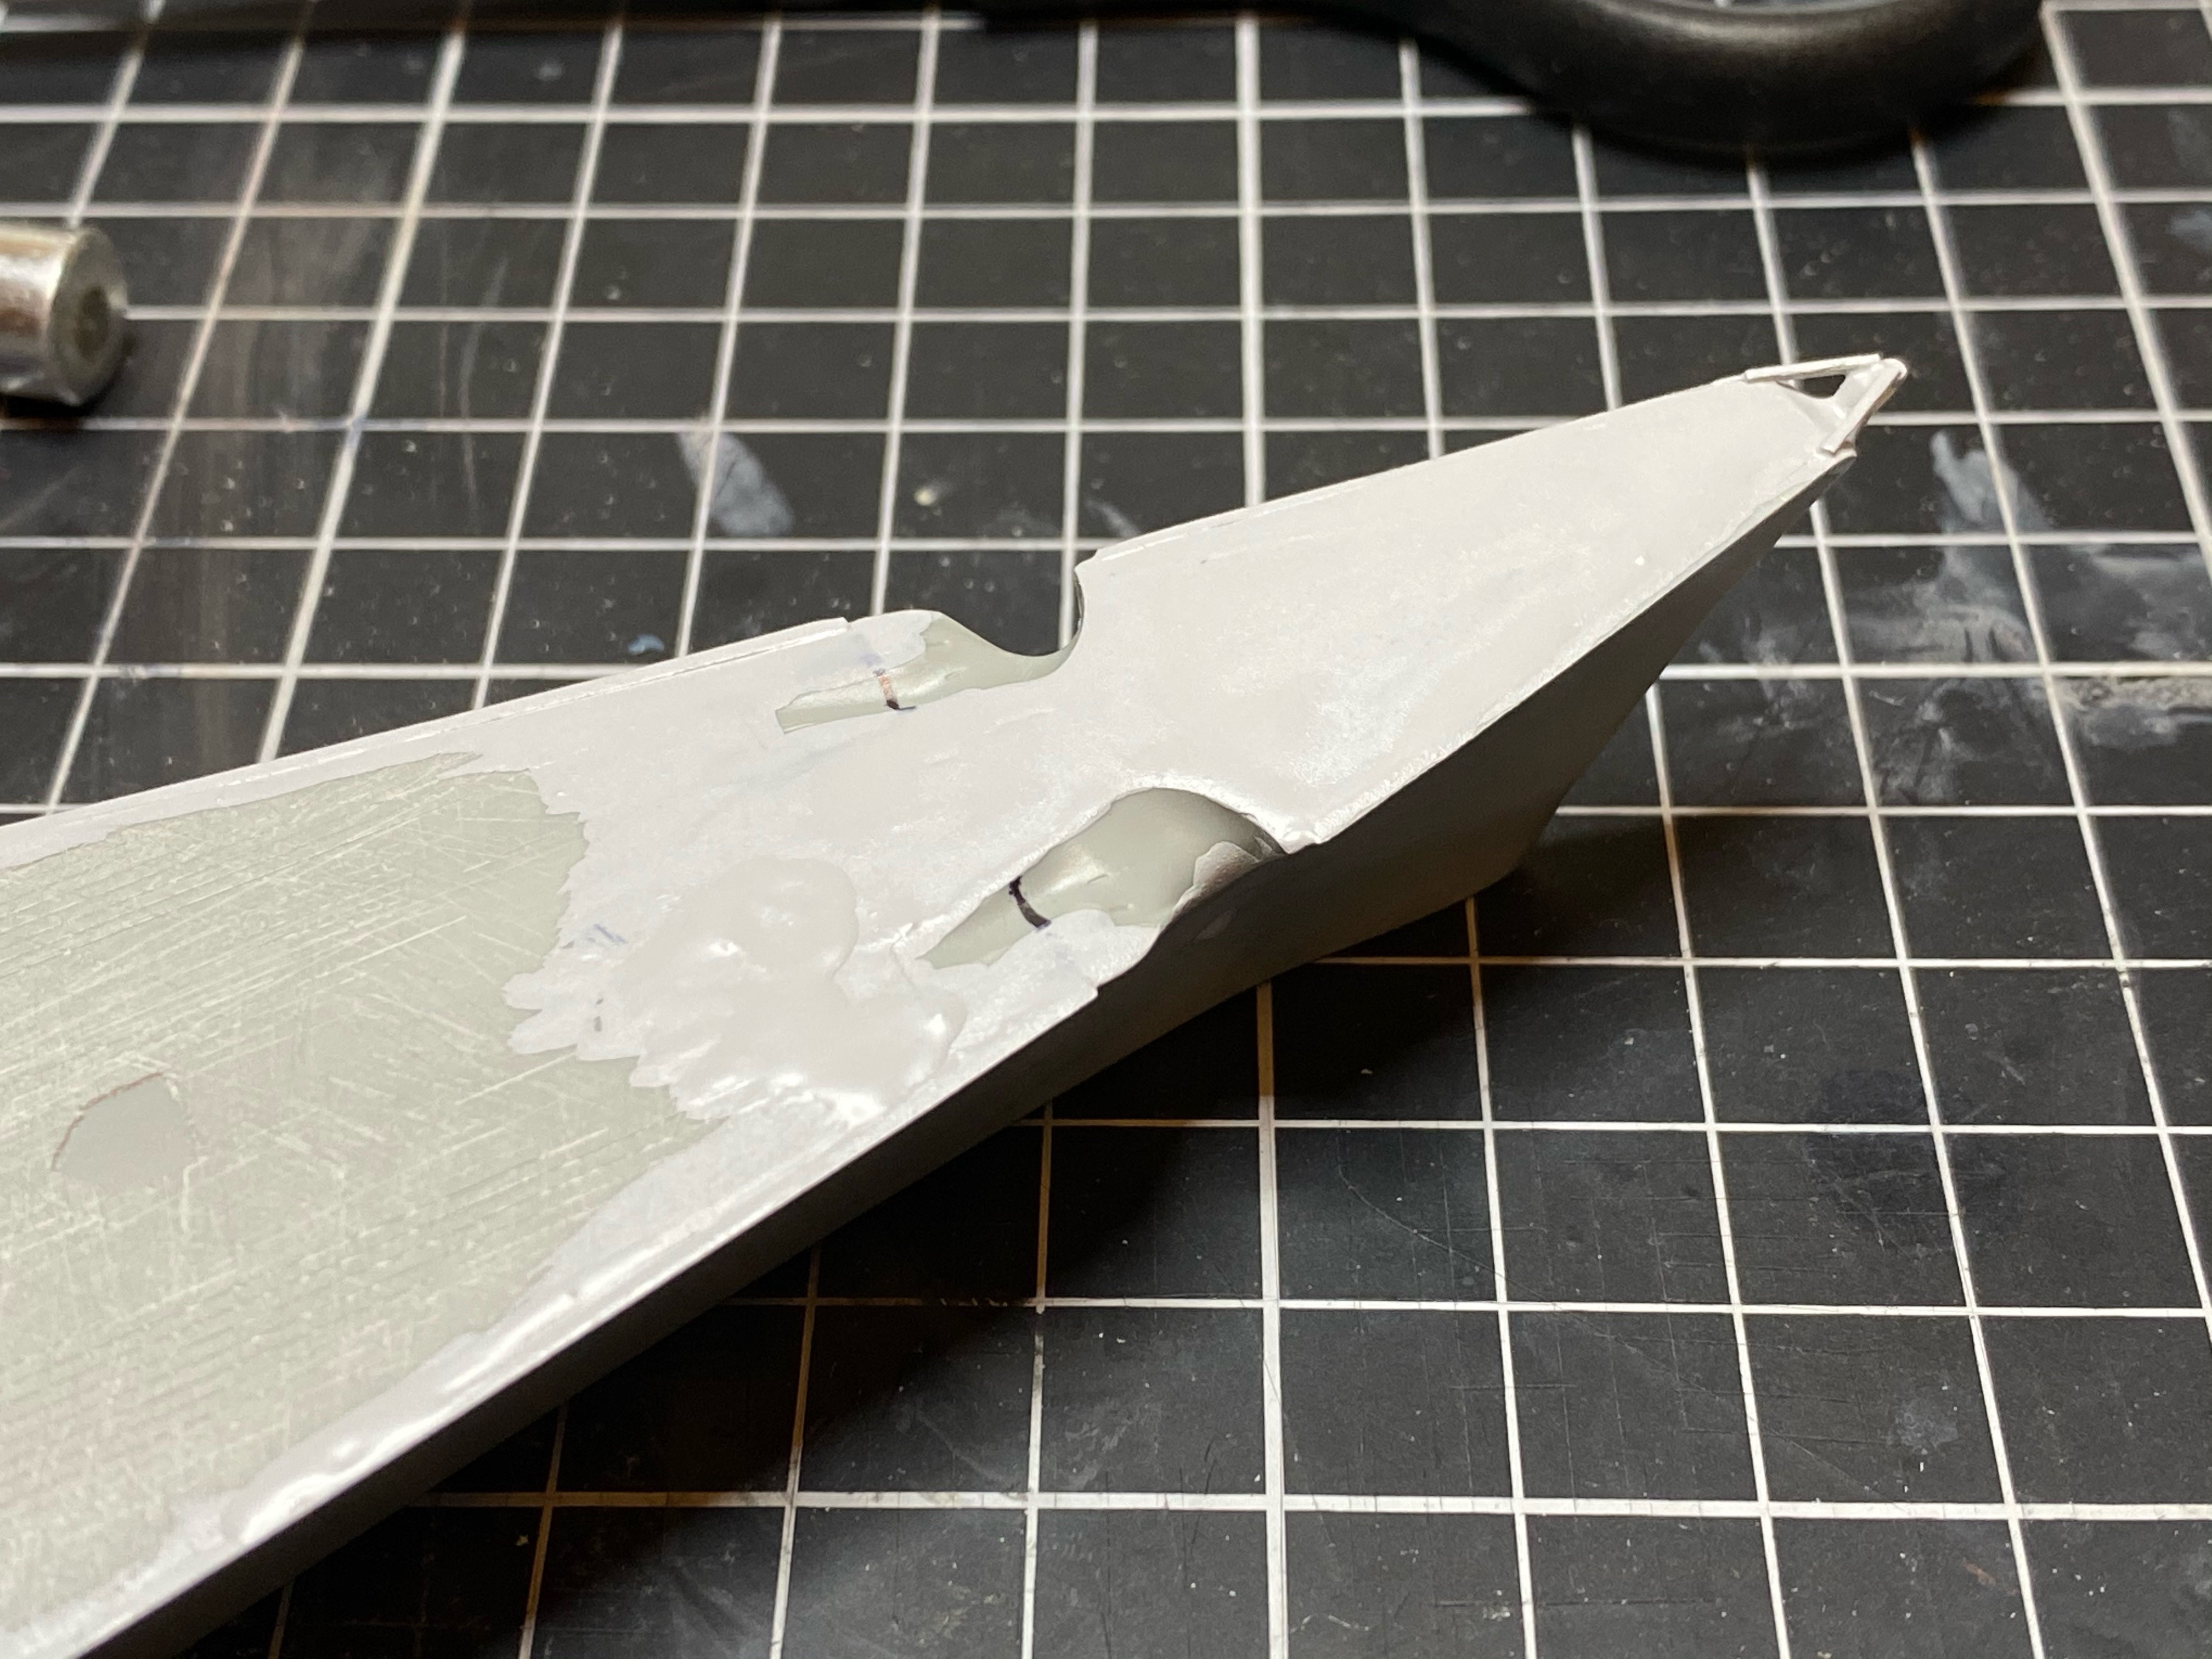
Gneisenau had a steel tip of the forecastle, whereas Scharnhorst had her wooden deck extended further forward. So have to sand this down and cut the wooden deck. I still have to check and verify the dimensions, but it will be somewhere along those marker lines.

So that’s it for today. First entry in my first build log in the new forum, and I can say that, at least for me, writing a build log here, with the preview, the way you can drag and drop pictures, seems a lot more comfortable already as the old forum, were it alway came a little bit as a surprise woh your entry looked after saving. First experience, and I have to say, I like it very much!

Now this here is mostly a familiar audience, so you know what you are up to - a rather slow, even glacier speed build. That won’t change, since real life is really busy for me, particularly with my 1:1 frigate that demands lots of time. I hope you are bearing with me, and I hope to make this a interesting and fun build log - and as there are many “firsts” in here for me, I don’t really have a plan in place for what will come. But I’m confident that I’ll find ways.

Thank you all for looking in, as always, all comments highly appreciated!

Chees
Jan

10 Likes

It looks impressive with the amount of extras you may or as you said may not use Jan. I am really an armour guy at heart, but I do enjoy watching some of this big ships get put together. I don’t think I would be able to stay focused enough to complete all the very intricate PE at that scale, but that’s what makes them stand out. Armour you can get away with a lot unless it’s a factory fresh finish you want, but ships always seem to keep those nice clean lines. I will be happily checking in on this one.

Jan,

I am definitely along for the voyage. Very interested to see your methods for converting from the Scharnhorst to the Gneisenau and seeing all of that extra after market being put together.

David

And so, our glacier race begins! :stuck_out_tongue_winking_eye:

Of course, I’m on board for the voyage, Jan, and looking forward to seeing how you bring this together…

Most of us seem to be present and accounted for on the new site, mate, with the exception of one red duster :face_with_monocle:

1 Like

Such a cool looking ship - I defy you to find an iteration of Gneisenau that wasn’t beautiful!

As usual, I’ll be following this one of yours, Jan!

4 Likes

John, David, Russ and Tim,

thank you very much for your kind comments!

As always, I’ll rely on all of your kind support - while motivation is high now, projects of this scale almost certainly will have their ‘downs’, and conversations on MSW more than once has helped to overcome them :+1:

John, thanks for joining in, it’s great to have fellow modelers from different ‘branches’ visiting!!

Dave - honestly, I for myself are about as much interested in what methods I will be using… :thinking: :upside_down_face:

Russ, mate, of course I count on you! (And I have seen Si as a registered member, I really hope he will join in and continue his splendid build logs here!)

Tim, you’re right, she’s just cool looking, a beautiful ship, certainly one of my all time favorites! I think it will be spring 1940, “Weserübung” with bright red turret tops (air recognition marks).

So a litte more done yesterday - started working on the bow and drilling some portholes. From what references (pictures only for that, because all drawings show it different and I can’t tell which one is correct) the second row of portholes above the armored belt has to go with the exemption of four portholes in the vicinity of “Cäsar”-turret. So I sanded the eyelids and will fill them (all marked green).
Than the tip of the bow needs work, no teak deck there, the forward hawsepipe needs to be closed (not done yet) and there is a lead underneath the flagpole that I started cutting and driving out. Details add up, once you start looking closer…

Cheers
Jan

6 Likes

Hi Jan,
I followed your last build somewhat. I’ll try to do better on this one. As for my preference… I like the red turret tops. But I also like AA guns…

Off to a nice start, mate, And overtaken me already :wink:

Red turret tops get my vote too :slight_smile:

I’m on board as well, I’m learning so much from following the build logs here on MSW, and enjoying getting back into my Gearing project, so I can see more ships in my future.

Cheers, D

Jan,

Always enjoy watching modelers convert ship kits. Looks like you are off to a fine start.

Mark :beer:

Gentlemen,

that’s very kind of you, thank you very much!! And hey, I’d say that was a nice hint at the configuration, so it will be “Weserübung” spring 1940 with the red turret tops! (Let’s see, maybe I can even still edit the name of the build log…)

Now don’t be fooled that I have another update already, this will slow down instantly - this was a very quiet week, but we’ll leave our home port Friday afternoon for about three weeks, so I may or may not be able to find a bit of bench time tomorrow, but then it’ll be mid November before I have another update, So Russ, plenty of time for your glacier to catch up!

More work on the bow, pretty bold and destructive…all the wood structure has to go.

Well, but I didn’t mean that bold… :angry:

But the bow tip is gone… so I decided to cut it out completely and use styrene stripes to build a new tip and seal the hawsepipe at the same time, instead of filling it.

First time to try my new punch and die set to fill those two holes in the center, the bollards will be relocated about 6 mm aft.

Cutting in shape and sanding

And from what I could find, this structure was “open” and only connected to the hull with bars, so possibly like this

Needs sanding to get in proper shape, but I’d say it goes into the right direction.

Finally, a first boldly brushed on layer of Mr. Surfacer 500 for filling voids and filling the portholes that need to disappear.

So if I find the time, I’ll sand that into shape and apply another layer of Surfacer 500, and start over again. Probably three or four rounds required around the bow and anchors…

So much for today, thank you all again for looking in and cheers

Jan

7 Likes

Jan, I’d say you are getting Gneisenau’s bow just about right!

6 Likes

Have :popcorn:, ready to go.

Thank you and welcome! And Tim, thanks for the nice pictures which I didn’t know, really good shots of the bow!

So some sanding done yesterday, for the first round I am very pleased with the results:

Next layer of Mr. Surfacer is already brushed on with focus on the identified sinks and voids. It’ll have plenty time to cure, as I’m off with my 1:1 for roughly the next three weeks, mid-November should see the next update, but I should be able to log in to MSW, watch out for your build and be able to comment once in a while.

Thank you and cheers
Jan

9 Likes

Looking good Jan!

Fair winds and following seas for the next three weeks my friend :slight_smile:

PS good thing about the new site is that you only need to check your email to keep up with threads you’re following :slightly_smiling_face:

A question about the hull, as it has a lower full section, then the upper sides go together and then sit on the lower, does that long seam show much ? And if so, is it a major pain to fill and sand to make good ?

1 Like

Thanks mate! Weather looks fine, we should be underway soon.

I’m starting to love more and more features of the new site, those email notifications certainly one of them!

Cheers
Jan

Hi John,

welcome on board! Well, the hull is split in halves, so an upper and a lower part, not two sides and a lower part. Test fitting looked really promising, but before you actually glue the halves together you can’t really say how bad that seam is. Trumpeter with their older kits (ca. 2015/2016) had the principle before they switched to vertically split hulls, and that was pretty painful with A LOT filling and sanding. To me it looks like this one from Dragon here will be much smoother. But you’ll never get away without filling and sanding…

Cheers
Jan

1 Like

I haven’t seen a Dragon 1/350th kit before. How does it compare to Tamiya?
Good subject choice! Both ships were the best looking ships in WW2 in my opinion.

1 Like

Hi and welcome on board!!

This is my first Dragon kit, so comparing it at this point is much guessing - I’d say there is much more detail in the kit (often said to be over-engineered) and fit is good, Tamiya is basic and needs much more ‘enhancement’, however, fit of the good old Tamiyas is unparalleled and they are very accurate and build a really good starting point. Tamiya instructions are clearly better, instruction is a real weak point with Dragon.

Cheers
Jan

2 Likes