She is looking really great now. I just bet, that Dragon will come out with a Gneisenau just when you are finished with yours ![]() . But it will never be as good a as yours.
. But it will never be as good a as yours.
Cheers
Tom
She is looking really great now. I just bet, that Dragon will come out with a Gneisenau just when you are finished with yours ![]() . But it will never be as good a as yours.
. But it will never be as good a as yours.
Cheers
Tom
Jan,
She is really looking great. Your level of detail is really amazing. Keep on keeping on.
John
Hi!
Thanks for sharing that picture, I know I had seen it before. Finally found it in one of my reference books, where it’s dated “Fleet Parade August 22 1938”, which makes sense with all crew manning the rails in dress uniforms.
The structure is an early hangar for the Heinkel He 114 aircraft and was removed soon.
Cheers
Jan
Dear all,
another small update, new part of the ship, always almost like starting a new build… So more thinking and collection material than actually building.
I discovered some more wooden deck that I ignored before…
Painted with oil, has to dry for some time, then see if I have to add a little more structure. Not all that much of this part of the deck will be visible in the end anyway.
And working on the aft fire control.
That’s it for today, thanks for looking in!
Cheers
Jan
Looking good Jan ![]()
![]()
Good to see a bit more progress Jan,
Kreigsmanrine ships from the Hippers upwards did seem to have more decks clad with wood than Royal Navy or USN ships of the same era. Interesting, but all navies have their own way of doing things.
Looking dood.
Cheers, Si ![]()
![]()
Dear all!
I hope you all had happy holidays and a good start into 2025 - even if a little late, I wish you all a happy 2025 and all the best, on and away from the model shipyard workbench!
Real life has not slowed down as much as I had hoped for, not even during the holidays, and it will continue an on and off for Gneisenau for the weeks to come, and not the time I would like to spend watching and commenting all your great and inspiring builds. I’ll try to catch up, though…
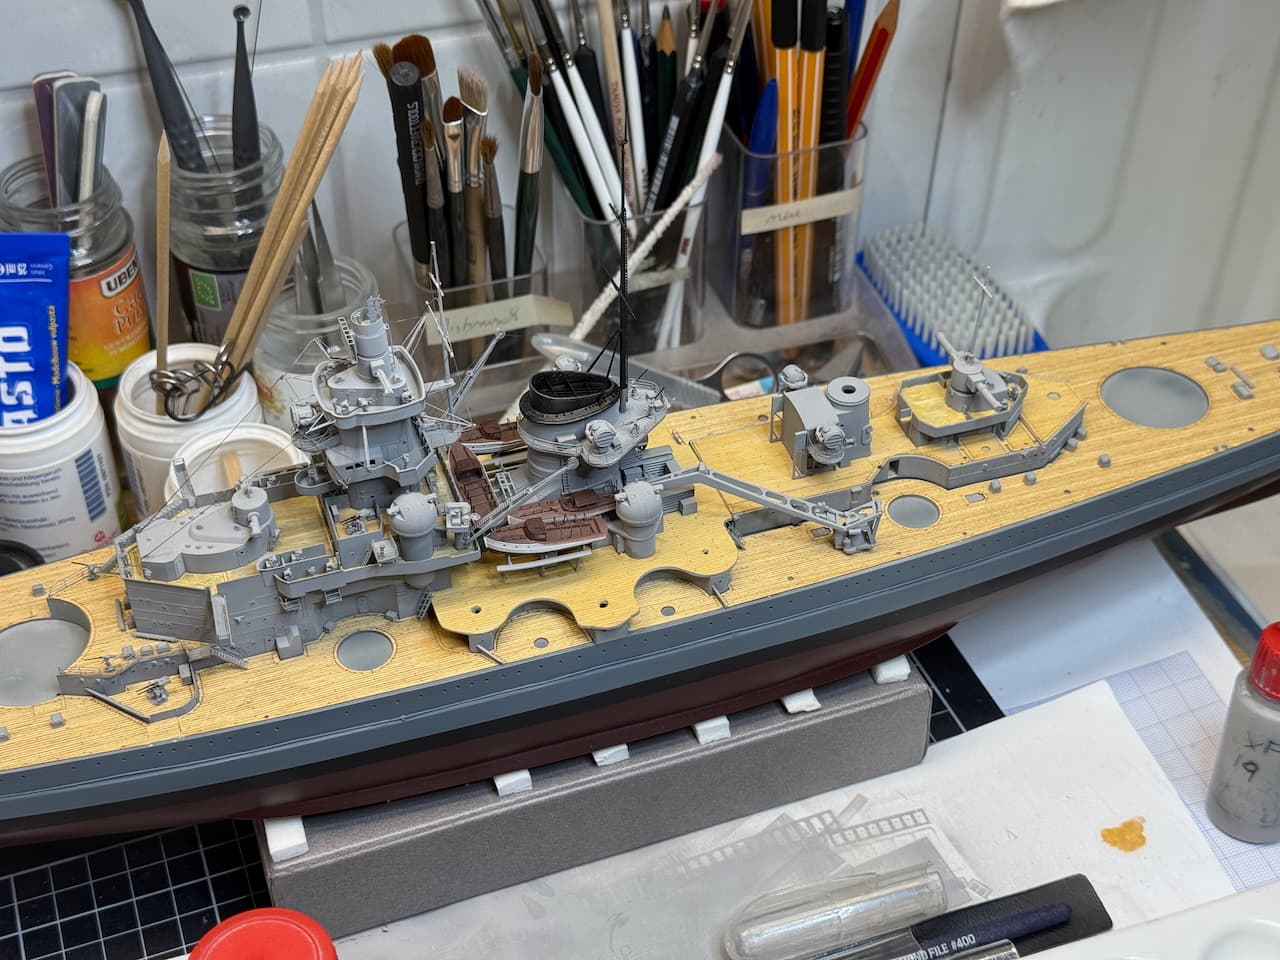
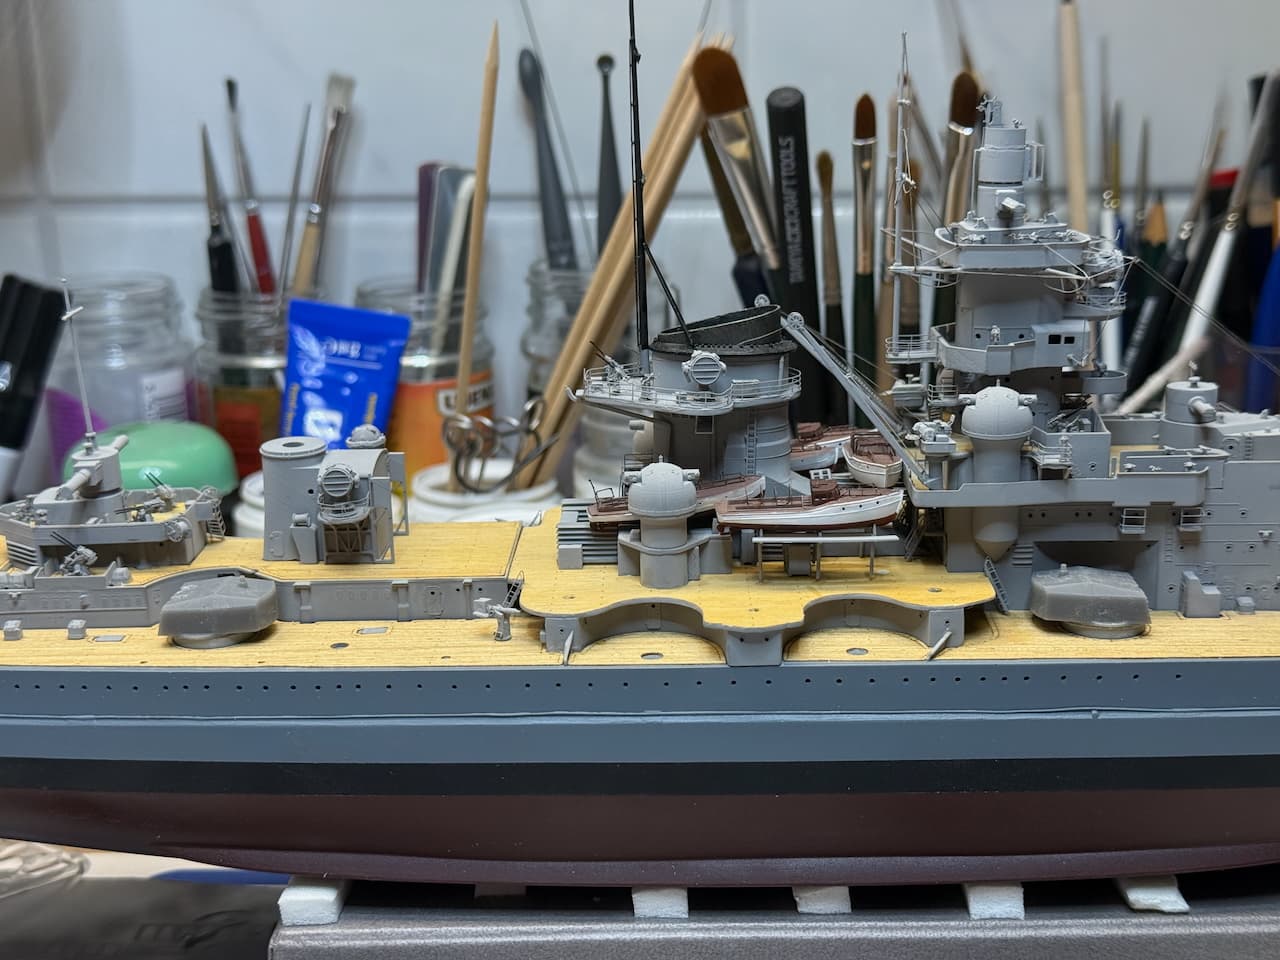
But, equally important, is getting some time at my own model shipyard, which I eventually did. So here’s some progress.
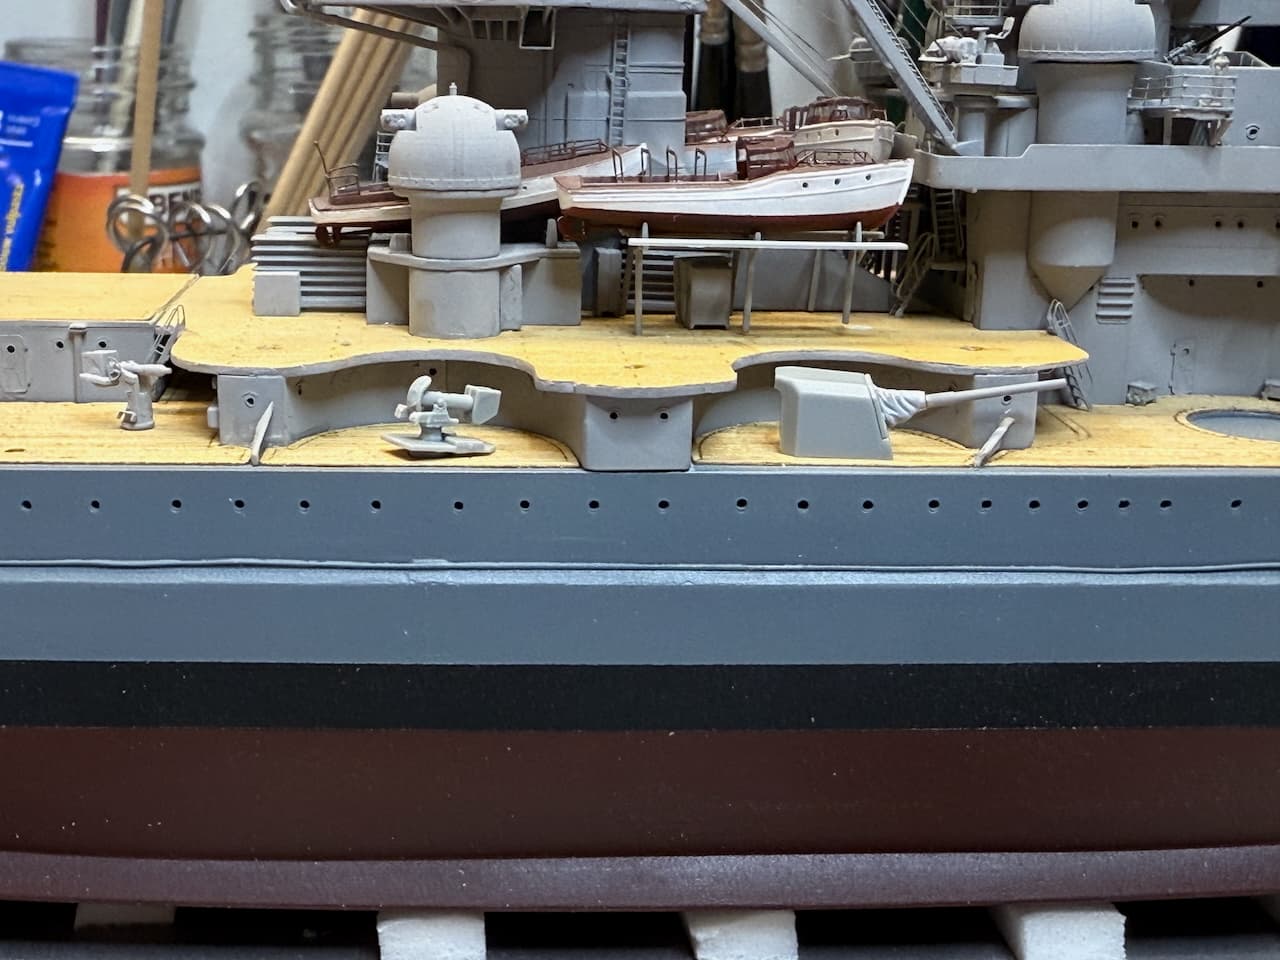
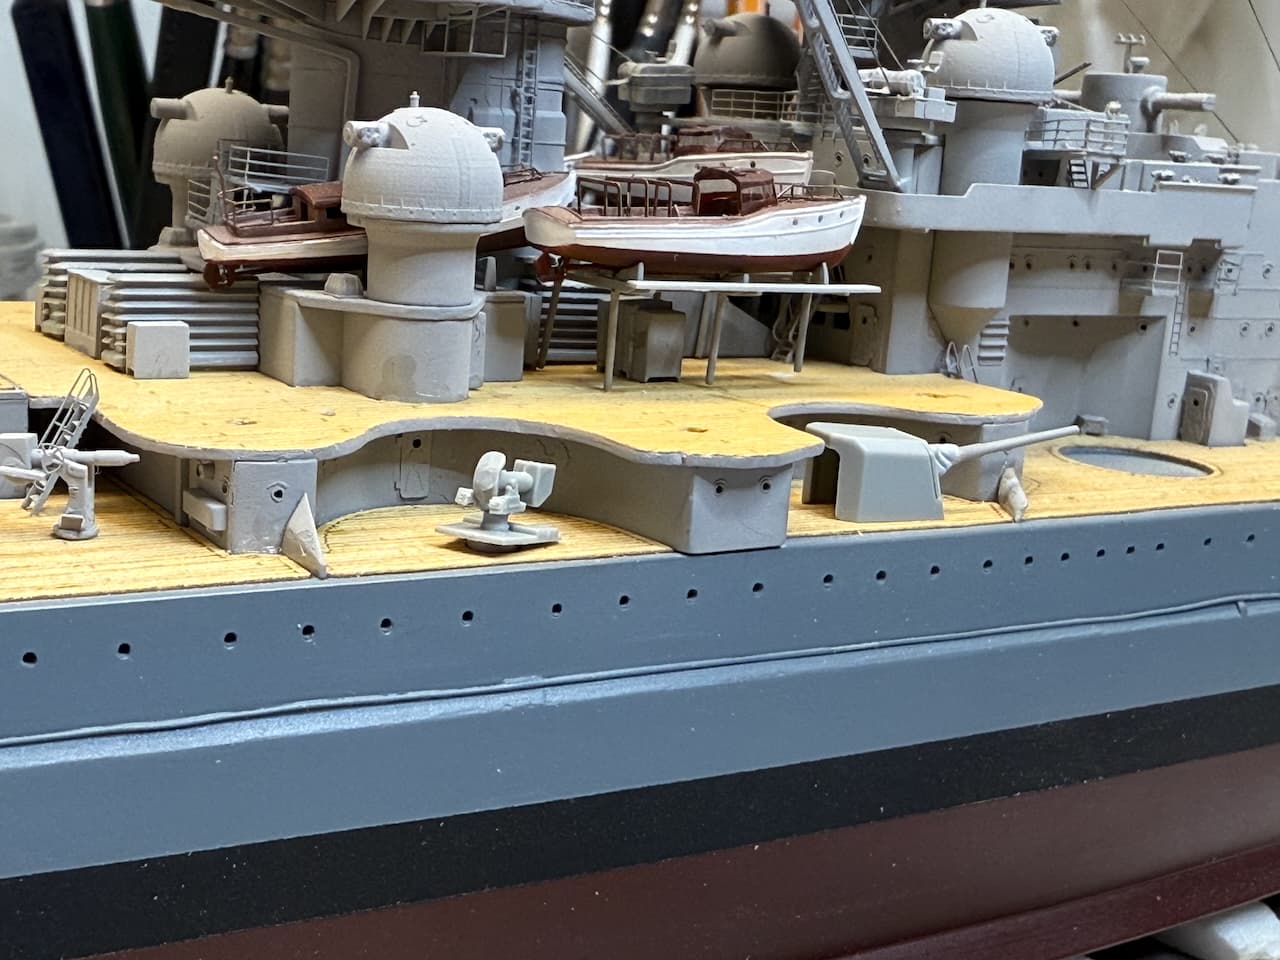
Some work at the after superstructure, fitted for effect, weapons not glued down and structure not to the ship yet.
Checking the plan, I realized that I need ten 2 cm AA, not eight…hm…so to more. The eight I build from the Veteran Models kit at least two years ago - and with details tiny like this, I realize that my eye sight is decreasing. Nothing serious, just comes with age I guess, and nothing I really realized - unless I broke out those Veteran 2 cm singles… Somehow I got them assembled, but I decided to give up on this extremely small parts in the future and get those extremely nice 3D-printed parts I keep seeing in your builds…
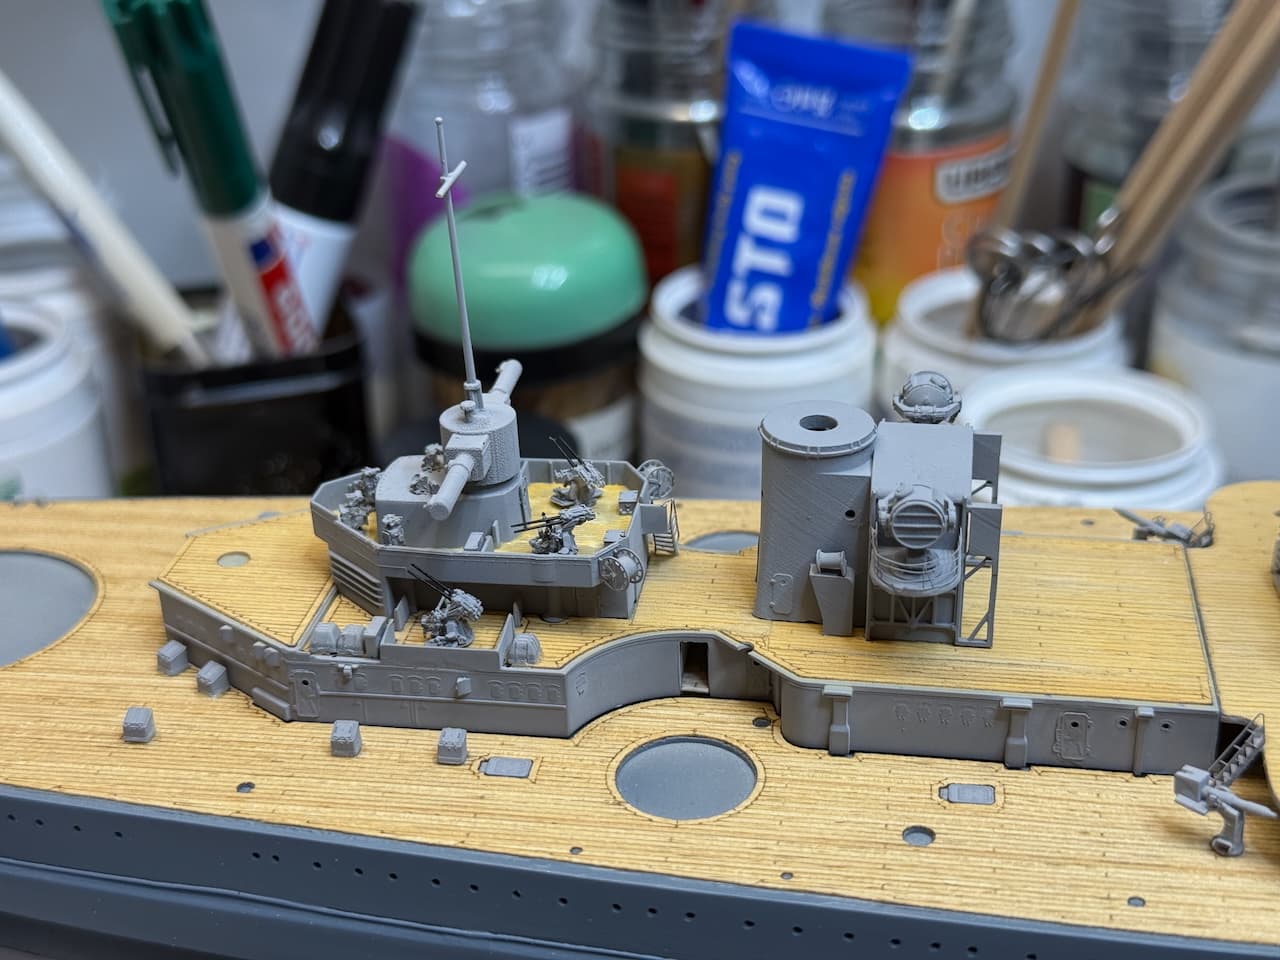
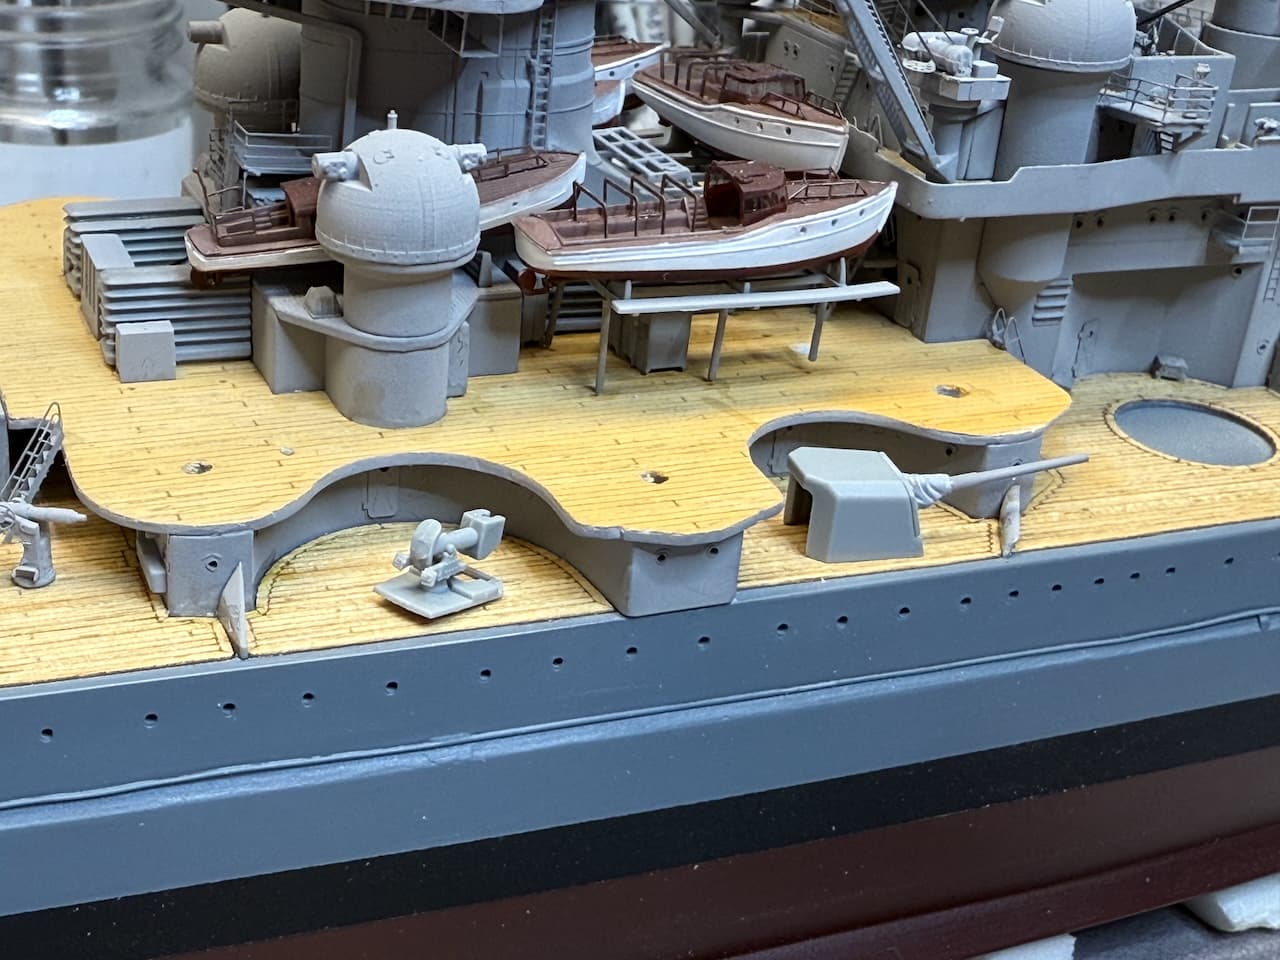
On with the aft superstructure, some details (ammo boxes, hose reels, inclined ladder) added.
The 3,7 cm AA installed and test fitted to the ship.
And the next topic - the 15 cm armament. Beautiful turrets by Model Monkey, however, as I have the turned brass barrels for the single guns, and they are slightly bigger in diameter, I take out the printed barrels and replace them by brass barrels and the kit’s blast bags, which are actually very nice.
Last picture for today, Gneisenau as she stands. Aft structure still only dry fitted. Getting there… Boats between structure and catapult, the Arado plane, something to make the open space in front of the catapult not looking all that bare. Well, still enough to do, but the end is in sight. The glacier is moving again.
Thank you all for still watching this, and I hope my next update should be coming a little faster next time.
Cheers
Jan
Nice updates to catch up with Jan. This delicate work is really bringing her to life so its well worth it … Keep up the great work ![]()
Hi Jan,
Happy New Year to you too, mate ![]()
Gneisenau is certainly coming along nicely. Good to see you bring that glacier under control mate ![]()
Russ
Hi Jan,
Great to see some progress, looking great.
Cheers, Si
Dear all,
thank you so much for still following and commenting! That really helps the motivation!
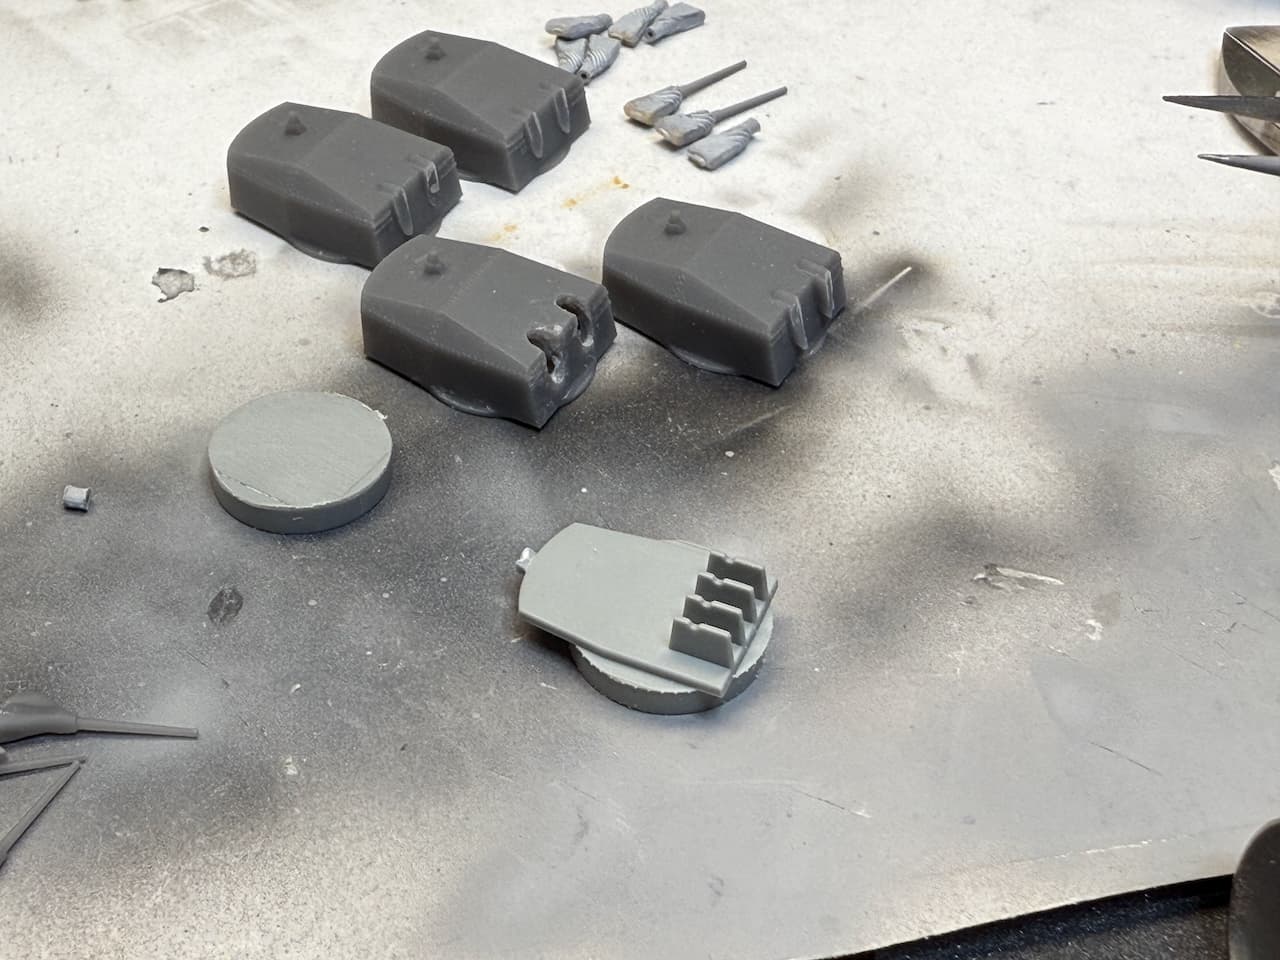
I did find some bench time again, this time focussing on the 15 cm twin turrets, modifying Model Monkey’s fine parts to accept the blast bags from the kit and turned brass barrels.
Here’s the starting point, more or less:
So the structure from the kits base needs to go, as the base is needed. Some messy sanding to be done…
The blast bags are too long, they need to be cut down. The hole to hold the barrels needs to be drilled deeper before the cutting.
Shortened like this they are (about) the correct length, according to the plan.
So here are the four platforms. The printed barrels have been removed and the needed room for the blast bags has been drilled/sanded into the turret housings.
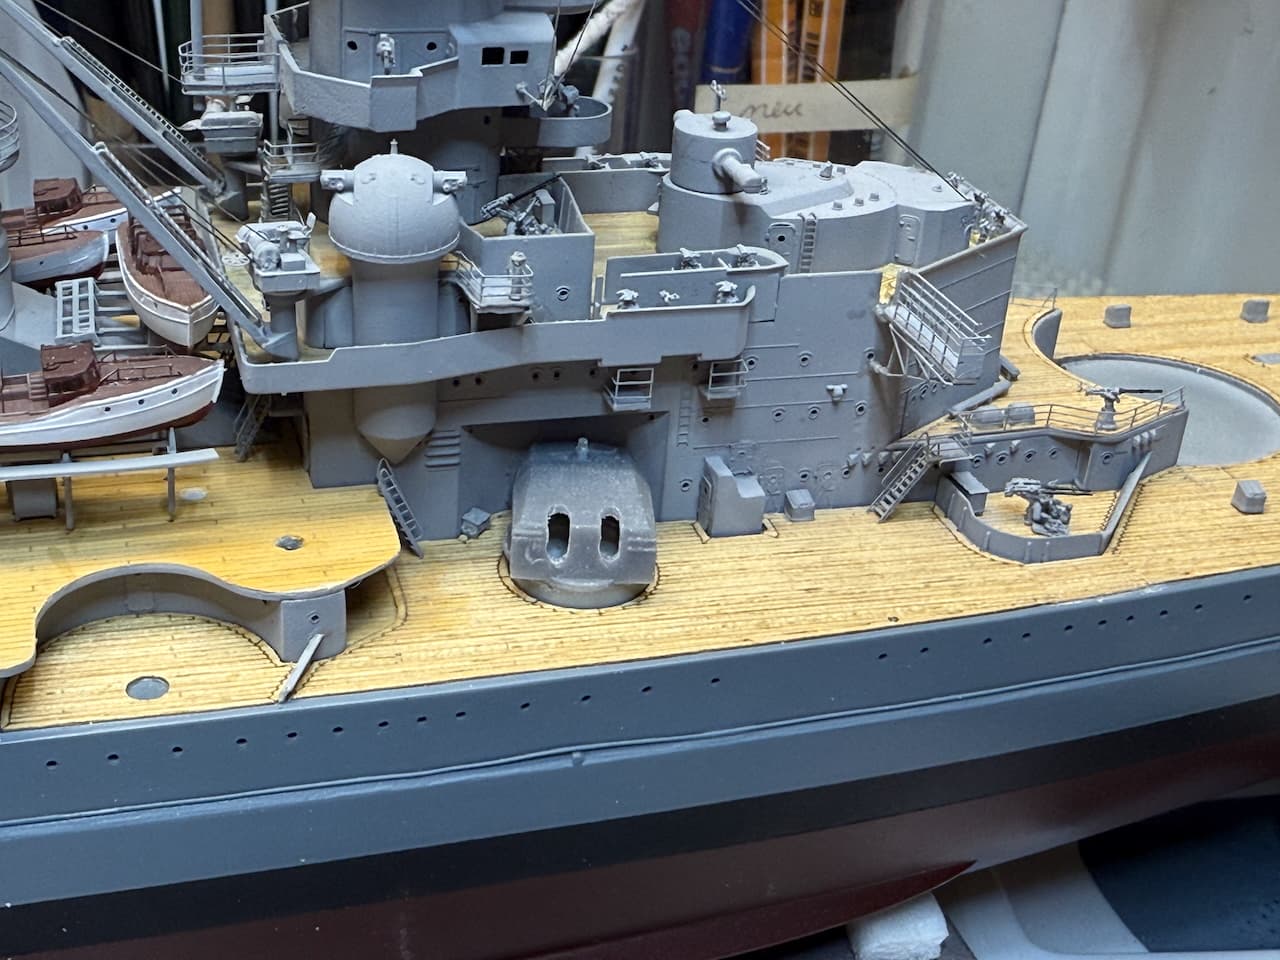
Gluing one base to a housing reveals a problem -
Somehow the aft superstructure and the turret are misaligned. I think to remember that this is a Dragon flaw, from some older build posted here - Si, was that you with the Scharnhorst 1943 some years ago?
Forward all is fine…
So the flat baseplate and the resin printed housings allow a very small adjustment, I’d argue not really noticeable once everything is in place - I intentionally glued two of the turrets a little farther forward to the plates.
And here’s the result:
I’d argue as long as you don’t know what to look for, the misalignment is (almost) invisible, but the turrets fit - more pros than cons, I think.
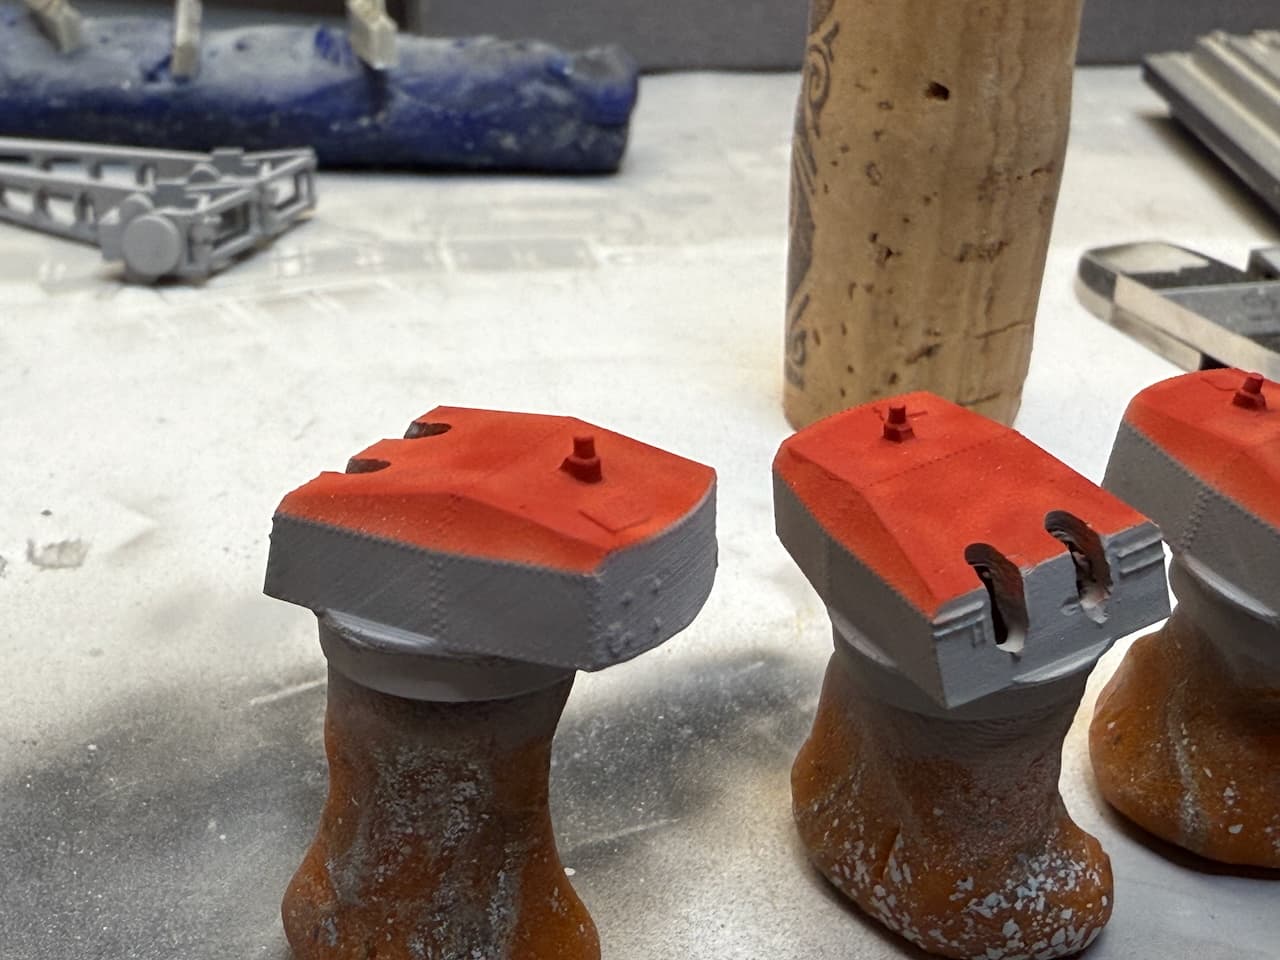
No some color, the standard light grey and red tops.
The nice thing about those turrets with sharp edges is that you can spray them by holding in angles just to provide shades for the prior painted surfaces. So they were painted grey in a first step, then the red roofs were sprayed on without any masking applied. Only really minor touch ups were required, with a hairy stick. I am quite happy with the result.
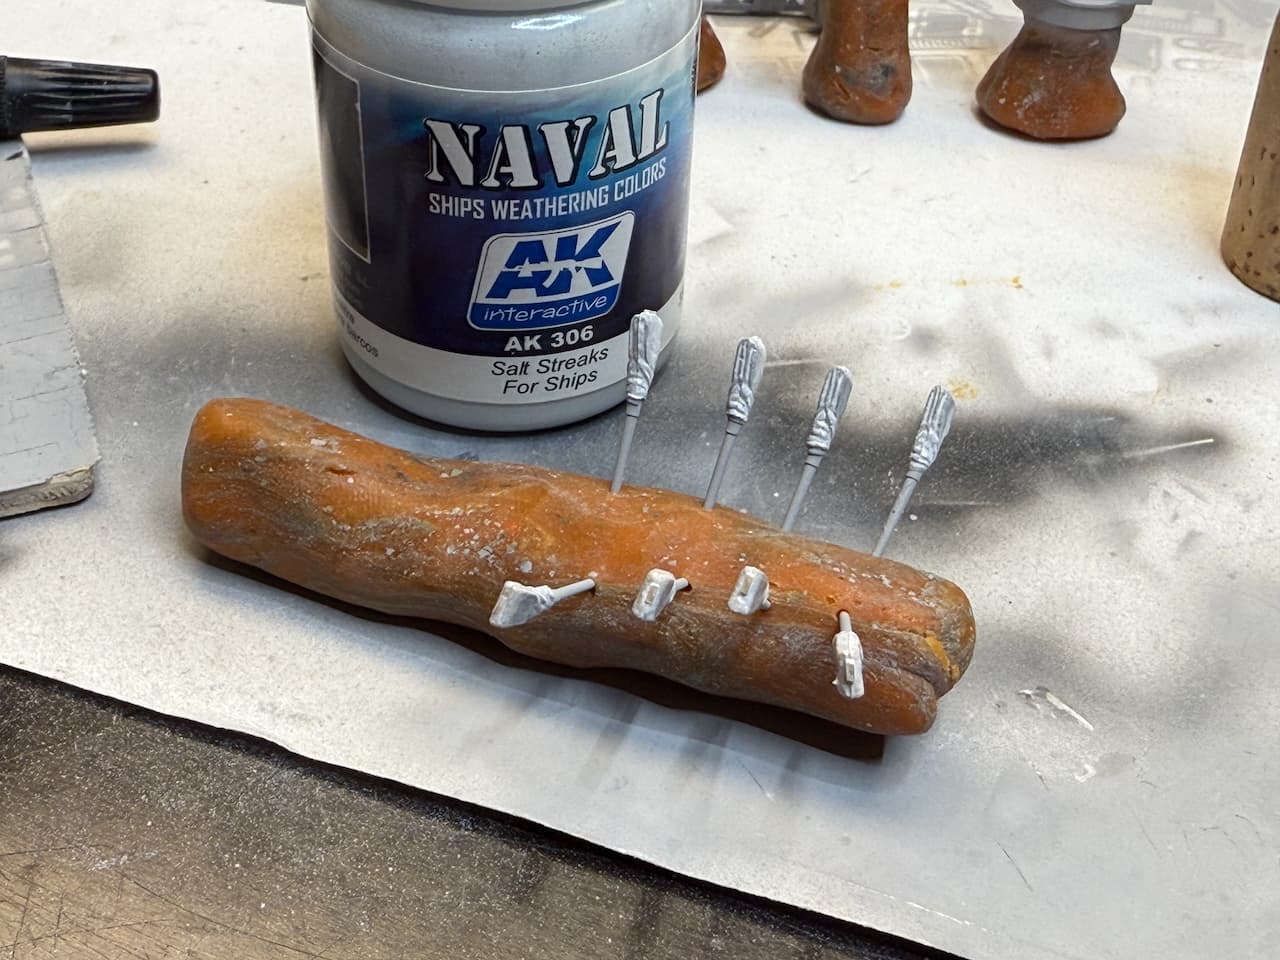
And finally, two of the blast bags/barrels inserted, test fitting only, no glue. Once glued into place, some touch ups will be required, a little filling around the blast bags, but that should not be all too extensive. The blast bags will get another light grayish paint, I think I used the “salt streaks” from AK, so will put some more of that on. But that’s for later.
This “surgery” to the Model Monkey turrets was something I was rather hesitant doing, as the turrets are really fine as they are. But as I have the brass barrels for the 15 cm single guns amidships, and they are looking different, slightly bigger diameter, that would simply have looked odd. At least I’d think so.
Surgery in the end was successful and less complicated than I thought it would be. I will see if I try to align the barrels all parallel as good as possible, or intentionally put them in slightly different angles, or a mixture… Well, that’s for later to decide.
Whatever later means - could be a chance I can get another update next week, but real life is still really time consuming, so it might or might not - possibly asking for your patience once again. Anyway - the glacier is sliding again.
Thank you for looking in and cheers
Jan
Great work with the surgery on the turrets to get them how you needed them to be. red tops give a very nice splash of colour as well.
Looking good Jan ![]()
Great fix on the guns to avoid the superstructure ![]()
She’s getting her teeth now ![]()
Nice as those Model Monkey turrets were originally, the extra effort of your surgery has definitely paid off - they now look even better!
Hi Jan,
Great to see some progress, the printed turrets look good, I like the gun barrels at slightly differetn angles too. Looking forward to seeing some more progress.
Cheers, Si
Dear all,
thank you so much for still following, and especially for your kind comments! That really helps the motivation to stay!
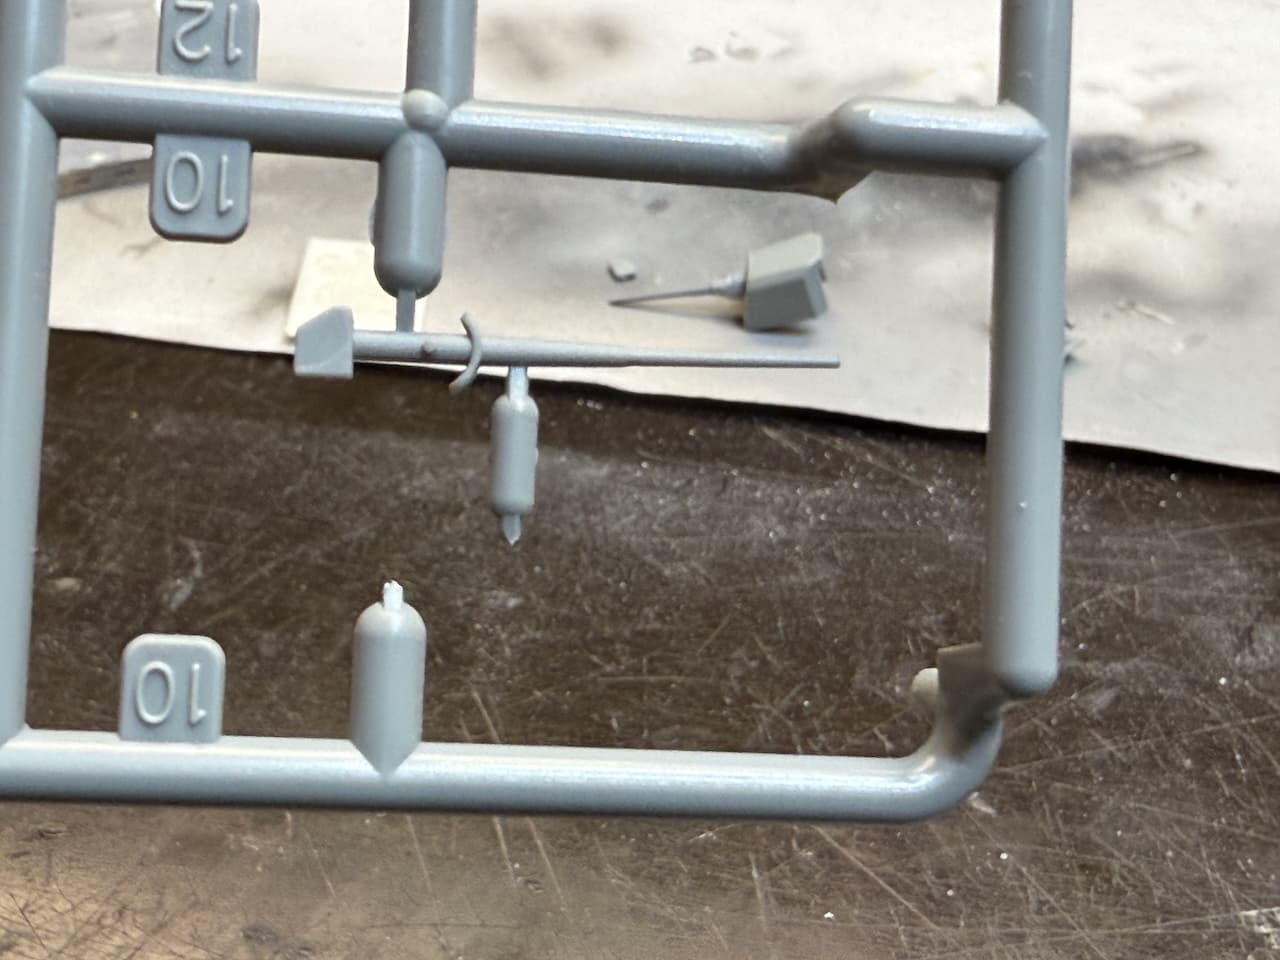
So here is another, if small, update - now it’s about the 15 cm singles.
(off topic remark…quite some effort for those guns that to my knowledge never were very effective…)
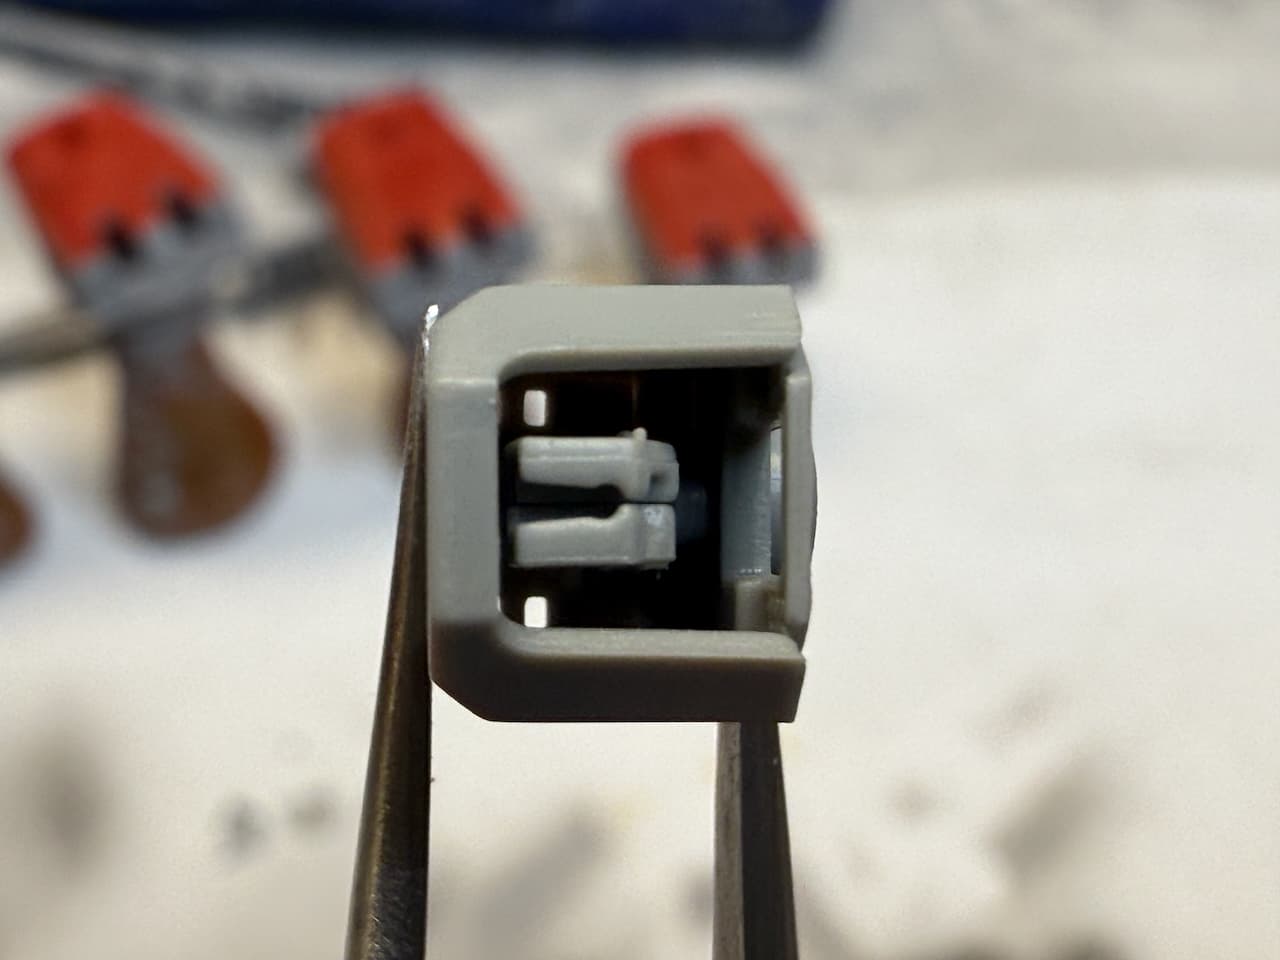
Of course they will be built with blast bags and brass barrels, as the twins. The housings are open, so you can peek inside from the back. Dragon leaves off the entire breech part, but I don’t like that, so I cut the barrel that is intended for the “without blast bag” versions and use them as breech.
It won’t be all that visible considering the position of those guns, but part of all is to know ‘it’s there’…
The blast bags have to be cut back inside the gun, but that’s an easy fix.
Two of the four are good on their way, but they require some touch ups in form of filler/surfacer around the fron plate before painting.
Blast bags will receive som “salt streaks” and barrels need another coat of painting, too.
The blast bags for the twin turrets got their salt streak painting and are drying.
That’s it for today, the glacier keeps moving!
Thank you all for looking in and cheers
Jan
I like that you’ve been able to use the spare barrels to re-create the breech on the 15cm’s, mate.
Looking good… Keep going, you’re getting closer with each update… ![]()
Looking really good. You may not be able to see much inside them but you will know the breach etc are there!
Nice work Jan,
Always good to see some progress, however small. I couldn’t leave out the breaches of the single 5.9" either…
Cheers, Si