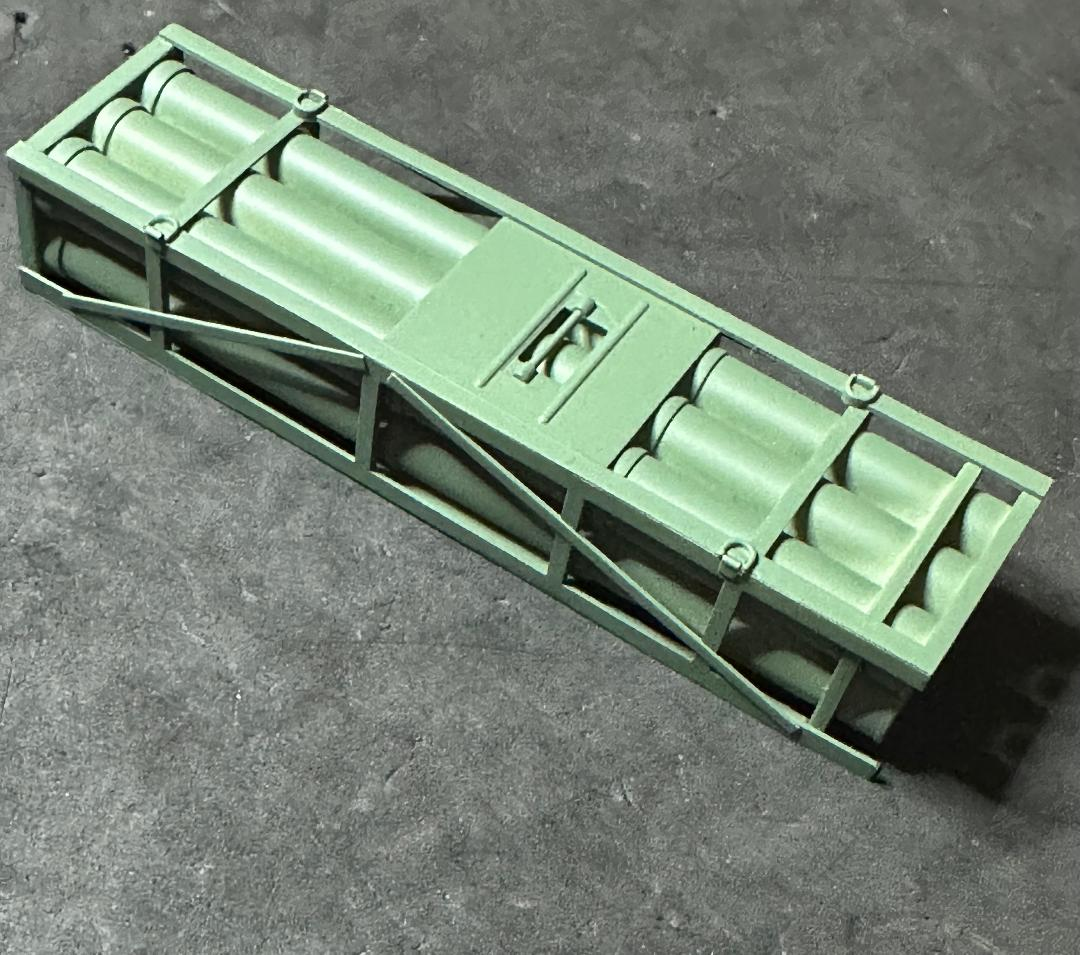
Double Oh Gee HIMARS

What’s more G than OG? Double Oh Gee, of course. The title will become apparent at some point.
Works starts with the AFV Club M52A1. First, the holes for mounting the air cleaner on the fender need to be filled.


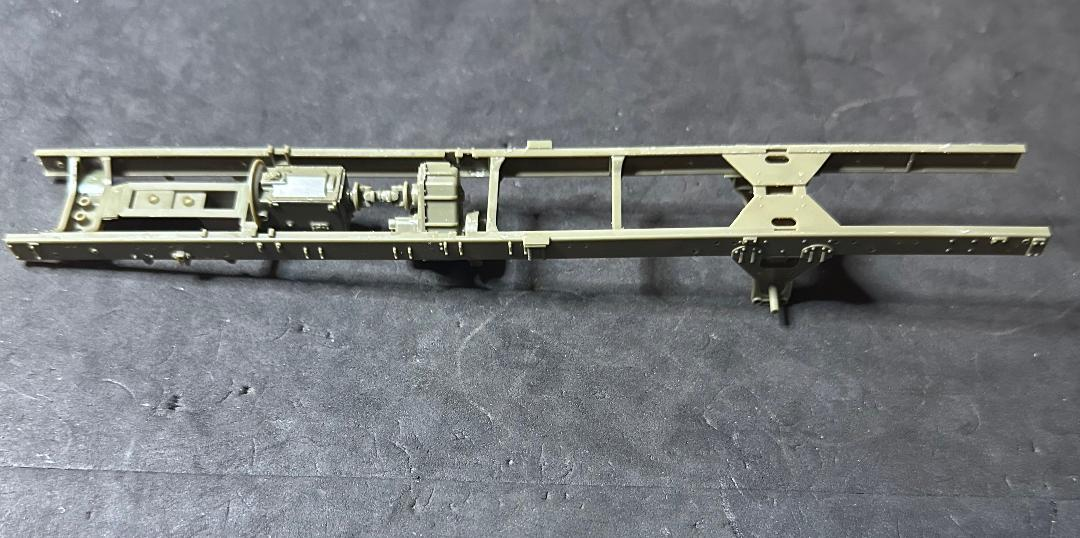
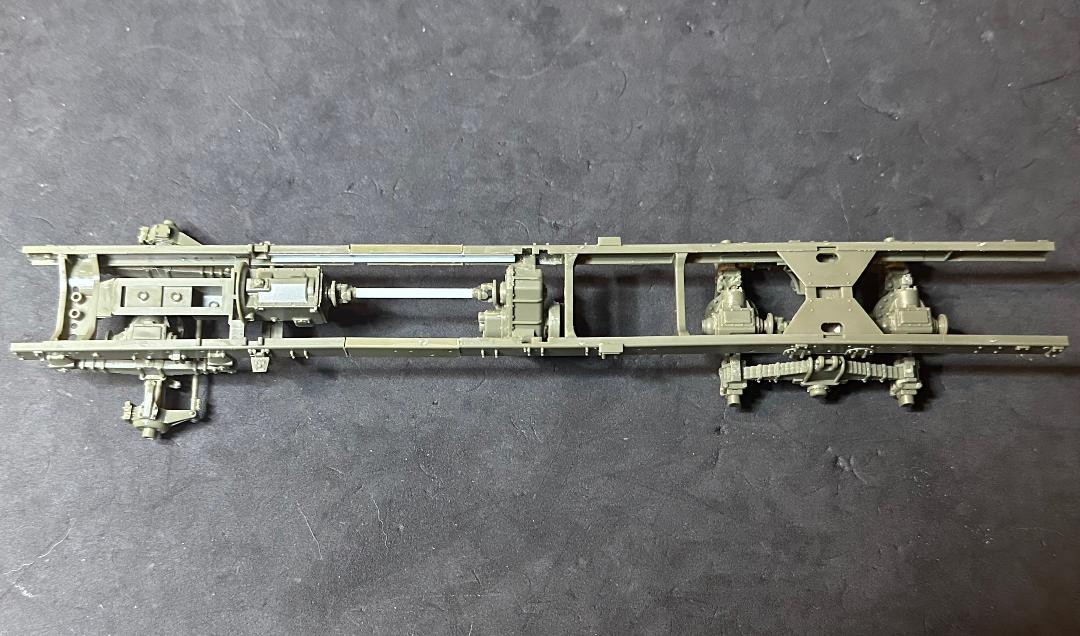
Chassis work so far. I’ll have to adjust the length, move the transfer case rearward and adjust the lengths of the drive shafts.

6 Likes

I sure wonder what this is going to be? Is it something from Vietnam? Good luck with your build and have a nice day!

Paweł

2 Likes

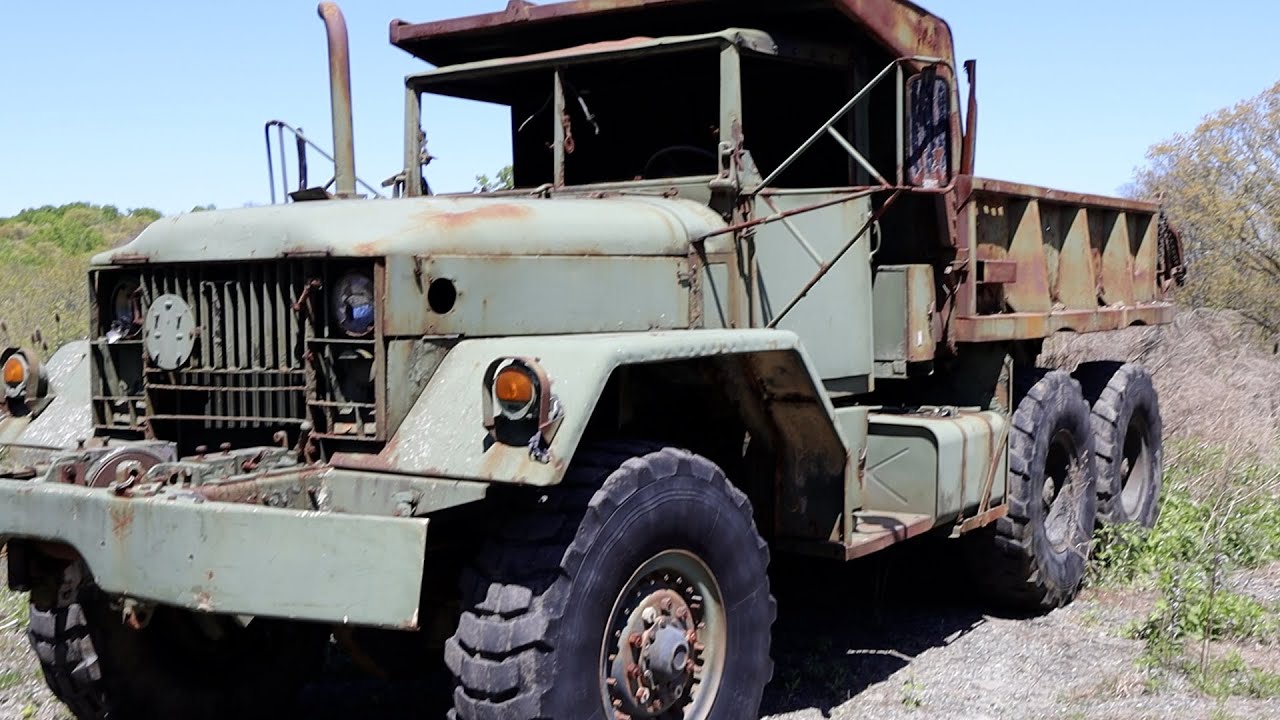
All in good time. Sort of a mixed era build. As an aside, I found this video - I never would have believed that truck would start. Also good if you want to weather an old junkyard truck like the one I found in Colorado earlier this year.

2 Likes

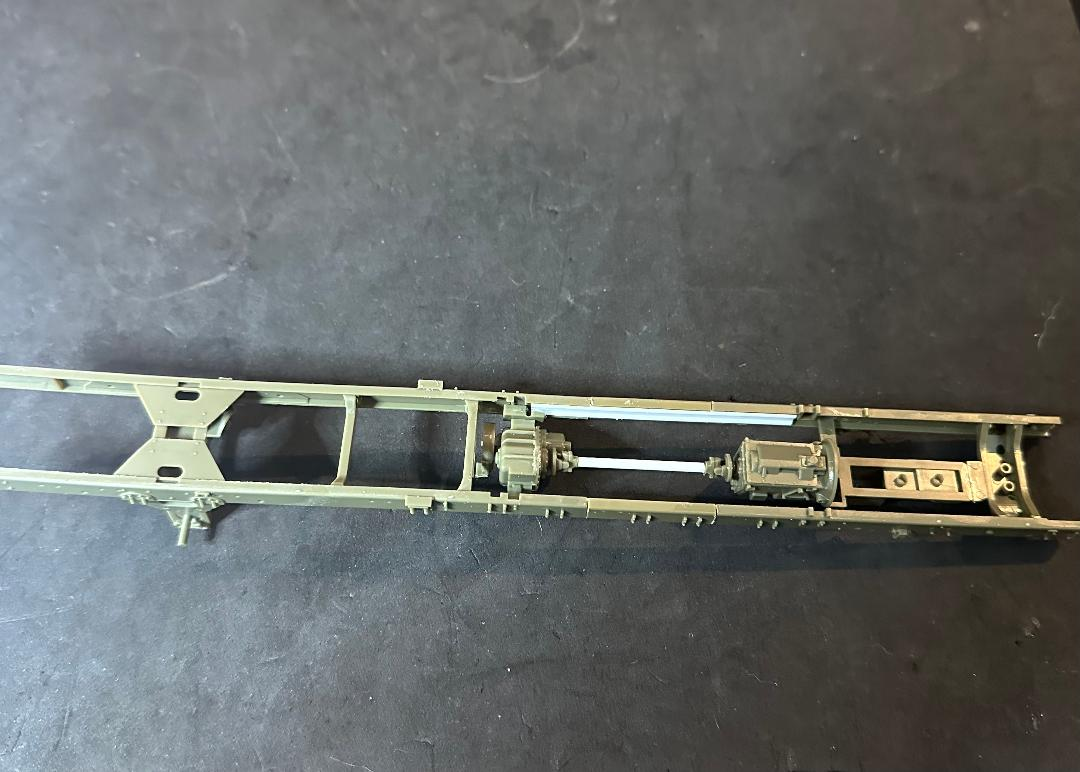
I adjusted the length of the frame and repositioned the transfer case, which meant making a longer drive shaft.

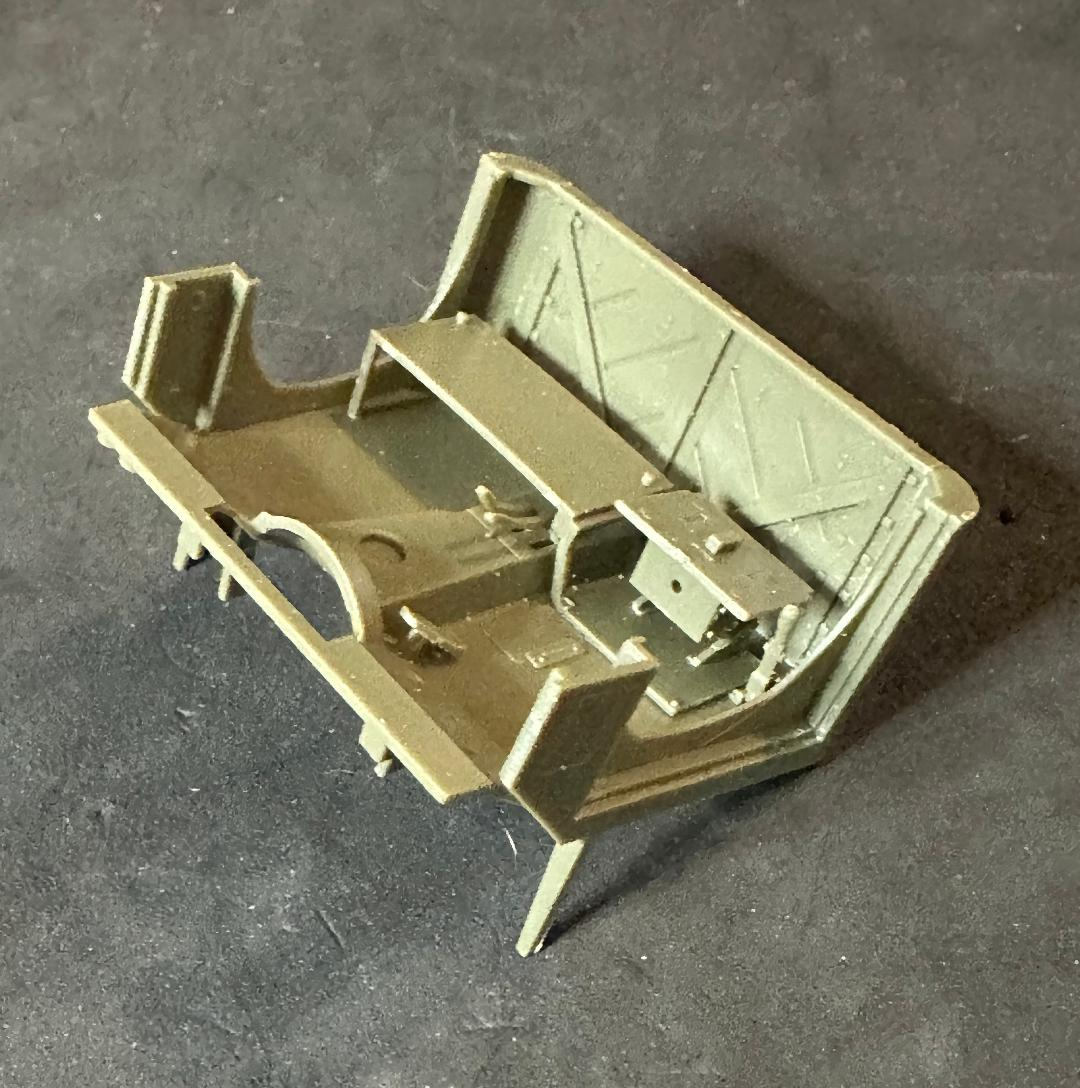
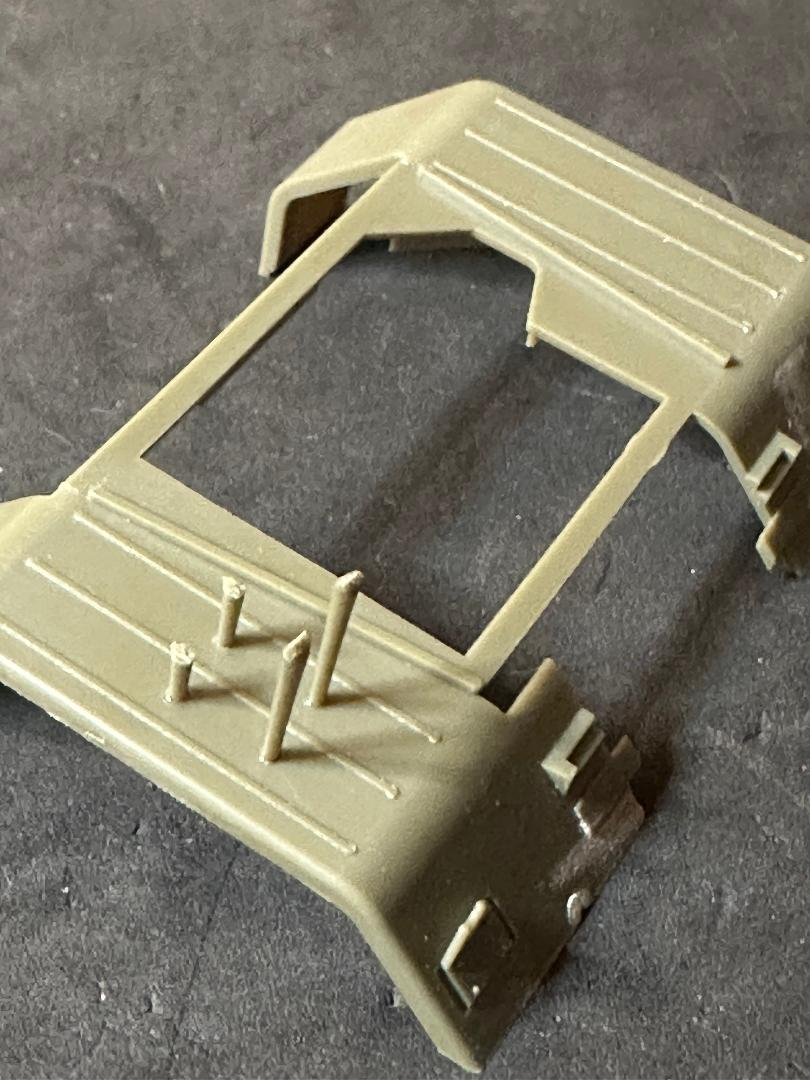
The cab goes together quite well.

9 Likes

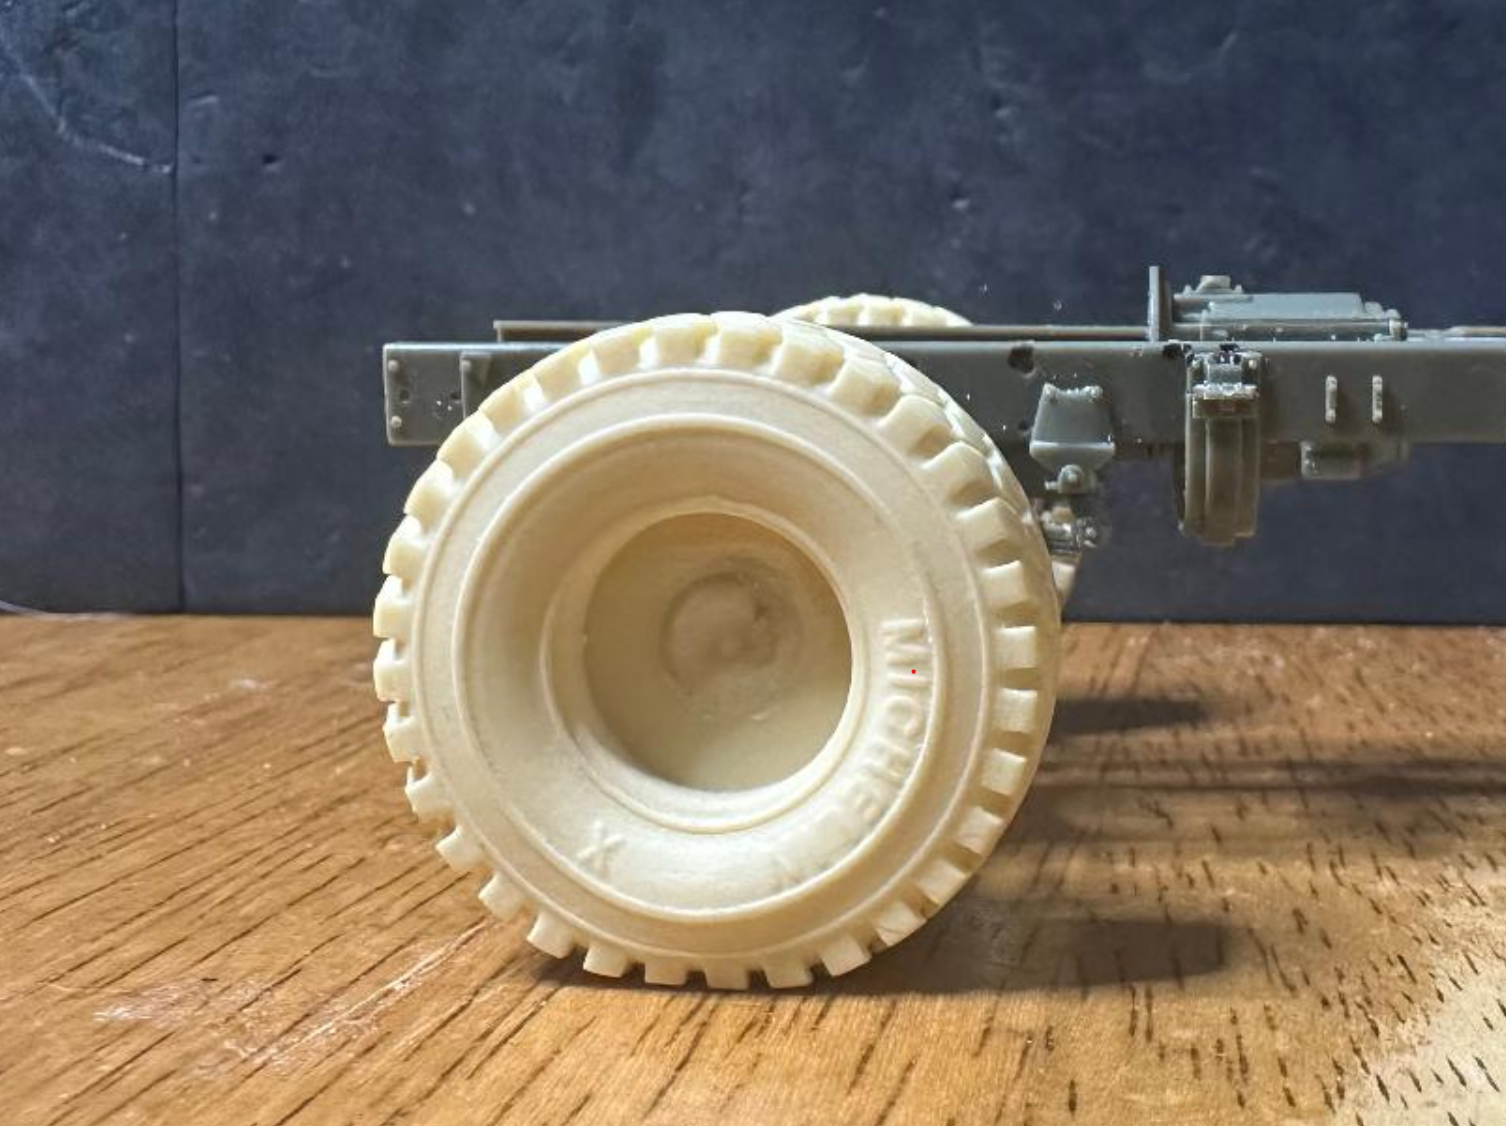
The chassis on my extended M139 frame sits flush on a hard surface. Sun shines on a dog’s ass some days. Waiting now now for extended hood. Almost finished with left side air cleaner conversion.

5 Likes

Purrs like a kitten.

Those old, beat to Hell 5-Tons still putting work. :kissing_face_with_smiling_eyes::+1:

So here’s the story: I built the OG HIMARS recently for an interested party. There was nothing to it - a Trumpeter M1083 cab on a Foreart kit. I wouldn’t even go so far as to call it a conversion, although I did have to scratch the shutters, which was a bit of a pain.
At white Sands Missile Range they have one of the first four HIMARS prototypes on display. I photographed it in 2007 when I was at Doña Ana, NM right before Iraq.
That one takes more doing - cut down cage sides, a winch on the left side of the cage, and a totally different rear end. The cab, while the same, had a different shutter arrangement, and flip down hatches on the door windows instead of sliding blast shields.
I suppose technically that is the true Original OG, or Double Oh Gee. But I’m not building that one. Yet, anyway.
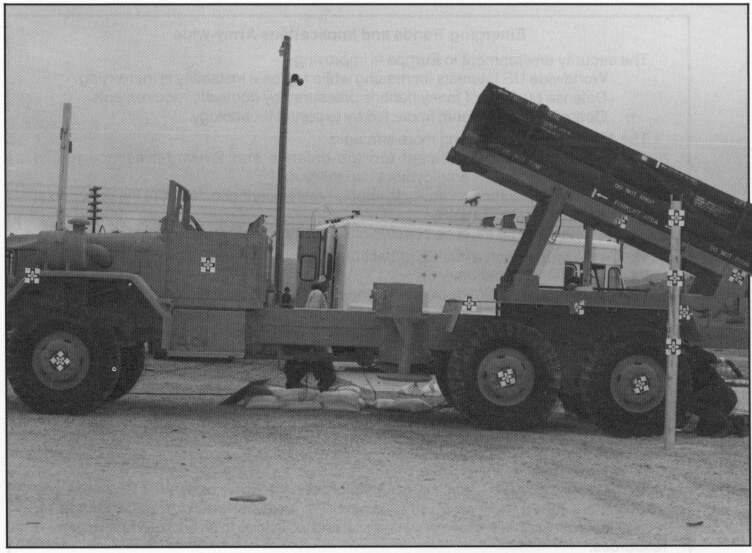
You have to go back further in time, to 1991, when Loral Vought were tasked with building a “Proof of Concept” test vehicle, to see if rockets from the MLRS could be launched from the back of a wheeled platform. Of course they could. But that didn’t stop them from testing it out first. Online sources say it was cobbled together from an M139 and an Honest John Rocket Launcher. Because of the cab used, they may have used an M809 as the subframe. Immaterial - the lengths of the extended chassis wer ethe same.
In addition to having Lockheed Martin Missile Division close by, also have been hanging around the Vought Retiree clubhouse, which is like a tiny Vought museum. Two of the guys actually worked at WSMR in '91. Although they did not work on the project, they were very familiar with it. Who couldn’t be? They were able to answer a few questions for me. Still a trip to Ft. Sill is now on the horizon, and I have a few requests for different photos there anyway. Plus my wife really likes one of the Korean restaurants.

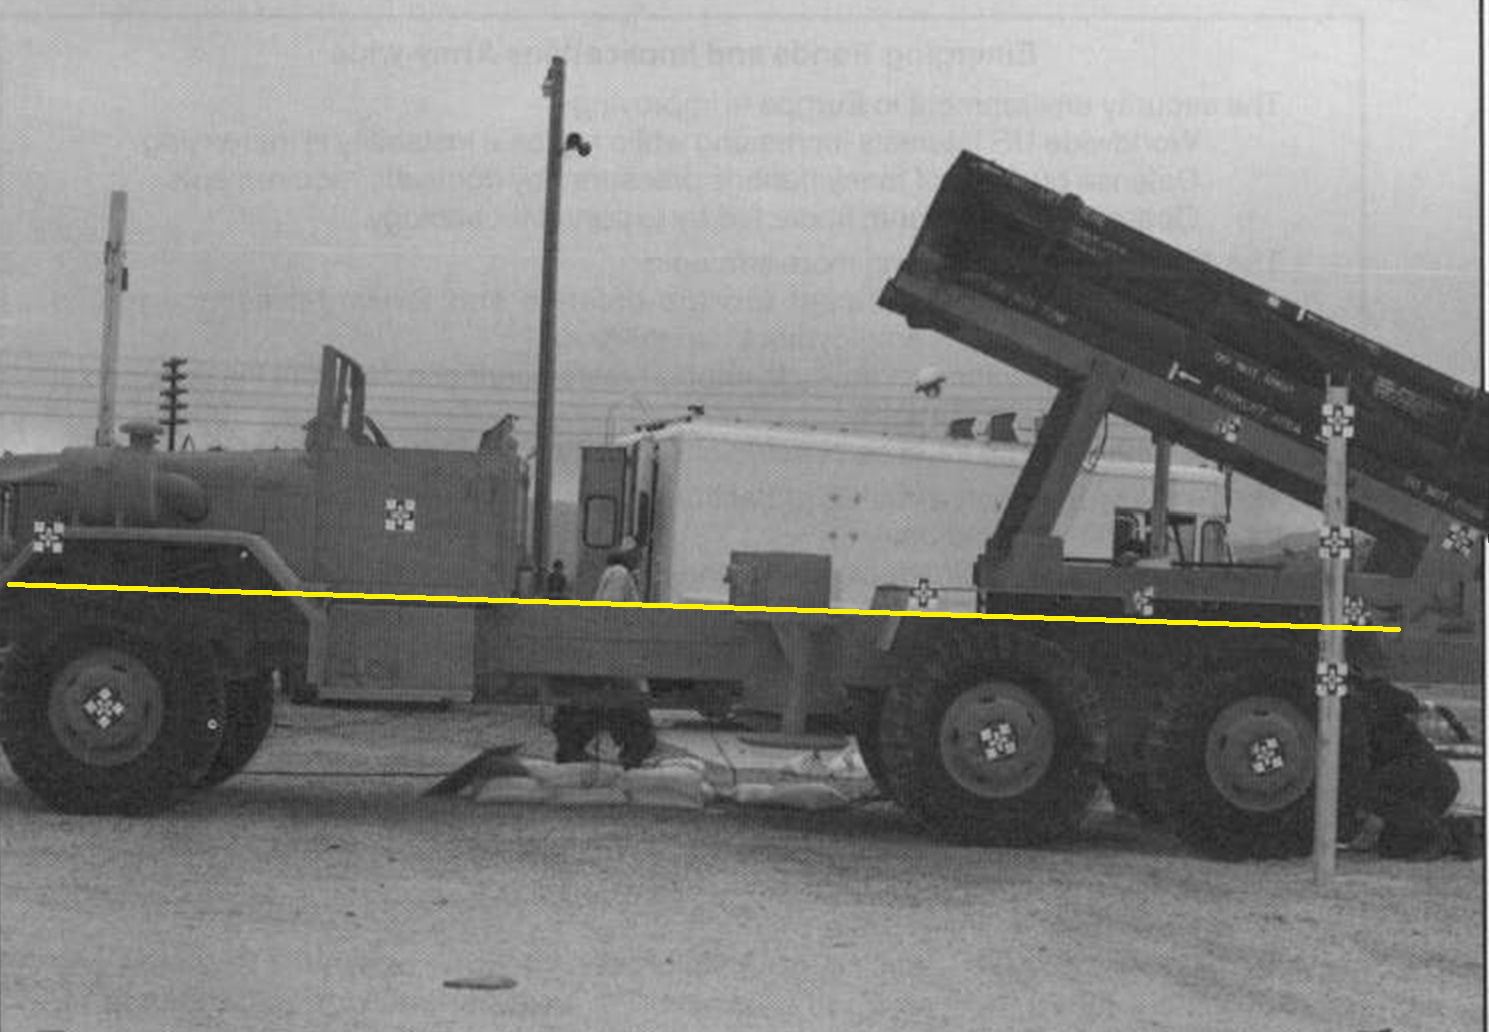
So here’s the photo I’m working from:

I’ve started building the framework underneath the rocket pod, which I “happened” to have handy.

II mentioned their clubhouse could be a museum. They definitely have cool artifacts there.

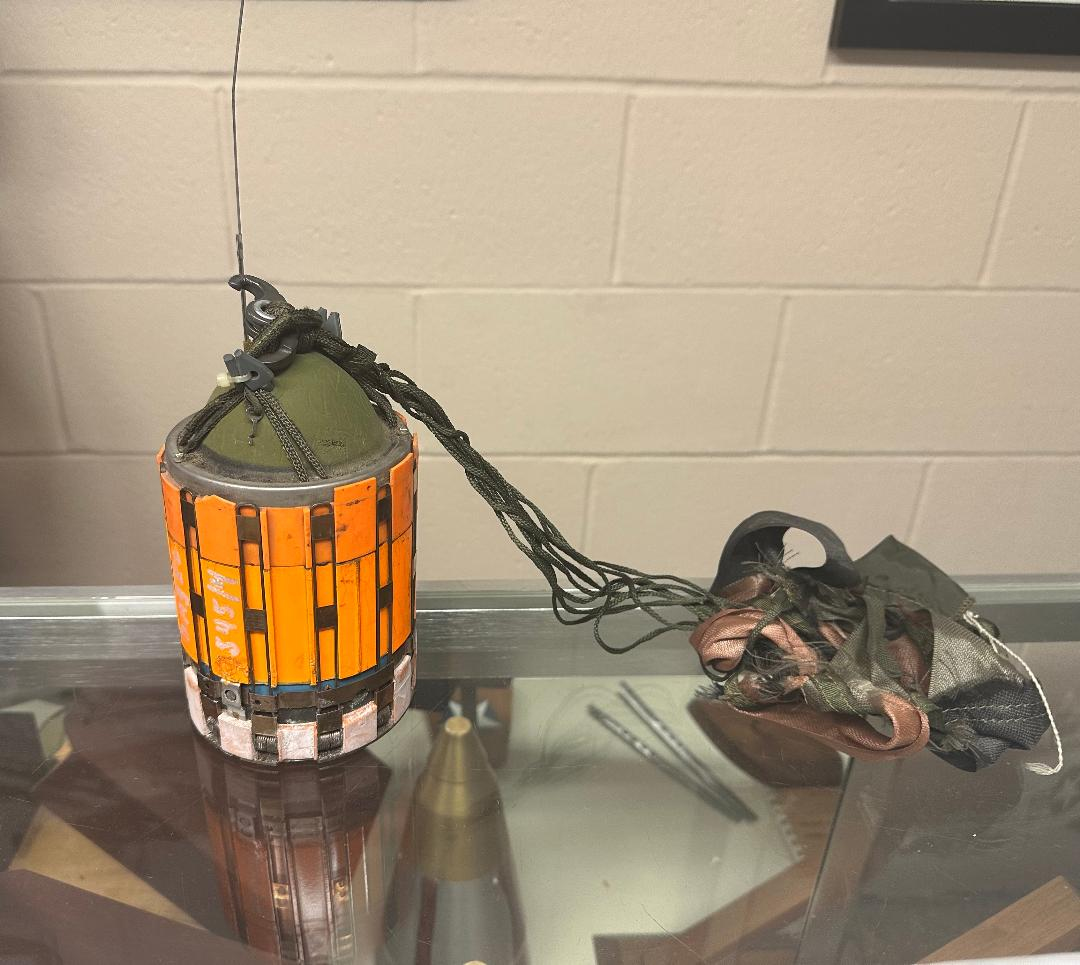
Cluster AT Mine munition housed in MLRS rocket.

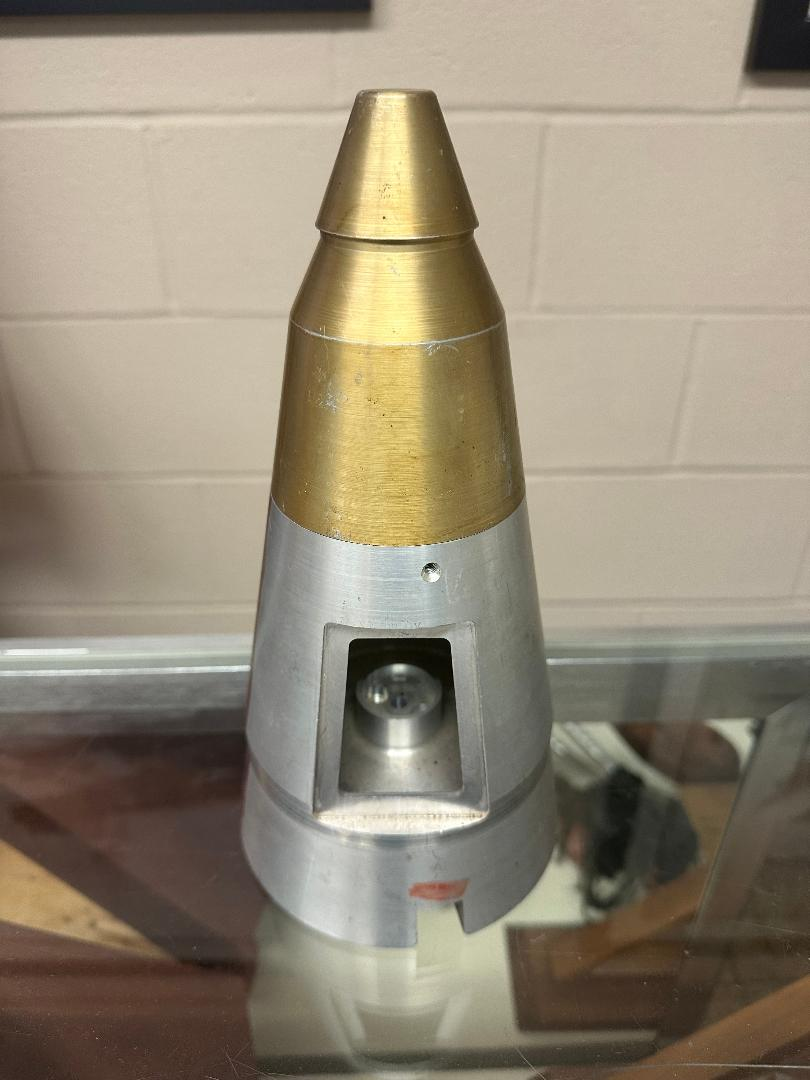
Turned model of fuze on the HE rocket:

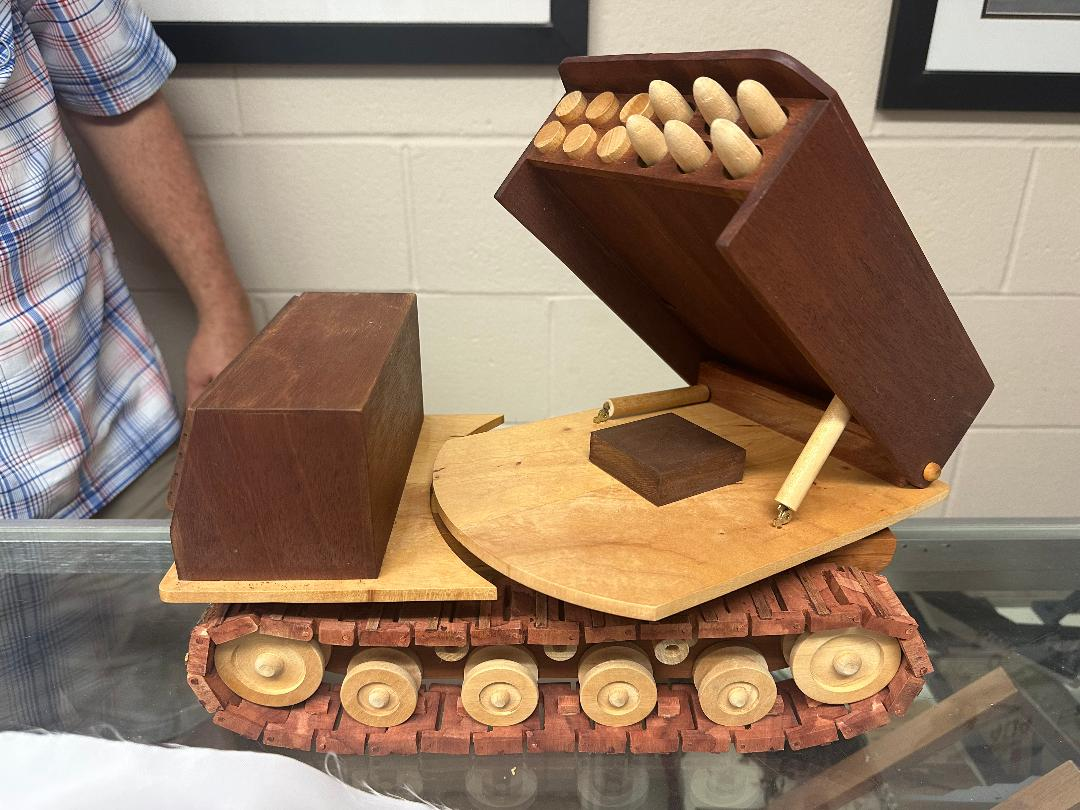
Mock up of the MLRS built in the 80’s. One of my friends (in the photo) was in charge of cost estimates for different major assemblies:

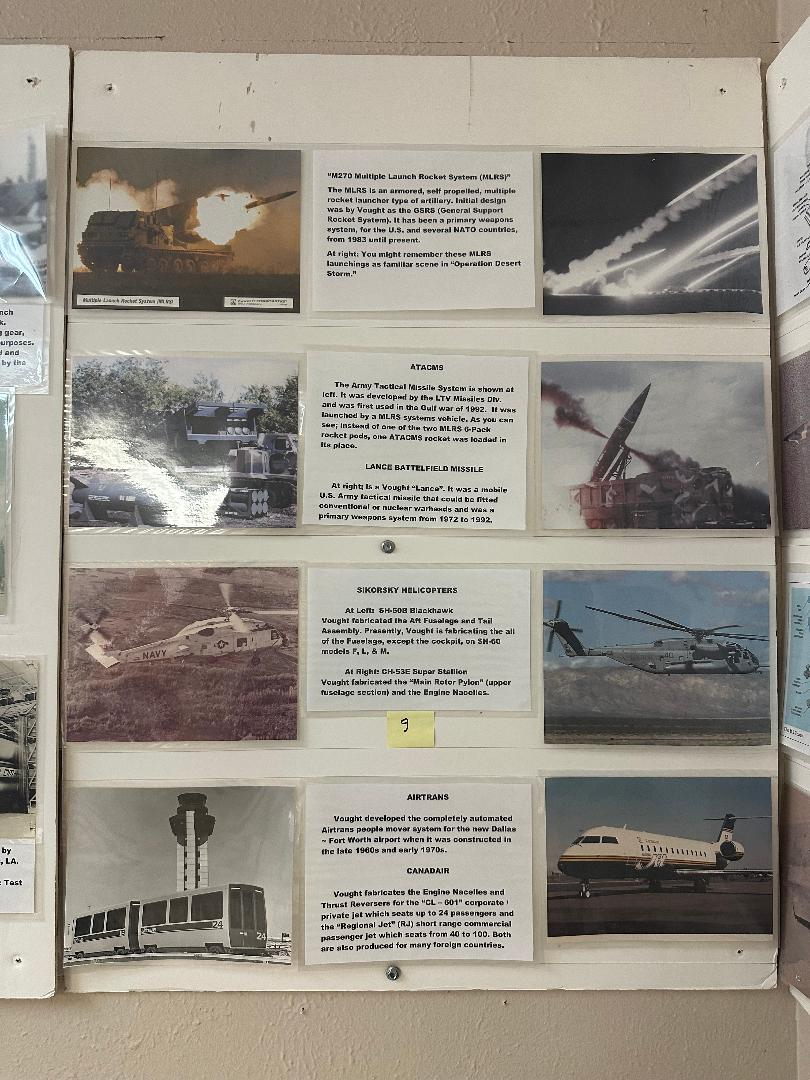
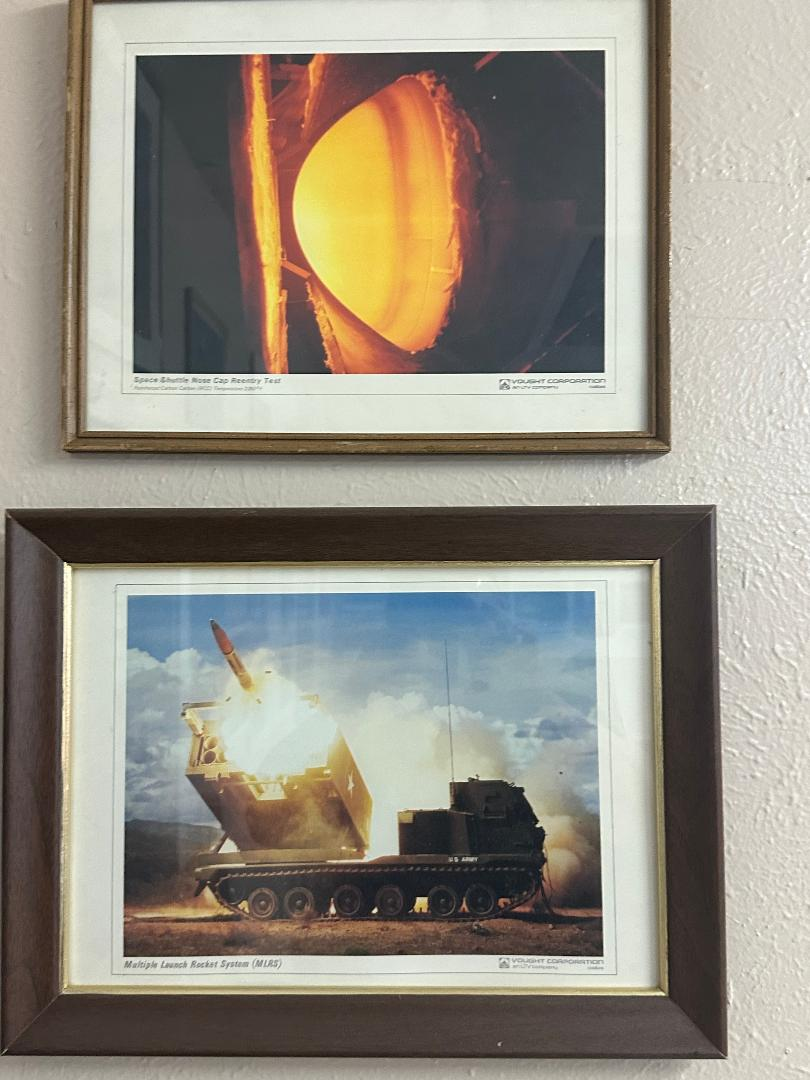
The walls are covered with images of things they’ve worked on - the 747, Space Shuttle, B2 Bomber, Osprey, C-17, and dozens more. These just relate to the MLRS:


Progress will be slow until I get to Ft. Sill, possible as early as this Friday, but I have plenty of other things to keep me busy,
10 Likes

Looking at the photo, at talking with the guys who were there then, they almost certainly took the chassis from an Honest John launcher and welded/bolted it on top of (more then likely) an M809 chassis. The reason for this was to provide extra rigidity against torque when the test missiles were being launched perpendicular to the base. I say M809 because of the cab. I managed to get the transfer case in the correct position by comparing to a scale printout of the above photo.
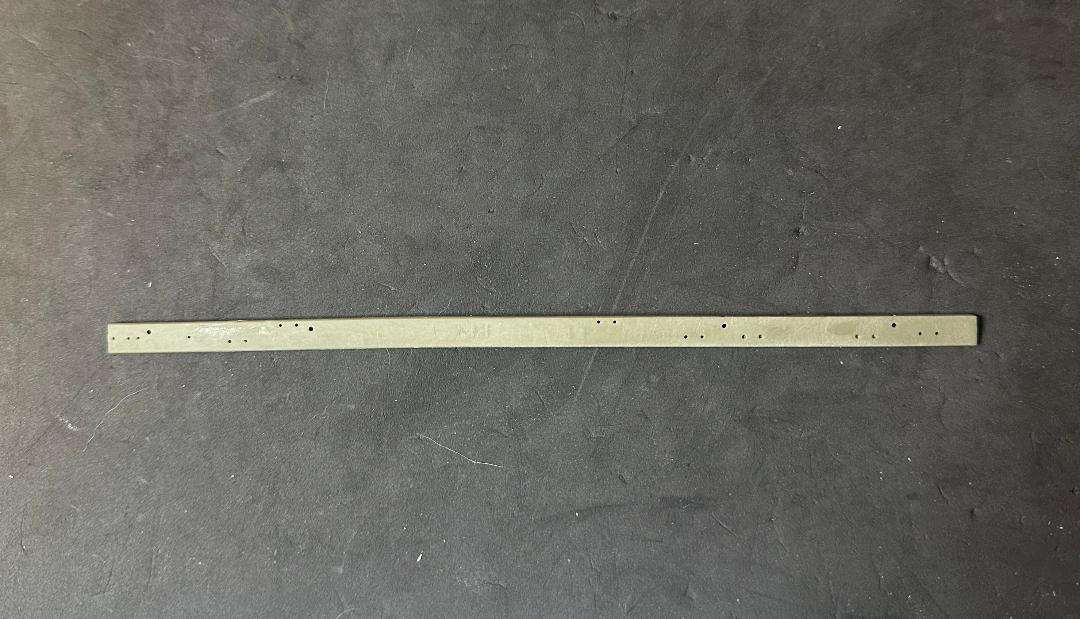
I cleaned off one of the extra frame rails that came with the kit. I’ll probably fill in a few of the holes. Beast has kindly offered to send me his leftover frame rails when his M51A2 kit arrives. I had to chop up the other one to extent the frame. (unless of course someone else wants to offer one sooner. :slight_smile:

2 Likes

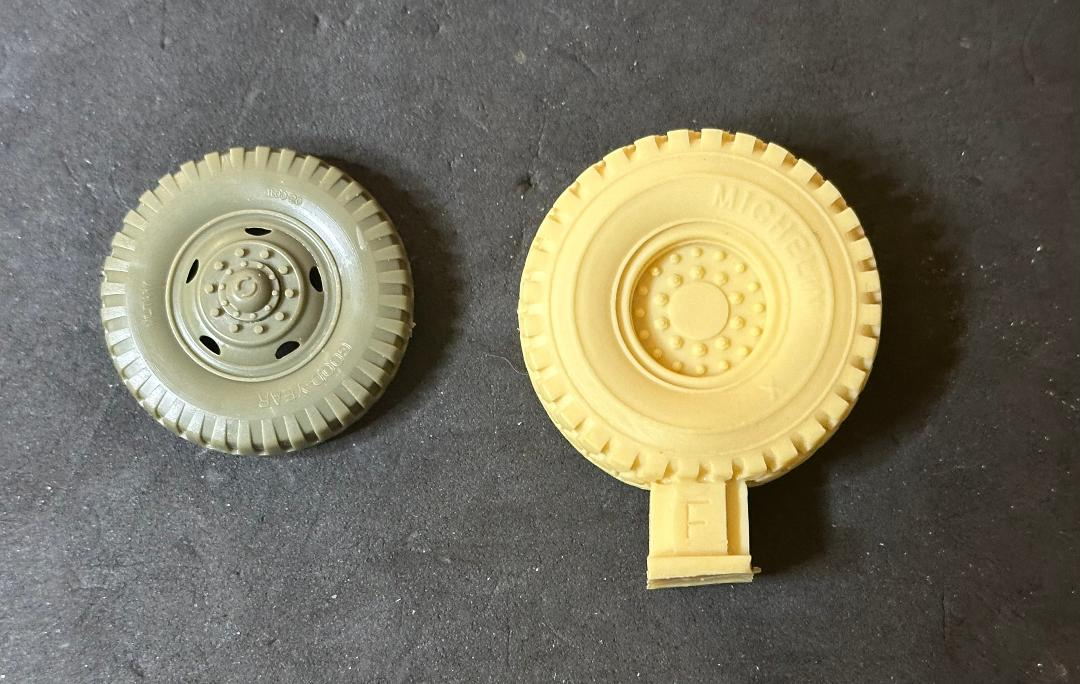
The next “hurdle” is the wheel/tire combo. By carefully laying the kit wheels over a scale rendition of the photo, the tires appear to be 14.00 x 20s. I thought for a week they were military “lug” style tires, but looking more closely I can see sipes on the lugs. There is nothing in any kit or aftermarket I’ve found that comes close. Except for Legend’s HEMTT resin wheels. The tires have the correct number of lugs - 32 - just like the originals, and they have the proper diameter. But the wheels do not.
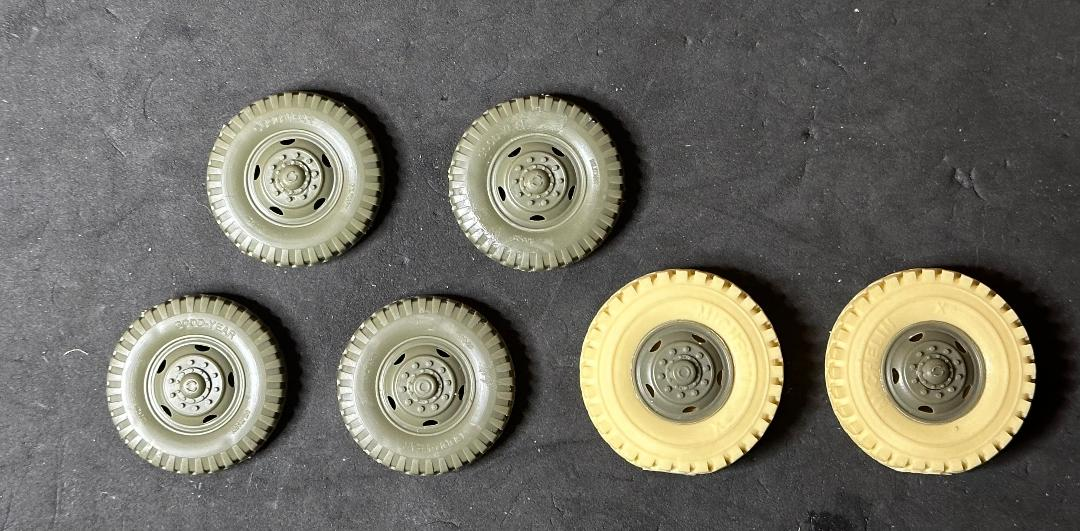
No problem. I have put various Legend tires on numerous Snap-Tite wheels. We all know how horrible the tires were on those kits. So no “proof of concept” on the proof of concept vehicle. I know it’ll work - I just have to do it. Kit plastic wheels inside resin wheels.

1 Like

A little lathe work:

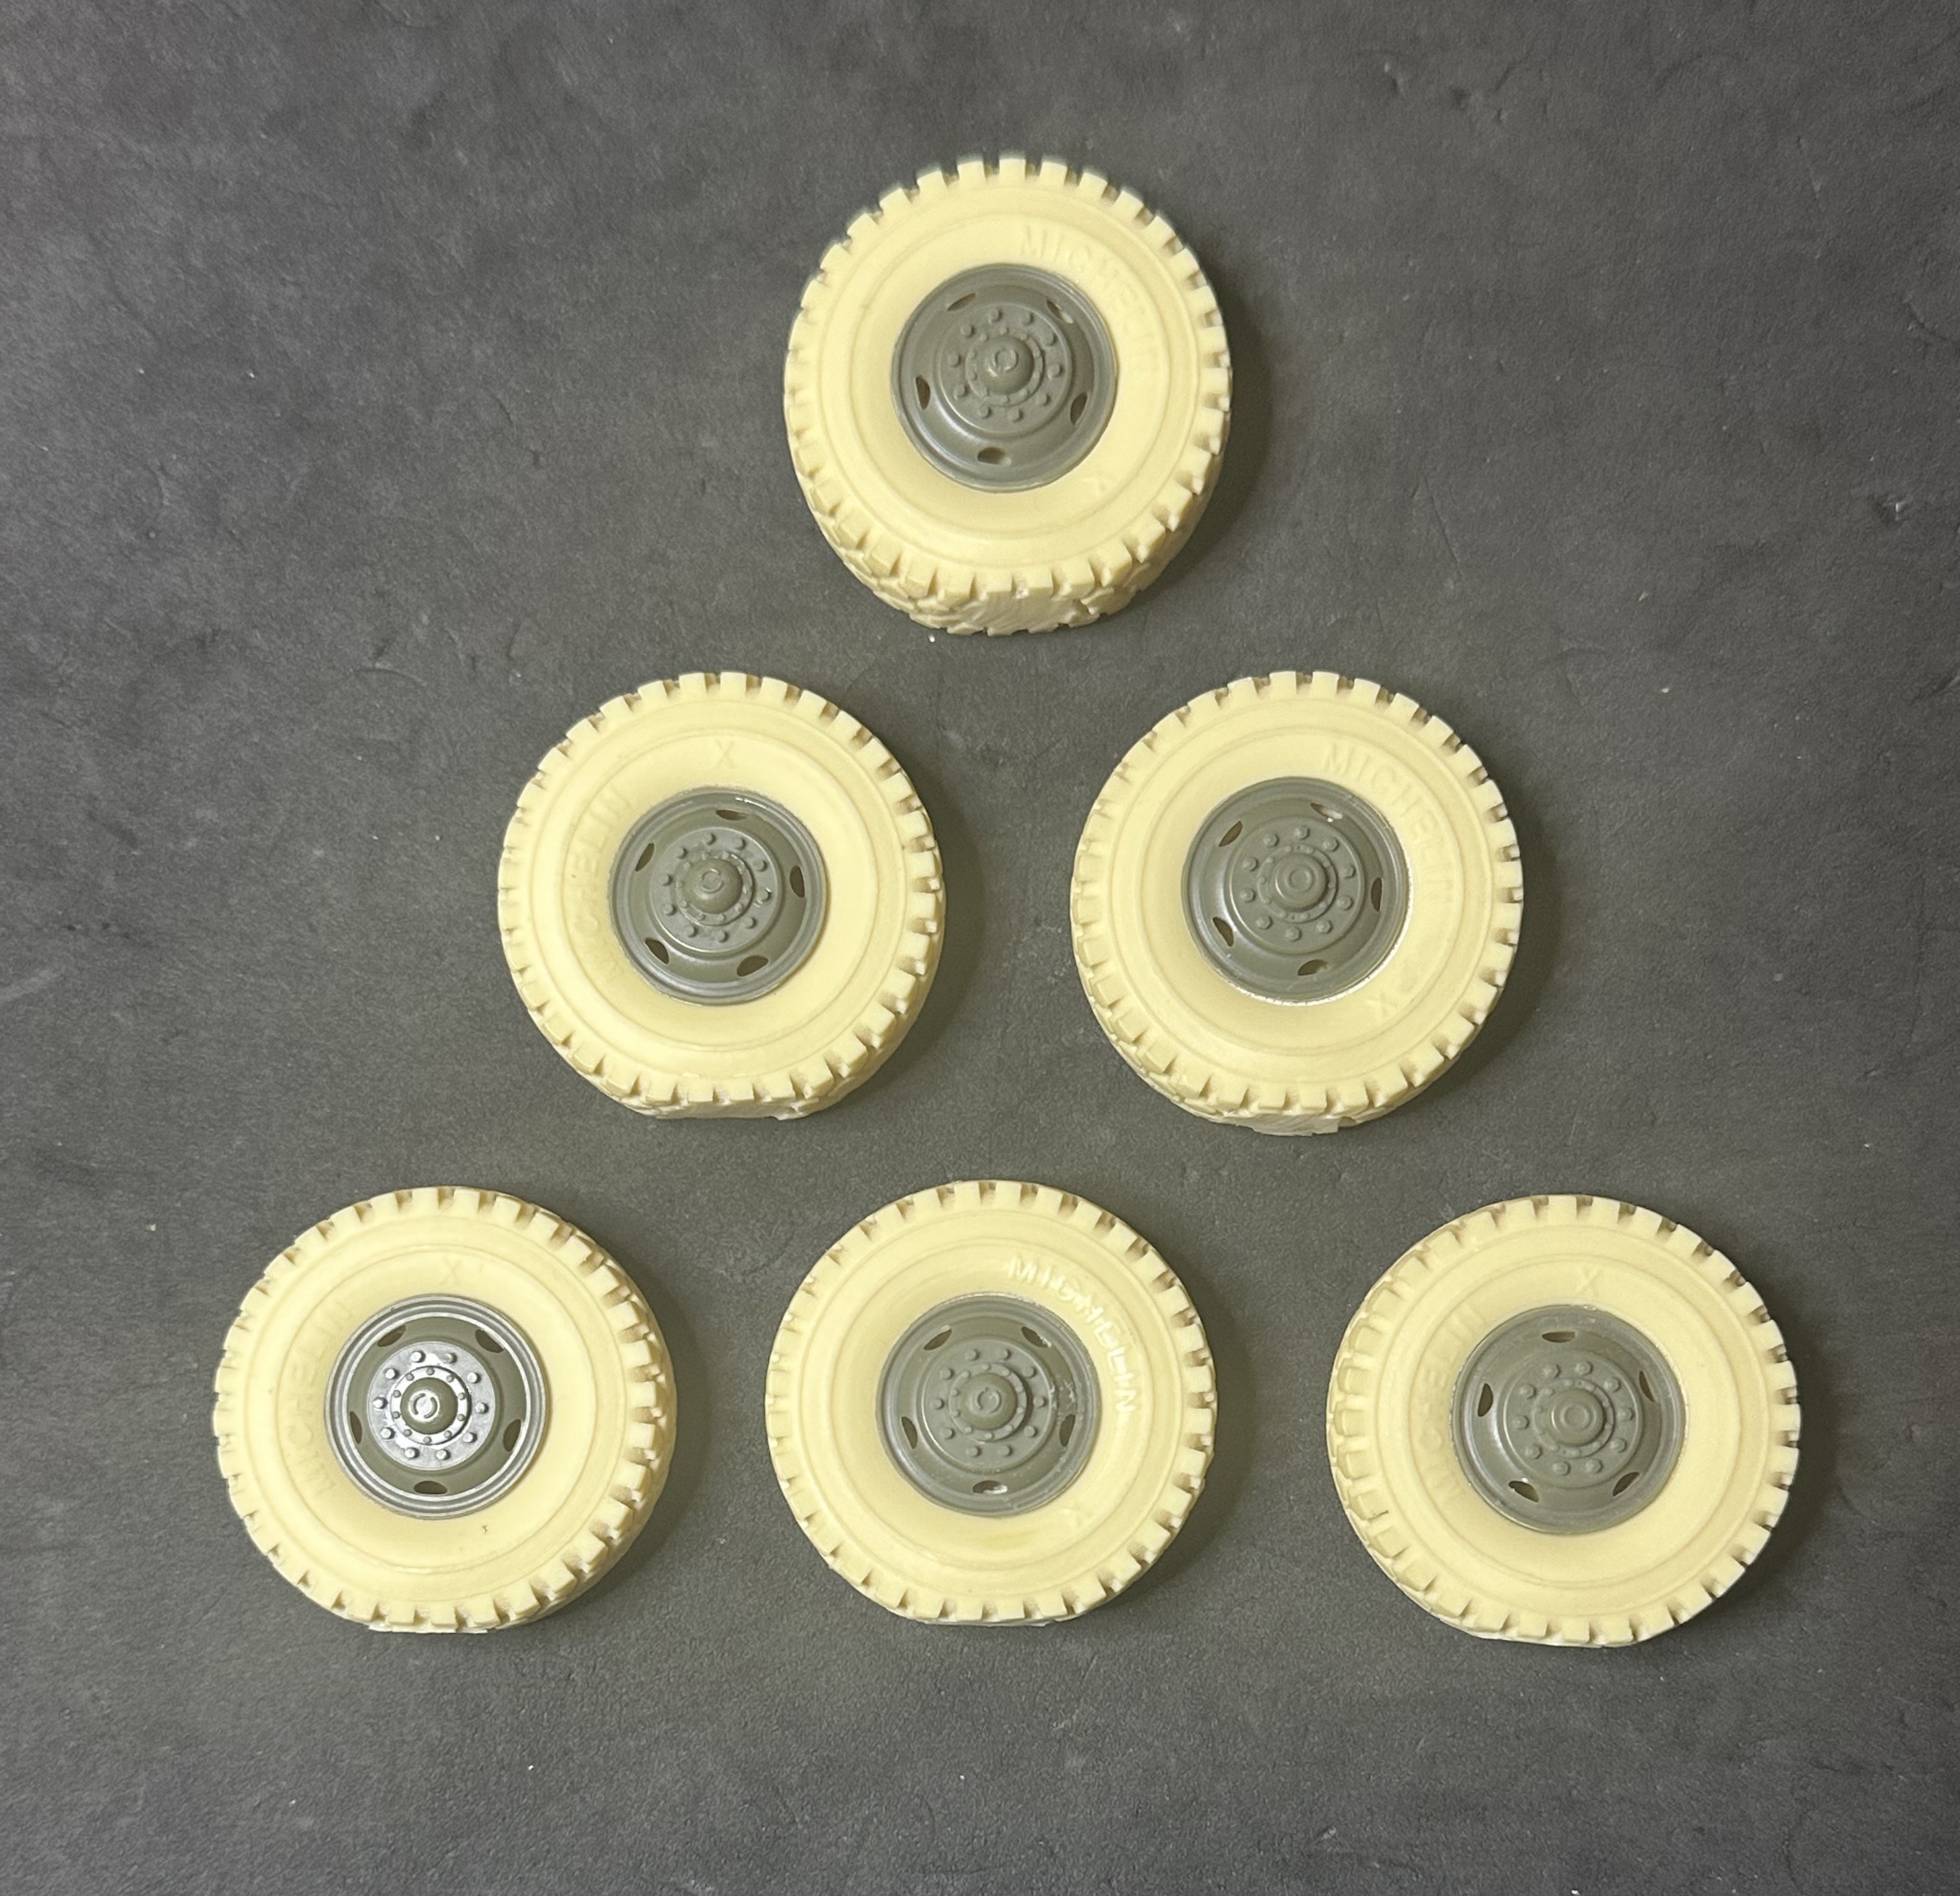
And cutting out the wheels with a Dremel. The original rear wheels dished inward. I fixed the hubs and have them outward like in the photo now. They fit well:

9 Likes

Wow outstanding job Robert

Perfect! :ok_hand:

Nicely done !

Great job!

everything is going so smoothly, the thing is practically building itself.

11 Likes

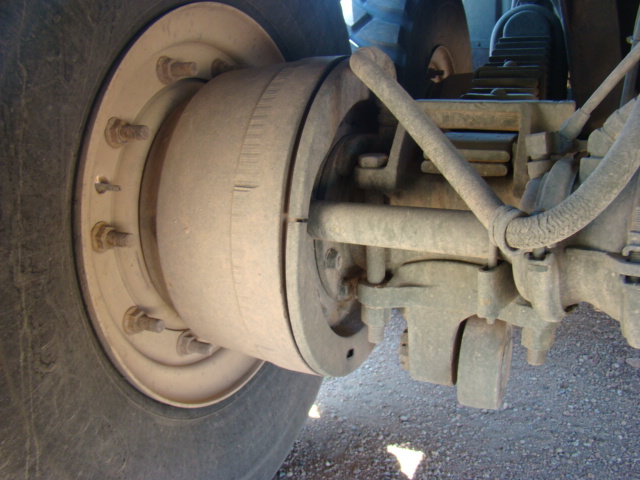
My next challenge was trying to figure out what happened to the space where the inner wheels were. I discovered a walkaround I did in 2011 for Legend provided just the answer I needed.

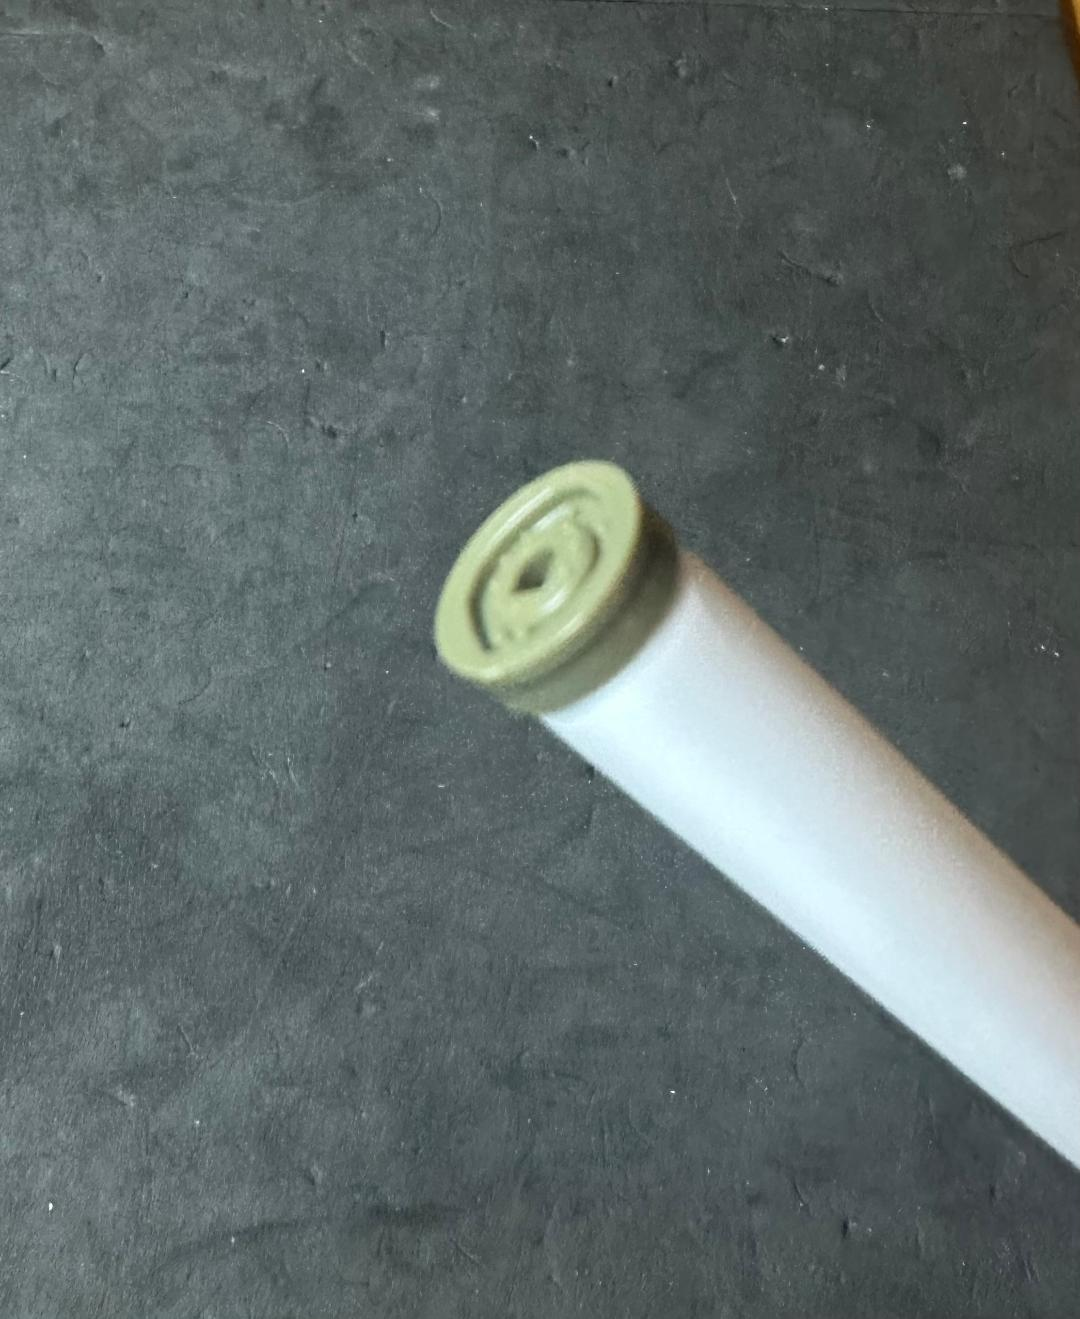
It turns out 1/2 inch Evergreen tube fits on the brake parts perfectly. I still haven’t had to purchase anything I didn’t already have for this build.

6 Likes

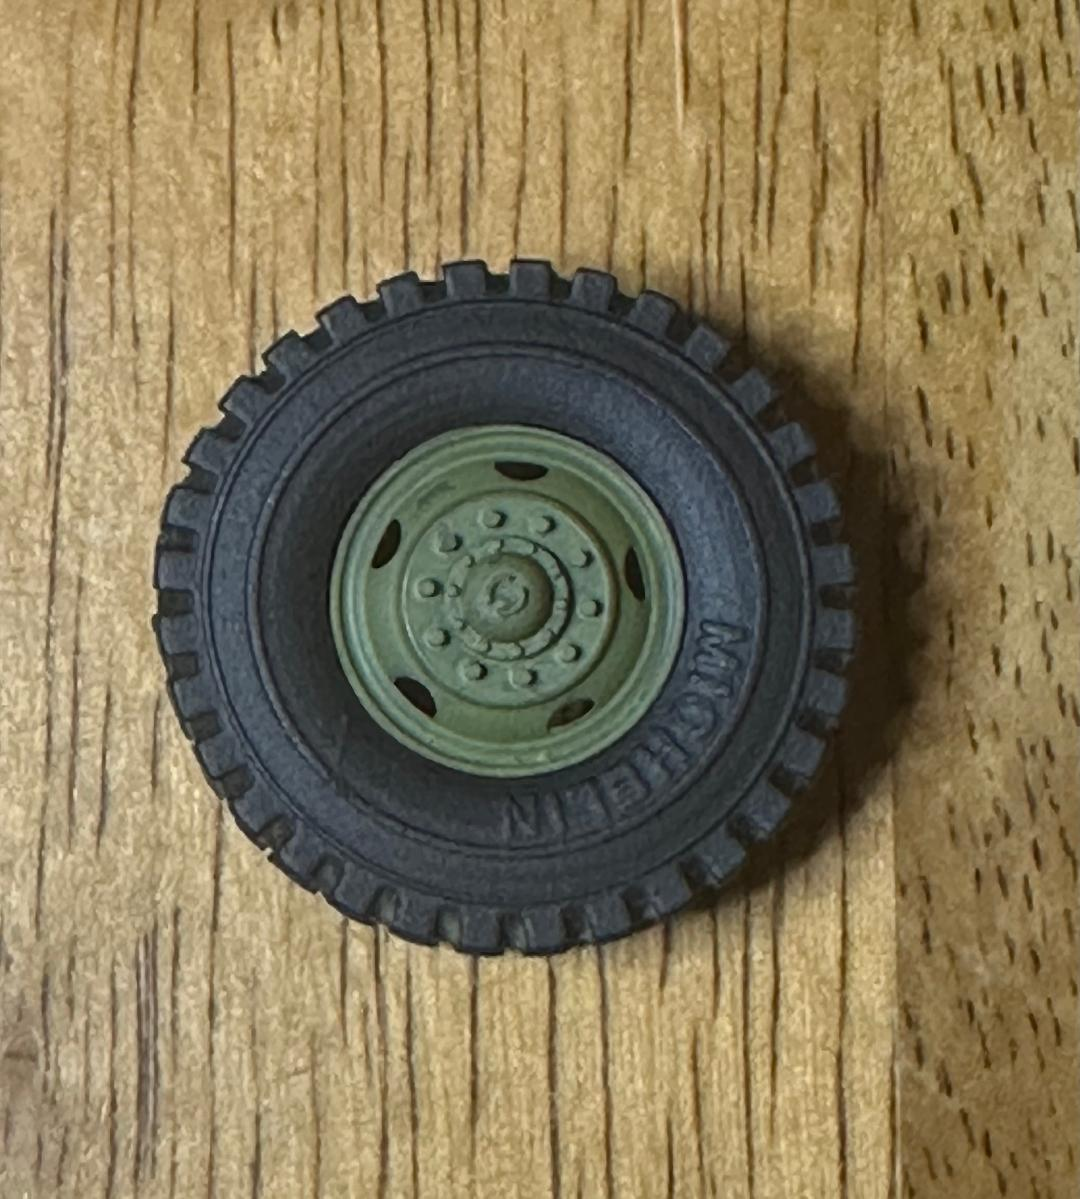
I had to fool with the wheels and brakes, but ultimately got exactly the look I needed, and the width is spot on compared to the fenders. Now to make the rear wheels’ width match.

5 Likes

I decided the vehicle that the Loral Vought engineers used would be fairly old, so I chose a nice faded olive which look neither faded not olive in this photo, but it is:

6 Likes

I scored a DML MLRS for $15 last Saturday at SuperCon. Not a bad price for two more pods.
I want to use a DML pod for this build as I have other uses for the non-ATACMS pods in the Foreart kits - namely that you can display the pods with one or all six rockets having been fired by simply leaving the dust cover off of each end.
I can see by 300%!! zoom that I missed a tiny seam I couldn’t see otherwise, but I’ll be sure to fix it. Letting it cure a few days to avoid any mishaps with clear coating.

6 Likes

Would you happen to know if there is a way to just buy the pods or do you need to buy a whole MLRS kit