Hello All,
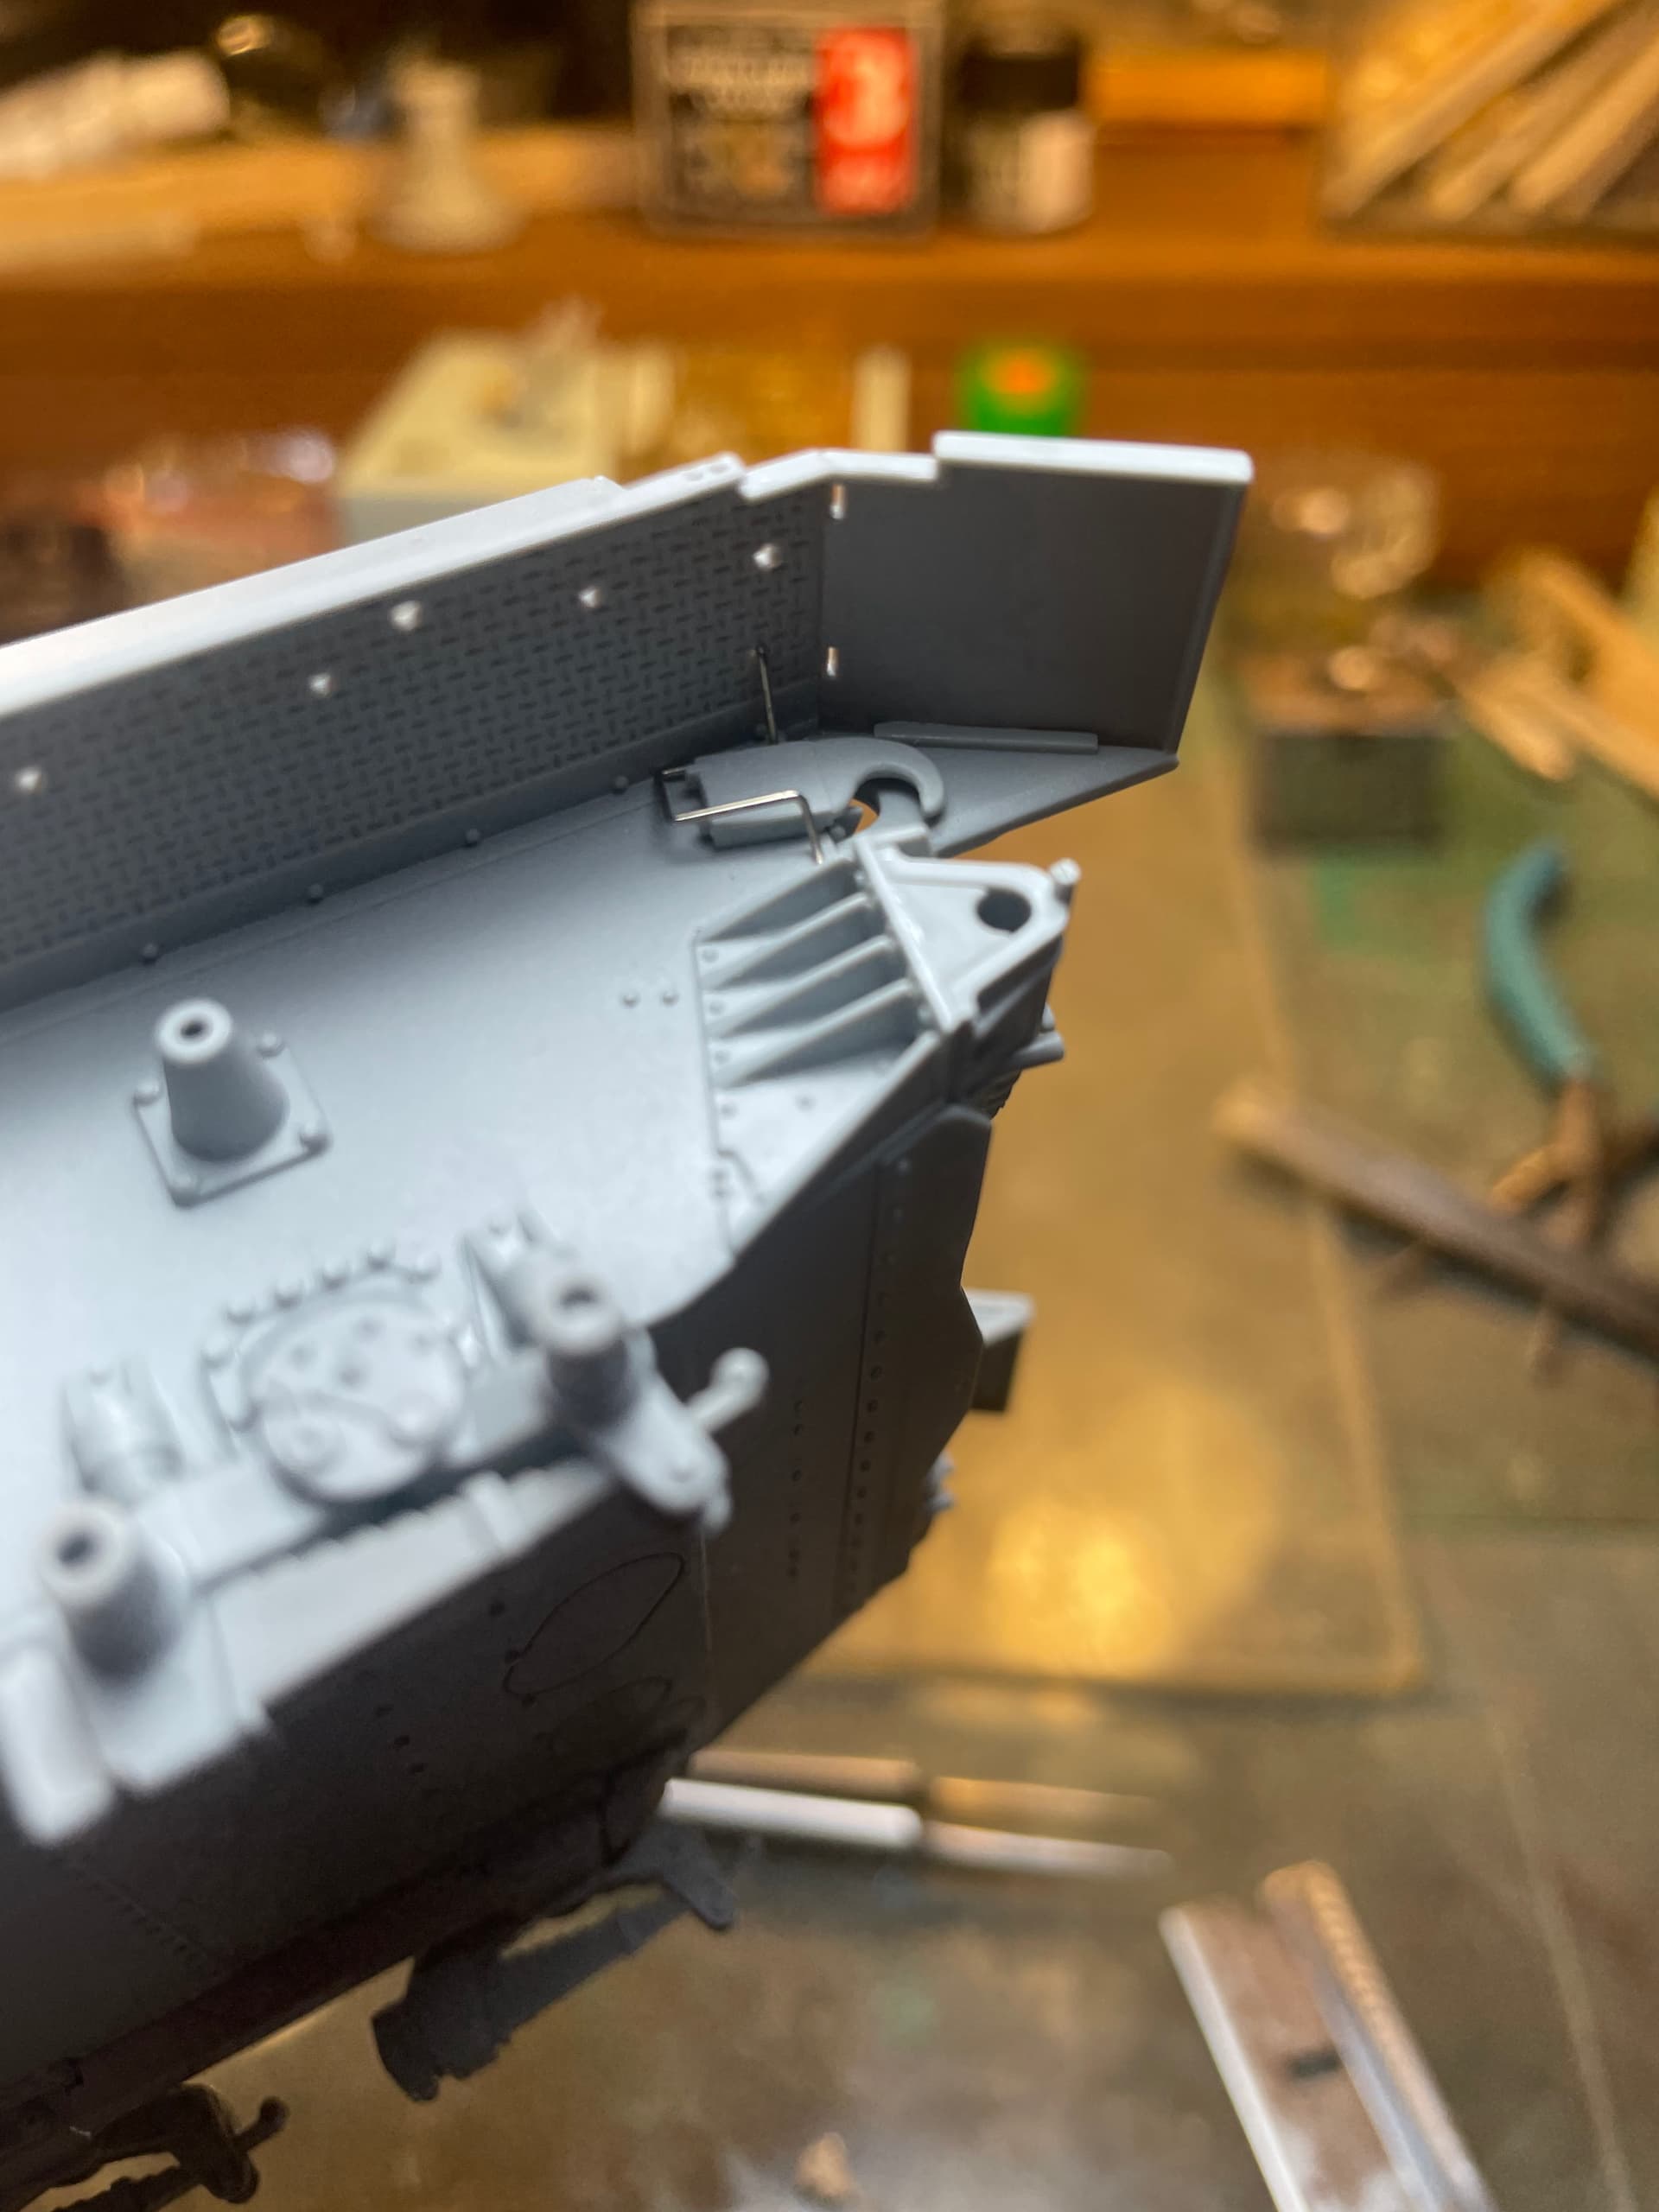
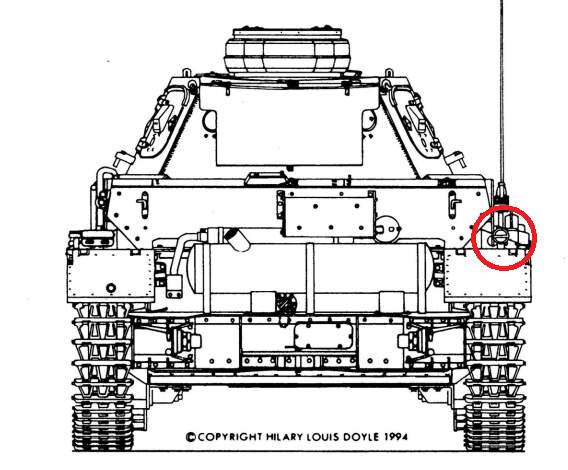
Does anyone know what these things are? It’s part number ME 7 and goes under the fender but part of it sticks out above right near the engine intake covers if I am correct.
Not sure how they fit either, can’t seem to get it right and don’t want it to interfere with the tracks . Any help is appreciated.
Rich
1 Like
I think it needs to move a little further towards the rear so the pin on the lower portion will wrap around the body of the vehicle and hopefully all will lay flat against the tank–not poking out. The bend at the top should still be sticking out to support the fender above. I own but have not built this kit yet, so I am basing it on Eyeball 1.5. I don’t have the current update because I have a defective lens.
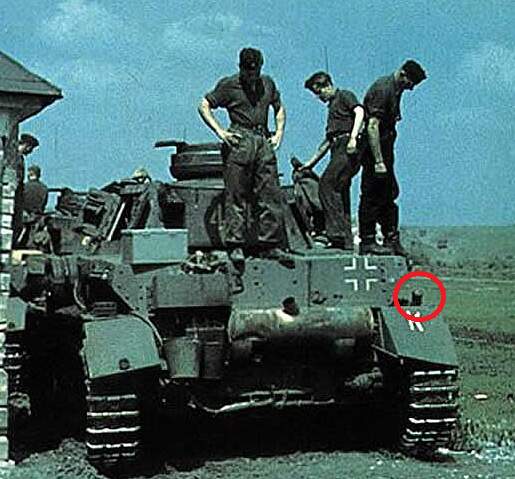
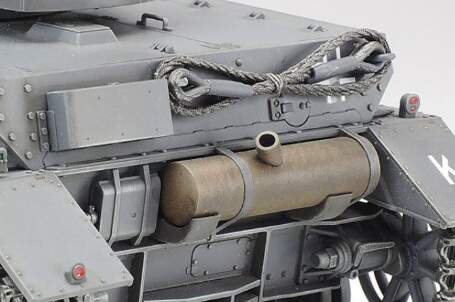
It is supposed to be the cable for the rear Notek light. If I remember rightly, the kit part does not fit properly.
1 Like
Yeah that makes sense because it’s right next to the nitro light on the fender. It does not fit well at all and I don’t want to force it so I might just cut the part that goes below the fender. There’s also one for the other fender as well but no light on that side. Strange
1 Like
Thank you for your help guys it’s greatly appreciated.
I stand corrected Pete. Yes I see it in the instructions there is a light on the other rear fender. Thanks again! I just haven’t gotten to the right side fender construction yet.
1 Like
Hey thanks Wade; yes I read those reviews several times over the years but haven’t lately. There’s also a build review by someone whose name I forgot that offers a fix for the drive sprockets being too low by about 2mm.
I did make one major mistake- by not following Dragons directions- and that was attaching the fenders to the lower hull instead of upper hull first. That left a gap between the the upper hull and fender on the left side under the drivers side vision port. I managed to fill it in with a thin piece of styrene and some putty. I had to clamp the upper and lower hulls together to close the gap. It worked accept for the aforementioned area. I have pics below.
Otherwise, the kit goes together quite well with excellent detail. You definitely have to be careful of getting the bogie assemblies ( all 15 parts!) lined up and straight so the tank sits level; of course you can articulate the suspension items for diorama purposes which is why so many assemblies in this kit were made the way they are. The PE is numerous and fiddly but that’s more because of my ham handedness and the fact that I haven’t used this much PE since I did my Accurate Armor Chieftain conversion several years ago. It’s a perishable skill it seems.
3 Likes