Like the work going into the tamiya one , always wanted a decent kit of this tank but couldn’t be bothered with what you’re doing for a decent model , good job.
3 Likes
Thanks. I’ve been in the same boat, but I think I’ve found my modeling niche, rescuing “pound puppies” of kits and doing refurbs on them. With all the “new” kits being superseded by “better” stuff now, there’s a lot of perfectly good material to work with that’s all of a sudden very reasonably priced.
And it’s fun.
But… I’m just itching to jump into one of the new Takom M48 kits.
4 Likes
Never got the Dragon kit but have some Takom kits, so I will be doing something similar with them and James Lee 3D parts I have.
2 Likes
Soon as ive finished the m-atv I will be tackling the old MLRS by dragon…not as involved as this hopefully.
1 Like
Still plugging along, although progress will be really slow for a bit- I had carpal tunnel surgery yesterday that went so well I’m tempted to at least see how well the hand works… I can type, slowly.
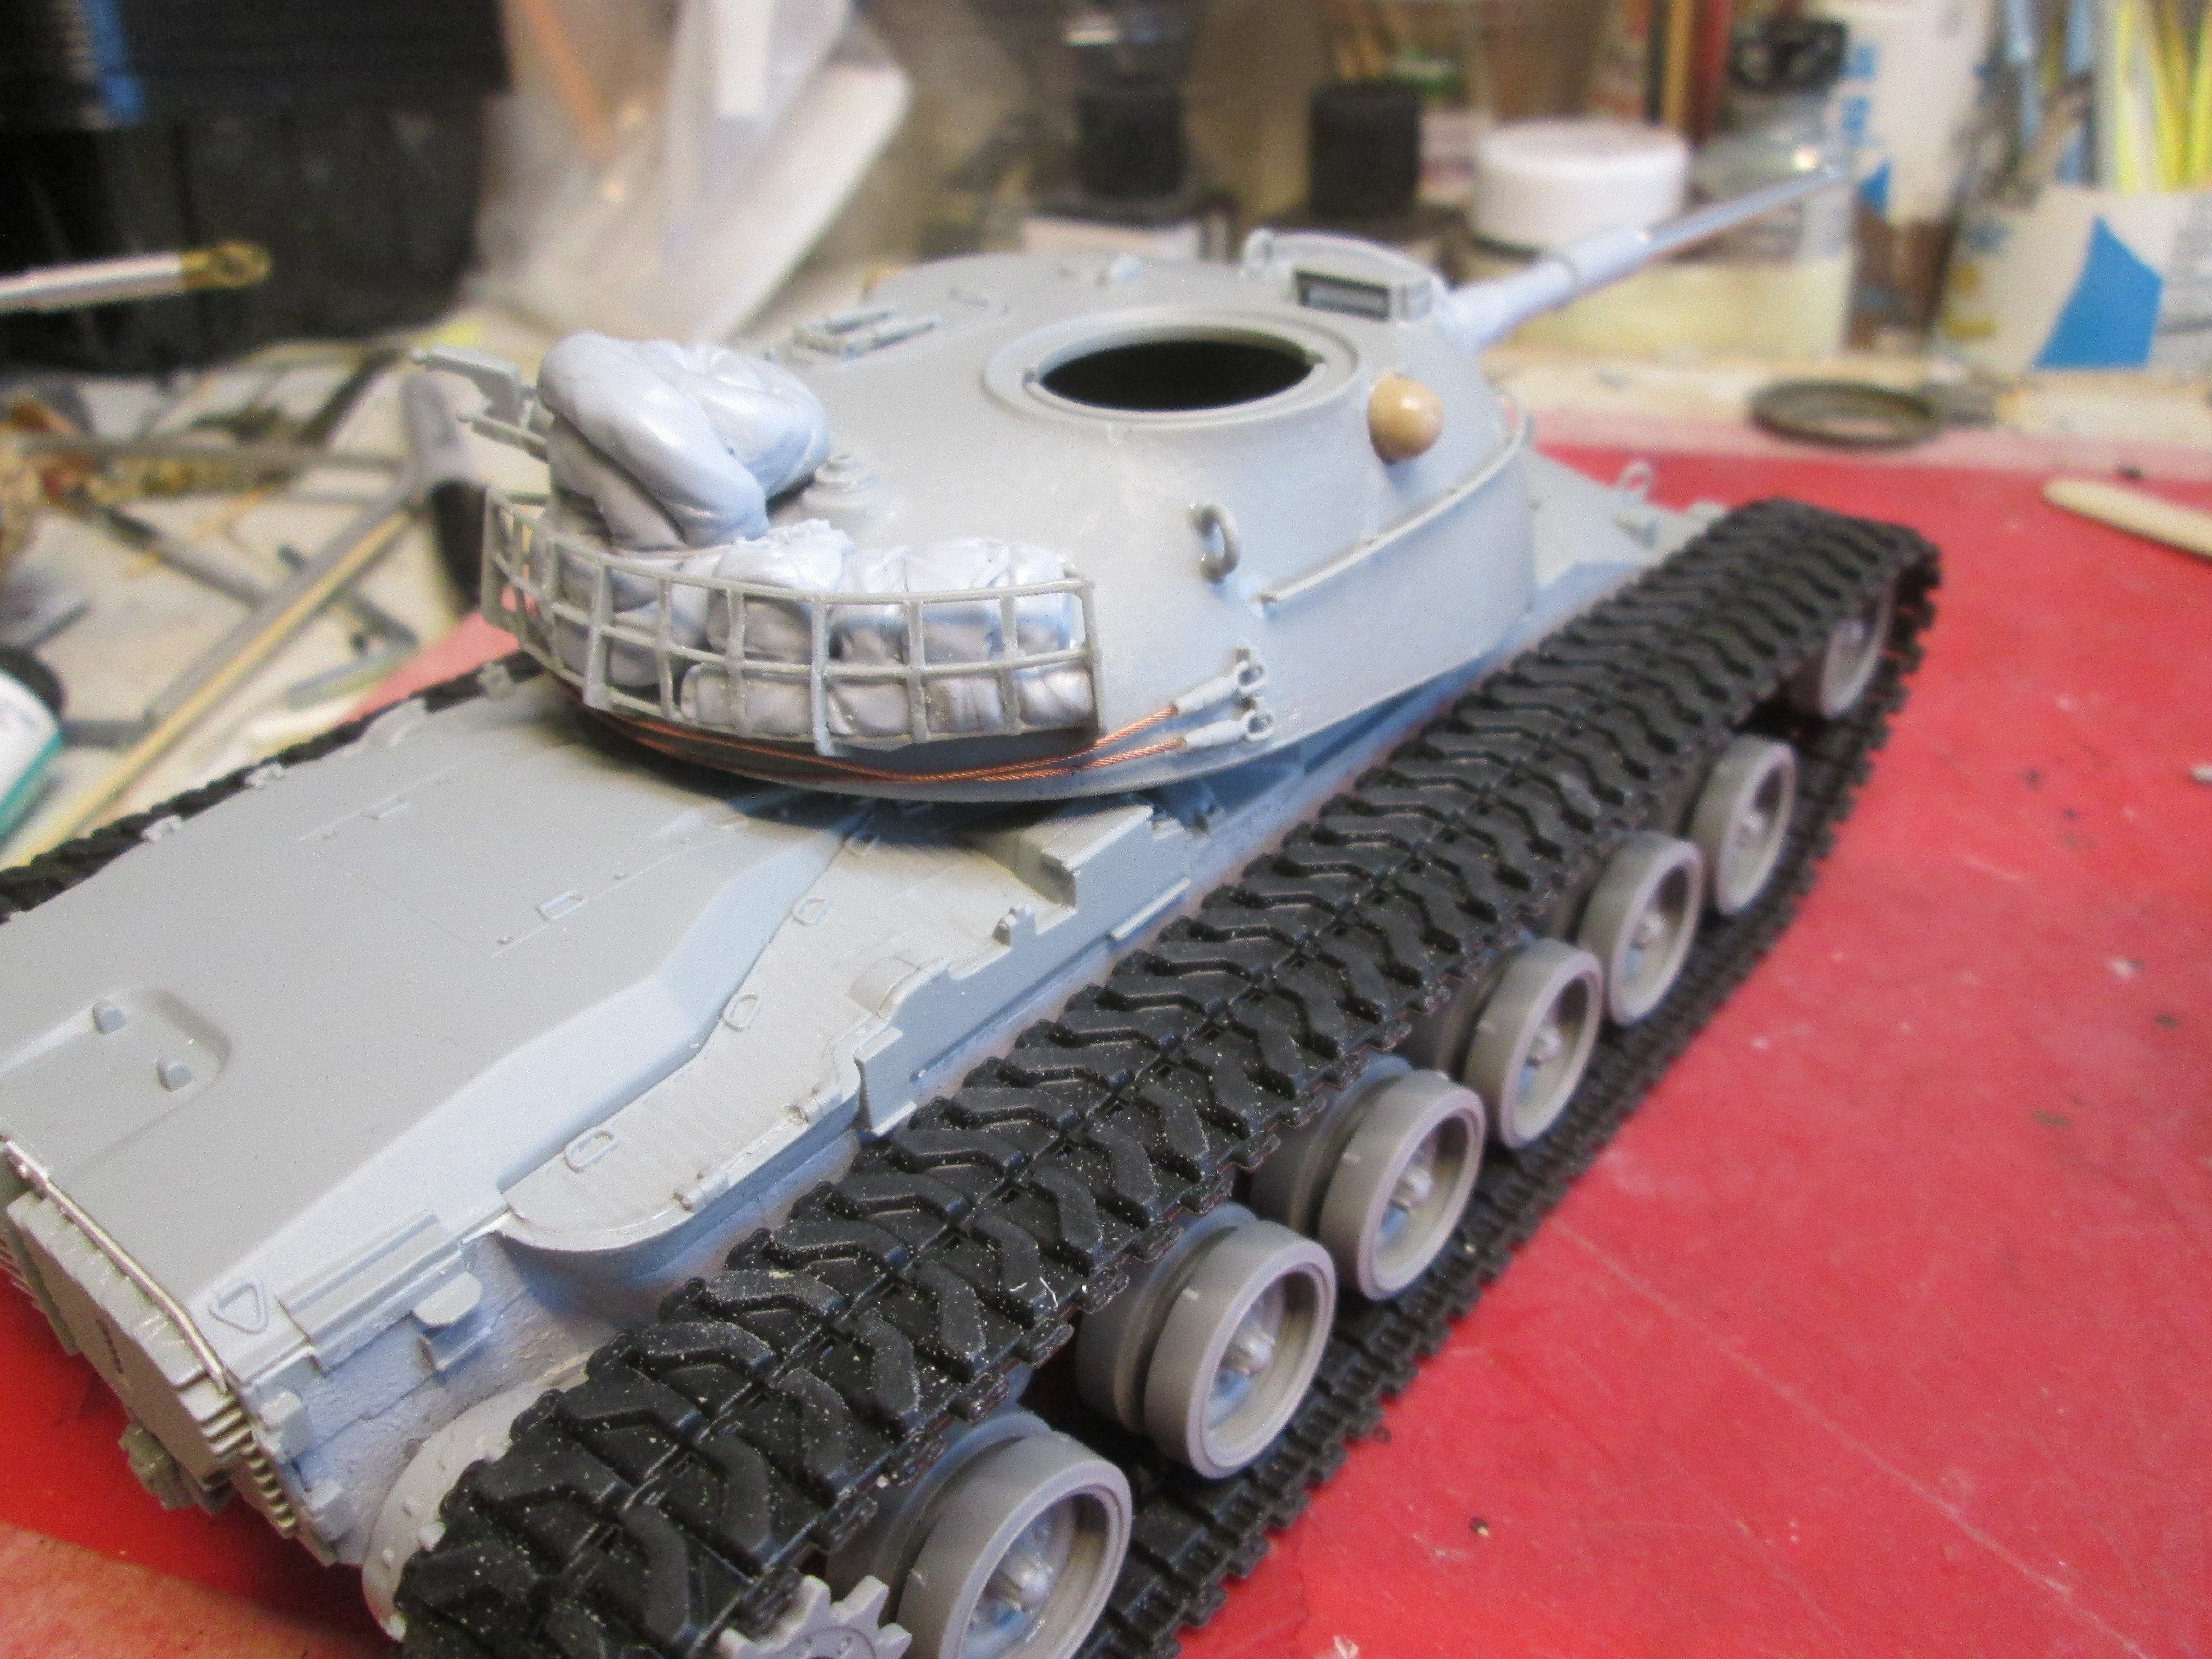
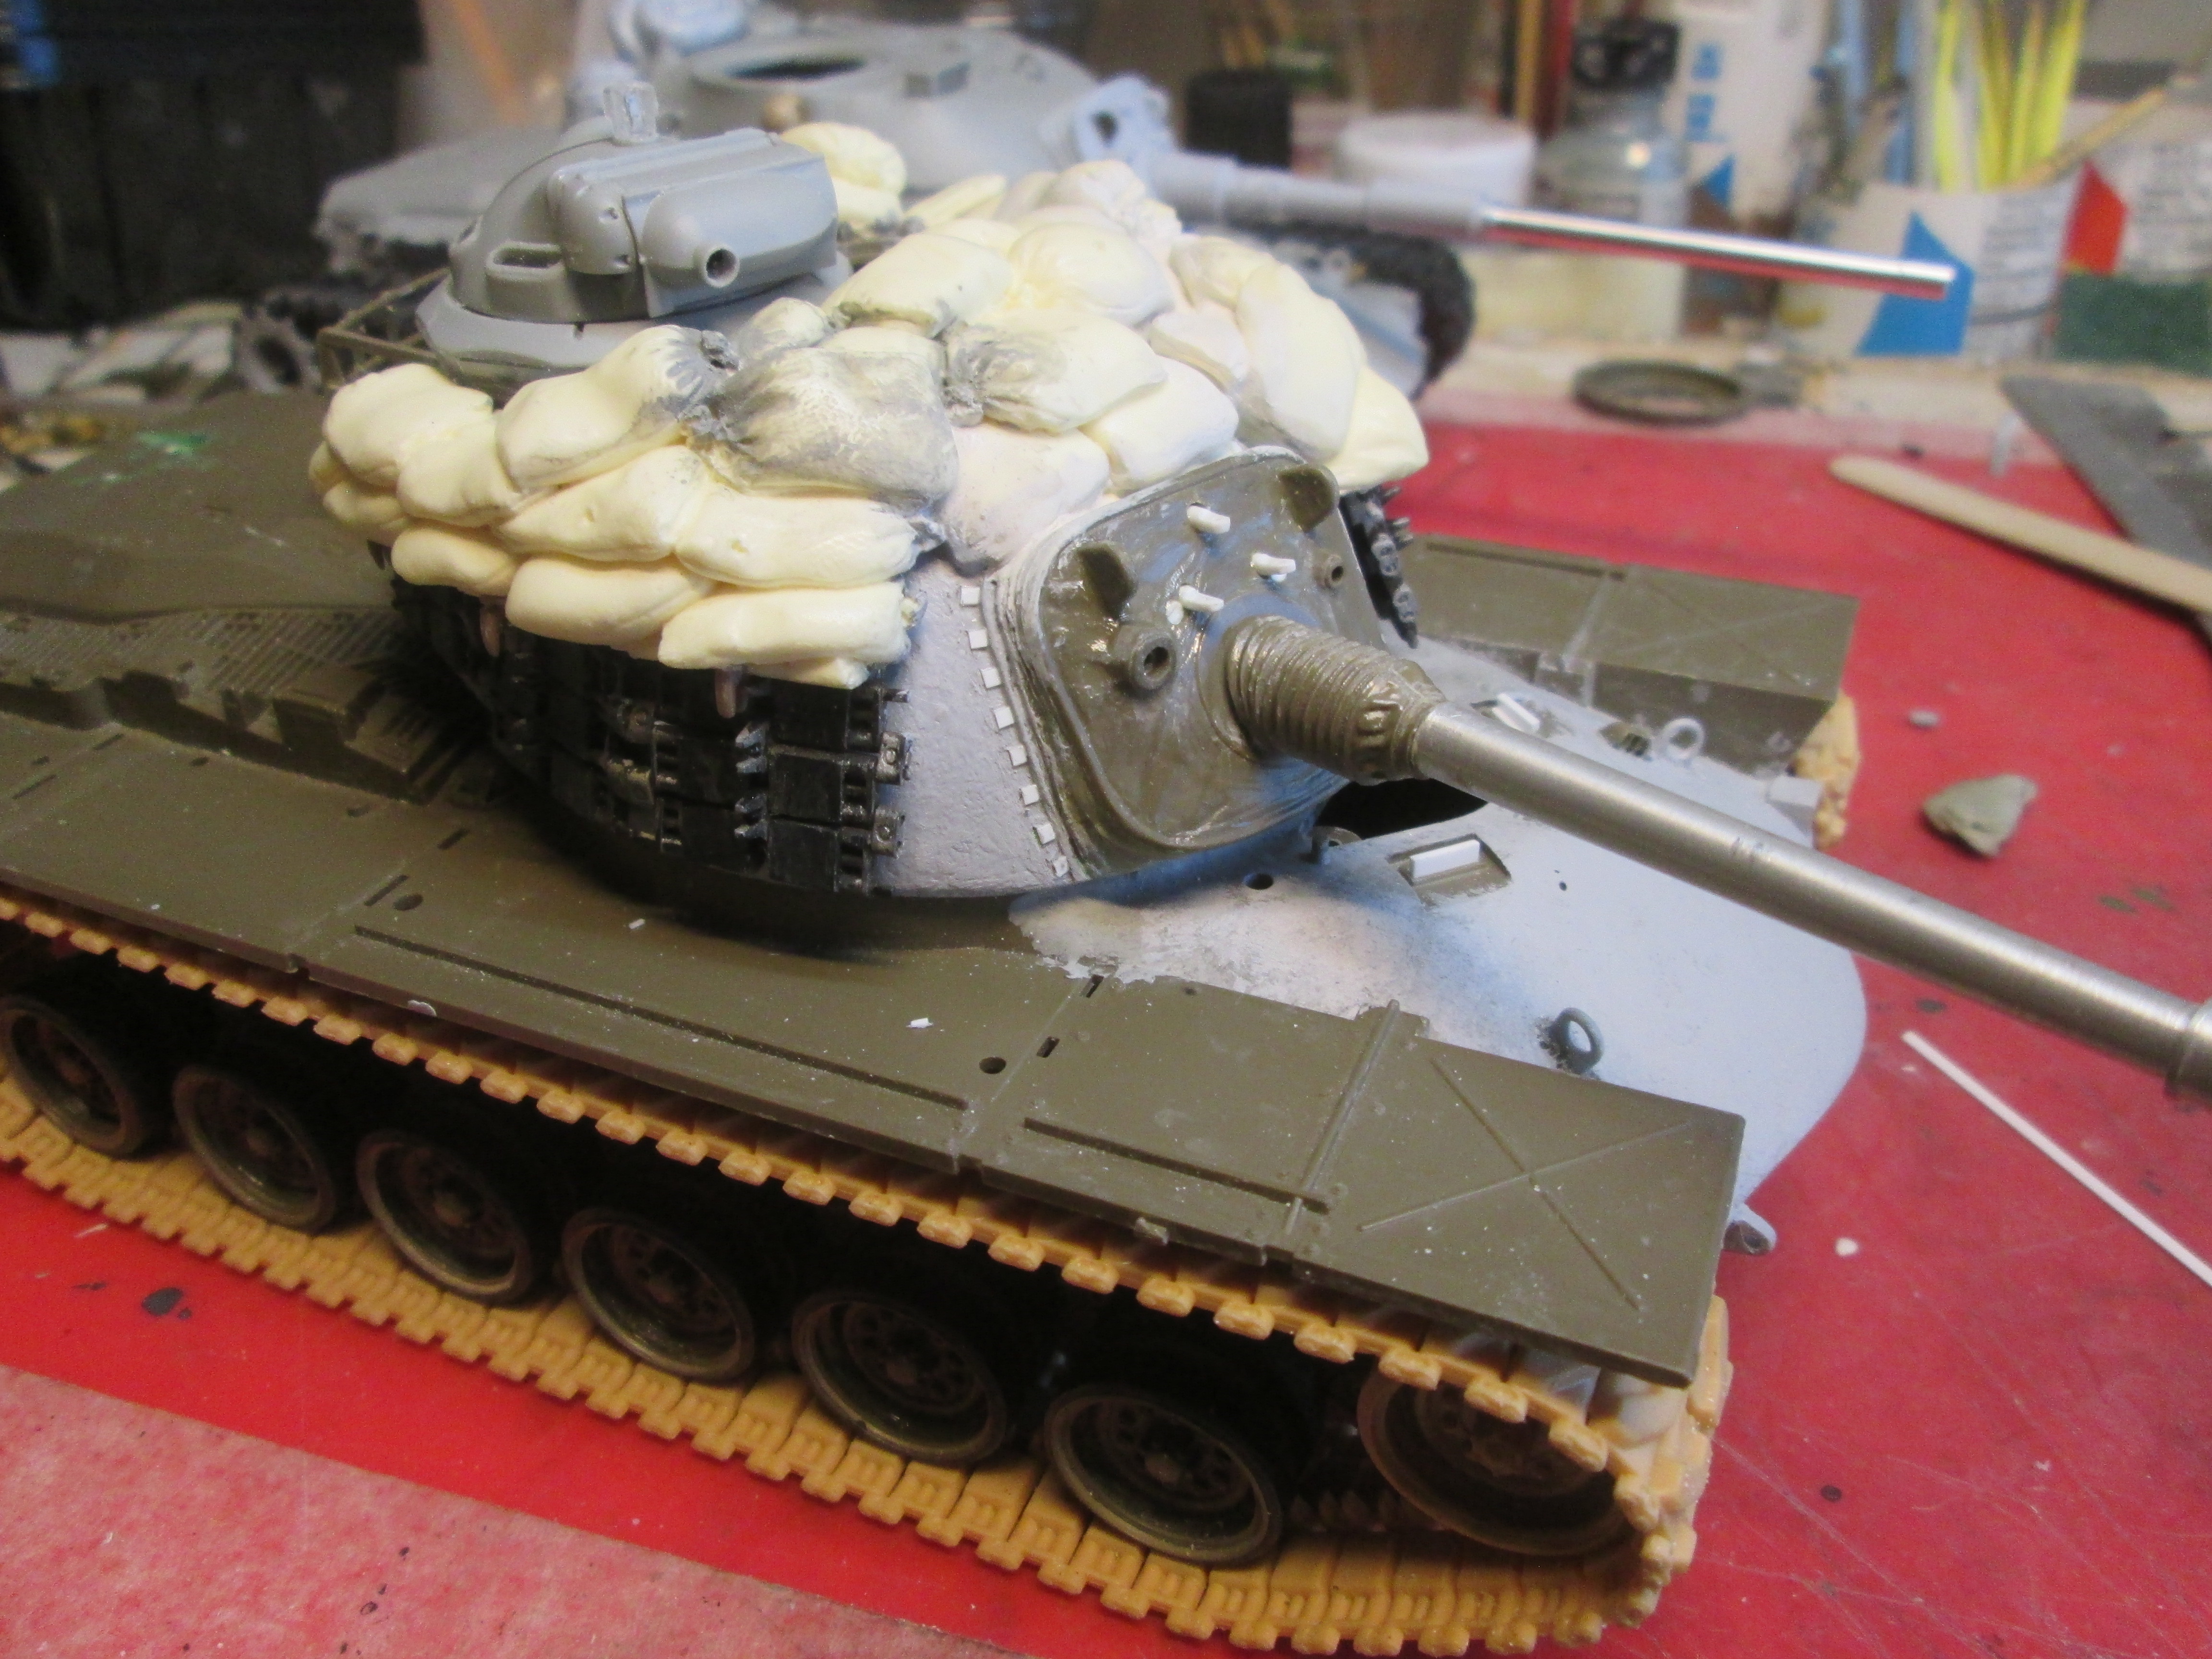
Earlier in the week I got some turret bits on both, more on the Dragon kit using the DEF stowage and main gun.
 IMG_3878 by Russel Baer, on Flickr
And on the Tamiya kit I have the mantlet details begun, with the searchlight mounts re-done to accept either an Academy or AFV Club light assembly. I’m also fudging in the mantlet cover
mounts.
 IMG_3877 by Russel Baer, on Flickr
The tabs will be trimmed down as soon as they’re completely dry as they’re too wide now.
I also used Dragon tow cable ends on both turrets, with Karaya .6mm wire. Dragon supplies steel wire which stayed springy even after annealing, but I saved it thinking I might make up one more cable to be stowed ready-to-use on one of these two.
For now, I think I’ll clean up my bench a bit. It’s getting a little bit nasty.
Addendum: I found this box of goodies in the stash, very handy:
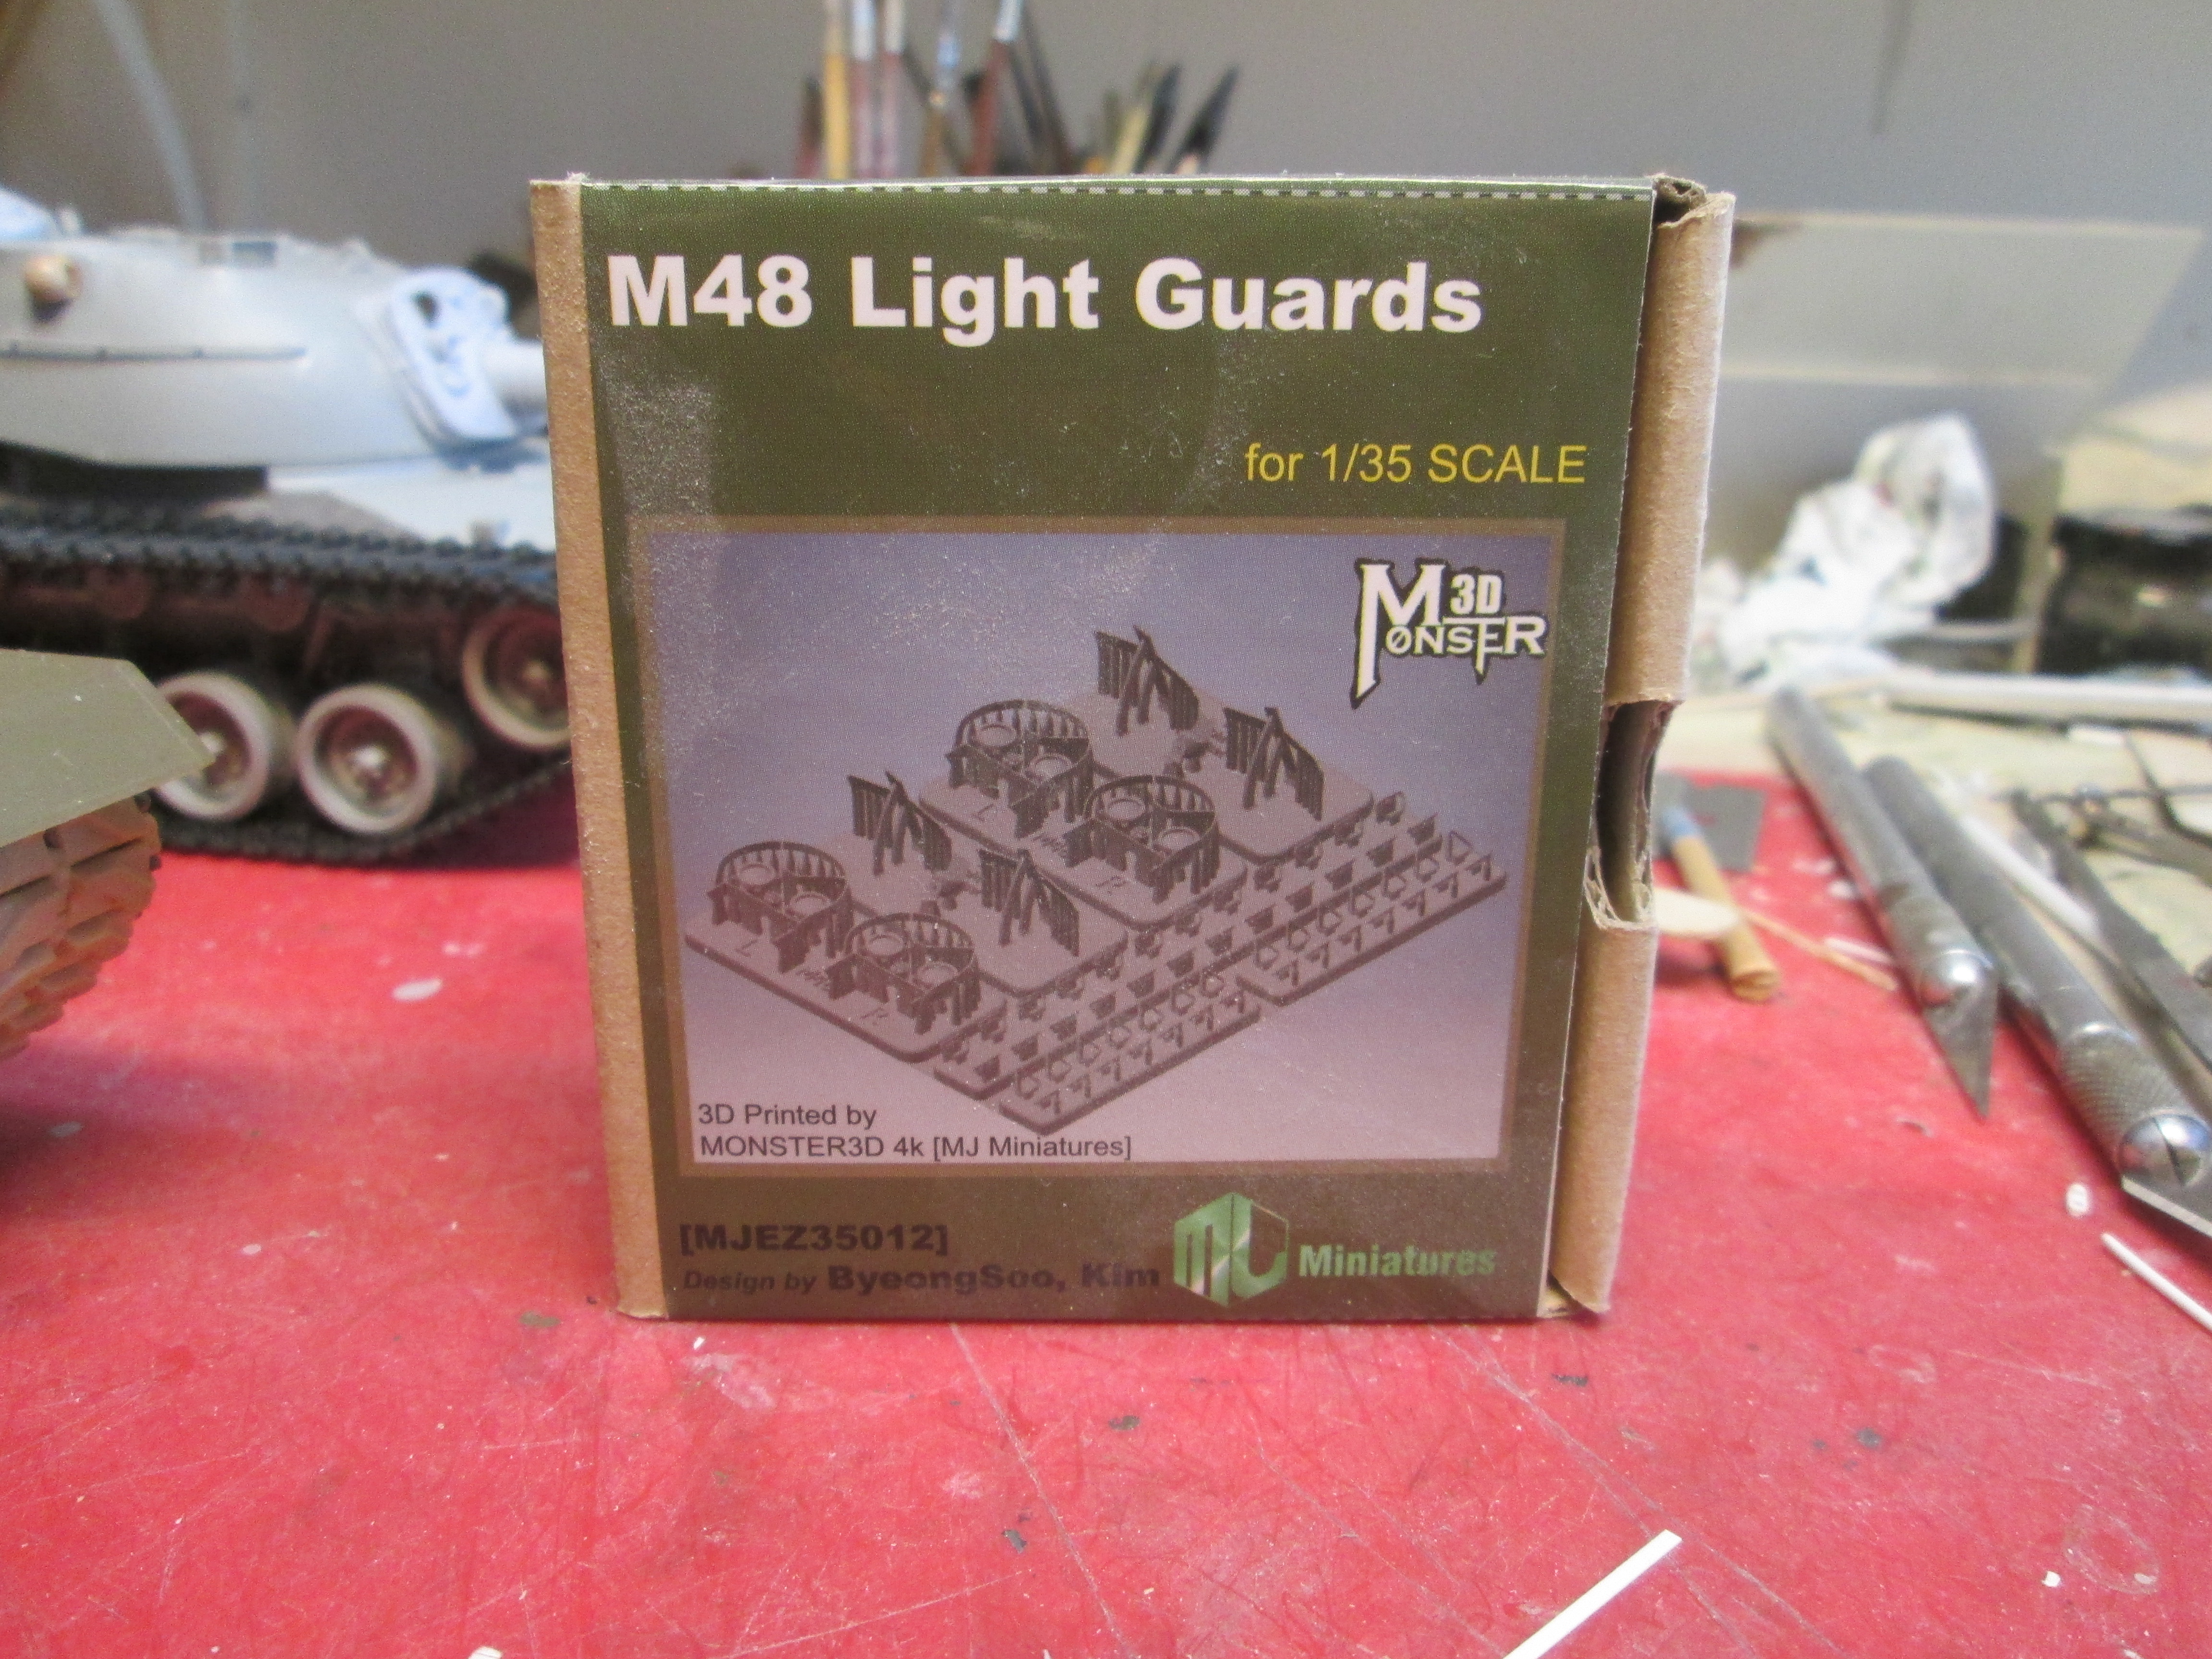 IMG_3880 by Russel Baer, on Flickr
7 Likes
Looking good and glad surgery went well… And you can’t beat a good fudge ![]()
![]()
3 Likes
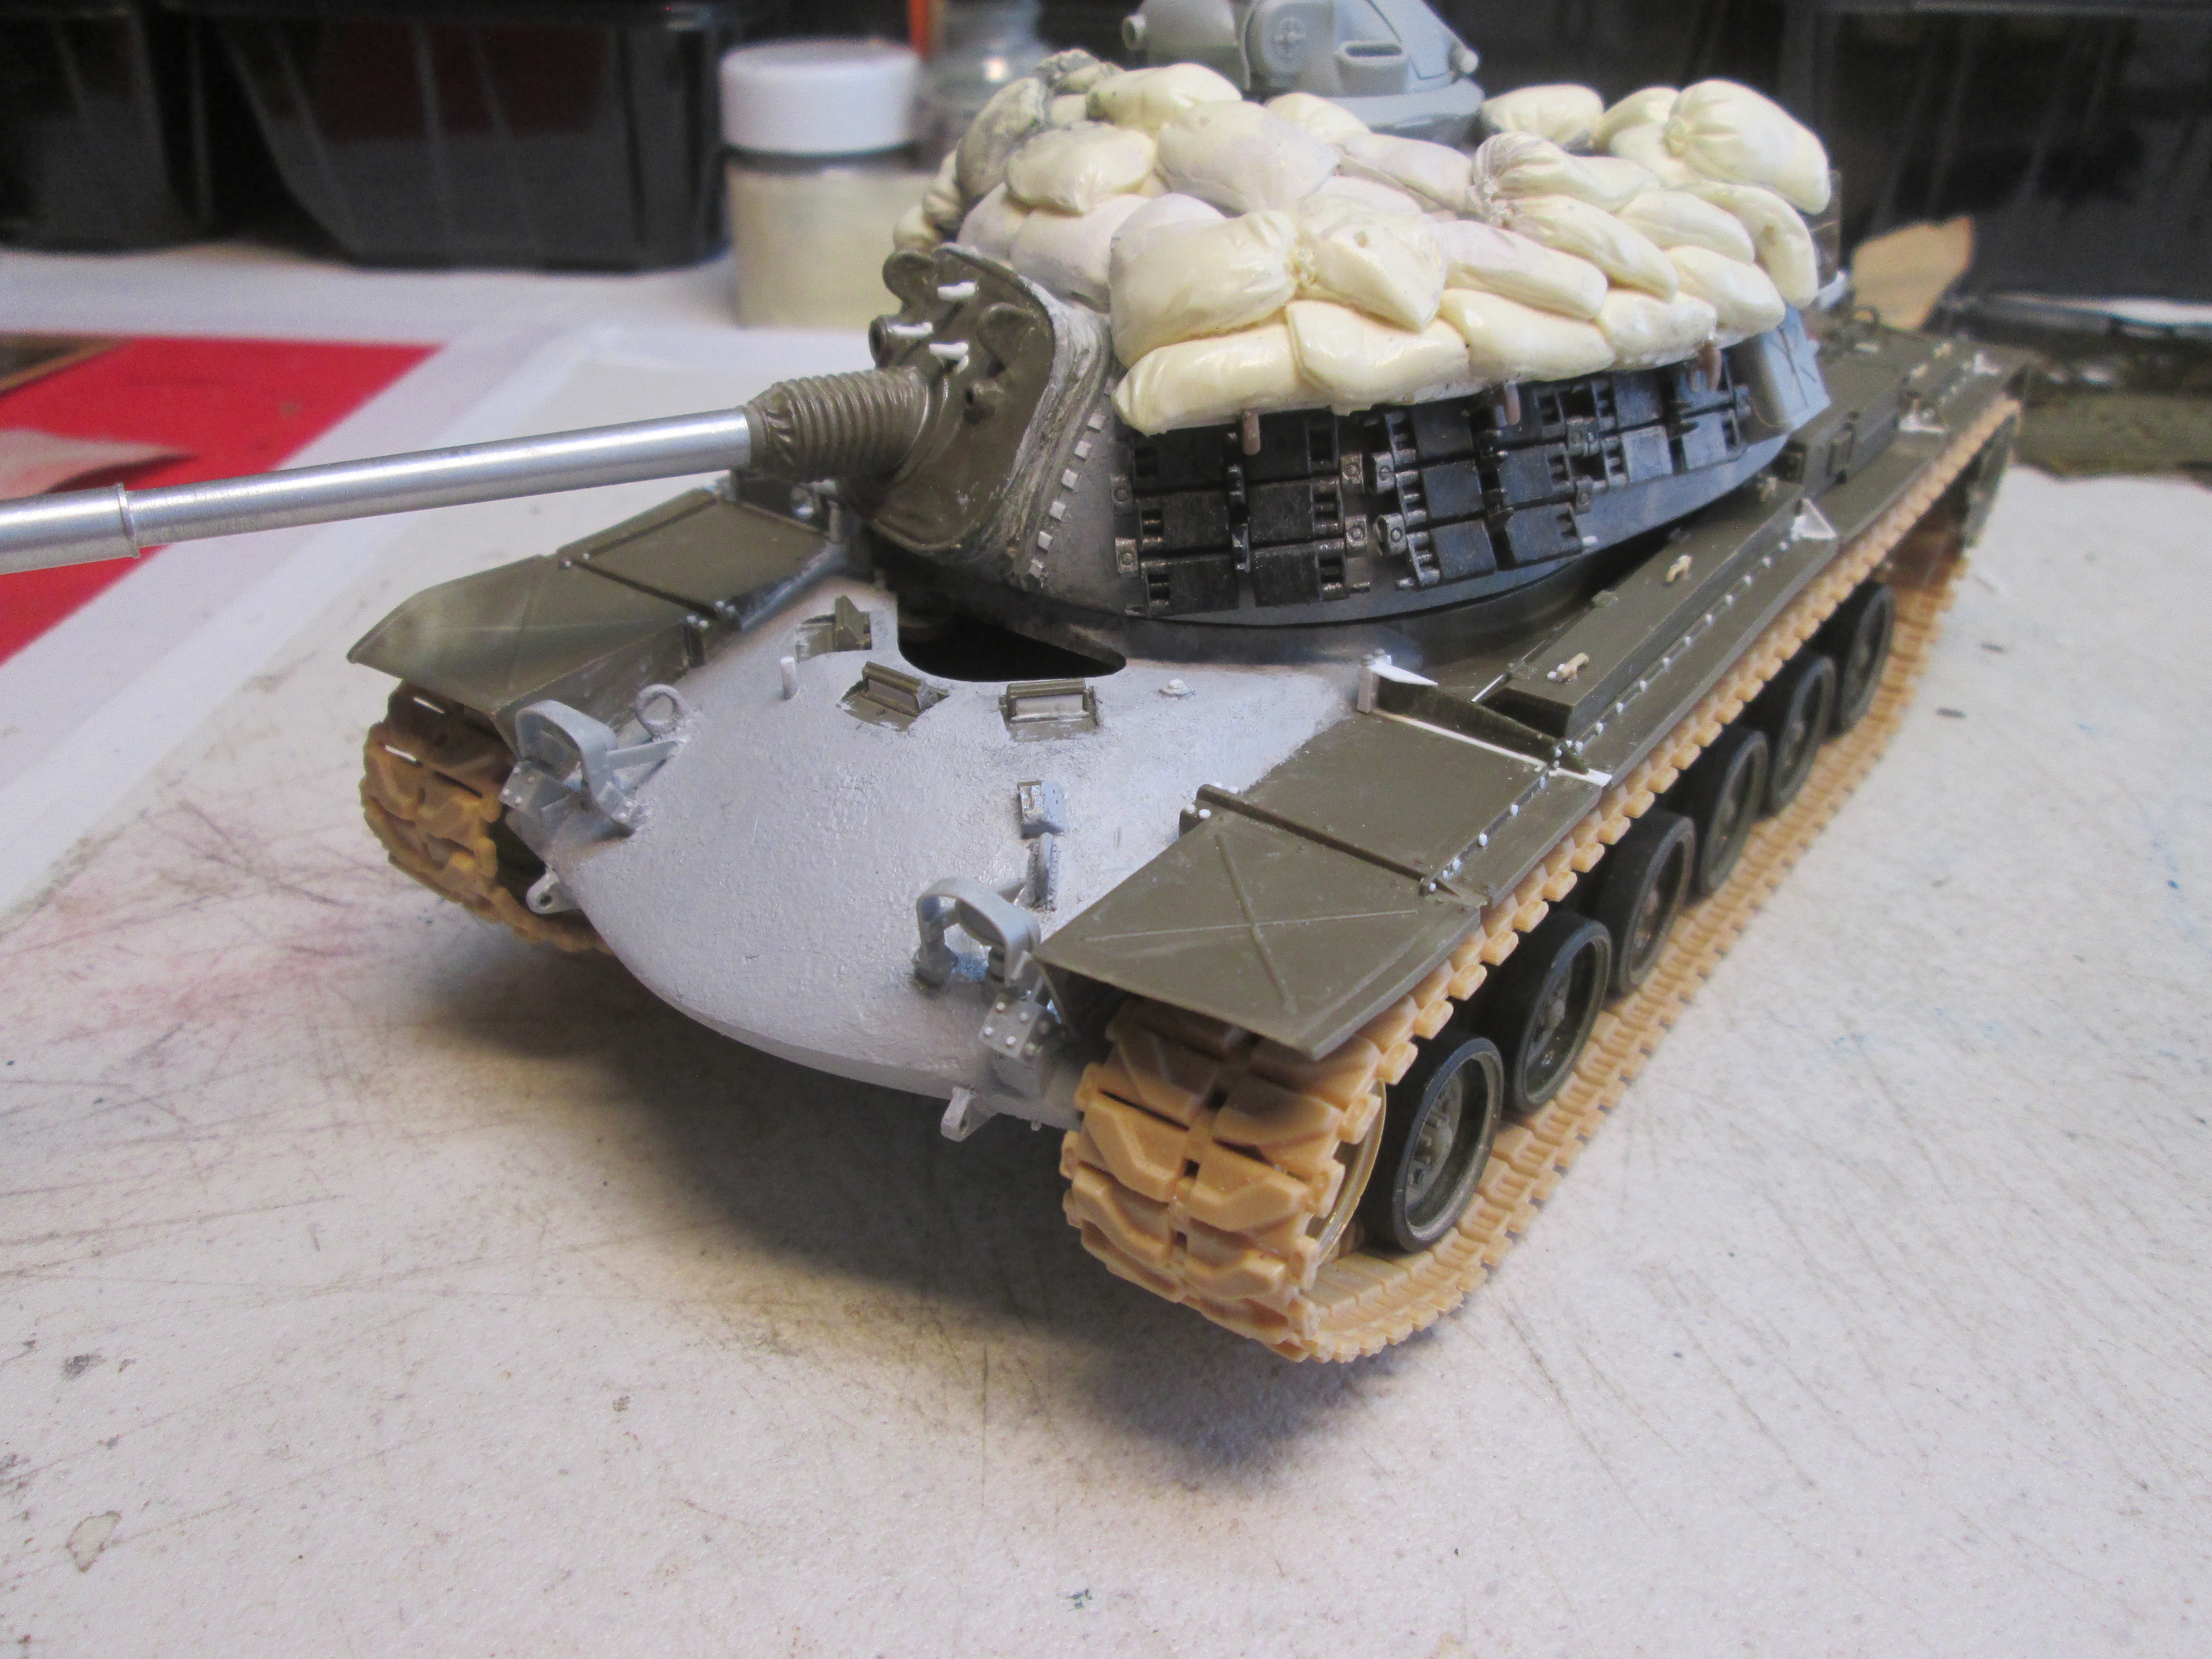
I ordered some new Dremel bits from Amazon, and slowly thinned the undersides of the fenders until I could flex them with my fingers, then used a hair dryer to warm them enough to gently deform, using my fingers and small, smooth jaw pliers. I’m happy so far, so I began the process of adding the junk that’s on the fenders.
 IMG_3882 by Russel Baer, on Flickr
 IMG_3881 by Russel Baer, on Flickr
I thought about doing a bunch of detailing outboard of the front, long tool boxes, but when I found a bag full of old white metal 50-cal ammo boxes, I pulled up- no reason to go nuts on something I’m going to cover up. I’ll add some bolt heads towards the rear, but this will save some time.
9 Likes
Another neat little update Russ. Looks great. Where or who do you get your bolt heads from ? (the maker ) ![]()
2 Likes
I use a lot of bolt/washer and nut/washer combos from Meng and slices of hex rod stock. If it’s gray, it’s Meng, white is Plastruct hex rod.
2 Likes
Cheers Russ, and do you know what …I never even thought about hex rod … That’s a clever idea ![]()
1 Like
How do you cut it the hex rod square?
Thanks, Dan
Can’t claim it as my own idea, but I jumped all over it. The smart guys use a miter cutter to get it cut perpendicular to the length, I cheap out and use a safety razor. I cut a bunch more pieces than I need, attach the best and use a fine sanding stick to get them all level, if necessary.
2 Likes
Thanks
1 Like
The basic hull on the Model B is nearing completion, less stowage…
 IMG_3883 by Russel Baer, on Flickr
Driver’s hatch is still off, there will be a half fig in there.
 IMG_3884 by Russel Baer, on Flickr
9 Likes
Some epic building and detailing here Russ, looking forward to paint! Thanks for sharing!
Jimbo
Coming along great. Another great build with the surgery, extras and super detailing … lovely work Russ
1 Like
Excellent work Russ, love the details and the hull sculpting.
Thanks all. It’s my happy place, massaging an old kit… plus I get to use up a bunch of leftovers.
3 Likes
Looking good, classic M48A3 both. ![]()
![]()
On the Magach 3 check the instructions for the PE parts added at the rear top of the turret, you might want to add those before the stowage. If you want reference photos I can post some
1 Like
I do so like that term Russel, “massaging an old kit”; it’s often so redolent of what I do. My stash - assembled over the decades - contains those kits that have been long superseded by newer, and better versions, but being somewhat perverse, I tackle them and try and get the best from them, even though sometimes, I end up spending more than say, what a state-of-the-art kit would cost.
Anyway, that’s neither here nor there – keep up the good work with what you’re doing.
2 Likes