Hi folks. Yes, another multi-kit project I’ve had stashed away for a while, but since it’s too hot to airbrush any of my current prepped projects, I thought I would drag these out of hiding and make a bit of a start.
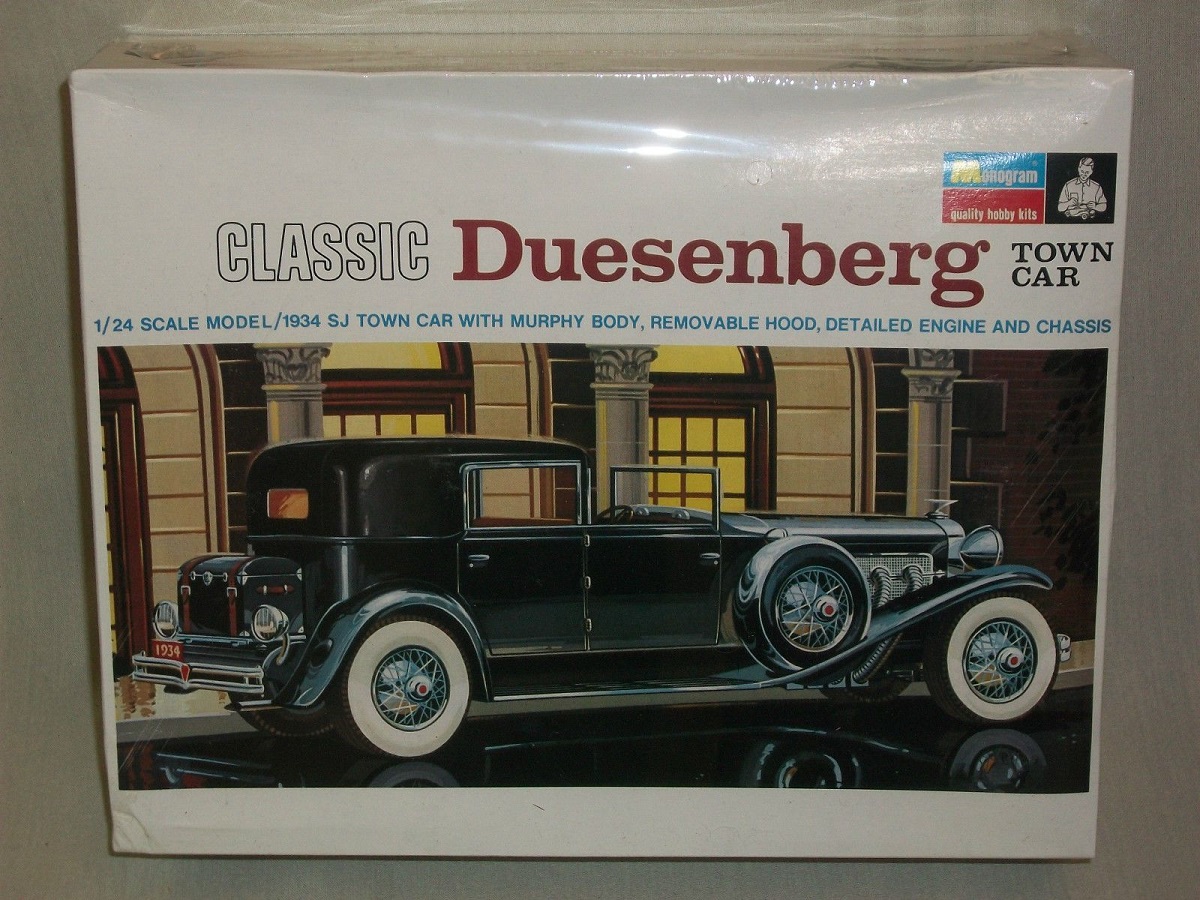
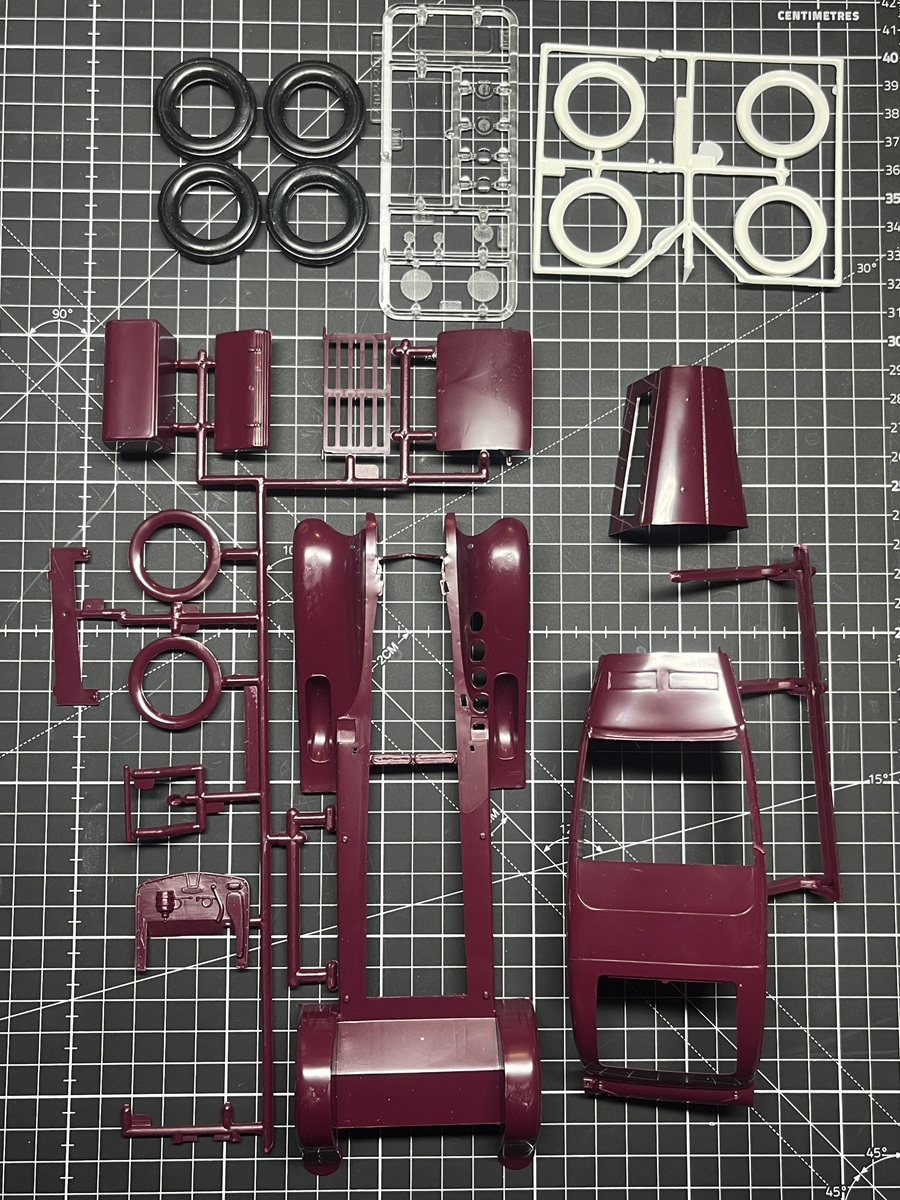
Duesenberg Town Car - the original tooling was 1963, I have the 1996 reboxing.
I have a couple of hours each night for a few days while it is too hot to airbrush so I will make a start on cleaning up parts and some sub assembles and post updates as I go.
Time to do some Googling and check out some colour combinations as well
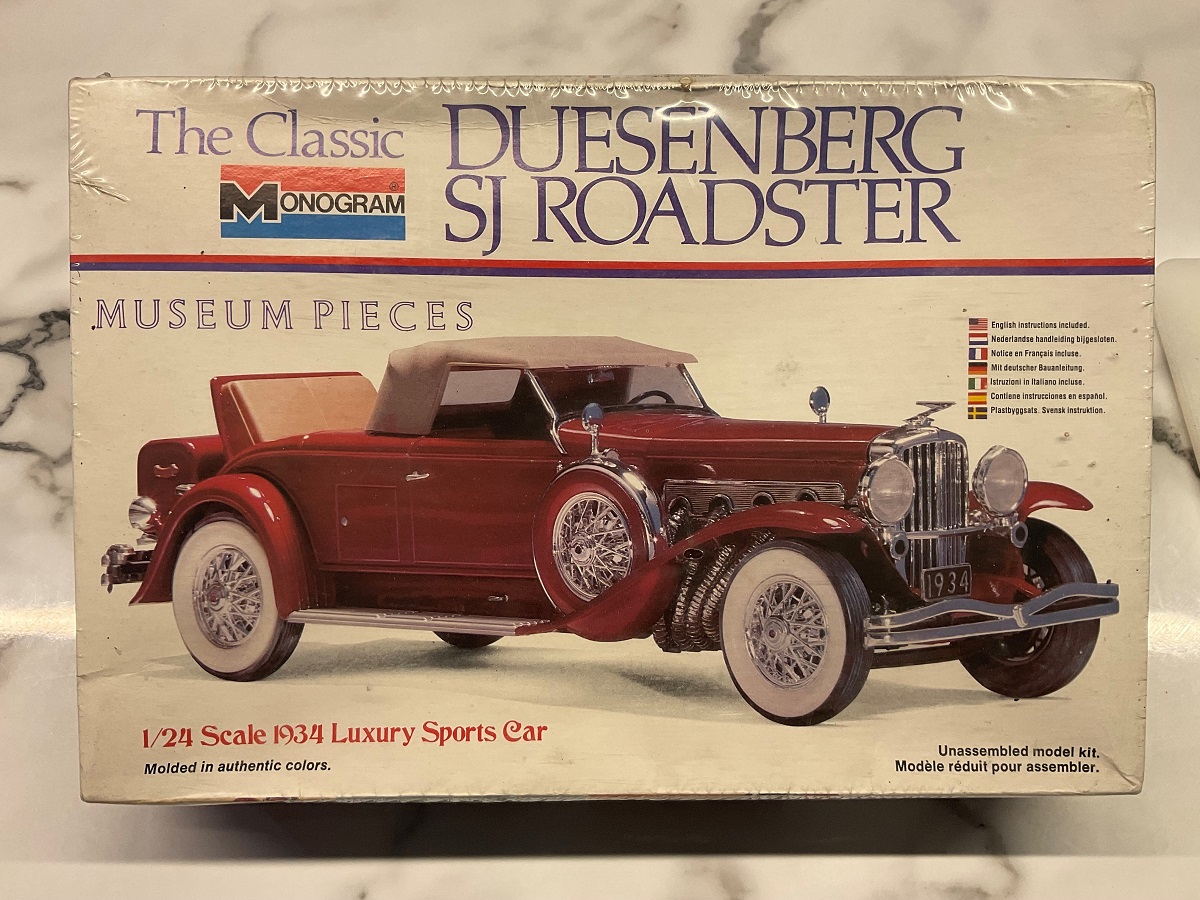
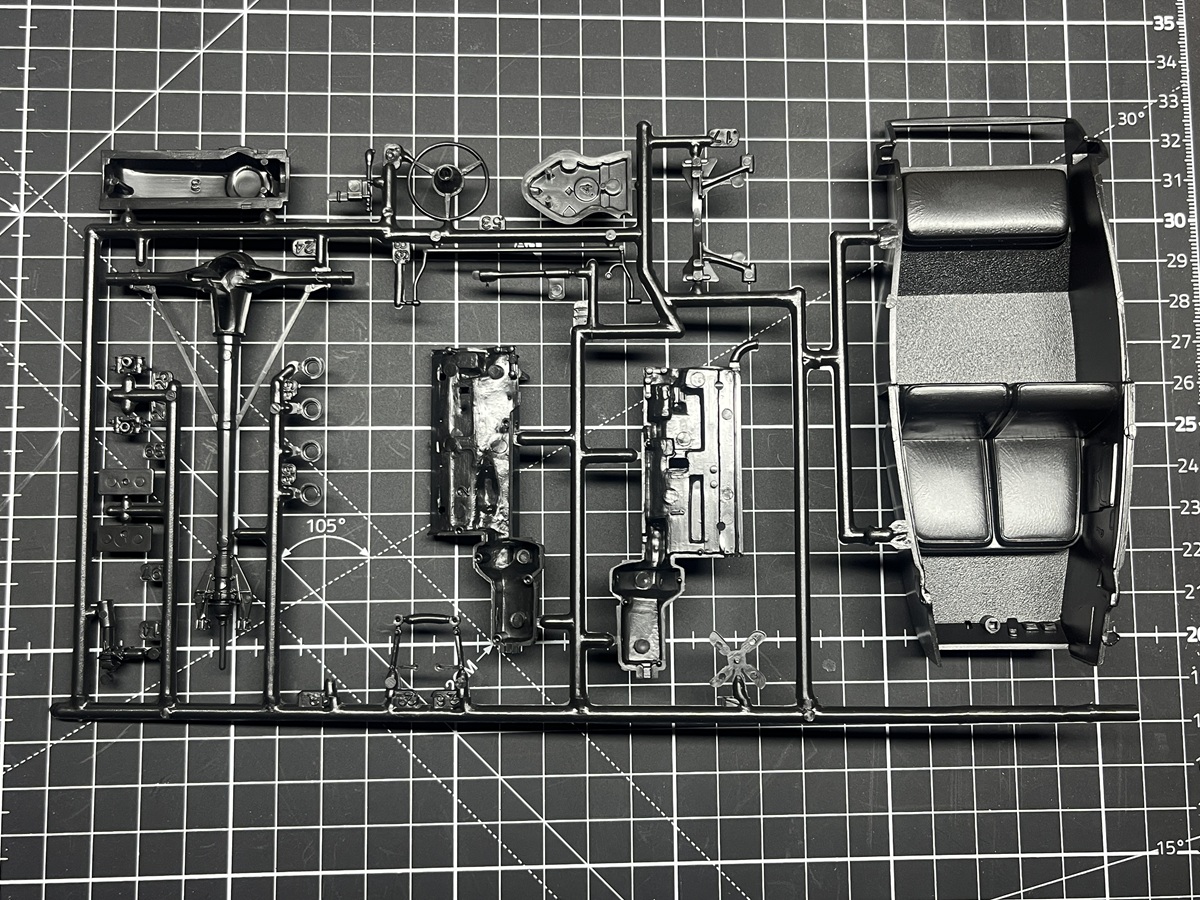
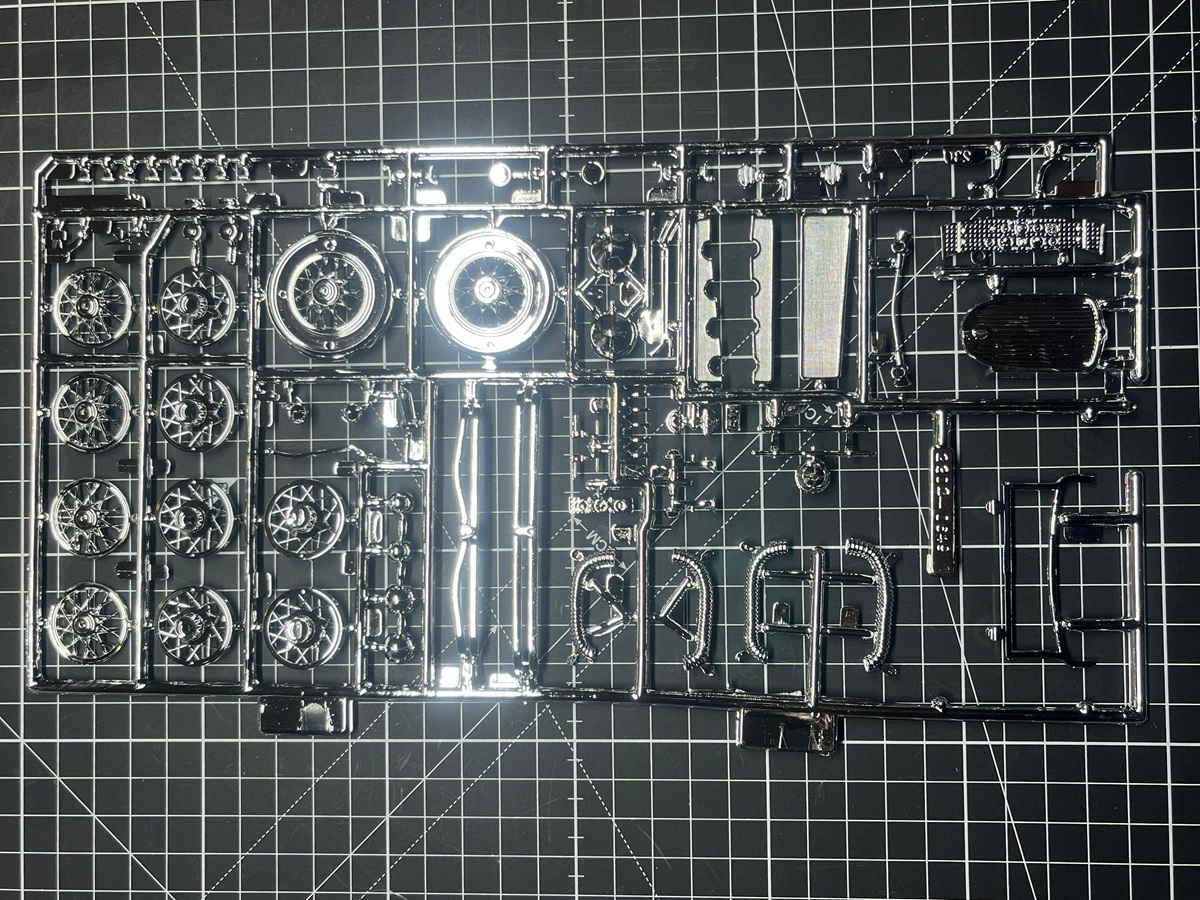
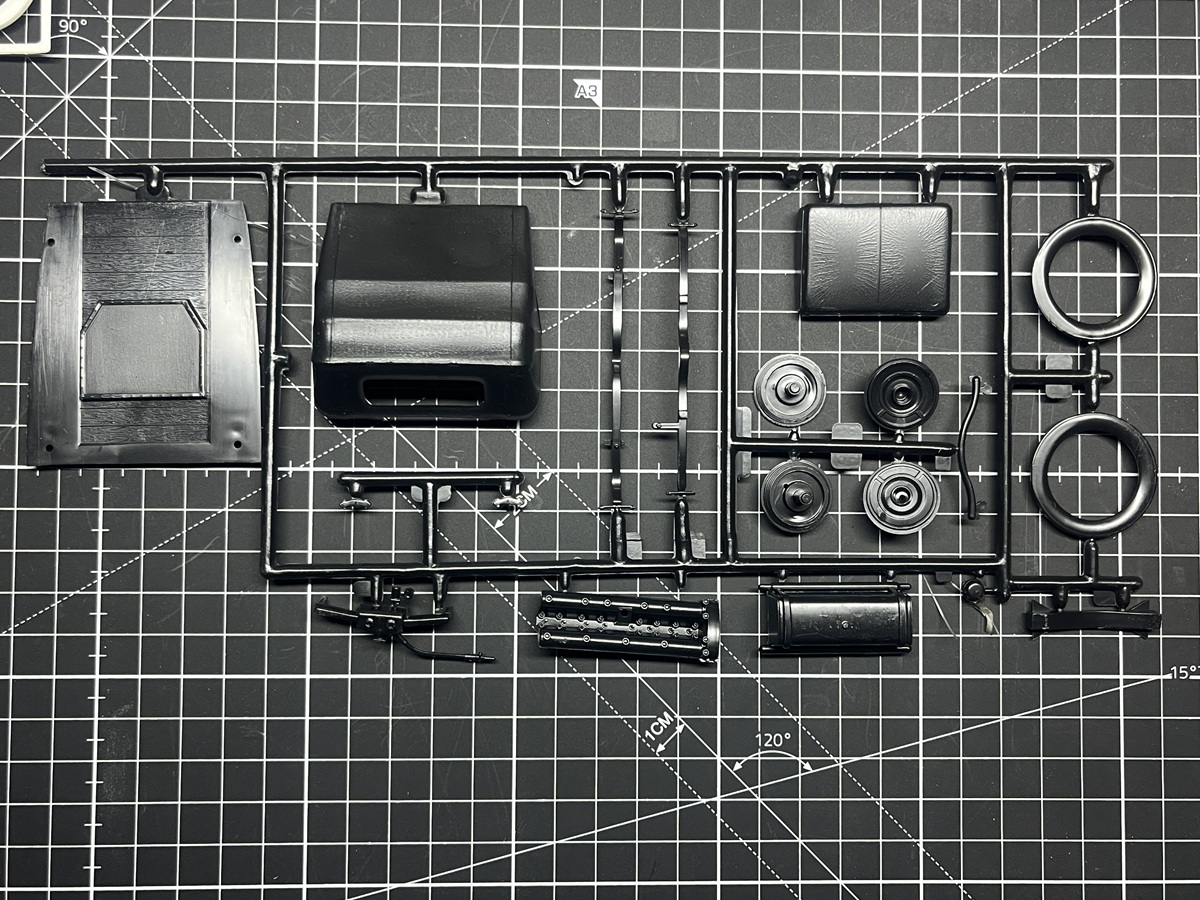
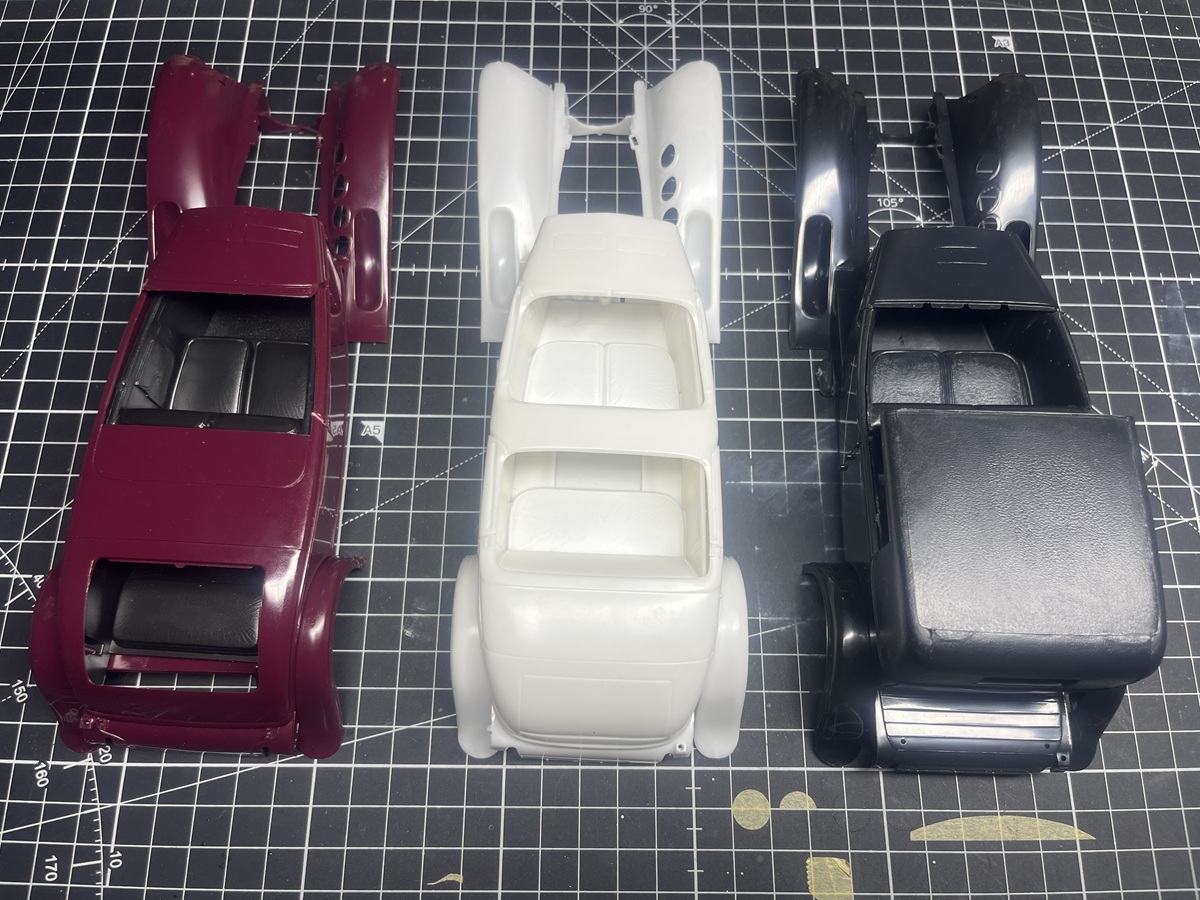
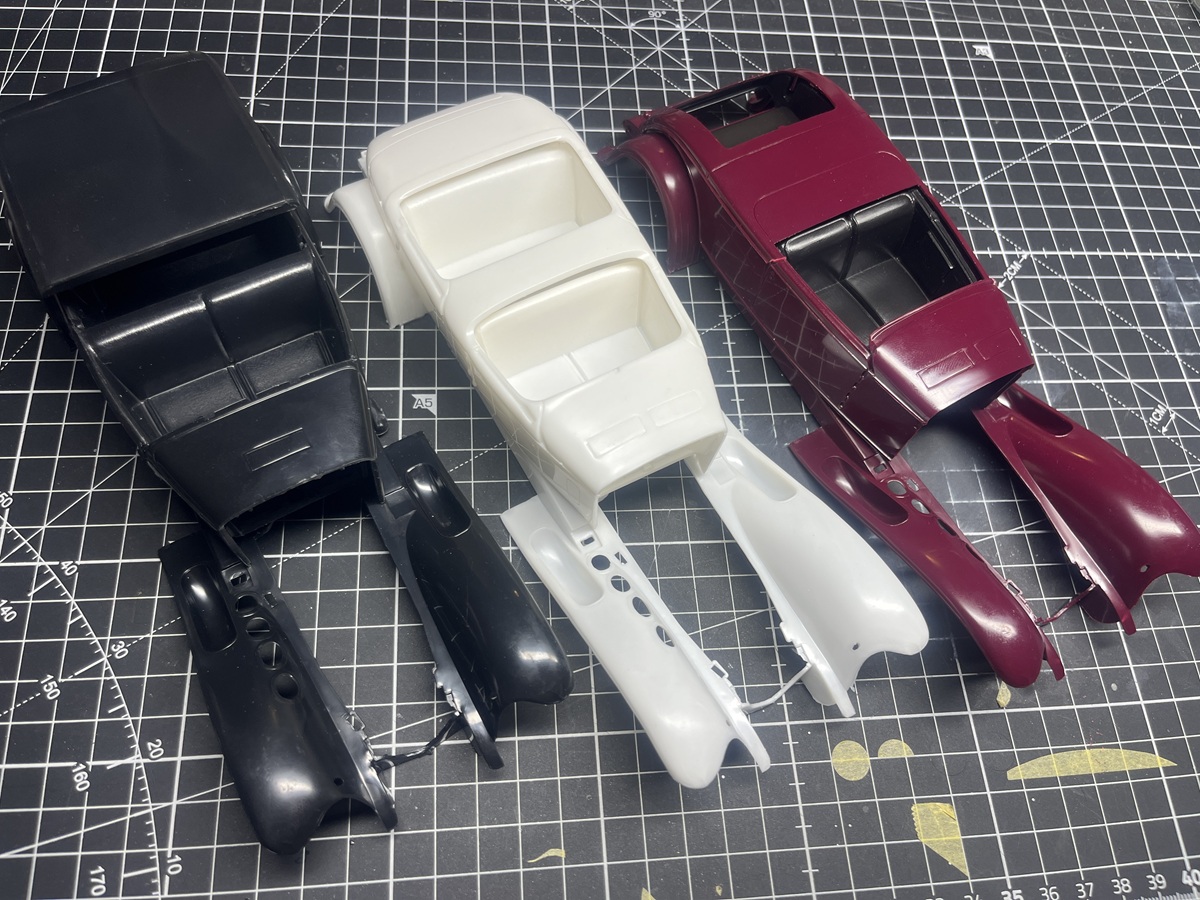
Sprue shots of the Roadster. Looks like mostly common sprues between the 3 versions with just the body as the main difference. I will post up comparisons of the bodies side-by-side soon.
Hi Dan. It can get very humid if there’s storms about, but this is a very dry heat with northerly winds. Most places have AC or evaporative cooling, I have AC.
I’m sure I could have a go at painting with the lacquers I use, but after all of the prep work I don’t want to risk it drying out too quickly. Especially when I’m looking for a gloss finish and need to apply some heavier coats. If I was painting an aircraft with a flat finish I wouldn’t be concerned.
This also gives me an excuse to start a new project (like I don’t have enough already ).
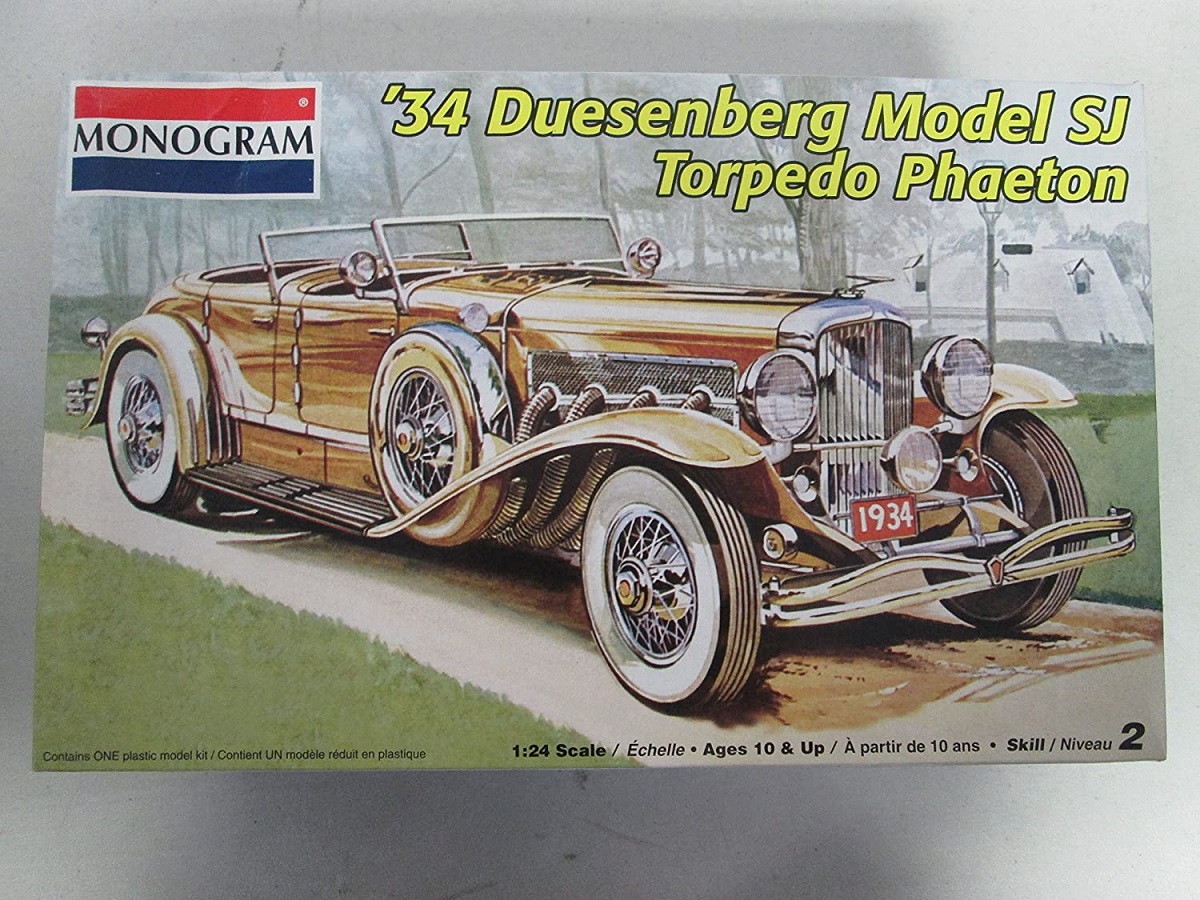
Which mirrors the practice of the high-end automobile manufacturers, who would produce the chassis for buyers, who would then contract with a coachbuilder to produce and mount the body of the vehicle. The SJ was a supercharged version of the Model J, introduced in 1932, and only 36 units were built. So you’ve got a twelfth of the entire production run in those three boxes.
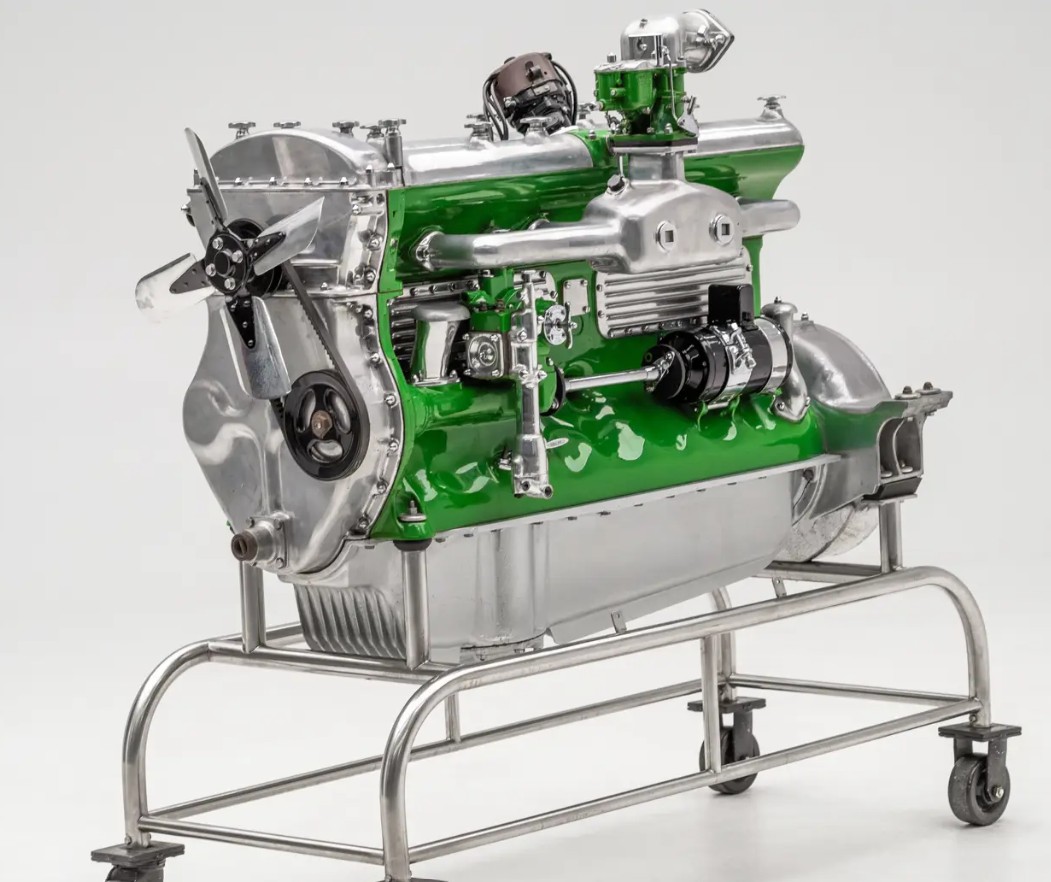
I’m certainly watching. That’s a beautiful motor. I’m sure you’ll do it justice.
I remember when I was twelve or thirteen building the 1/32 Lindberg version, and painting to look like a German staff car to go with some Monogram 1/32 armor kits I had. Those were the days.
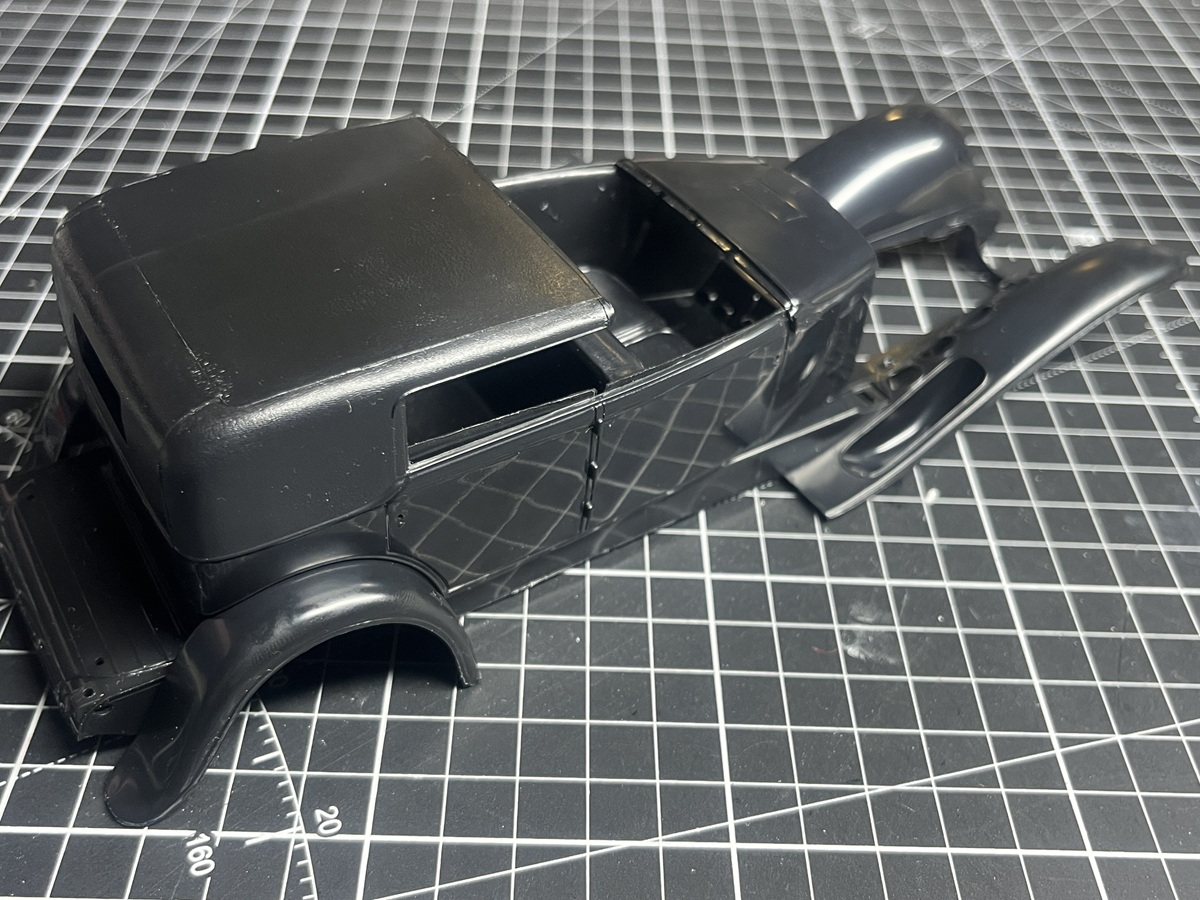
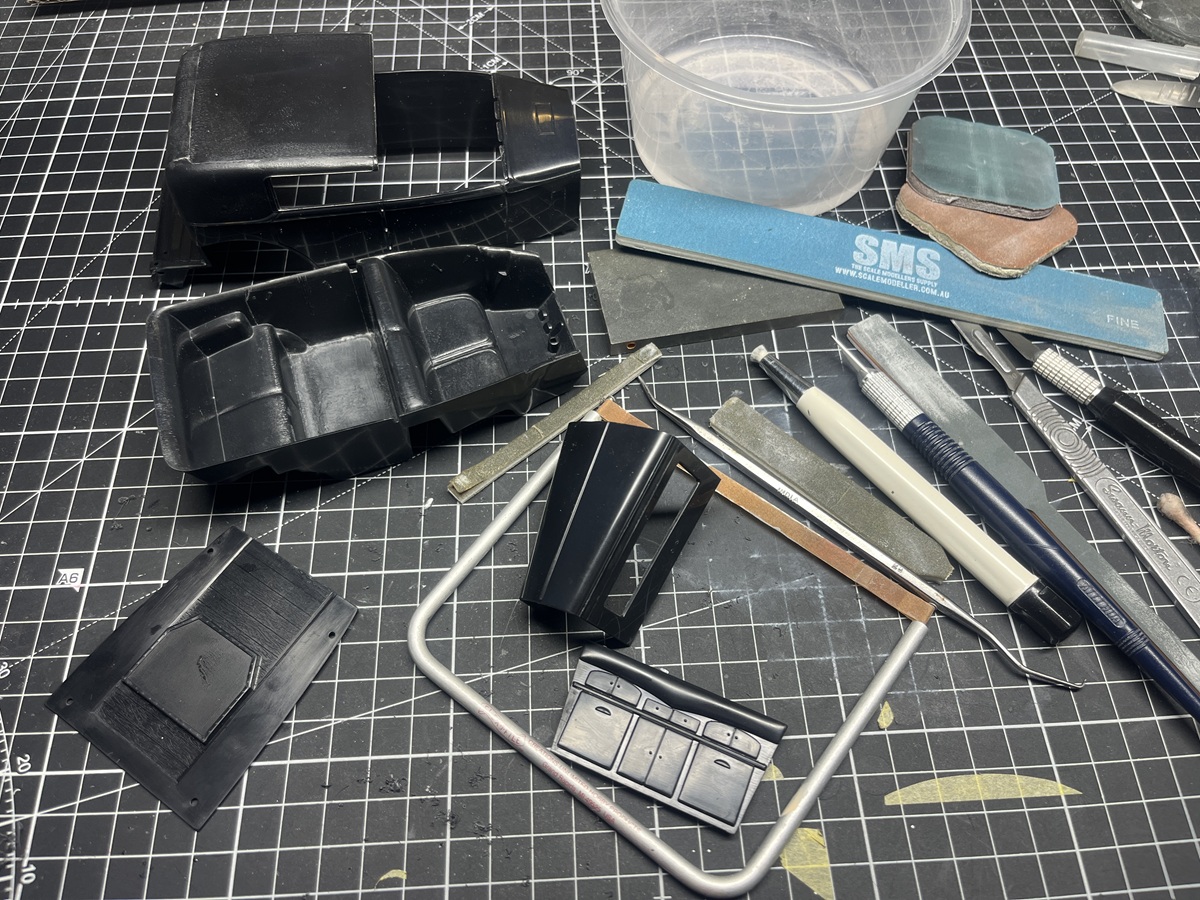
Here is some work I did on the Town Car last night. These 60+ year old molds definitely show their age, plenty of flash what I can deal with, but some misalignment that makes fit difficult.
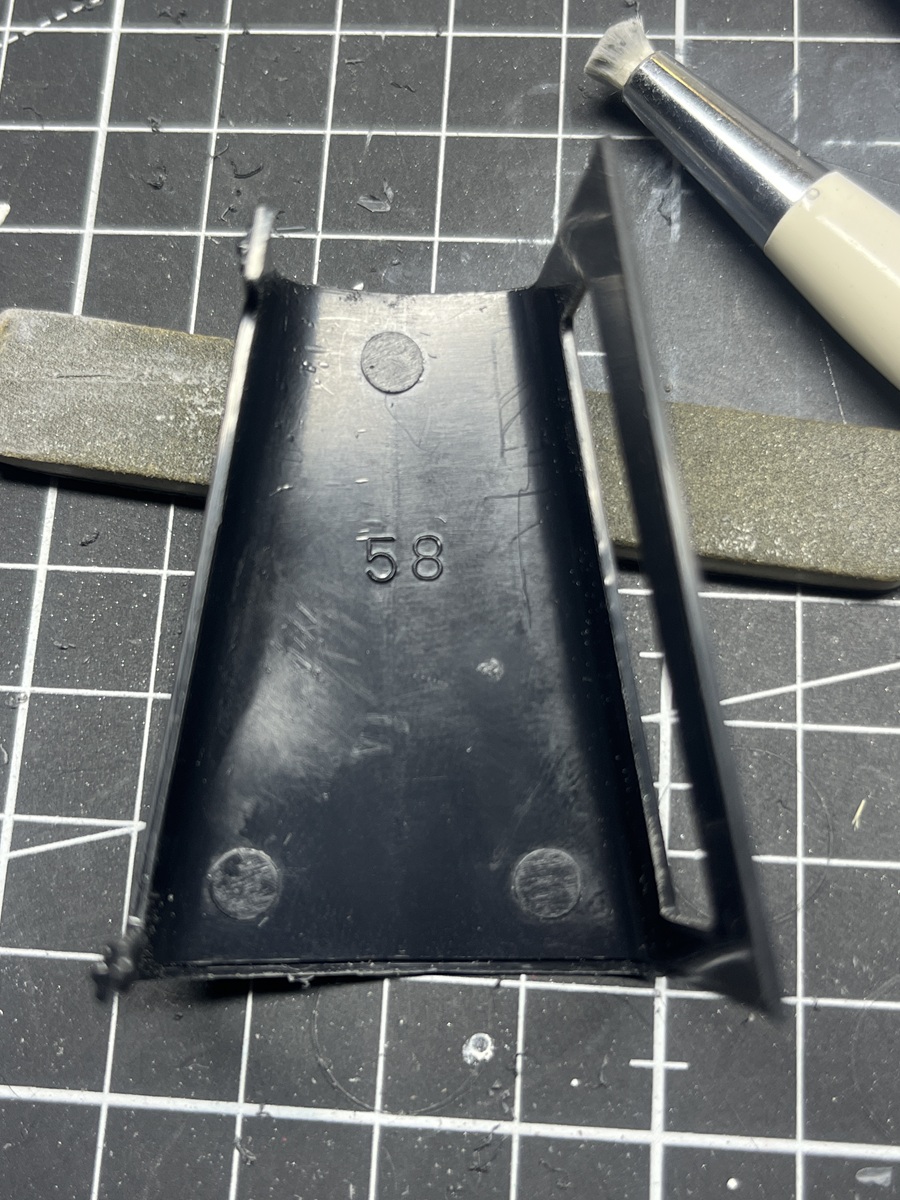
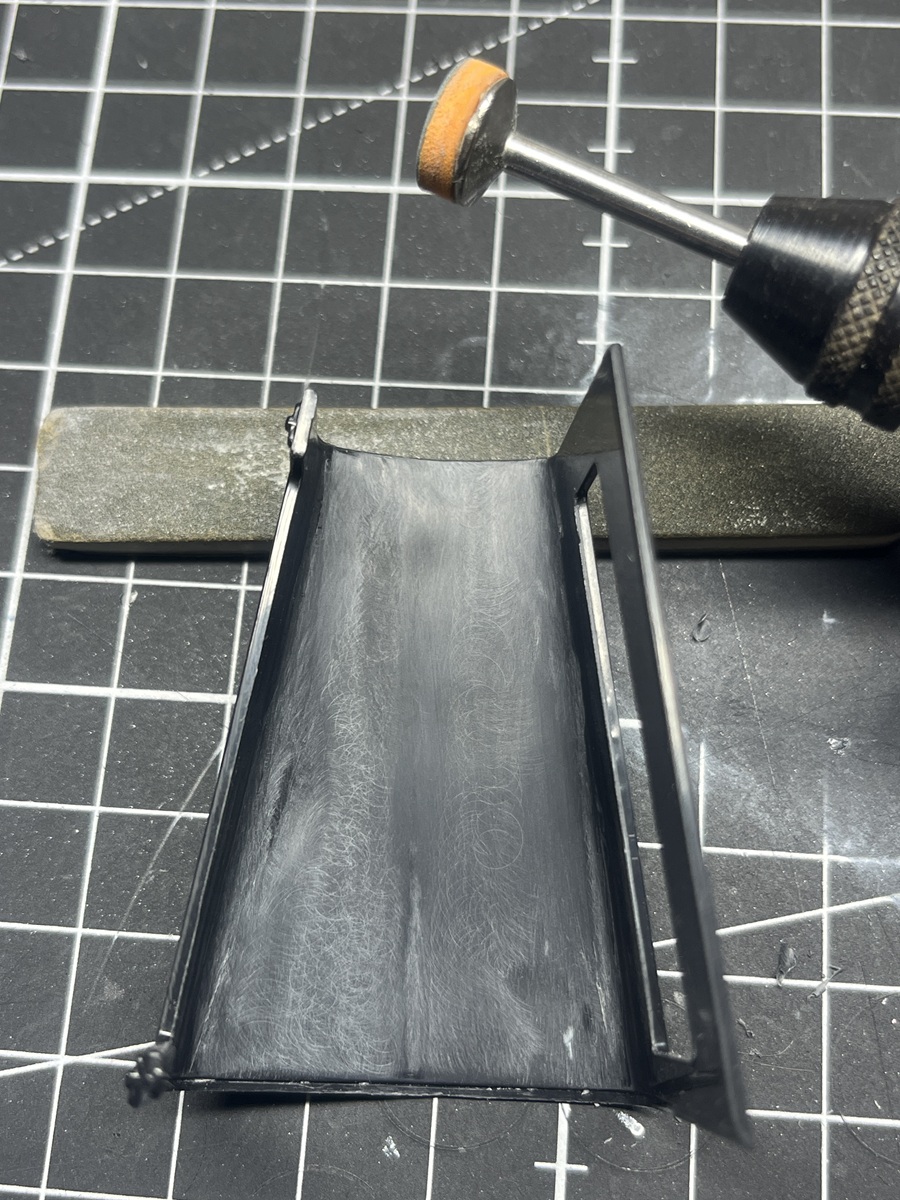
There were a couple of raised ejector pin points on the rear floor of the interior tub that I took care of, but also a couple of shallow recessed points on the front floor. There is a fine lateral raised ribbing on the front floor, if I fill these points they will still stand out, if I sand them out I will lose all of the detail around them, so they will stay.
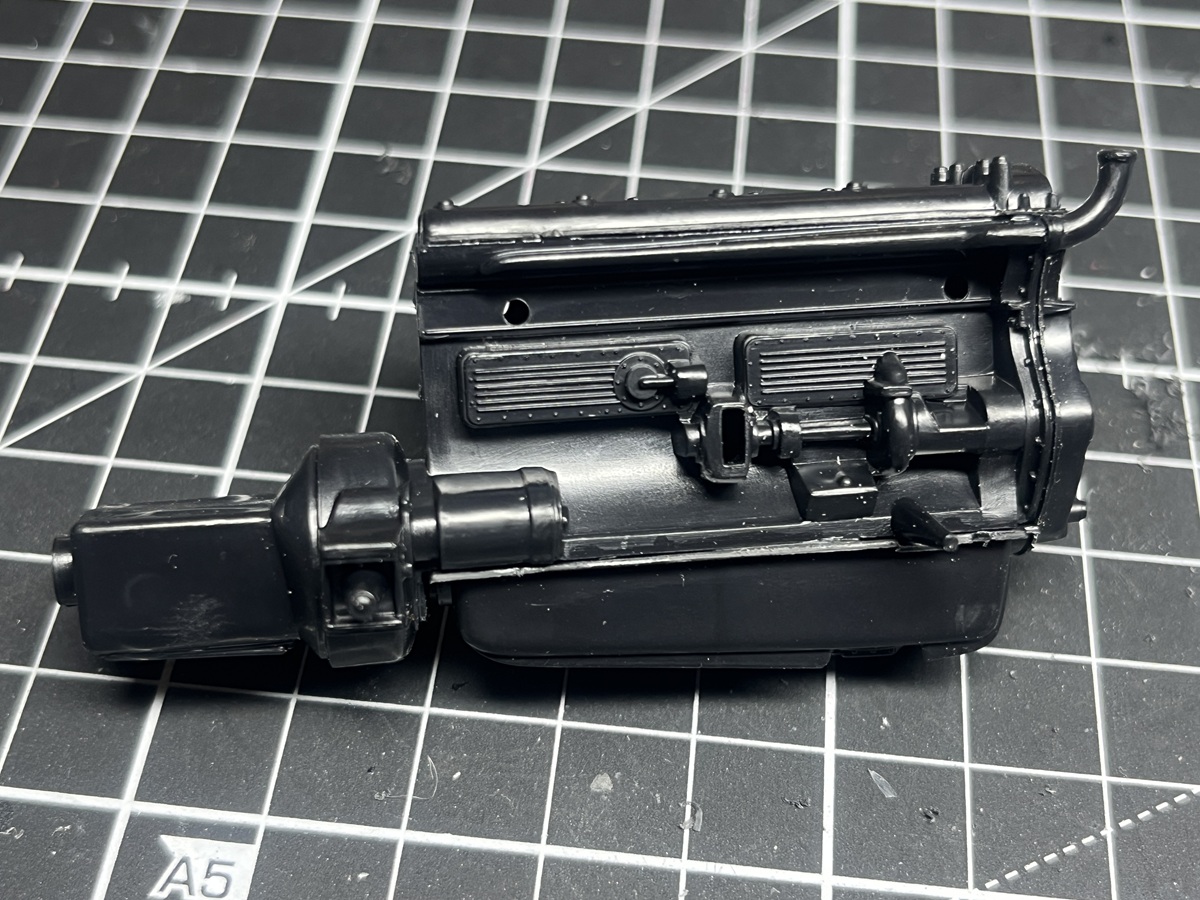
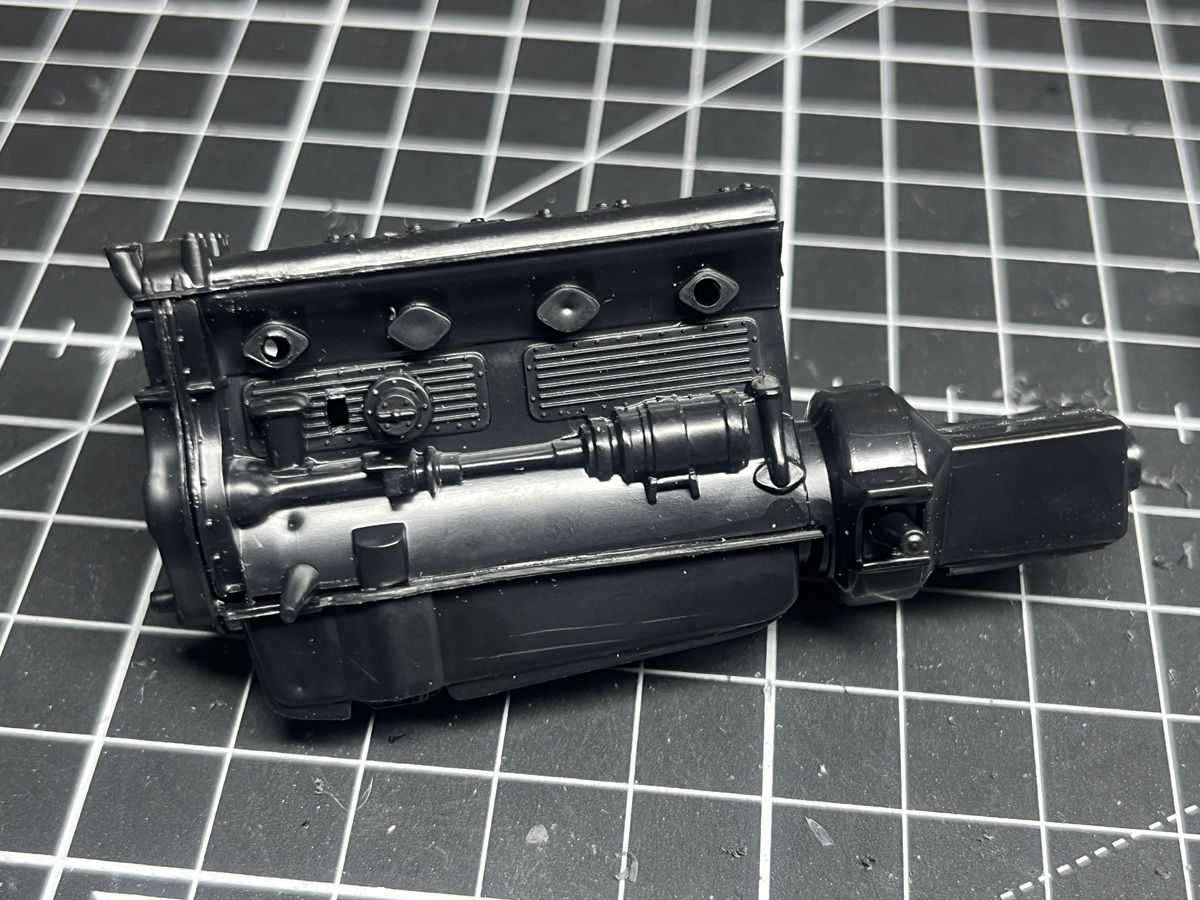
The engine assembly was troublesome. The locating pins didn’t line up with the receiving holes and the parts are slightly mismatched size-wise. I cut off the locating pins and flattenned out the join faces on each part with the Super Sanding Blocks (these are awesome, highly recommend them), then glued and held the parts together while the cement set up. Still some tidying up to do but an OK result.