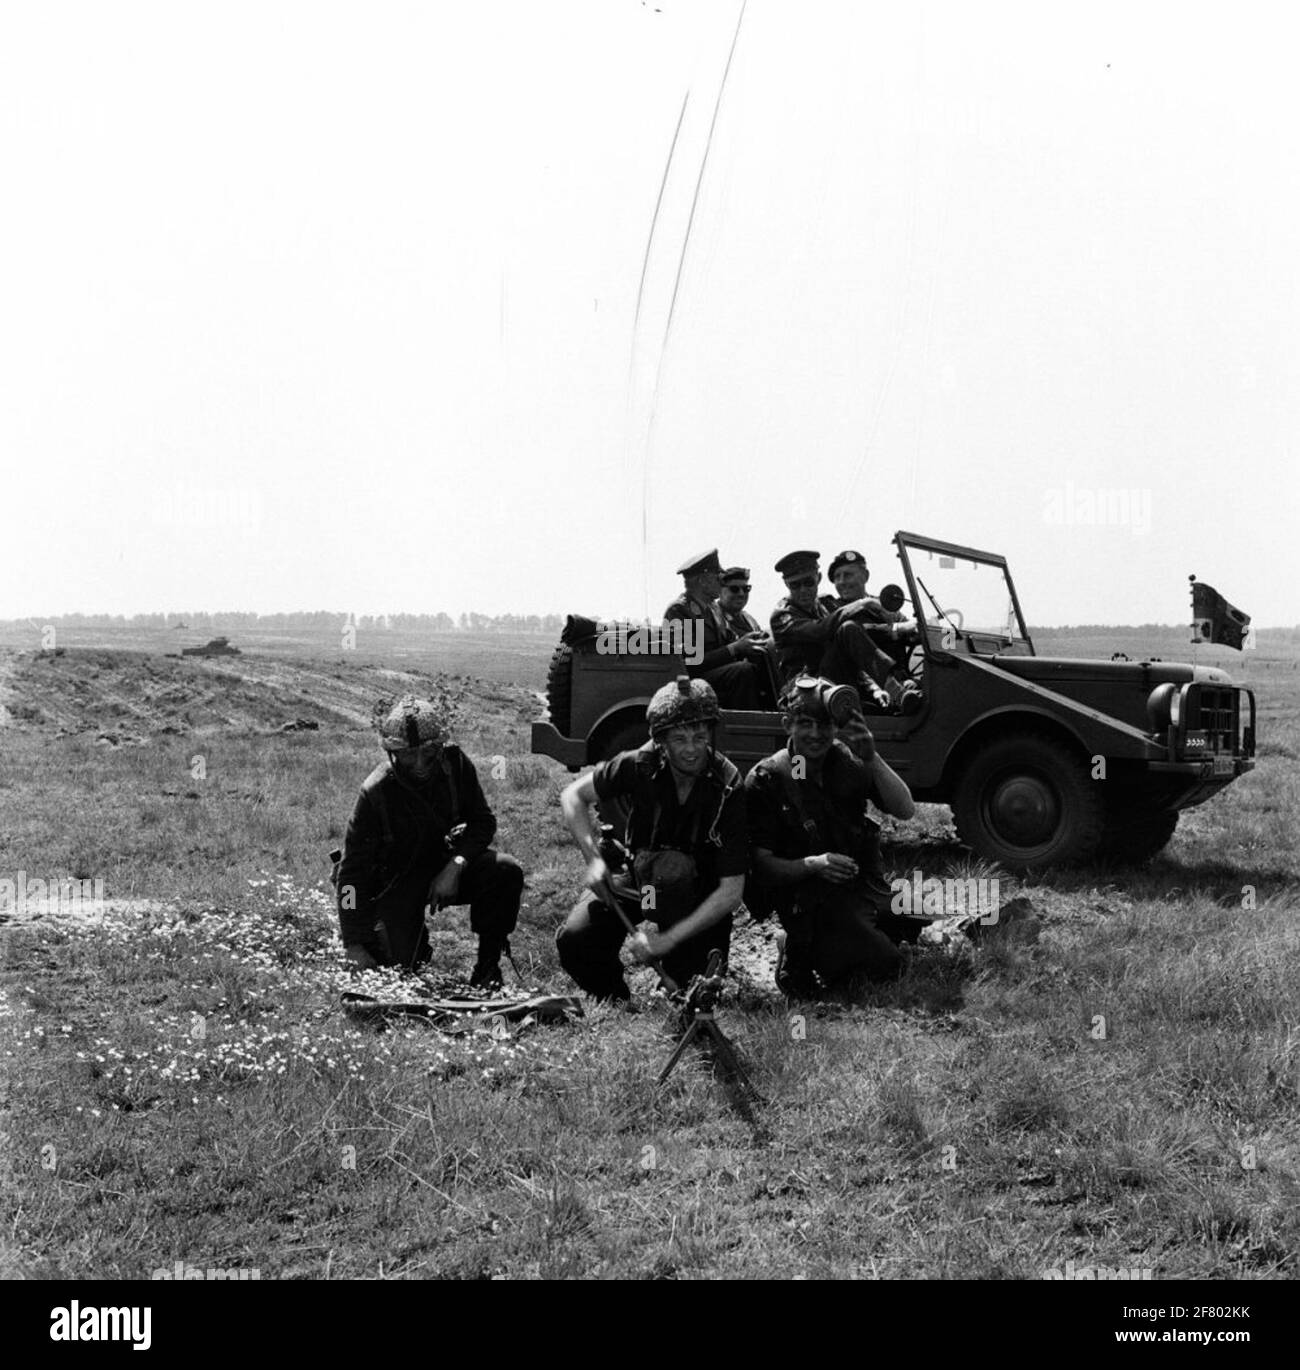
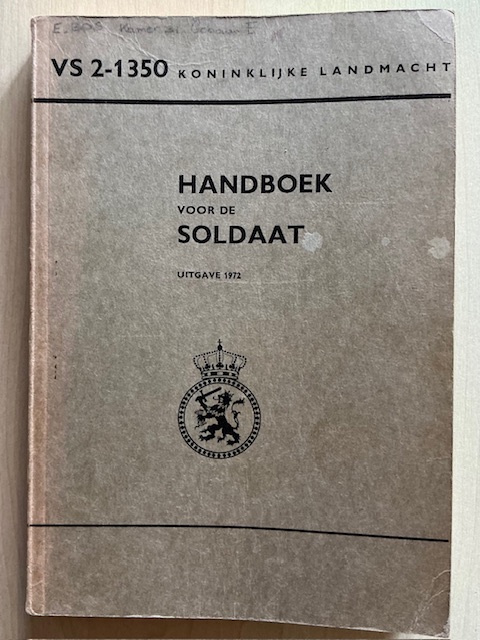
Thinking about it, the few Dutch soldiers I met, wearing combat equipment in 1972, bore not a trace of blanco I’m sure; I would have recognised it, smelt it, tasted it, having for the previous 2 or so years used it every bloody day. I recall (on the Dutch soldiers) there kit was a sort of OD/khaki-ish shade, of varying consistencies I must admit. Apart from belts and perhaps a water bottle, I don’t envisage the figures I plan on using to be wearing much personal equipment, so probably a lucky escape painting-wise.
Strange isn’t it? I can recall all this sort of stuff from years back, yet can’t remember what I had for breakfast yesterday.
As I’ve just finished applying Tamiya Buff to my M48 I thought it made sense to do likewise to this one; please note that black pastels still need to be applied to the exhausts, but I was quite pleased how it turned out. Taken just now on a sunny afternoon, so I capitalised on the natural light.
I like it!!!.Looks just right to my eyes Brian.Definately Cold war warrior and the nets really make her look busy.Definately got a Leopard and Chieftain vibe about her.
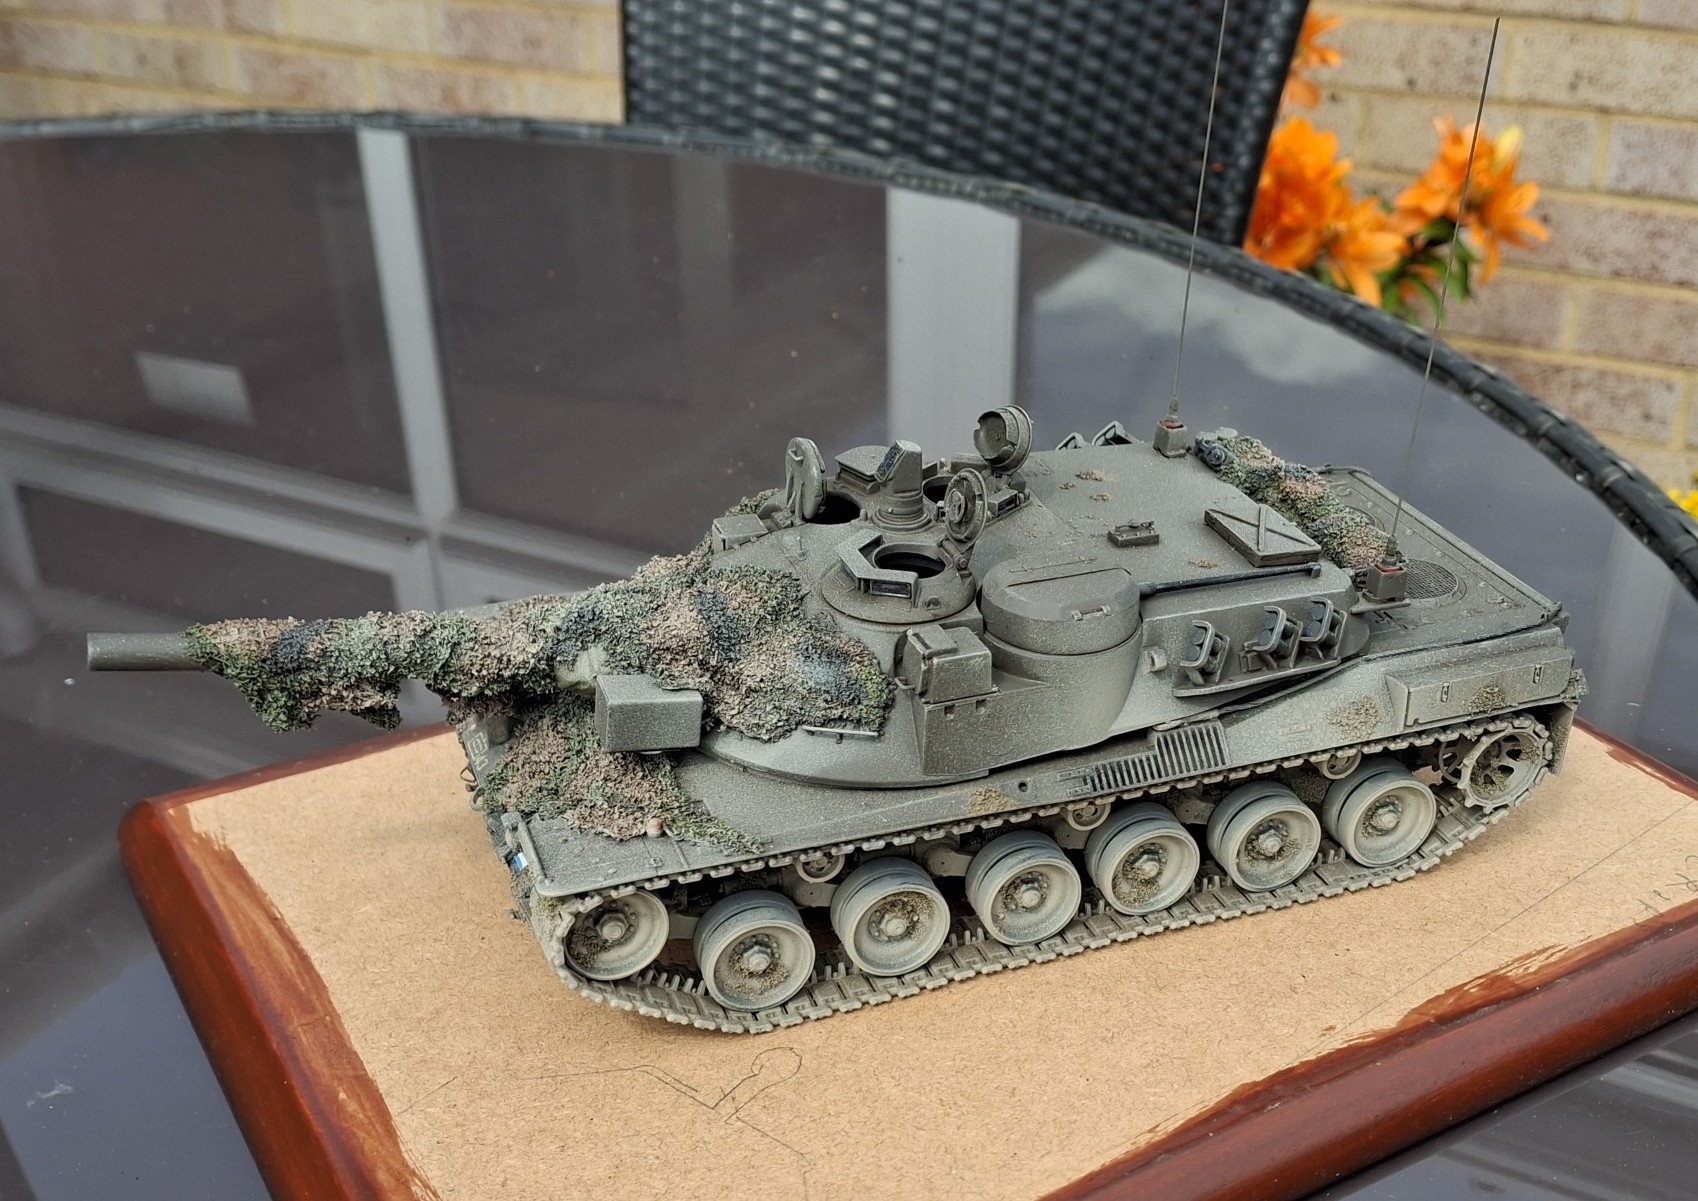
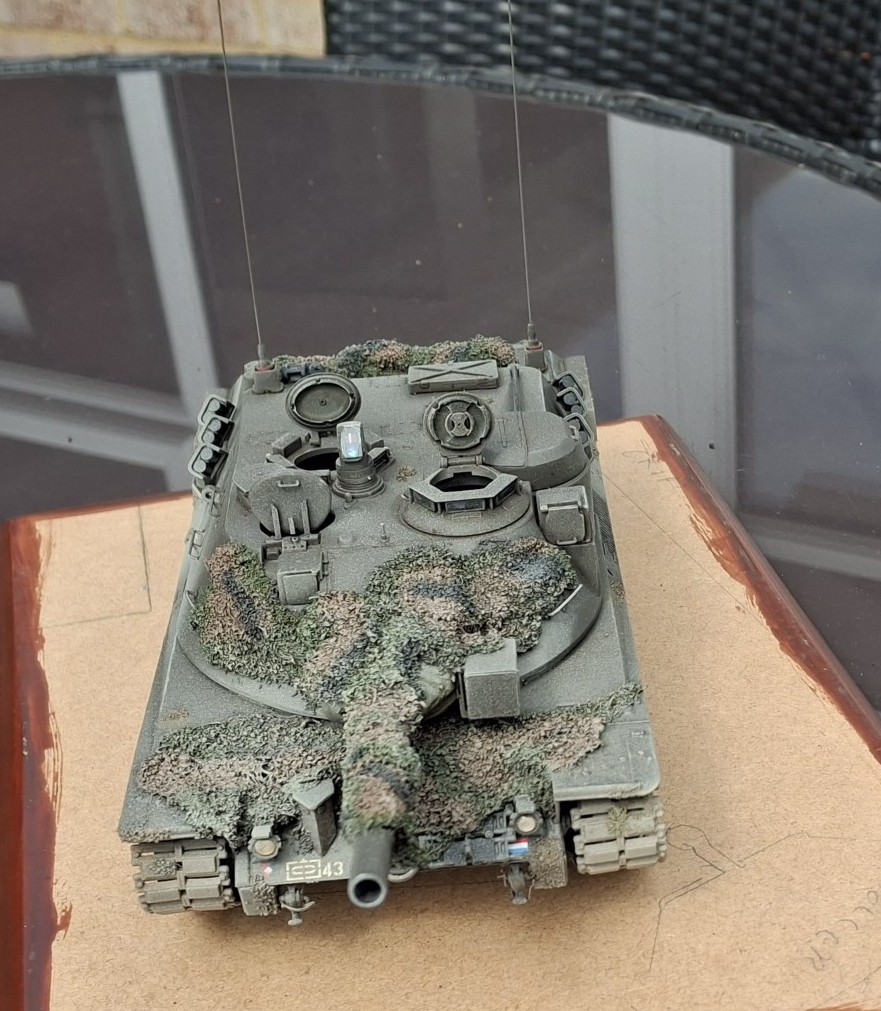
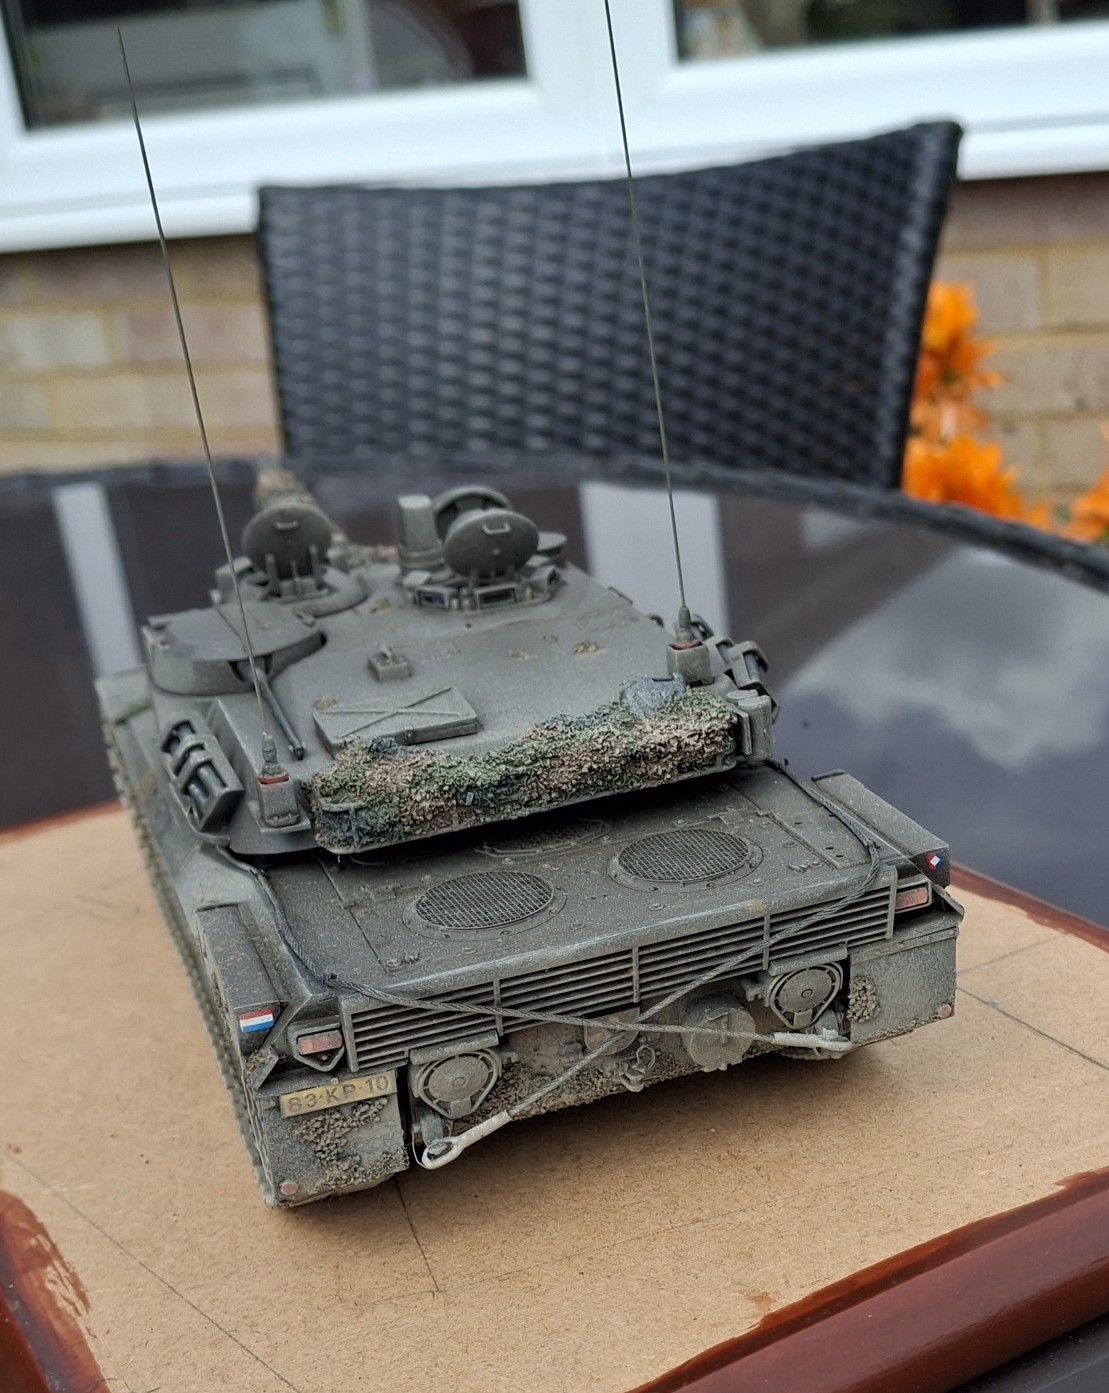
Just in case members think I’ve taken too much on (you’d be right) I thought a brief update might be appropriate here on the MBT-70.
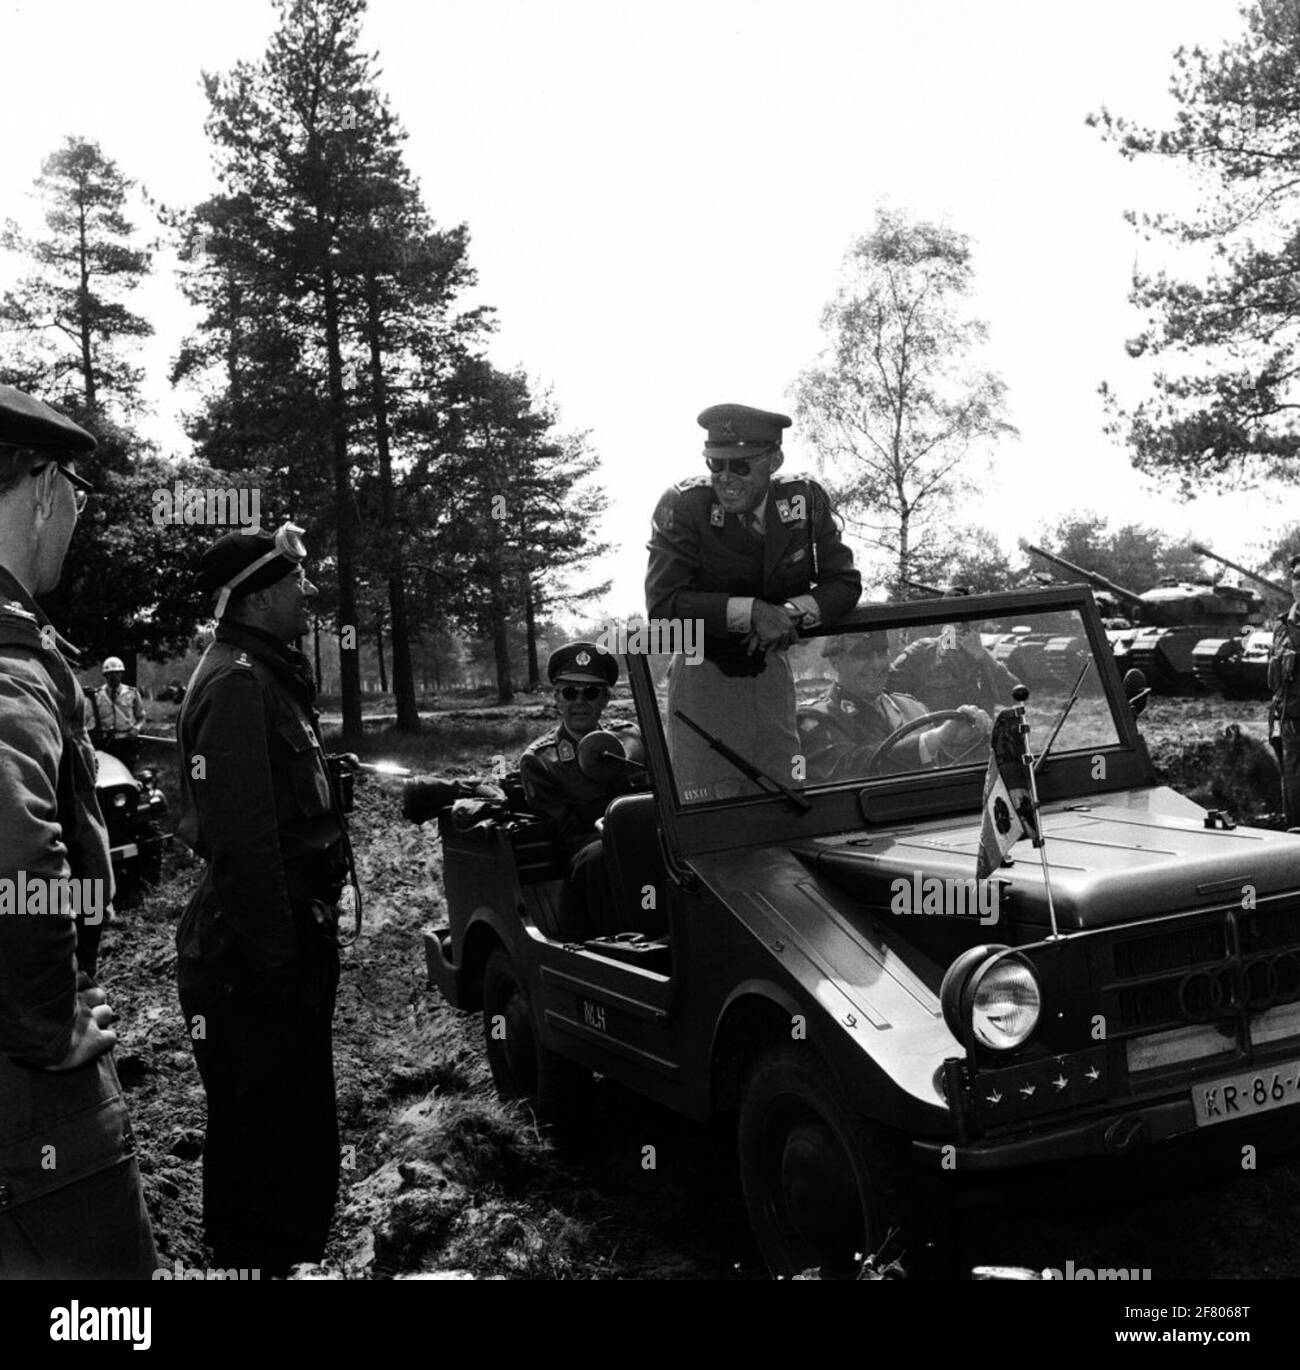
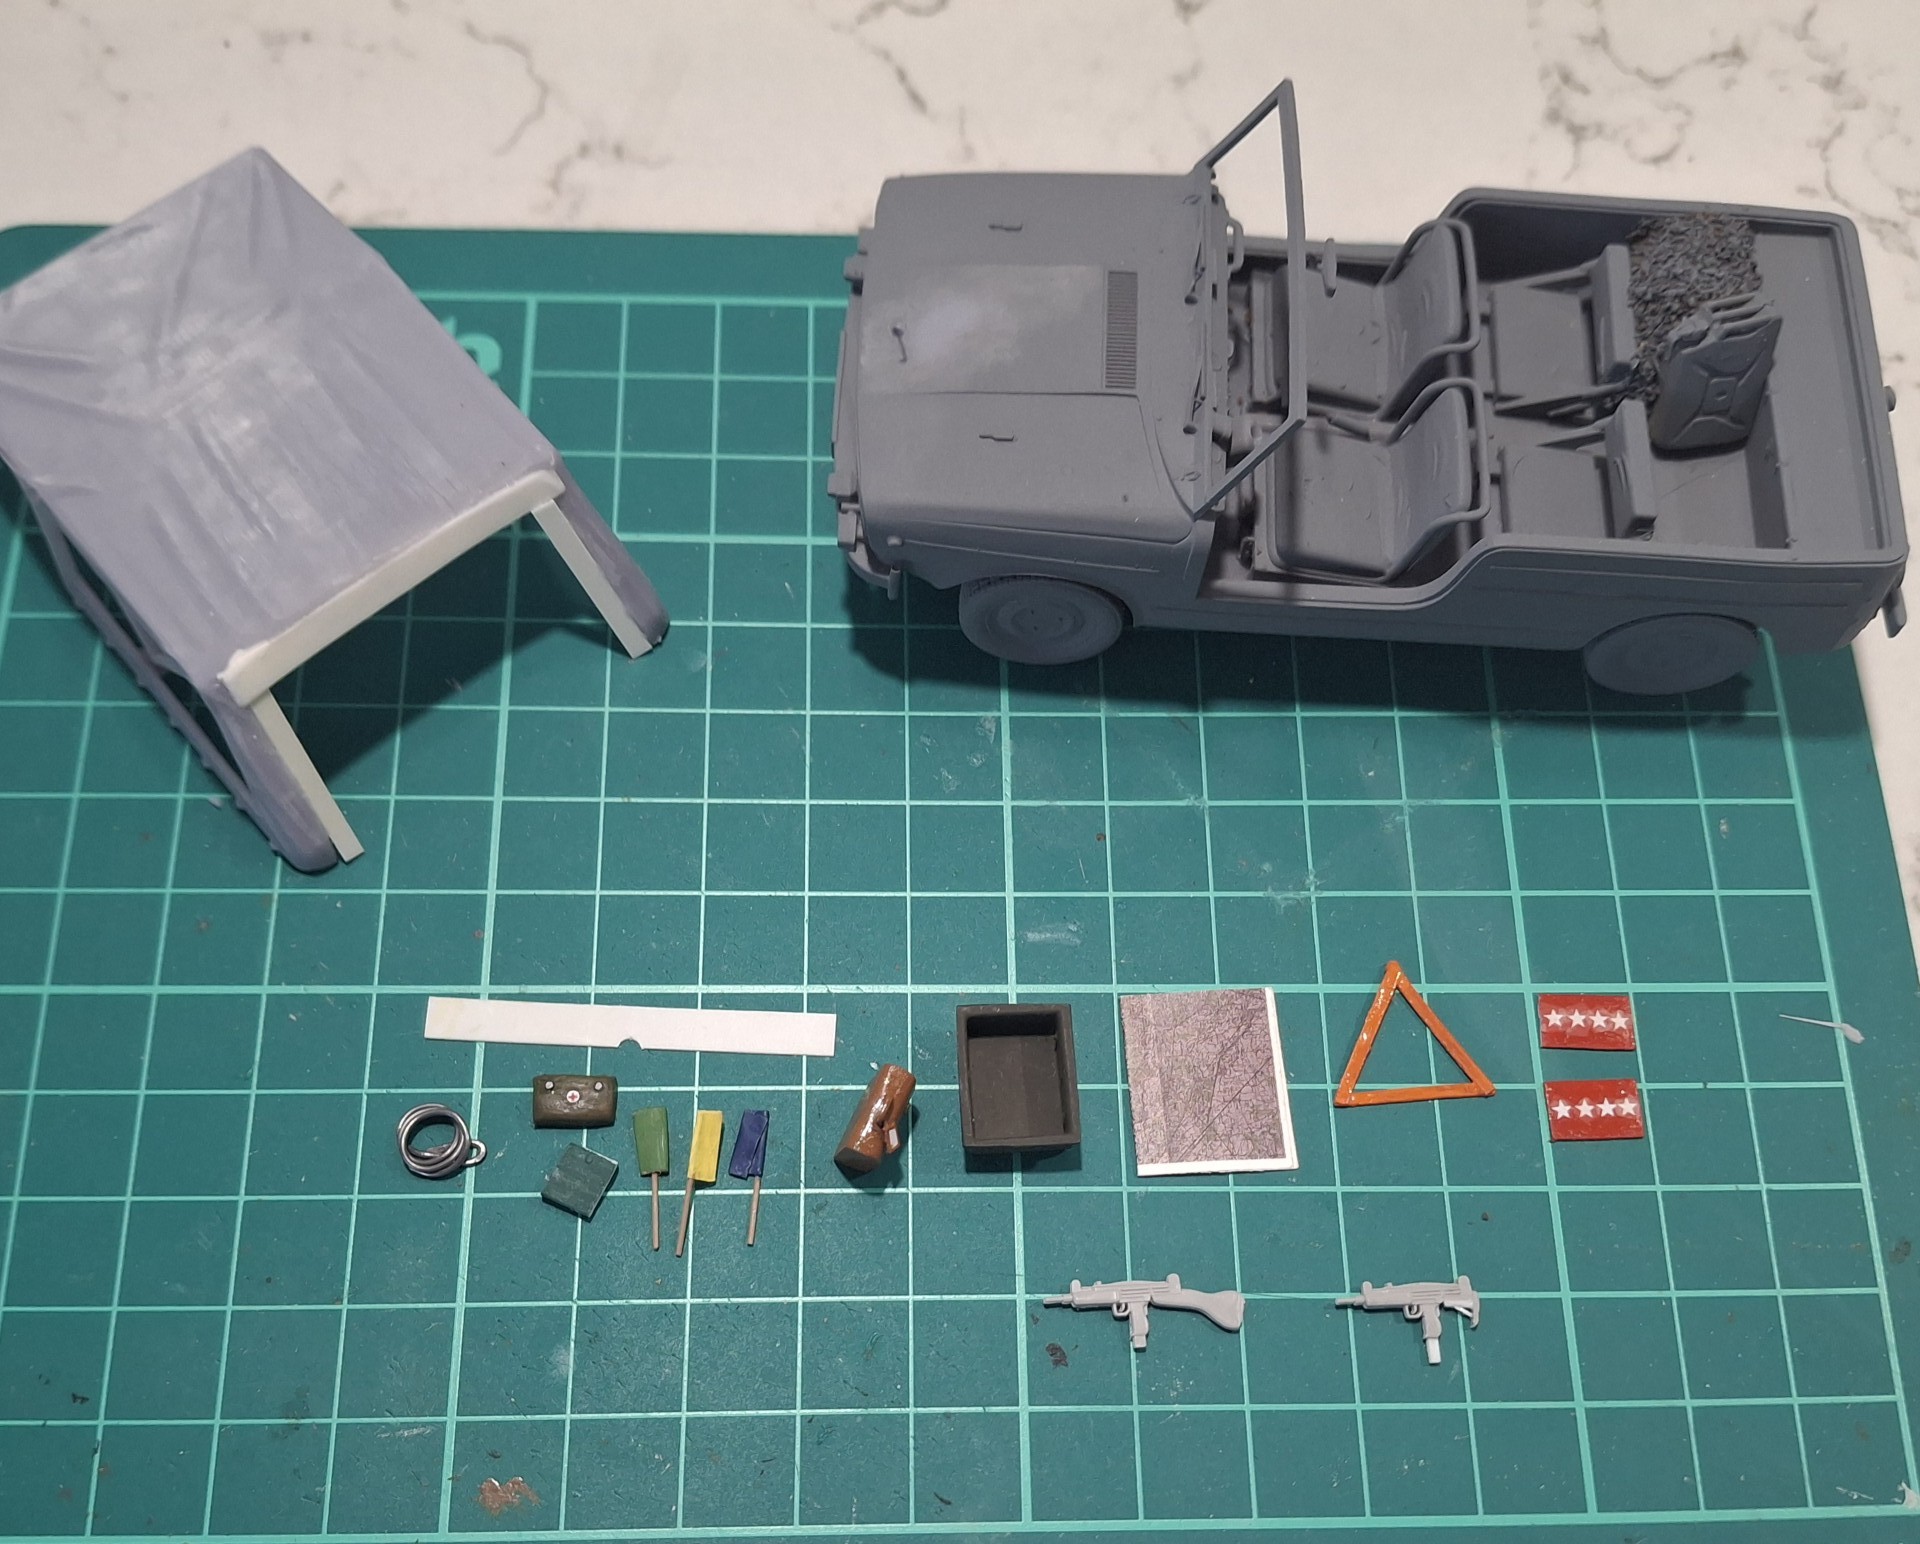
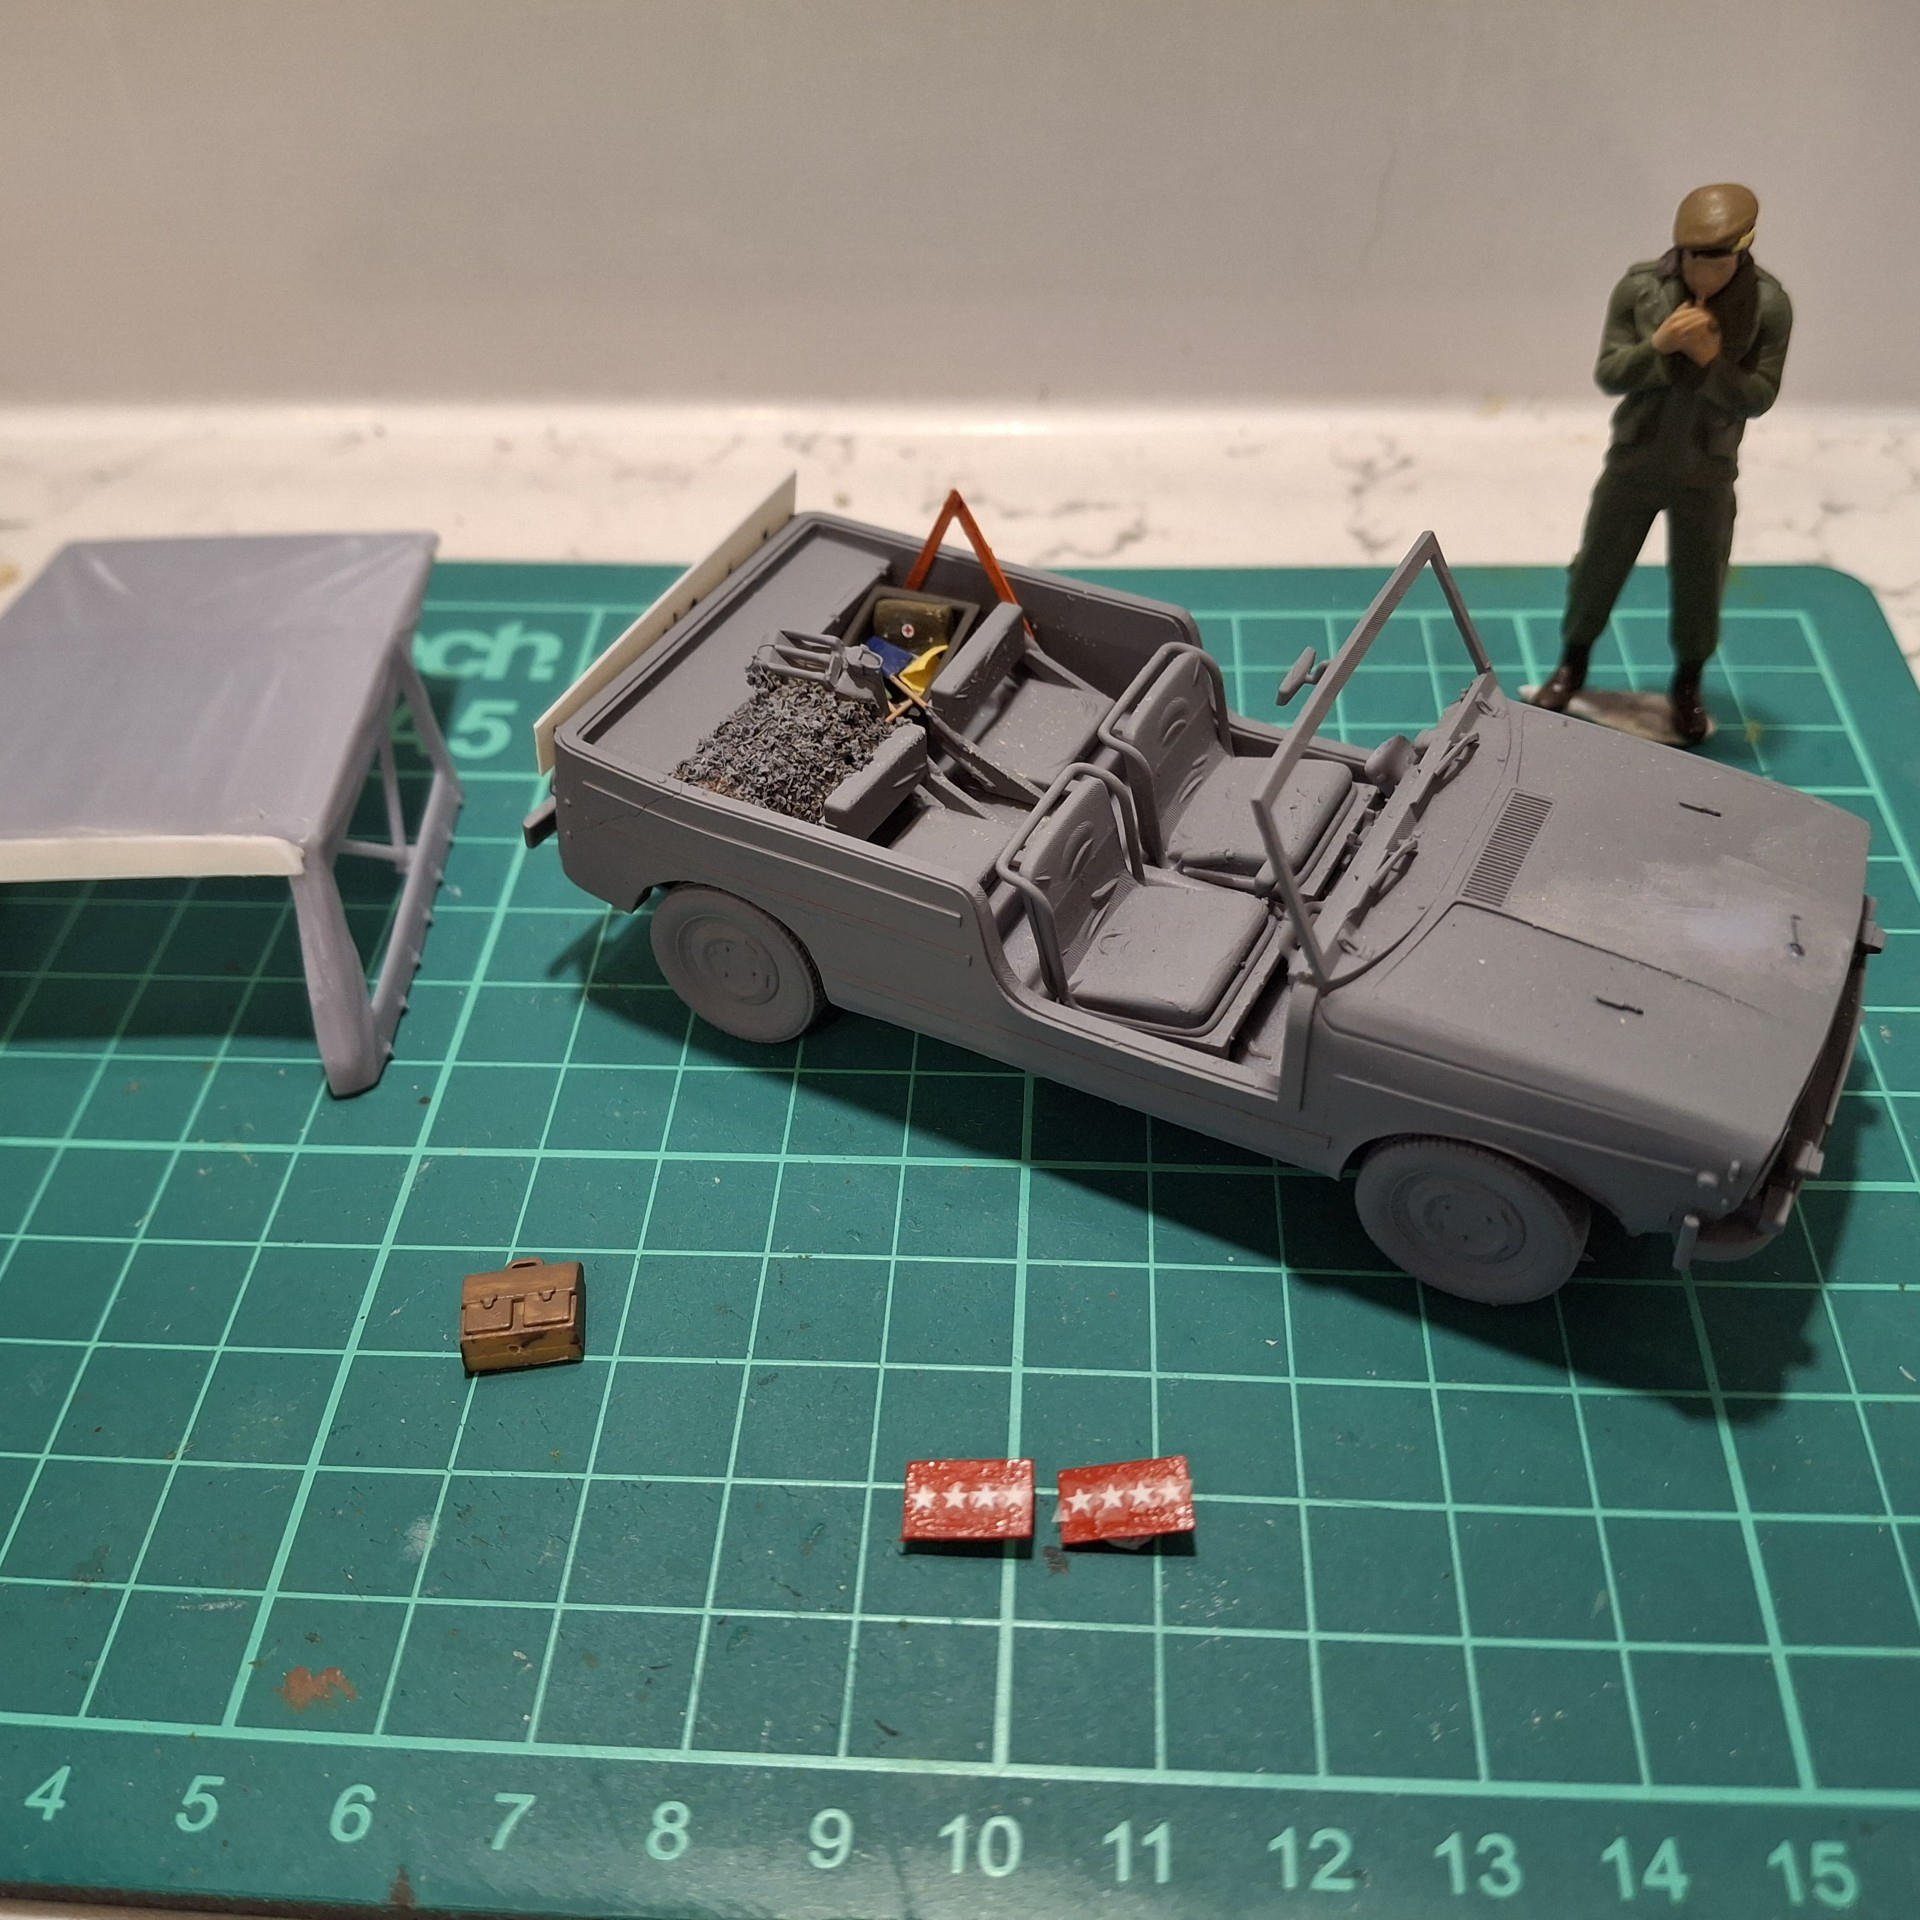
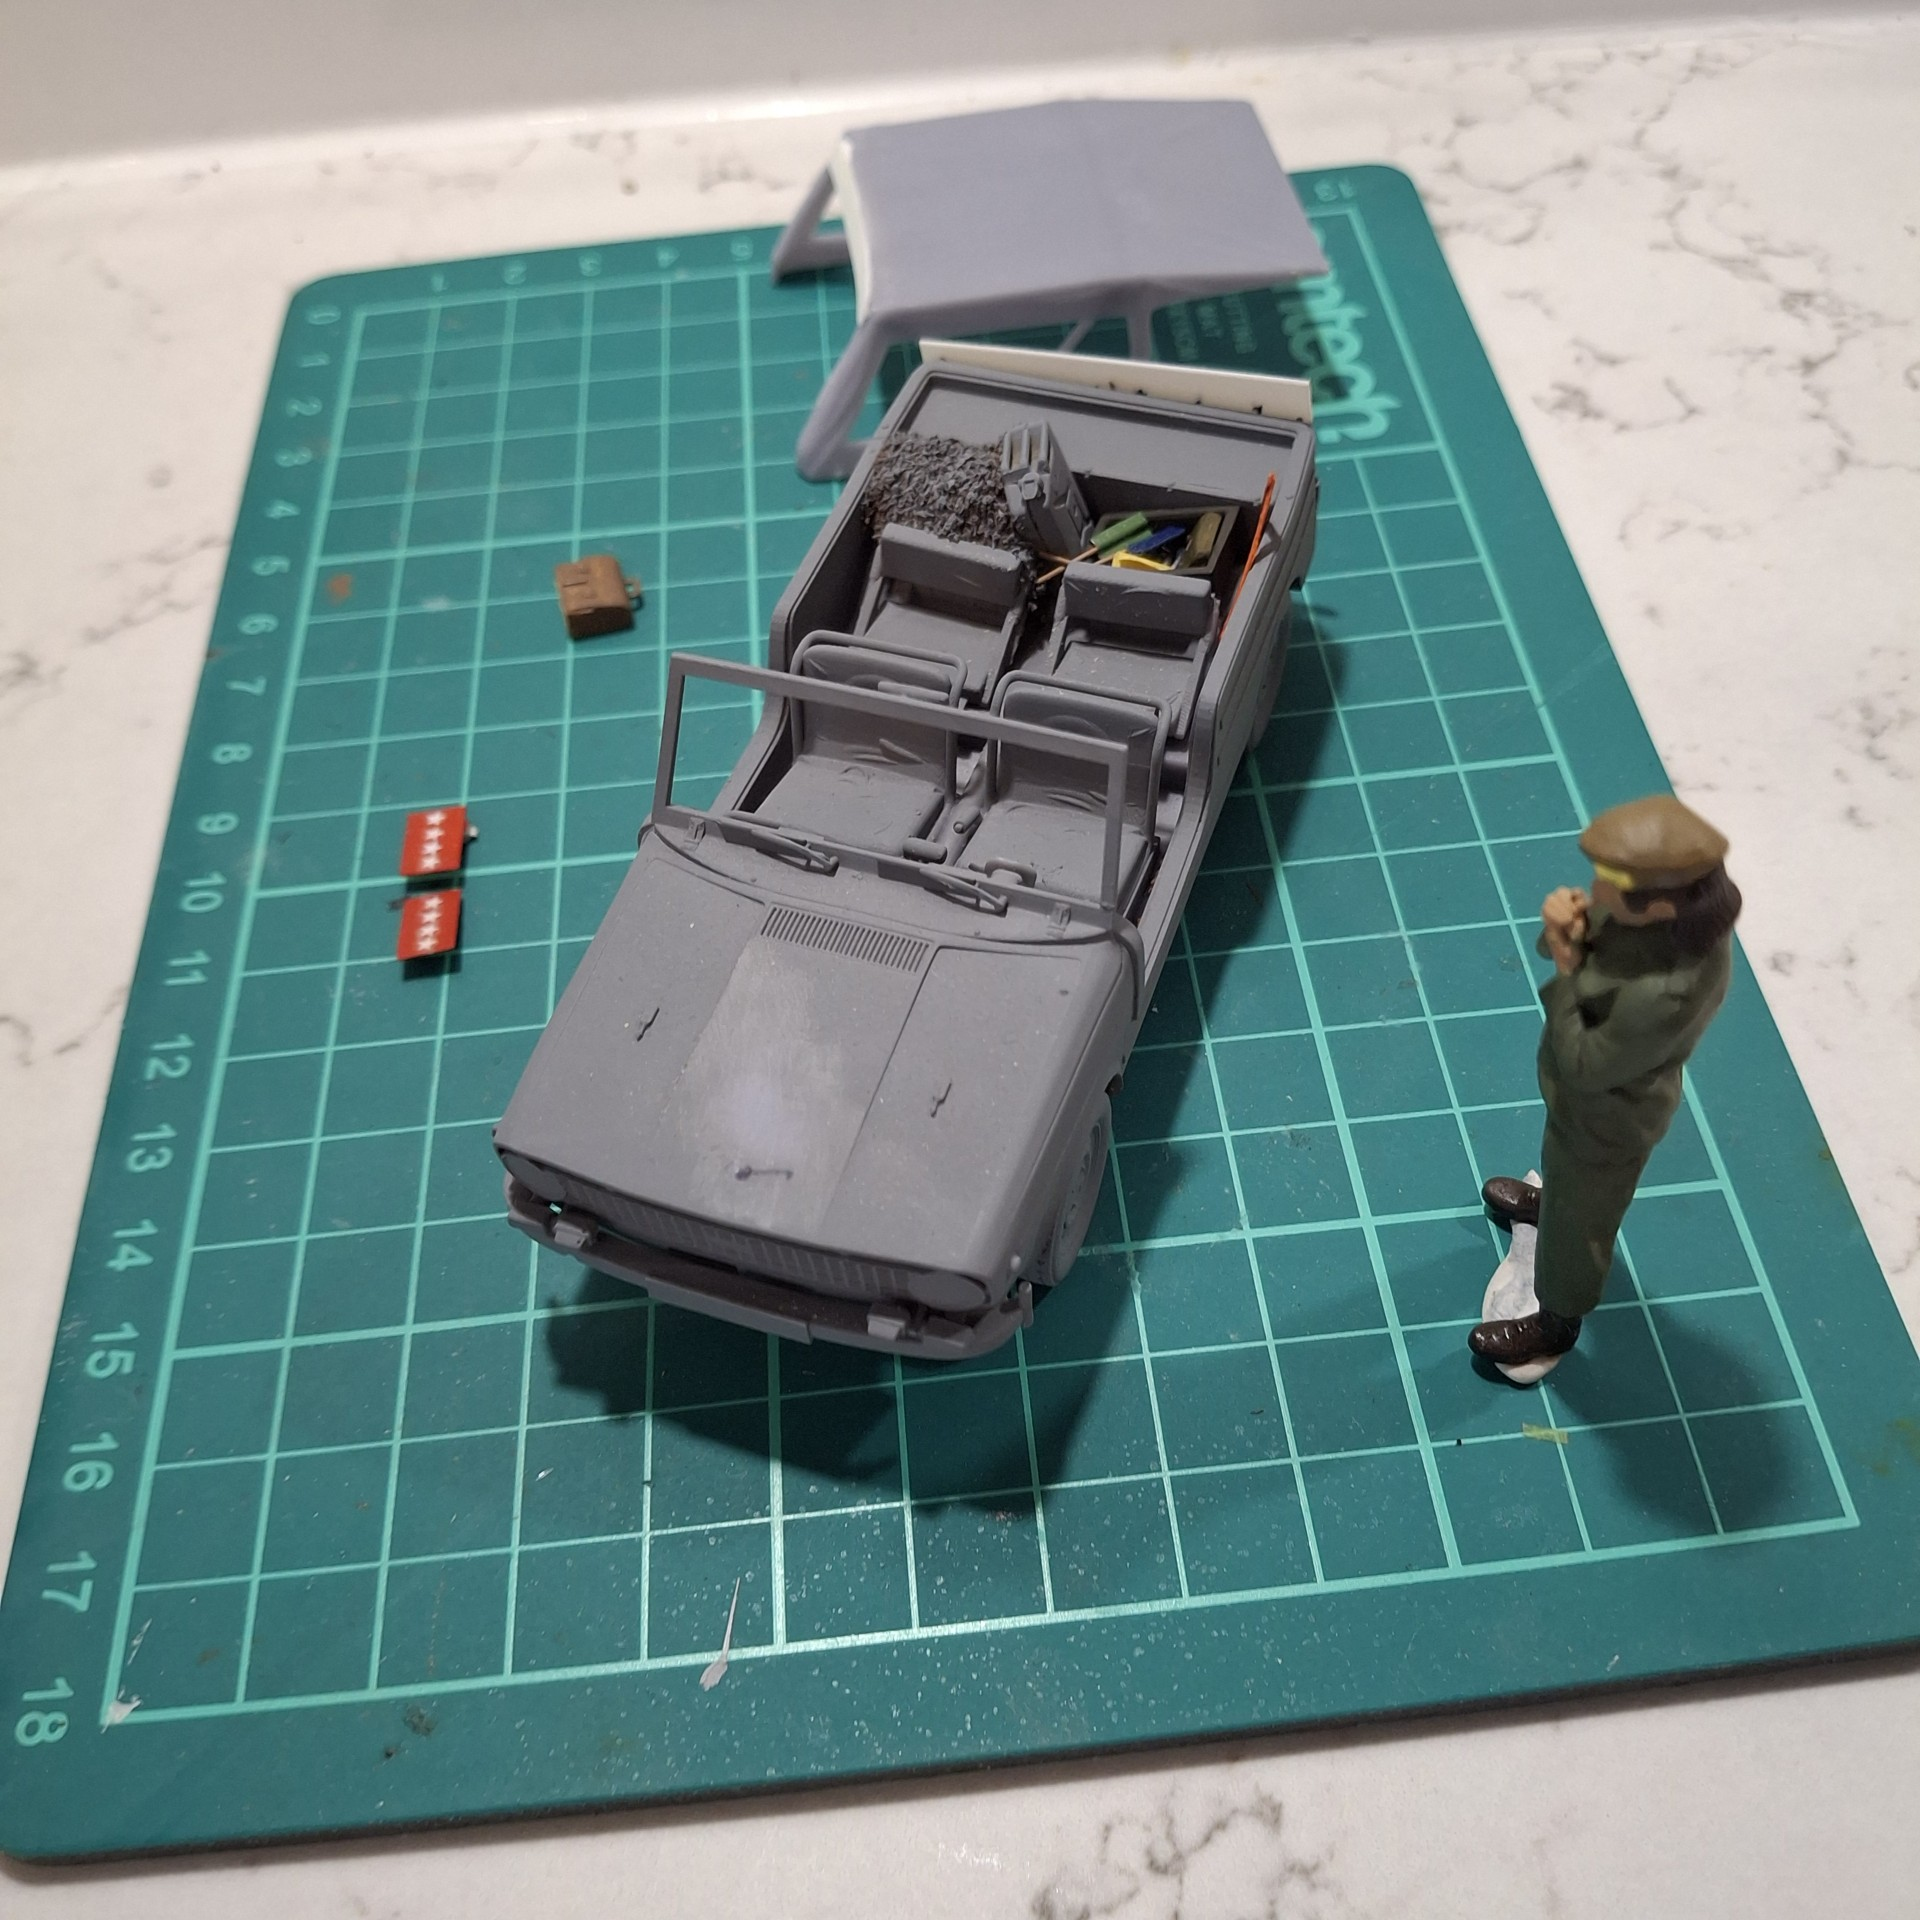
I’ve been kitting out the YA 66 – the DAF little 4x2 runabout the Dutch Army took on in the same year as the models are all set in - 1974
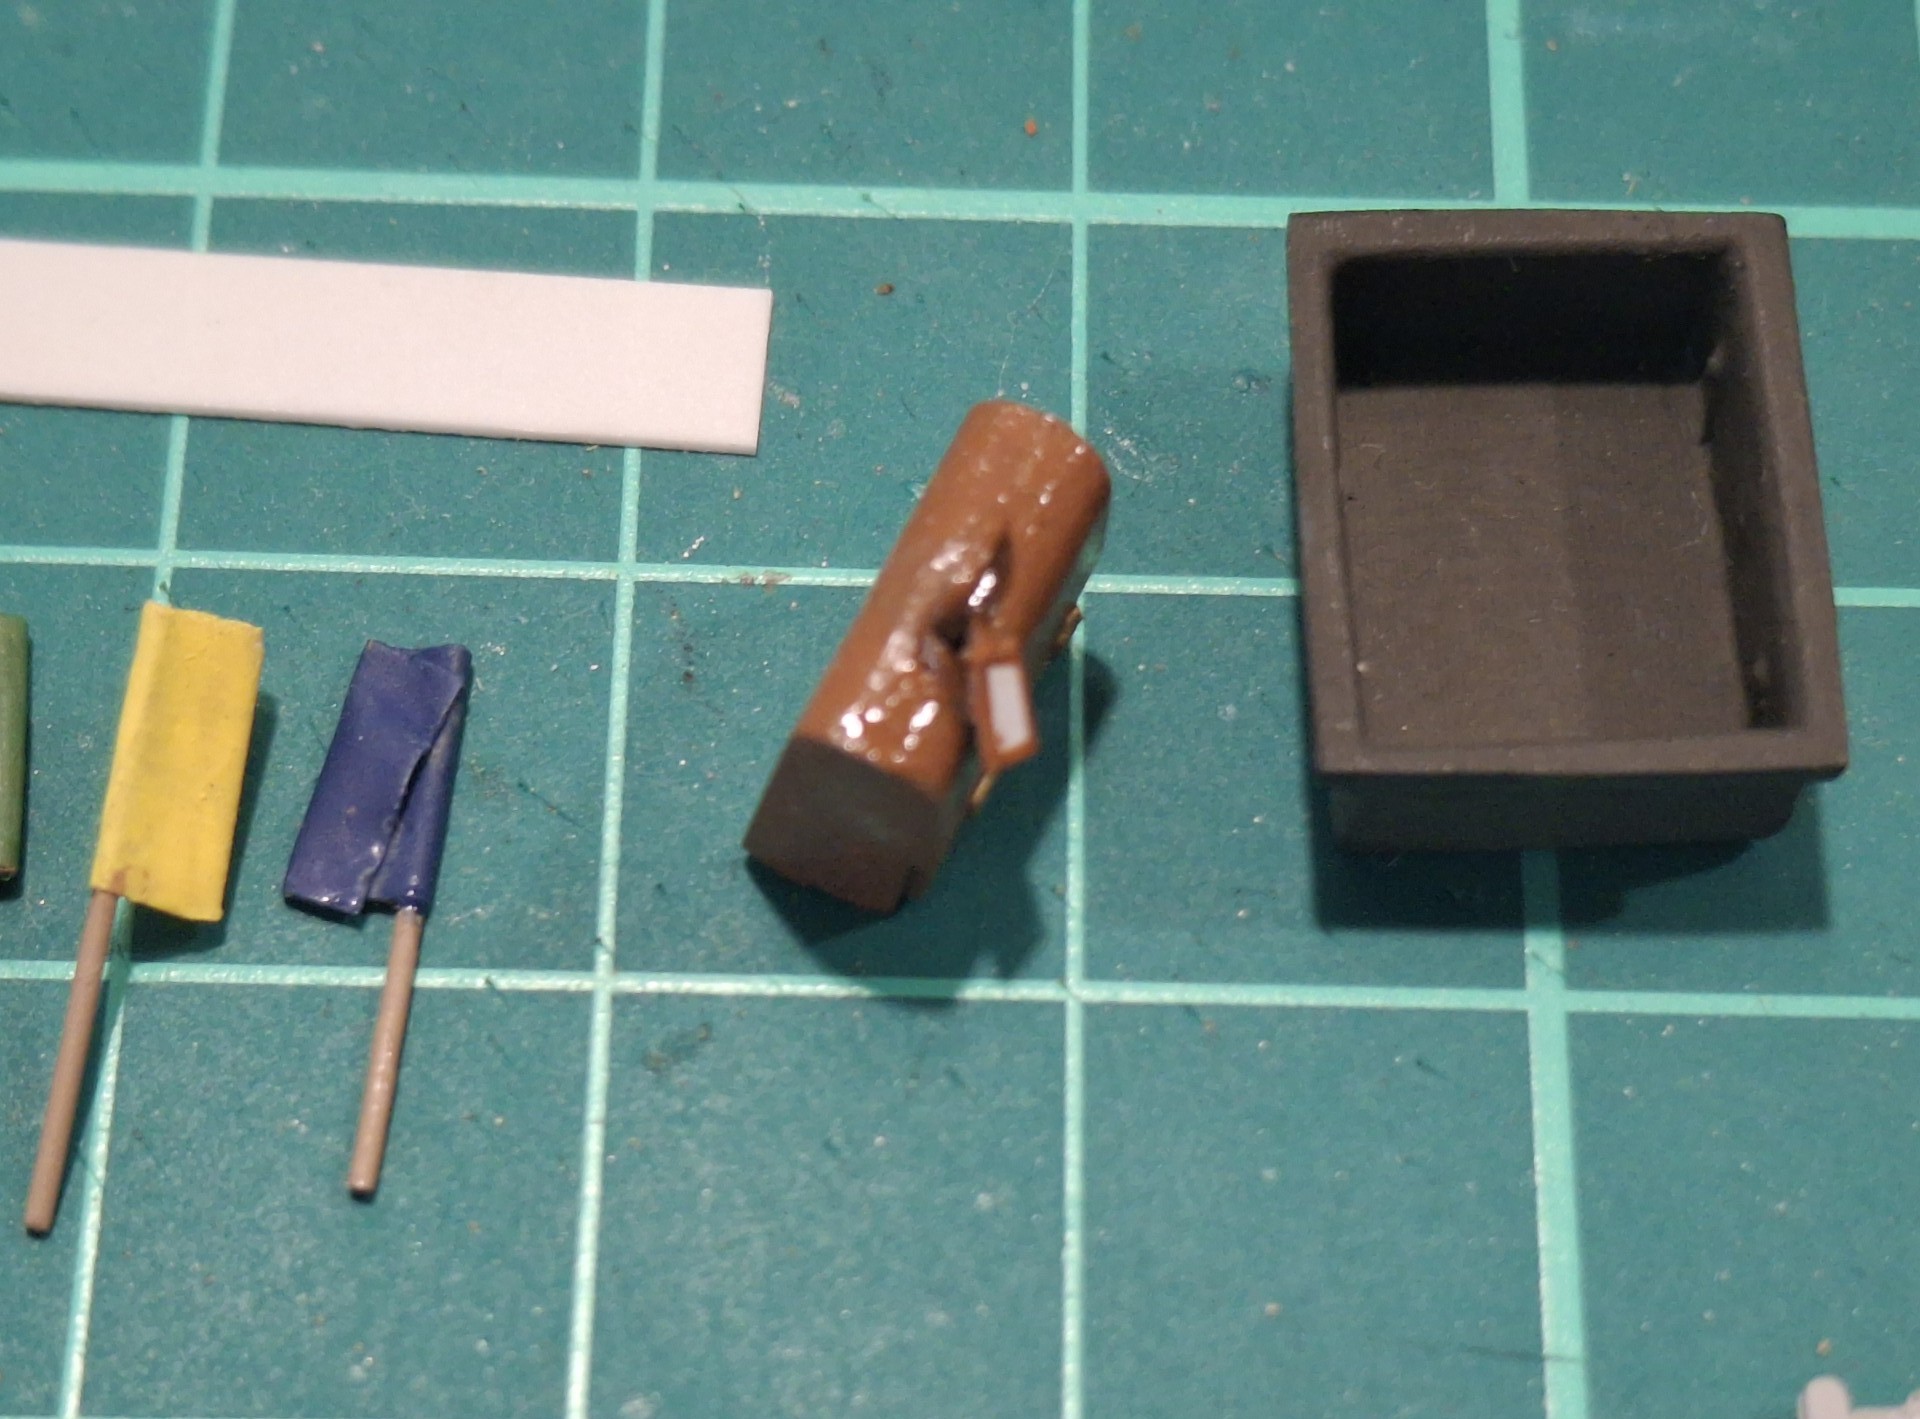
Despite the august presence of HRH, the vehicle will still, in my view be kitted out as normal for an exercise, hence the fuel jerrican and camouflage net. Now I’ve added a box containing a tow rope, first aid kit, convoy flags and a traffic warning triangle. I’ve no idea if this was SOP in the Dutch Army but something like it had to be. For one of the rear seats I’ve just painted up a briefcase which I think came from an accessory set by Bronco Models. I’ve not finished with it yet; this will belong to the Prince’s military assistant.
I’ve also had to modify the vehicle’s canopy; Sylly’s Models for whatever reason decided to model it with the rear screen rolled up; all well and good, but in say, a dusty training area, the vortices alone will ensure the passengers get covered in such dust. Not a good idea when a VIP is being ferried around. So, I’ve had to modify it a bit; I’ve still the rear side panes to fashion then secure a bottom run which will have to have straps and buckles added. More work than I bargained for.
Also note the vehicle star plates; these will be fitted front and rear. Painting in the current round of heat the UK is enduring became difficult; it went on like tar, drying almost before it hit the item being painted, so if they look a bit rough, it’s because they are(!) I hope a final coat of varnish will help.
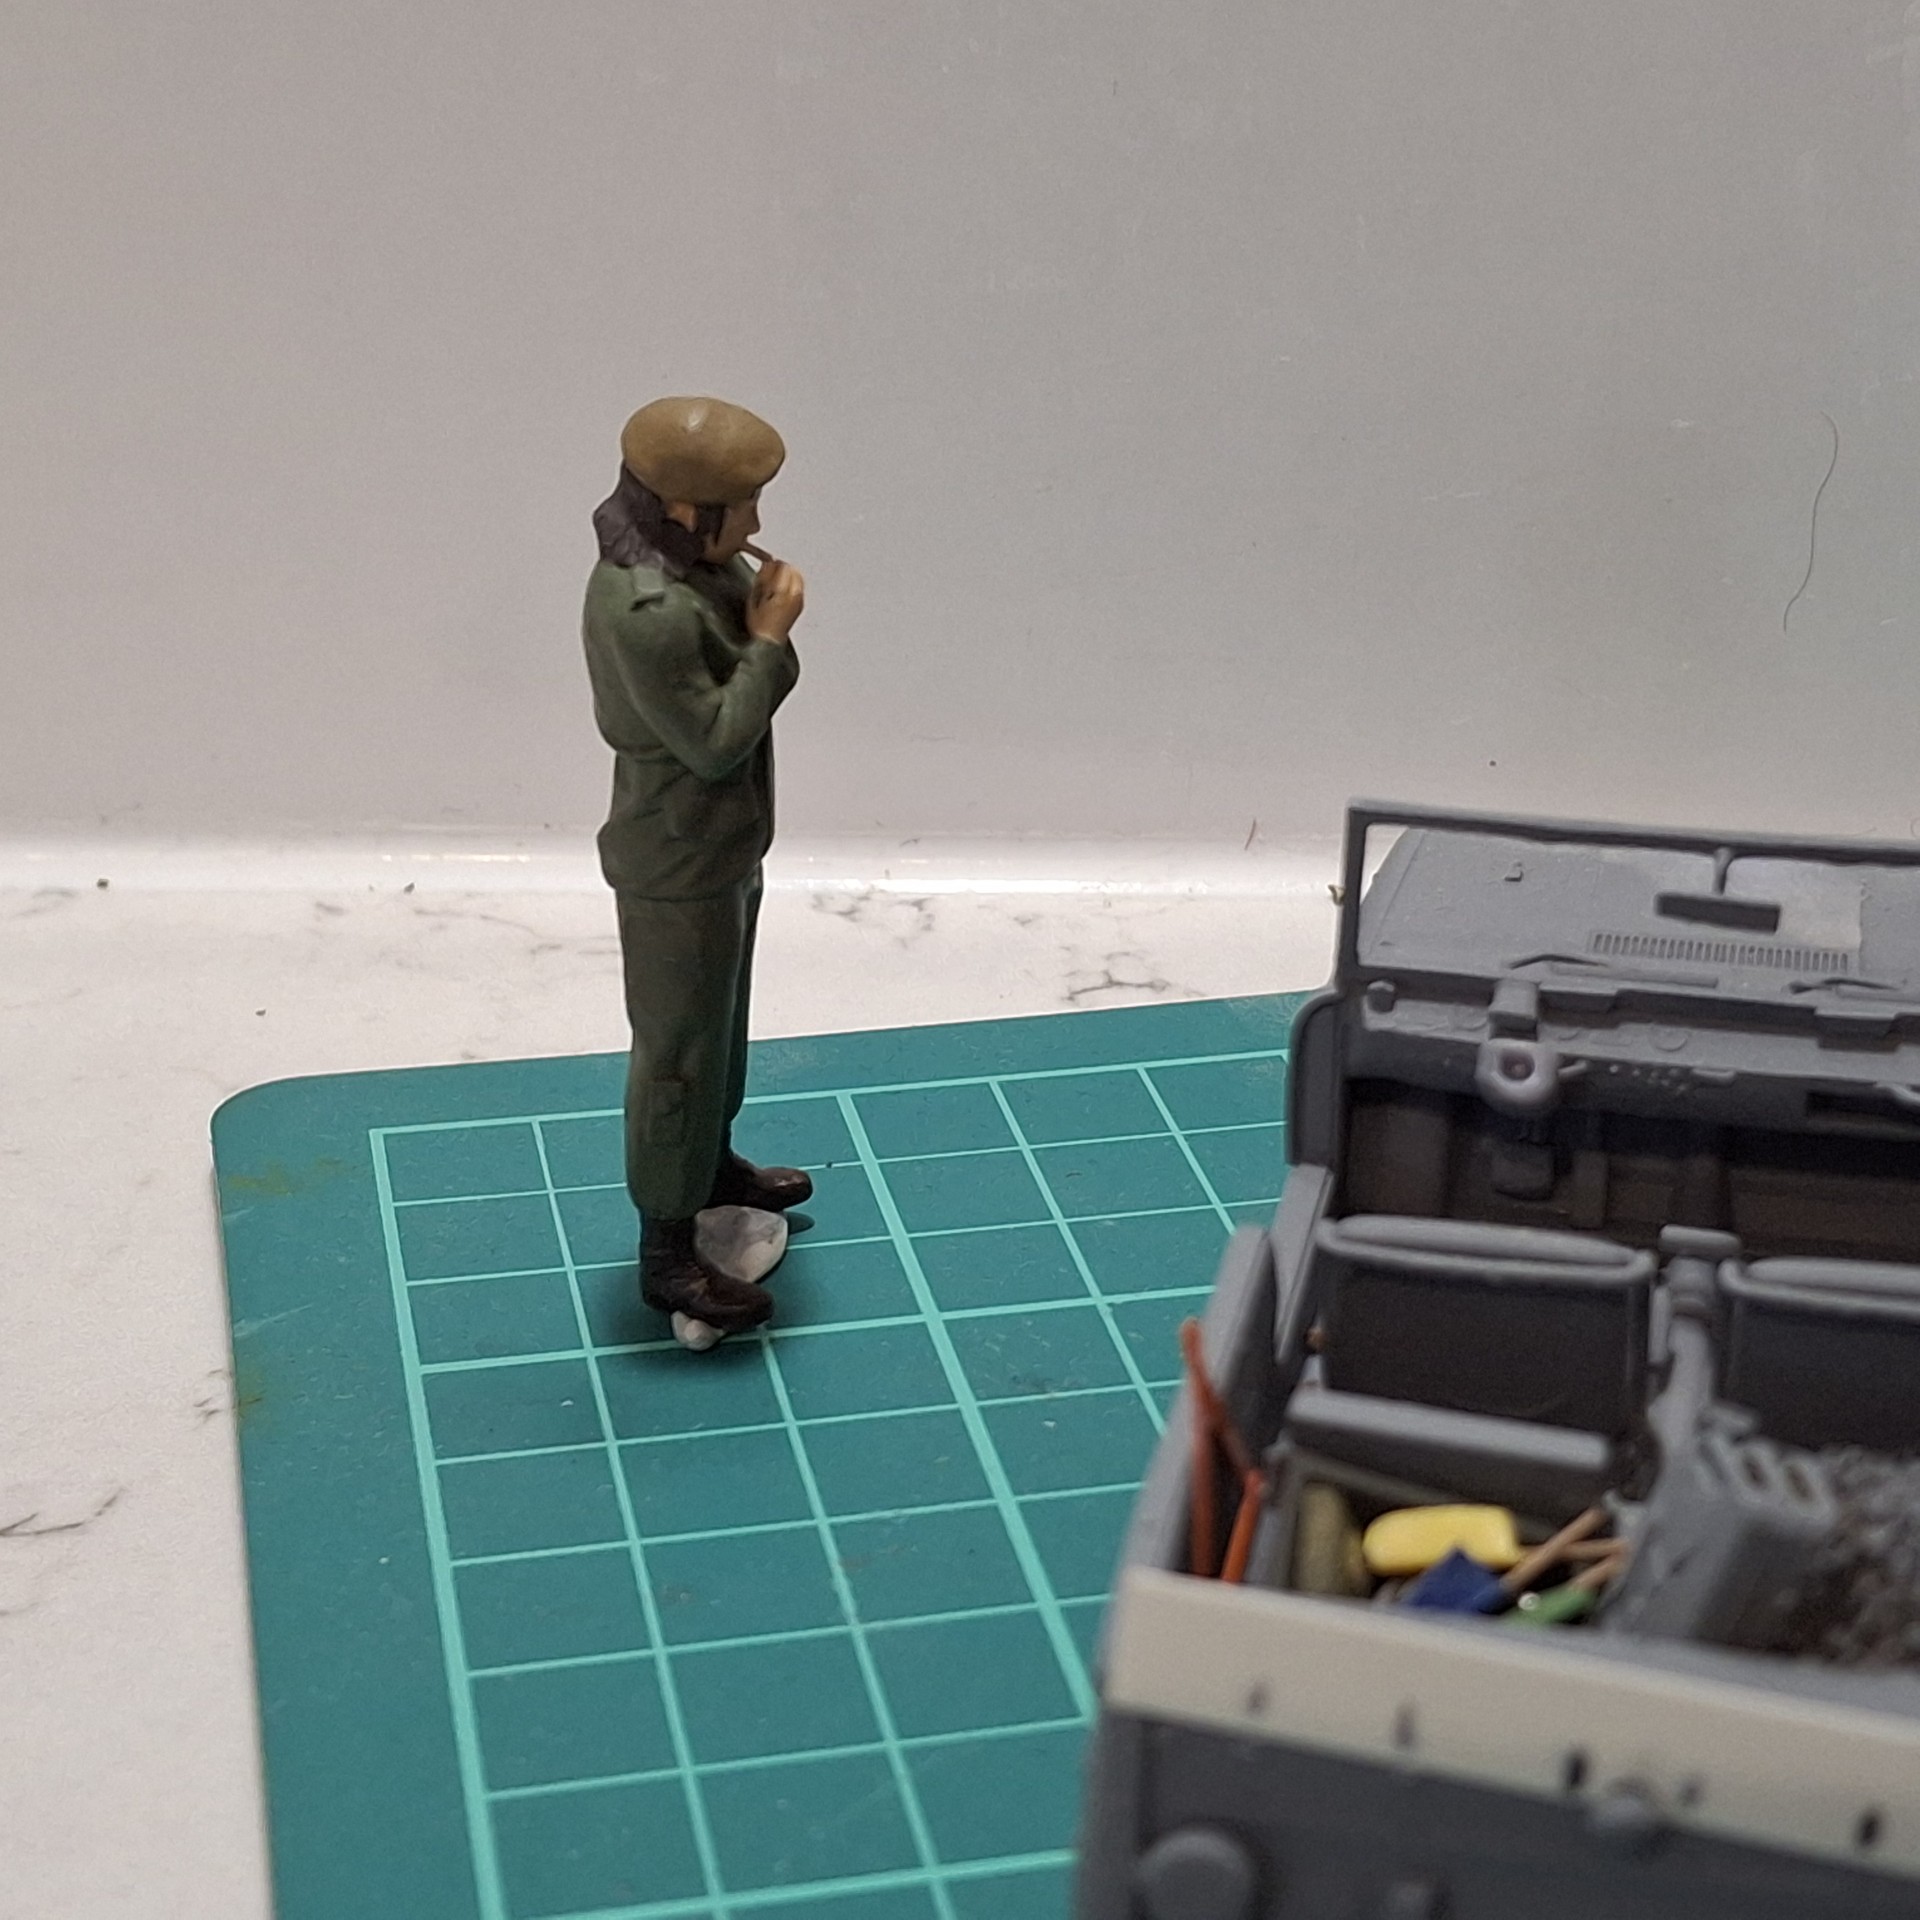
Oh, don’t forget the Driver figure – modified courtesy of my limited sculpting:
Very useful Bert - especially the top one with the hair styles, which I’m trying to replicate on some of the assembled figures. A challenge given my sculpting skill sbut I’ll get an effect, hopefully(!)
I am well aware of the Bergen-Hohne complex thank you you, though in fact, did not serve there, or even train there that I recall. That was the preserve of the Royal Armoured Corps mainly.
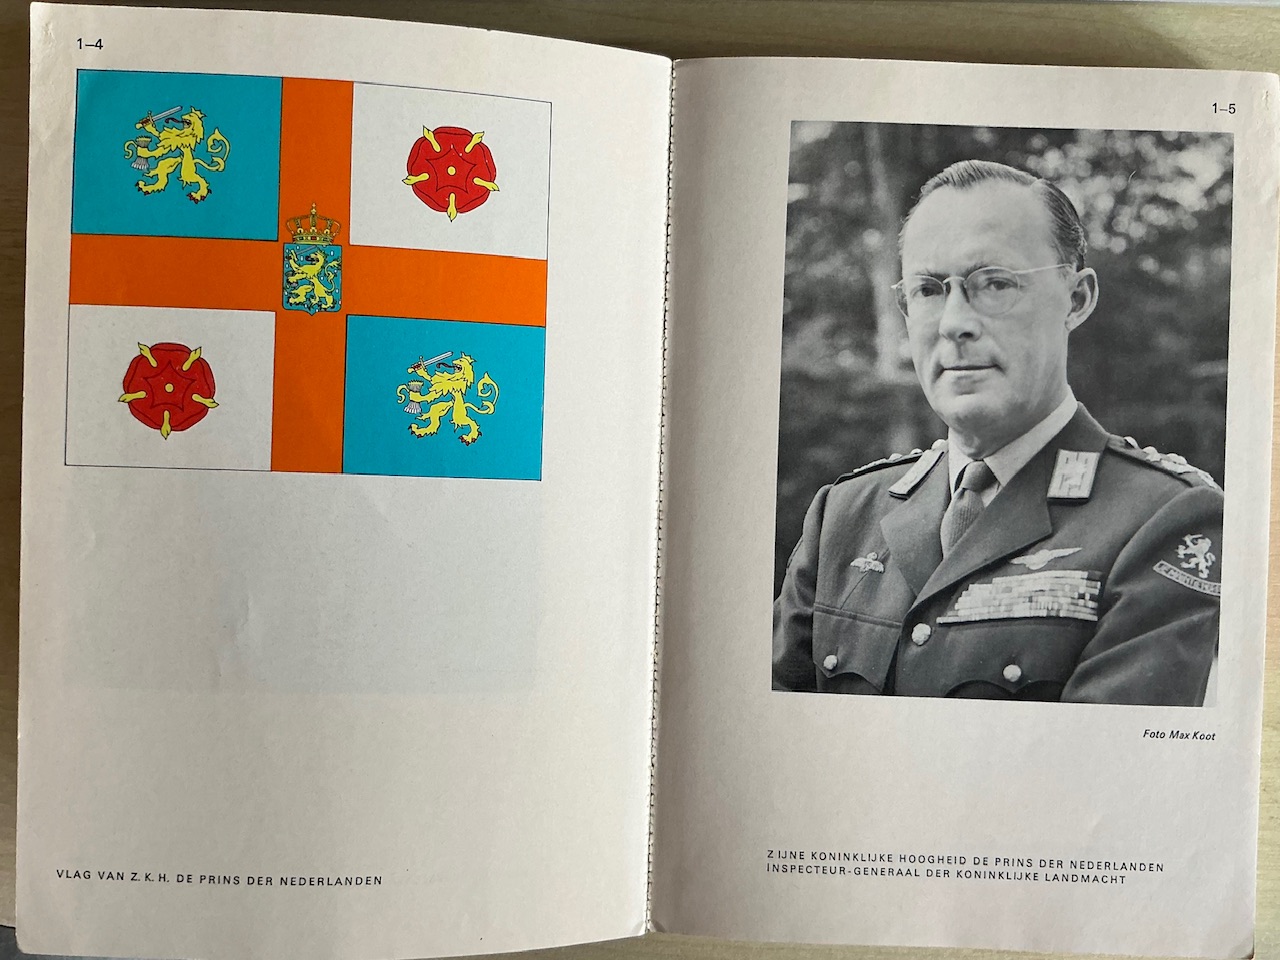
For the enlightenment of anyone looking at that page, the first photo is captioned Hijsen van de Standaard van Prins Bernhard door Aooi v.d. Mijn, “Hoisting of the Standard of Prince Bernhard by Aooi v.d. Mijn”. Aooi is not the man’s first name It’s an abbreviation for adjudant onderofficier instructeur, which is to say, an instructor who holds the rank of “adjutant non-commissioned officer”.
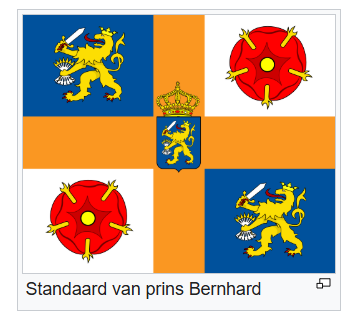
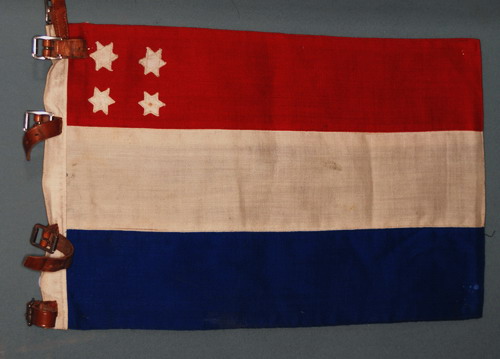
both fairly indistinct; I’ve Googled around a bit but am still unsure; of course, it will be at “rest” as opposed to fluttering in the breeze, but I’d like to try and get it right in the spirit of things, as opposed to just a few dabs of say, blue and orange on a piece of masking tape(!)
I’ll go for the top one, or a rendition of it, as that’s the one on the second pic of the MUNGA I reckon. it’ll be a compromise as the flag will be at rest as it were.
Well, sunny Wiltshire is proving to be just that today; of course, the Nanny State insists that it’s all dangerous and is called a “Heat threat to life” or similar.. When I grew up it was referred to as “Summer”.
Ho hum. Anyway, the bad thing is, that it is increasingly difficult to paint, and glue, and airbrushing is right out(!) So, all I can do is tinker on the periphery. I’m also awaiting a bumper fun pack from Sylly’s Models, so progress is a little limited.
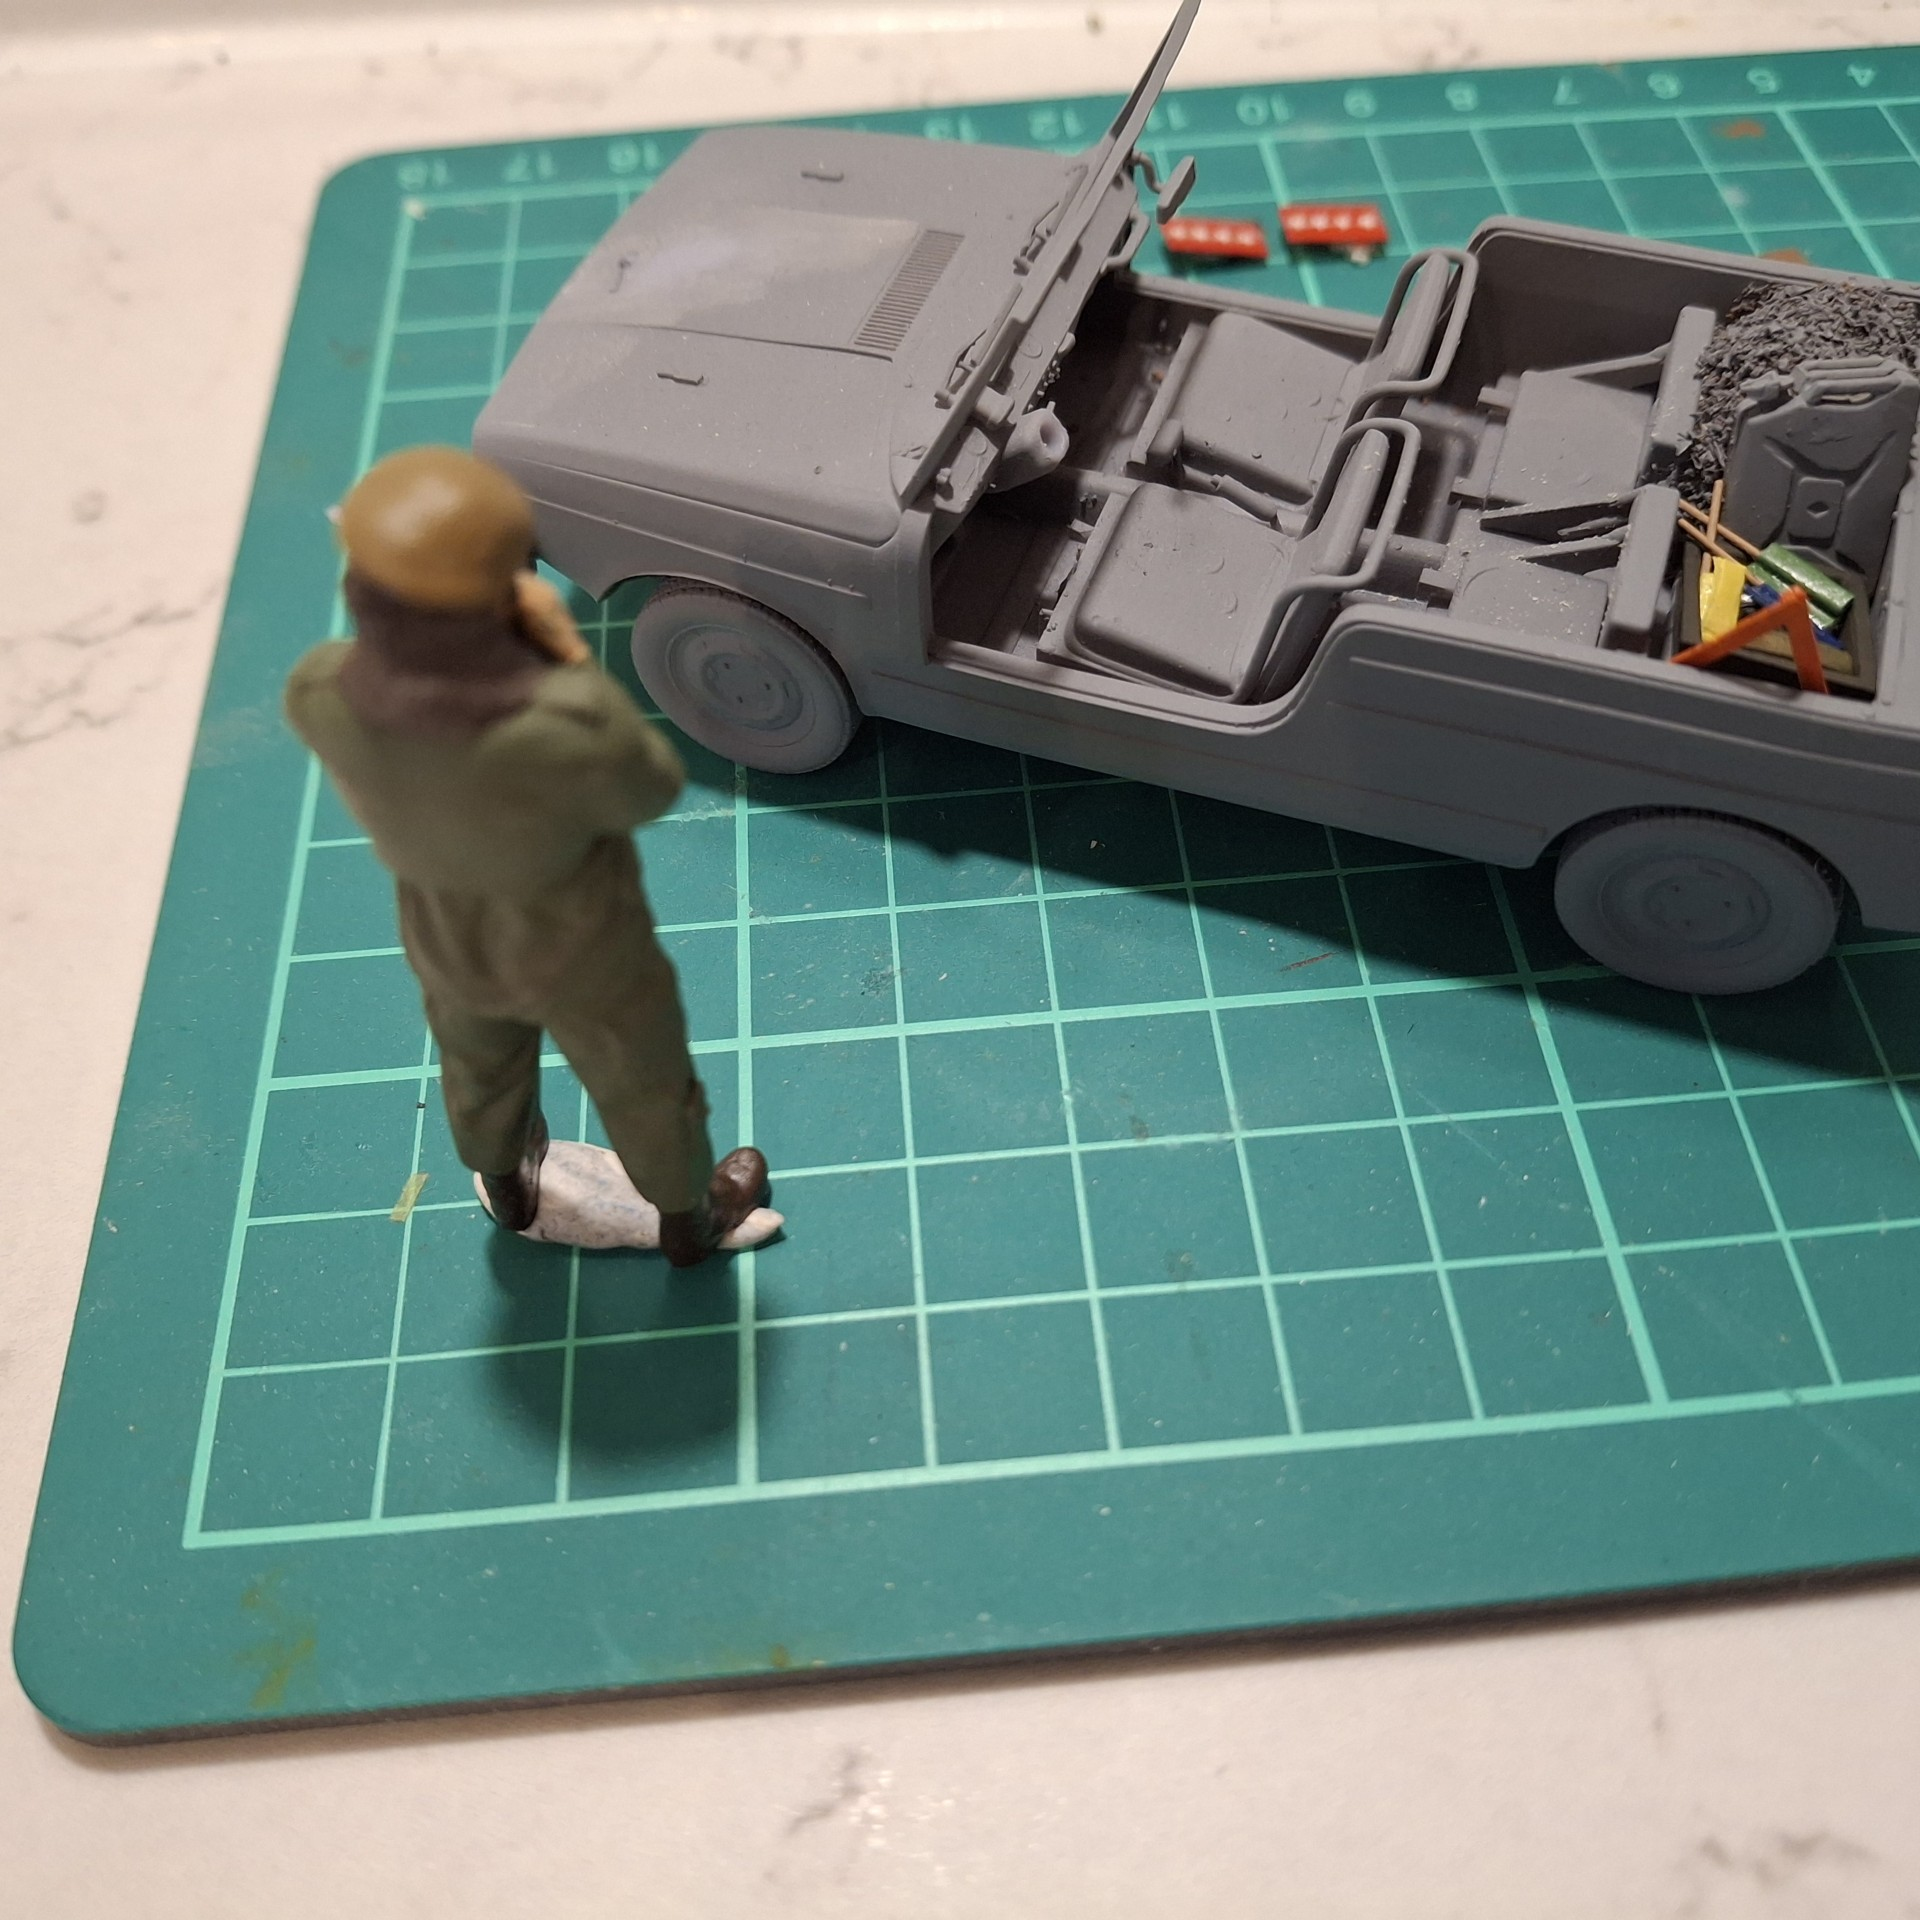
Below, I’ve updated the stowage on the DAF. Still some matting-down to do though, and the star plates are crying out for attention, but I’m not that flush with tiny stars so it will have to do. With a coat of German dust on them, it’ll still look the part I’m sure. Before anyone engages, I am aware that the stars in fact were a 3D item and chromed. I’m afraid it isn’t going to happen on this model.
I’ve also given the Military Assistant’s briefcase a label, much travelled officer that I envisage him to be.
I’ve also modified the canopy for the DAF; I plan/hope to be able to use real polythene to get a more realistic finish for the transparent panels. I’m assuming Superglue will have to be the adhesive of choice - any one with experience of that? I’m talking abut the sort of stuff Airfix kits used to come it; thick enough but not overwhelmingly so, just to give the odd wrinkle.
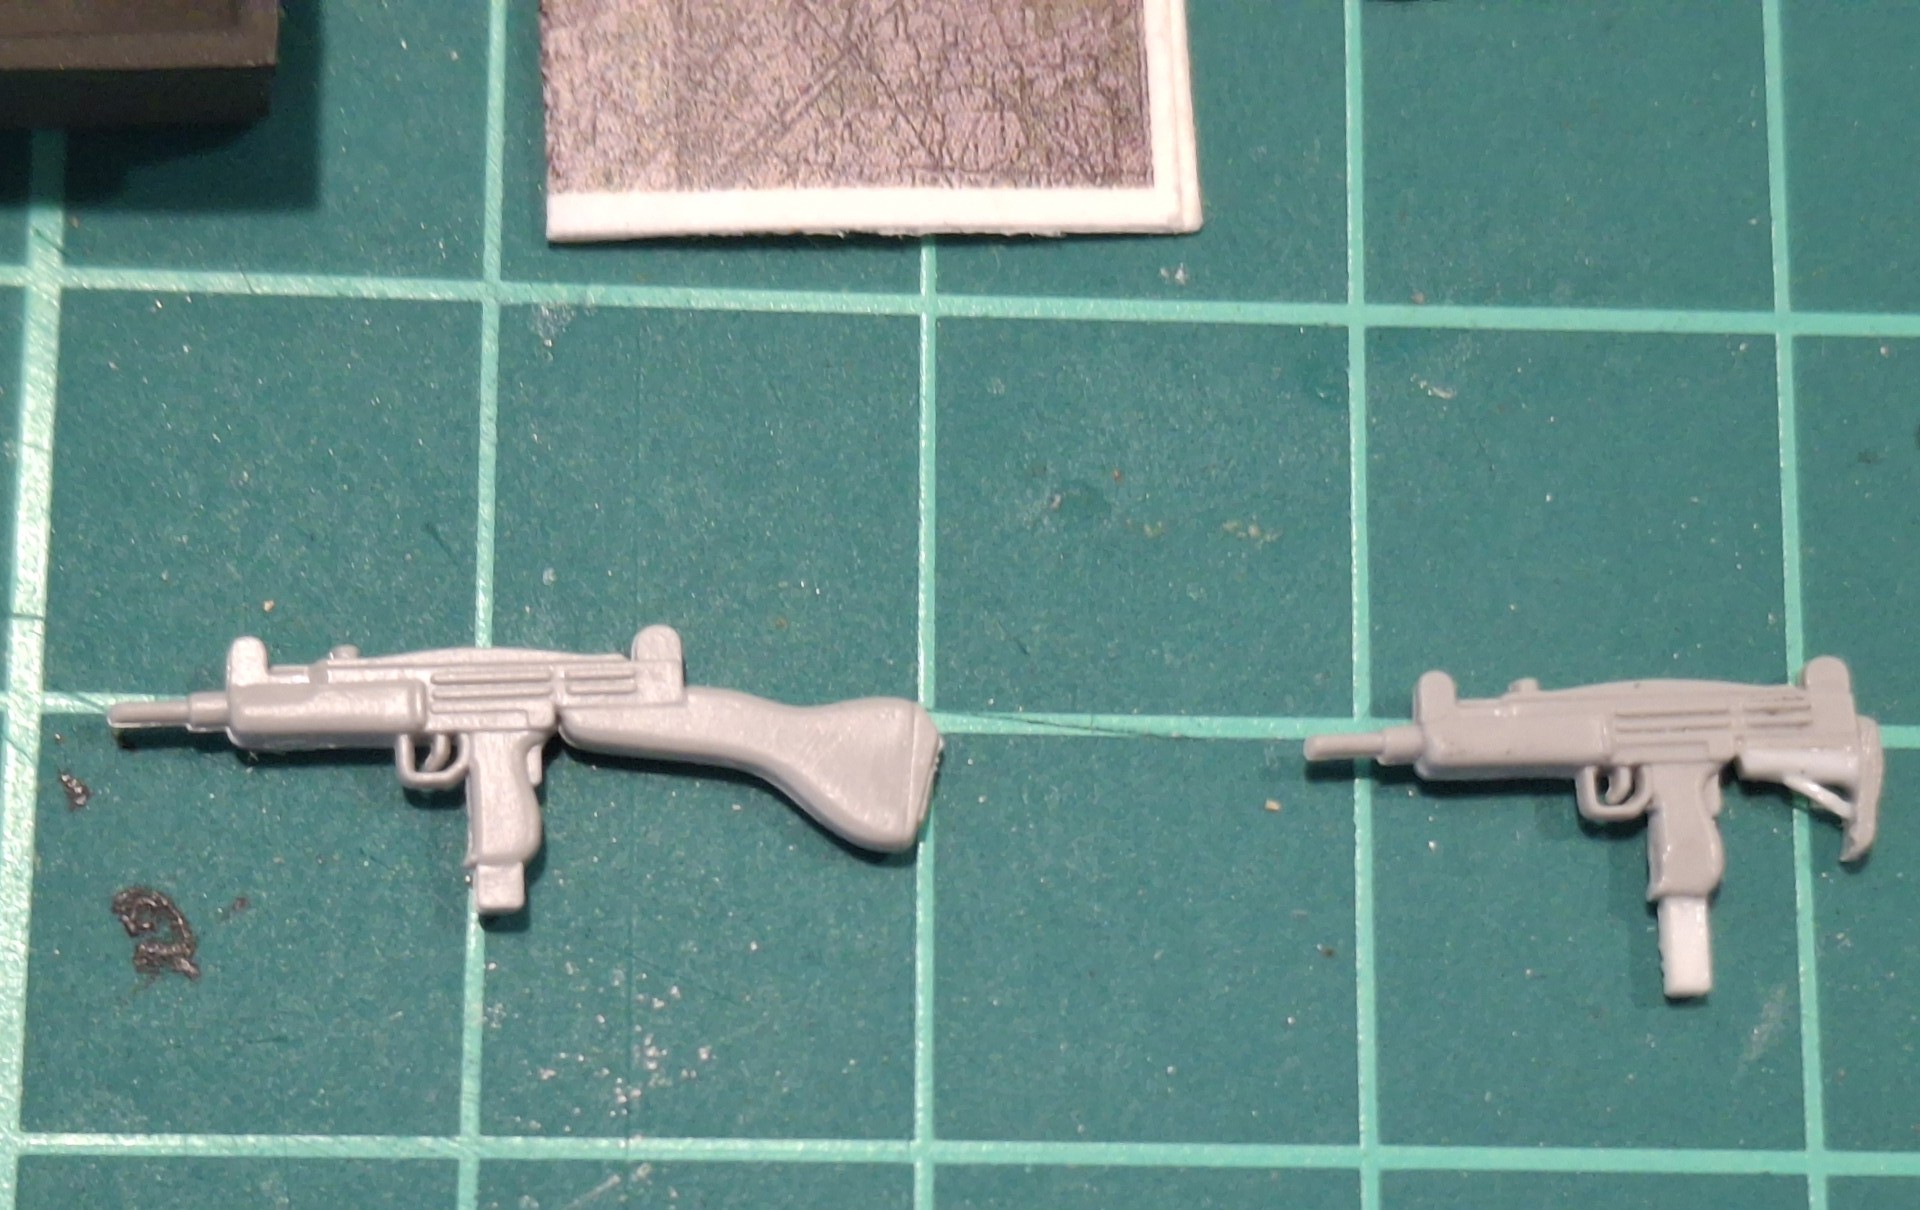
You can also see the minor mods I had to make from the original Italeri Uzi for the Driver’s personal weapon.
Have you given any thoughts to using the window plastic from window envelopes?
The ones I have encountered were styrene but they are so thin that styrene glue or solvent melts them → needs other type of glue but since the canopy is resin anyway …
Bert, please forgive me; I’m confusing my Dutchmen!
Seriously though, thanks for all the support and interest in this project. Both of what you and Jakko proffer is priceless (mind you, I’m not too sure what a ostensibly mad Brit modeller is doing in attempting to model a Dutch “What-If”).
Thanks again; my apologies for my abysmal misidentification.

 It’s an abbreviation for adjudant onderofficier instructeur, which is to say, an instructor who holds the rank of “adjutant non-commissioned officer”.