Dynamo M55 Quad 50 "Blood Sweat and Tears"

Hello everybody!
Some time ago I got the new Dynamo Models M55 Quad 50 from @Sylvain59. Thanks a lot Sylvain!
I got in contact with NDQSA (https://ndqsa.com/) and I’m building this kit in contact with people who “been there, done that”.
There’s a post about this kit here: Dynamo Models: US Quadmount Machine Gun | Armorama™ - #15 by Stephan
I’ve already built the Dragon kit before and I write about it on my web page: M55 Quad 50 Emplacement Diorama
I’ve also have a WWII-era TM for it there: http://vietnam.net.pl/M45quad.pdf
Since then I’ve found out more about some details and differences between the WWII and Vietnam Quads and I’ll try to incorporate this additional research in this build.

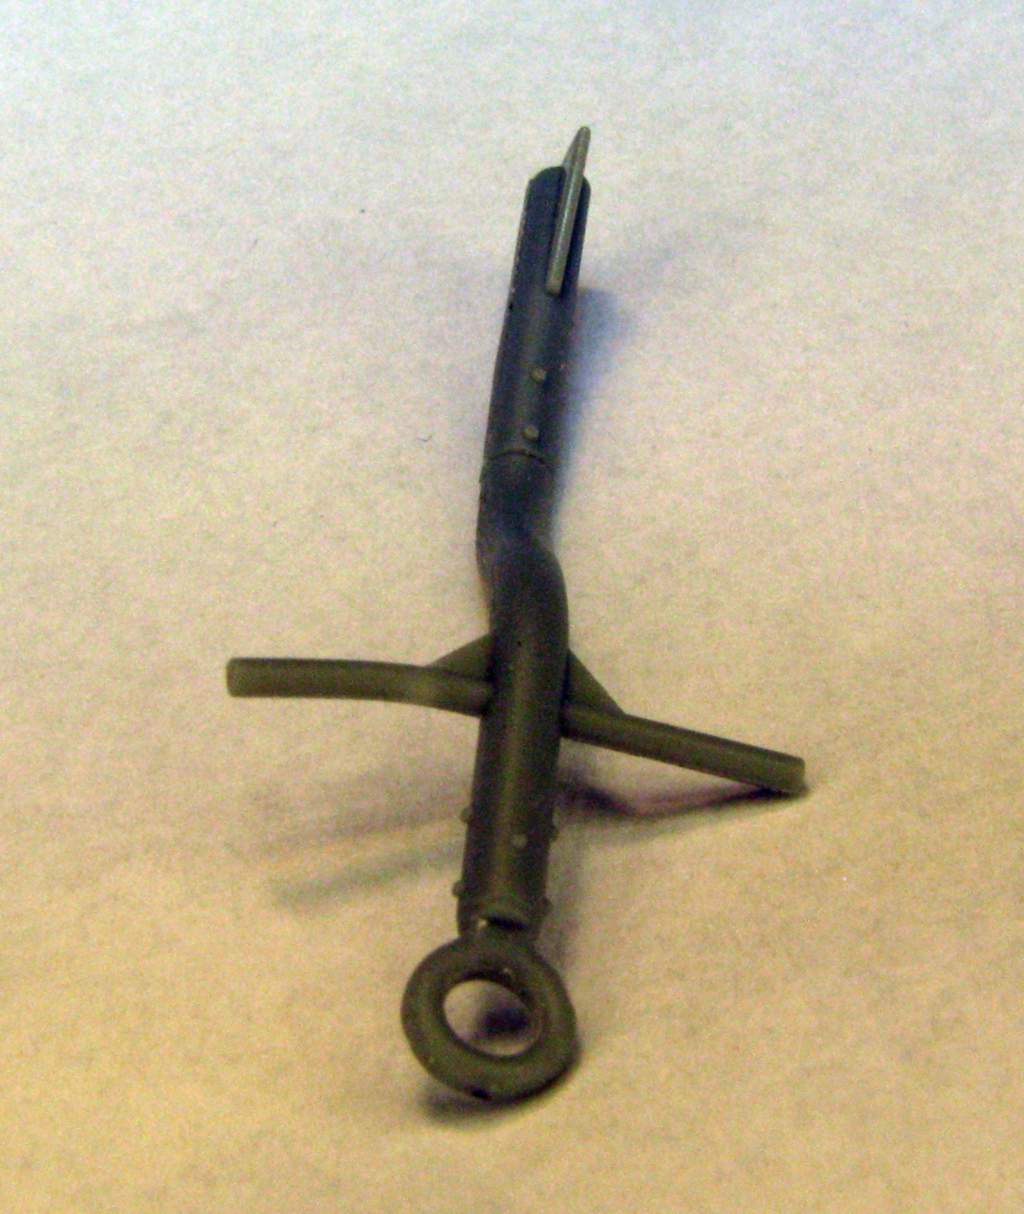
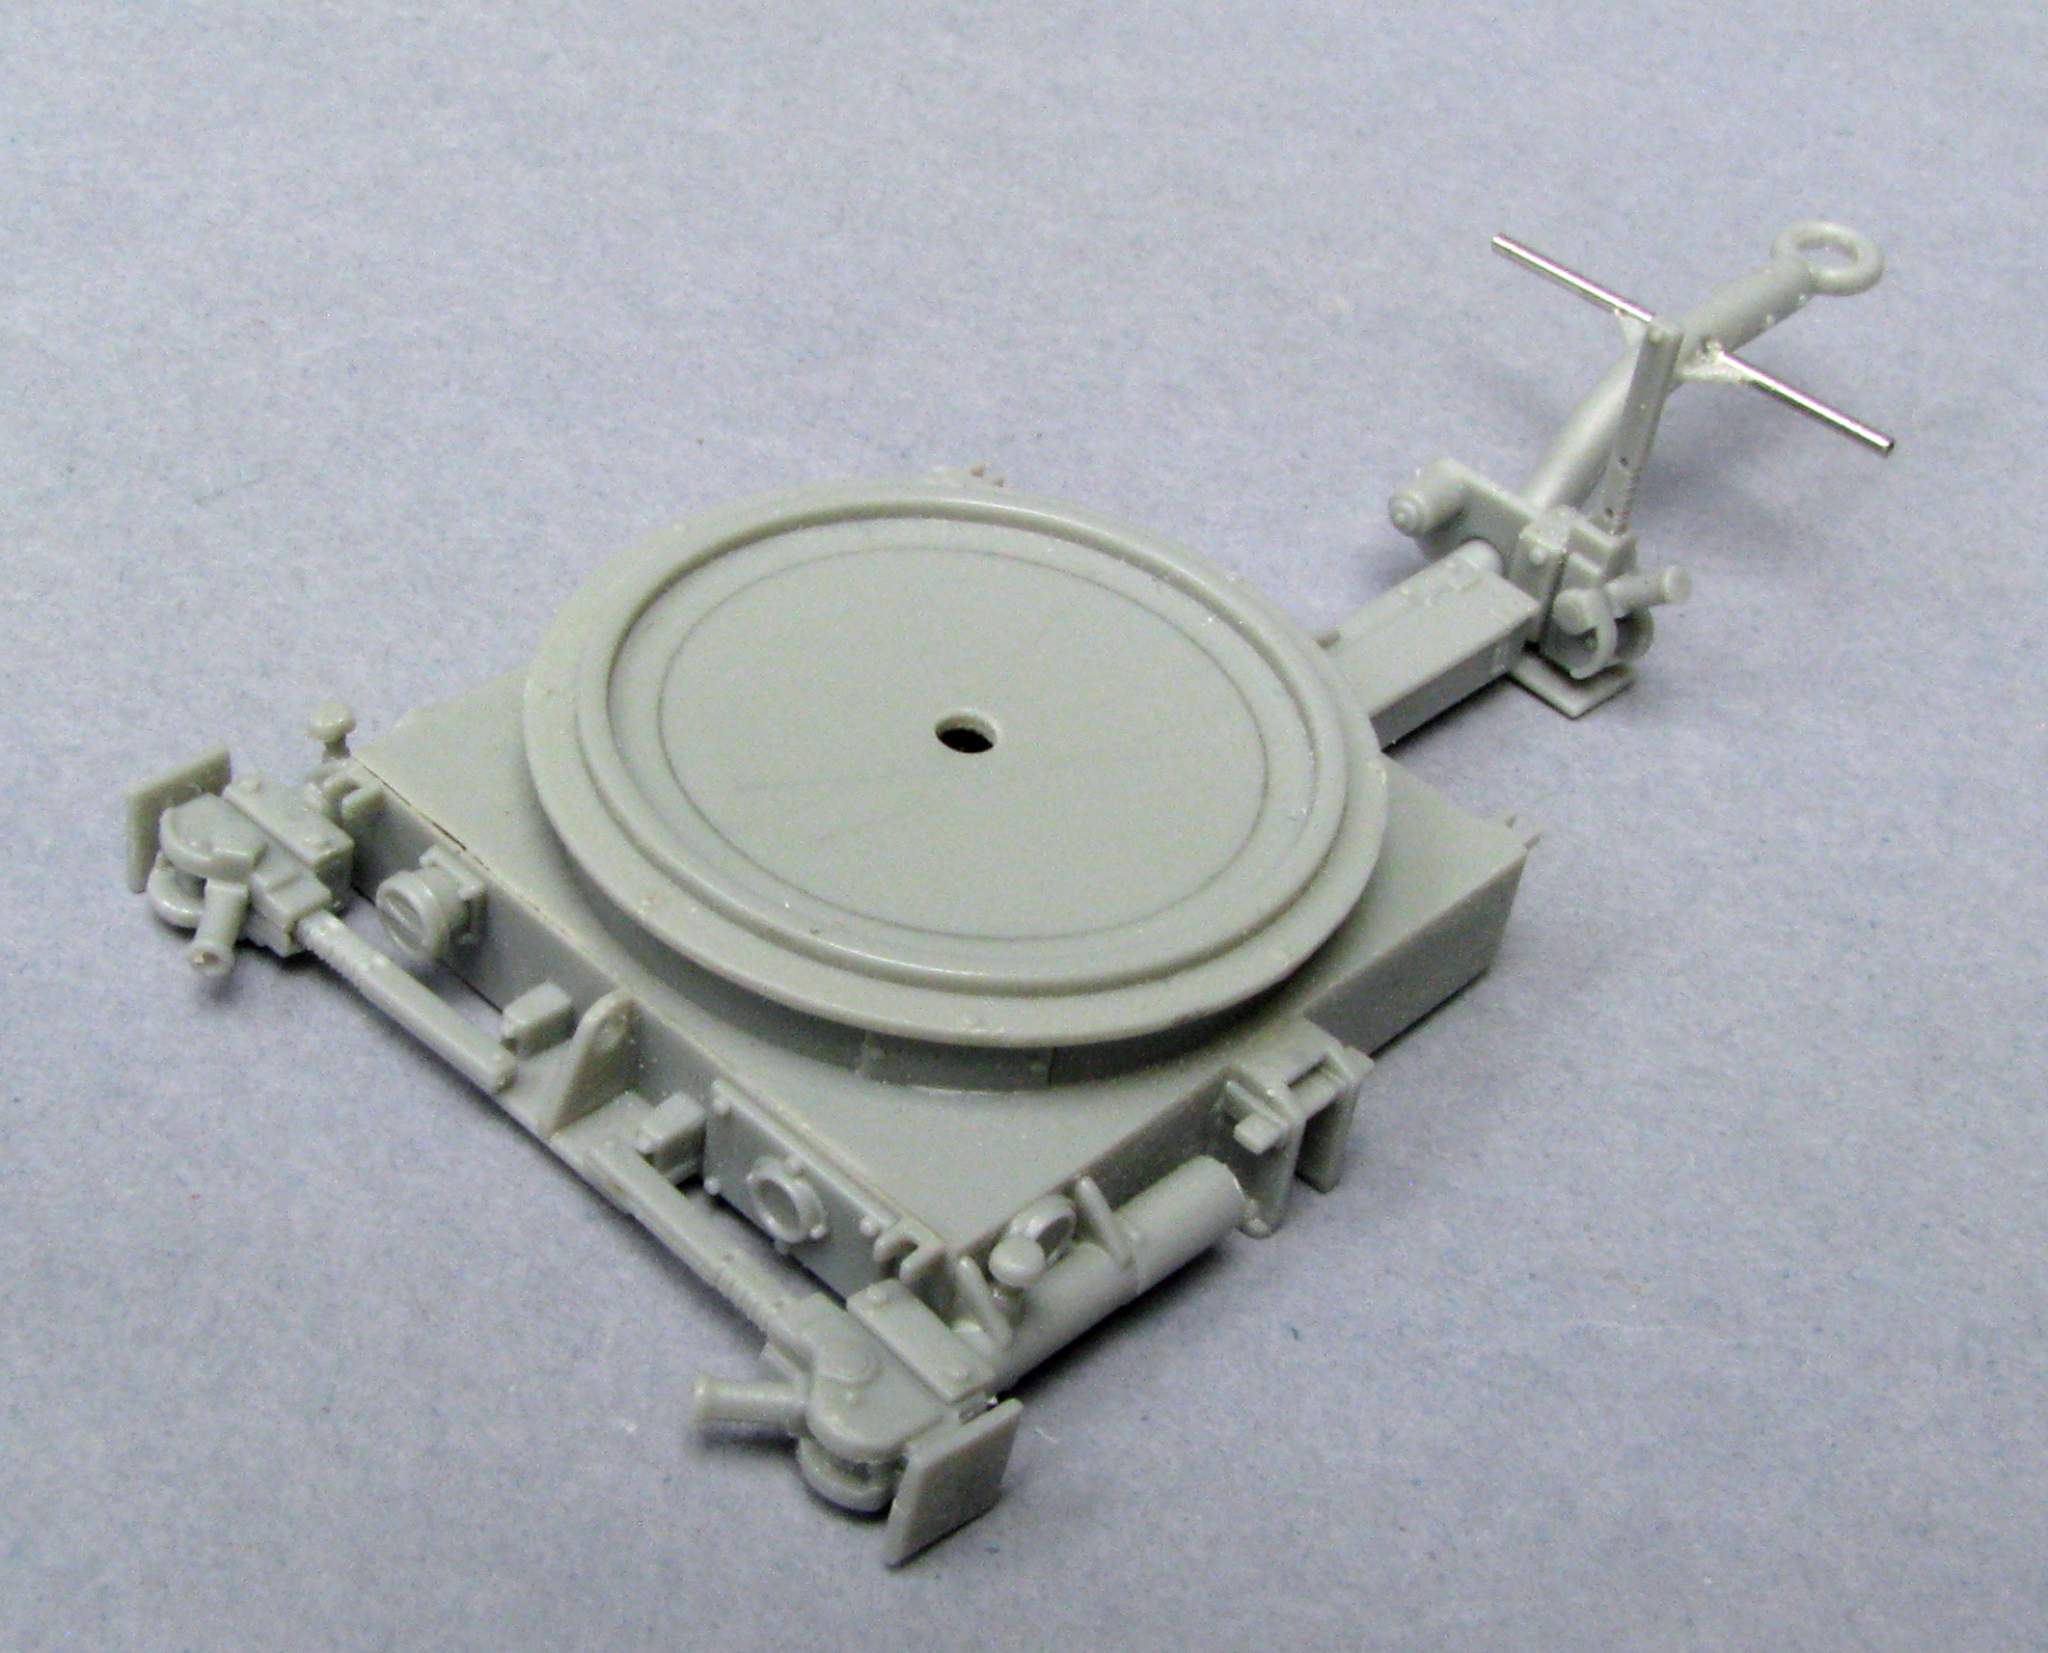
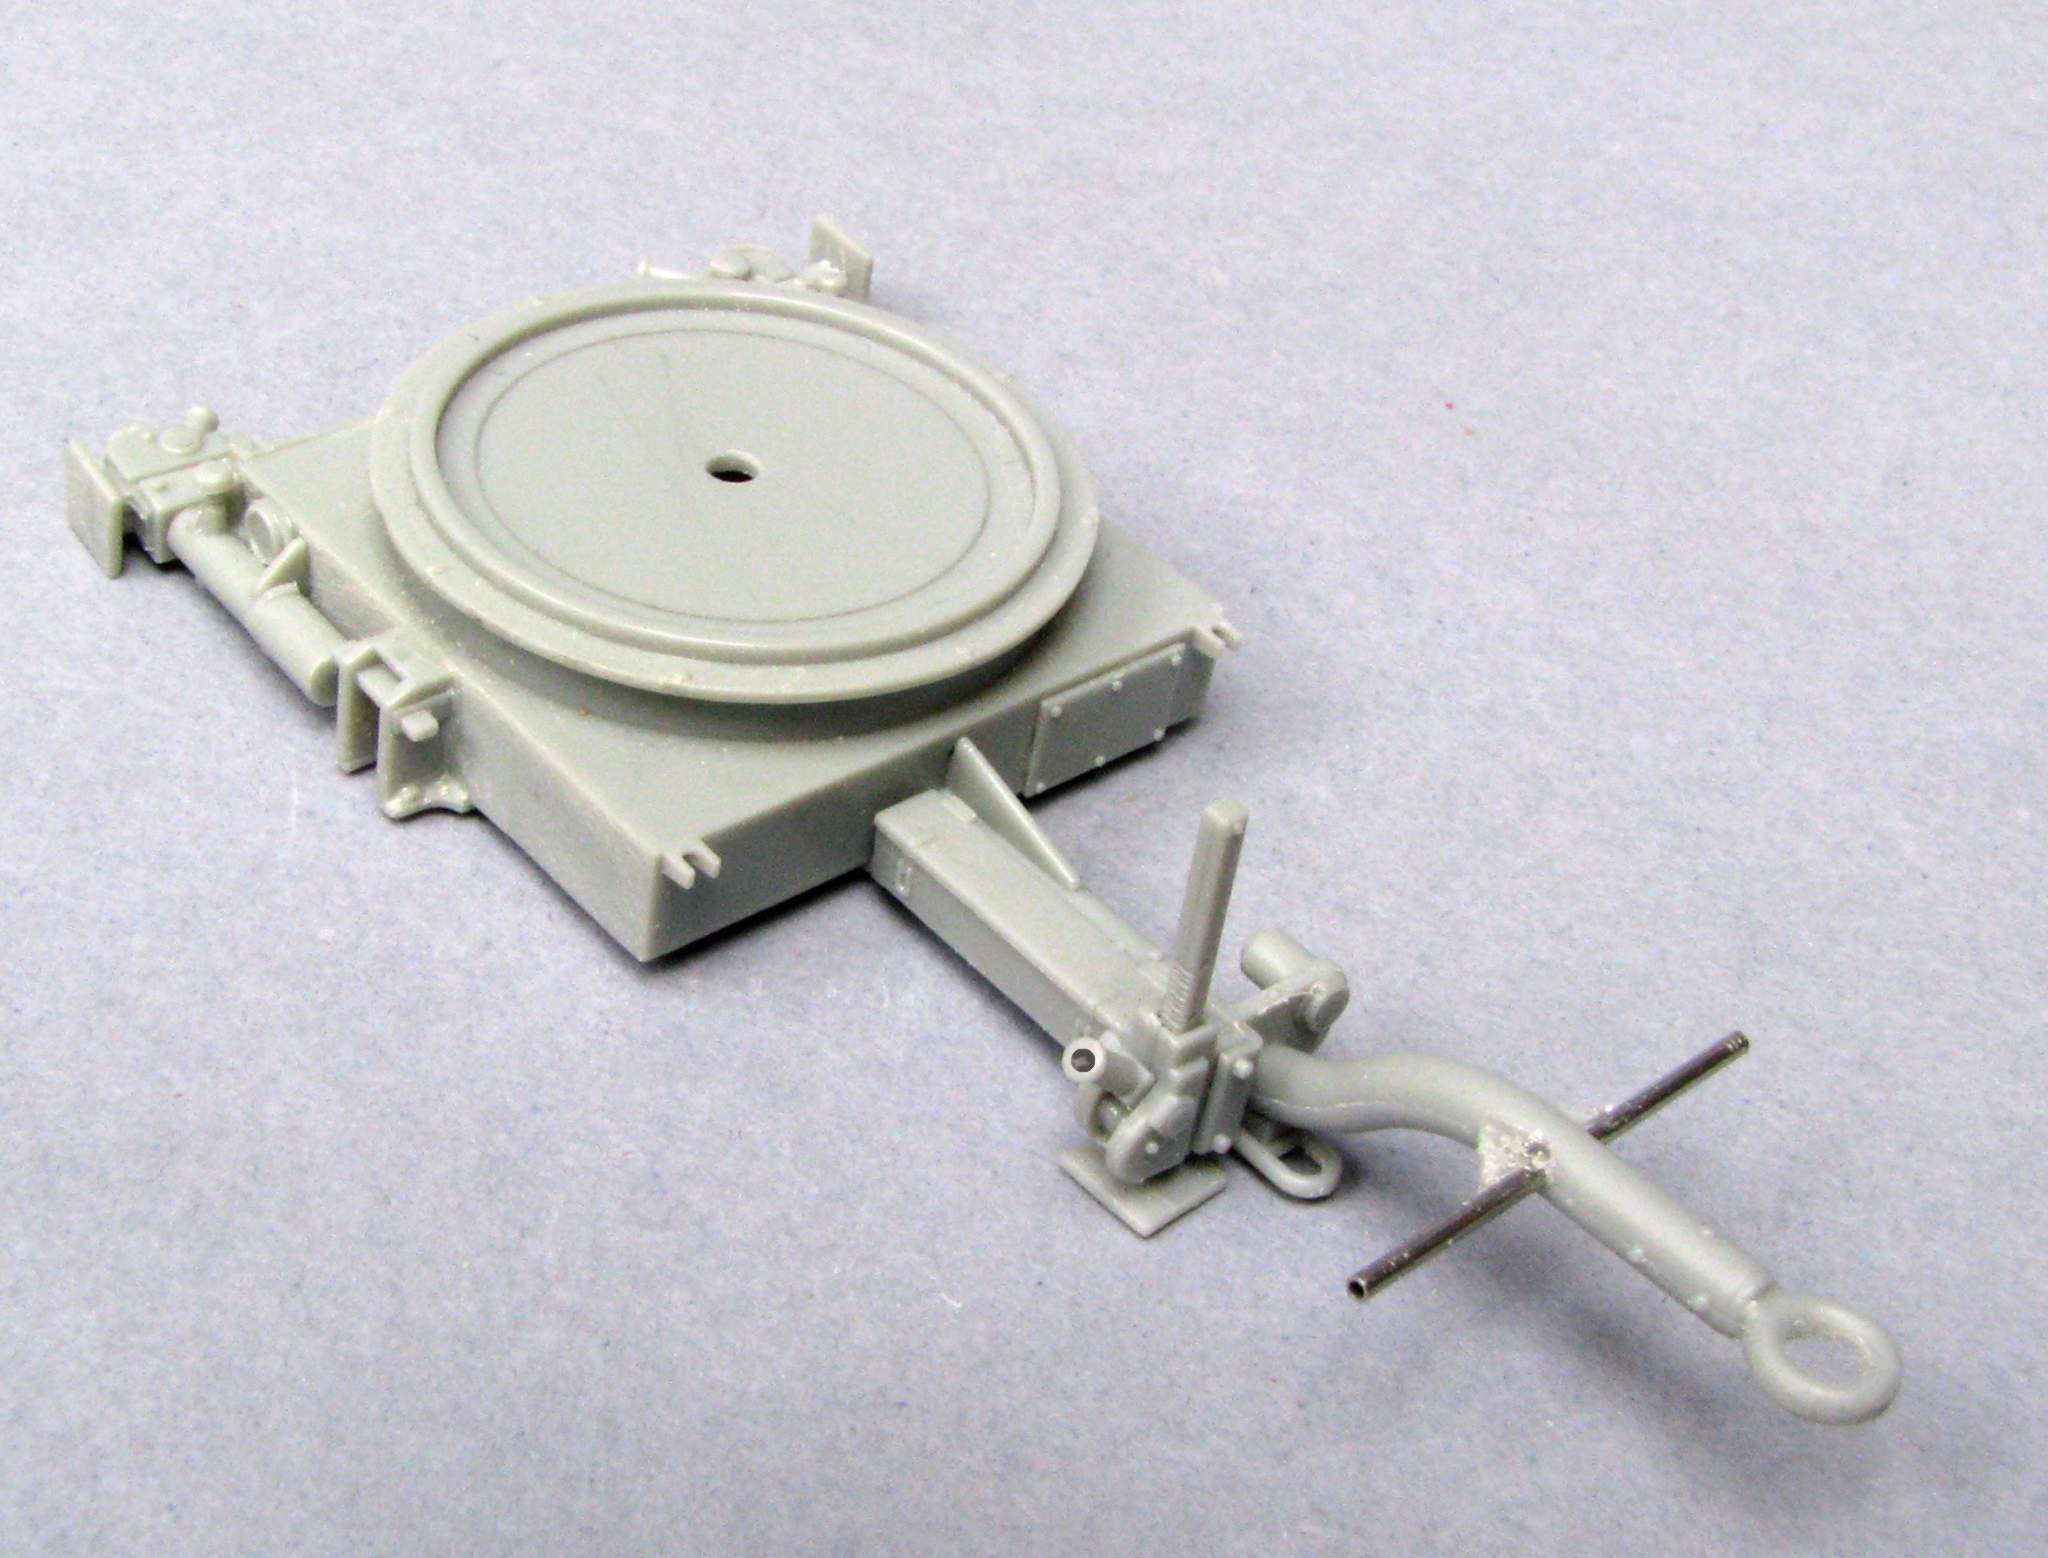
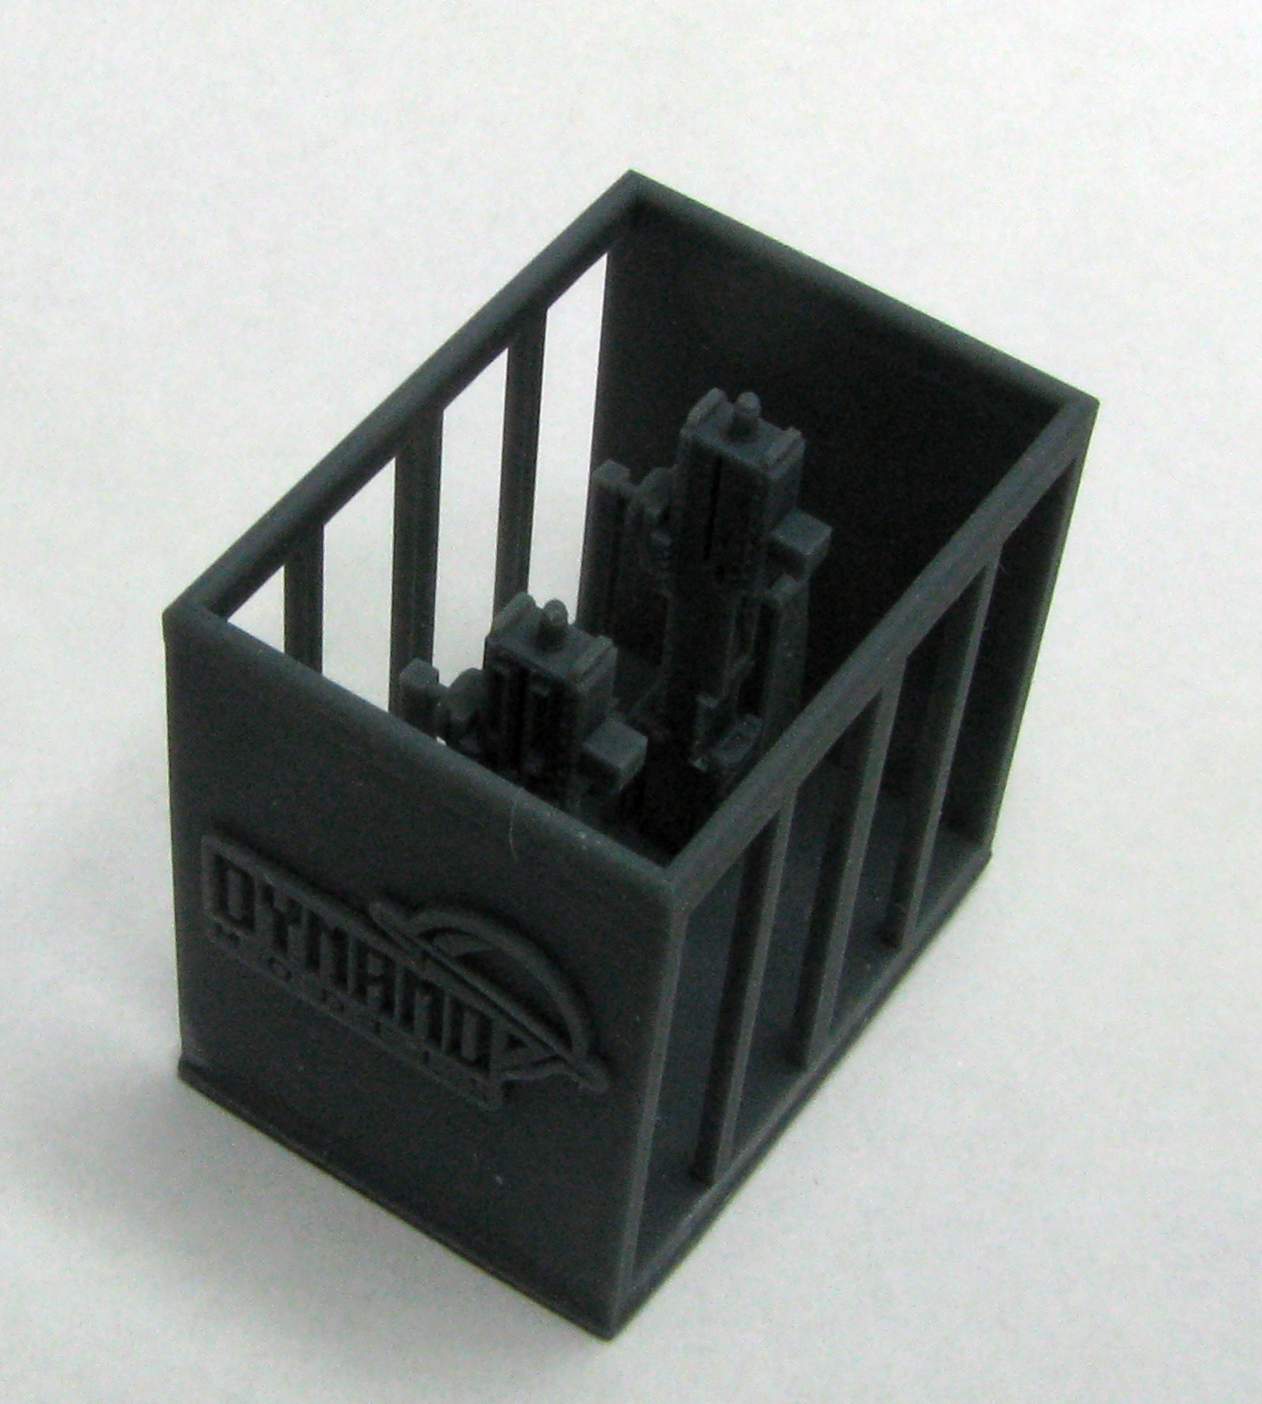
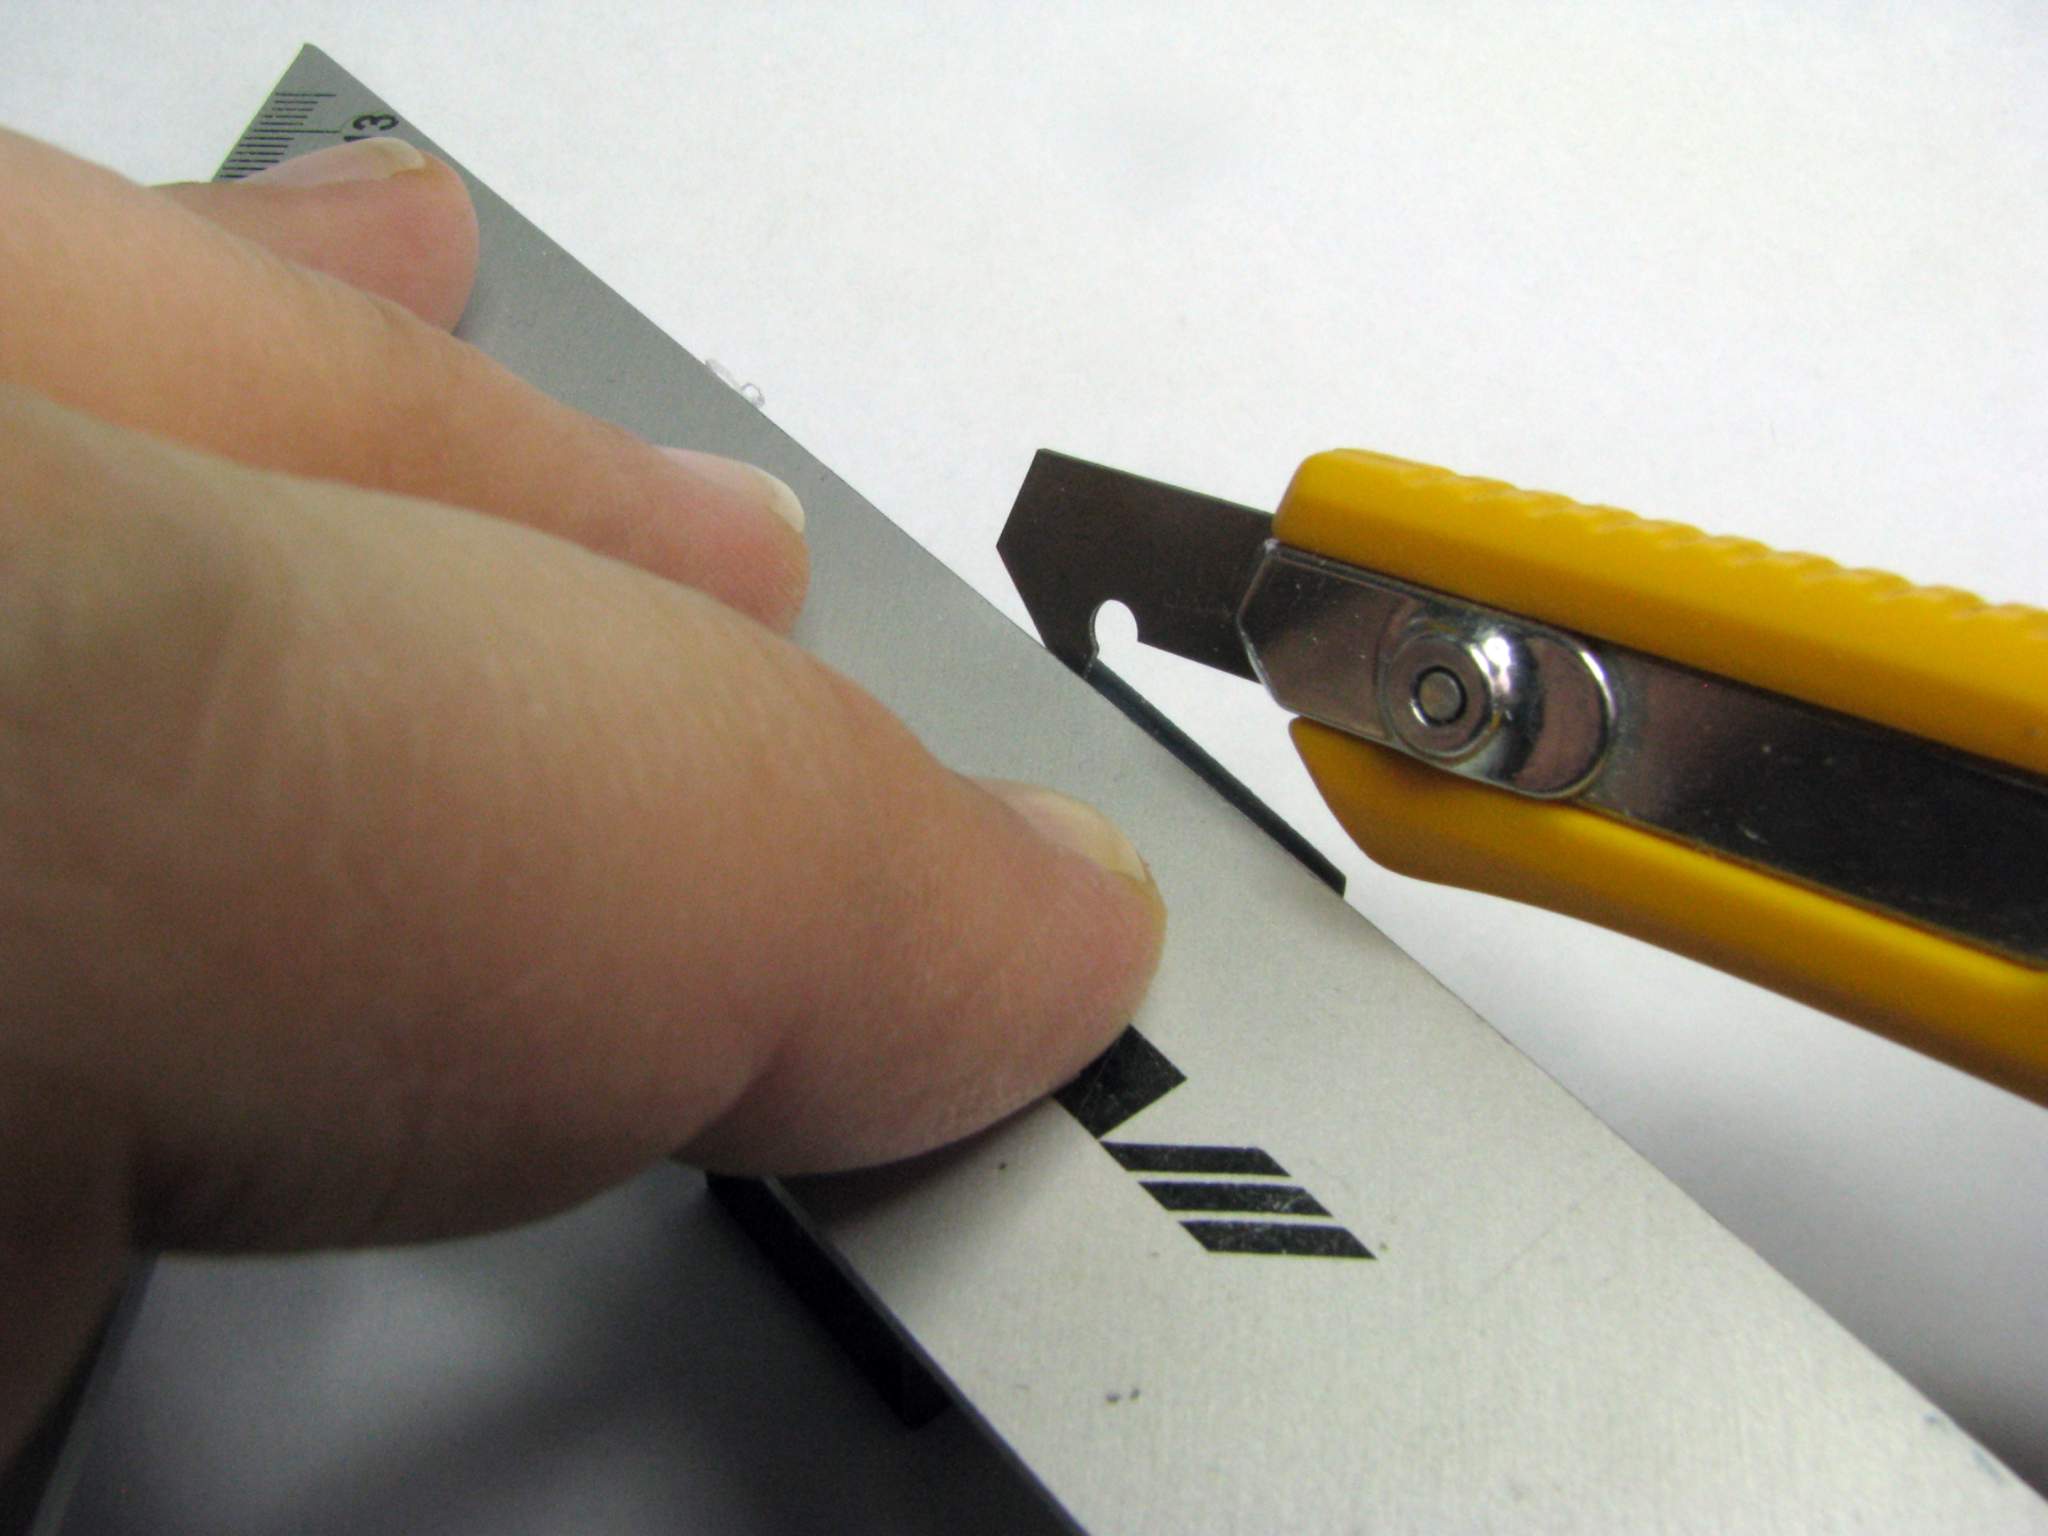
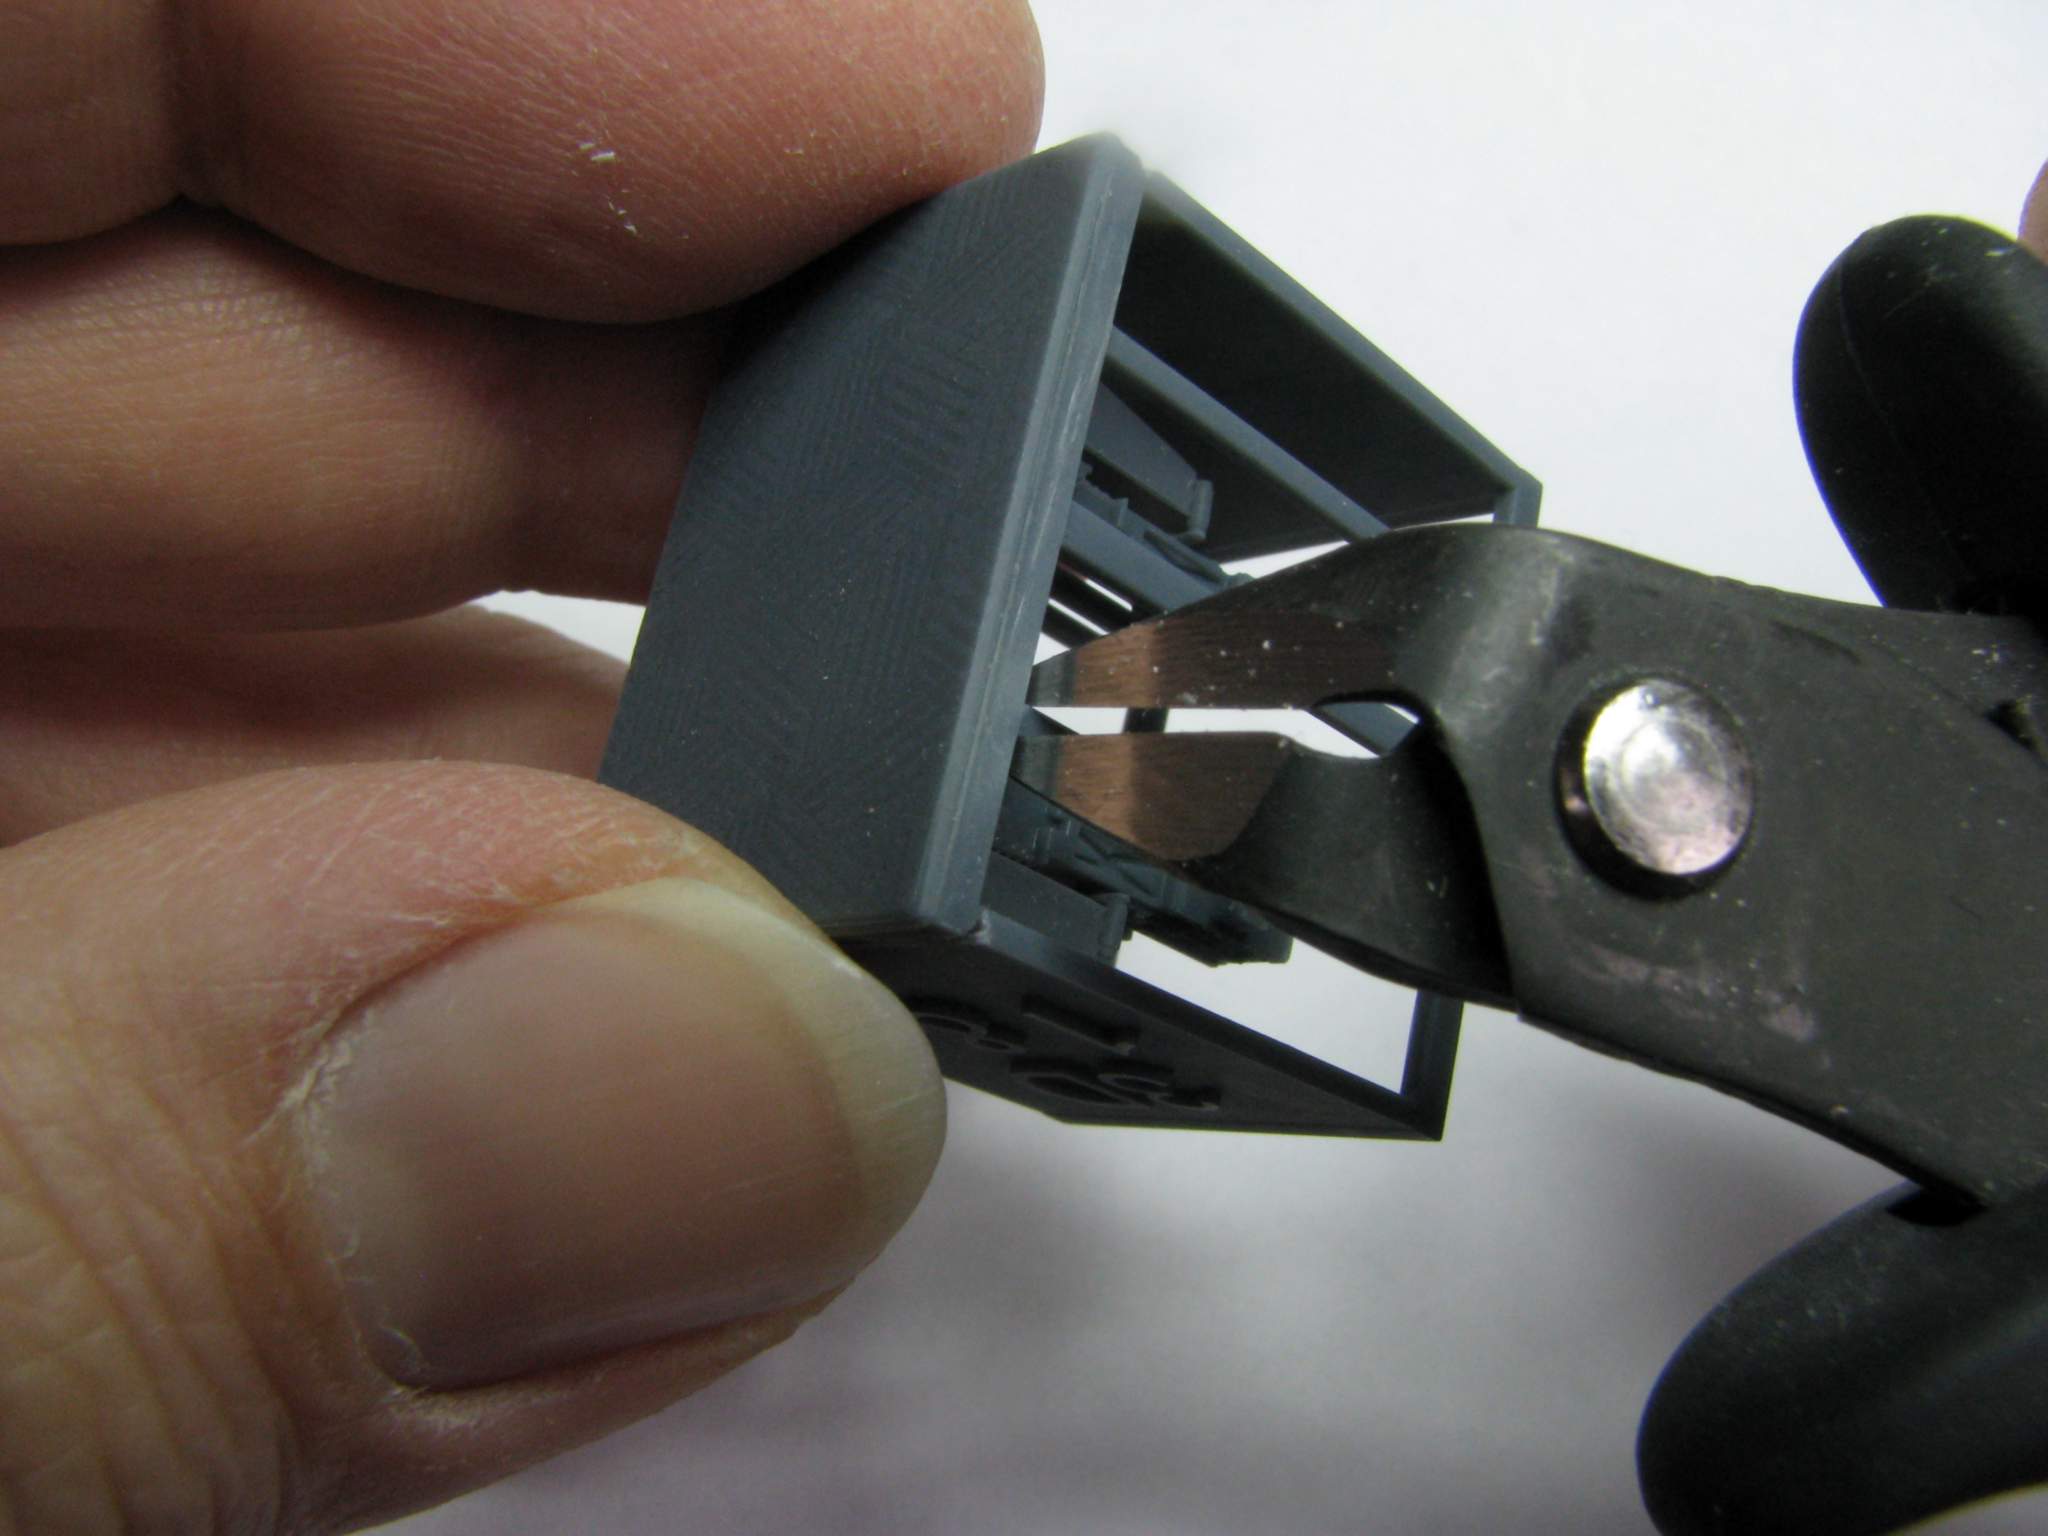
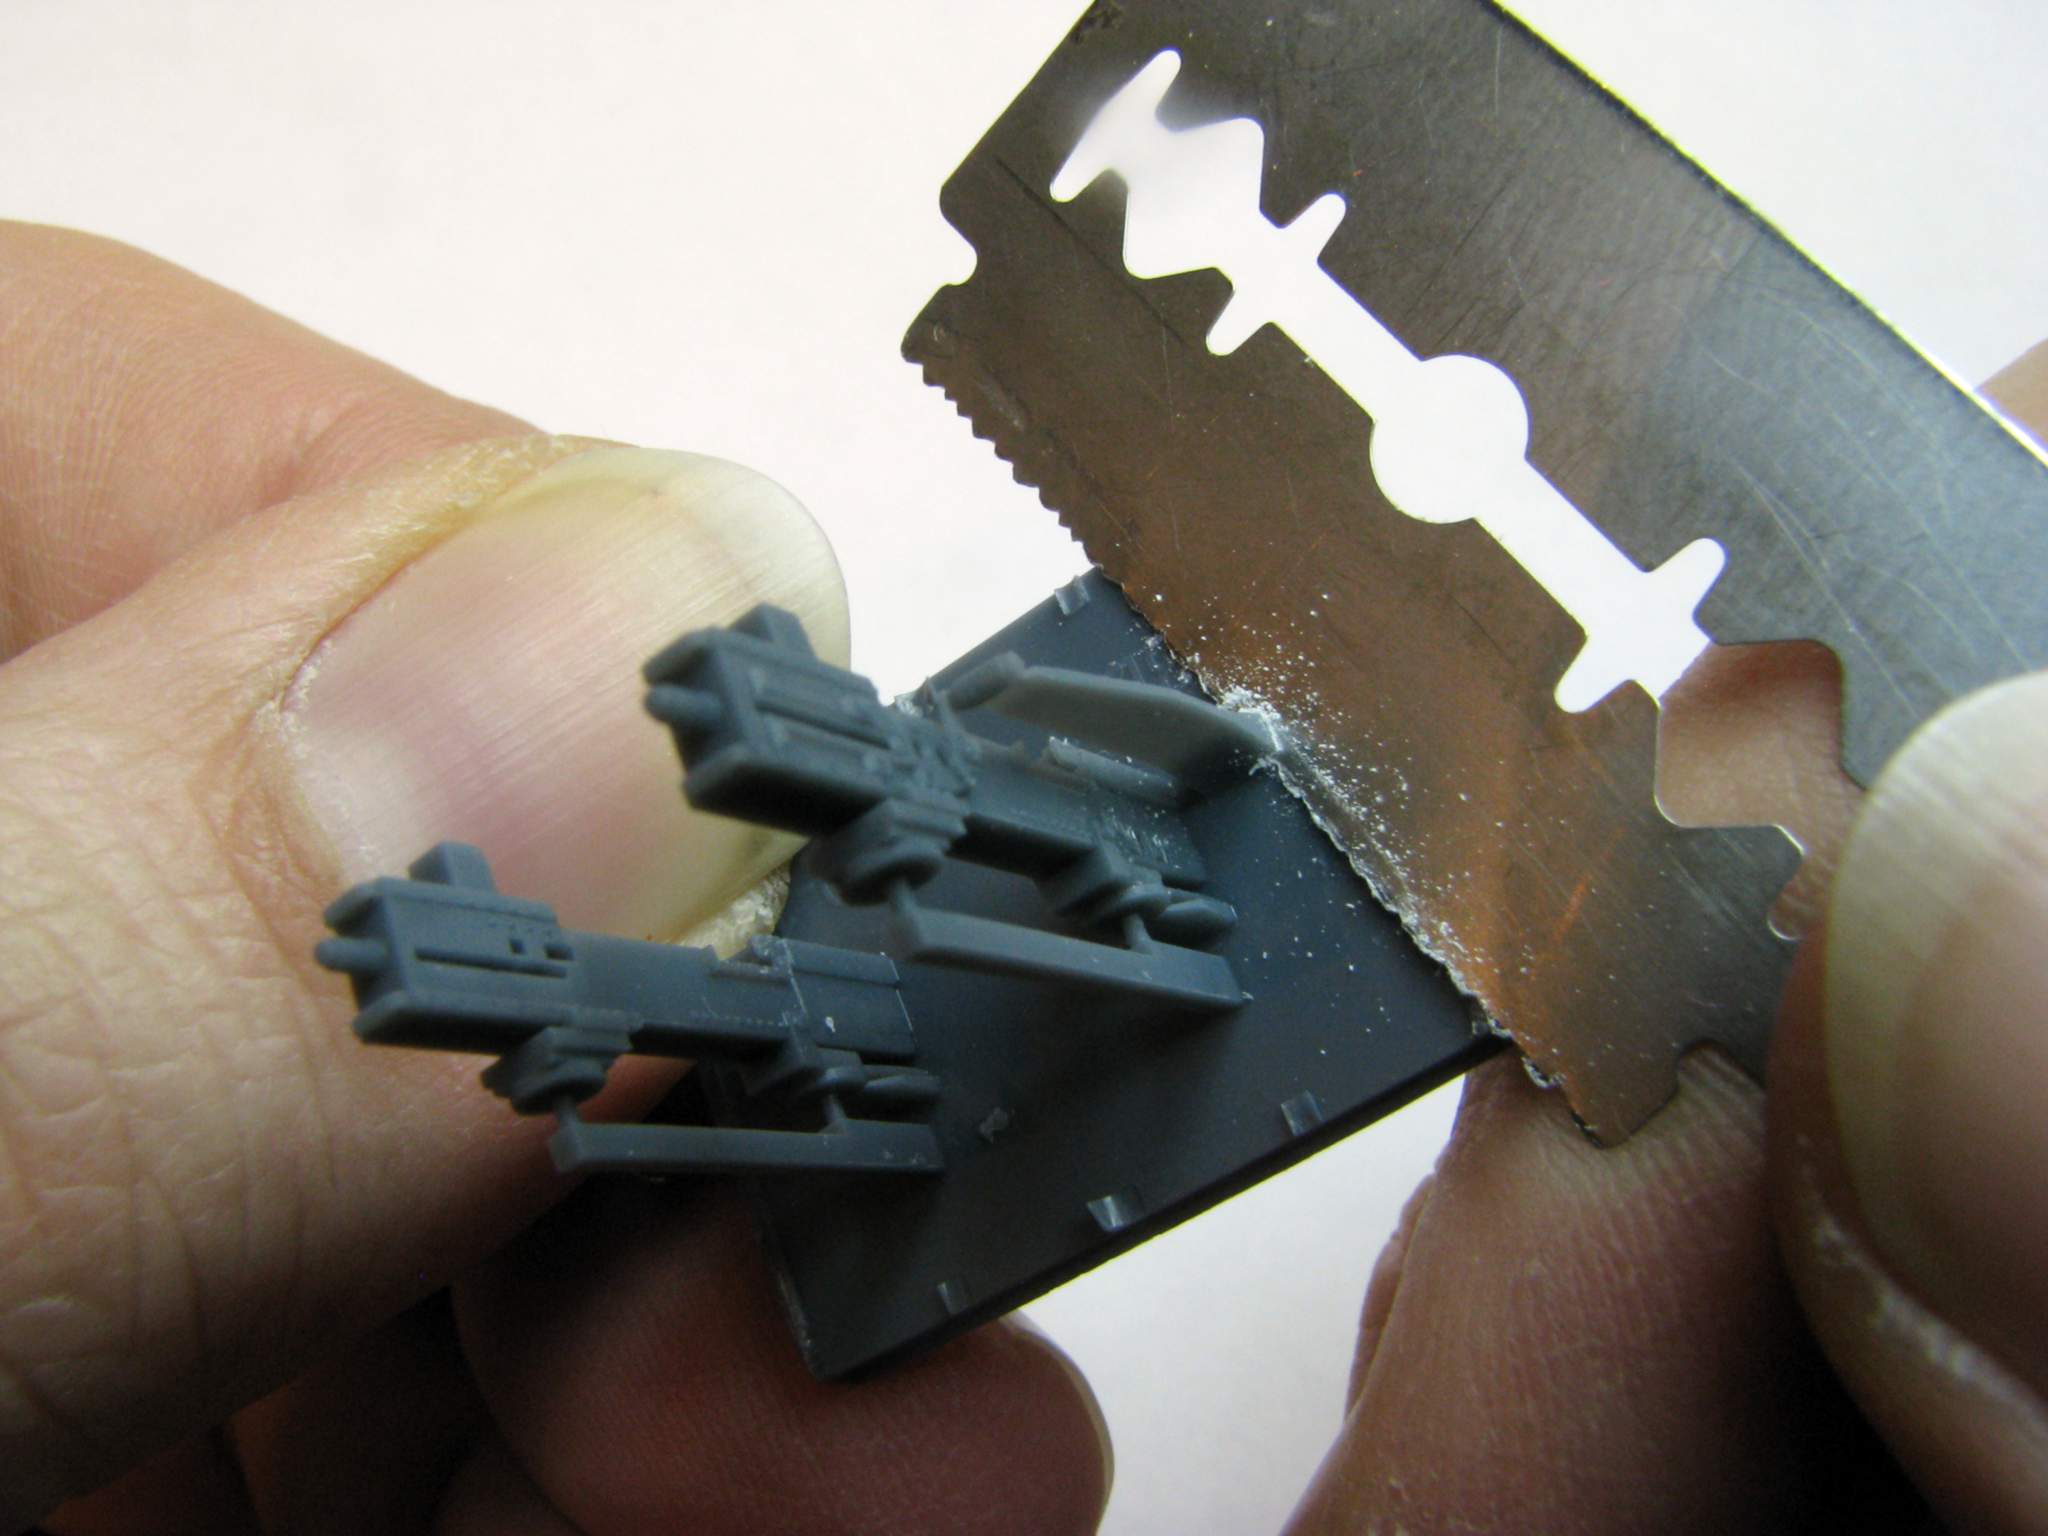
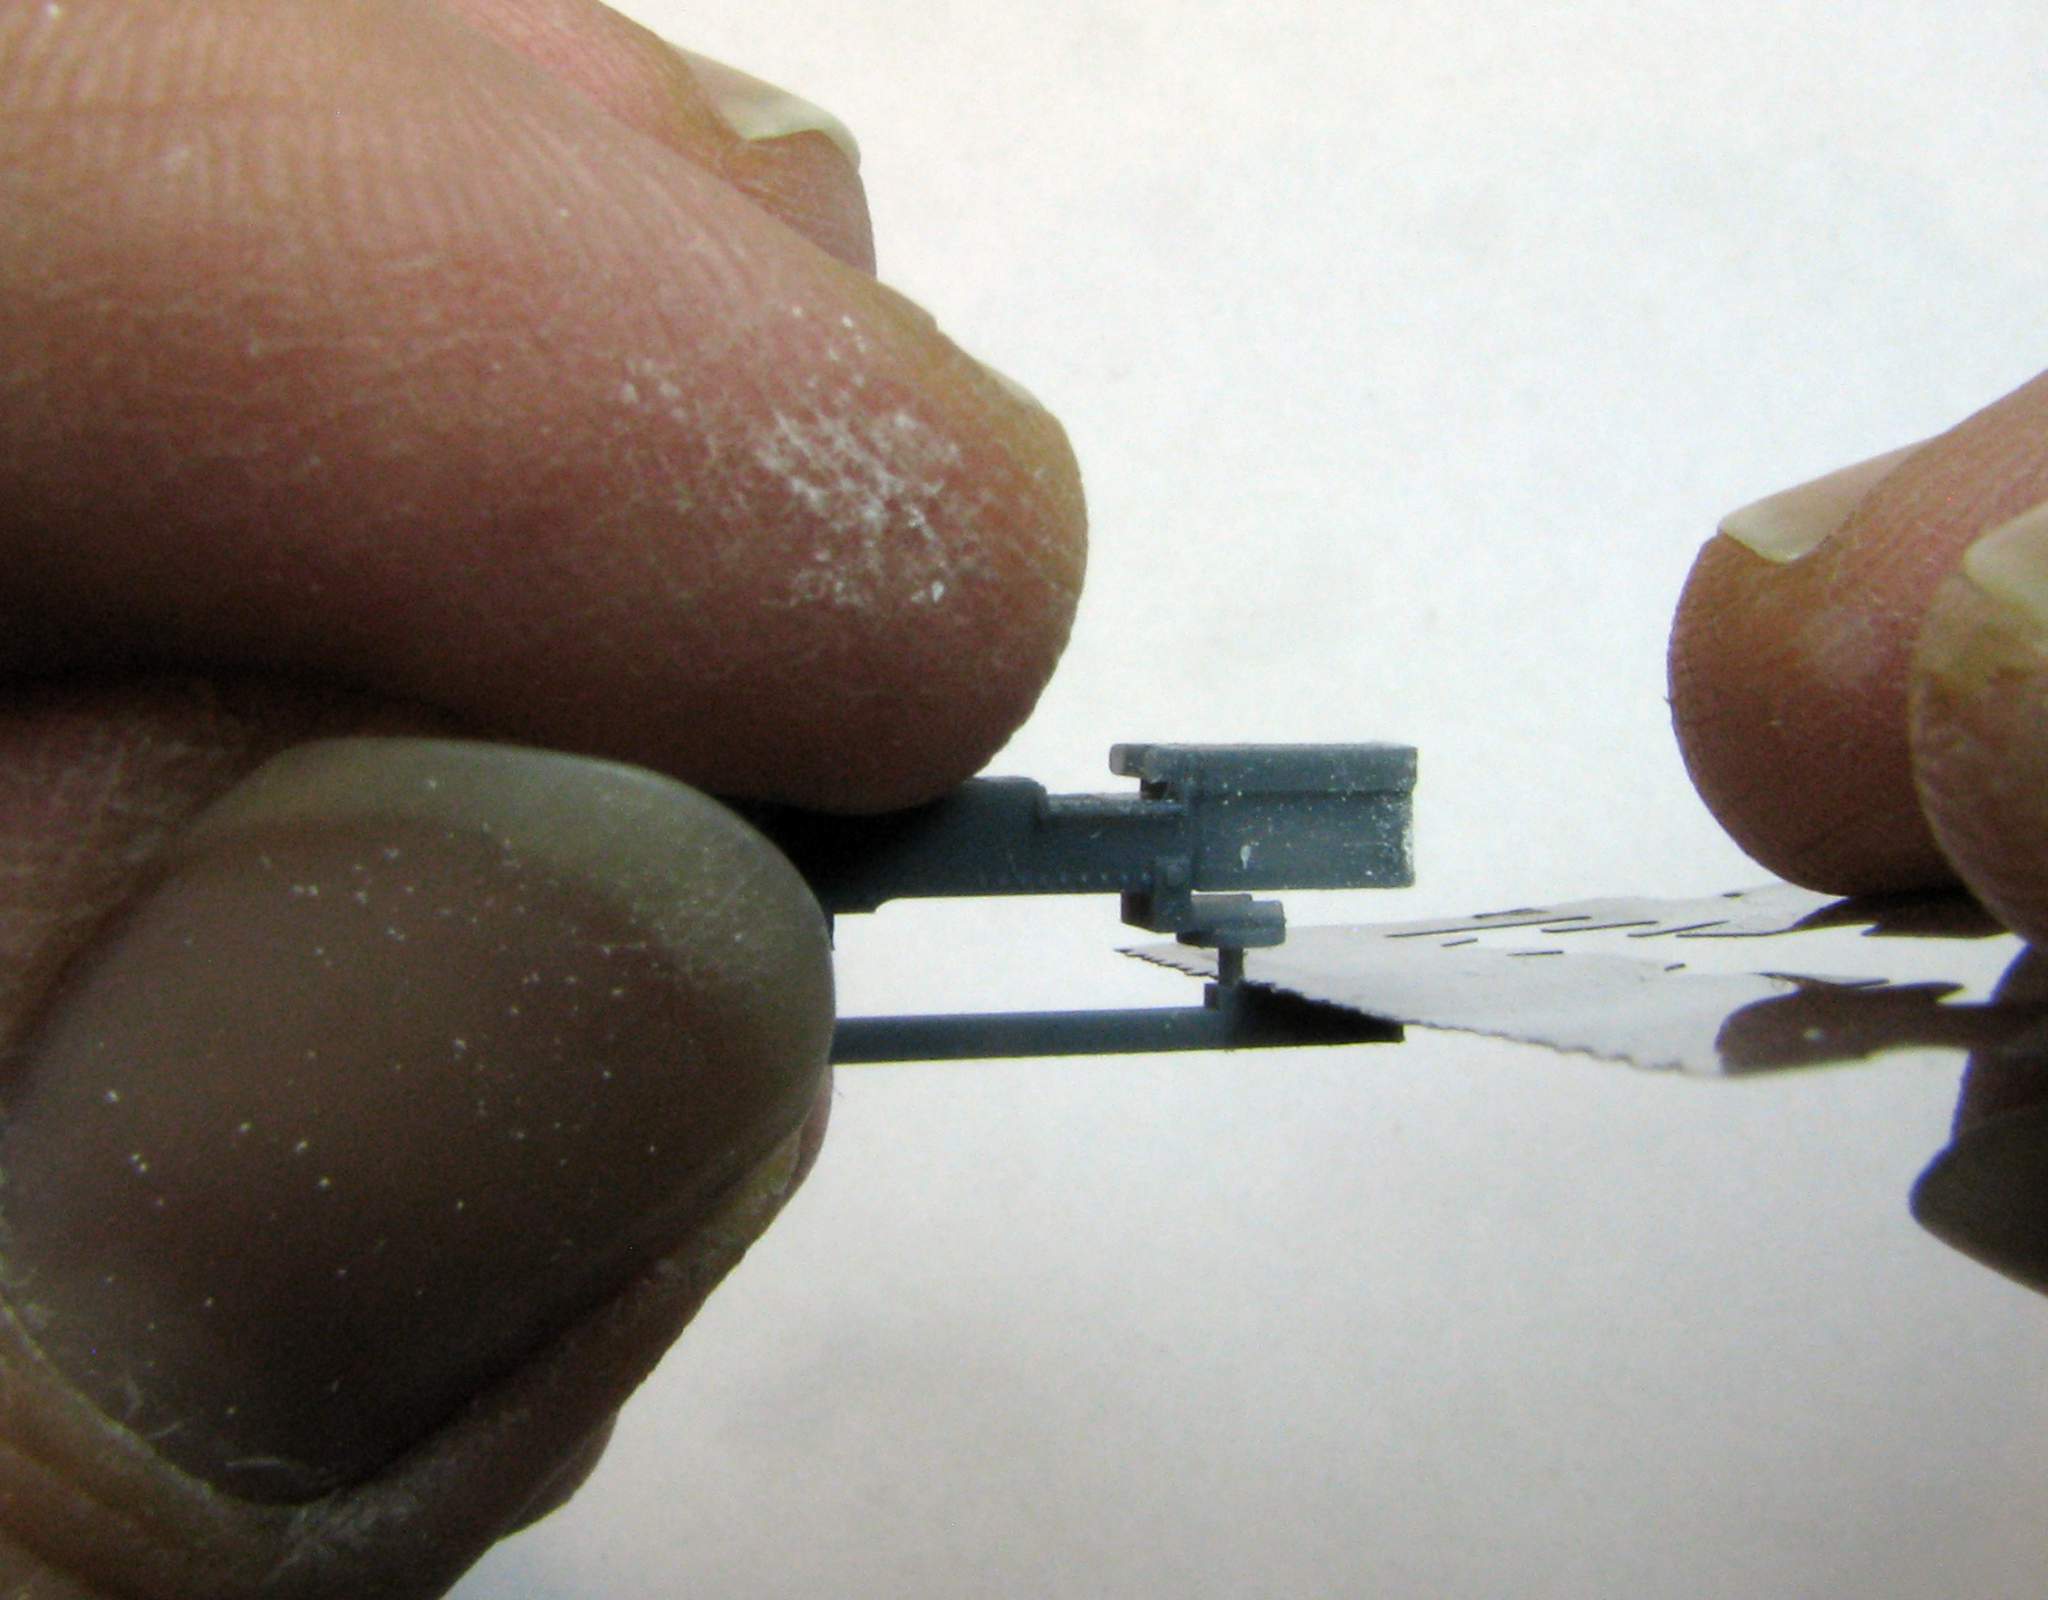
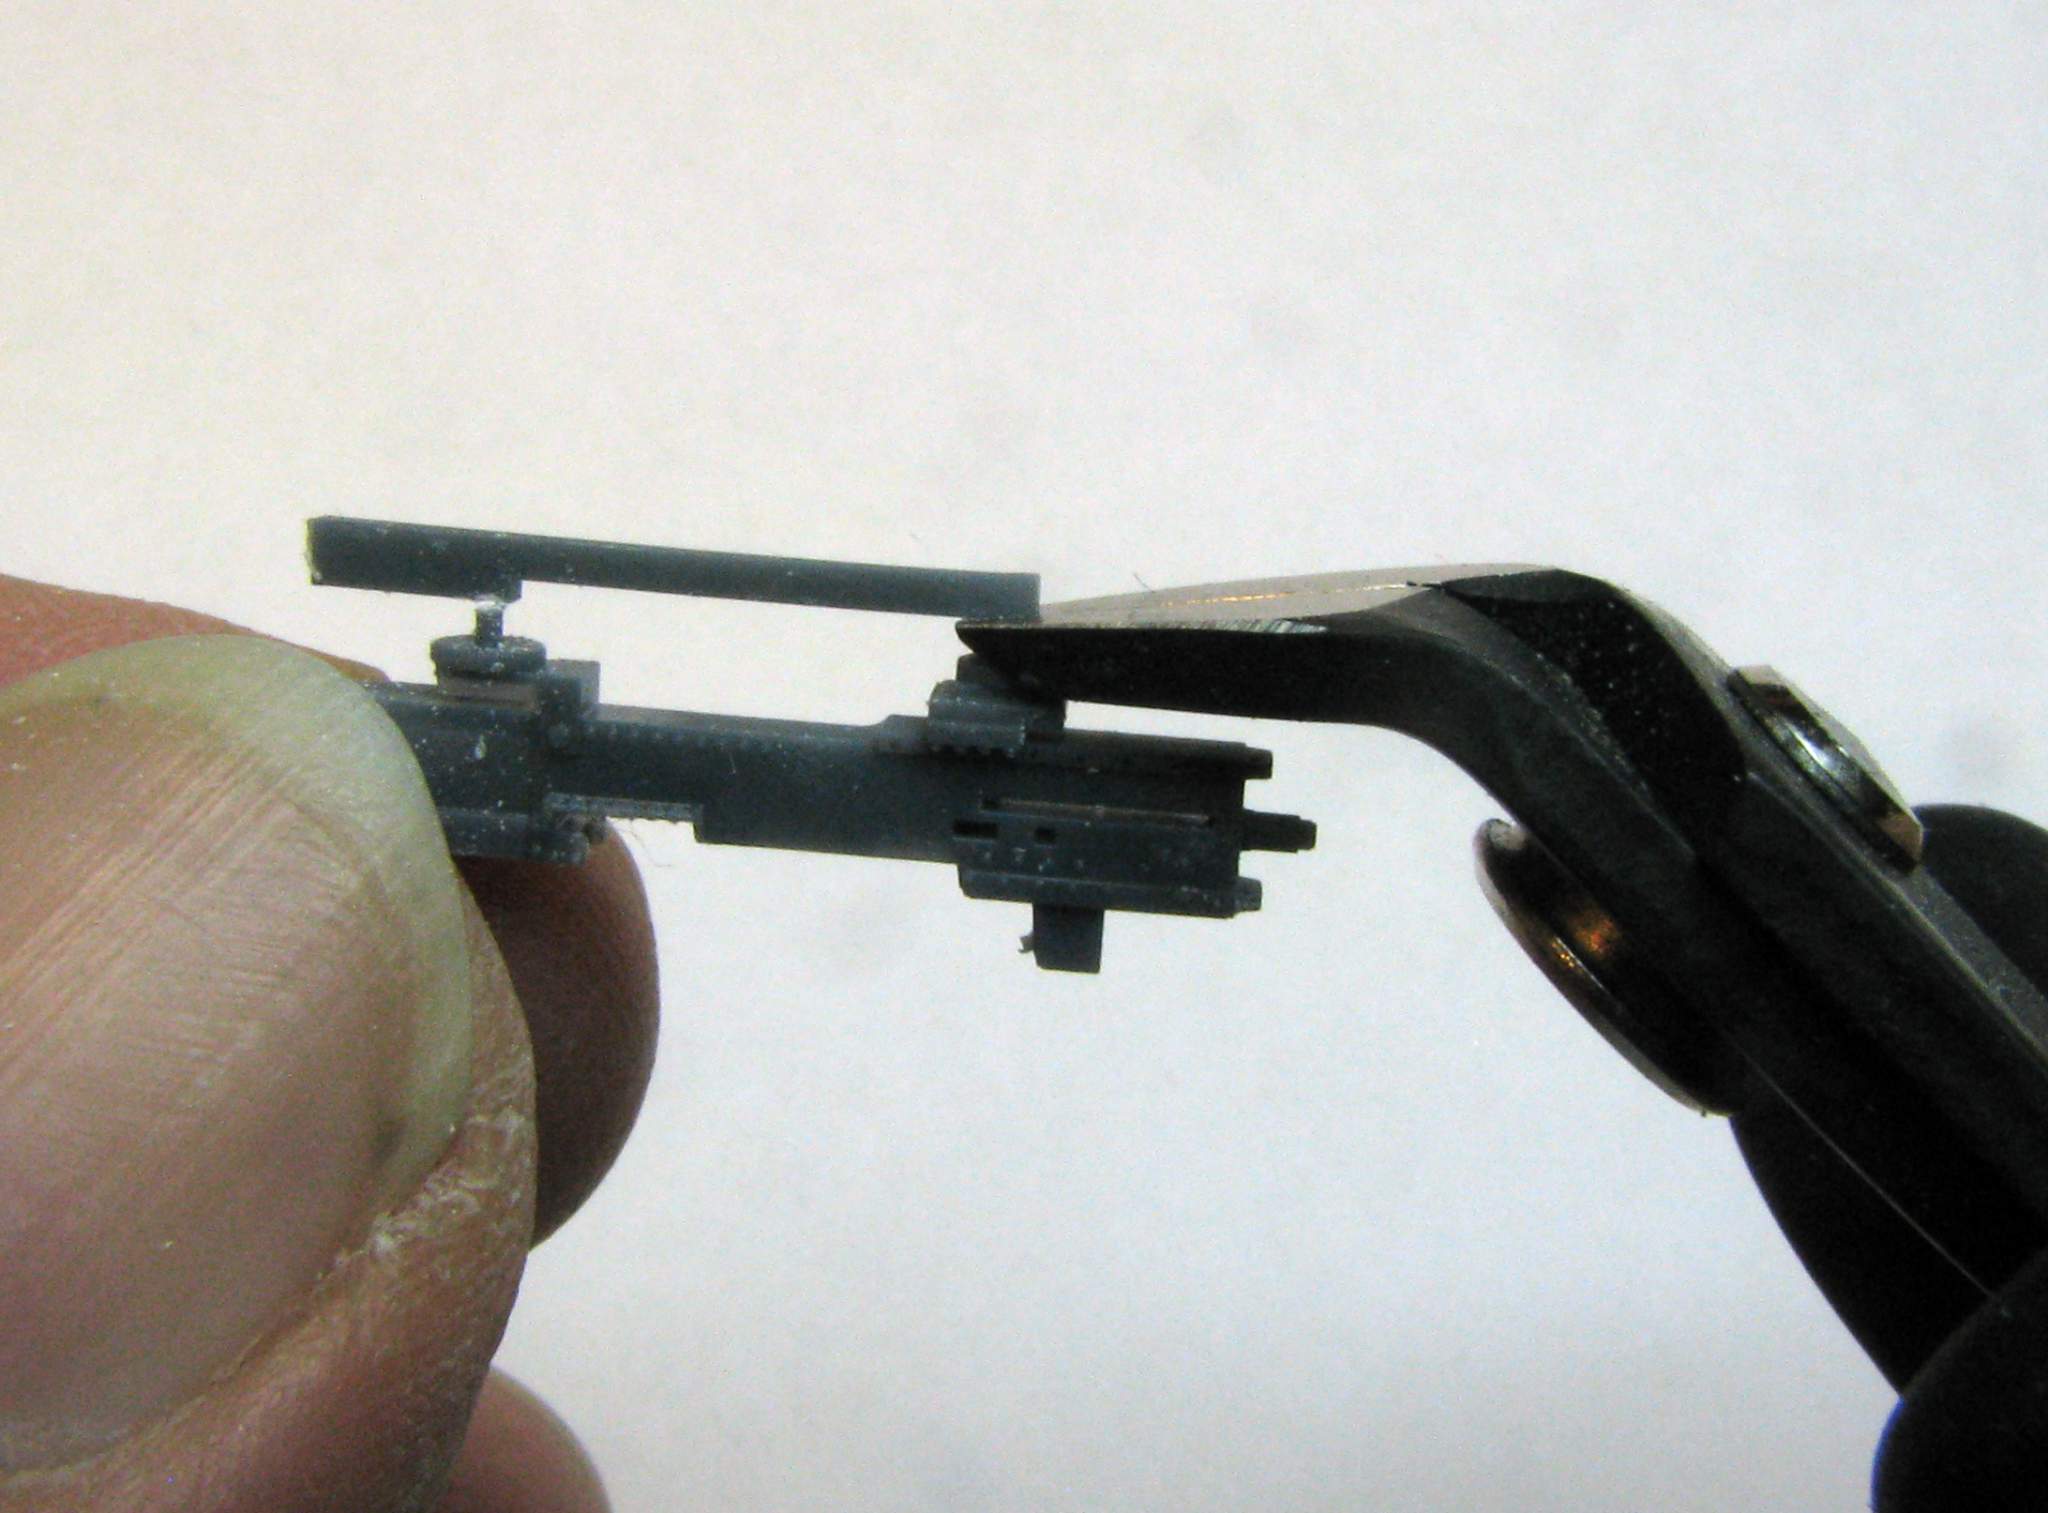
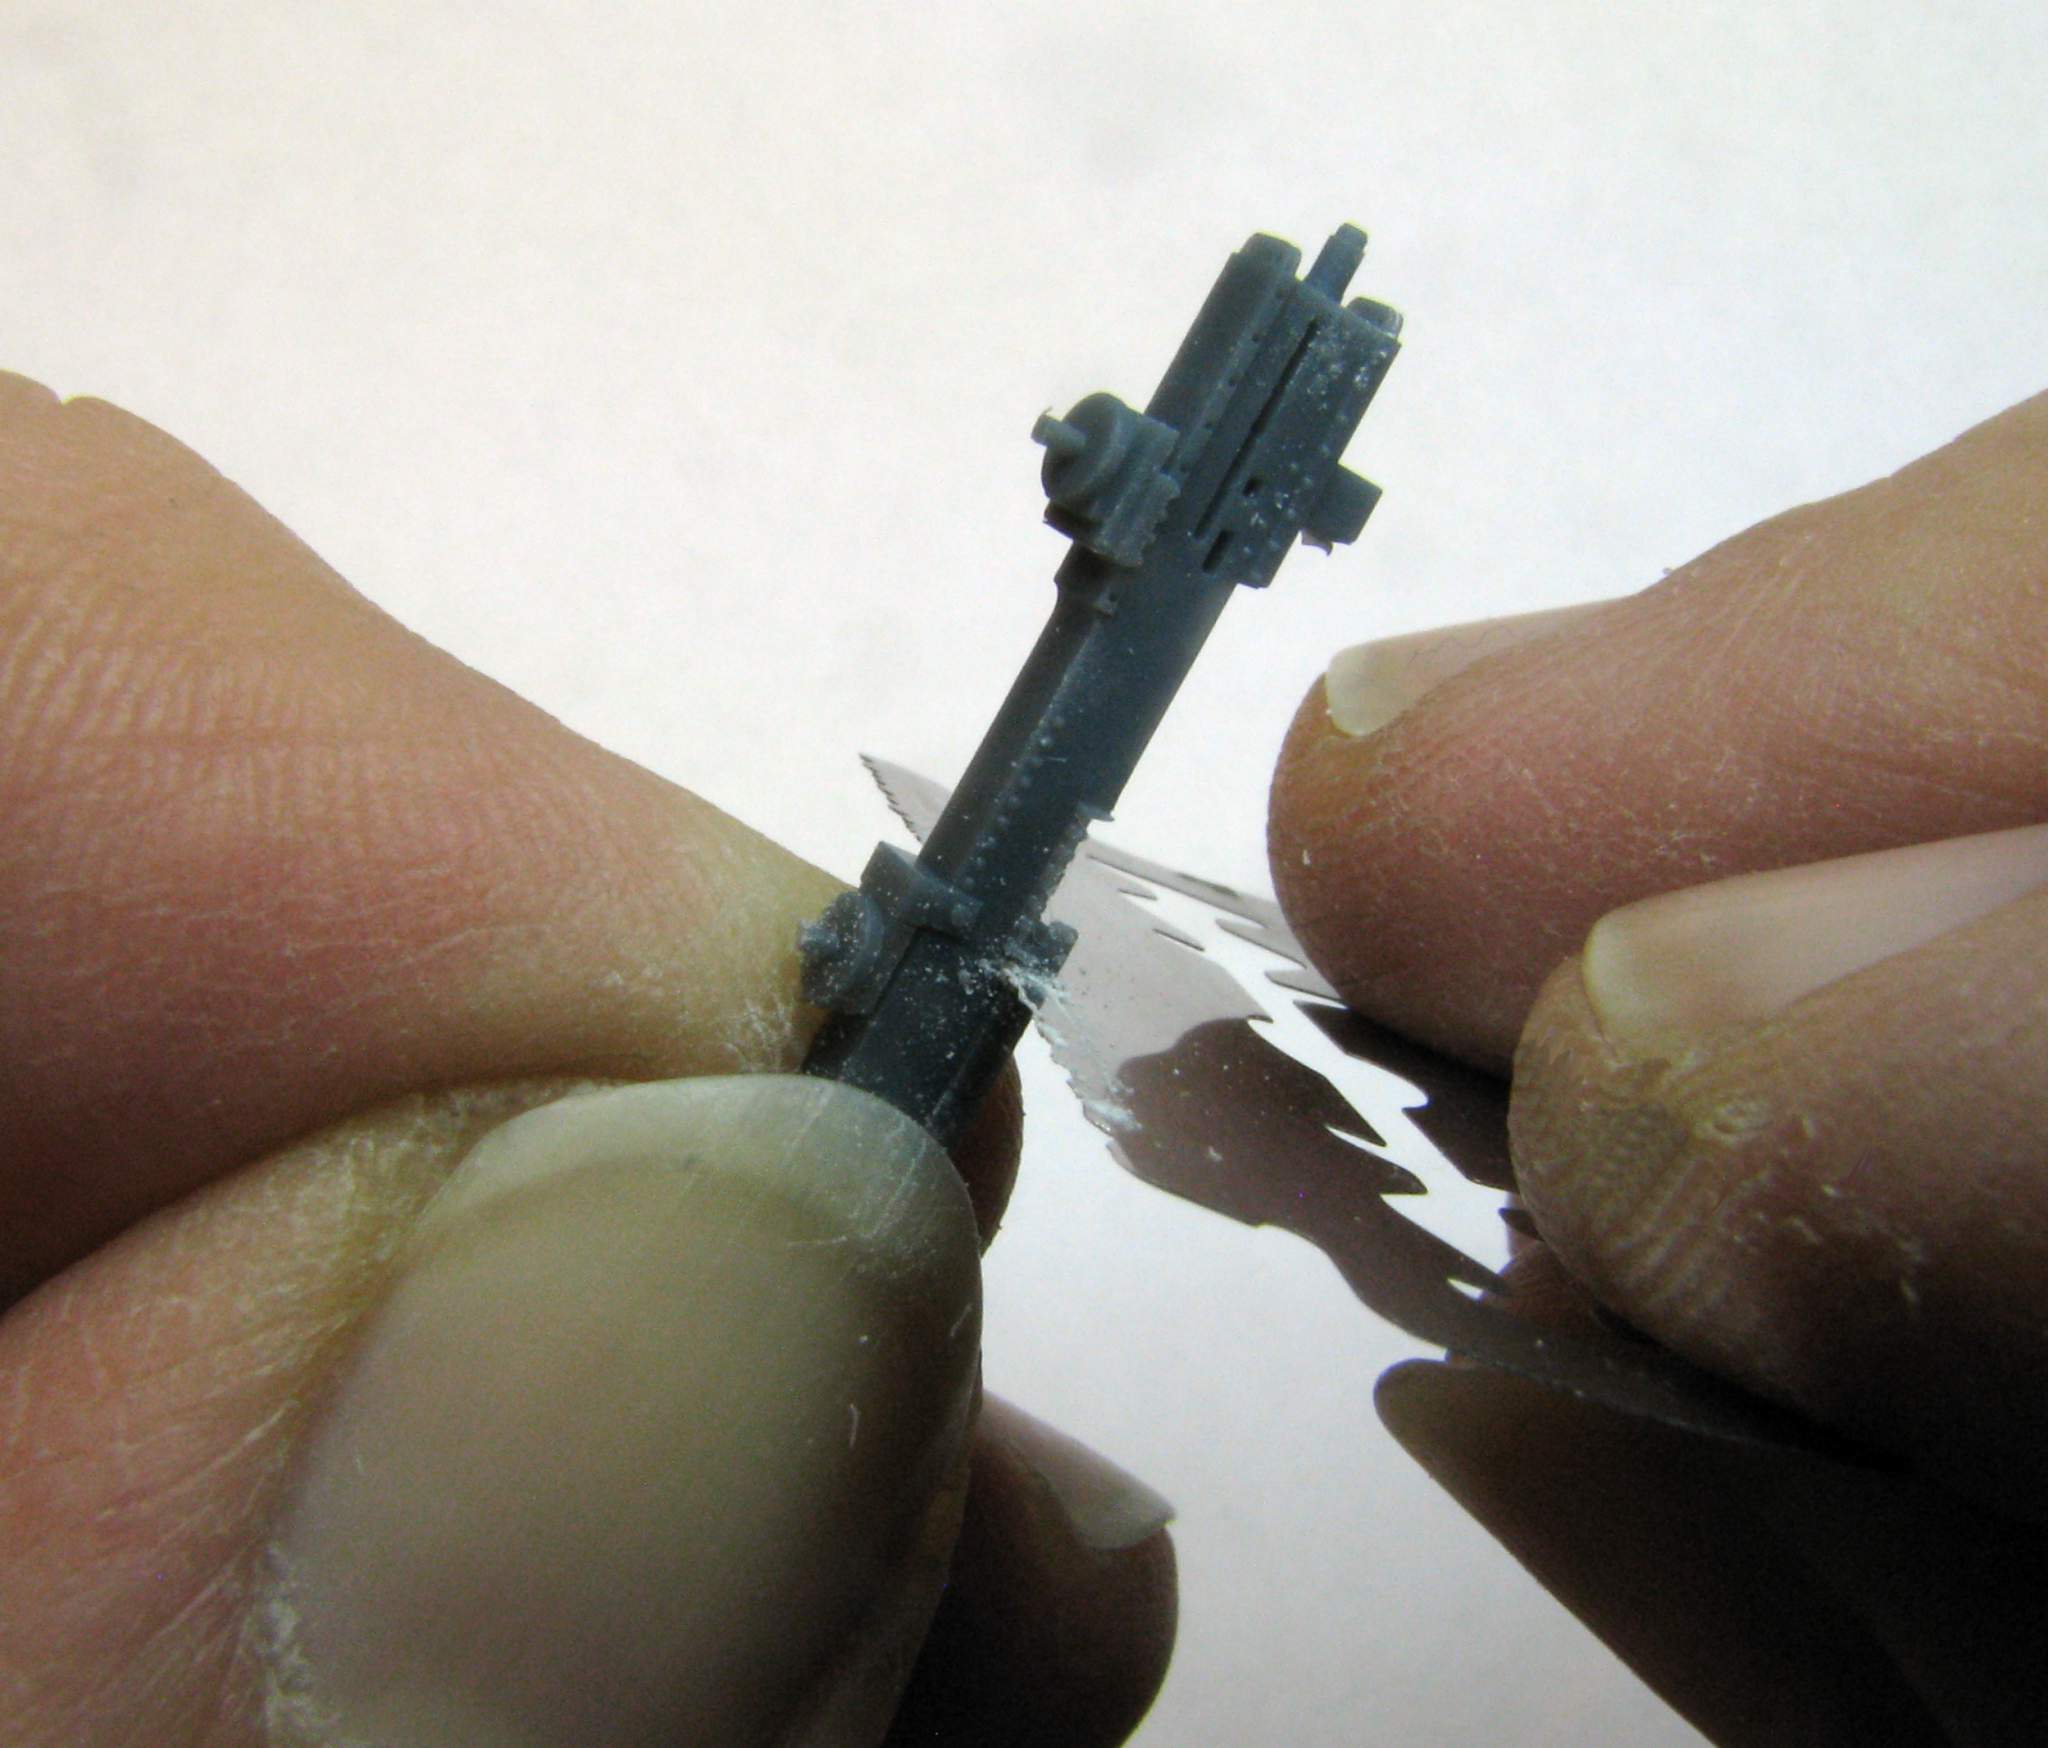
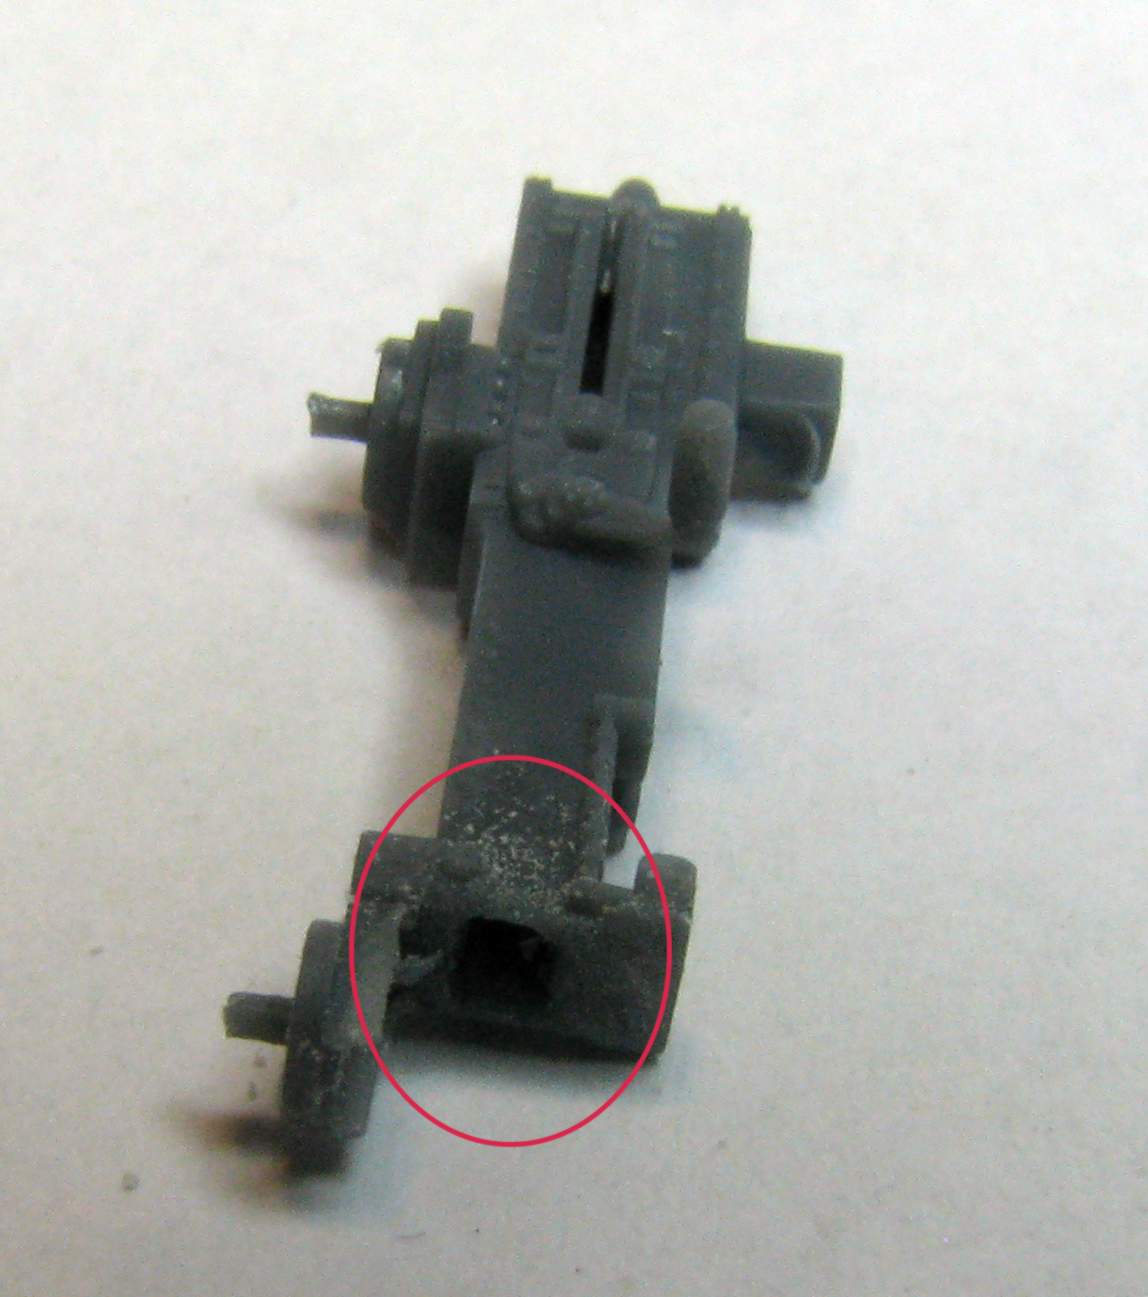
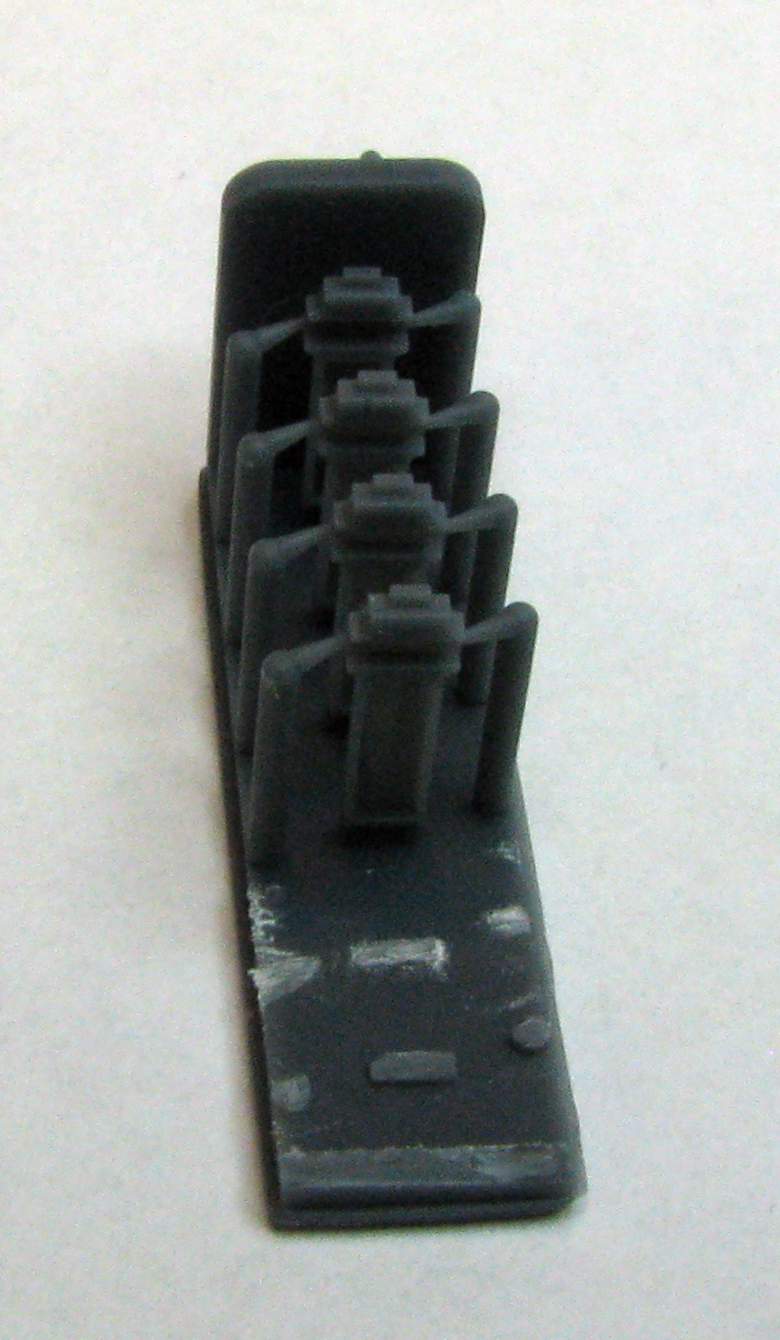
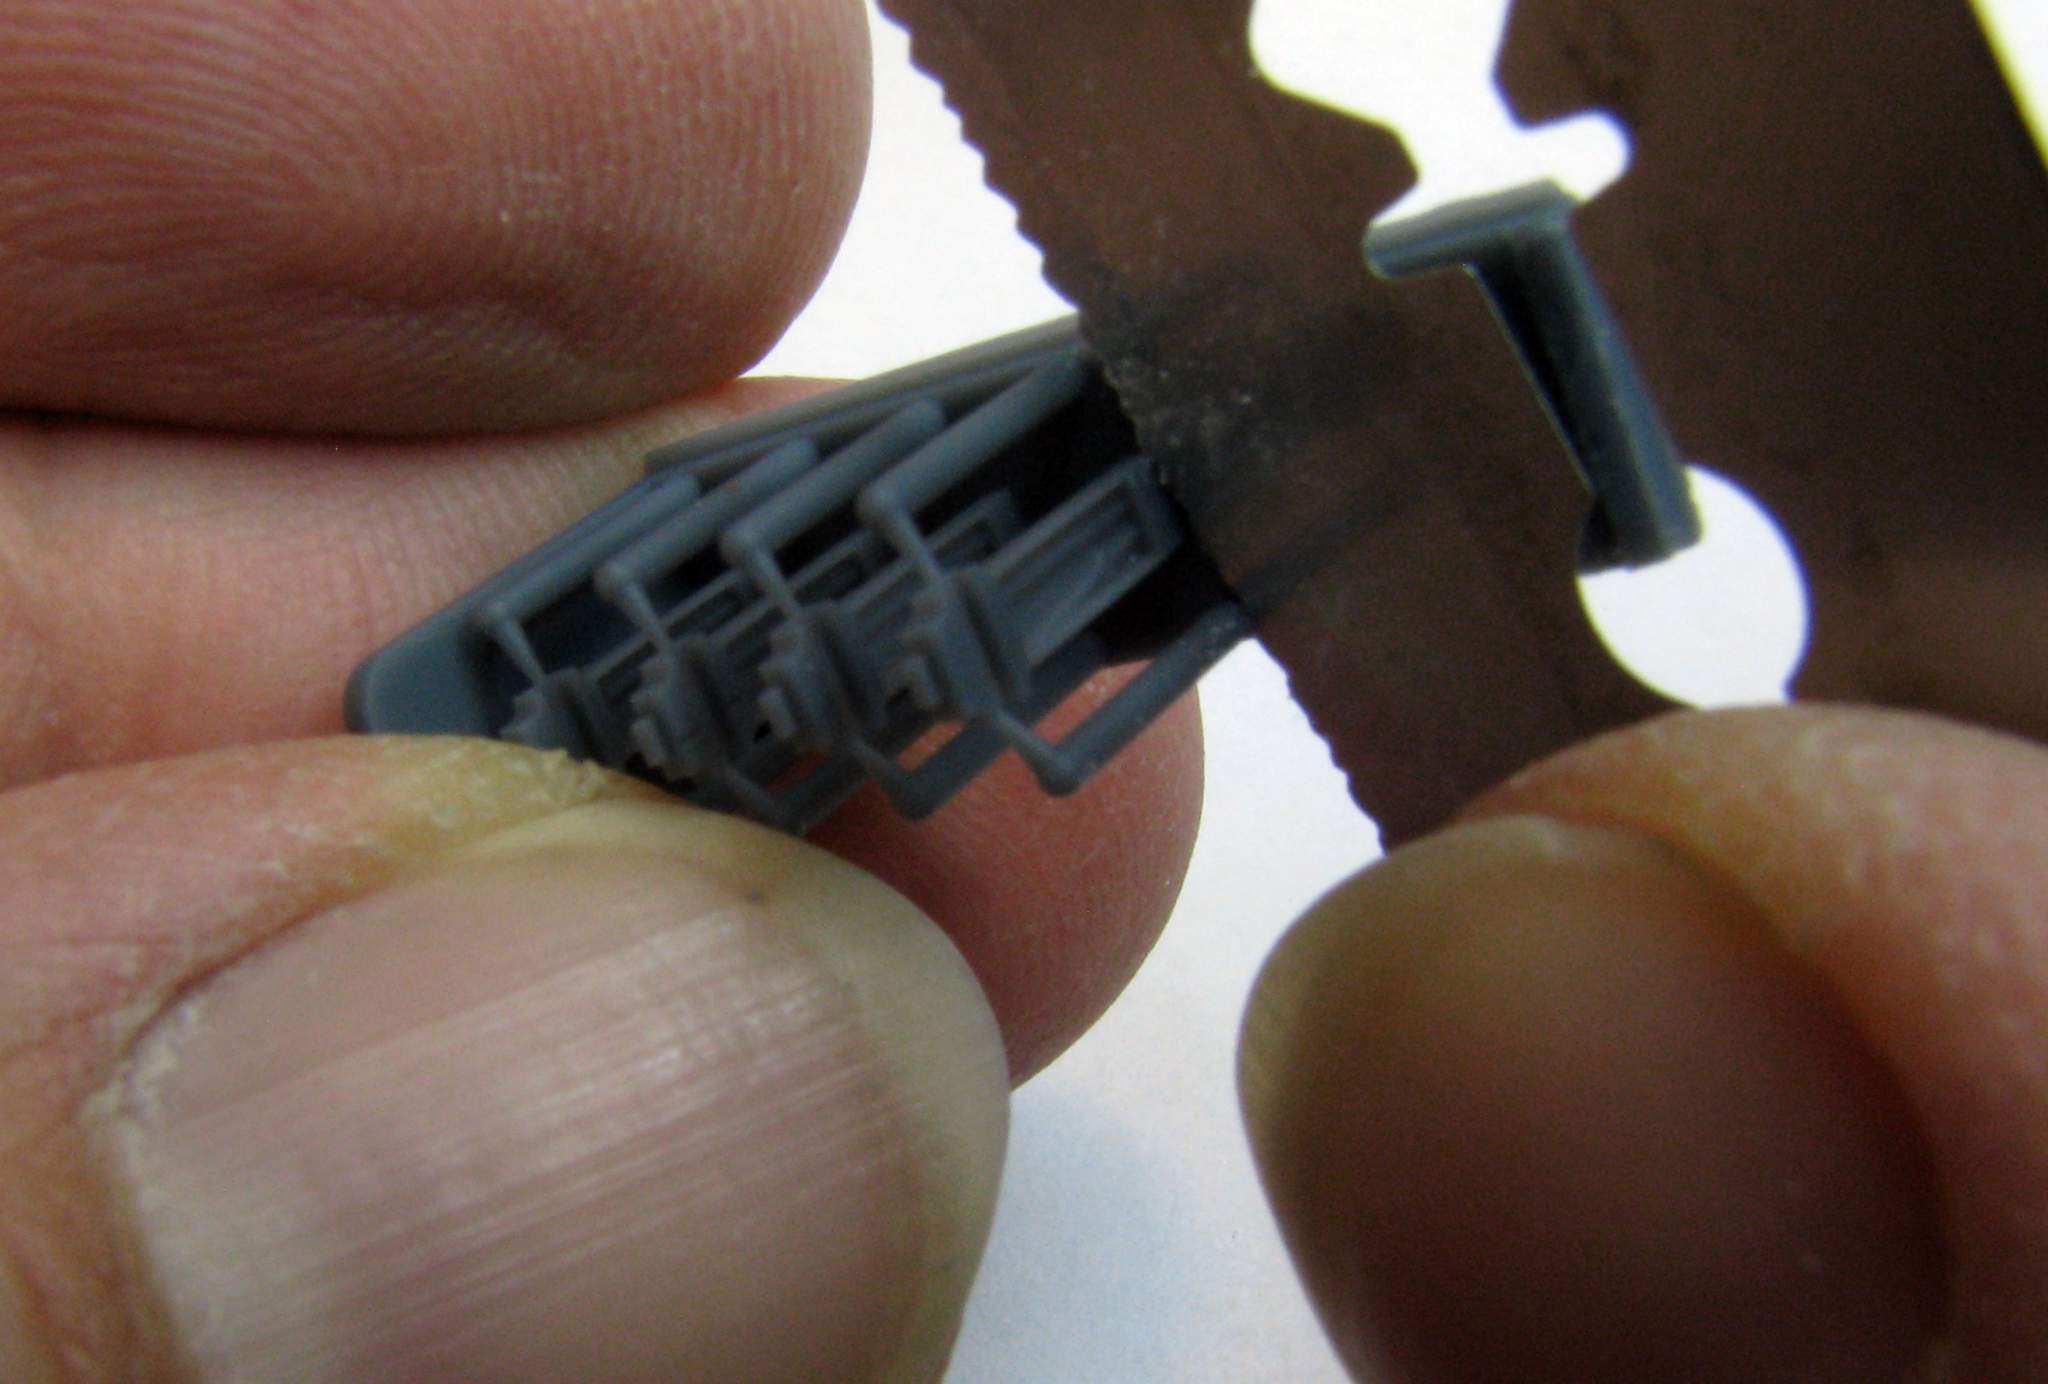
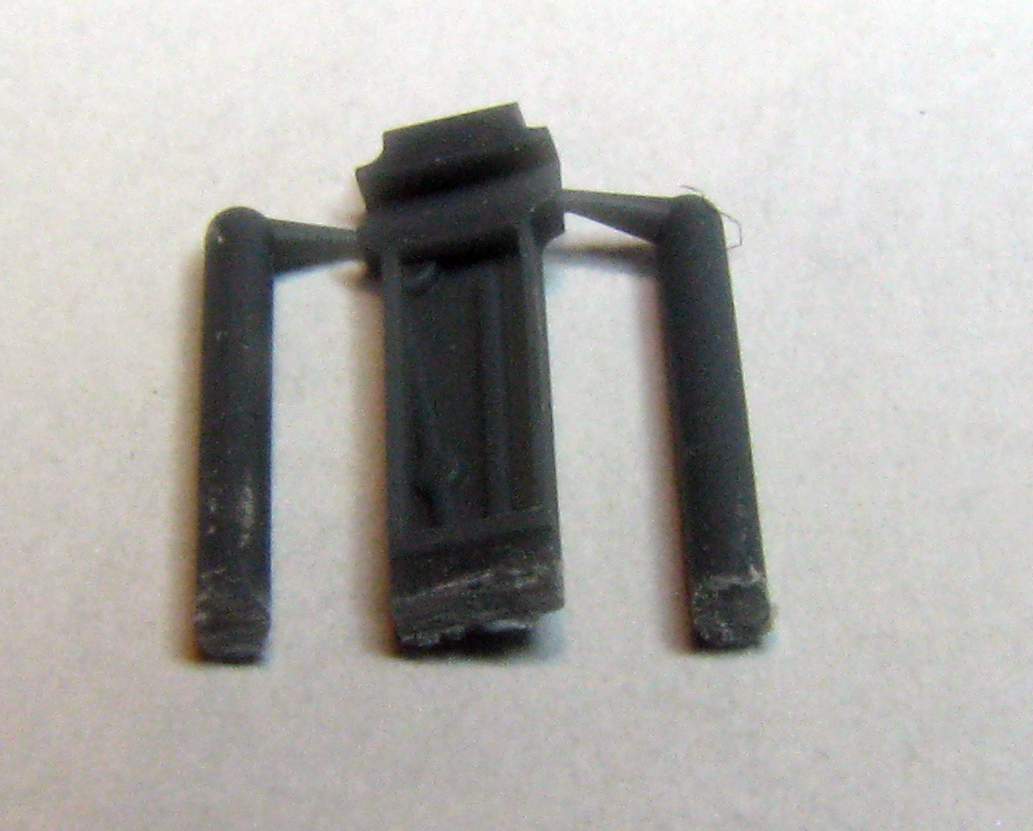
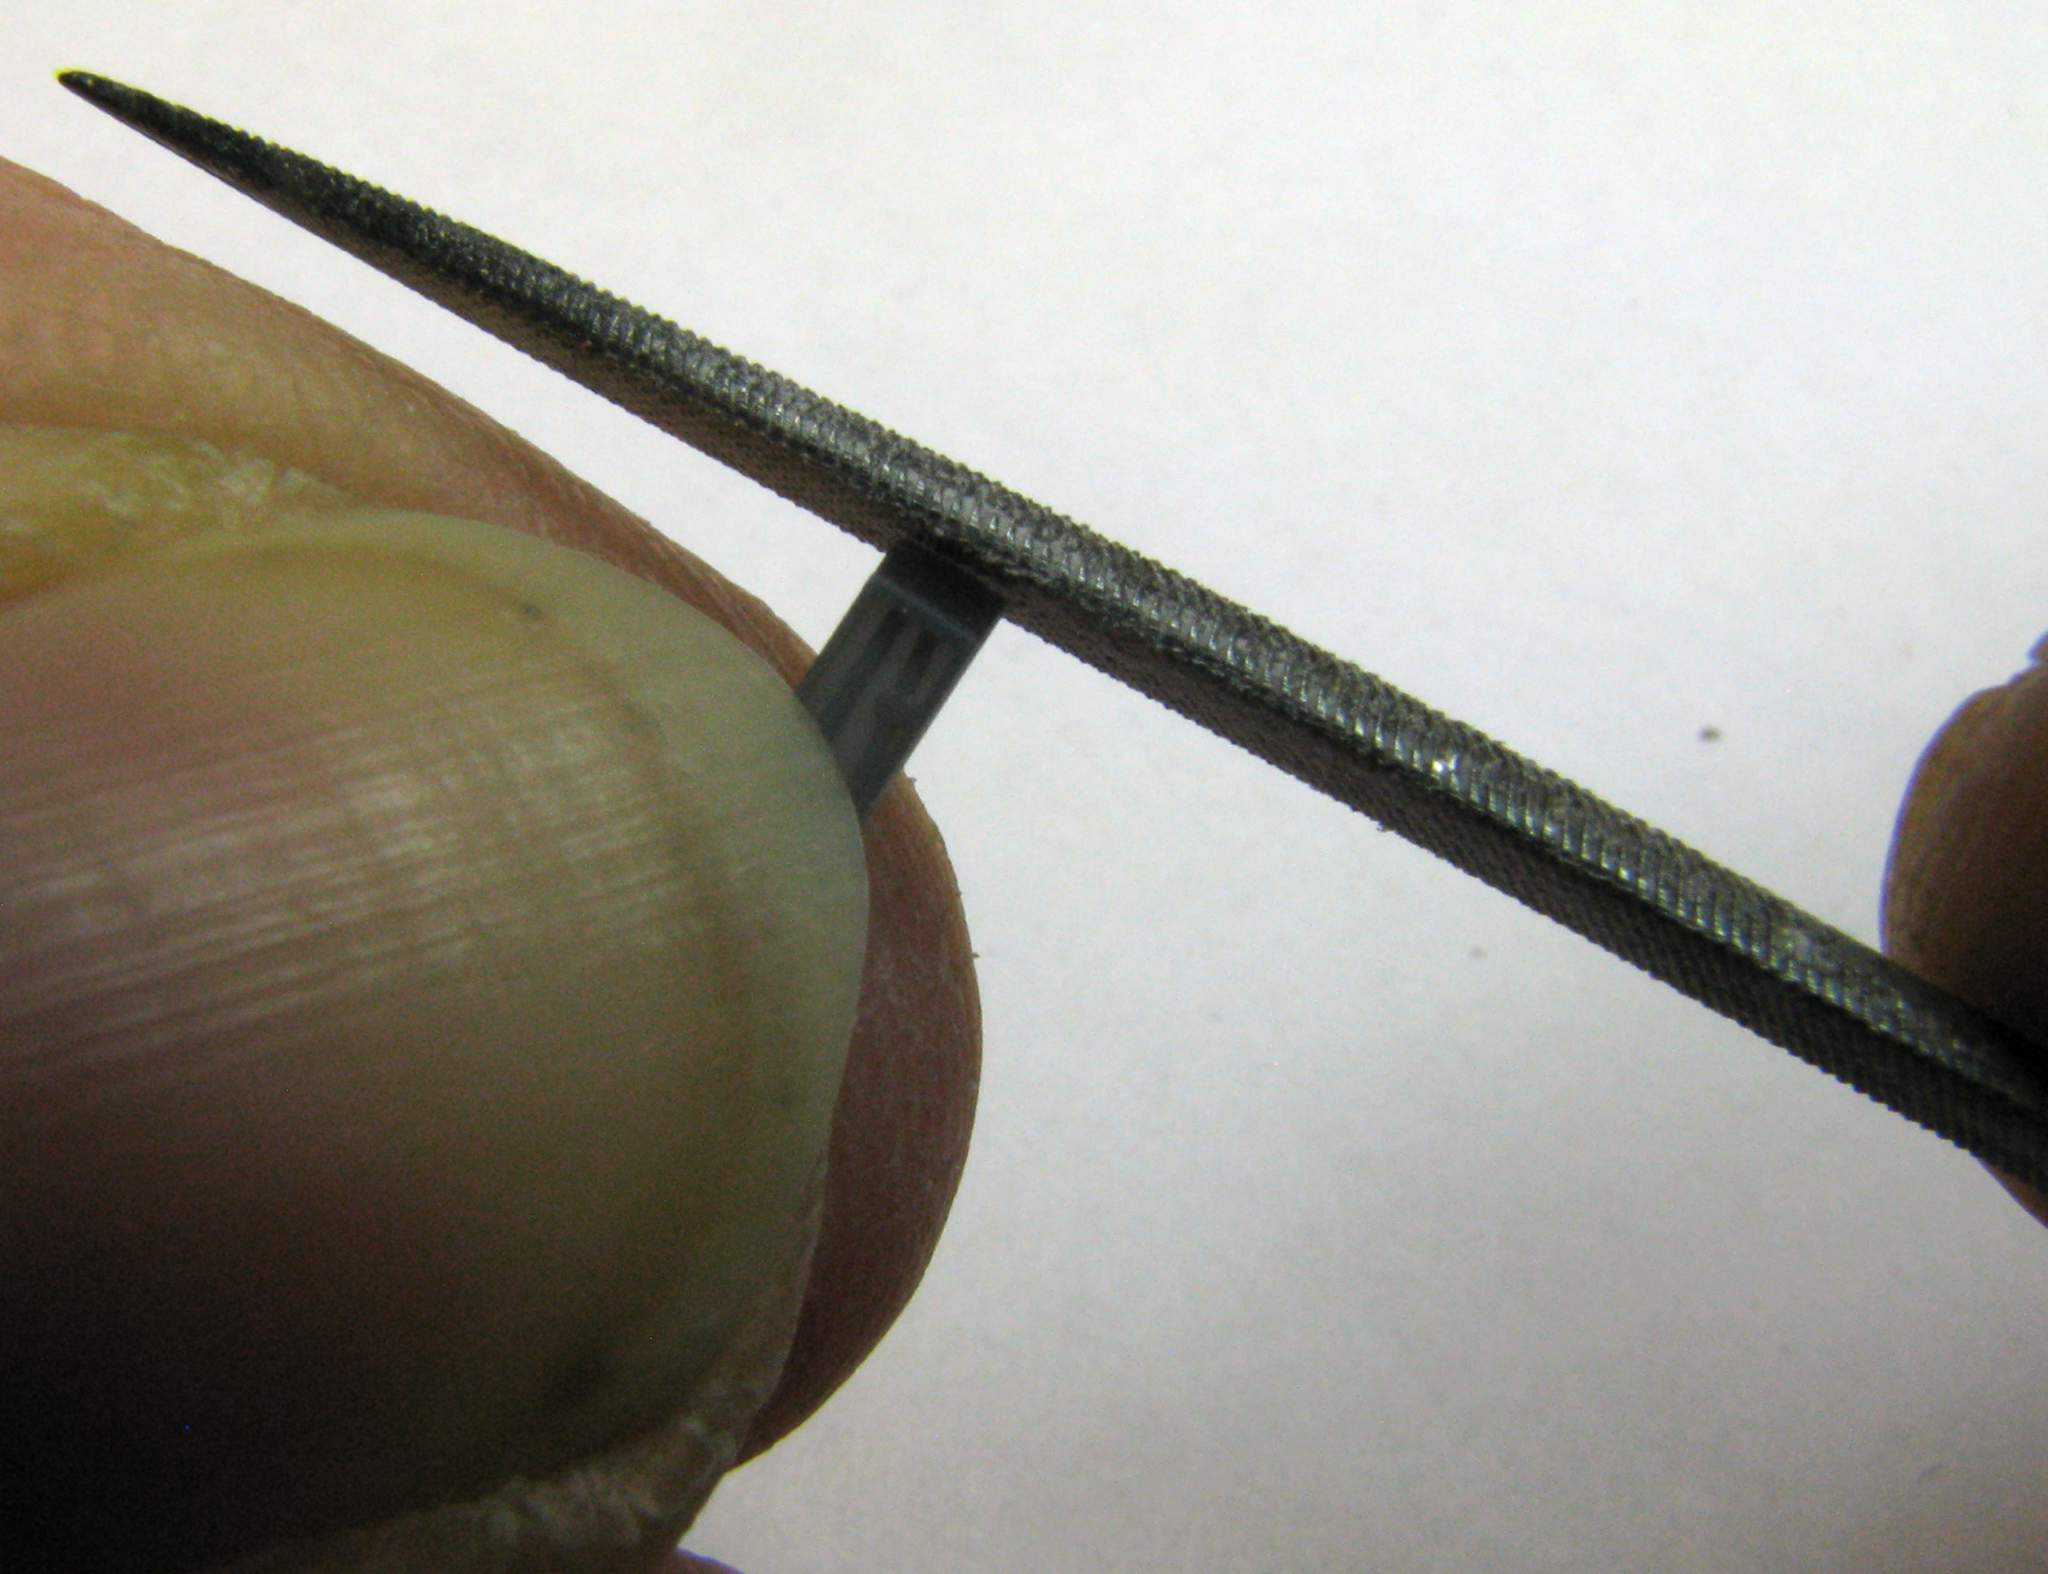
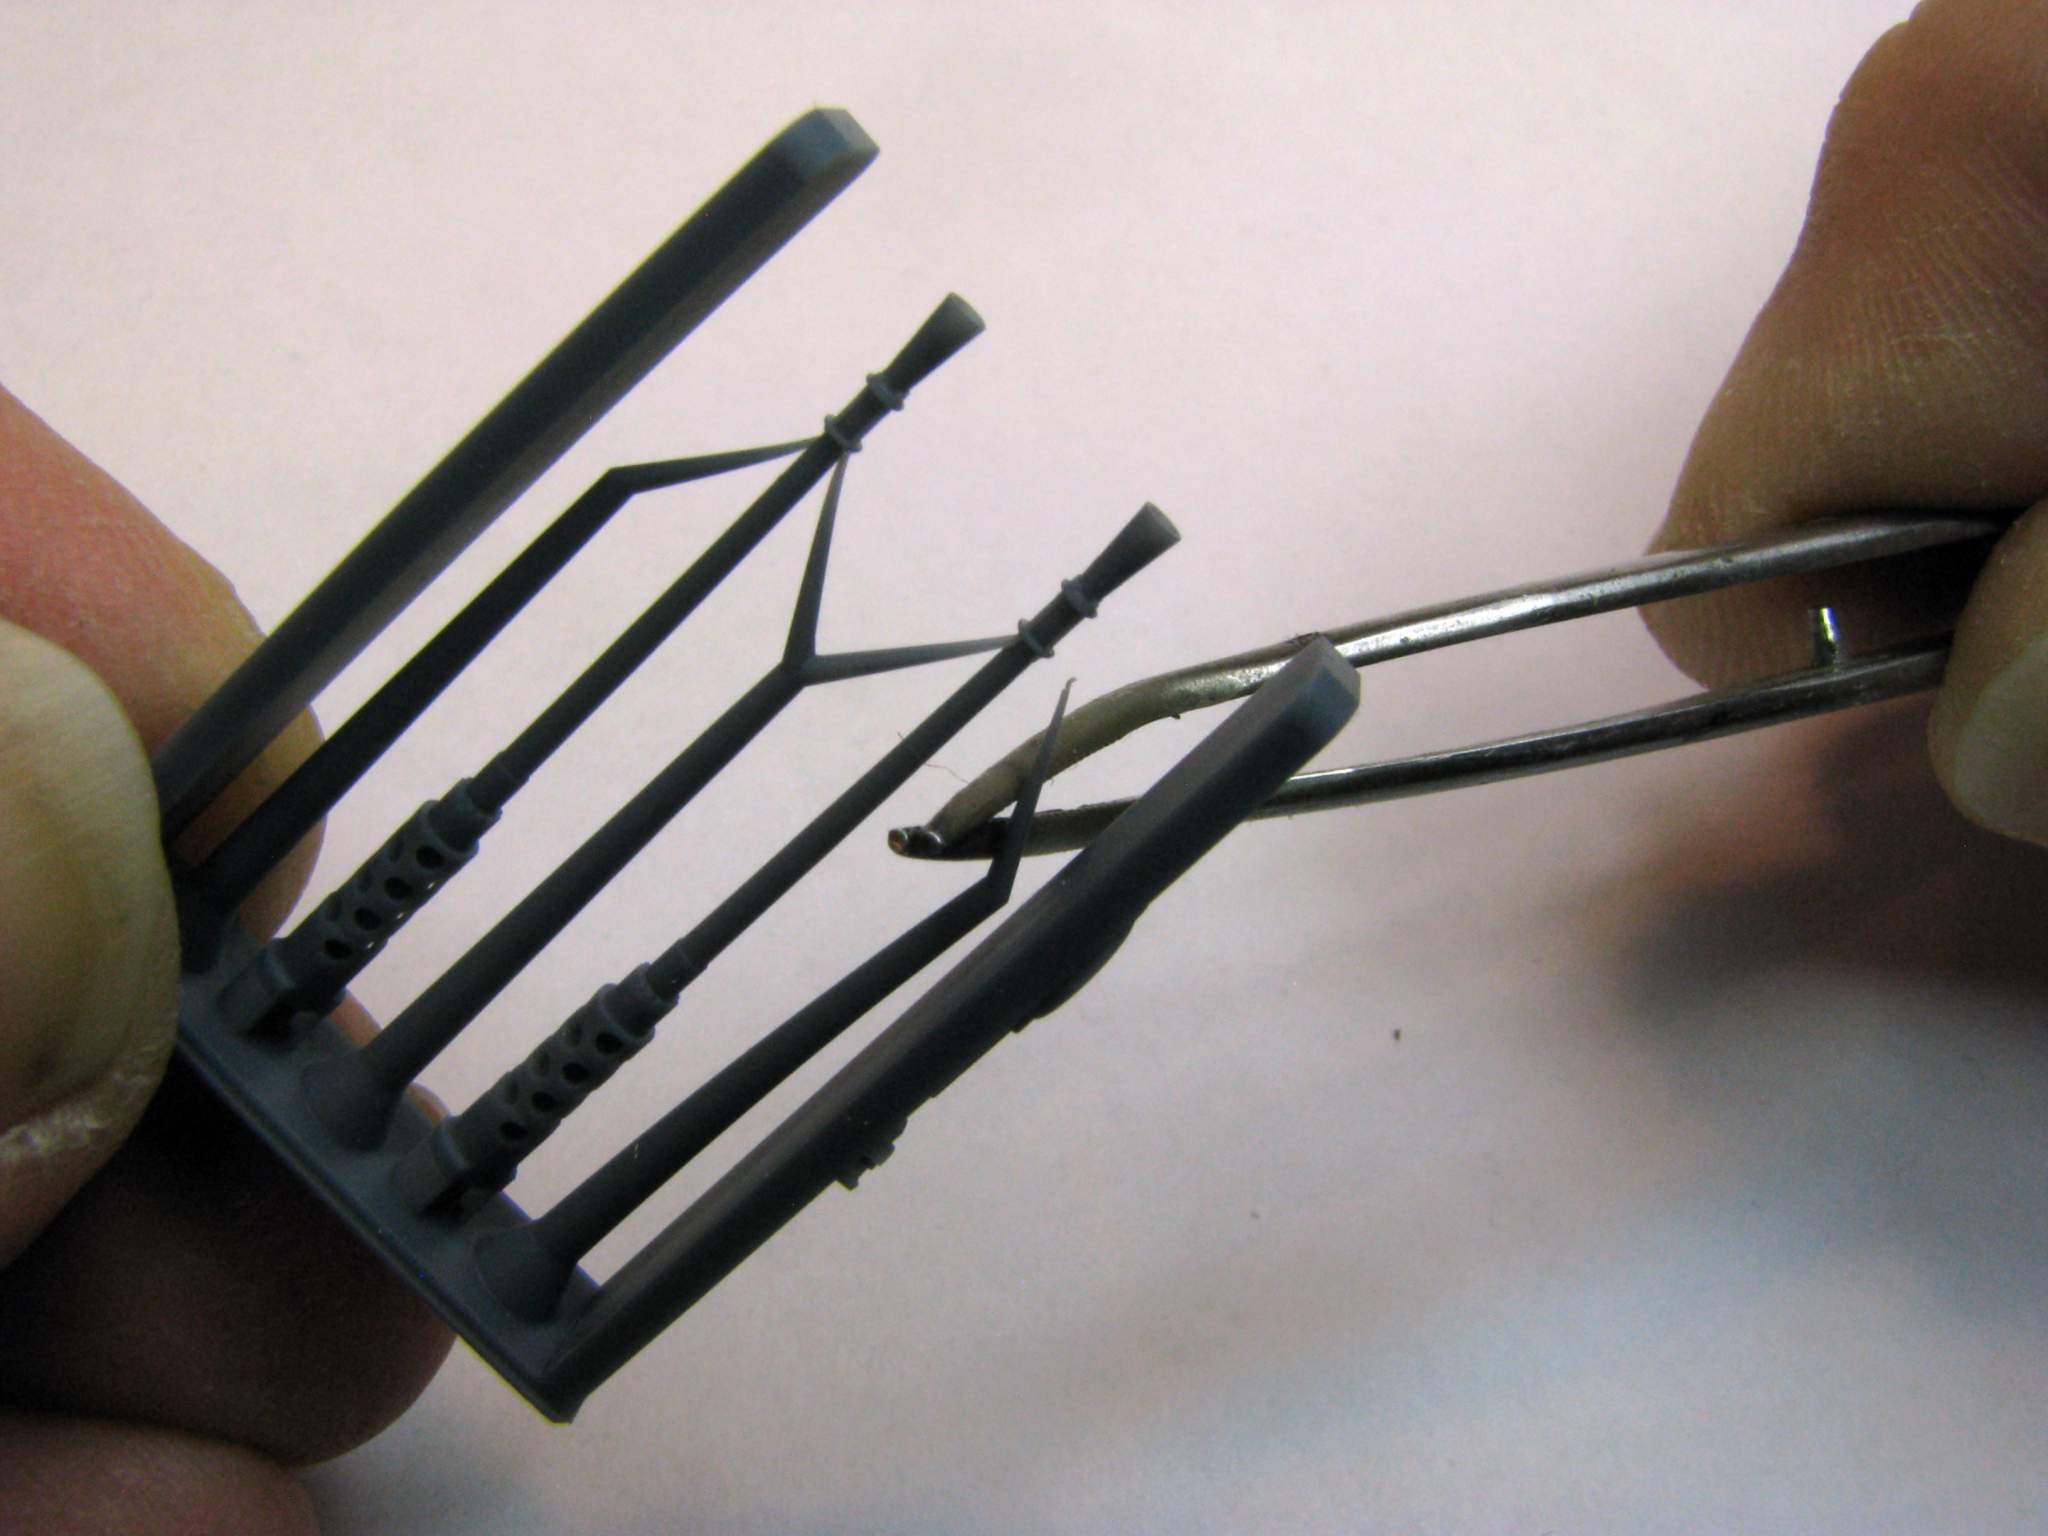
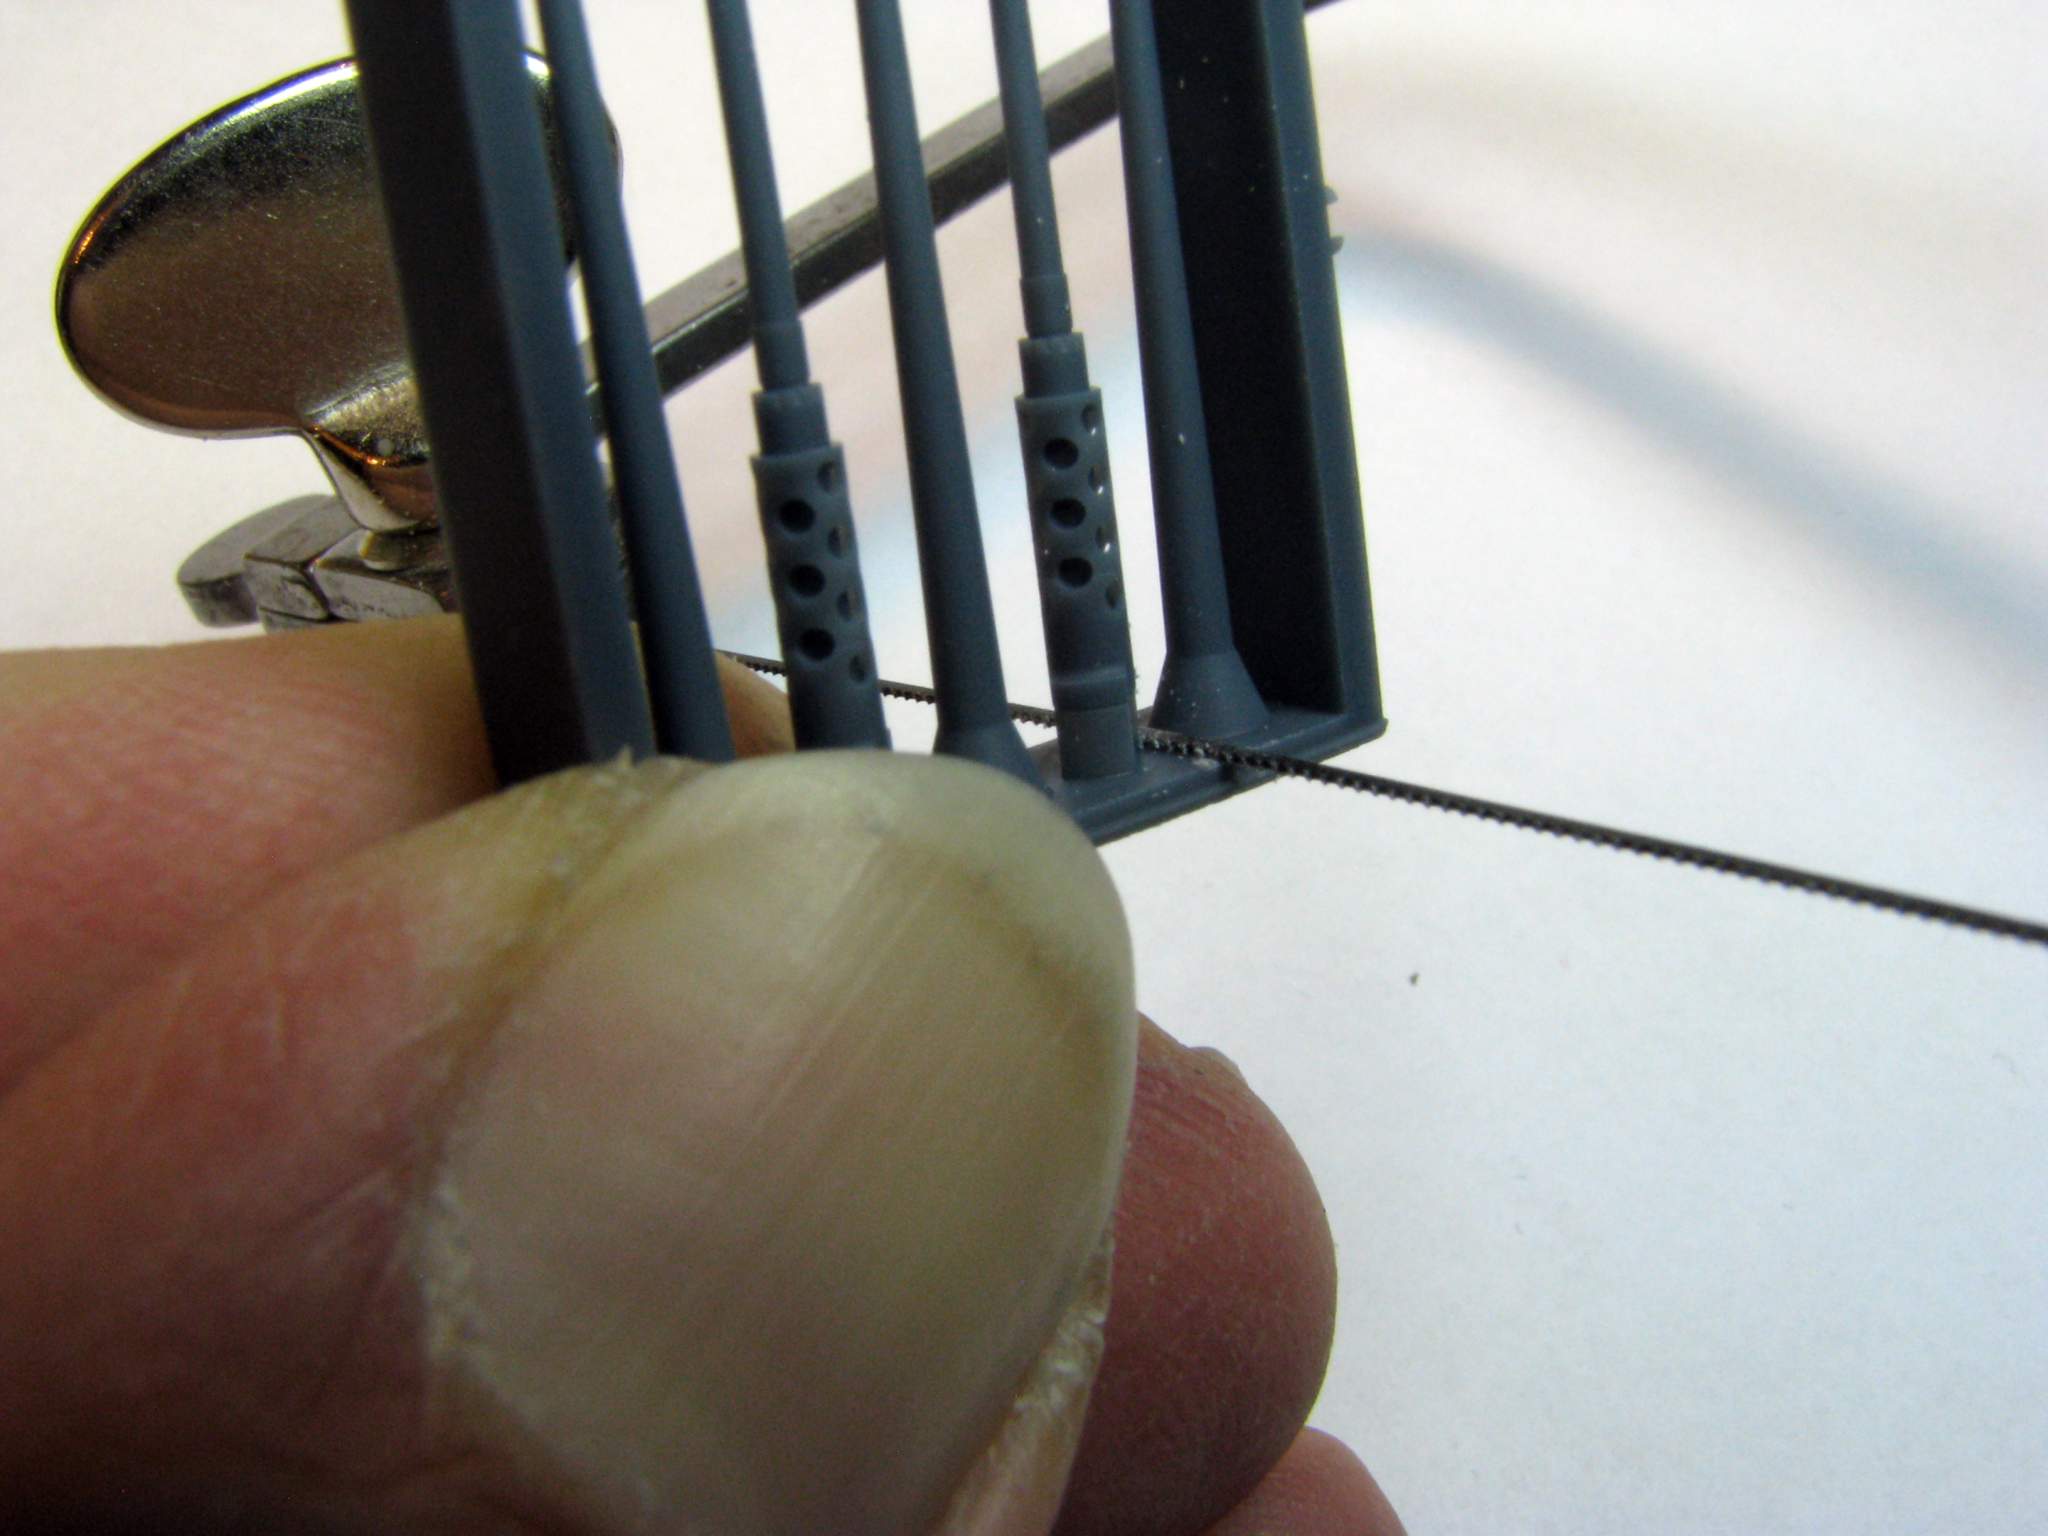
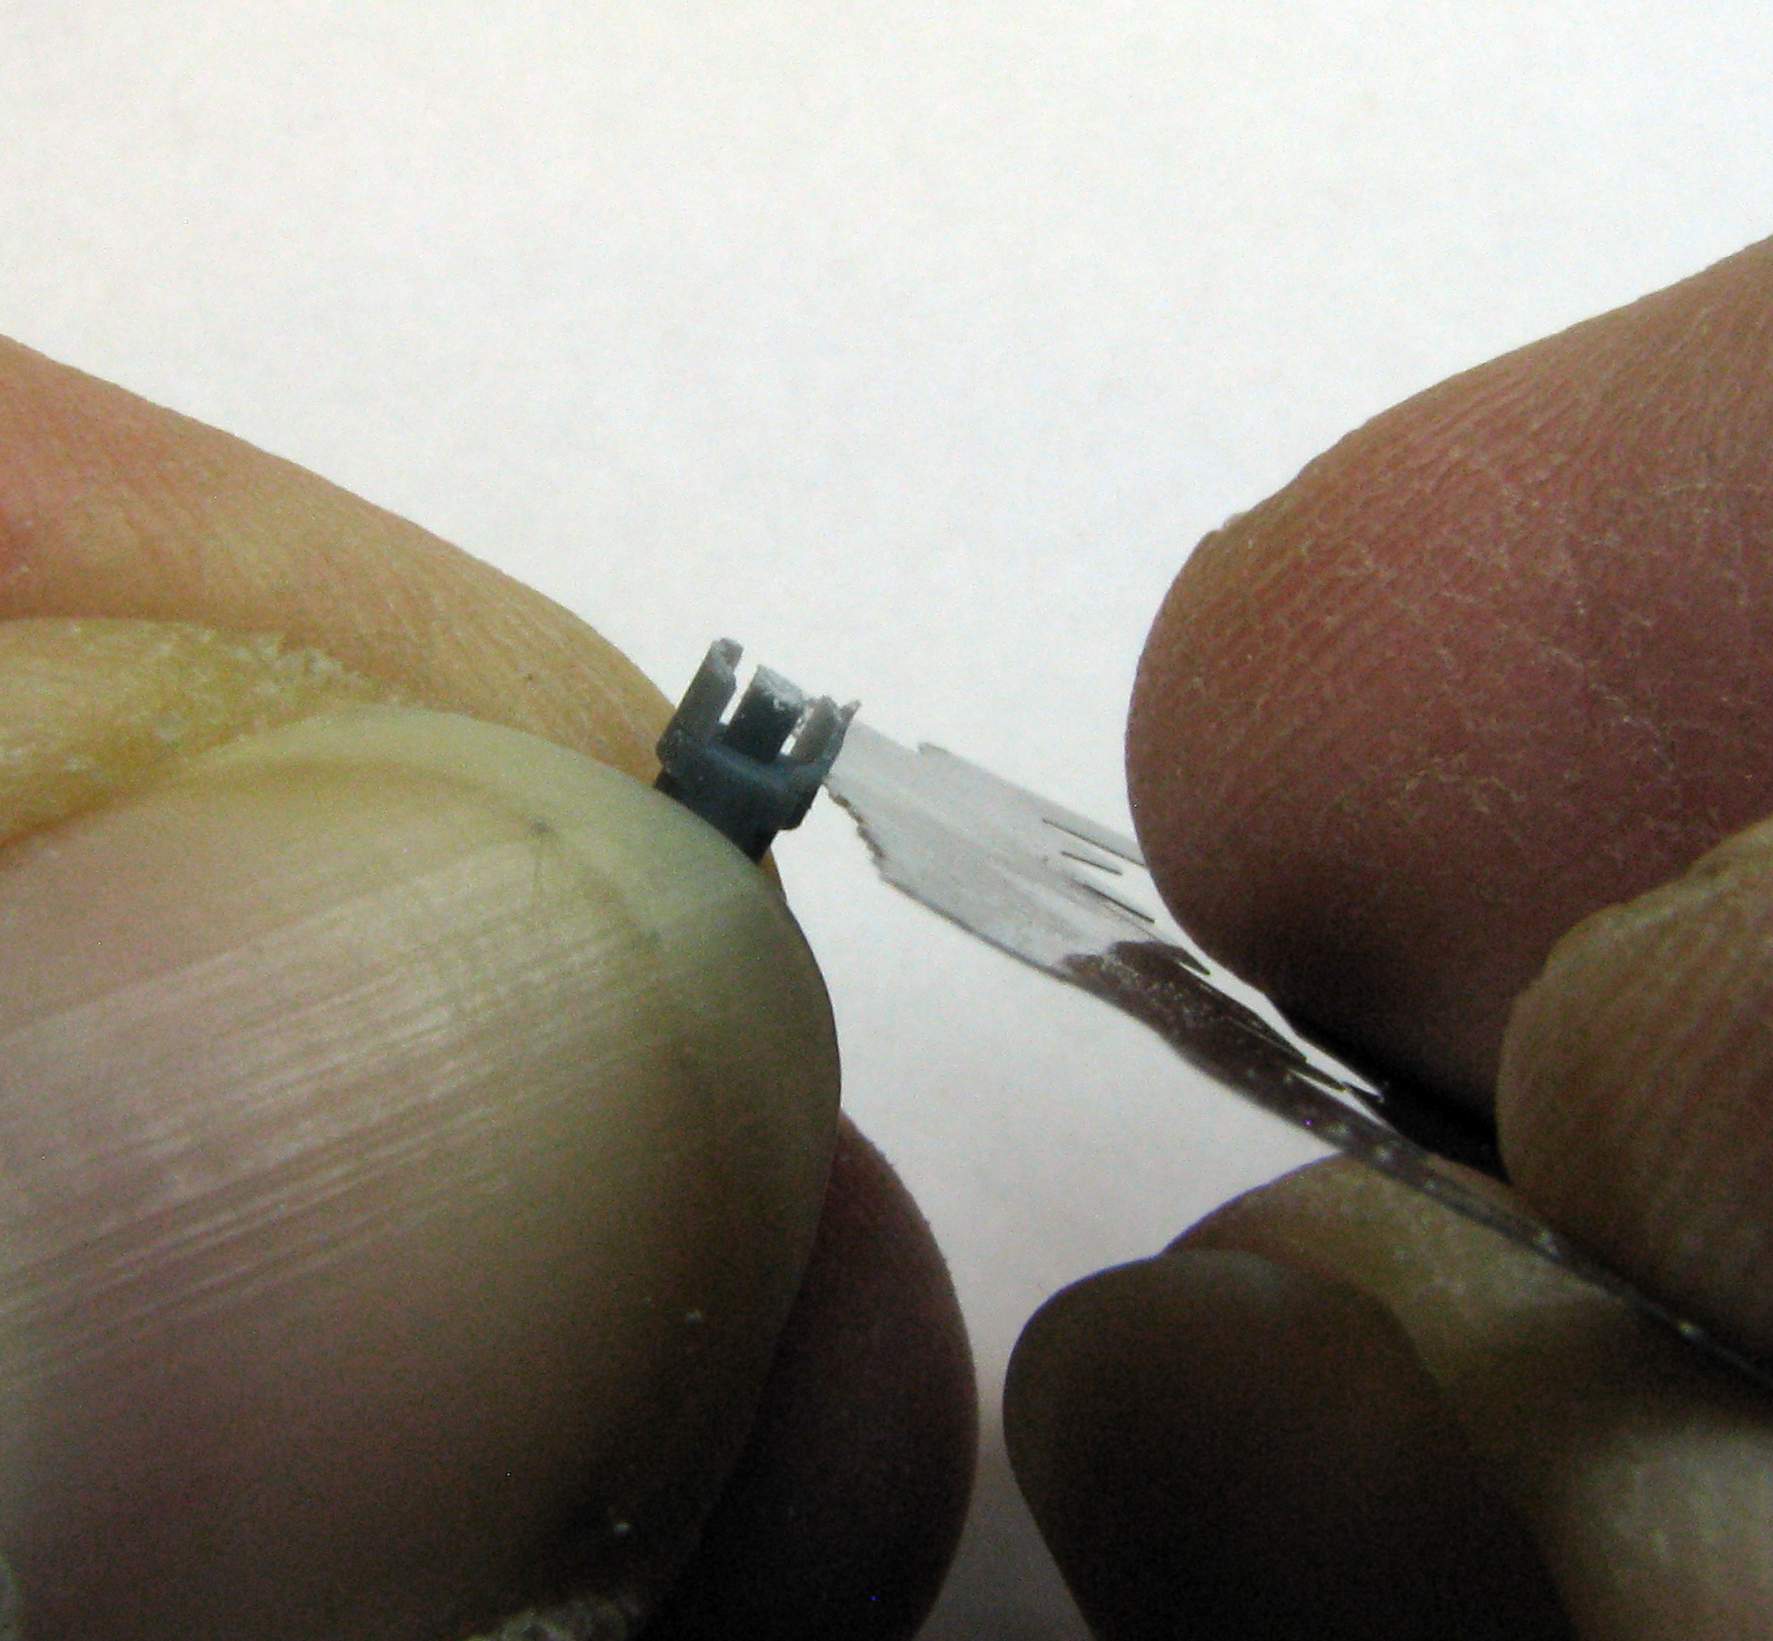
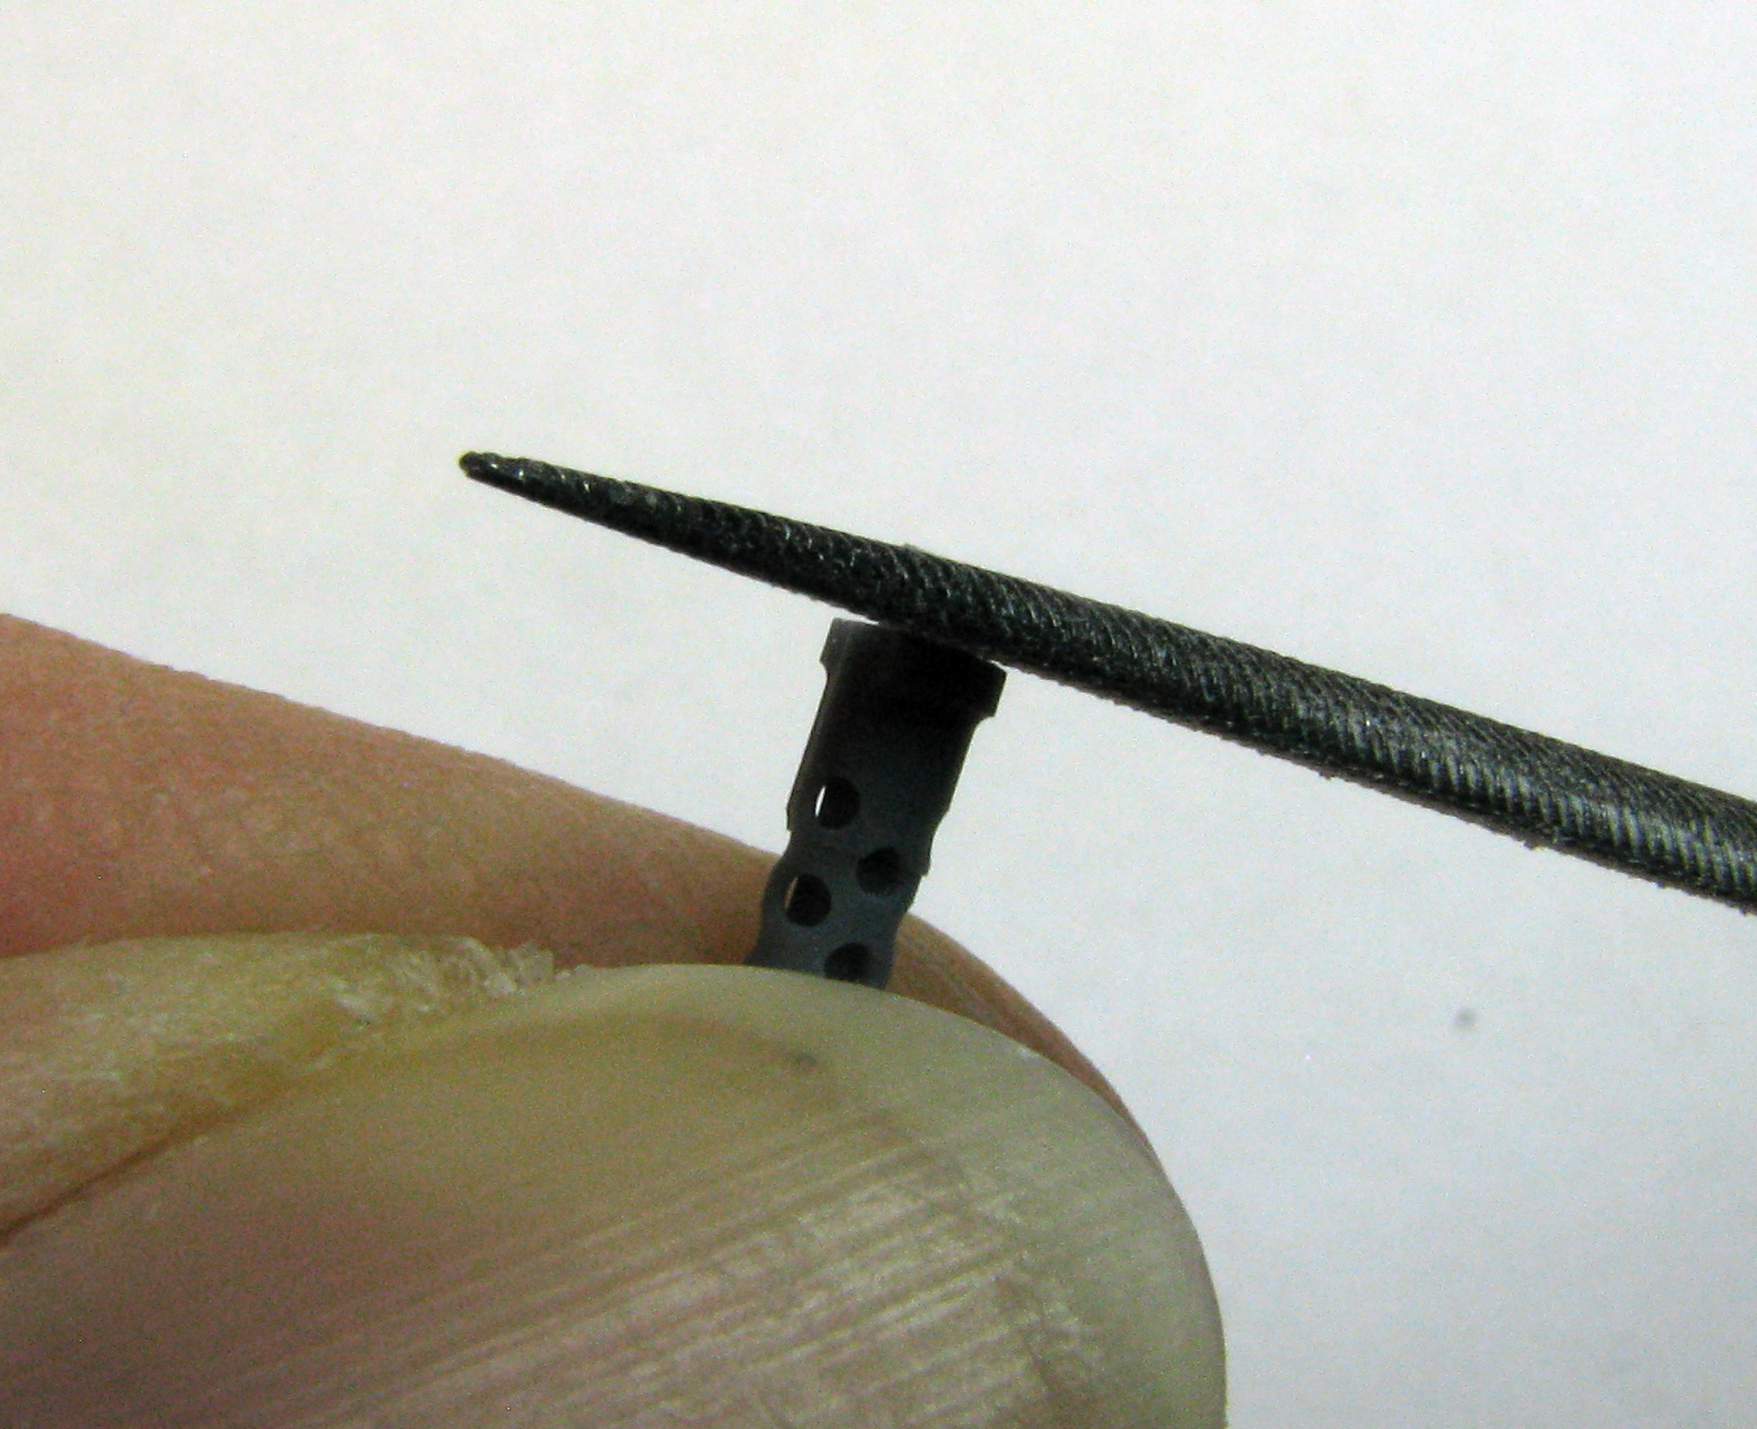
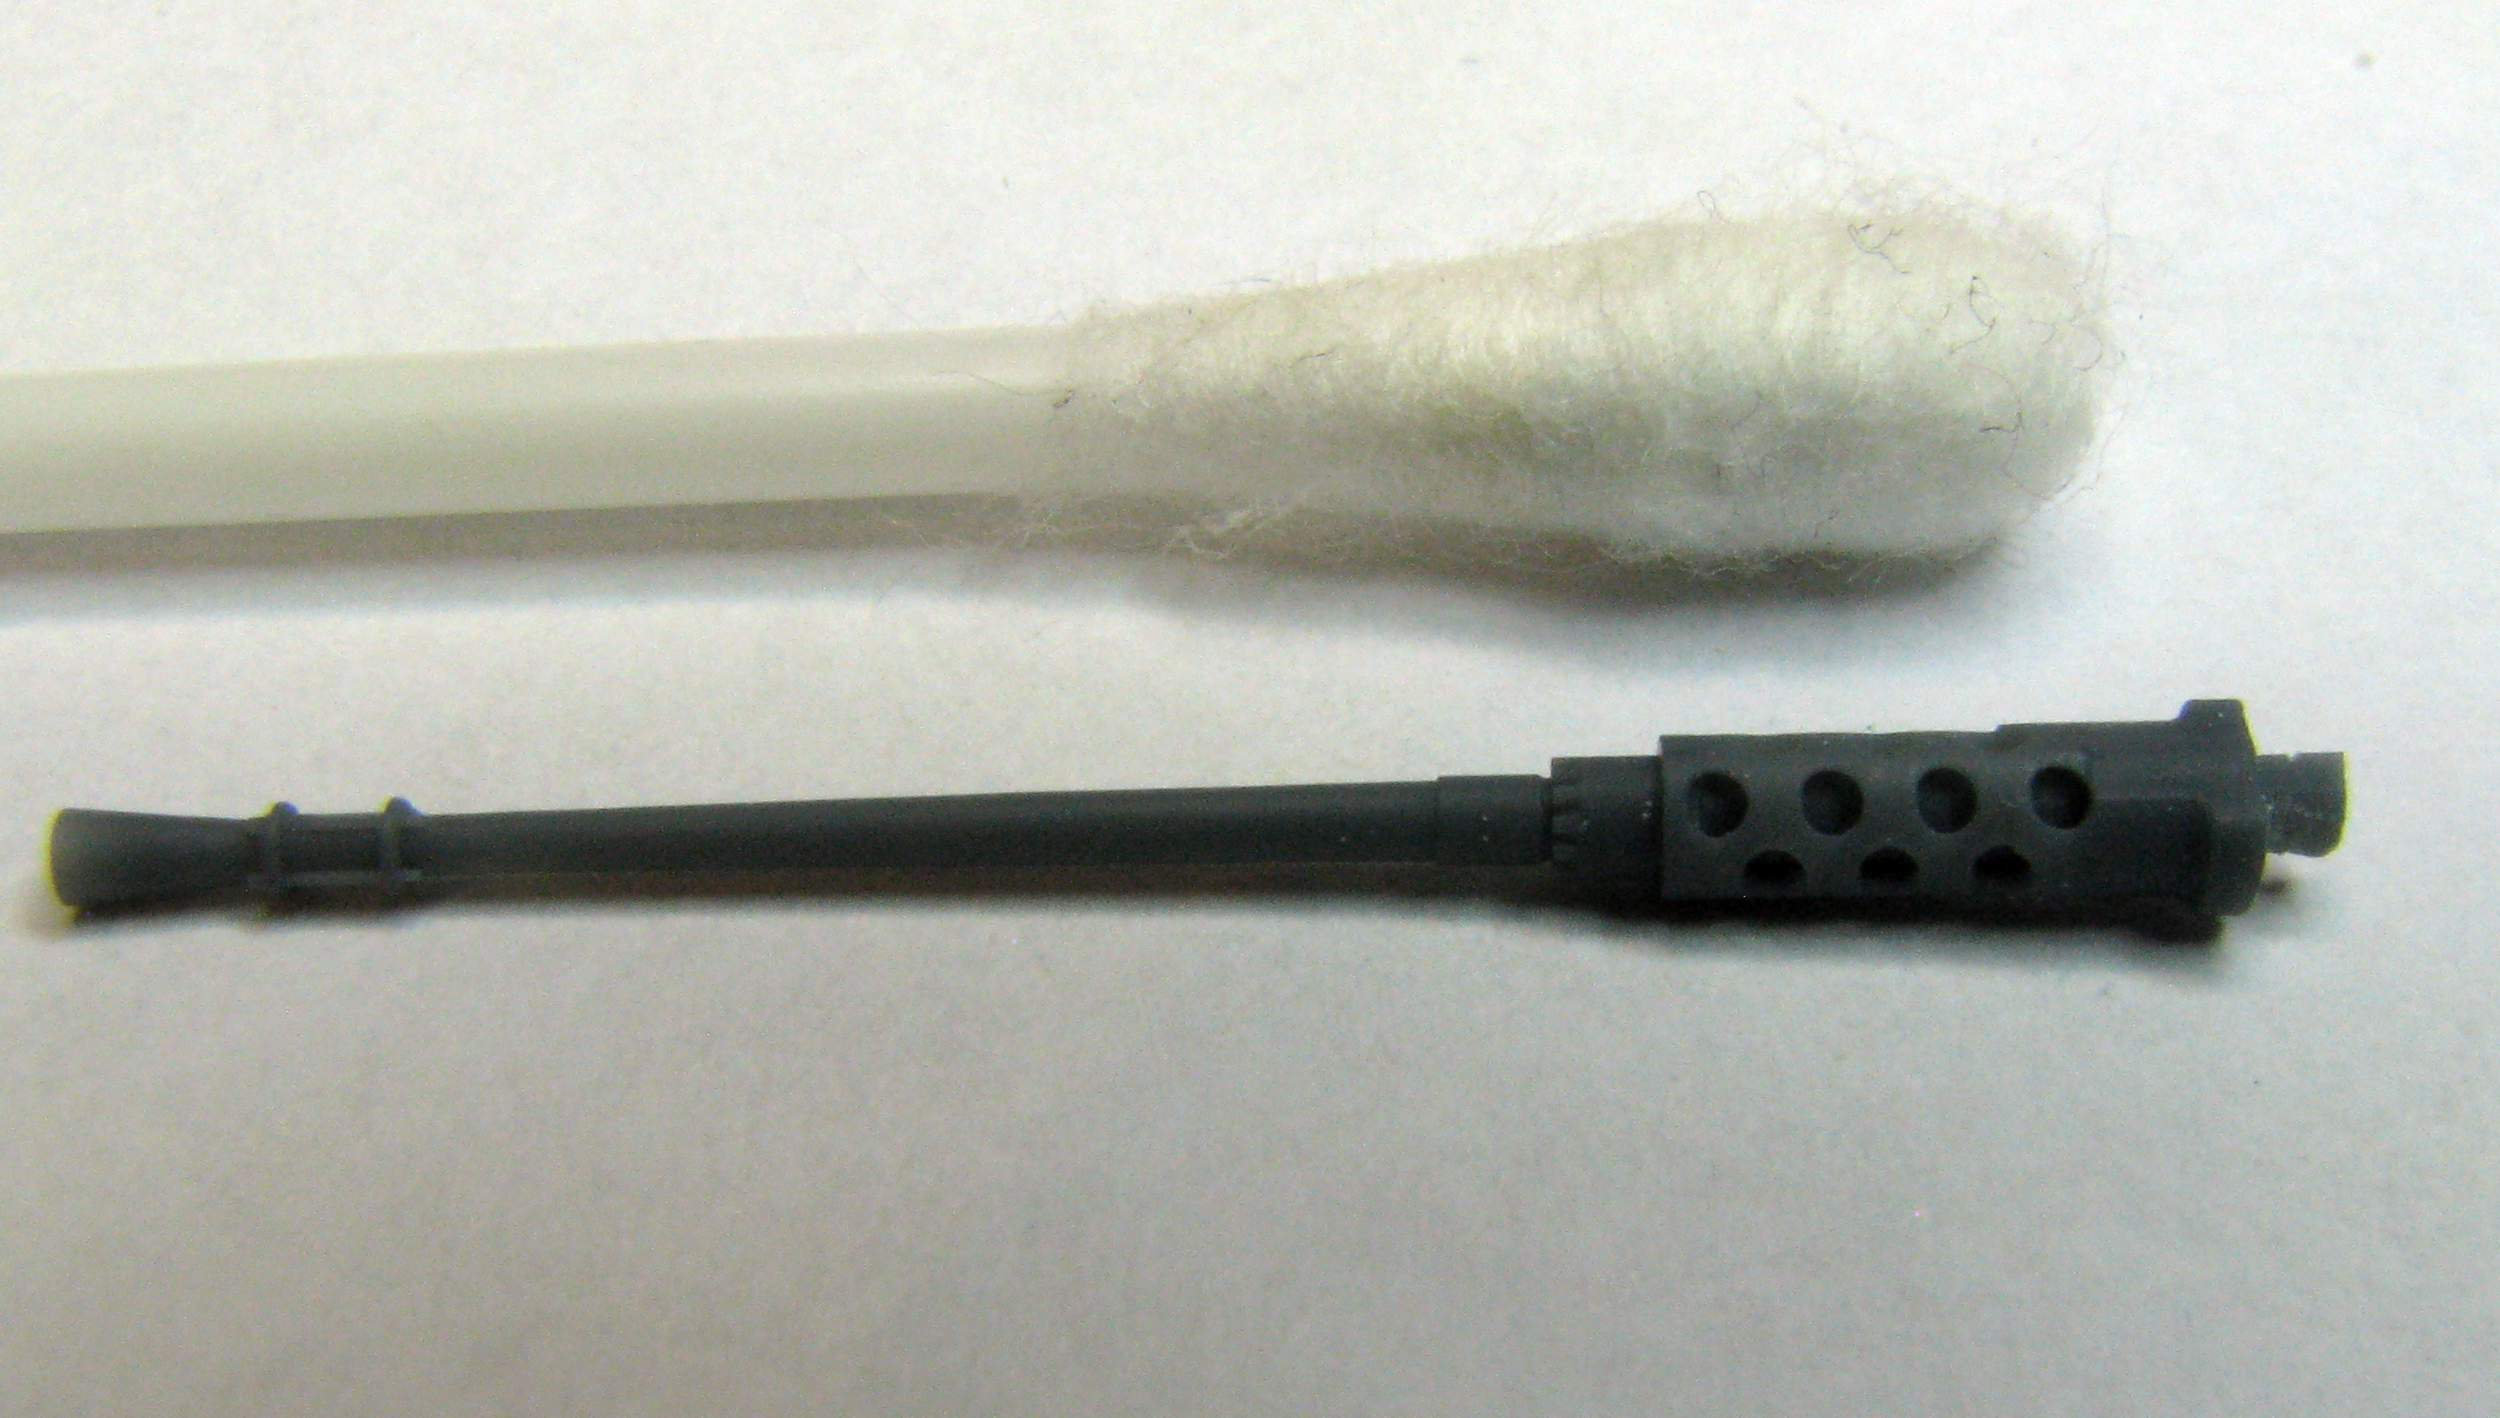
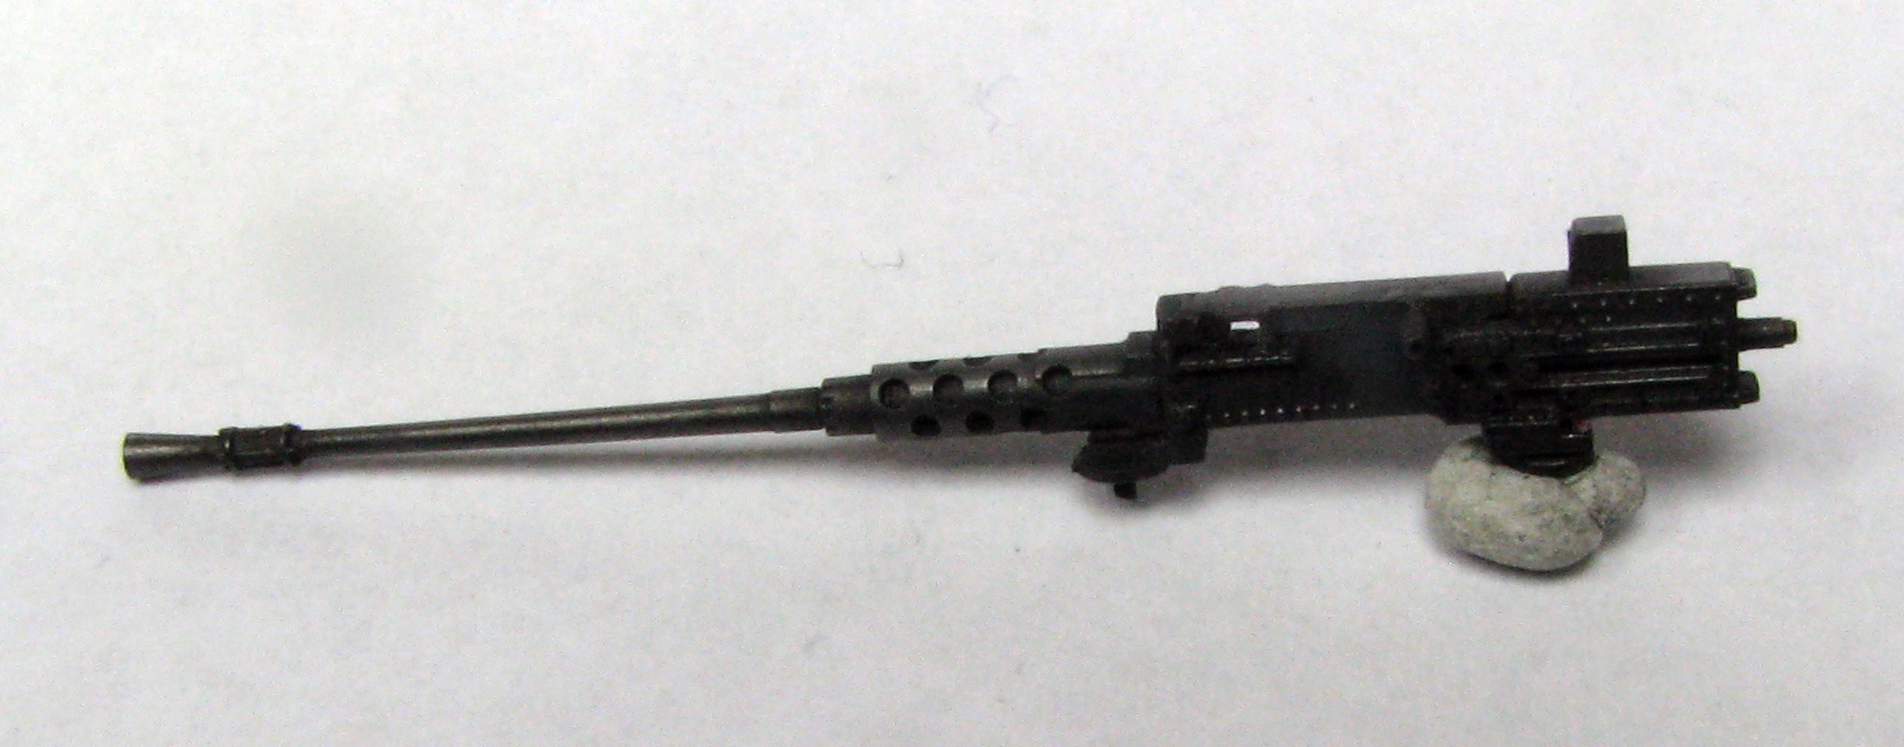
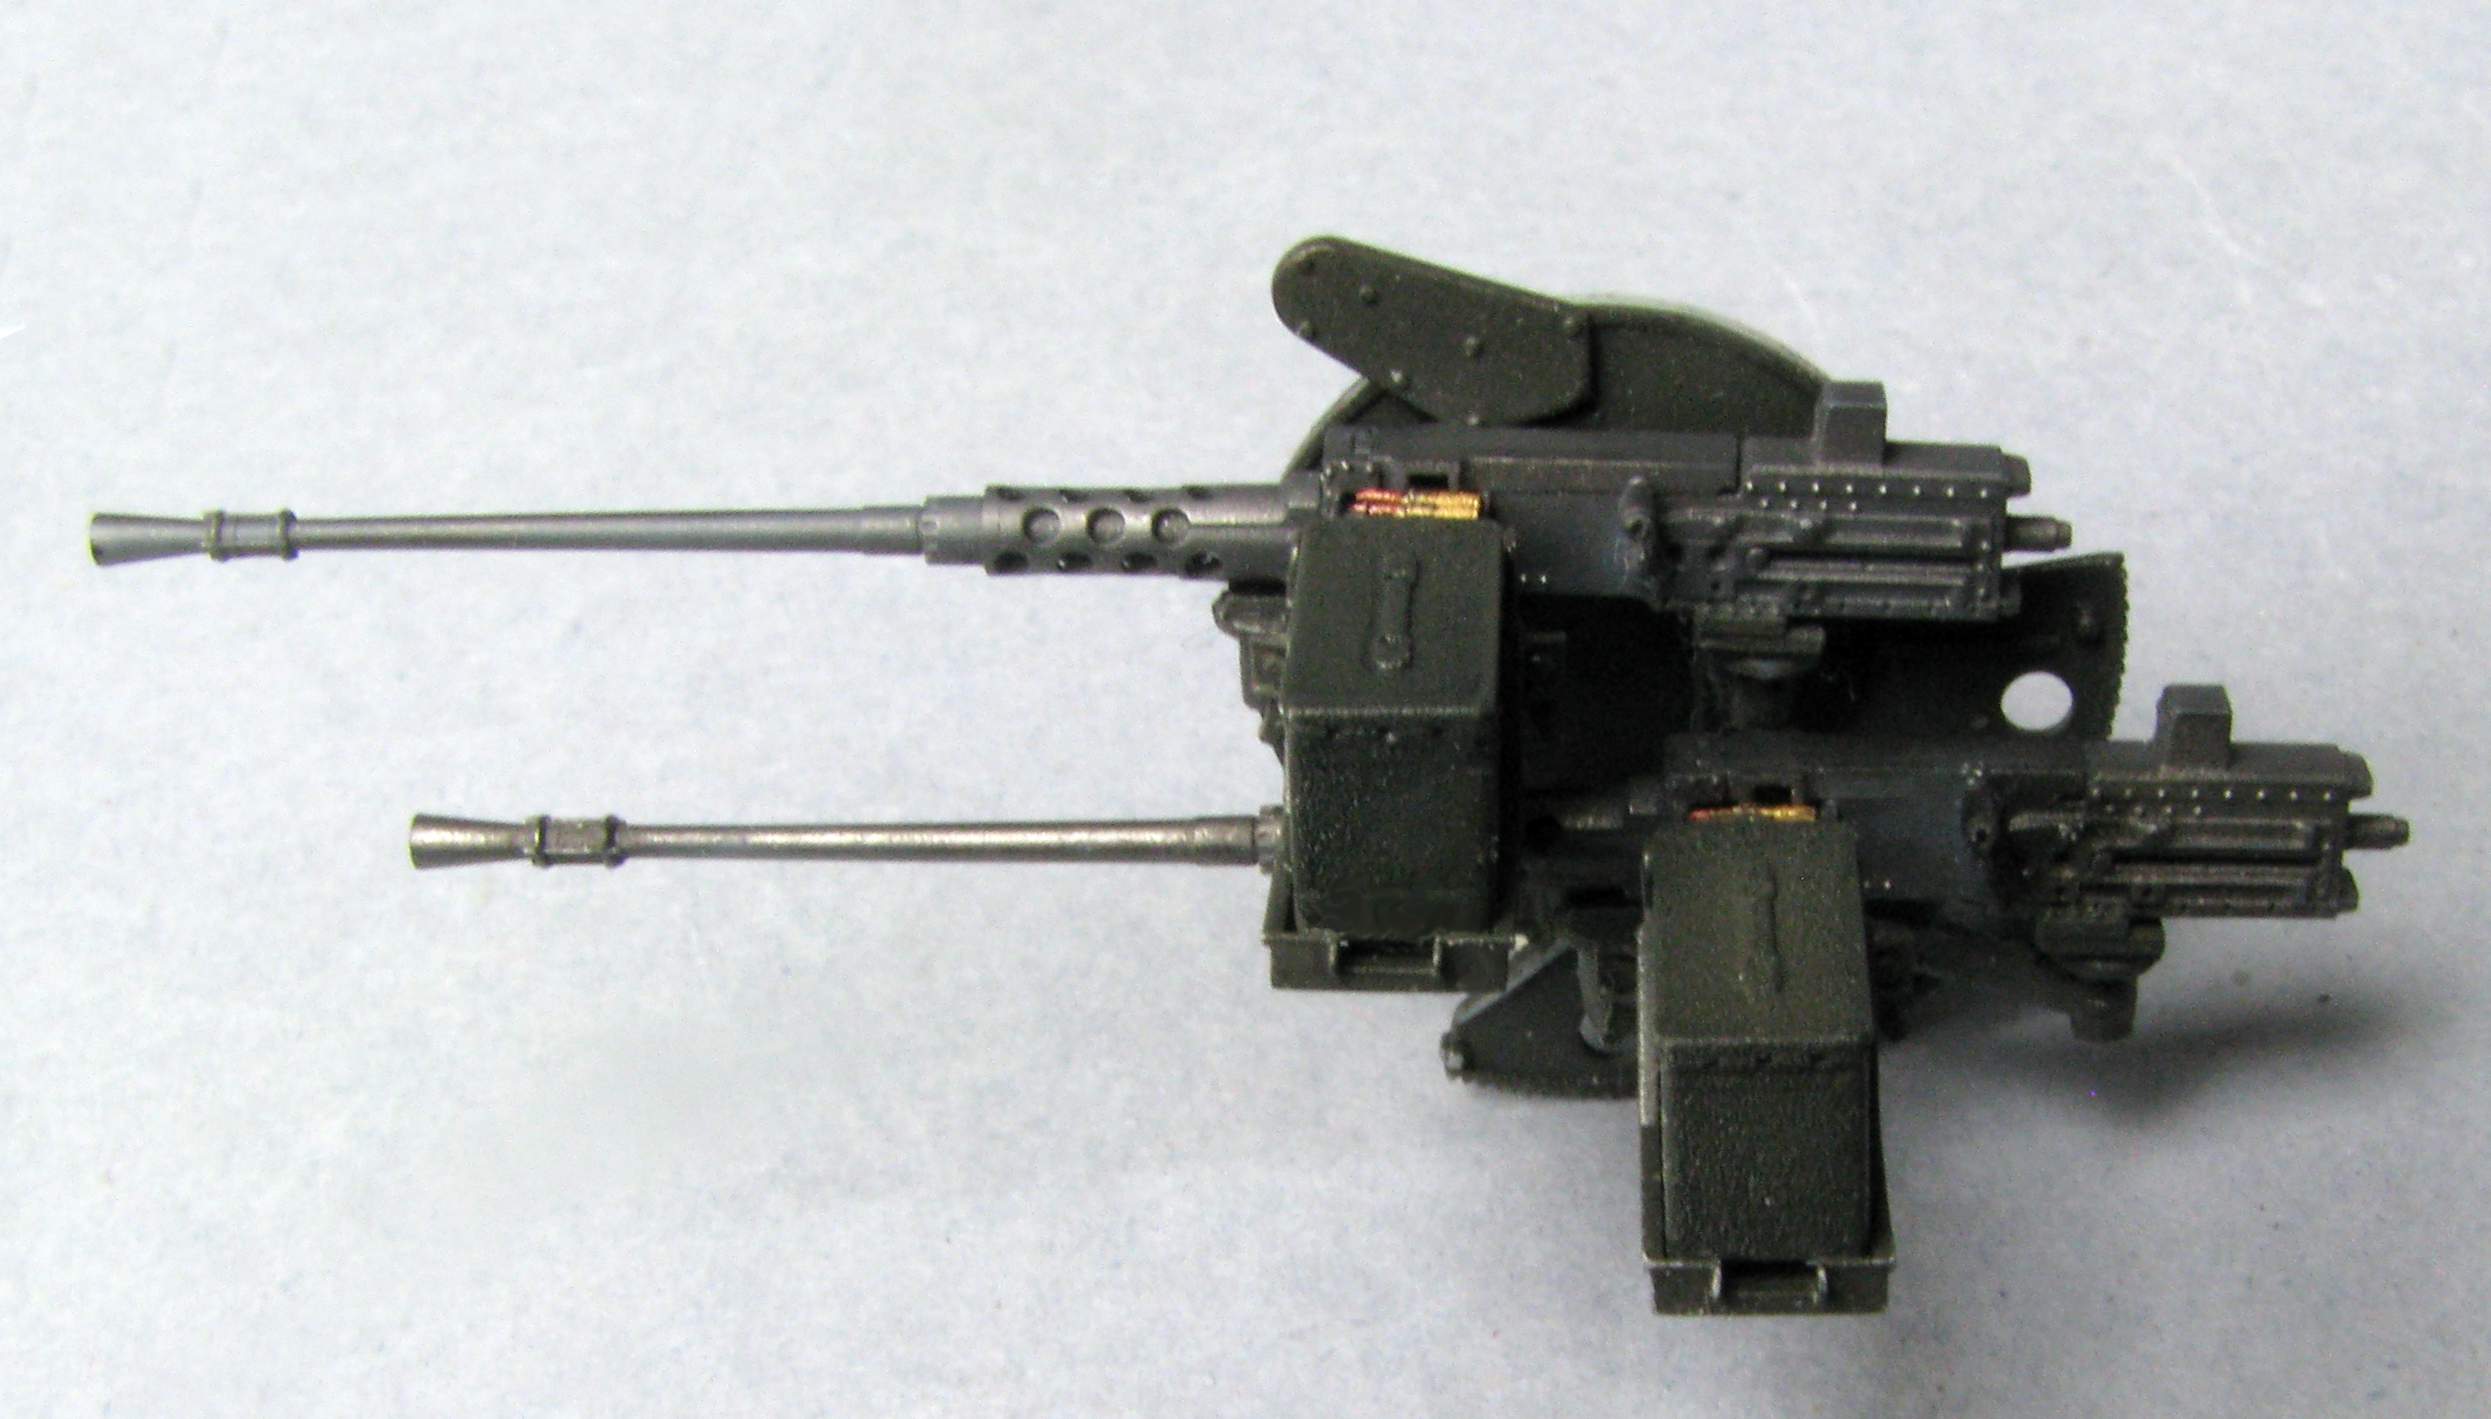
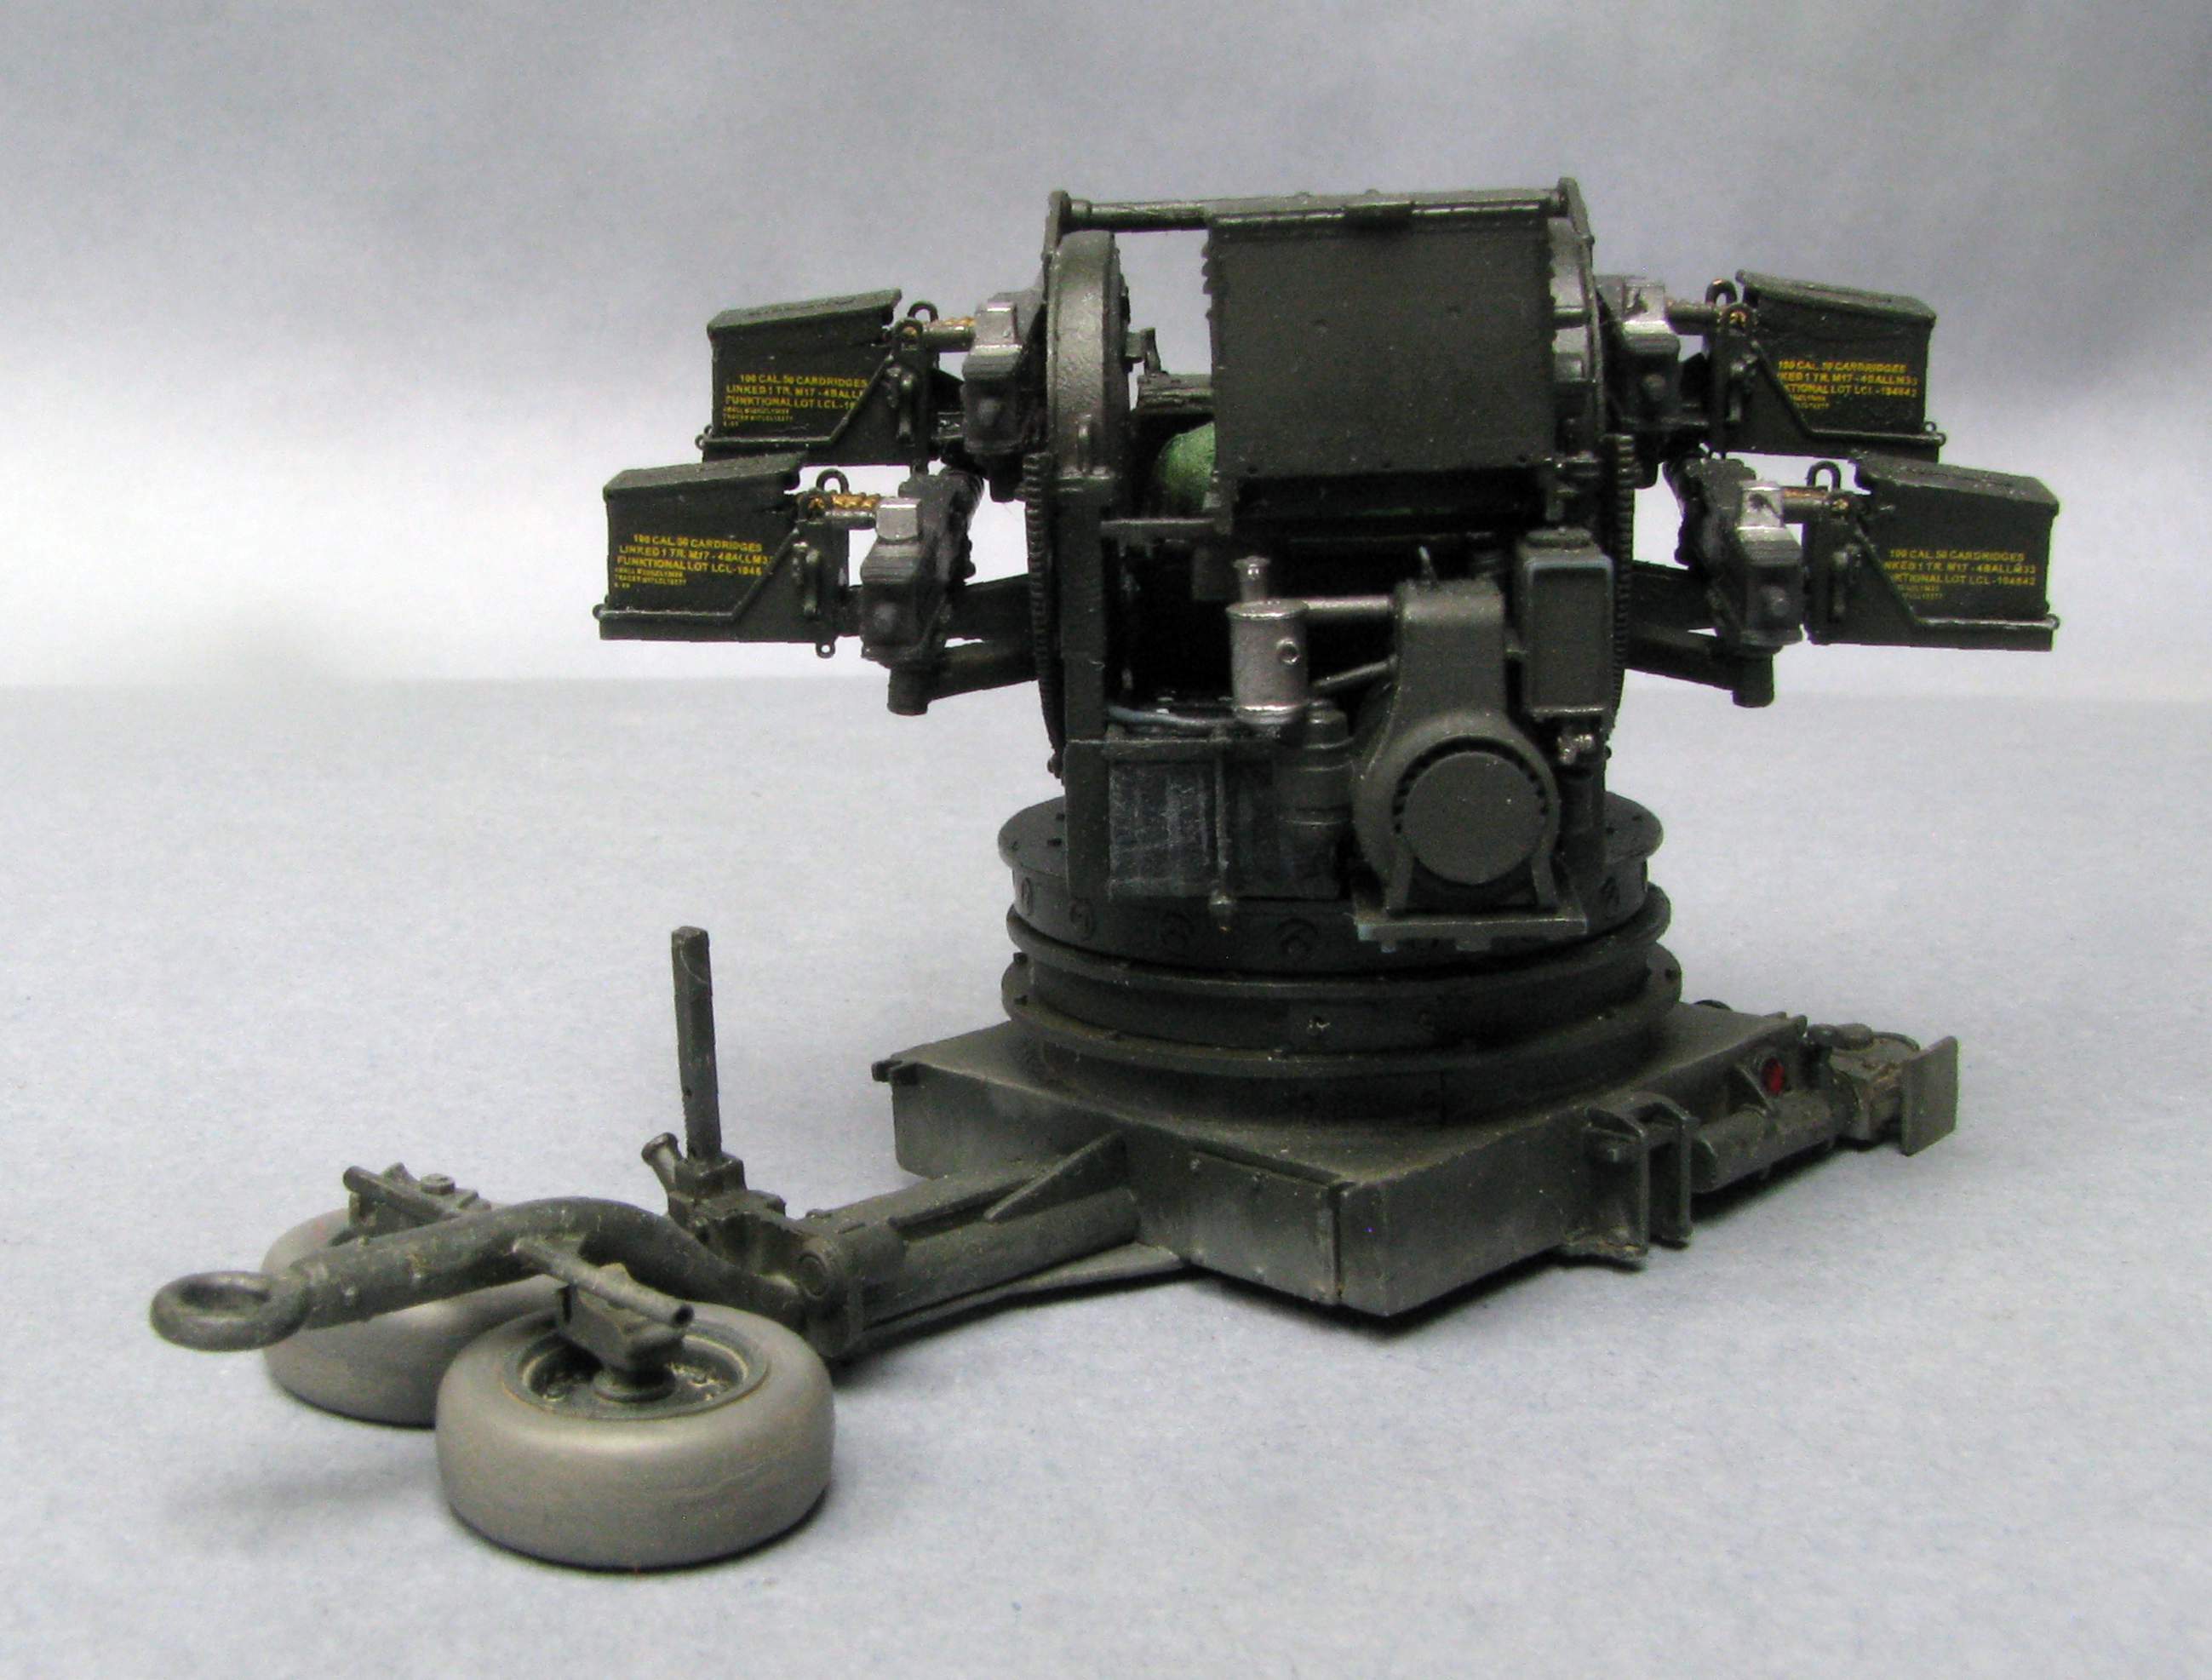
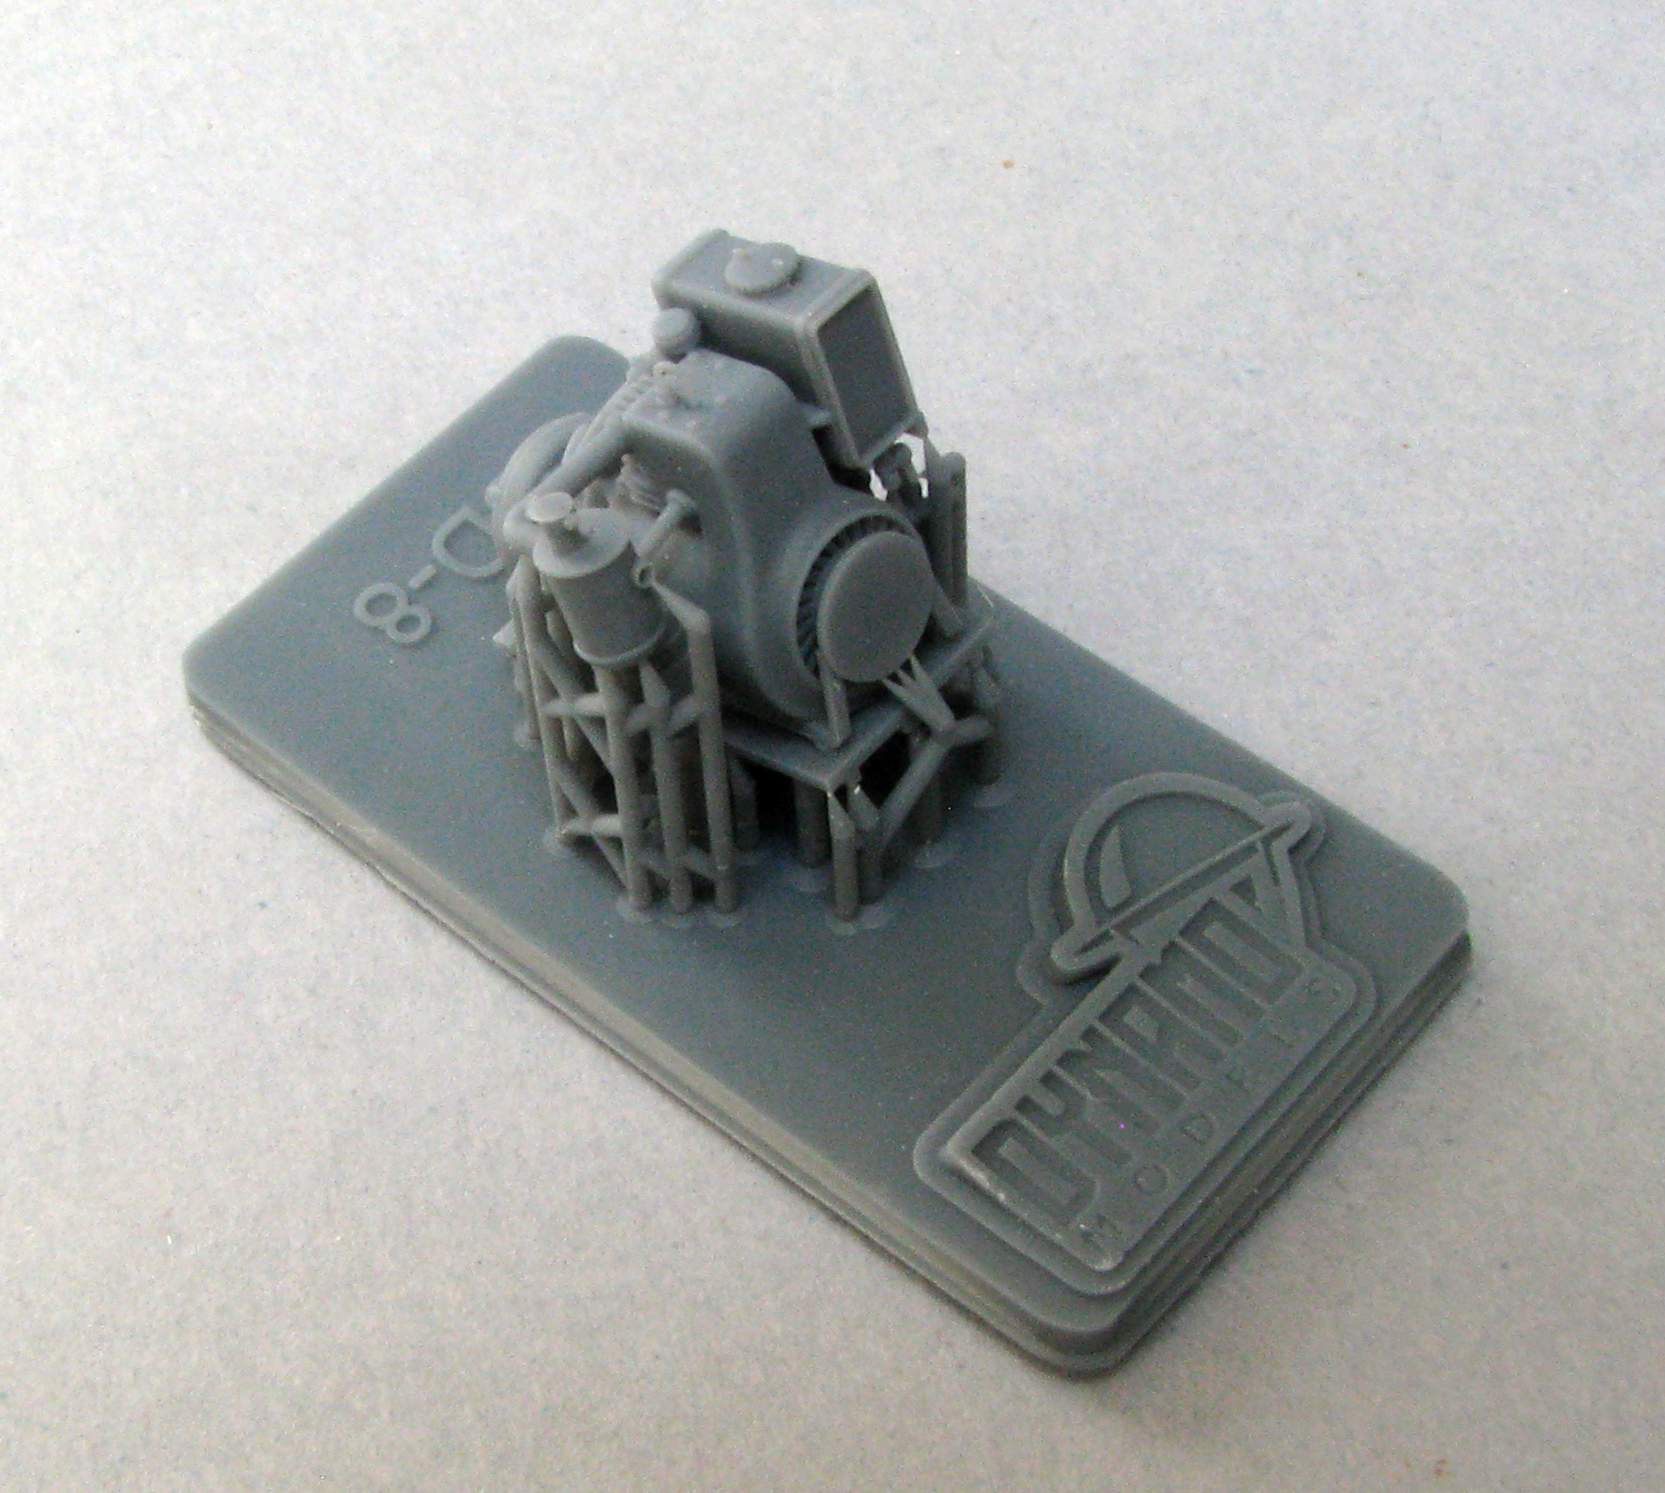
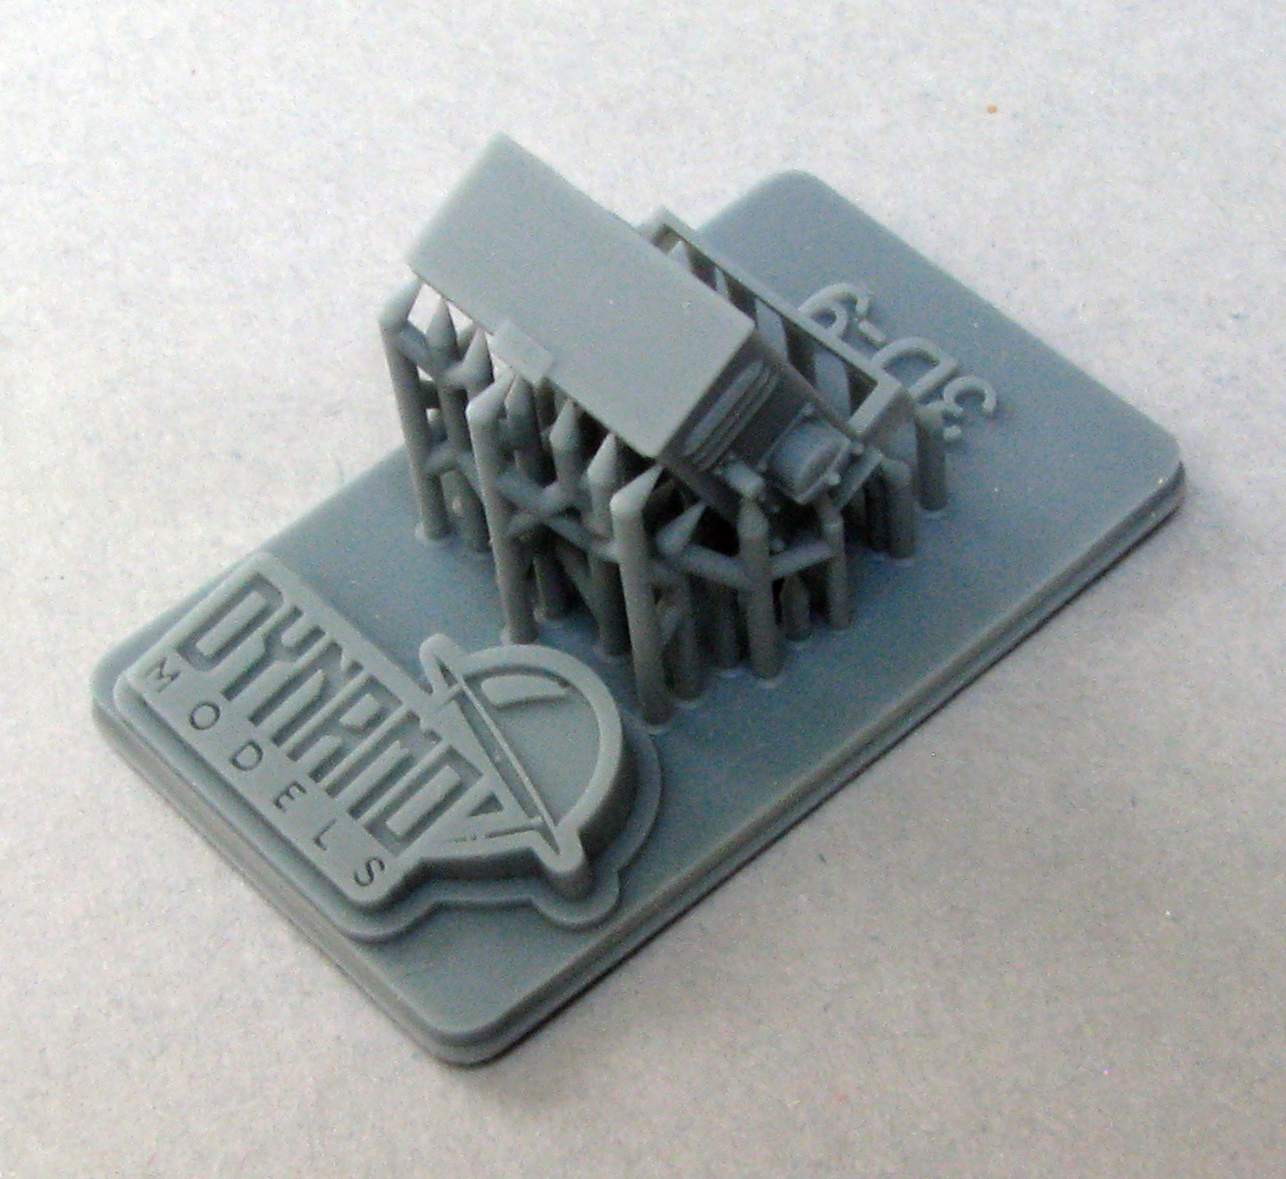
Now the Dynamo Models new kit consists of the now hard to get Dragon parts supplemented with some excellent 3D printed parts. Here are some photos:

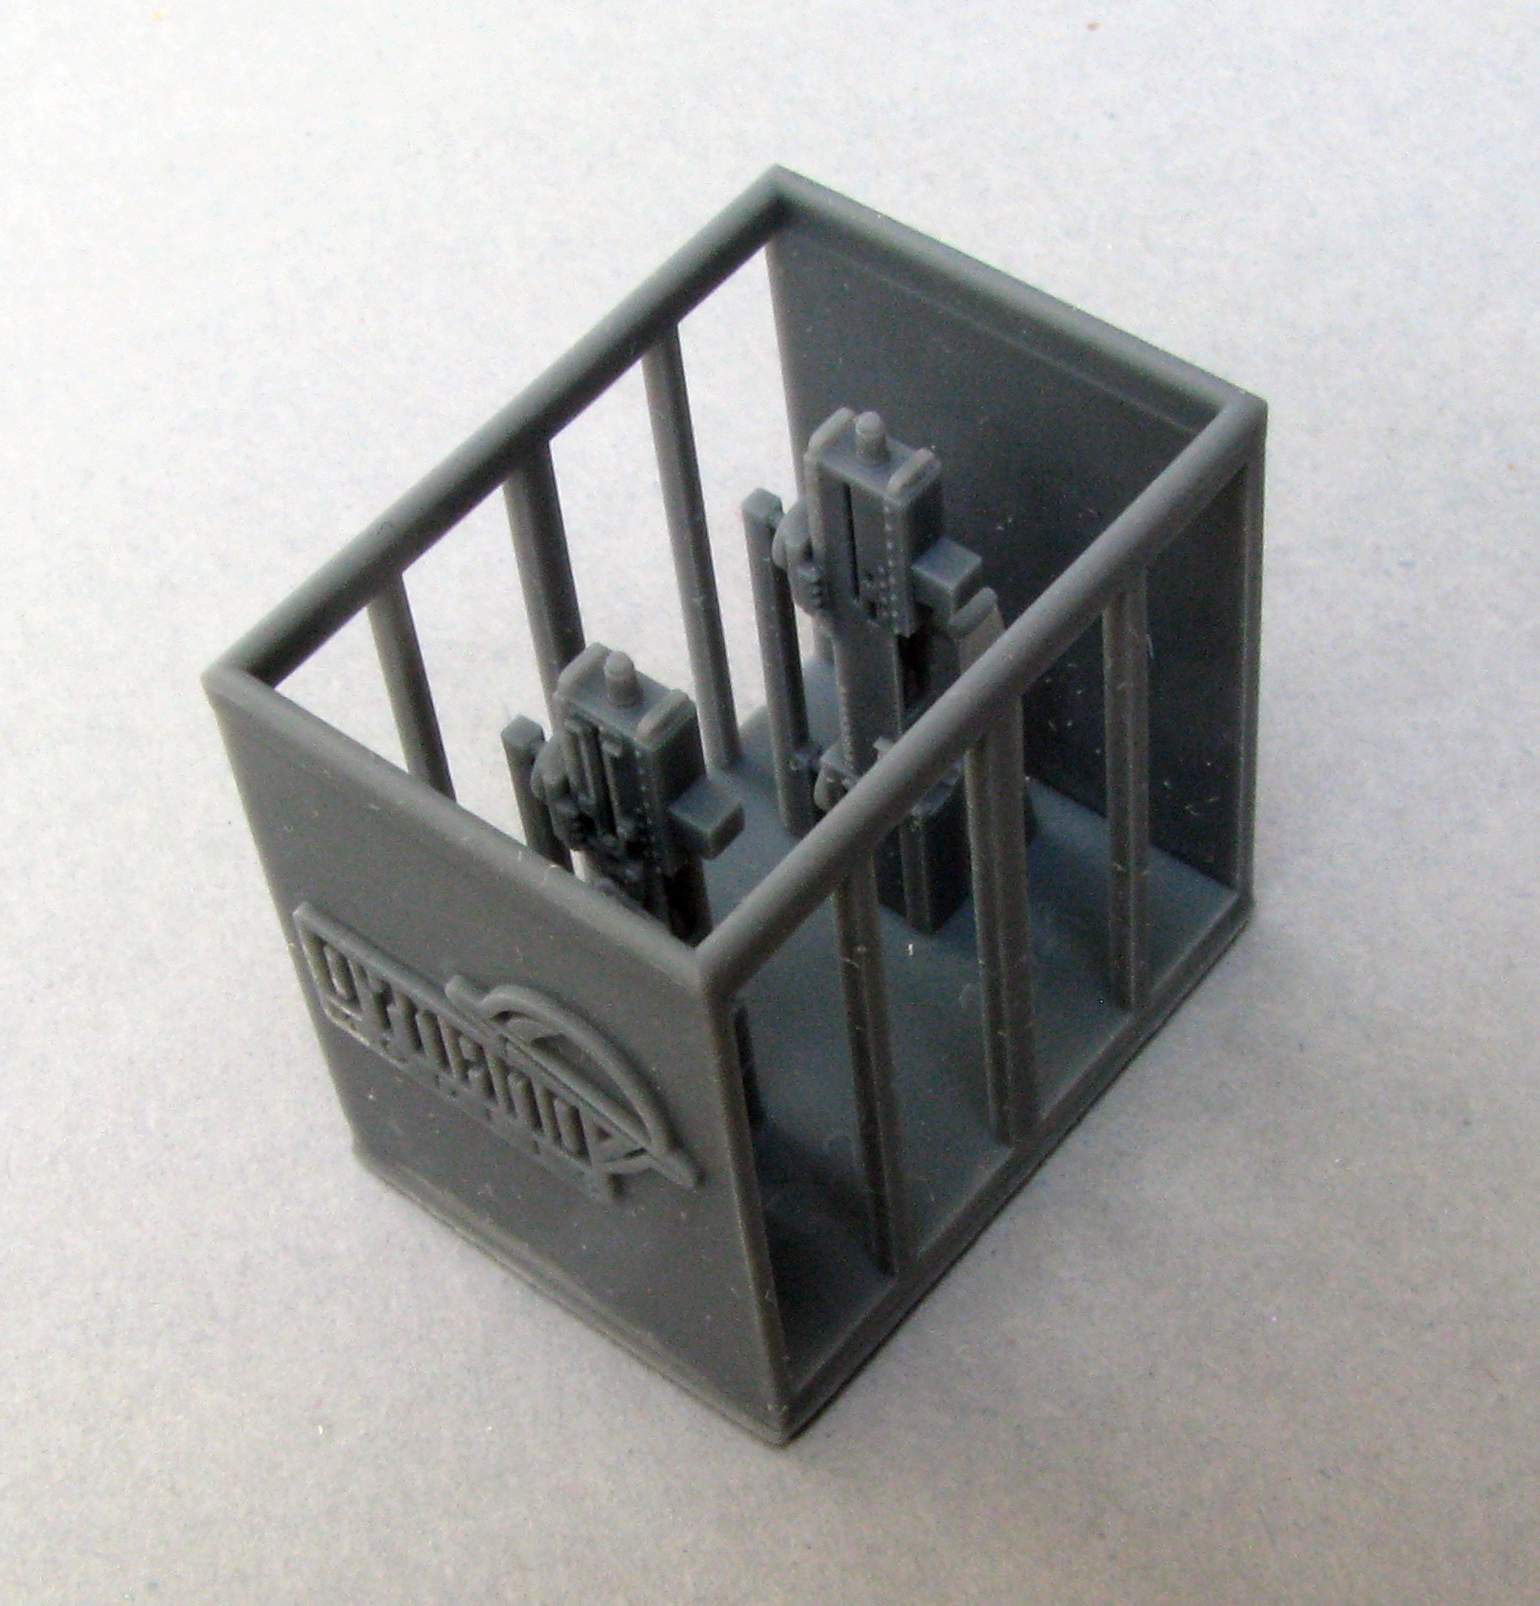
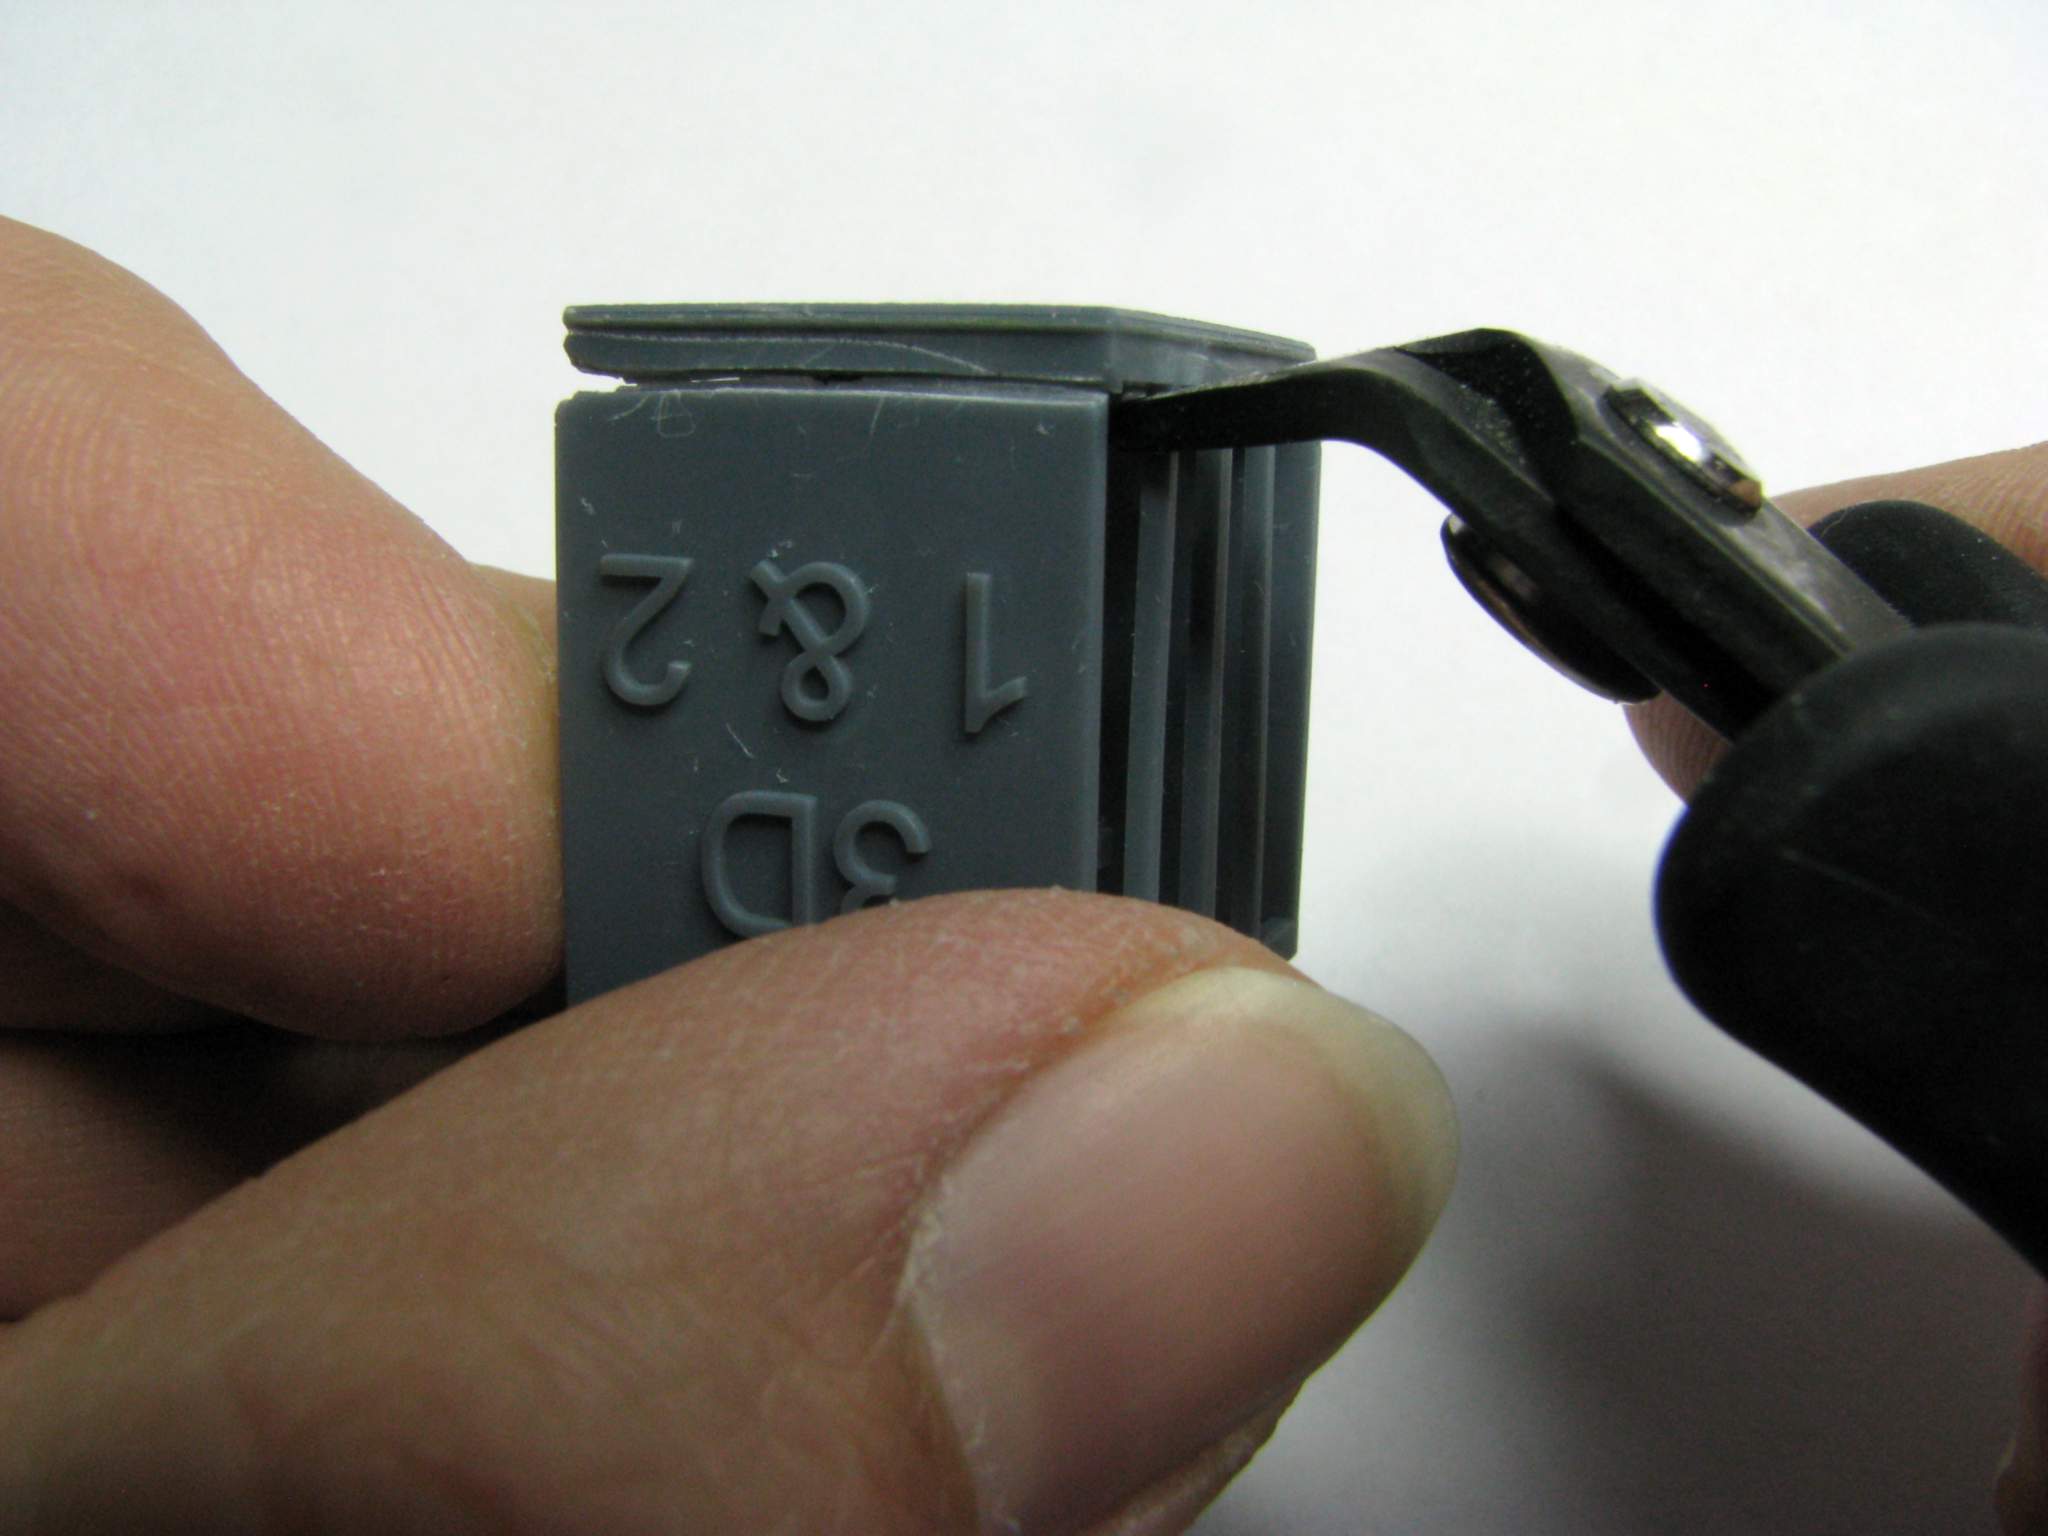
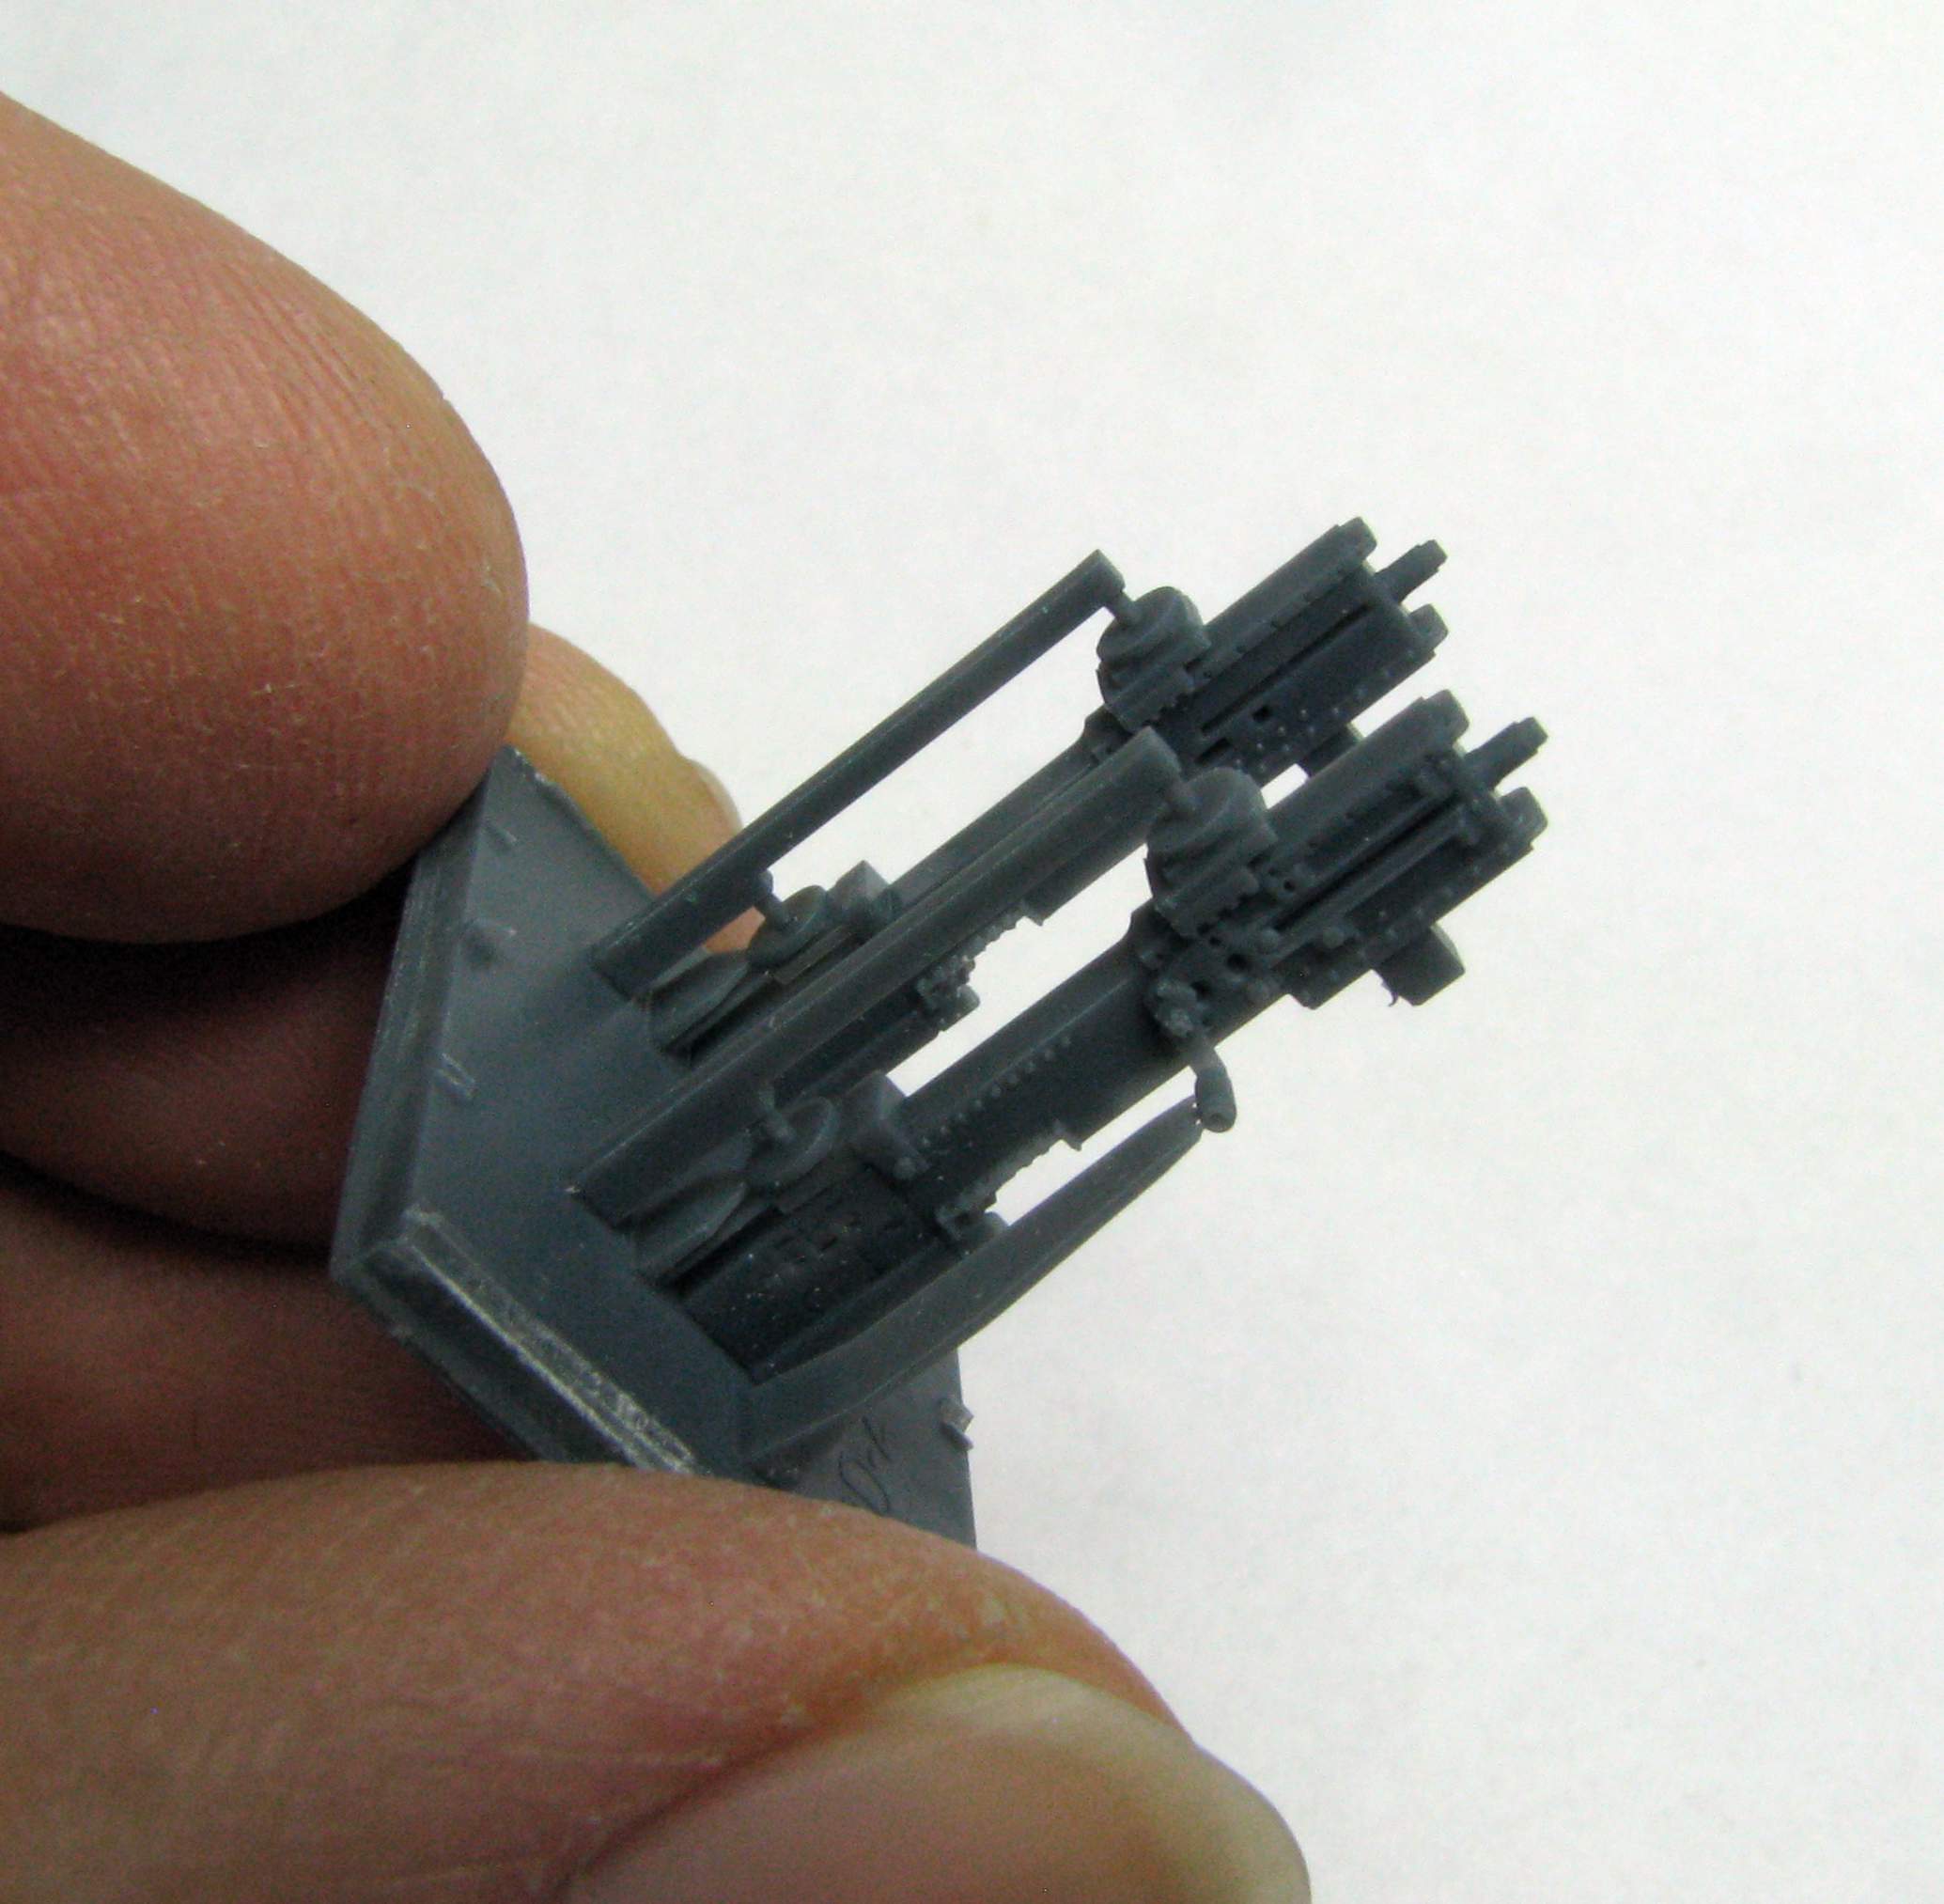
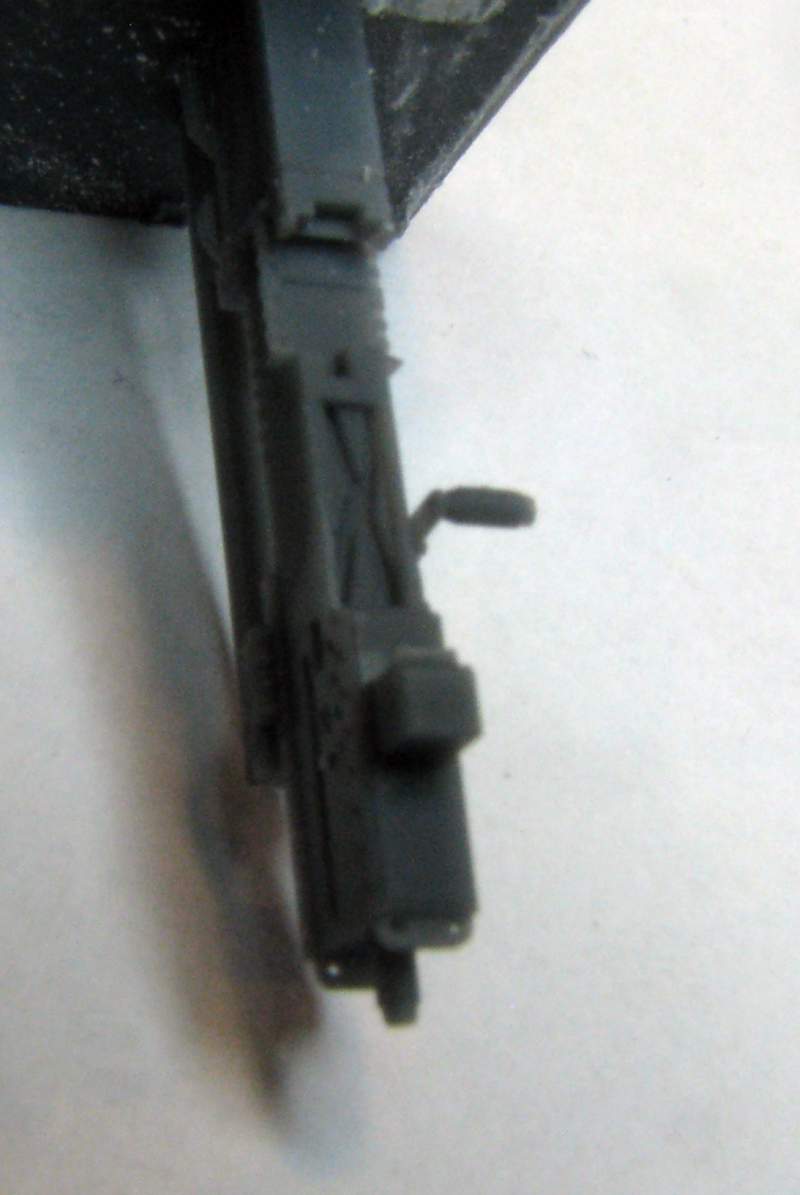
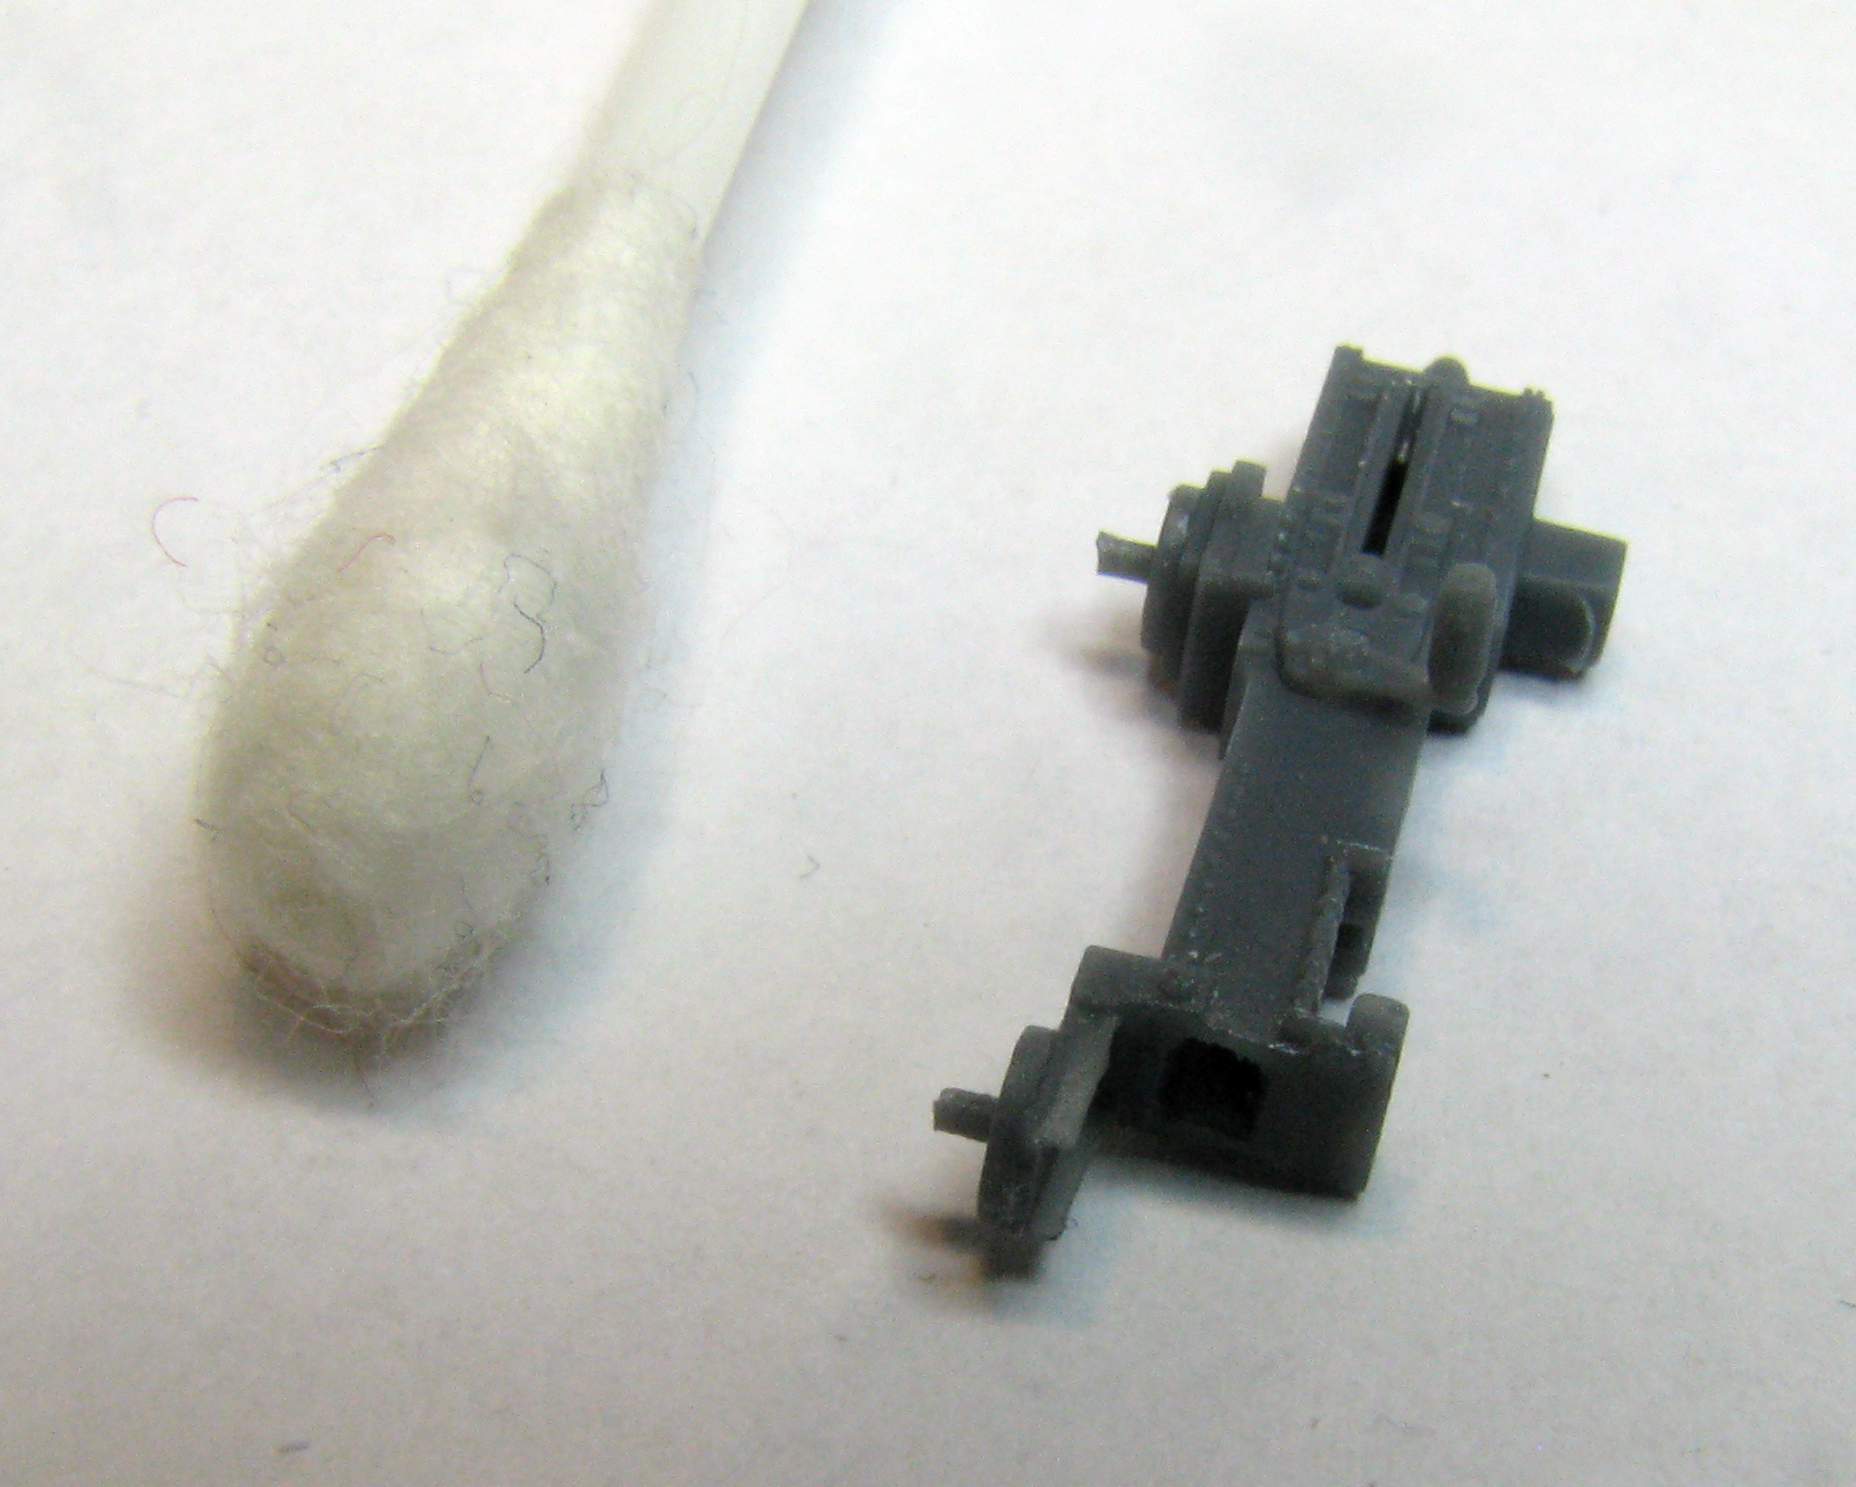
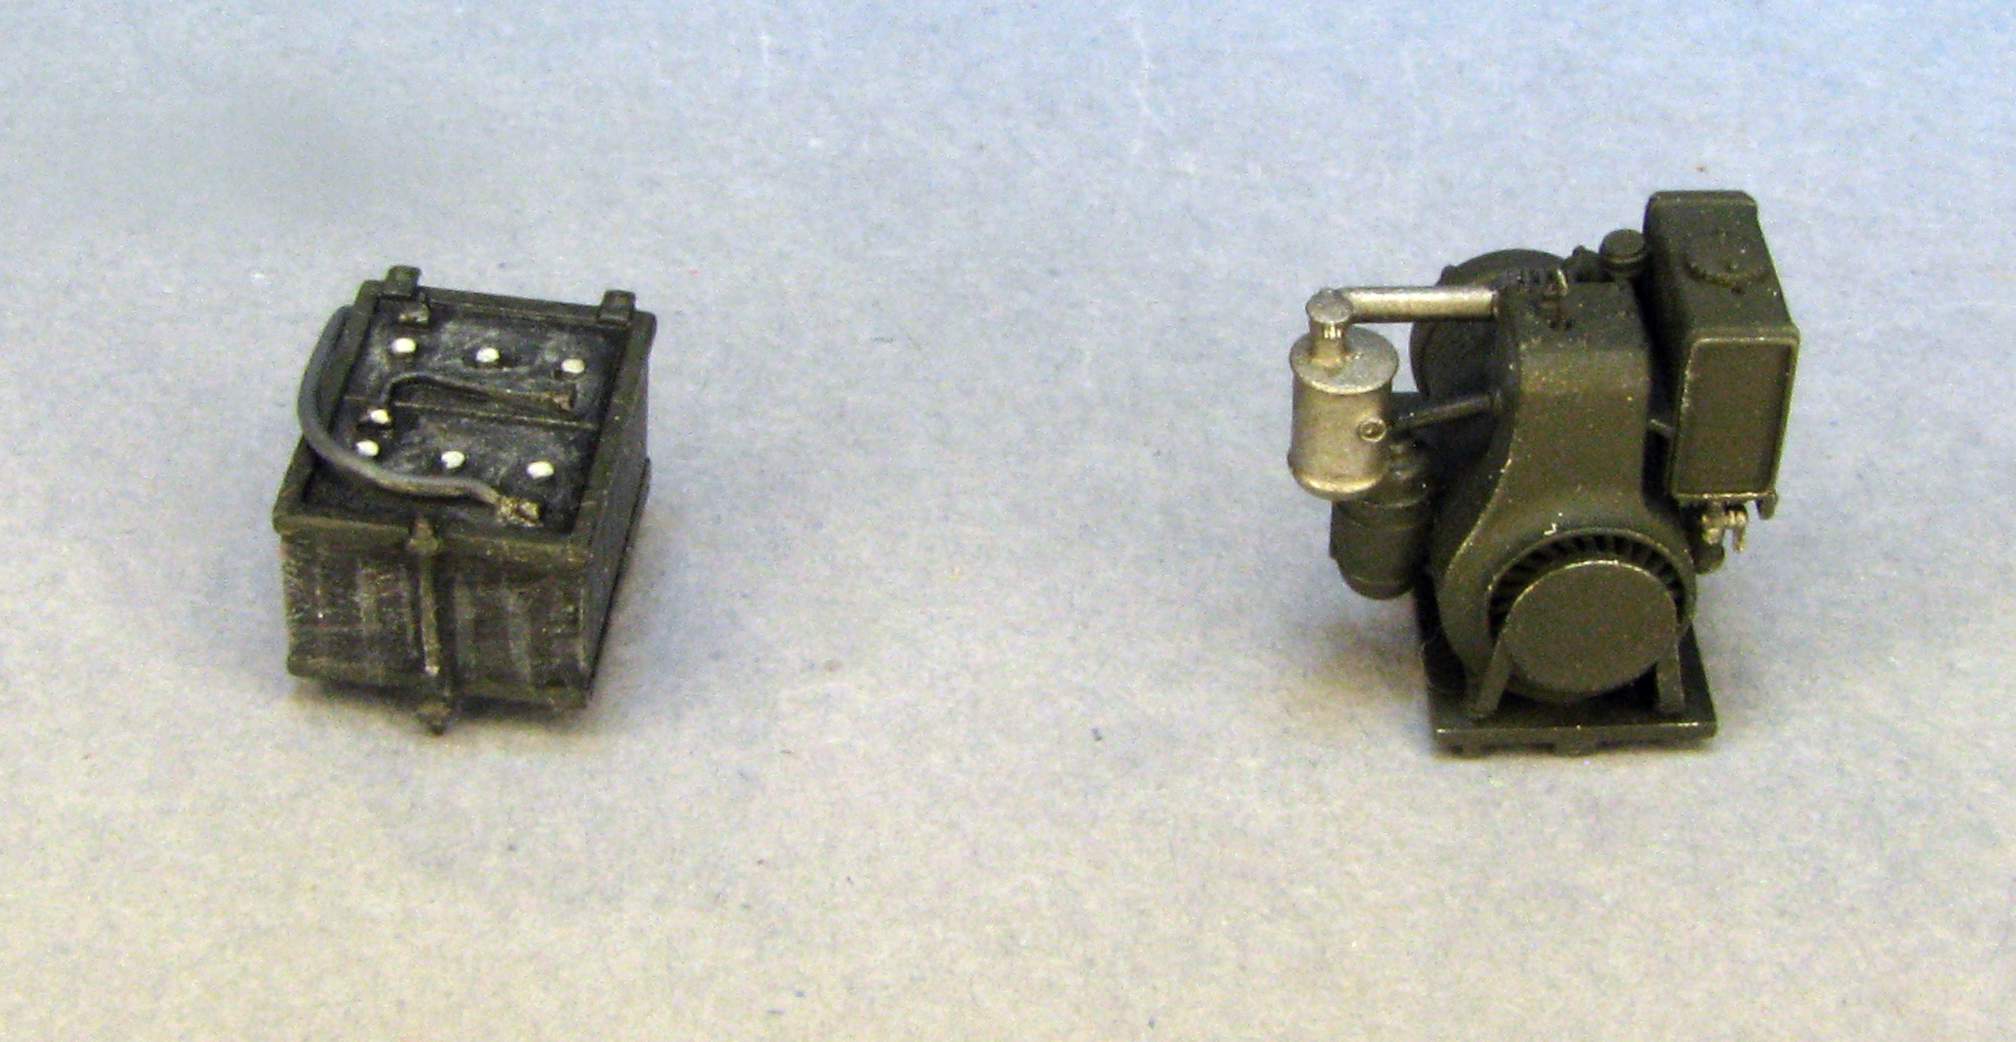
New power charger correct for Vietnam:
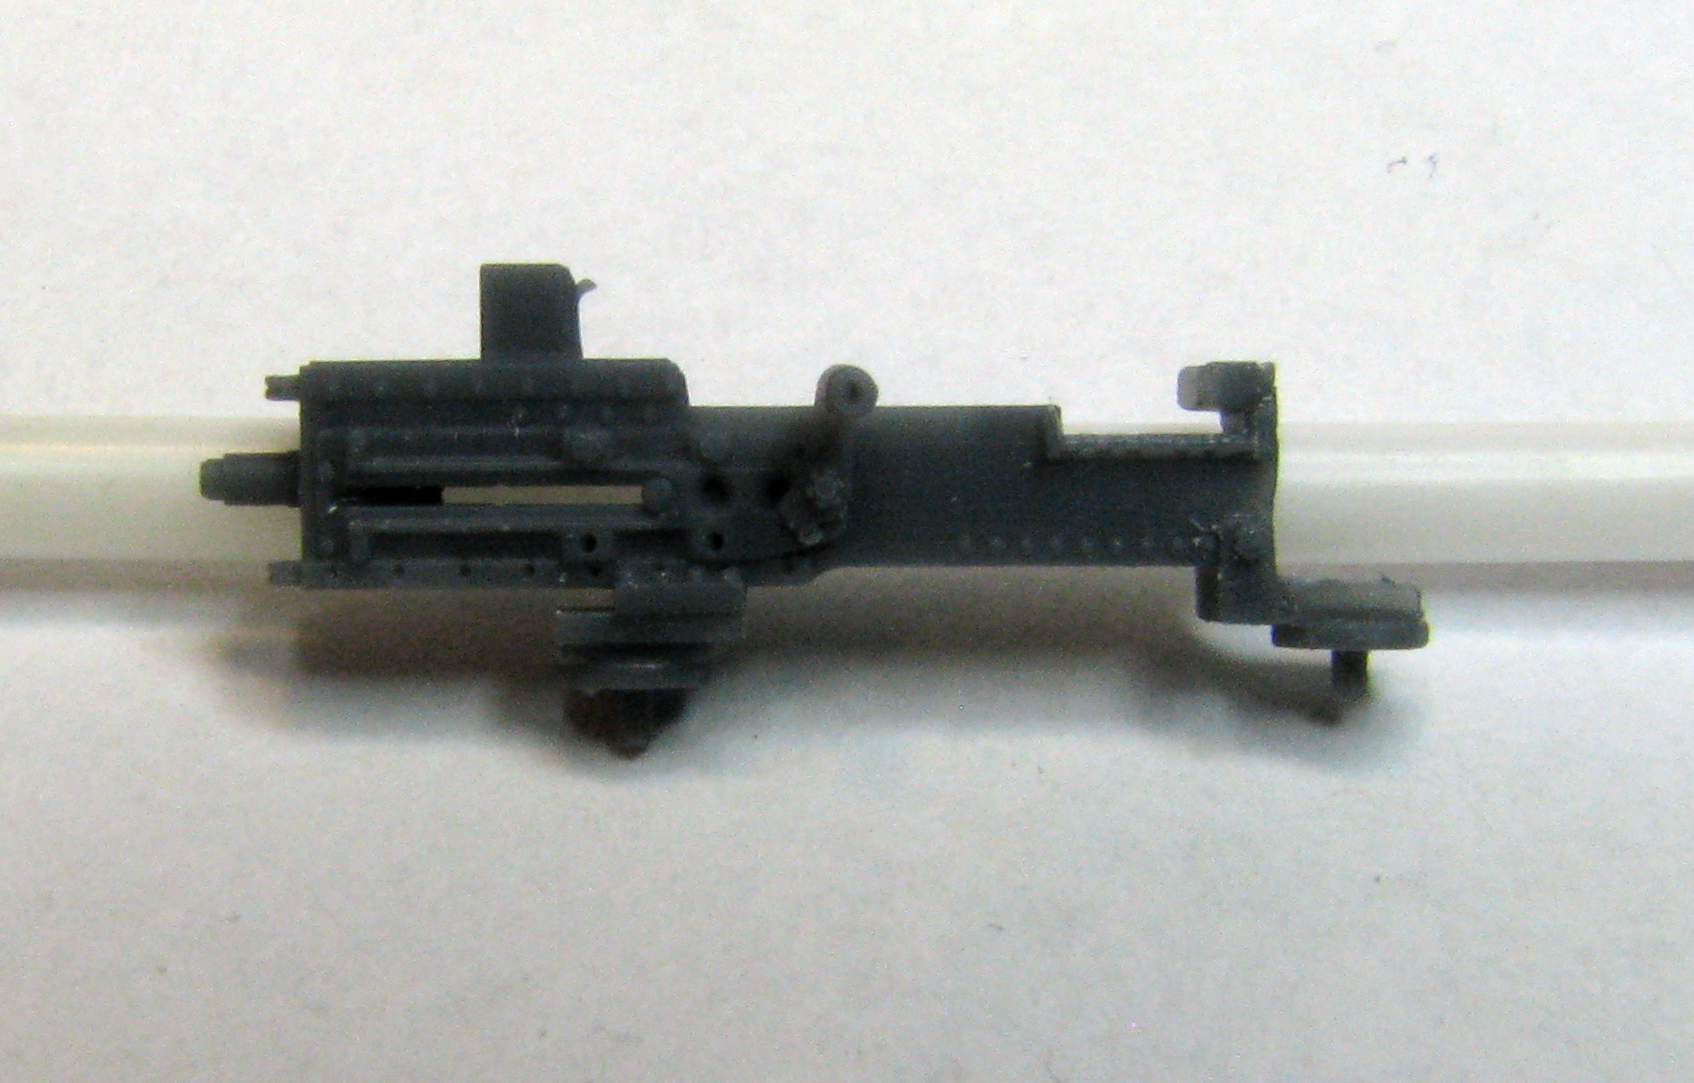
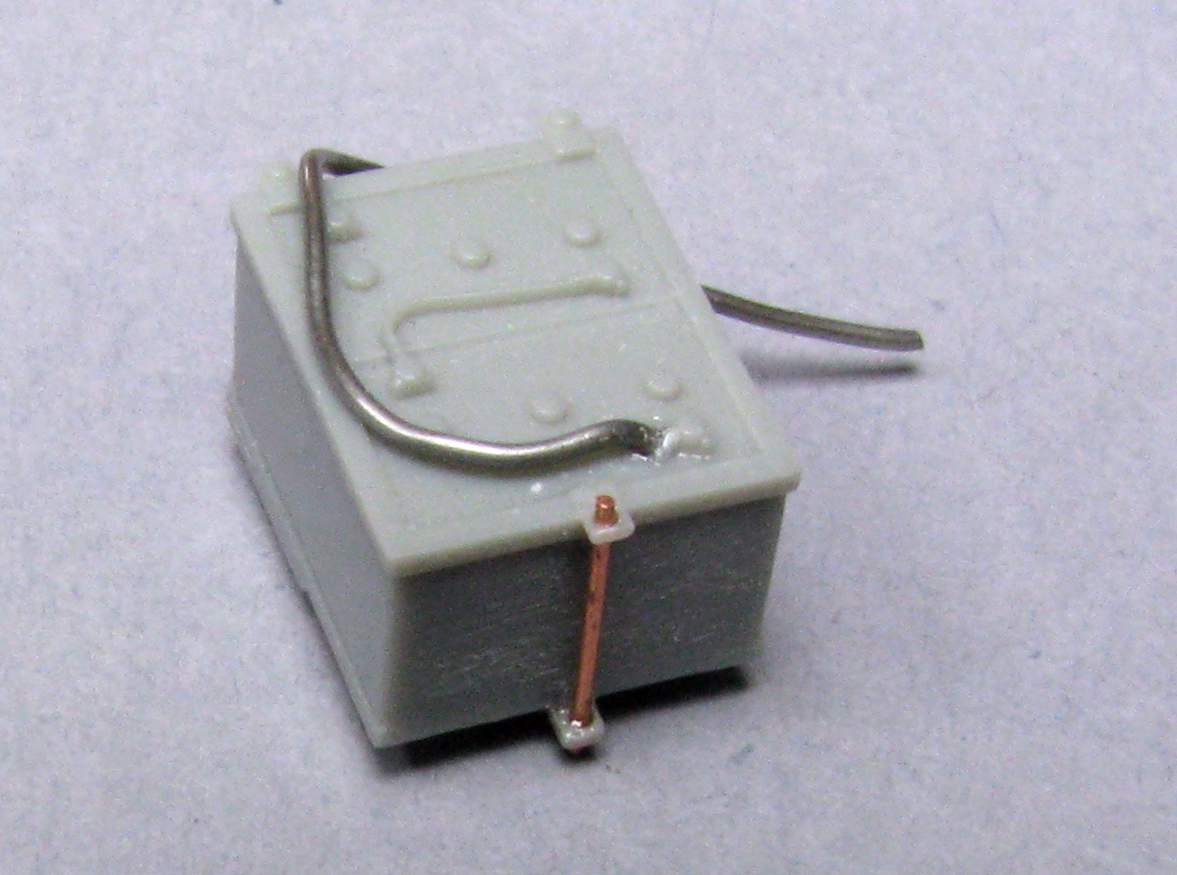
Control box:

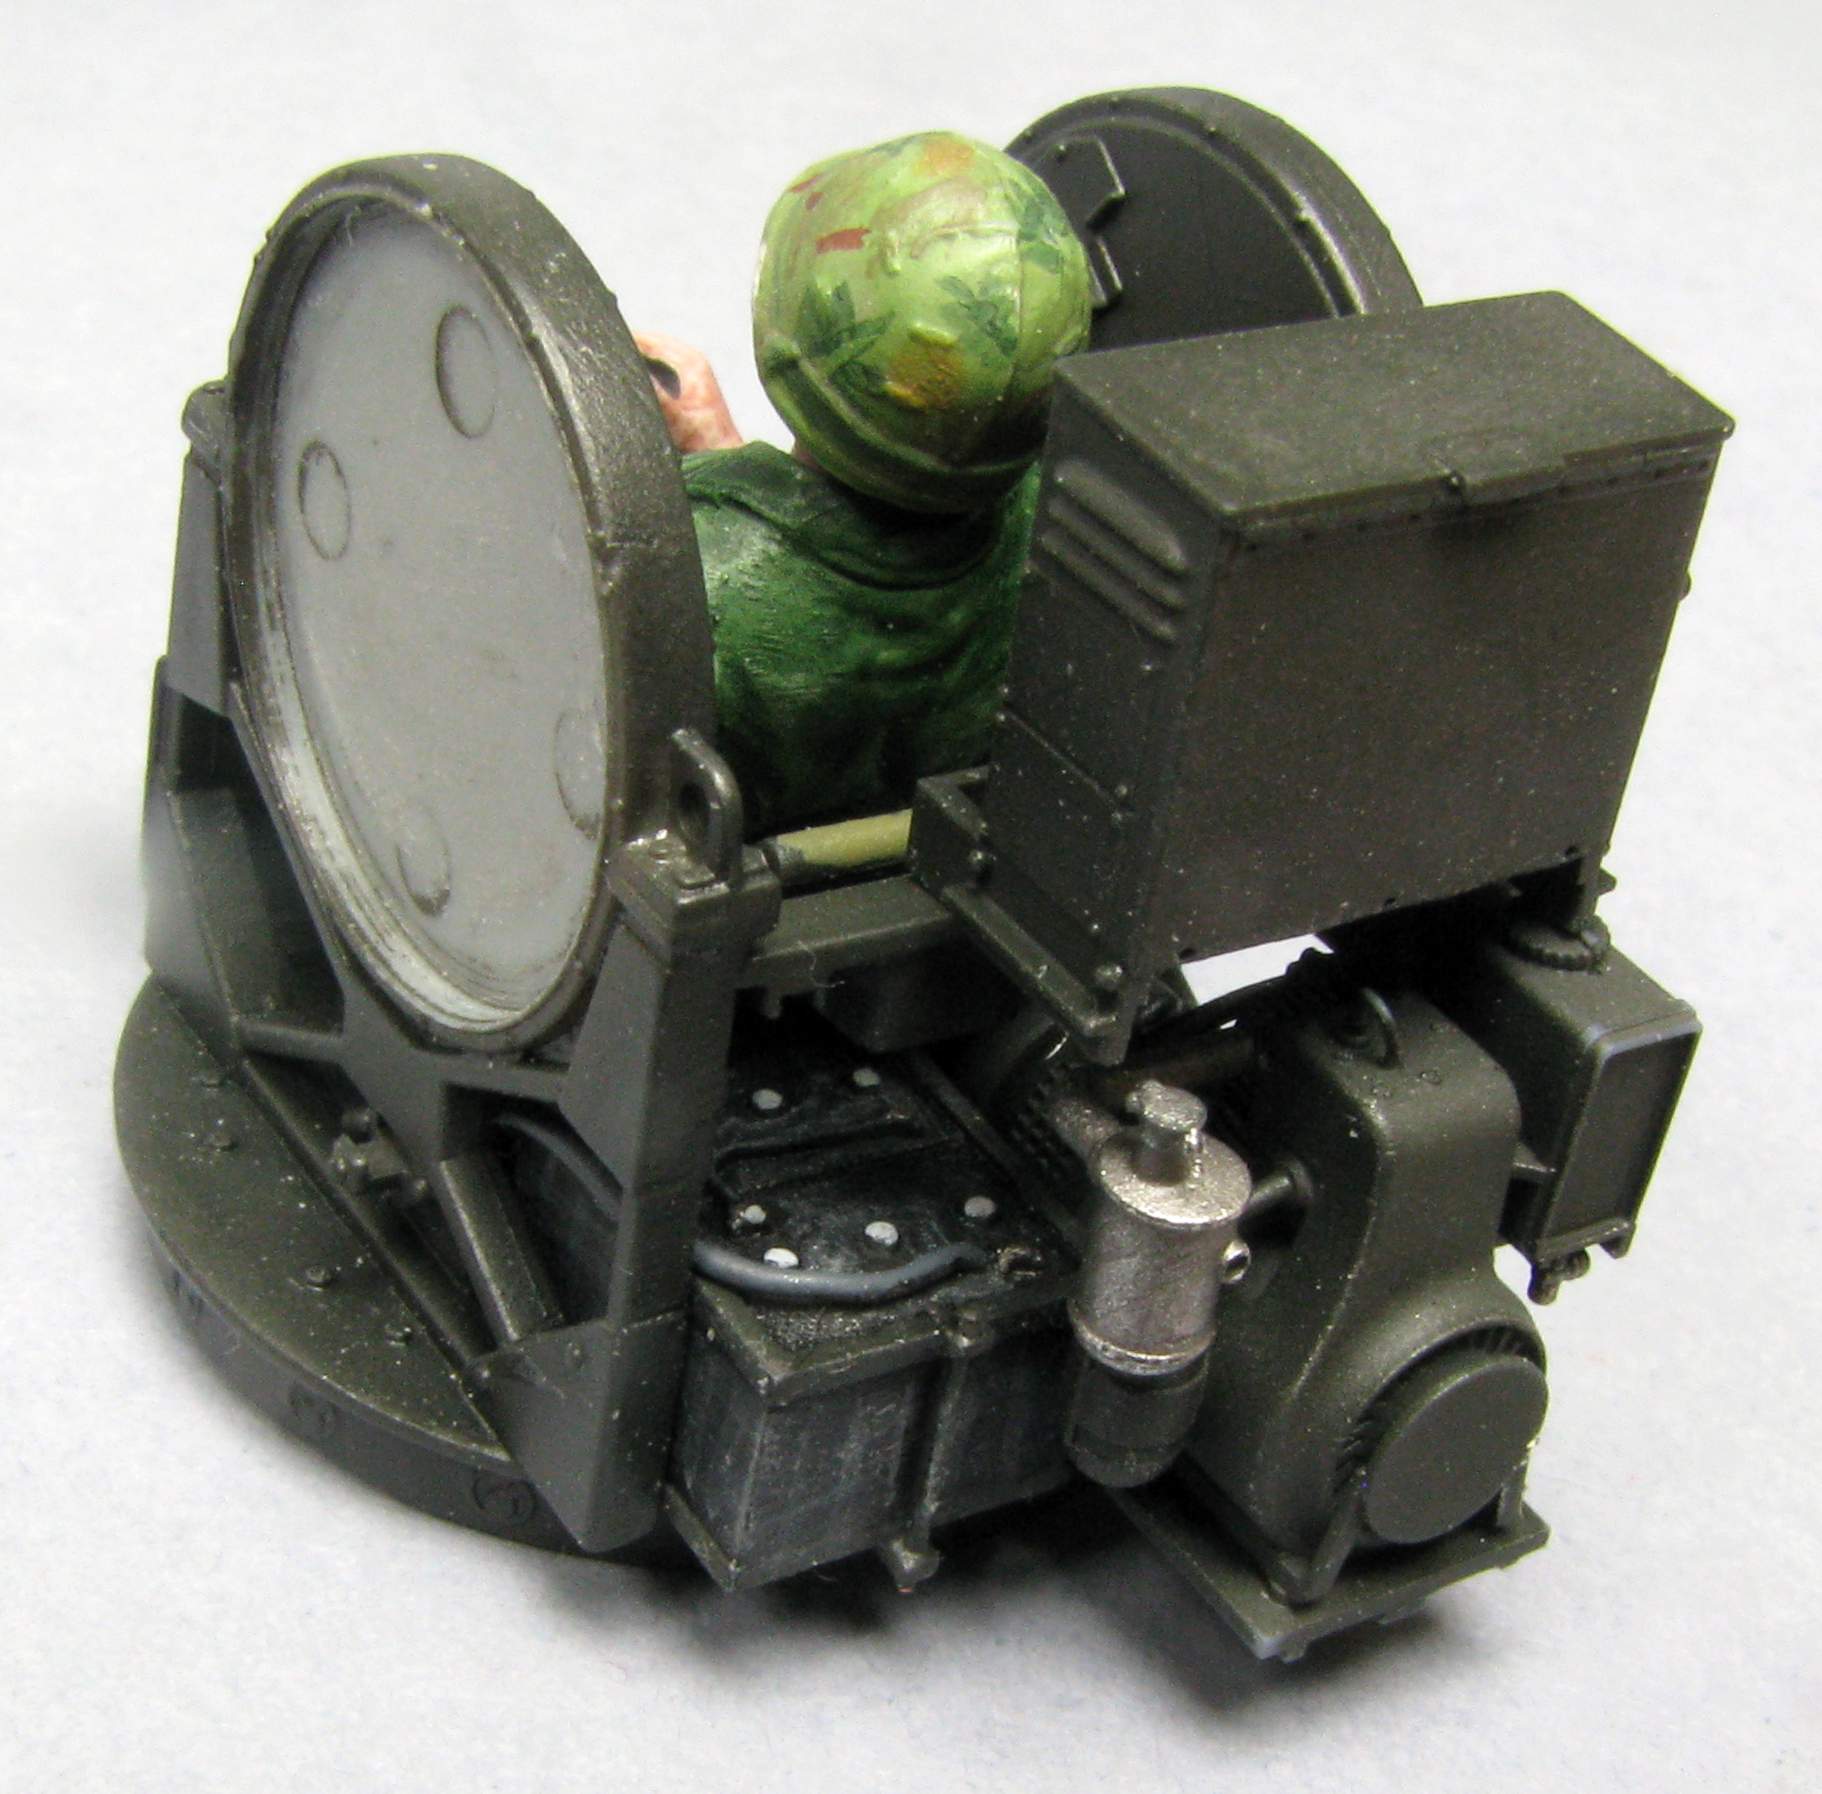
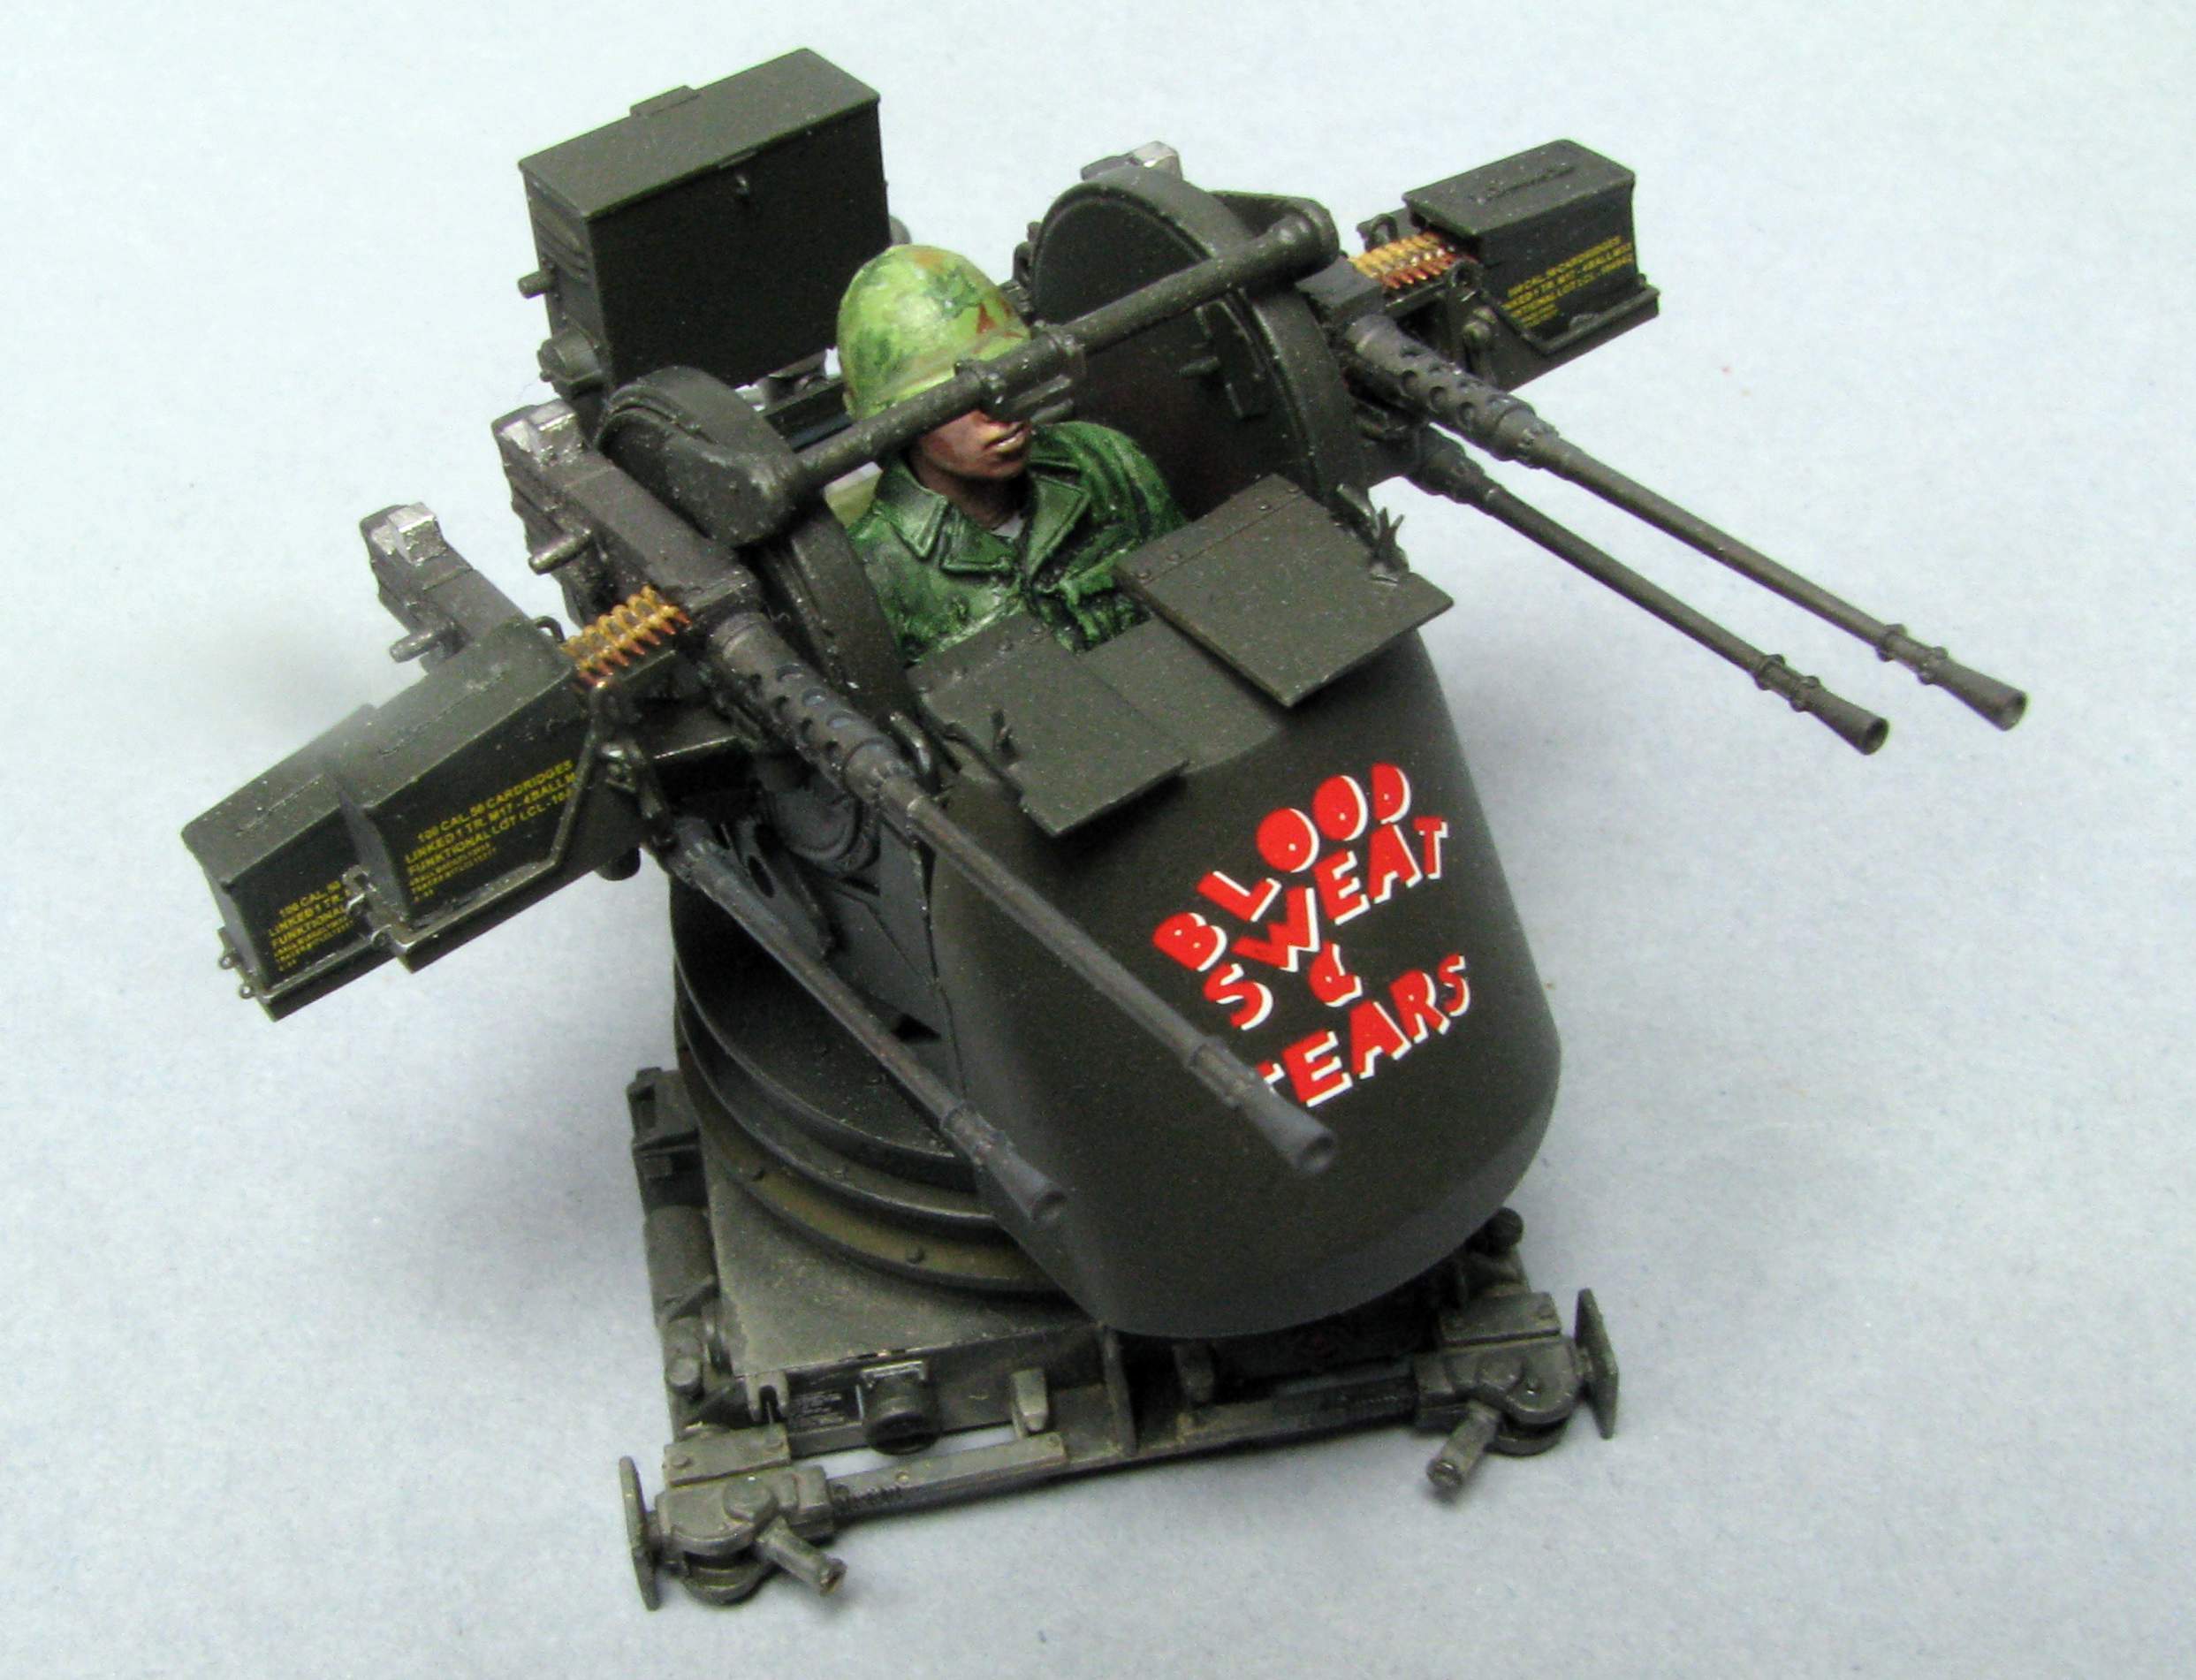
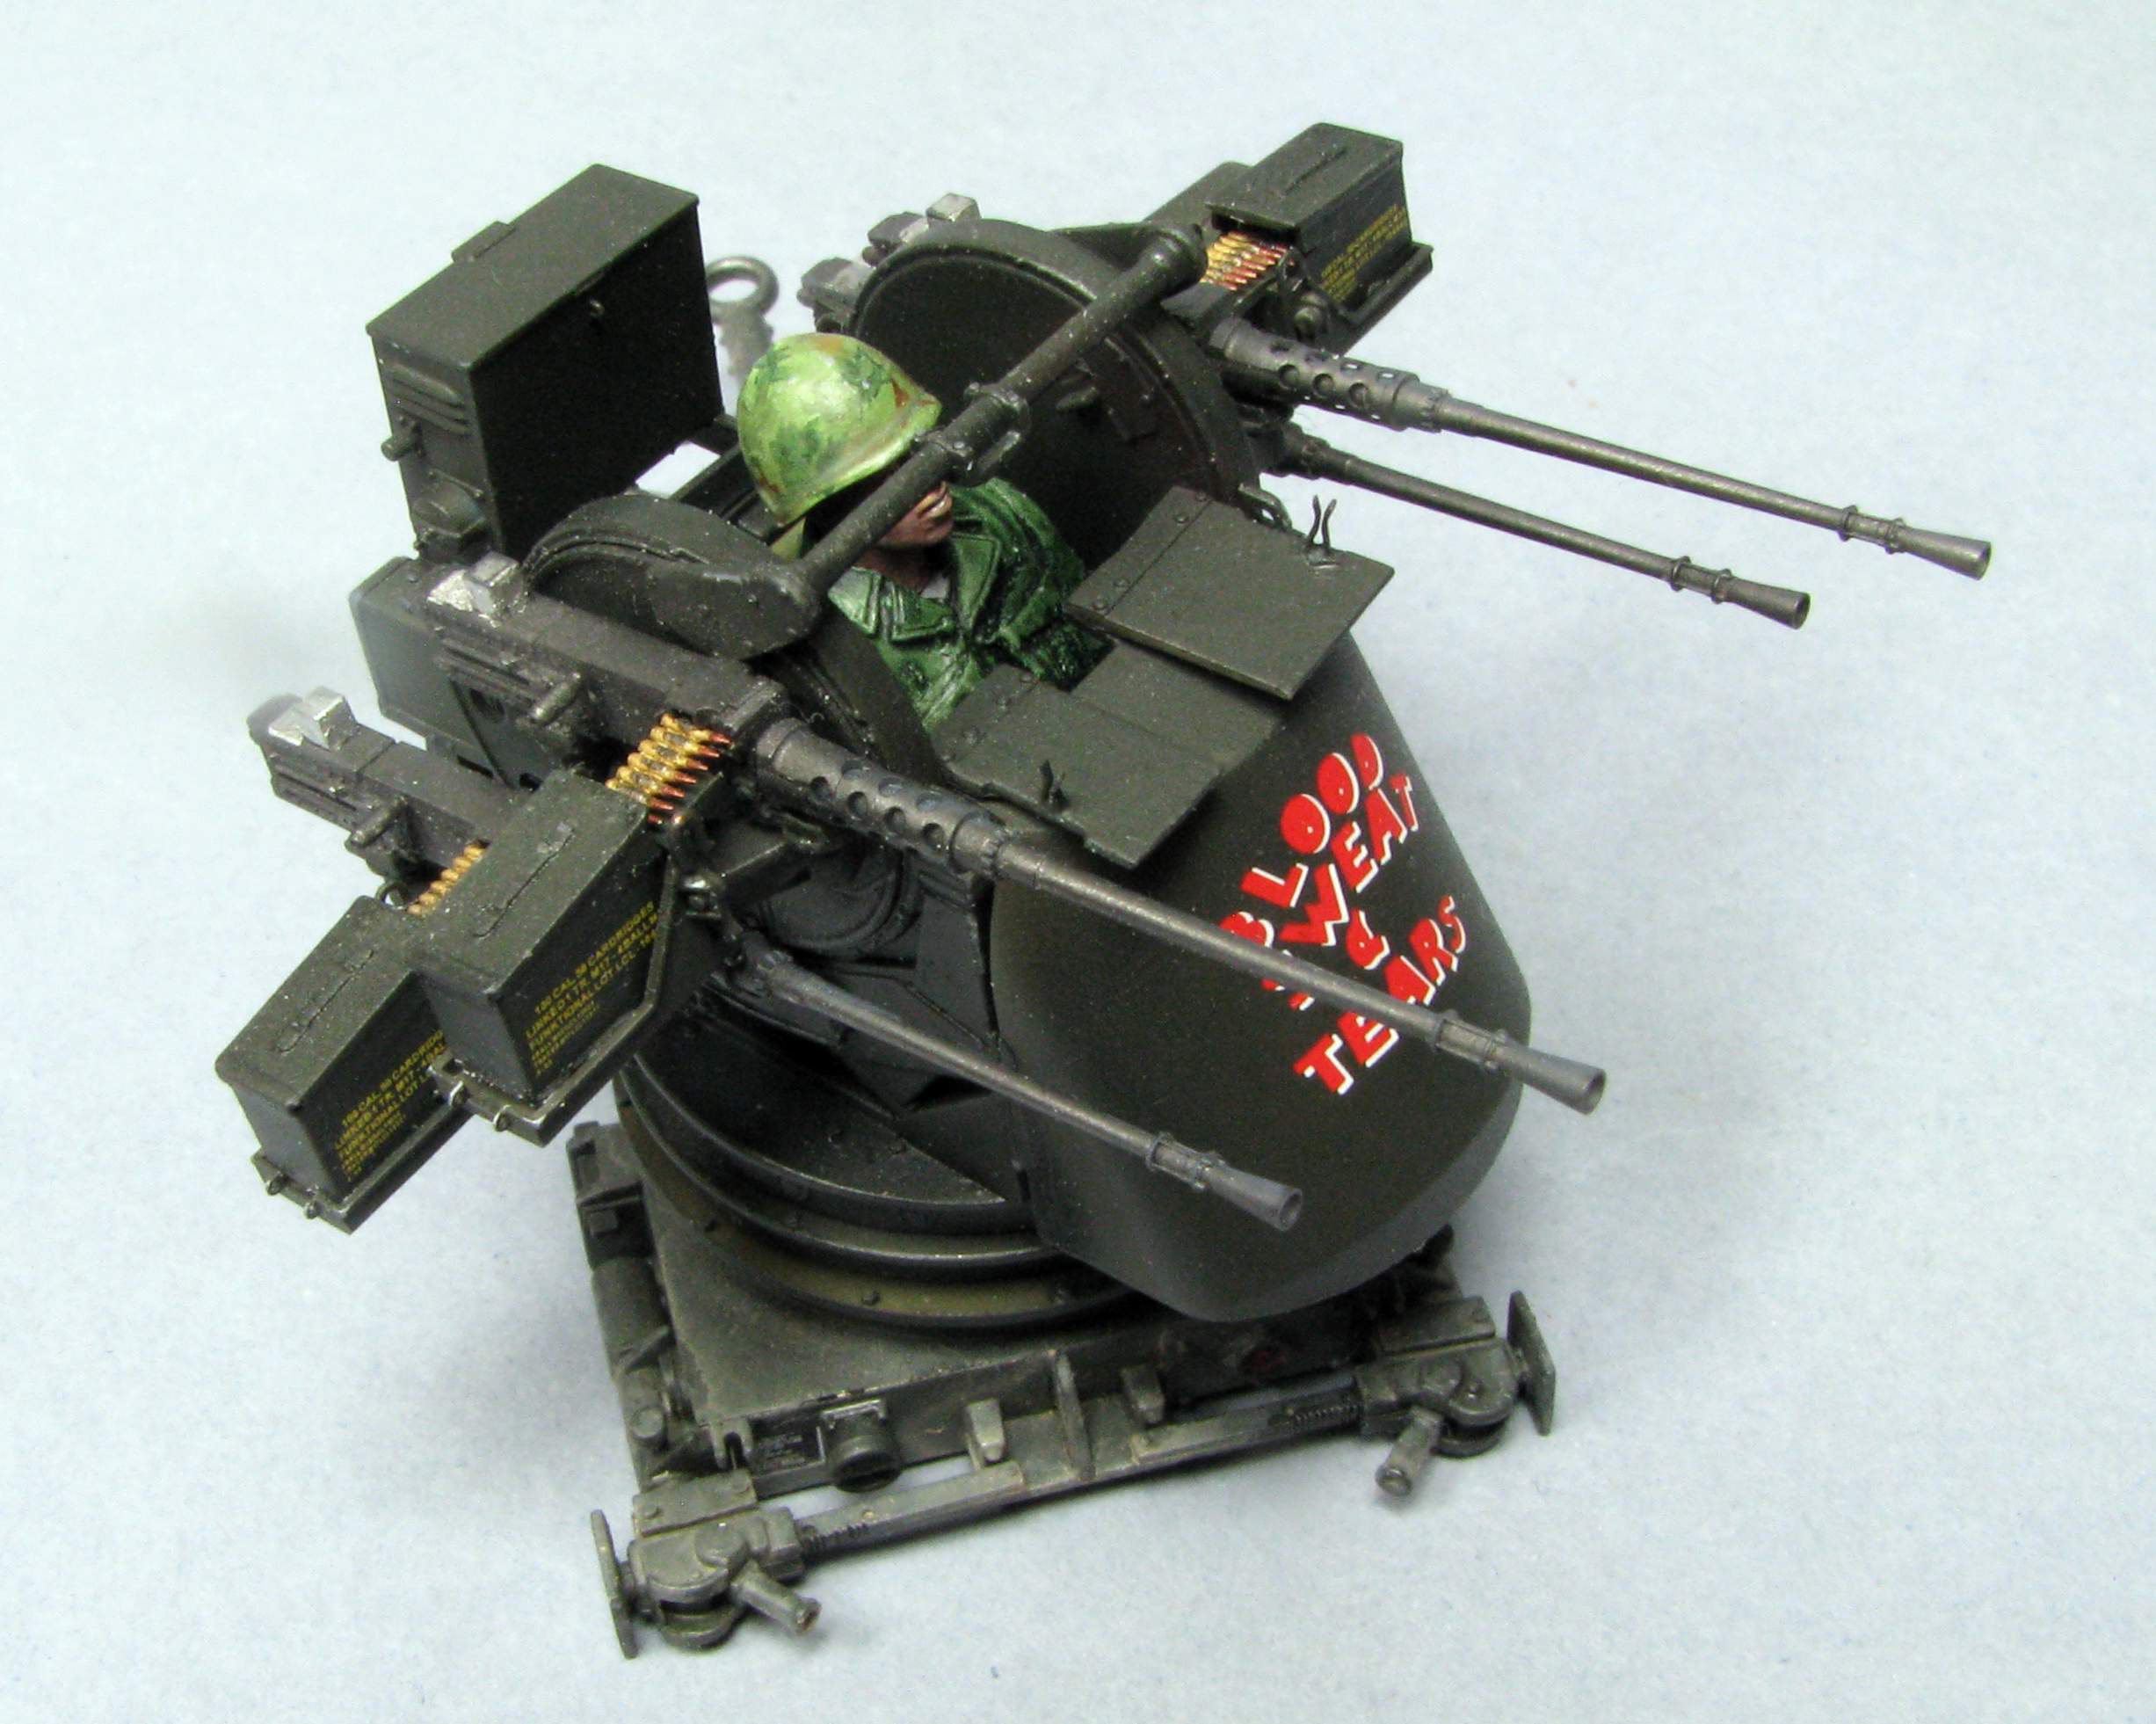
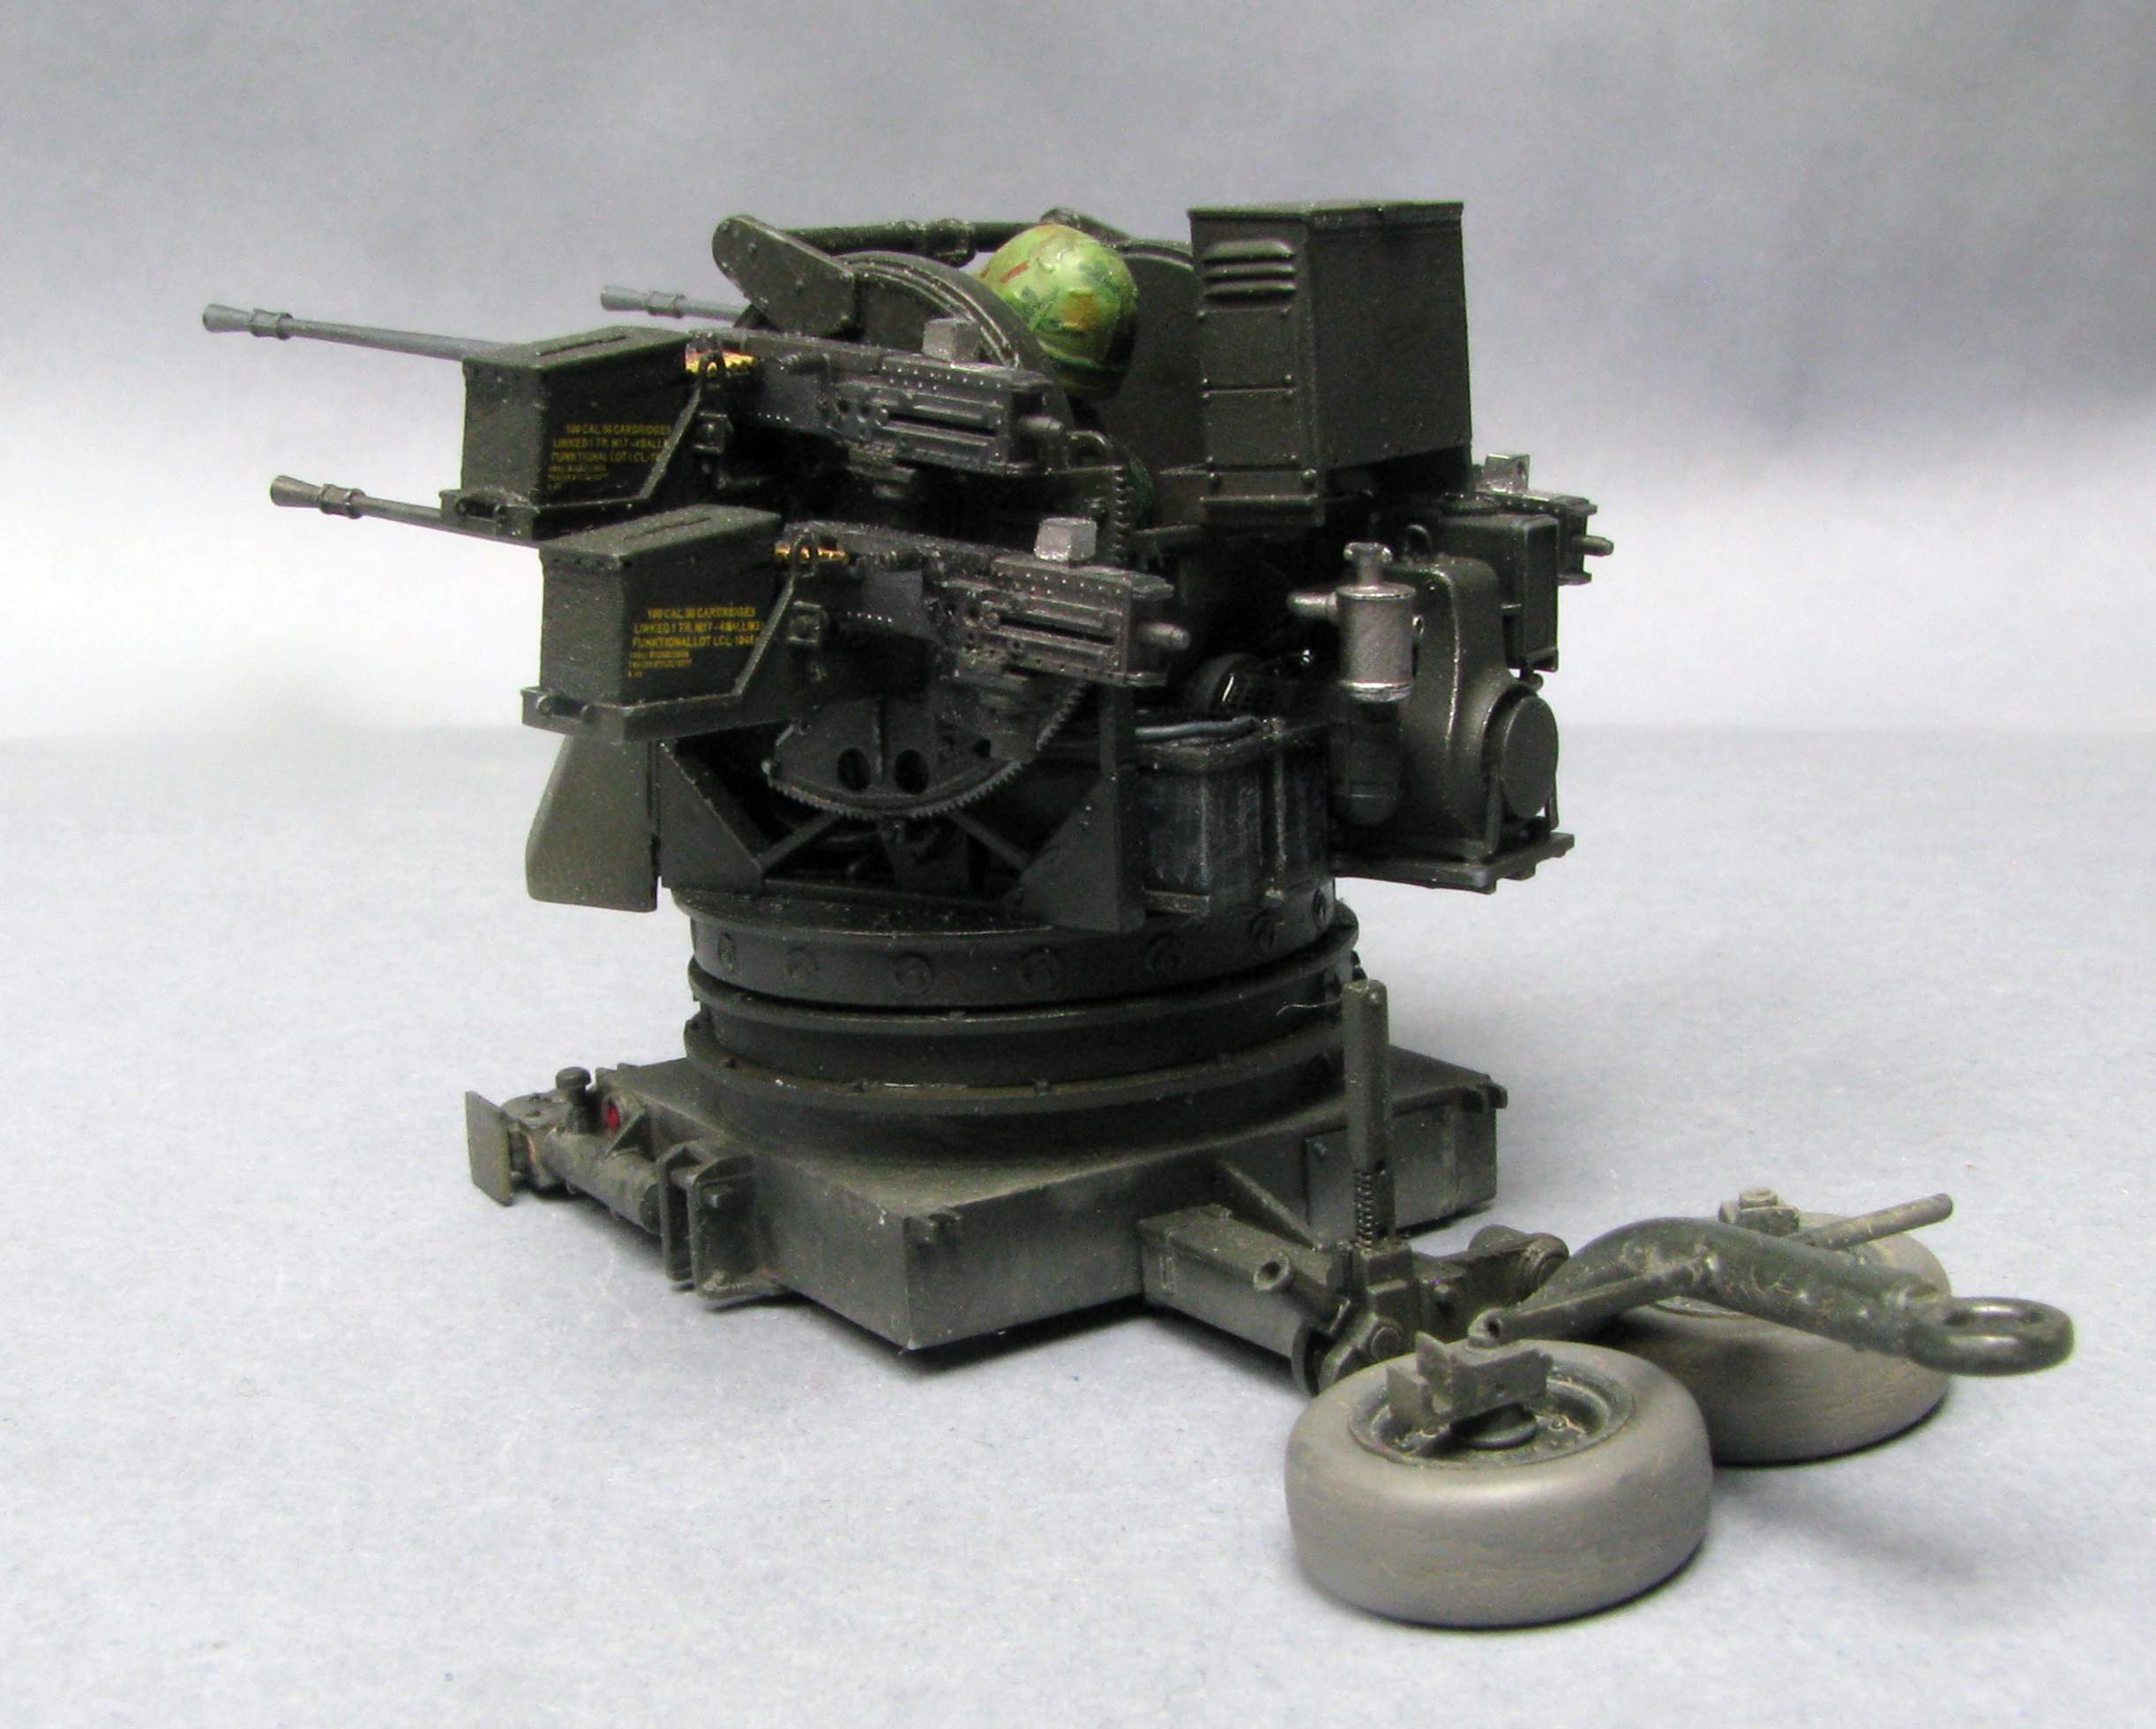
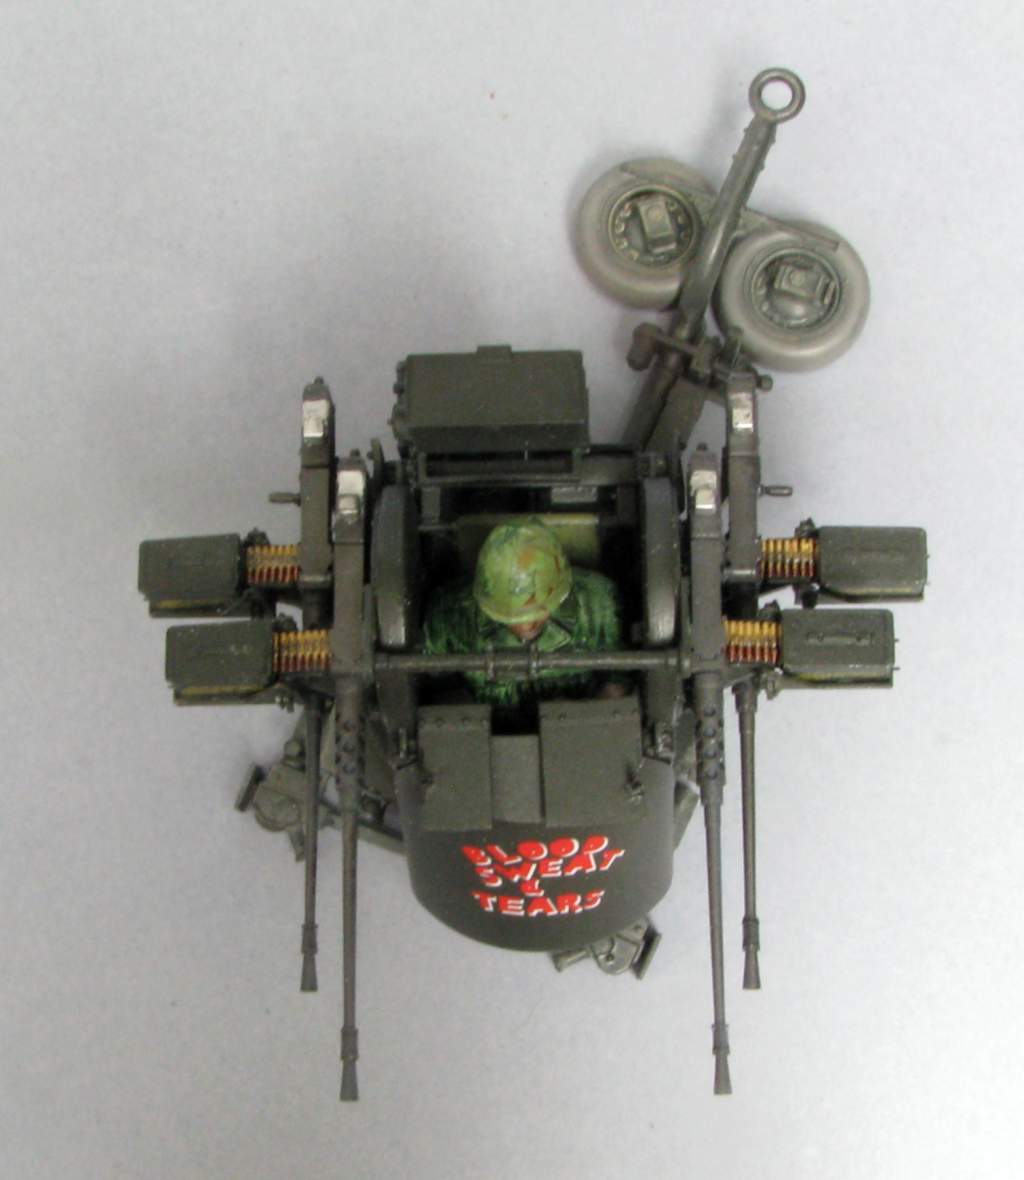
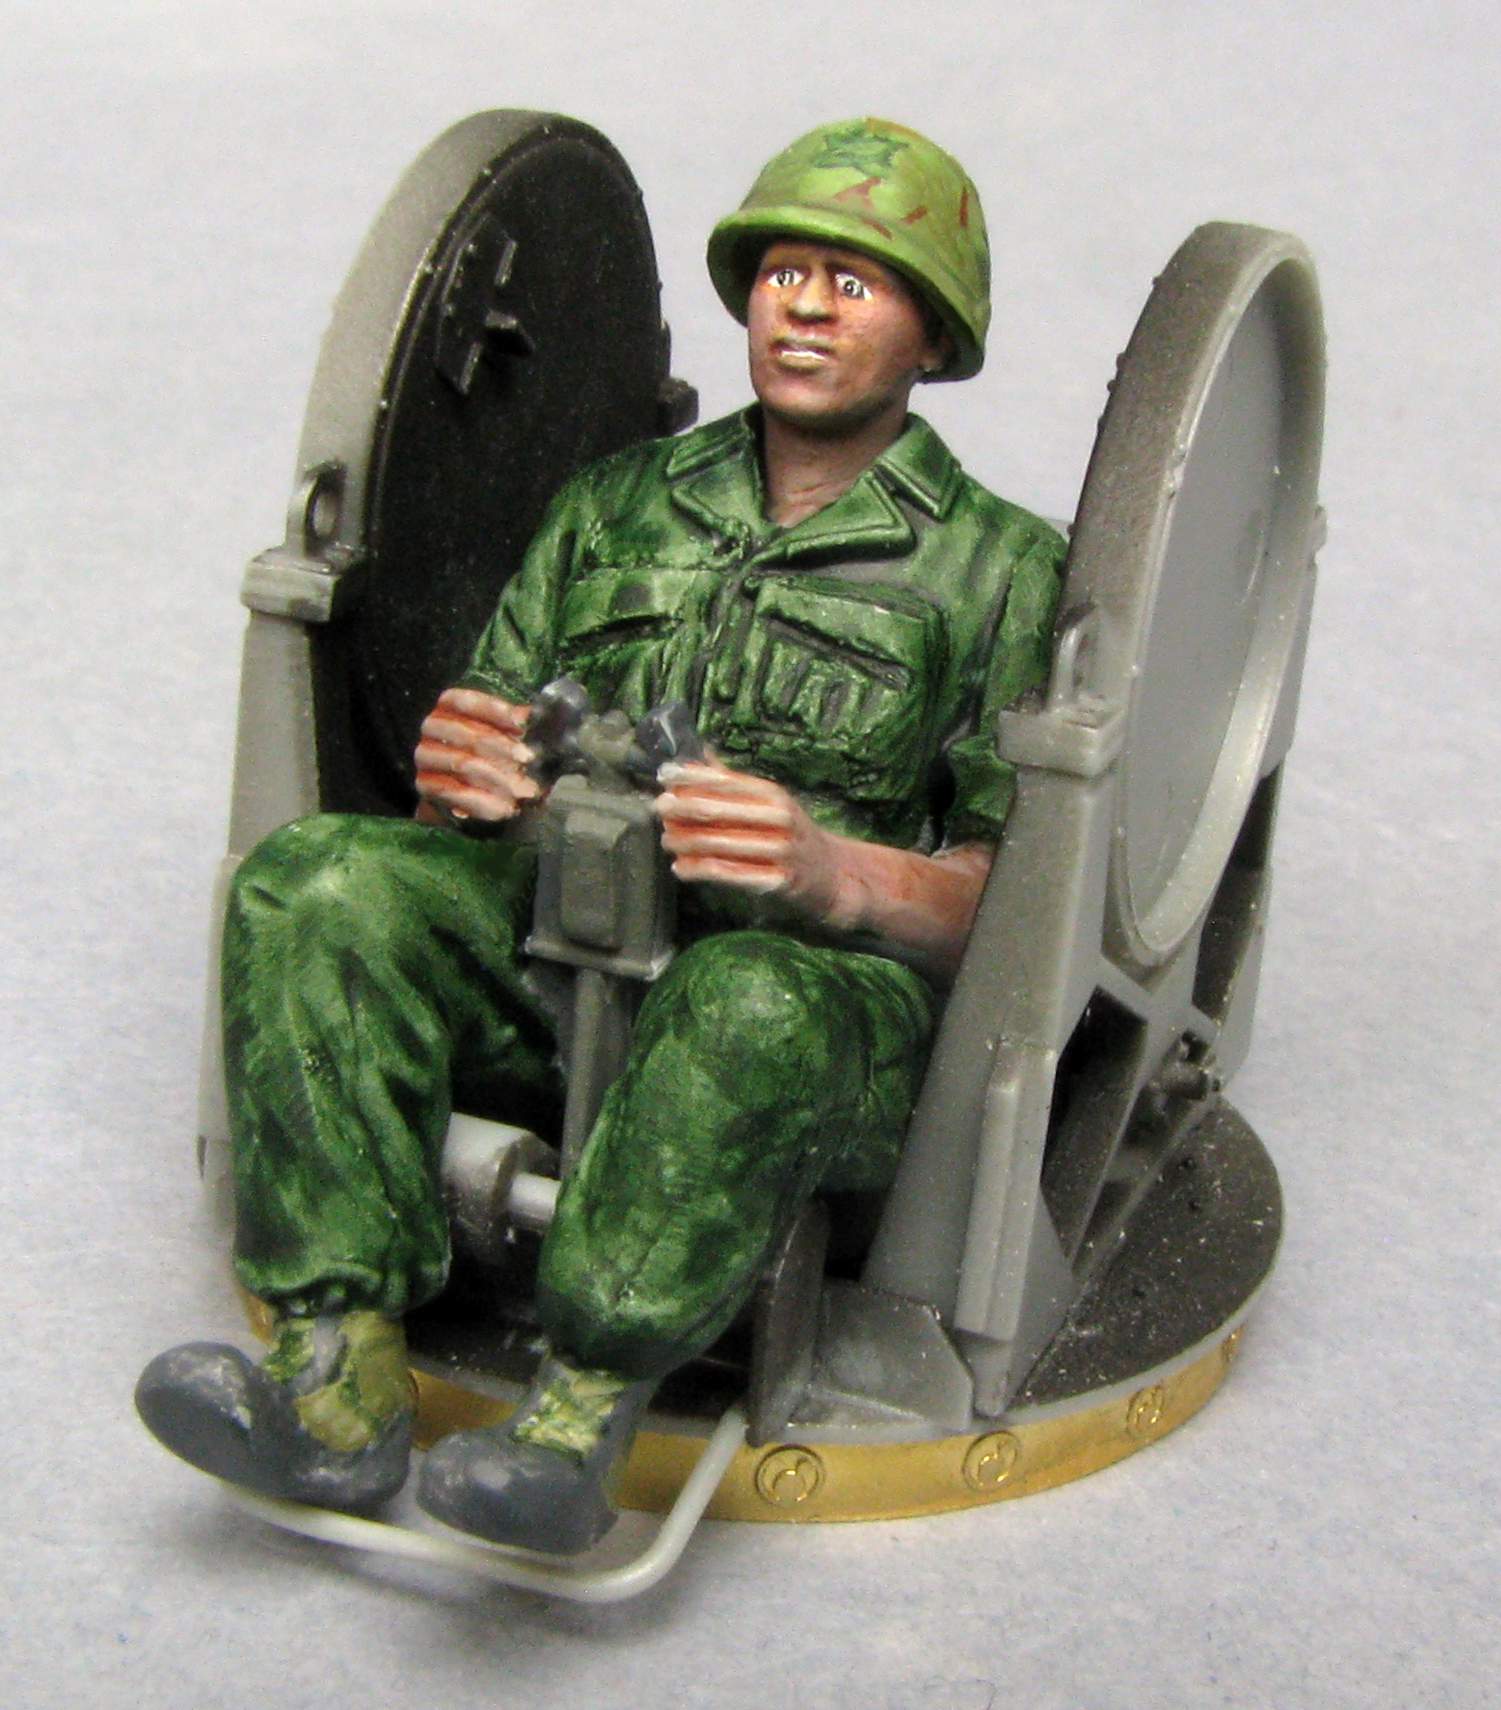
First thing I wanted to take care of is the gunner. The Dragon parts give you a nice figure of a gunner in a WWII uniform and the Dynamo instructions tell you only to use the gunner for the WWII version. I decided to convert my gunner to fit the Vietnam era. I replaced his legs with parts from a Dragon Vietnam figure series kit. Reshaped the arms to show the sleeves rolled up and substituted a covered helmet for the kit supplied one. I made the pockets out of Miliput. It took some serious fitting to squeeze the gunner in. Here he is dry fitted:

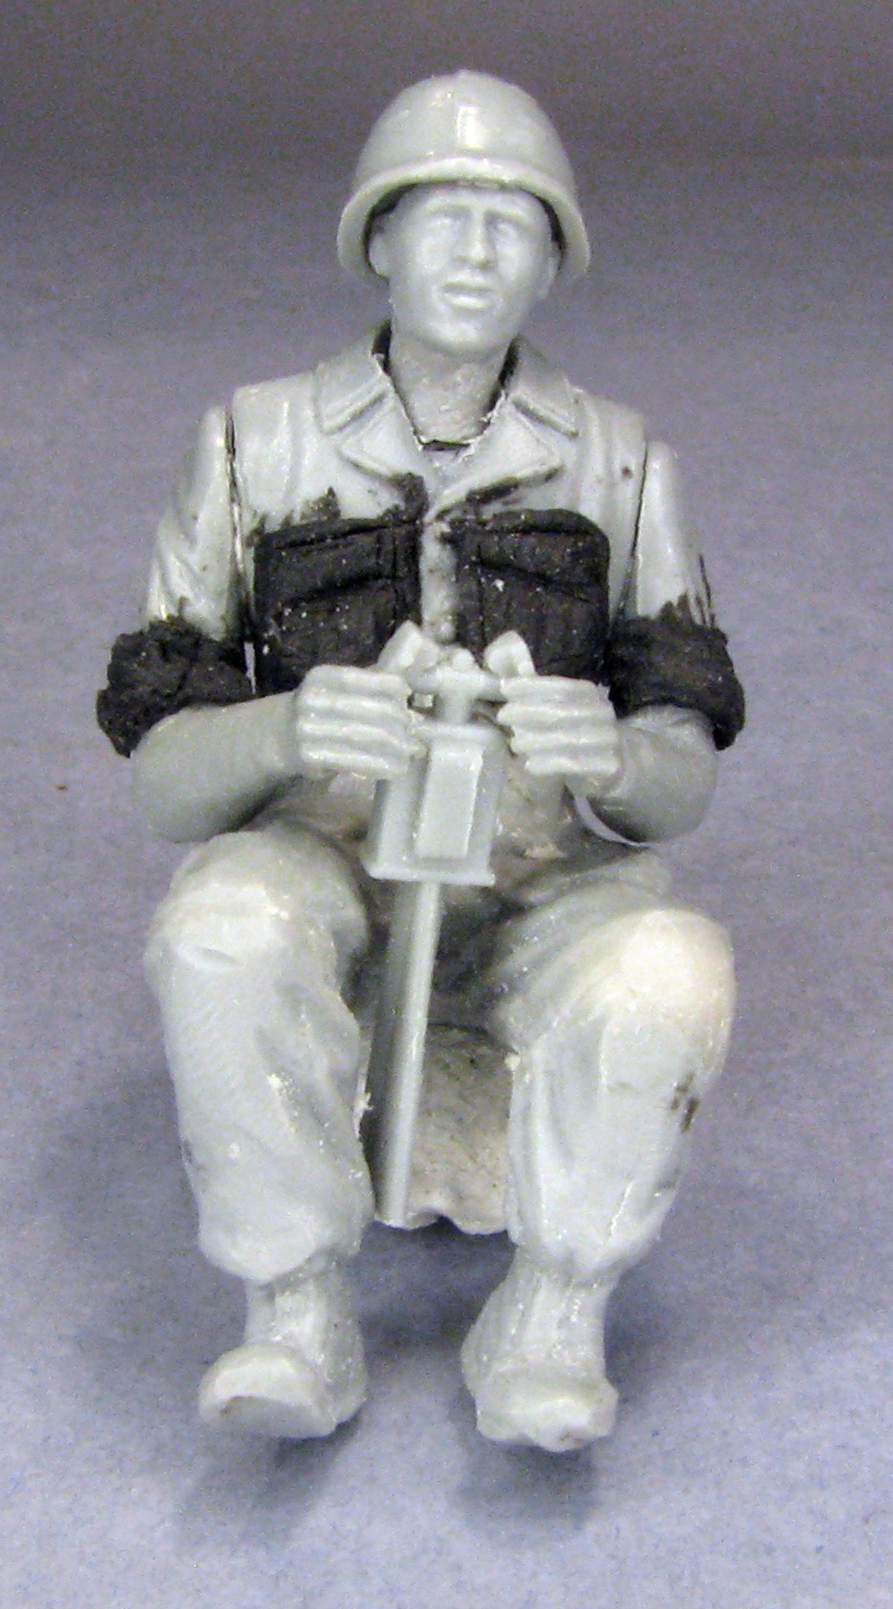
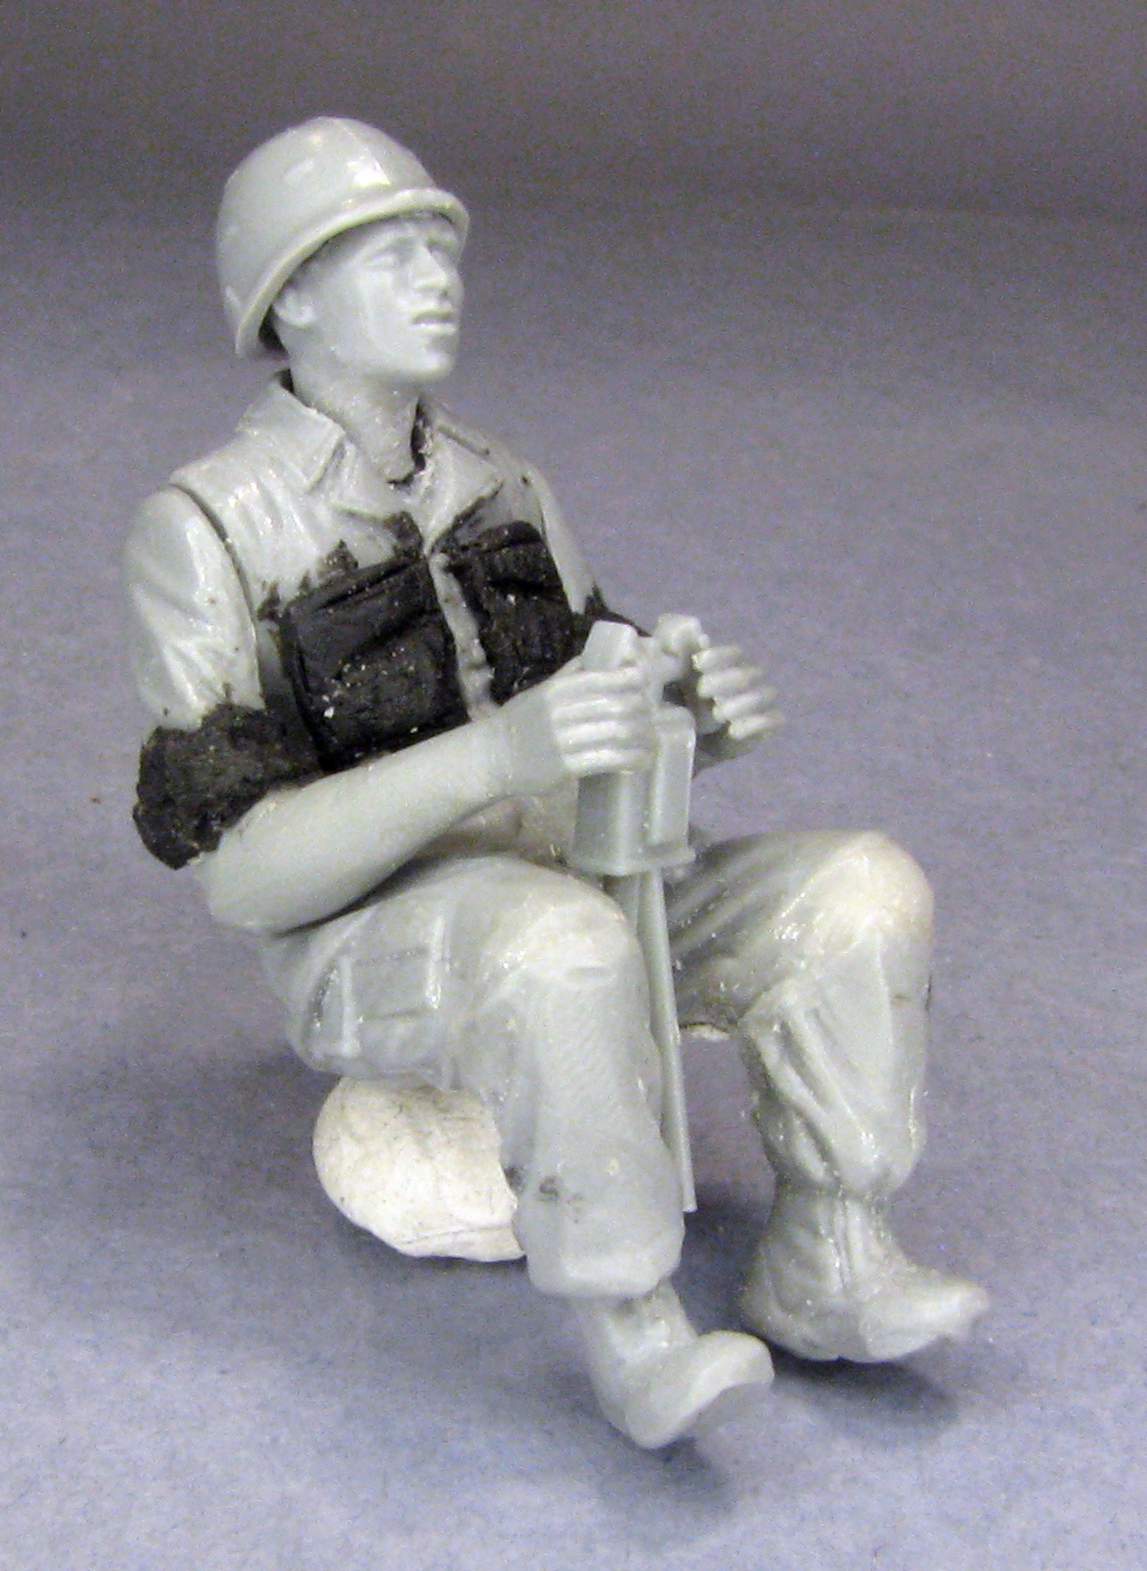
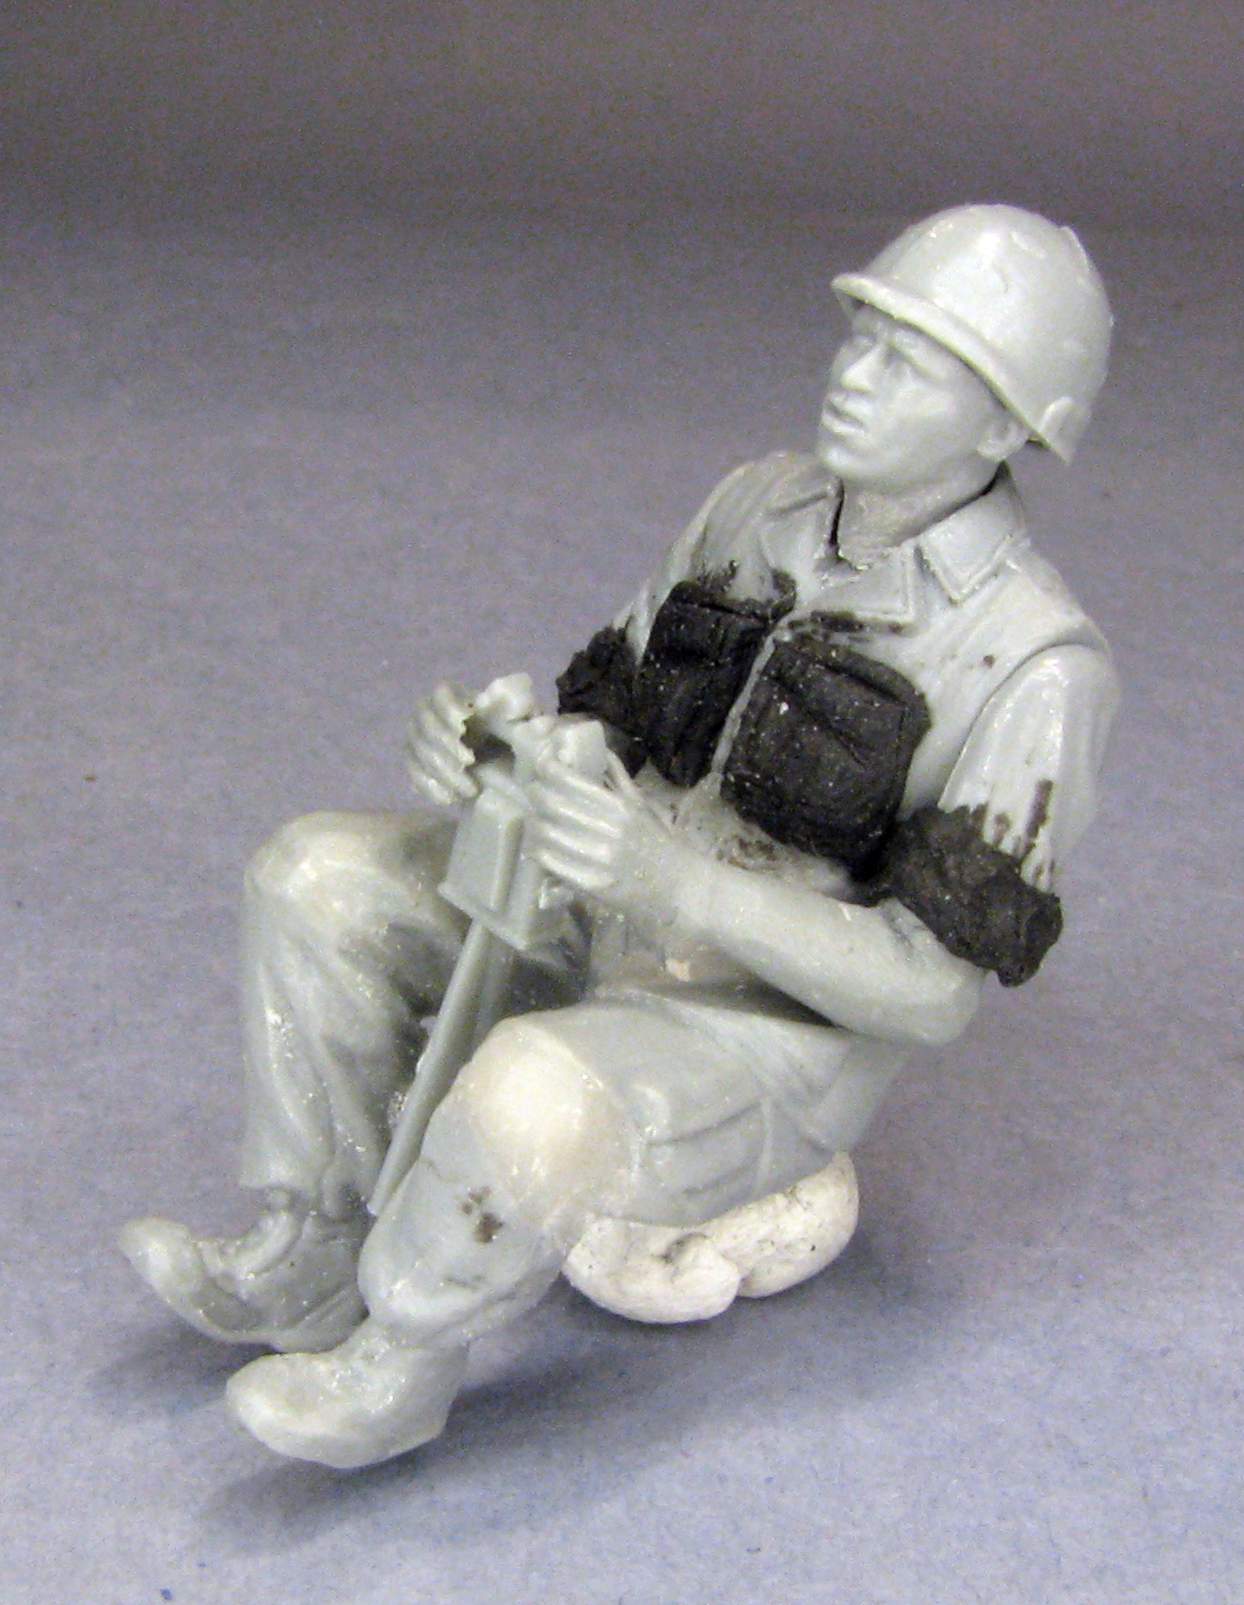
Now that I think about it I could probably save a lot of work by leaving the gunner’s legs alone as there would be very little to be seen from under the front armor assembly. But the blouse/jacket is definitely worth doing, as is the helmet.

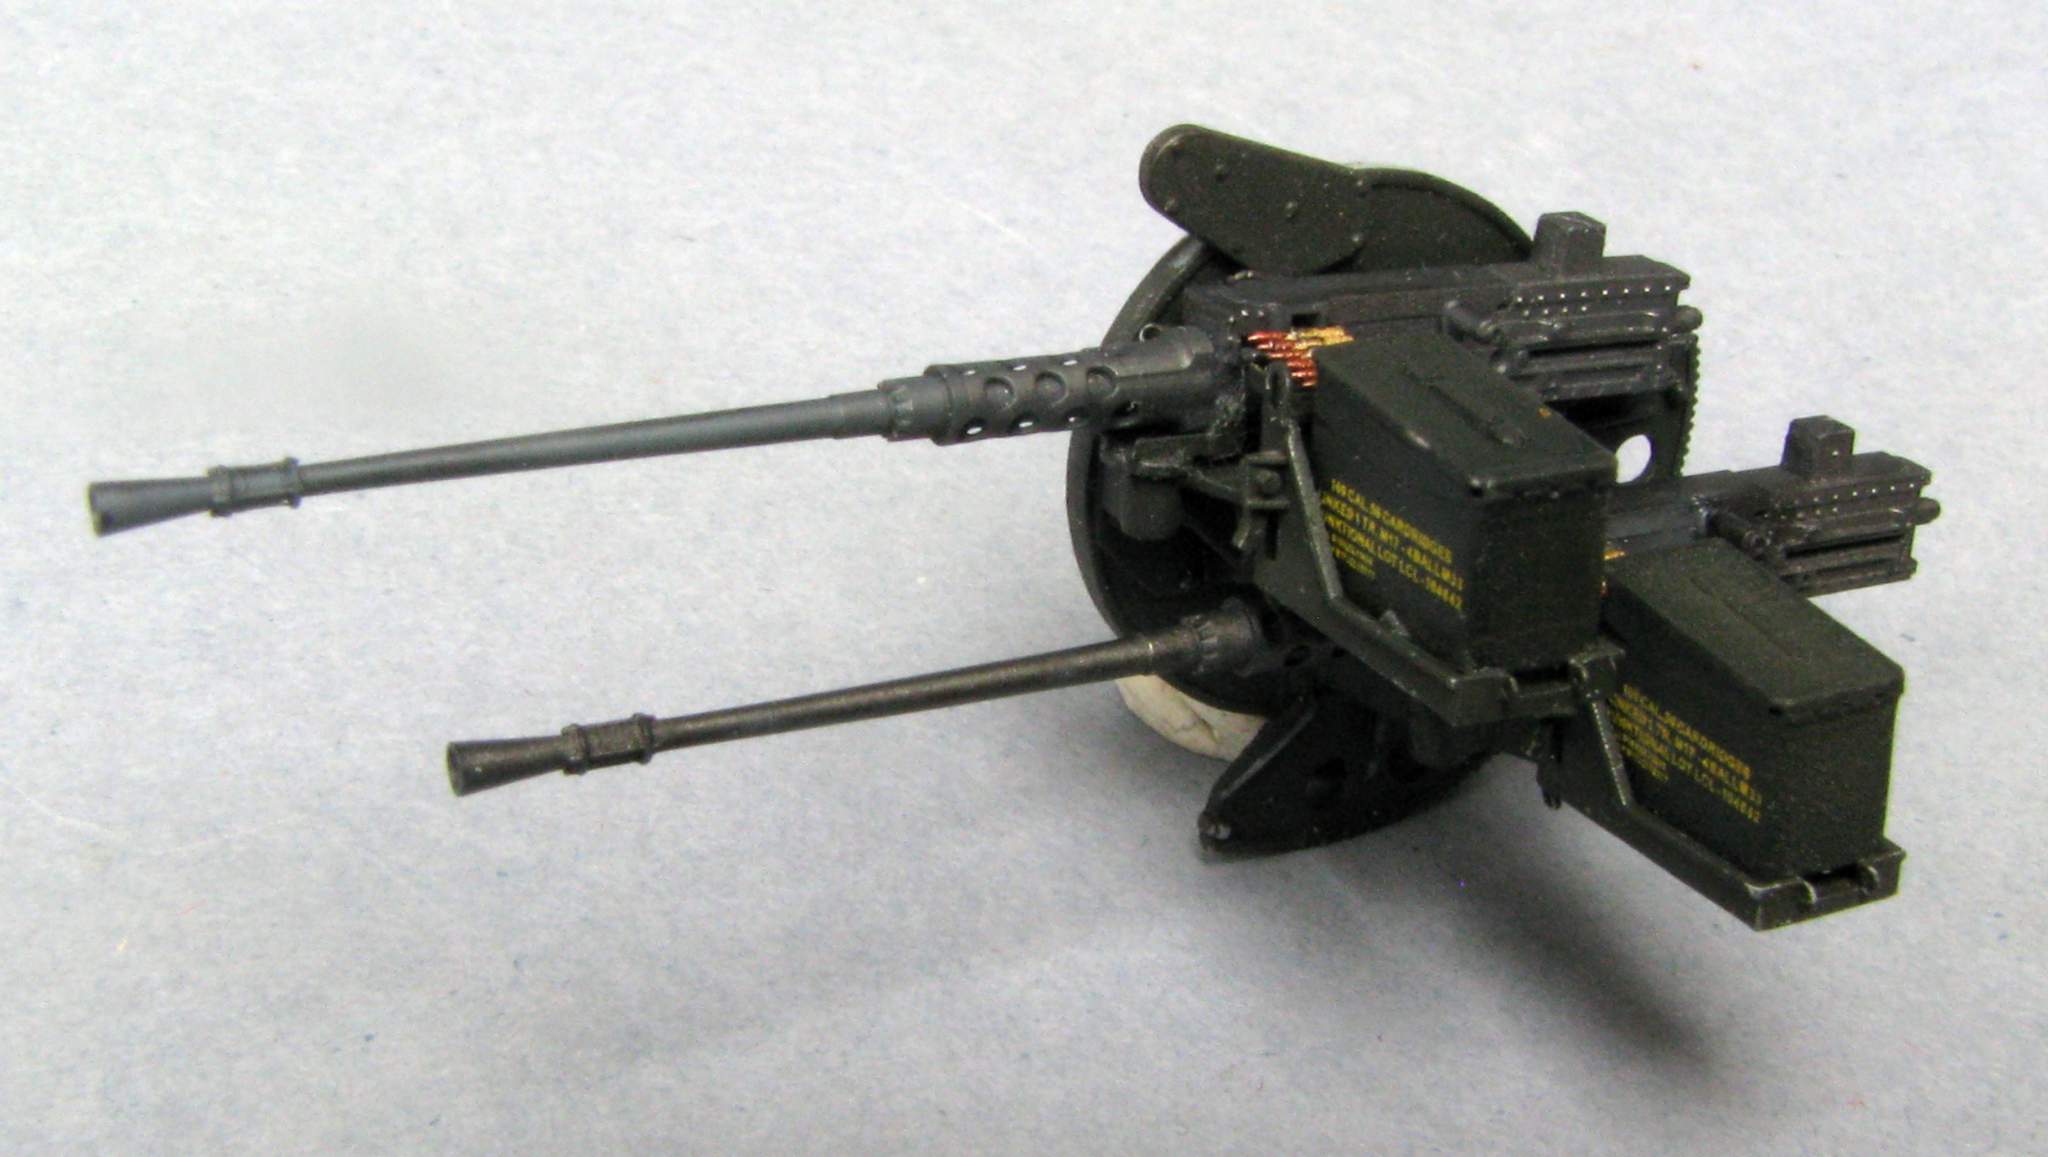
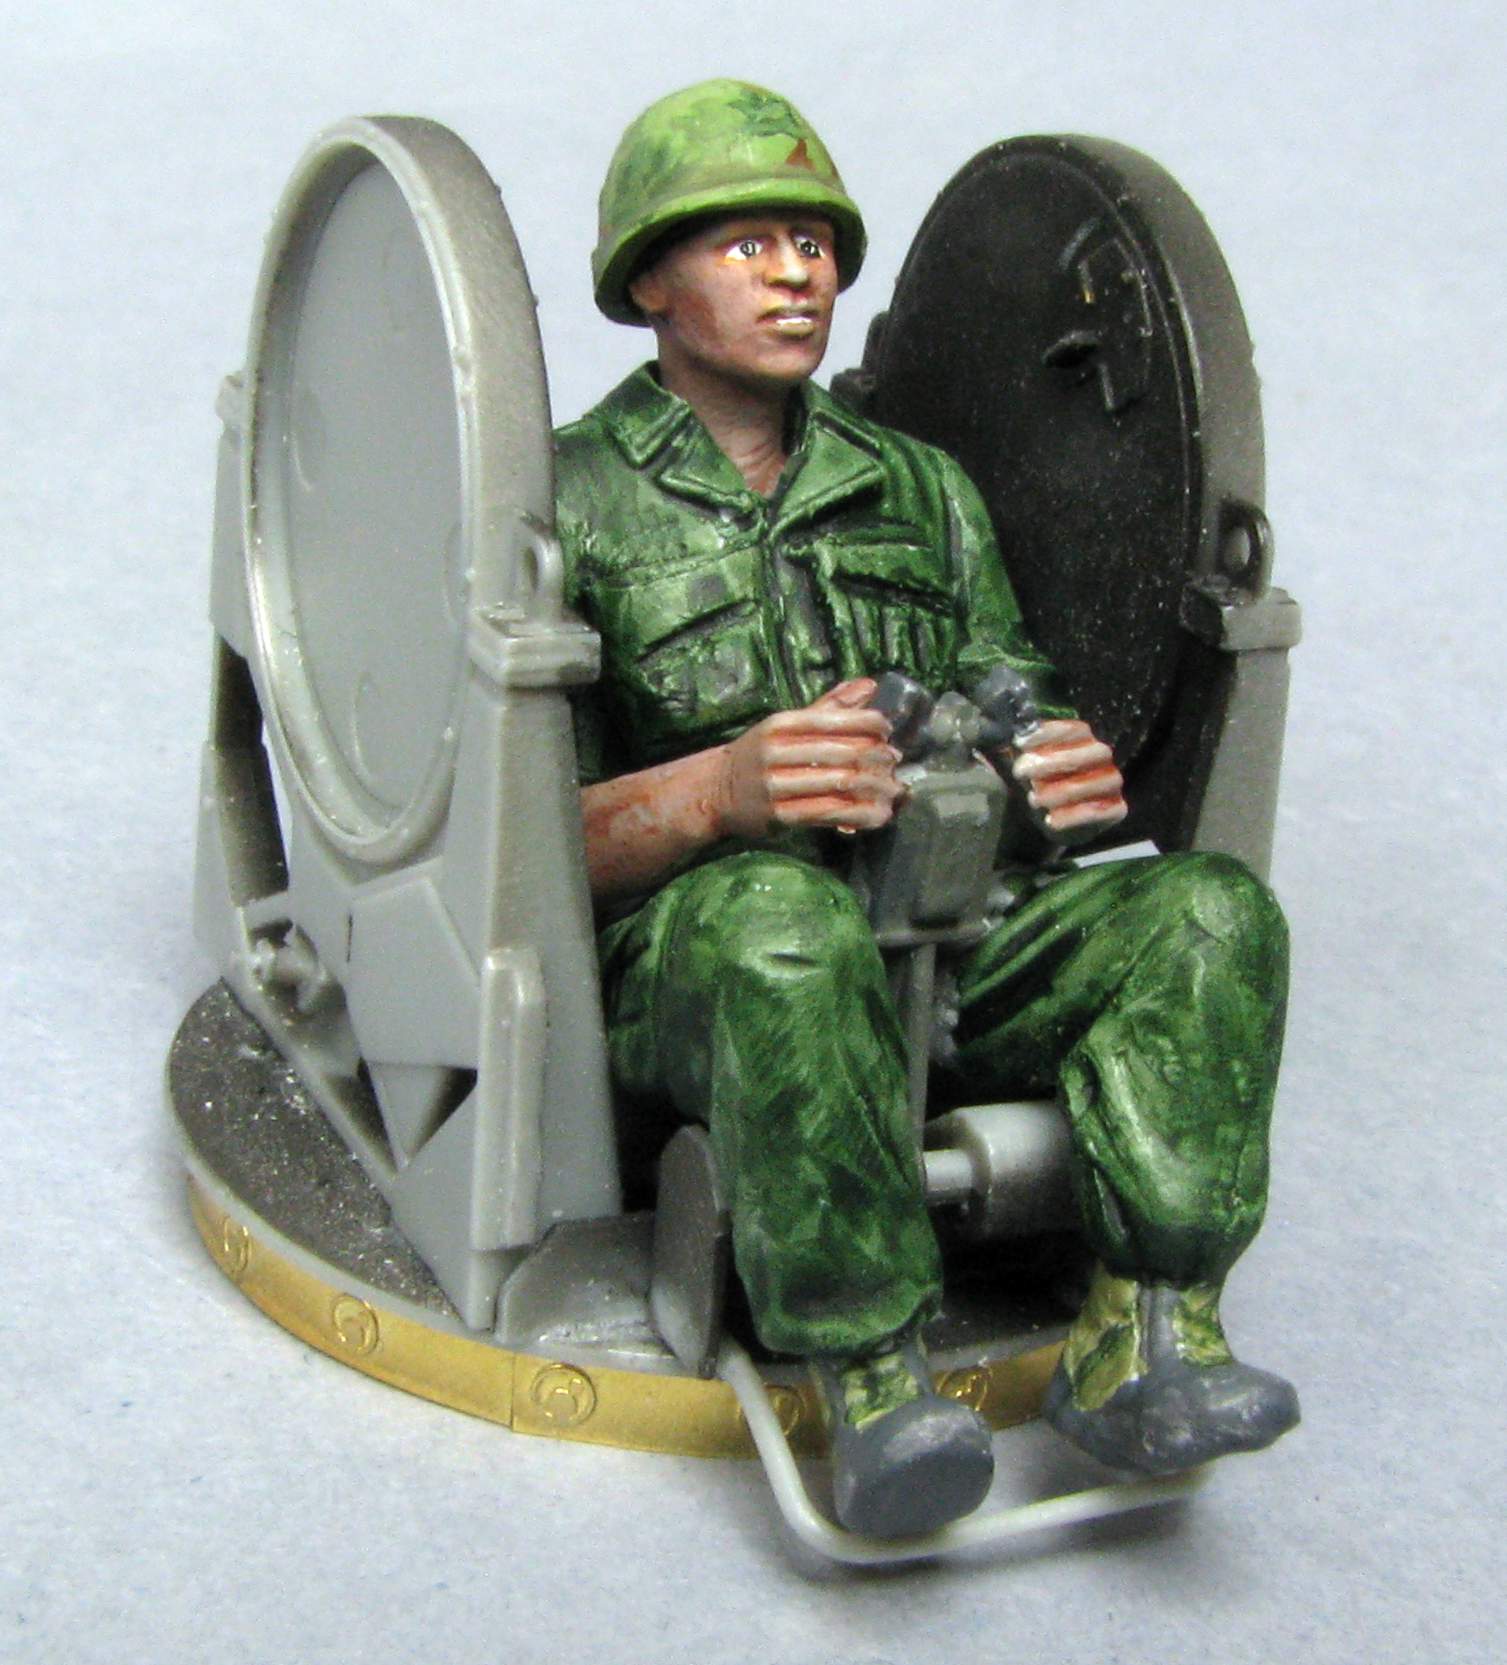
I have also assembled the basic frame of the quad and painted the insides black with Gunze paint. This paint is dissolved by the thin plastic glue that I use, so no paint scraping necessary, and the black paint helps with painting the insides a lot, I get natural shading and don’t have to worry about unpainted spots.

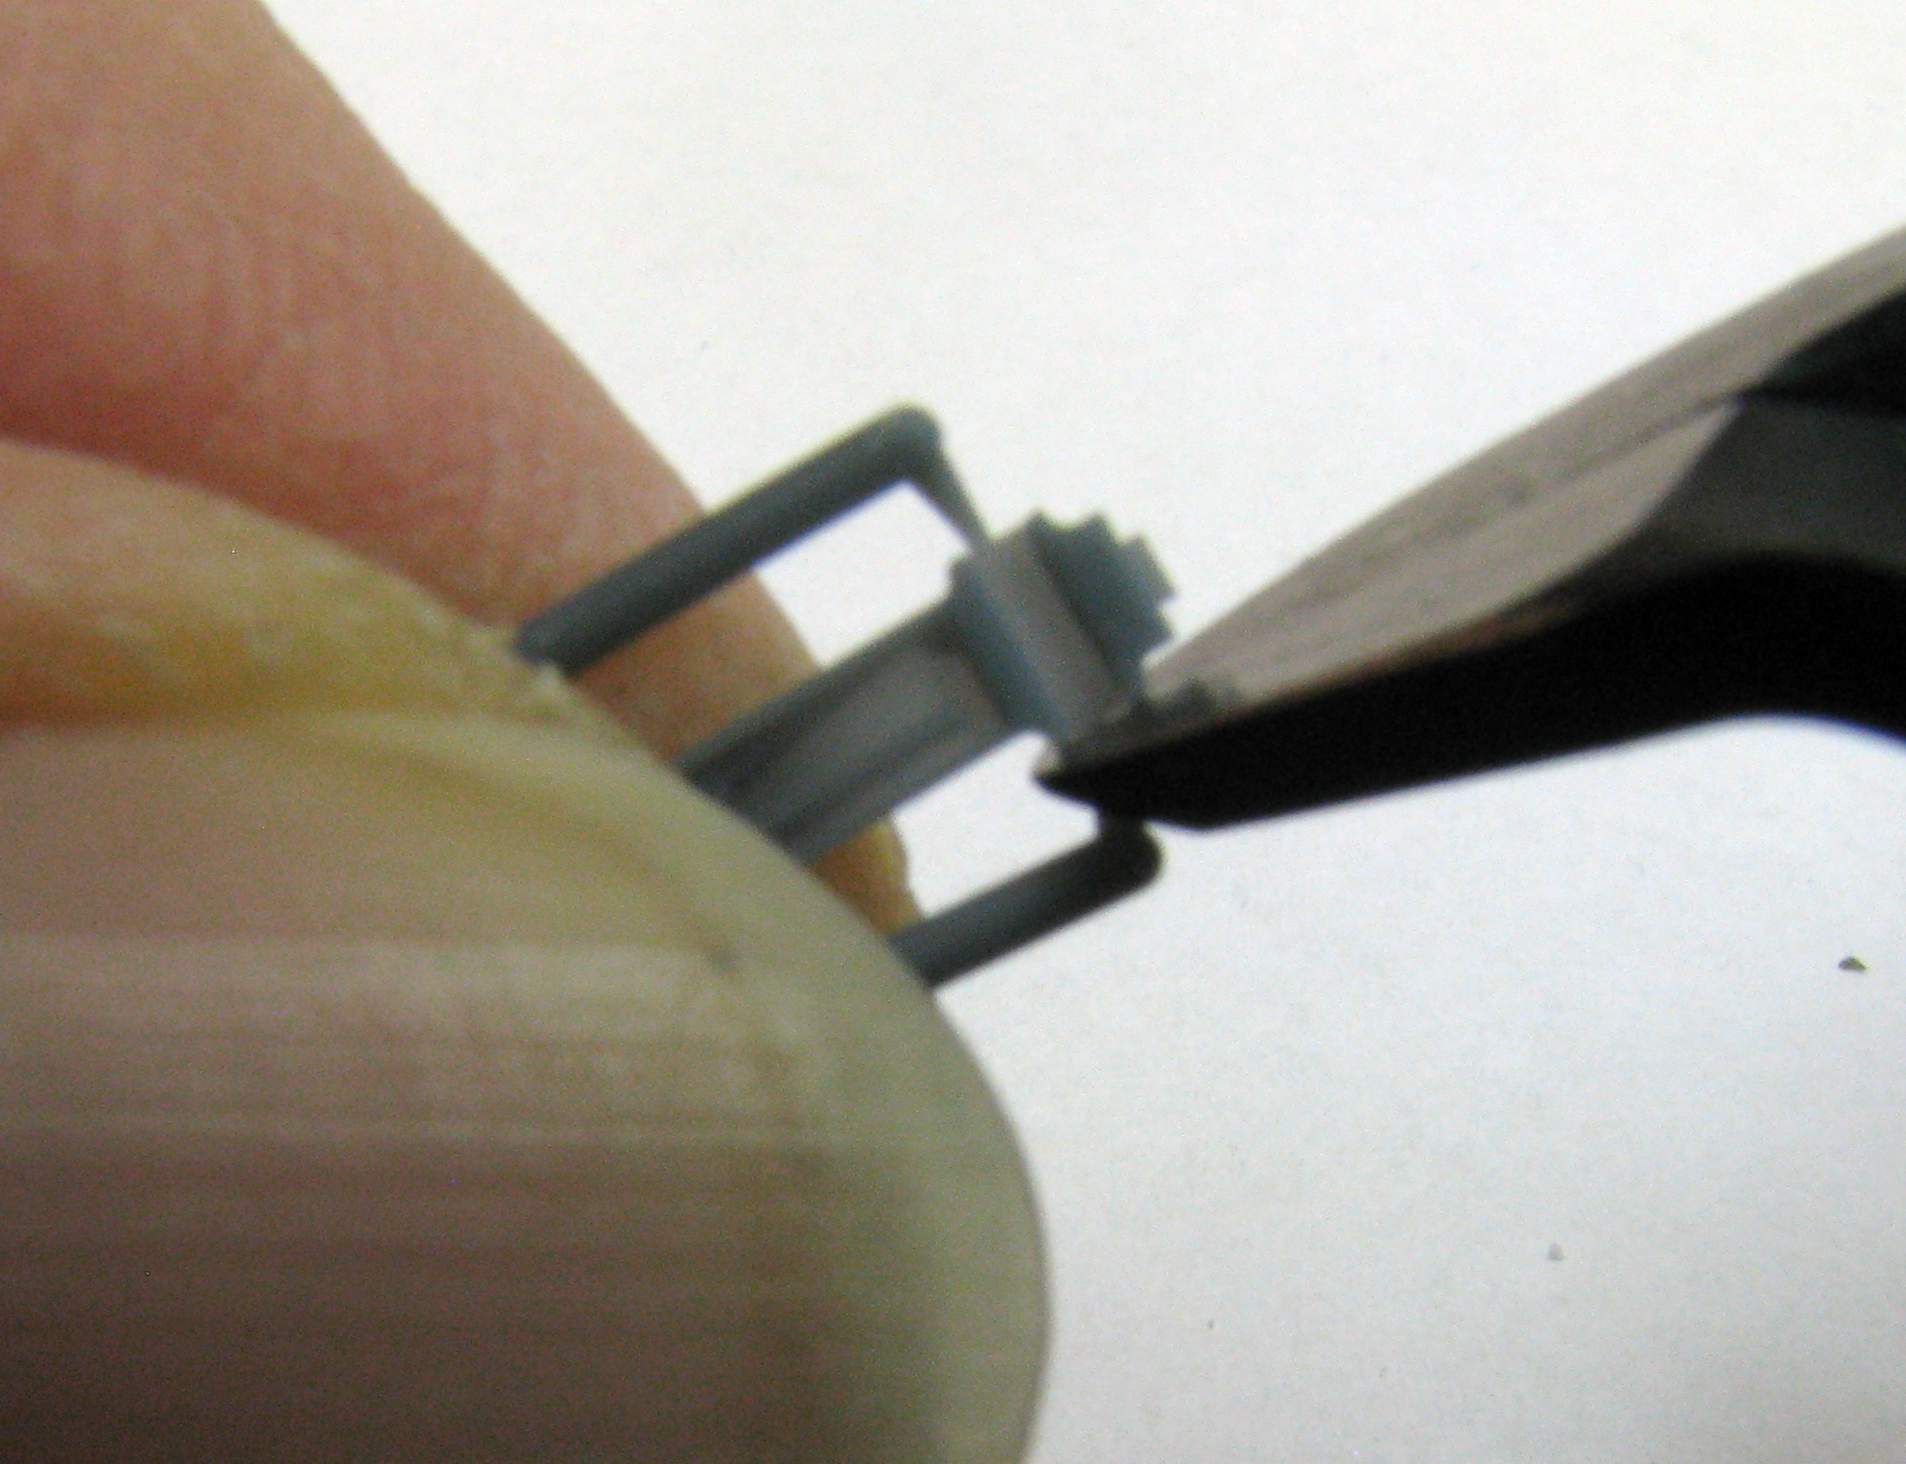
At this point I have also installed the only PE part from the kit - the stripe around the base bearing. It needs careful shaping and fitting, but if you take your time it fits OK. One funny thing is that the stripe is about 2 mm wide and the plastic ring it fits onto is only 1 mm wide so the ring stands out a little, don’t be surprised about that.

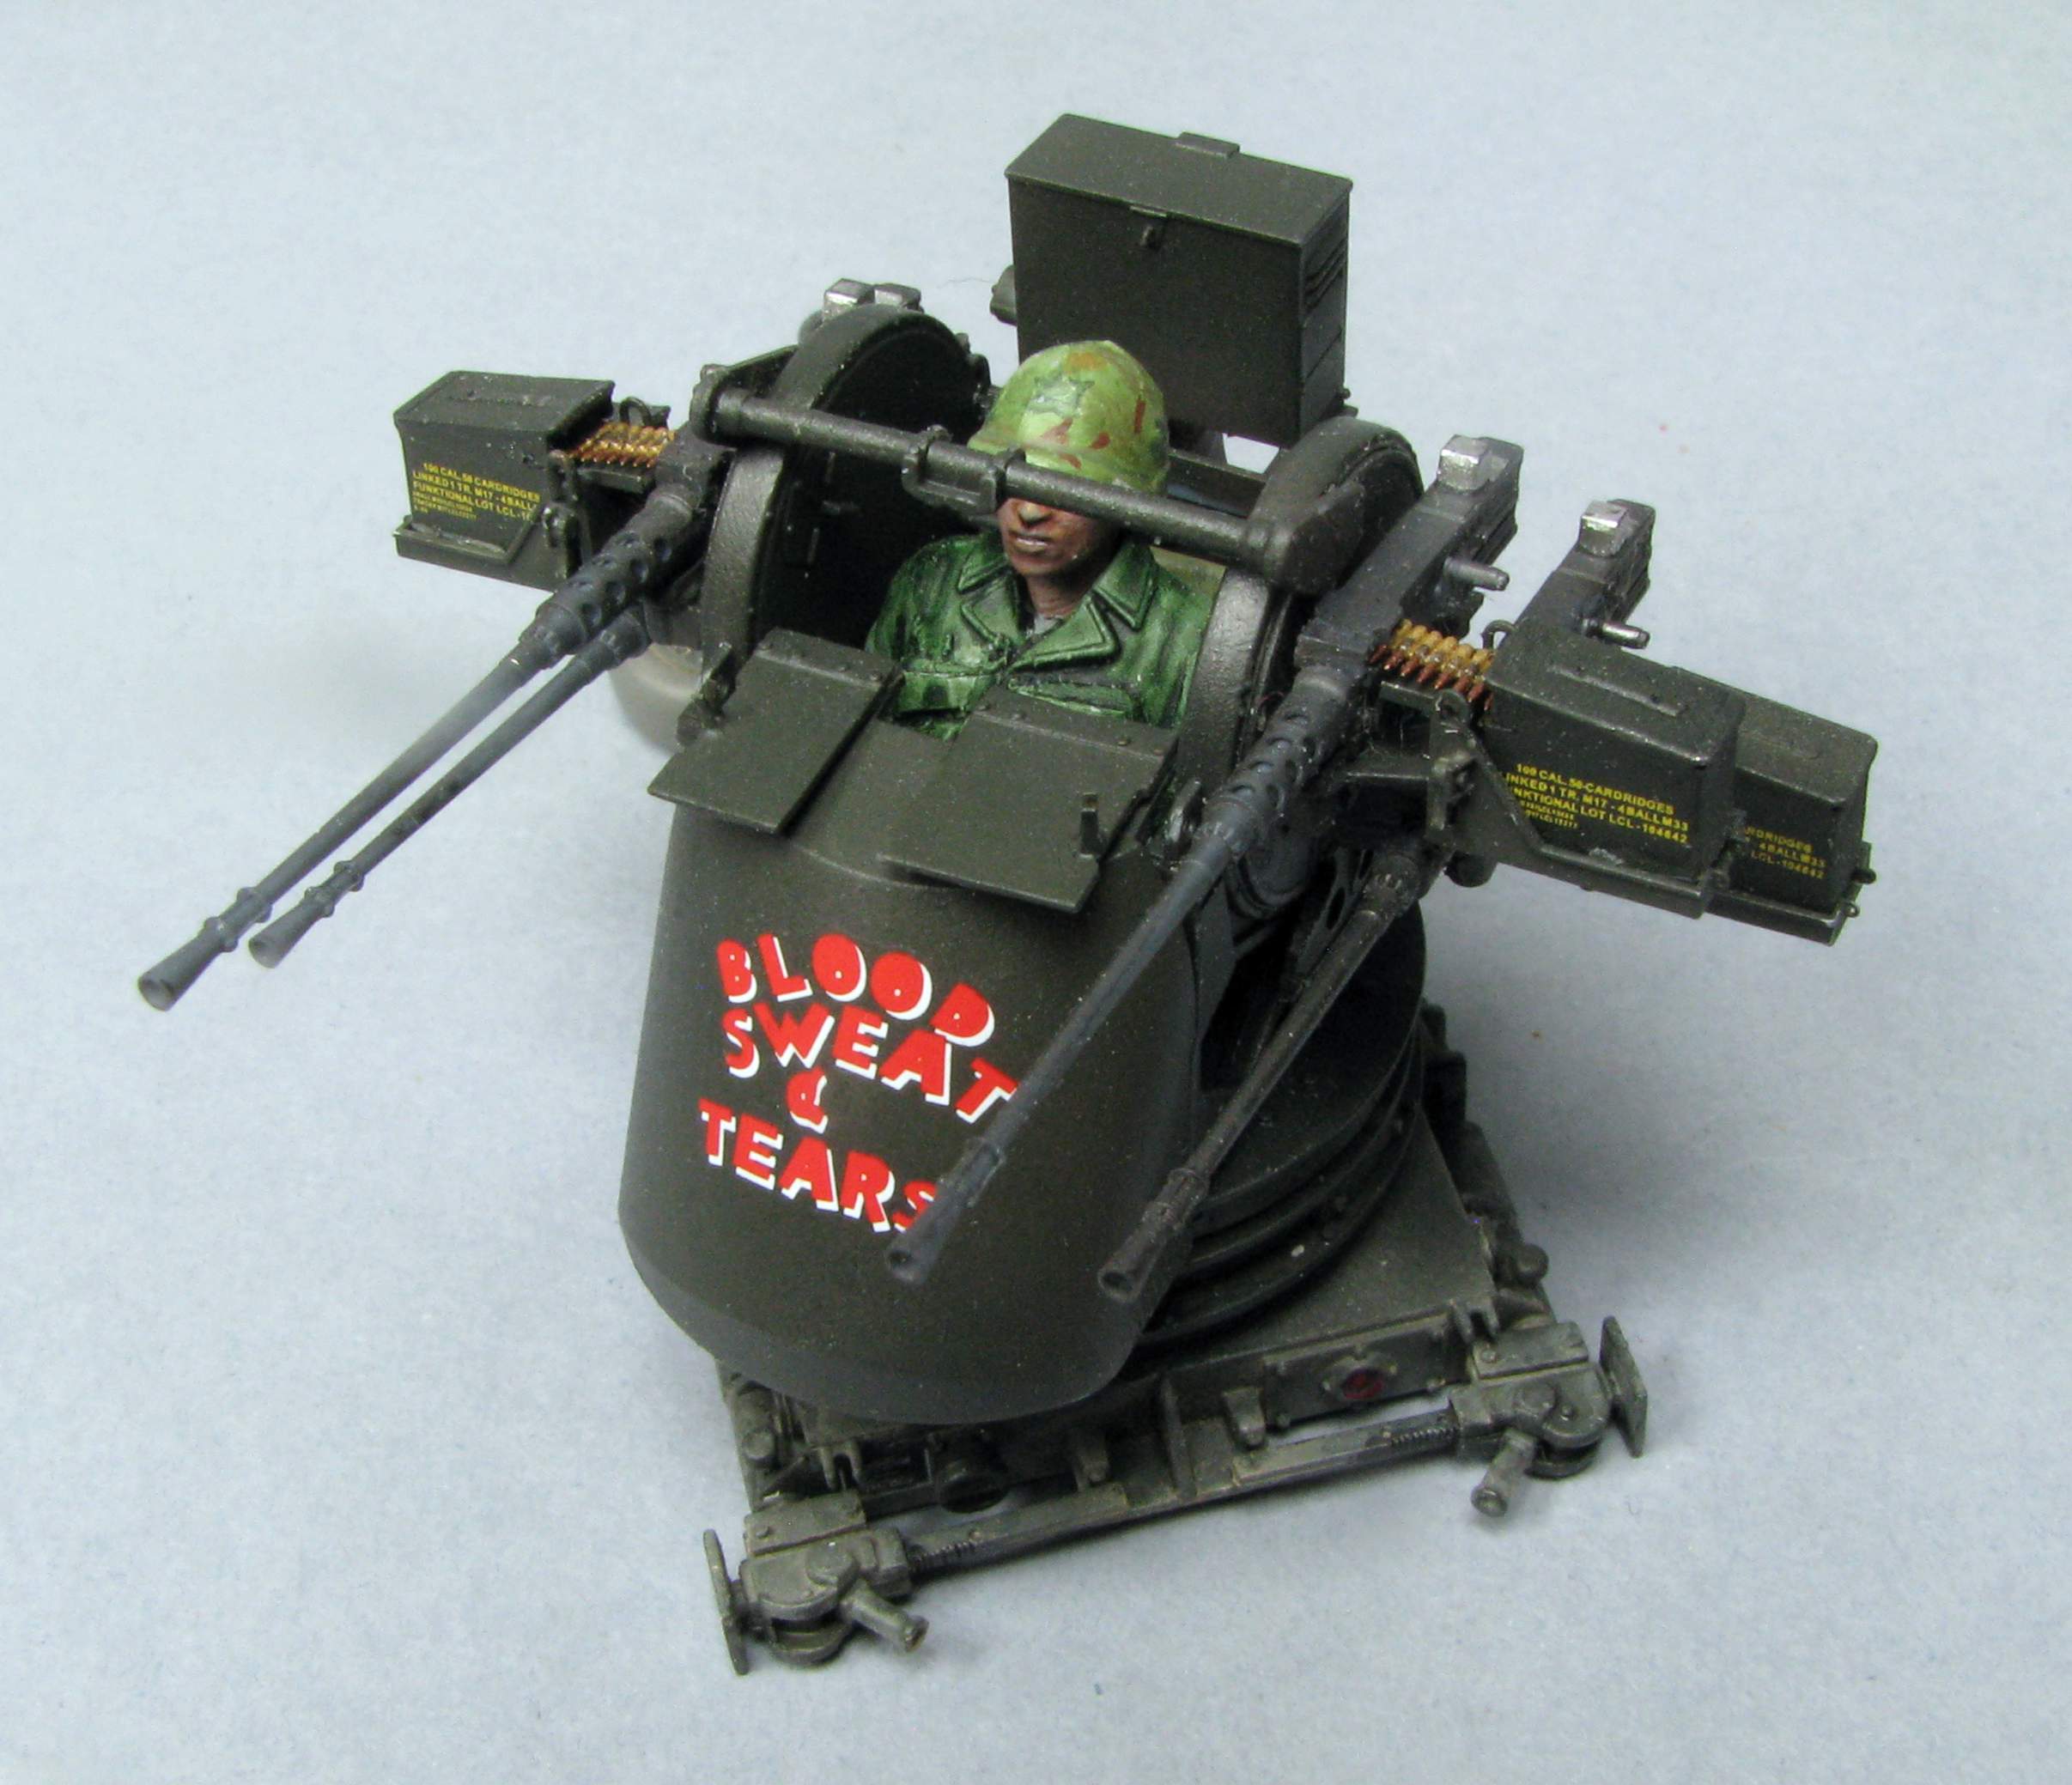
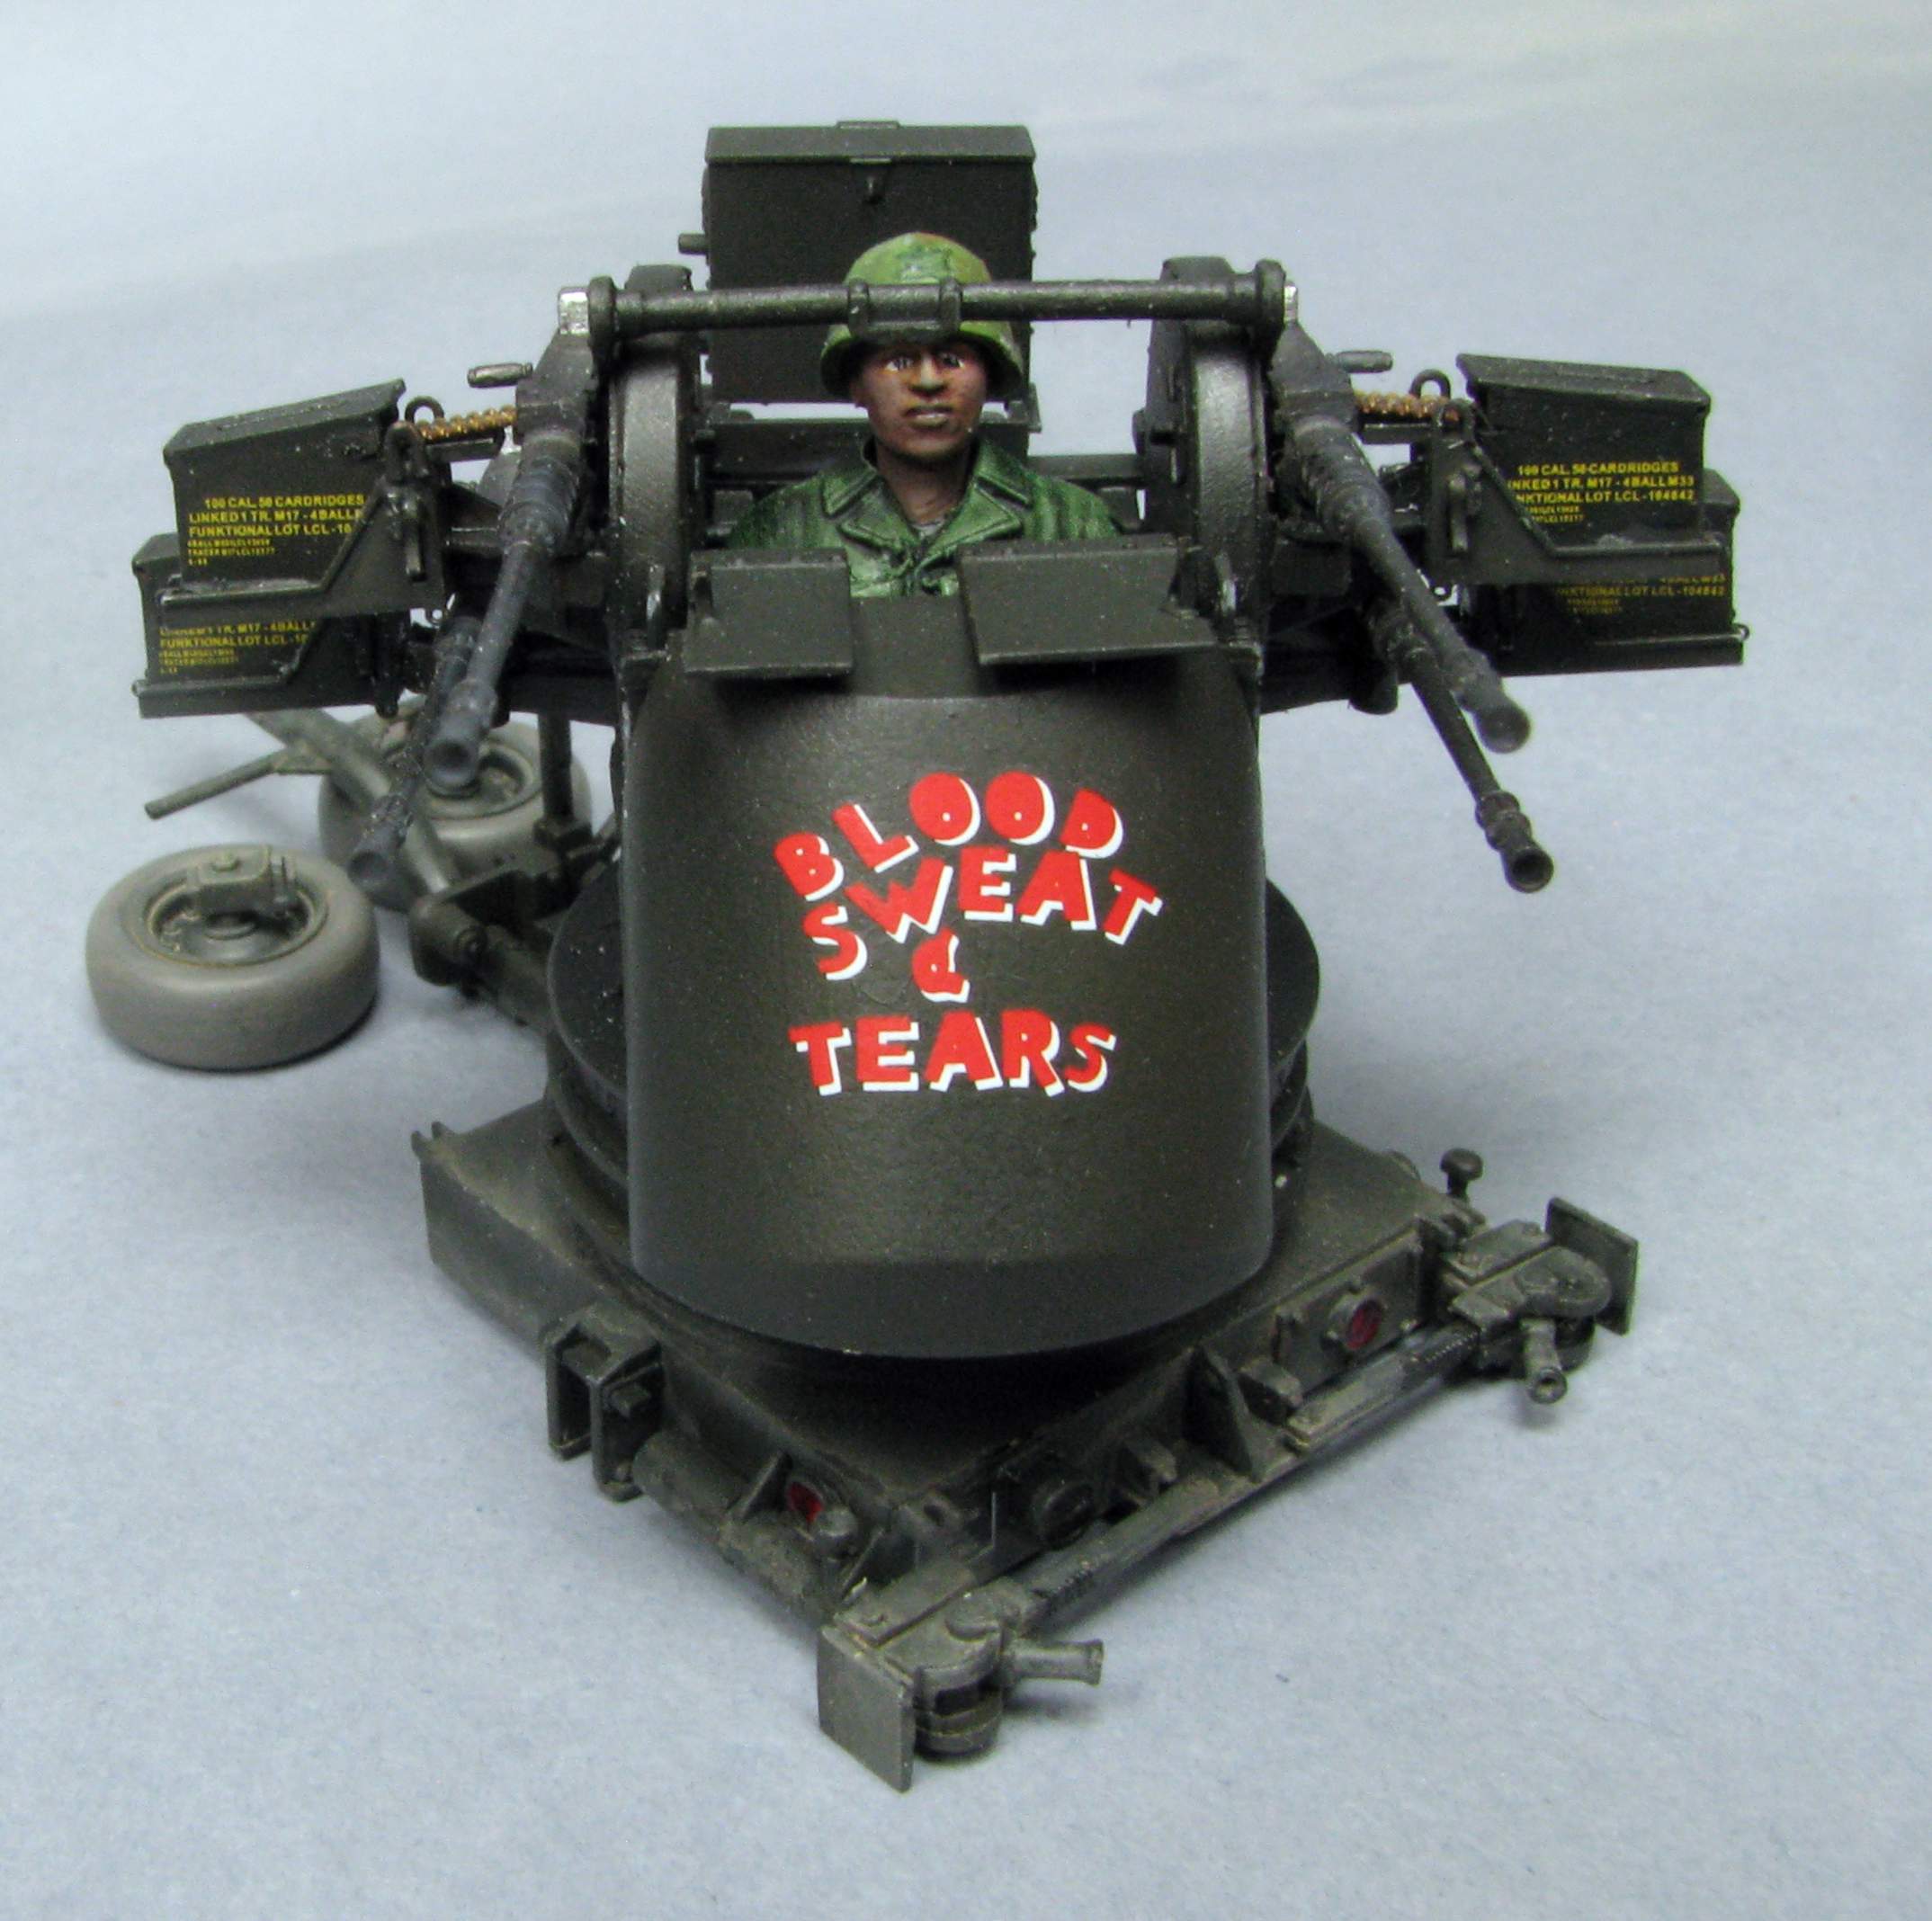
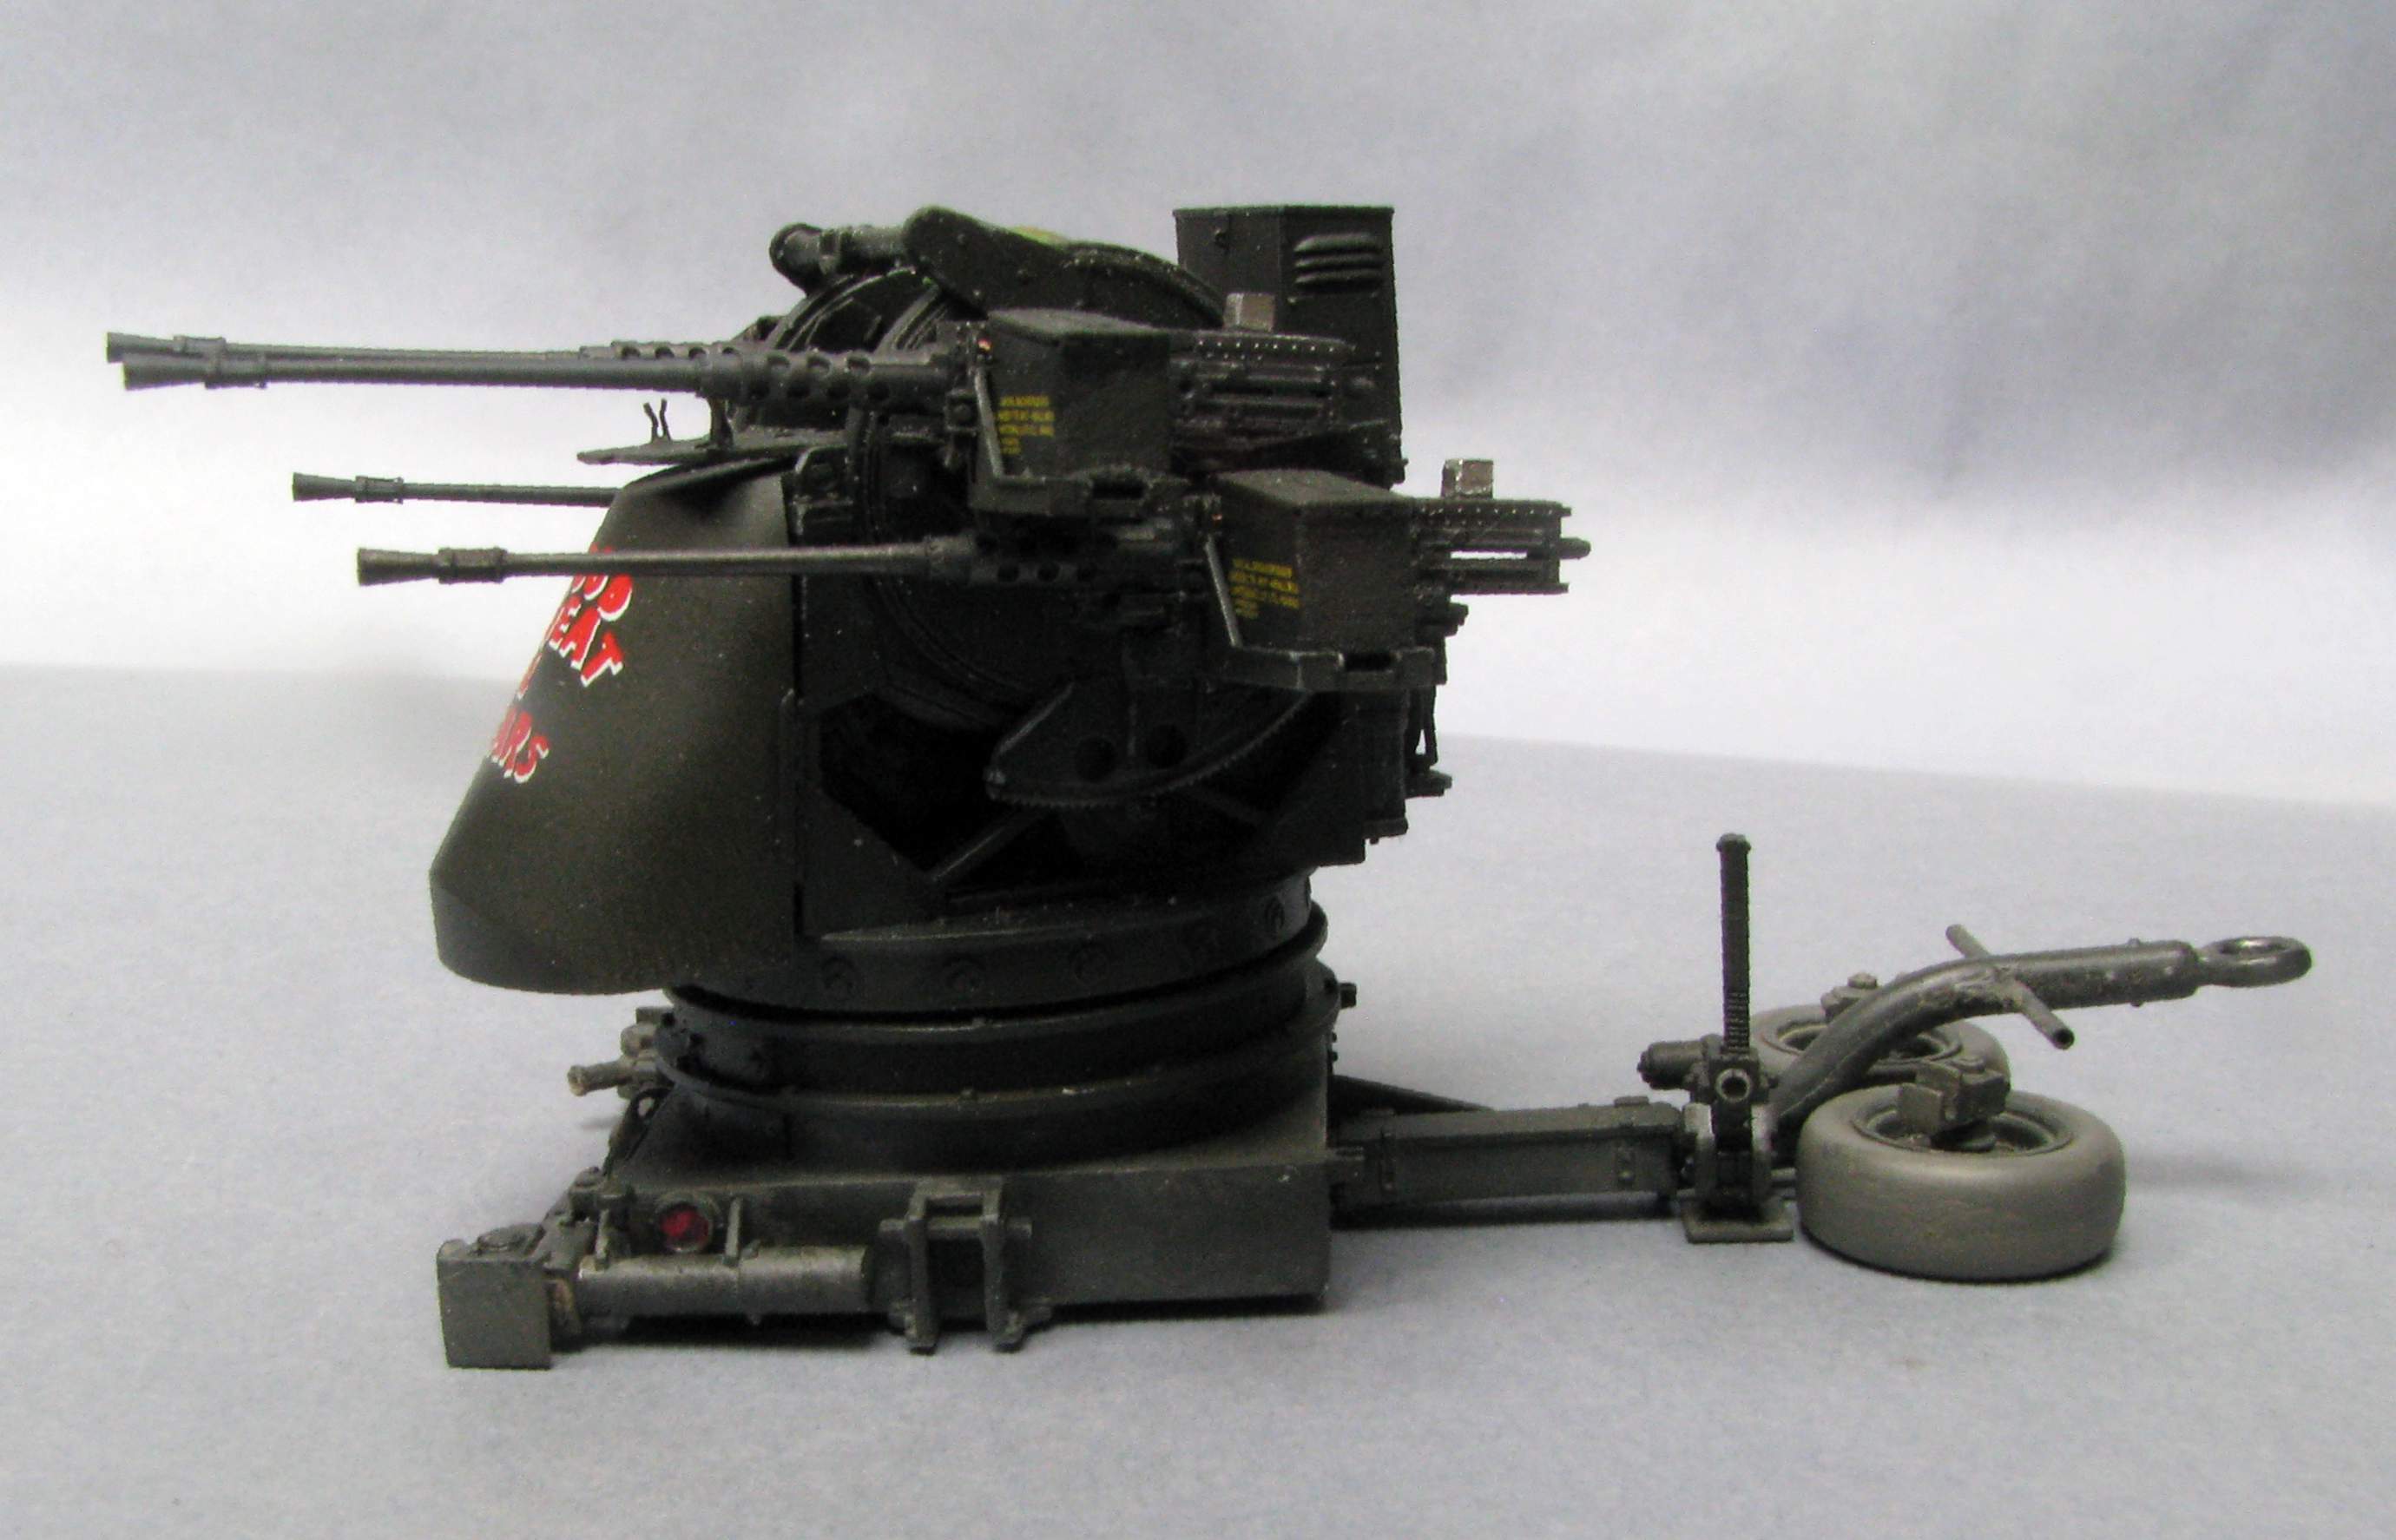
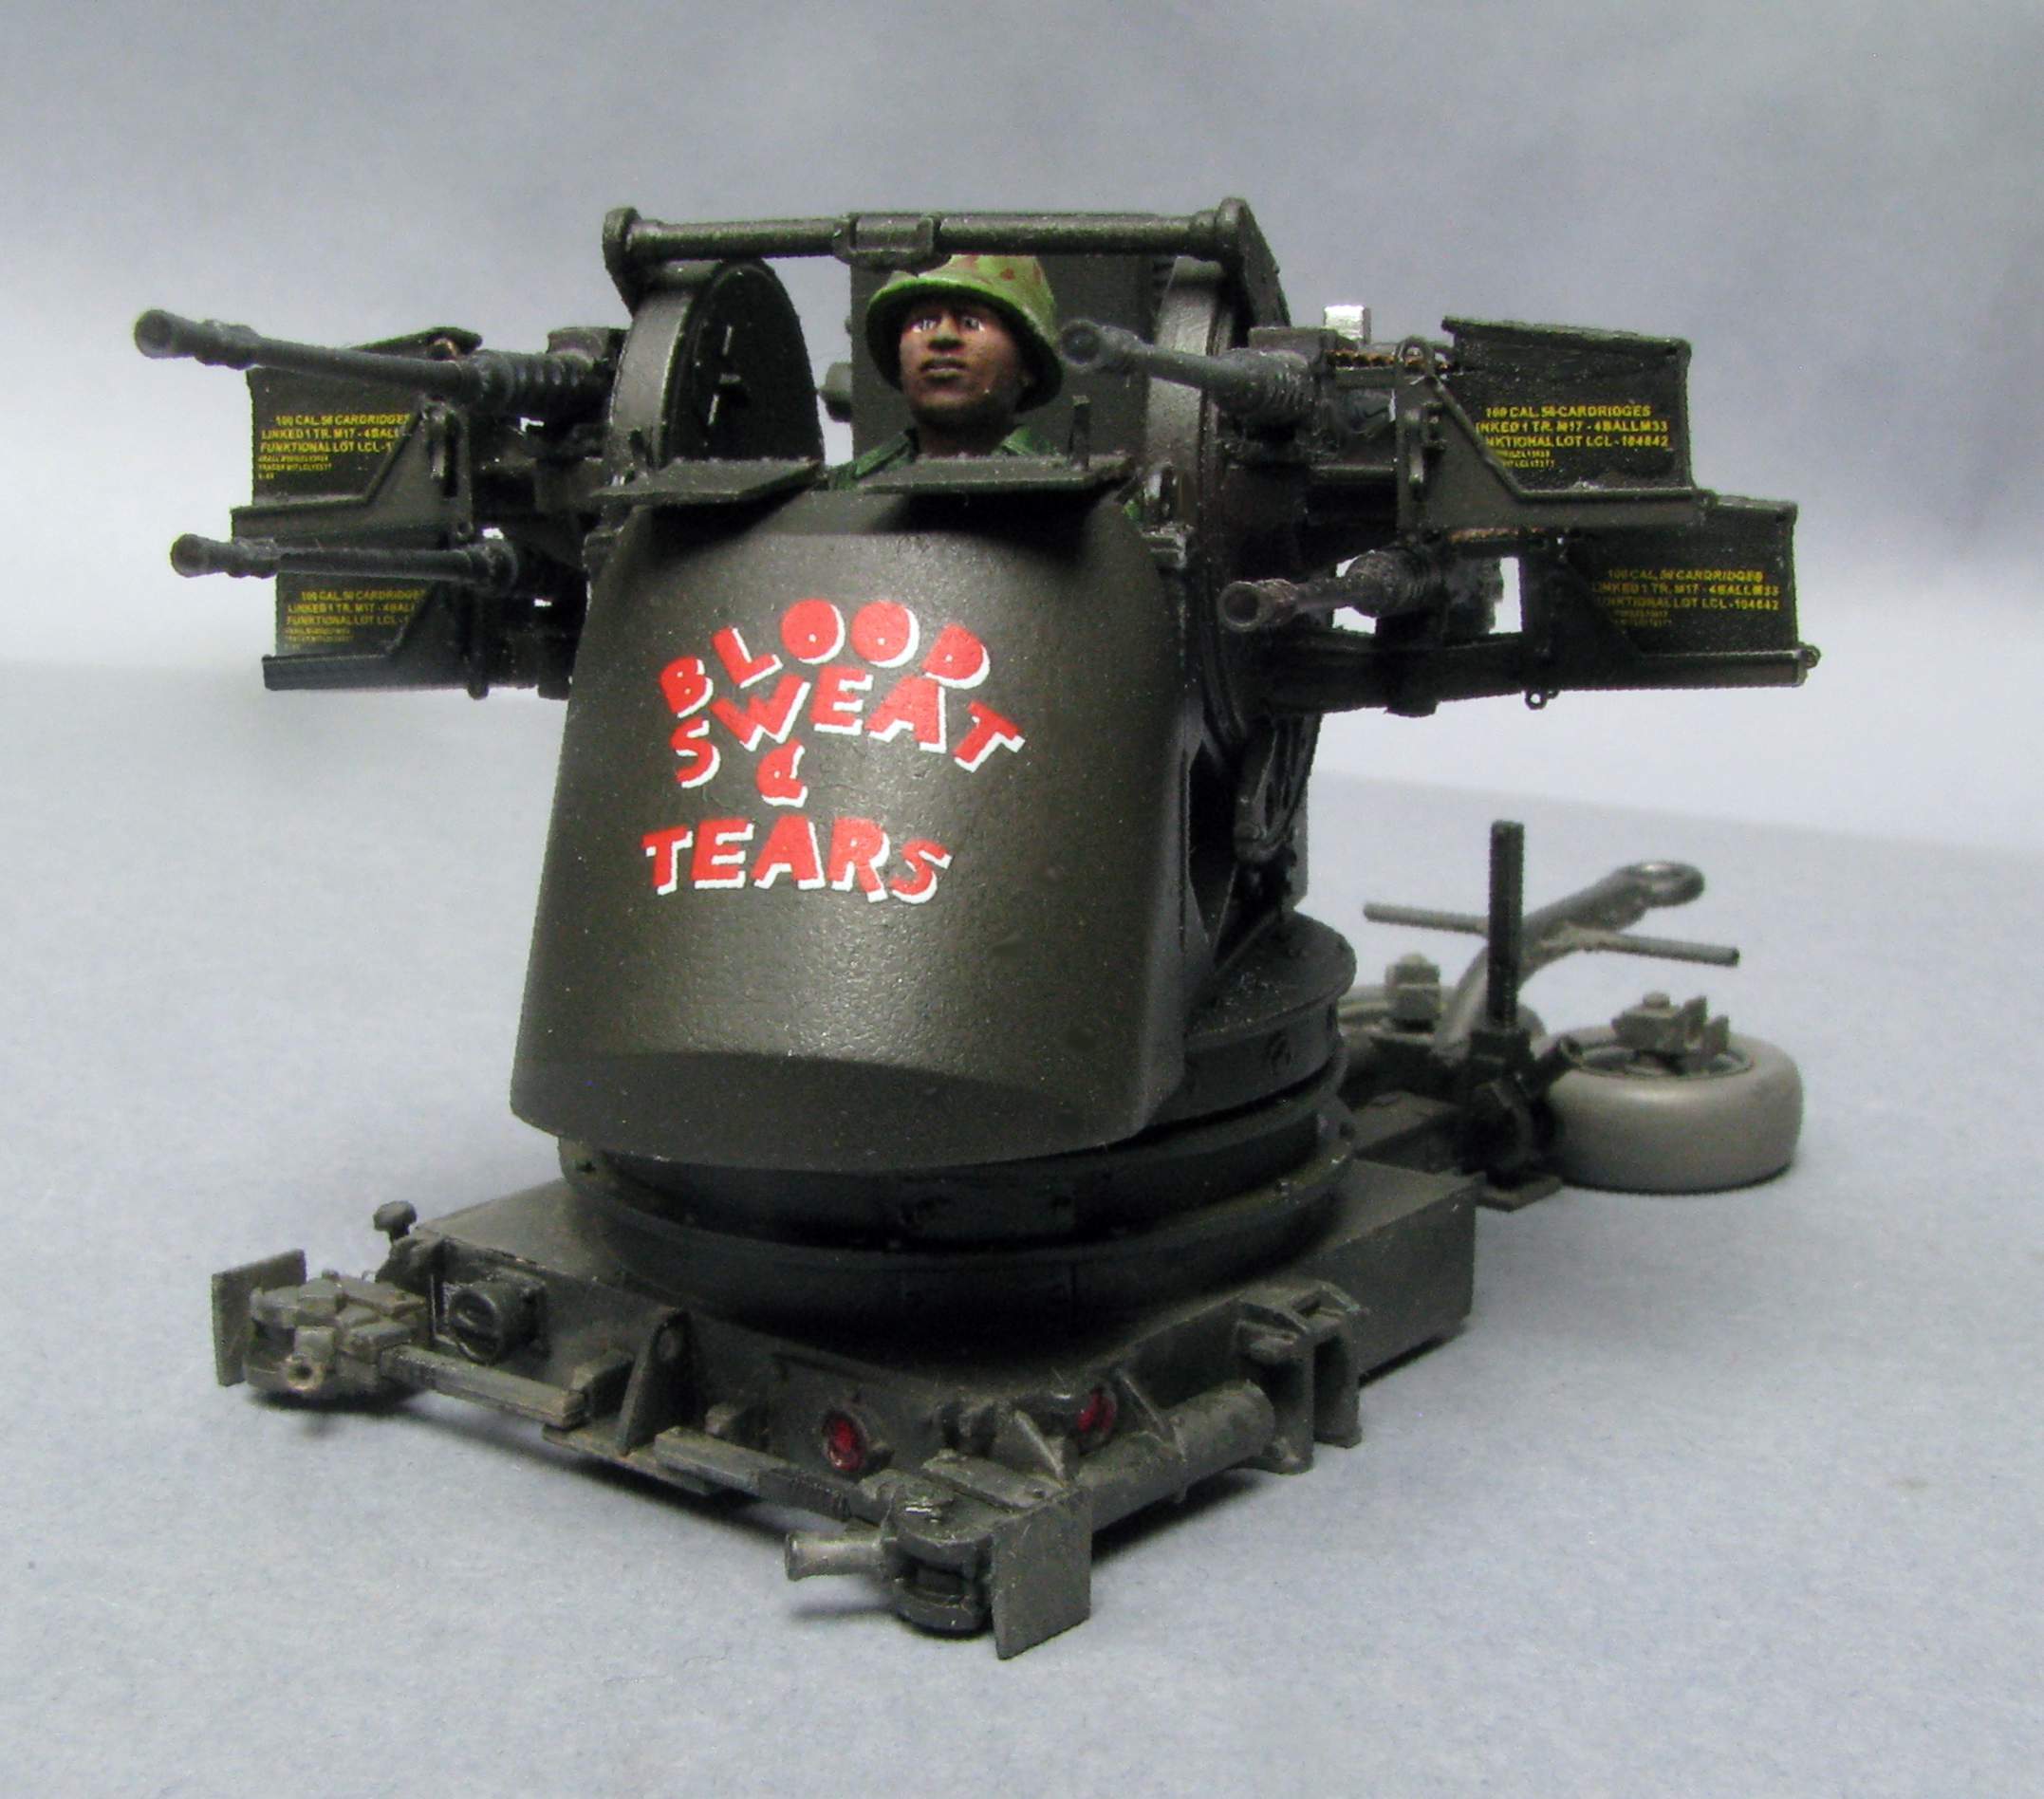
I painted the gunner using acrylic paints by Games Workshop and here’s how he fits the chassis:

I don’t want to make this post any longer as it is already quite long… So please stay tuned for updates!

Thanks for reading and have a nice day

Paweł

15 Likes

Hello everybody!

Movin’ on with the Quad 50!

I’ve been working on the trailer. Although all parts are very carefully packed (every sprue in an individual plastic bag) i got one part slightly damaged:

1:35 Dynamo Models M55 Quad .50 by Pawel

Rather than repairing it, I decided to cut the bent part and replace it with a section of a syringe needle. This way I also didn’t have to drill the ends out. after assemblying the trailet it looks like this:

1:35 Dynamo Models M55 Quad .50 by Pawel

1:35 Dynamo Models M55 Quad .50 by Pawel

It’s about time to add some paint now… Thanks for looking and have a nice day

Paweł

7 Likes

Looking good Pawel. Nice fix on the handle.

2 Likes

Looking good so far, Pawel!

It was nice to read that you are in contact with some of the Veterans belonging to NDQSA as speaking with those guys really fills in the gaps that most reference sources leave. As you have already experienced, they are a great bunch of guys who are more than happy to help with providing information and insight to those who are interested. They were a great help to me during a few projects that I did when I did a federal internship at the Air Defense Artillery Museum after my last tour in Afghanistan. Getting info and guidance from the guys who served in units and on vehicles you are depicting is the best way to get thing “right”. I look forward to seeing this project to completion.

Cheers,
James

1 Like

Hello James!

Thanks a lot for your comment! Yeah, I see it that way too - the vets can be a treasure of information and some of them are so kind as to take a look at my work and they can spot any obvious mistakes, which gives me a good feeling about “getting it right”.

Today I would like to write about working with the 3D printed parts that come with the Dynamo kit. I started building the heart of the quad - the M2HB machine guns.

The kit comes with two 3D printed parts that hold two receivers each - one left and one right, differing in the setup of the charging handles. Those handles and their levers are very fragile, and care has to be taken at all times so as not to break them off. Here’s how the 3D printed parts look like:

3d_01.jpg

As you can see the large portion of the part is a protective cage that has to be carefully removed.

I started with cutting through the wide walls with my plastic cutter:

3d_02.jpg

If you don’t have such cutter yet, I would heartly recommend you get one. It is made for example by the OLFA company and it can be used for model building for at least three things: apart from its intended use for cutting plastic plates it can also be used for scribing panel lines, but also for cutting off resin pour blocks. This has the advantage that instead of creating resin dust it tends to cut off quite large swarfs, which helps to minimize the problems with resin dust.

After cutting the wide walls the narrow “bars” were cut with sprue cutter:

3d_03.jpg

3d_04.jpg

Now the receivers can be fully appreciated, the detail is very good, maybe even exceptional:

3d_05.jpg

After CAREFUL cutting of the attachment points at the charging handle (they are very thin) the support can be cut at the bottom using a razor saw (the one you can see in the photo I made myself many years ago):

3d_06.jpg

3d_07.jpg

One of the parts can now be separated with a cut shown on the photo below:

3d_08.jpg

Next cut starts separating another support:

3d_09.jpg

That can be finished with a sprue cutter:

3d_10.jpg

One more cut that hes to be relatively precise, separates the final support. All the time you have to watch for those charging handles (ask me how I know!):

3d_11.jpg

After separating the last support the hole for mounting the barrel is revealed:

3d_12.jpg

A few more shots of the finished part, with a Q-tip for scale comparison:

3d_13.jpg

3d_14.jpg

As you can see the insides of the receivers are also detailed so you can show them open, for example for reloading or inspection:

3d_15.jpg

Next are the receiver covers. The kit gives you six such covers (two spares):

3d_16.jpg

The covers are printed with a relatively small supports, so you have to make a narrow cut as close to the base as possible, so as not to take material away from the part itself:

3d_17.jpg

The insides of the covers are also detailed, letting you pose them open:

3d_18.jpg

The other supports can be removed with sprue cutters:

3d_19.jpg

The support attachment points have to be filed smooth. The one shown on the photo below has to be filed to fit the receiver:

3d_20.jpg

Now it’s time for the barrels. The upper support attachments are delicate enough just to be gently pulled away:

3d_21.jpg

Then the barrel can be cut away using a jigsaw:

3d_22.jpg

Now the remainder of the supports have to be separated:

3d_23.jpg

And filed flat, otherwise the barrel will not fit right or have a tendency to be crooked:

3d_24.jpg

The barrel is also very nicely detailed:

3d_25.jpg

After assembly and painting with some Gunze Dark Iron the gun looks like this:

gun01.jpg

gun02.jpg

Thanks a lot for reading, have a nice day!

Paweł

11 Likes

Looking good. The Dynamo 3D printed part are really nice.

1 Like

Hello Gino!
Thanks a lot for your comment!
I’ve got another update - guns on one side after painting:

gun03.jpg

gun04.jpg

Thanks for looking and have a nice day

Paweł

12 Likes

Hello again!

I’ve got a small update for you - I’ve built the battery and the charger for it.

First the battery - I supplemented the Dragon parts with some 0,5mm copper and some lead wire:

chassis04.jpg

After painting - the battery and its charger, a 3D printed part from Dynamo, the detail is very nice:

chassis05.jpg

The exhaust might seem a bit pristine, but that’s how it looks like on many period photos. I guess it was made out of stainless steel and didn’t have time to get really dirty. Additionally a critical observer might note that the battery pach is 12V, but I think it should be 24V - I will not correct that.

Thanks for looking and have a nice day

Paweł

9 Likes

Looking good. The engine came out really nice.

1 Like

You are doing a really good job on this, Pawel. You are setting the standard for how this kit needs to look whenever I manage to get around to building my kit.

1 Like

Super quality looking kit. Thanks for the step by step and nice problem solving :beer:

1 Like

Hello everybody!

Gino, James, KSO - thanks a lot for your kind words, they mean a lot to me!

And I’ve got another update - I installed the “guts” on the quad:

1:35 Dynamo Models M55 Quad .50 by Pawel

1:35 Dynamo Models M55 Quad .50 by Pawel

I’ve also built the armor assembly and I cut off the upper “flaps” and posed them lowered - in Vietnam the quads were often used like this, it allowed for better visibility for the gunner. I took a tiny strip from some leftover PE fret and scratchbuilt the springs that would hold the “flaps” in the “up” position:

1:35 Dynamo Models M55 Quad .50 by Pawel

I have modified the trailer base by adding one more base ring to it - I’ve seen that the original “Blood, Sweat & Tears” was configured this way:

1:35 Dynamo Models M55 Quad .50 by Pawel

I would also like to use this opportunity to show how the brass PE strip that was glued around the quad base was higher than the plastic part it went on:

1:35 Dynamo Models M55 Quad .50 by Pawel

The above photo shows how this setup makes fixing the quad to the base difficult and there is no provision for rotating the quad around the base (traverse). I decided to remedy it by designing and 3D printing an appropriate rotator.

This is how it fits the base ring of my quad:

1:35 Dynamo Models M55 Quad .50 by Pawel

Together with a fitting hole in the trailer base this will let me have a quad that will be able to traverse.

So it’s almost done, I’ll start wrapping it up and maybe think about a small base for it…

Thanks for looking and have a nice day!

Paweł

9 Likes

The 3D printed guns make it look great and the extra details that you have added.
Cheers,
Ralph.

2 Likes

Hello Ralph! I’m sorry it took me so long to reply - thanks a lot for your comment and for your kind words.

And I’m calling this one done, until I feel like building a base for it, that is. Here’s how my Quad looks like:

1:35 Dynamo Models M55 Quad .50 by Pawel

1:35 Dynamo Models M55 Quad .50 by Pawel1:35 Dynamo Models M55 Quad .50 by Pawel

1:35 Dynamo Models M55 Quad .50 by Pawel

1:35 Dynamo Models M55 Quad .50 by Pawel

1:35 Dynamo Models M55 Quad .50 by Pawel

1:35 Dynamo Models M55 Quad .50 by Pawel1:35 Dynamo Models M55 Quad .50 by Pawel

1:35 Dynamo Models M55 Quad .50 by Pawel

1:35 Dynamo Models M55 Quad .50 by Pawel

Thanks for looking and have a nice day!

Paweł

16 Likes

Looking good. The Dynamo 3-D printed parts look really nice. They really update the old Quad 55. I am about ready to paint mine too. I am assuming you plan to eventually mount it in a truck bed?

1 Like

That’s outstanding! Great work!

The marking makes me want to listen to BST’s Lucretia Mac Evil…

1 Like

Looks really good. I look forward to seeing it in a diorama. Something I noticed for future consideration is the markings on the ammo cans. US ammo cans have markings on only one side, not both, and a stamp on the top indicating whether the rounds are linked, in bandoleers, or cartons. The side that is marked is the one as you are looking at the ammo can, the hinge is to the left and the opening is to the right.

1 Like

Hello everybody!
Thanks a lot for your comments and for your kind words.
Gino - This one was built for a review and was planned from the start to be ground mounted. I have one more quad in the pipeline to put it on my M548 and have plans to build two gun trucks, one 5 ton like yours and then there’s the immortal Nancy 2,5 ton, but that’s future. Sure would love to get Dynamo 3D printed parts for all of them.
Arch-Stanton - that’s a good idea, I’m going to liten to their music too!
James - thanks a lot for the clarification on the ammo cans - I have to say I got carried away. But thanks to your input the next ones I’ll do will be better!
Thanks for looking and have a nice day!
Paweł

3 Likes

Excellent details, they add to it.

1 Like

Looks great I’m impressed.

Cheers,
Ralph

1 Like